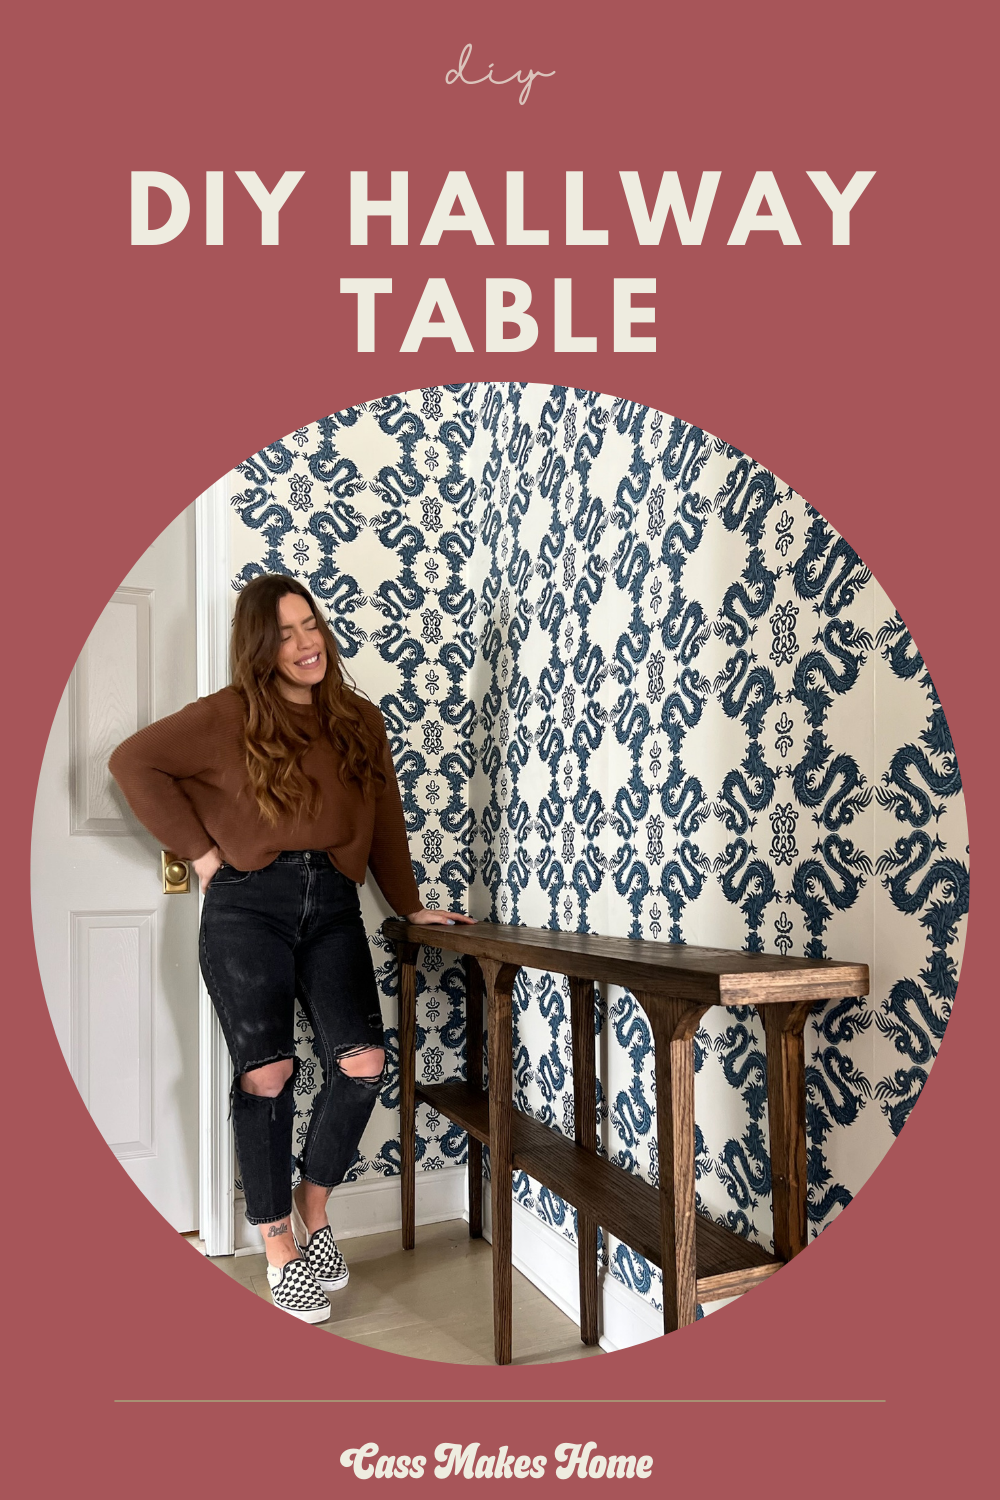
Hallway Table Build

This hallway makeover has been such a rewarding journey. I finished up wallpaper last week and it’s really coming together! The next part of this makeover is the table build. I wanted to make my own table because as usual, I couldn’t find one in my price range that would fit. However, instead of buying wood from Home Depot or Lowes…I have different plans.

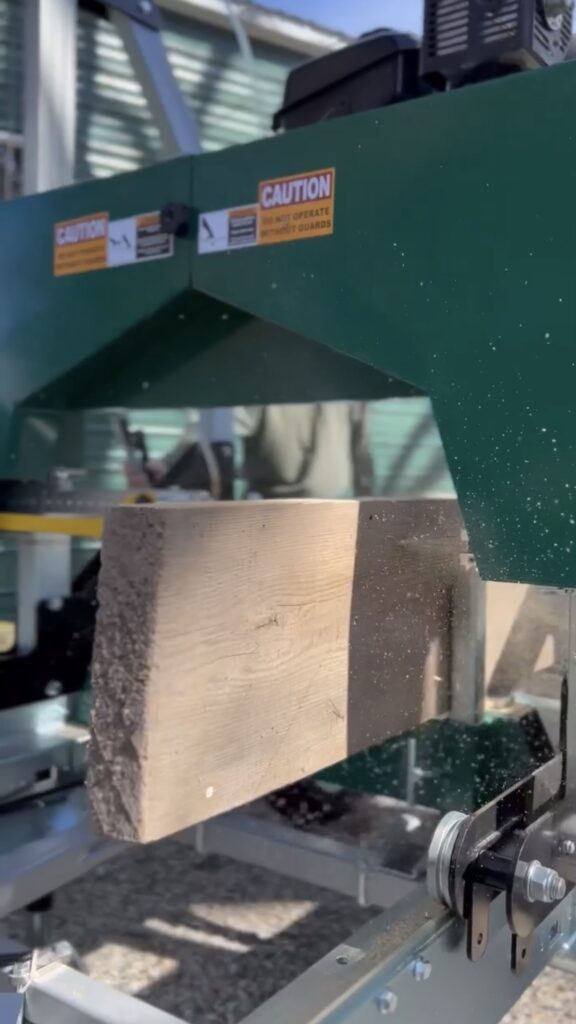
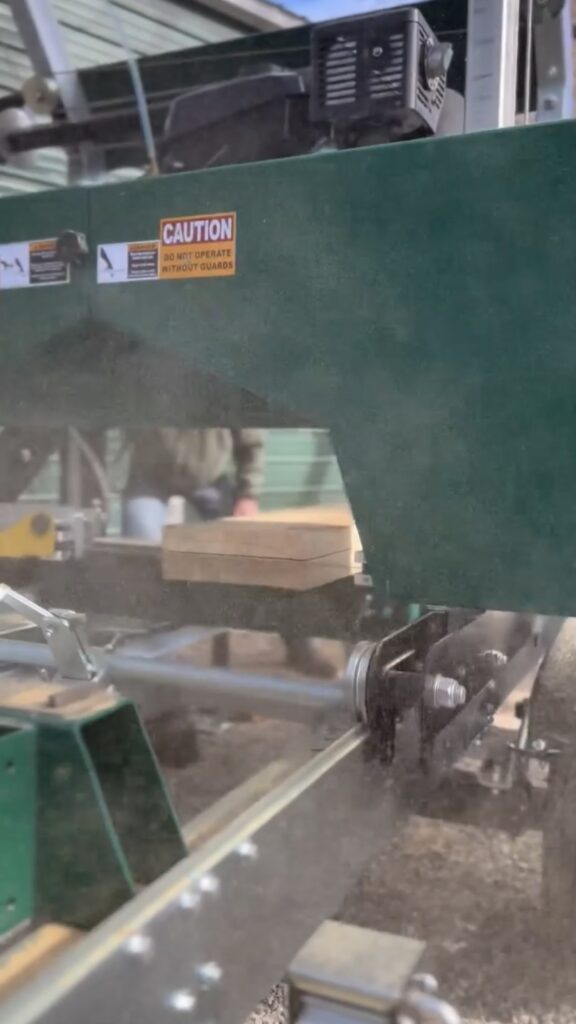
My dad (who is the coolest, most badass person on the planet) just retired yesterday and is starting his own saw mill. So, my dad and I are going to cut wood from a tree today using his new sawmill..I could NOT be more excited about it!
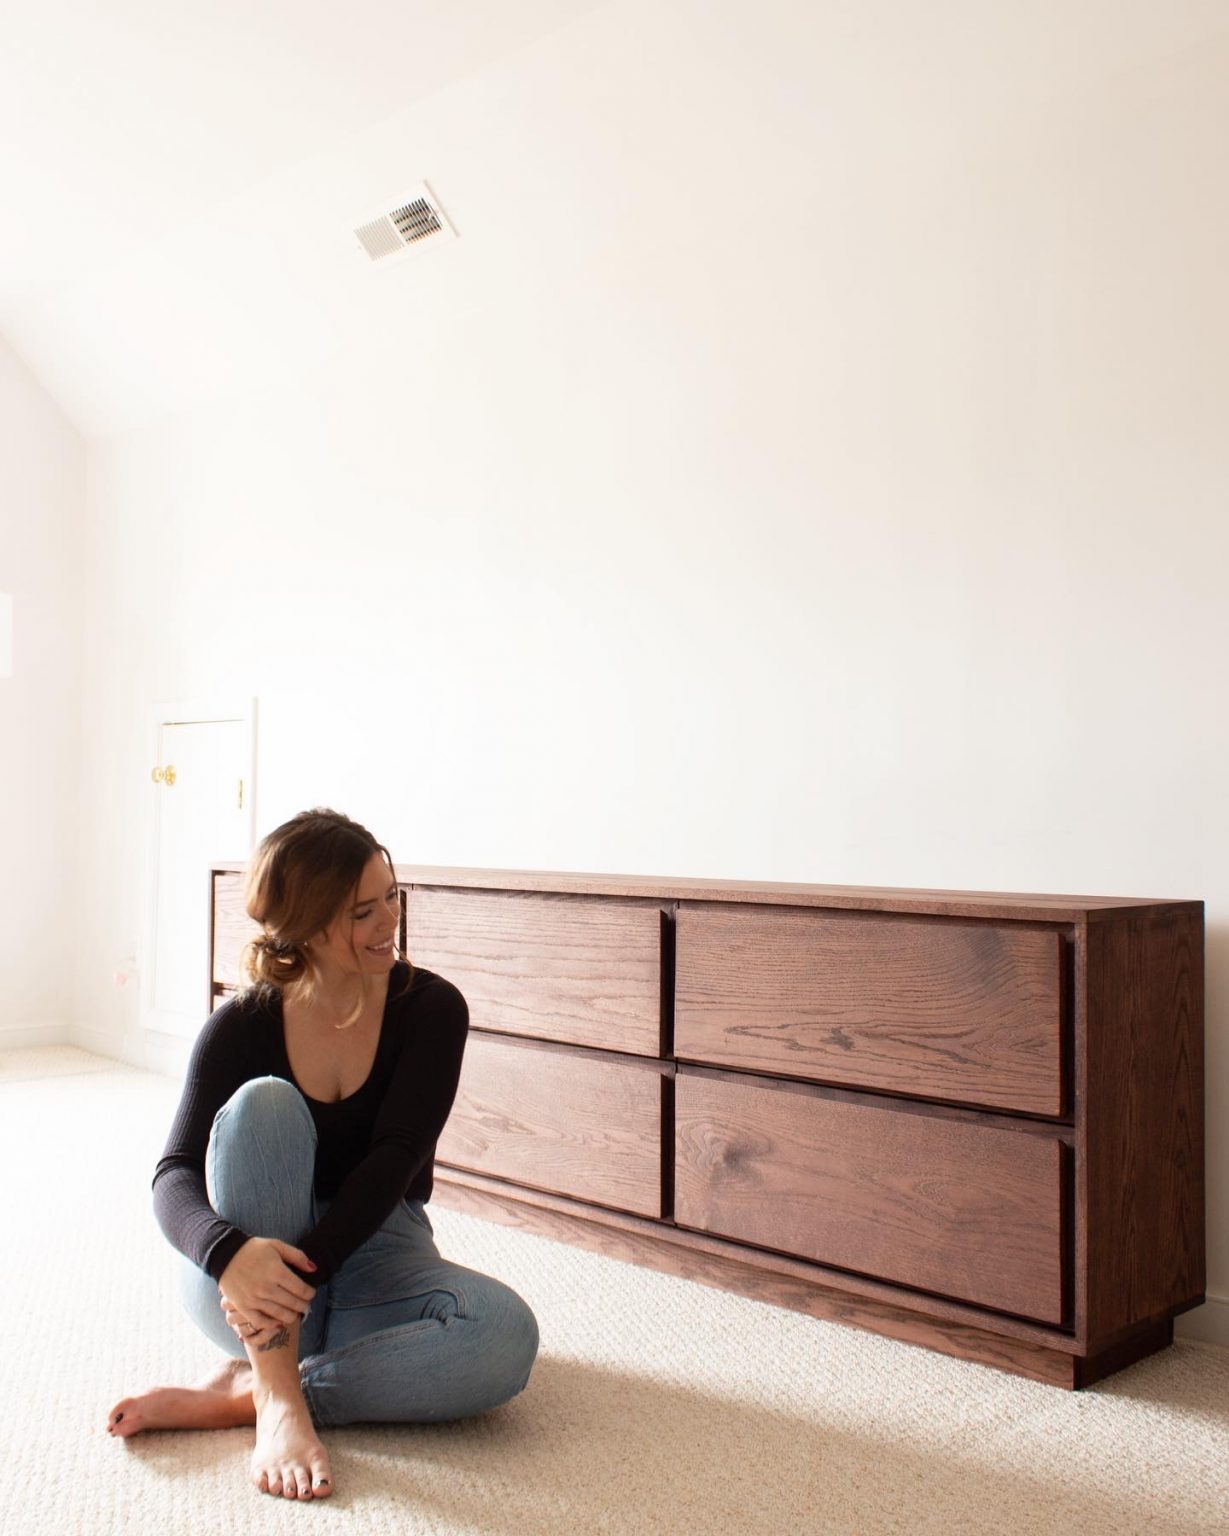
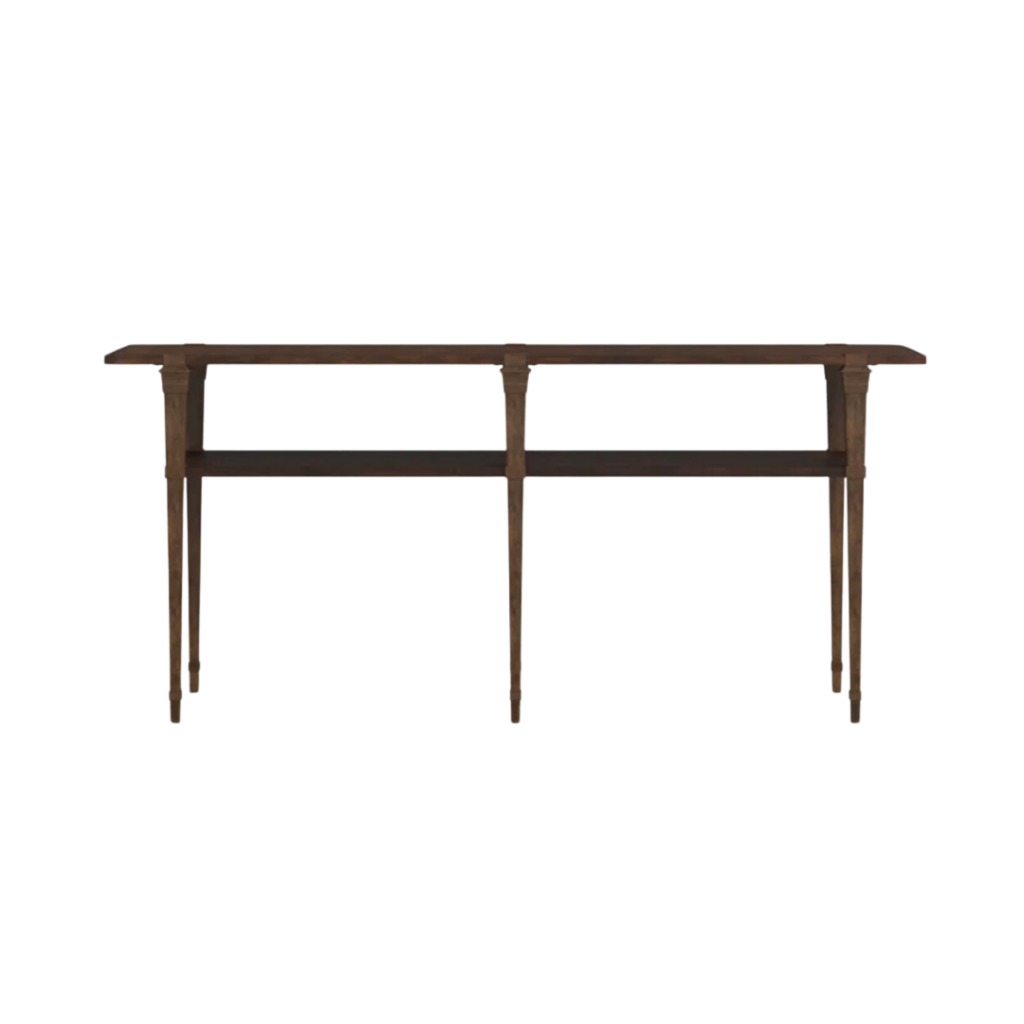
Here is the table that inspired me. As usual, I always fall in love with furniture that is out of my price range and/or not the right size. This one is $1,170. So, let’s build one!

My dad has been collecting trees but the moisture level is too high to make furniture. We searched through some old pieces of wood he has collected. The piece we chose is a 150 year old piece from Pennsylvania Dutch Country. He cut down the wood with his saw mill and it was so satisfying!
The piece we cut ended up having a ton of bug damage and every other piece of wood he had was full of too much moisture….so off to Home Depot I went.
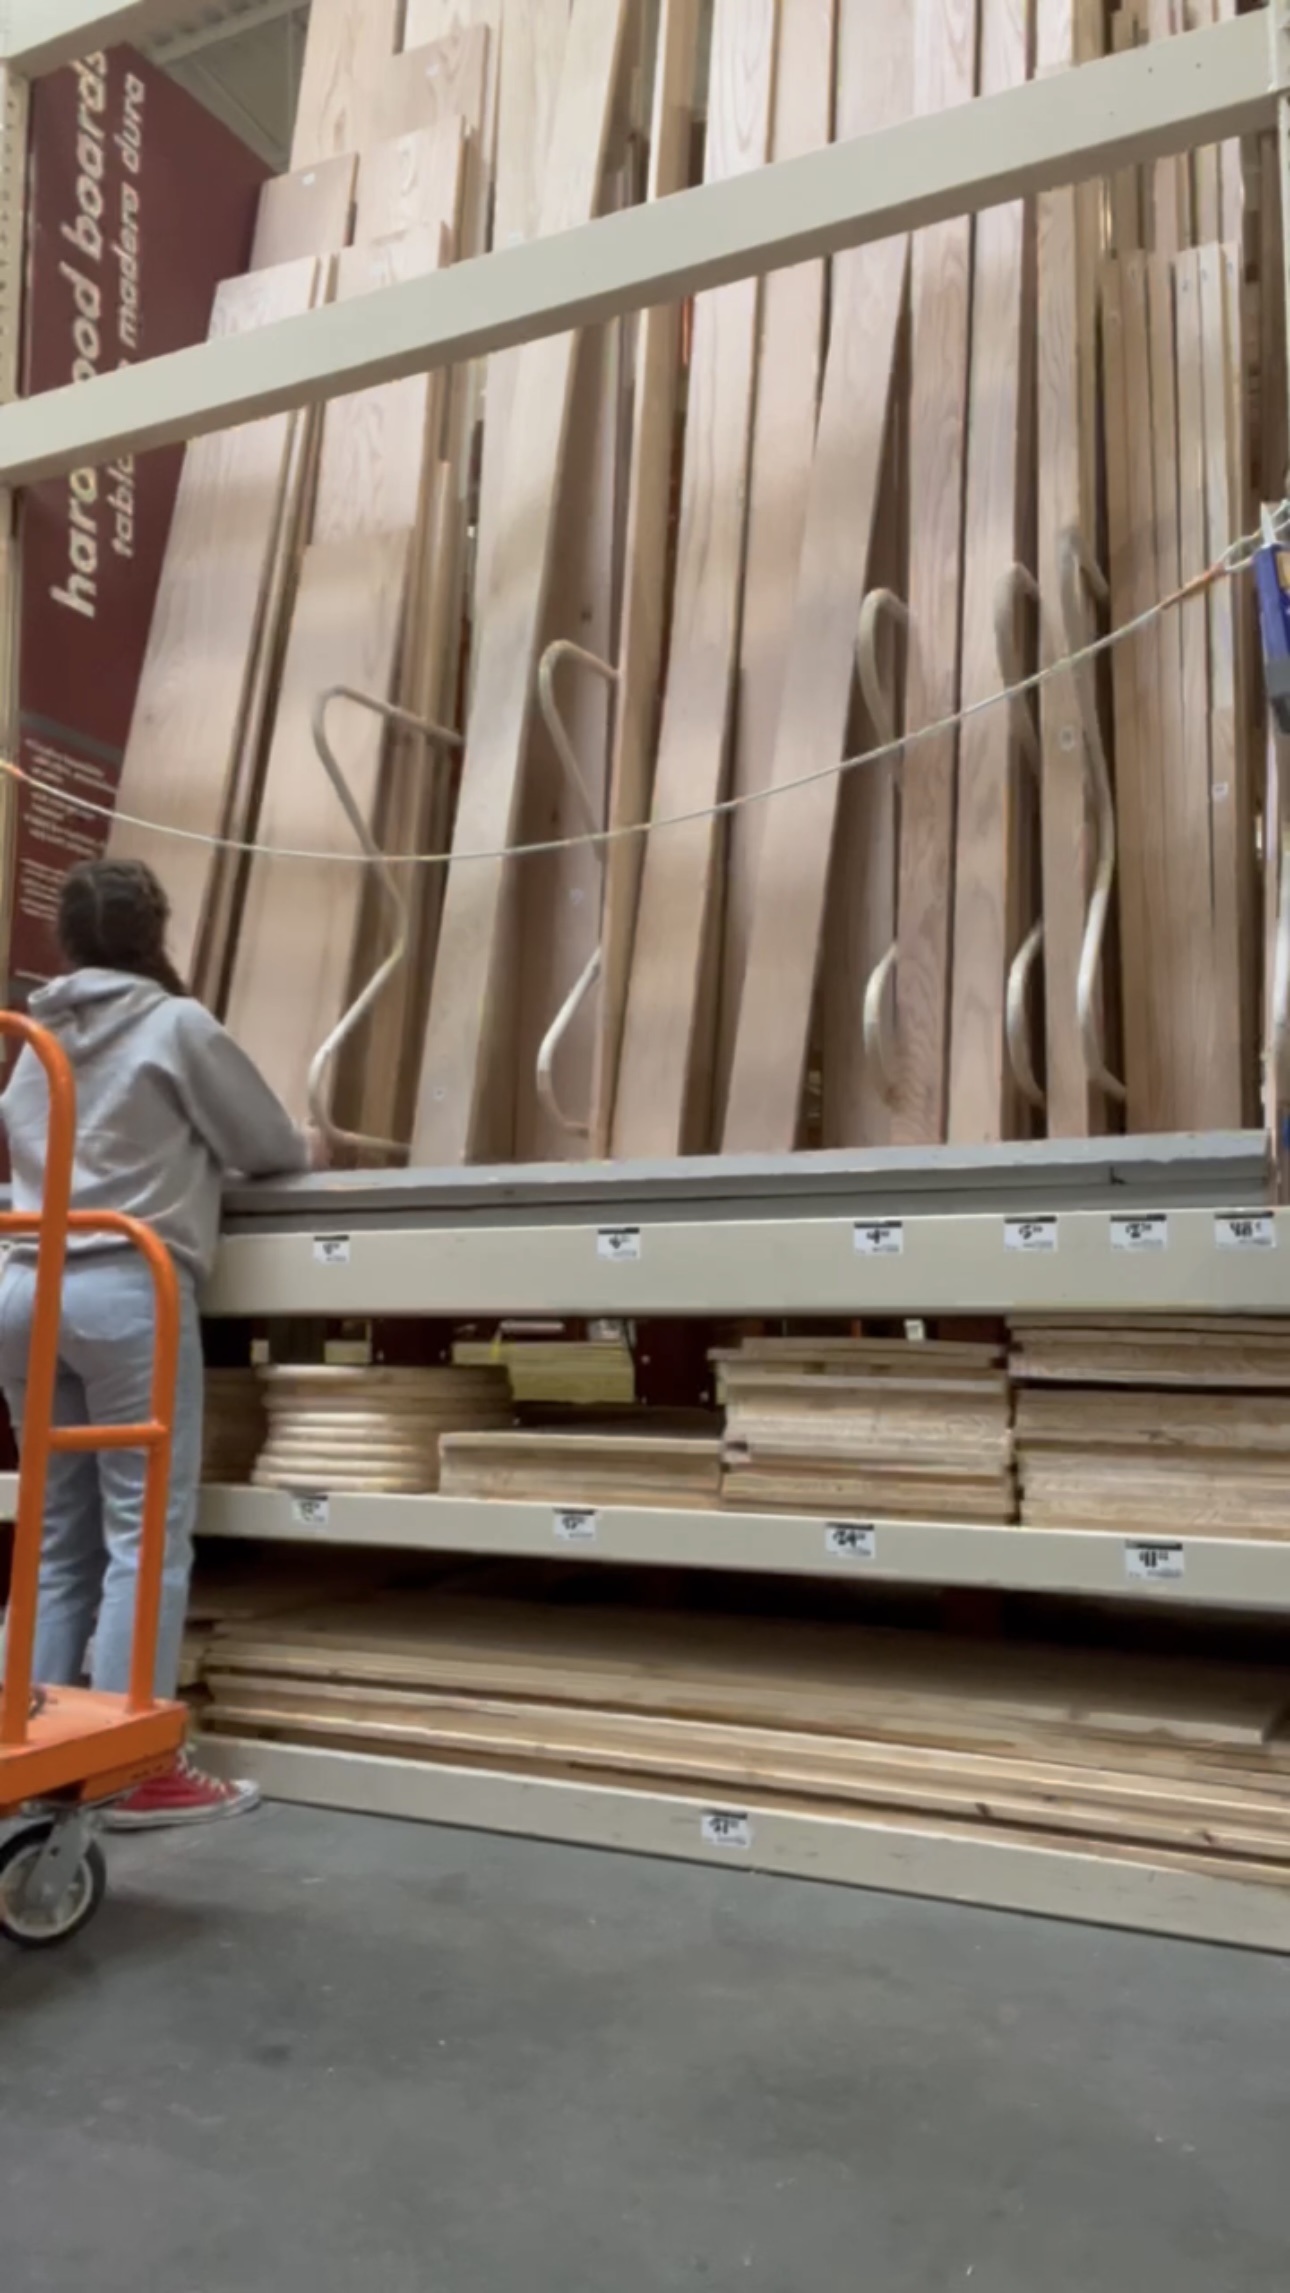
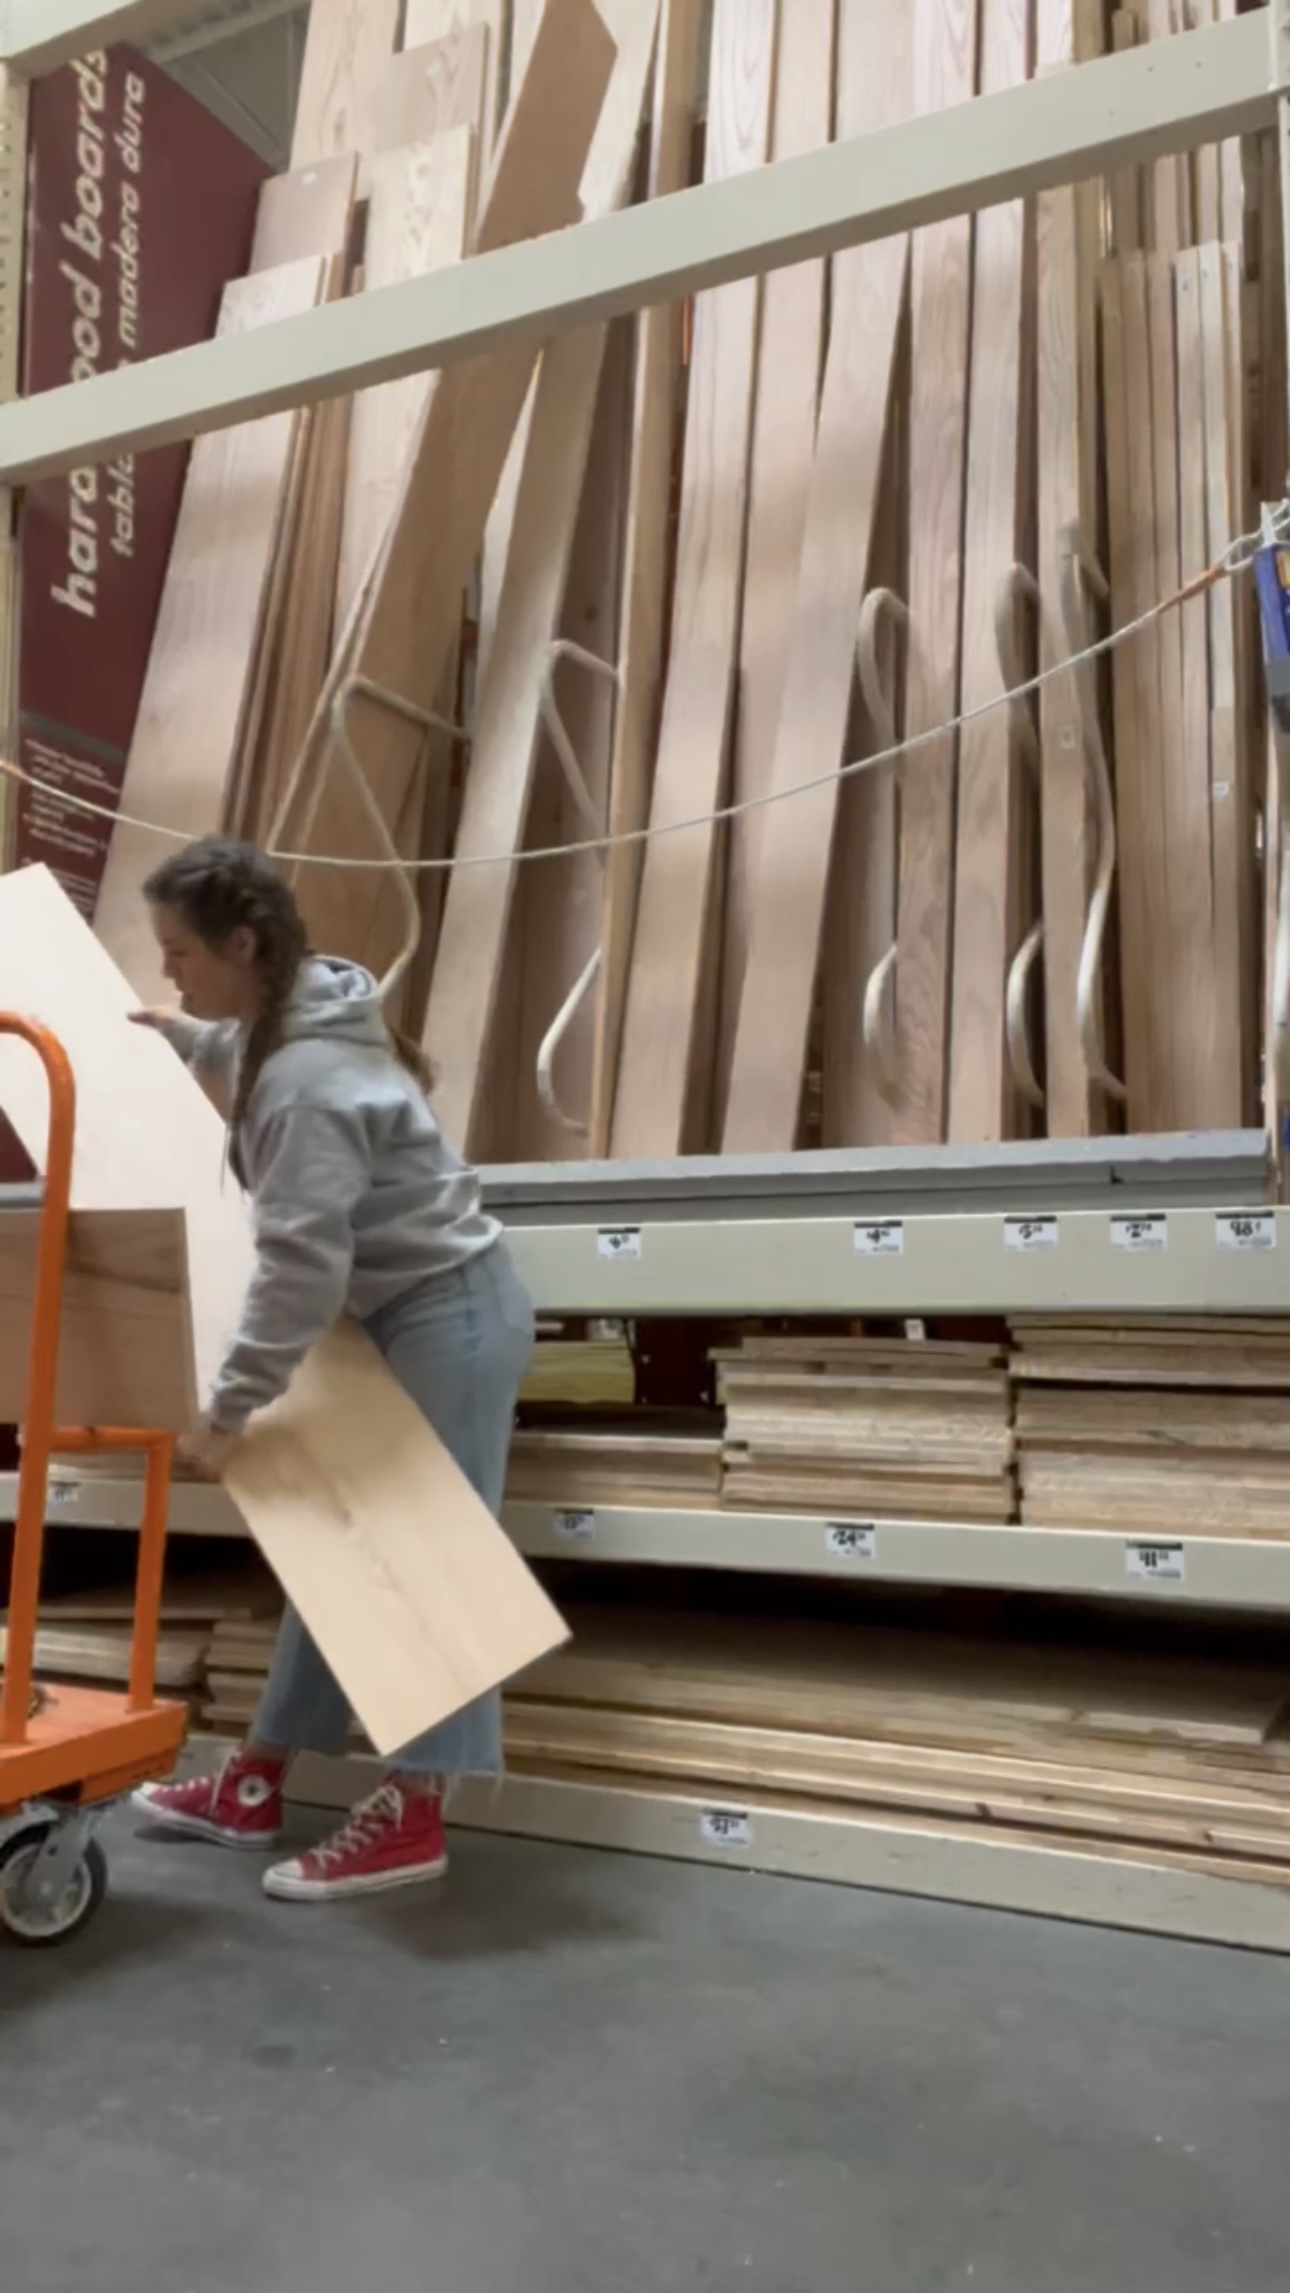
I got some good old red oak – the same boards I used to build this dresser! You can see that entire tutorial here!
Materials for my table build
- Red Oak
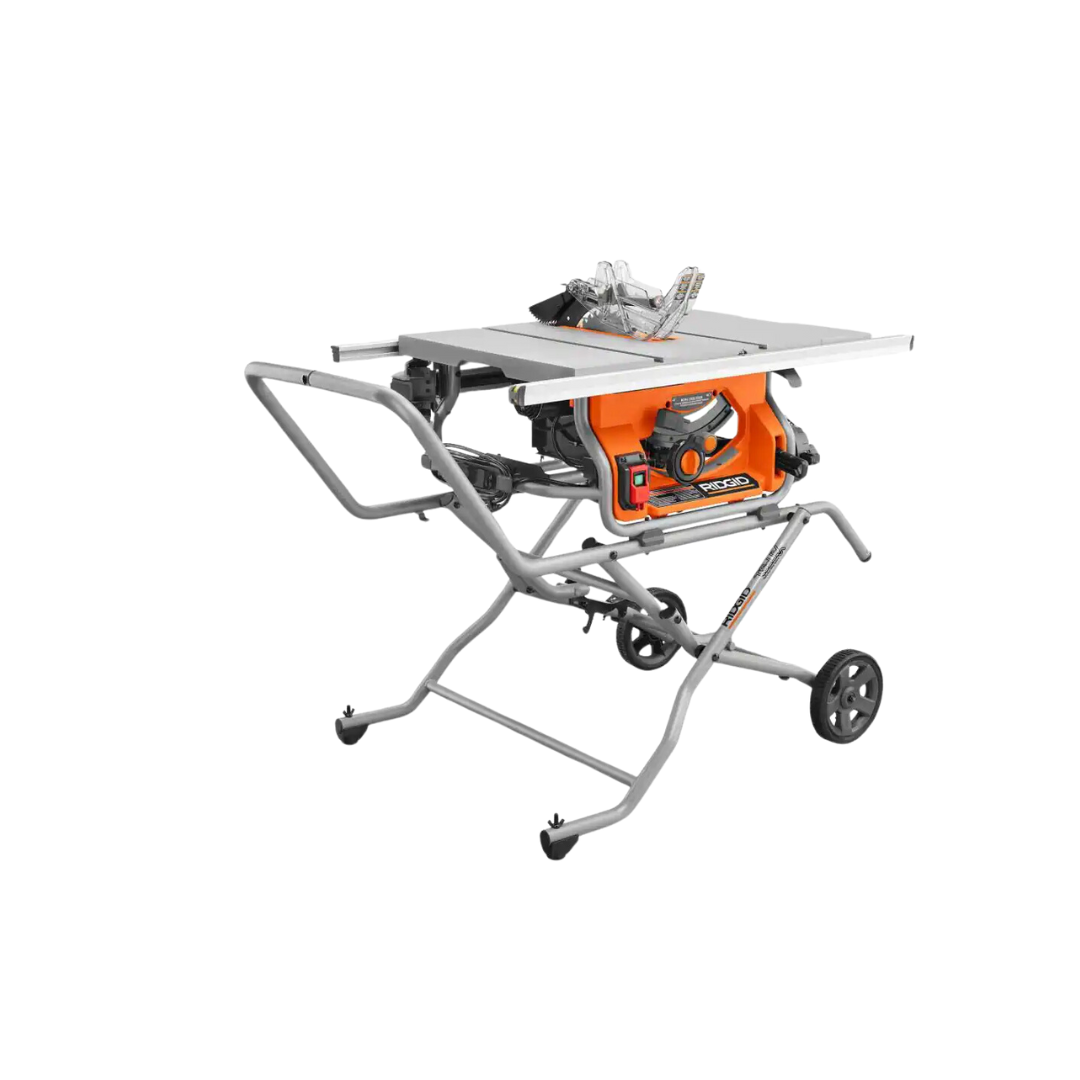
- Table Saw
- Miter Saw
- Safety Glasses
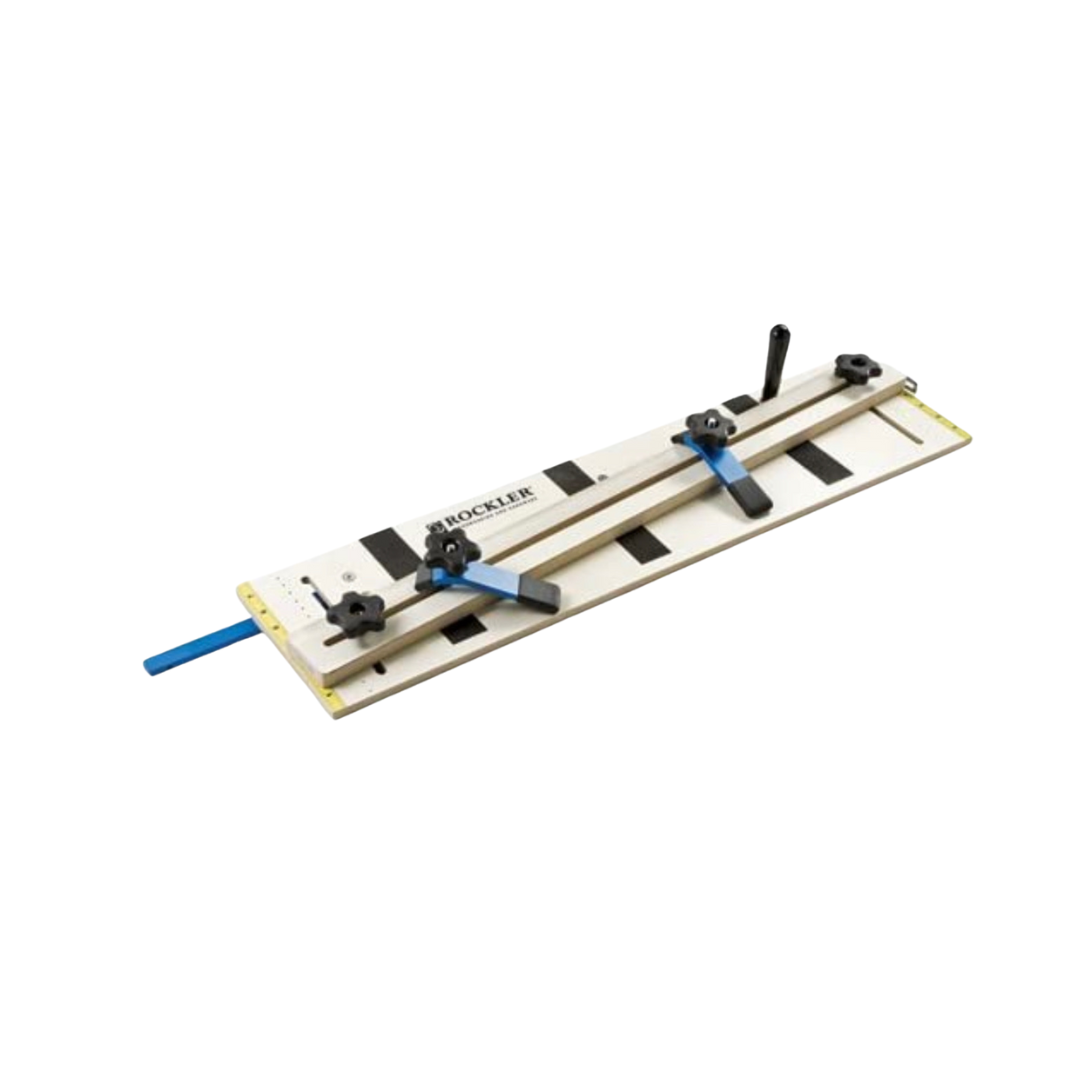
- Straight Line Taper Jig
- Drill
- Wood Glue
- Screws
- Clamps
- Pocked Hole Jig
- Jigsaw


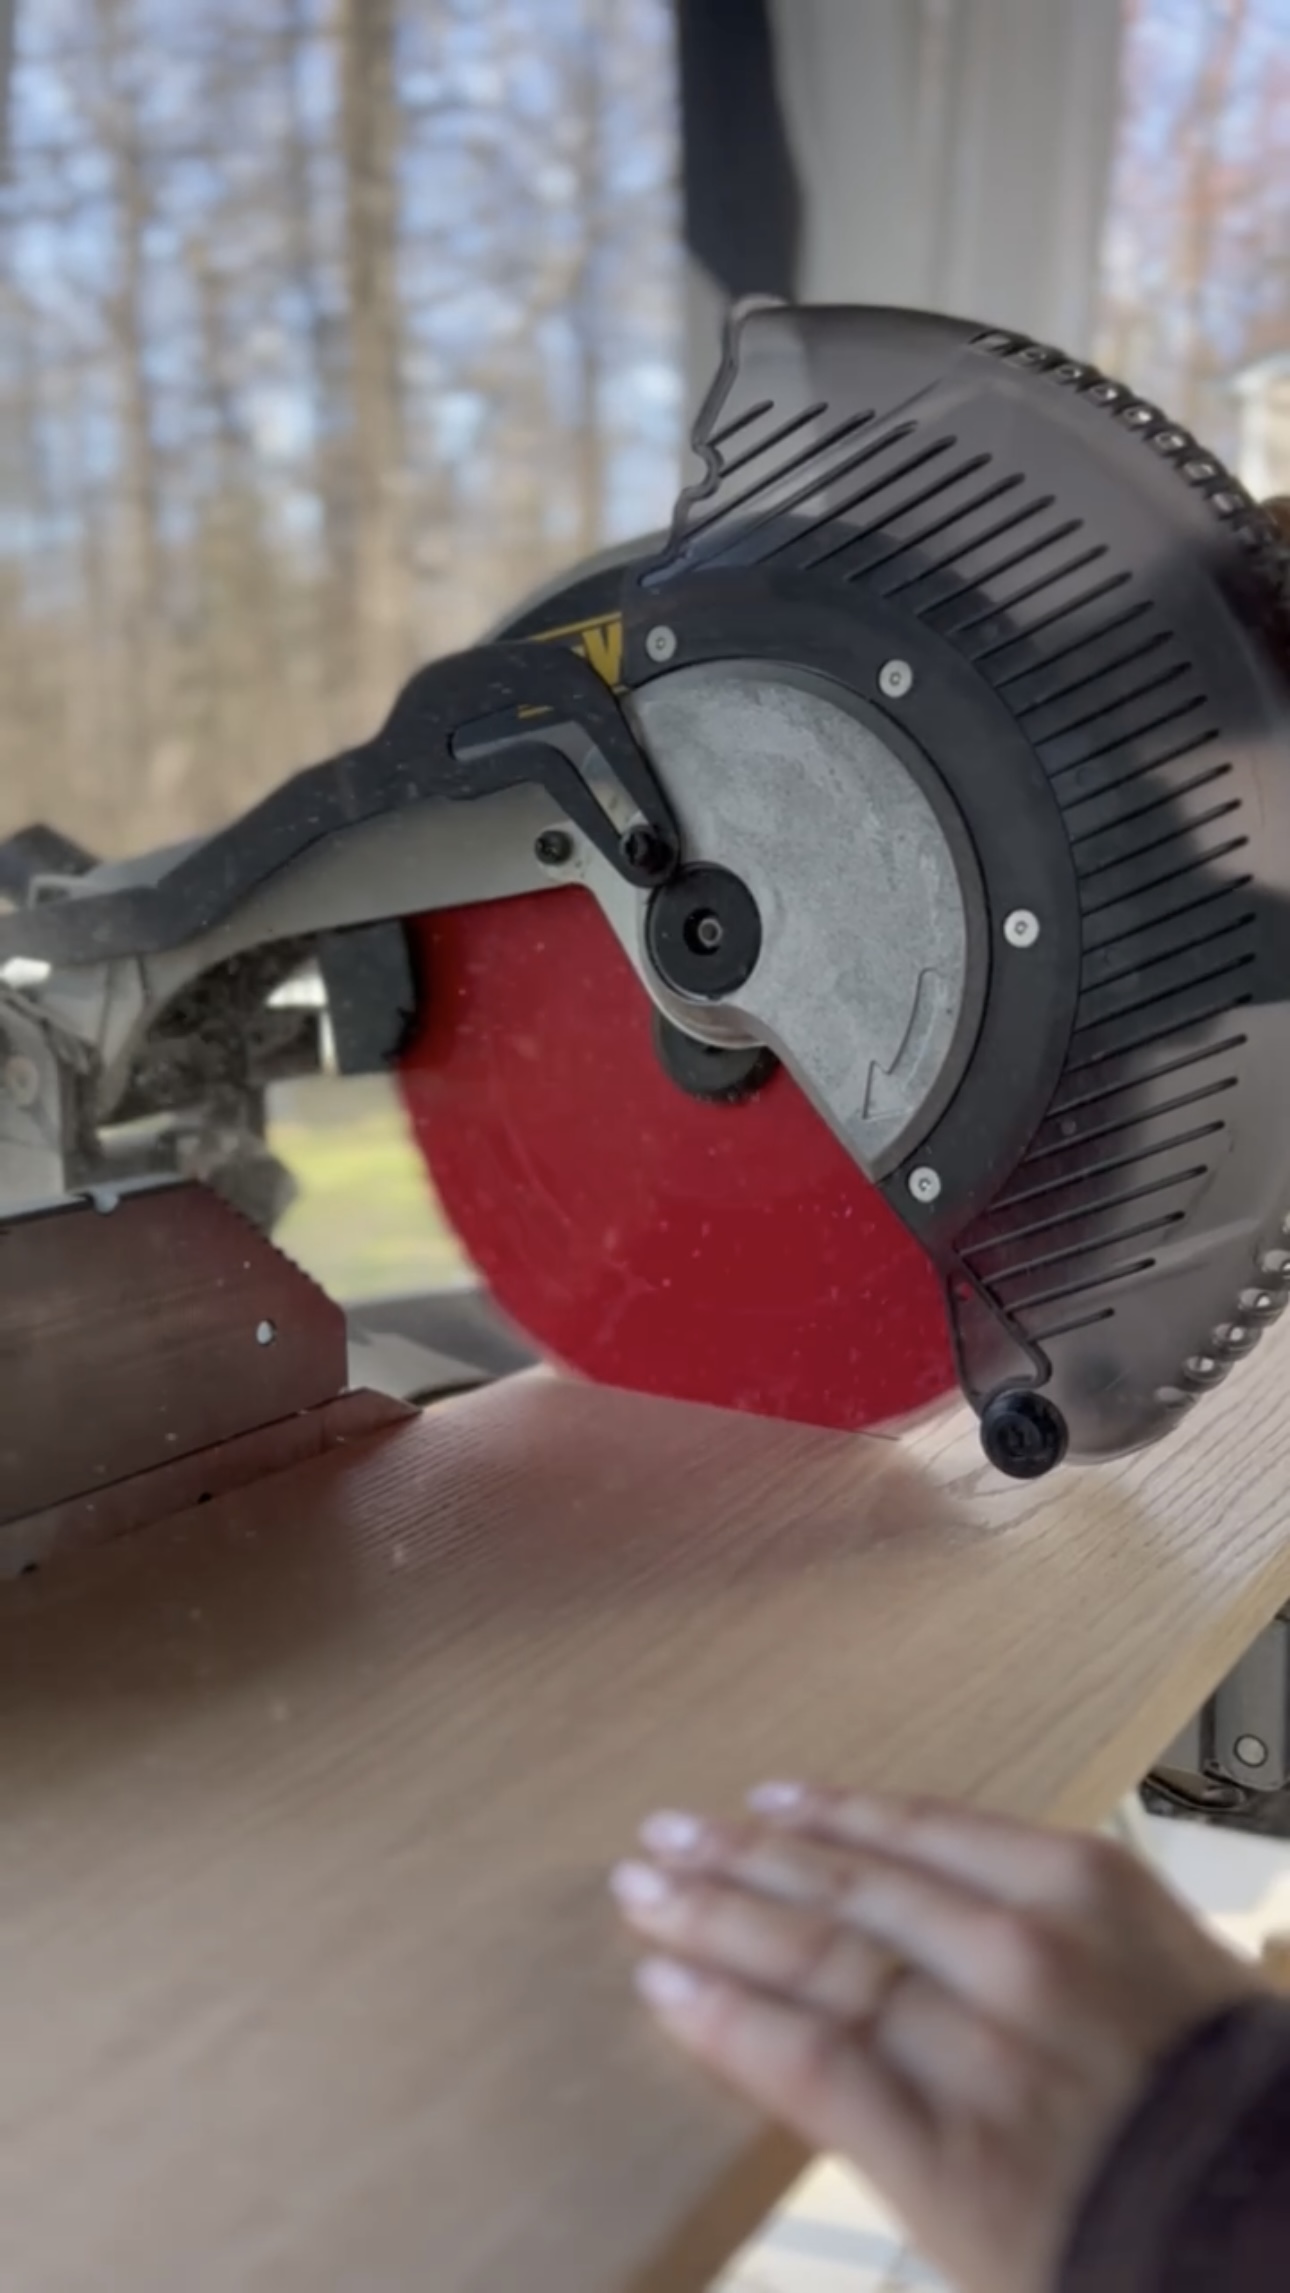
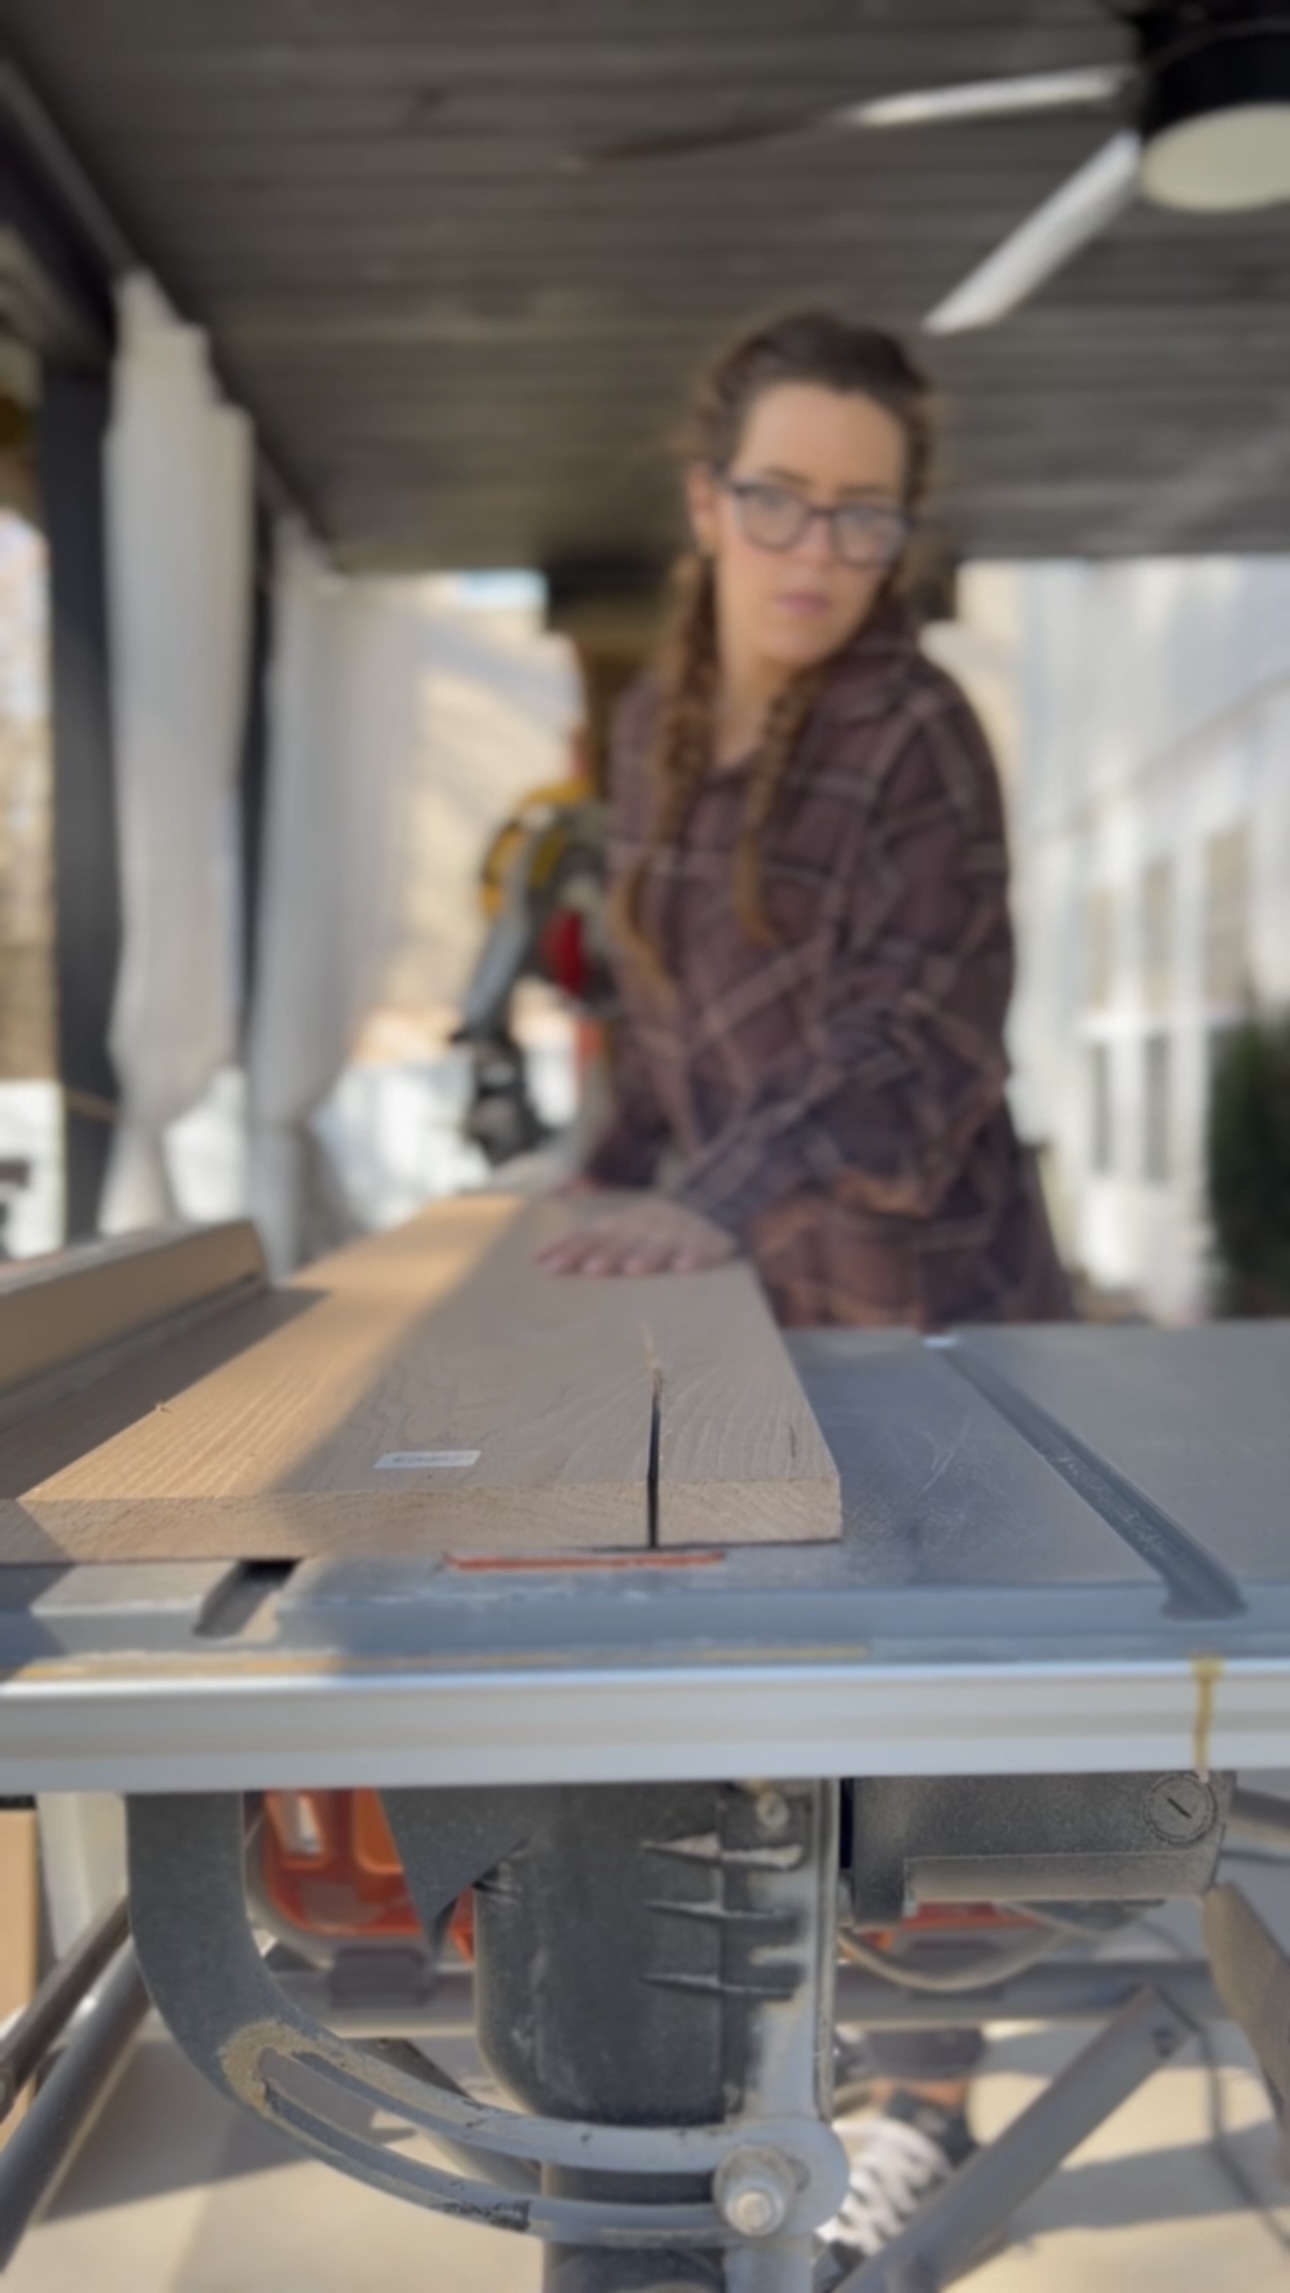
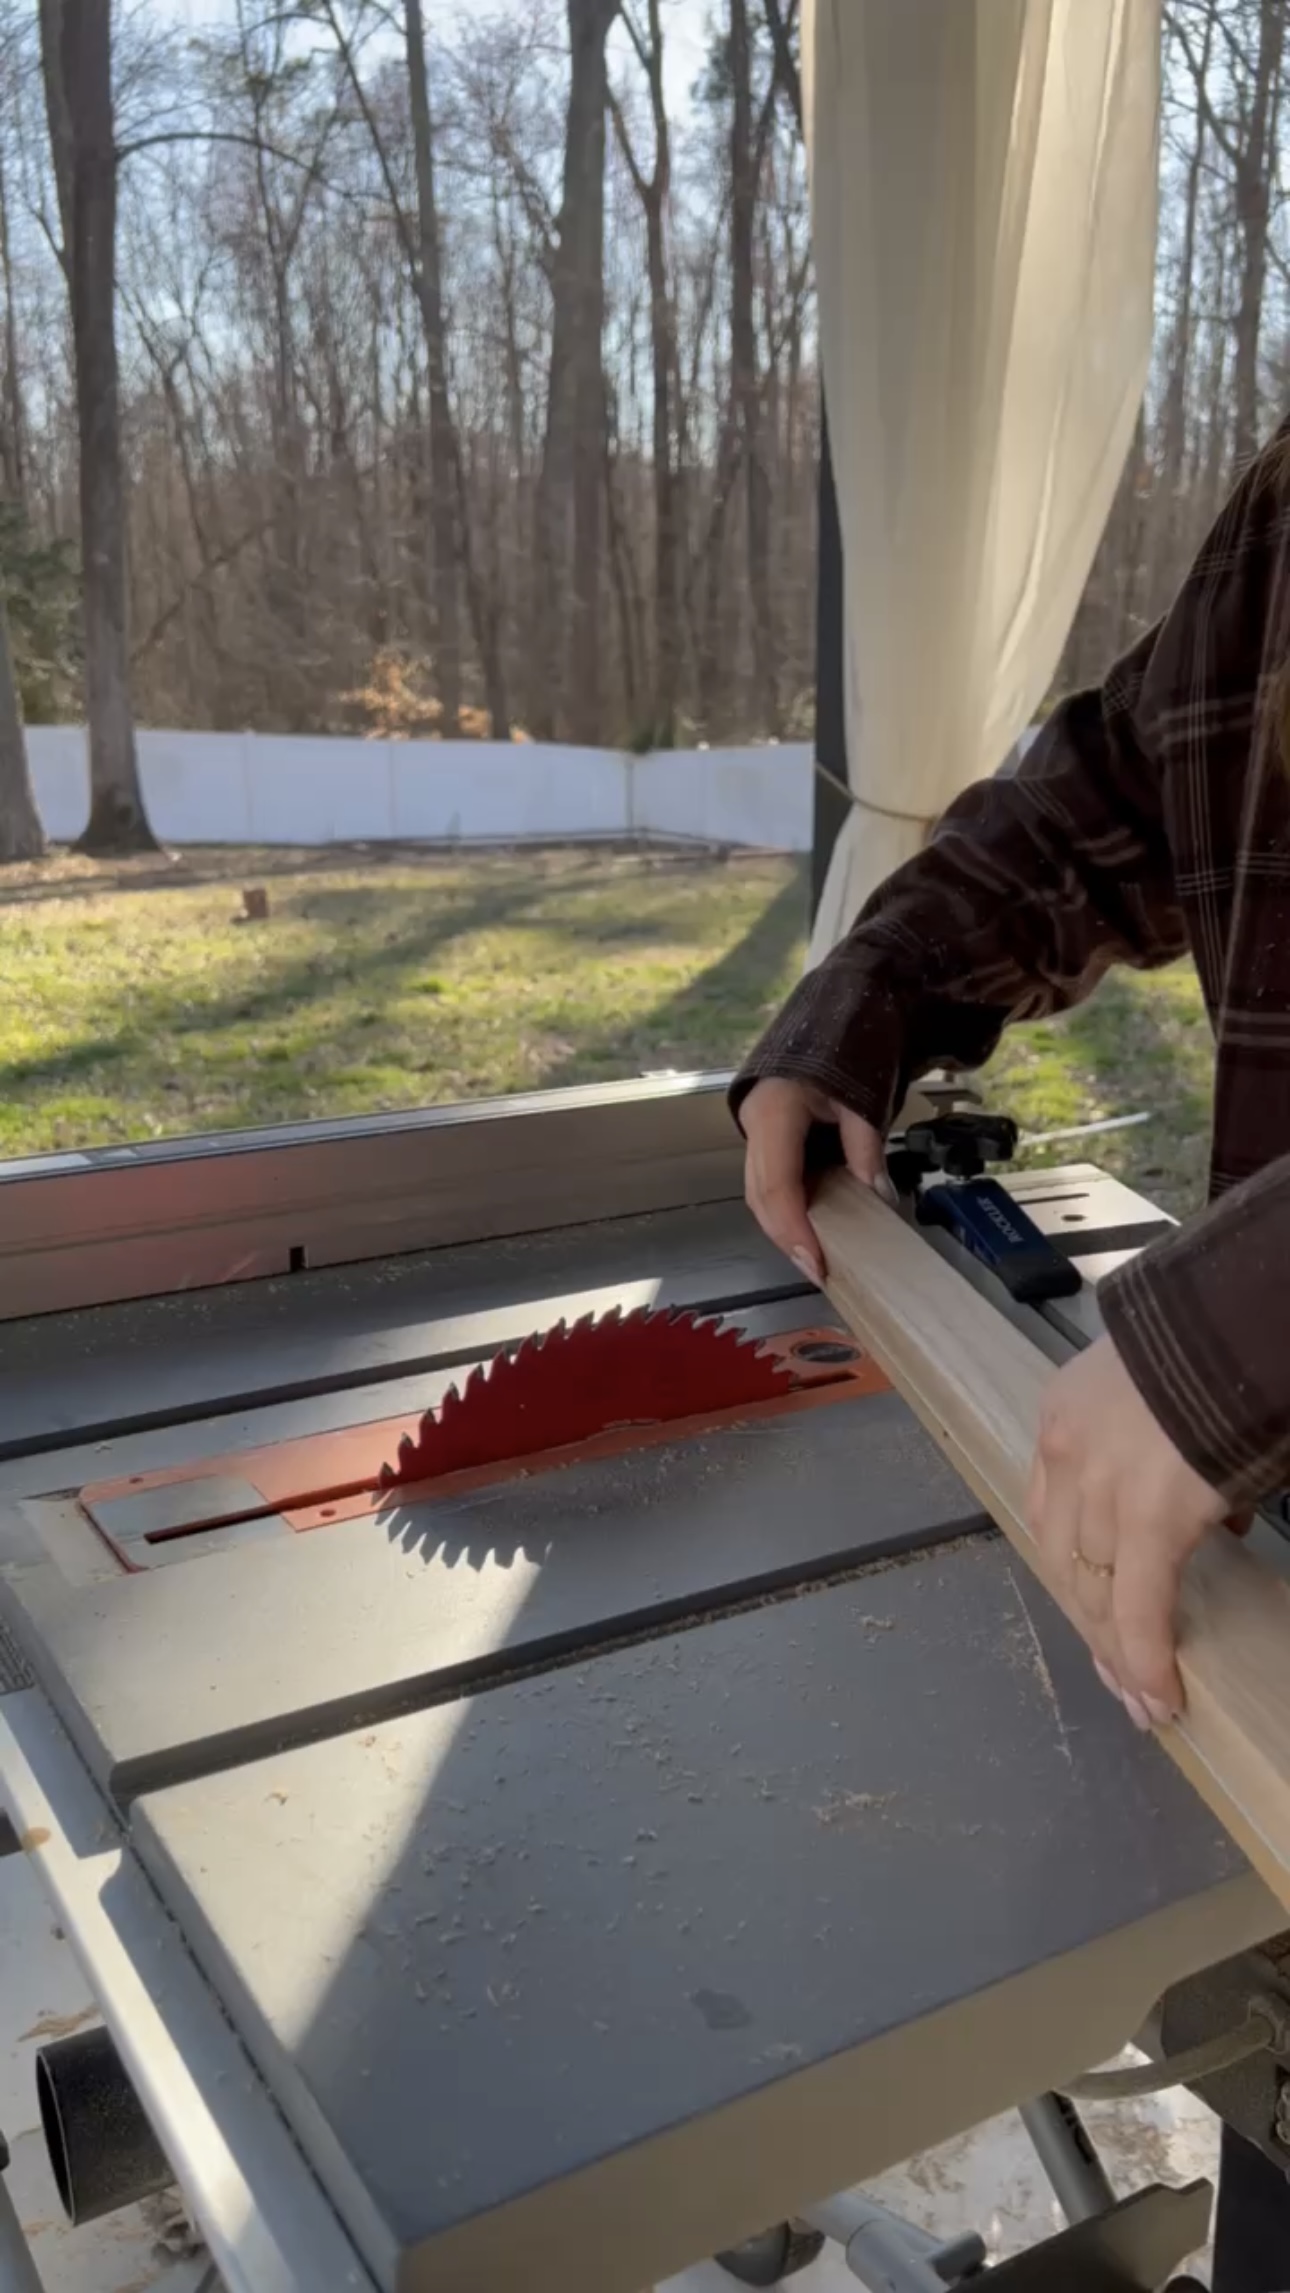
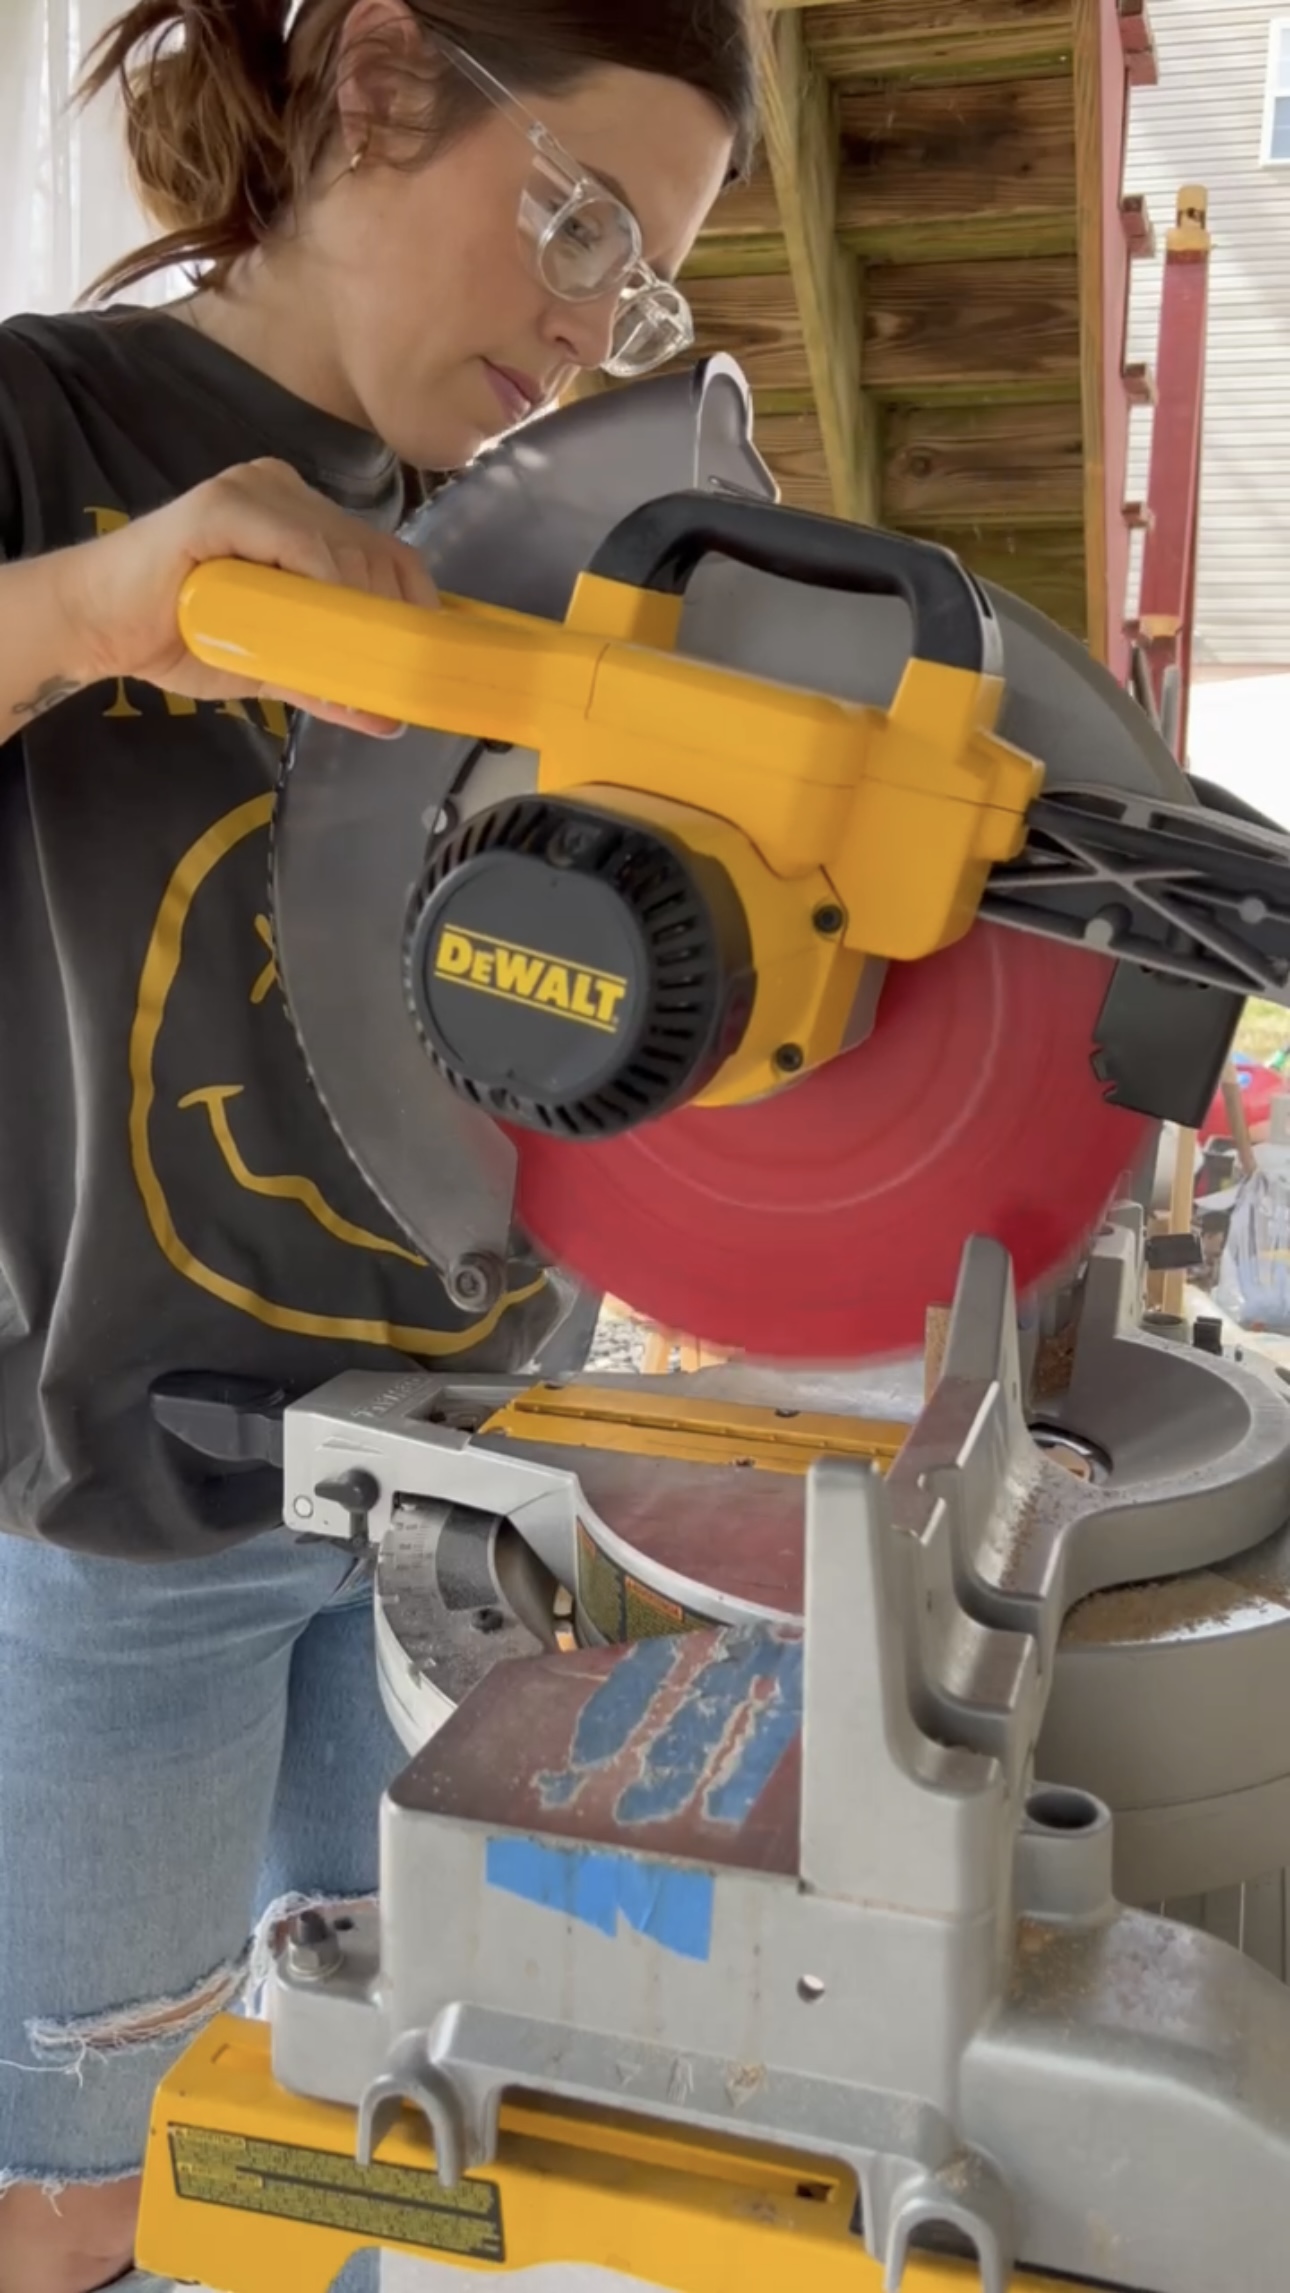
Making Cuts
First, I cut the table top to length with my miter saw. Then, I cut it to width with my table saw.
The table top was looking a bit thin. Instead of doubling up the table top piece, since wood is so expensive, I used these smaller pieces to make it appear thicker.
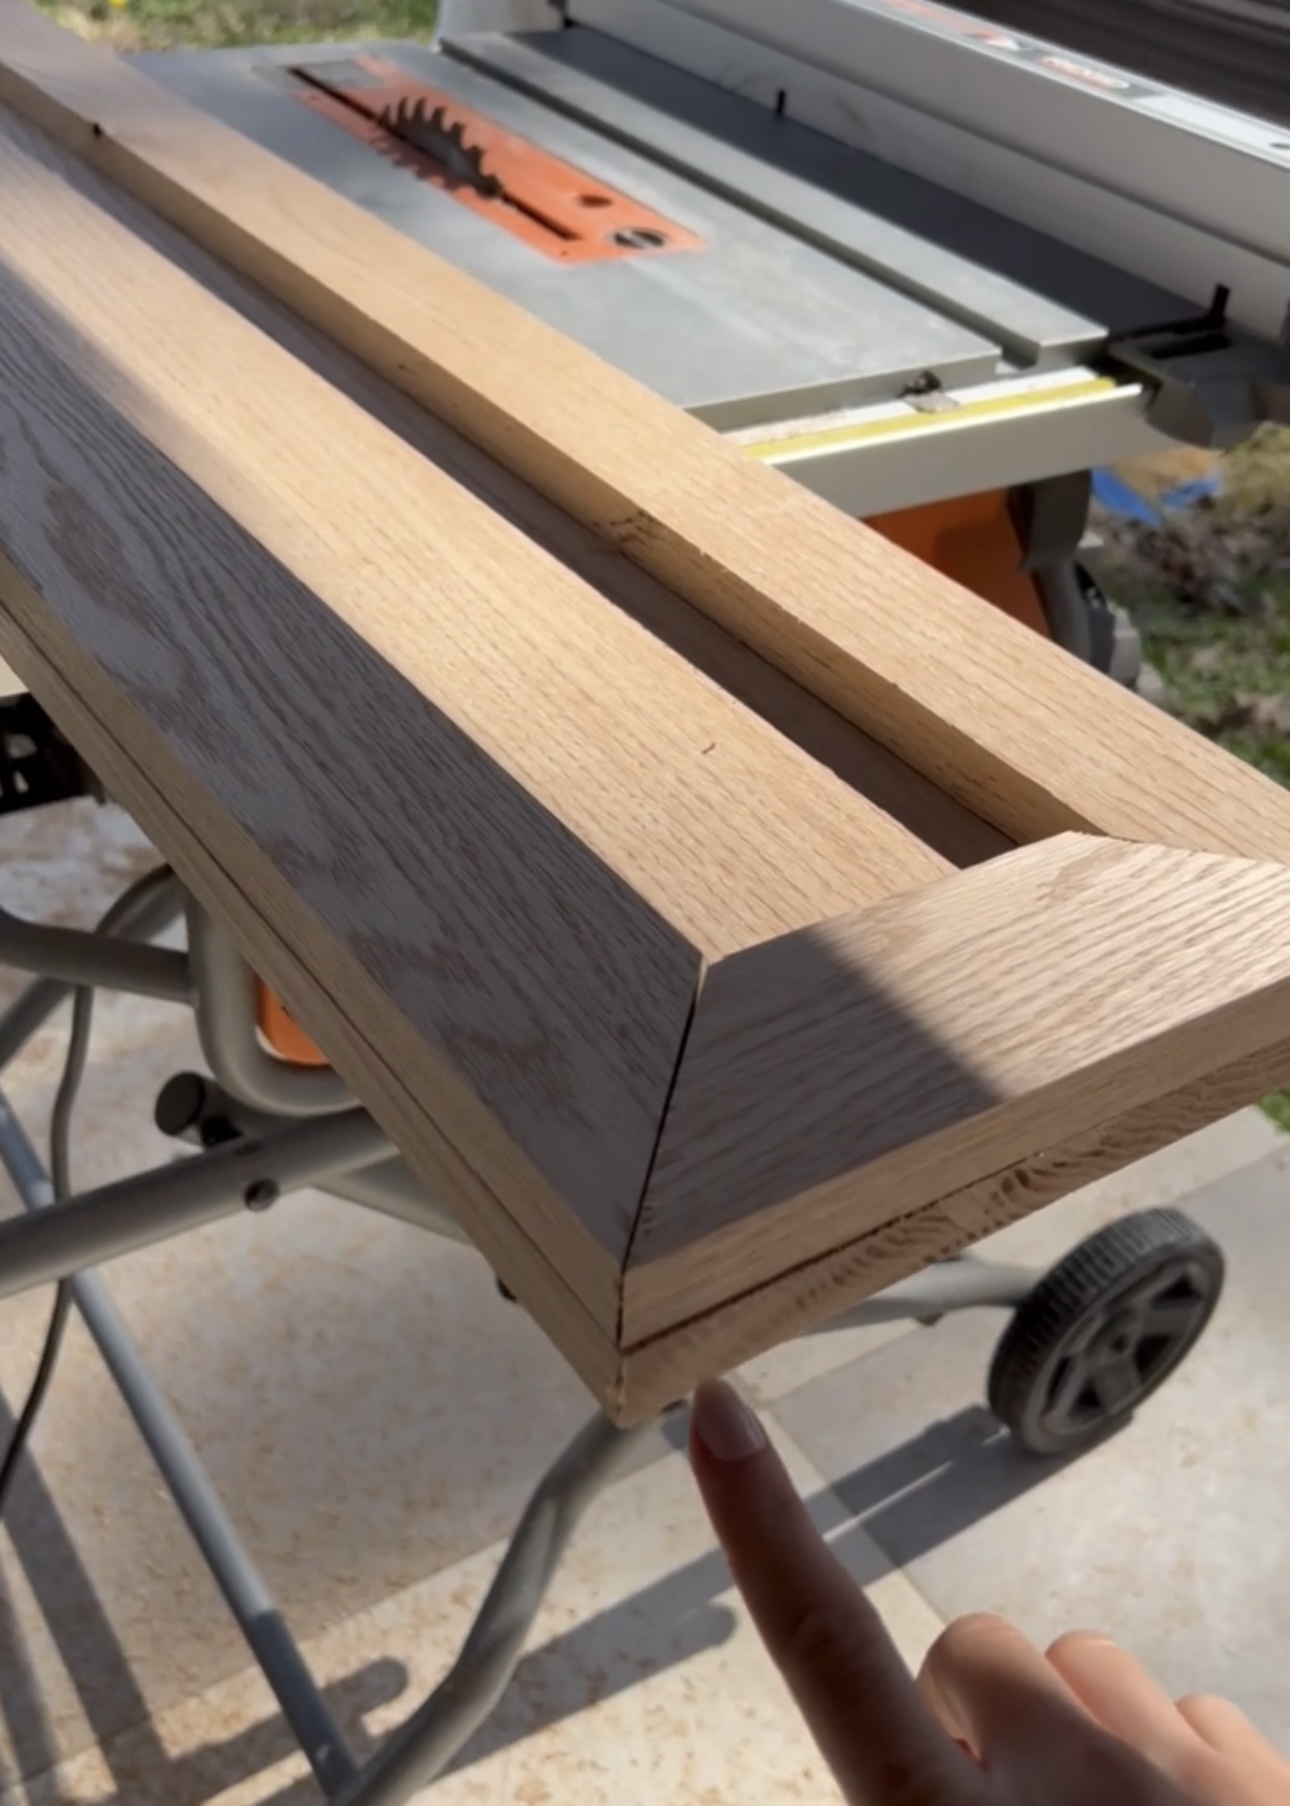
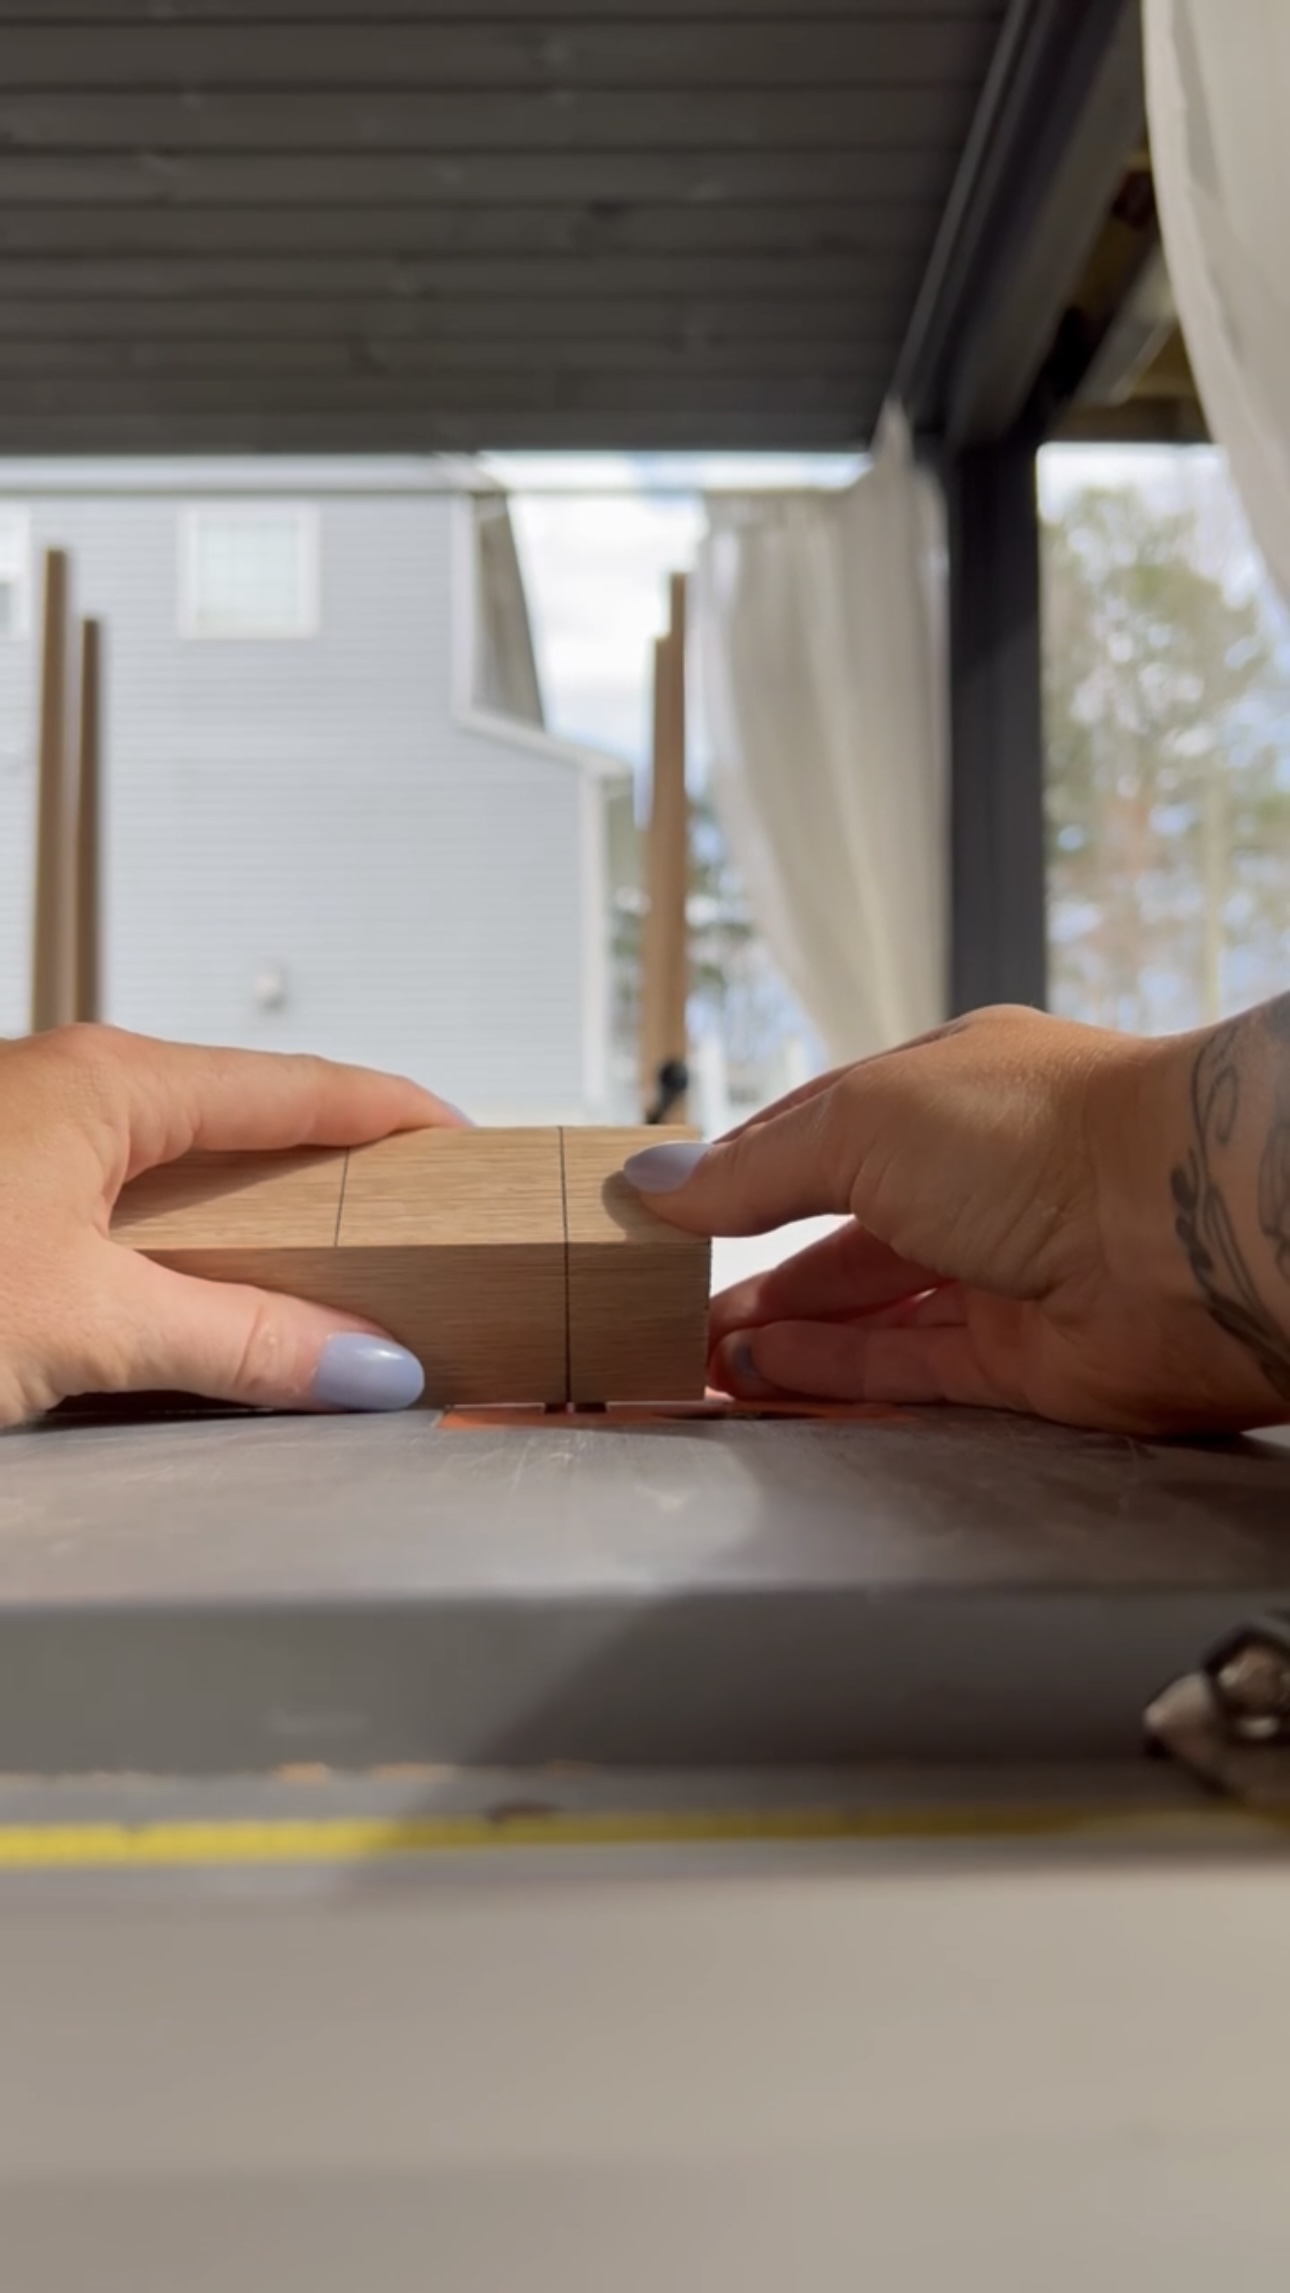
Table Edges
These are the details that take extra work but are so worth it. These raw edges will take stain differently since they are different types of wood. So, I decided to cut the top piece at an angle and then cut another piece to glue on top of it so the stain will look seamless on the edges.

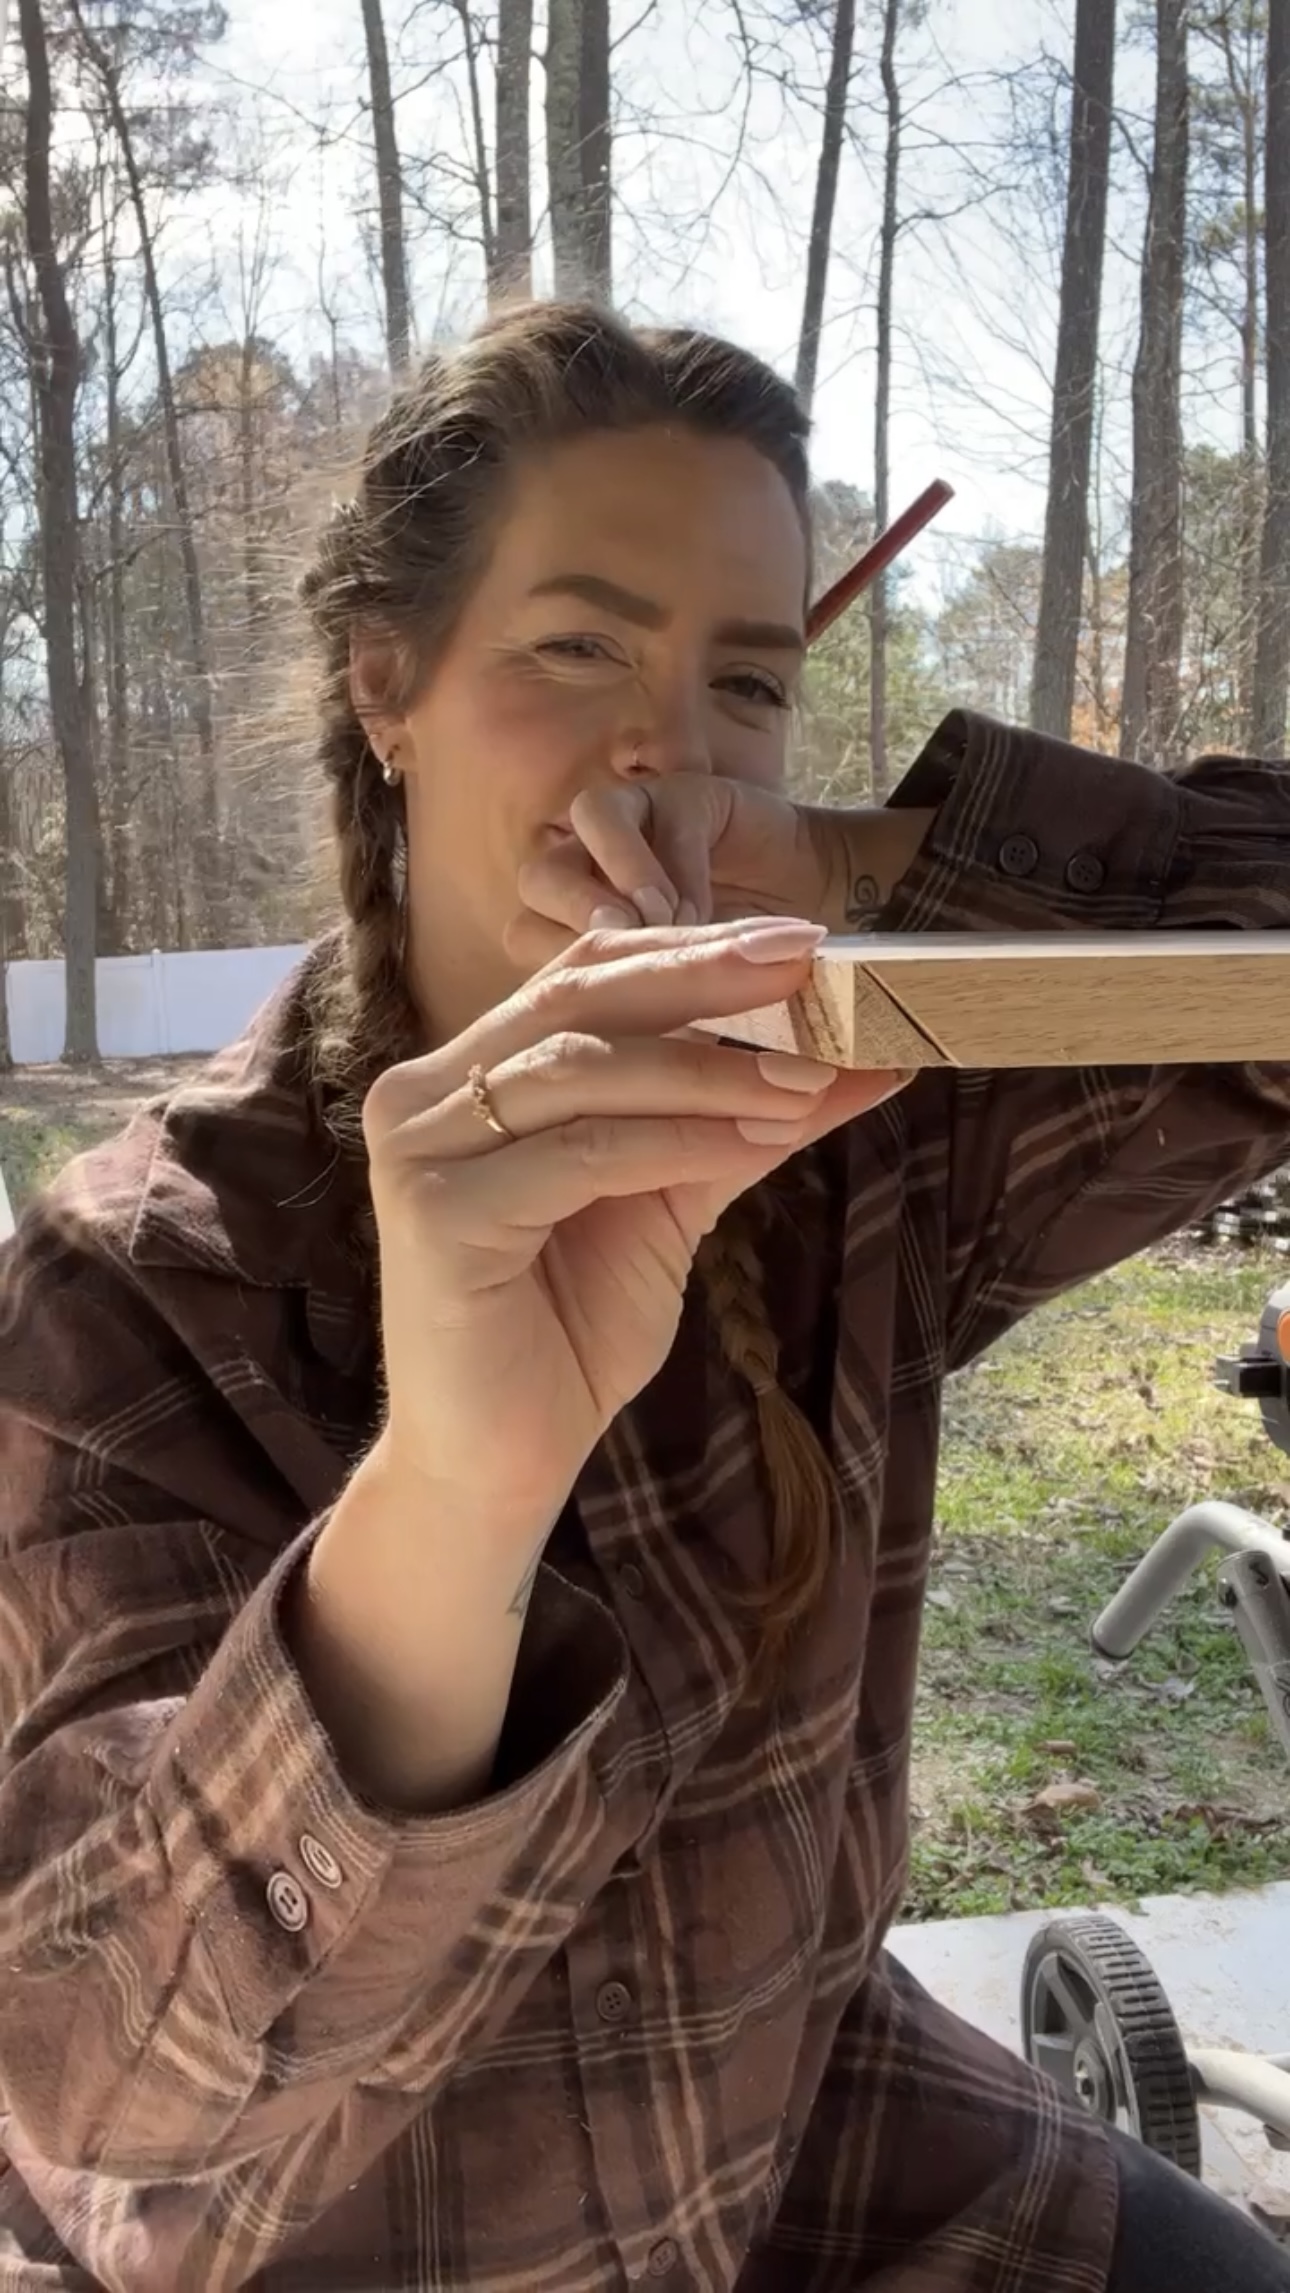
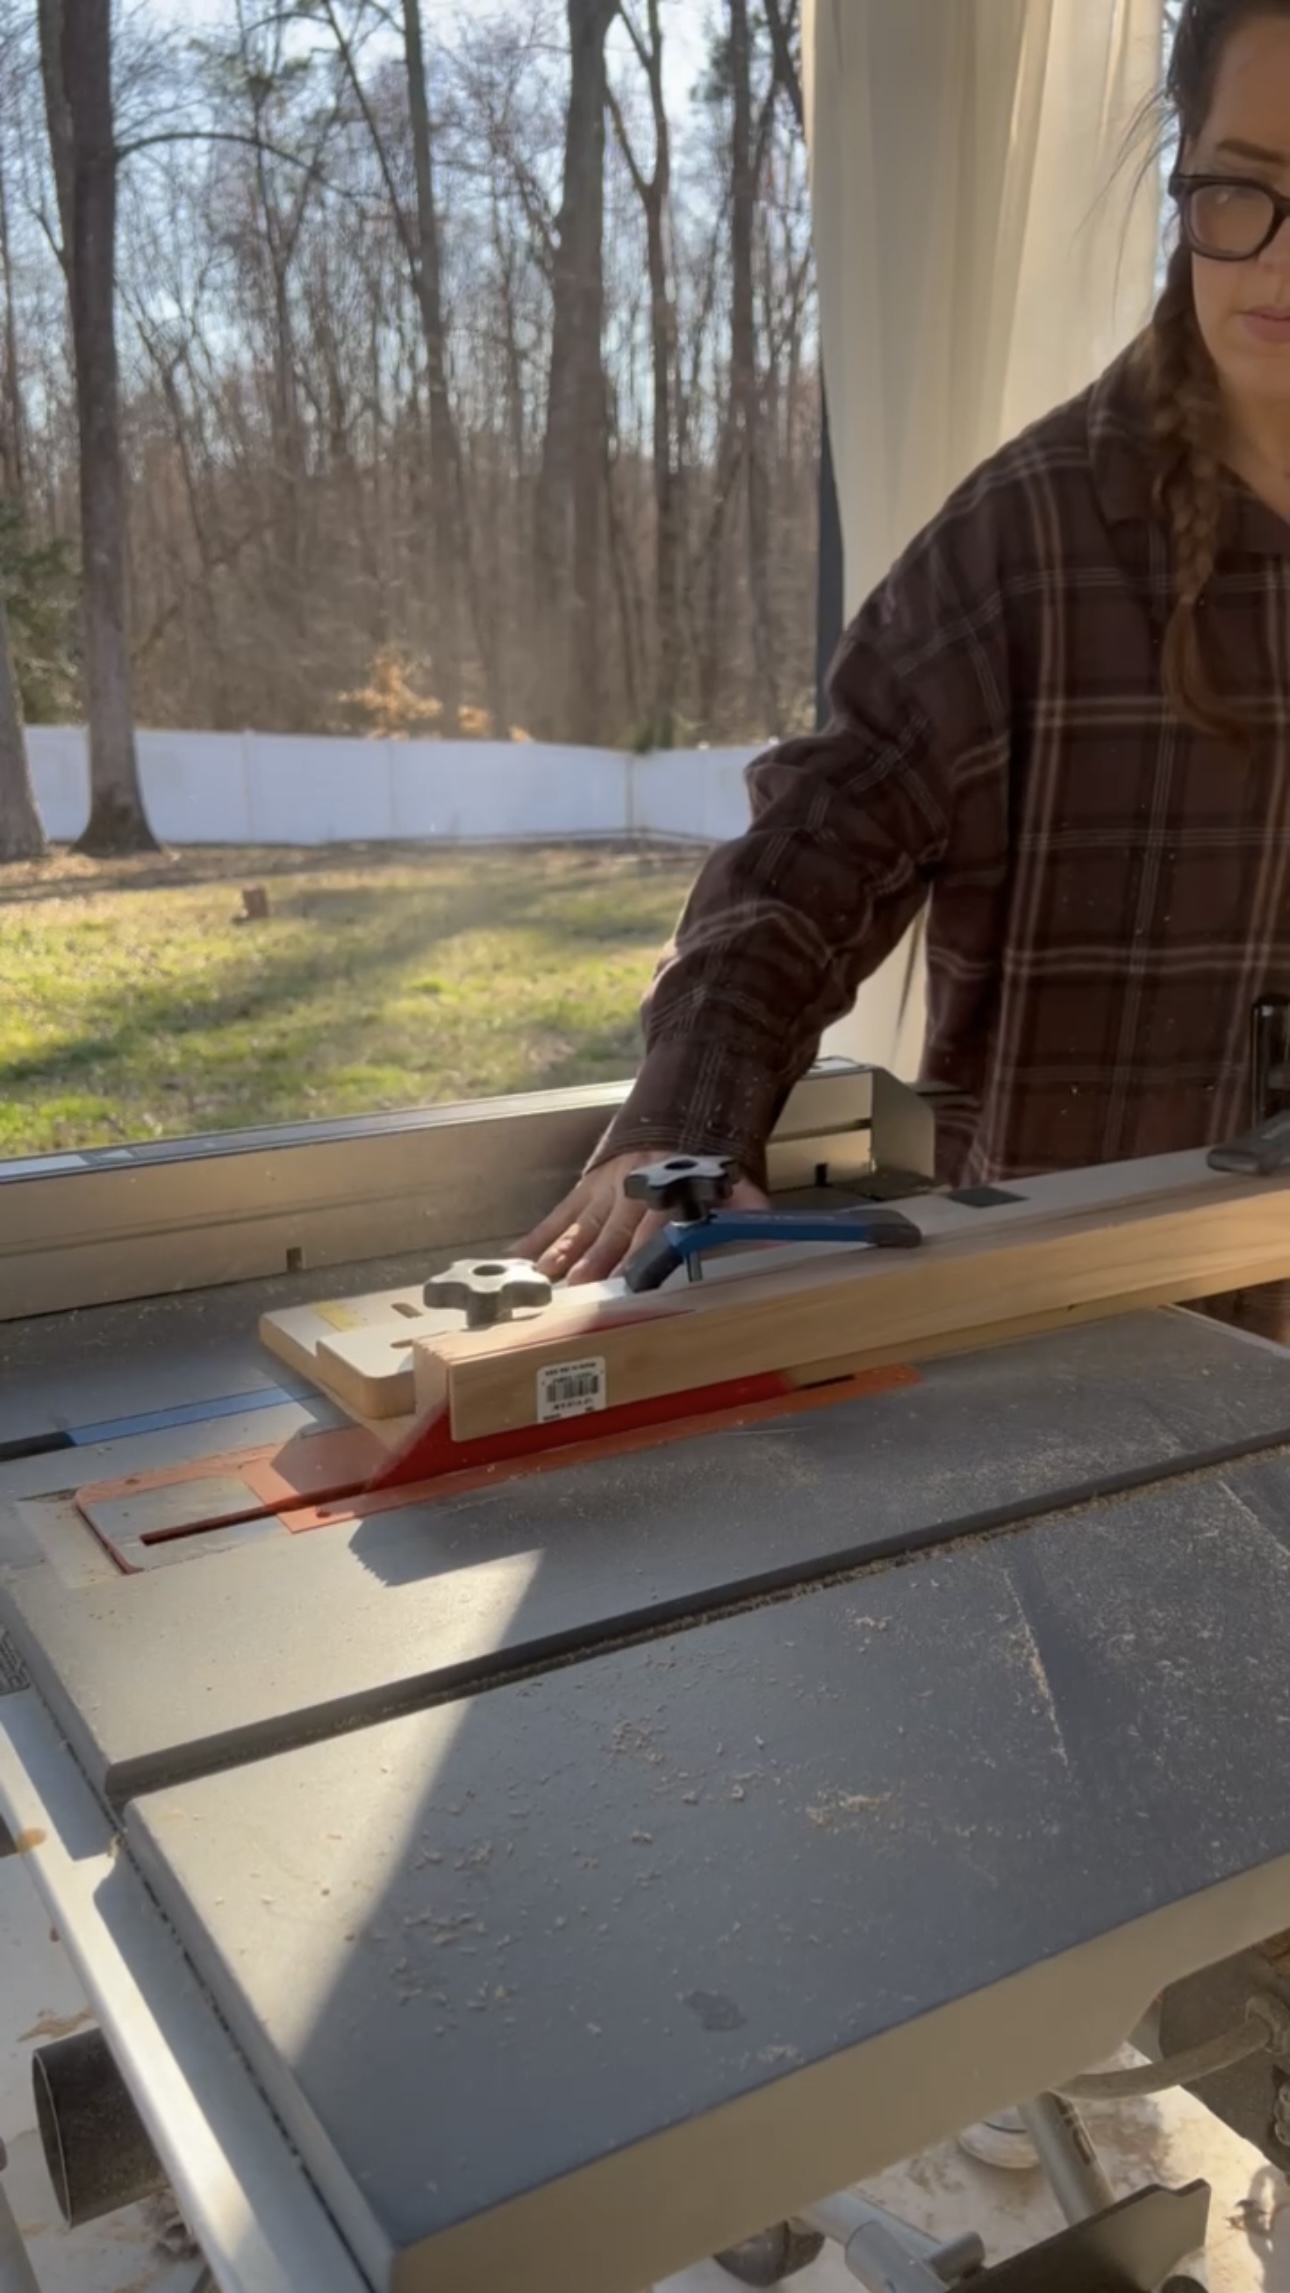
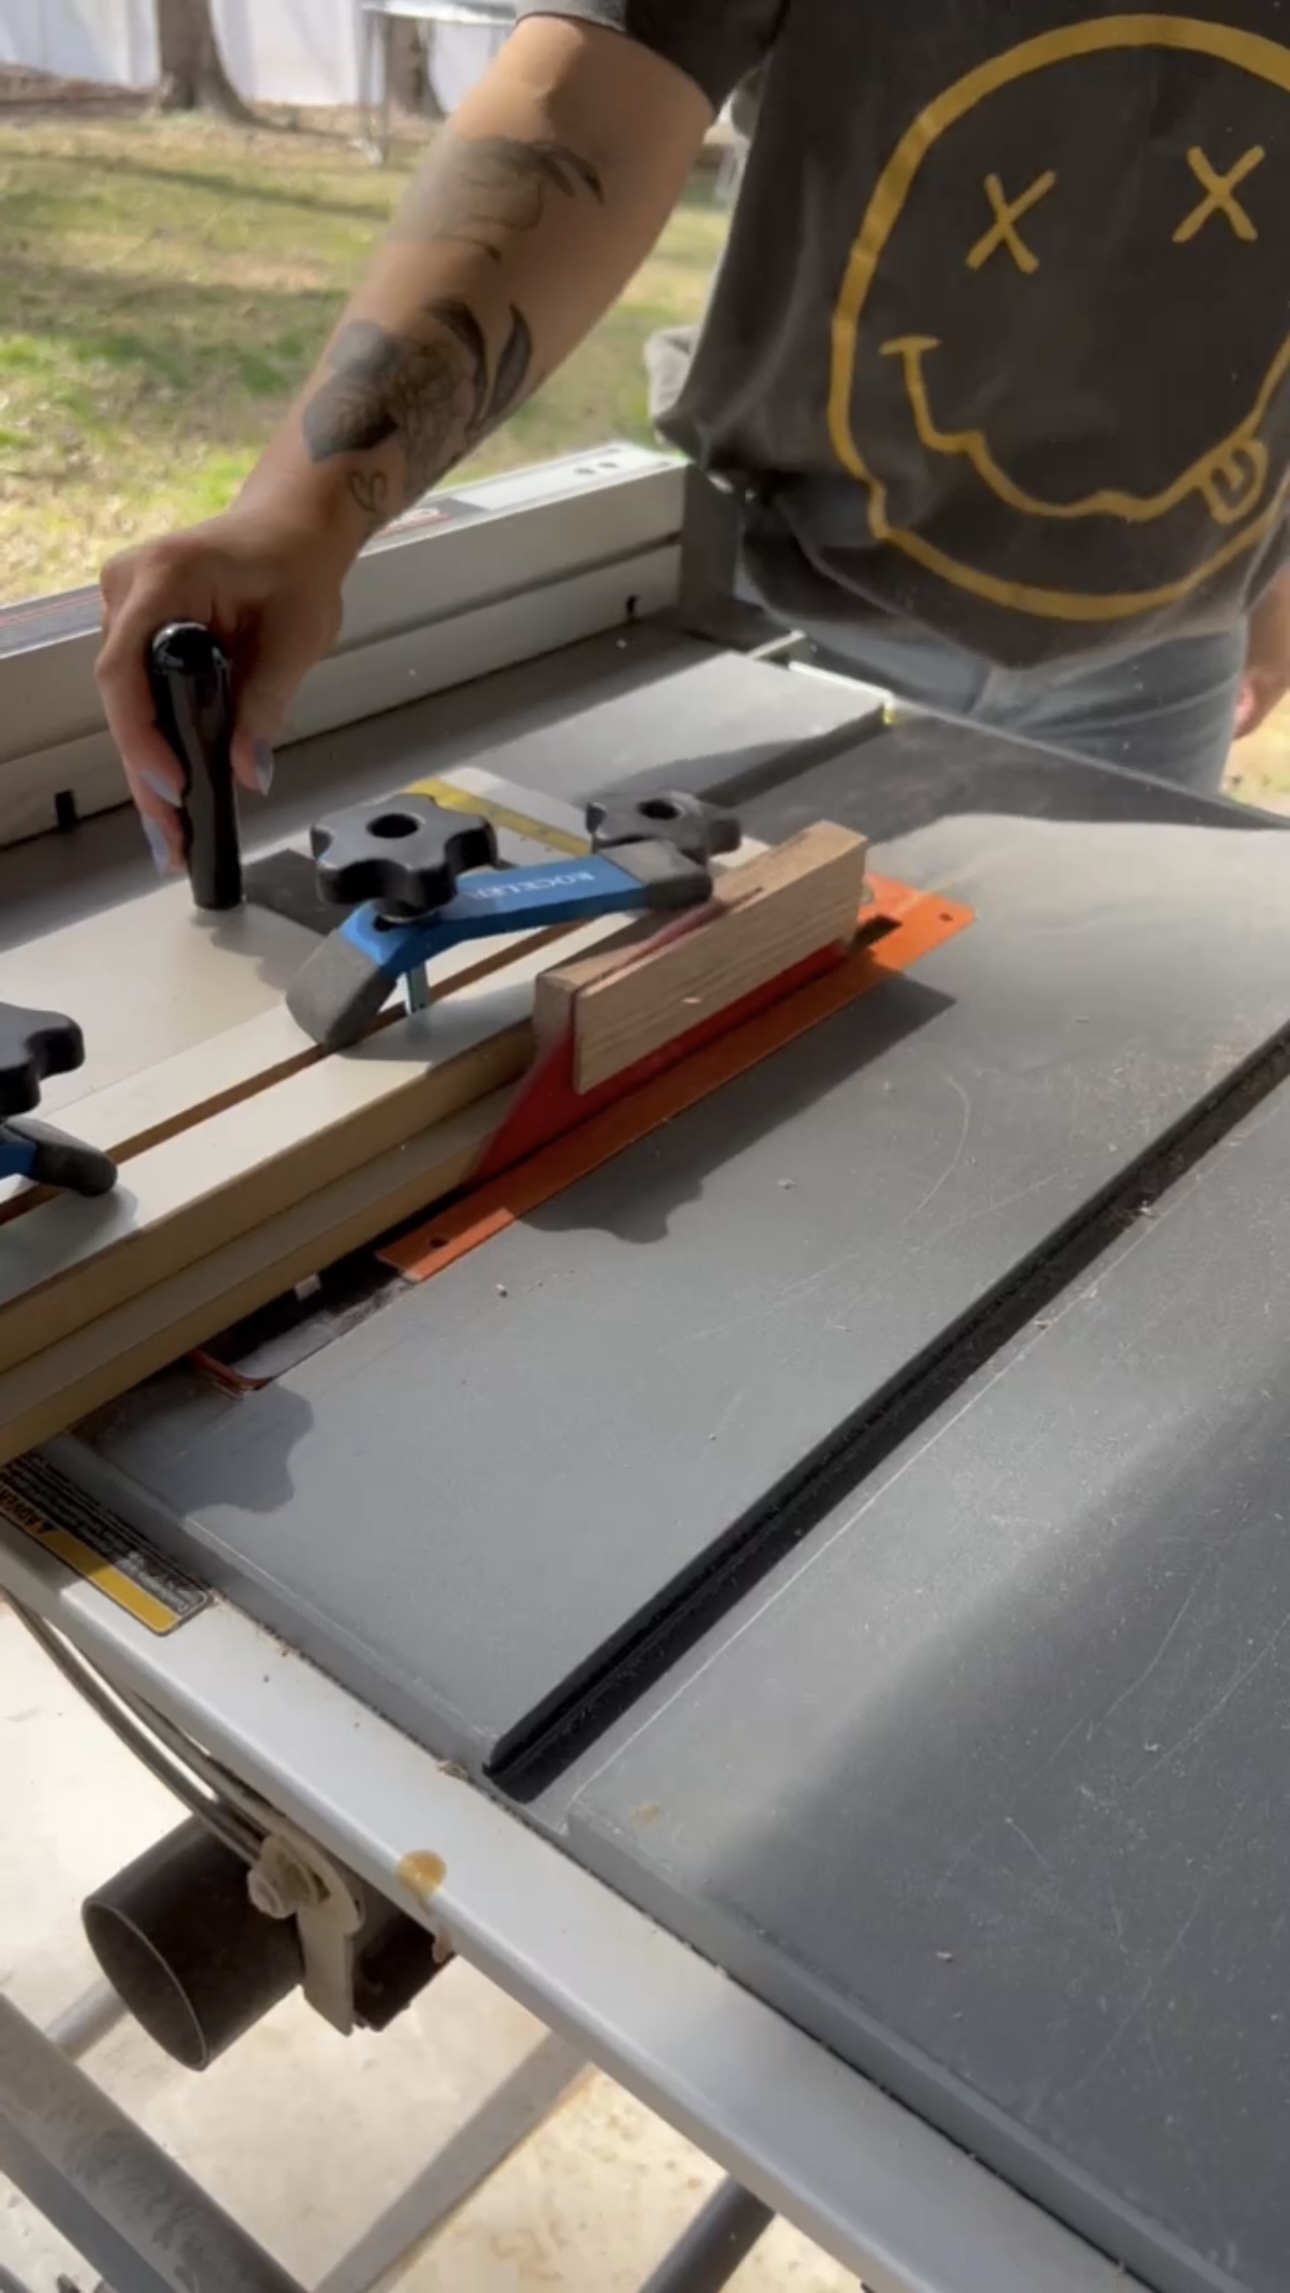
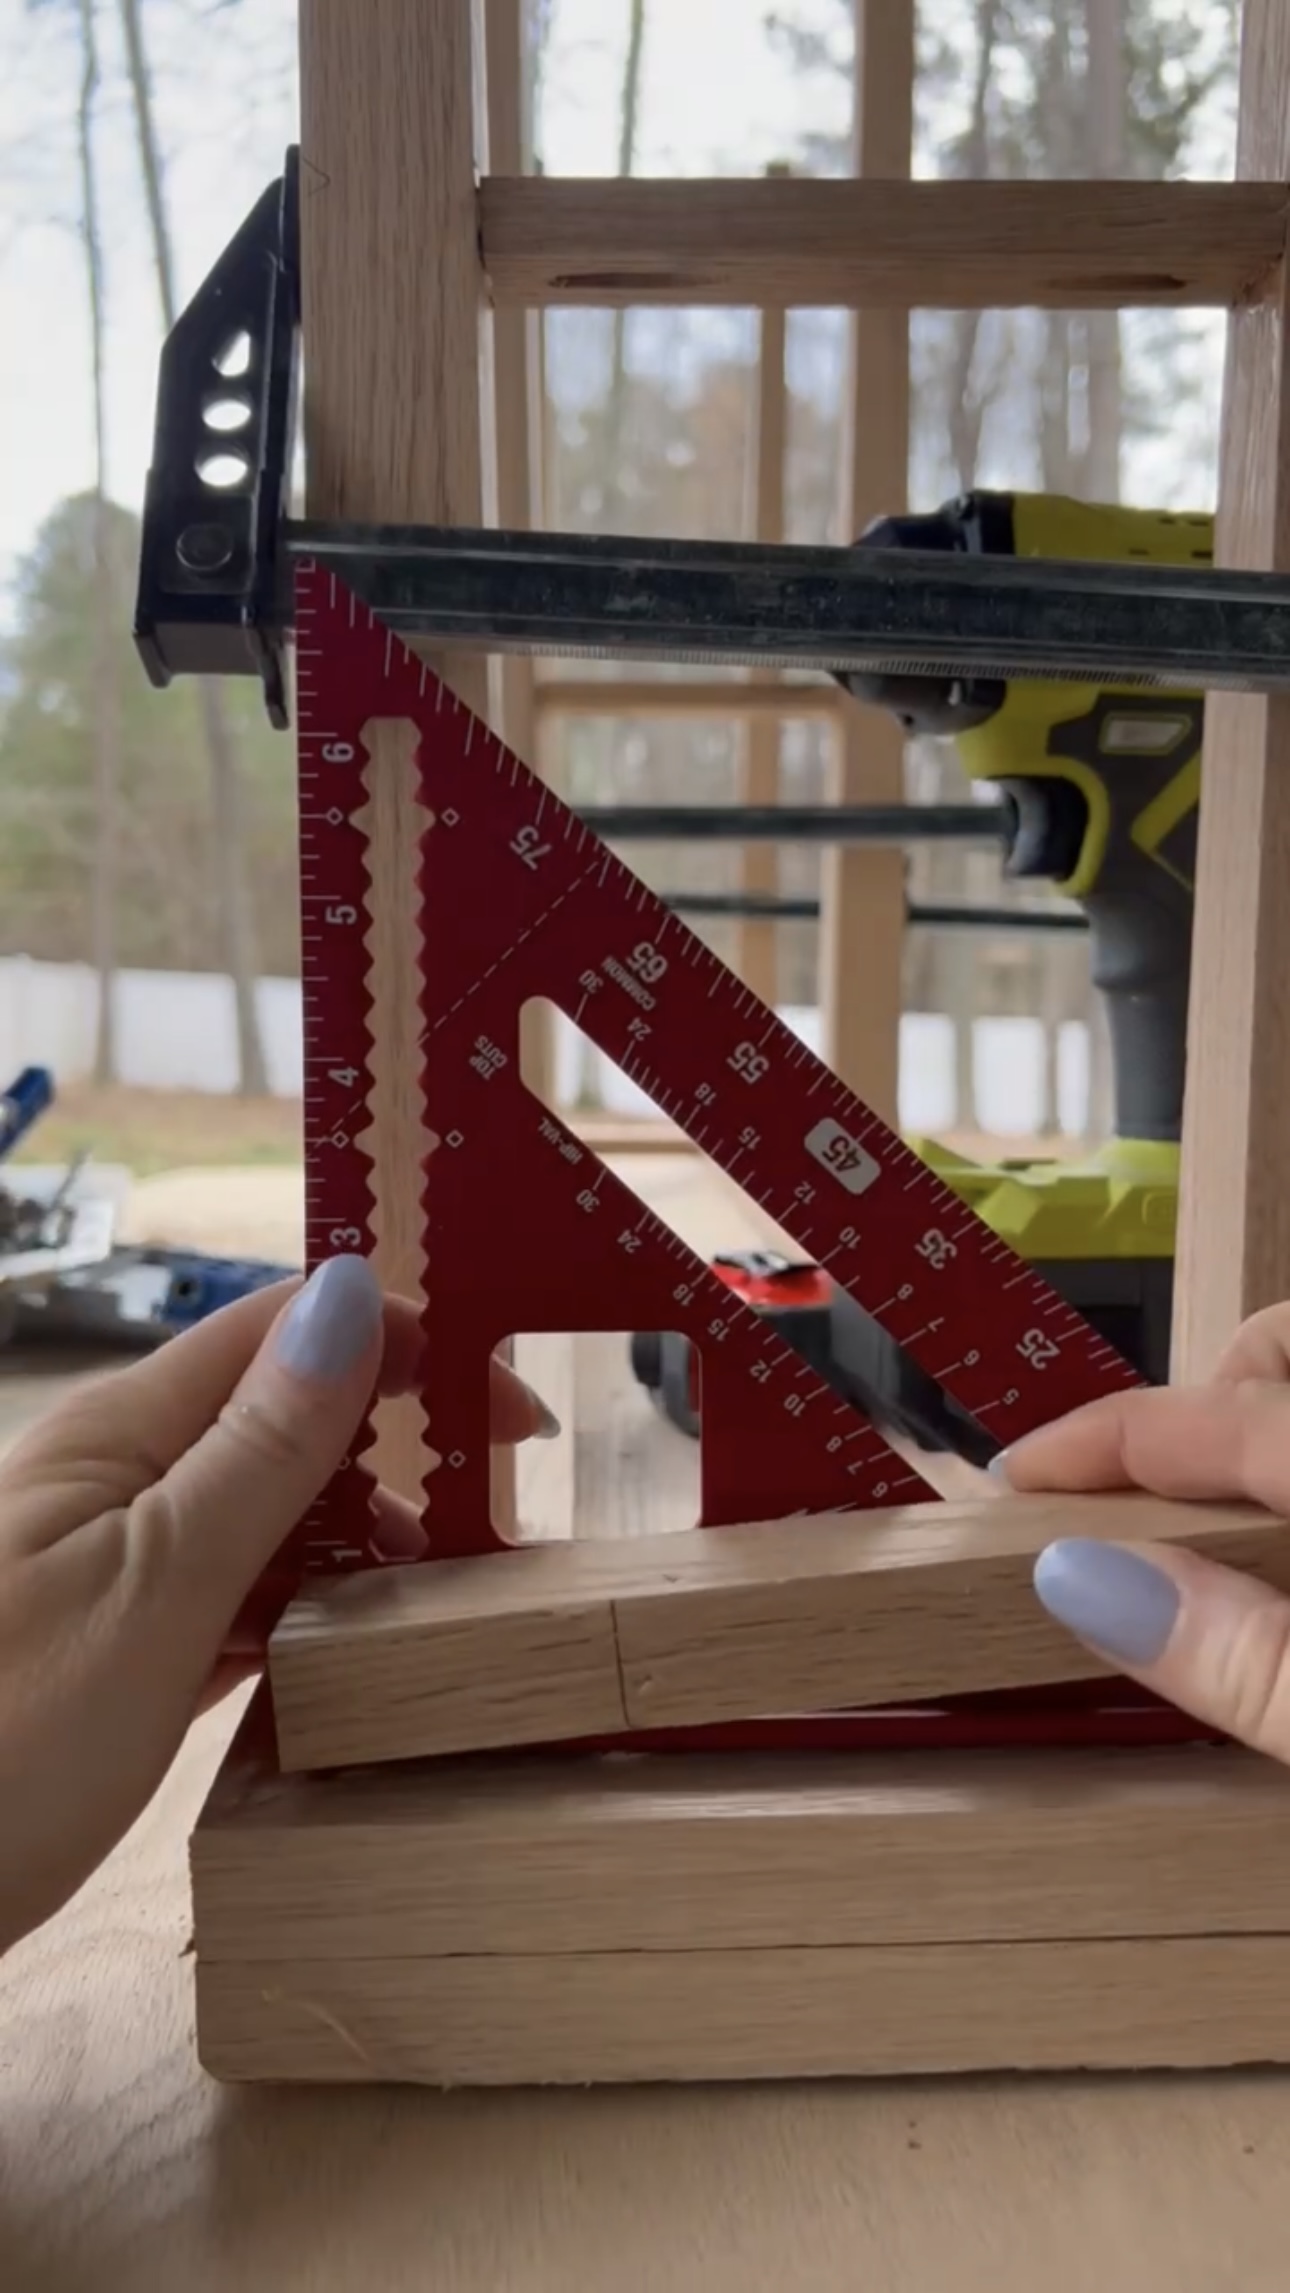
Table Legs
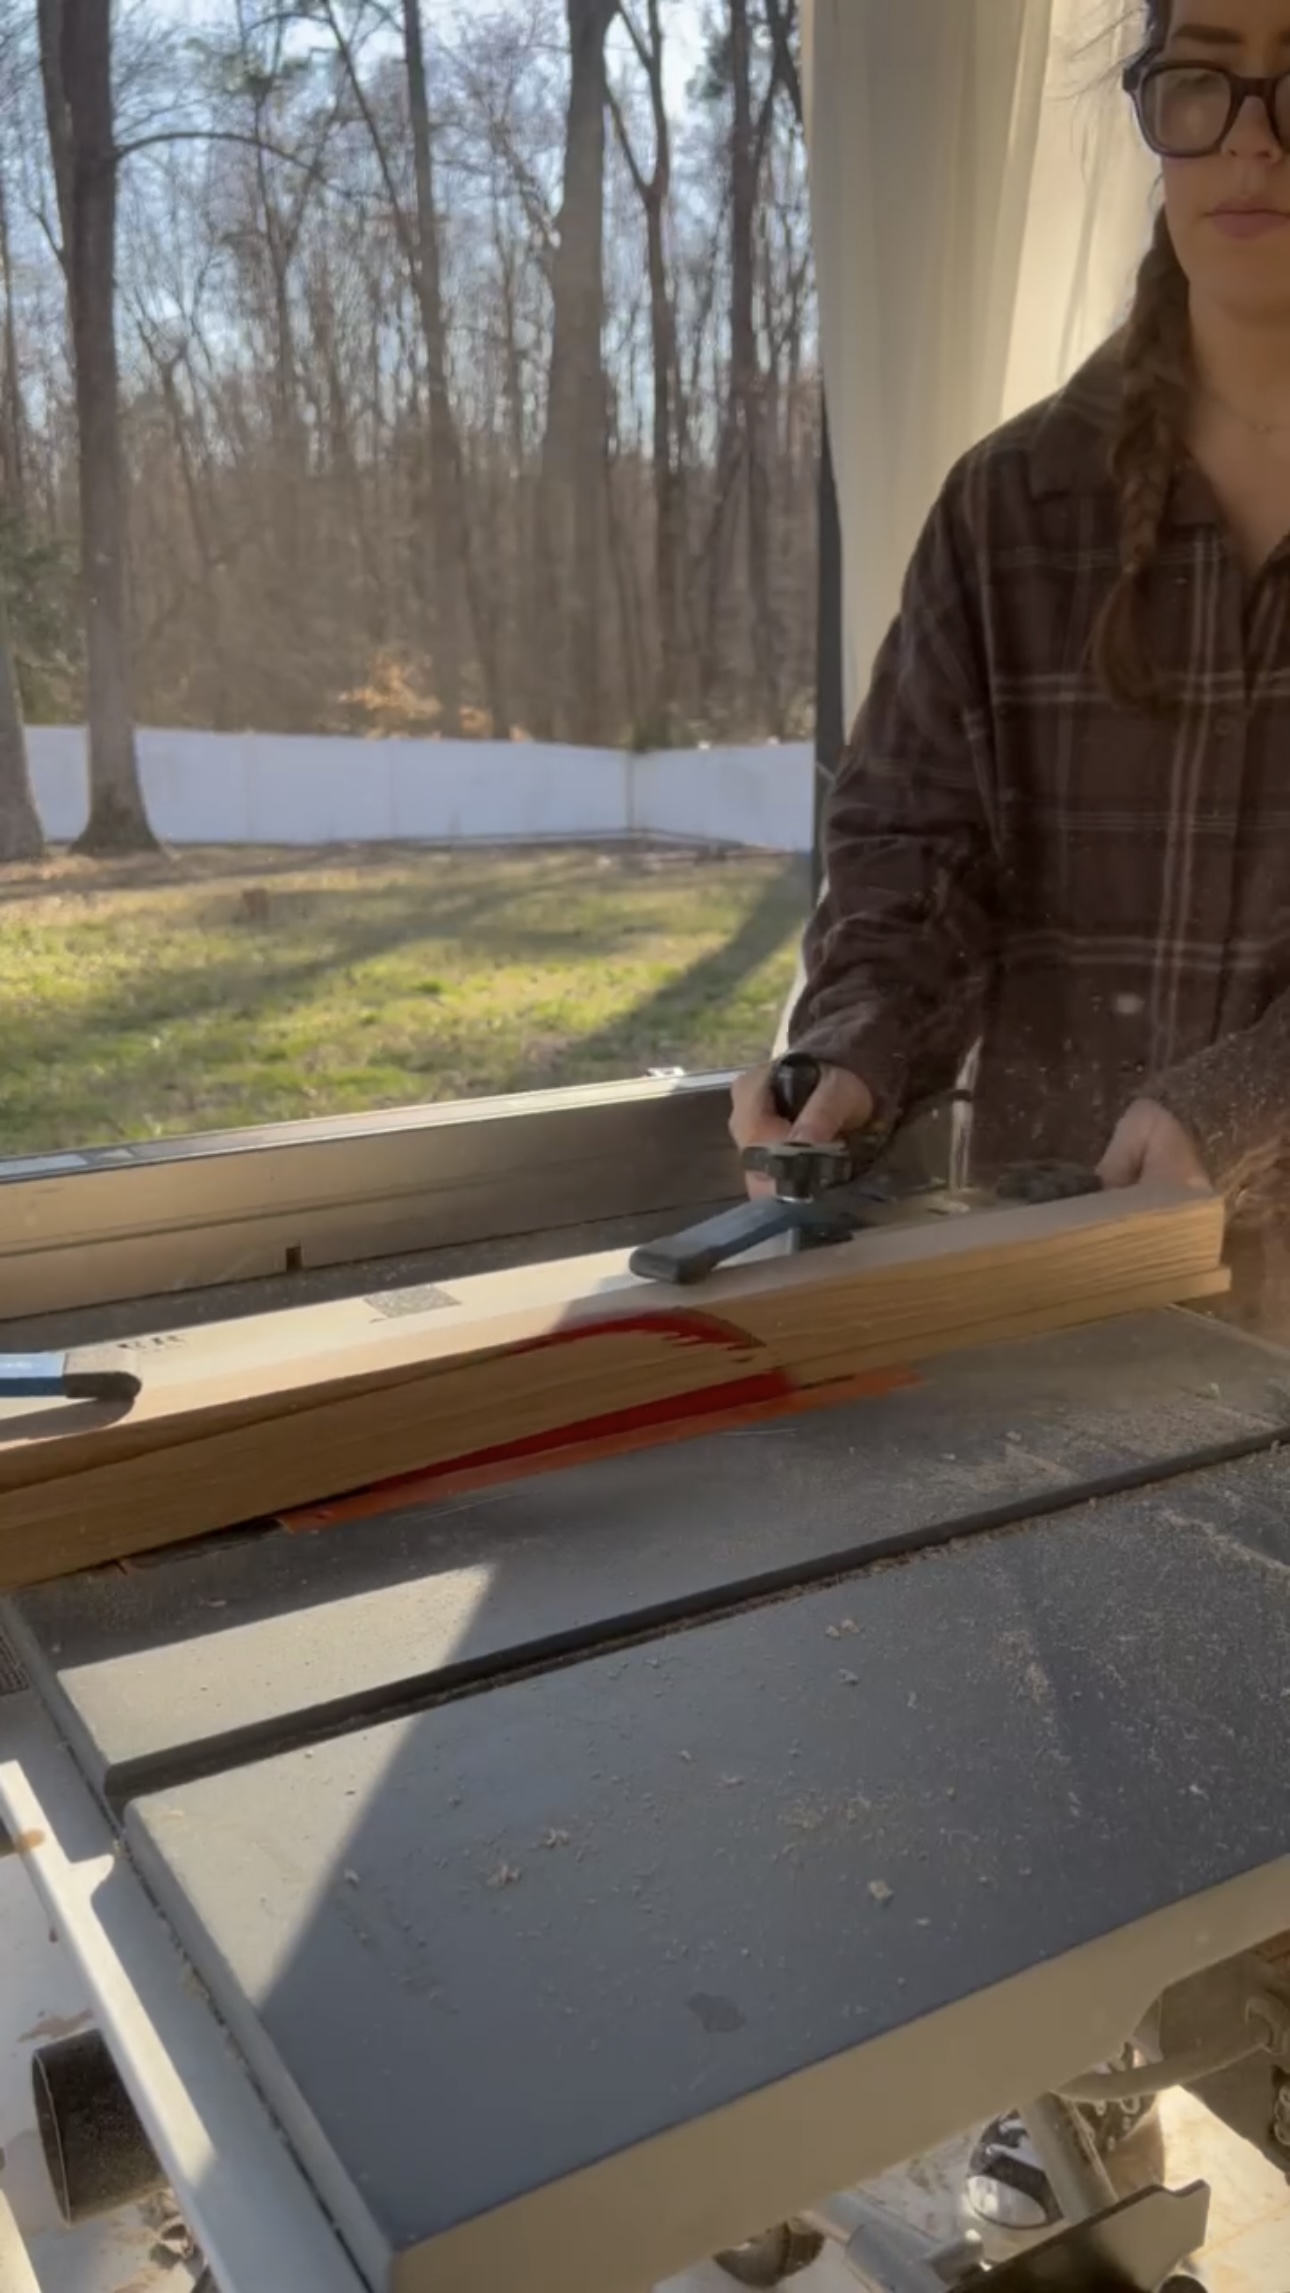
I wanted the legs to be tapered but I am definitely not expert wood worker – so I bought a jig! It’s a straight line taper jig. You put your wood in and just adjust it so it cuts at an angle.
I shaved 1/4 an inch from each side and it worked! I made a tapered leg!!!! After finishing this first one, I still needed 5 more. So back to the table saw I went!
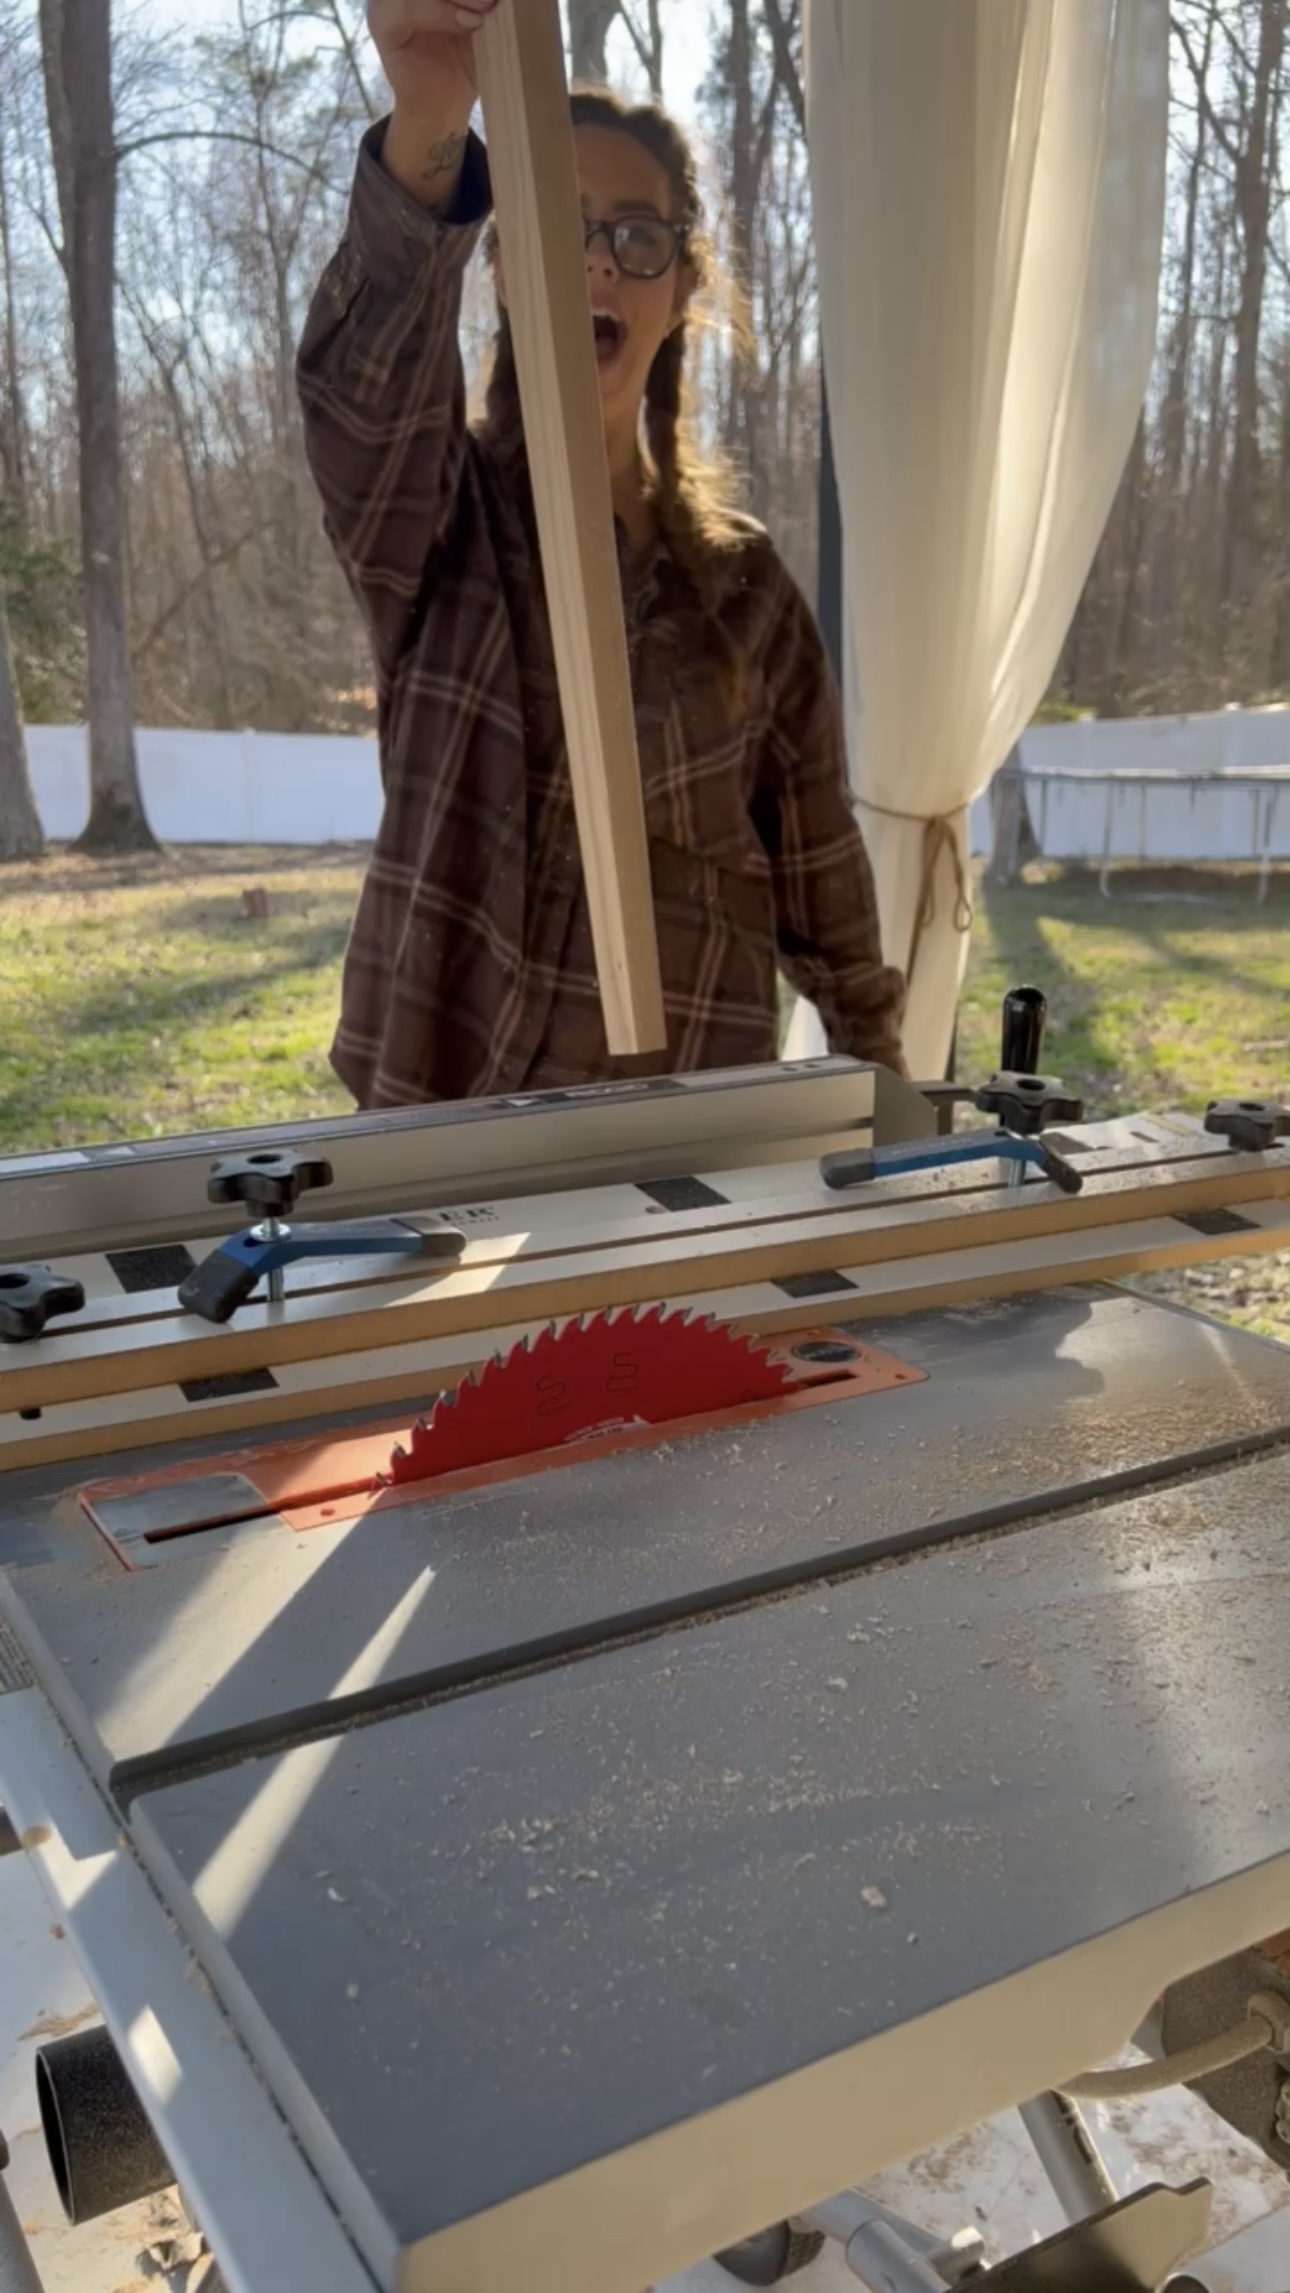
Again, the difference is subtle, but the details matter! Next, I predrilled some holes for the legs.
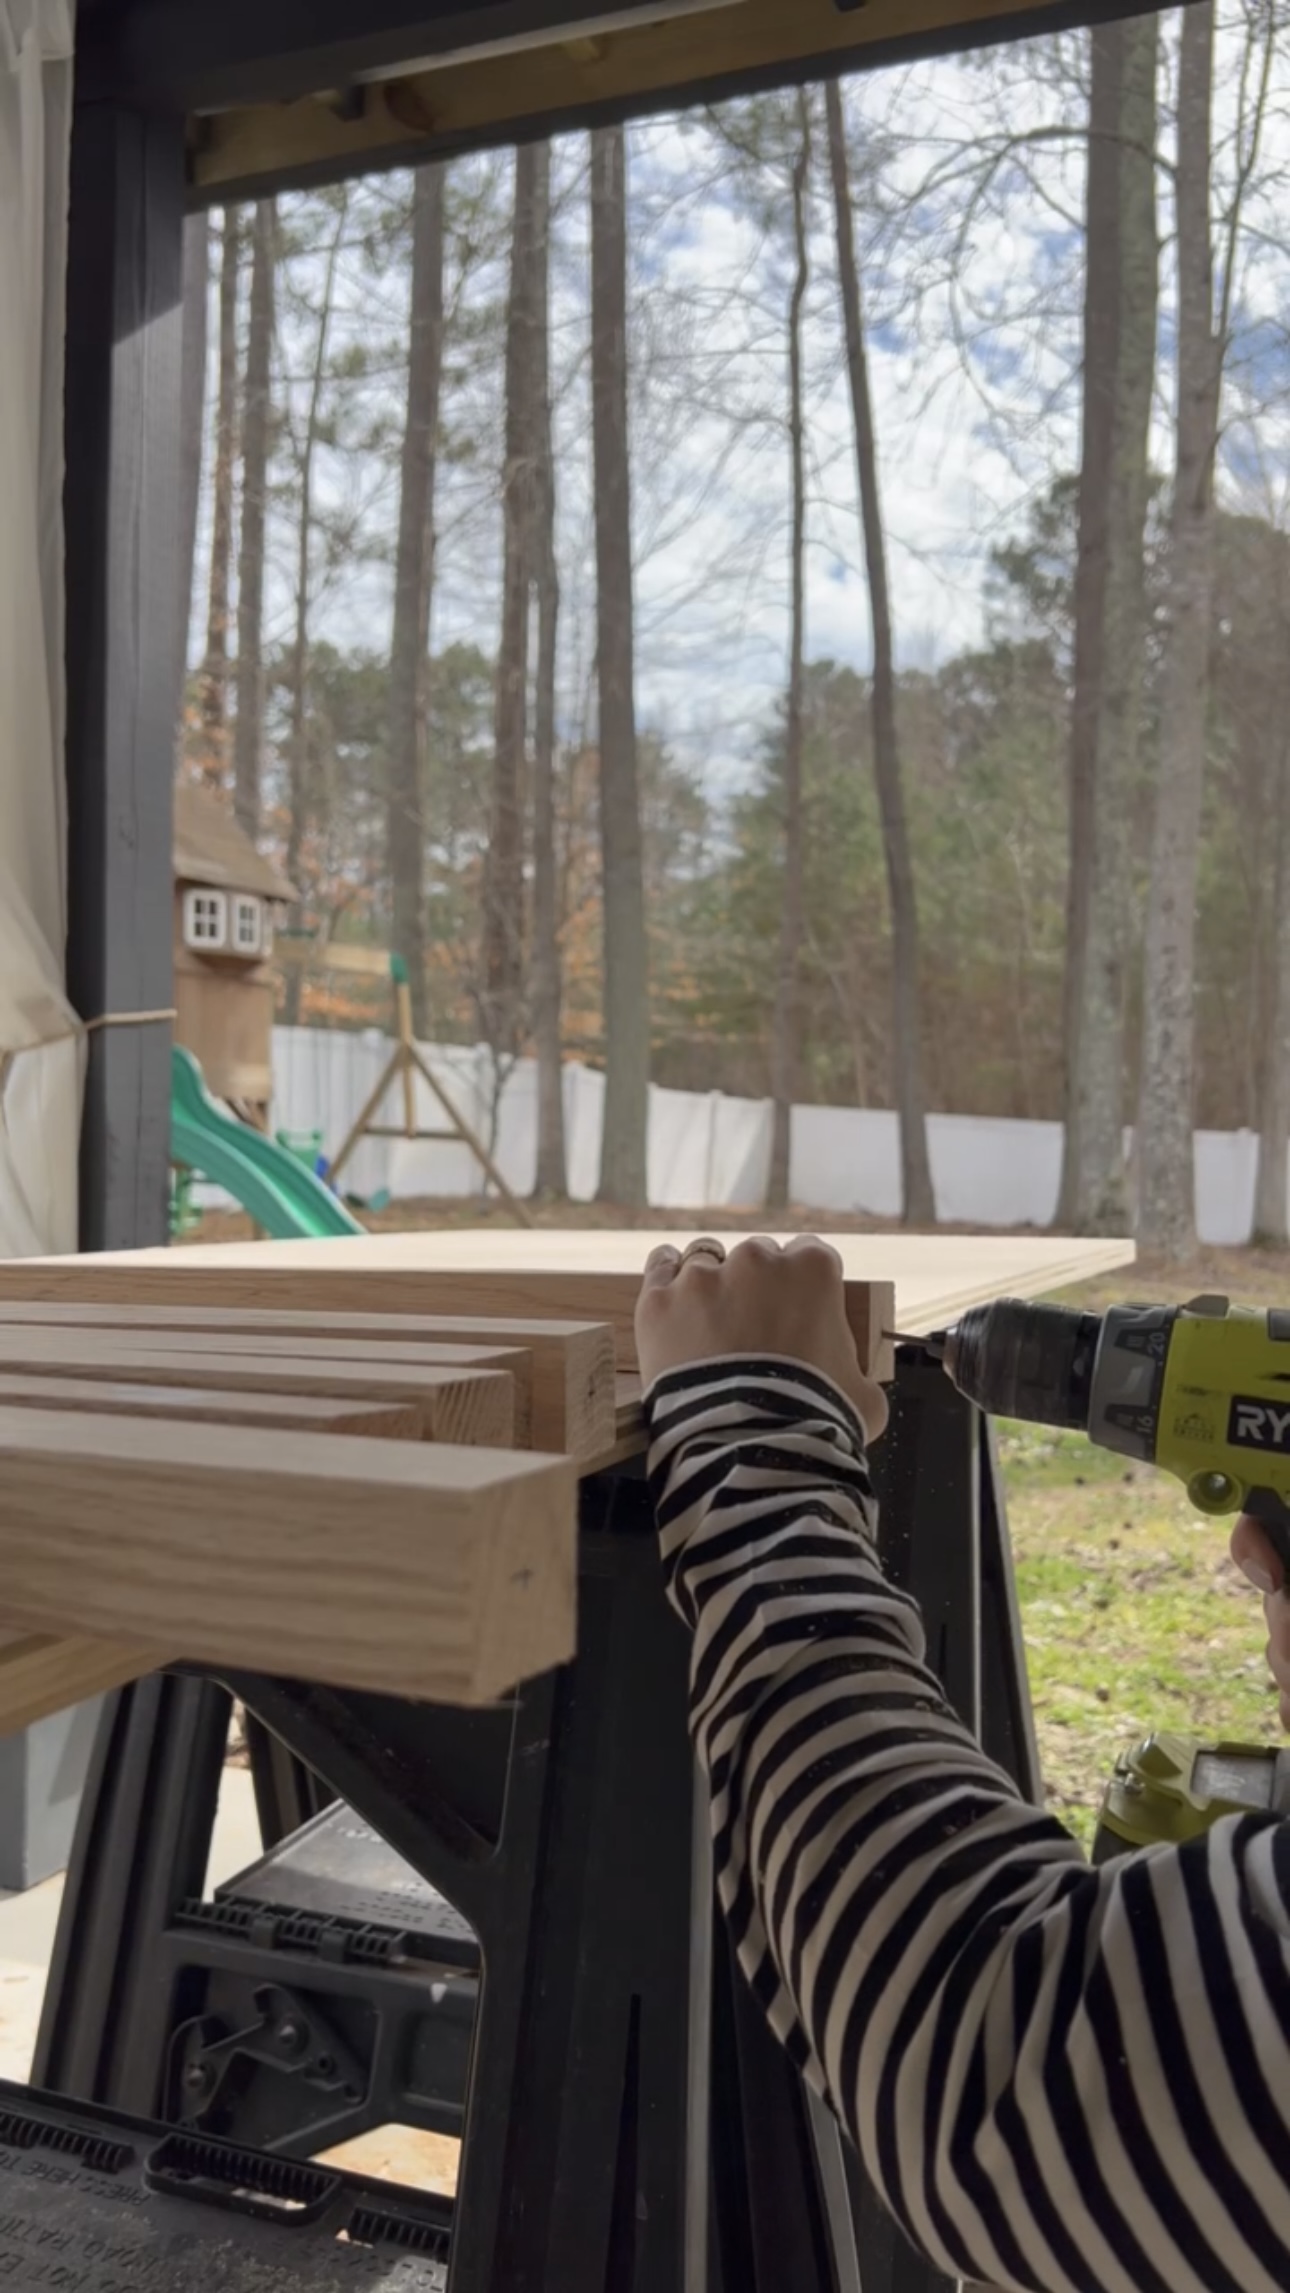
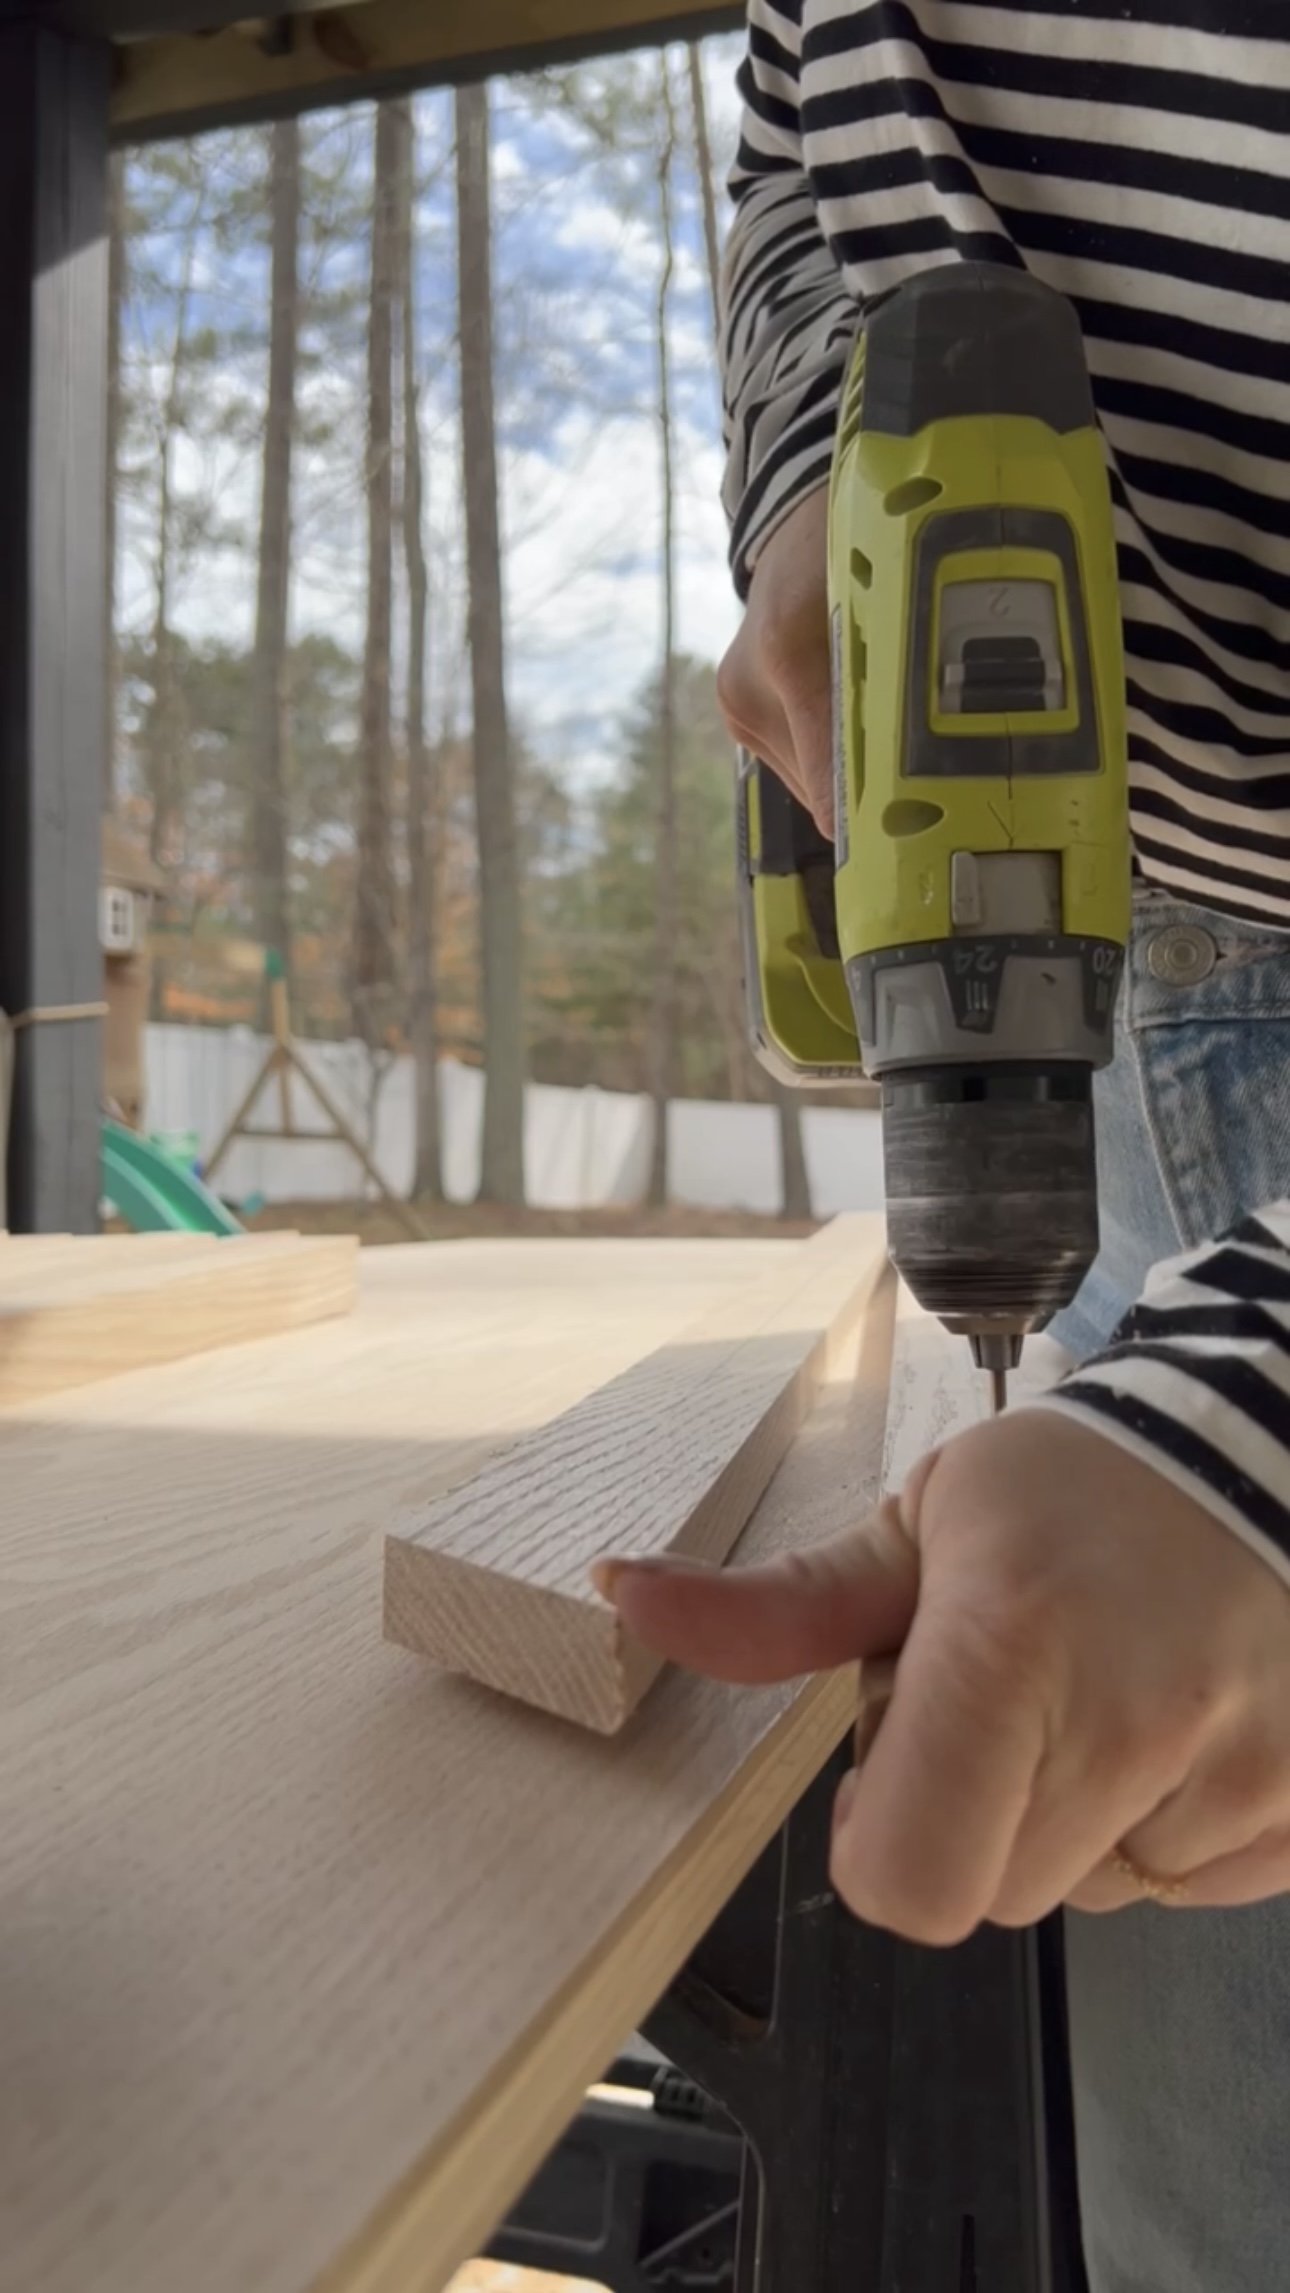
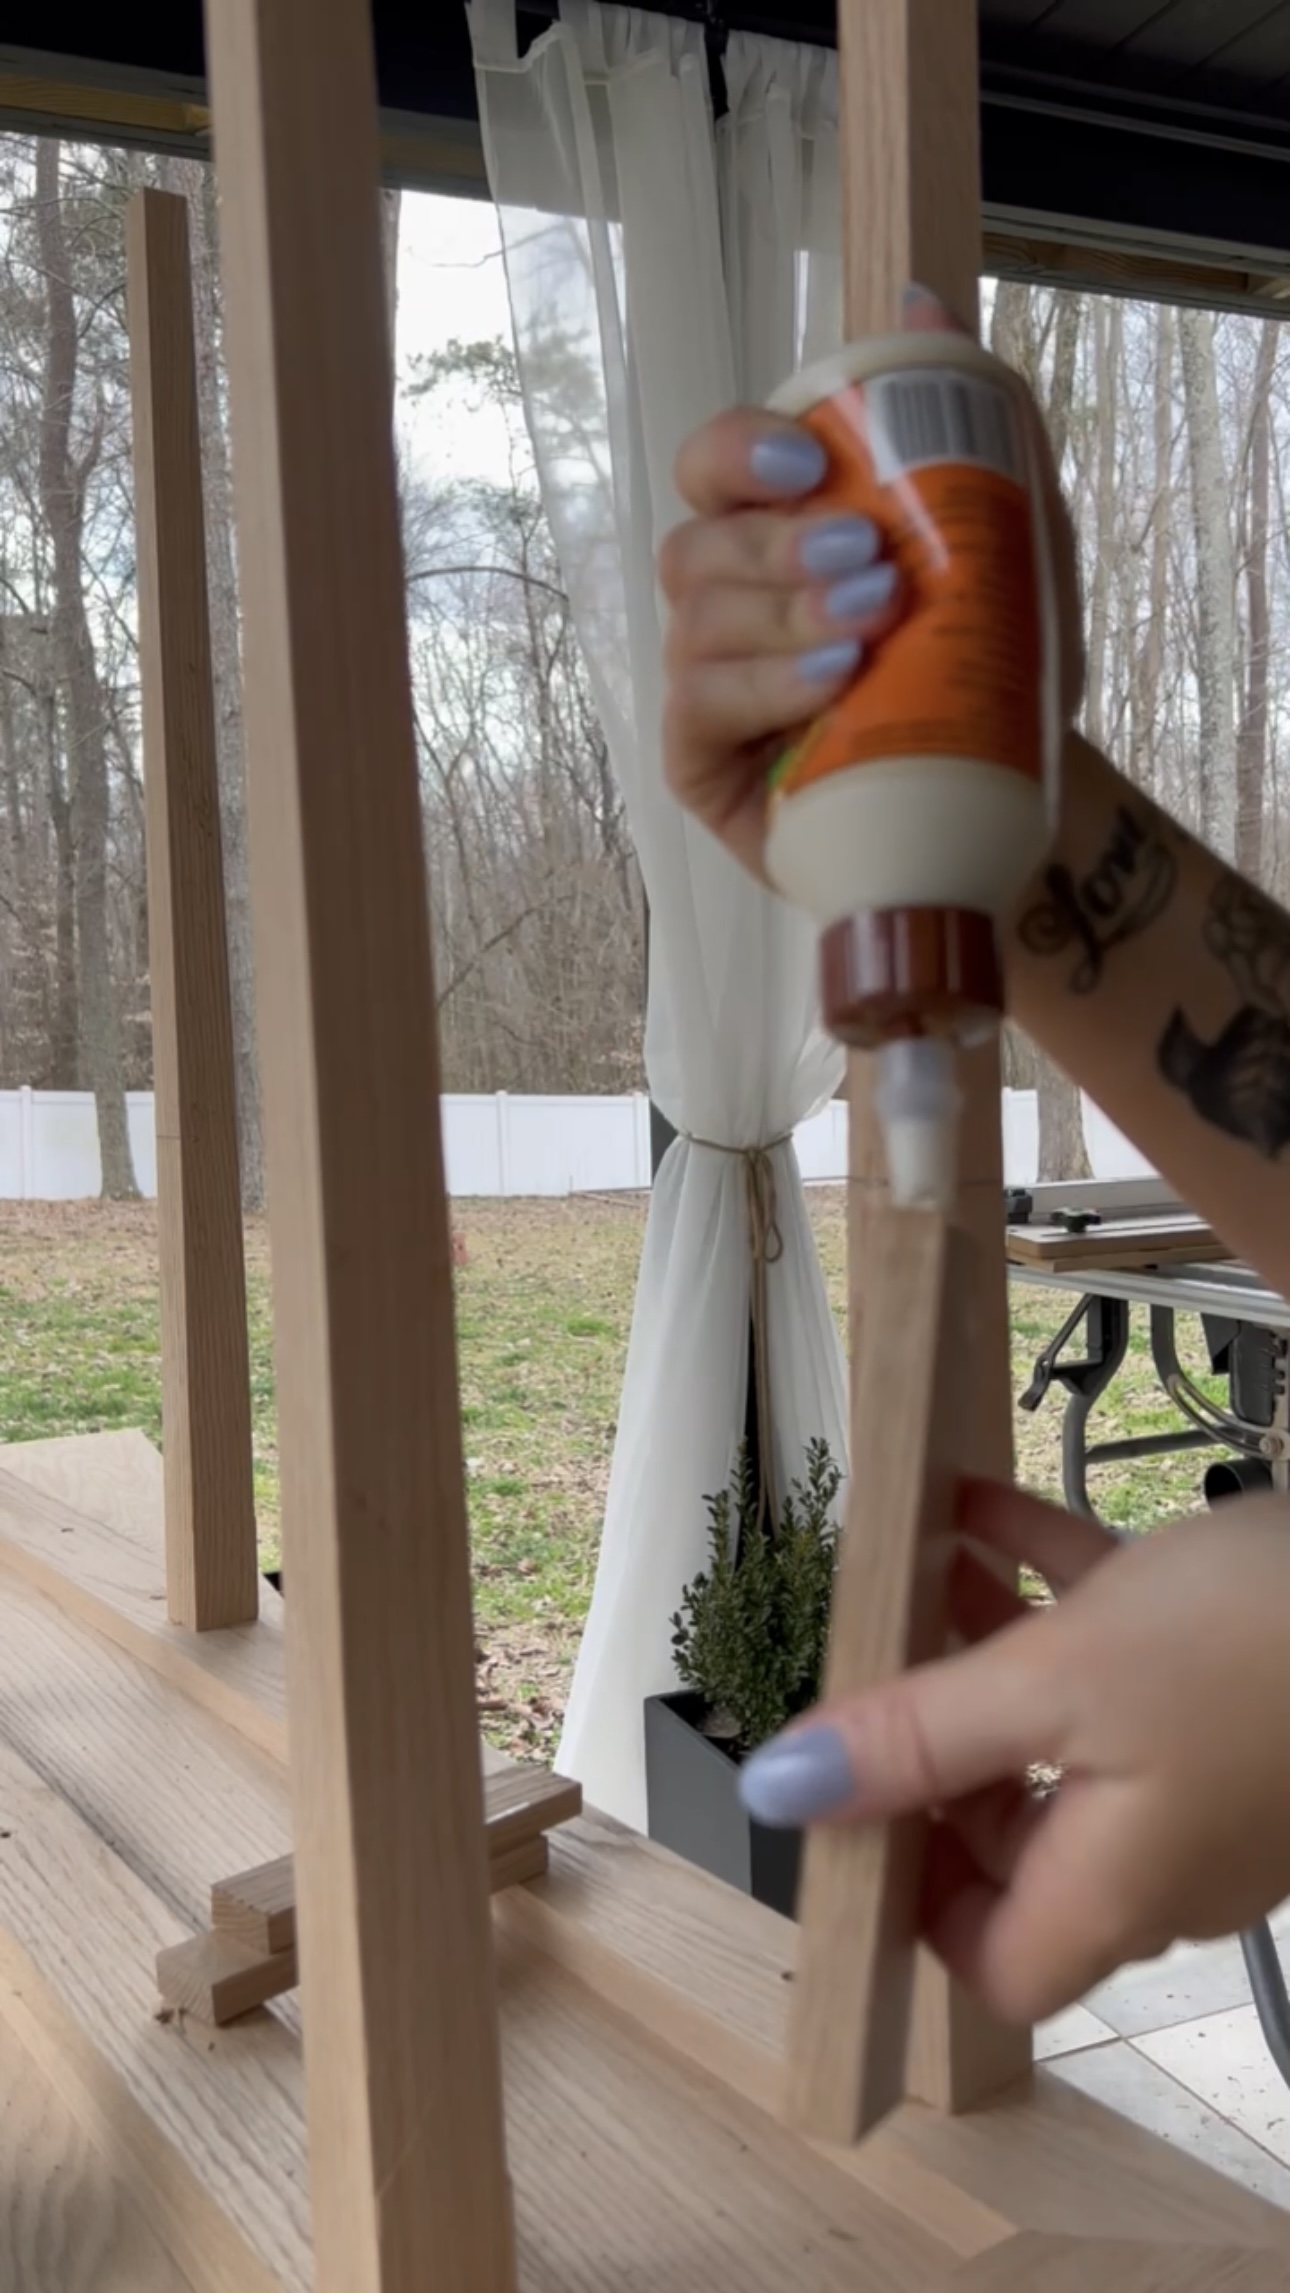
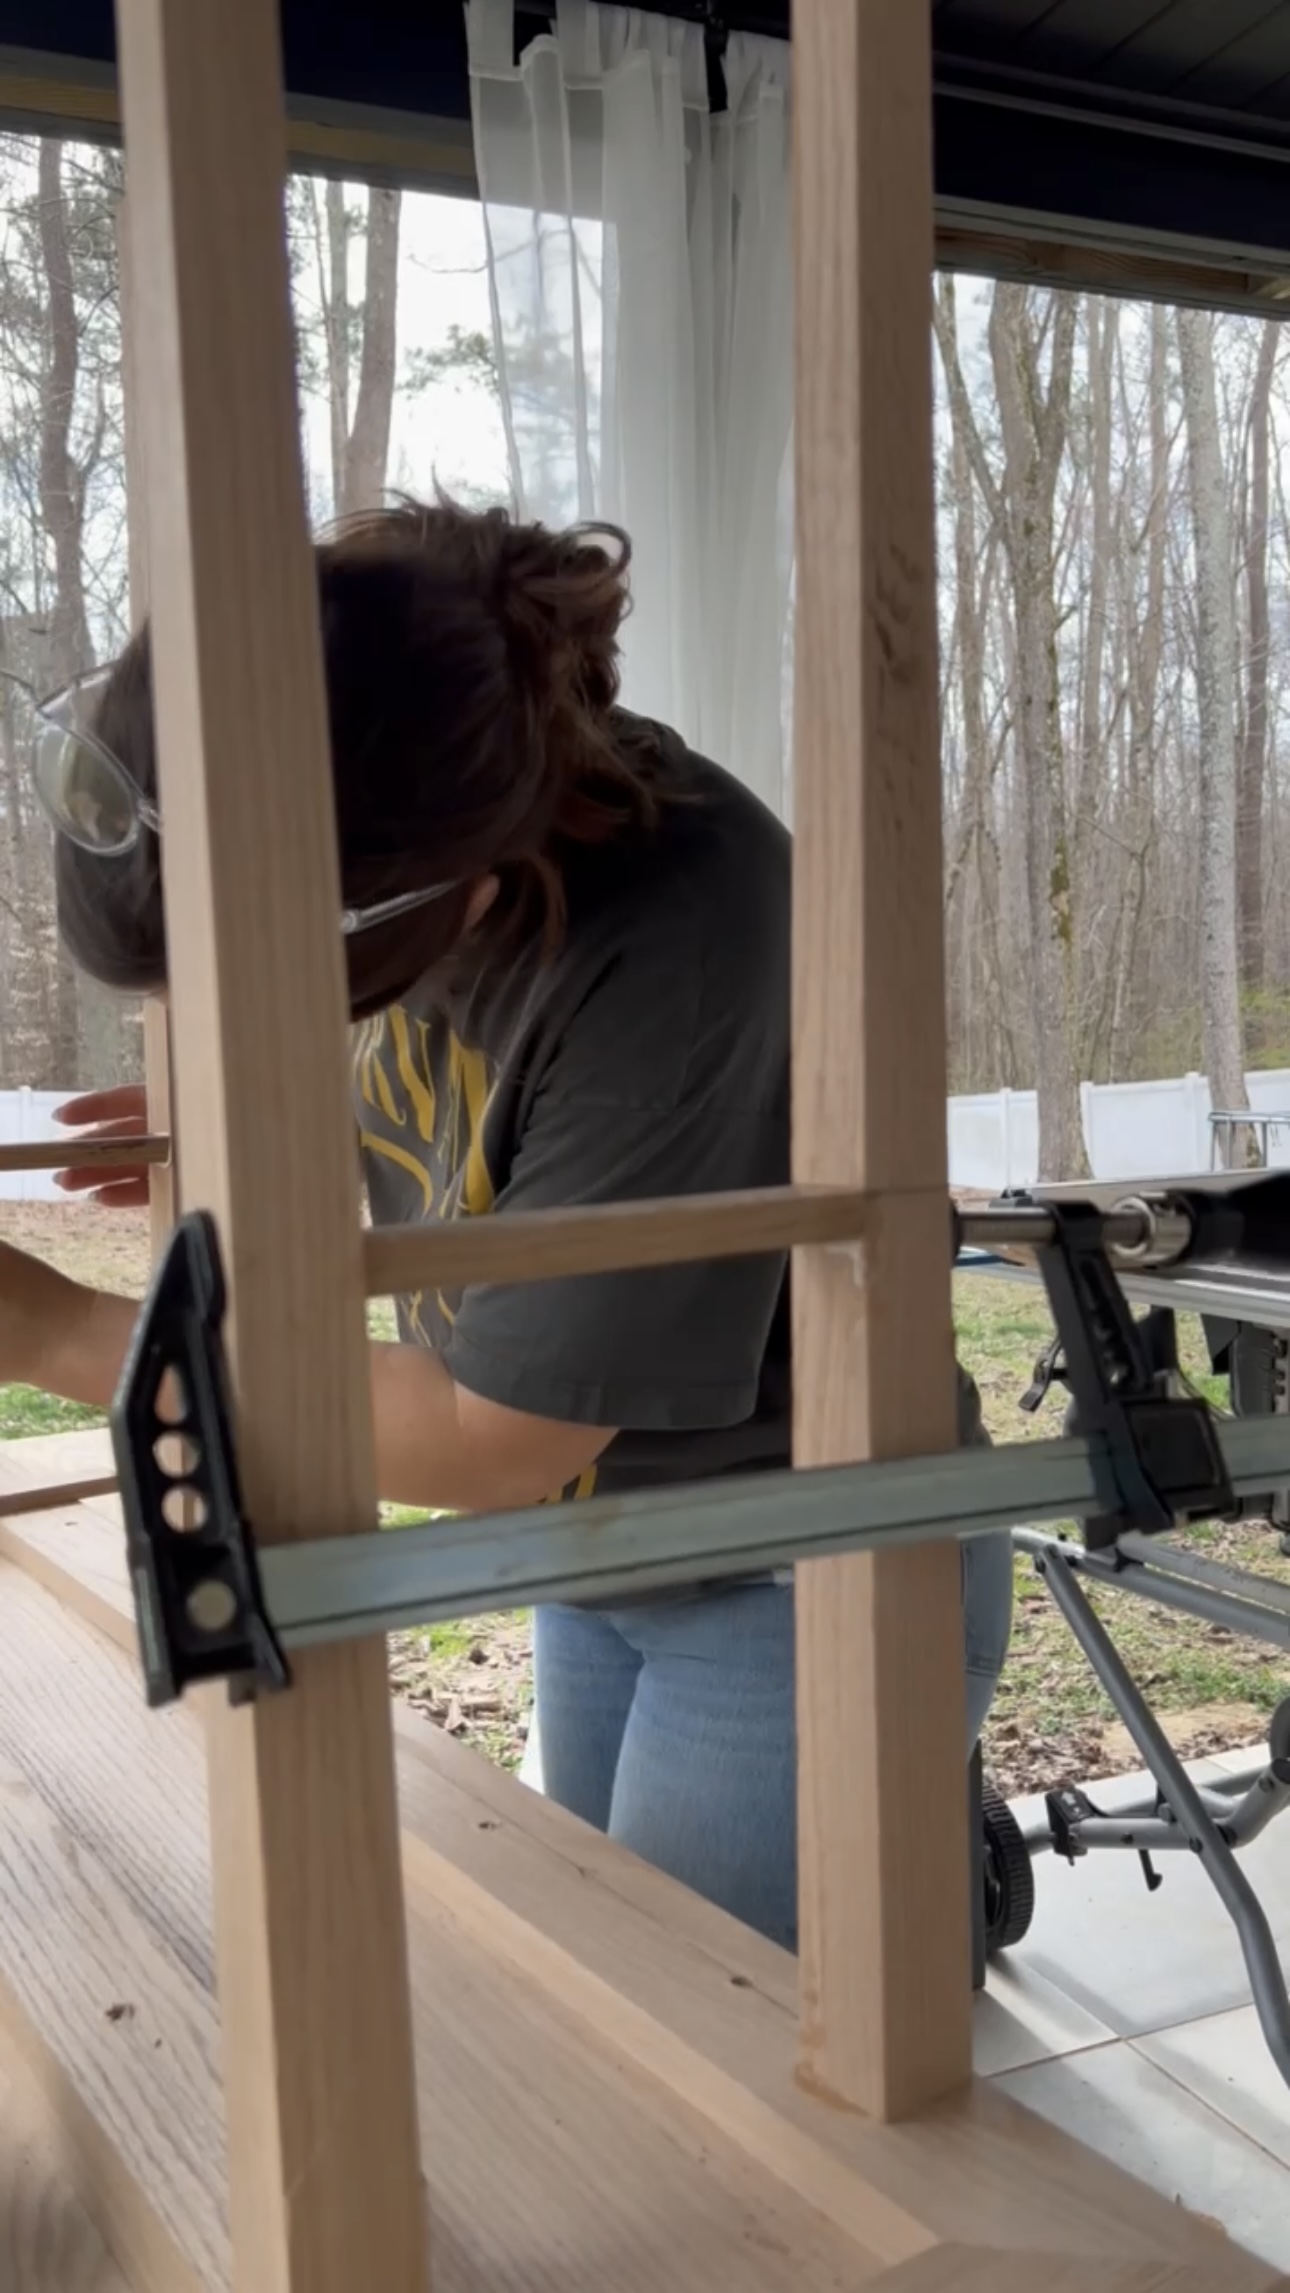
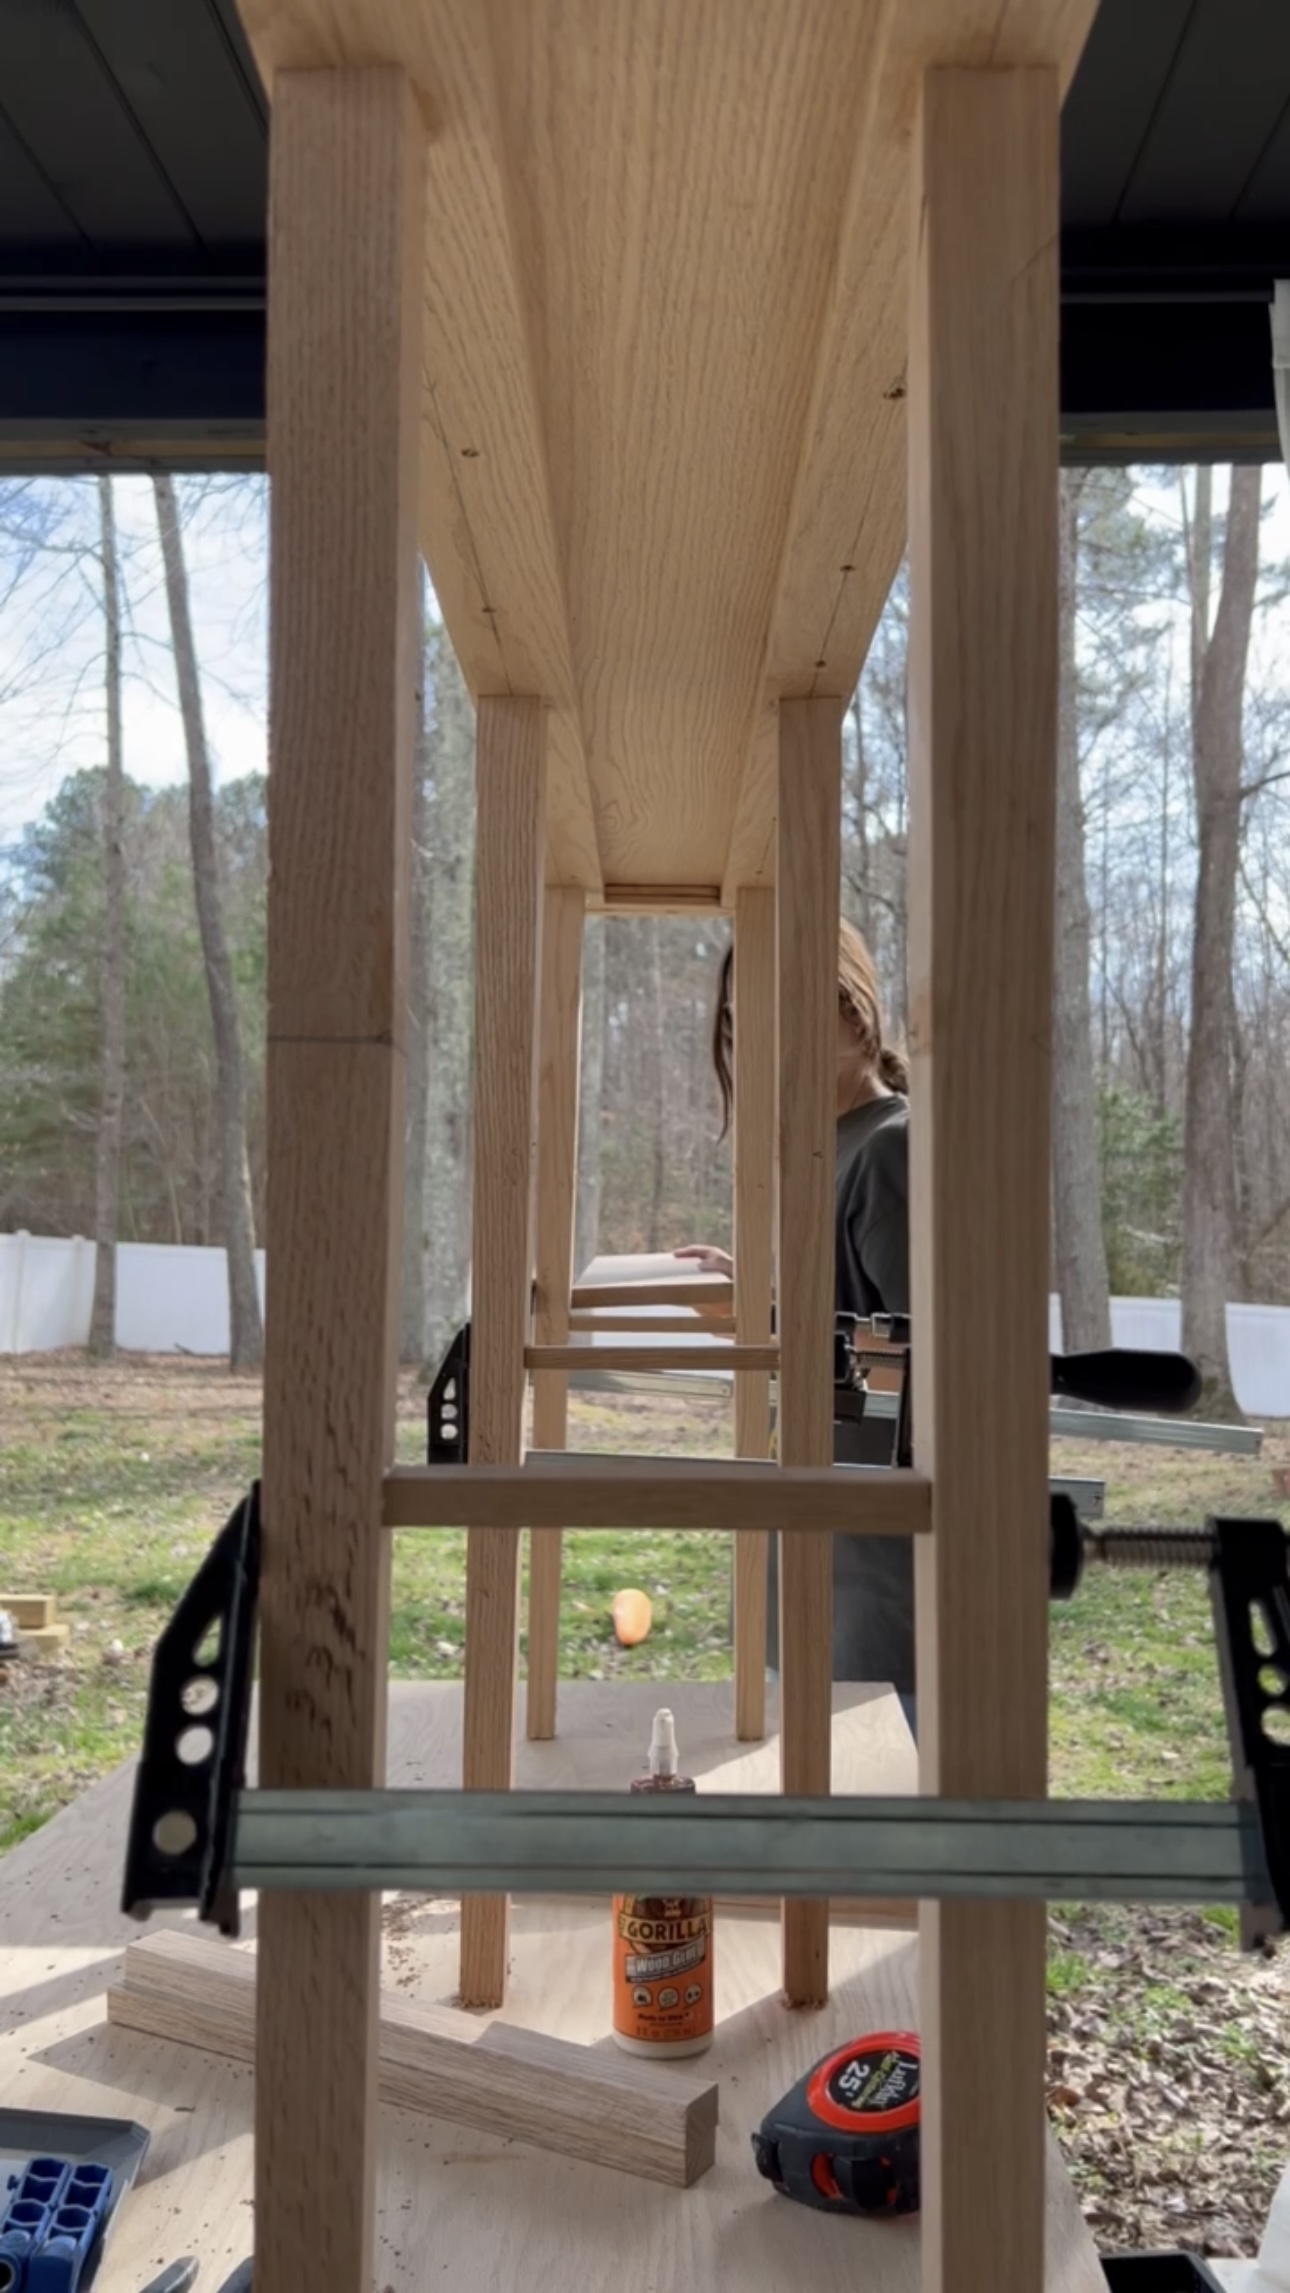
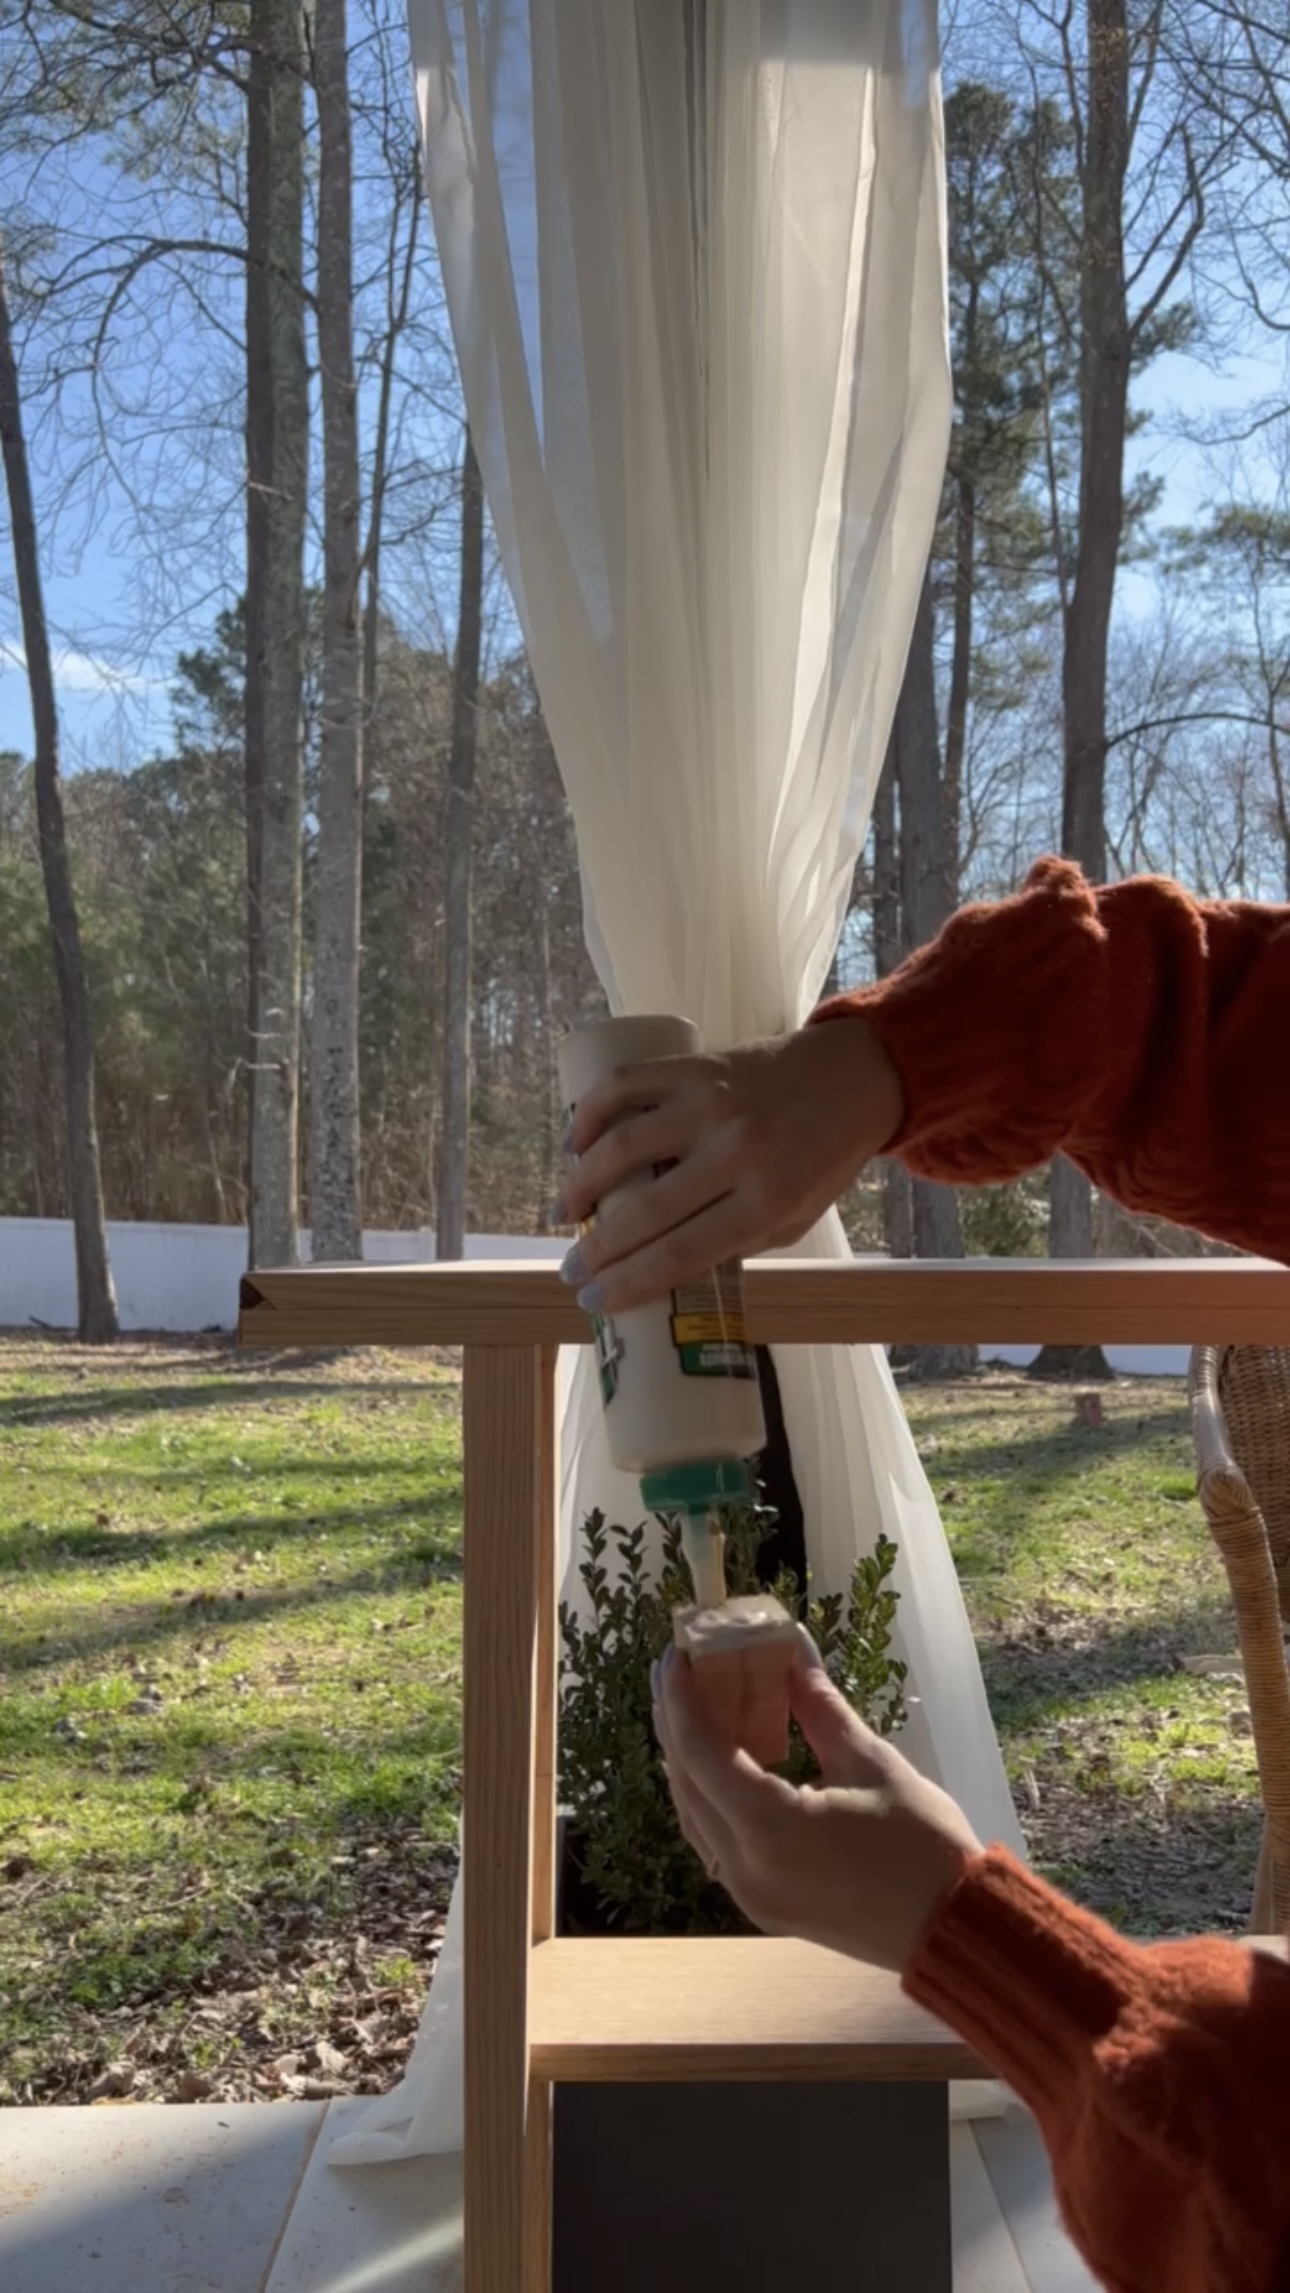
Assembly
Time to make this thing look like a real table! Word to the wise – always get the good screws. I had quite a few break on me before I went to grab good screws. I used wood glue and clamps to put the pieces together. Then I put in some screws to reinforce it!


Look! It STANDS!
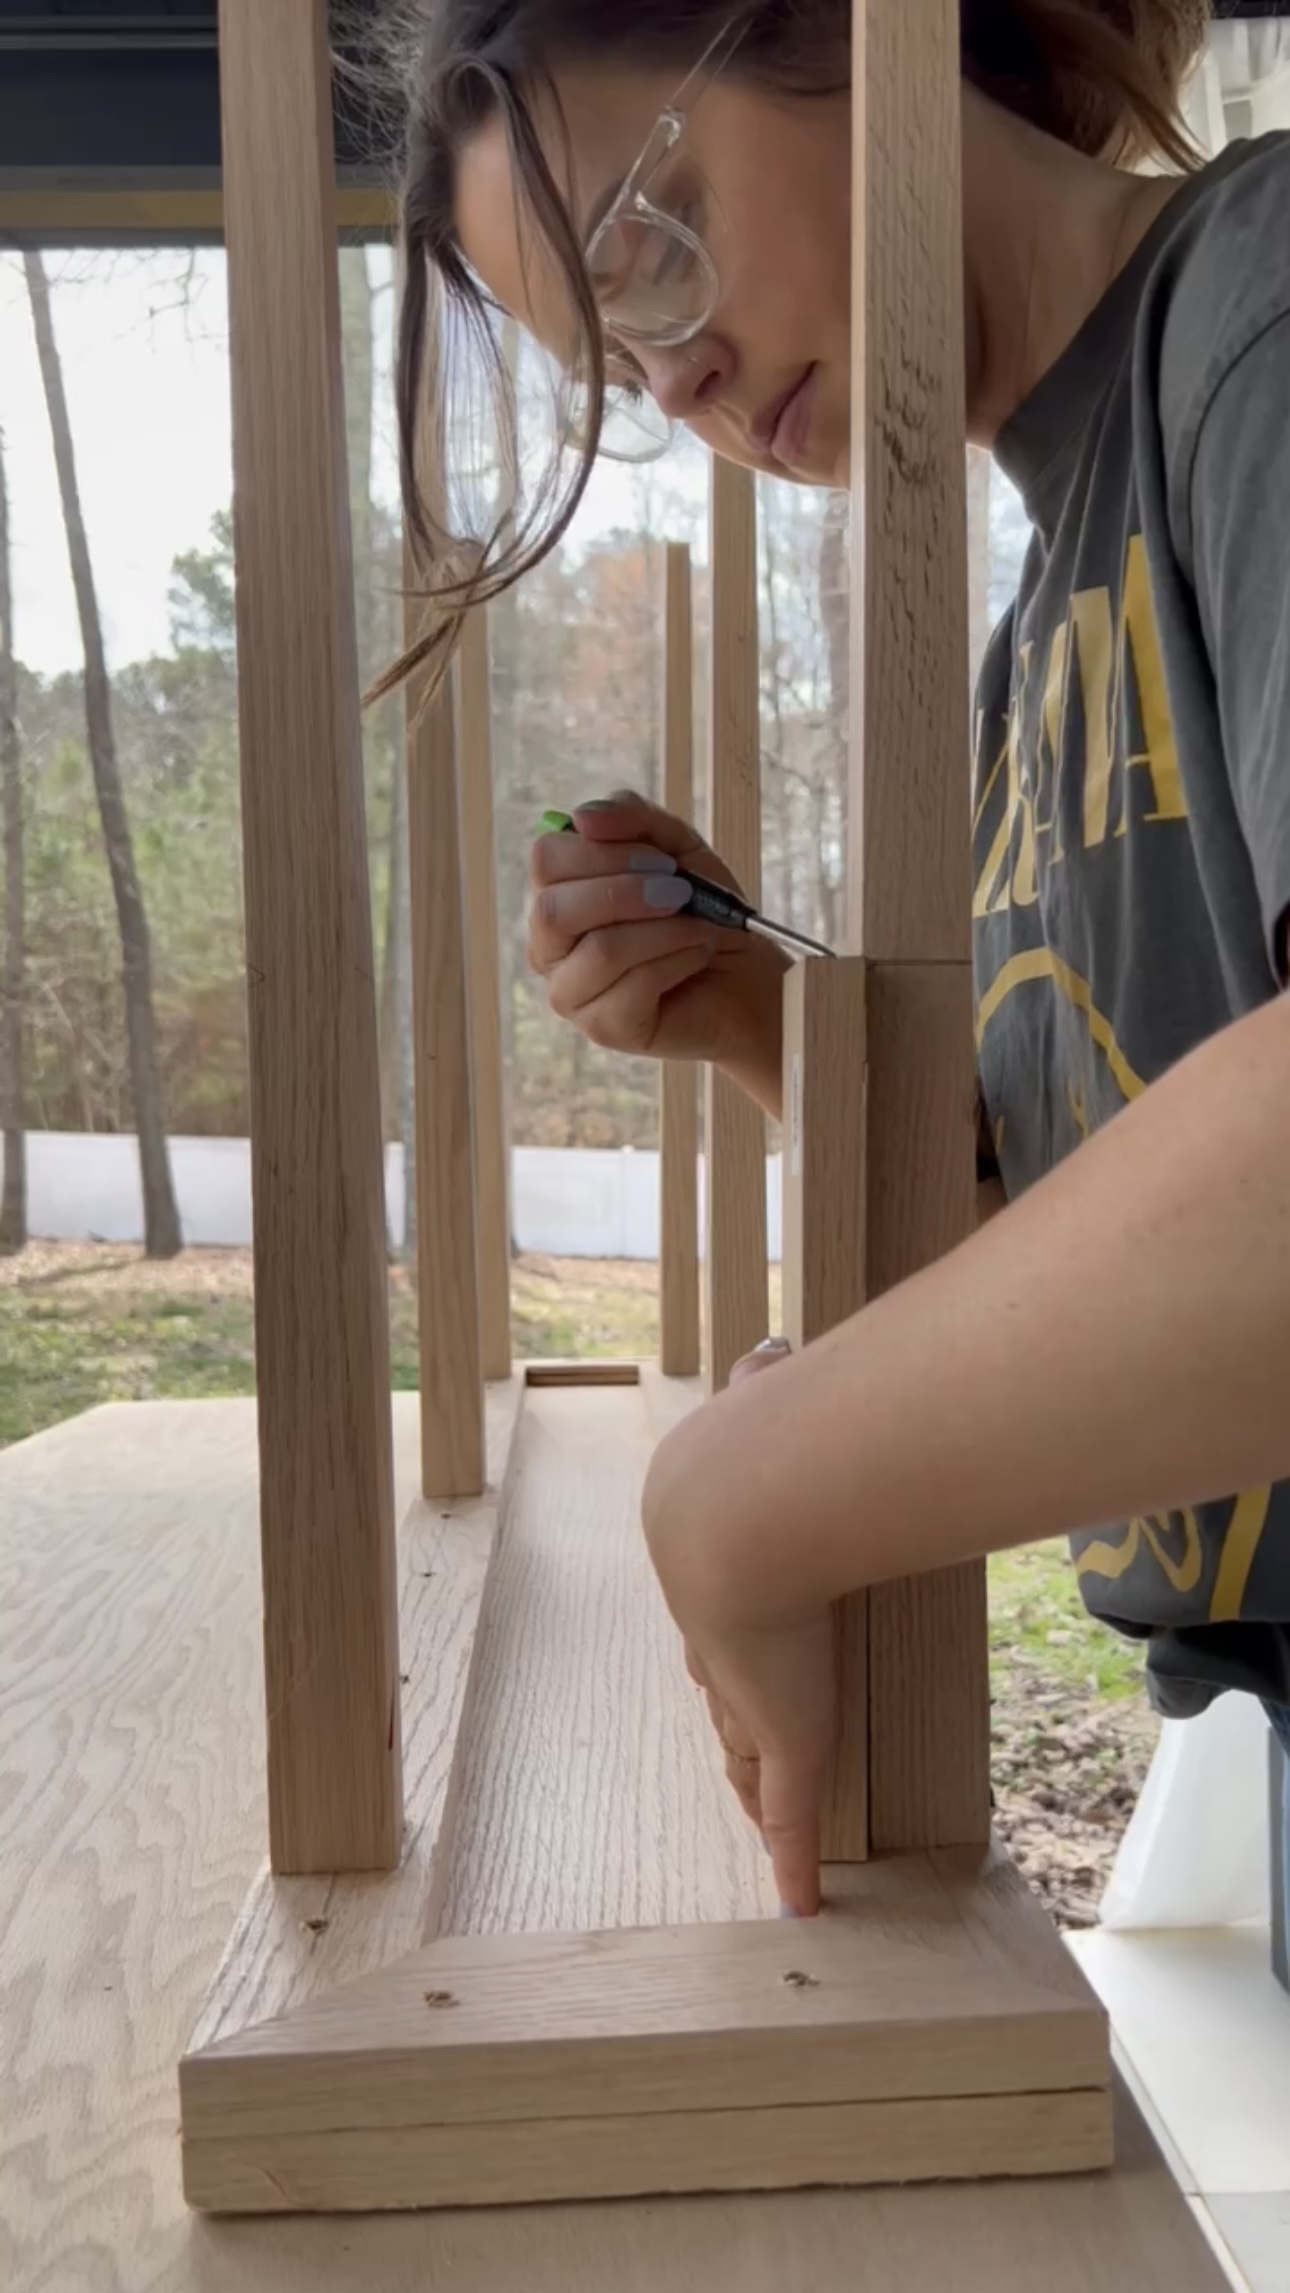
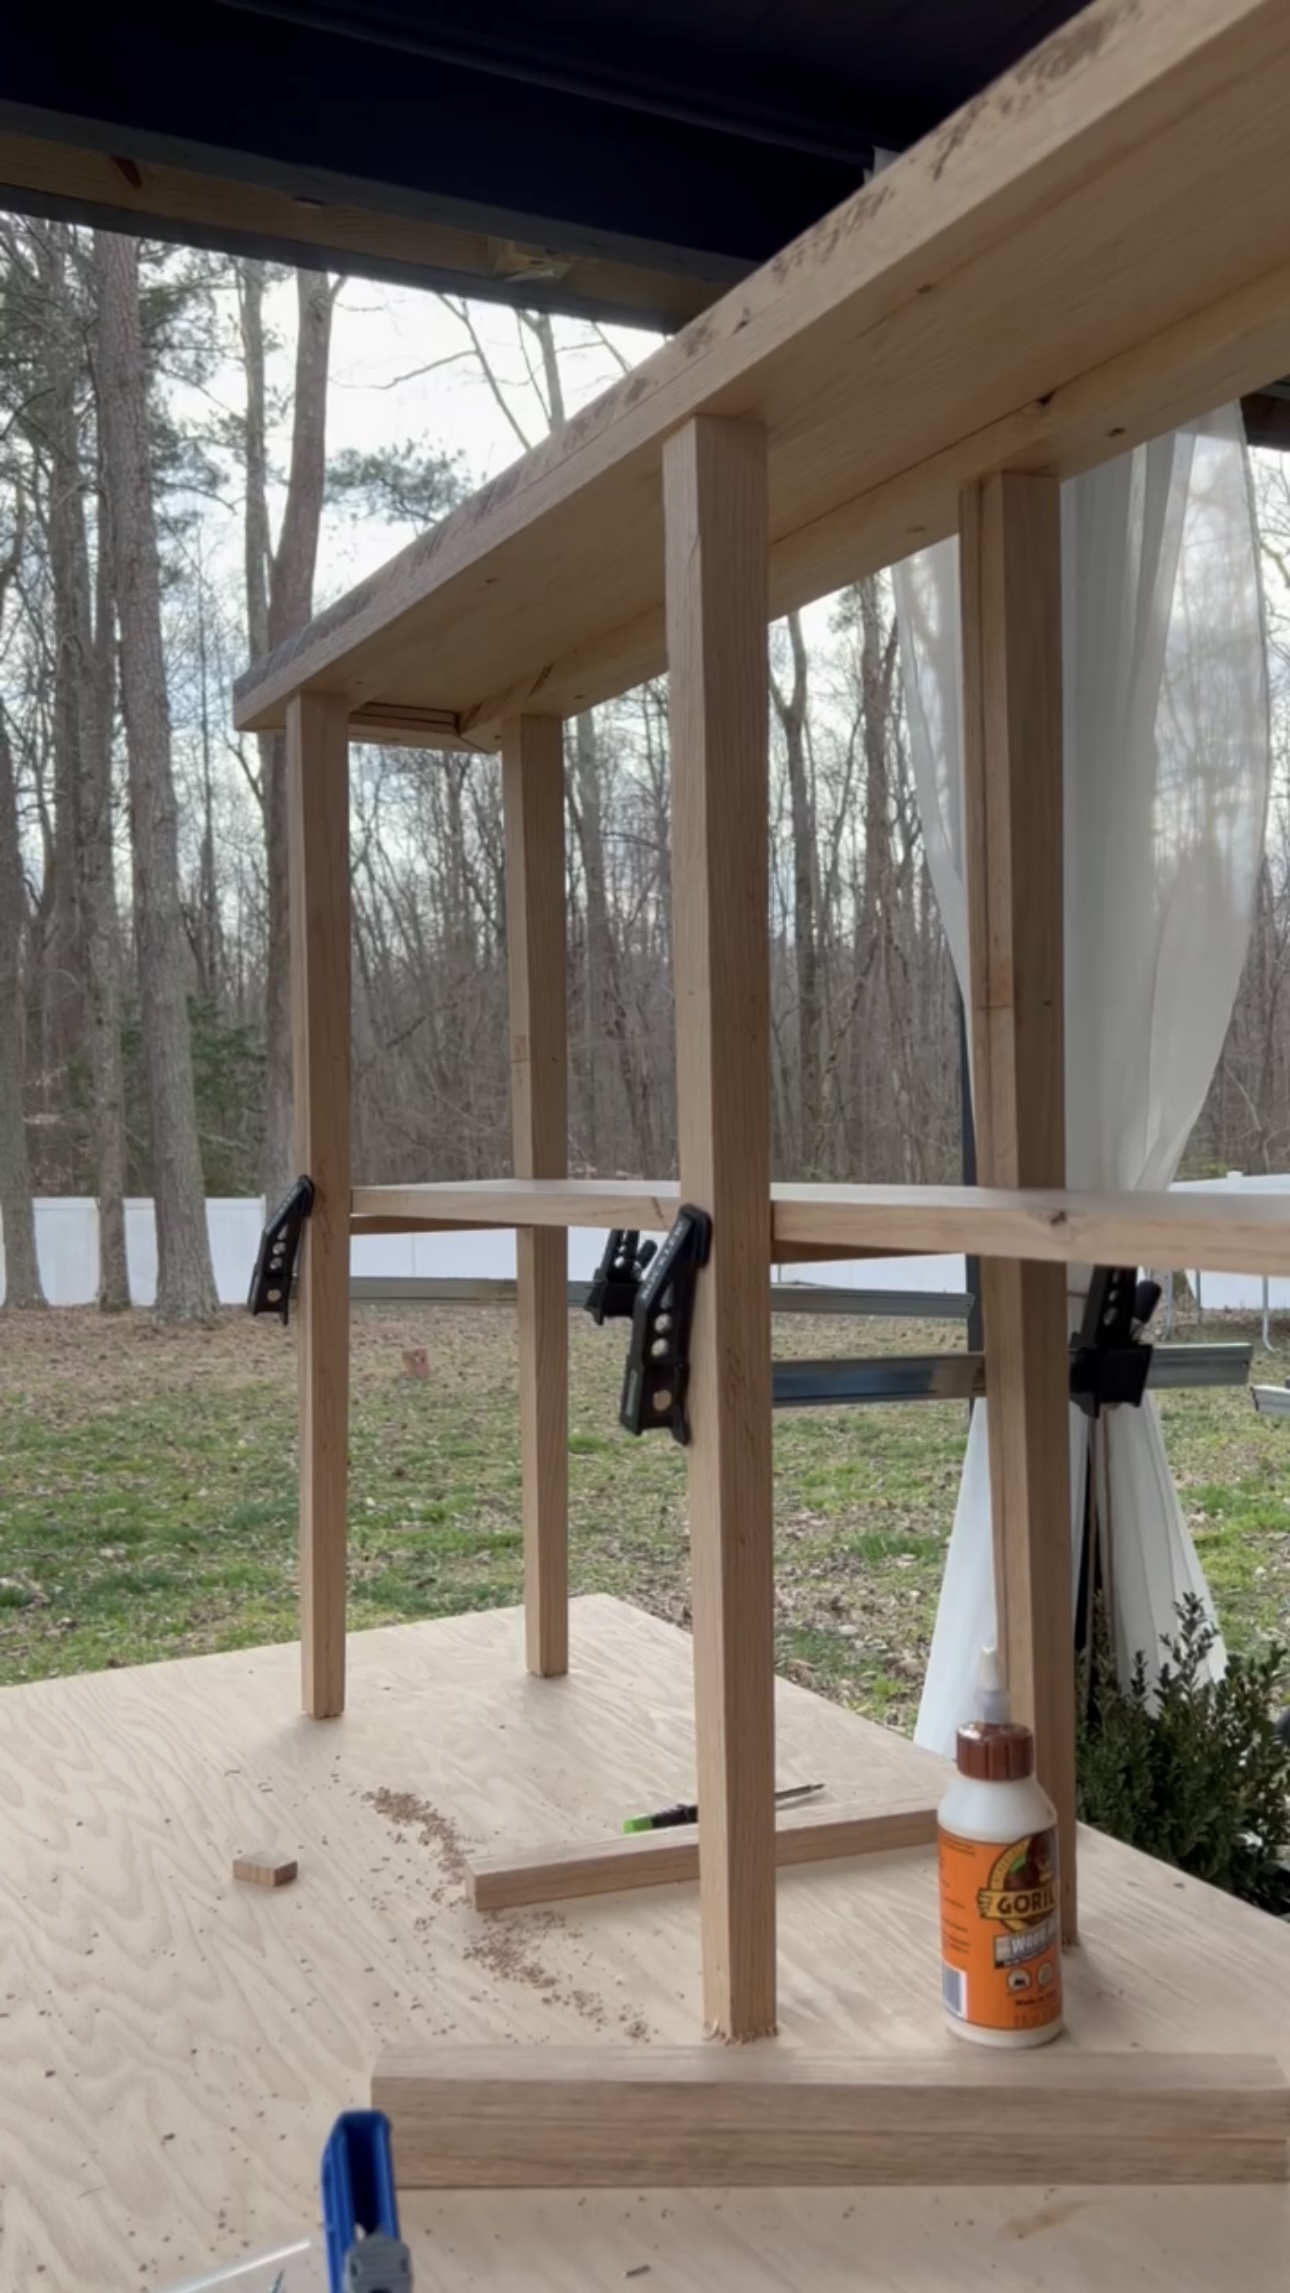
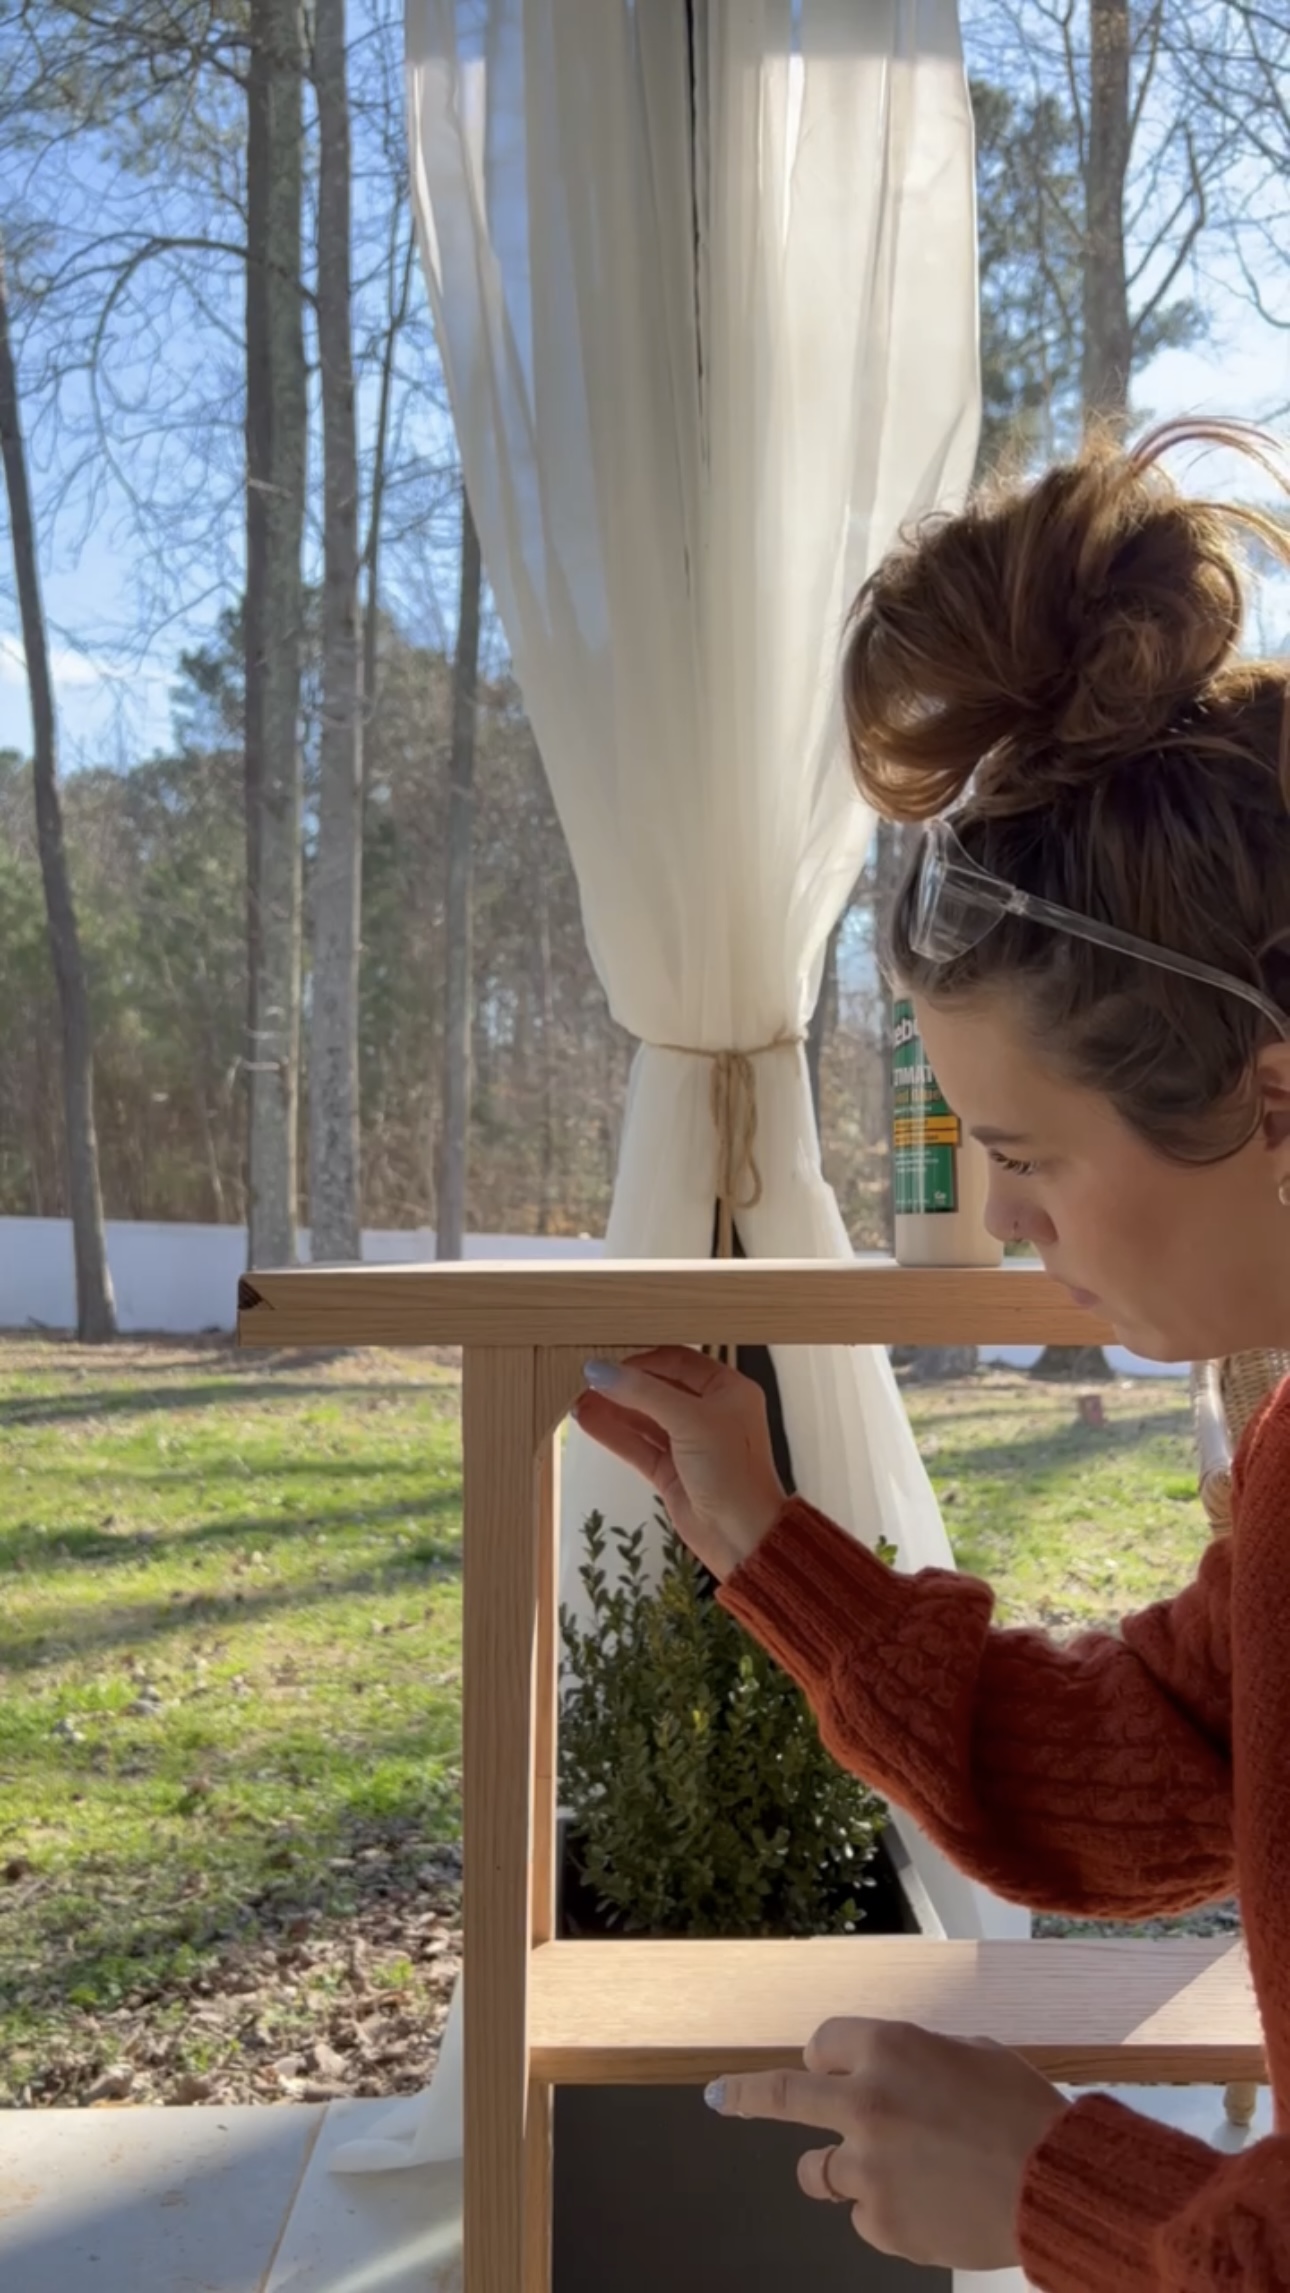
Shelf
I wanted to add a little shelf below the table top like my inspiration table. I didn’t want any visible screw holes on the outside of the table. So, the shelf needed 3 wood slats between the legs for the shelf to sit on and be mounted to. I made my marks, and then cut my wood!
Initially, I put pocket holes in these slats but ended up just using wood glue and clamps.
Since the legs are tapered, I had to cut this shelf at a very slight angle. It was so much for my brain to handle! 😂
Look how well this shelf fits!!!
Details
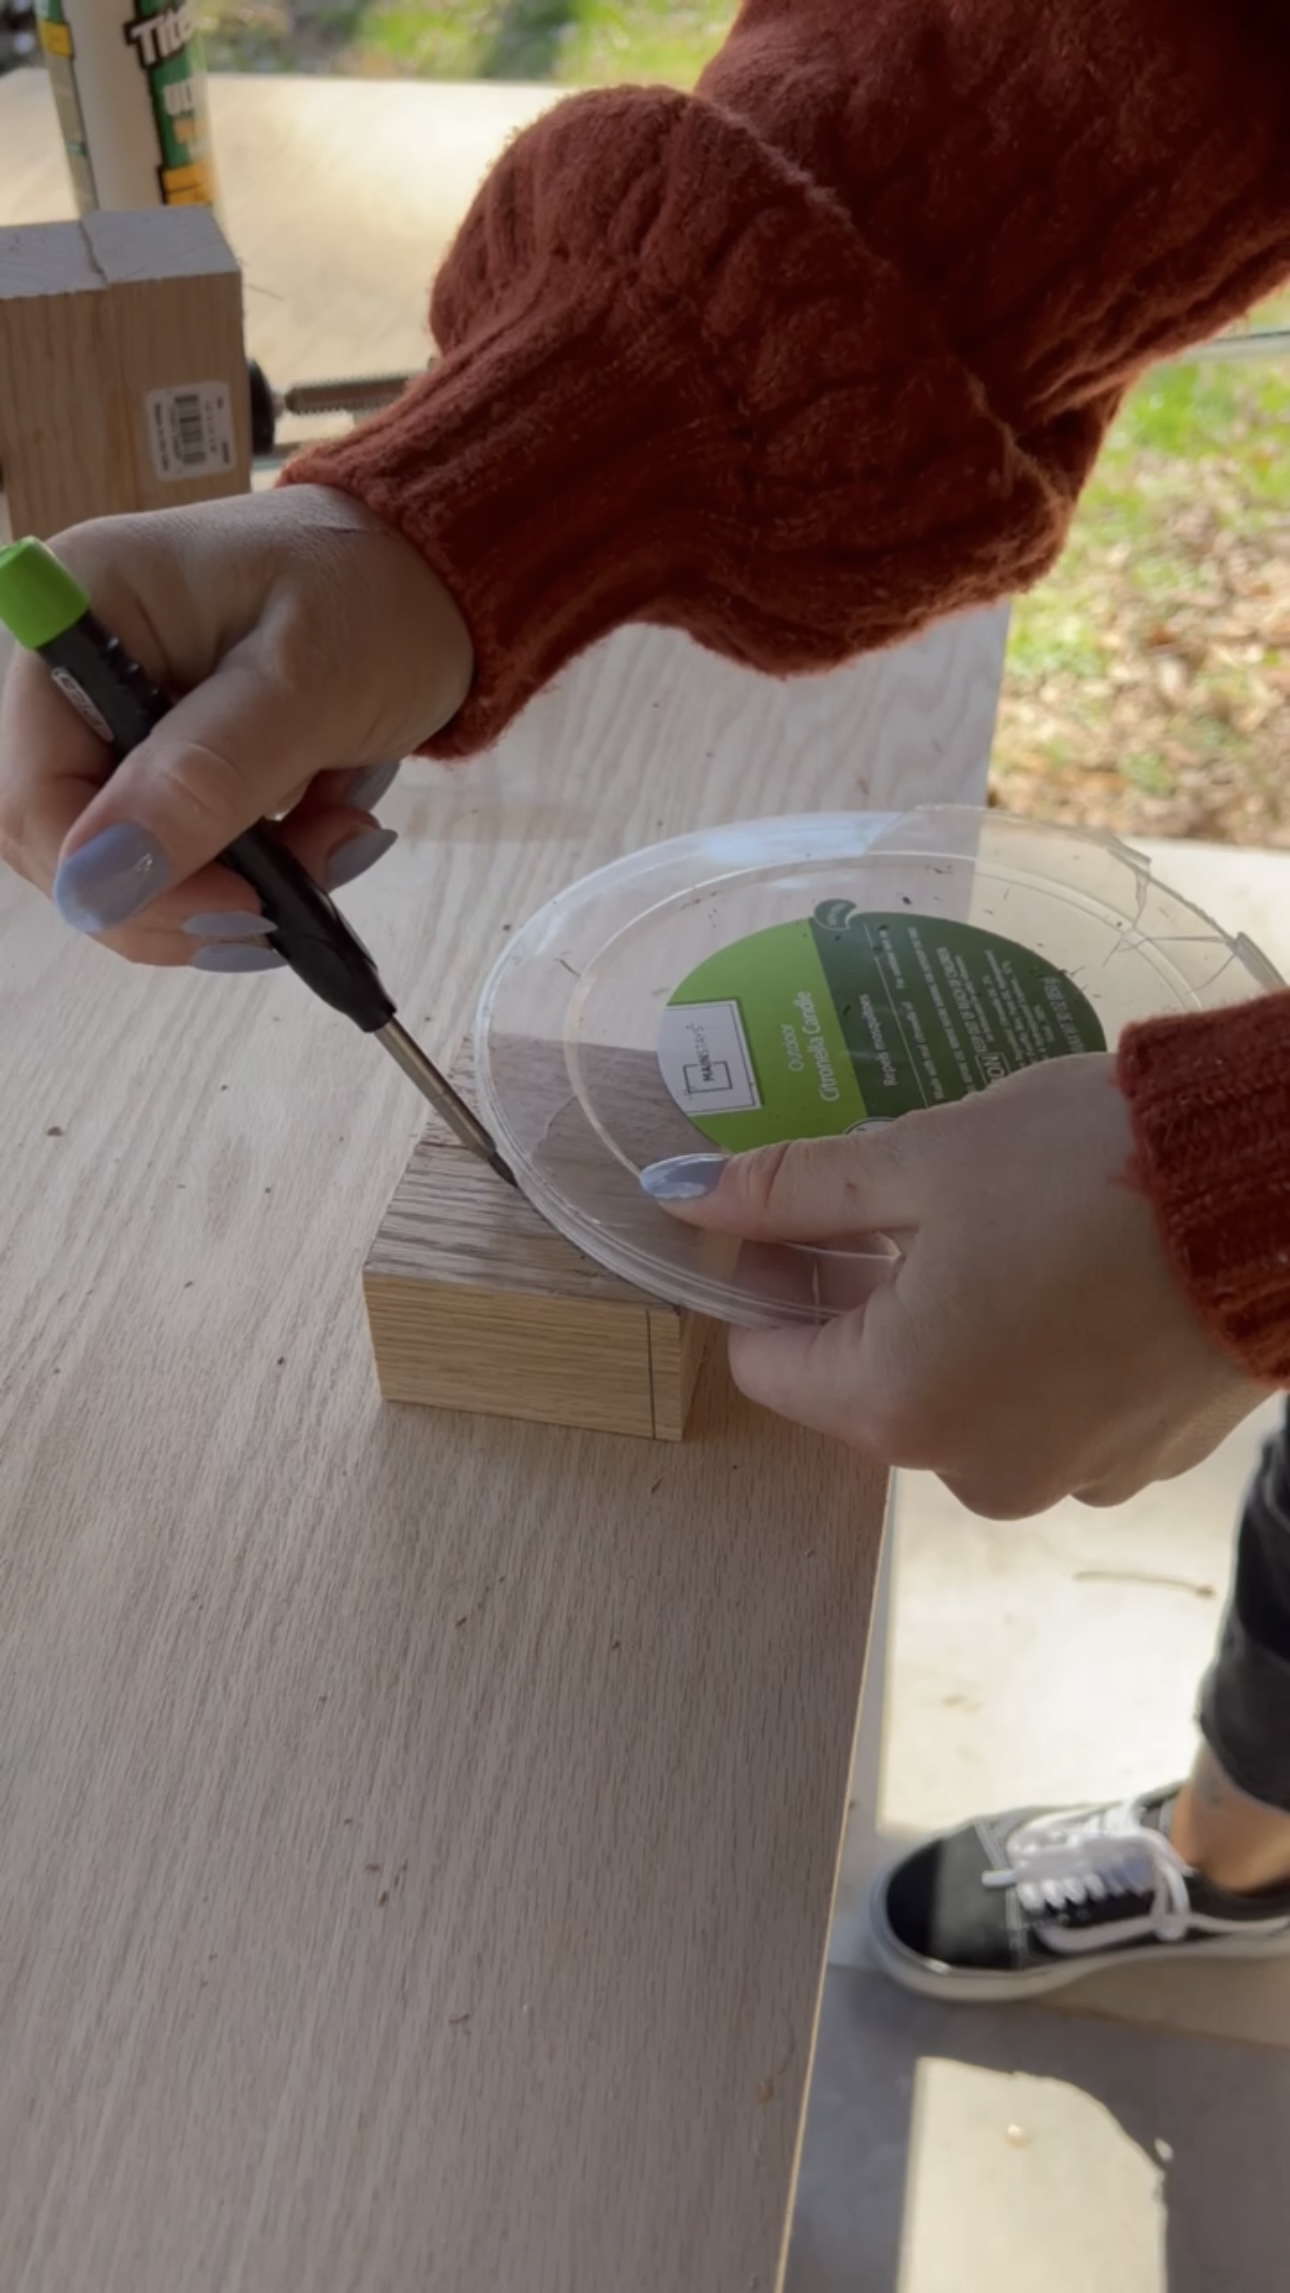
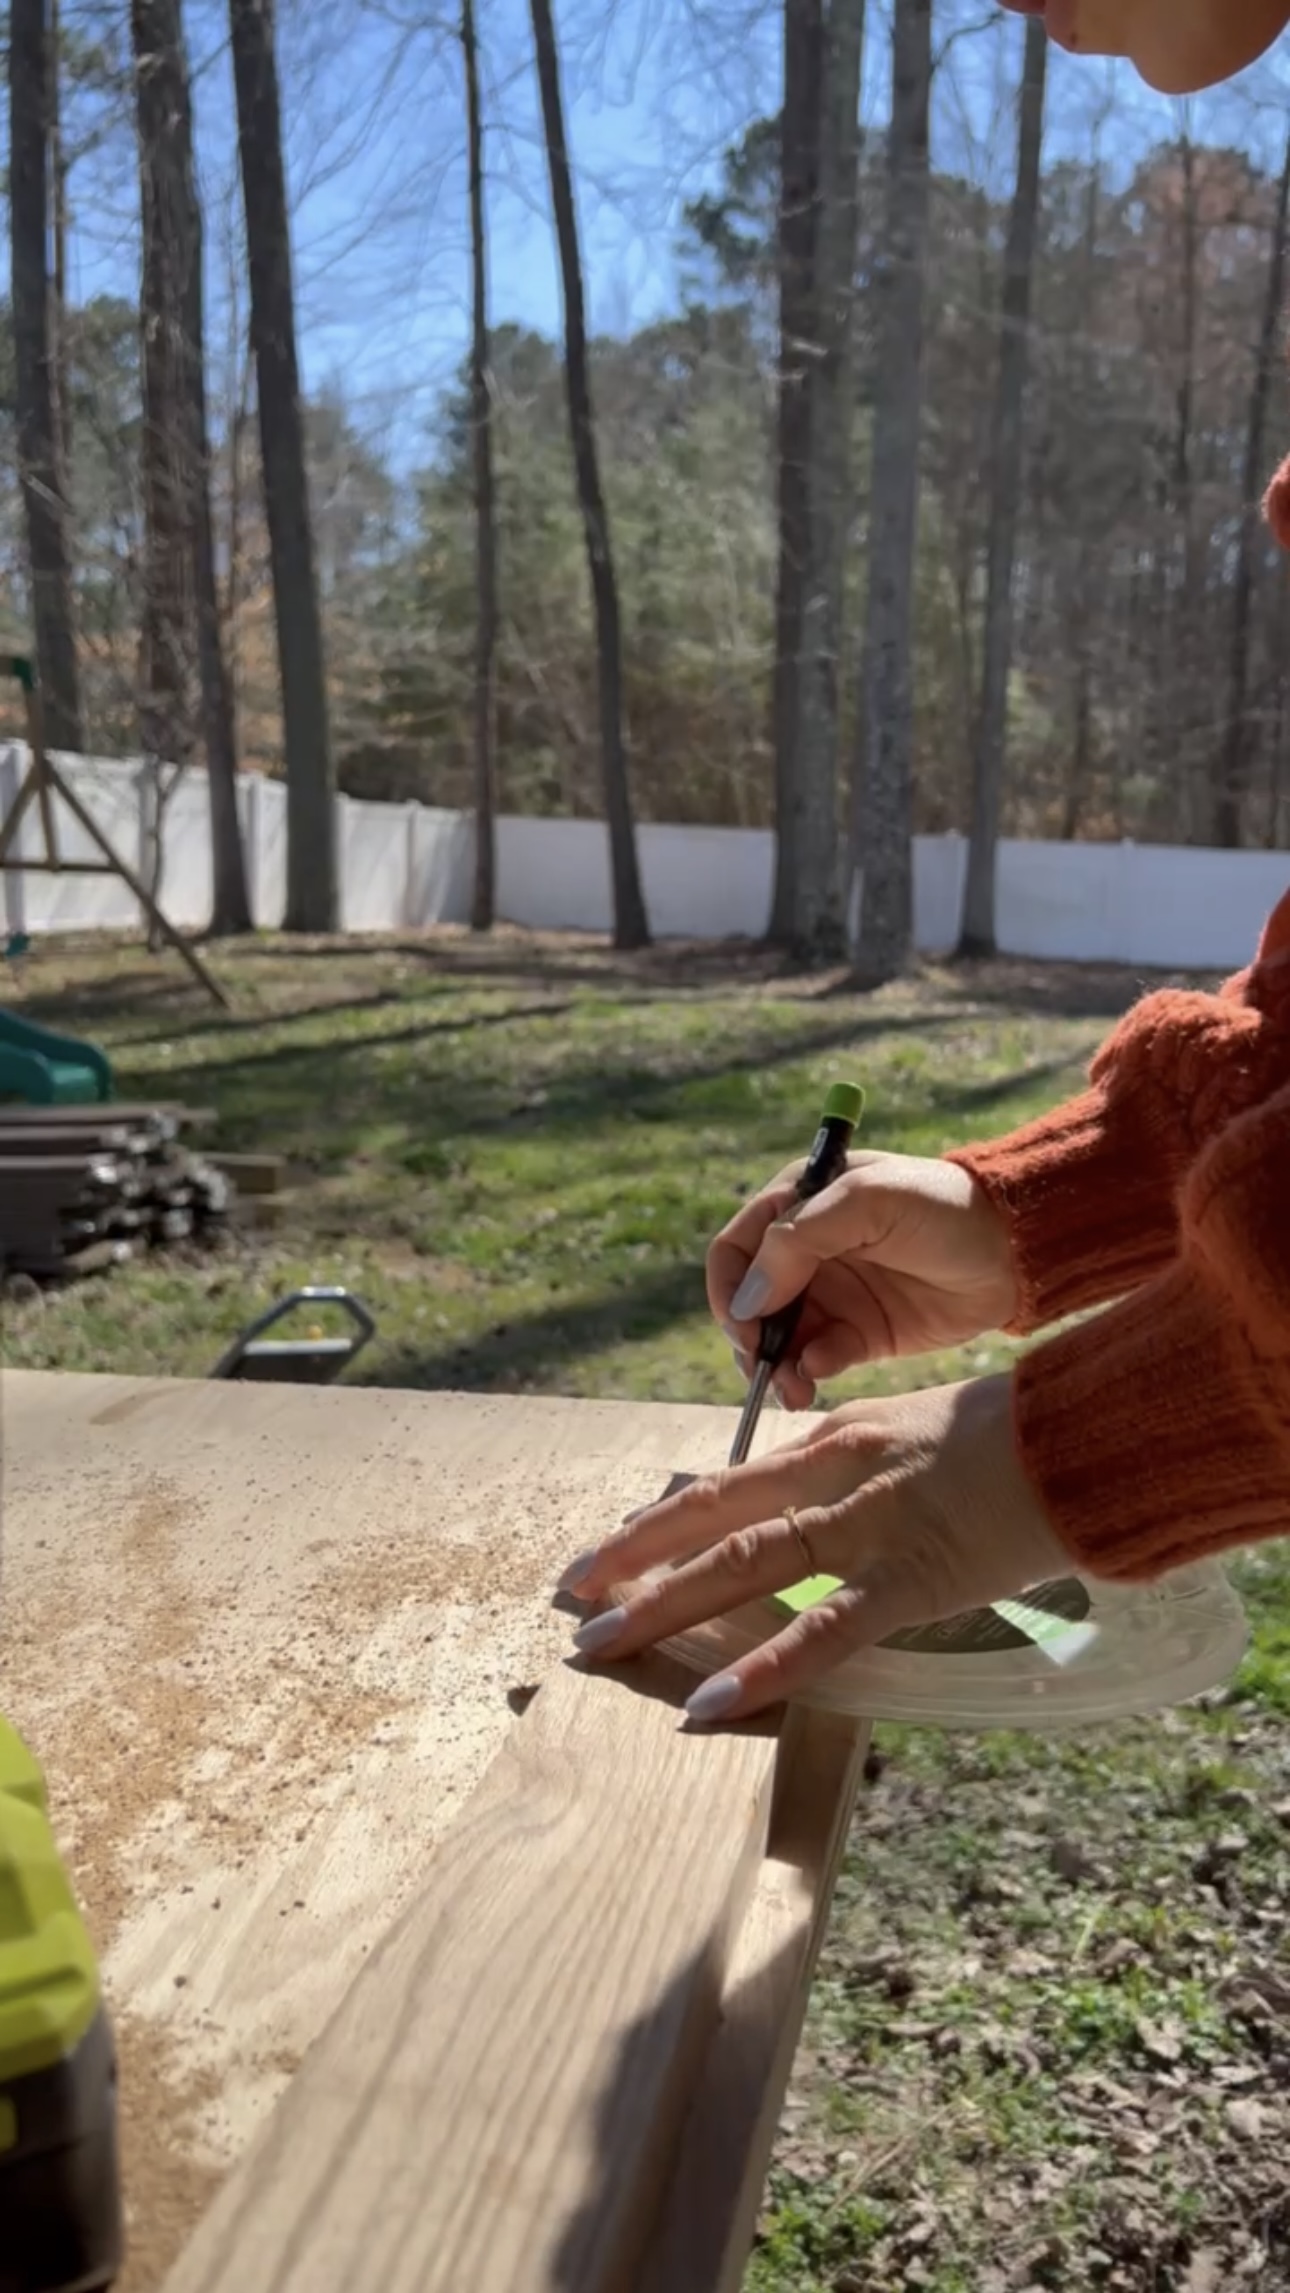
I also wanted to add a little curved detail where the table top meets each of the legs. I like to use my scraps instead of buying new supplies all the time. So, I glued pieces of scrap wood together to make these curved details. I can make two out of each of these blocks I made! I used a random citronella candle lid to make my curve! I marked it with a pencil and then cut it with my jigsaw.
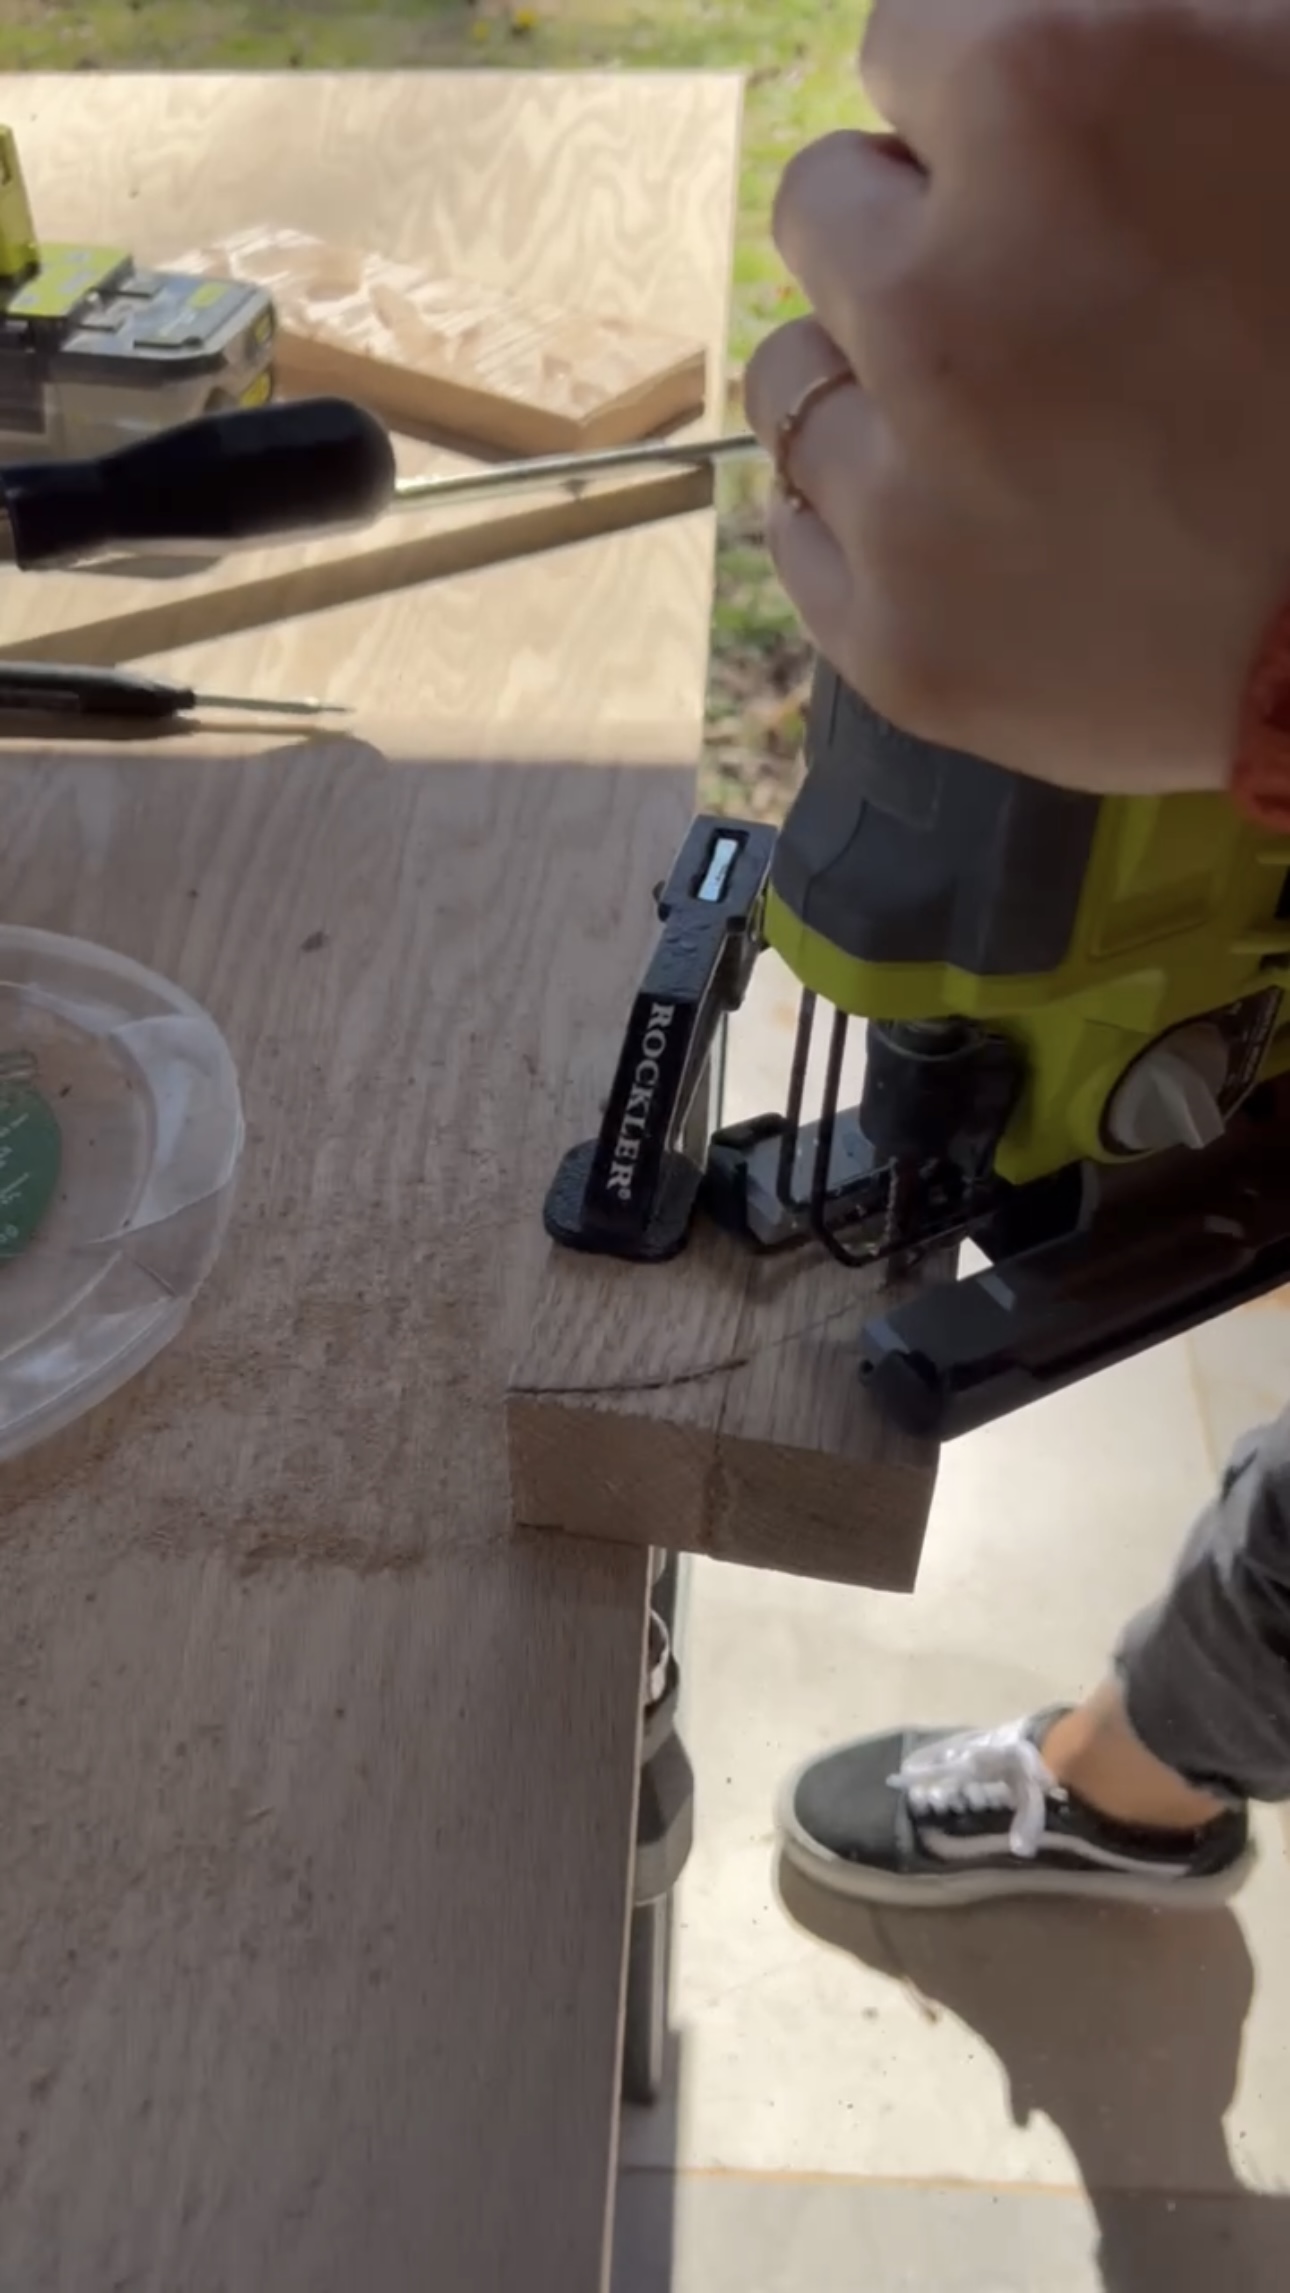
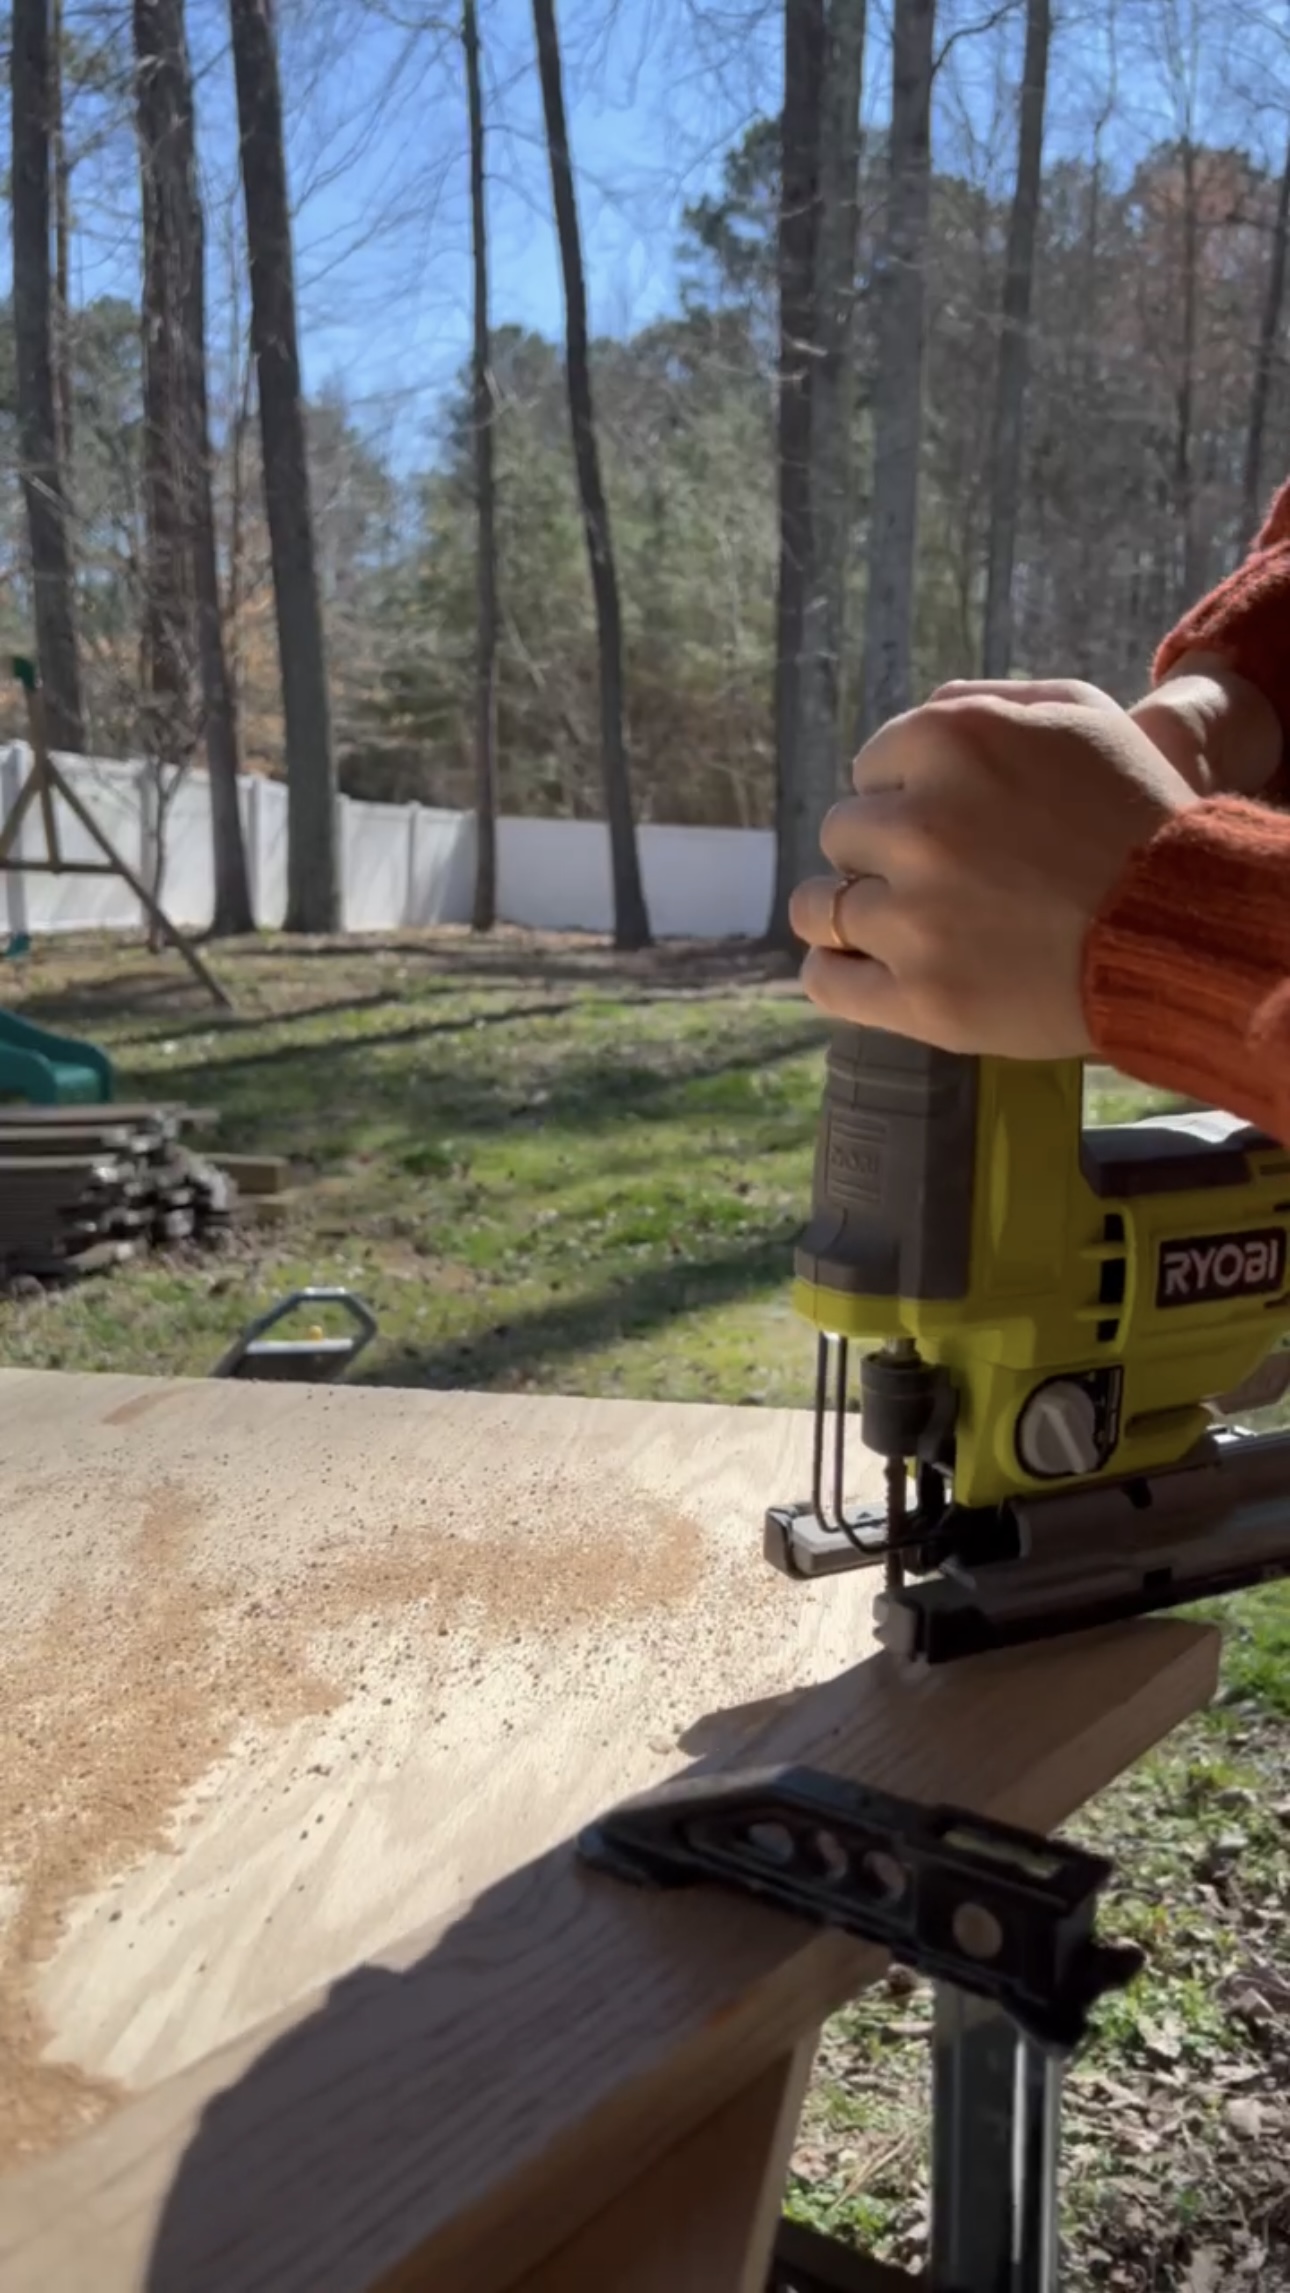
However, these blocks were a bit too thick for the jigsaw. So, I decided to use some thinner pieces, cut double the amount of the curved pieces, and then glue them together! This worked so much better.
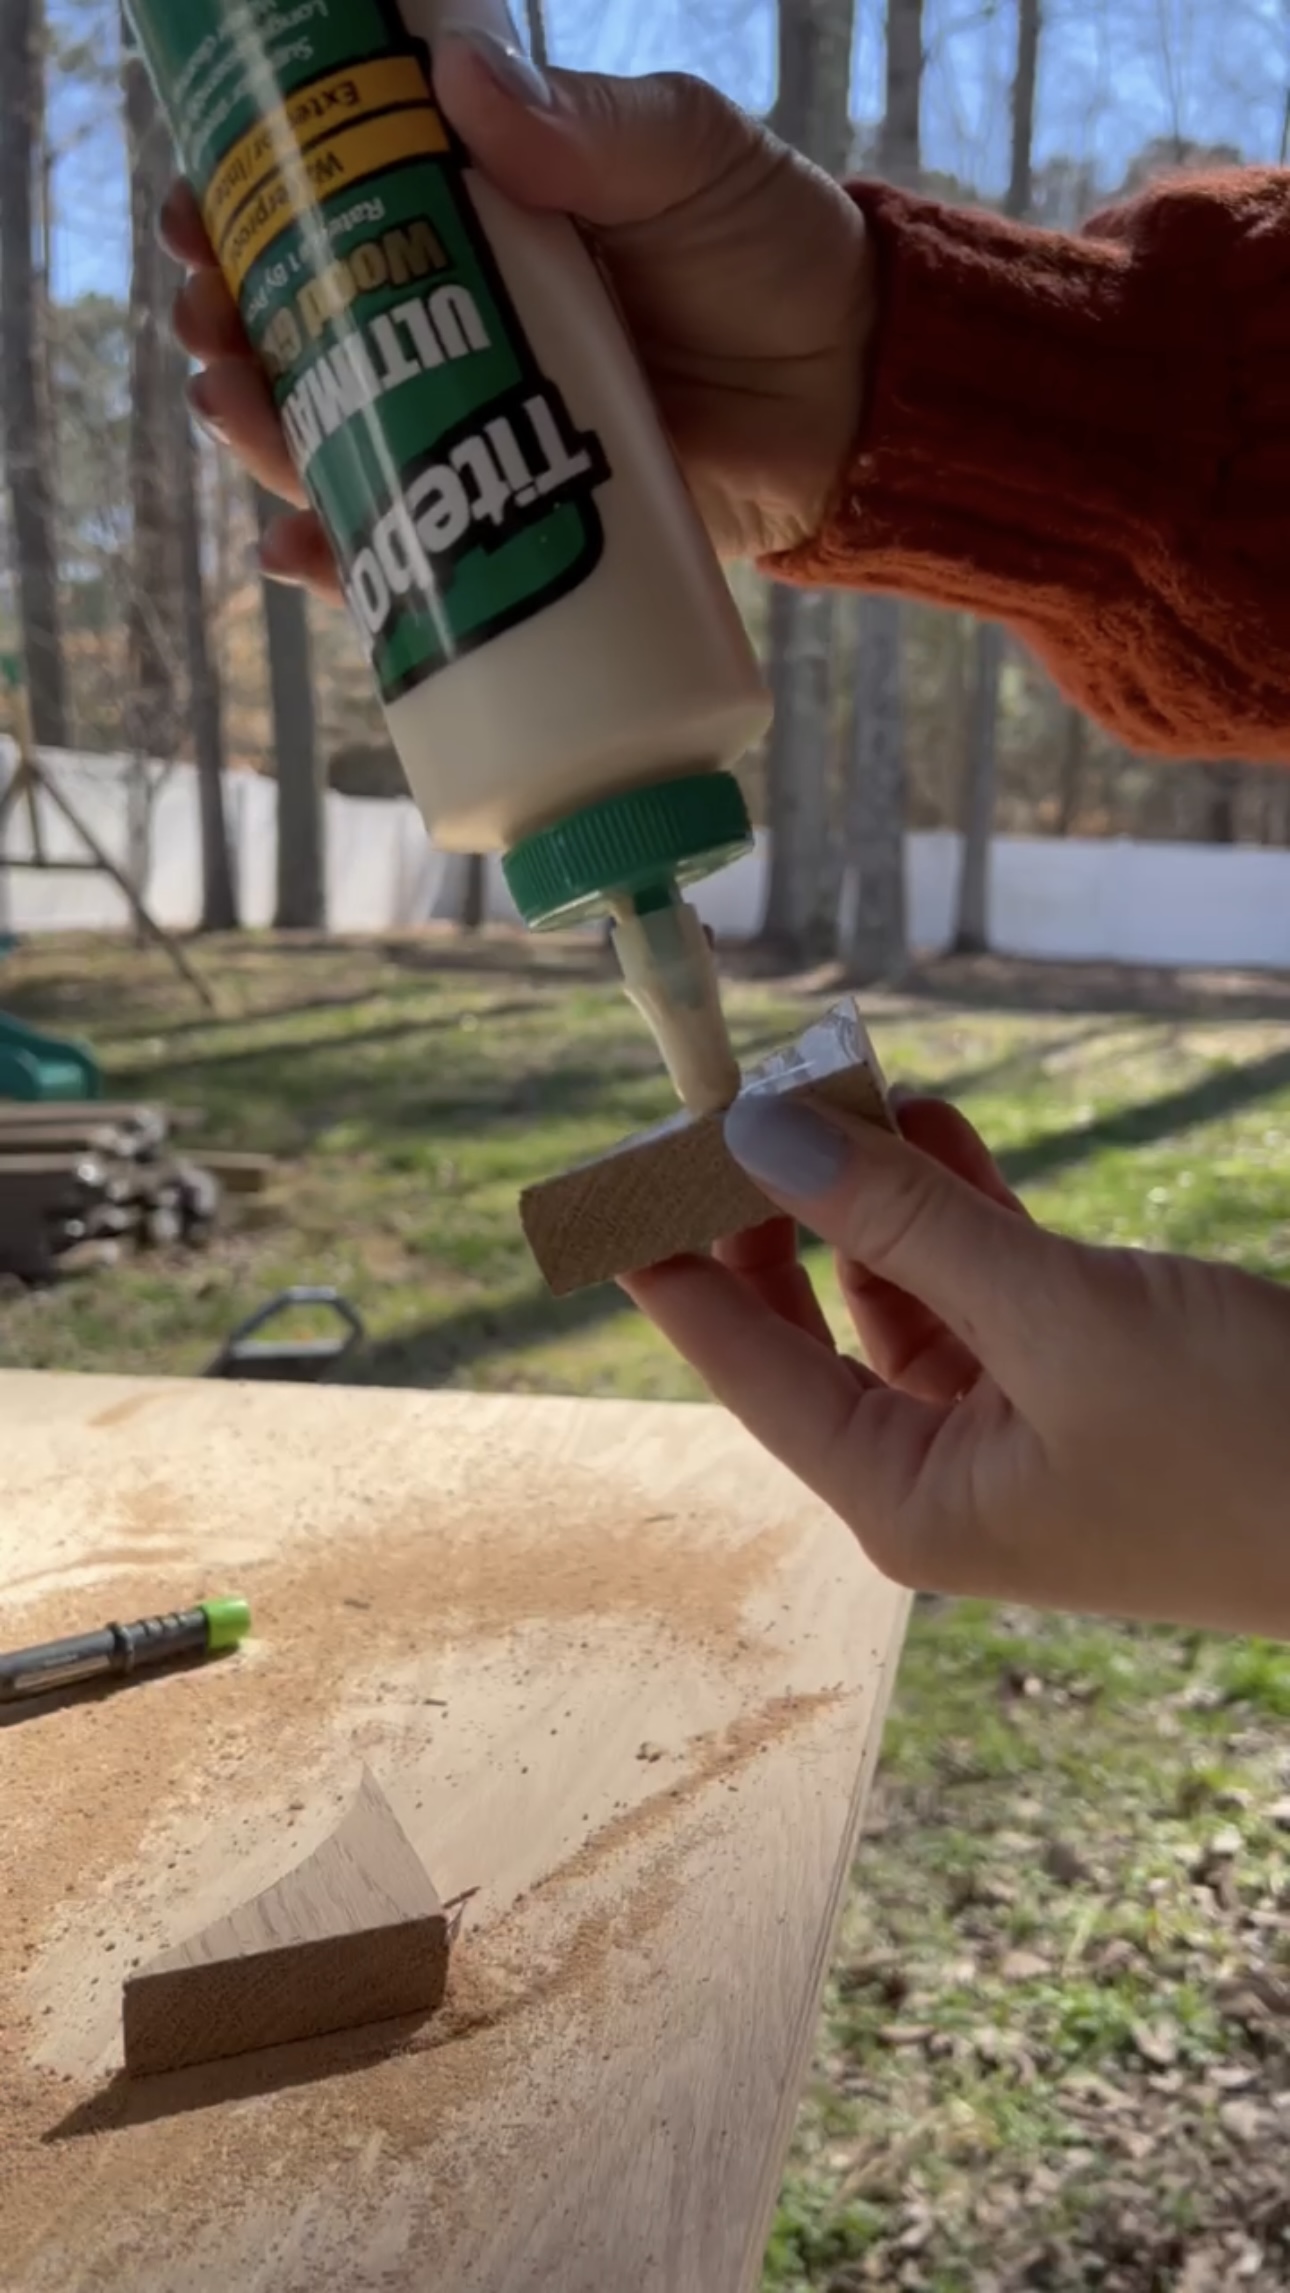
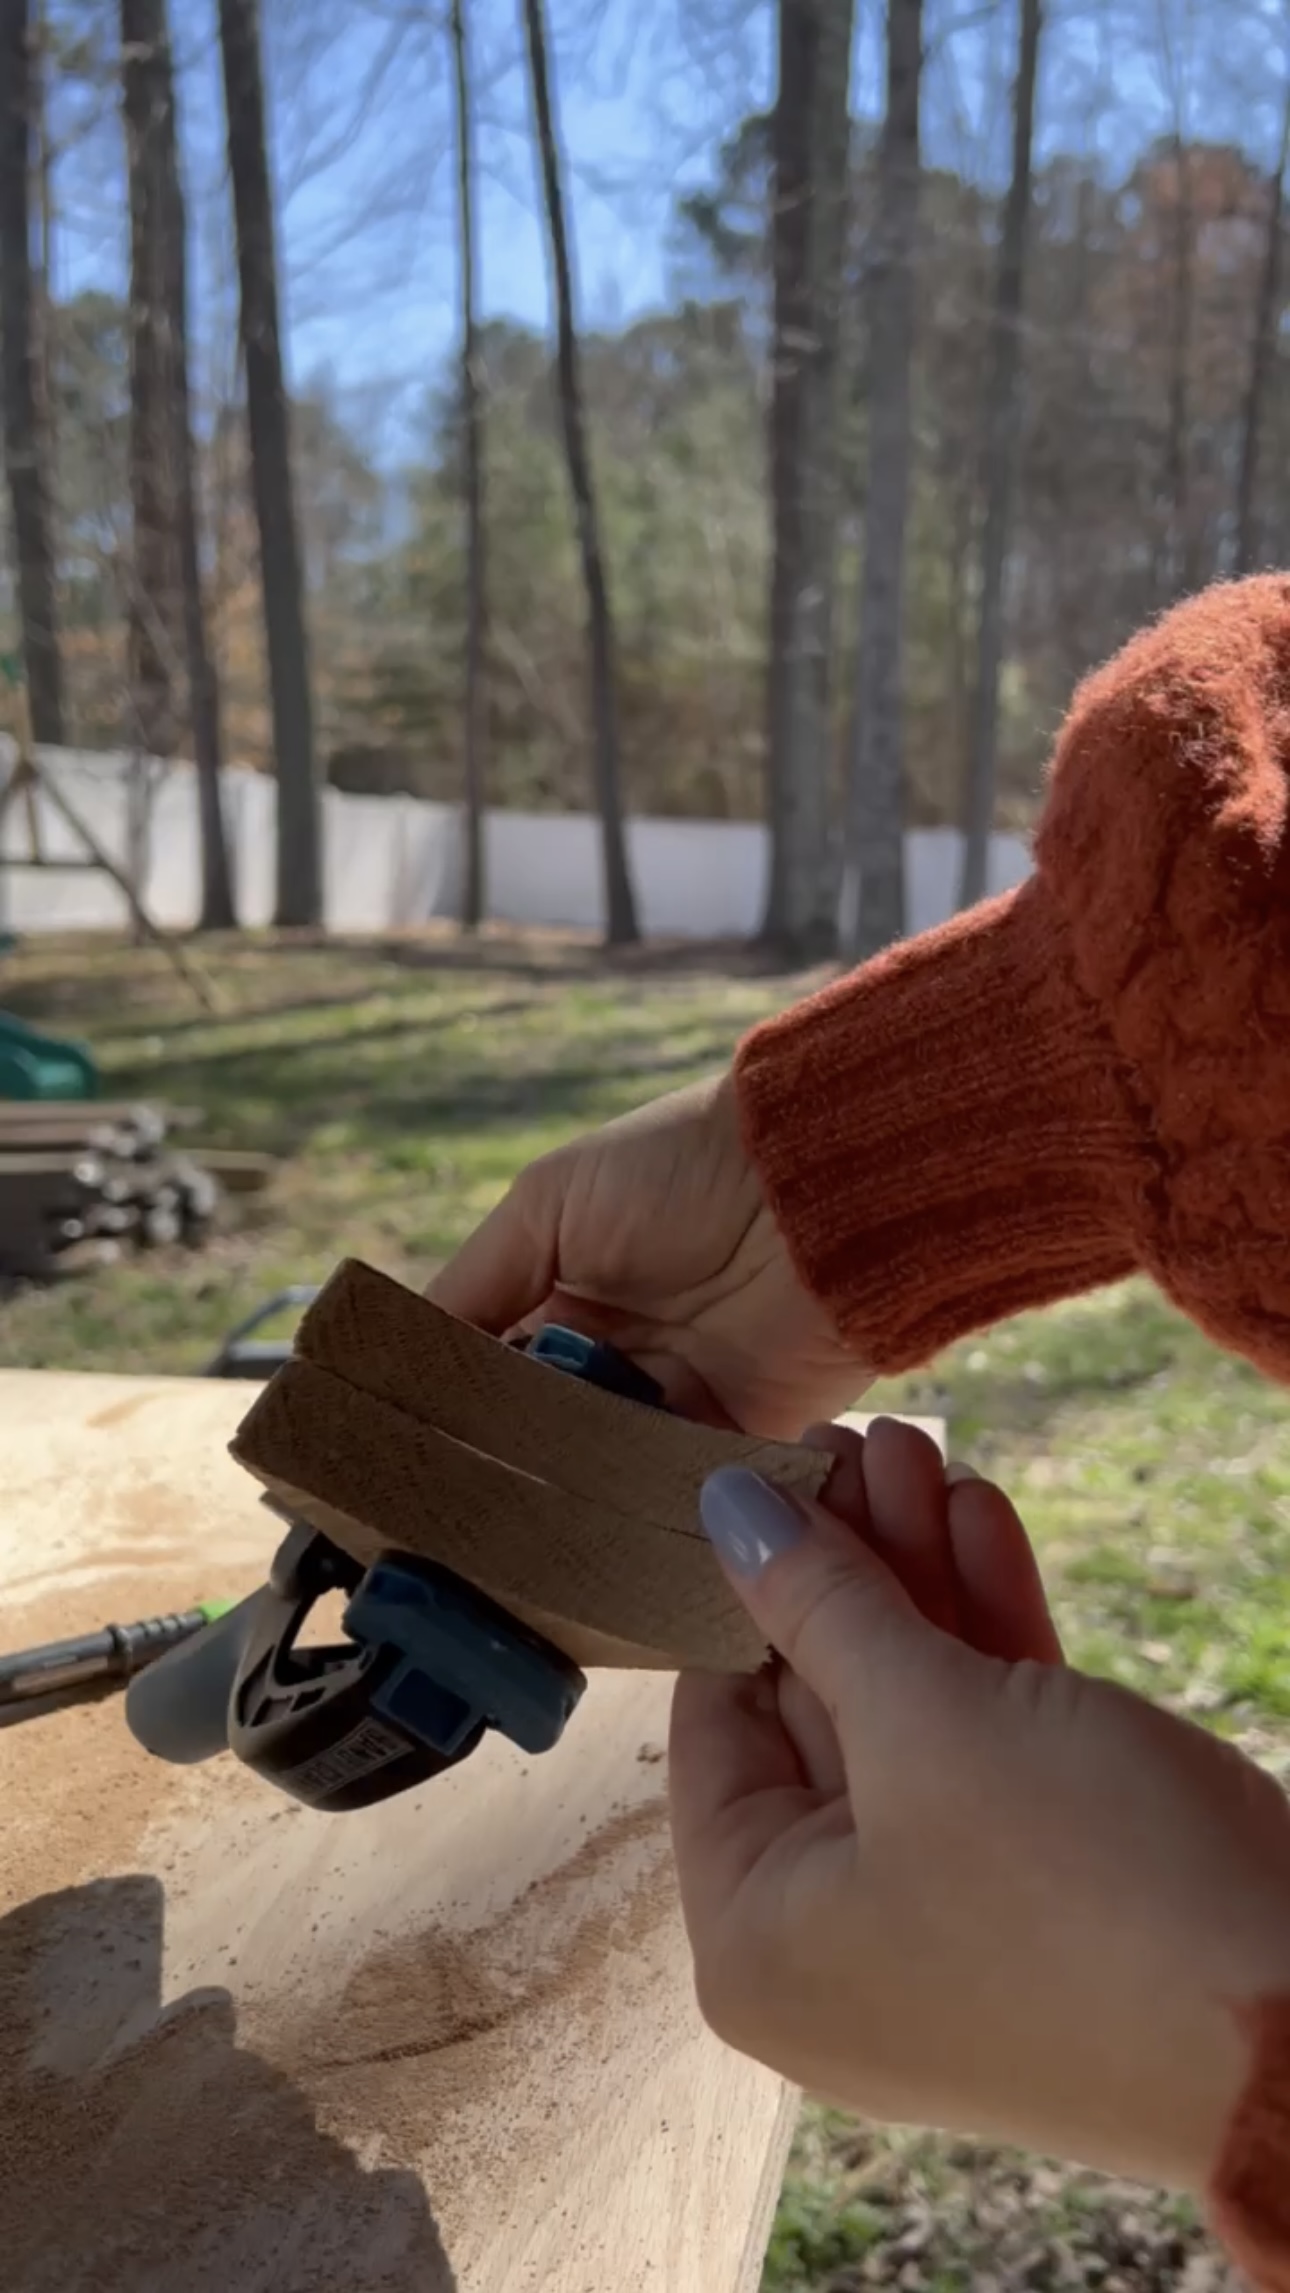
Then, I glued them on and let them dry with clamps!
Prep for stain
Materials for staining
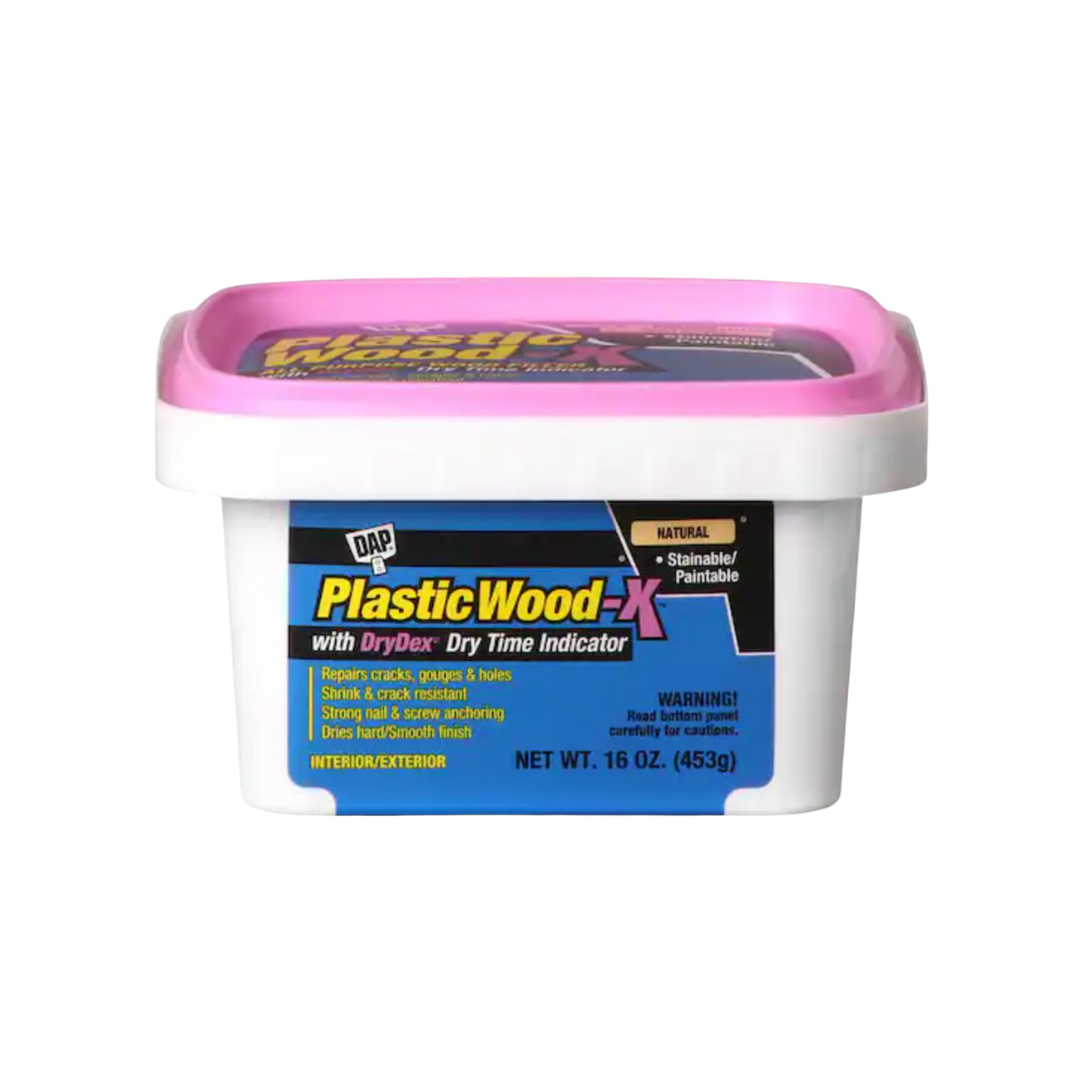

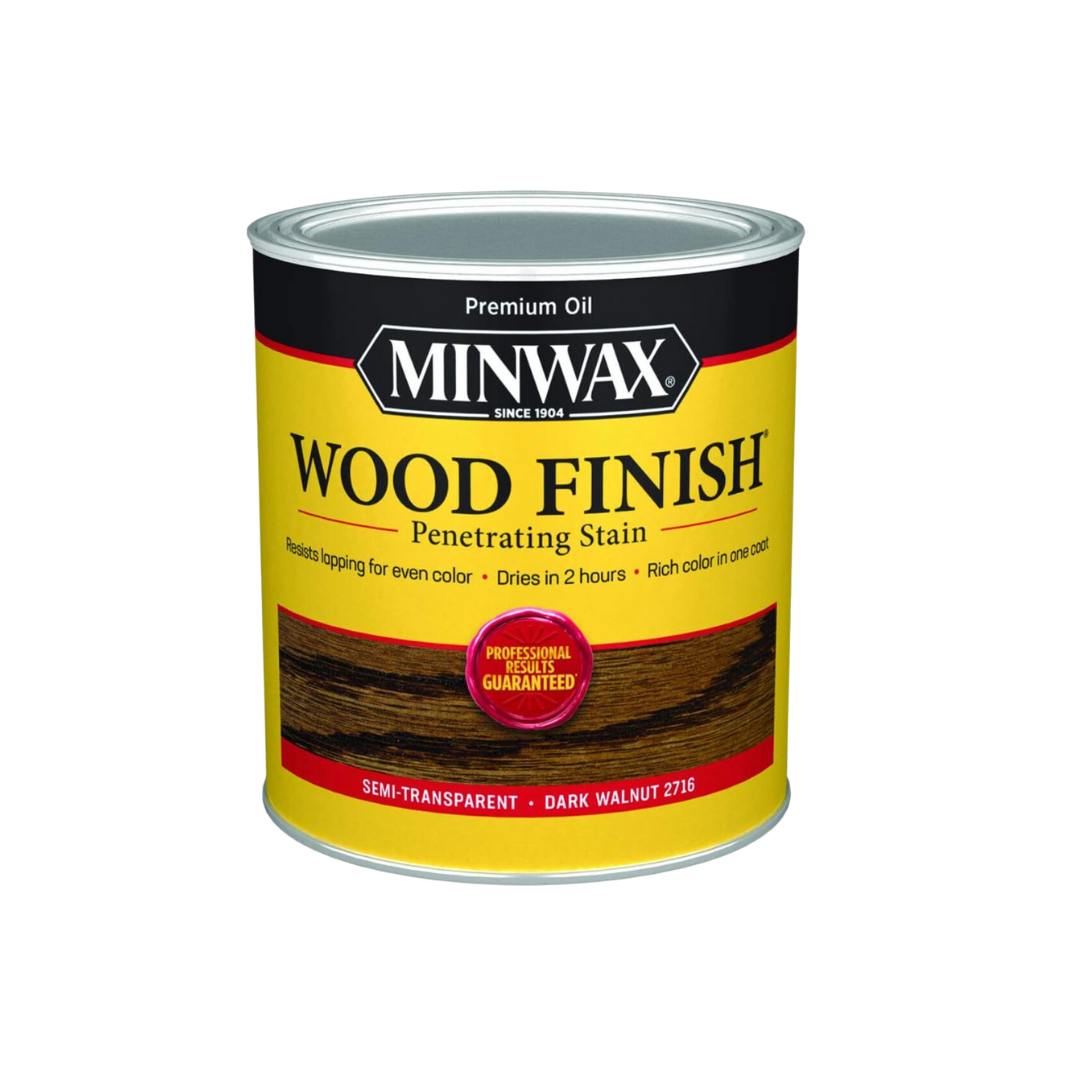
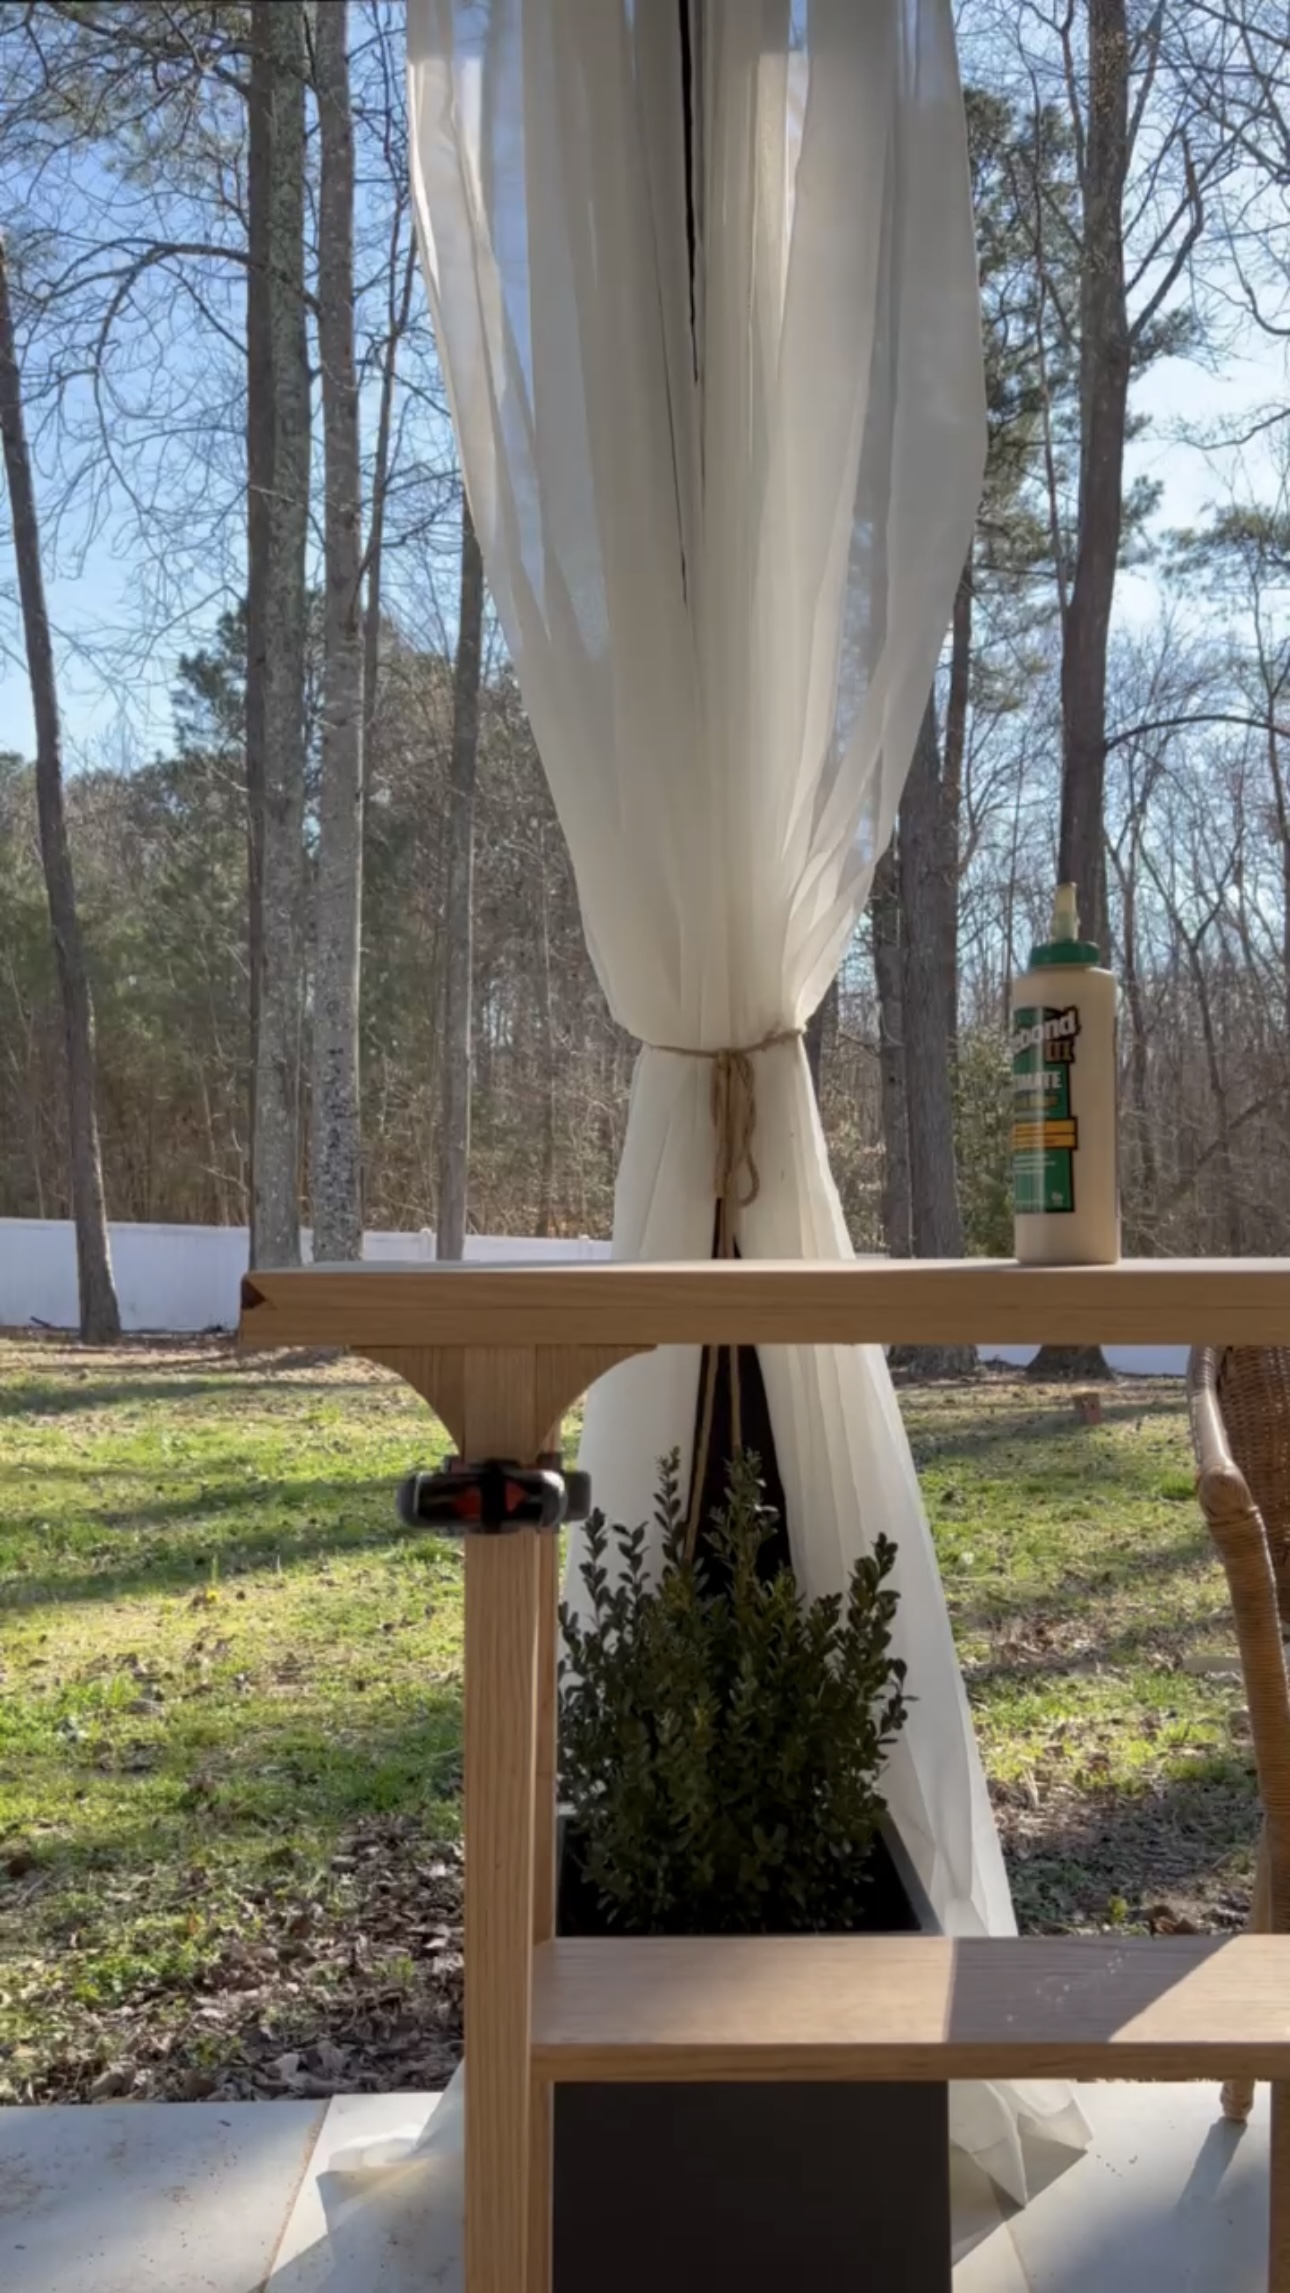
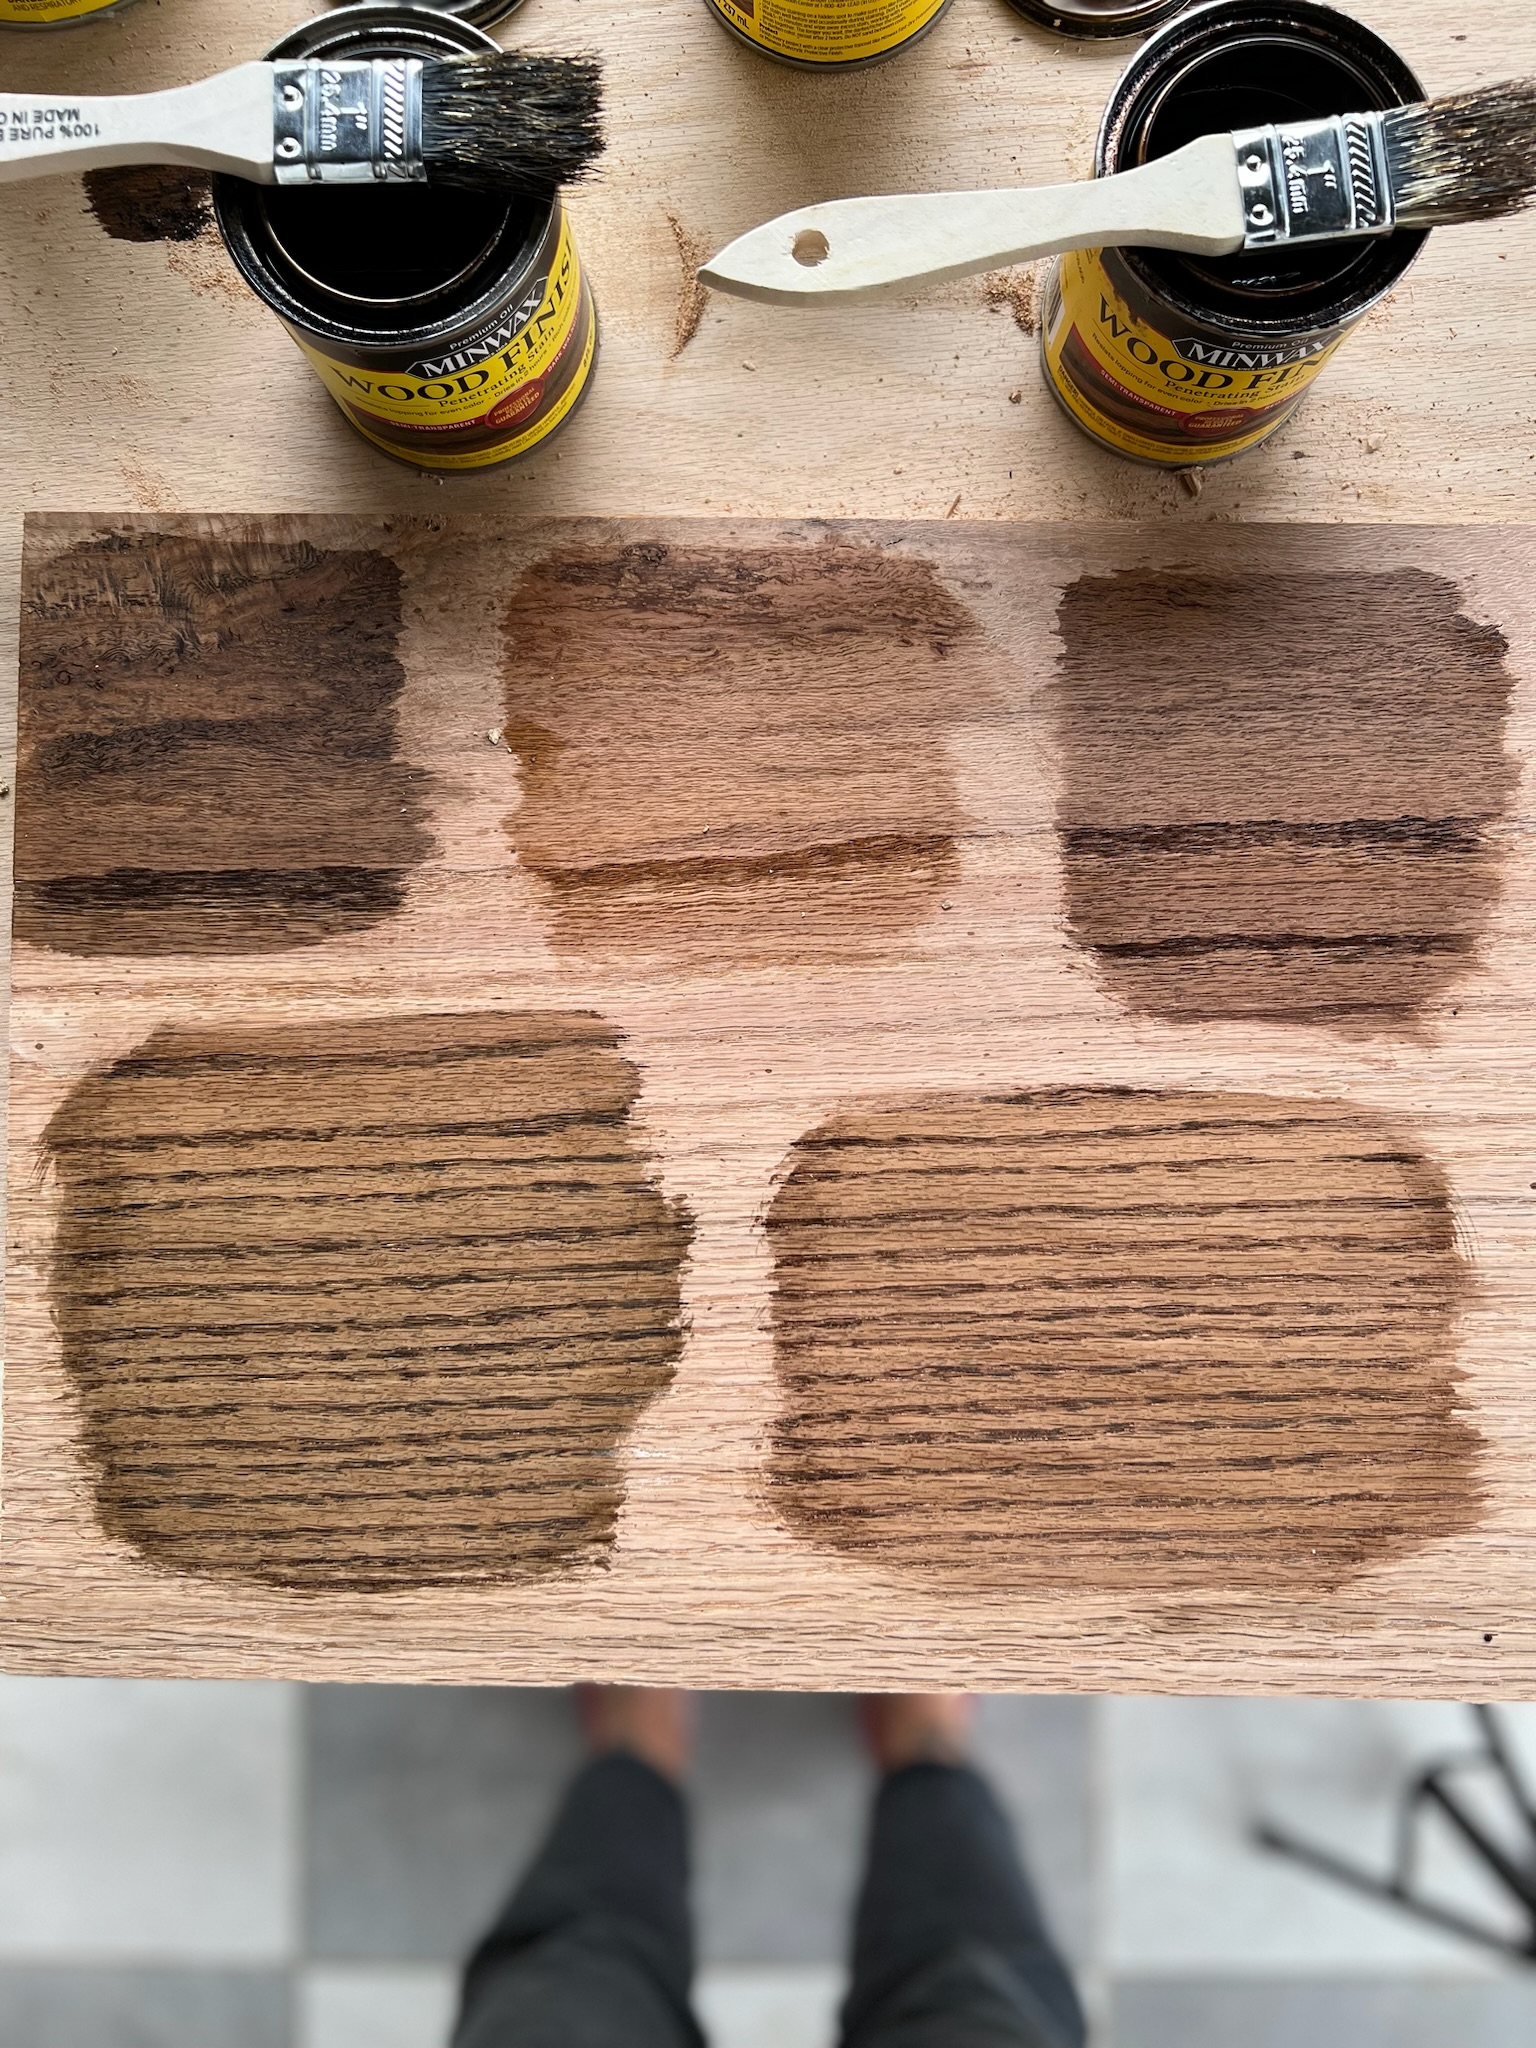
Next, I filled in all the cracks and seams with plastic wood. While the wood filler was drying, I tested out some stains. I tried out Dark Walnut, Special Walnut, and Red Mahogany. Then I tried putting white down first to mute the dark grain just a bit. I went and put it by the wallpaper to help me make a choice.

Then, I sanded down the entire table with my mouse sander.
Stain
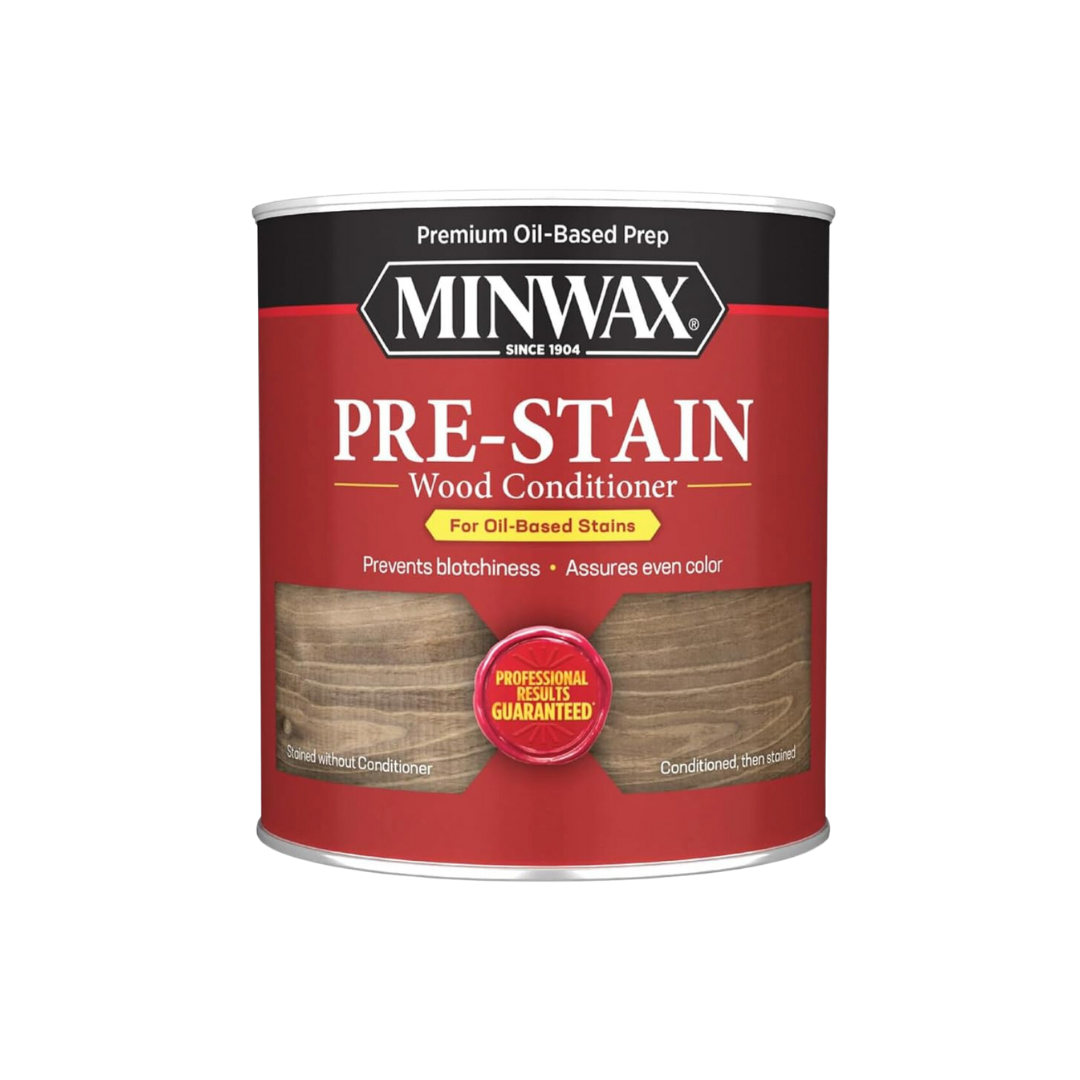
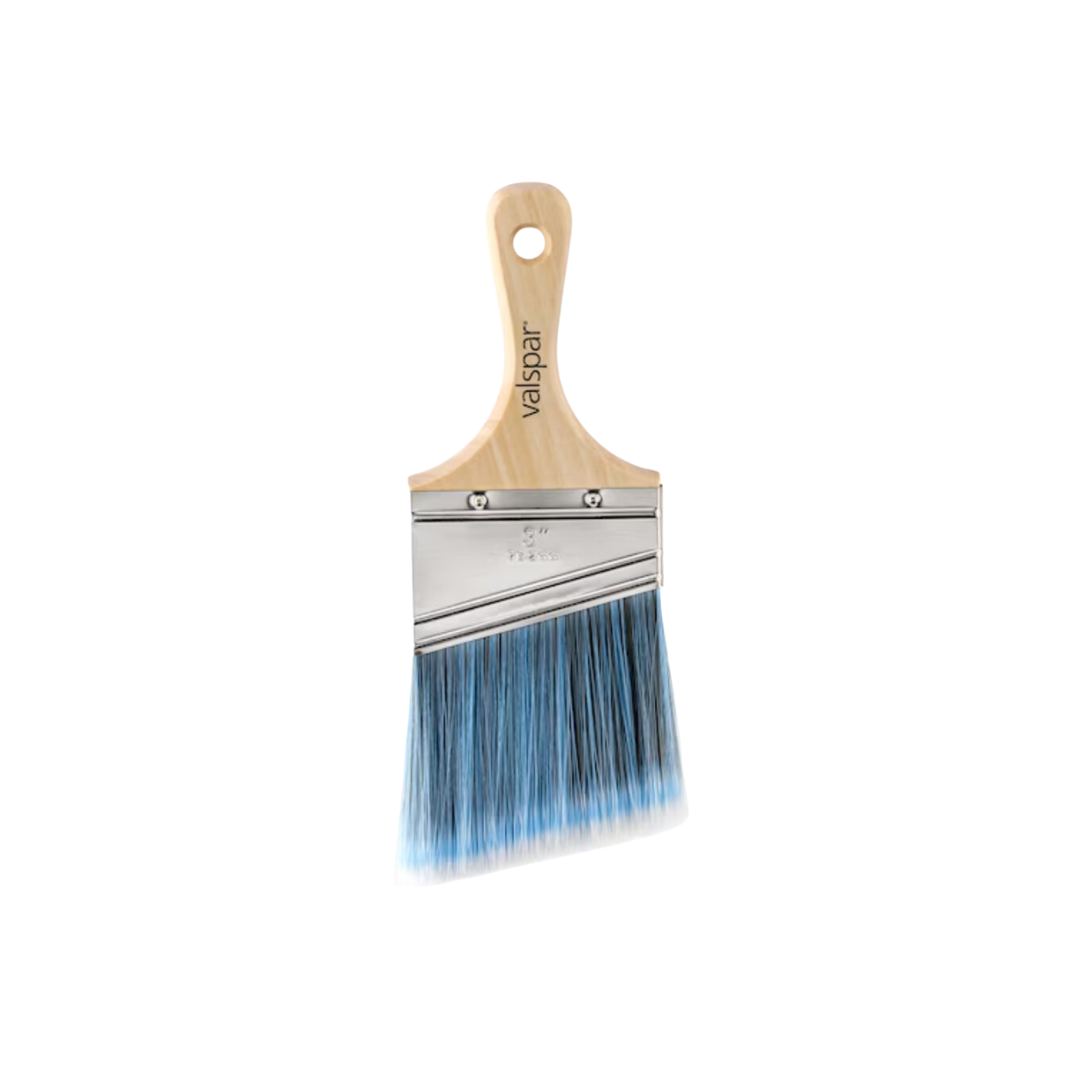
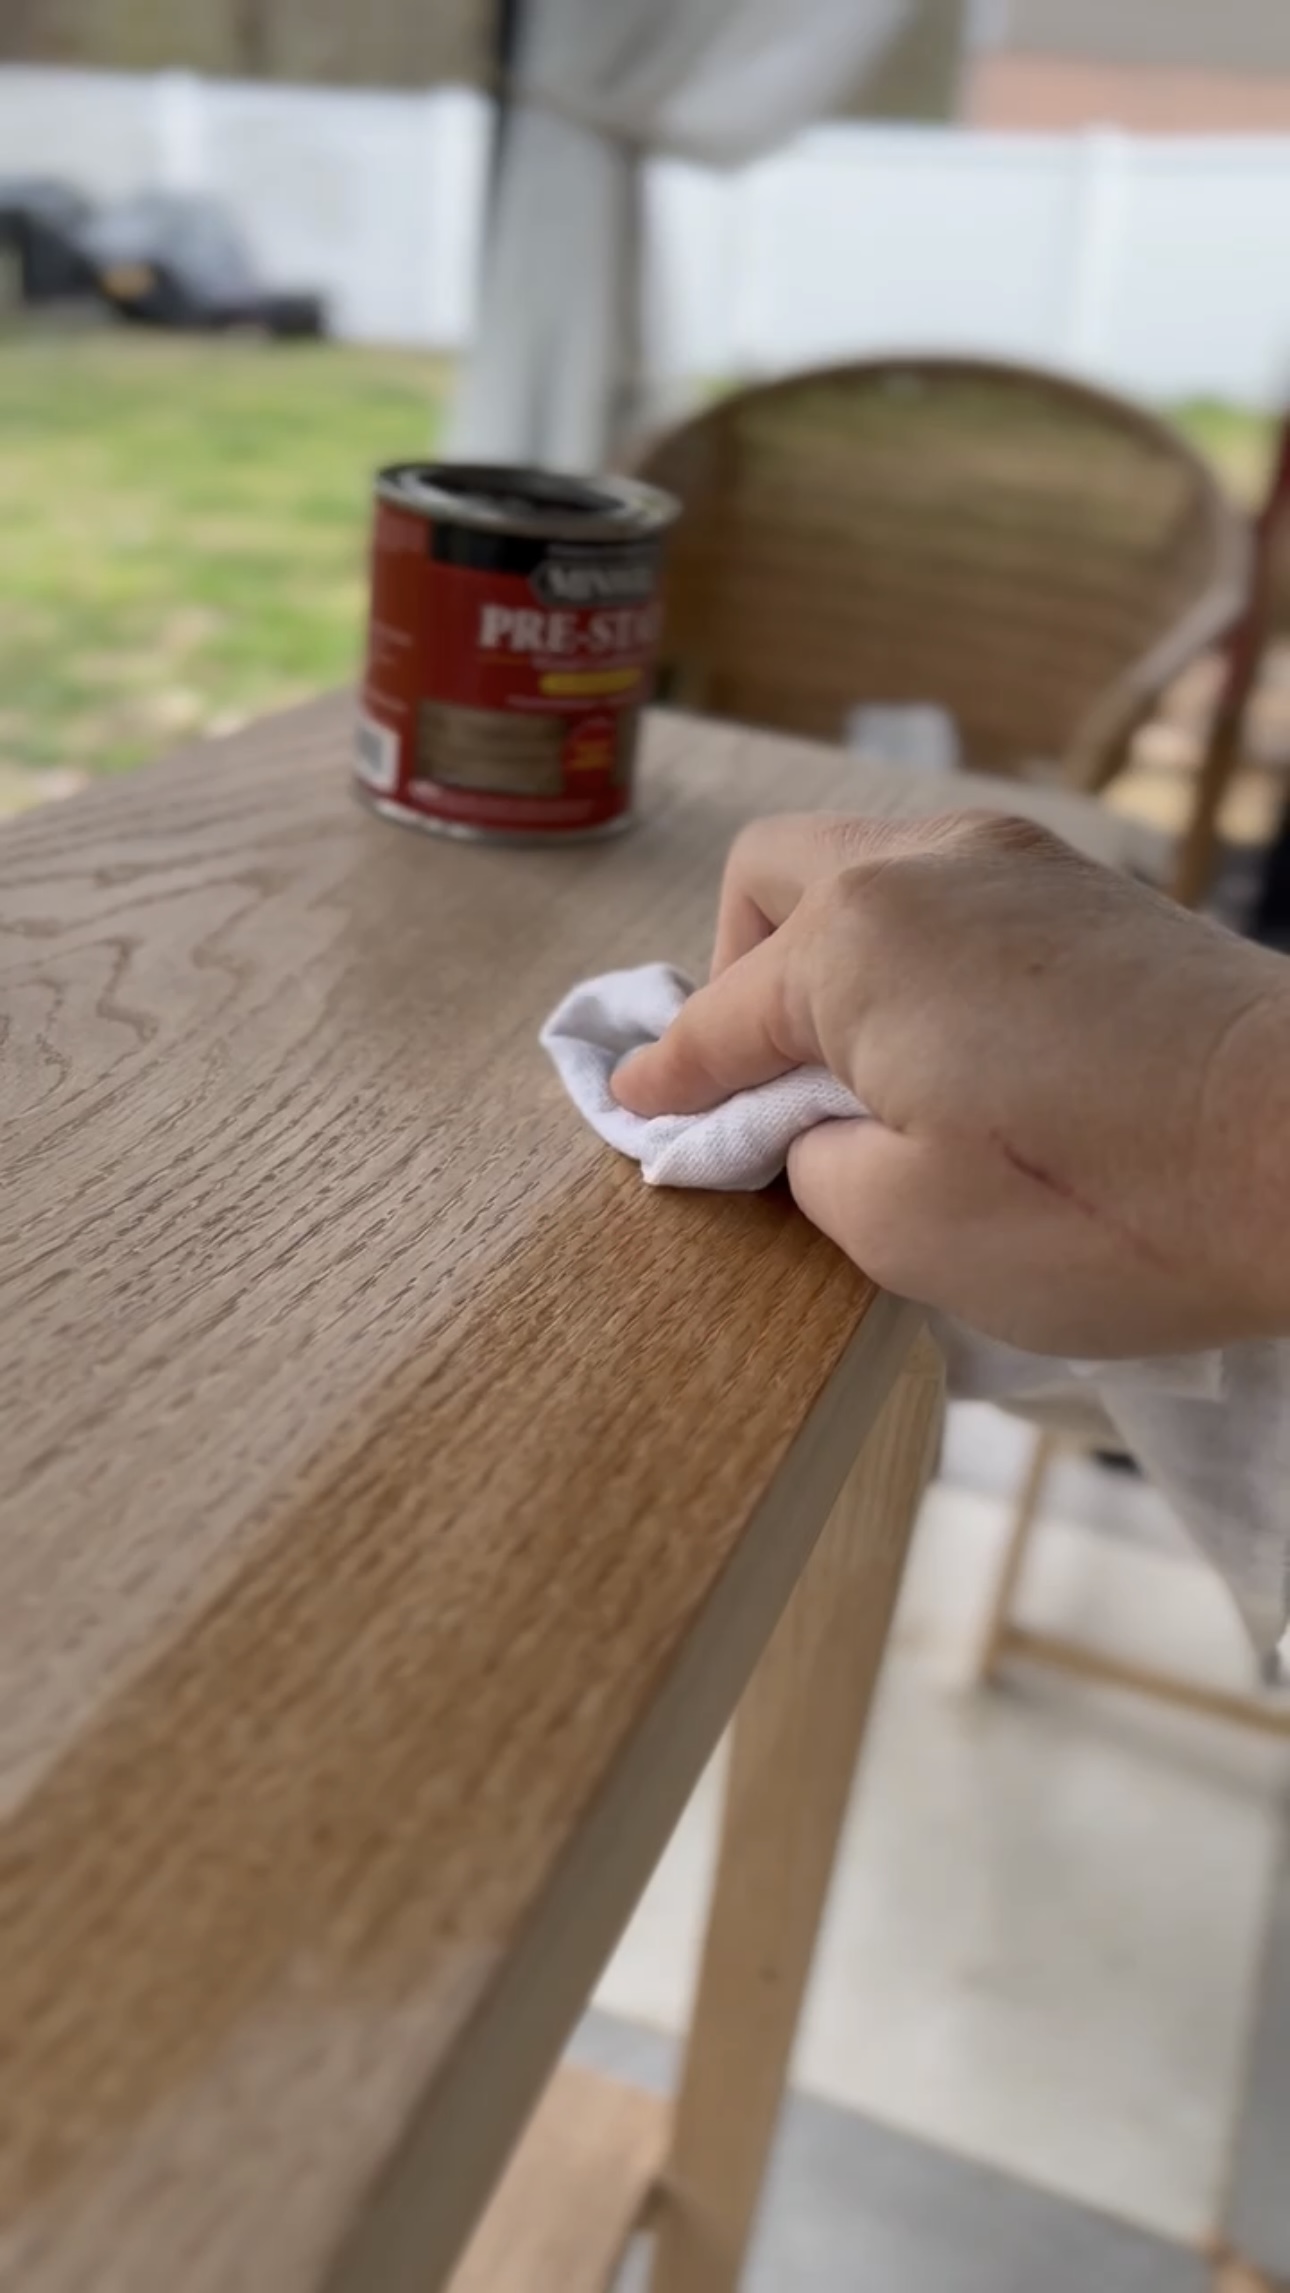
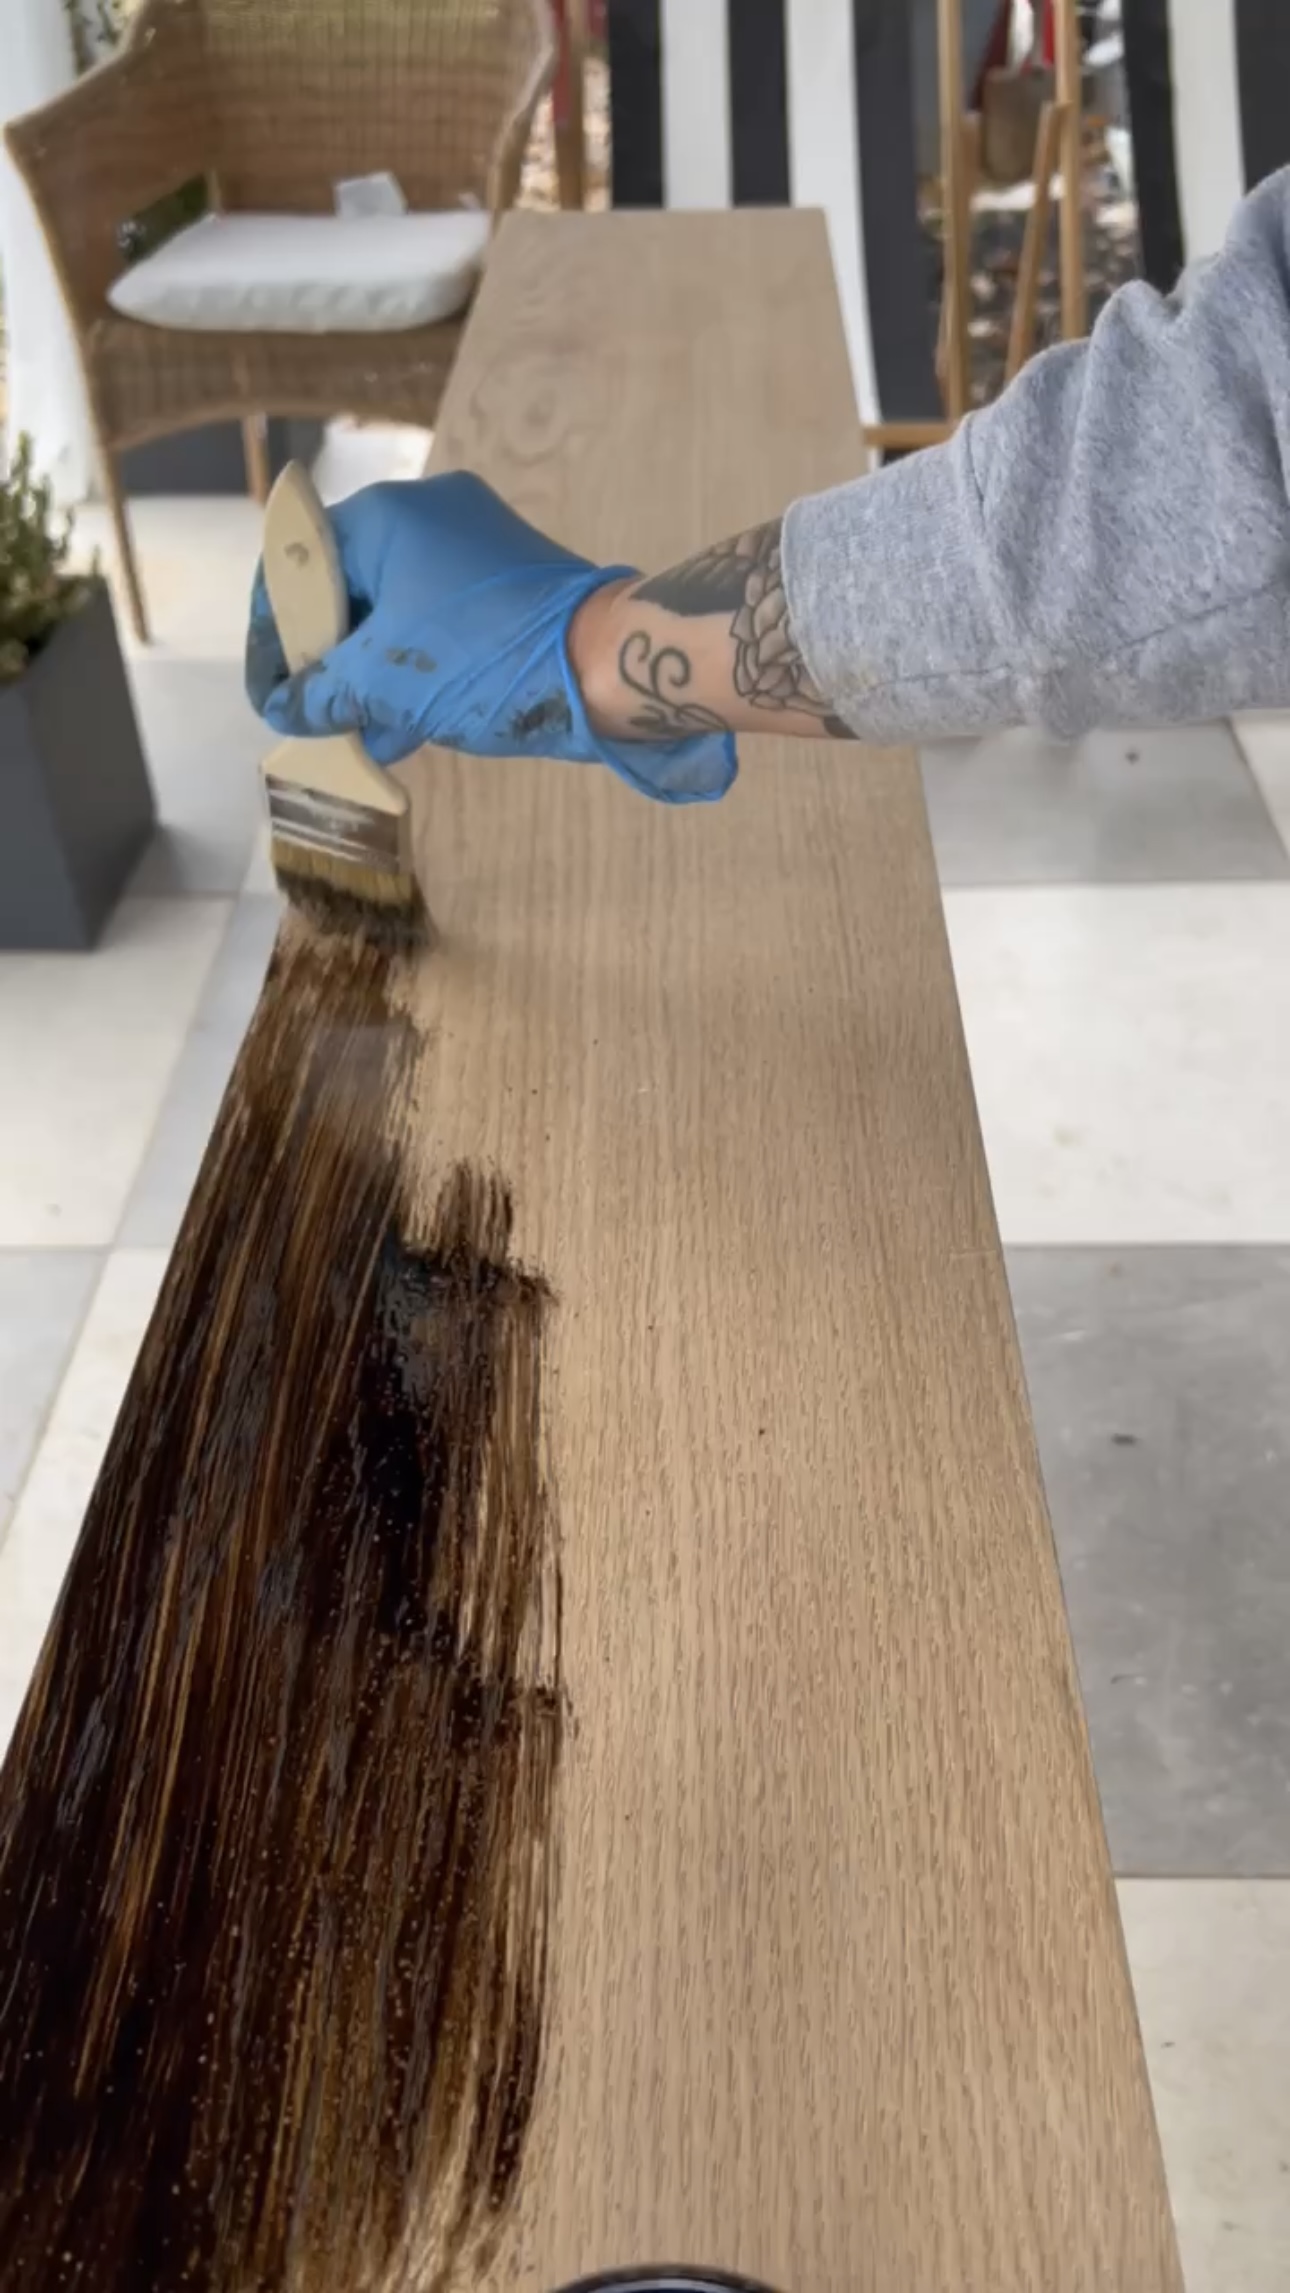
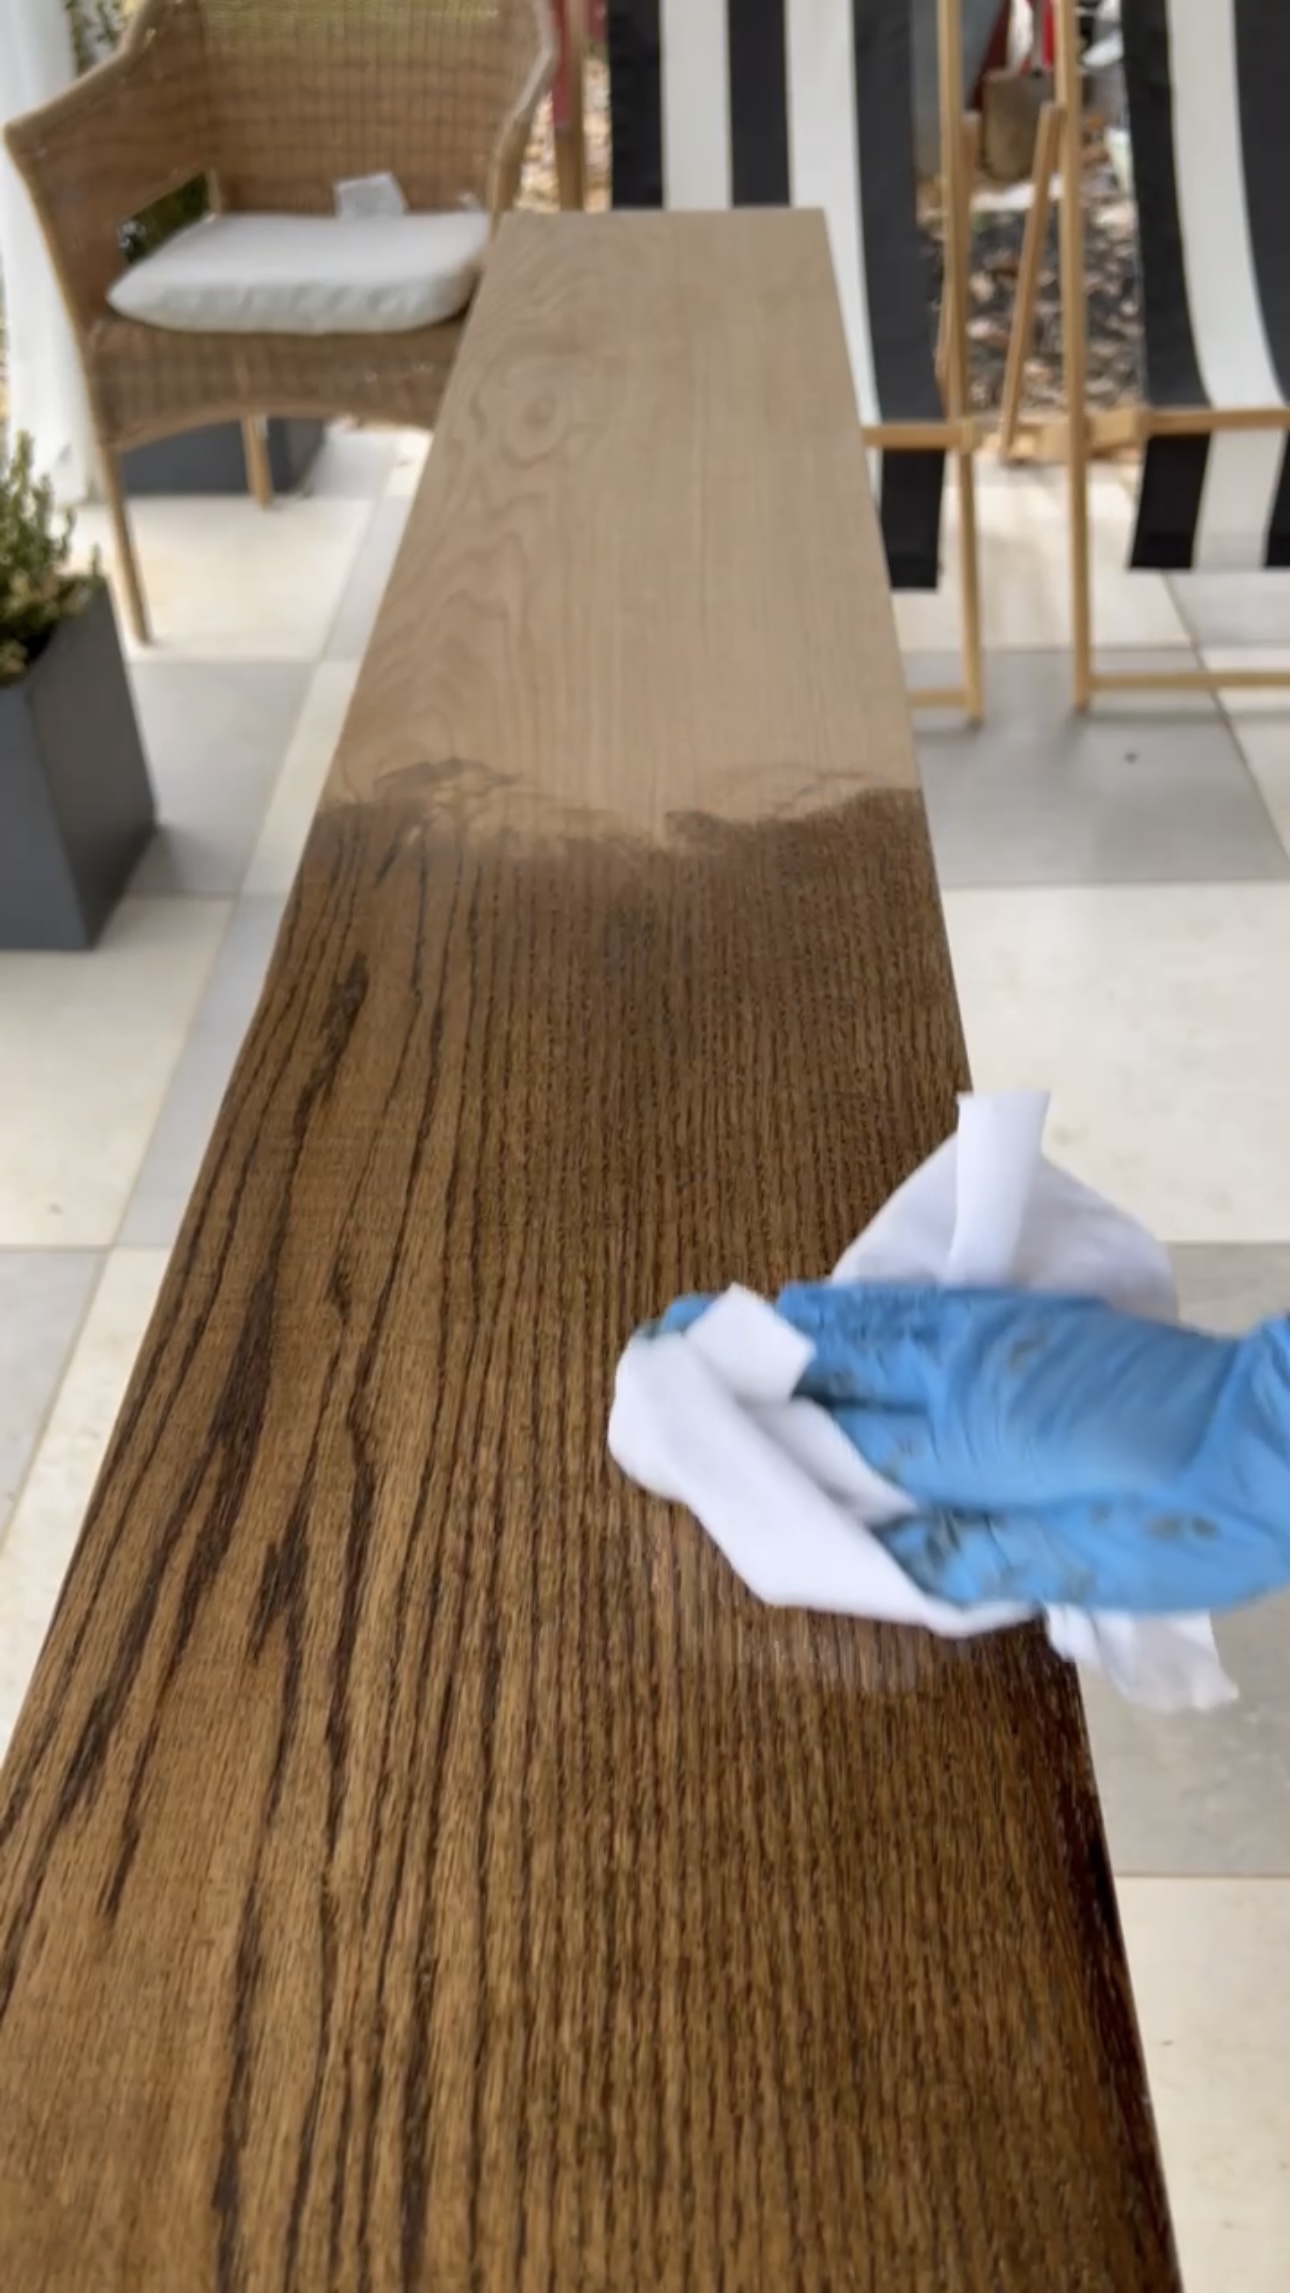
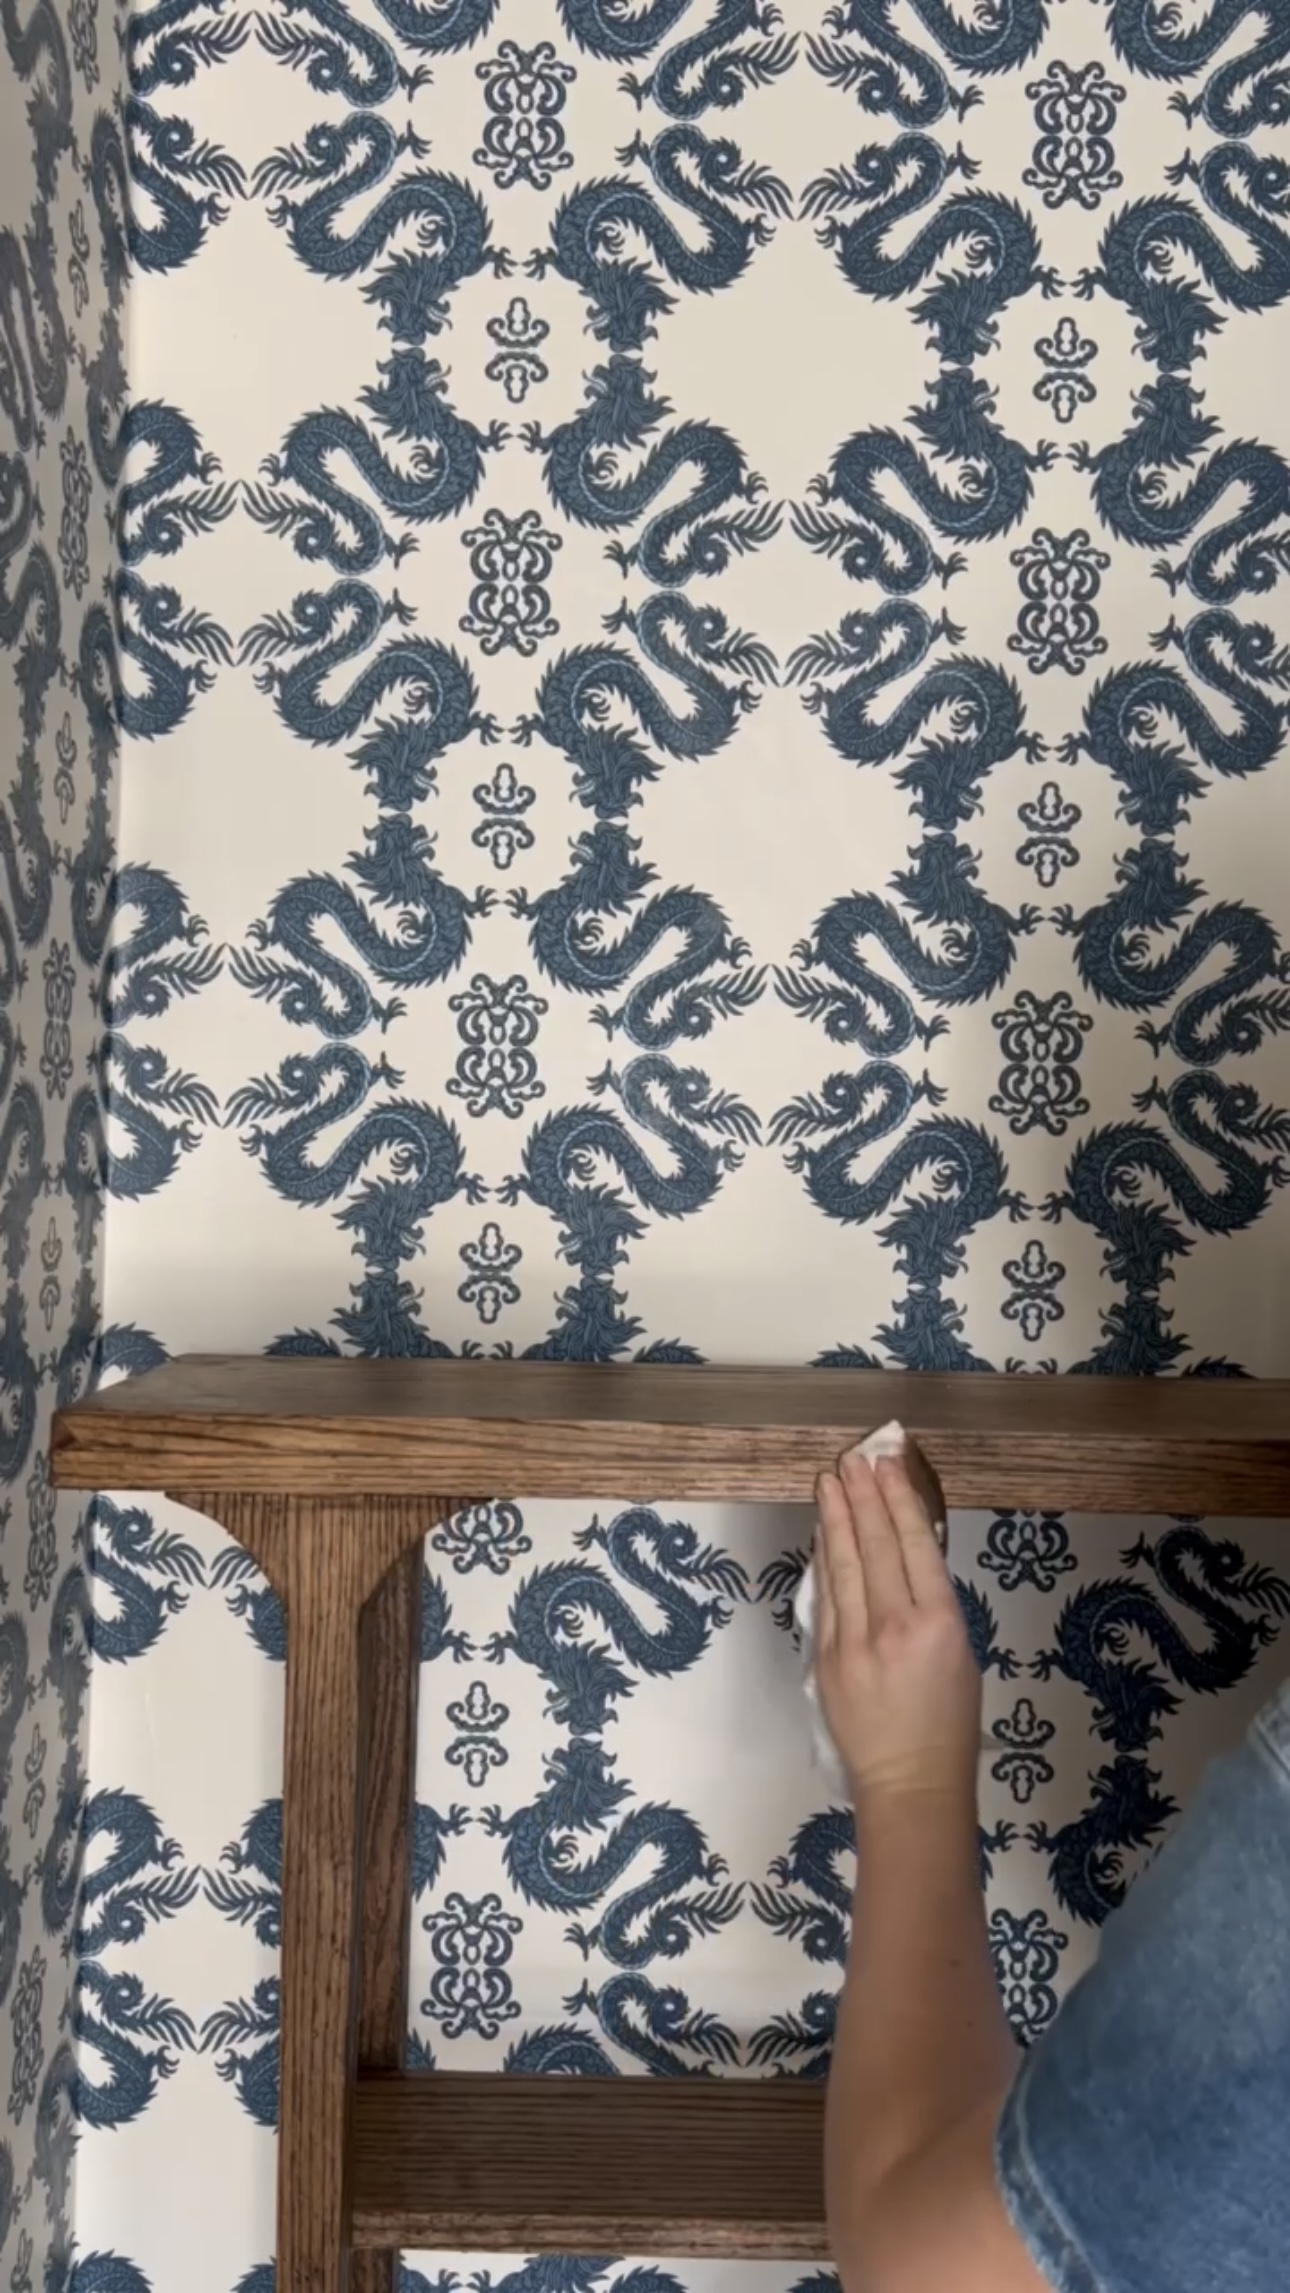
Time to stain! First, I went in with a pre stain. I ended up going with the Dark Walnut by Minwax. I painted this on with a brush and then rubbed it off with a rag.
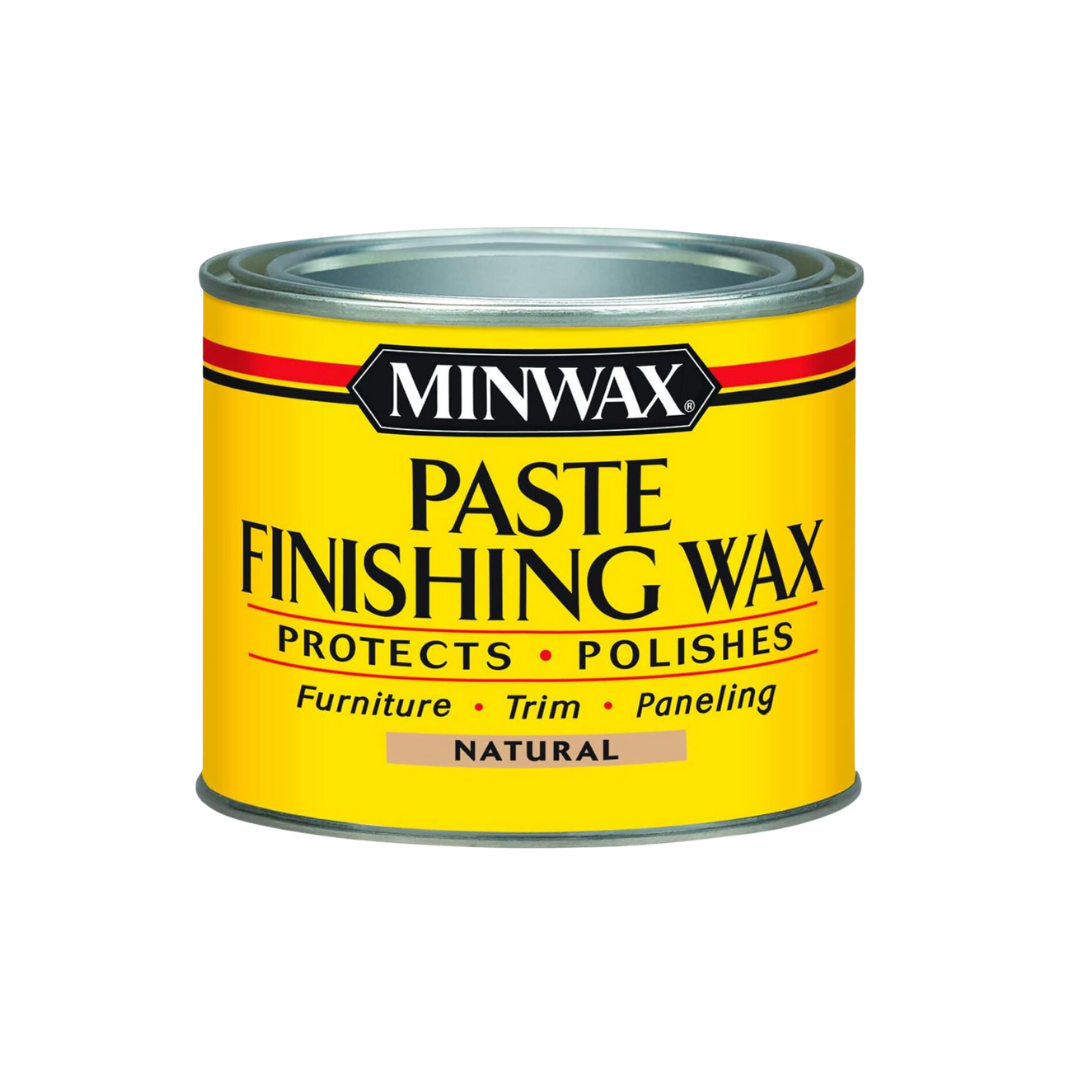
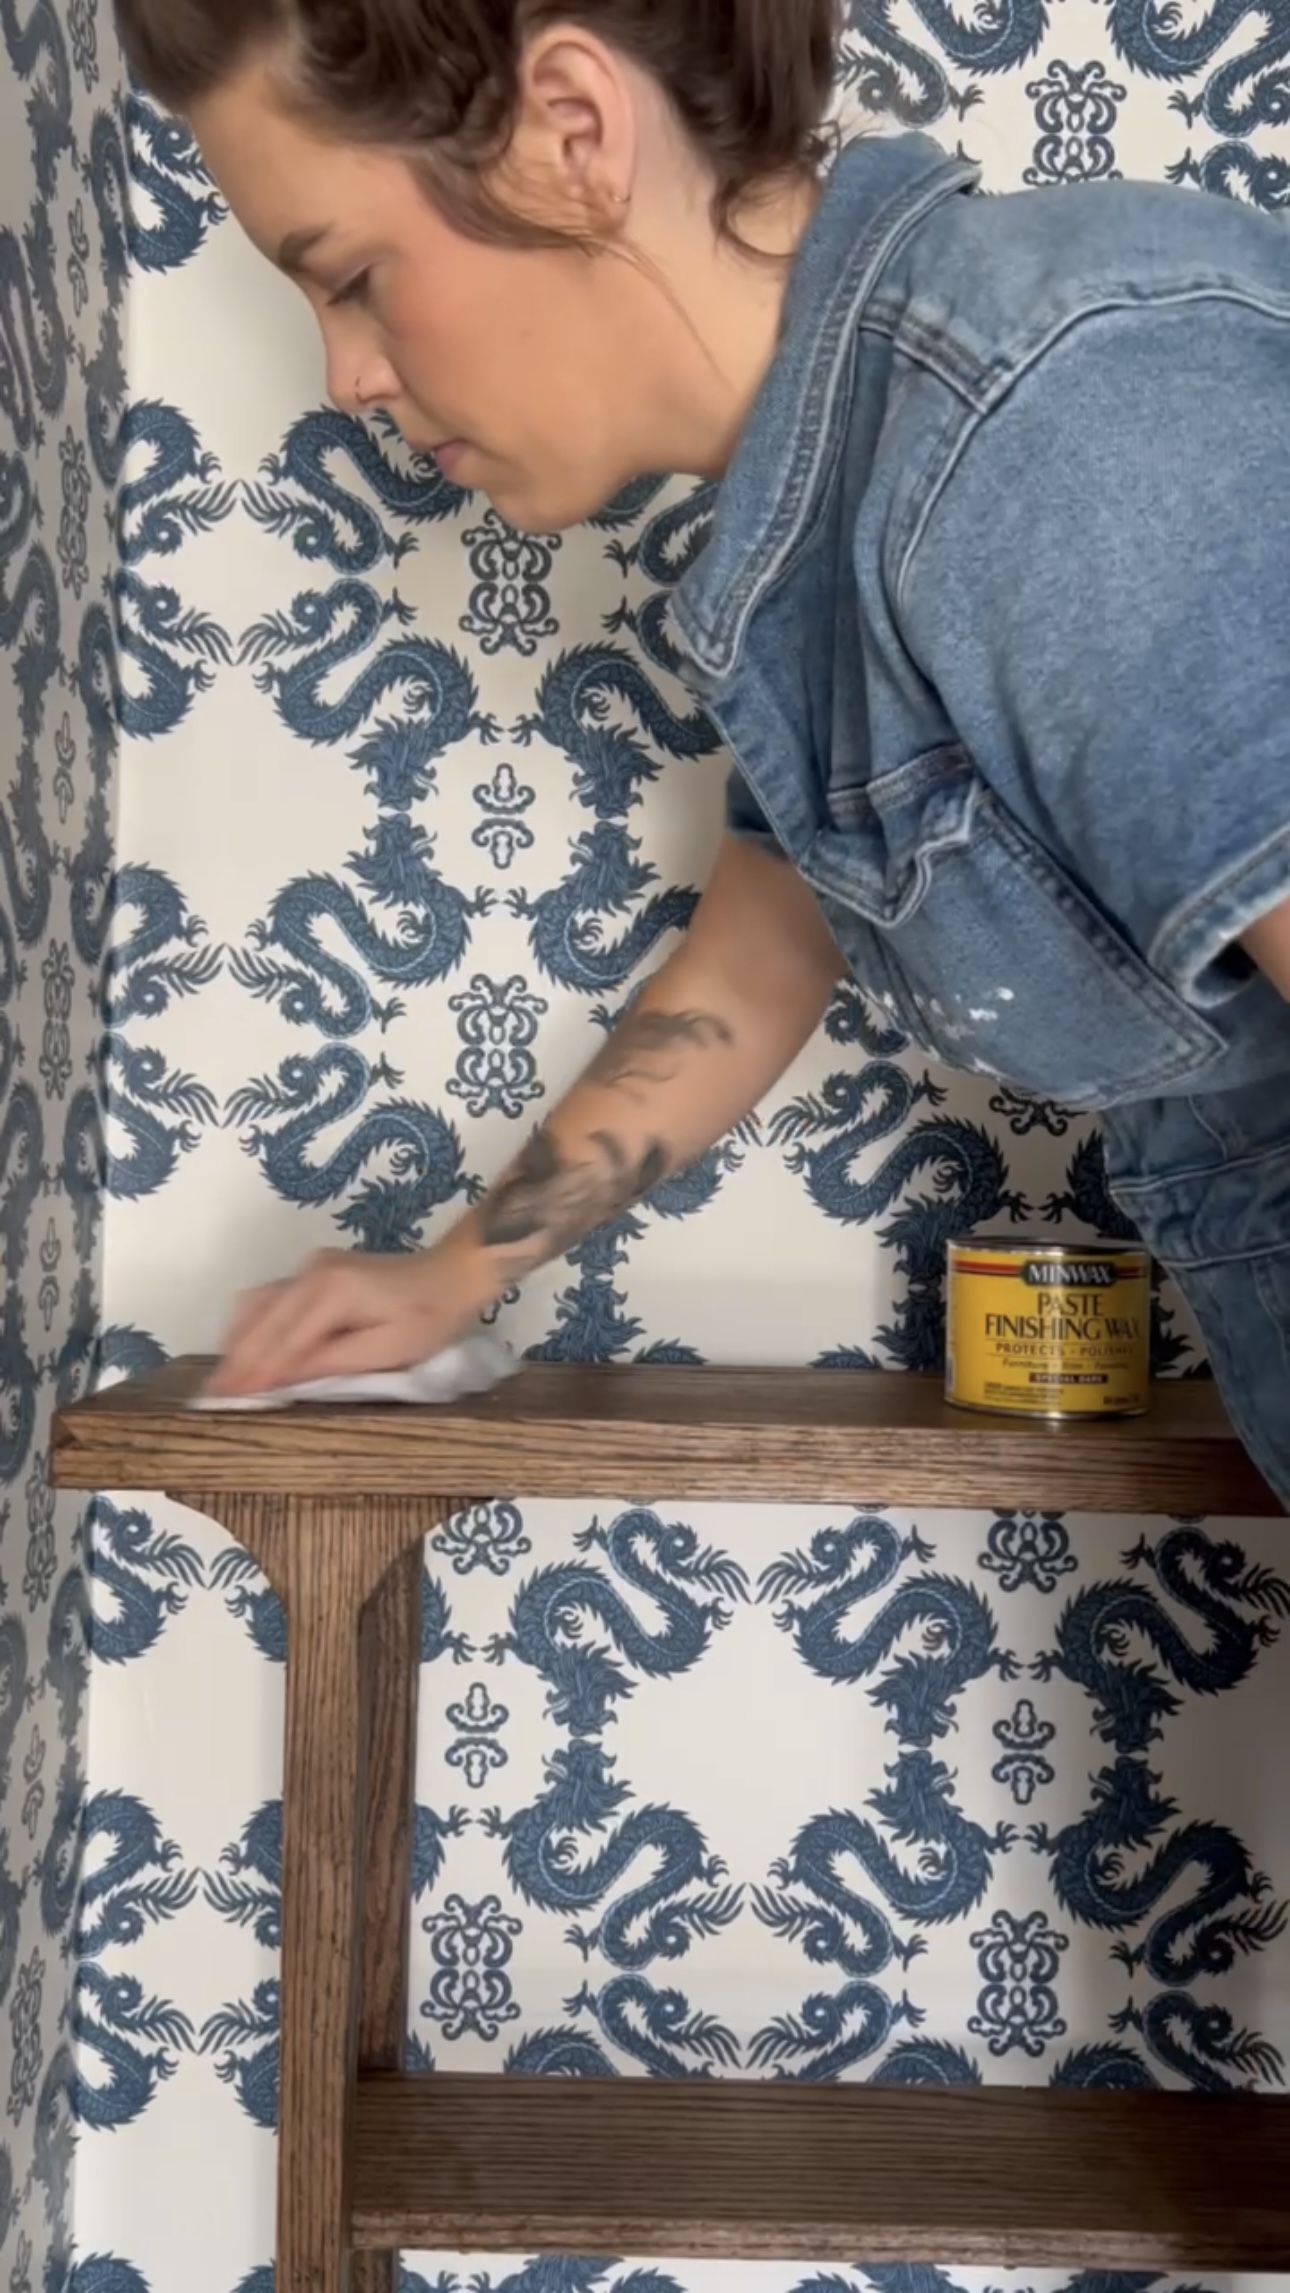
Finally, I used a paste finishing wax by Minwax. I’d never used this stuff before, but it gives a nice velvety touch.
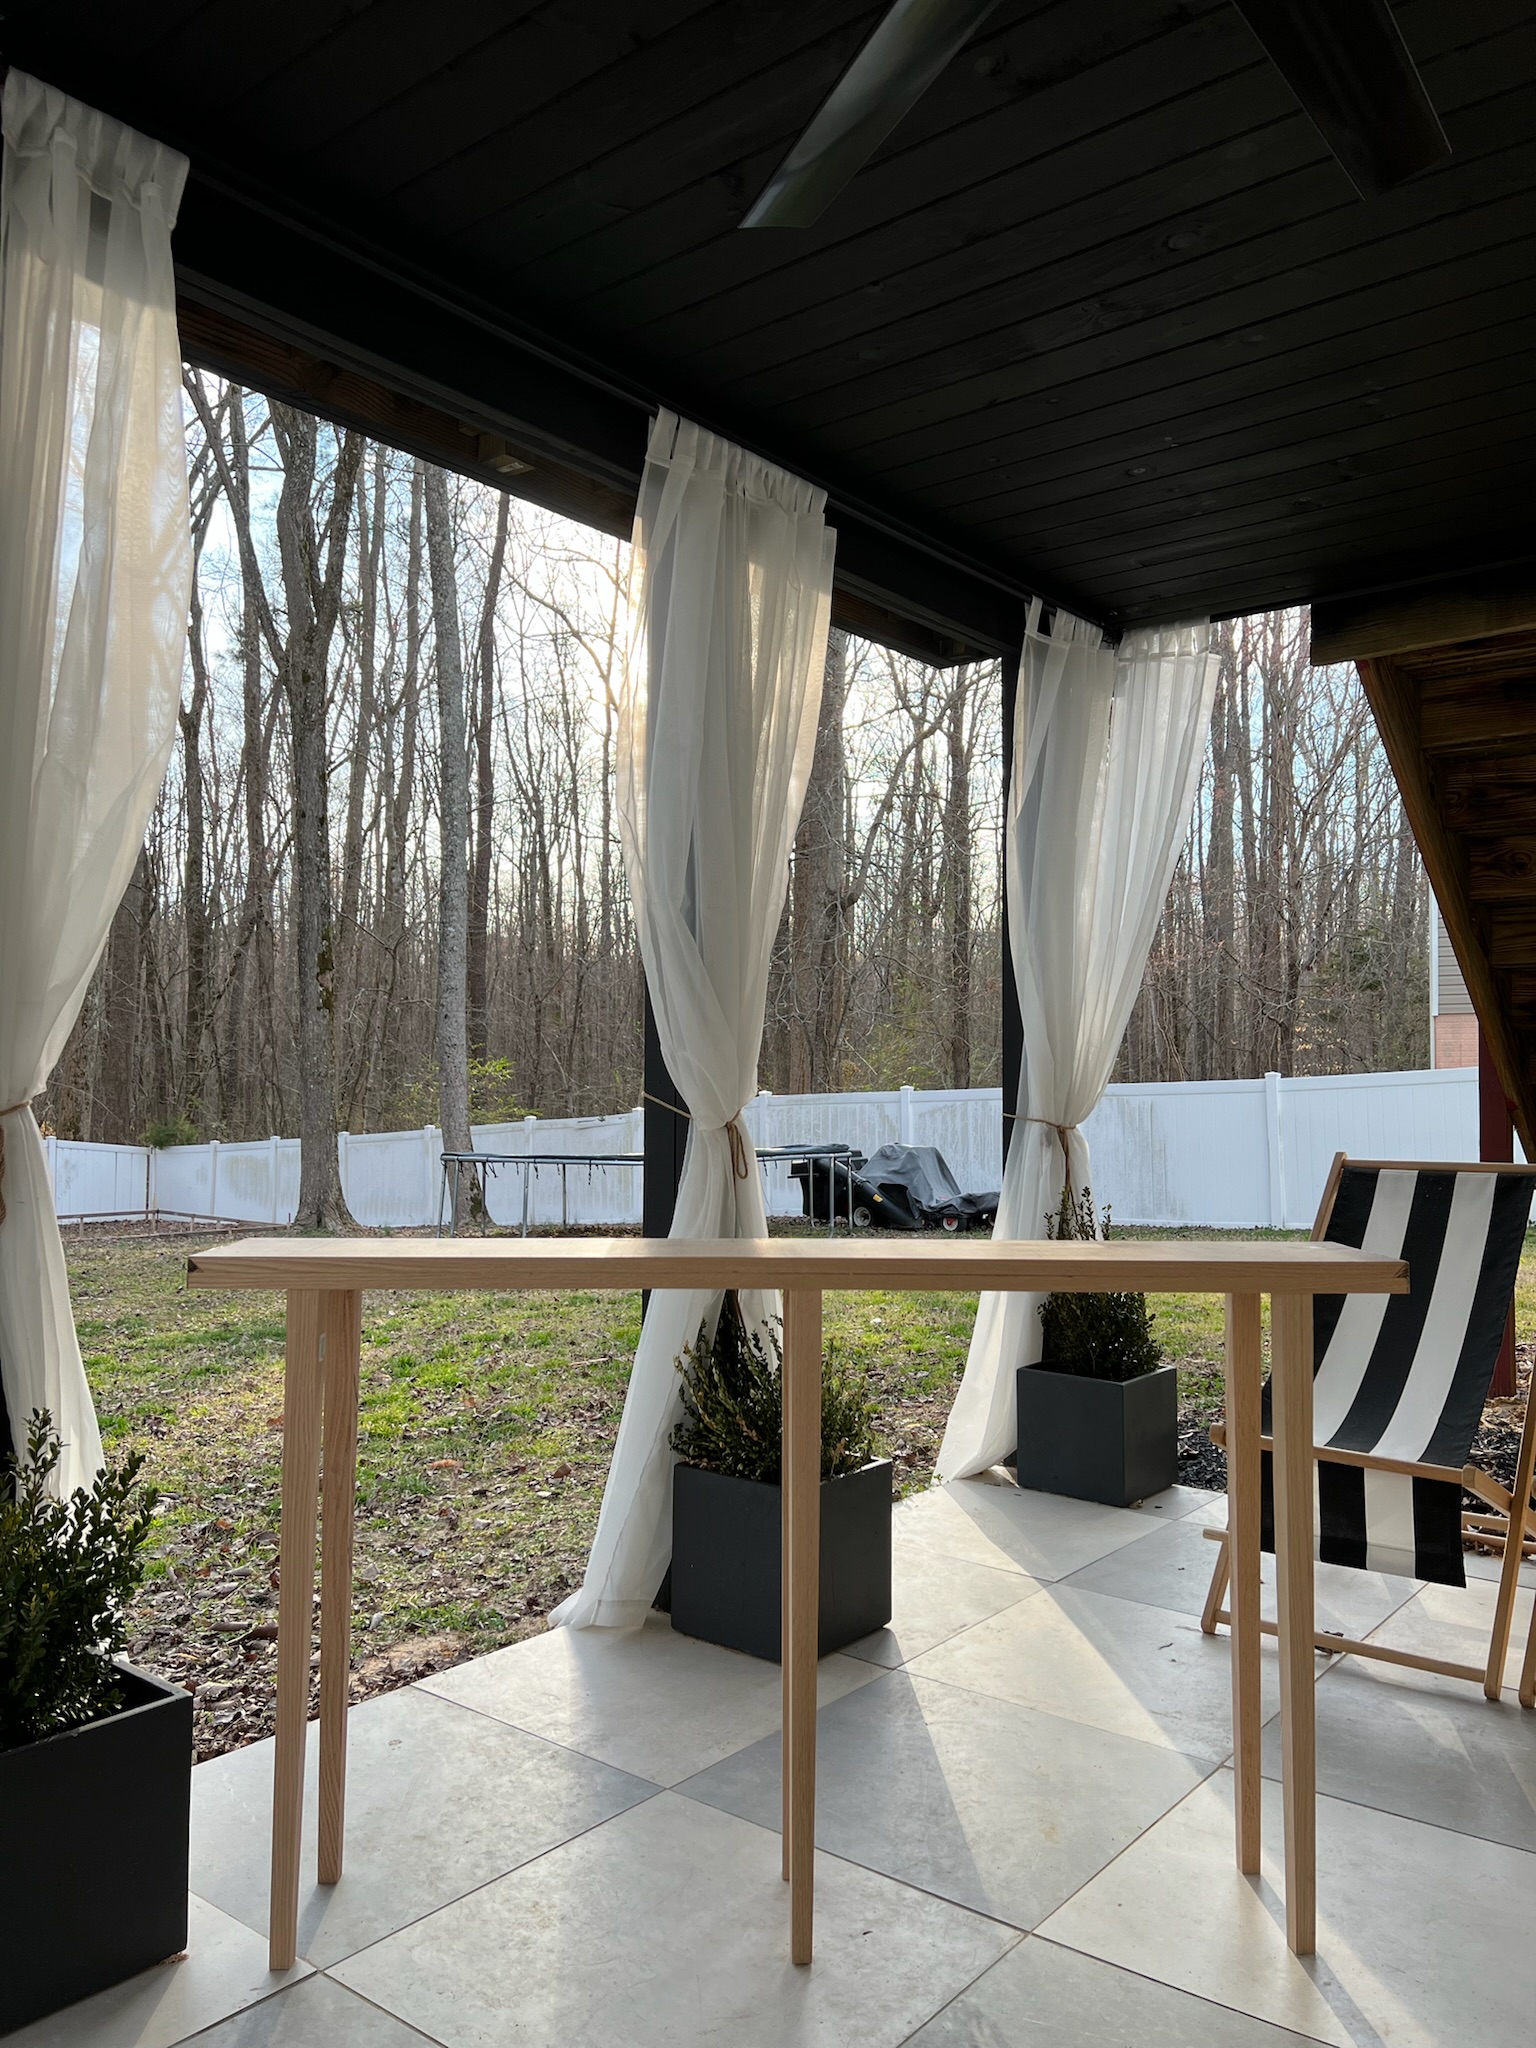
I am so proud of this table! As a reminder, here was my inspiration ($1,170).
And here’s mine! I LOVE IT and it was only $300!
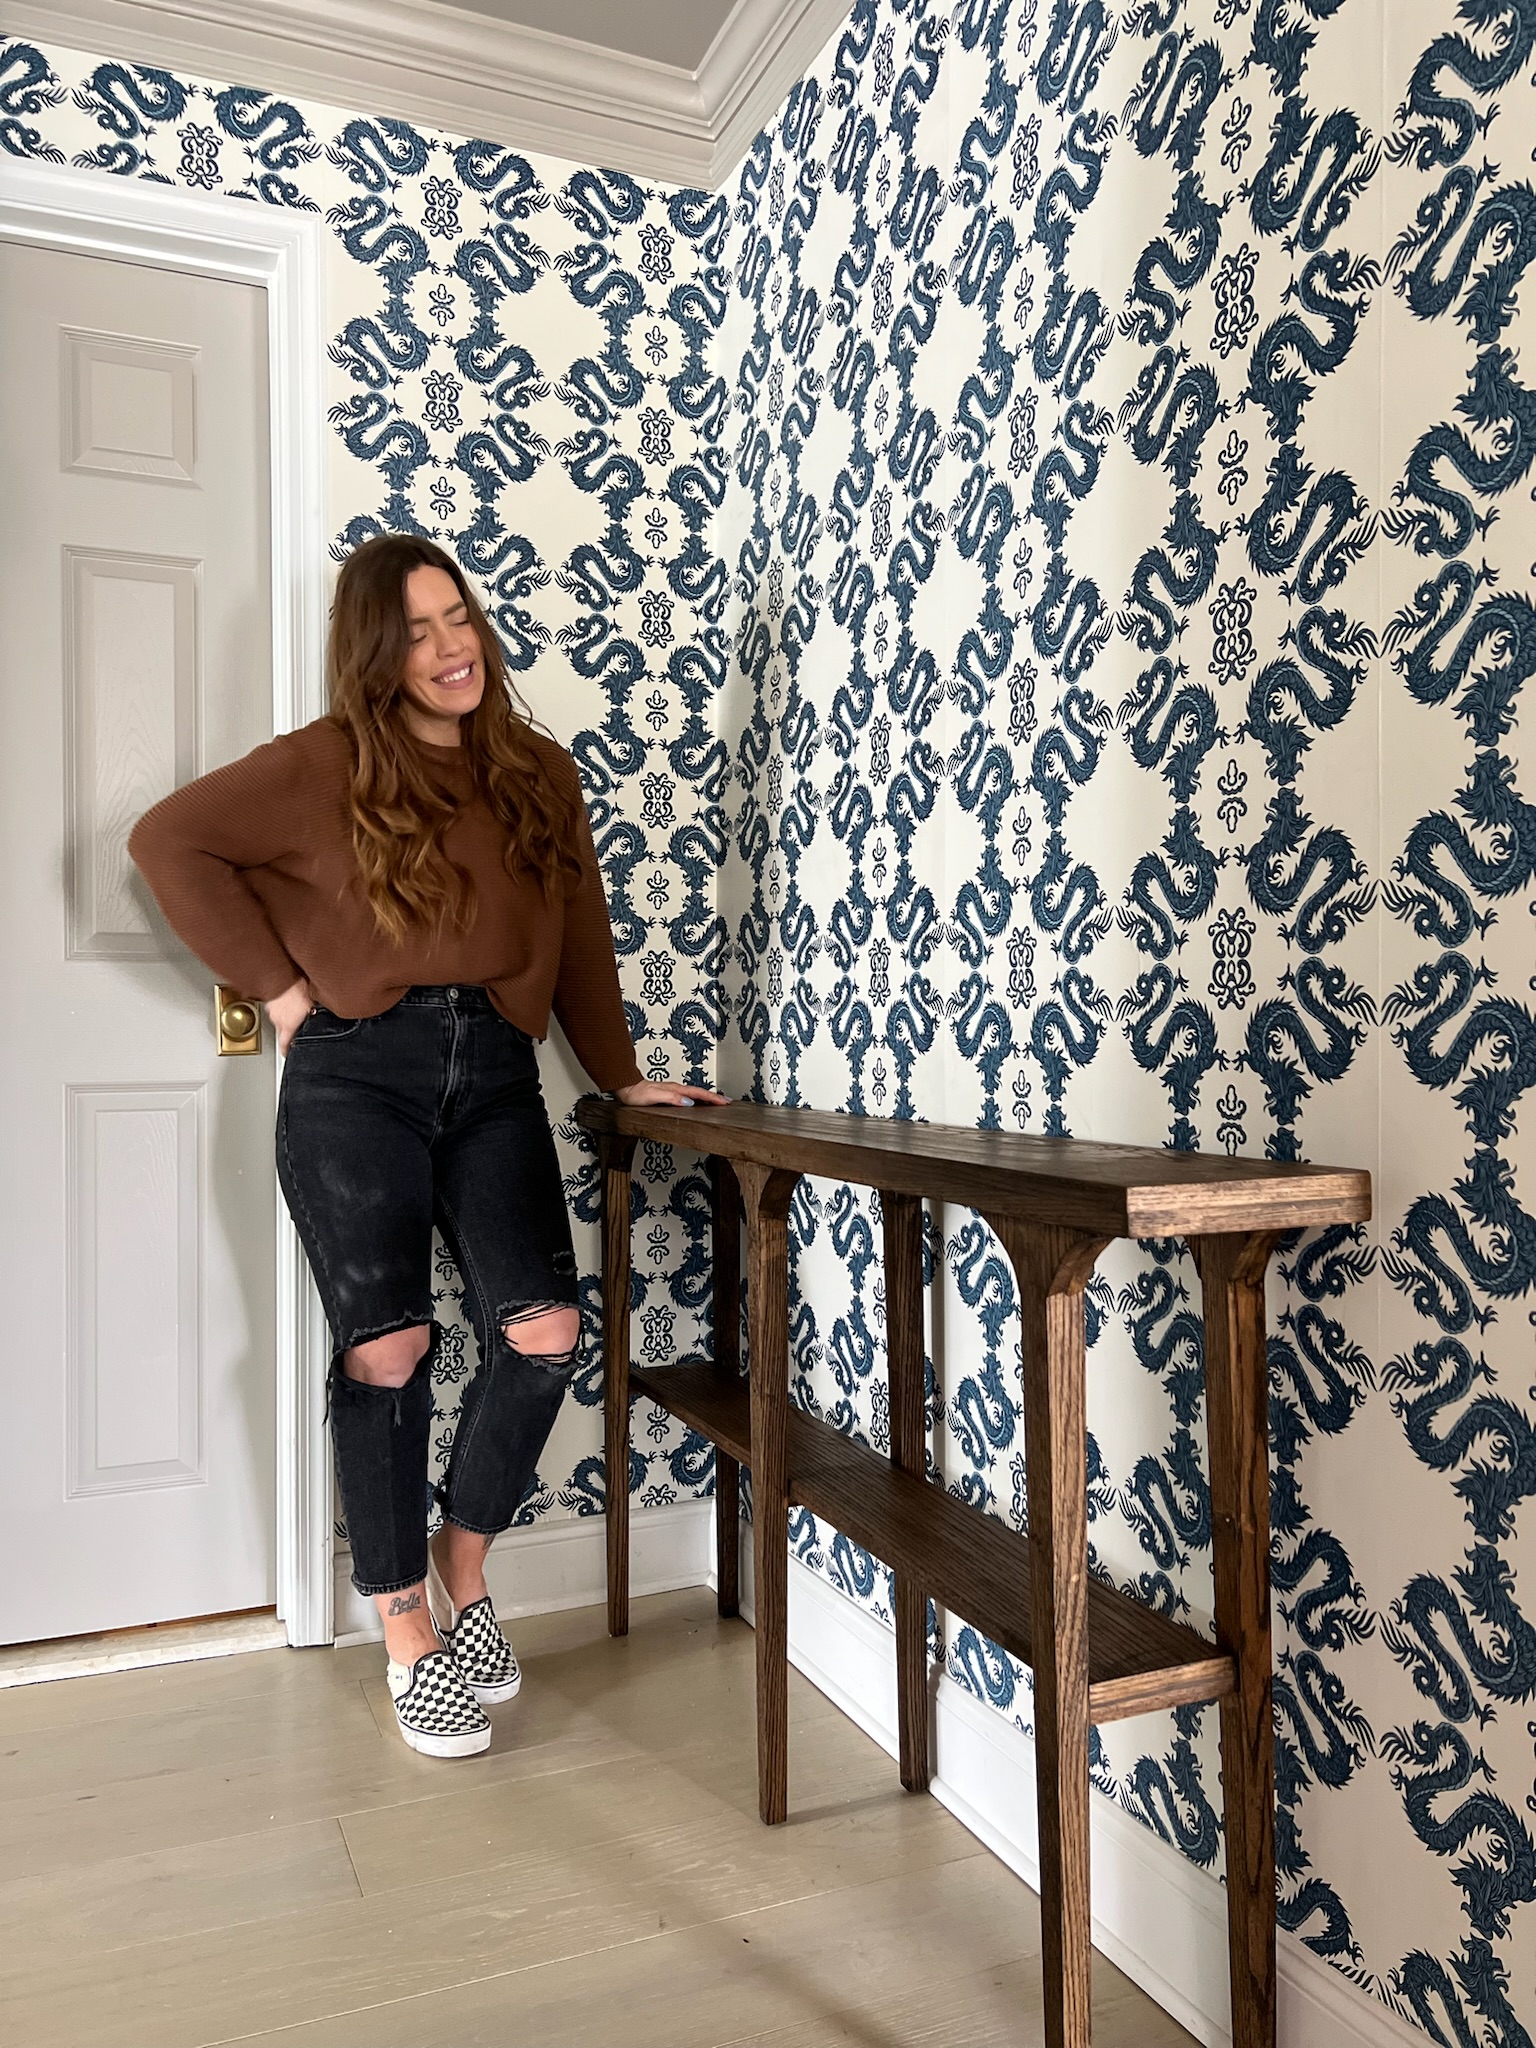

This table is exactly what this hallway needed. I can’t wait to decorate it!
– Cass