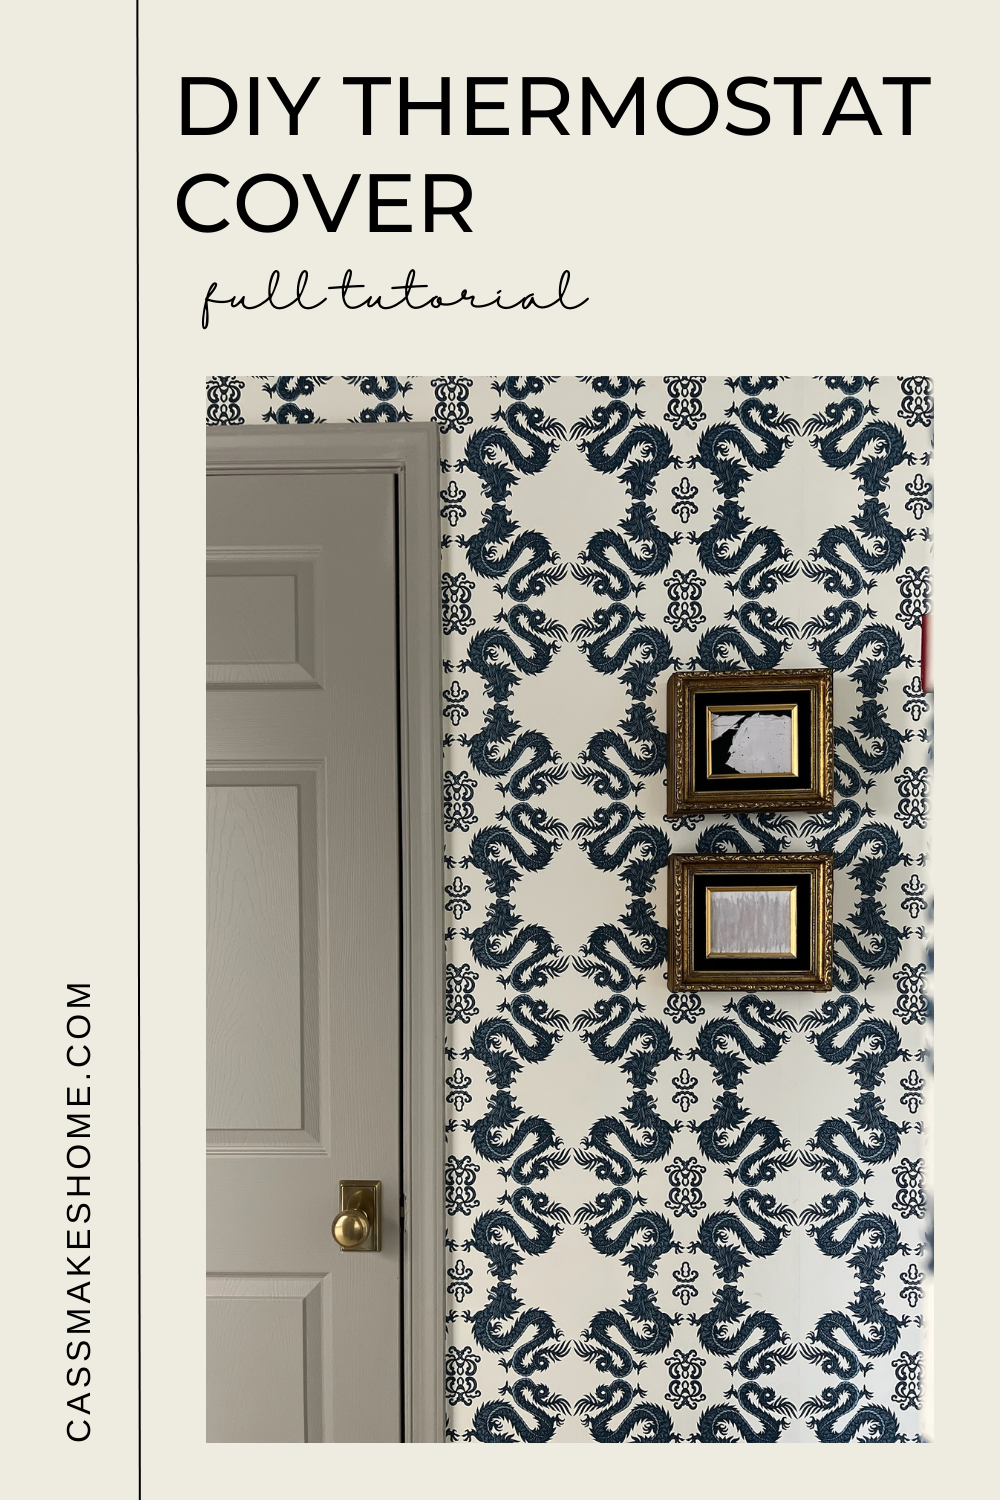
DIY Thermostat Cover

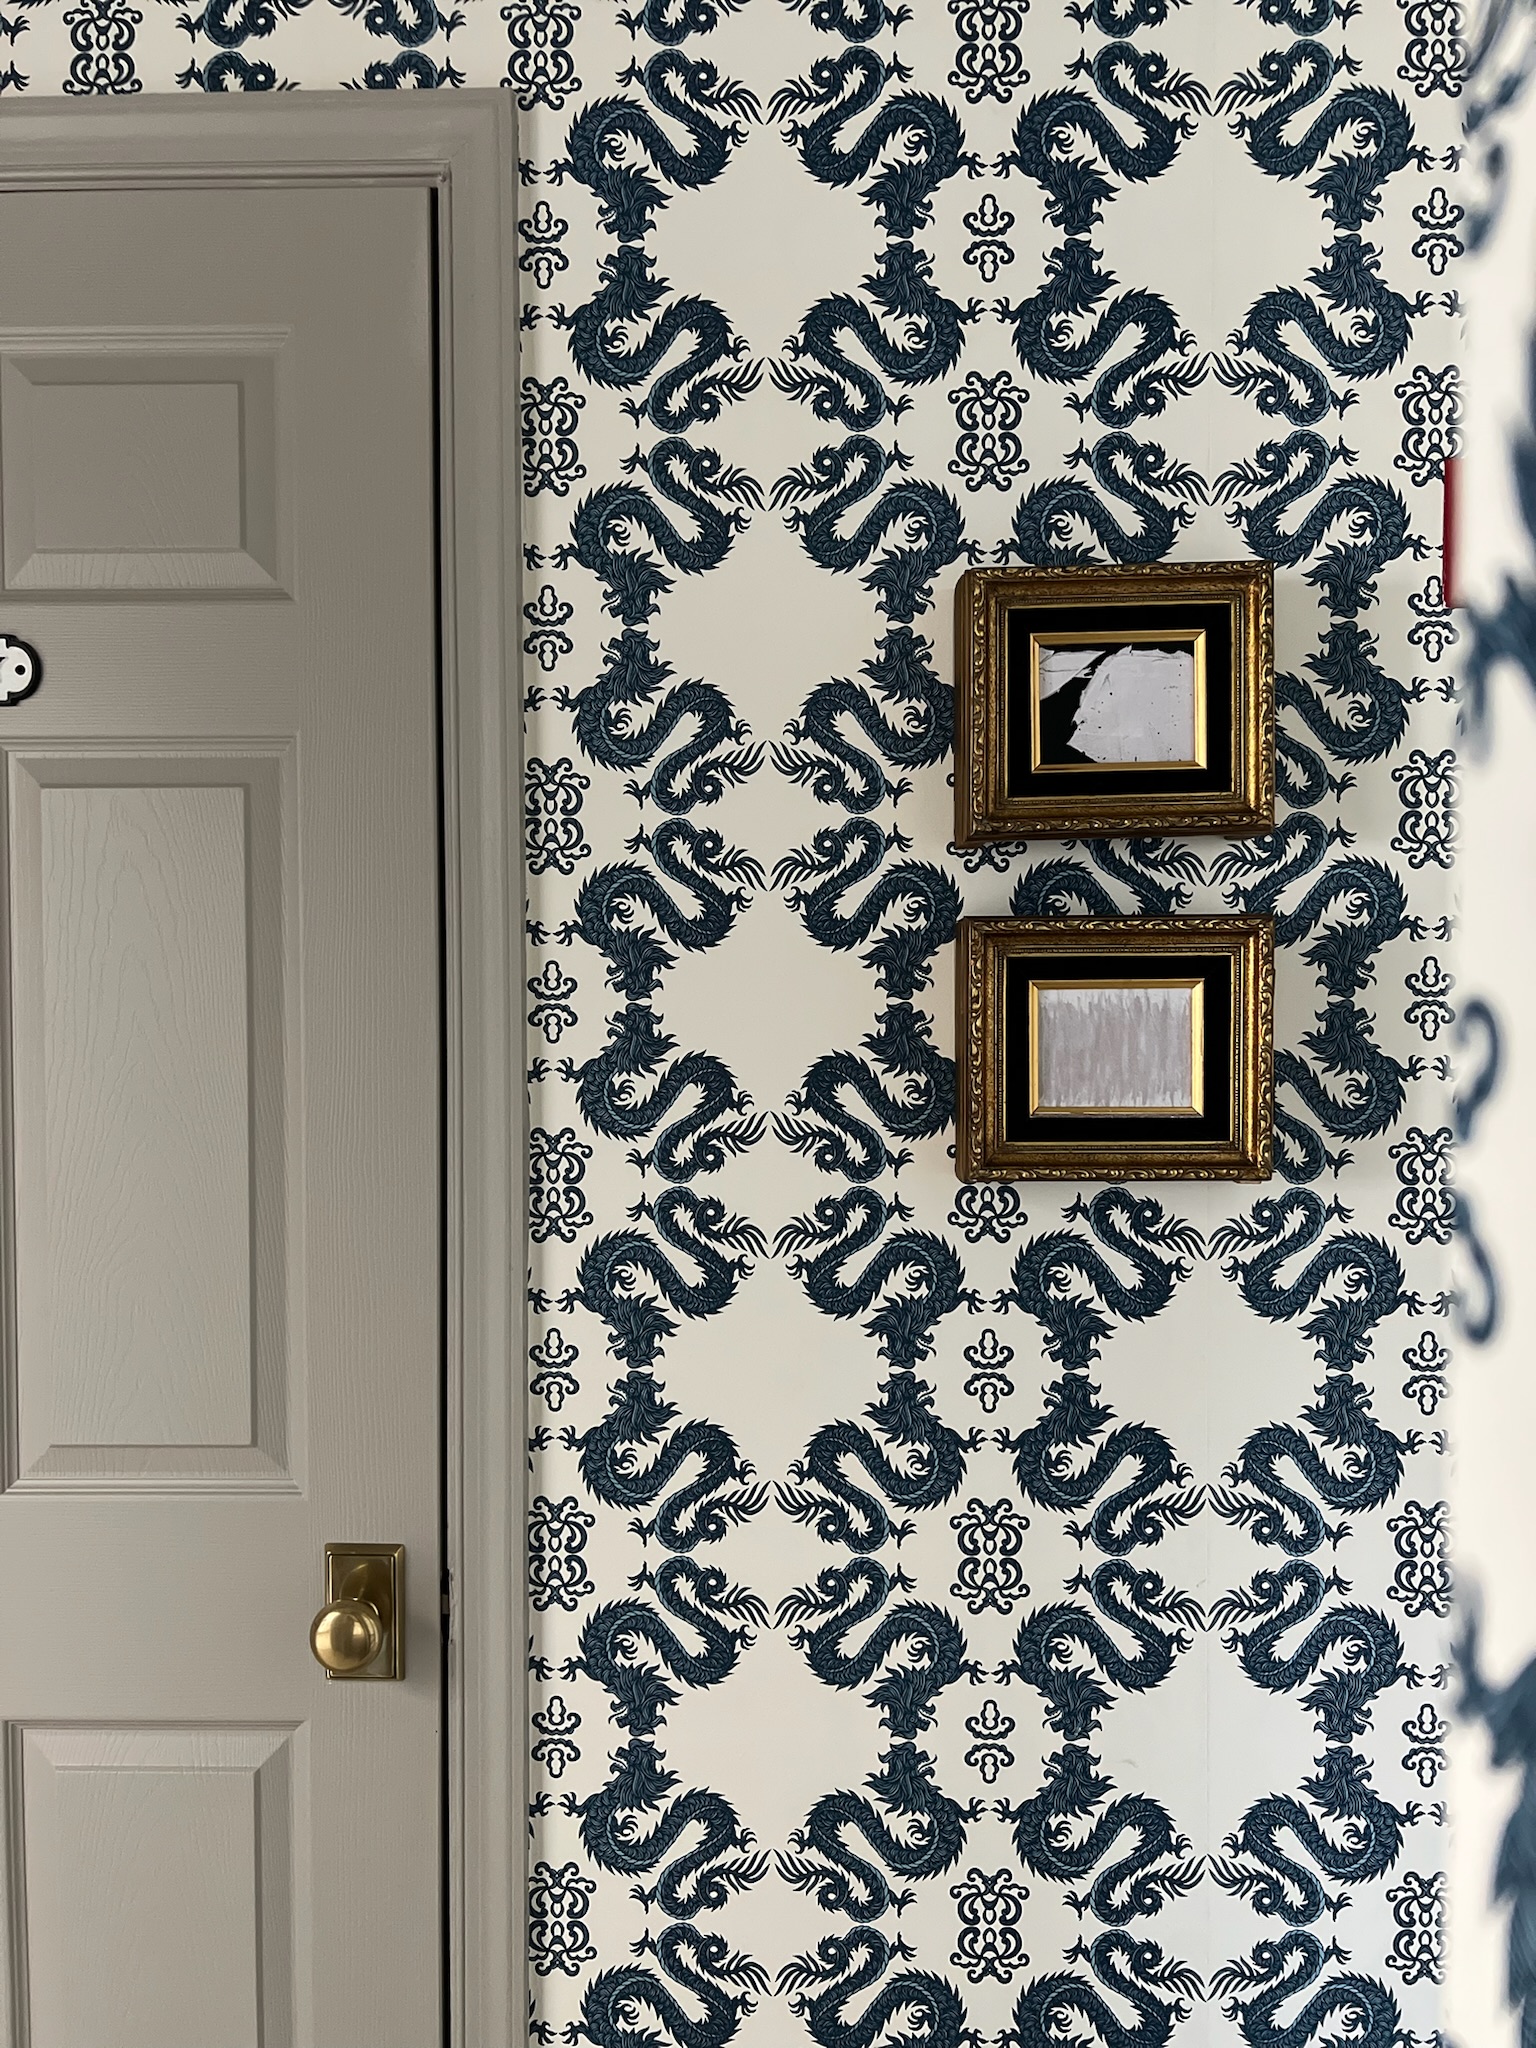
The thermostat and gas shutoff switches are up in the hallway I’ve been renovating. After finishing the wallpaper for this Hallway Makeover, I wanted to try and disguise these. I can’t really disguise the gas shutoff switch since it’s an emergency switch. But I thought it would be fun to disguise this thermostat with some art. I decided to make a DIY picture frame thermostat cover!
*This post may contain affiliate links, which means I may earn a small commission if you purchase through my links, at no extra cost to you. I only share products I genuinely love.
The wallpaper already disguises the thermostat fairly well. But, I wanted to hang some modern art here as well. So I figured, why not kill two birds with one stone!
Let’s do it!
Materials for my DIY Thermostat Cover
- 1×2’s
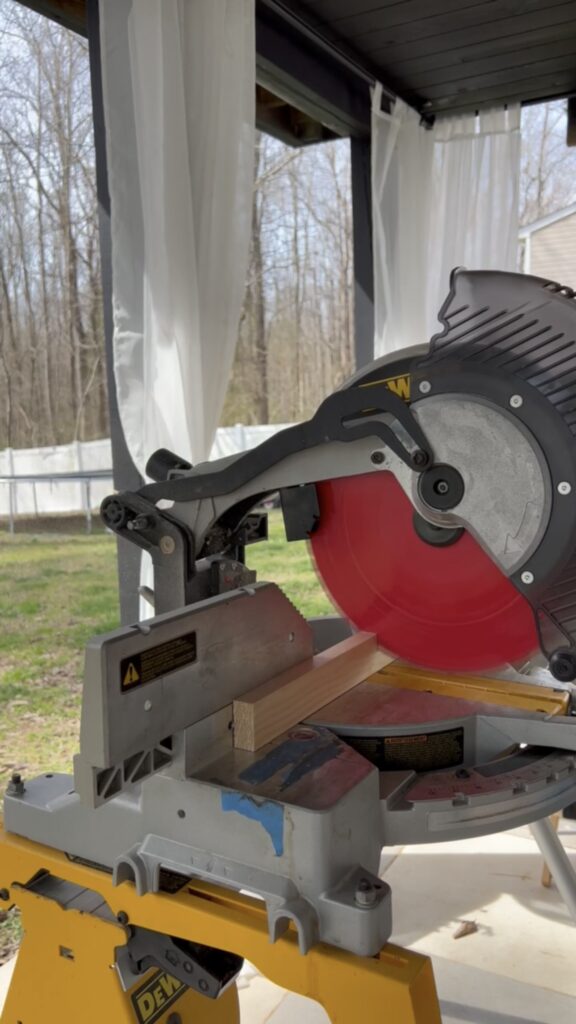
- Miter Saw
- Sanding Sponge
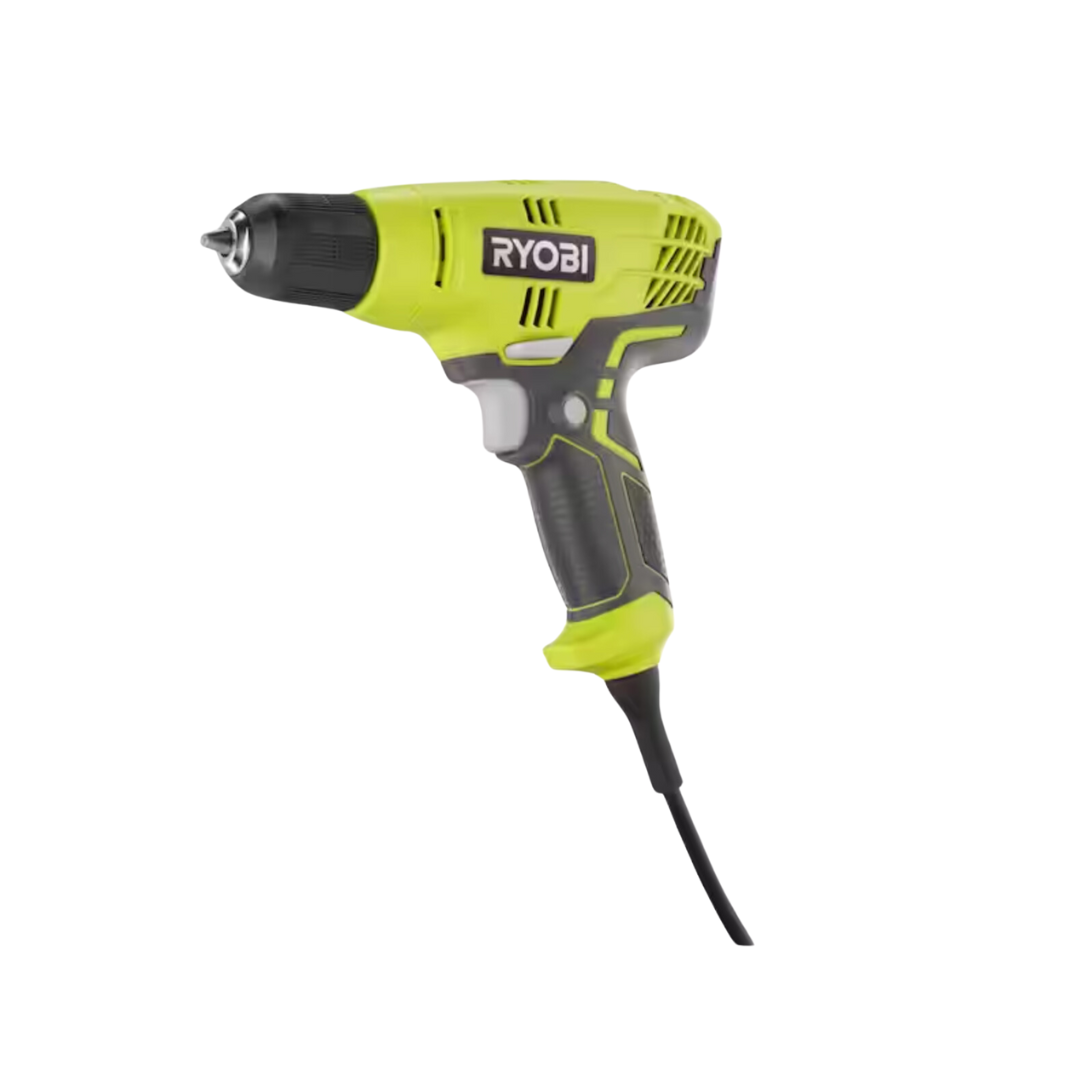
- Drill
- Screws
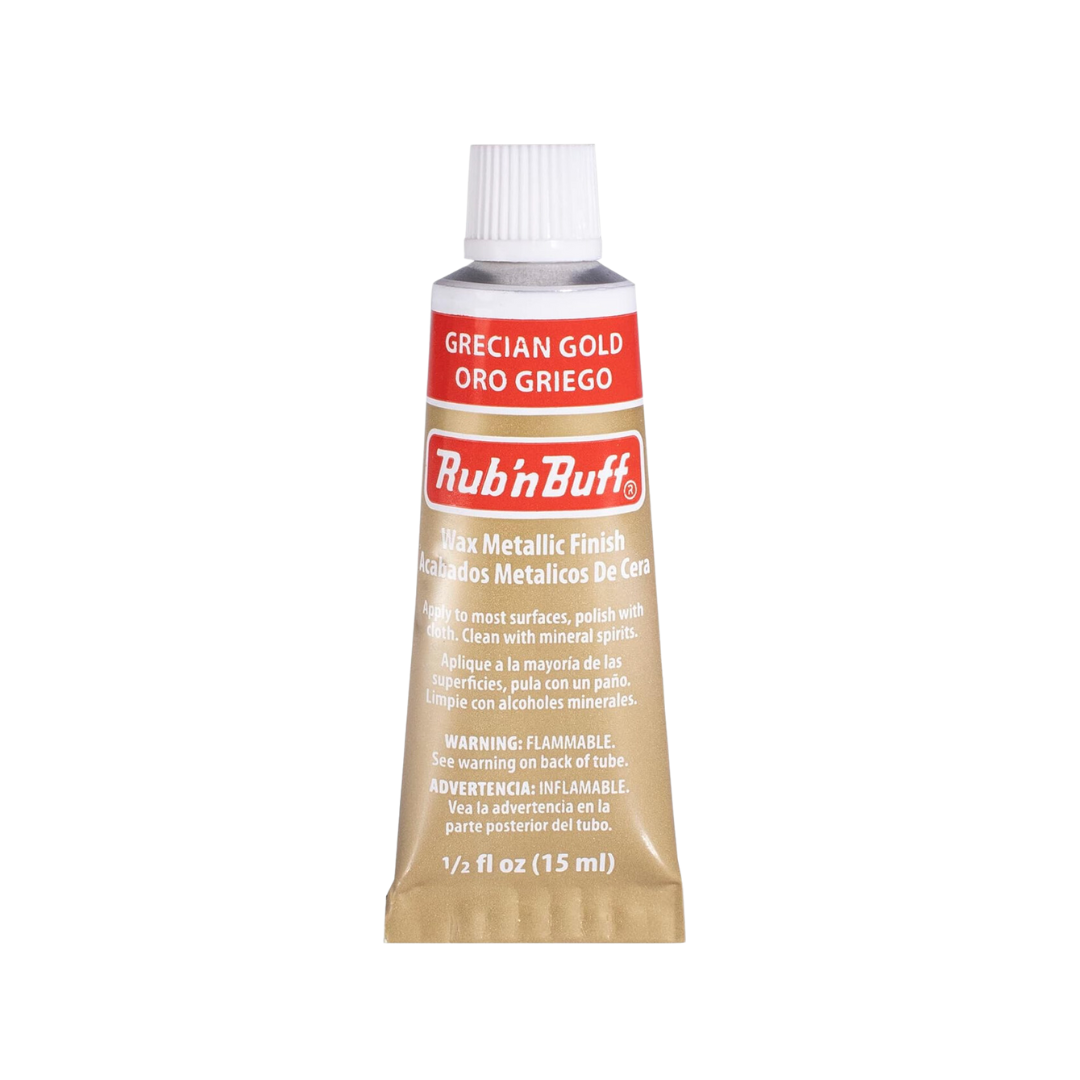
- Rub n’ Buff
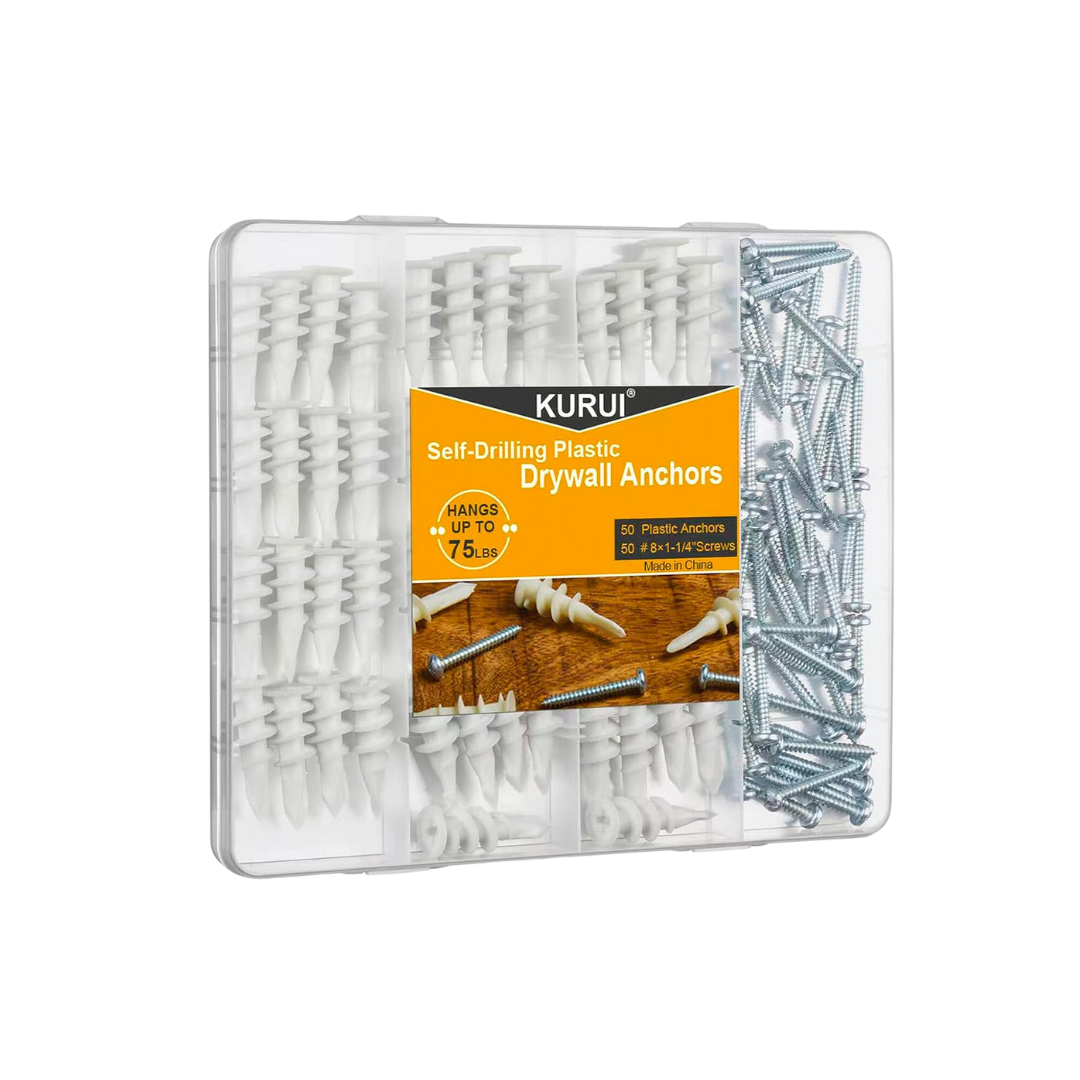
- Drywall Anchors
- Hinges
- Magnetic Close Hardware
- Frames (I got mine on Facebook Marketplace)
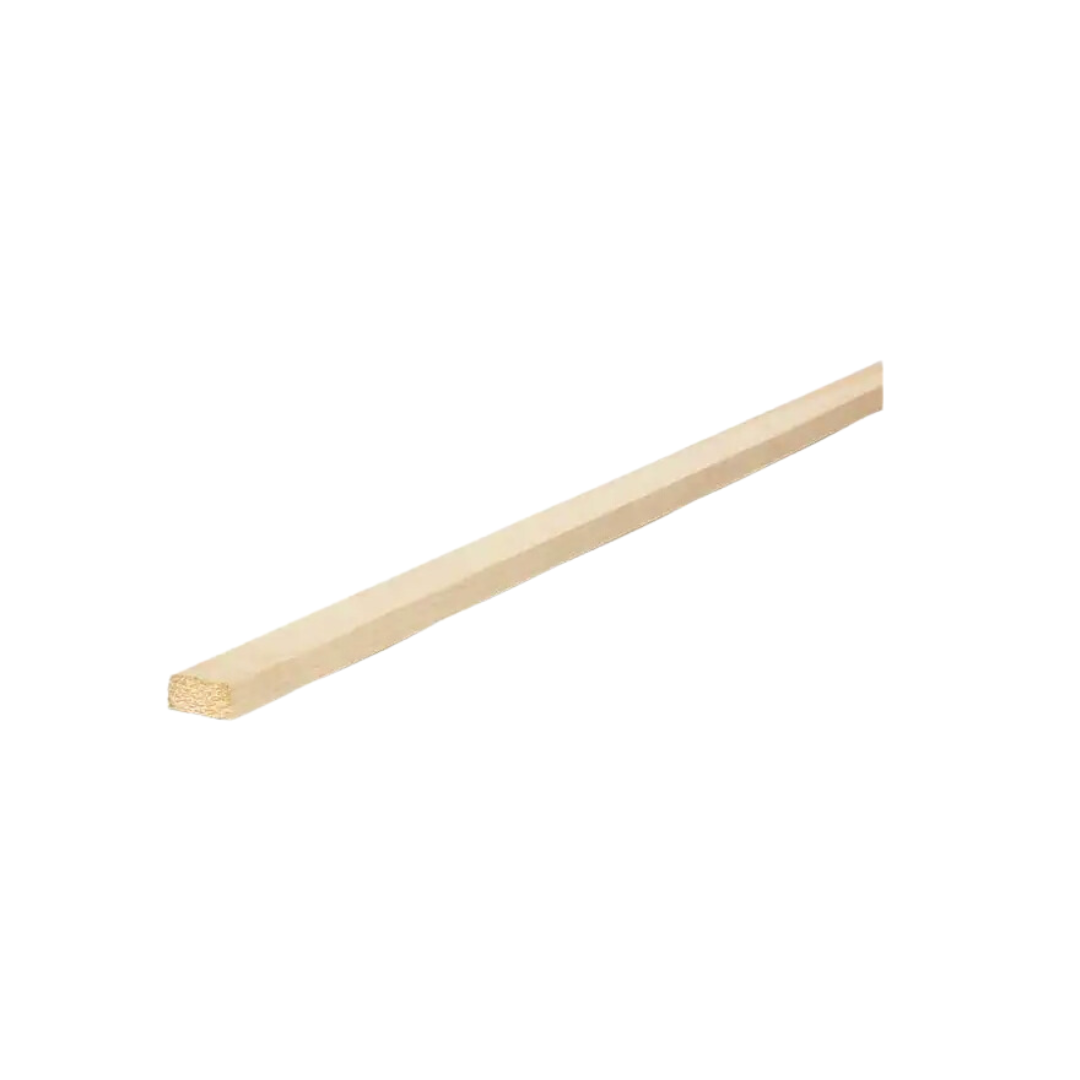

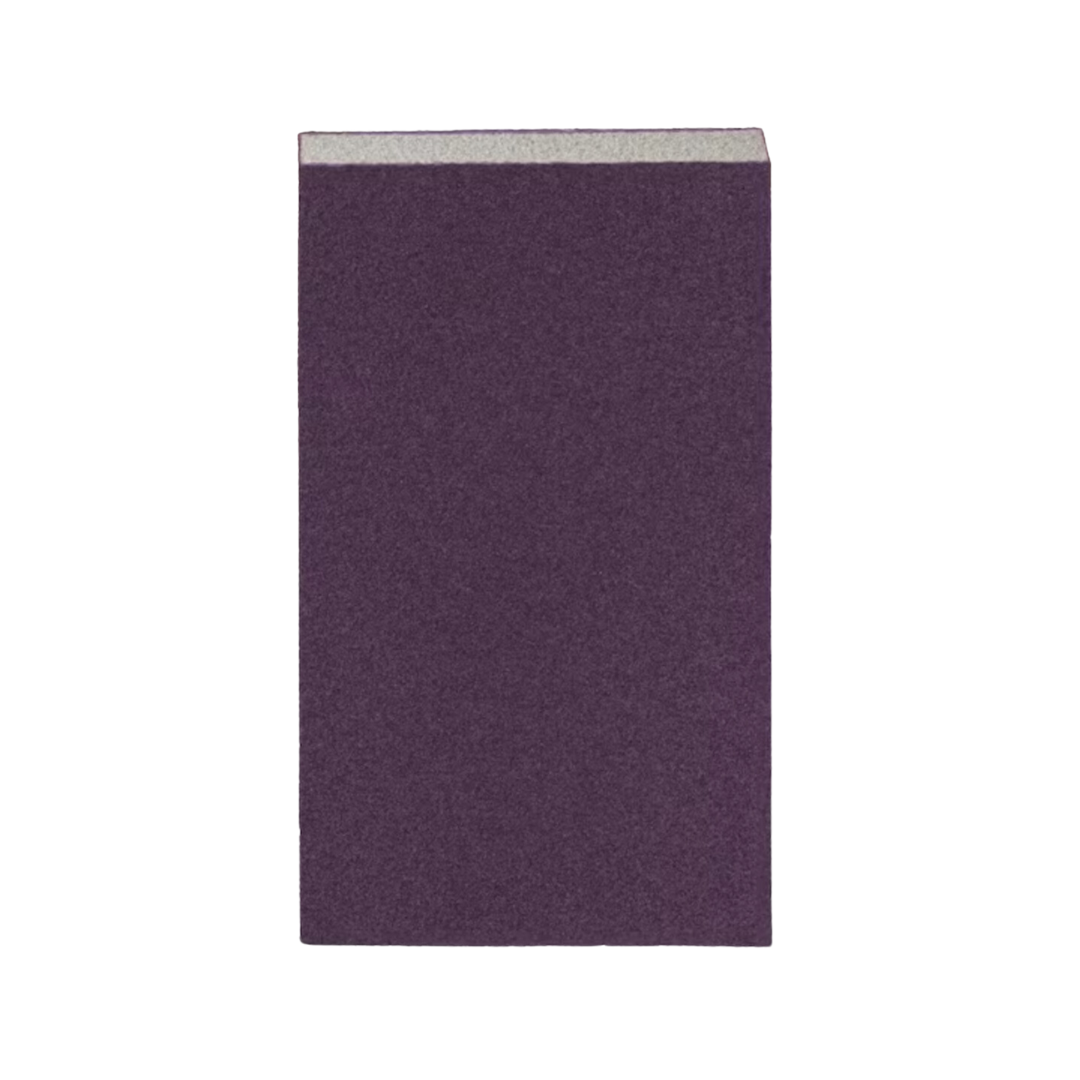


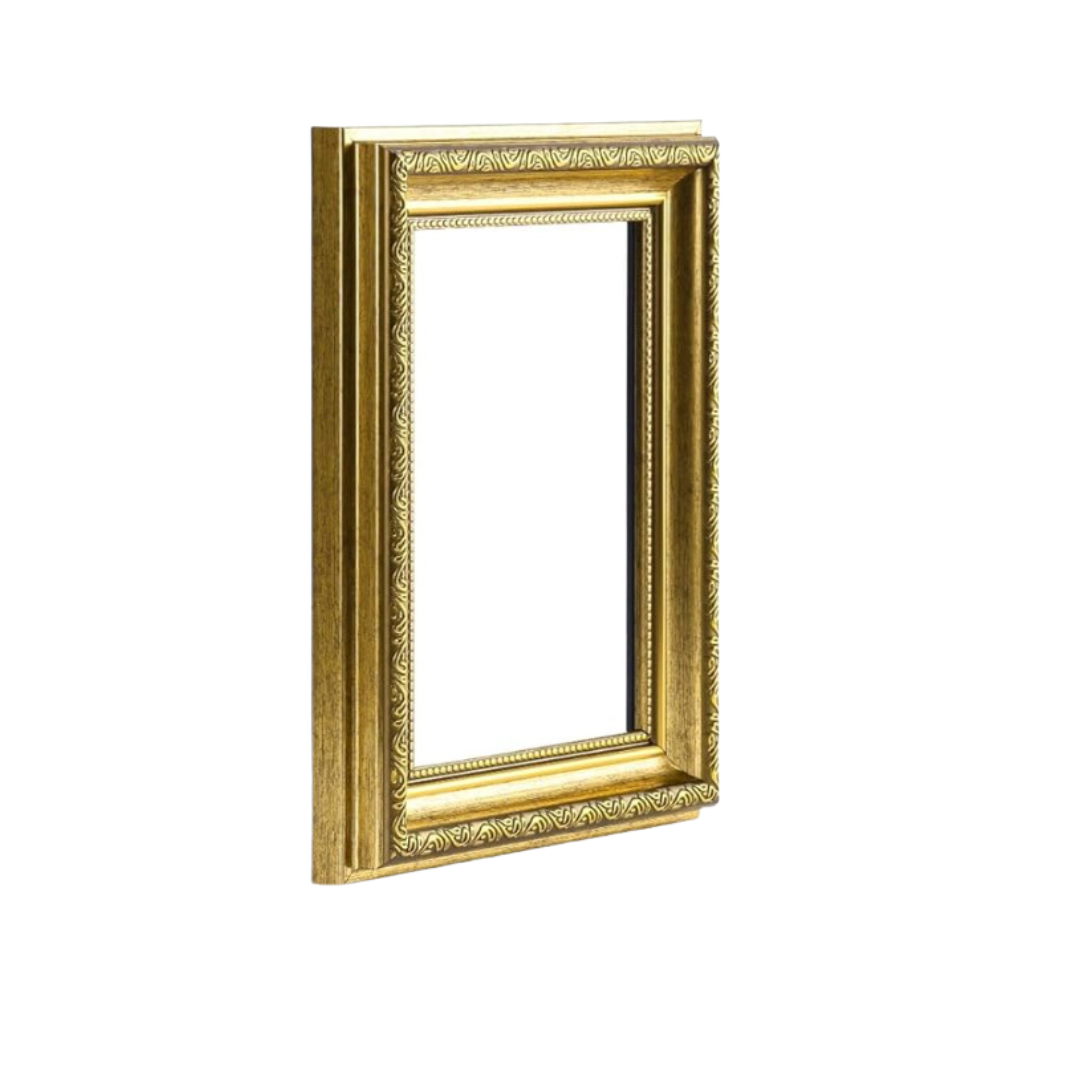
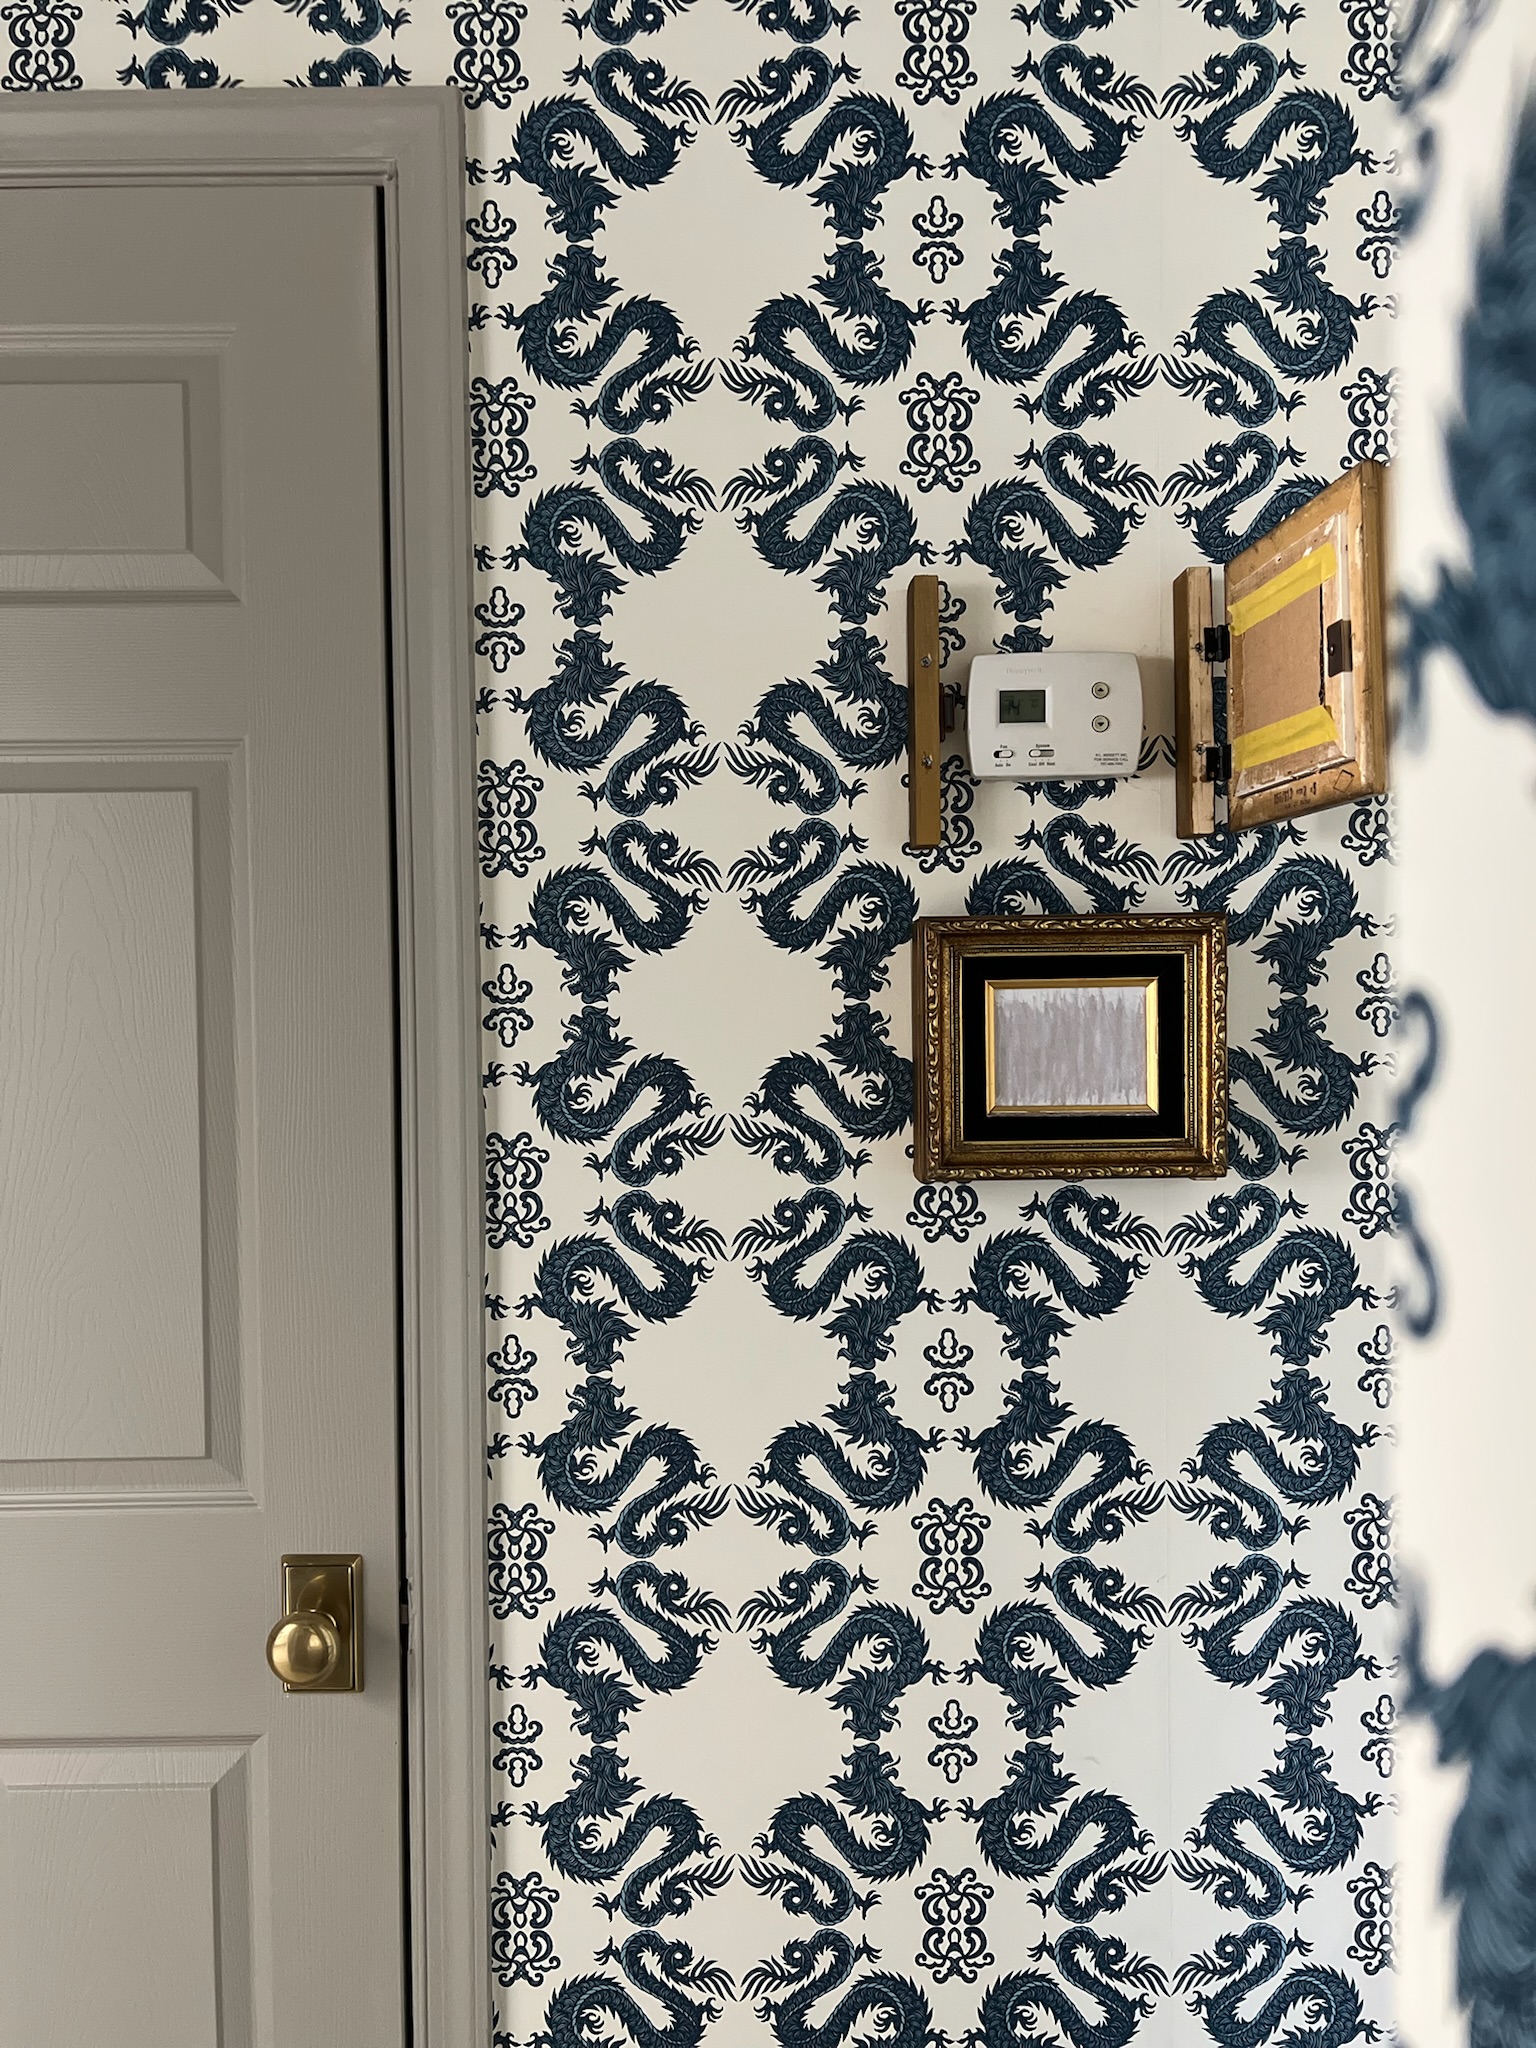
First, I took a 1×2 and cut two pieces the same height of the frame. Then, I gave the edges a good sand with a sanding sponge.

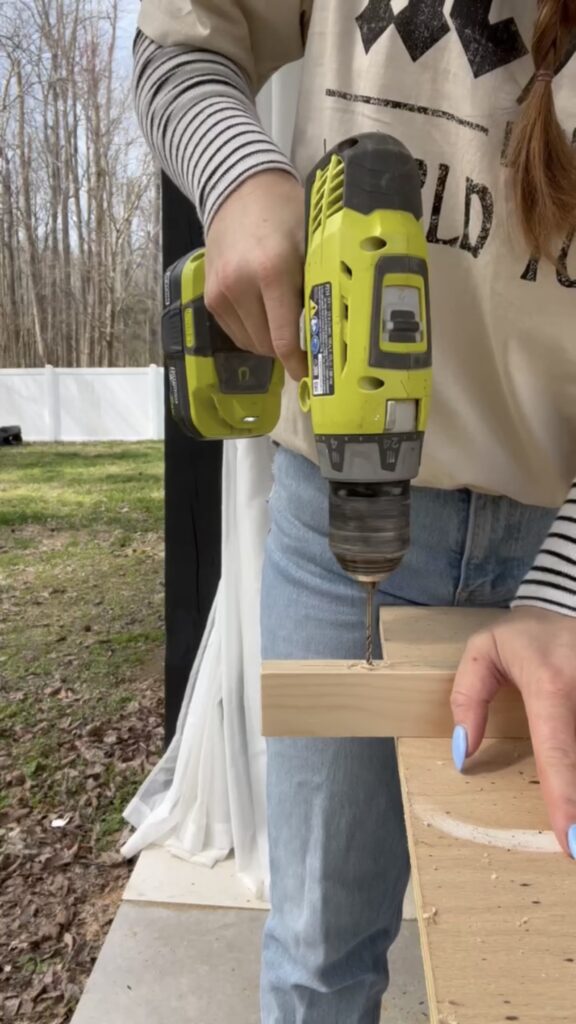
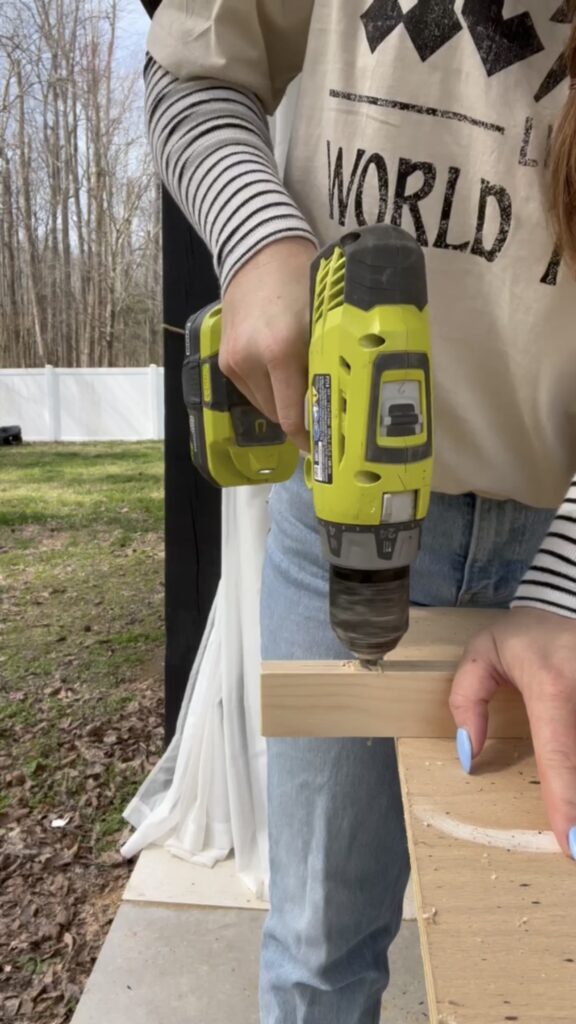
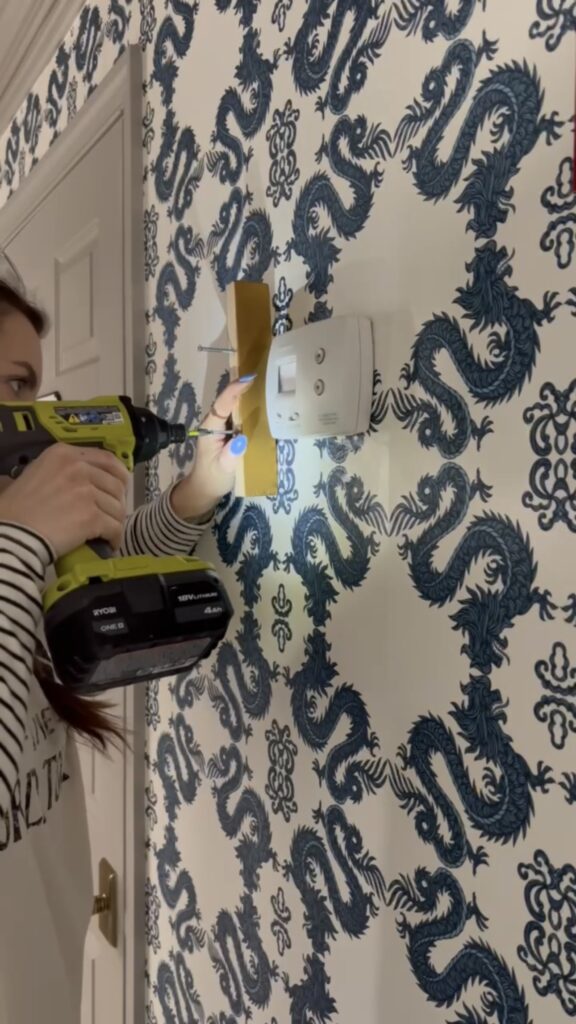
The pieces I cut would be mounted to the wall for the frames to hang onto. So, I drilled some holes for the screws to go through and grab into the wall.
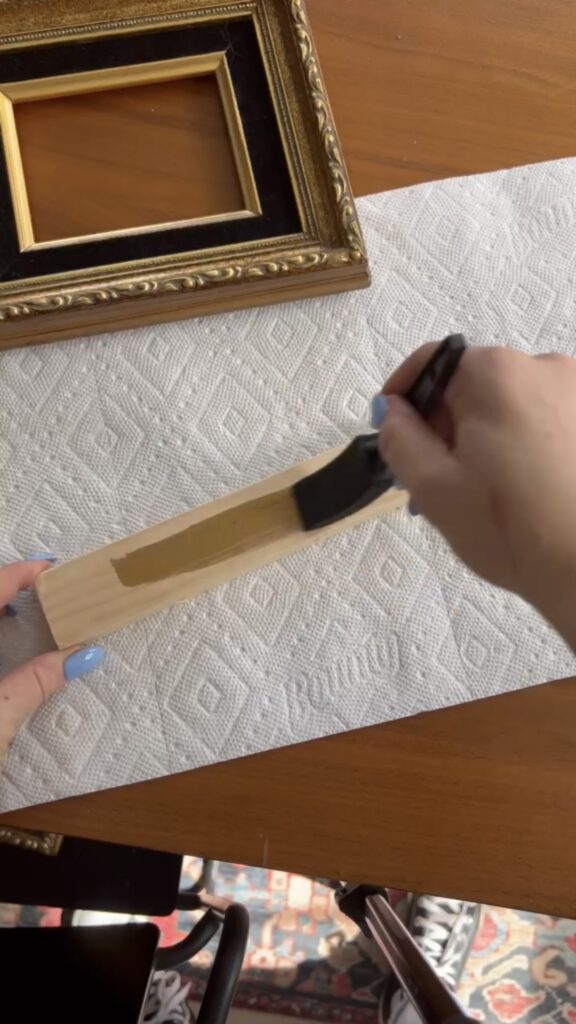
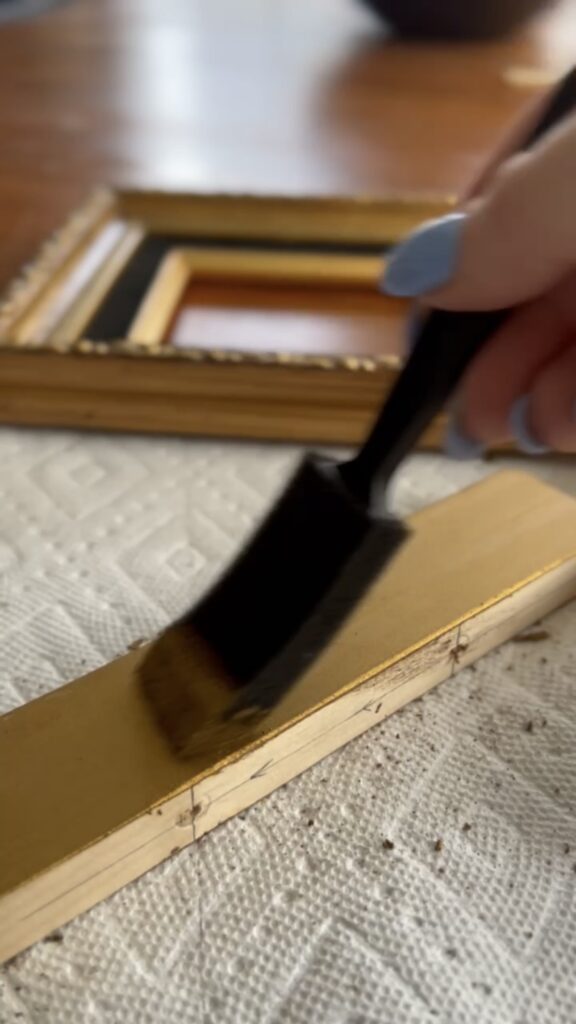
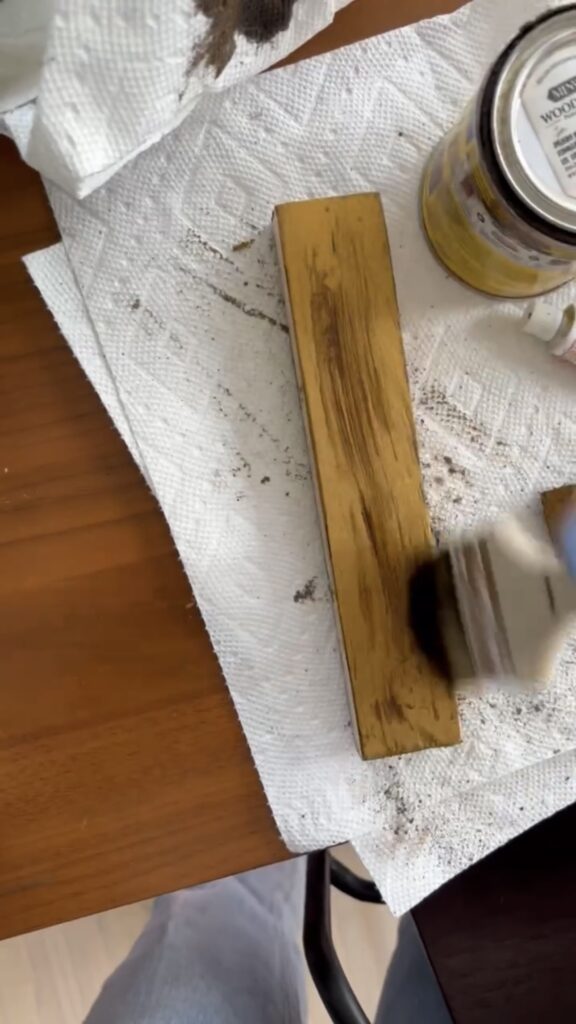
Next, I wanted to make the wood match the frame. So, I used Rub n’ Buff. I applied one coat of Rub n’ Buff. Then I brushed over it with dark stain and a bristle brush to give it some more texture.
After this, I attached the wood pieces to the wall using drywall anchors.
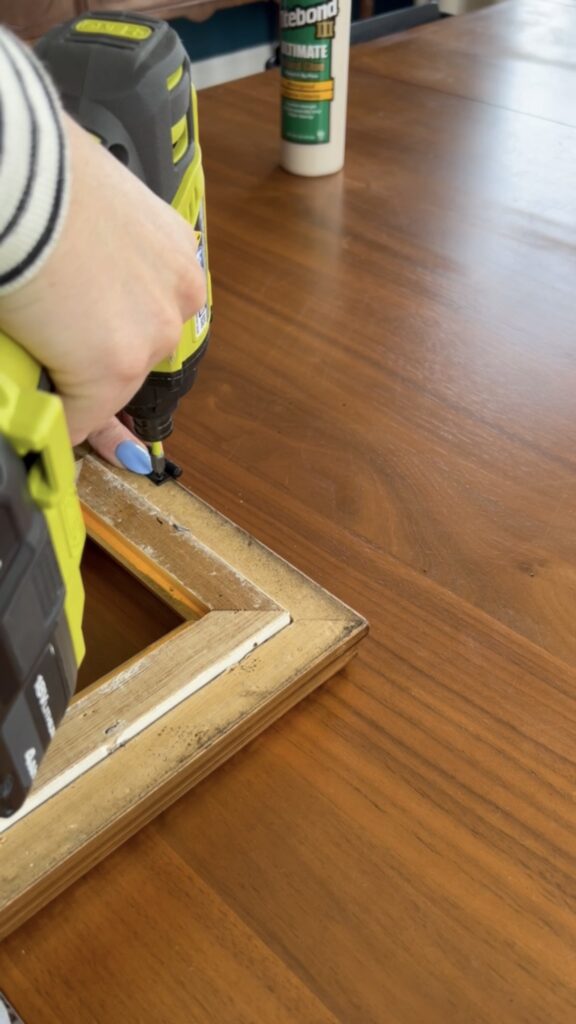
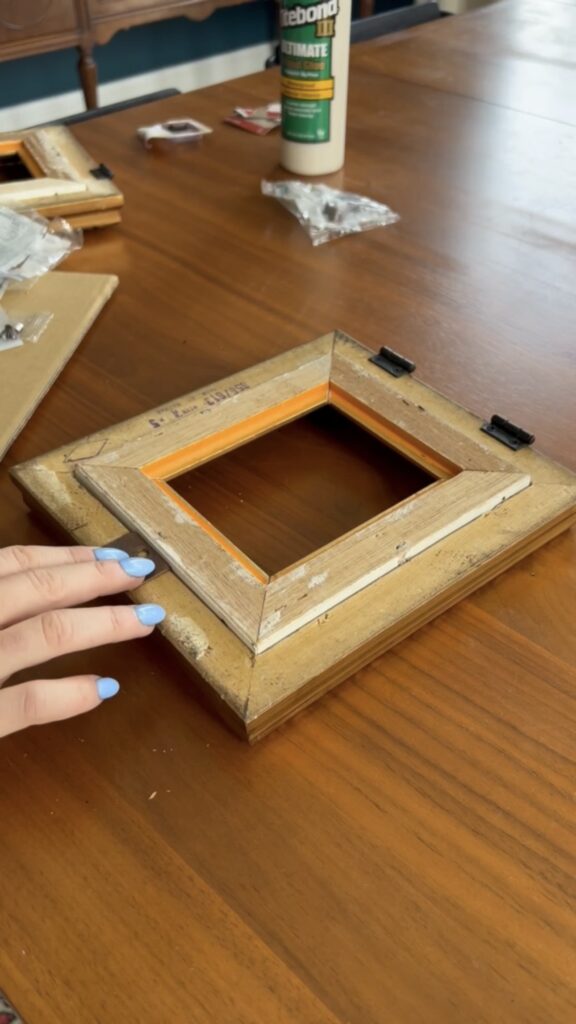
Then, I was ready to attach the hardware! I screwed on my tiny hinges and the magnet that came with my magnetic catch.

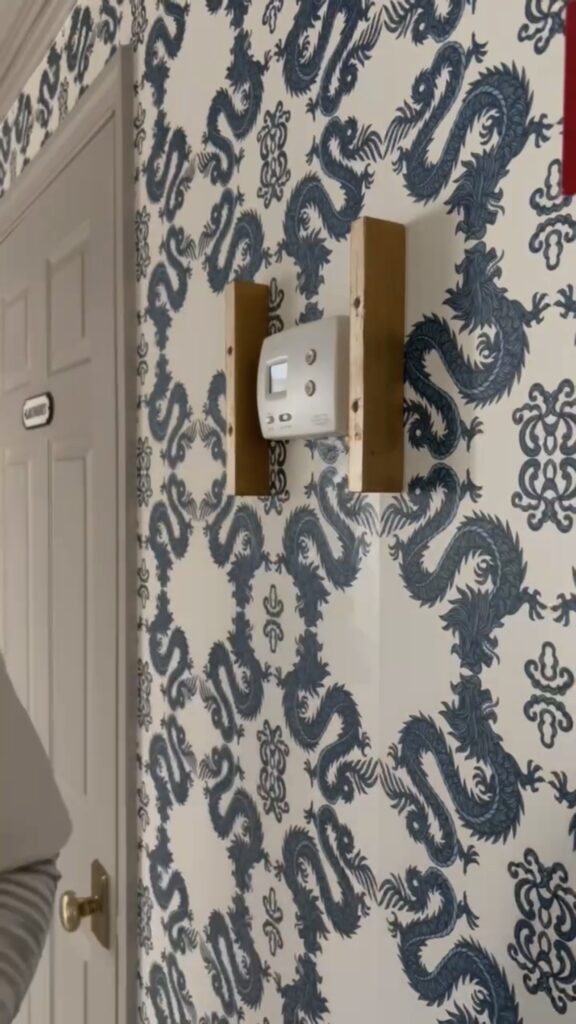
Next, I popped some art in and hung up the frame! They do stick out a little bit, but they just look like thick frames since I made the wood the same color!
I got a lot of questions about whether or not the thermostat can still read when it’s covered like this. That’s why I only put the pieces on the sides. This way, there’s still airflow traveling behind it!
This was such a simple project and so worth it!
– Cass
What wallpaper is that? Love it.
It’s from Hygge & West! They don’t have this colorway anymore – but they have so many other beautiful choices!