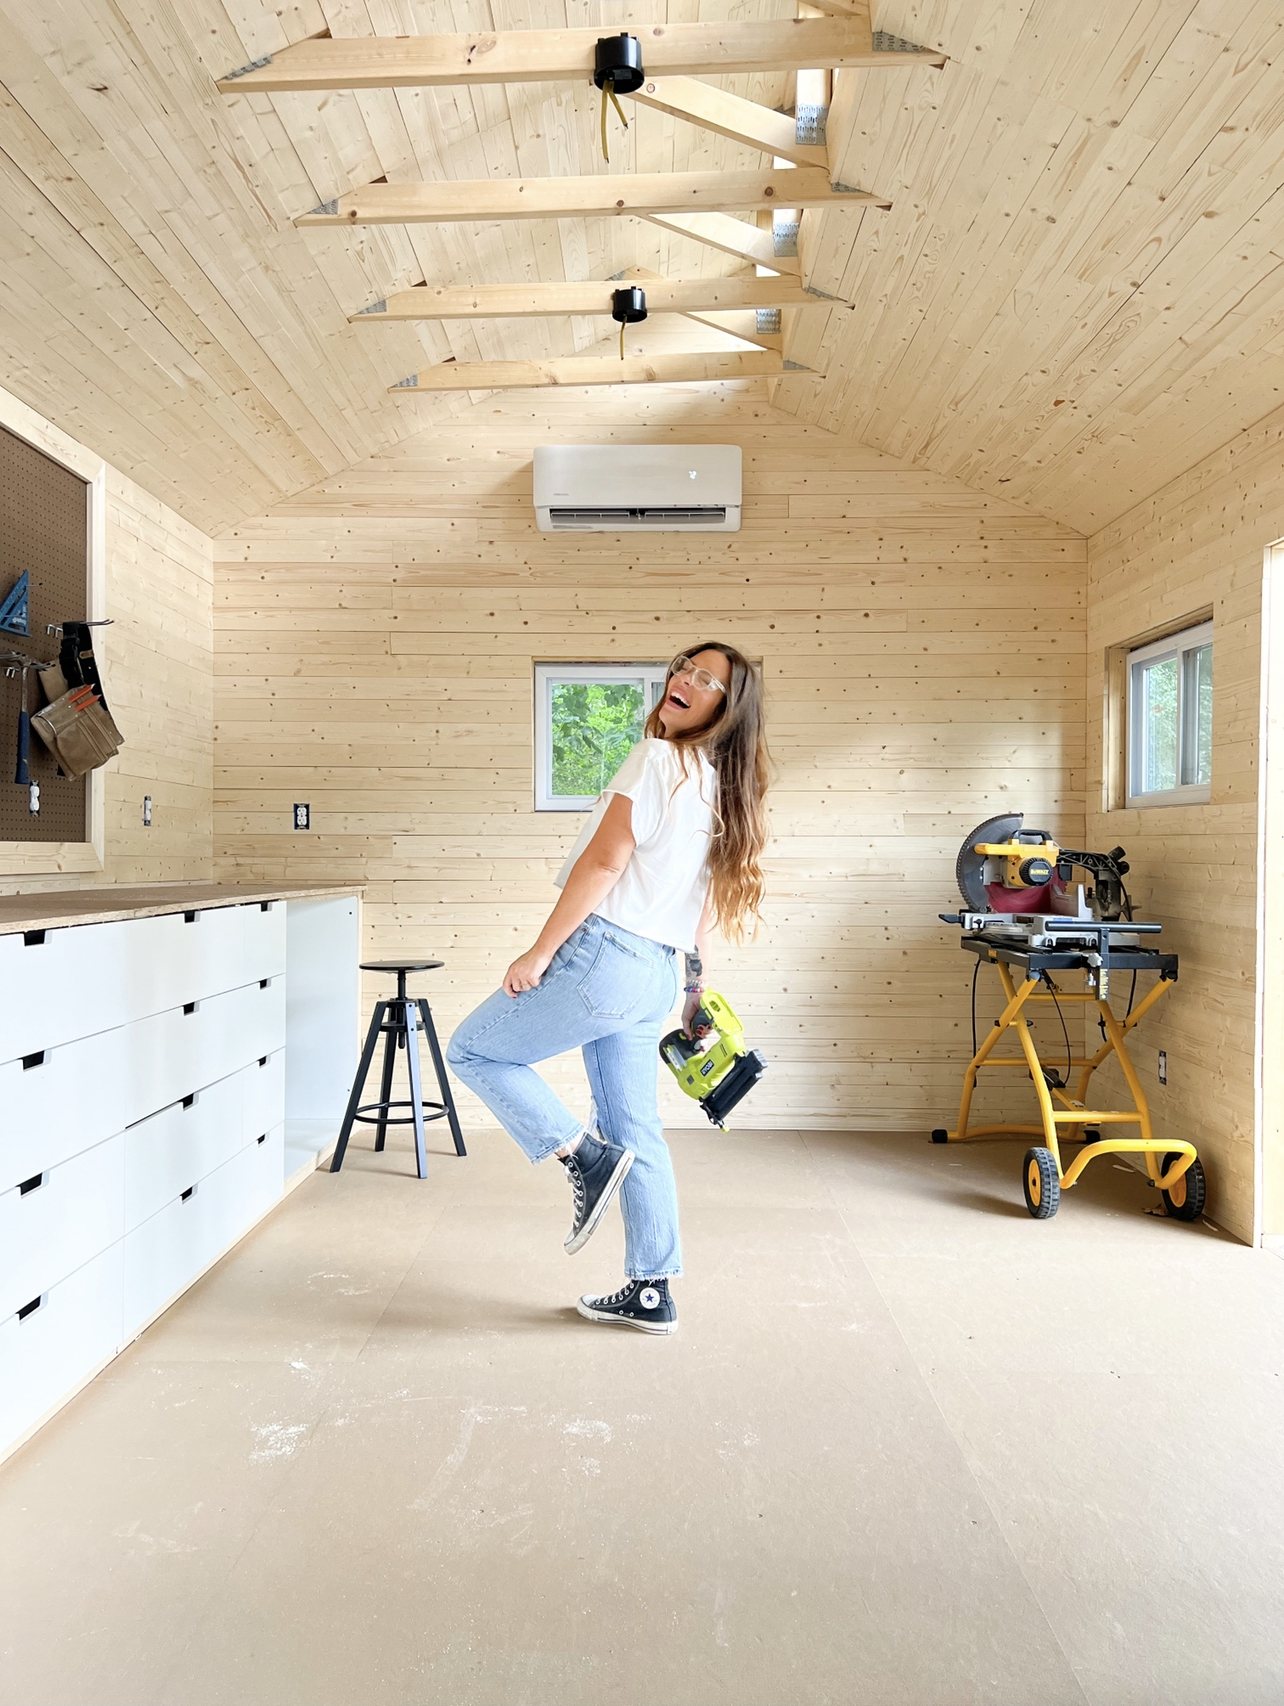
My Tuff Shed Workshop – Phase Three

I have been turning my new backyard Tuff Shed into a DIY workshop! So far, I have finished out the shed with insulation/electricity and wall planks. You can read more about that here and here!
*This post may contain affiliate links, which means I may earn a small commission if you purchase through my links, at no extra cost to you. I only share products I genuinely love.
DIY CABINET DOORS
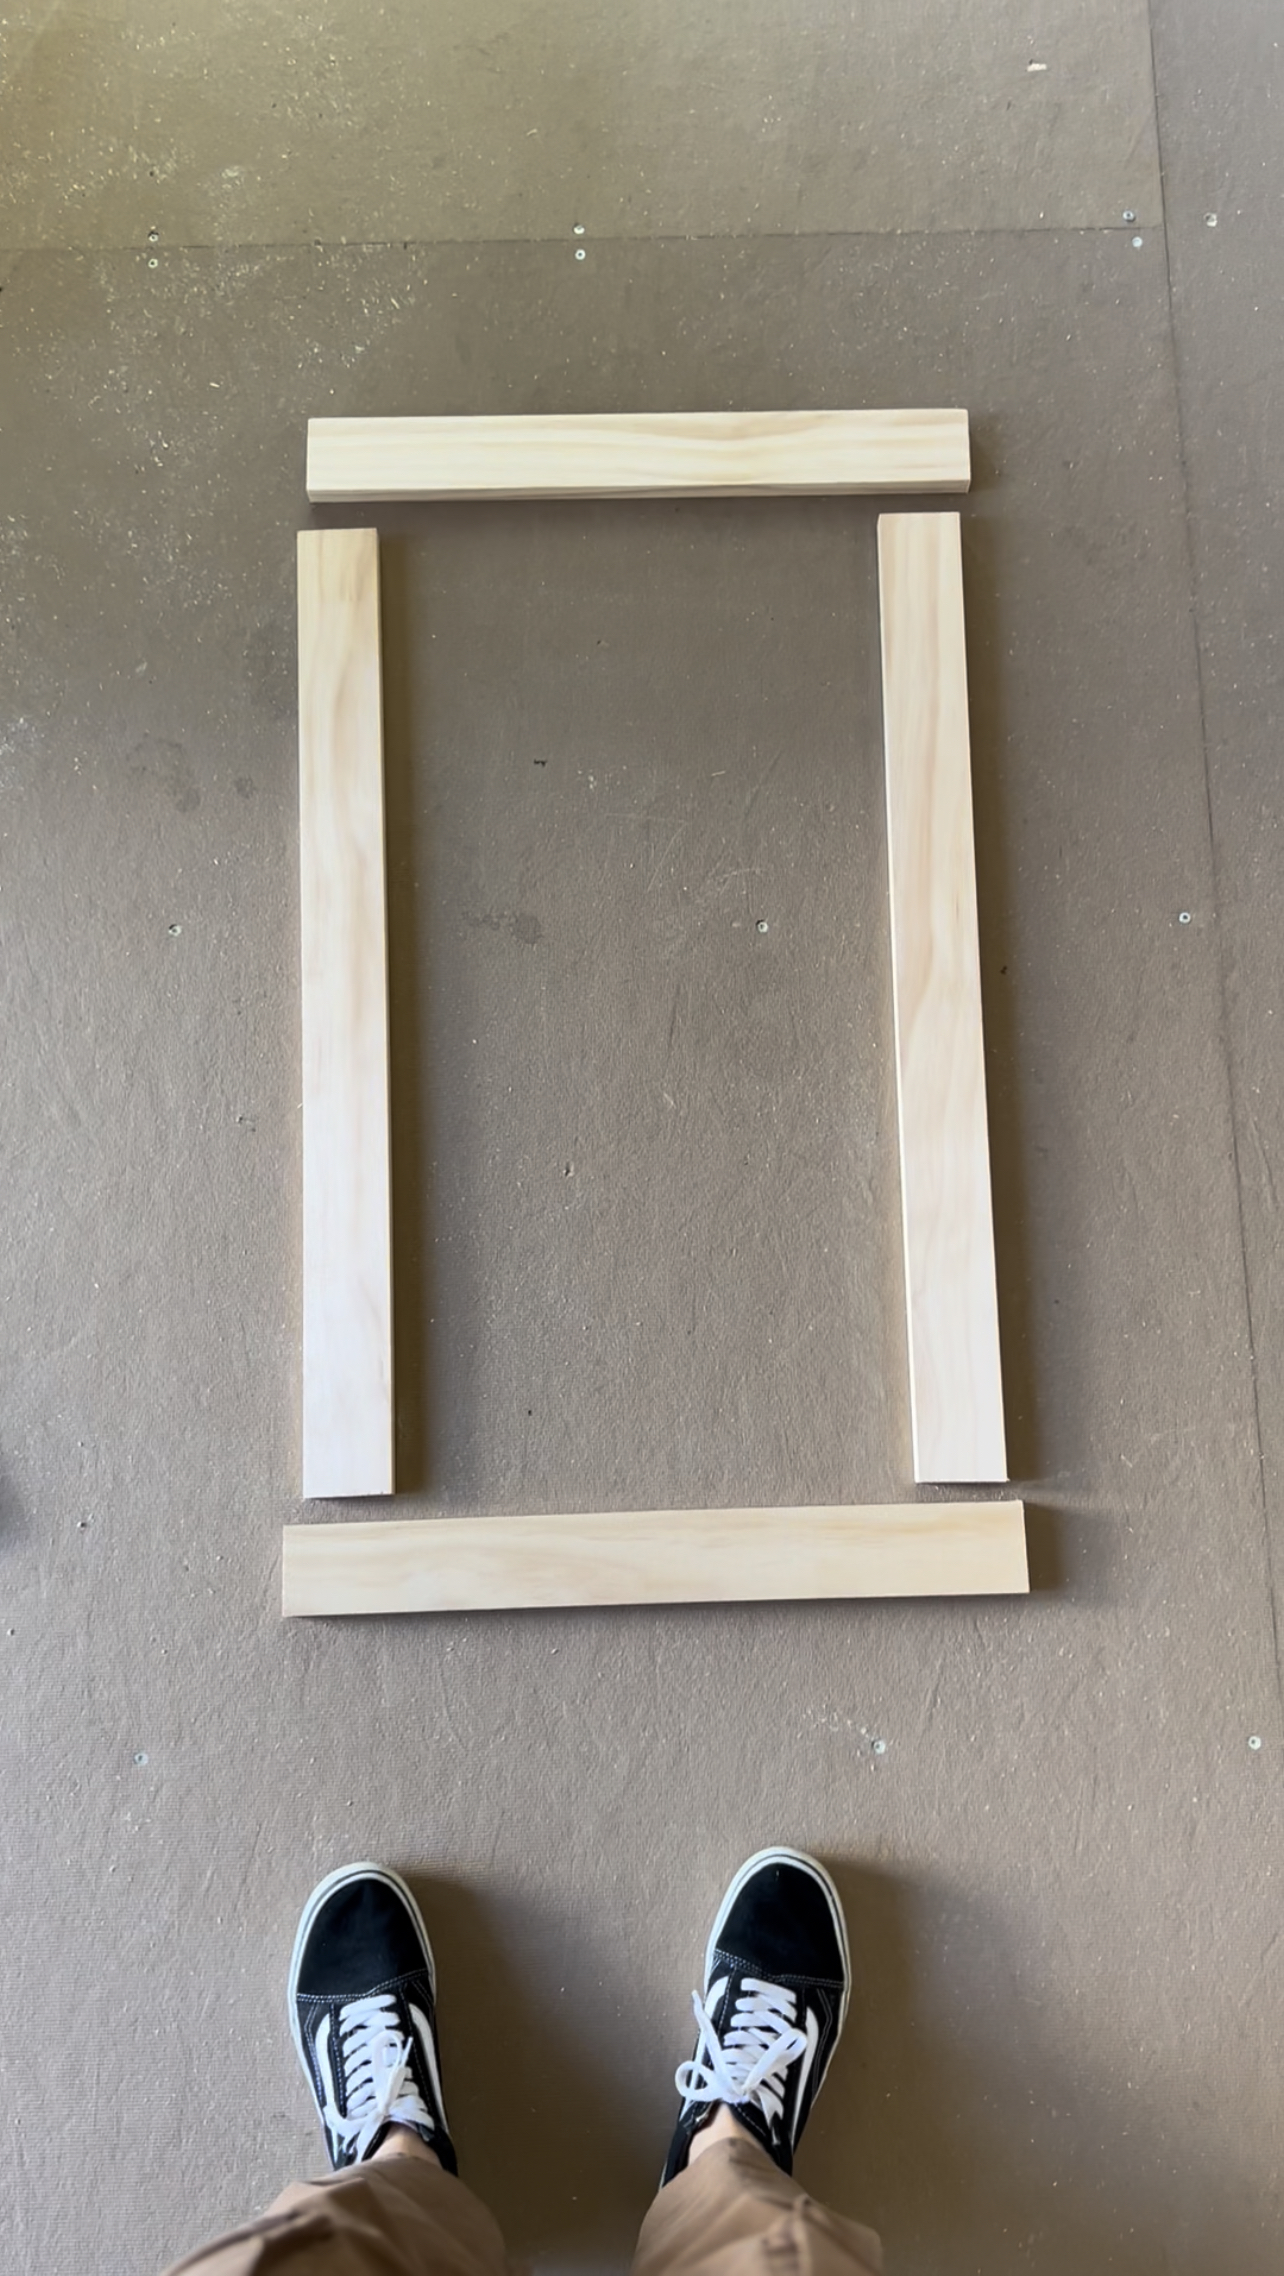
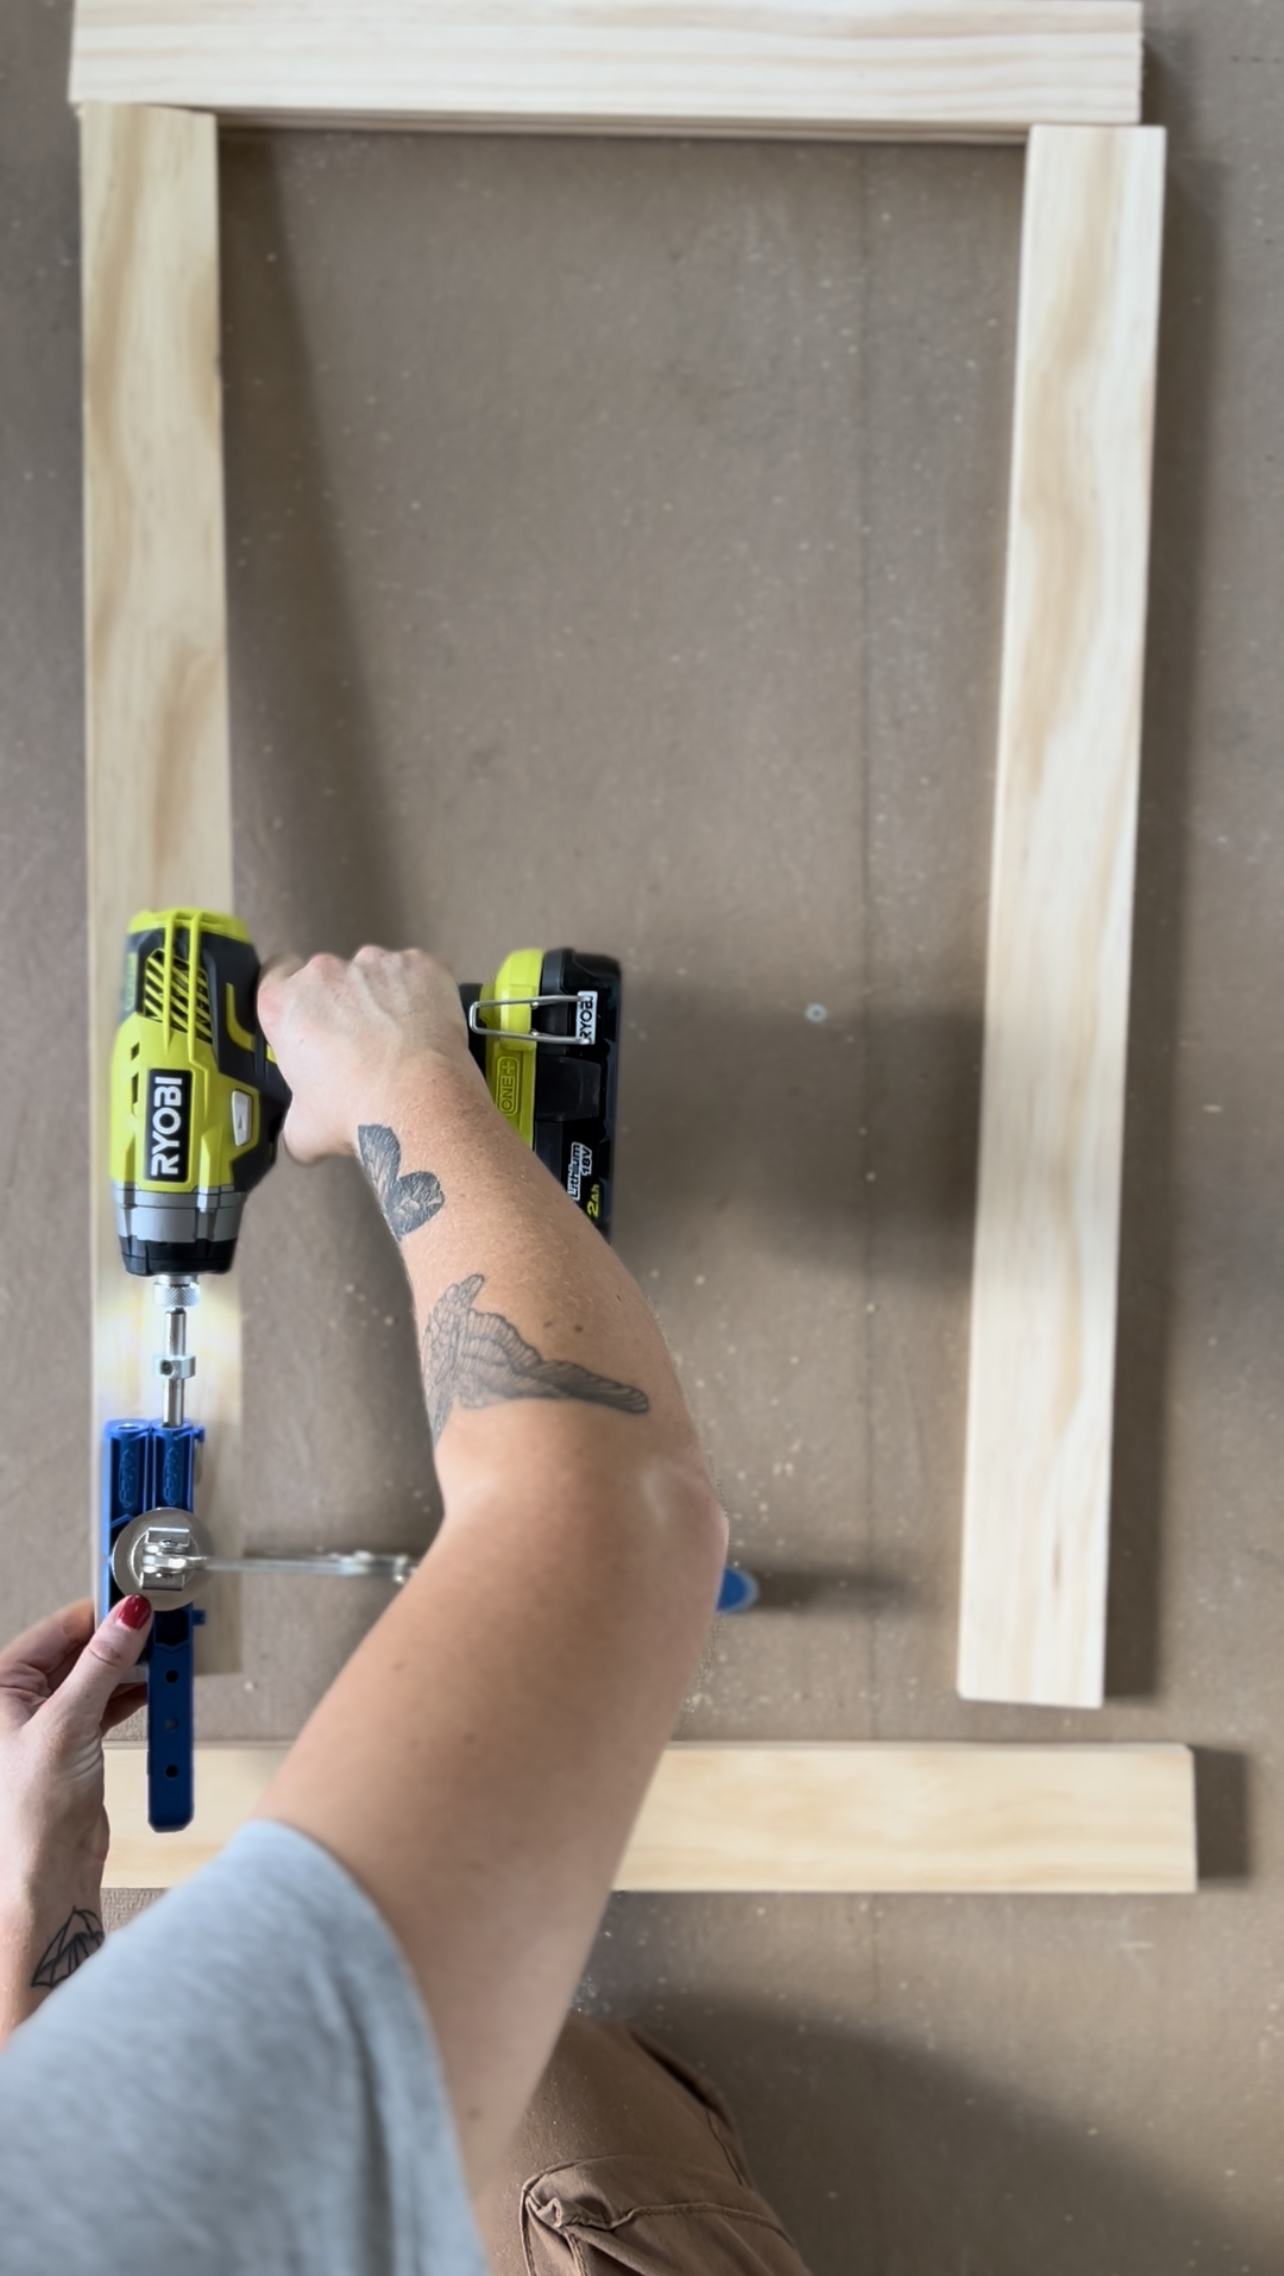
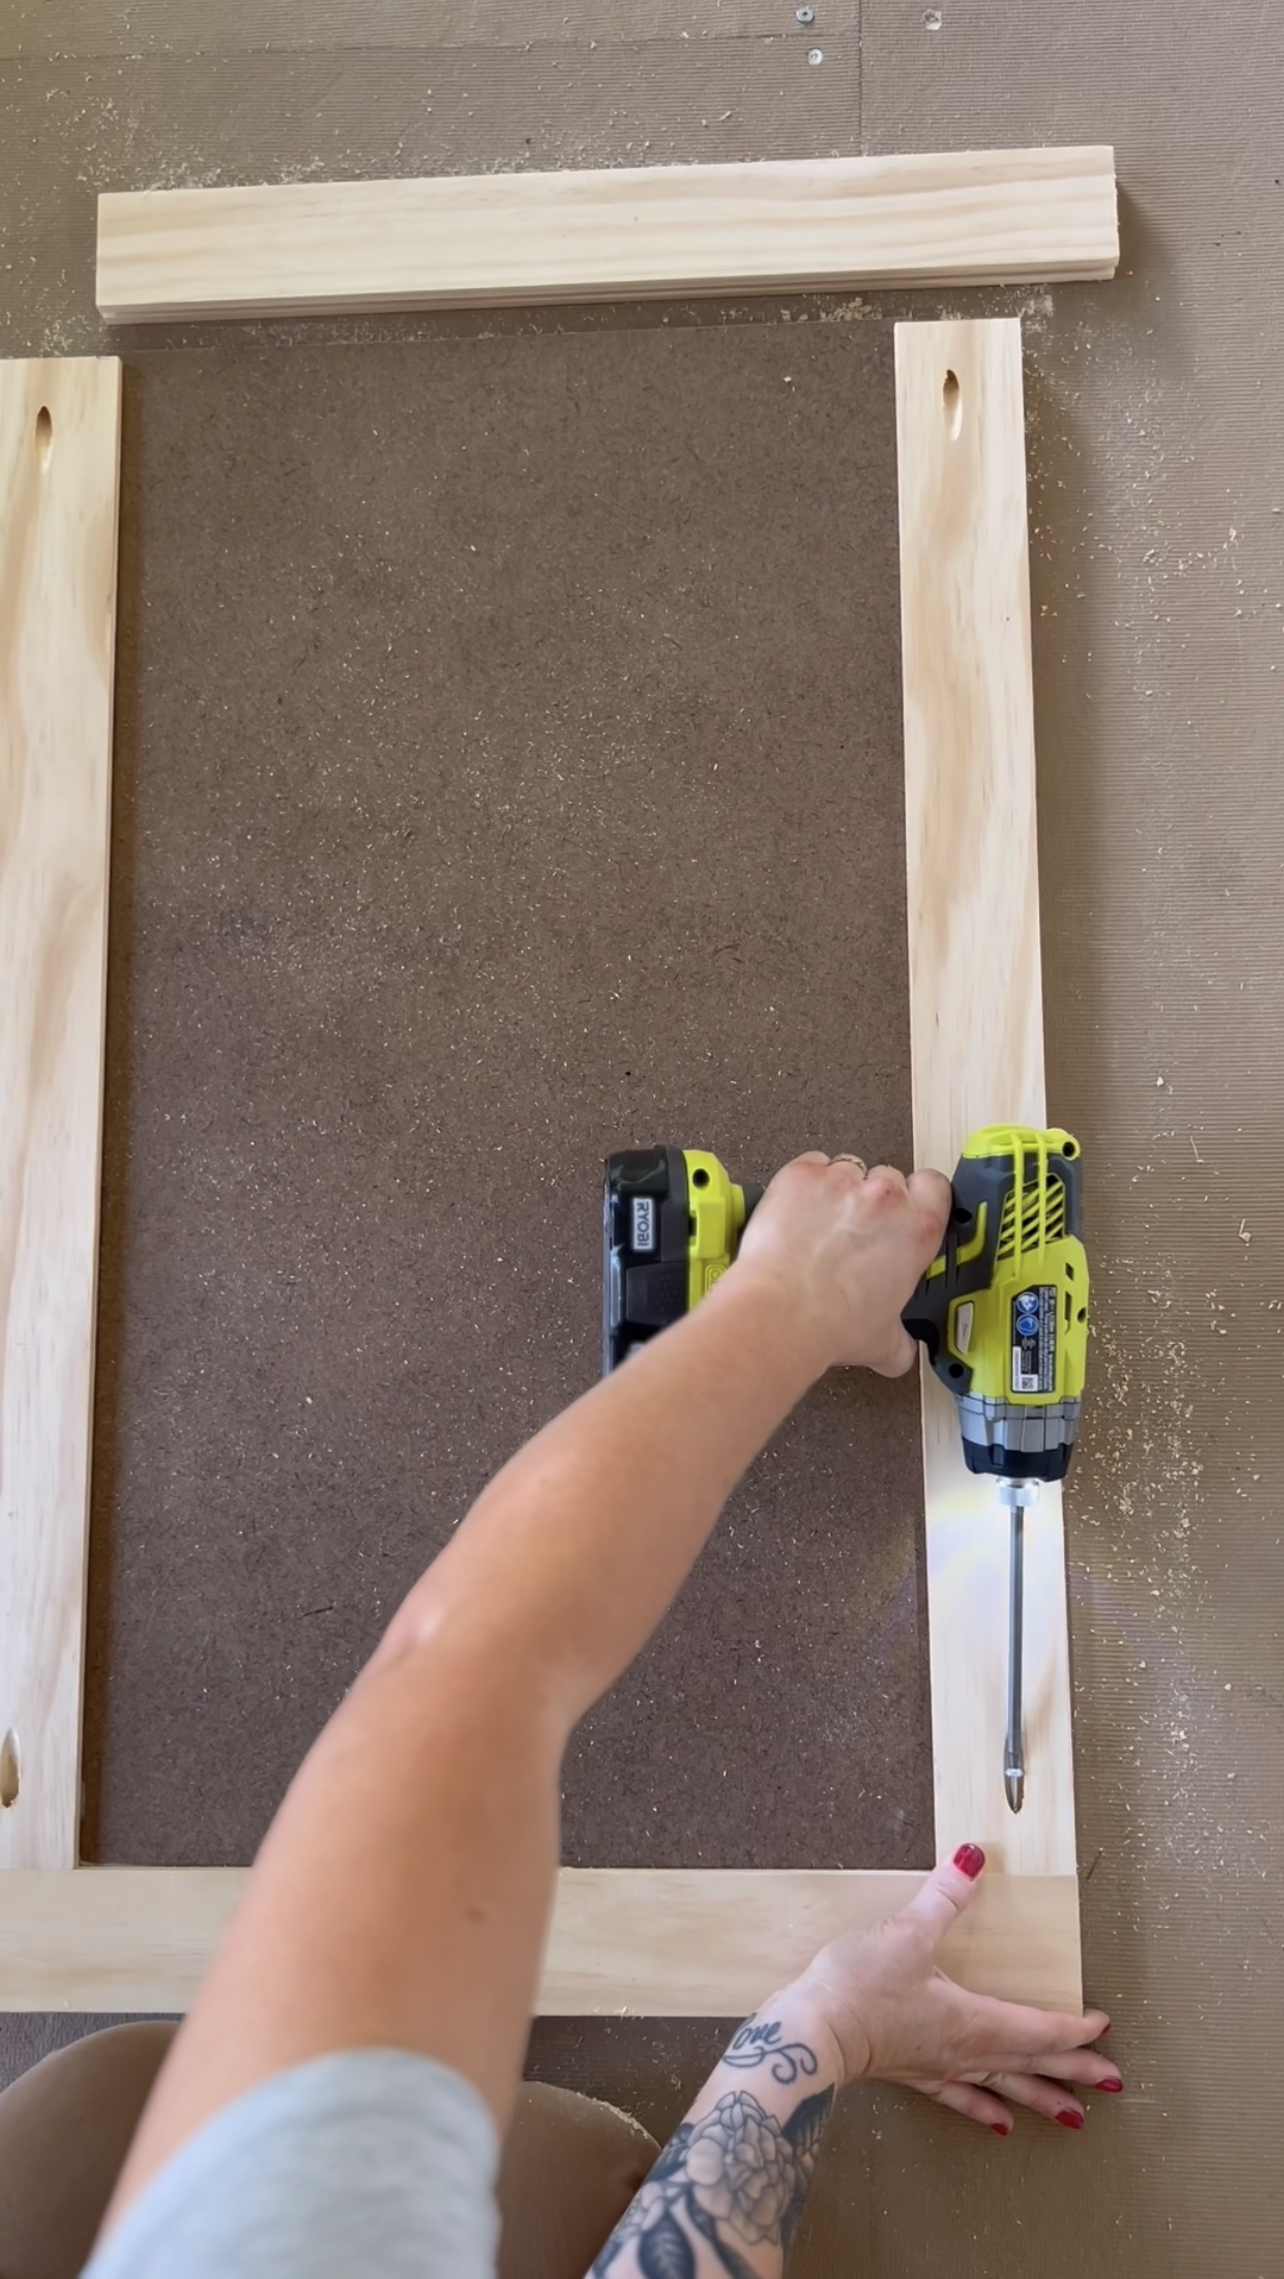
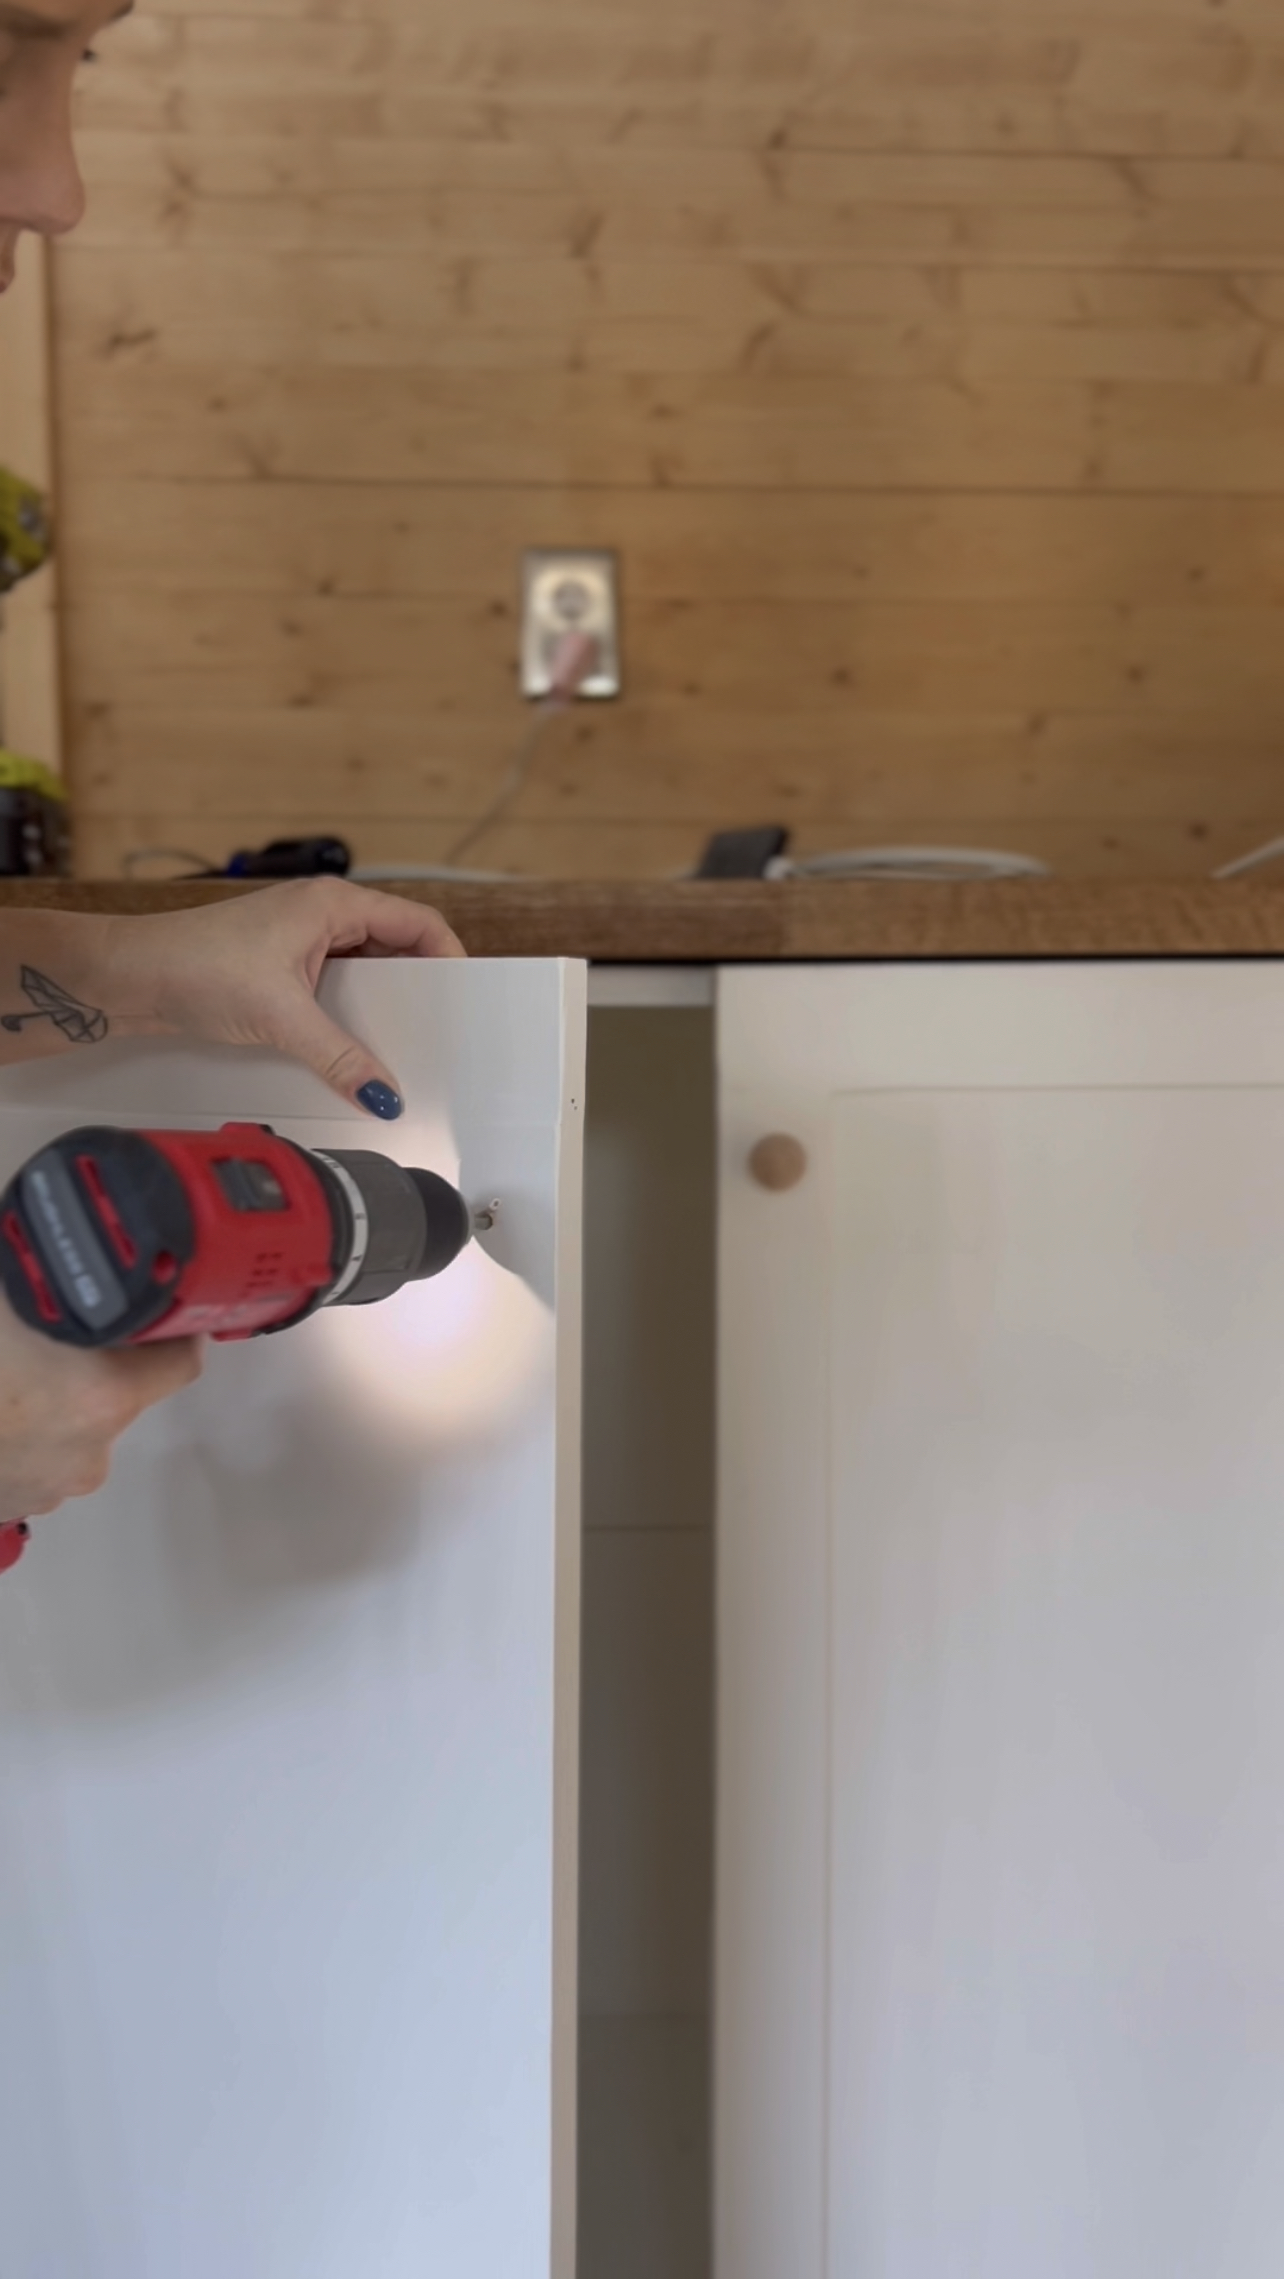
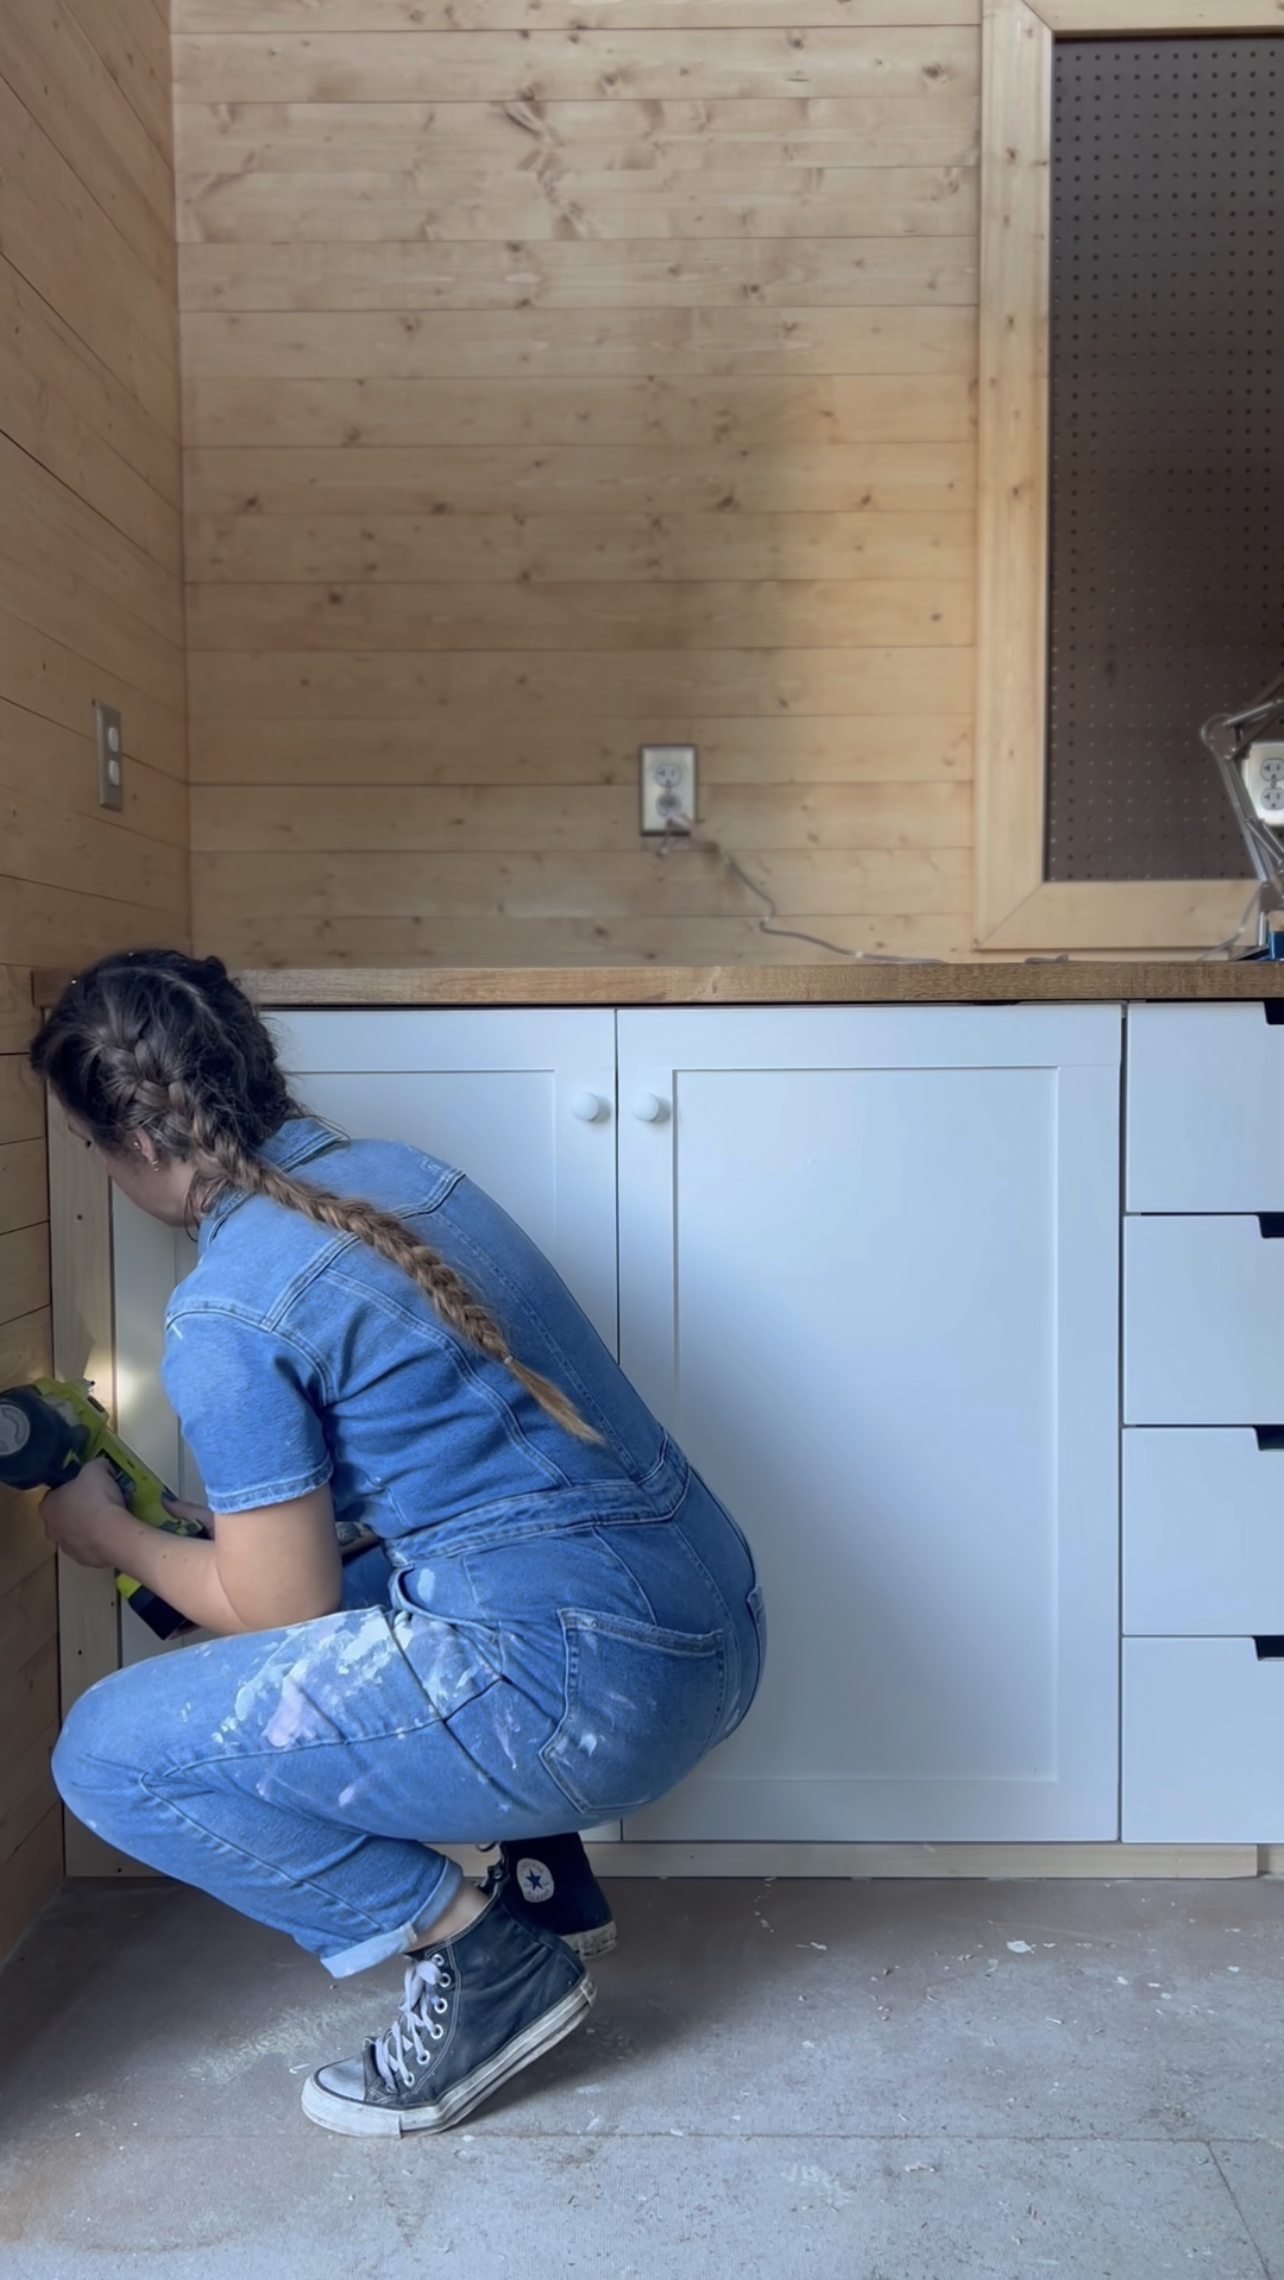
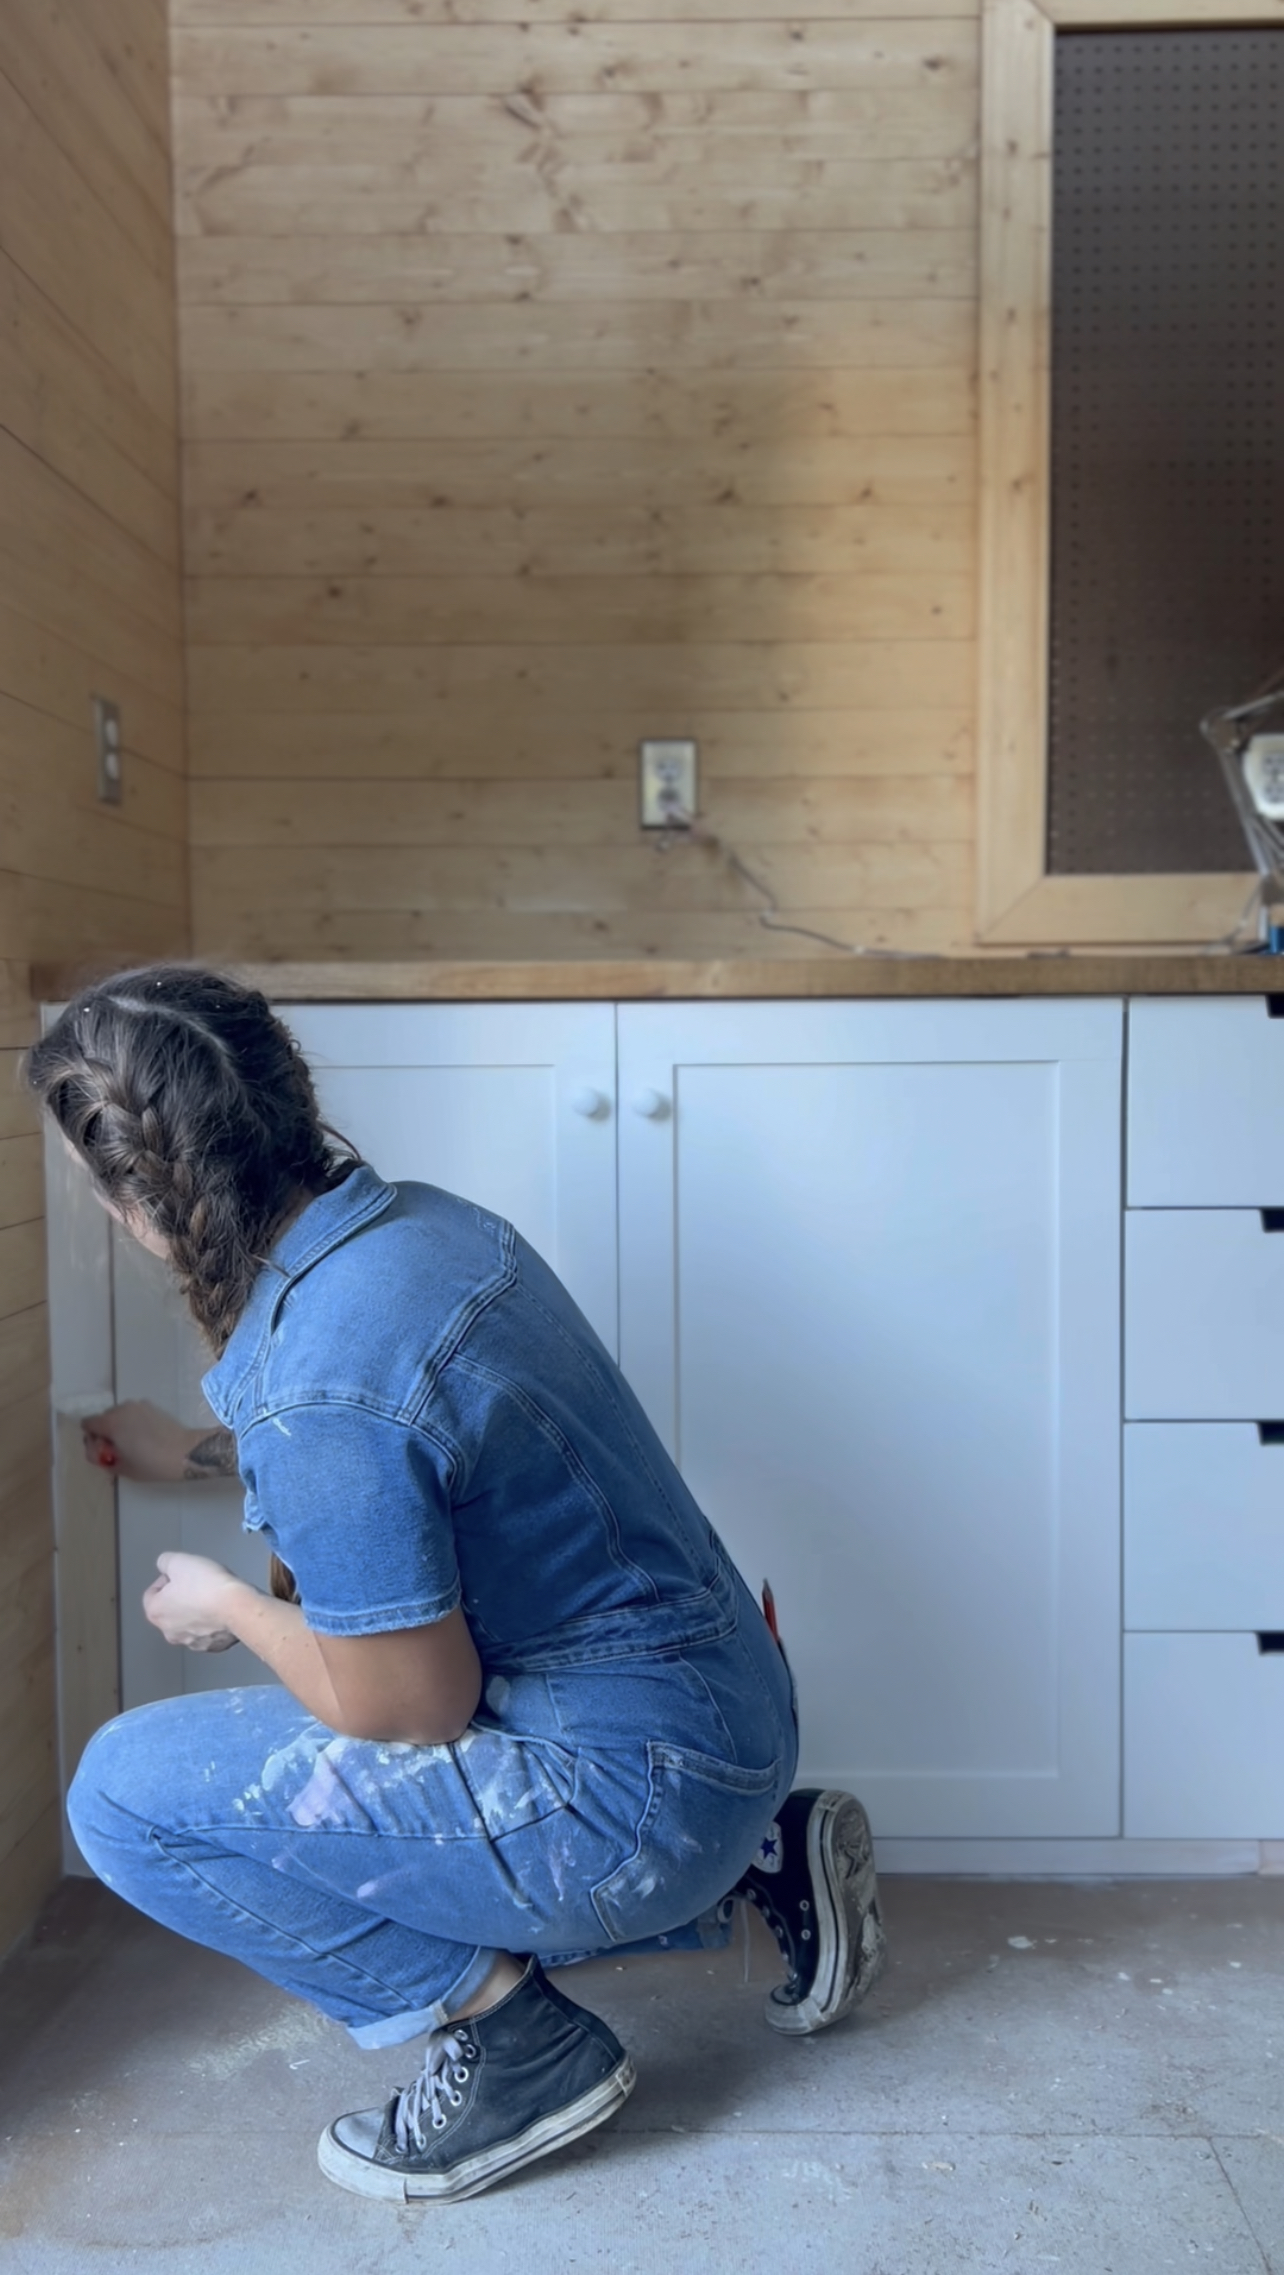
On each end of the storage/workbench wall I left an open space for cabinets. I cut down some particle board (would recommend MDF too) to build cabinet boxes. I also made sure to attach these to 2×4 framing on each end which then attached to the walls. Using Select Pine and tempered hardboard, I built some cabinet doors for these boxes. I cut down the pine boards to length and then added pocket holes to connect them together.
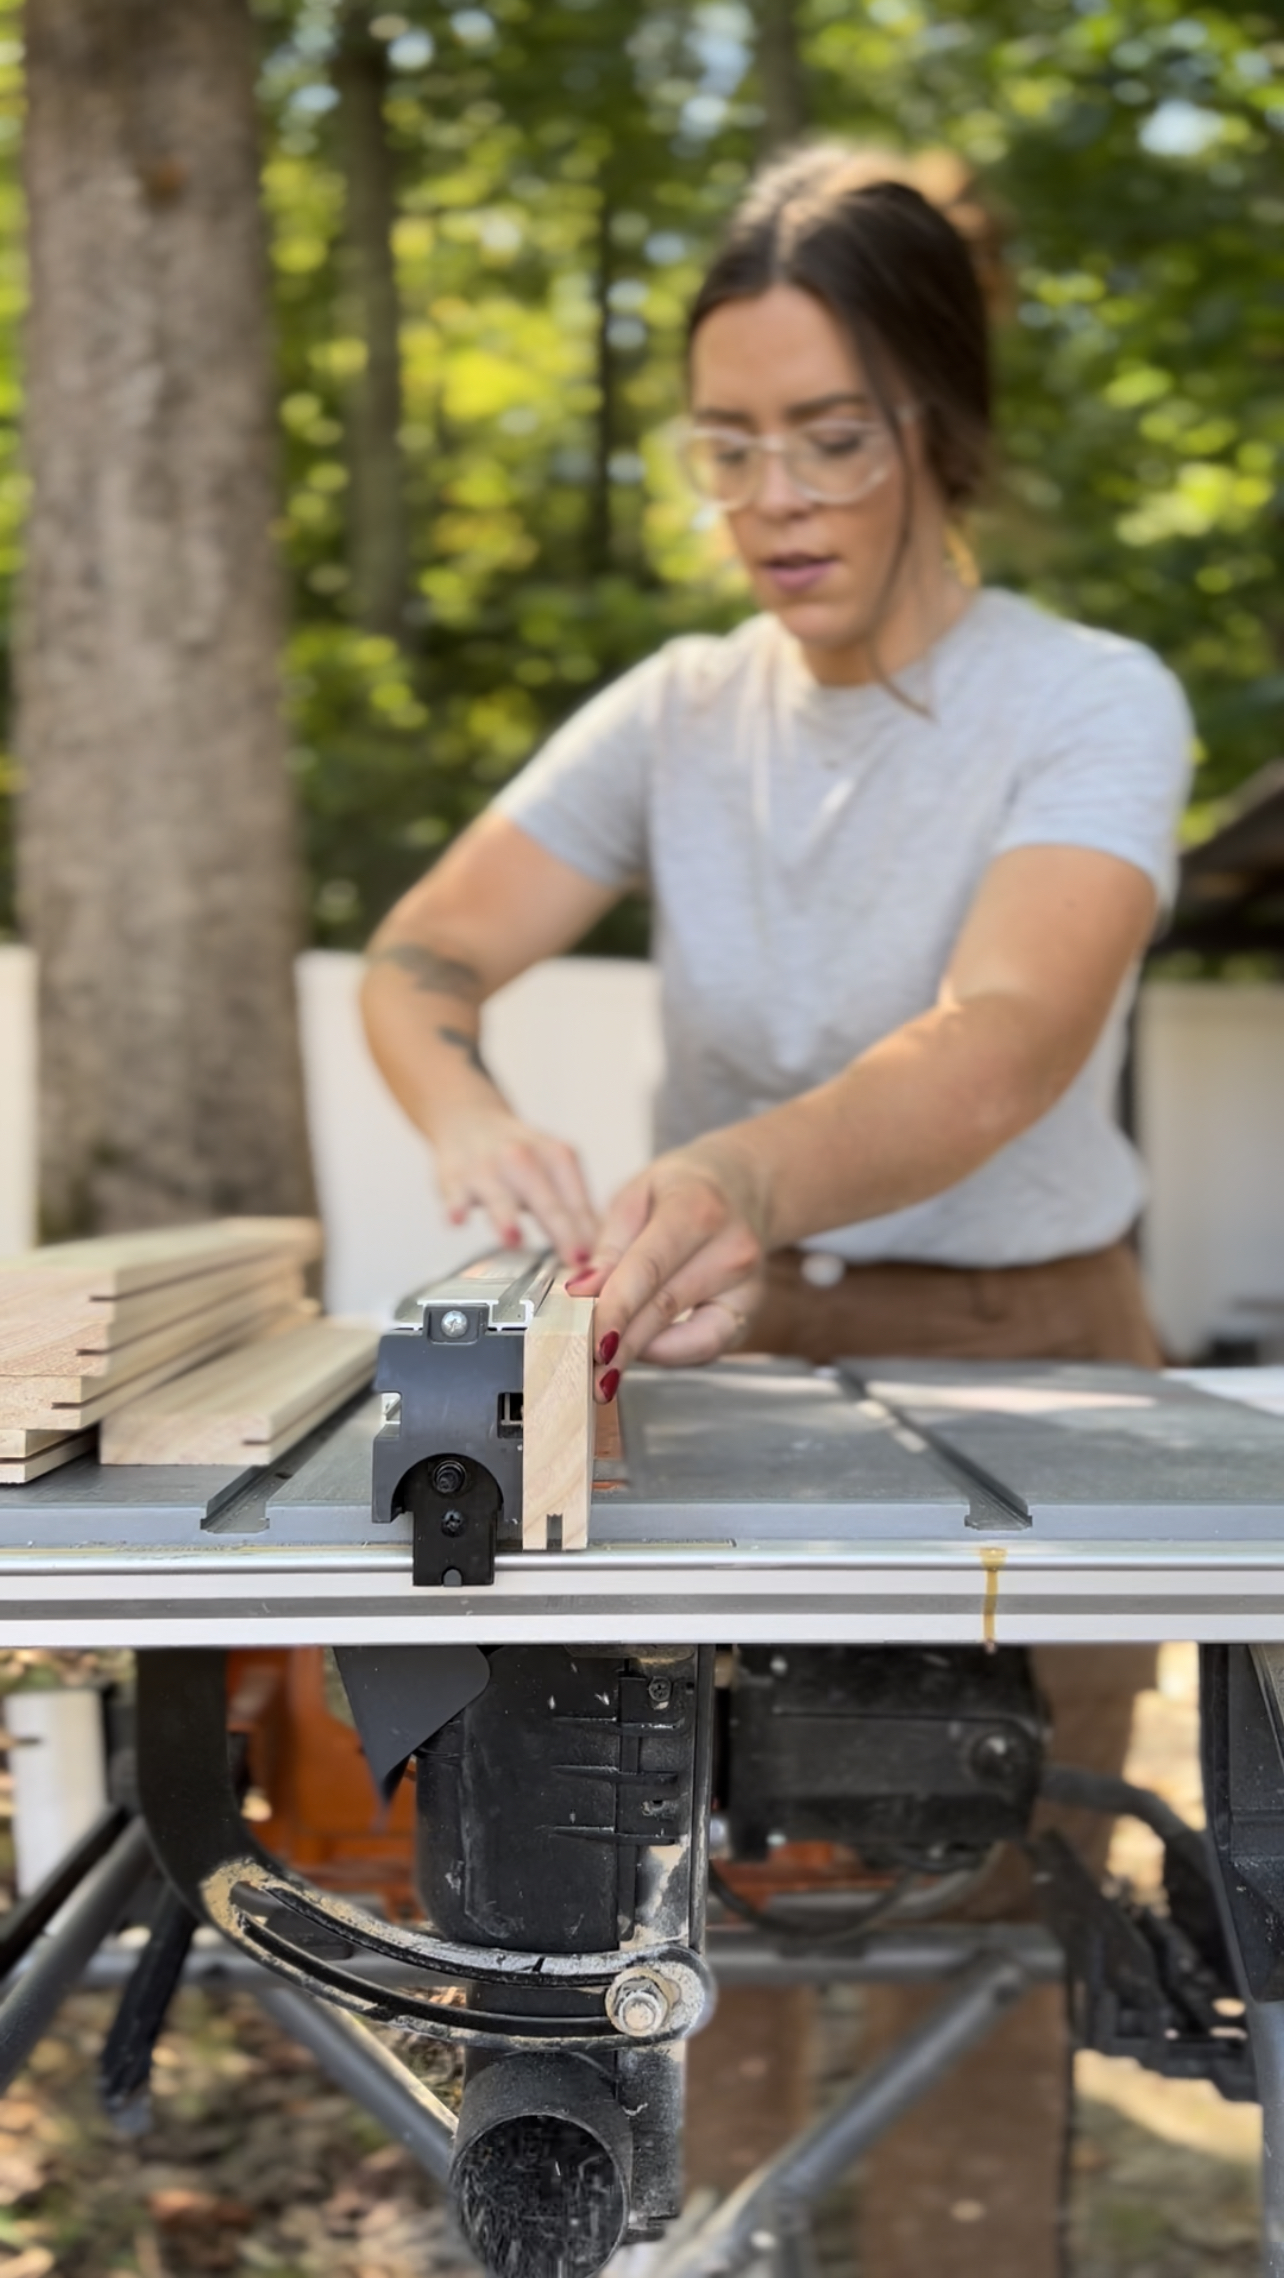
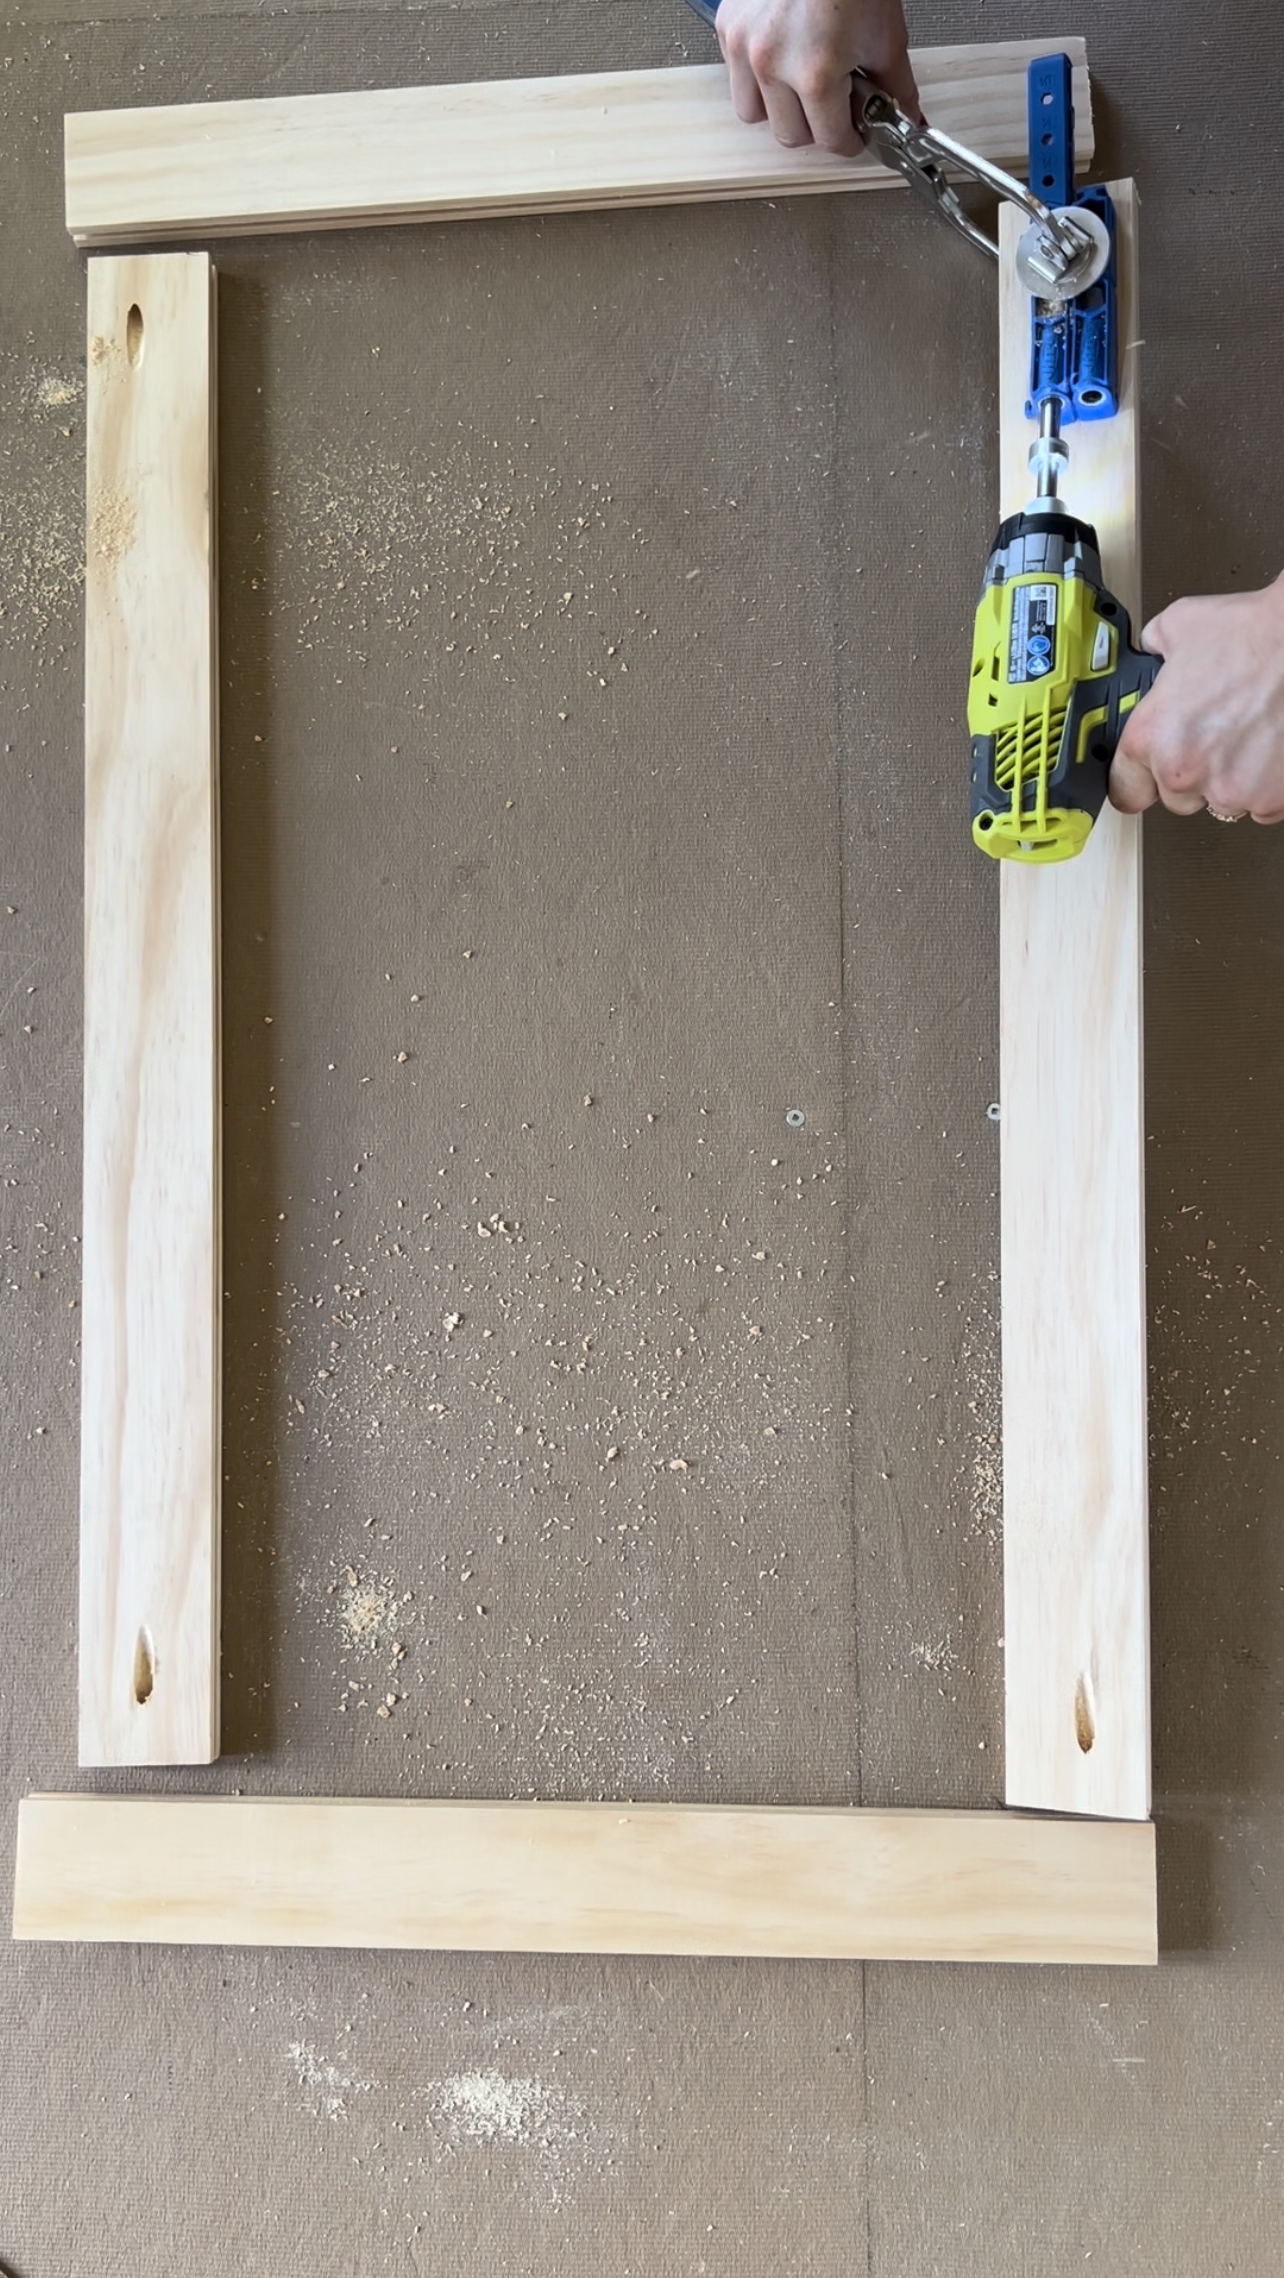
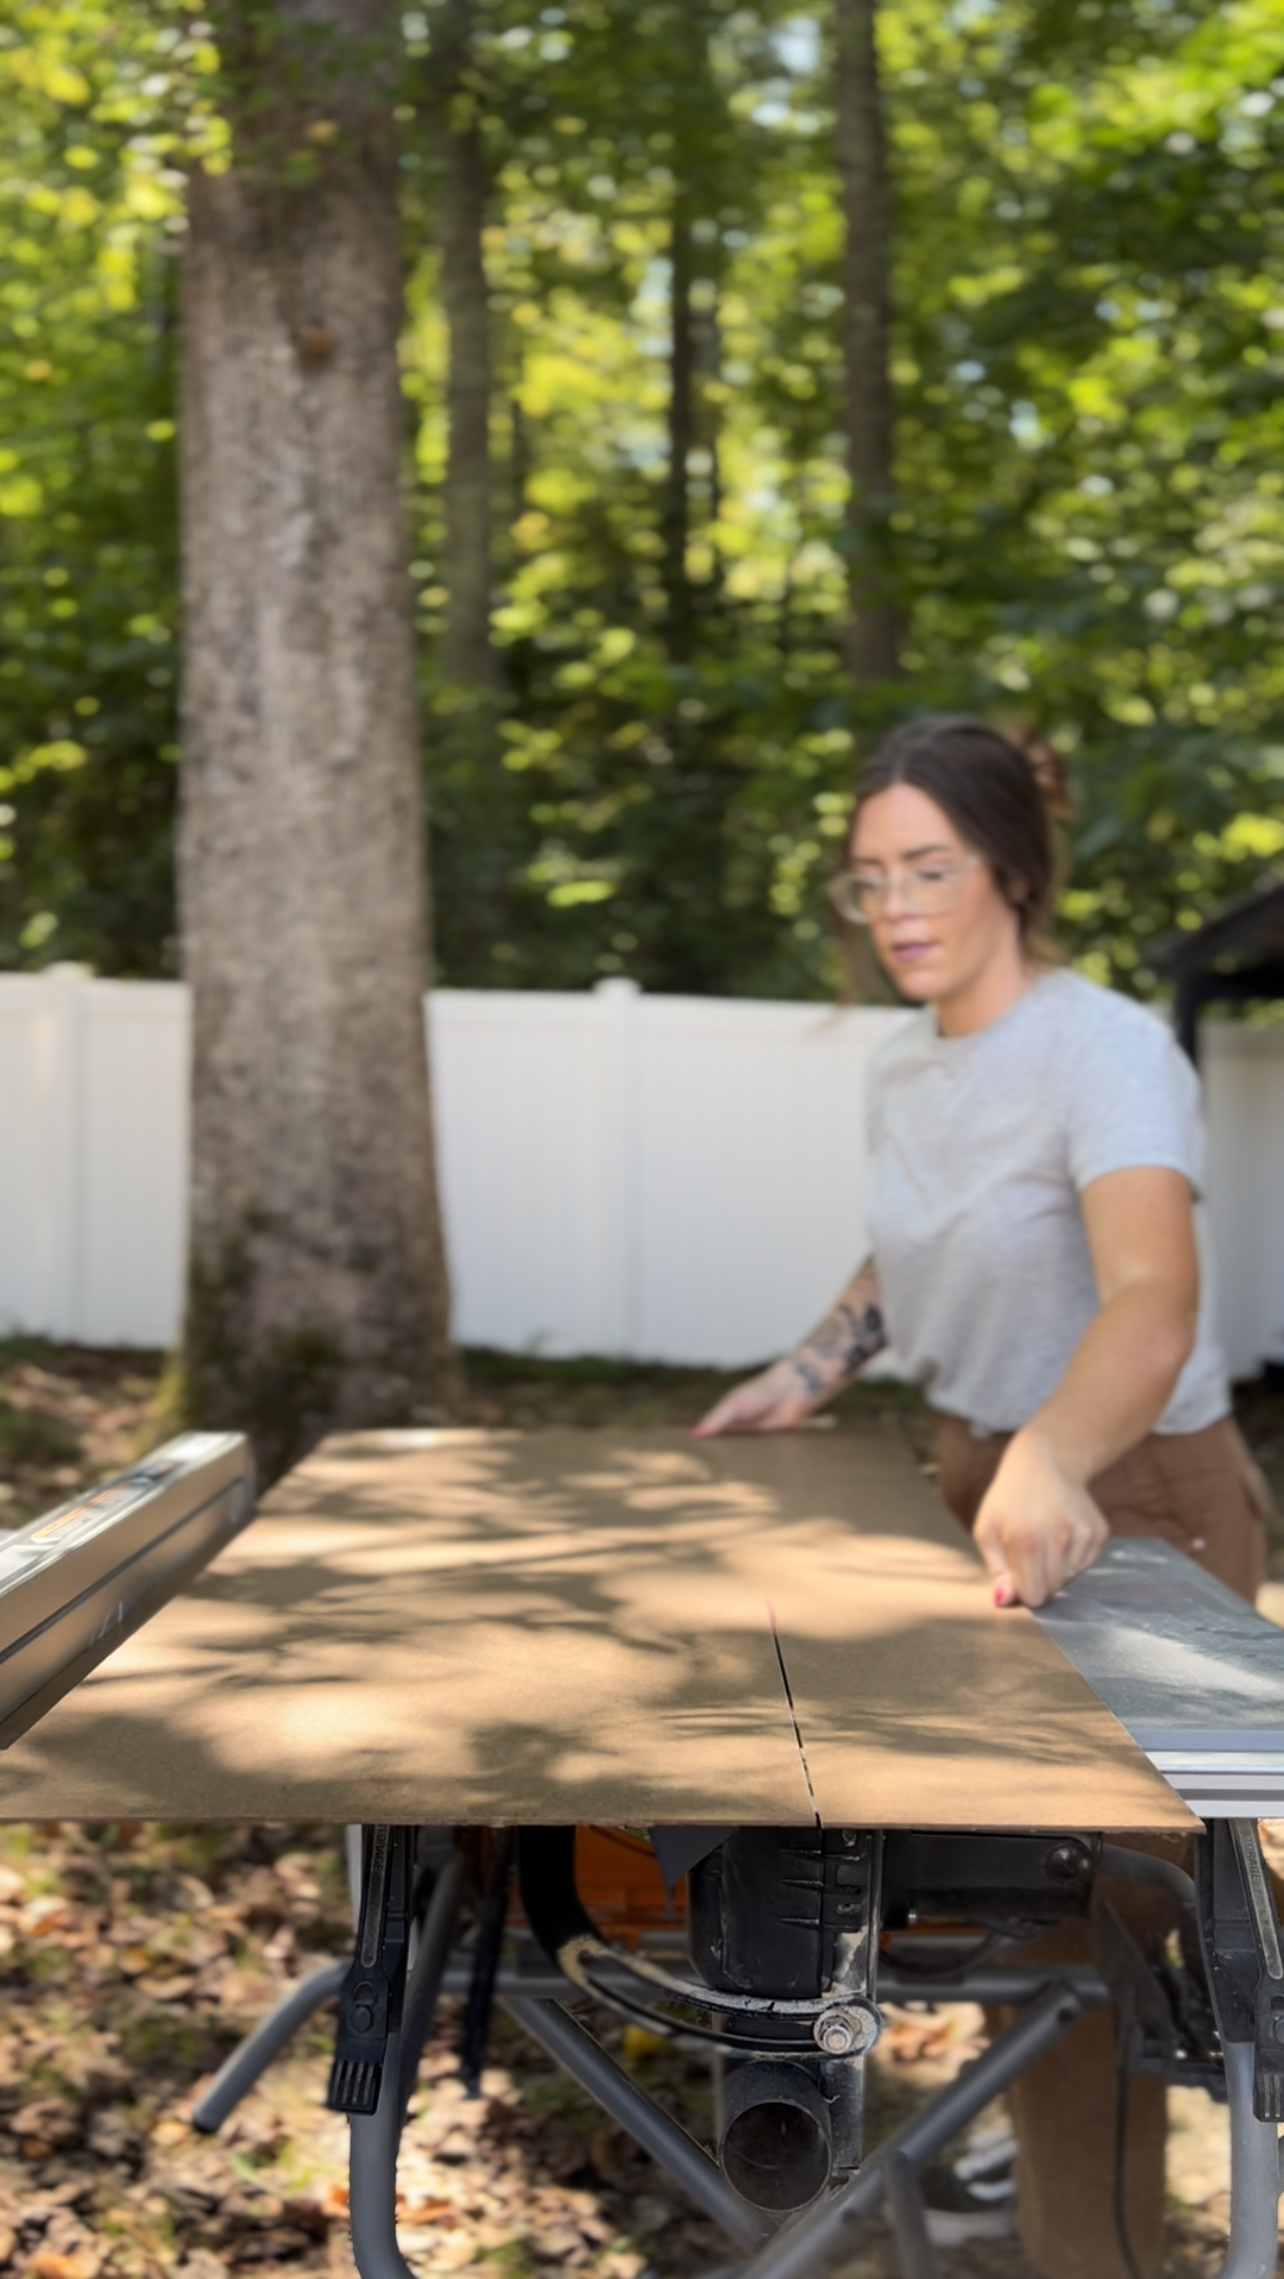
Using my table saw with my blade set to 1/4 in high, I ran the boards over the blade to make a channel. Then adjusted the saw fence and repeated until I had enough room for the tempered hardboard to fit snugly. I cut the tempered hardboard to fit between each of the board frames (with about 1/4 inch added to each side). I connected it all together using wood glue and pocket screws.
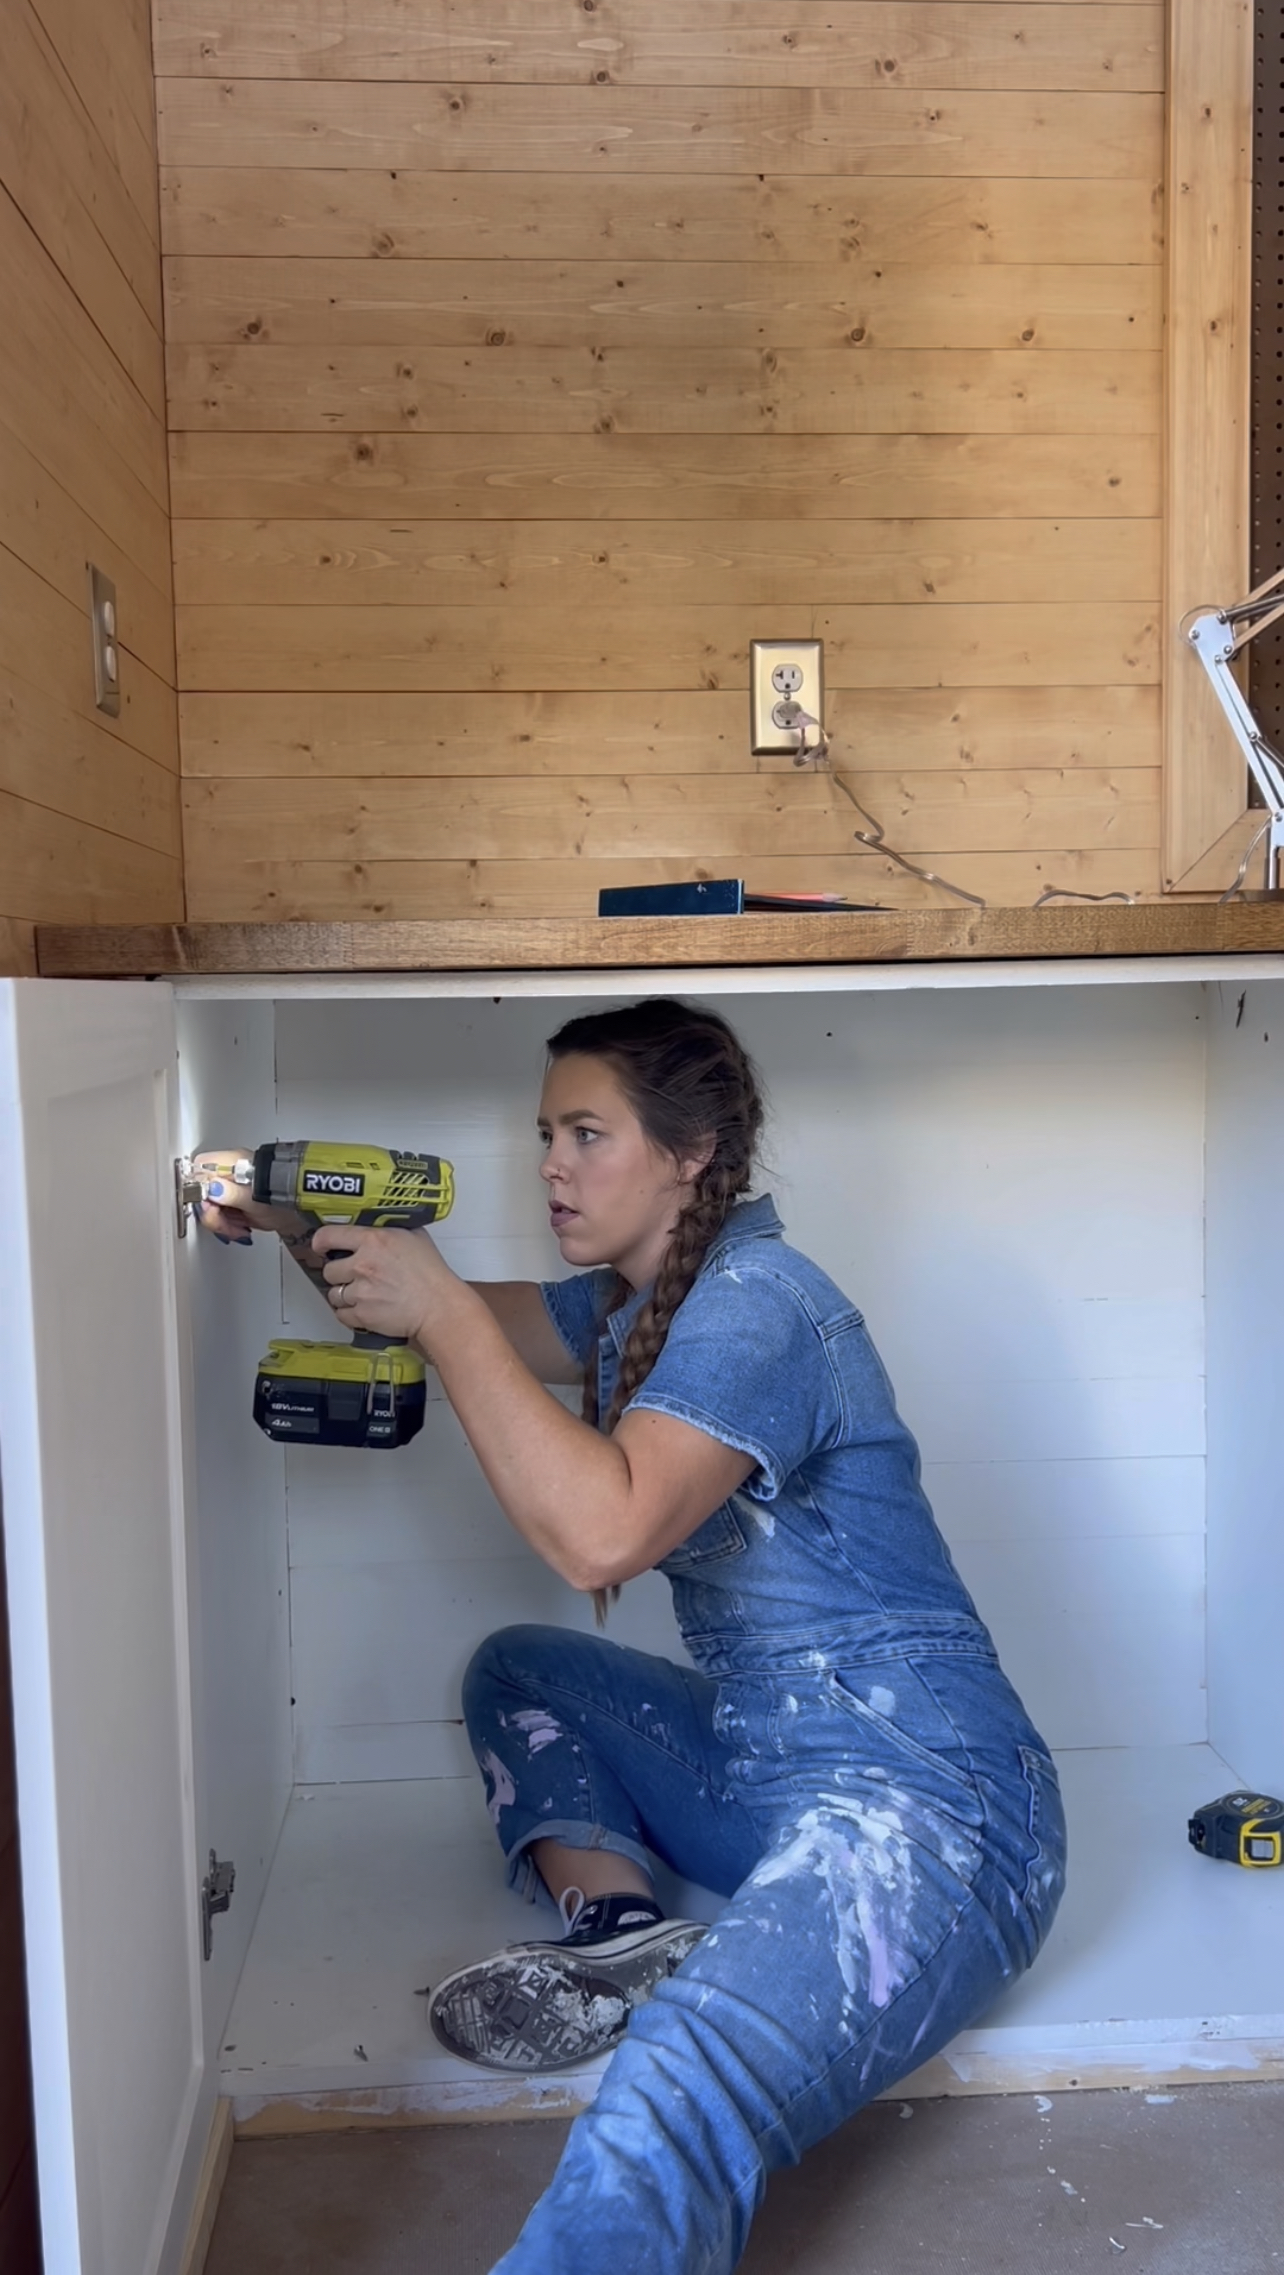
I then filled in my holes with wood filler and caulked along the inside seams where the door frames met the hardboard middle. I then painted these in Swiss Coffee along with the cabinet boxes and Nordli Ikea drawers (after priming first). Using a hinge jig, I installed cabinet hinges and attached these doors to the cabinet boxes and installed some wooden shaker knobs. I finished off the cabinetry by installing some trim to fill in gaps and then caulking & painting.

BUTCHER BLOCK WORK TOP
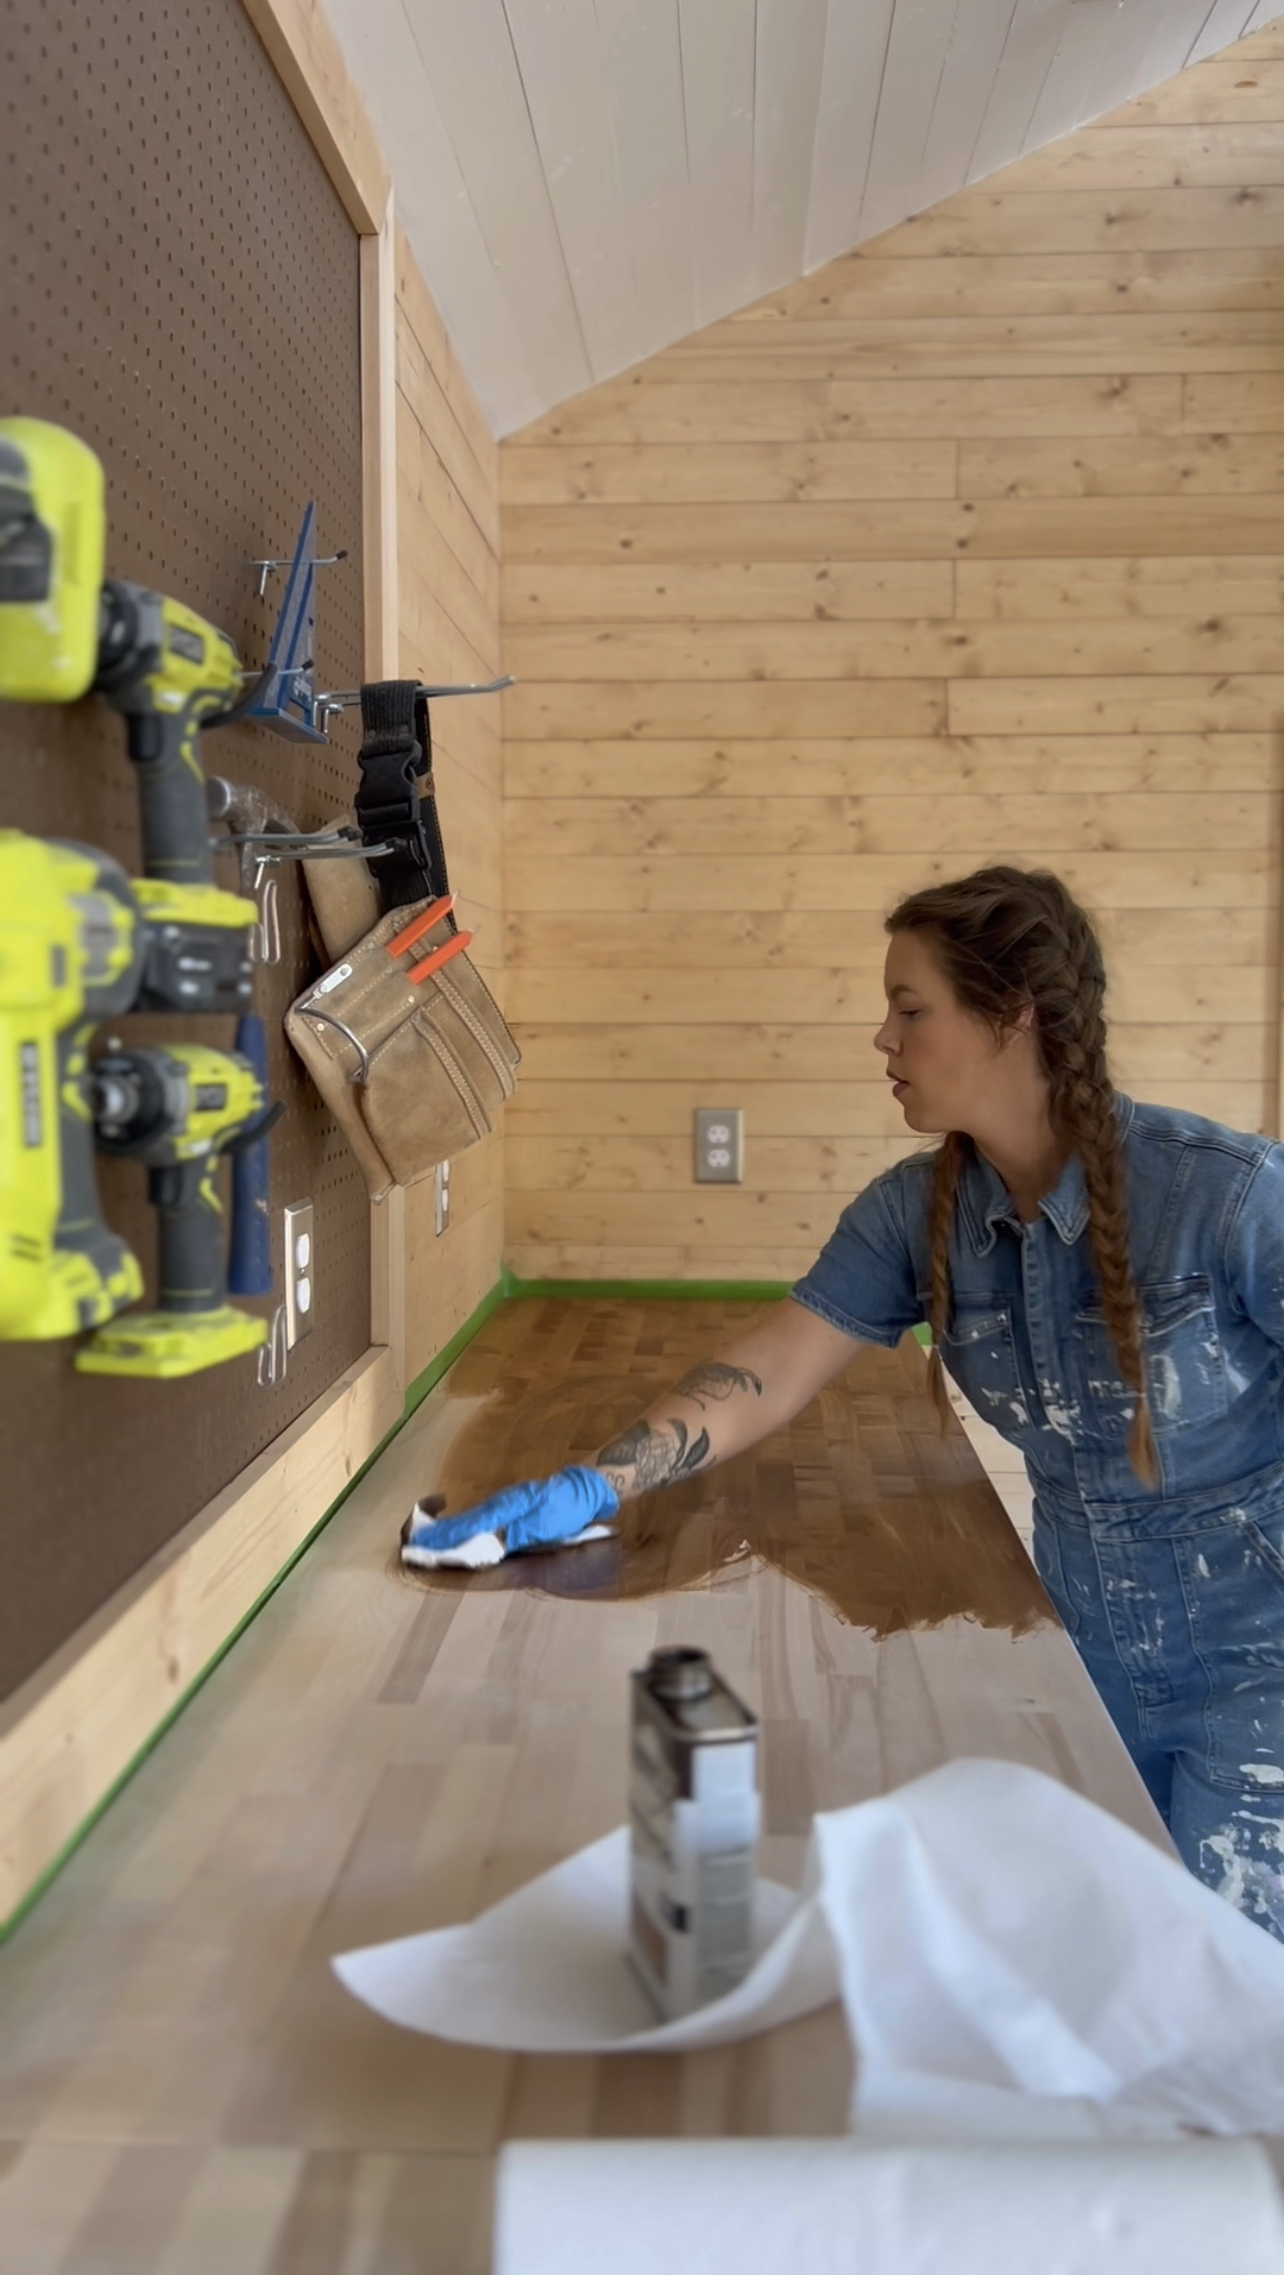
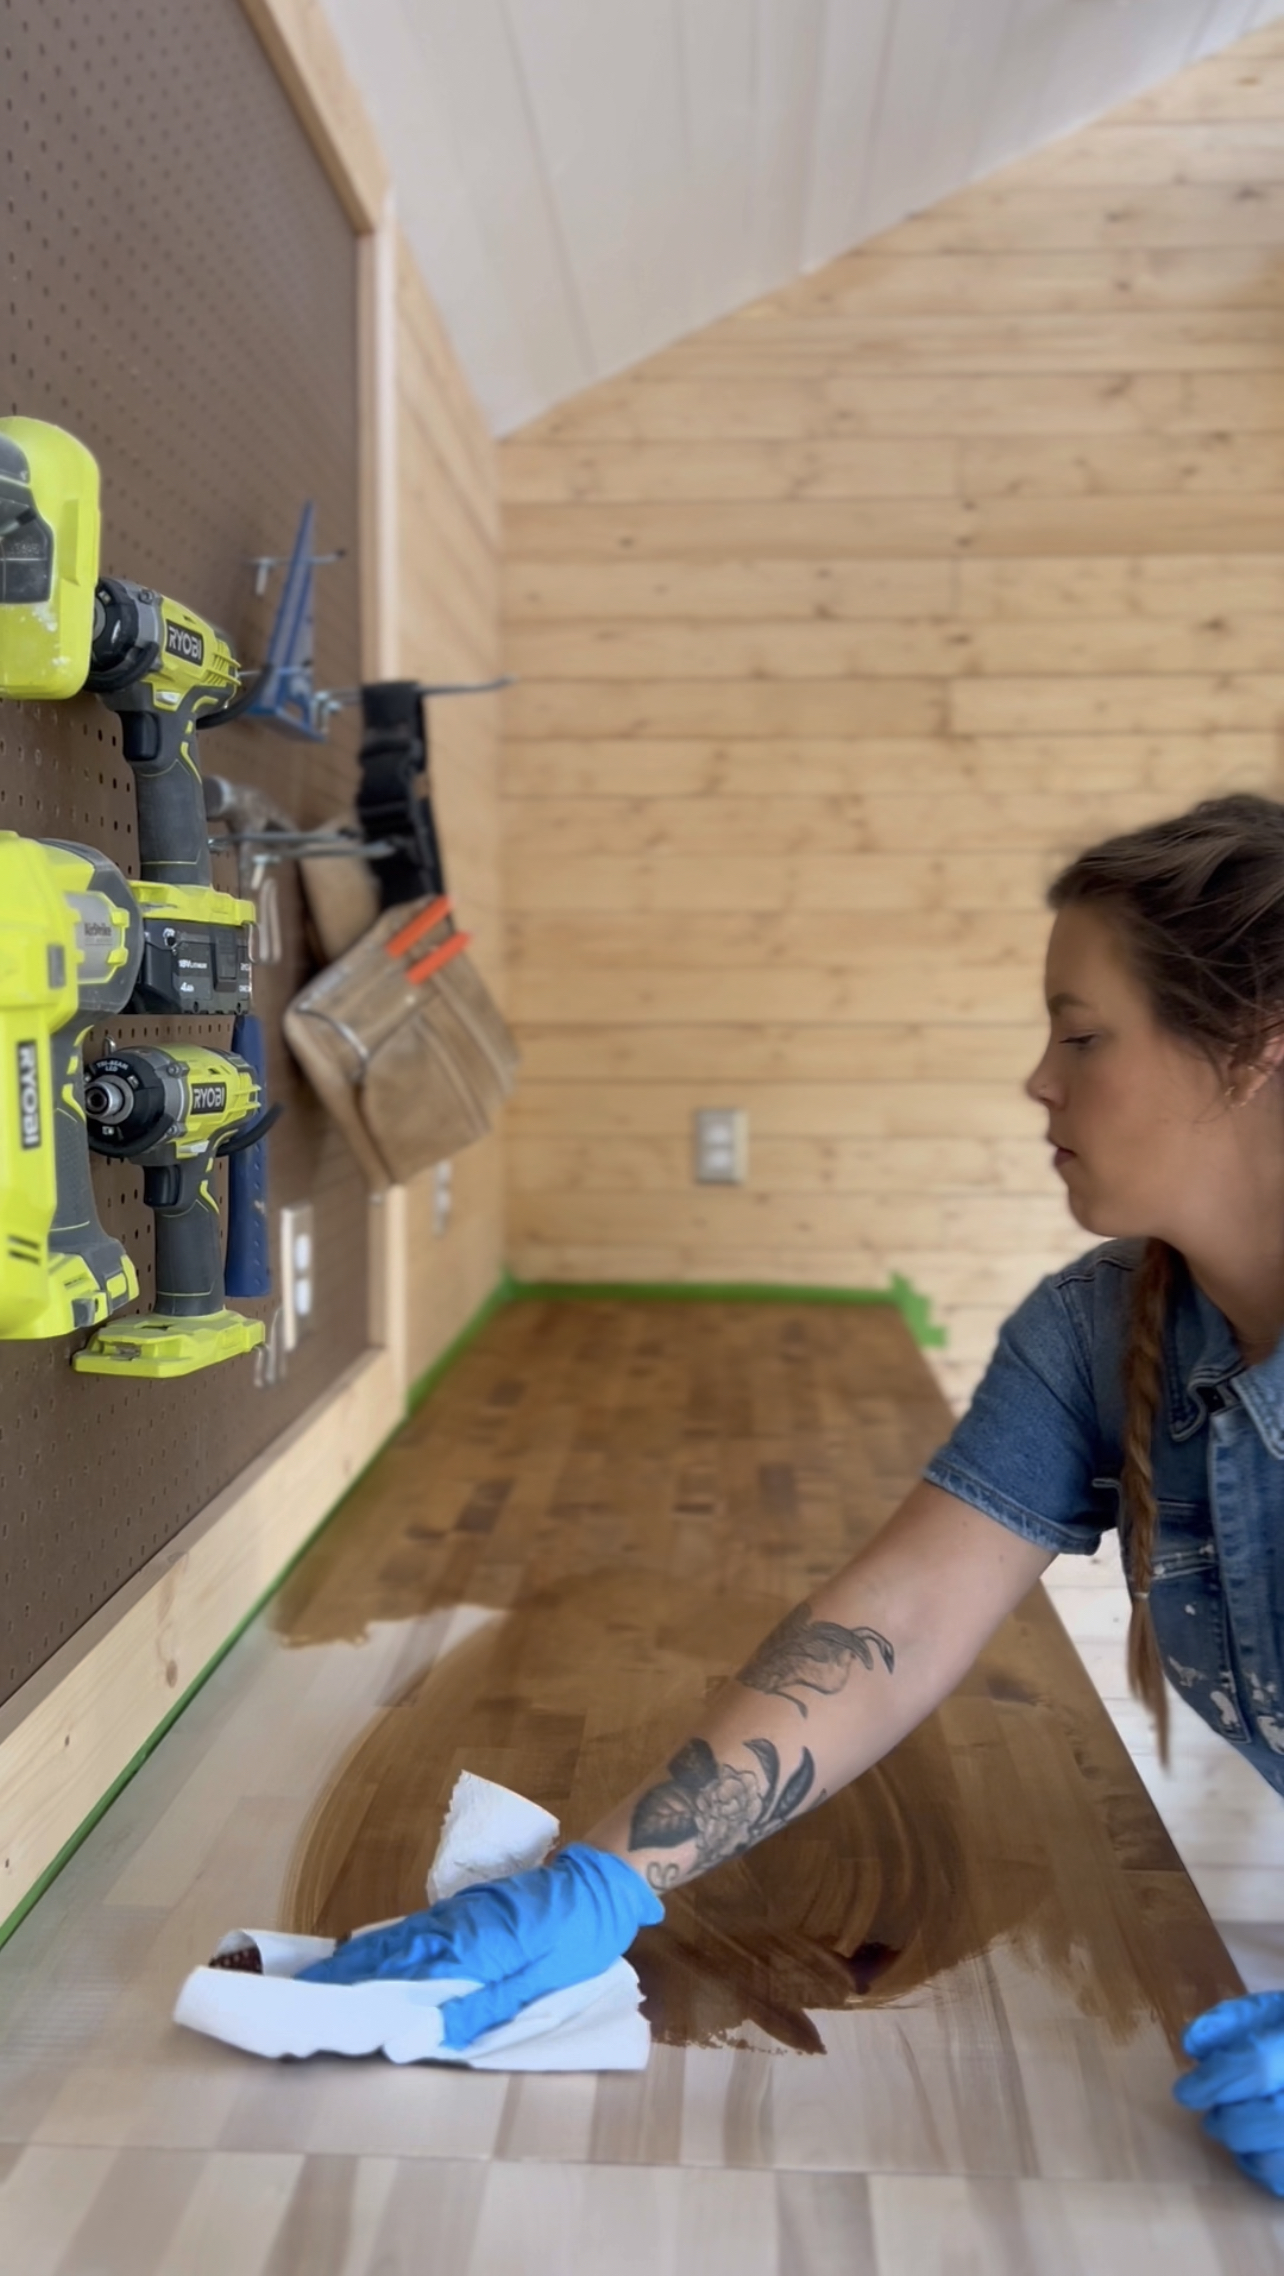
For the worktop, I decided to go with butcher block. I thought this would look really nice and be extra durable for the work I plan to do in here. Plus, easy to refinish if I need to down the road! I bought two 8 ft birch unfinished butch block countertops from Home Depot. I had to cut some length off each end so that they both would fit and that there would be a seam exactly in the middle of the bench. I used construction adhesive to attach it to the cabinets/drawers. I then stained/sealed it with Watco Danish Oil in Dark Walnut.
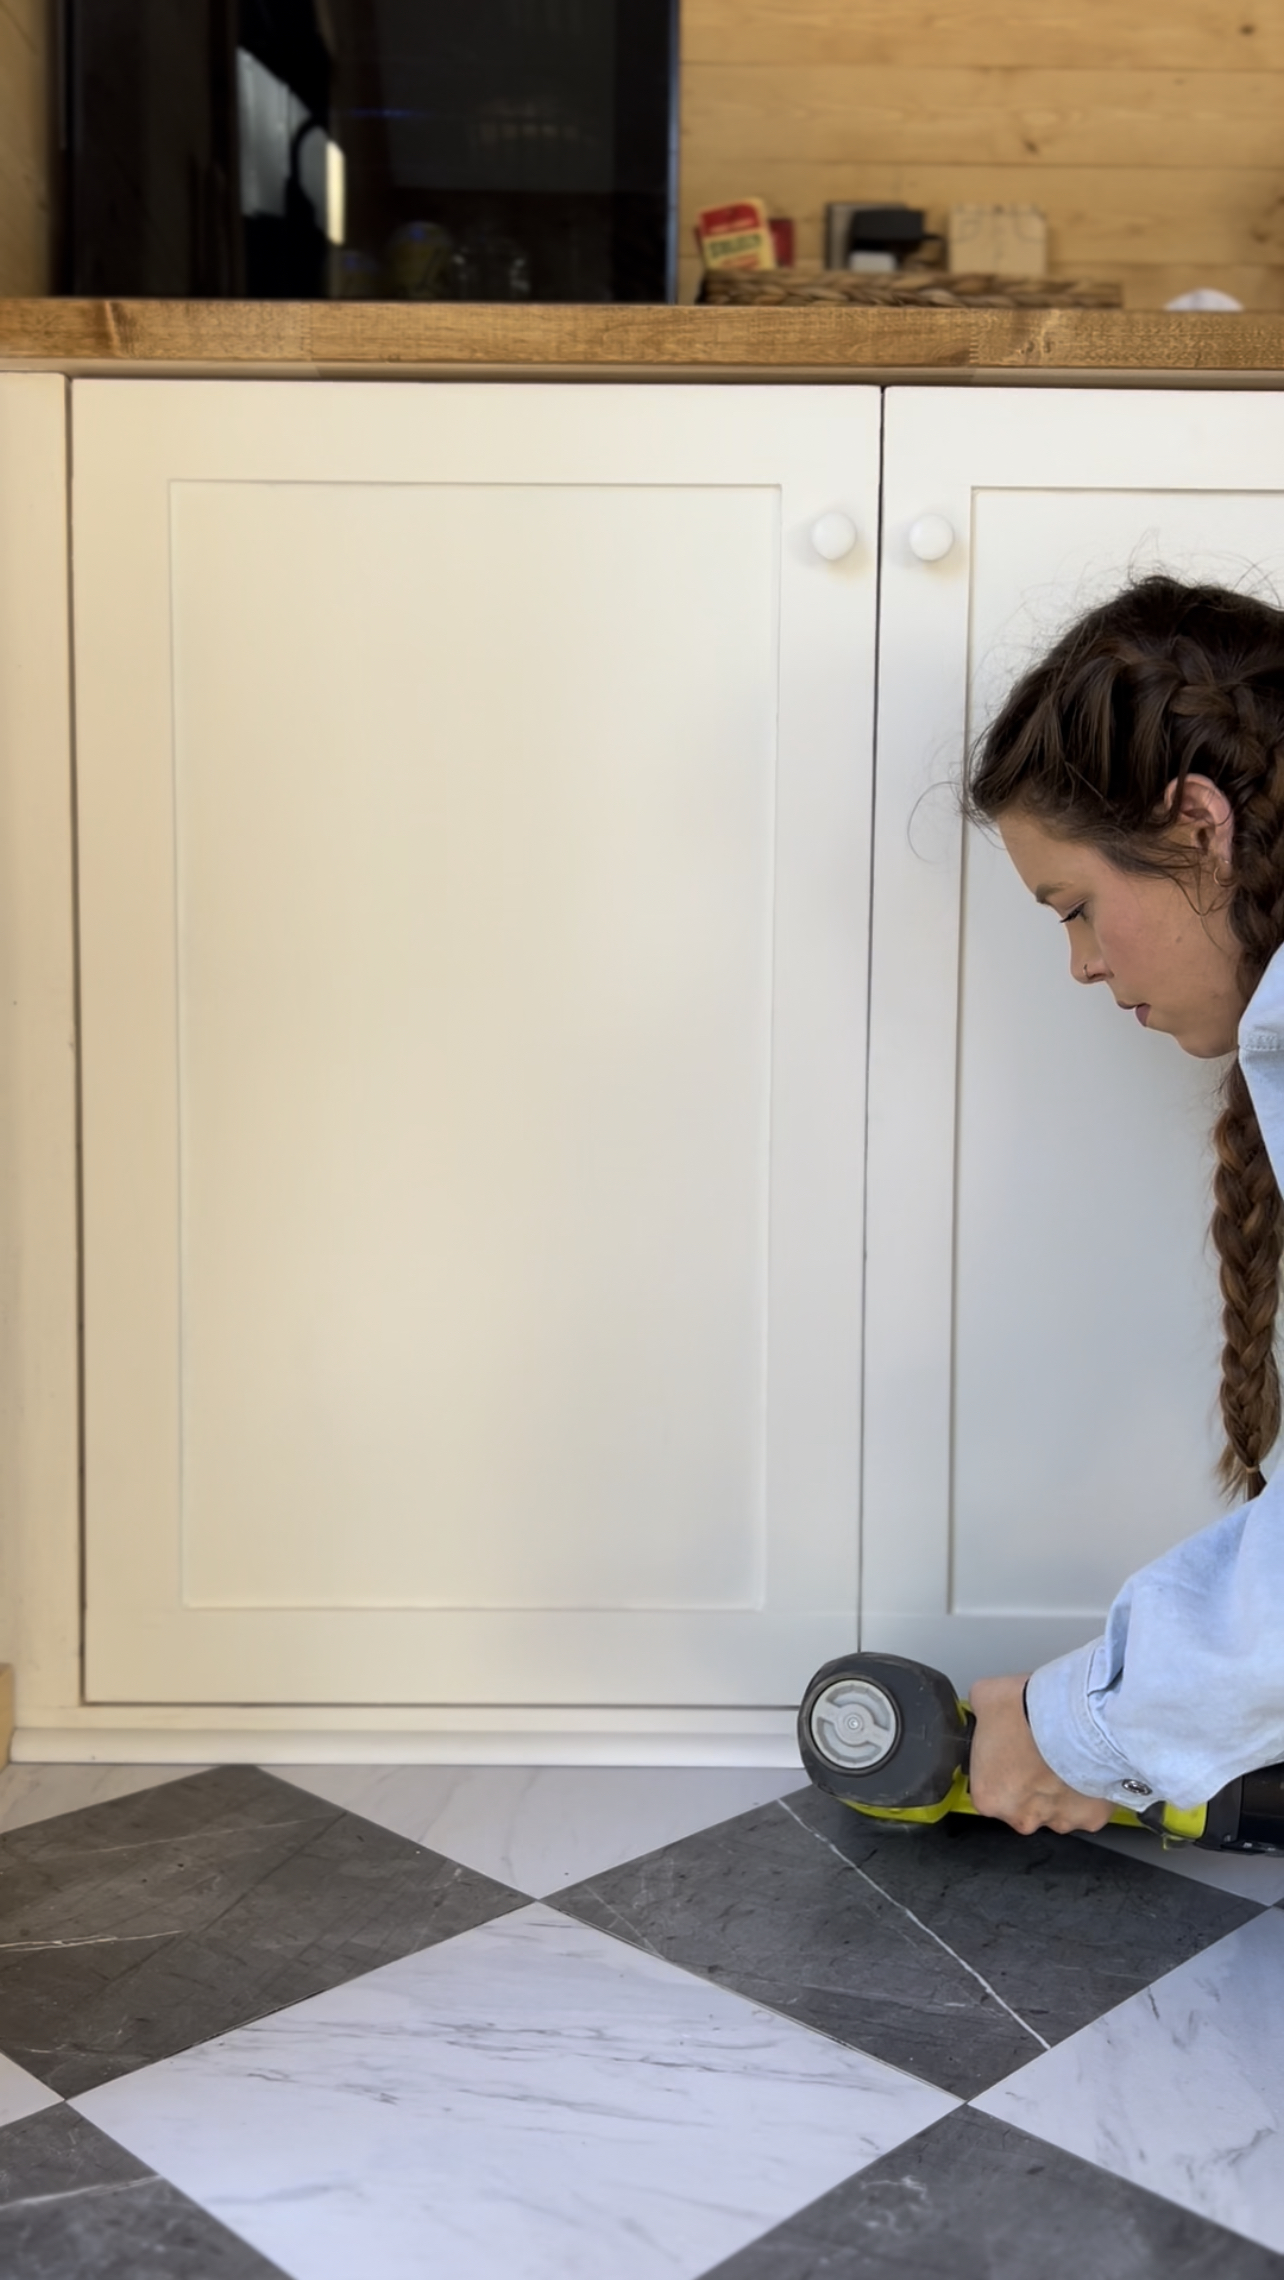
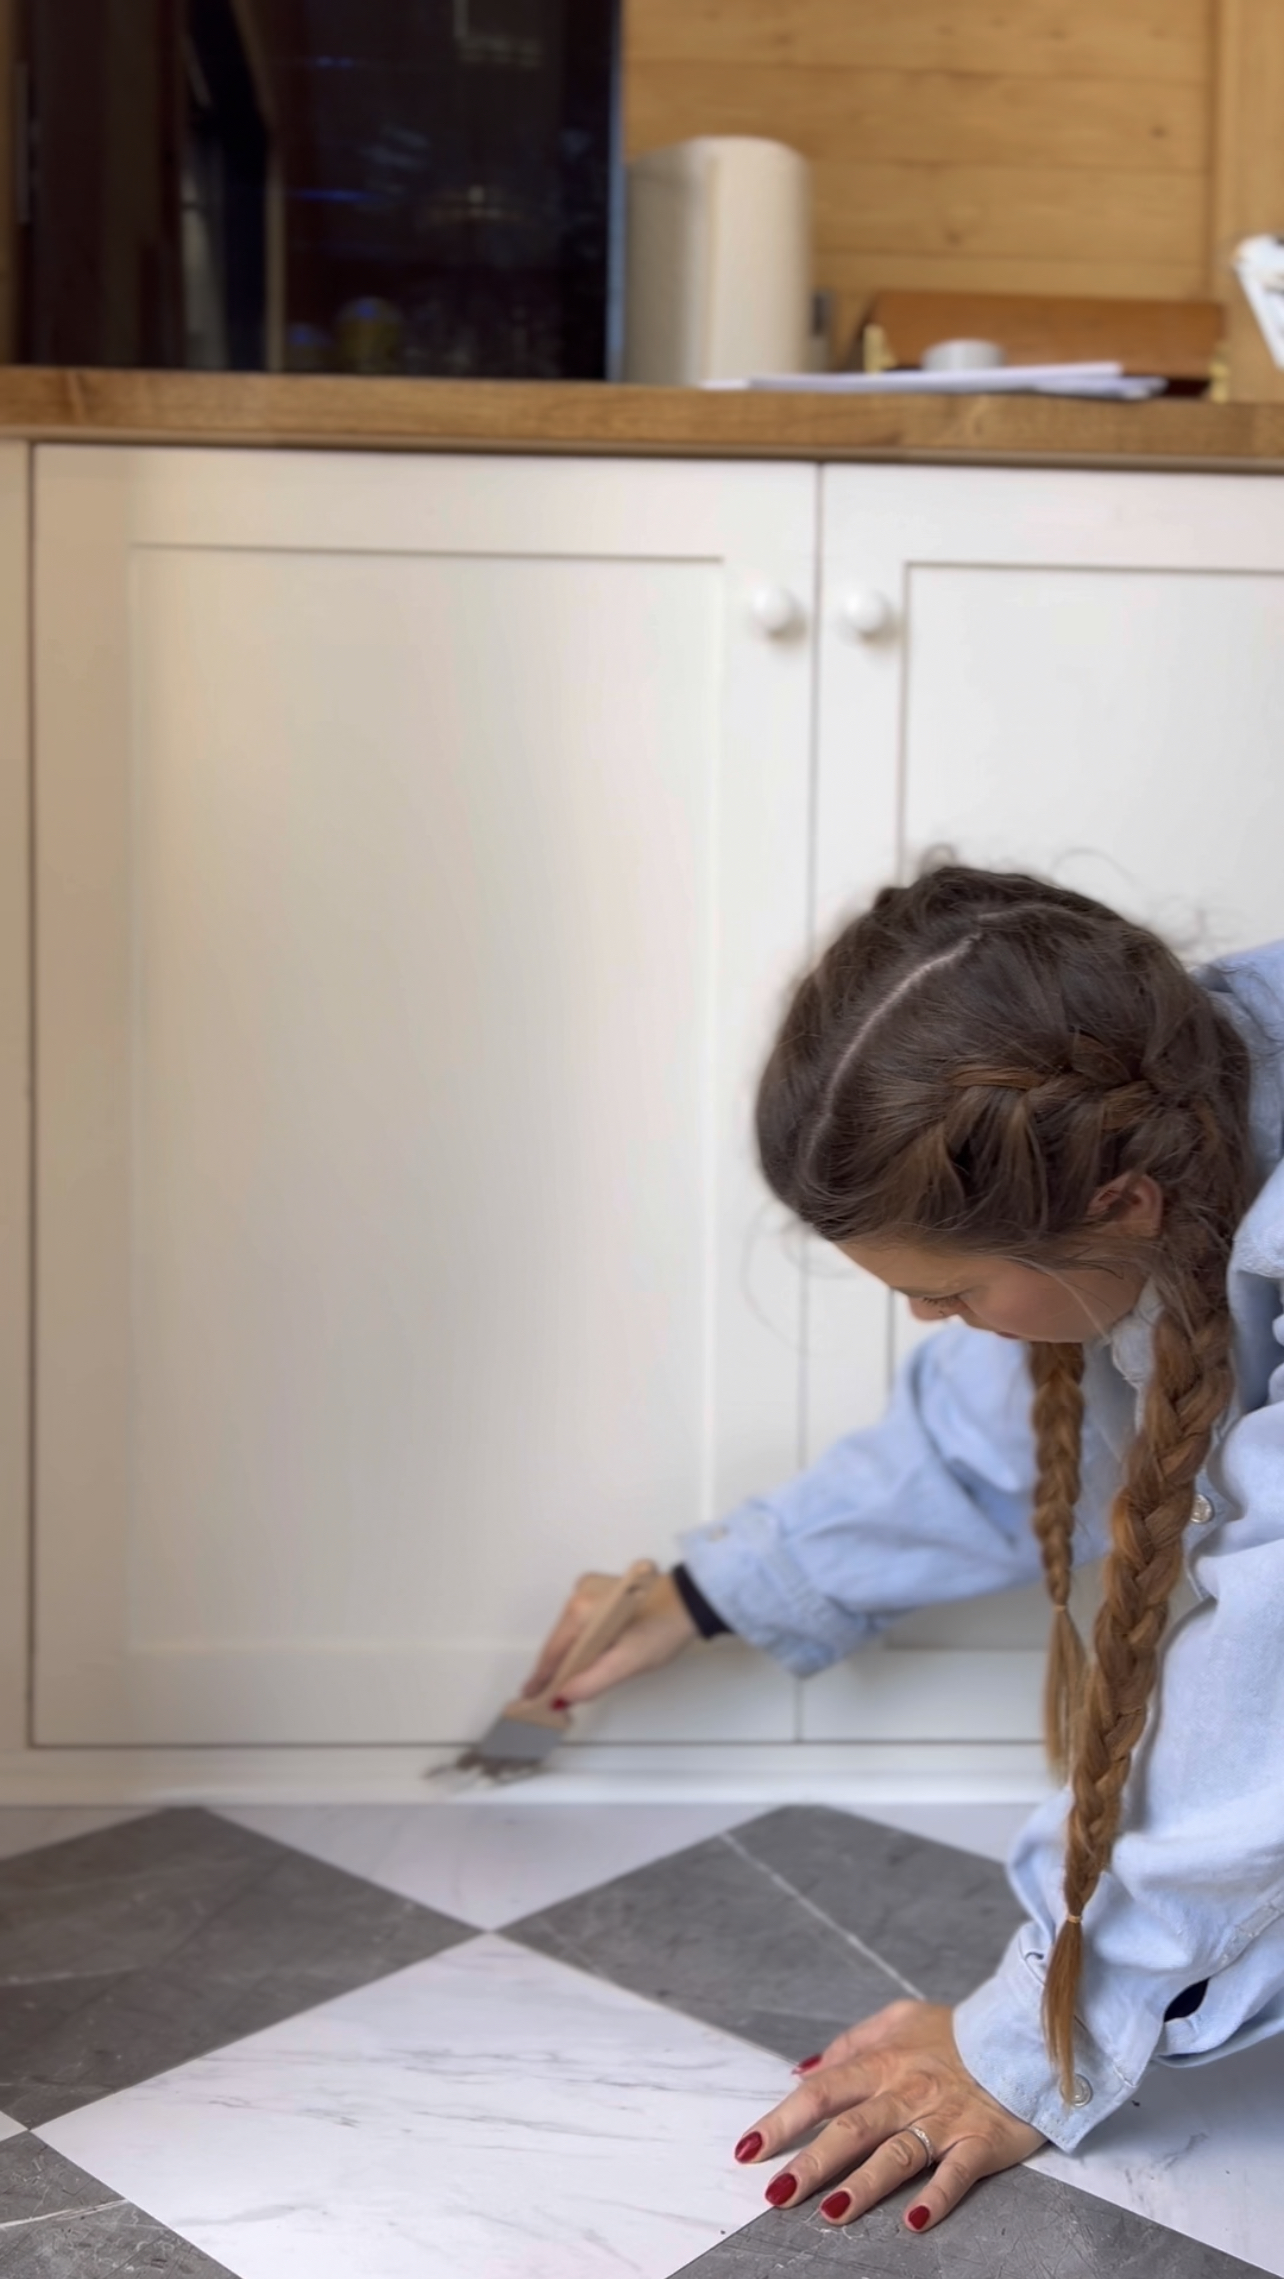
FAUX MARBLE PEEL N’ STICK VINYL FLOOR
To really take this space to a new level, I decided to add these beautiful faux marble peel n’ stick tiles from Wall Pops. These are from the Chris Loves Julia line that was released earlier this year. As soon as they came out, I bought some knowing that I would use them somewhere! I am really impressed with the durability and the appearance of these. They look SO beautiful and they are so easy to wipe/sweep clean. I will say… they did not seem to stick super well to my subfloor in some areas. I ended going back behind and using some super glue to help attach those areas which worked great.
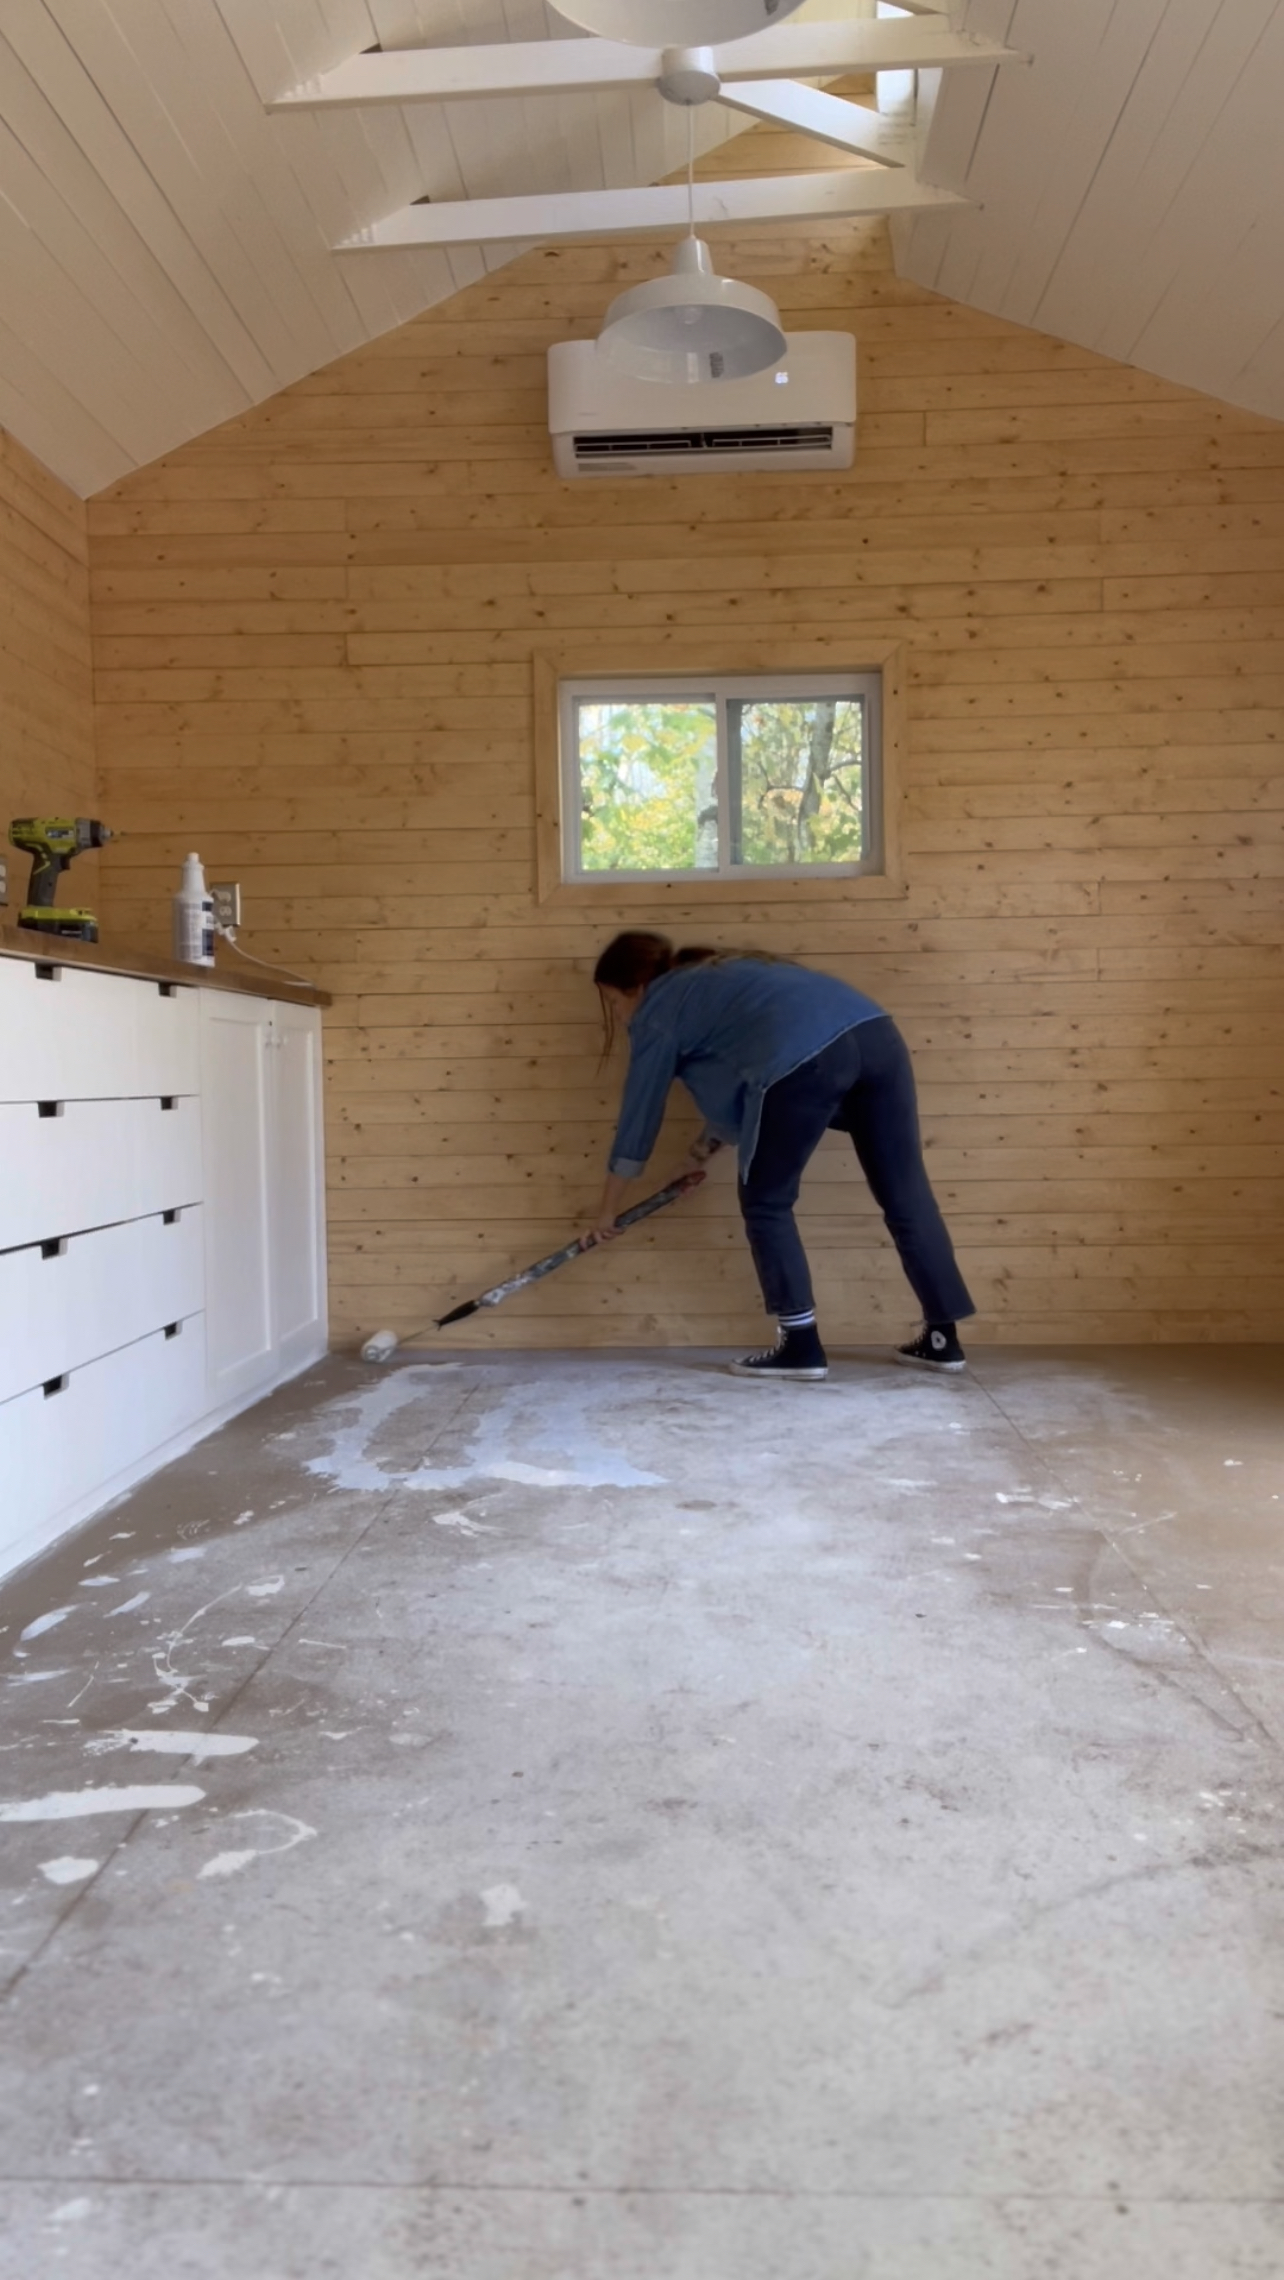
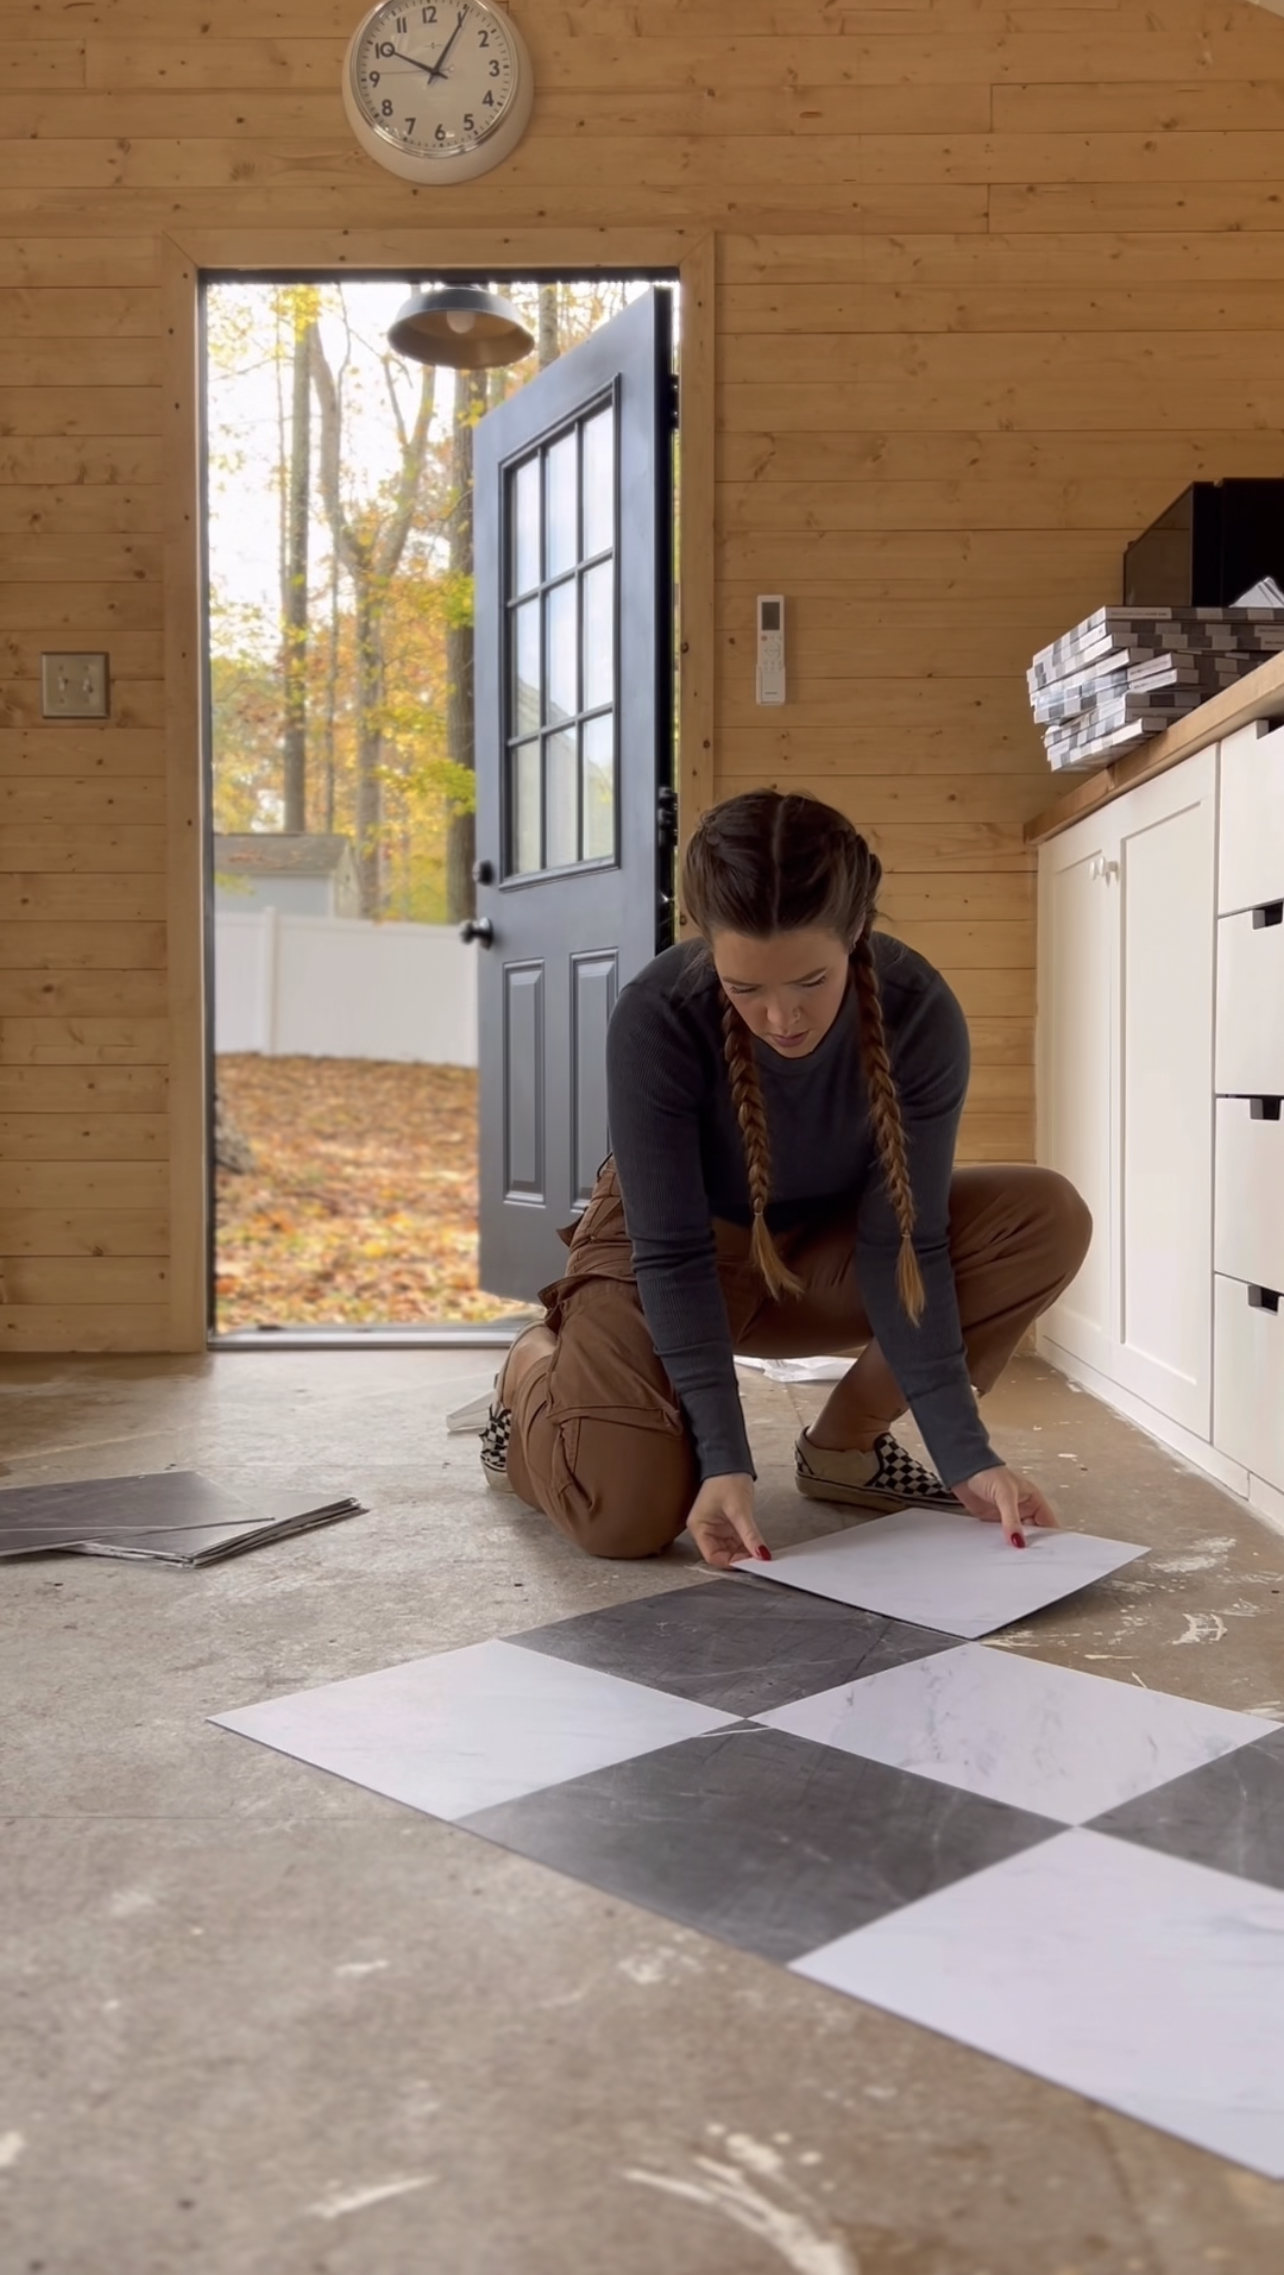
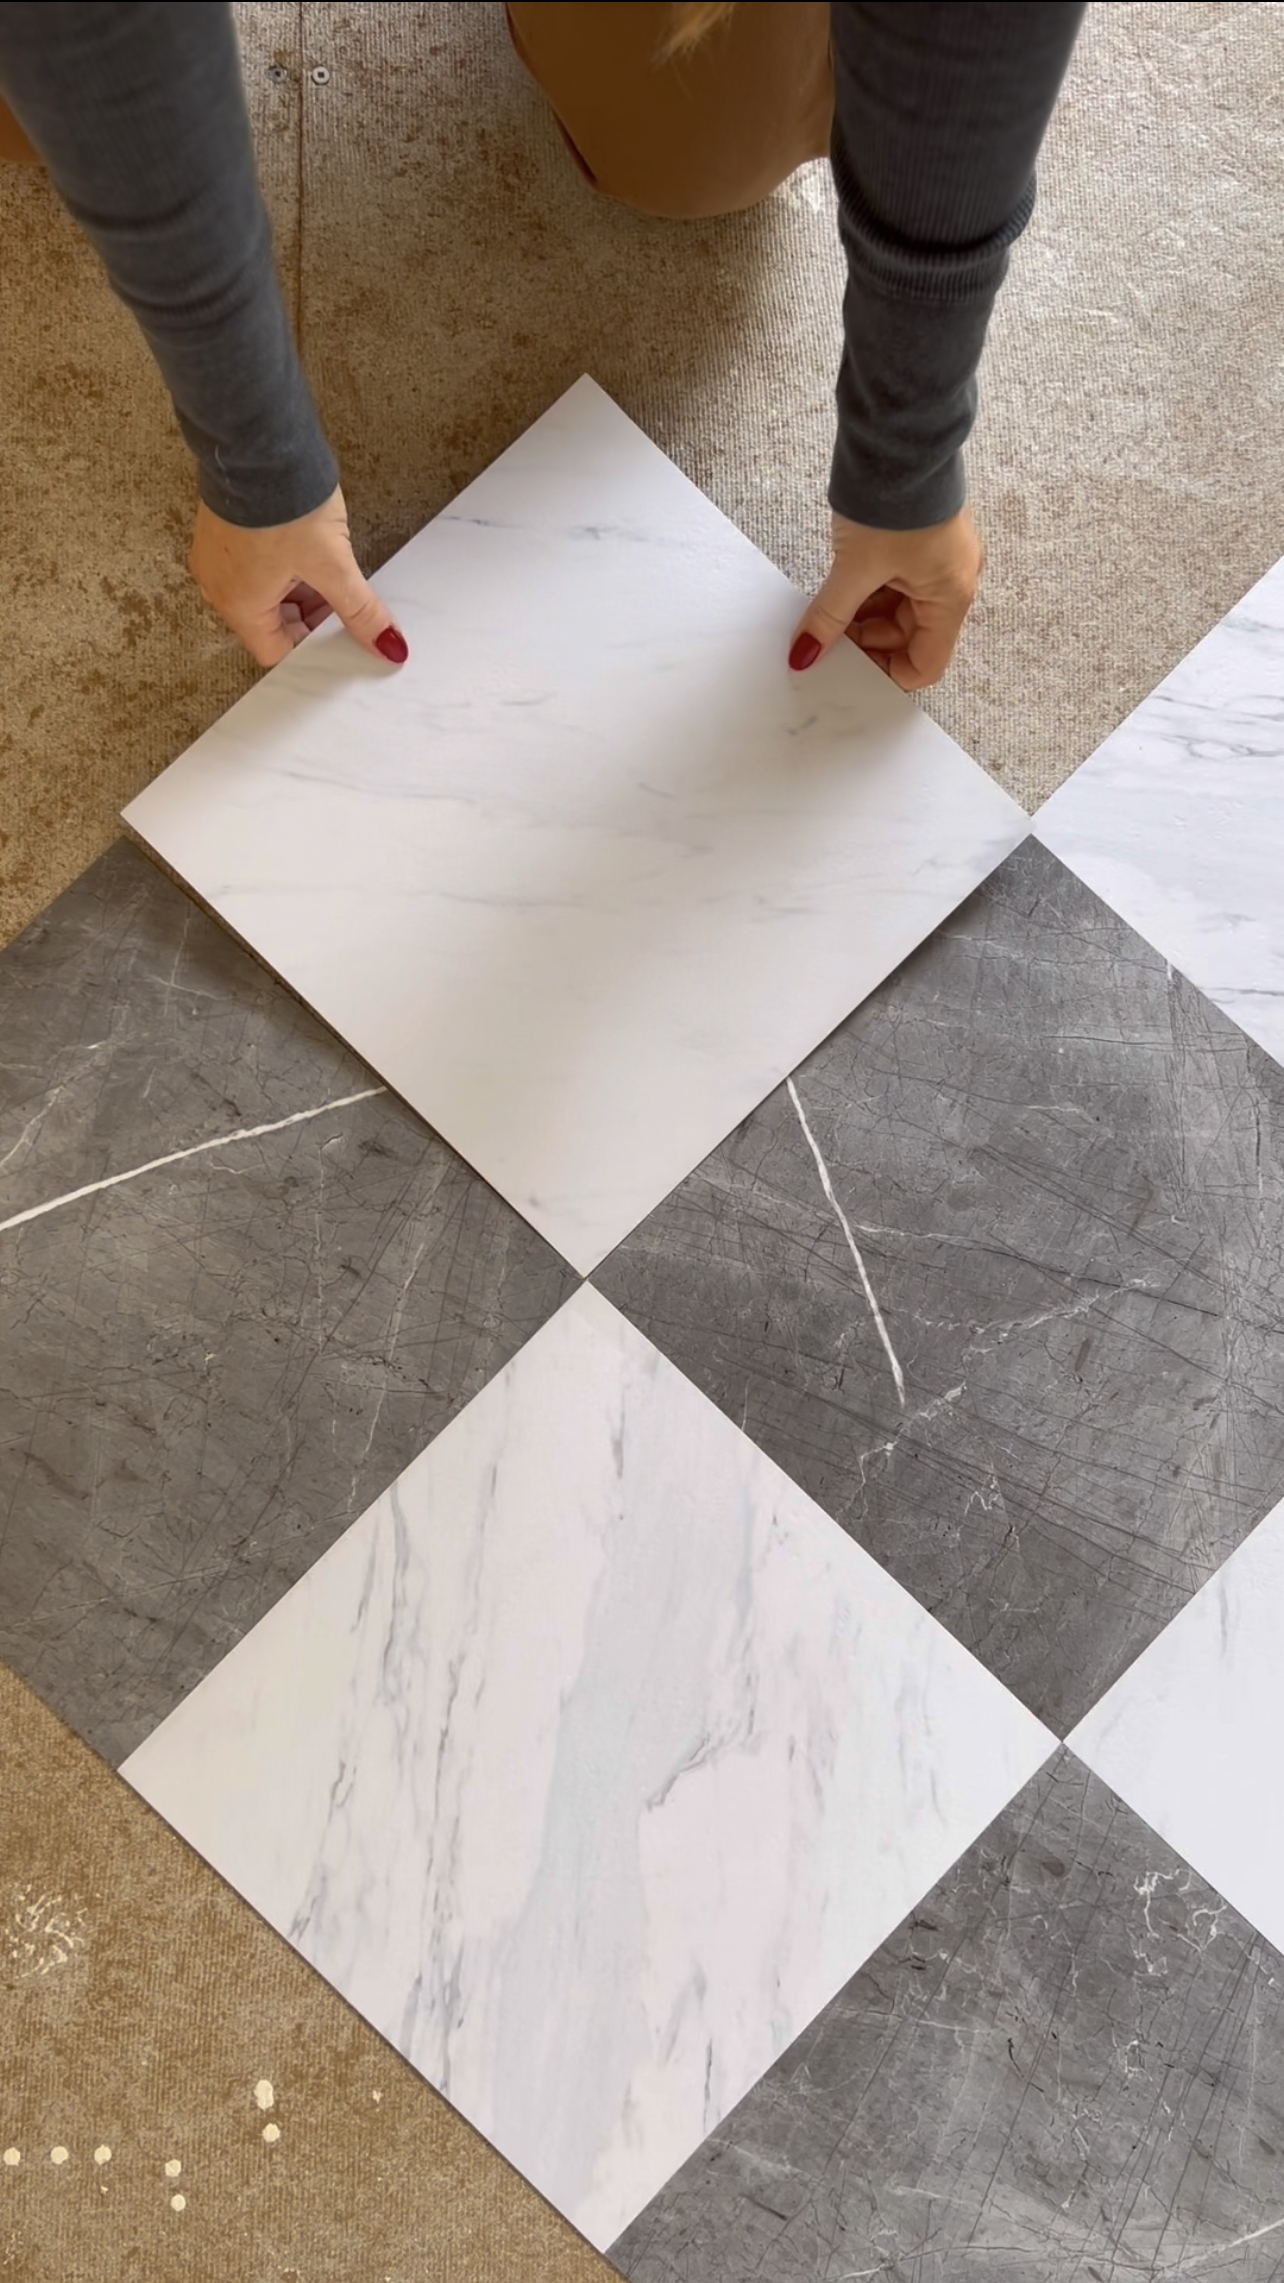
I applied a floor primer from Wall Pops prior to installing the tiles and used a razor to snap and trim the tiles as I worked. They were so easy to install! Once this was complete, I added some trim around the perimeter to close off the gaps.
Anddddd it’s DONE! This is the part where I get to put all of my finishing touches in here to pull it all together! You can see the full Workshop Reveal here!
Flooring – Faux Marble Pell n’ Stick Tiles by Wall Pops
Butcher Block – Unfinished Birch Butcher Block
I was hoping to see how you installed the electrical wiring. 🤔🙃
What kind of permits did you need to get?
I would love to get some ladies, my seasoned and over 50 and can’t get low as I could years ago. I have never built anything of this magnitude but really need a nice she shed workshop to start my business. Currently I’m unorganized and have stuff in the garage and in 2 rooms, and repurchase items thinking I didnt have it. So you have a step by step and do I need to purchase an electric saw to complete something like this. Did you purchase a tuff shed
Hi Kenzie!! Such a great question. The Tuff Shed team actually came and built it out for me! They’re awesome. There’s more on the full process here in this blog post!
Let me know if you have any other questions!