My Tuff Shed Workshop – Phase Two

I have been working to transform my new backyard Tuff Shed into my own DIY workshop! So far I have run the electricity with the help of my father-in-law, insulated, and installed storage for tools. You can read more about that here!
*This post may contain affiliate links, which means I may earn a small commission if you purchase through my links, at no extra cost to you. I only share products I genuinely love.
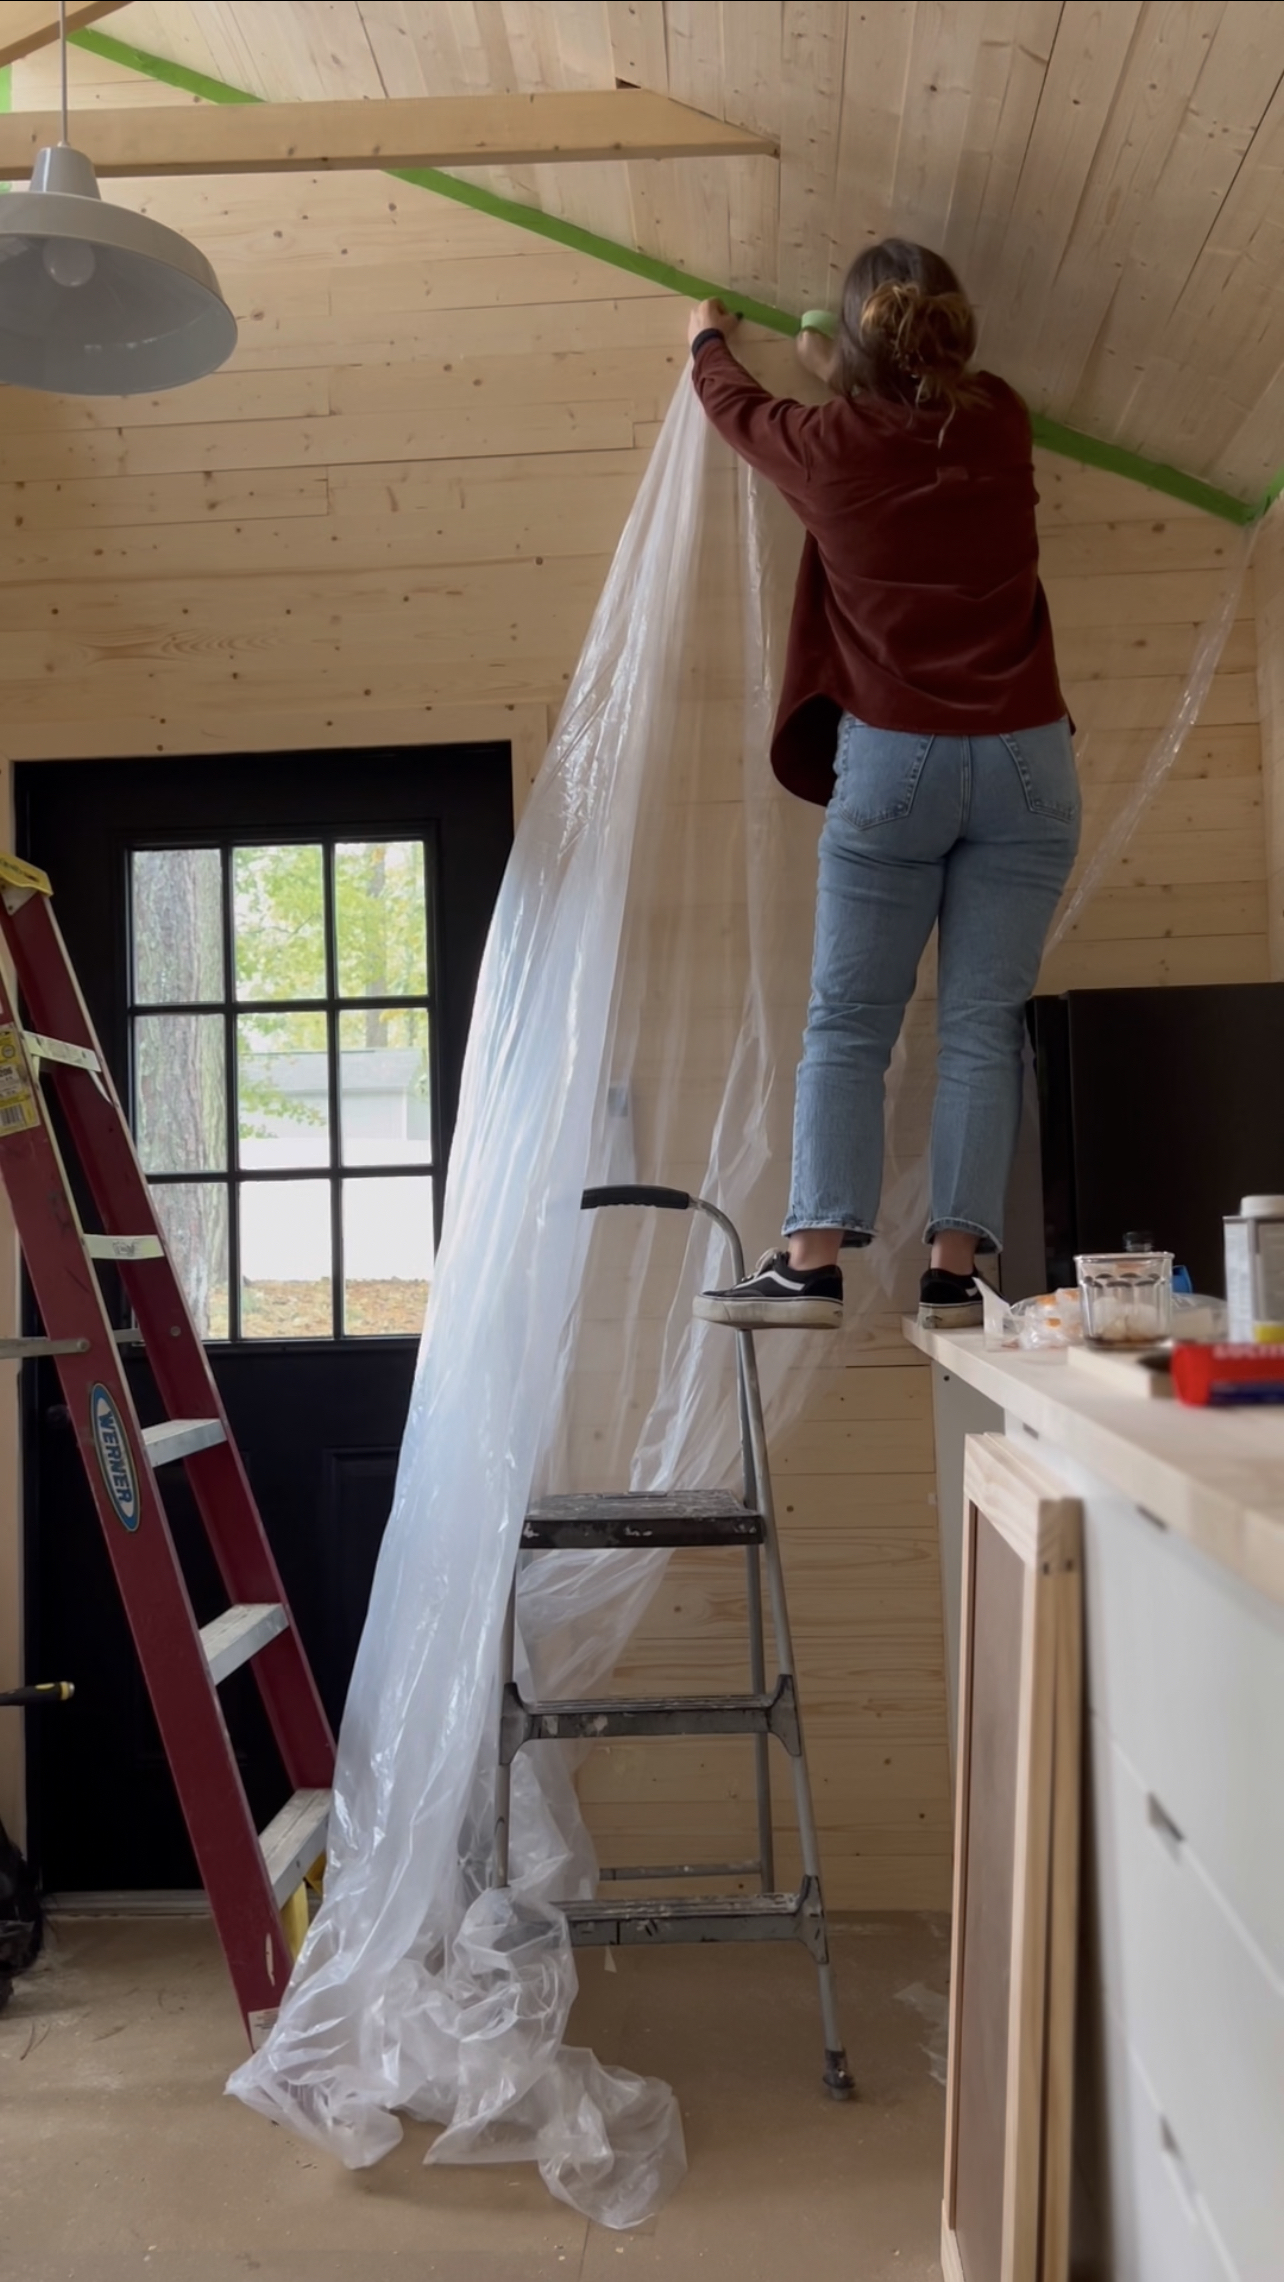
WALLS & CEILING
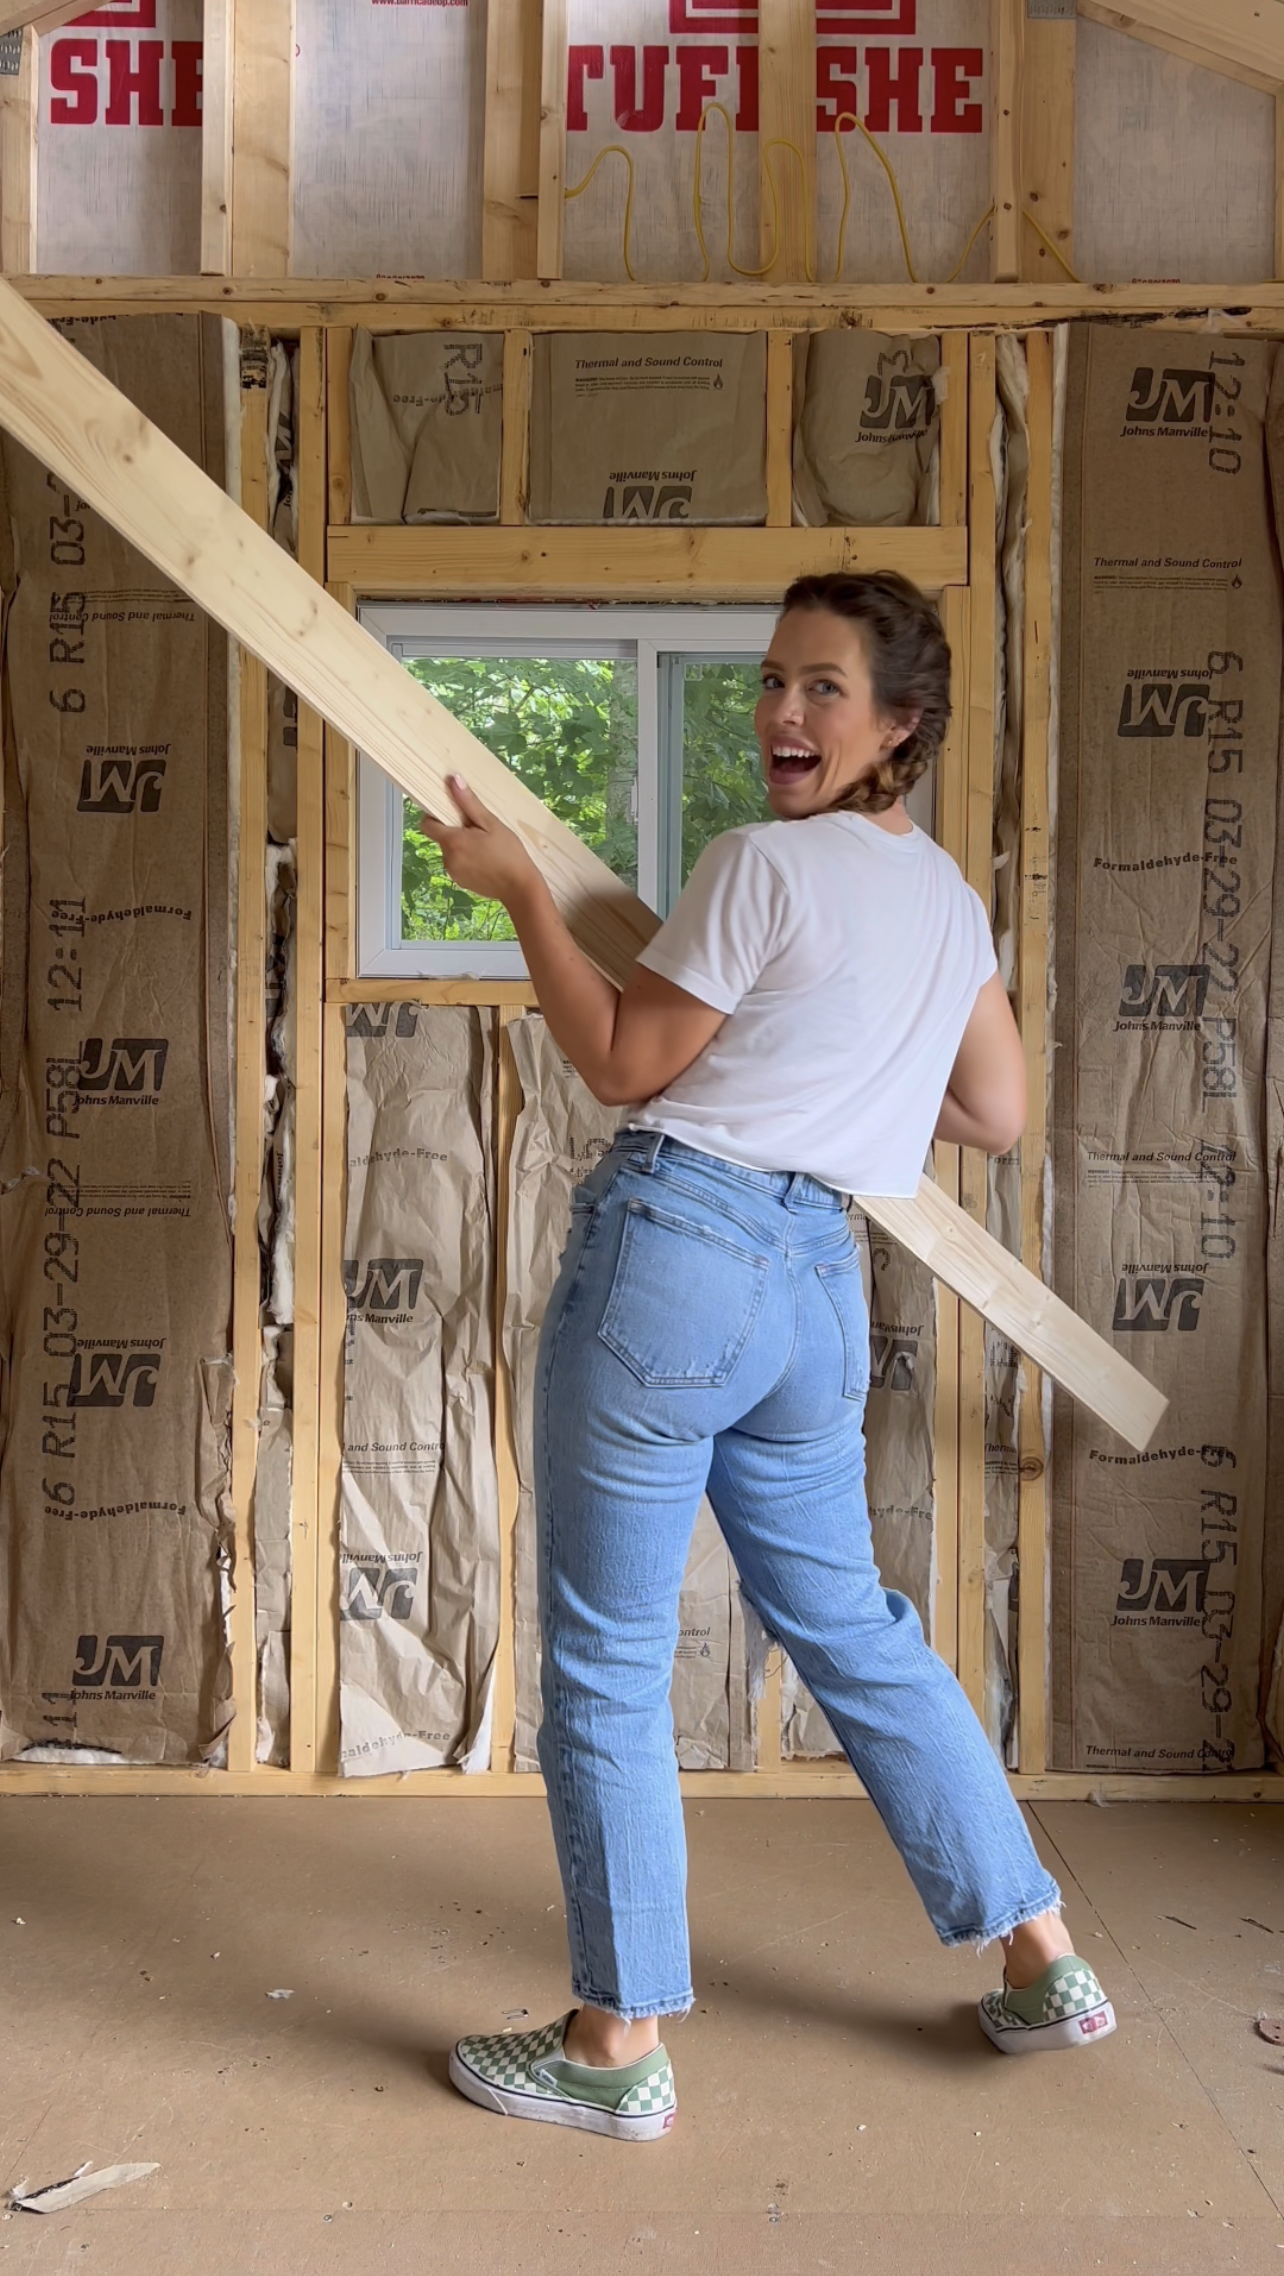
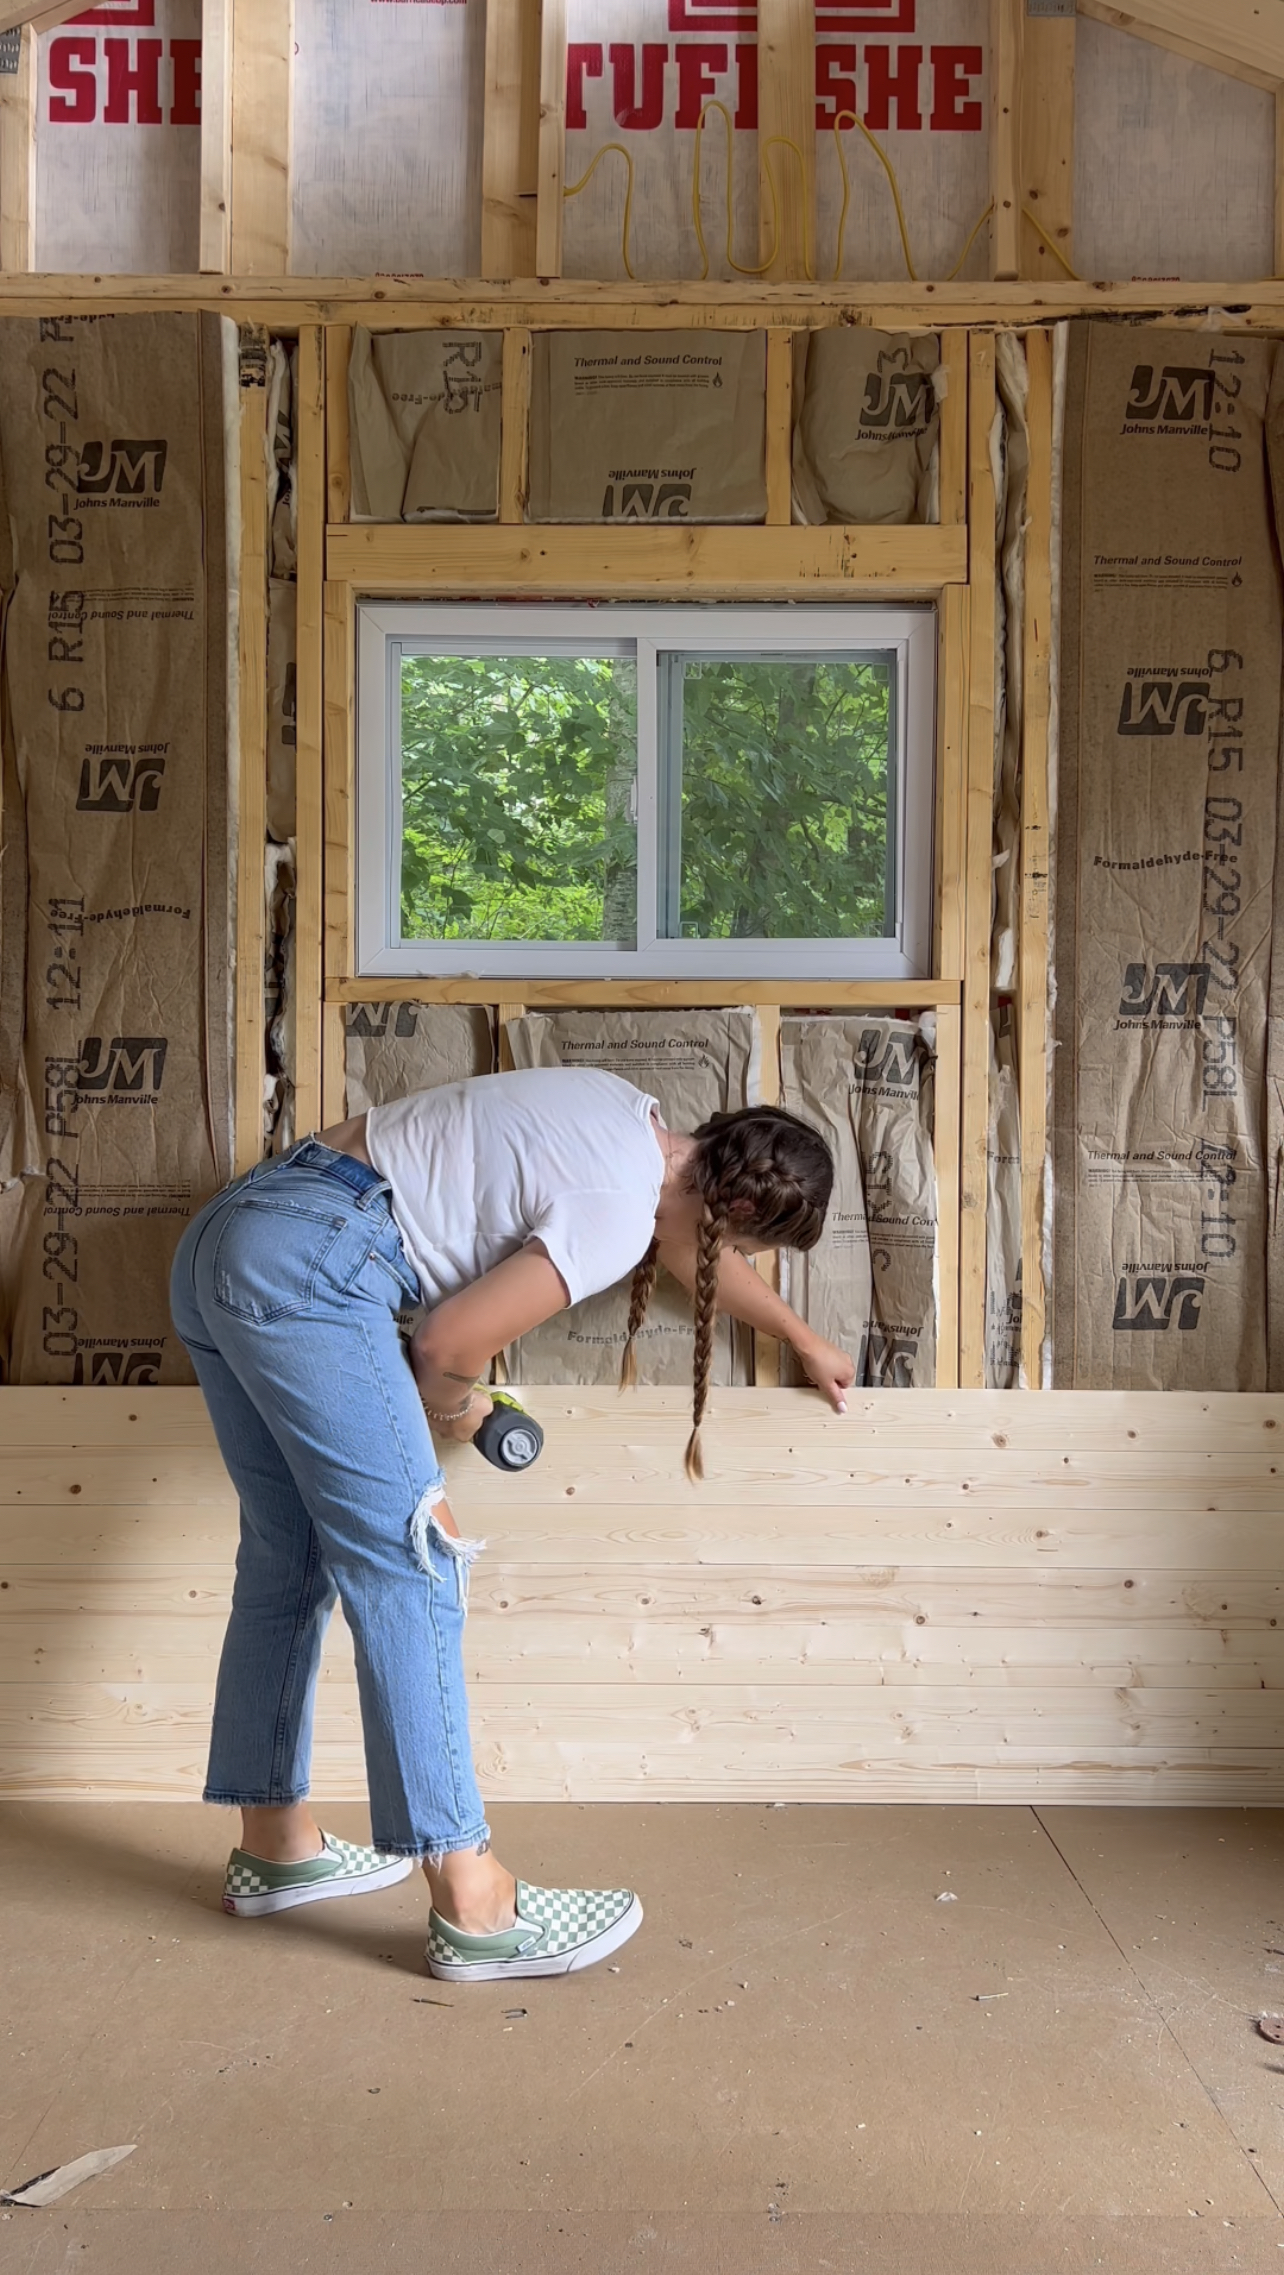
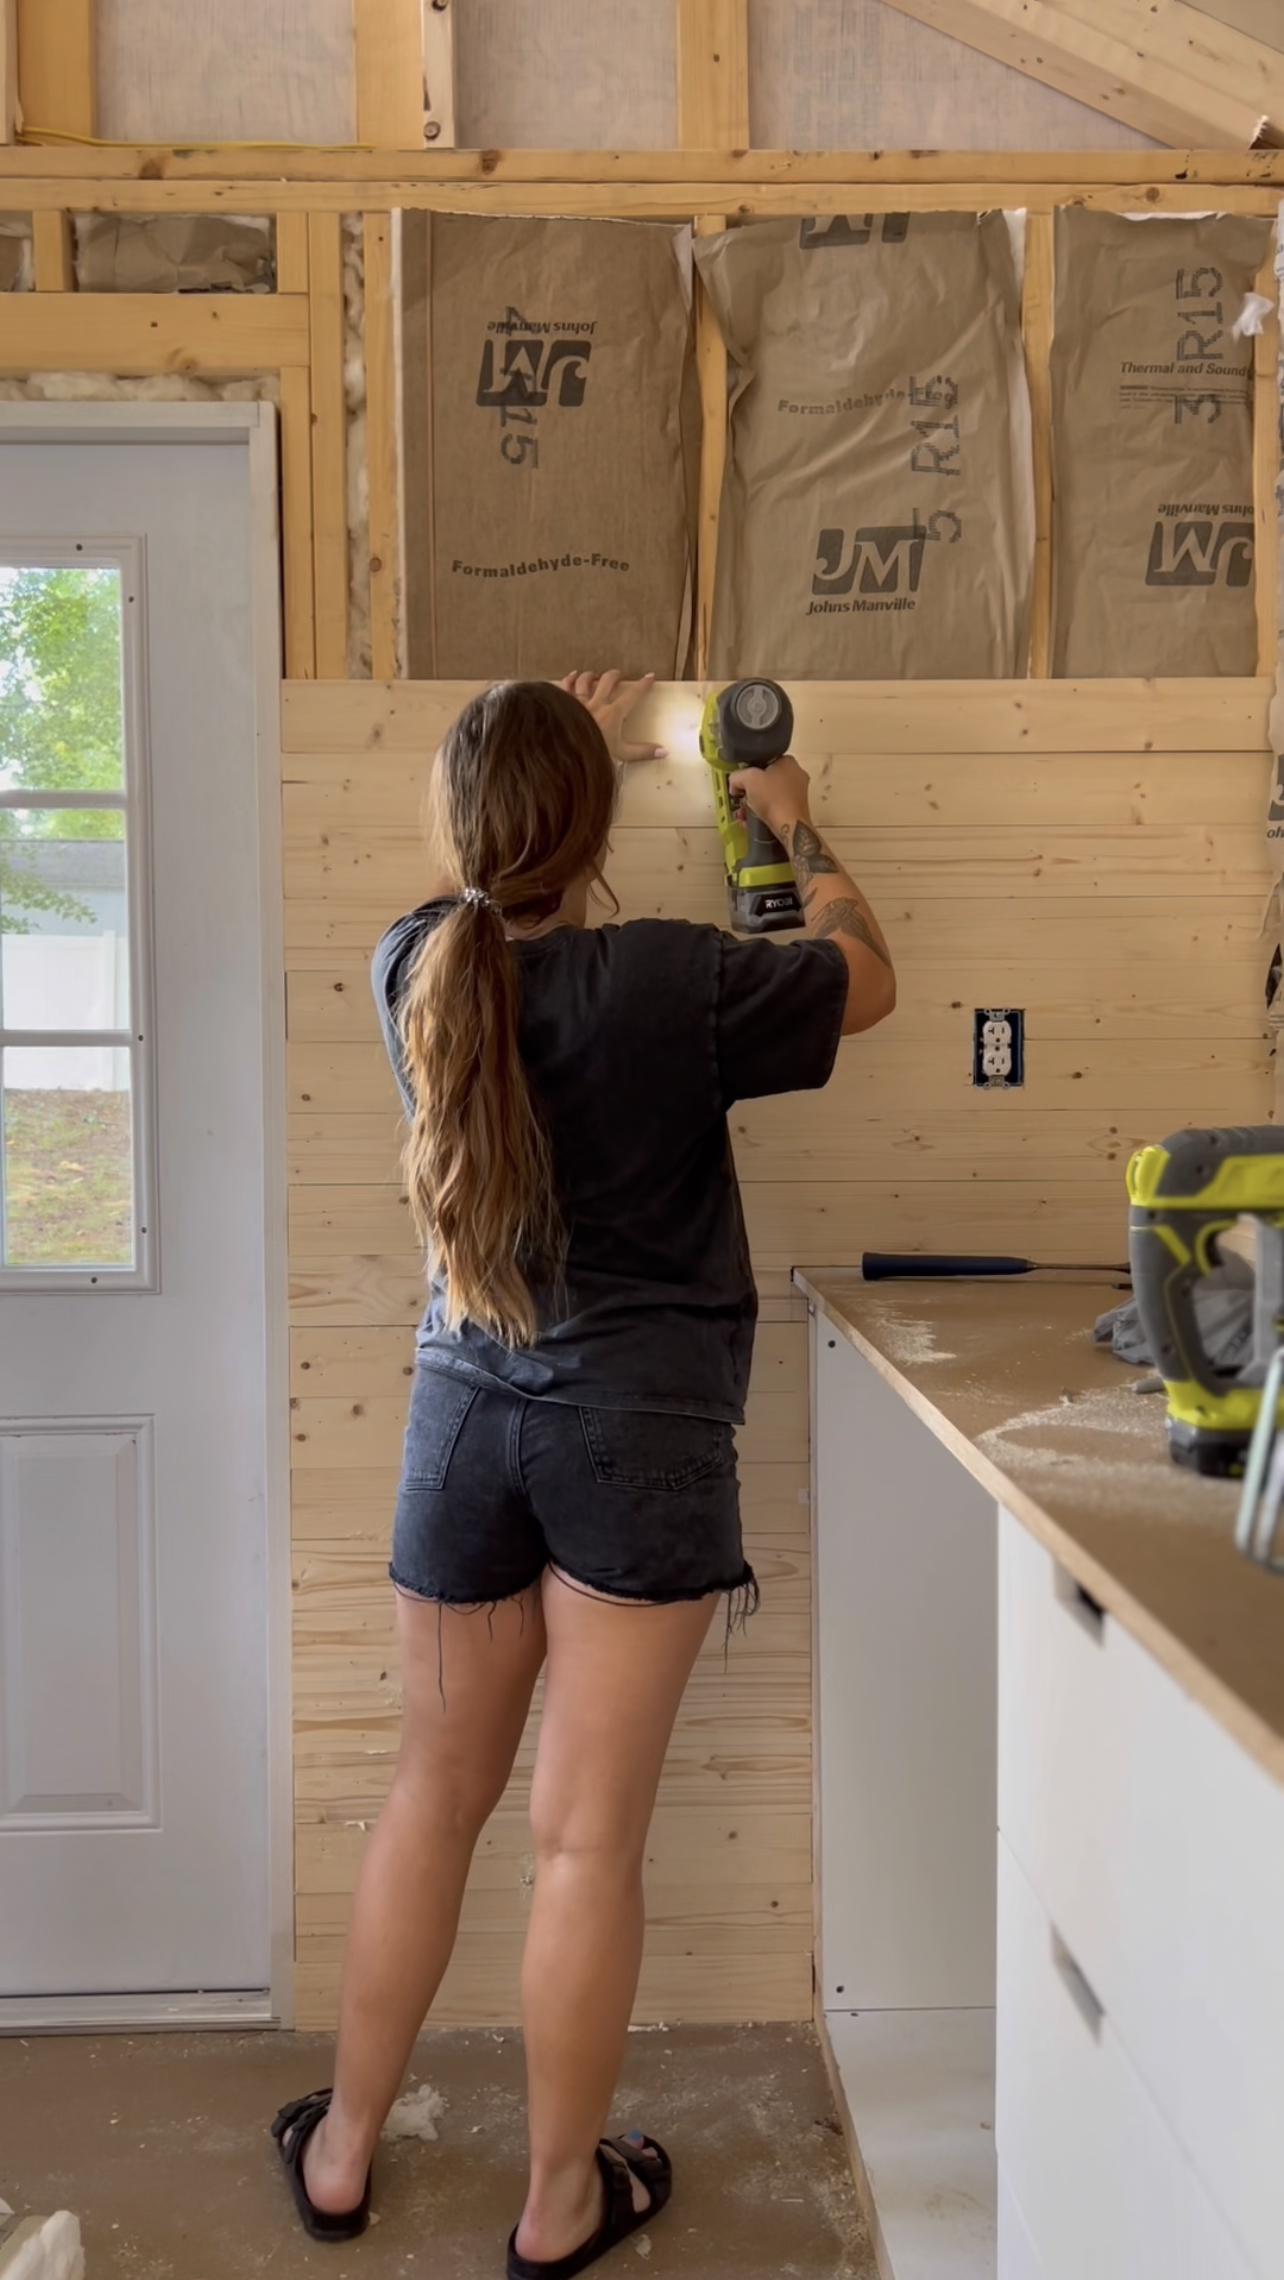
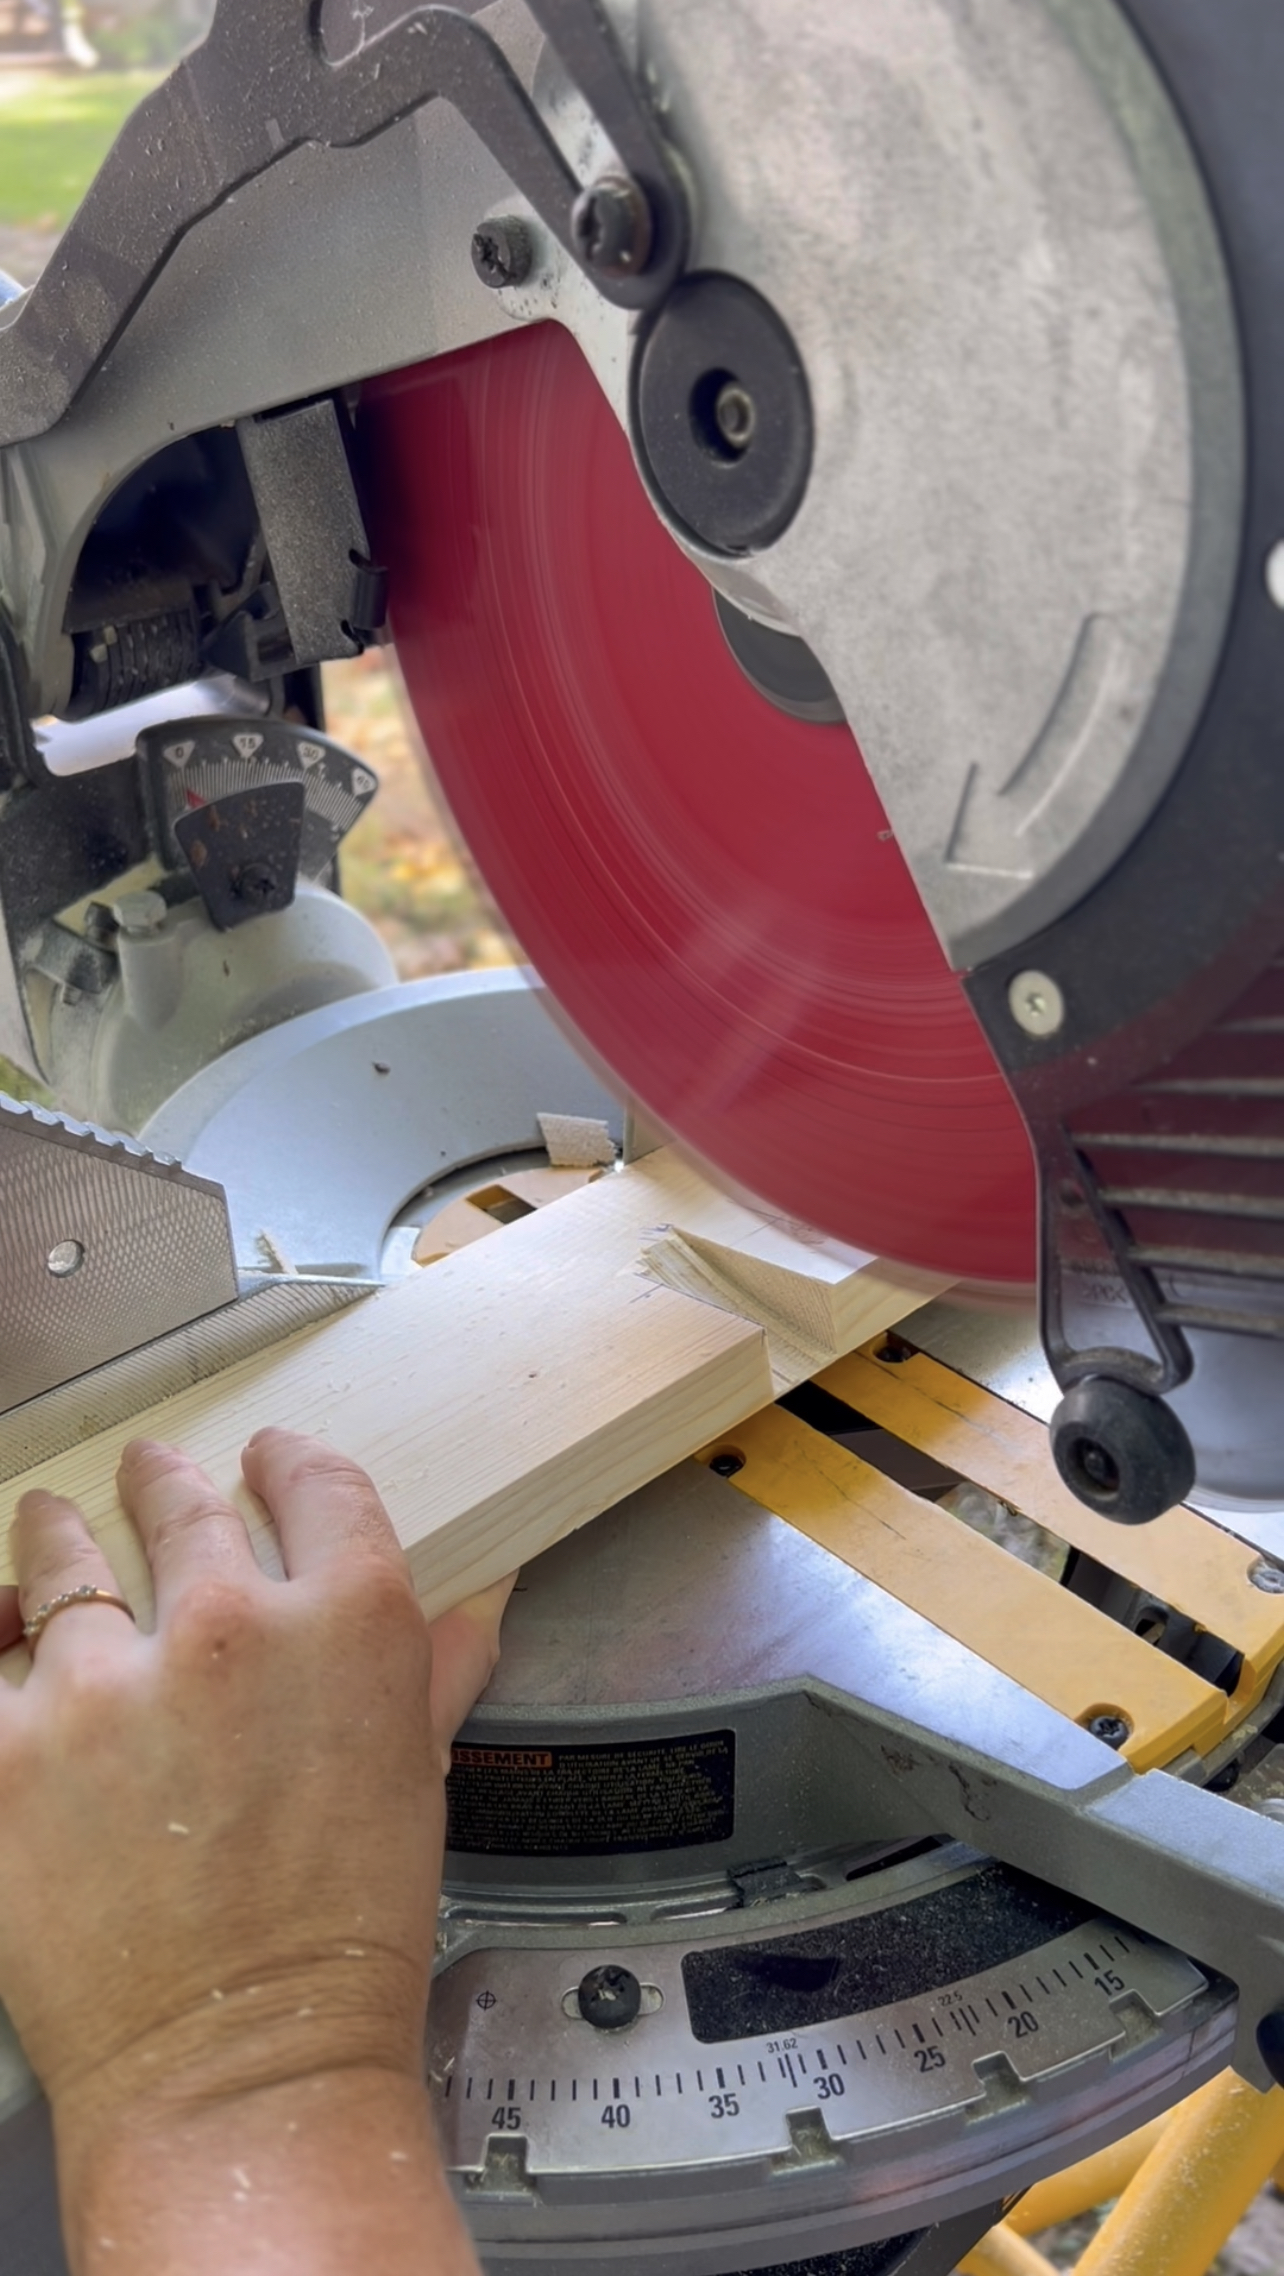
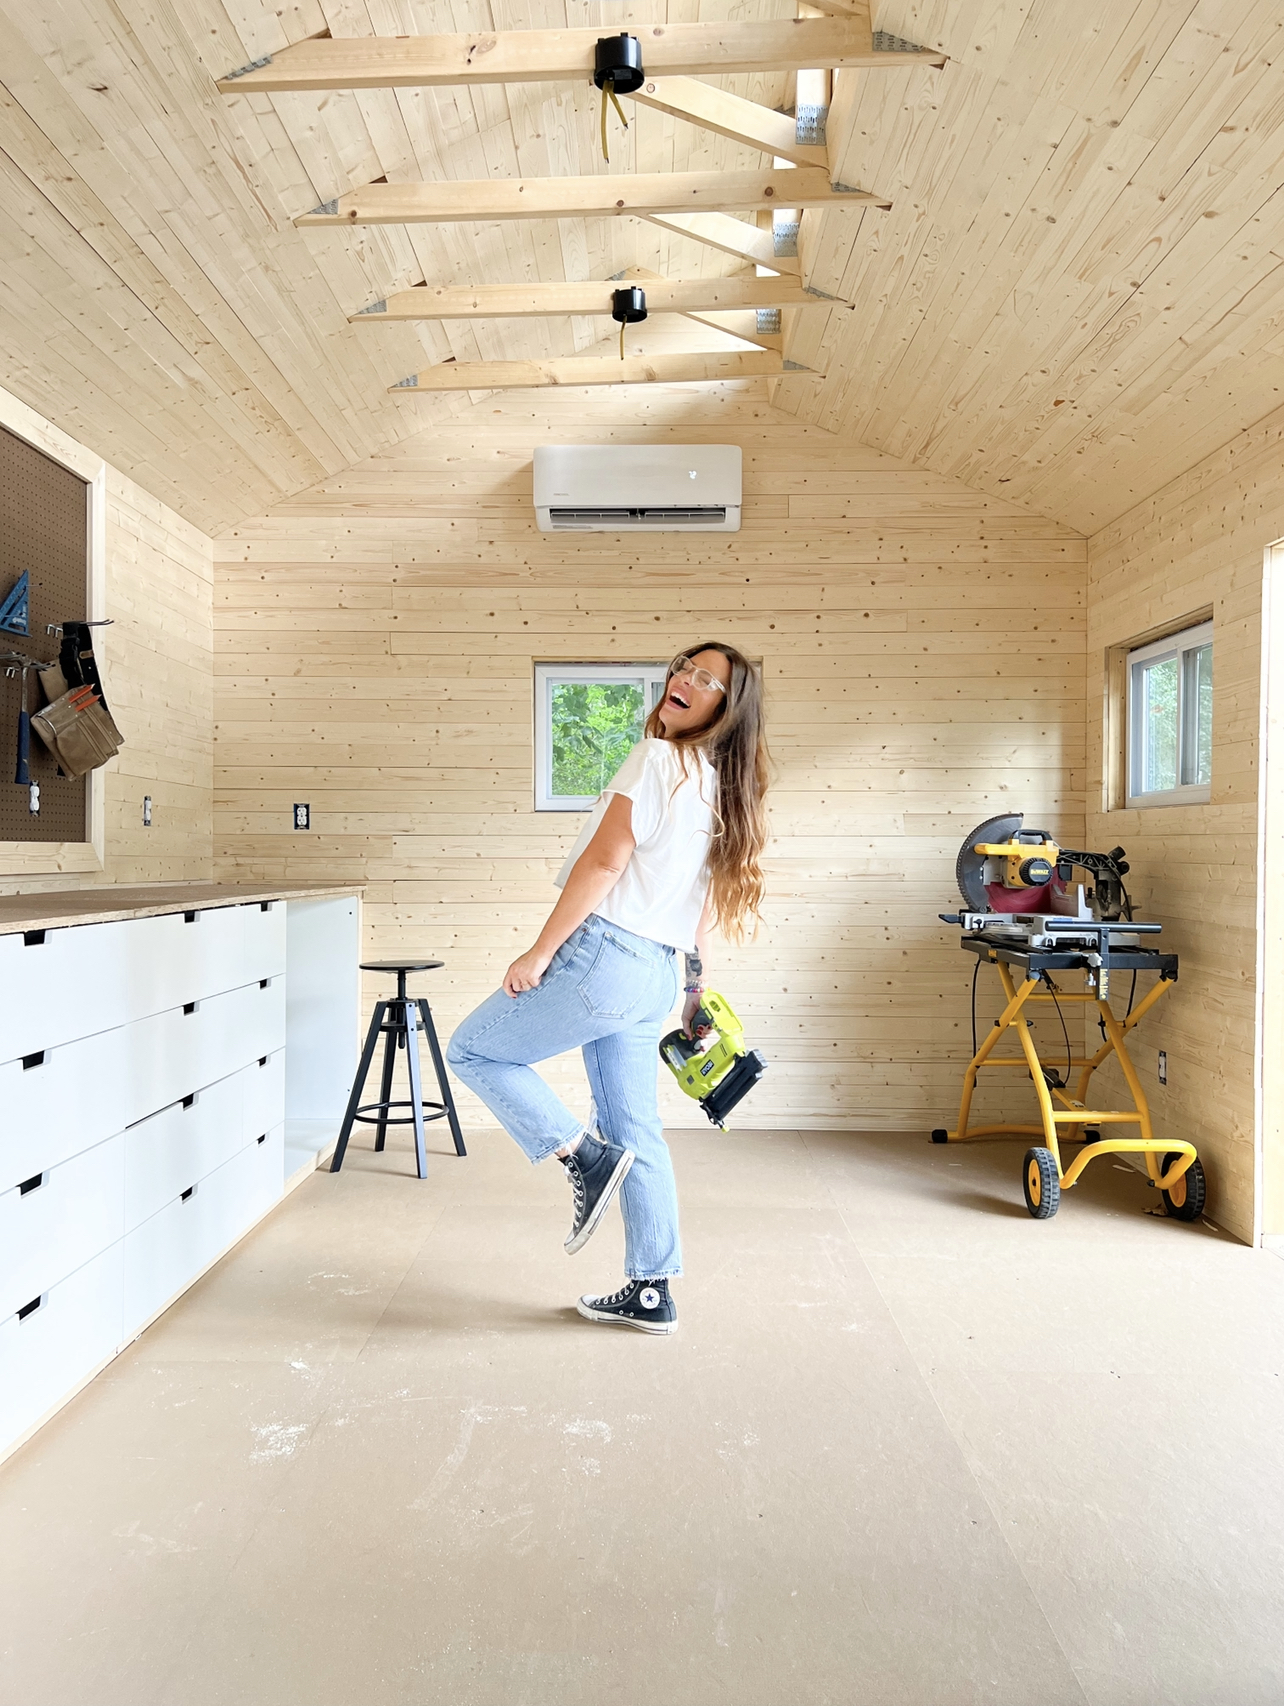
I decided to use wood planks to finish the walls and ceiling for some added character. I chose 1×4 common boards from Home Depot. I liked that these were a little more modern than the wider planks. Using my brad nailer, I started installing these on the walls. I used the same boards in 3 in width for trim to finish out around the windows, doors, and along the floors after installing flooring. I ran the planking all the way up every wall except for the workbench wall.
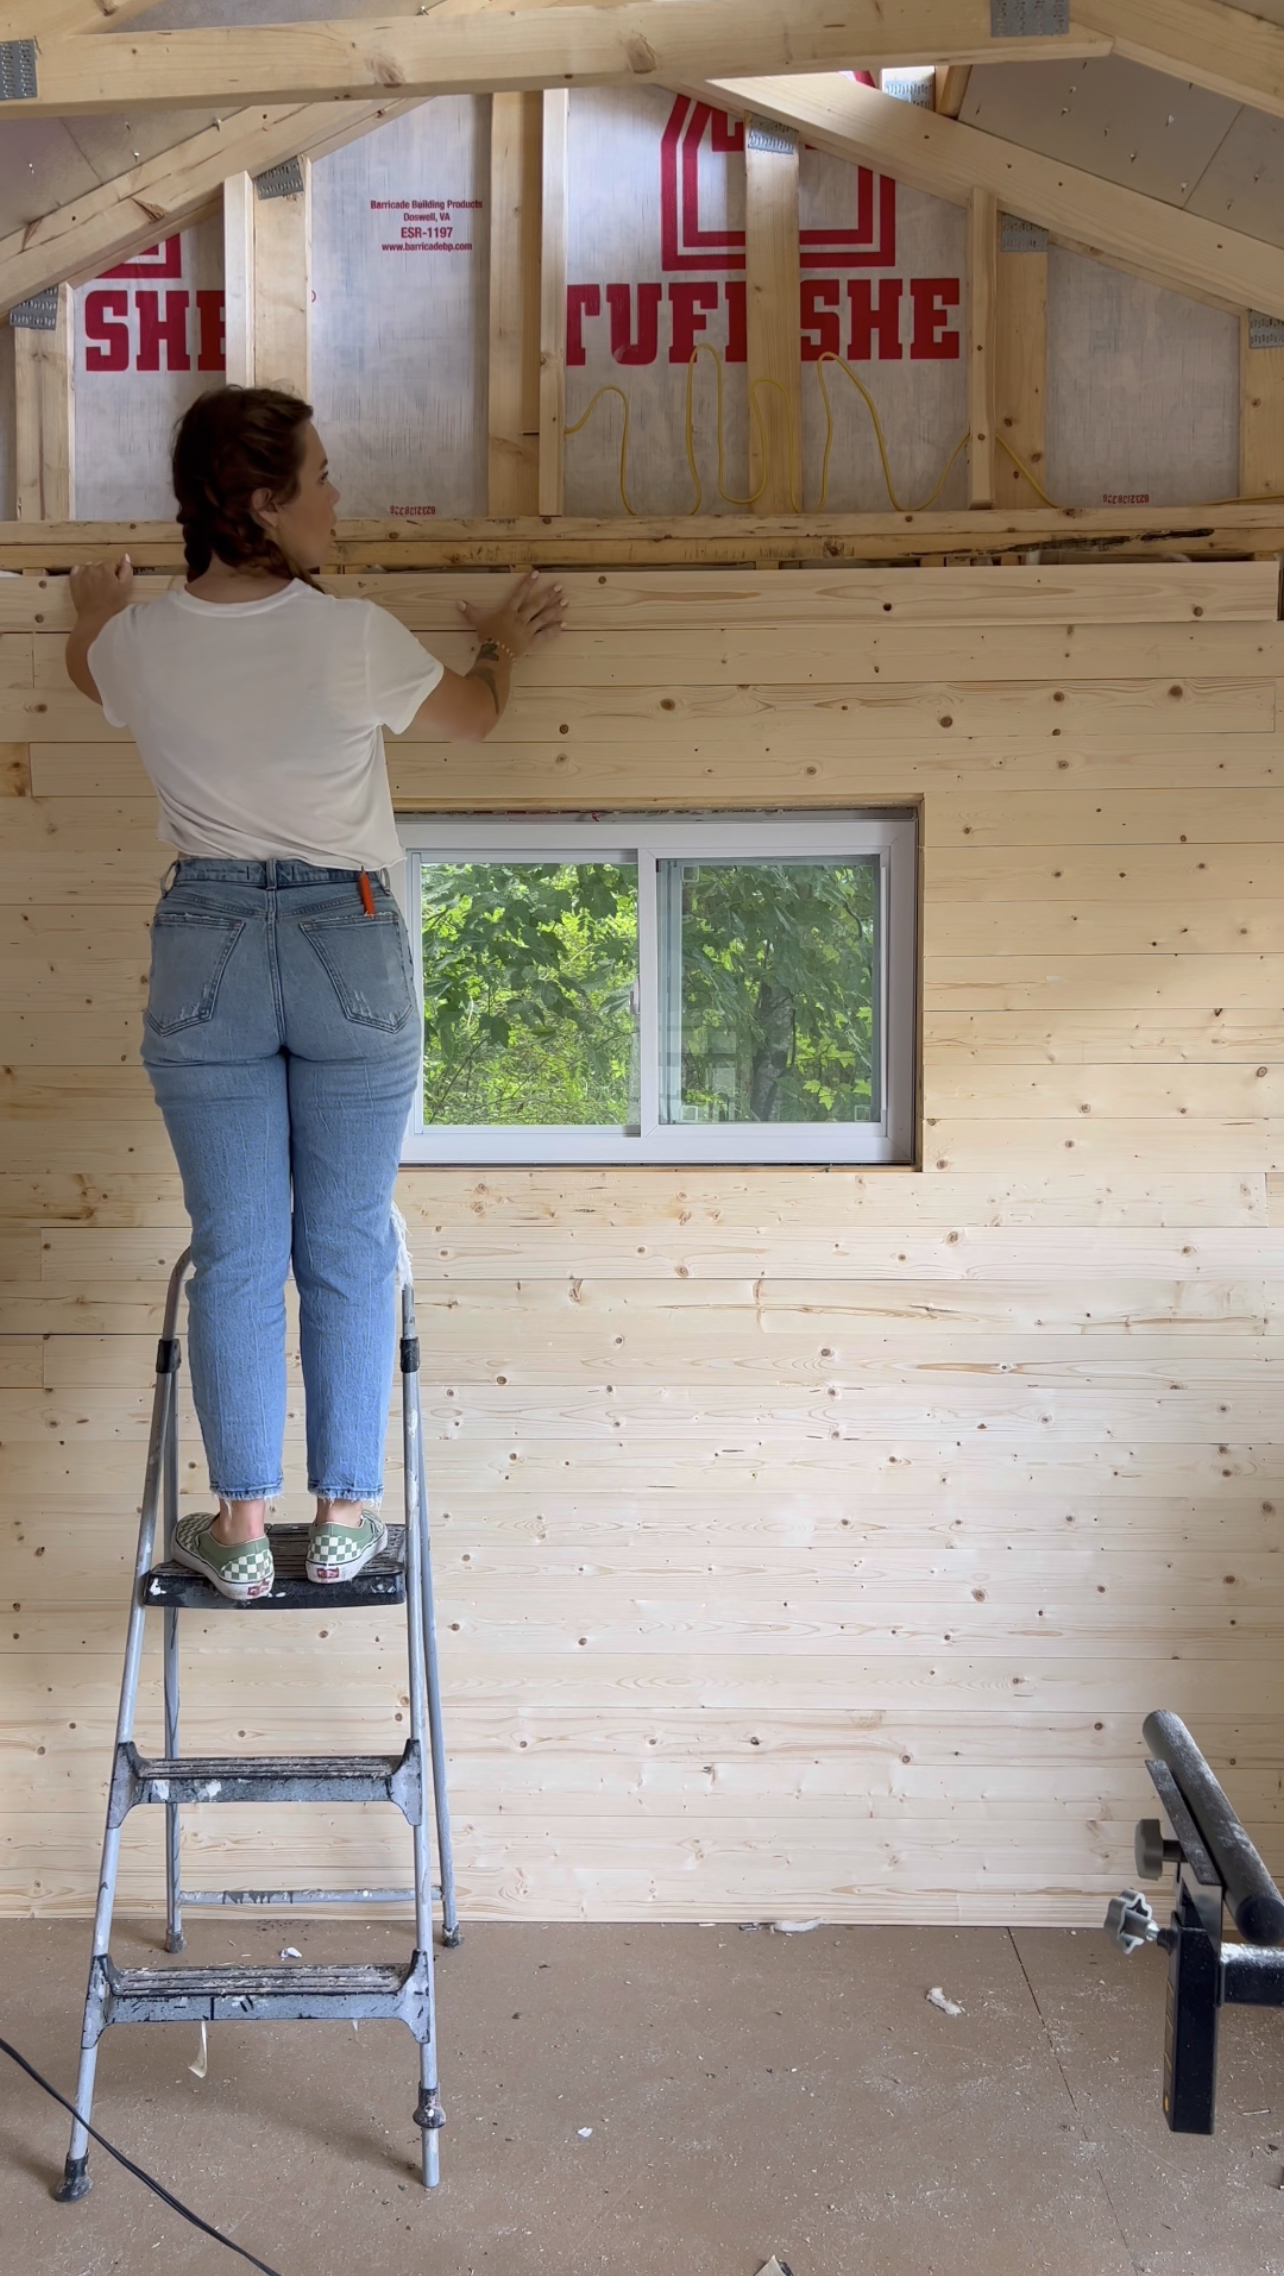
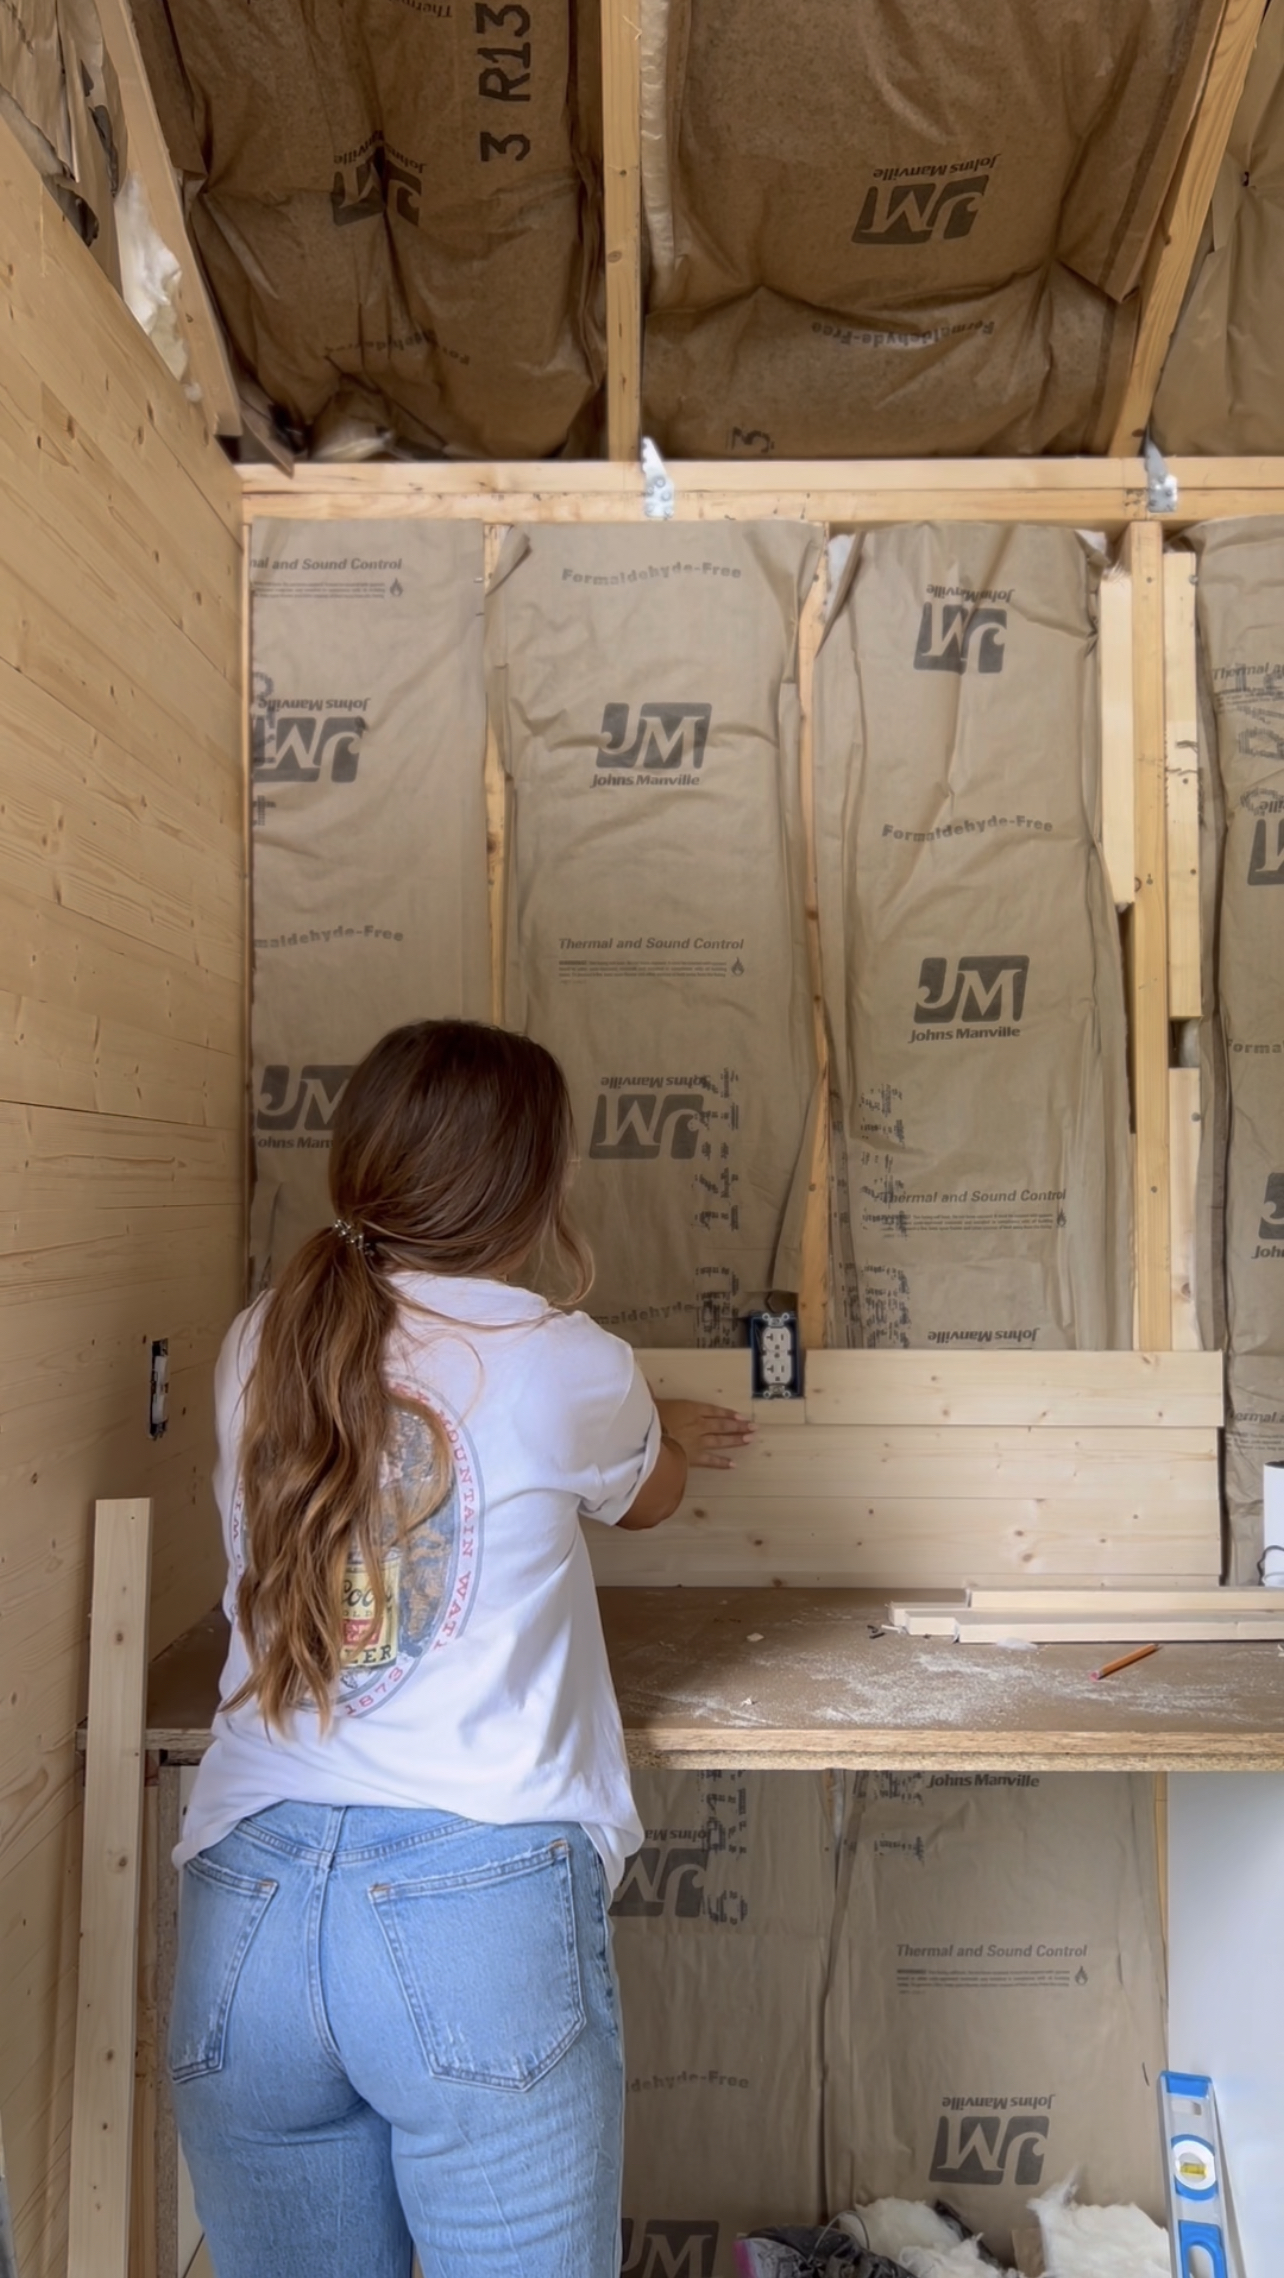
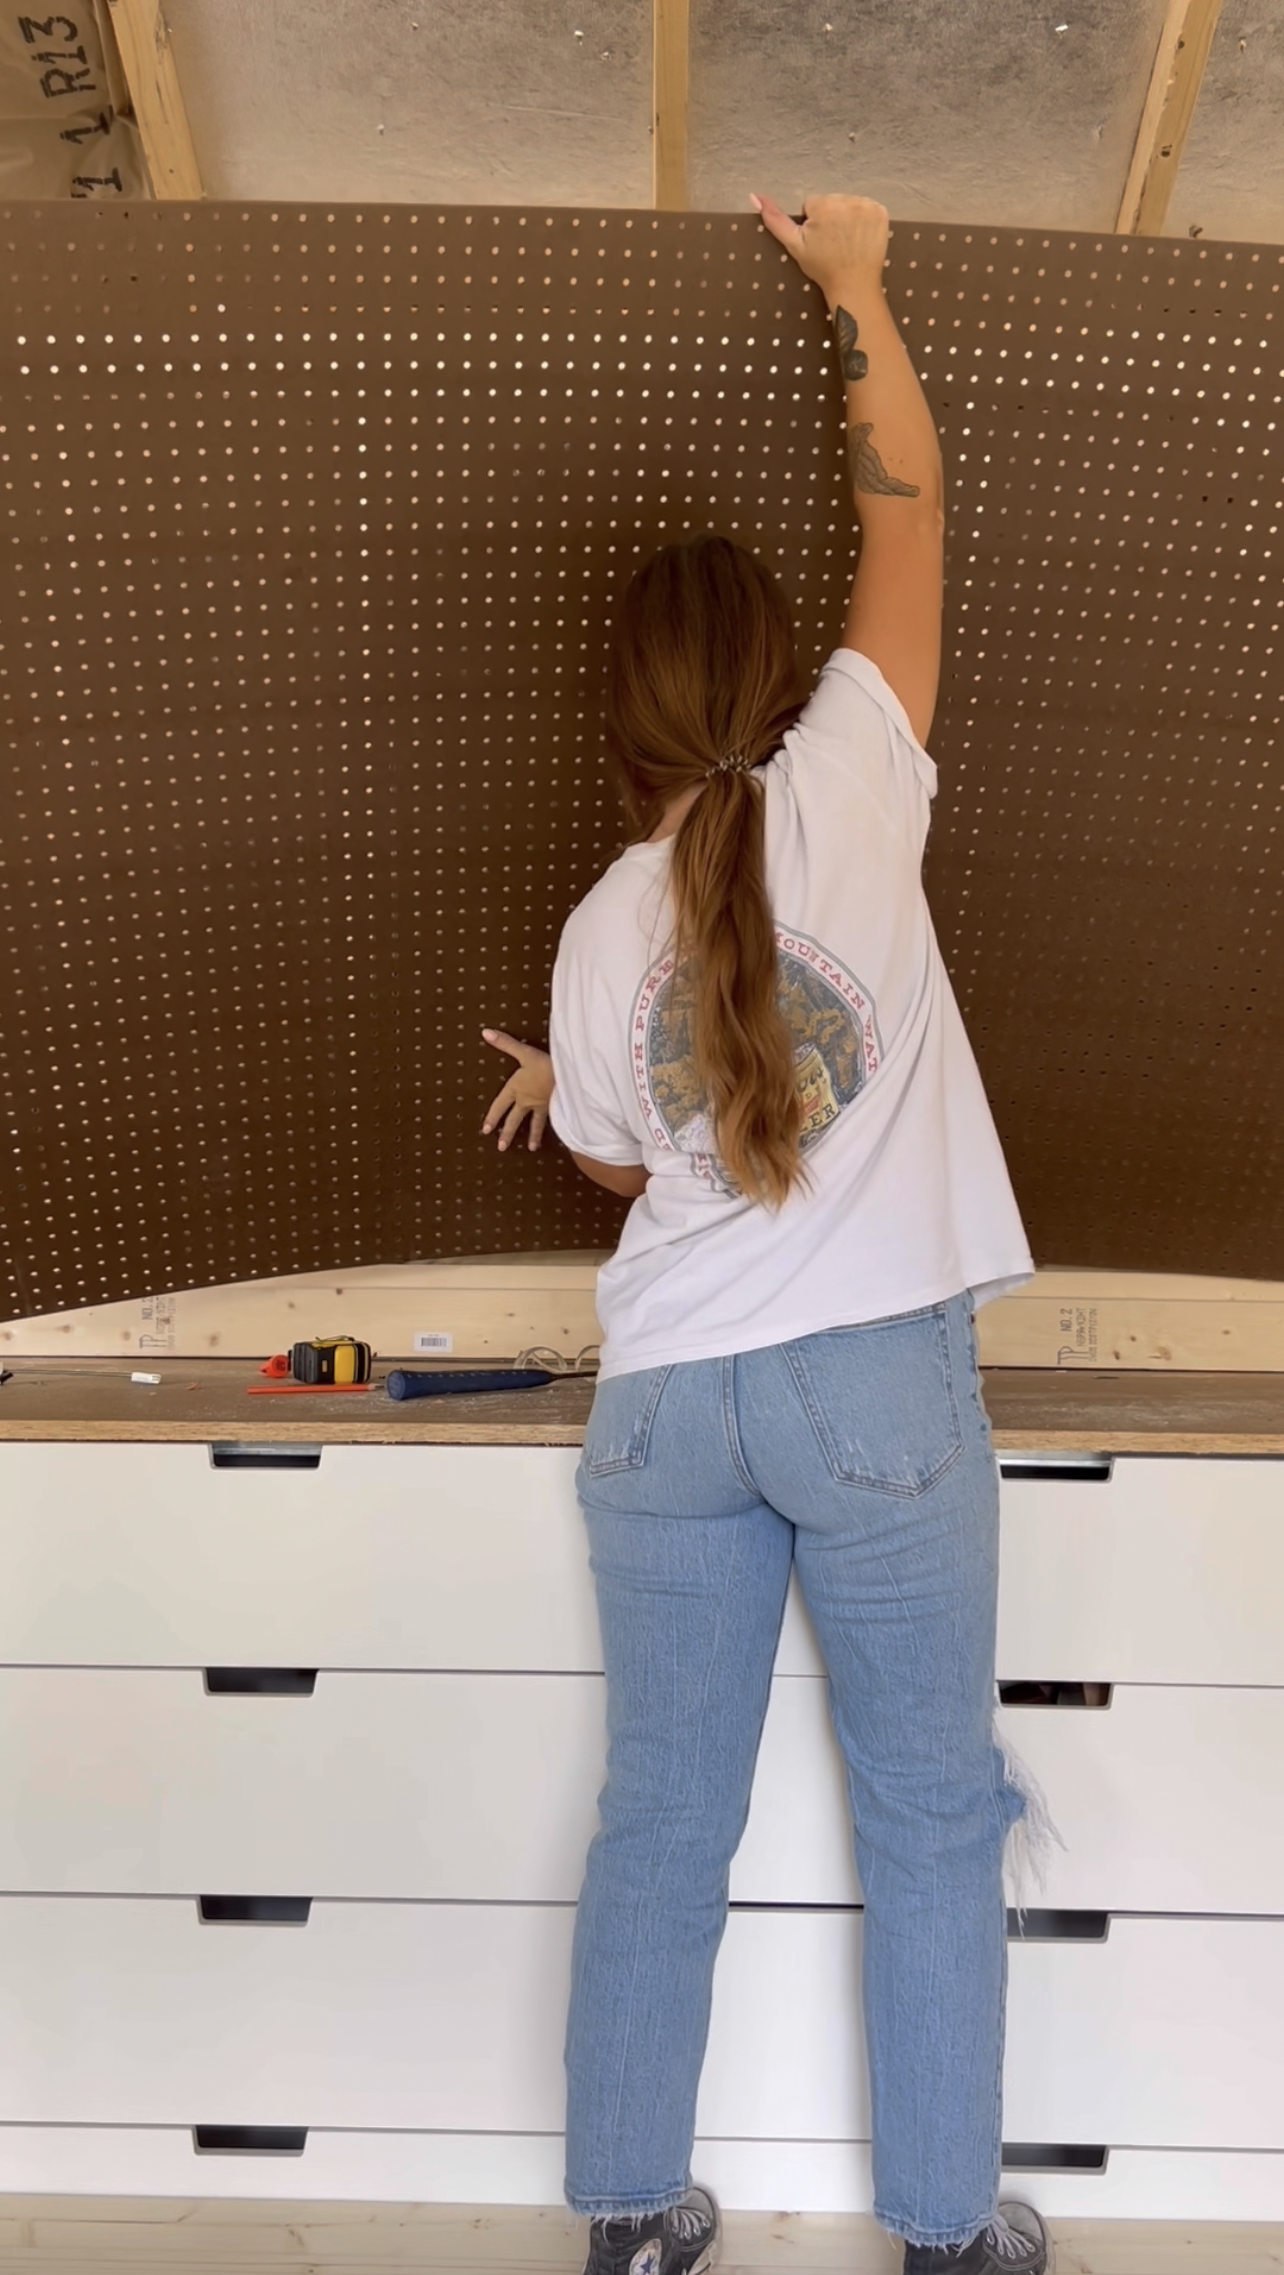
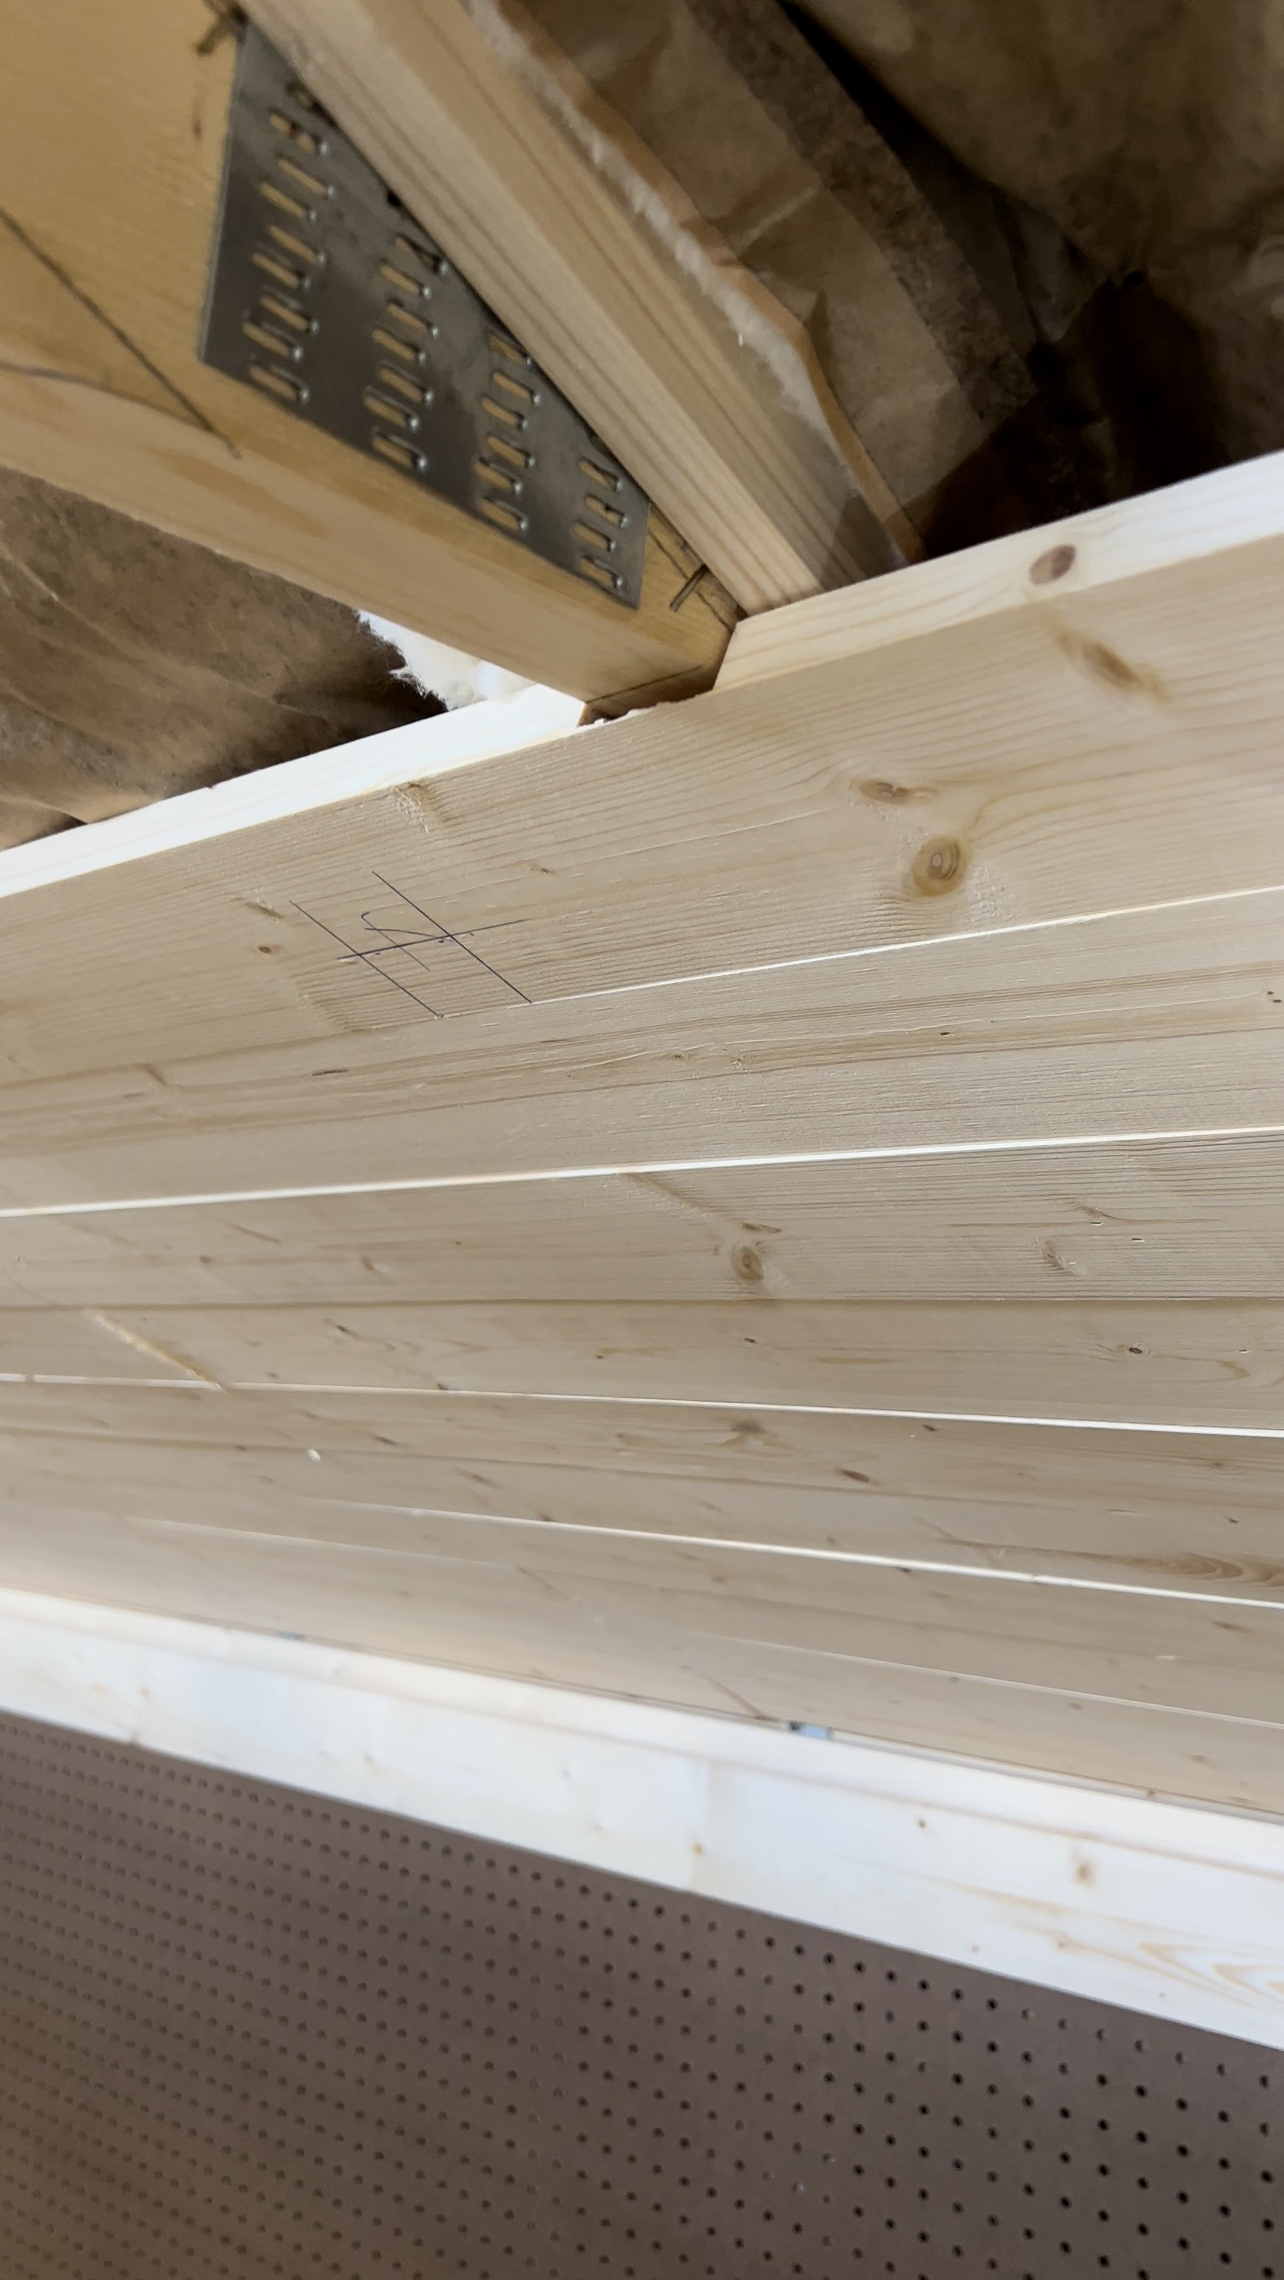
For this wall I marked where I wanted my pegboard to be place and ran the planking about an inch past those marks. I added some support planks on the studs in the middle of that and then installed my pegboard on top. I then used more of the wall plank boards to frame out the pegboard for a nicer finished look. I decided to continue this planking on the ceiling as well. Once I ran into the rafters, I made marks on each board and cut out notches using my table saw.

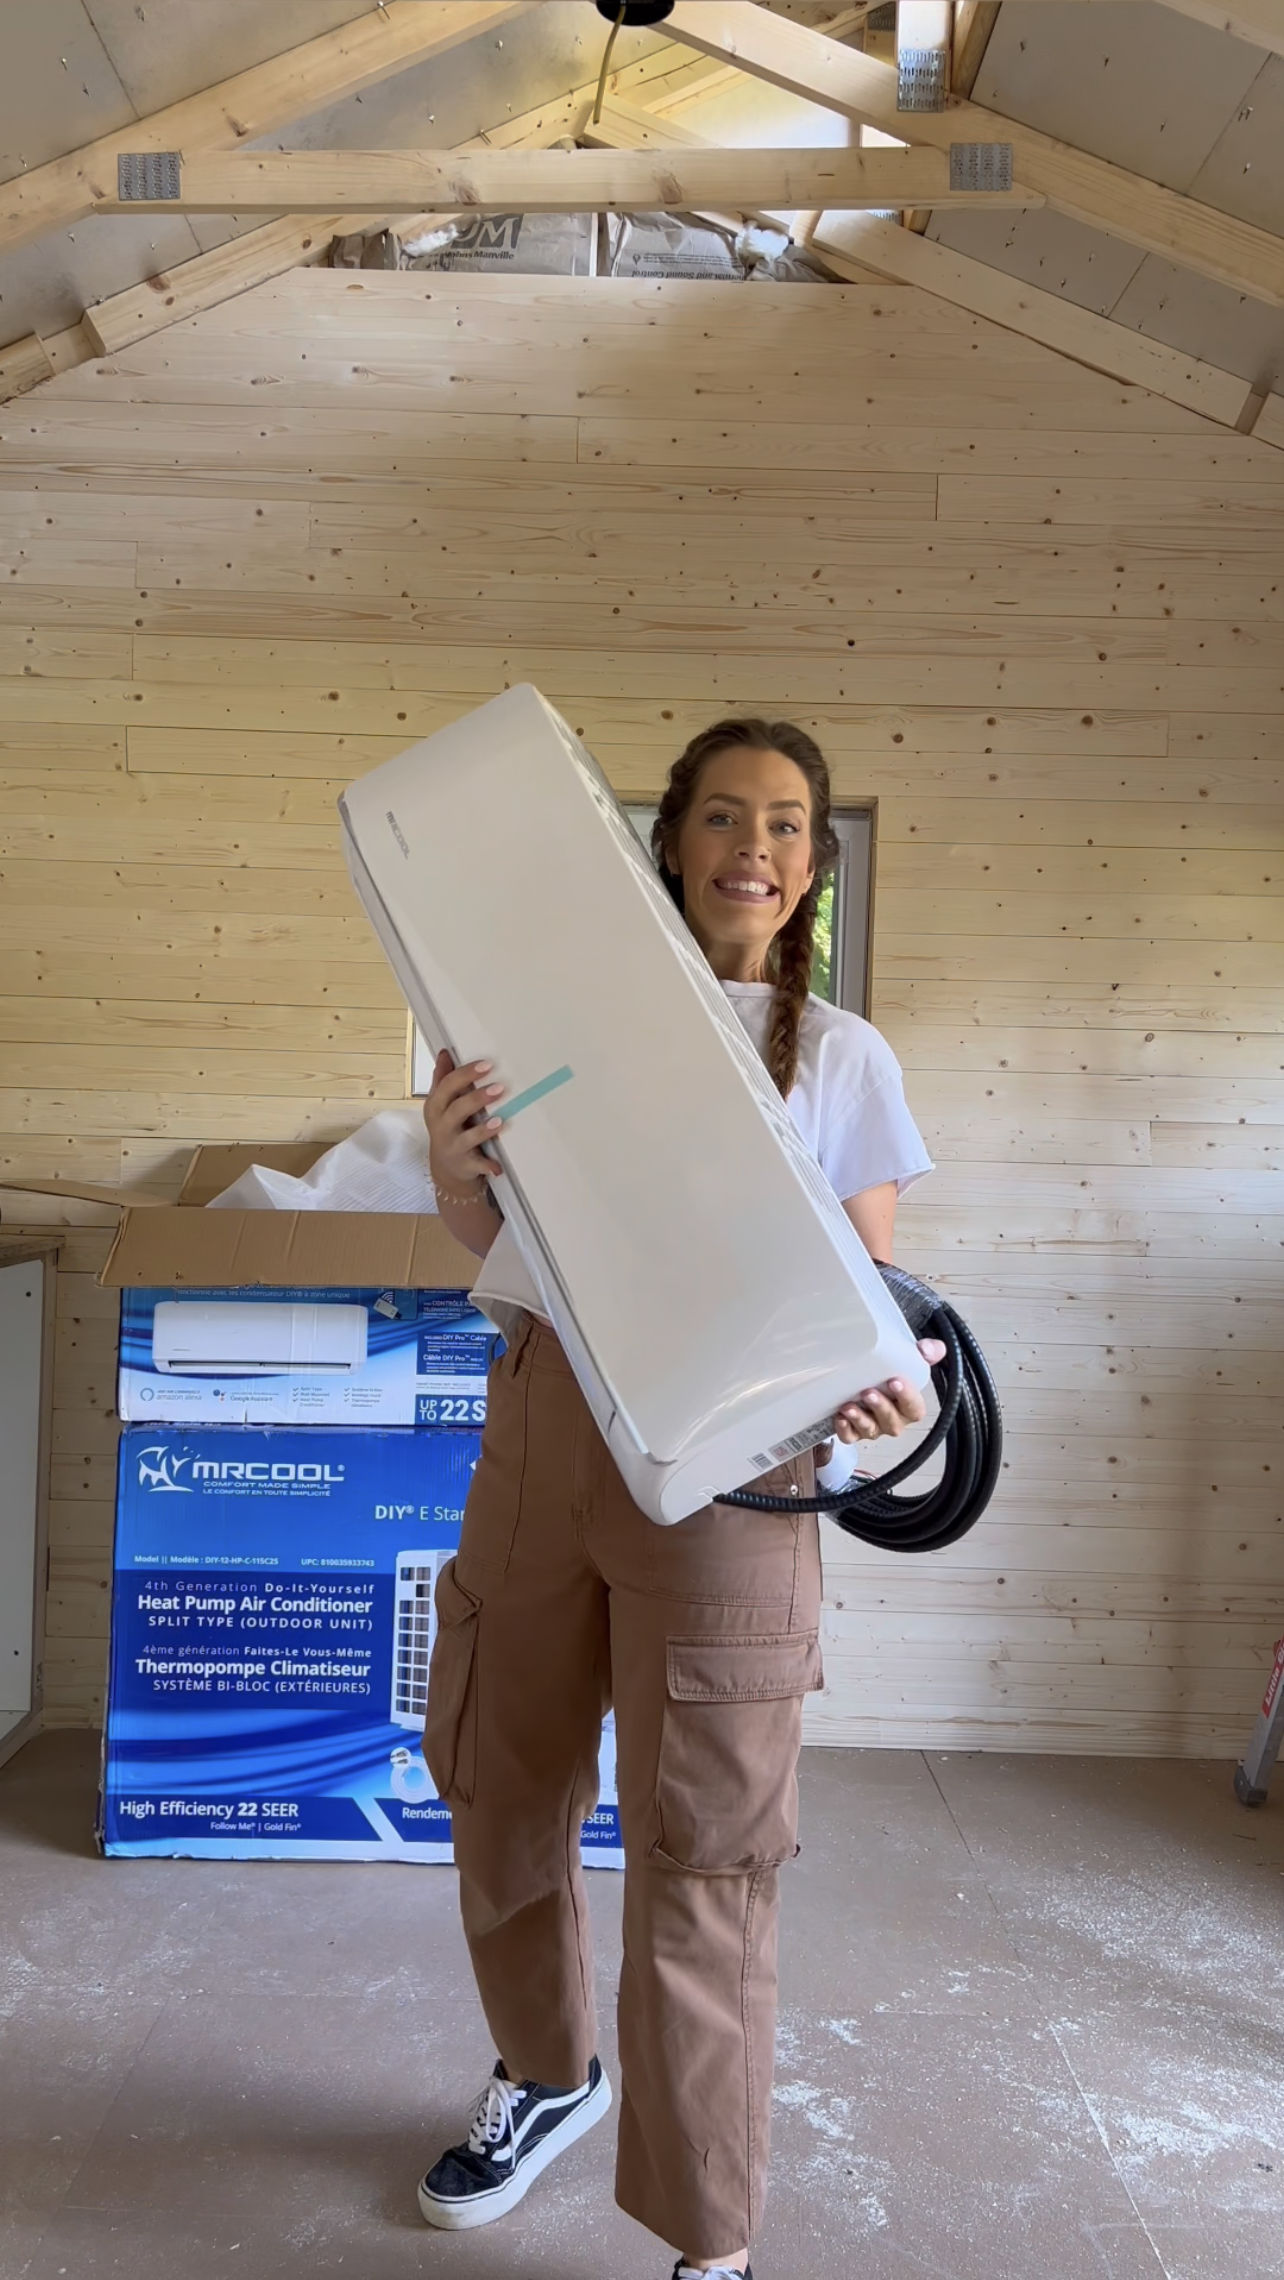
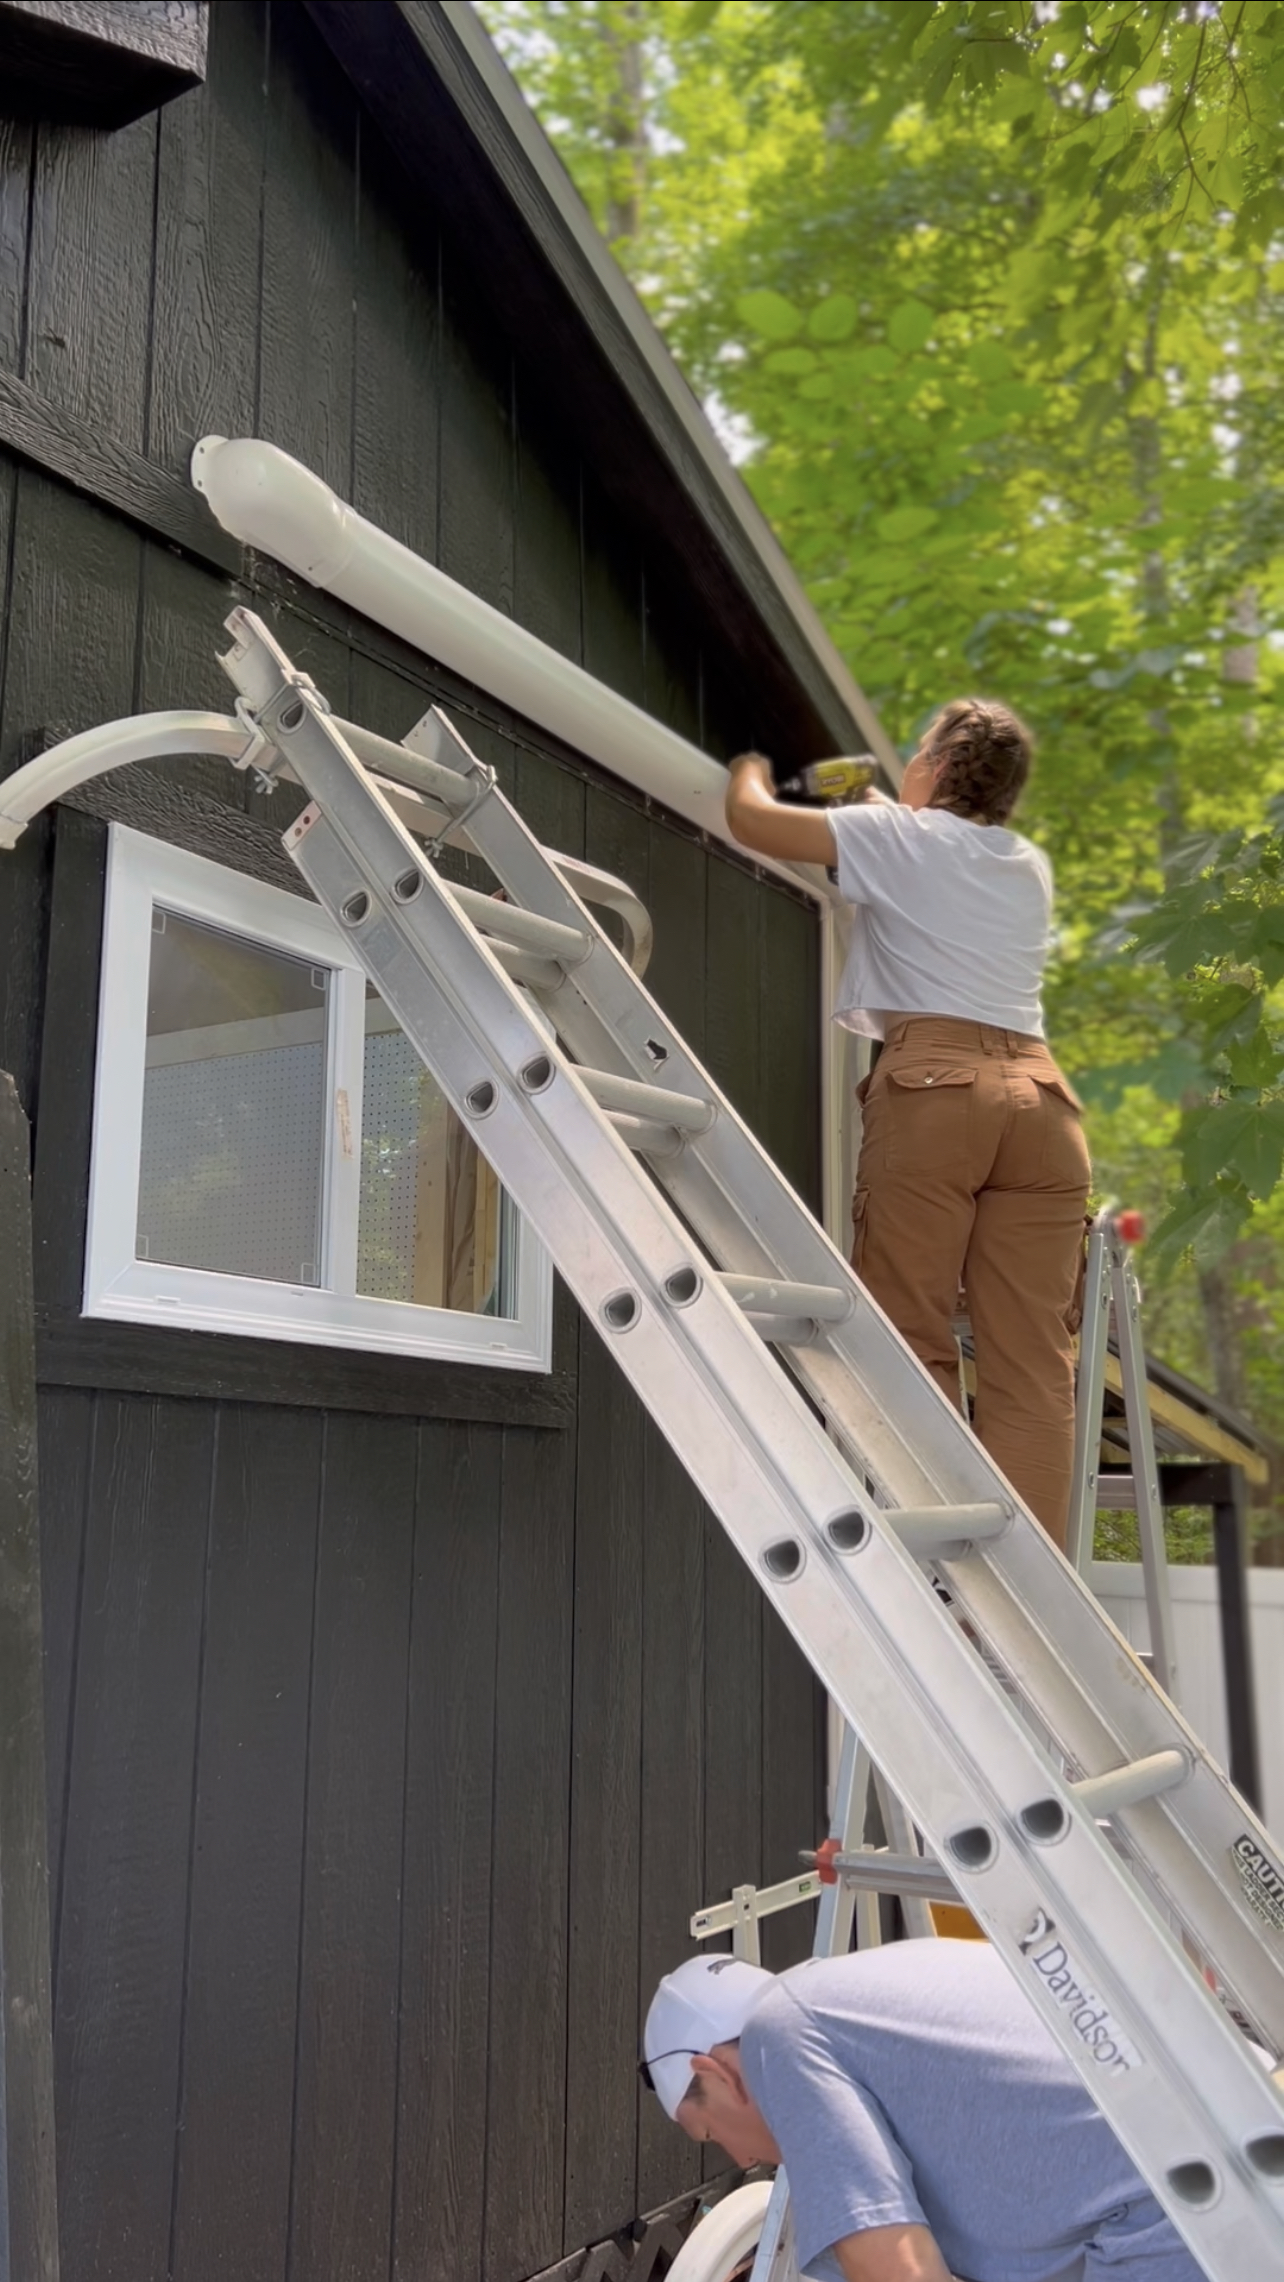
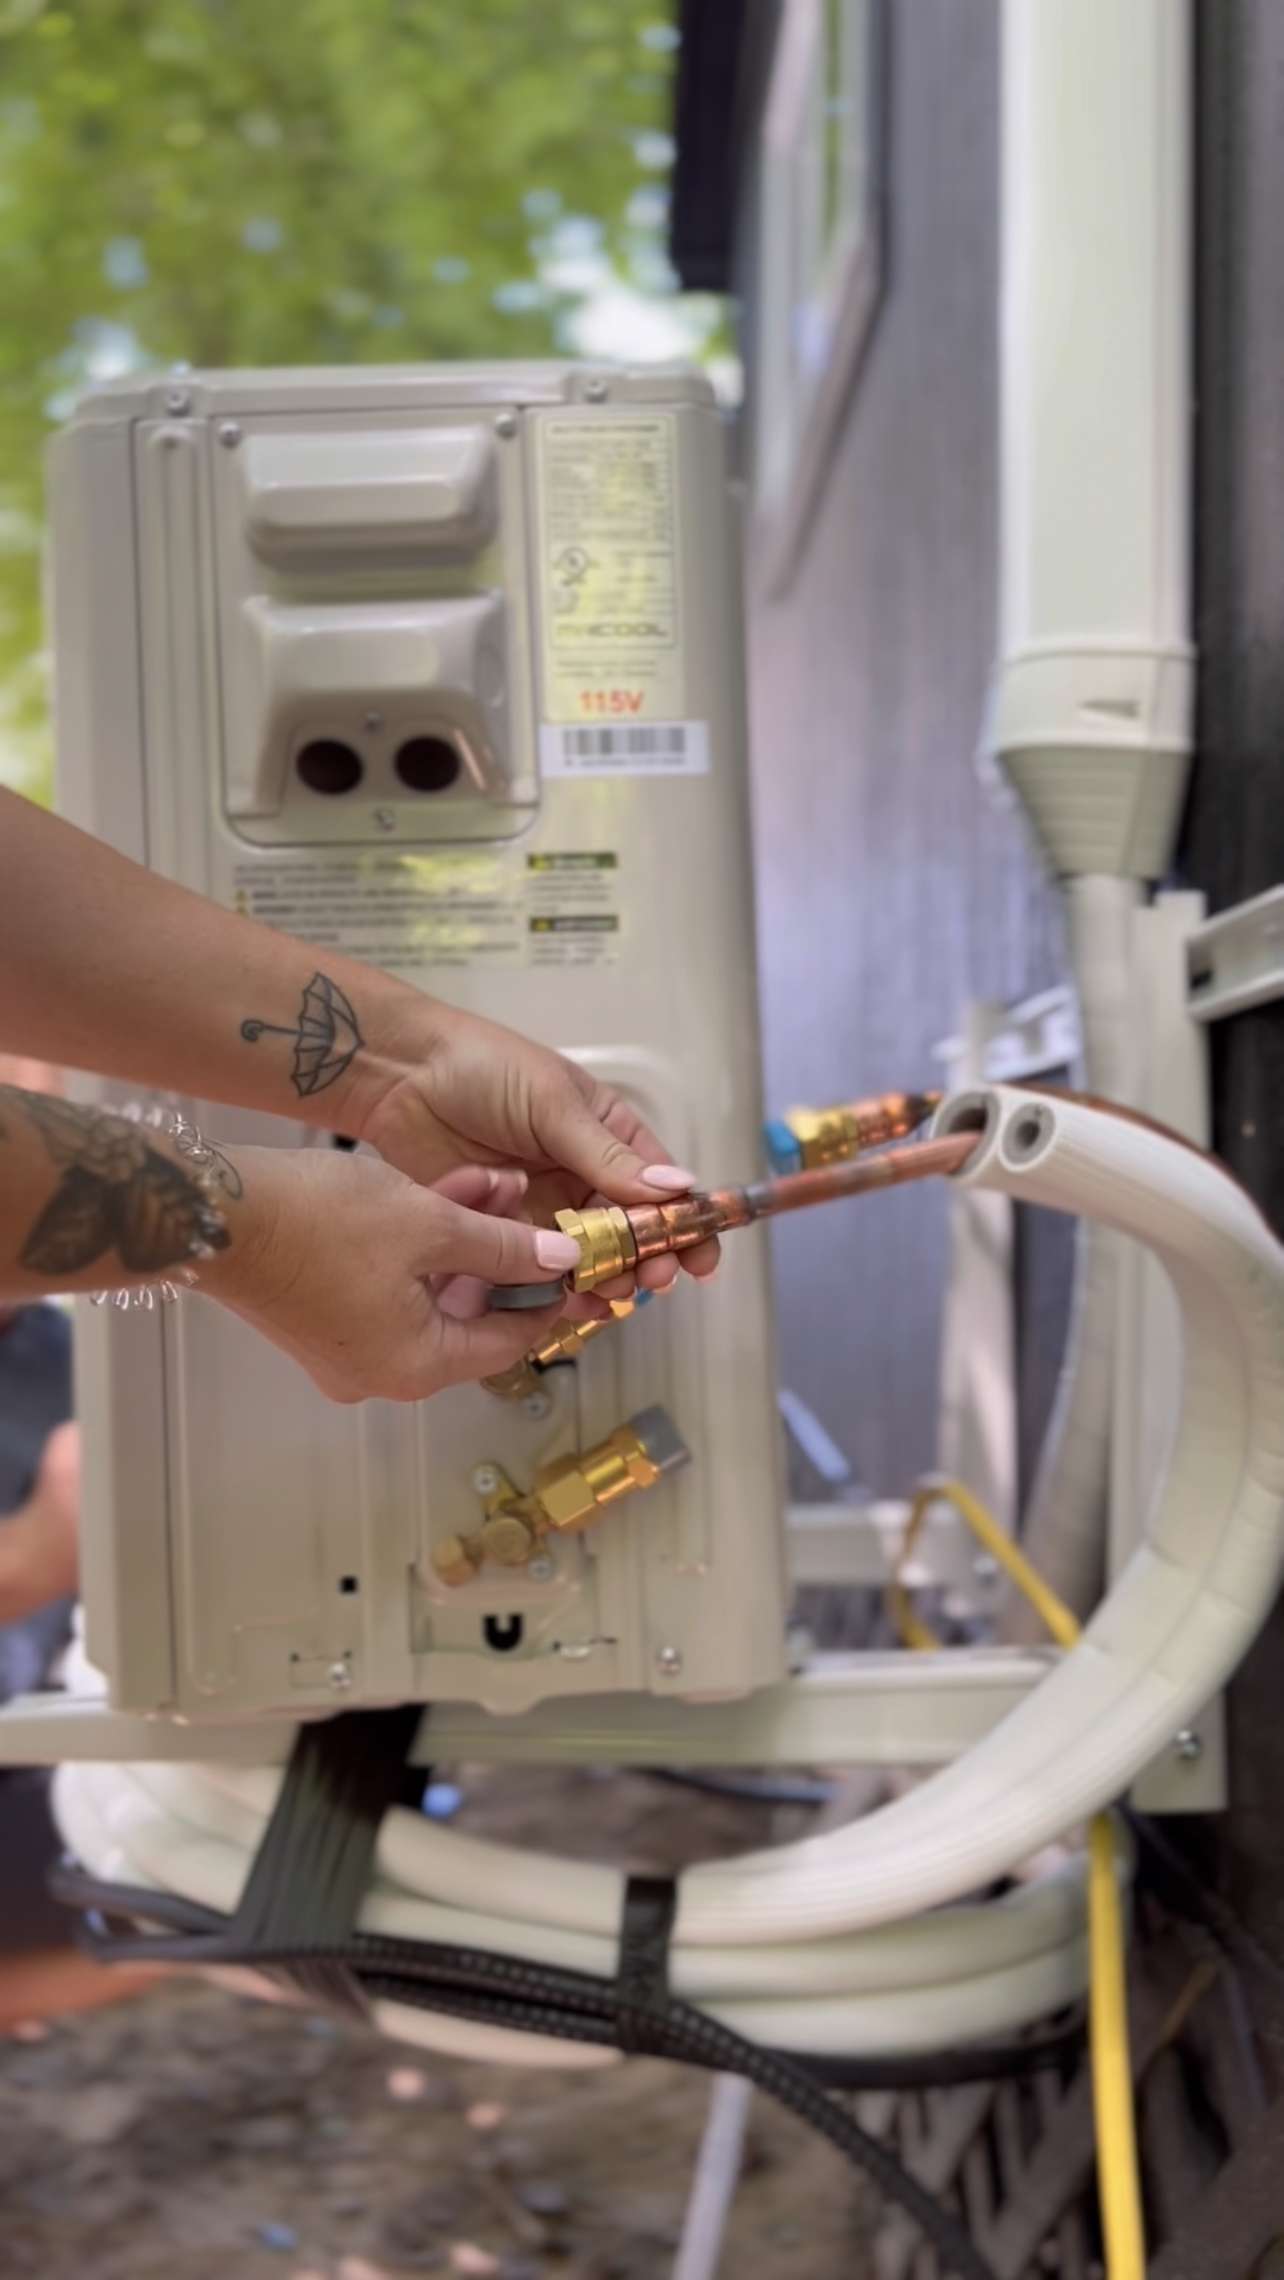
MINI-SPLIT
After we ran wiring throughout the whole shed for multiple outlets and lights, we also installed a mini split for A/C and heat! This Mini Split is from Mr. Cool. It is a DIY friendly unit and provides cool air and heat. It has a remote and can be controlled via an app on your phone. We spent a few hours working together to hook this up and by the end of the day, I had cold air in my workshop!
PAINT & STAIN
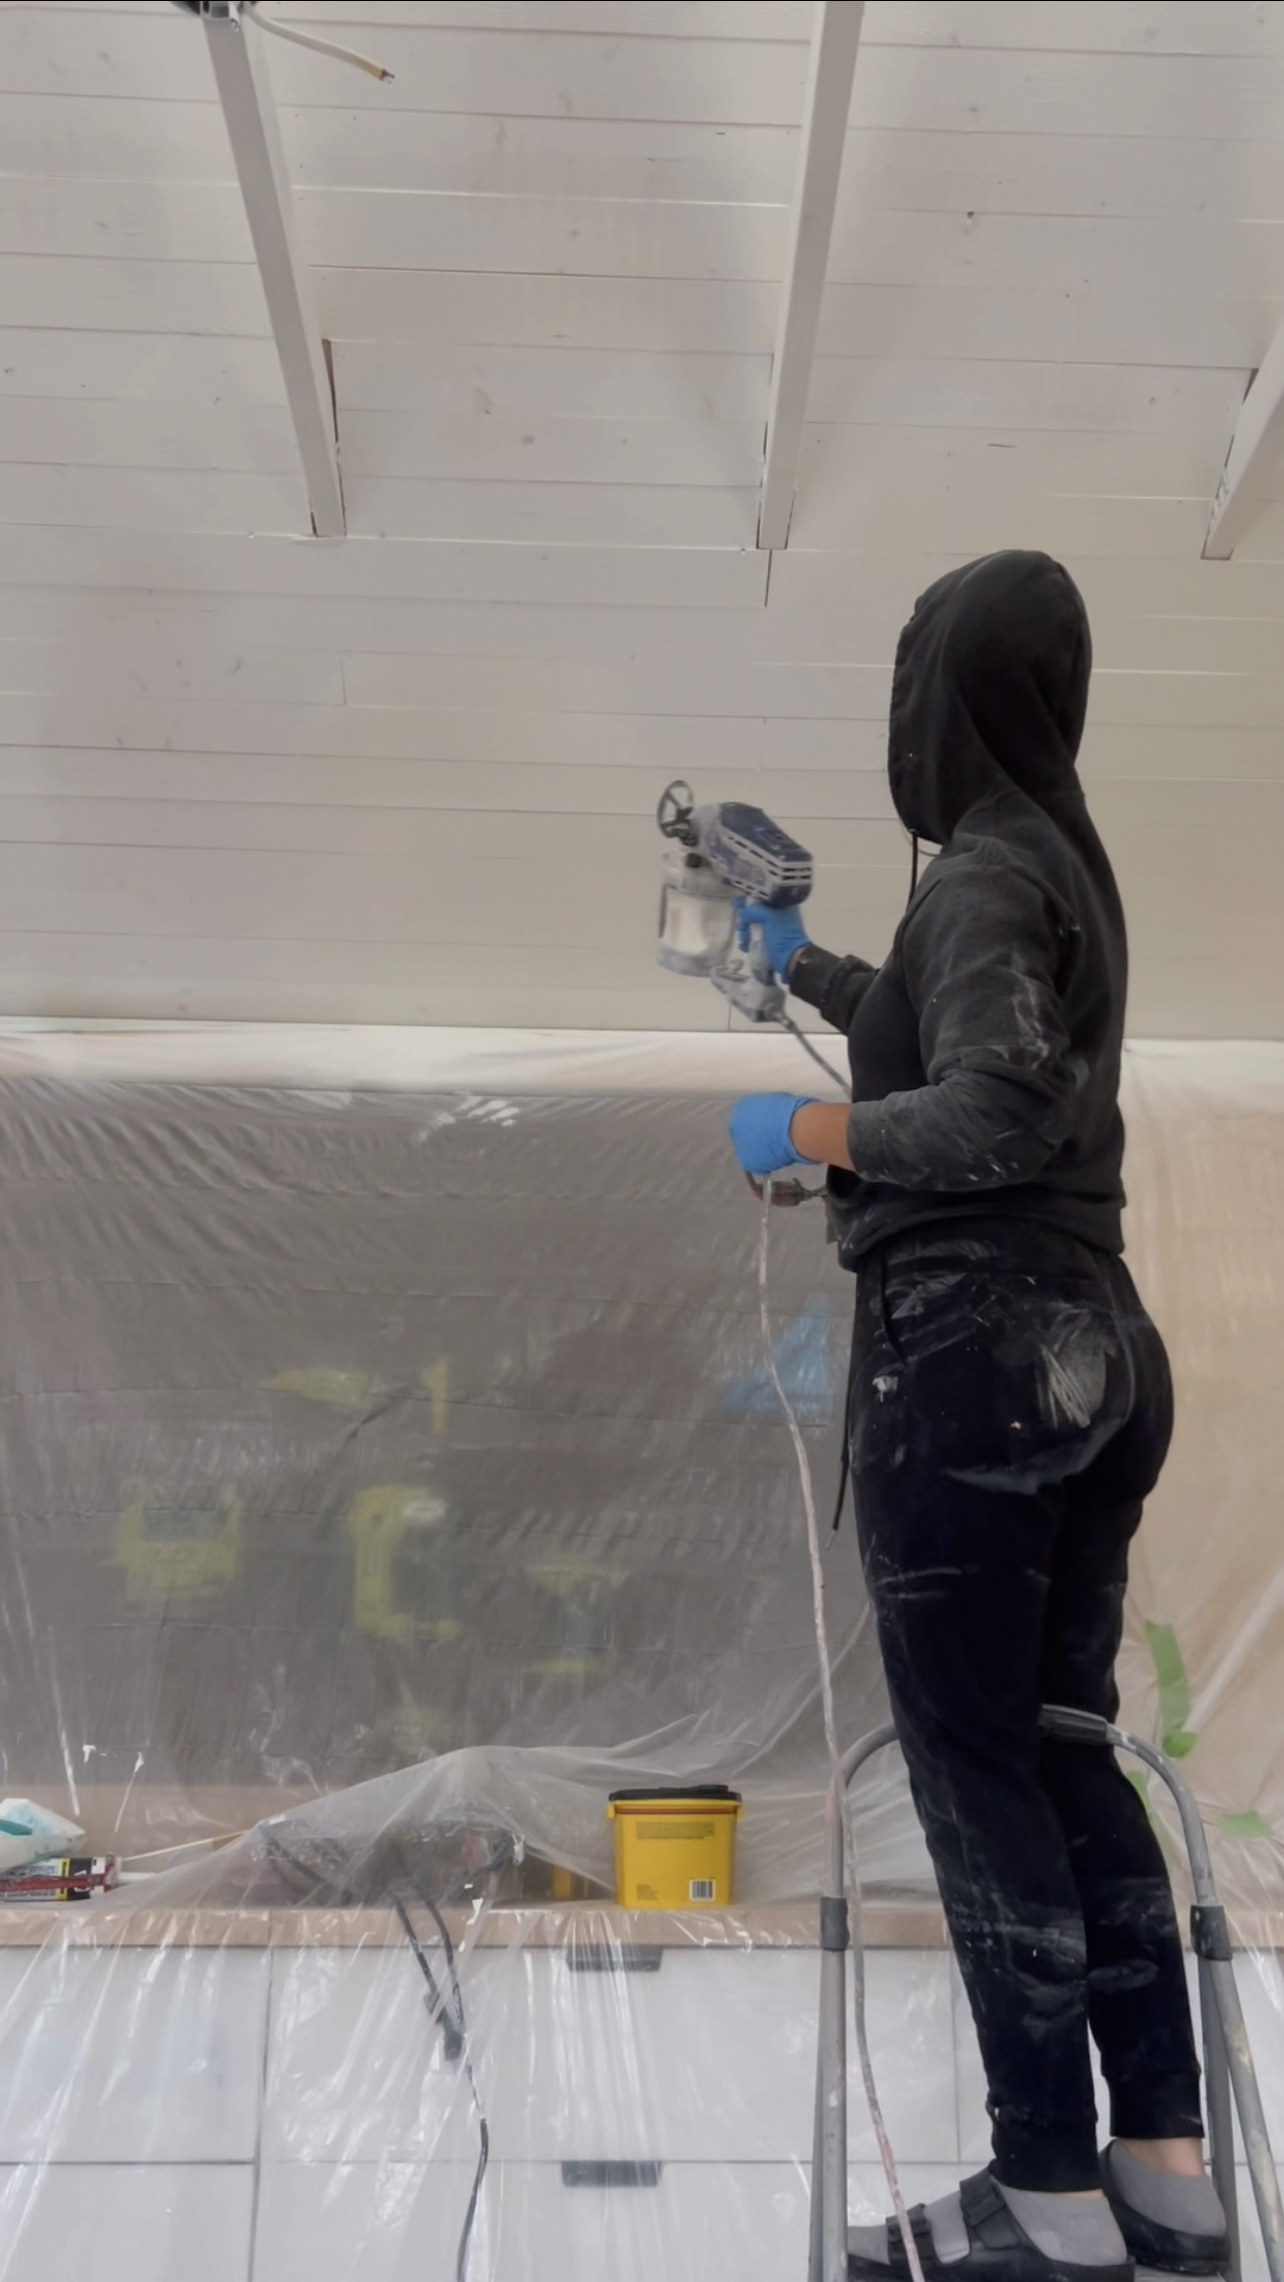
I originally had decided to paint the entire space white for a really bright and airy look. But once I had all of this beautiful exposed wood on the walls I was torn. I ultimately decided to only paint the ceiling. I taped off the walls with plastic and caulked along all of the corners. I then sprayed the entire ceiling with Behr Multi Surface Primer and then Behr Marquee paint in Swiss Coffee by Behr. This is the BEST paint (and white paint shade) out there in my opinion!
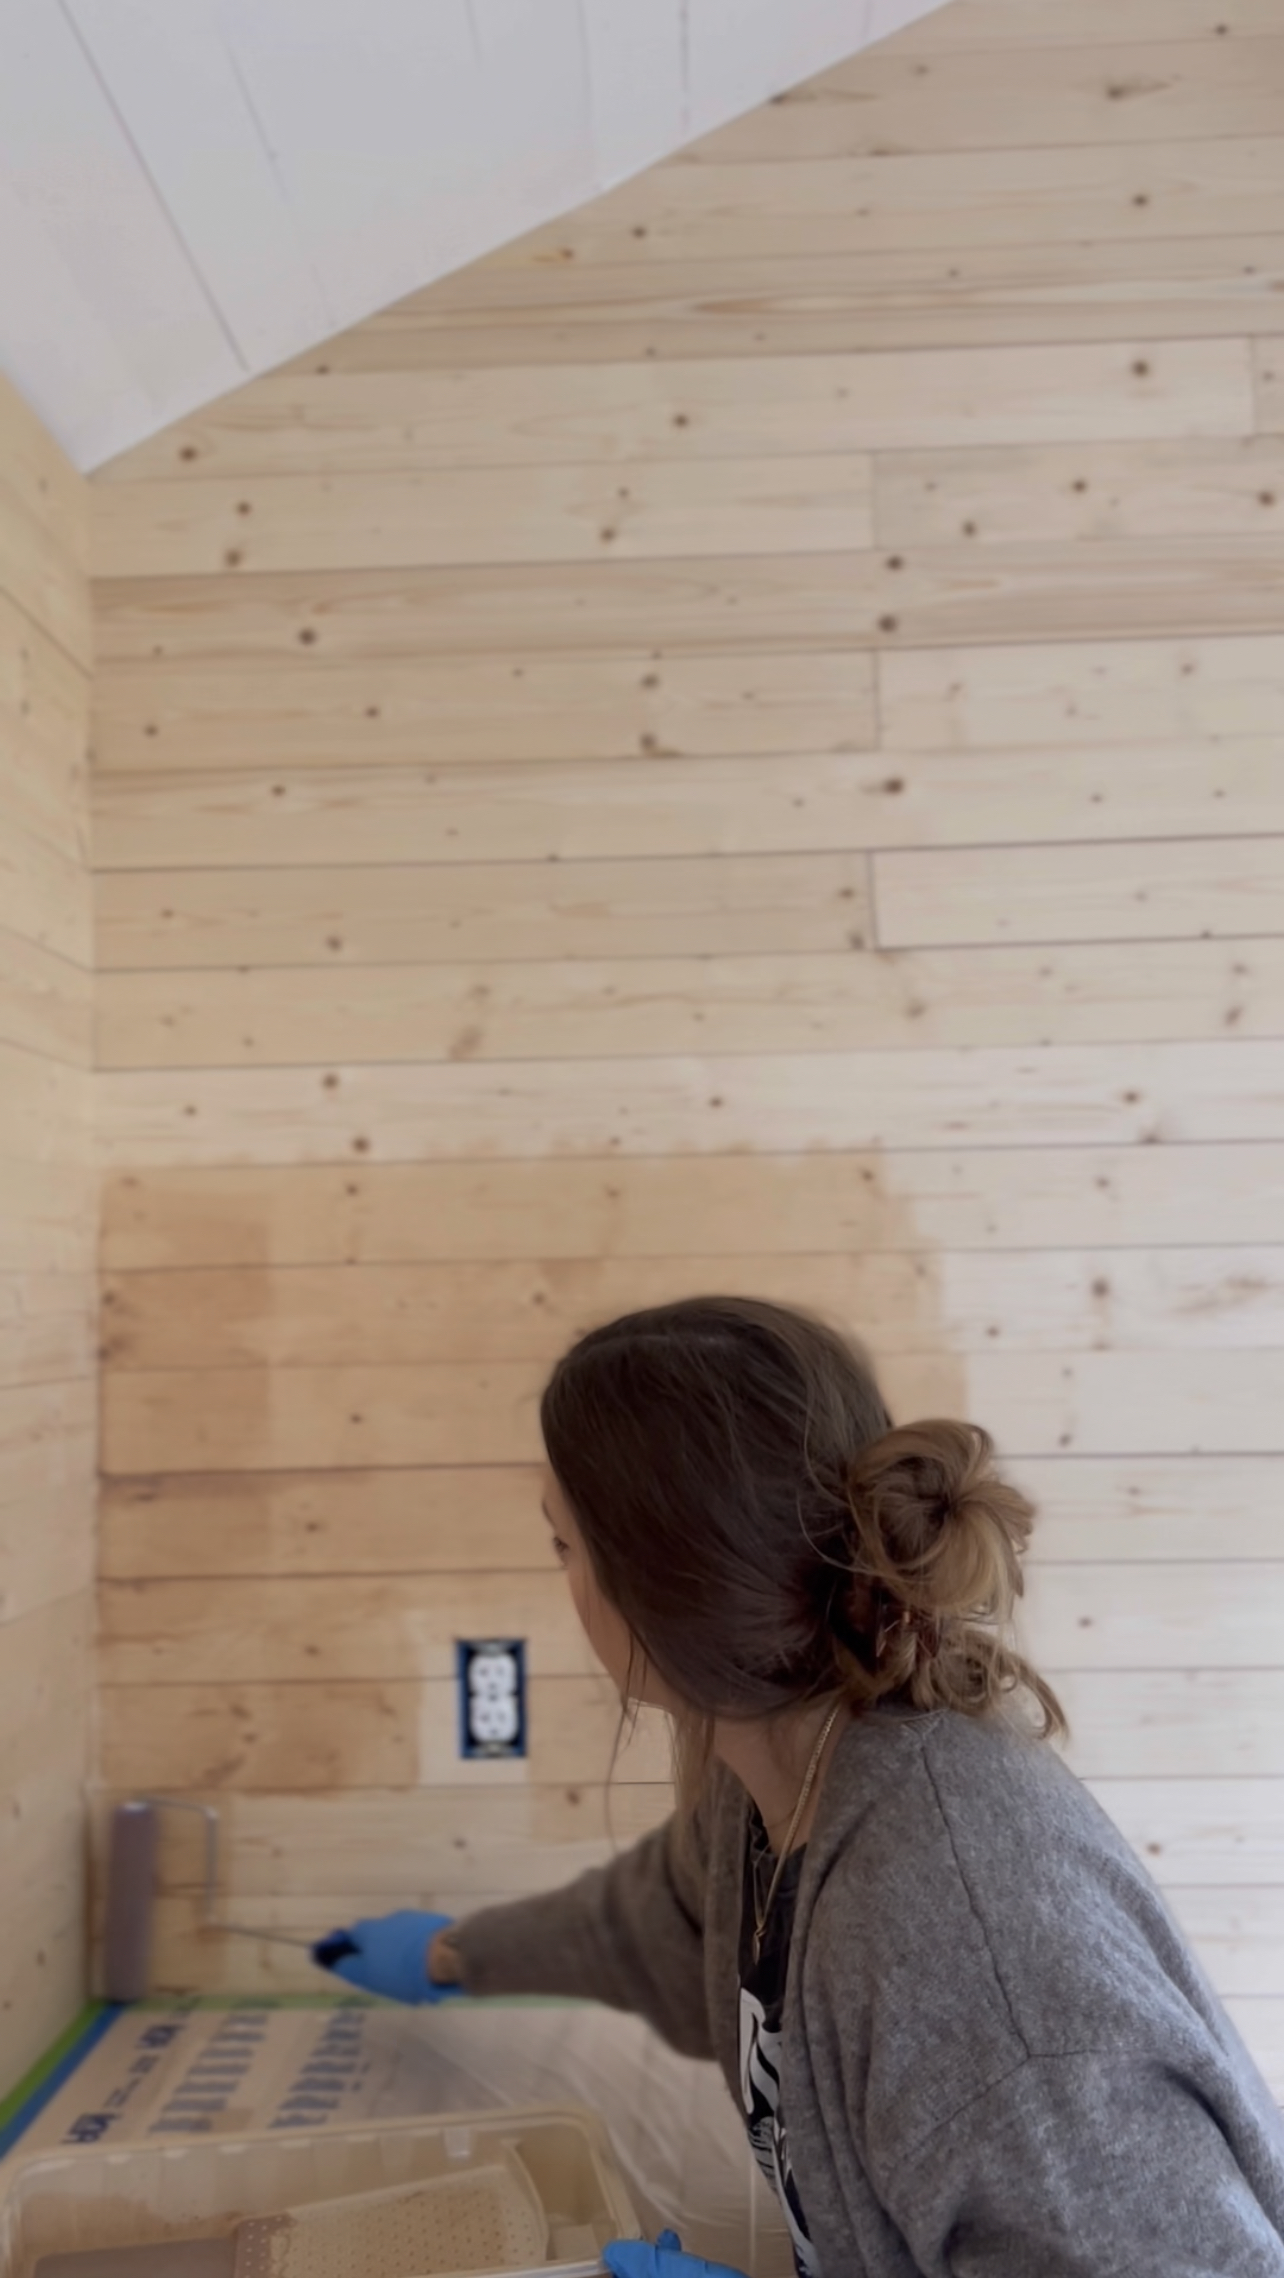

I wanted to bring out a bit more warmth and depth on the walls so I decided to go with tinted sealer to seal and tint in one step. I used Thompson’s Water Seal translucent sealer in Desert Tan. I applied this by just rolling it onto a small section (about 3×5 feet) and then going back behind with a cloth/paper towel to wipe away excess and even it out.
You can see how the paint/stain turned out here!