My Tuff Shed Workshop – Phase One

GUYS! I seriously can not contain my excitement over the fact that I now have my very own space to work on projects and organize my tools! IS THIS REAL LIFE?!
This is my 12’x16′ shed from Tuff Shed. It is incredible quality and I was able to customize it through their website. The Tuff Shed team built it on my property in ONE day! You can read more about this here.
This is what it looked like when it was finished being built…

*This post may contain affiliate links, which means I may earn a small commission if you purchase through my links, at no extra cost to you. I only share products I genuinely love.
BLACK SHED EXTERIOR
The vision I had for this shed was dark and moody garden cottage on the outside…and bright and airy on the inside. I immediately got to work in making this happen.
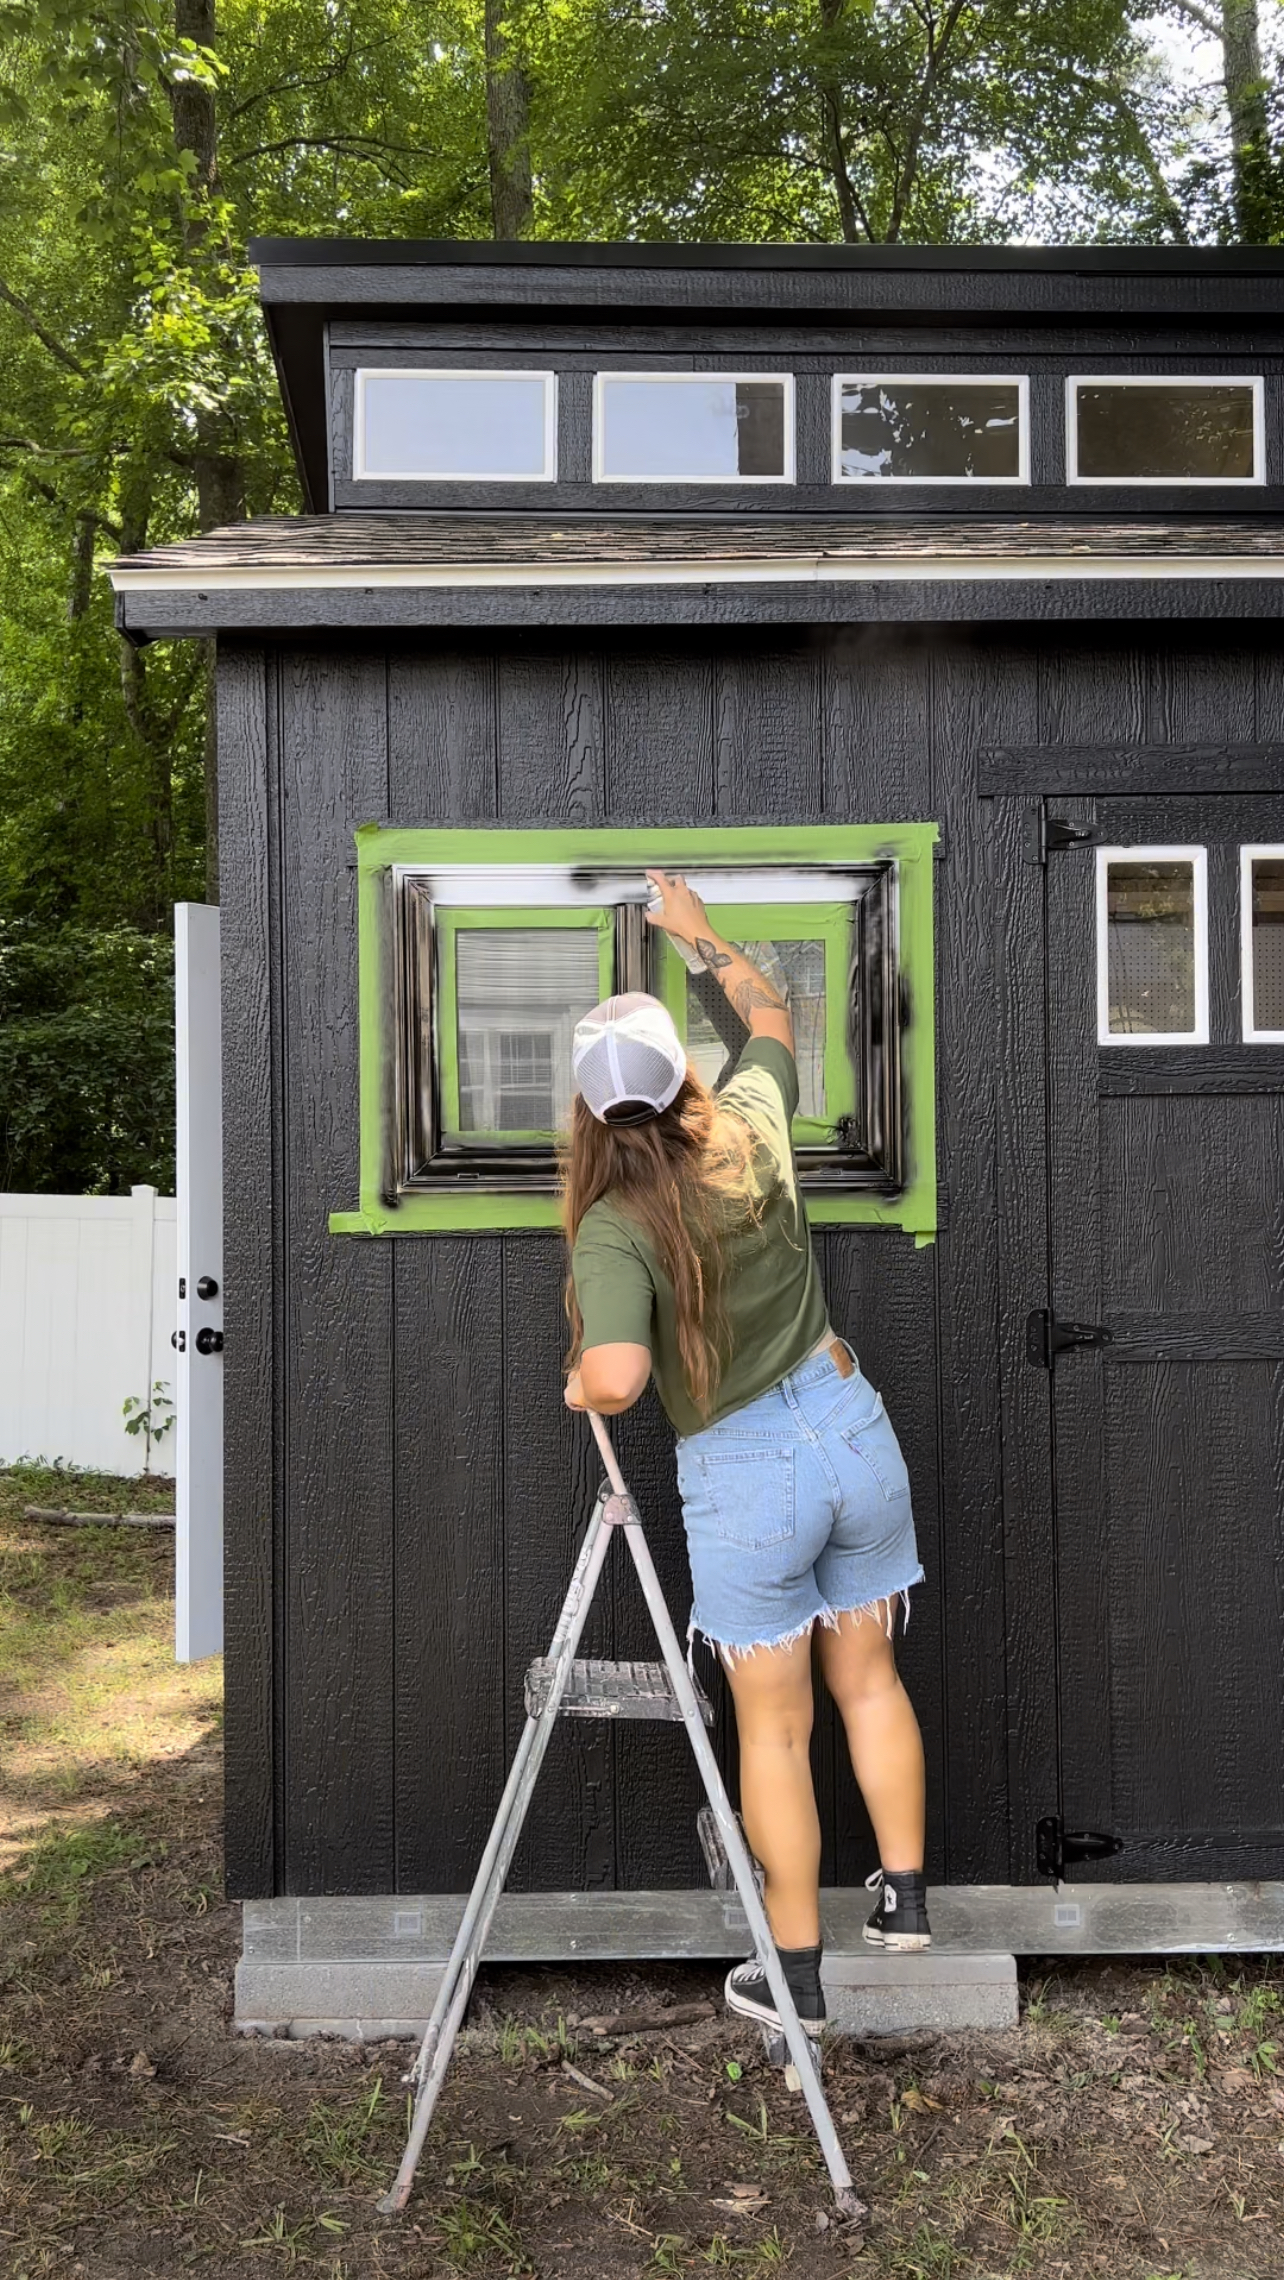
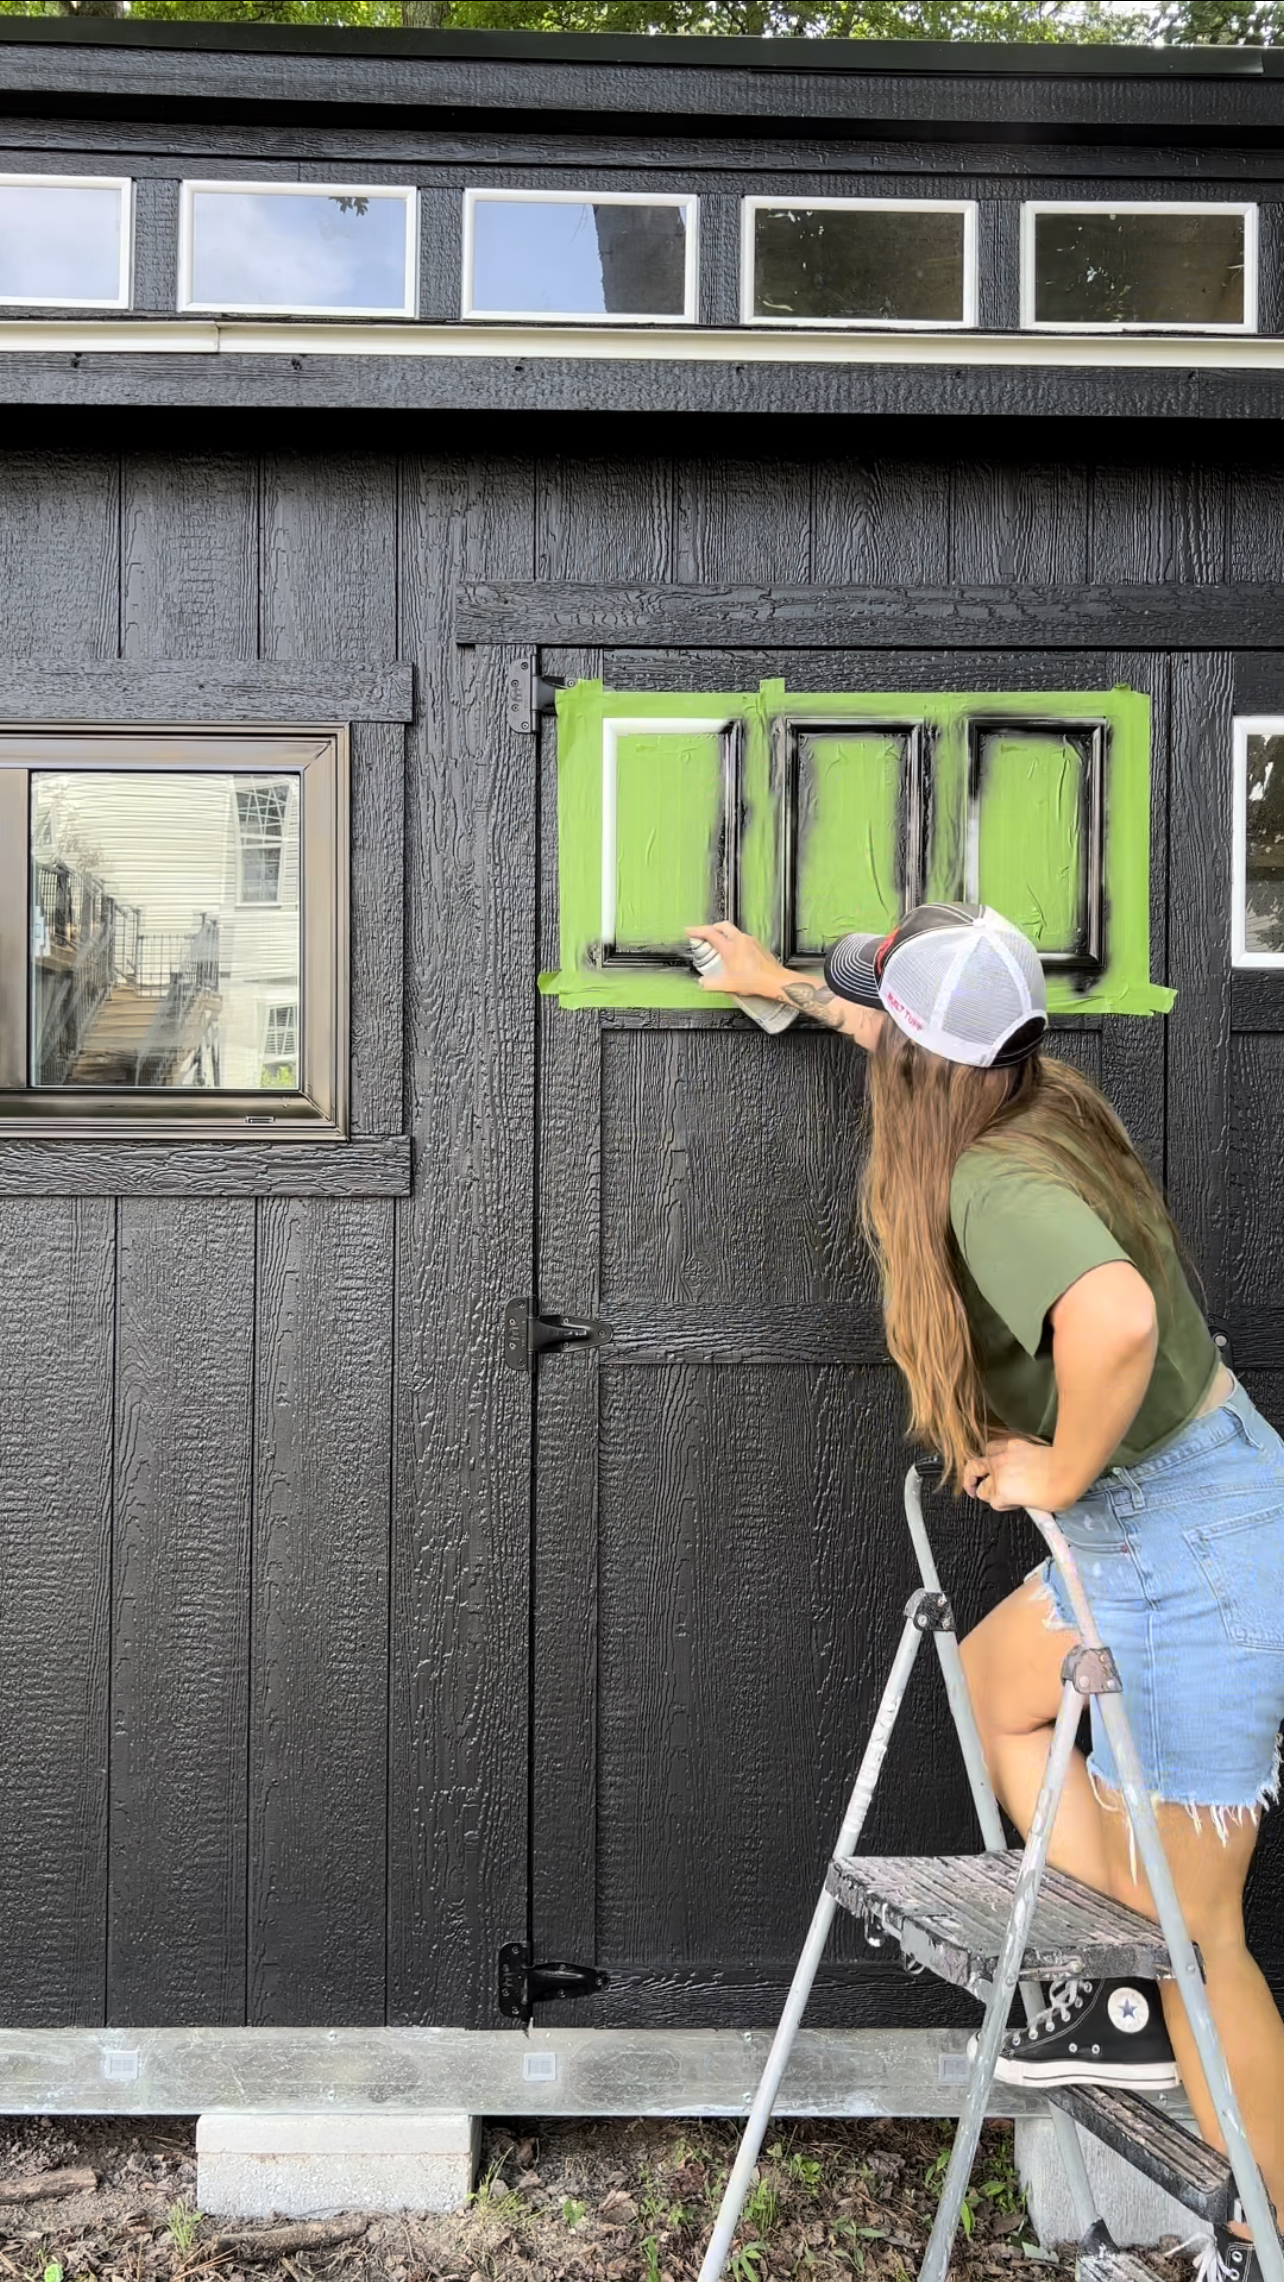
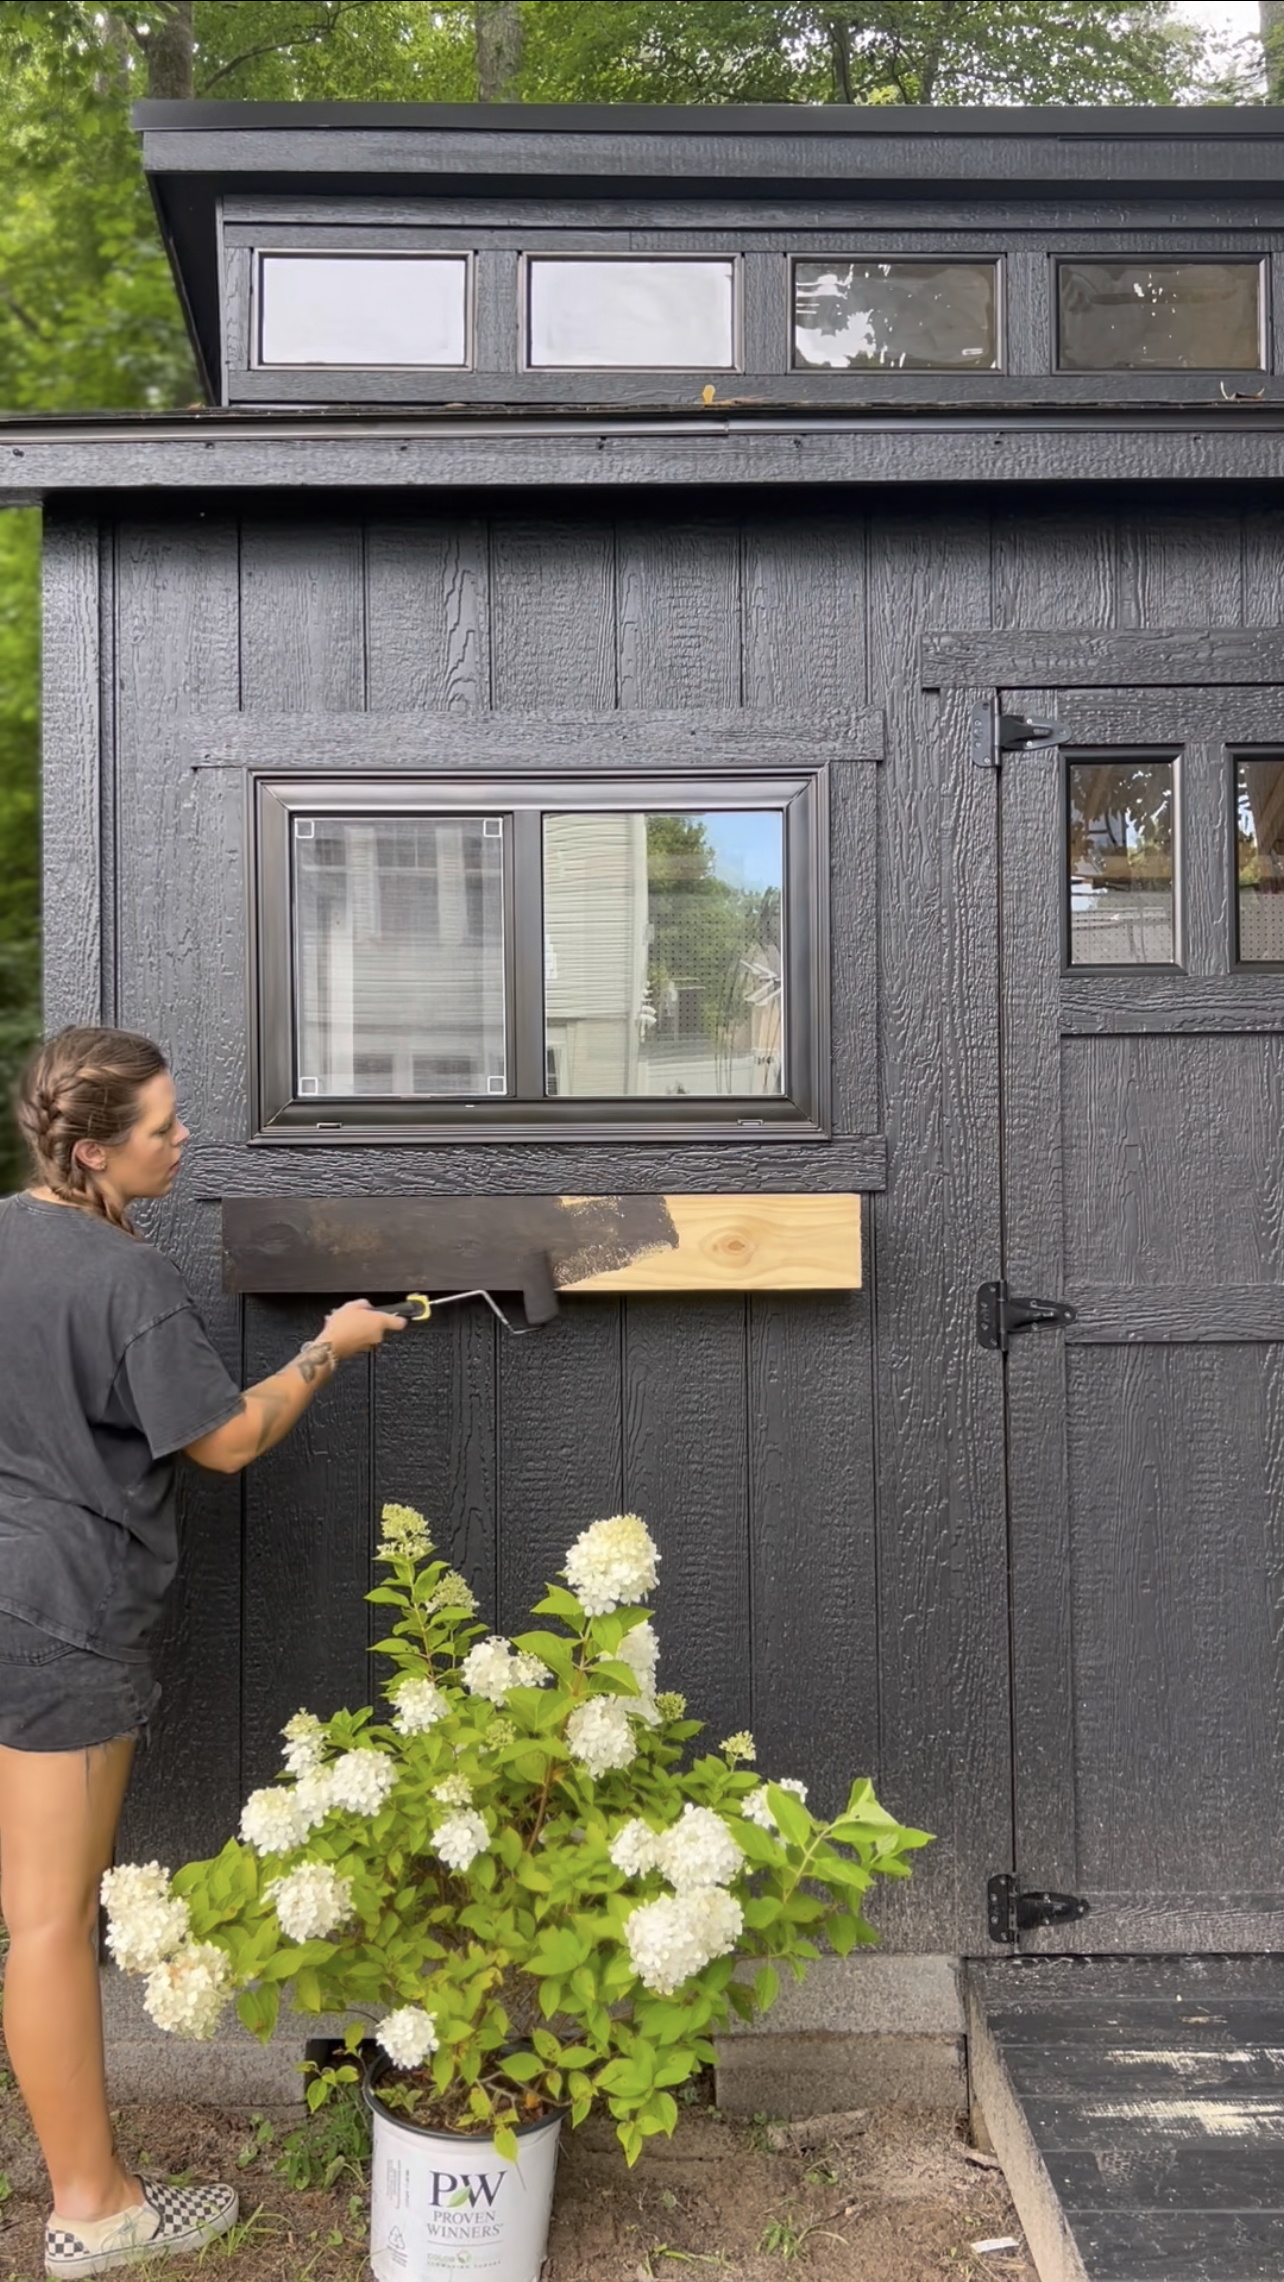
First I taped off and painted all of the exterior window trim and drip edges. I used my favorite Rustoleum spray paint in black for this! Then I used some scrap pine fence boards to build some cute little window boxes. I screwed these into the siding and painted them in the same paint that the shed was painted in (Black Magic by PPG). Then, I filled these with some UV rated faux greenery stems (products linked here) for a low maintenance planter box!


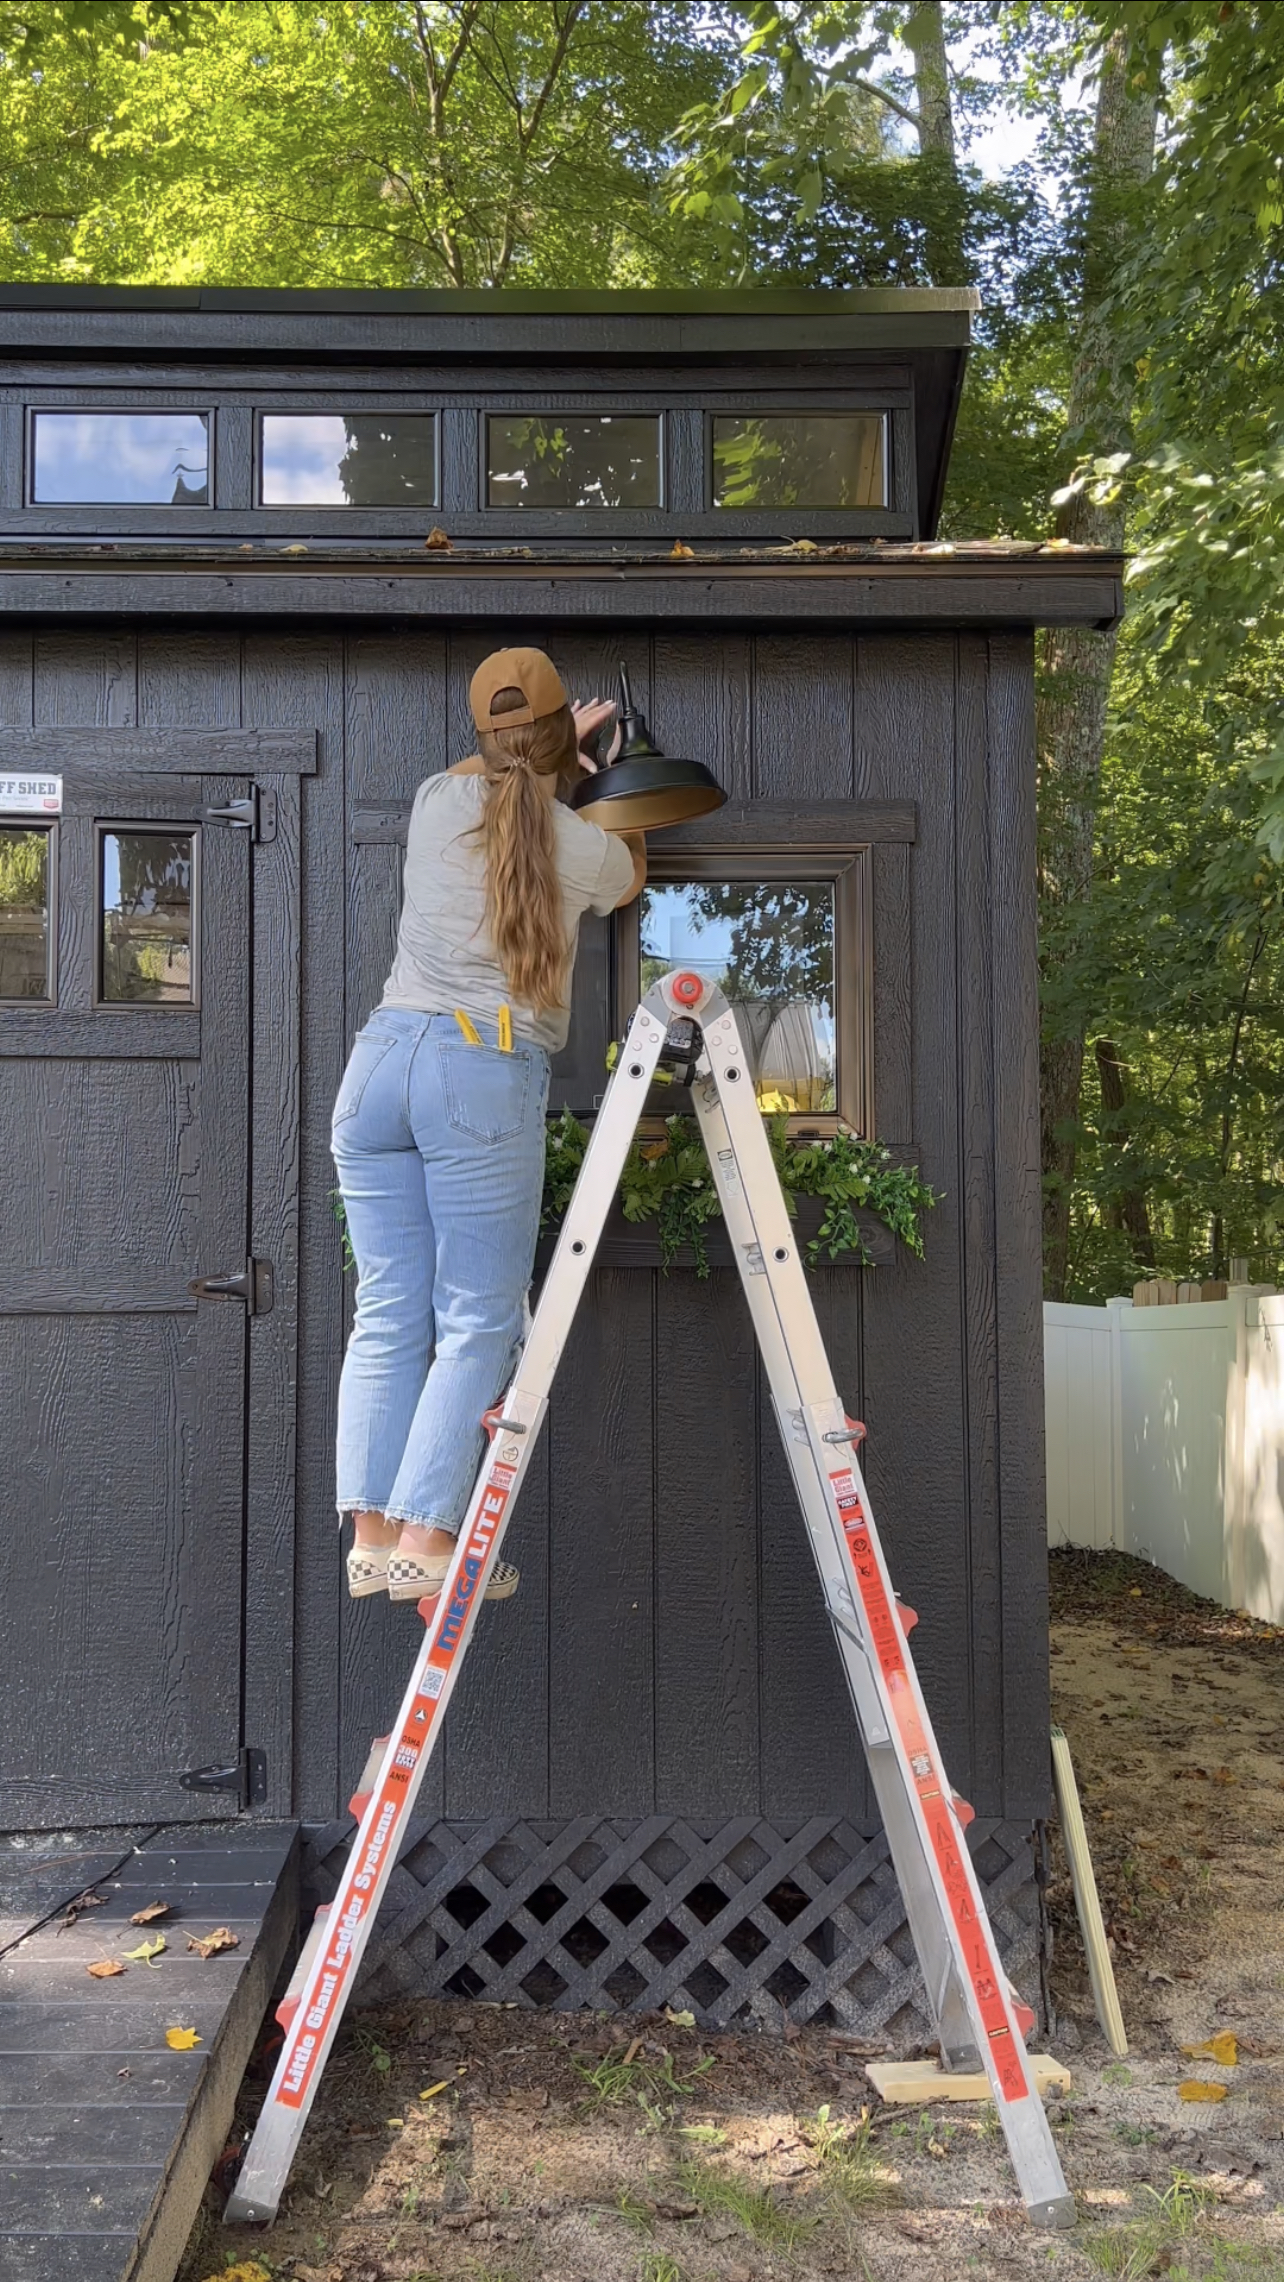
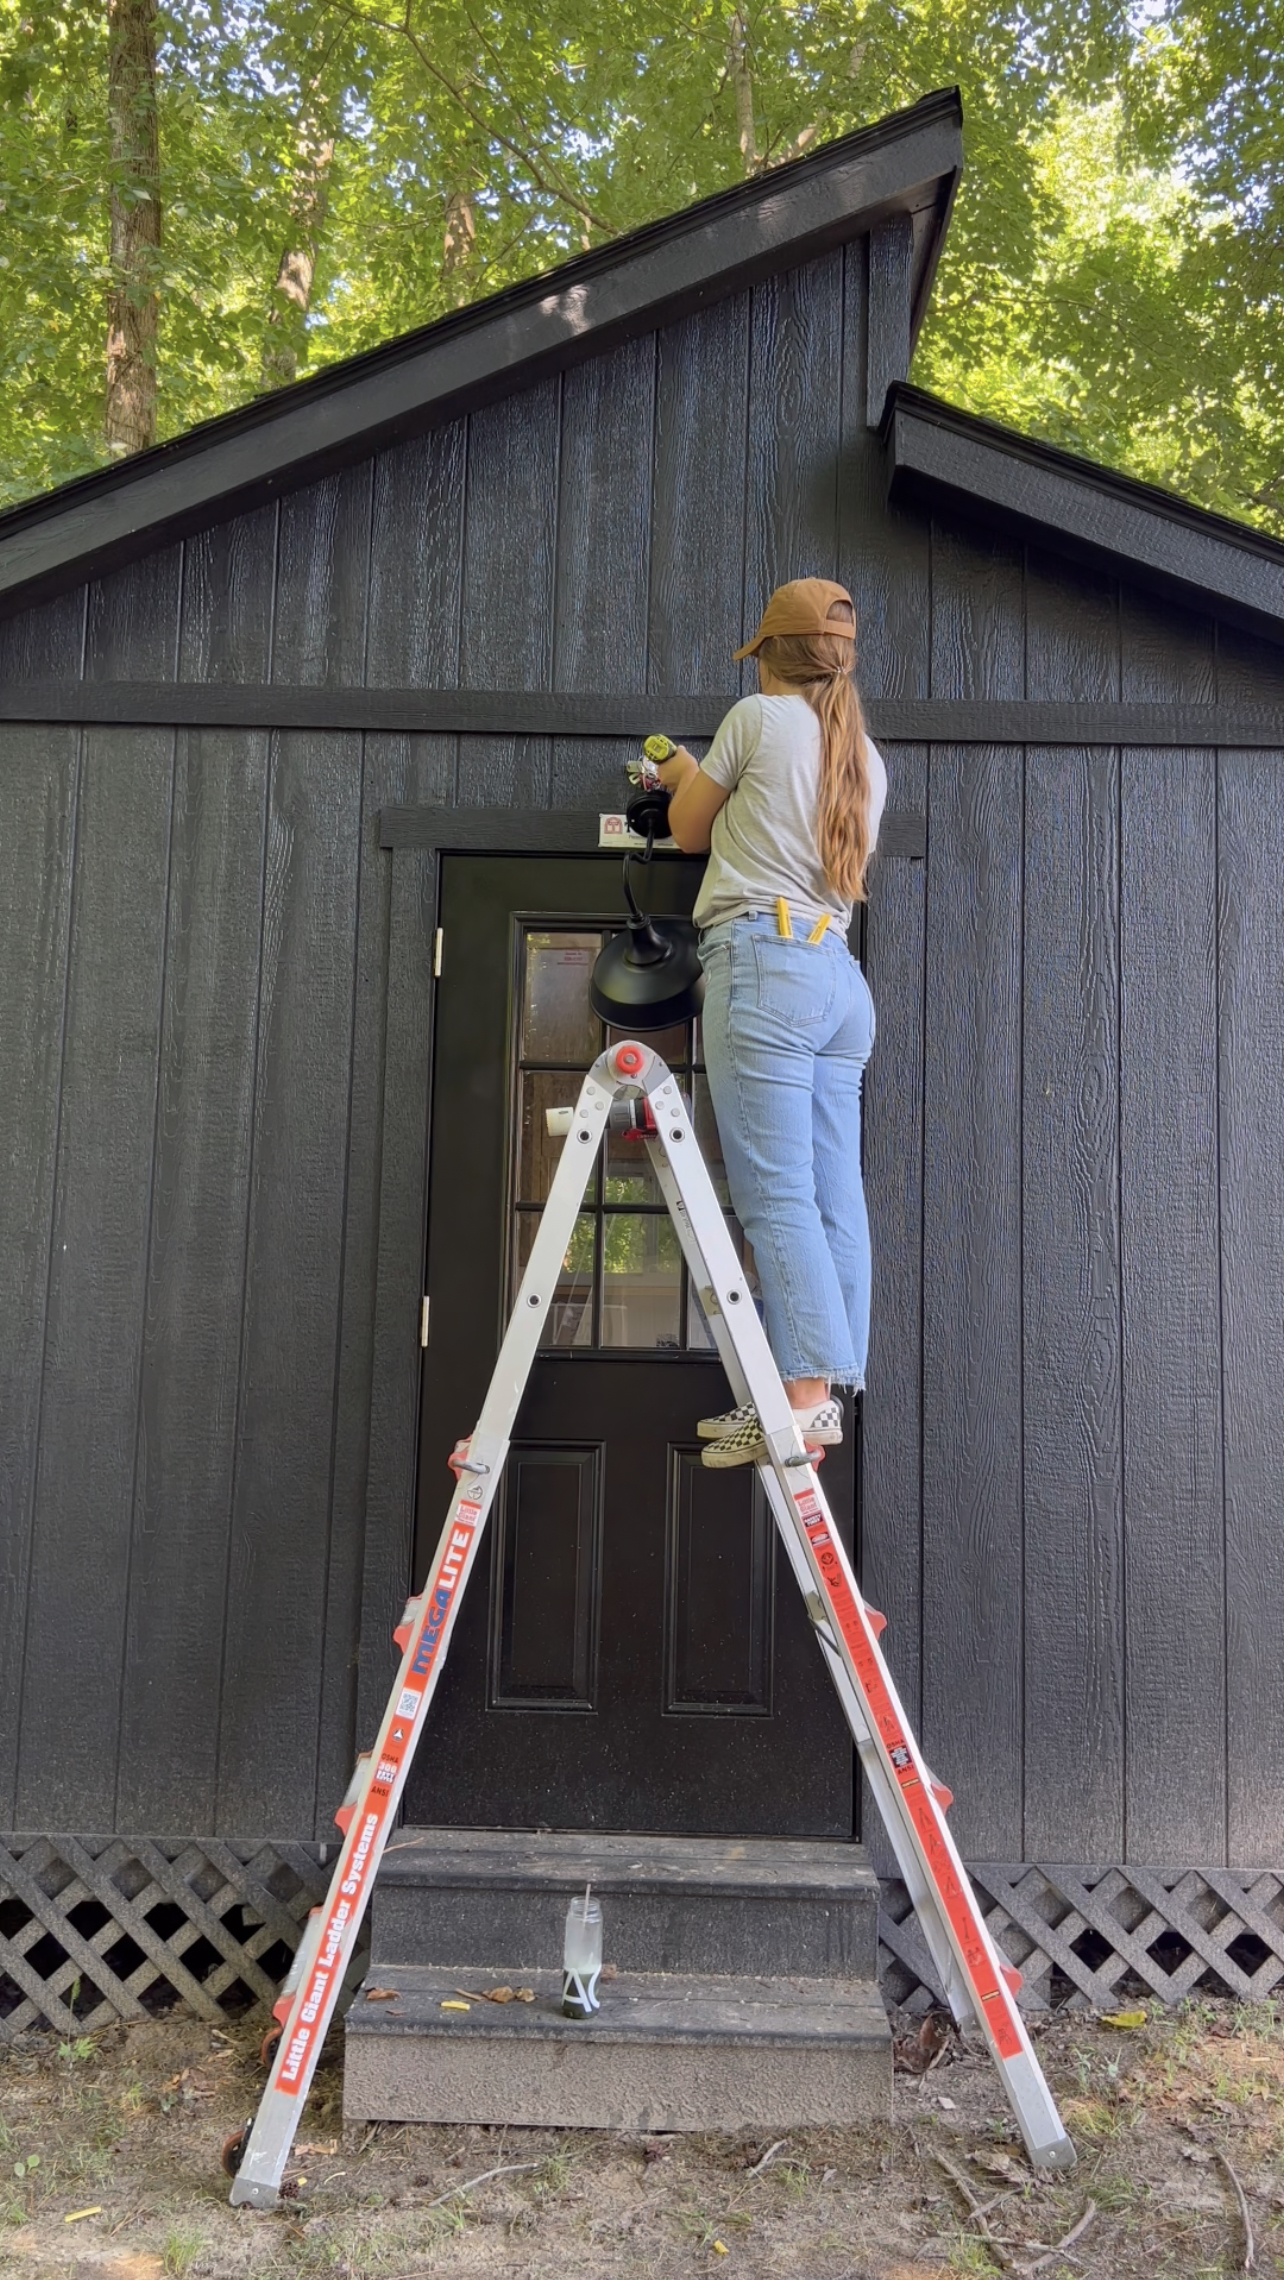
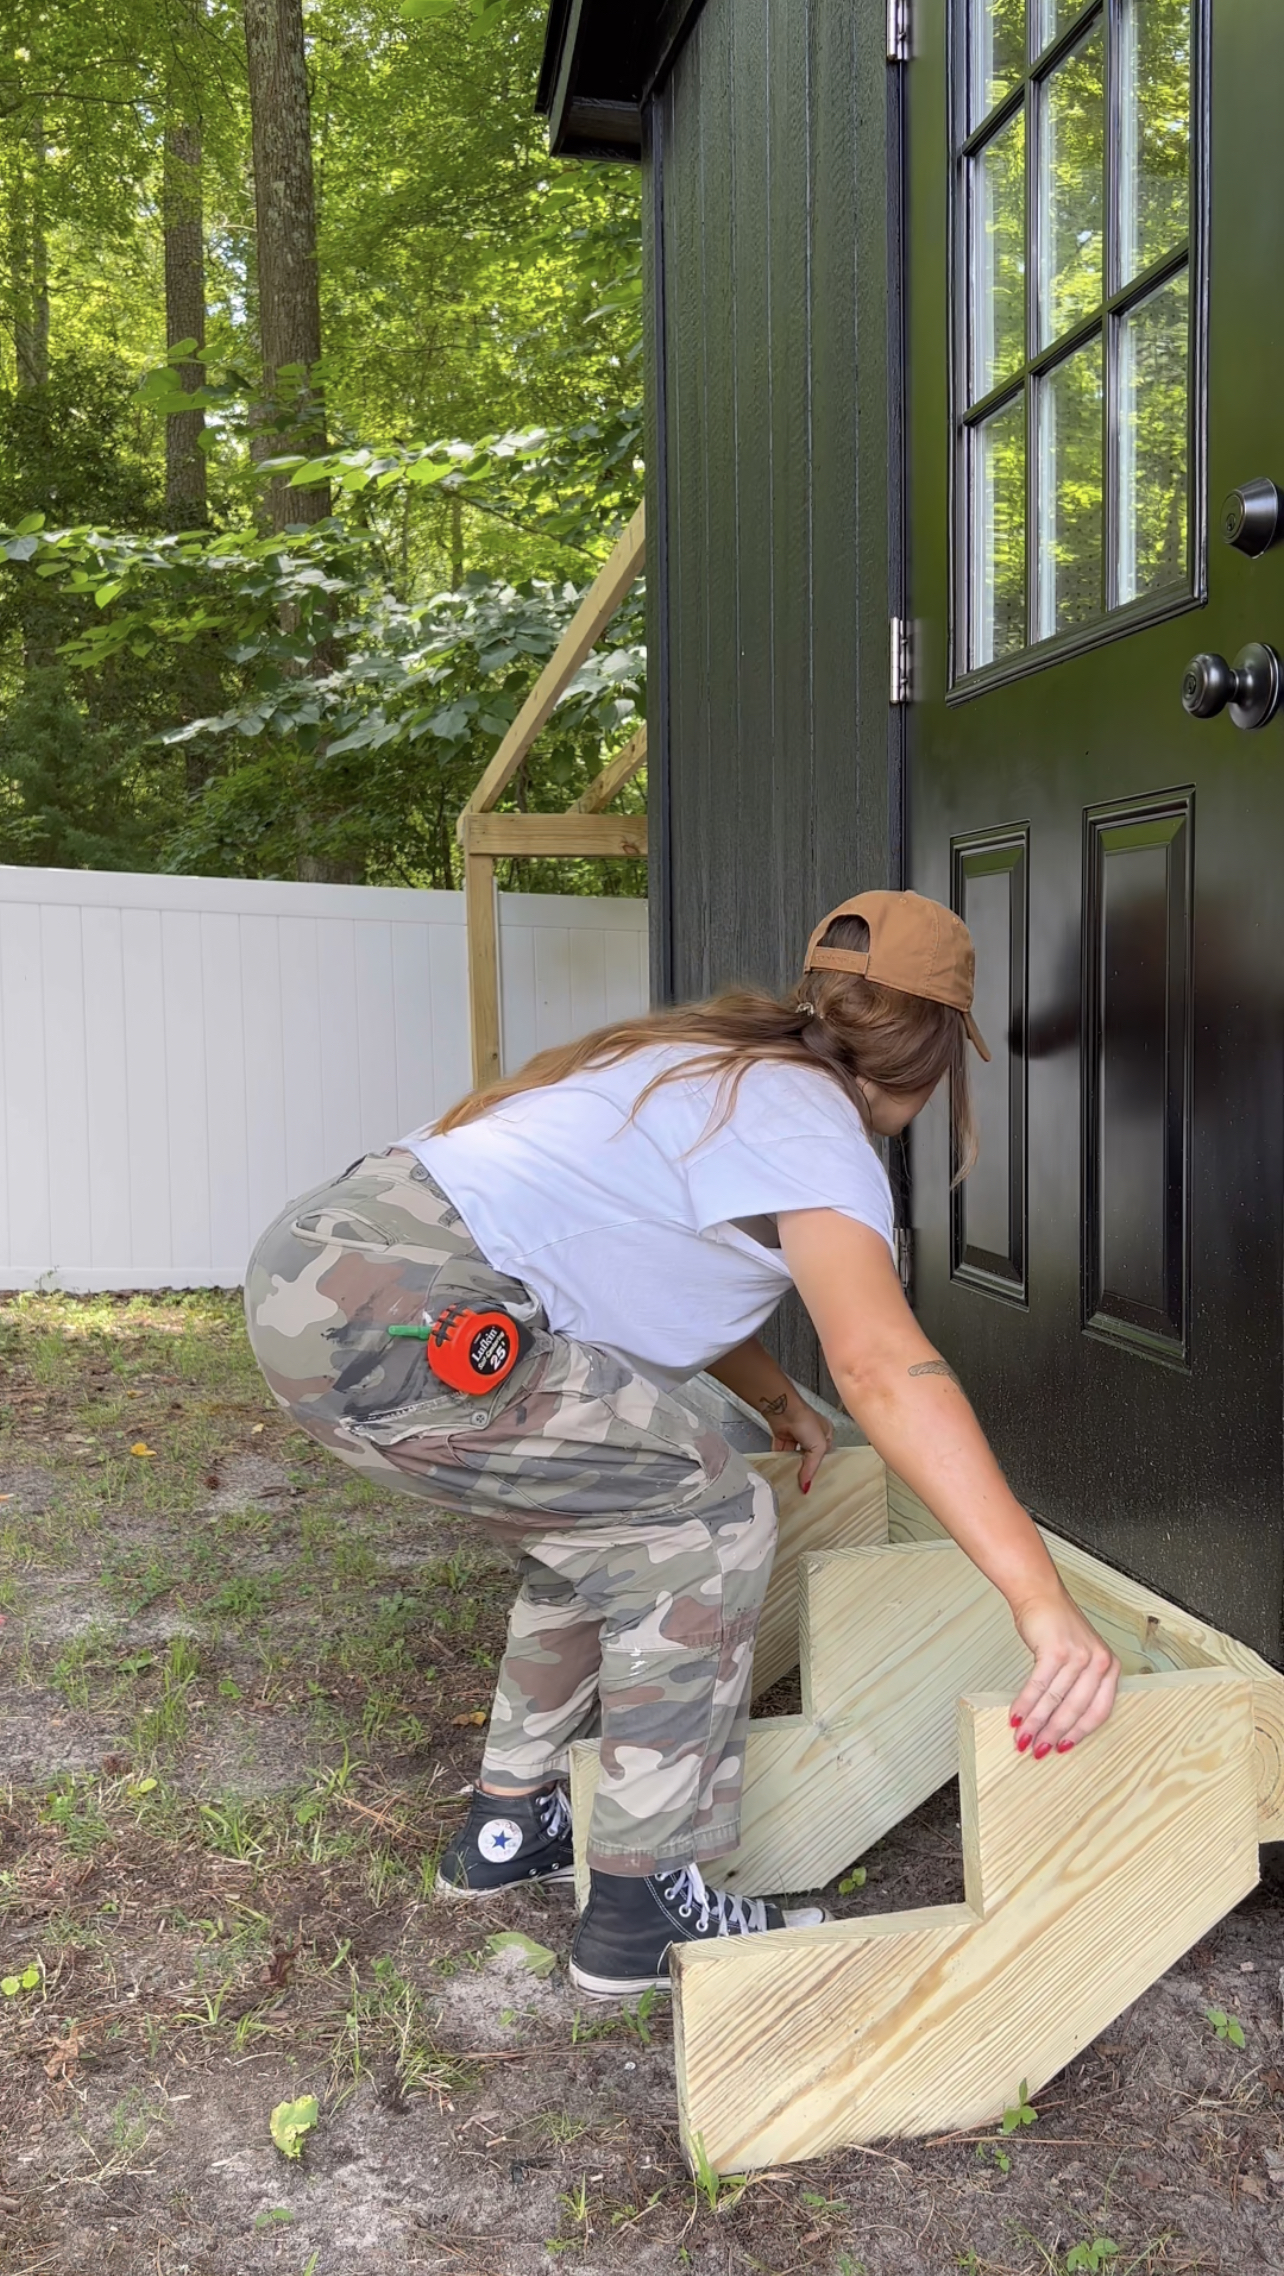
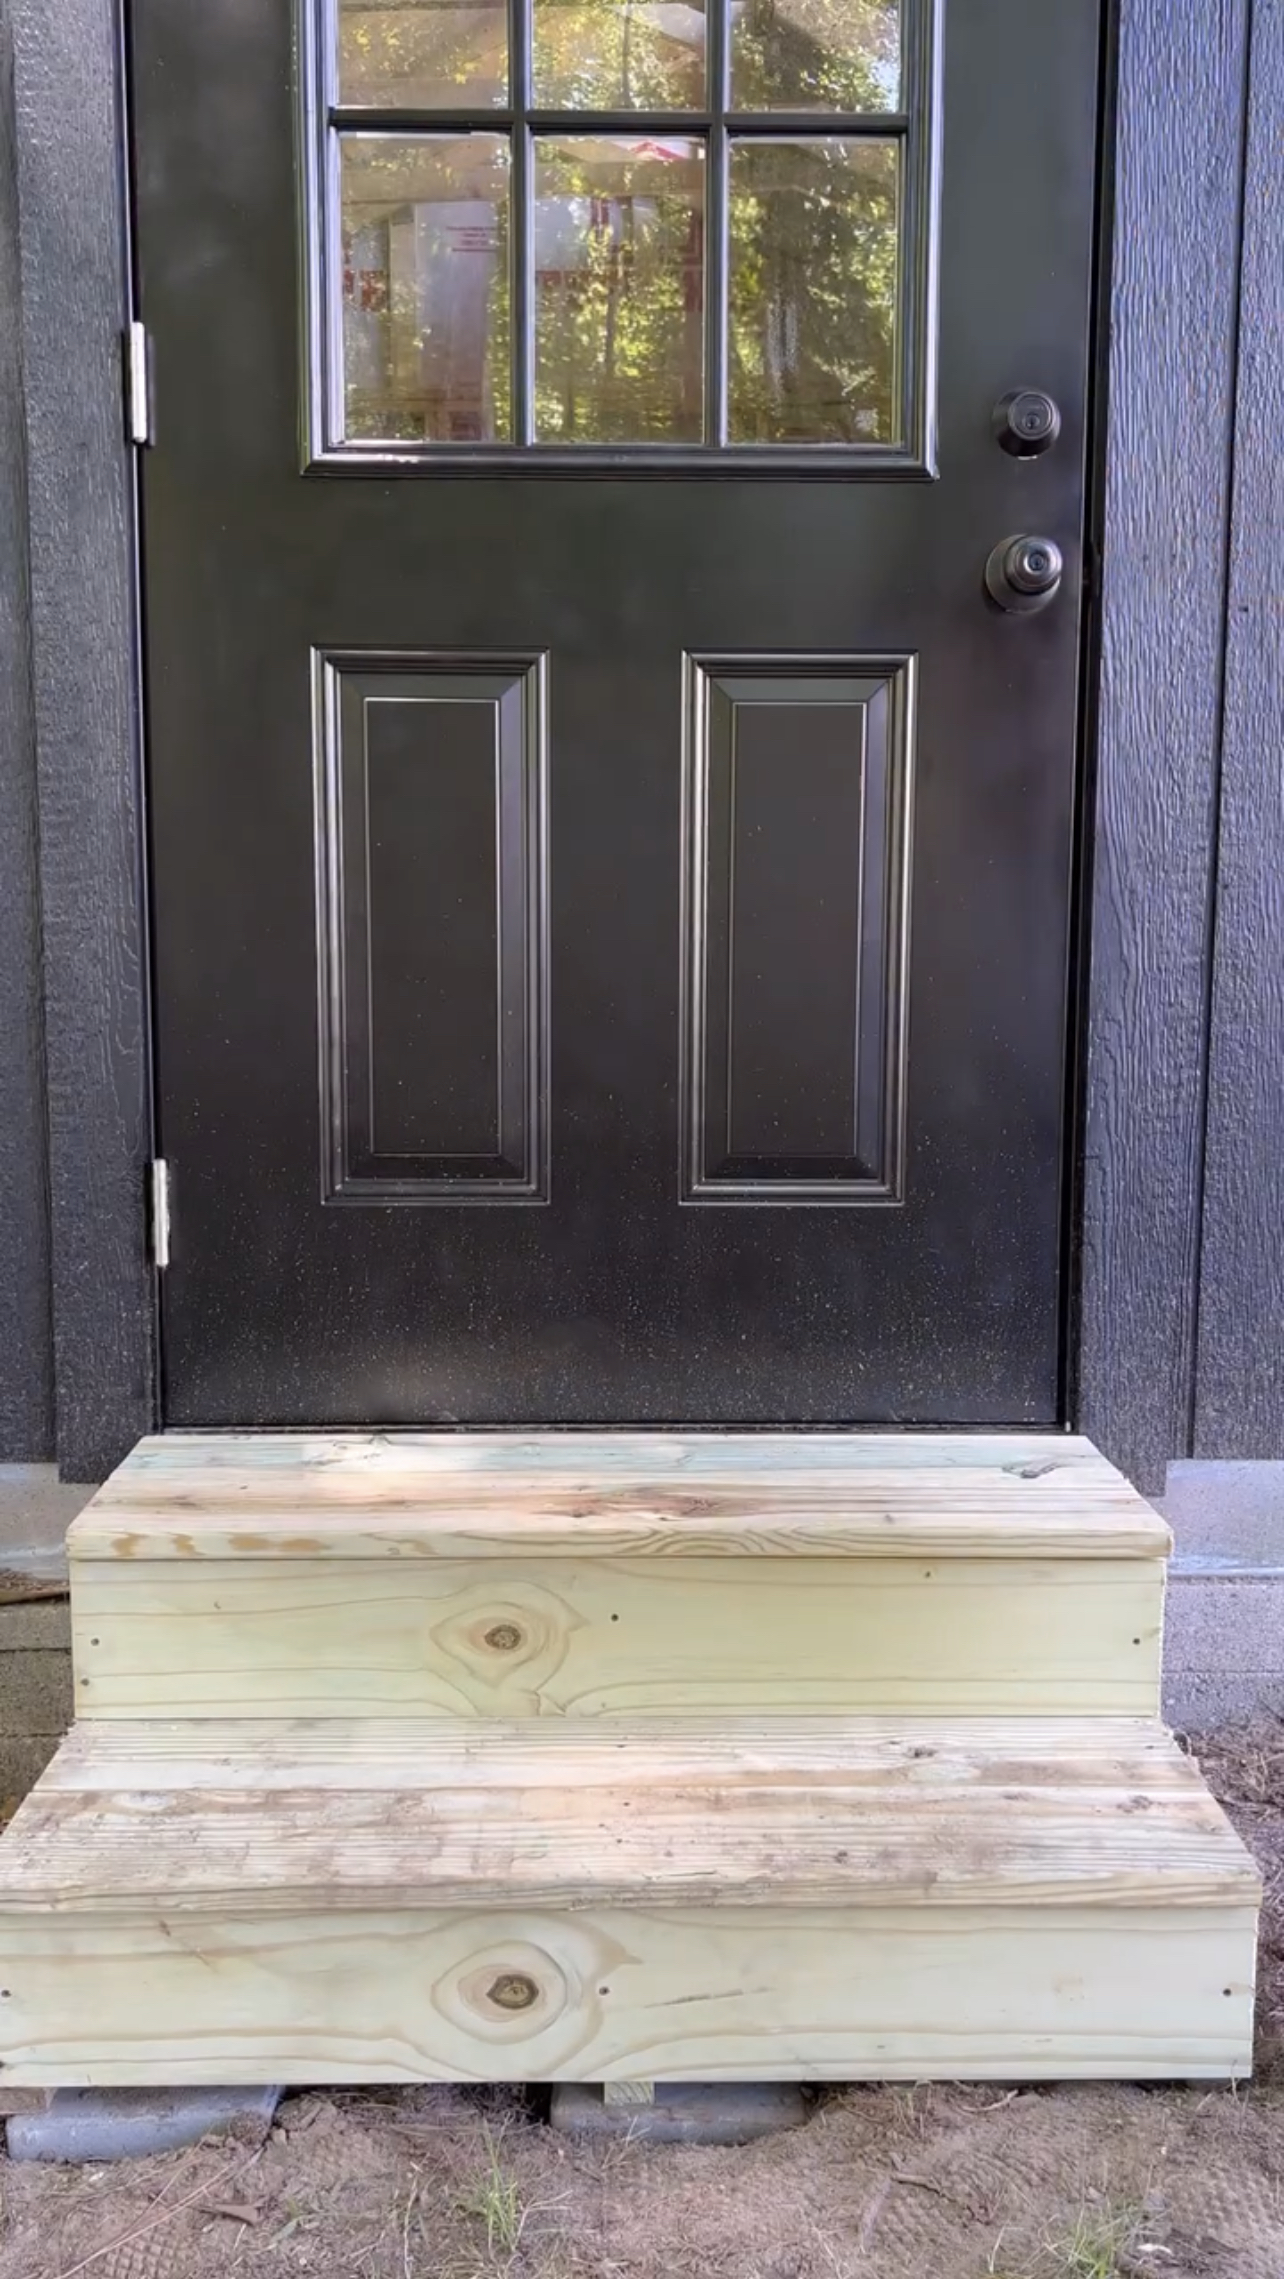
I built some steps for the residential door and then a ramp for the double doors so that I can roll my saws outside when I need to! Additionally, I installed outdoor lighting after my father-in-law helped me run electricity (more about that below).


When customizing the shed, I had decided that I wanted a workbench and pegboard along the back wall. When the shed was built, they also installed/built this for me. But after some planning, I realized that I wanted to go a different direction. I really wanted to maximize storage space and decided to create a new workbench with fill hidden storage drawers/cabinets underneath.
A MODERN TUFF SHED FOR DIY
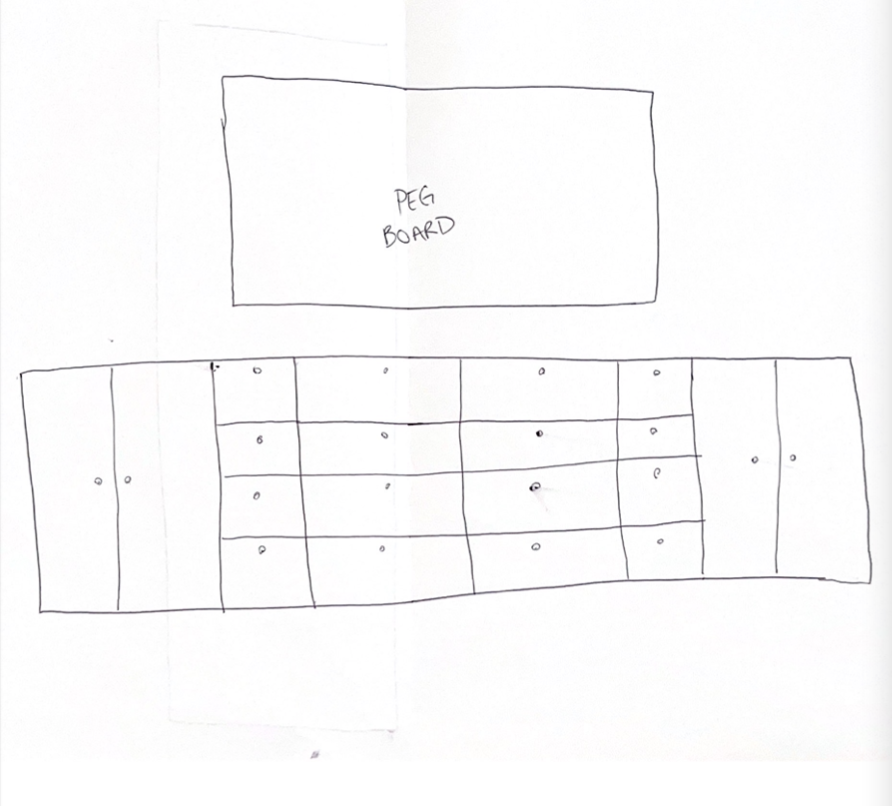
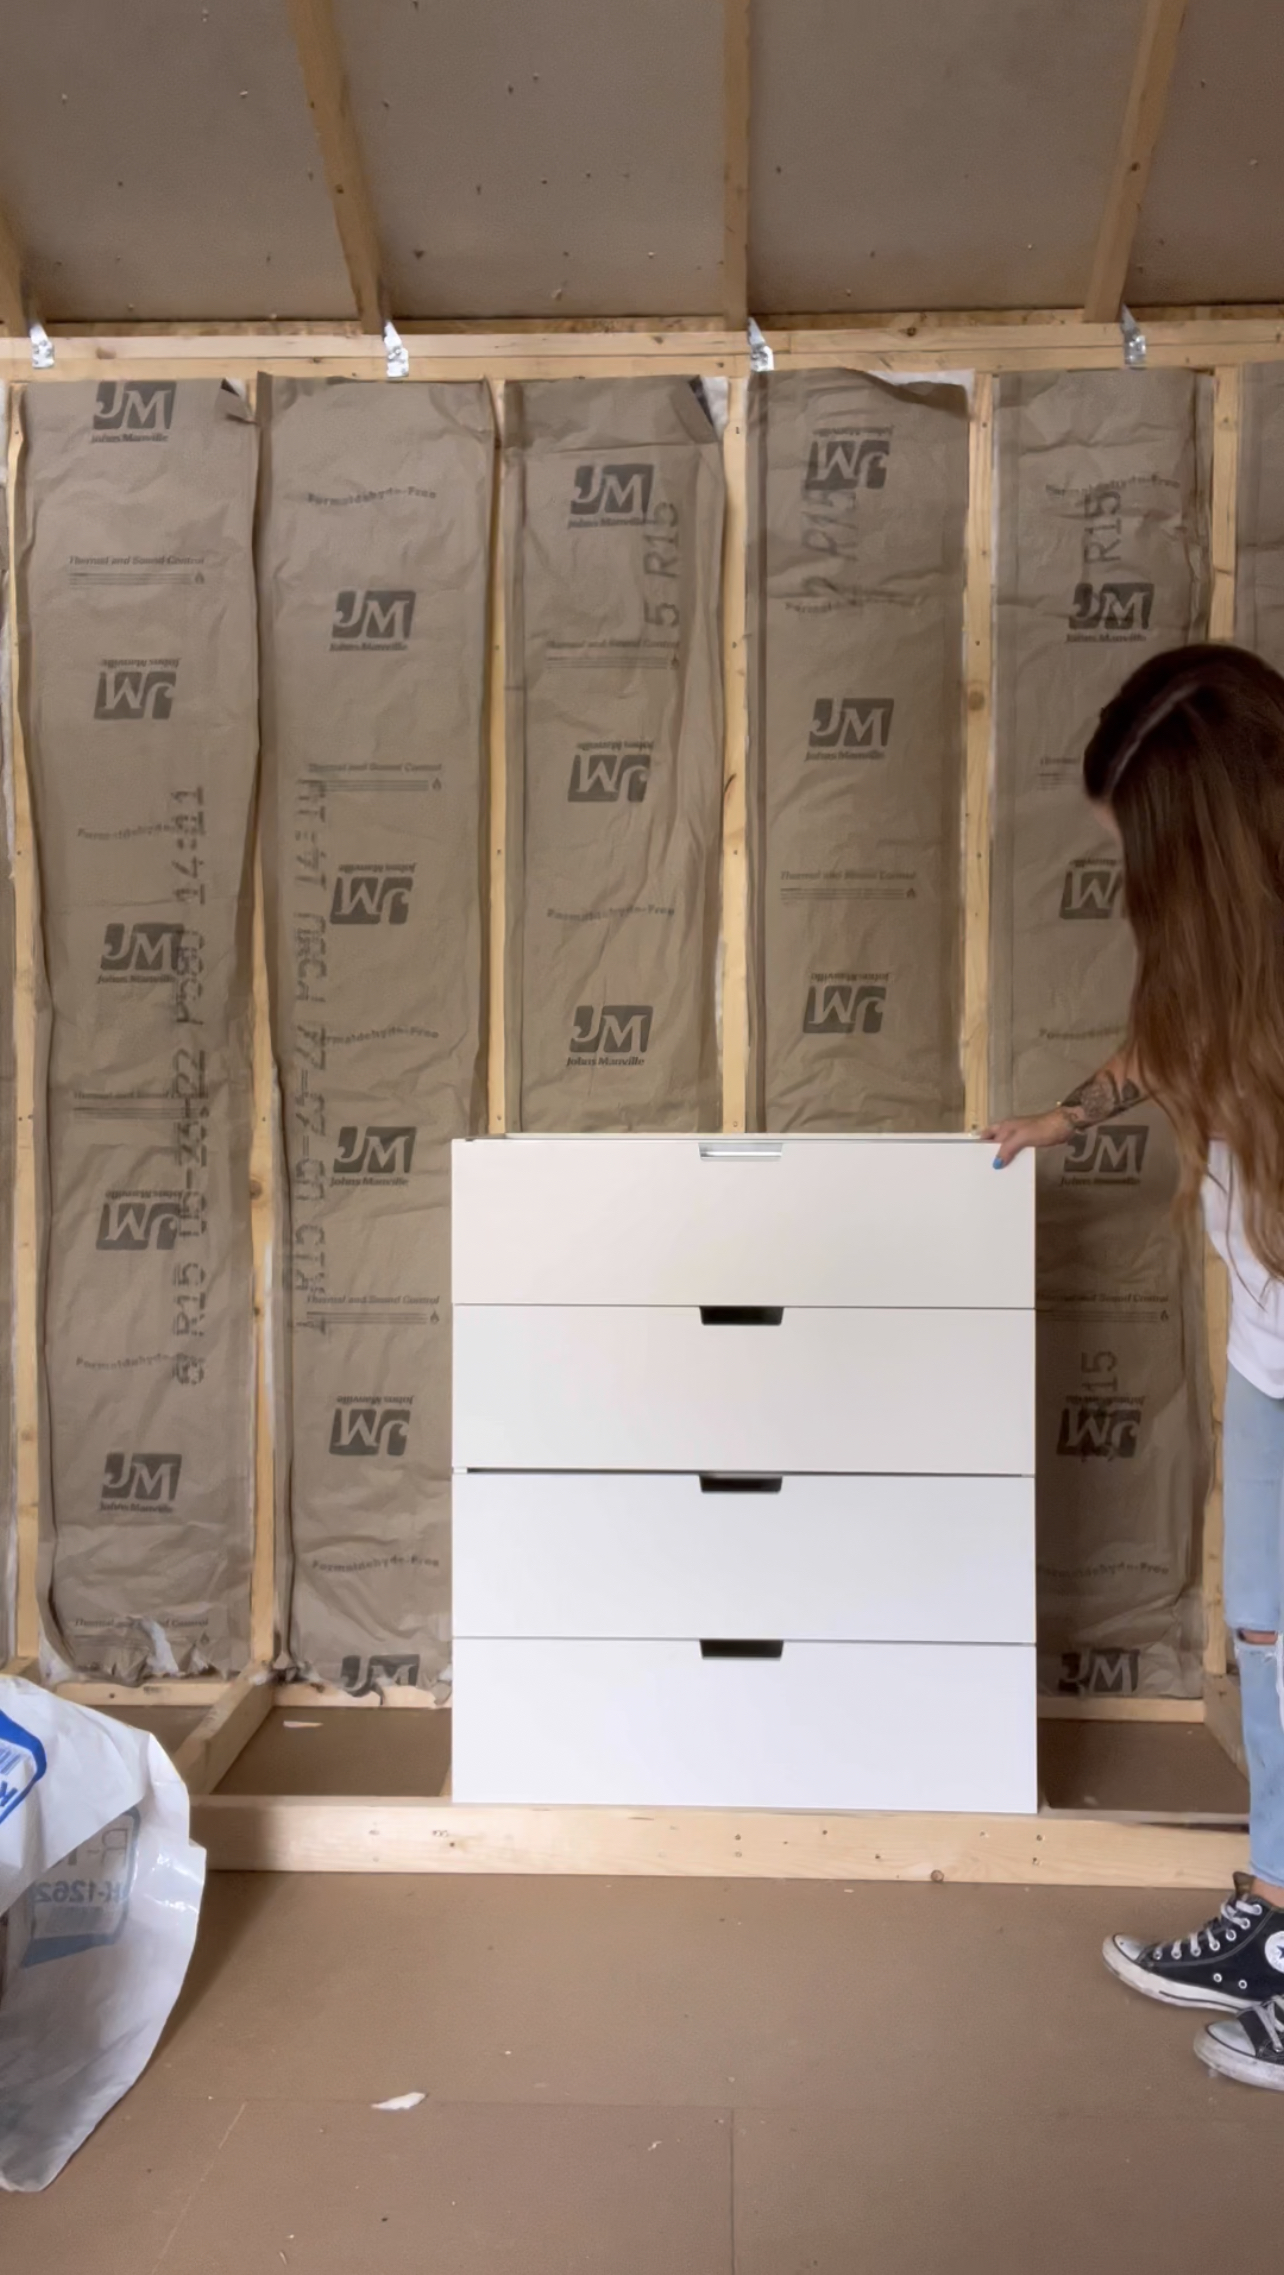
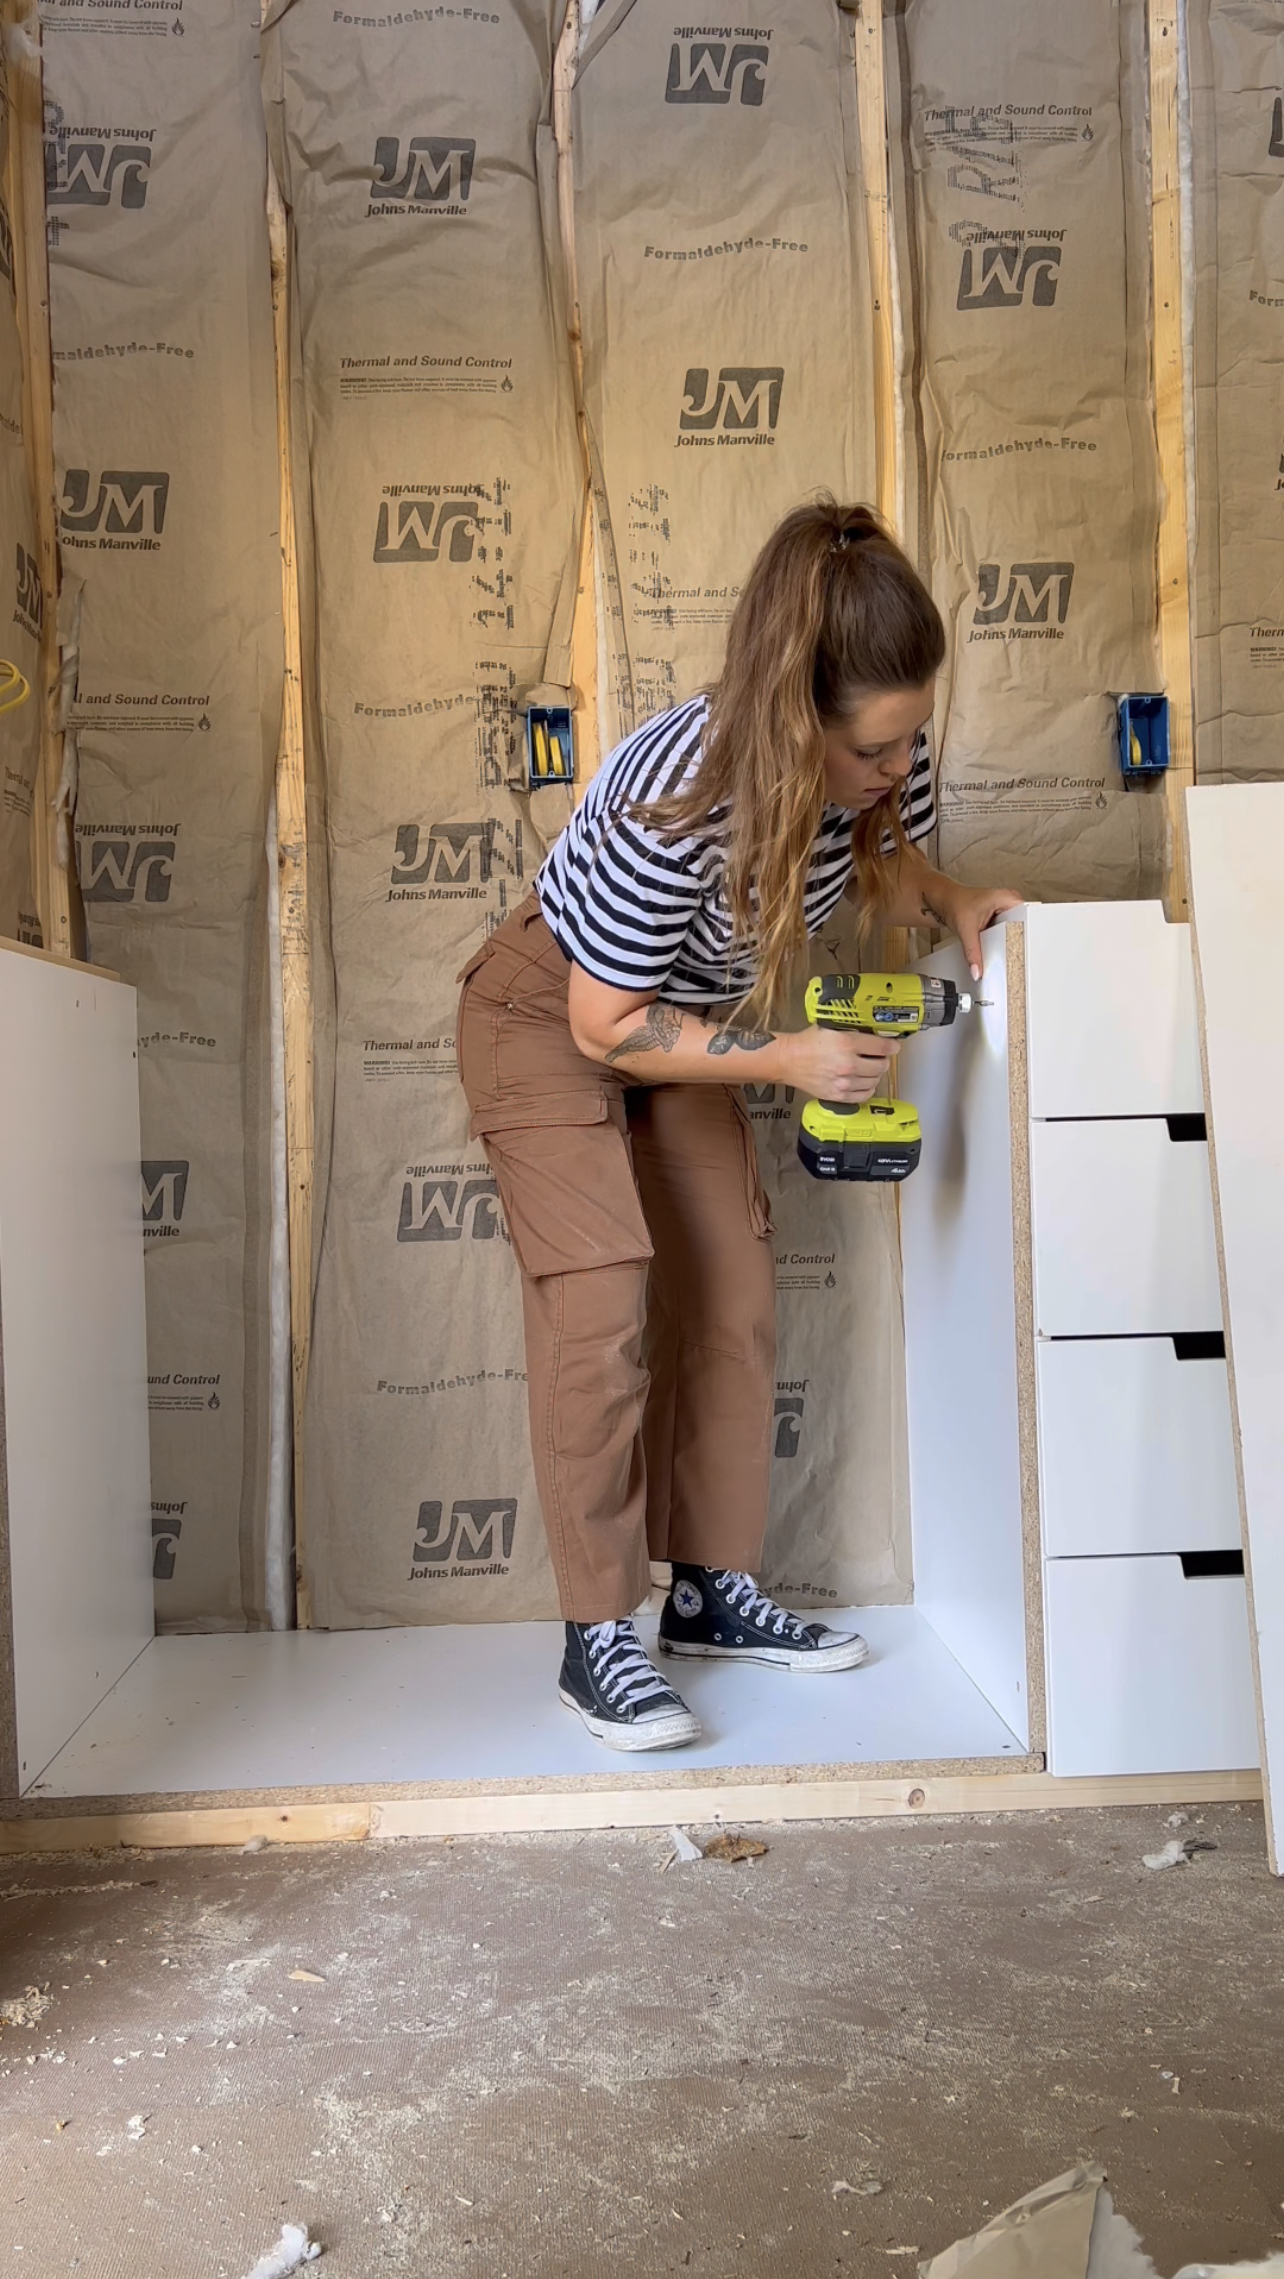
My first step was to remove the existing pegboard and workbench. I removed these materials carefully so that I could reuse and save some money! Once I had a blank slate, I went to Ikea and grabbed some Nordli drawer units. I bought the units that did not have bases & tops since I planned to stack and connect these together. This is my initial sketch of what I was hoping for when planning storage here!
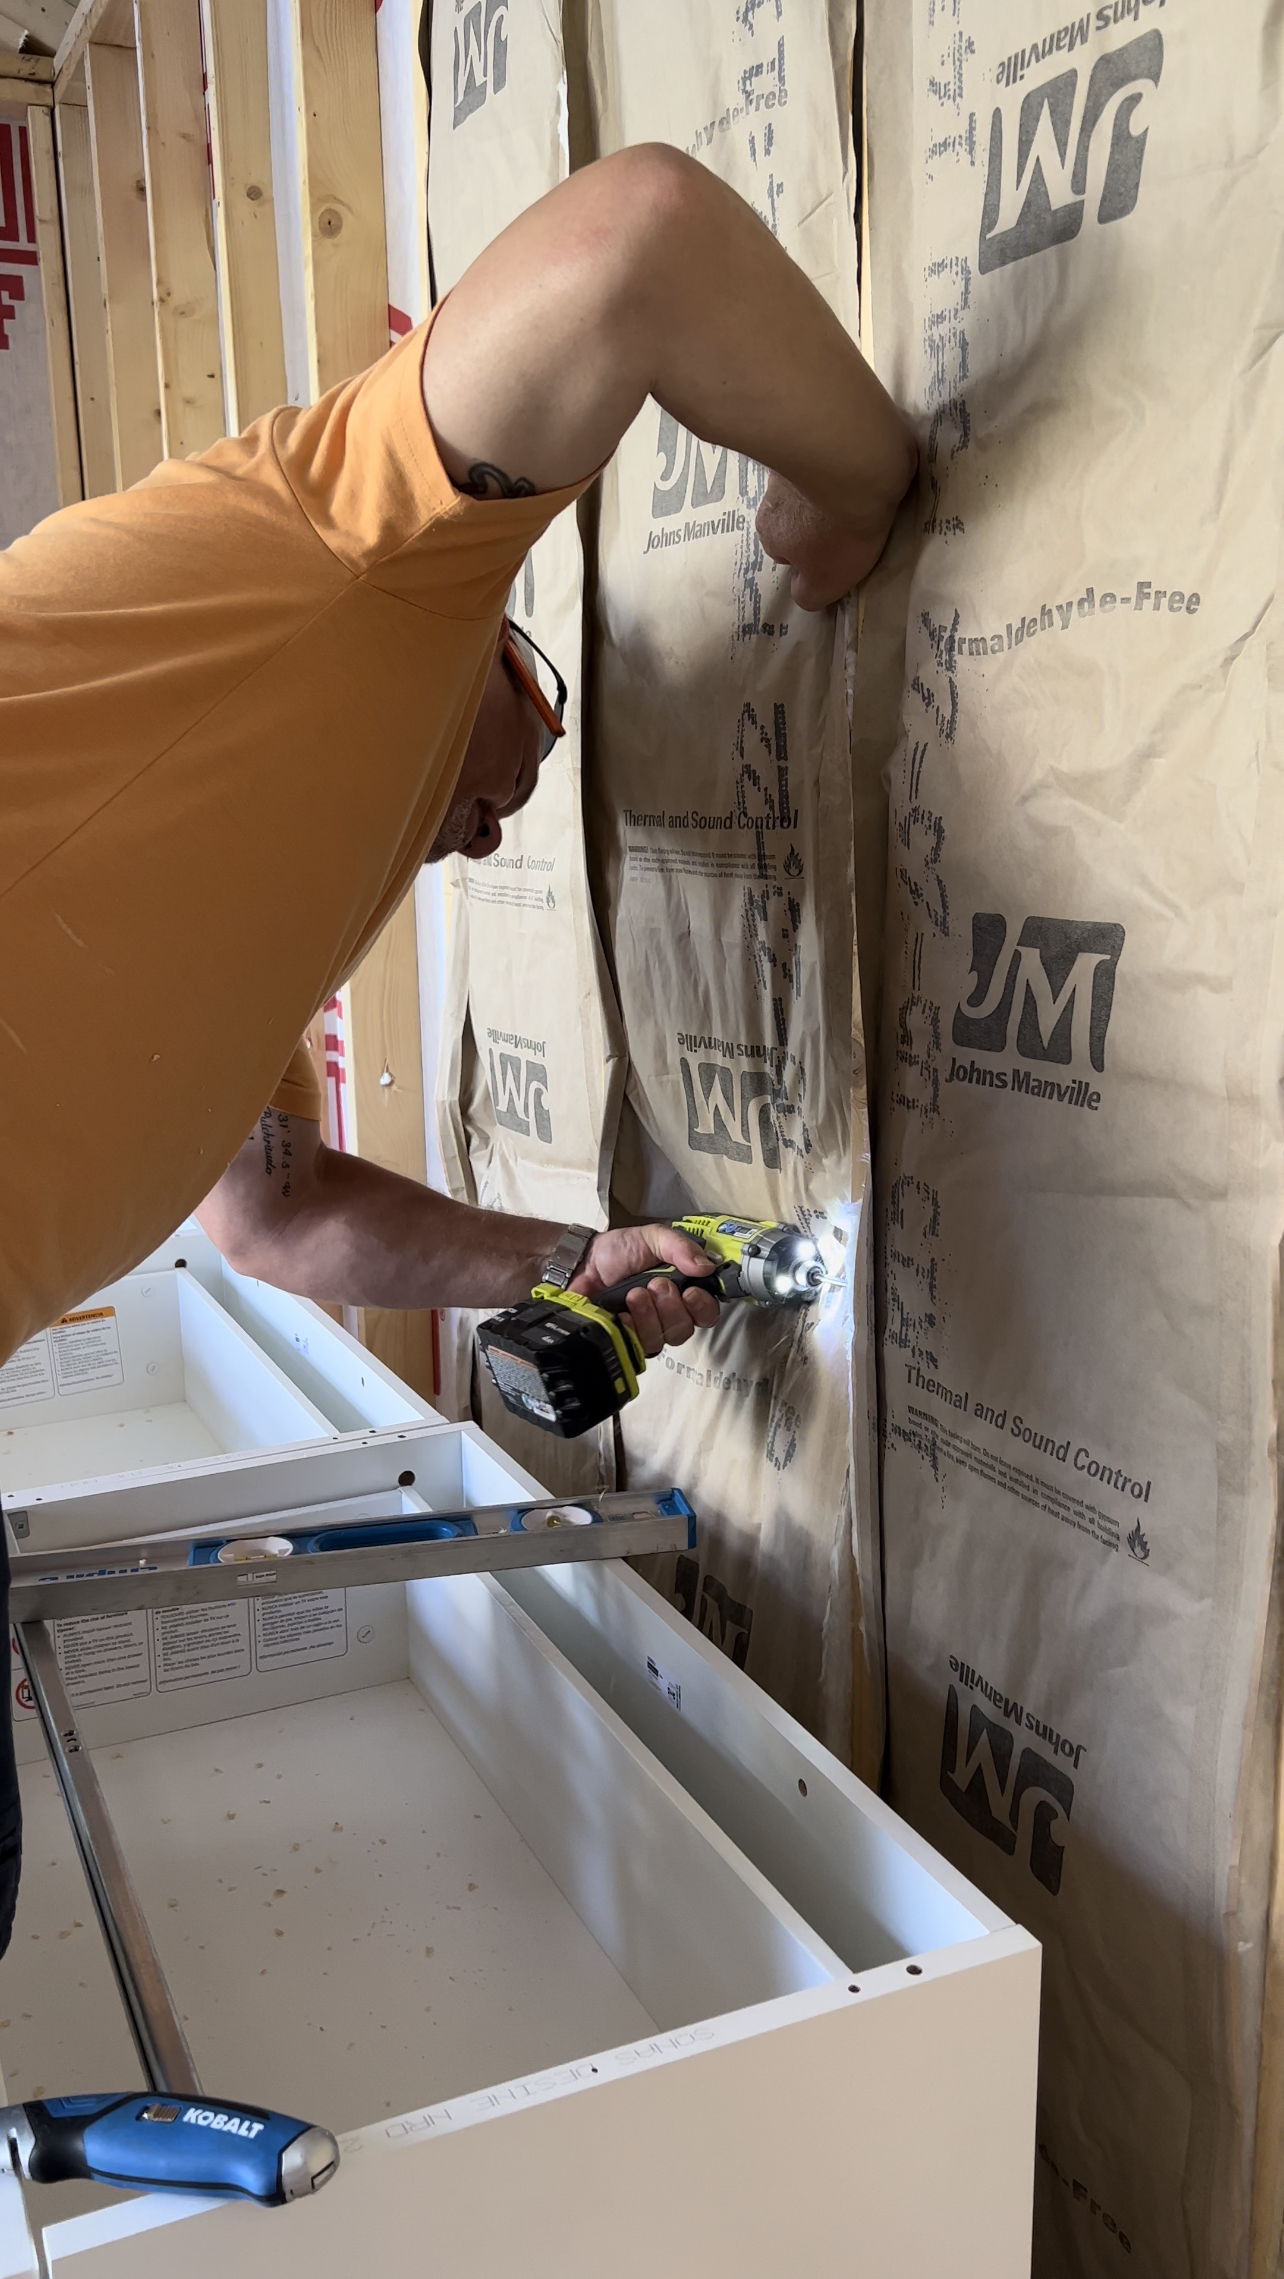
Using 2×4’s I built a frame on the floor where my drawers and cabinetry would go. I laid these flat to do so, since I did not want my worktop to be too high for me. Once this was done and the frame was screwed into the floor, I began placing and attaching my drawer units. For a little extra strength, I used more 2x4s to build a supporting frame behind the drawers to attach them to. Each drawer unit came with hardware to attach it to another. After attaching them, I screwed in each unit to each other through the sides and then into the 2×4 floor frame and supporting frame.

INSULATING & RUNNING ELECTRICAL TO THE SHED
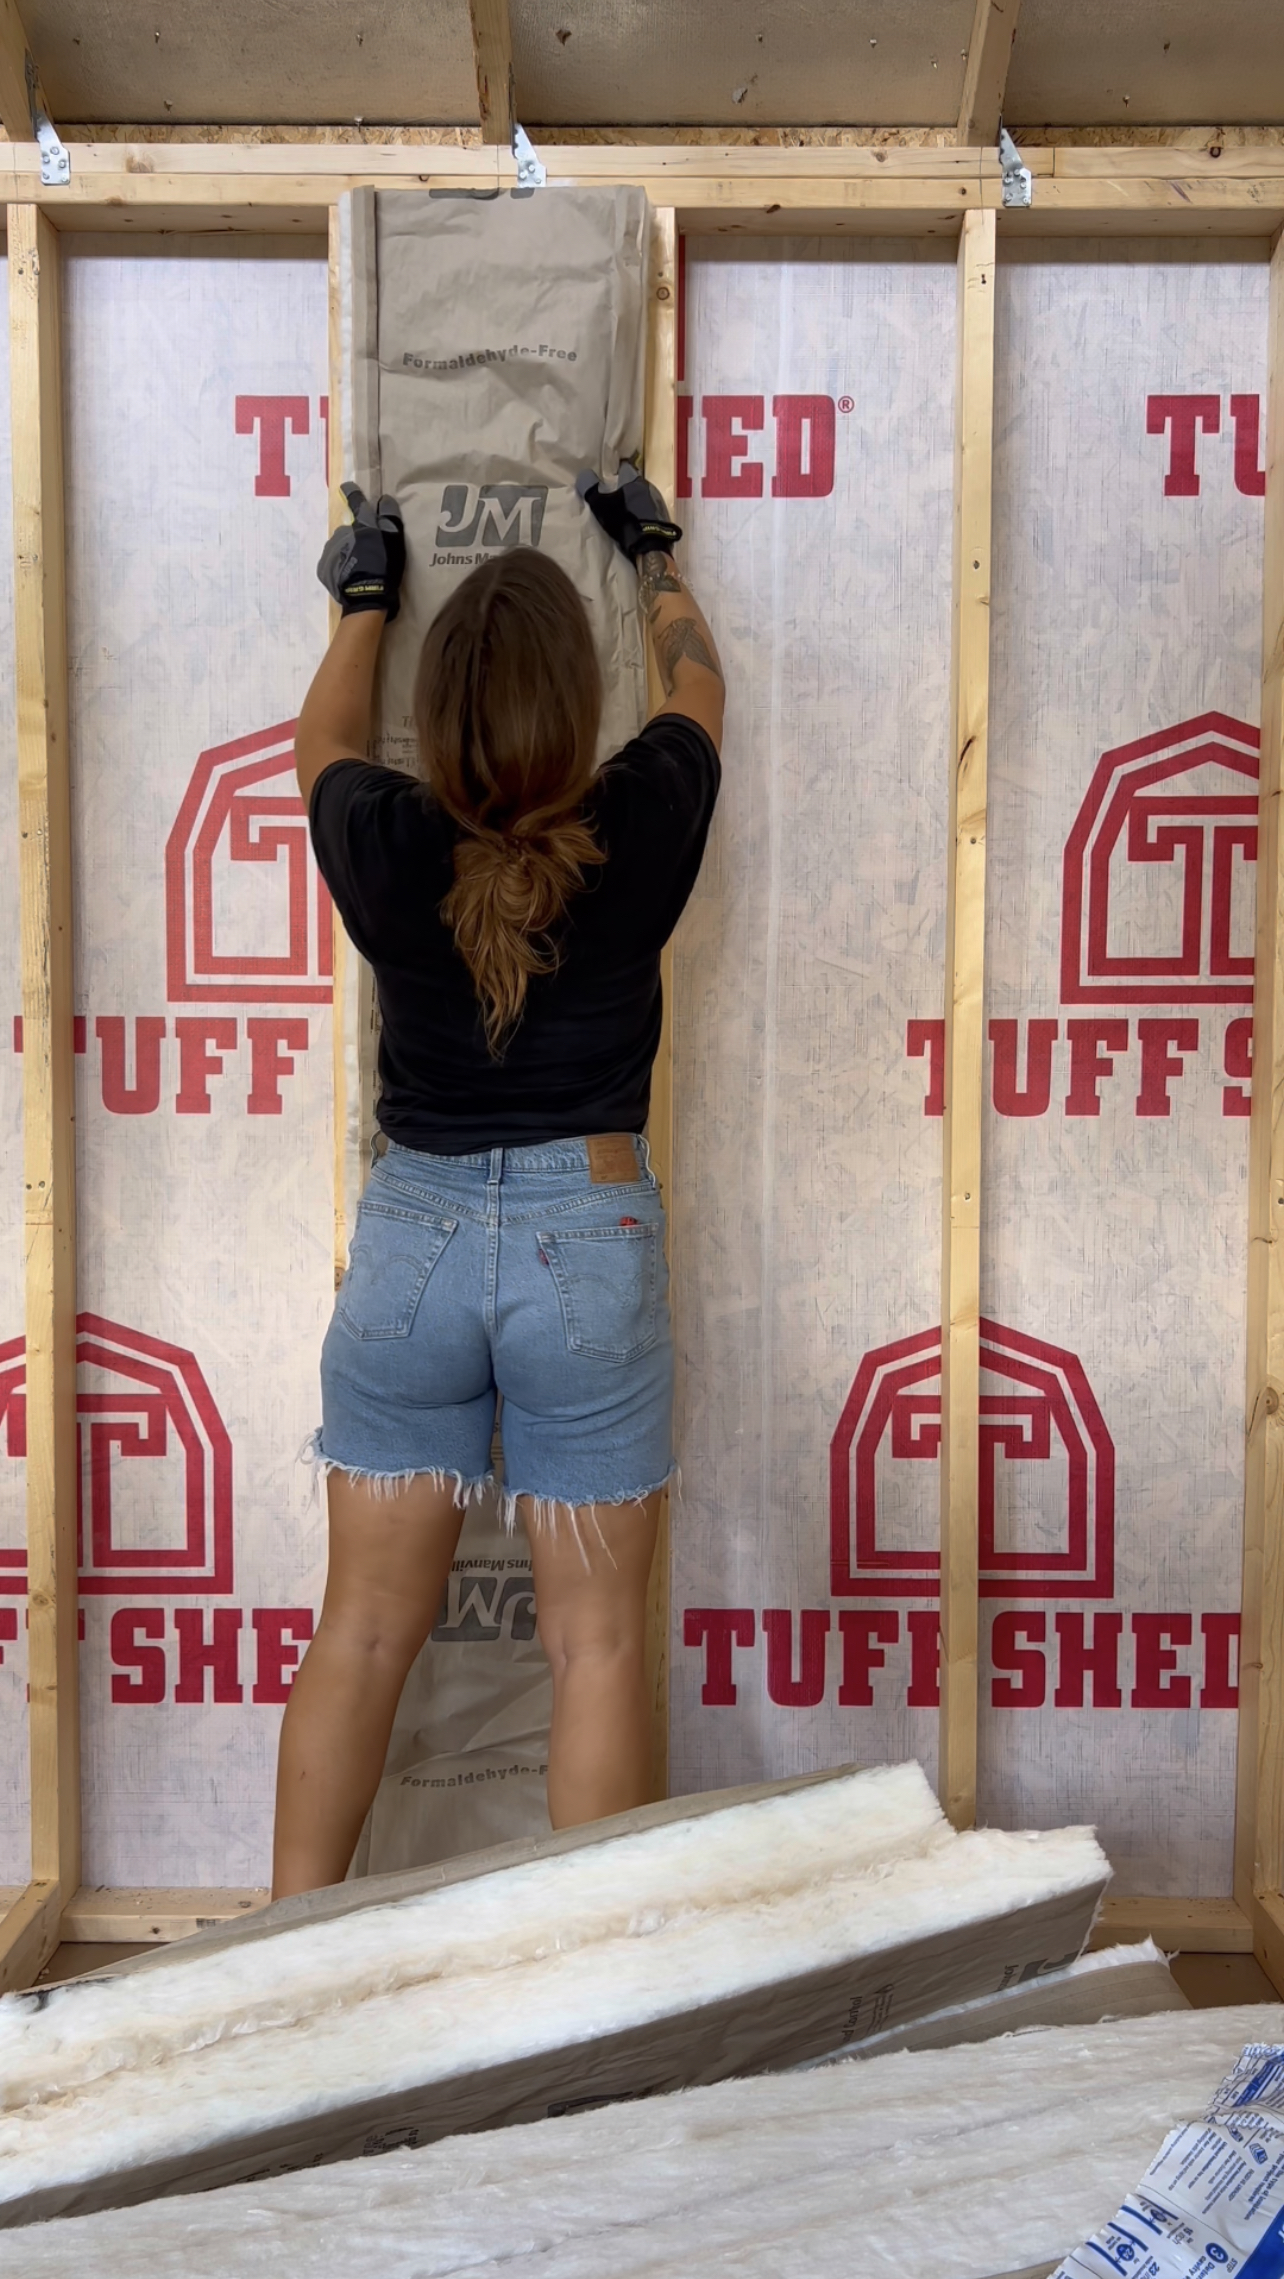
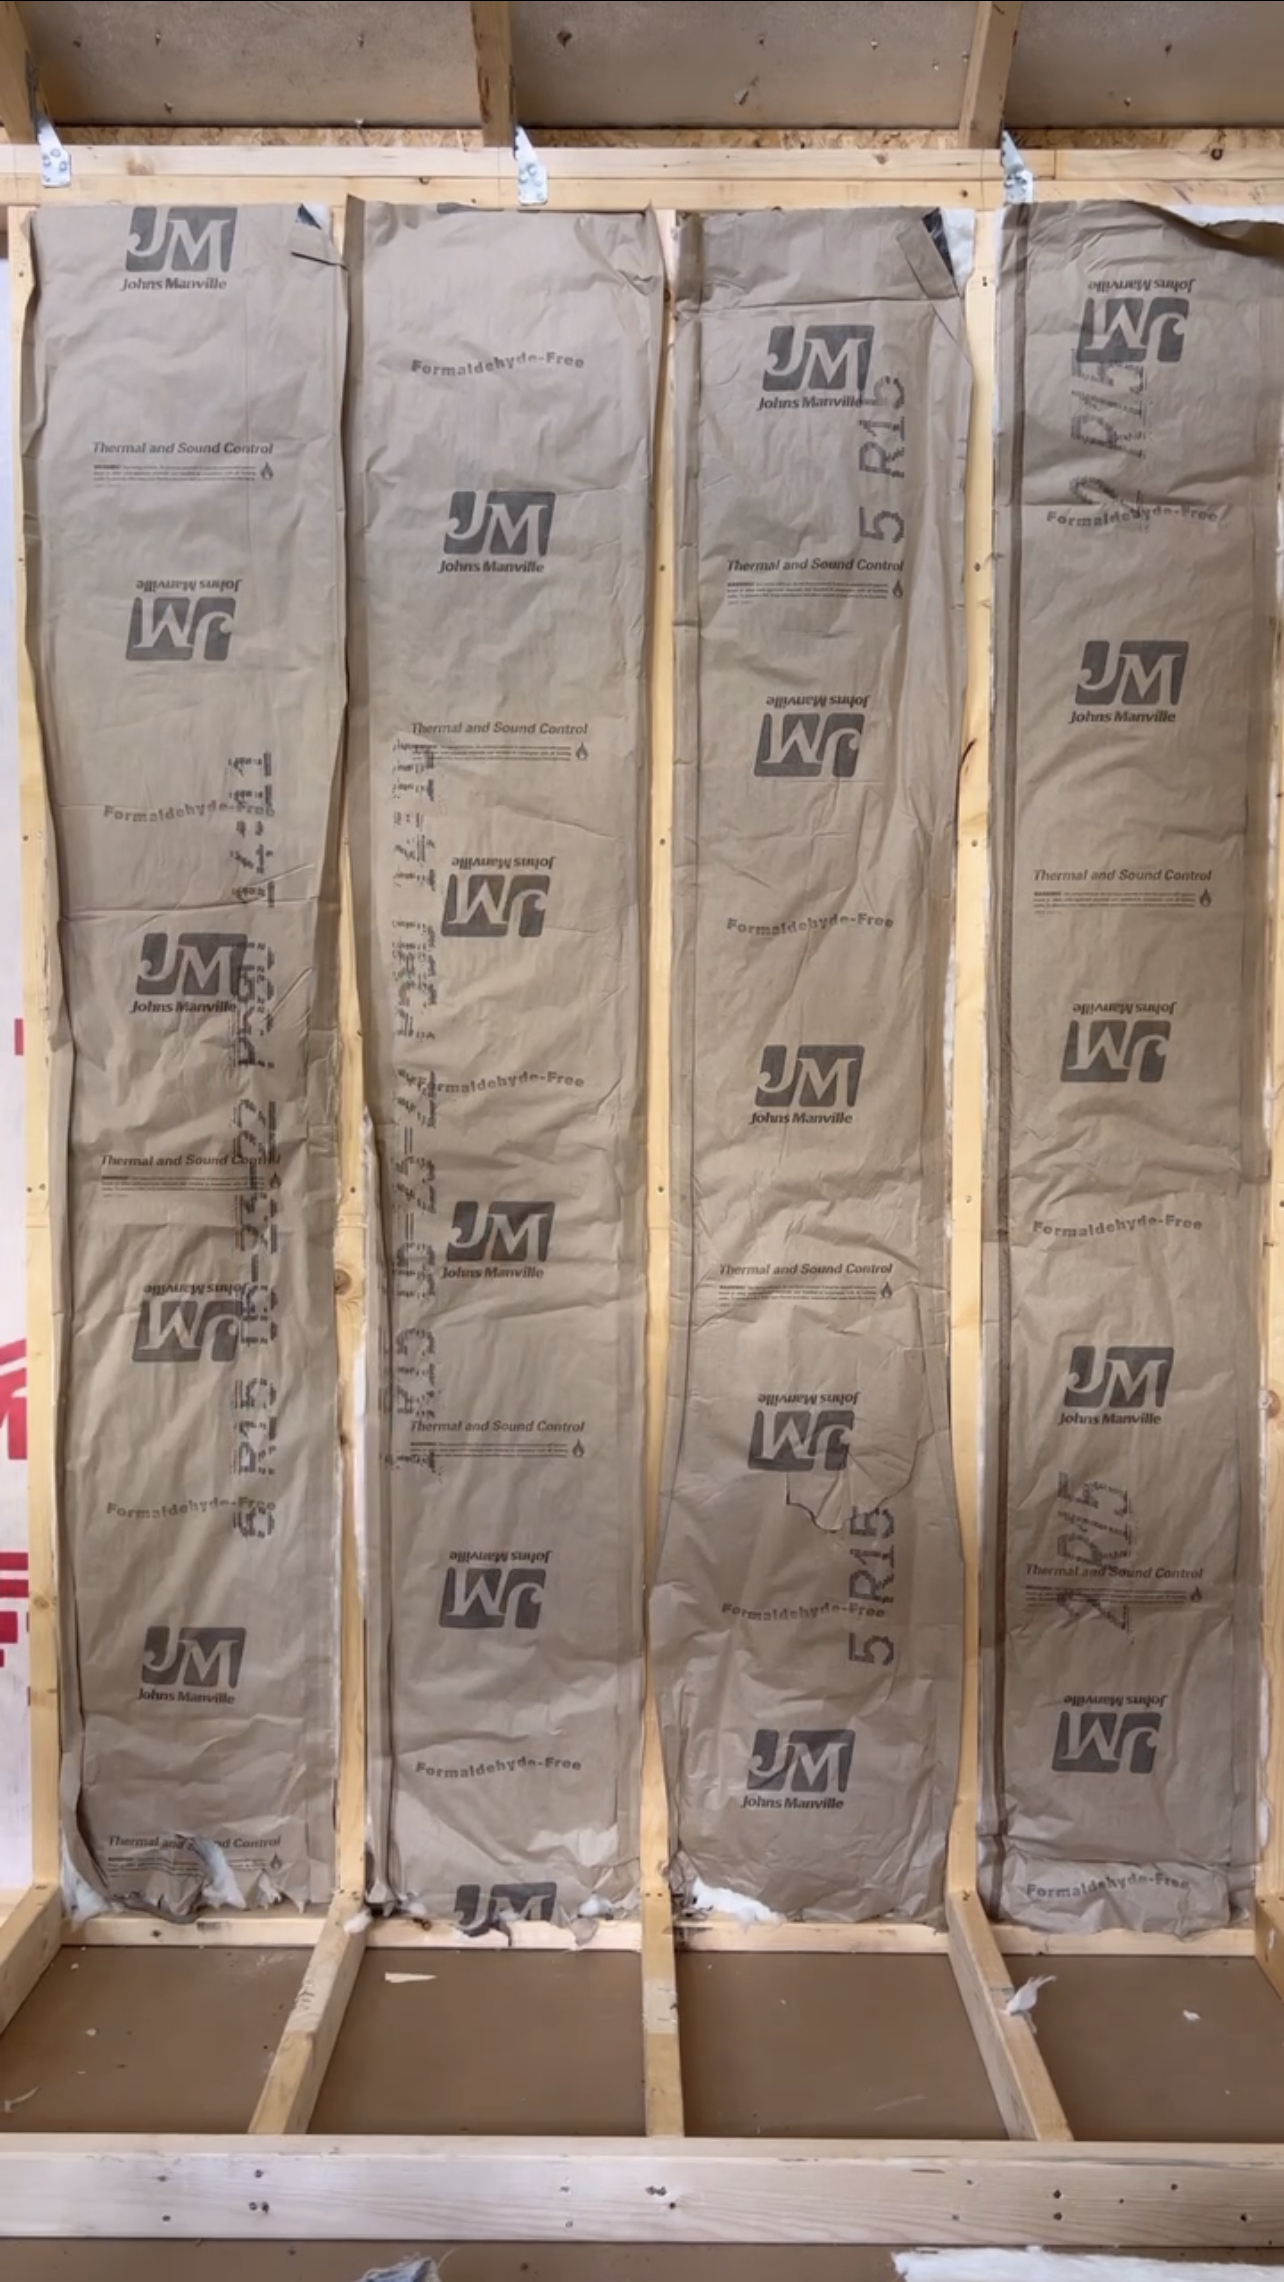
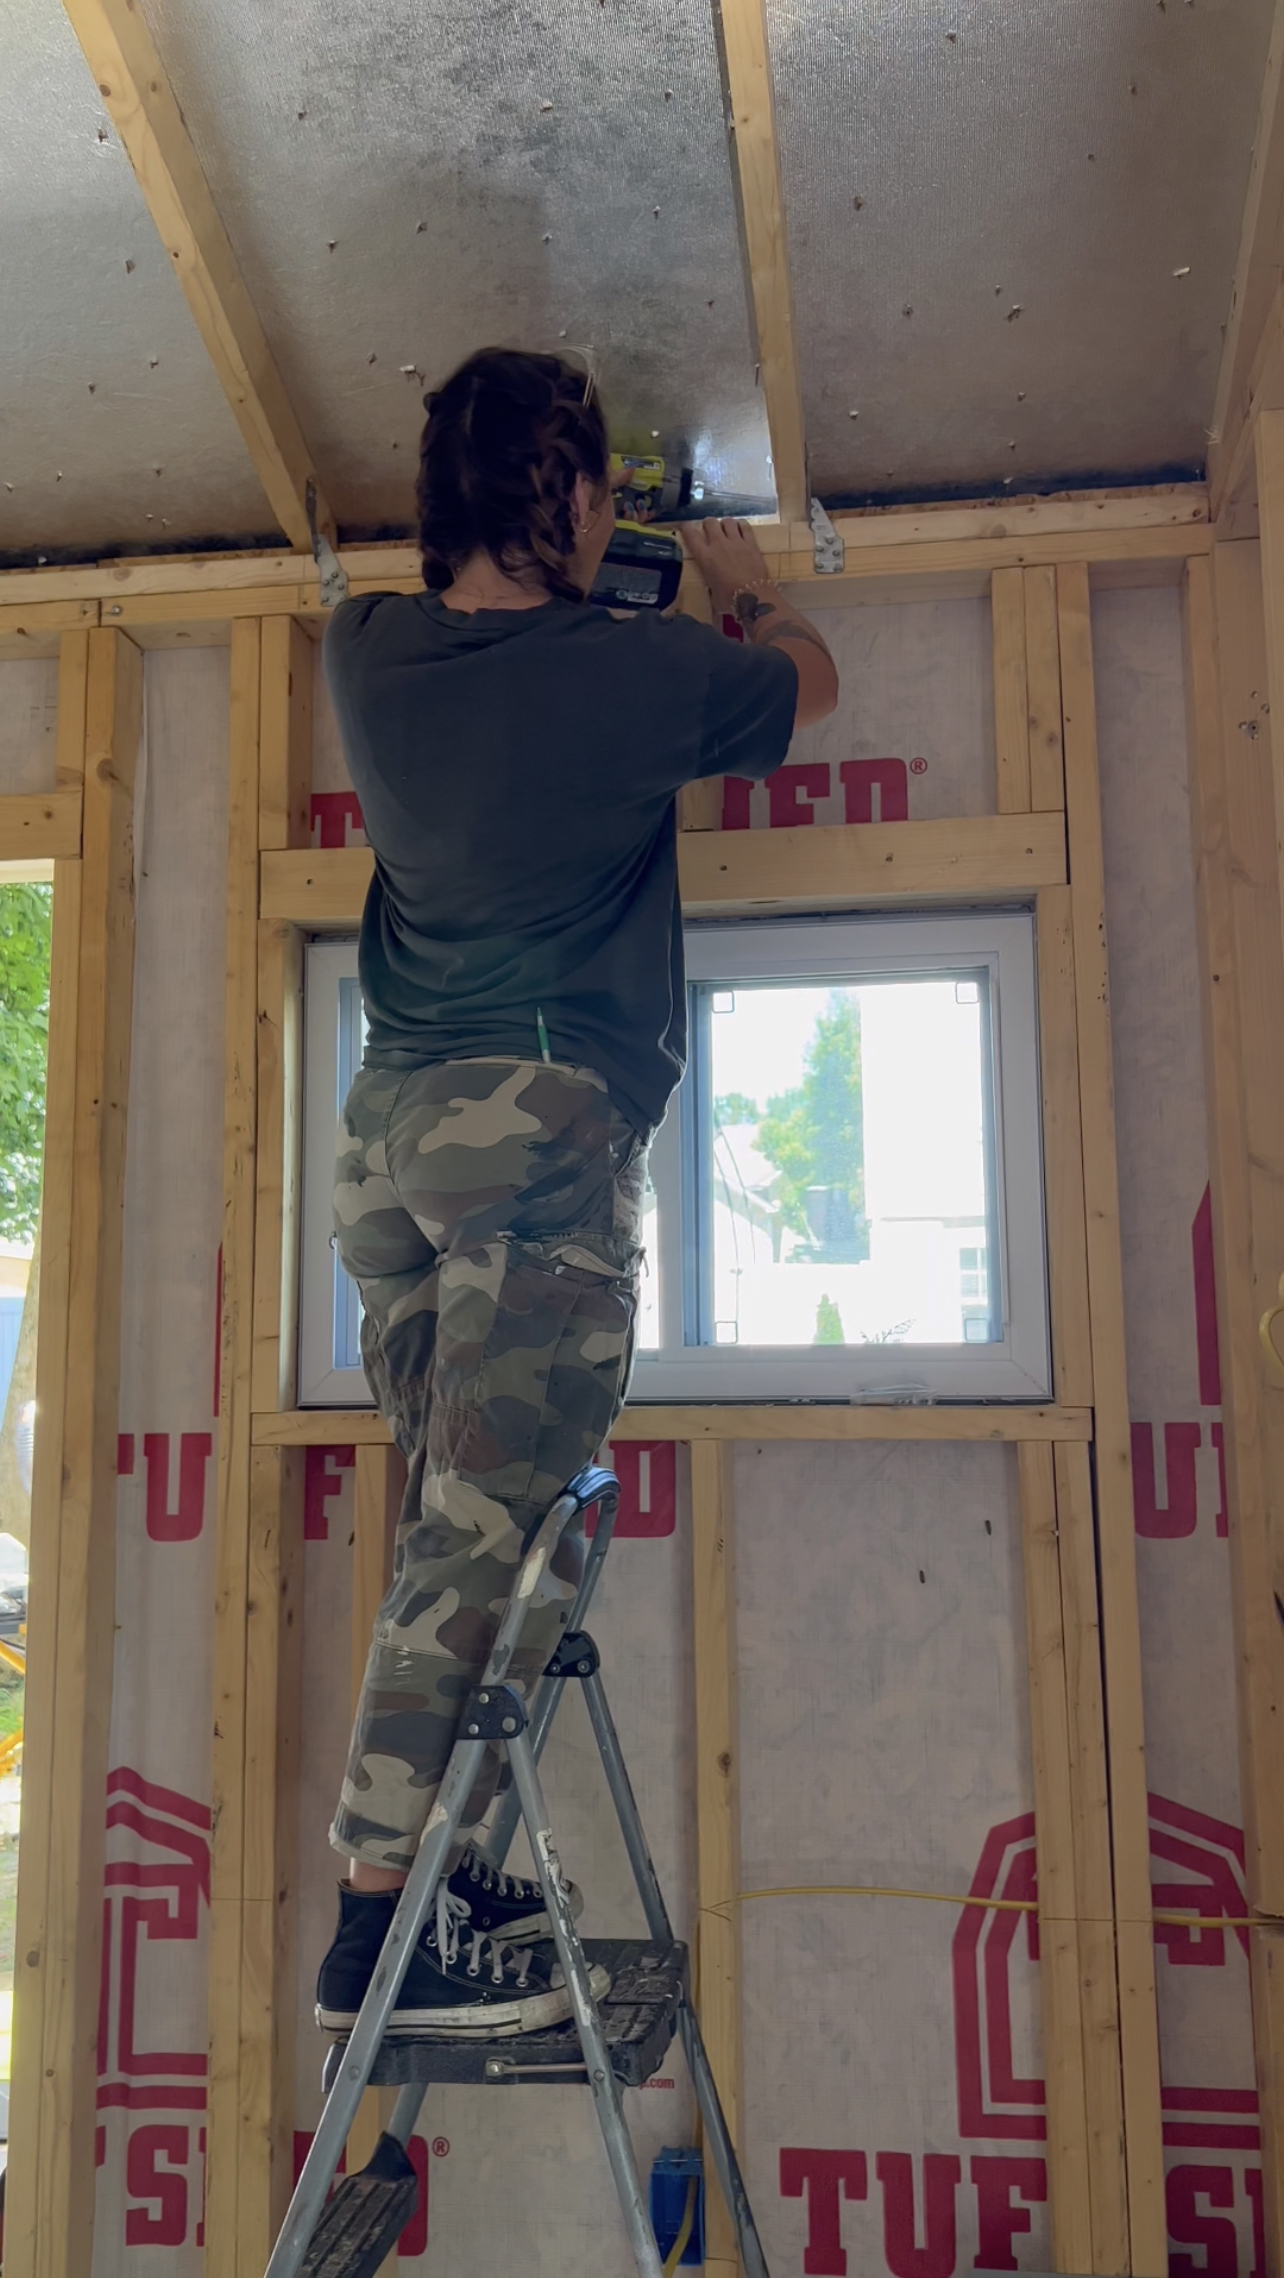
During the storage drawer build, I also worked on insulating the walls. Using R15 insulation, I began to fill in all of the wall cavities. After continuing insulation up on the ceiling, I ultimately decided to remove it. In my area we have some pretty intense heat in the summer which would potentially cause some issues with moisture and condensation under the ceiling insulation. But since this shed is completely shaded by a canopy of trees and the ceiling already has a radiant barrier on it… I thought that it would likely be fine without any insulation at all. If for some reason I change my mind down the road, I could easily remove a few ceiling planks and have spray foam insulation put in!
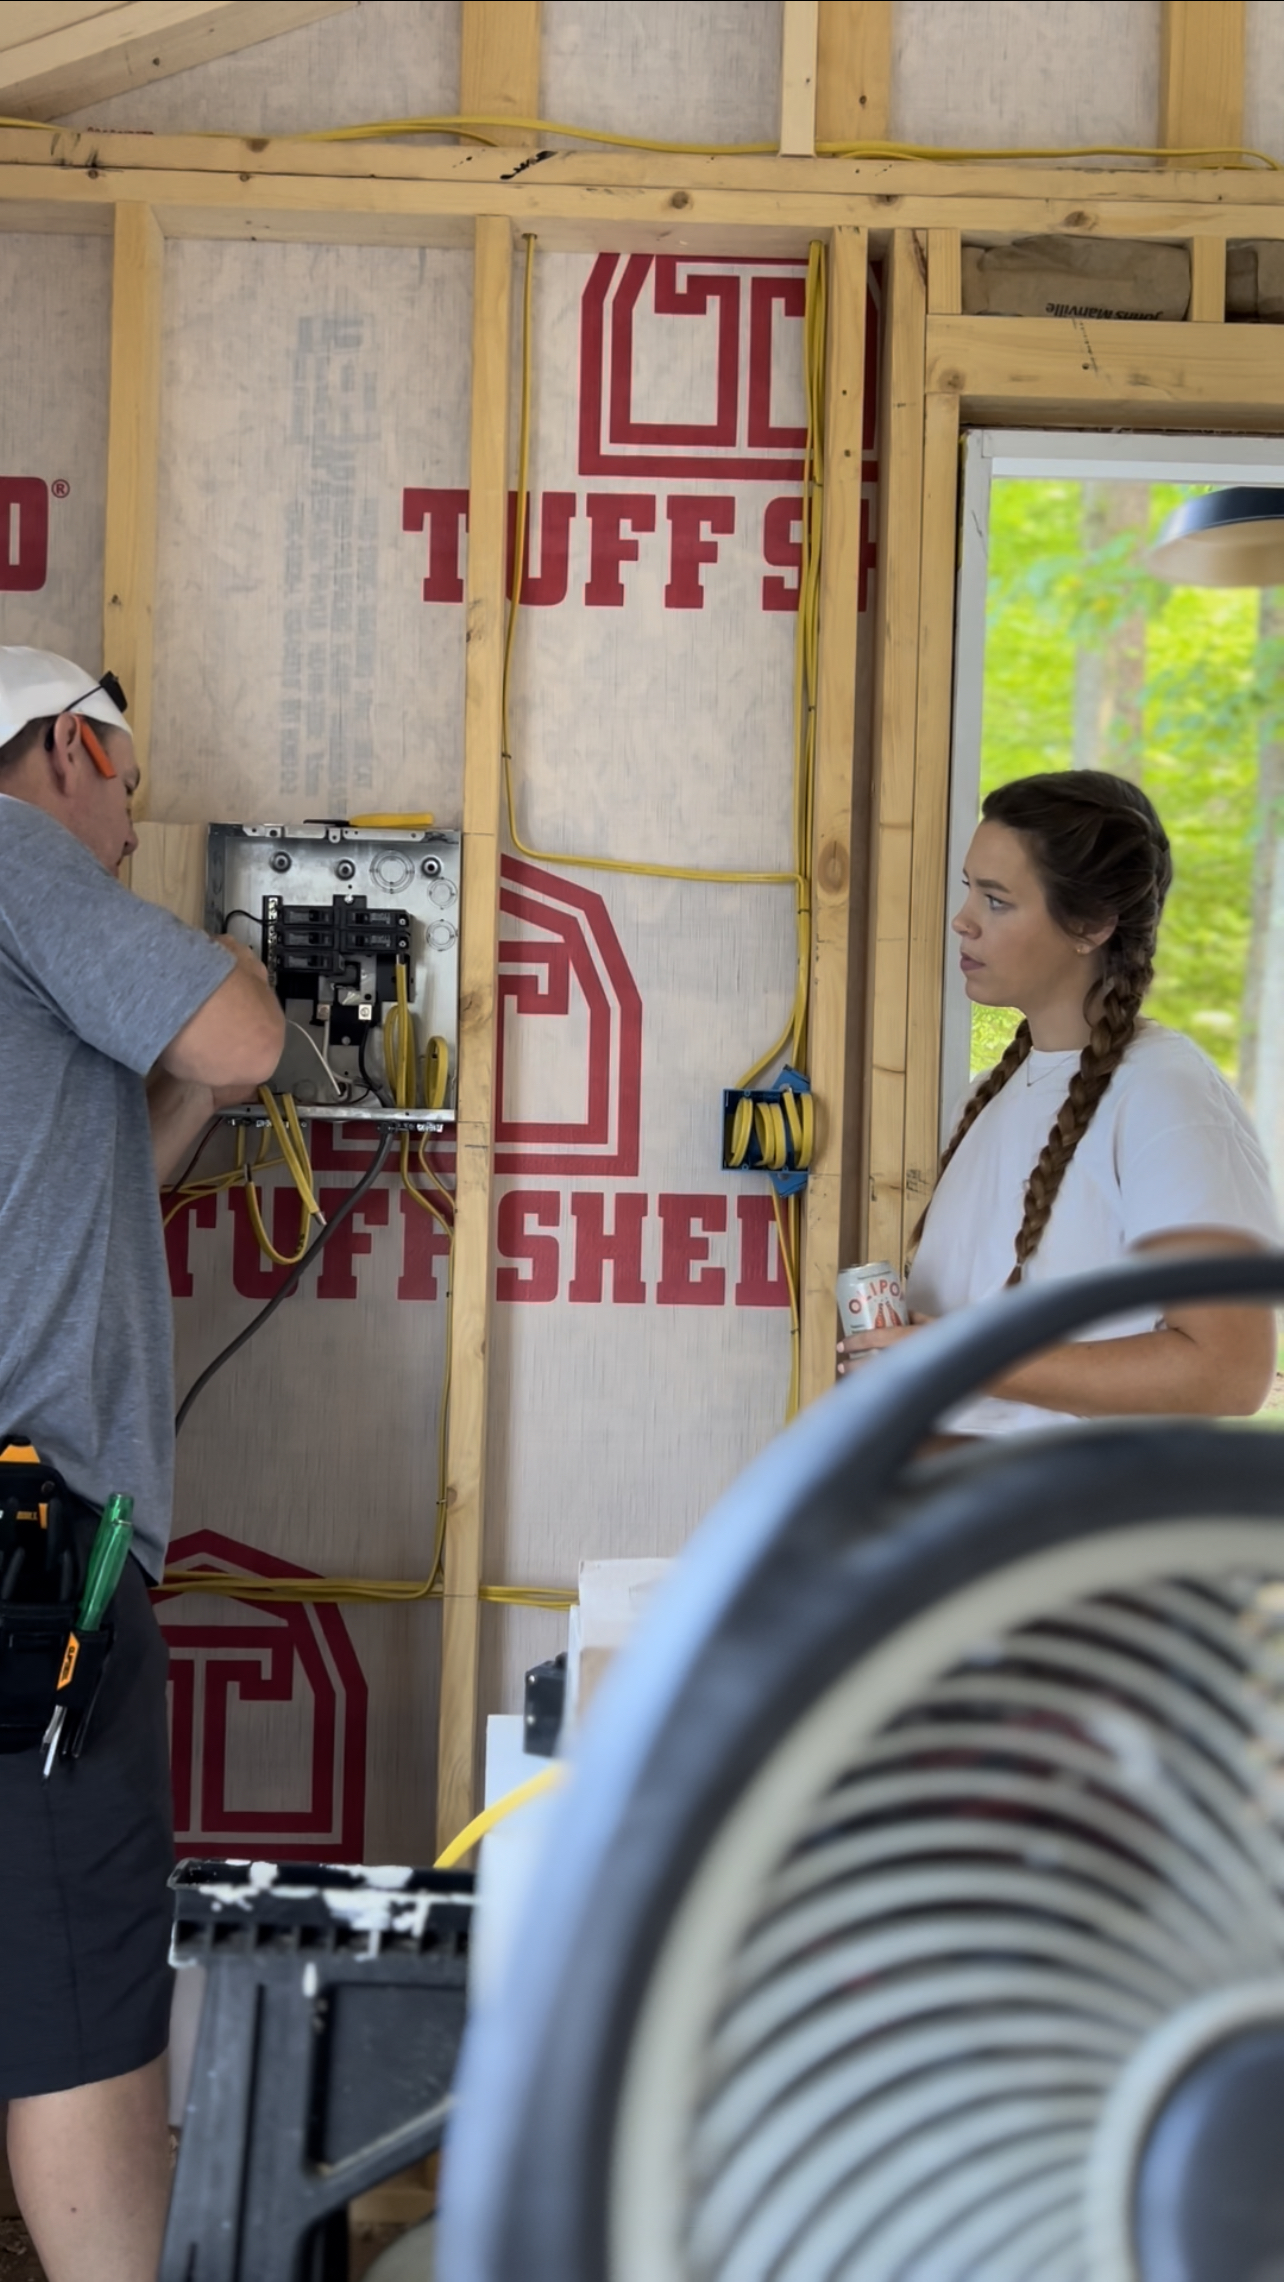
I know a few things about electrical…but not close enough to run electrical to a new building. So David’s Dad (Ron) came over to help me with this! We rented a trencher to dig a trench through our yard from the outside of the garage (where the electric panel is) to the shed. Then Ron connected new wiring to the electric panel on an open circuit. We buried this line in the trench all the way to the shed and made the connection inside with a new electric “sub-panel”.
Lots more work to do to transform this into my dream workshop and I CAN’T WAIT!!
[…] You can read more about my progress here! […]
[…] I have been working to transform my new backyard Tuff Shed into my own DIY workshop! So far I have run the electricity with the help of my father-in-law, insulated, and installed storage for tools. You can read more about that here! […]
I too have a 12’x16′ Tuffshed but mine is a Pro Tall Barn version. My trim is also in Black Majic color with the windows and roof drip edge in white (yuck!). Your pictures inspired me to paint my transome window edges and roof drip edge. My gable windows are made differently than your front windows so painting them will be more of a challenge.
I have a couple questions about your ramp please.
Are the cross boards 2×6?
What size are the boards going down hill (2×8 is my guess)?
The top brace looks very hefty at either 2×10 or 2×12?
My sheds threshold is ~10″ above the ground and I will have to subtract off about an inch to not block the door bottoms.
Can you please tell me what/how you attached this hefty cross board to the steel galvanized frame below the threshold?
My shed is on cement slab so I can’t reach under the galvanized frame to tighten buts from the inside. Wish I could attach a photo to show you this but know this site is your gig. Nice job on all of your work.
We’re only allowed to have 110 sq ft without a permit where we live
Awesome job! Any plans to drop total costs in any of your posts? Especially wondering how much all the wood was for the walls and ceiling? How has the spray paint held up on the windows?
When you added parts to the outside and cut holes in the outside did you void the 20 year warranty? Here in Utah we can add to the inside but not through the outside, even adding the window boxes yourself voids the warranty.
I Plan on Having One!