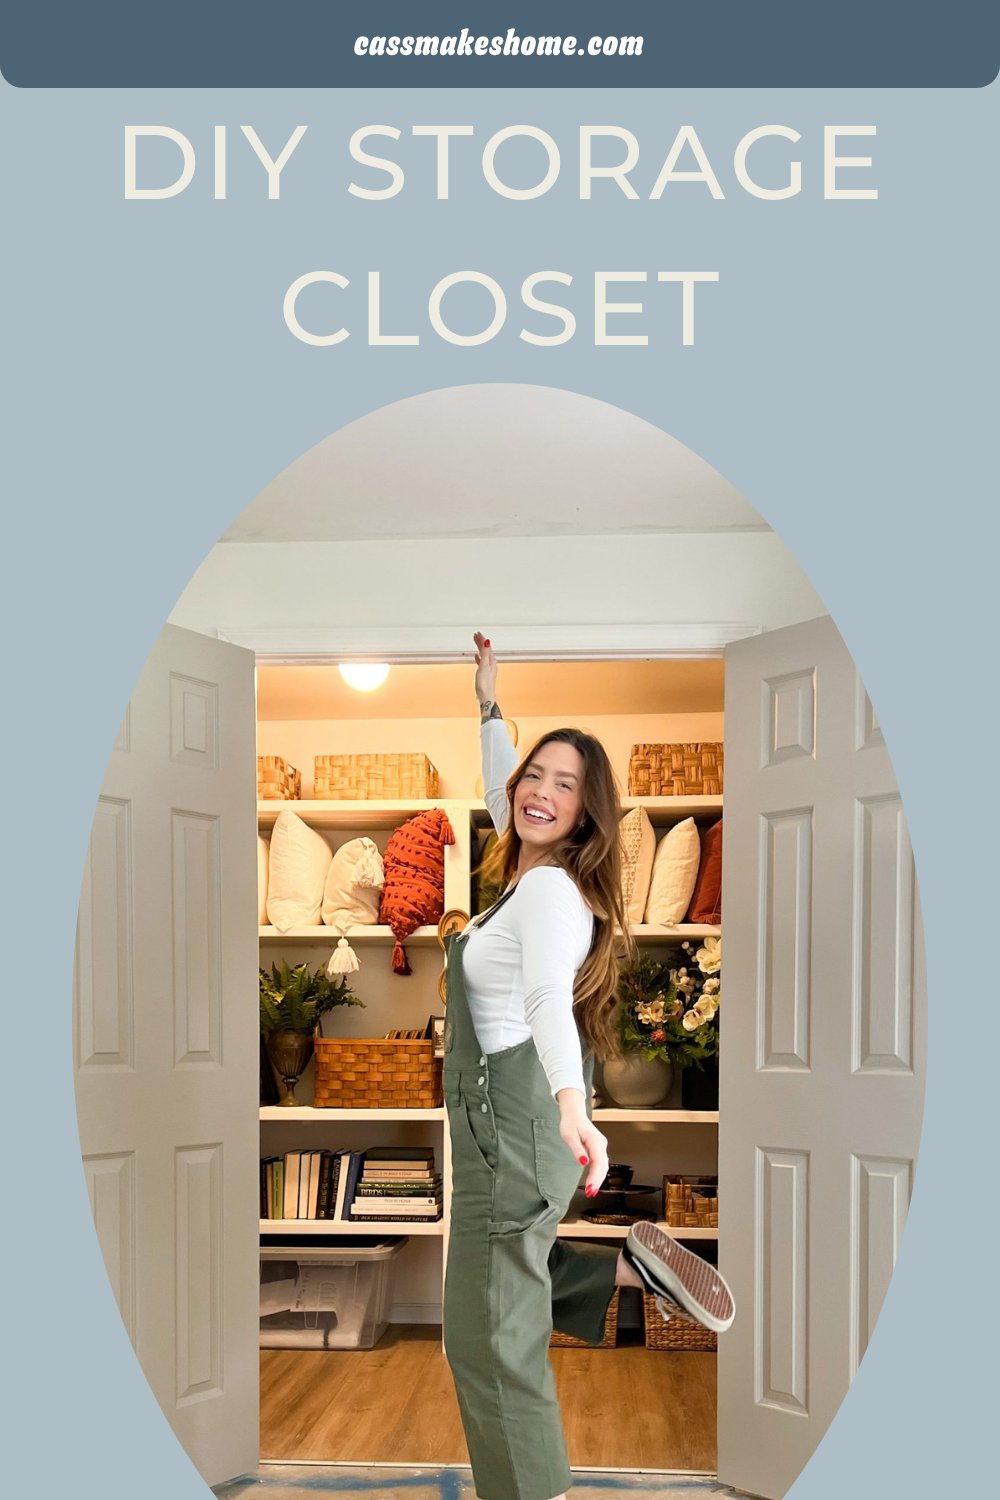
DIY STORAGE CLOSET

For the past few years I have been collecting thrifted items and home decor in several locations across my house, to include our guest bedroom closet. Now that I am renovating the basement, I have the opportunity to create a whole new storage space for all of this junk. This nook serves no purpose for my future basement plans. A perfect opportunity for a storage closet, in my opinion! If you want to read more about my basement plans, you can read this post!
*This post may contain affiliate links, which means I may earn a small commission if you purchase through my links, at no extra cost to you. I only share products I genuinely love.
BUILDING A WALL
First, I had to start by building a wall!


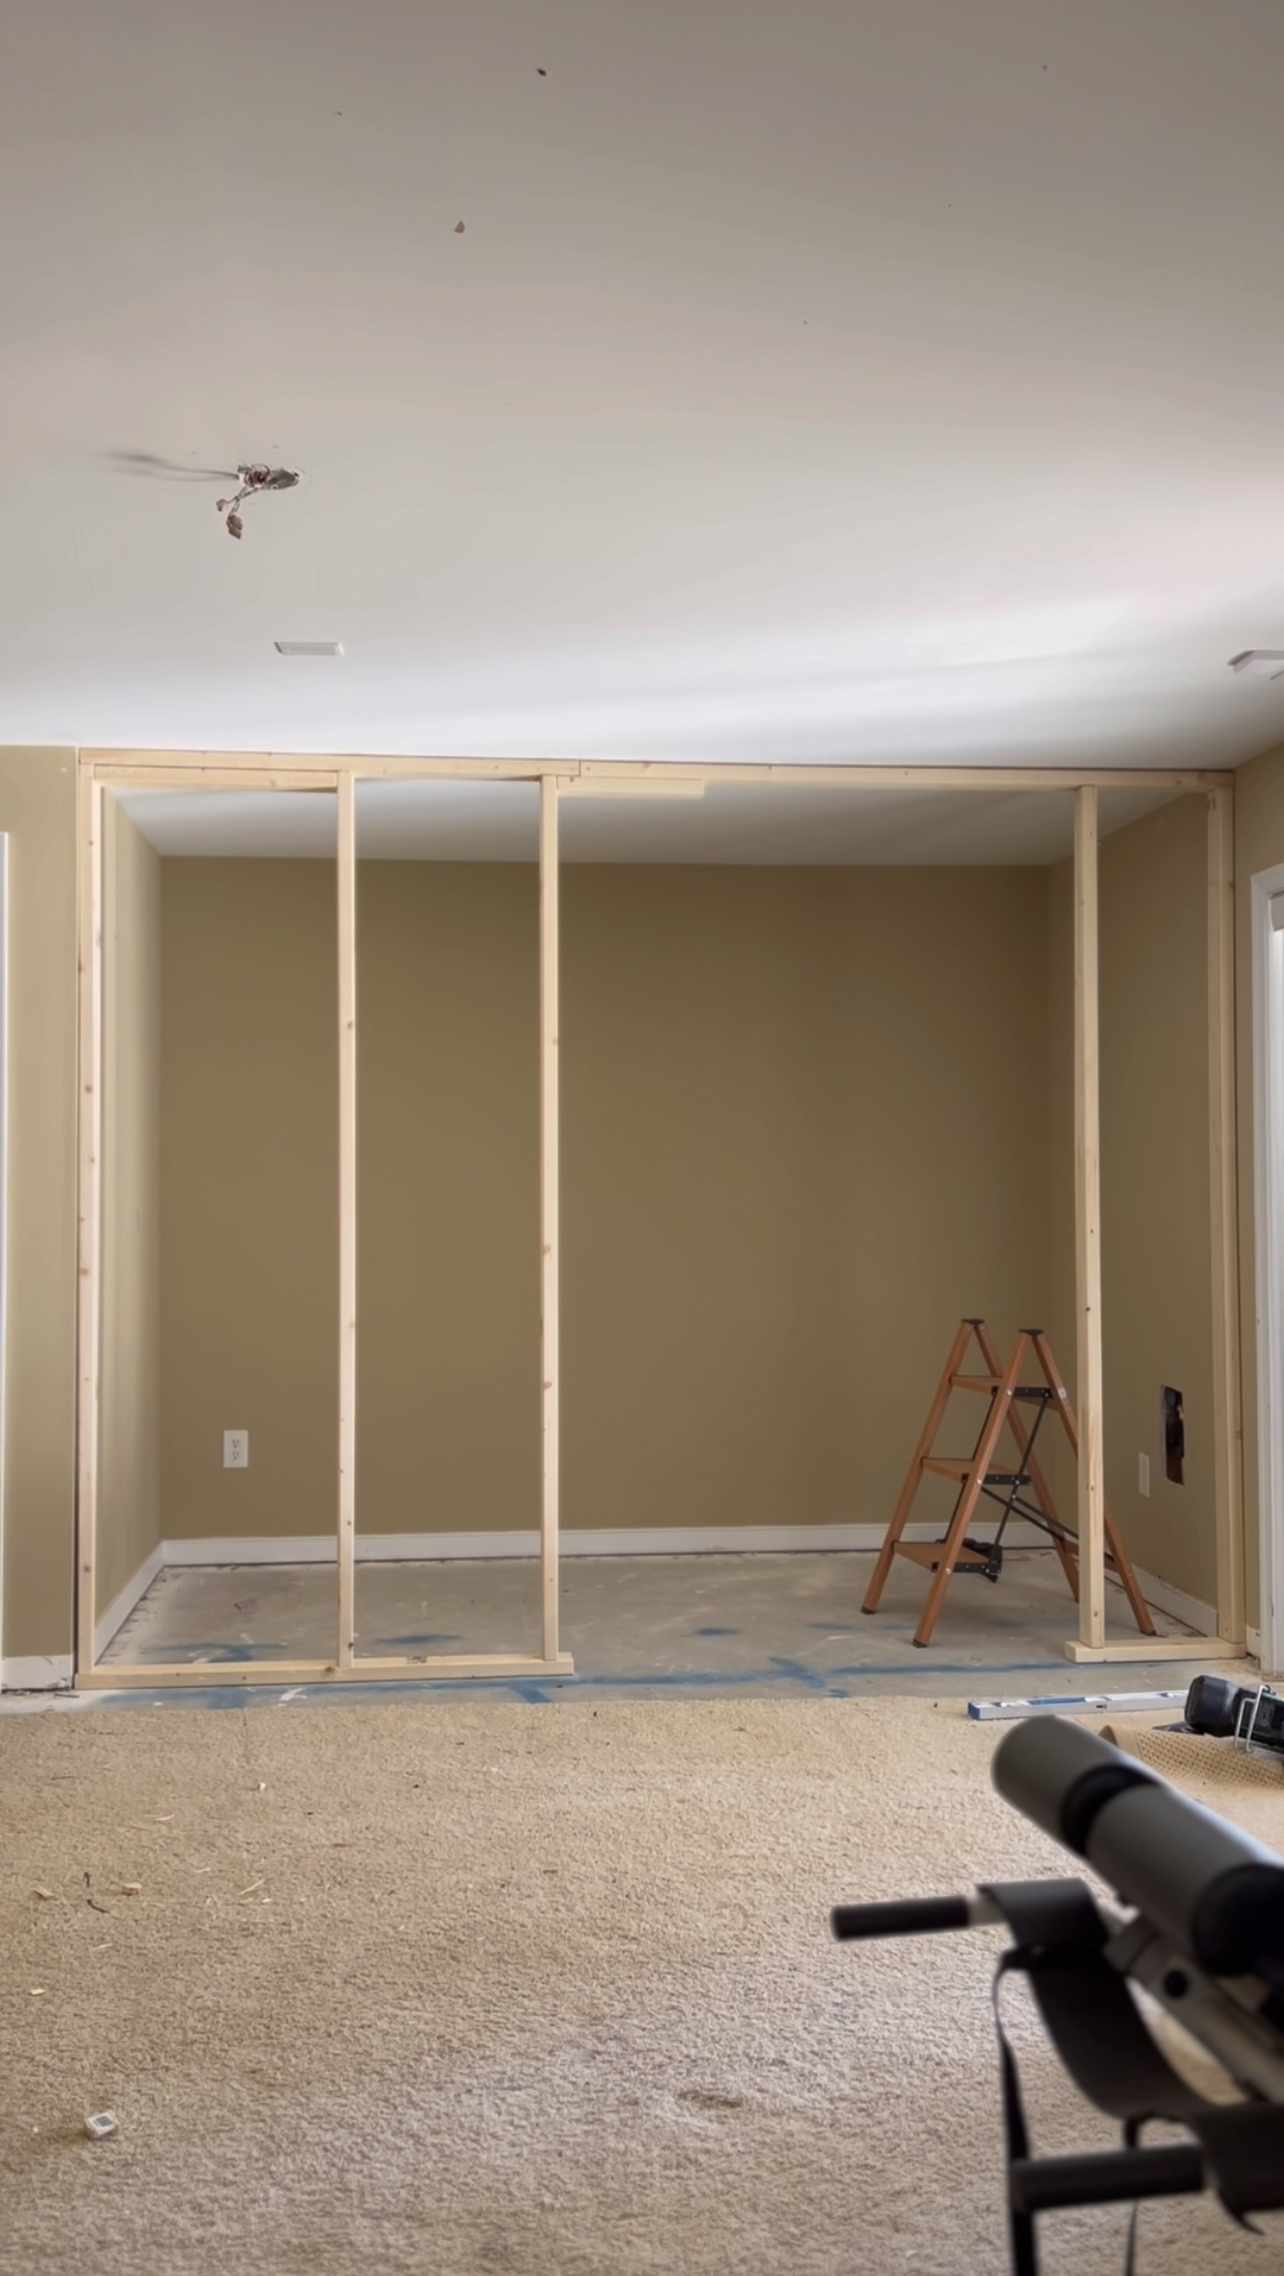
After removing the carpet, underlayment, and tack strips in that area, I began constructing a 2 x 4 wall to close off this nook. This would be my future wall for the storage closet. Since I know that I will be storing large decor items in the space, I thought it would be ideal to create a double doorway instead of single doorway for the sake of being able to easily maneuver large items through. As usual, I drew a sketch to figure out my measurements and got to work by building the 2 x 4 framing with two by fours and my framing nailer. I also accounted for the double door and framed that into the wall before raising it up and securing it into the existing wall studs once plumb and level.
There is one important thing I learned through doing this that is worth sharing.
The mistake I made and would have made my life easier if I had known ahead of time. Instead of framing out the entire door exactly the way it would sit, I should have framed the bottom wood all the way across and then cut the doorway out once secured. This allows for the wall to be plumbed much easier than the way that I did it. I’ll know for next time!
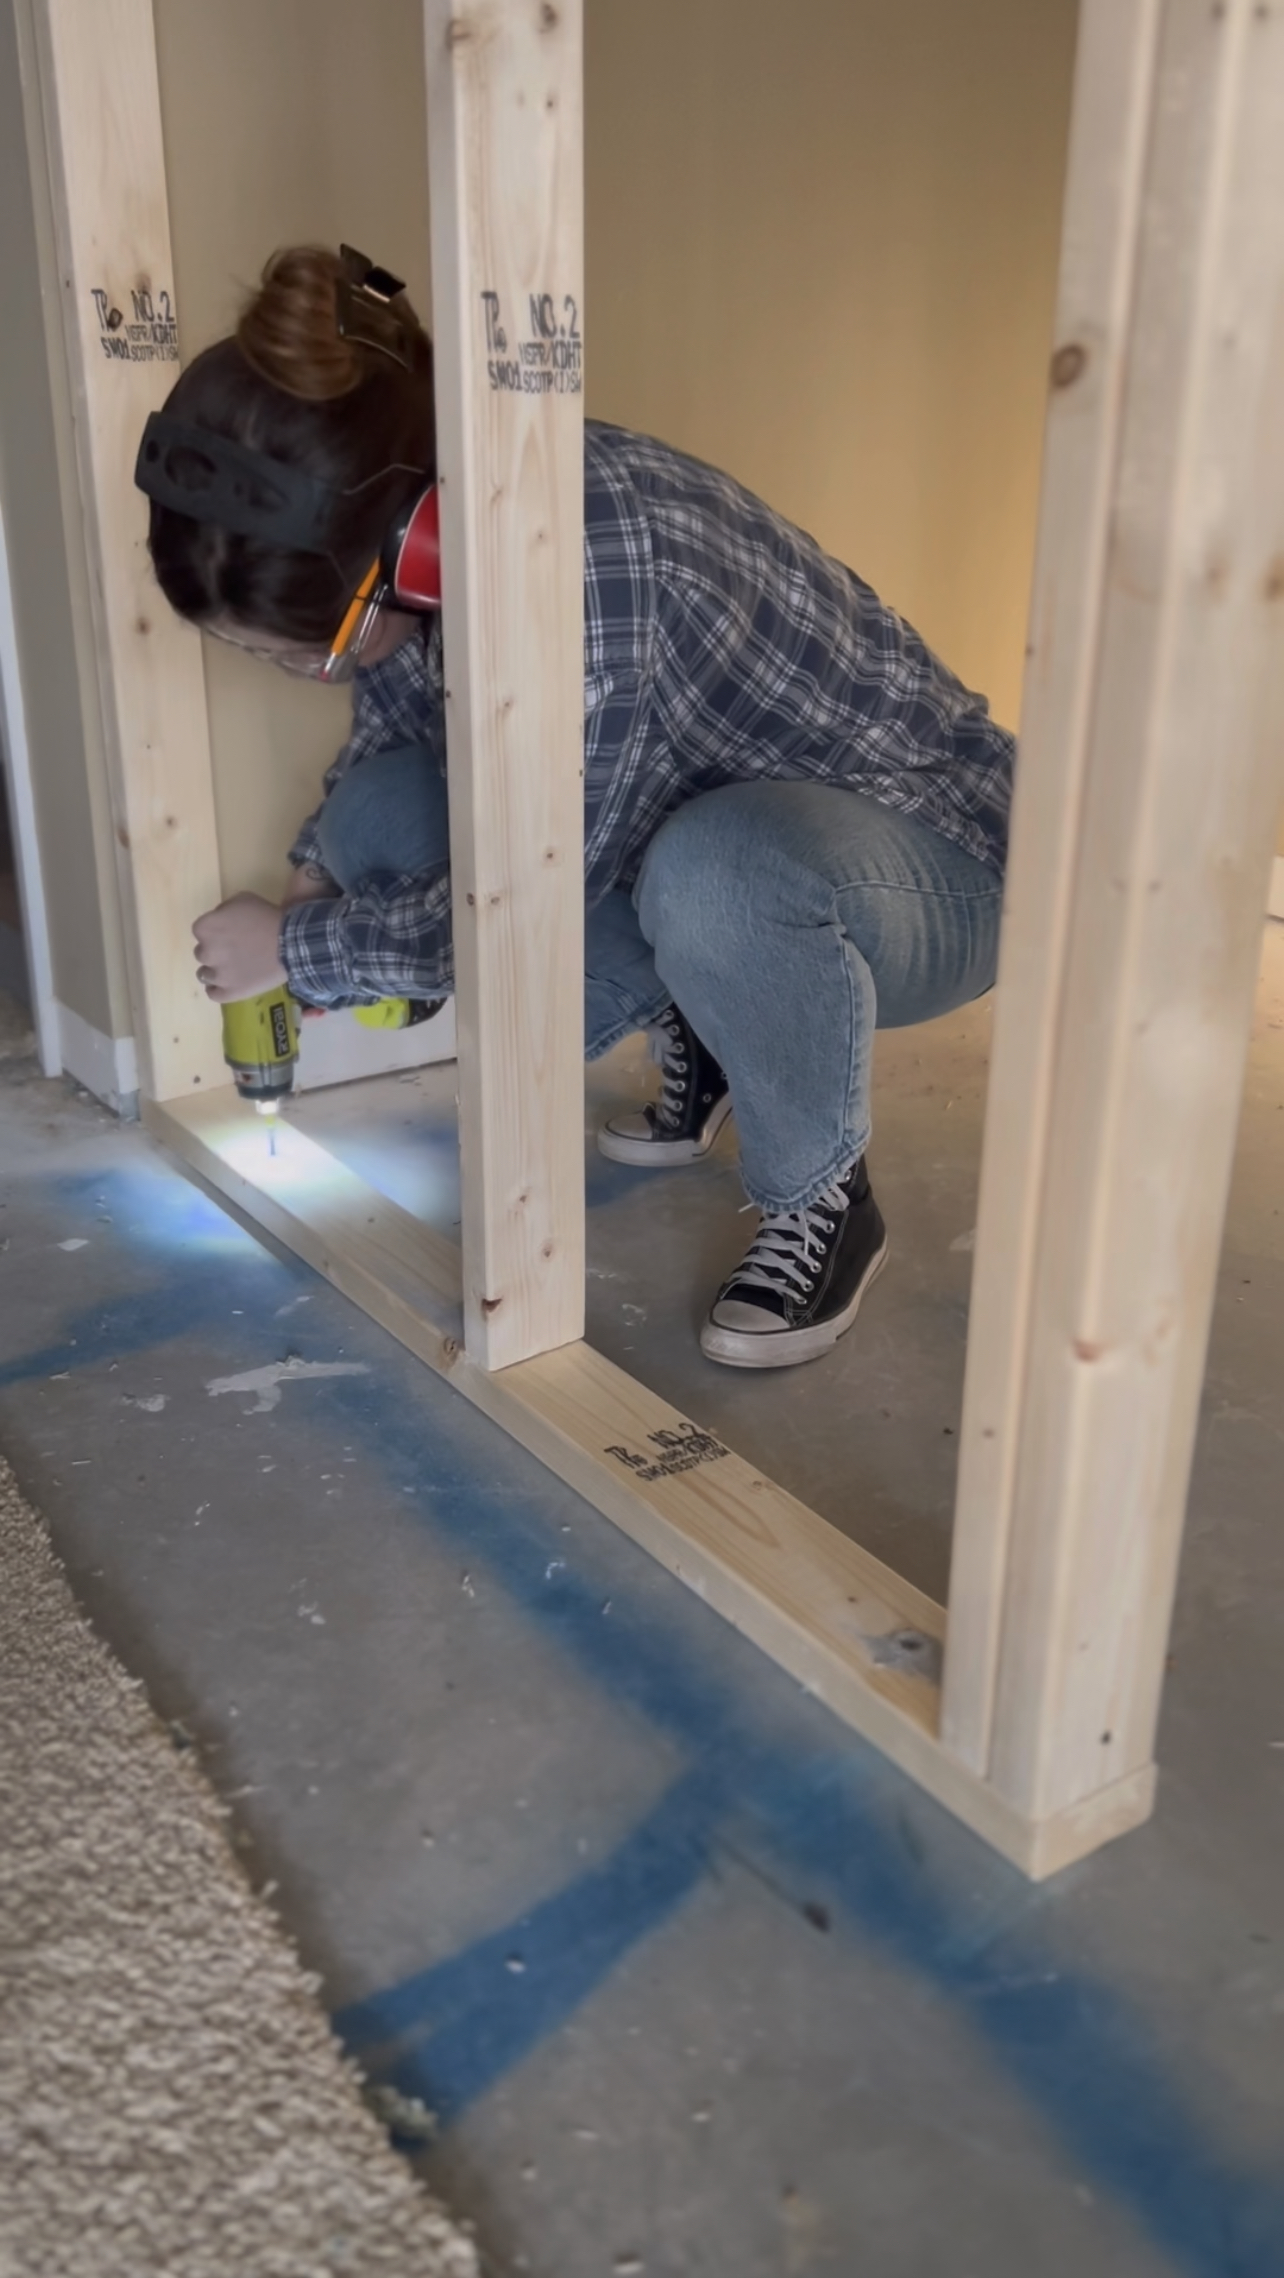
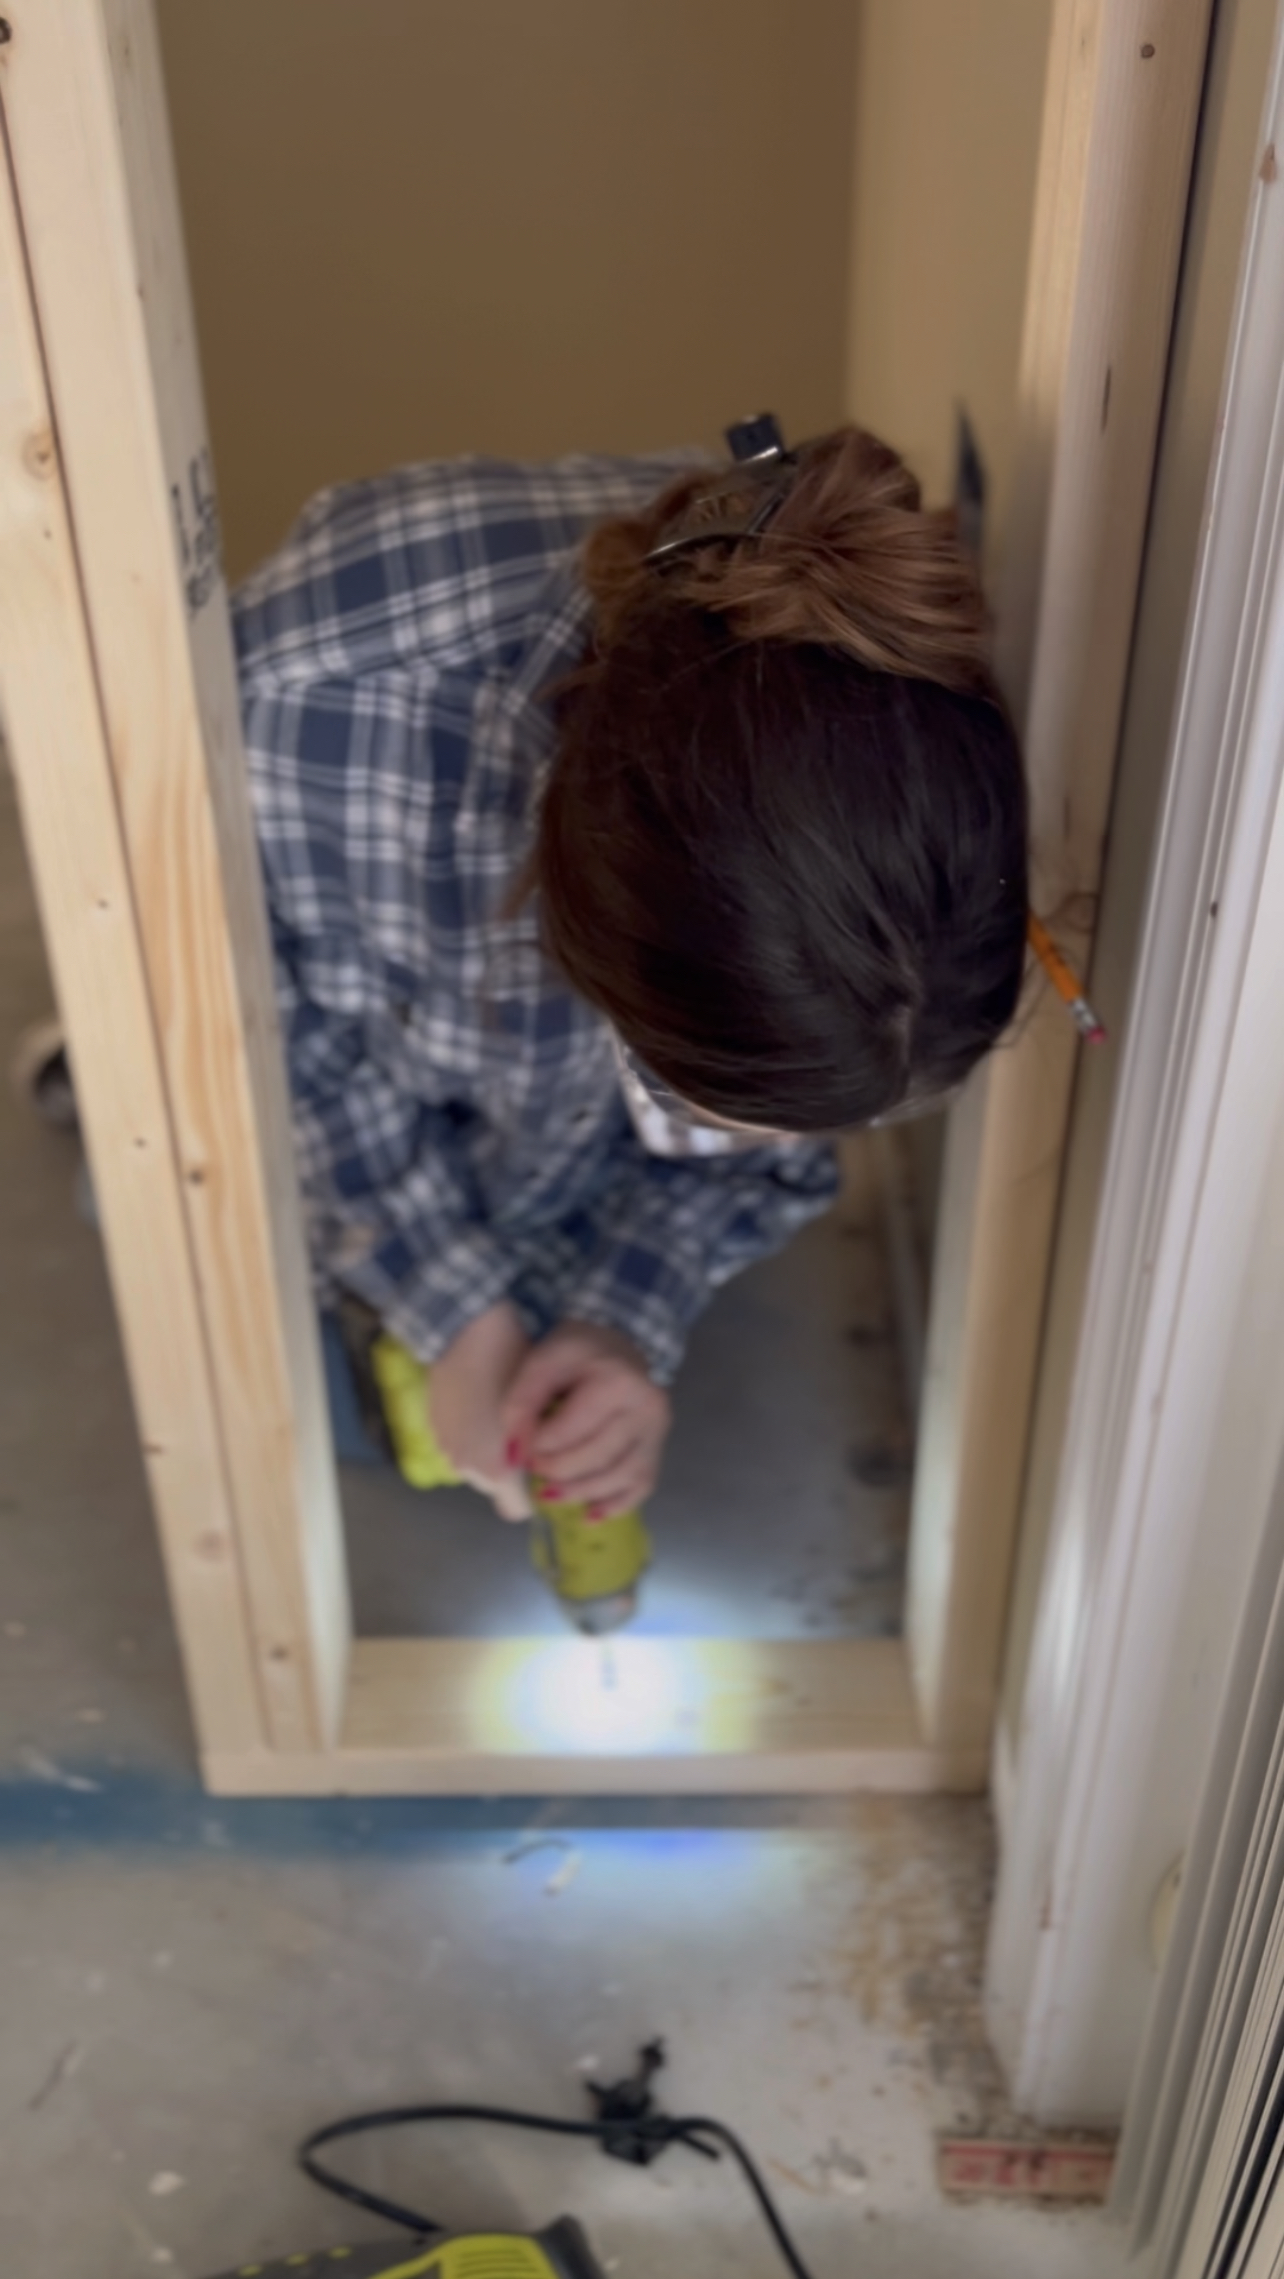
I secured the framing into the concrete subfloor using my hammer drill and a masonry bit with concrete anchors, and then into the studs of the walls and ceiling using my framing nailer after the wall was made level. My father-in-law came over and ran wiring for the new light fixture. Previously there was no light box or switch in this closet. He used an existing outlet to run a new wire up to the ceiling where we created a hole for a new light fixture, and then ran wiring down to a switch in the wall to operate.
FLOORING
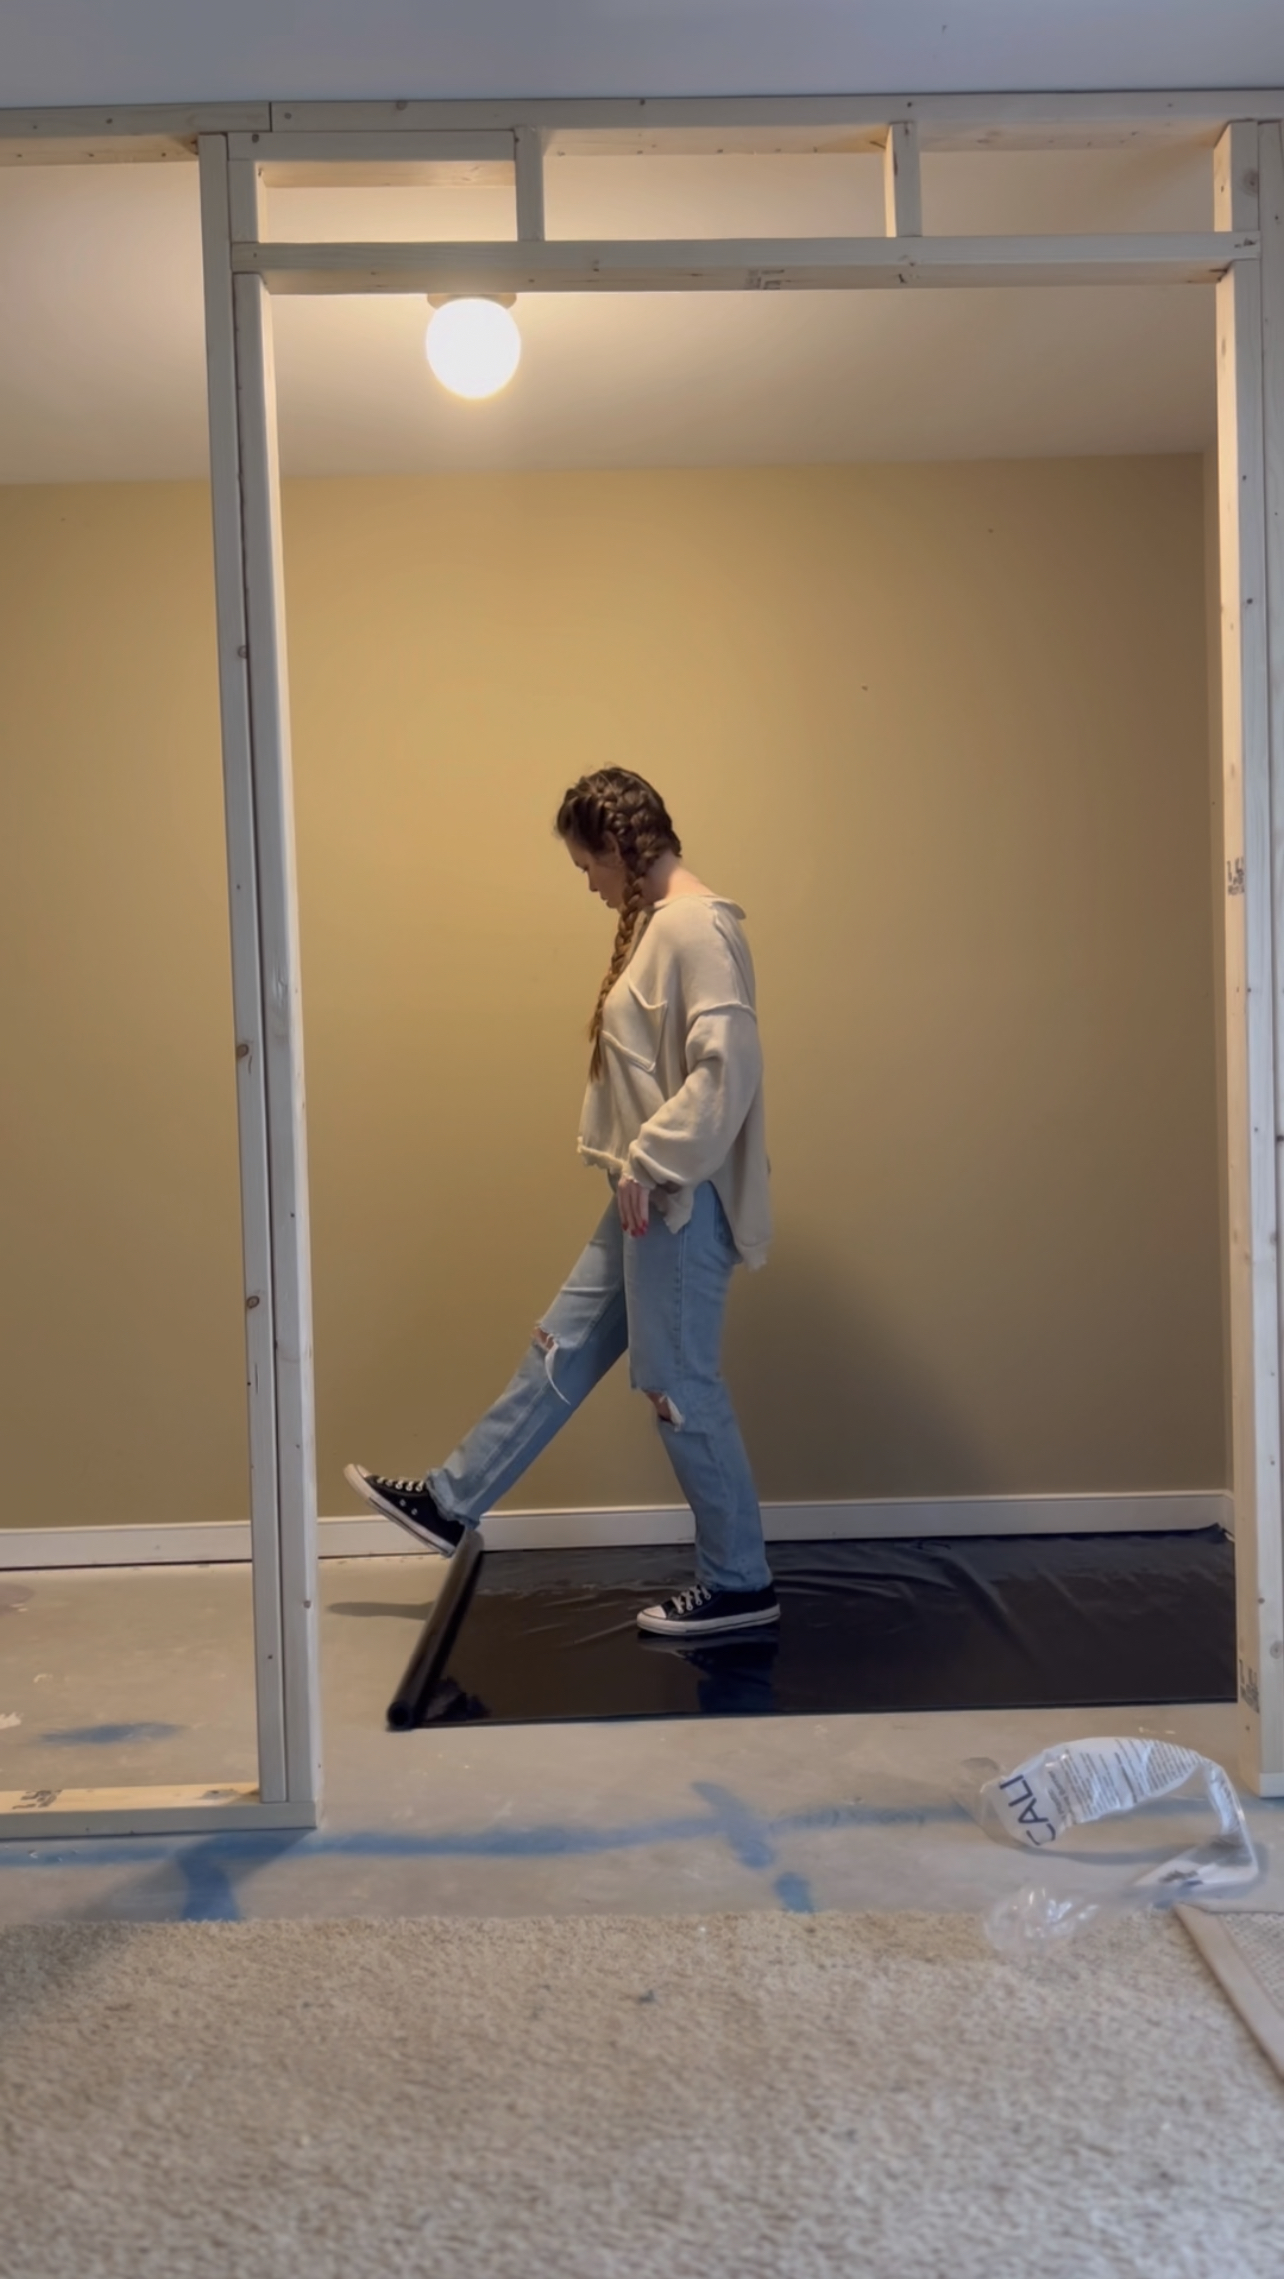

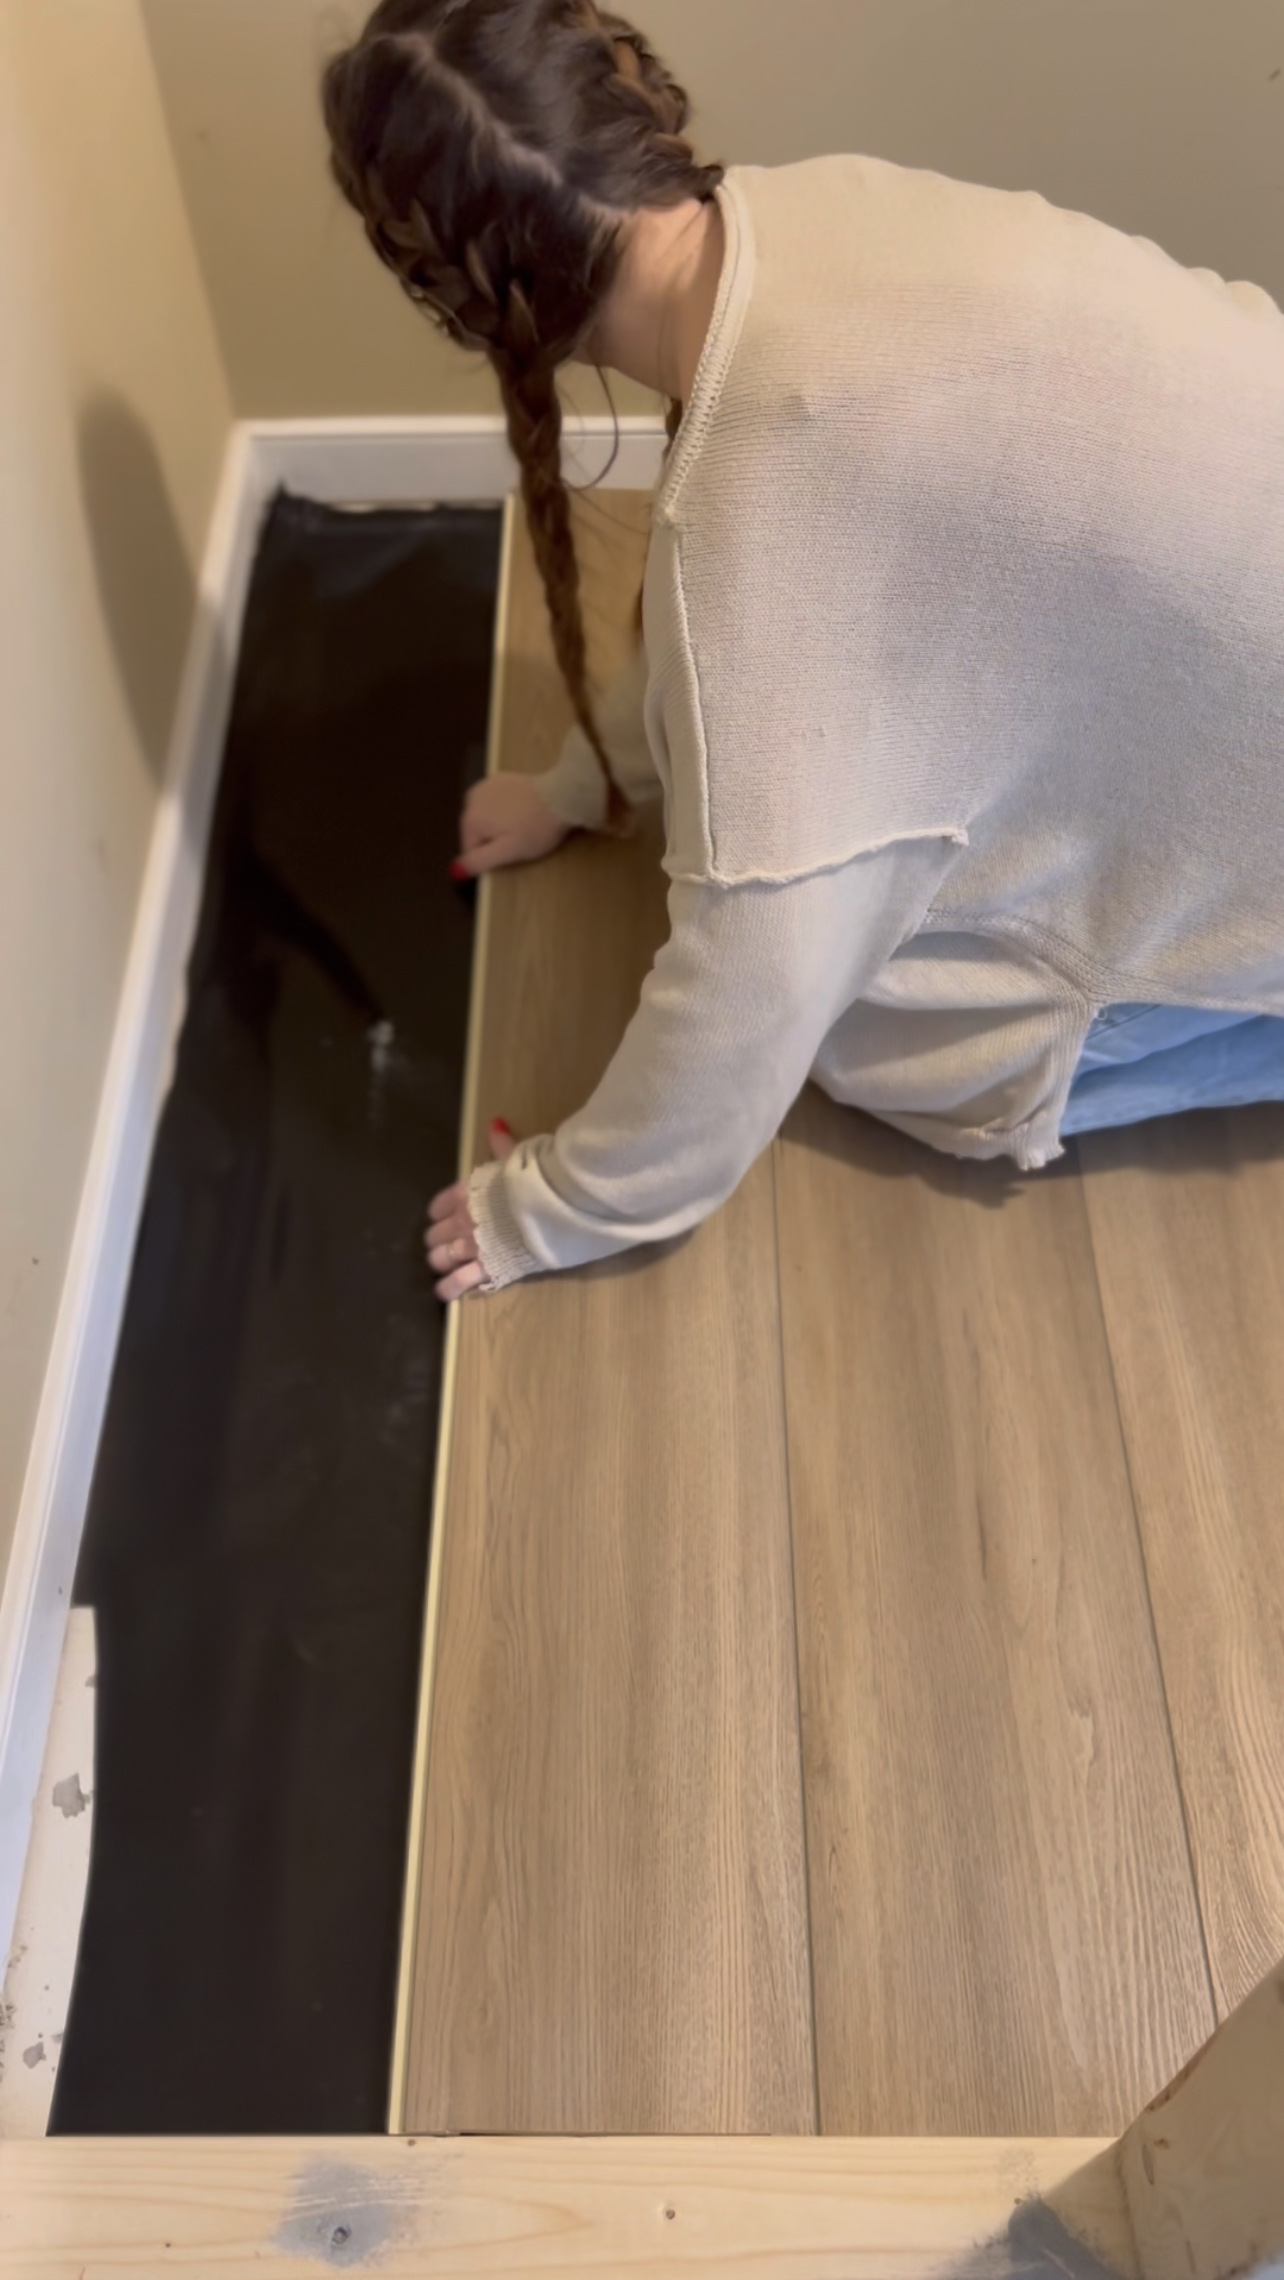
Next I begin installing flooring. Typically, I would have started with drywall, but it was raining. So, I chose to move onward with flooring first so that I didn’t have to deal with buying drywall in the rain. I planned to install this beautiful LVP by Cali Bamboo (Golden Hour Oak) throughout the entire basement. So, I also wanted to install it in the closet.
I started by rolling out a plastic moisture barrier, which was recommended by Cali Bamboo for concrete sub floors. Once that was done, I simply cut and installed my flooring which is SO easy to install. I ran it to the door opening, knowing that I would install a threshold piece to connect to the flooring on the outside of the storage closet at a later point.
DRYWALL
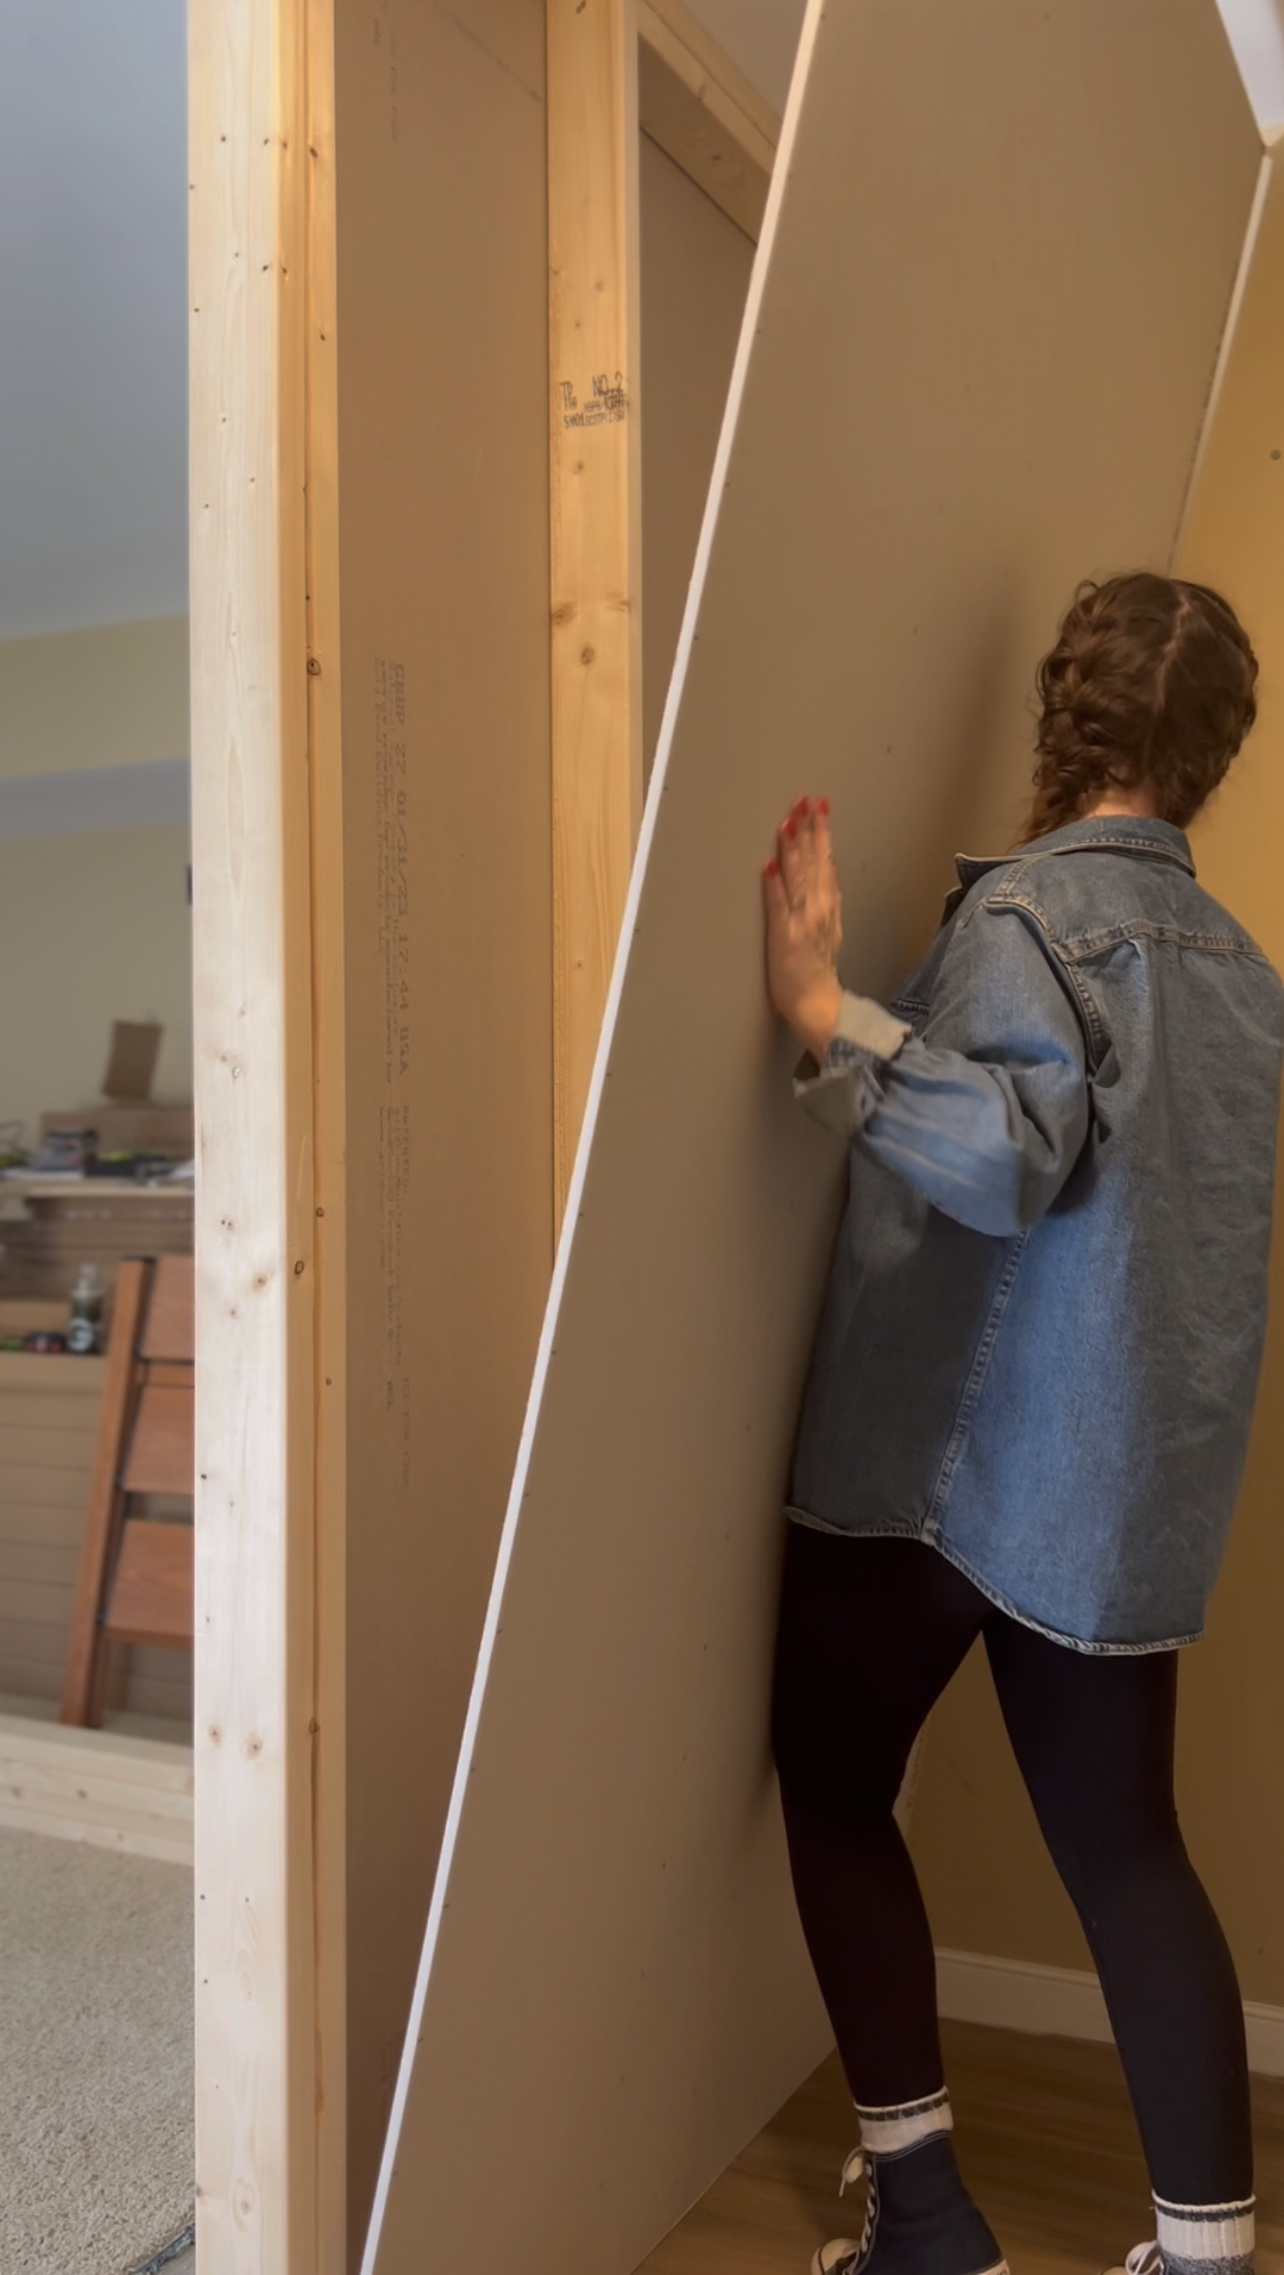
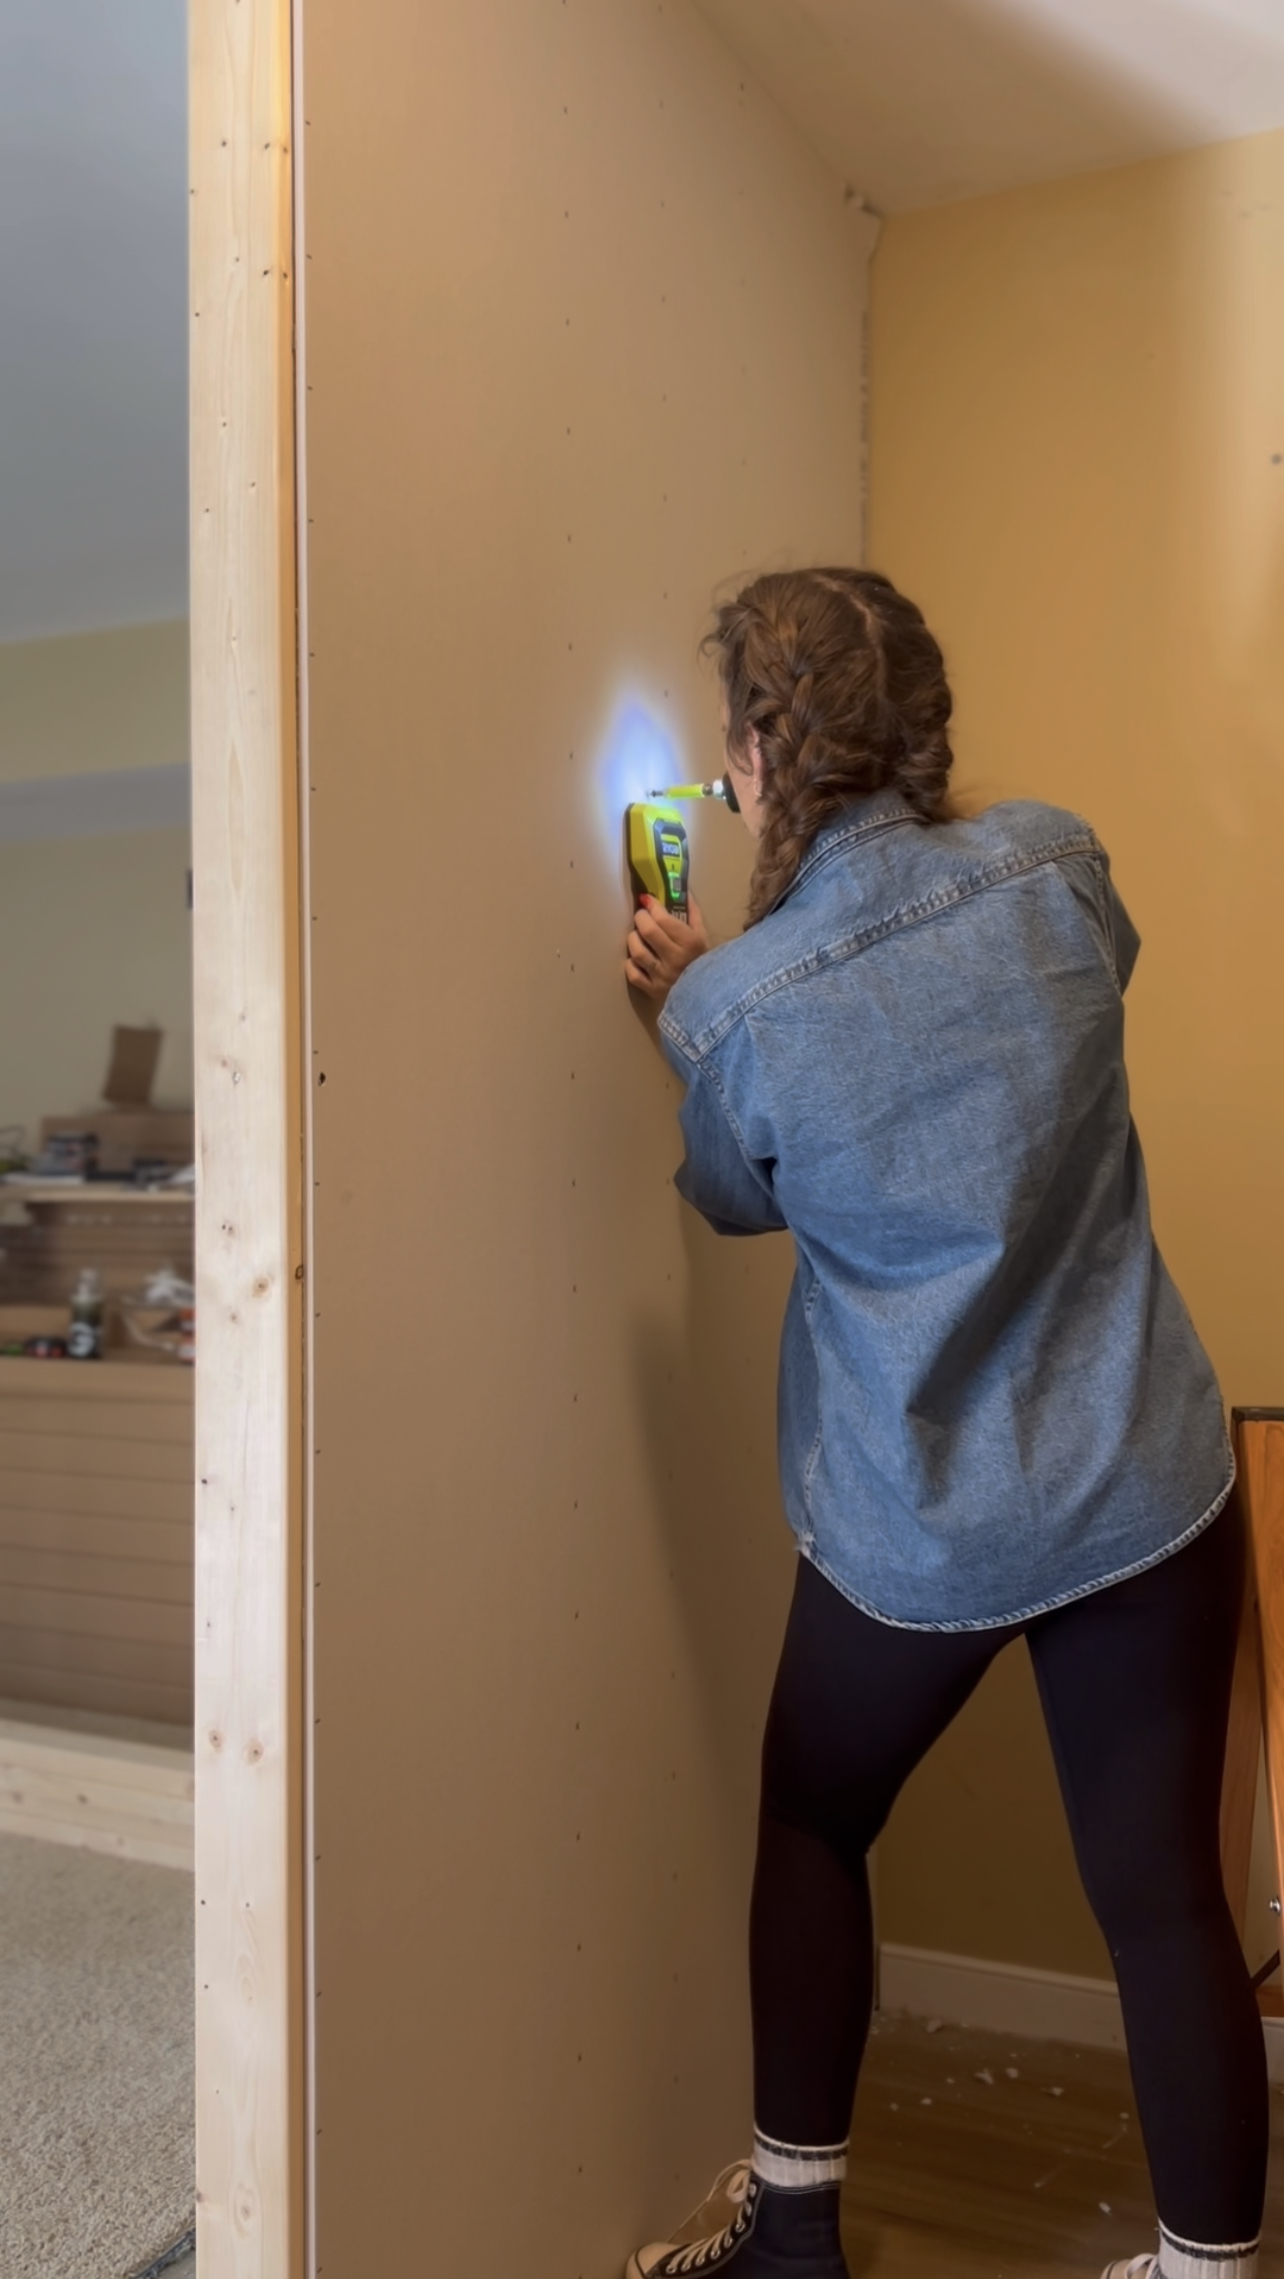
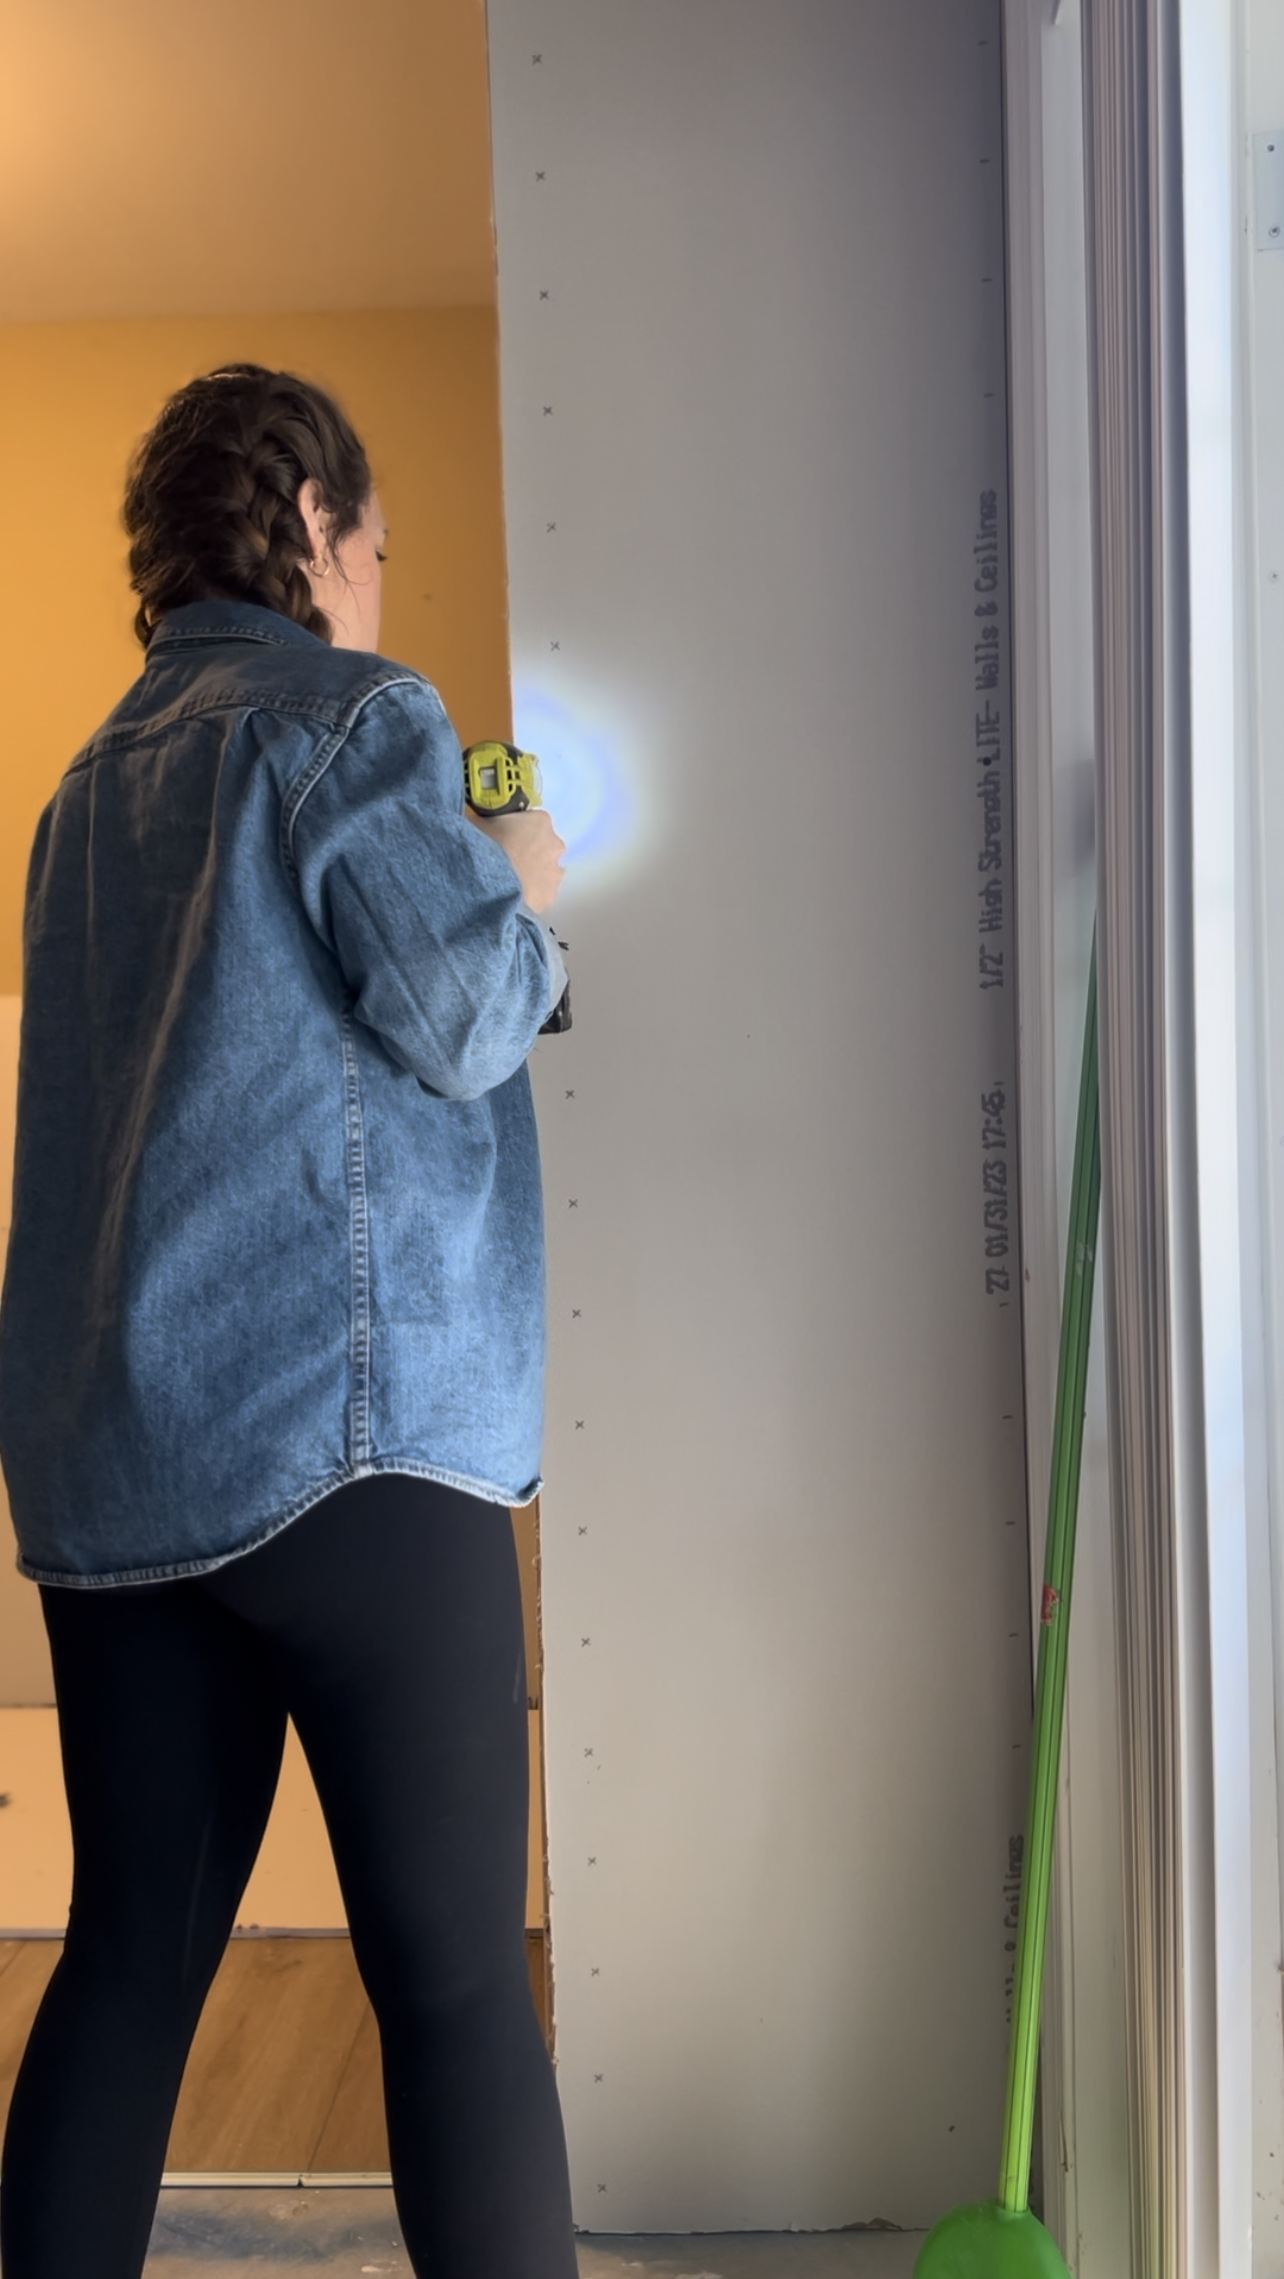
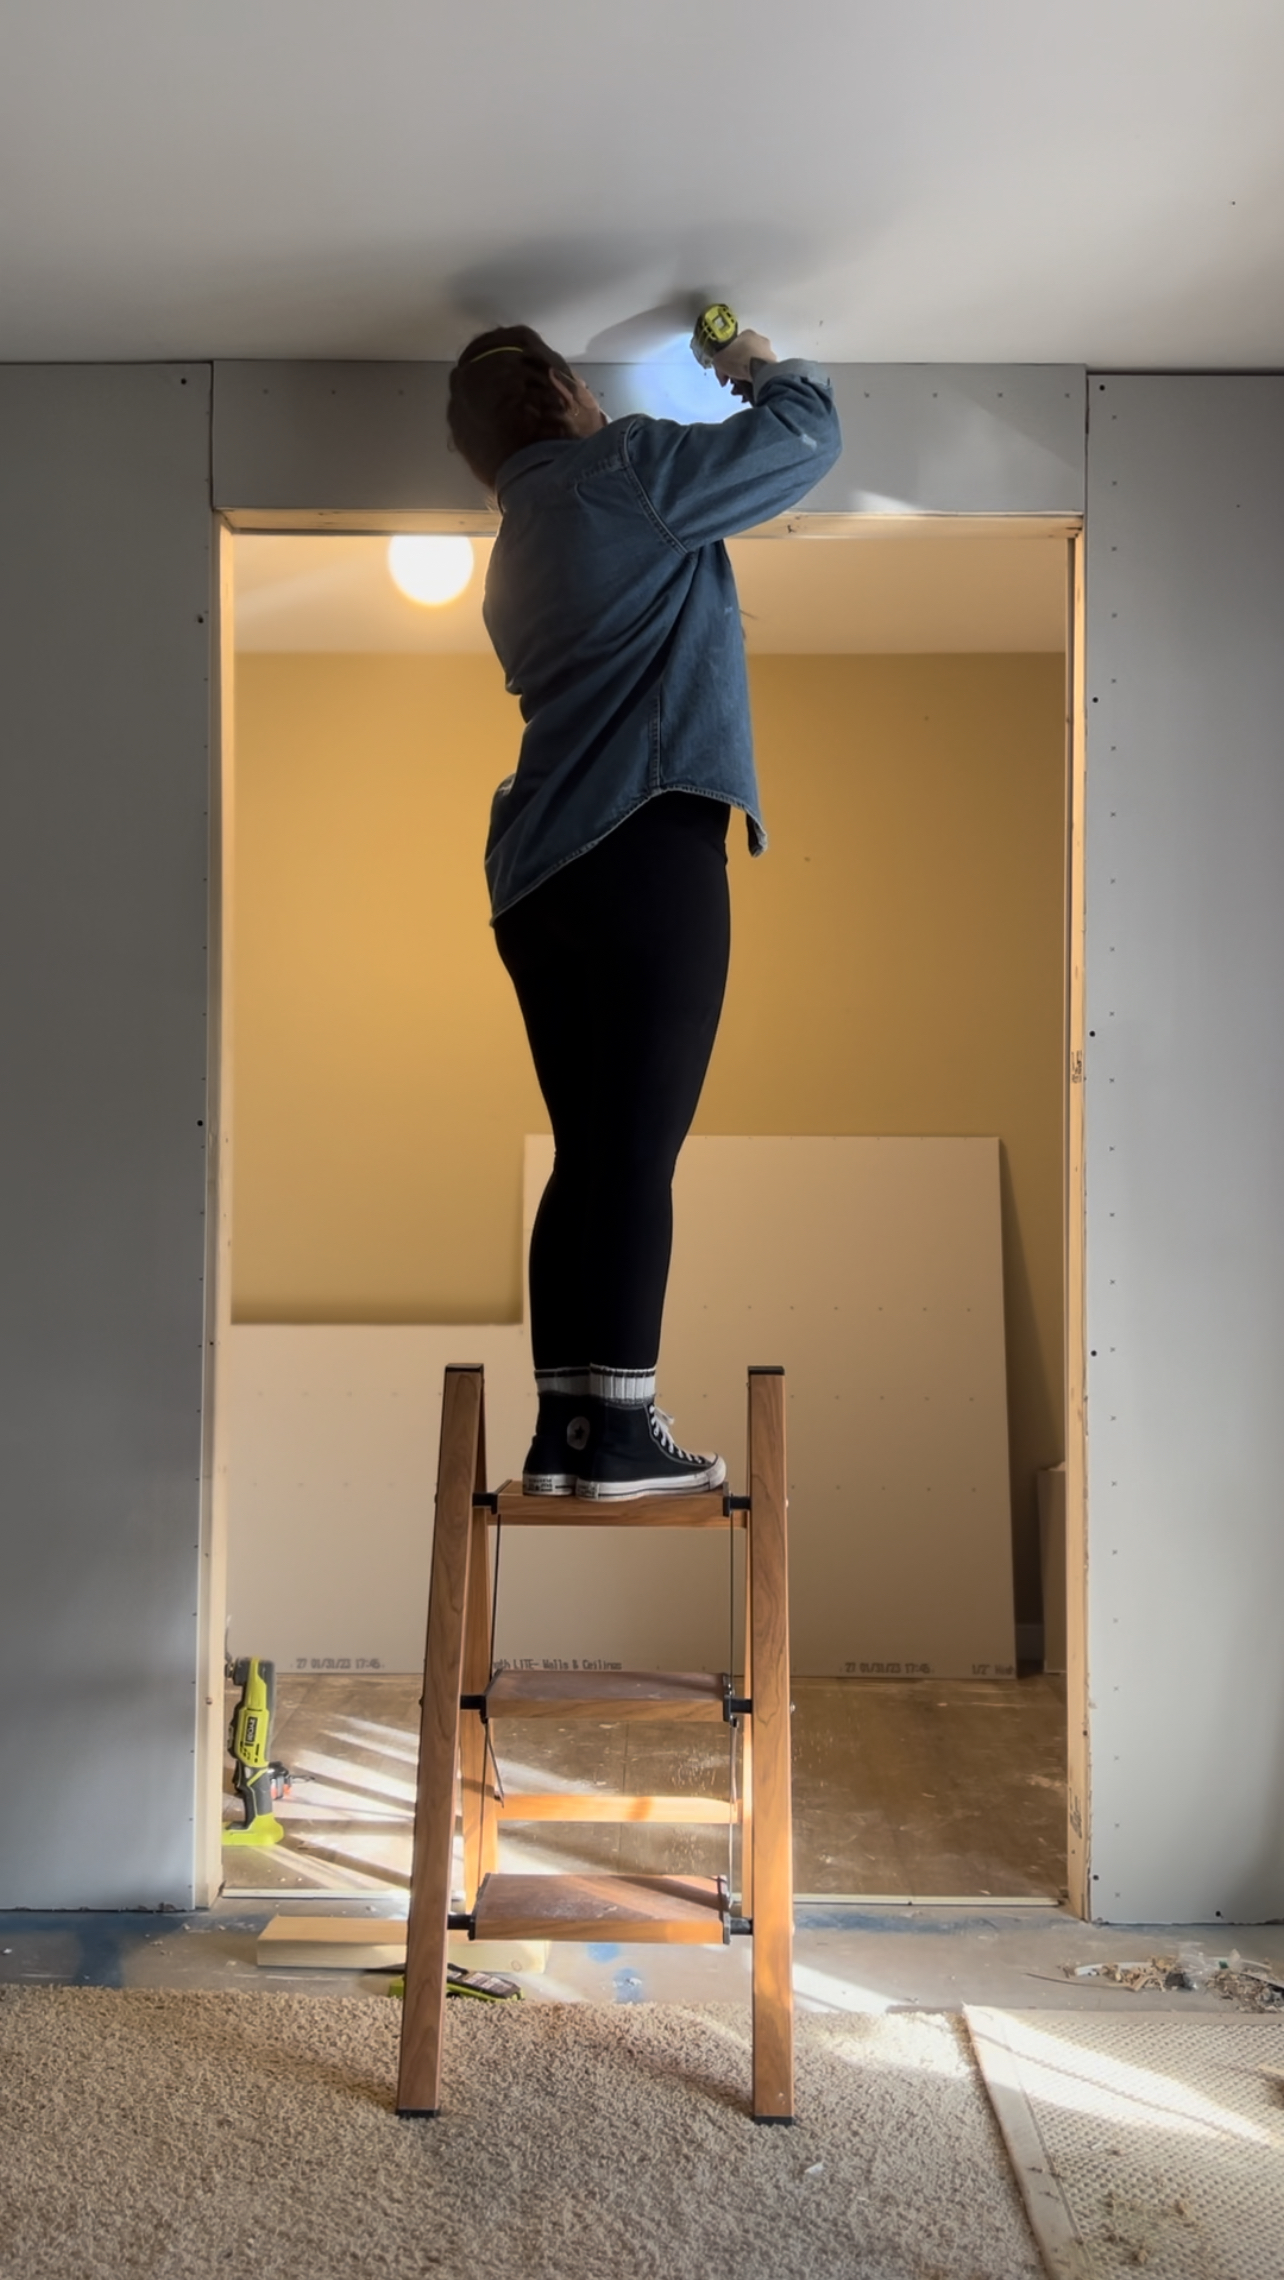
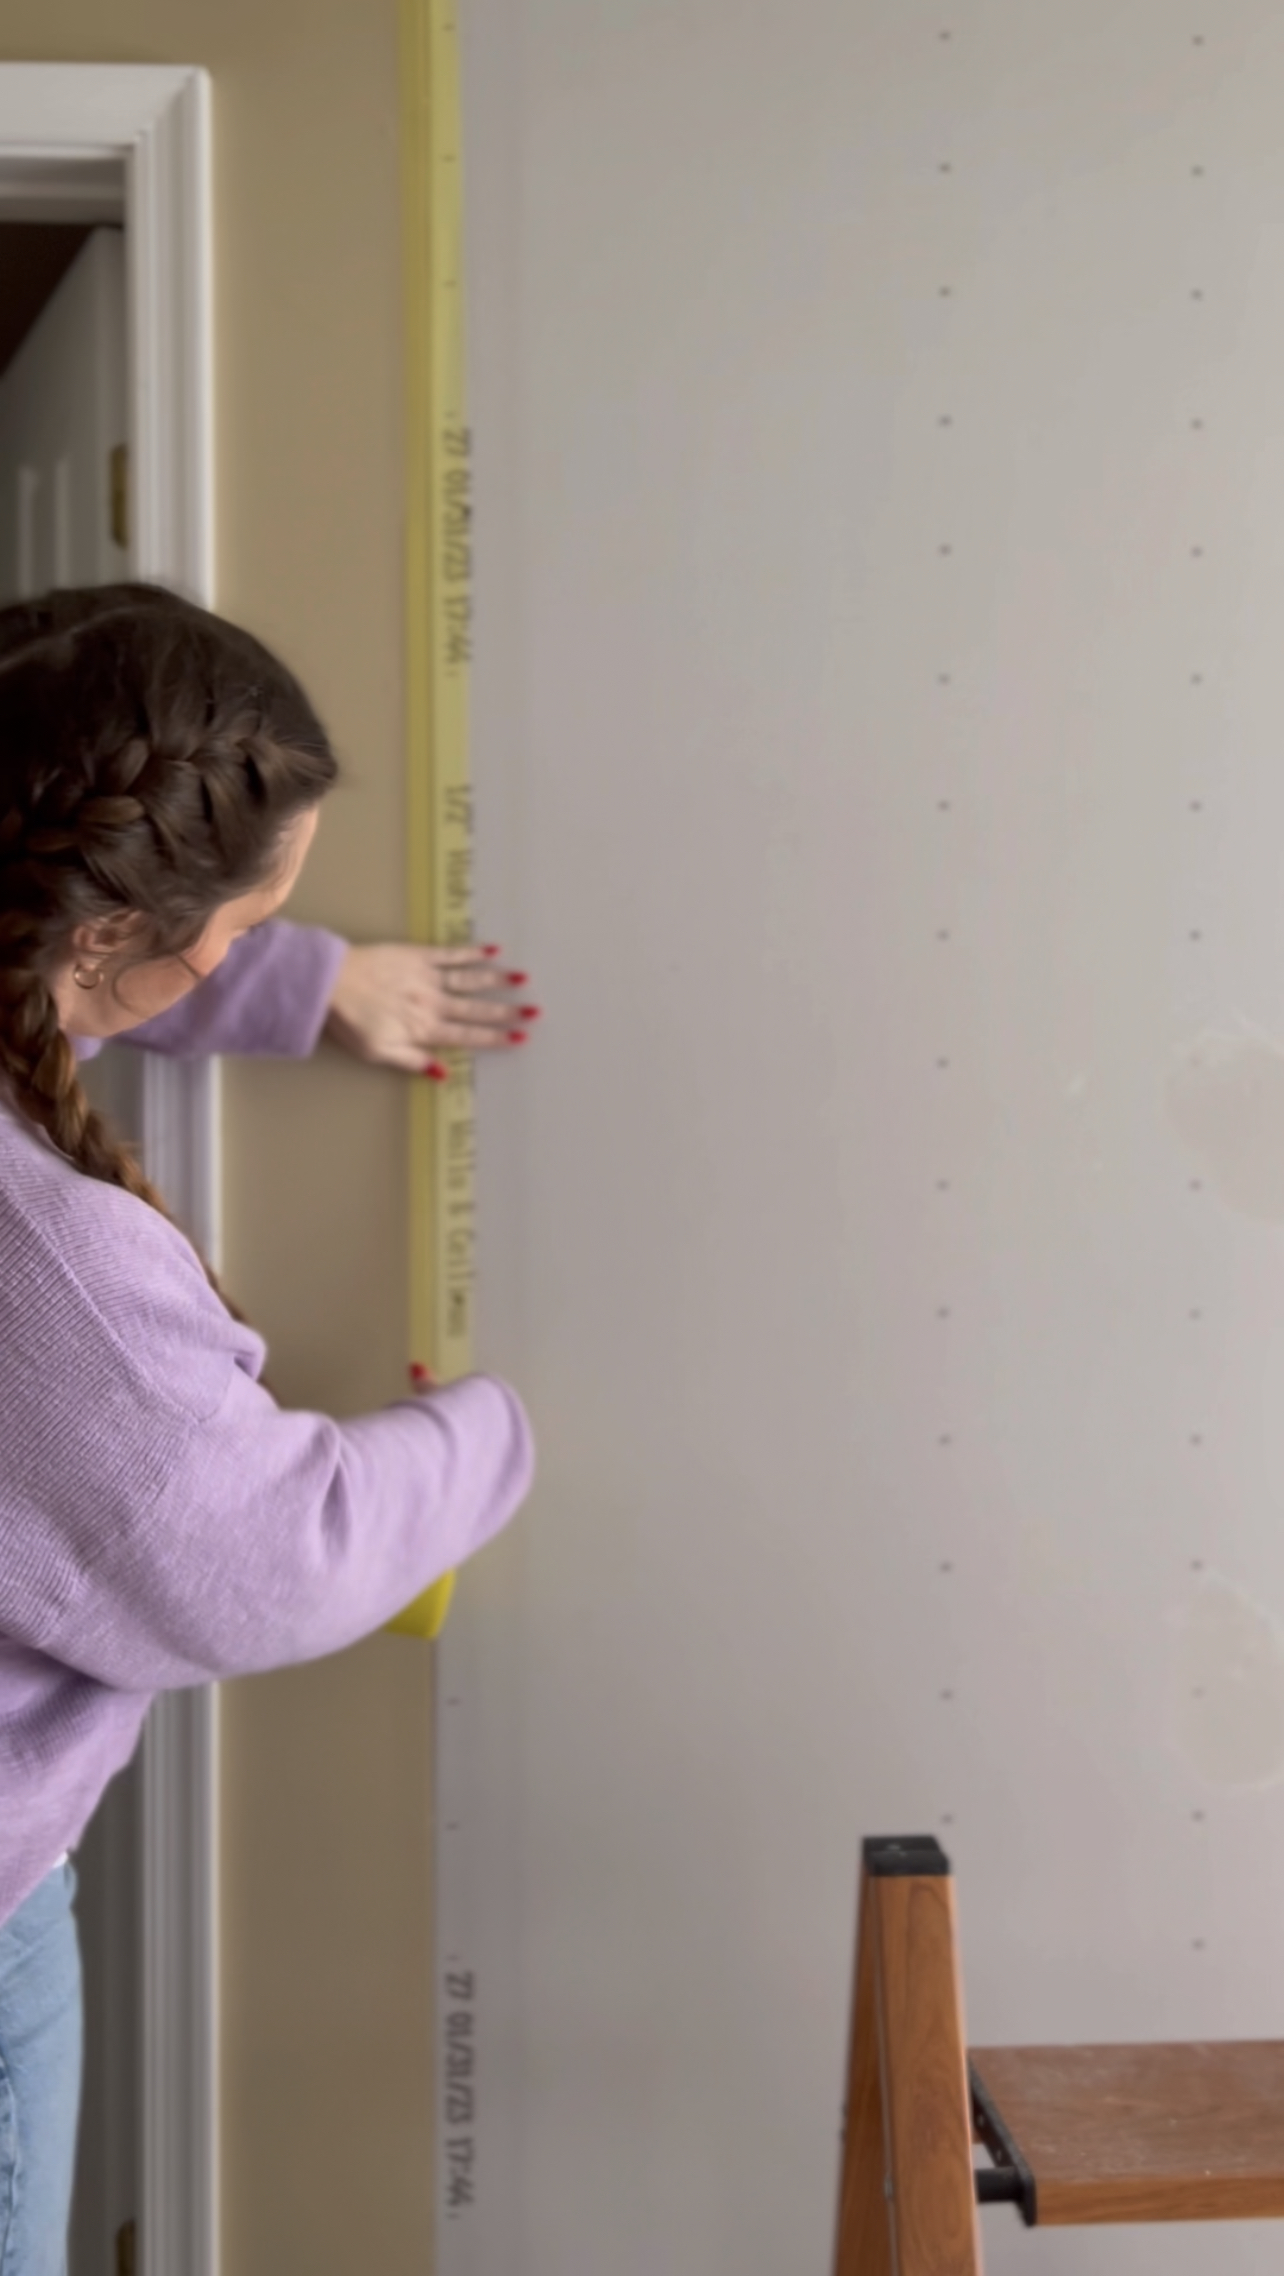
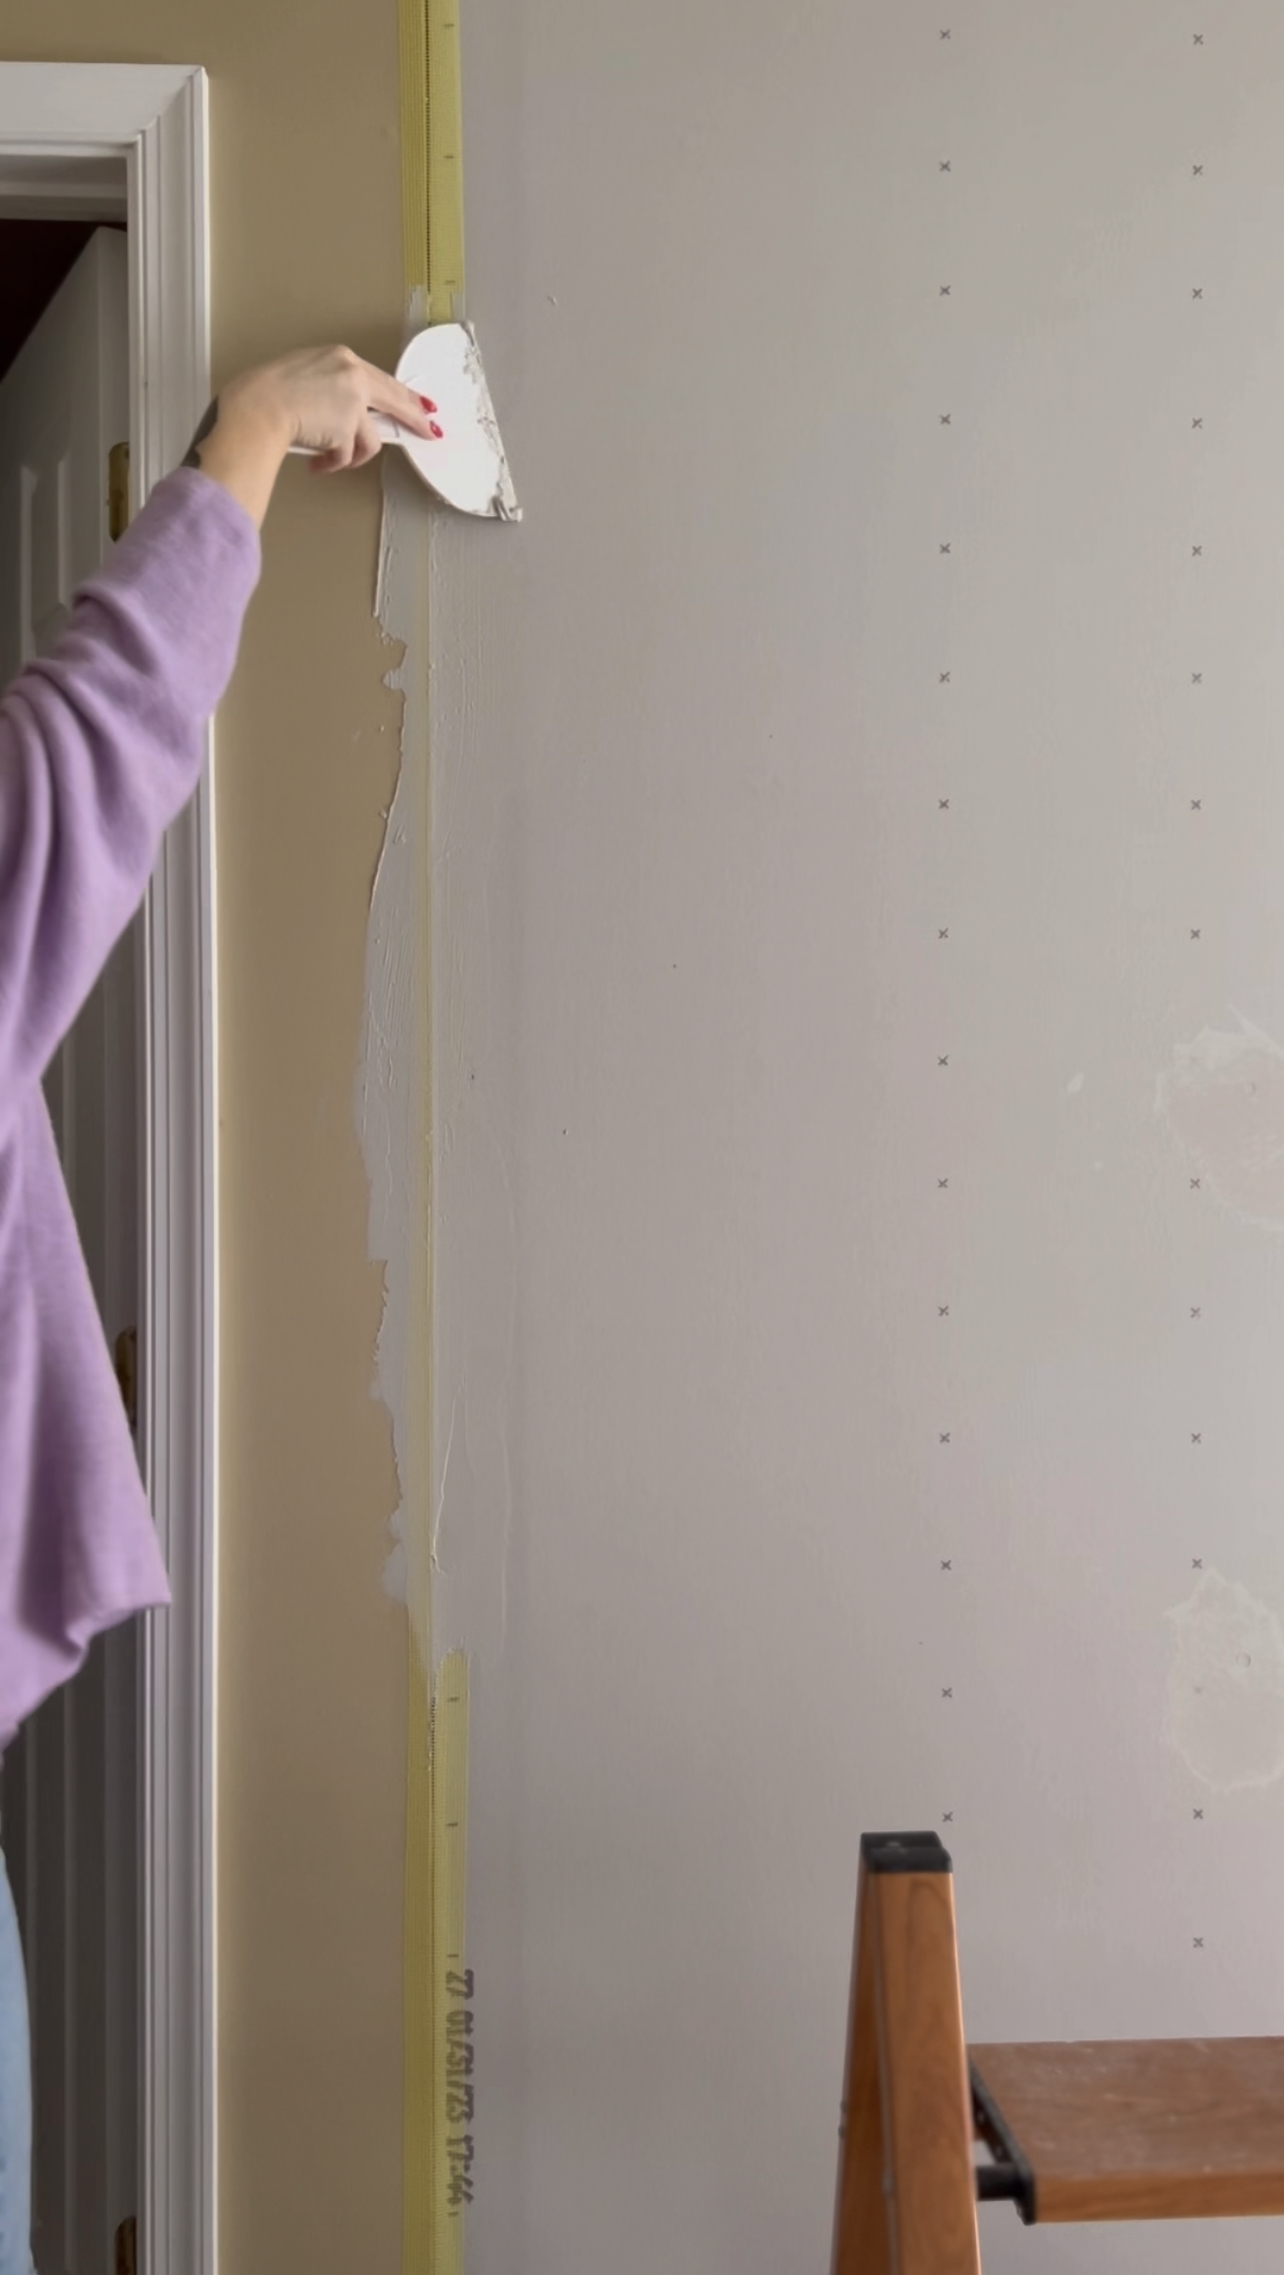
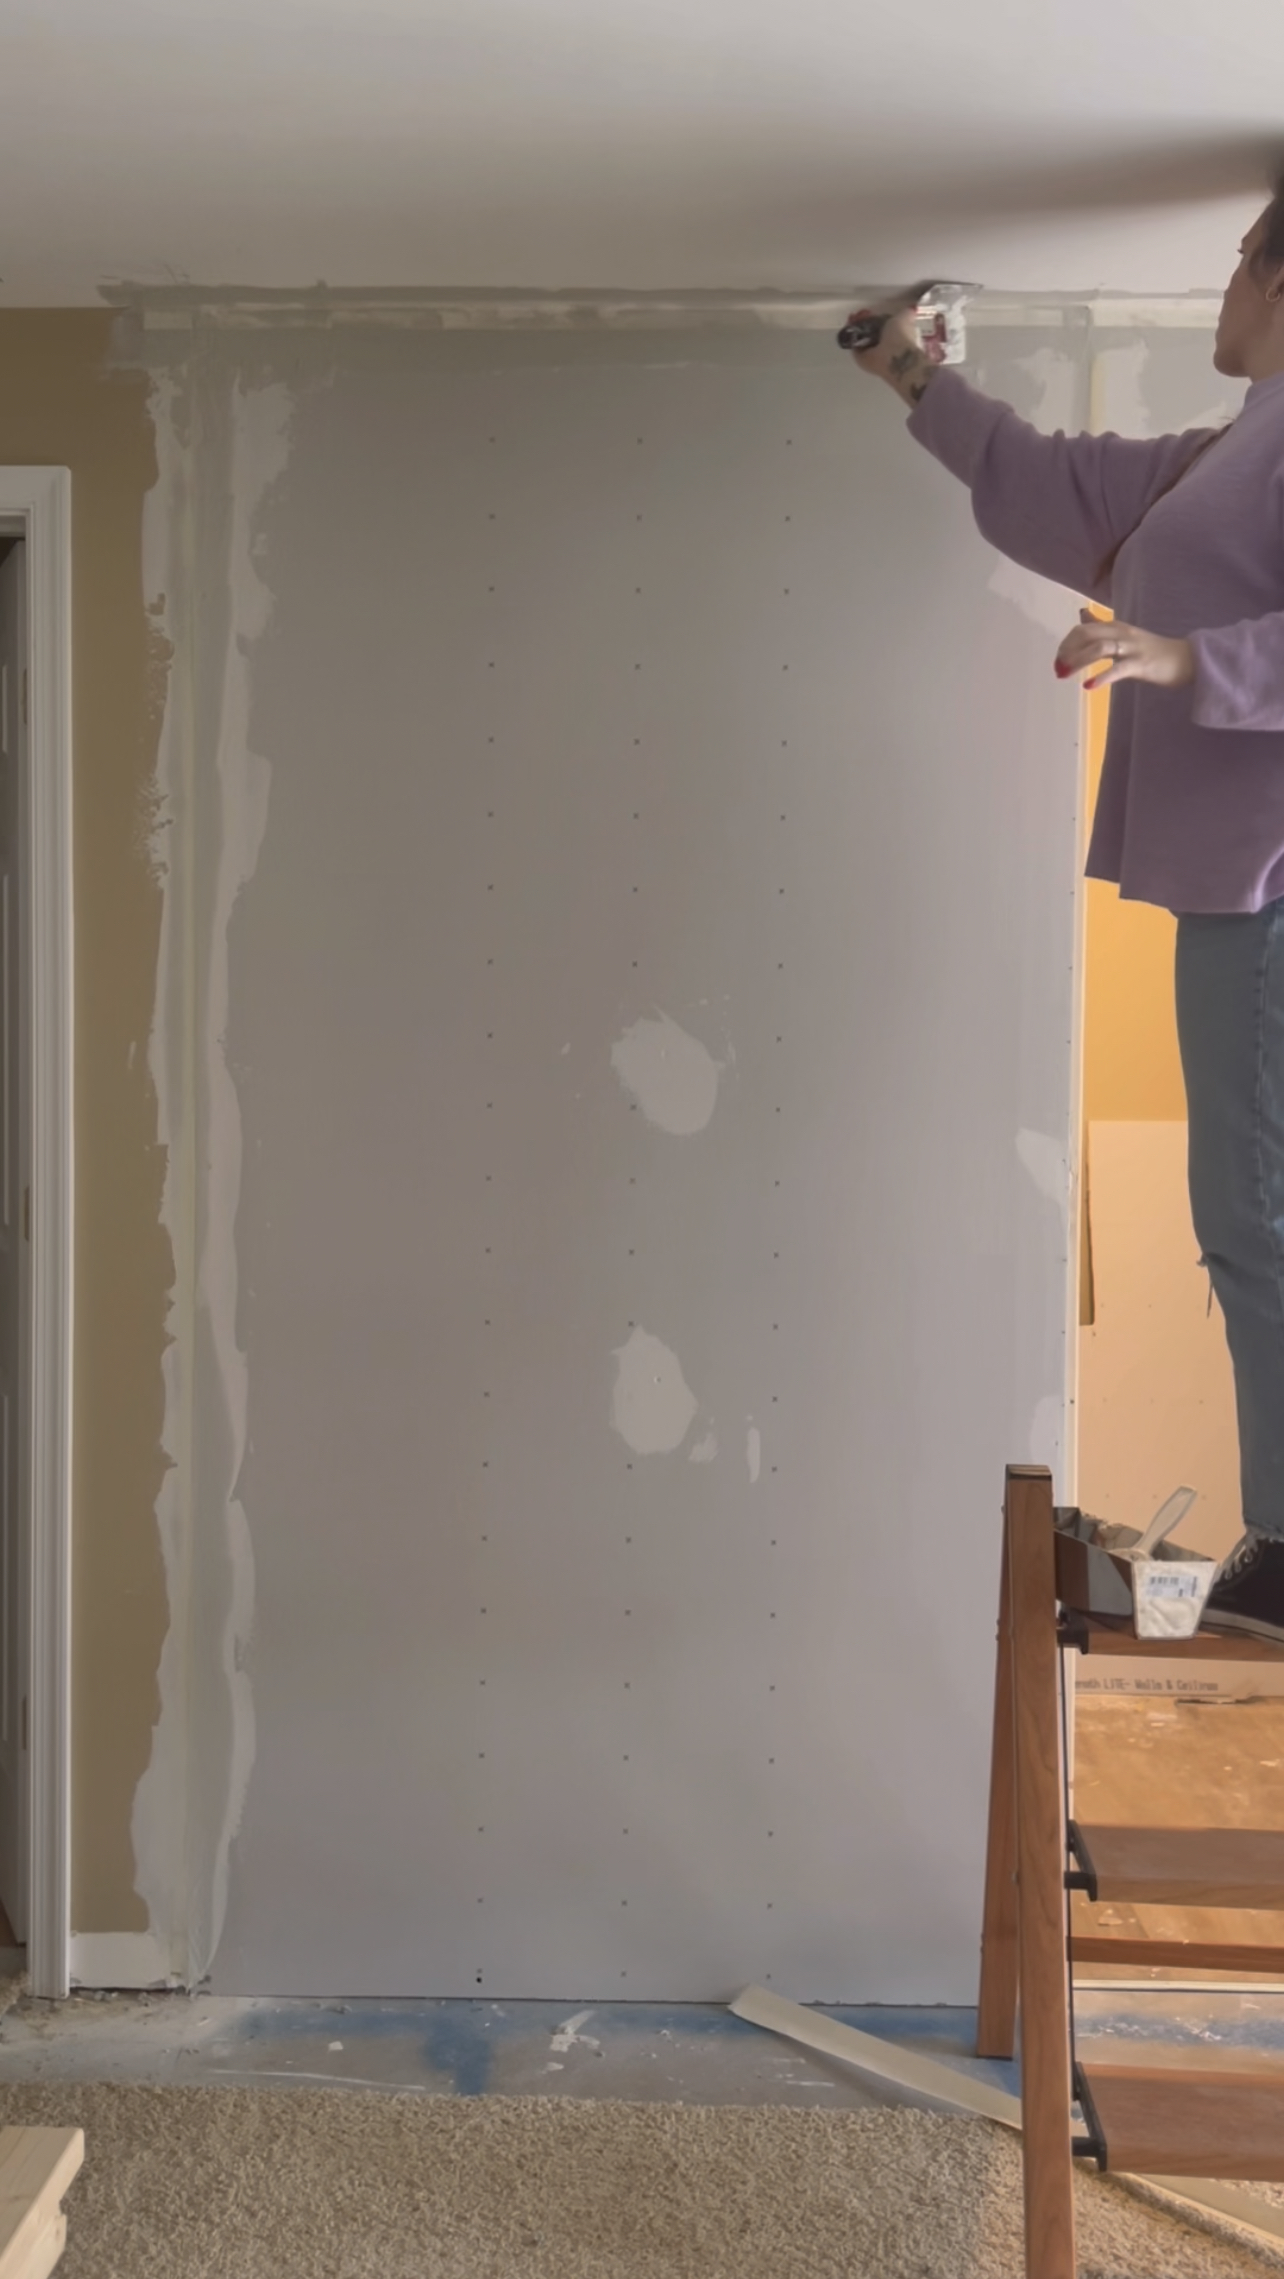
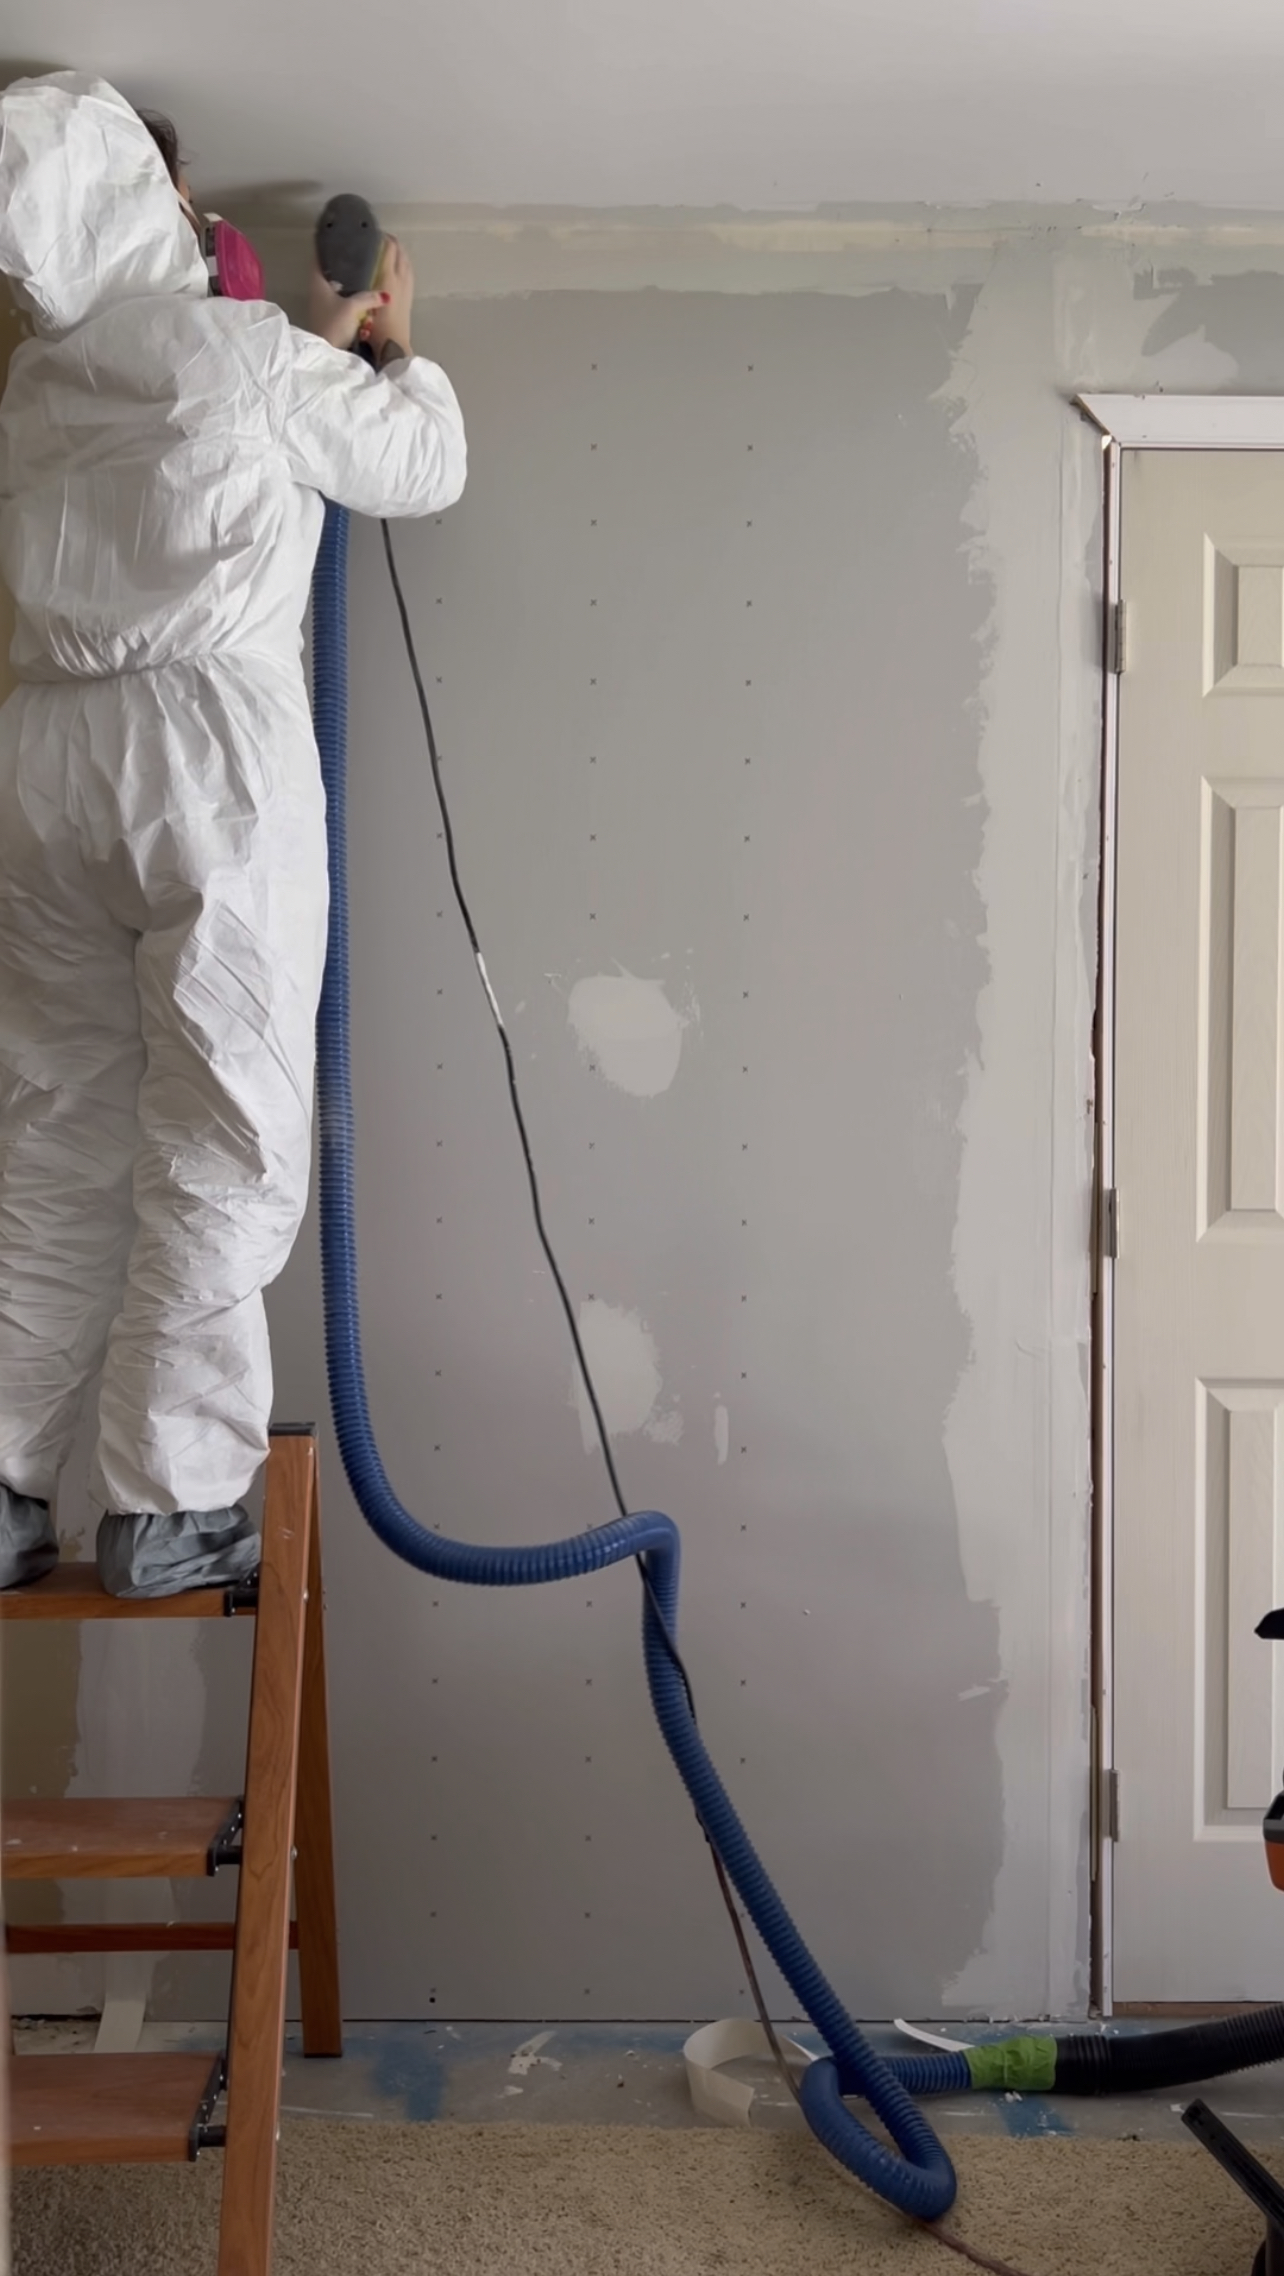
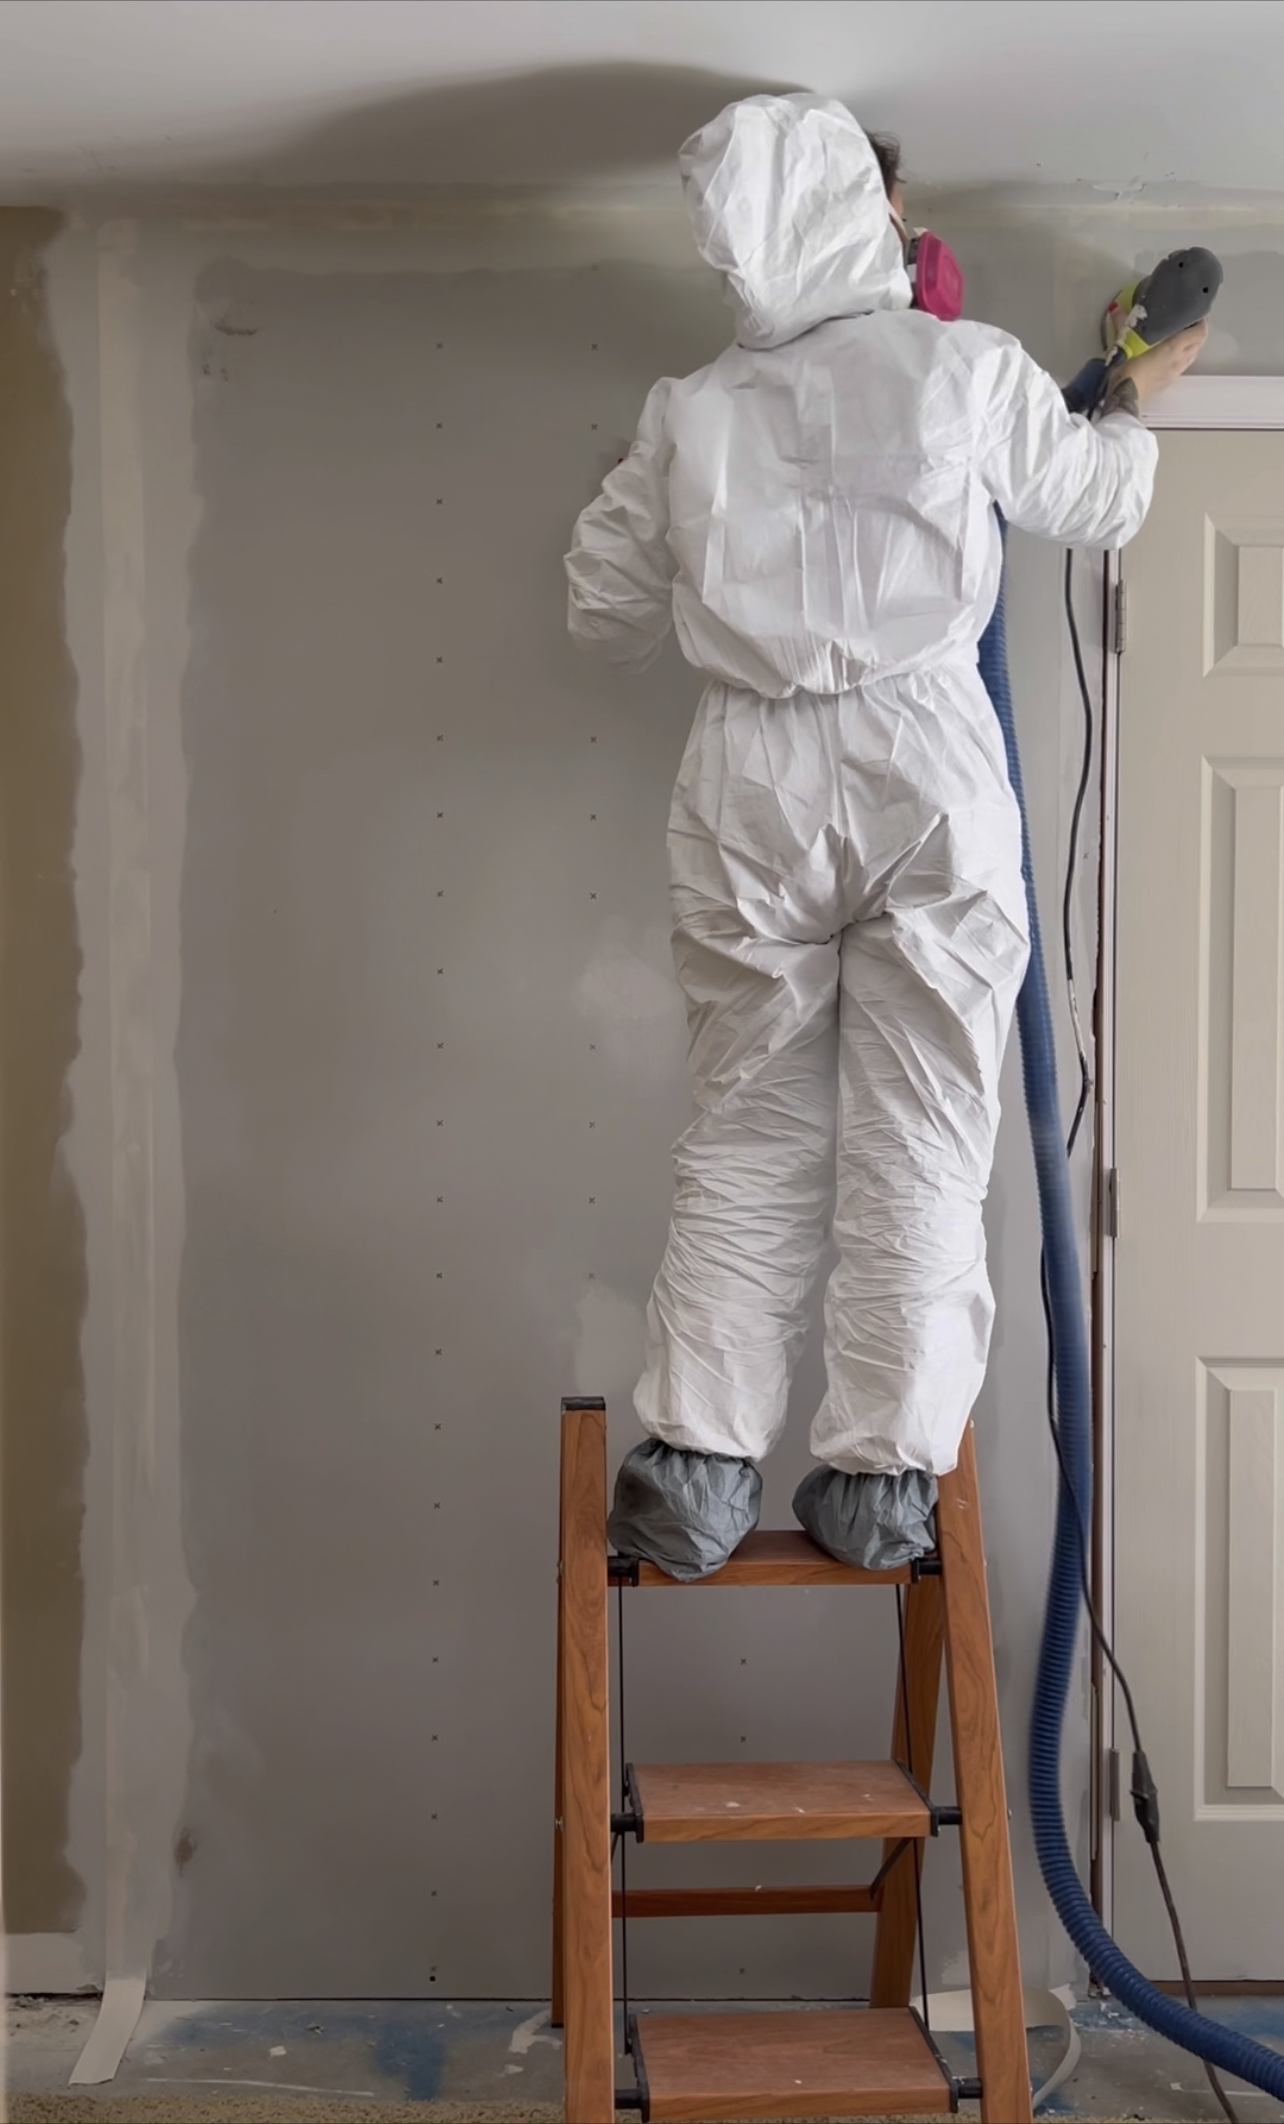
Then I began installing the drywall on my new wall addition. I hung each piece using drywall screws and then taped all of my seams with drywall tape. I then begin applying joint compound to all of my drywall seams. After my first layer of joint compound was dry I did a light hand-sand and applied a second coat. Then, I repeated the same step with a third coat.
INSTALLING DOORS
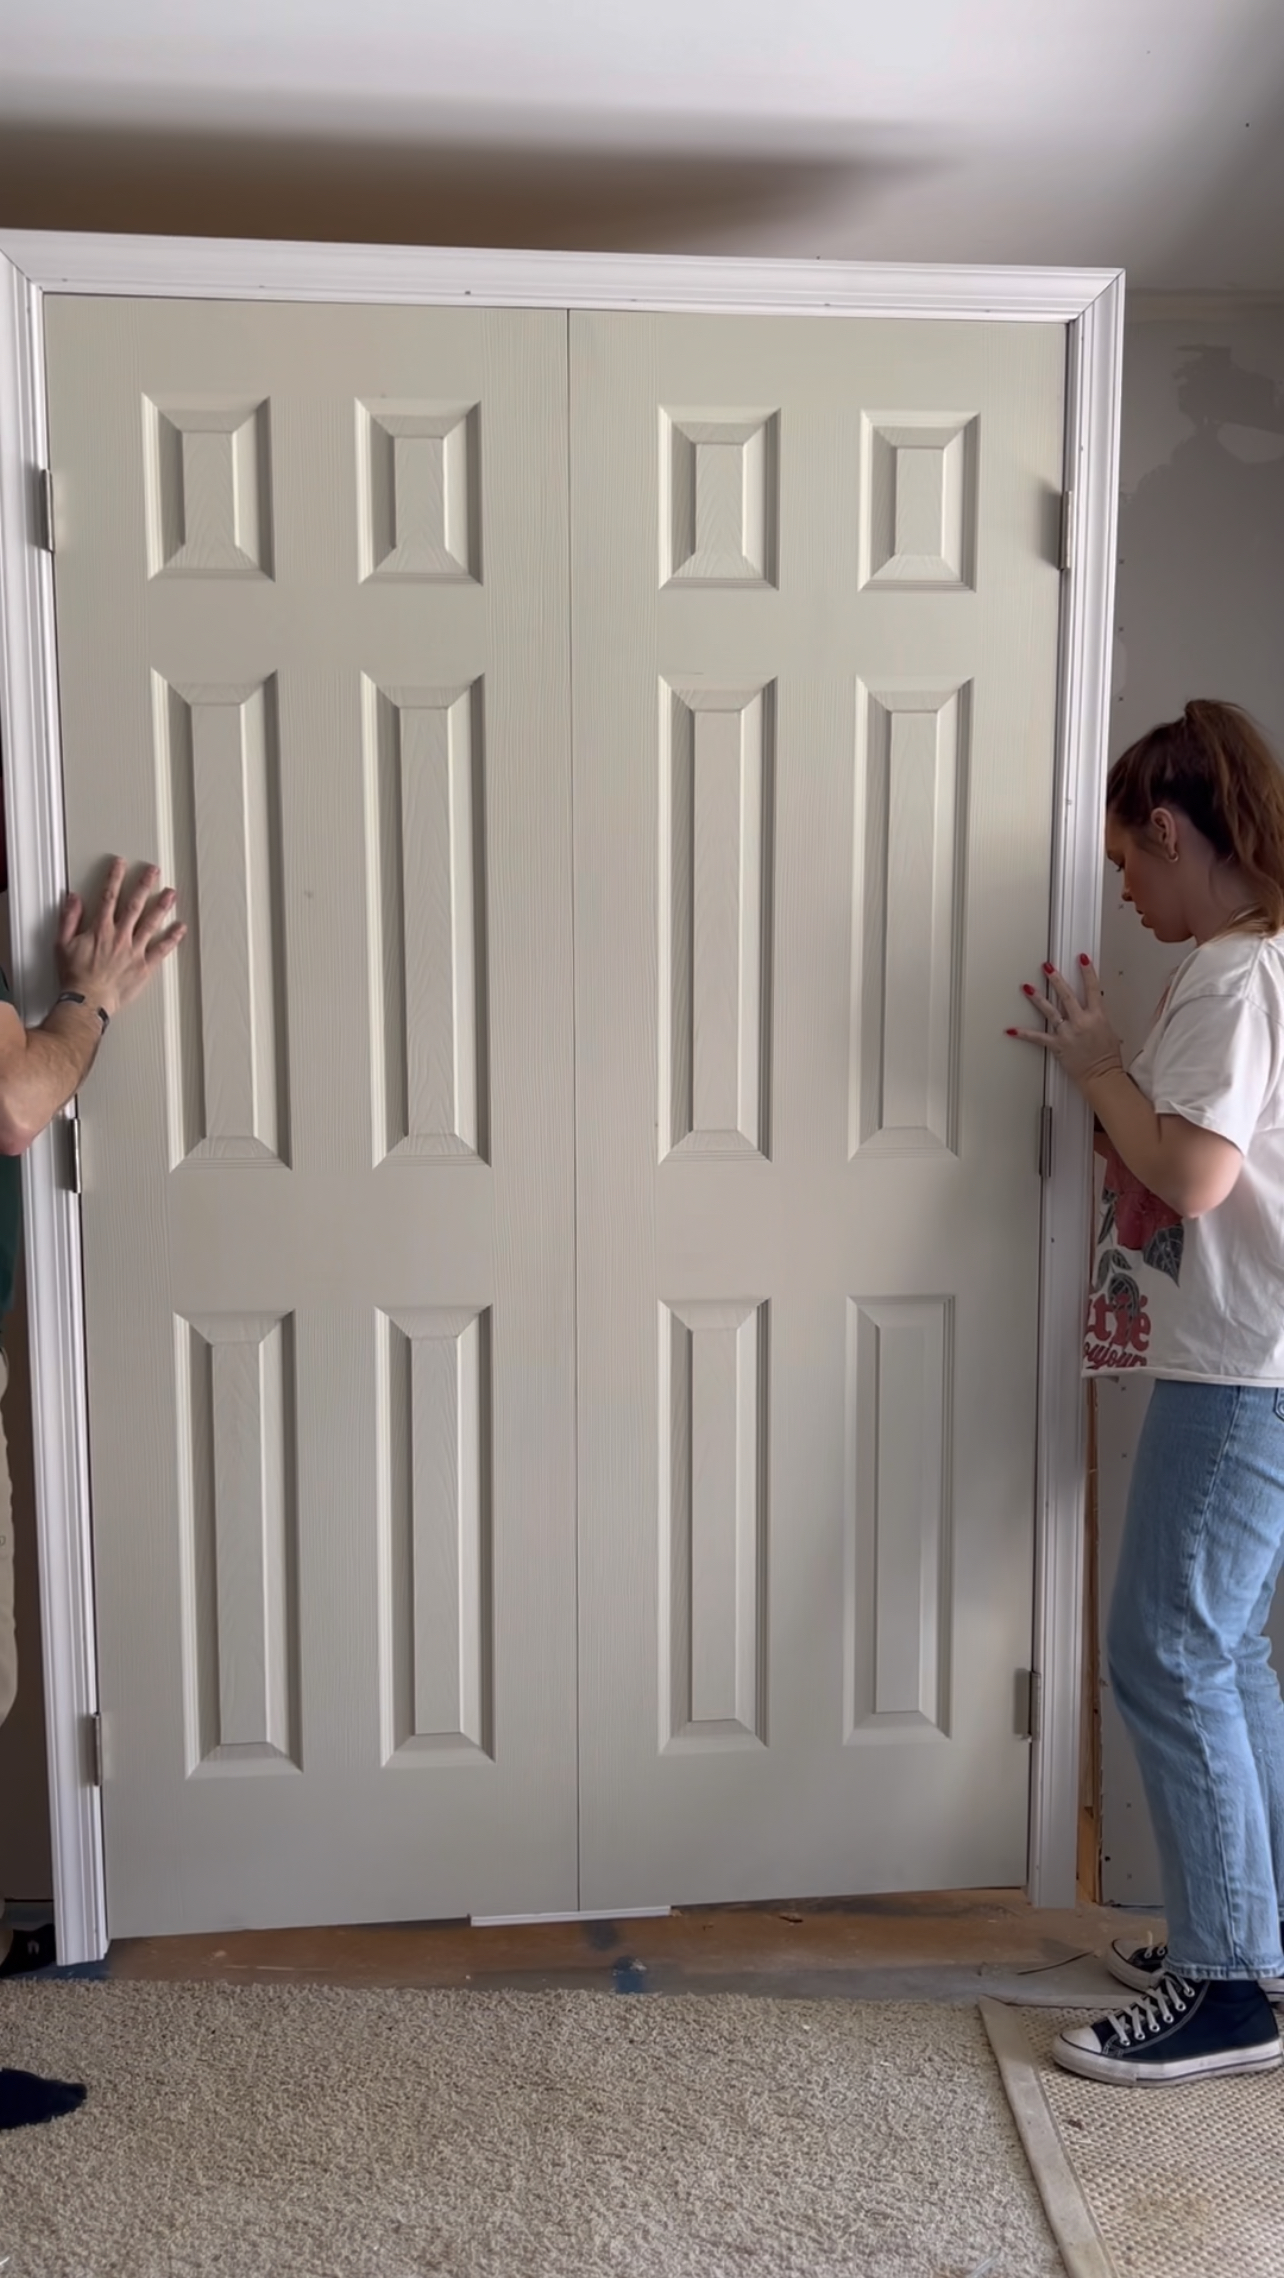
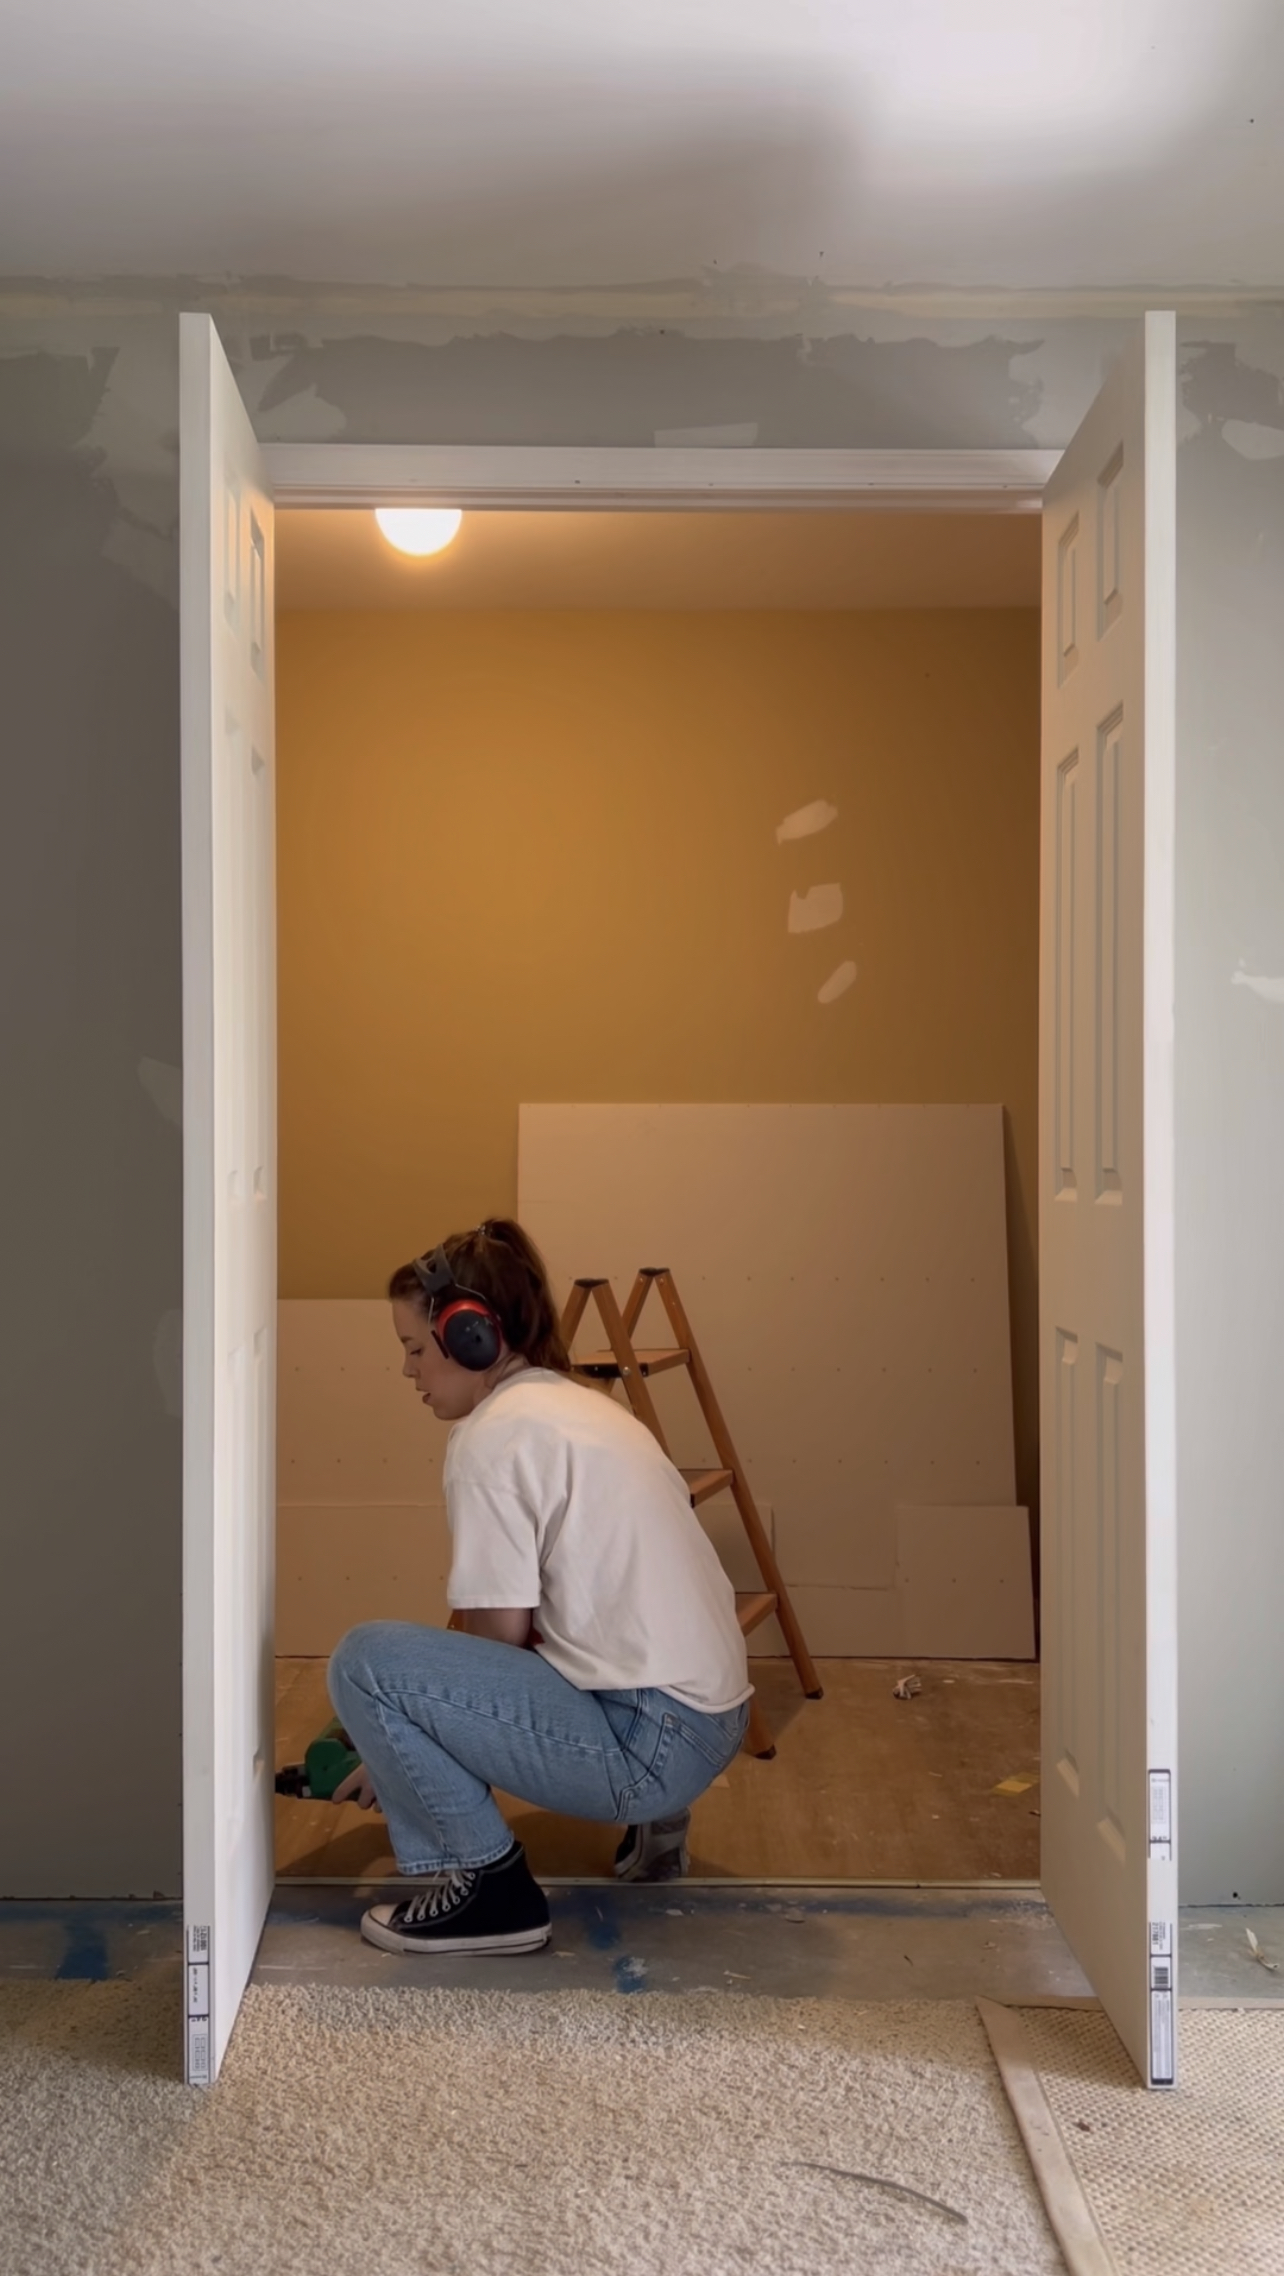
I purchased these double interior doors from Home Depot. They came with a door jamb already attached. It was a fairly simple install! I removed the door casing trim on the inside of the pre-hung doors so that I could slide it into place easily. After making sure my door opening was plumb and straight, my husband helped me lift the pre-hung door into place. We maneuvered them into position while taking time to make sure that they were level before securing with screws into the door jamb.
PAINT


After all of the drywall, mud was sanded and smooth, I gave everything a coat of paint, Swiss coffee by Behr. I then installed baseboard trim throughout and replaced the door casing trim that I removed during the door insulation. I then caulked and filled everything and gave all of the trim and coat of paint as well.
DIY STORAGE SHELVING
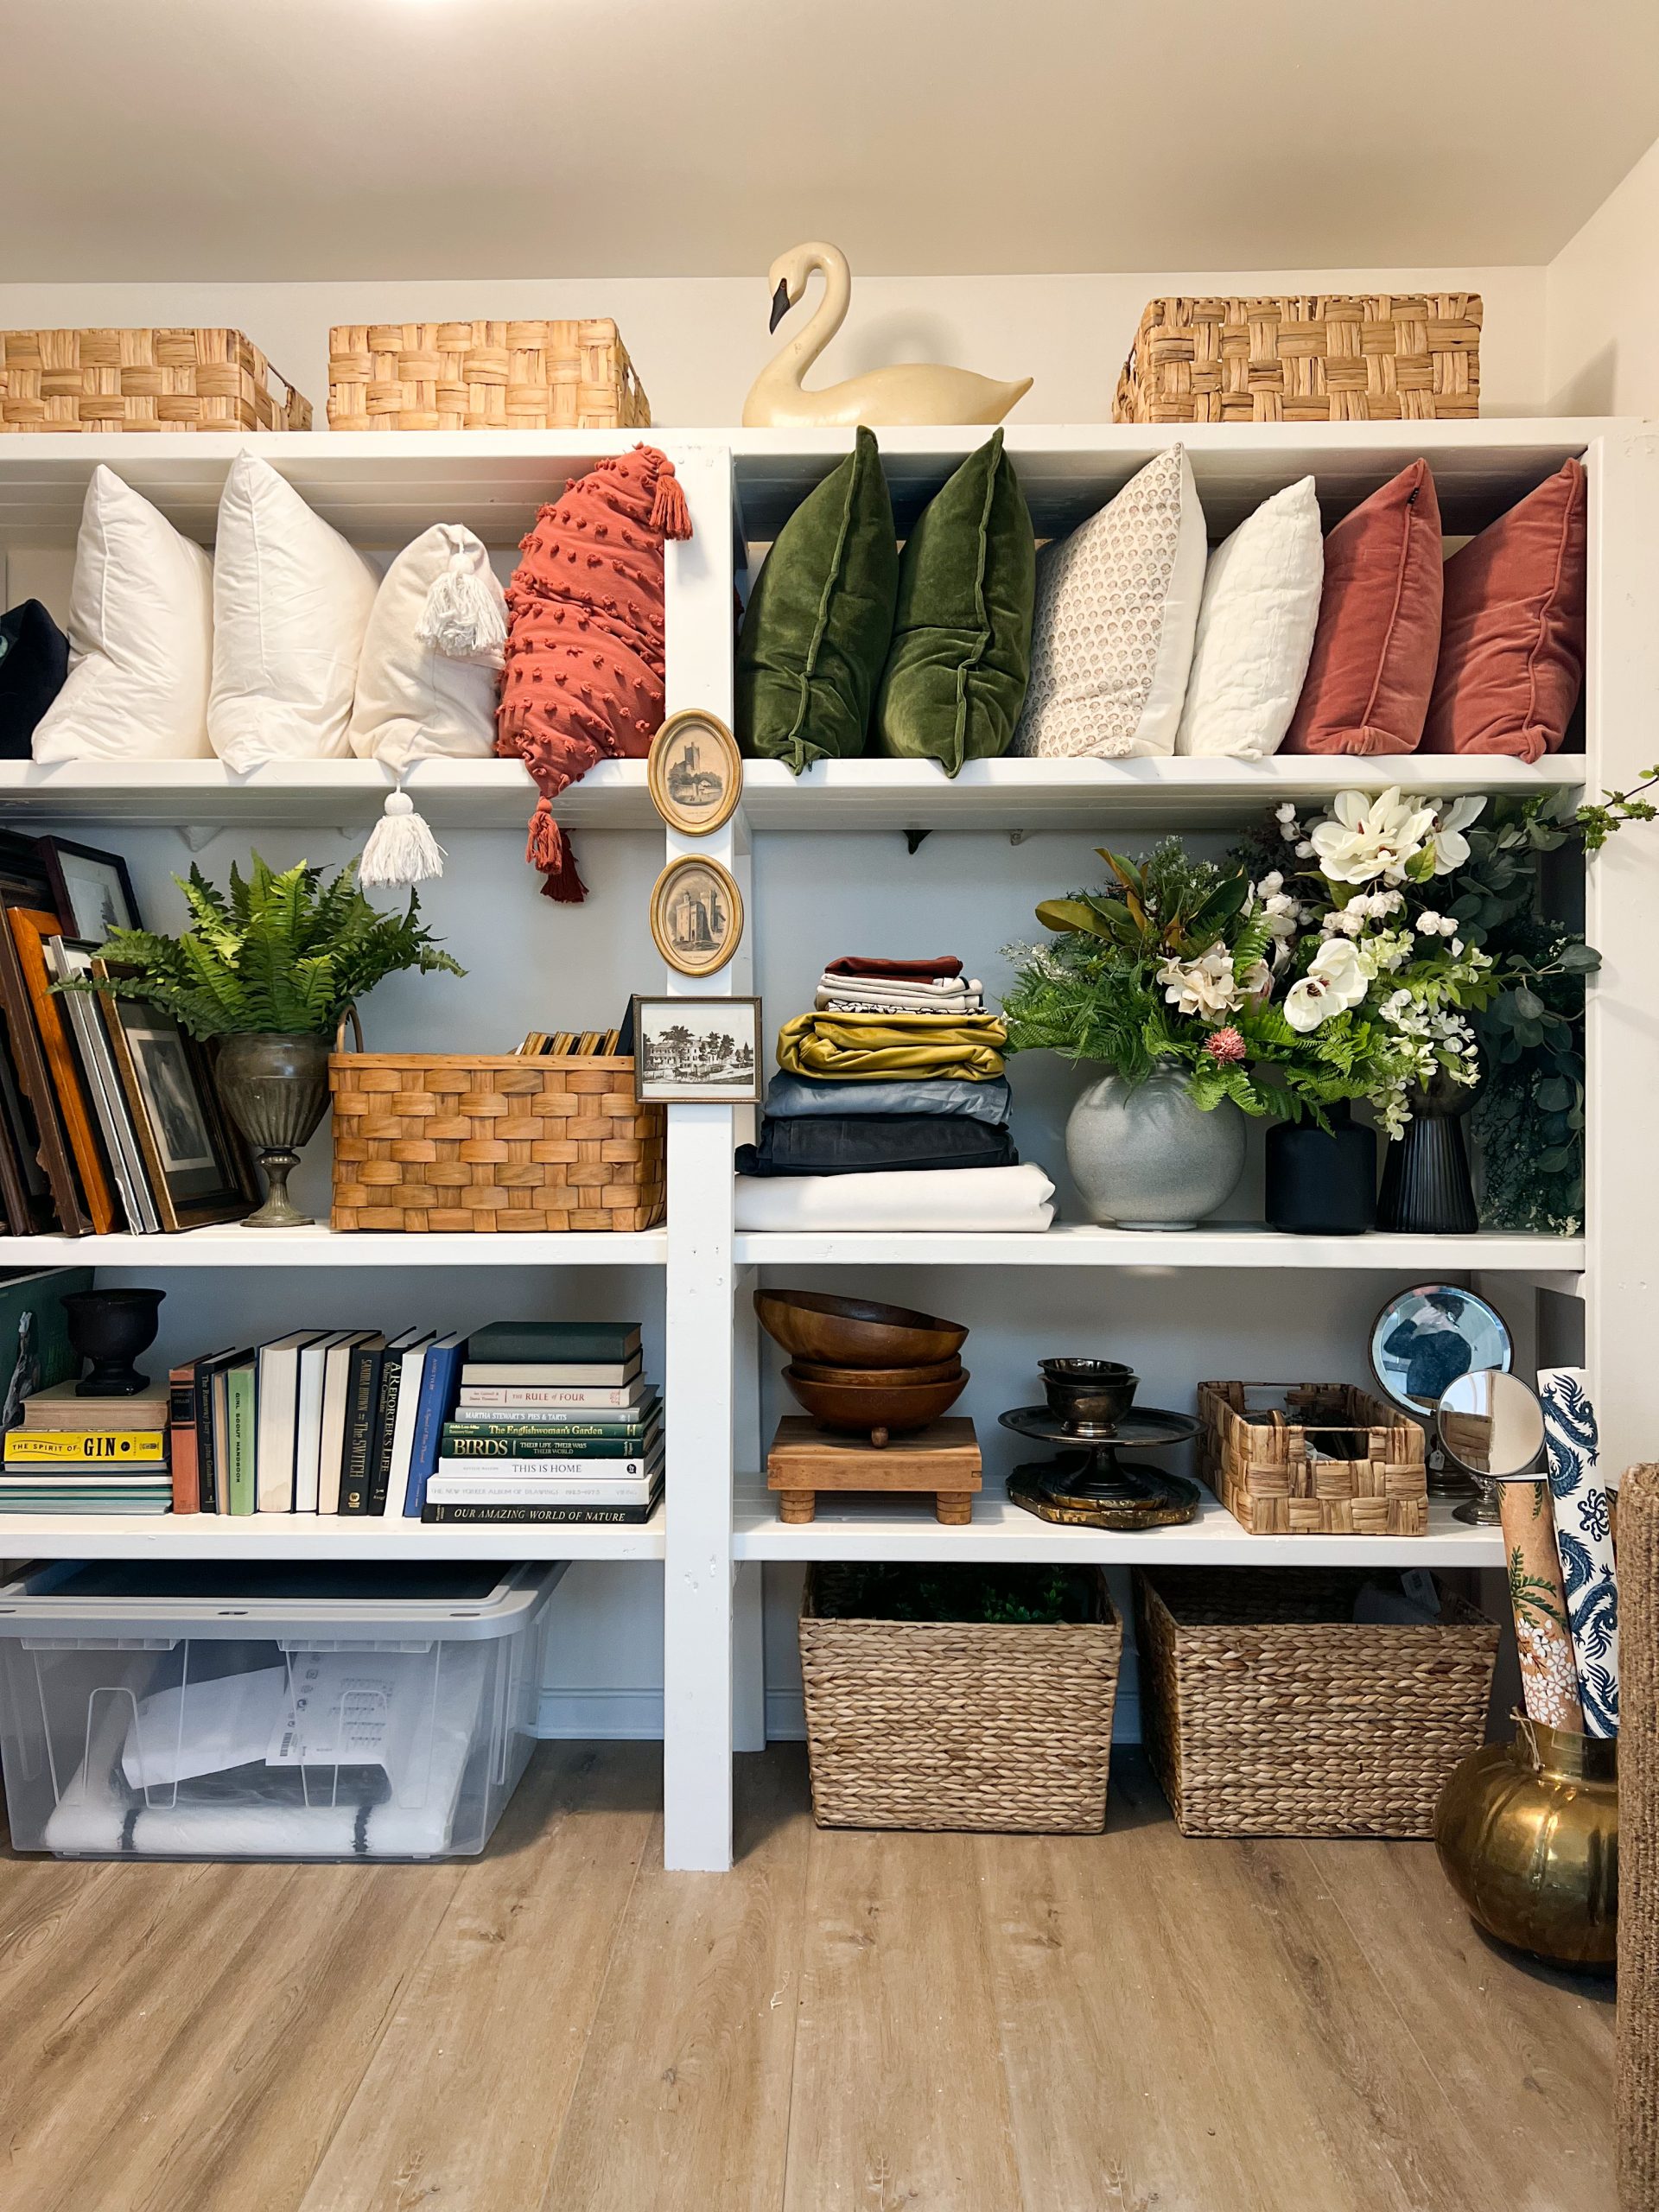
Then I made plans to build my shelving for my decor storage. This would have been a great opportunity to make some fancy looking custom built-ins, but since this is just for functional storage I wanted to save myself the time, effort, and money by coming up with a very affordable and easy solution for this. So i decided to use strictly 2×4’s for this!

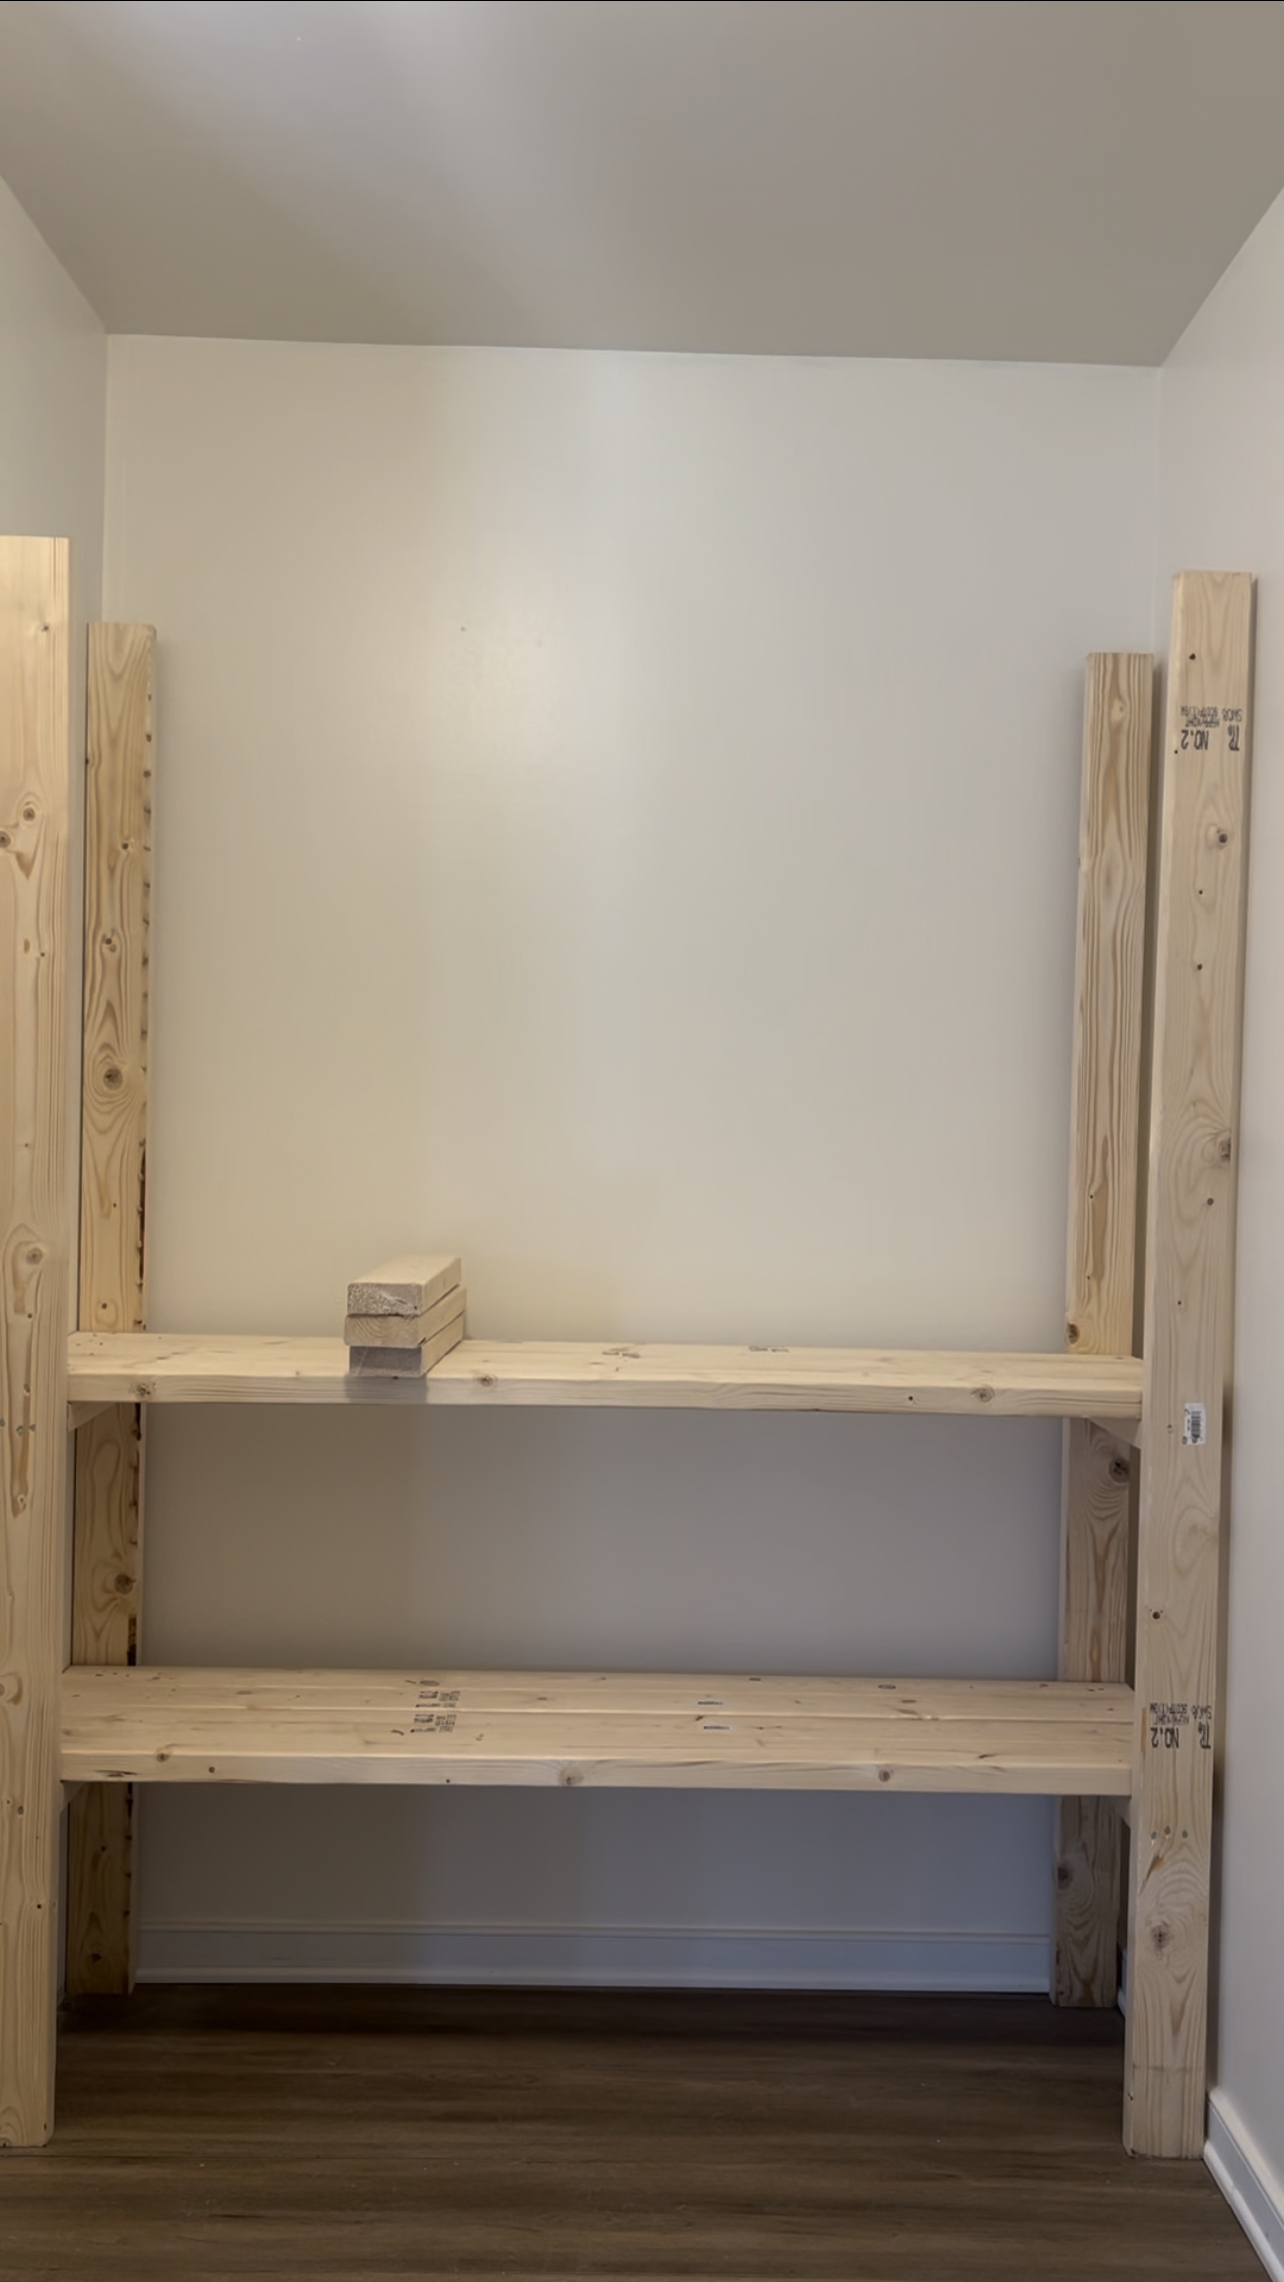
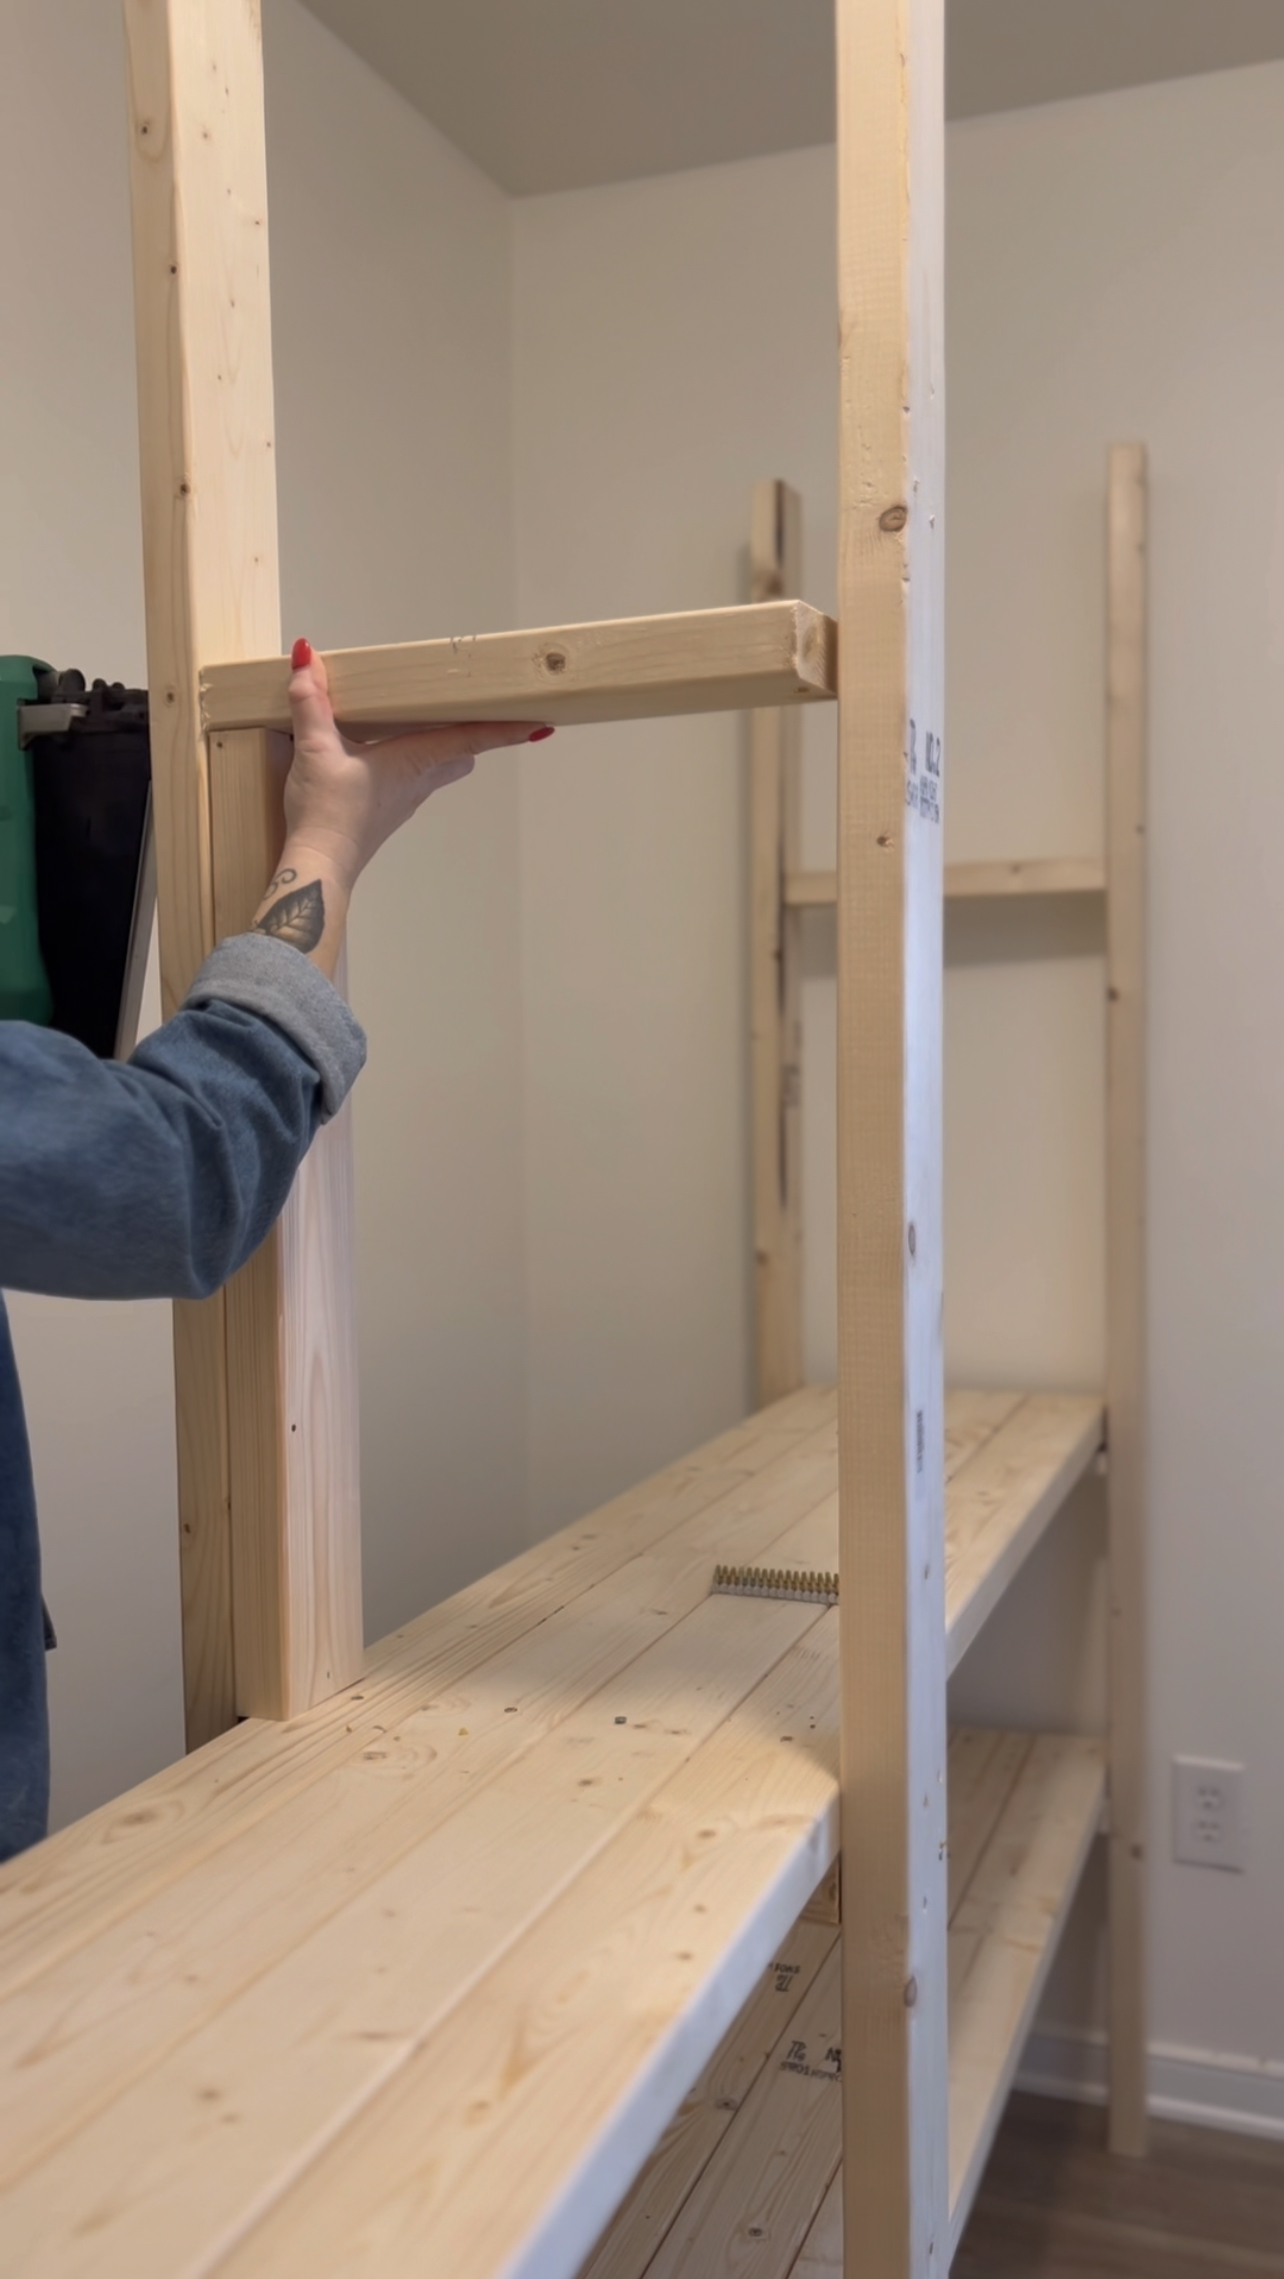
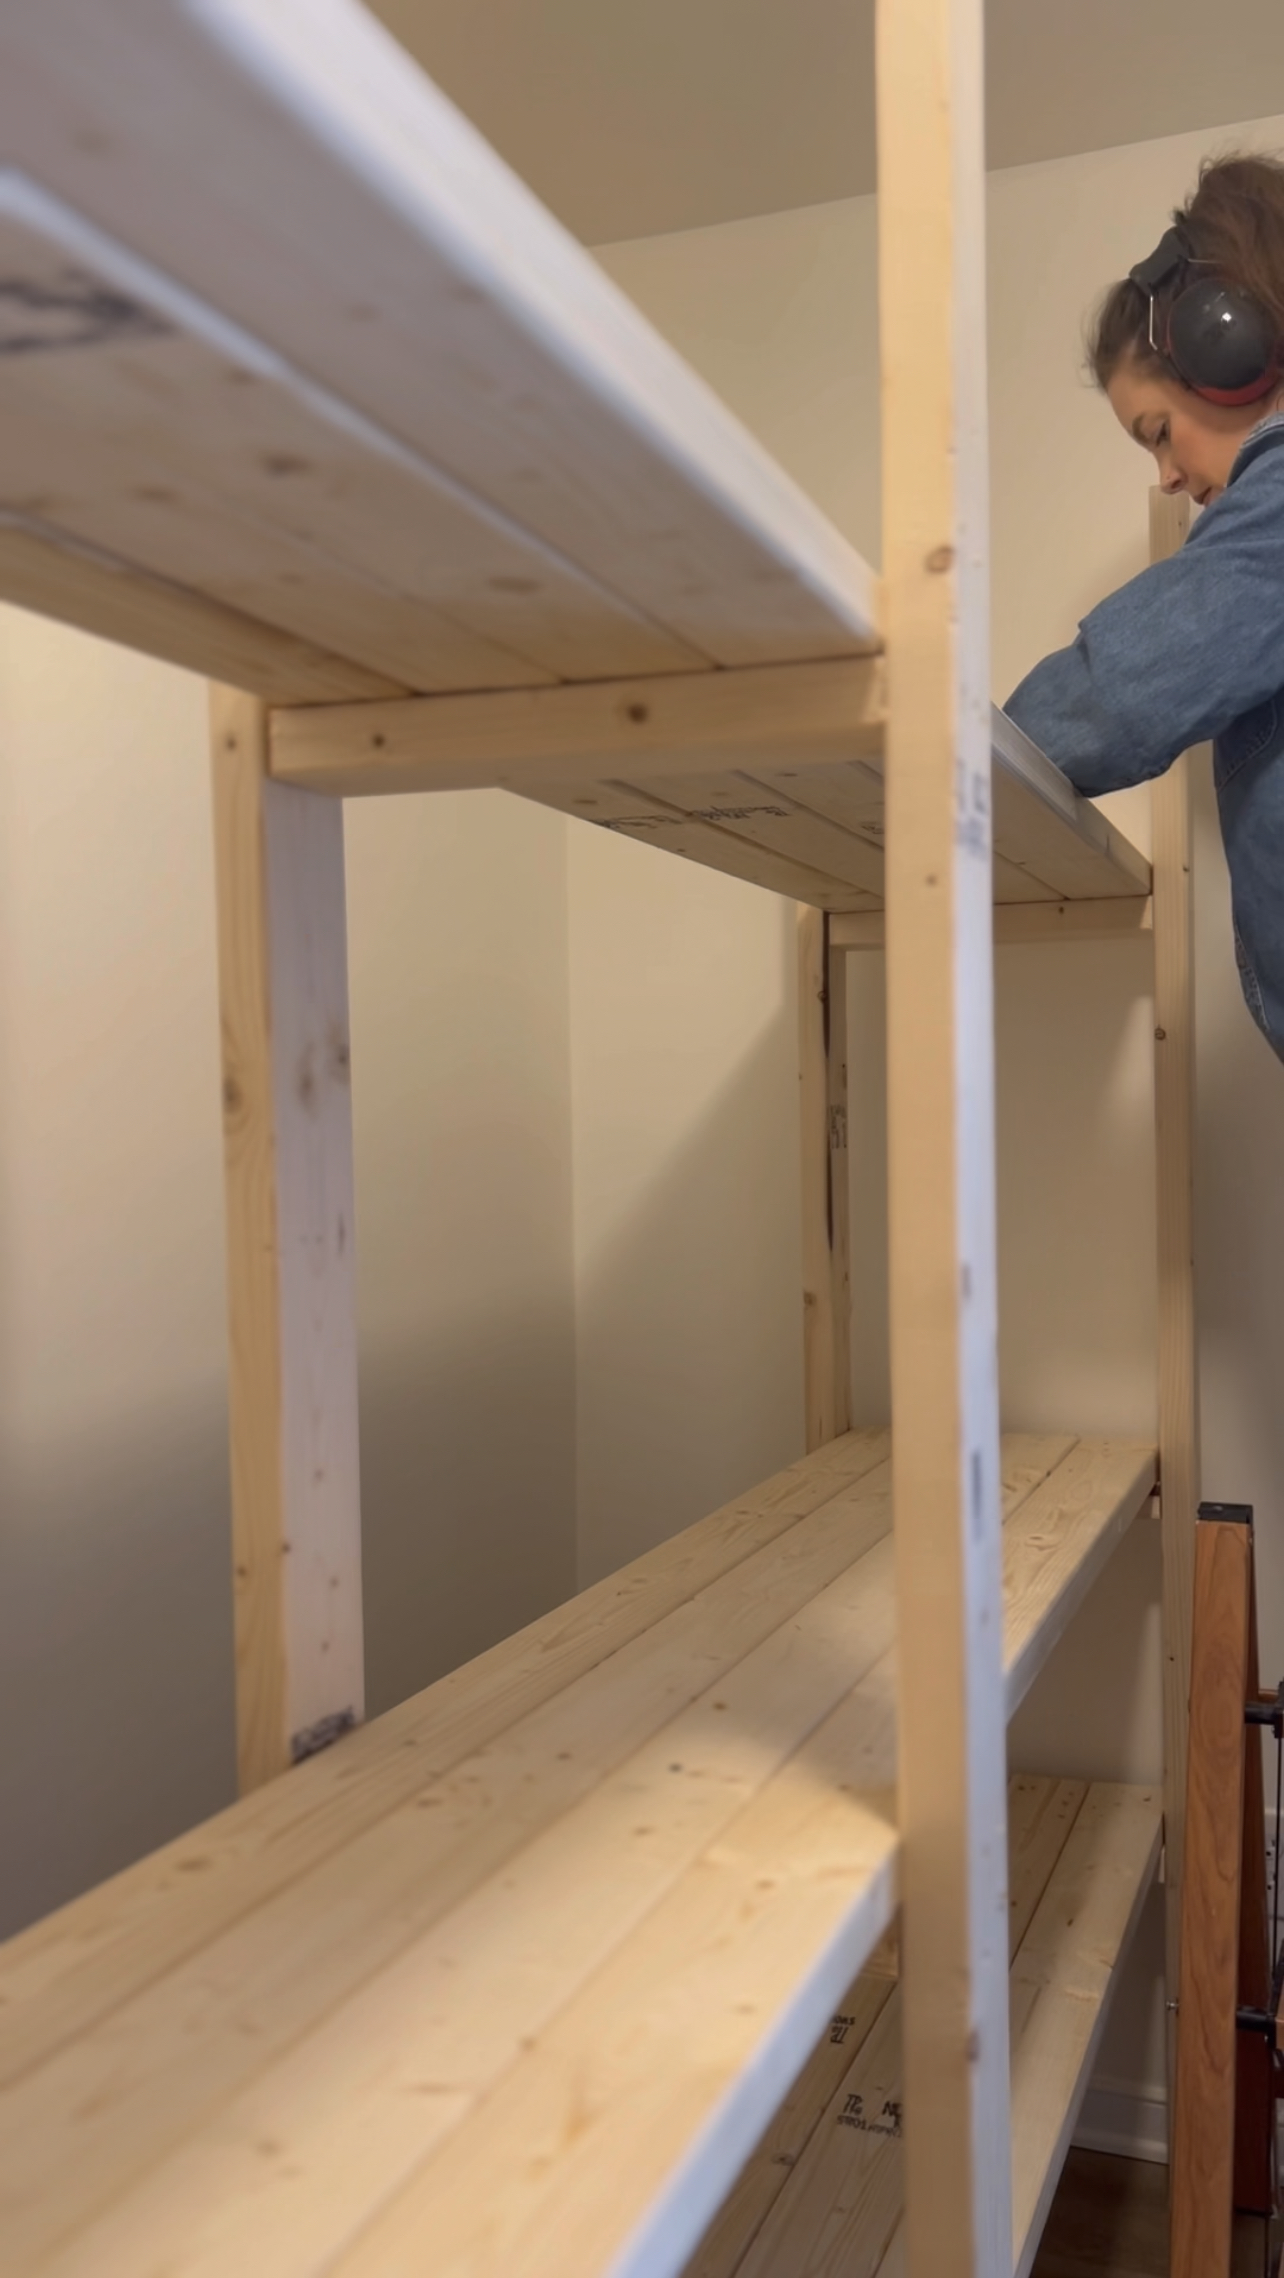
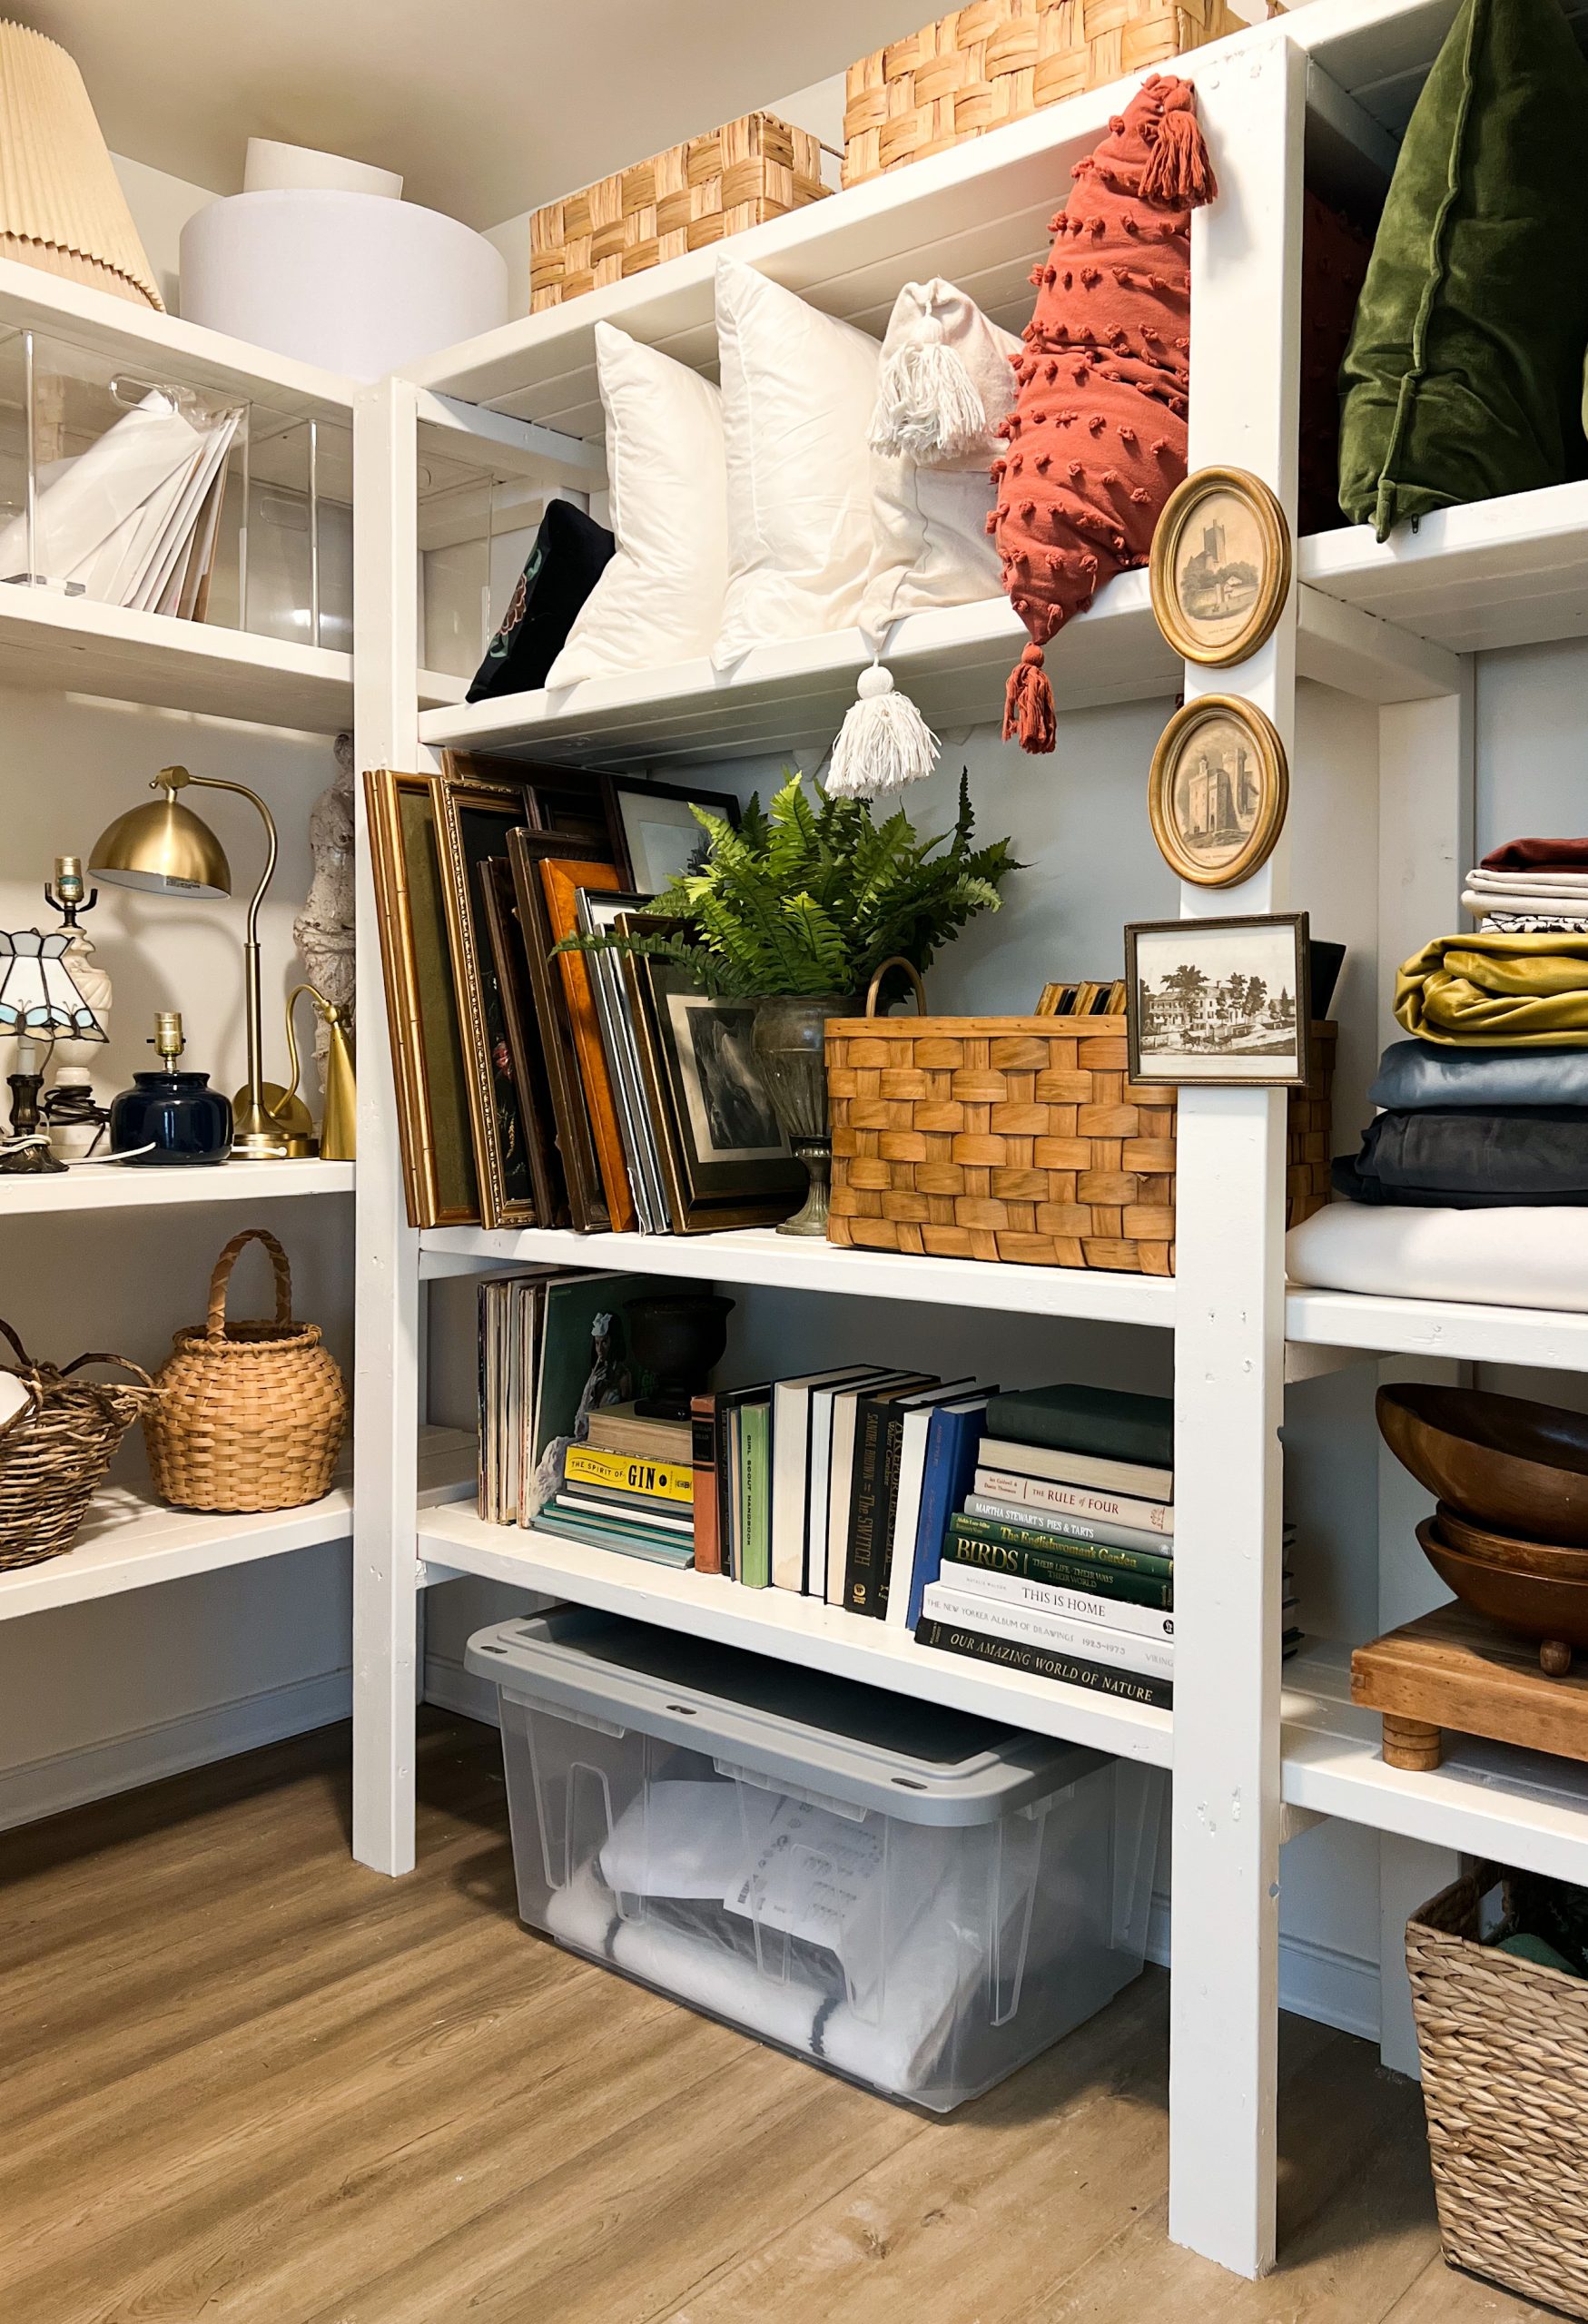
Using 2×4’s I built a basic frame and then continued using the 2×4’s to create shelves. I built the entire structure using two by fours and framing nailer. Screws would also work just fine.
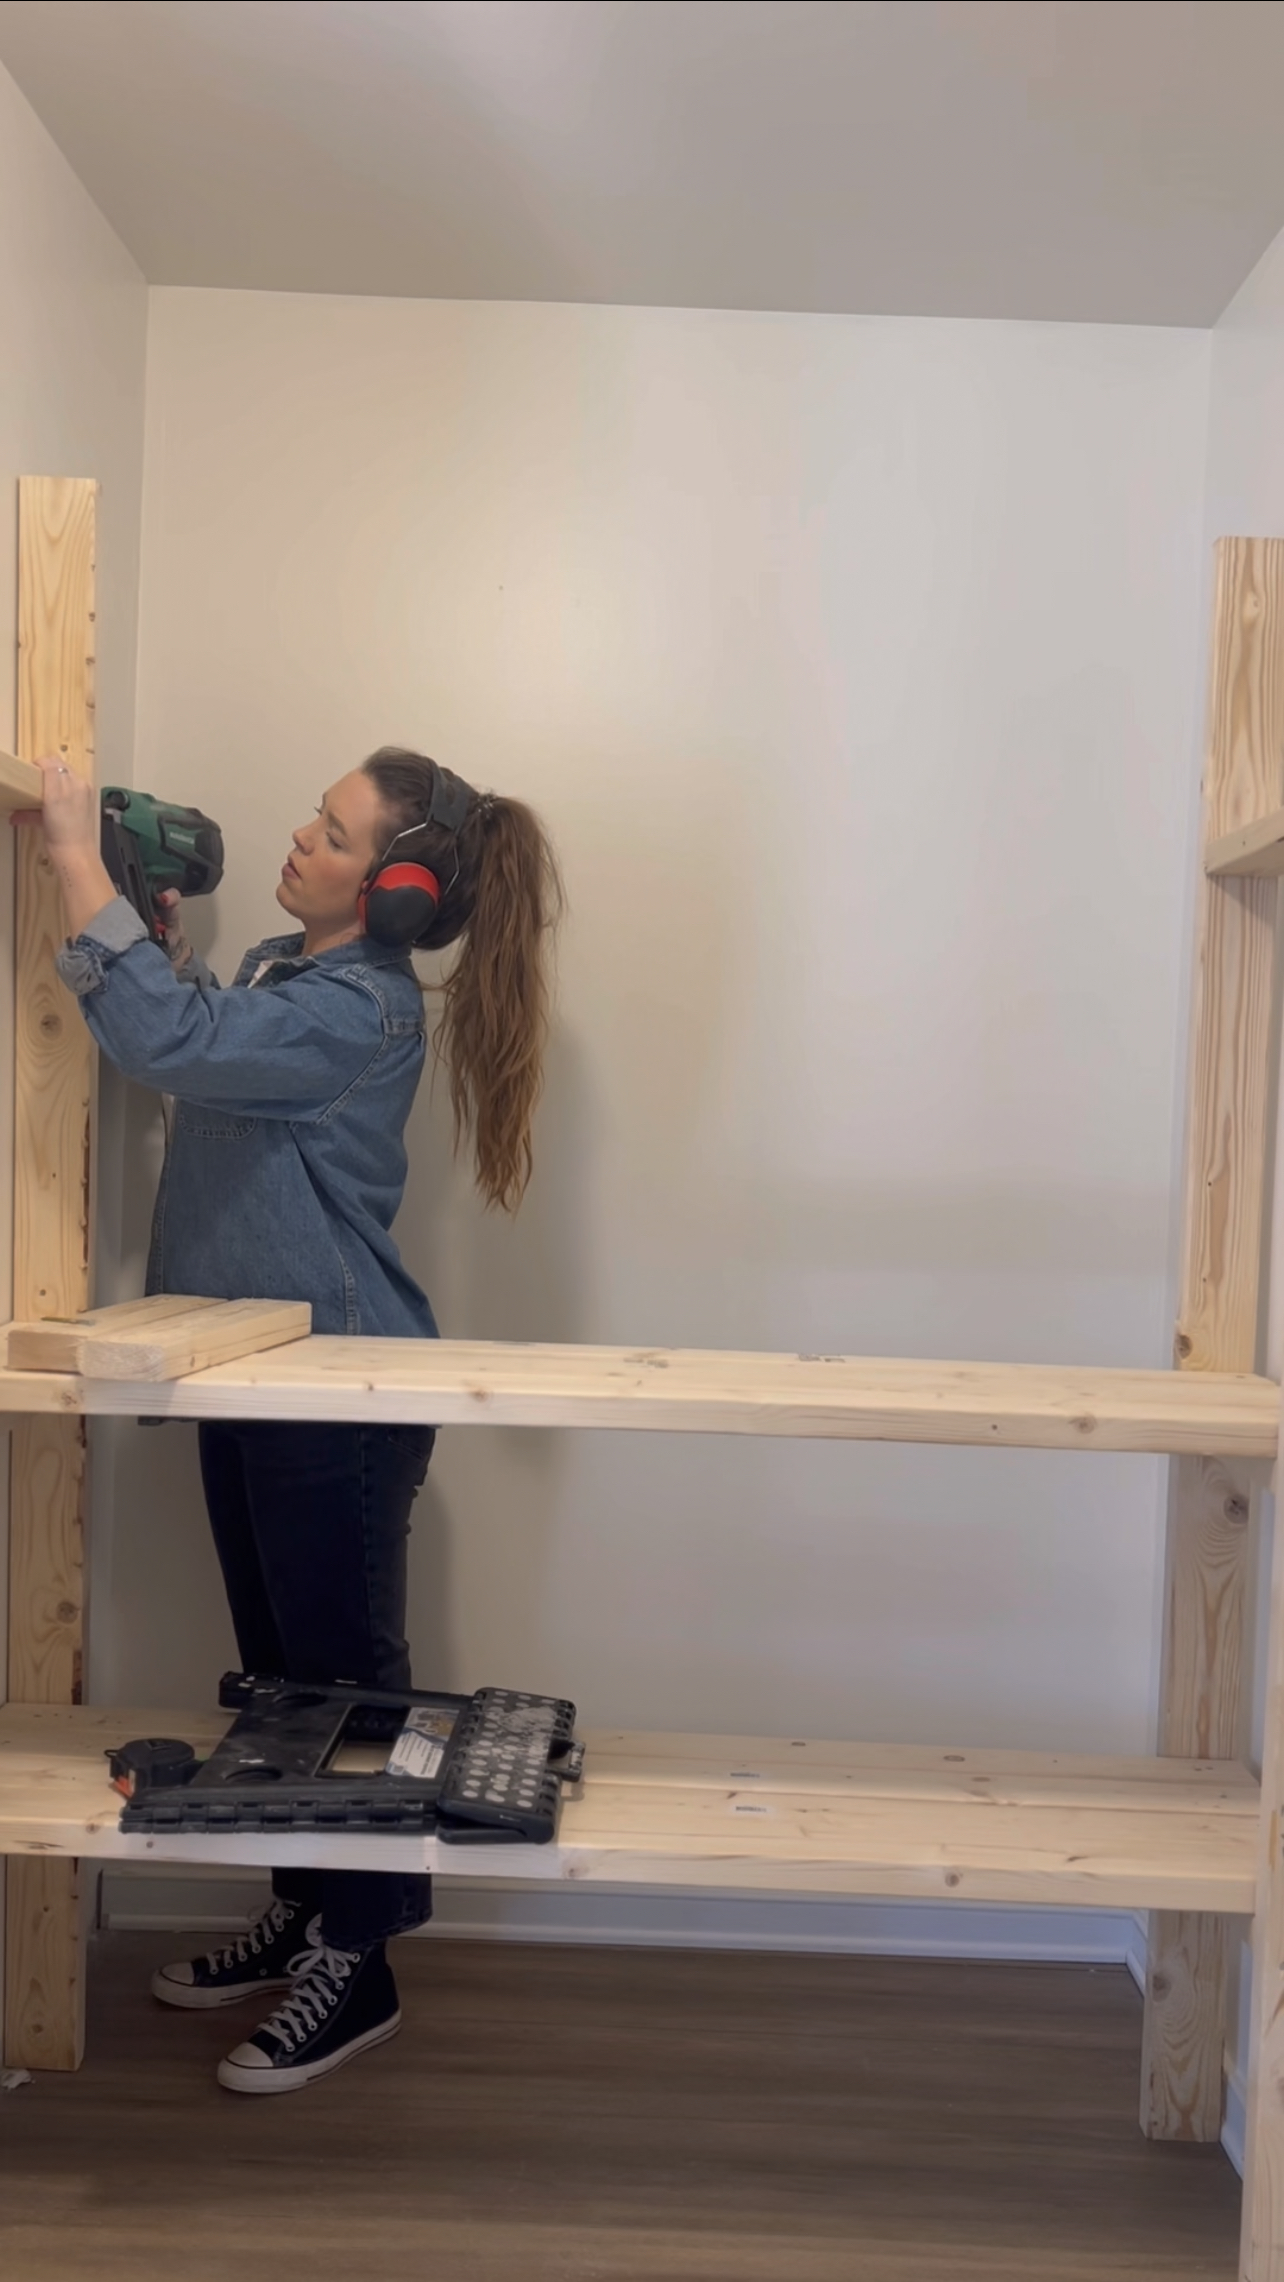
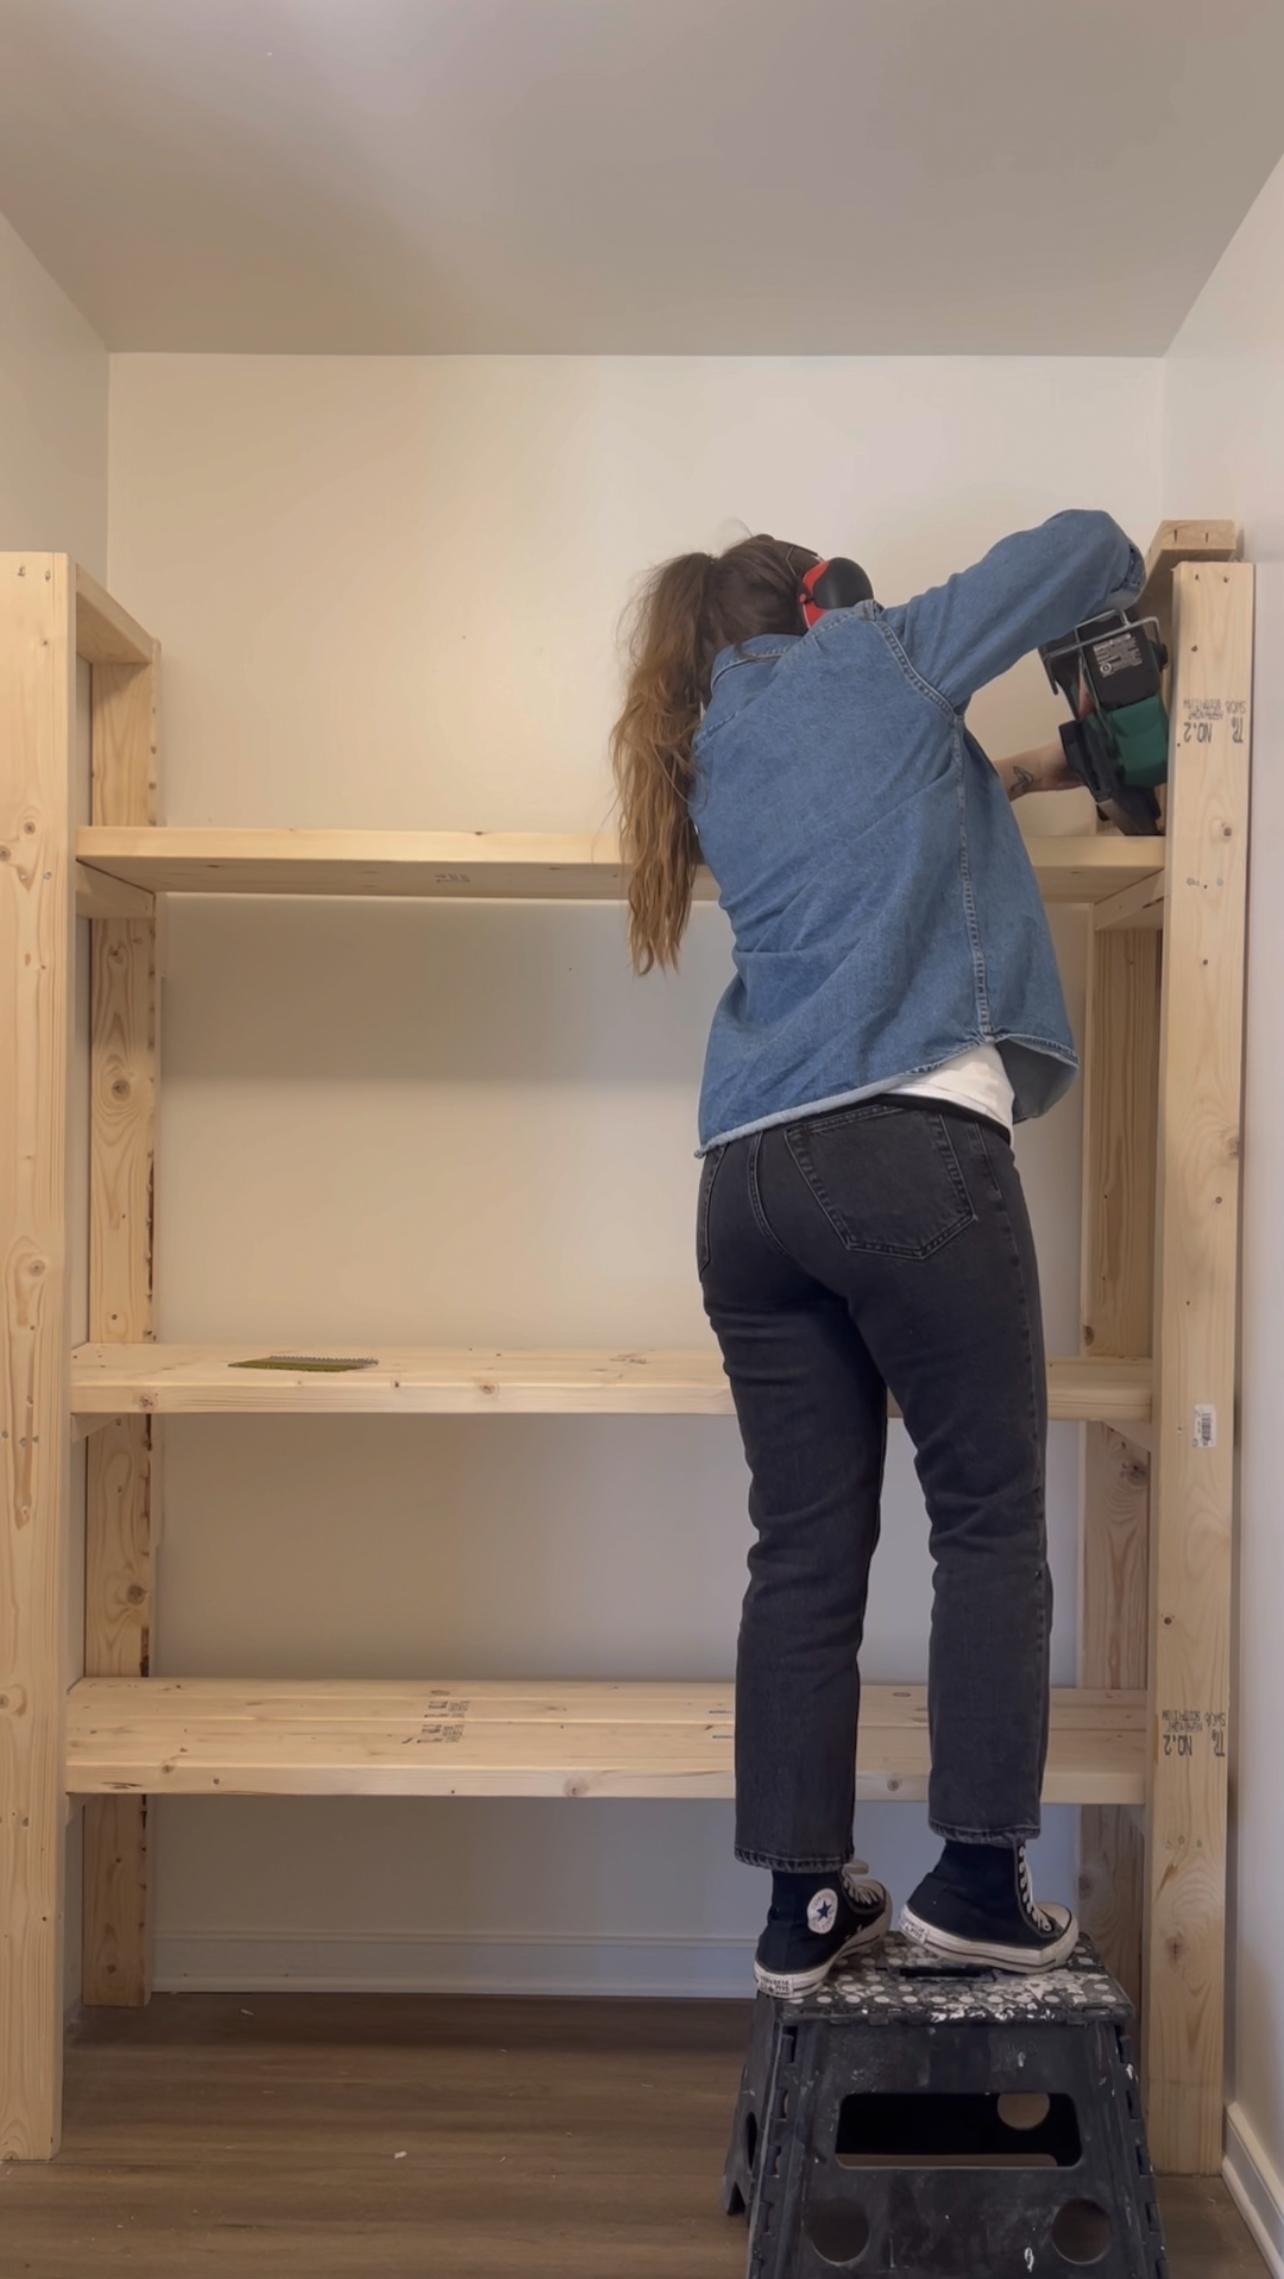
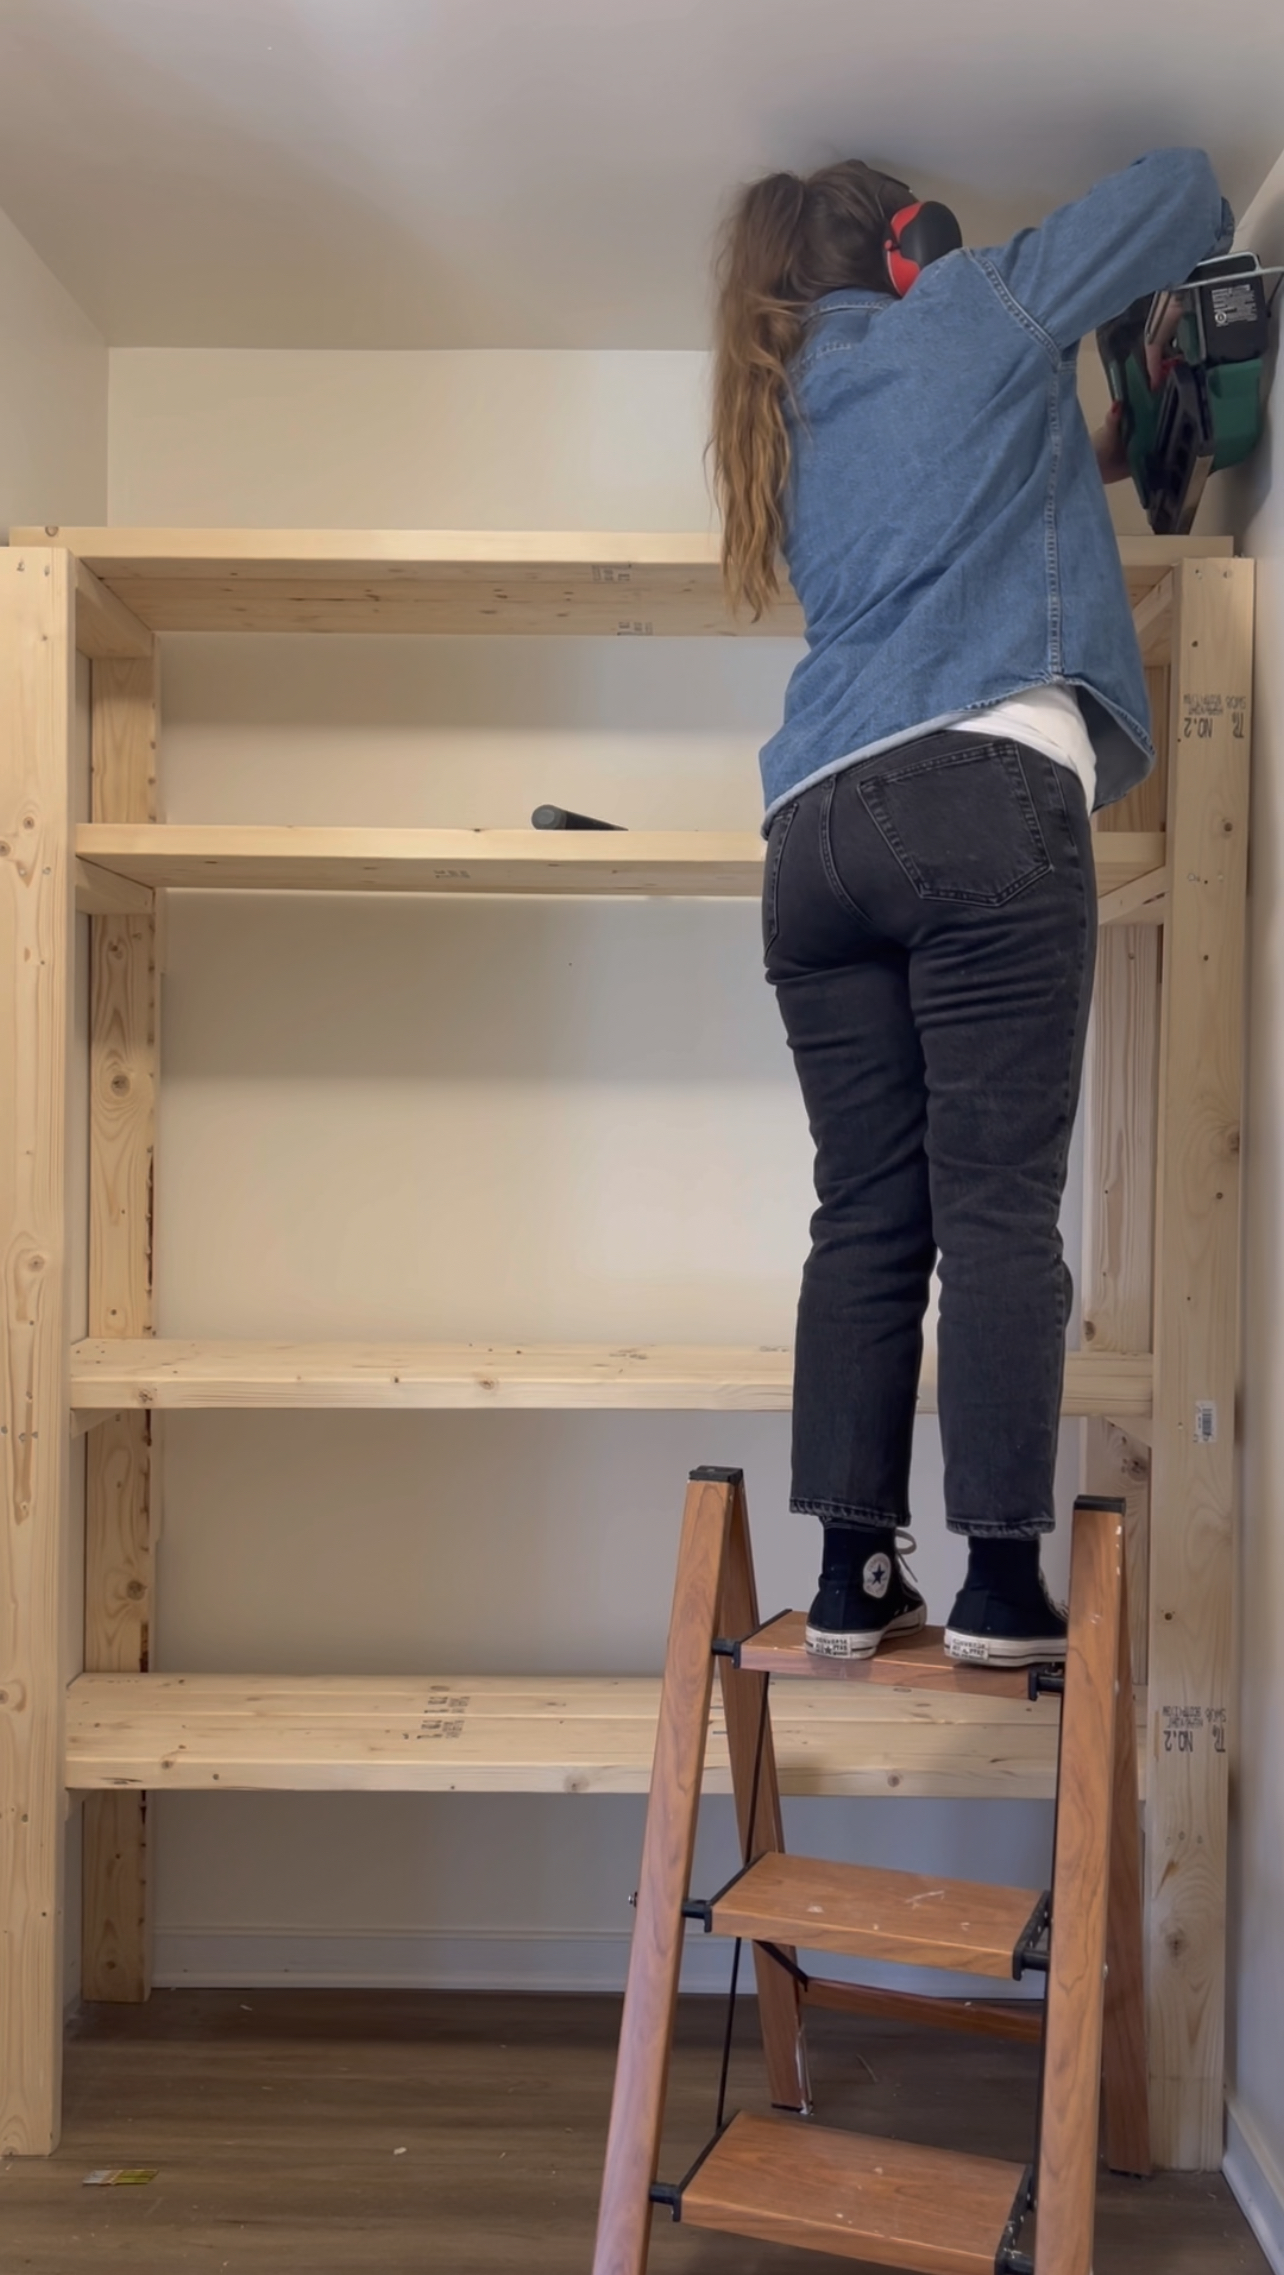
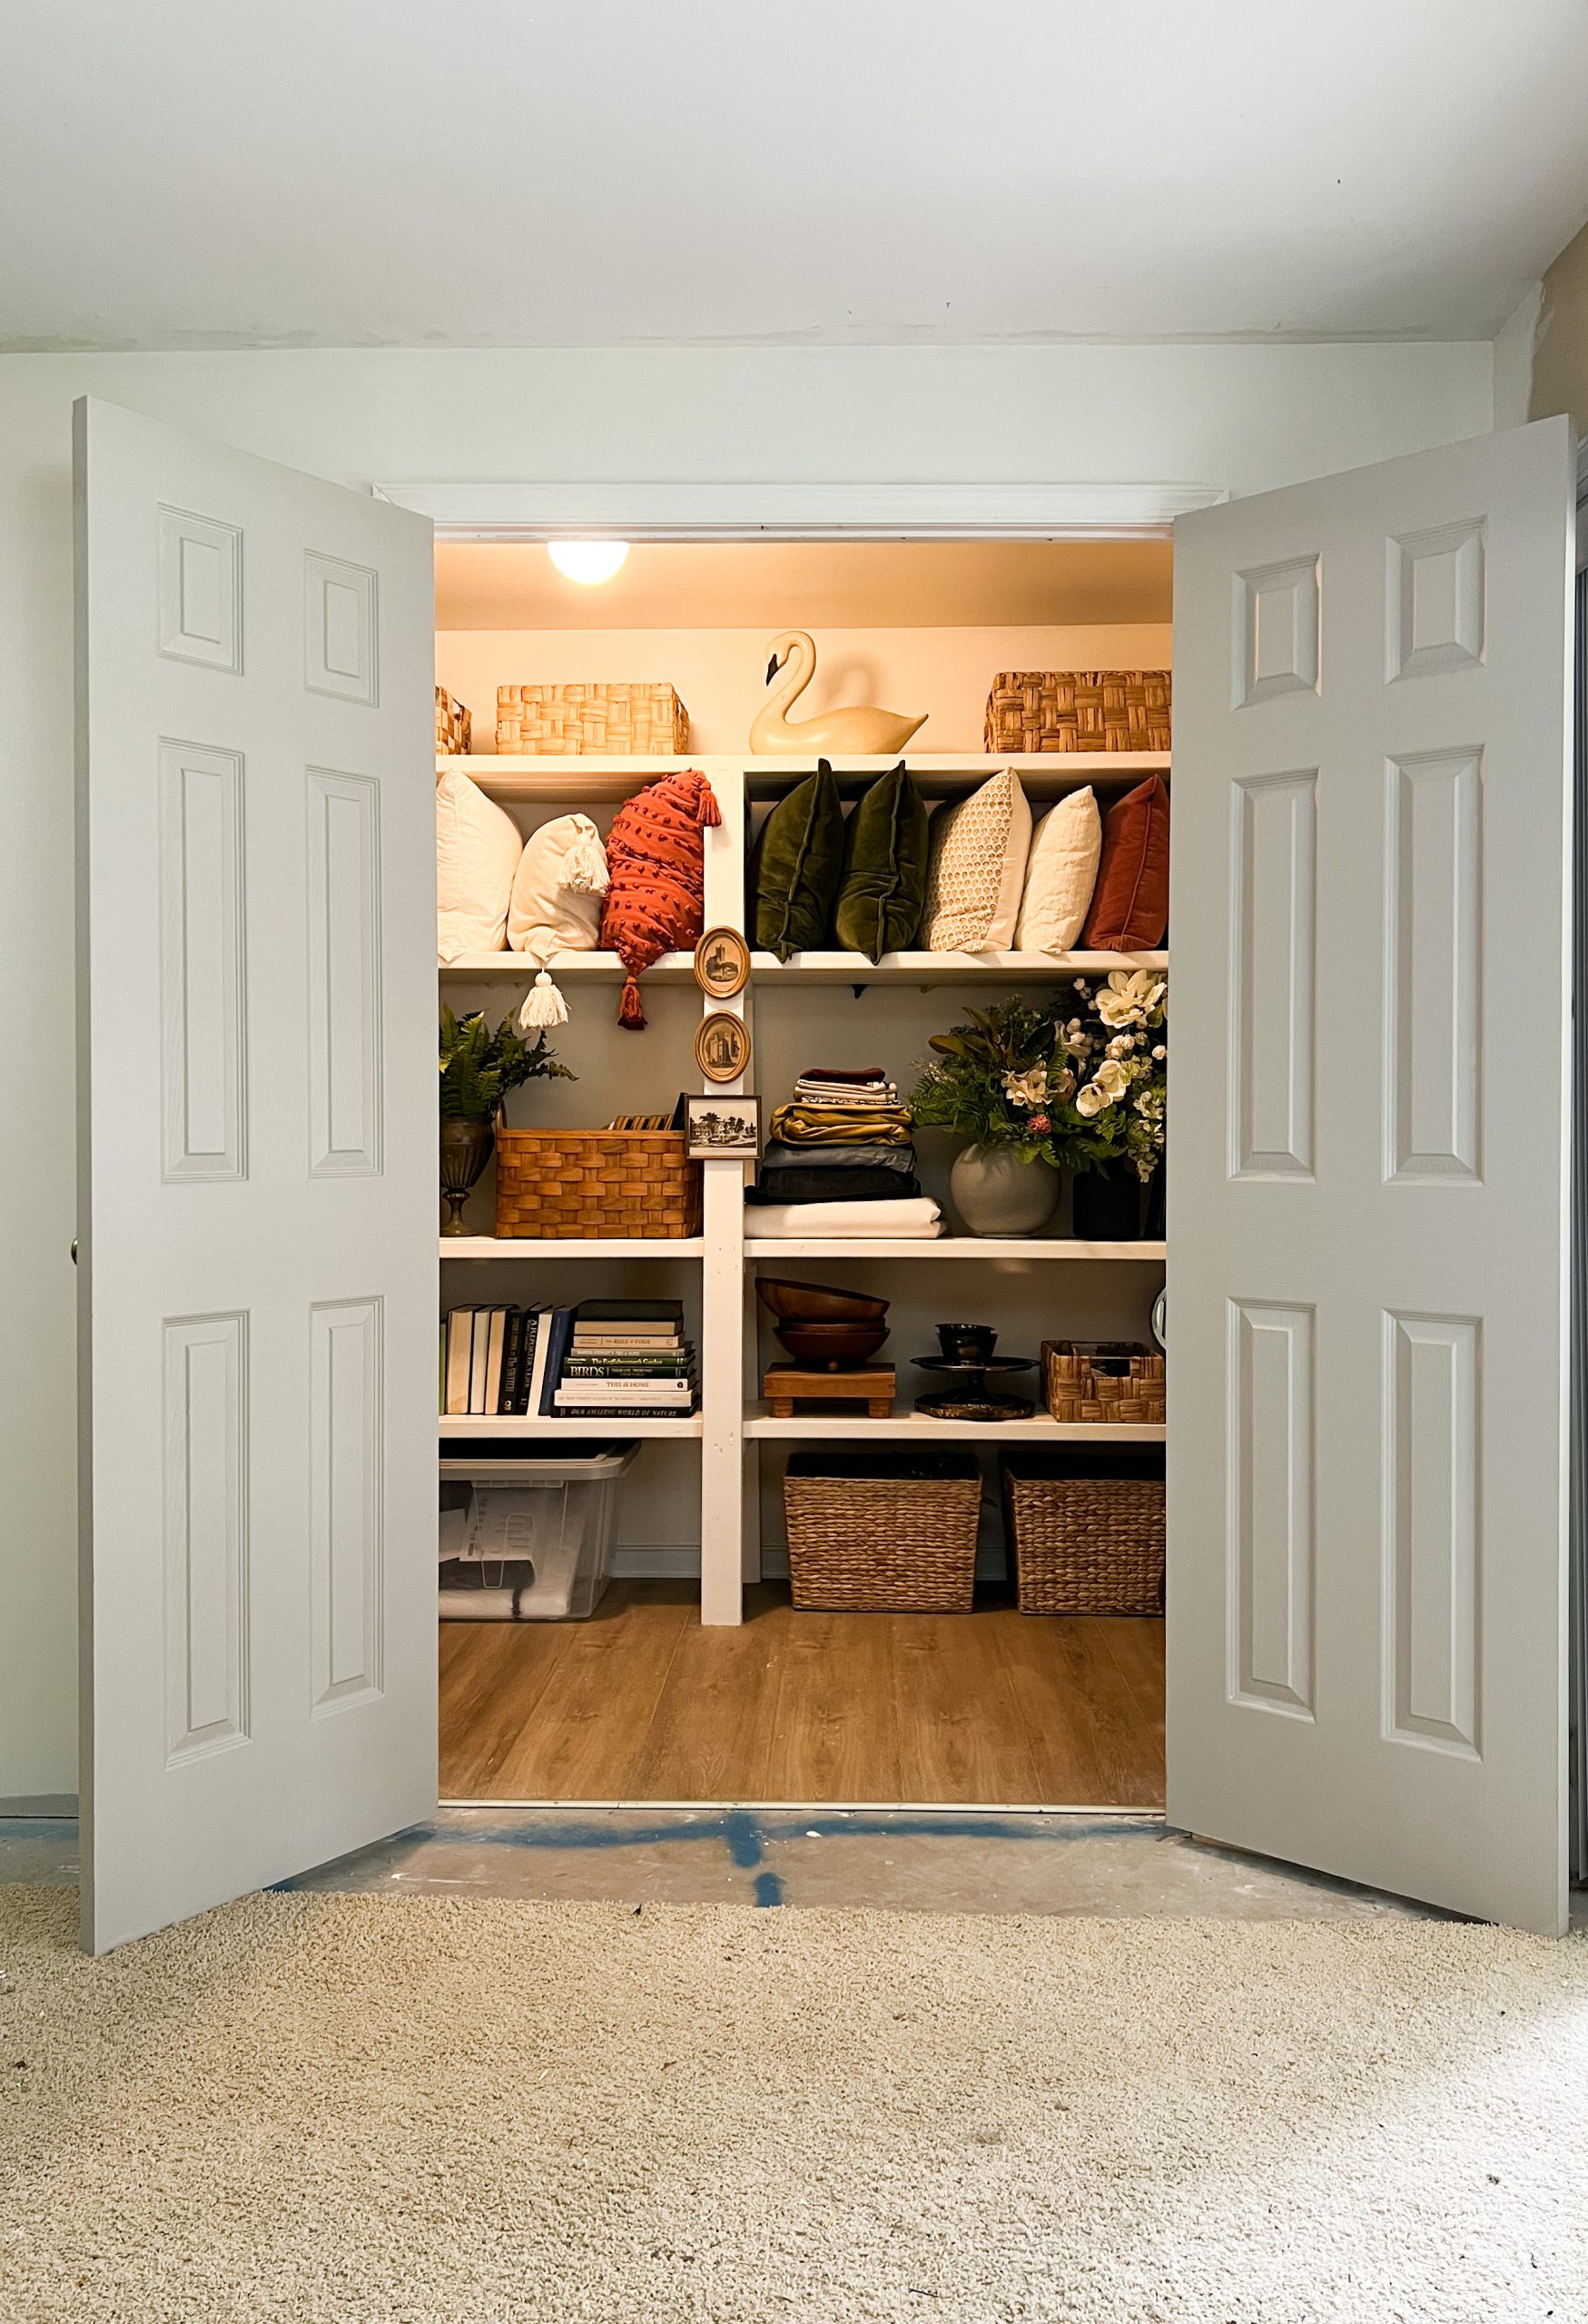
I built one shelving unit for each wall and used the measurements of my decor items to base the height of my shelving. I wanted to be able to fit as much as I possibly could on the shelves and organize in a way that made sense without any waste of space. Once I was done constructing the shelves, I secured them into place by screwing them into the studs of the walls, and then painted with Swiss Coffee by Behr to match the walls.
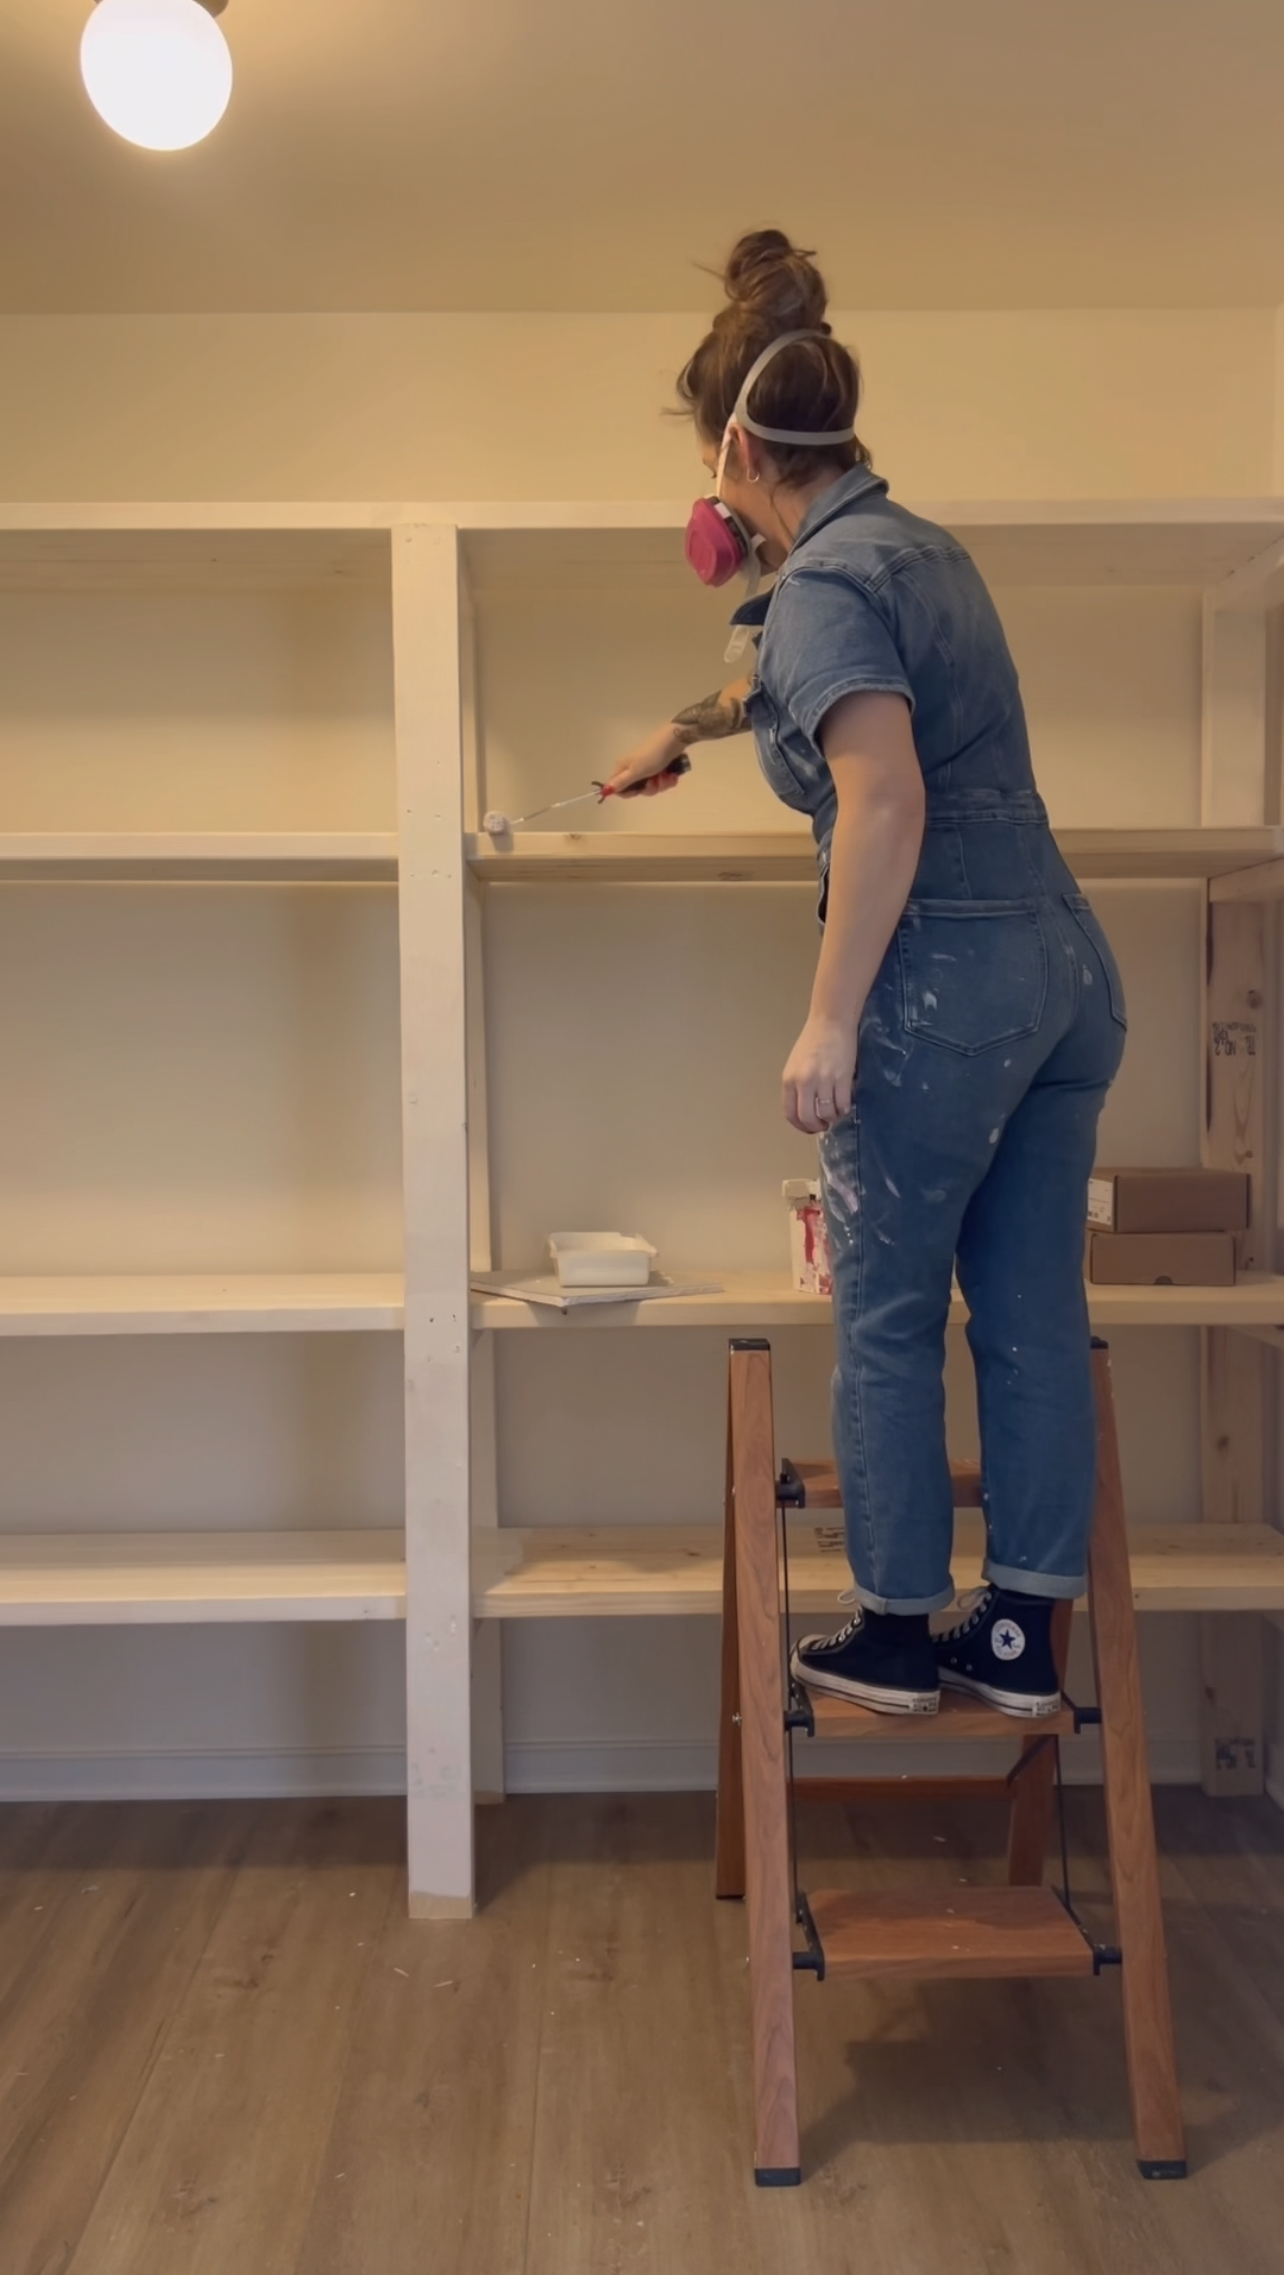
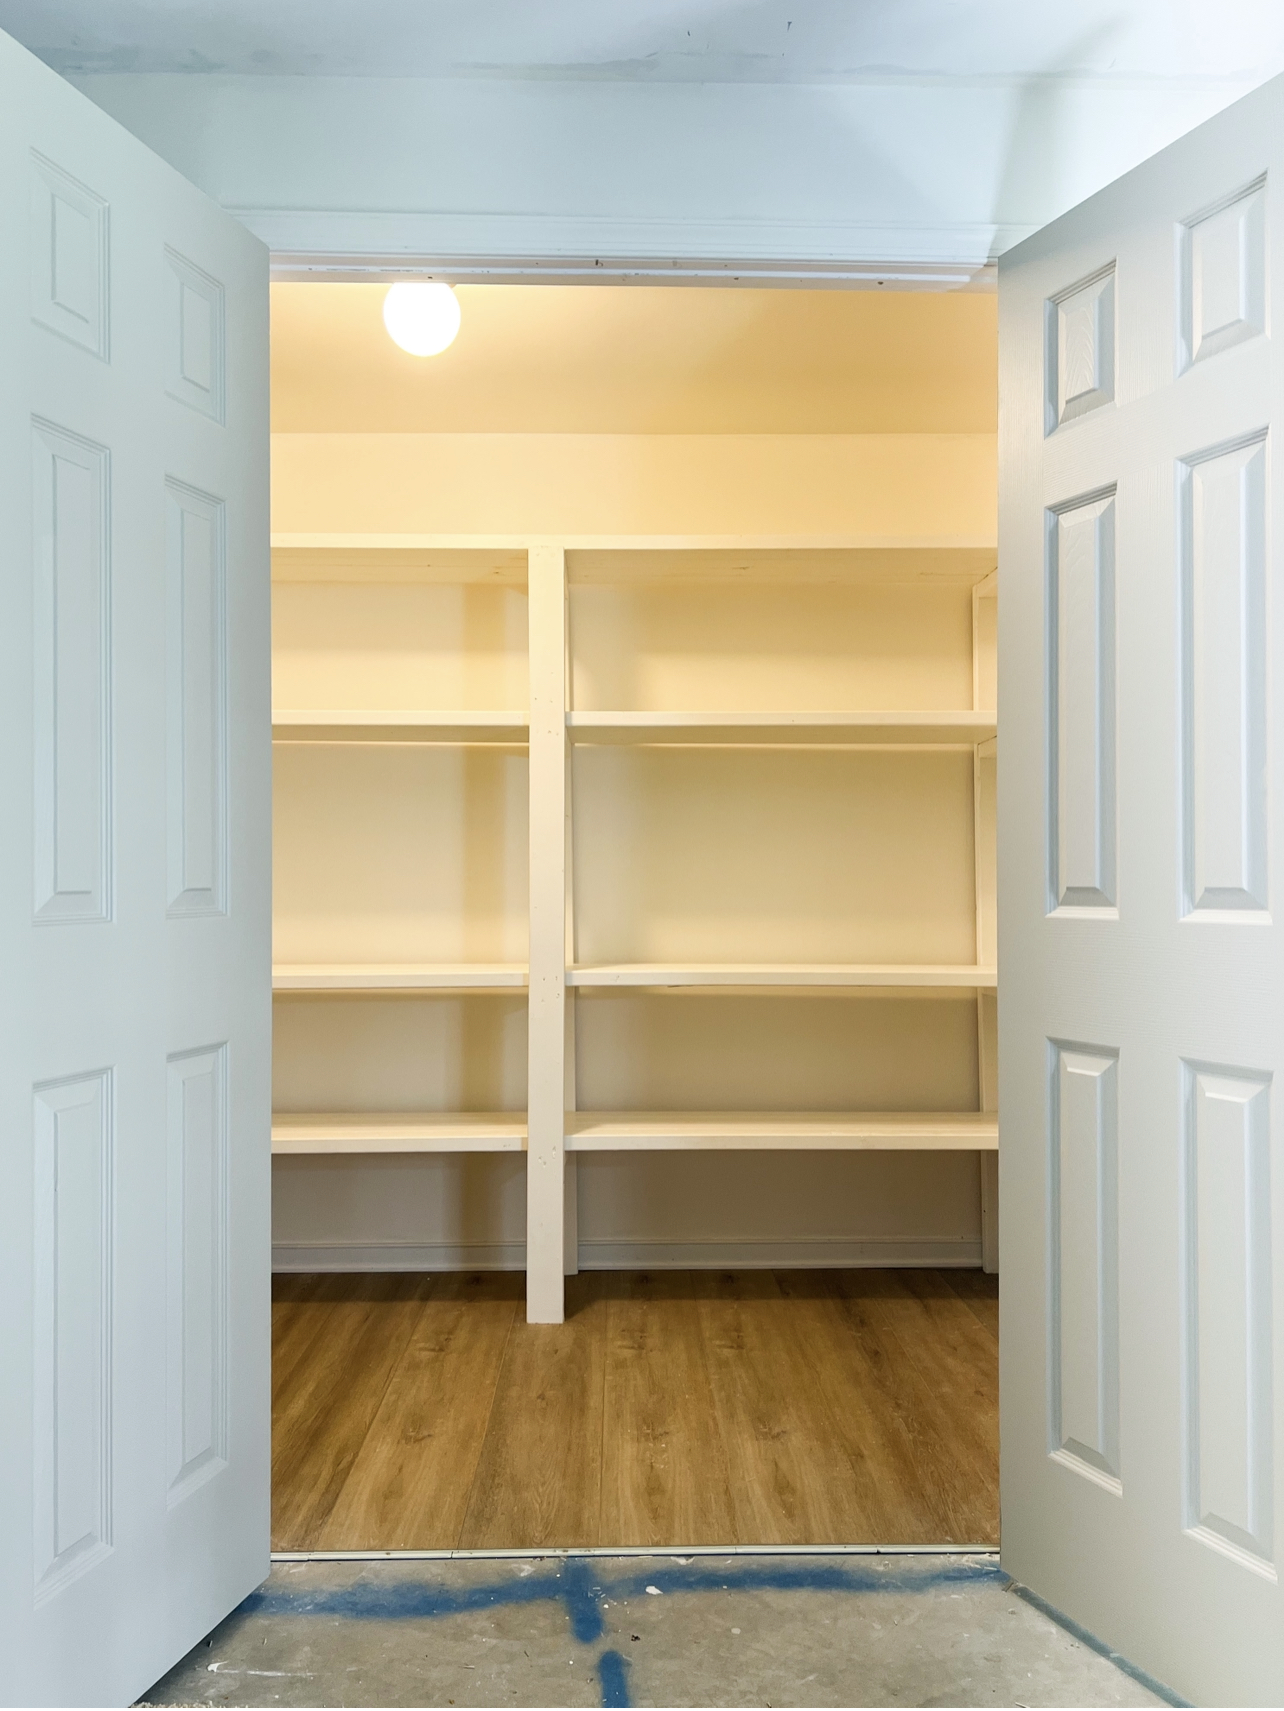
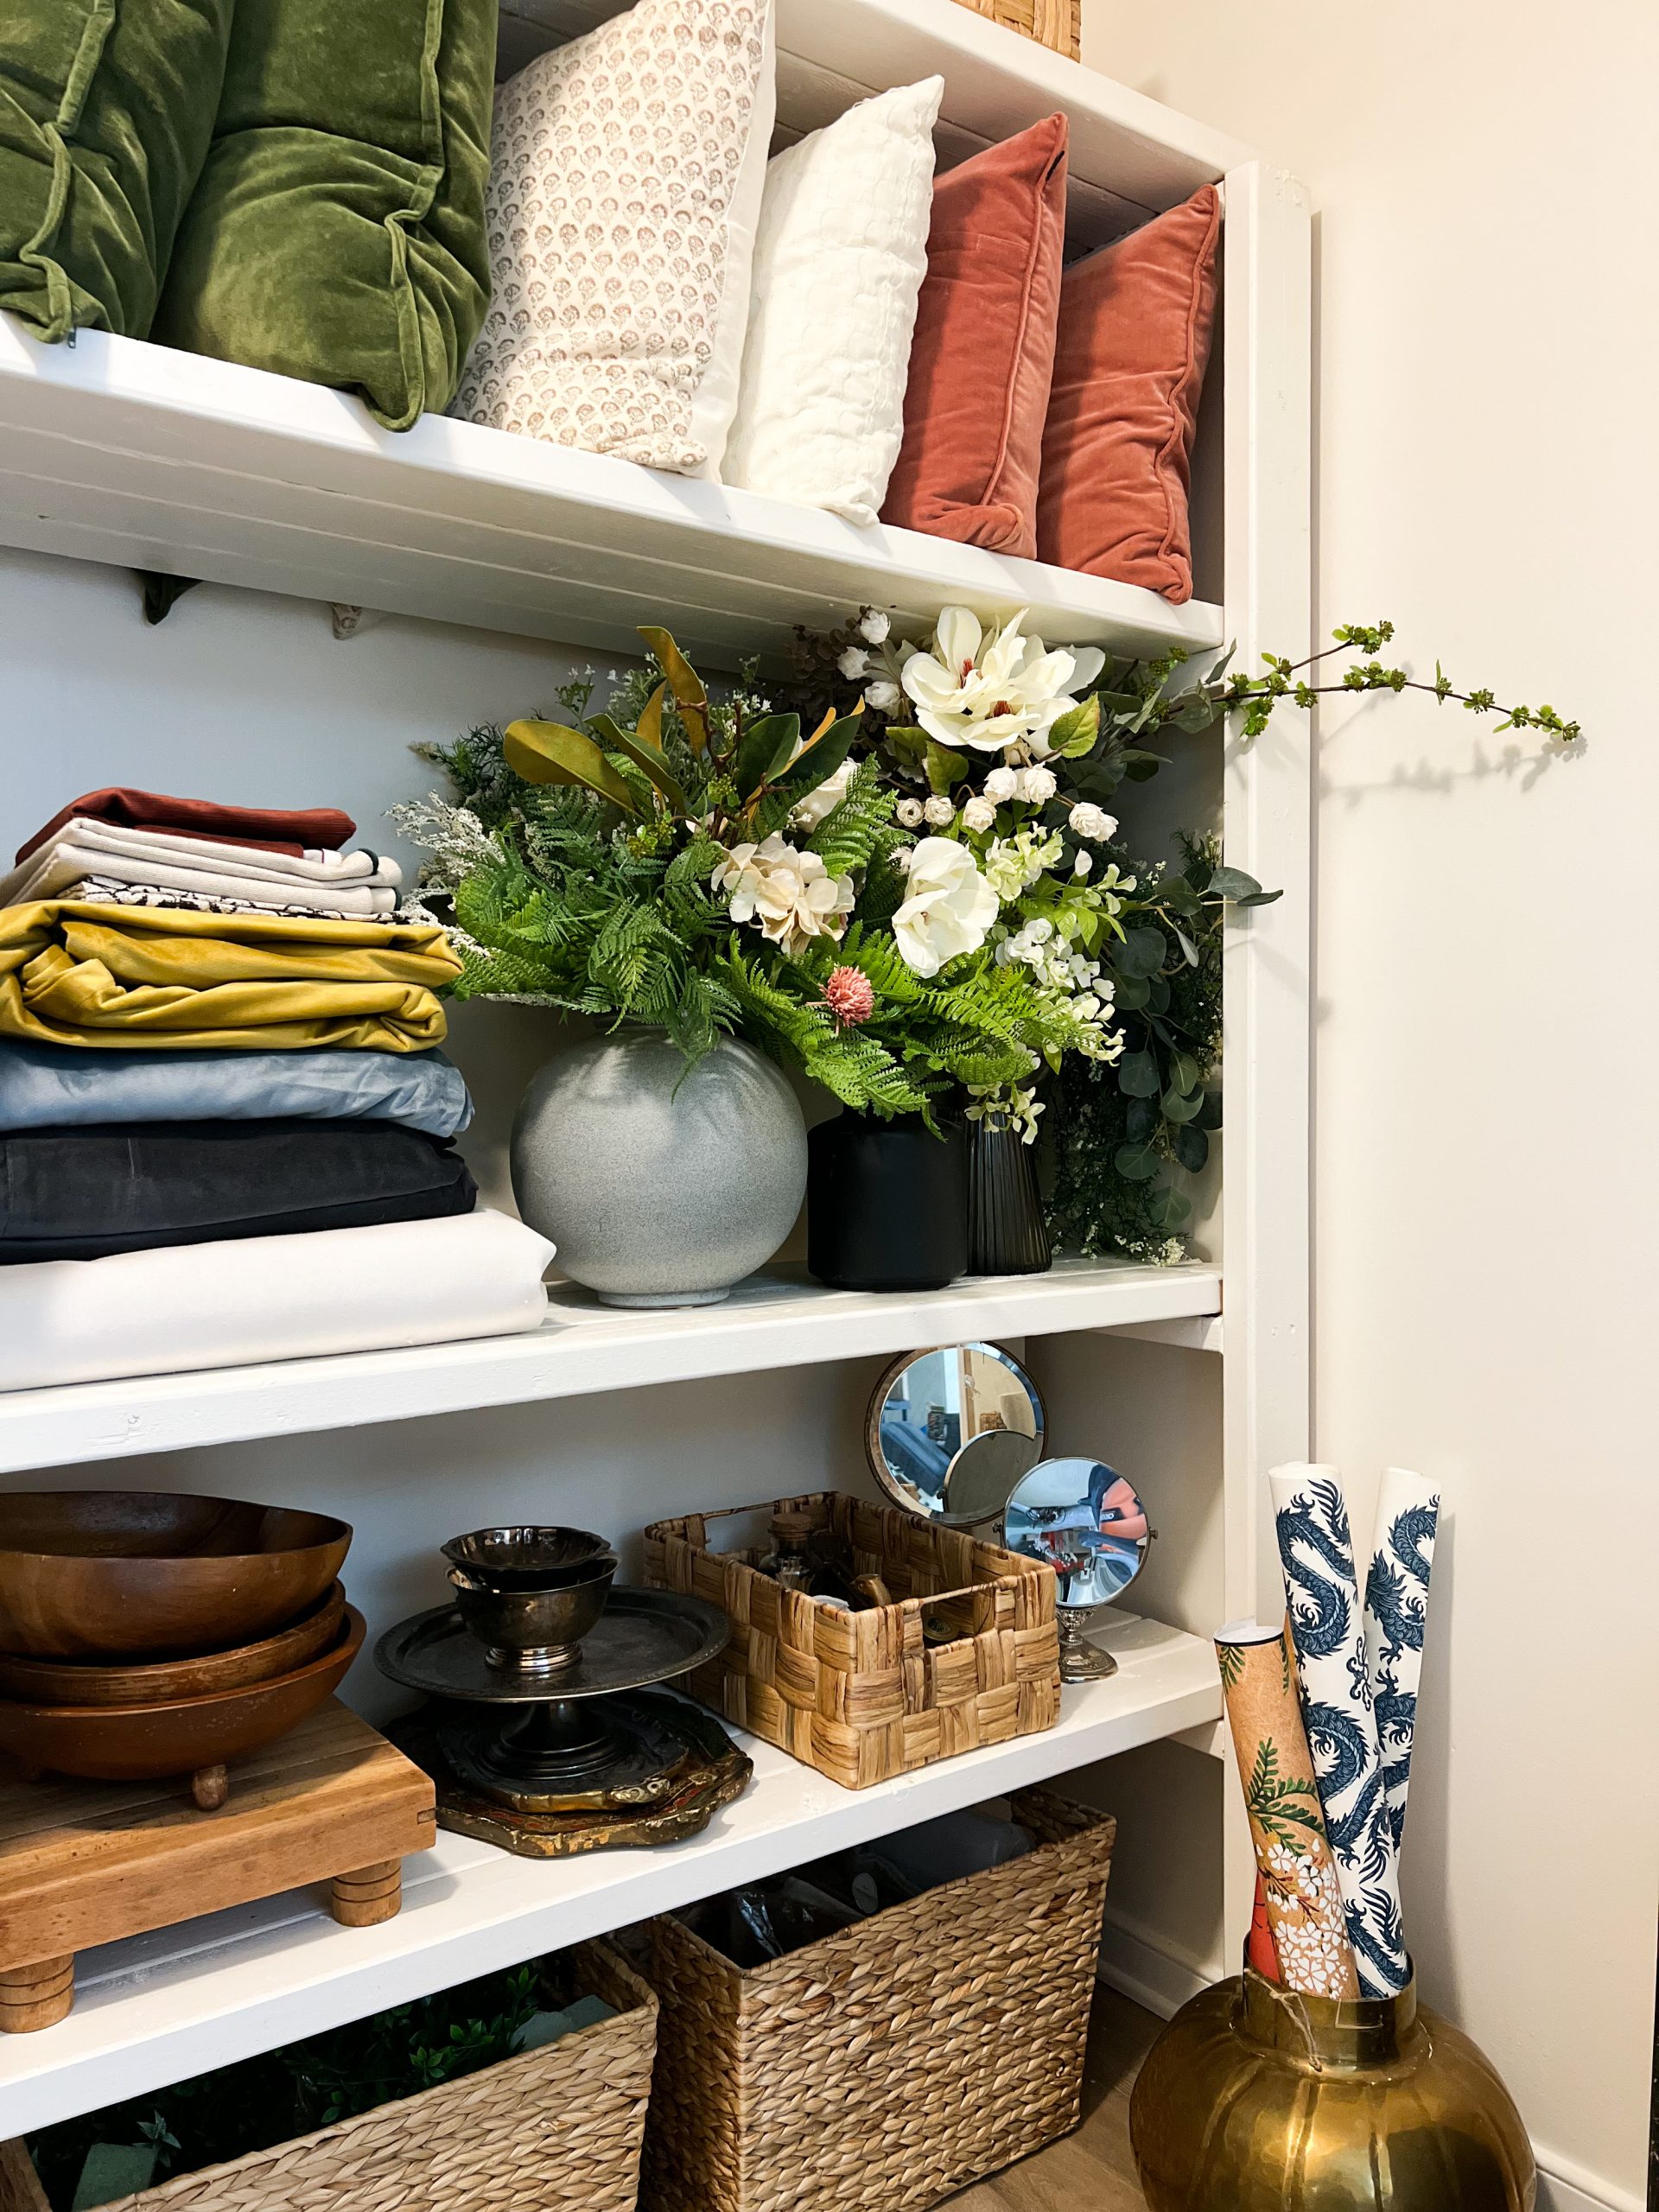
After painting the shelving, I updated the doors with new hardware and paint to match the rest of my interior doors (paint color : Anew Grey by Sherwin Williams). I then began organizing all of my stuff onto the shelves using various baskets and storage containers. Everything fit PERFECTLY and I am so happy with how it turned out!
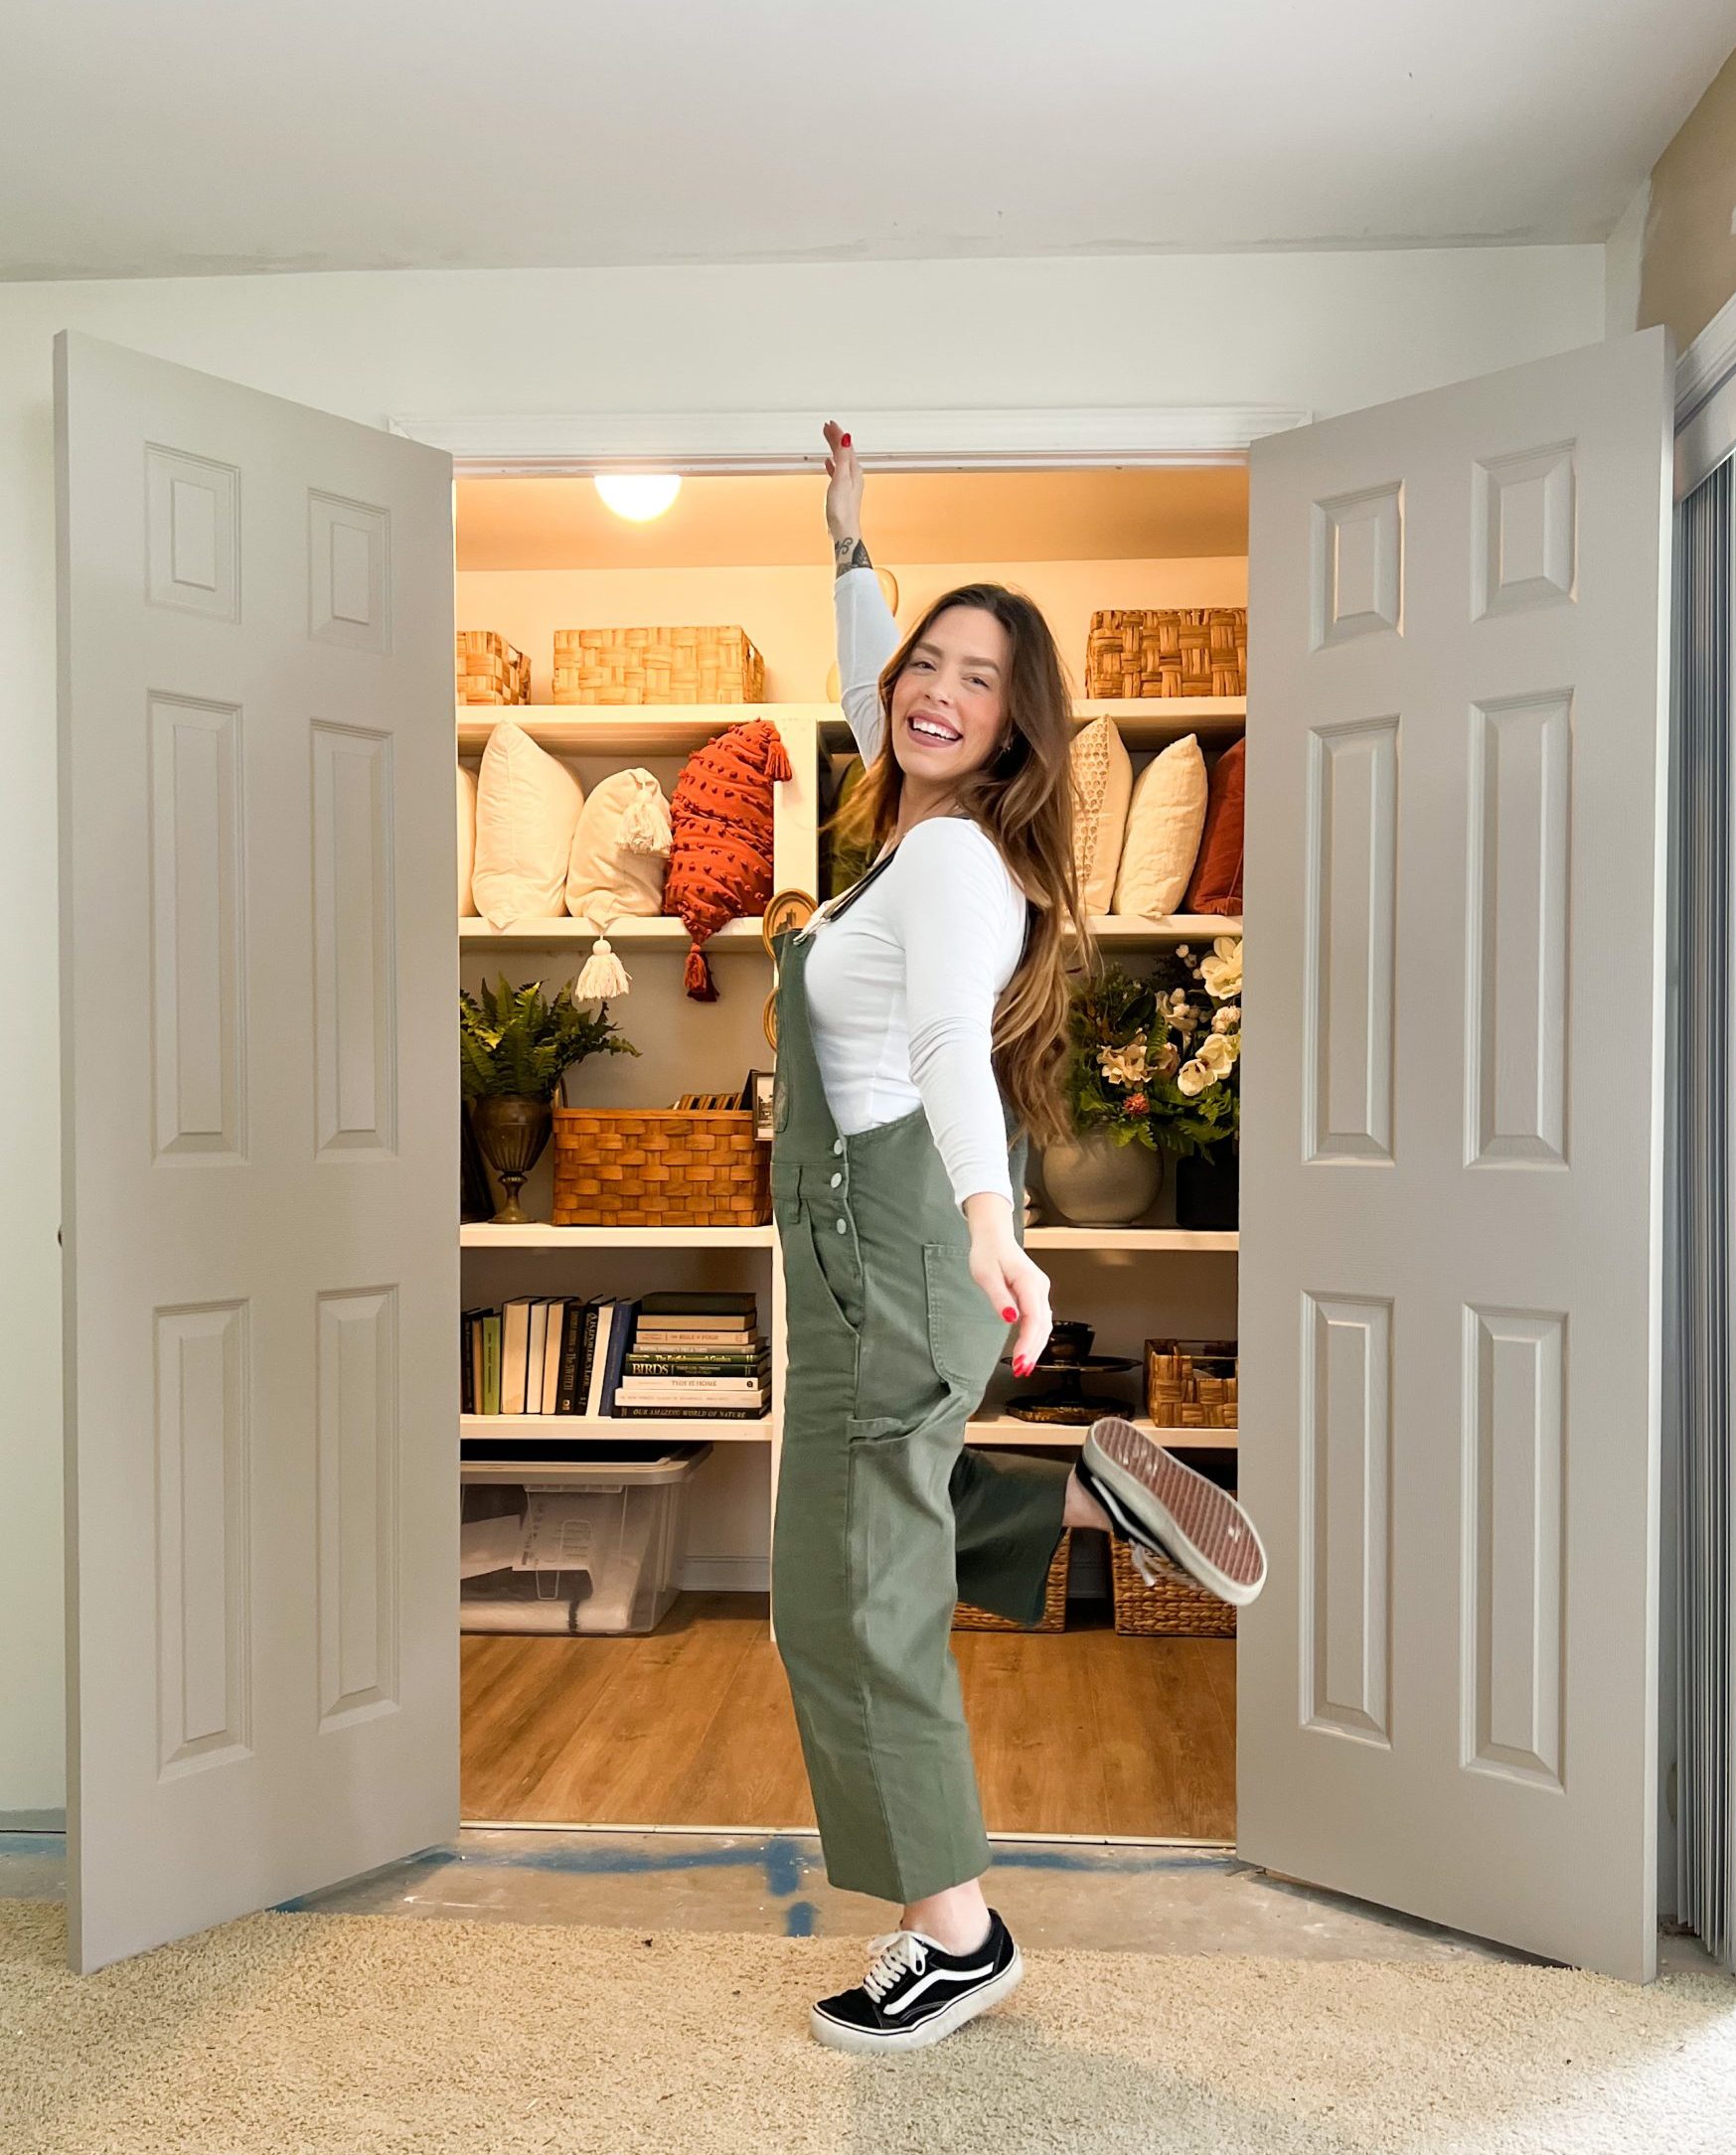
TOTAL COST: $566
Lumber (closet) – $30
Lumber (shelving) – $150
Drywall – $57
Joint Compound – $21
Drywall Tools – $27
Screws/Nails – $23
Interior Doors – $258
What a fabulous idea! I love what you have done 🙂