BASEMENT RENOVATION – FLOORING

THE BASEMENT RENOVATION
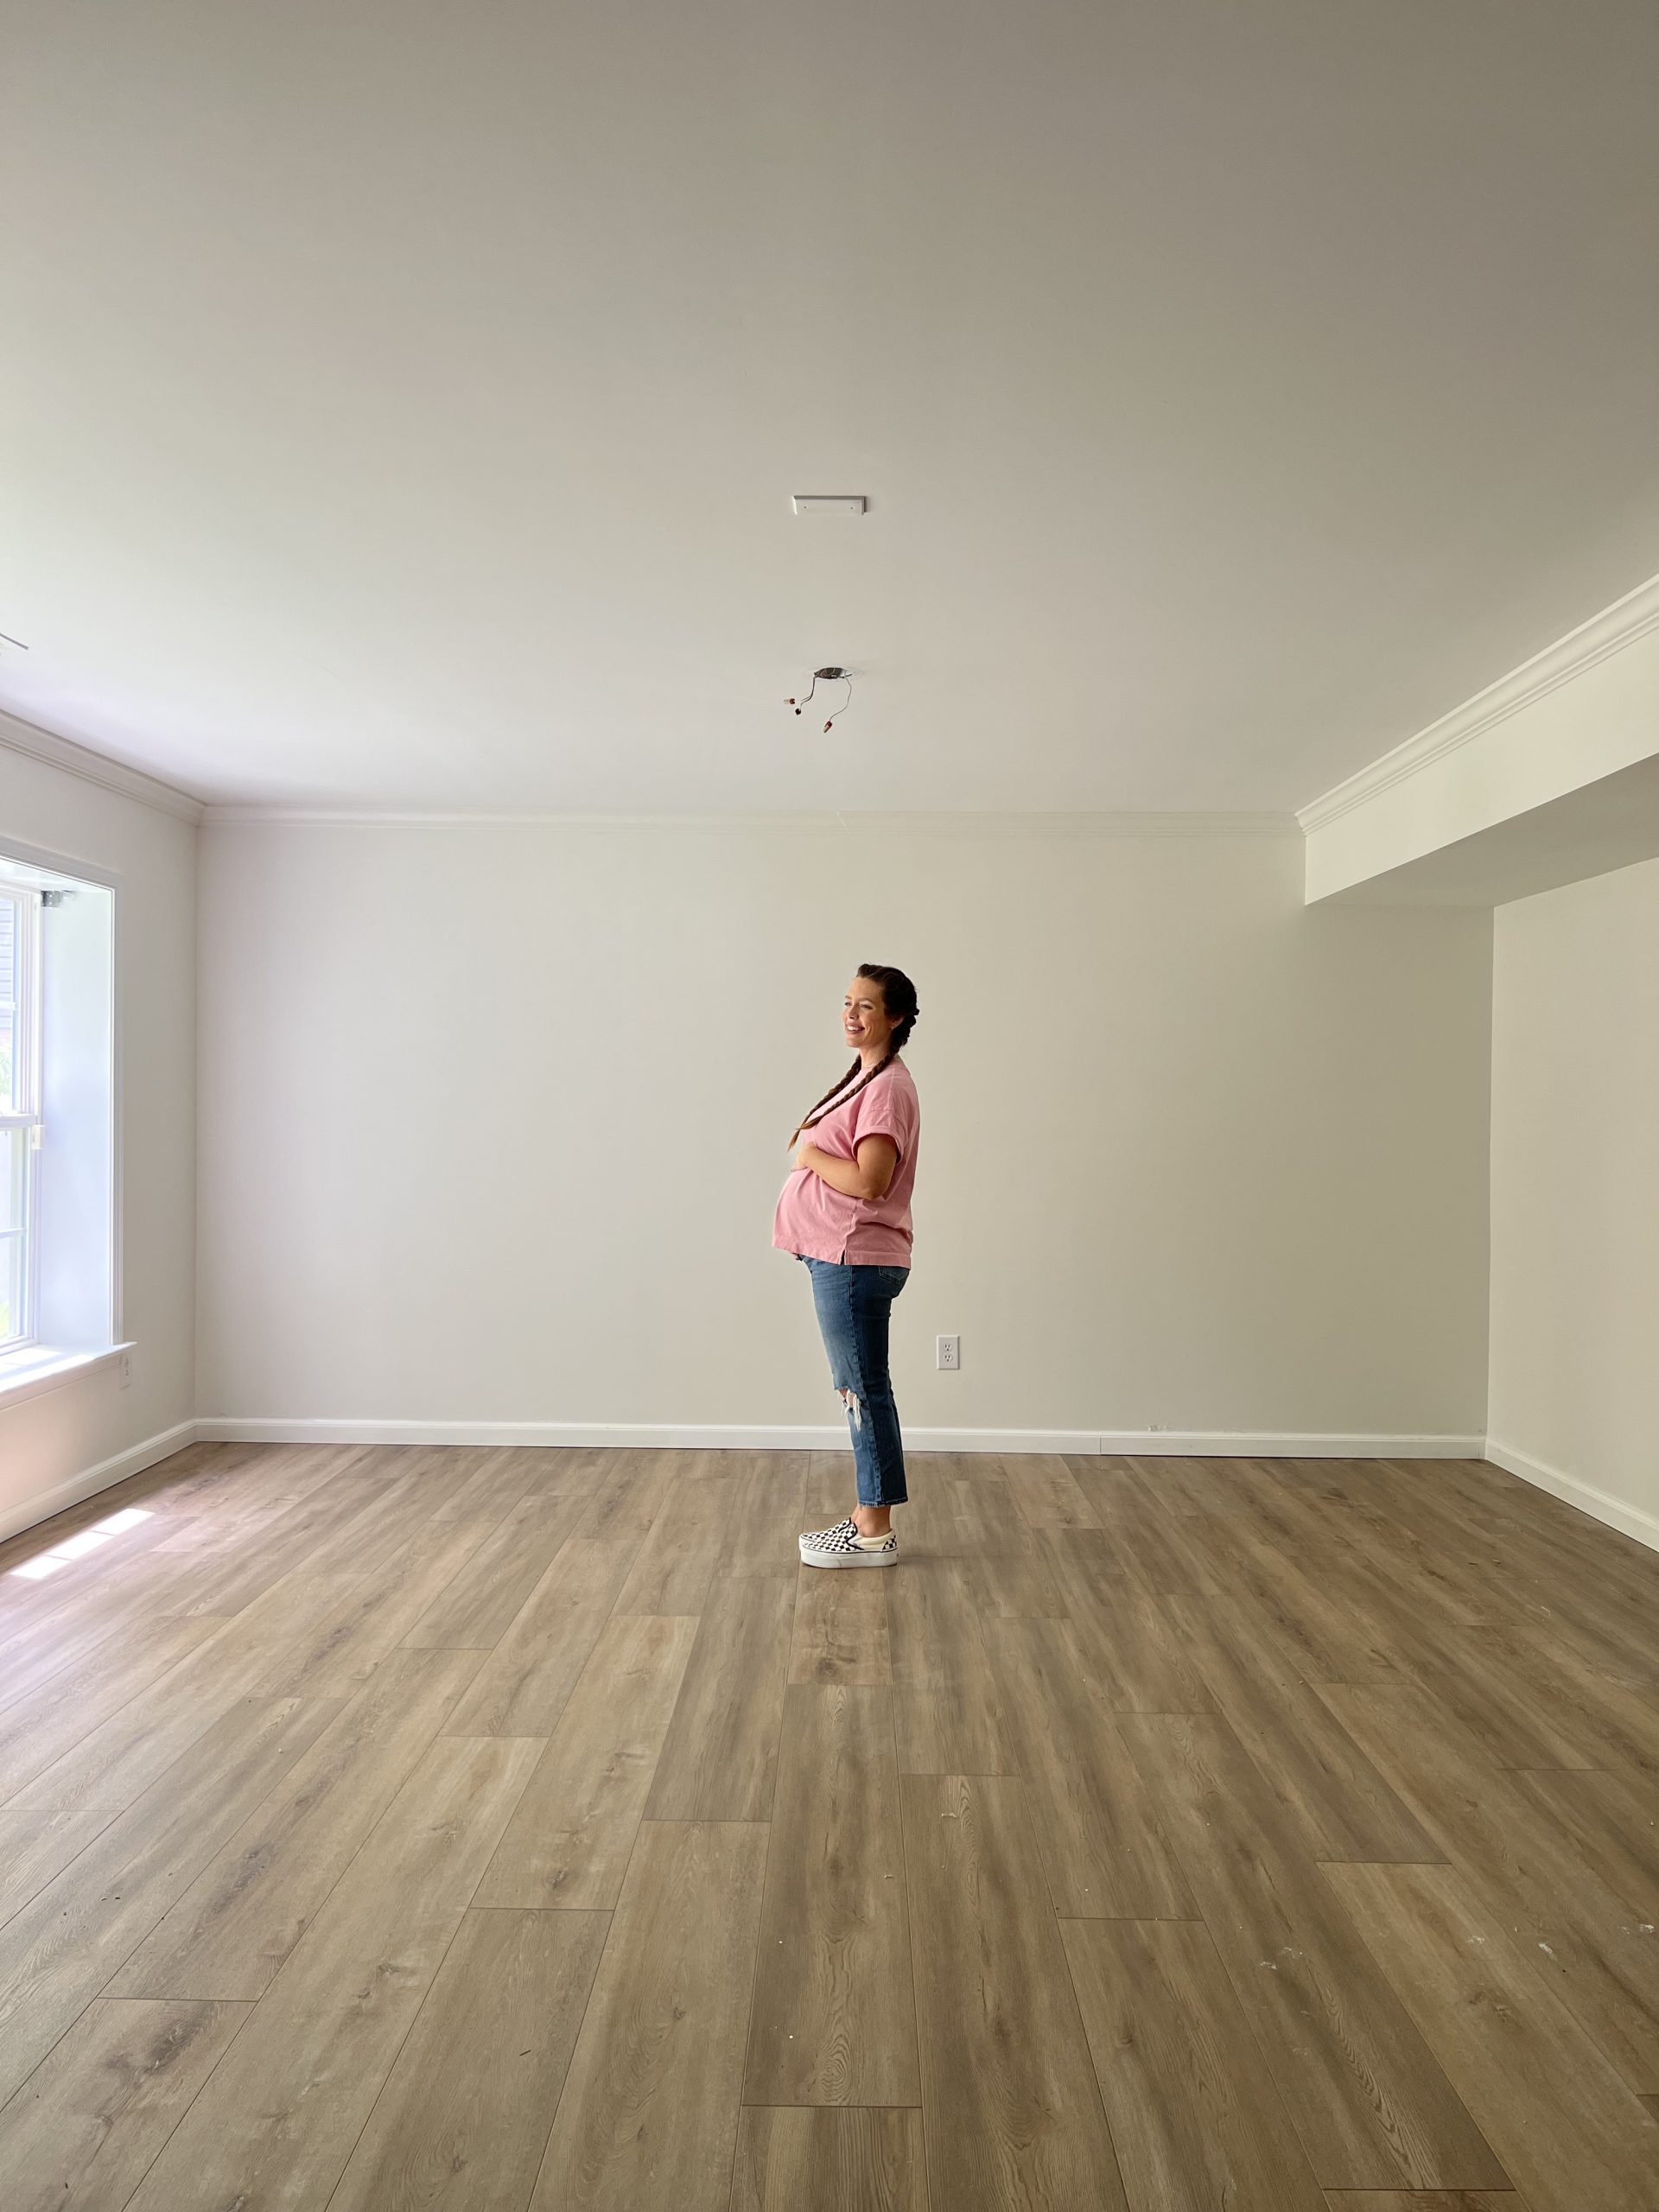
Plans for renovating this basement has been in the works for a few years now. What used to be a large empty space, filled up soooo quickly and became essentially what was a large storage shed for us. But we’ve always envisioned much more for the space. Once I honed in on what that vision was going to look like, I knew the first big step was to remove the carpet and replace with my new flooring. You can read more about the basement renovation plans here!
*This post may contain affiliate links, which means I may earn a small commission if you purchase through my links, at no extra cost to you. I only share products I genuinely love.

CALI BAMBOO FLOORING
For the last few years of renovating our home, I have been slowly removing carpet, and/or old flooring and replacing with Cali Bamboo floors. My bedroom closet renovation was the first space that I installed them. I spent several weeks researching to find the most affordable yet beautiful and realistic flooring option, and eventually landed on Cali after ordering some samples and reading their overwhelmingly positive reviews. They checked all of my boxes and more.

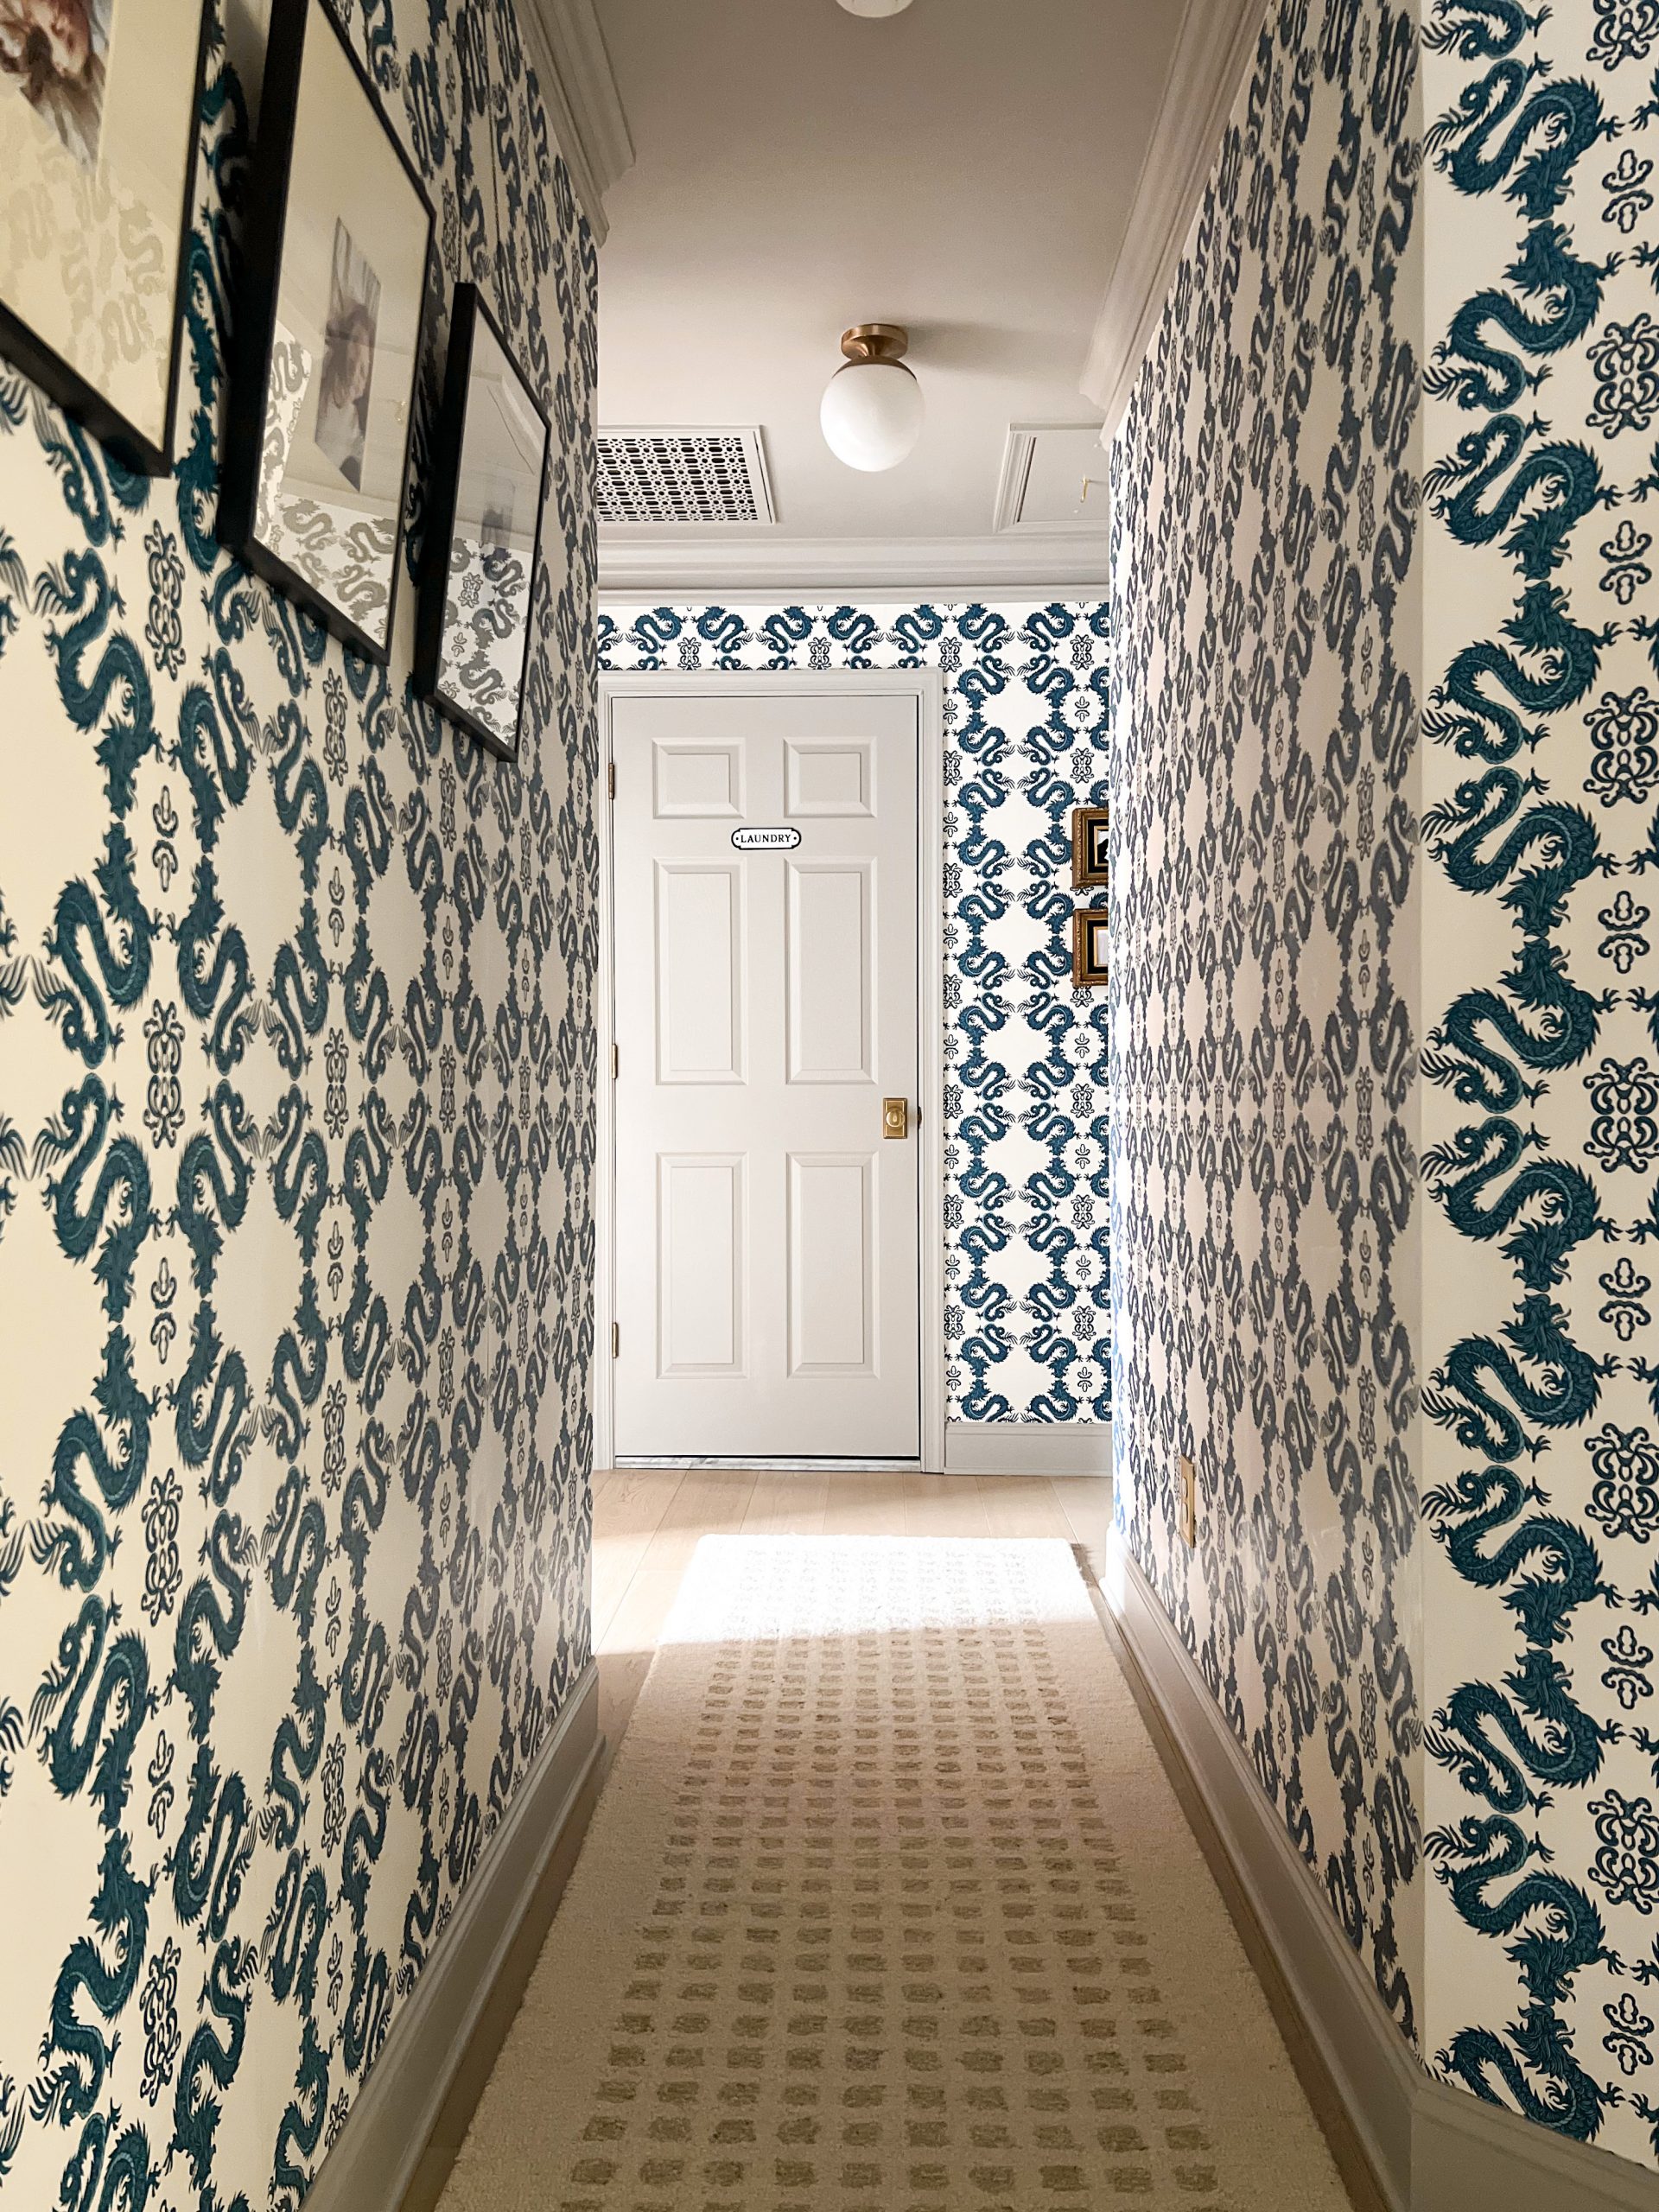
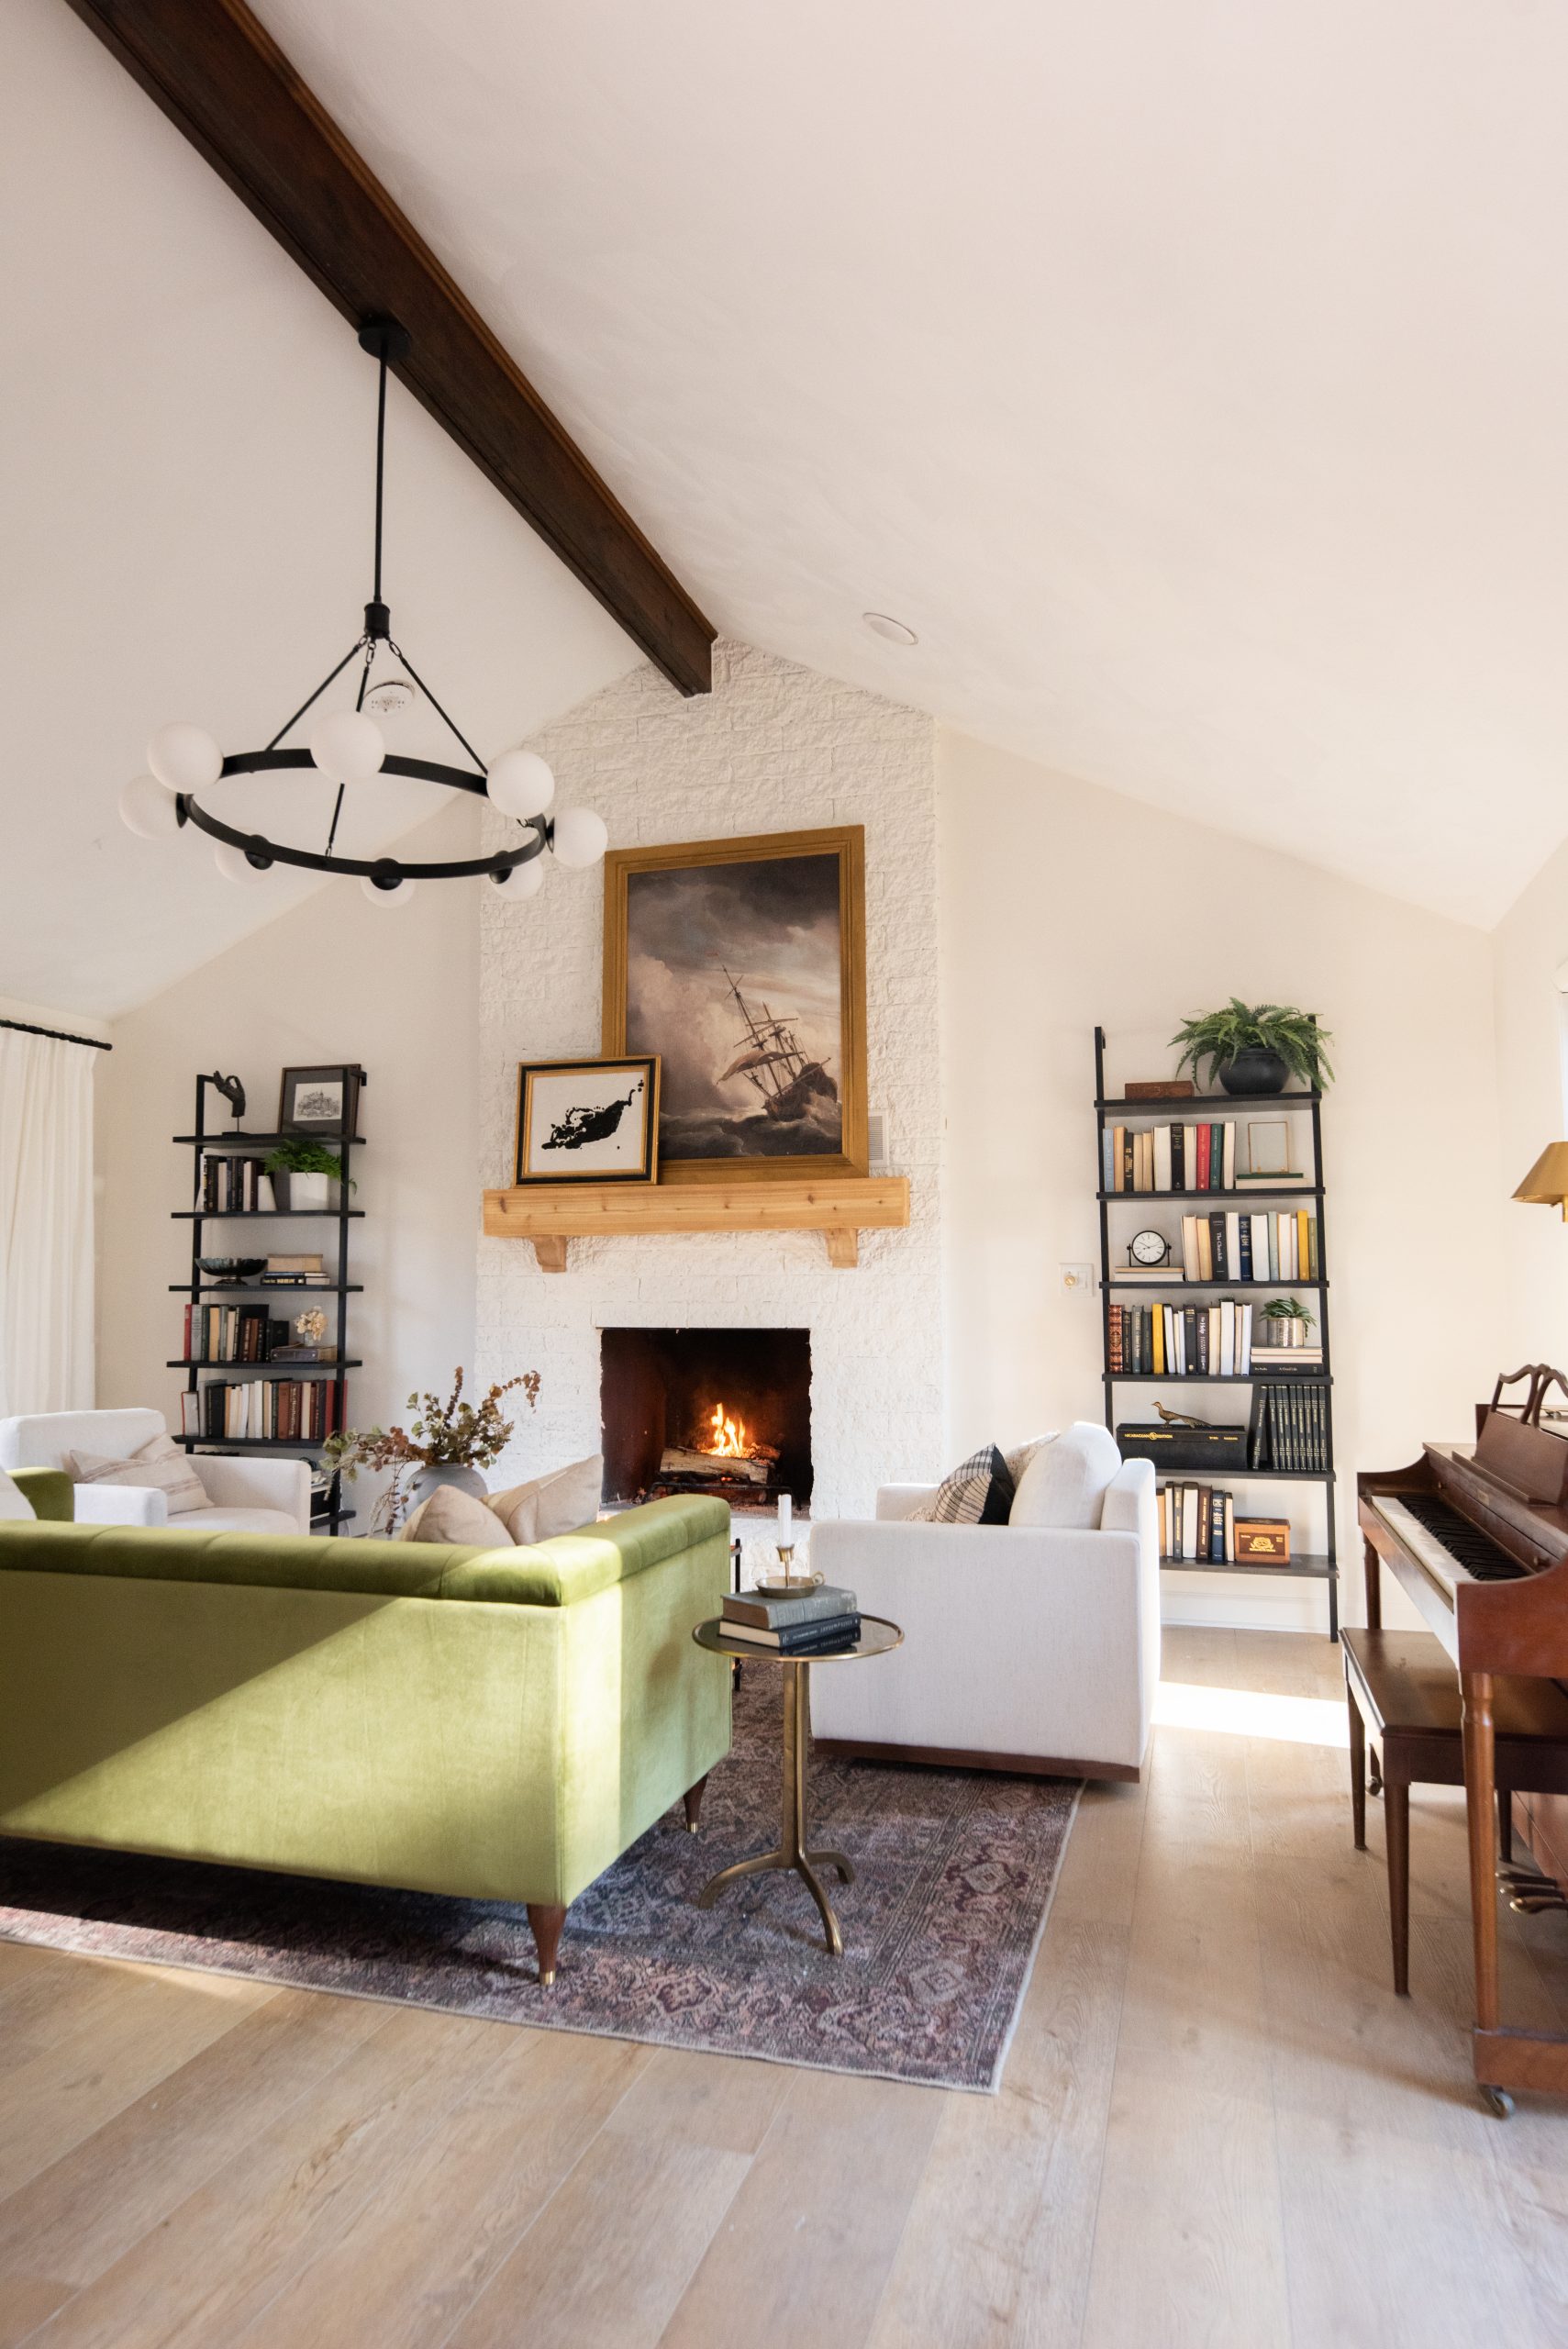
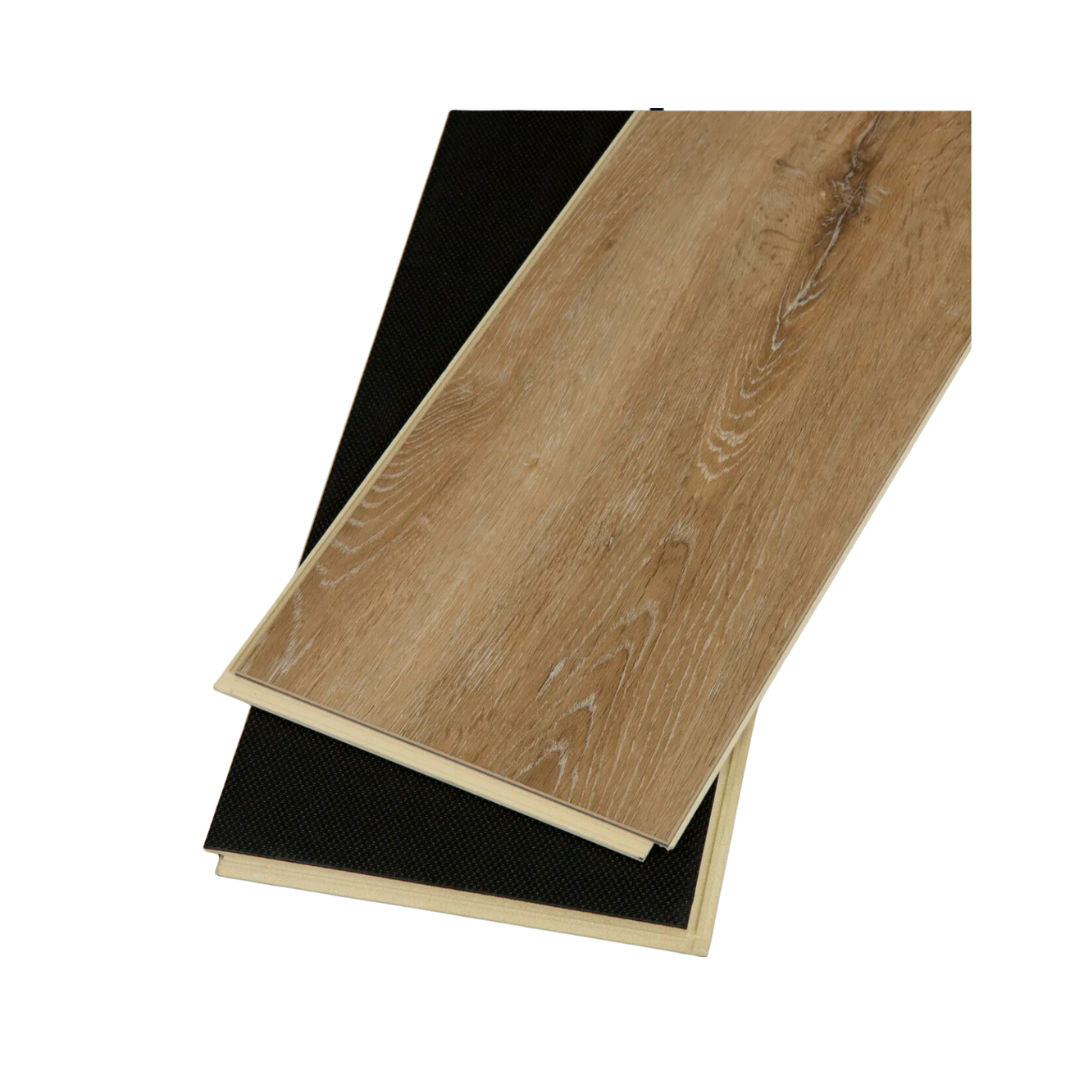
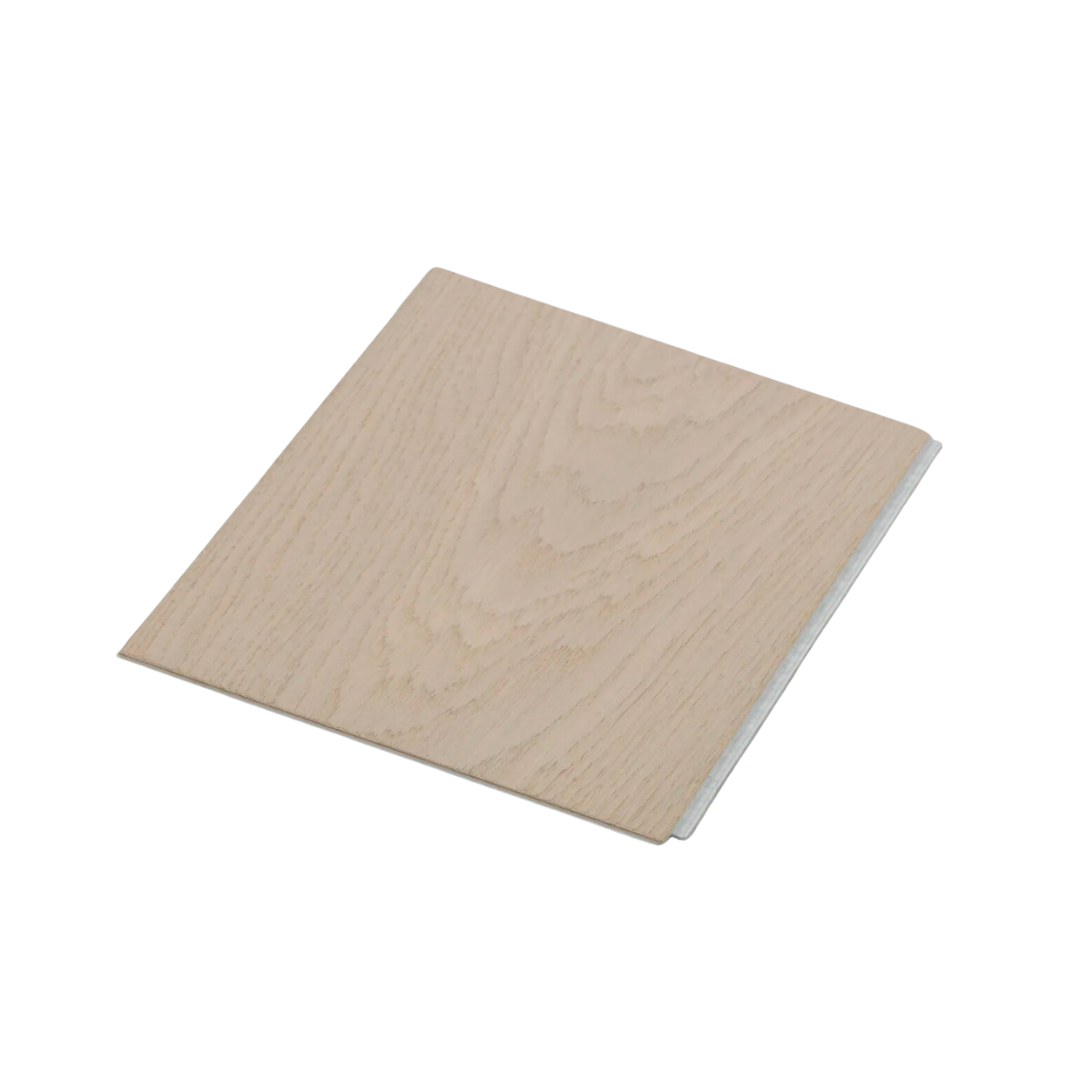
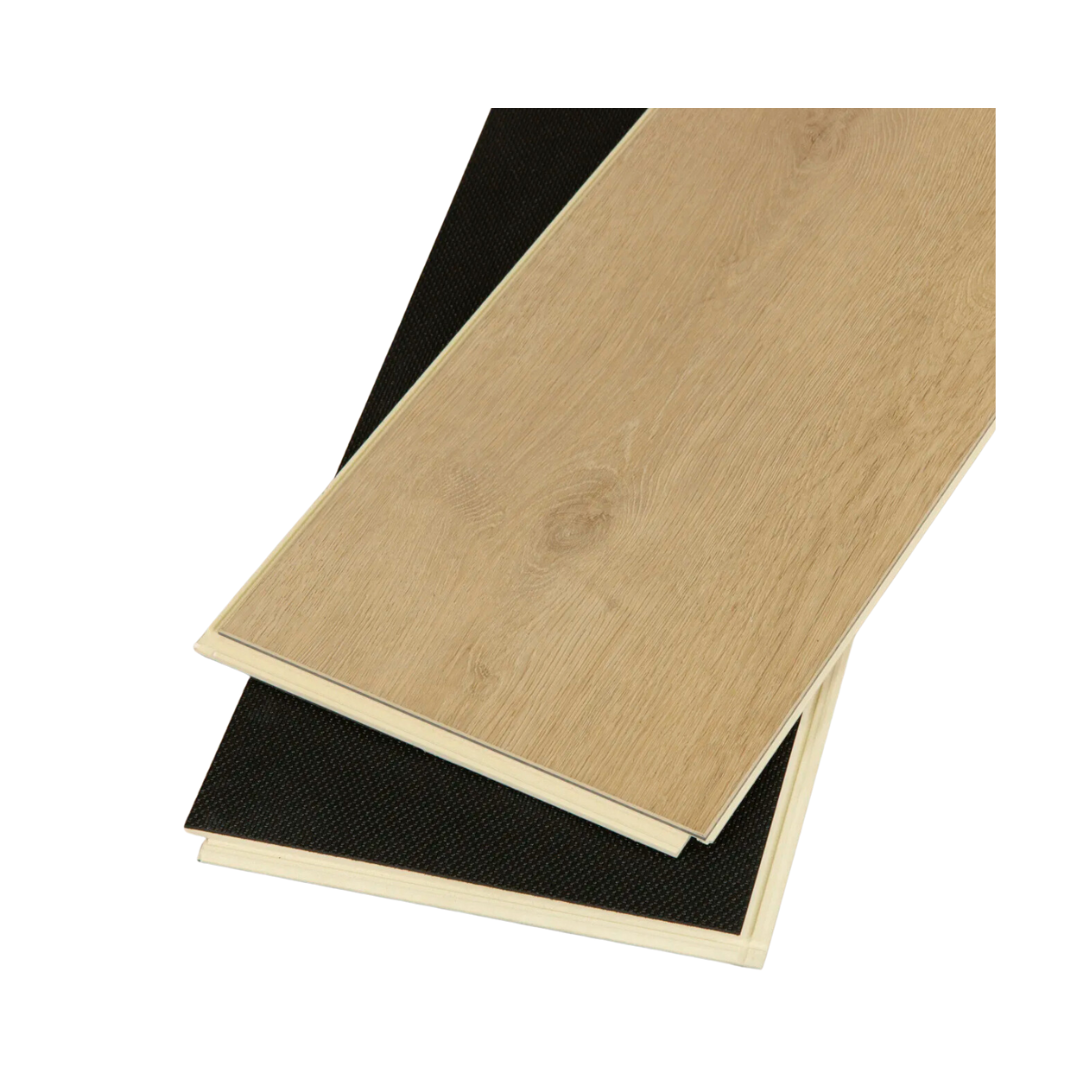
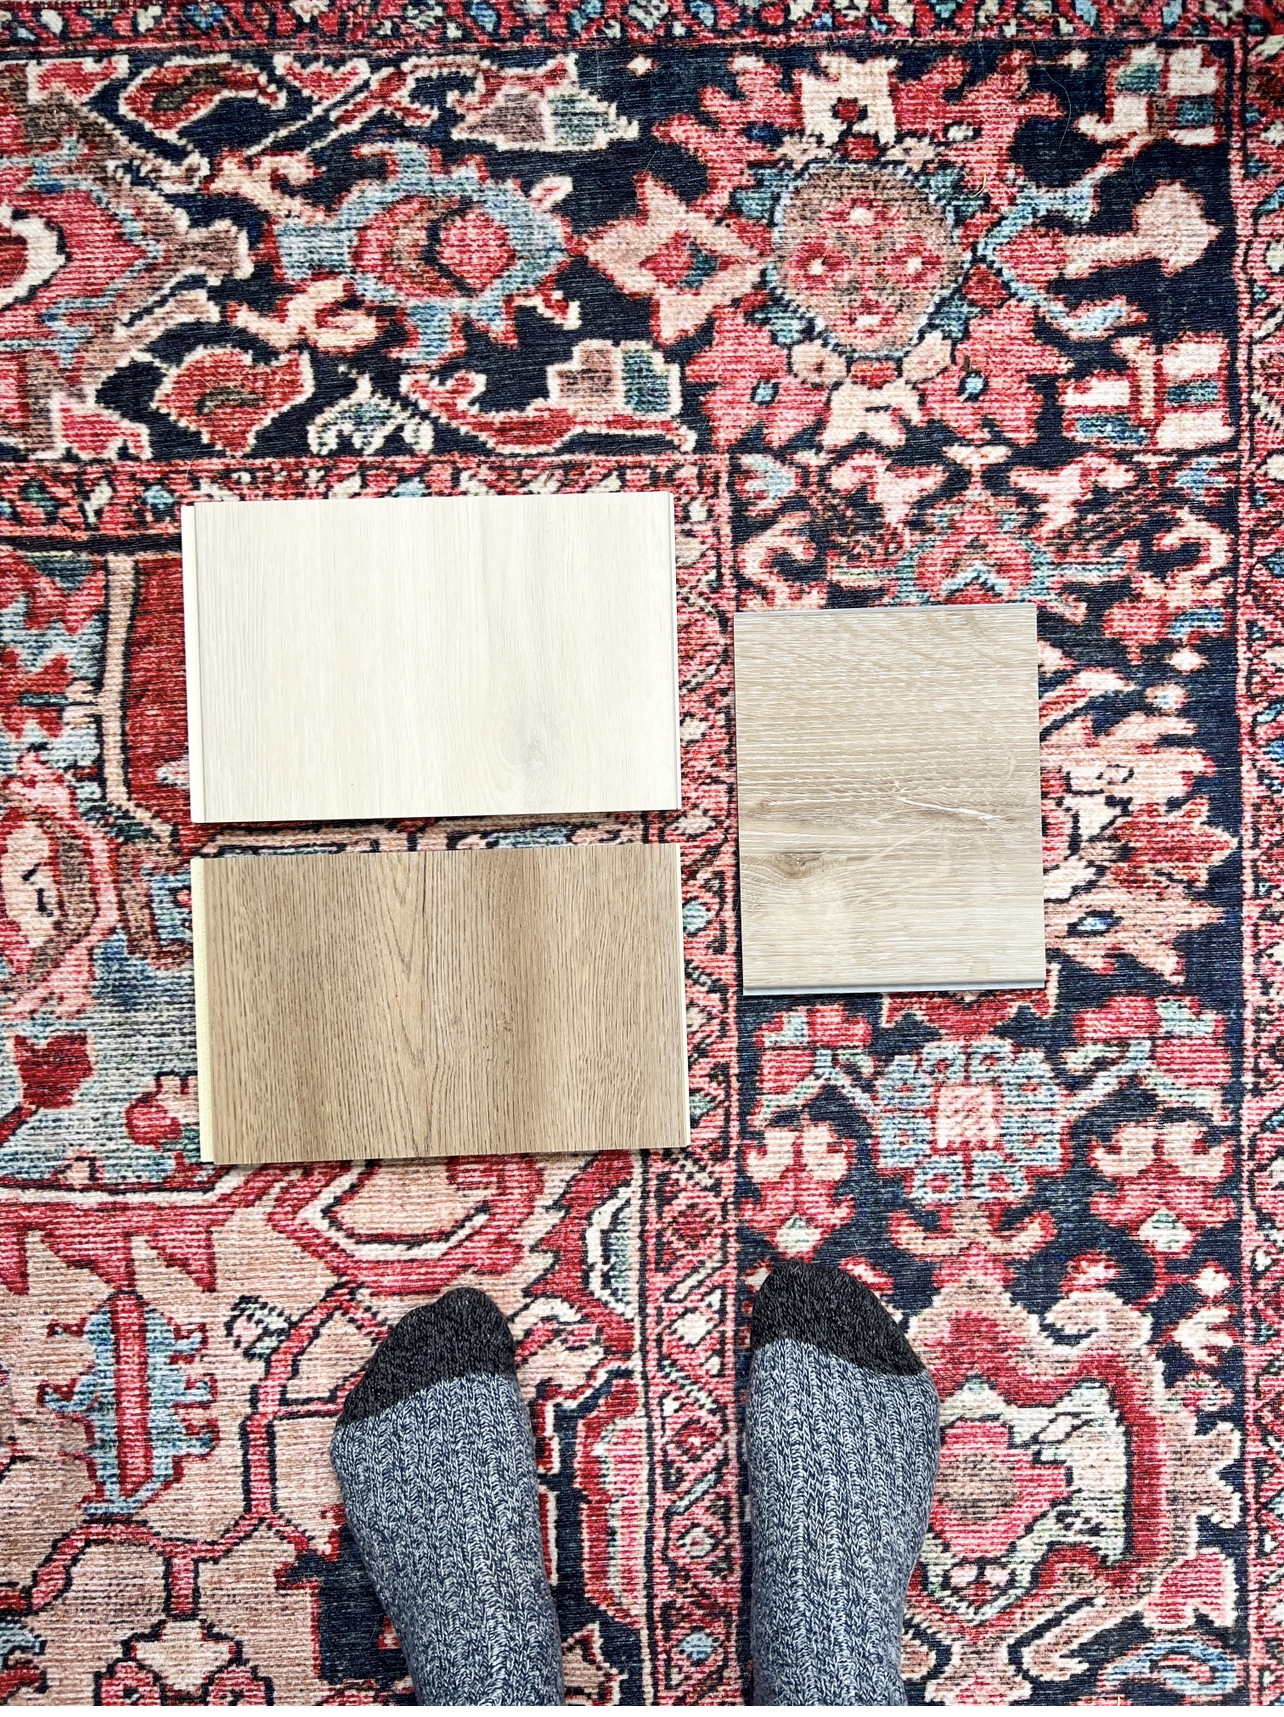
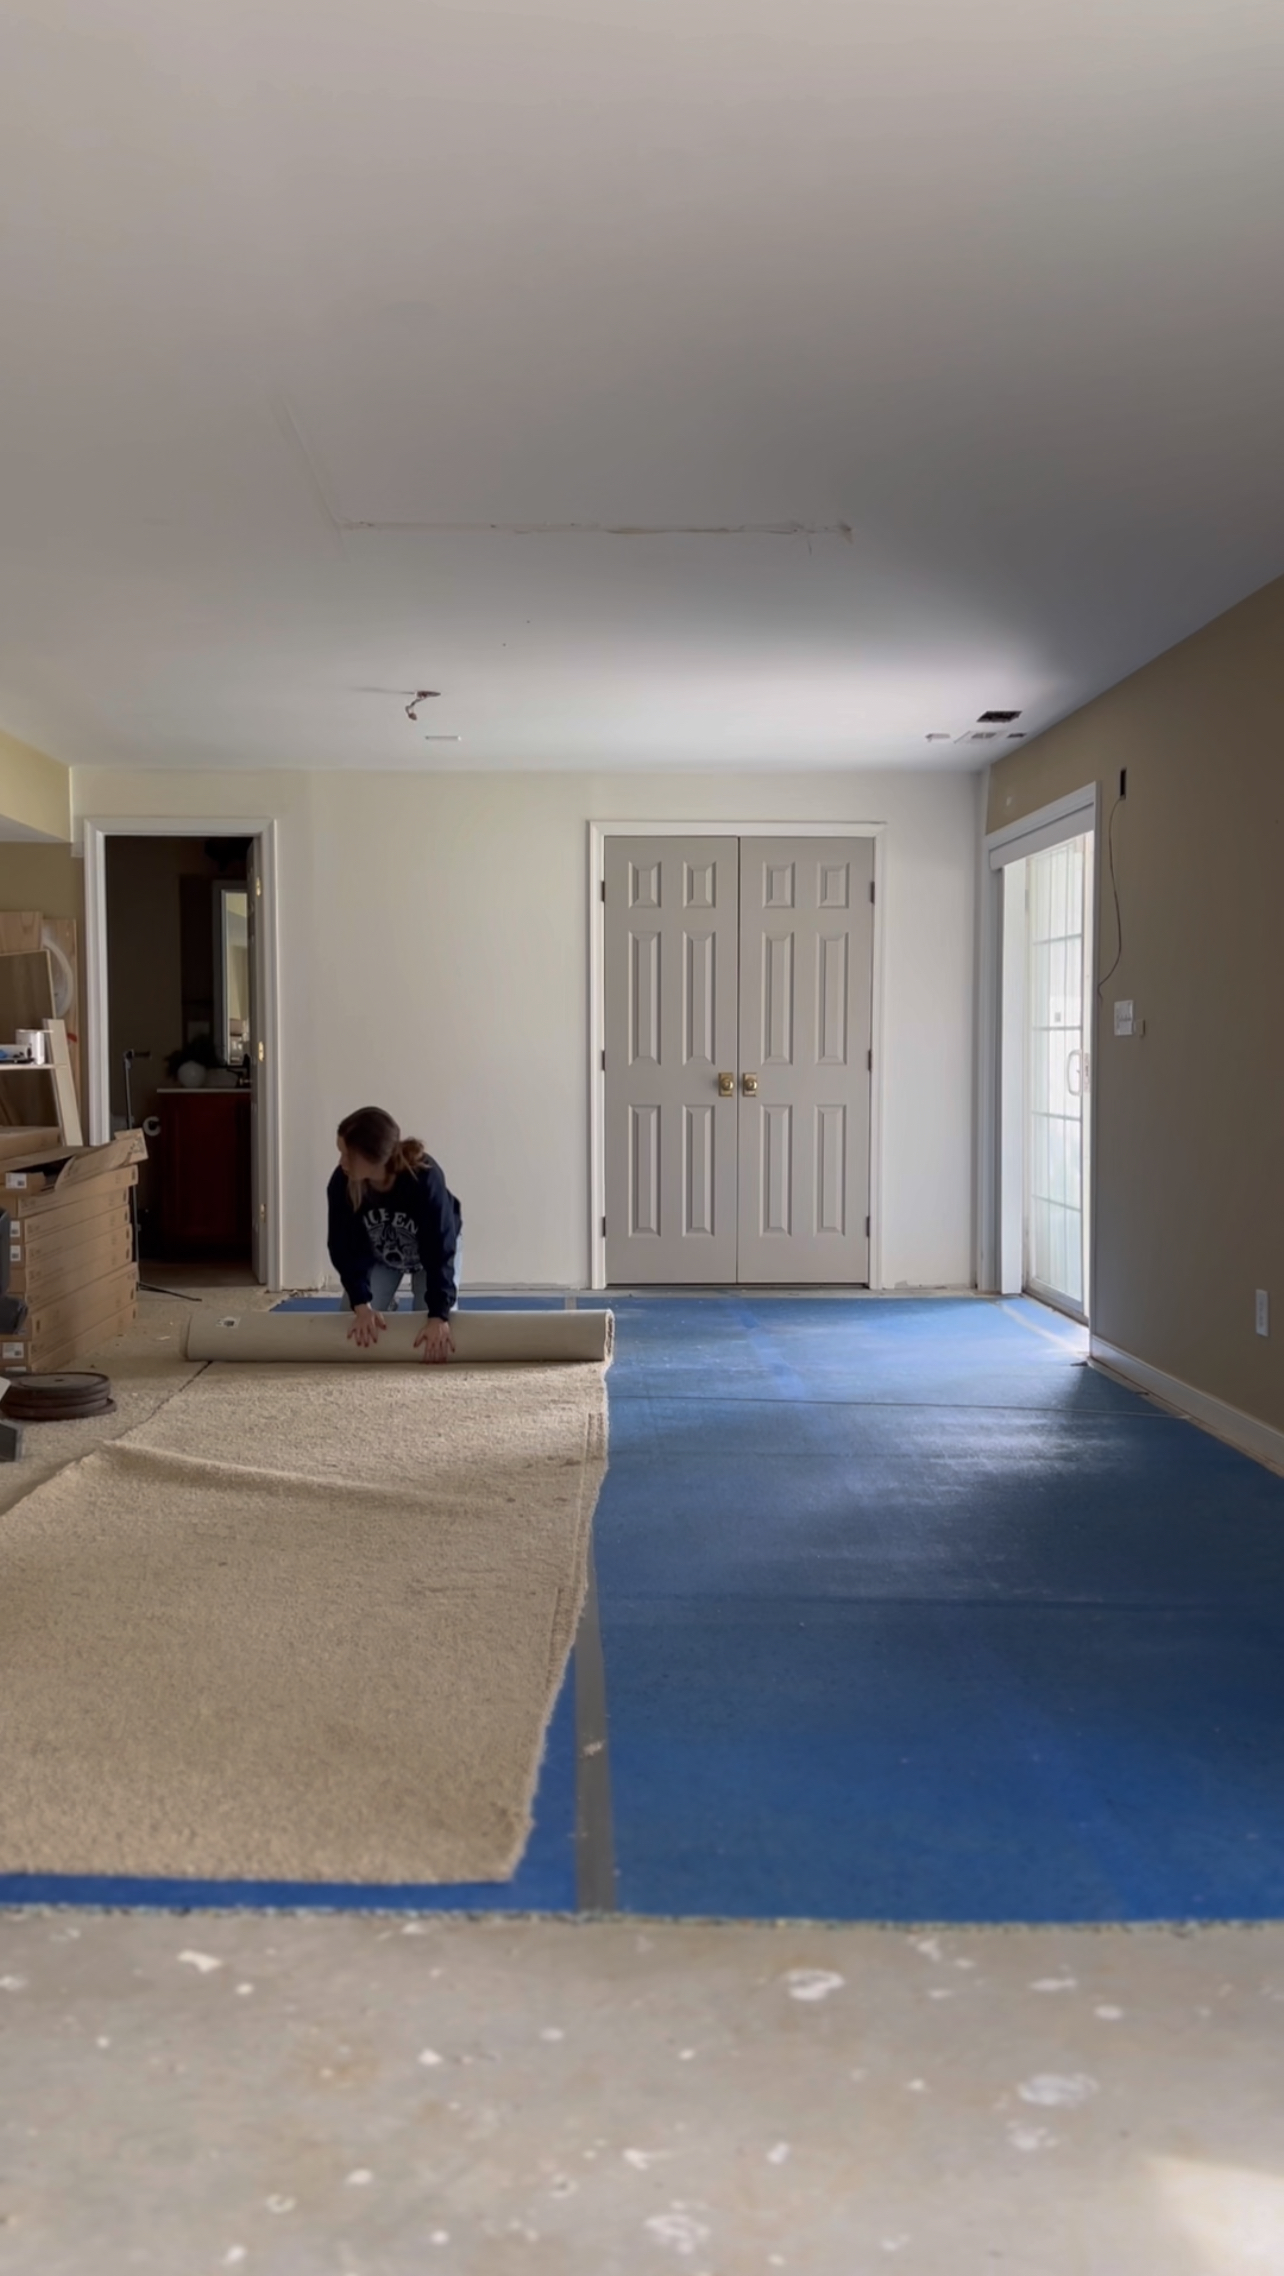
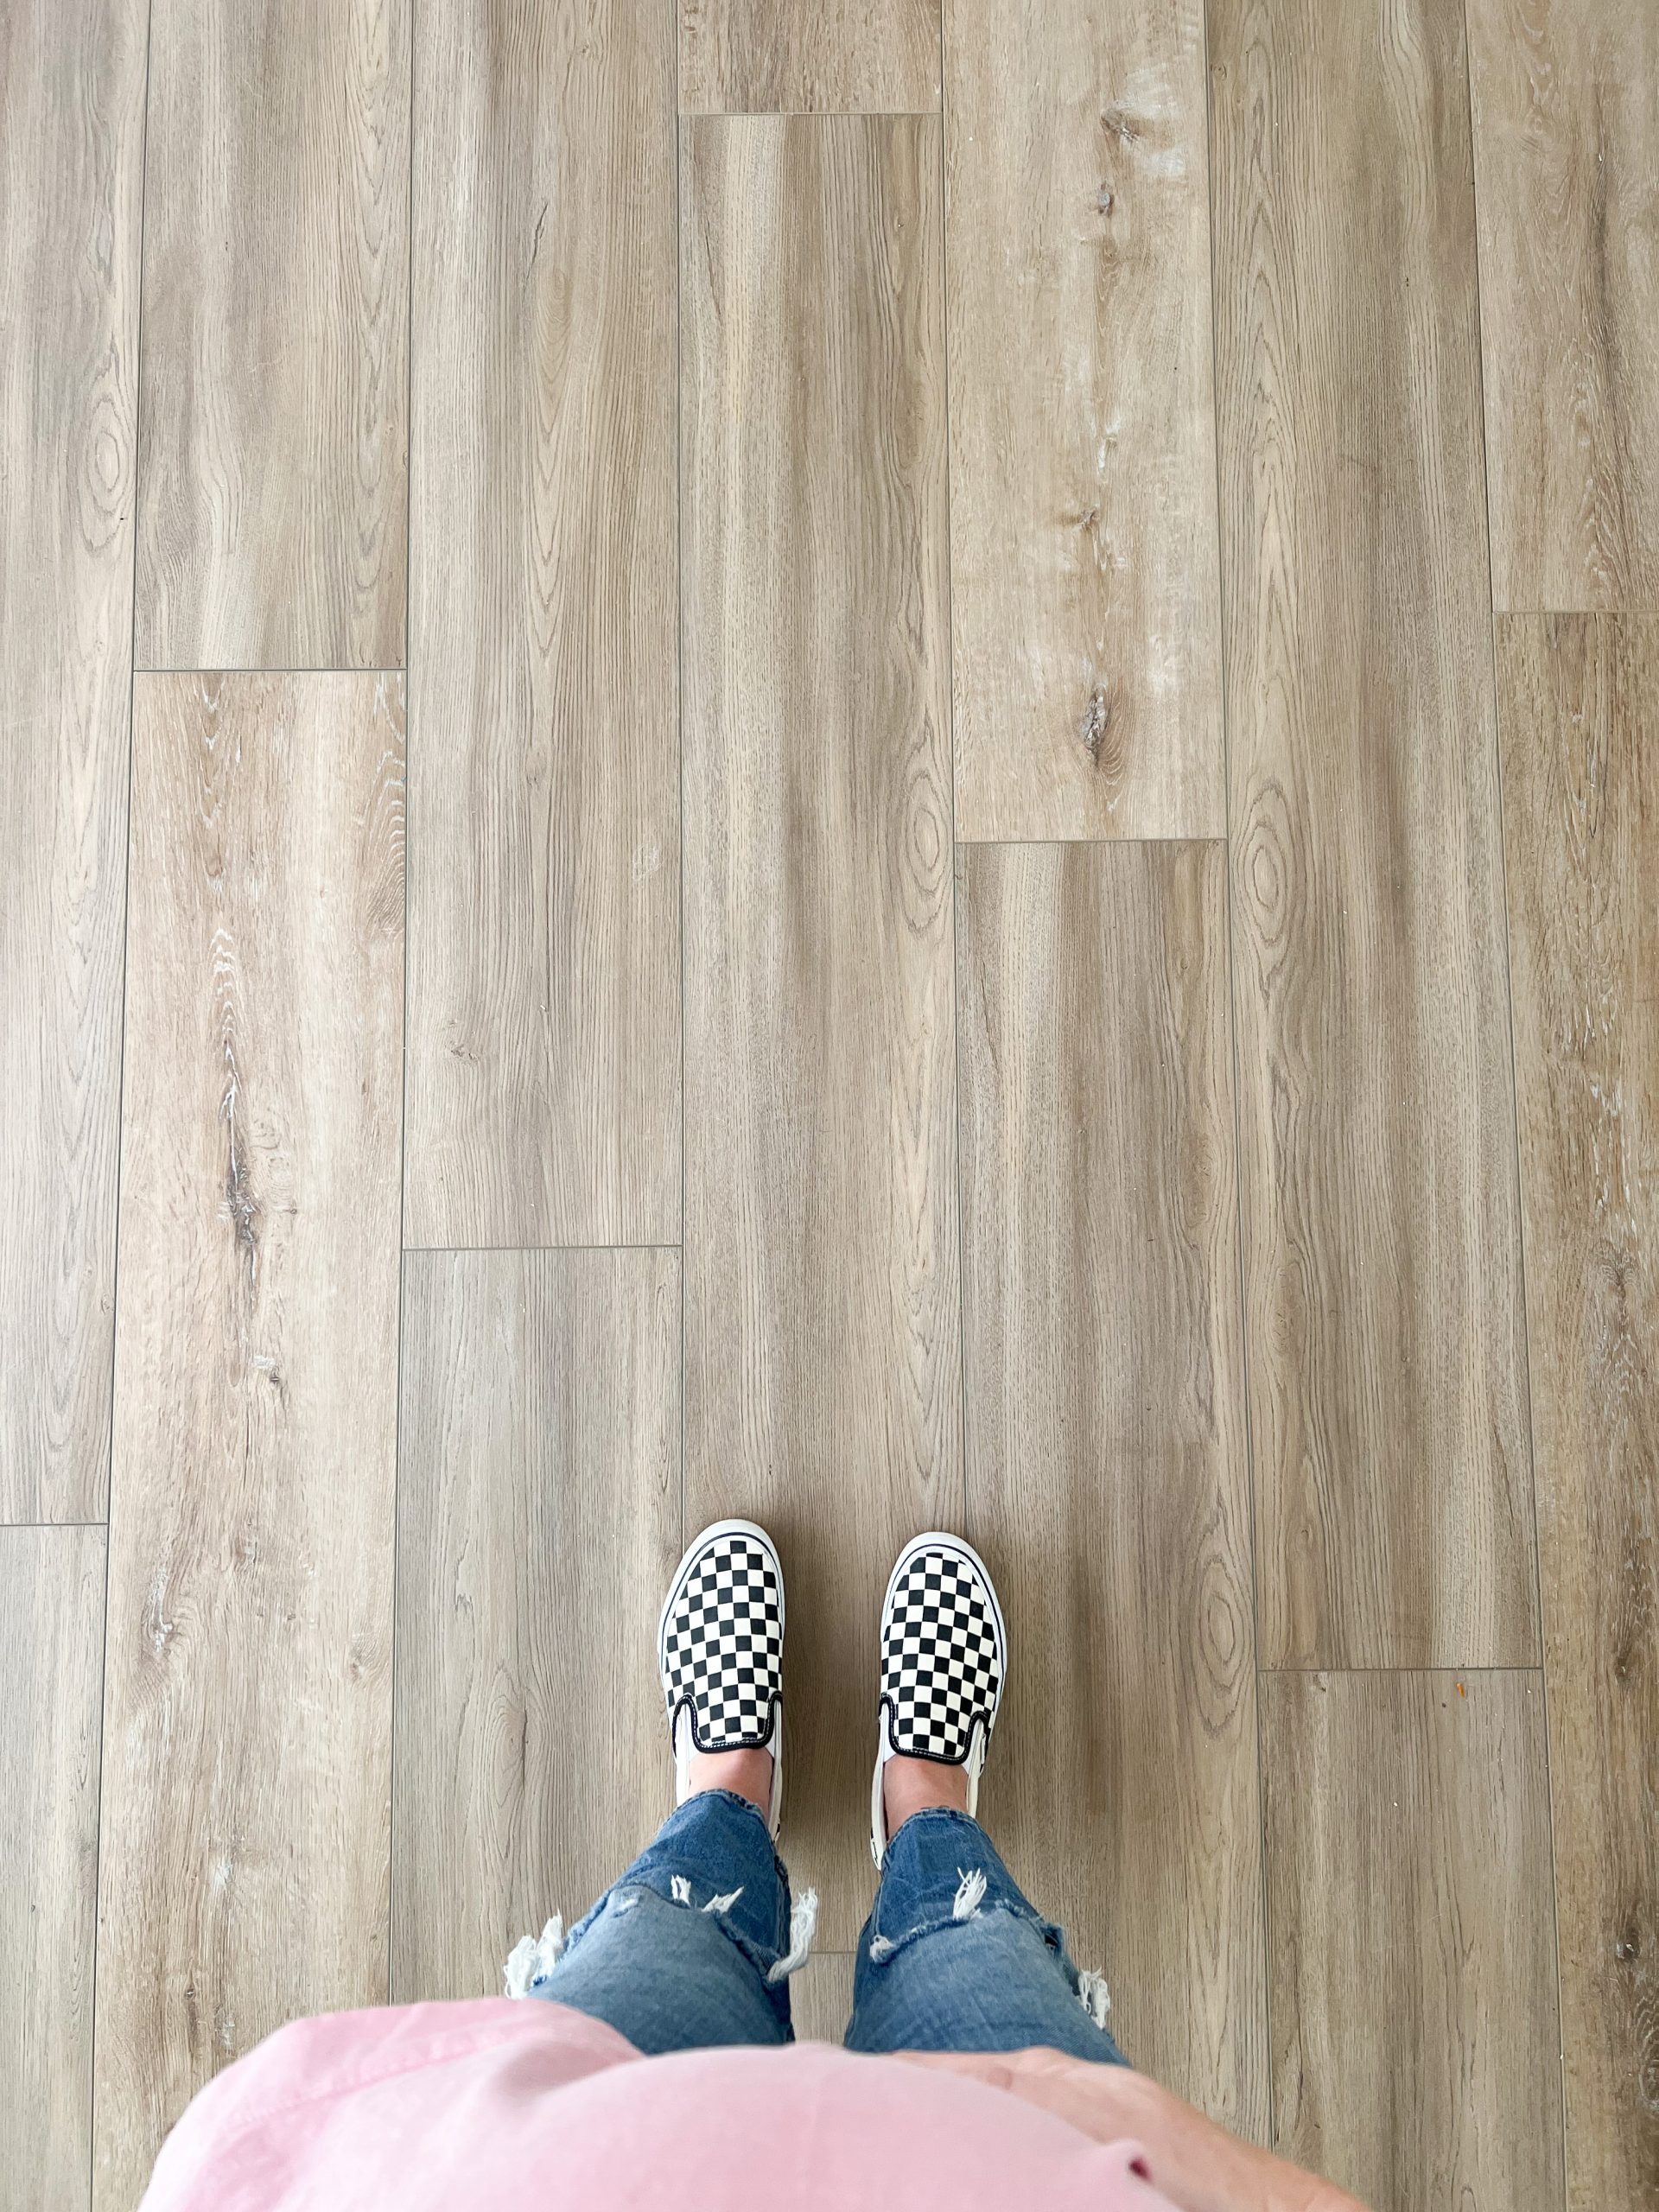
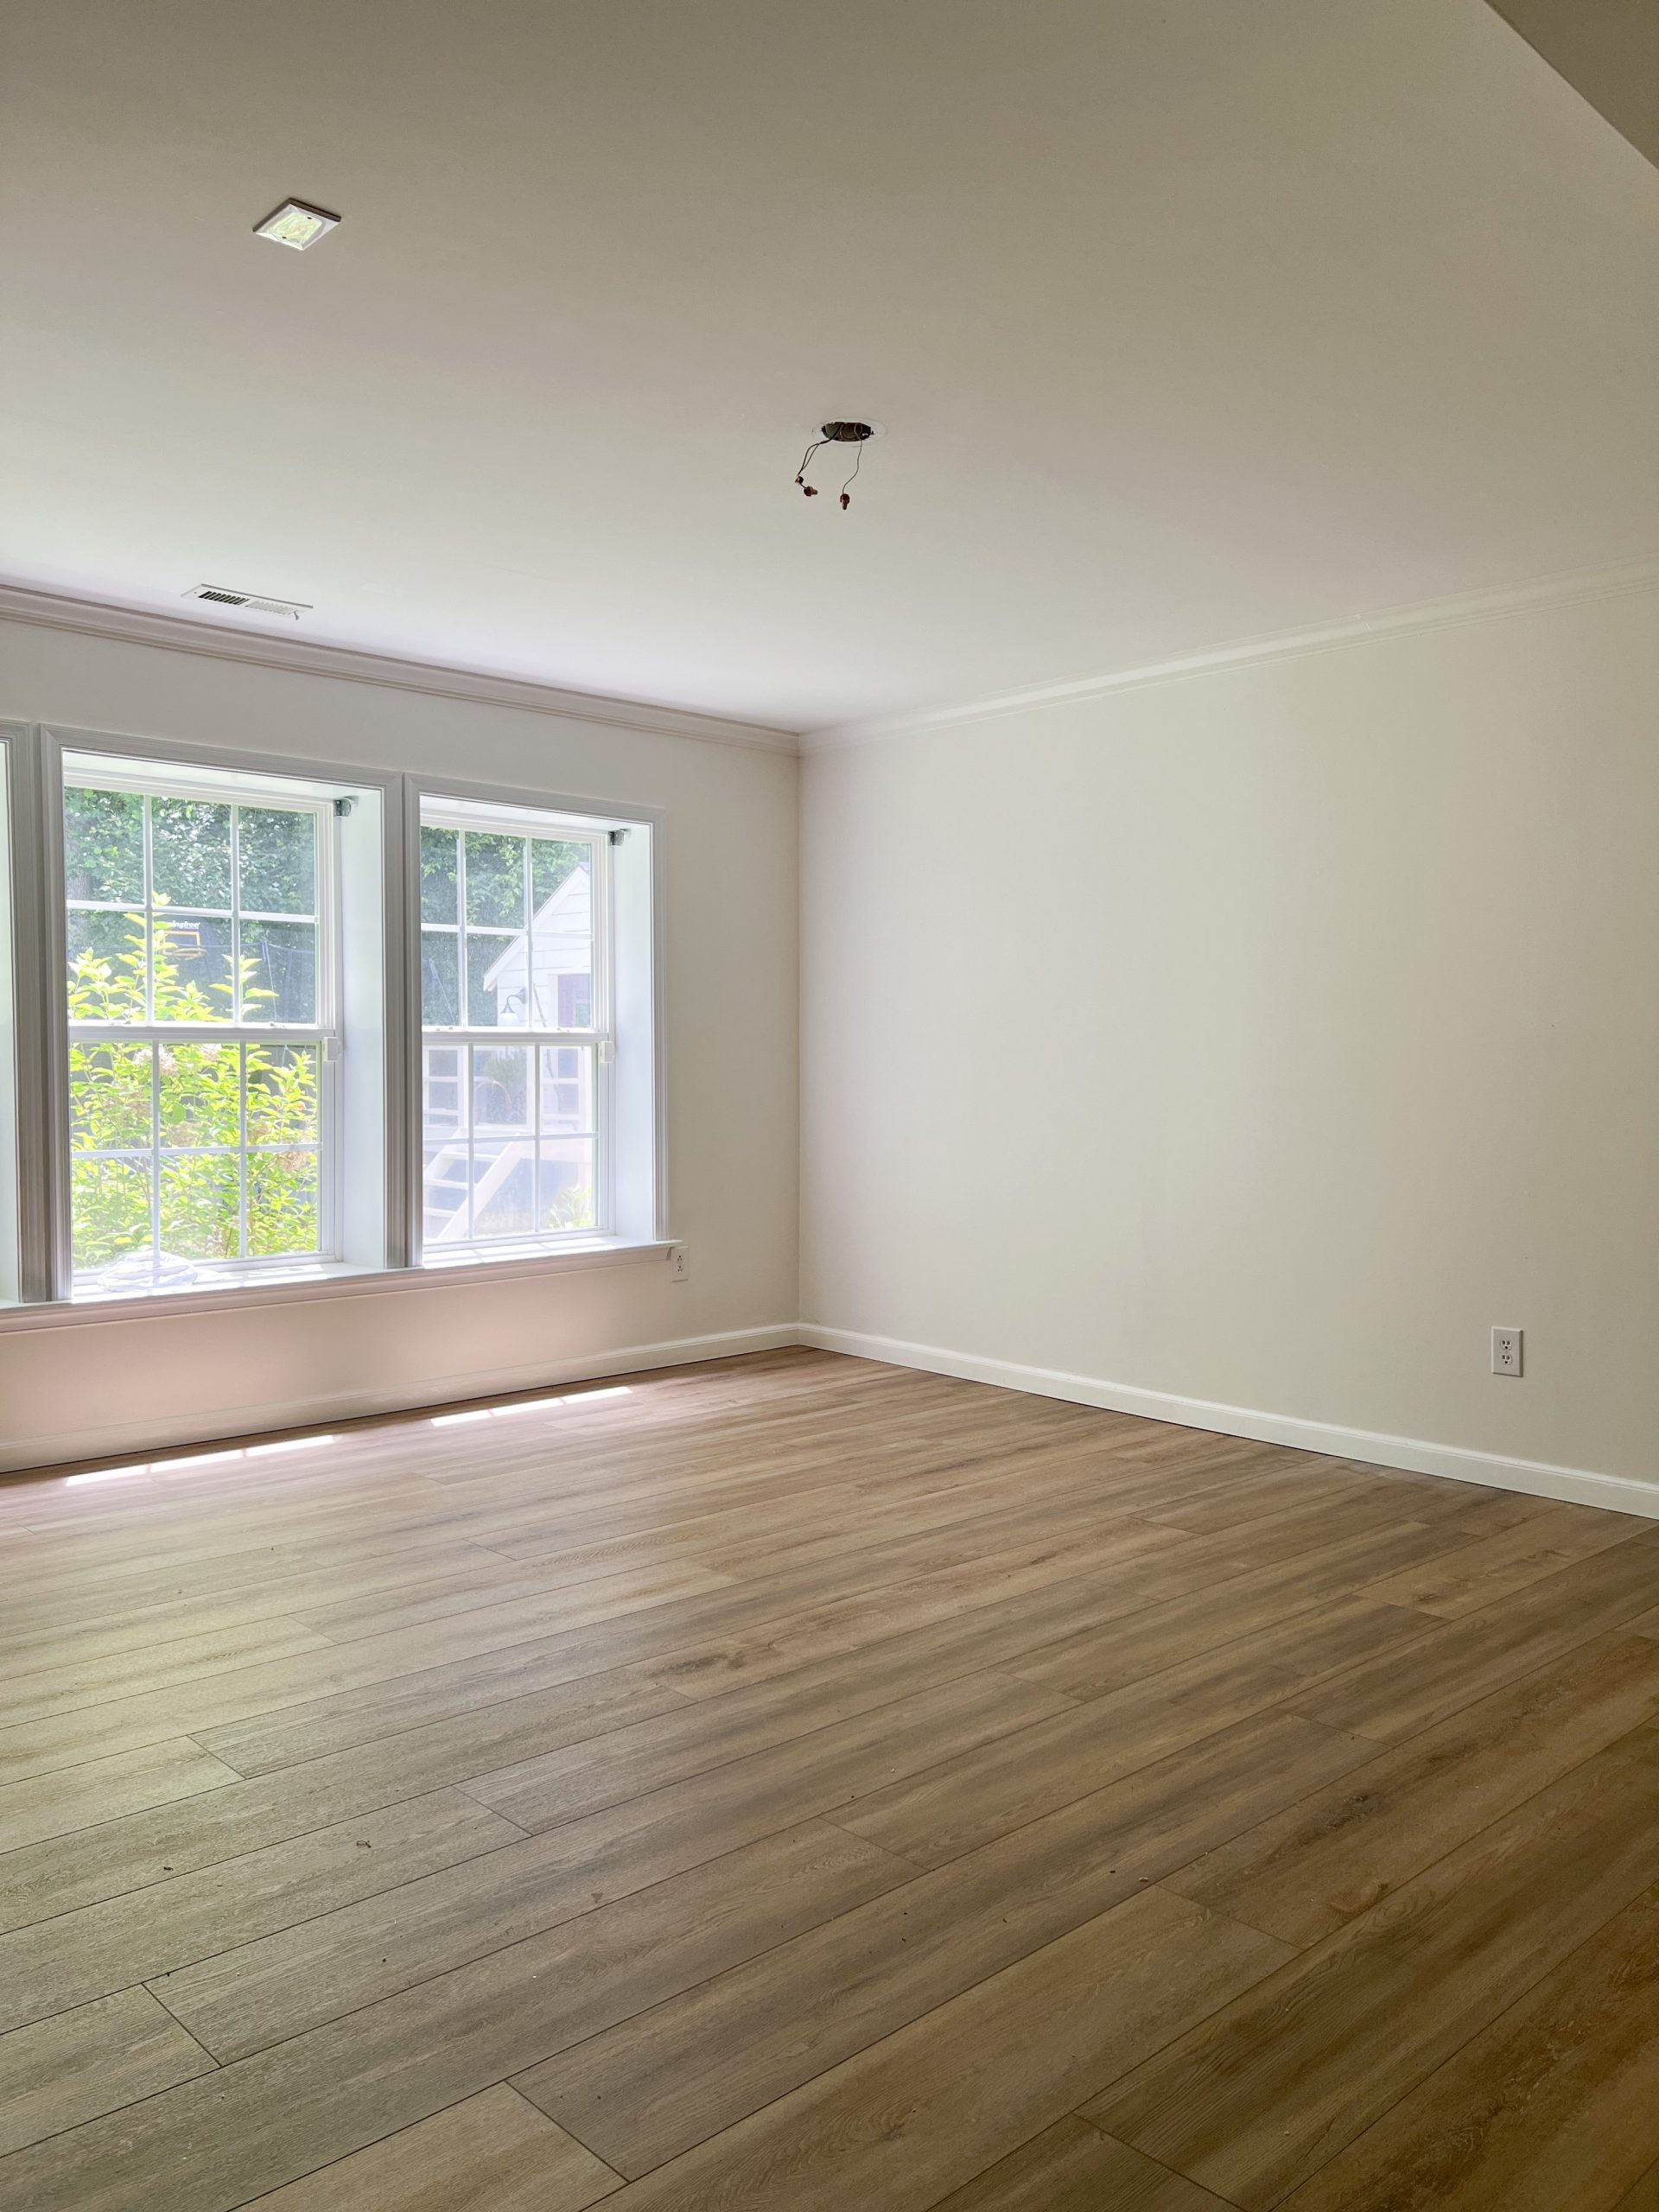
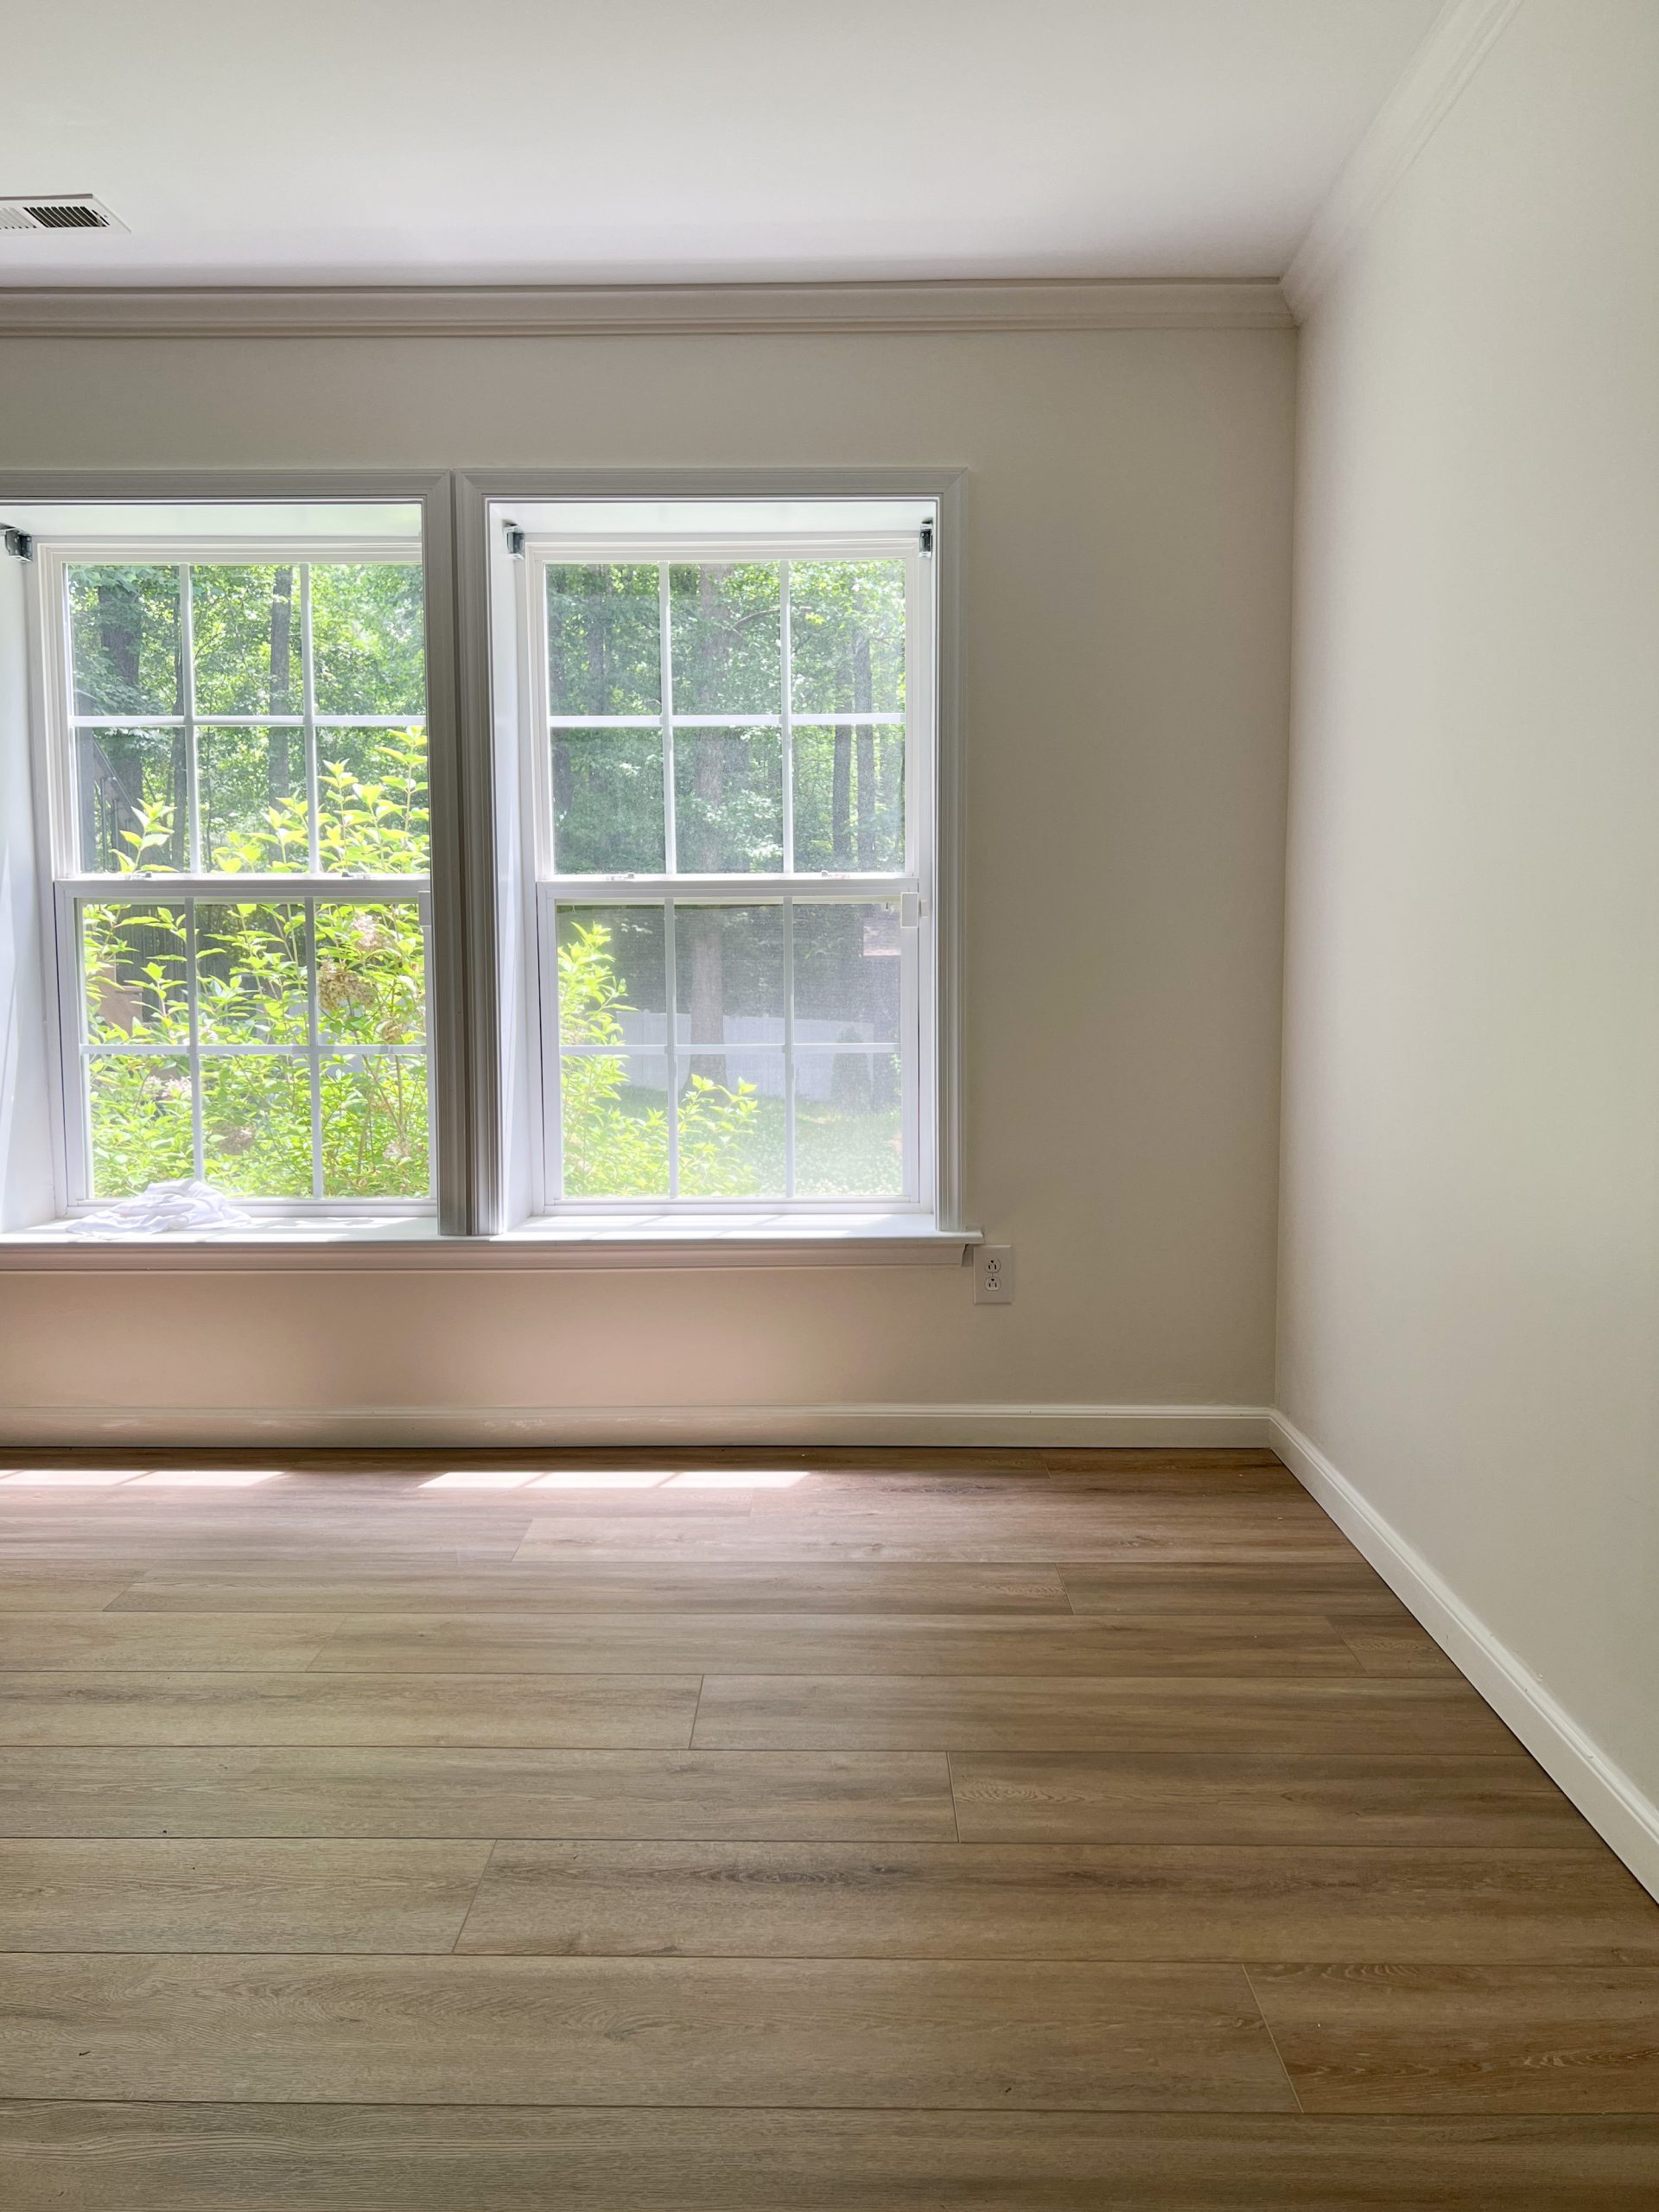
*Pacific Oak GeoWood (images 1-3) & Laguna Sand LVP (image 4)
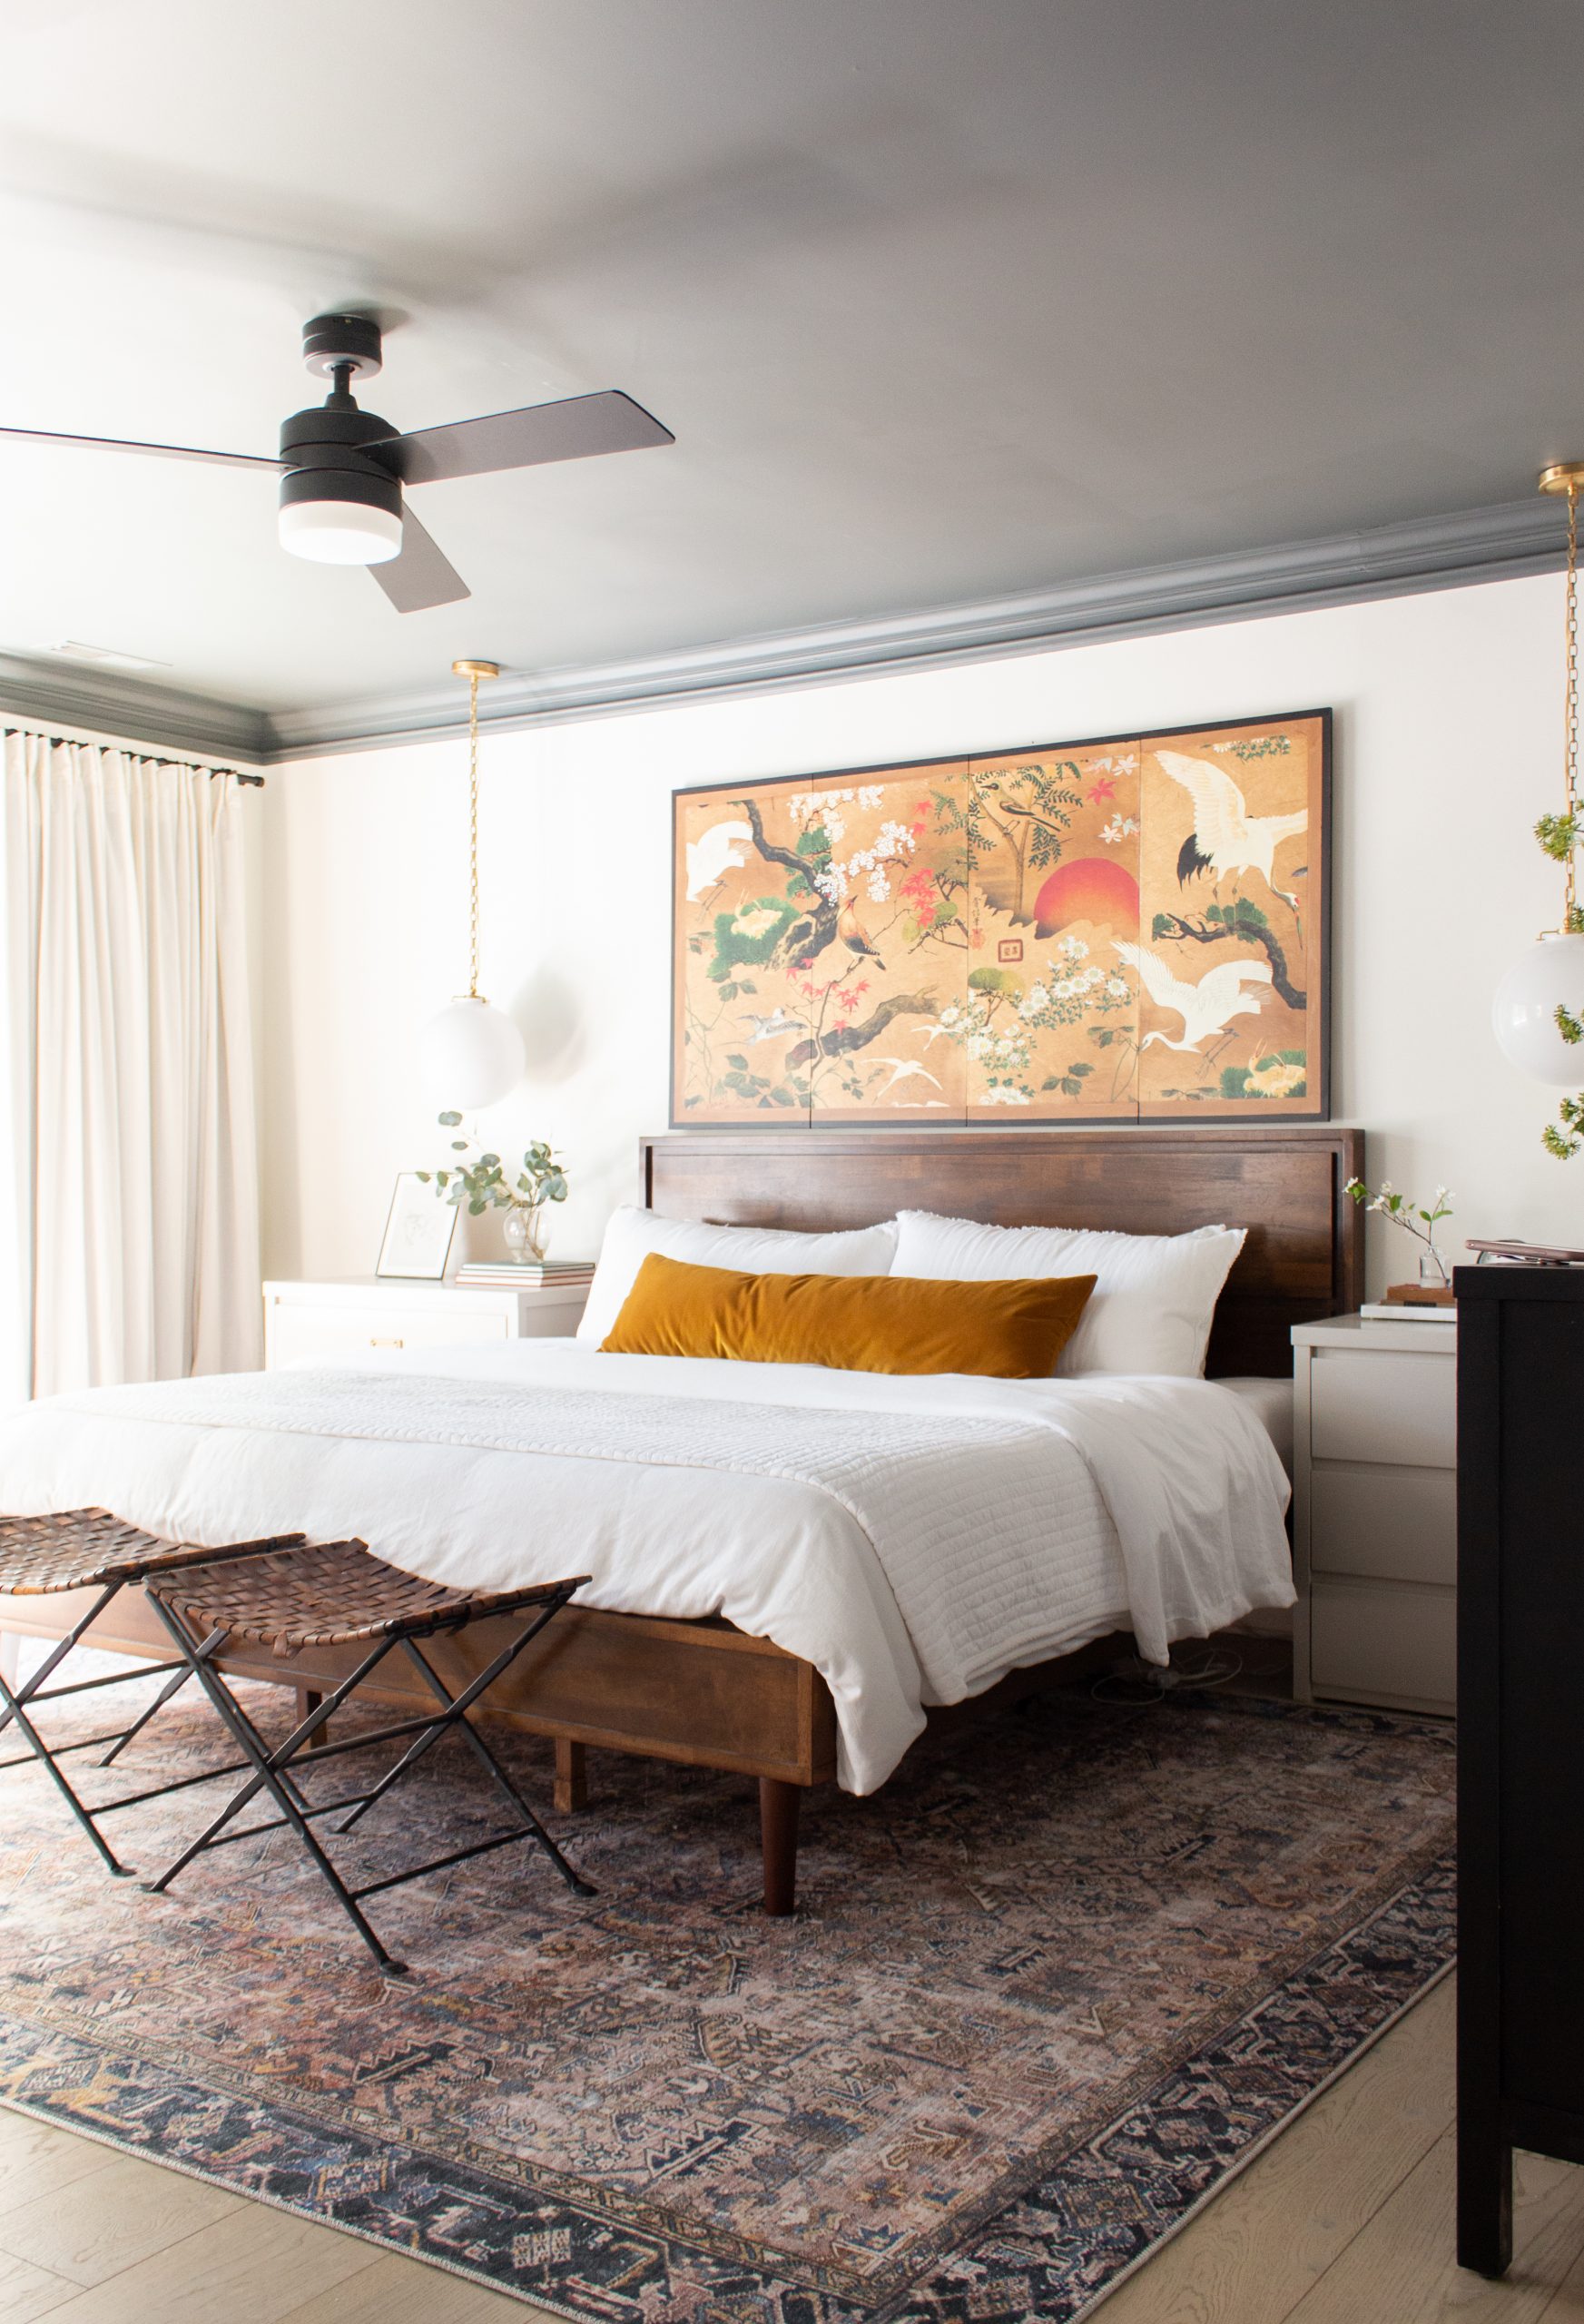
I then slowly installed their GeoWood flooring in several areas upstairs in our home. Shortly after, I installed their LVP flooring in my best friends study (Laguna Sand) for her room makeover. I fell in love with their LVP line because of the added durability and decided that this line would be perfect for the basement renovation! Once I narrowed down the basement plans, I ordered some samples from Cali. I knew that the space would welcome a warmer color for the flooring. This felt like a nice opportunity to contrast or light and airy wood flooring upstairs. Eventually landed on this beautiful Golden Hour Oak LVP.

I got started piece by piece on the basement renovation. My pregnancy was unexpected and threw a wrench into this makeover. What was planned to be a one and done flooring install, turned in to be a multiple step install. I started with the storage closet. You can read more about the storage closet here in this post!
DIY FLOORING INSTALL
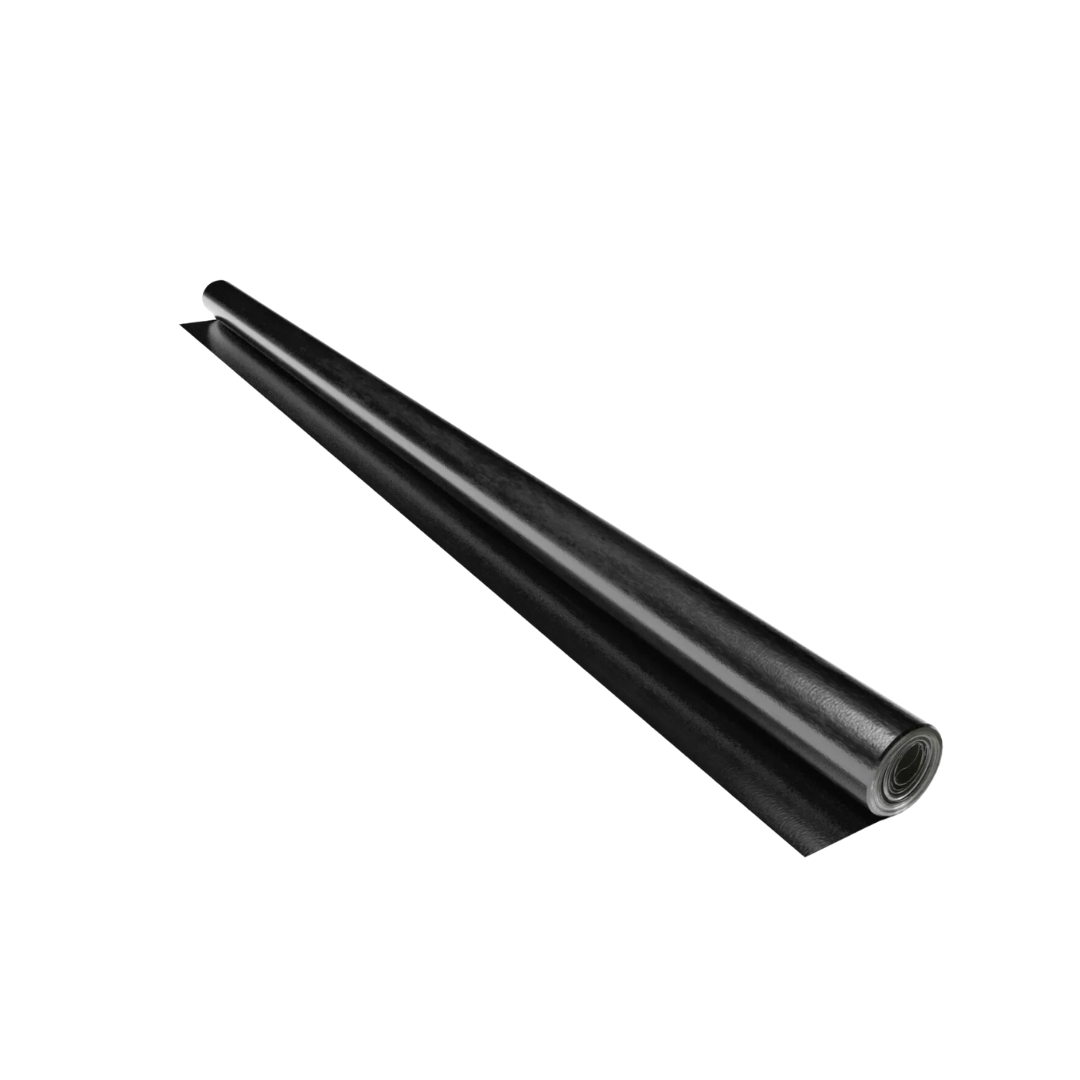
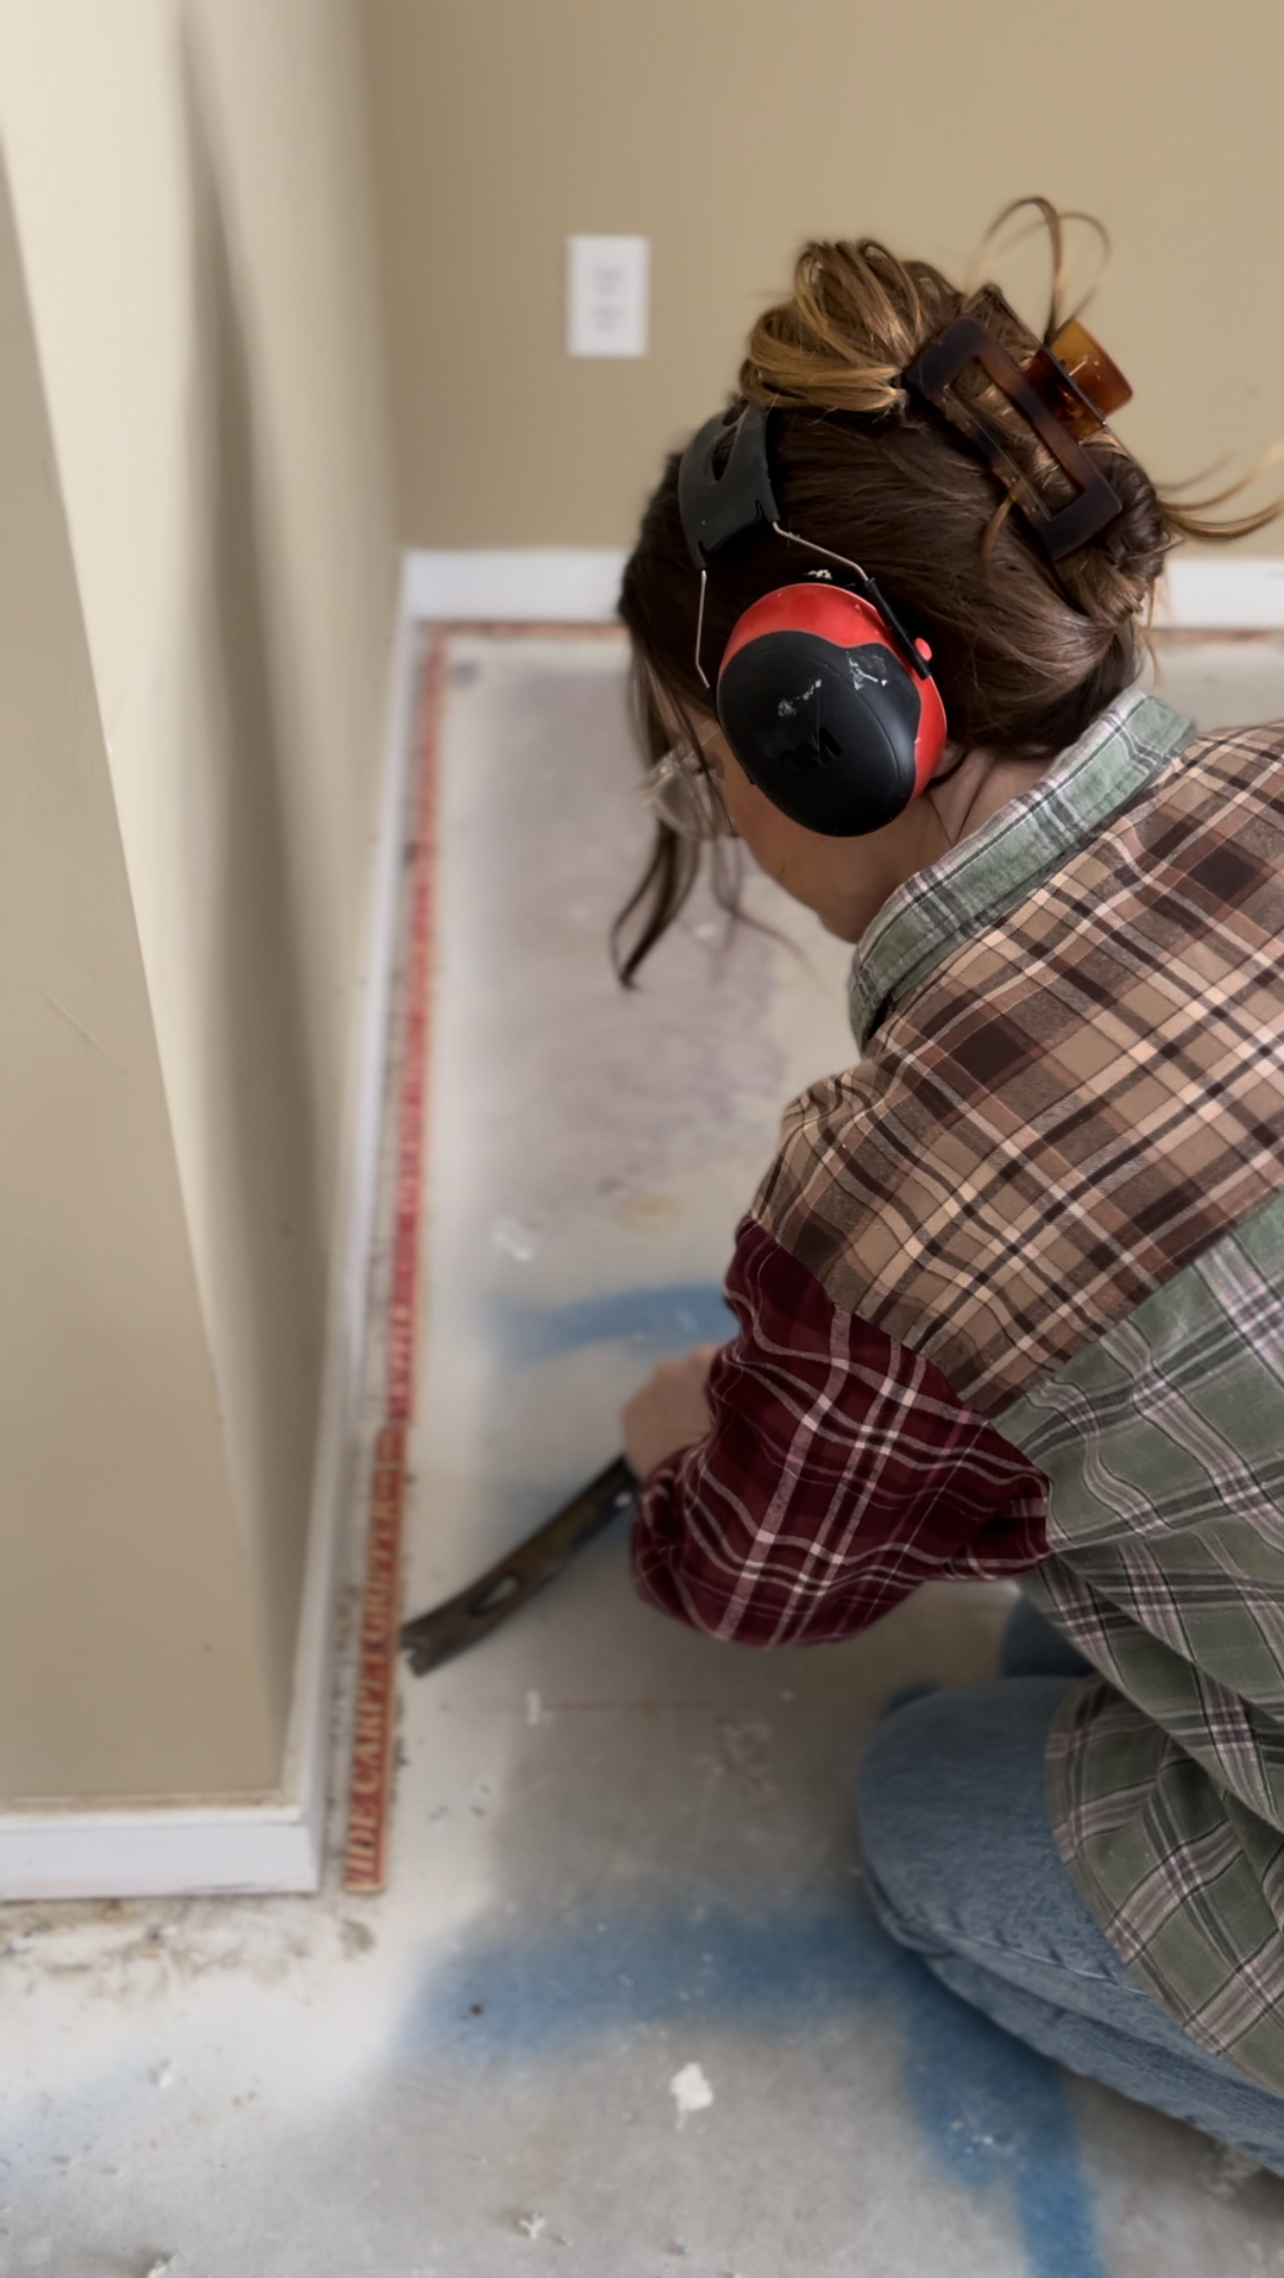
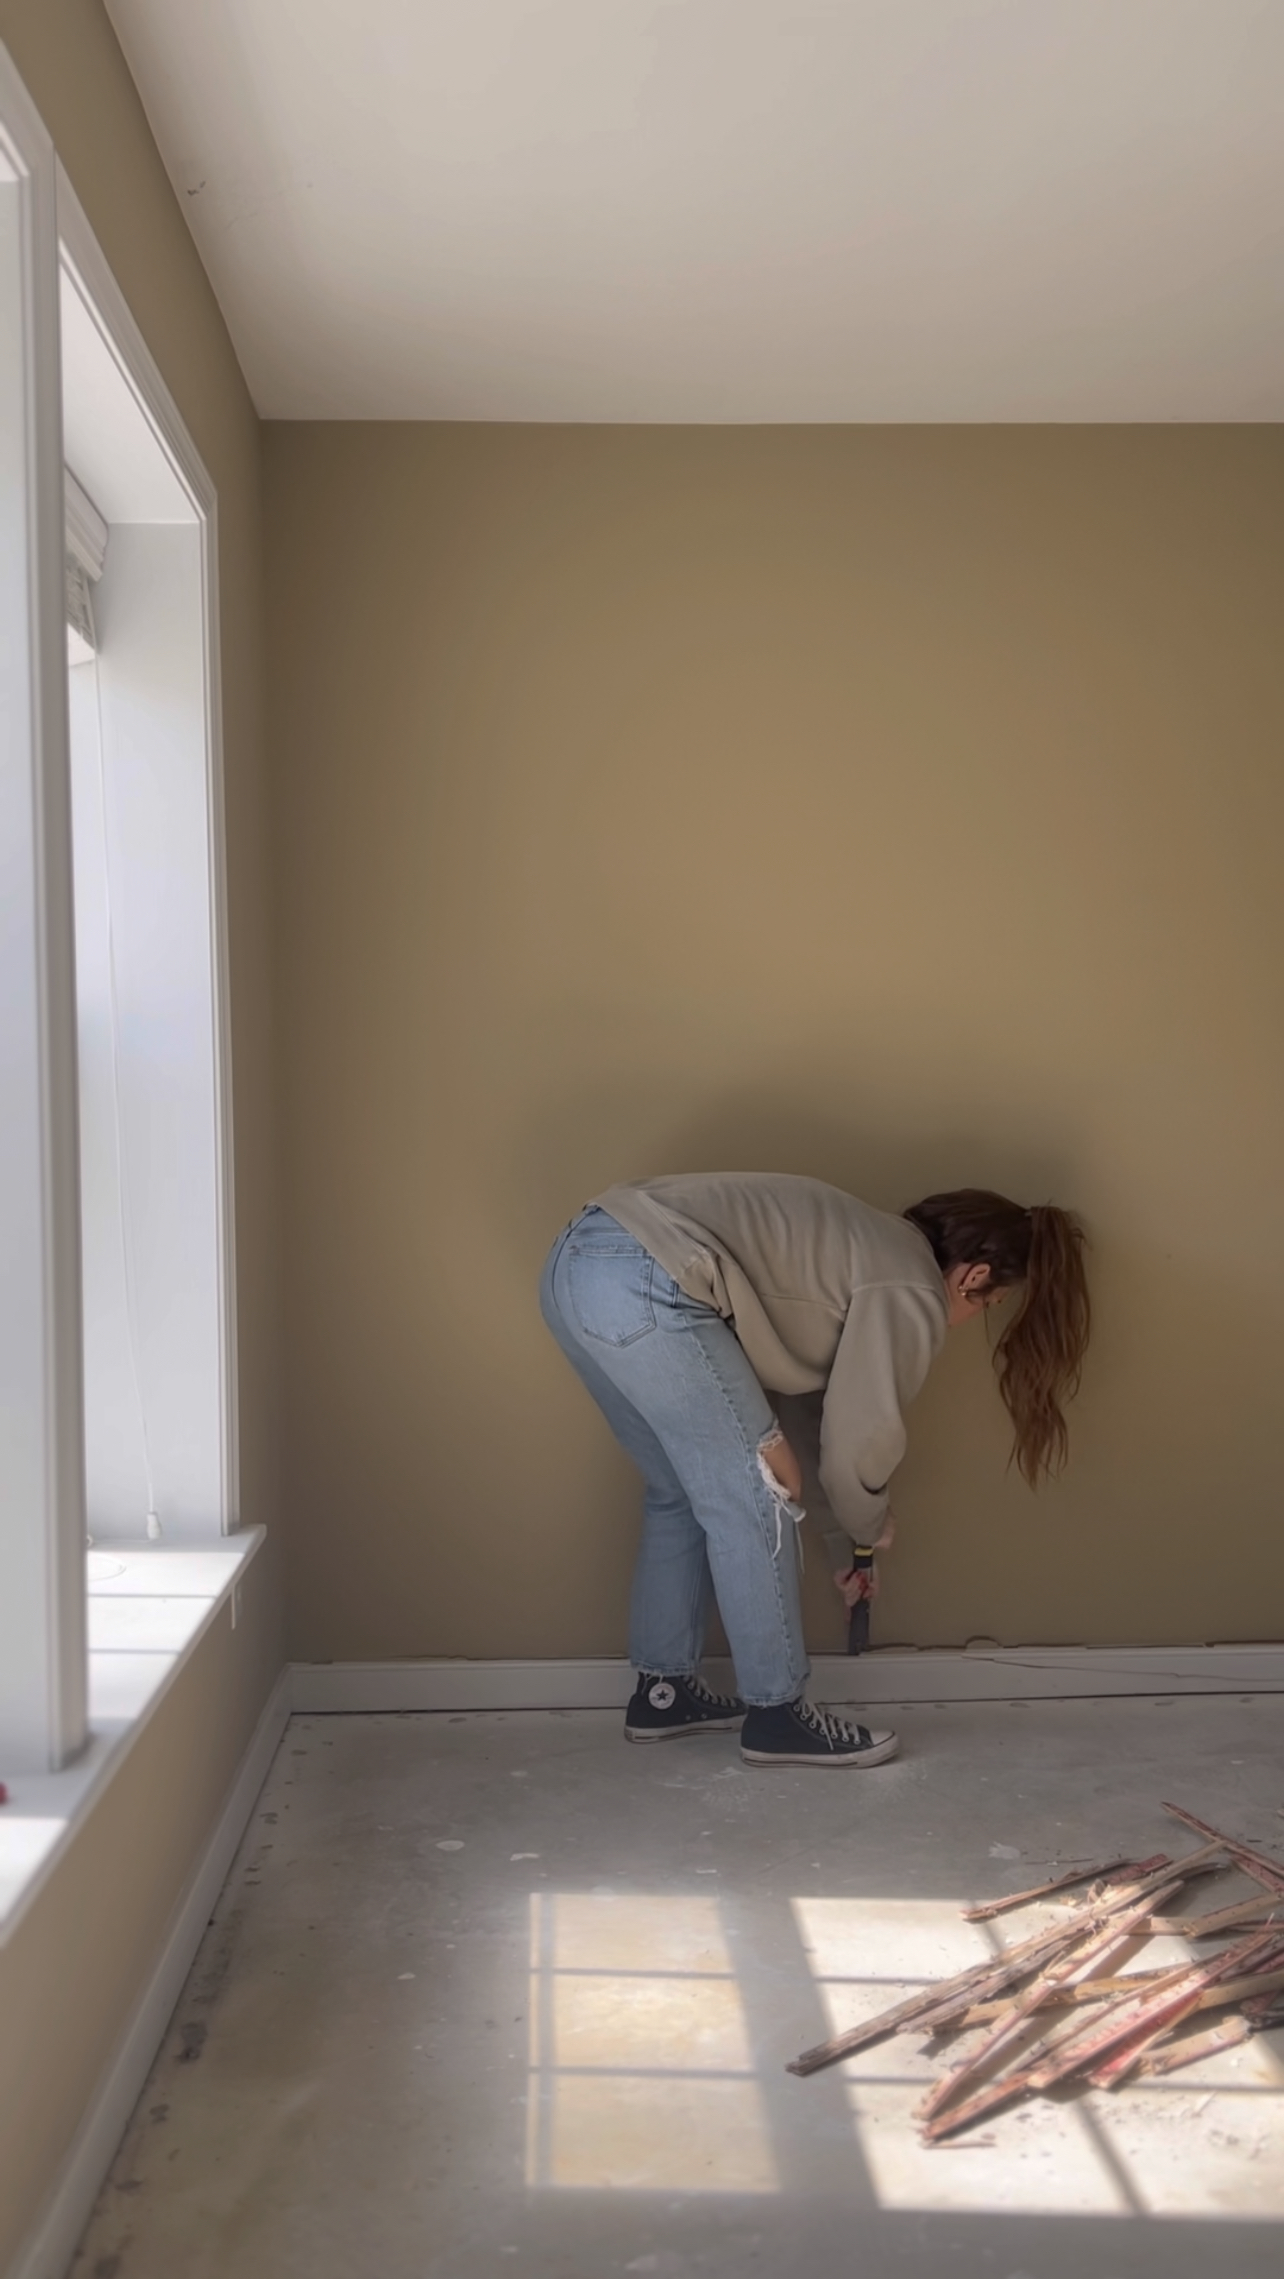
After the storage closet was built, I began removing carpet and underlayment in the main area of the basement for preparing for install. Since this subfloor is concrete, Cali recommended using this plastic moisture barrier as an underlayment. This flooring is so great because it has an underlayment already attached to the backside, so really, no underlayment is actually needed . After removing the carpet and underlayment, I also removed all of our existing baseboards and cleaned and prepped all of the subfloor for insulation.

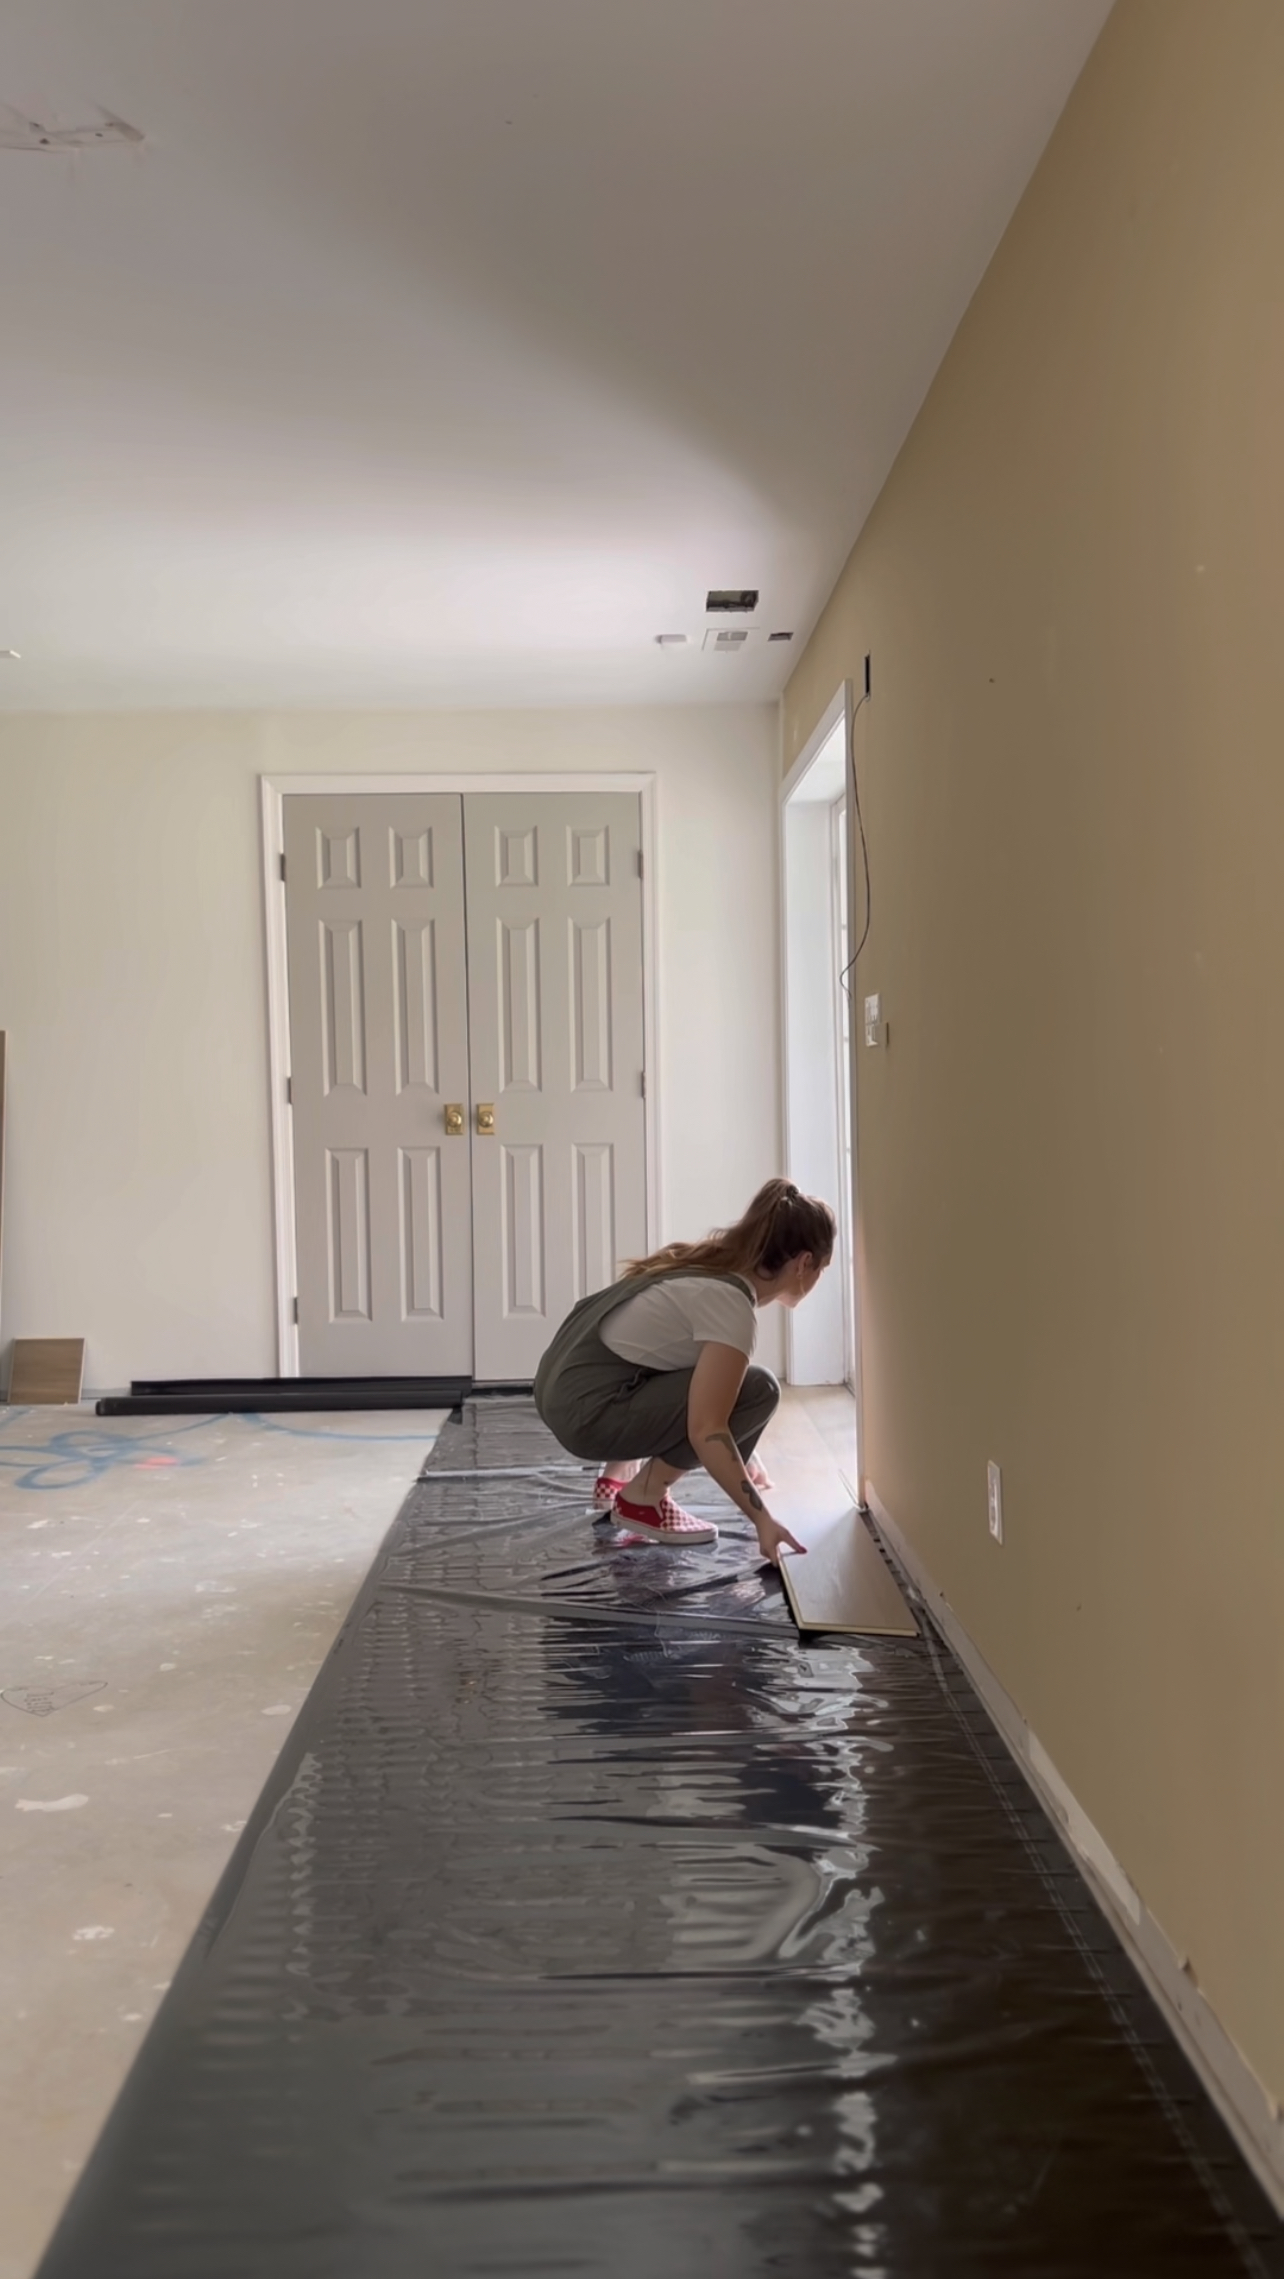
My husband and I worked together and started at one end of the basement with three rows of the LVP flooring. We worked our way down the room and completed those three rows before starting the next three. This flooring is so simple to install! It has a click and lock technique. Once the floor boards are locked in together, they don’t move. This makes for smooth sailing on installation day!
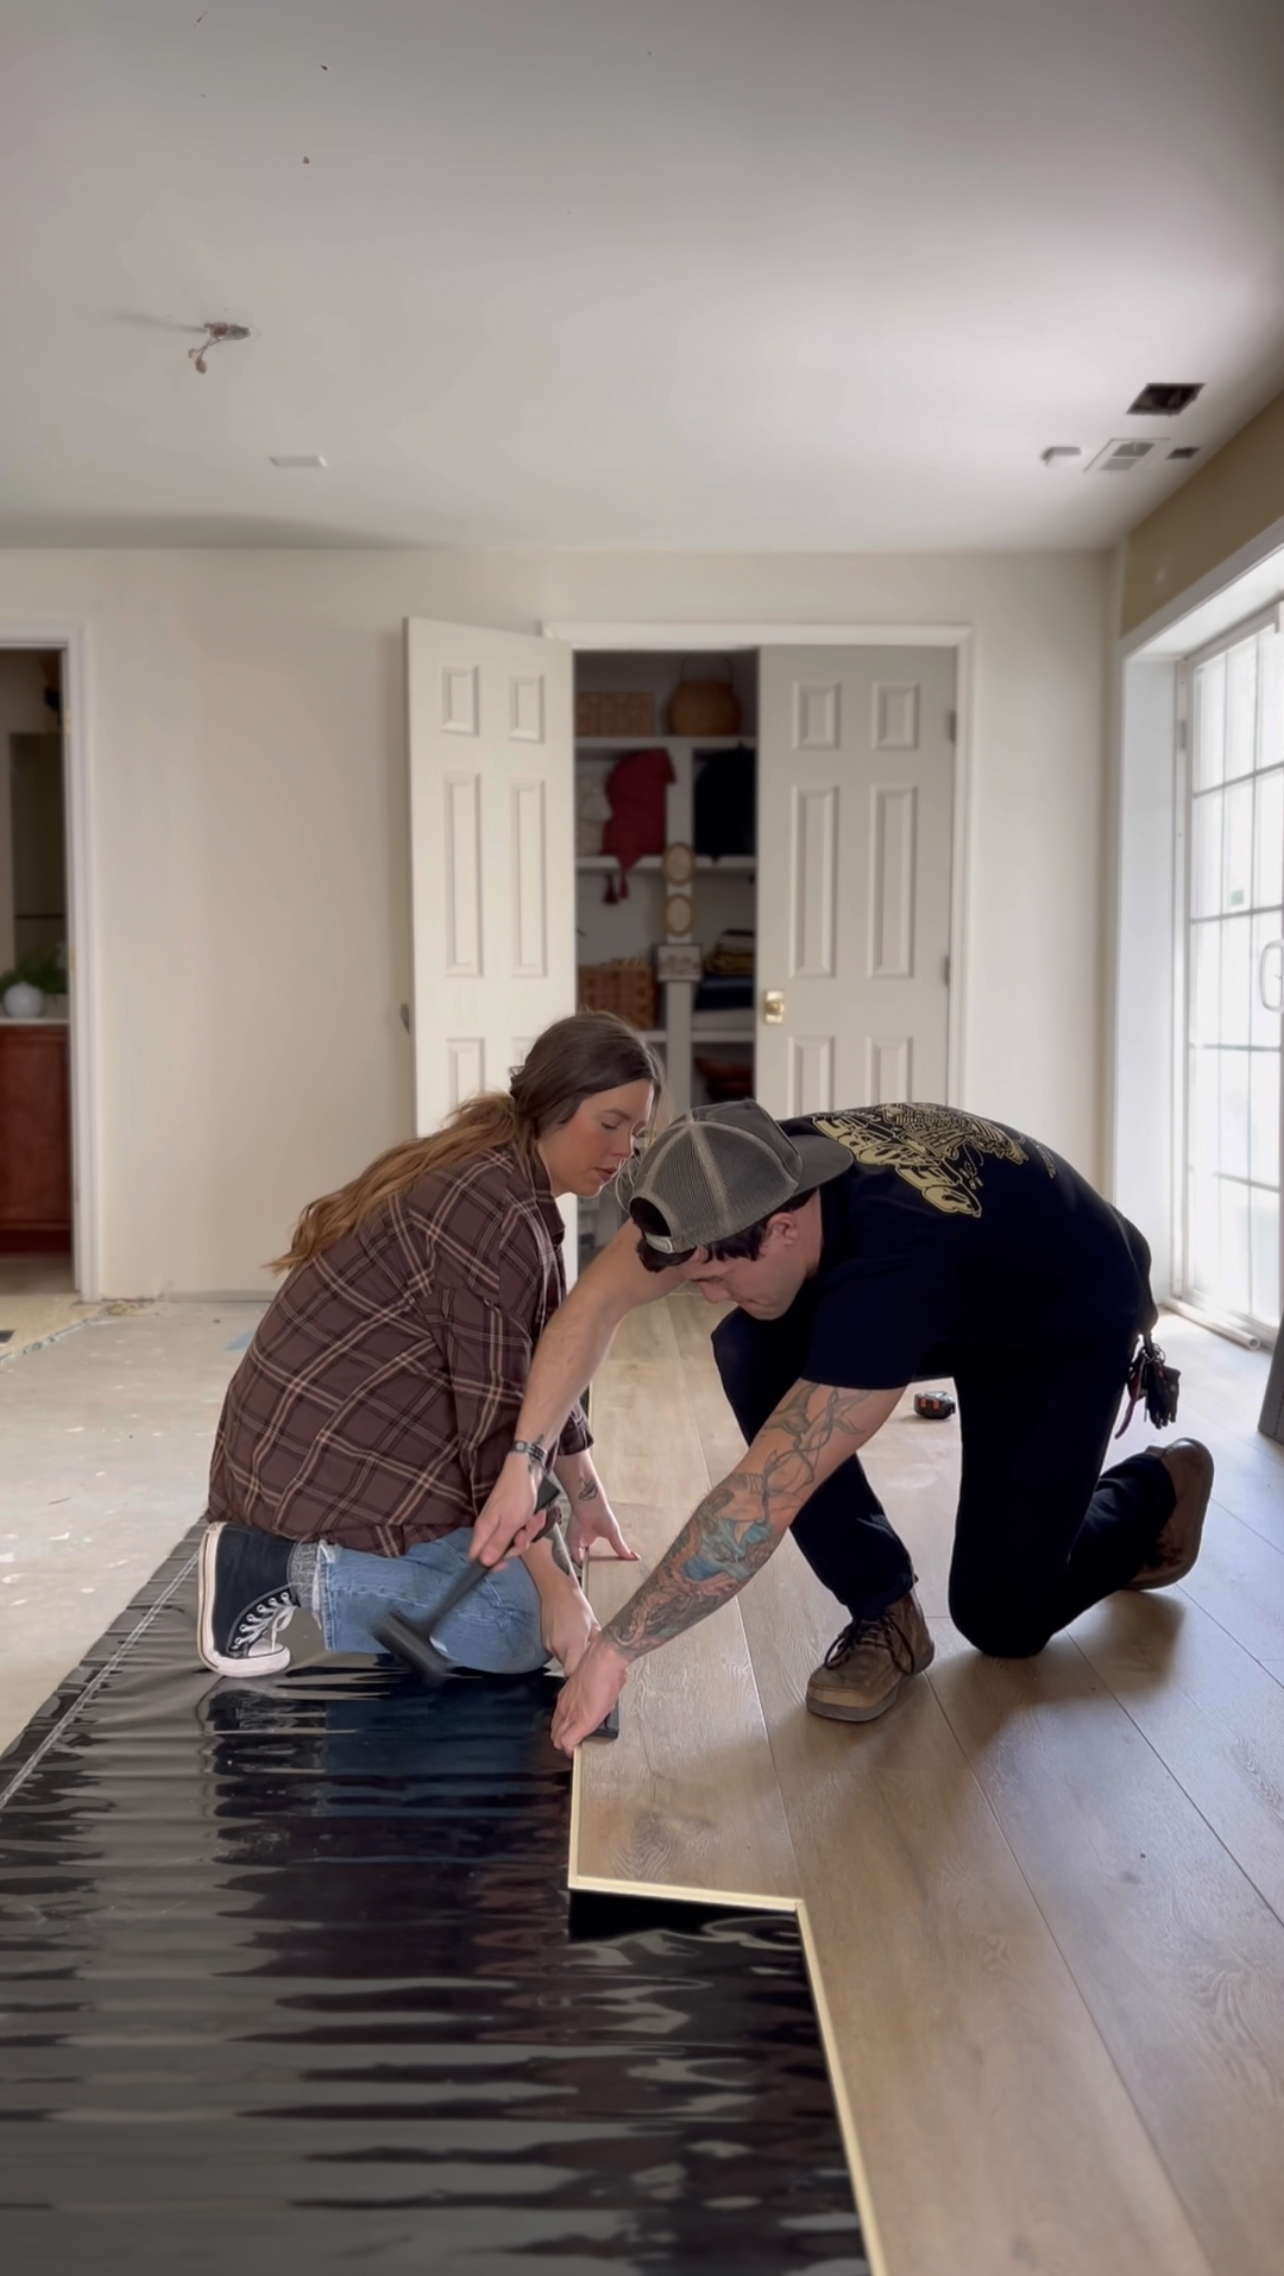
Four hands are better than two!
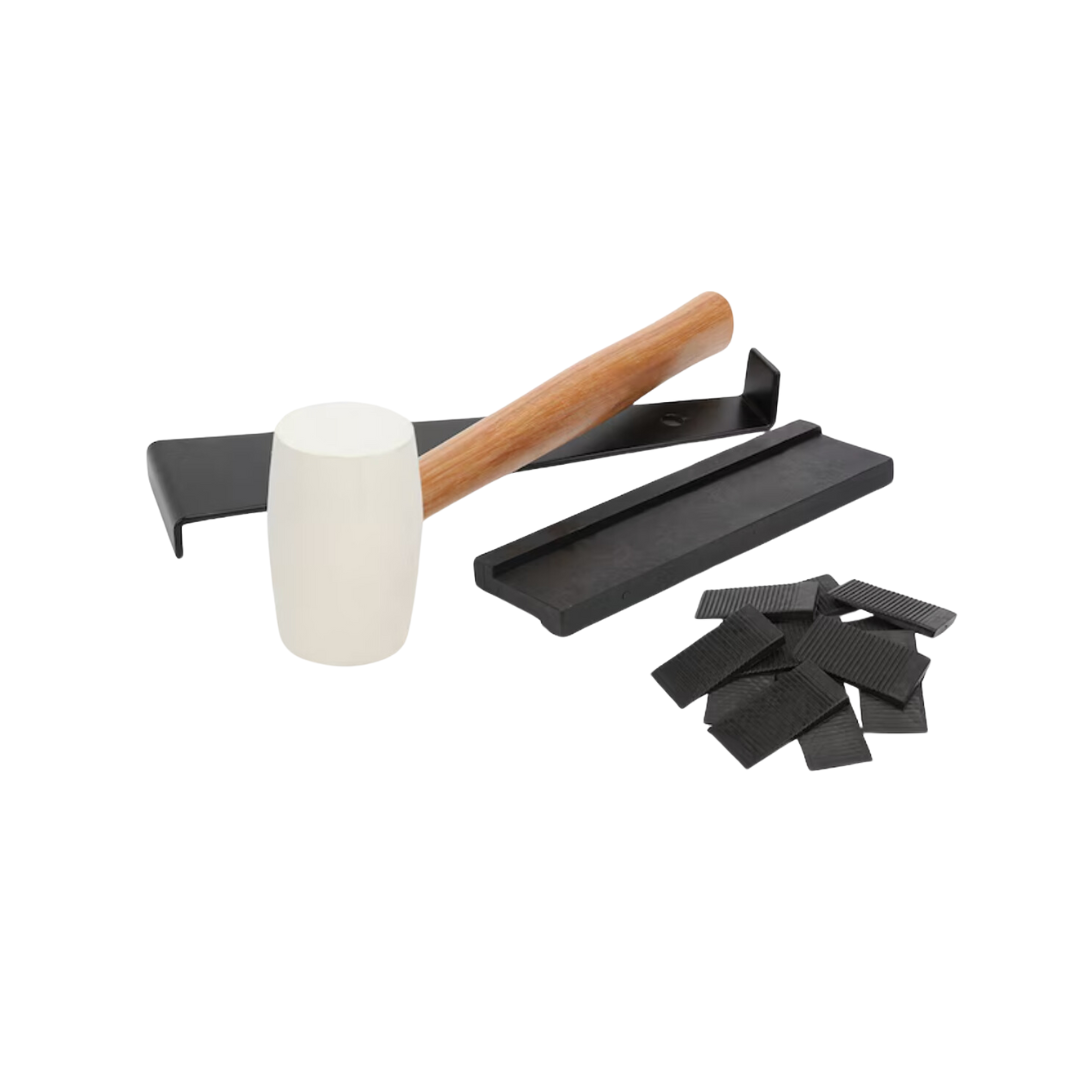
I have installed Cali’s flooring multiple times by myself and it’s totally doable! However, it does go so much quicker with a second set of hands…especially for a larger space like this one. We began moving quickly once developing a rhythm together. I would place the next floor plank and lock it into the adjacent row, while David used a tapping block and mallet to tap in for extra secure joints. This part was not totally necessary, but we felt happy about taking the extra step to make sure every piece was locked into place perfectly.
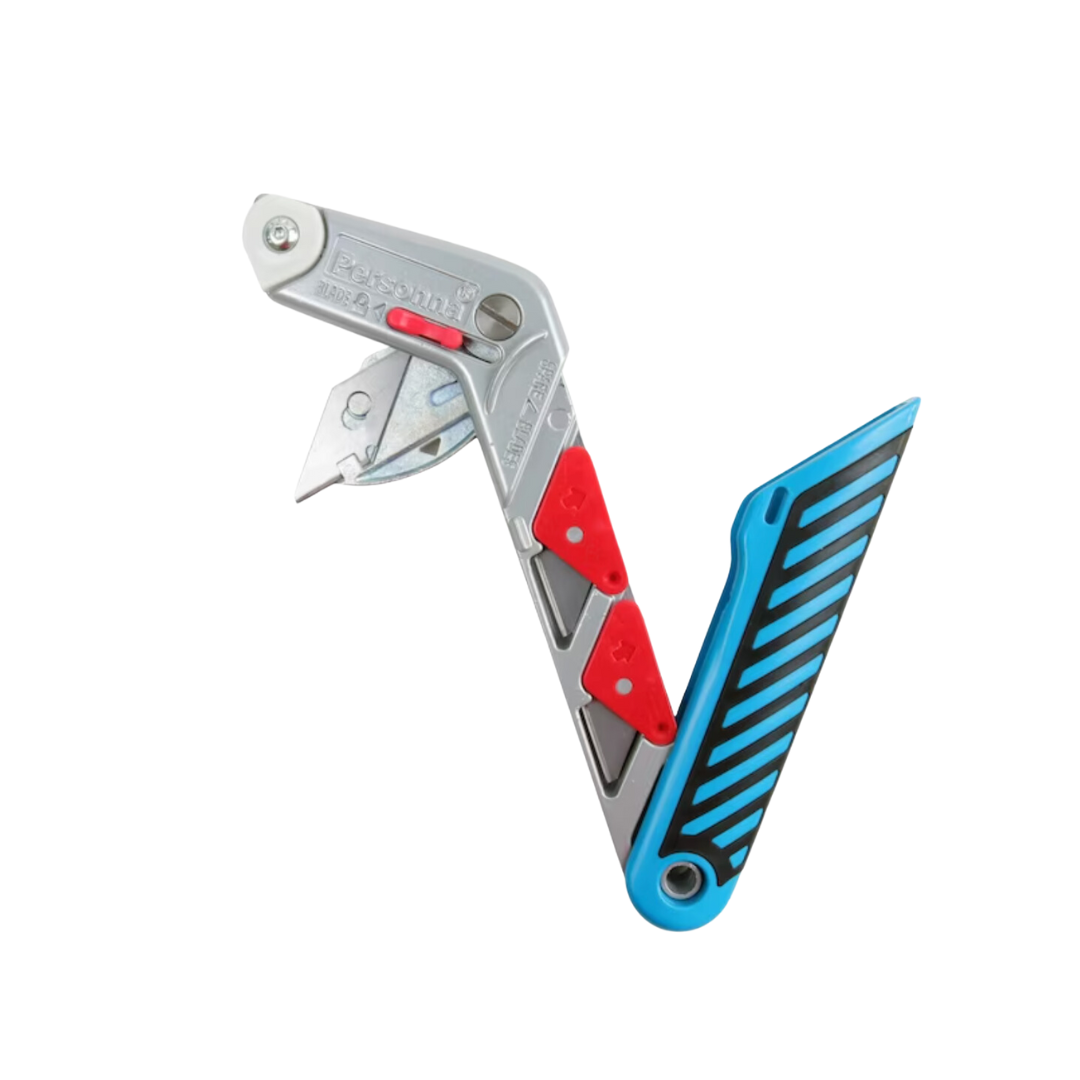
Another great benefit about installation with the LVP flooring line is that it is not necessary to use a saw. You can simply score with a razor blade and snap. Which is extremely surprising given that it’s the most durable flooring! He would not think that you could simply score in snap, based on how durable the flooring is. but this is so helpful when installing.


In addition to our flooring boards, I have all of the appropriate pieces for thresholds to use in doorways and transitions here in the basement. I also ordered stair treads and nosing so that eventually I can install the flooring up the stairs that lead out of the basement. It will look so beautiful! I’m so thankful that Cali has all of these matching accessories for the flooring. Makes my designer heart so happy!
Baseboards
After completing our install, I installed new baseboards to finish the look. Since the install, I’ve been working hard on transforming the rest of this basement, but the Cali flooring really transformed the space. I’m so happy to know that these will be durable, long lasting, and beautiful for years to come. I can’t wait to enjoy our new beautiful floors in the transformed space!

FLOORING VISUALIZER
Cali recently introduced an amazing feature to their site called the Flooring Visualizer. This is such a cool option if you need help choosing a new flooring for your space! Simply upload a photo of your space (or use the photos already provided on the site) and choose one of Cali’s flooring. This is such a helpful tool to use! Click here to try it out.
SHOP THE POST