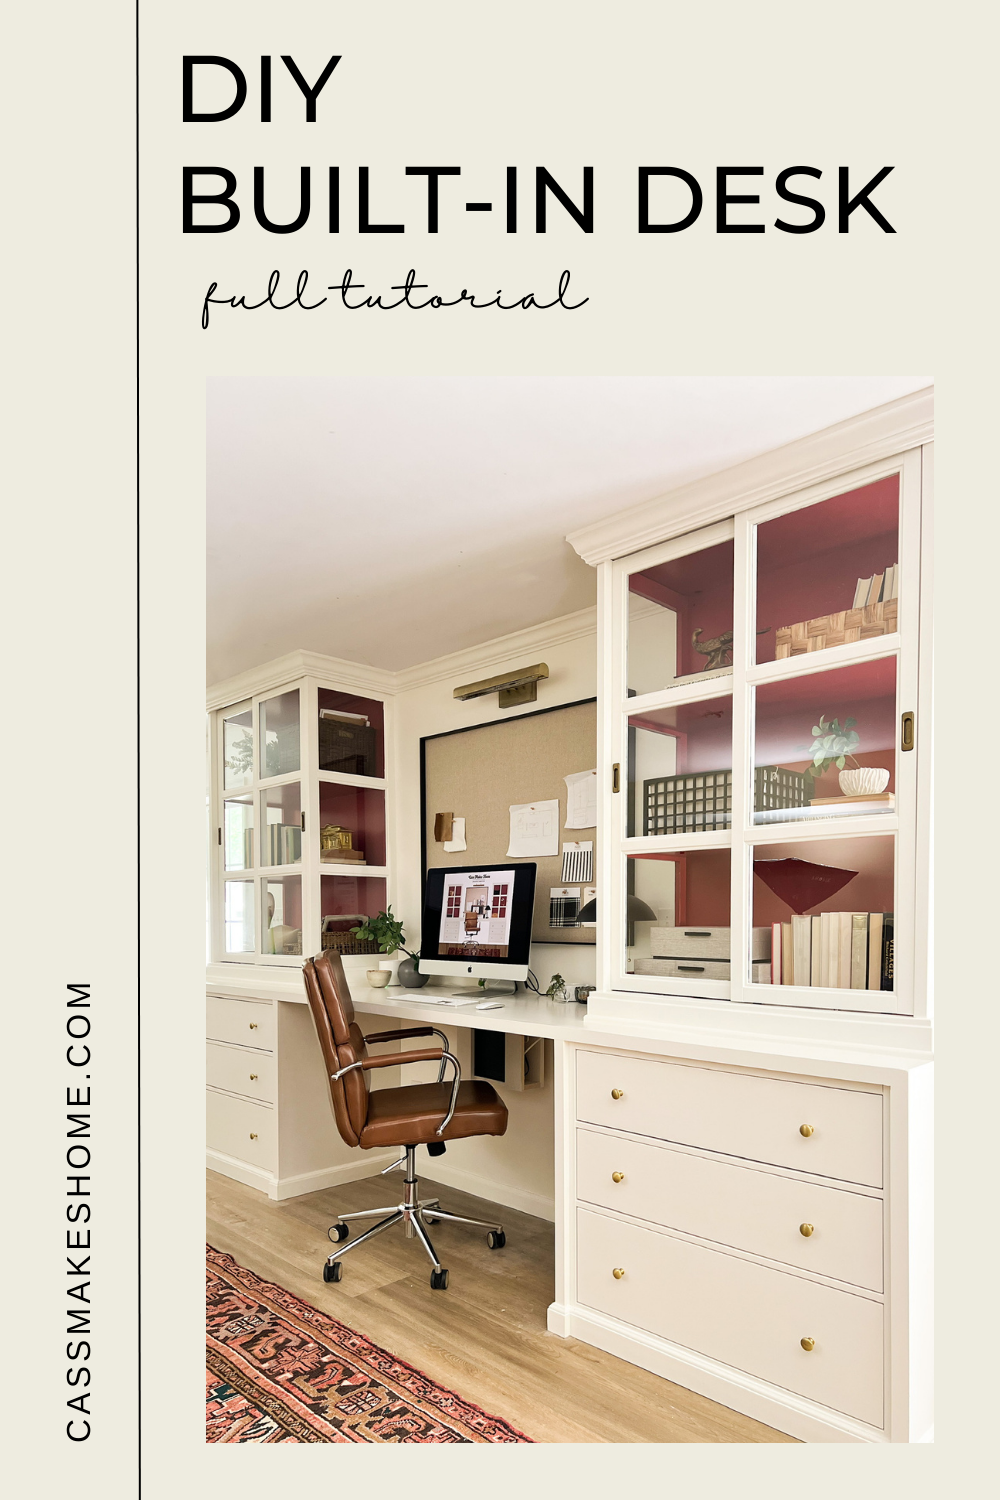
DIY Built-In Desk

Our finished basement has become somewhat of a storage space for us over the years. It’s become a collection space for things ranging between gym equipment….and leftover renovation supplies. I have been dying to make proper use of the space. Now it’s time. You can see all our plans here!
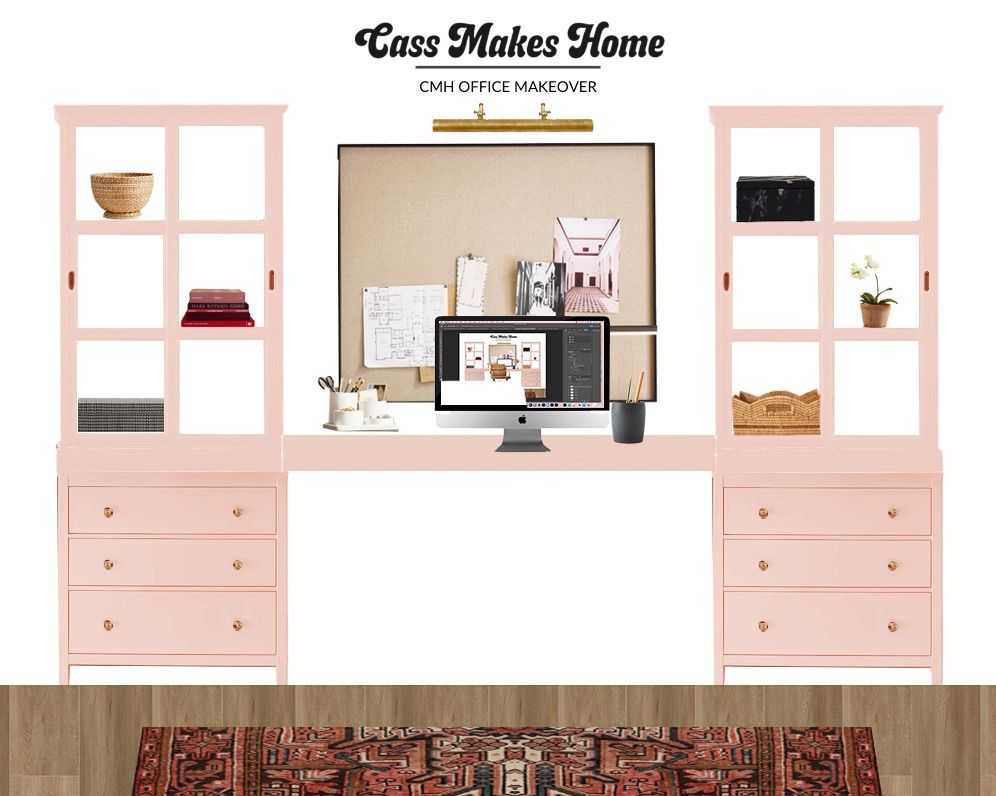
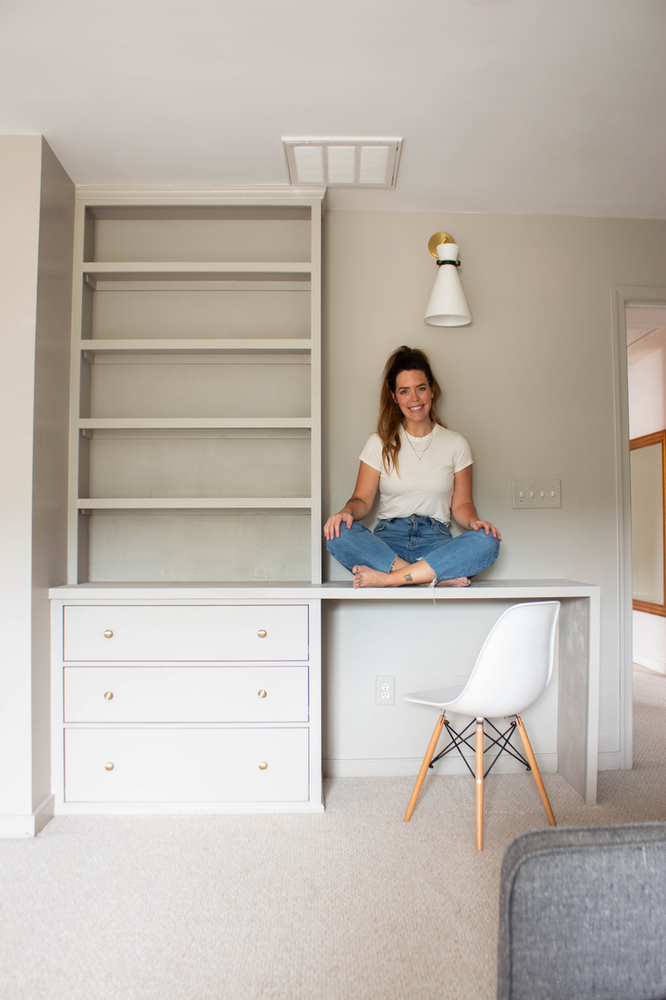
First up, I need an office space. So, I’m building a desk built-in! Here’s my mood board.
*This post may contain affiliate links, which means I may earn a small commission if you purchase through my links, at no extra cost to you. I only share products I genuinely love.

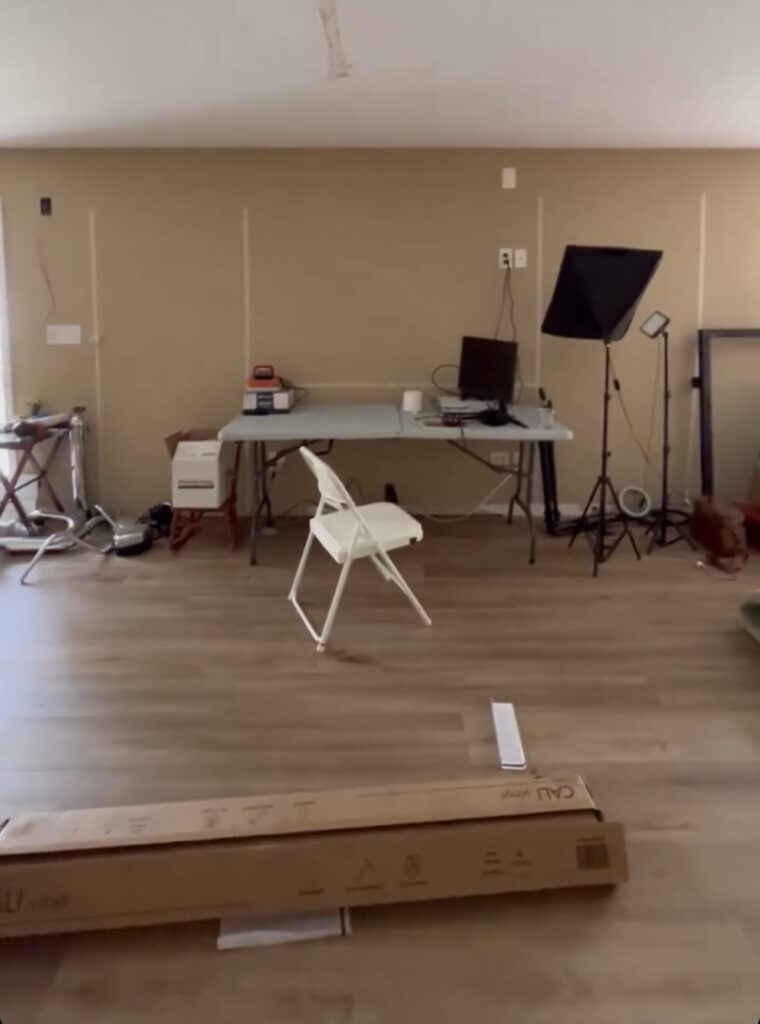
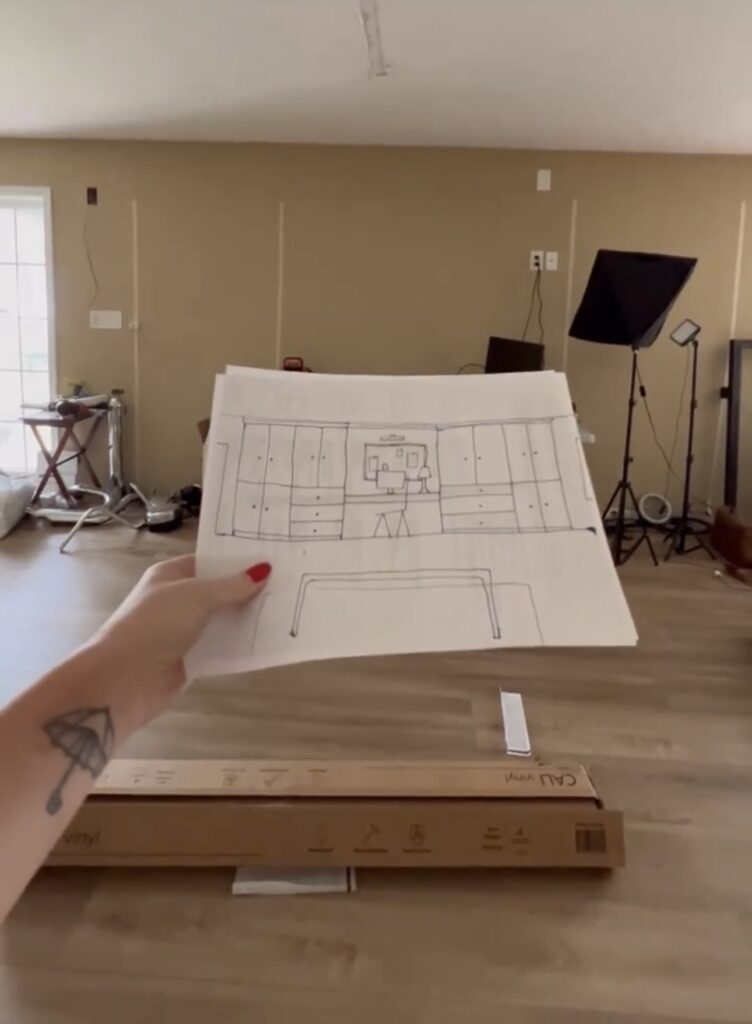
This is the wall where my desk will be. I taped it off to visualize it. And, here’s my drawing!
This will be like the built-in desk I made in the girls’ playroom. You can see that project here!
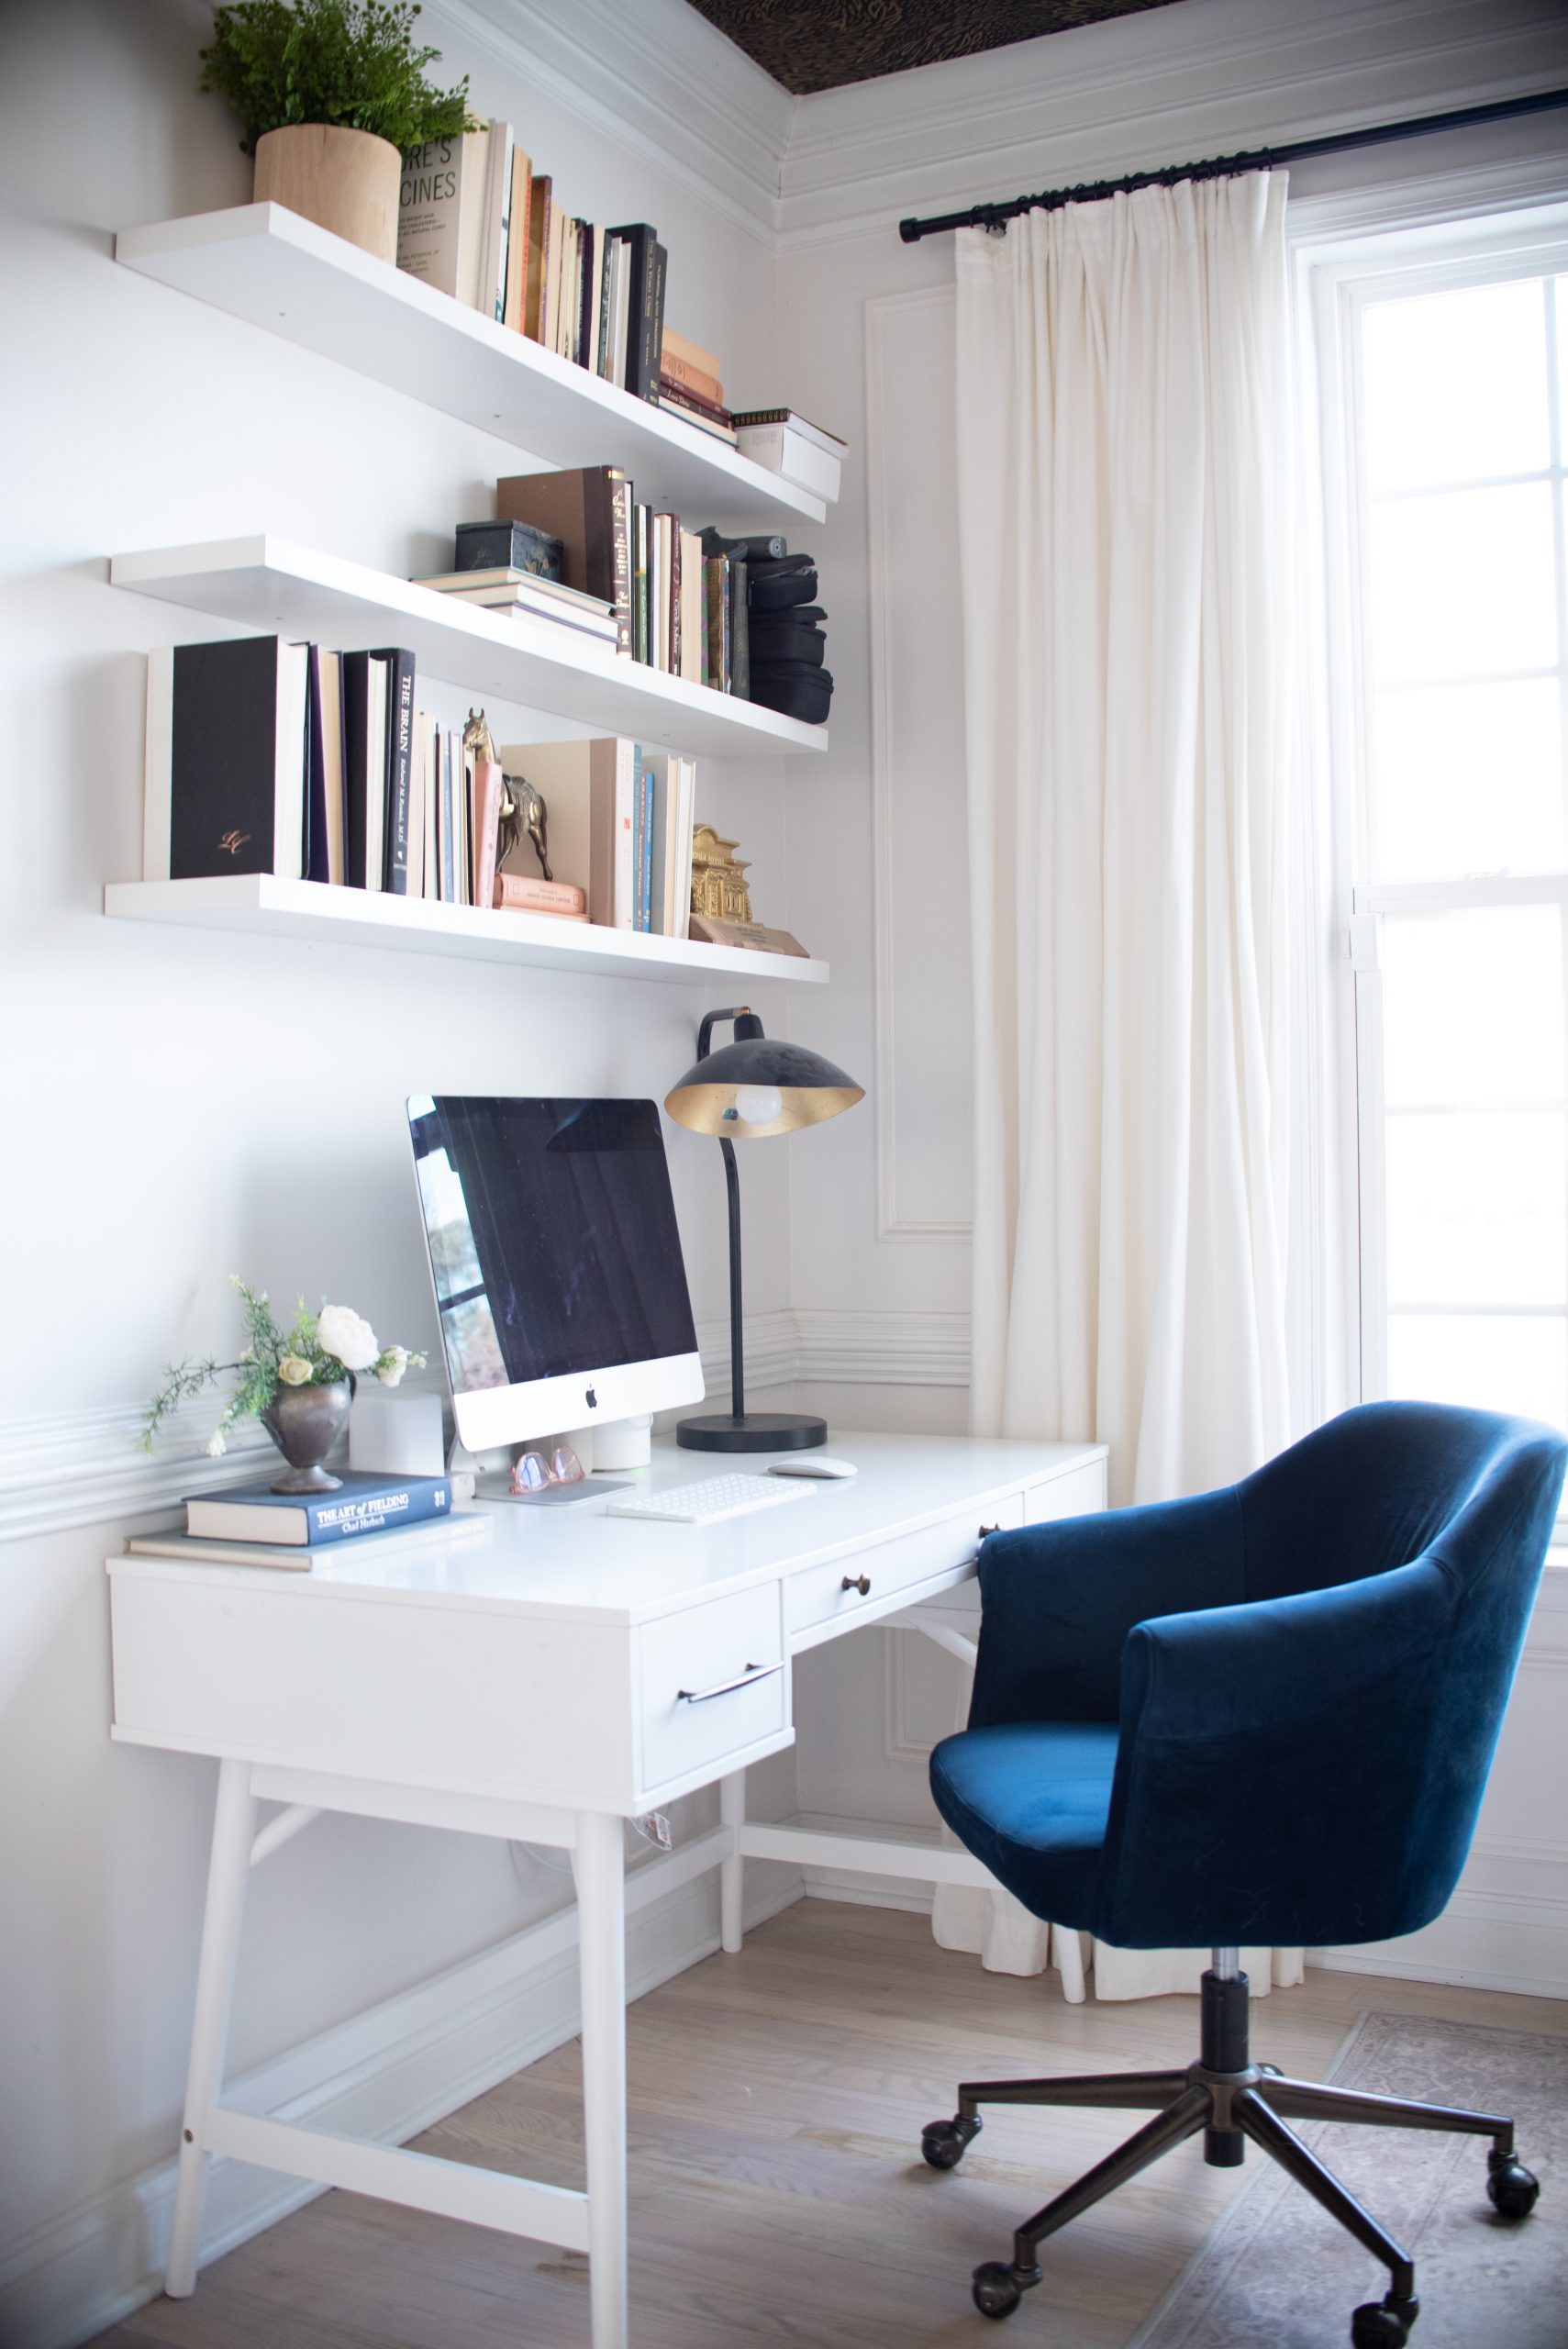
My current office space (AKA this little desk in the corner of the study), will remain the same! It will be the family computer area. This is usually where we sit to pay bills and work on personal computer stuff etc. So, it’ll be nice for my work things to have their own space.
First, I got two of each of these Ikea pieces to build. I decided to use Ikea furniture as the base because it honestly saves a ton of time and effort. I could definitely build this from scratch, but it wouldn’t even save me that much money. Also, I’m on a tight deadline because I’ve got a baby coming!
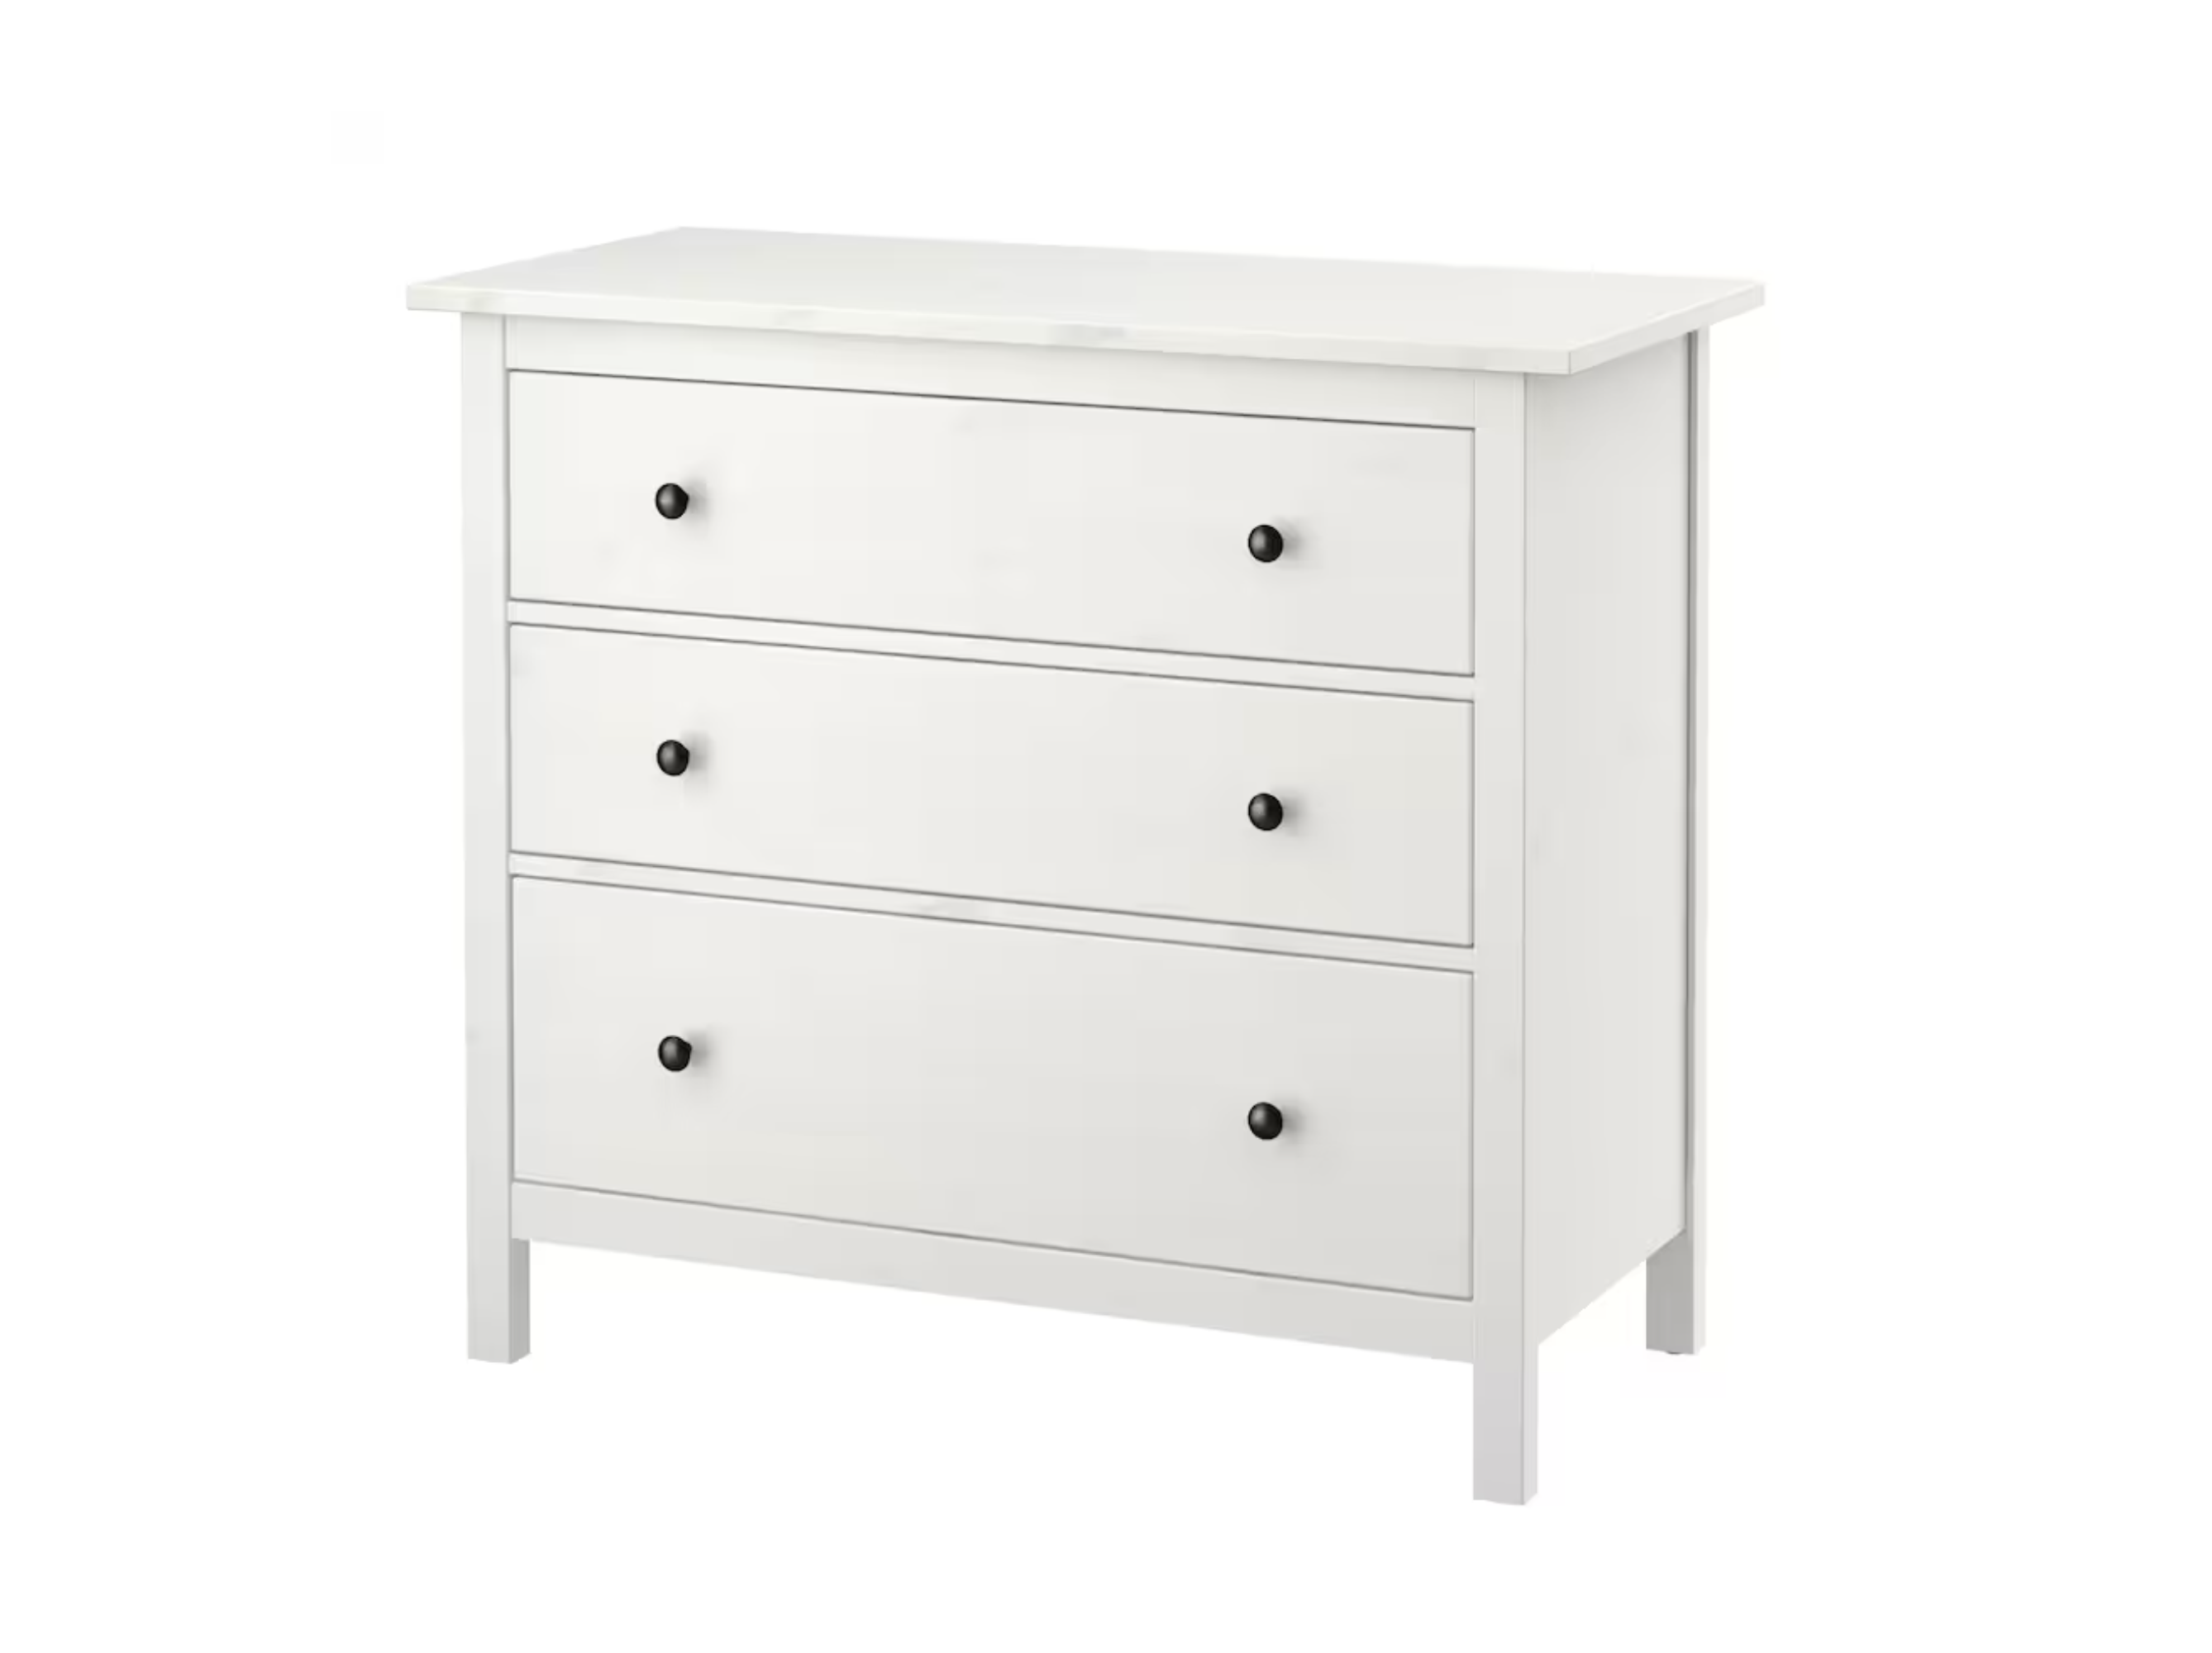
Materials for my dressers


Dressers
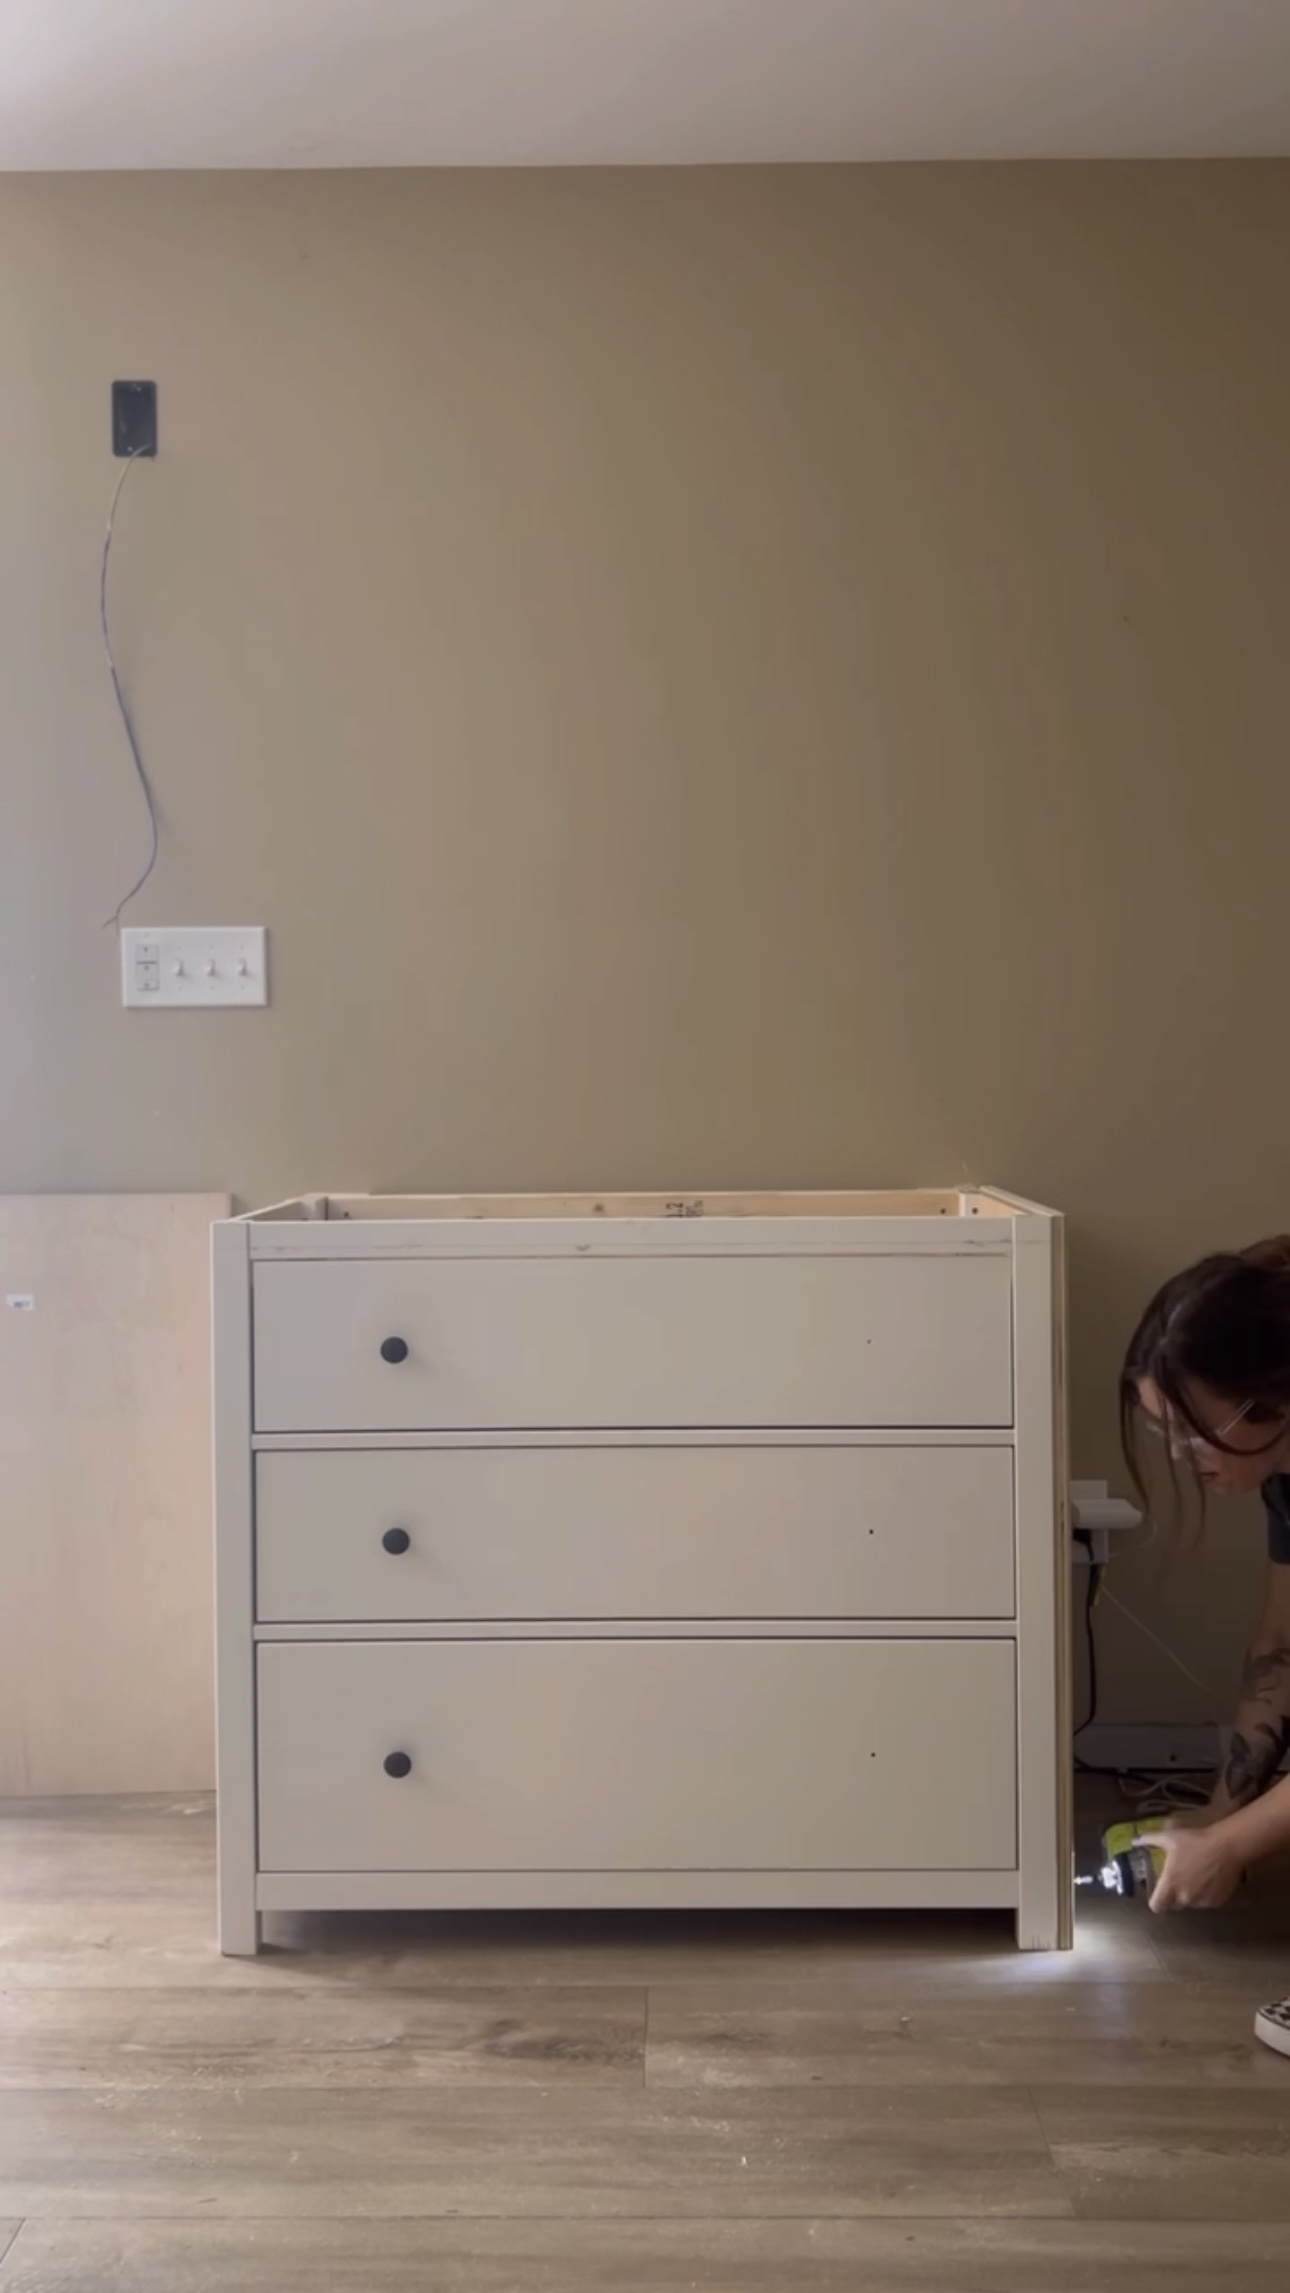
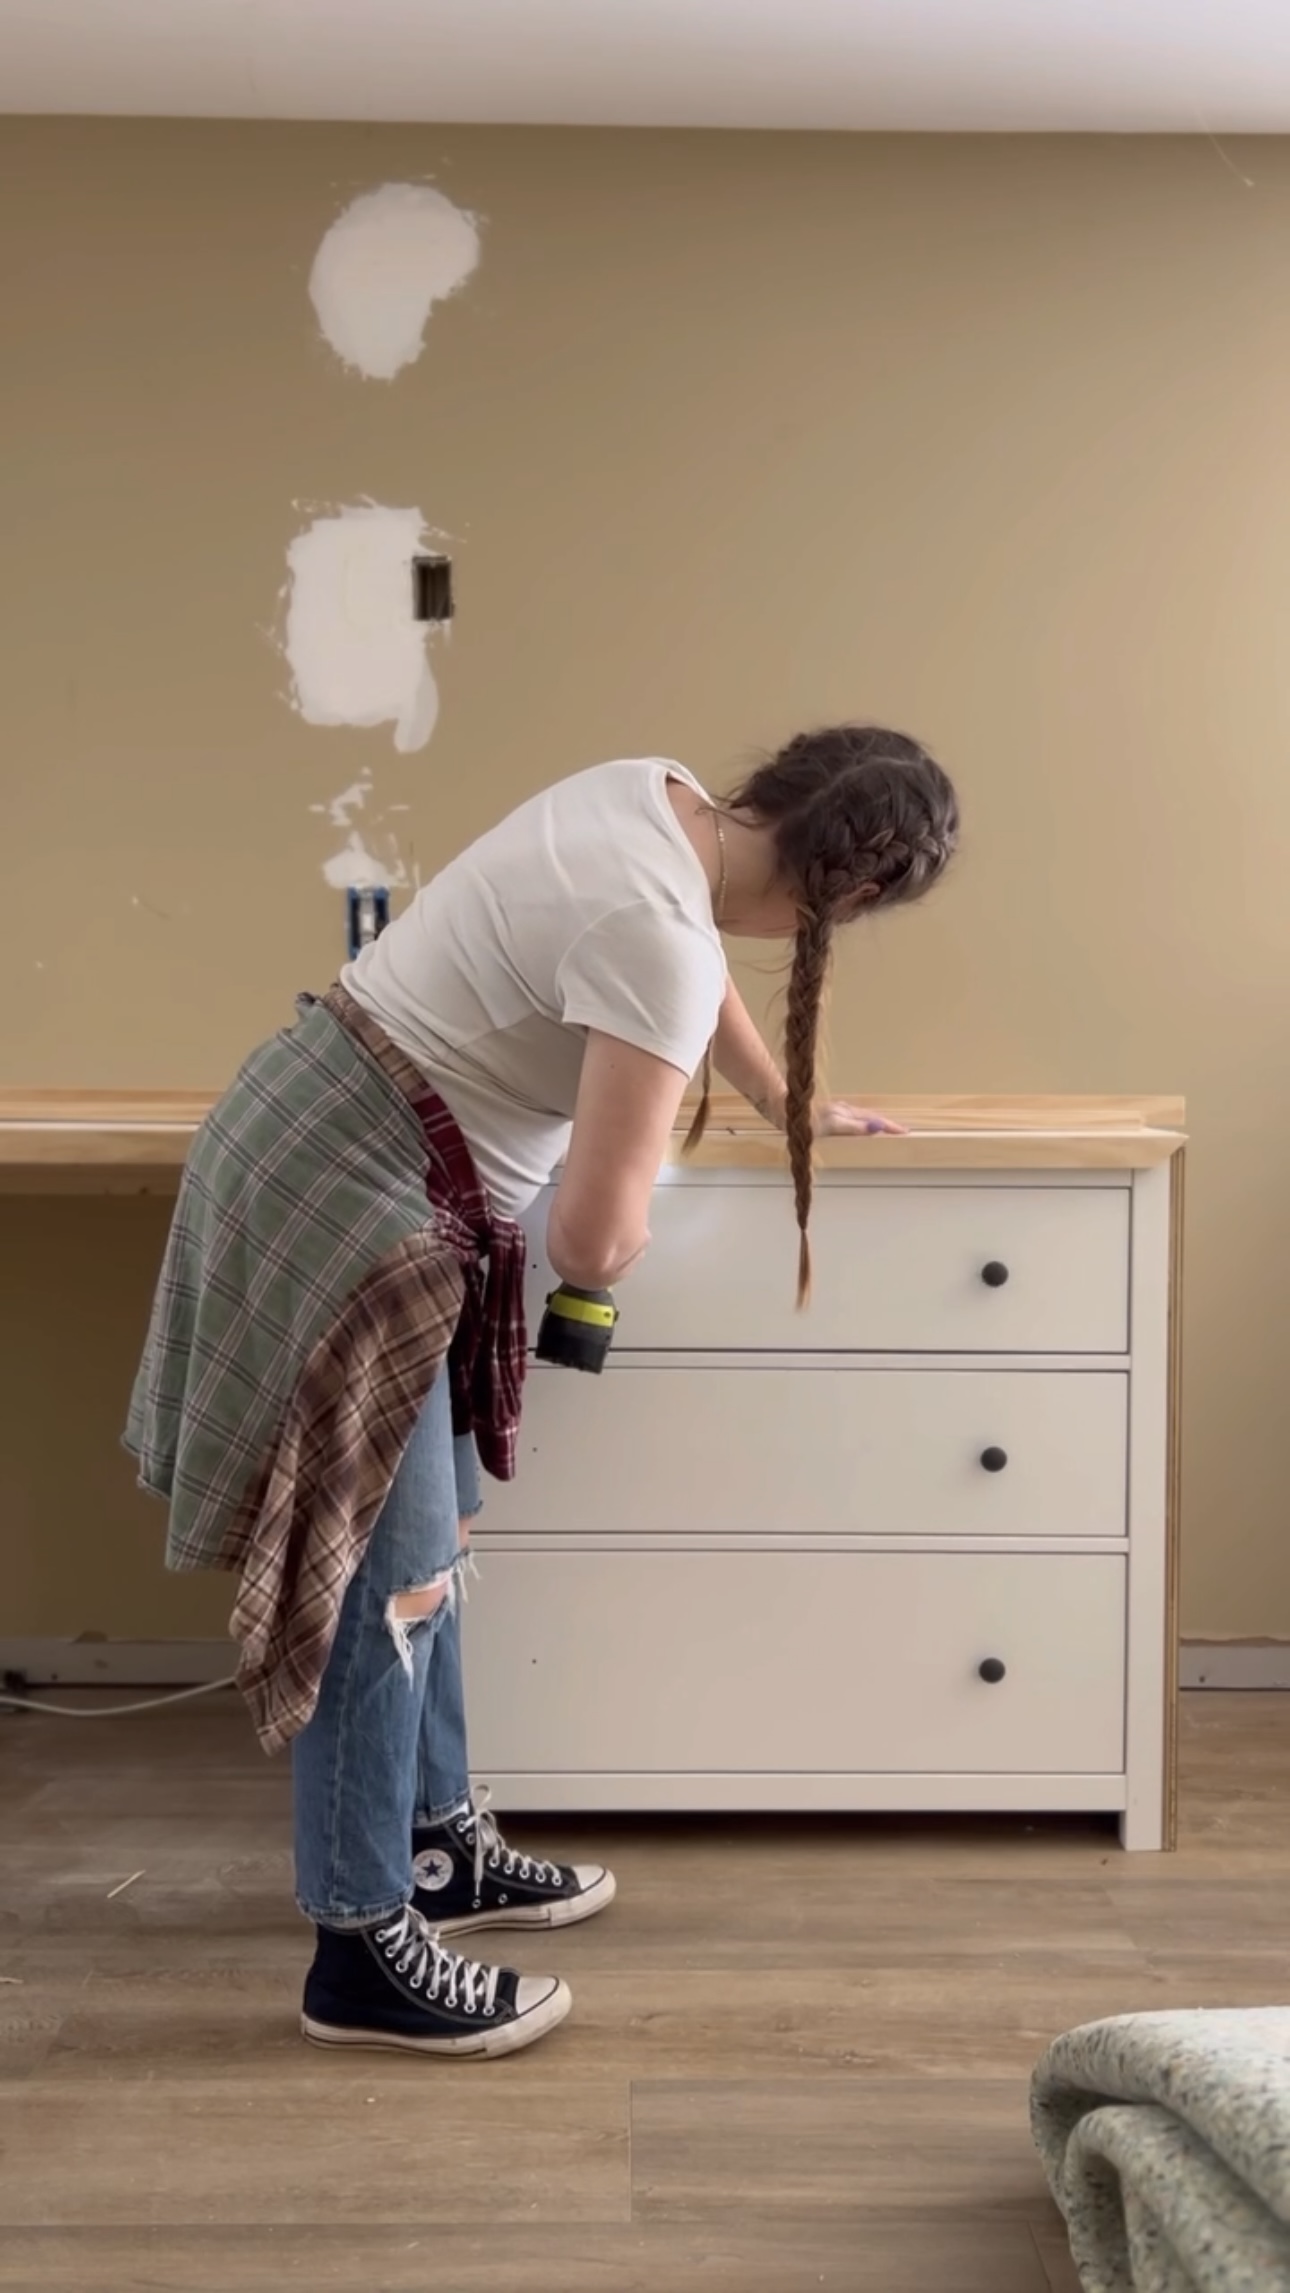
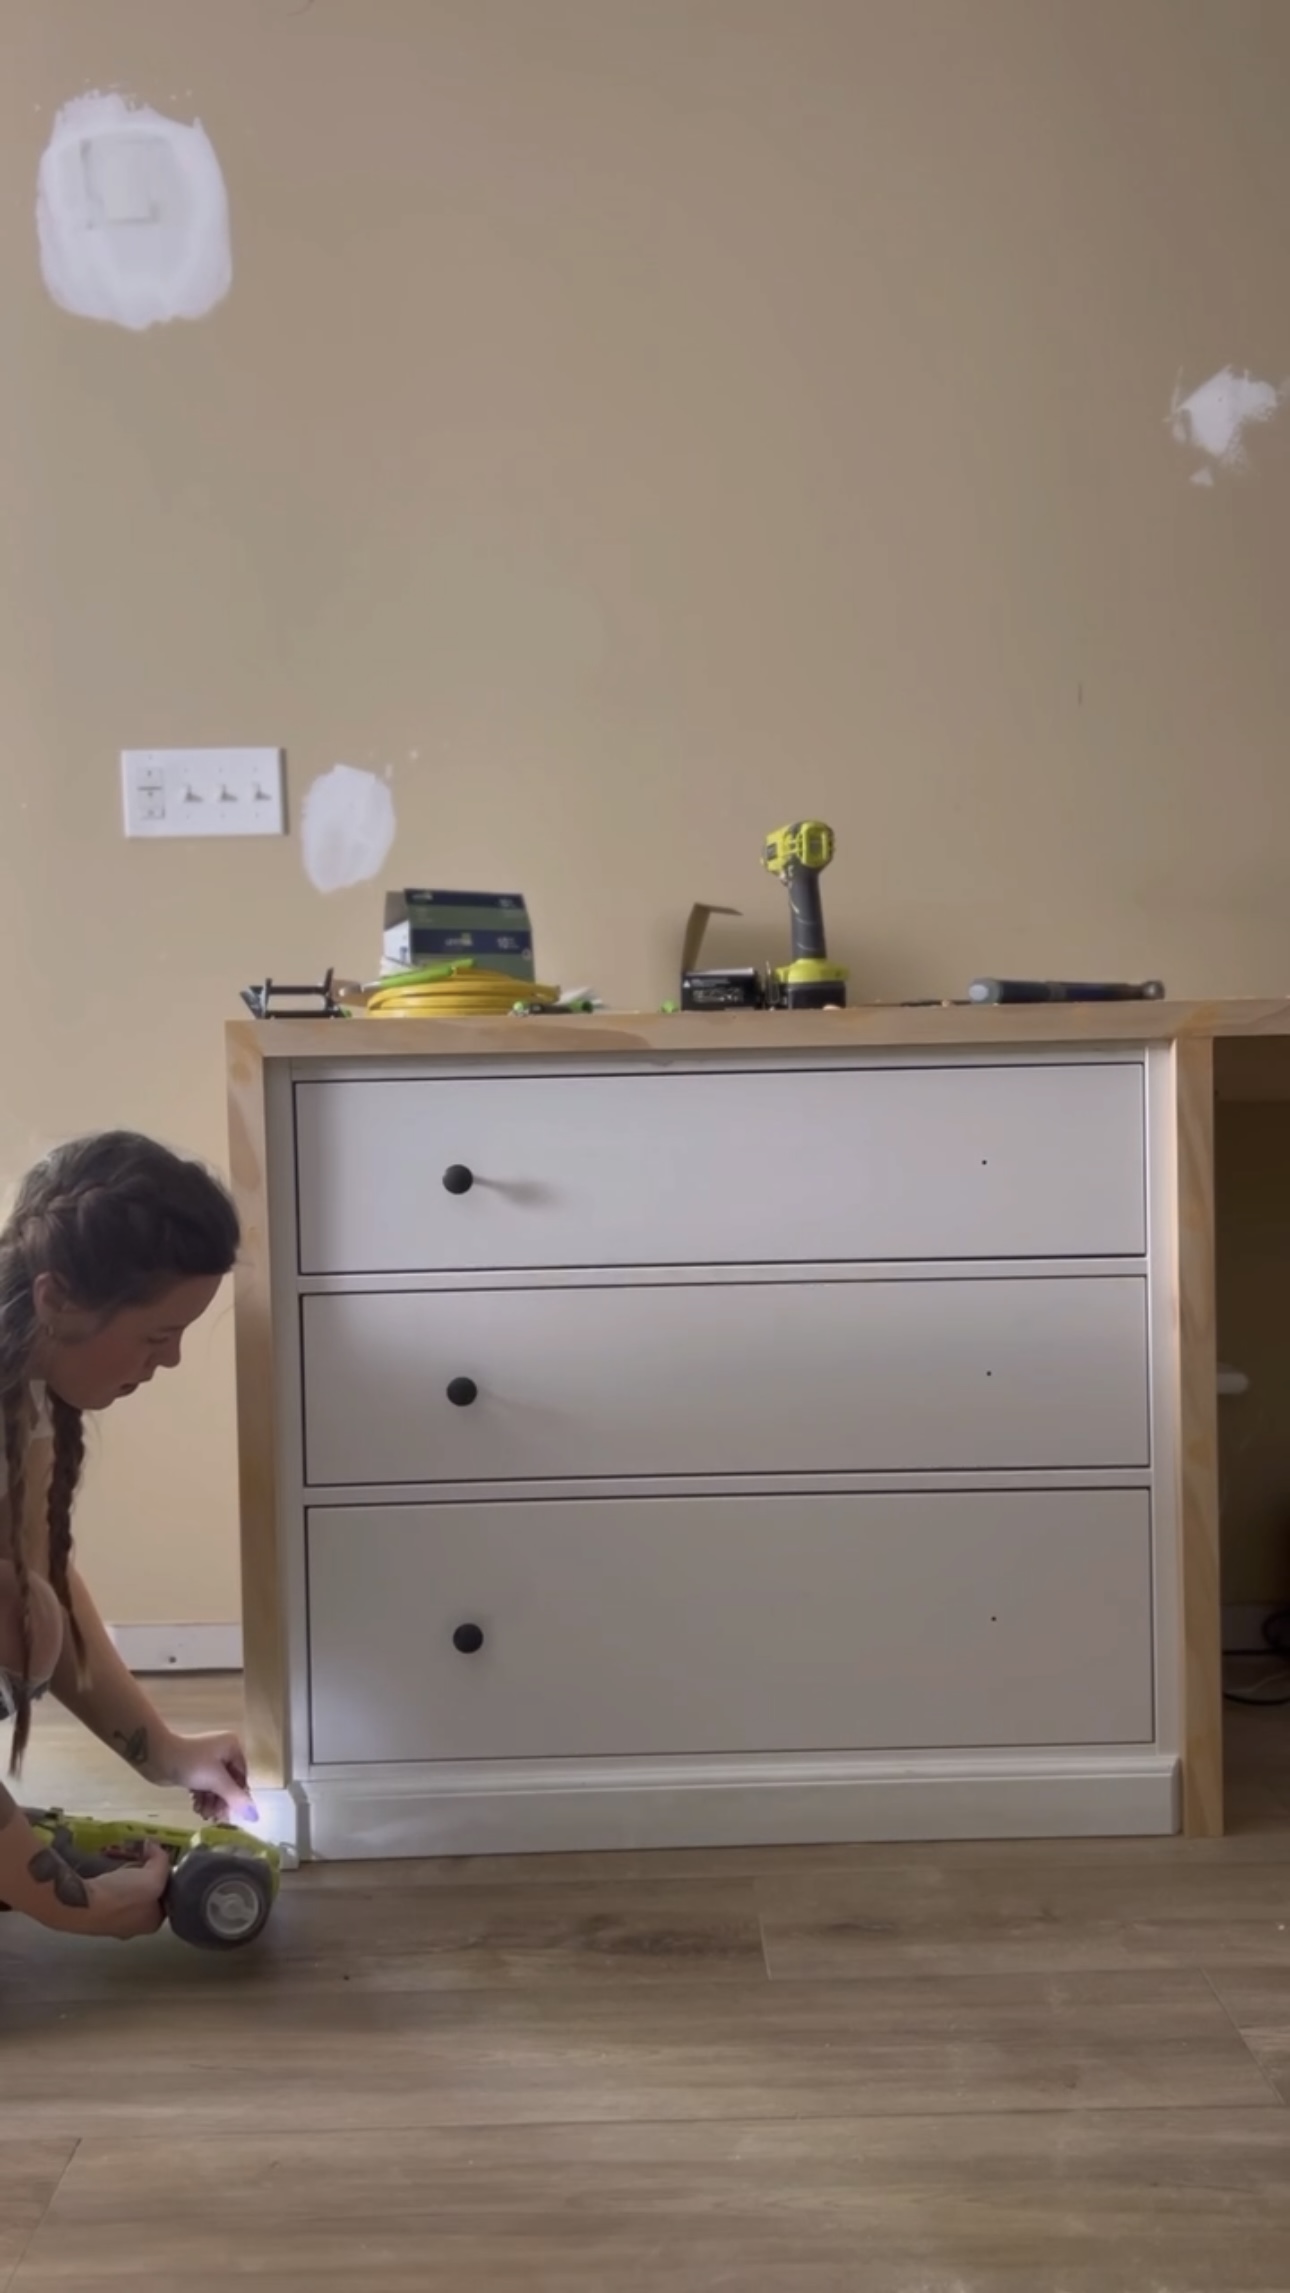
For the dressers, I chopped off the legs with my jigsaw to make it more of a desk height. Typically desks are a bit shorter than dressers.
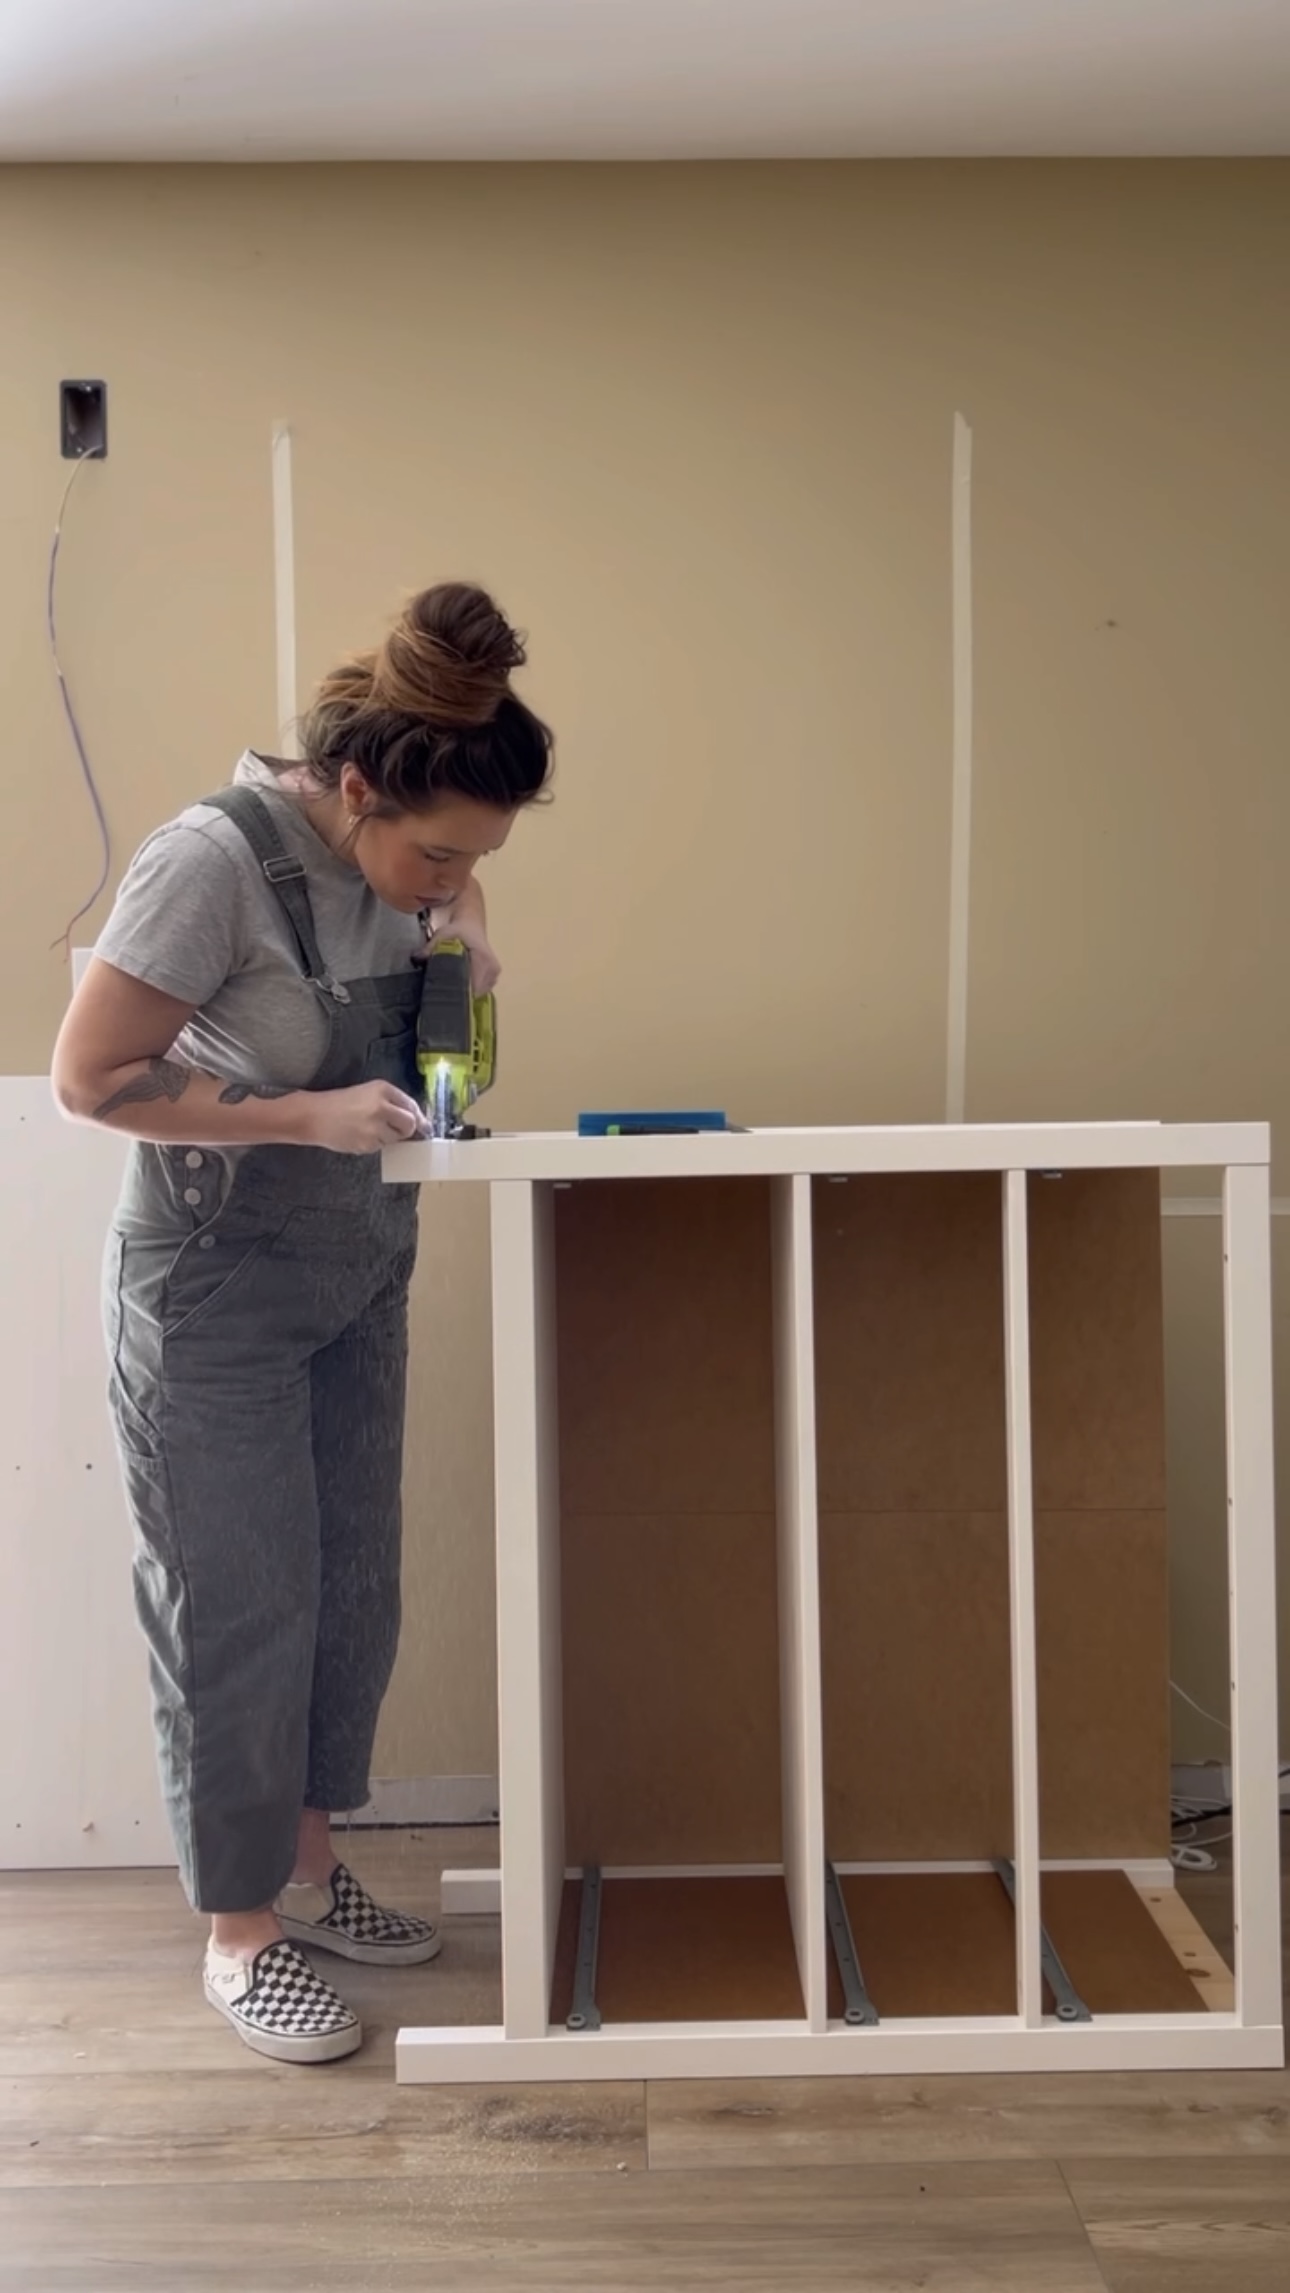
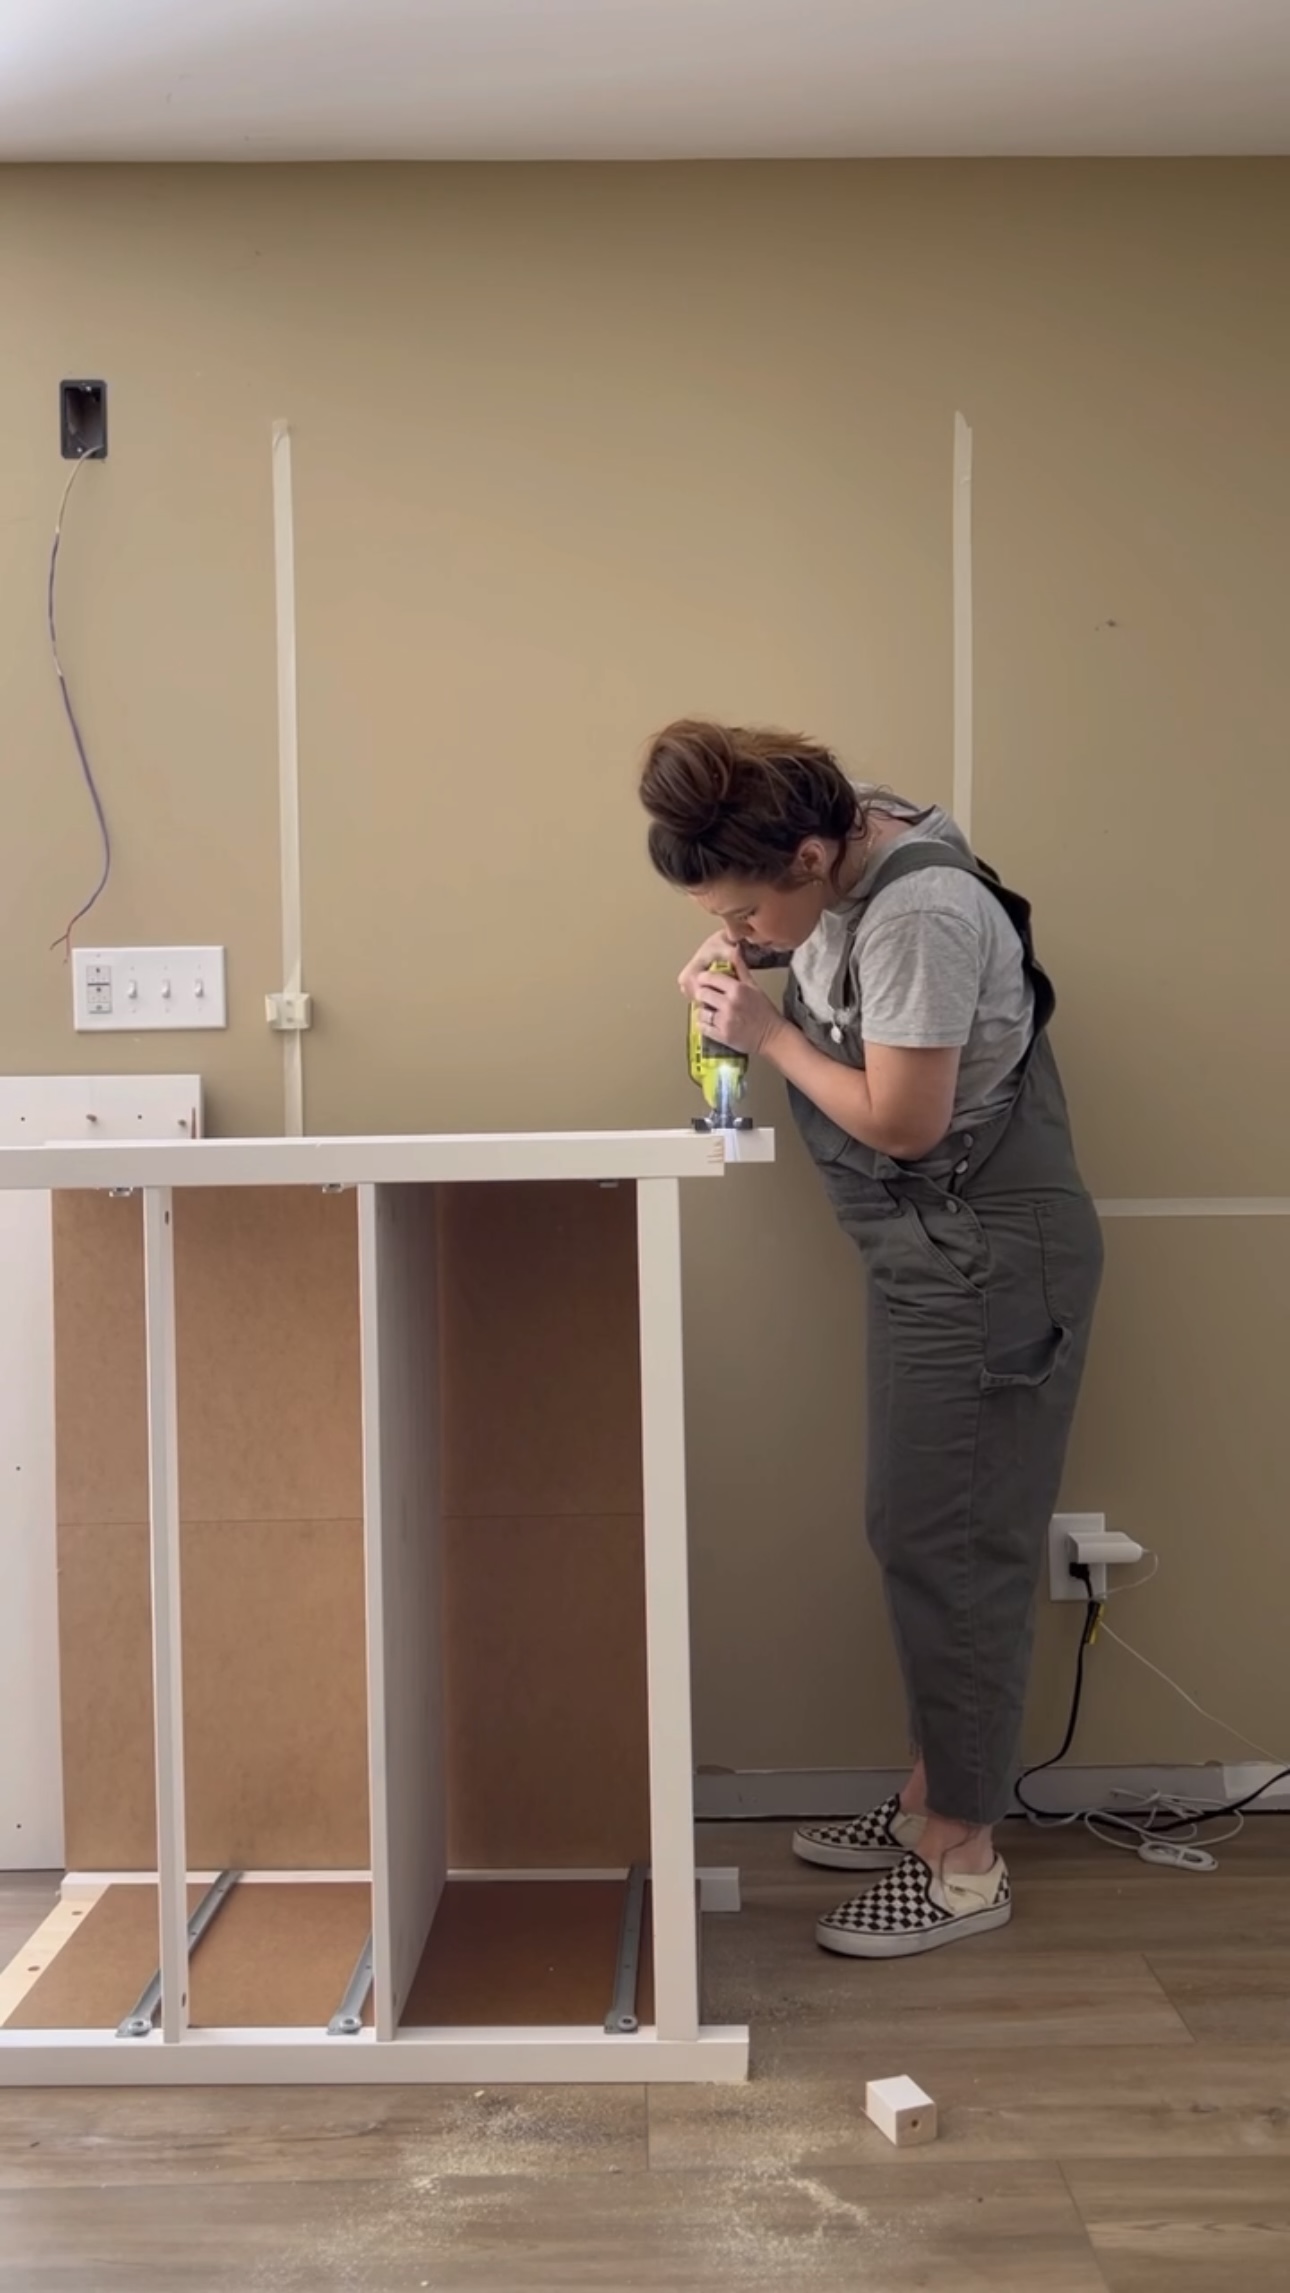
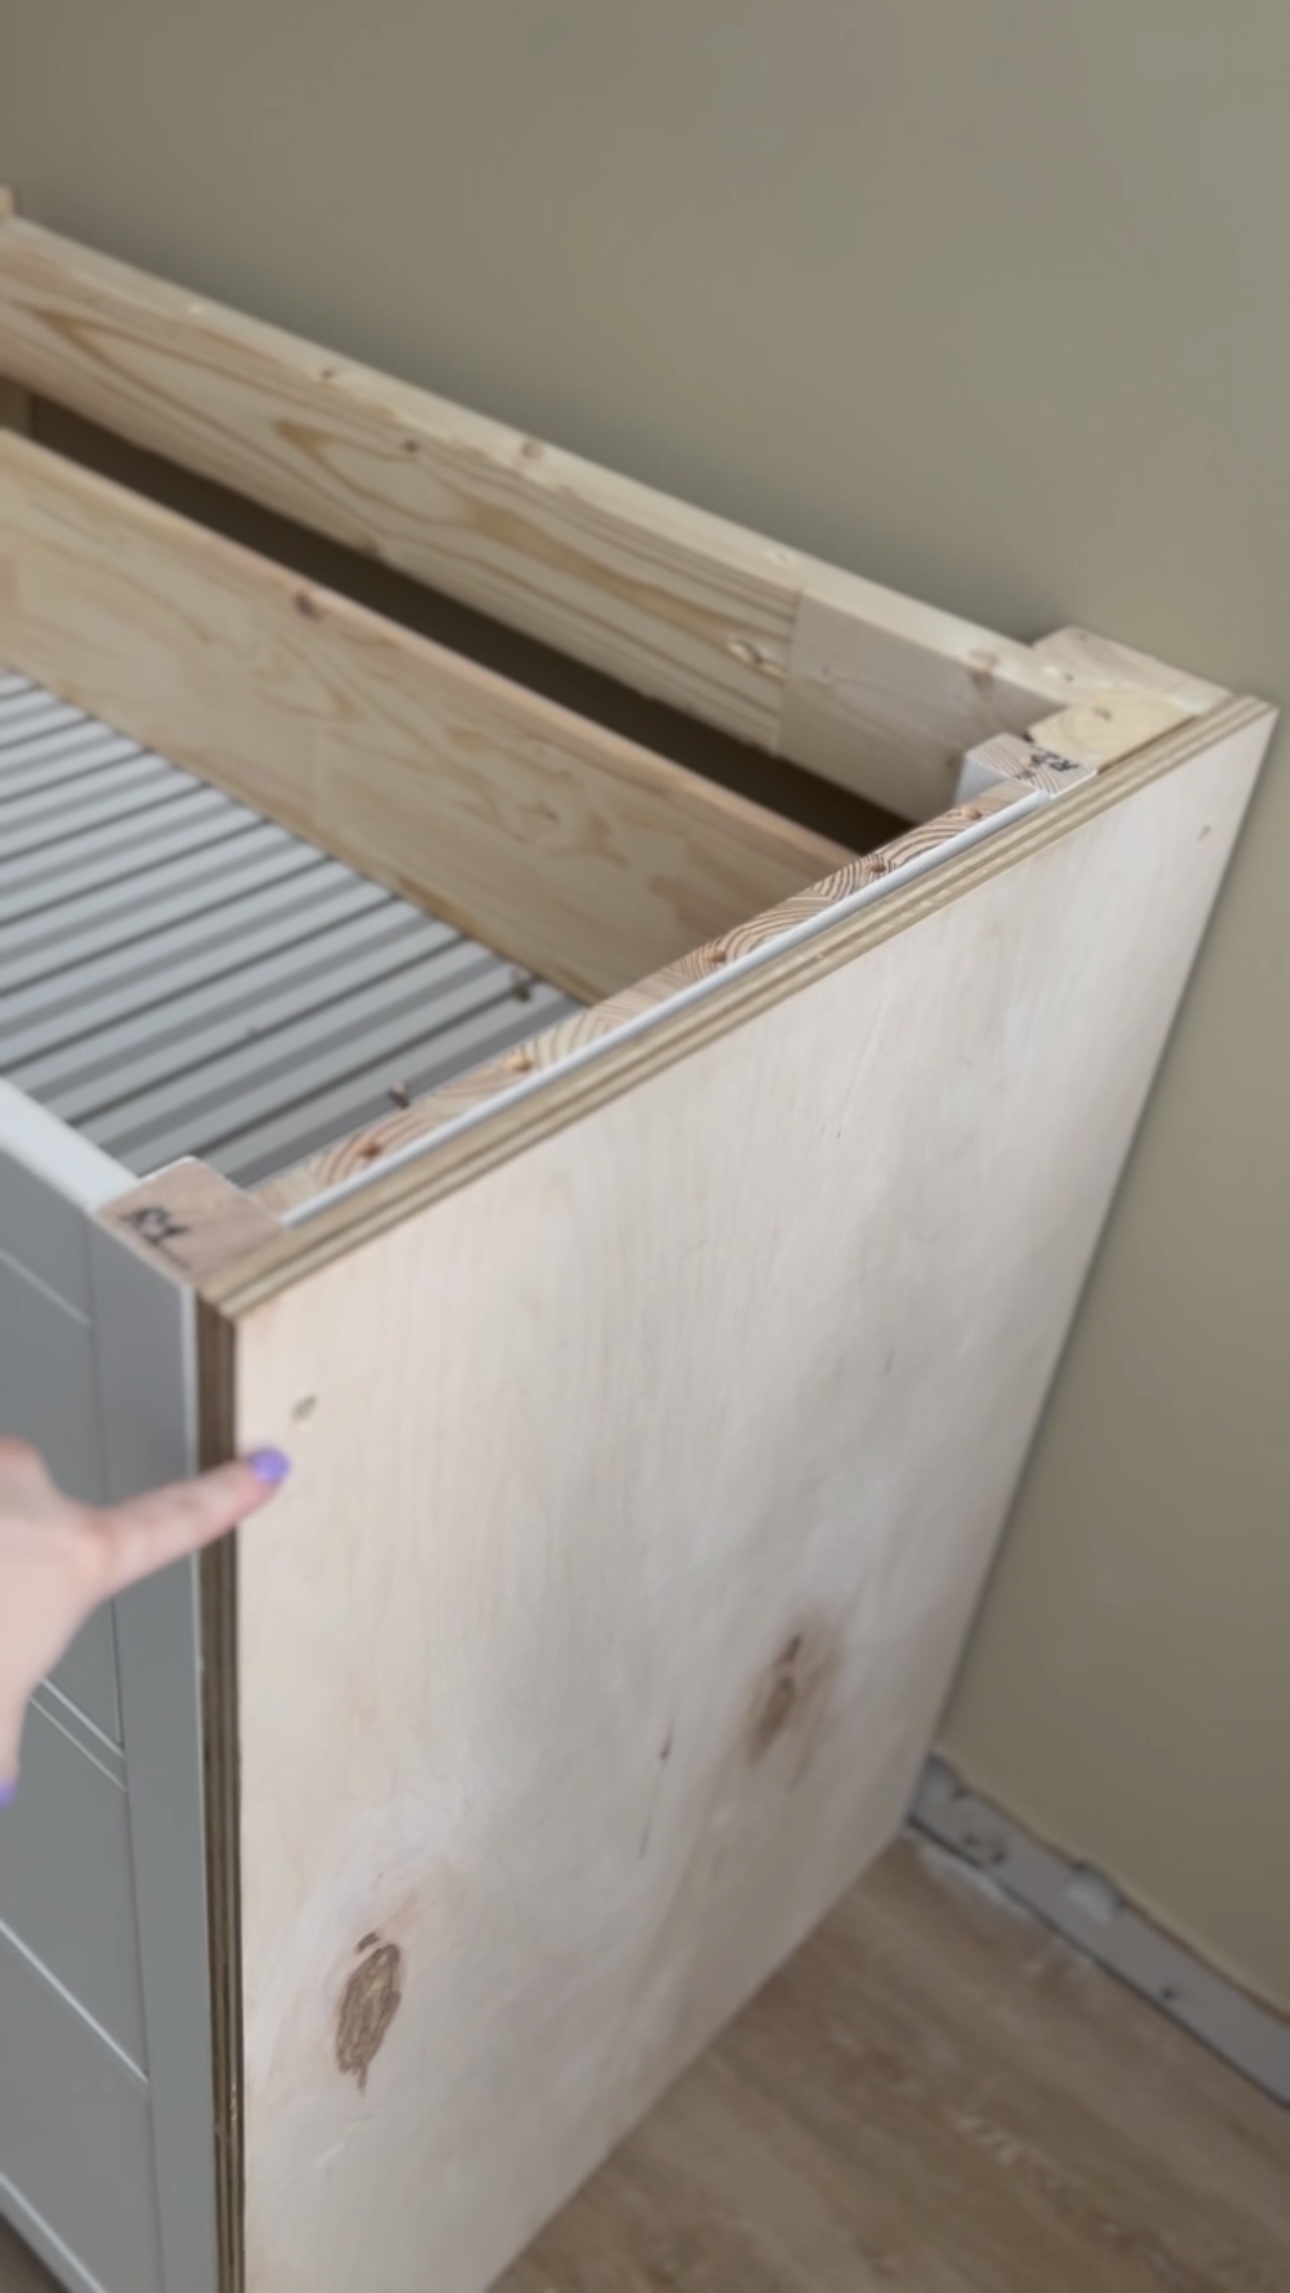
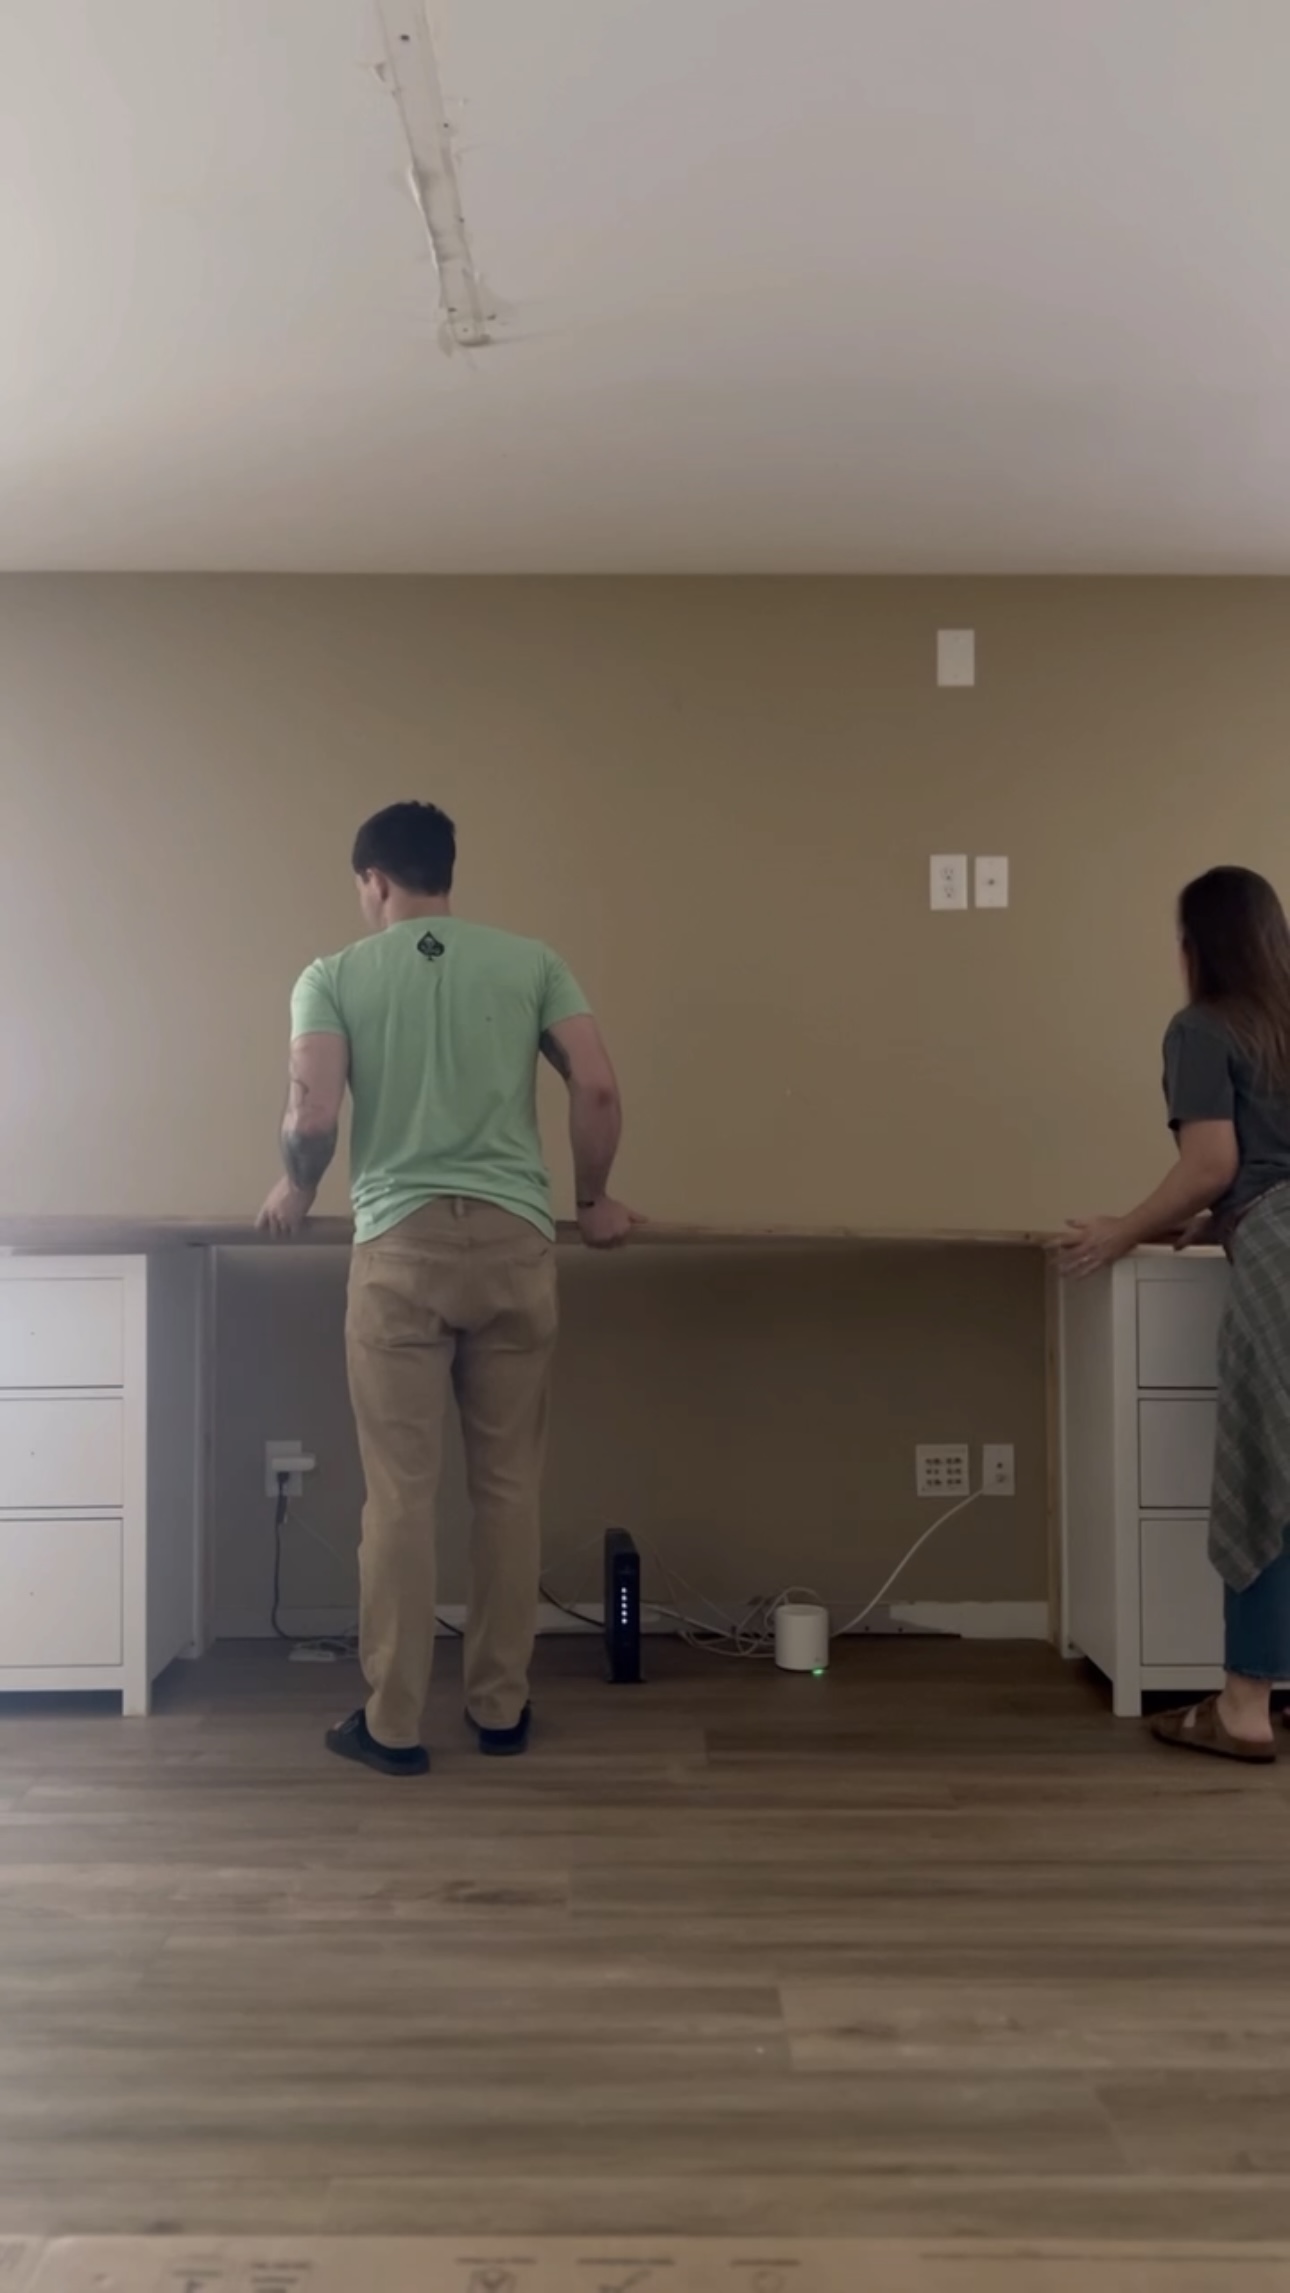
I built a support to mount the dressers on the wall using 2×4’s.
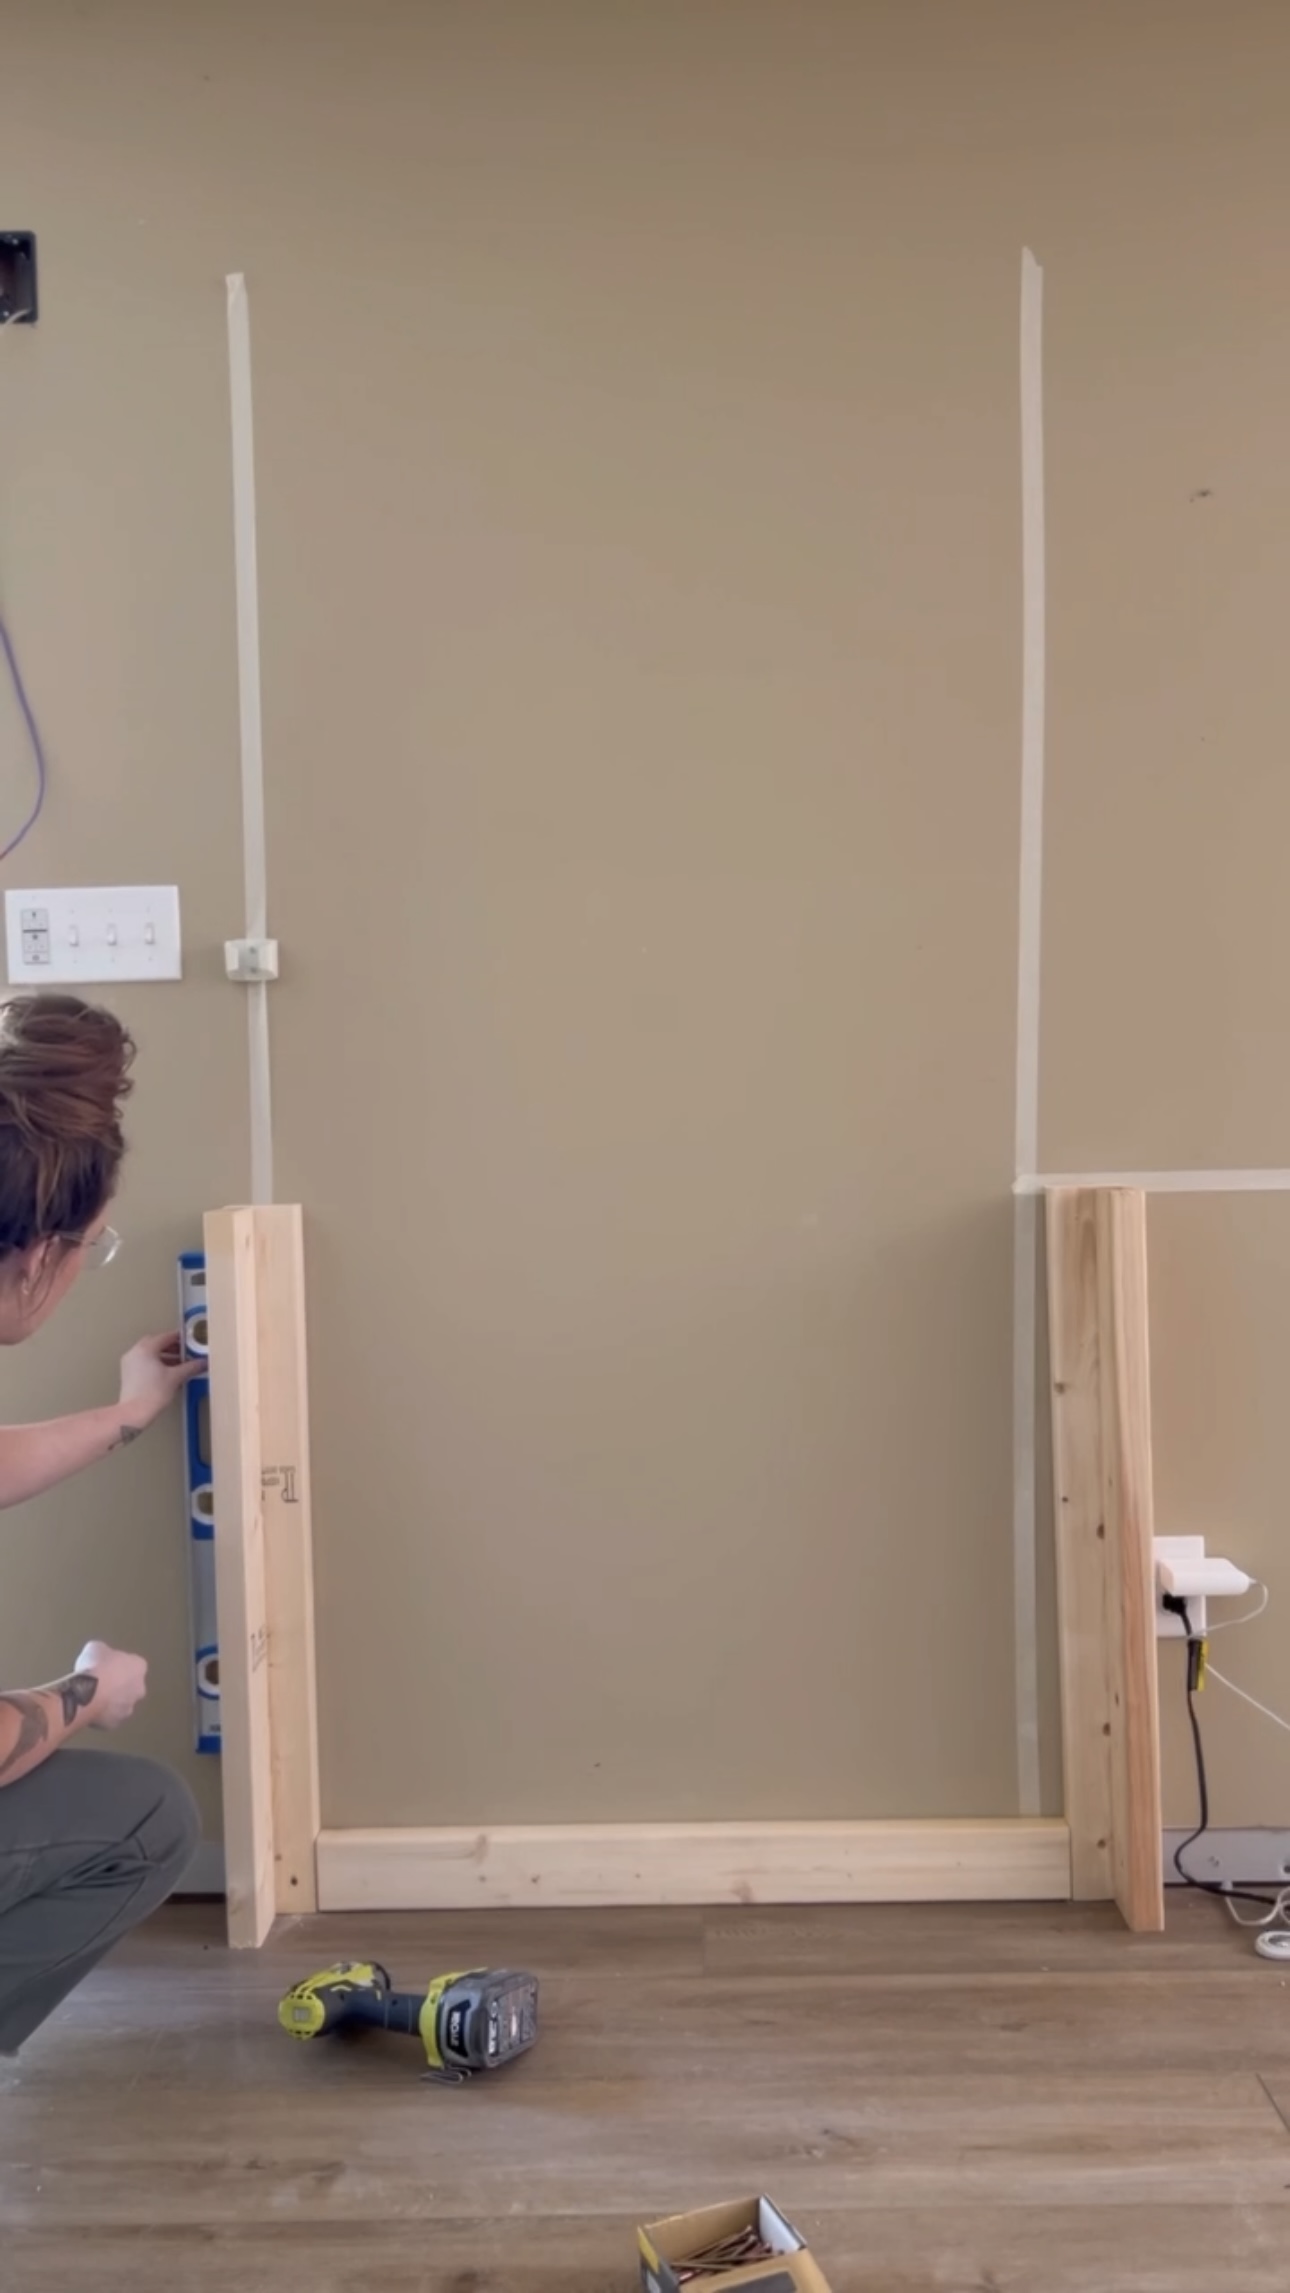
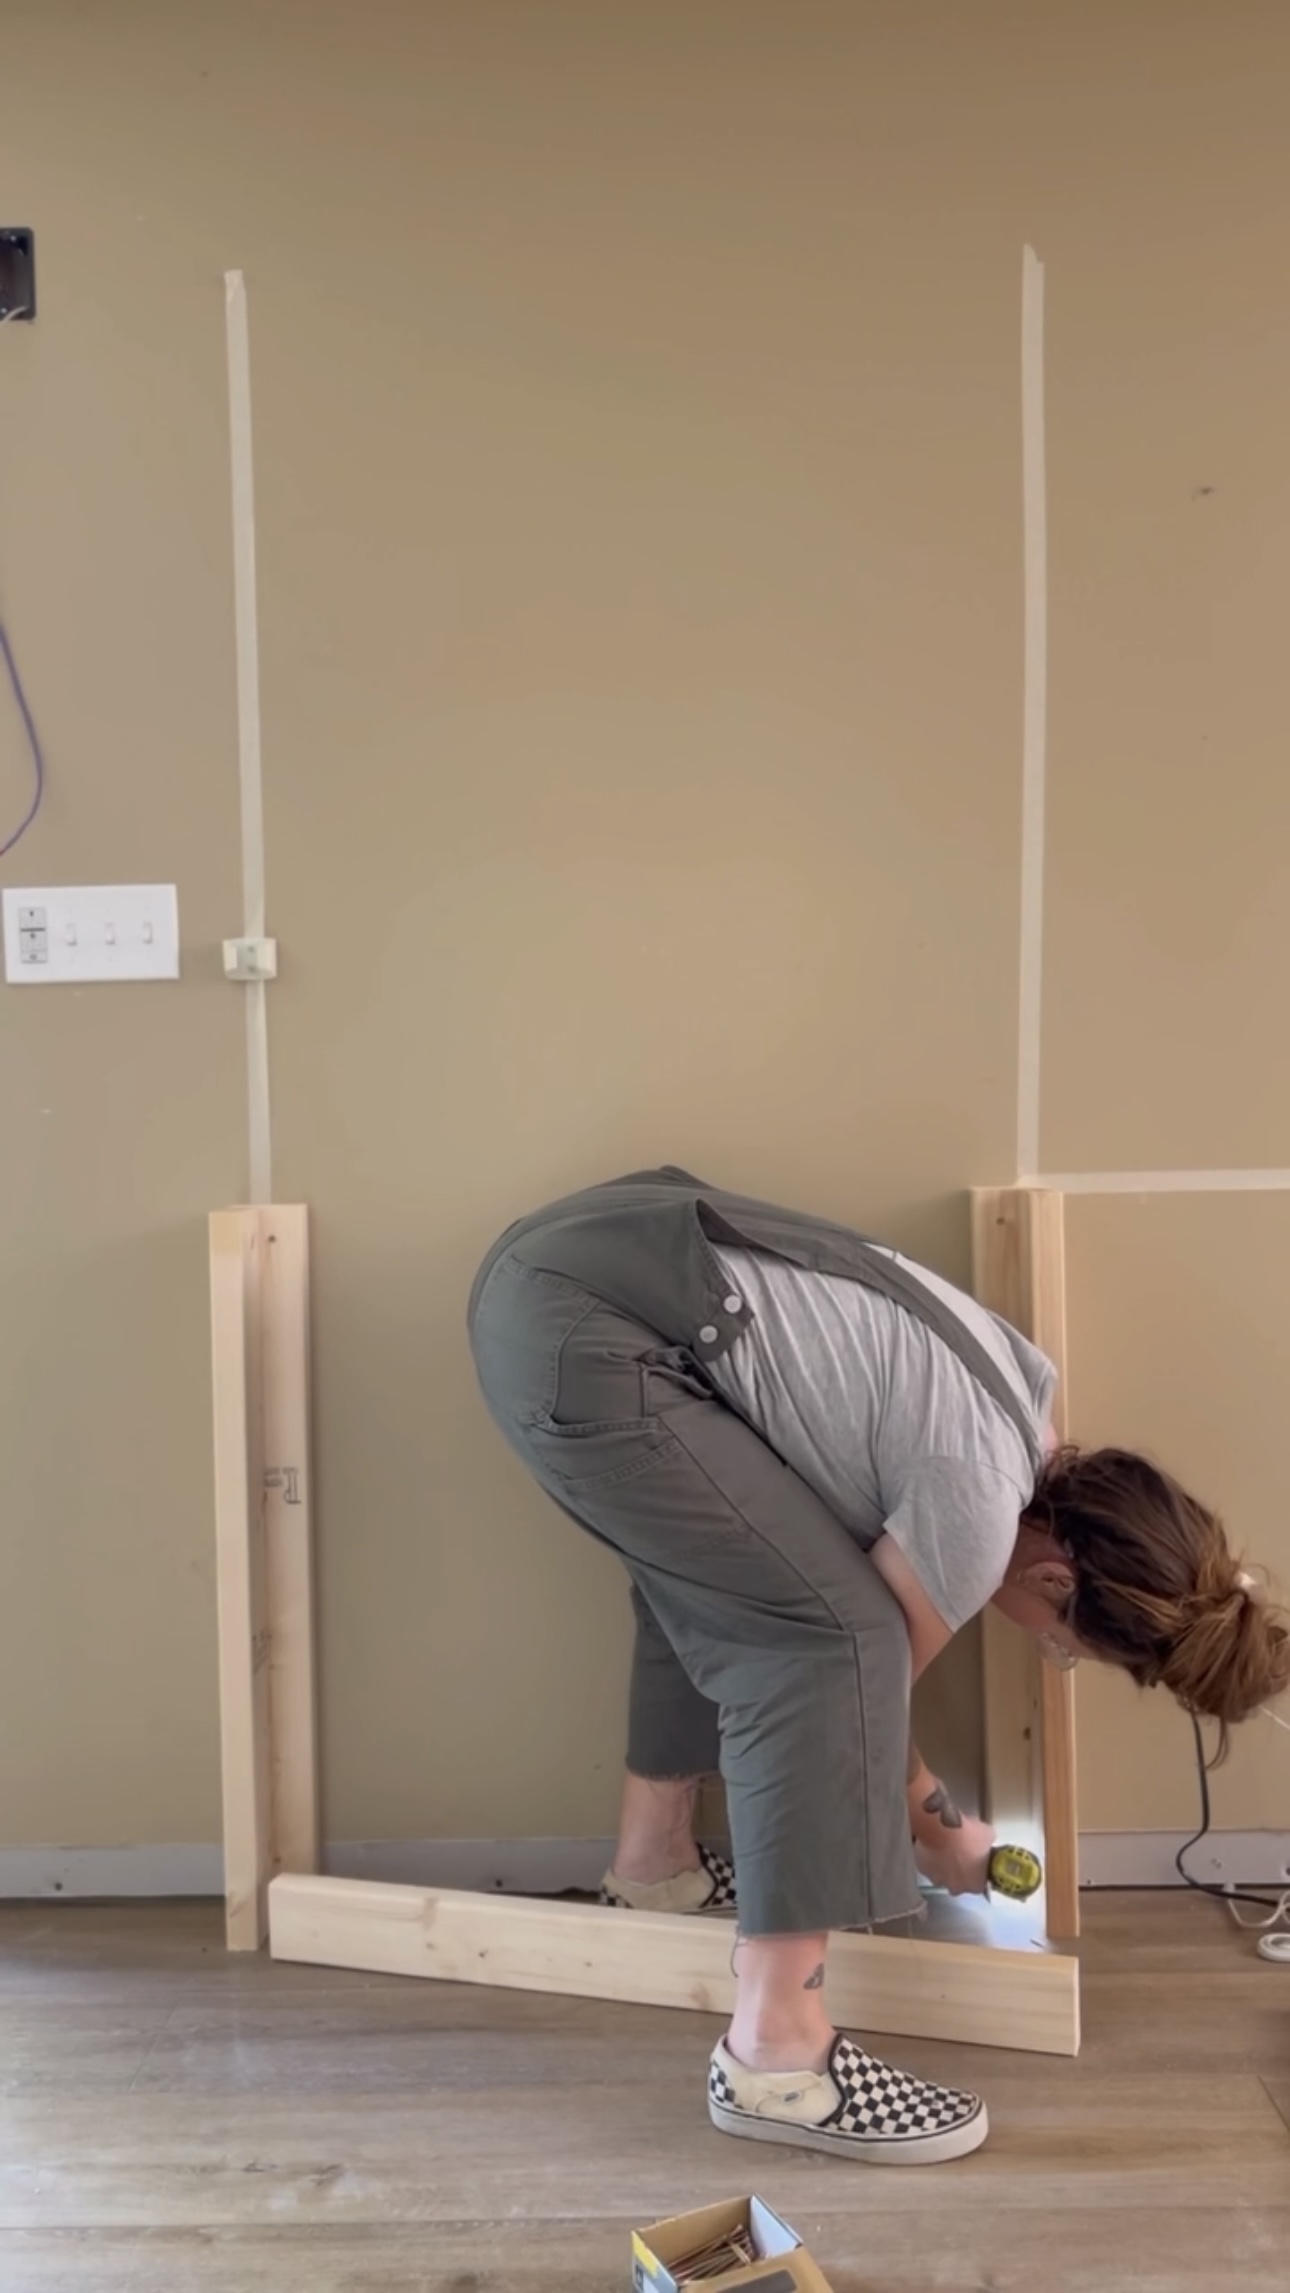
It wasn’t totally necessary to add these extra pieces behind the dressers. But, standard desk depth is 24 inches and that’s what my desk upstairs is. So, I added extra wood so the entire desk top would be 24 inches.
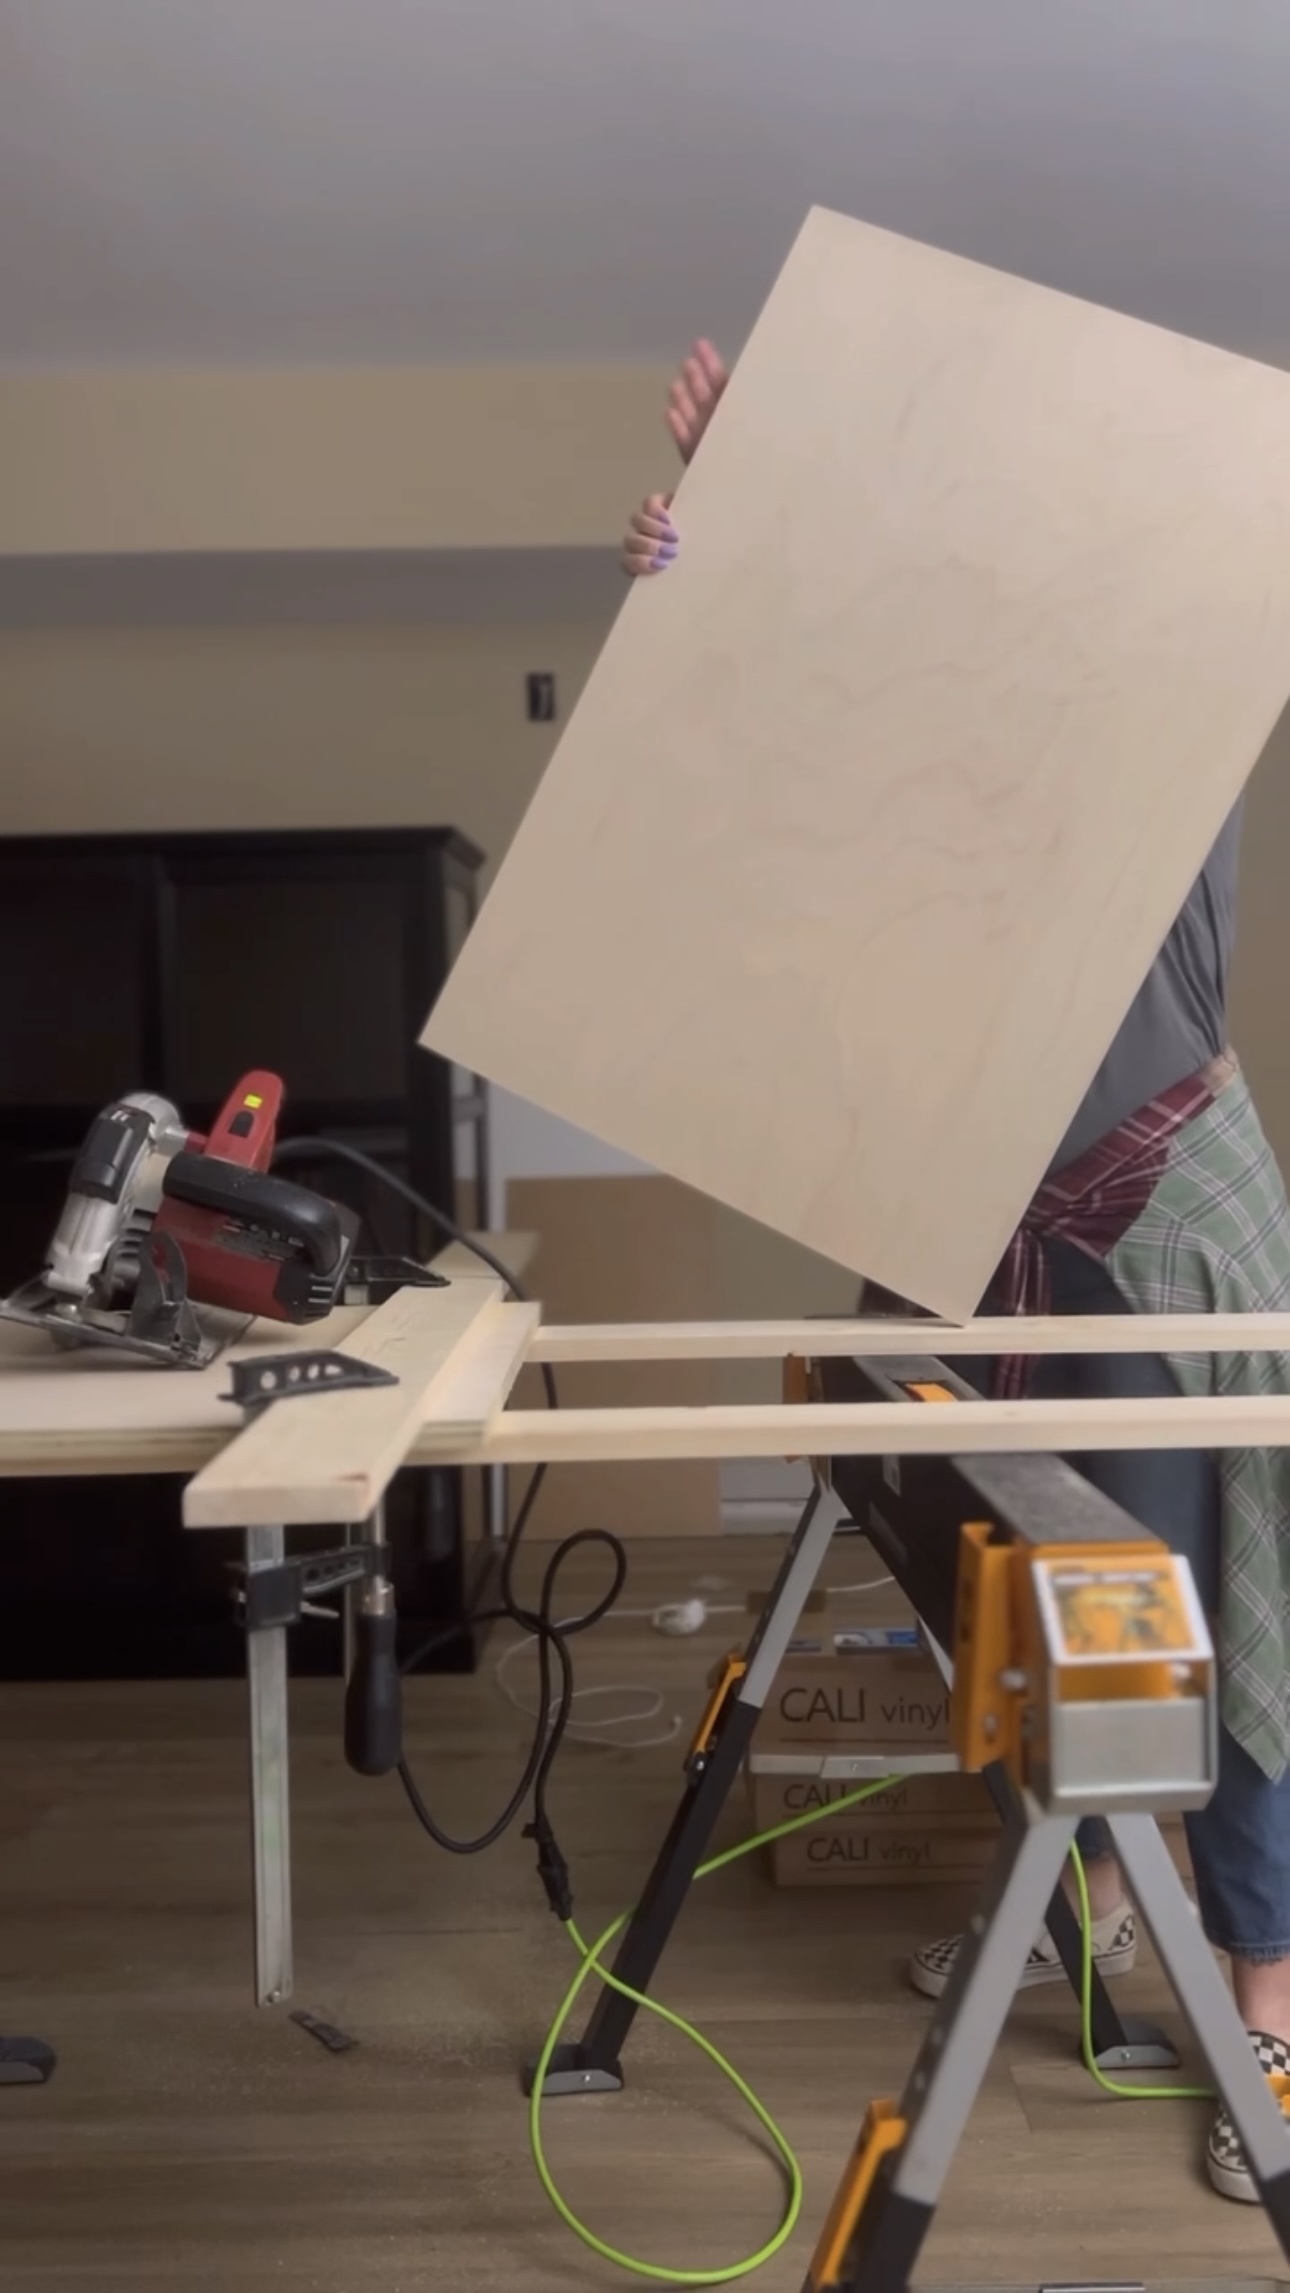
Desk Top
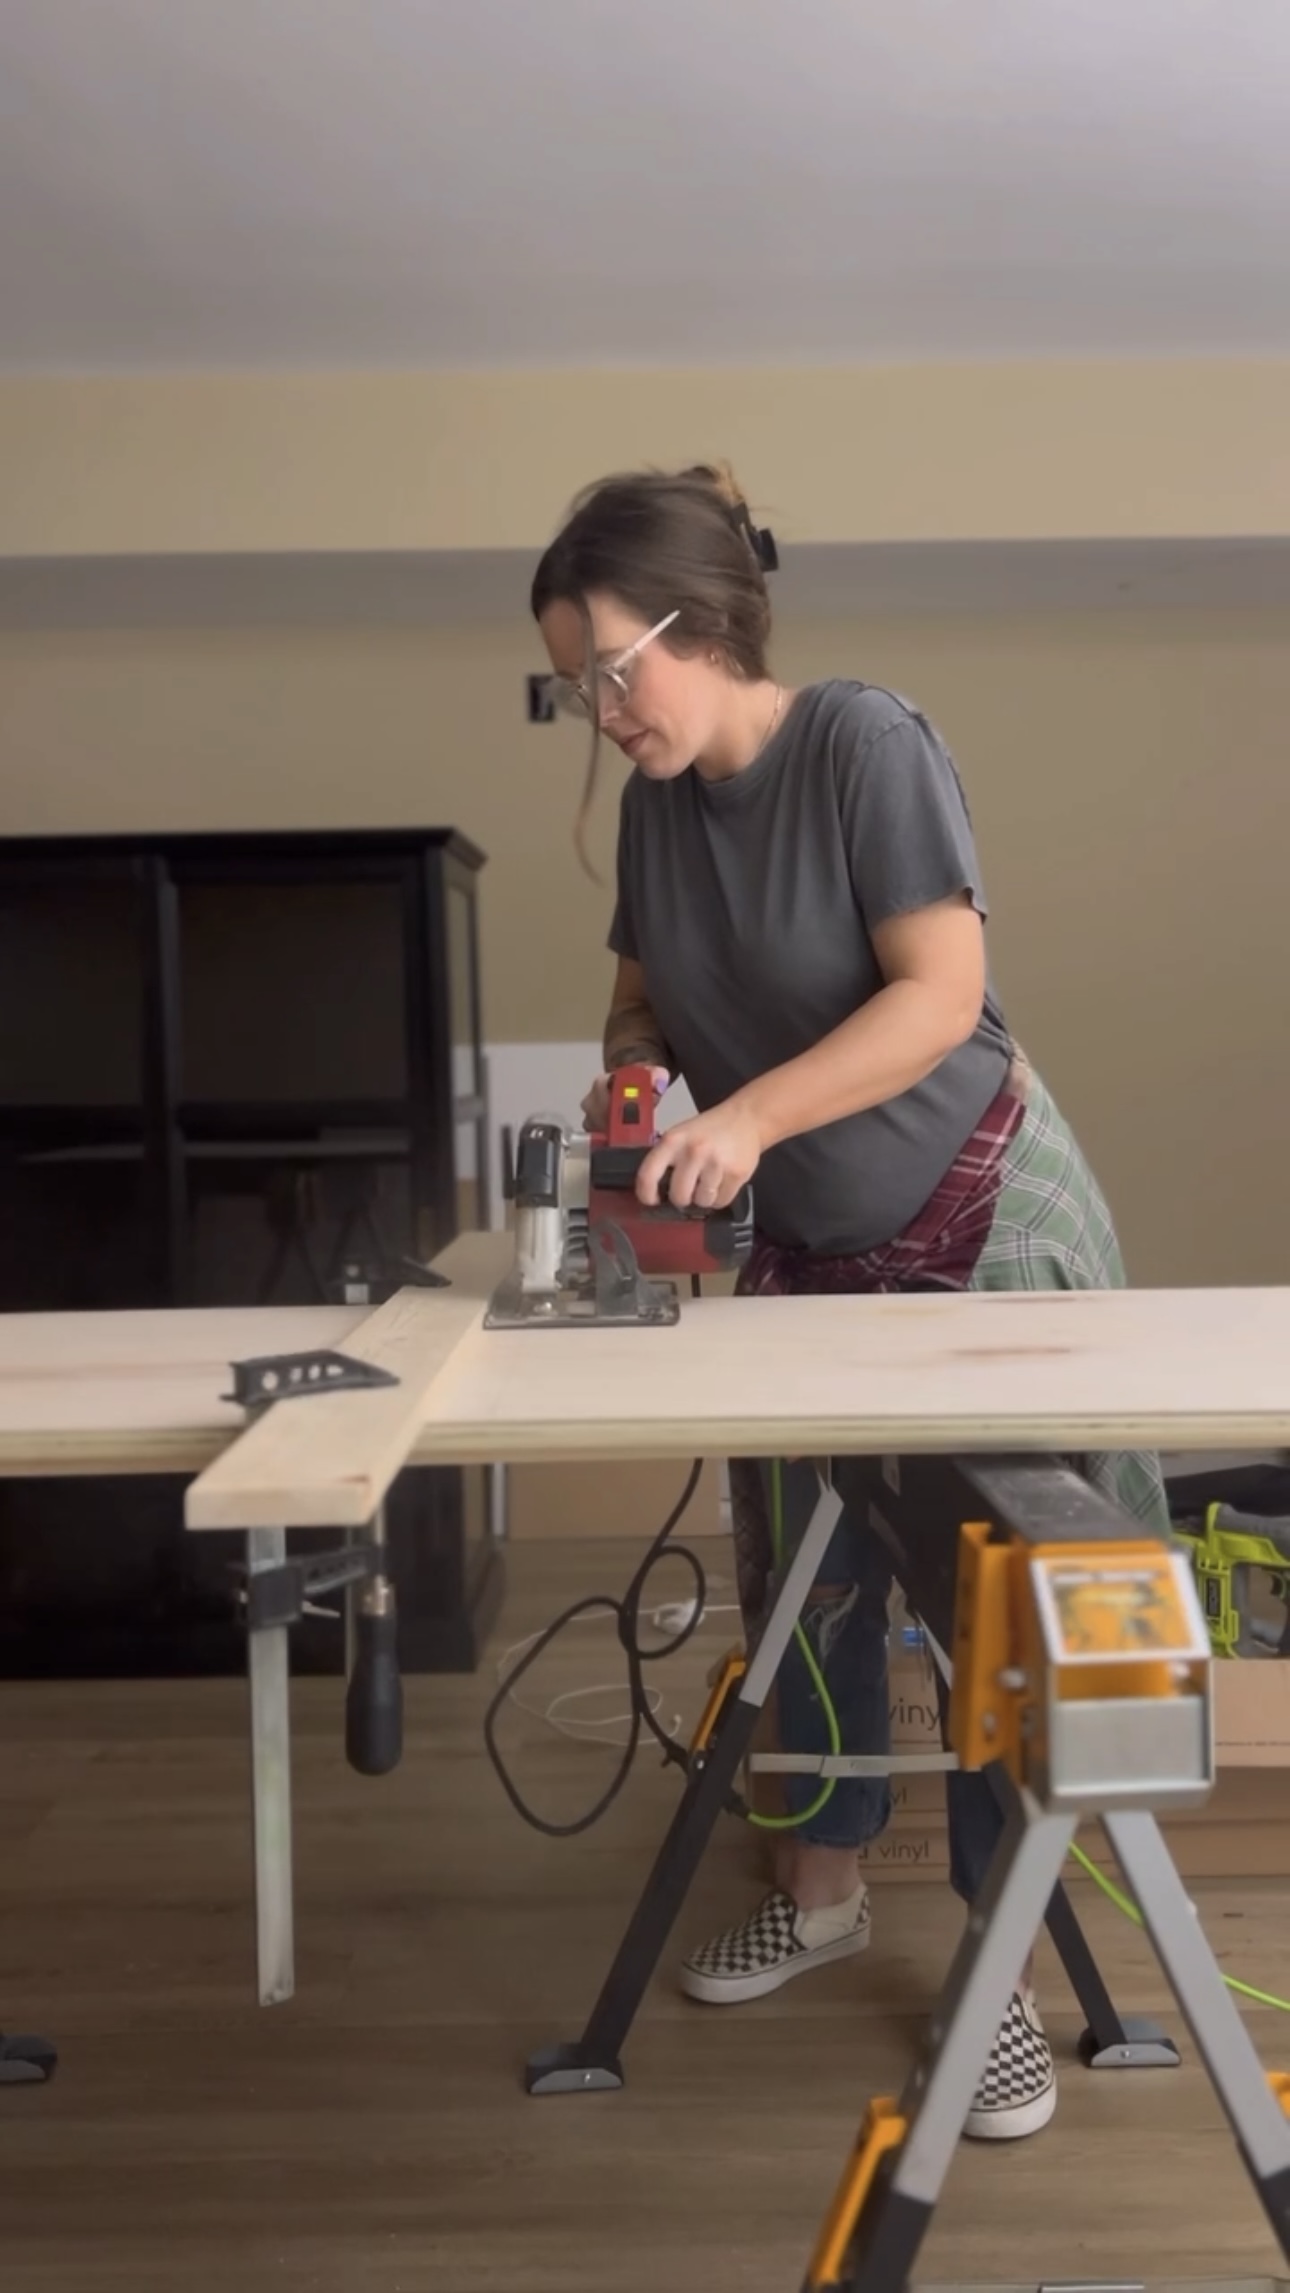
We used plywood to build the desktop. Even though I still needed to make cuts at home, we had them cut it down at Home Depot so it would be easier to transport home. Then, I made my cuts using my circular saw! I always get a little nervous before I use a saw..especially now – I feel protective over my belly!
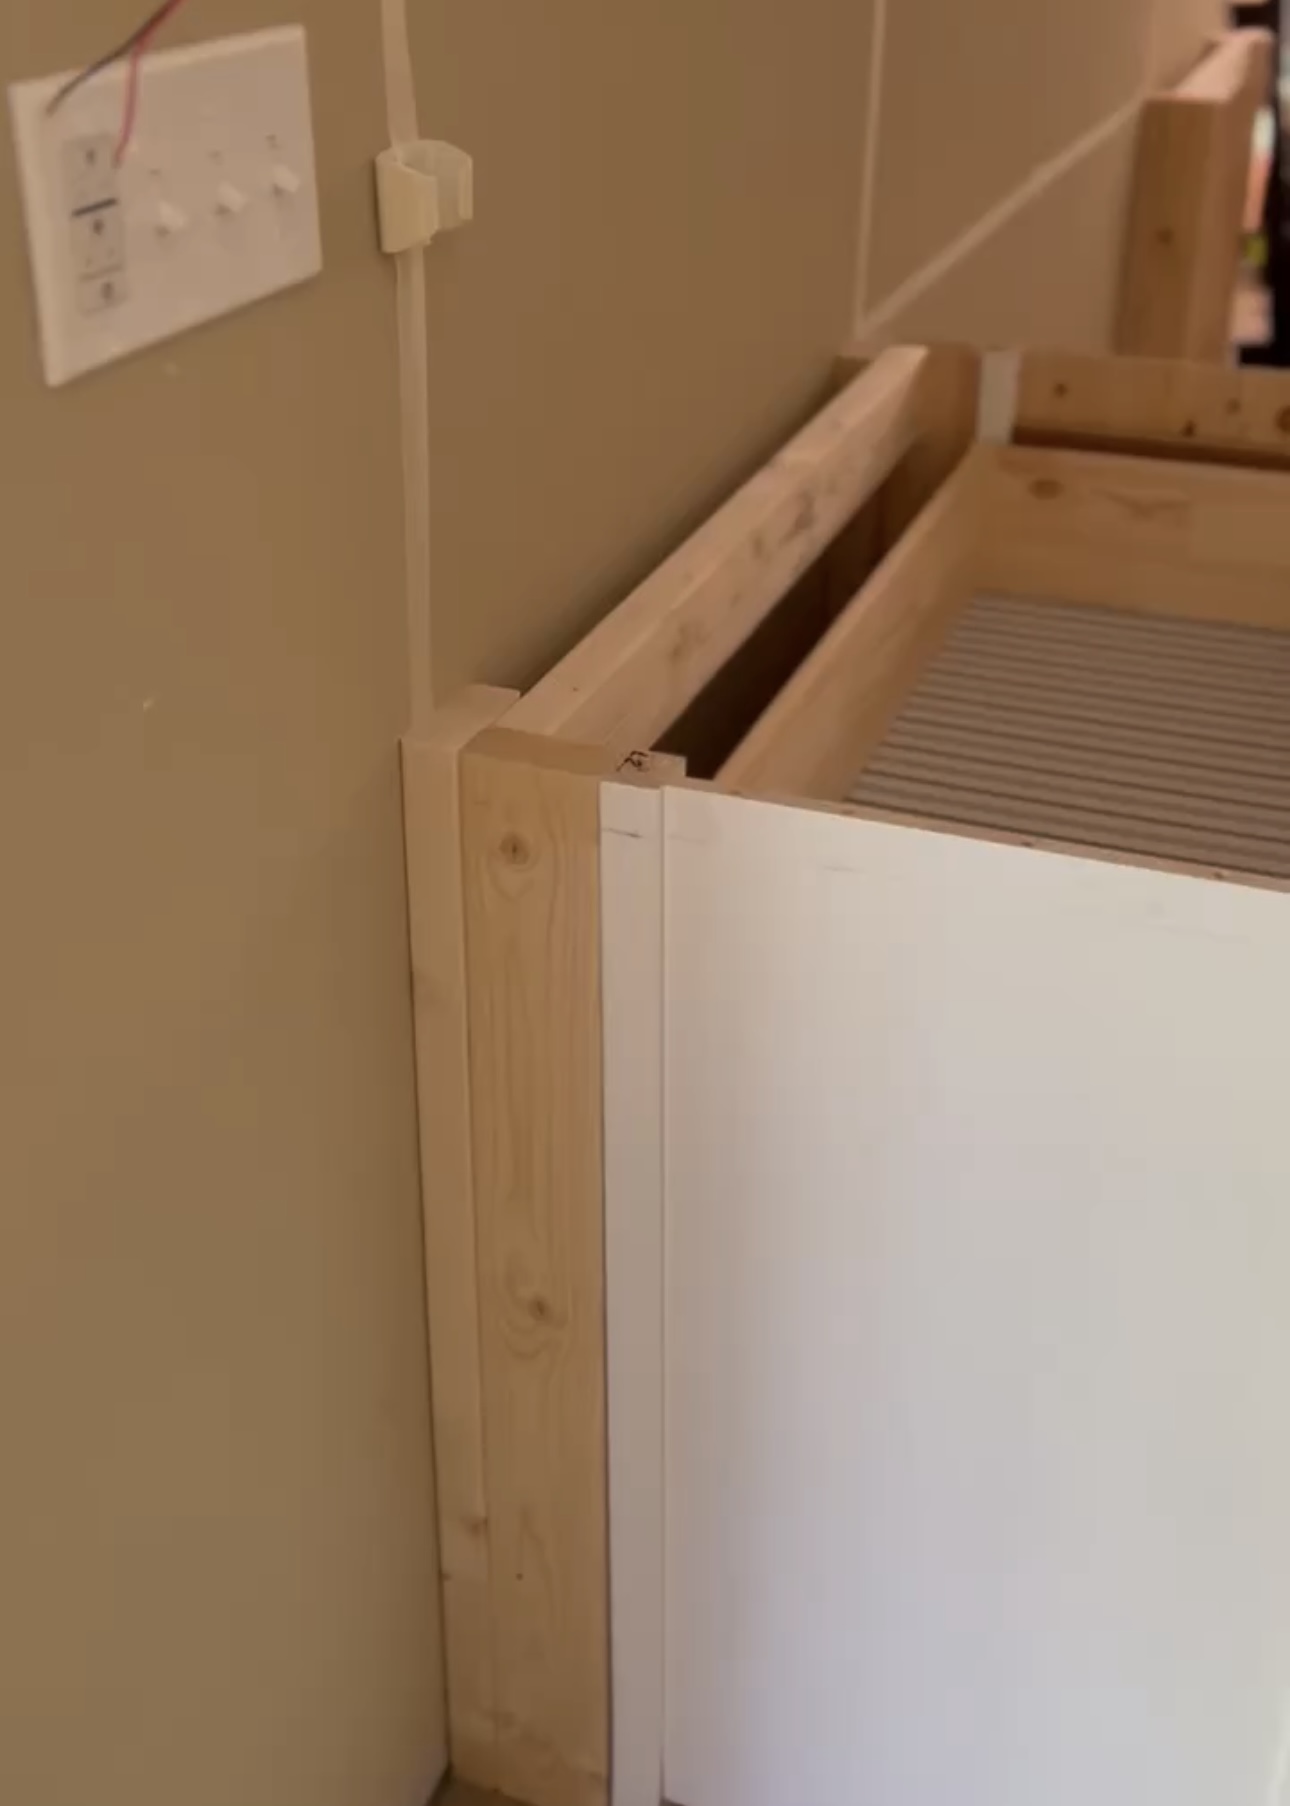
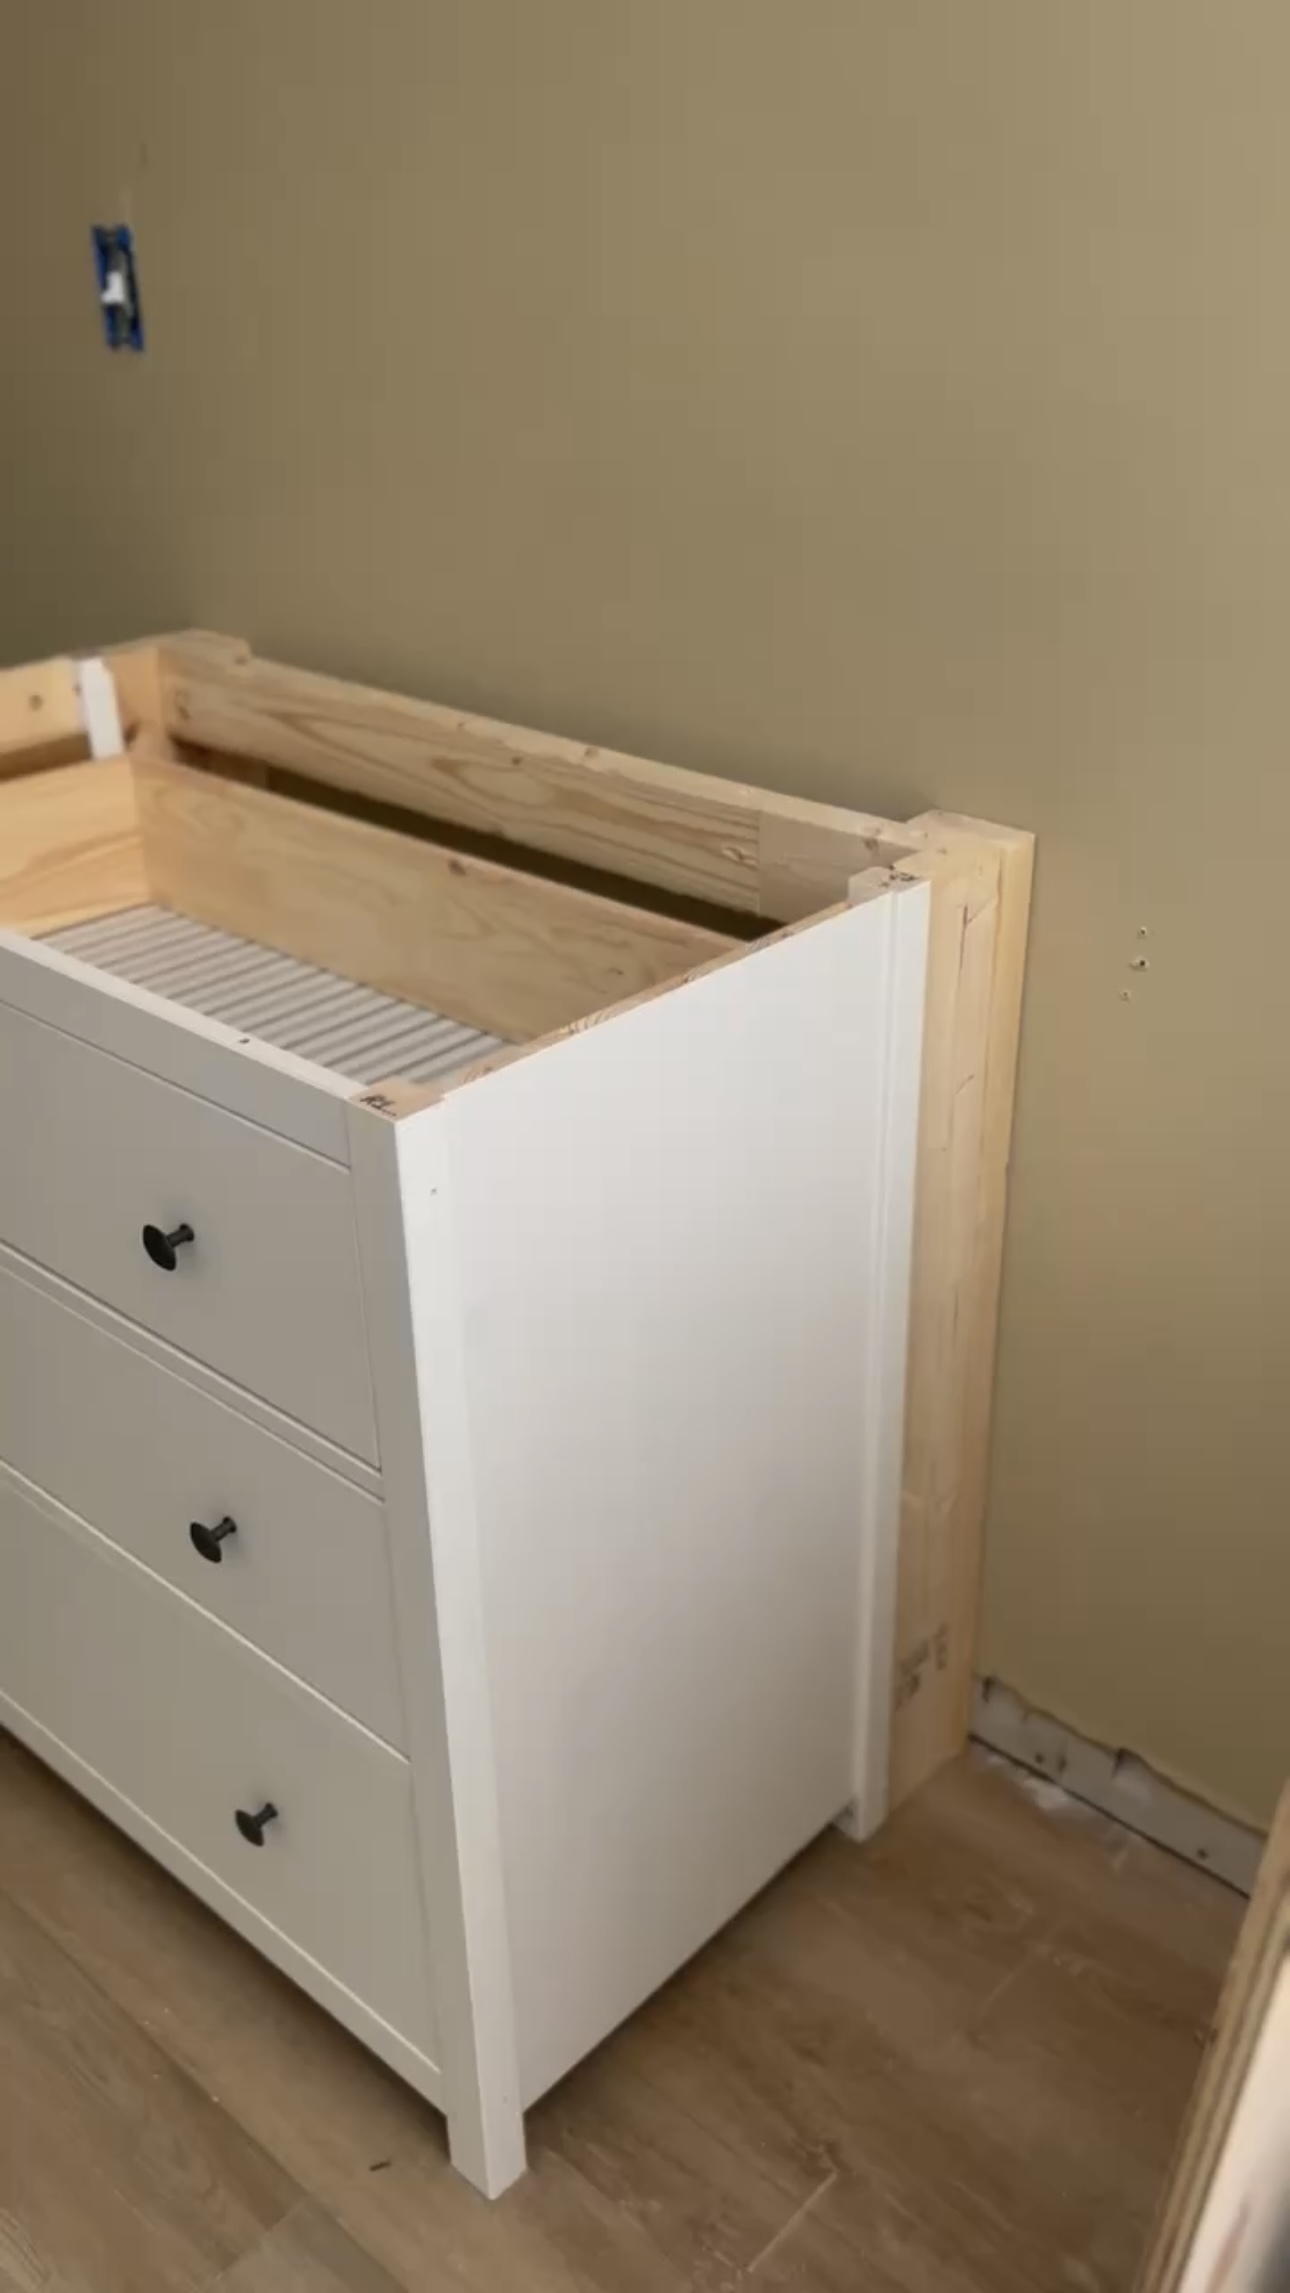
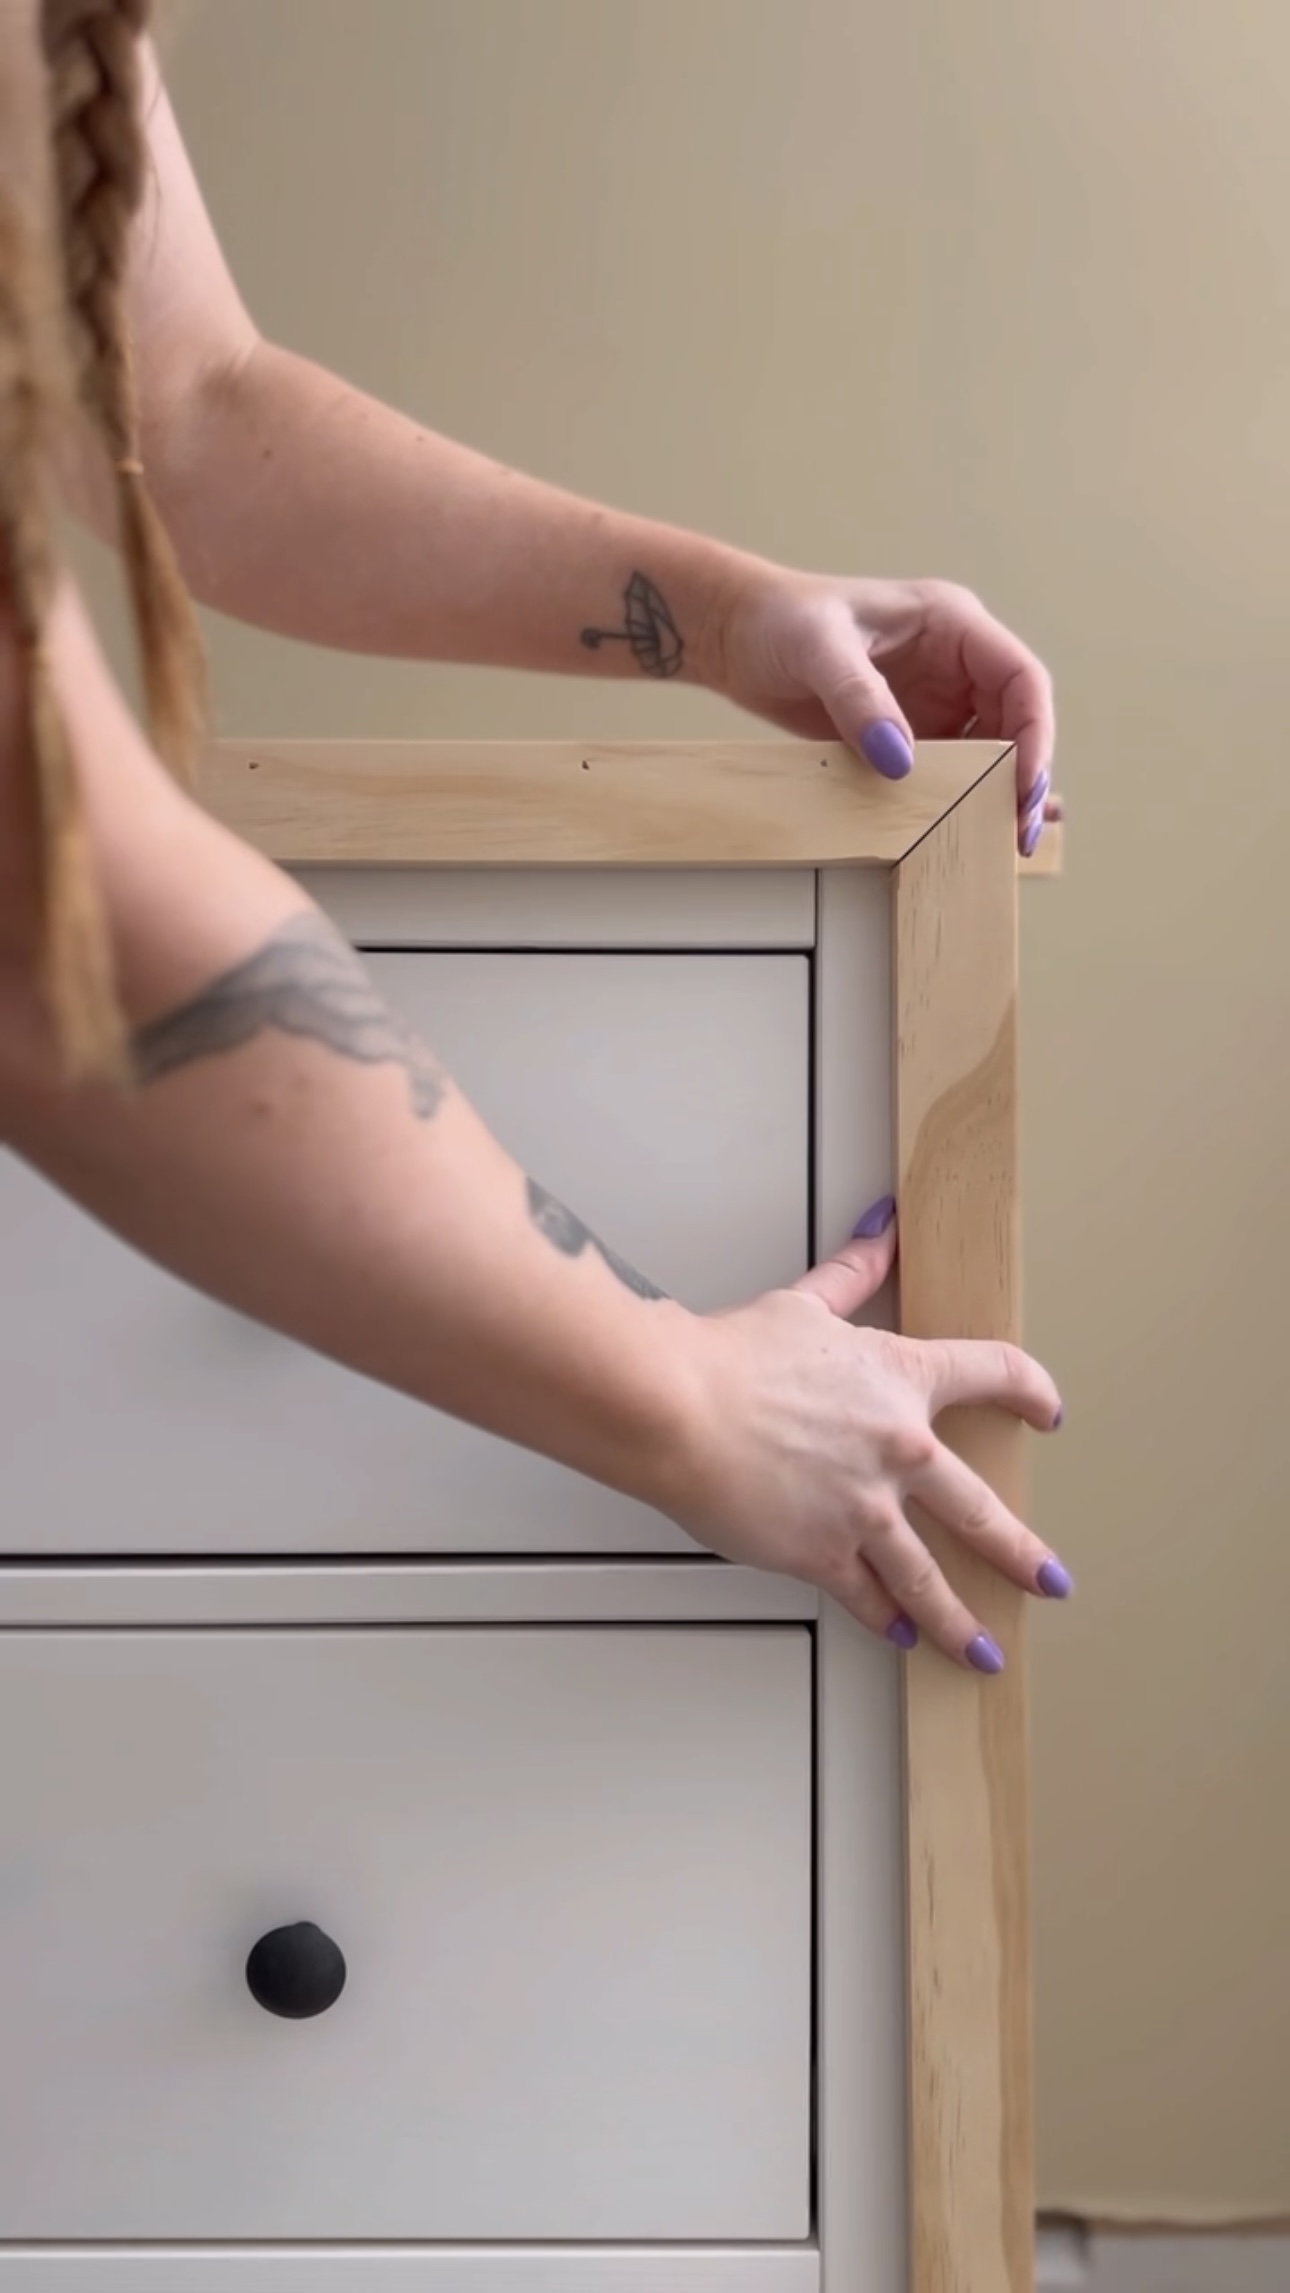
I decided to use my leftover plywood pieces to case the sides of the Ikea dressers I mounted for a seamless look.
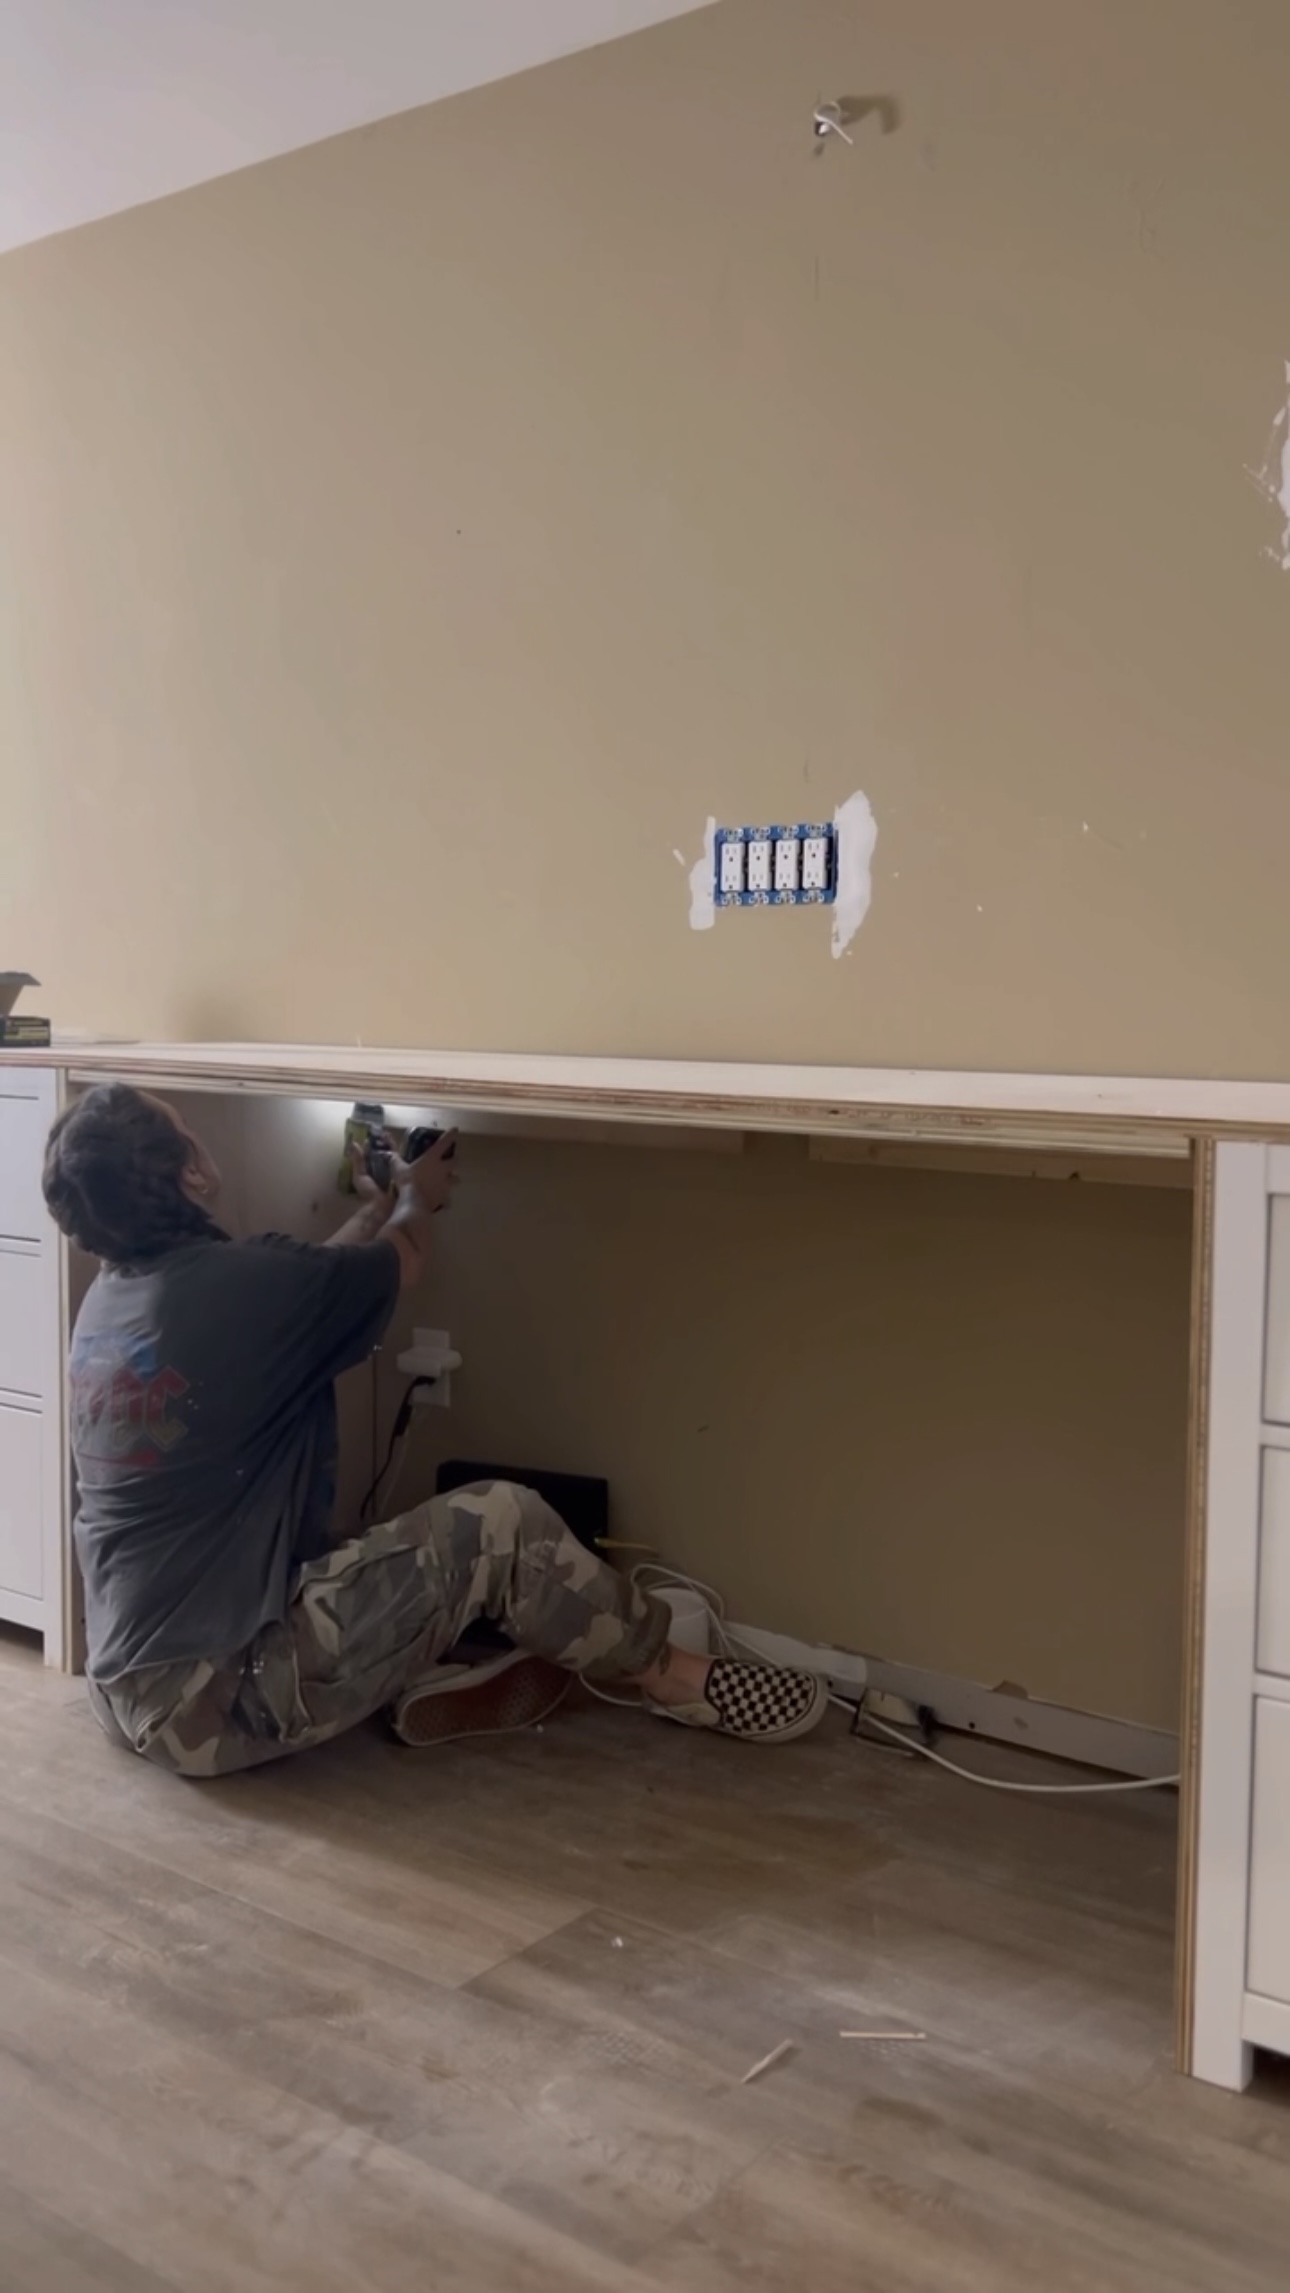
Next, I put my desk top on! I also added a ledger for support and an additional layer to the desk so it’s more solid.


Trim
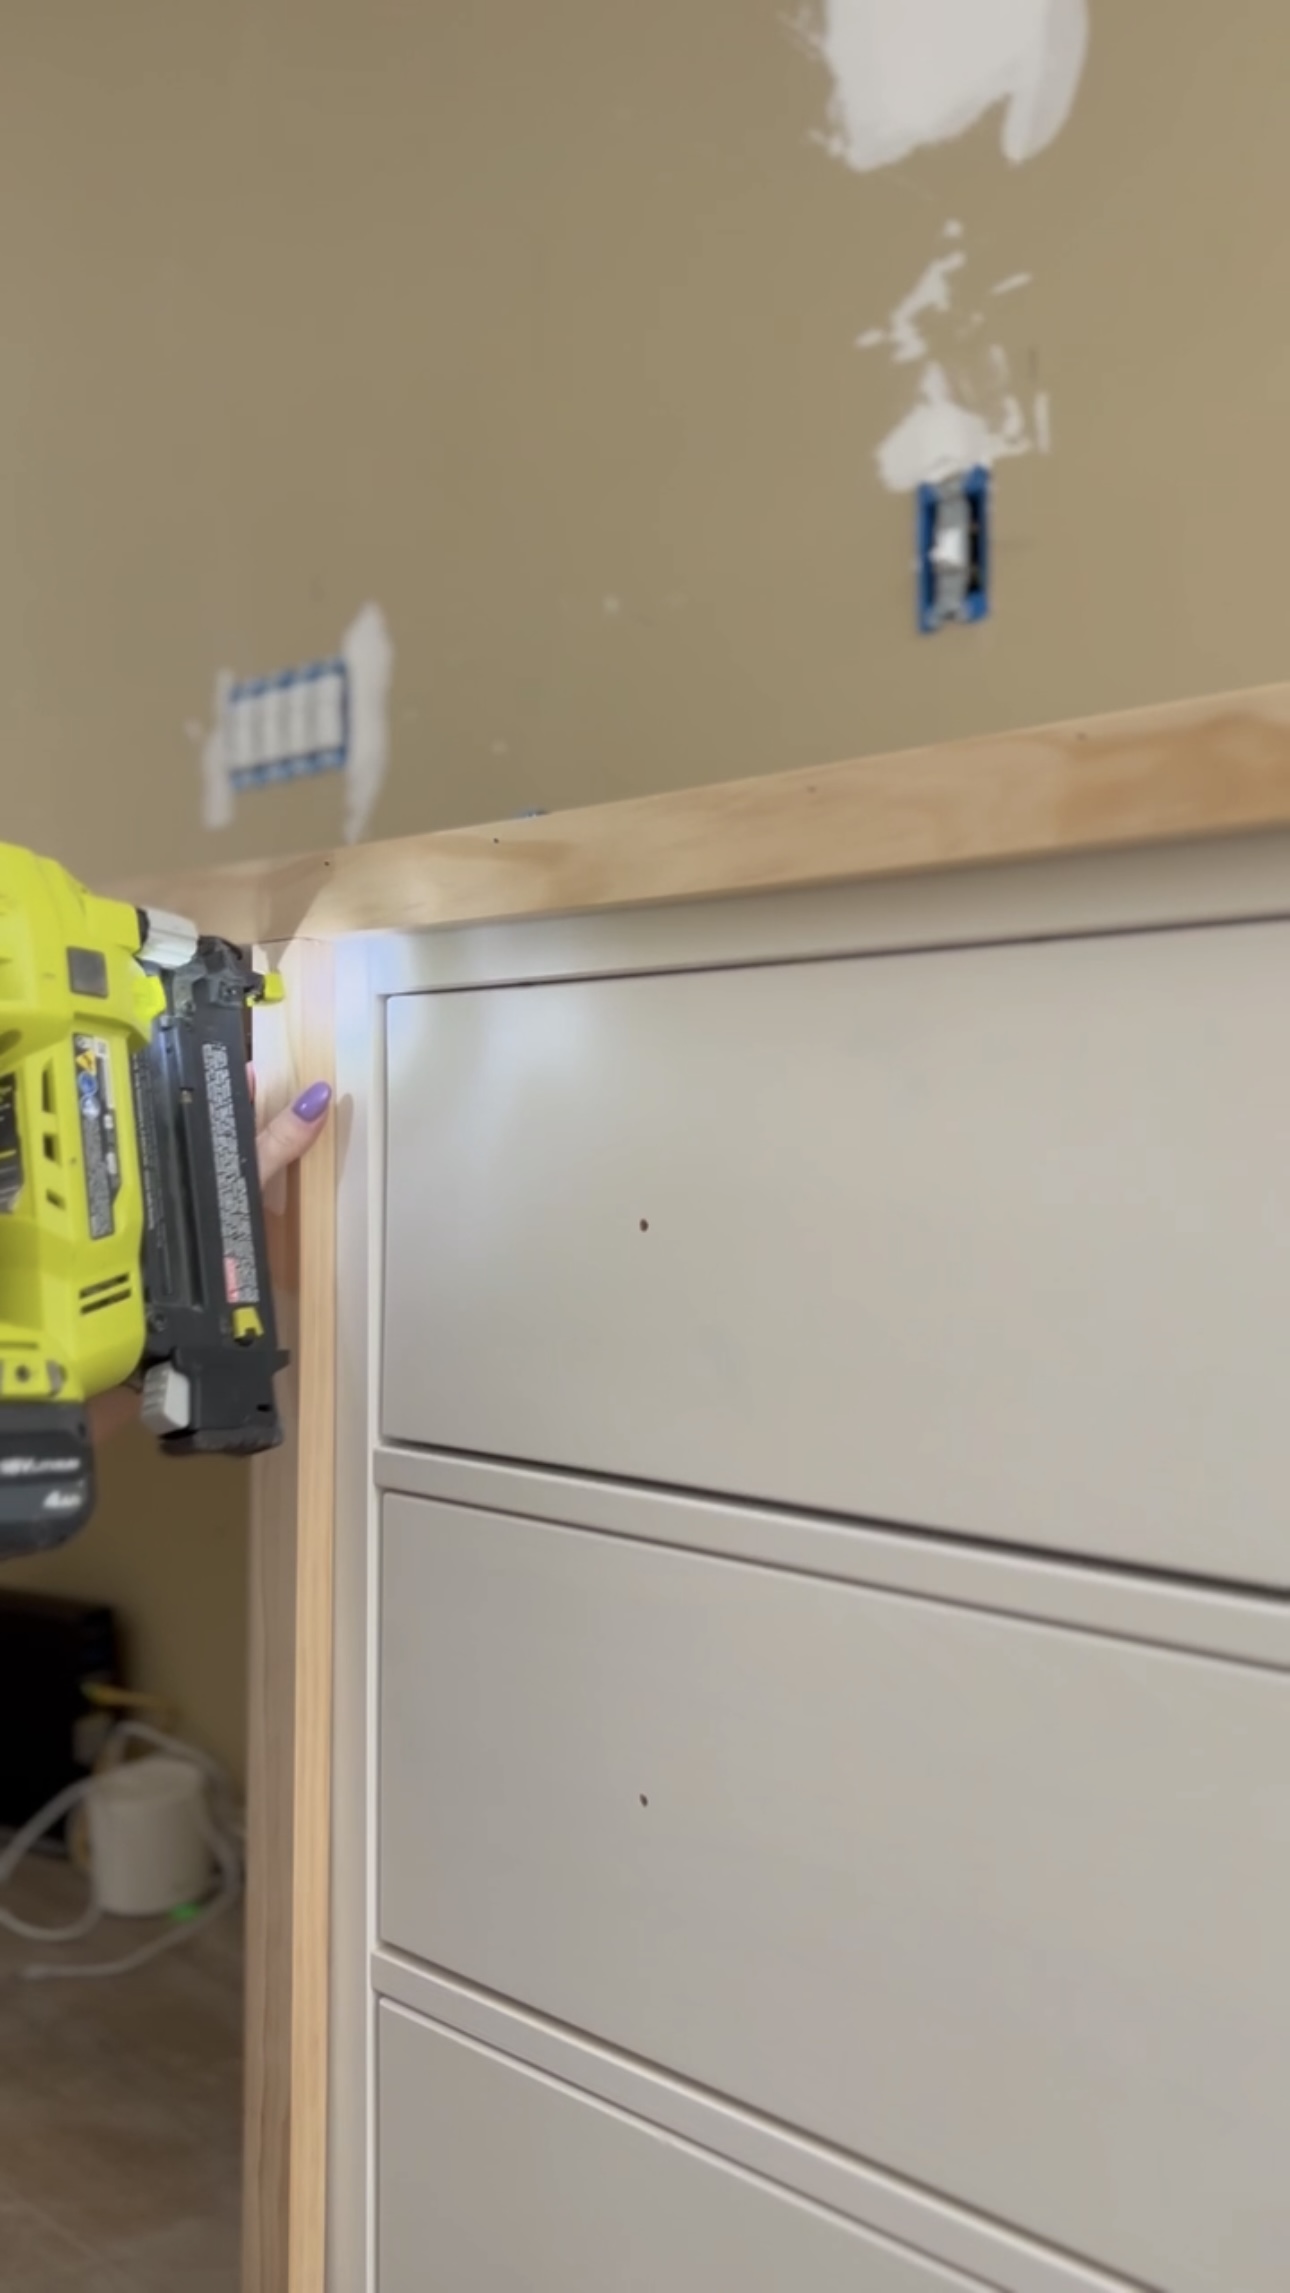
I used 1×2 trim to finish off the desk edges for a nice, finished look before. These are the details that make this look custom built!
Here’s everything I used for the trim:


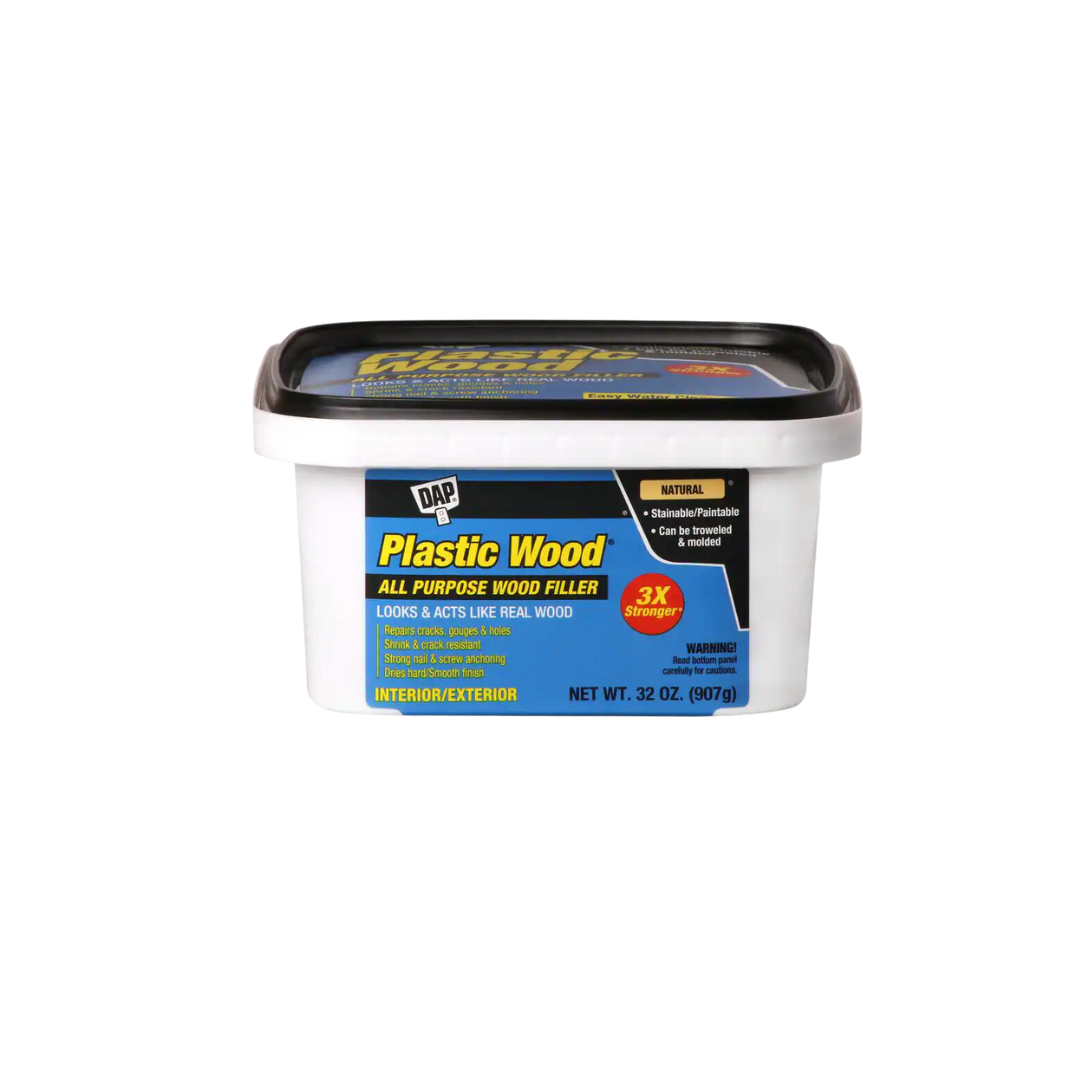
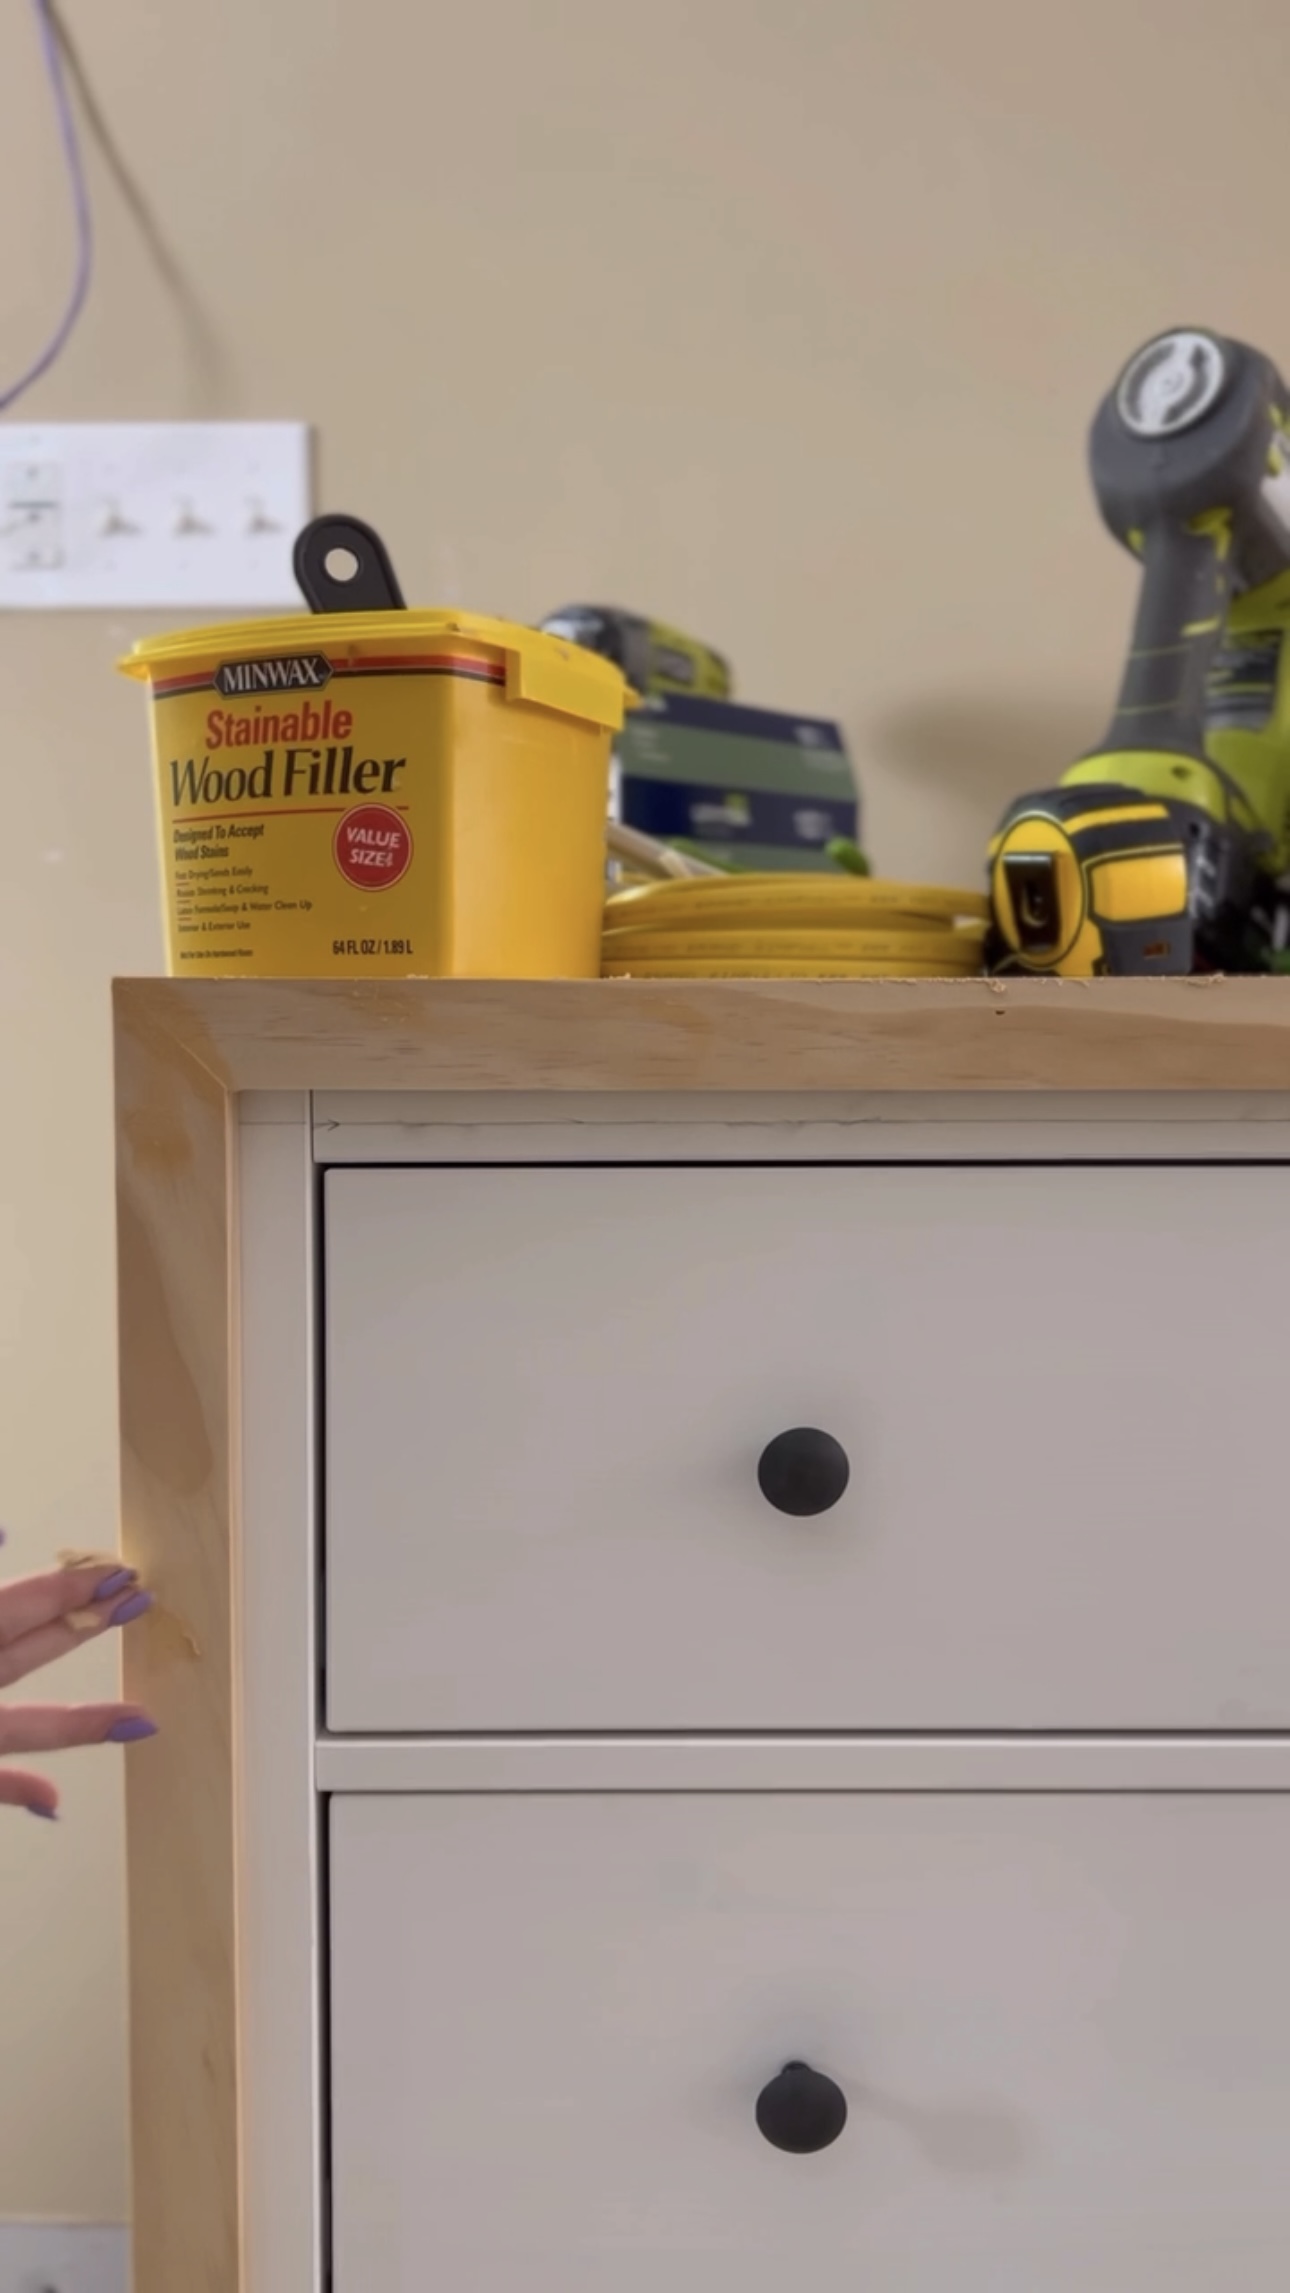
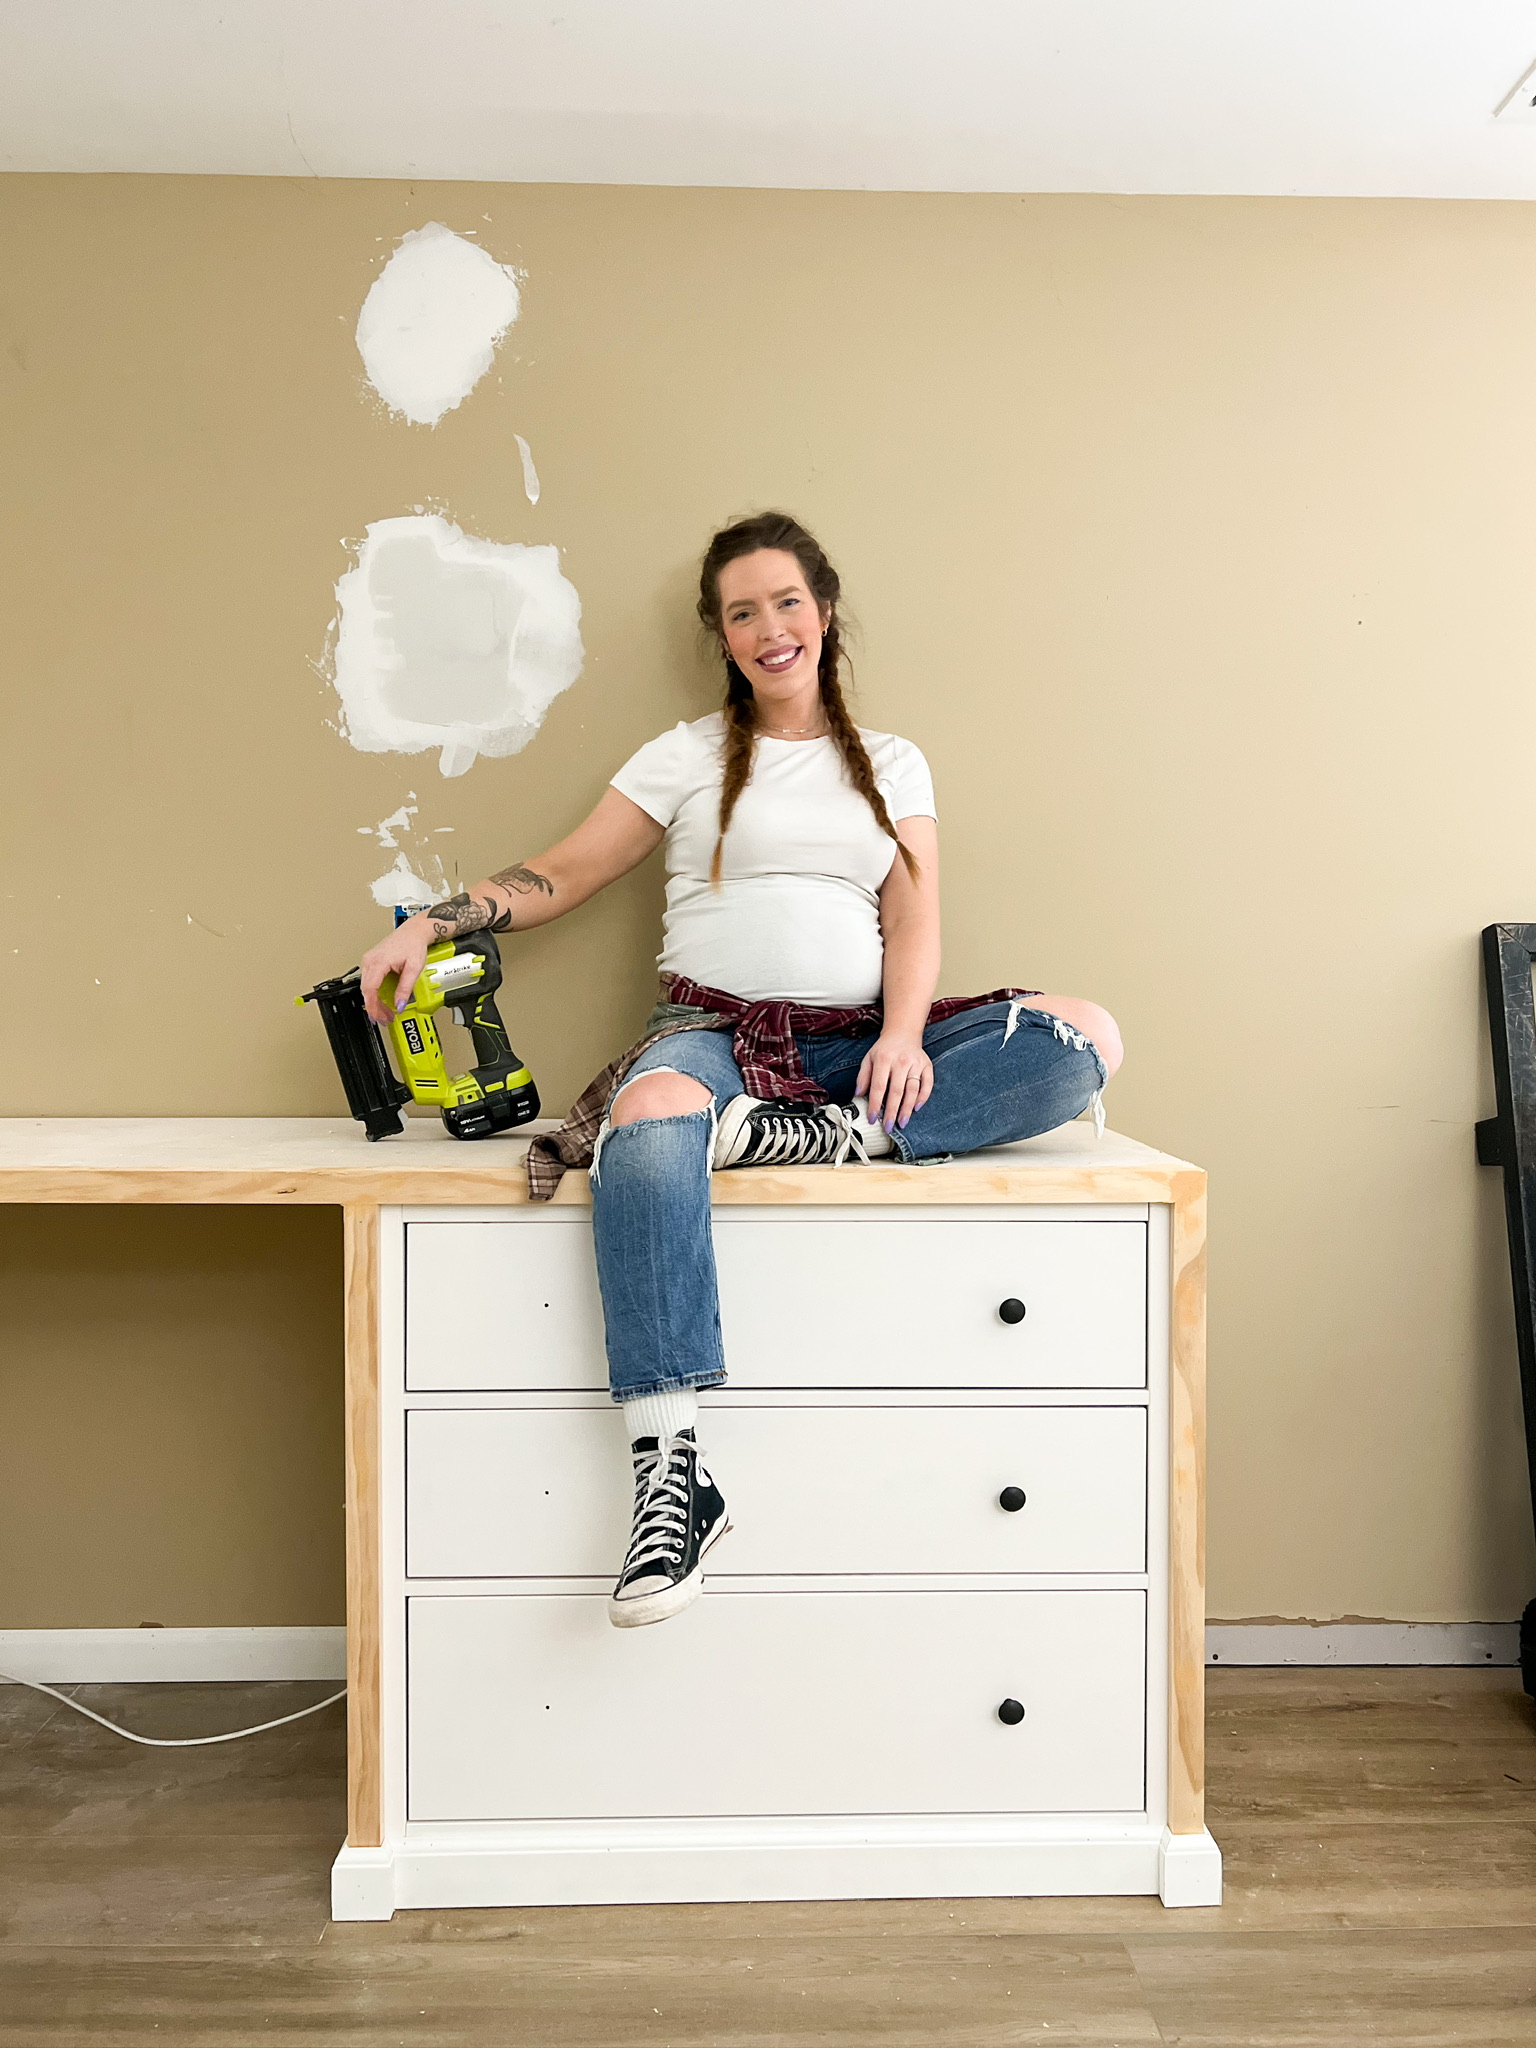
I used my brad nailer to install all these pieces. Then, I used wood filler to cover the nails and seams.
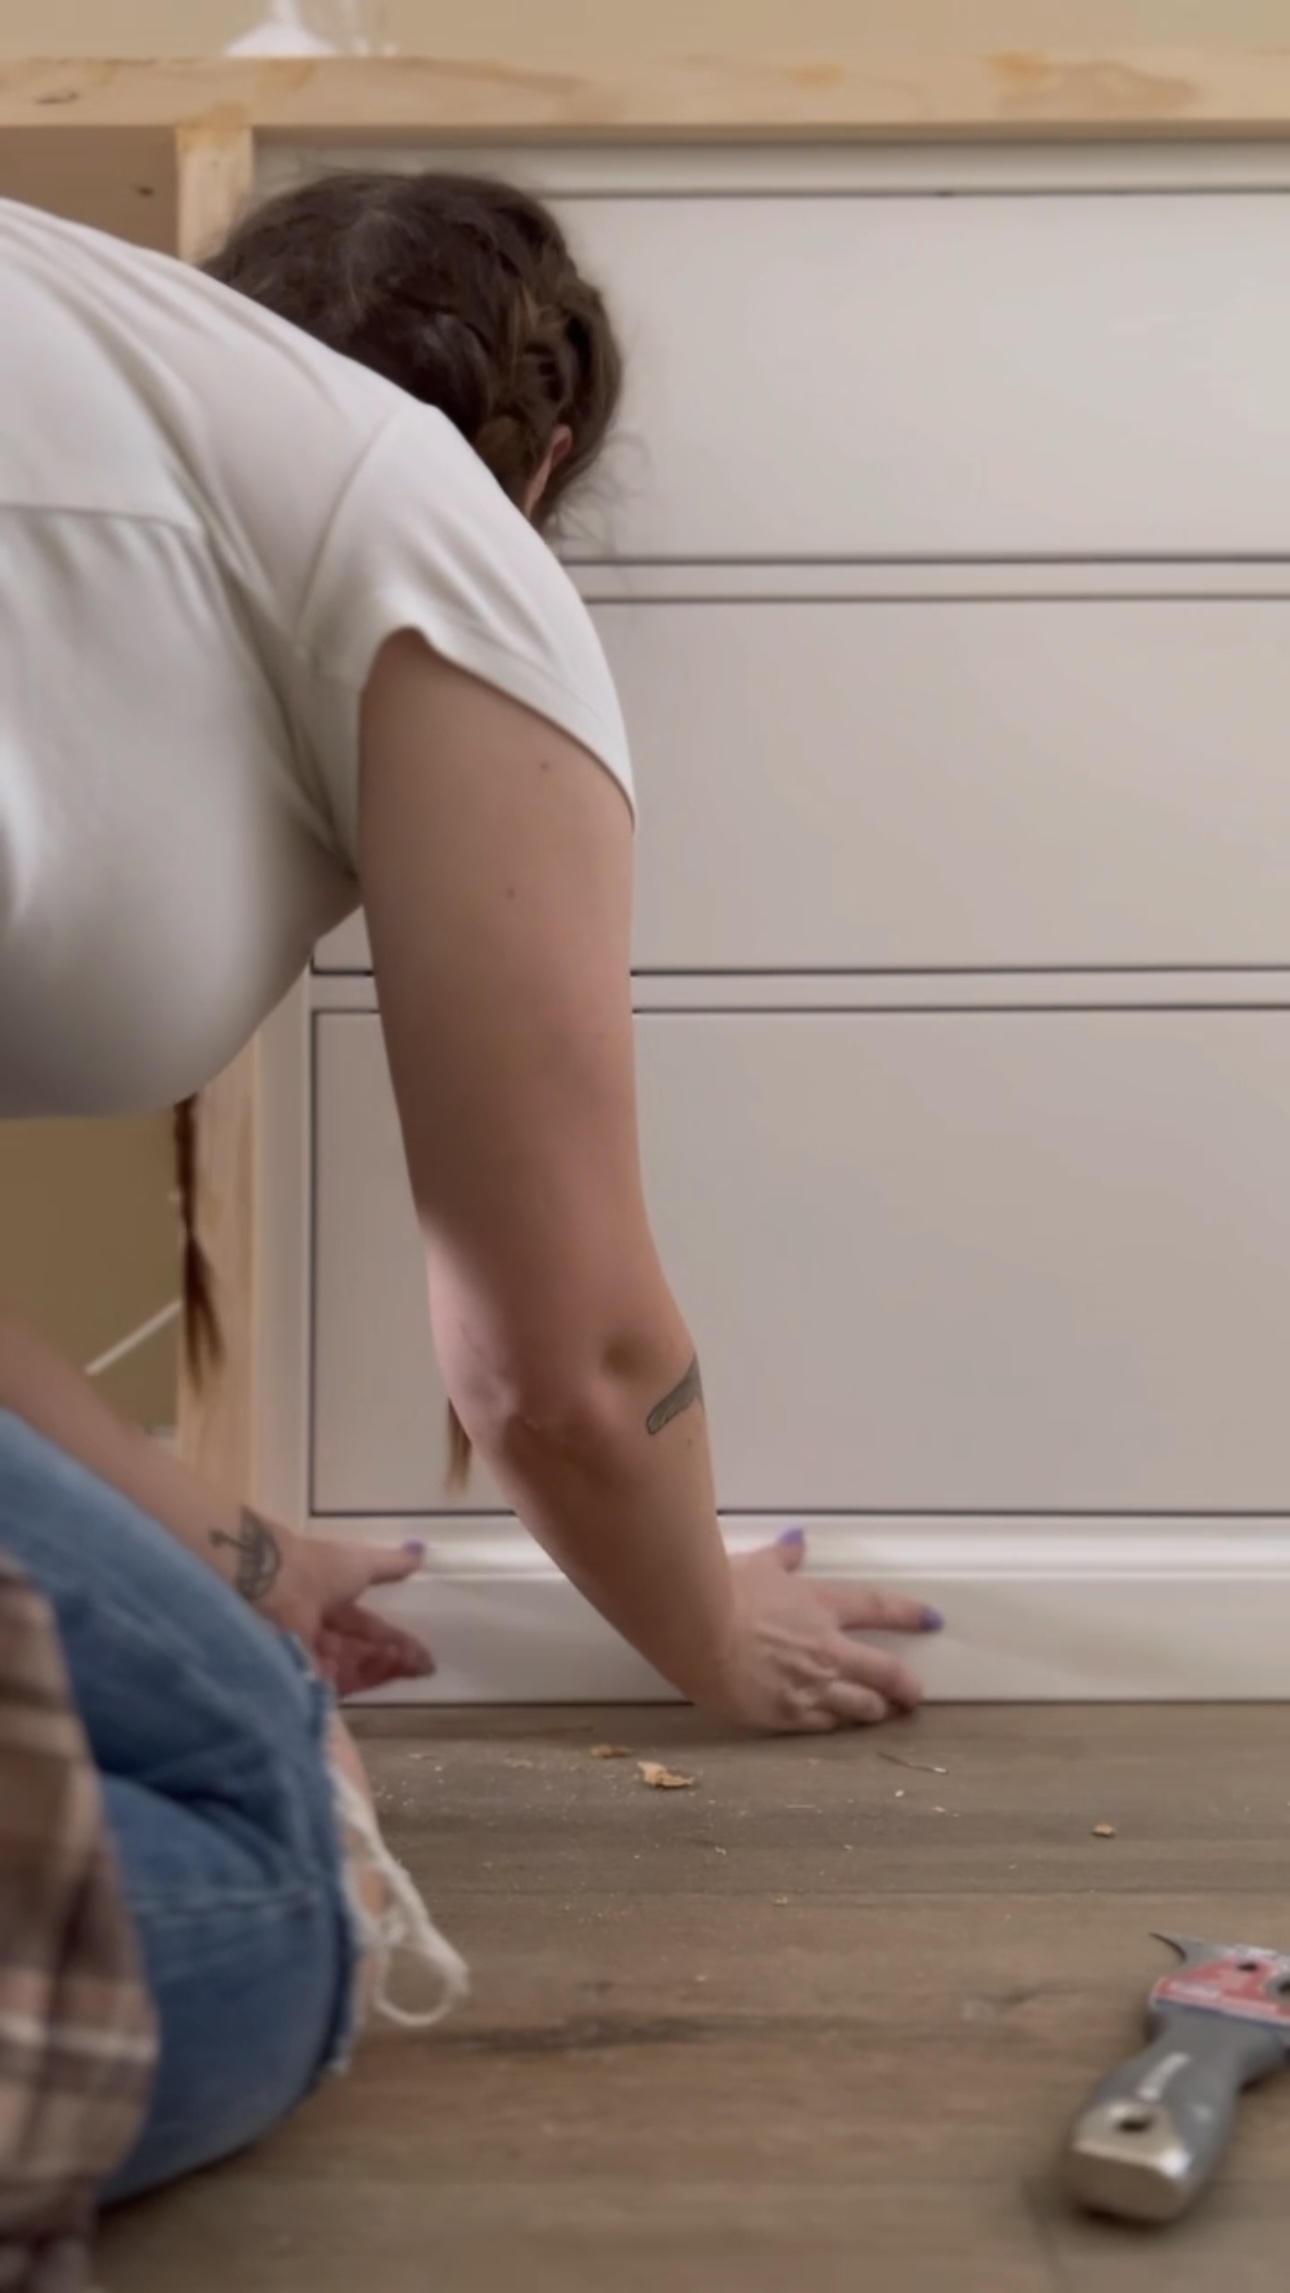
I also added baseboards to the bottom where the gaps between the legs and the floor are. And here’s where that left us. We’re getting there!
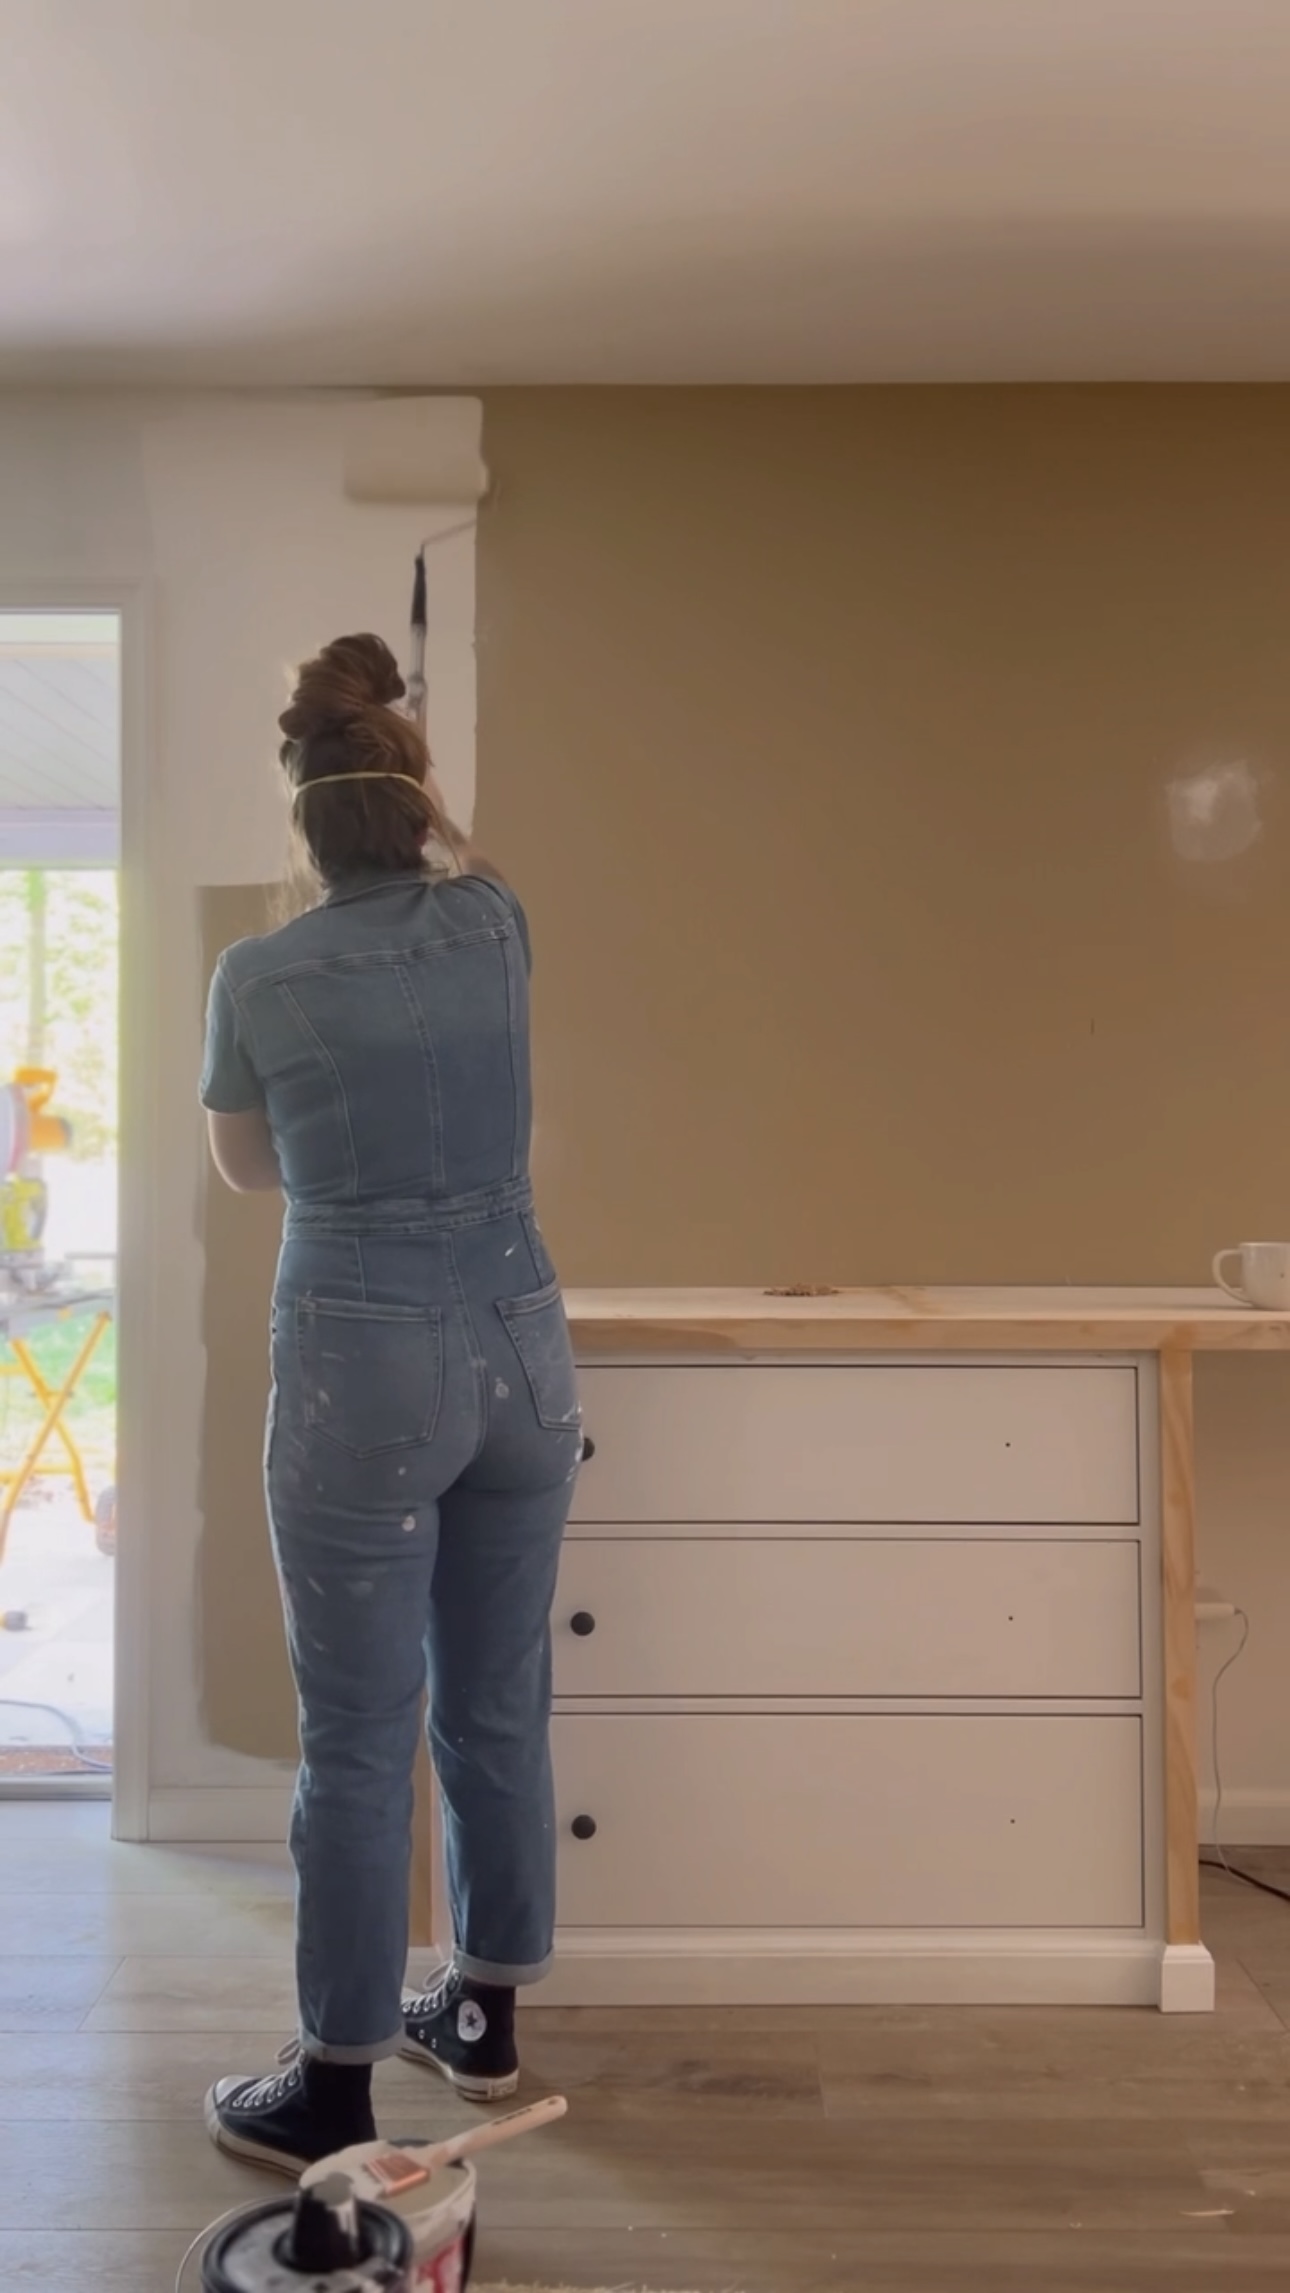
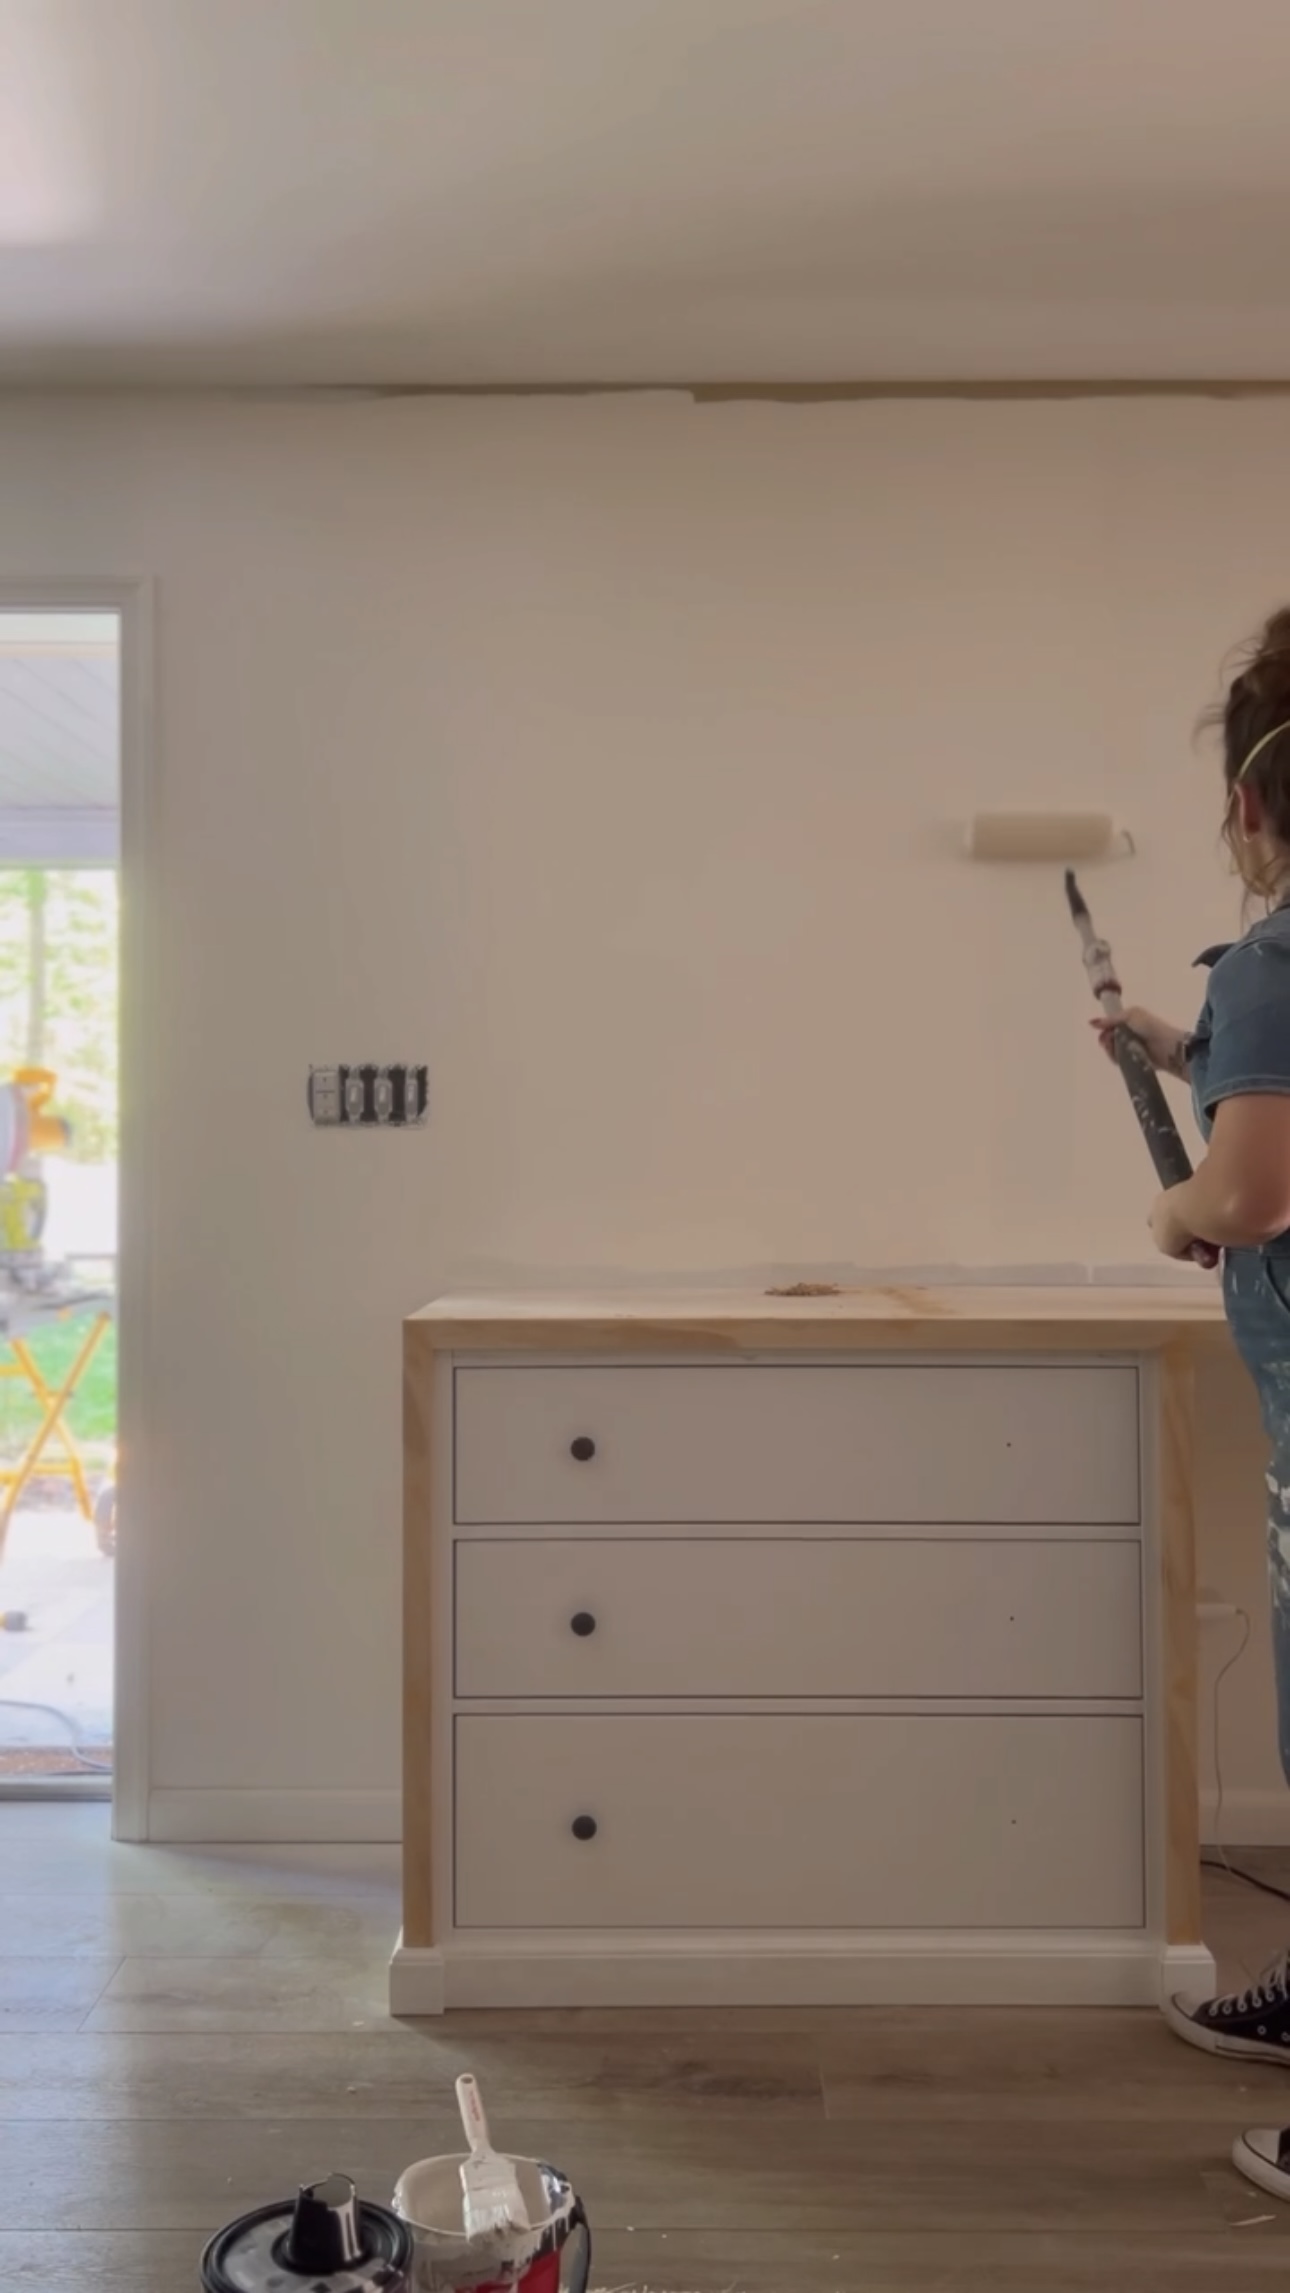
Painting the Wall
The next step was adding the big cabinets – but I needed to paint the drywall first! I used Swiss Coffee by Behr to match the rest of my house!
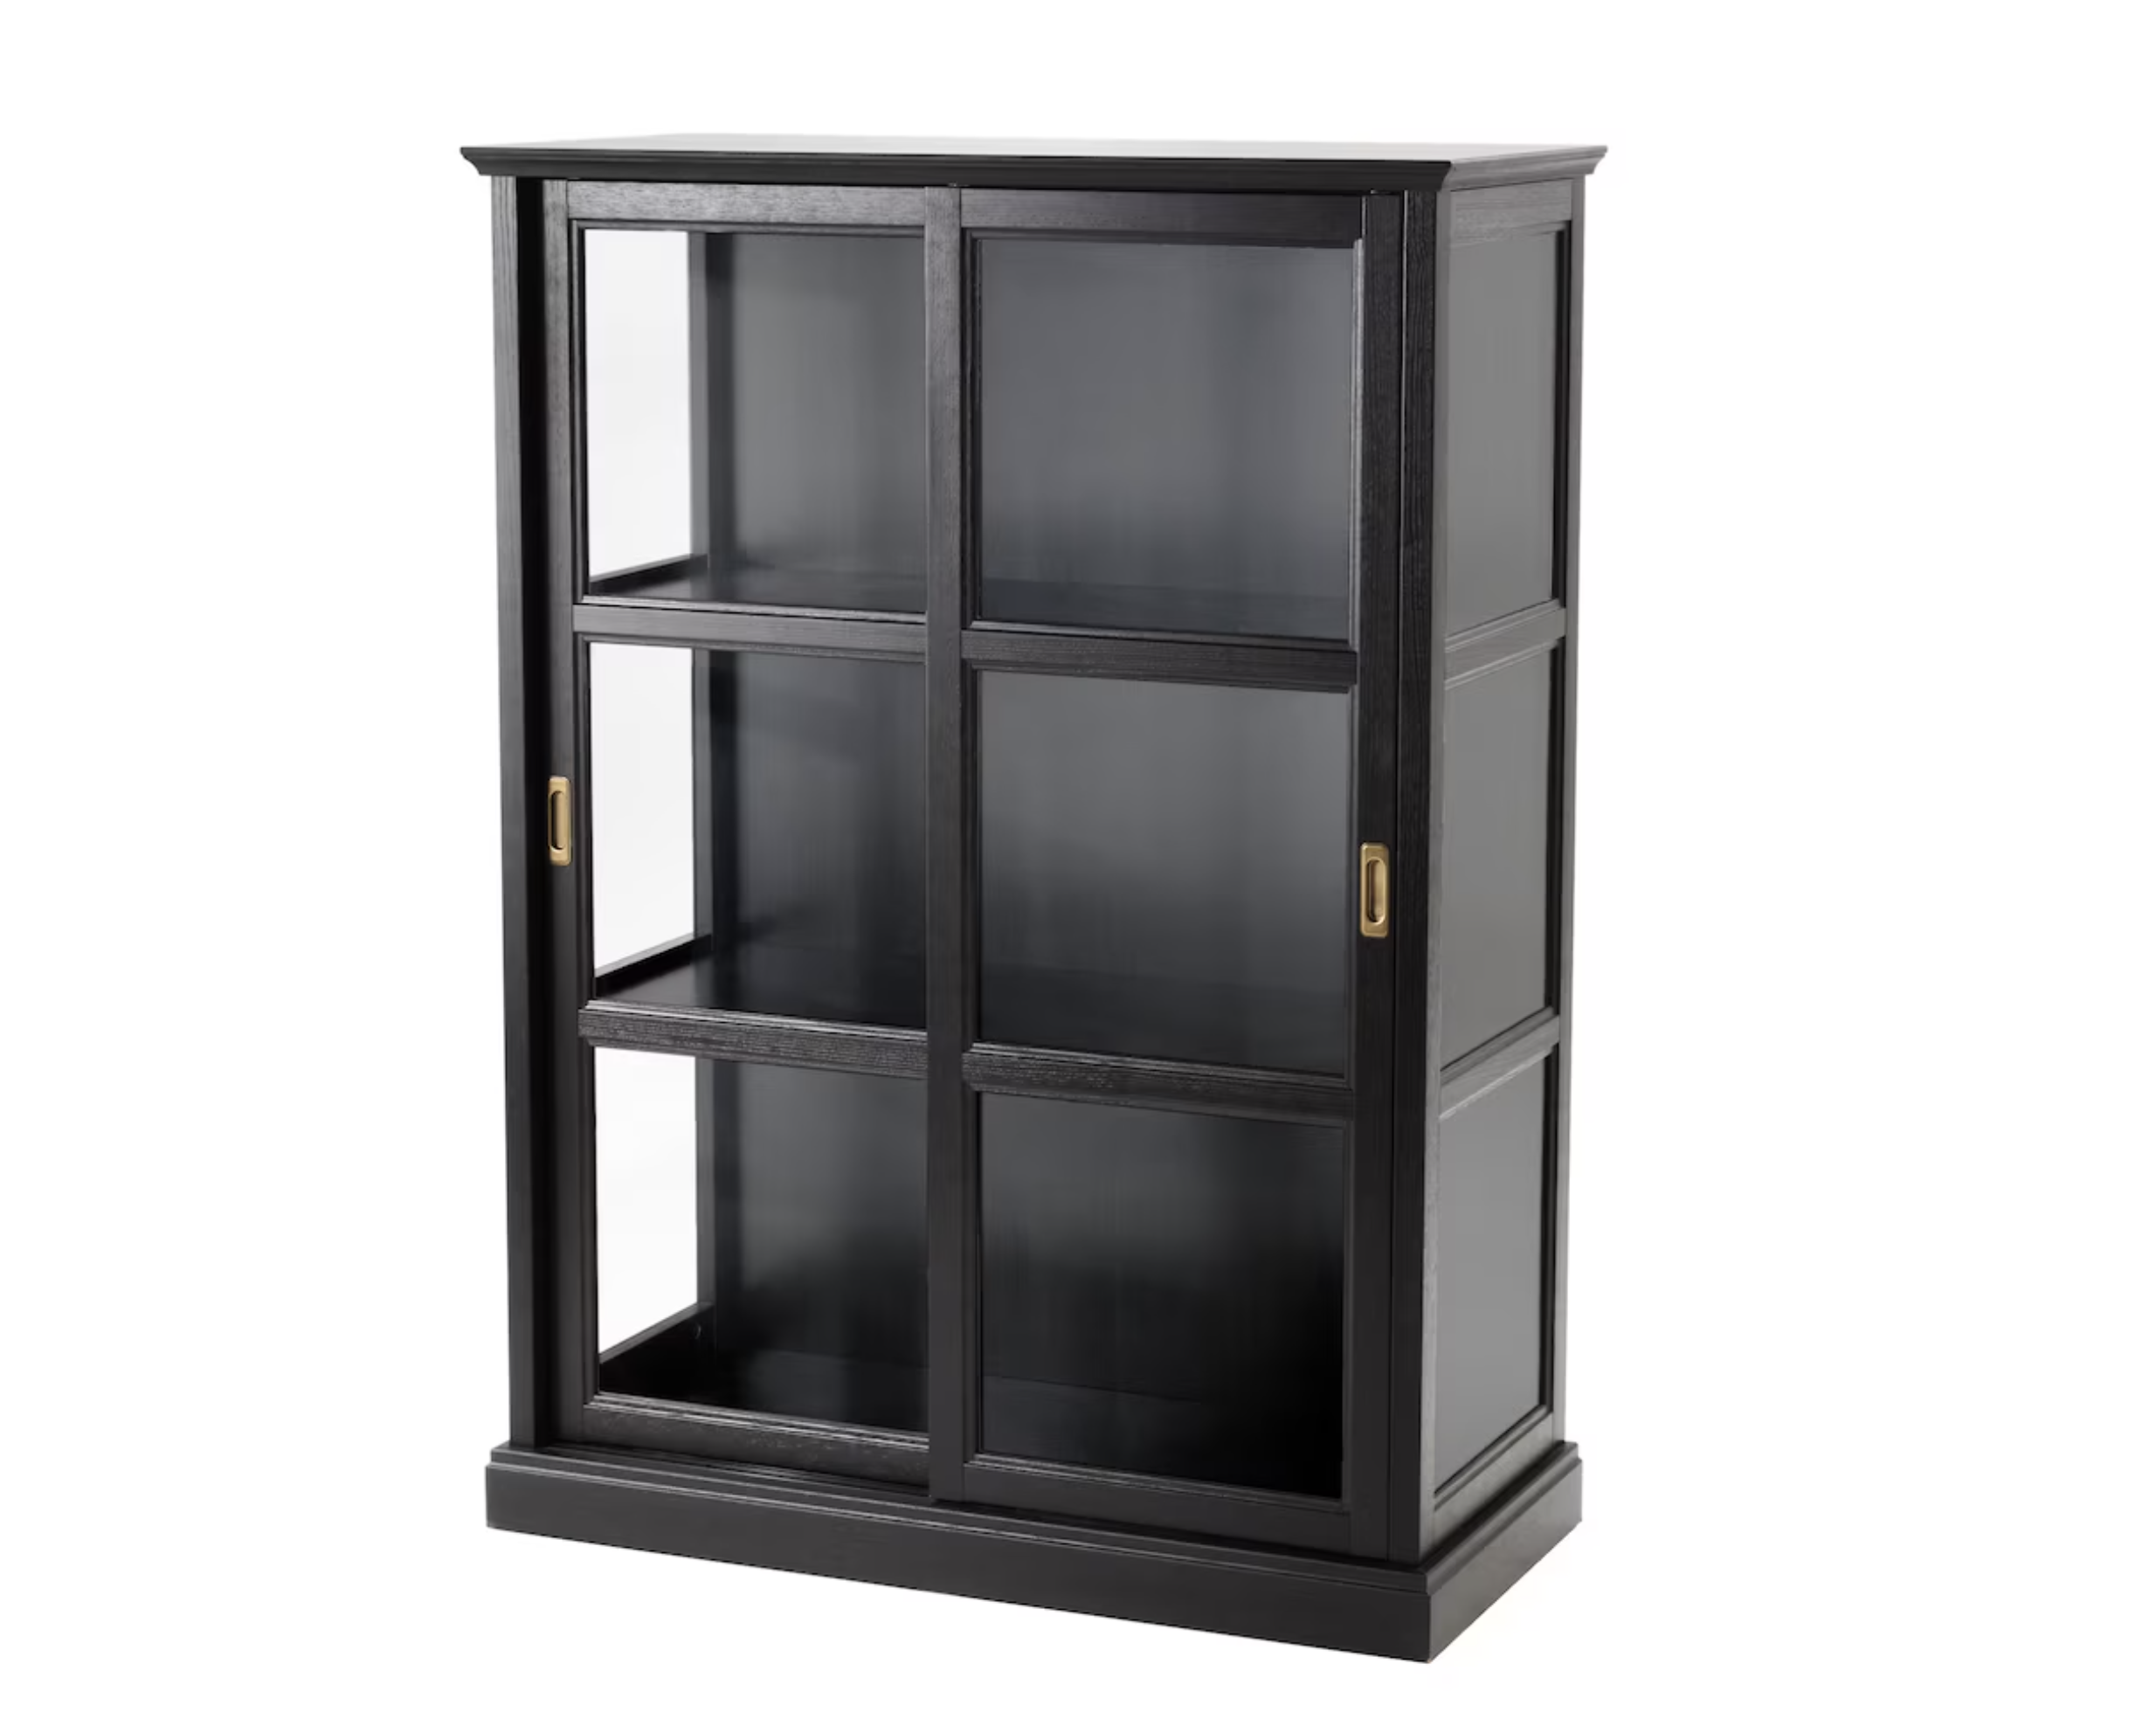
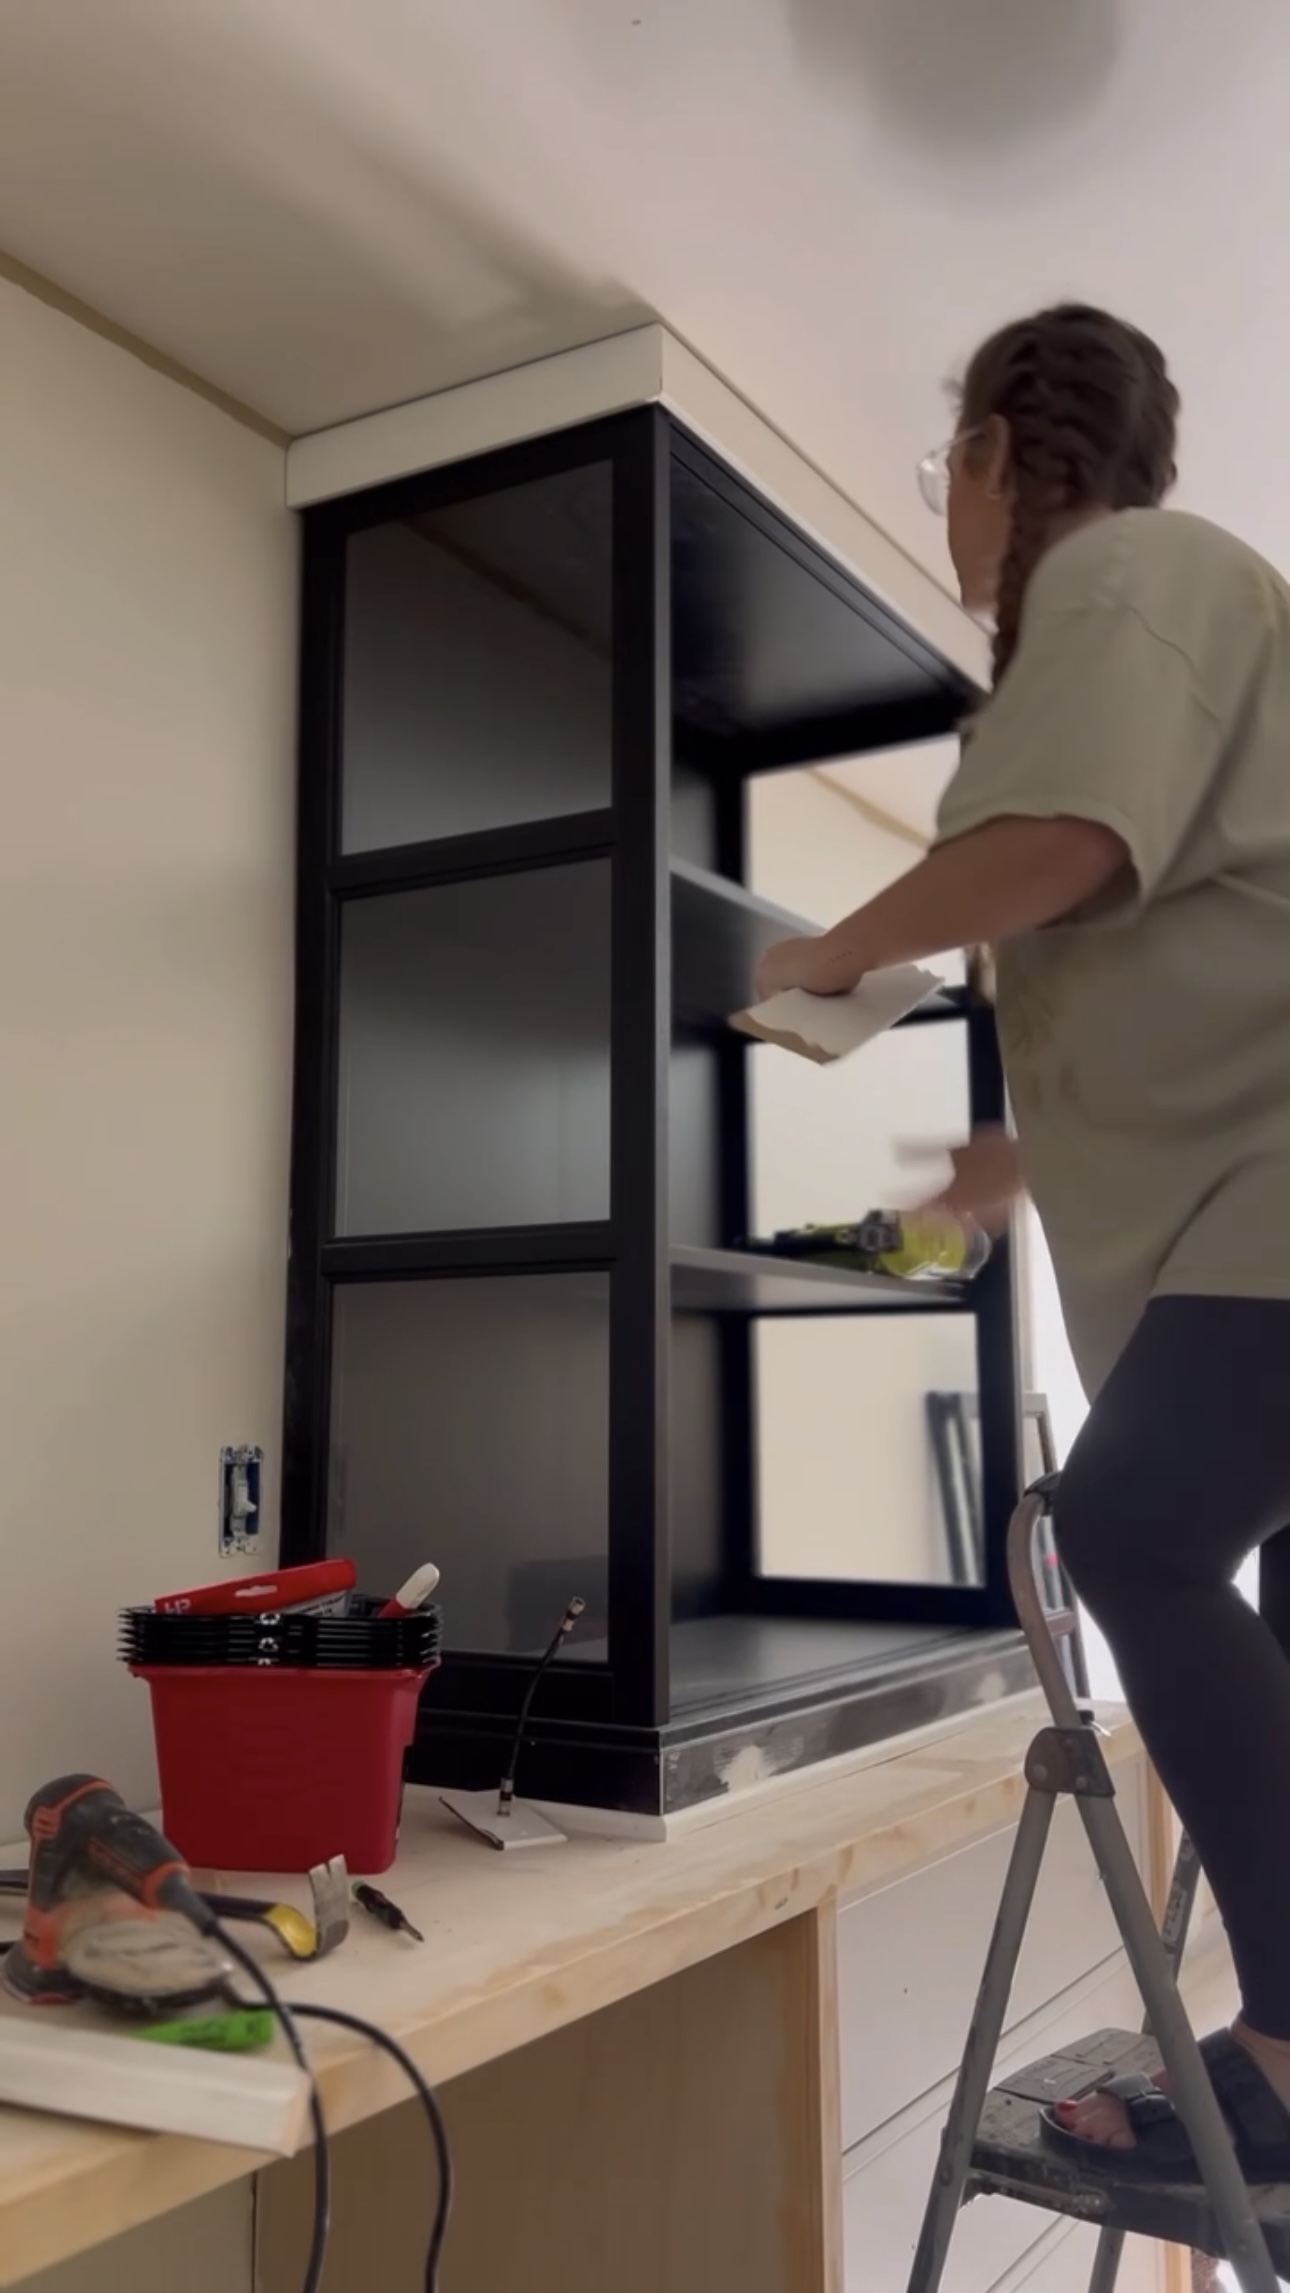
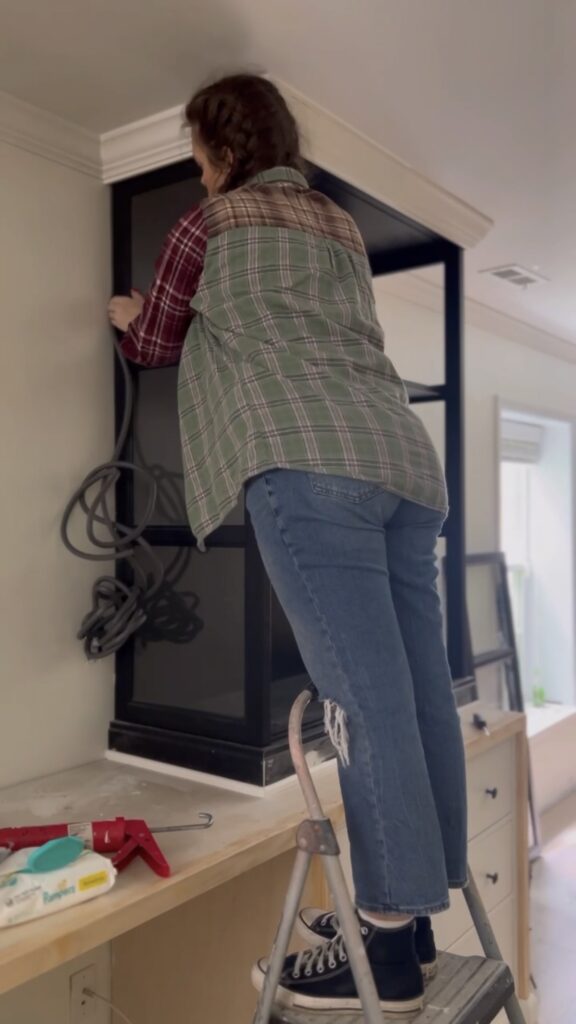
Cabinets
Cabinet time! I attached the cabinets to the desktop with some screws and filled the holes.


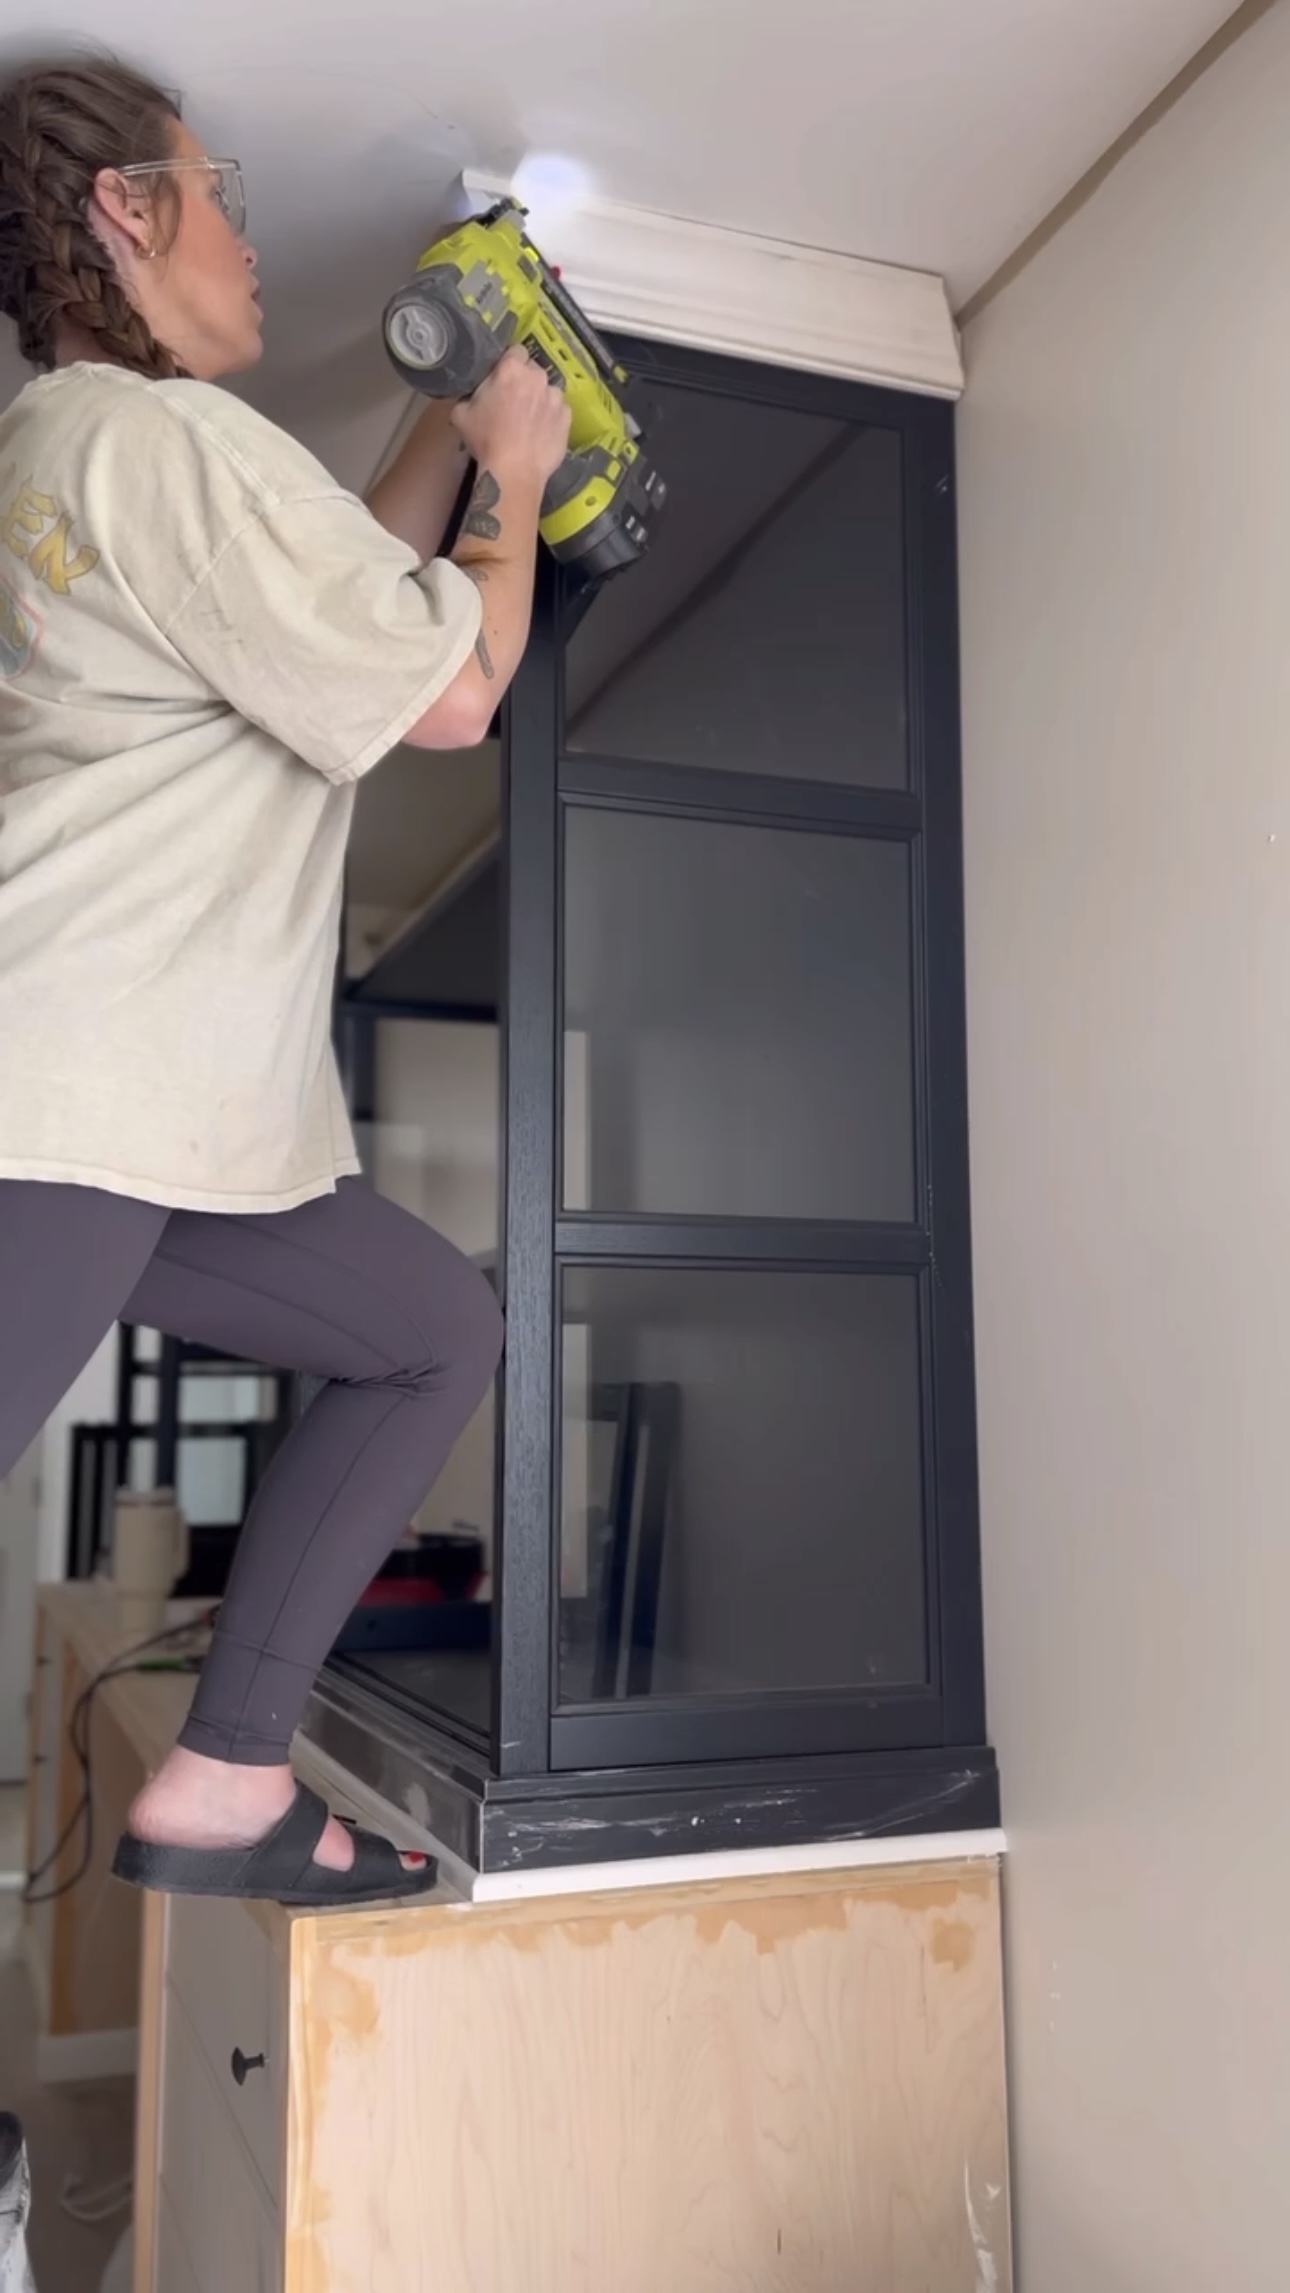
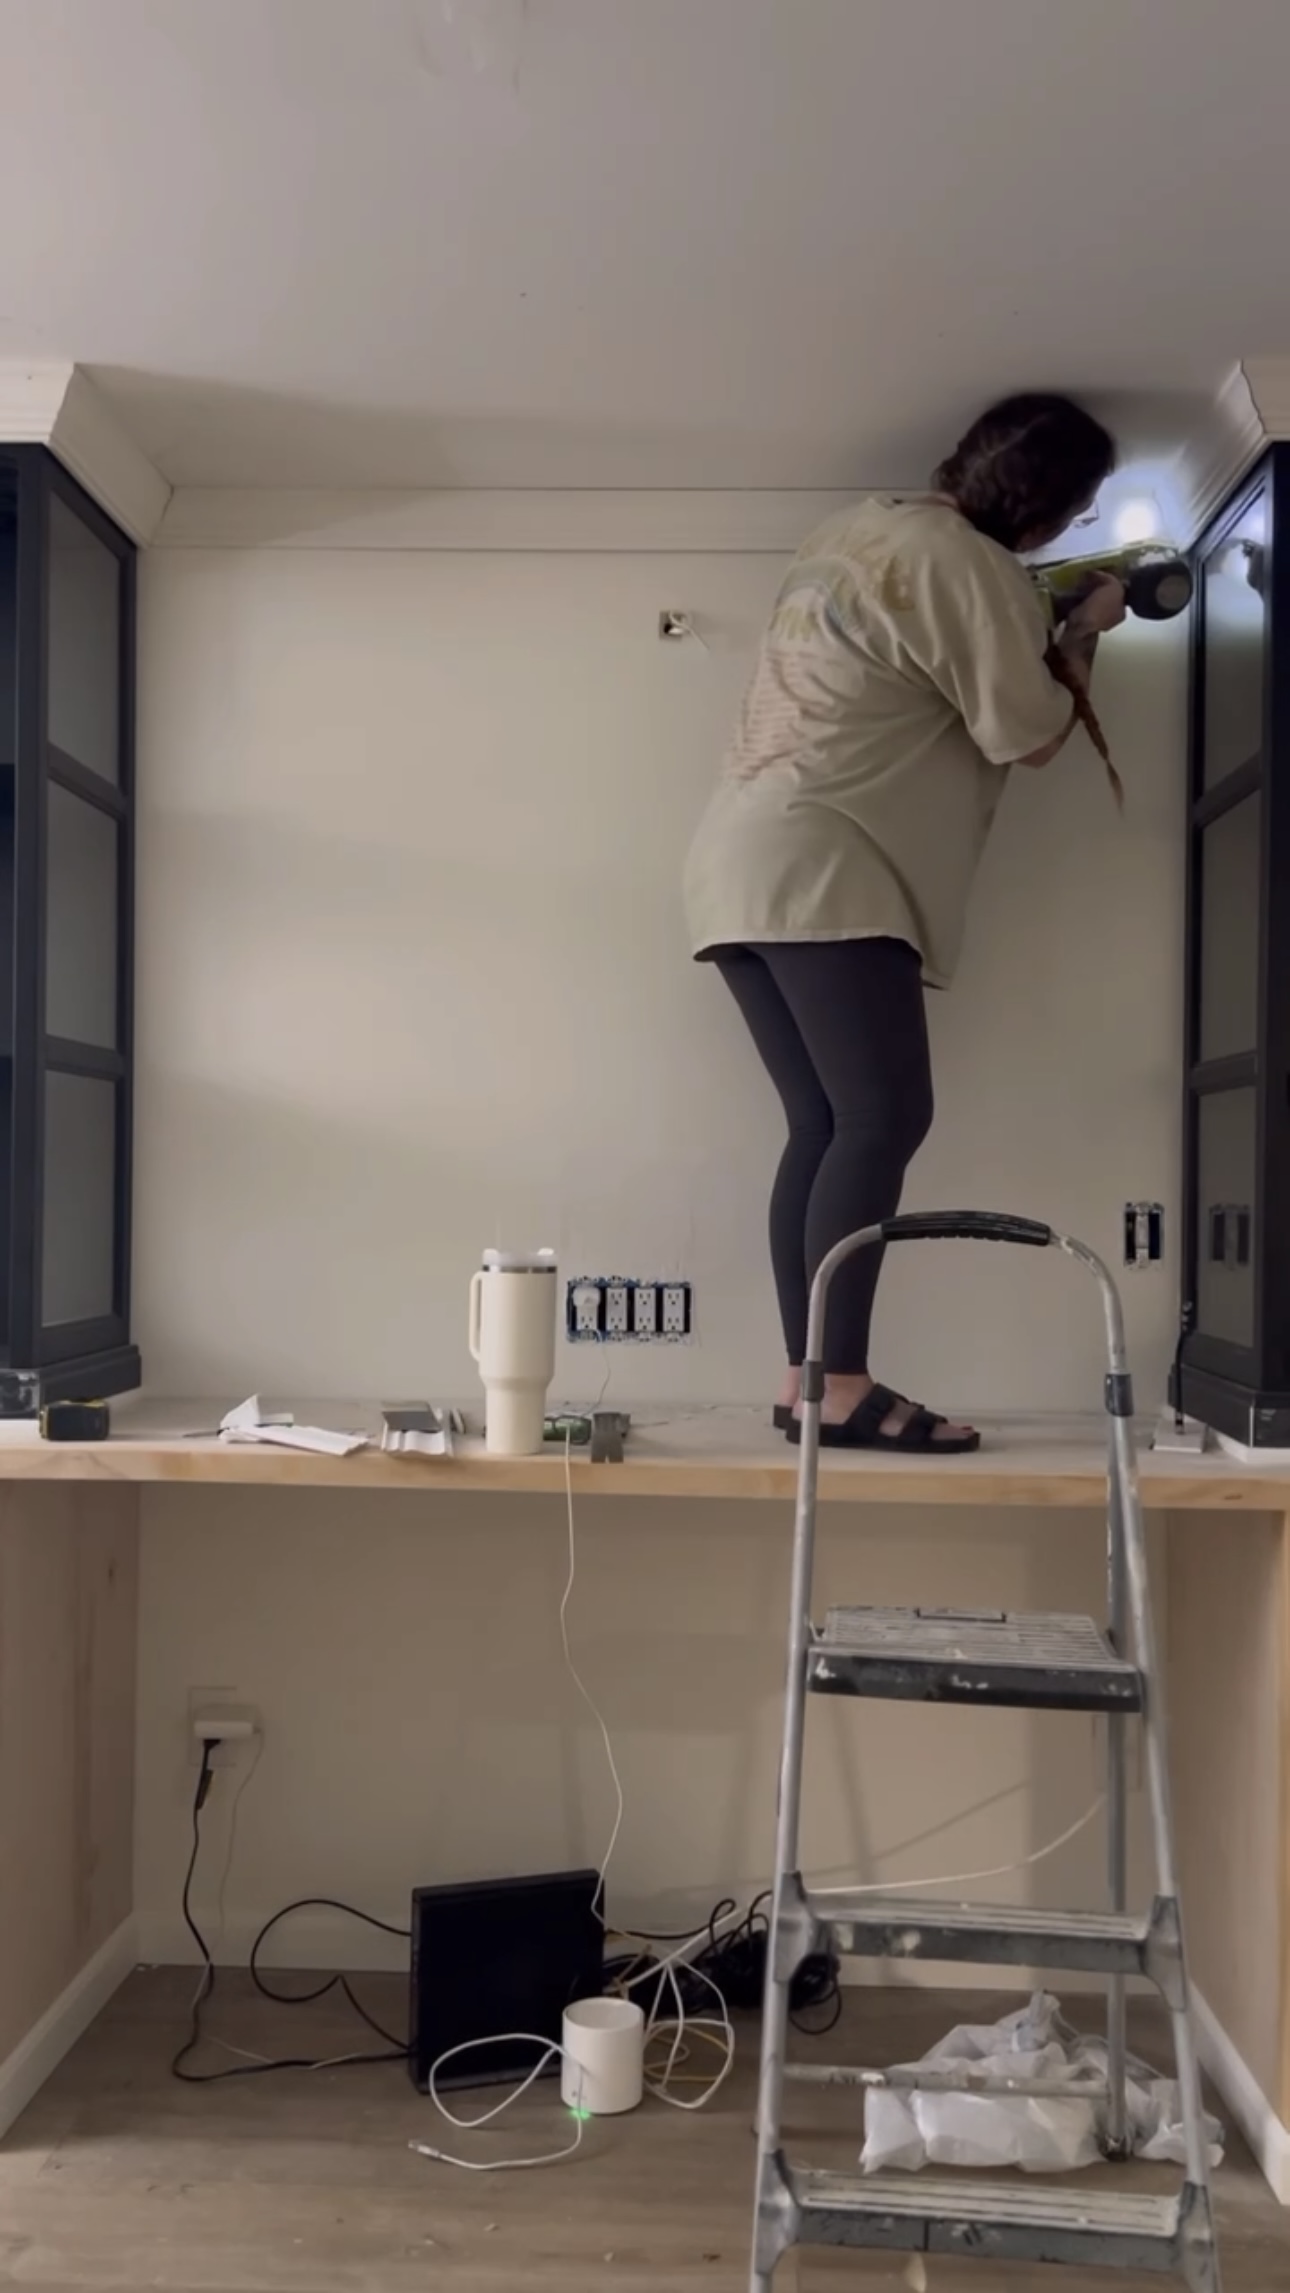
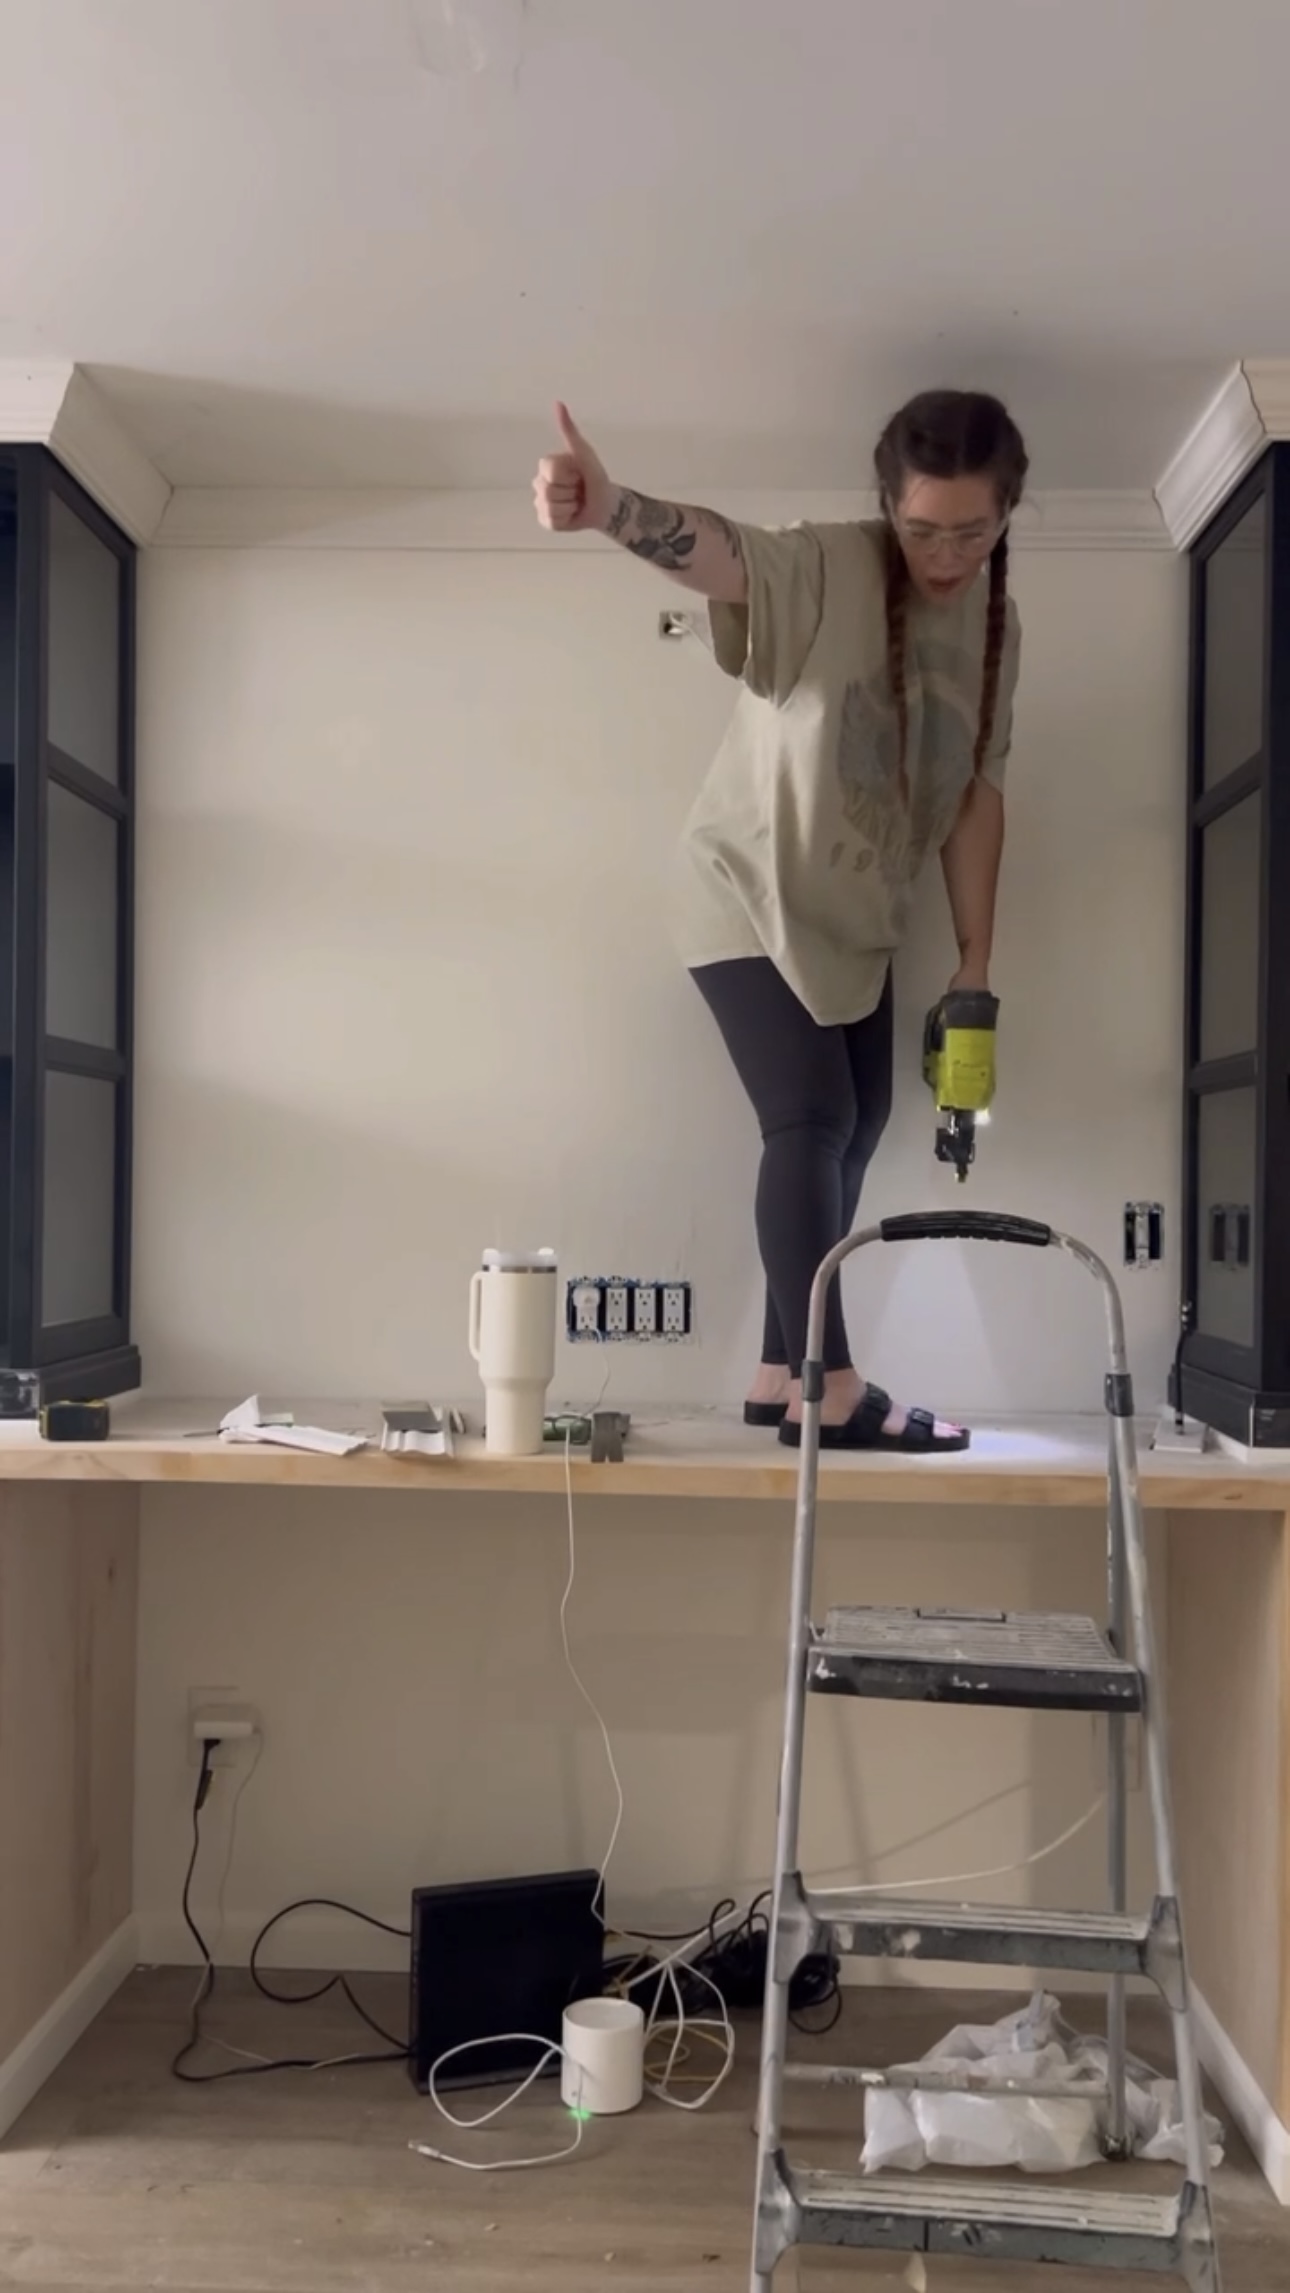
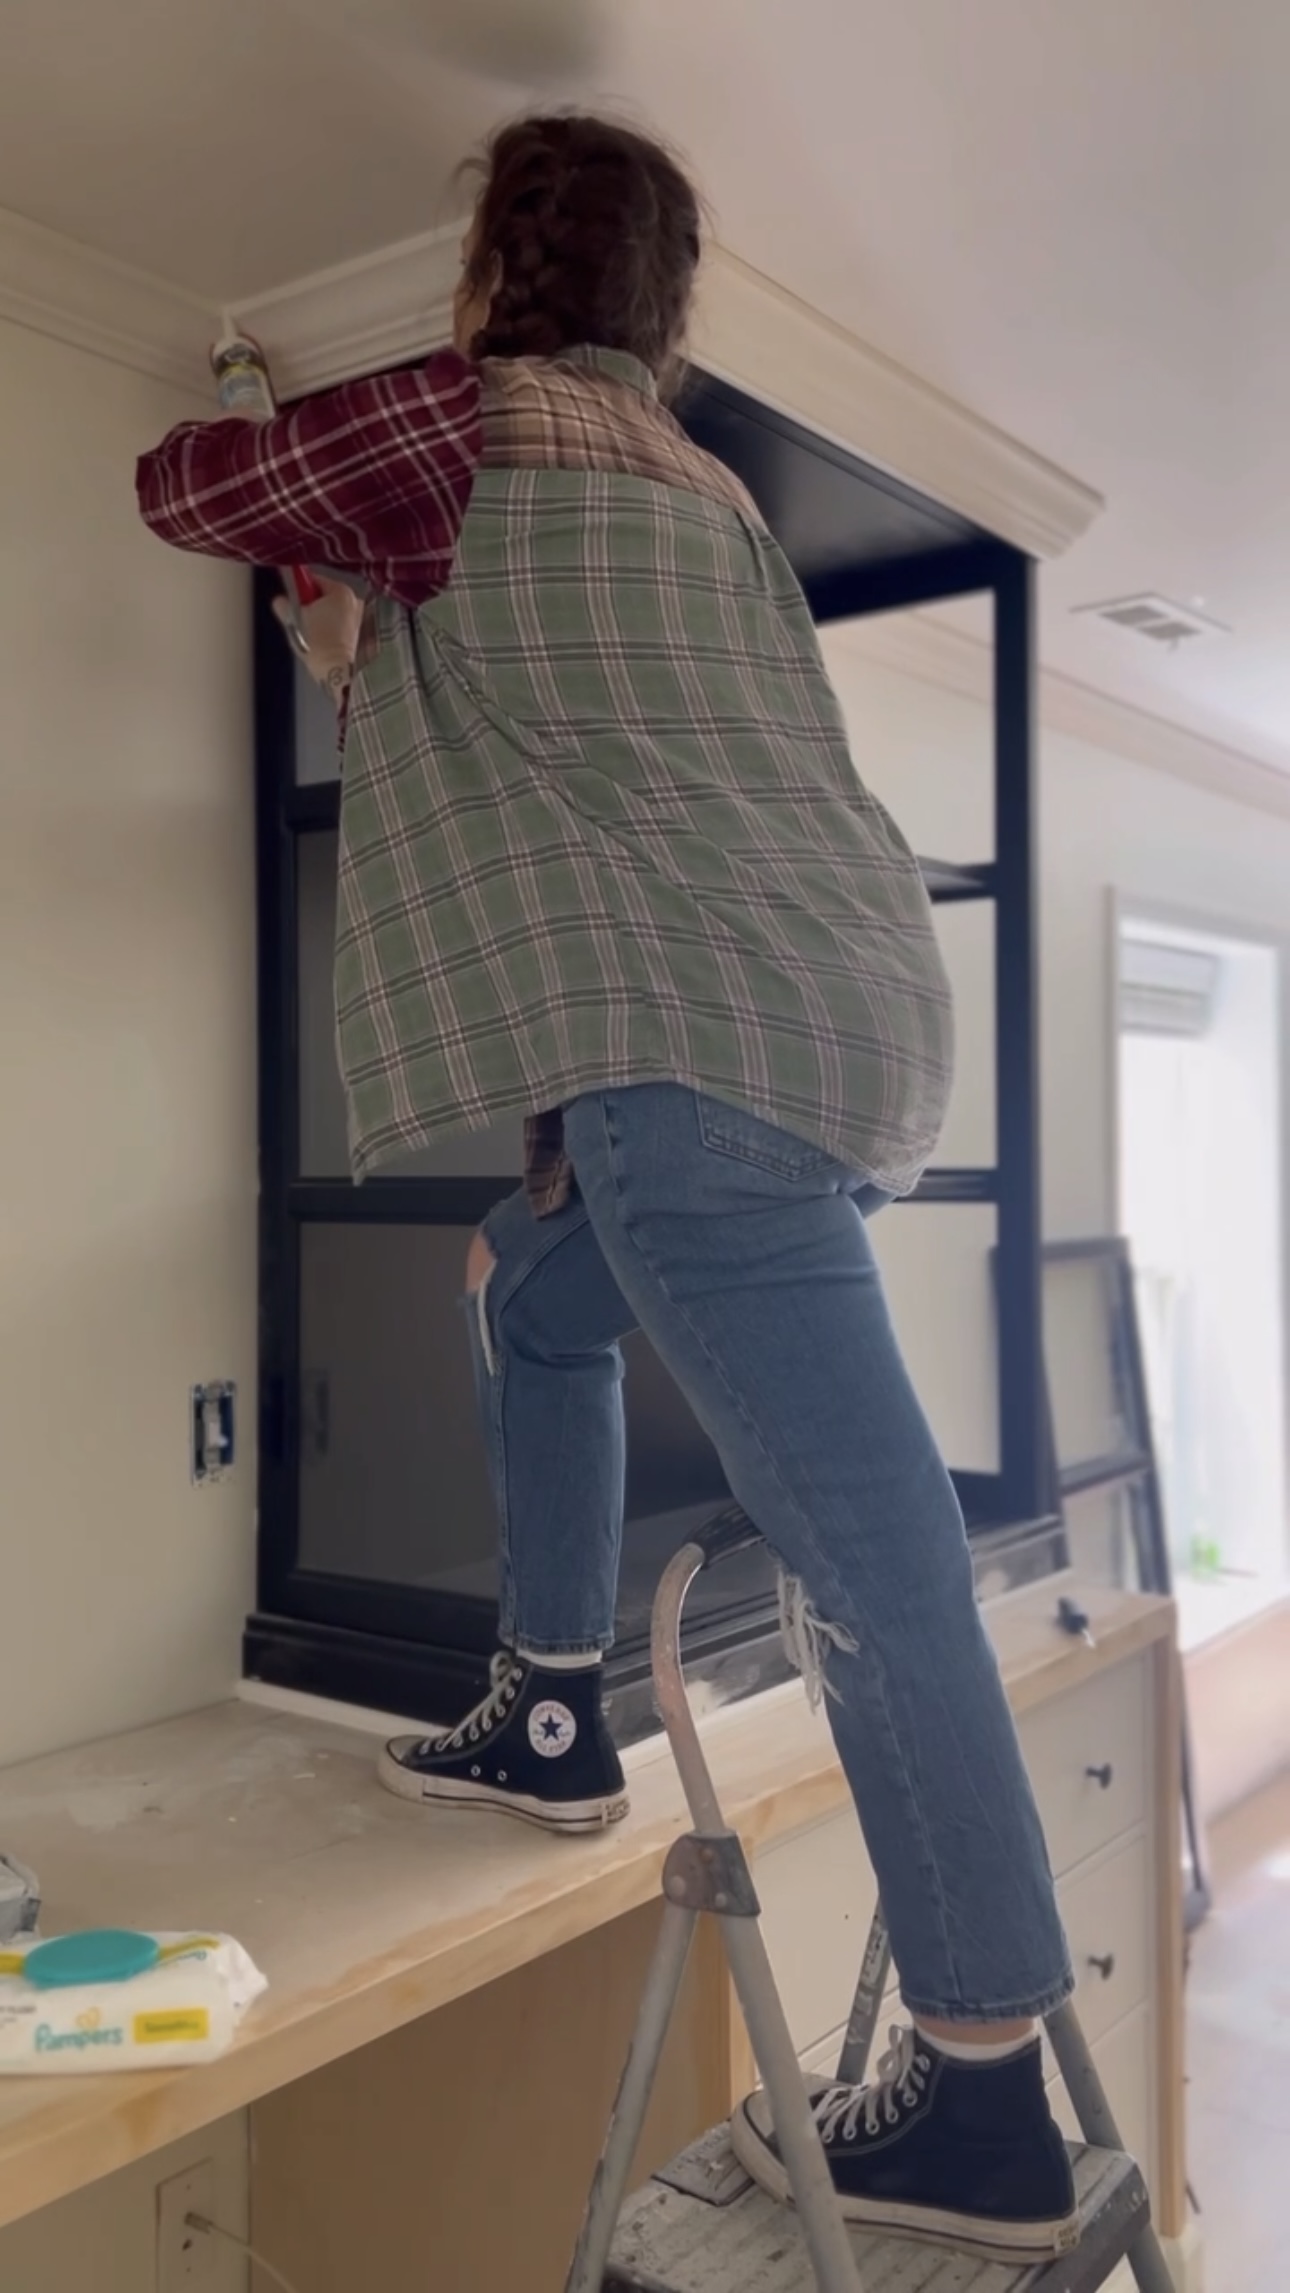
Crown Moulding
There was already crown moulding detail on the cabinets that was keeping me from lining up the crown accurately. We just popped them off! There were little gaps between the cabinets and the ceiling. The crown moulding covered those gaps and made it look so beautiful!
Here’s everything I used for my crown moulding:
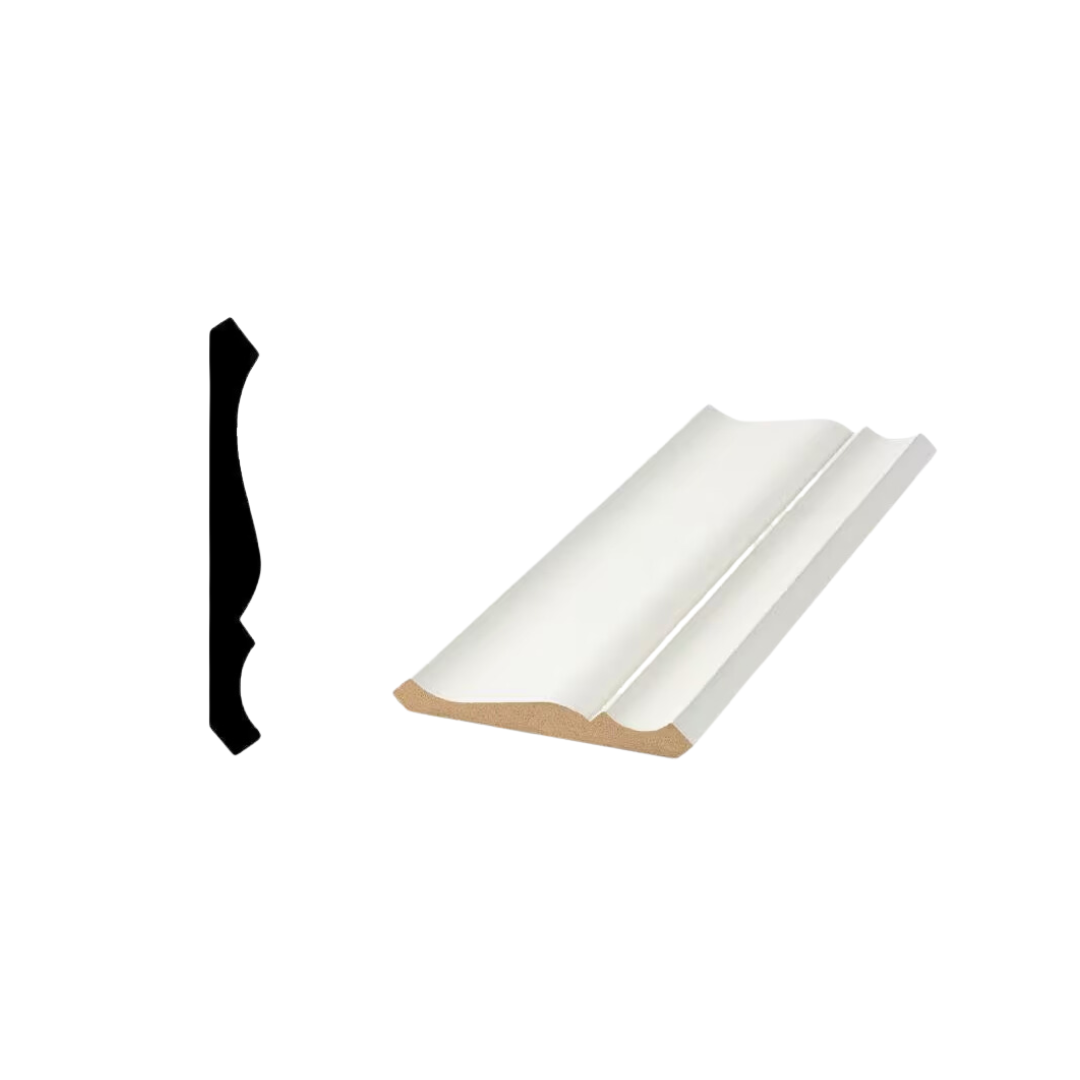

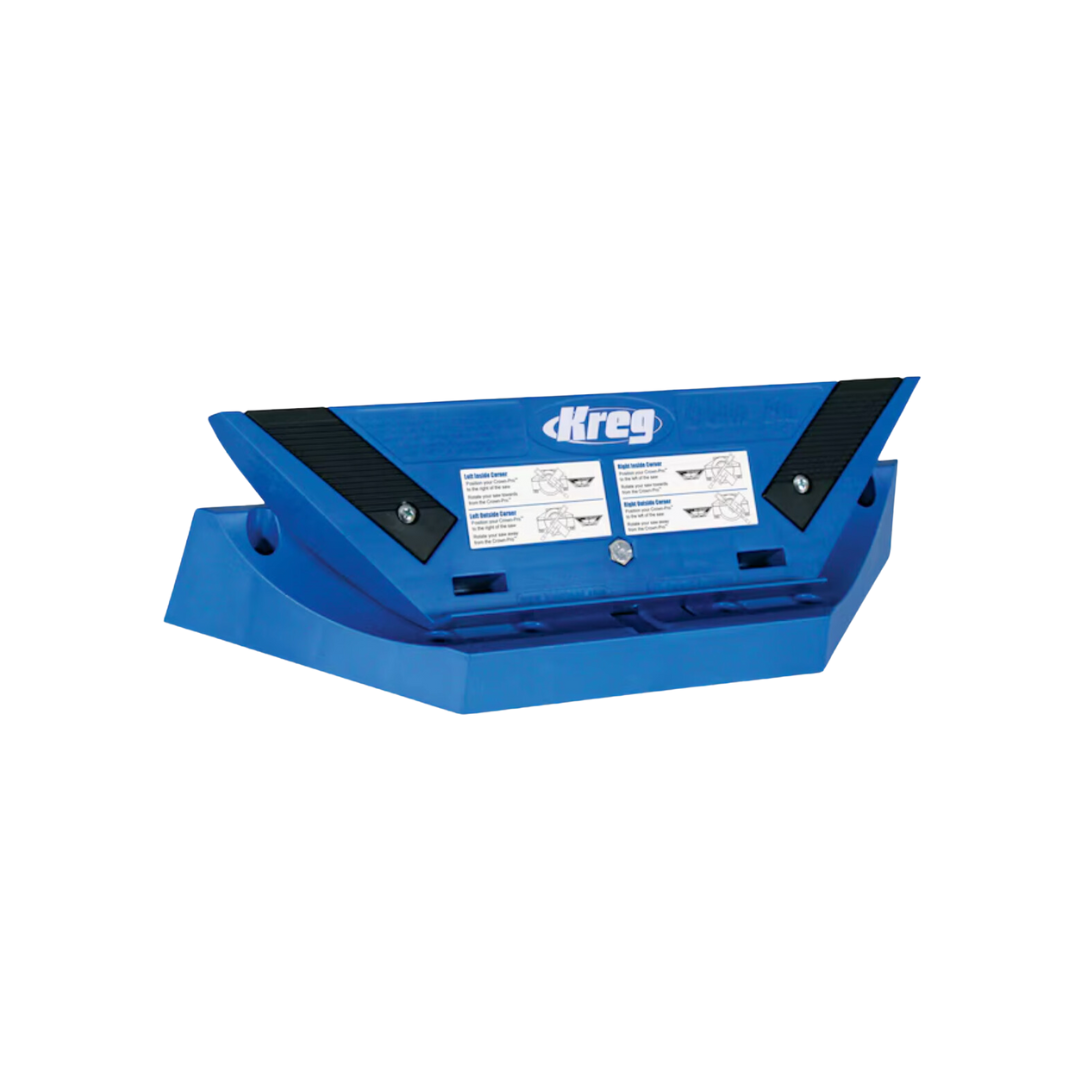


I used my crown jig by Kreg to make these cuts exact! This thing is a life saver.
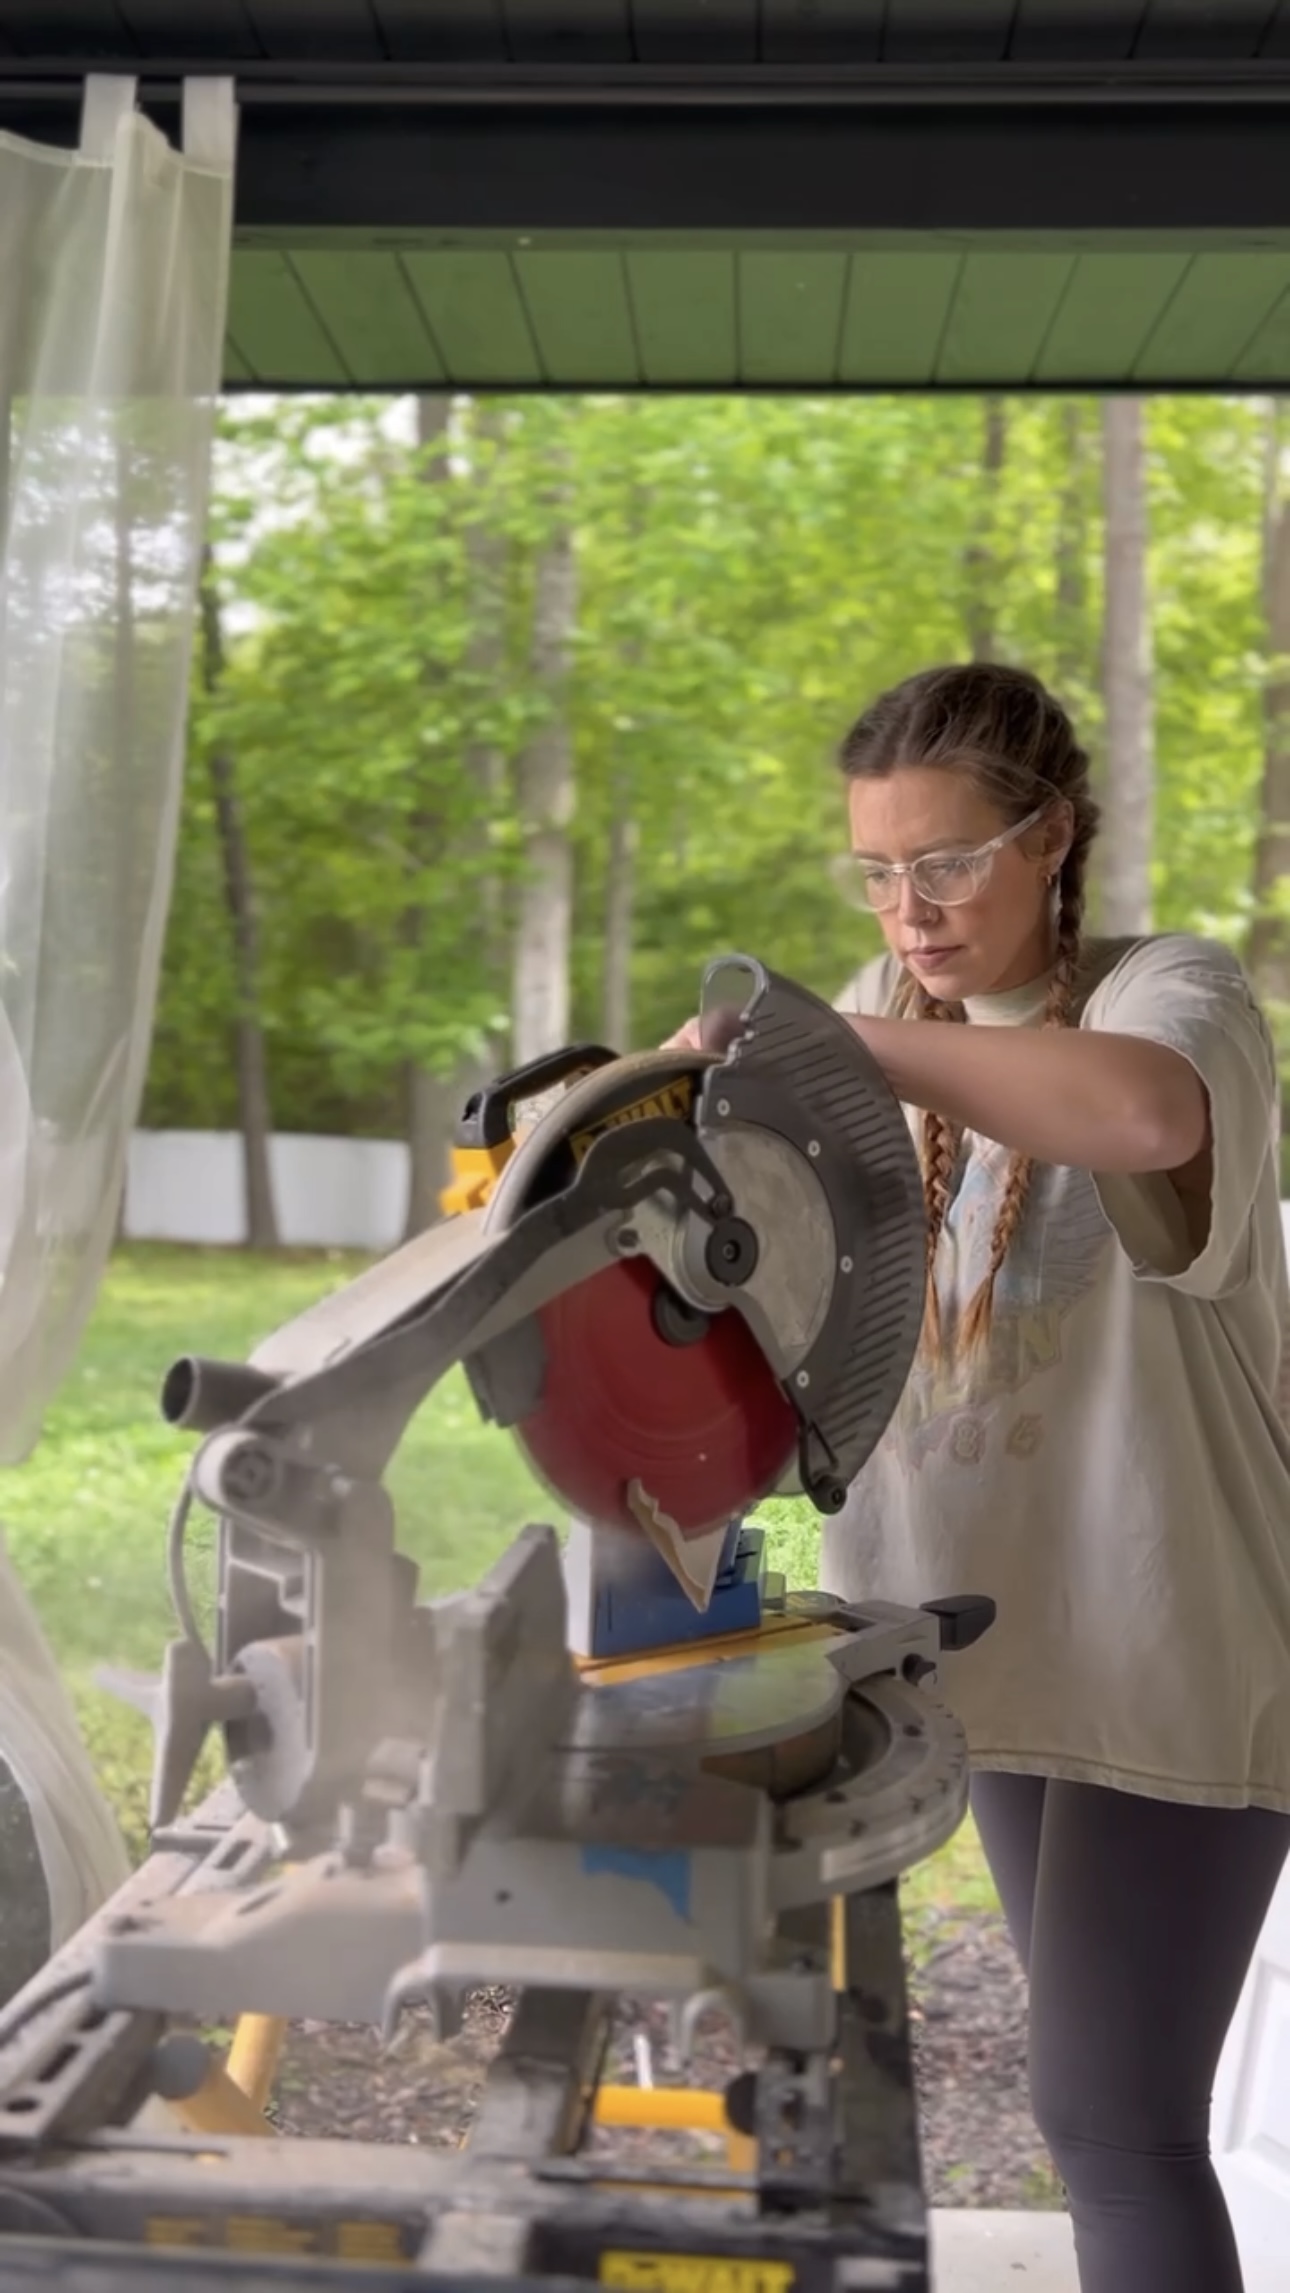

I used my brad nailer to install this crown moulding. You can see, my crown moulding was too long for the space between the ceiling and the top of the cabinets. So, I put extra baseboards in the space and installed the crown moulding at an angle.
Caulk
Next, I added caulk along all the seams and wiped it down with a baby wipe. This part is always so satisfying! Then, I used this foam stuff called “backer rod” to fill the larger gaps and then followed it with caulk.
Paint
I originally was planning on painting the entire built-in a light pink color. But, I pulled out the rug that initially inspired this space and the pink didn’t feel right anymore. After LOTS of contemplation, I decided to paint the inside of the shelves cranberry as an ode to my mom❤️
Materials for Painting
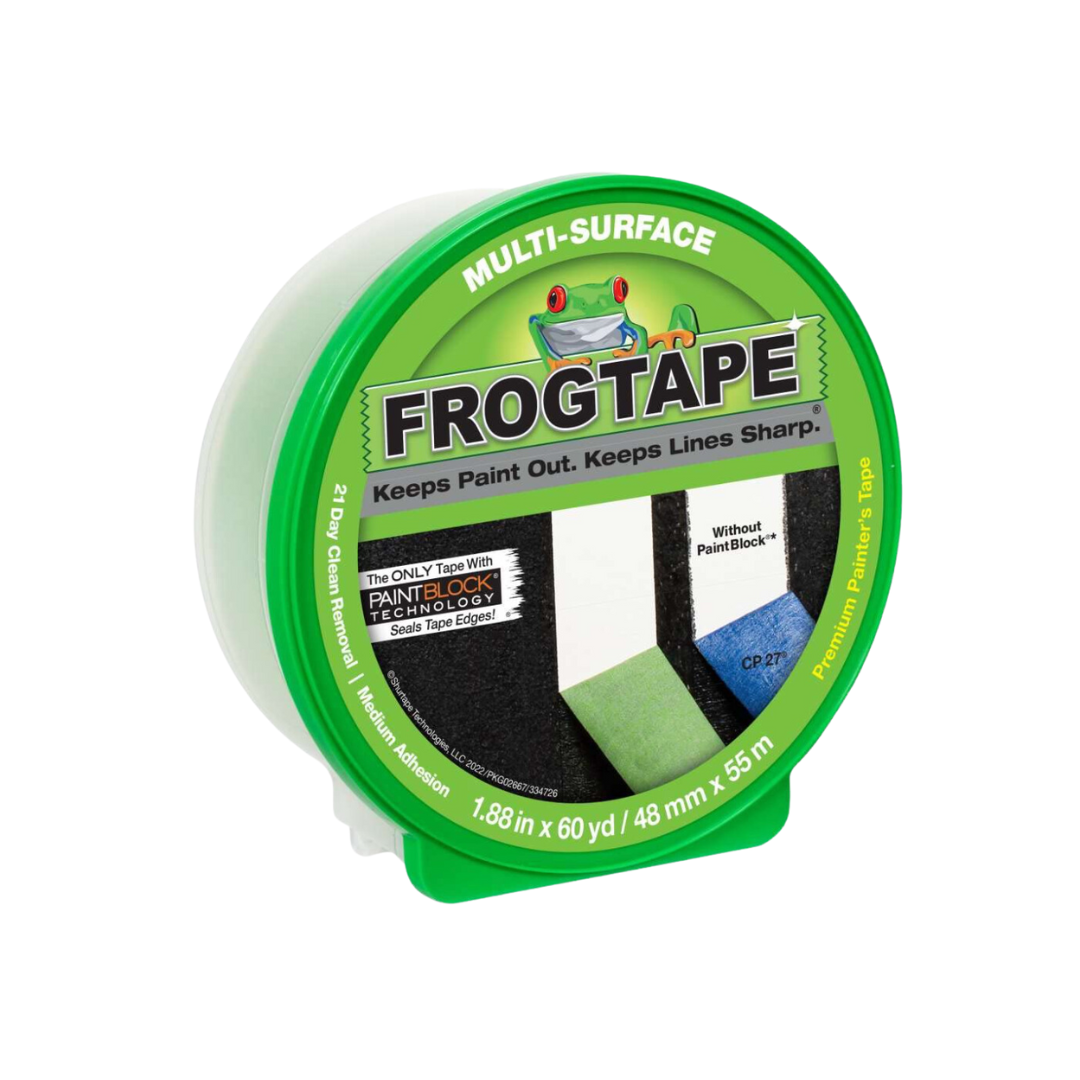


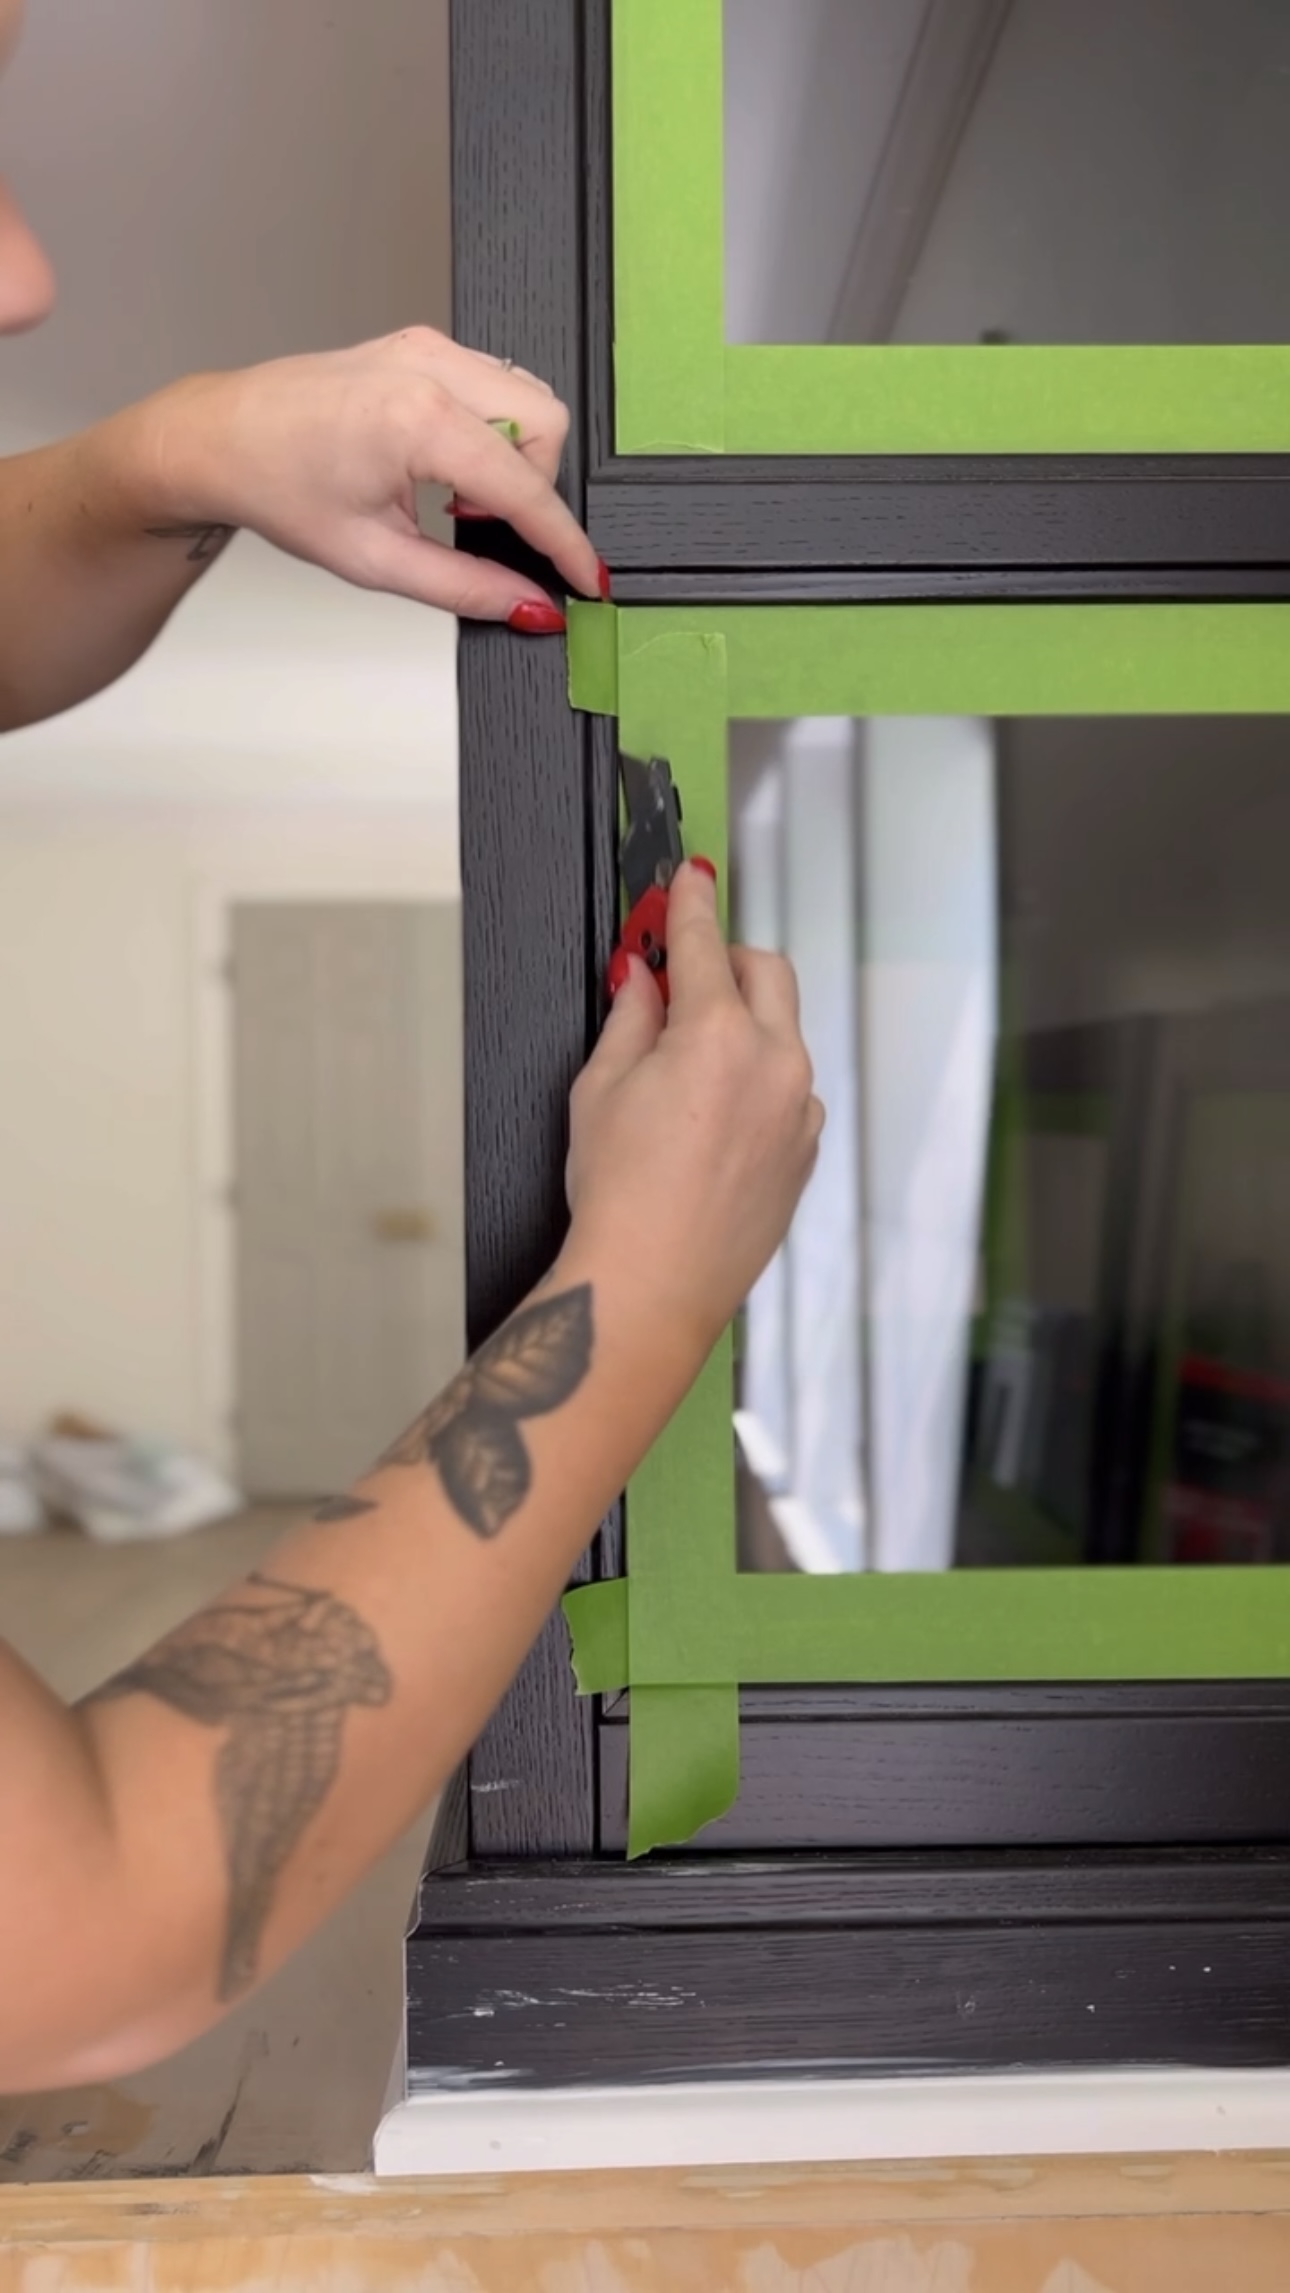
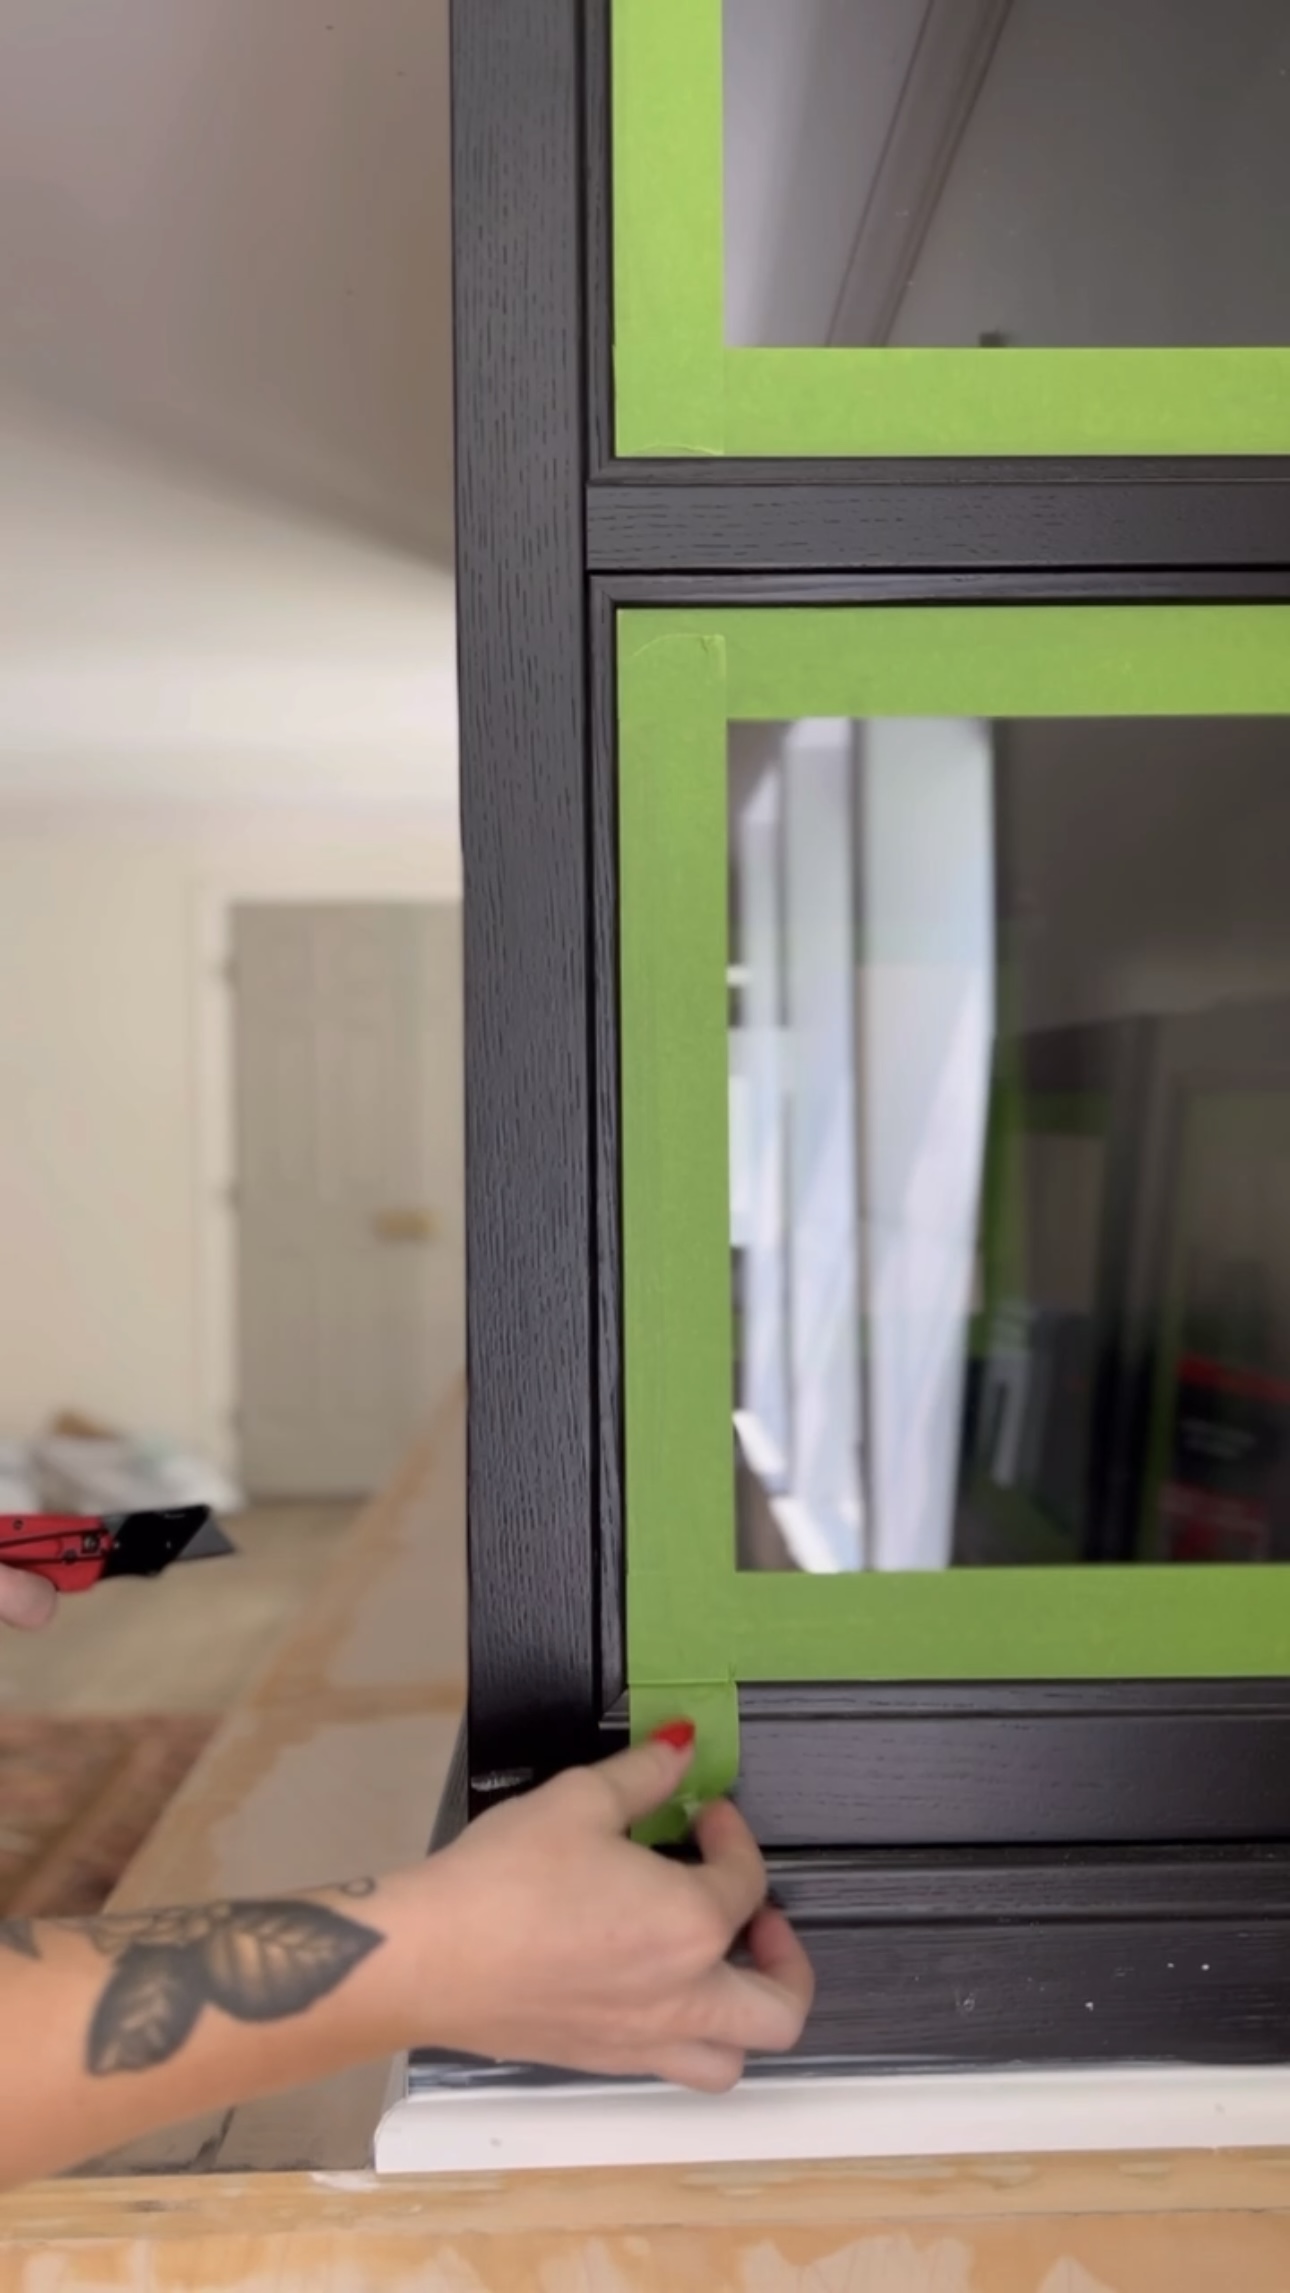
*tip for taping
Use a razor knife after applying tape to get perfect corners!
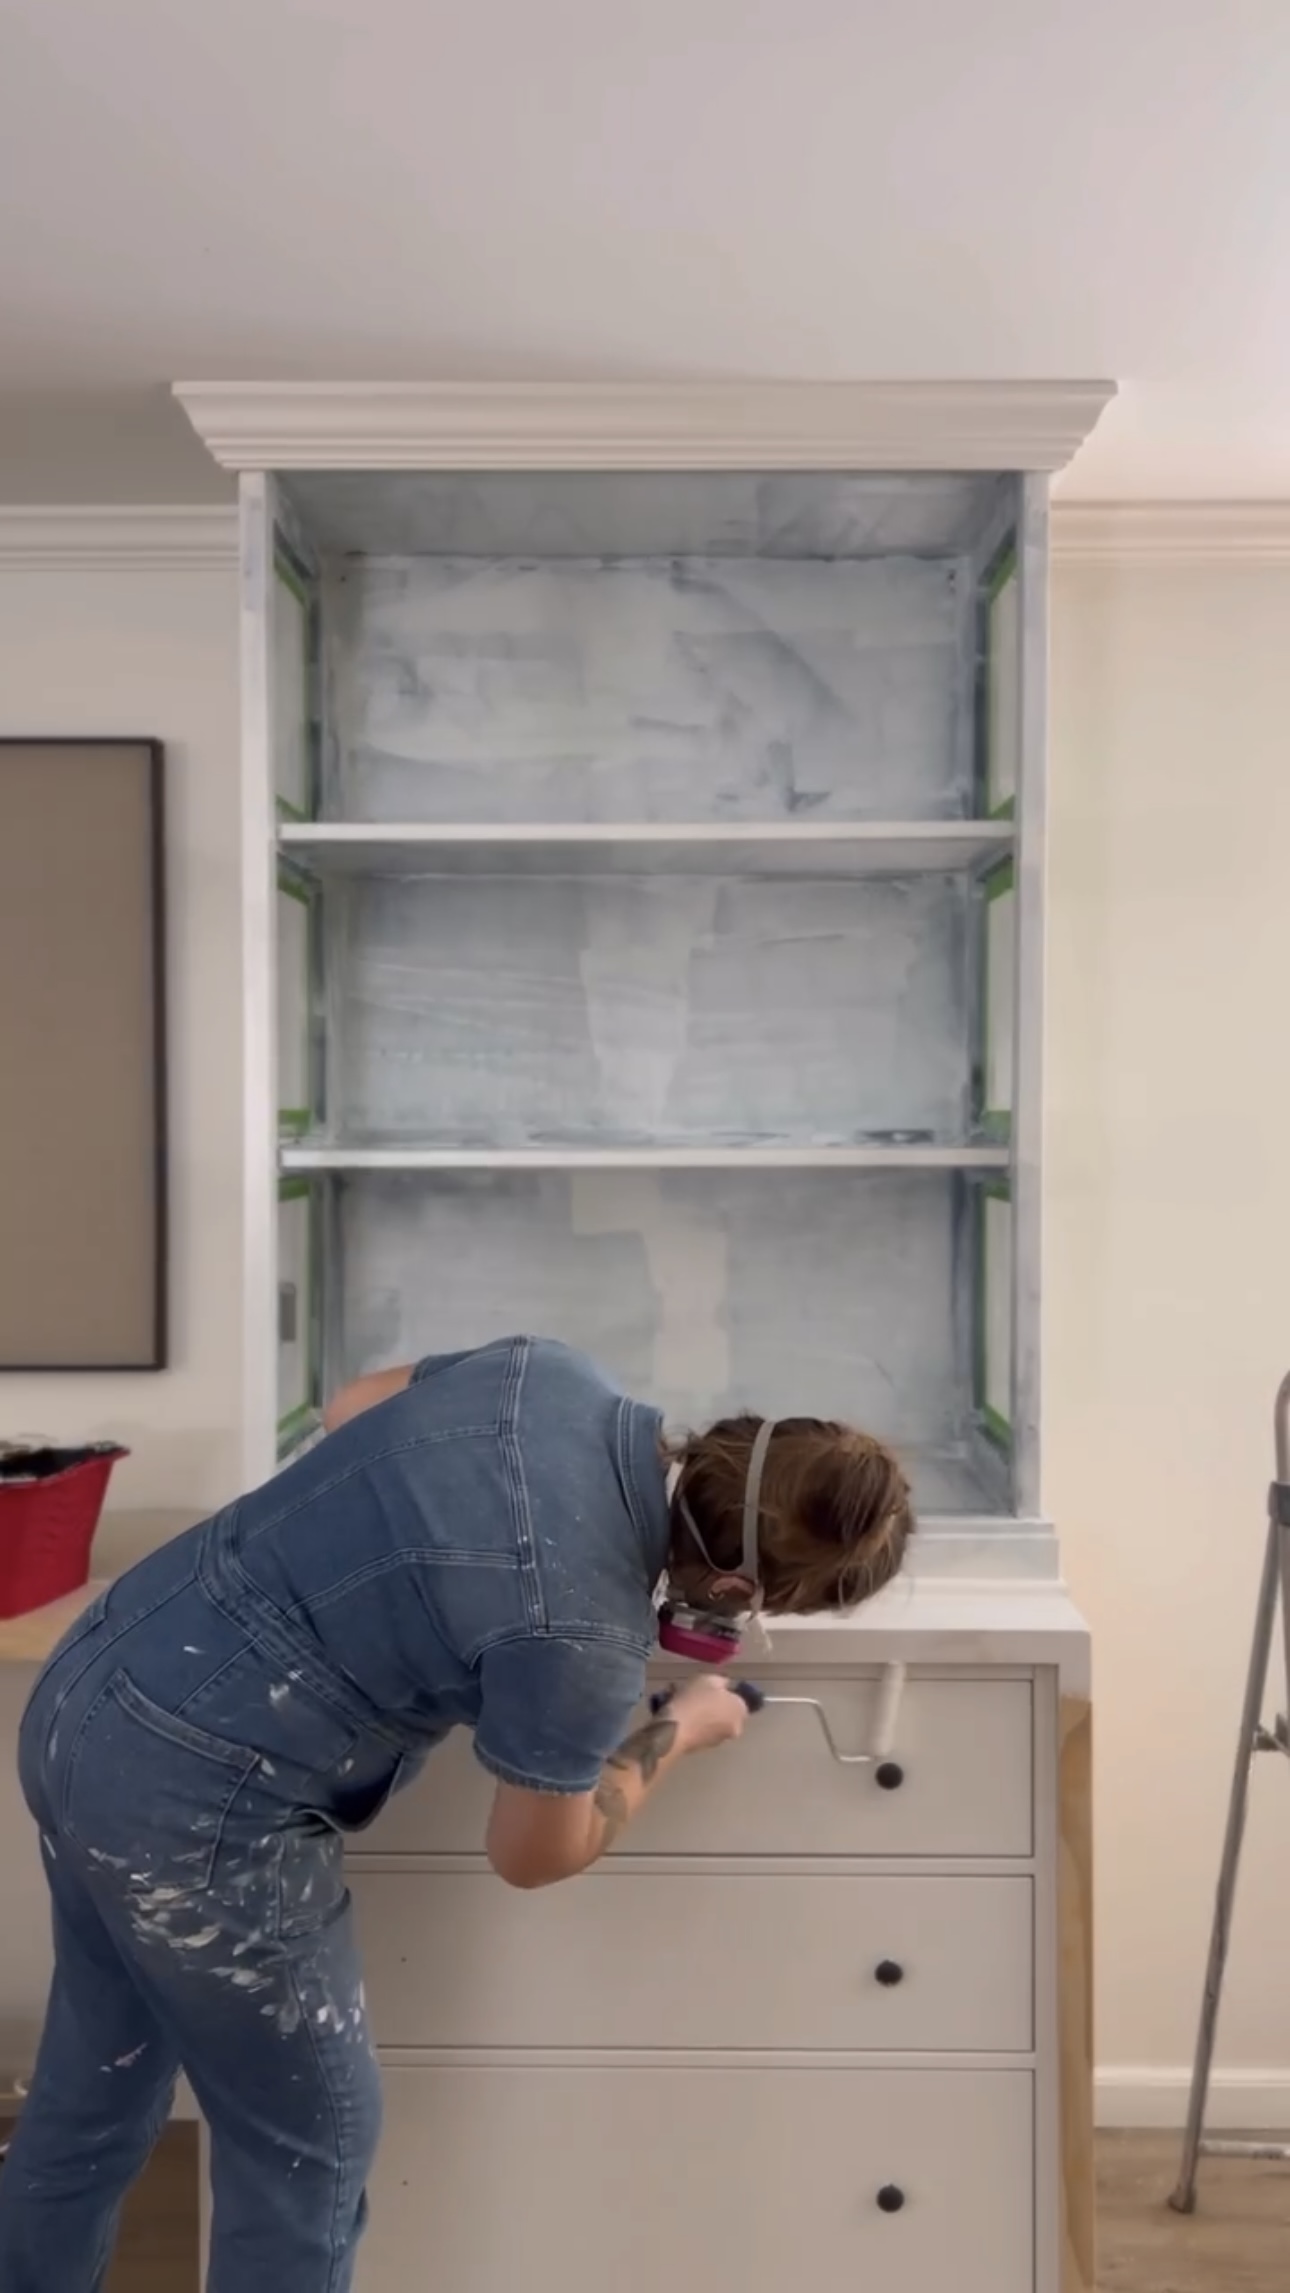
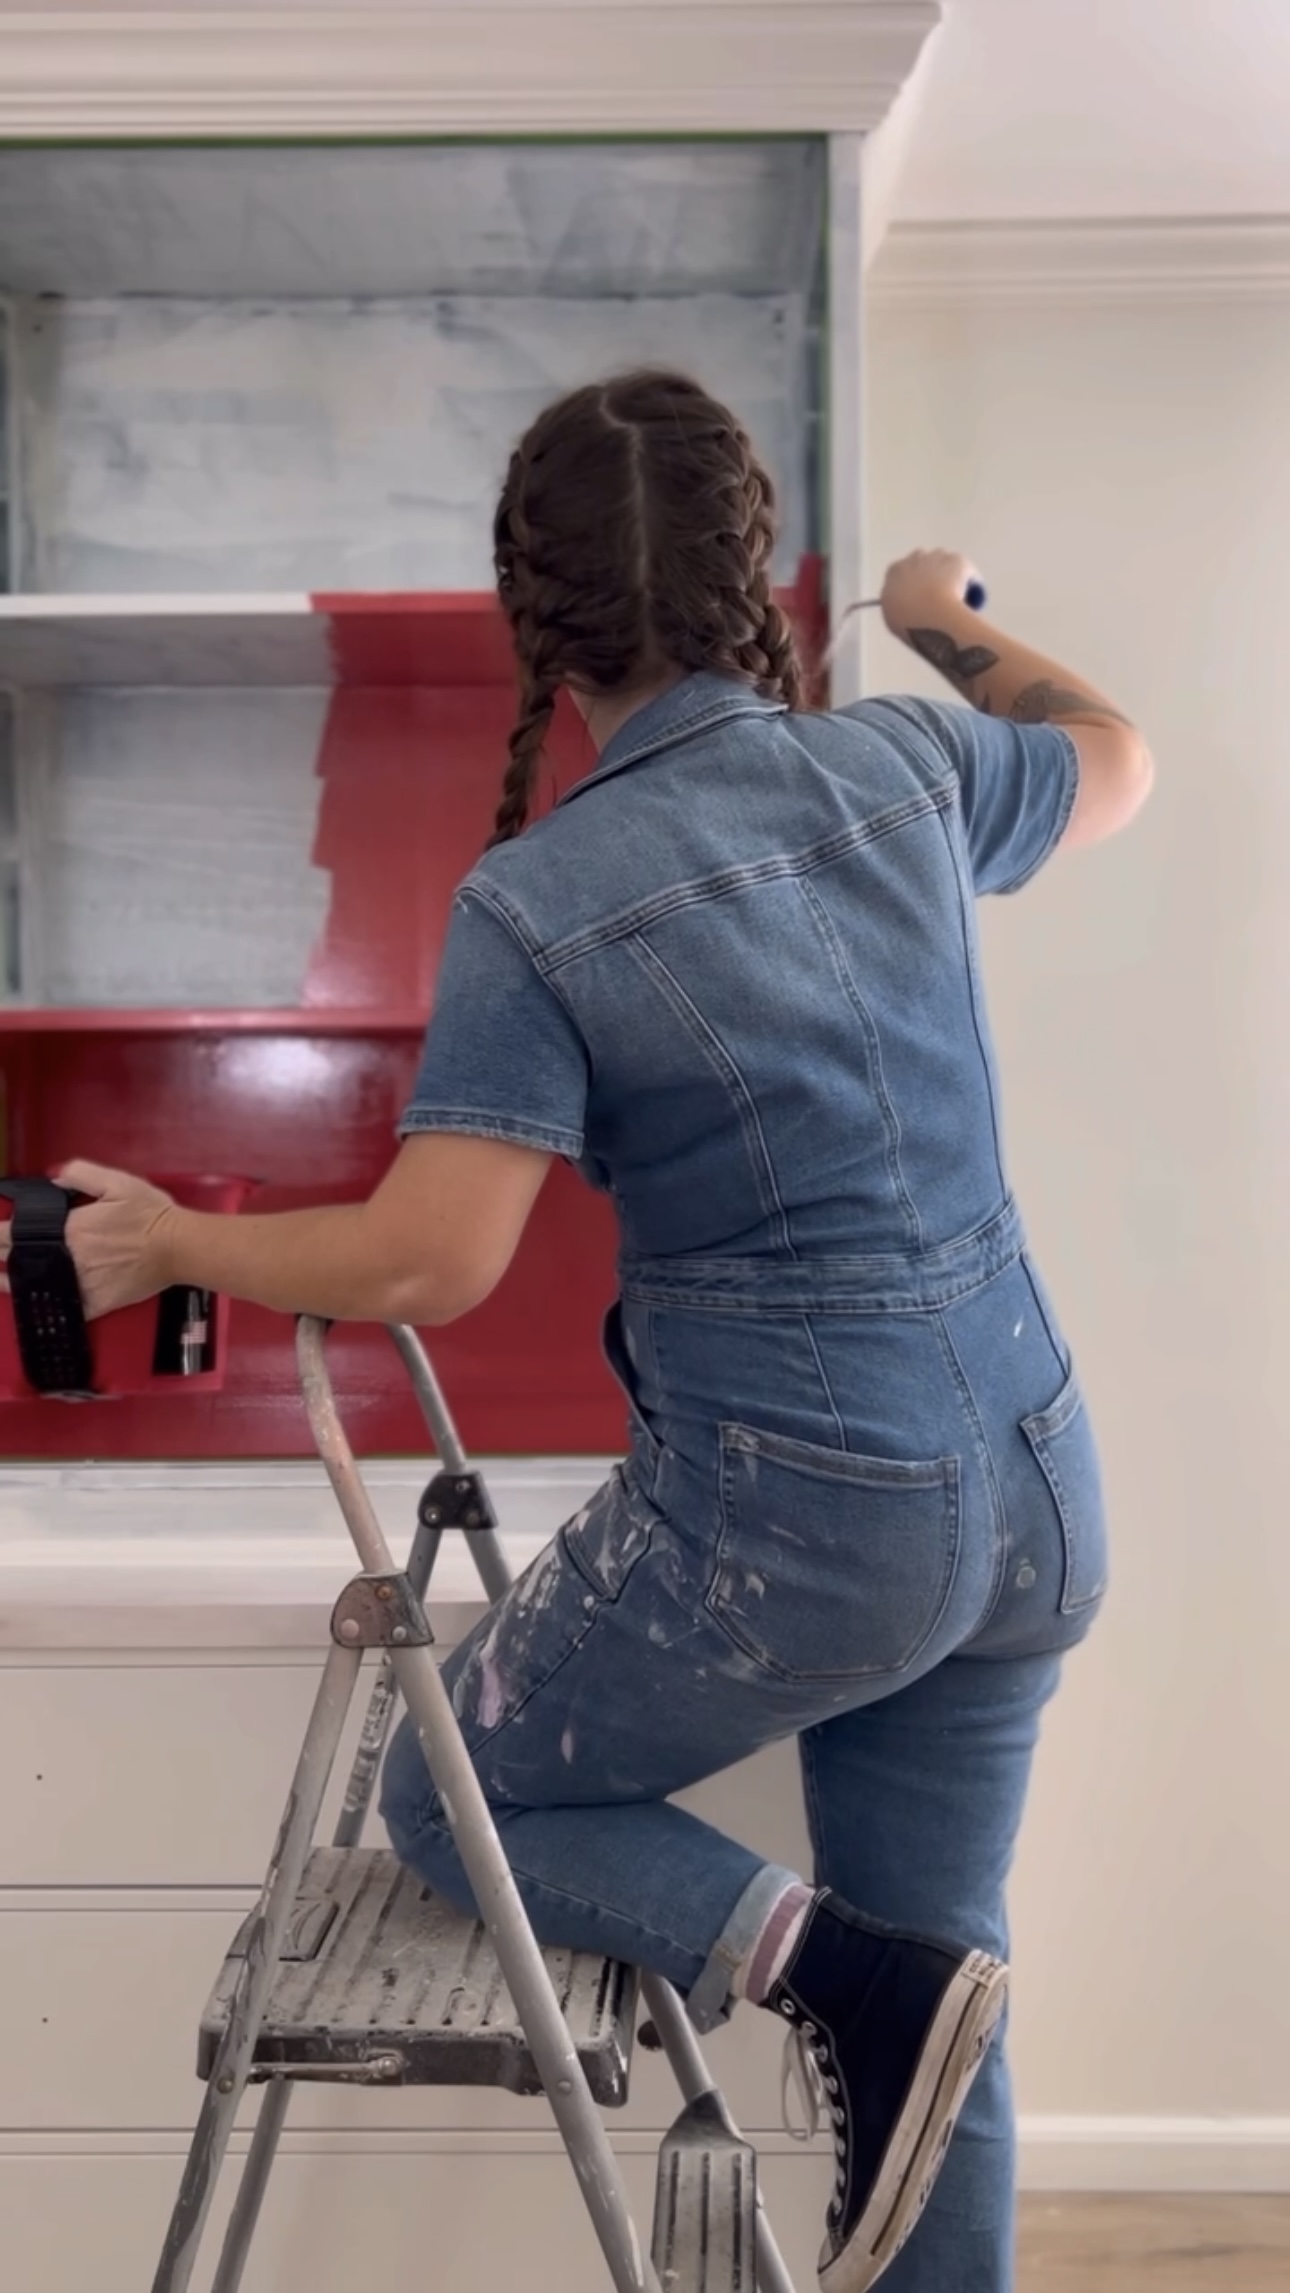
Primer
This Zinsser Bin Primer is the BEST primer for painting Ikea furniture or any sort of slippery surfaces that don’t have good adhesion. It is oil based and smells terrible but it works really well for creating traction for paint to adhere to!
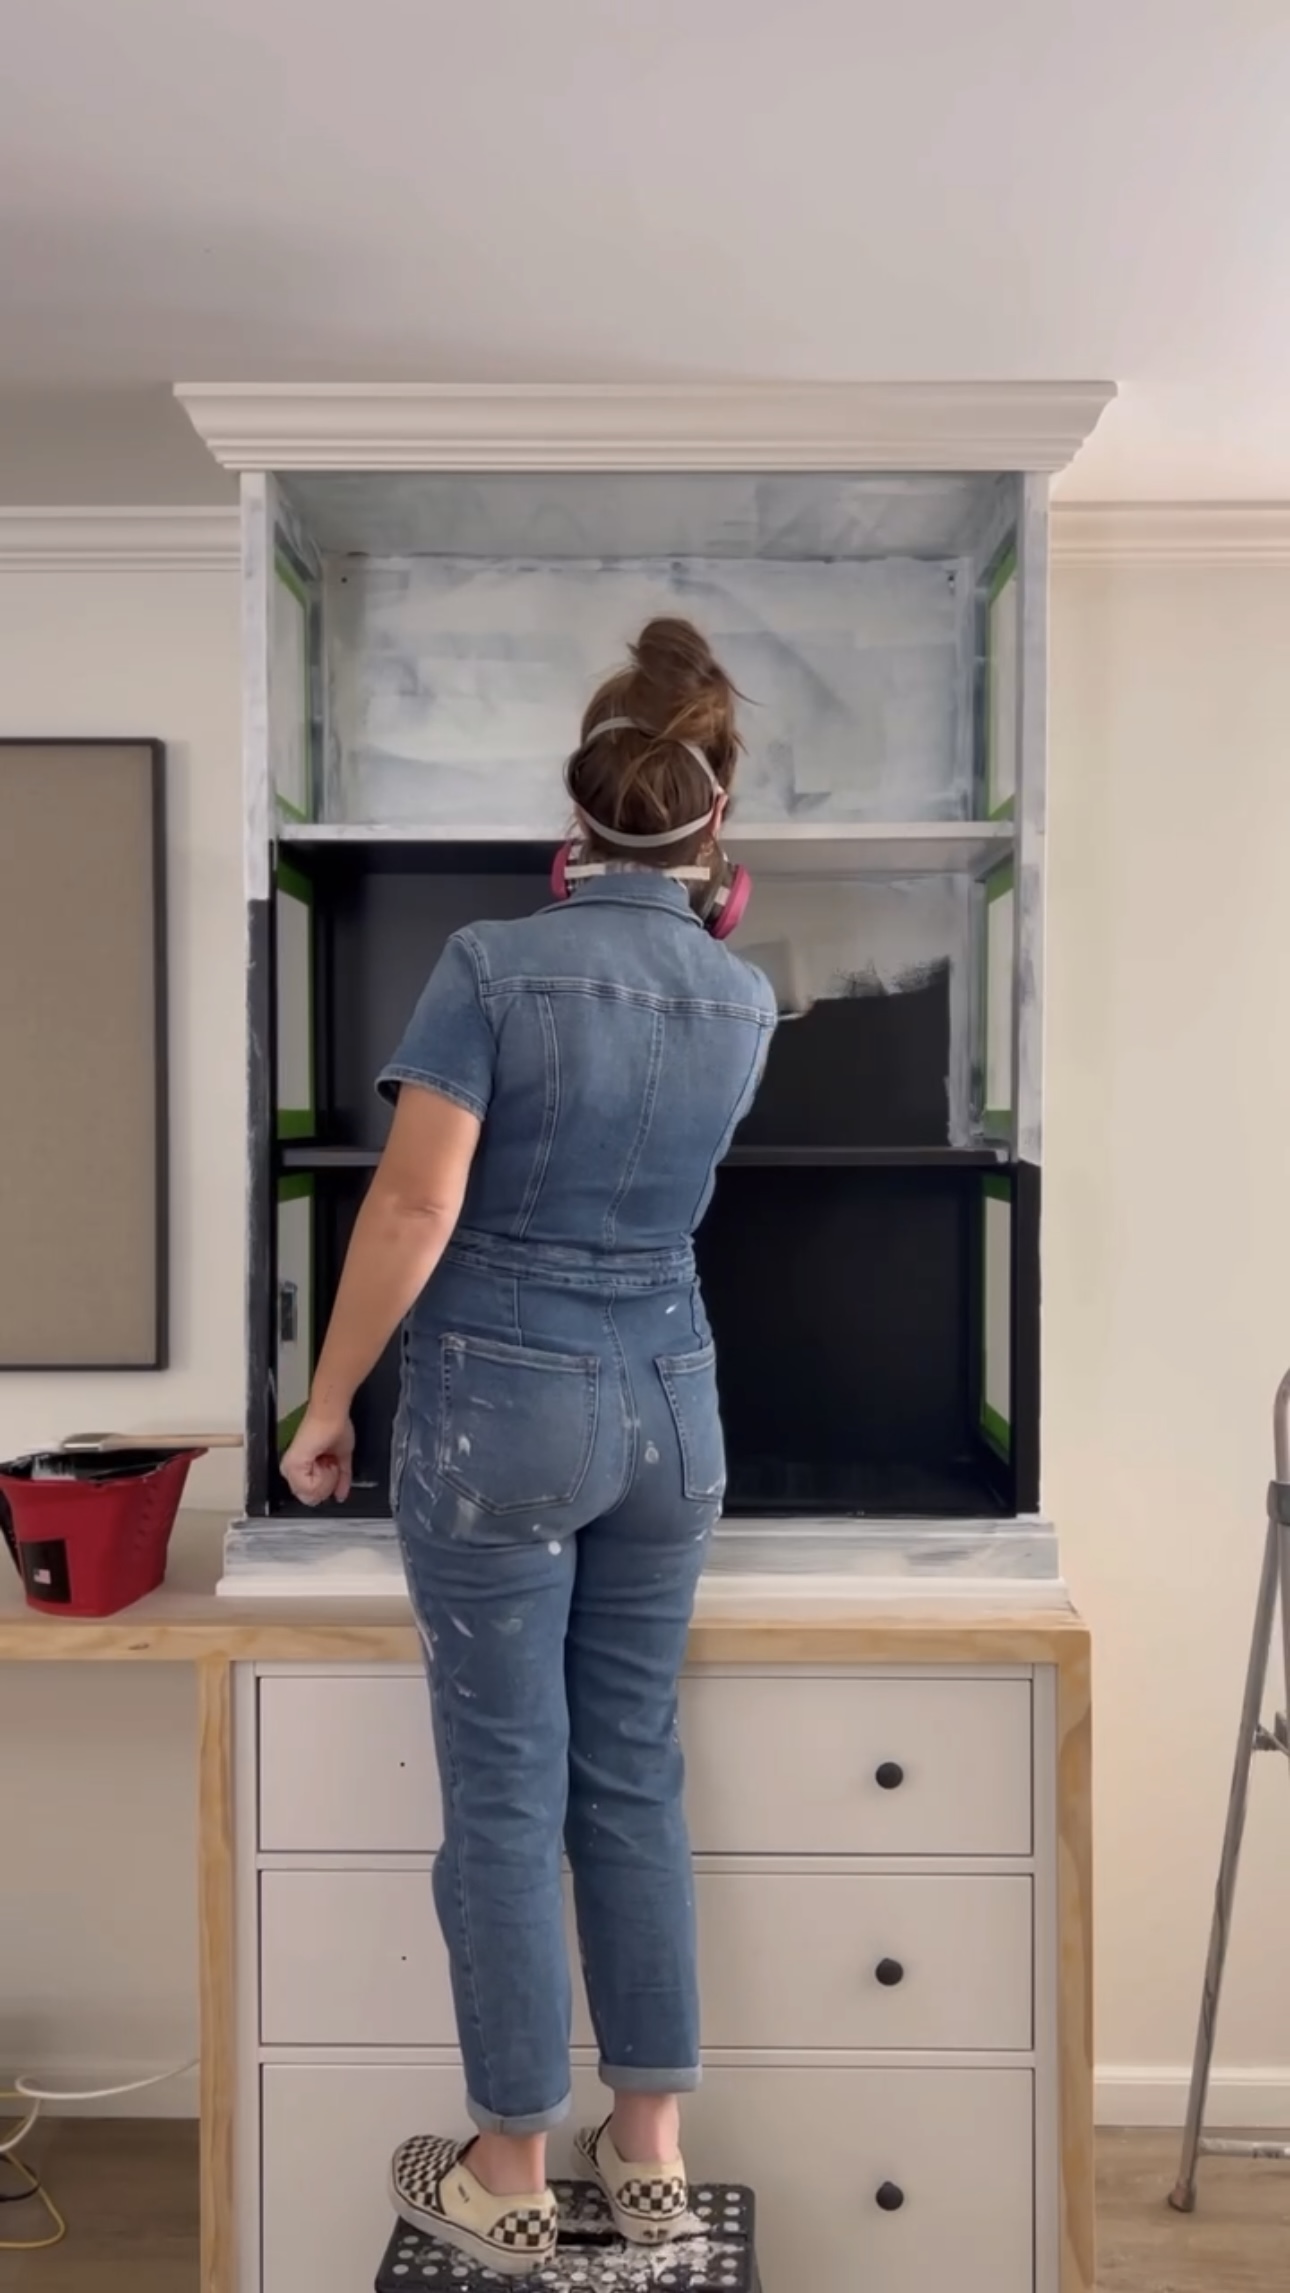
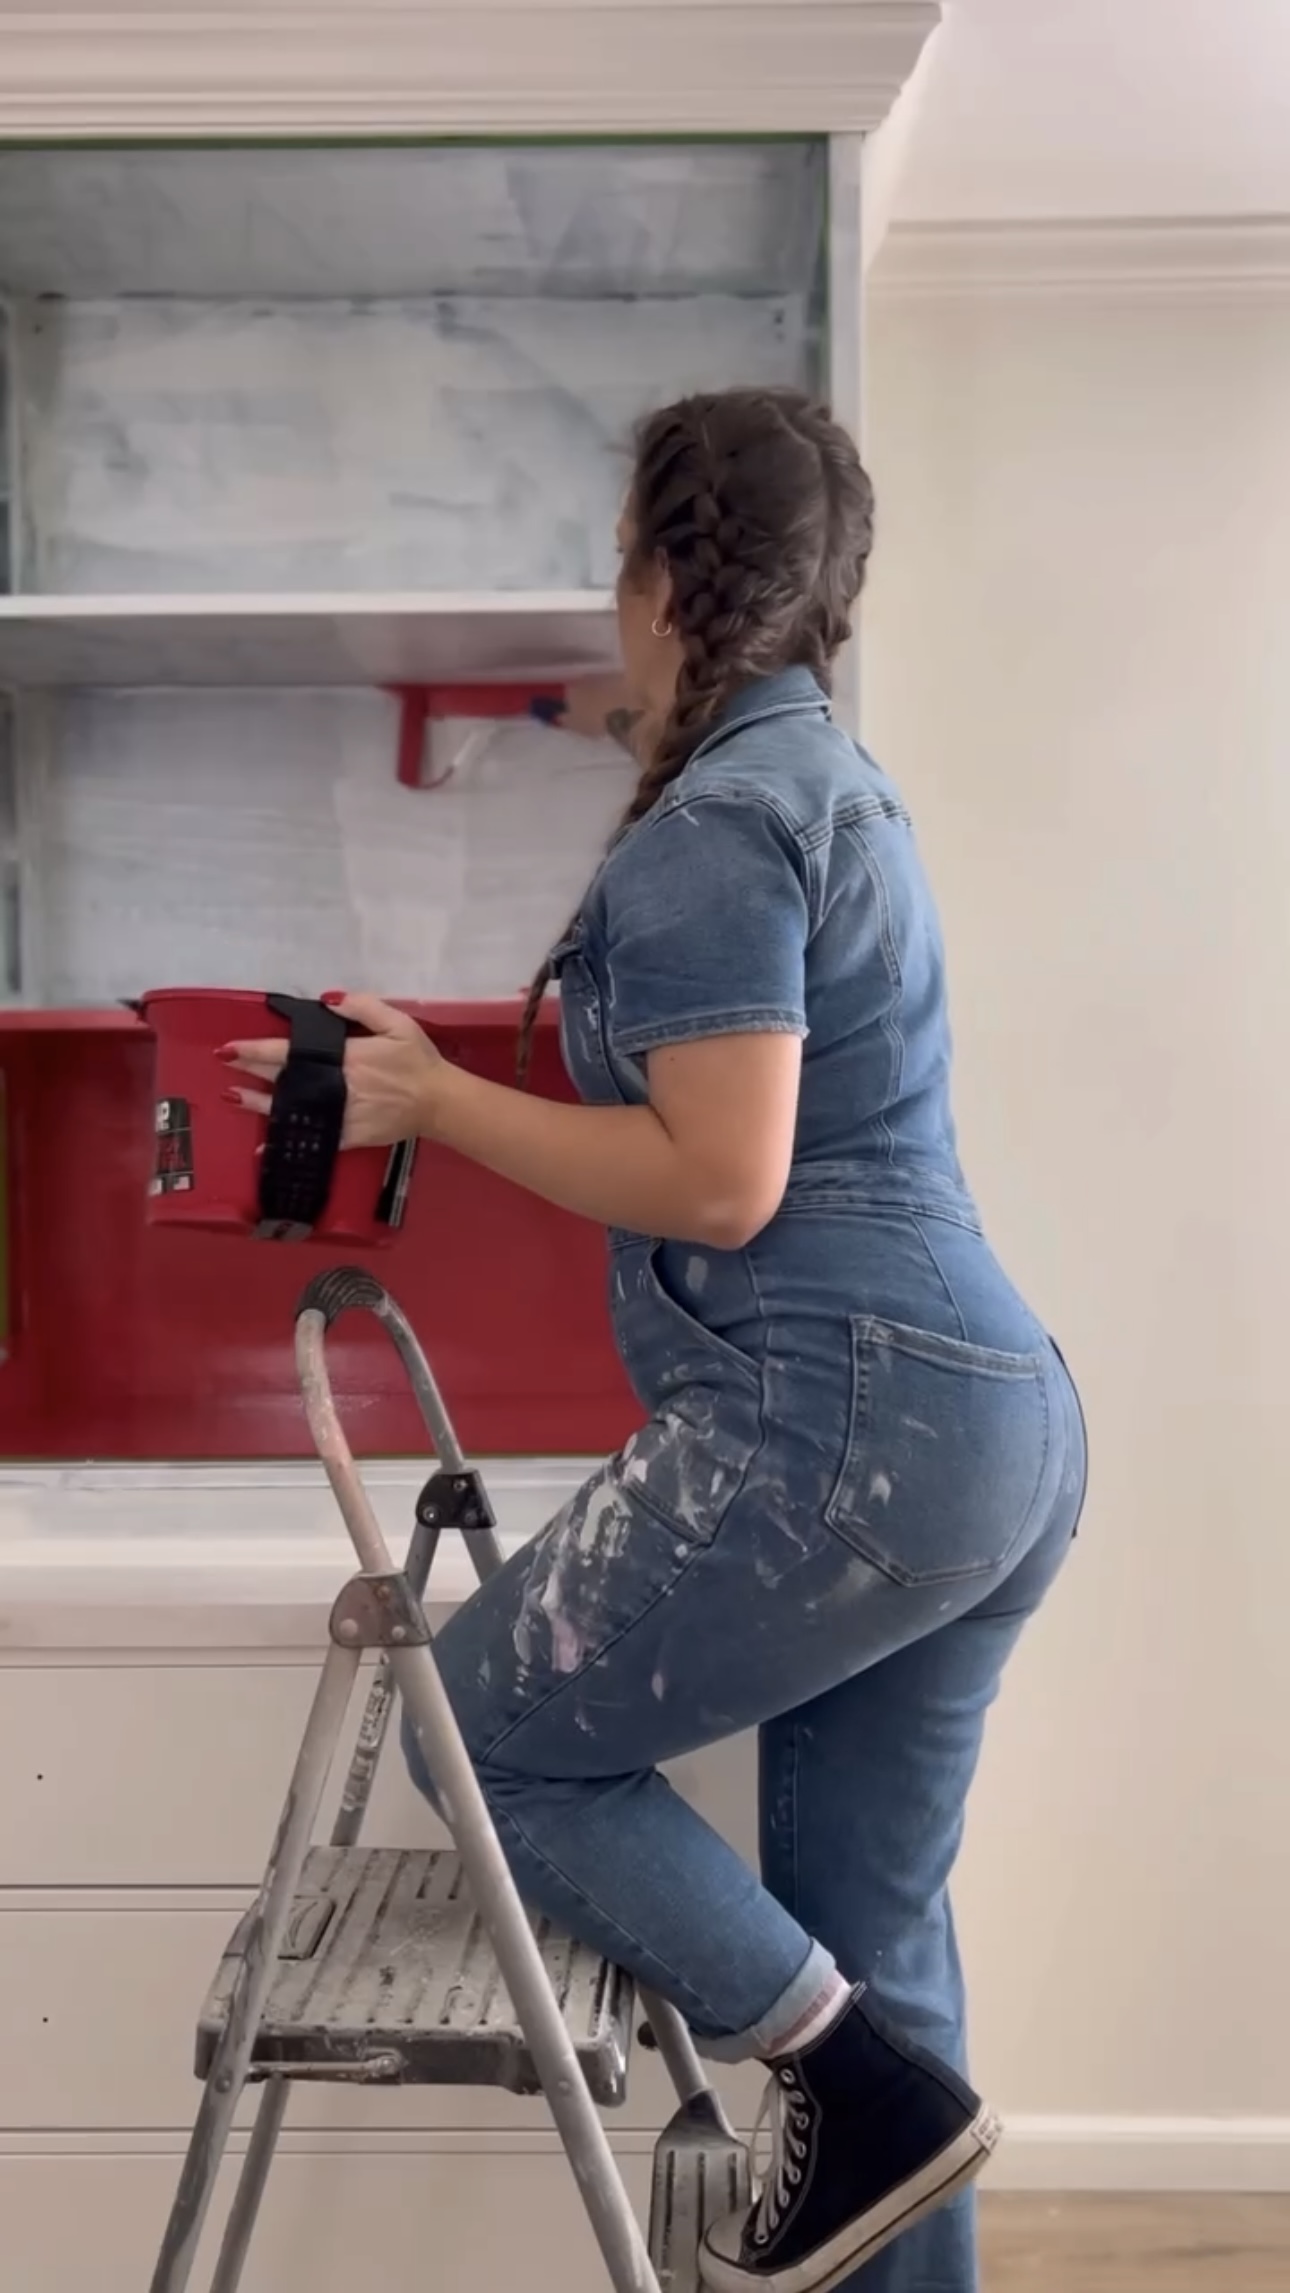
After applying primer, I started painting! I love this cranberry color. It is so vibrant, inspiring, and unexpected. I went rogue and painted the outside white and only the inside of the shelves cranberry. I absolutely love it!
Then, I used this Minwax Polycrylic seal over the entire desk top!
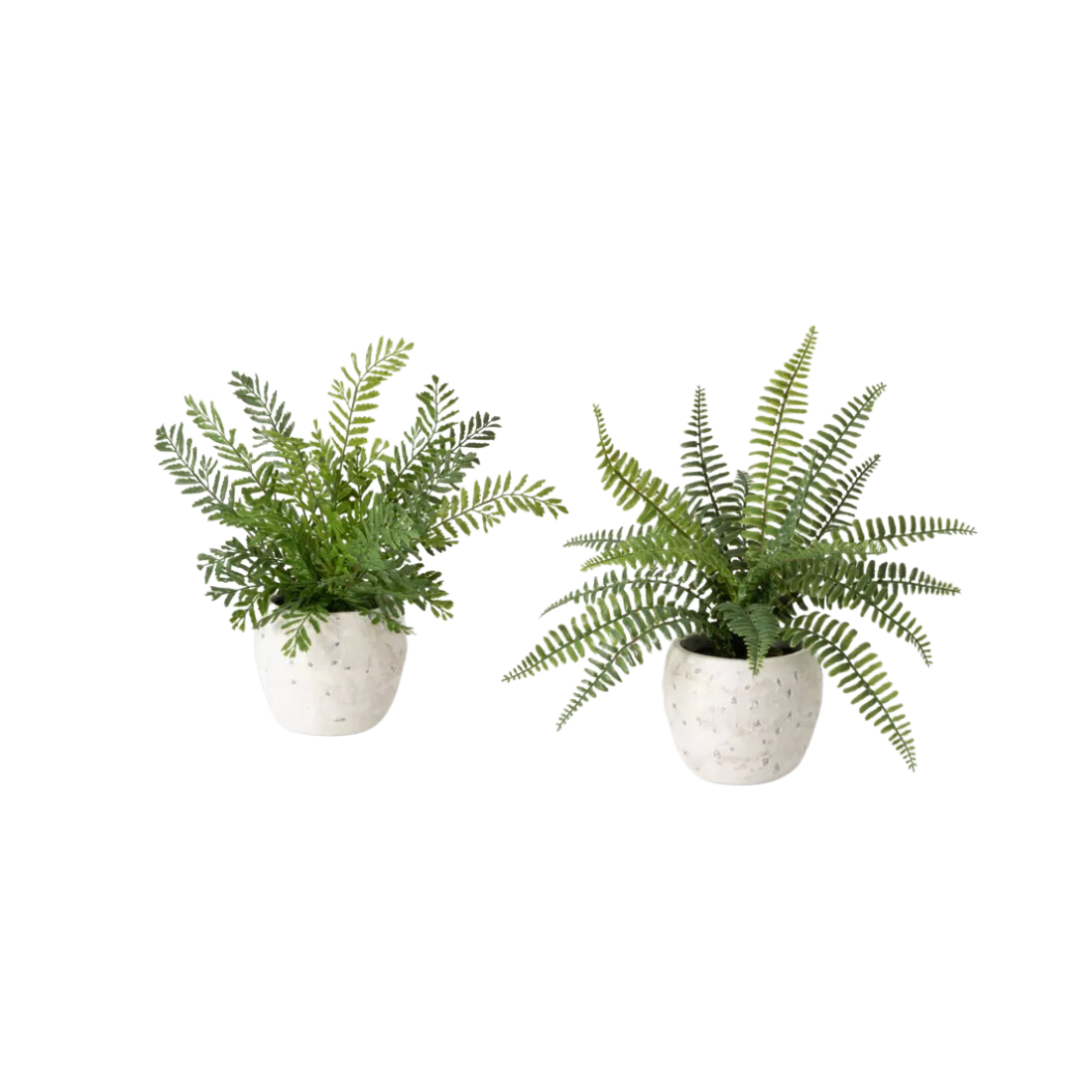
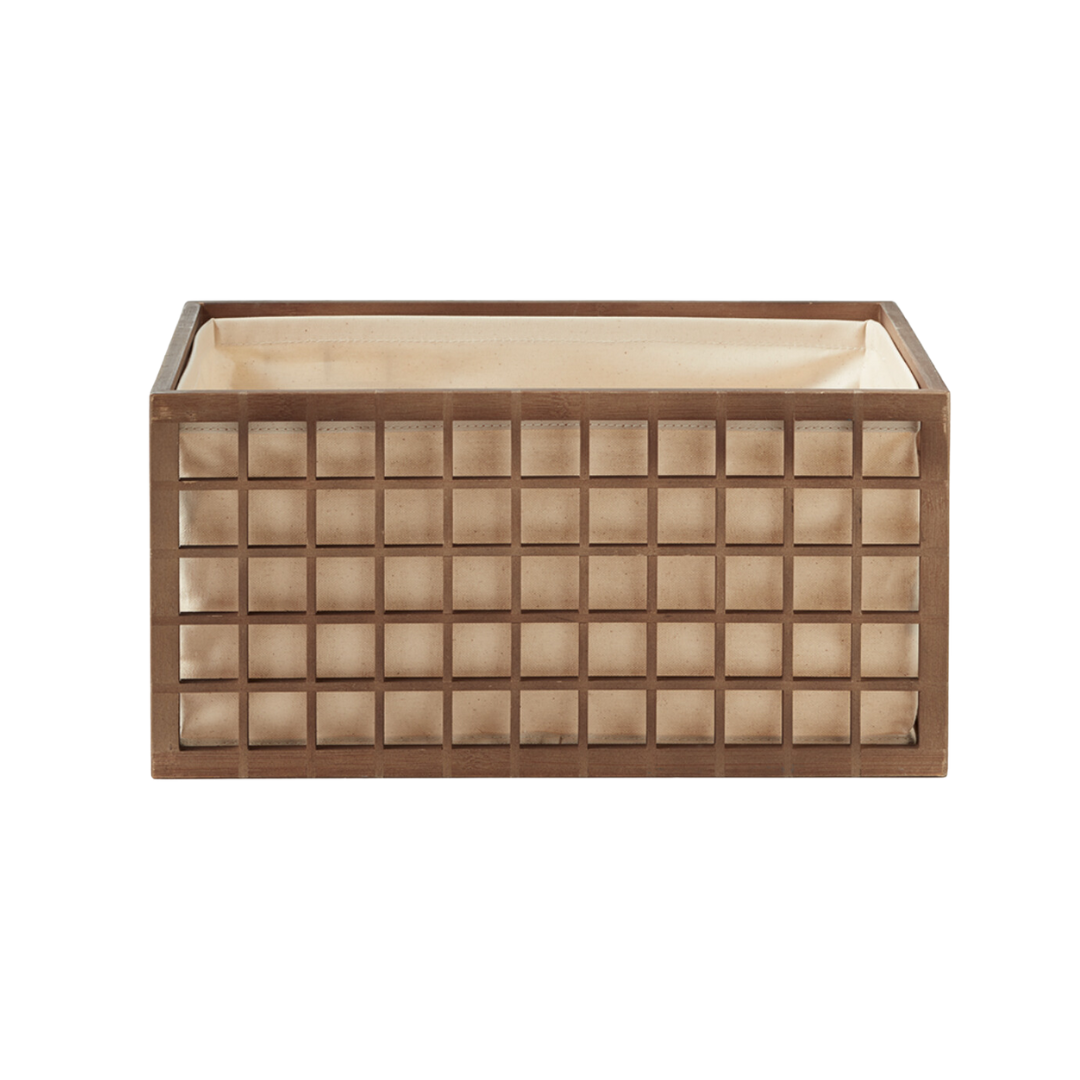
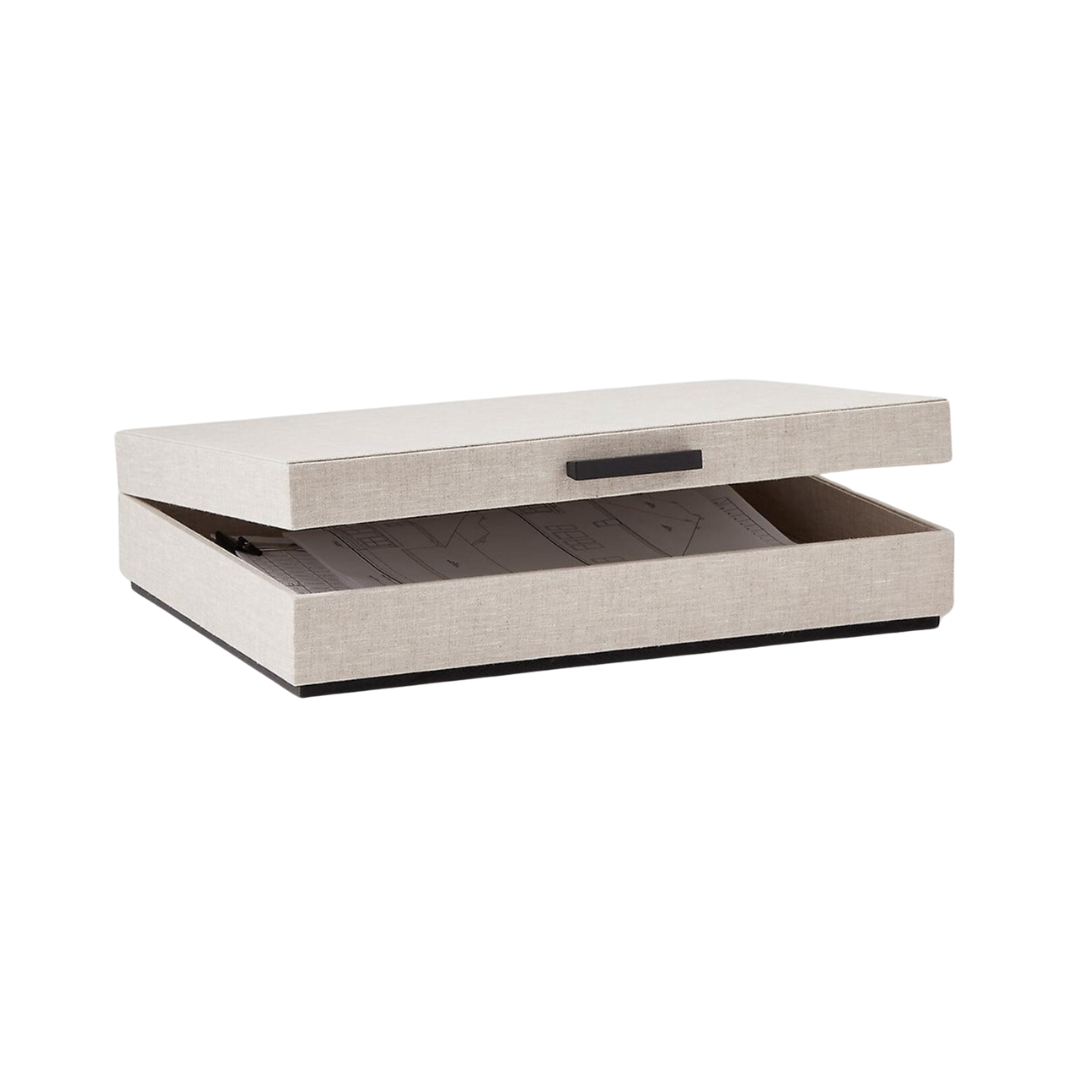
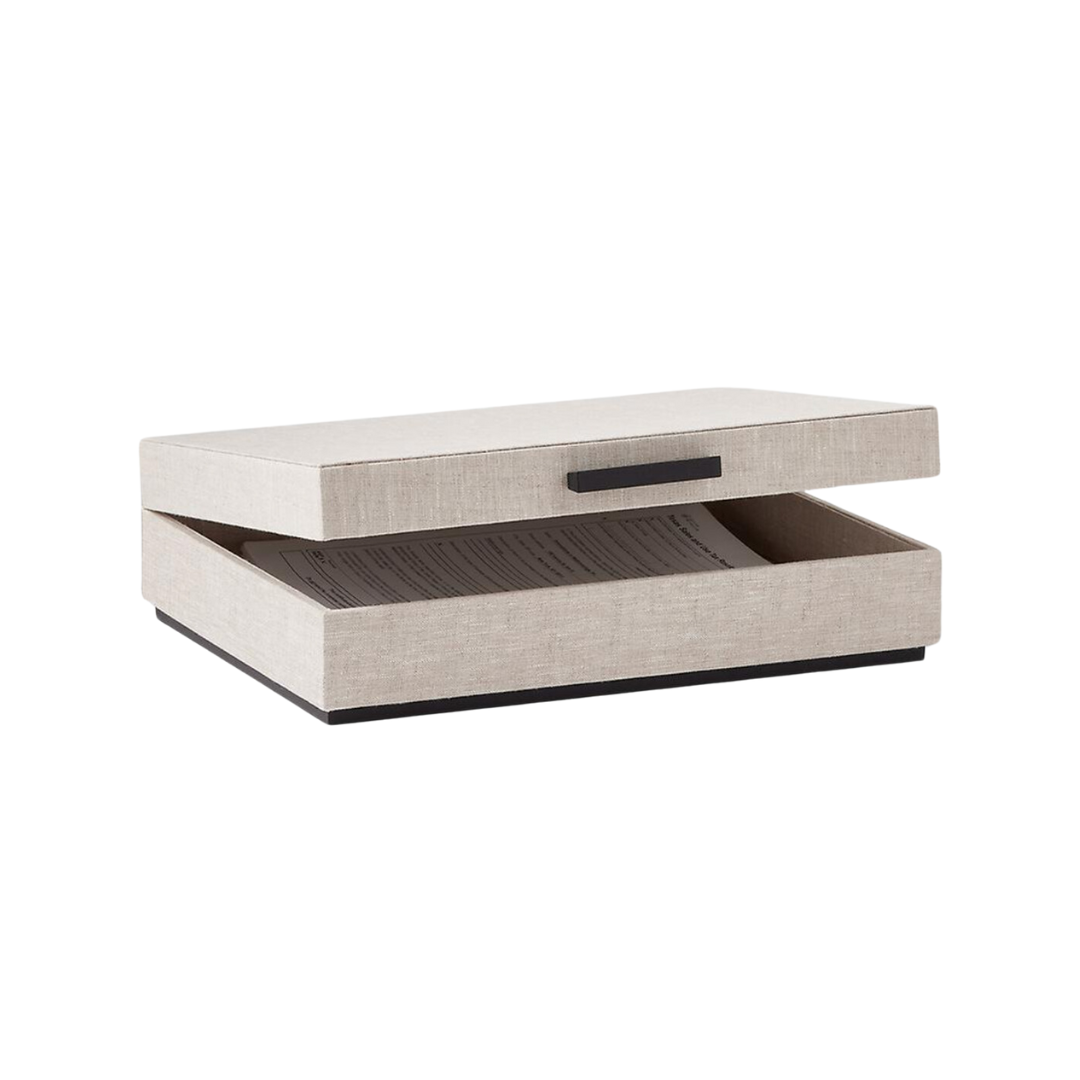
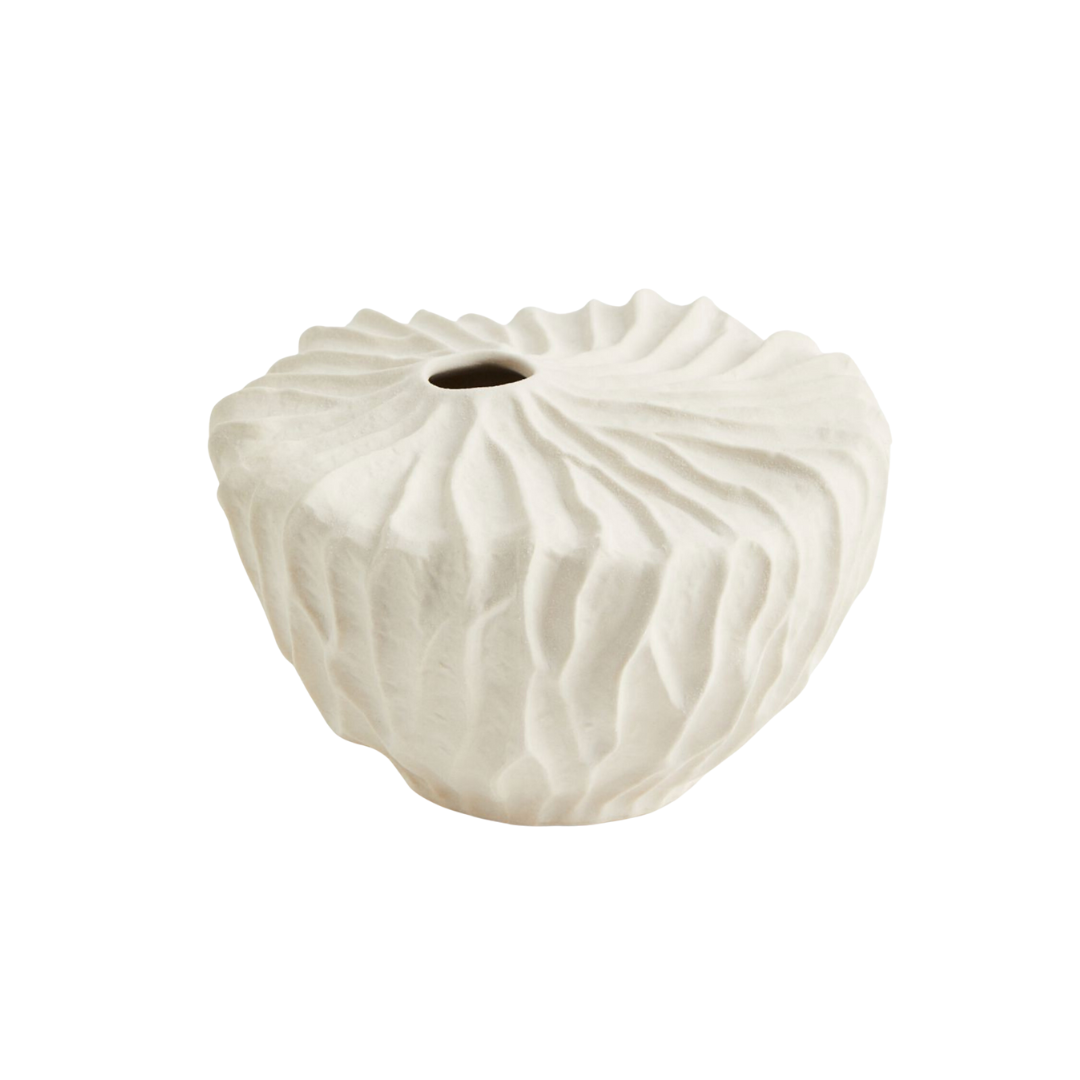
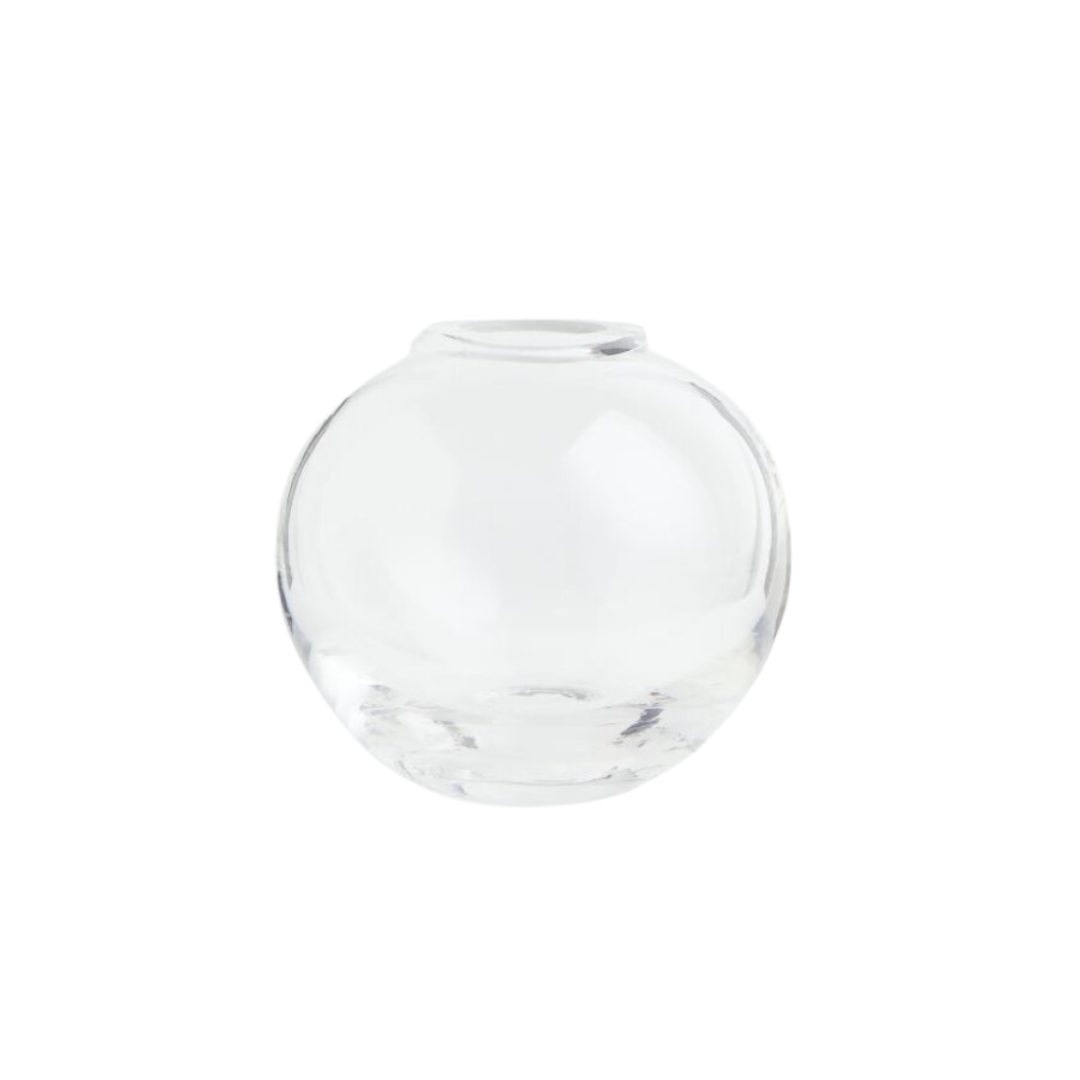
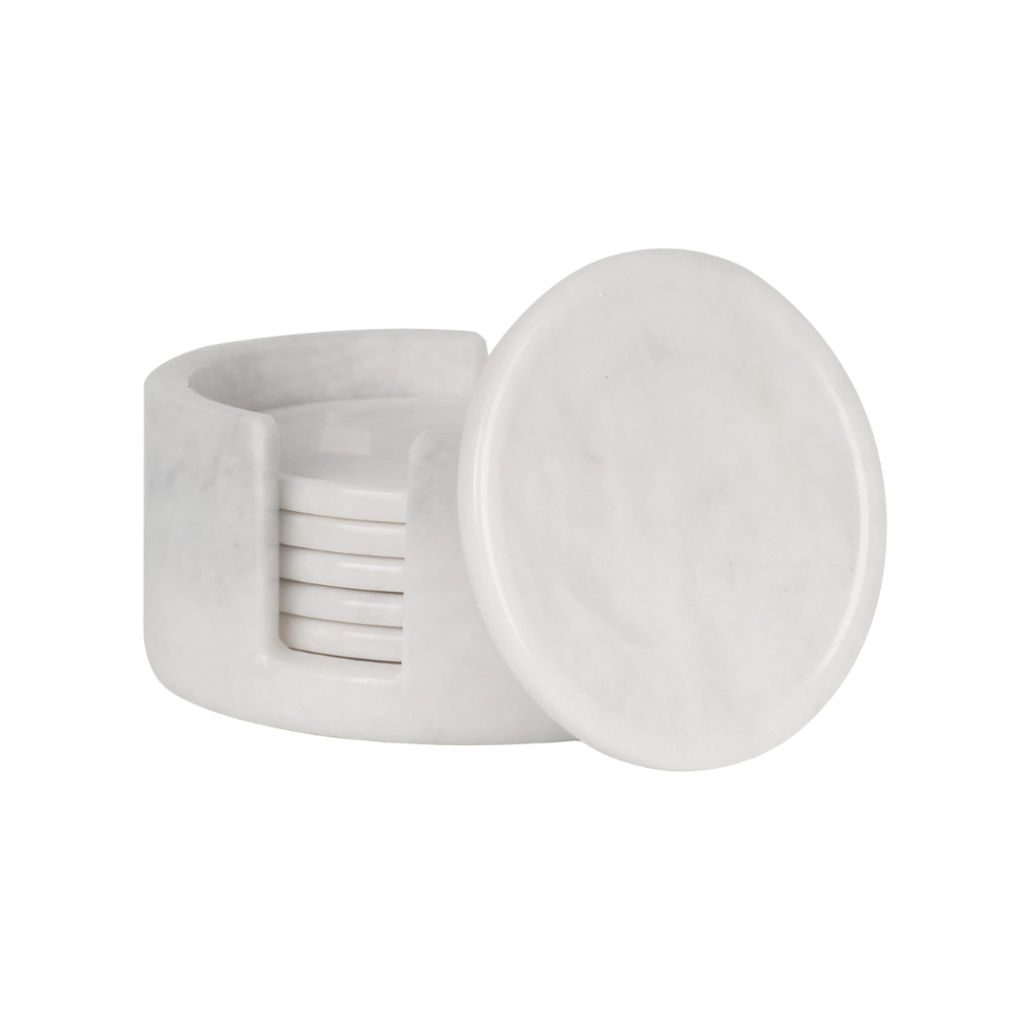
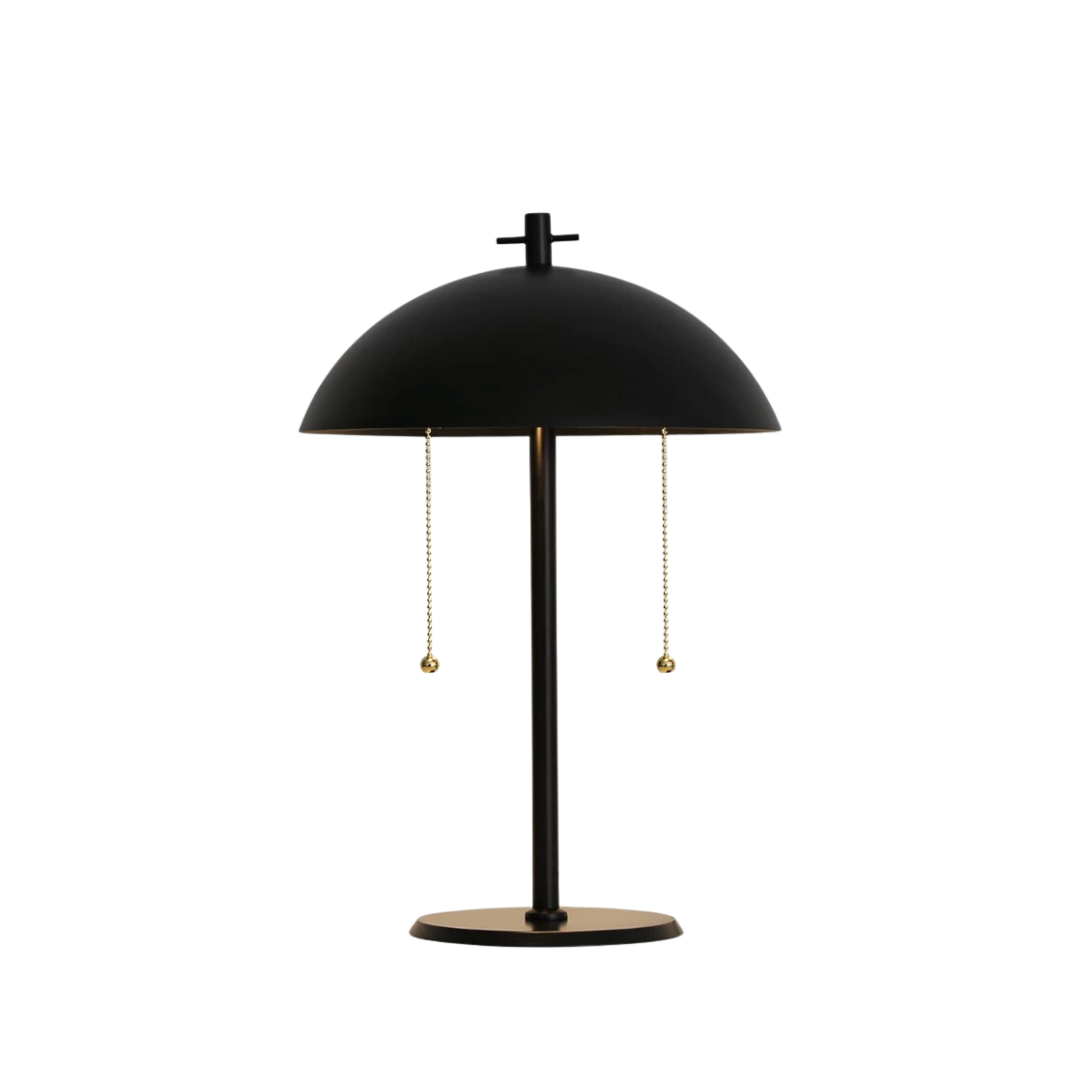
Decor
Decorating shelves is my favorite! I get to shop my decor closet I put together. You can read about that here!
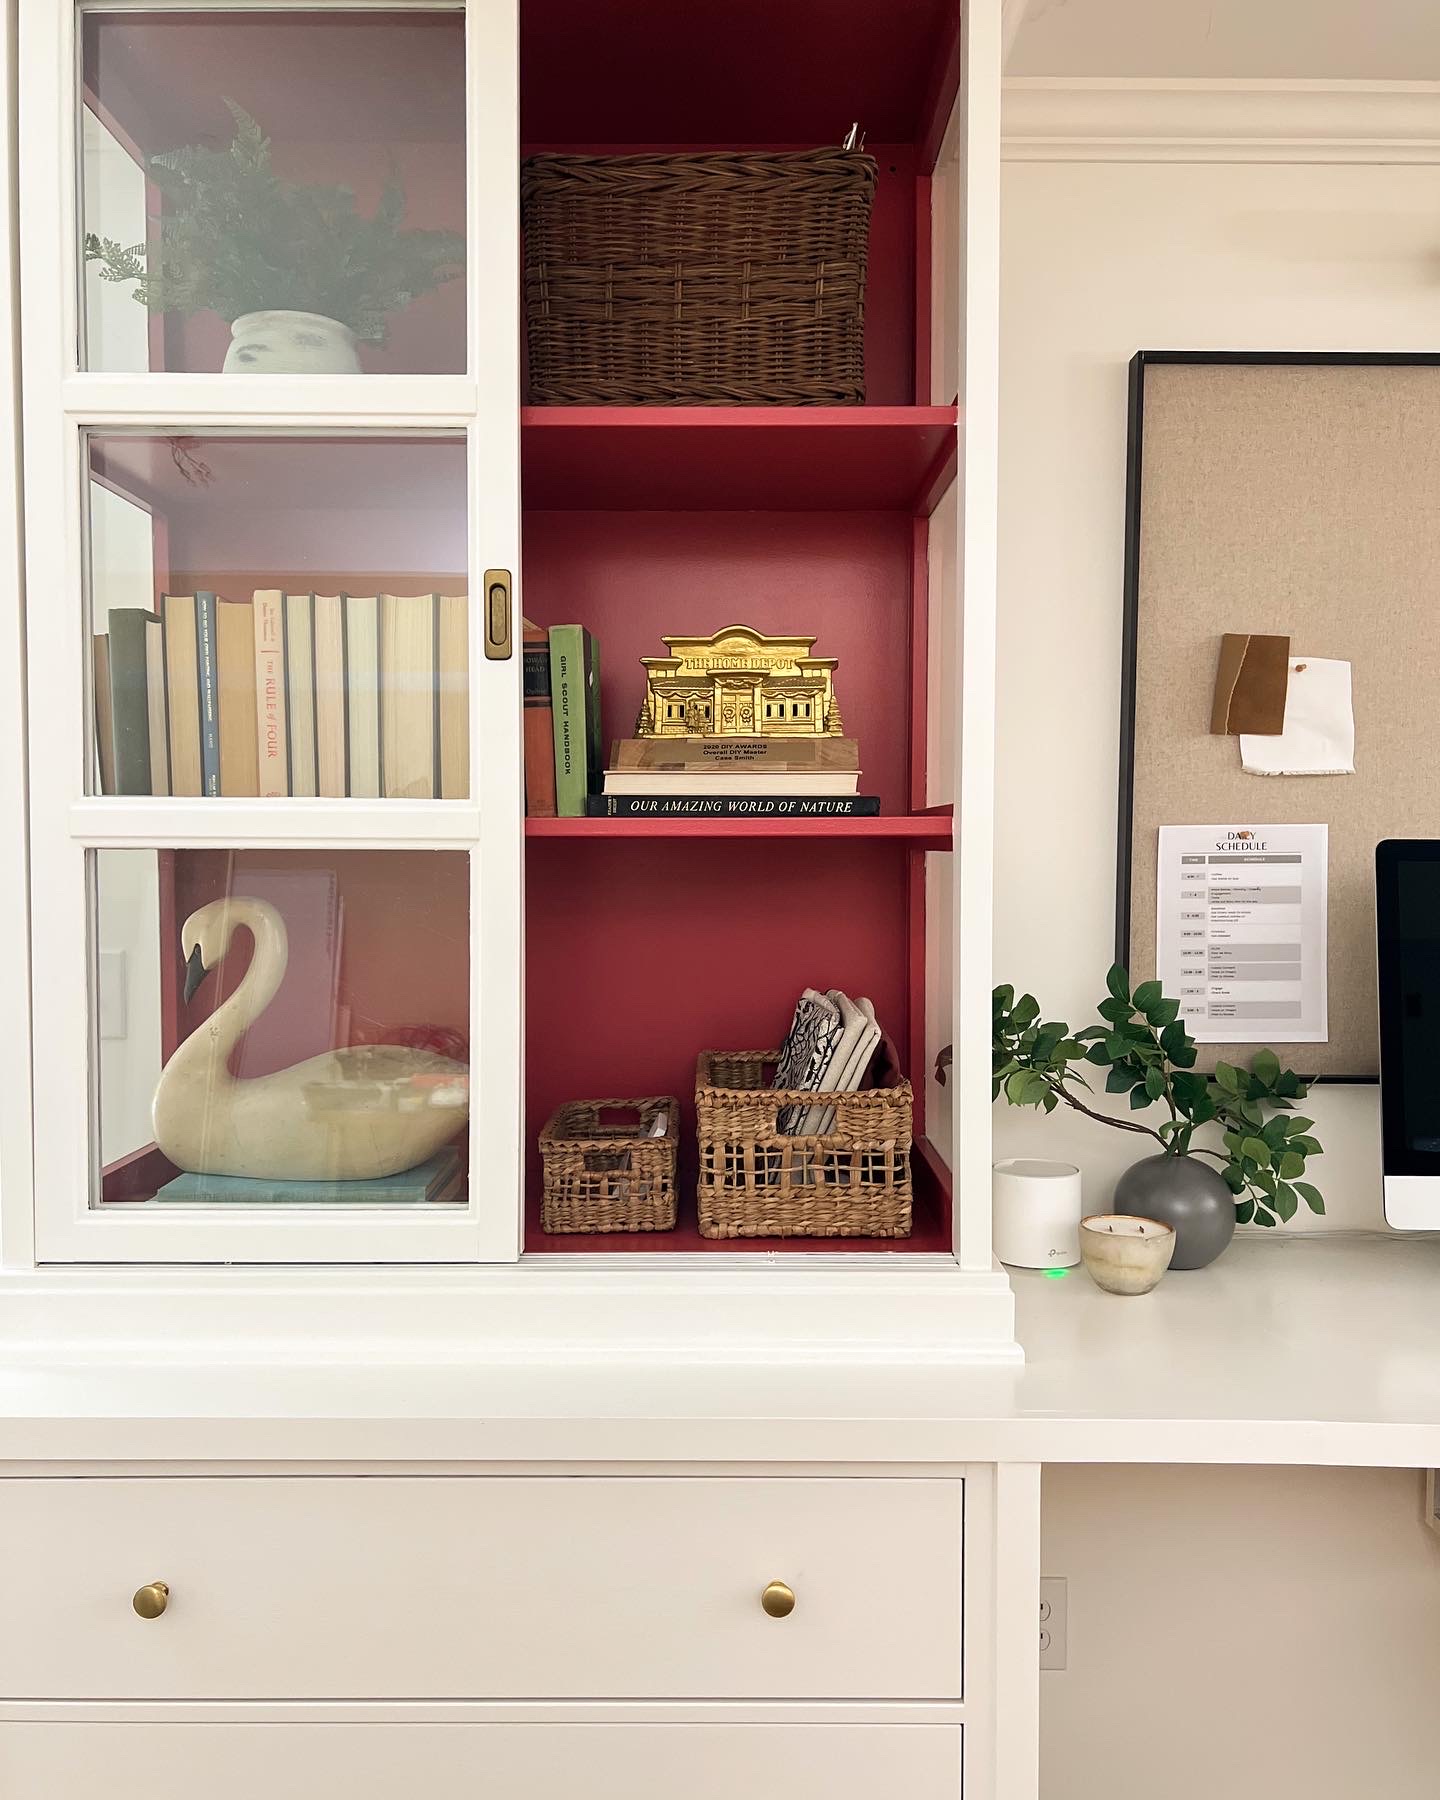
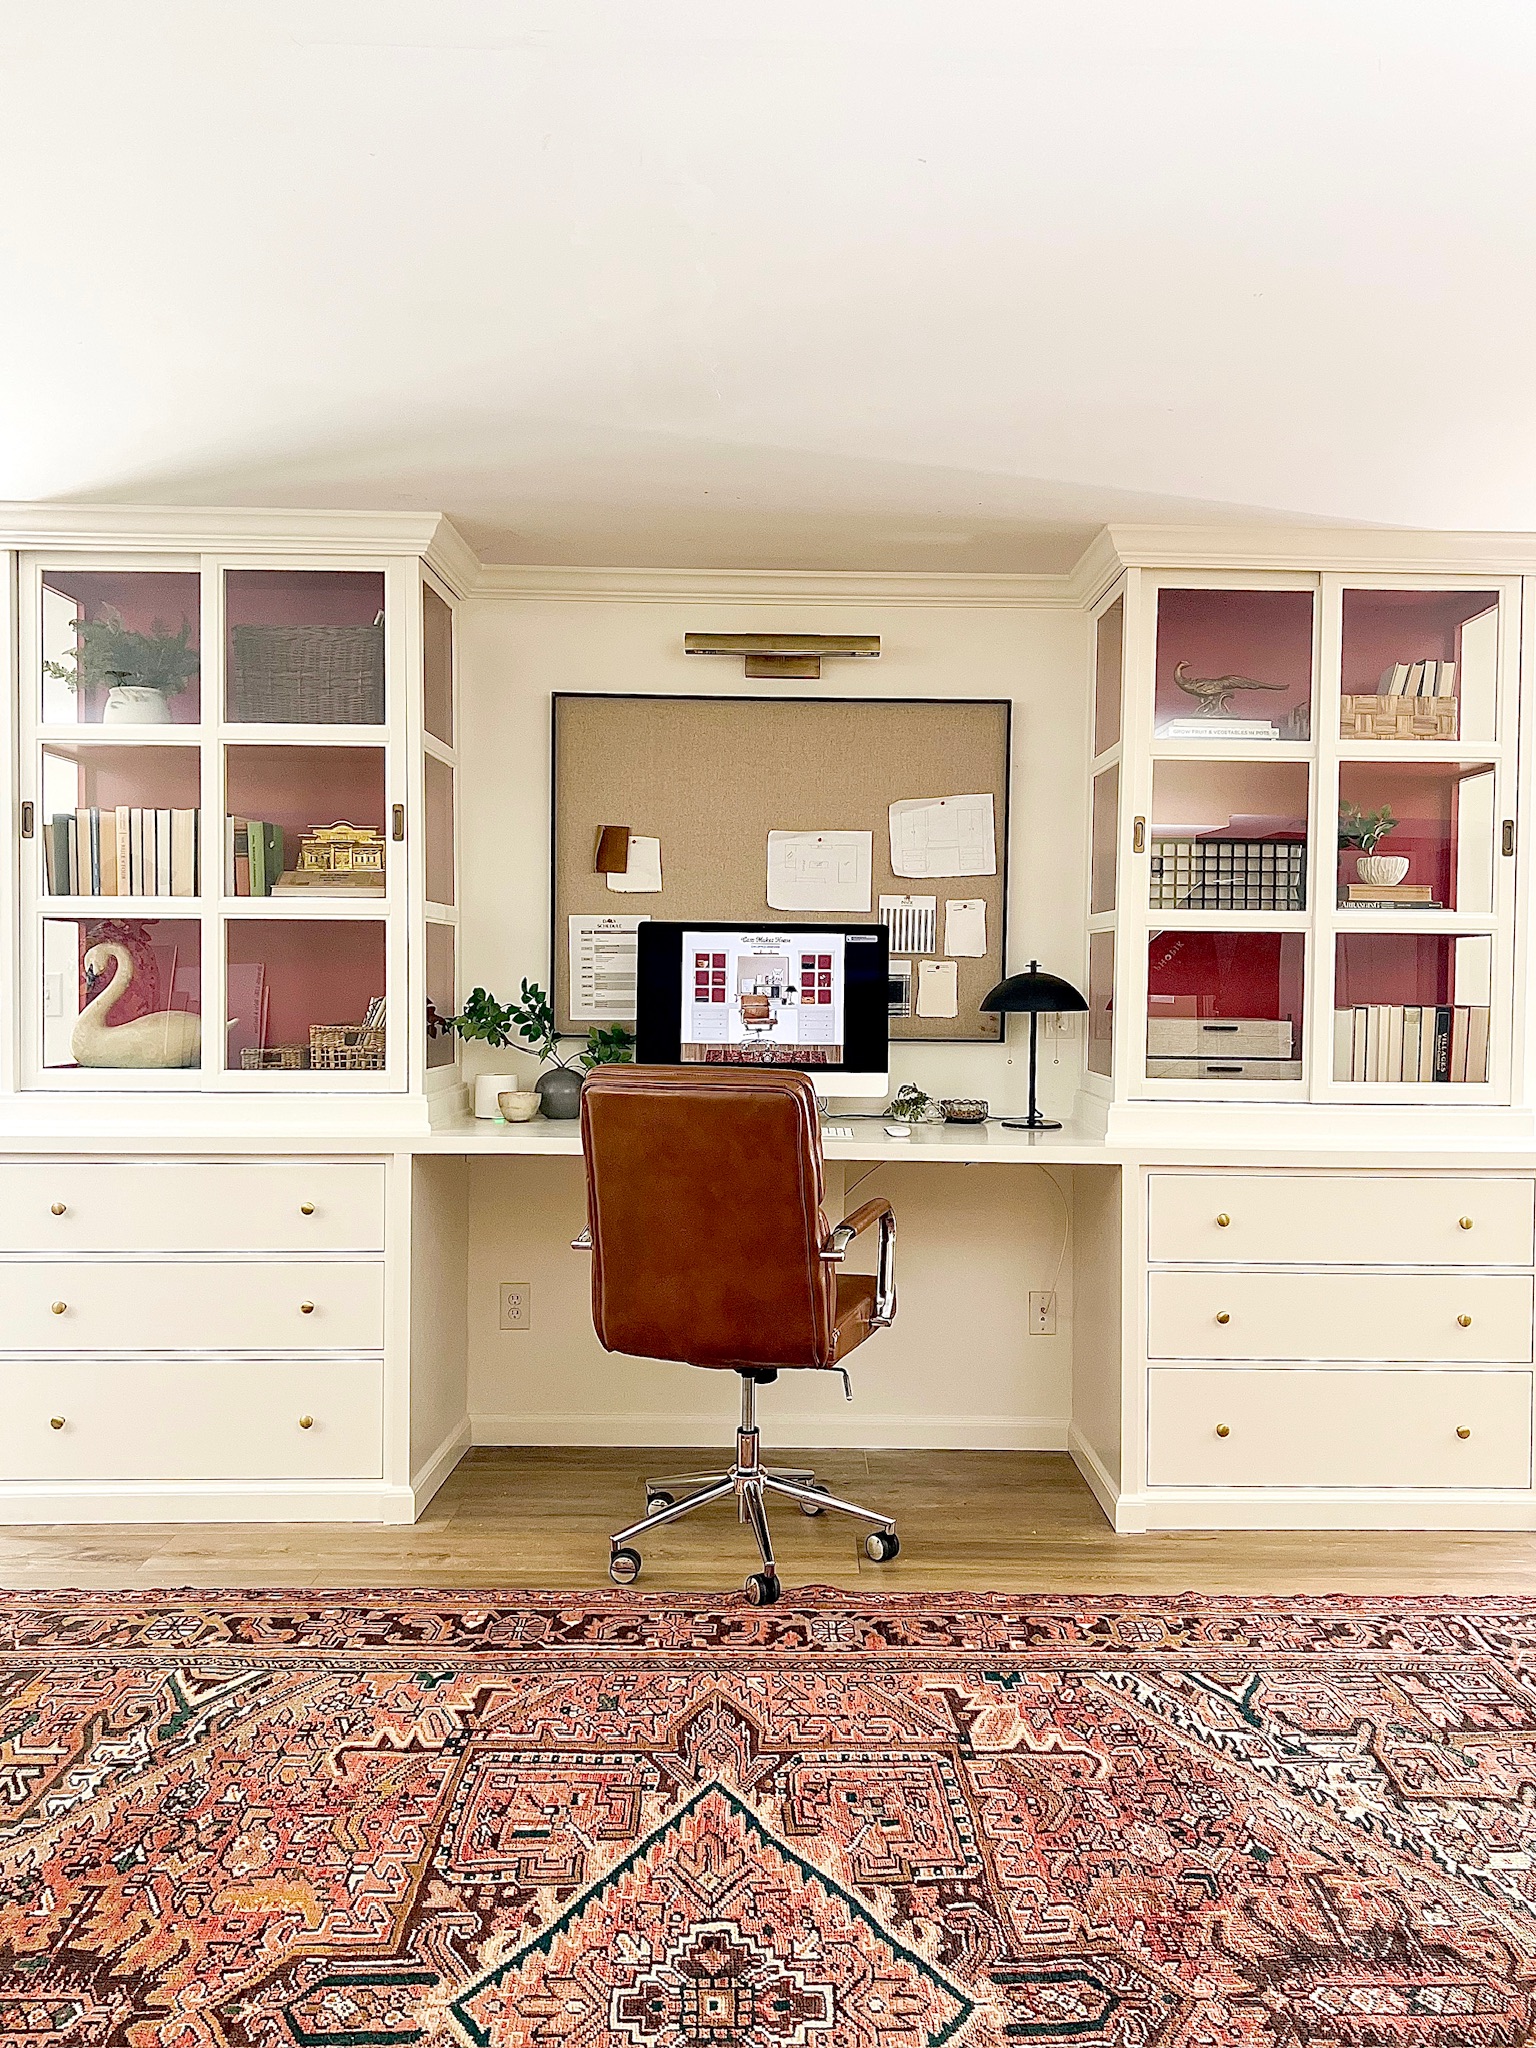
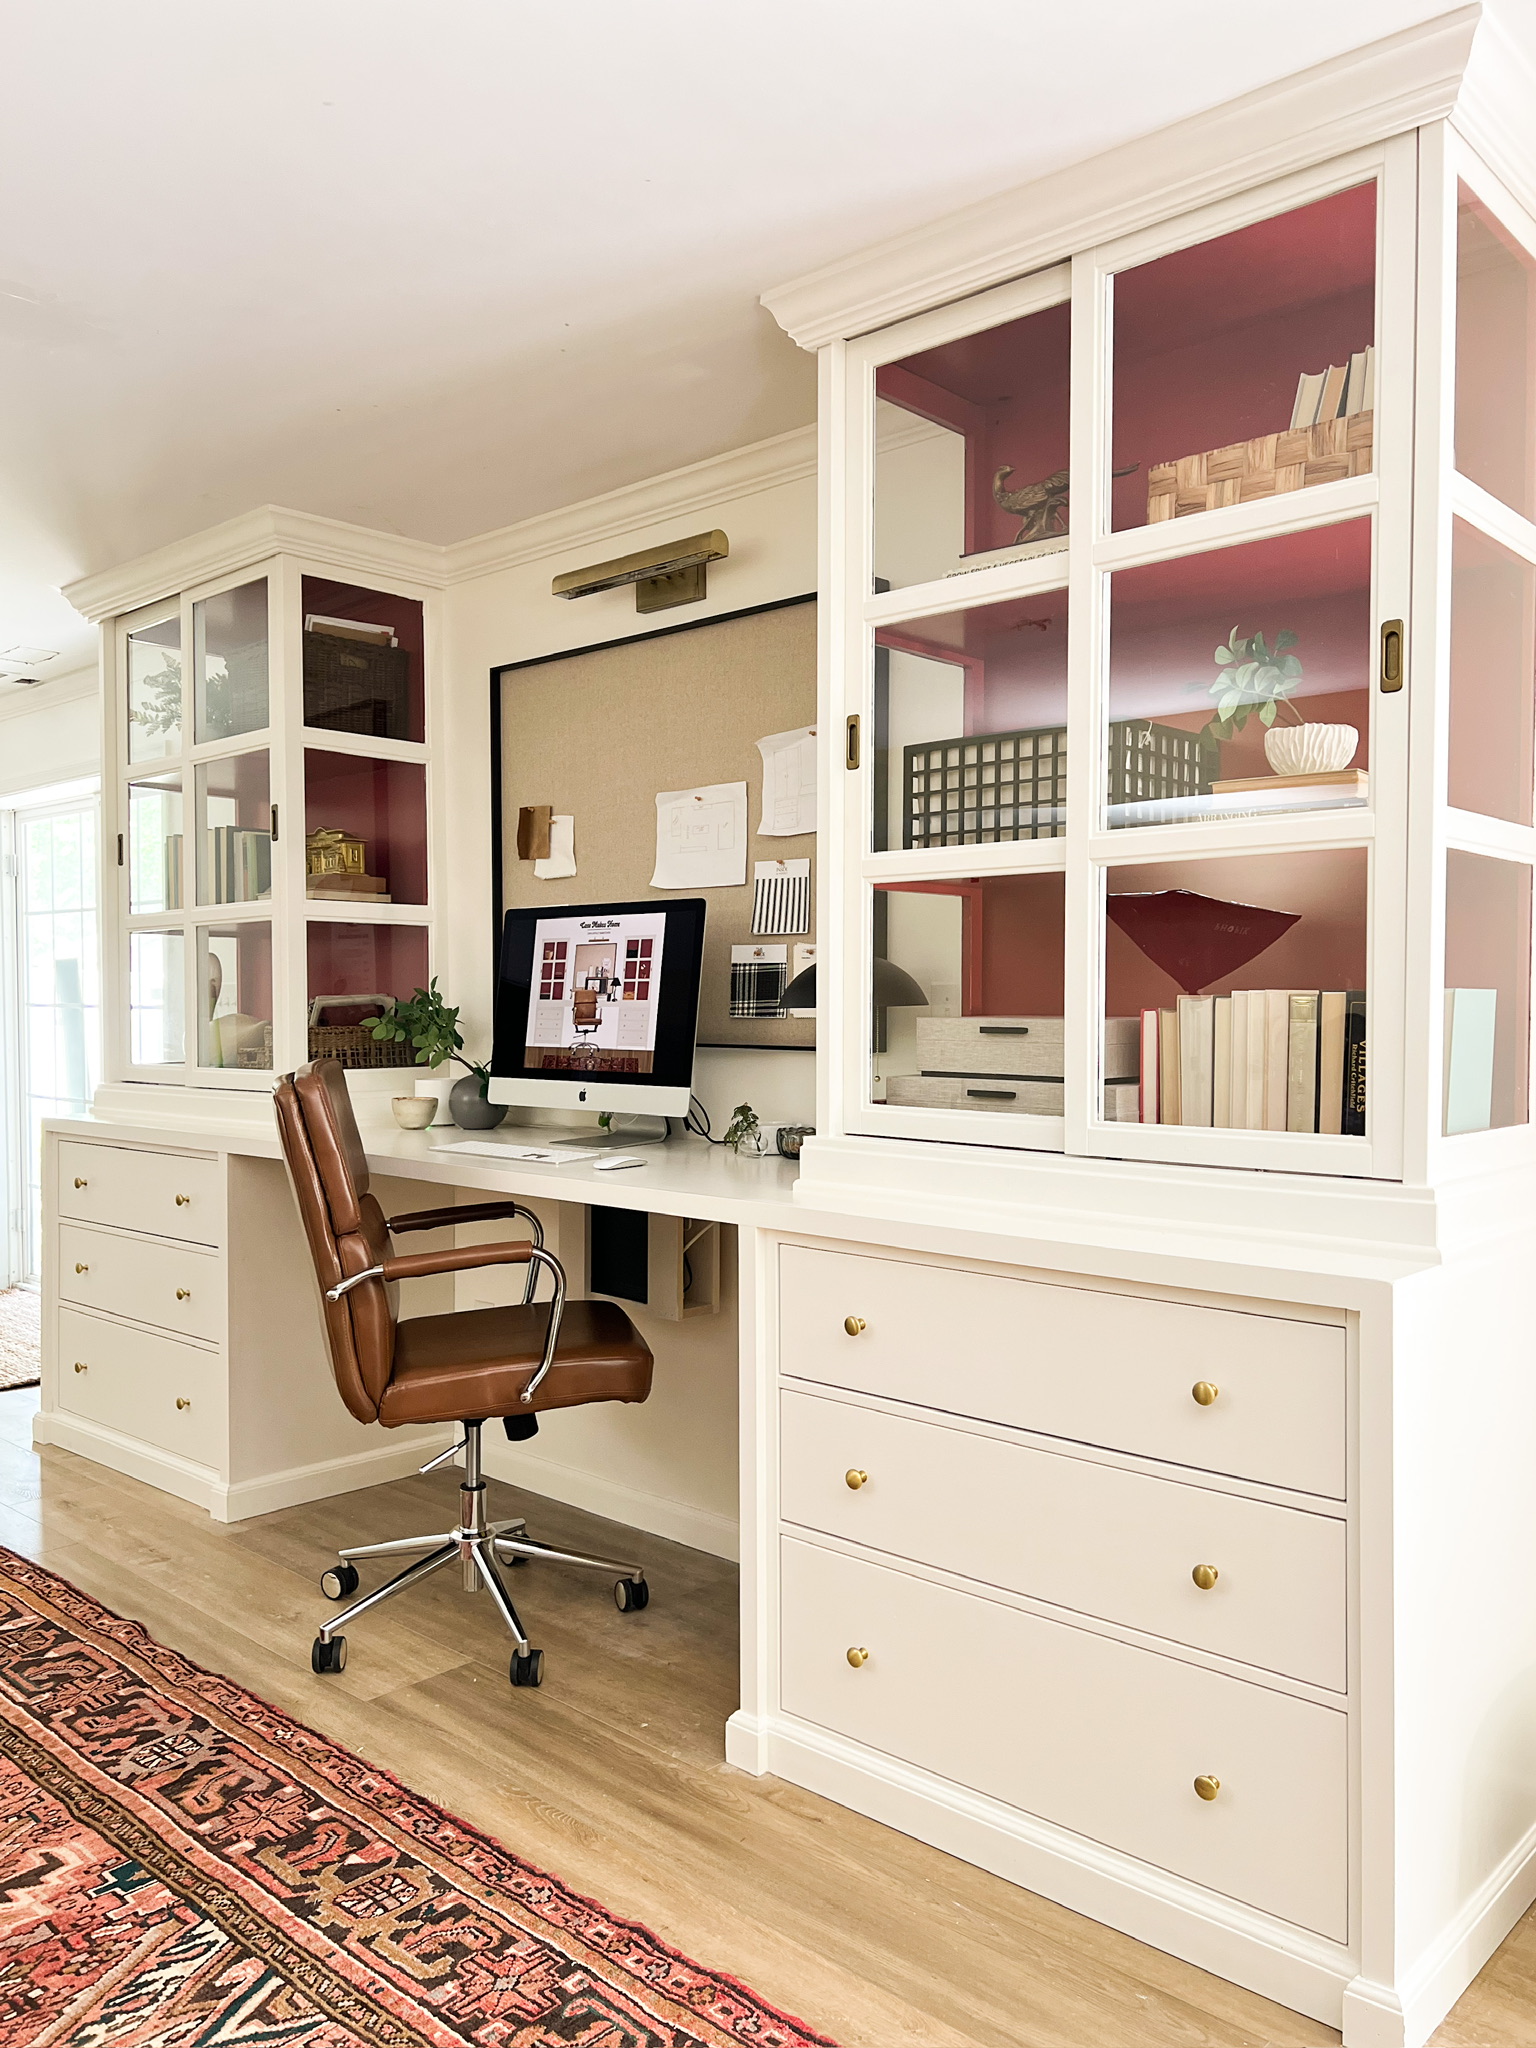
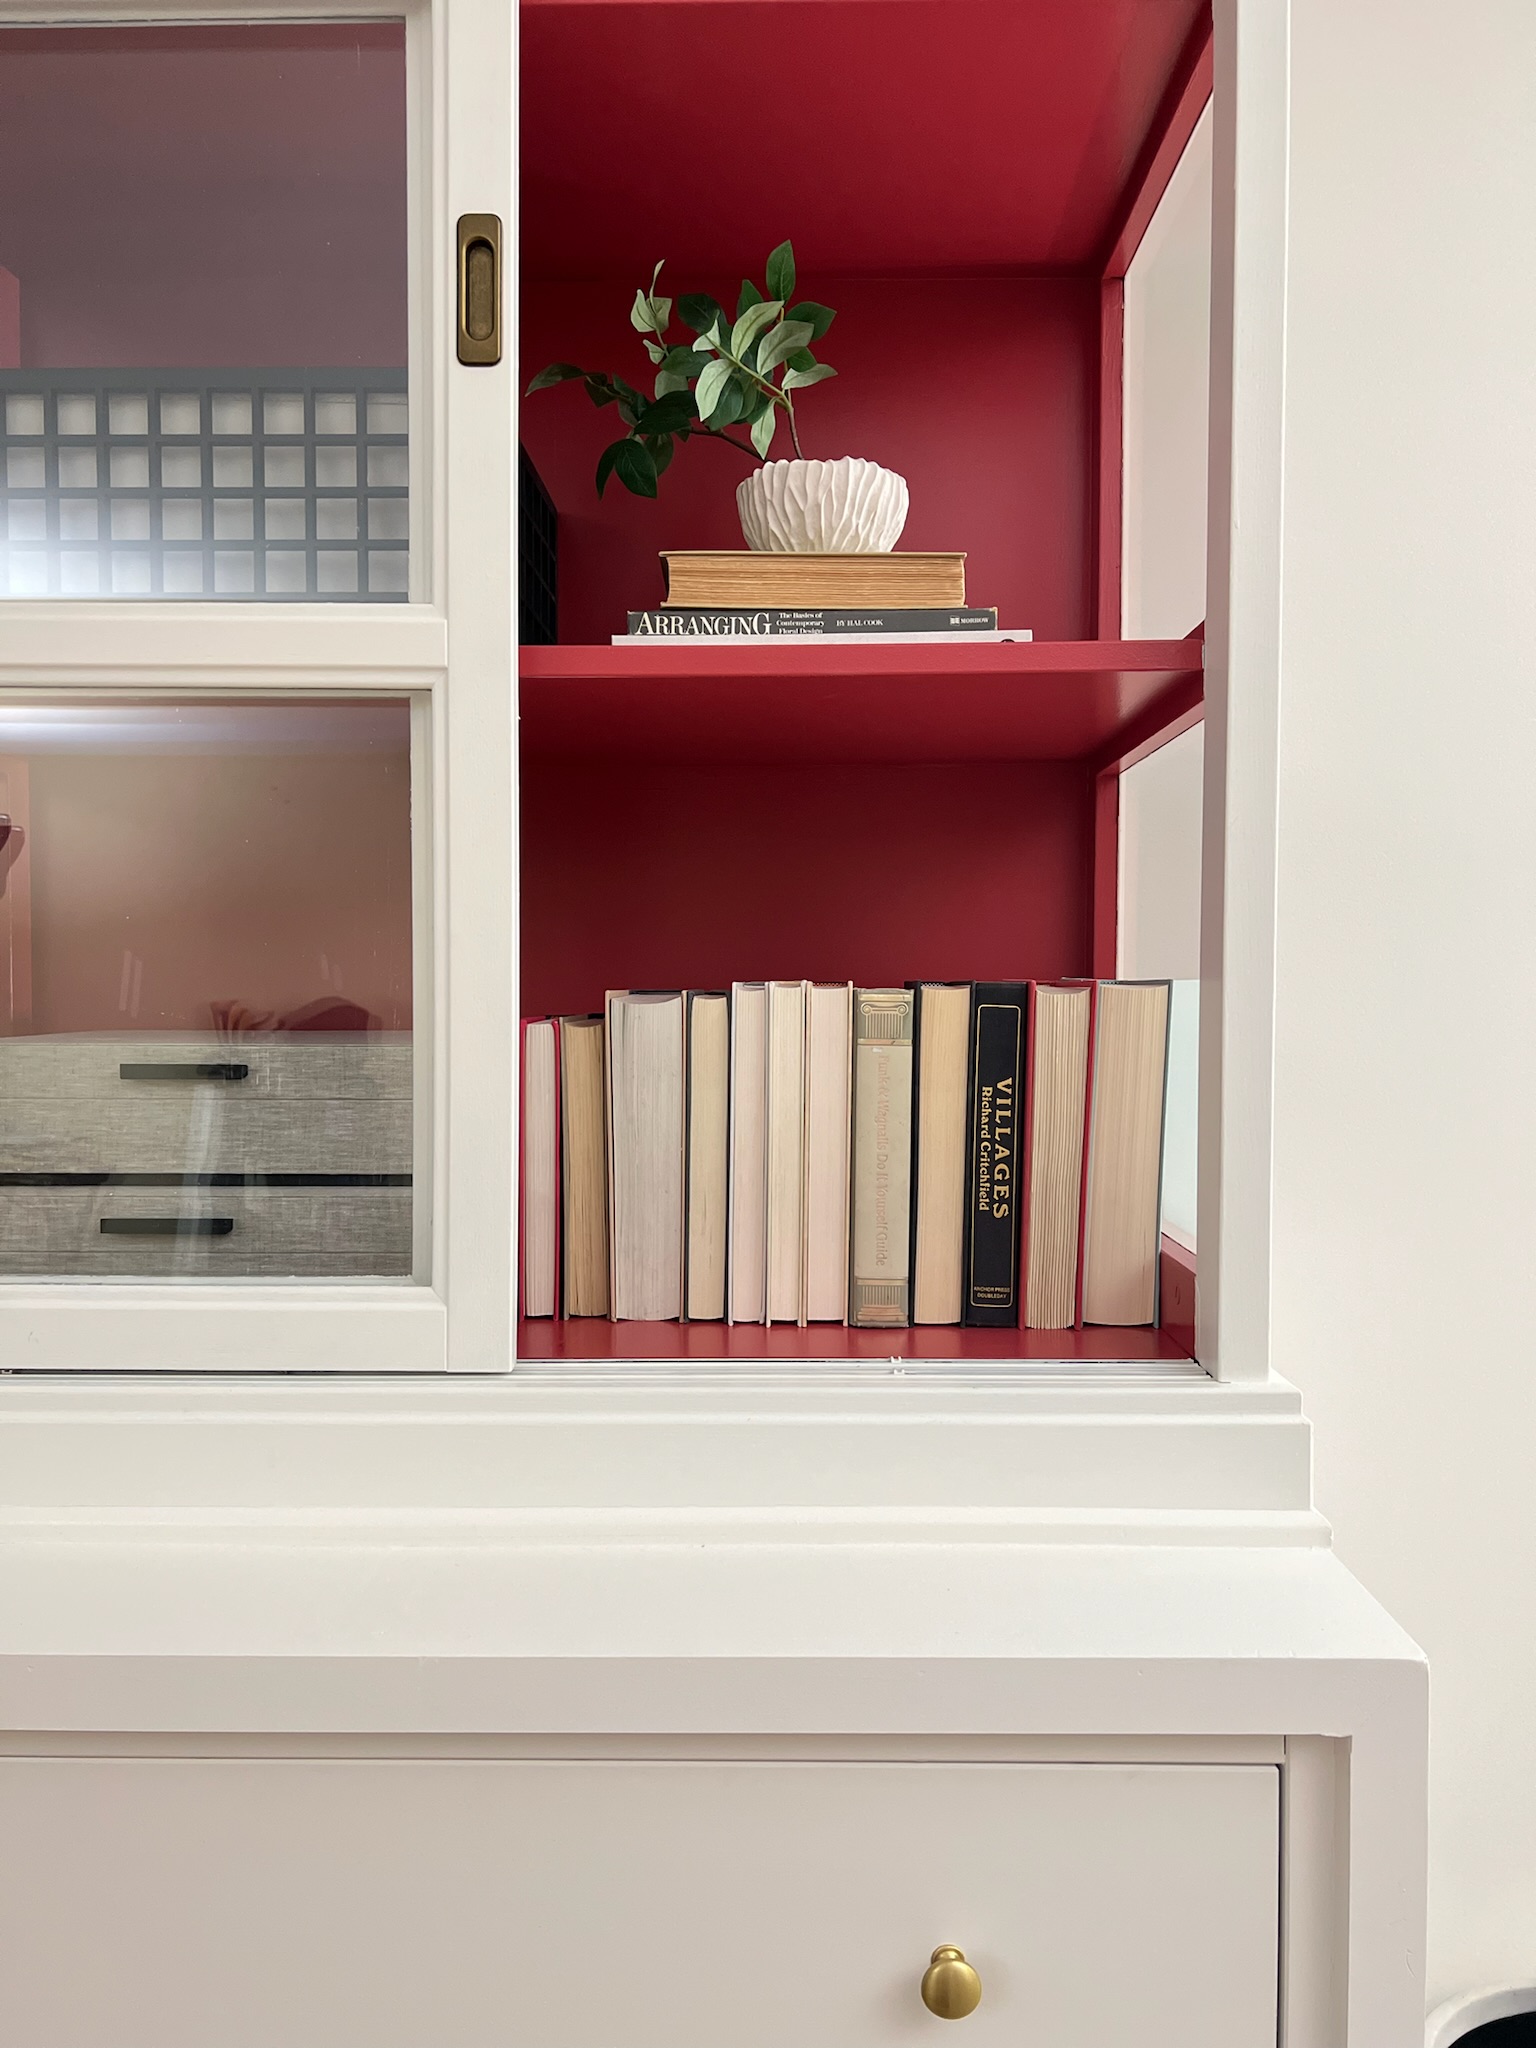
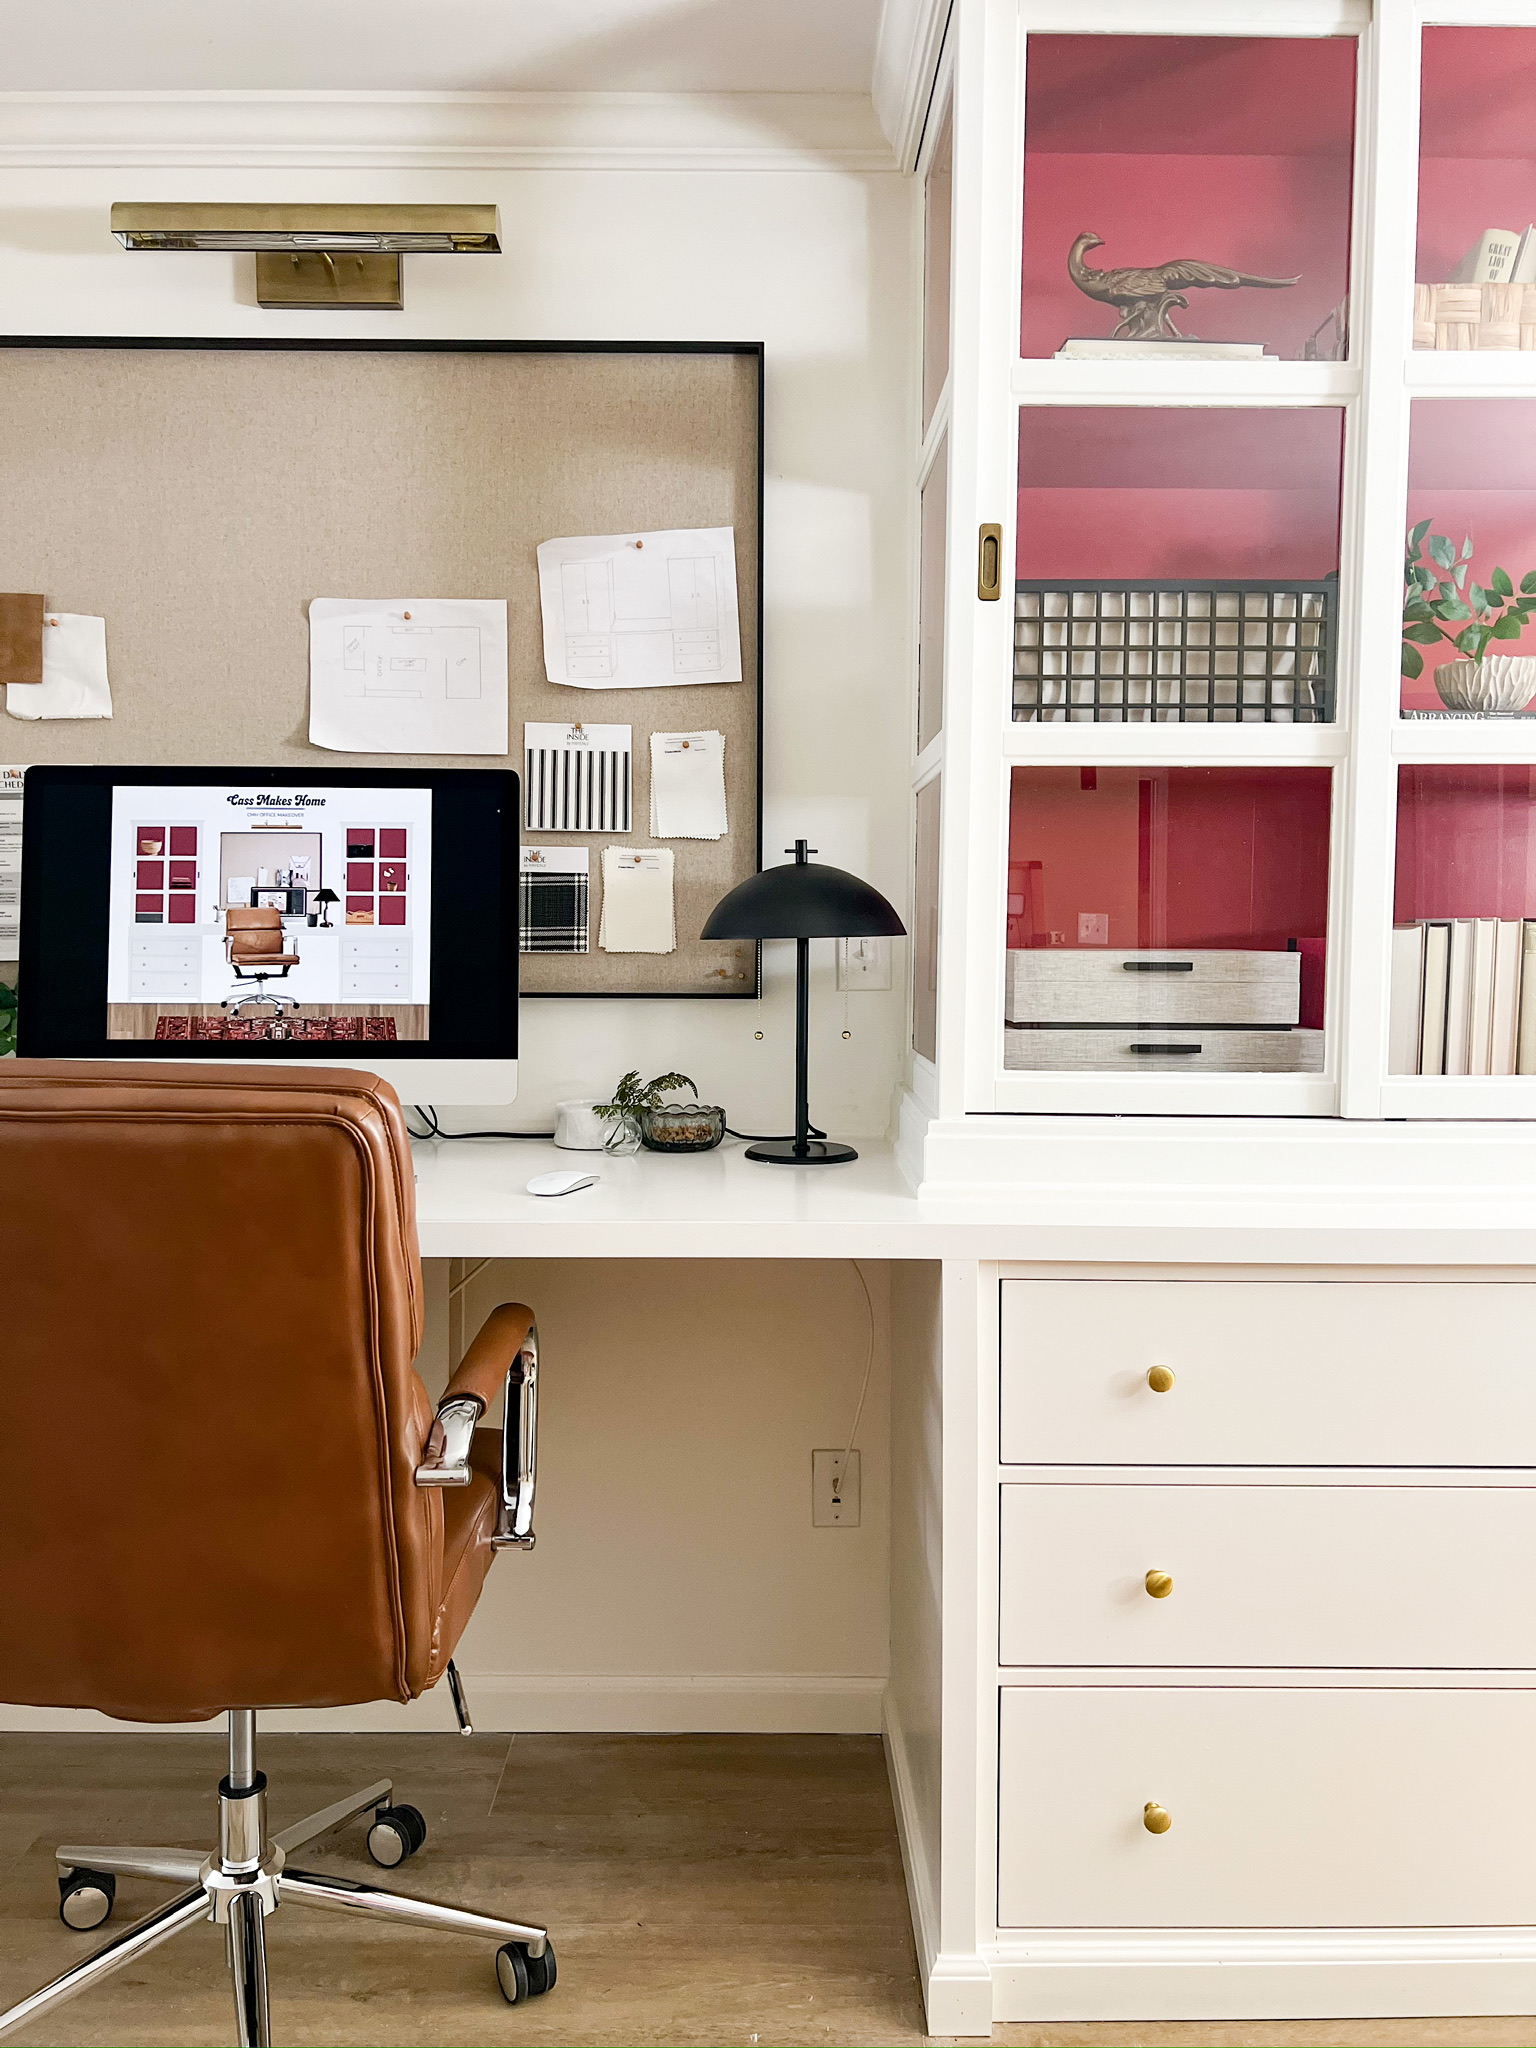
This built-in desk is so perfect I could cry!!! I can’t wait to start working in here!
Here’s everything I used to style my new built-in desk!


Here’s everything I wore this week in my stories:


- Ultra High Rise 90’s Straight
- Poppy Gold Choker
- Black Overalls
- Abercrombie Maternity Jeans
- Blink 182 Tee