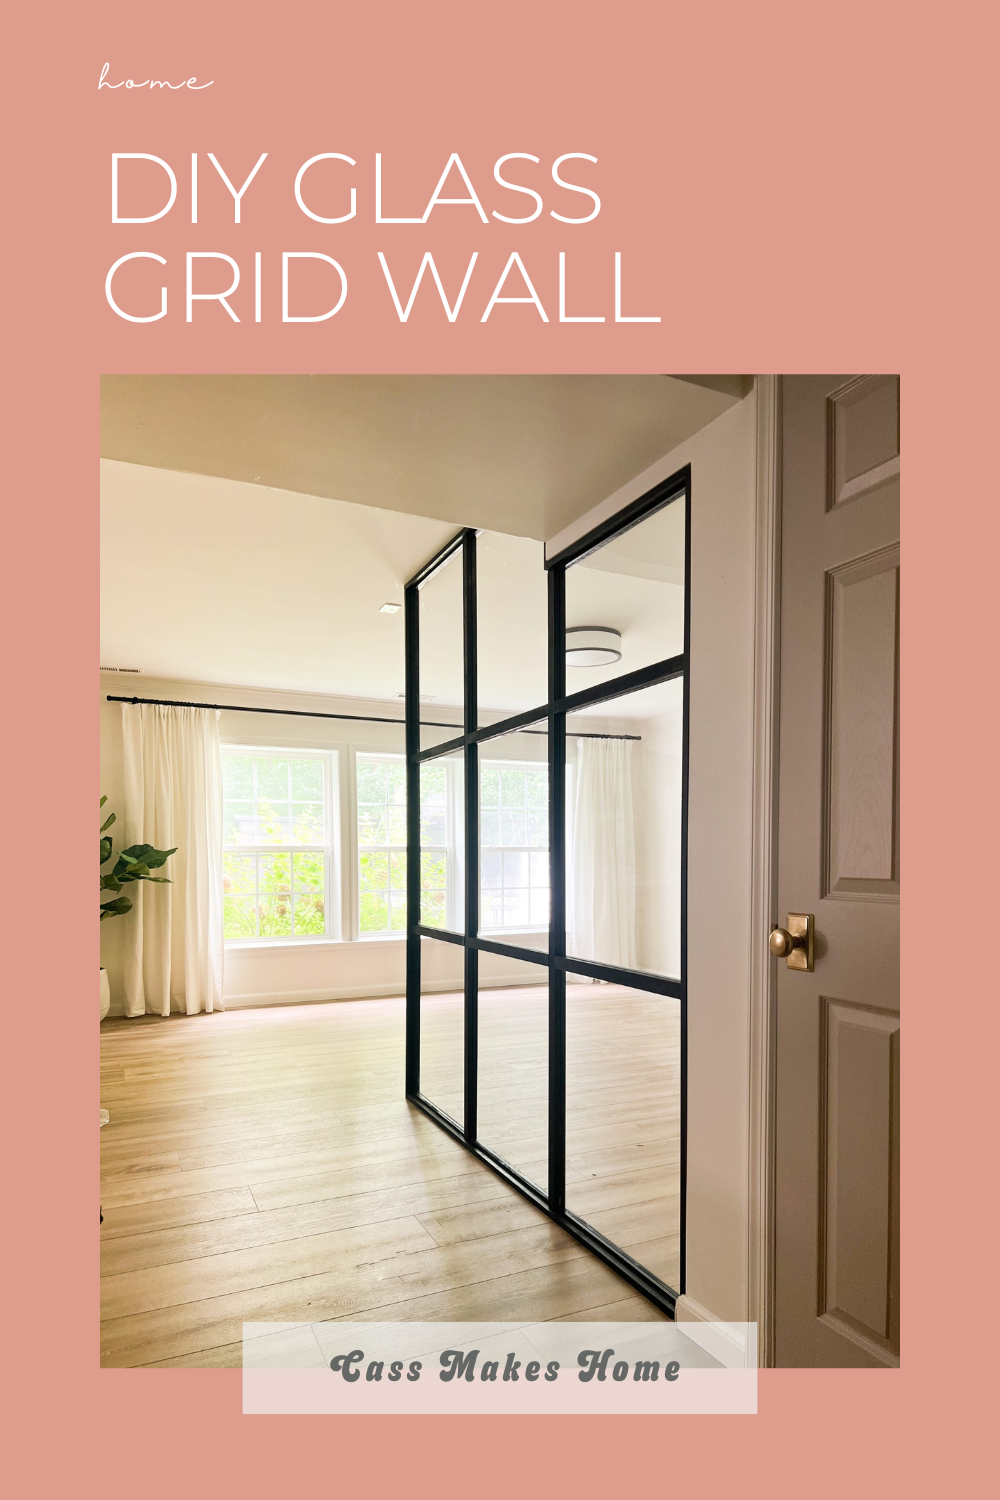
DIY GRID WALL

*This post may contain affiliate links, which means I may earn a small commission if you purchase through my links, at no extra cost to you. I only share products I genuinely love.
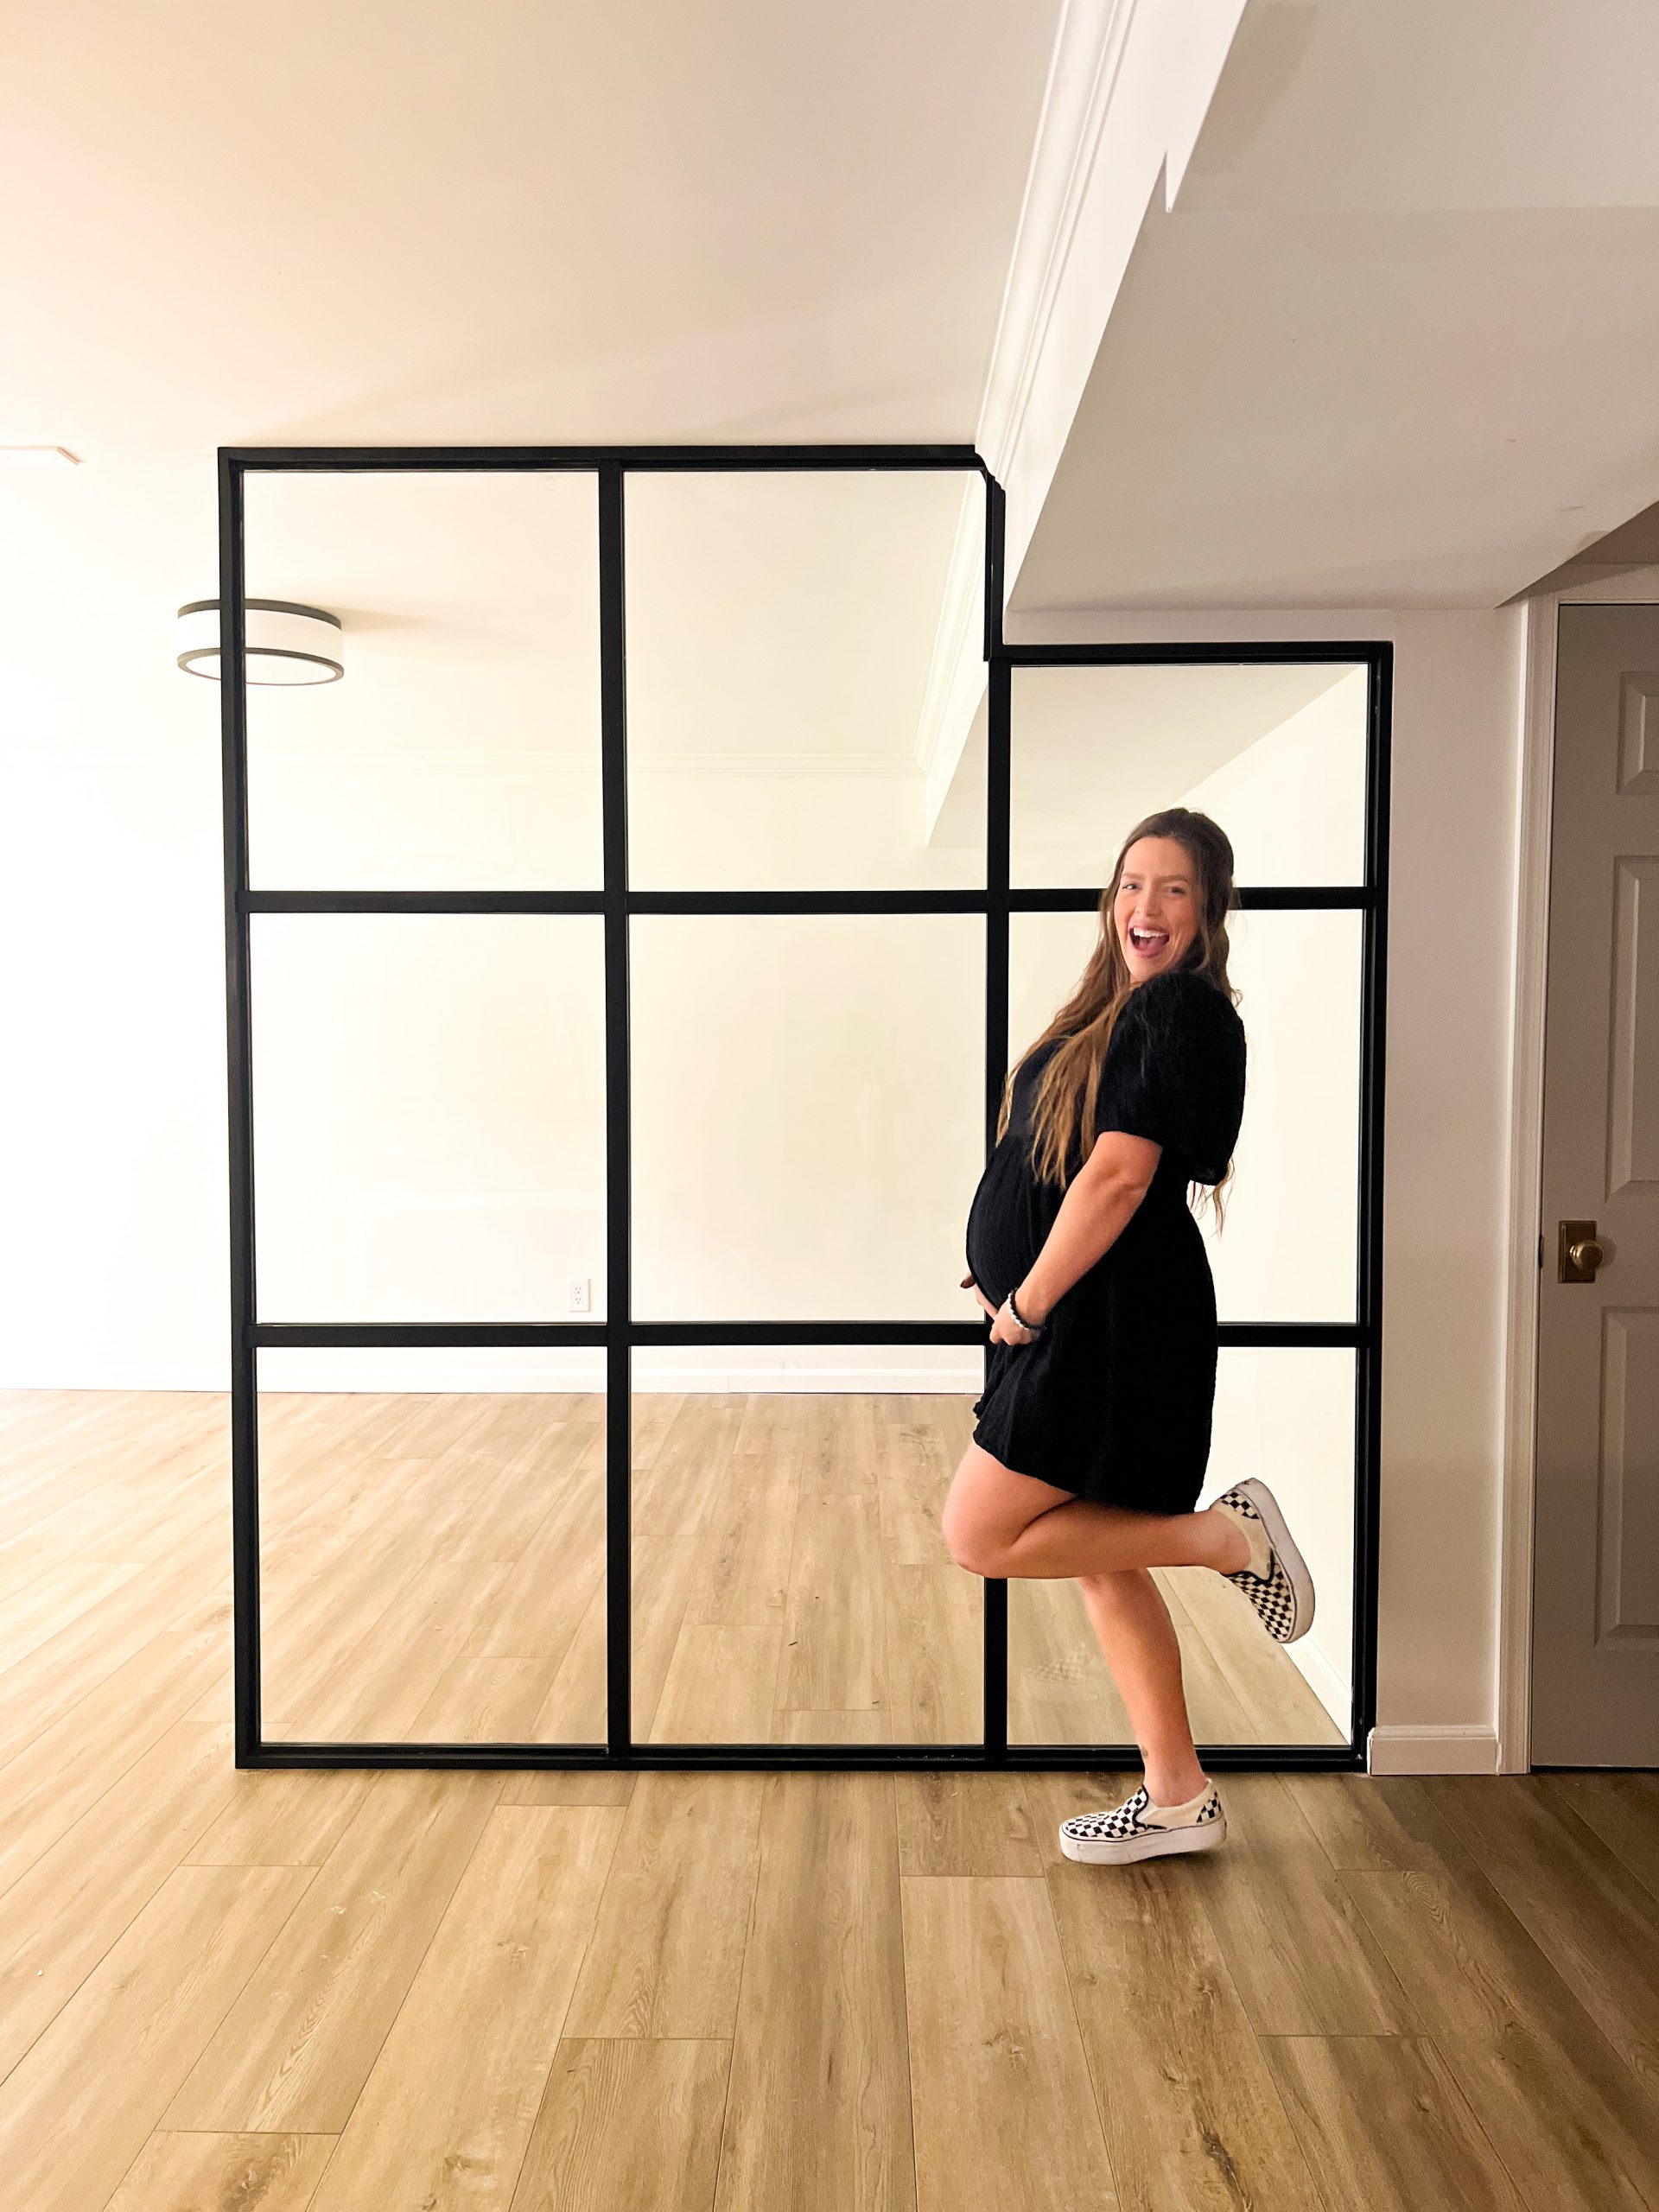
This year I have been slowly tackling the long-awaited basement renovation. You can read more here about all of my plans for the space! My plans included turning a large portion of this space into my Cass Makes Home office and using the remaining space for our home gym (the area pictured below). But I wanted some sort of division between the two spaces without blocking any natural light. I decided I wanted a decorative glass wall to define the separate spaces!
Getting a custom glass for the wall for the space was no doubt going to cost quite a bit of money. We would be working around the weird ceiling soffit so I could not just order one stock. This sent me into planning mode. I found lots of inspiration photos on Pinterest to start with and use those photos to gauge what type of supplies I would need for this.
What I’m starting with:

I was in a dilemma during the planning phase trying to decided on grid sizing. Because of the weird soffit, I had the opportunity to go two different directions….large squares or small squares. I REALLY wanted to do small grids for this. But knowing the thickness of the wood I would be using for the grids and that there would be gym equipment behind it, I decided to choose the bigger grids since it would be LESS, visually.
Plans
Materials
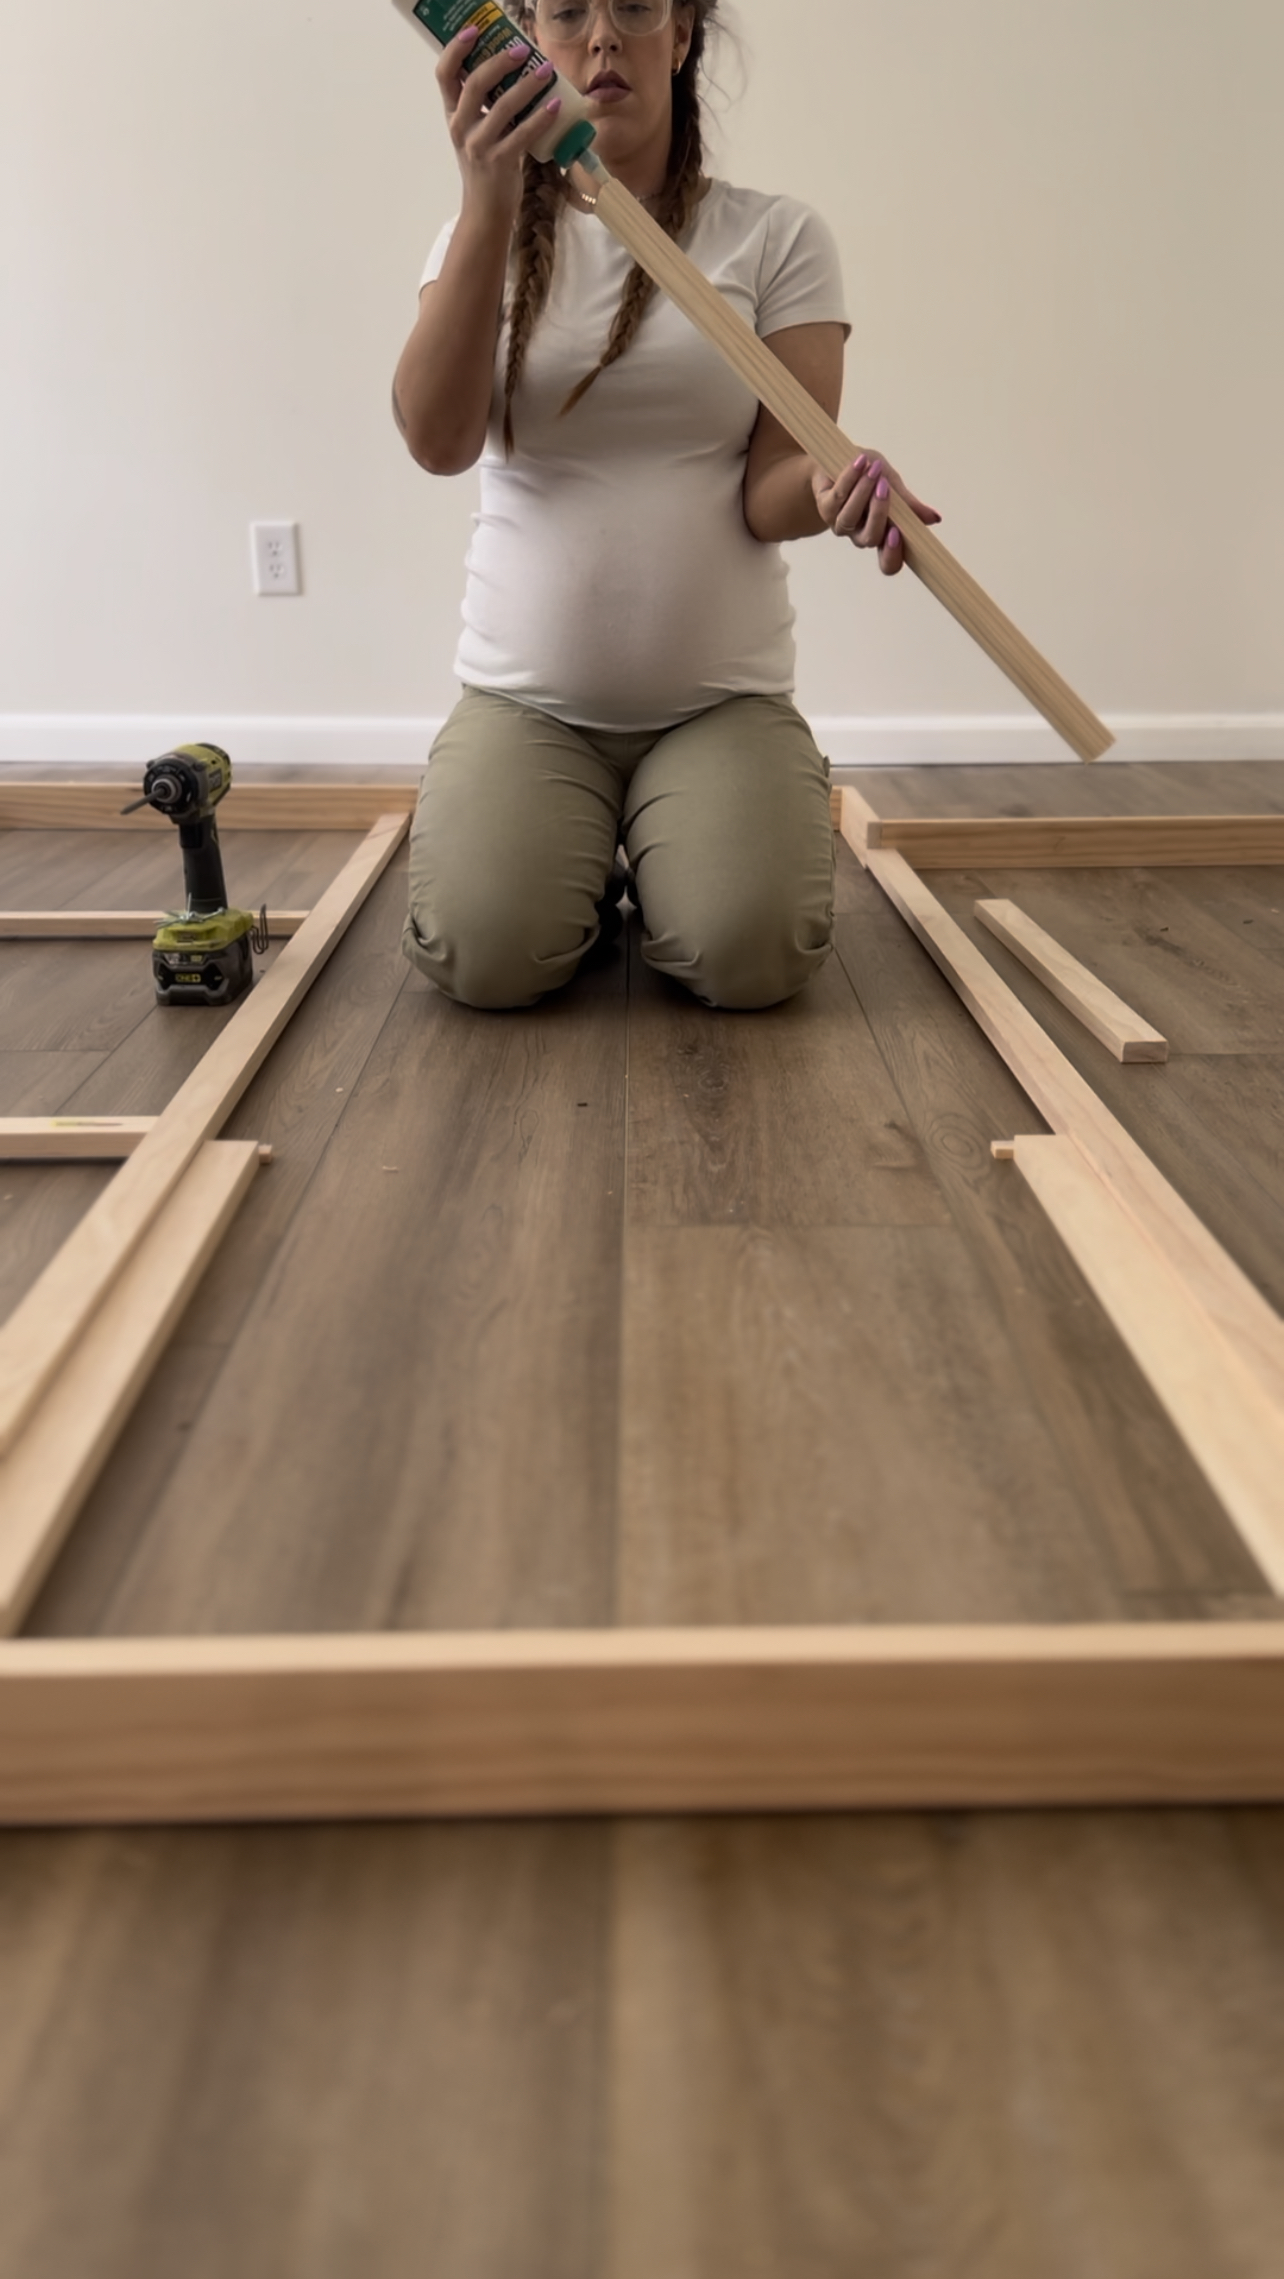
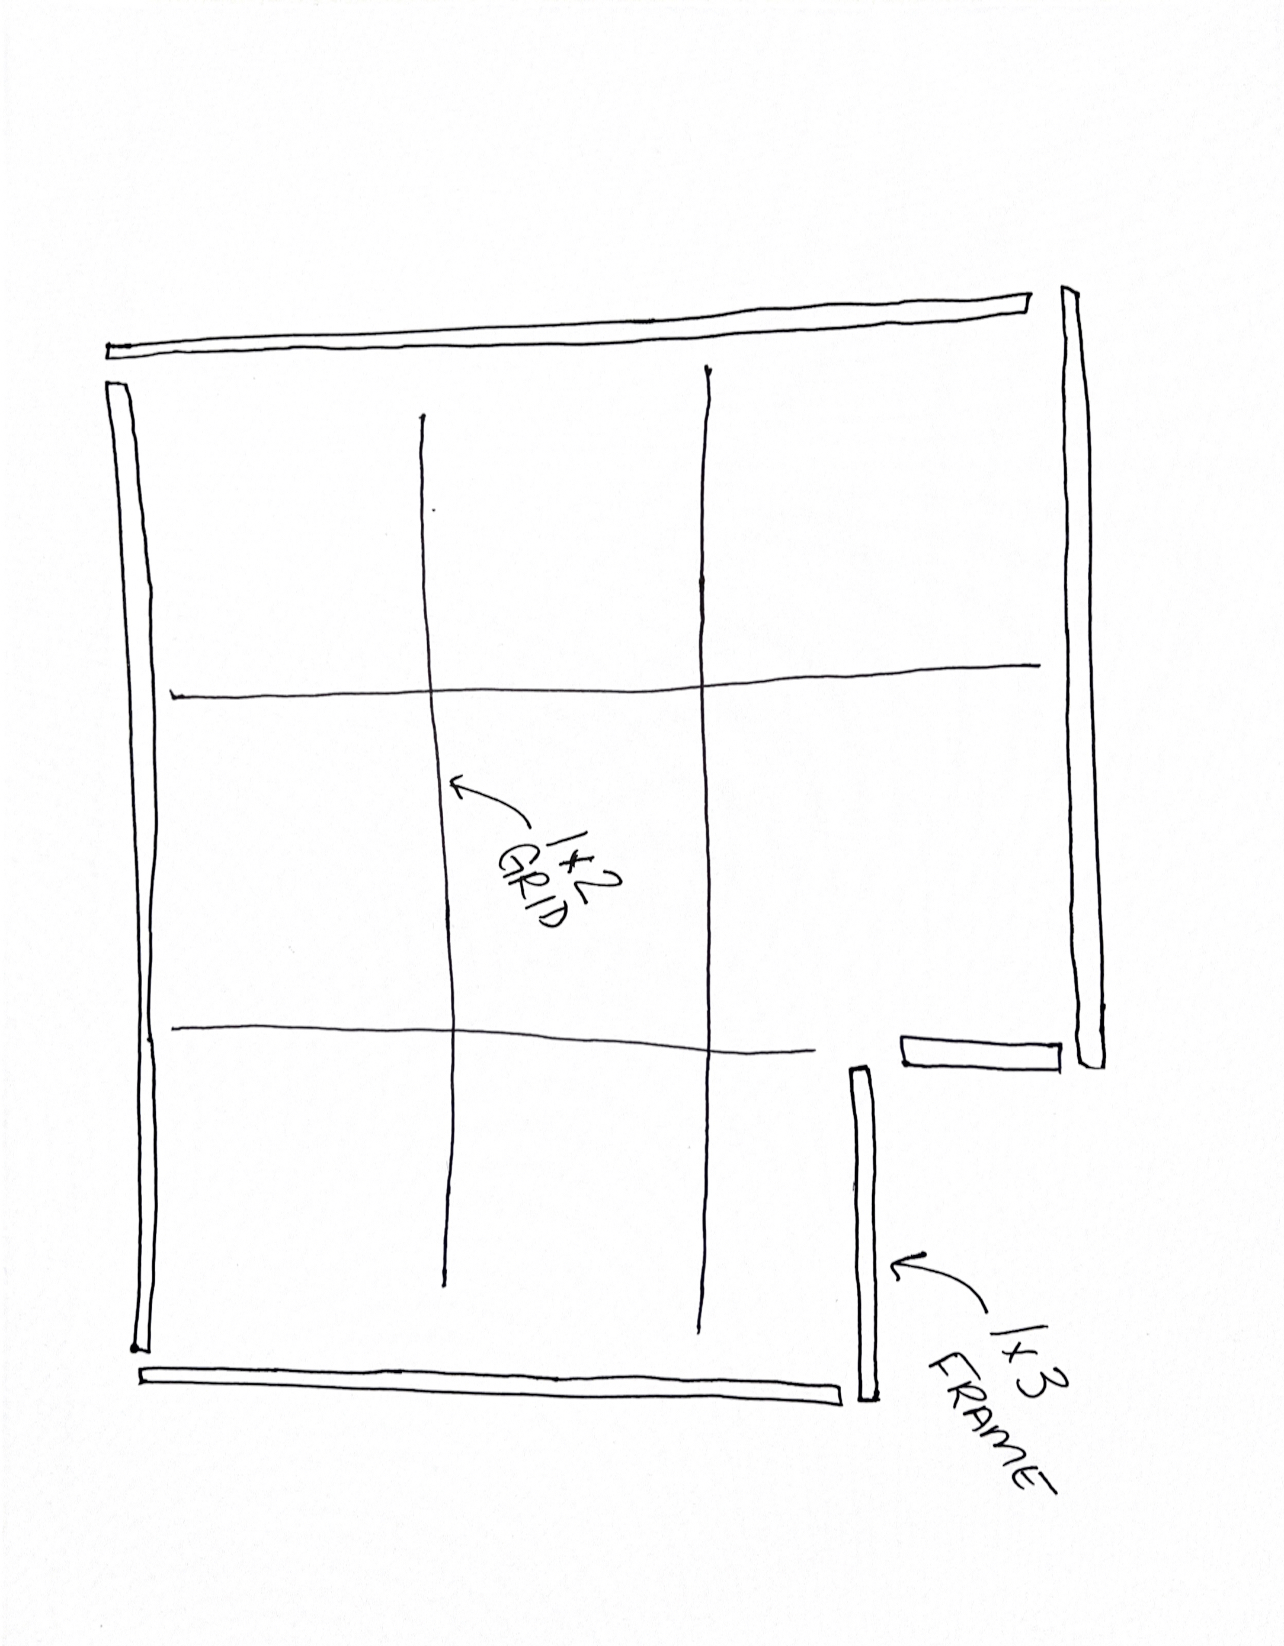
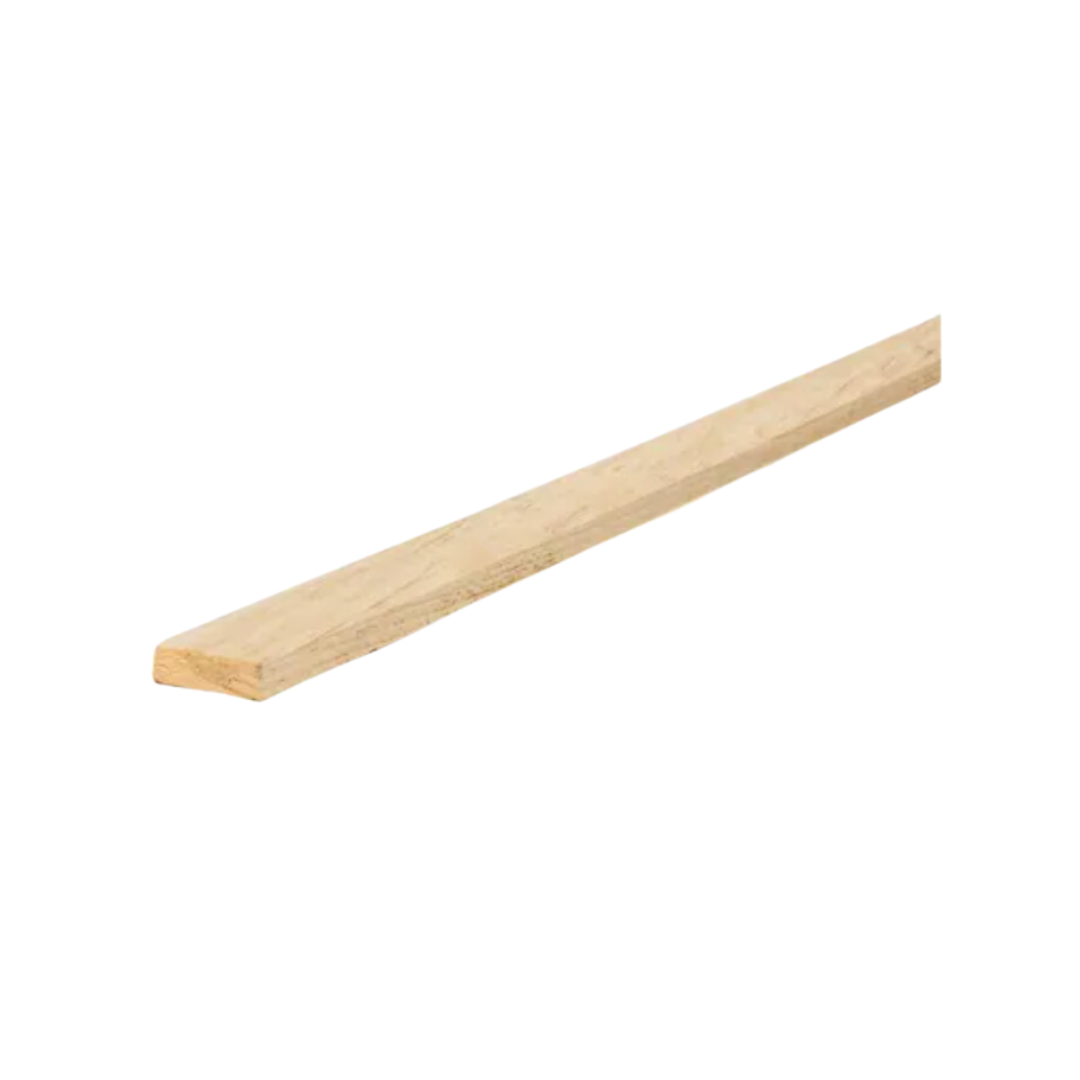
I went to Home Depot to scout materials. I use this select pine for lots of projects, and I thought it be perfect for this. It’s very smooth and sturdy. When sketching this out, I came up with a system that I thought would make the most sense which would be an outside frame with two grids sandwiching the glass between sitting inside of that frame. Once I had my sketches and measurements ready to go, I went for the supplies. I bought 4 1×3‘s for the outside frame. And then bought several 1×2‘s for the grids.

Measurements
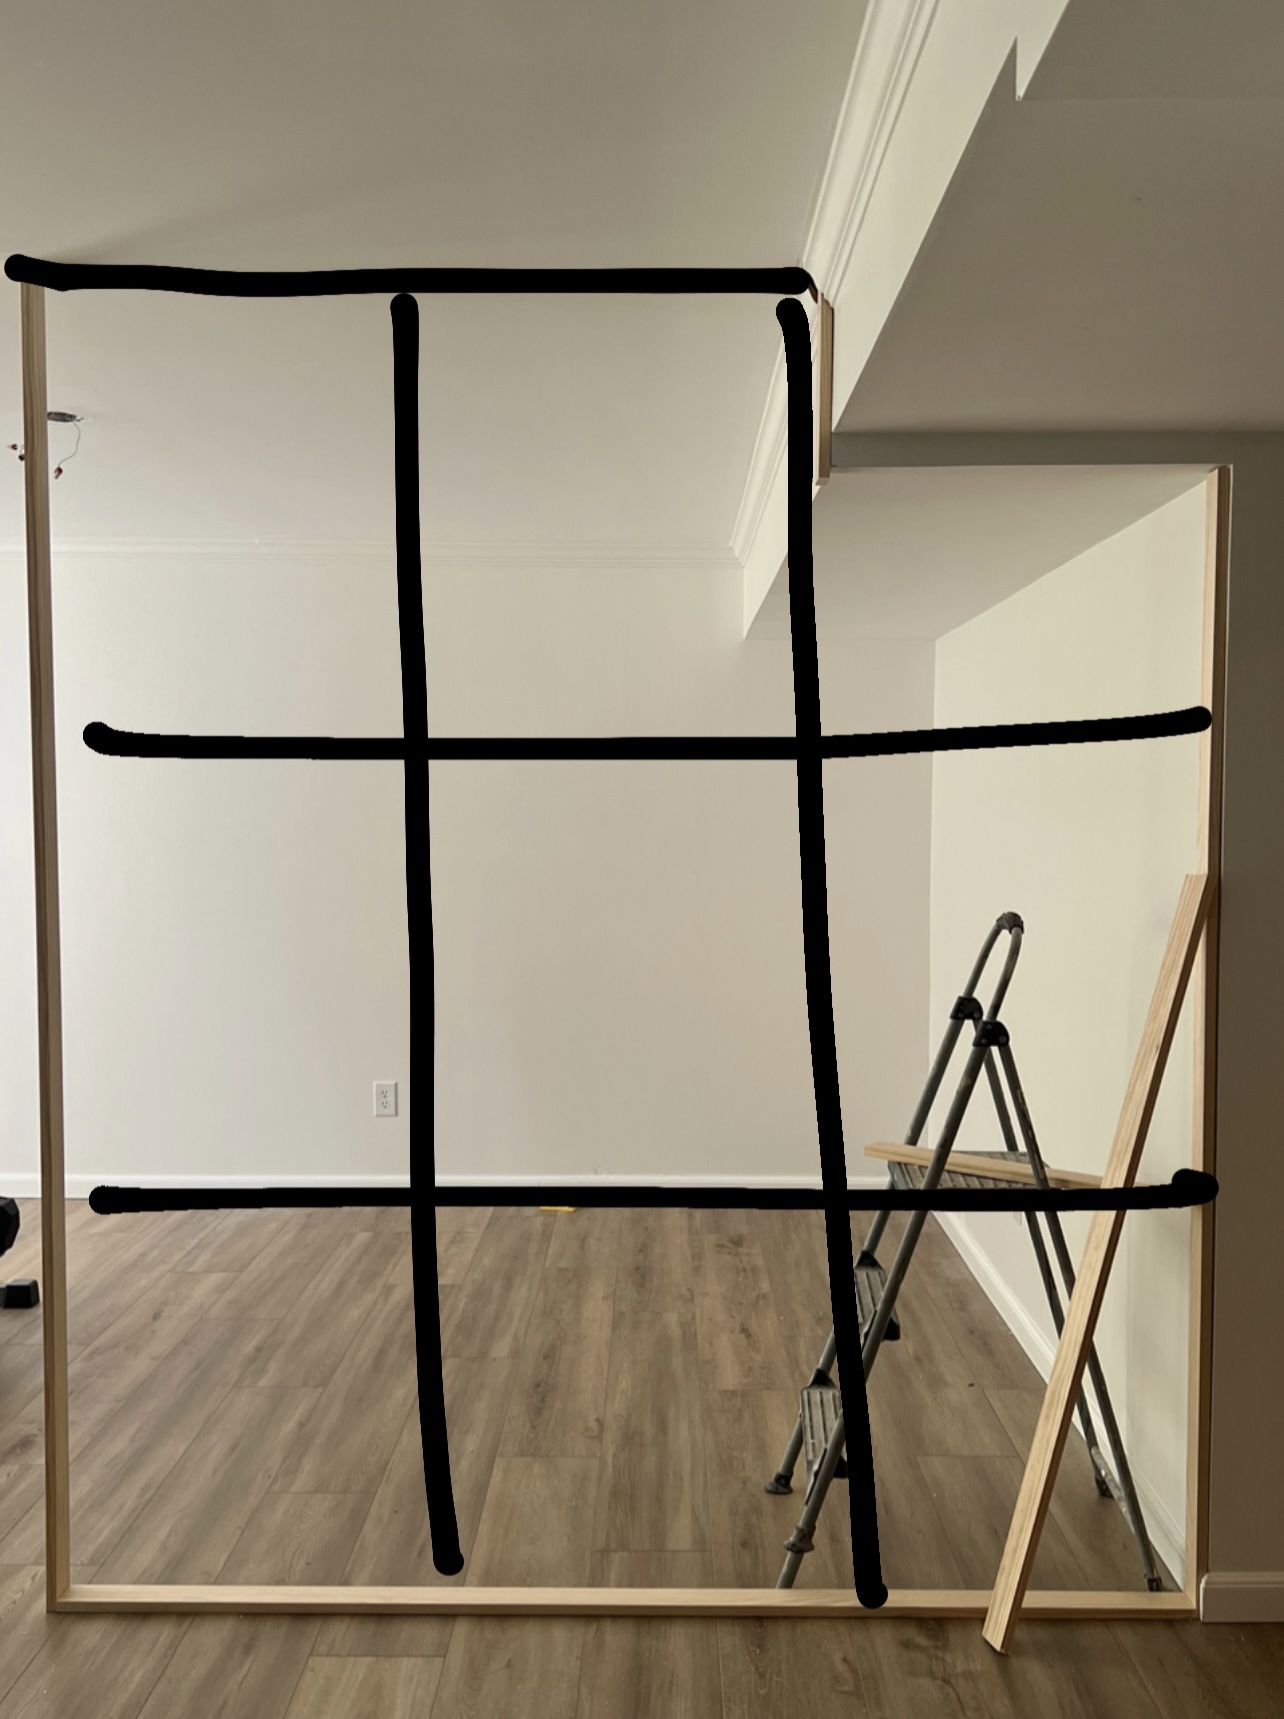
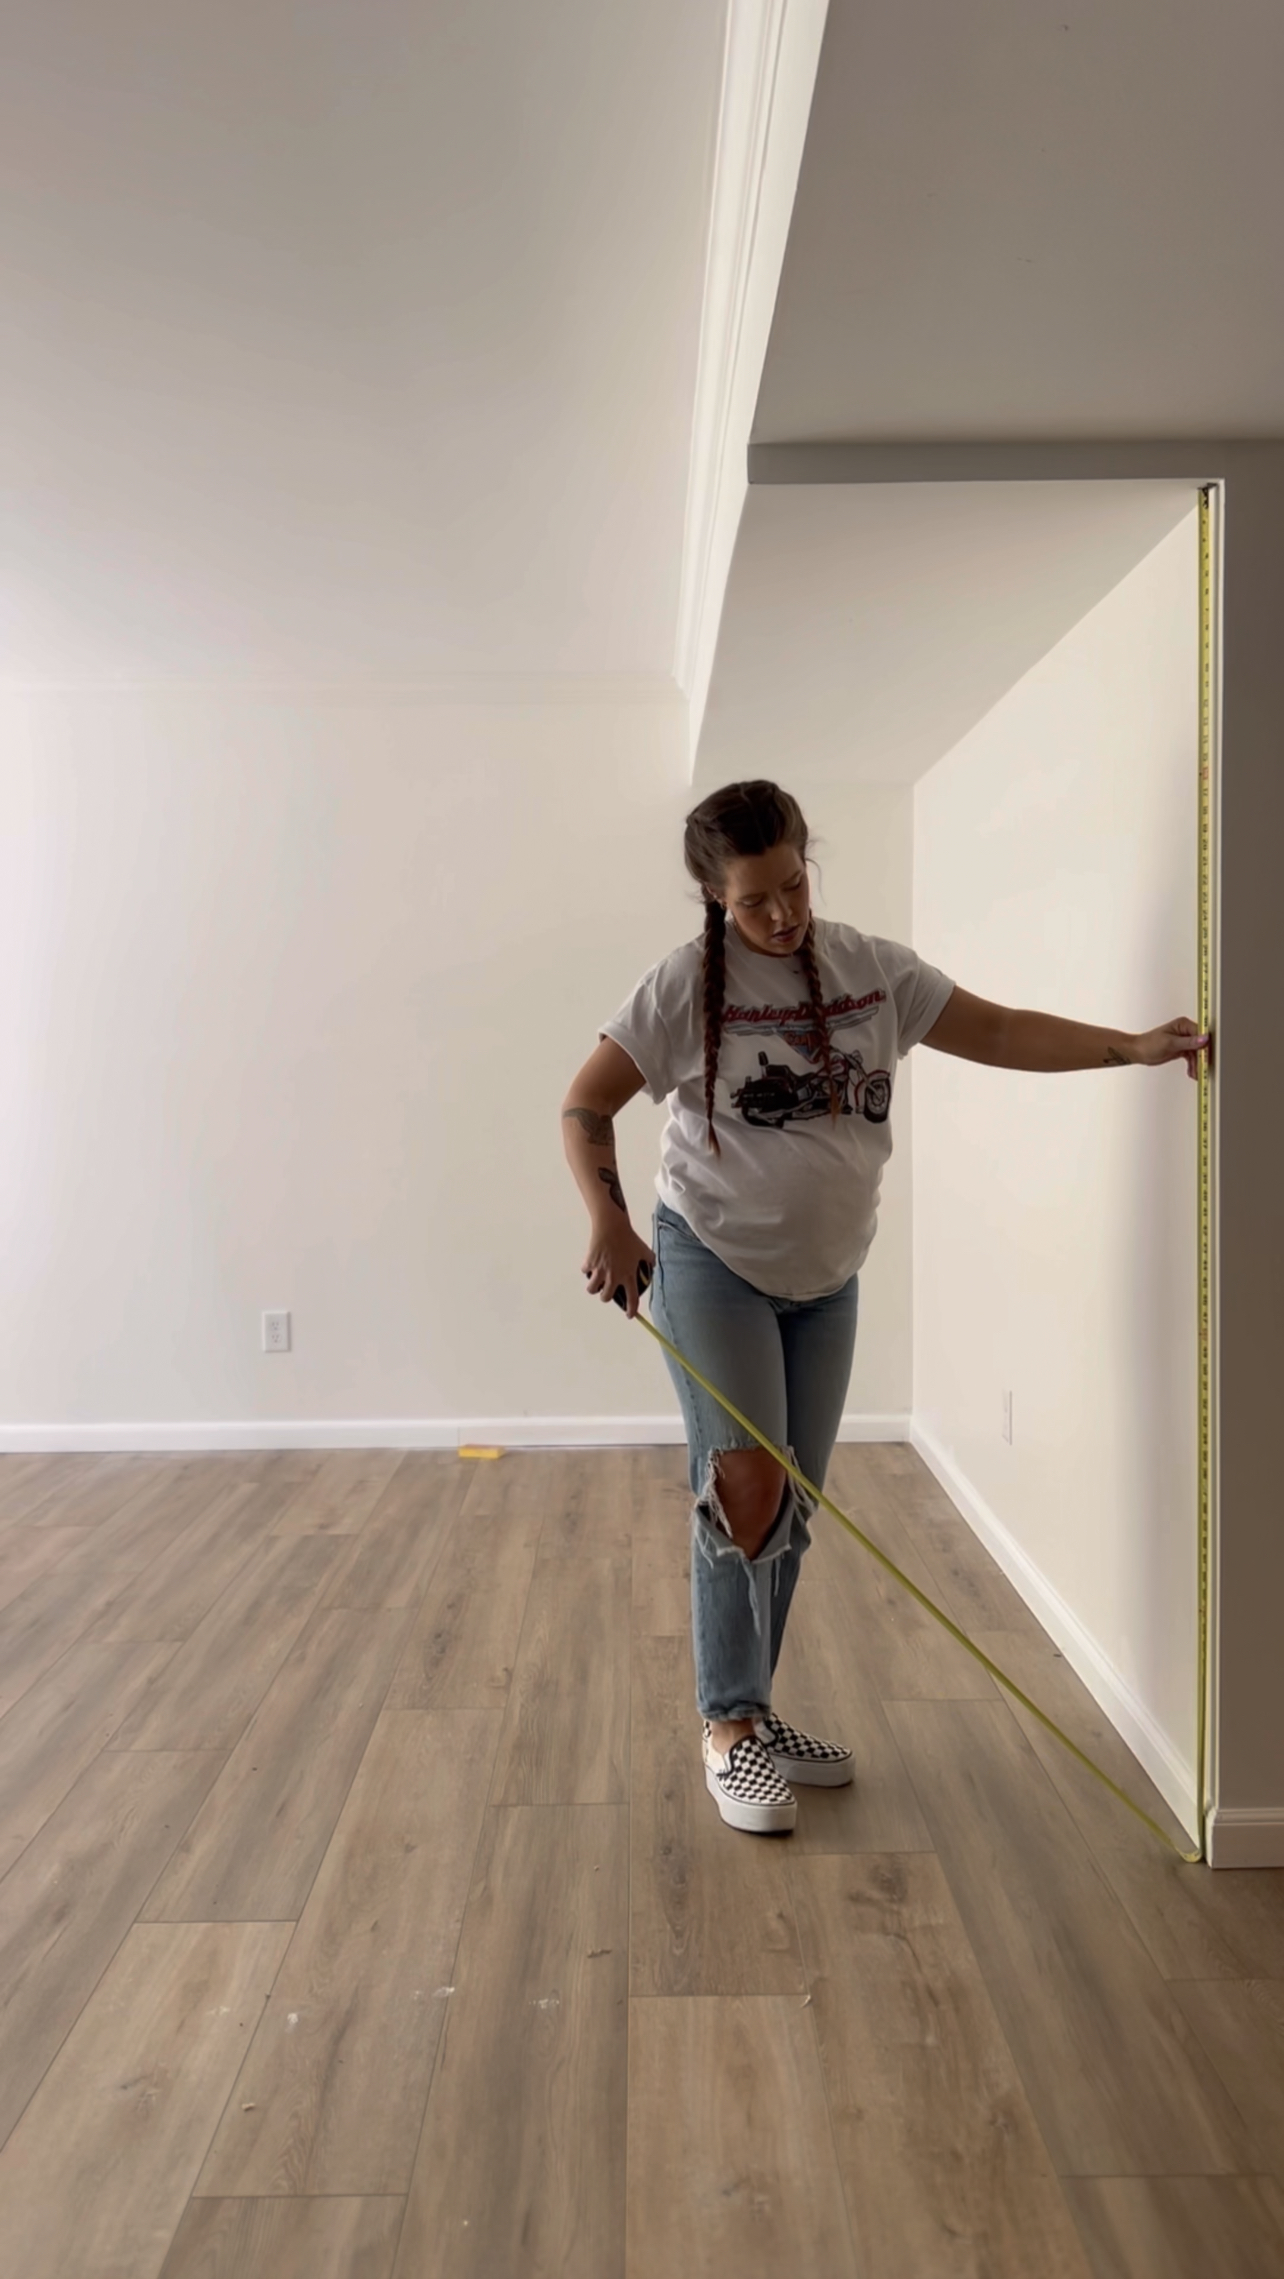
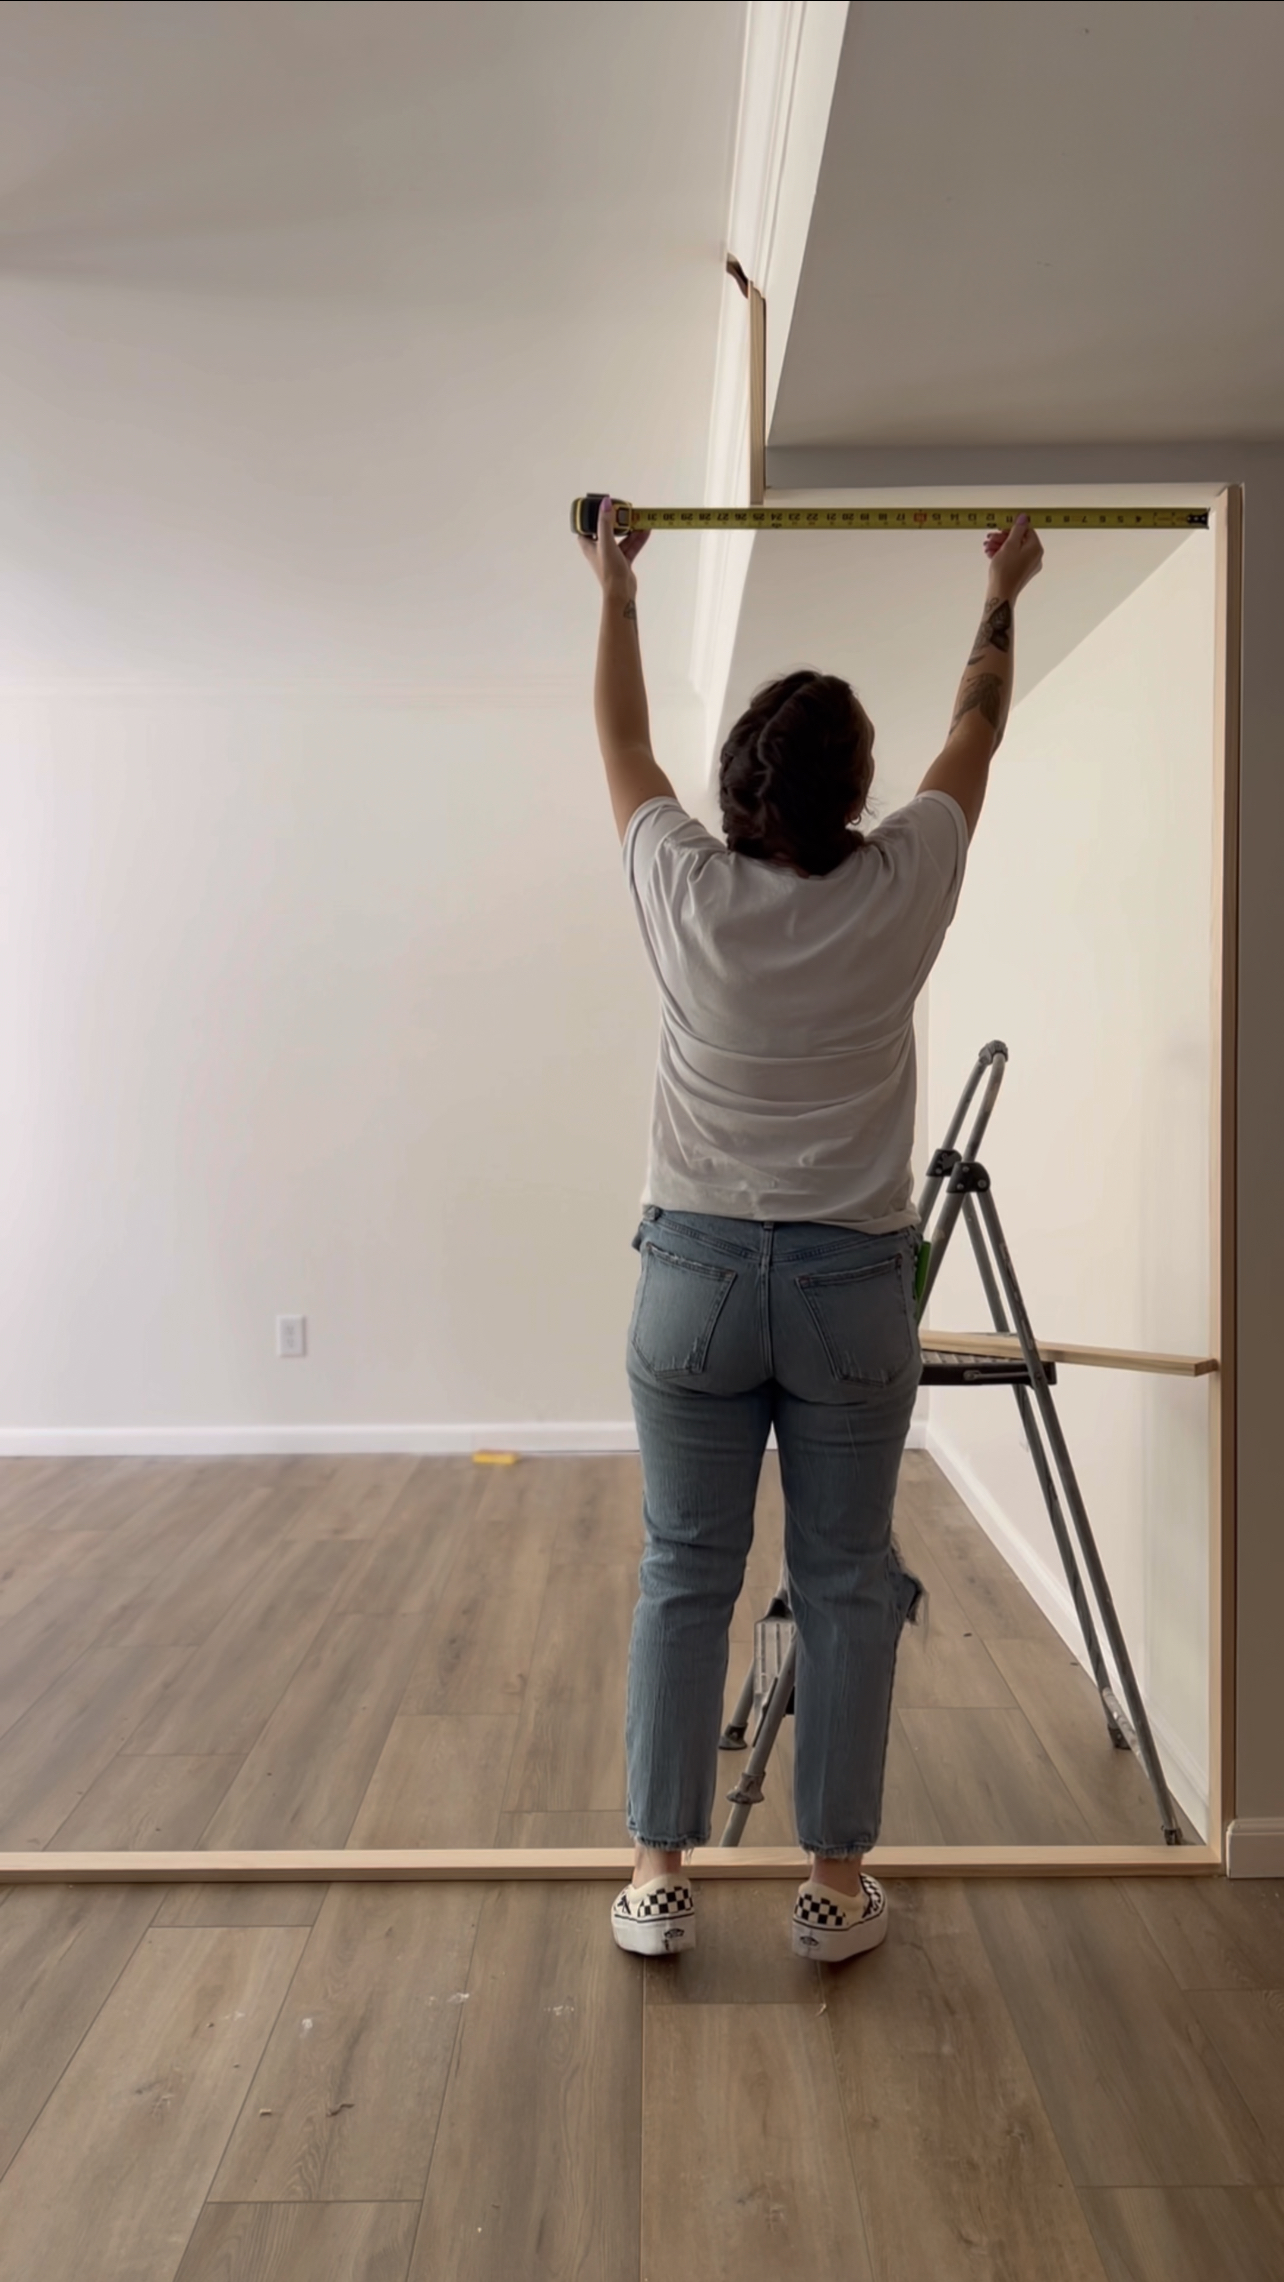
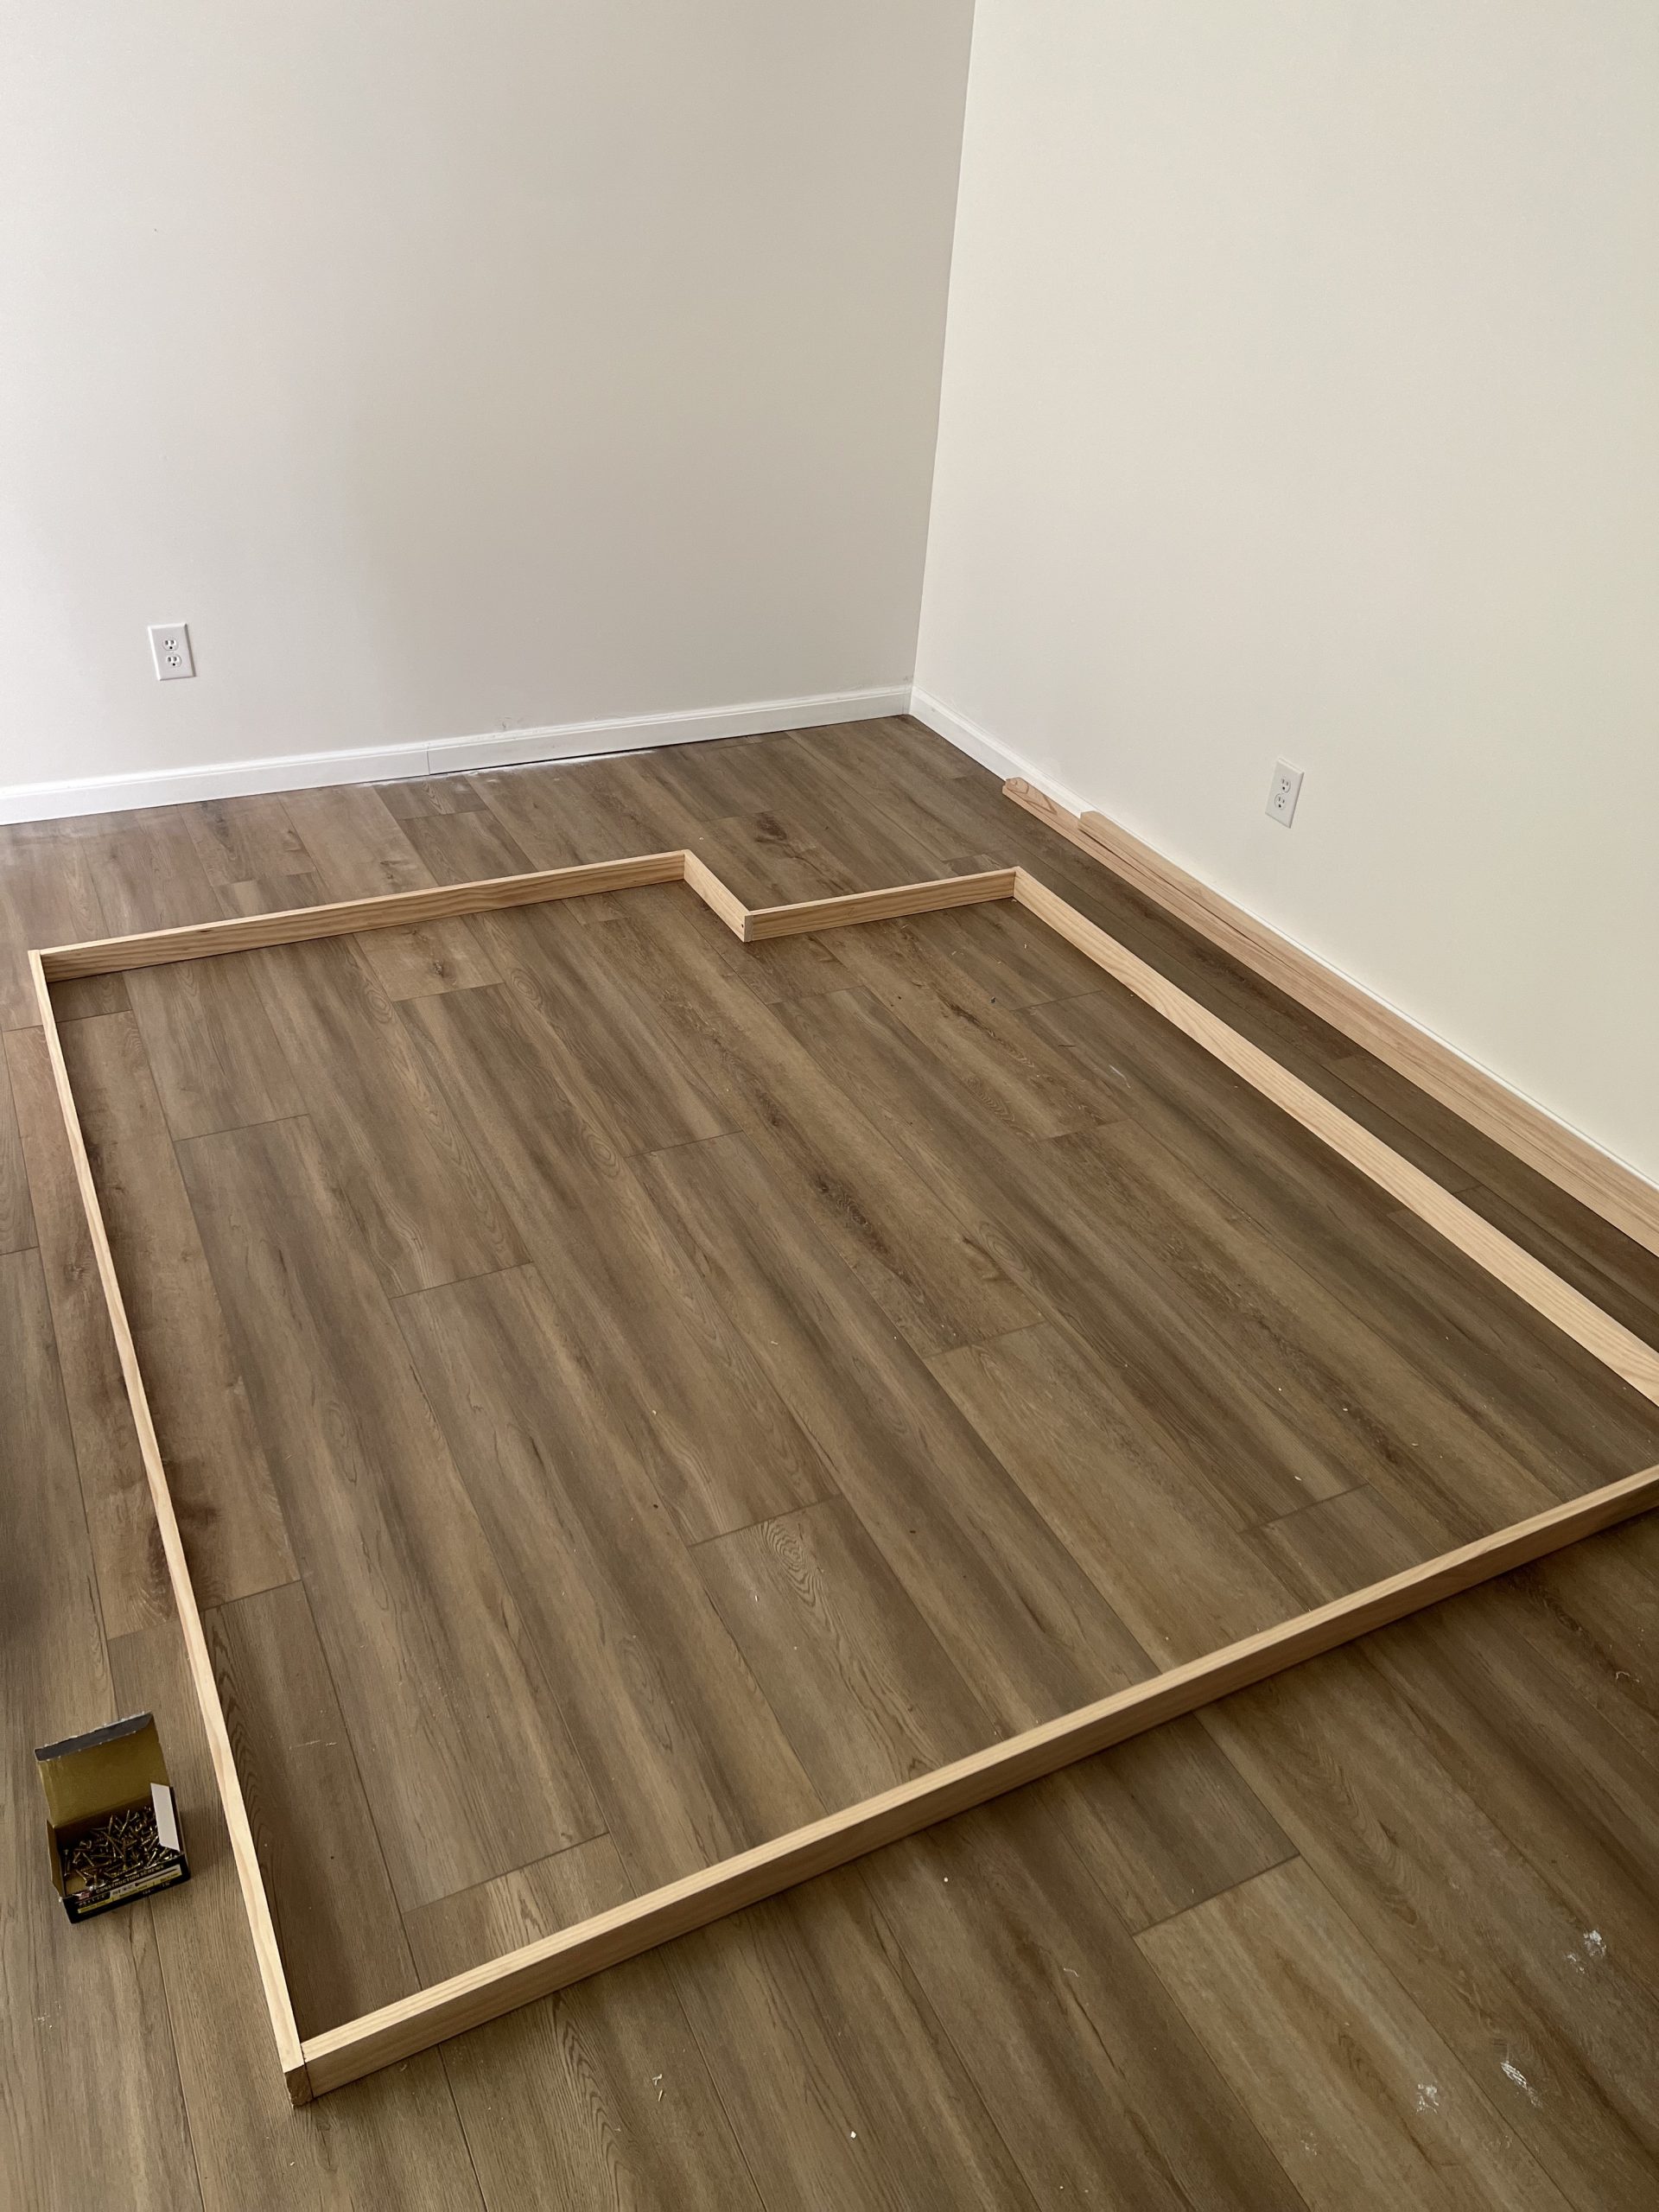
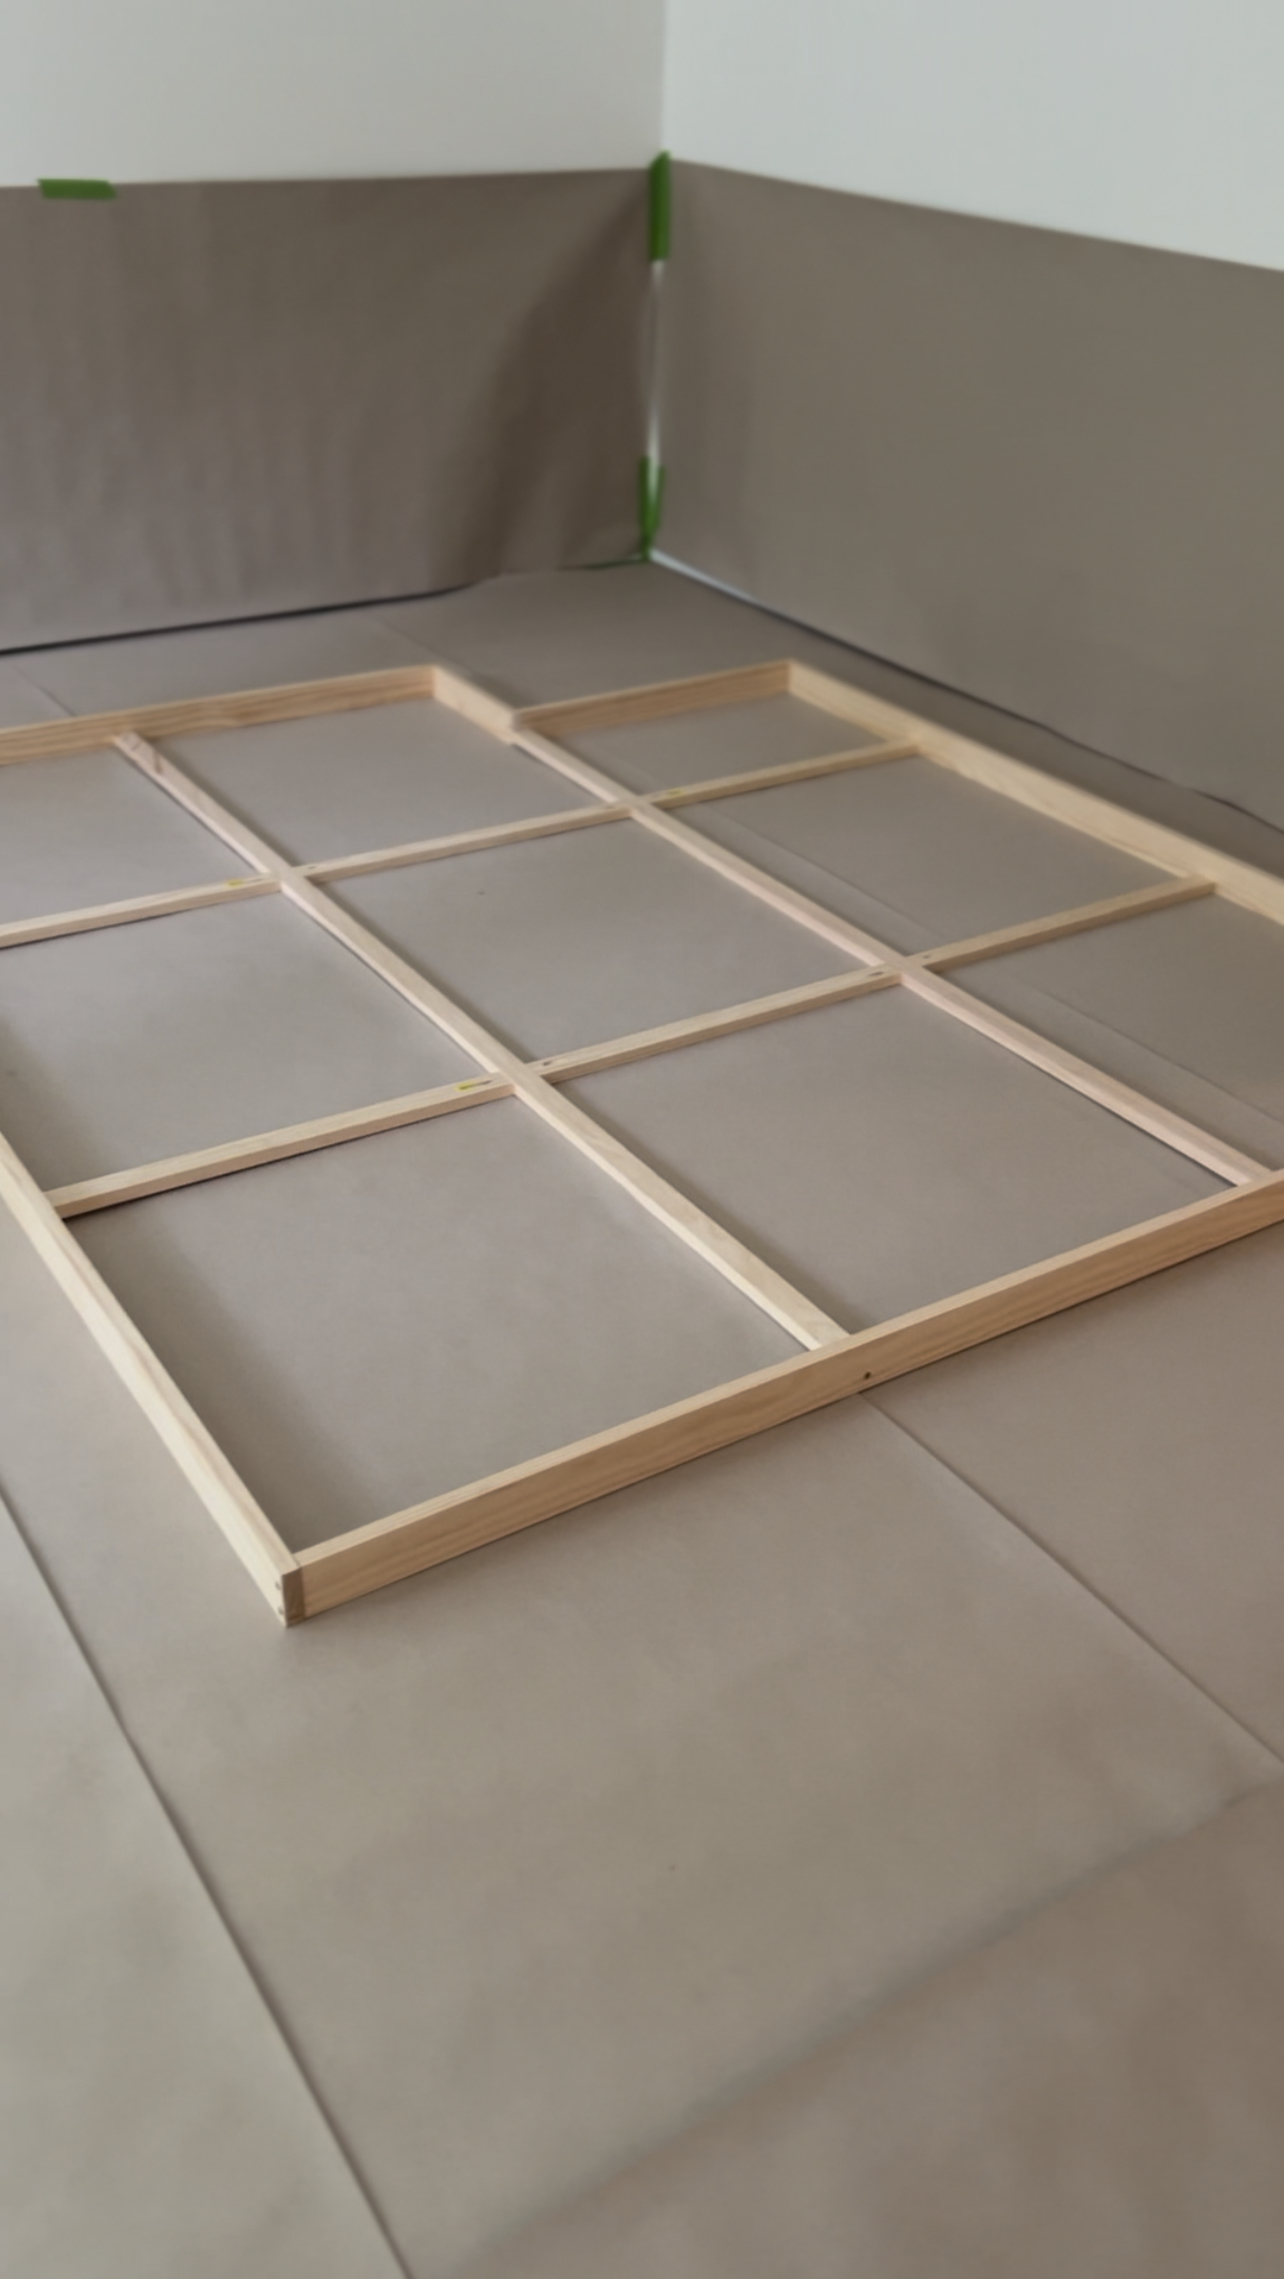
To get started, I had David help me come up with measurements. My pregnancy brain has been really crazy lately, and I did not want to risk messing up the calculations. We figured out that if I wanted to work around the soffit we had to make the squares at least as wide as the soffit. Also, since I was going to be using larger pieces of wood, and since they will be a lot of visual clutter behind the wall, I decided to go with larger grids other than small. After measuring the space, I figured out that we could do a 3 x 3 grid.
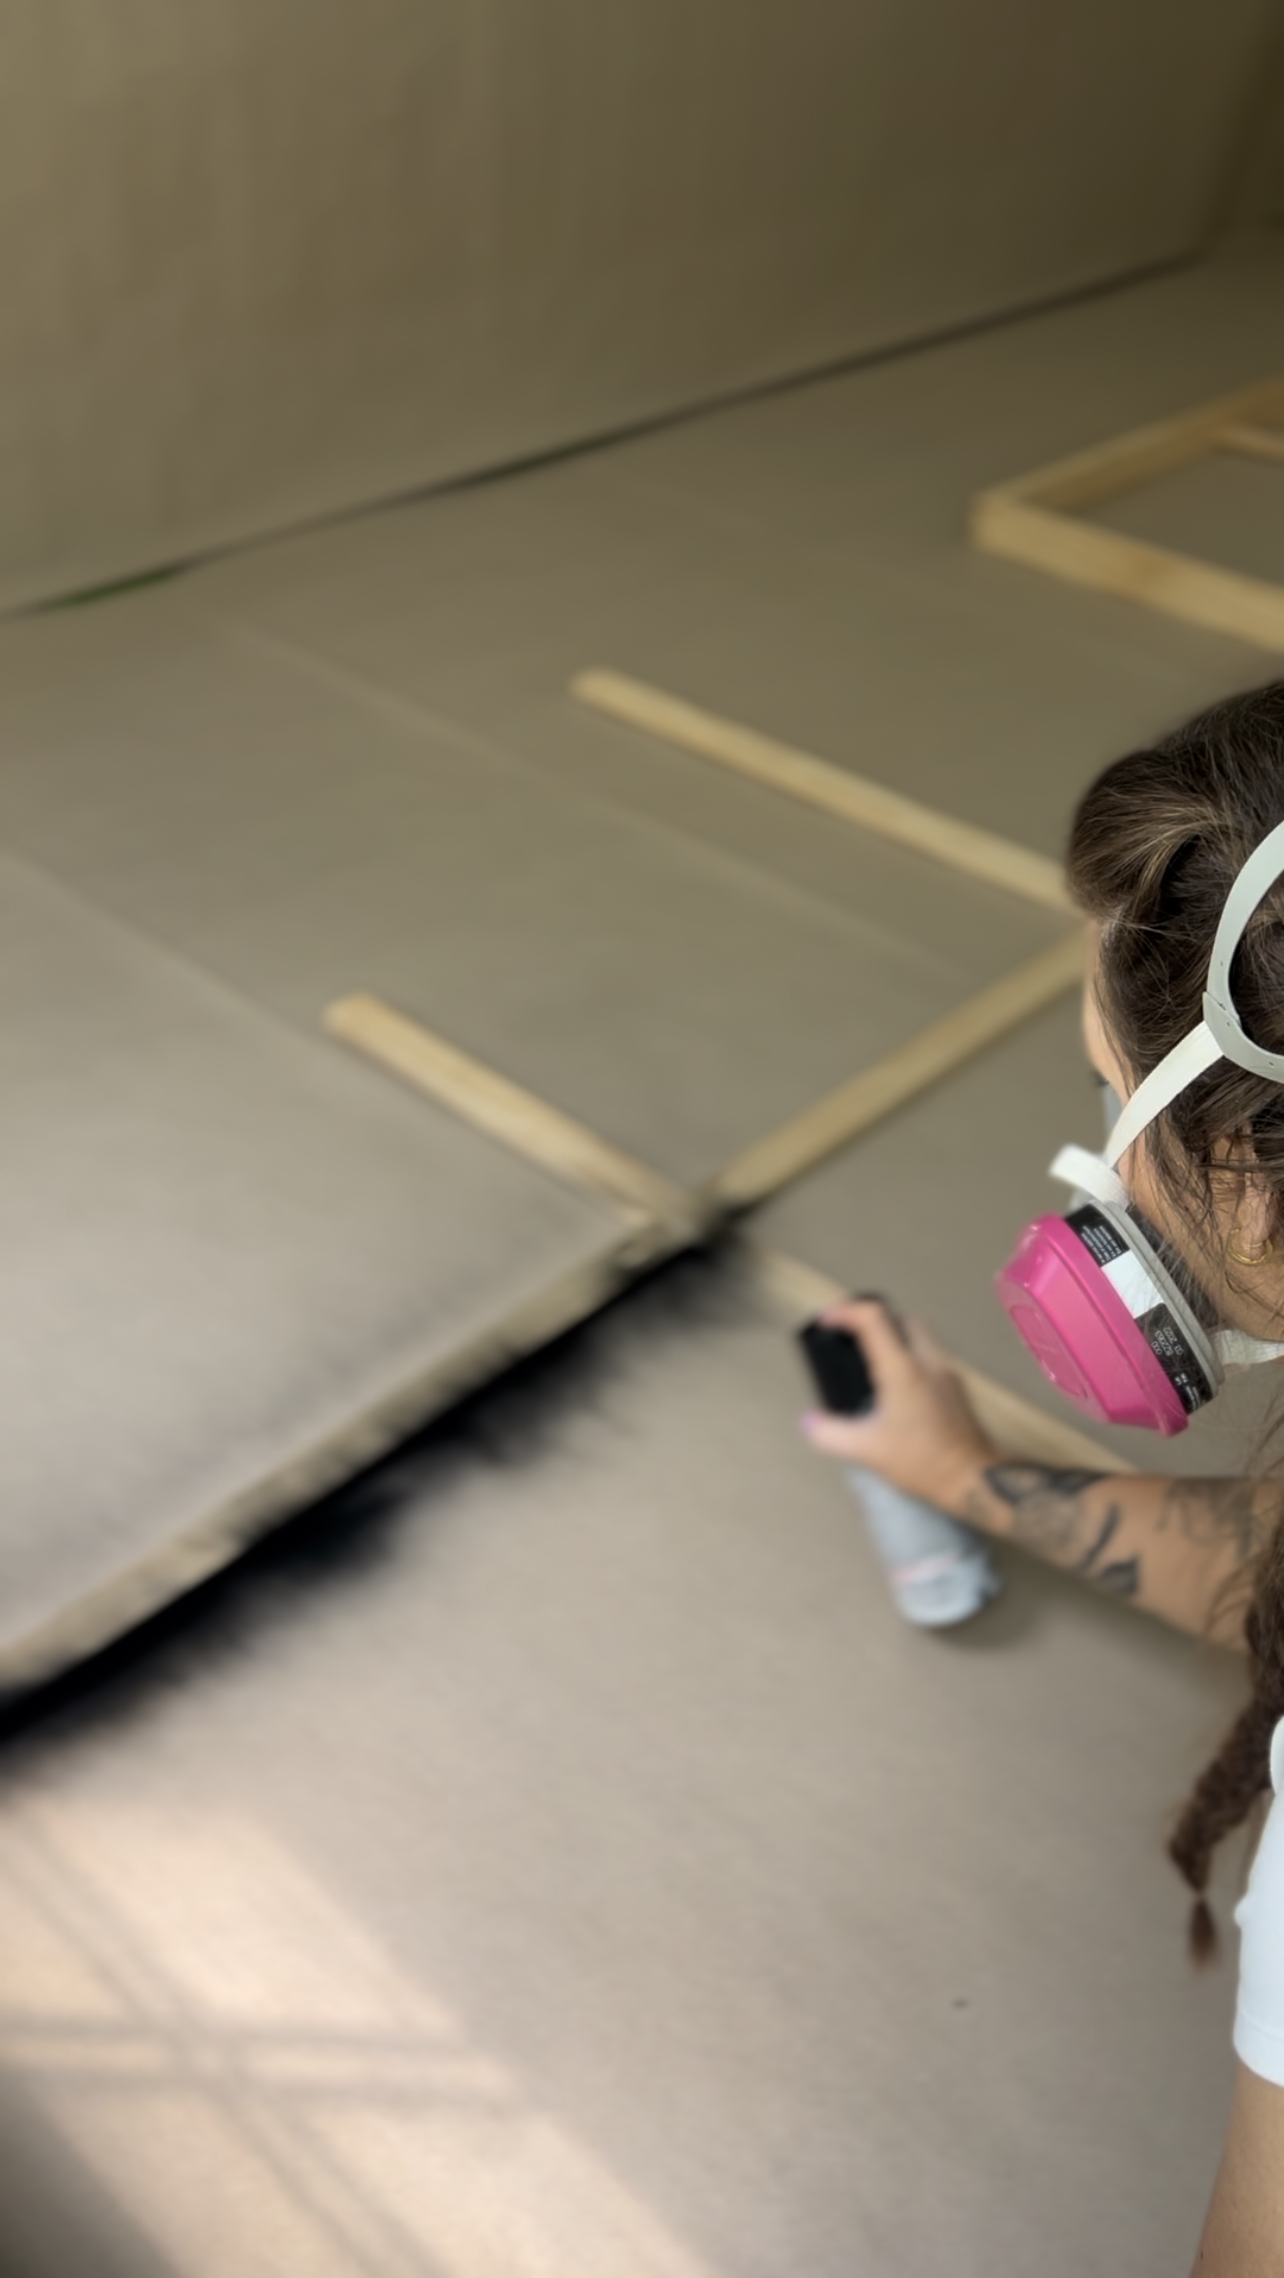
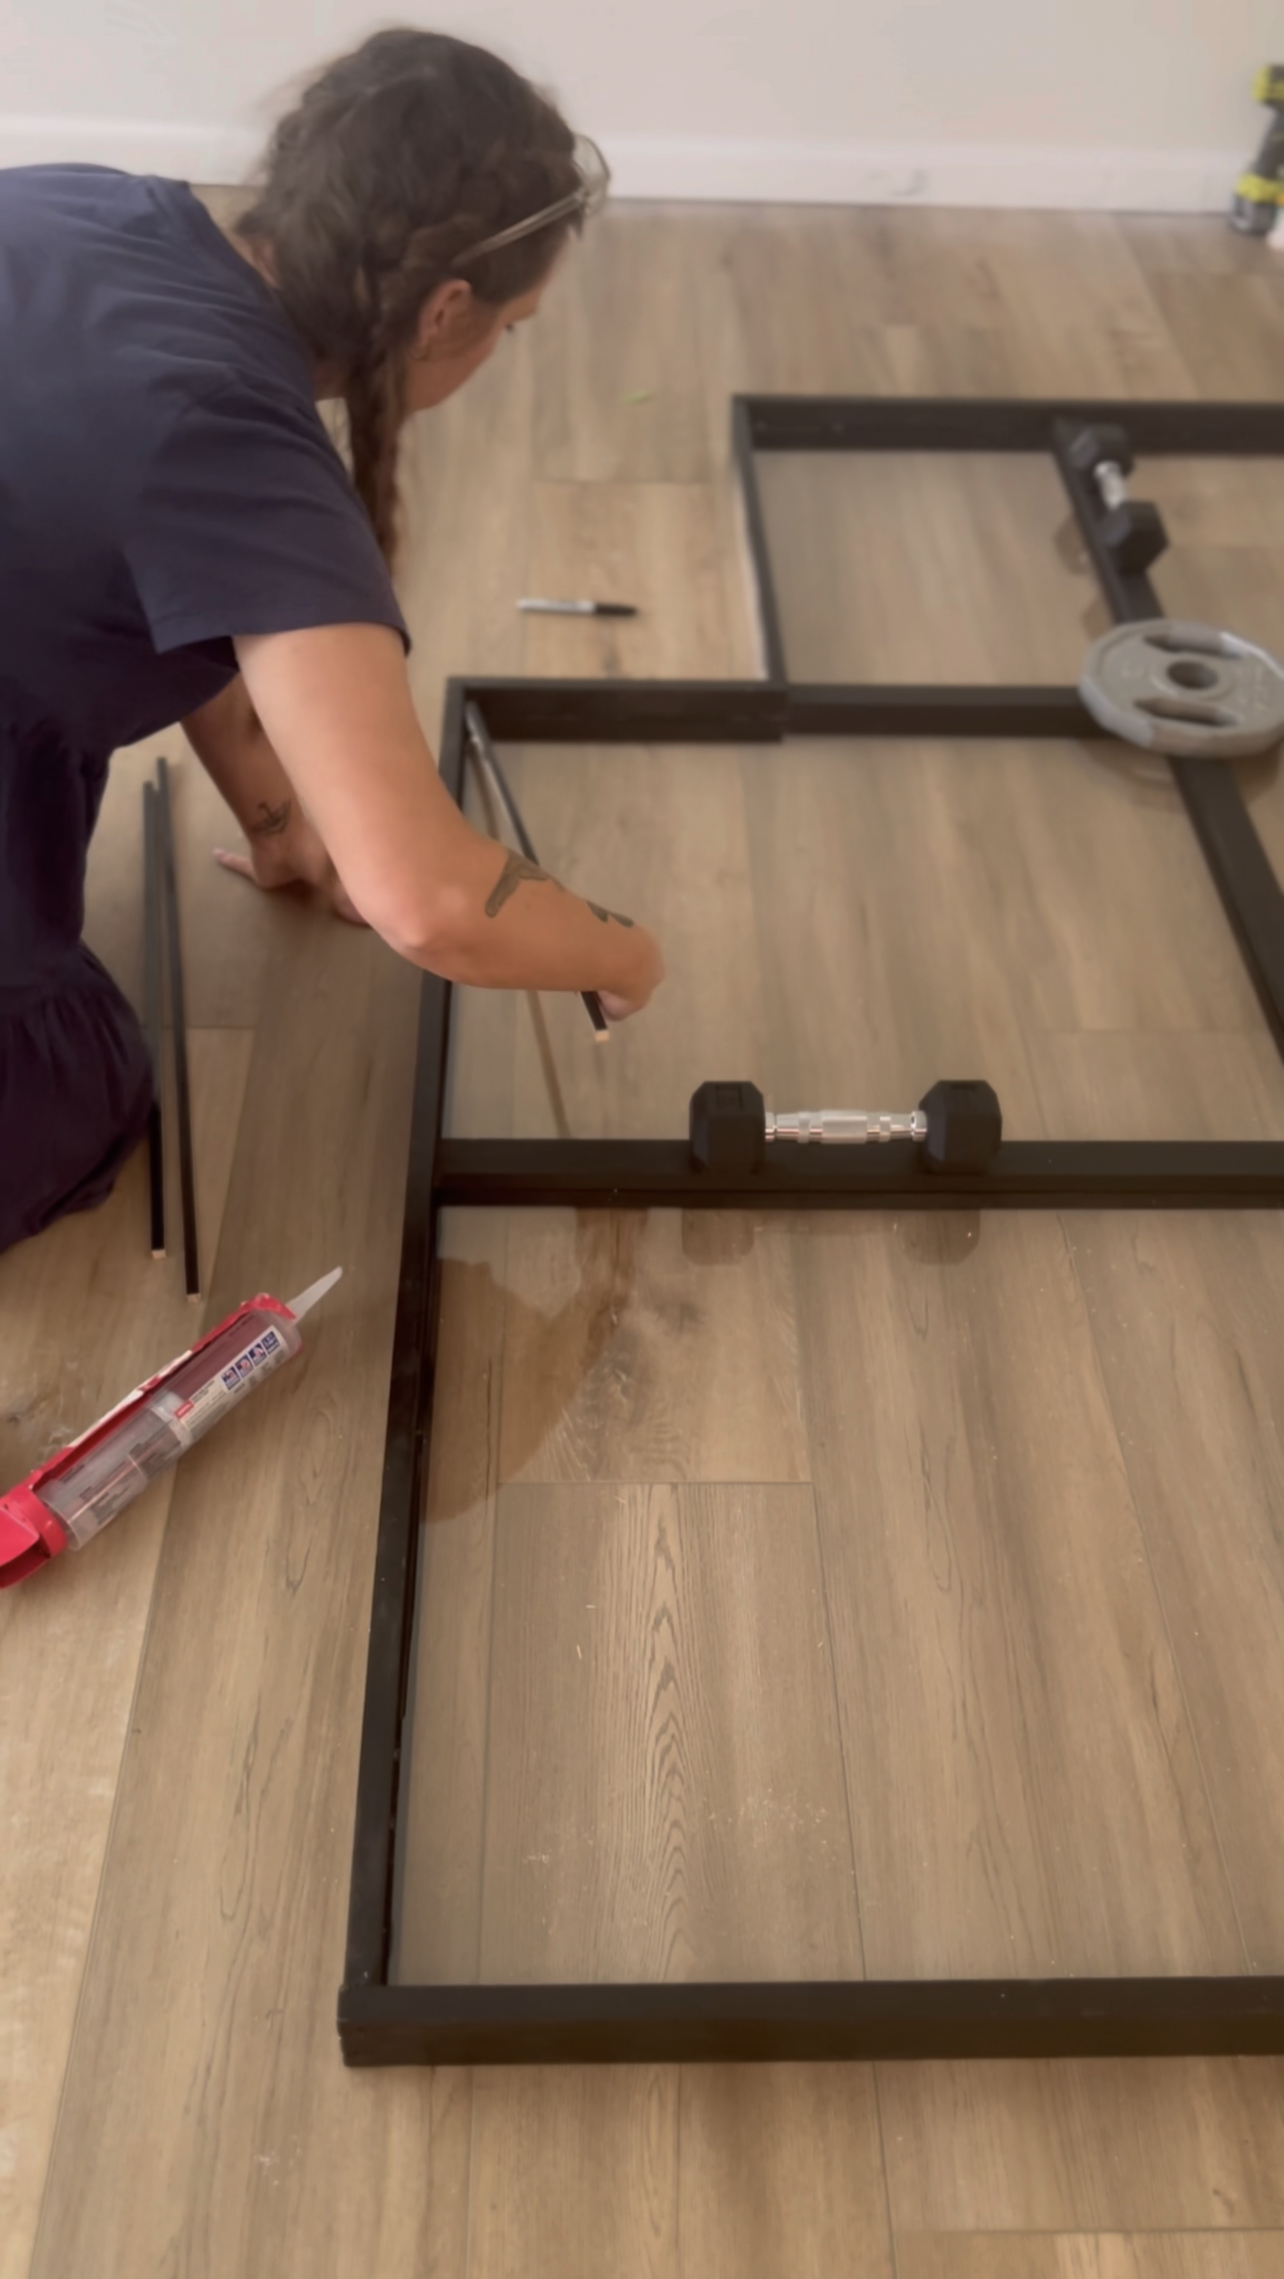
I measured where the outside frame would go and cut pieces accordingly. I did a dry fitting with my pieces on the wall/floor/ceiling and used them to trace and cut my baseboard & crown moulding using my oscillating multi-tool. Then, I used my brad nailer to shot a few nails into the pieces and secure them into the wall/ceiling so that I could step back and take a look to make sure that I liked the sizing I had decided on.
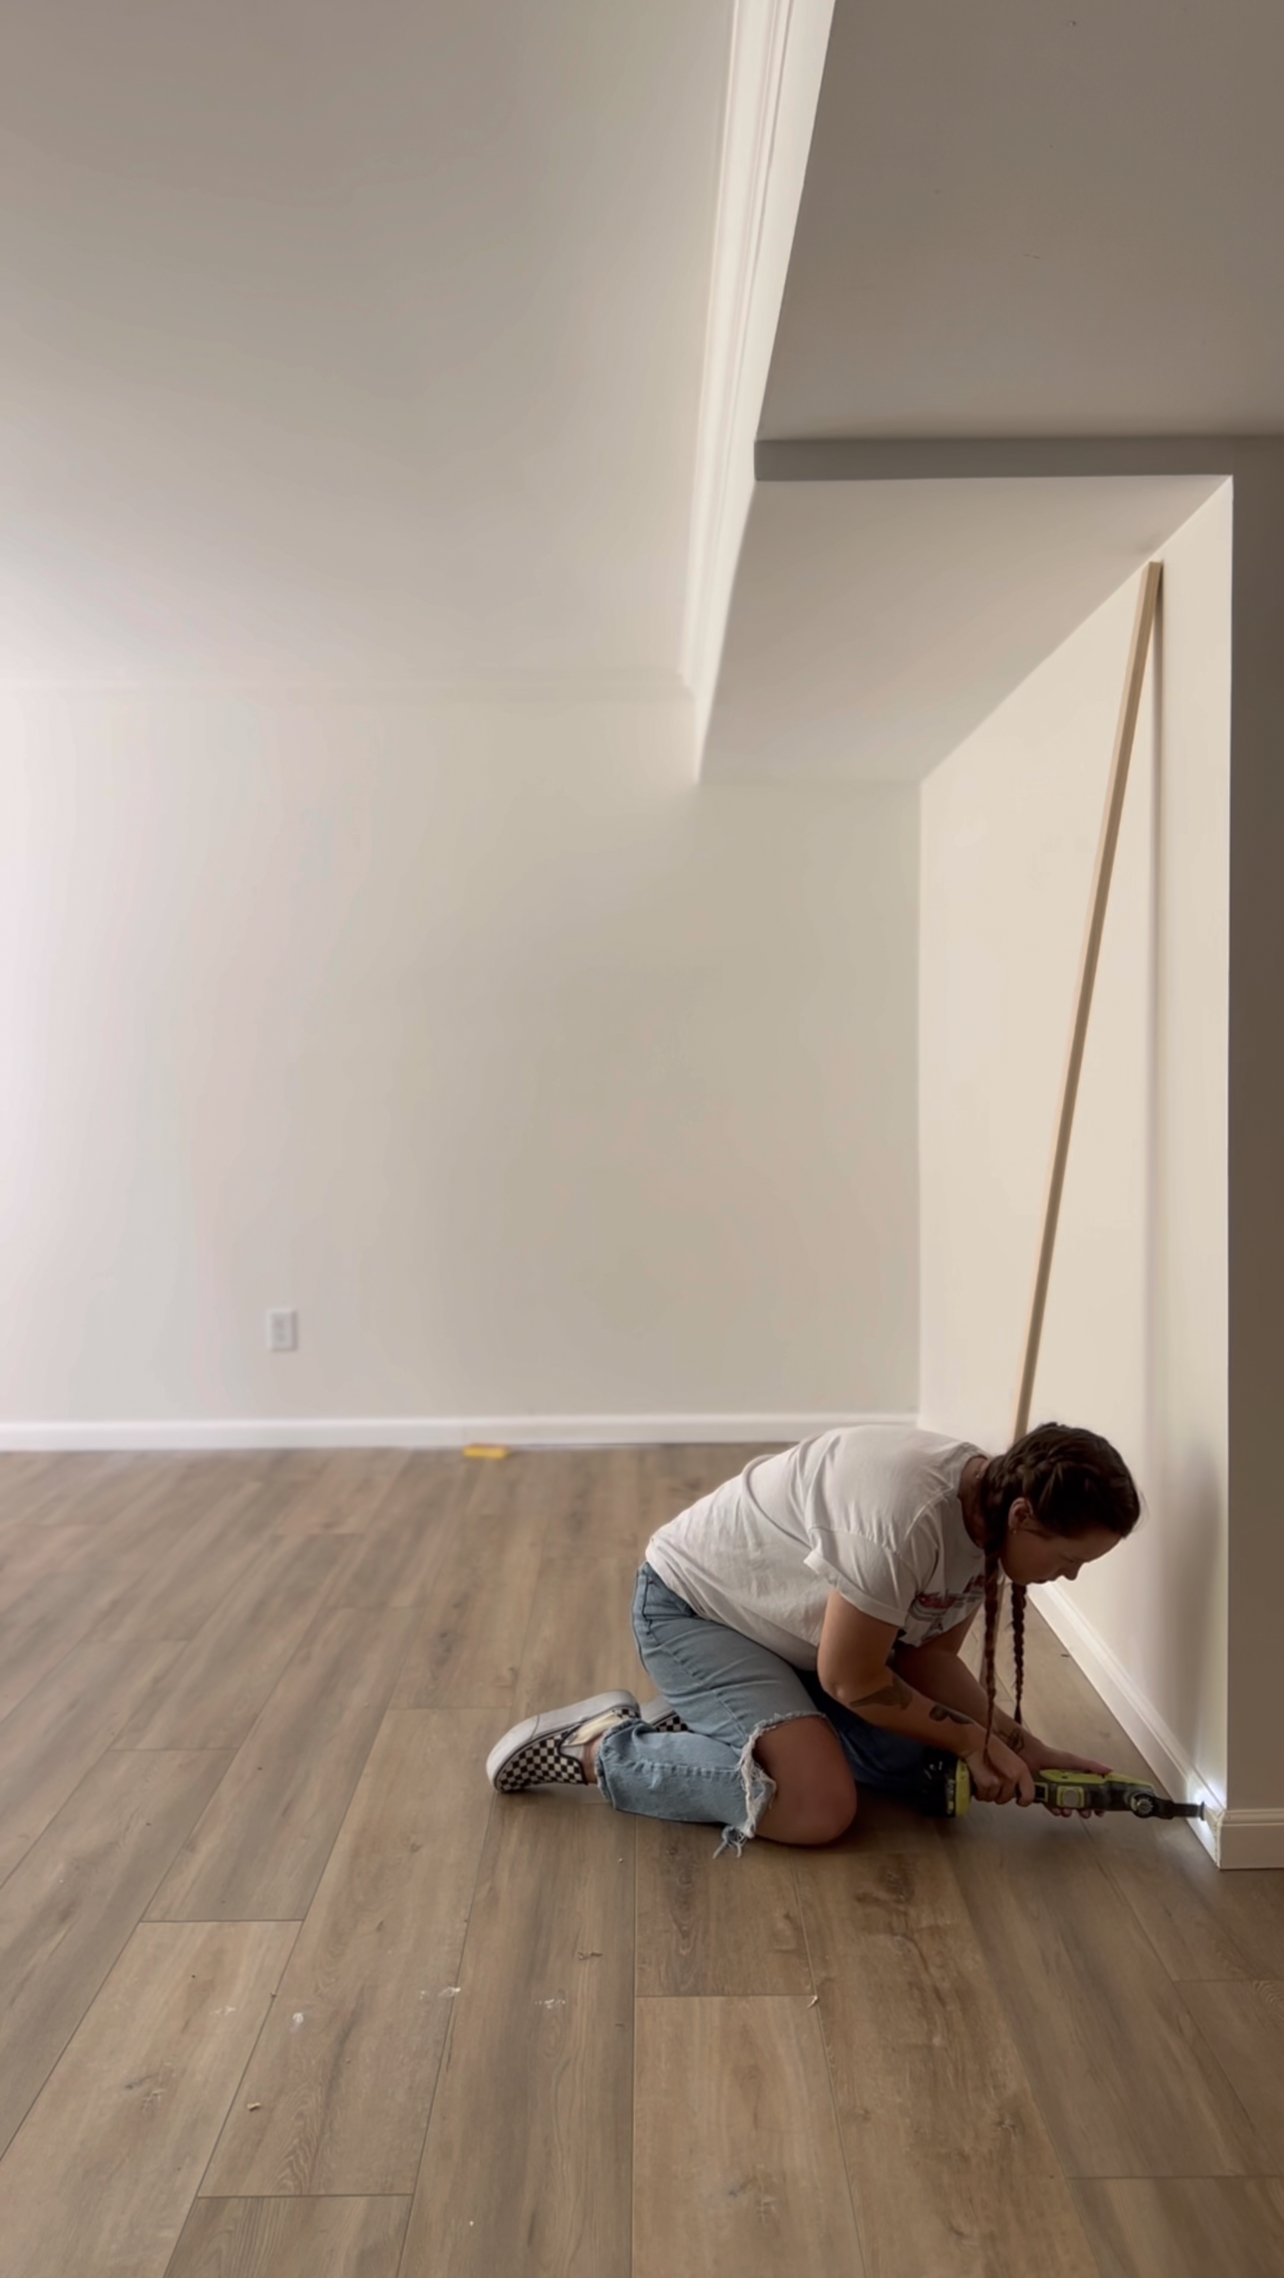

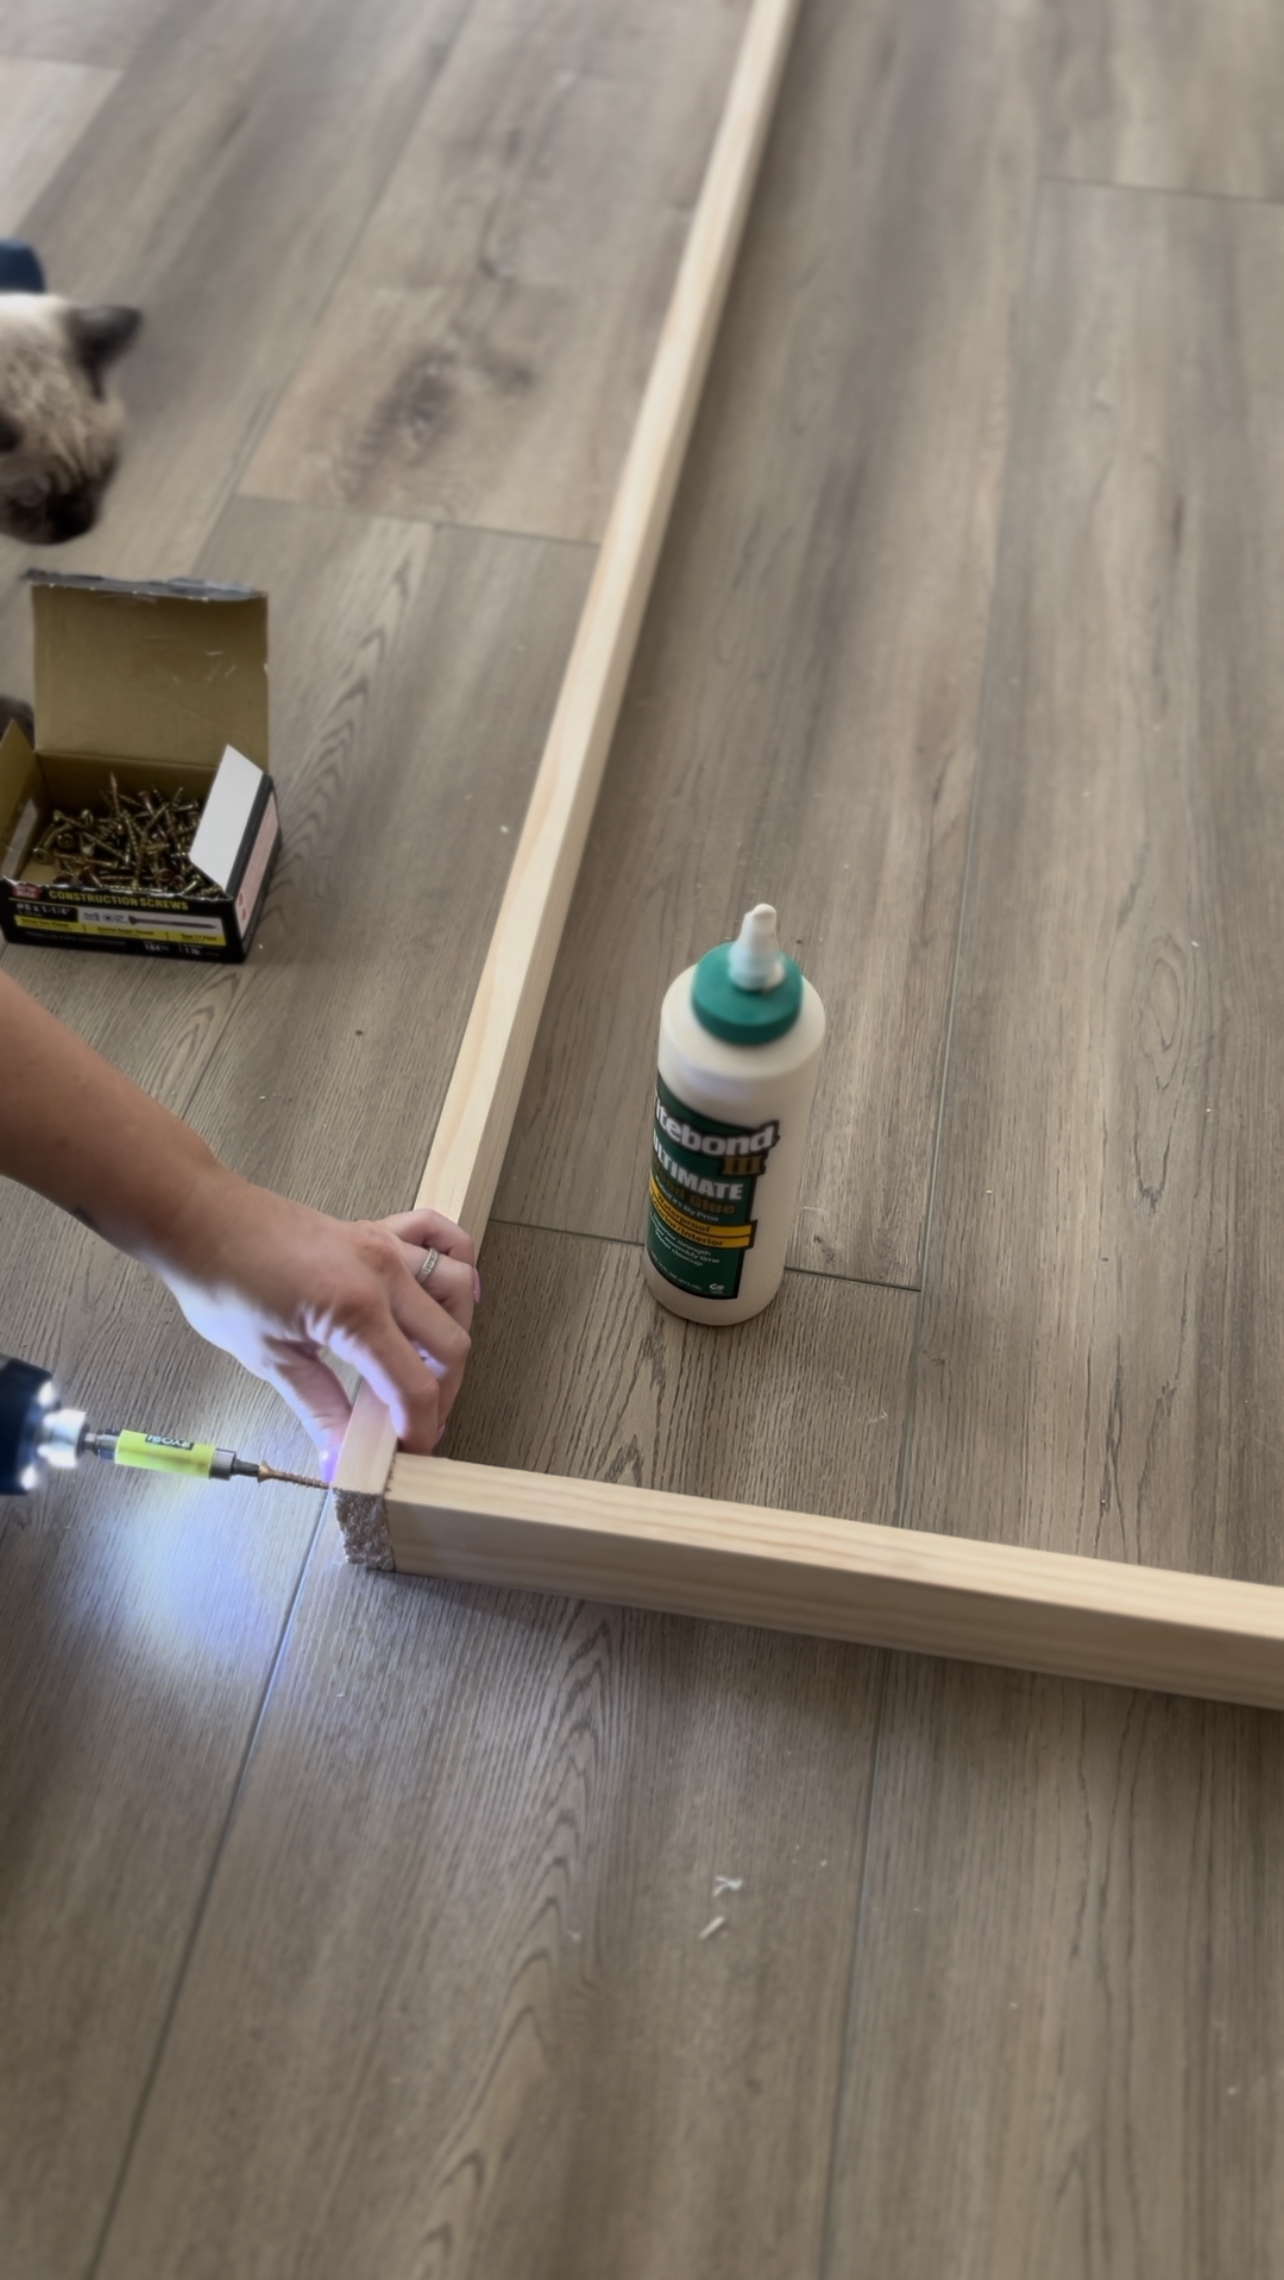
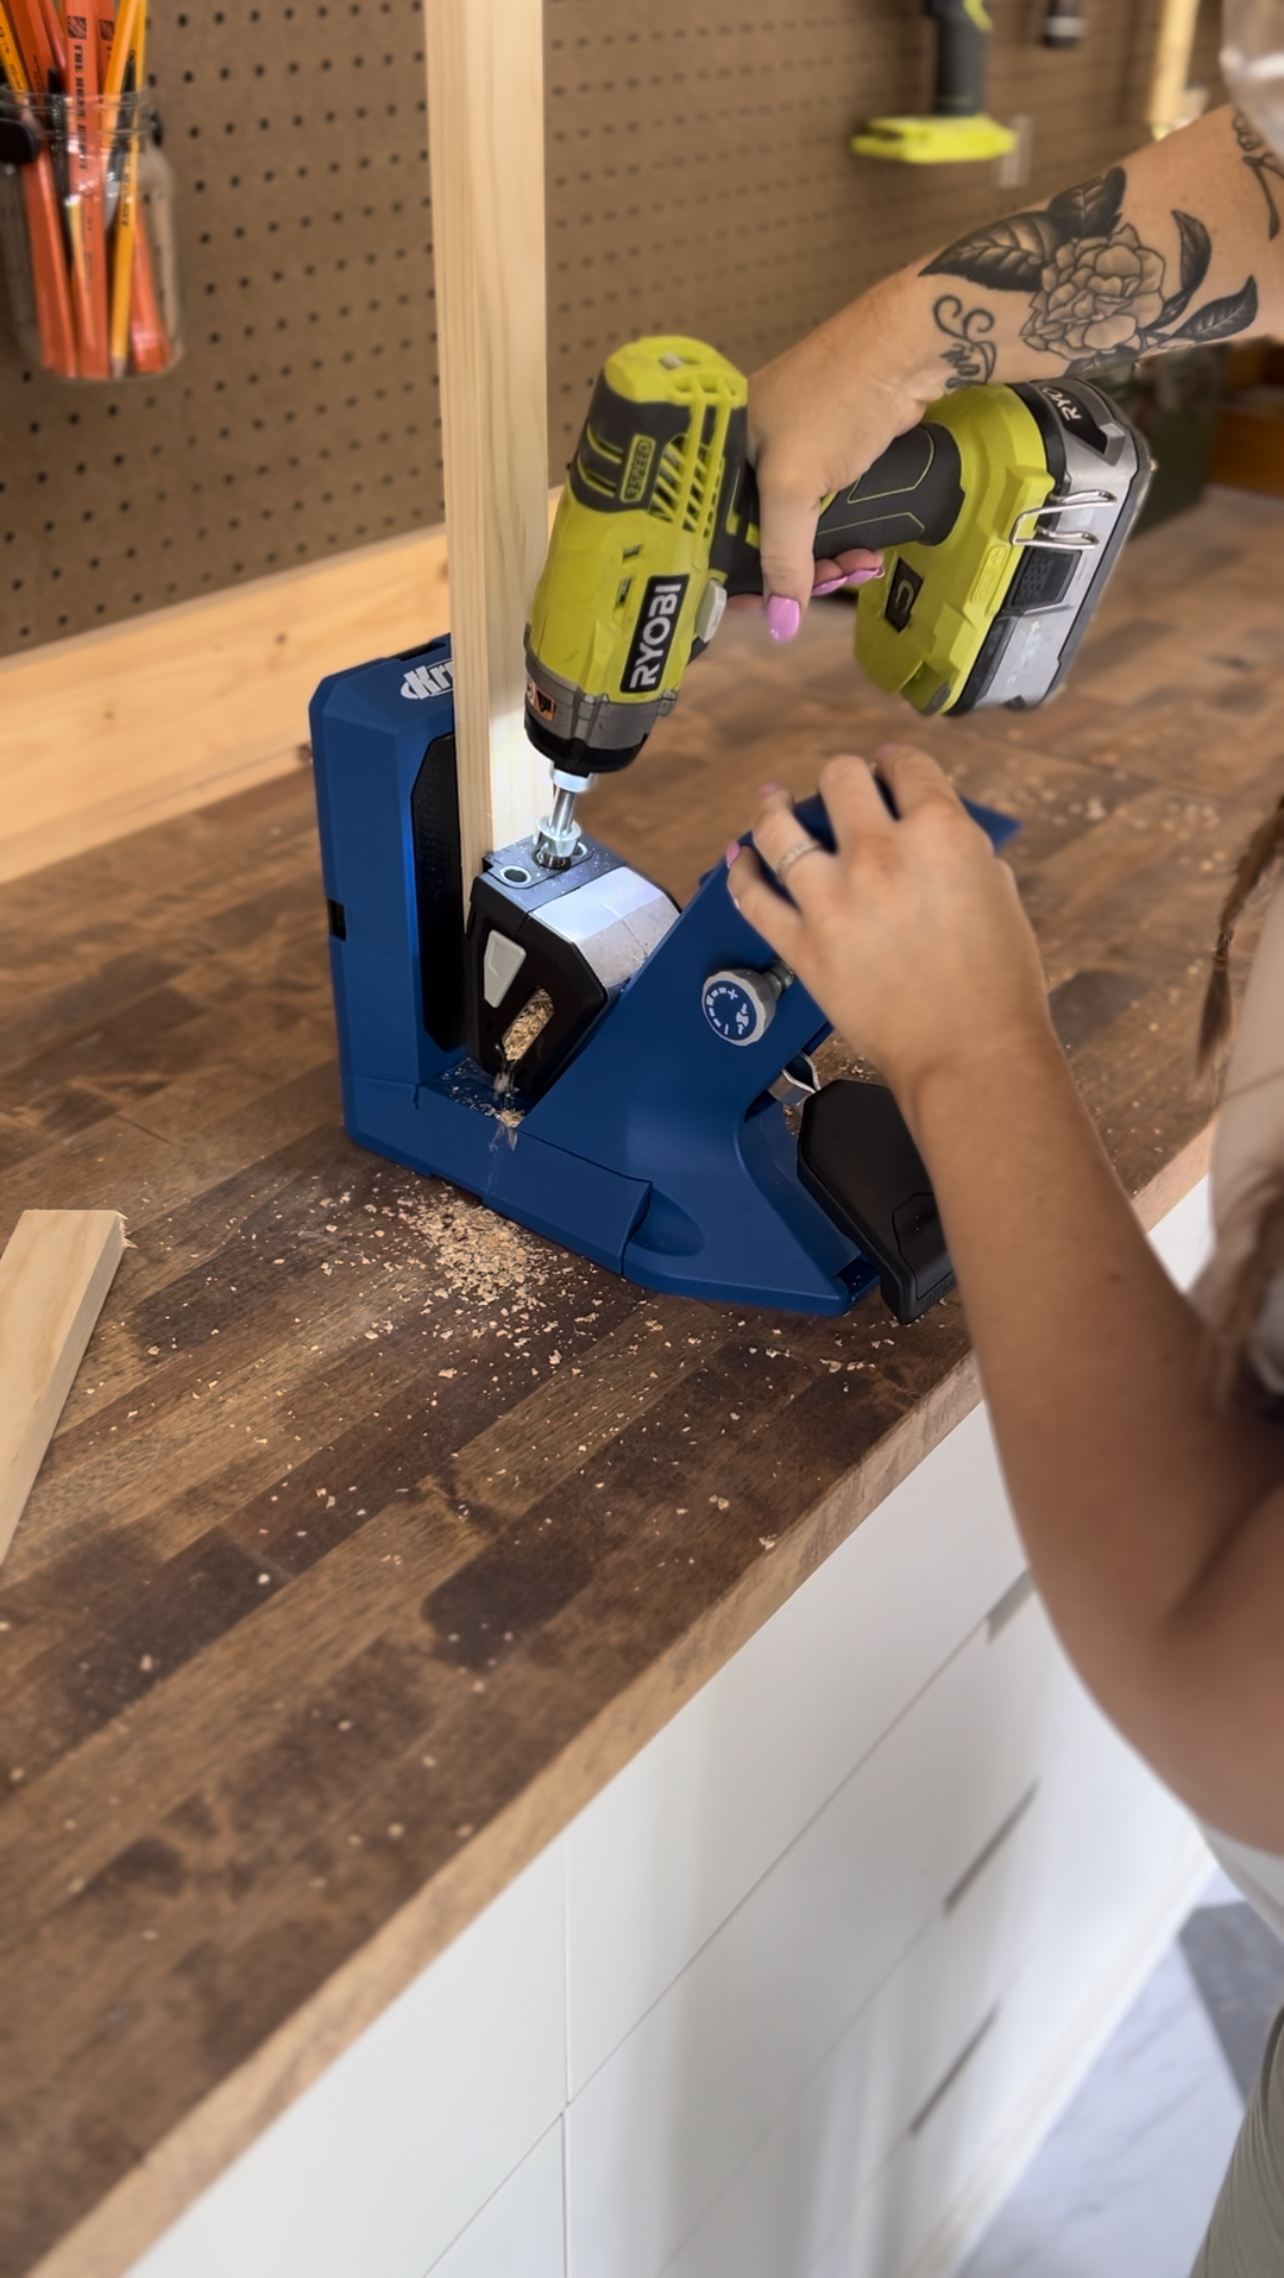
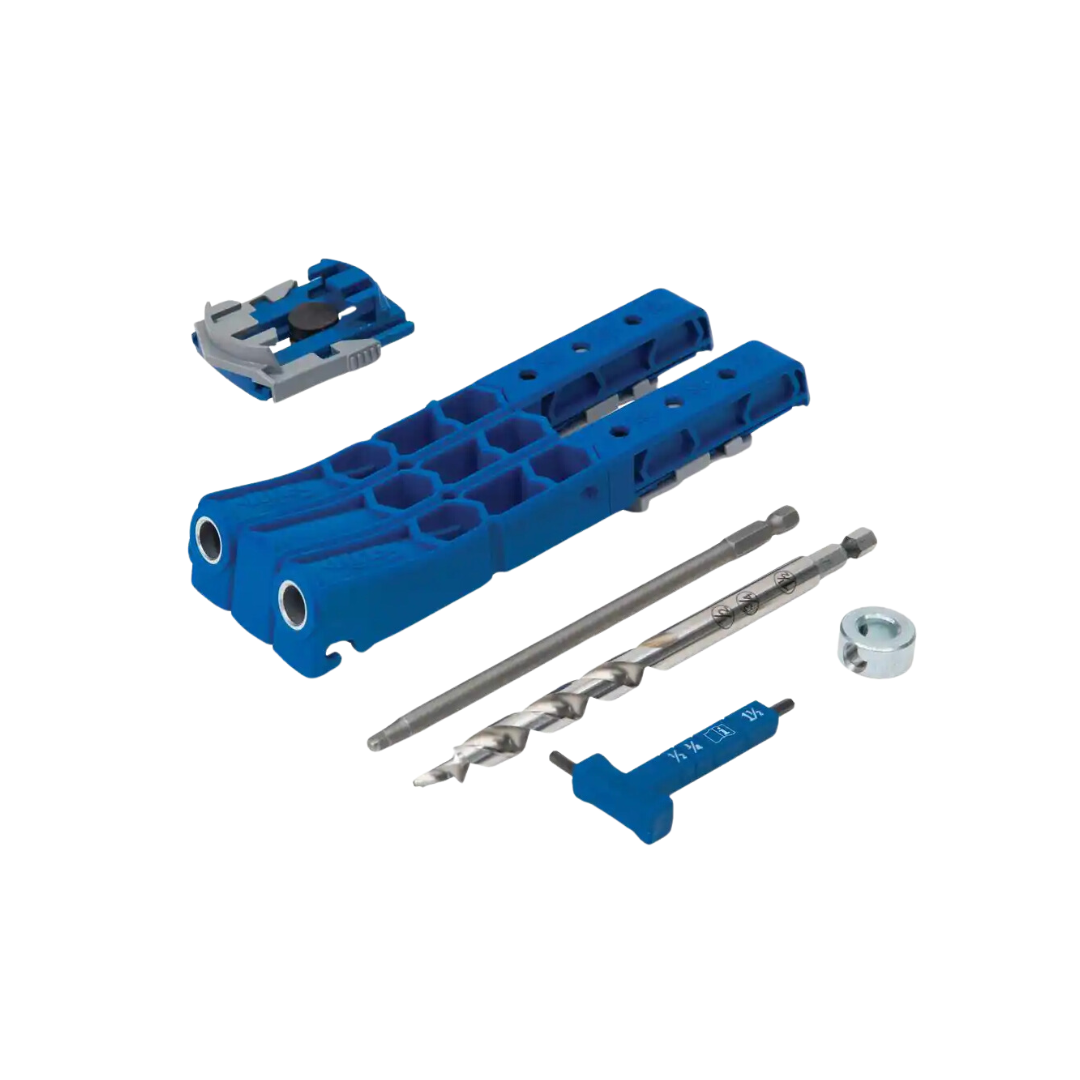
After dry fitting all of those pieces. I removed them and laid them out on the floor to begin building the outside frame using screws and wood glue. This was before I got a new pocket hole jig. Hindsight, I would have use that instead of just drilling directly into the sides.

Grids
Then I got started on the grids. This is where I made my mistake that cost me a little bit more money to fix. My first original drawings included a grid that was connected completely around the perimeter. At some point when I began constructing the grid, I decided to mix the outside parts of the frame, because I felt that it was redundant. Only later, to find out exactly why I needed those, which was to support the plexiglass against the outside/structural frame.
*a note
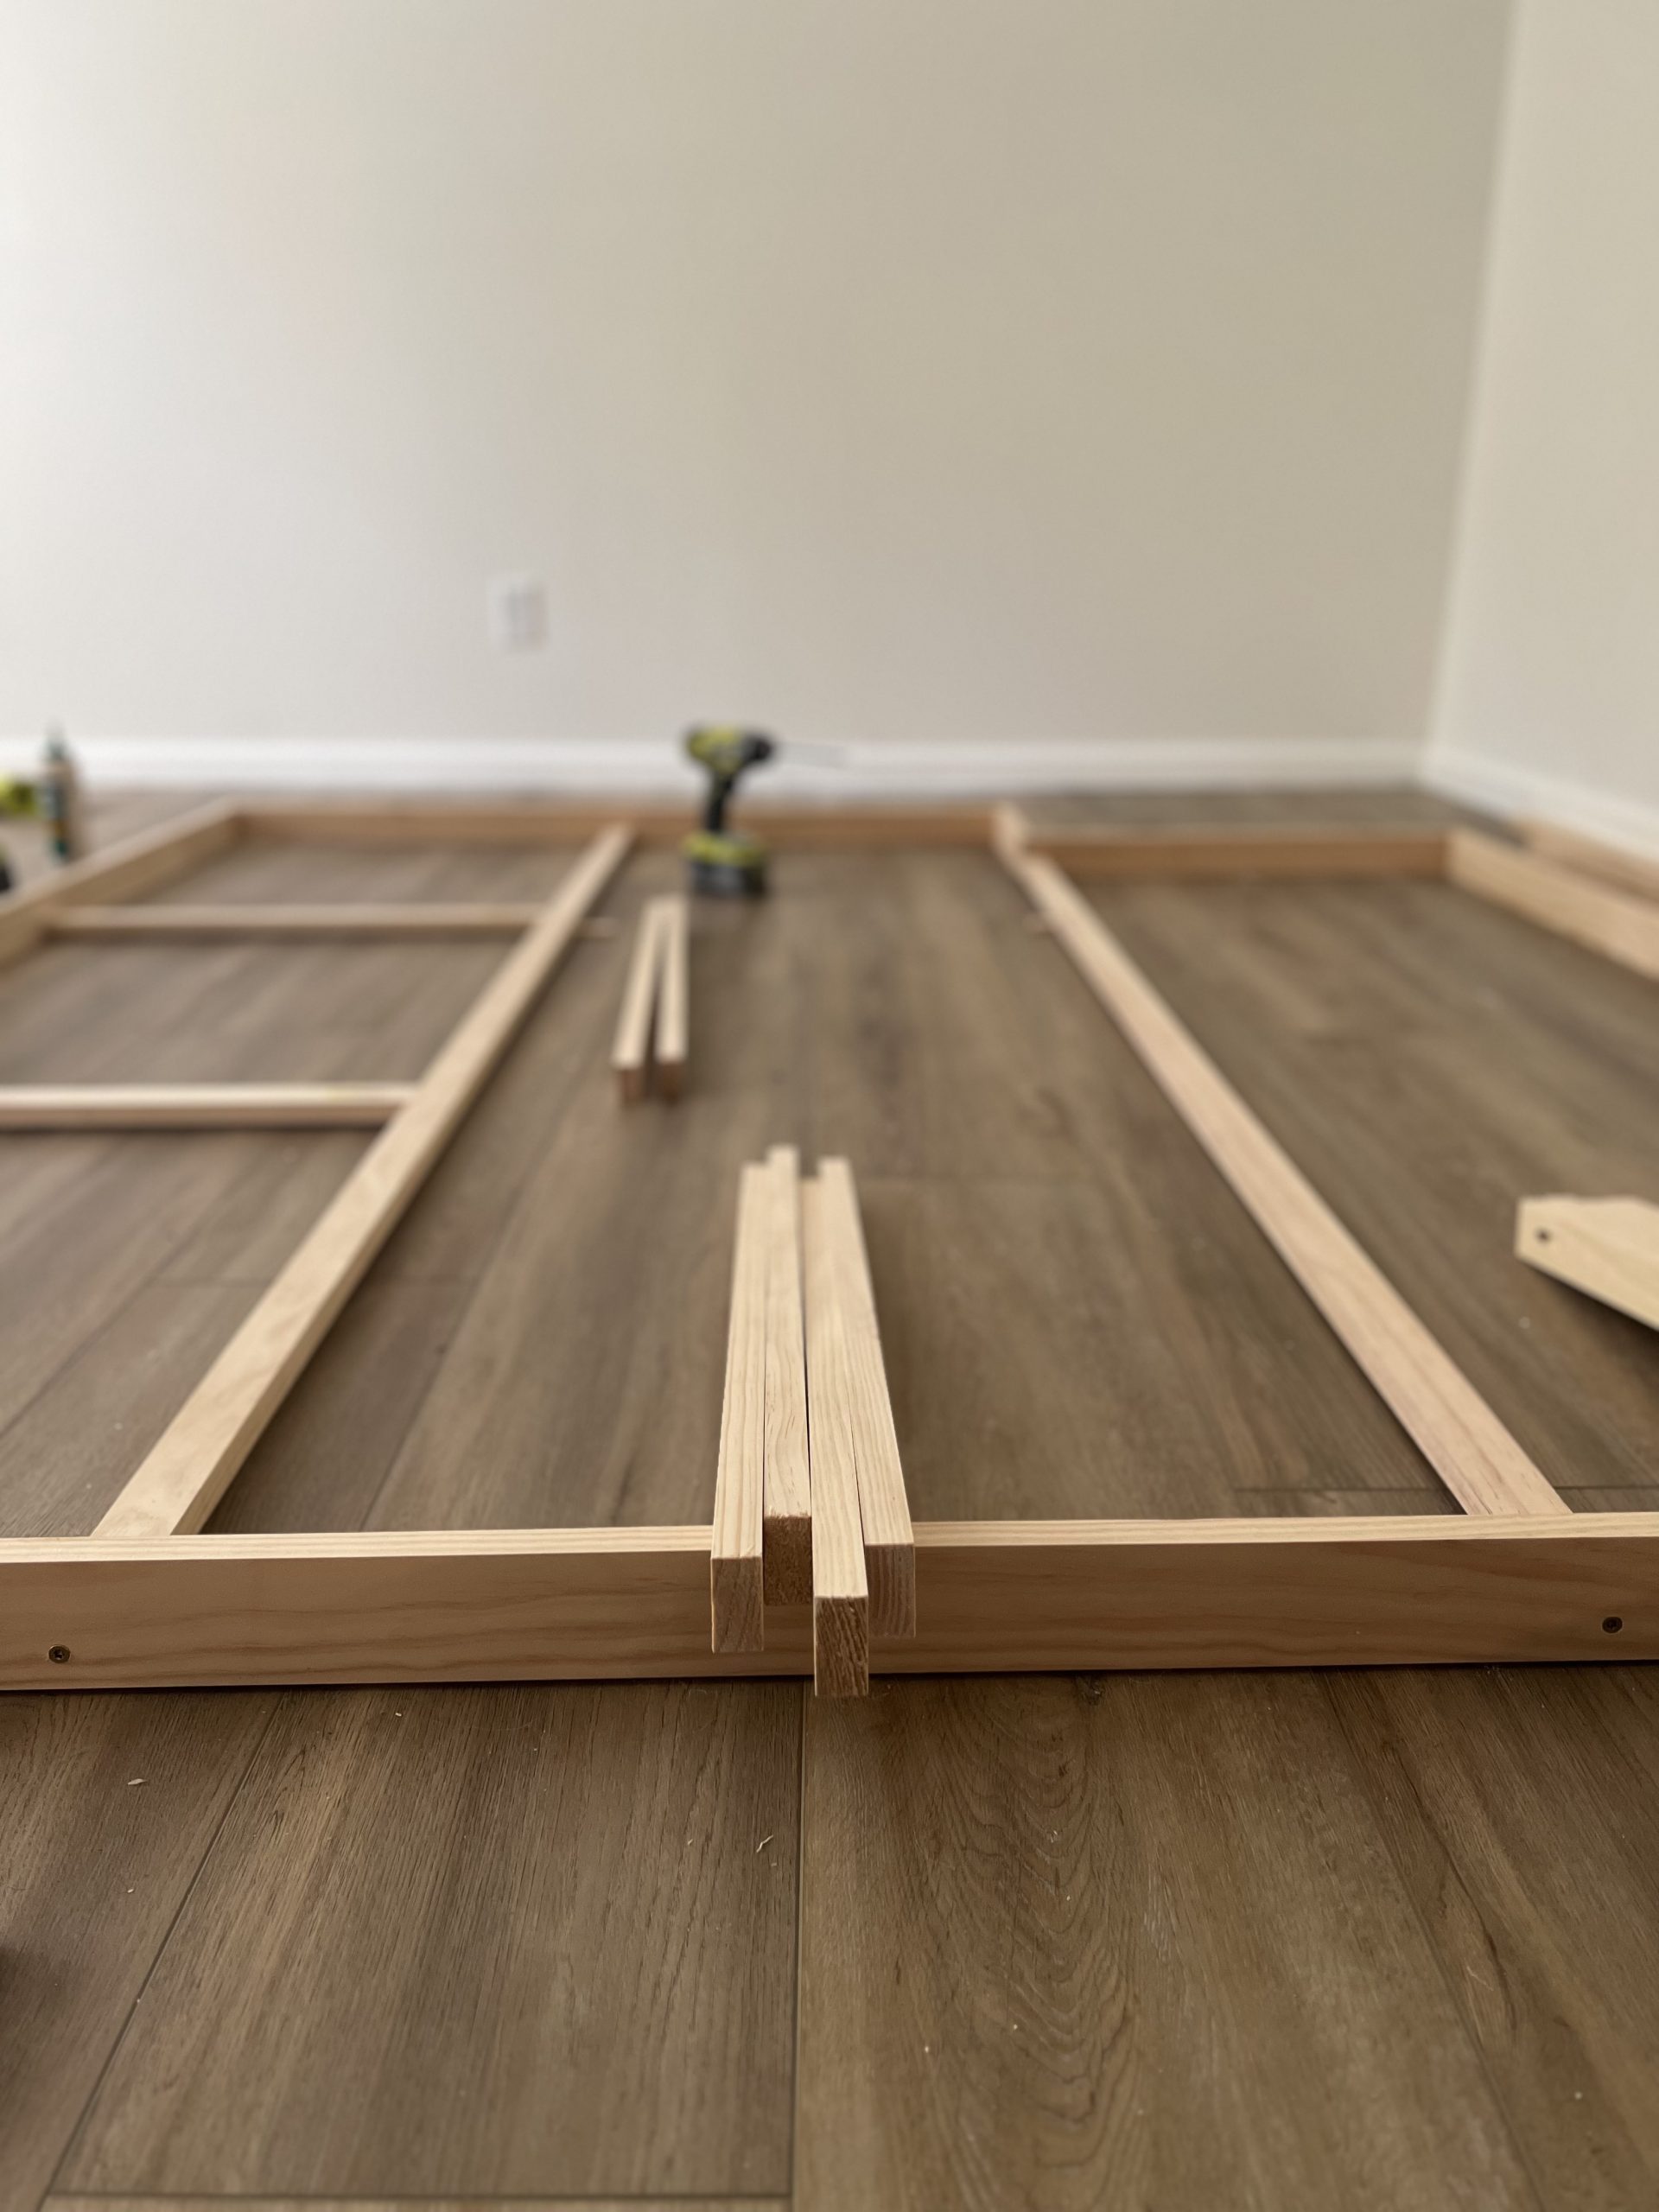
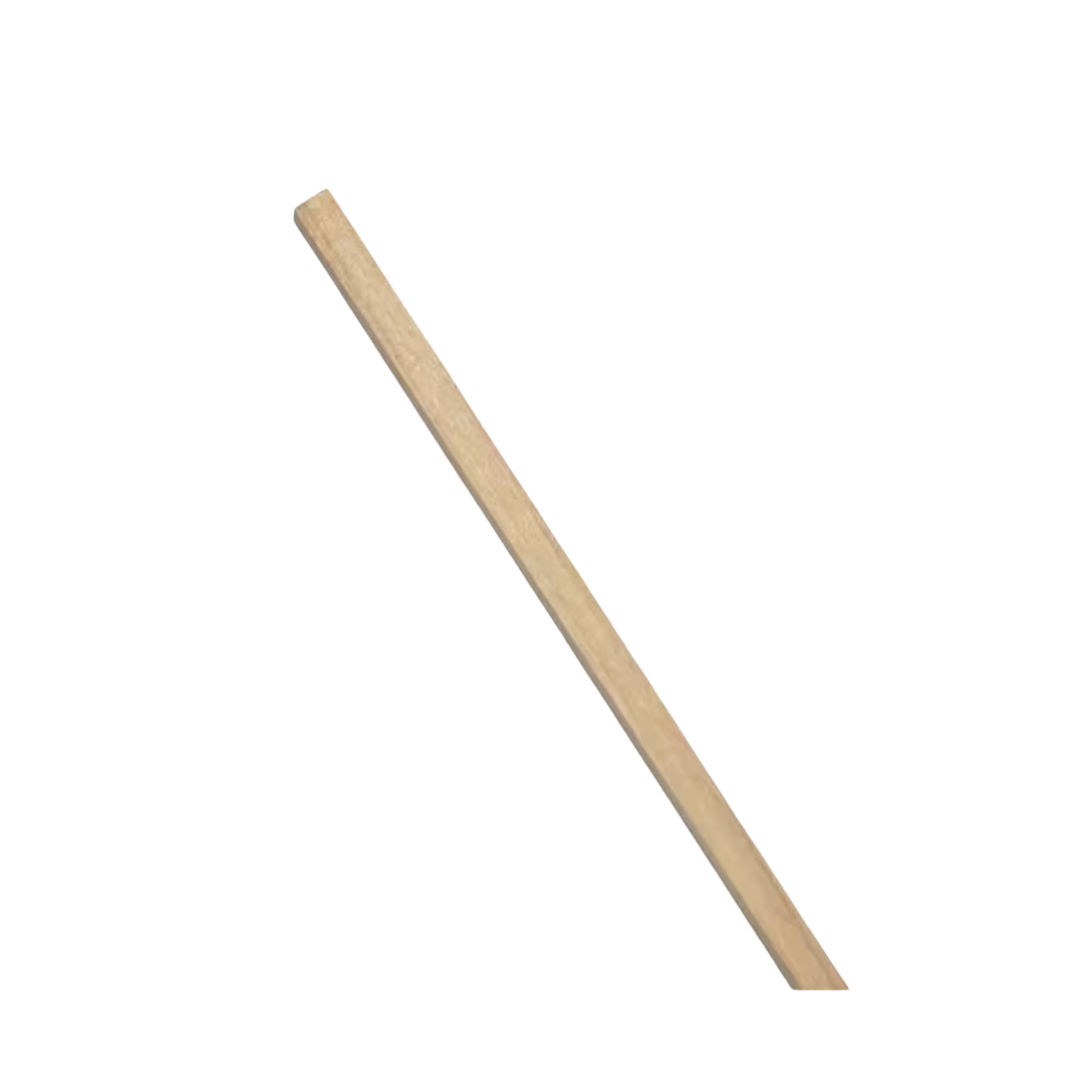
I would highly recommend not skipping out on these pieces! I did fix it later on, but it cost me more money to use the material I decided on. You could very well cut down 1×2‘s to make smaller pieces that looks similar to what I came up with, and it would cost you less money than the square dowels that I used to fix my mistake.
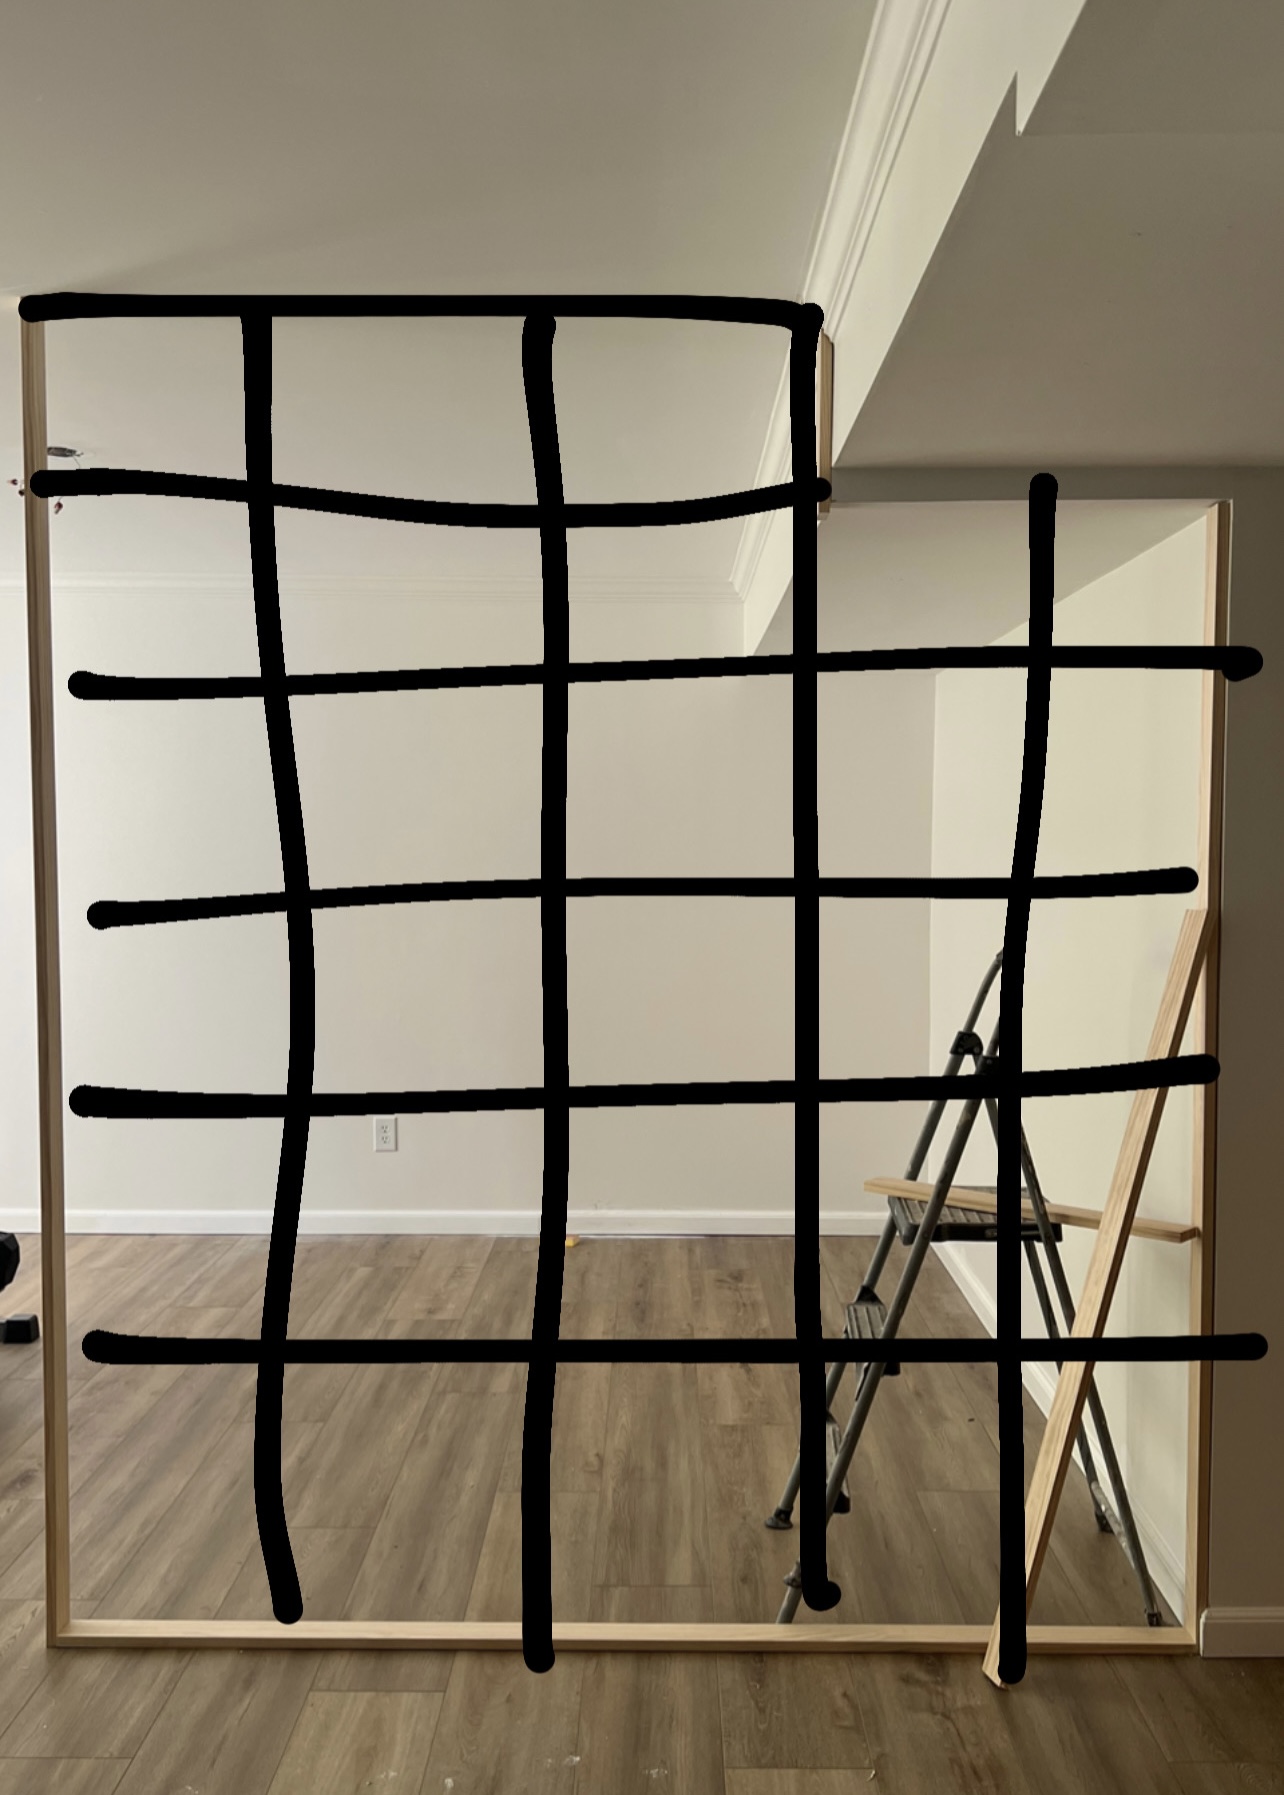
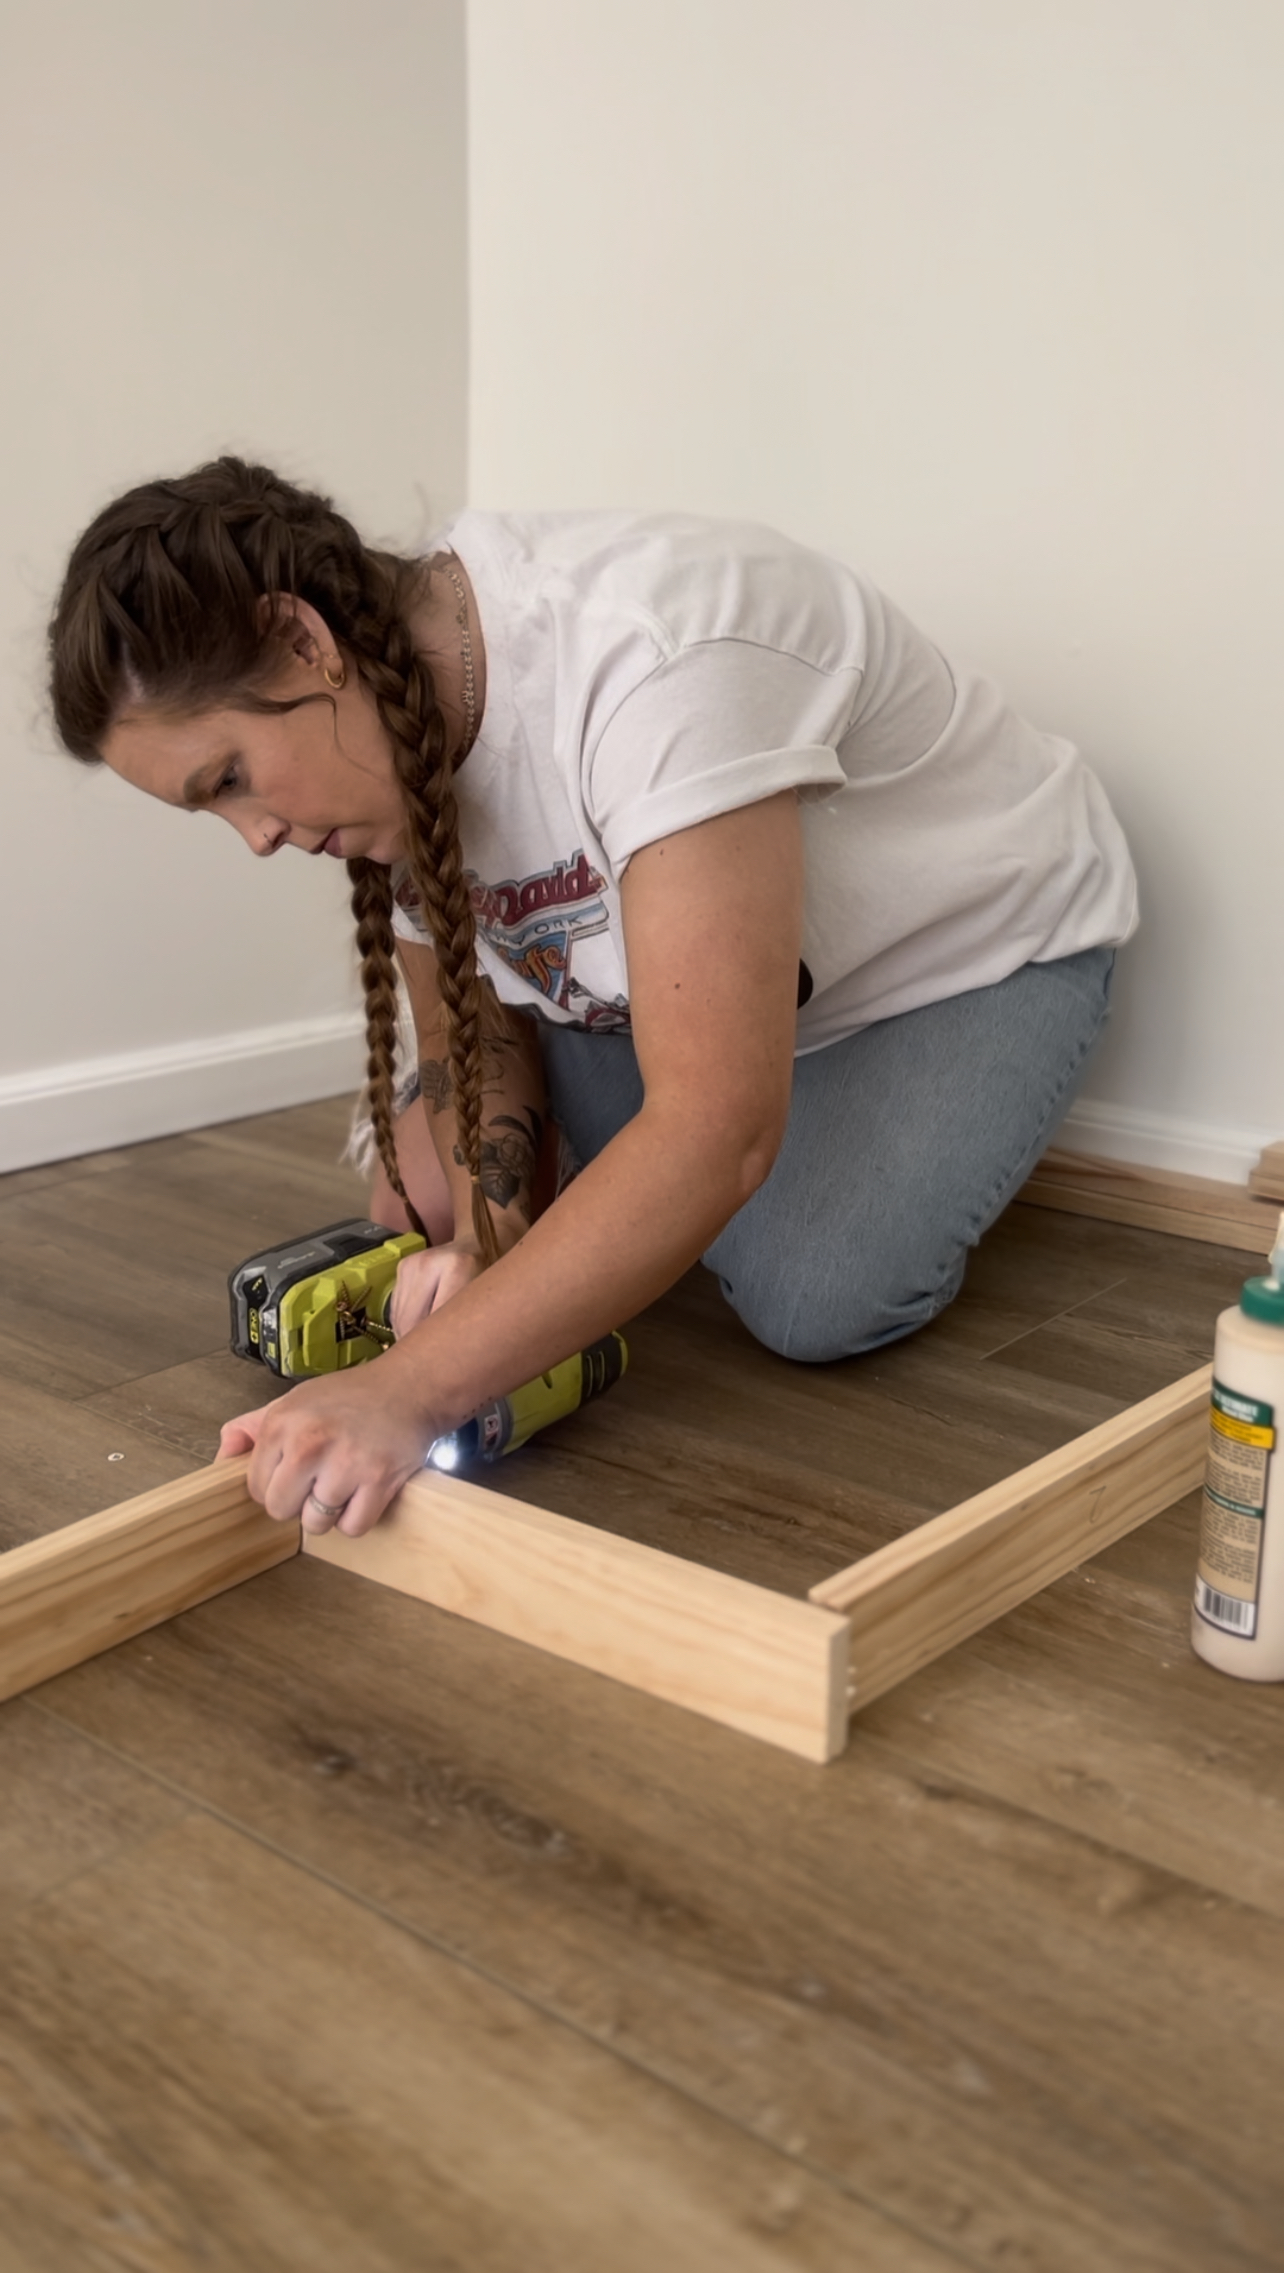
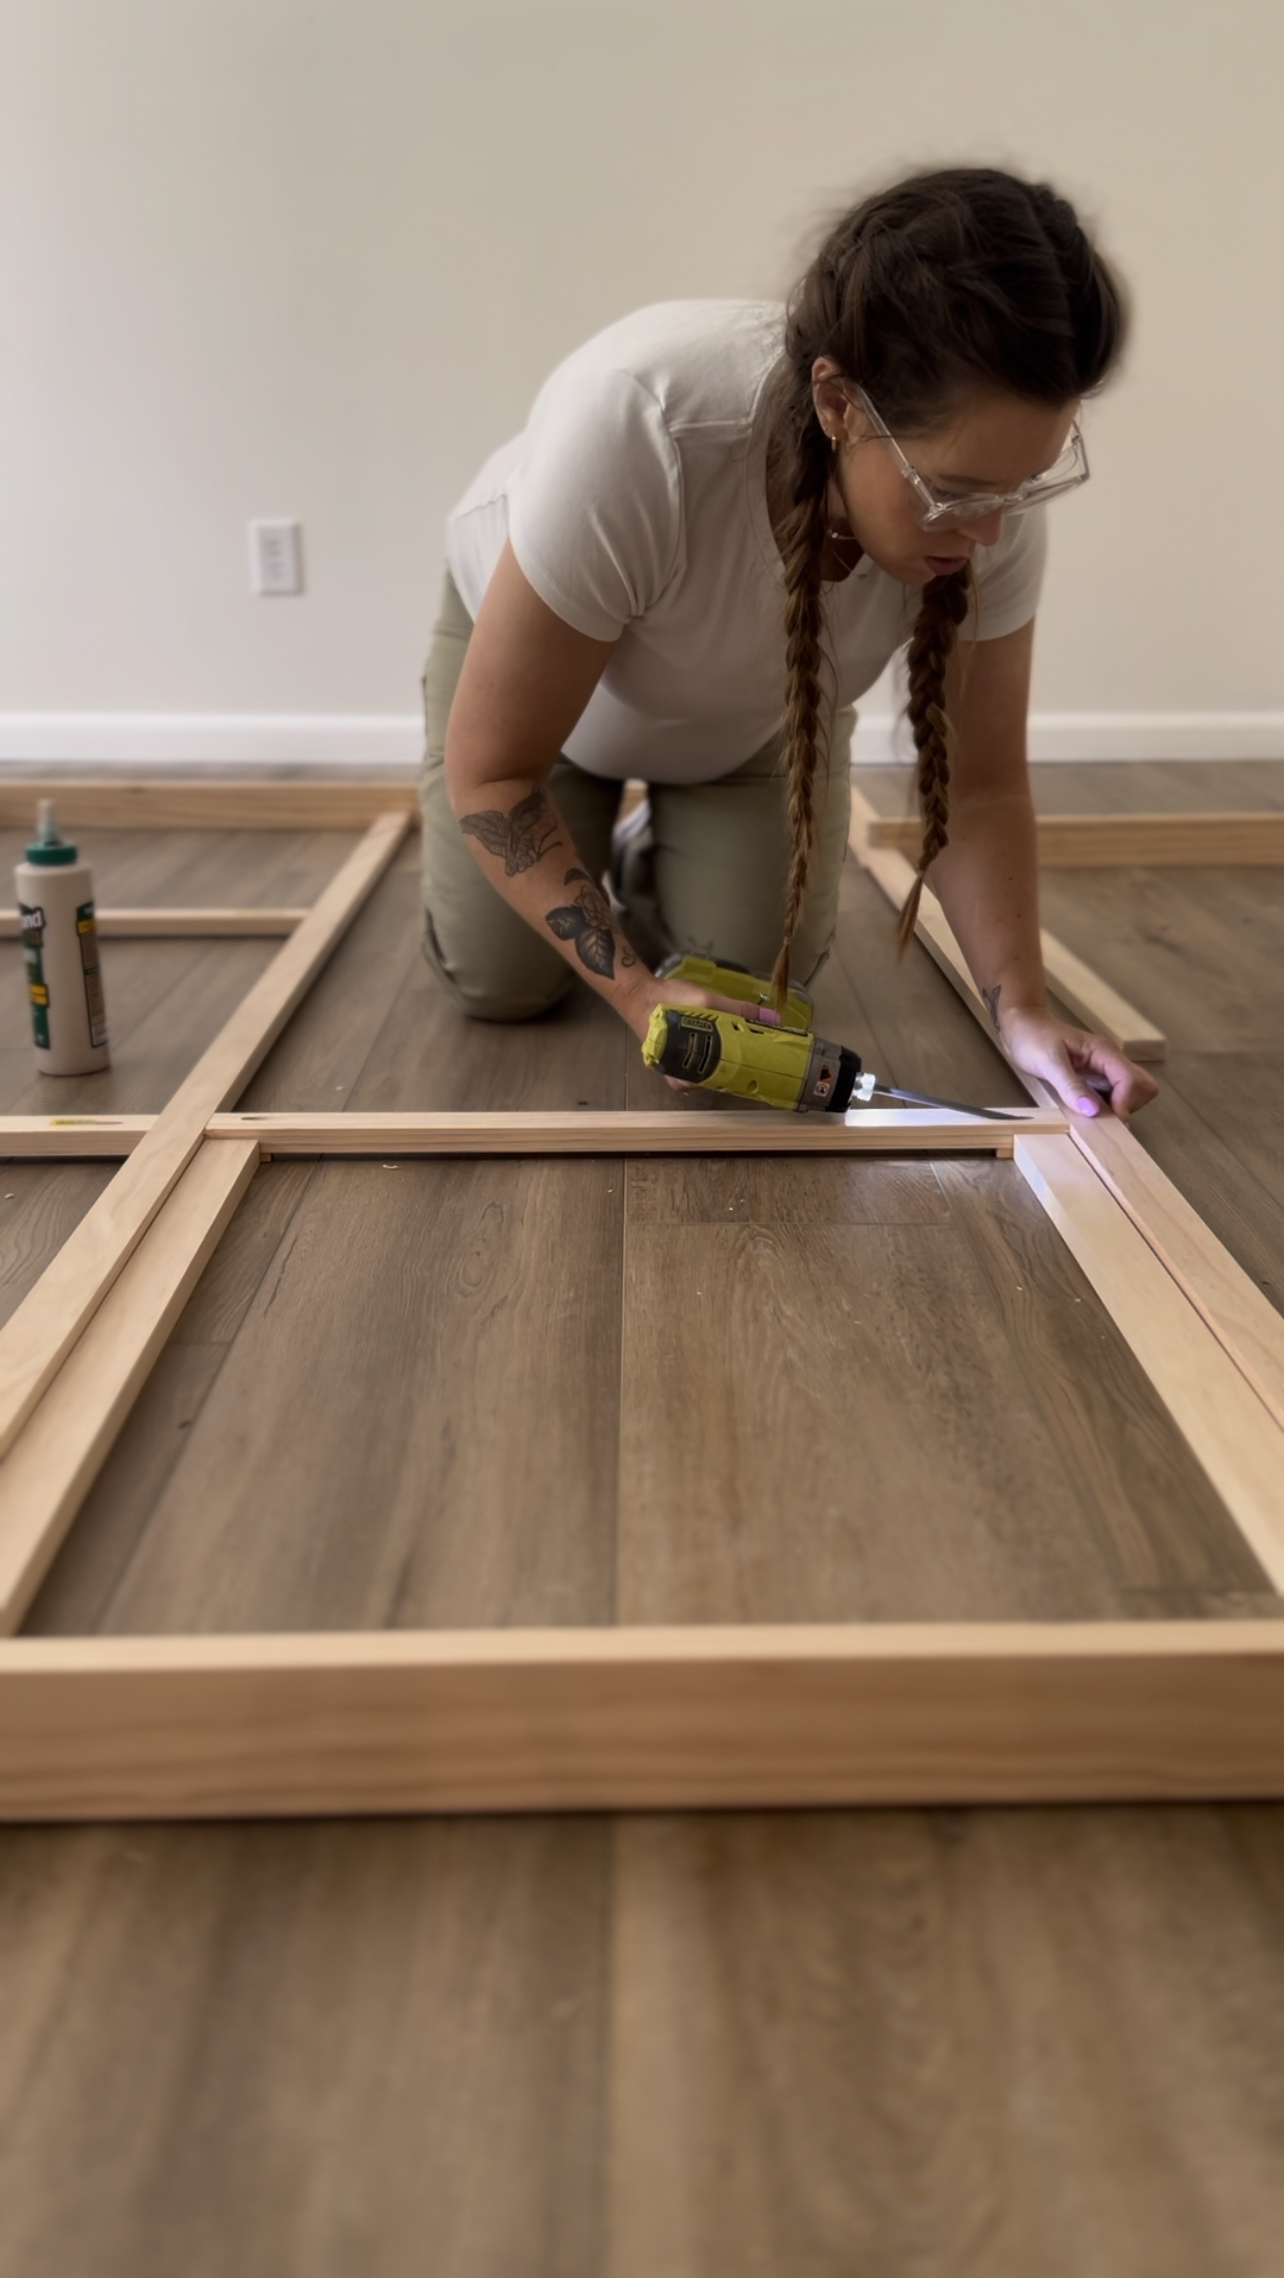
I went ahead and installed my two vertical rows onto the outside frame as it was laying on the floor. I used two small pieces (1/4 inch) of wood as spacers to connect all of my grid pieces to the outside frame. Instead of being flush is the floor while screwing it to the frame. That way once I had the plexiglass and other grid attached to the opposite side, there would be a small space on each side about the same depth. Using those spacers, wood, glue, and screws, I connected my vertical pieces and cut two more vertical pieces, the same exact length, and leave them to the side for my second grid.
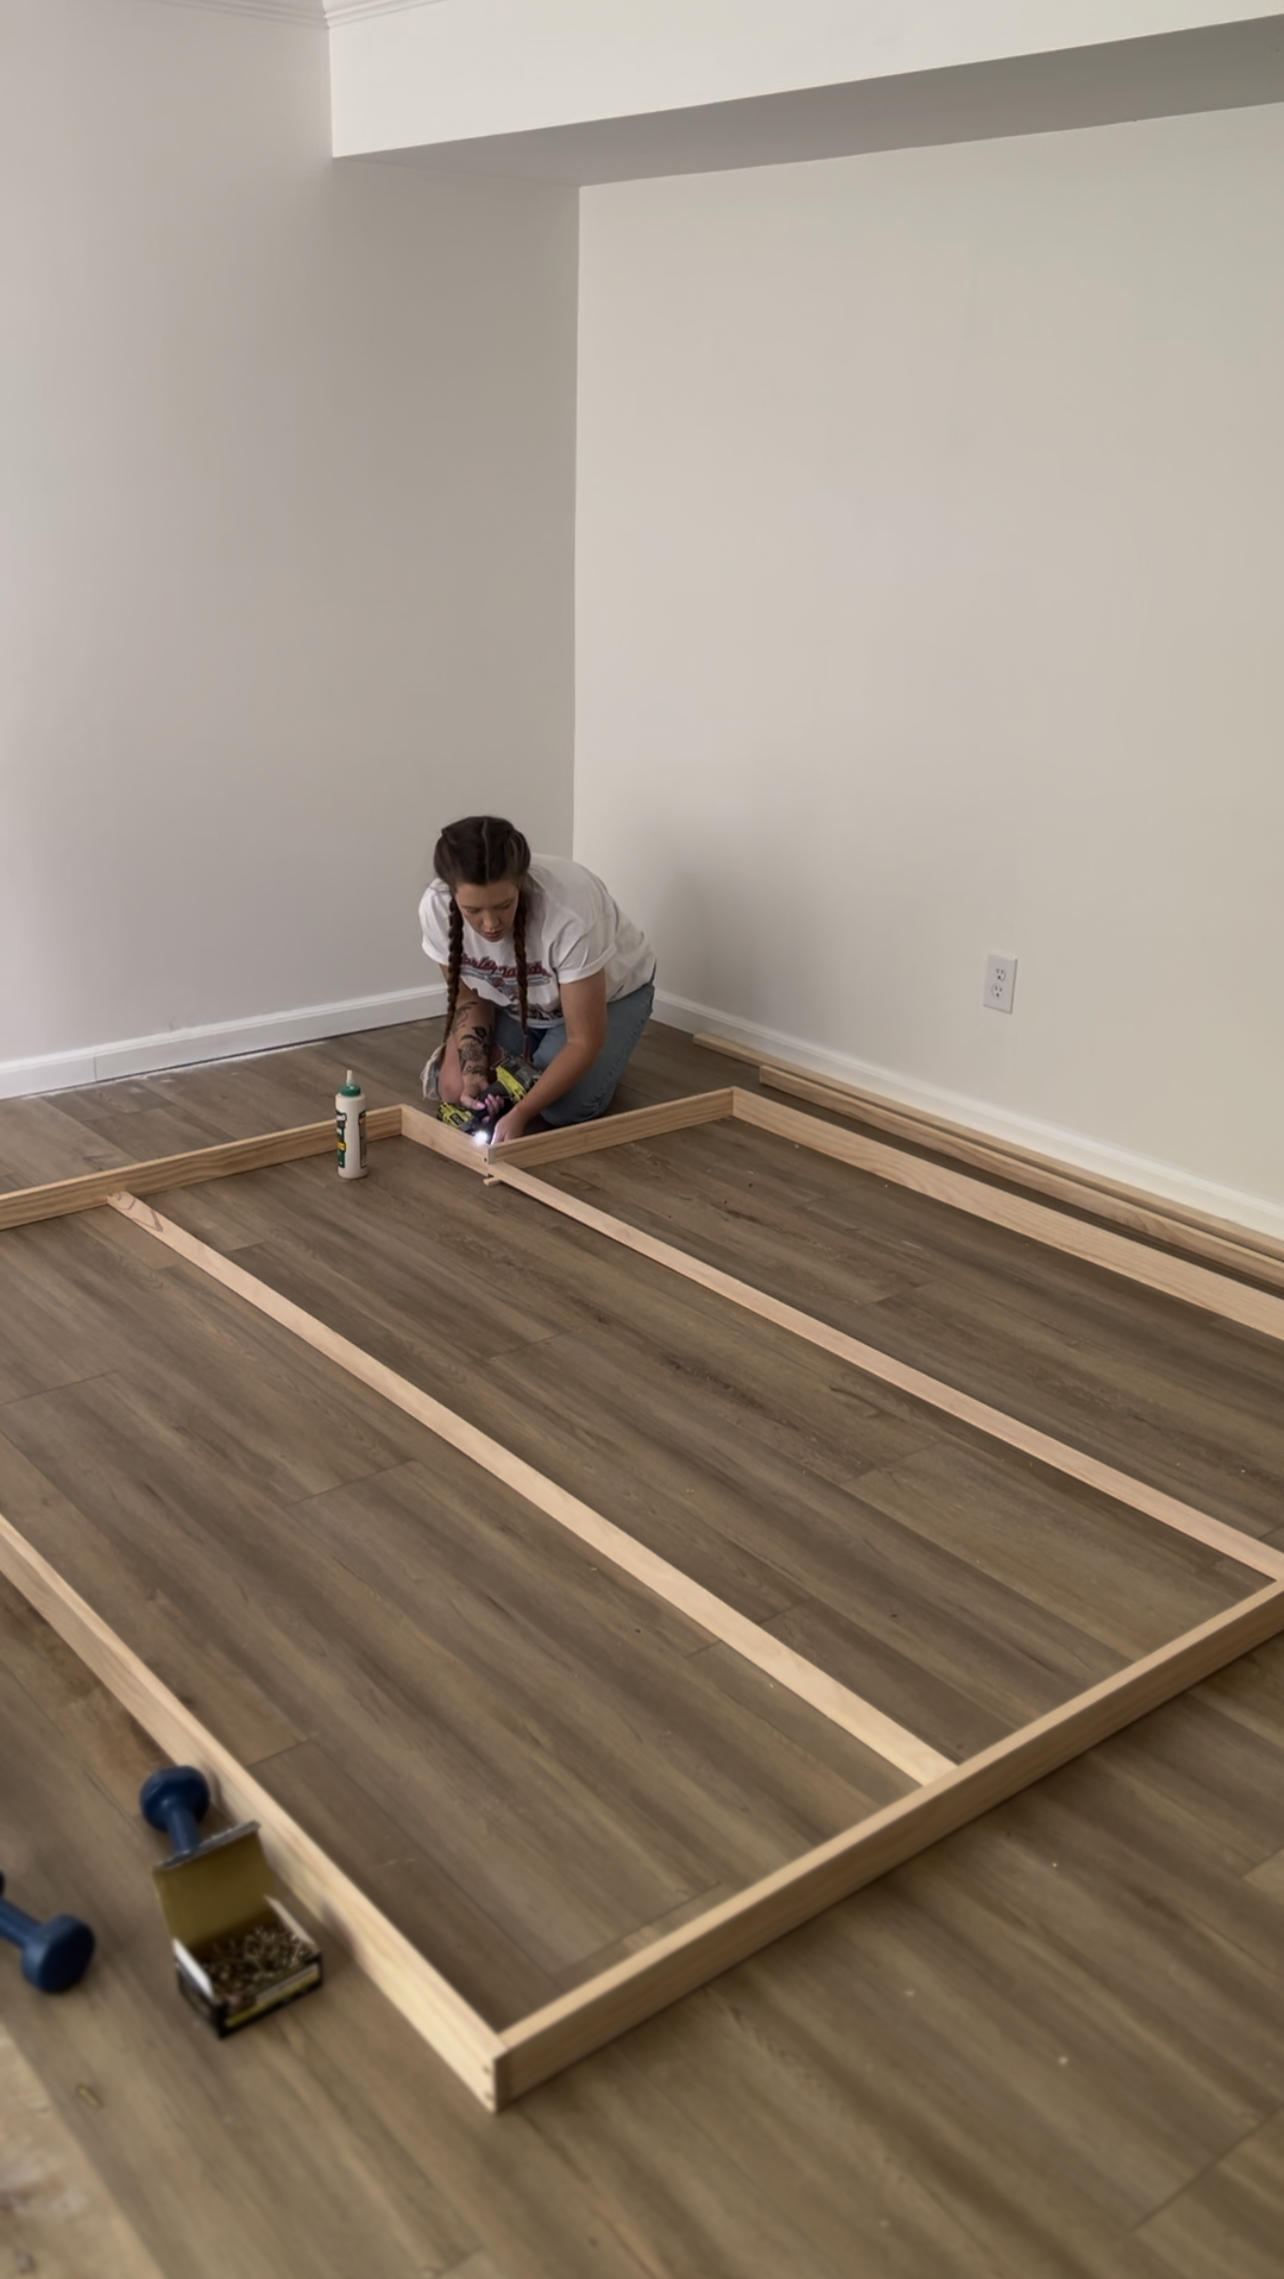
I then measured and cut all of my horizontal pieces for both grids. Making sure that all of the matching pieces for the second grid were identical to the pieces for the first, this is very important!. Then, using some wood spacers I begin connecting my horizontal pieces using the pocket holes that I drilled . This would’ve also been the point where I would have added additional pieces around the perimeter of the framing if I were to do this over and save a bit of money and time. Once my grid was built into my original structural frame, I repeated the same steps with my second grid.
Plan Sketches
Here is a little sketch of the way that I made my two pieces, and the way that I SHOULD have made my two pieces, so that you can easily see the difference between the two. At the point where I had realized my mistake, all of the pieces had been glued/screwed together and painted. Instead of disassembling the whole thing, I decided to cut, paint, and add the perimeter pieces with glue/brad nails. And instead of using the same size wood I used for the grid, I grabbed skinny square dowels since they were small and low profile.

Paint
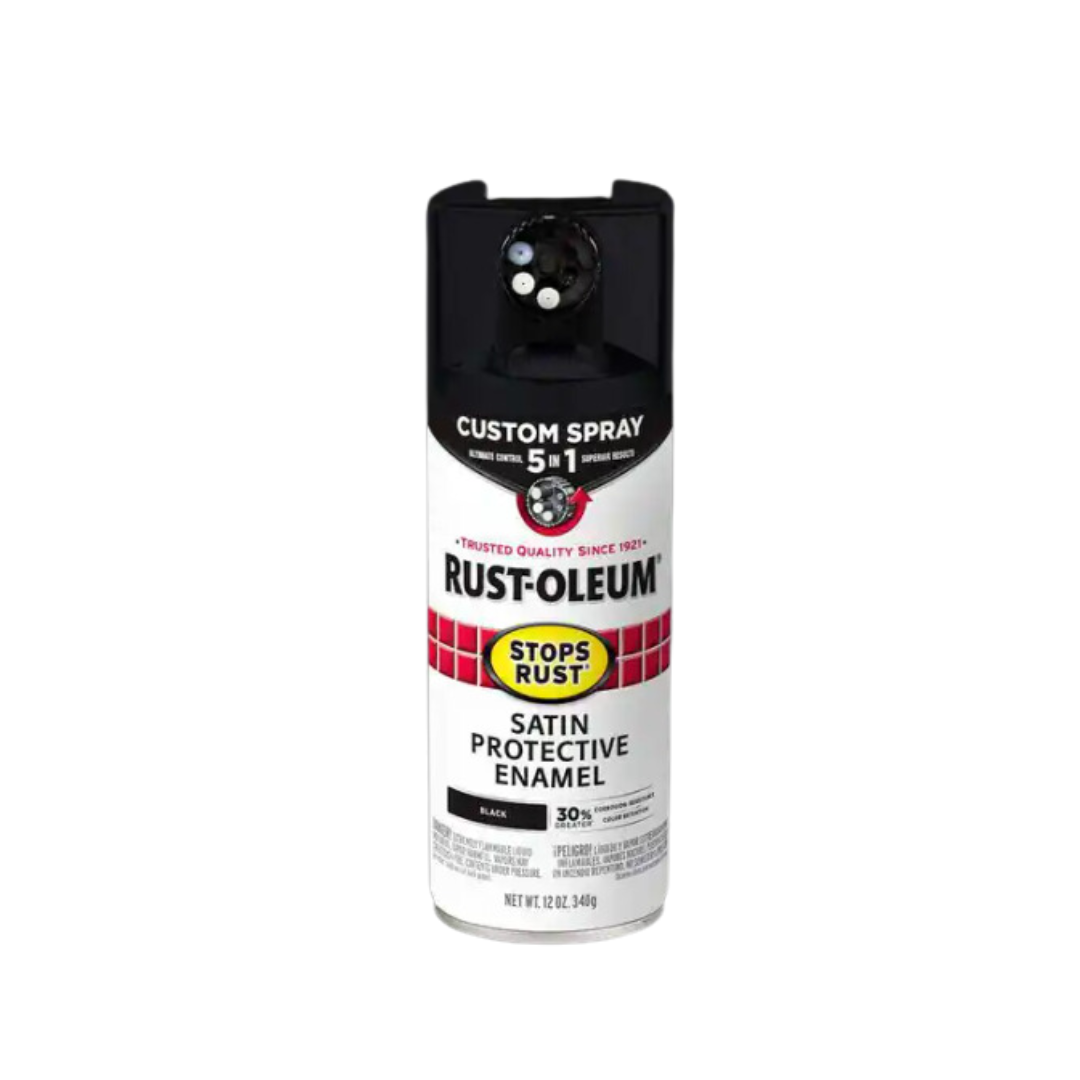
I then laid out both of the separate wall pieces onto the floor after prepping the area and sprayed with my Rustoleum spray paint. You could certainly hand paint this, but I felt that it would go faster to spray. Once everything was sprayed, I let it dry overnight.


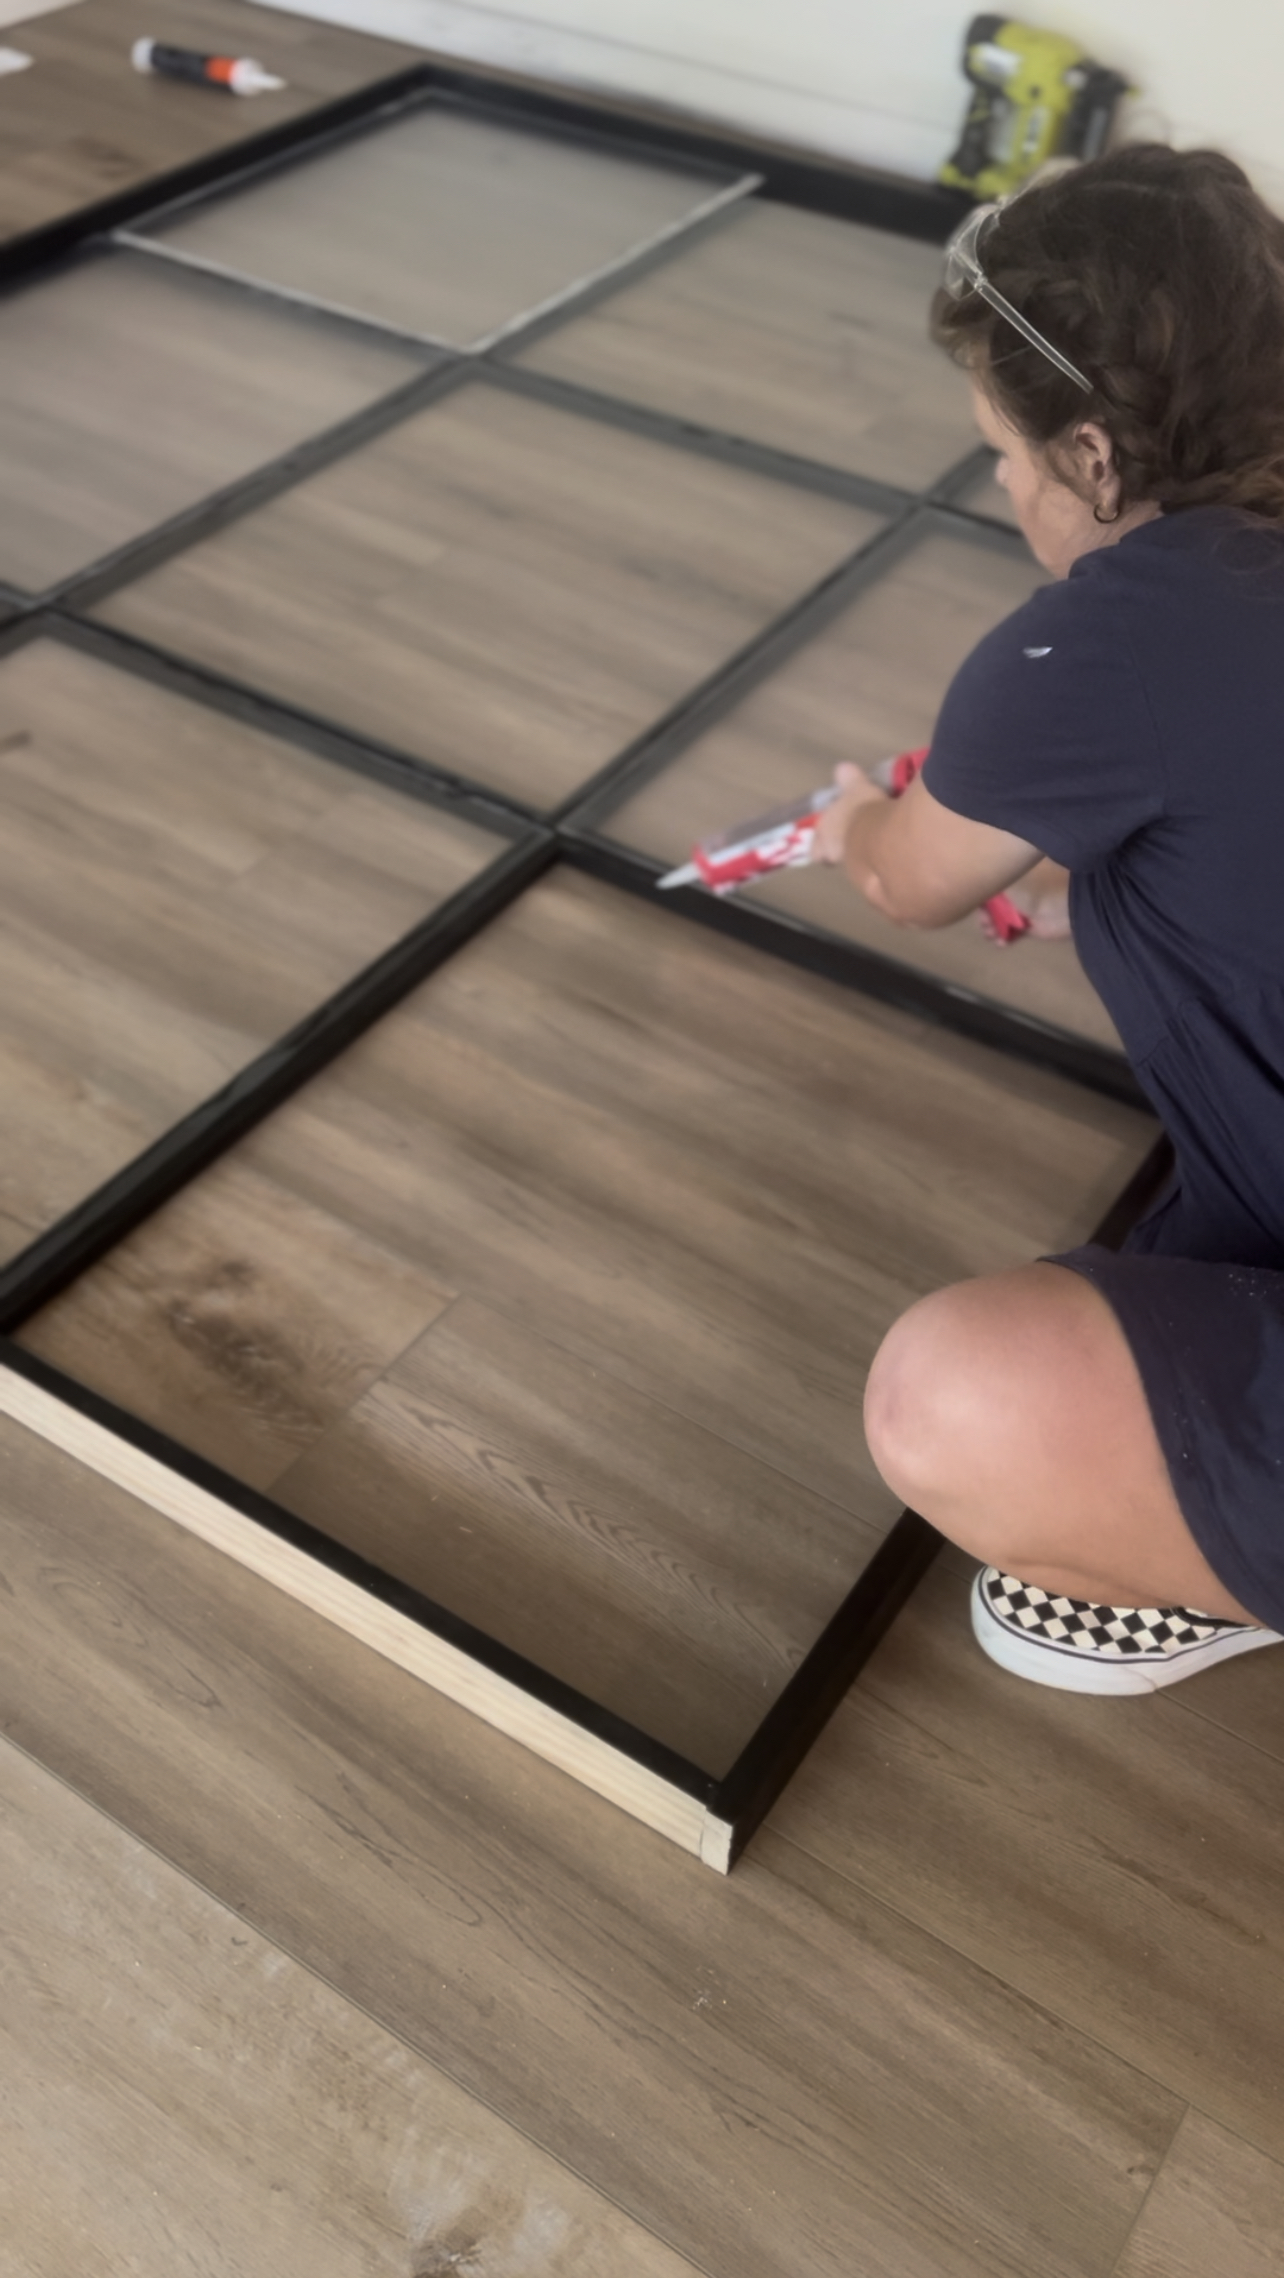
This is the part where I had to fix my mistake. After realizing that my plexiglass had nothing to rest on around the perimeter of my grid, I ran to Home Depot and grabbed several square dowels and painted them to repair and cut them down and attach along the outside. I like that these look very minimal, but it didn’t cost me about $40 for all the dowels together which added quite a bit onto my total cost for this. If you’d like that look, you could get the same look for cutting down 1×2‘s. But because I’m very pregnant, I did not want to spend that much time on the tablesaw so I opted for spending an extra $40 to save myself there.

Plexiglass
I used my Brad nailer to attach these to the outside frame matching up with the grid that was already attached to the outside frame.
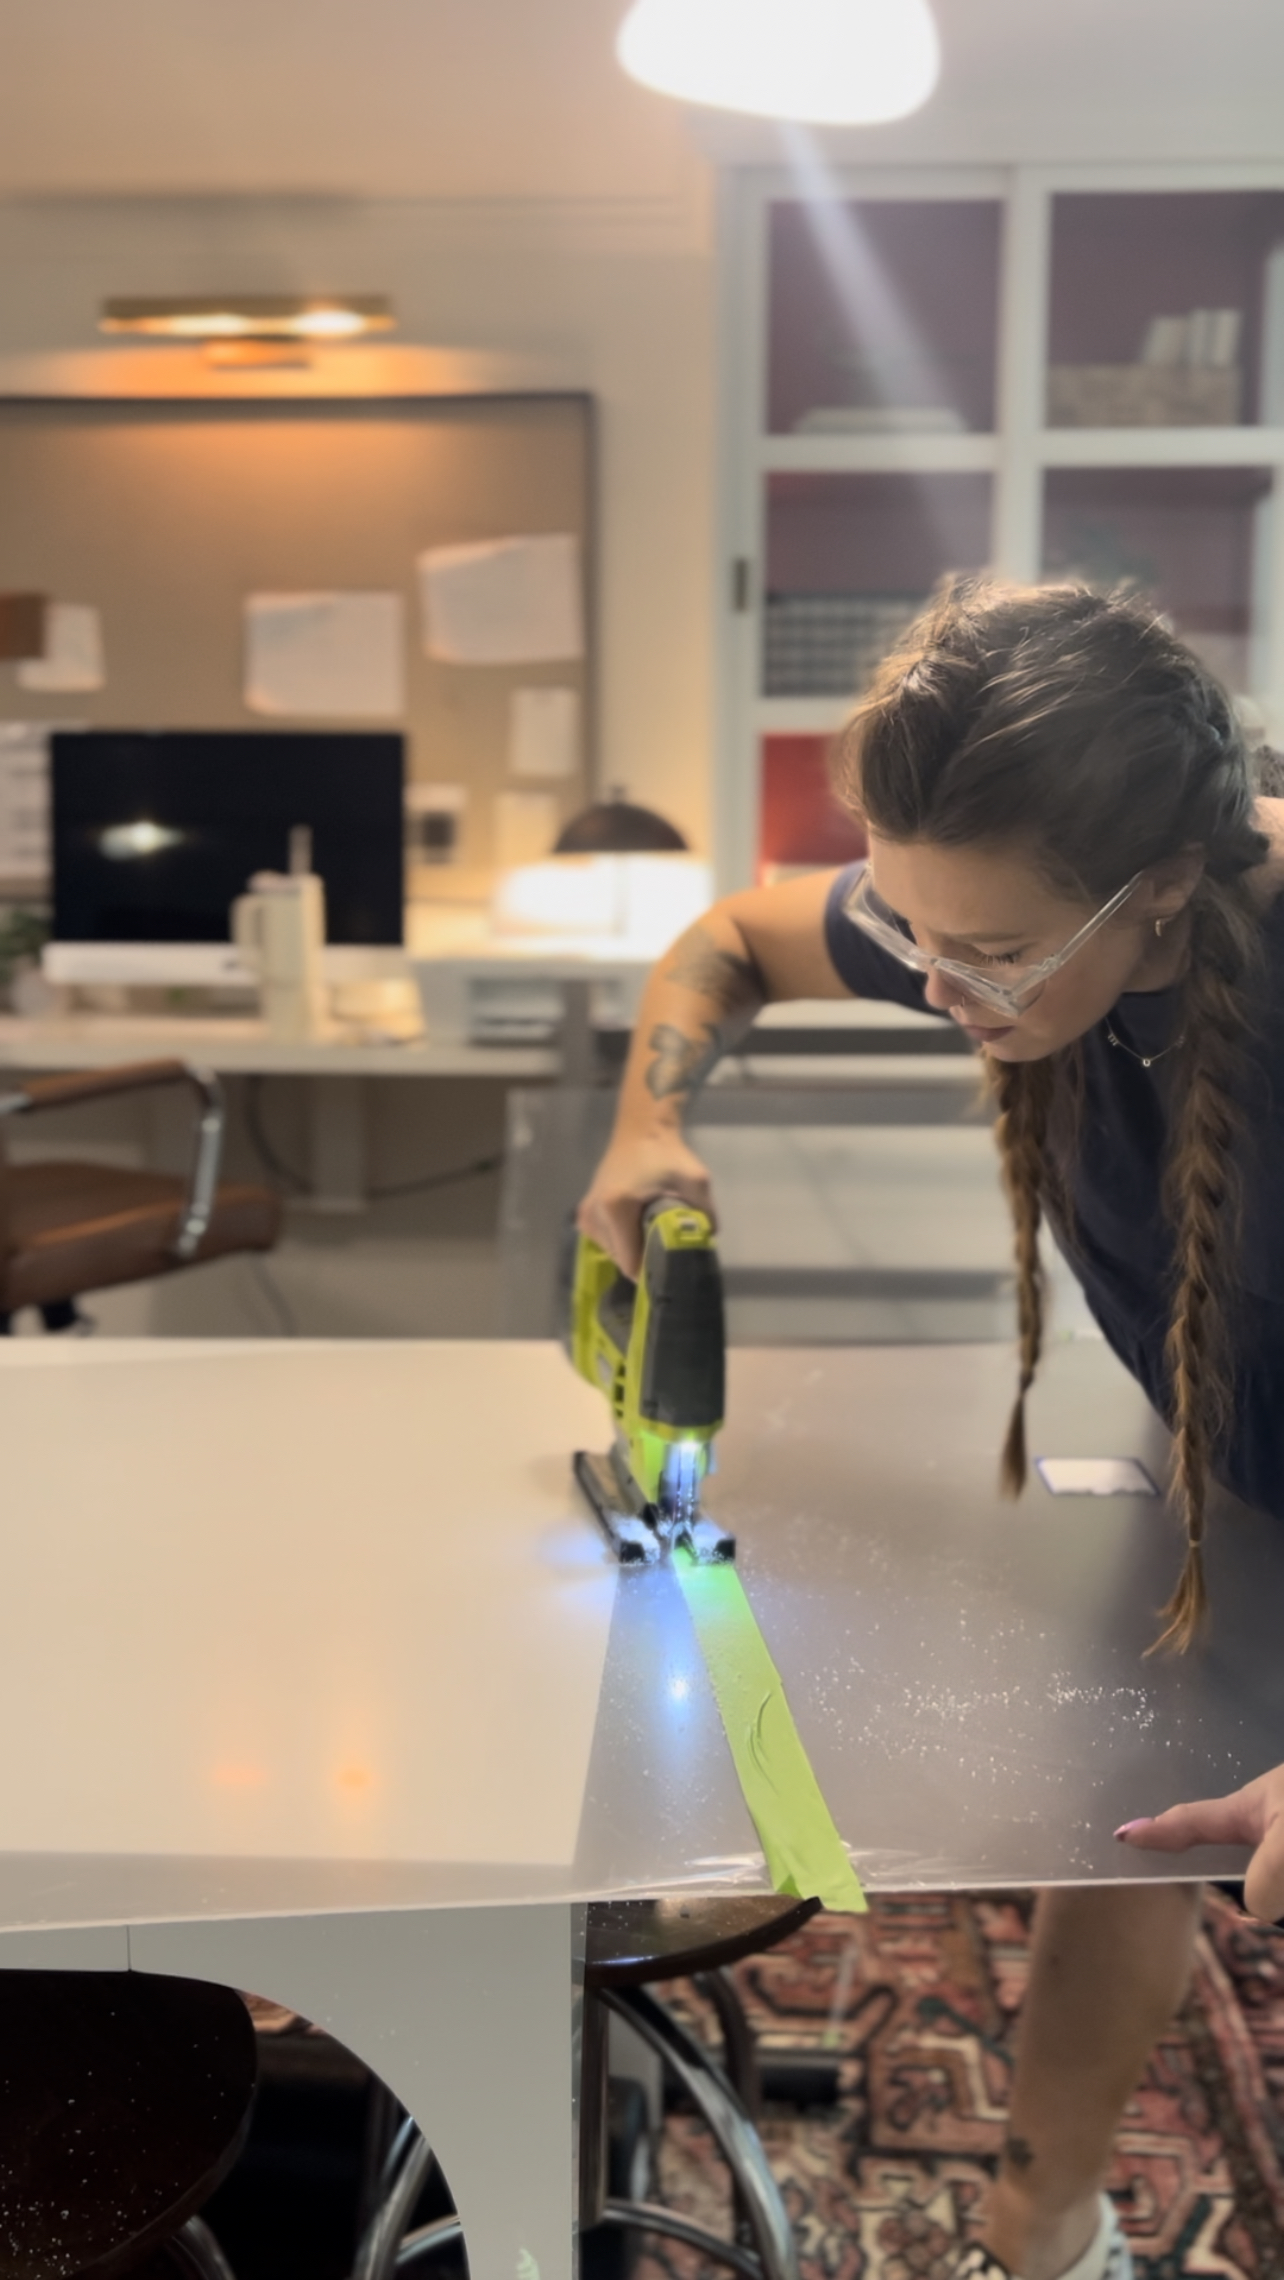
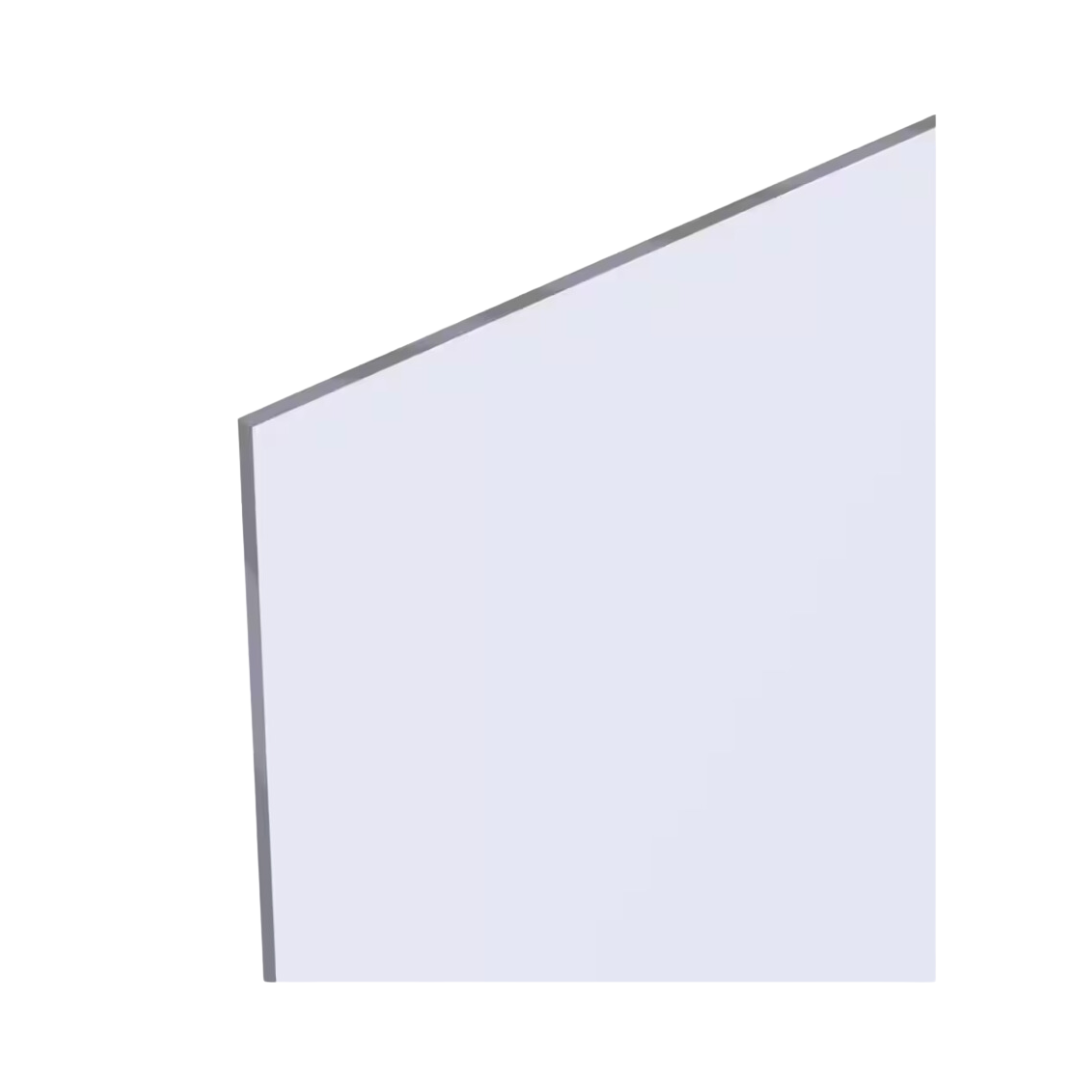
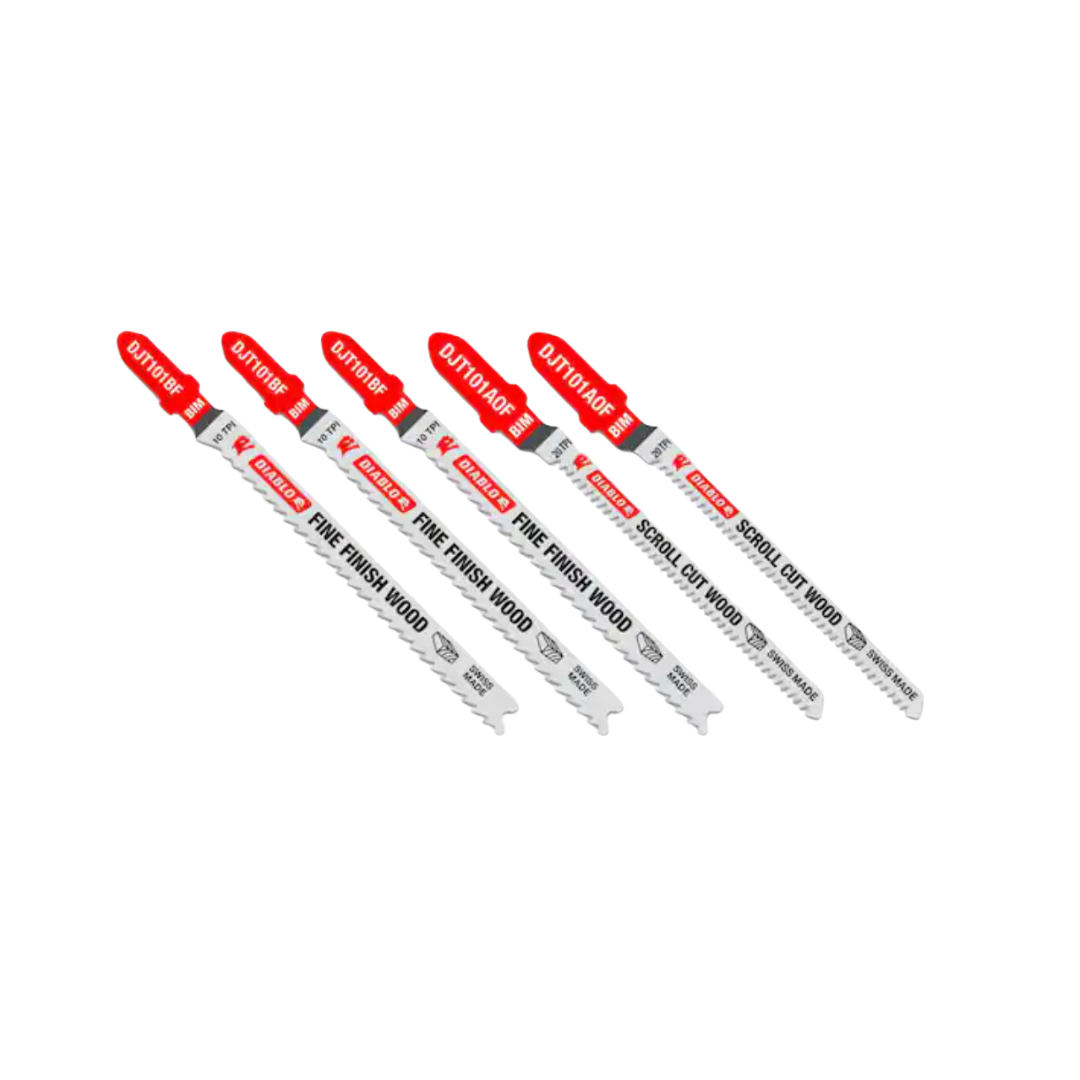
Then I went shopping for my plexiglass. My original plan was to use glass for this project, but I knew functionally plexiglass was going to be the safer option. Thankfully, plexiglass looks just like glass! With the way my grids ended up measuring, I could not use the large pieces of plexiglass for this project without tons of waste and spending a lot more money. Instead, I grabbed several smaller pieces and cut those down to save about 100 bucks and have a lot less waste. This part will all depend on the sizing of your grades. Using a jigsaw in a very fine tooth blade I measured and cut down all of my pieces of plexiglass.

Attaching the second grid
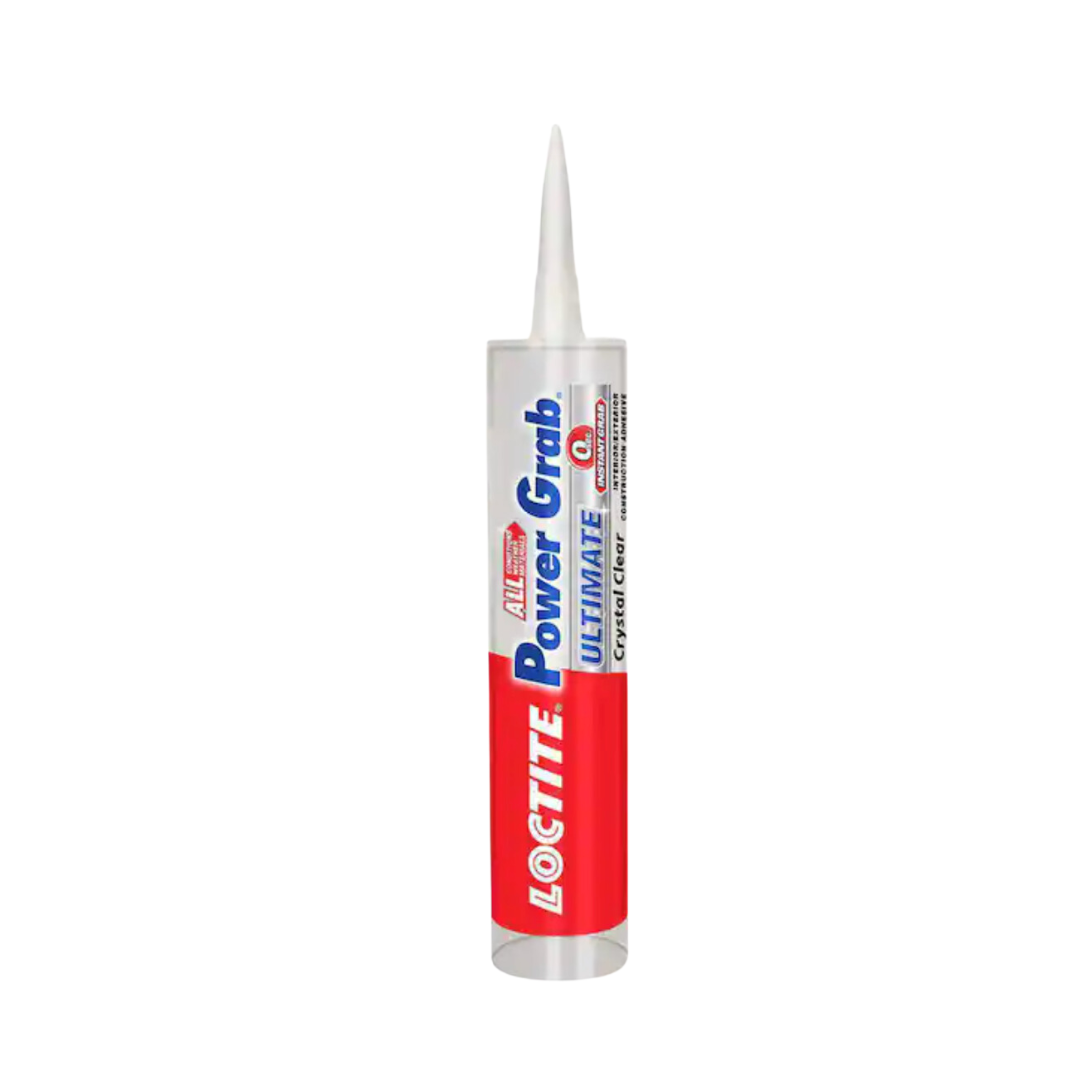
I glued them to the backside of my wall grid and clear Loctite Construction Adhesive. Once all of my glue dried, I added Loctite to the backside of my second grid piece and David helped me carefully place it onto the backside of my original grid to cover all of the seams of the plexiglass. We then placed some small weights on top and let everything dry overnight. This is the part where I continued fixing my mistake with the square dowels on the opposite to sandwich the plexiglass.

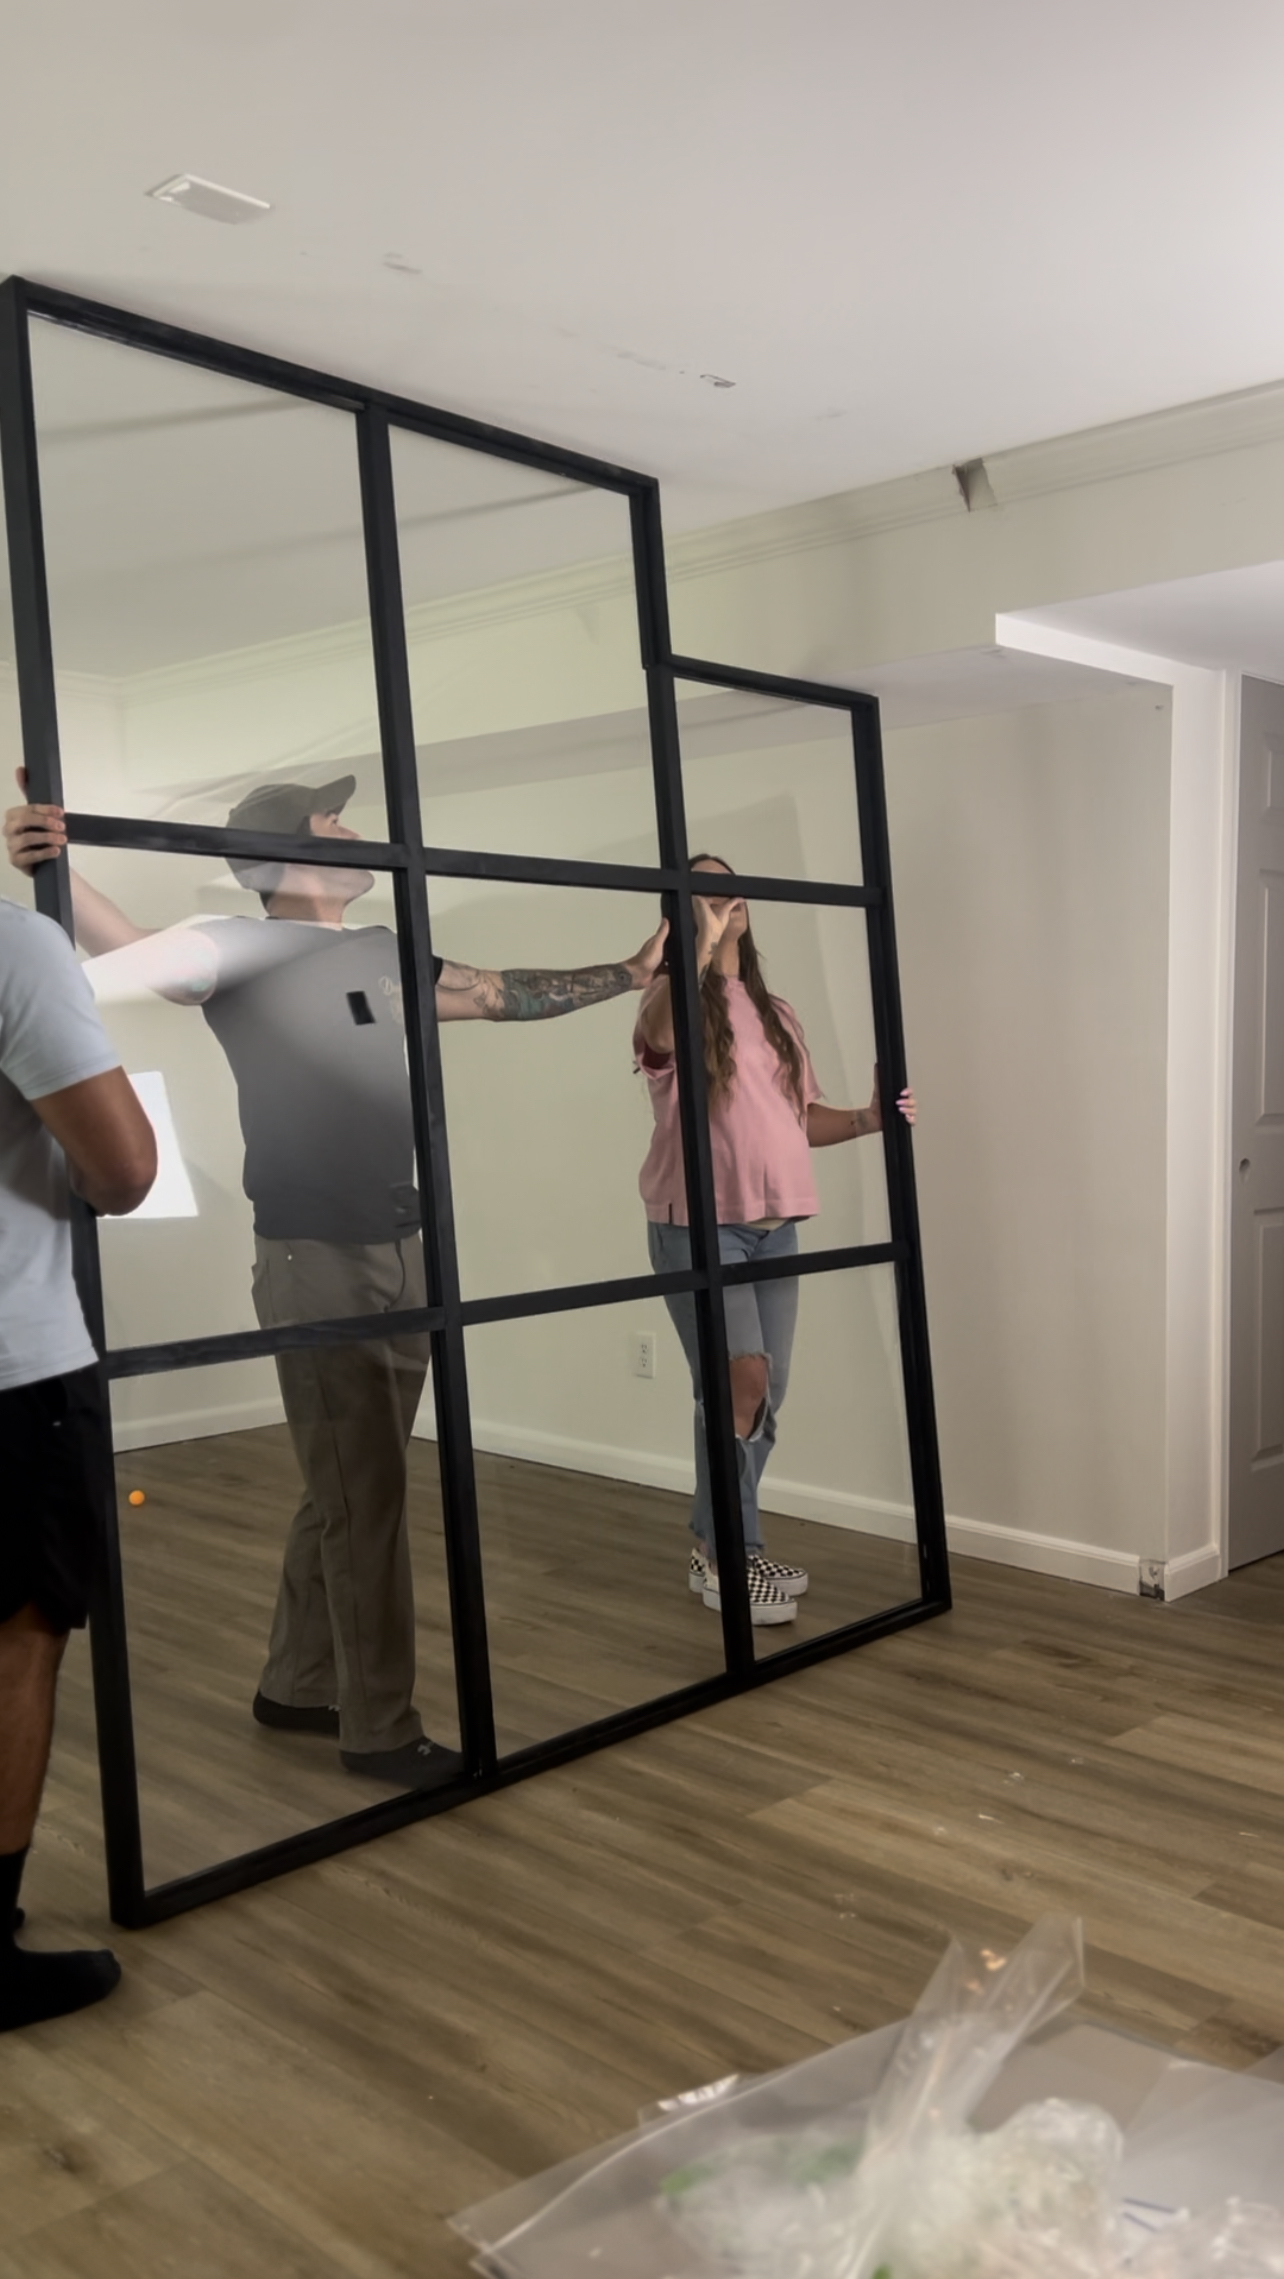
Installation
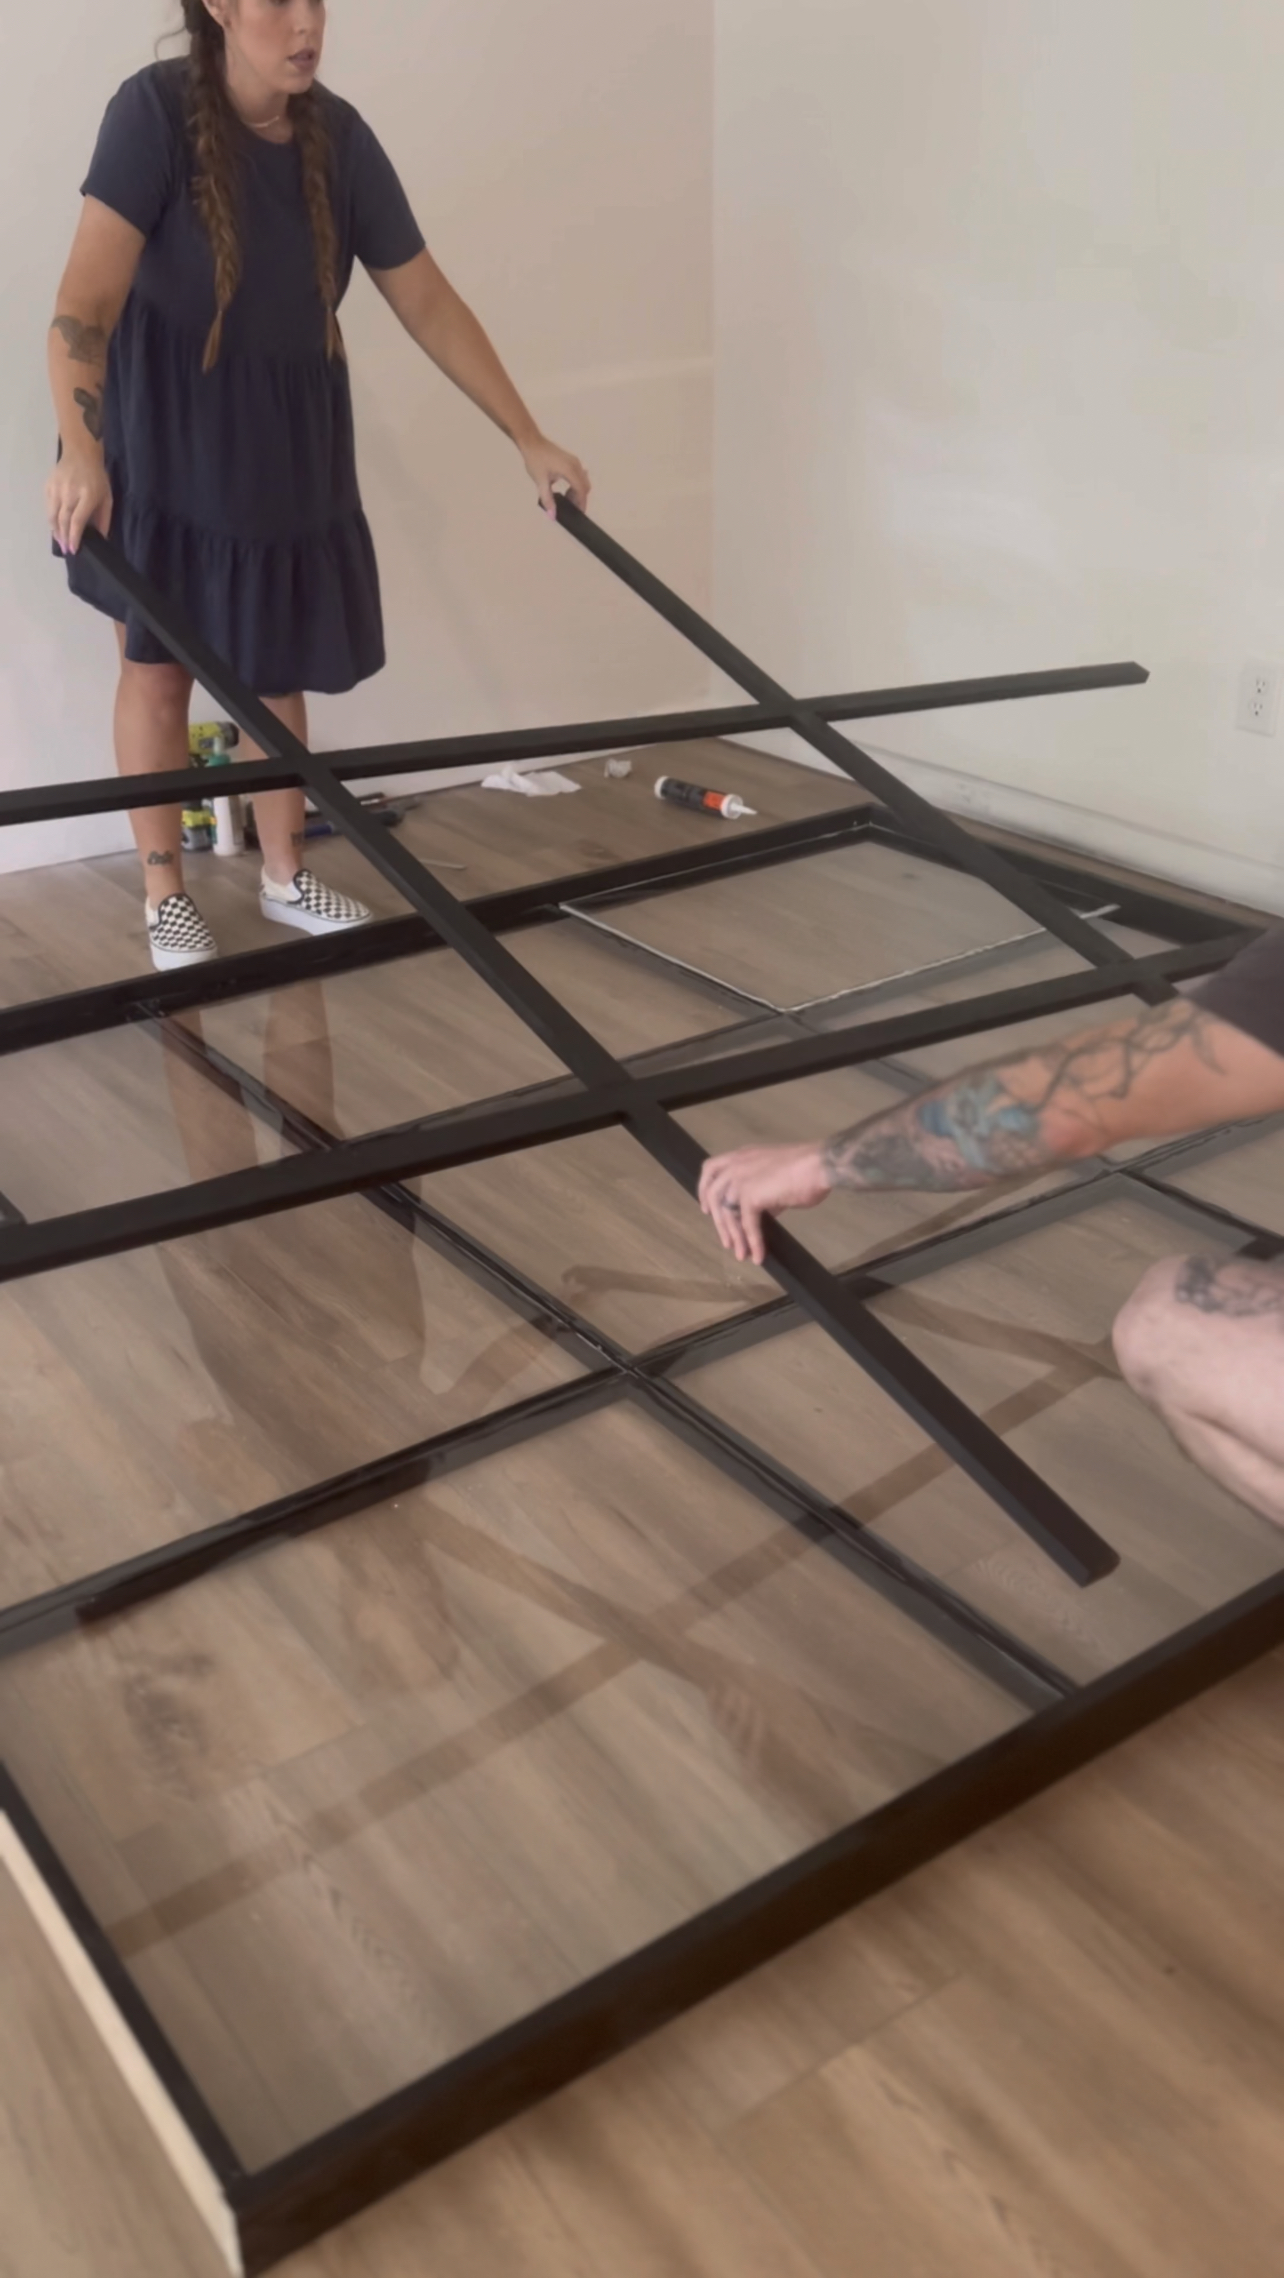
The next day we lifted up the wall, and shifted it into place using a hammer. I measured and built everything to fit very snuggly between the floor and ceiling. To secure after getting it plumb/straight and level, we used some screws and drilled directly into the outside frame to the studs in the wall. And since I had built this to fit very snuggly between the floor and the ceiling, we felt there is no need to drill into the floor it would take a lot of force to shift the wall there.

And that was it! I need to do a bit of touching up on the ceiling where the wall scuffed it a bit, but overall I AM OBSESSED!!

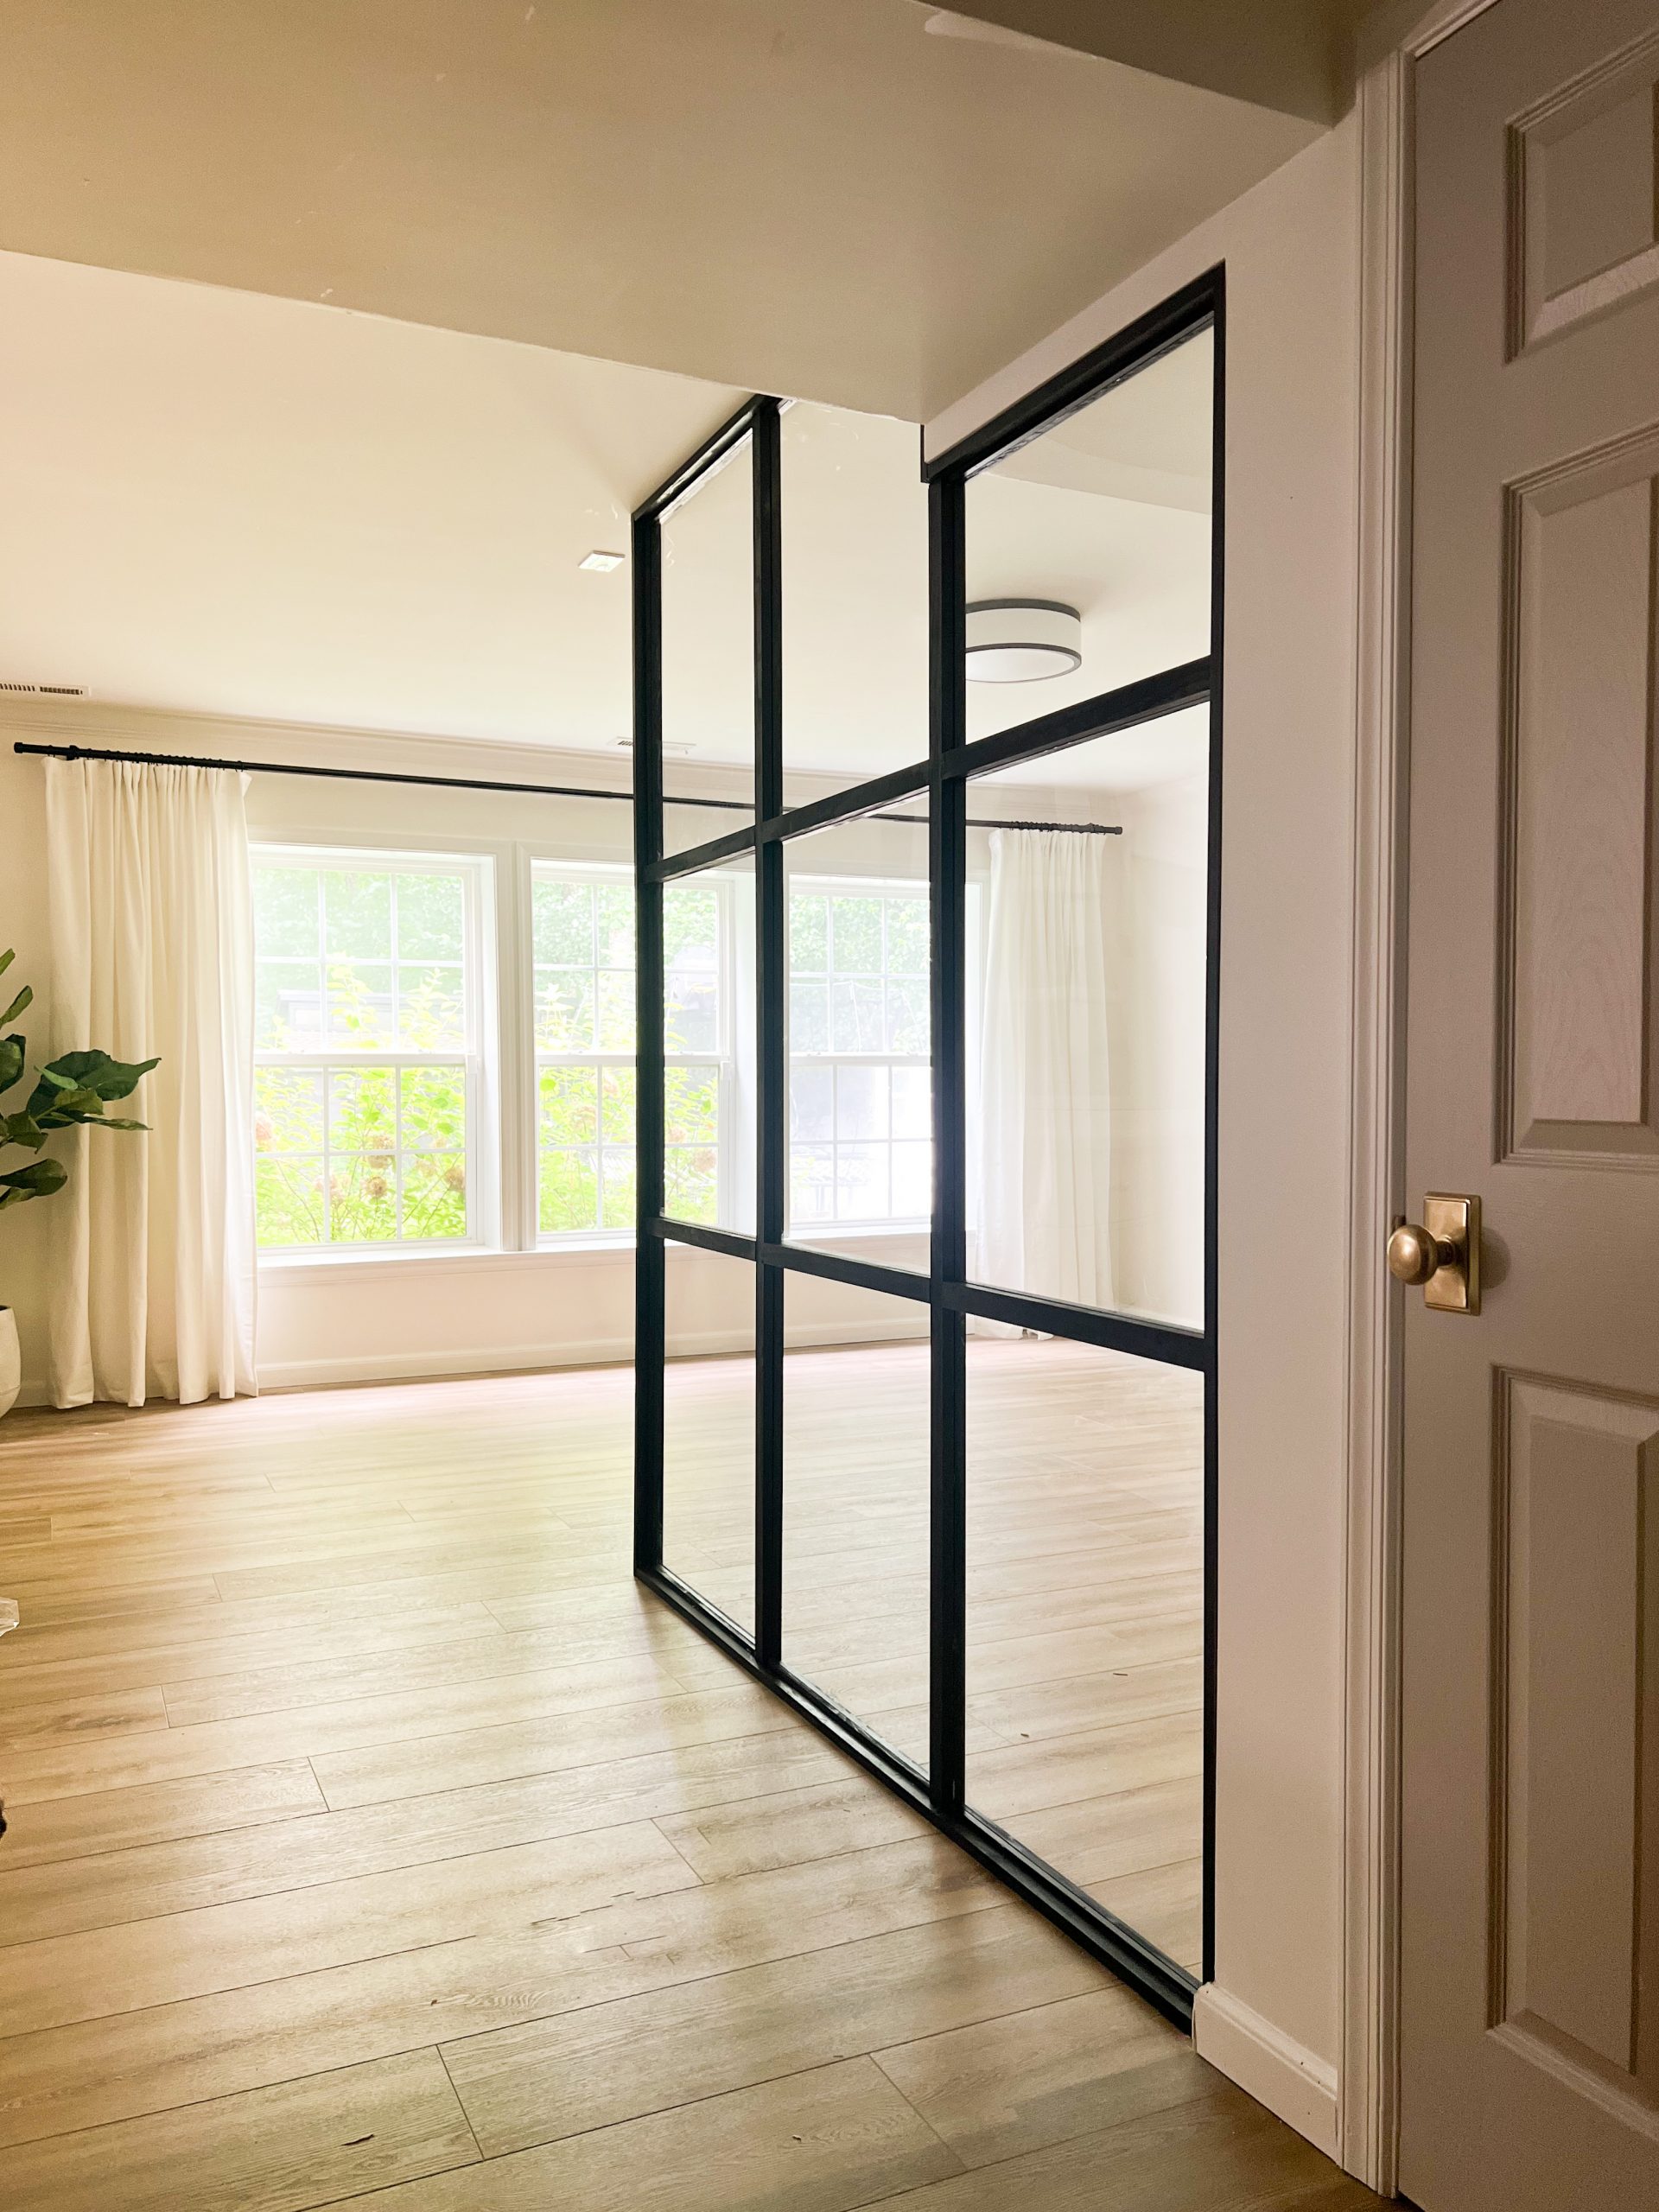
This project cost me a total of about $420 altogether! If I wouldn’t have made the mistake with the framing, it would have cost me about $385. Probably a fraction of what a custom glass wall would have cost!
DIY GRID WALL SUPPLIES


Where did you find those large plexiglass sheets?
This might be a new trend! I love it. We do a lot of accent walls and room partitions but never have used the plexiglass. I think it will assist in adding light to the room vs a typical room partition. I love how you gave it that custom feel by going around the moldings. Nice work!
Thank you for so much detail about this project. I’m getting ready to do something similar at my house and plan almost to copy your process.
Amazing!! I’m sure it will turn out great!