DIY Frame TV Tutorial – Updated Version

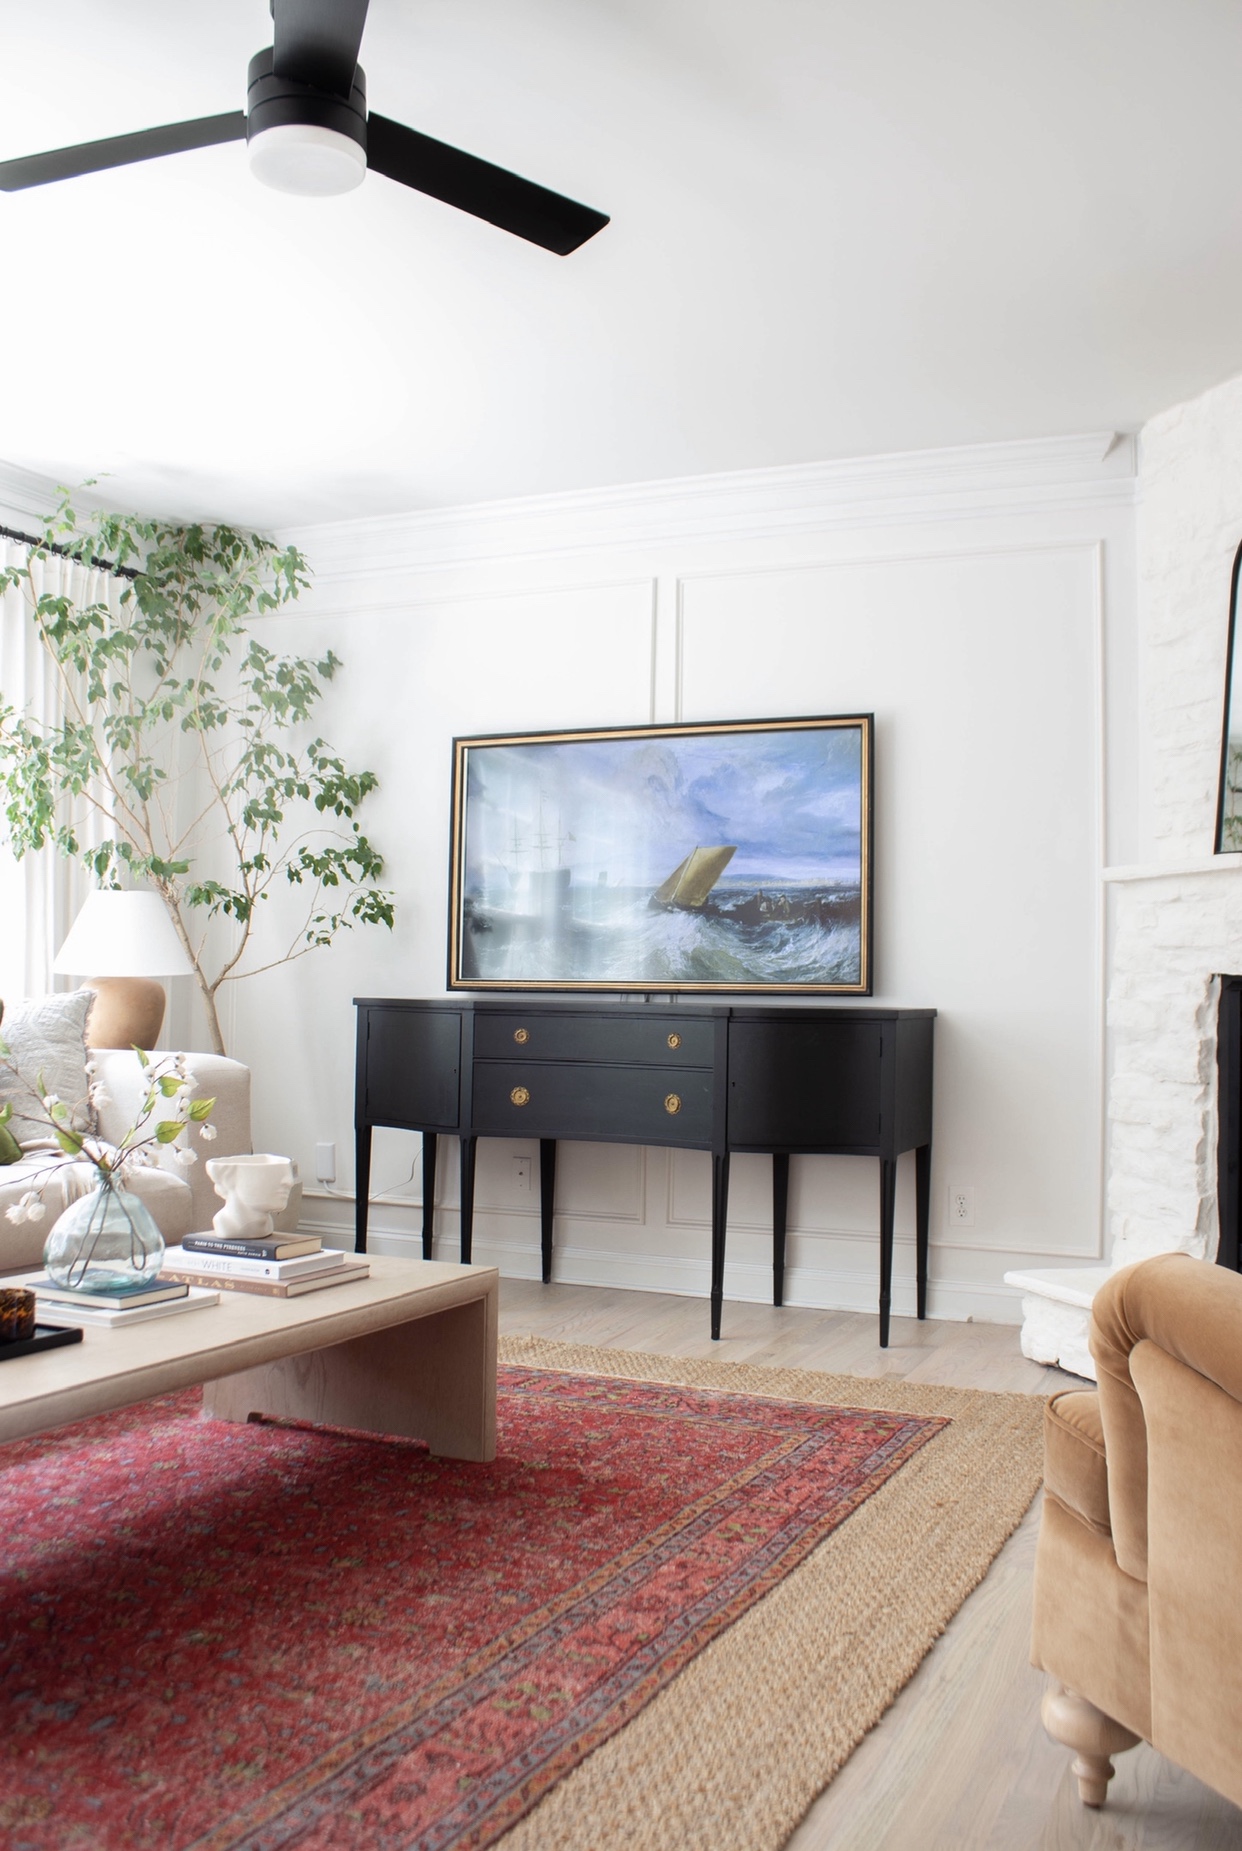
A little over two years ago, I used a miter saw for the very first time to build a DIY frame TV. The Samsung frame TV’s had just started becoming popular and I was desperate to have one for my new living room makeover. But, I did not have the budget to spend on one. We had just gotten a new smart TV and I was determined to find a way to make my own version. So I made a DIY Frame TV tutorial.
After some brainstorming, I figured out a plan. I went to Home Depot and gathered some wood trim that I thought would make a great frame. By a little trial and error I came up with a solution, and it worked perfectly! I made this frame for about $20. Additionally, I bought a slim TV mount for my TV to rest closer to the wall and downloaded an art viewing app onto my Fire Stick. You can read my original frame tv tutorial here.
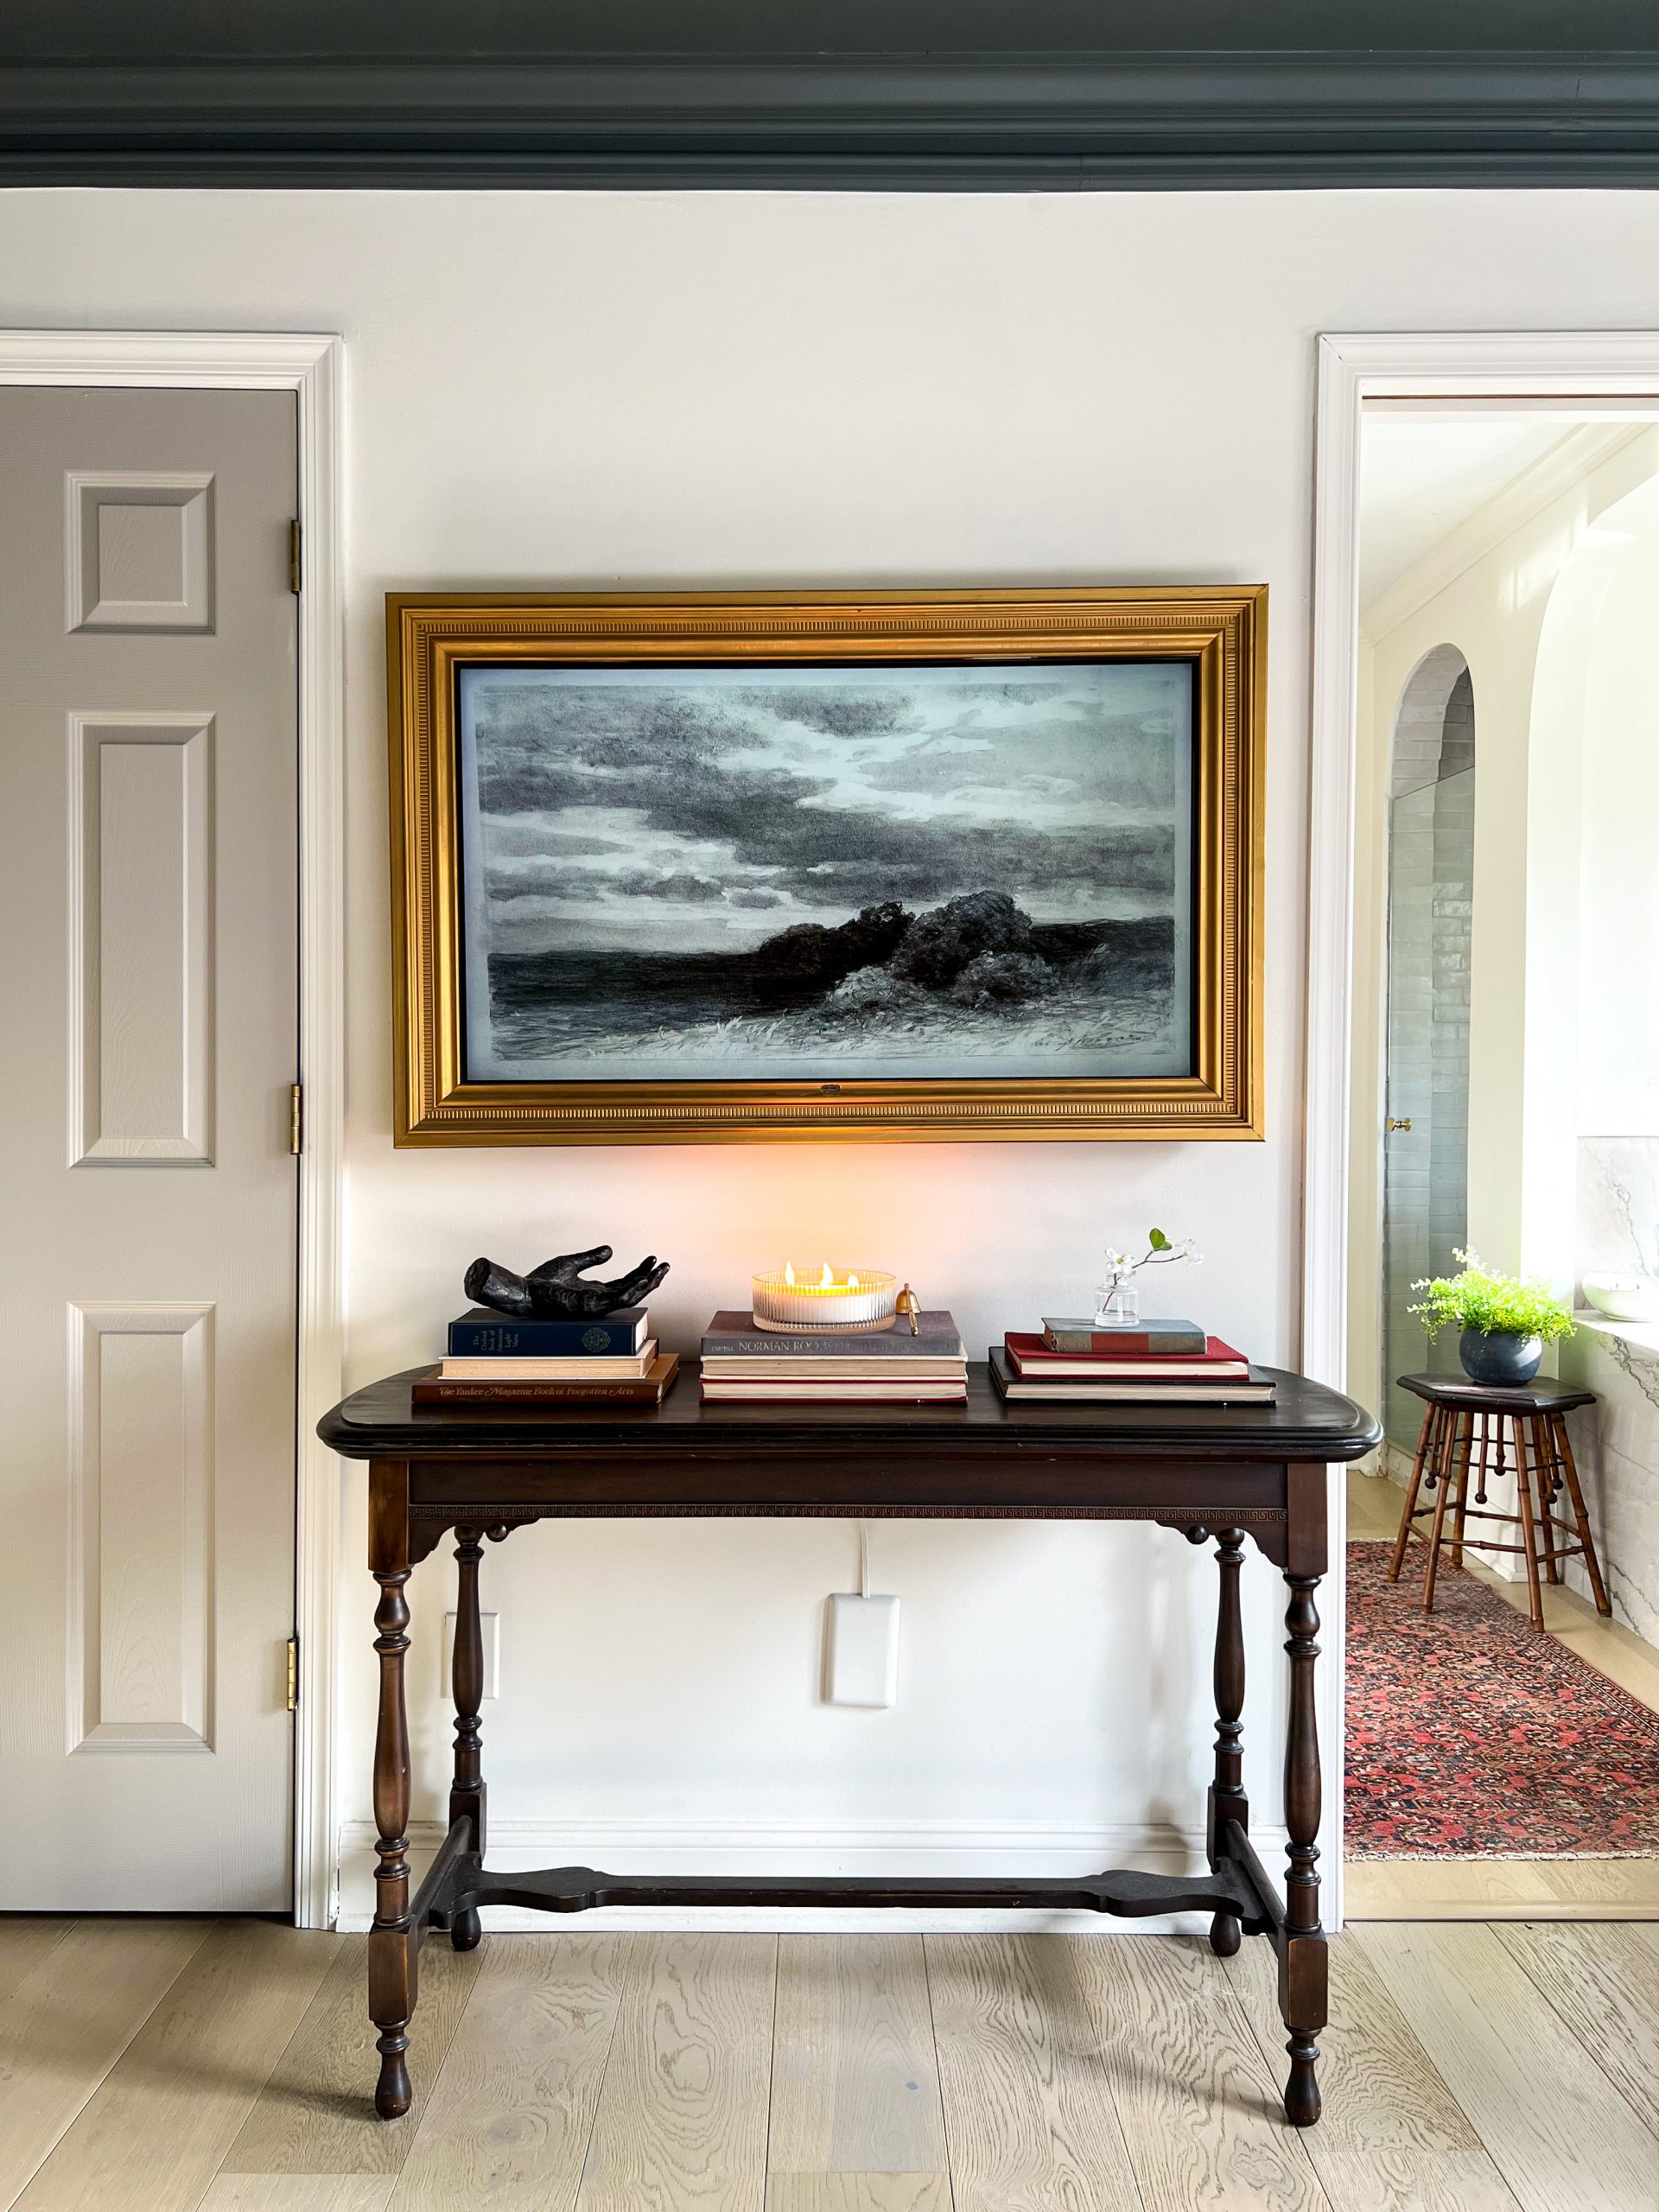
I have now come up with a newer and better version of my DIY Frame TV. This method uses an additional layer of trim to box in the TV a bit and make it look more like art from the side perspective. And here’s how I did it:
*This post may contain affiliate links, which means I may earn a small commission if you purchase through my links, at no extra cost to you. I only share products I genuinely love.
DIY FRAME TV TUTORIAL
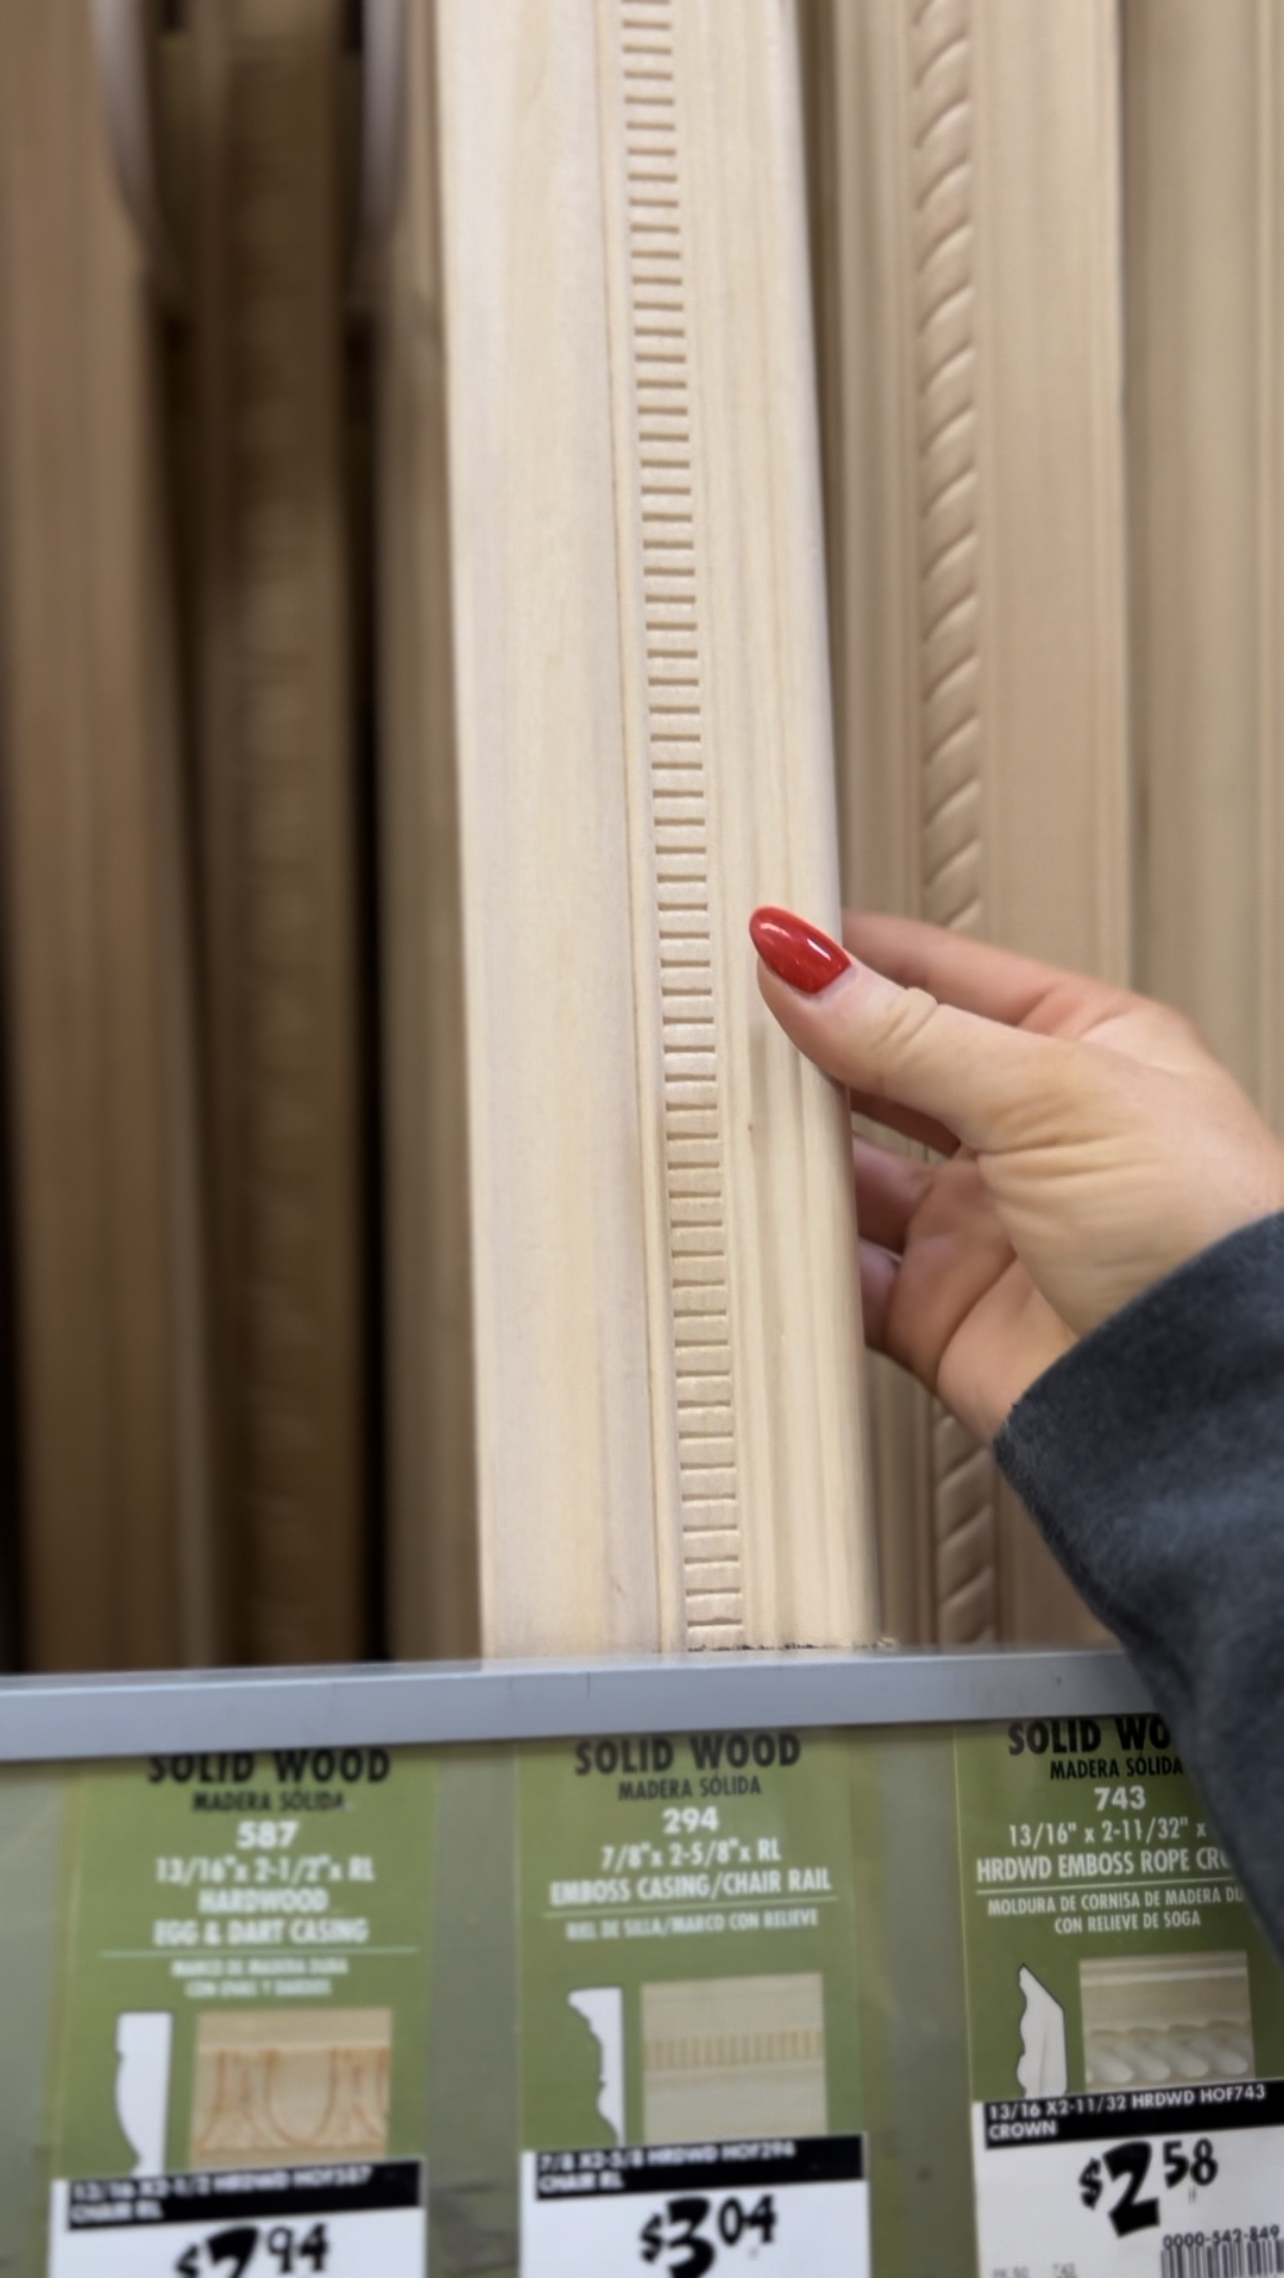
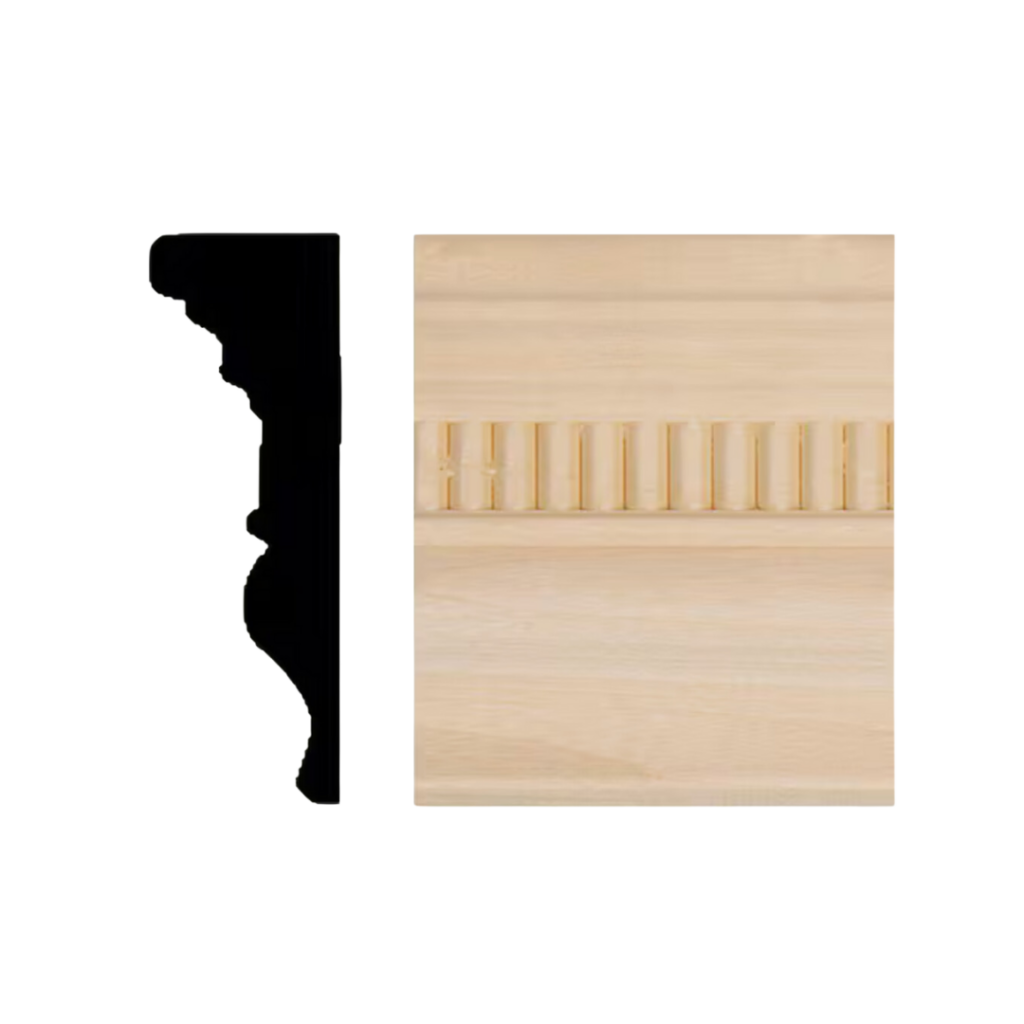
First, I measure my TV. I like to measure the screen and build the frame to cover the actual TV frame itself. That way only the screen is revealed. There are lots of trim options to use for this. I would recommend studying an art frame that you like, and referencing that to find a similar style. My favorite is this ornamental wood chair rail.
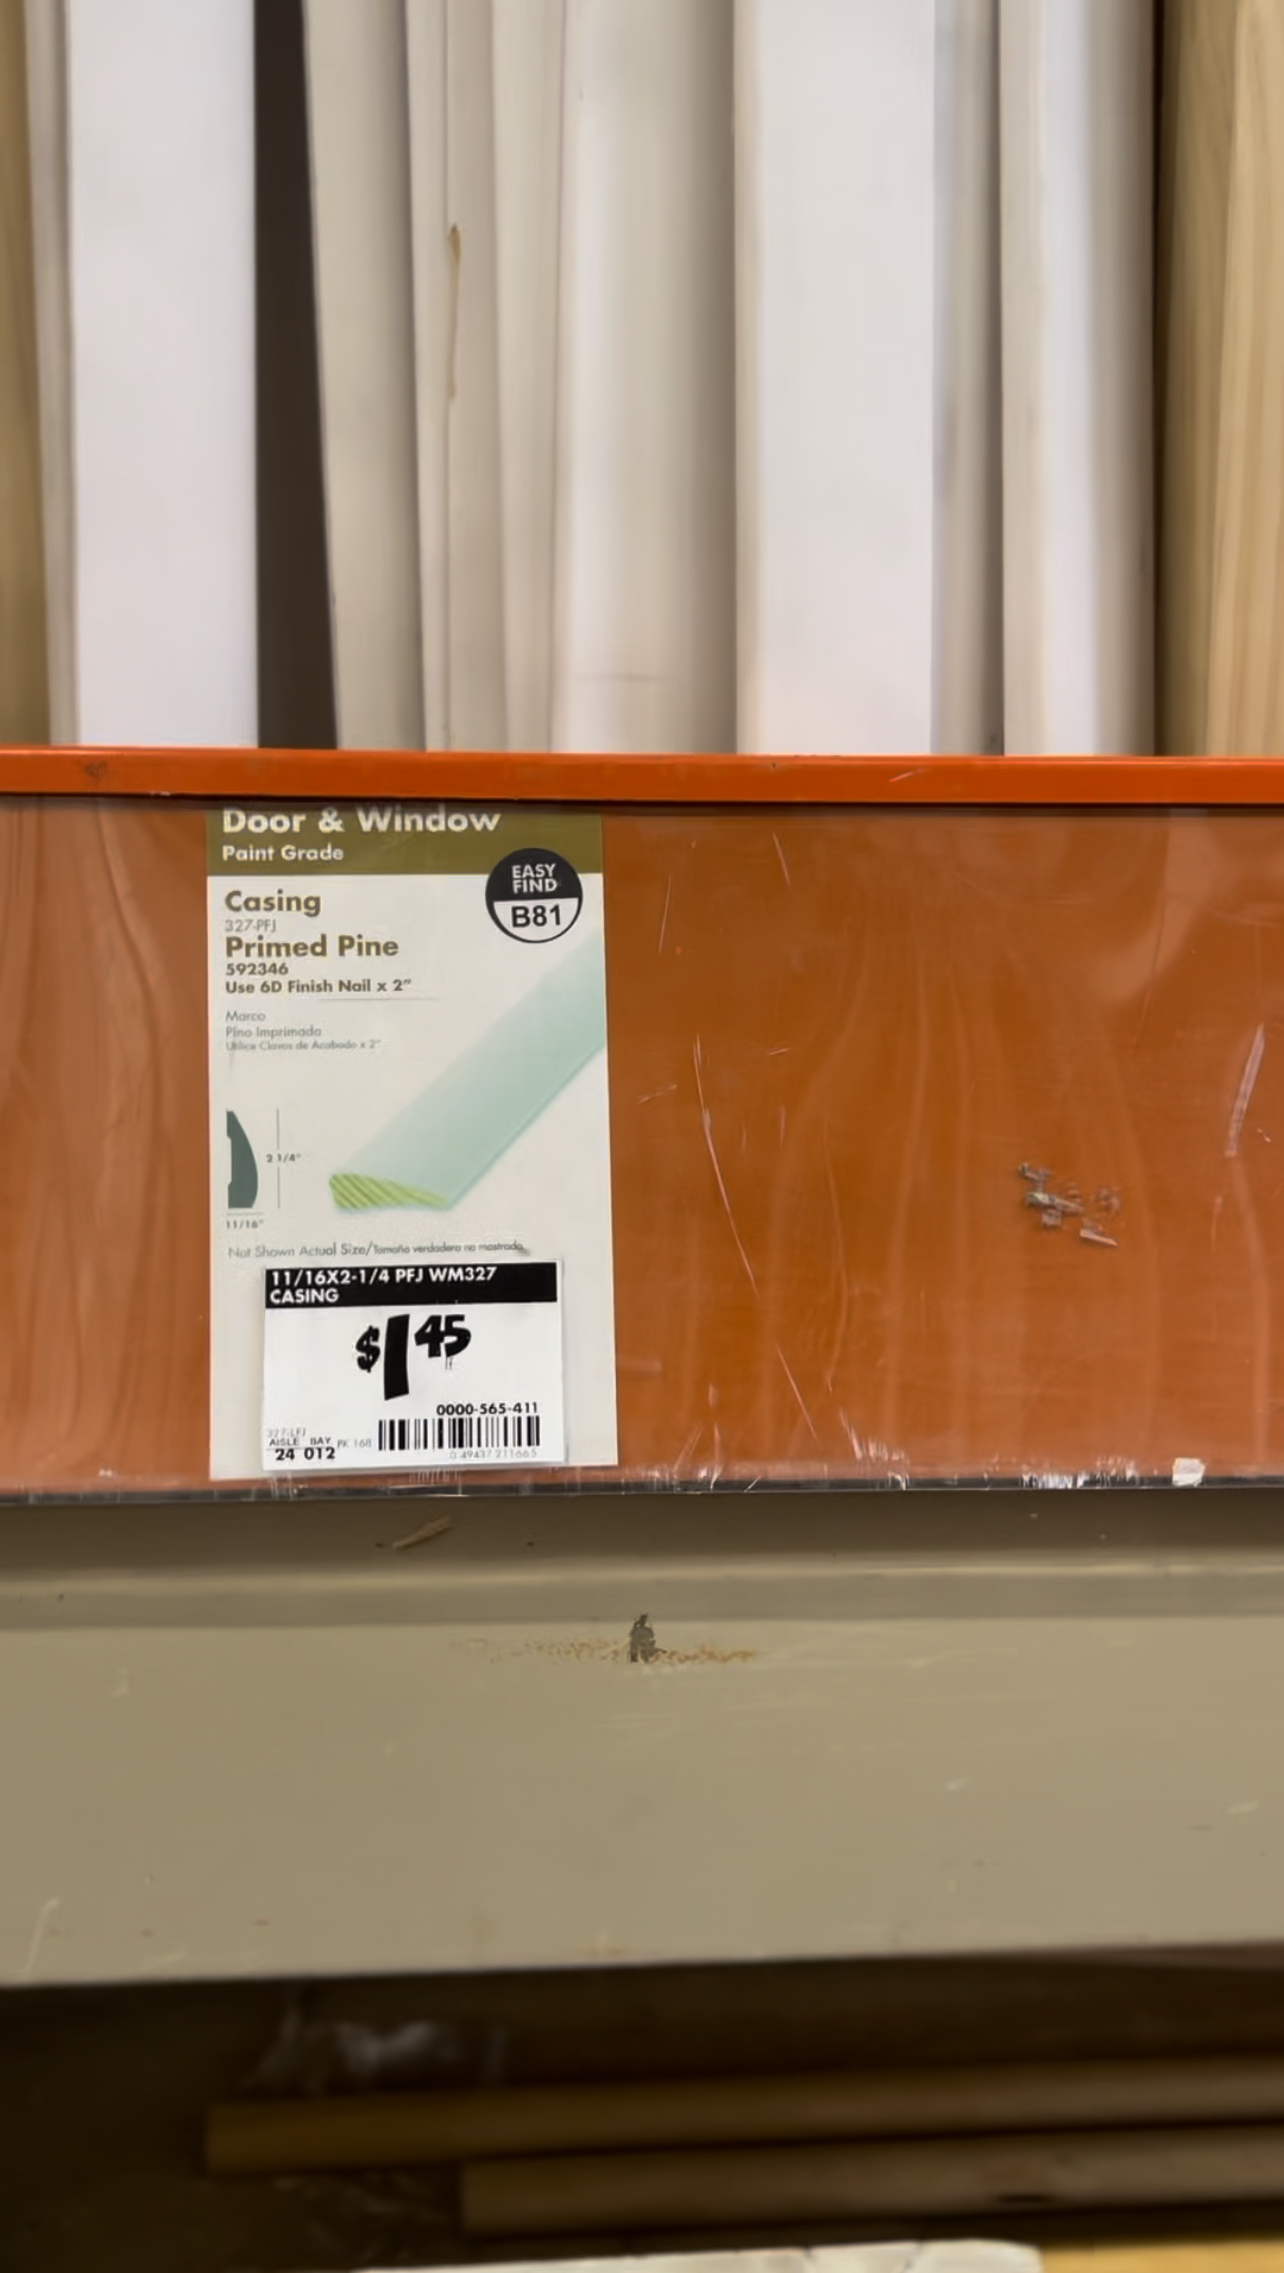
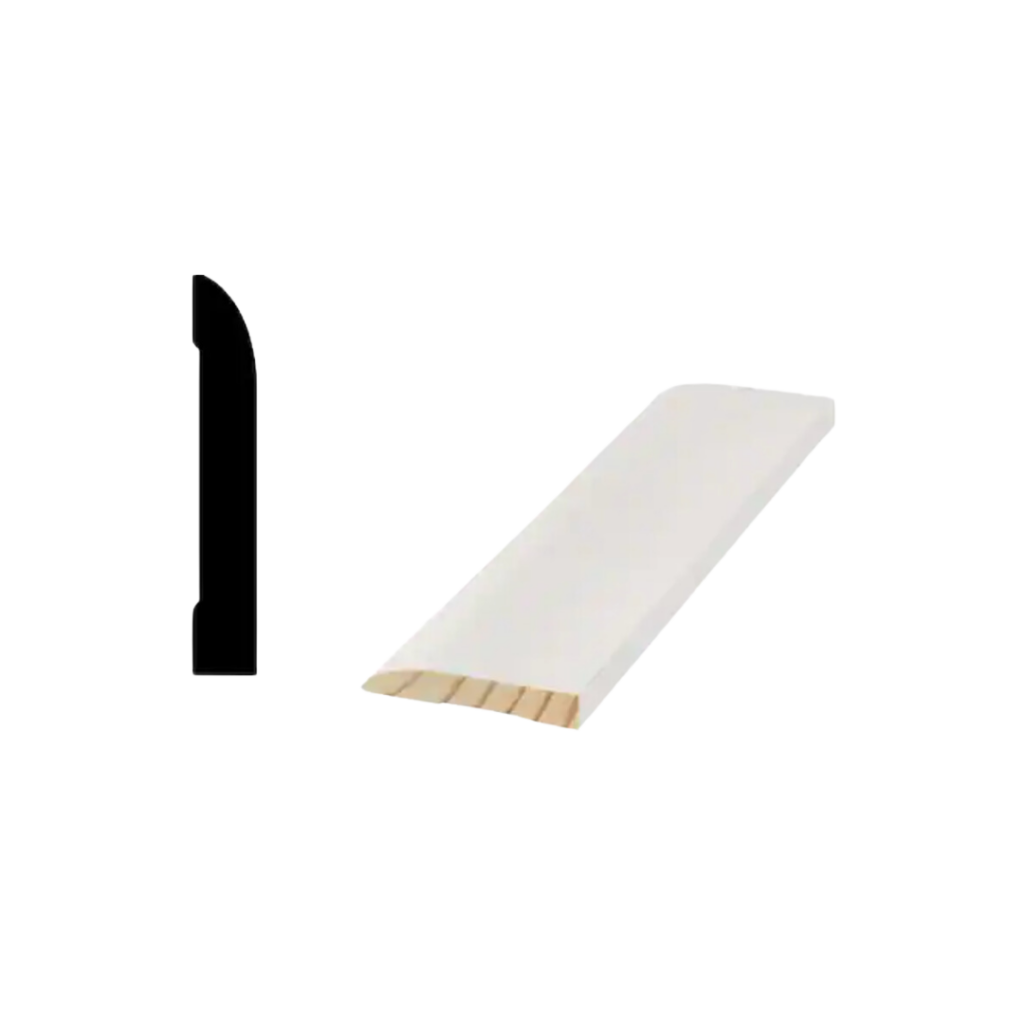
Additionally, I use this door and window casing with a rounded edge for the outside layer. This is the extra step that creates a boxed affect and makes the frame look more realistic.
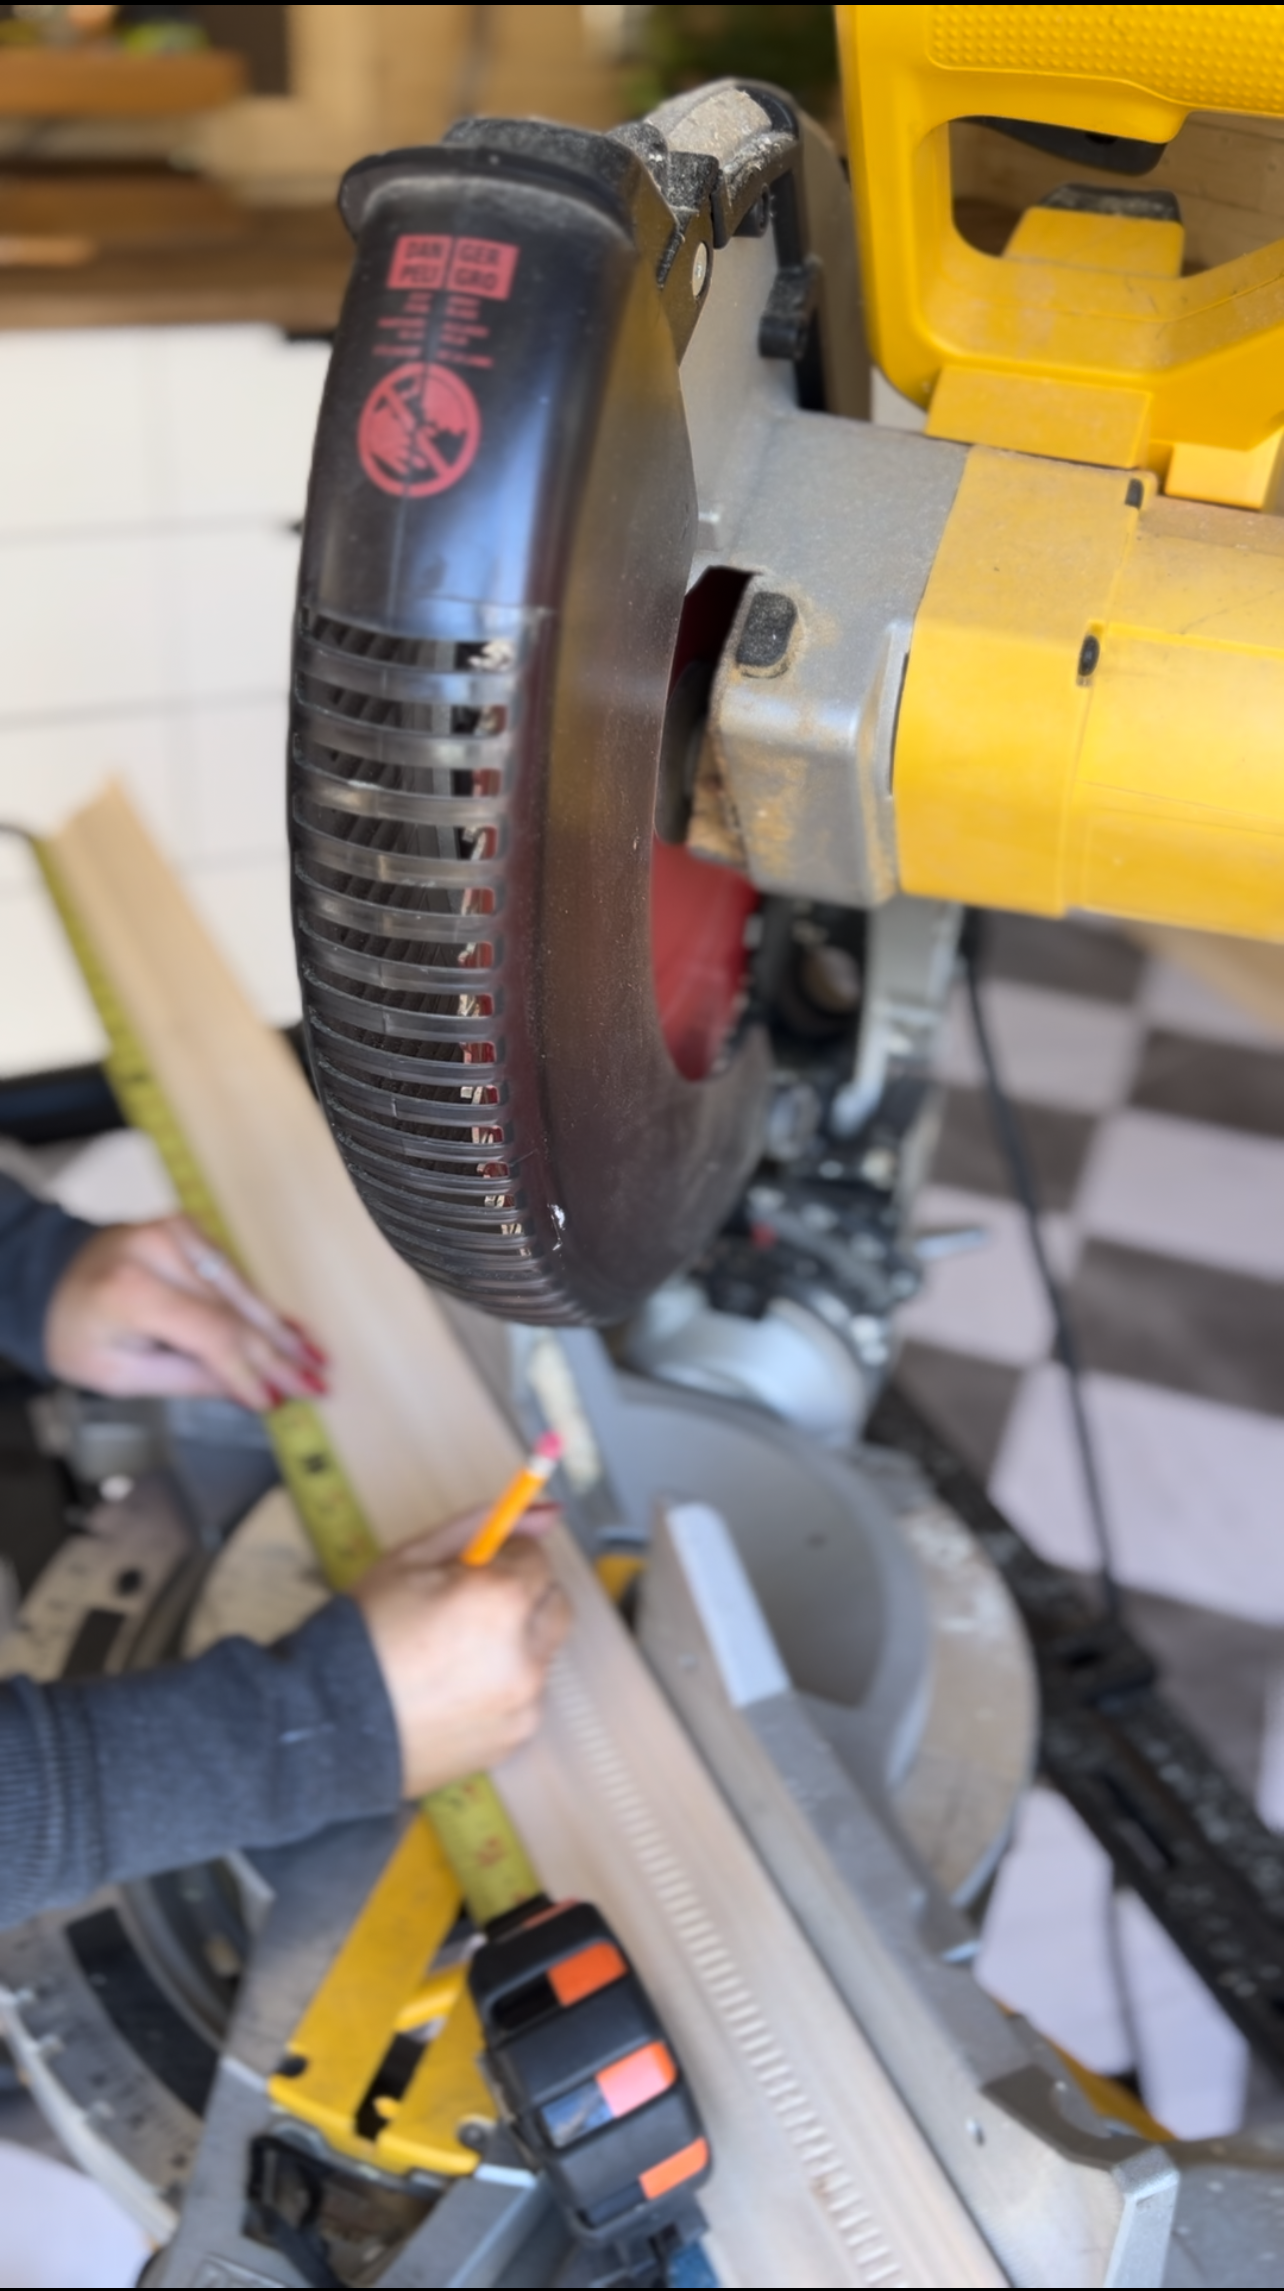
Making My Cuts
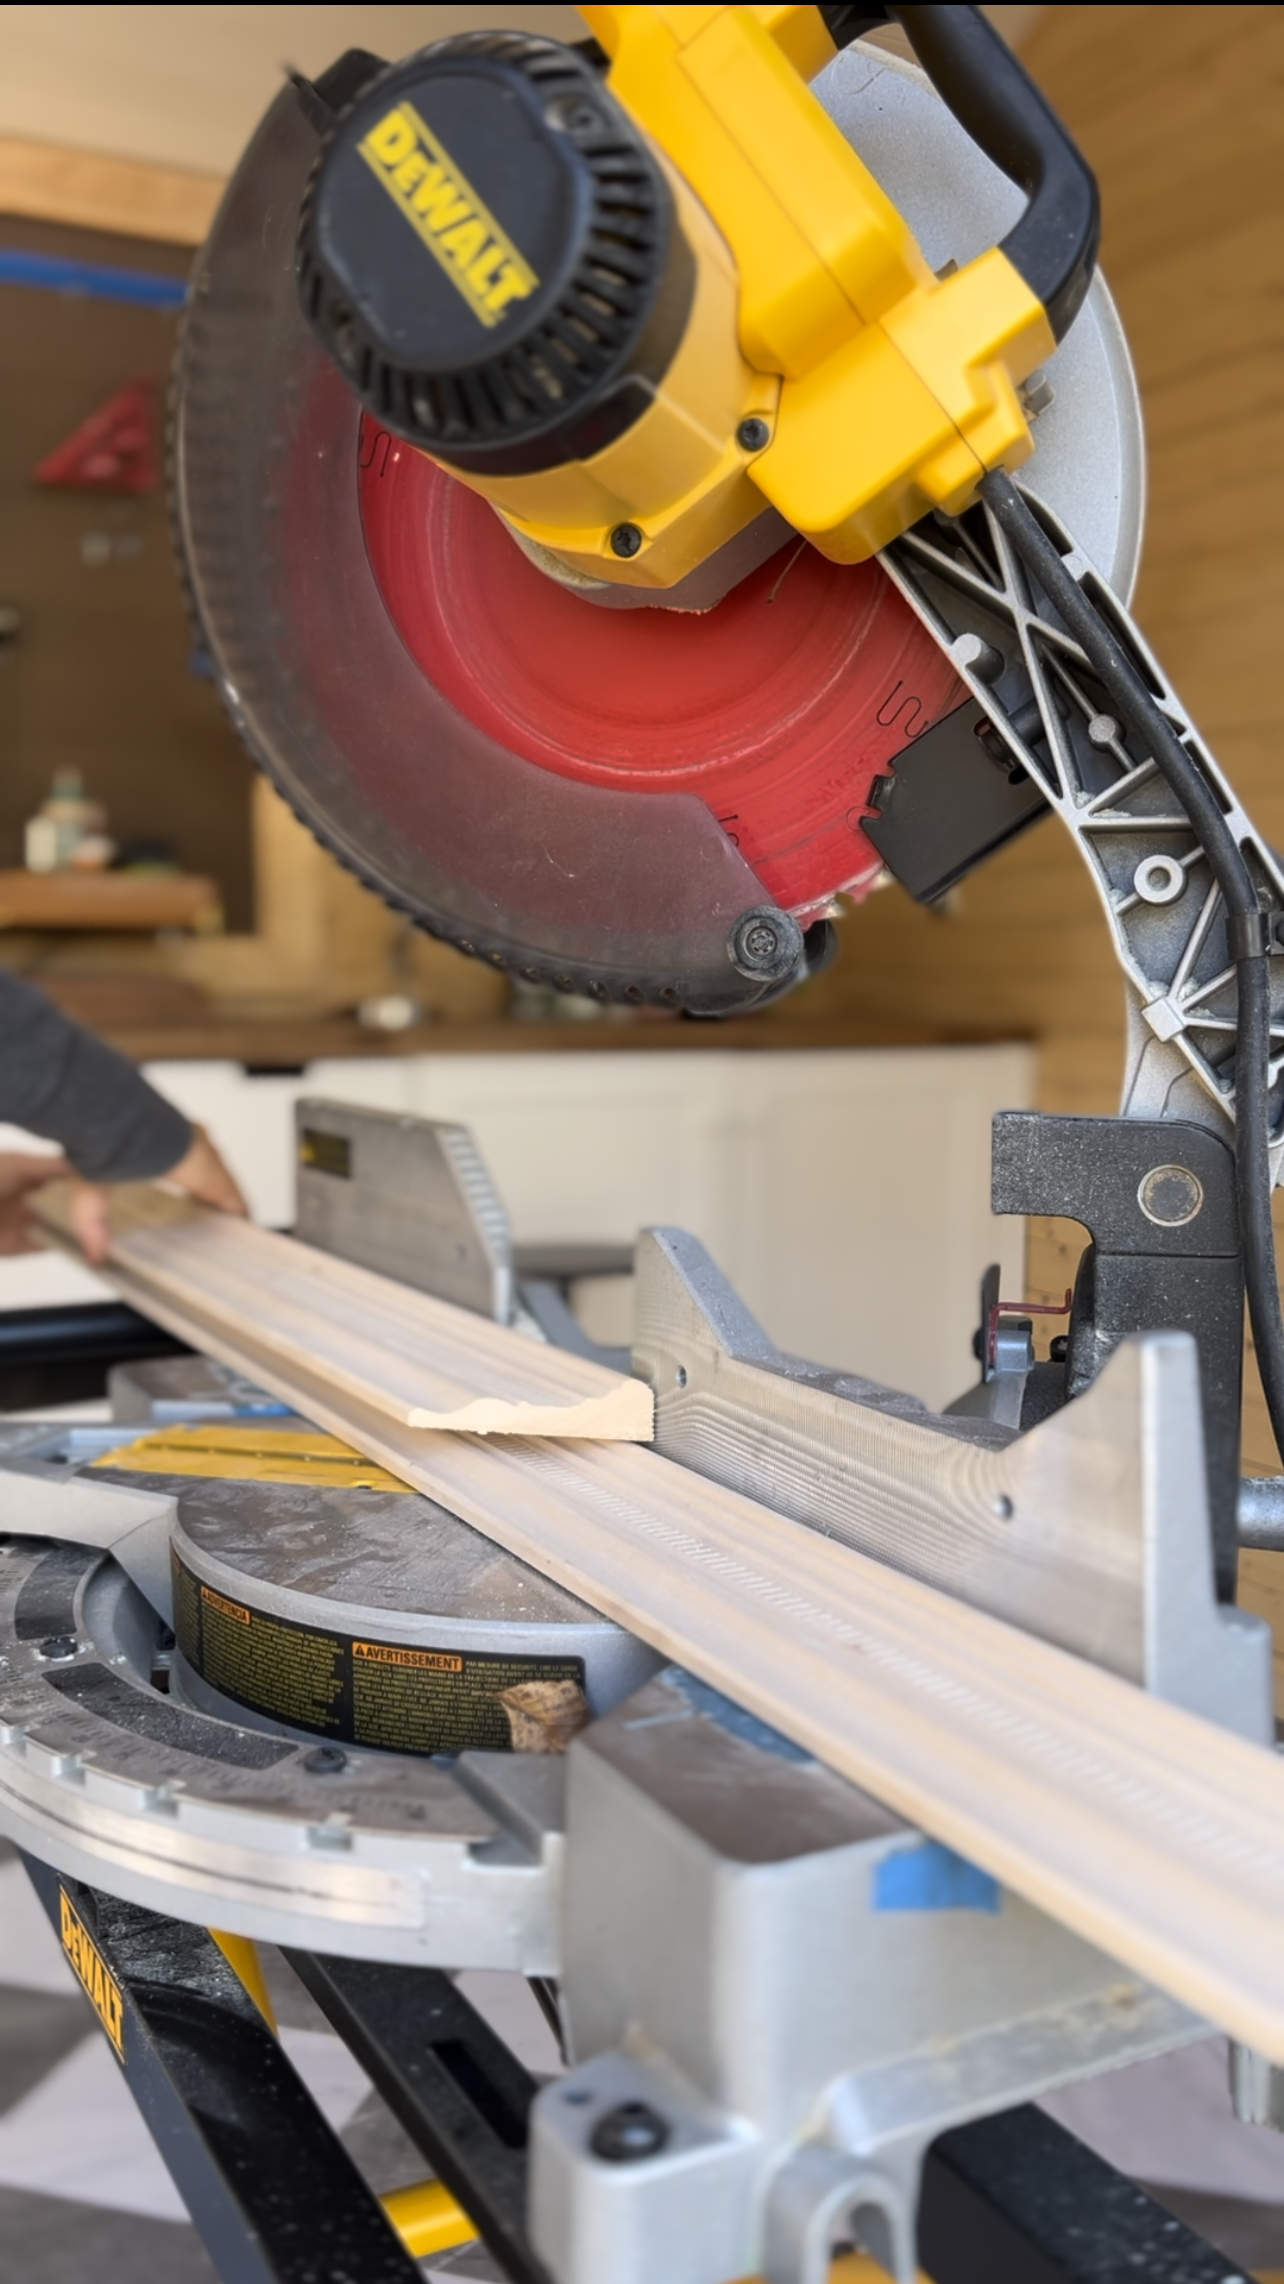
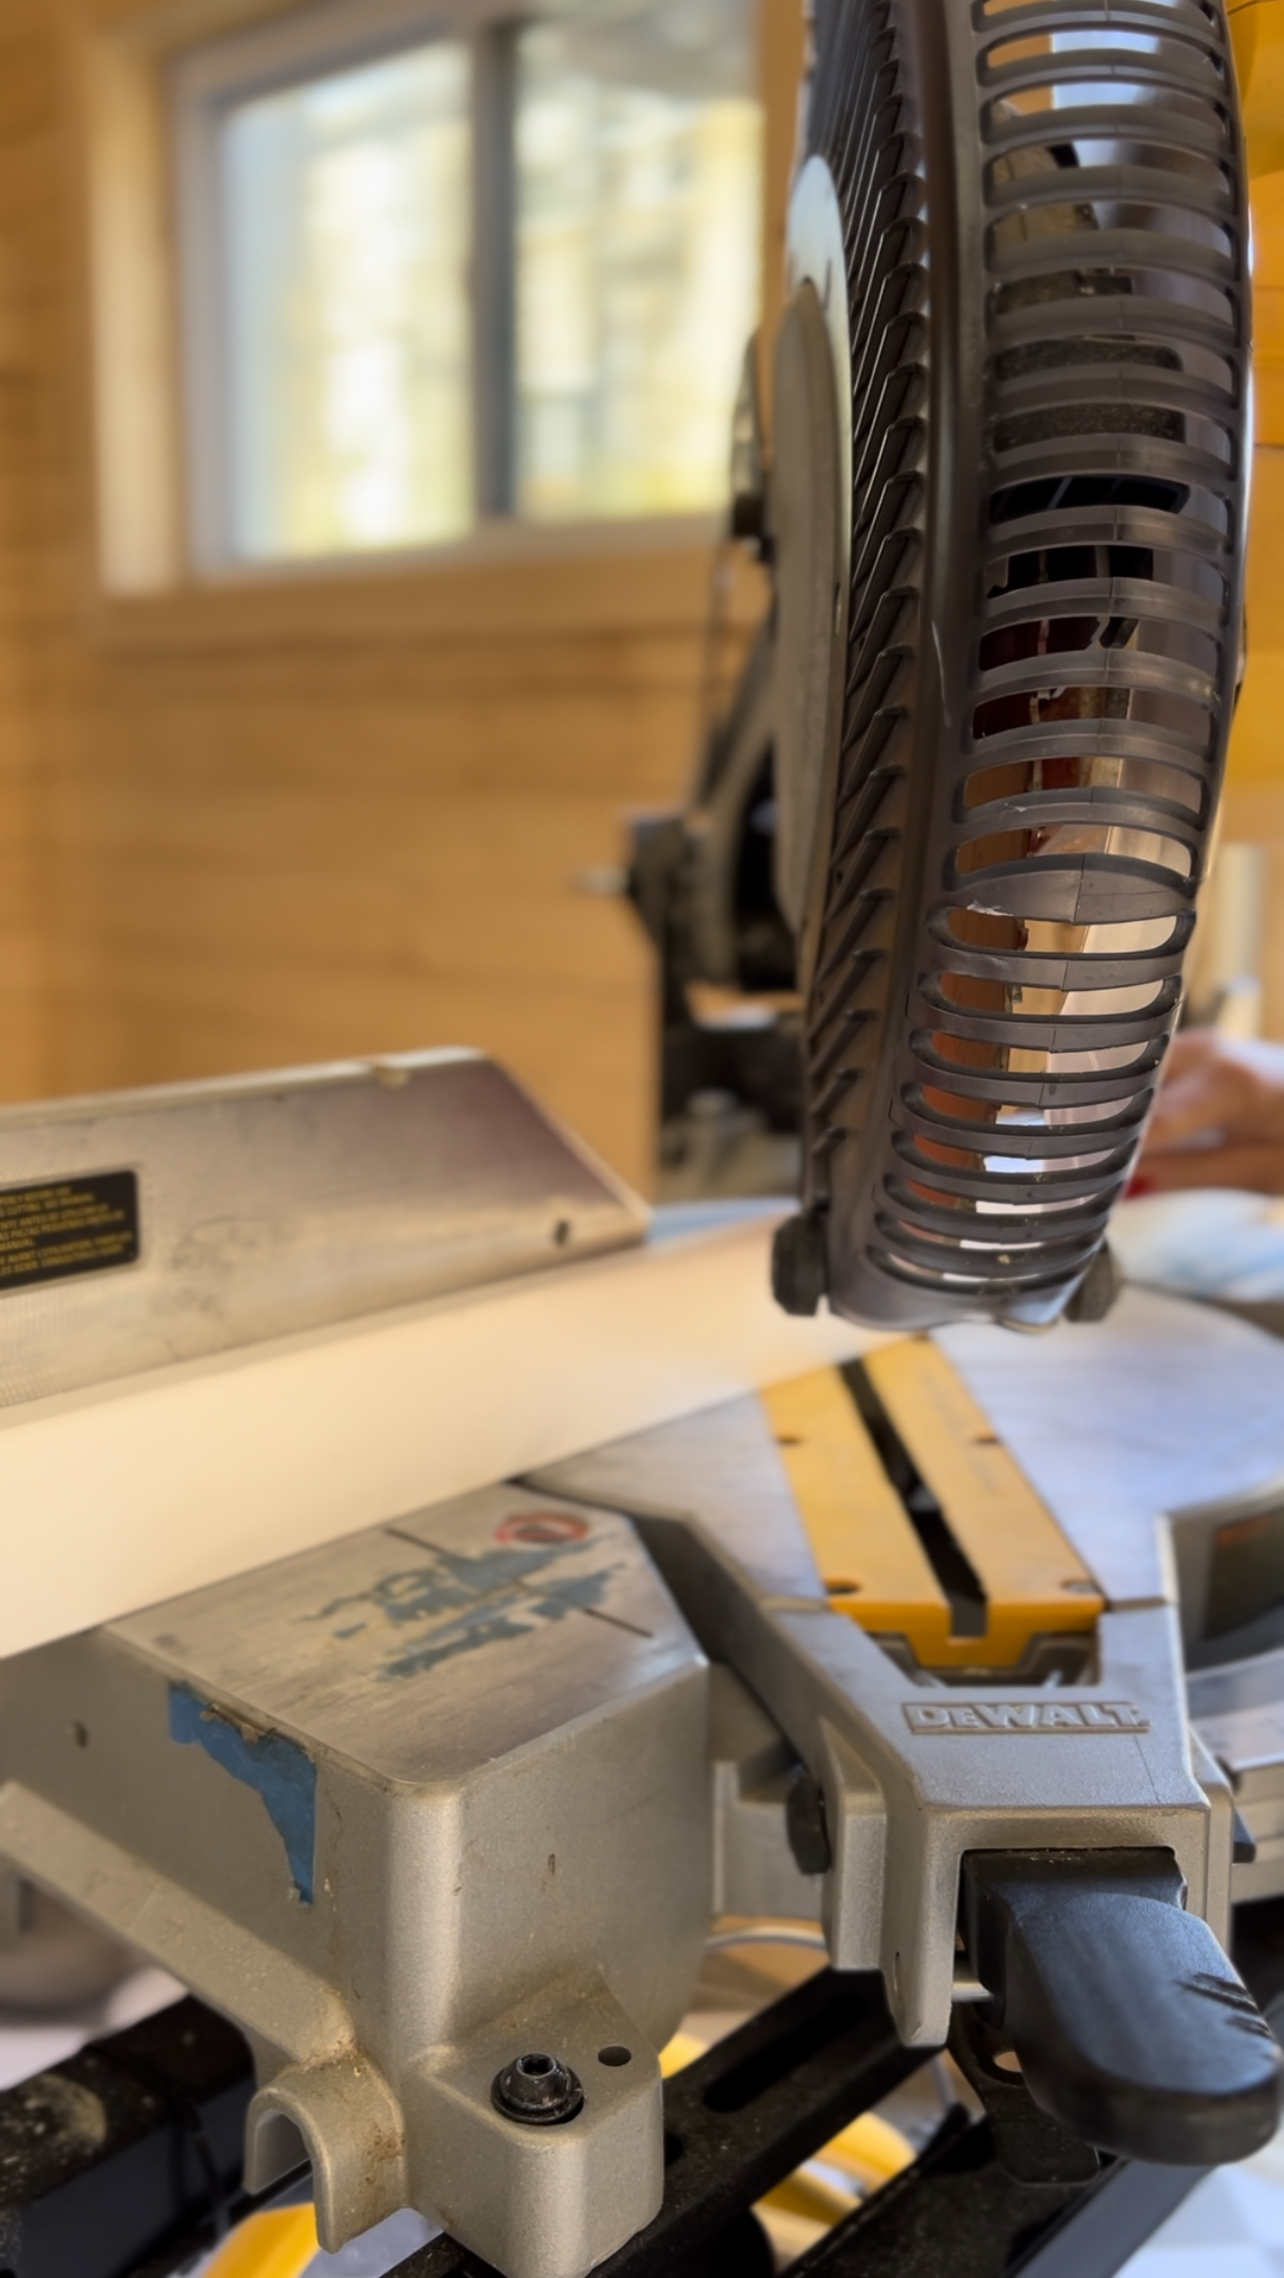
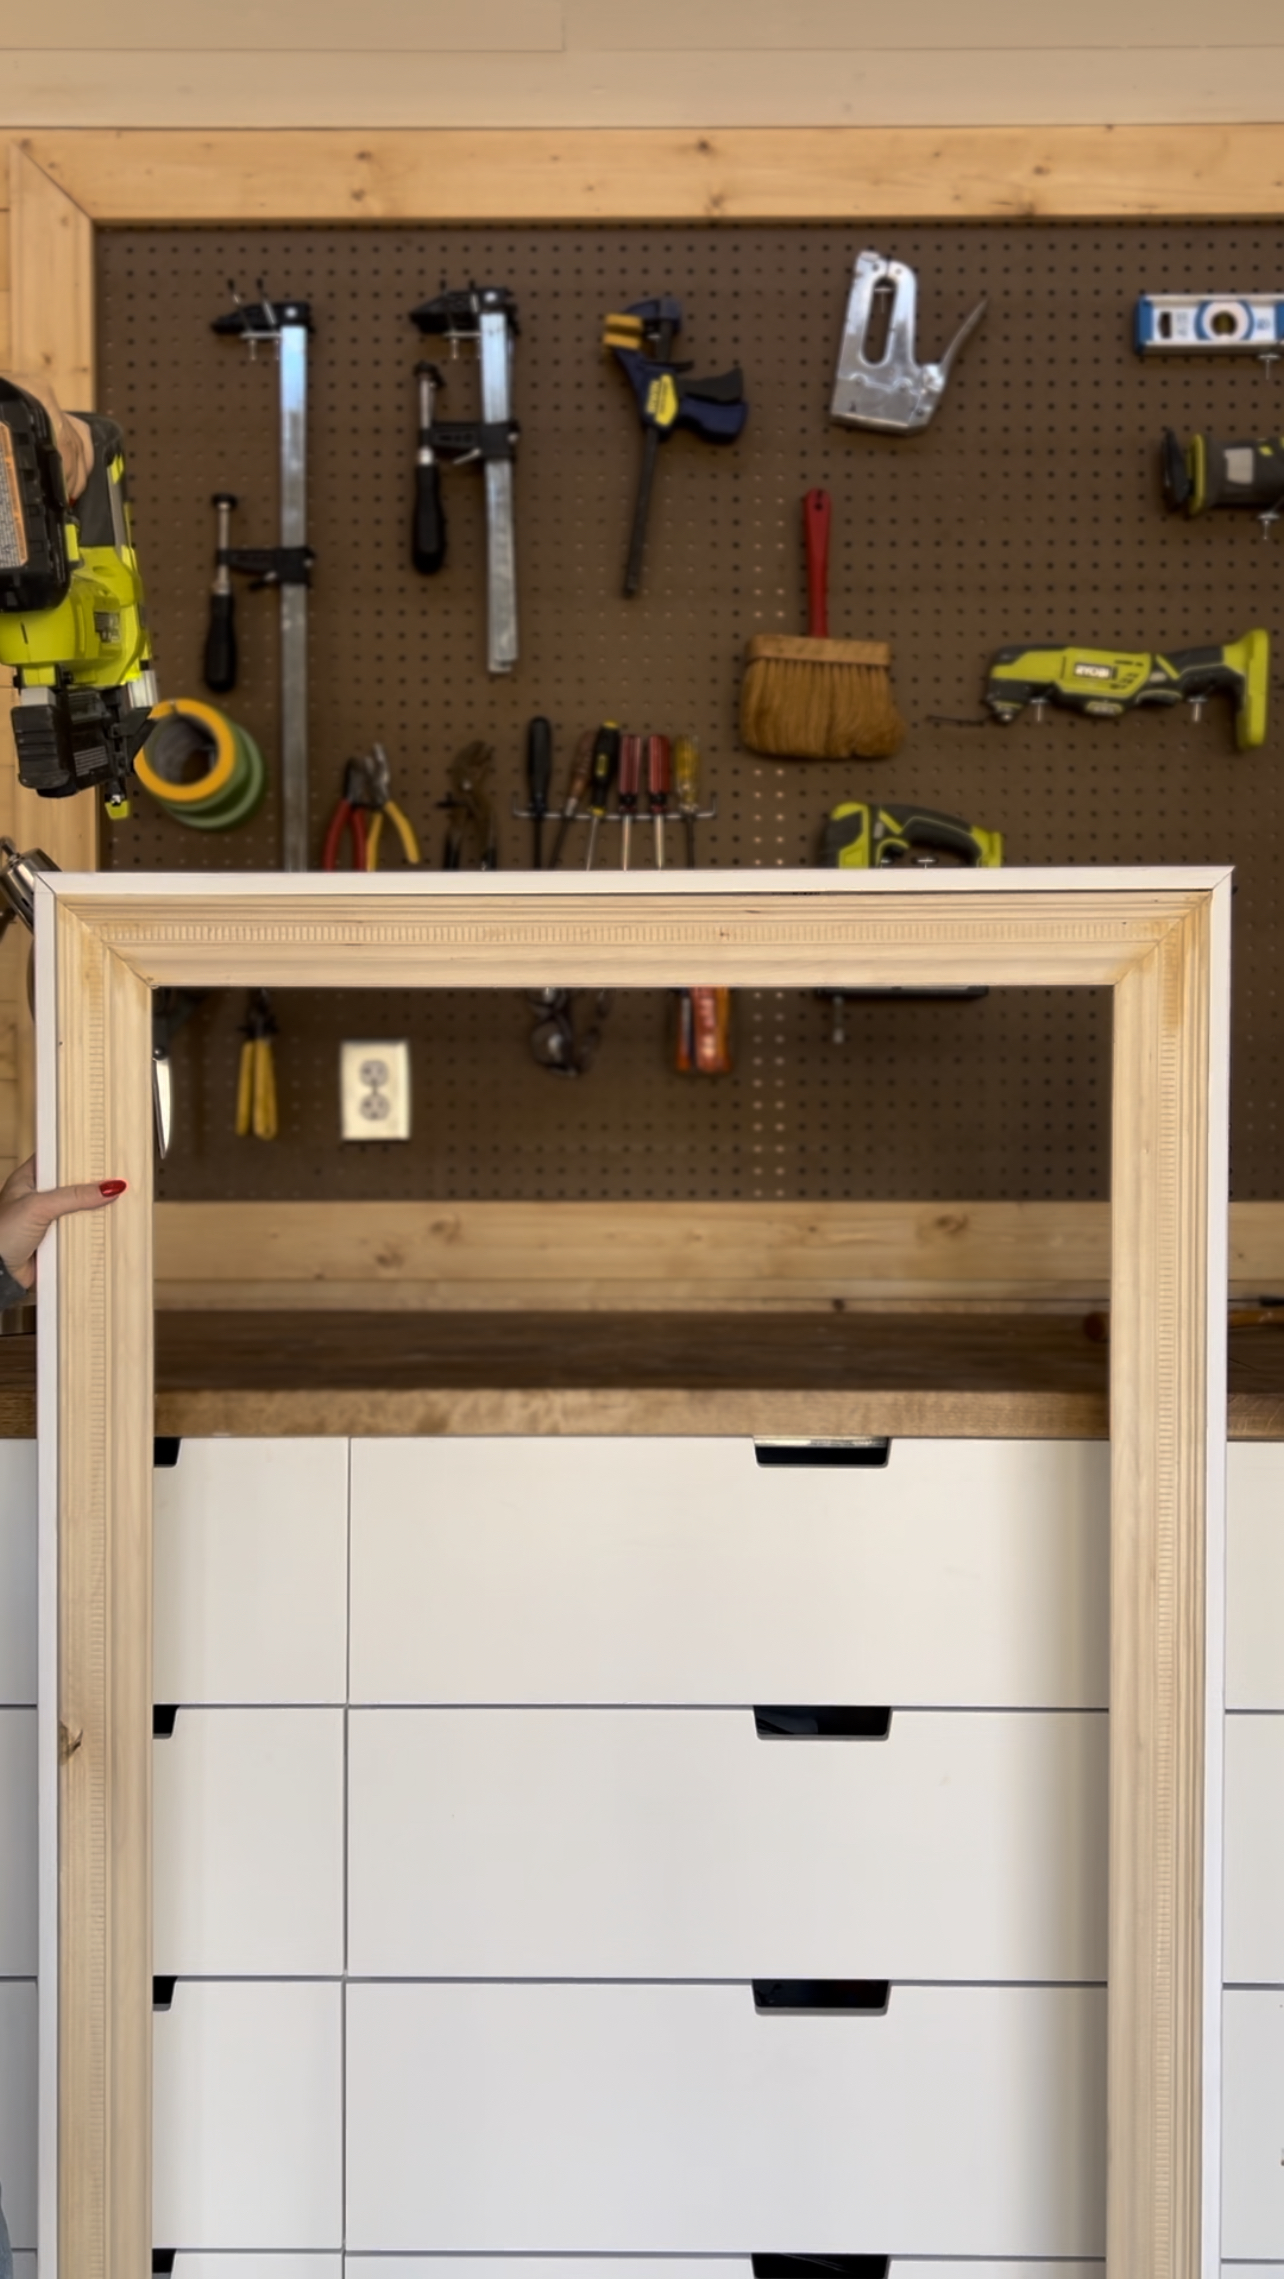
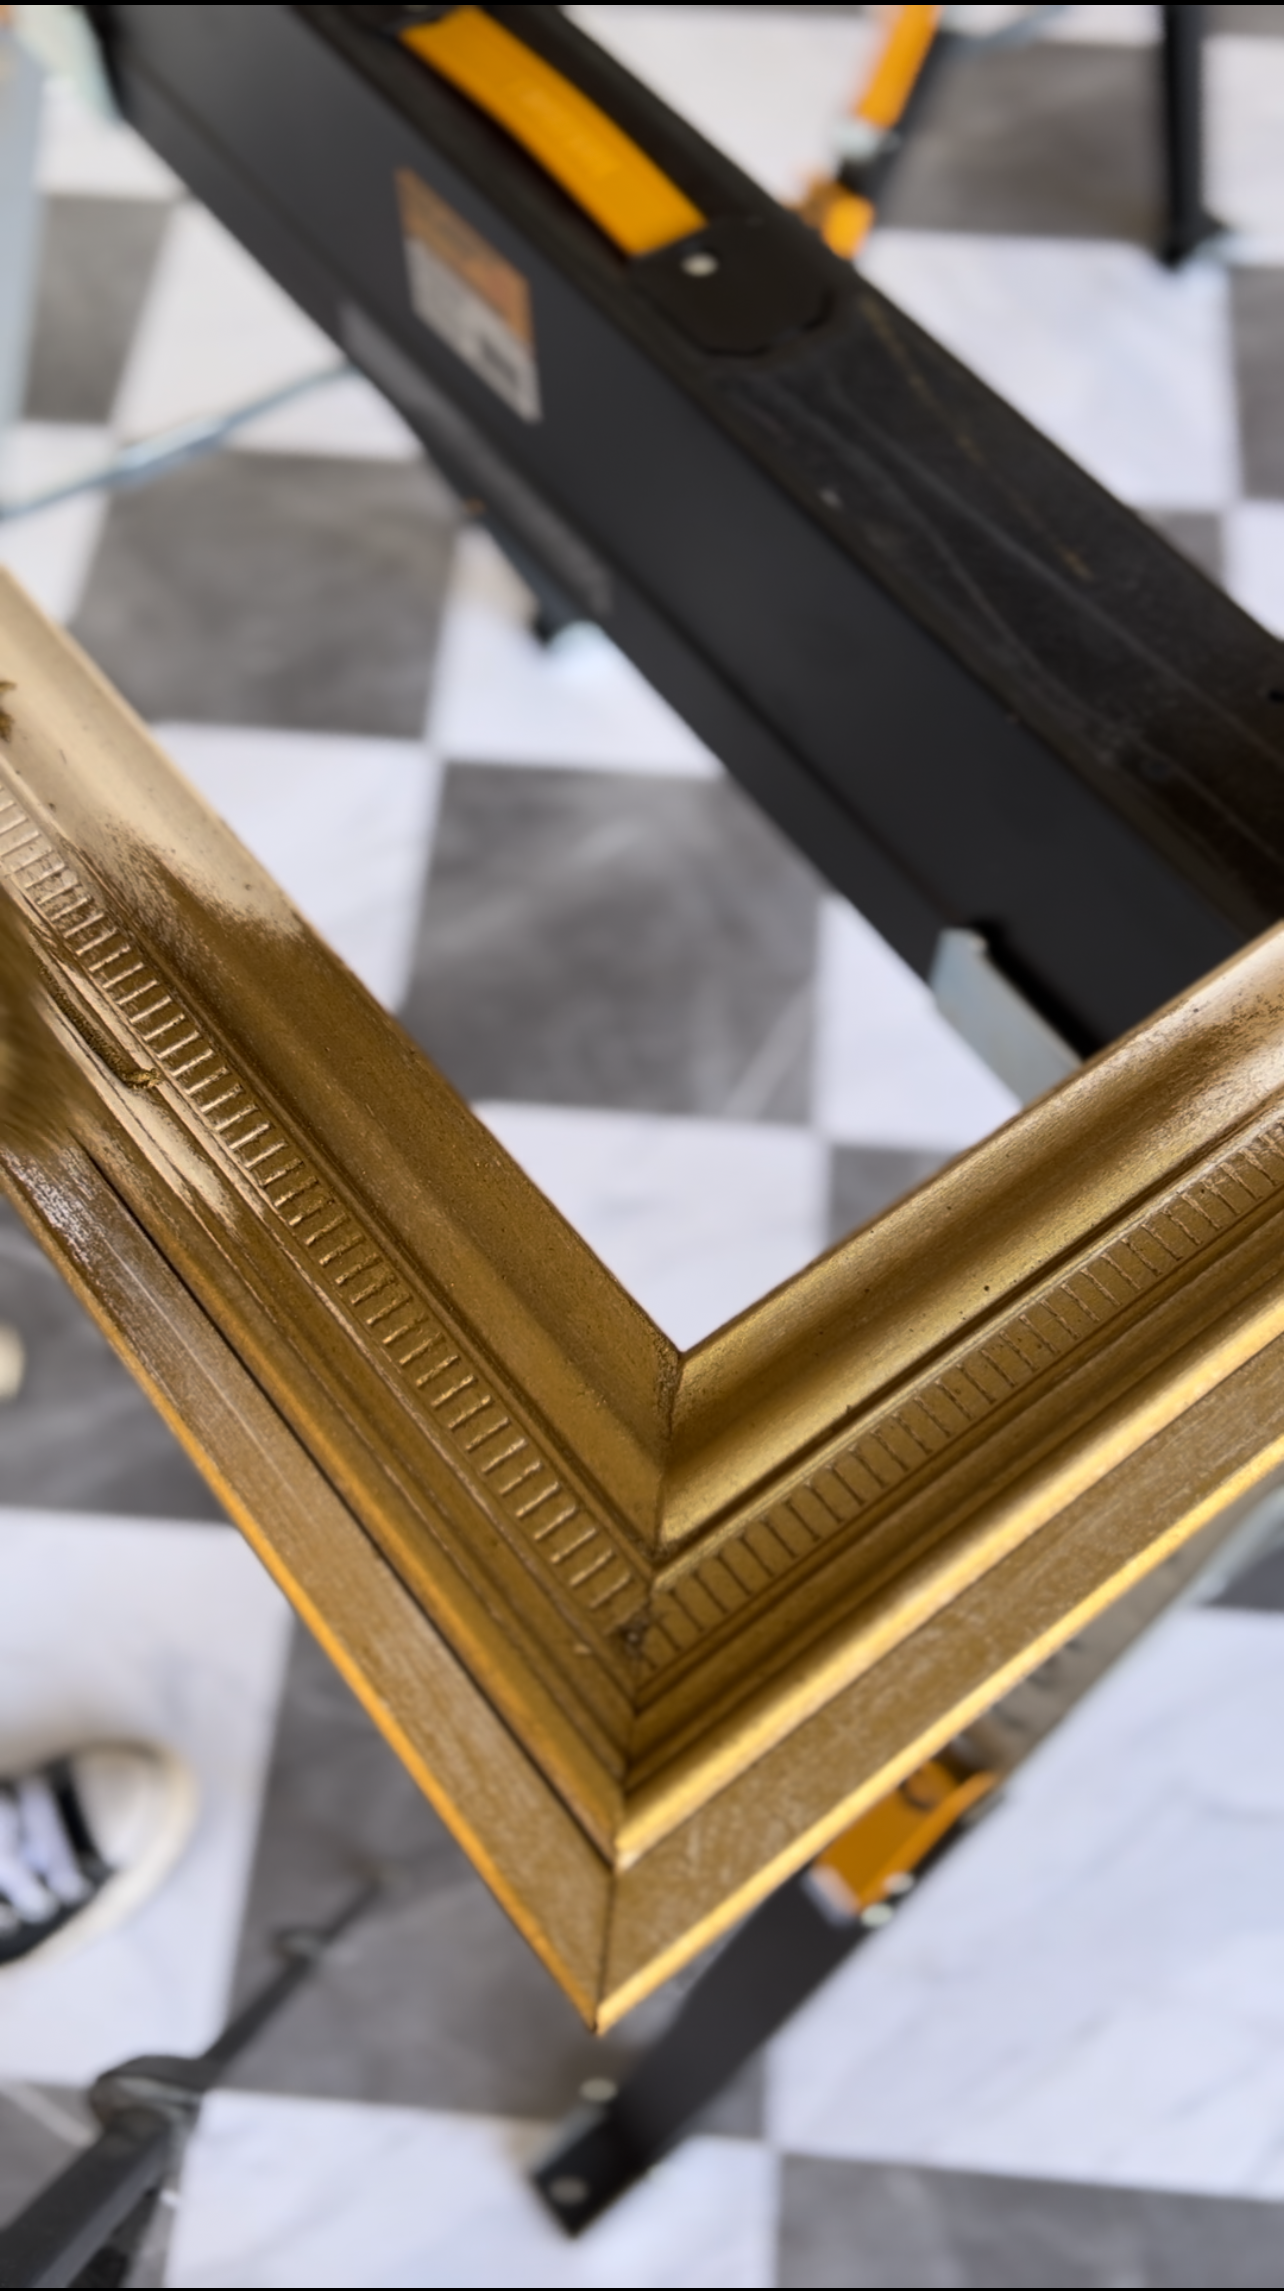
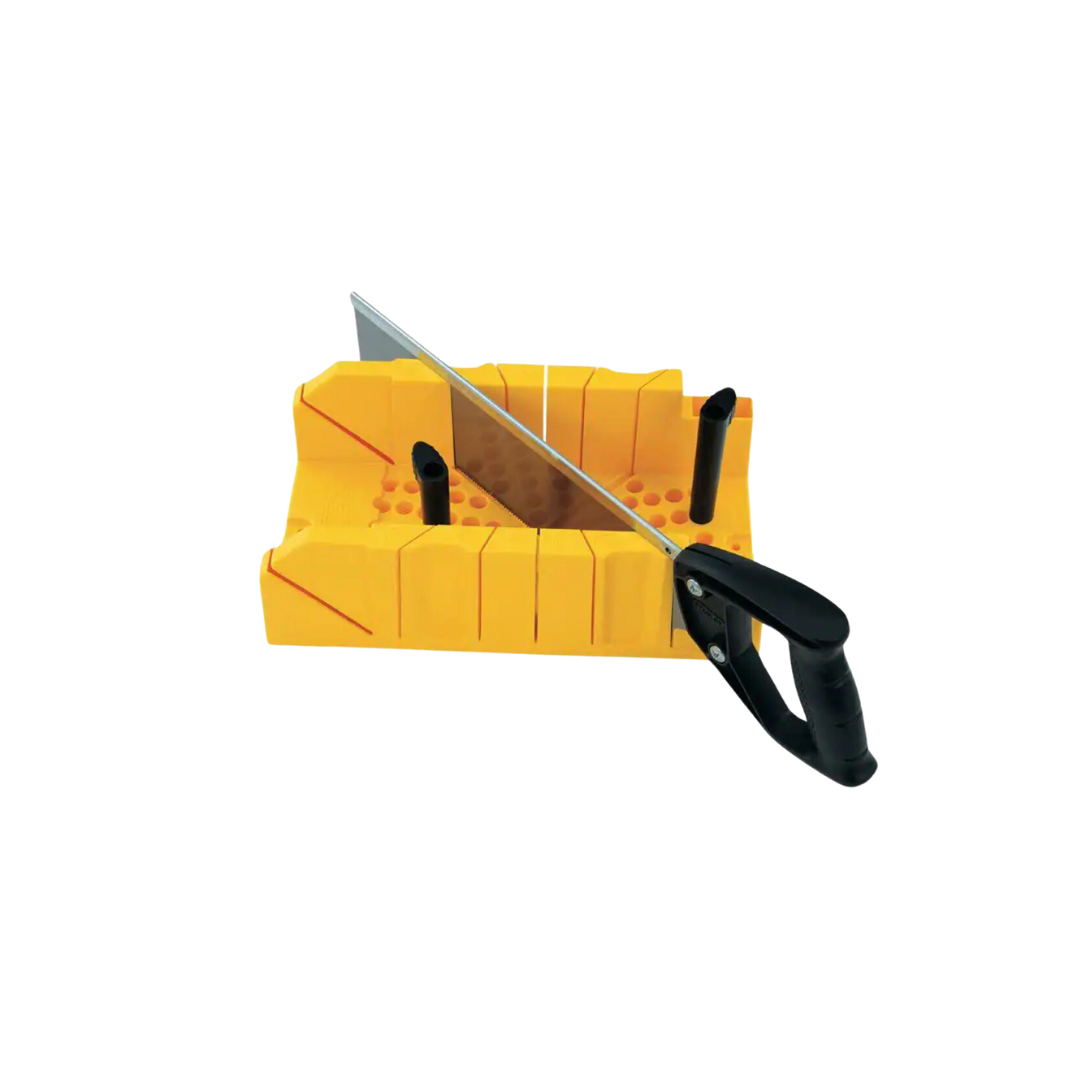
Using my measurements, I begin cutting my decorative trim, using 45° miter cuts on my miter saw. I like to use my existing pieces to mark and measure for the opposite sides. This make sure that everything is even. If you do not have a miter saw, a miter box works as well! You will want the bottom of your trim to be the length and width of your TV. You should have four pieces when you are done. Top, bottom, and both sides. And once they are all placed together, they should perfectly fit around your TV.

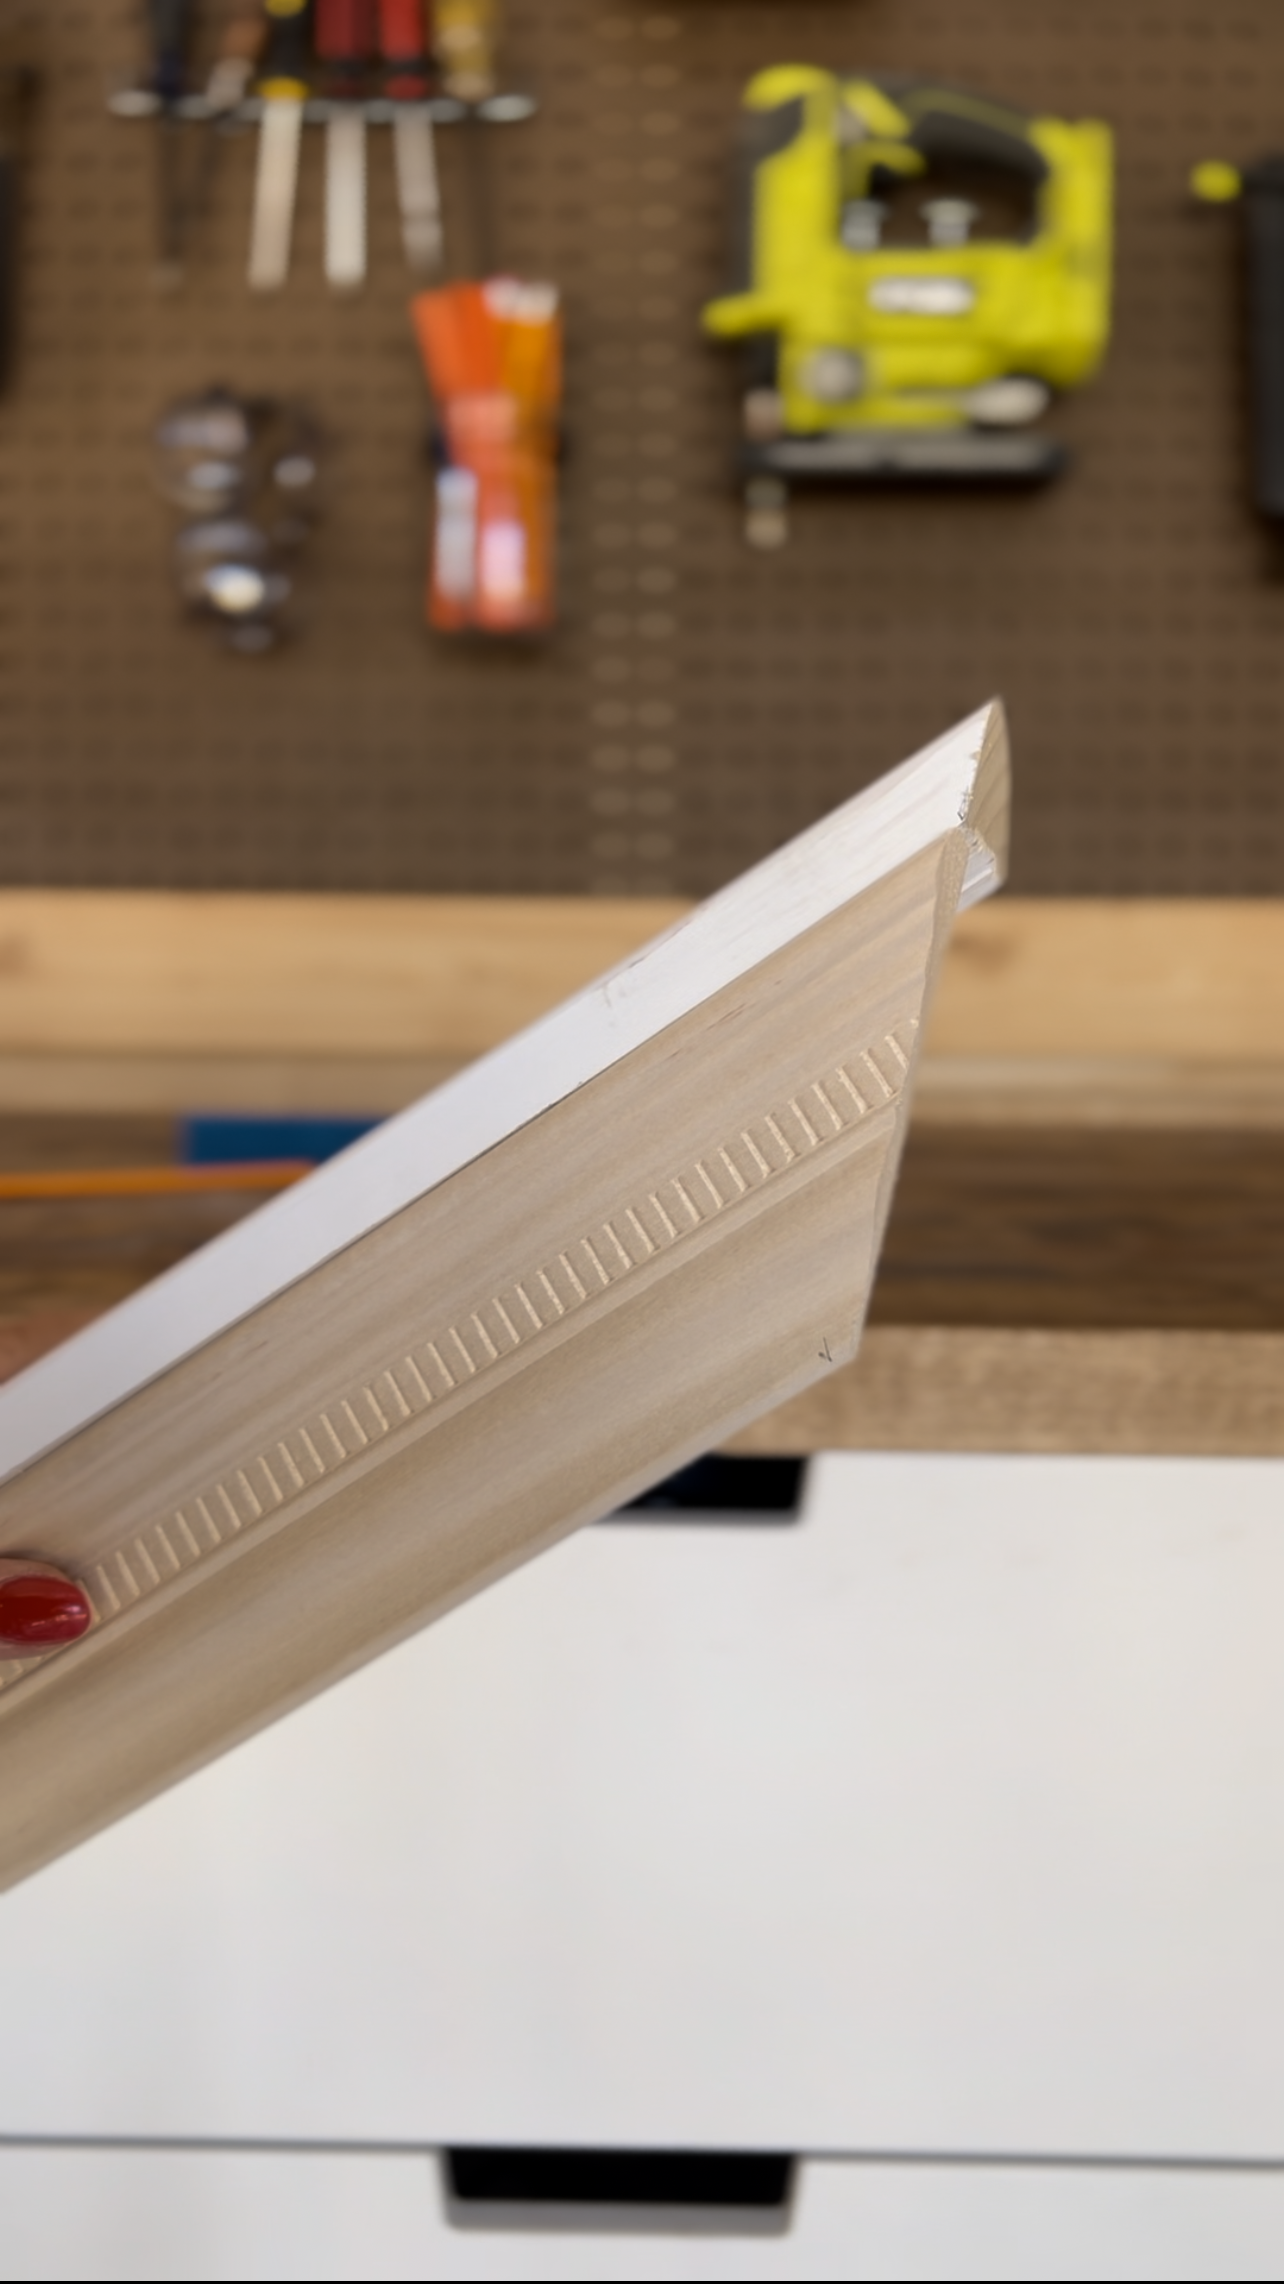
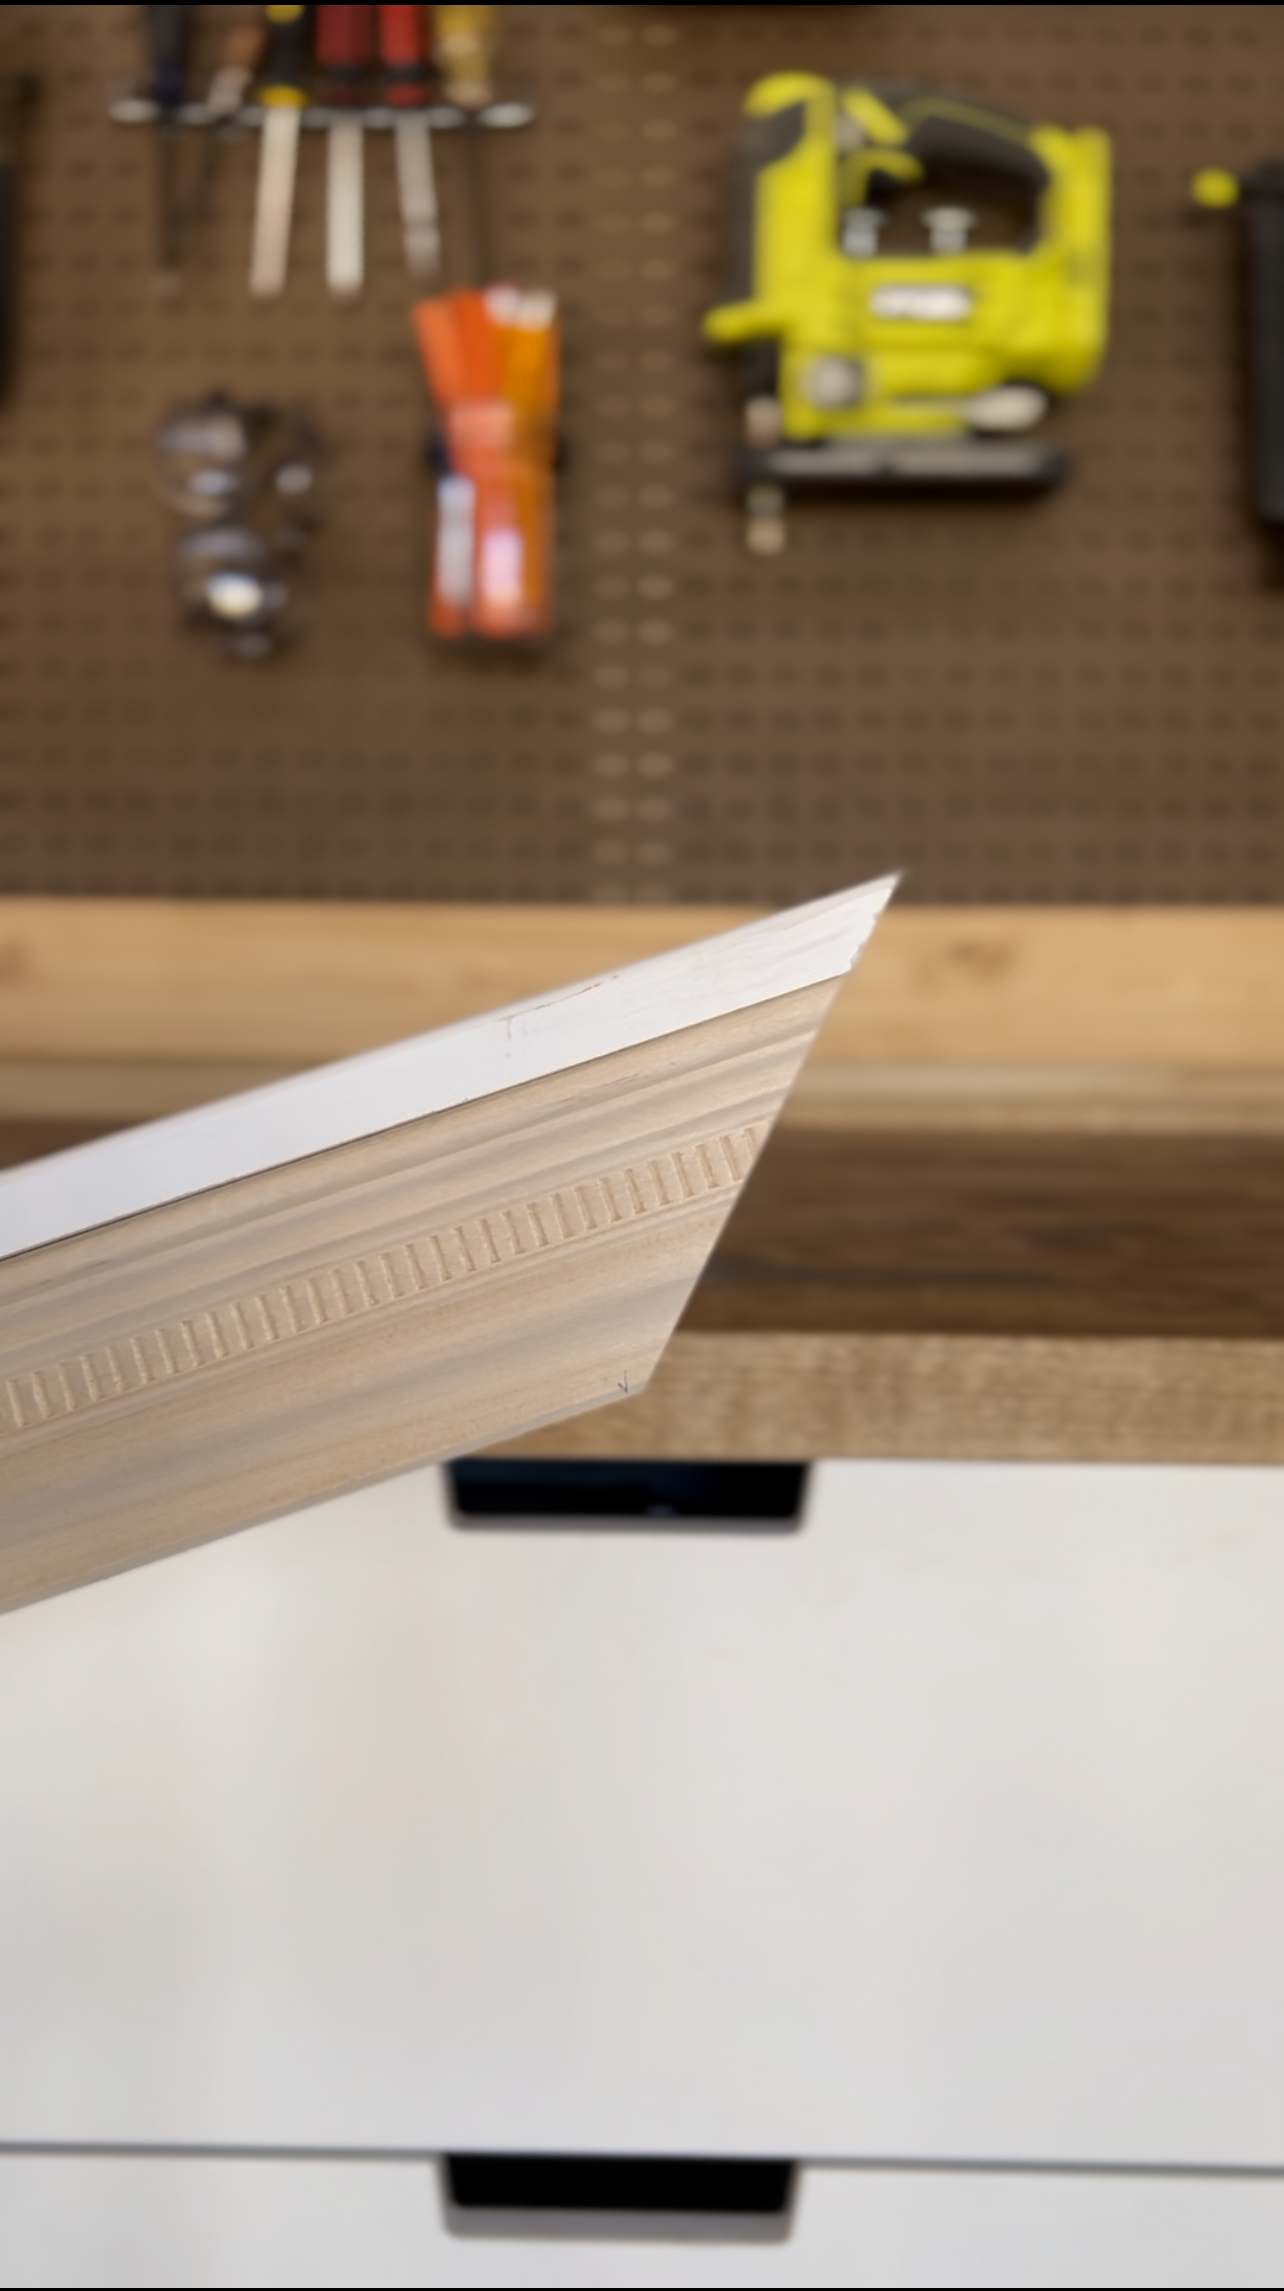
Using my cut trim pieces, I will mark and cut the outside casing pieces. These will get cut standing vertically instead of laying flat like the wood trim. You can start by cutting one end, then lining it up on the outside of your existing trim, piece and marking where it meets the opposite end. Then cut and repeat! When you rest this piece on the outside of your frame trim, the beveled edge will continue out like the picture below.
Assembling the Frame
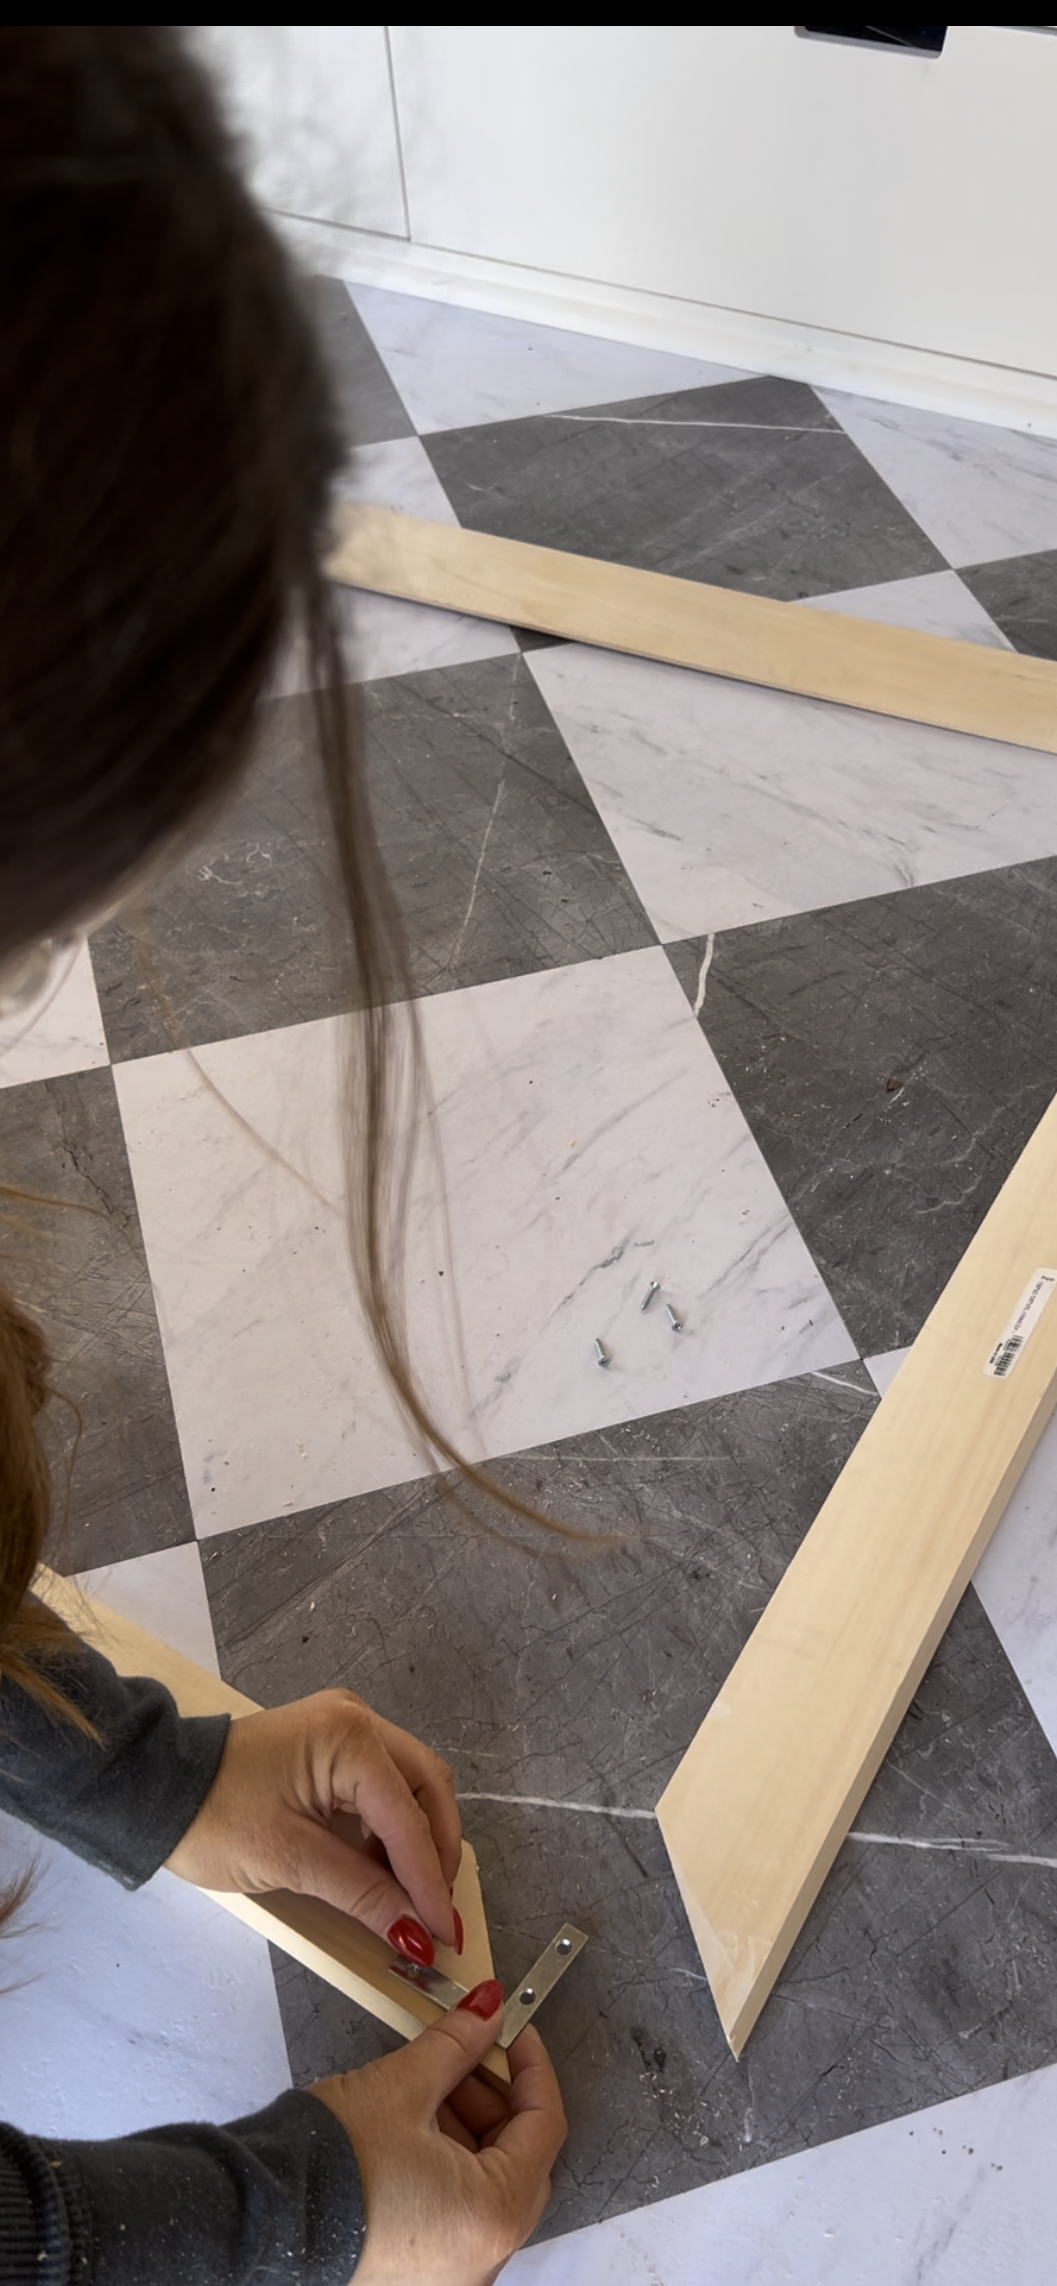
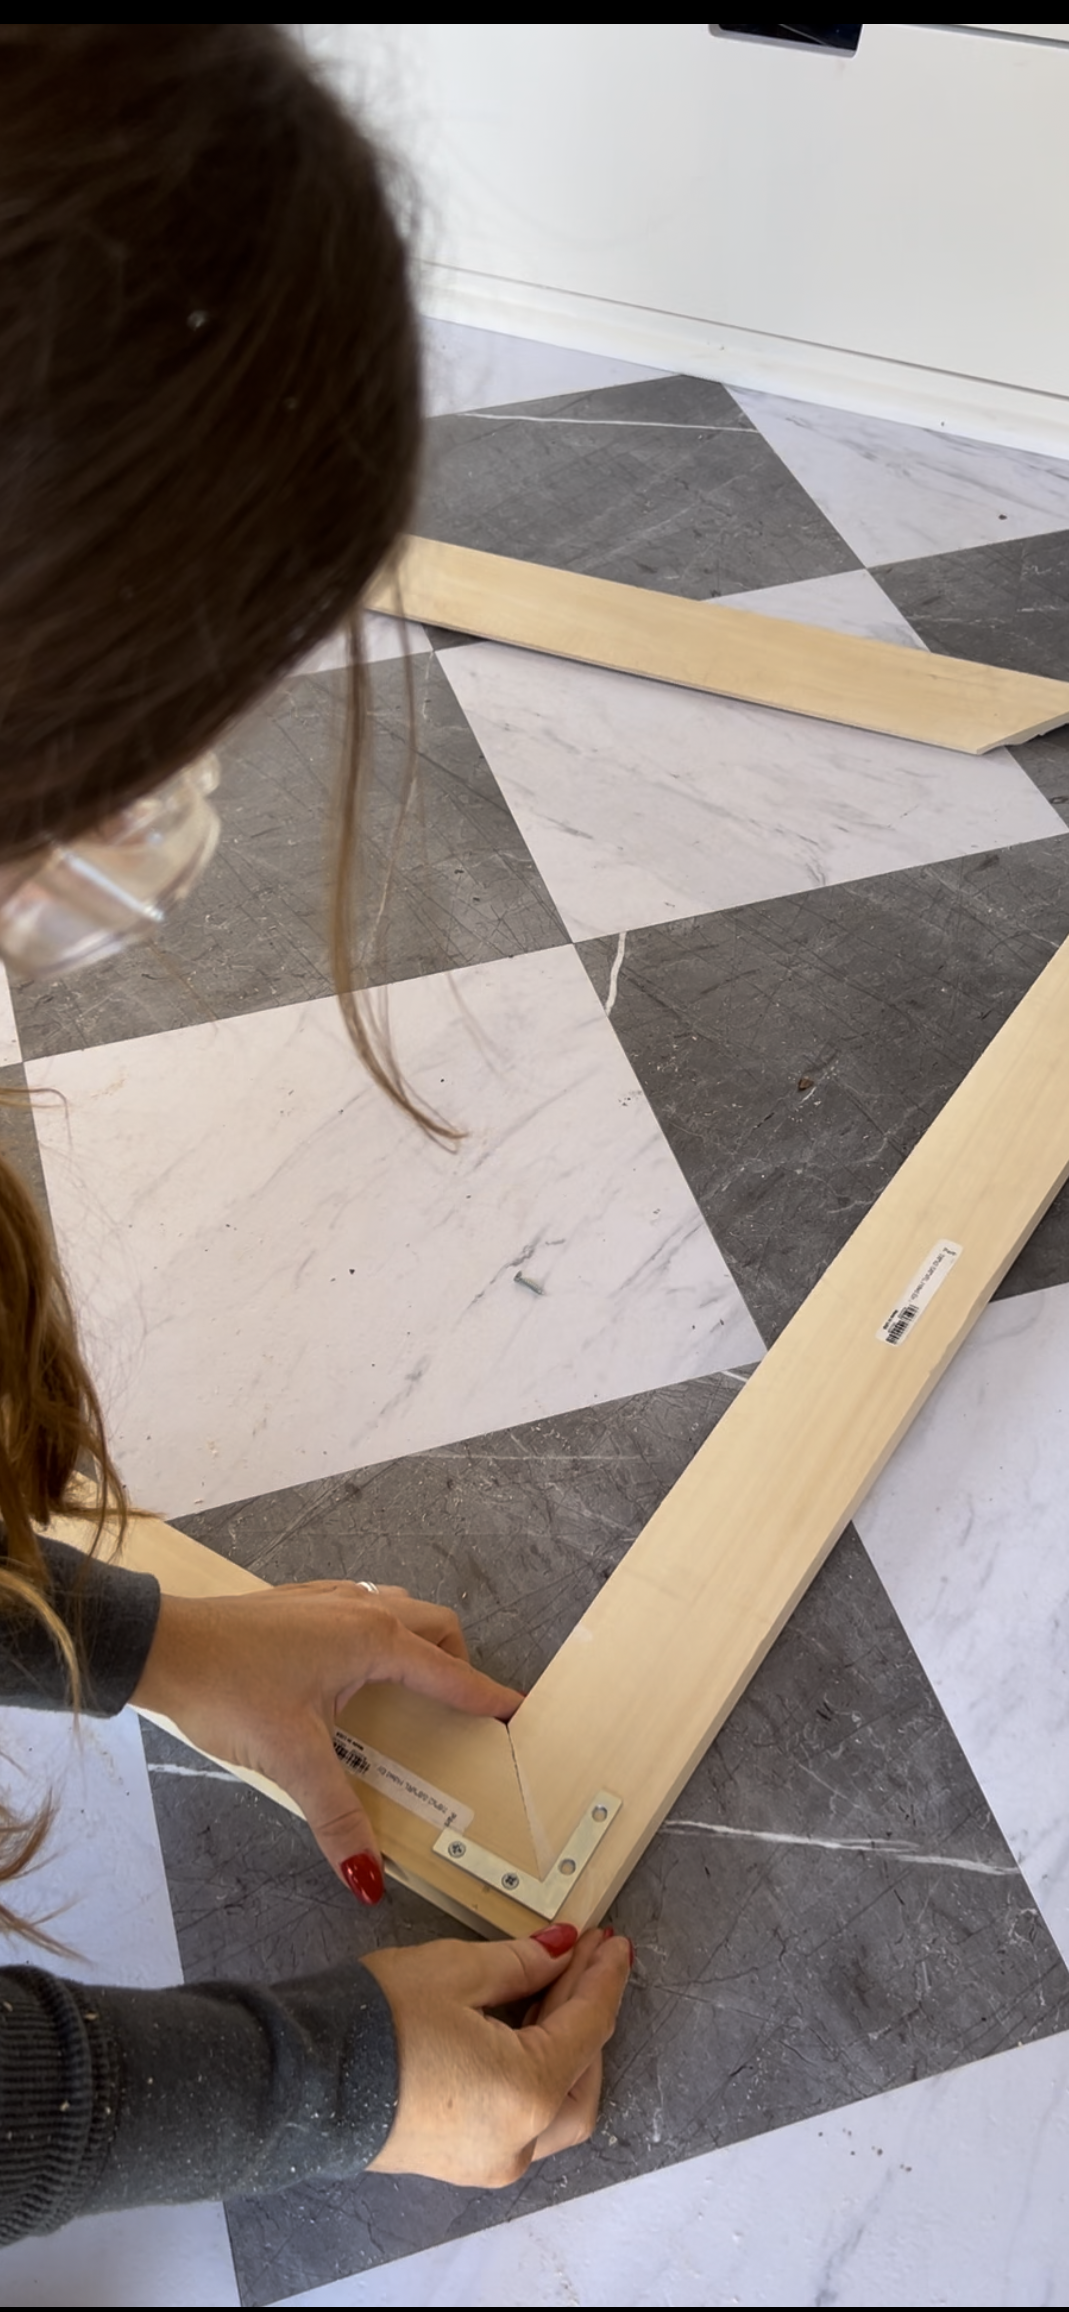
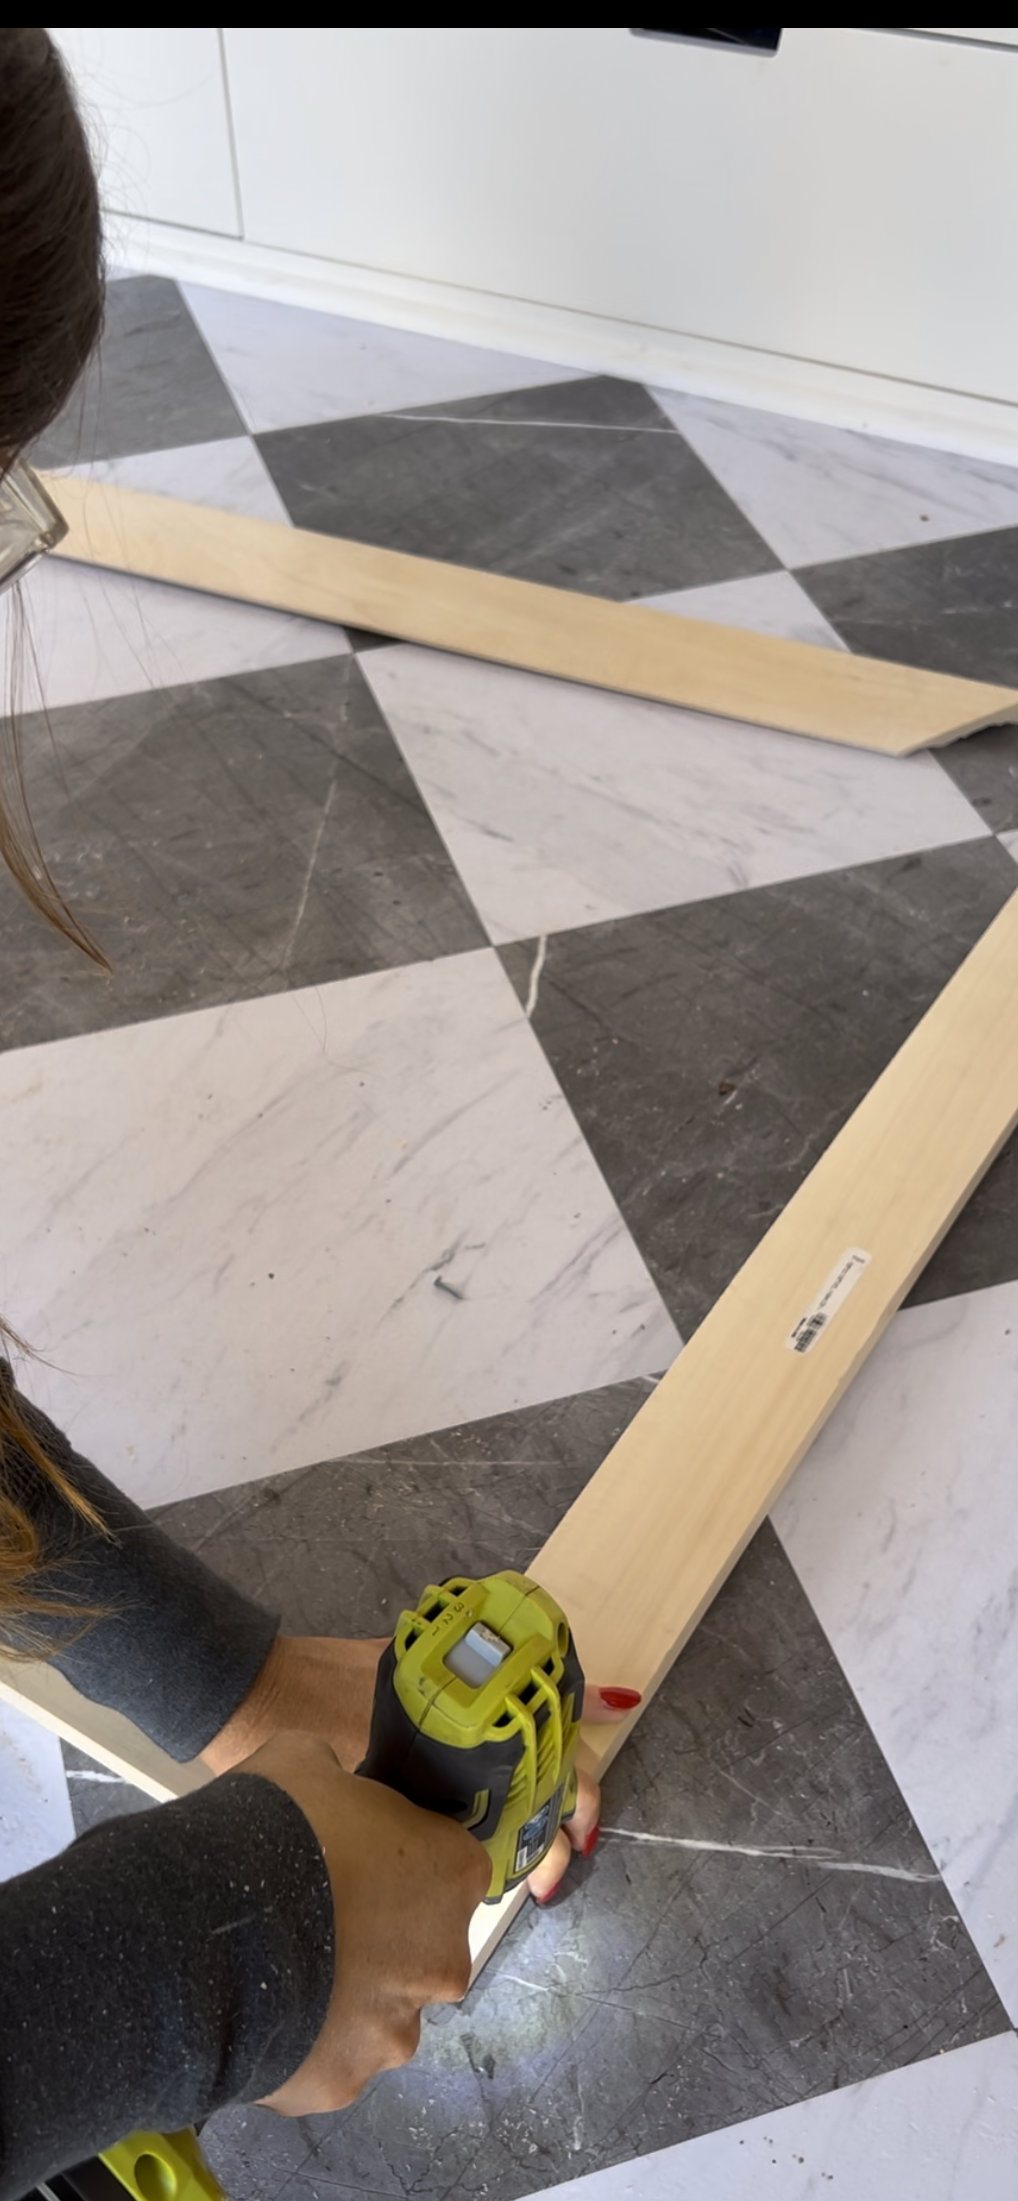
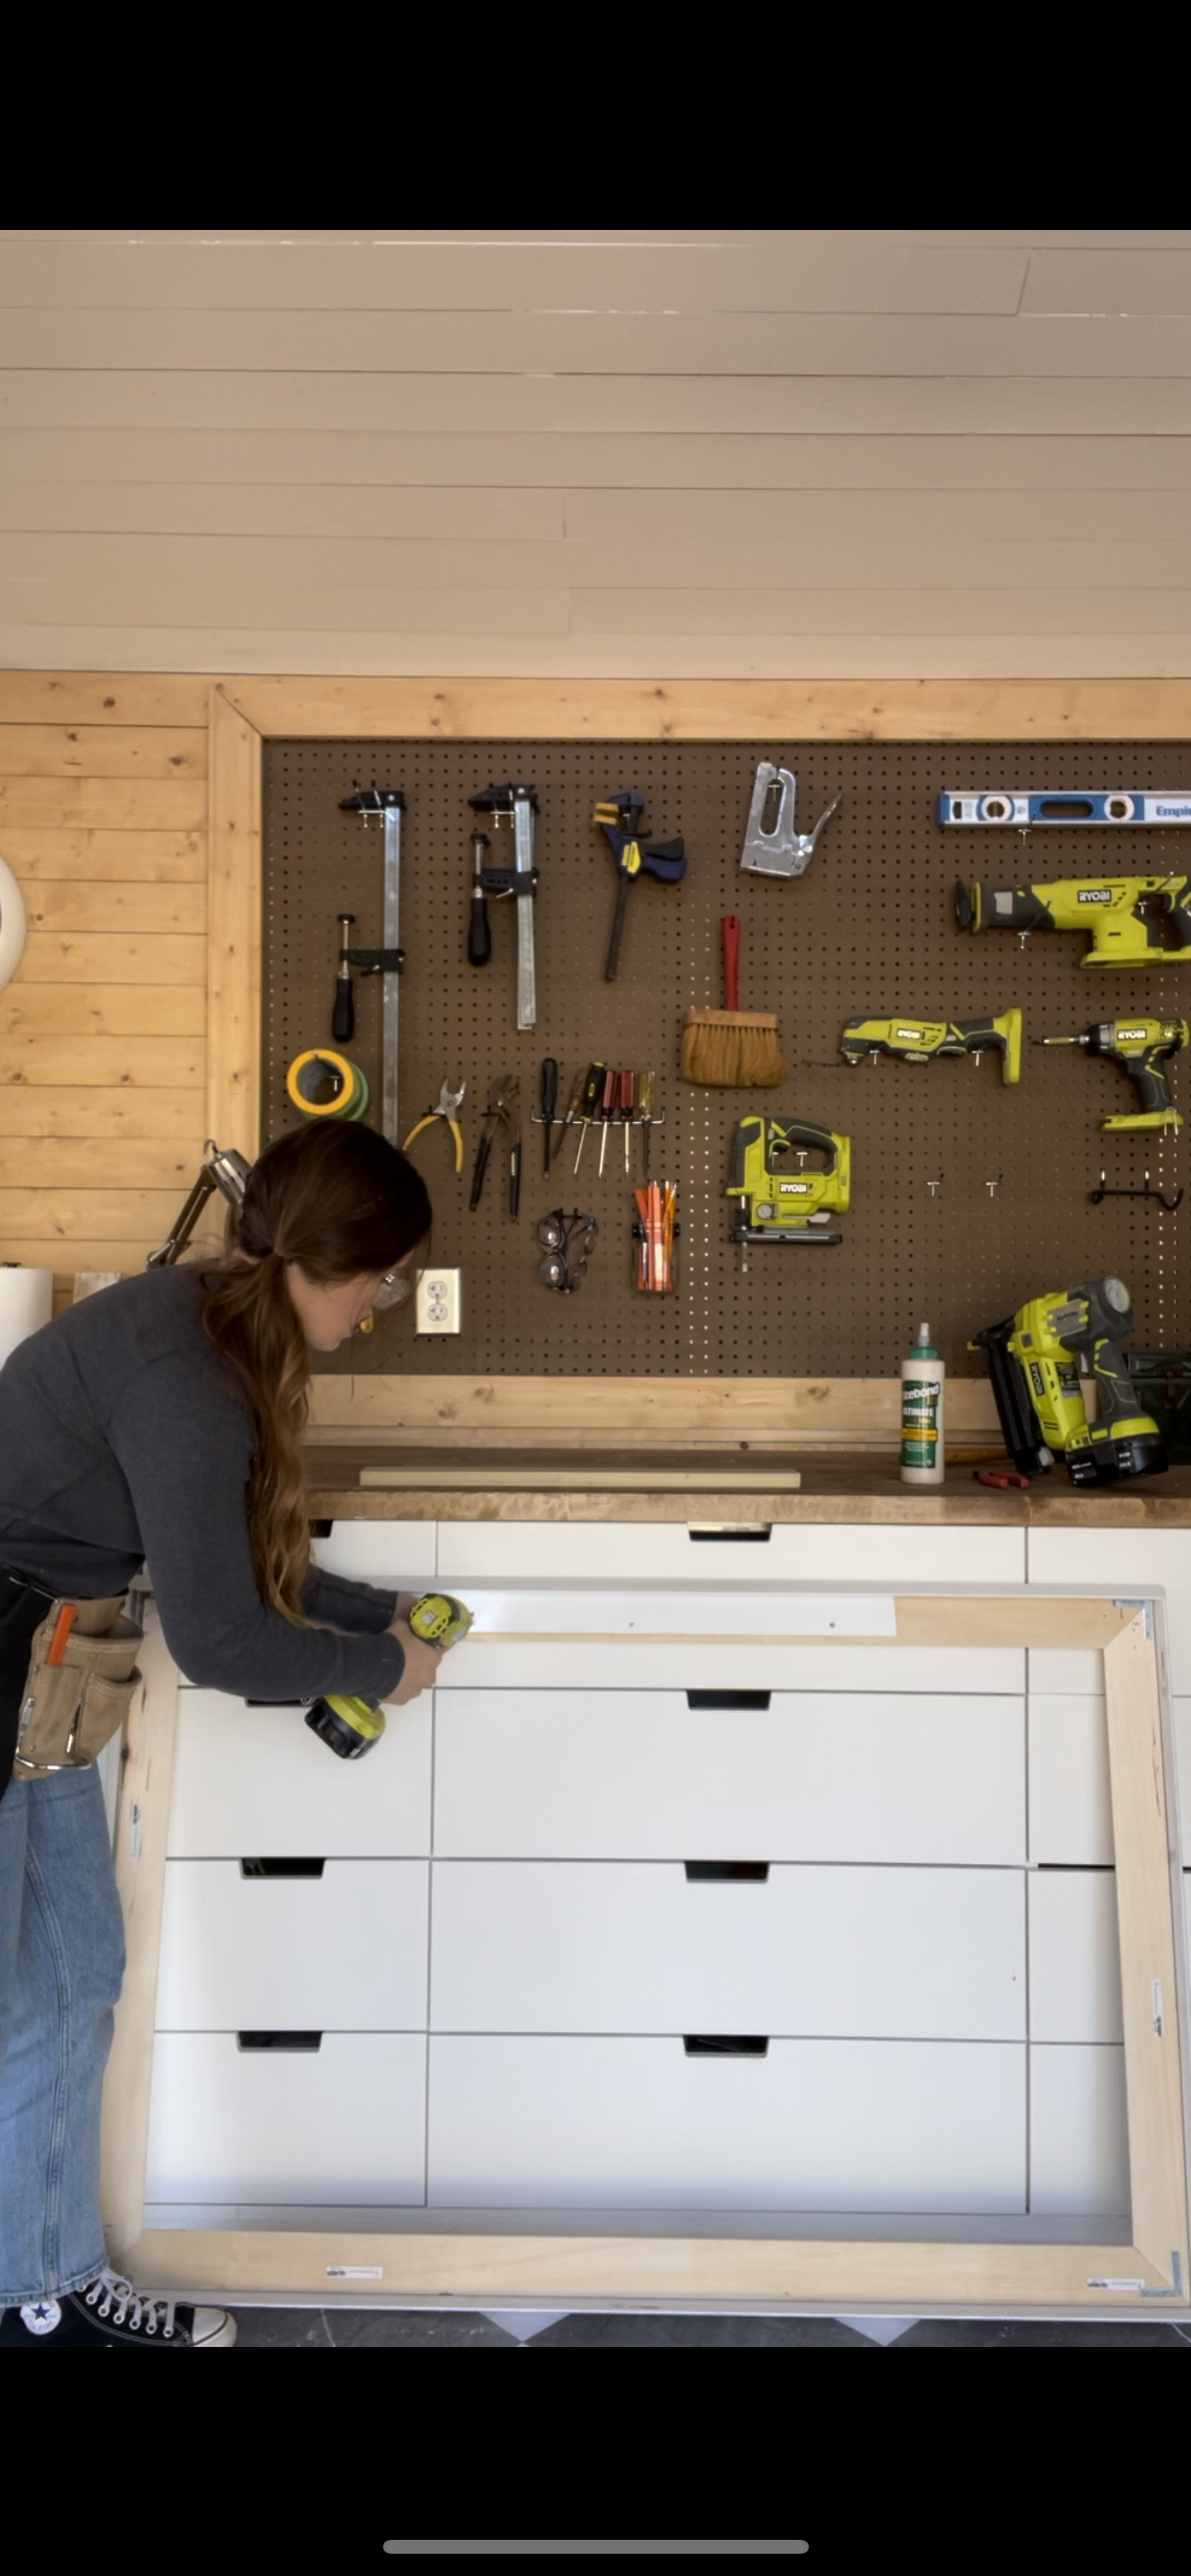
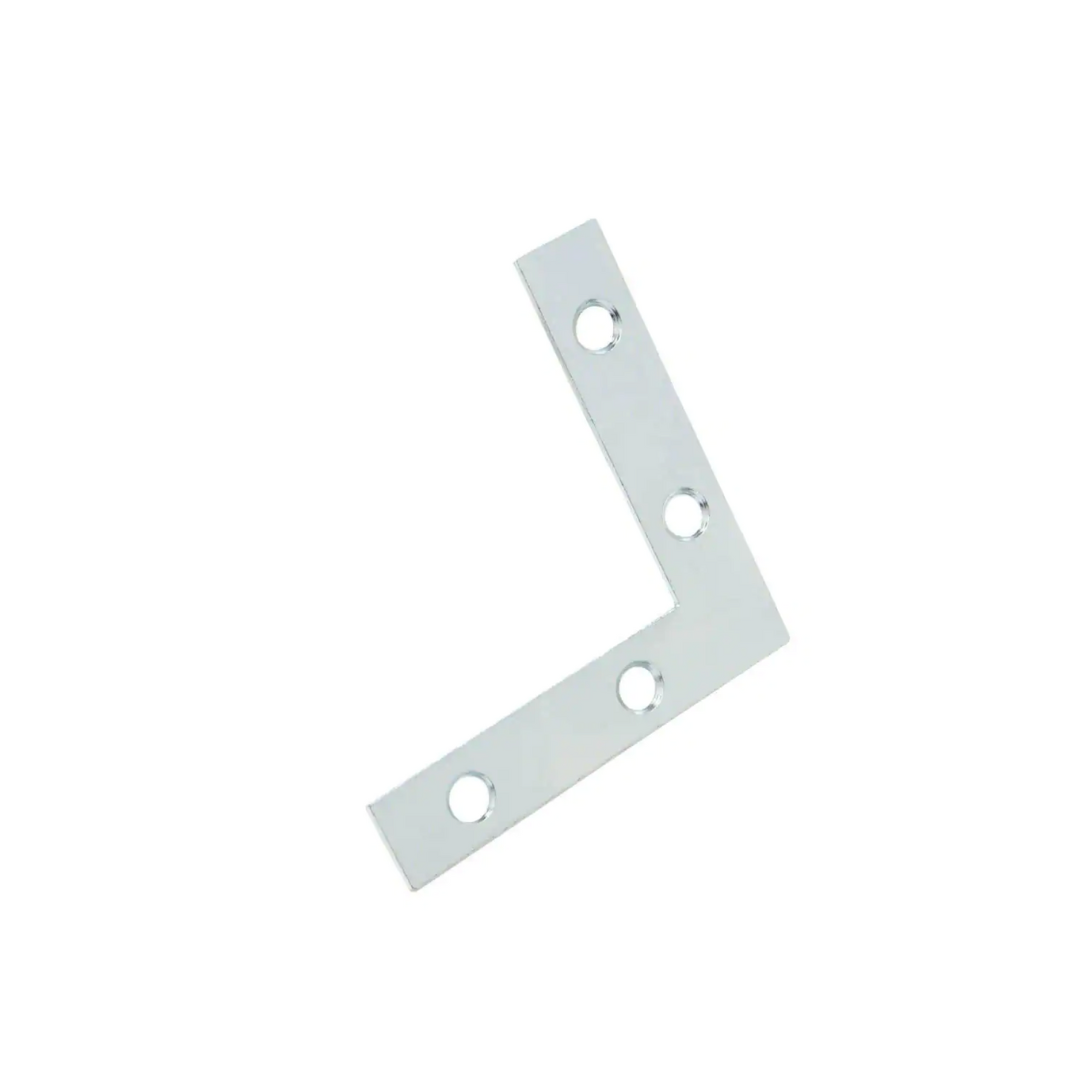
Once everything is cut, I now assemble the frame. First, I flip the wood ornamental molding face down on a flat surface. I then add a little wood glue to two of the ends and meet the two pieces together. I line up my corner bracket close to the outside edge of the mitered corner and screw it in. Repeat this for all four corners and then let the wood glue cure.
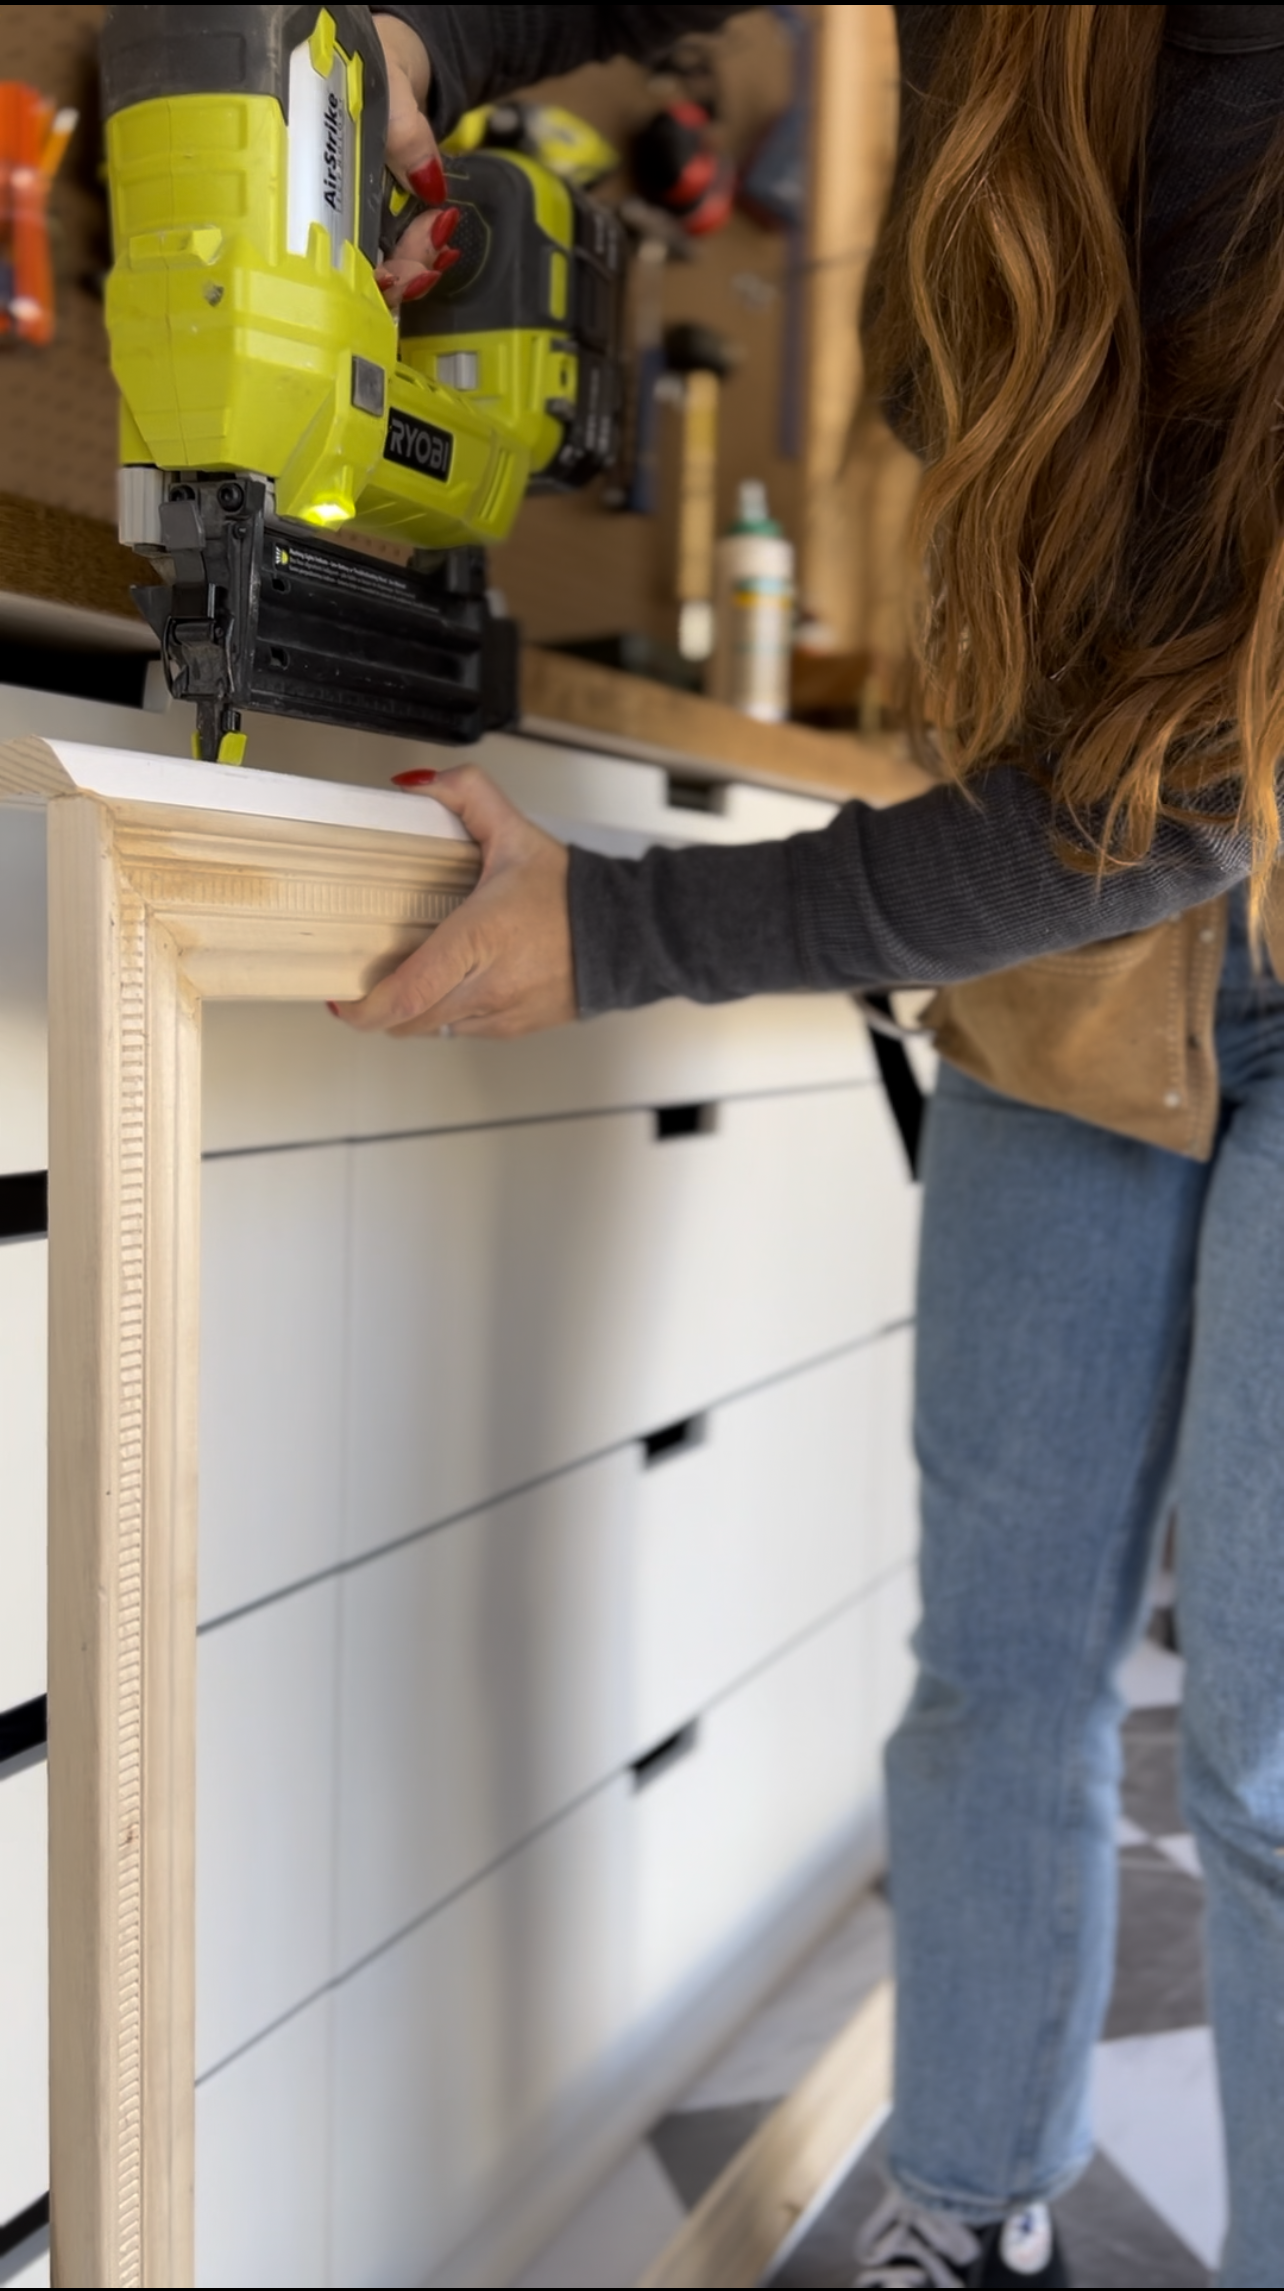
Once the glue is dry, the frame can be flipped over and the outside casing can be added. I like to line the edge of the casing up with the edge line of the molding. Once everything is lined up, I shoot a few brad nails into secure it, being mindful that I need to shoot straight so that my nail does not pop through the trim.
FINISHING DETAILS
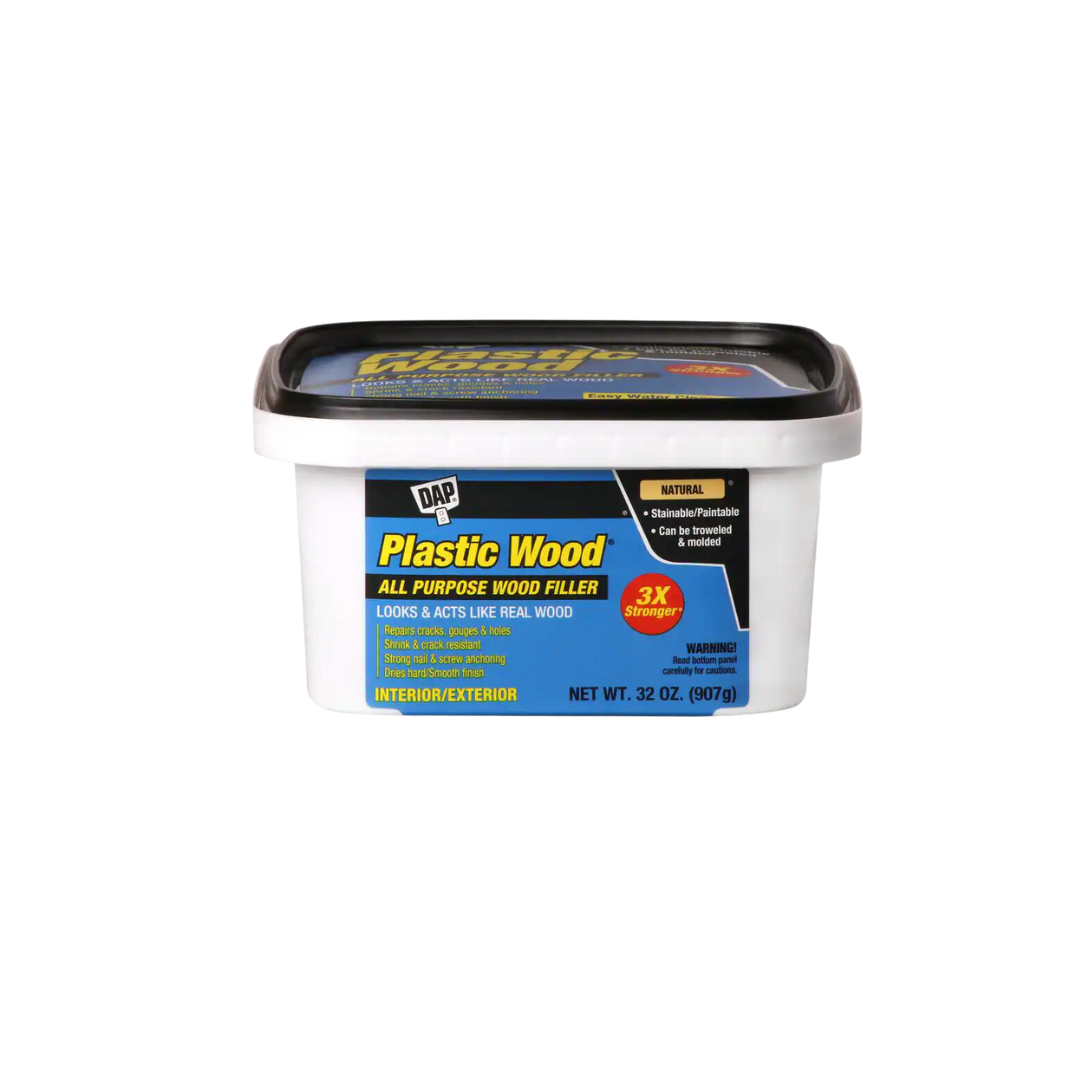
Once the frame is built, I fill in any holes and gaps with wood filler and let that dry. If needed, I will sand any rough edges or wood filler once that has dried.
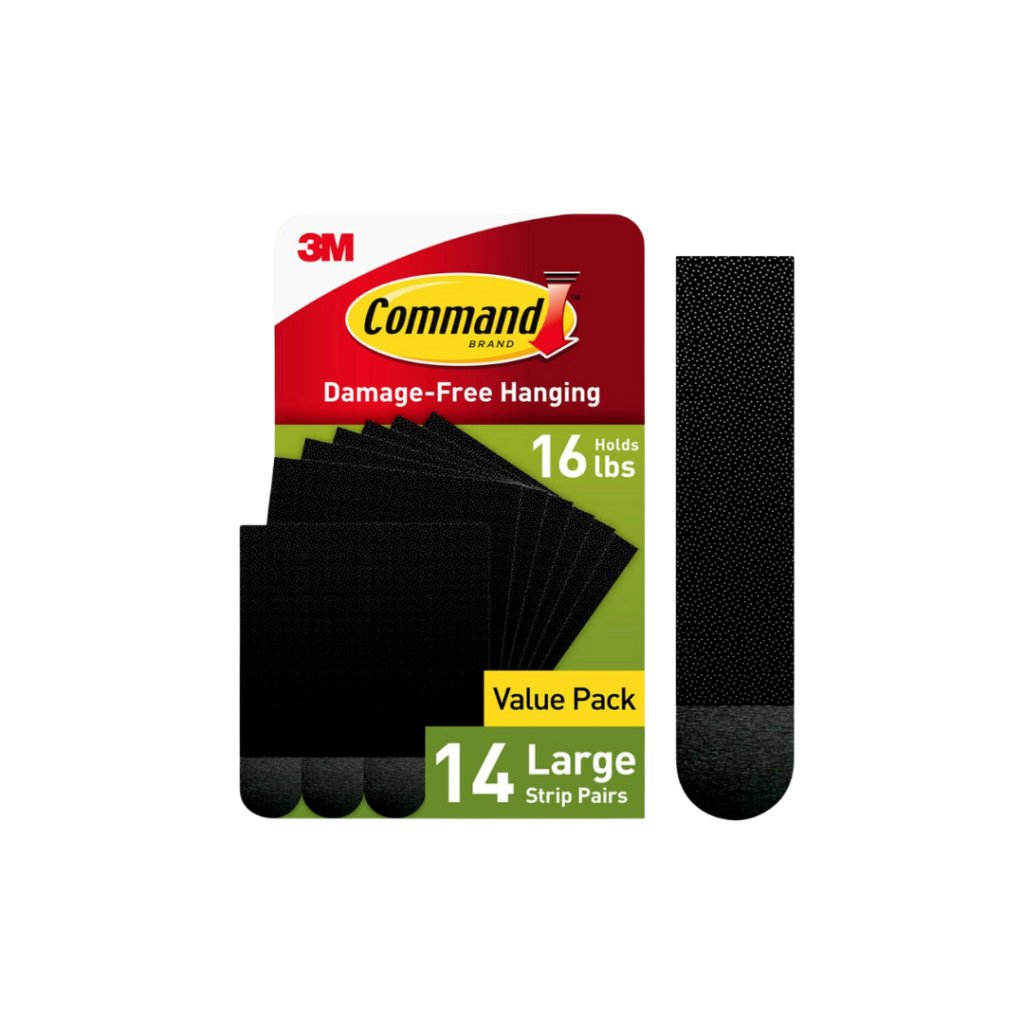
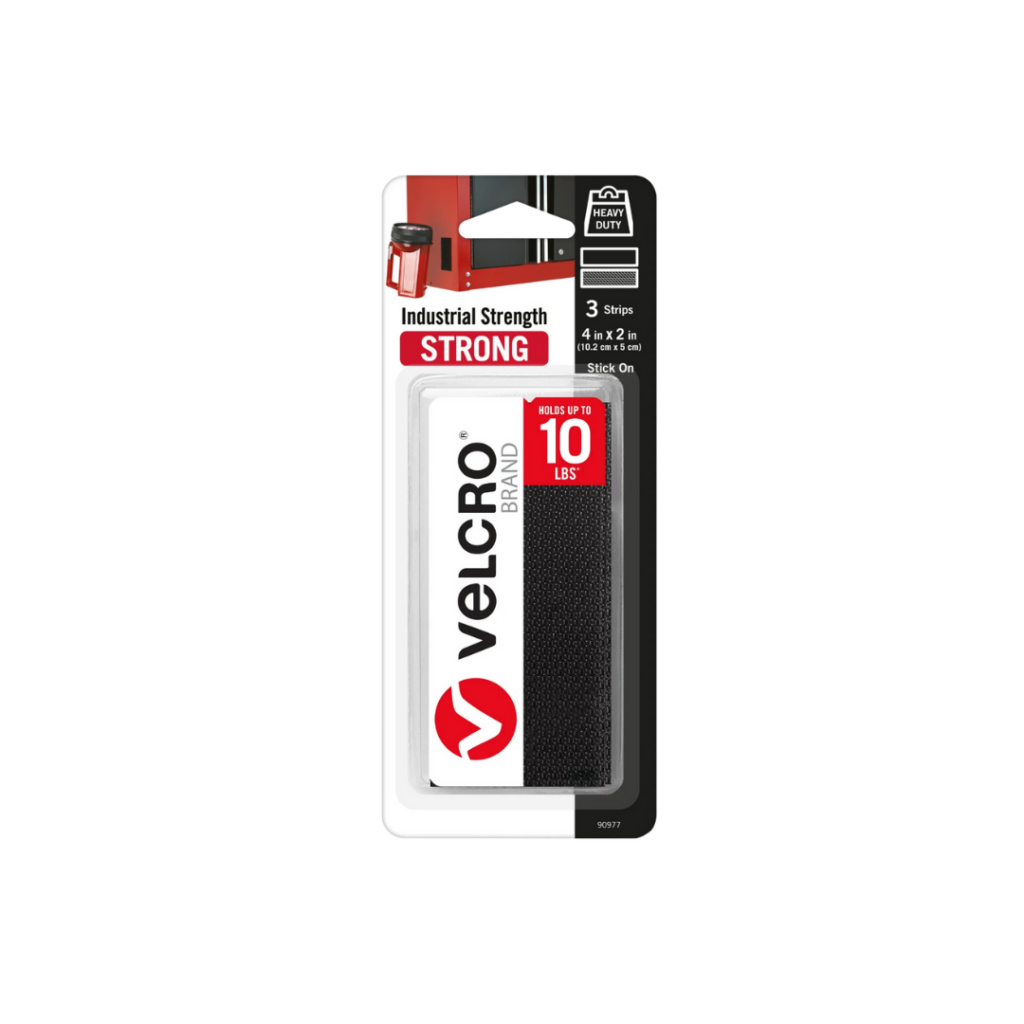
Using my leftover door casing trim, I cut a ledger piece to hang/attach to my TV. You can cut two small pieces or one long one. I simply added a little wood glue and screwed it in upside down on the backside of the frame. You just want to make sure that you use a piece of trim that allows a reveal large or small enough so that your frame covers the edge of your TV. There are project pieces of wood at Home Depot in the moulding aisle that work well for this too if you need a smaller reveal. Once this ledger piece is attached, and I use command Velcro or adhesive Velcro strips on the bottom side. The other side will attach to the top of my TV and secure it.
Choosing a Color
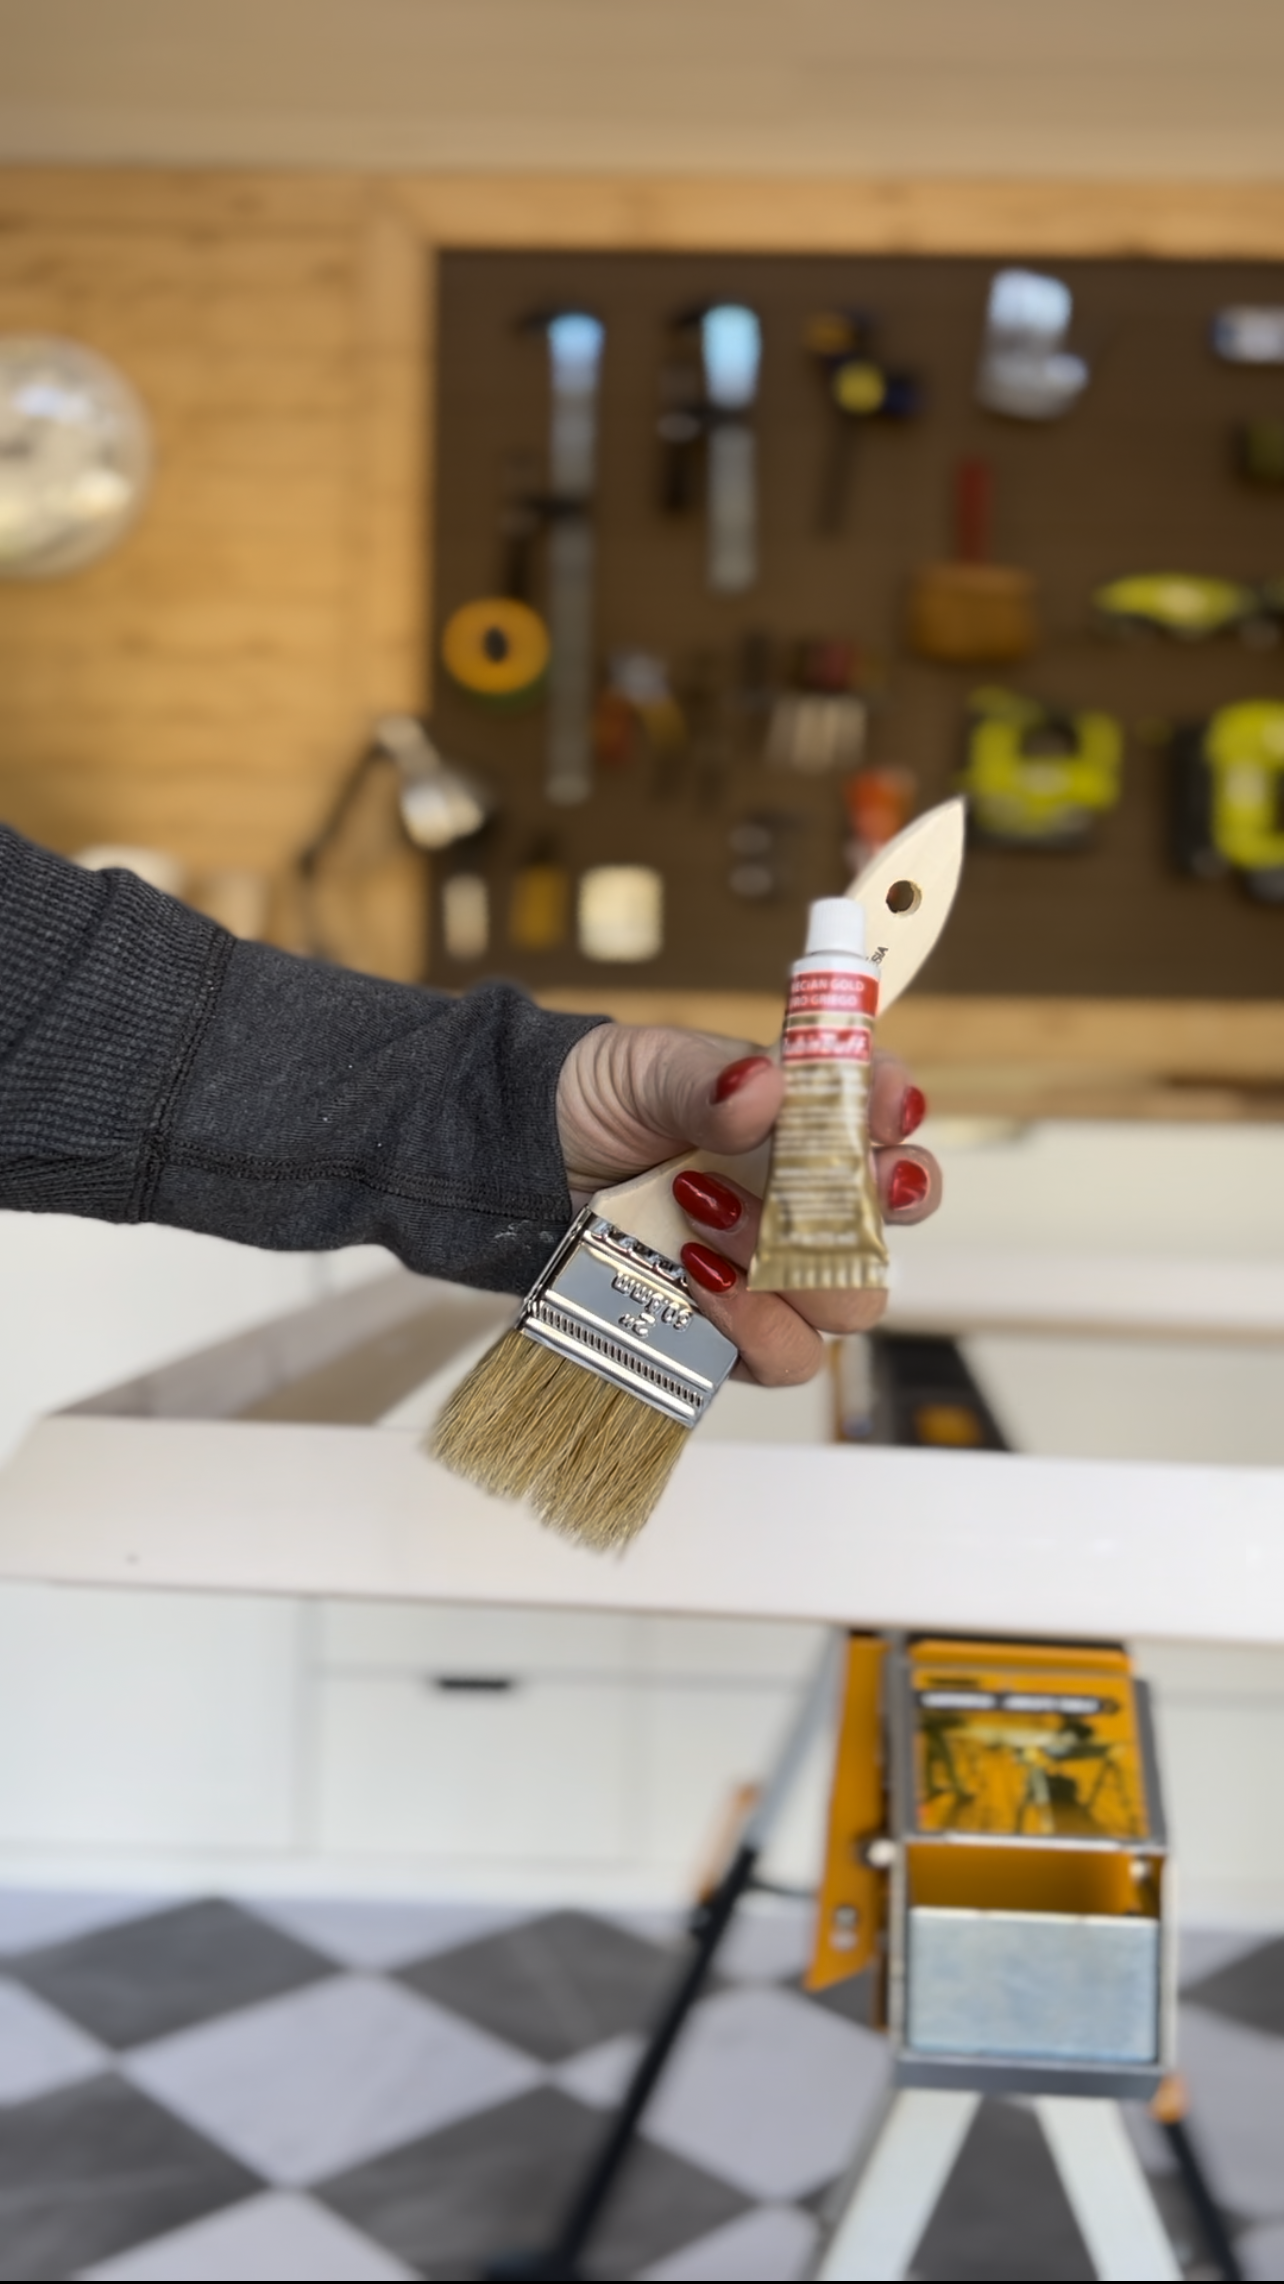
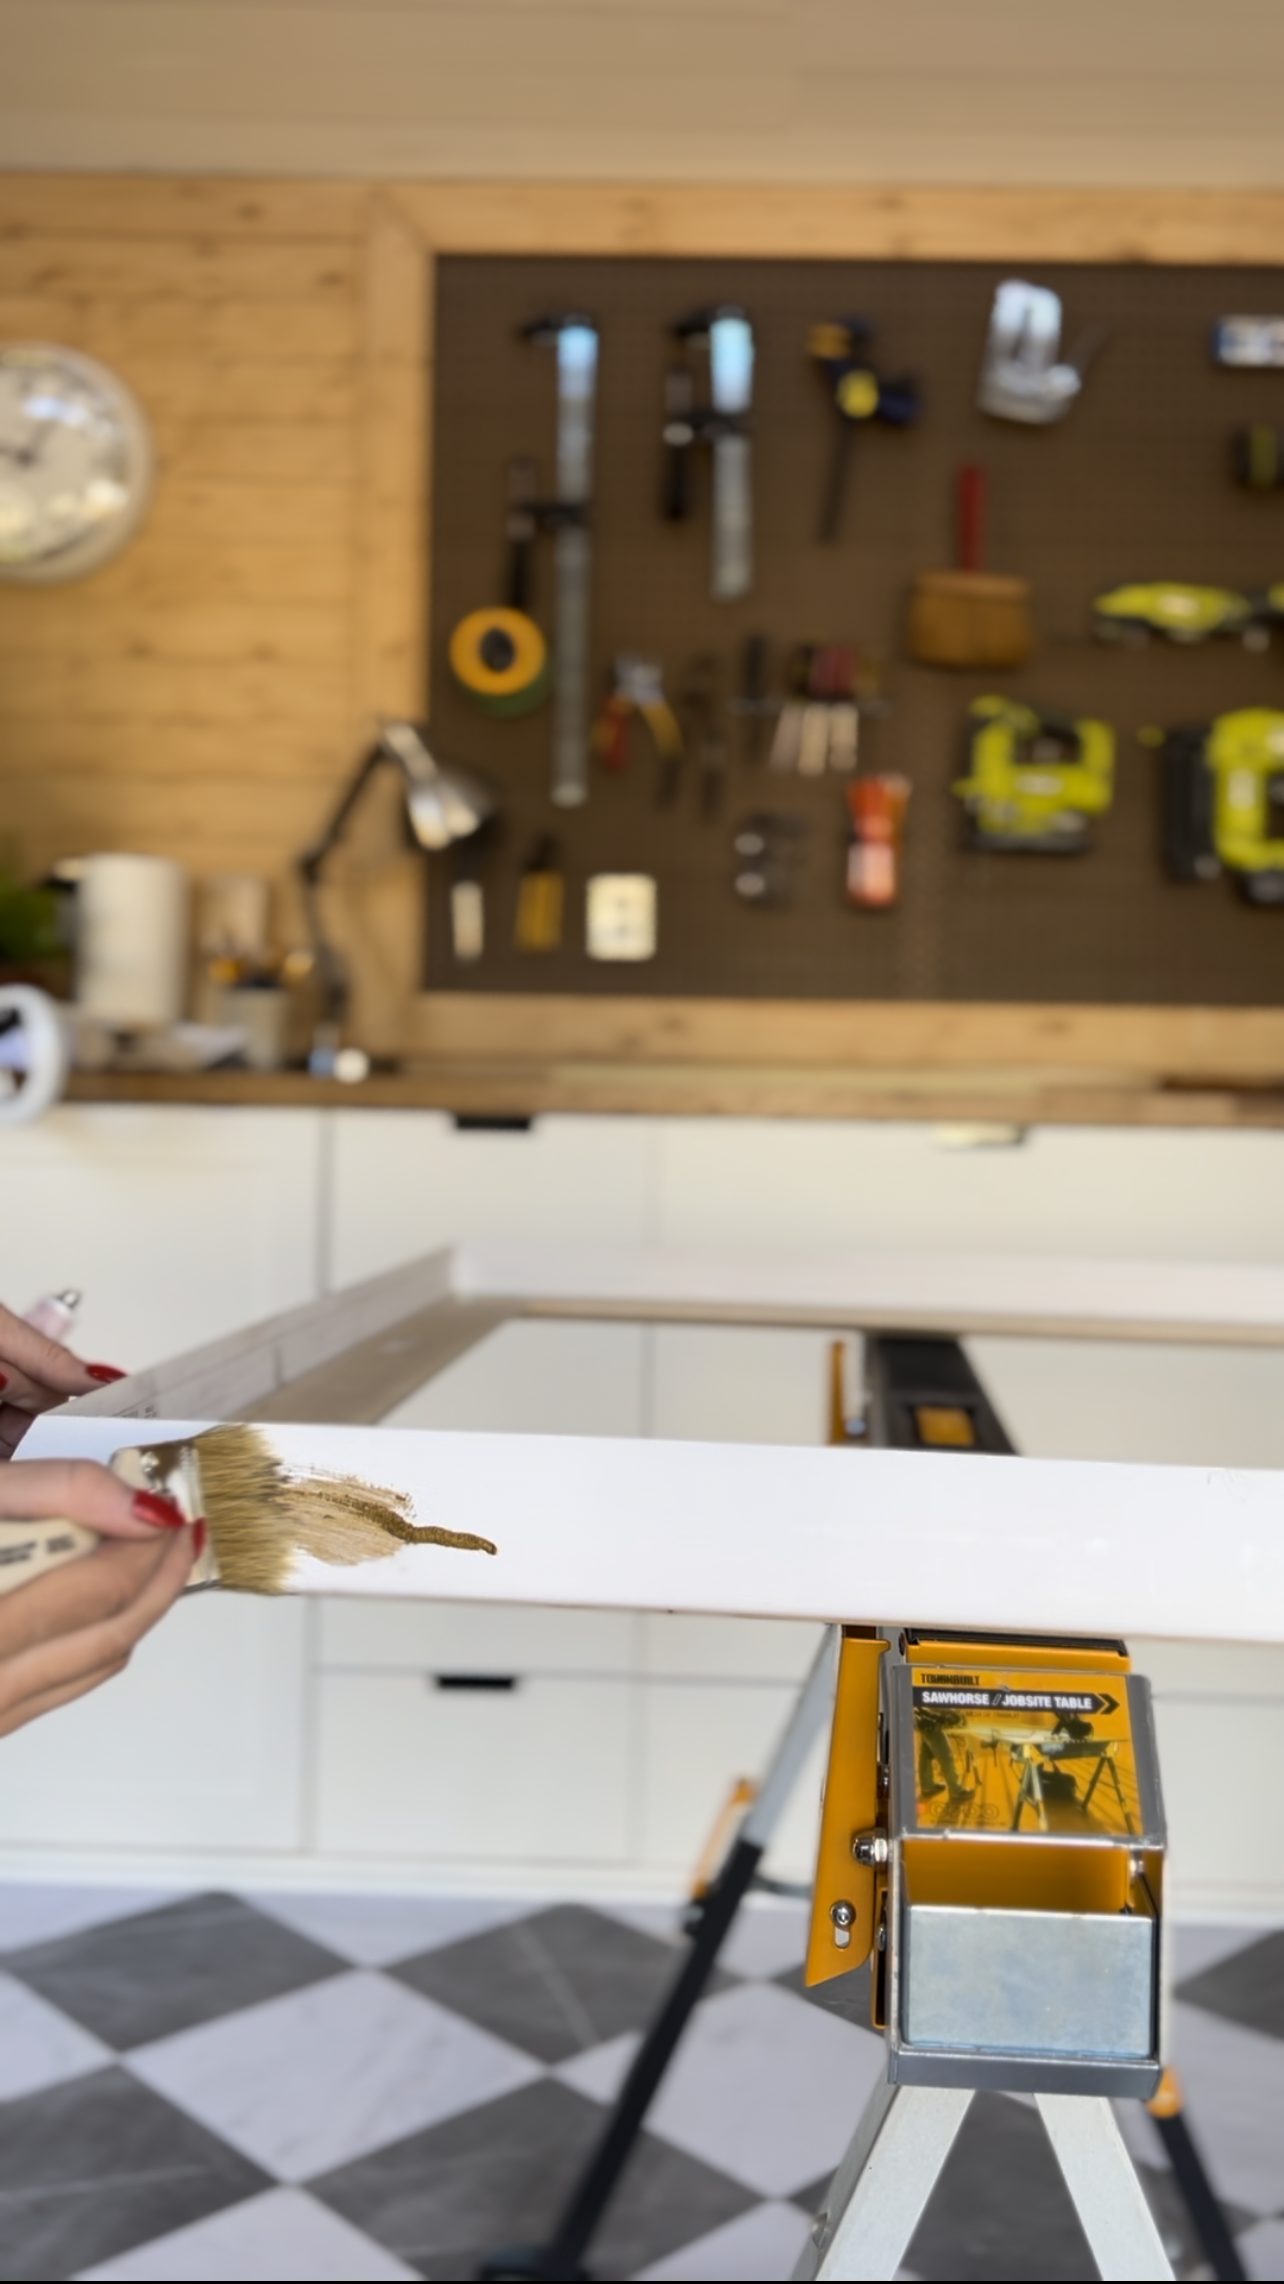
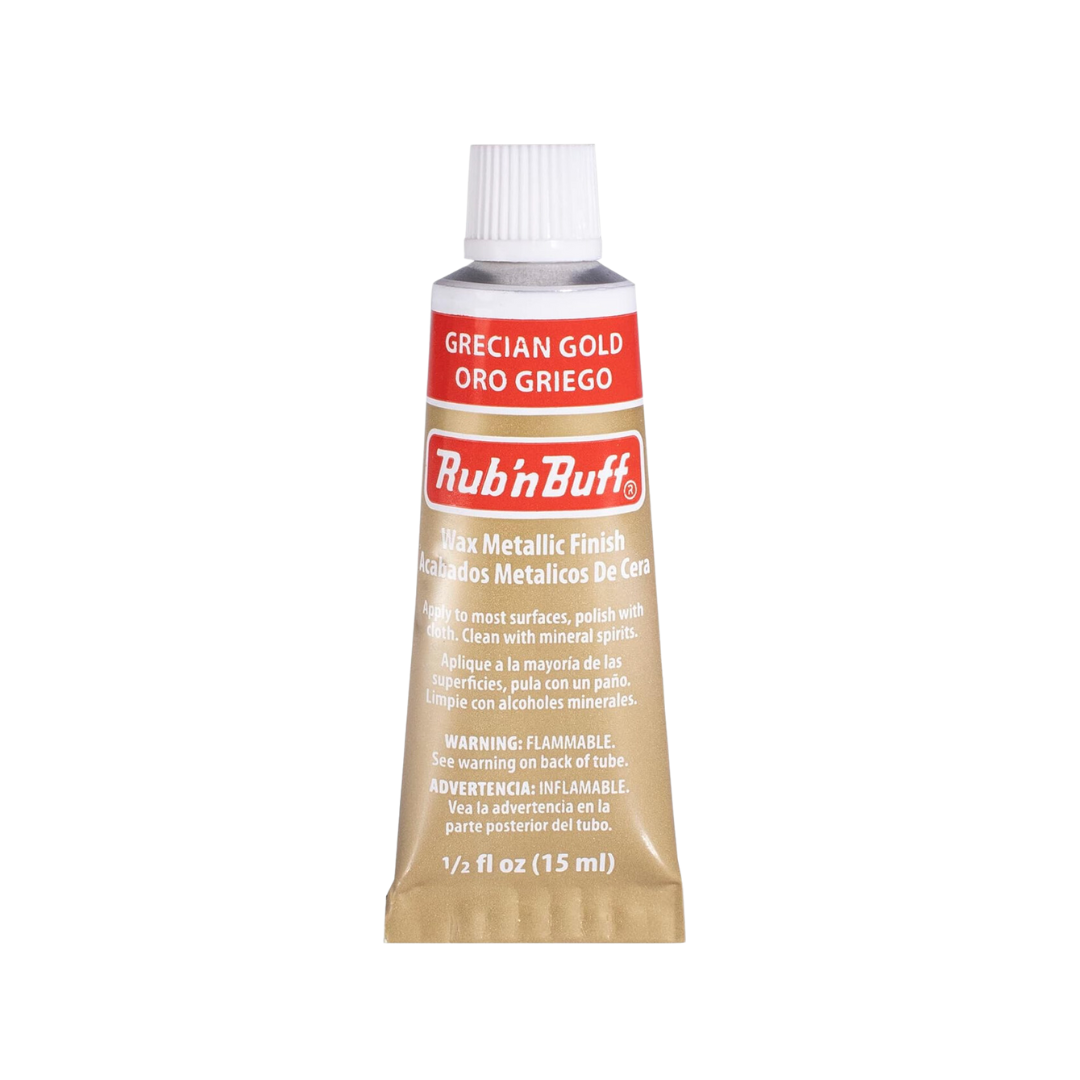
Now it’s time to finish it! There are lots of options for this part. You can paint or use Rub N’ Buff. For my original frame, I painted the entire frame black and then used Rub N’ Buff for the inside detail. For the specific type I used just Rub N’ Buff ( I used two tubes for this frame). My favorite color is Grecian Gold. It gives a beautiful, realistic gilt frame look. I use a Foam brush or bristle brush to apply it. The door casing needs to dry and get at least one additional coat. Just dab a little on the frame and spread it out with the brush. Once you’re happy with the finish, it is done and ready to be attached to your TV.
Mounting the TV
Lining your frame up with the outside frame of your TV. You can peel off the backing of your Velcro strips and place onto your TV. It should rest gently on the front of the frame. If your frame hangs away from the bottom a bit you can add another Velcro strip on the bottom side to secure (and another ledger if needed).
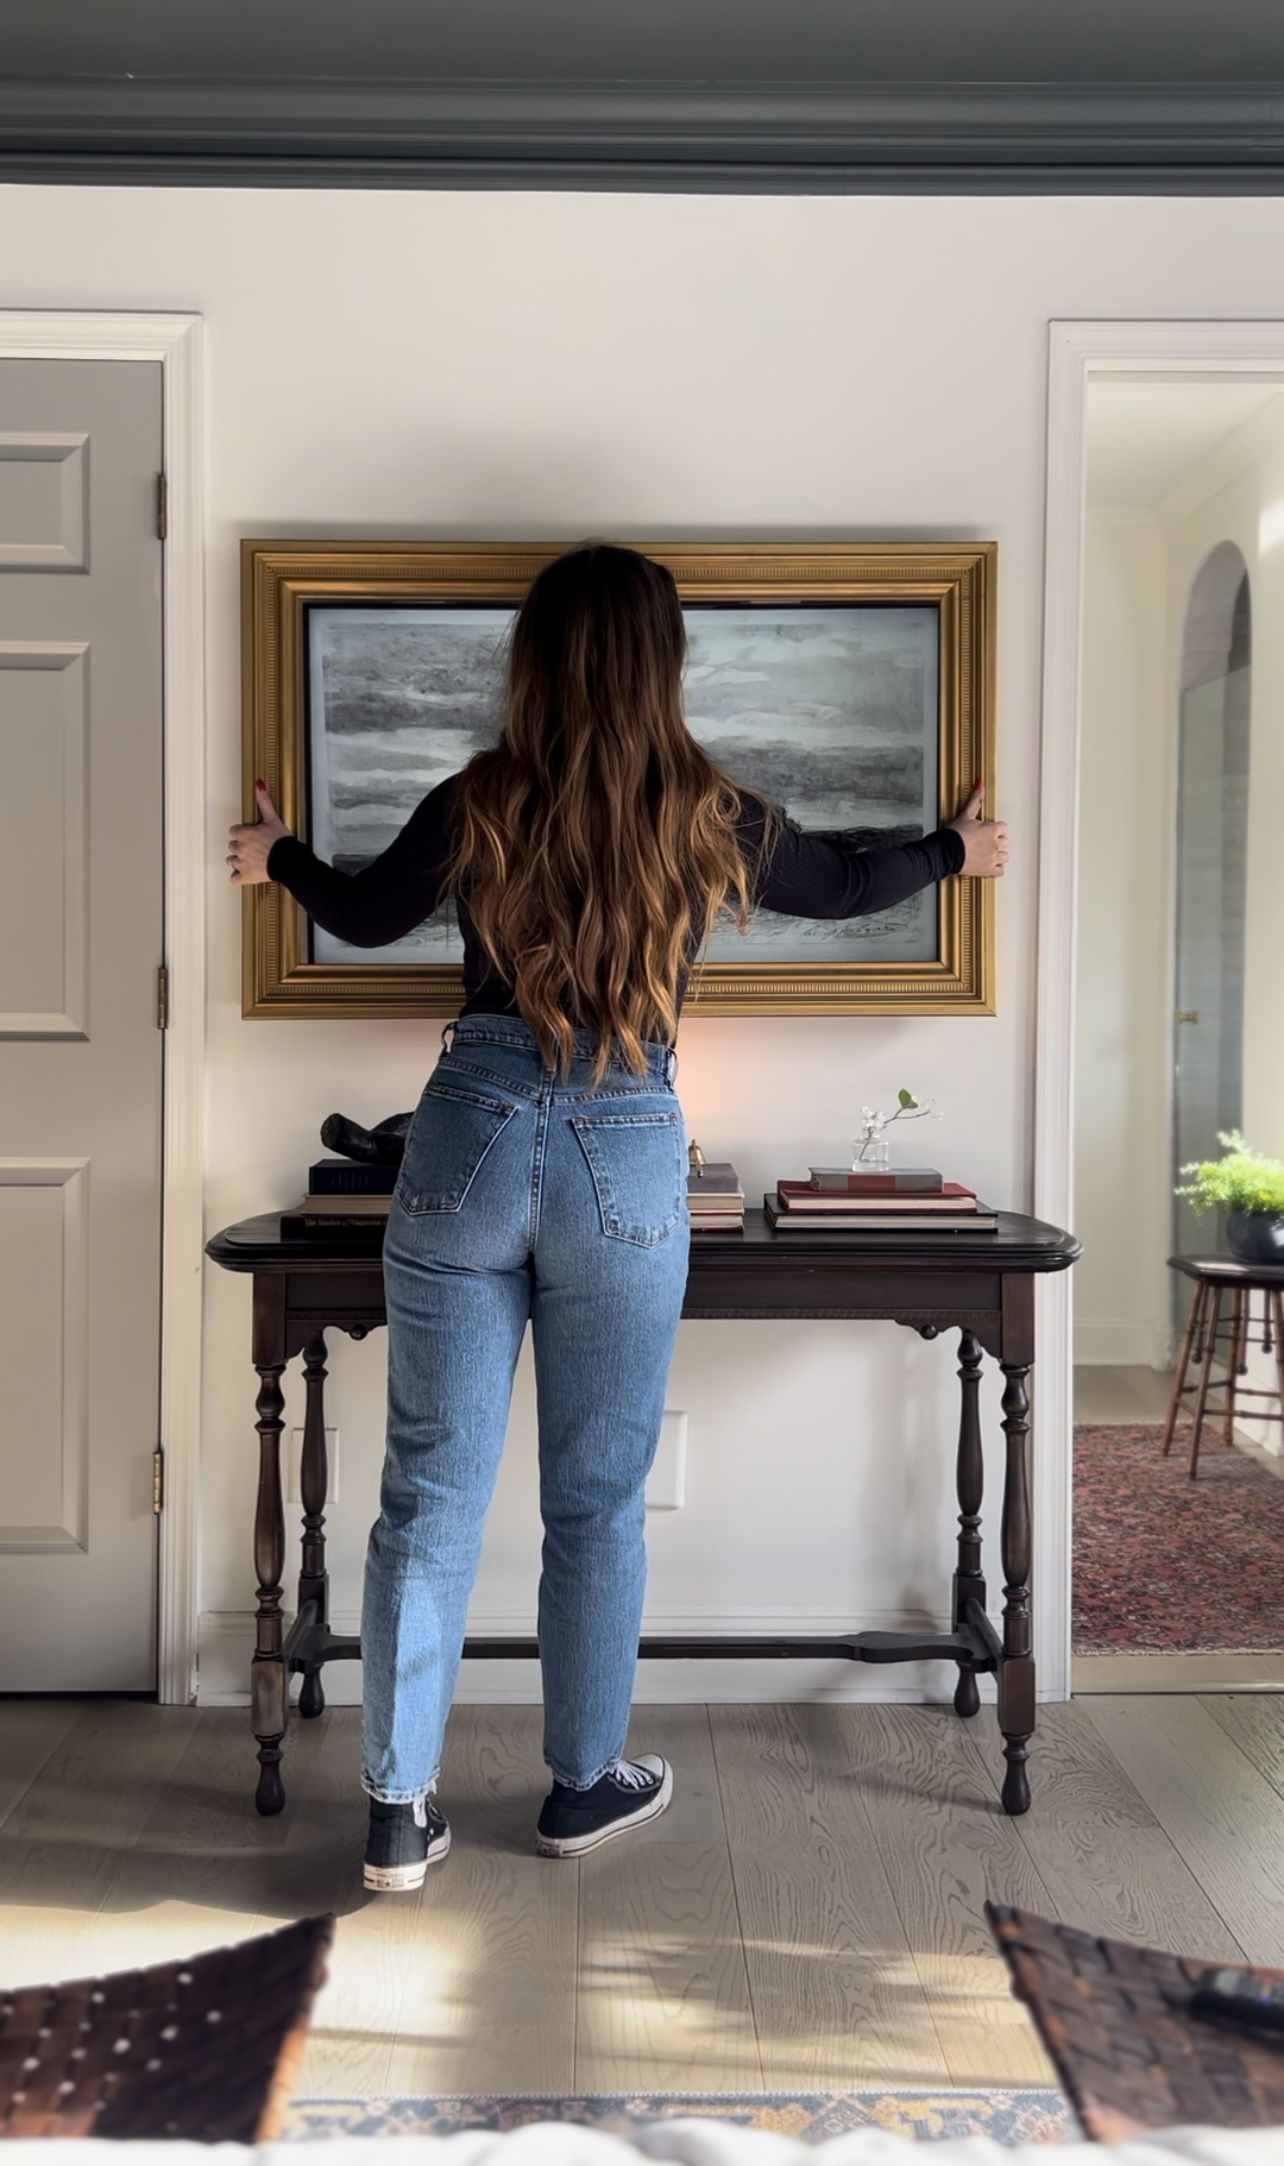
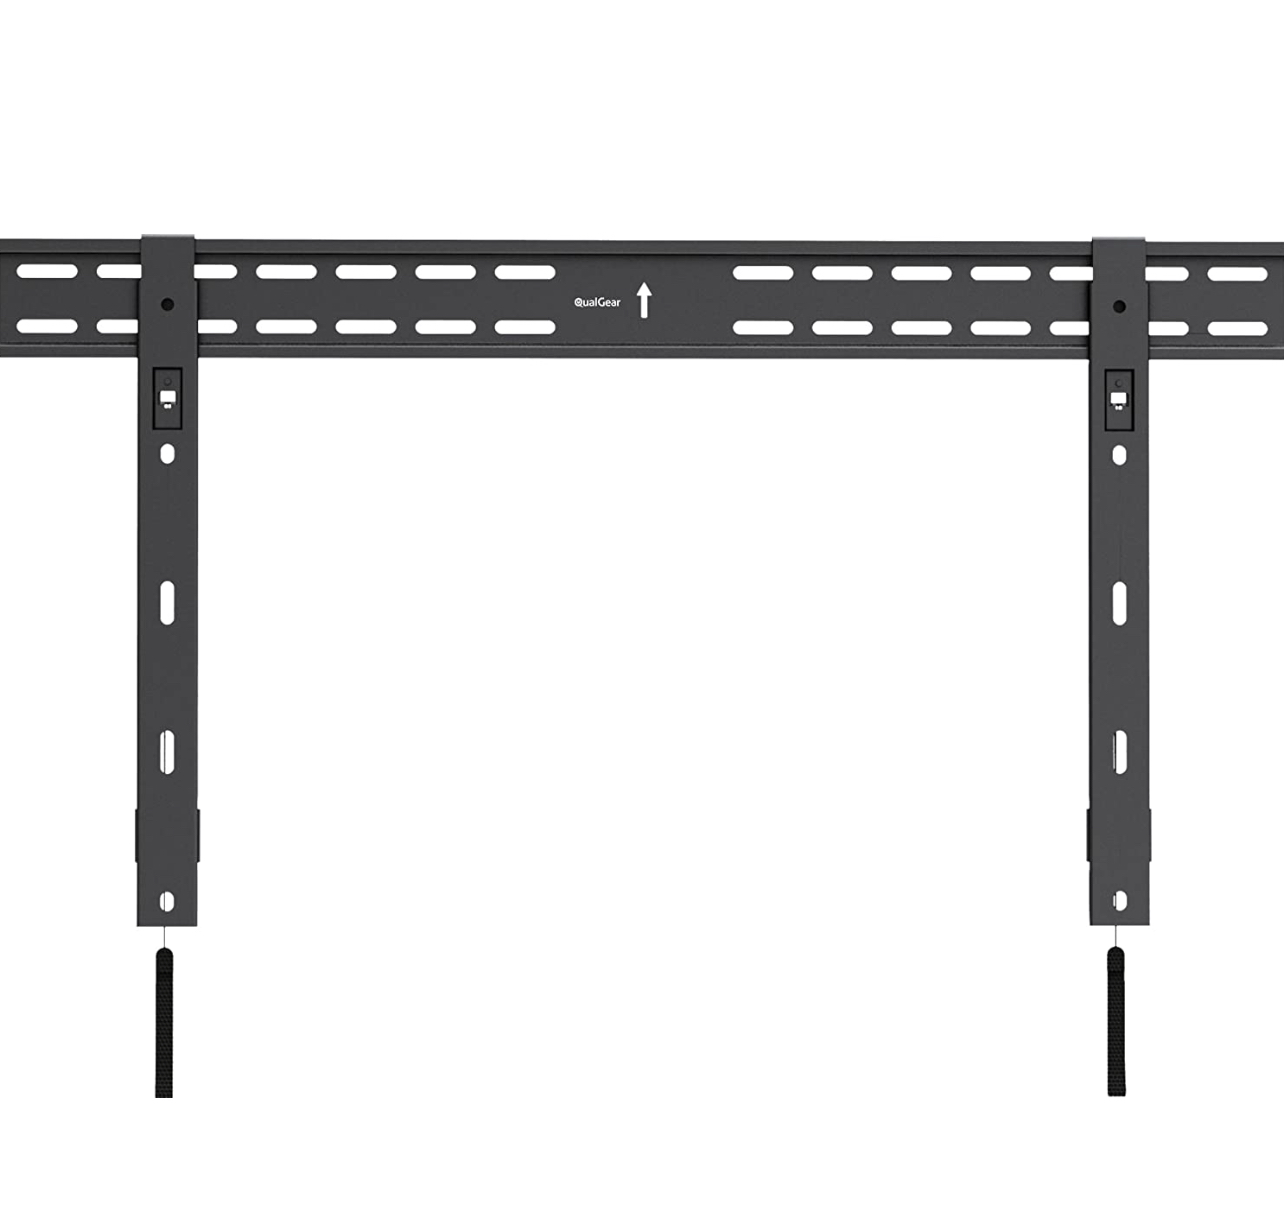
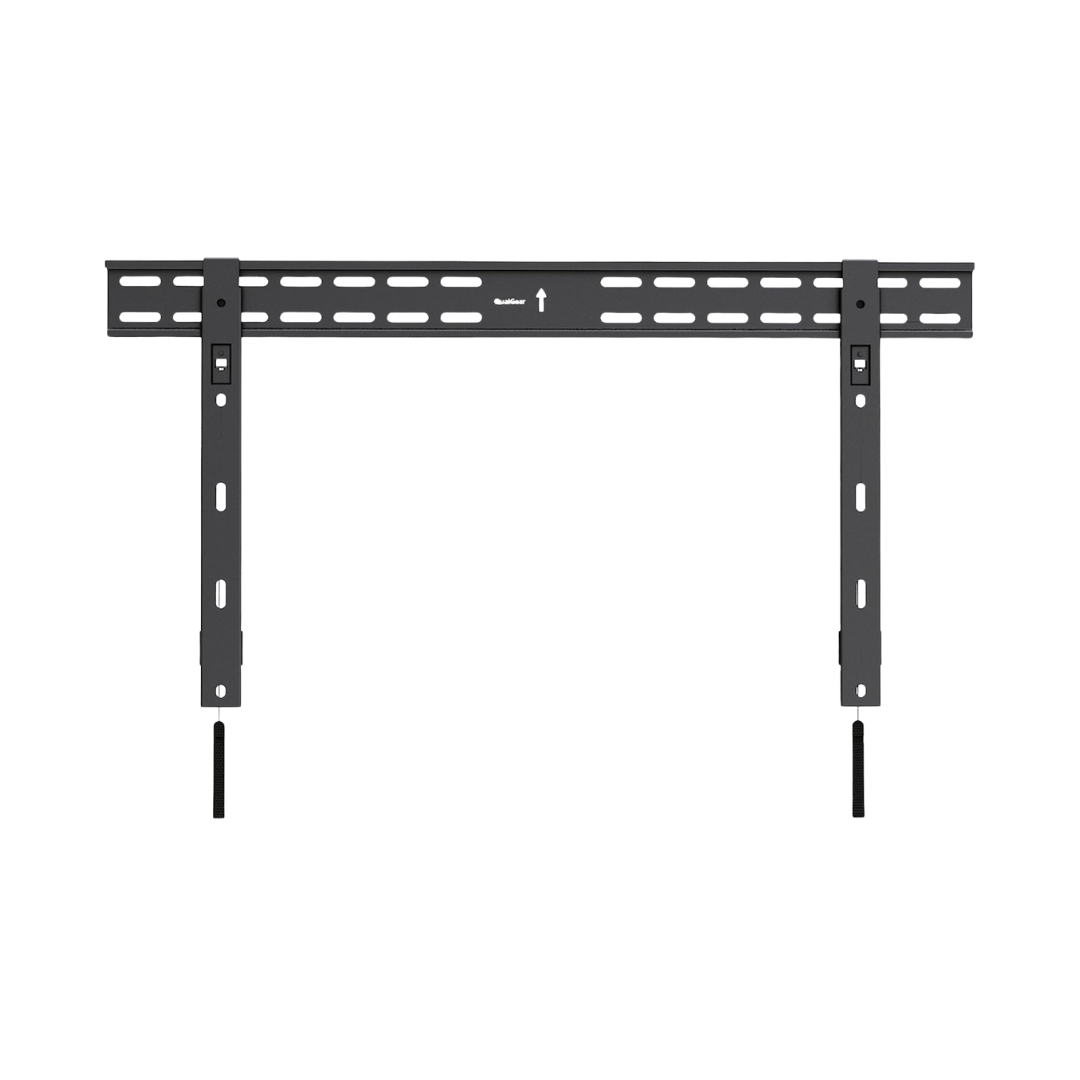
If you want an even more realistic look, you can swap your existing TV mount for this slim TV mount. This is ultra low profile and rests your TV closer to the wall than the traditional wall mount.
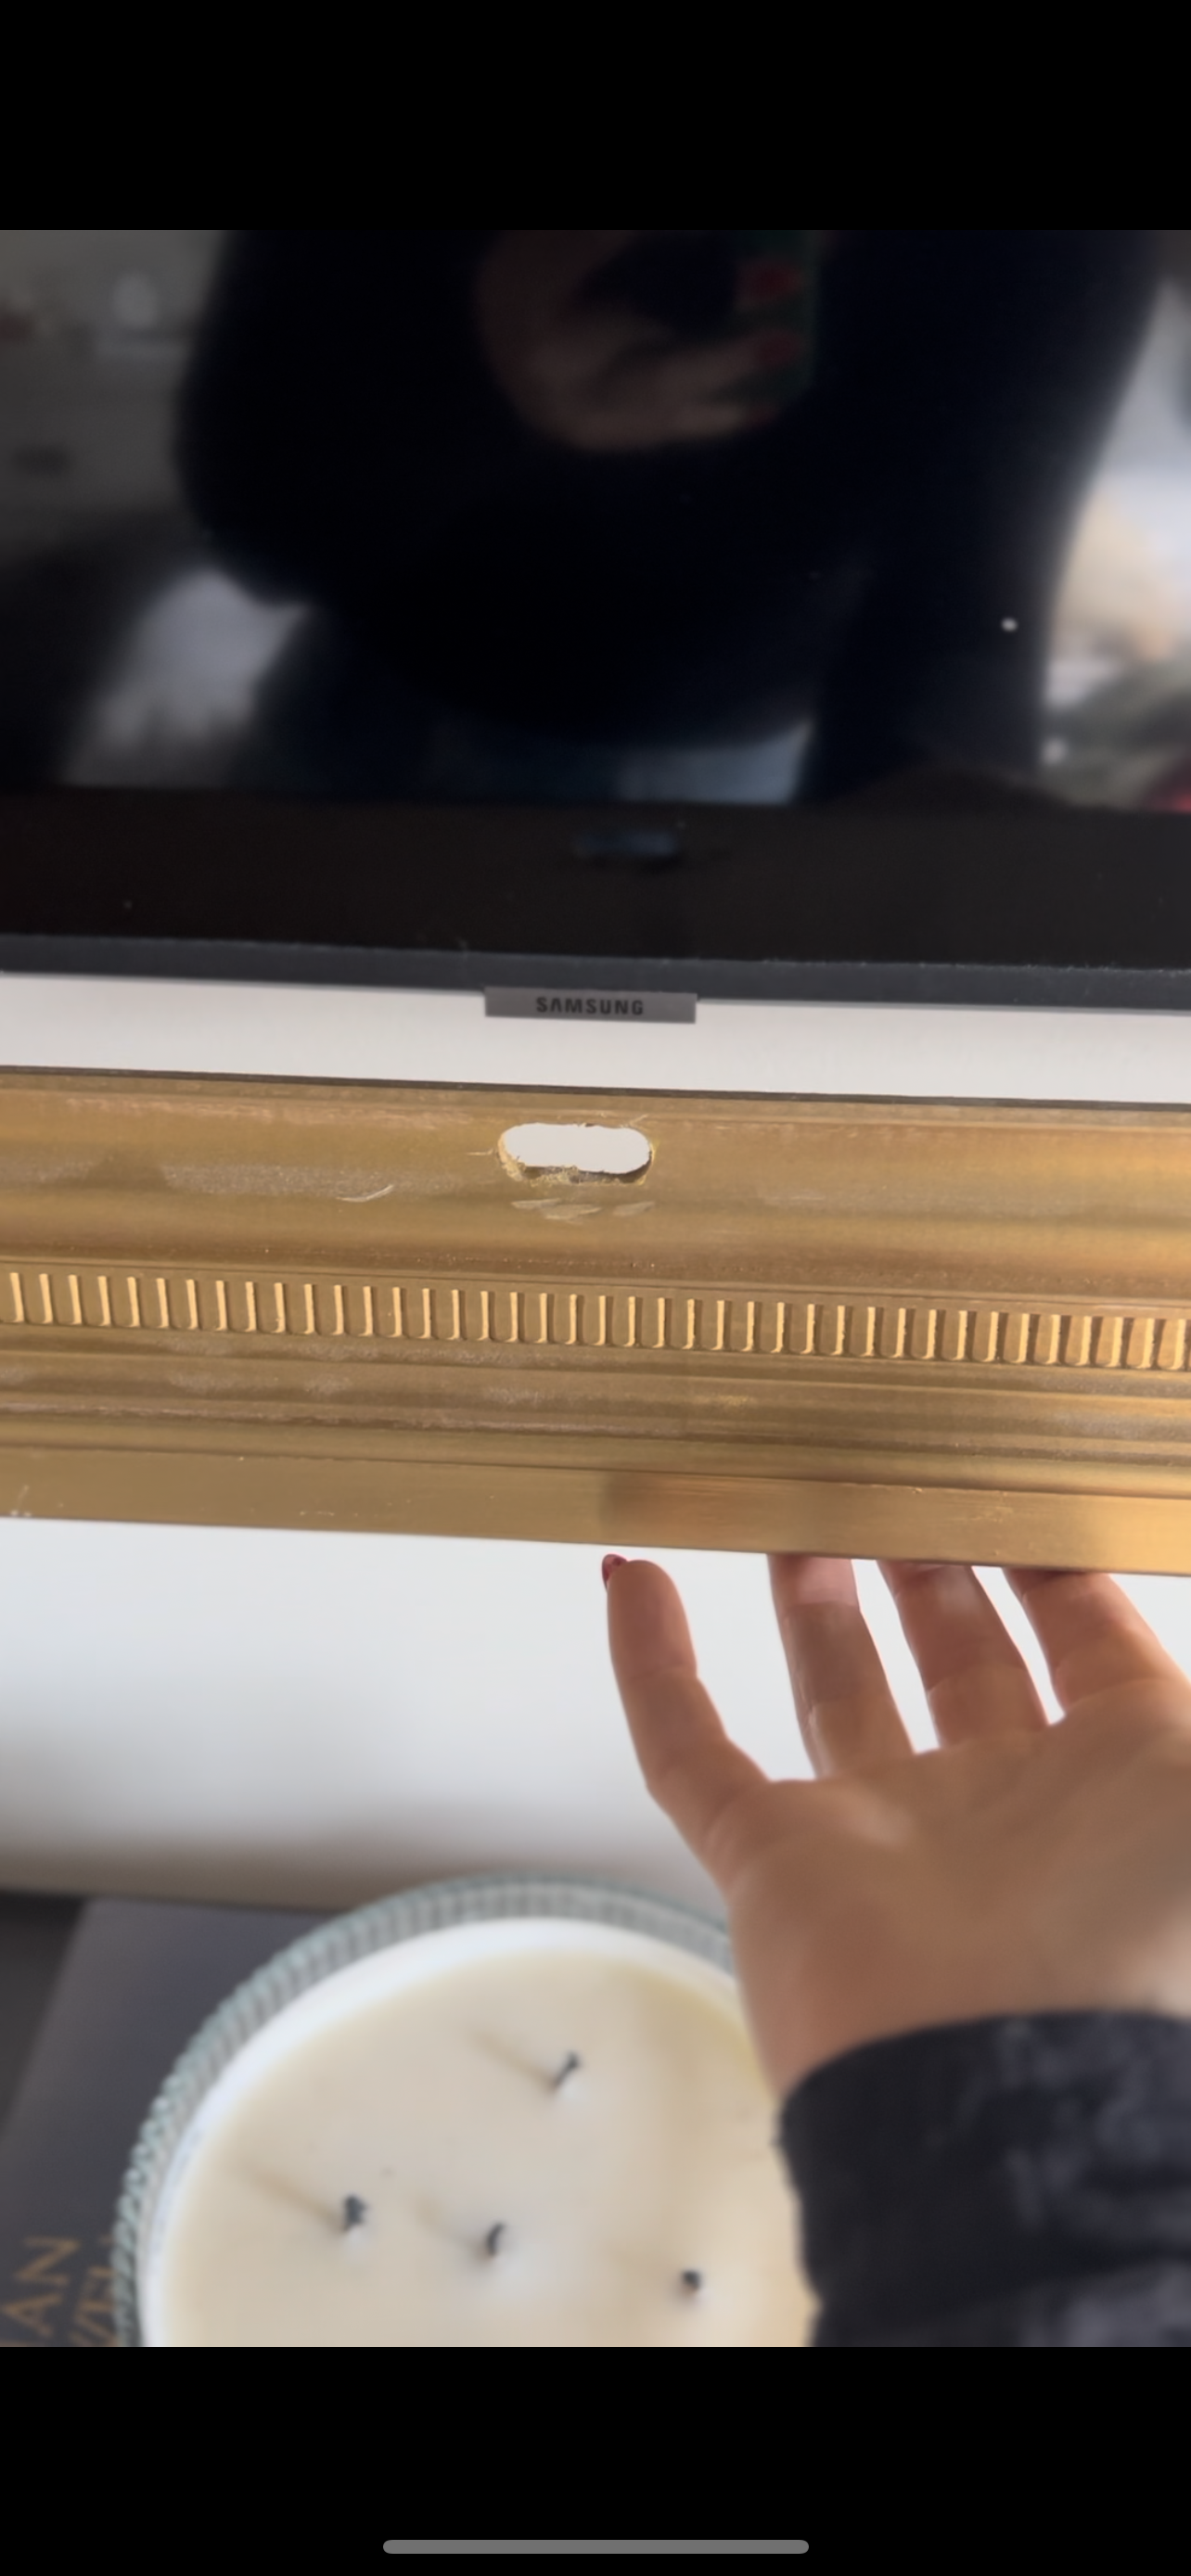
At this point, you should test your TV to see if your remote can communicate. For my bedroom TV, my remote was not able to communicate because the frame was covering the sensor on the front. To solve this issue, I used a small drill bit and drilled a few holes to create one elongated hole that revealed the sensor on the front of the TV. That allowed for my remote to communicate to my TV. We have had no issues with it whatsoever!
DISPLAYING ART ON YOUR TV
Now you will need to display art on your TV. There are lots of apps and options out there now. I personally like to use the Pixo app. You can upload your art to the app and then choose which art to display. If you have a Samsung TV, you can also use the Smart Things app. And if you have a Fire Stick, you can use Pix Art Gallery.
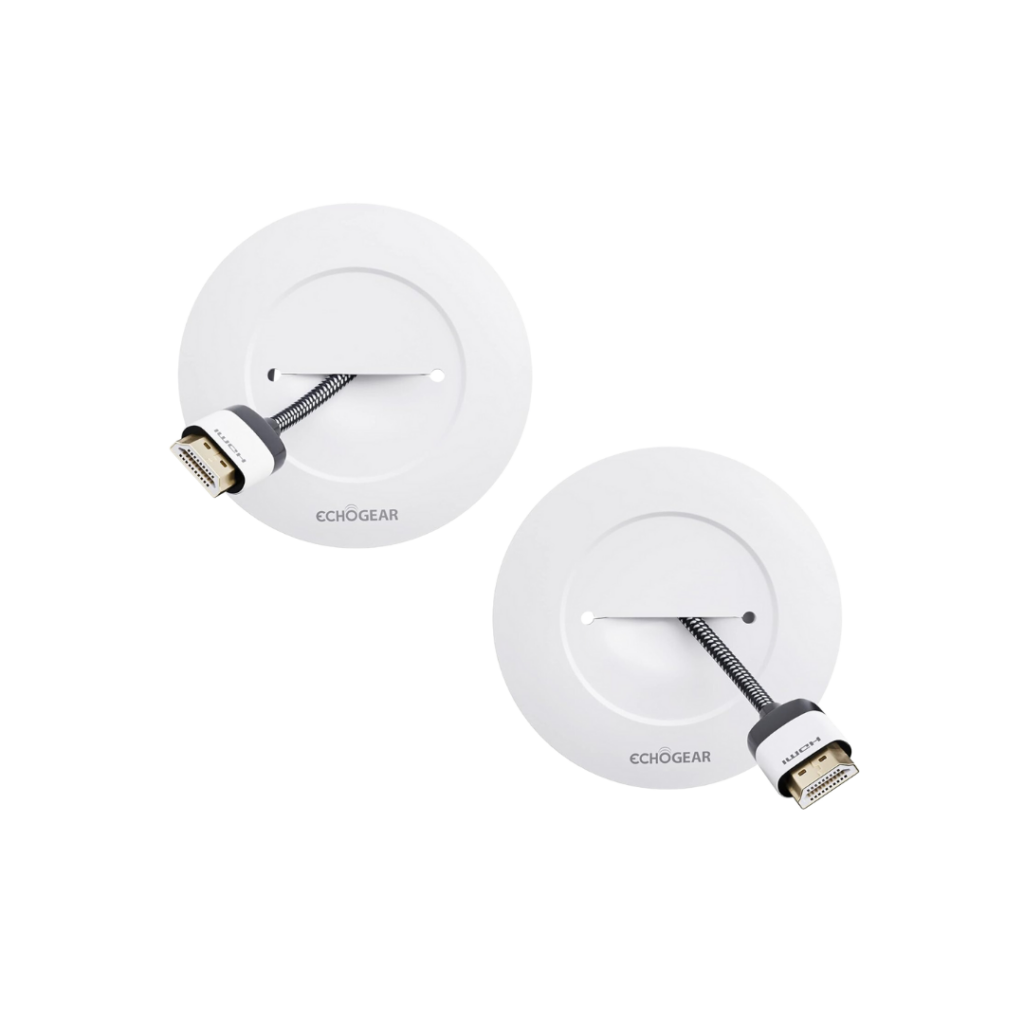
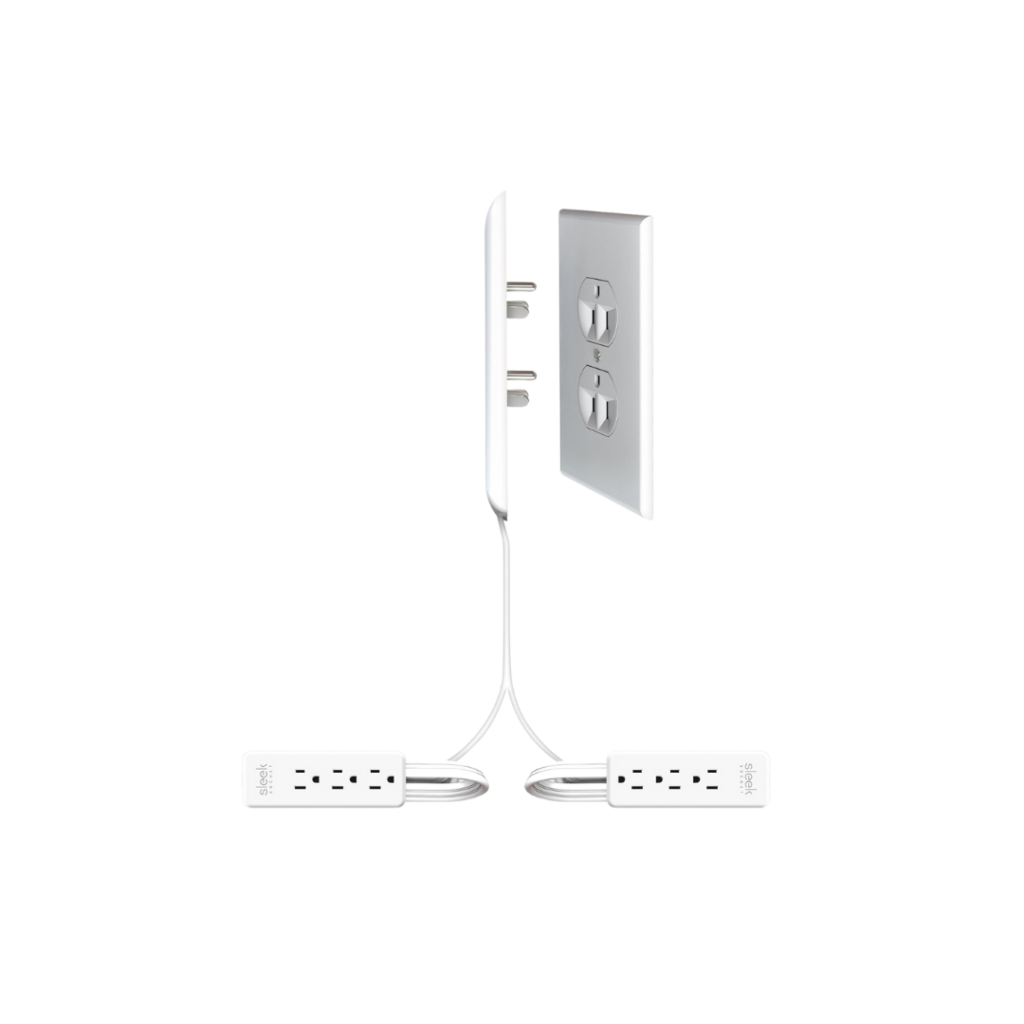
Additionally, I used this kit to drill a hole behind my TV and run my cords down through. This keeps the cords from hanging down below my TV. I also used this Sleek Socket extension cord to disguise the cord running to the outlet since this is visible under my table.
Frame TV Tutorial Sources
*all images are clickable


Thanks for the tutorial, I’m excited to give this a try! What length of brad nail do you recommend for this project?
Love this tutorial! We have just bought a Frame TV and will be using your instructions. We are just getting familiar with our new product, so my question to you is—-where is your One Connect box that comes with the TV?
We are following this tutorial and very excited to create this look!
Wanted to point out that the cost of the unfinished ornamental frame is $3/foot (even in the picture on this page) so that, plus the casing, is well over $20 for a 43” tv frame. This will probably cost us $50 when all is said and done.
I just completed this and I love how it turned out! My husband was impressed with how it turned out. 🙂 I ended up not using the casing to box it in because our tv is so close to the wall–but I did buy the material and cut it just in case. Your highlight on IG was super helpful! It ended up costing about $55 total but so much cheaper than buying a frame online and I like how I could customize it. Thank you so much for sharing how you did it.
I love you for this 🙏🏽😩 thank you so much I’m going to make one and tag you soon as I do … very helpful !!!
Hi, very nice look. I’m confused by the widow and door casing. The link says 9/16s but the photo in your tutorial shows 11/16s. Which is correct?
all you need now is a level lol