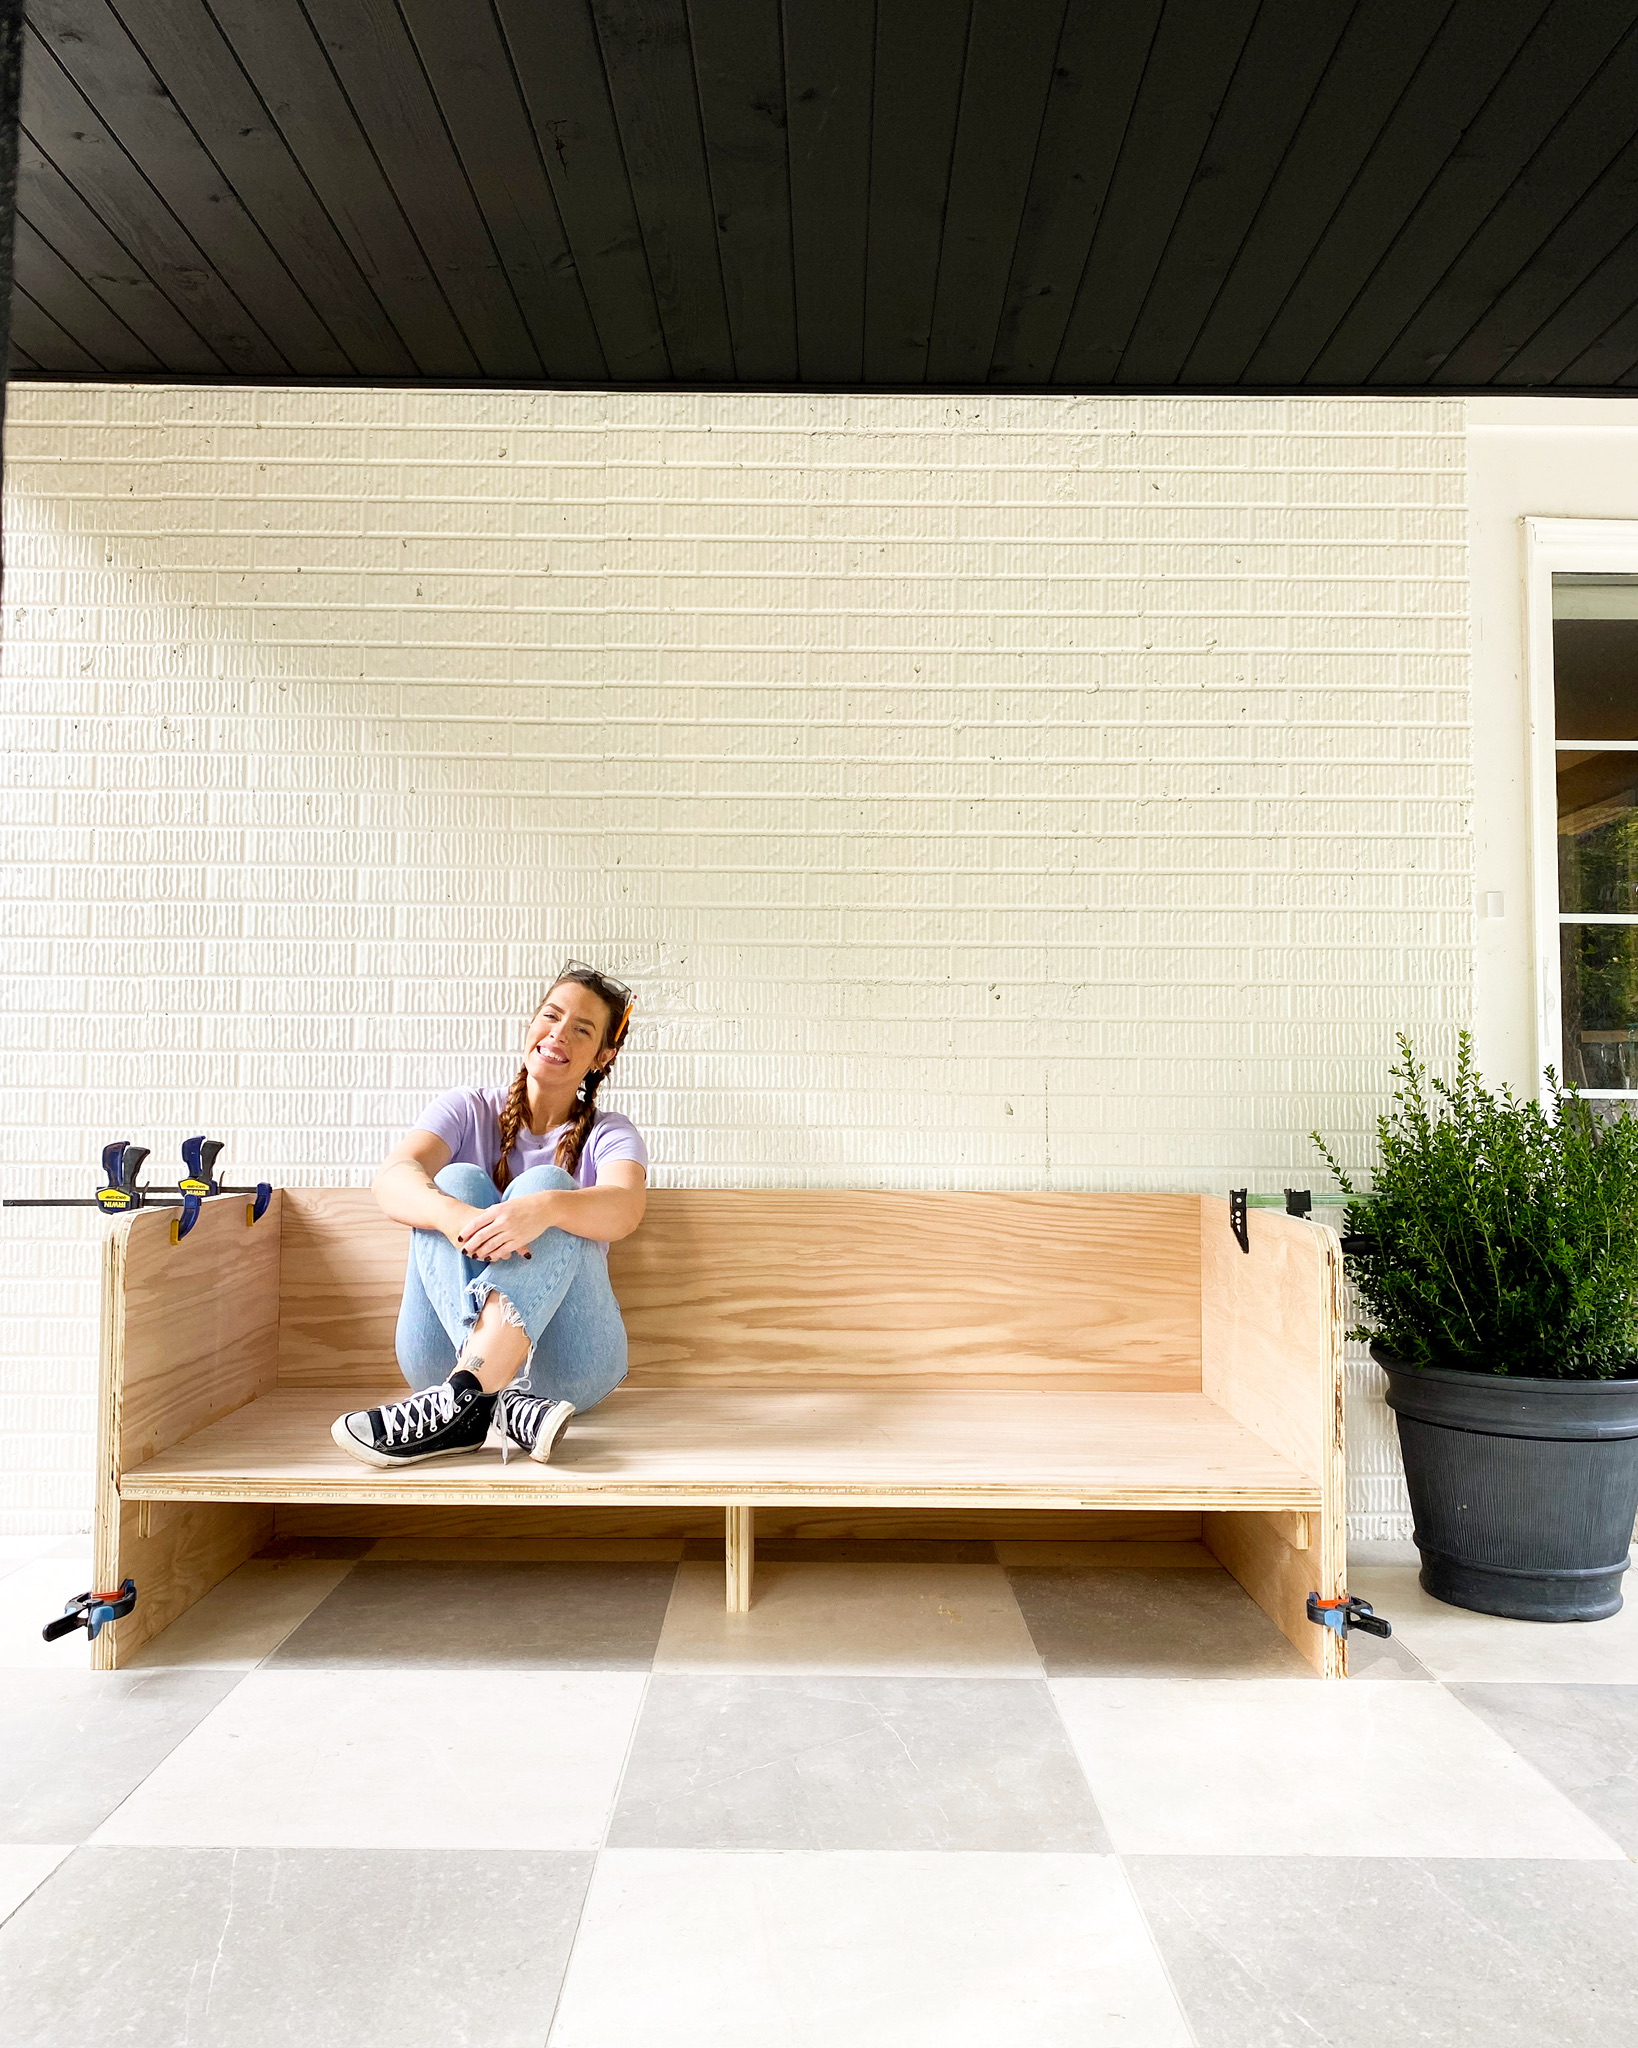
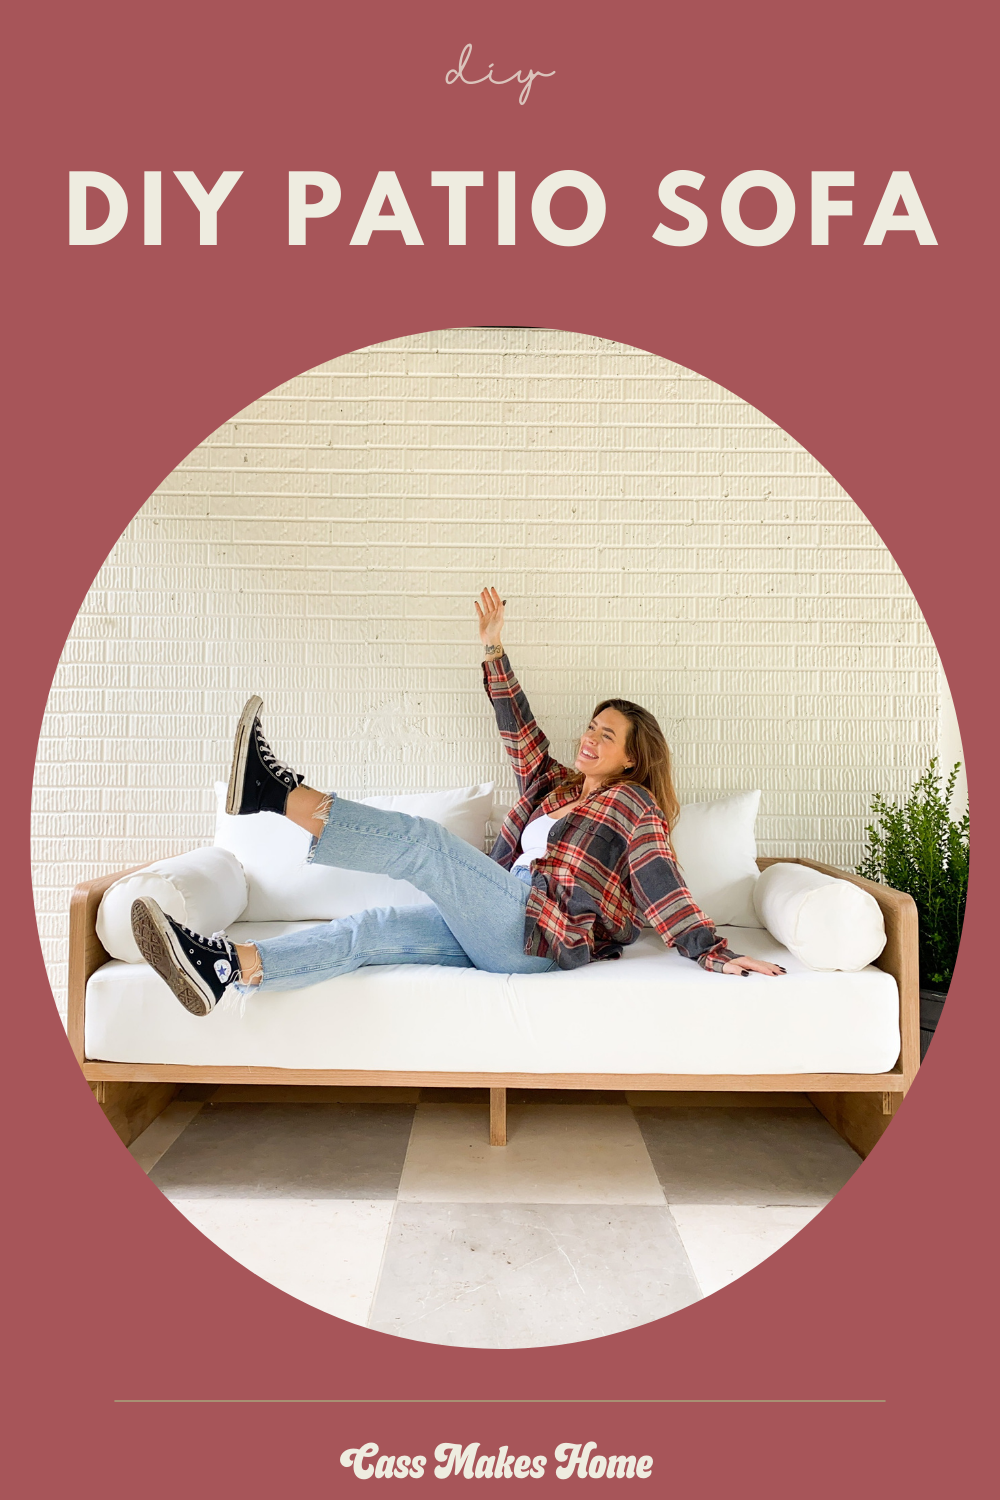
DIY Outdoor Sofa

I needed some furniture out on my patio. As per usual, I couldn’t find anything that checked all my boxes and wasn’t crazy expensive. So, I decided to make a DIY Outdoor Sofa.
*This post may contain affiliate links, which means I may earn a small commission if you purchase through my links, at no extra cost to you. I only share products I genuinely love.
I got my inspiration from this one right here!
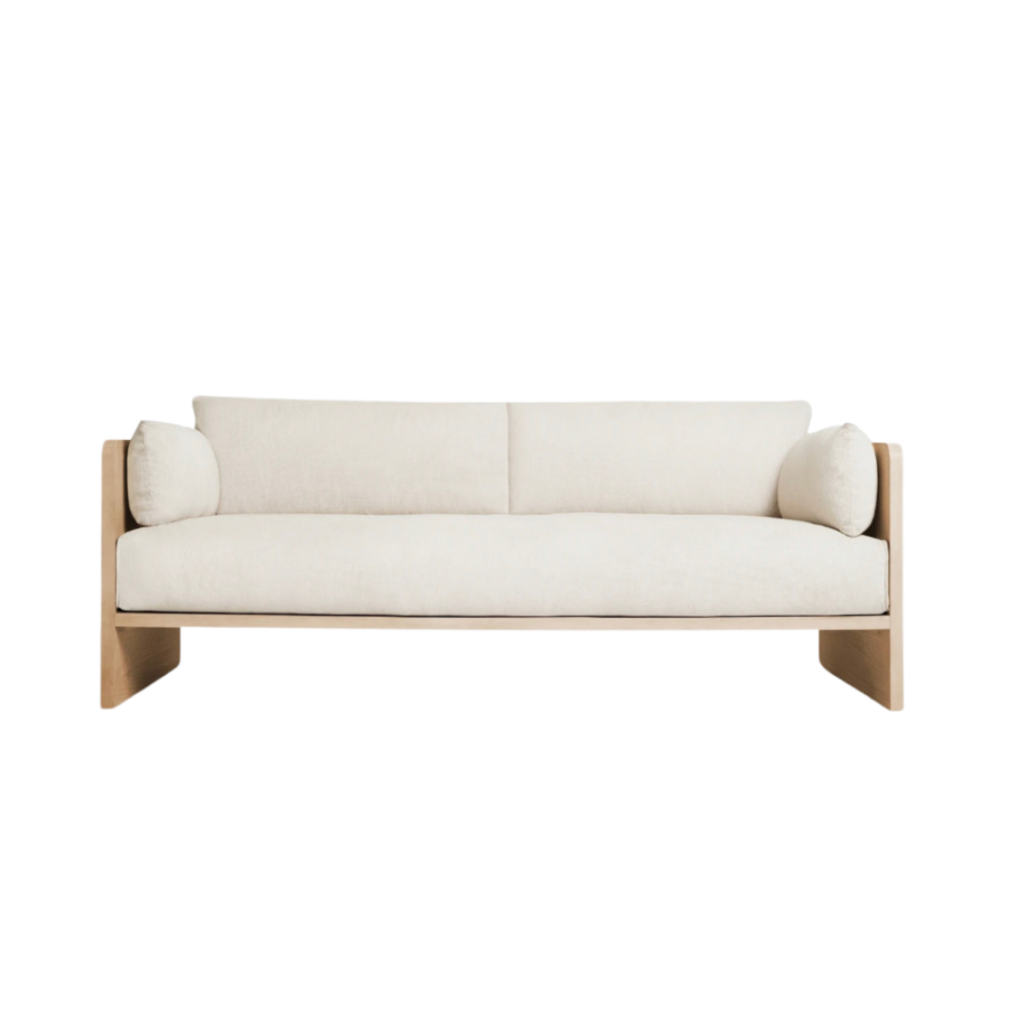
It’s $2898…way out of my budget. I put my own spin on it because I don’t like to copy someone else’s design. But, I do love making duplicates of really unaffordable items. Let’s go!
Materials for my DIY Outdoor Sofa
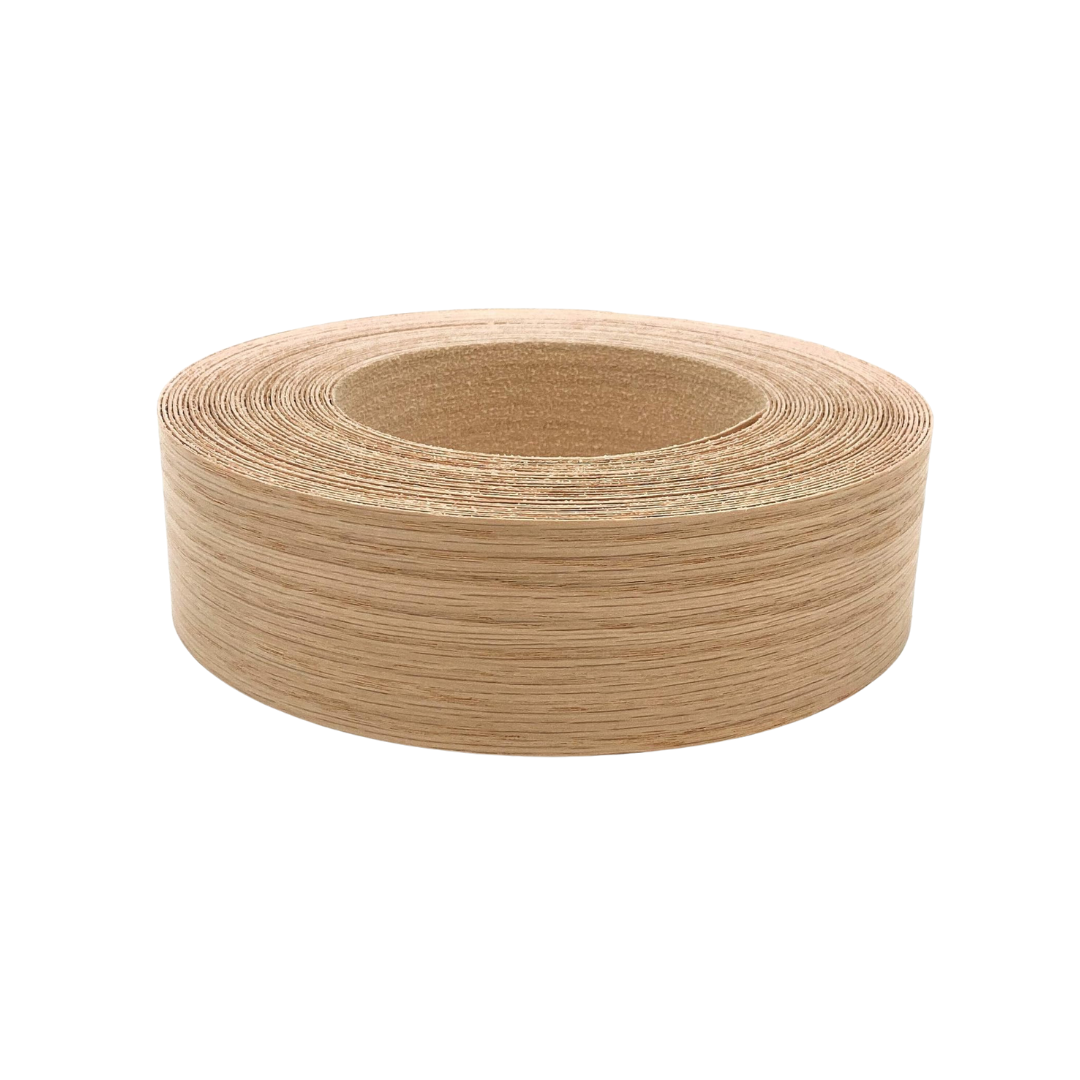
- Red Oak Plywood
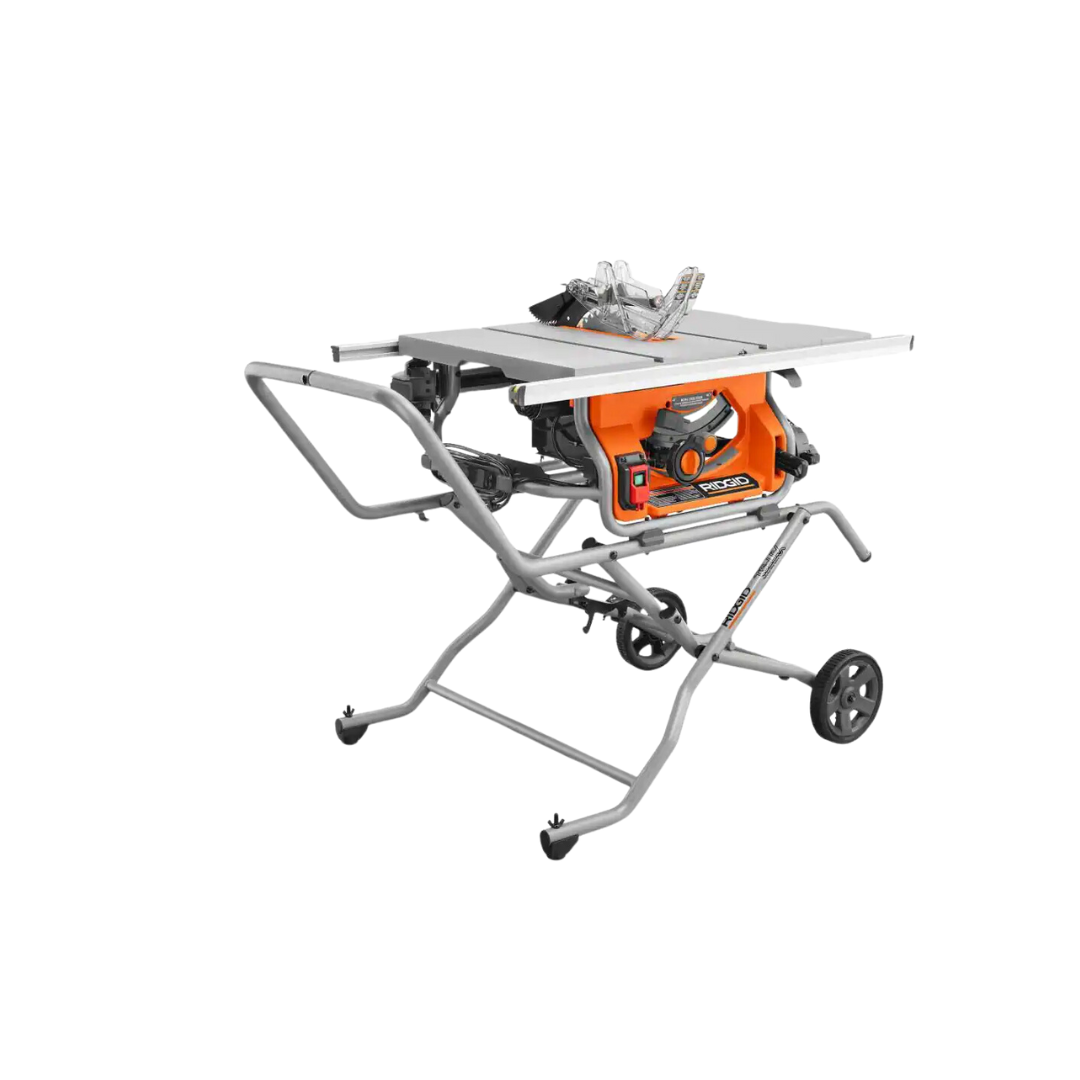
- Table Saw
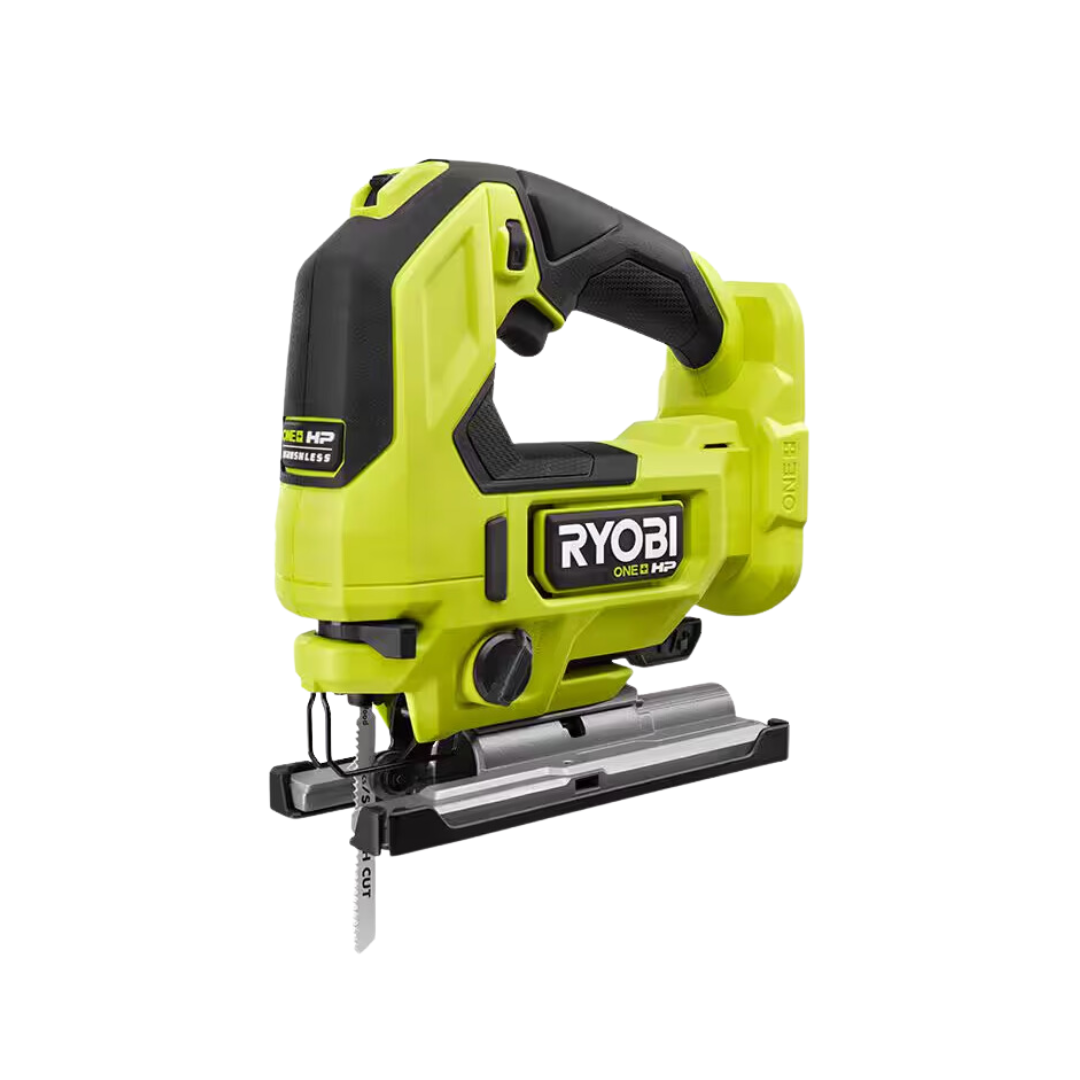
- Jig Saw
- Safety Glasses
- Drill
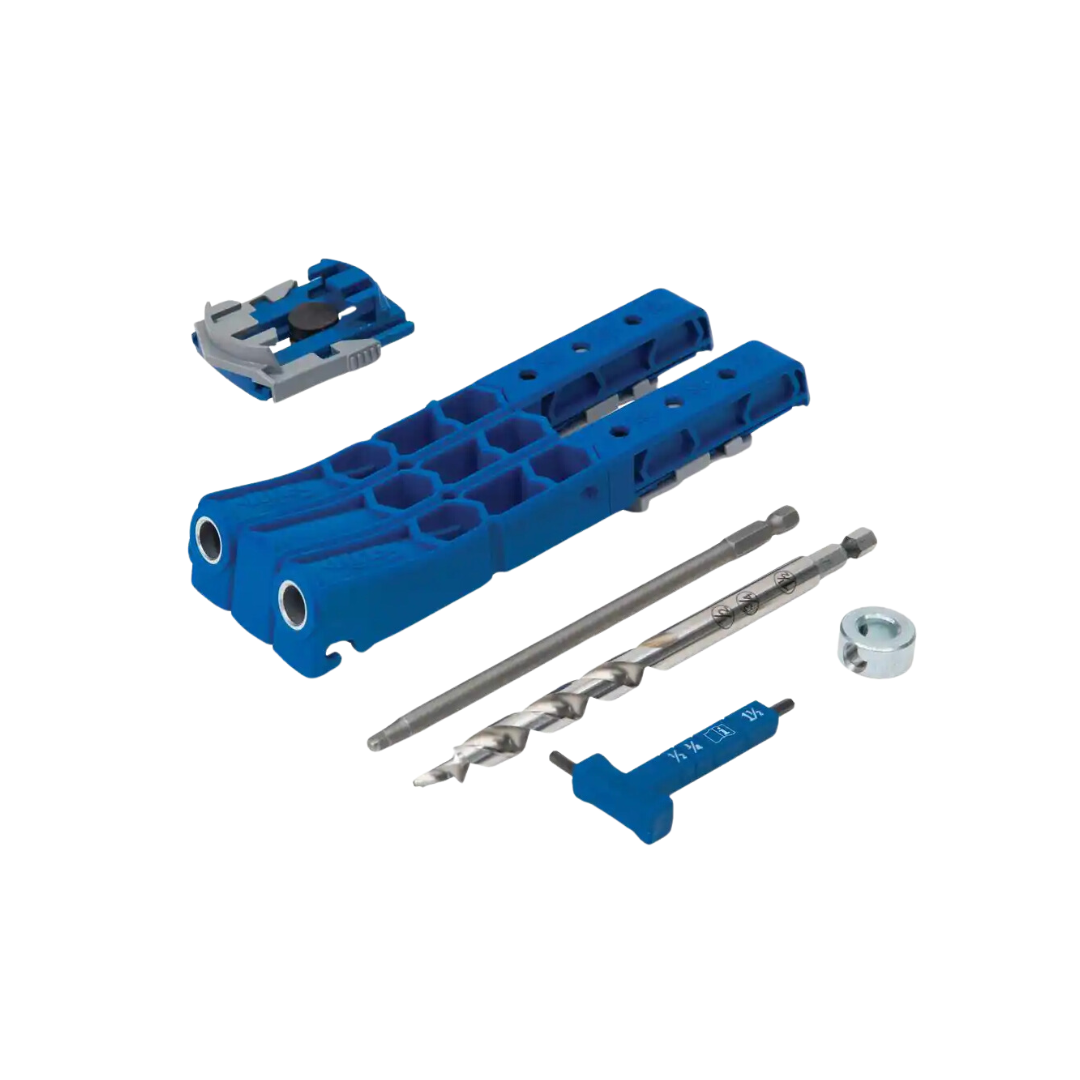
- Pocket Hole Jig
- Wood Glue
- Edge Banding
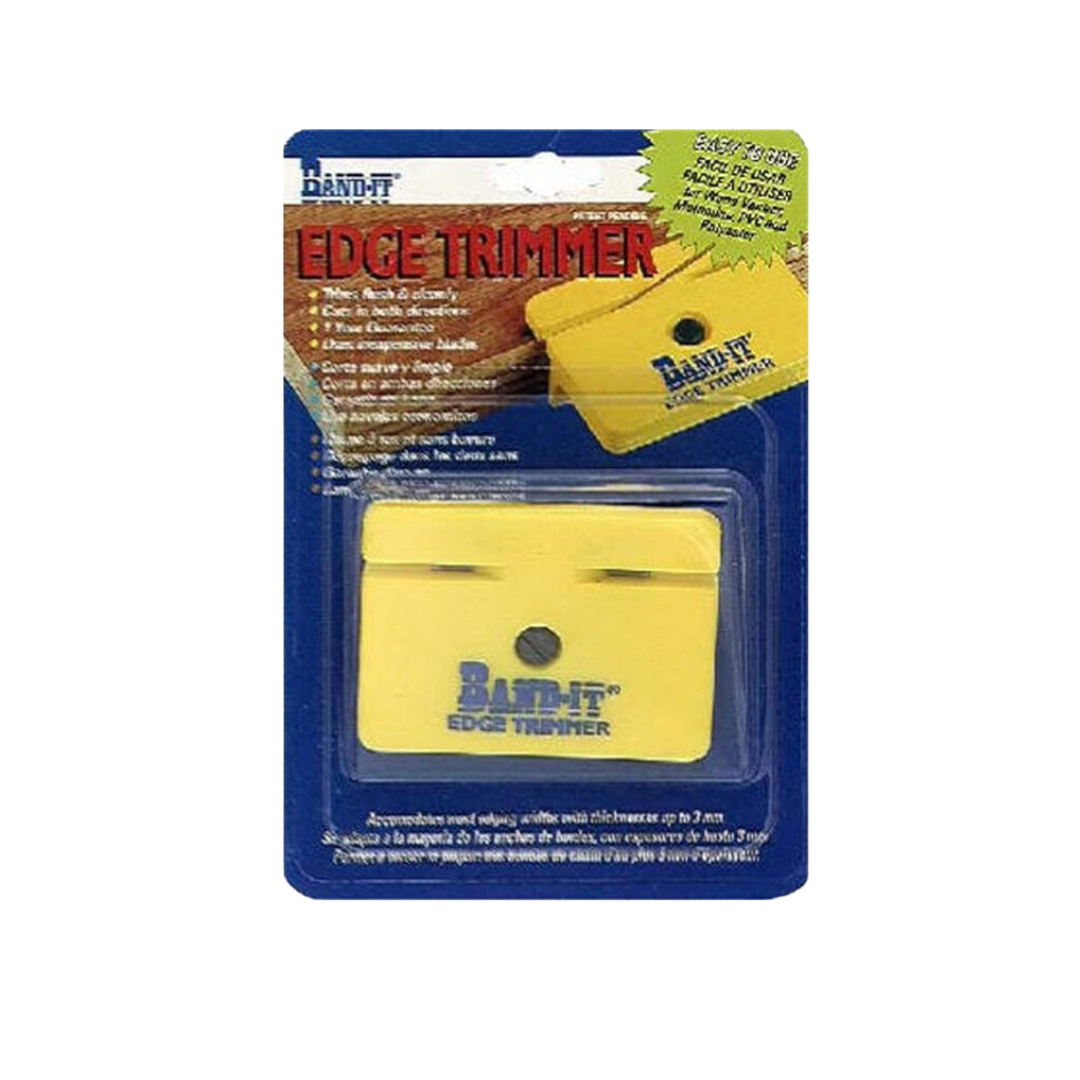
- Band-It Edge Trimmer
- Iron
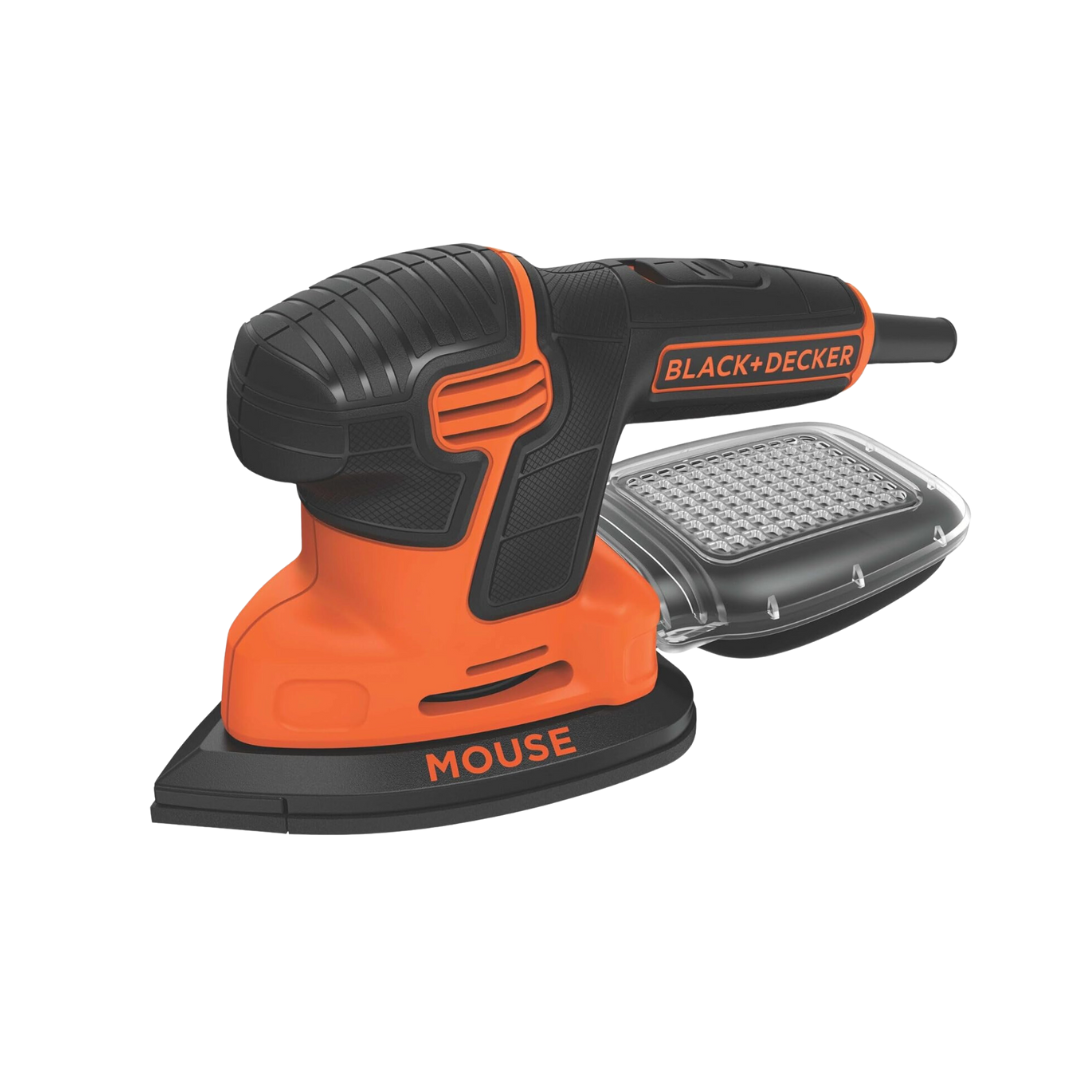
- Mouse Sander
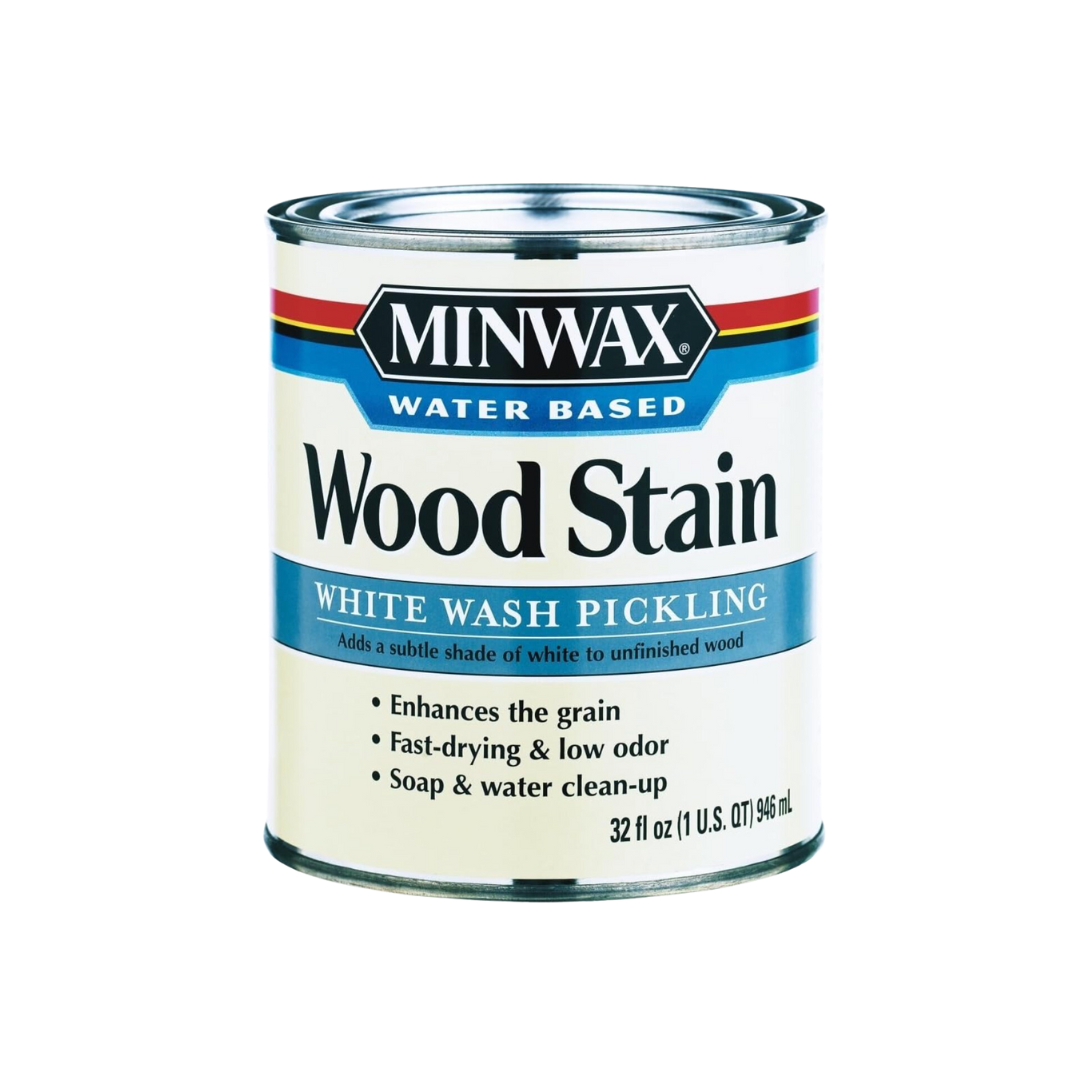
- White Wash Pickling Stain
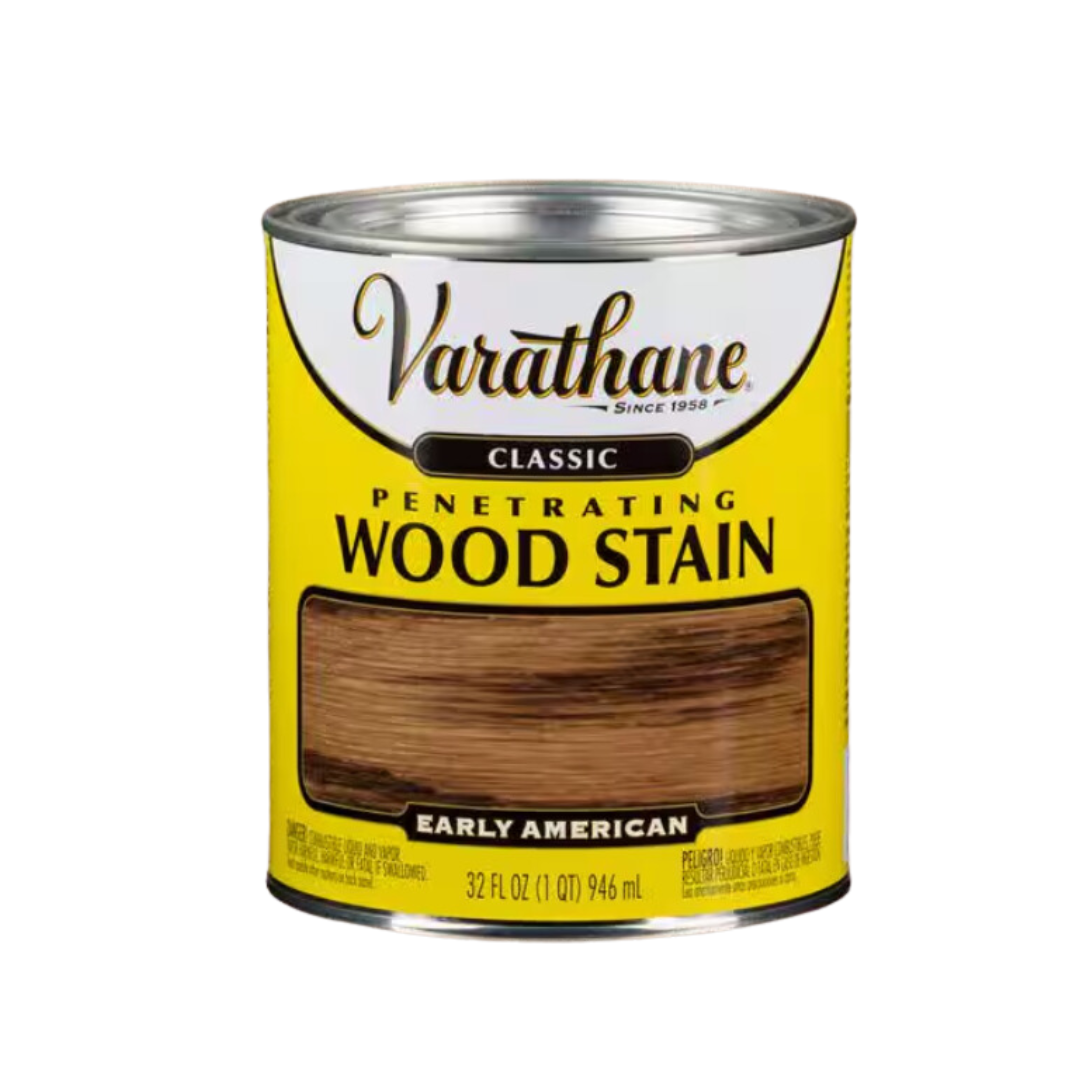
- Early American Stain
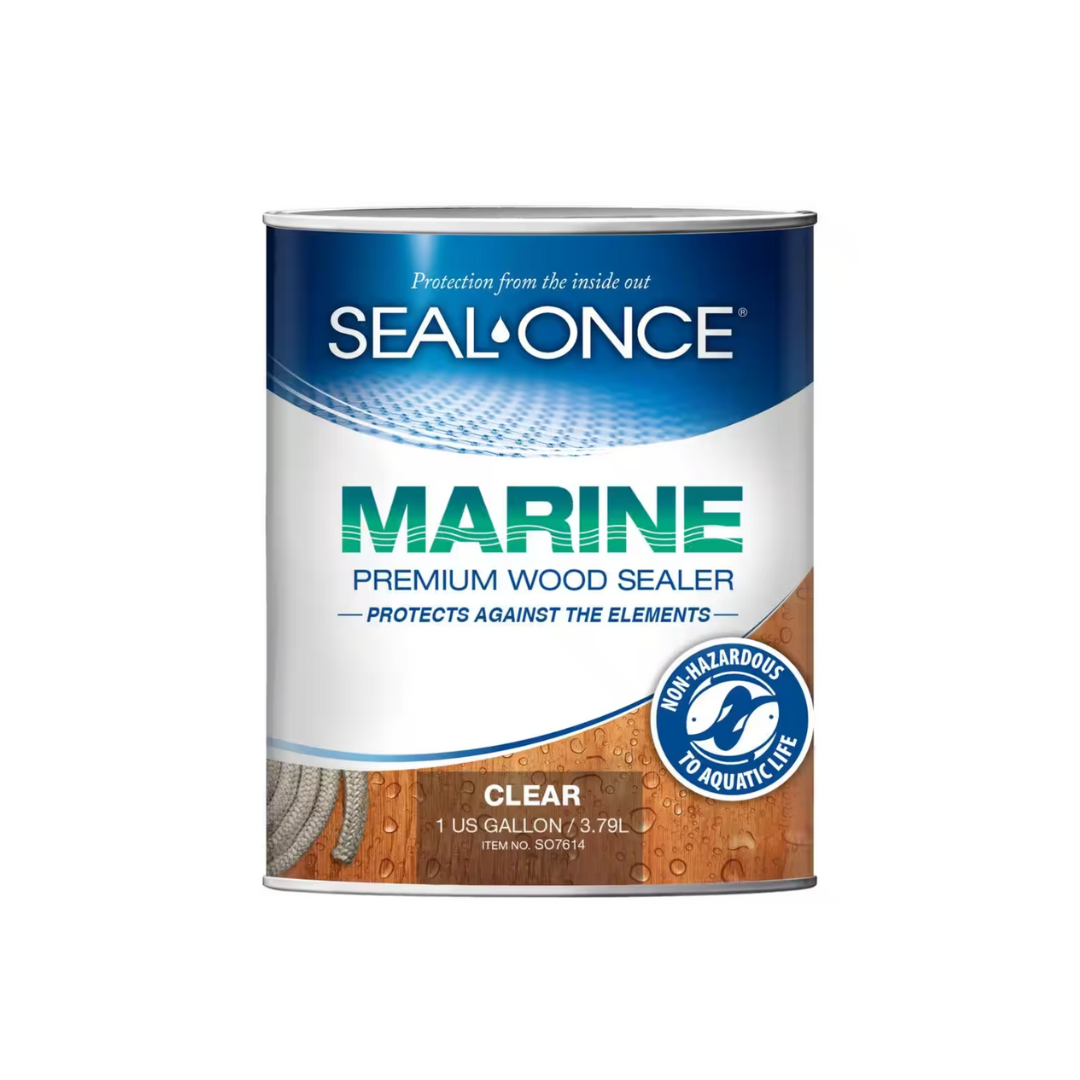
- Marine Wood Sealer

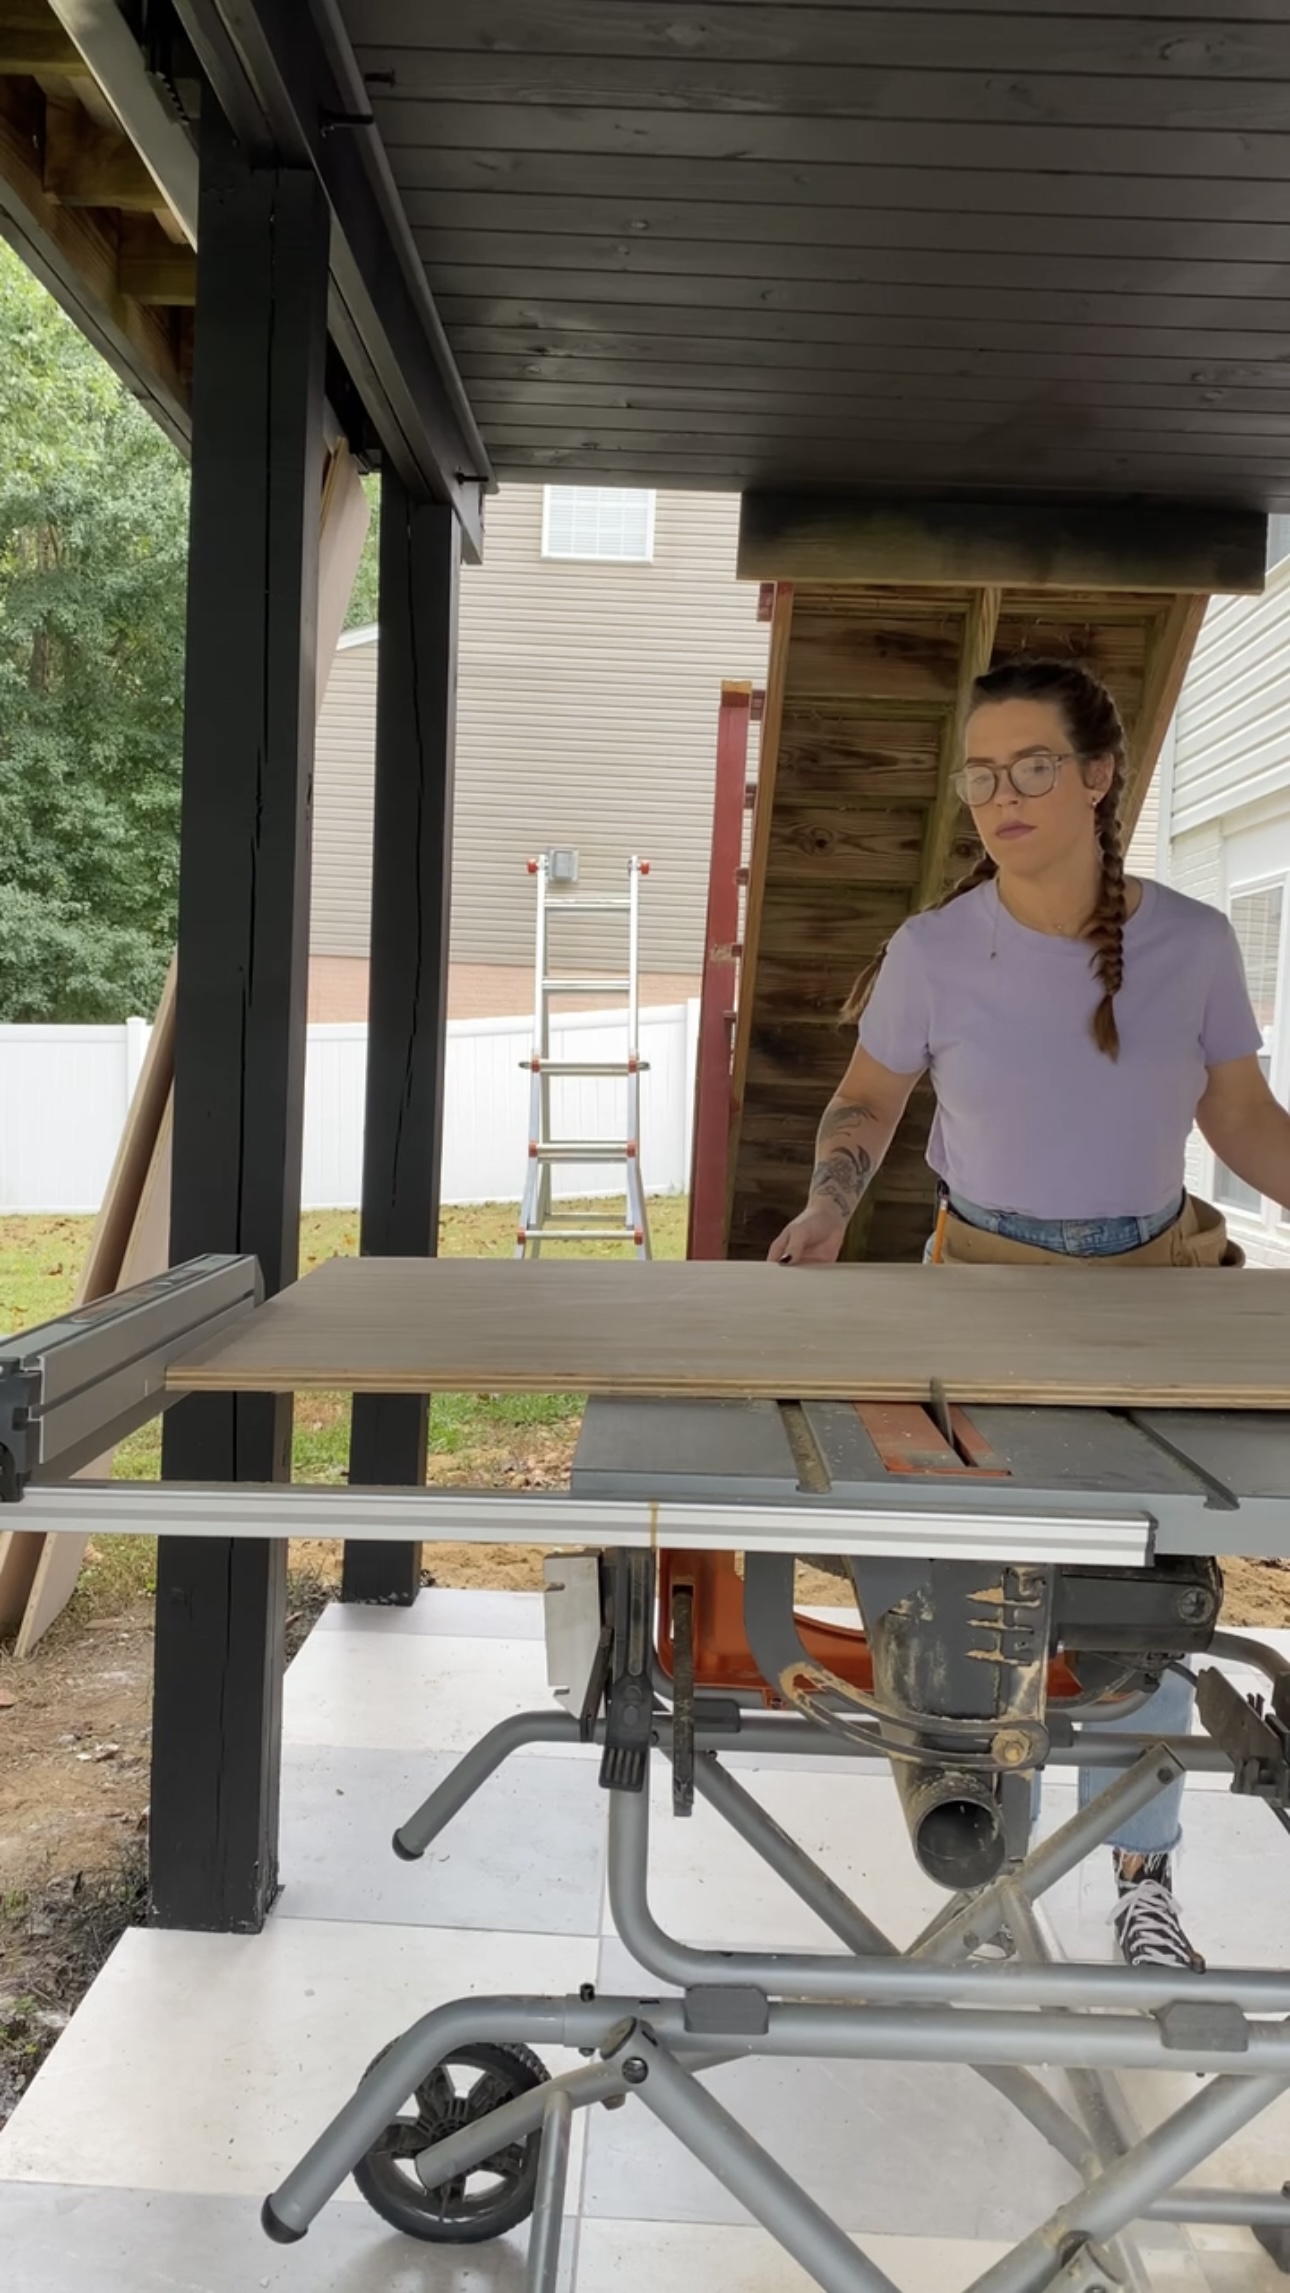
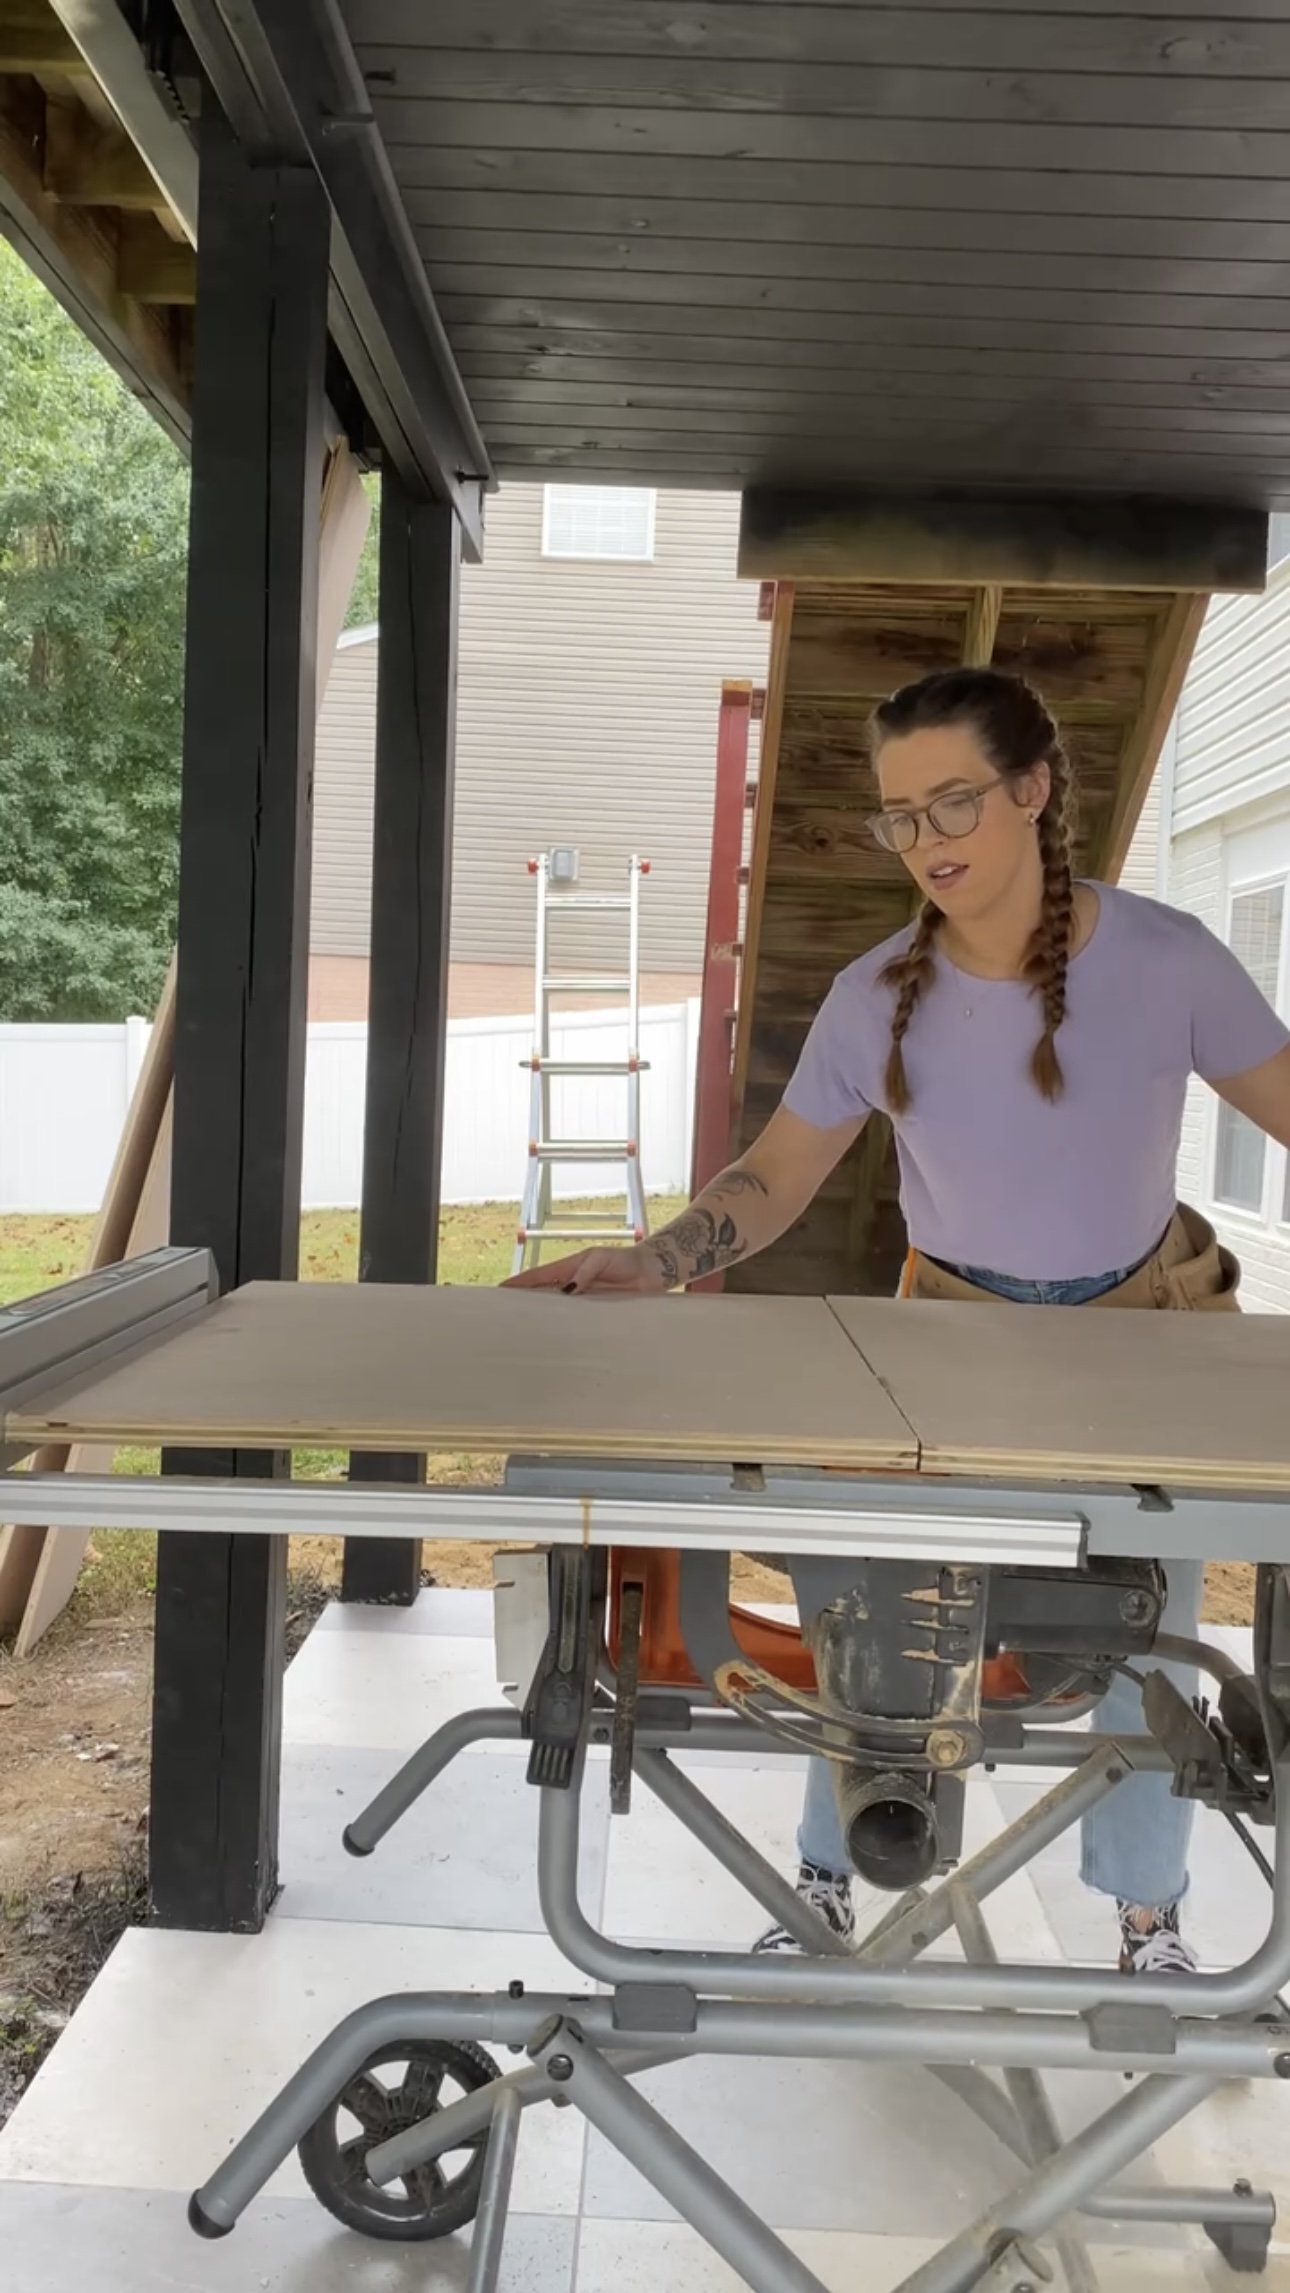
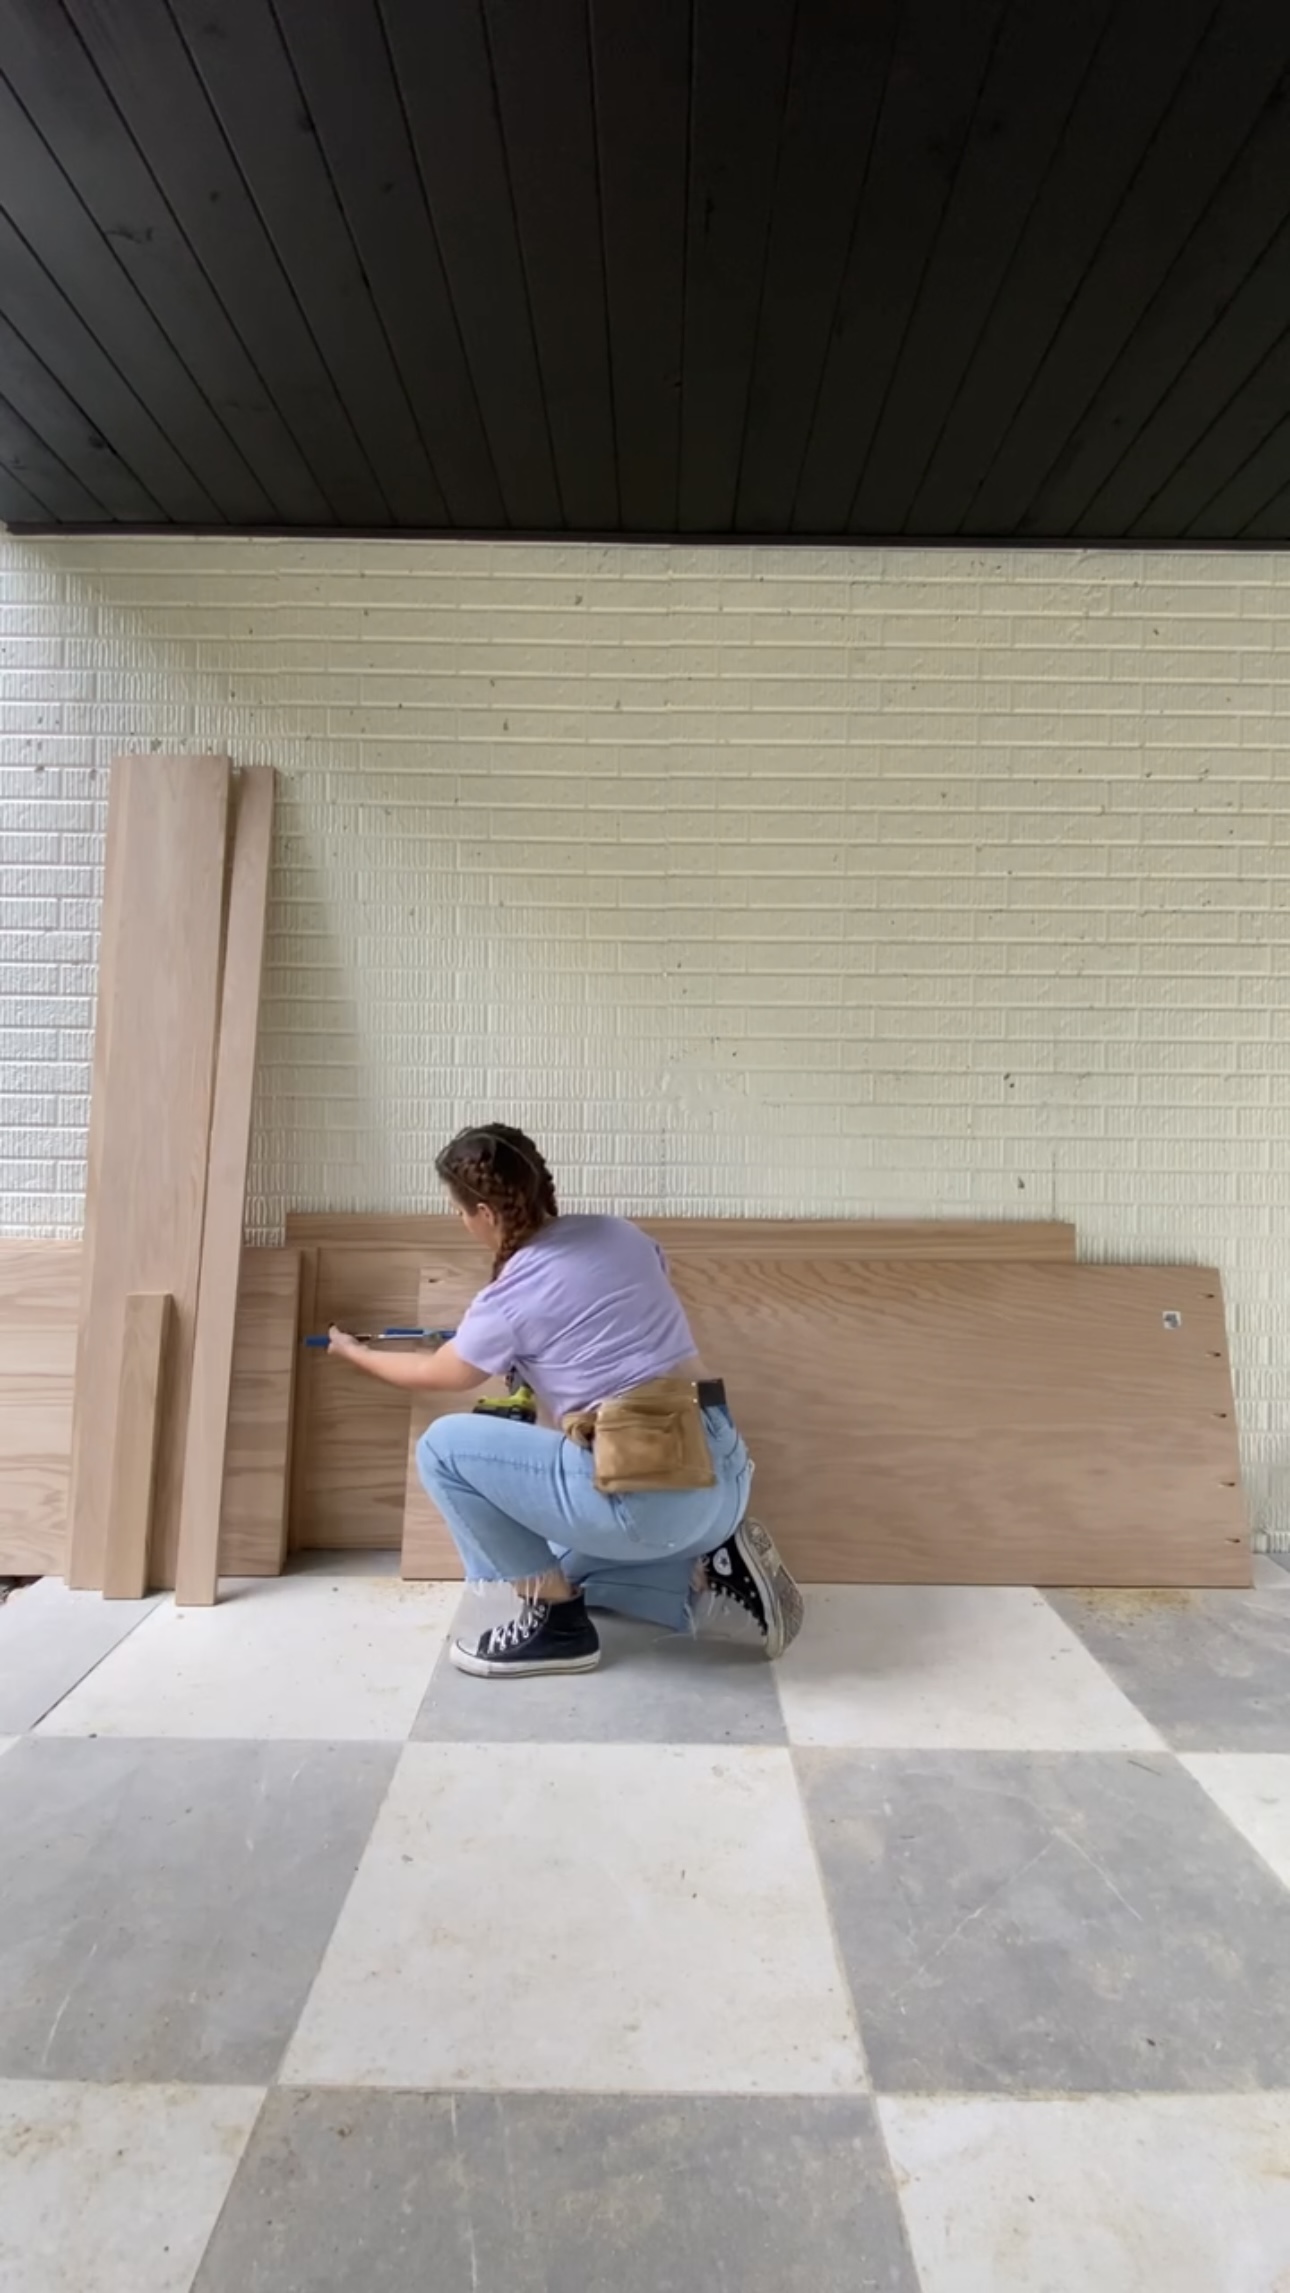
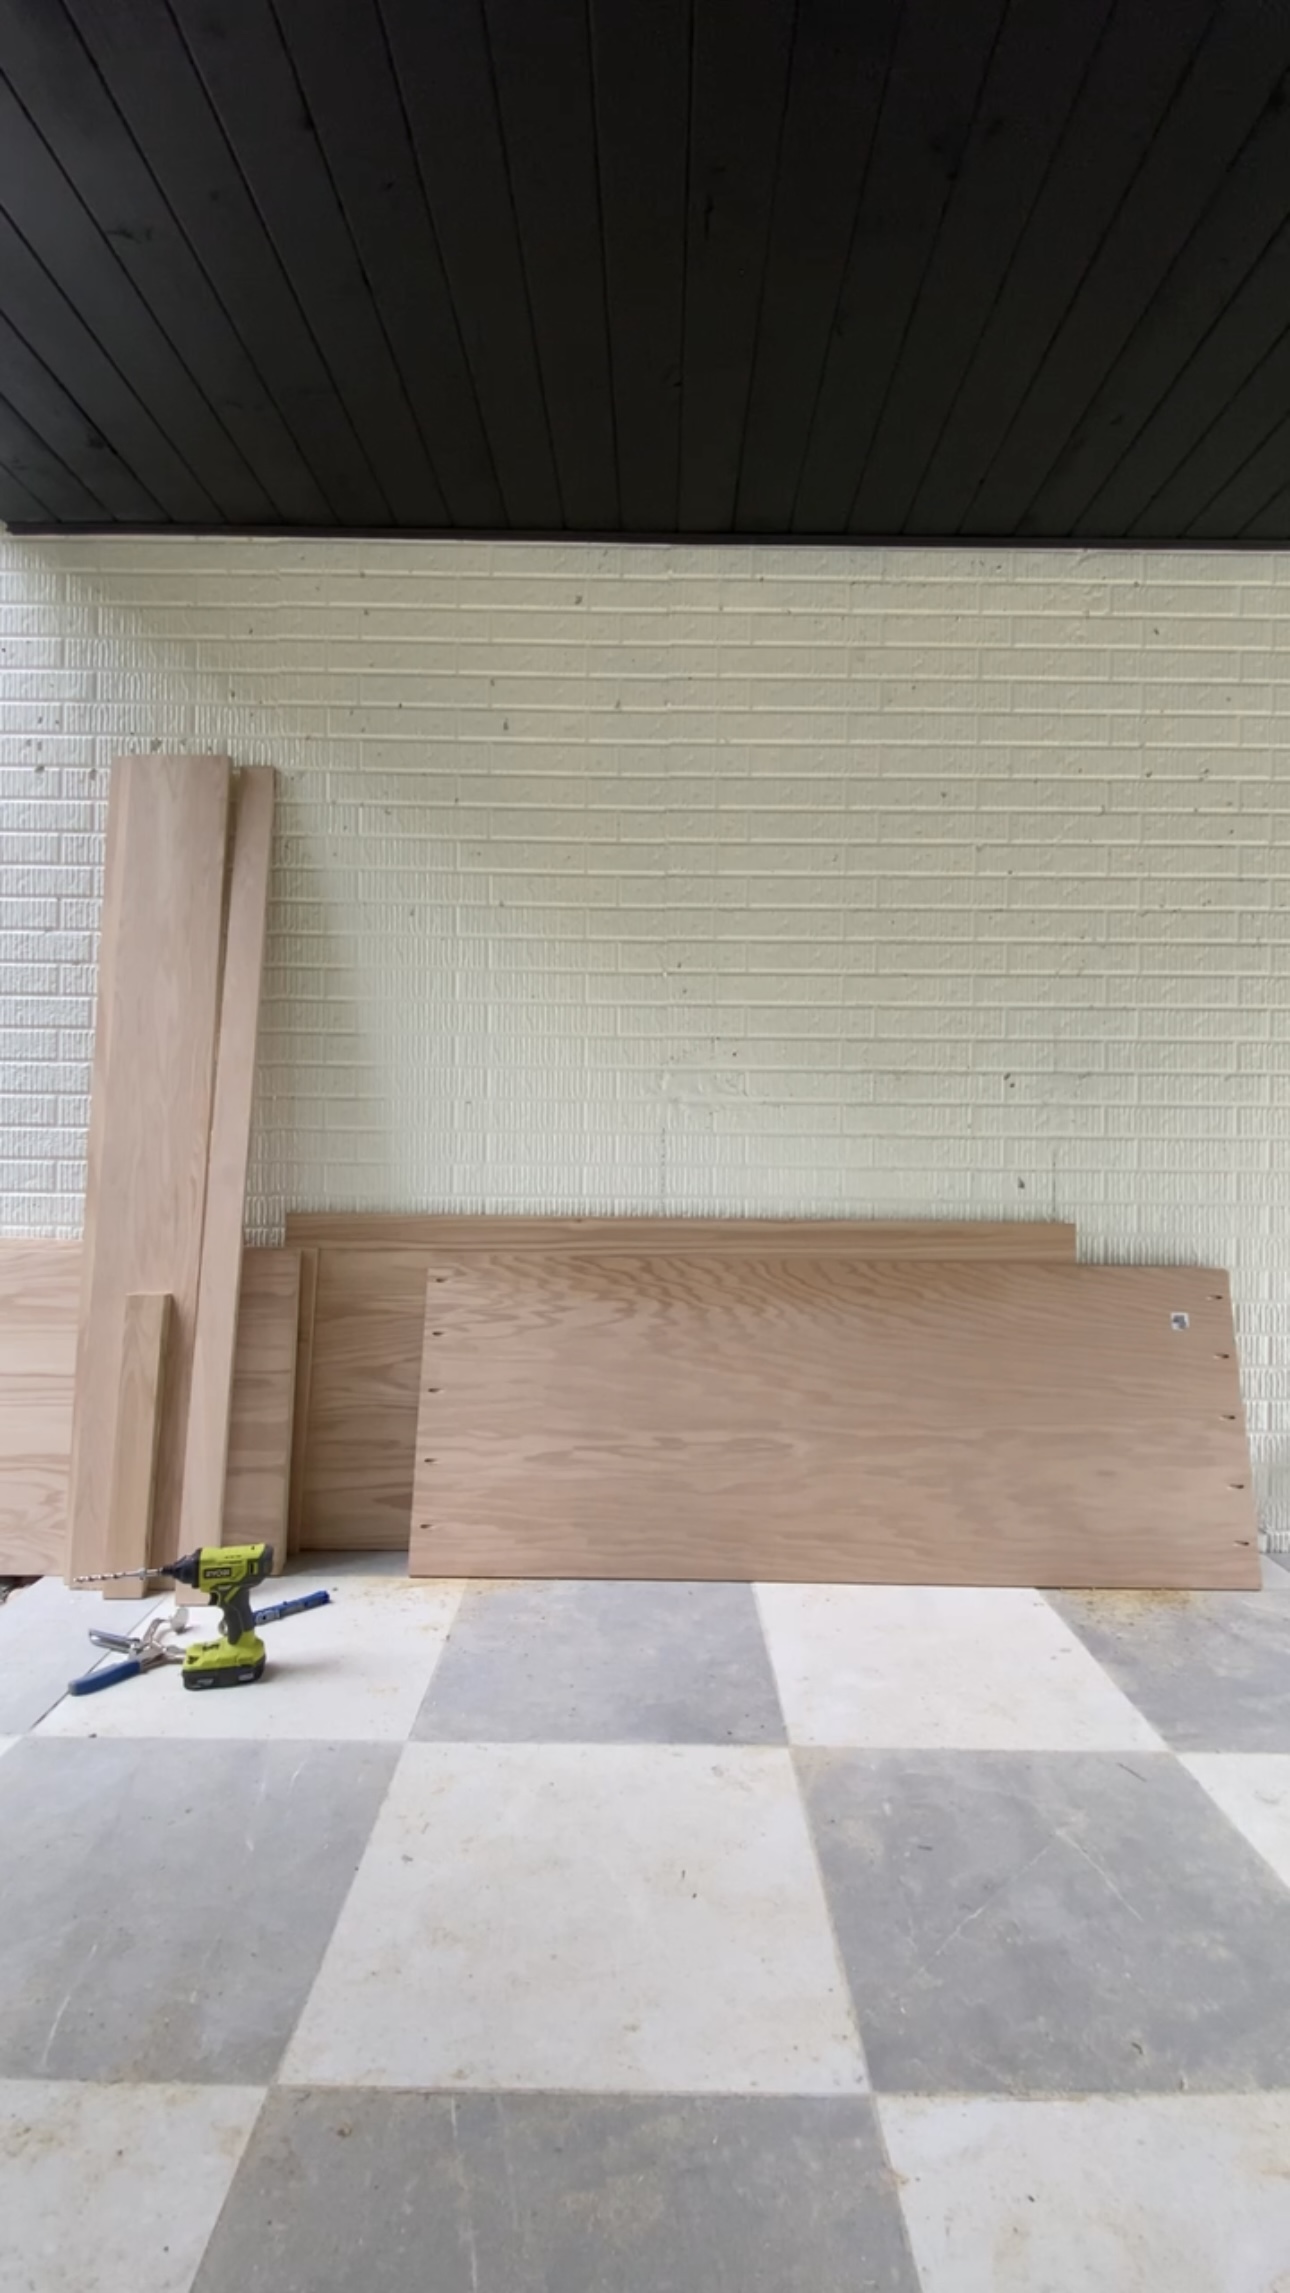
Making Cuts
I made my cuts with my table saw! I had them cut the pieces down to width at Home Depot. This helps me fit them in my car also saves me from making so many cuts at home! When I got home, I just needed to cut the pieces to length.
Pocket Holes
I put 5 pocket holes on each side on what would be the back of the sofa.
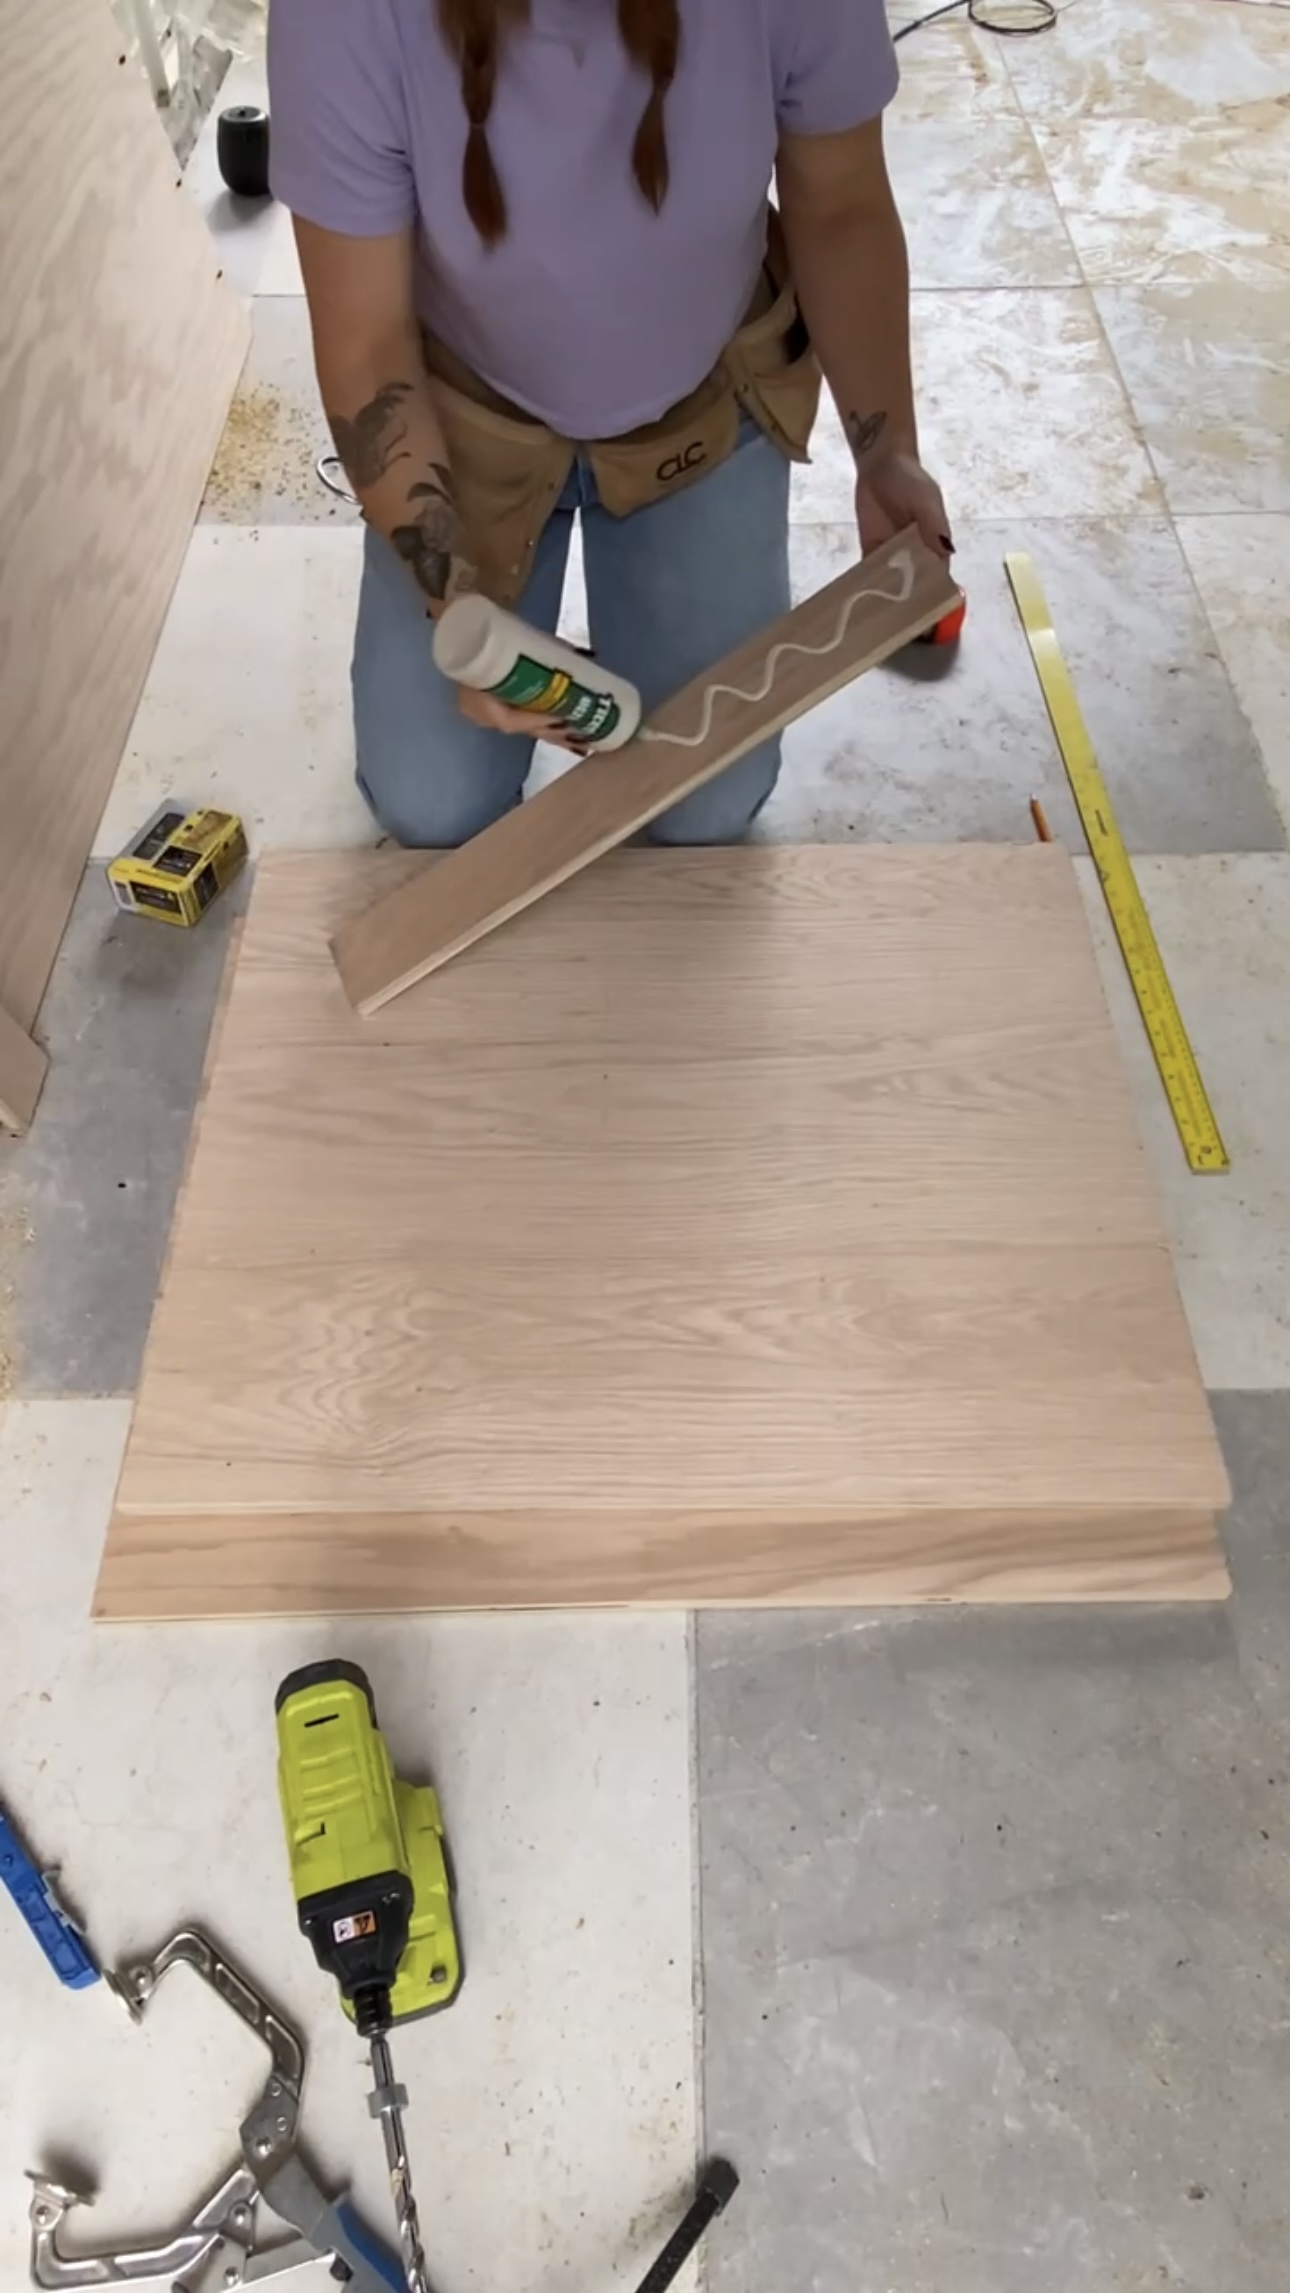
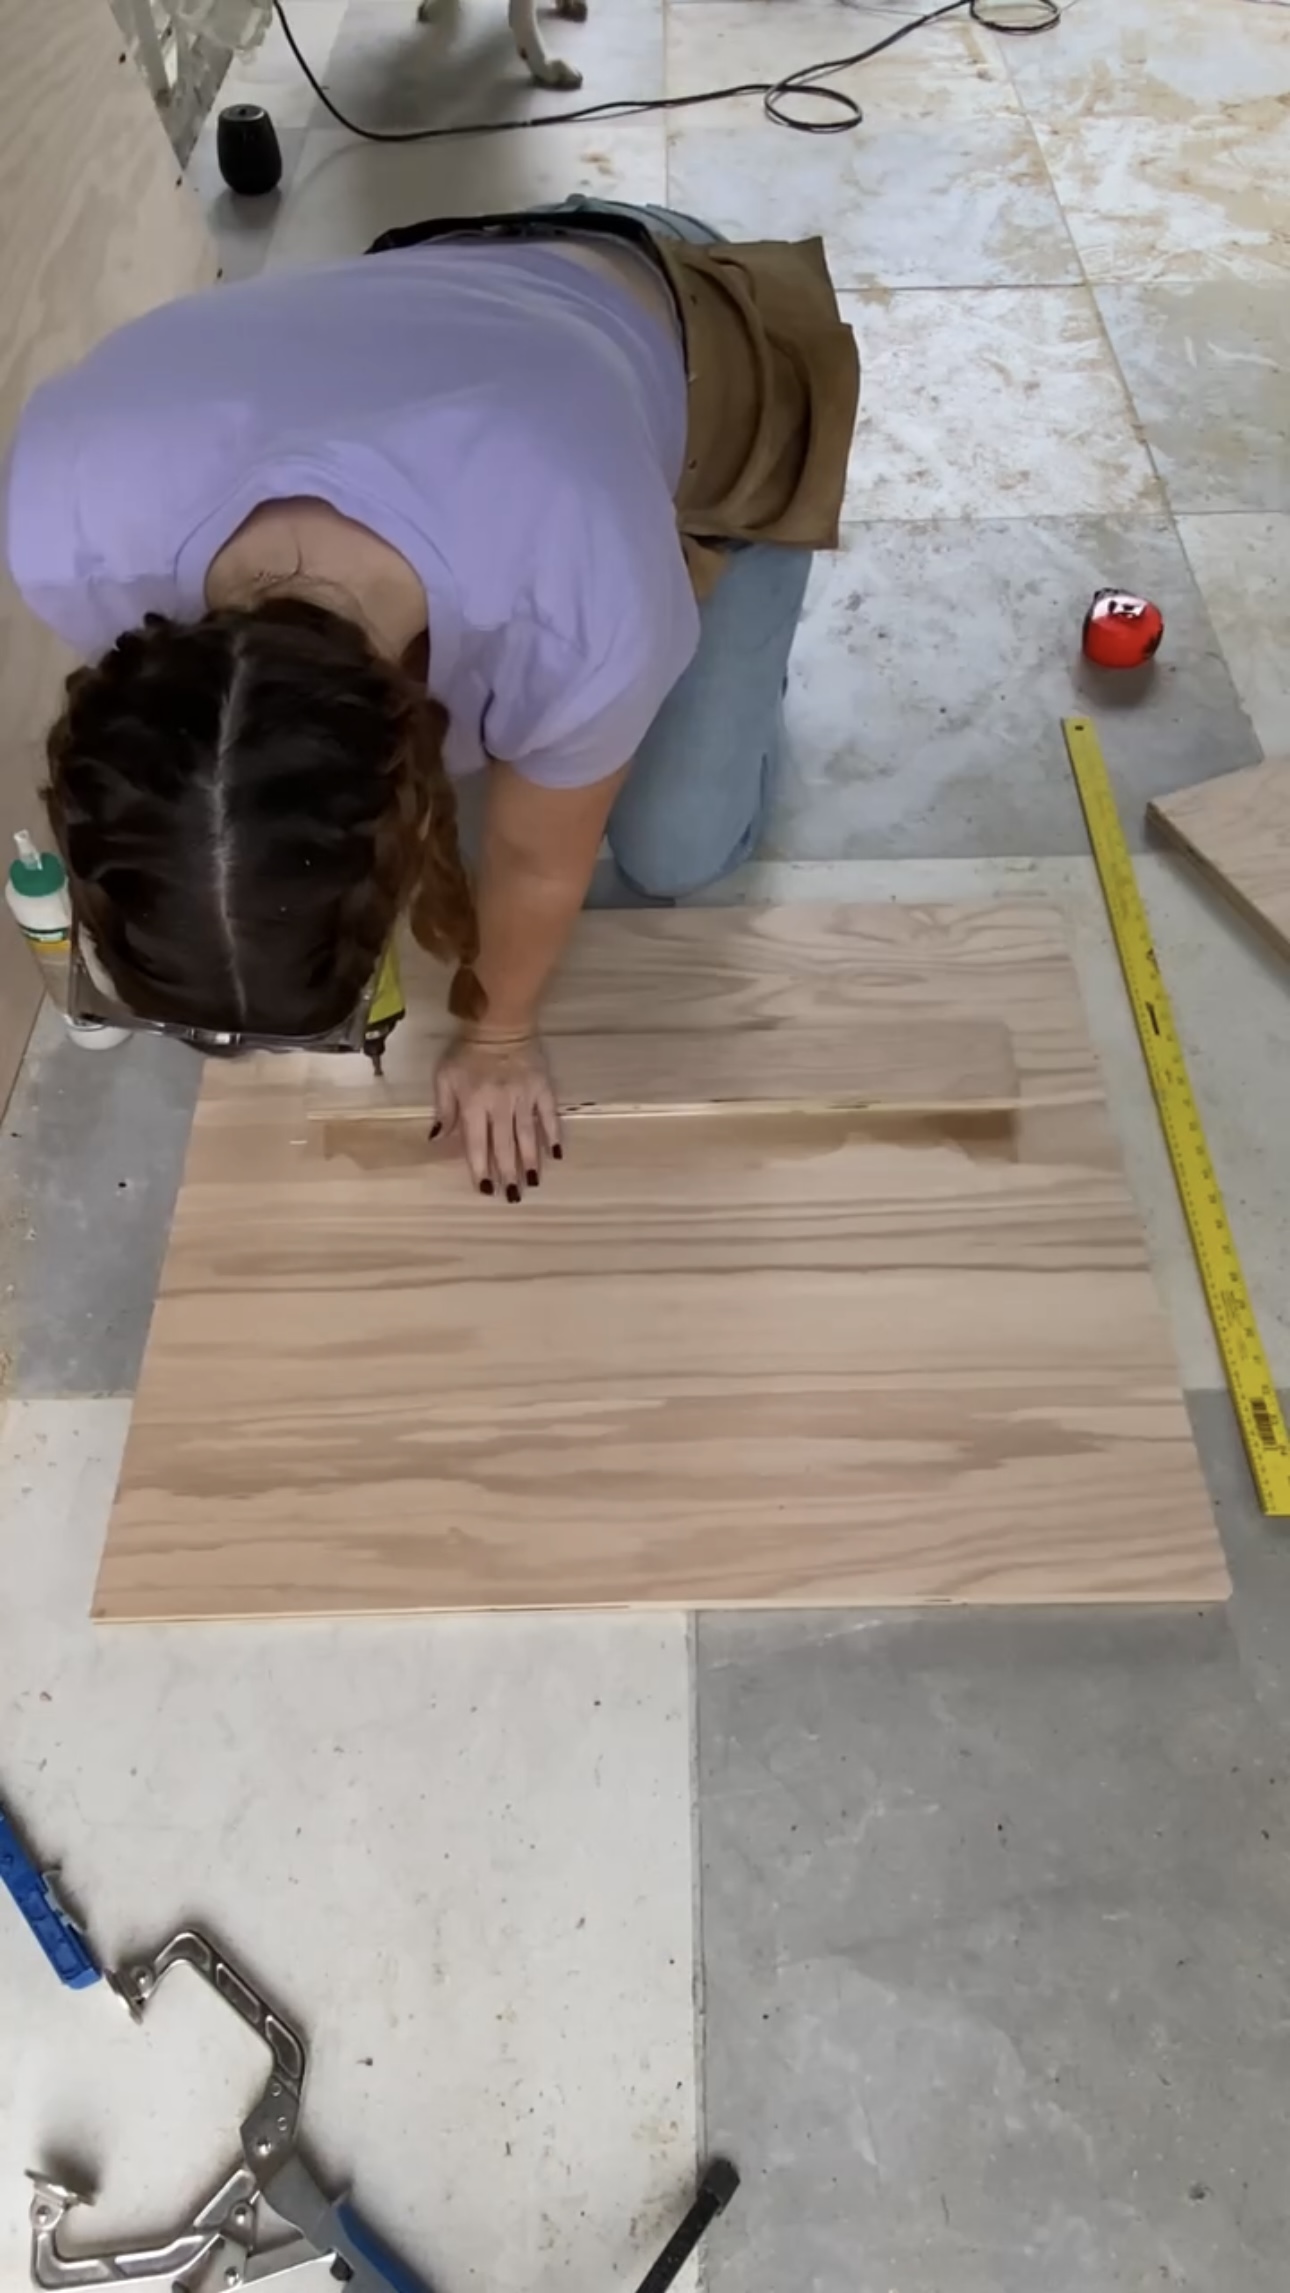
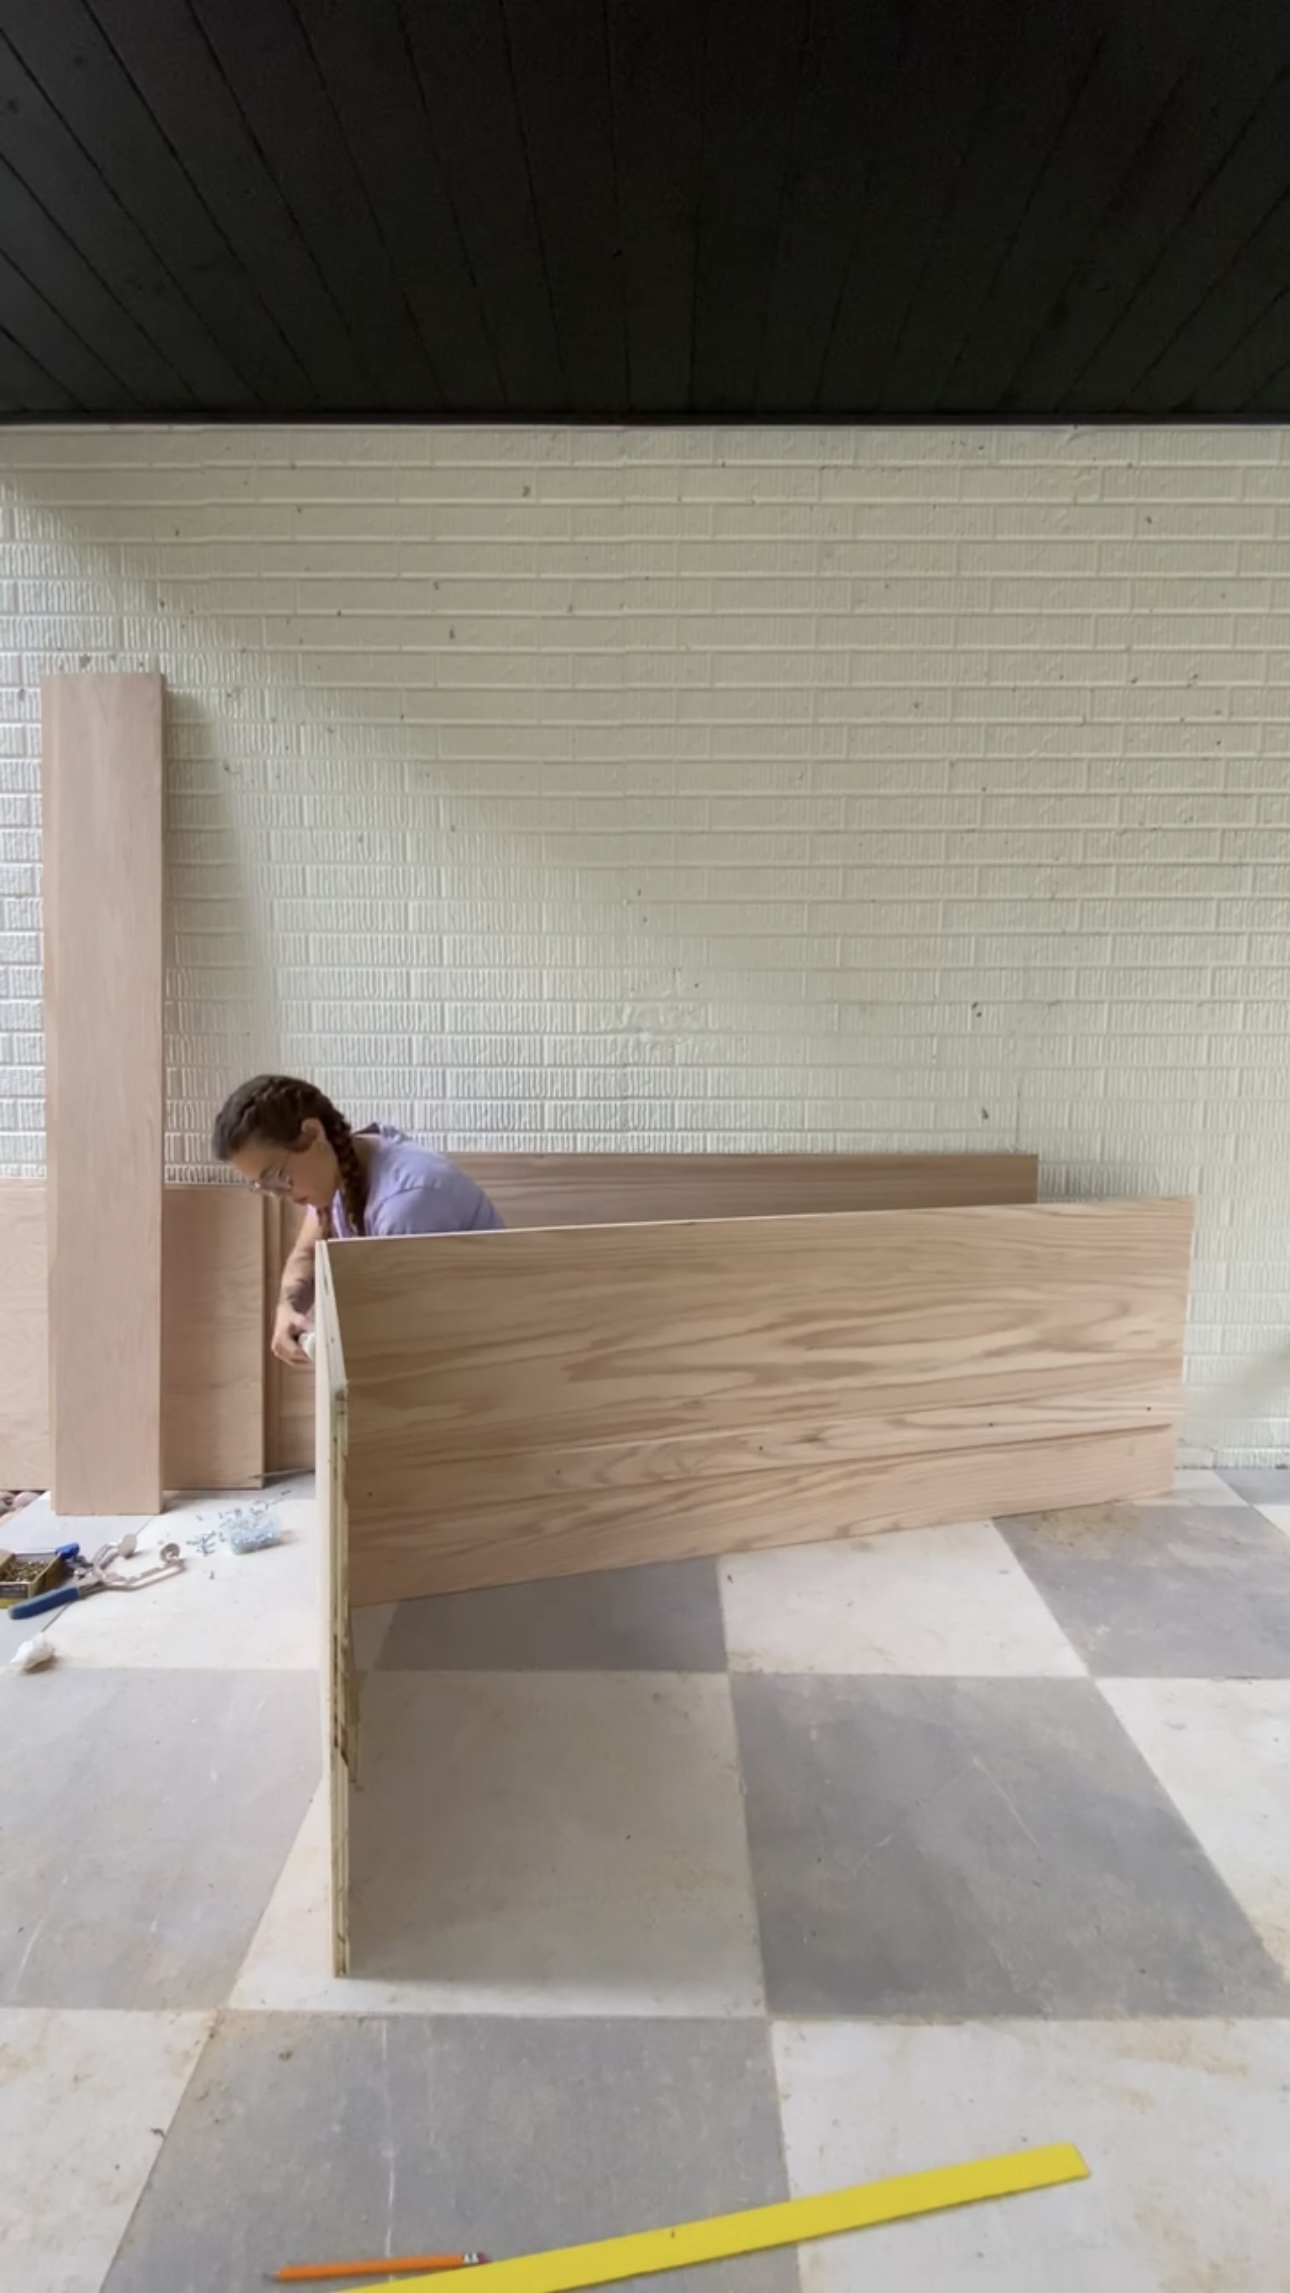
Side Pieces
Next, I made the side pieces and added ledgers for support. I attached all the wood with wood glue and screws!
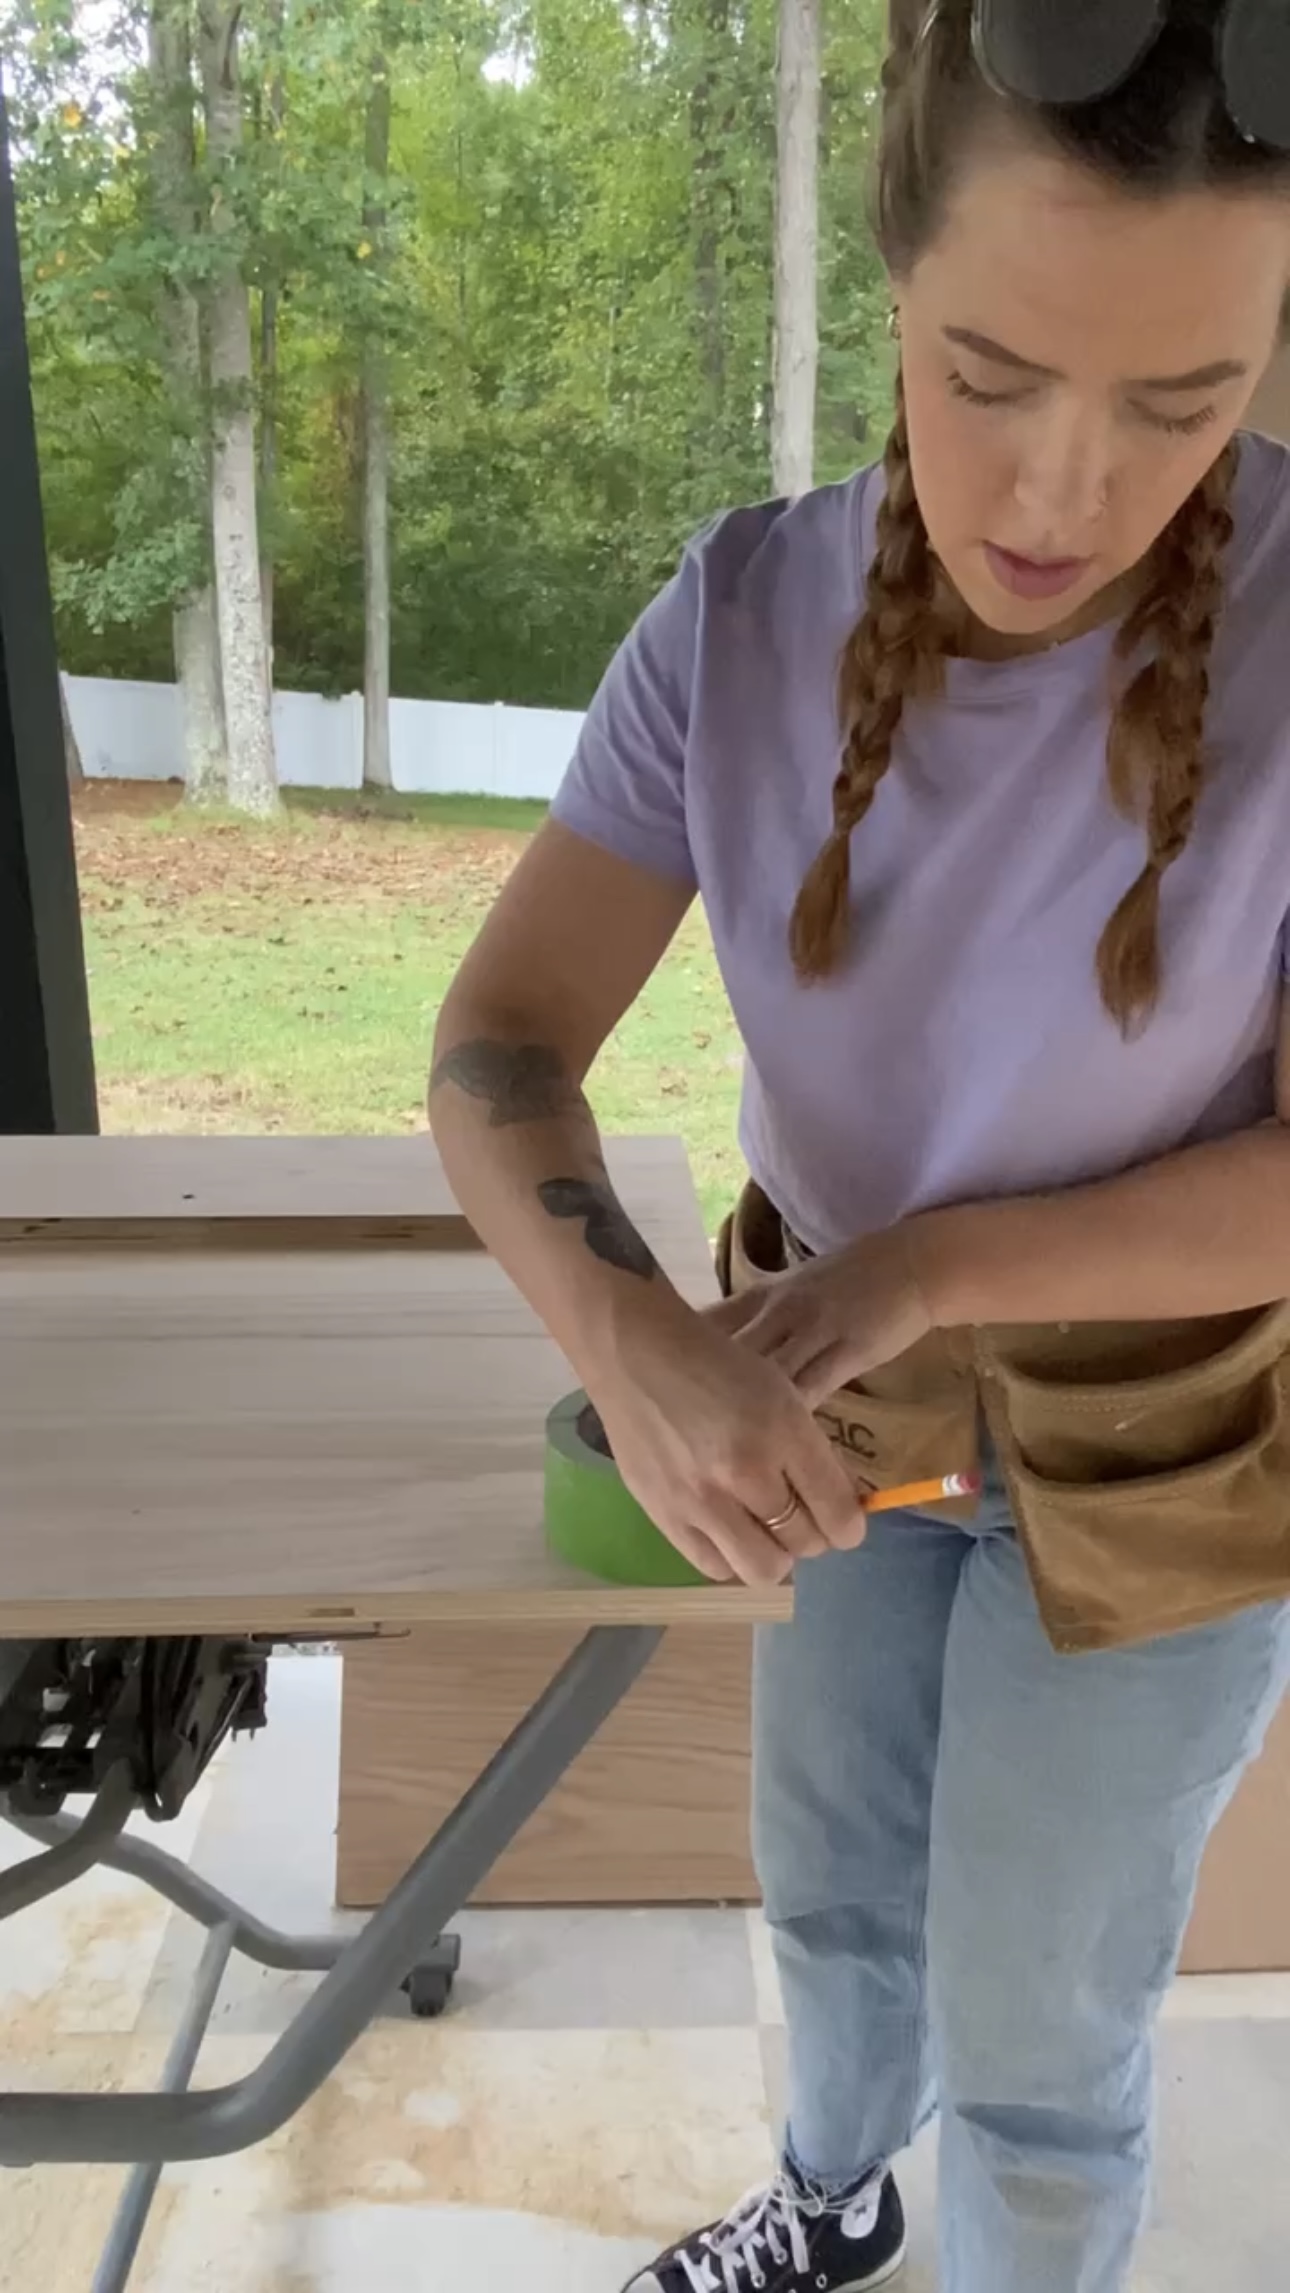
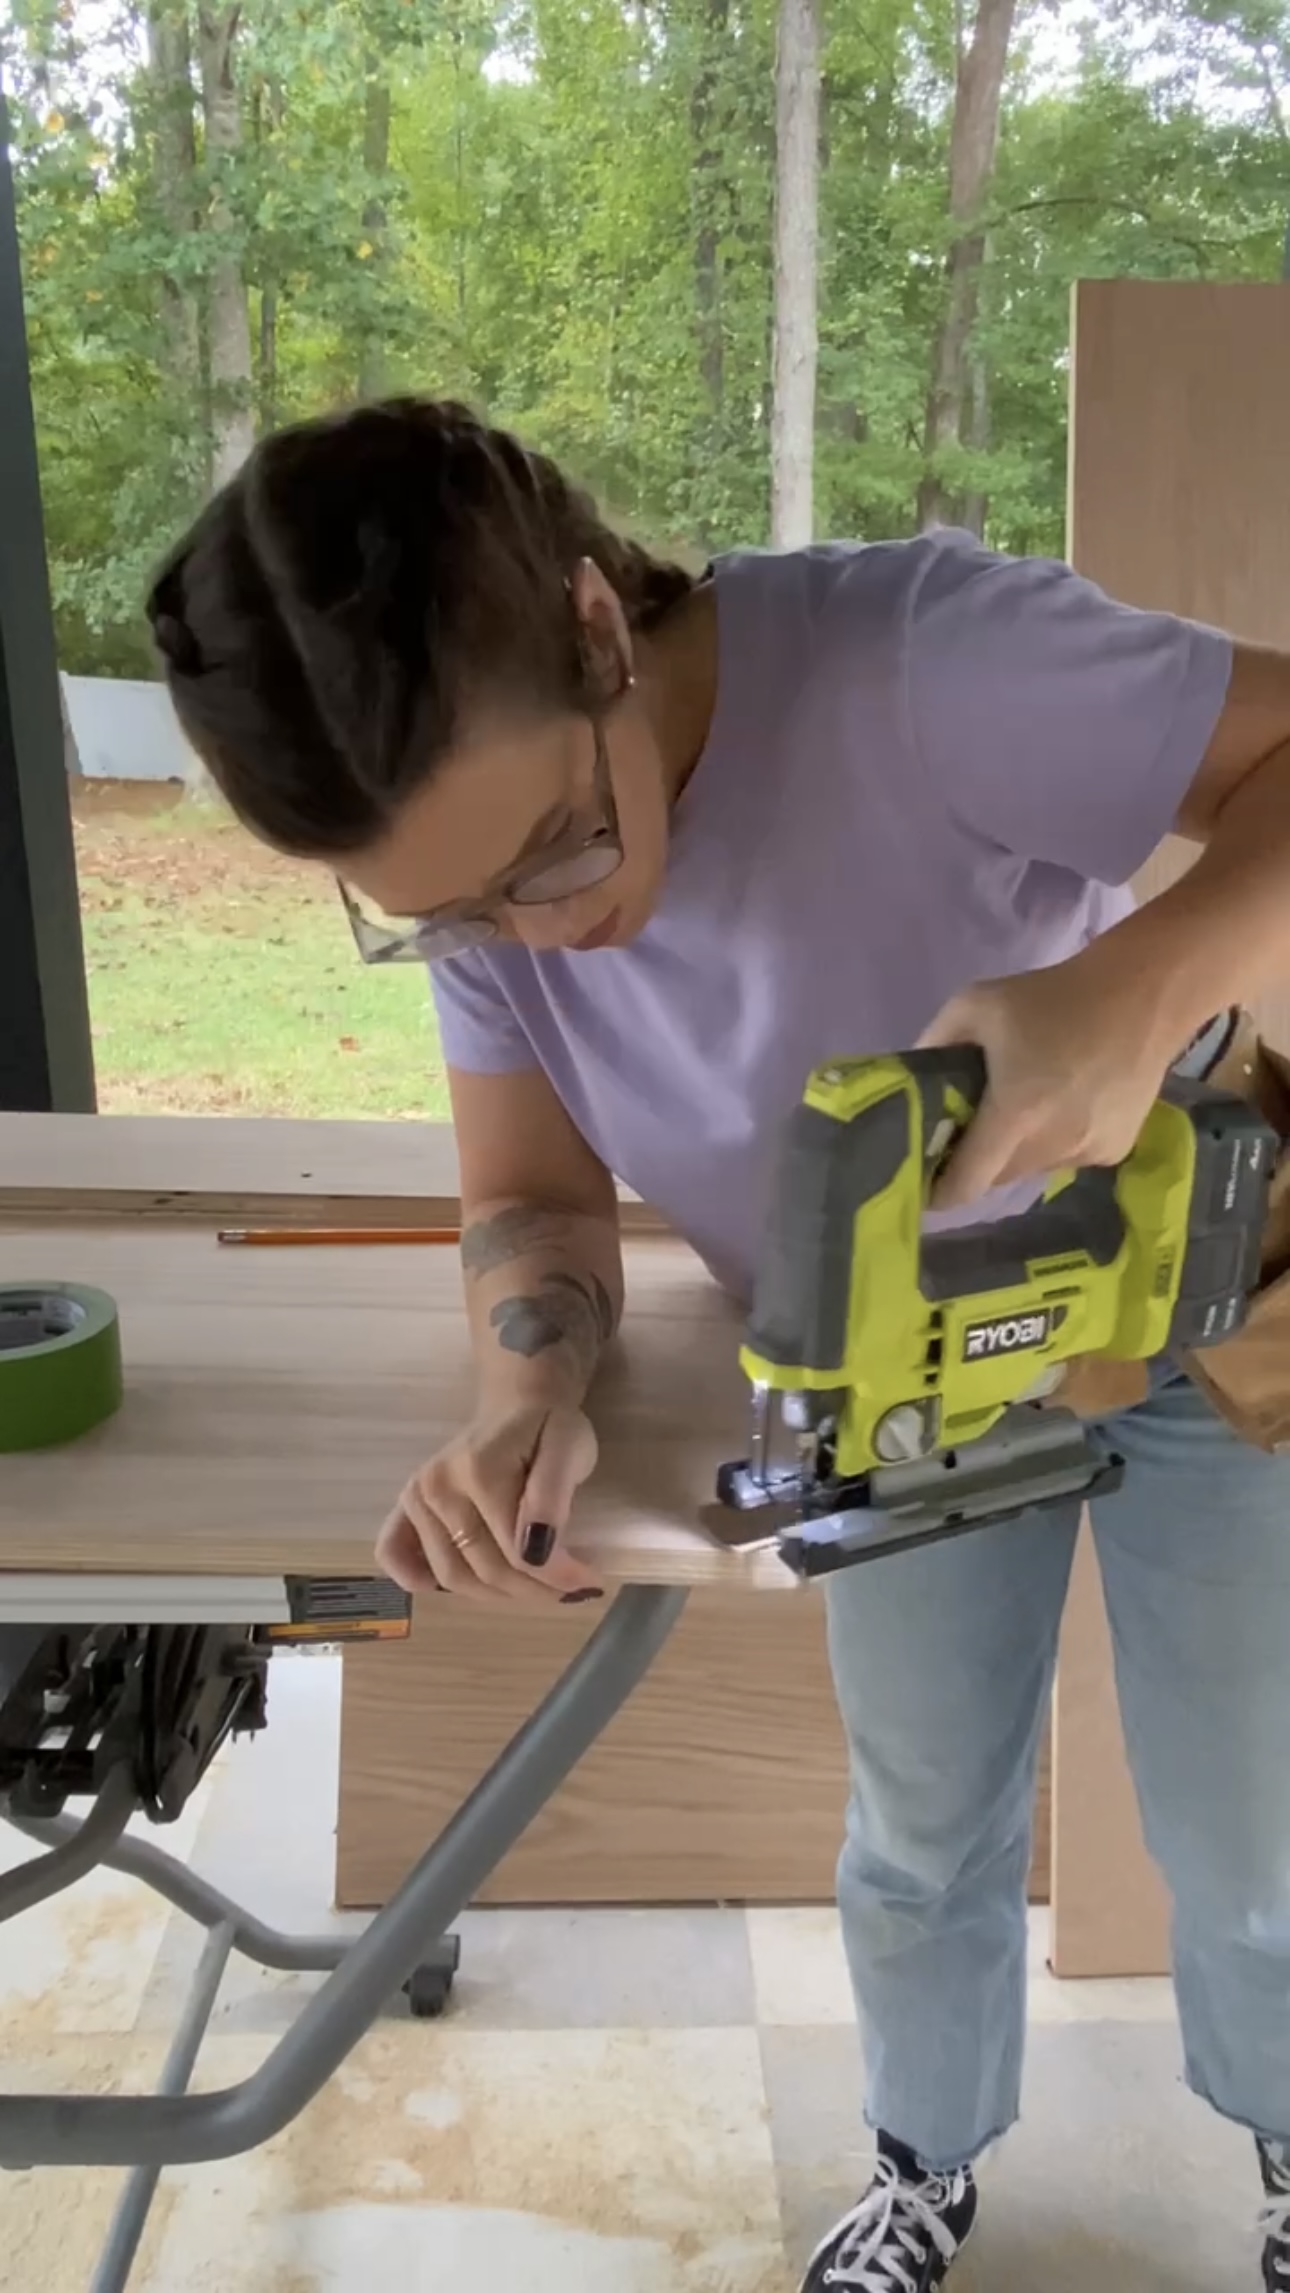
Arms
Then I used my jigsaw to cut the sides/arms for a rounded detail. I used a roll of Frog Tape and traced the curves so the cuts matched up exactly.
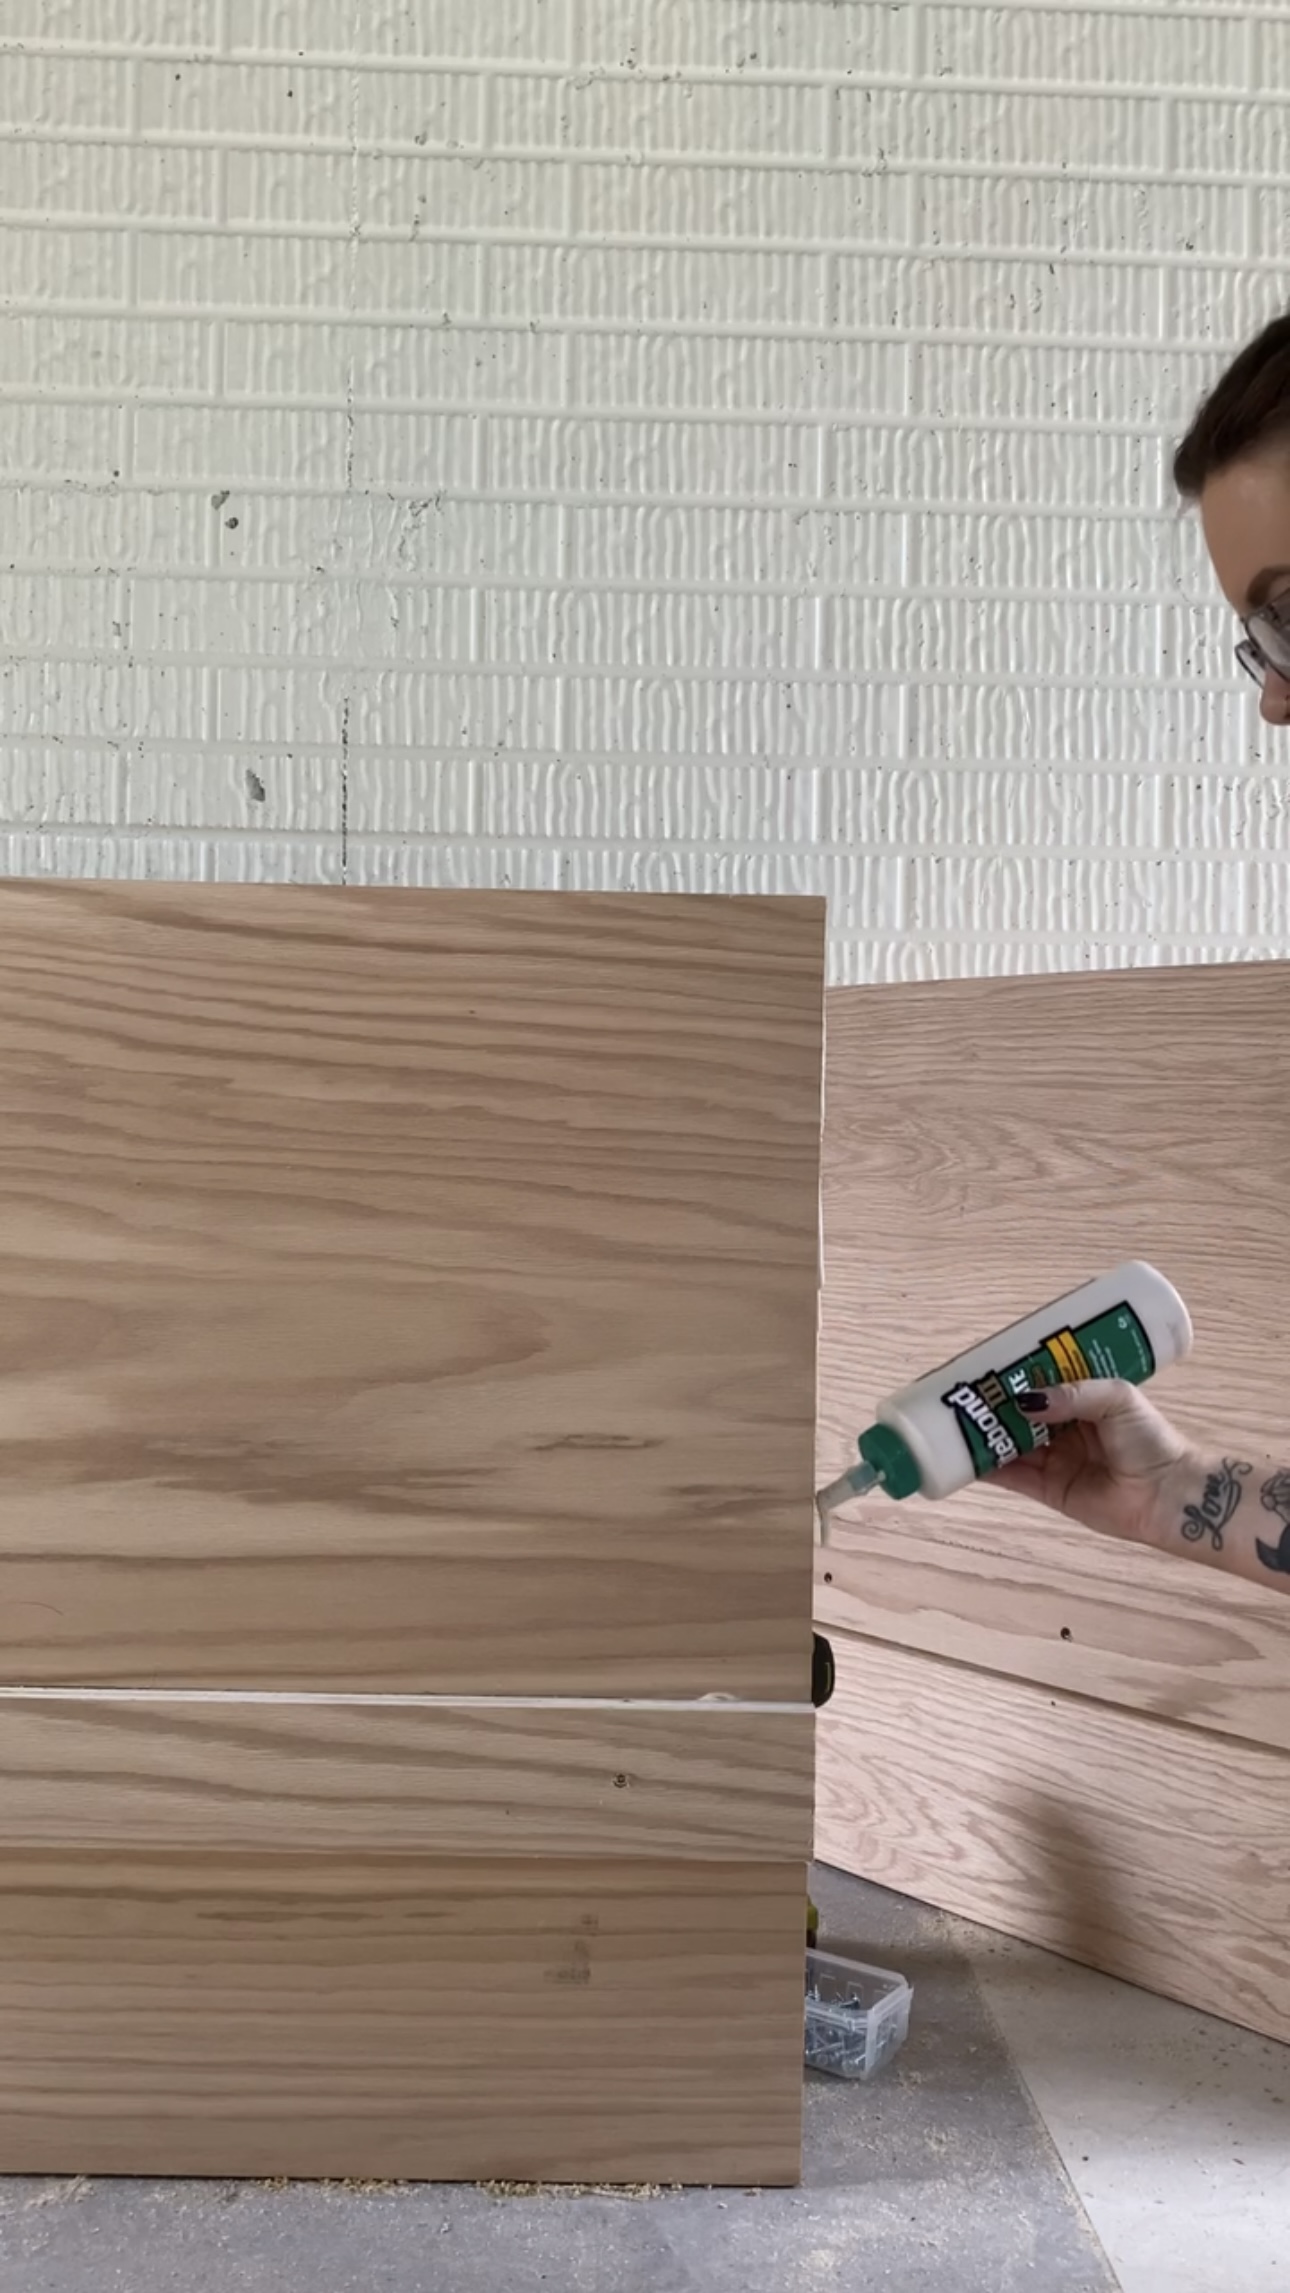
Assembly
Then, all these wood pieces became a sofa! I used wood glue first, then drilled into the pocked holes I made back at the beginning.


The Bench
This was the most exciting part! I put wood glue along the entire ledger and laid my bench piece down. You can see, I added additional thickness using scrap pieces. I could have doubled the same size piece but I would have had to buy more plywood. And remember, we wanted to do this on a budget!
It was a little bendy, so I added another piece of plywood for support right in the middle.
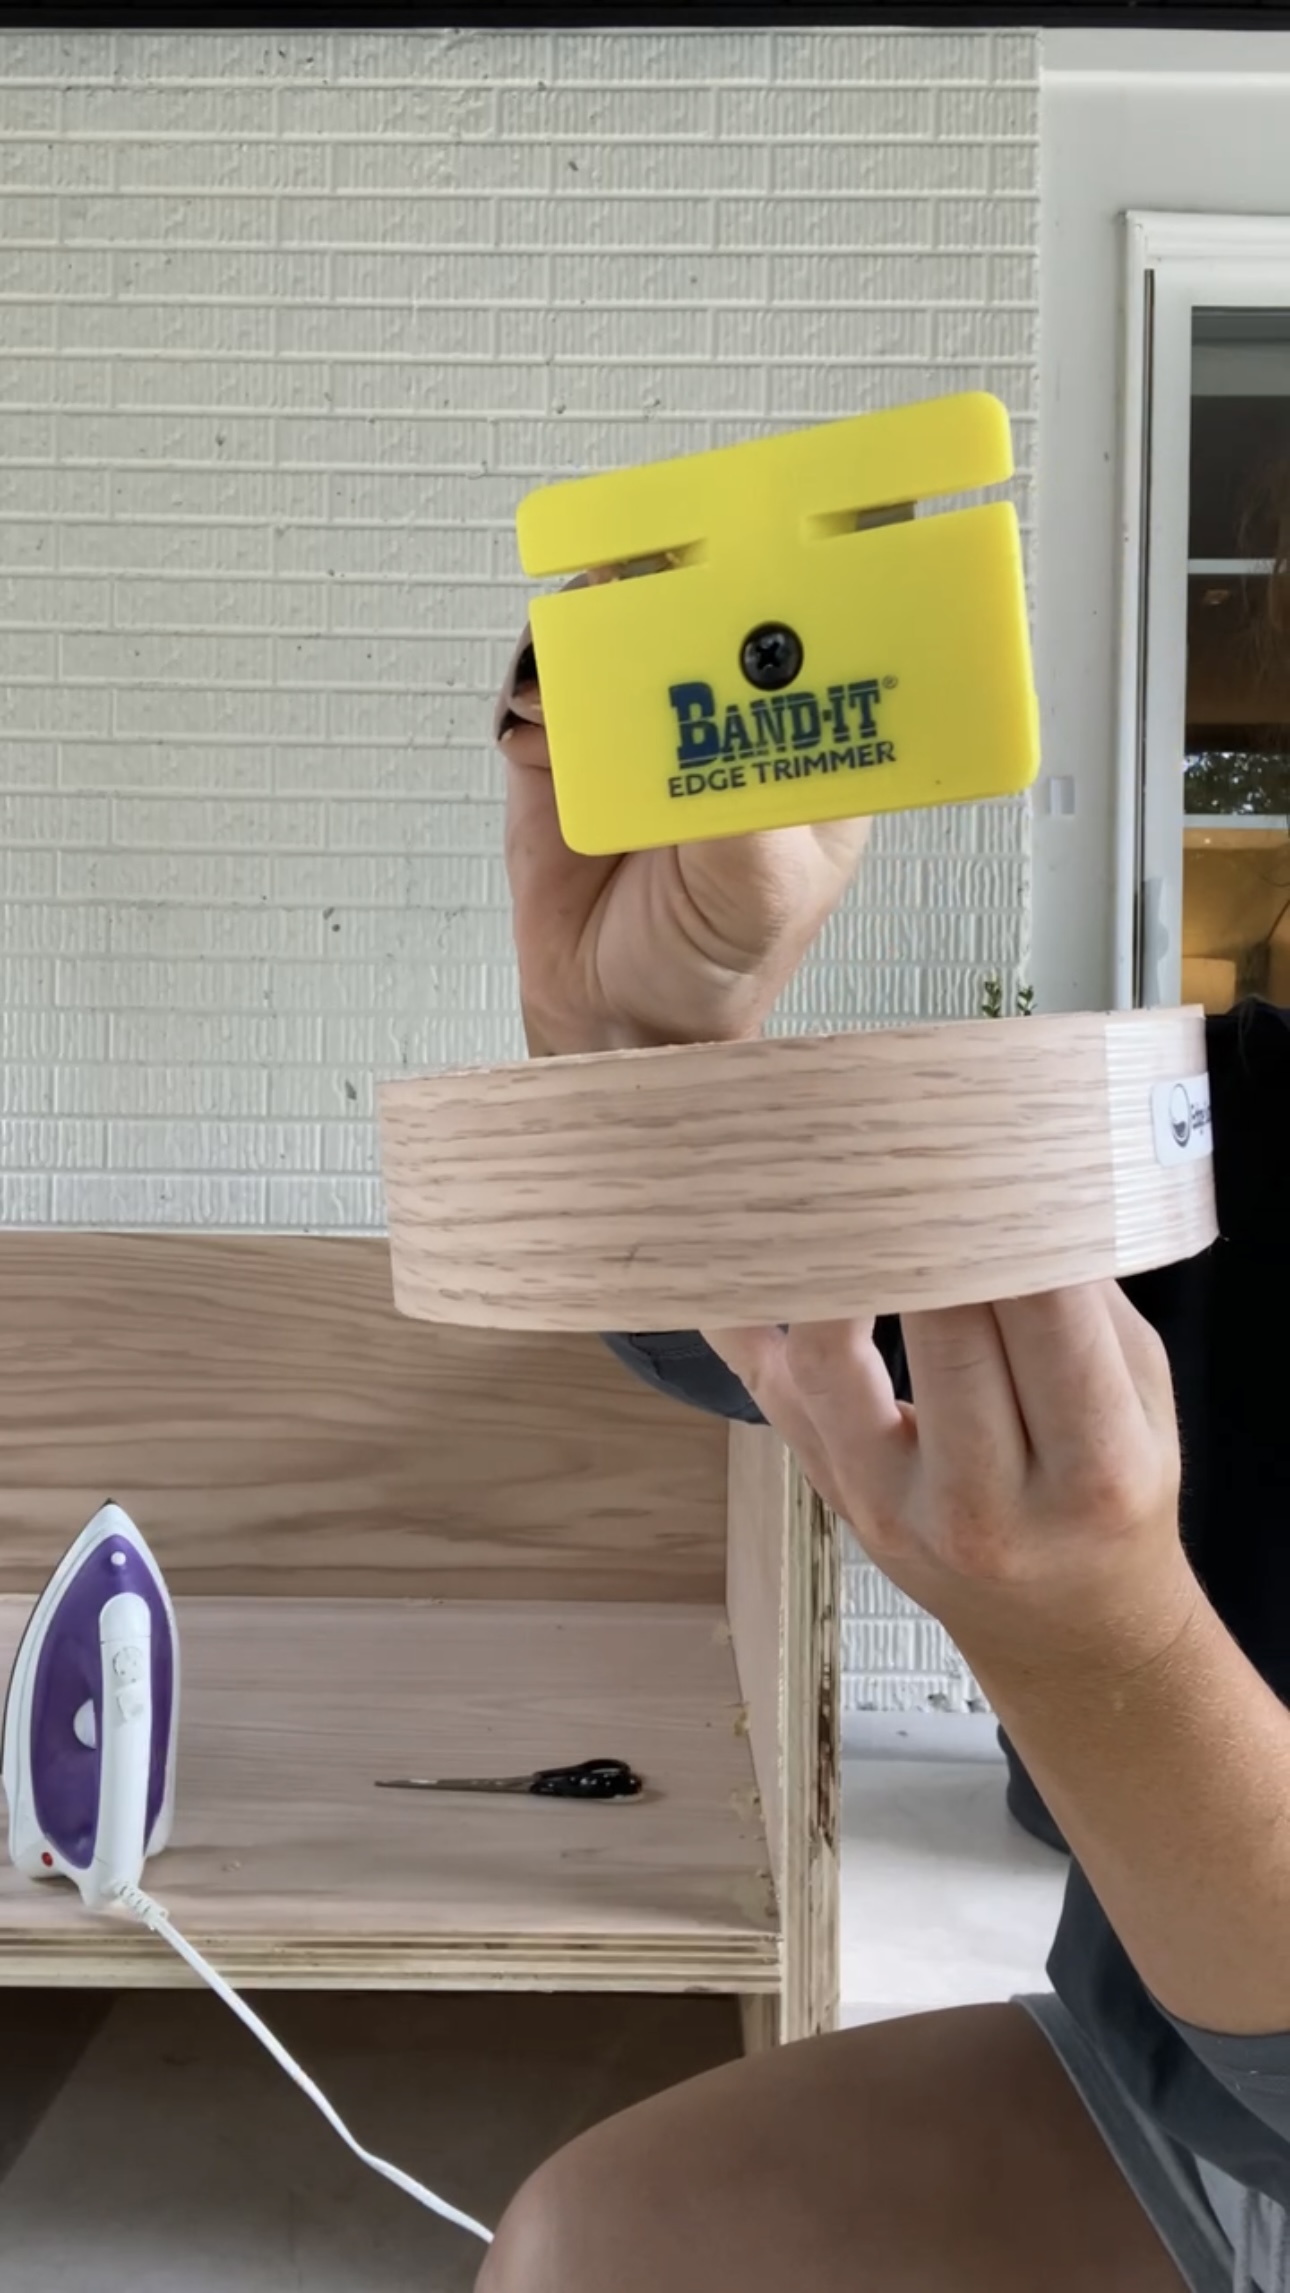
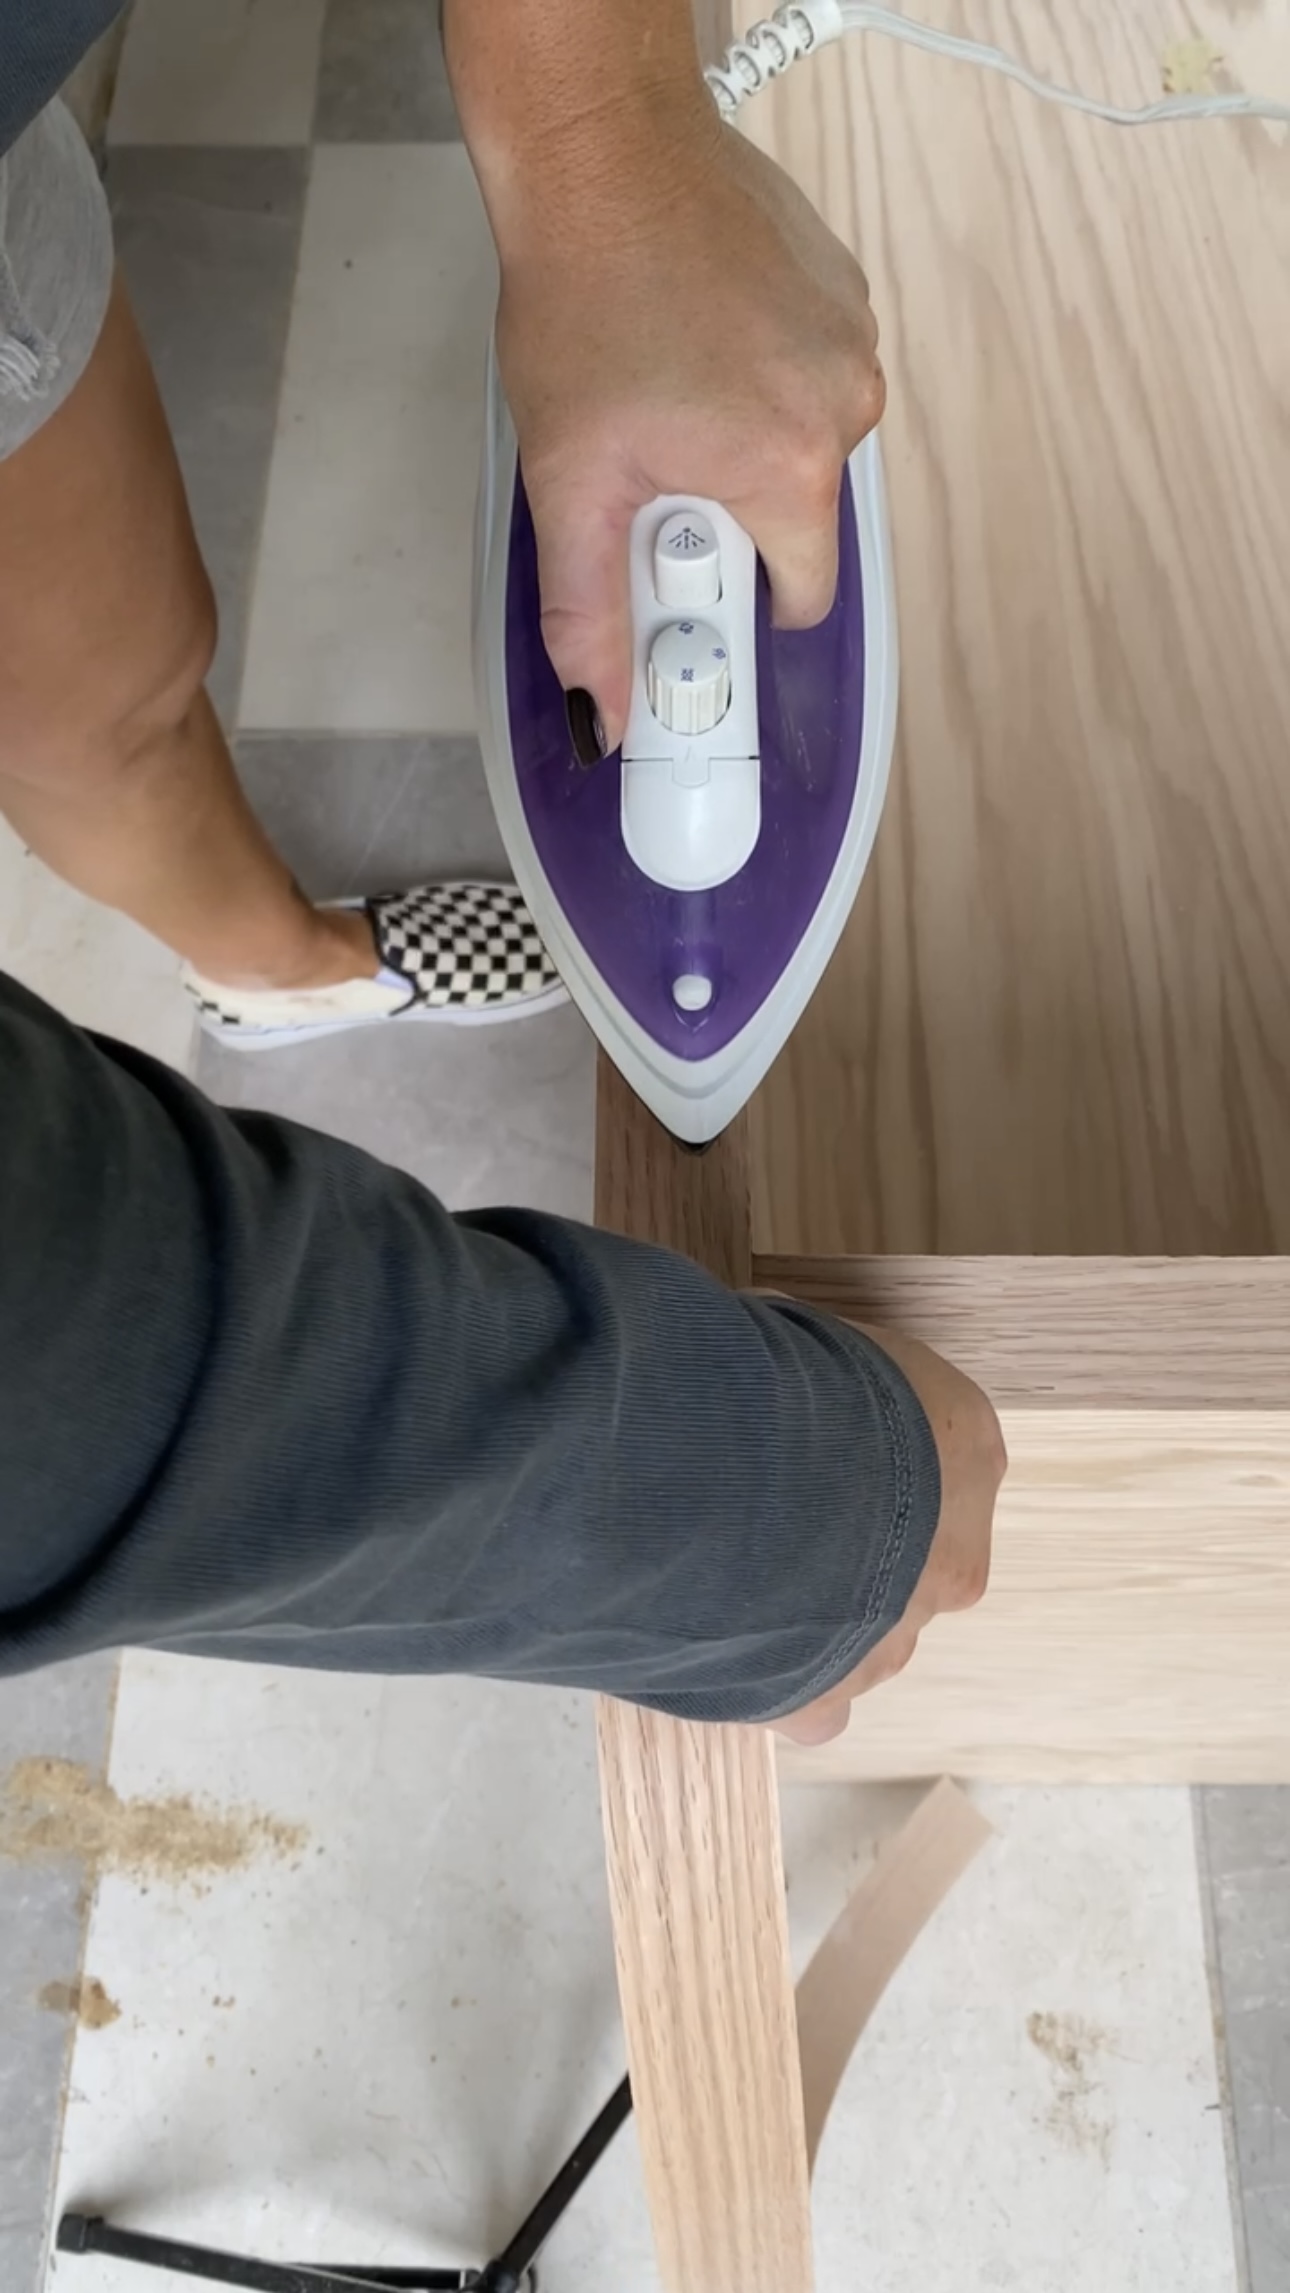
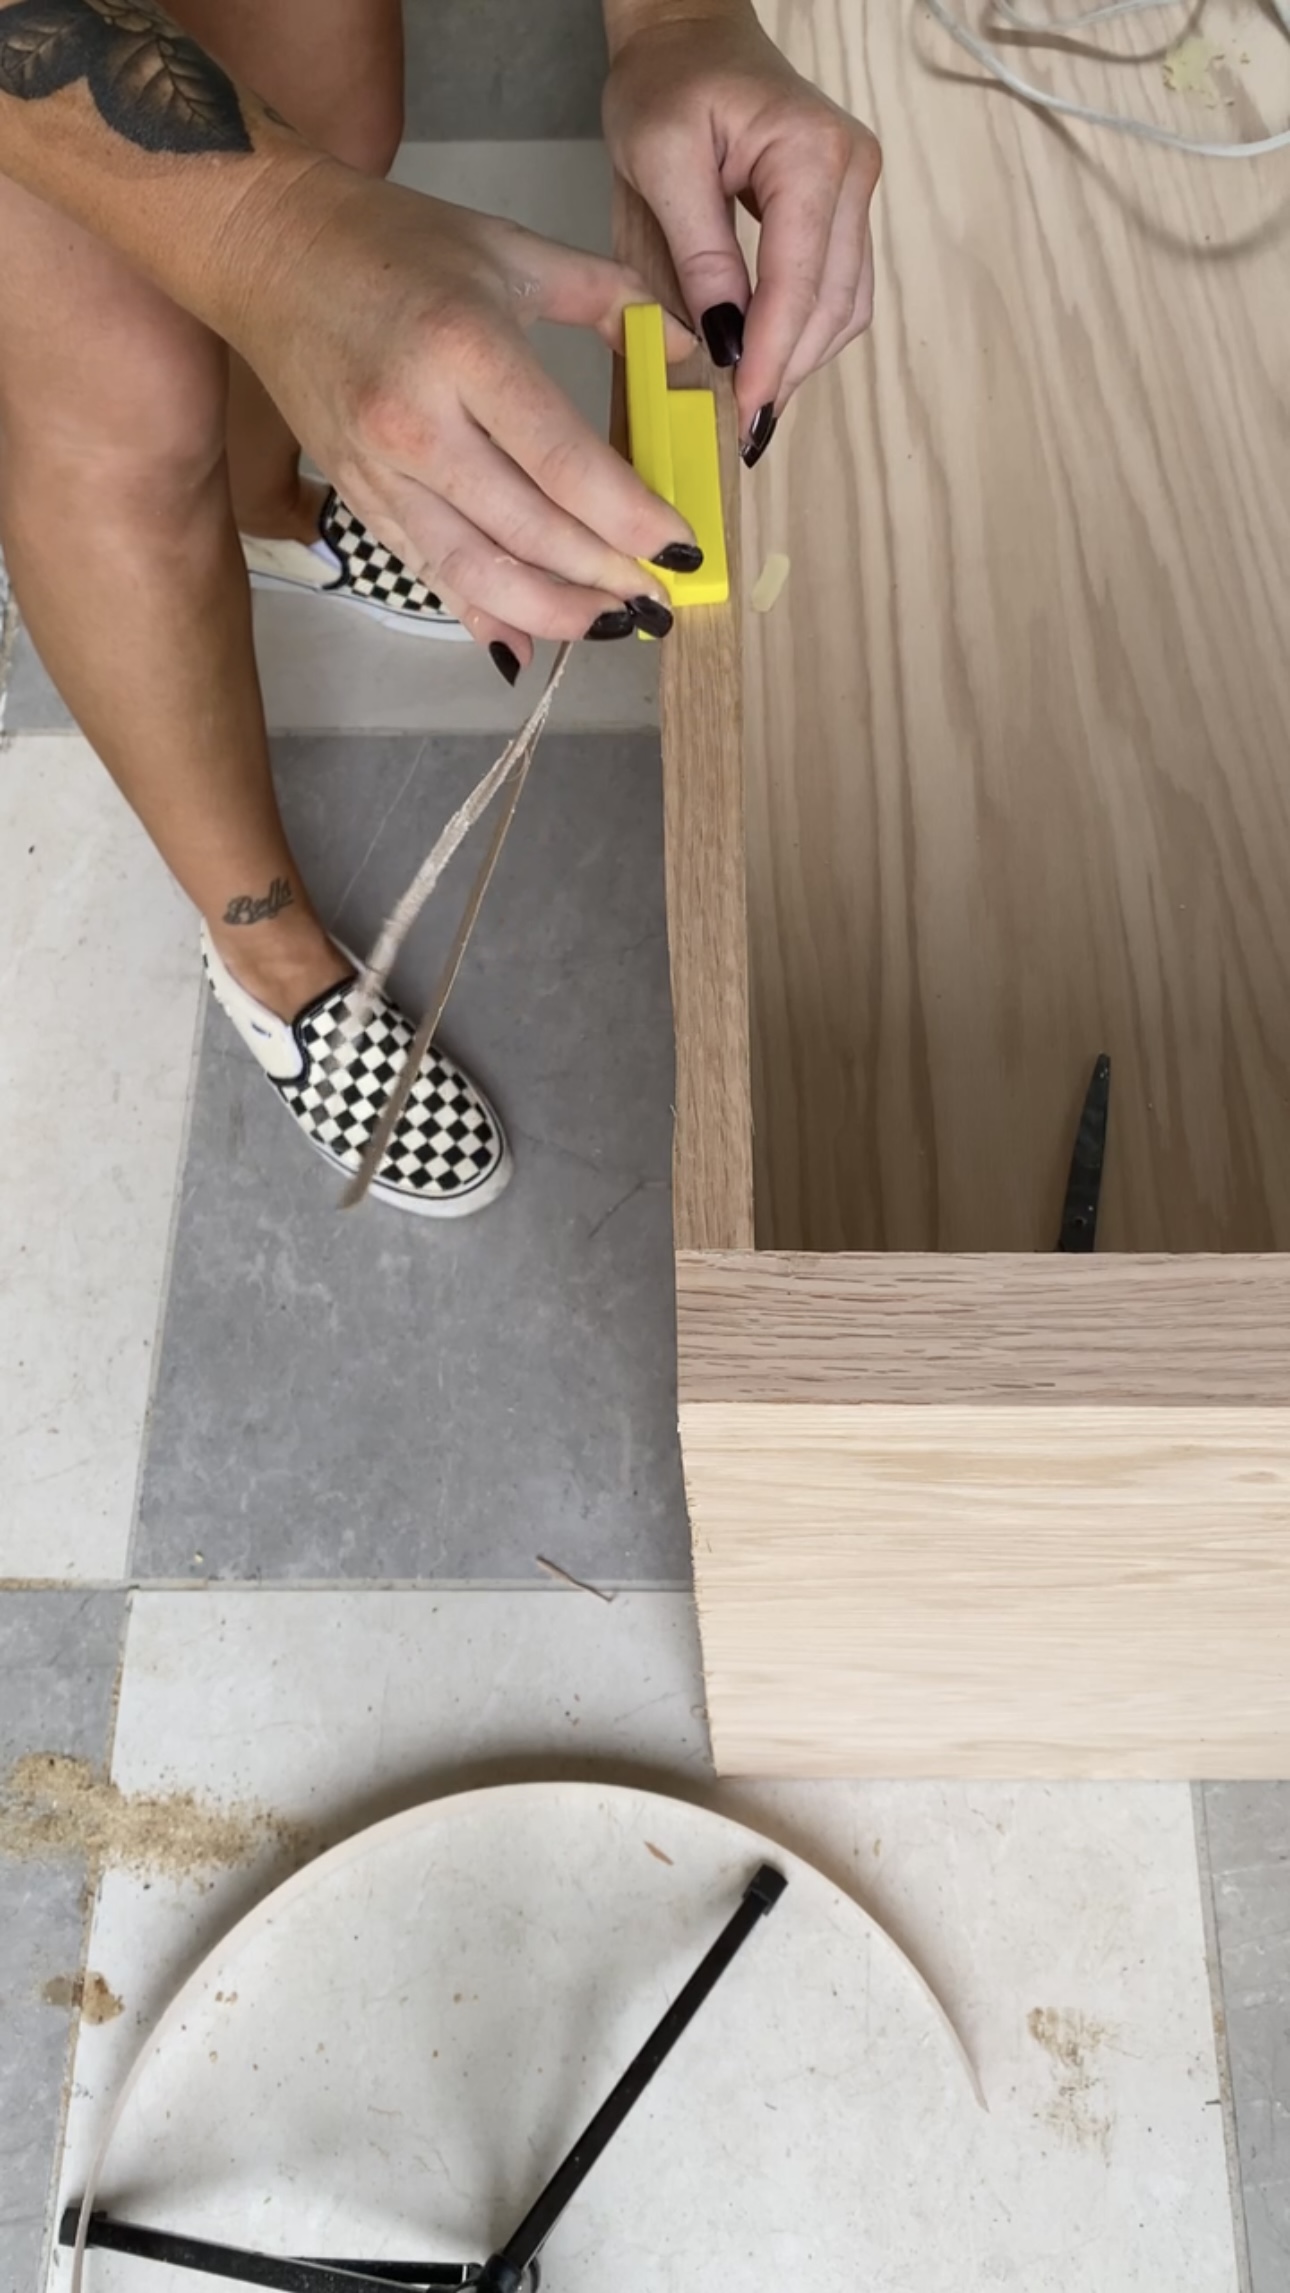
Edge Banding
I ordered edge banding off of Amazon. It’s veneer – actual wood on top with sticky glue on the back! I took my iron and ironed the banding onto the edges and trimmed it with this edge trimmer. It looks a million times better already!
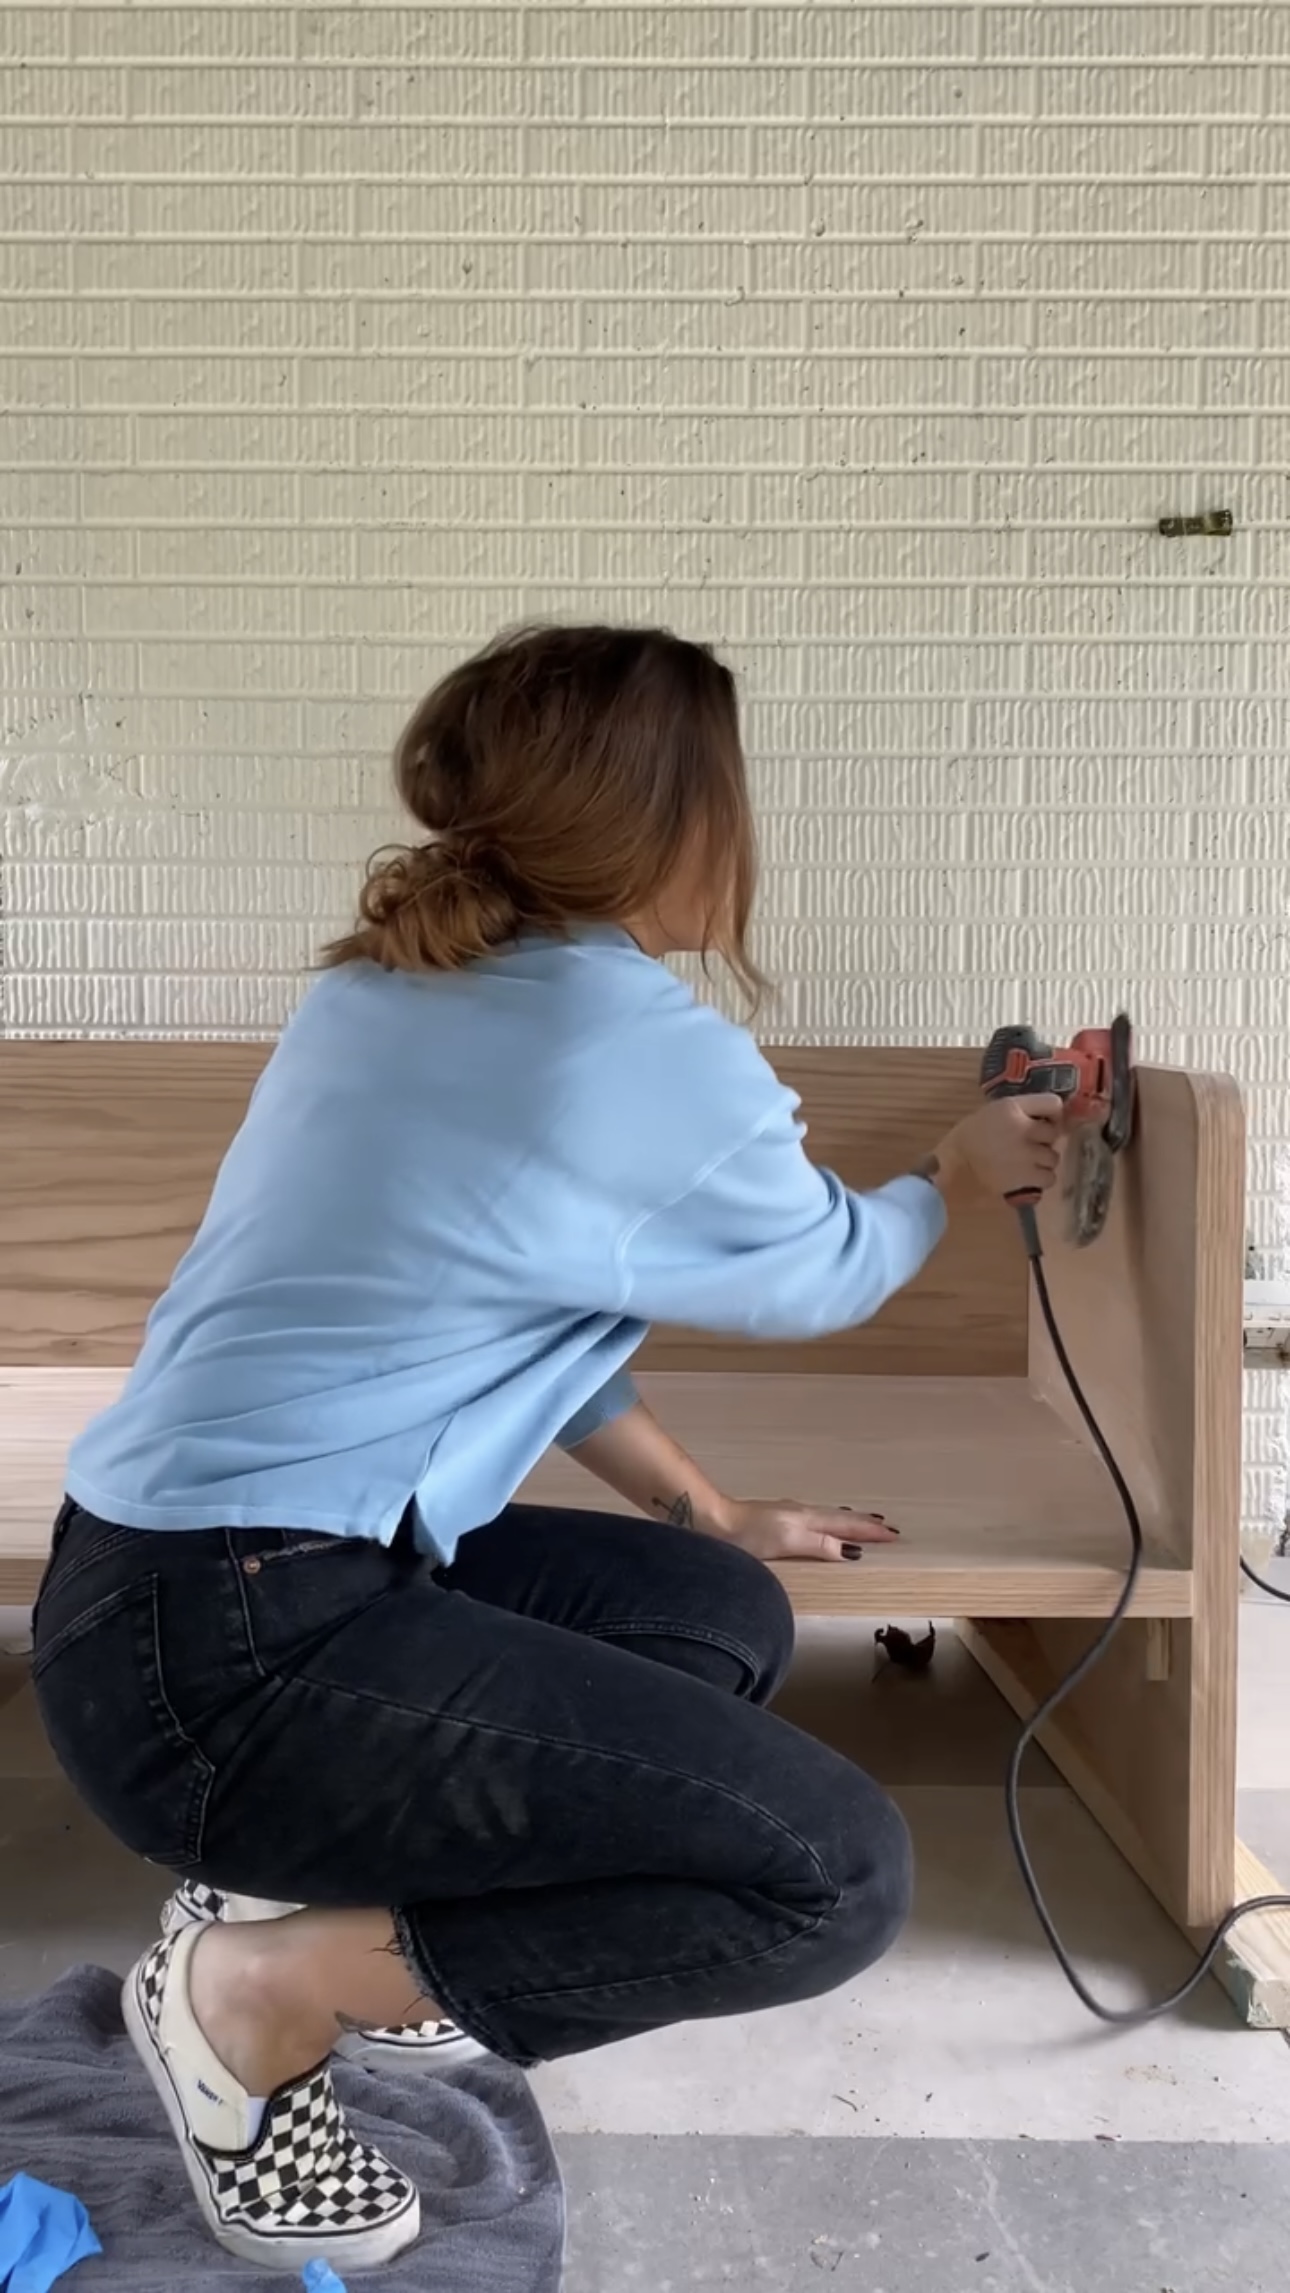
Stain & Seal
I sanded all the edges down with my mouse sander. Then, I tested out some stains on a scrap piece of wood. I ended up going with whitewash pickling stain and Early American on top! The pickling stain helps tone down the wood grain a bit.
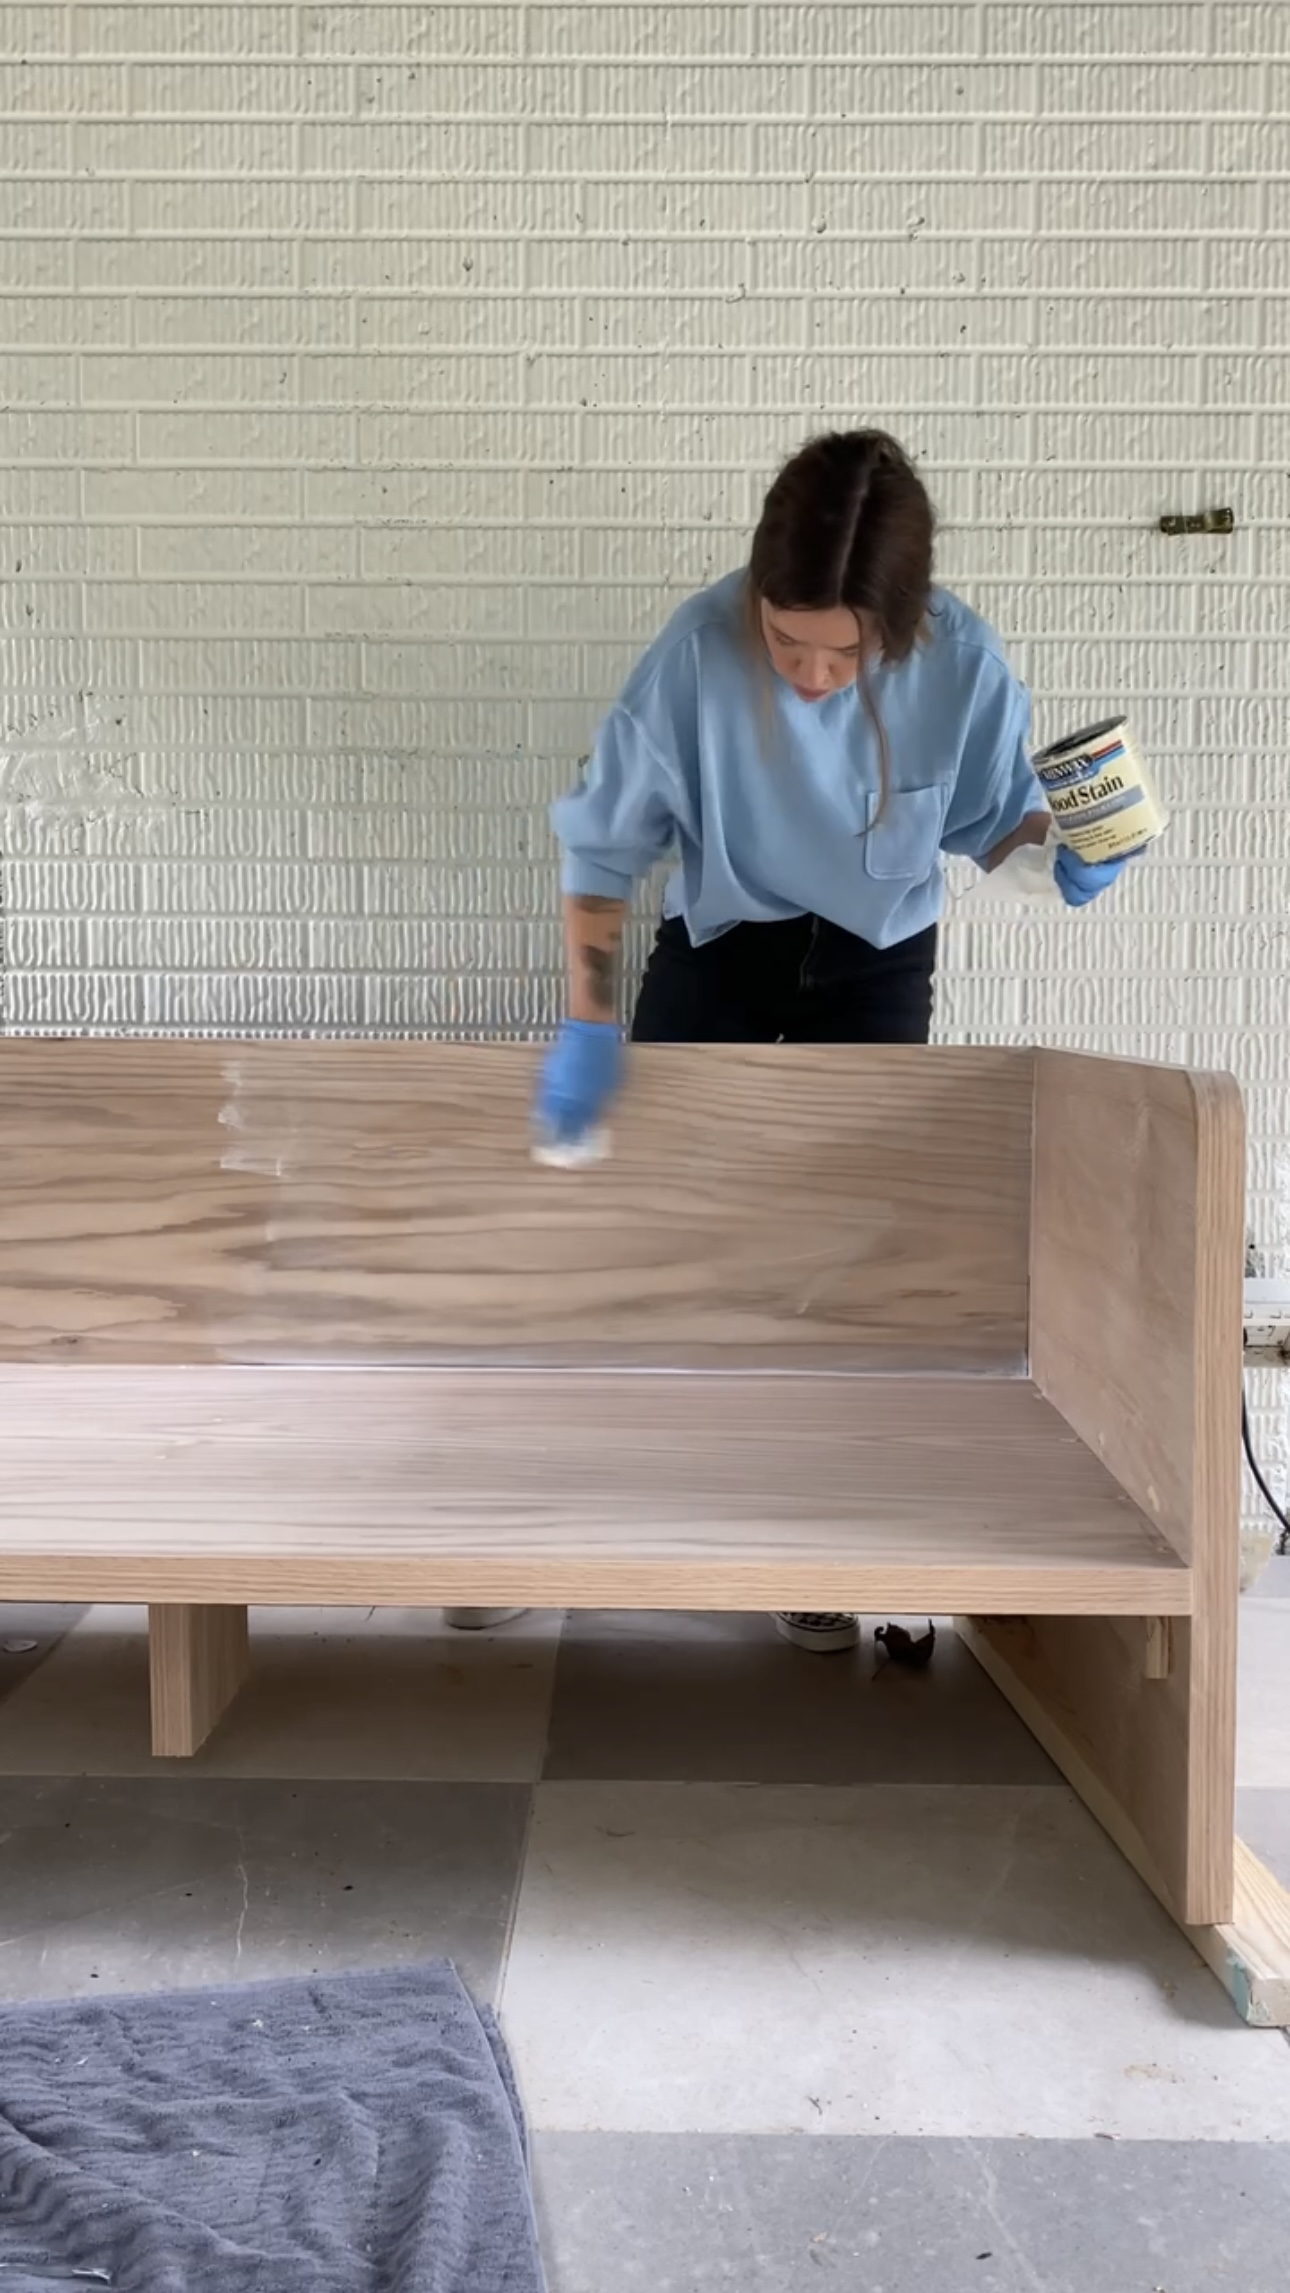

Then, I sealed it with a marine wood sealer to protect the sofa from the rain! This stuff goes on cloudy but dries clear.
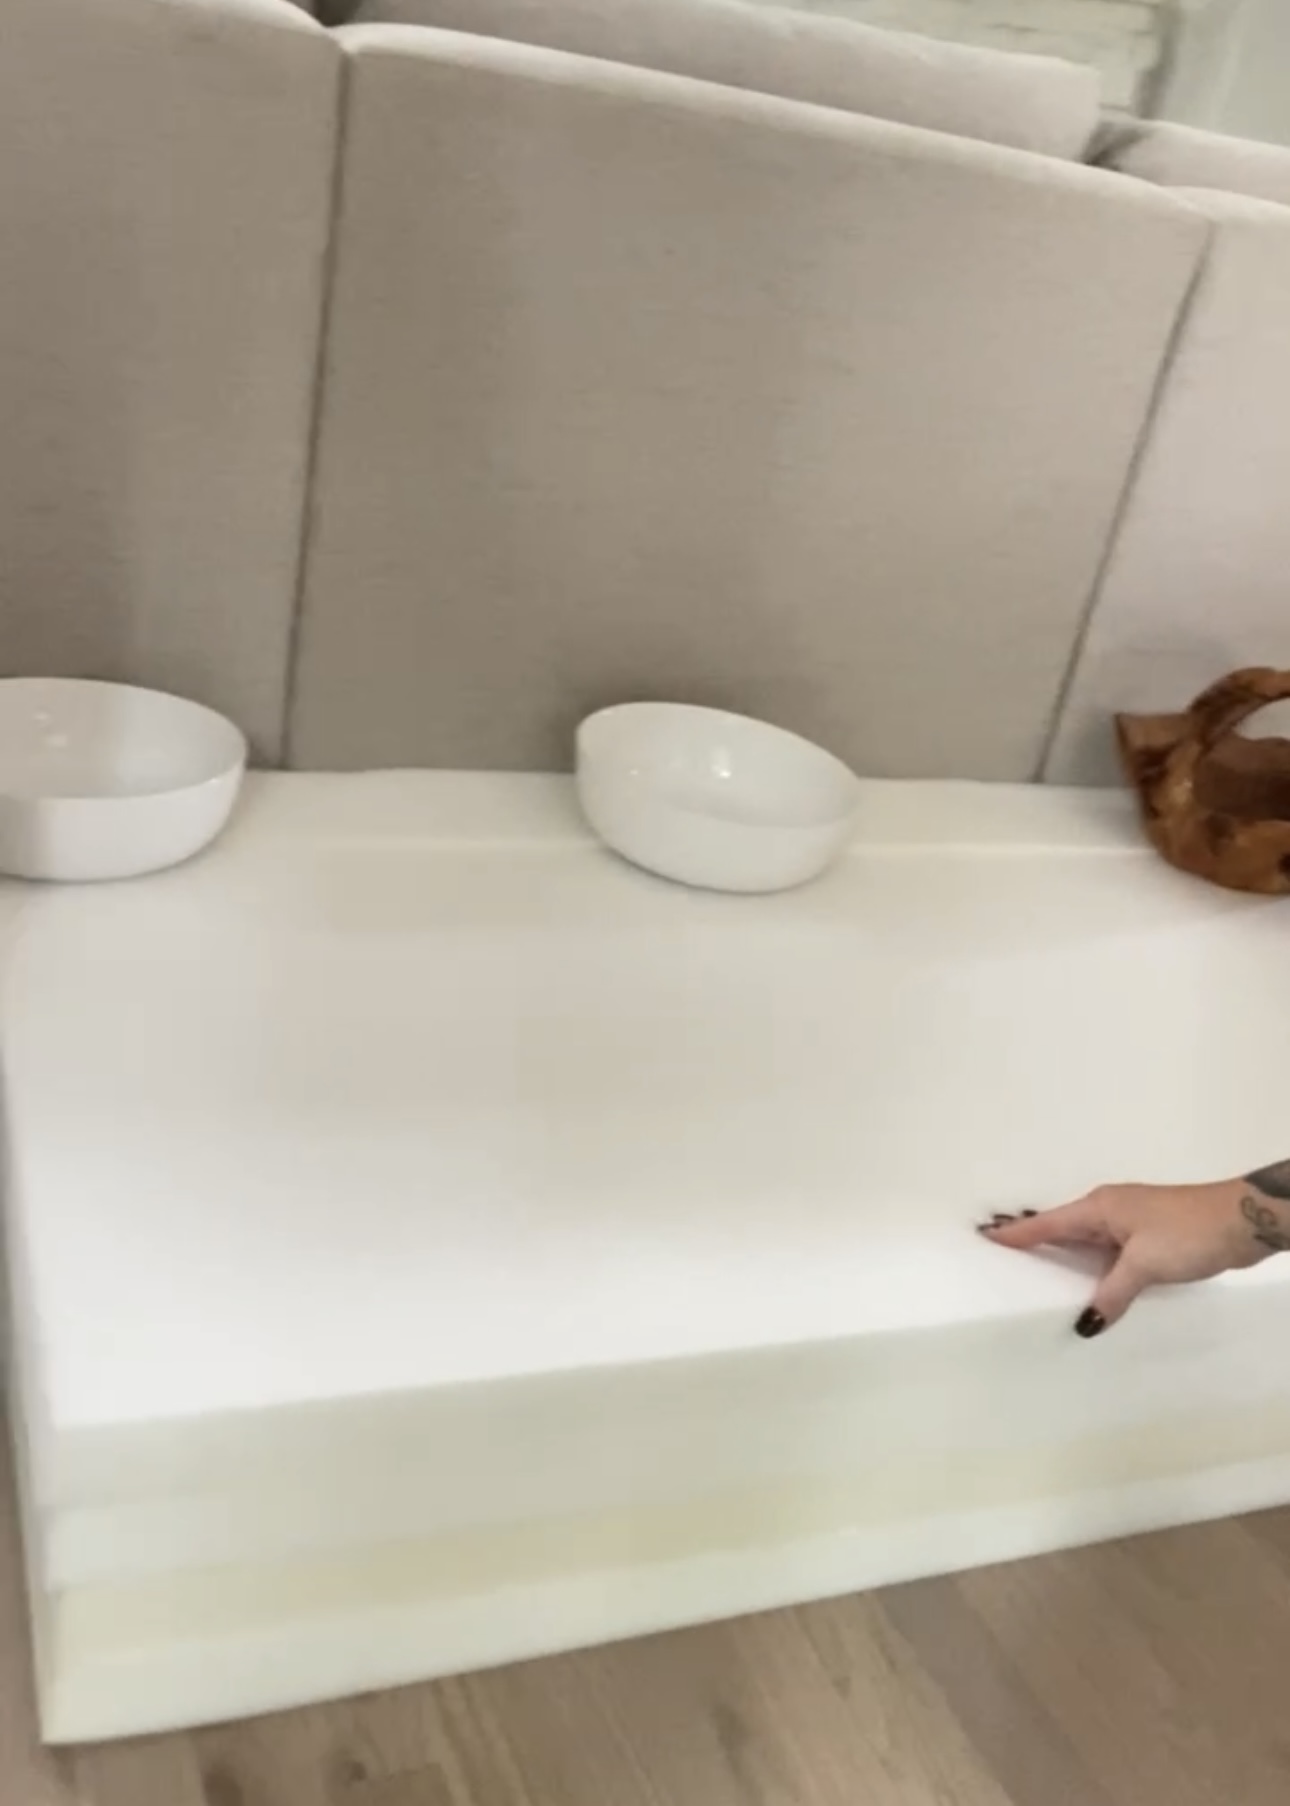
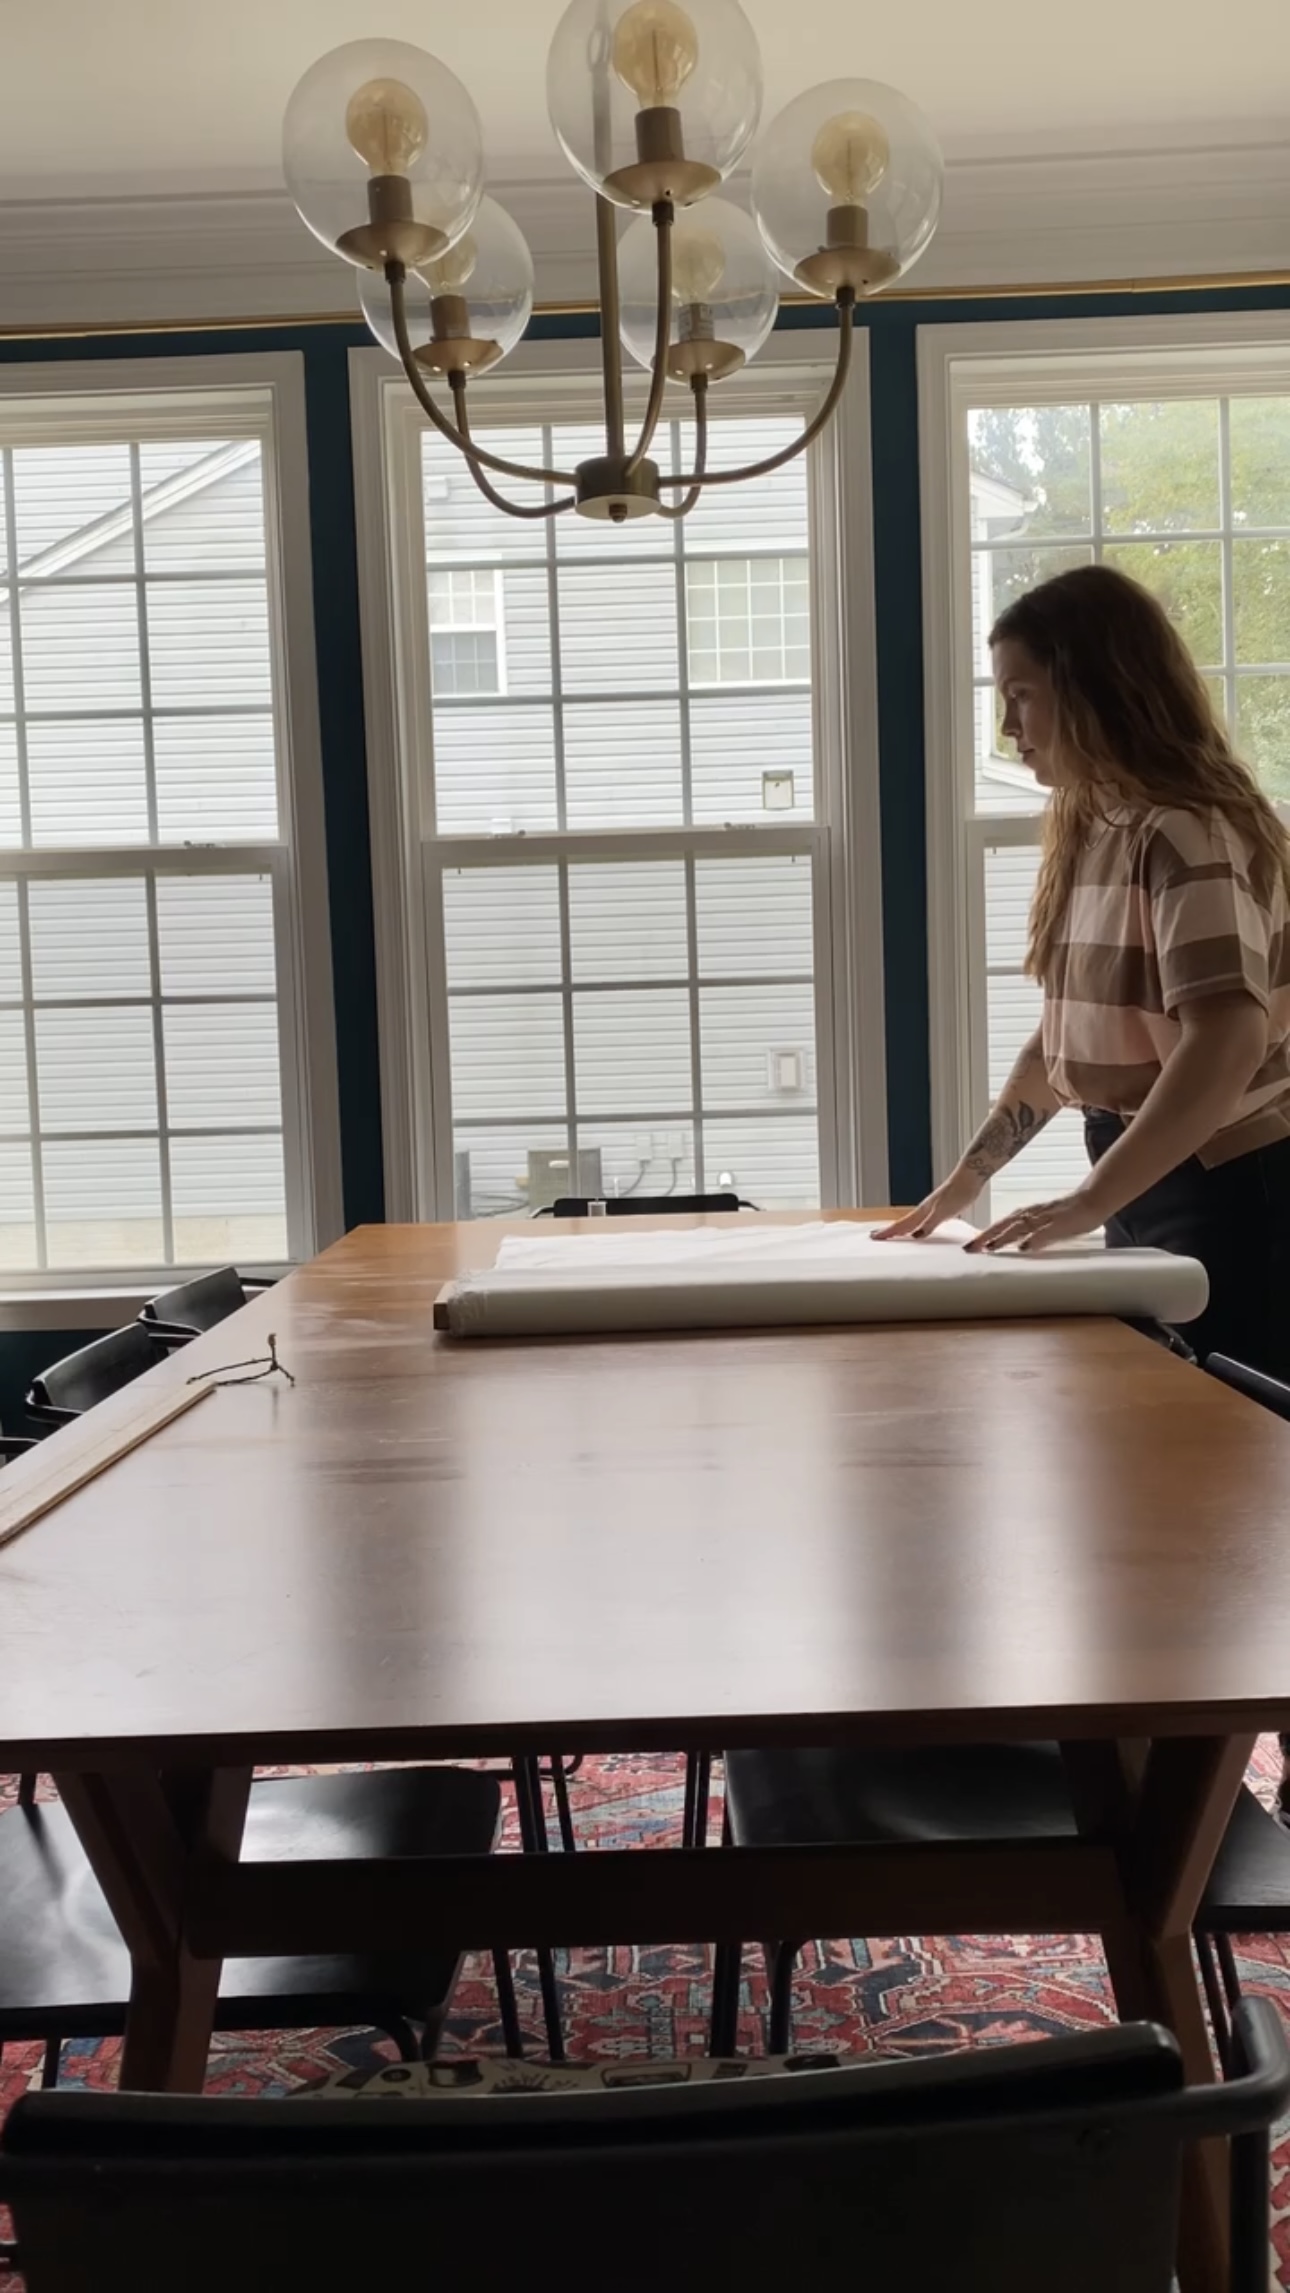
Sofa Cushions
I bought 2 inch memory foam off of Amazon to make a simple box cushion cover. The cushion covers consist of the top, bottom, and the piece that goes all the way around.
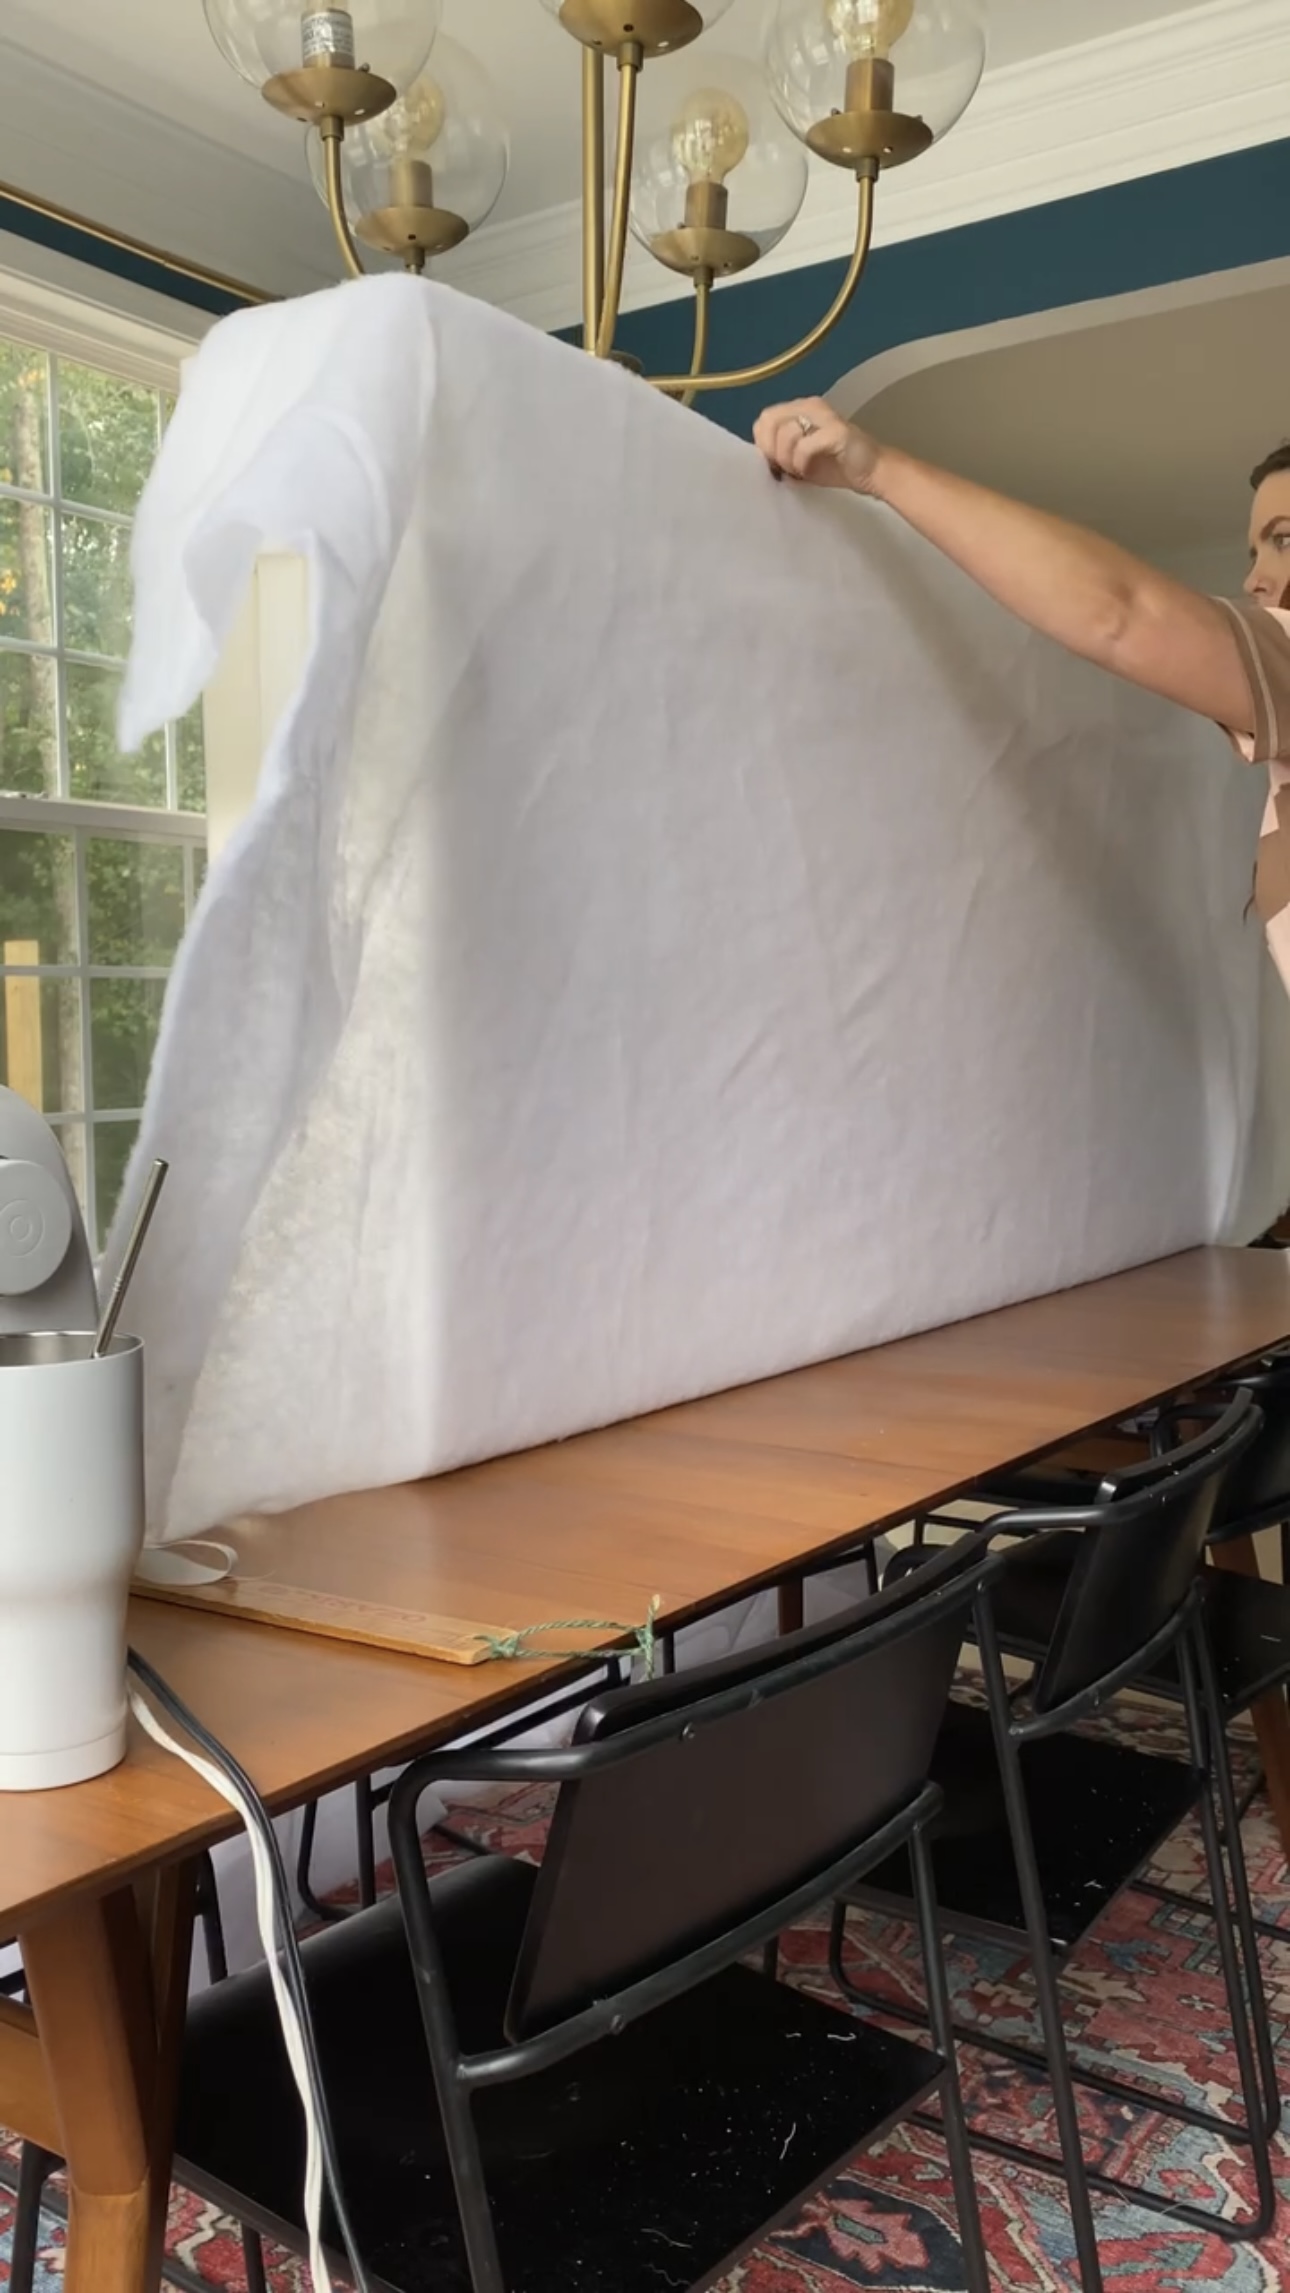
I stacked the memory foam all together and stuck them together with carpet tape. (I put heavier objects on them to flatten them out since they came in a roll!)
You can get thicker pieces of foam at Joanne’s and they’ll cut it to size for you – I had no idea! I definitely would have done that if I knew! But we made it work.
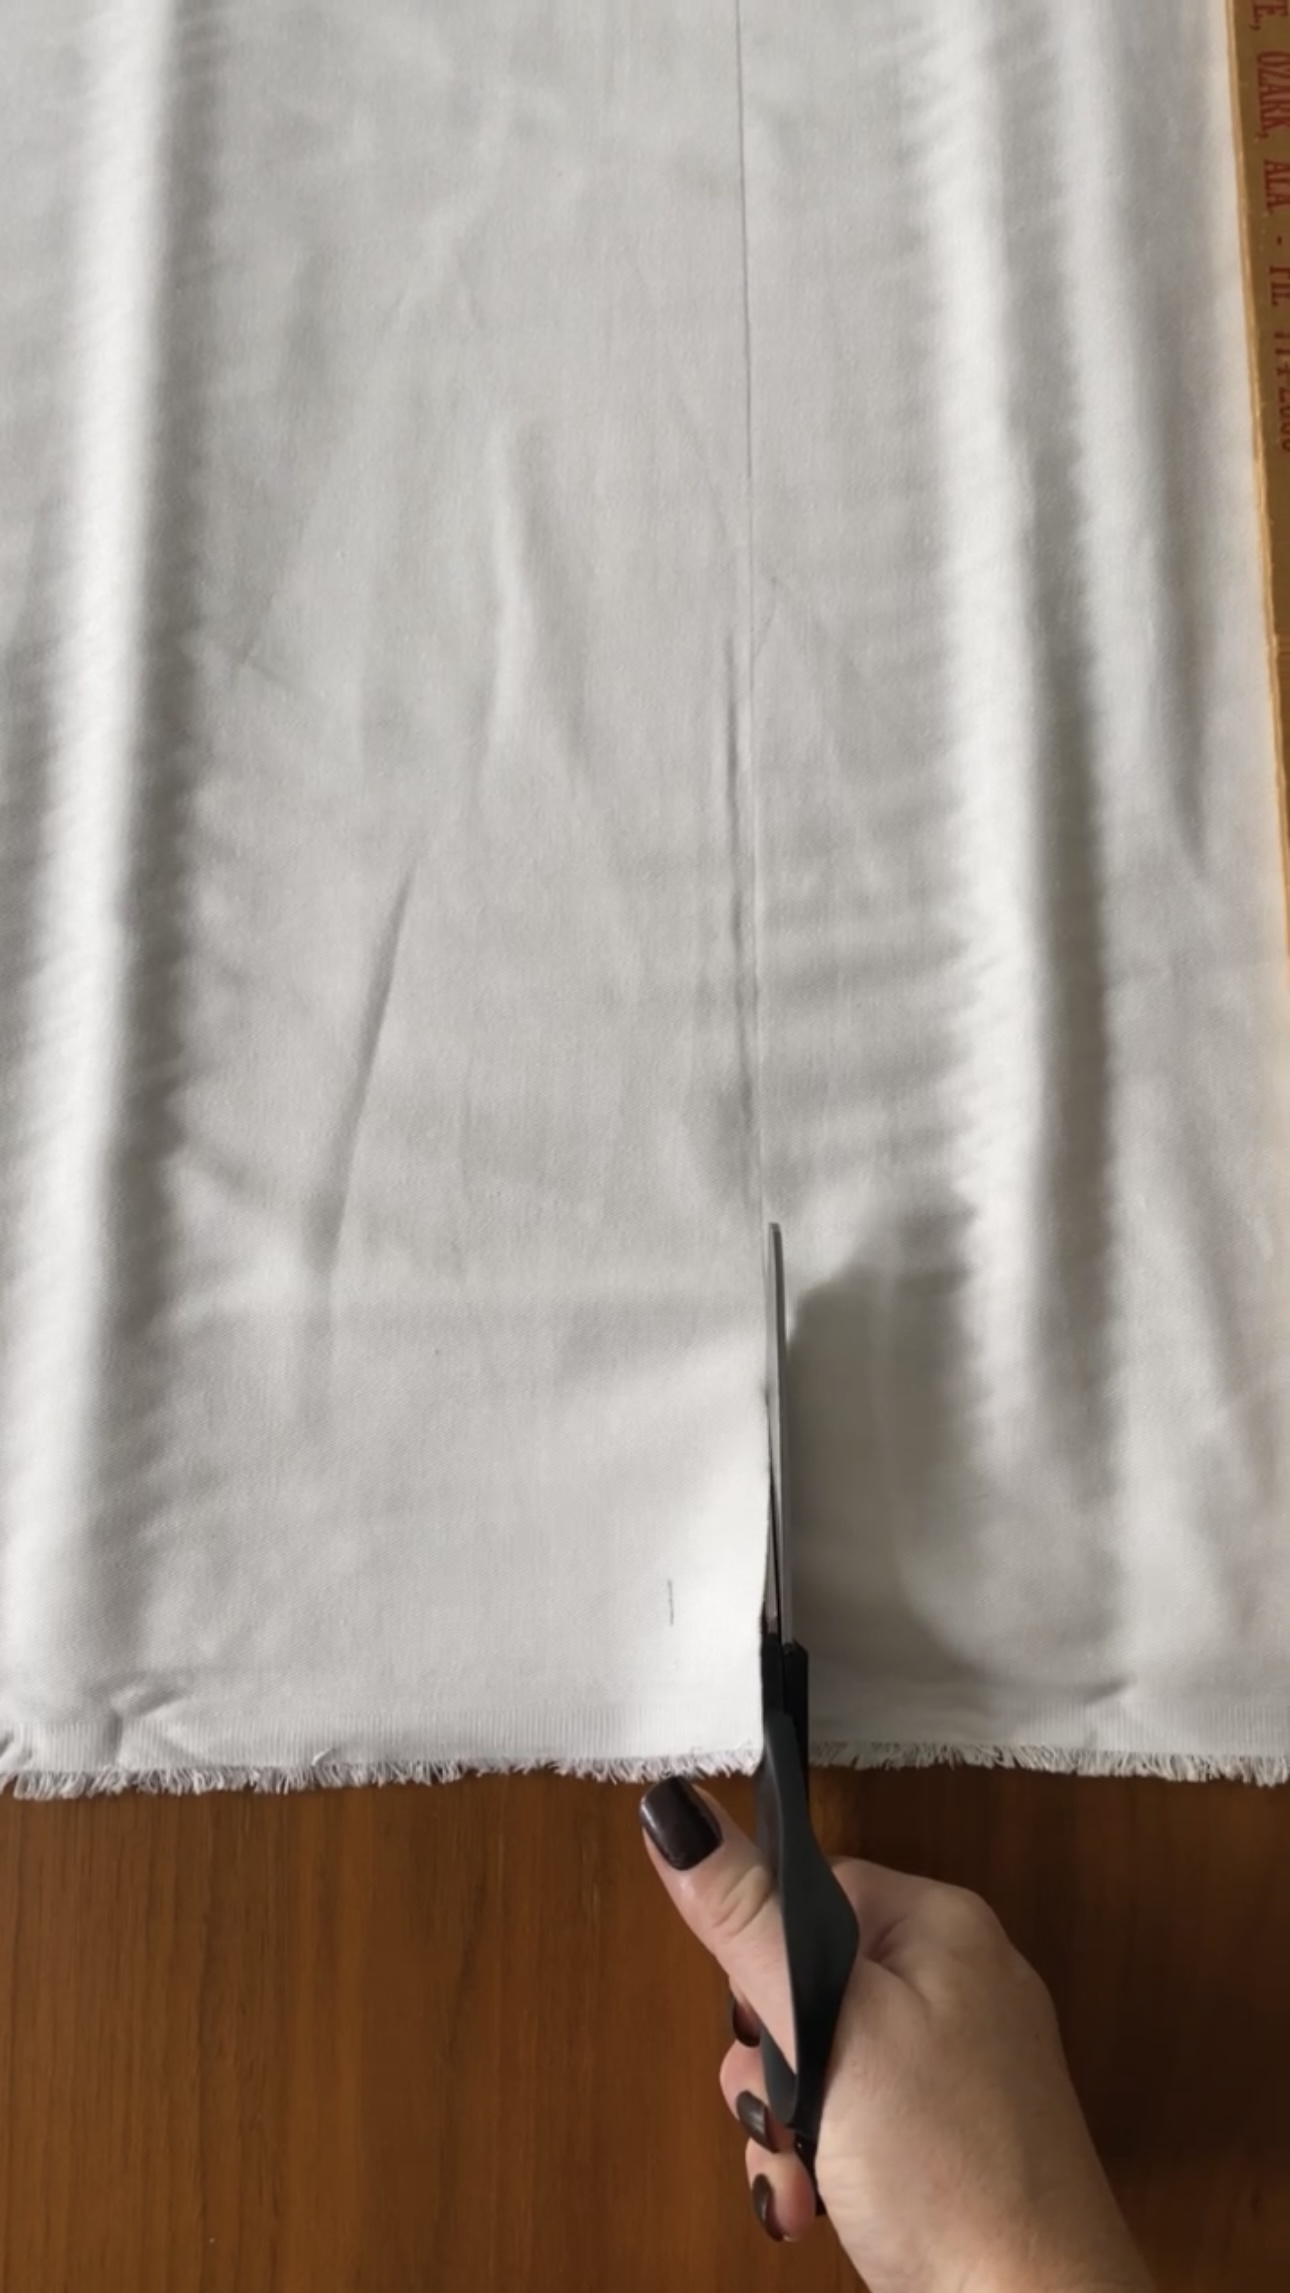
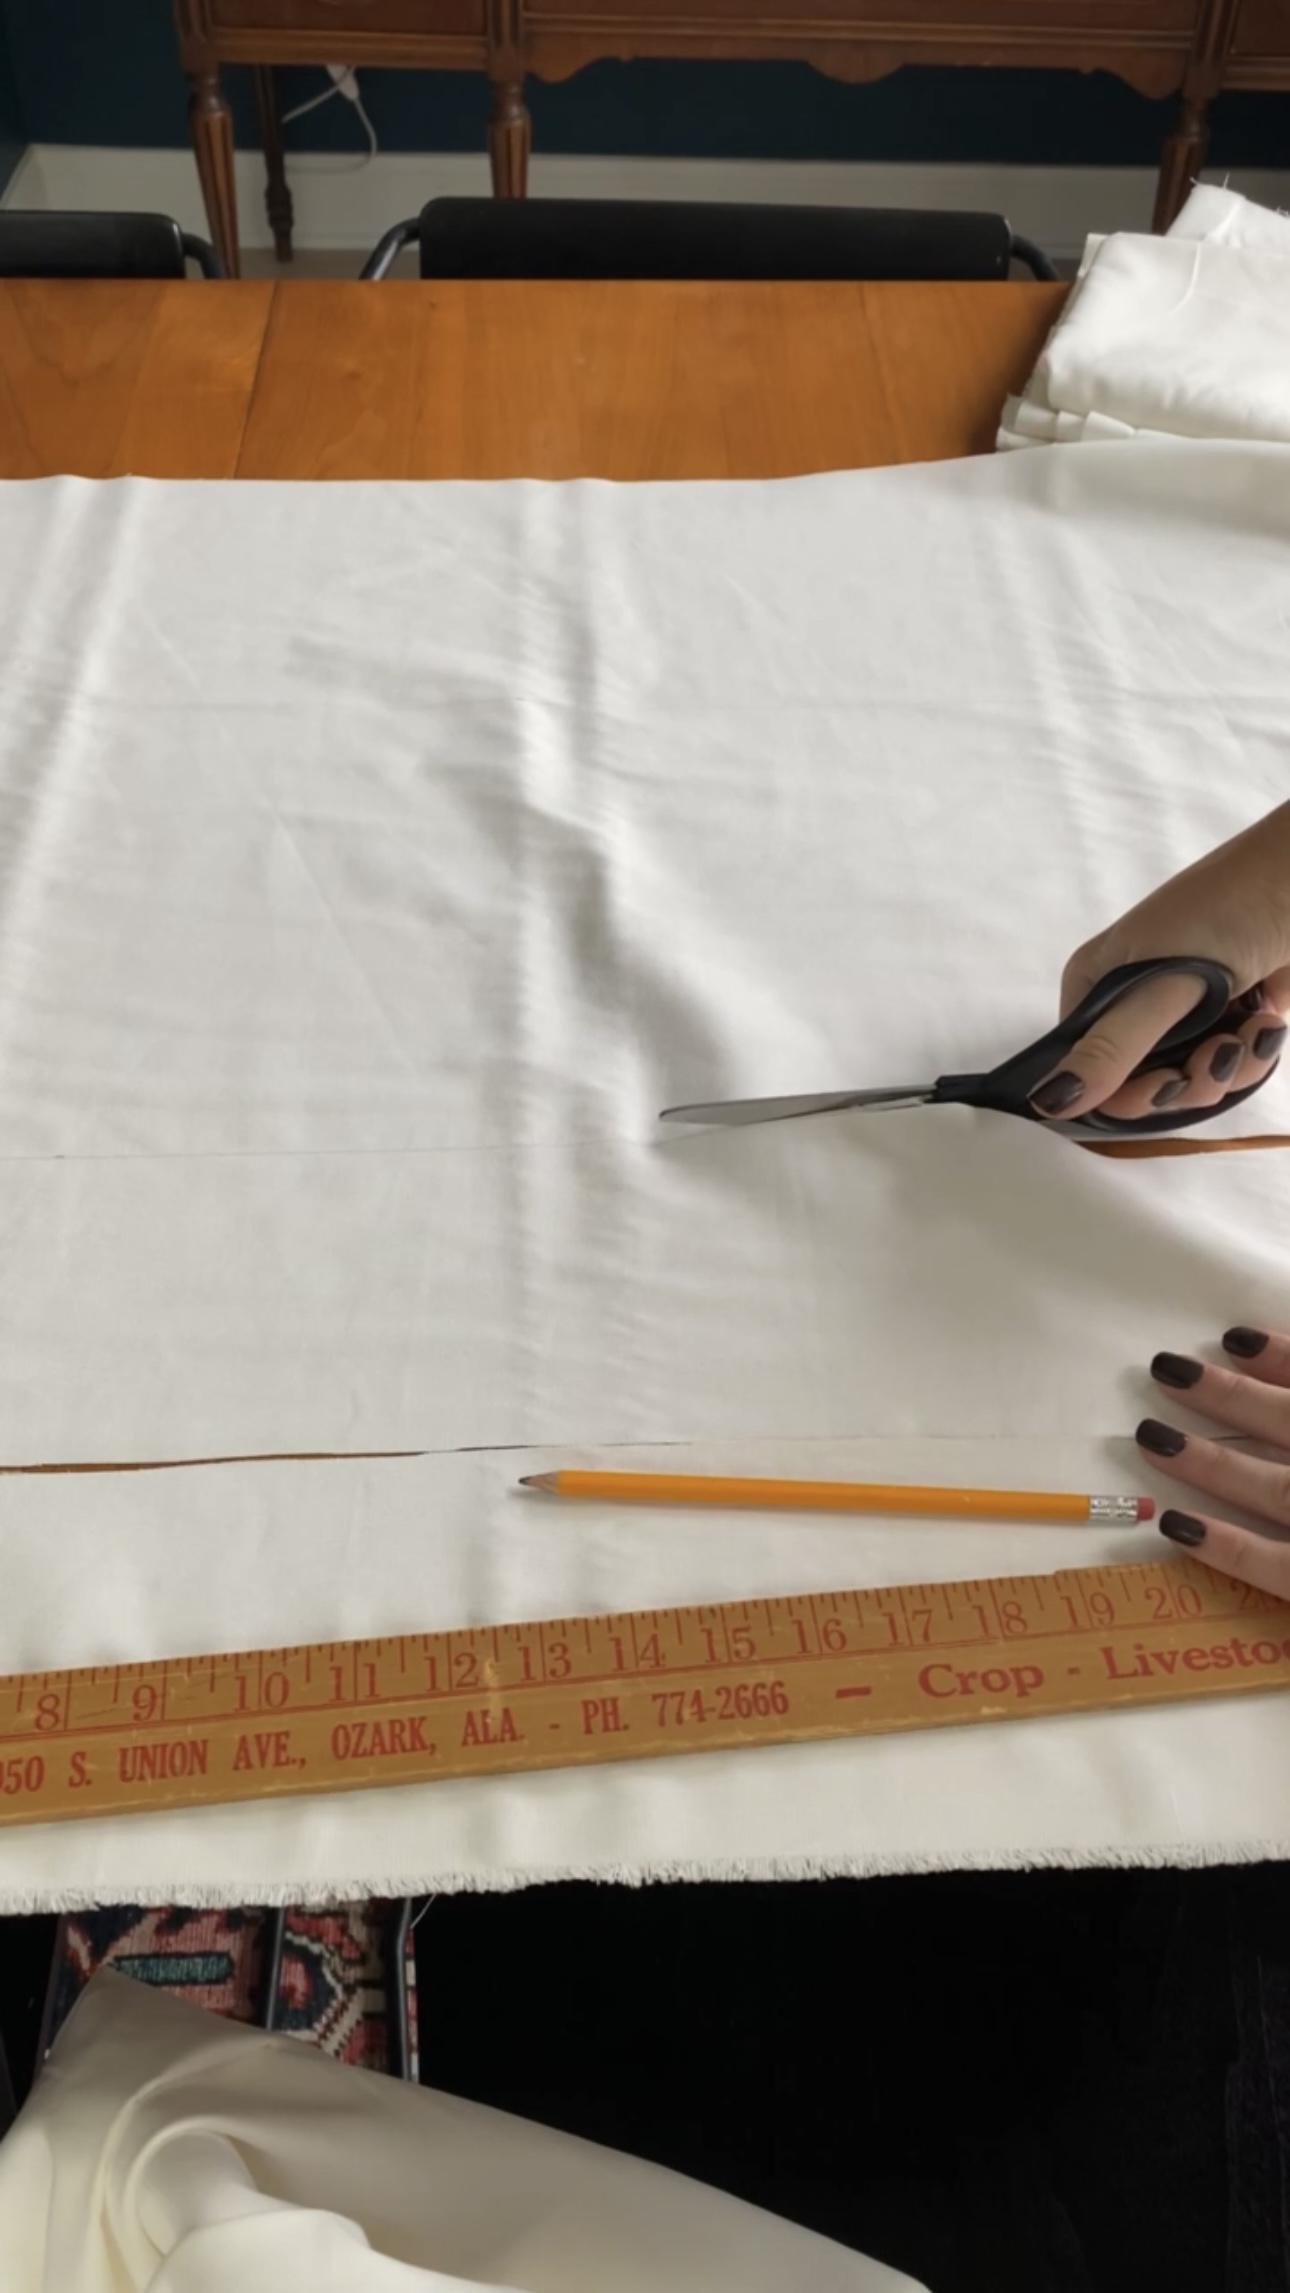
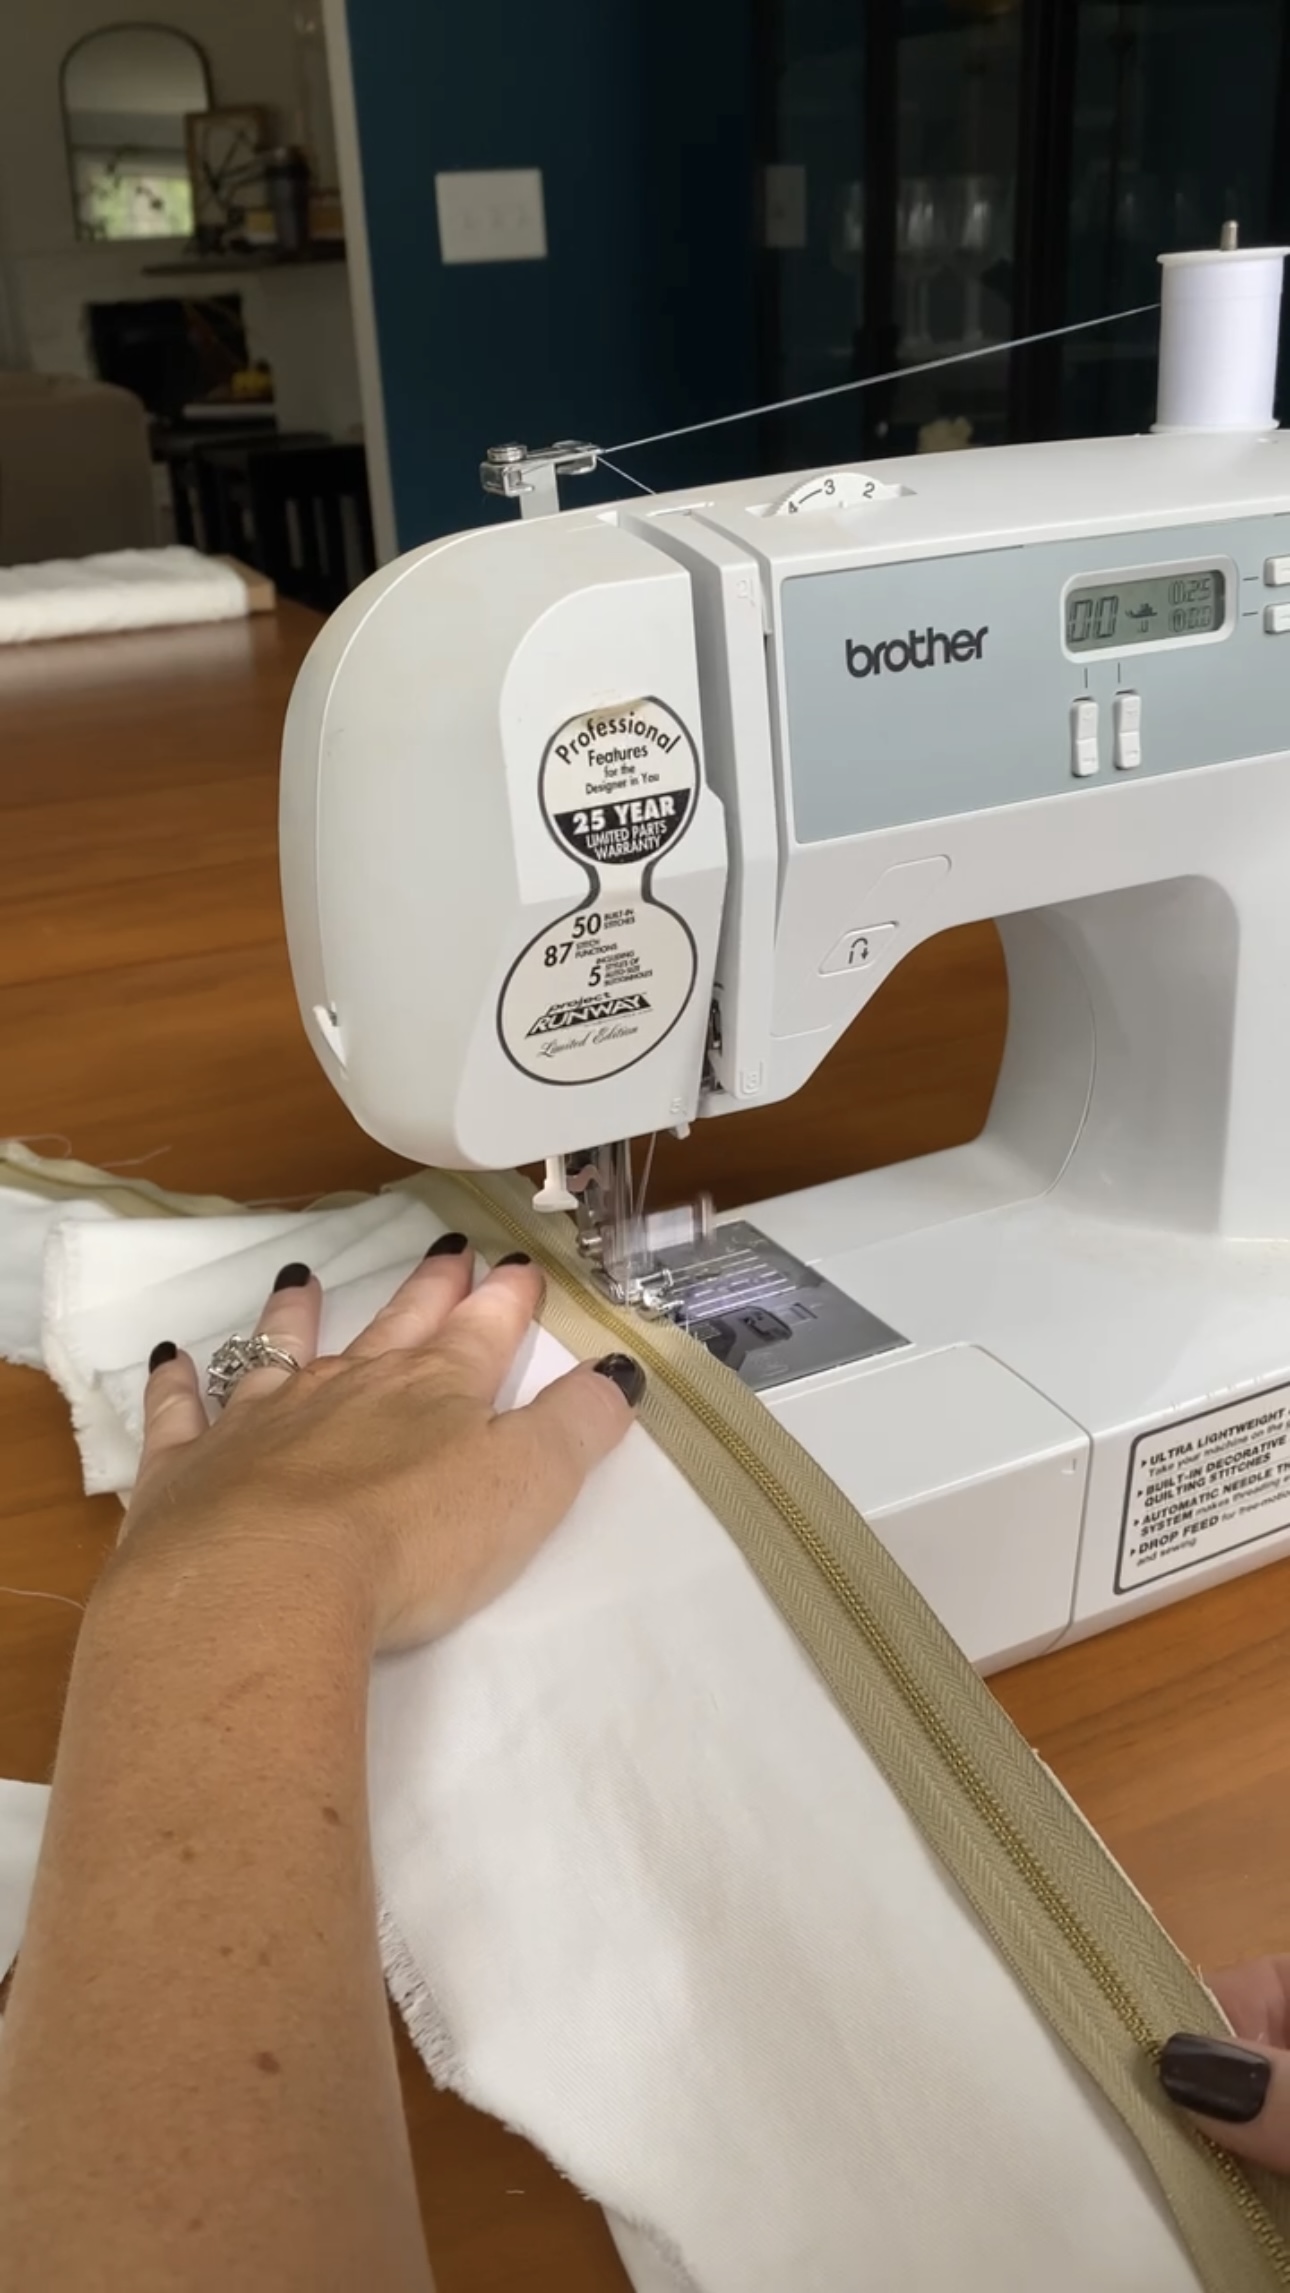
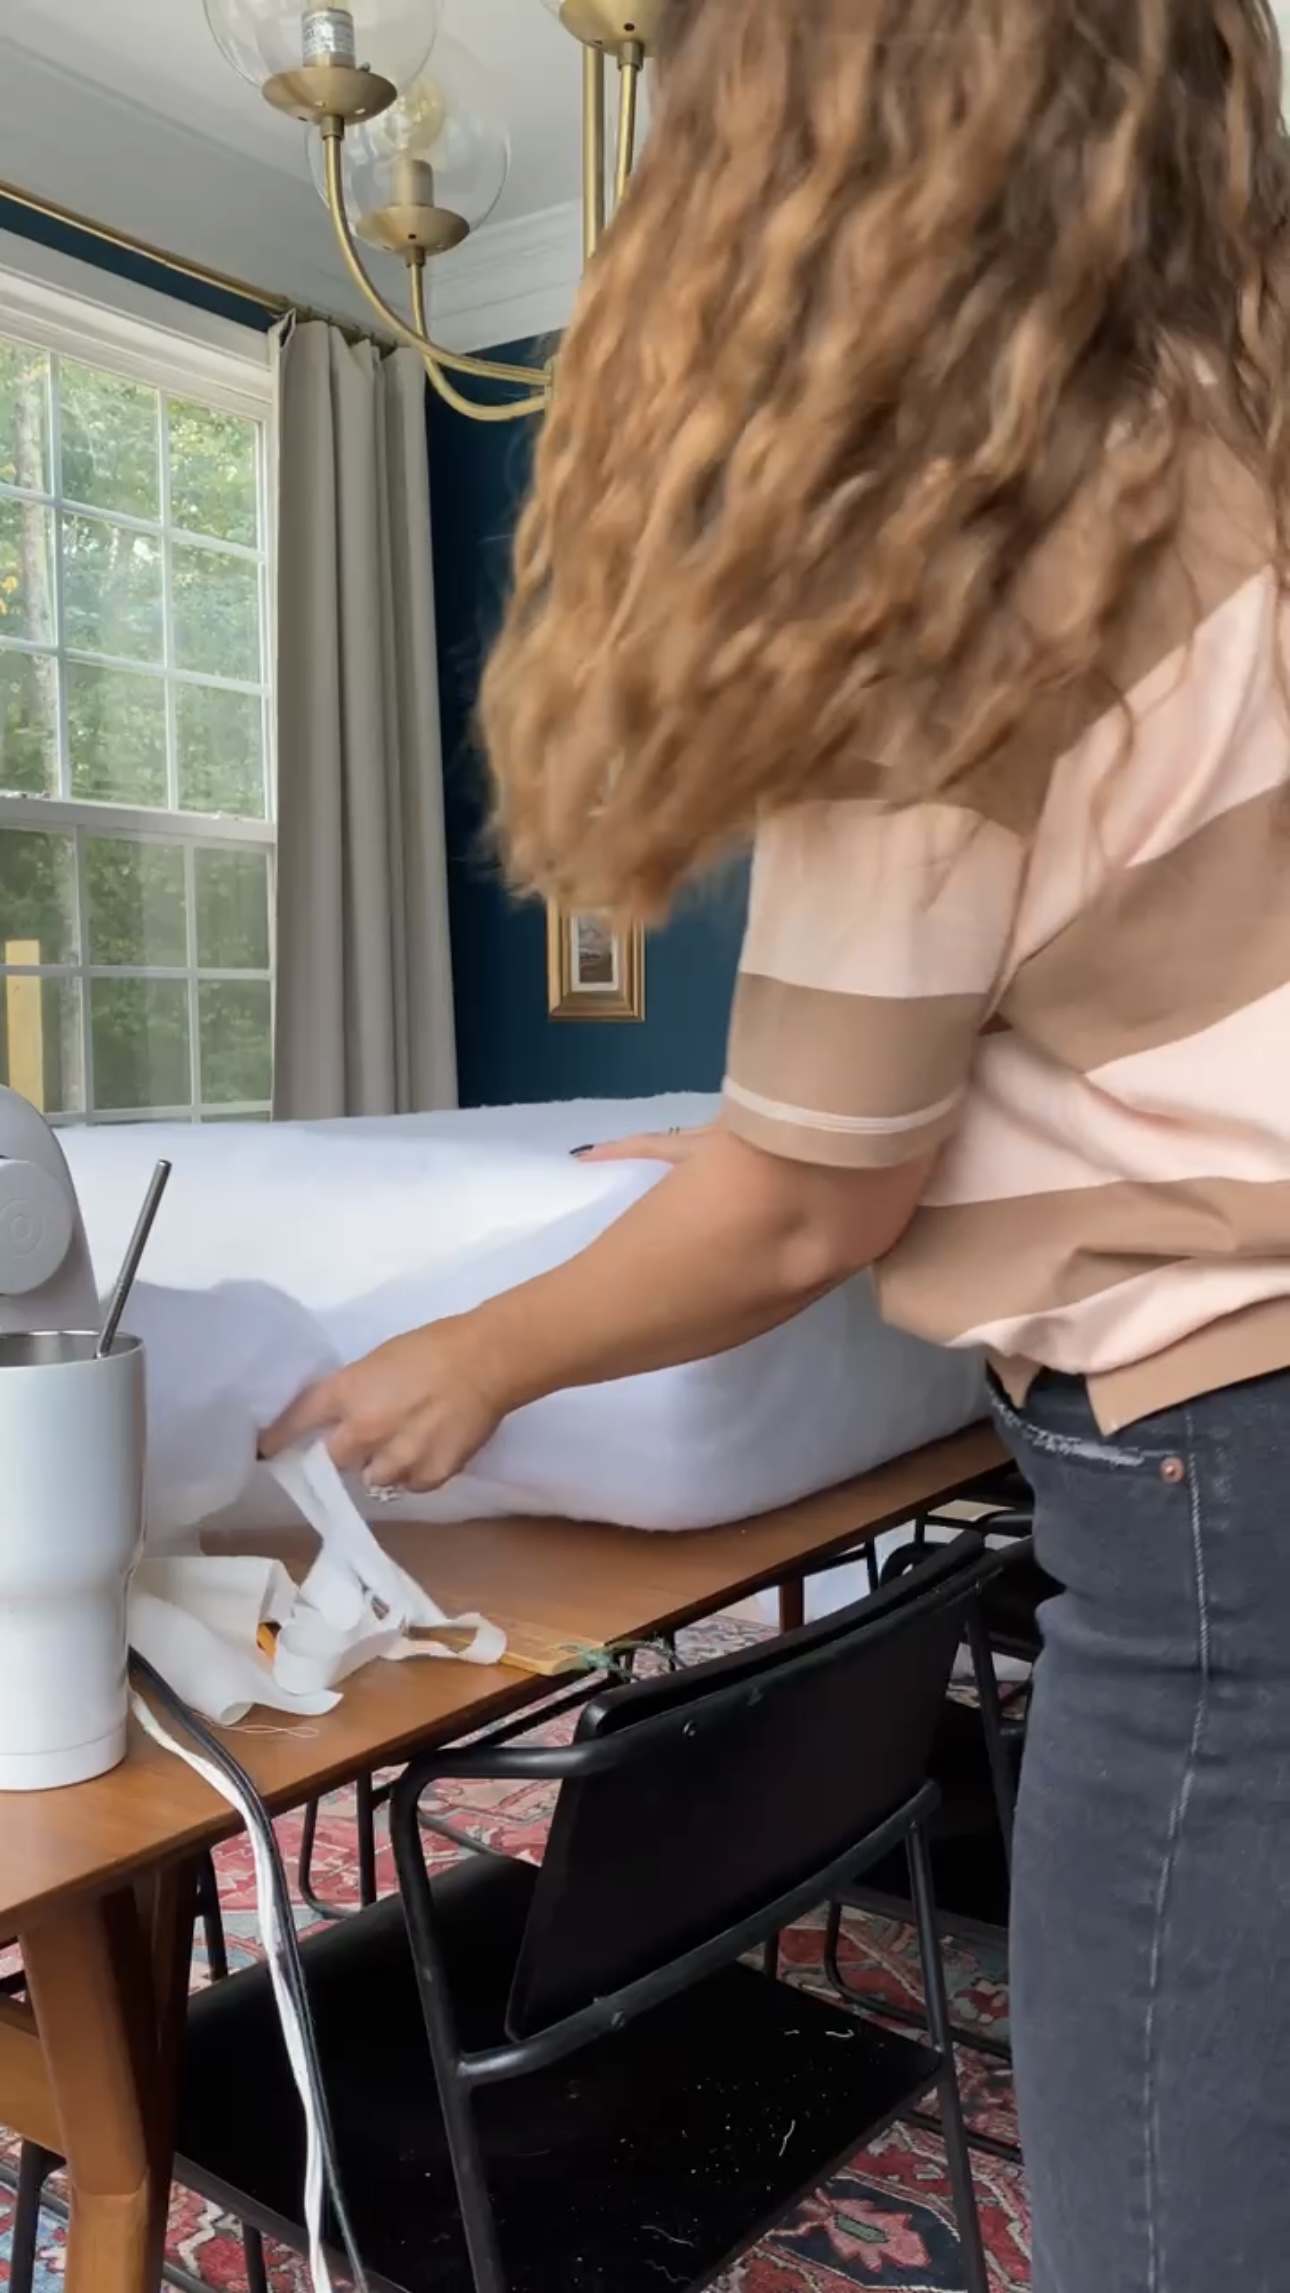
I needed to cut material for the top, bottom, side, and zipper piece for my cushion cover. After I made my cuts, I sewed the zipper onto the back piece. Then, I sewed all of the other pieces together!
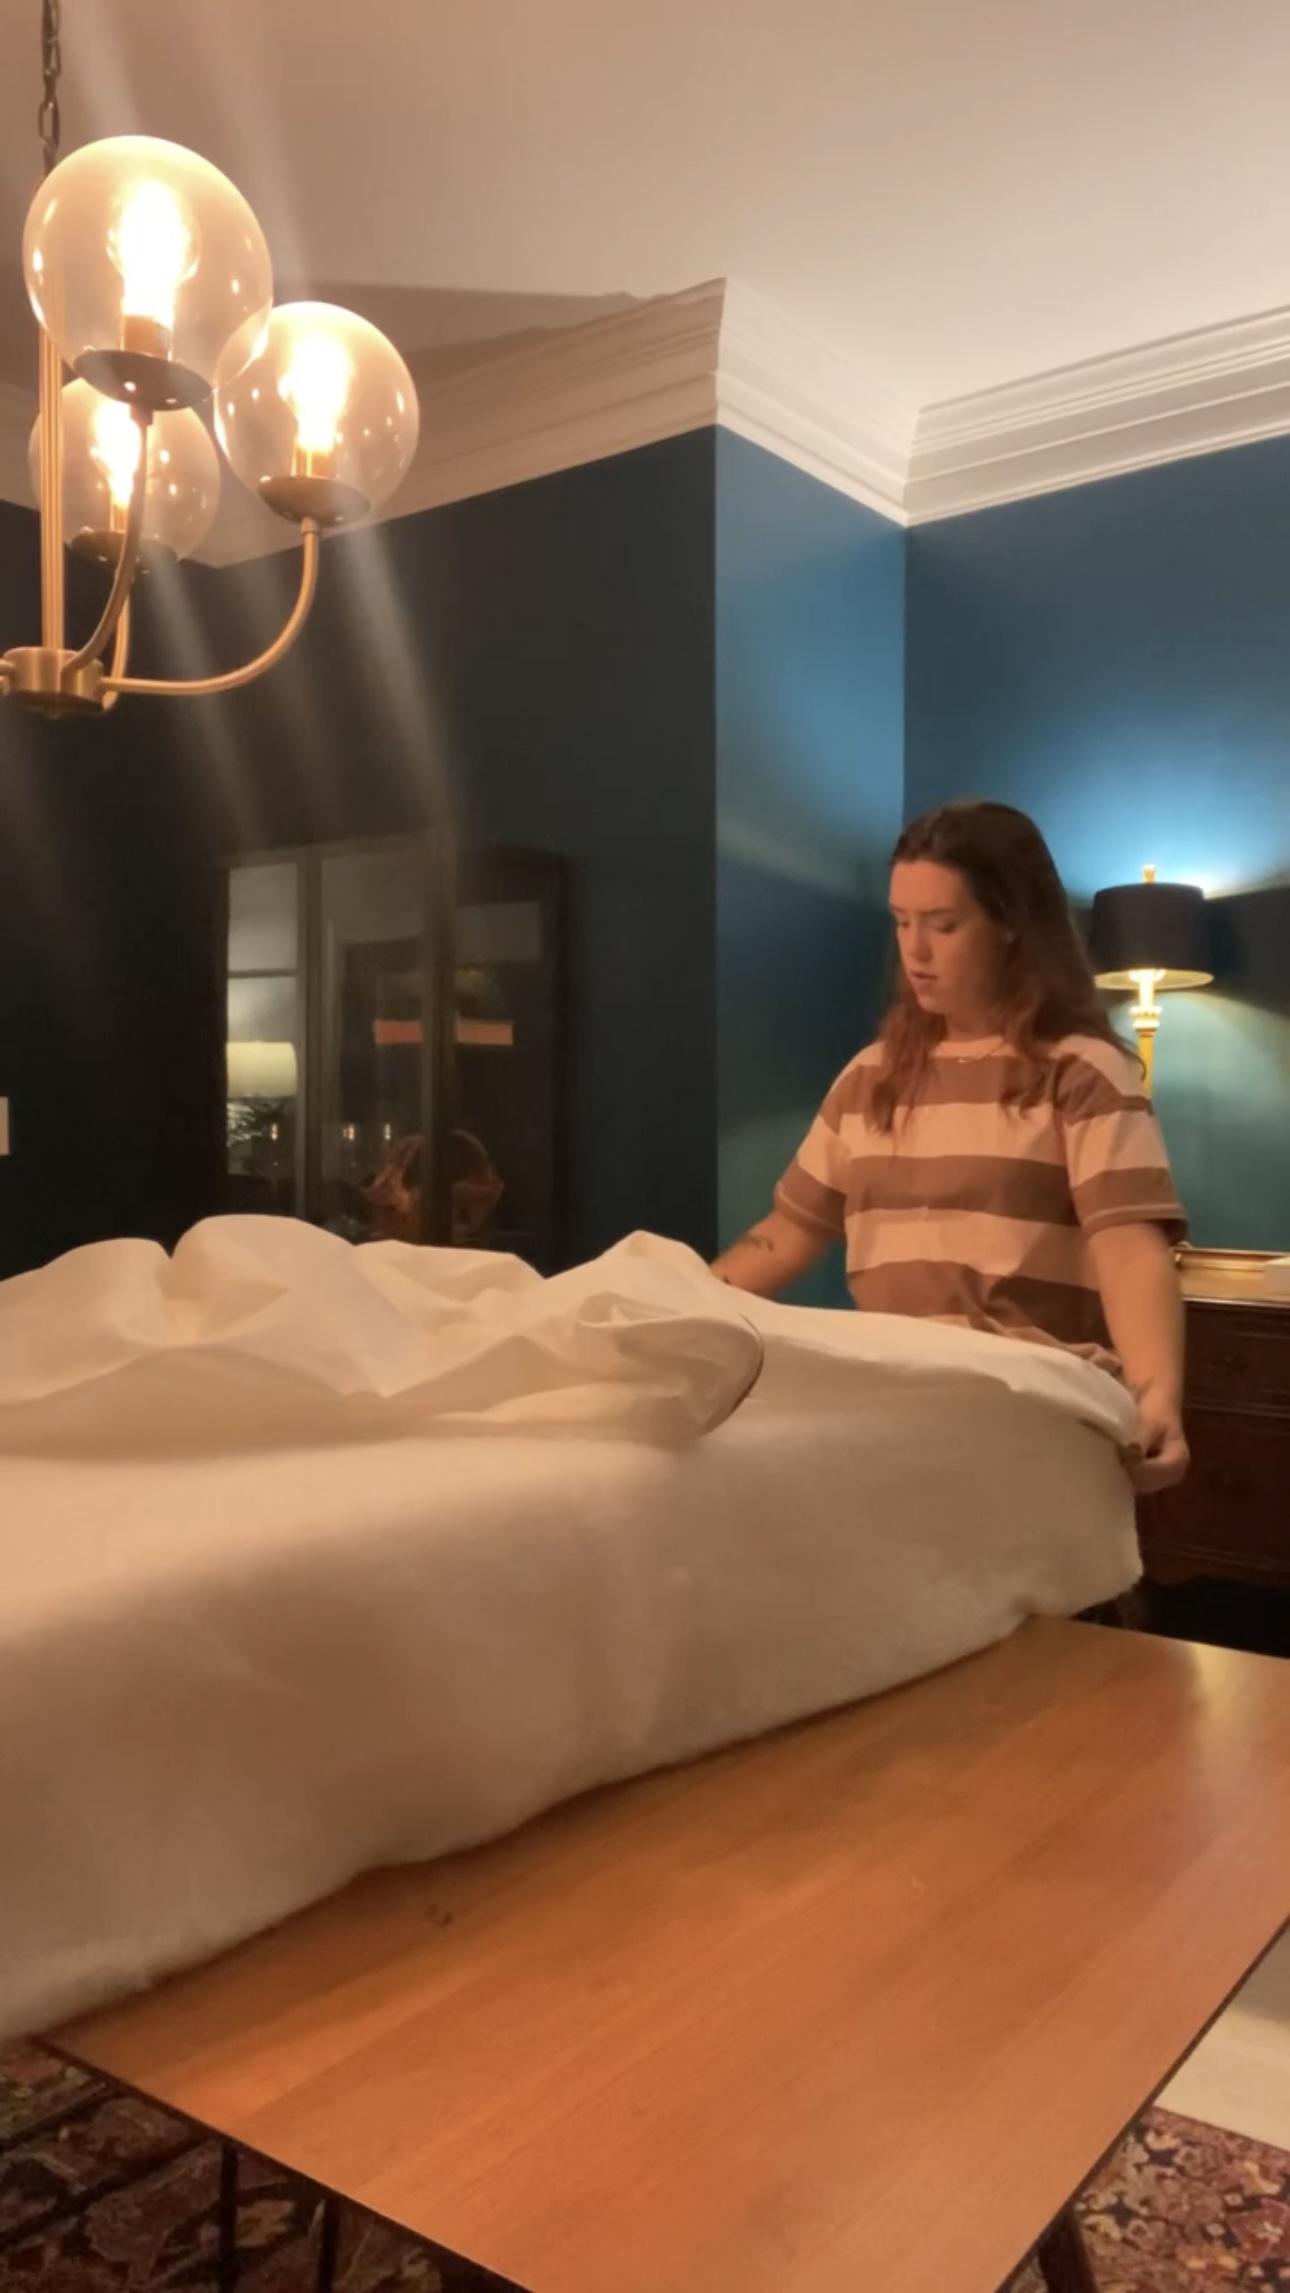
I wrapped the stack of memory foam with batting. This helped with rounding out the edges and filling in gaps. Then, I put my cover onto the cushion and it fit perfectly! I repeated this process for all of the covers.

I also sprayed all these cushions with a scotch guard to protect the fabric from moisture.
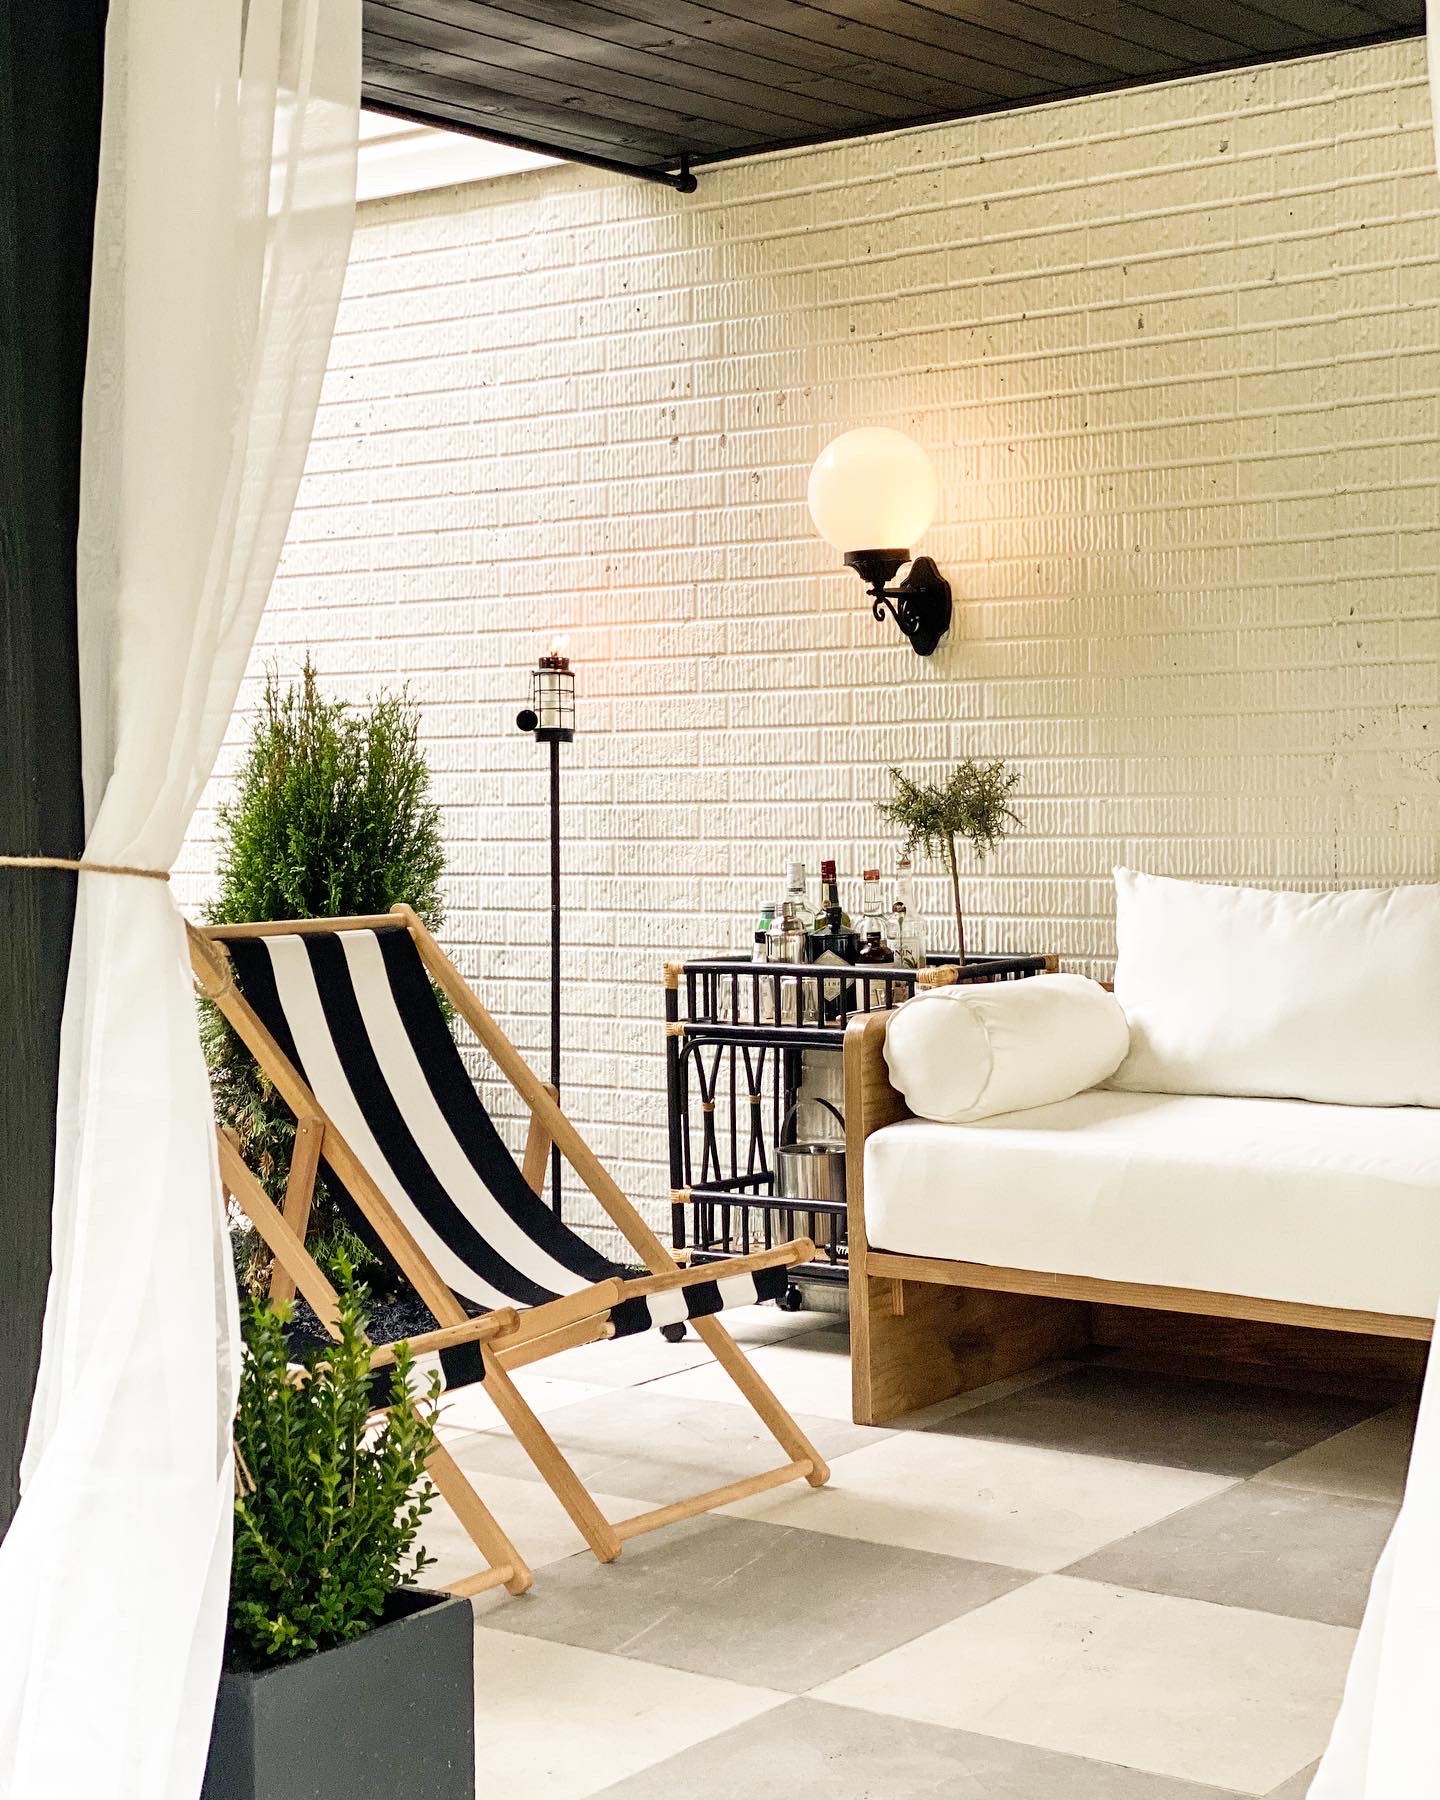
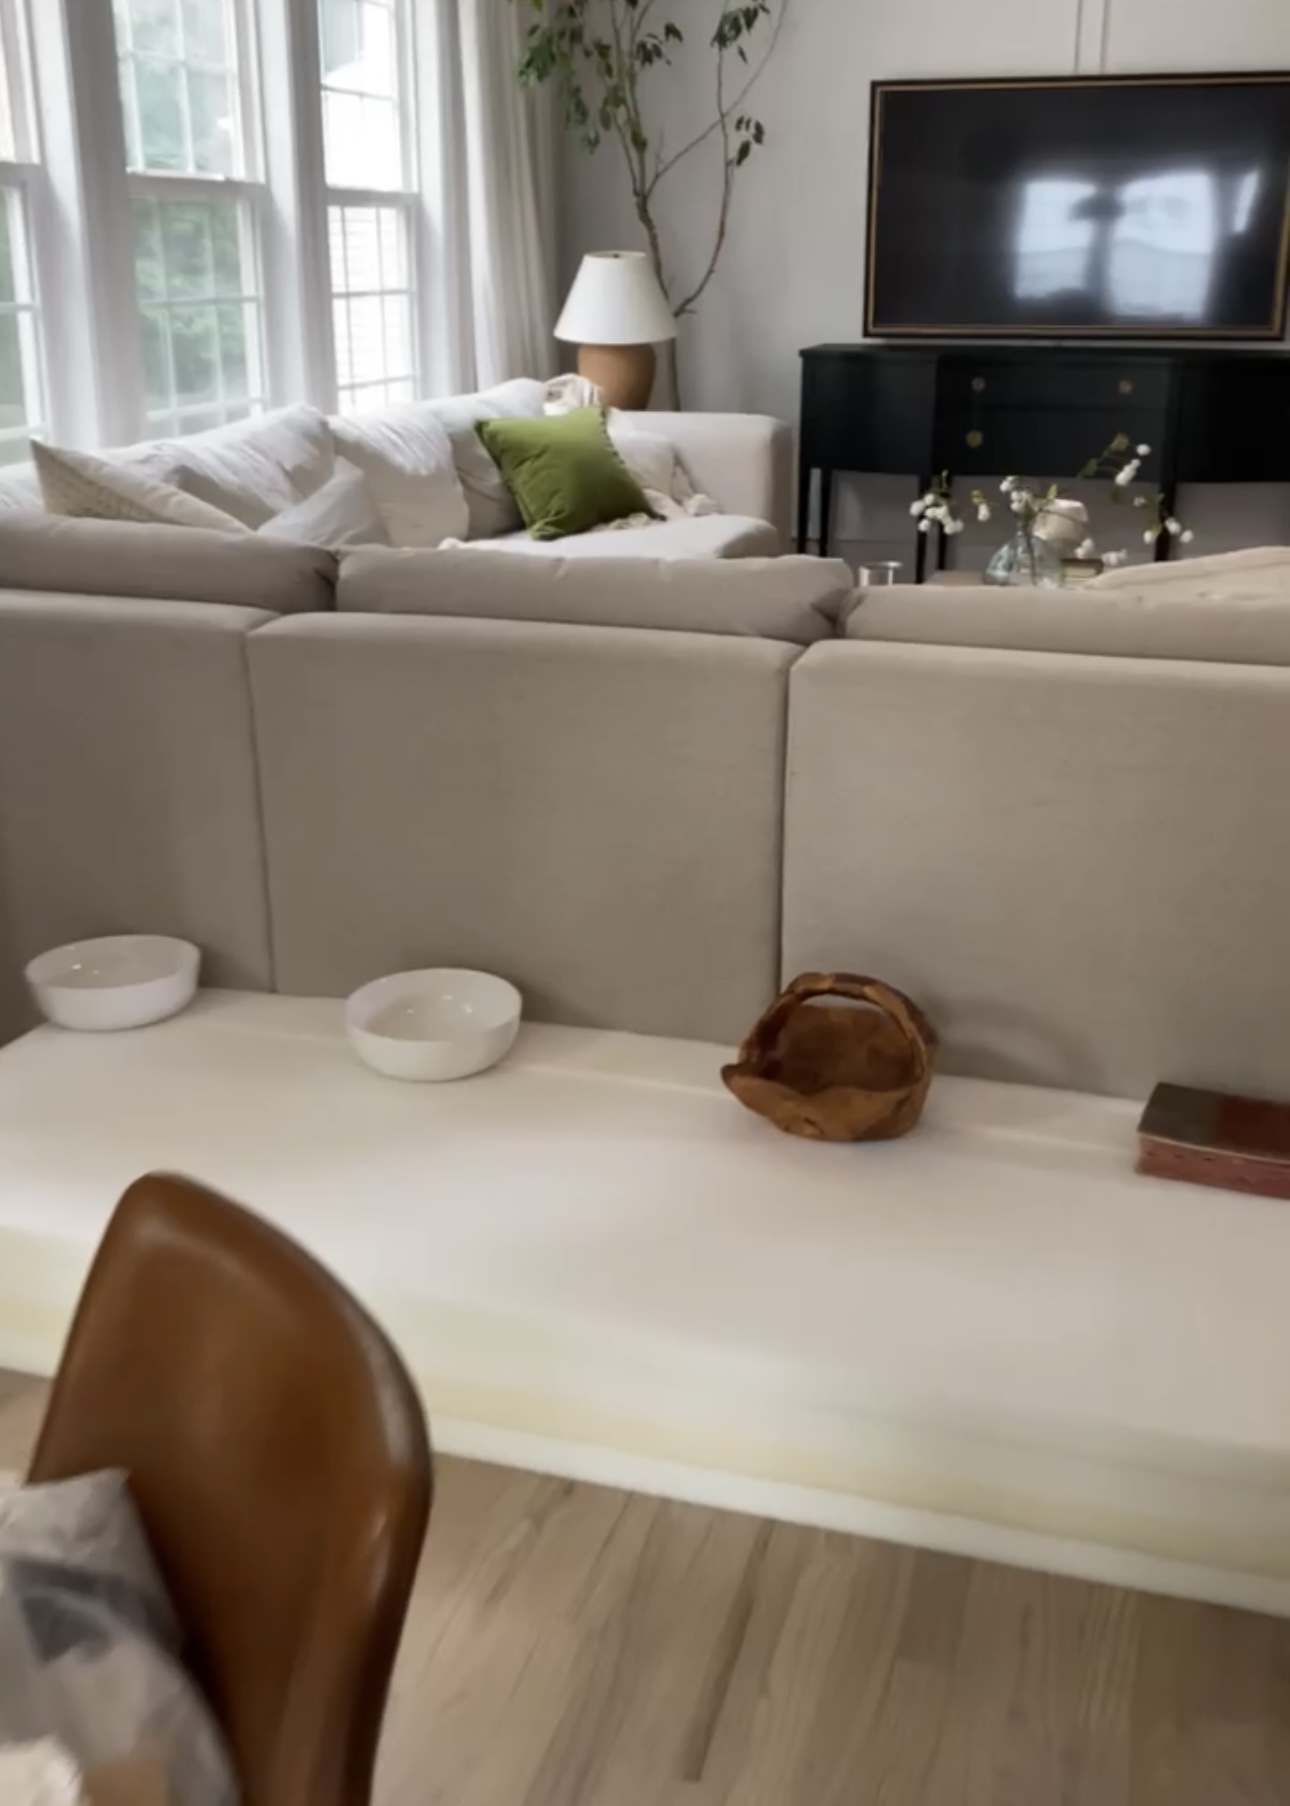
This DIY outdoor sofa looks SO GOOD. Just like every project I do, it’s not perfect. But I MADE THAT and I’m so proud of it!
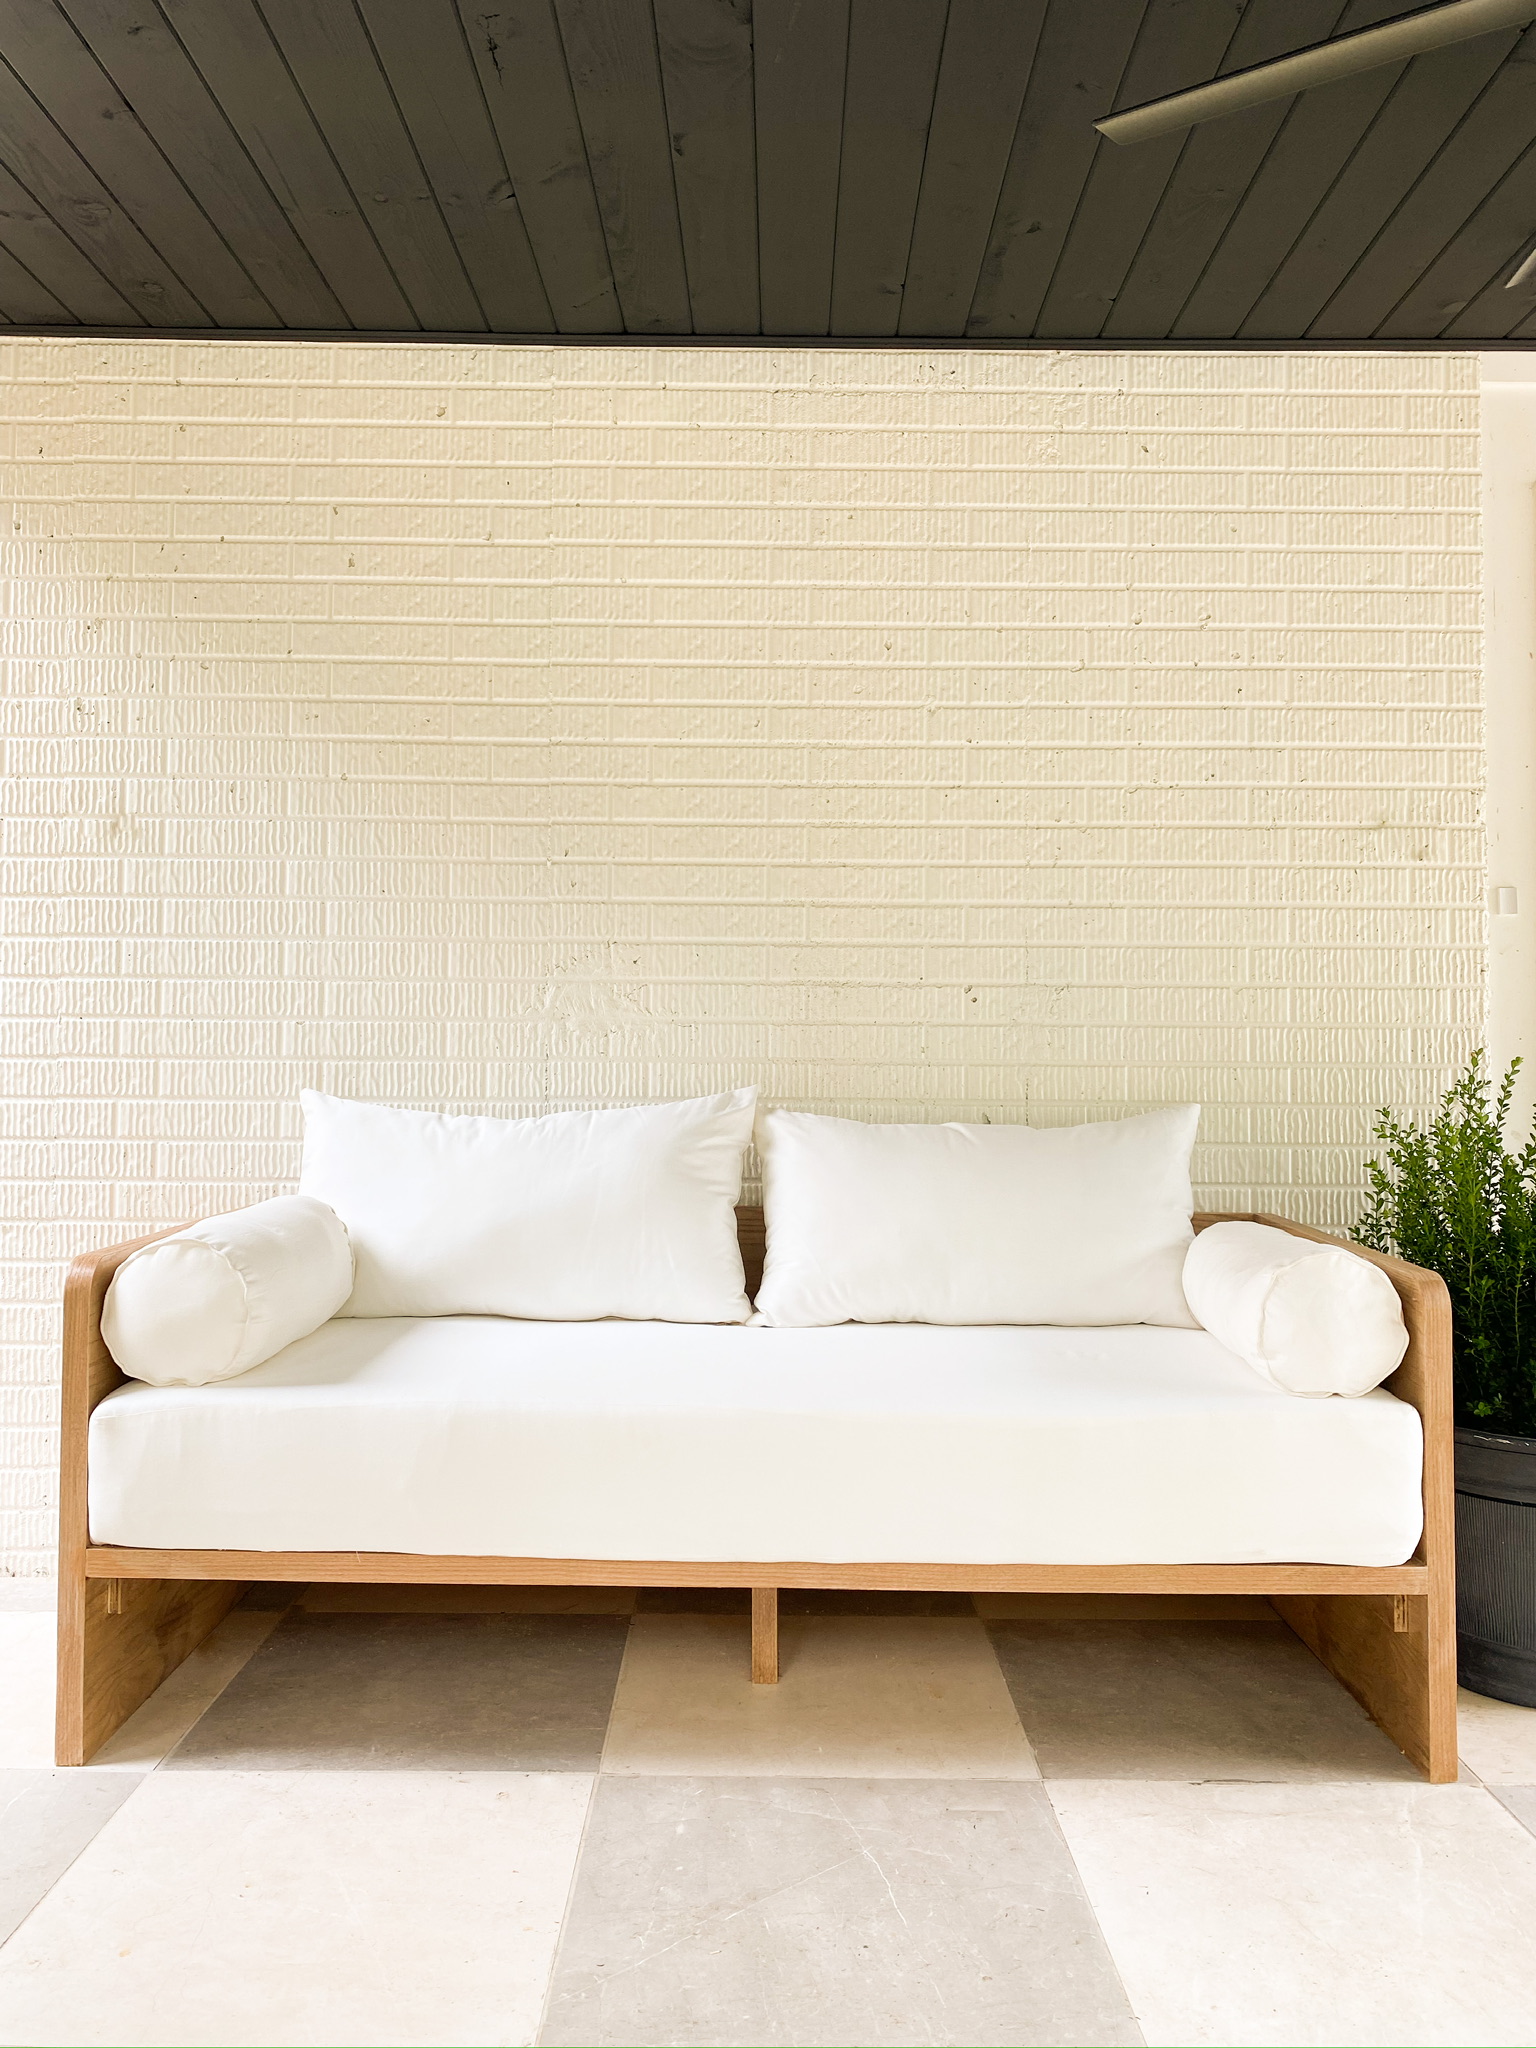

I spent about $600 on this sofa which isn’t crazy. But, that’s nothing compared to the almost $3,000 the inspiration was!


– Cass
I LOVE this DIY! You did such a great job. I think it’s the perfect size too. Do you have approximate measurements of the sofa?