Basement Stairway Makeover – Stair Installation

I’m renovating my basement stairway and I’m SO excited. I’ve done so much work in the basement and it’s a space I love to be in. The stairs to get down there are just so boring! Hallways and stairs deserve some love and attention too! Welcome to the Basement Stairway Makeover.
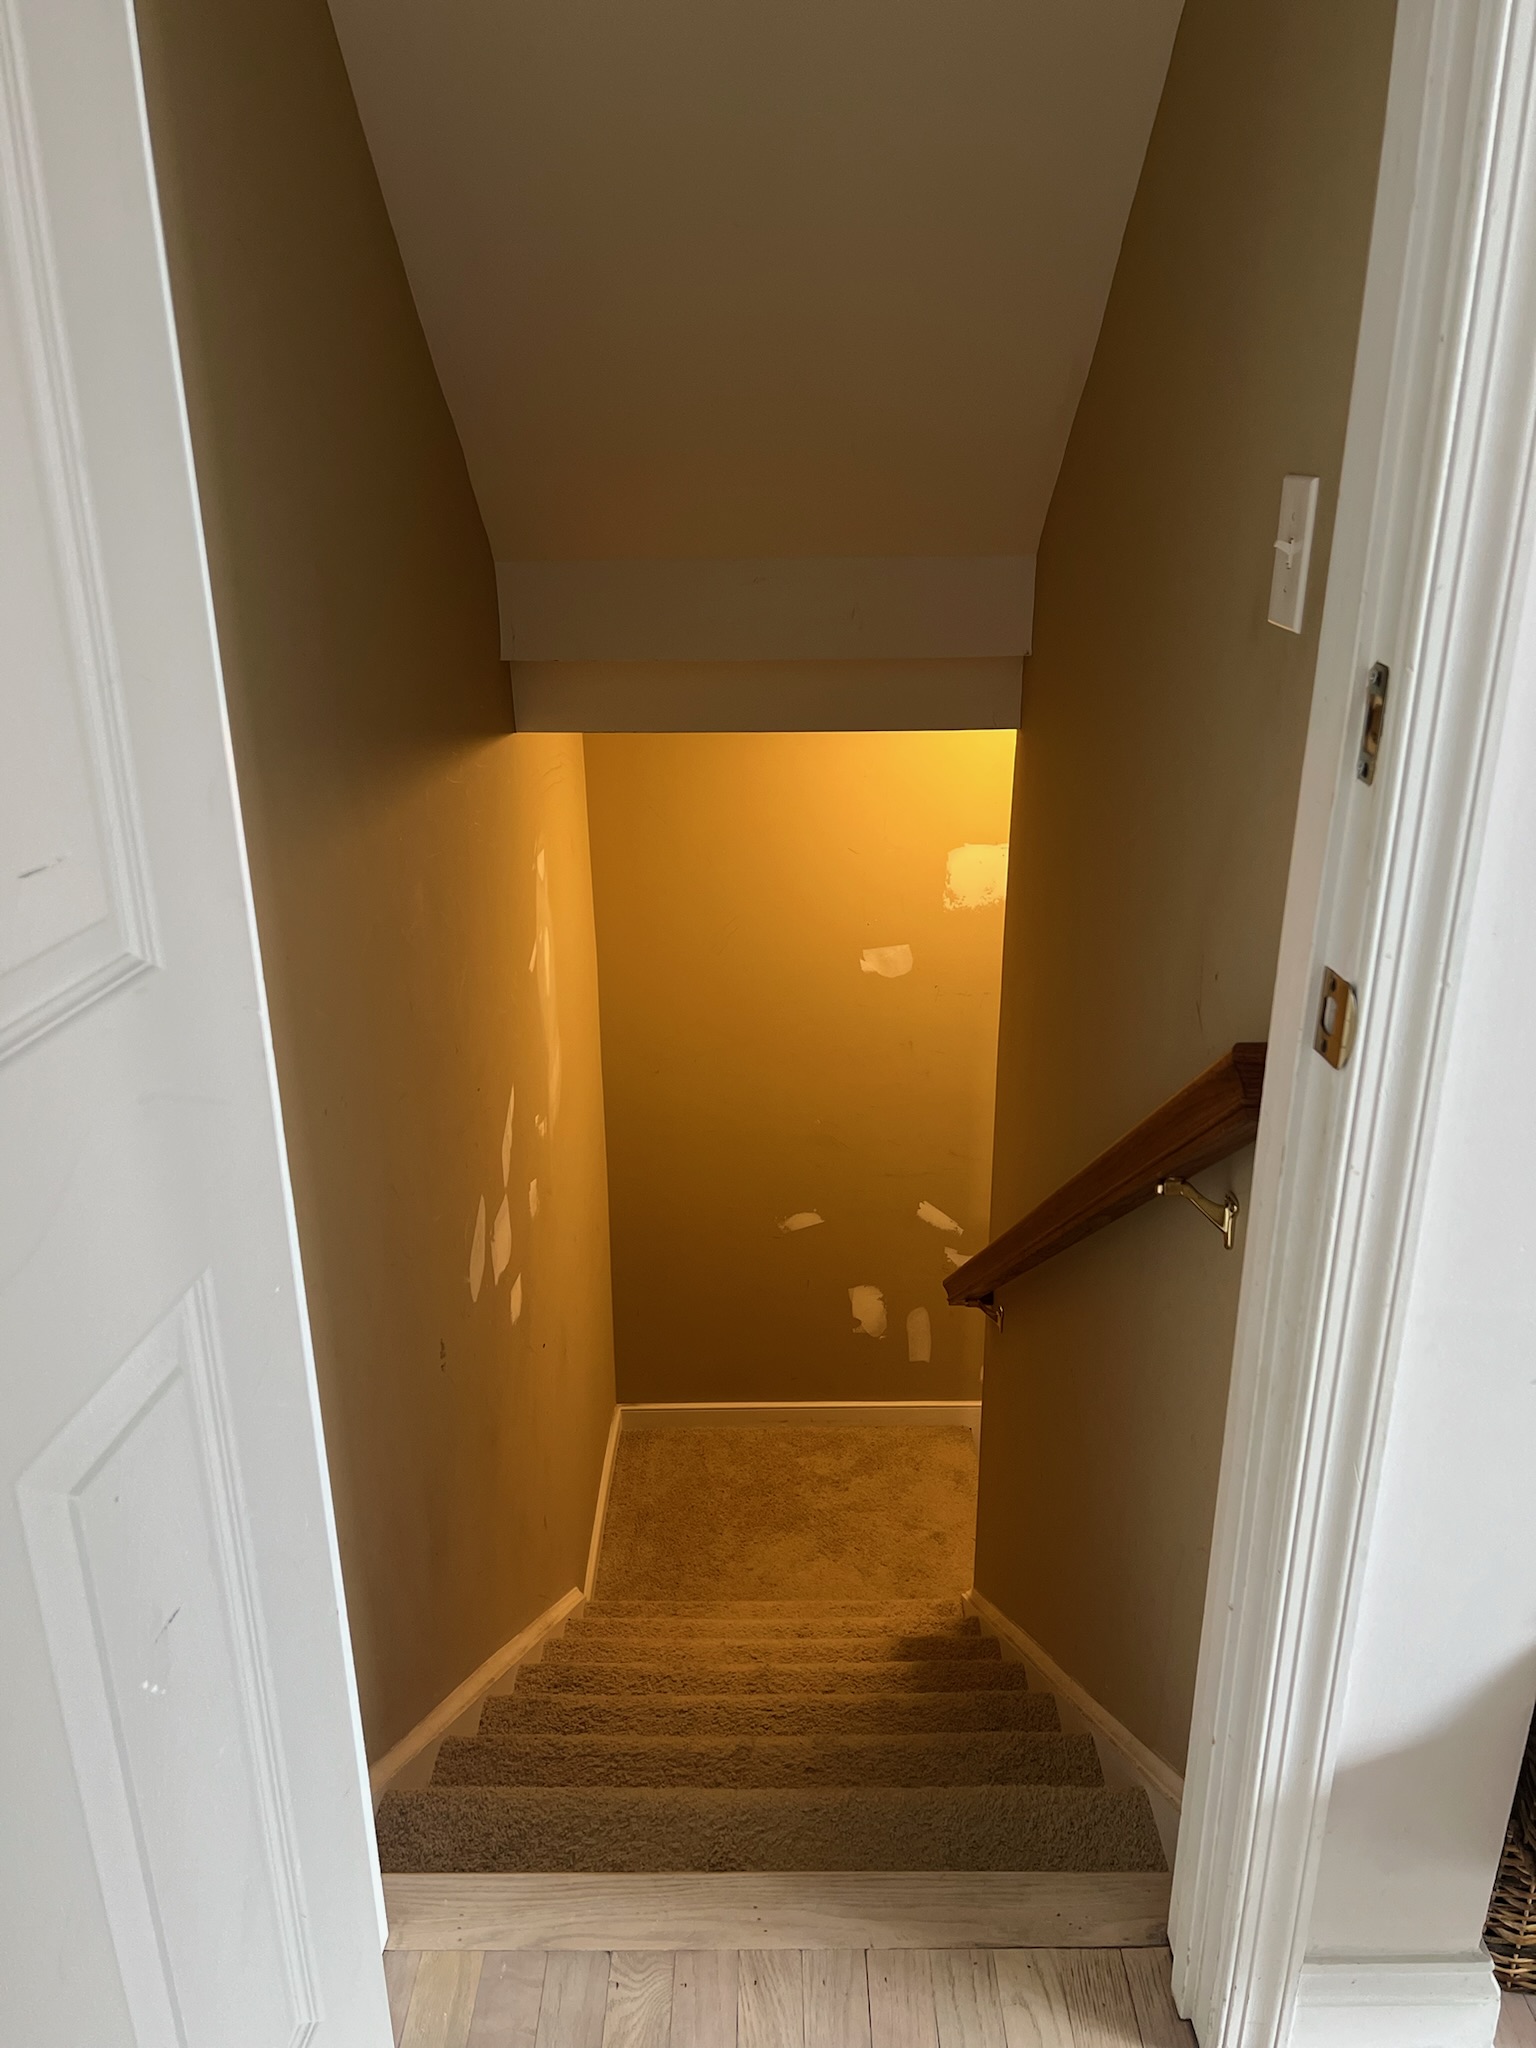
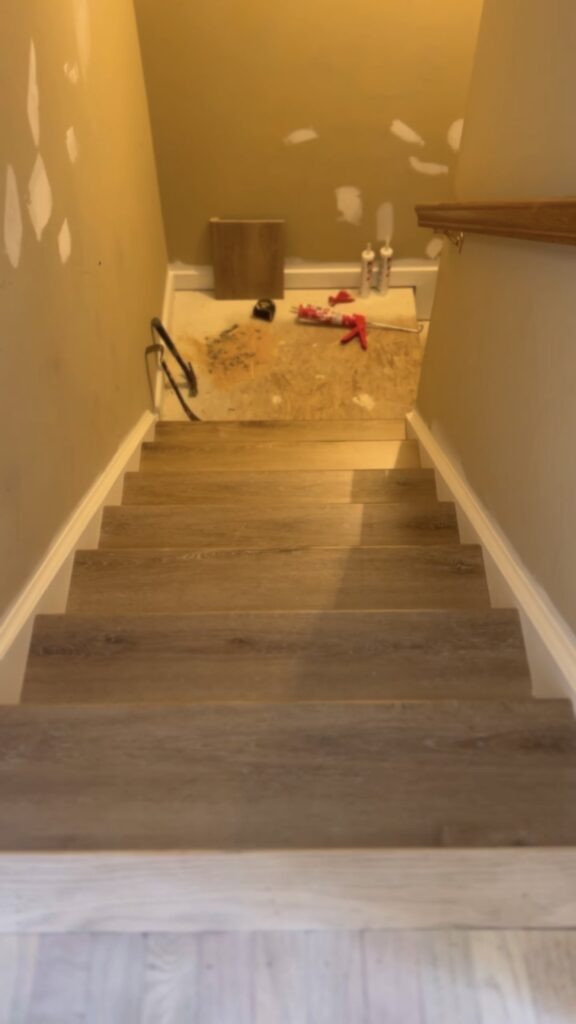
Here’s we started with:

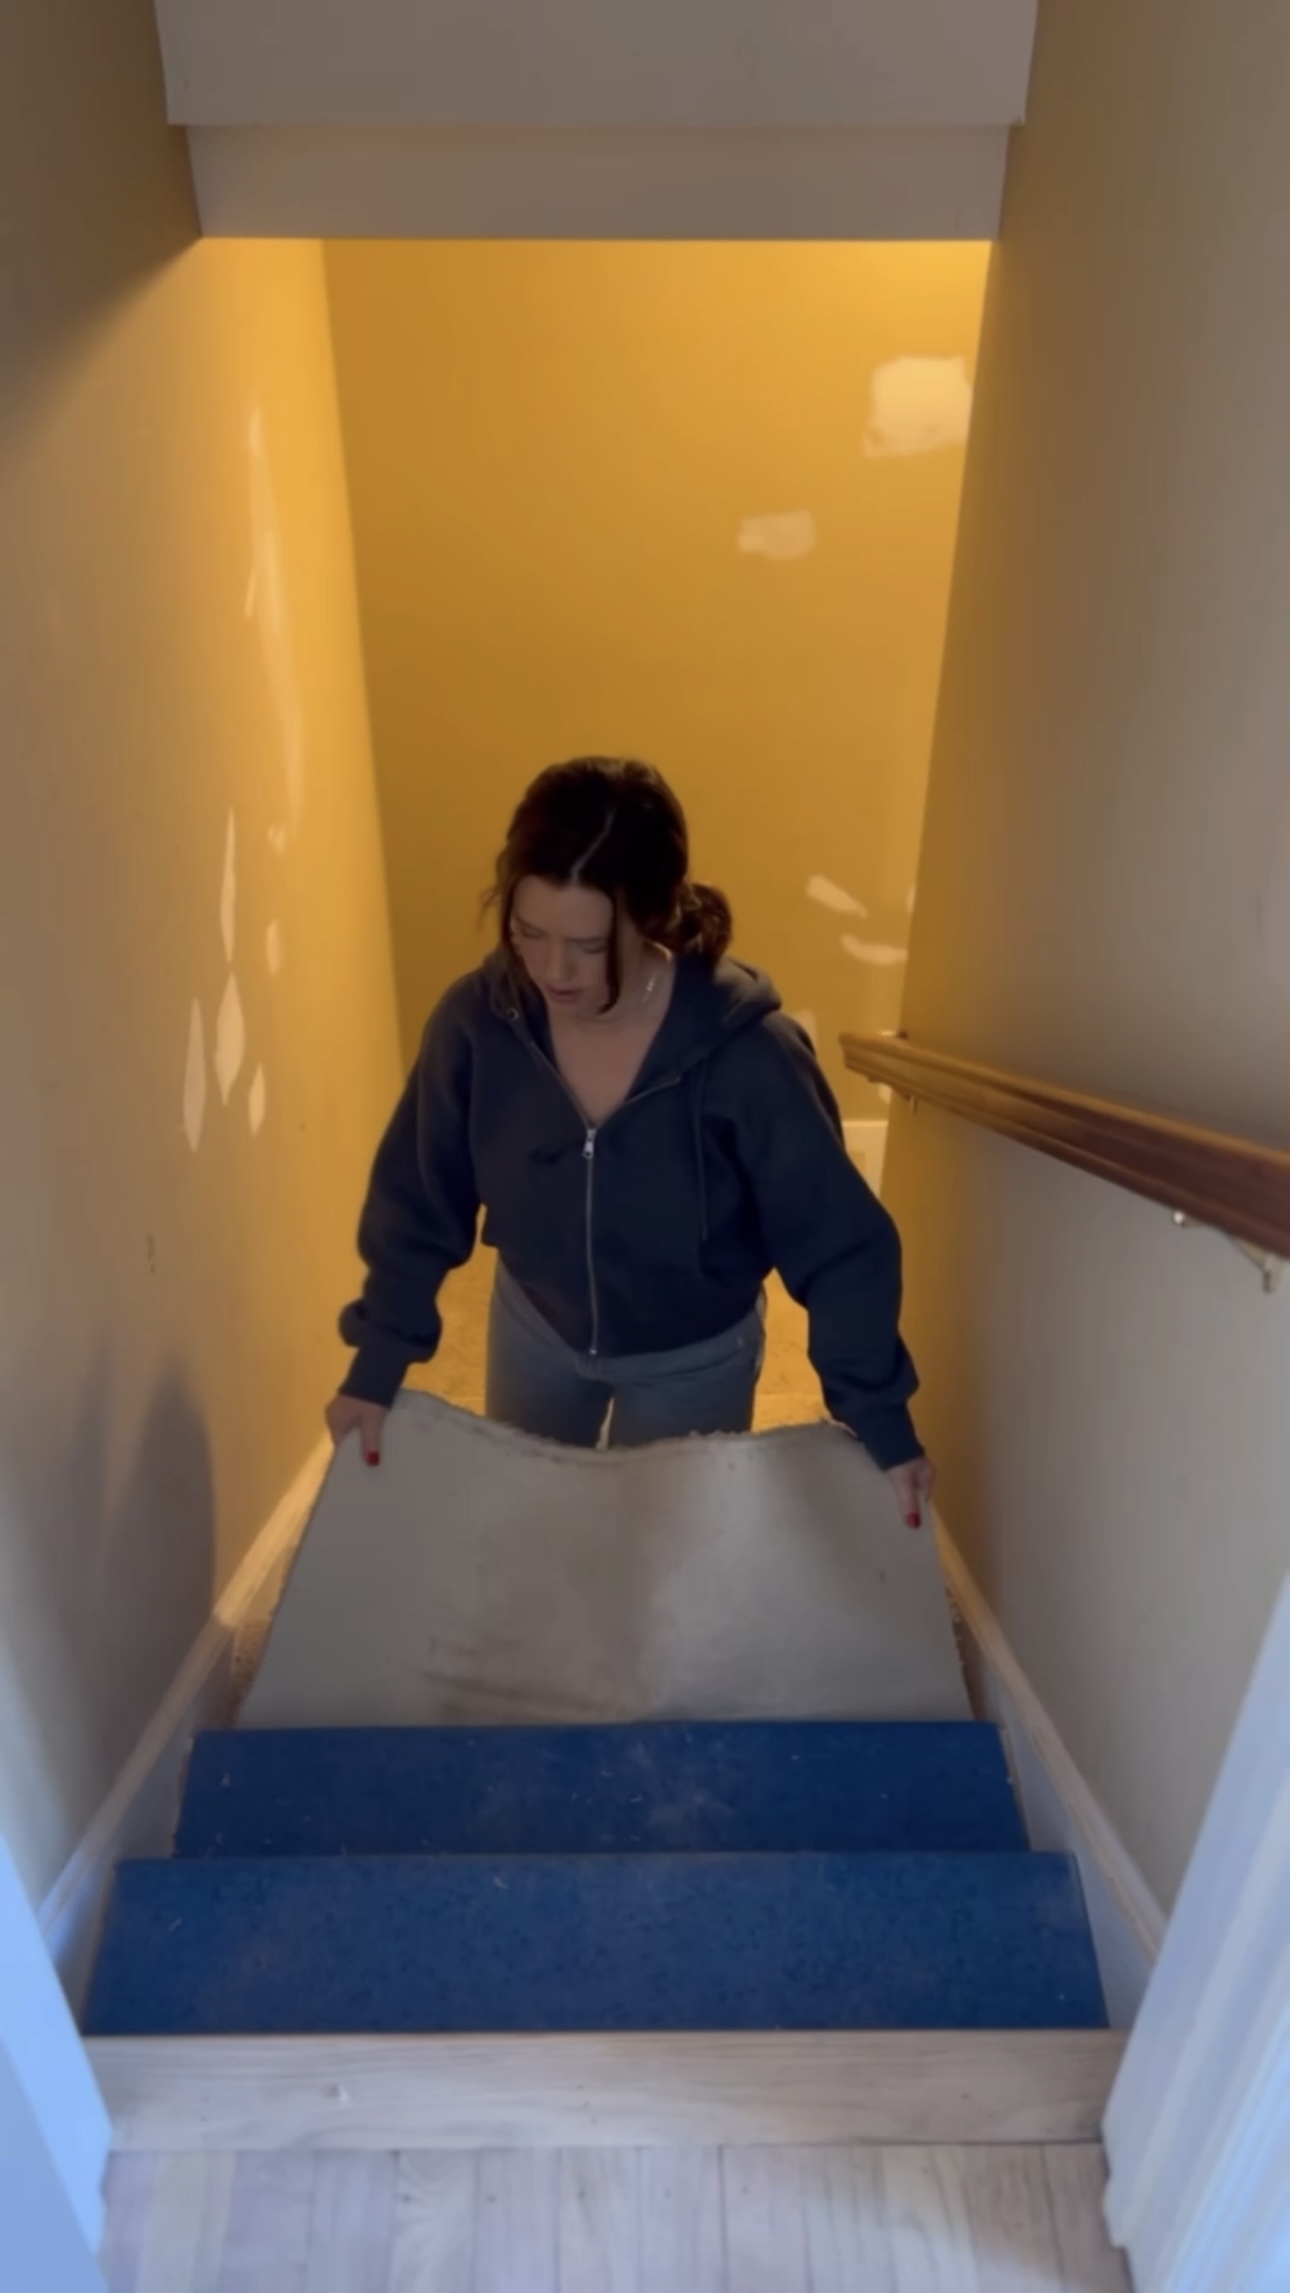
After removing all the carpet, tack strips, staples, and stair noses, it’s time to install the new steps! You can see the demo process here!
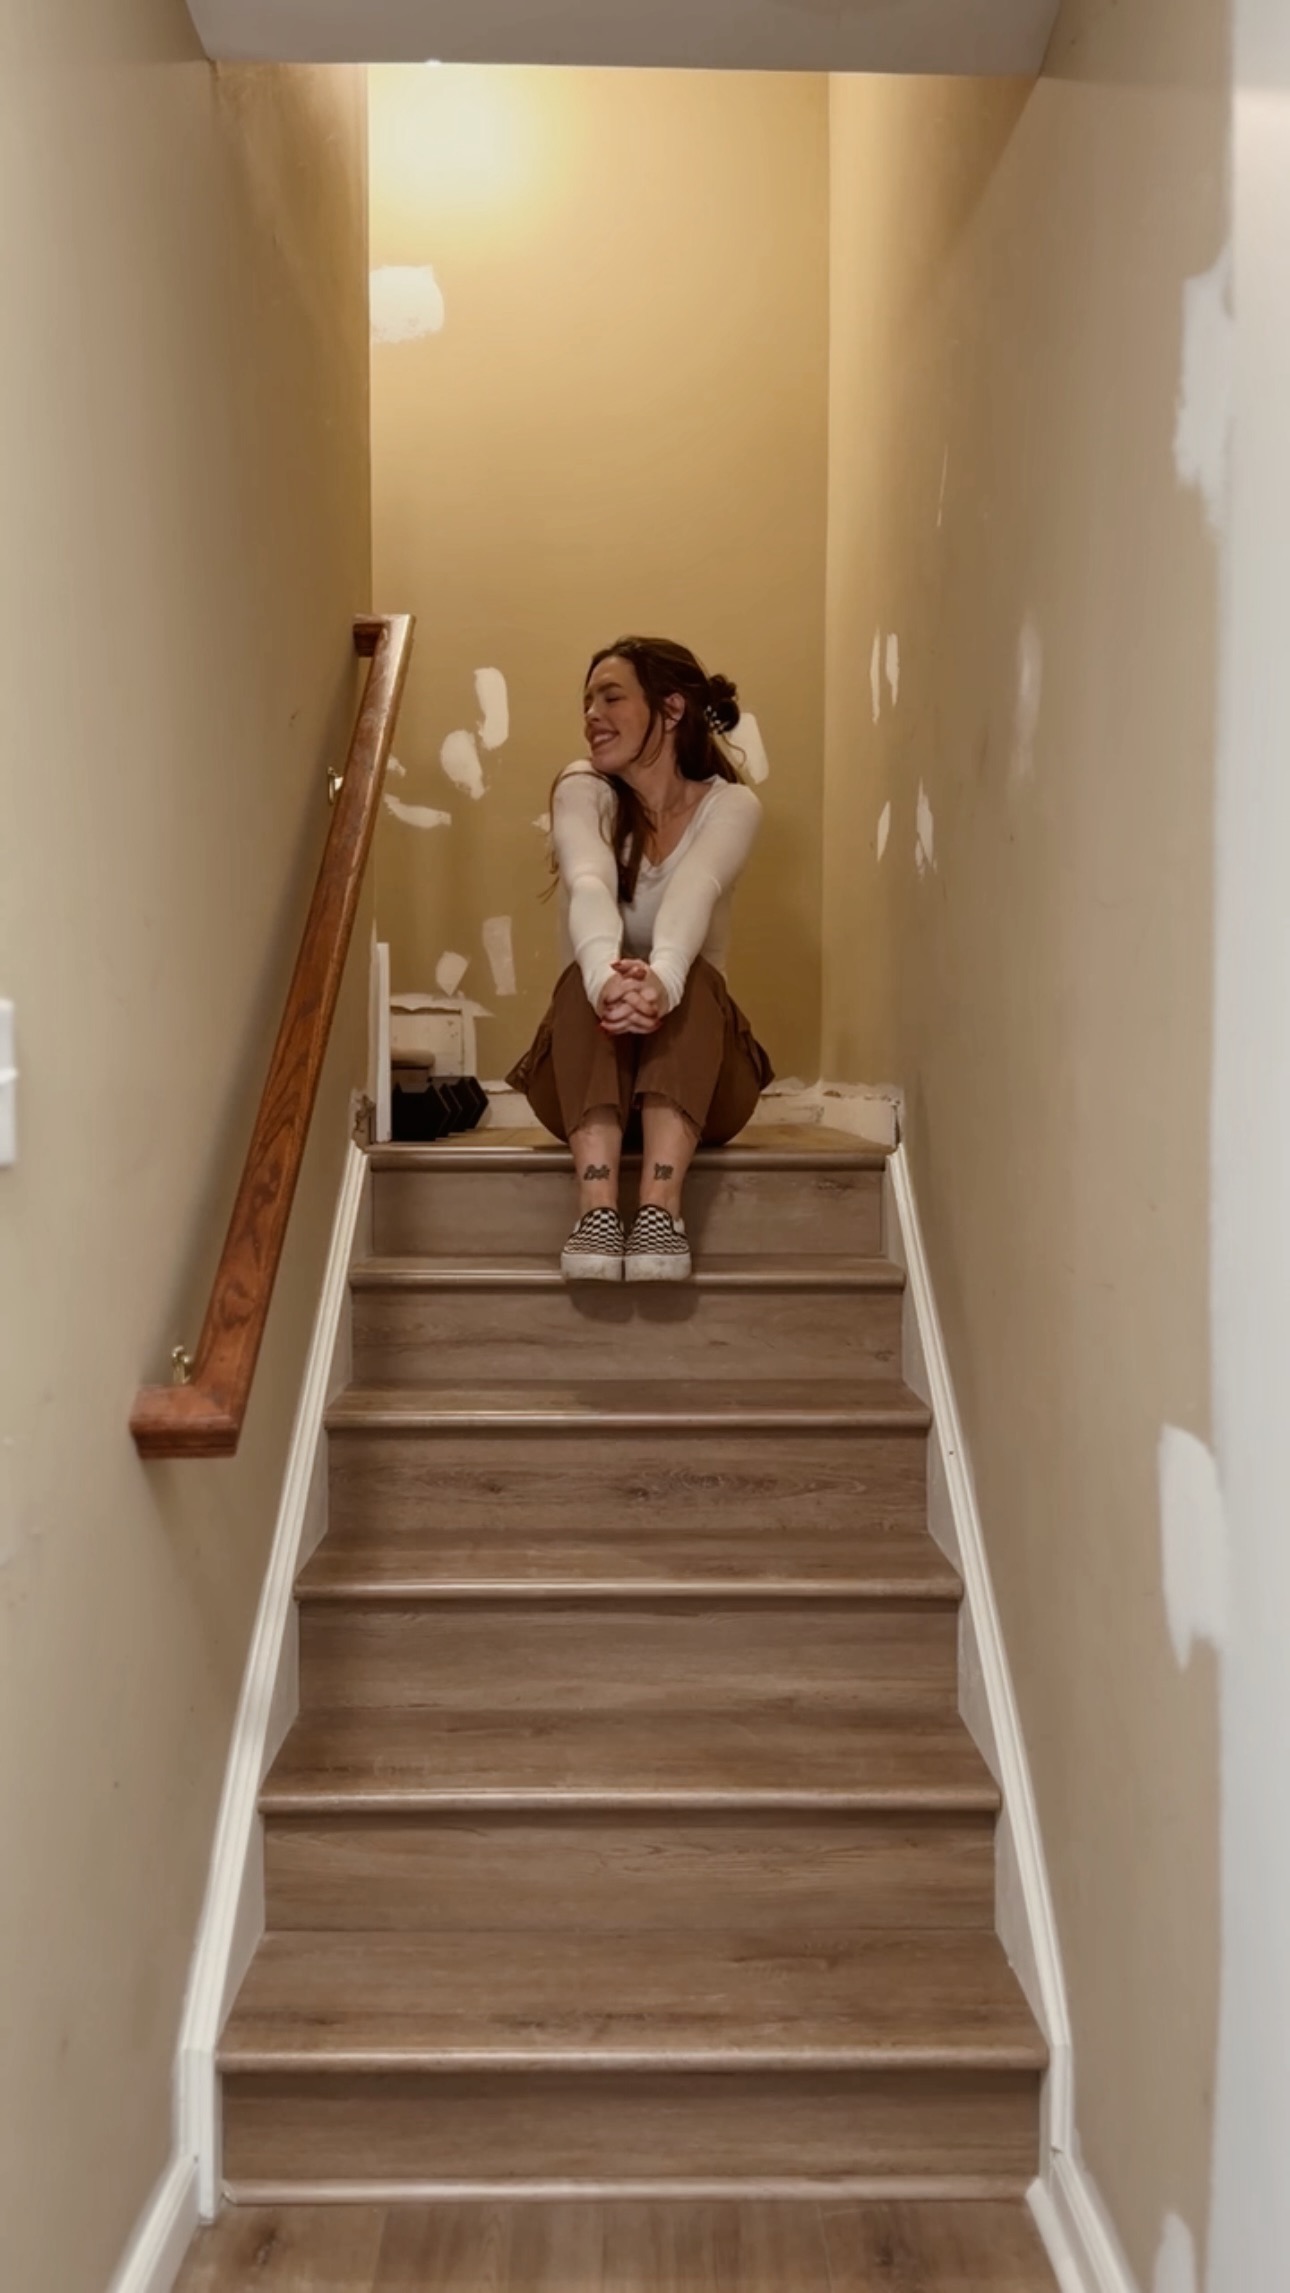
The flooring we are using is LVP by CALI. The color is Golden Hour Oak. We are using the same basement flooring that I installed last year
*This post may contain affiliate links, which means I may earn a small commission if you purchase through my links, at no extra cost to you. I only share products I genuinely love.
A Fresh Coat of Paint
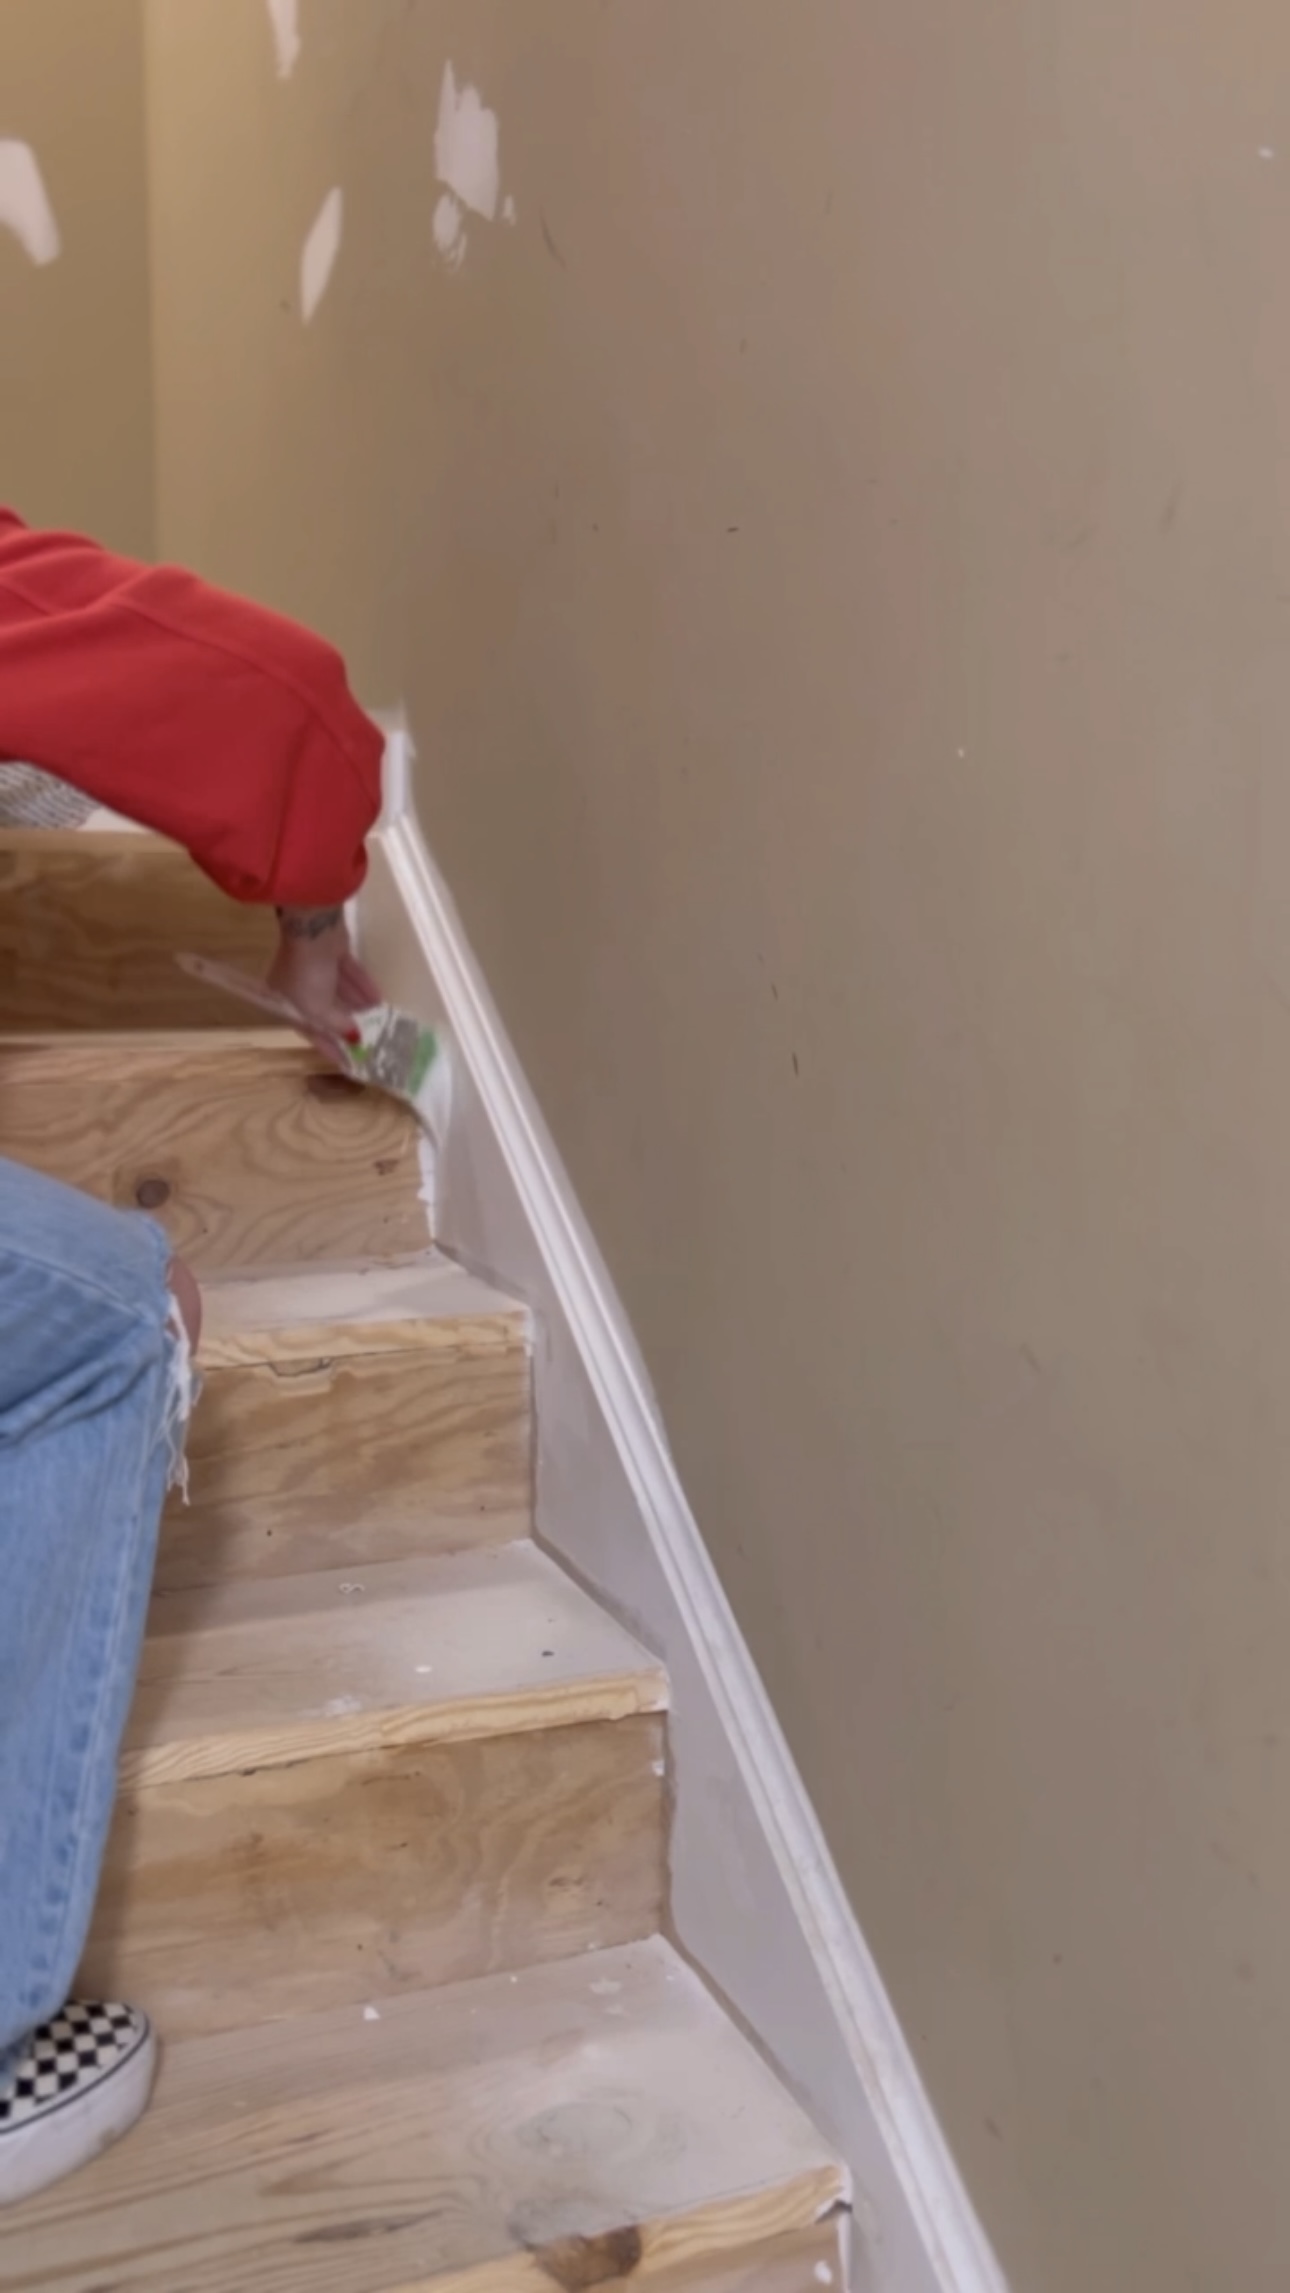
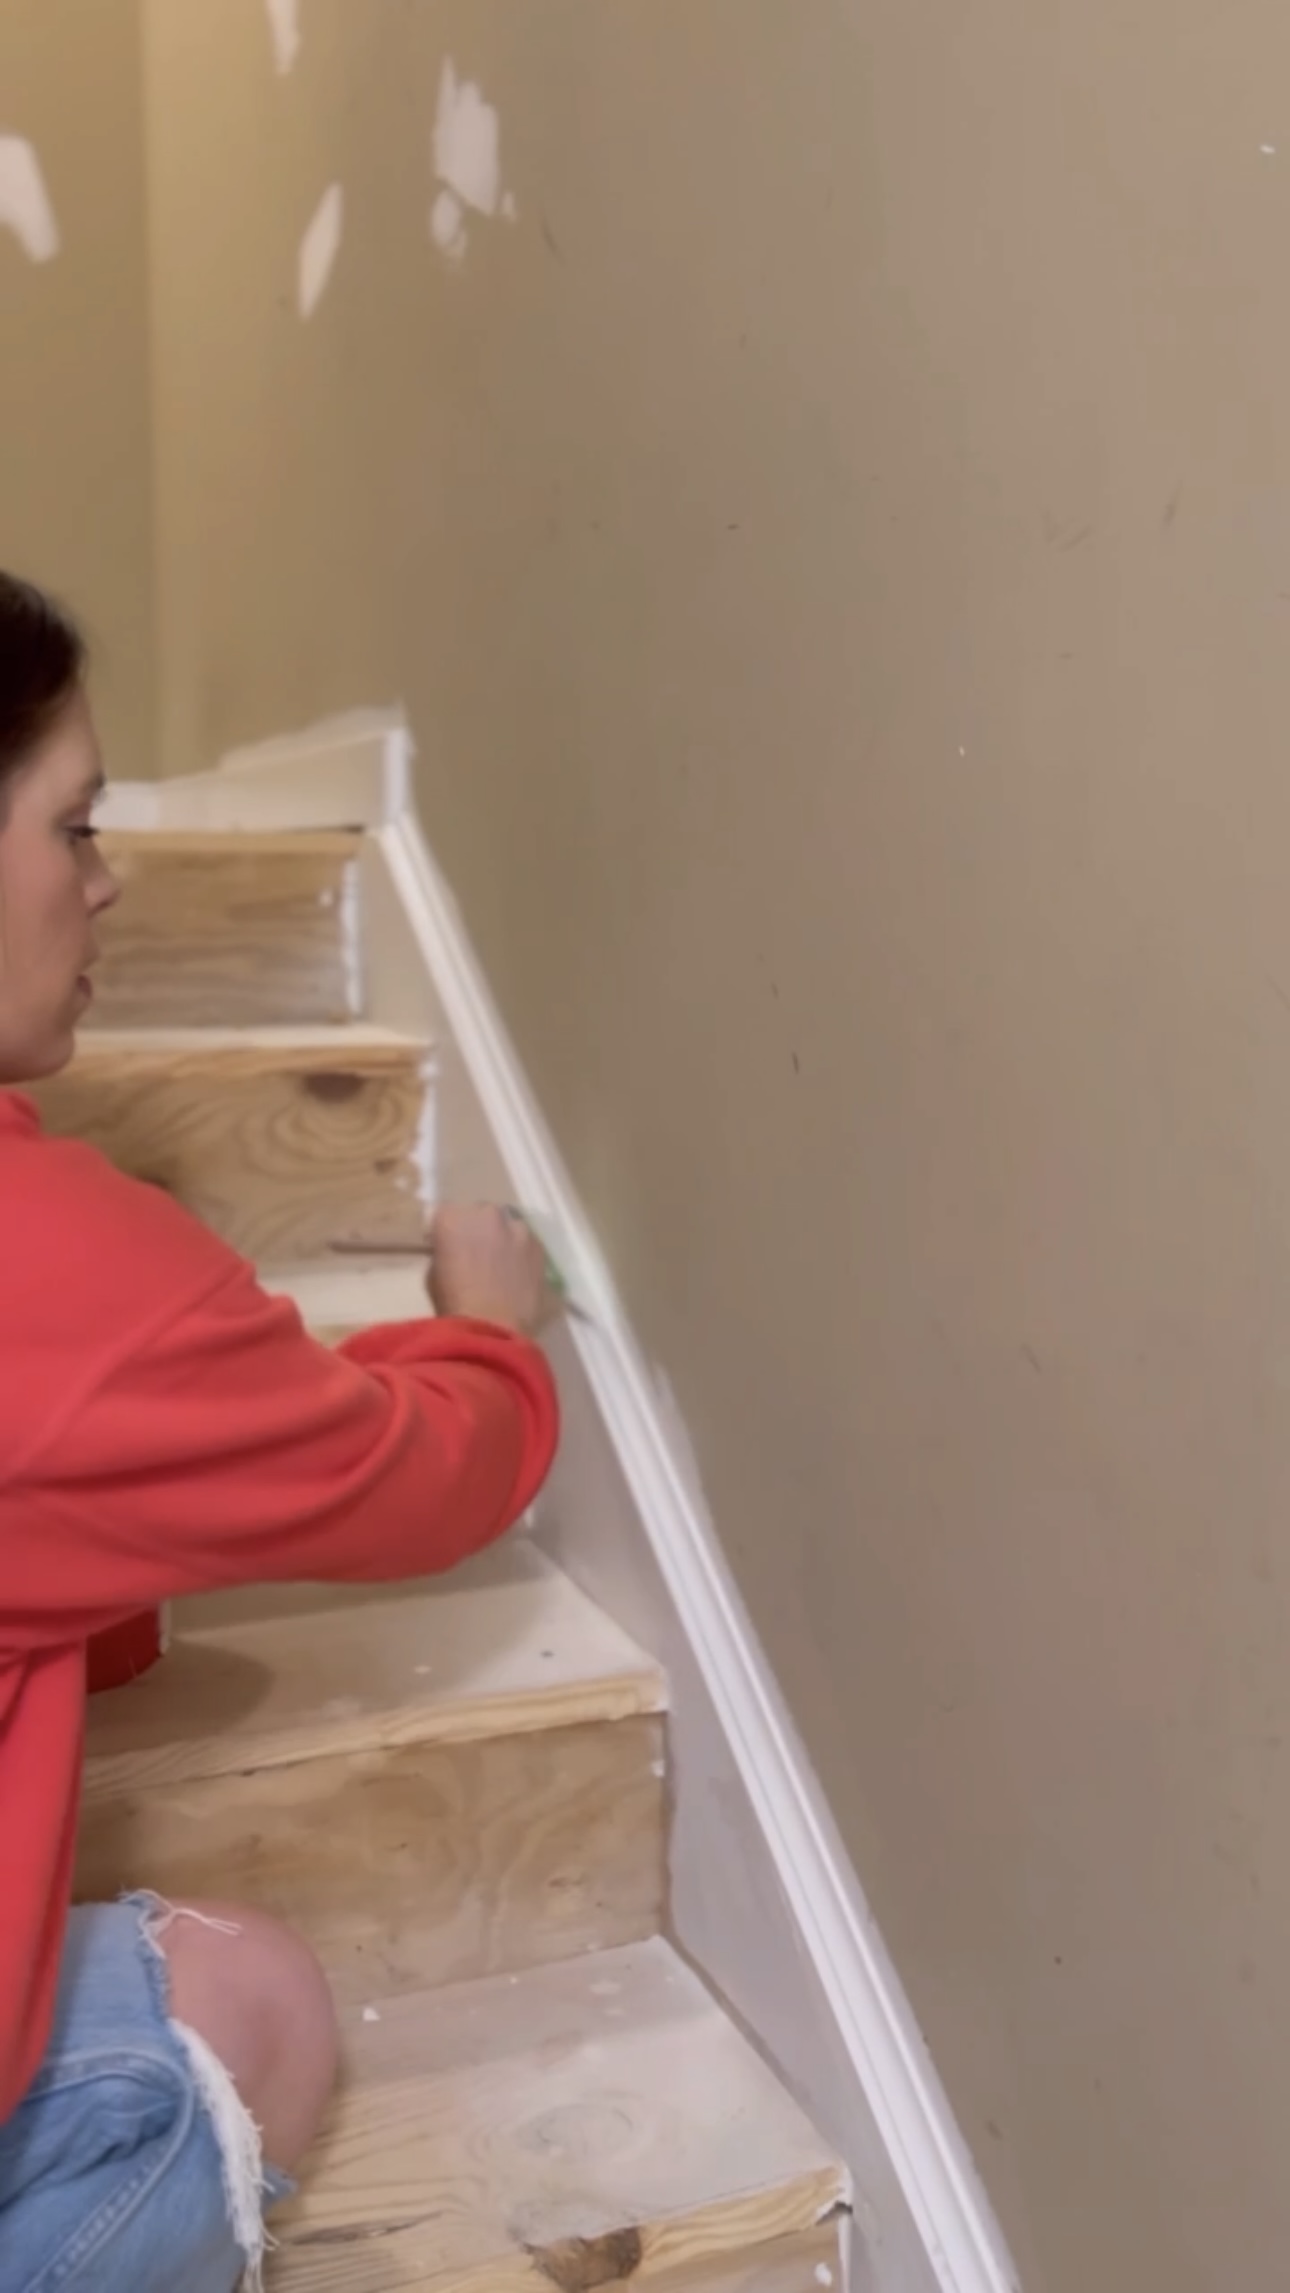
Before I started installing the new stairs, I gave the stair baseboards a fresh coat of paint so I don’t have to tape off the steps later. I’m using Swiss Coffee by Behr.
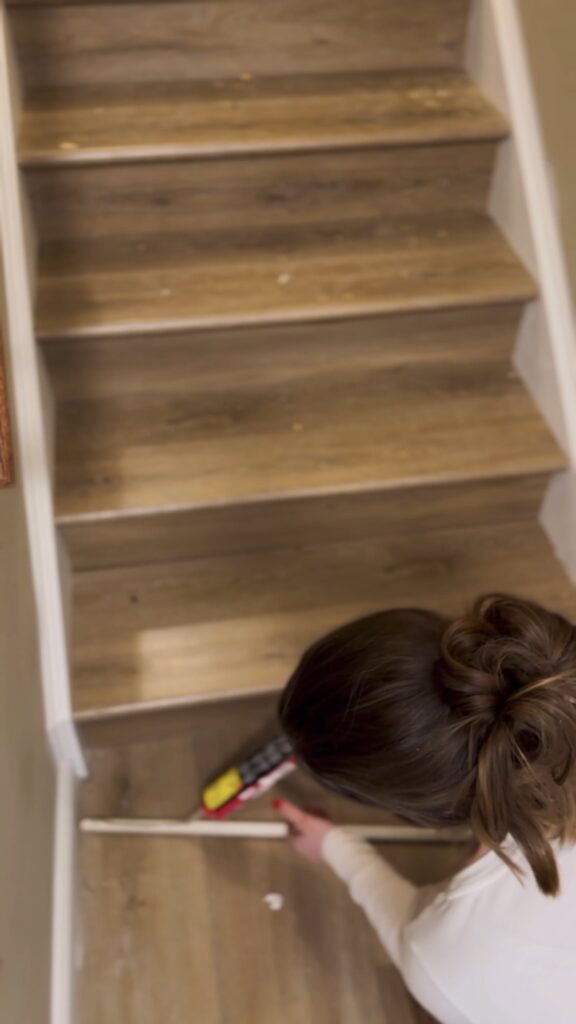
Stair Risers
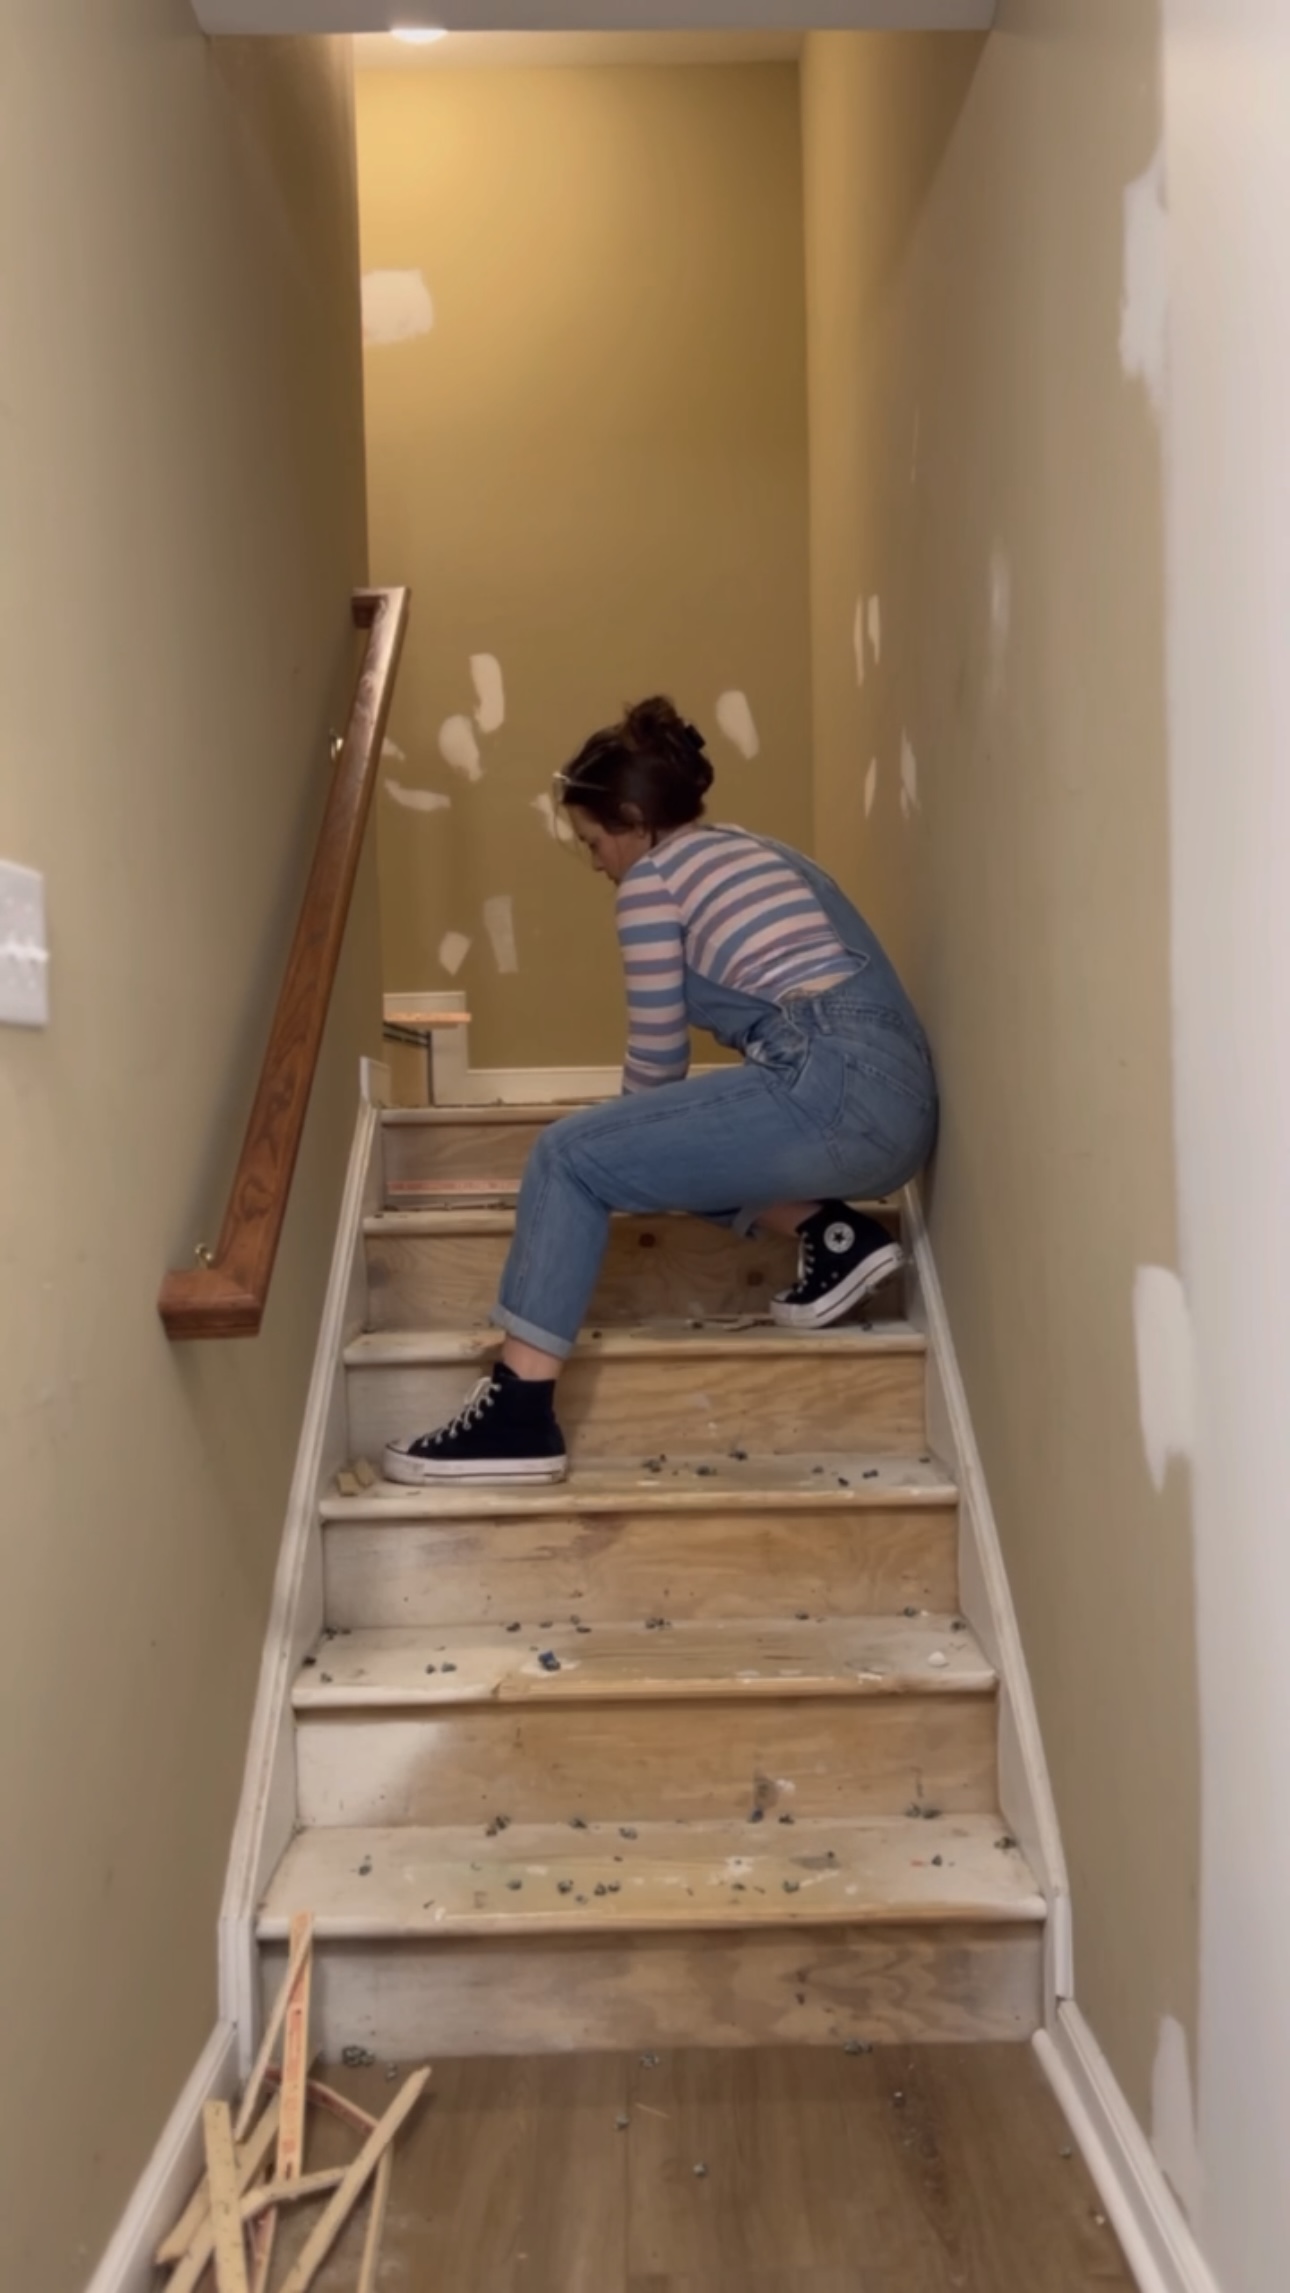
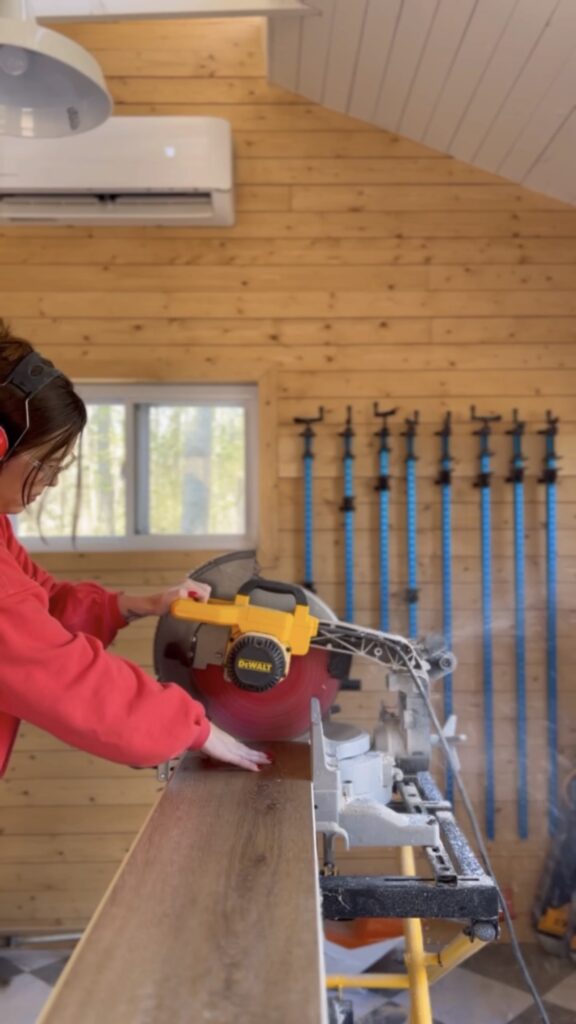
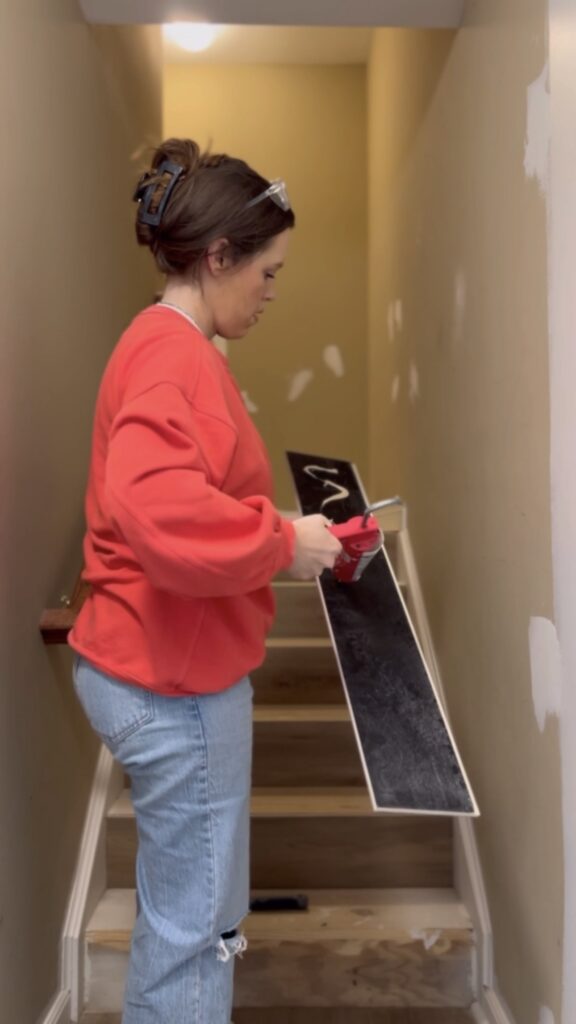
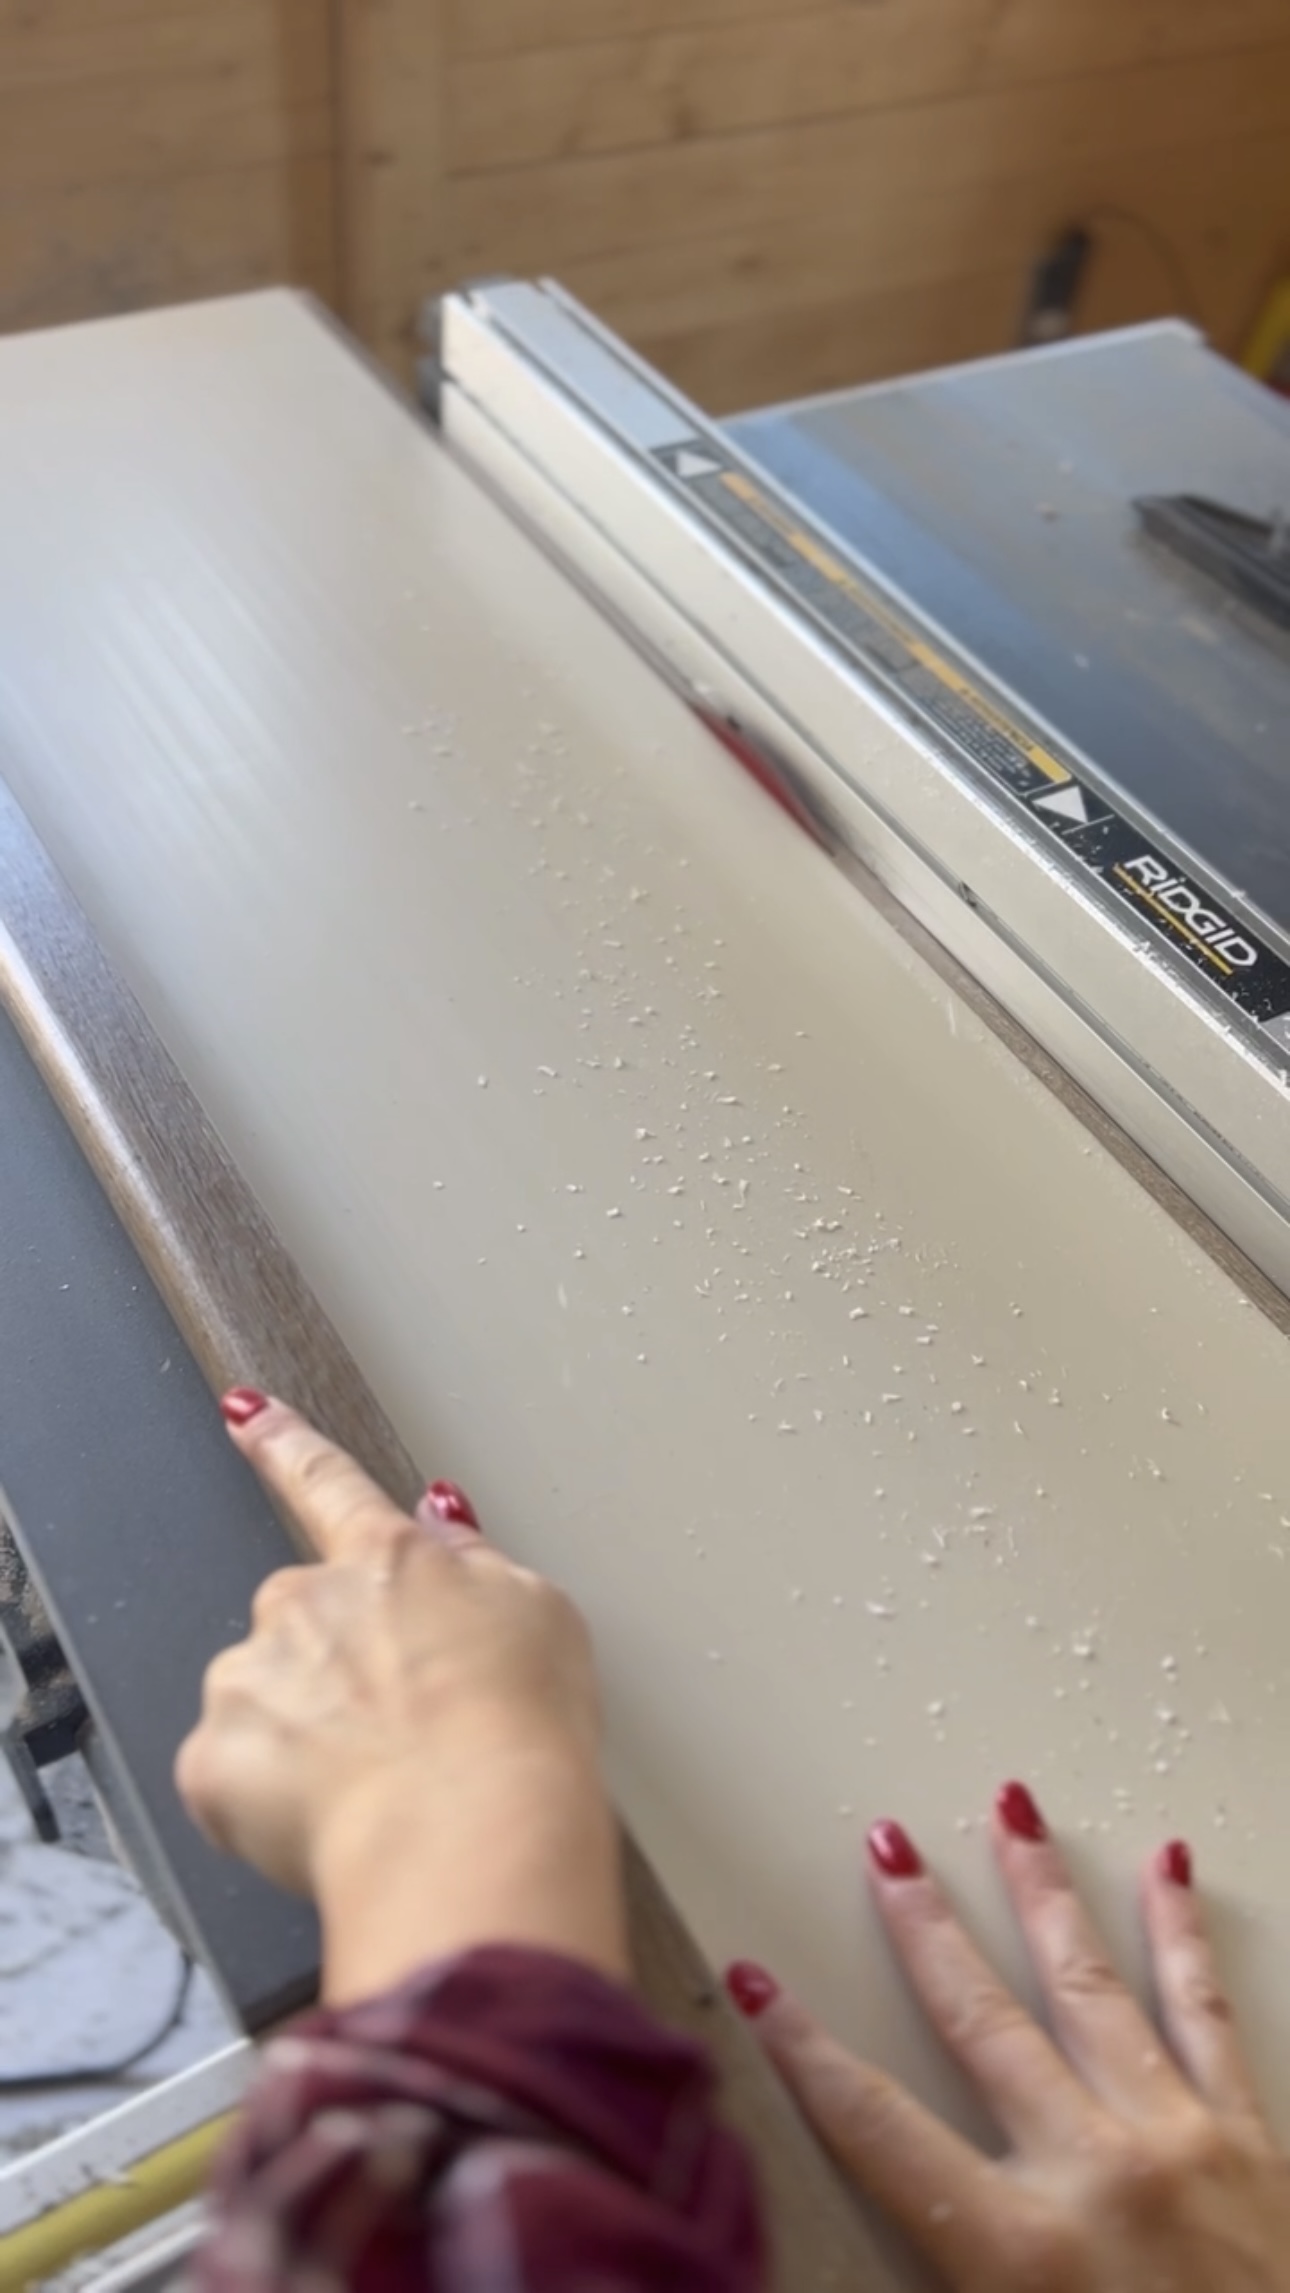
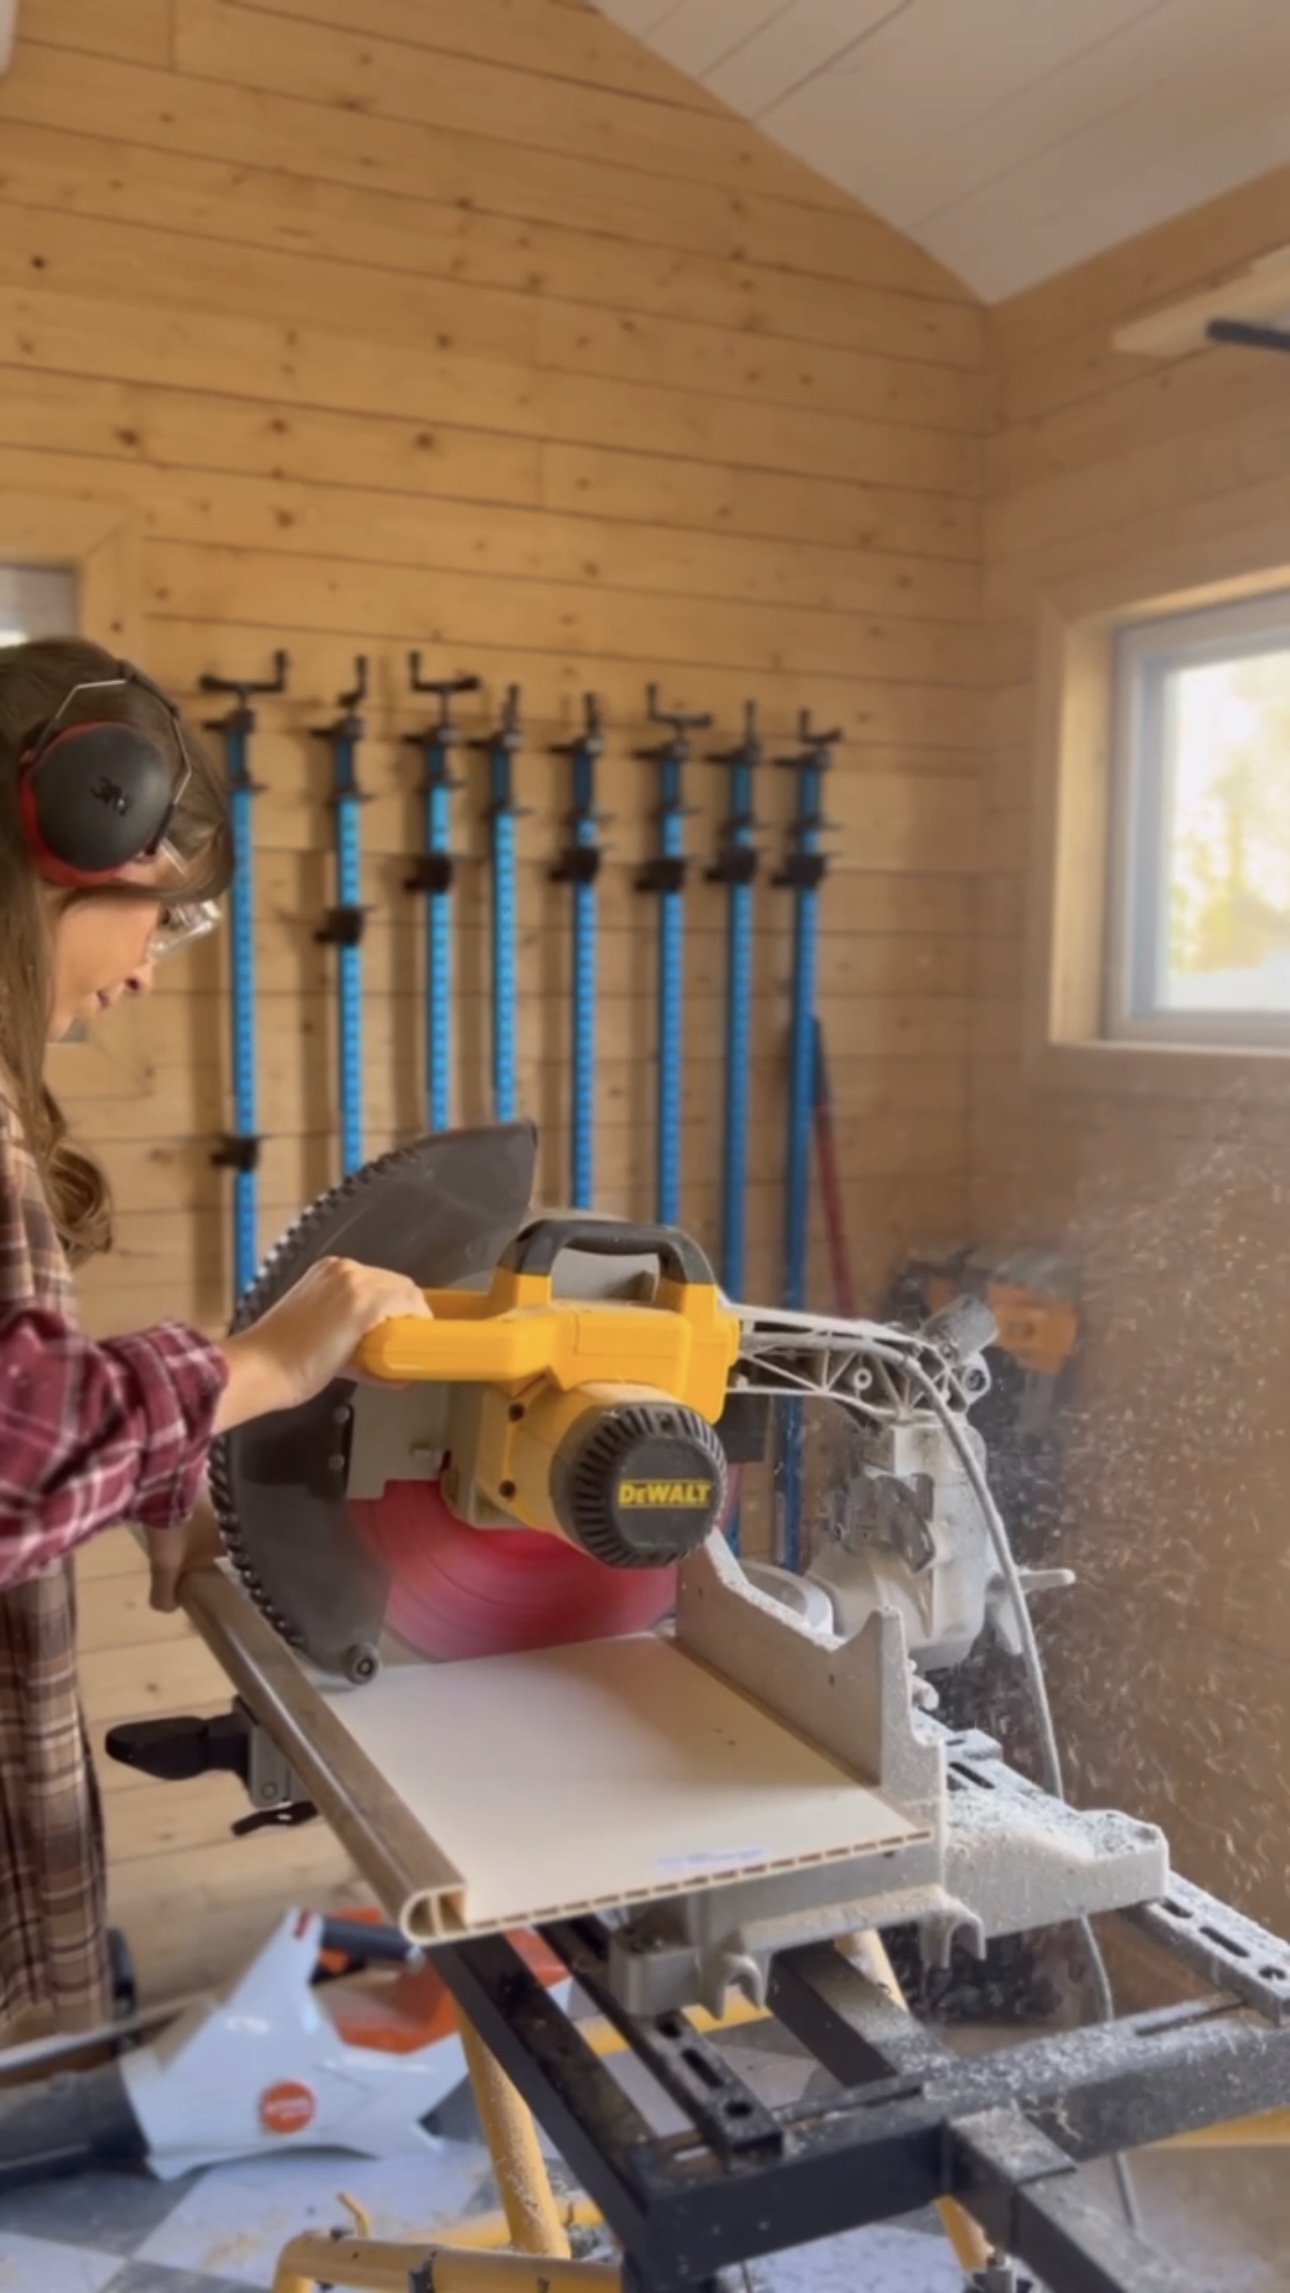
I’m using my leftover floor boards for the stair risers, just cutting some length off with my miter saw for length, and table saw for width!
Next, I just put some flooring adhesive on the back side of the risers and pop them on!
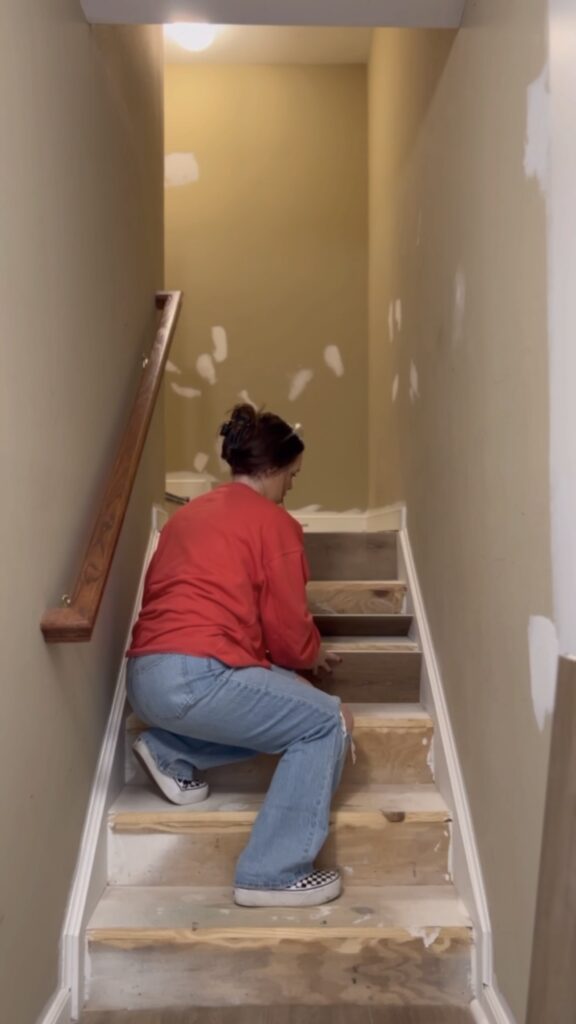
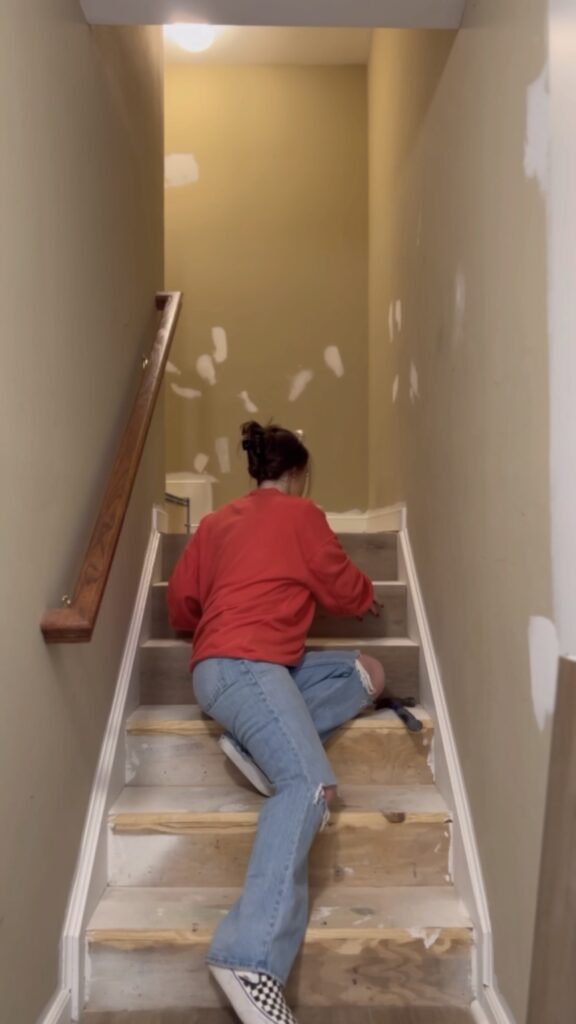
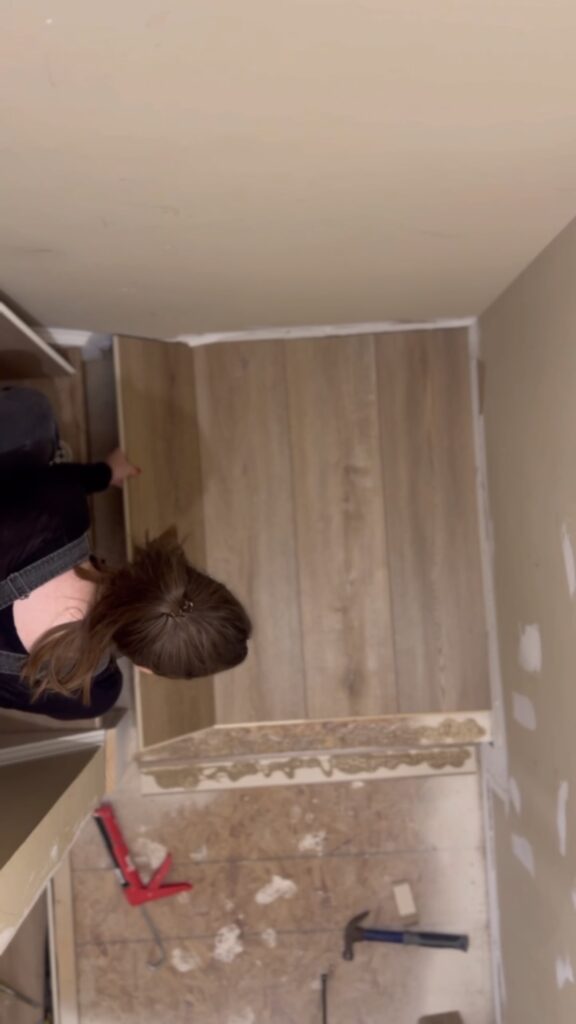
Stair Treads
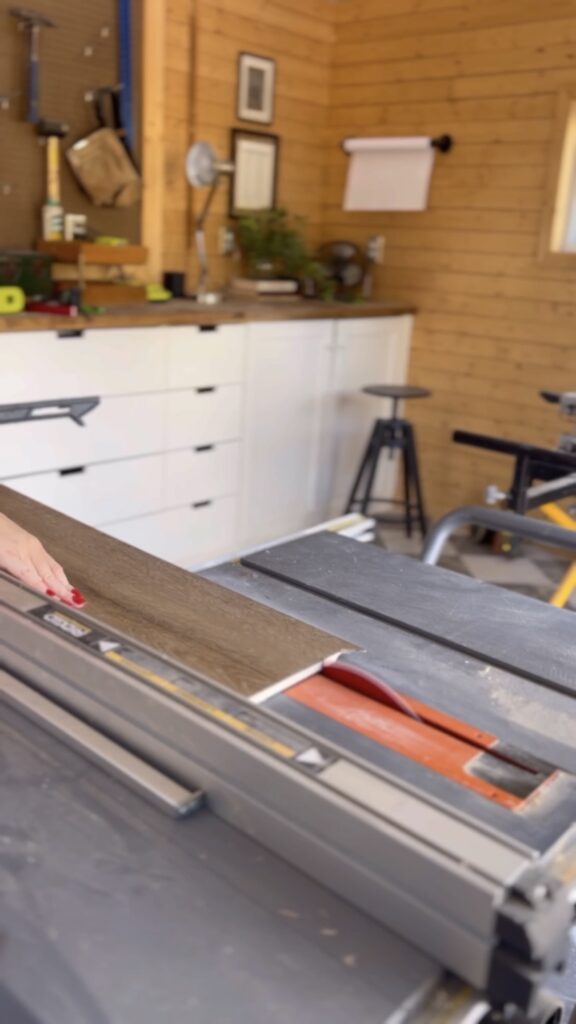
I repeated the same process with the new stair treads. I cut them down to the correct length with my miter saw and then ran them through the table saw to shave off a little bit of width!
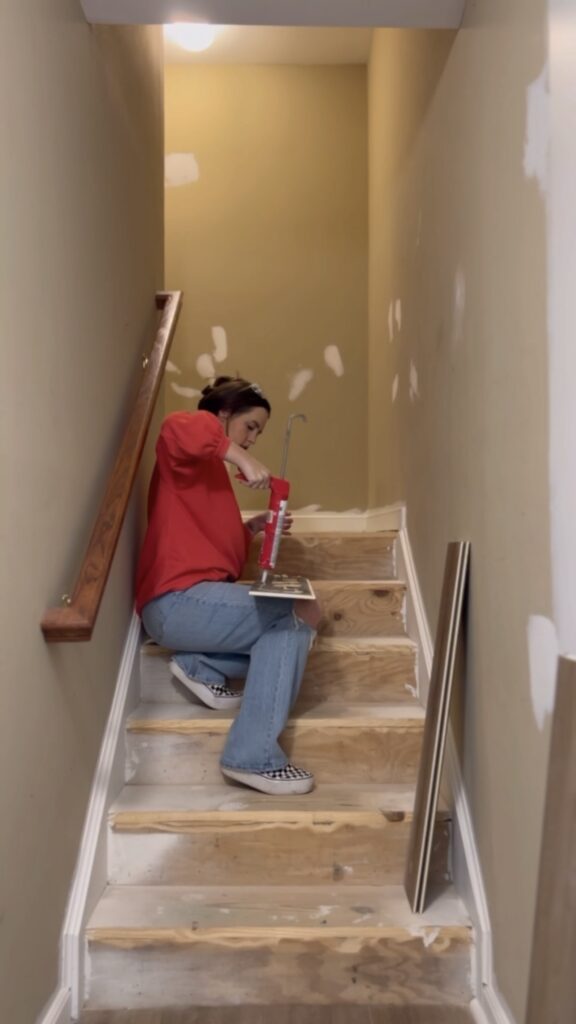
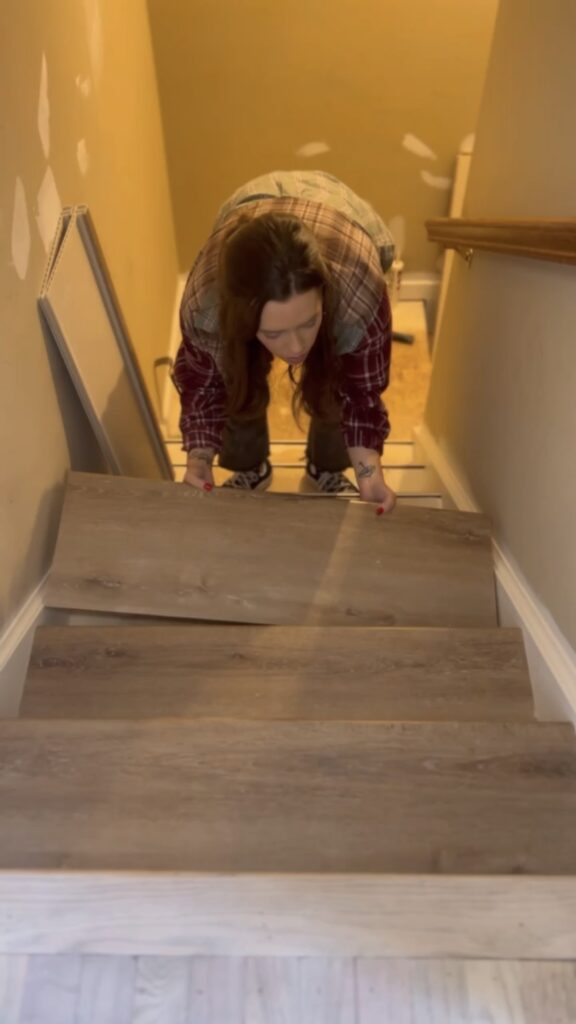
Once they were all cut to size, I did a dry fit before I glued anything down. Then, I installed these like my floor risers, with some flooring adhesive.
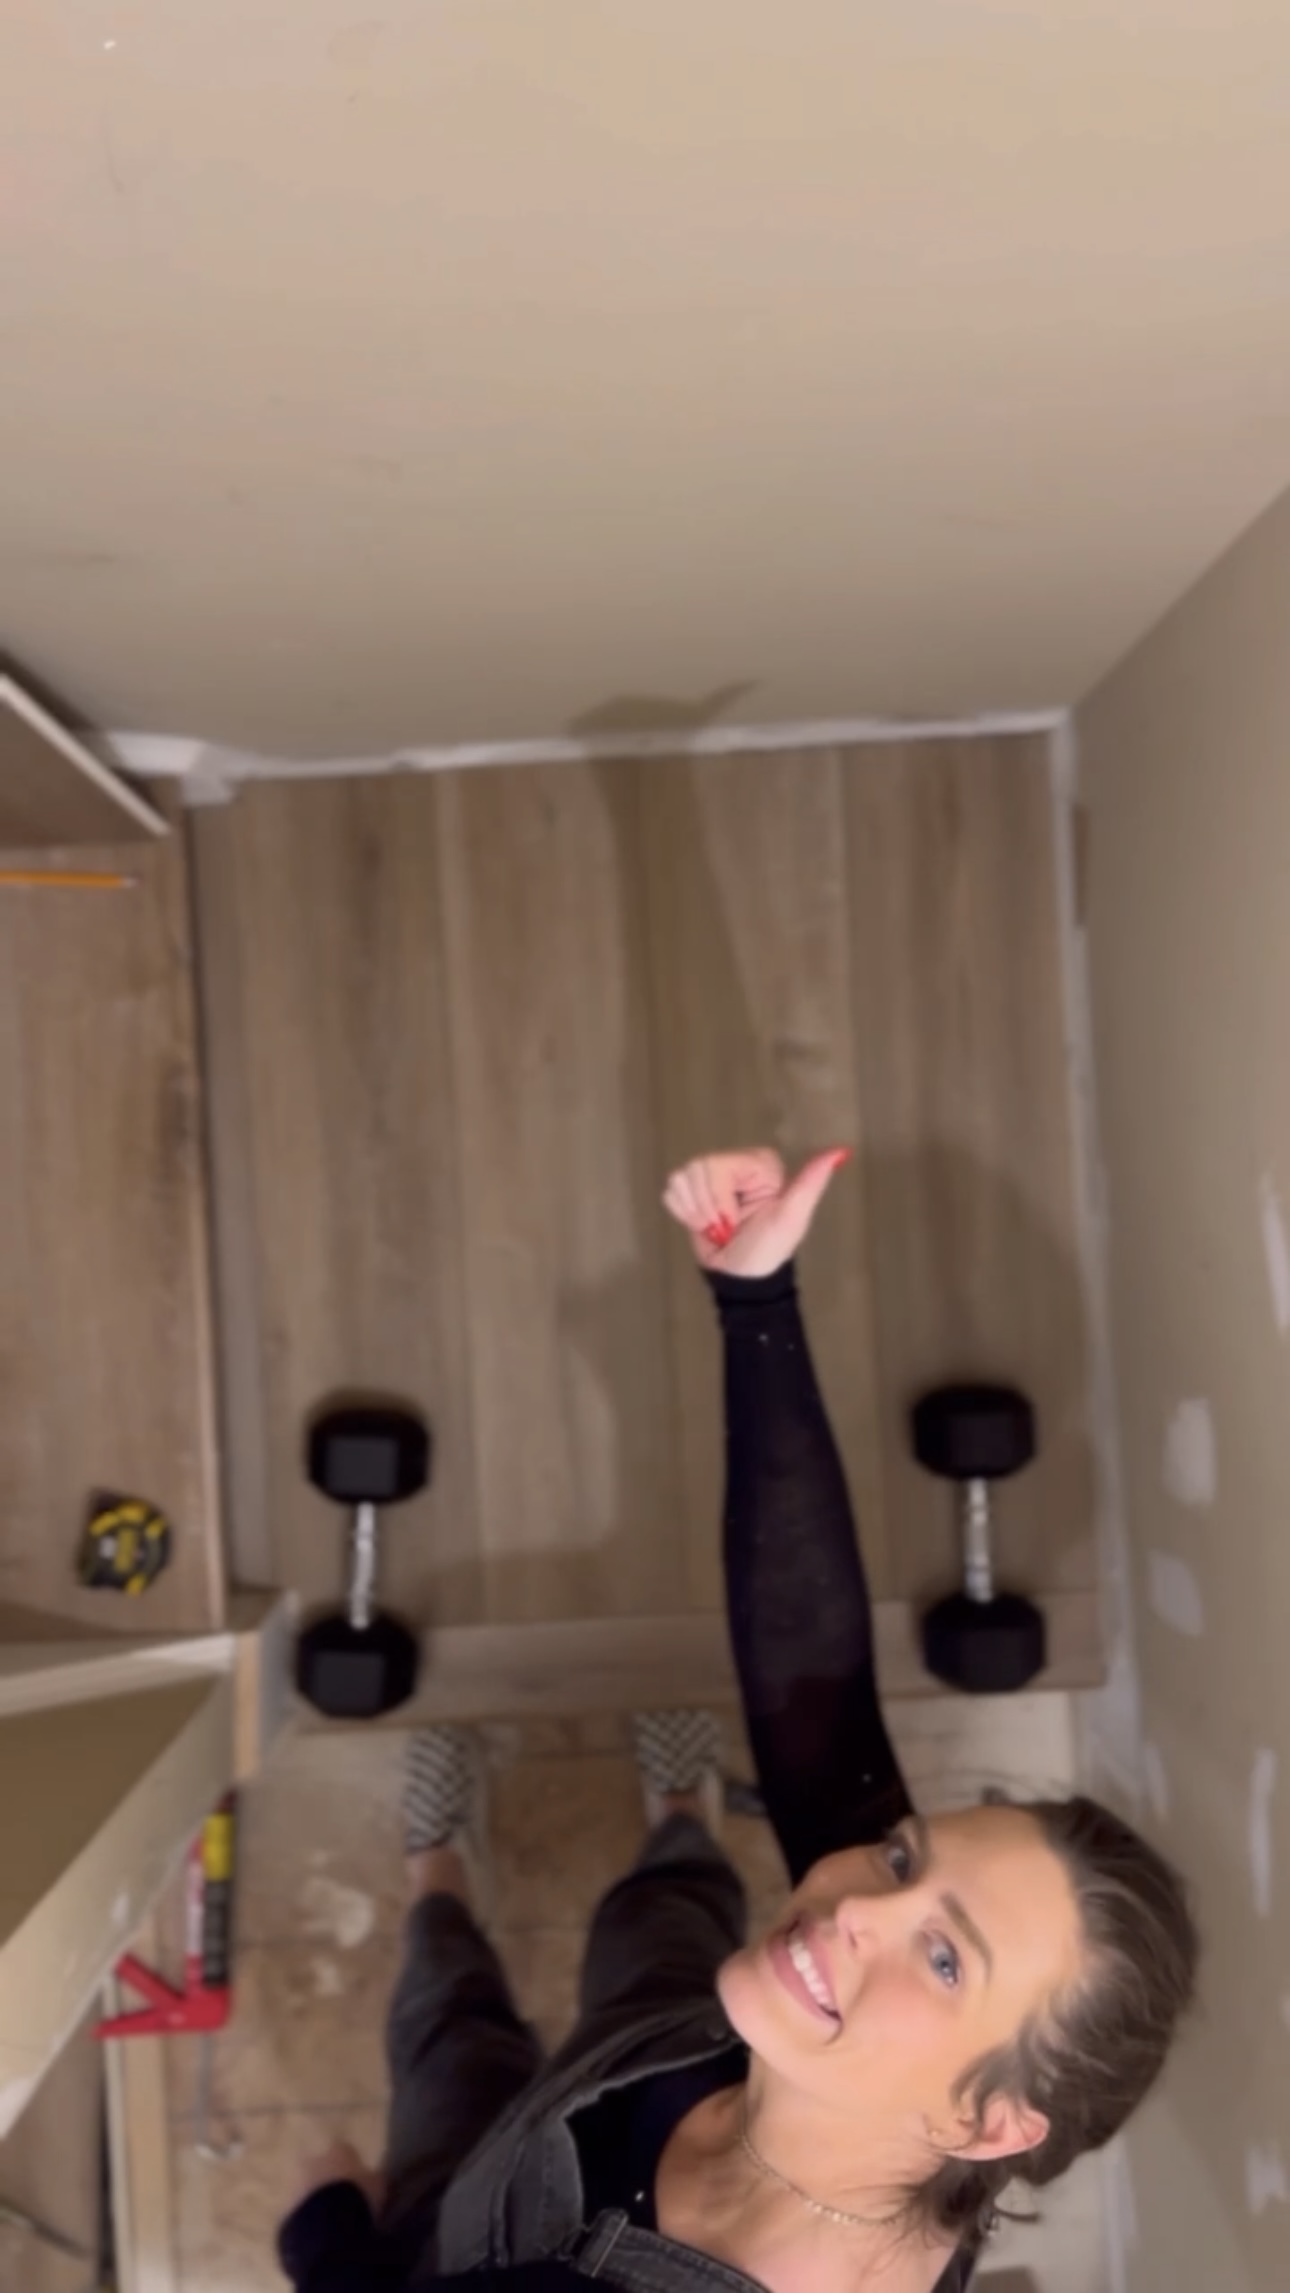
Again, this flooring is called Golden Hour Oak LVP by Cali. It’s SO beautiful and such high quality. Now that all the steps are finished, I just need to add flooring to the landing!
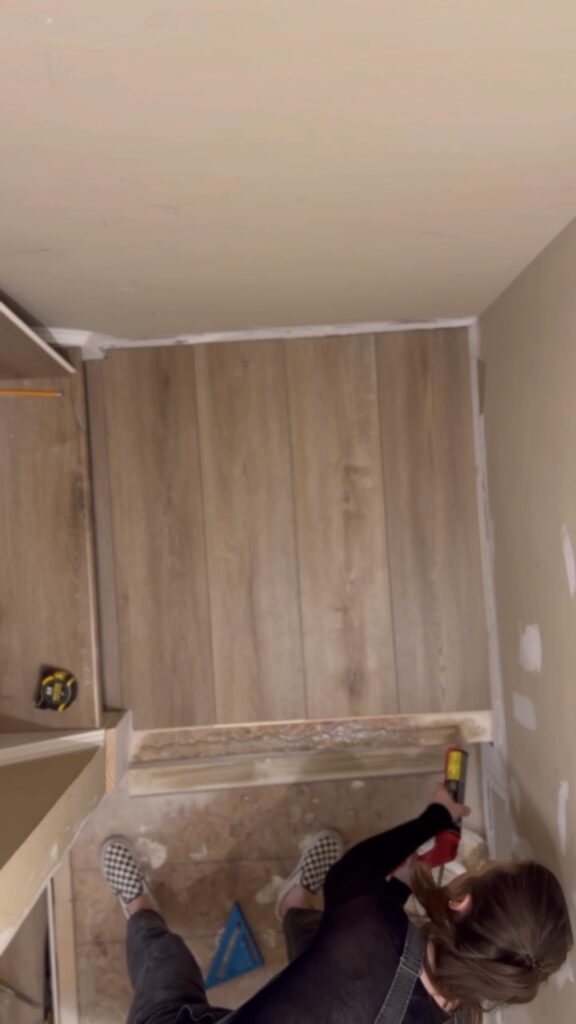
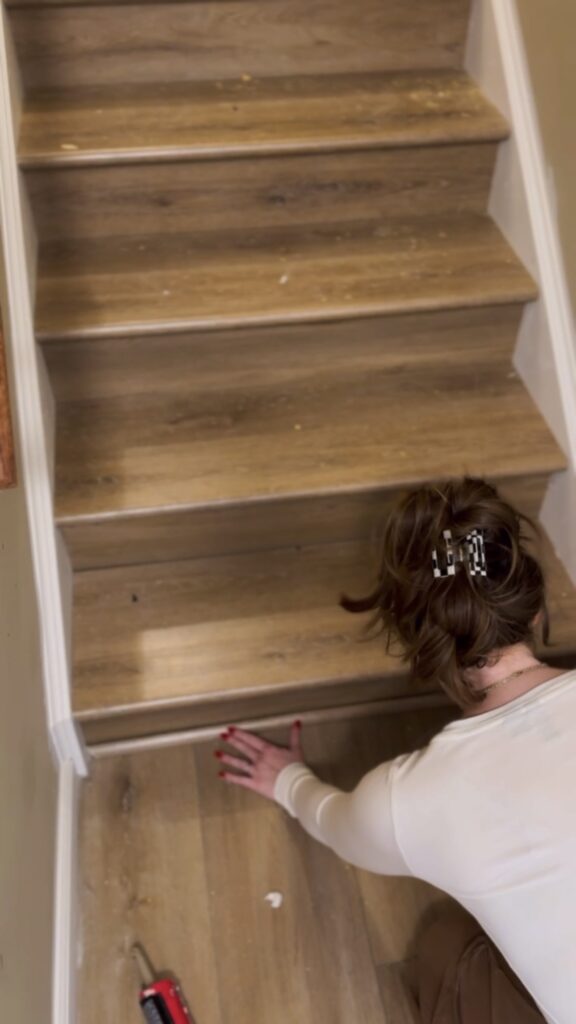
Landing
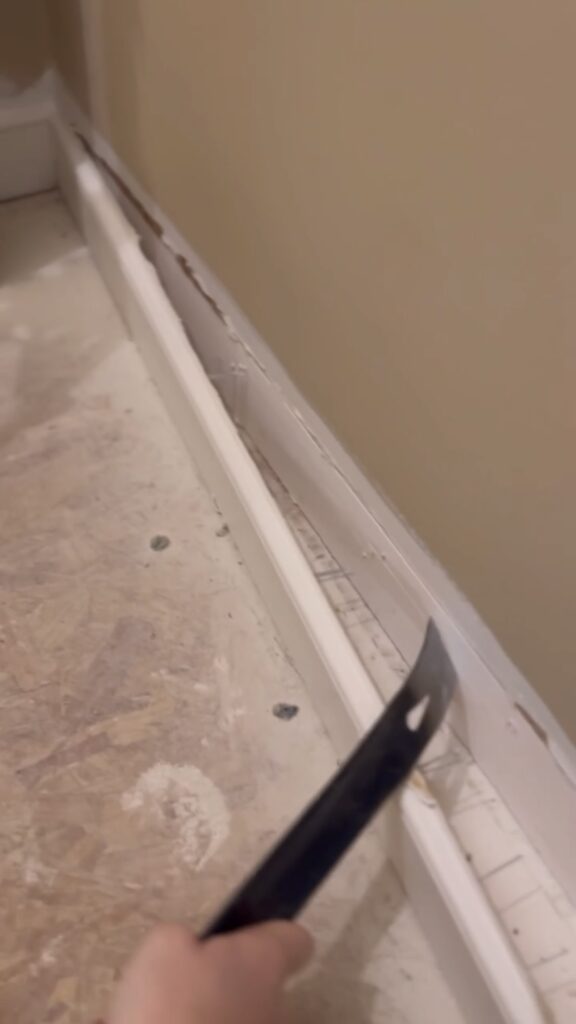
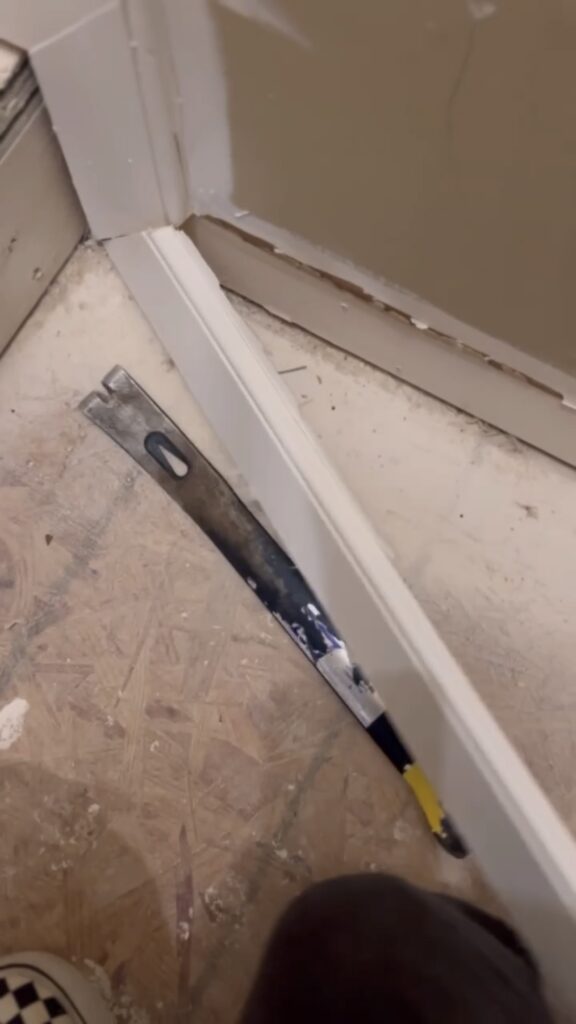
First, I had to remove the baseboards so the flooring would lay flush against the wall. I used a pry bar for this.
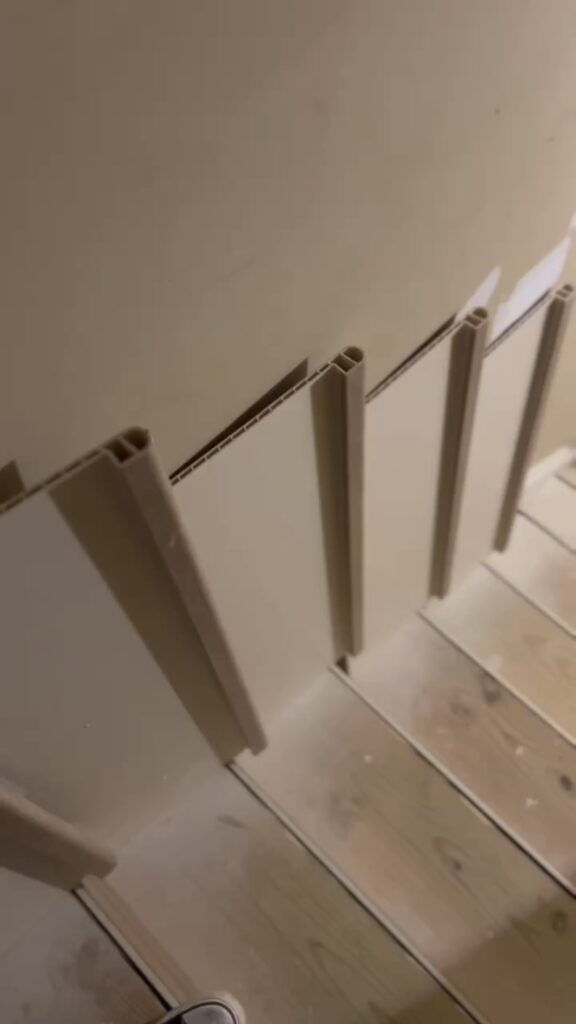
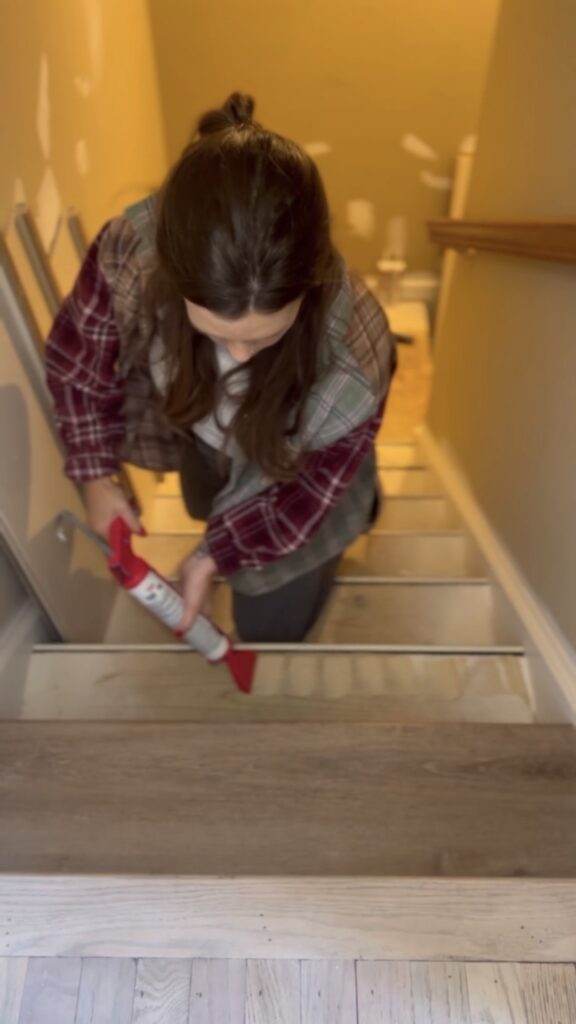
I installed the flooring planks and then glued on the stair nosing with flooring adhesive. I placed weights on the planks after laying them down to make sure they really secured to the floor.
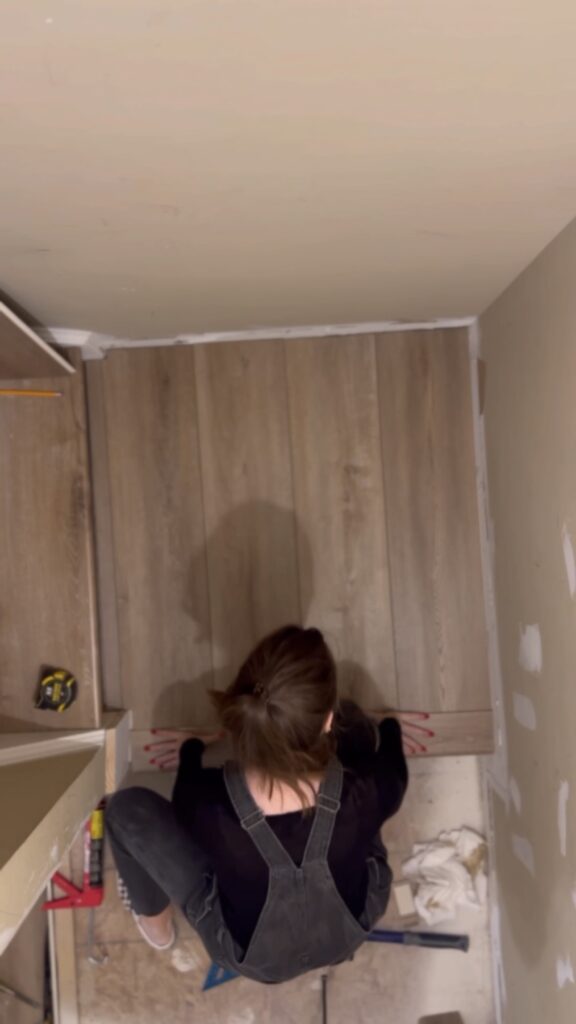
Once that was all set, I cut an installed matching quarter round pieces to go in the gap where the stairs meet the flooring.
Although this did take me some time, it was a pretty easy process to do. It already looks so much better!
Next….WALLPAPER!
Here’s everything I wore installing the stairs!
- Safety Glasses
- AE Beach Party Crew Neck Sweatshirt – (They’re out of stock of the exact color I have, but I love this Picante color!)
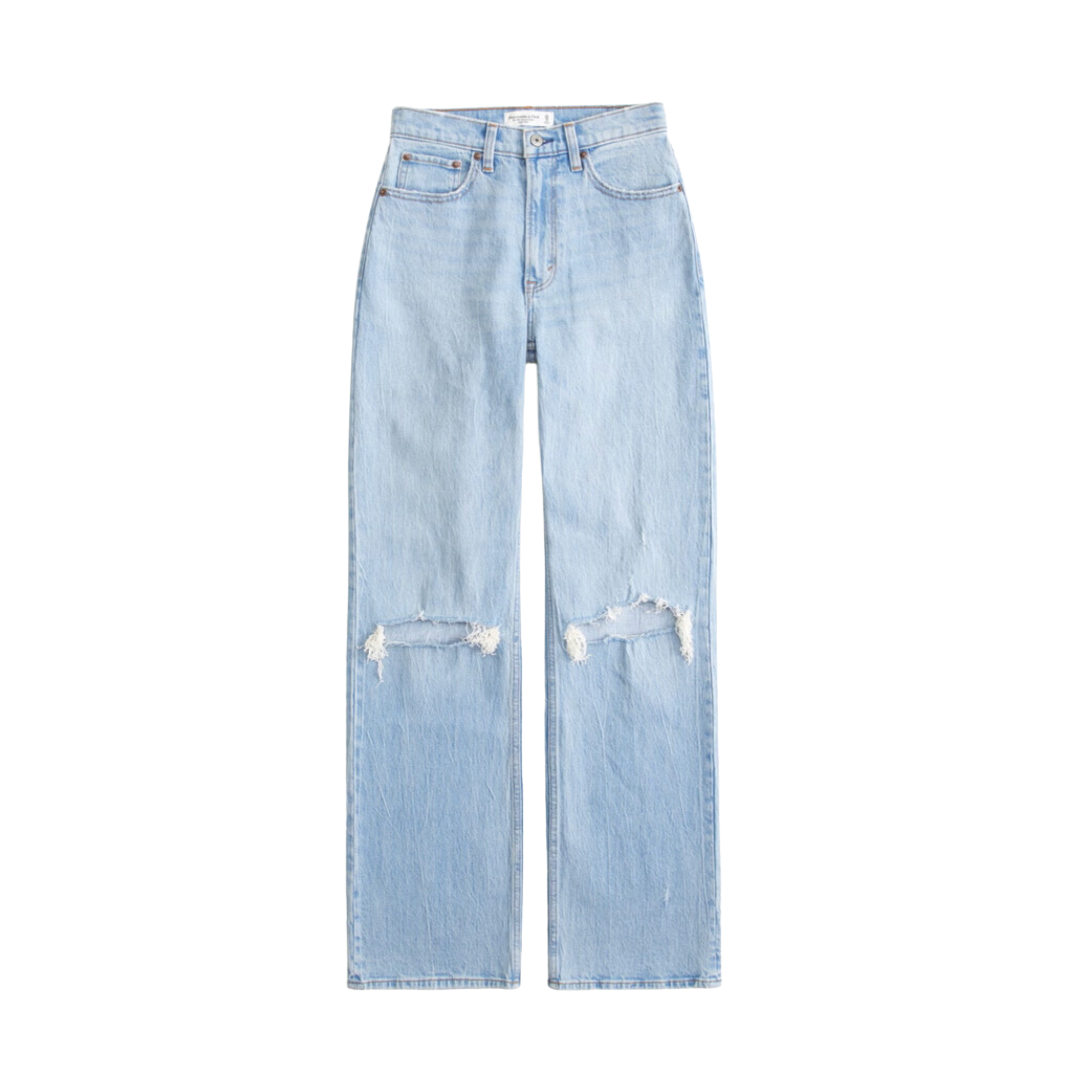
- Blue Abercrombie 90’s Relaxed Jeans
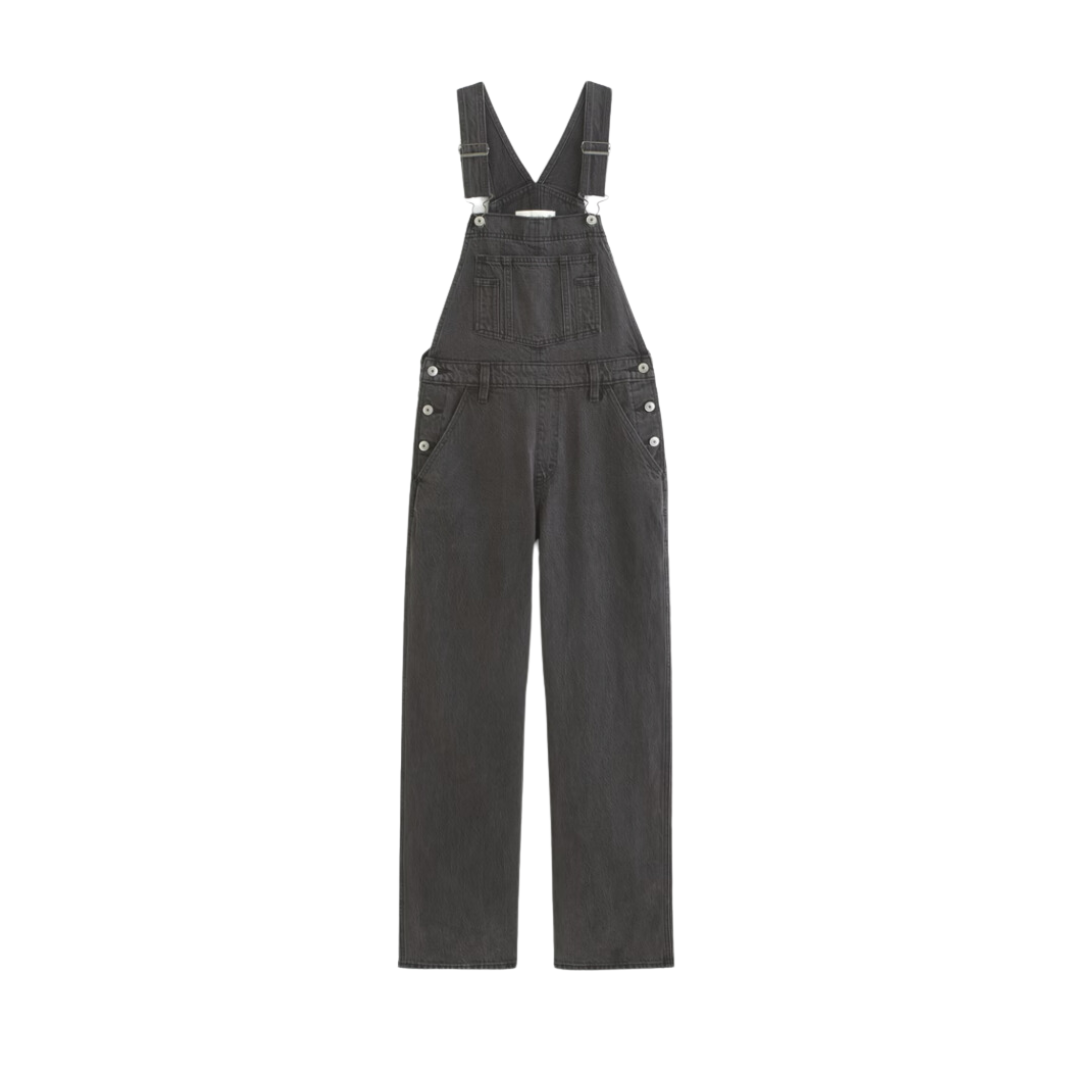
- Black Abercrombie Overalls
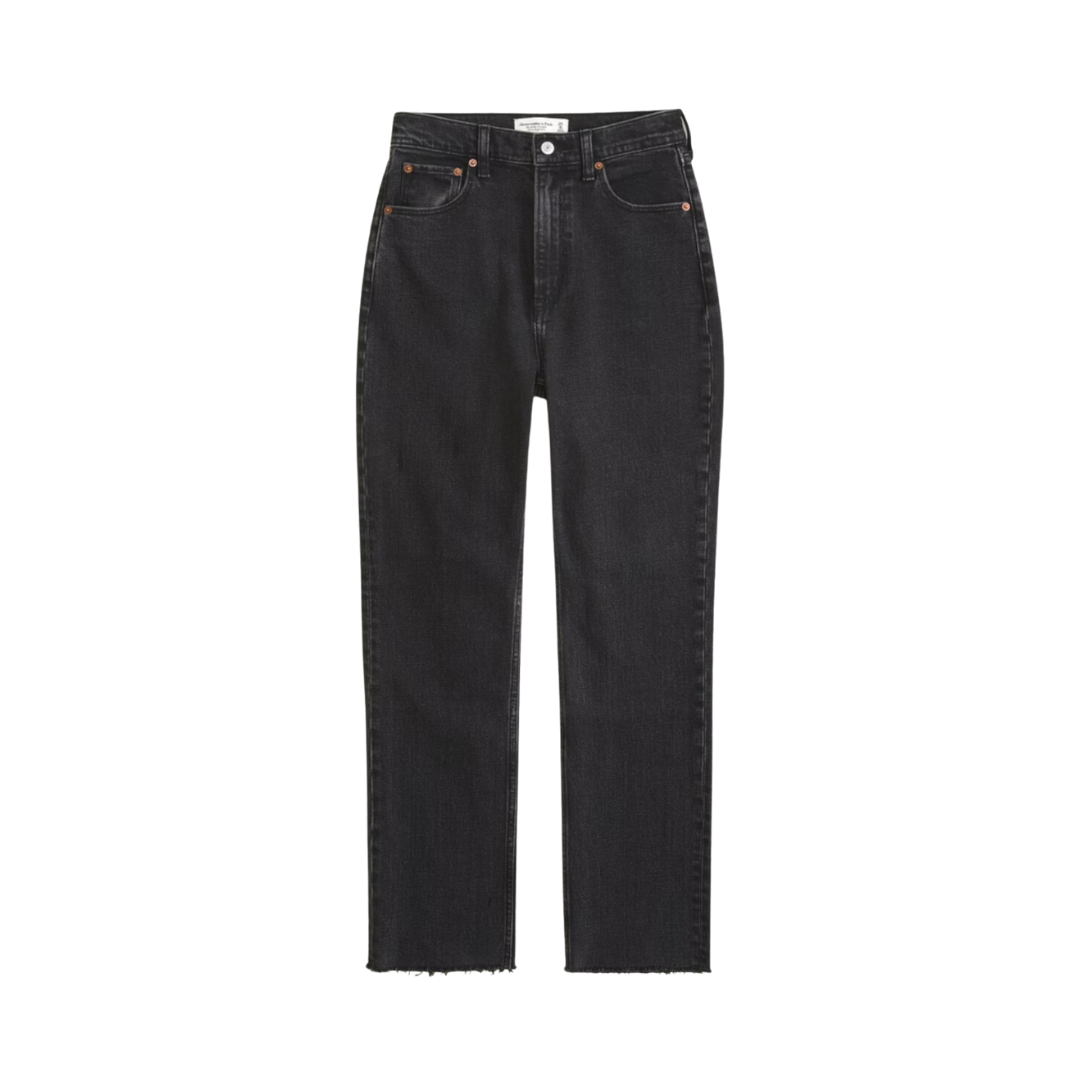
- Black Abercrombie Ultra High Rise Ankle Straight Jeans