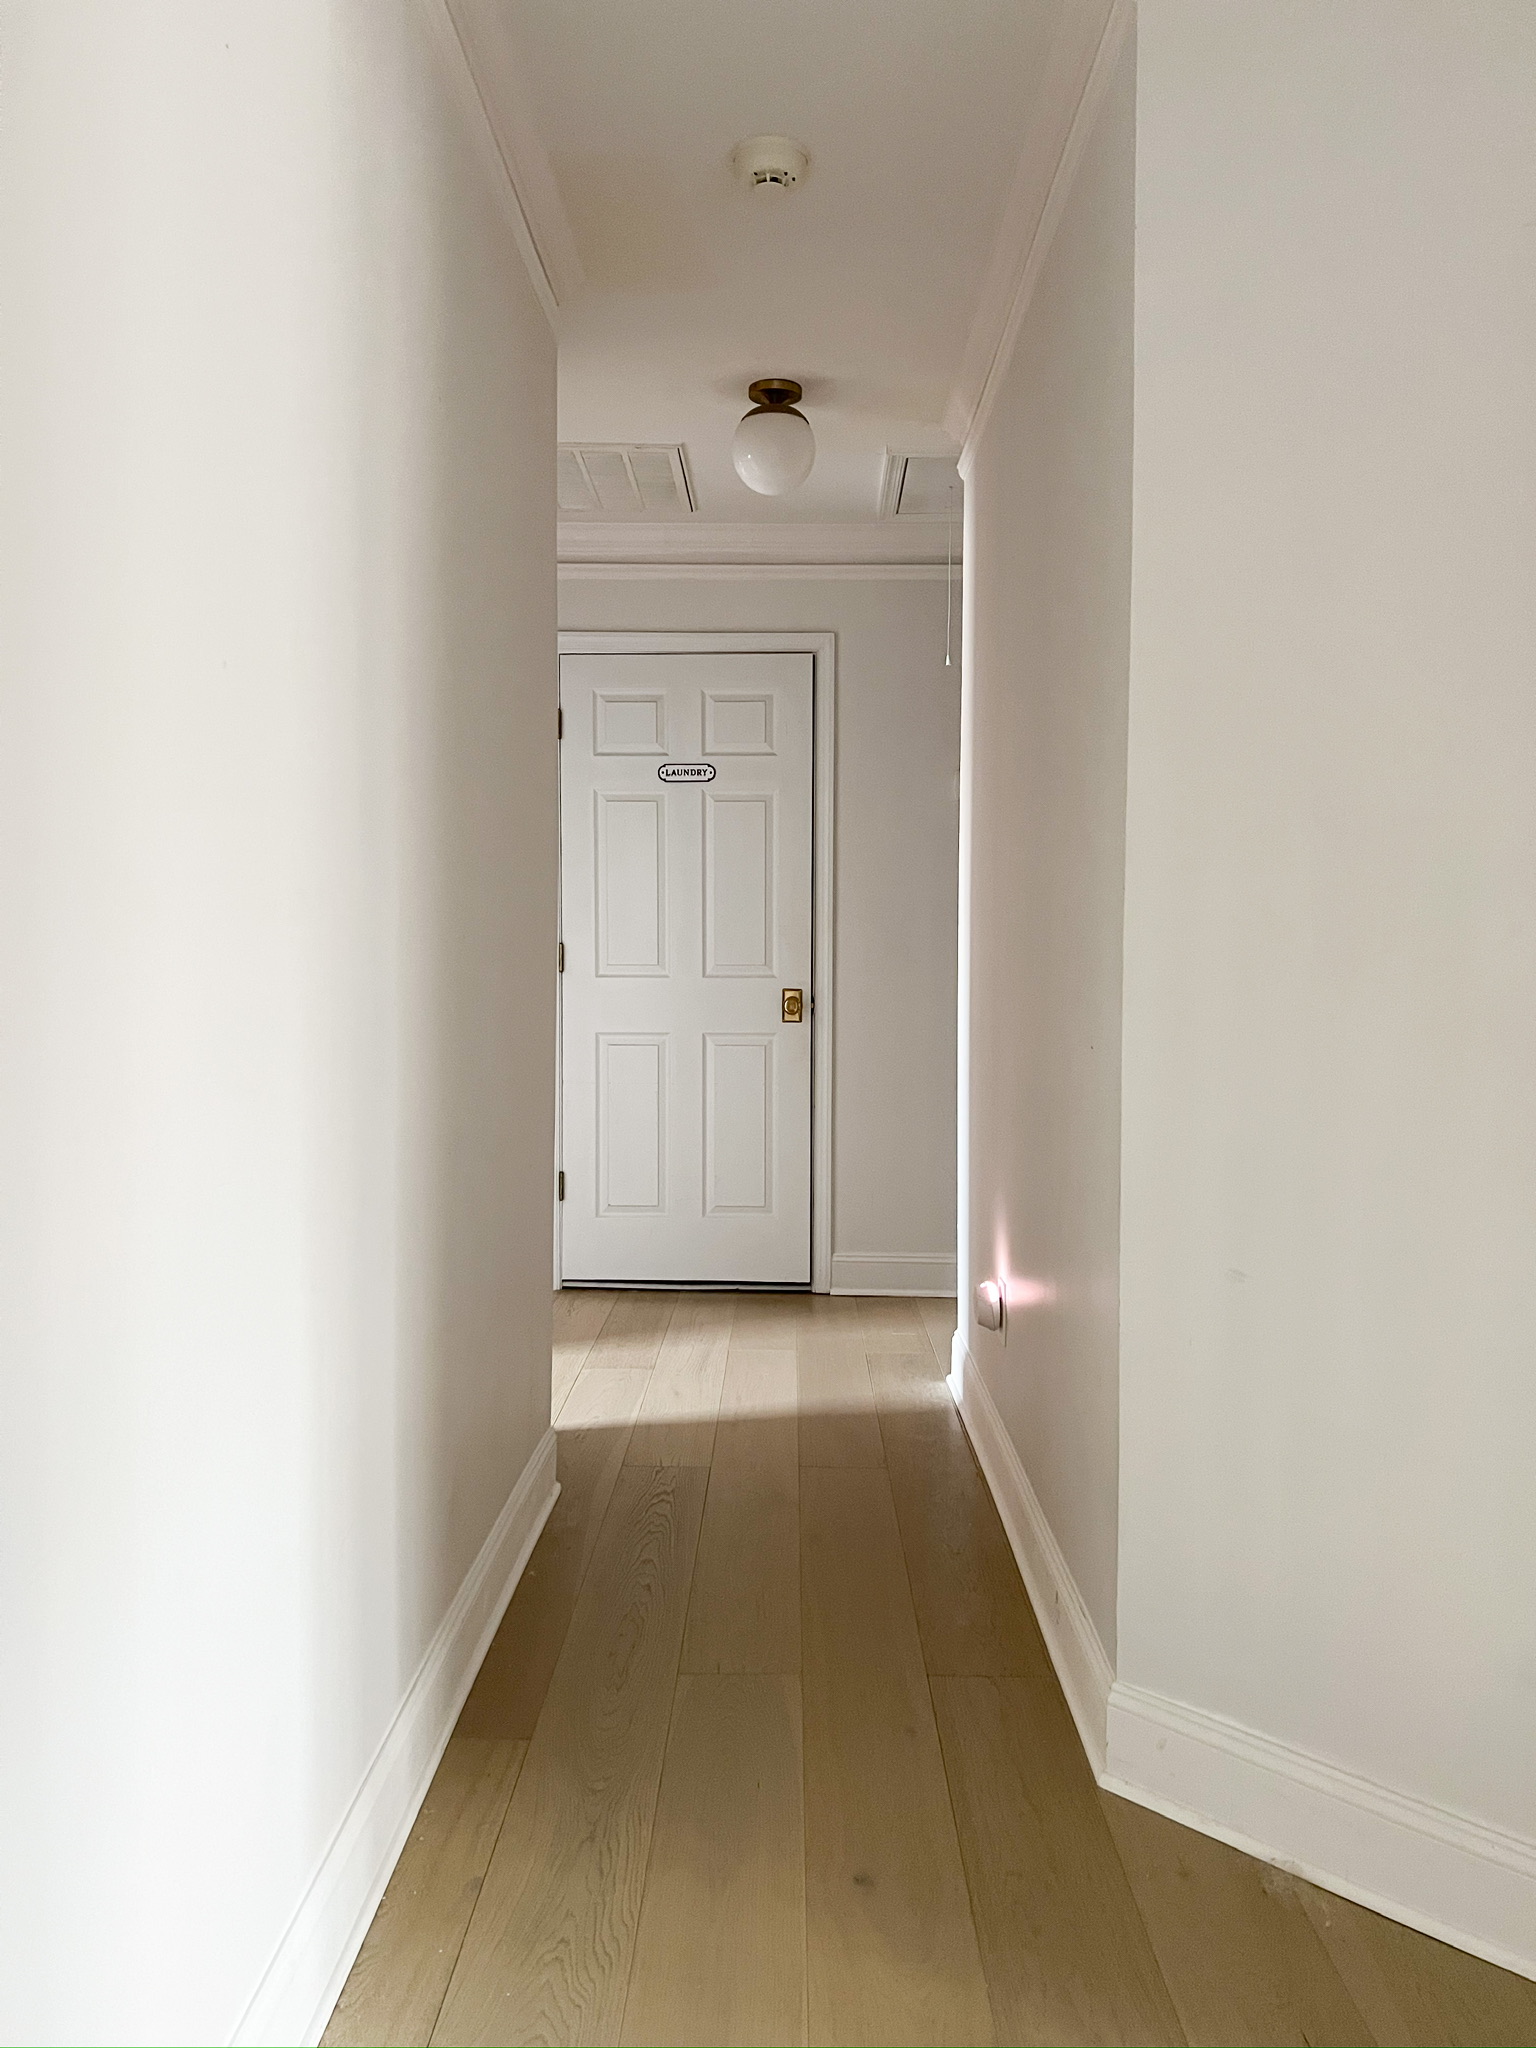
The Hallway Makeover – Trim

I’ve been working on transforming this upstairs hallway. I think hallways deserve love too! We left off last with new flooring. You can see the entire flooring process here. Next on this hallway makeover, I installed baseboards and trim. Let’s go!
*This post may contain affiliate links, which means I may earn a small commission if you purchase through my links, at no extra cost to you. I only share products I genuinely love.
Baseboards
Materials for Baseboards
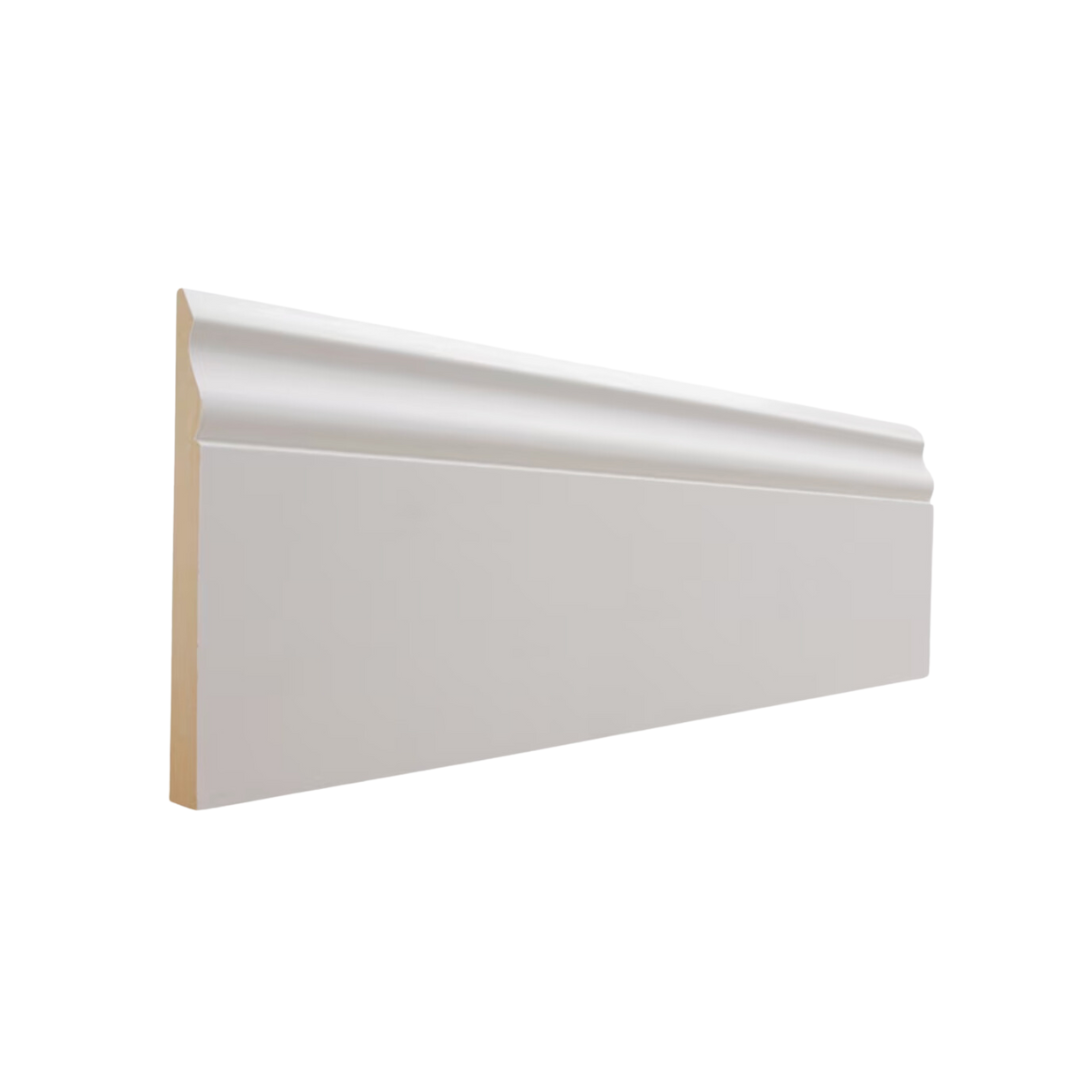

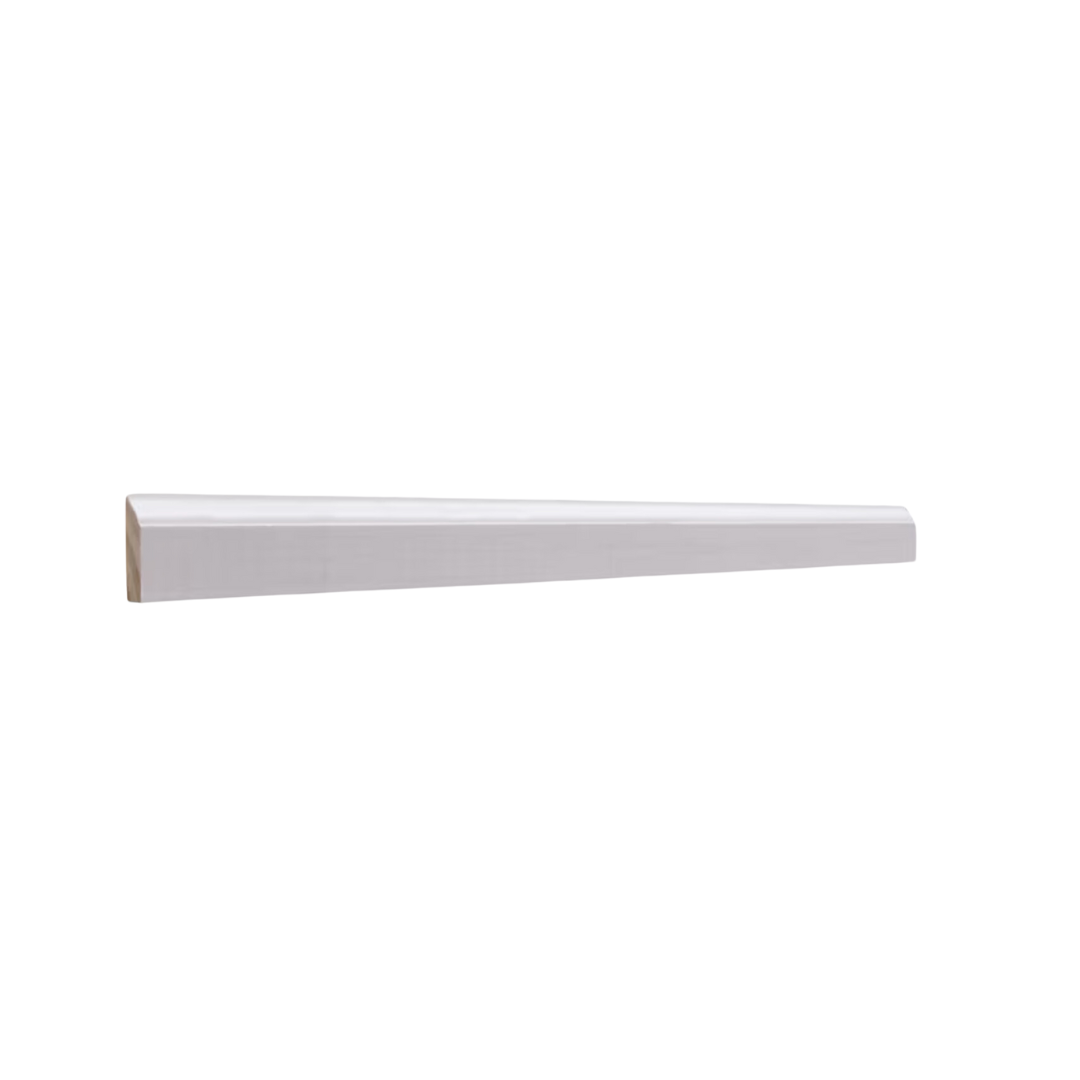

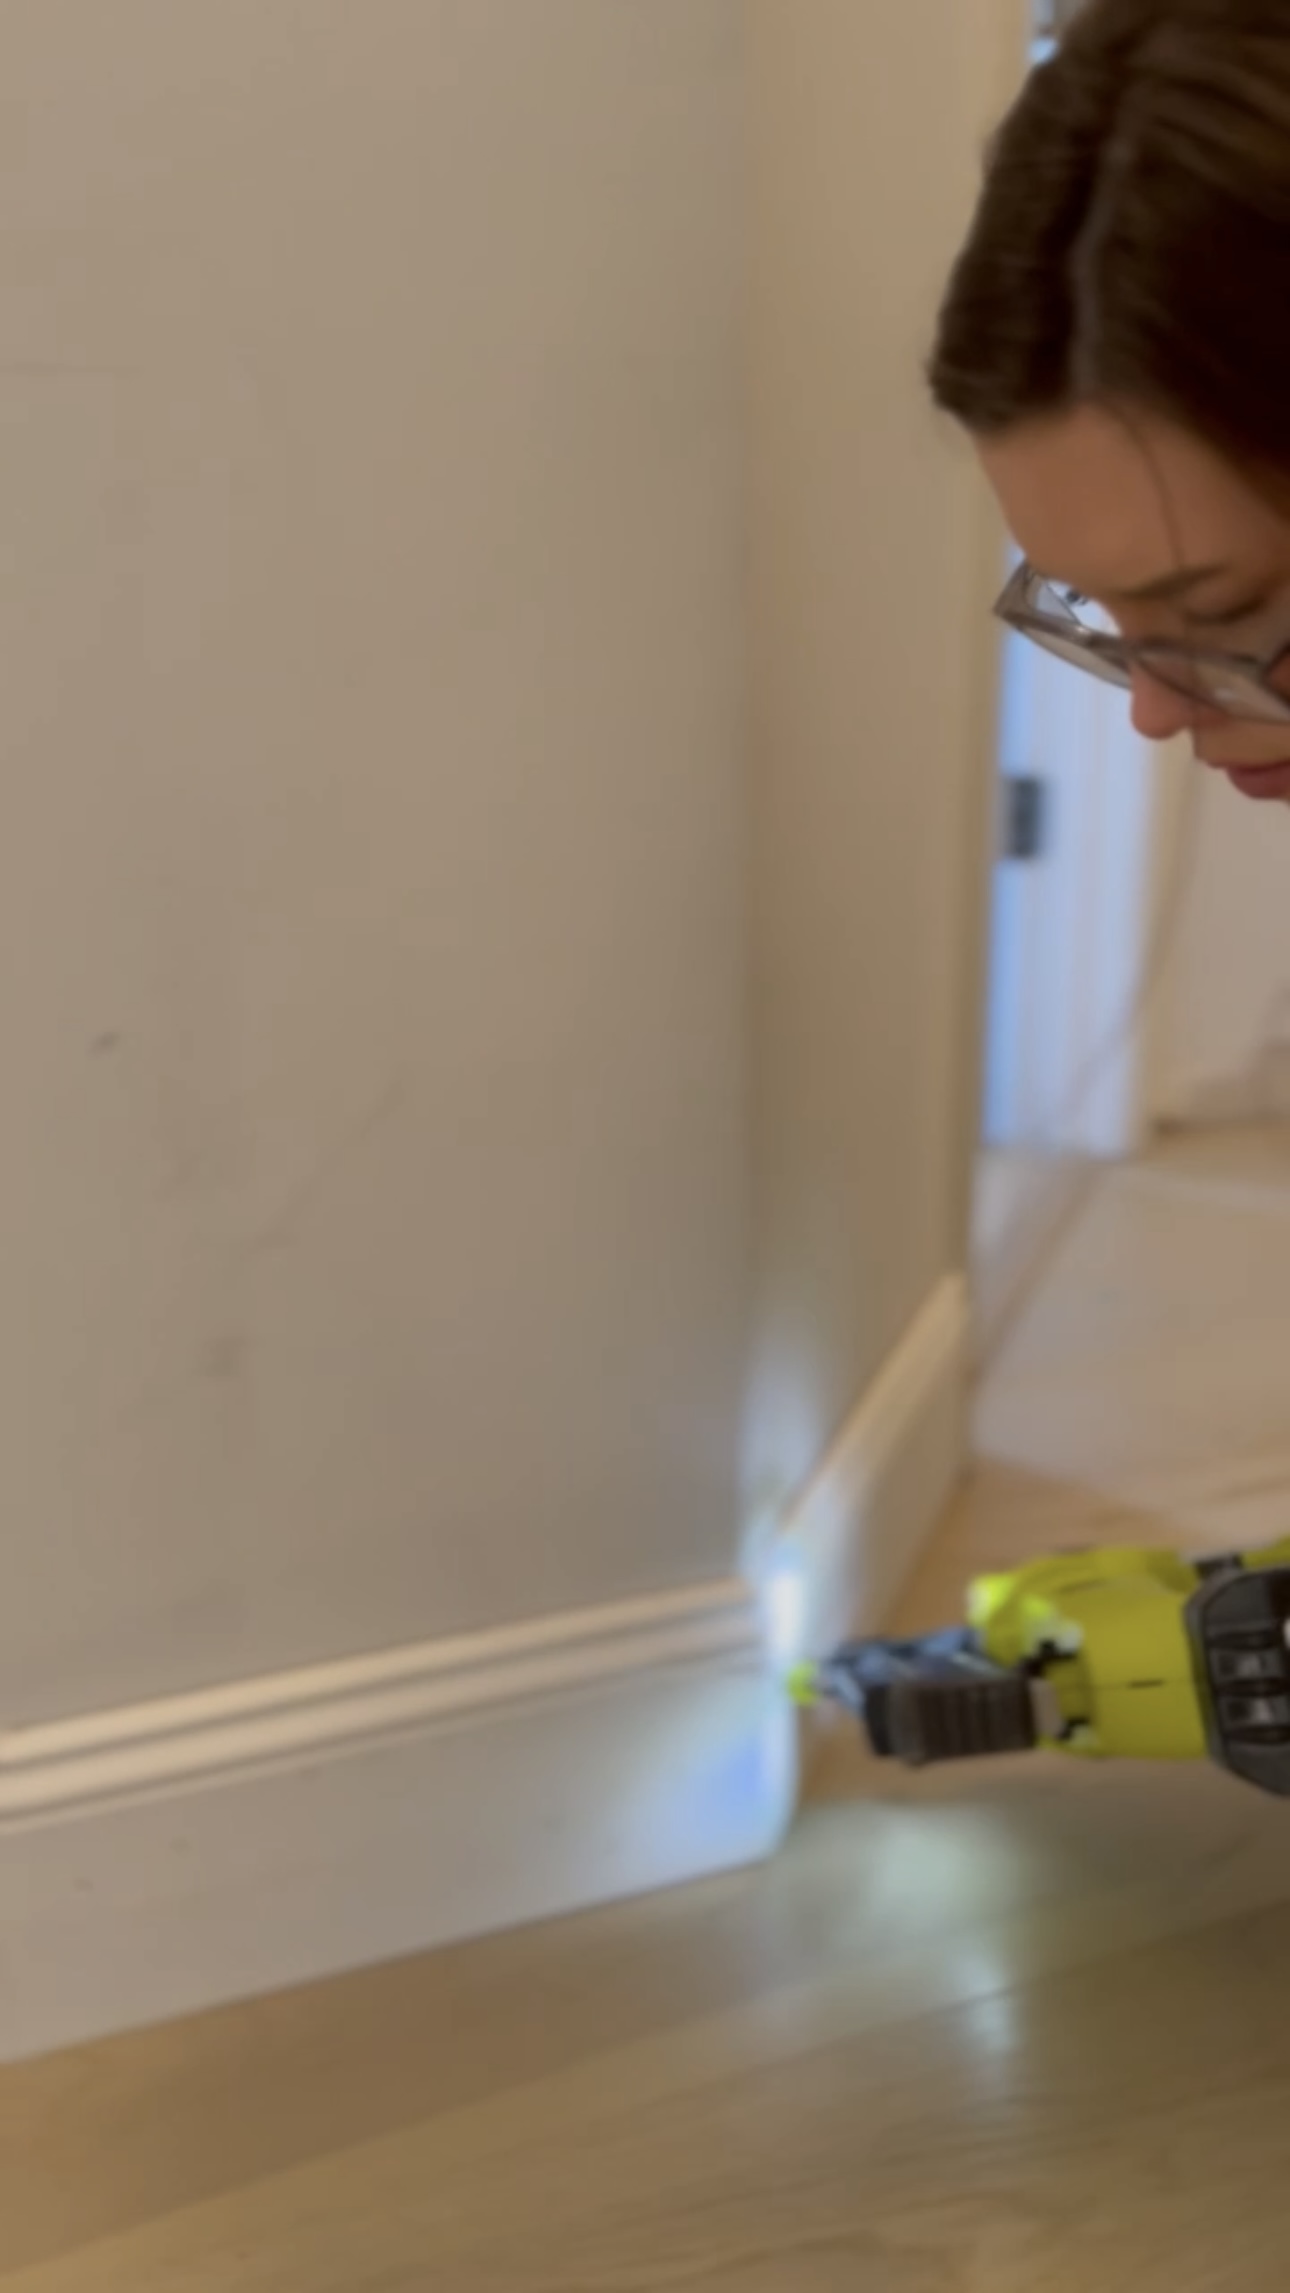
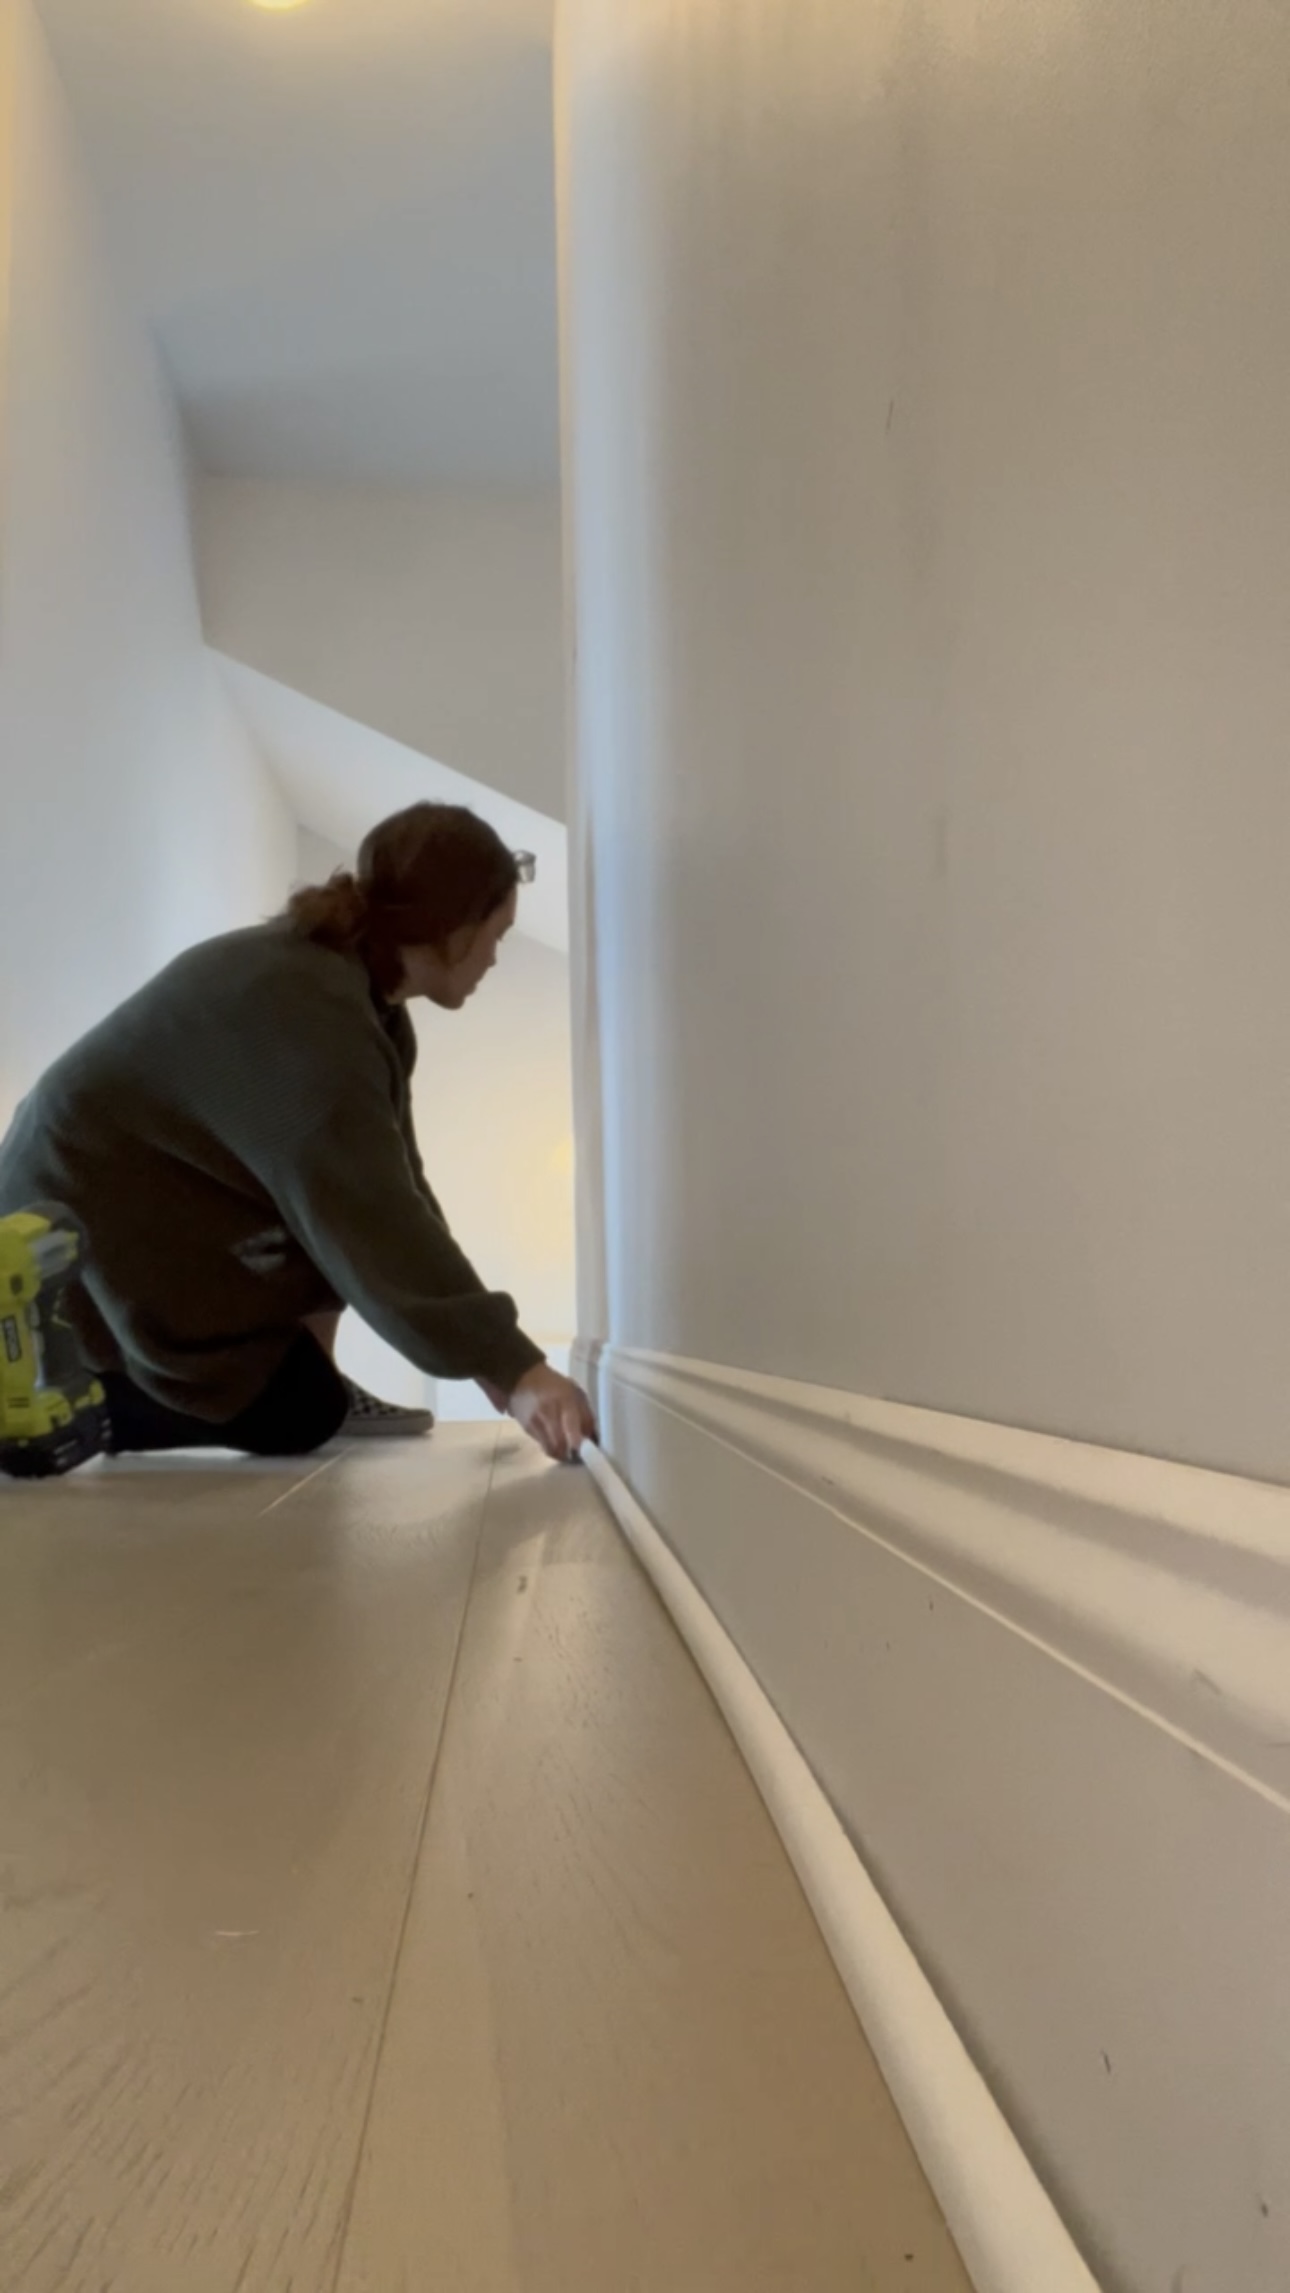
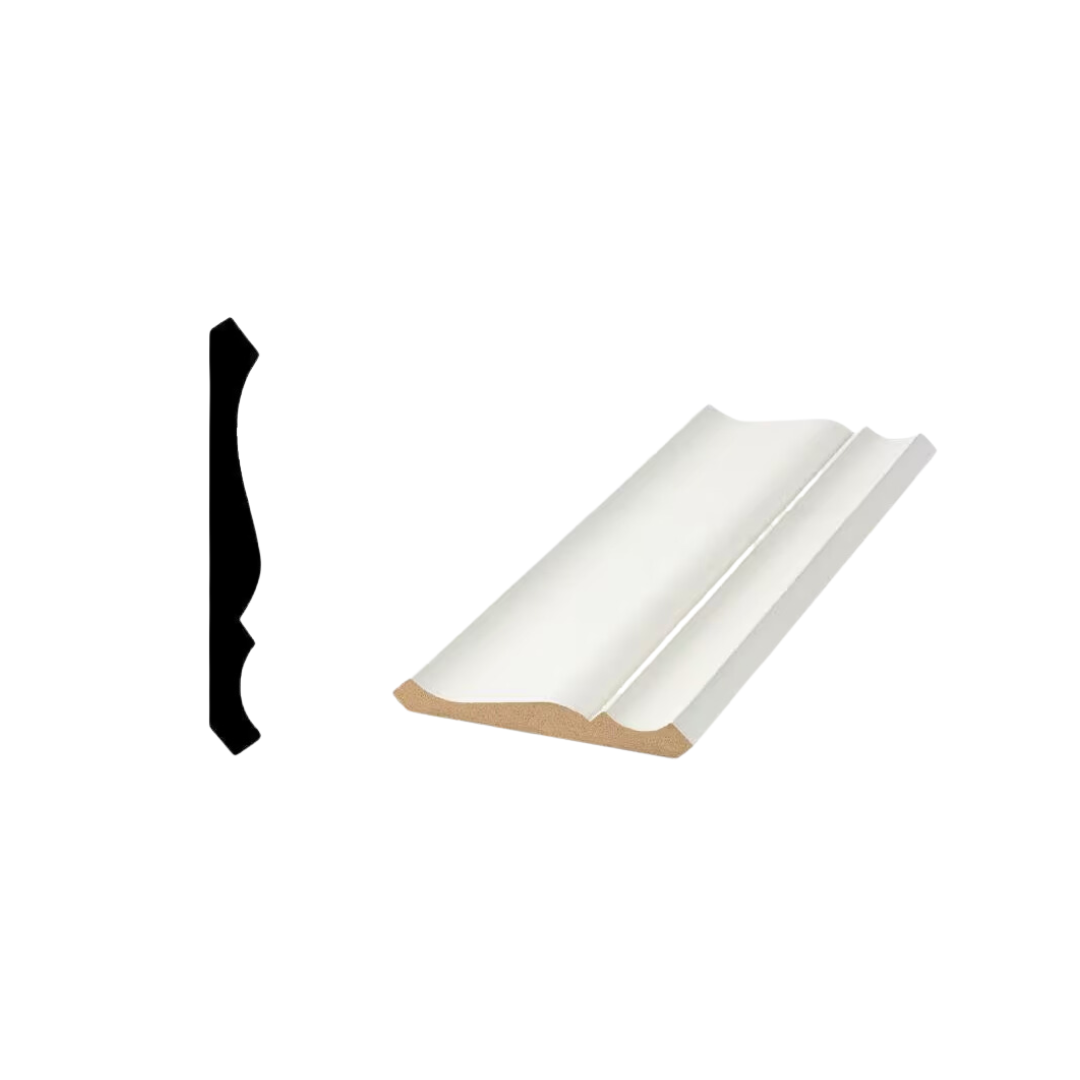
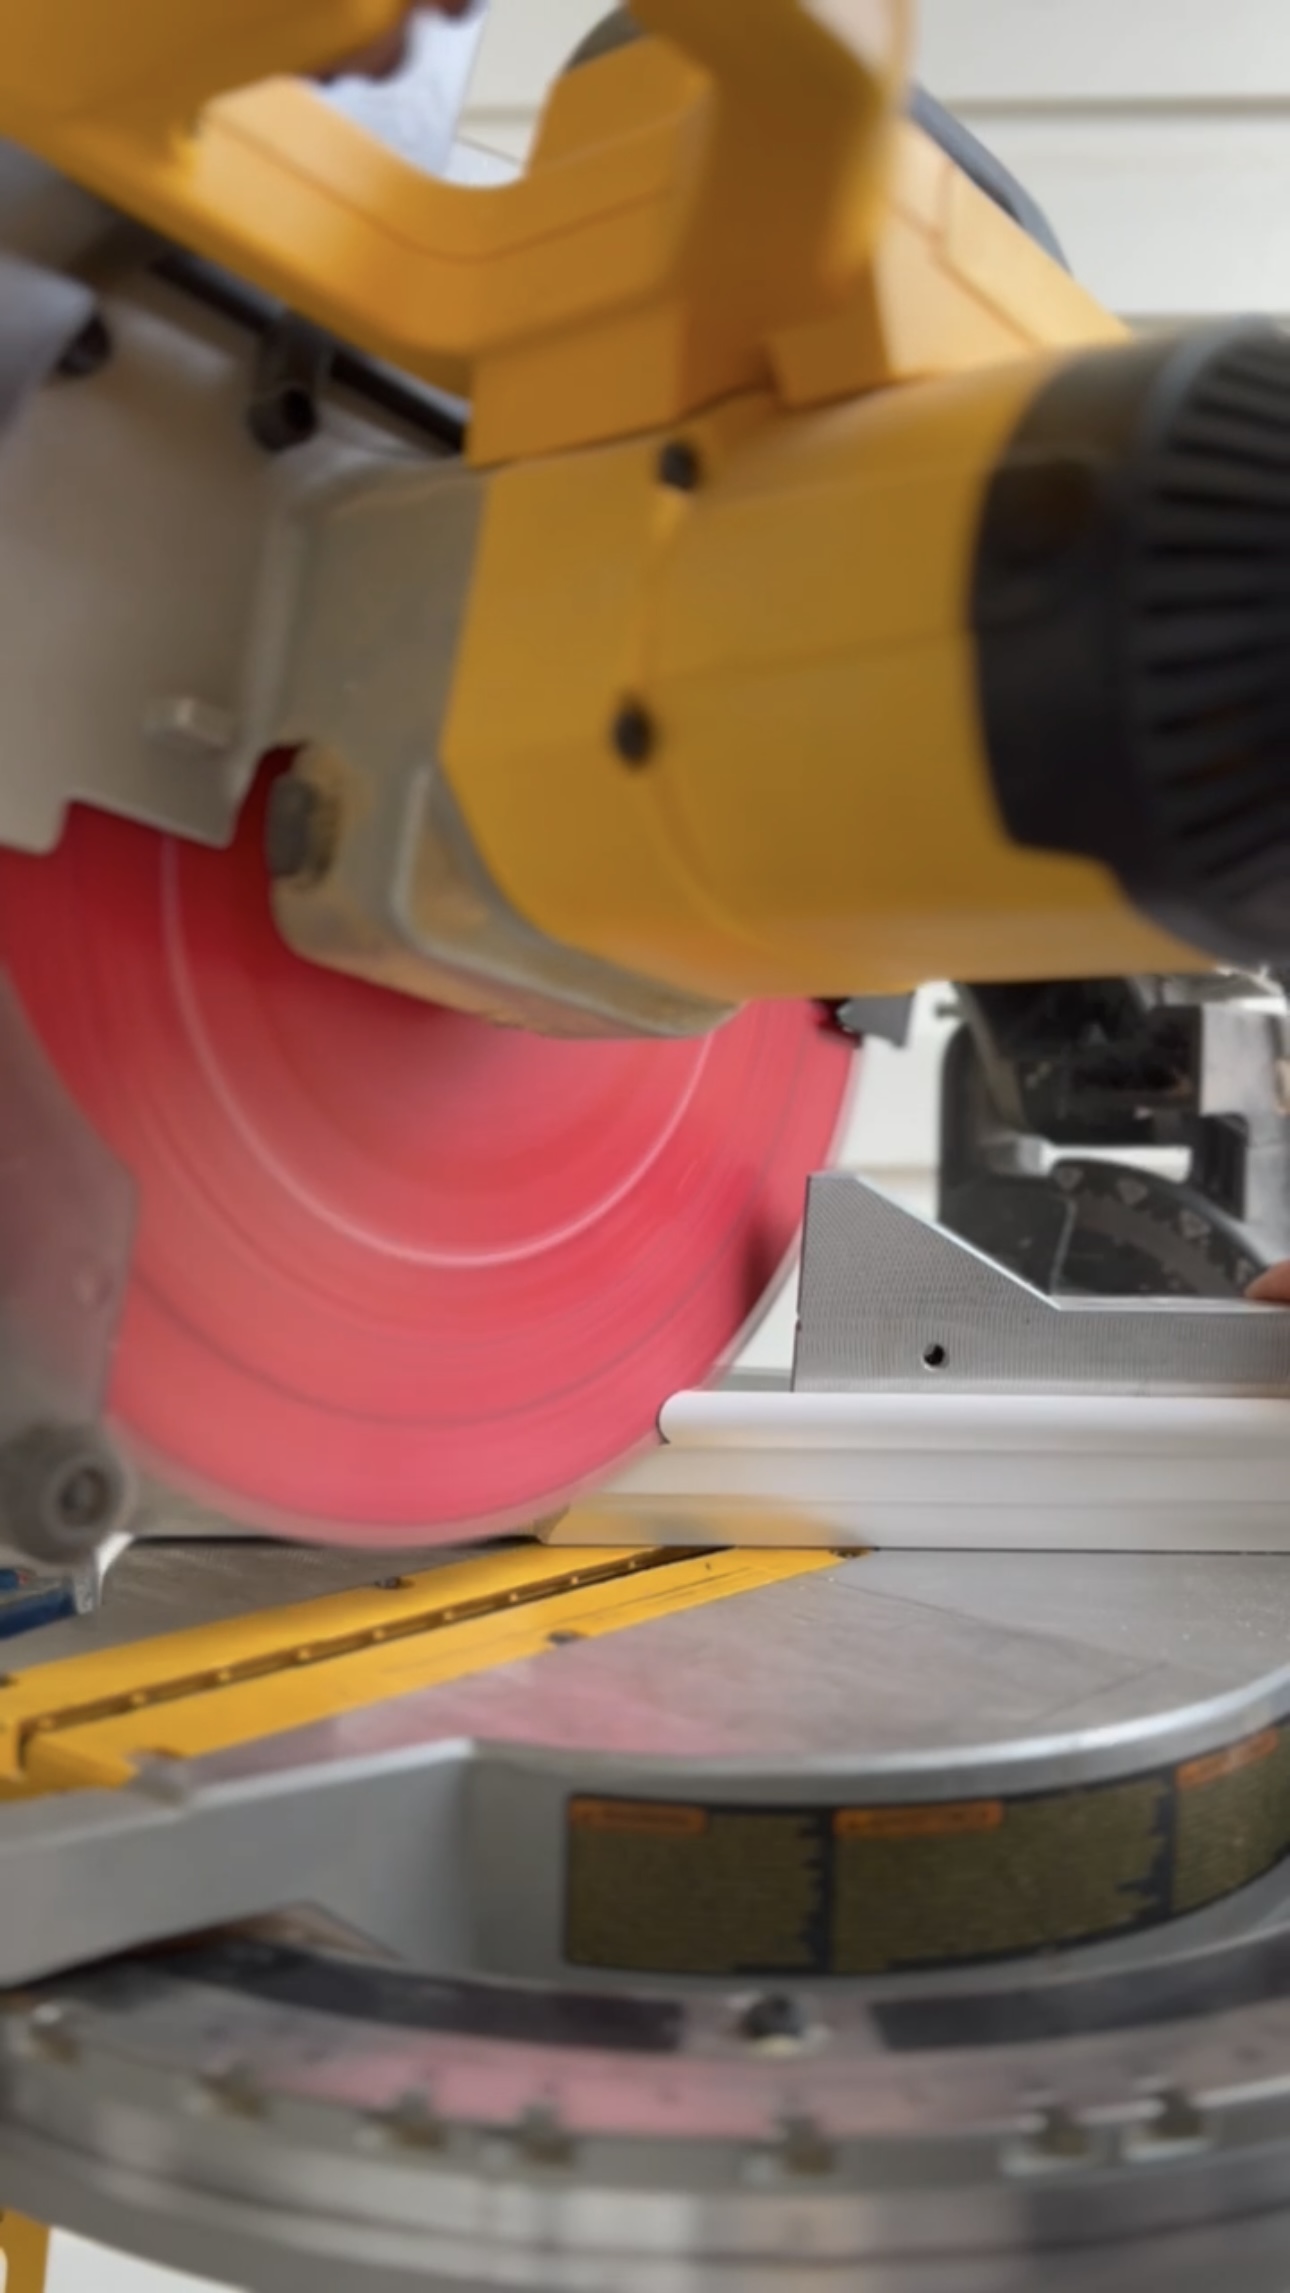
I got my 5 inch chunky baseboards and cut them down with my miter saw. Then I secured them with my brad nailer. I also added some shoe moulding for some extra detail. This isn’t necessary, just a personal preference. It covers up flooring gaps too!
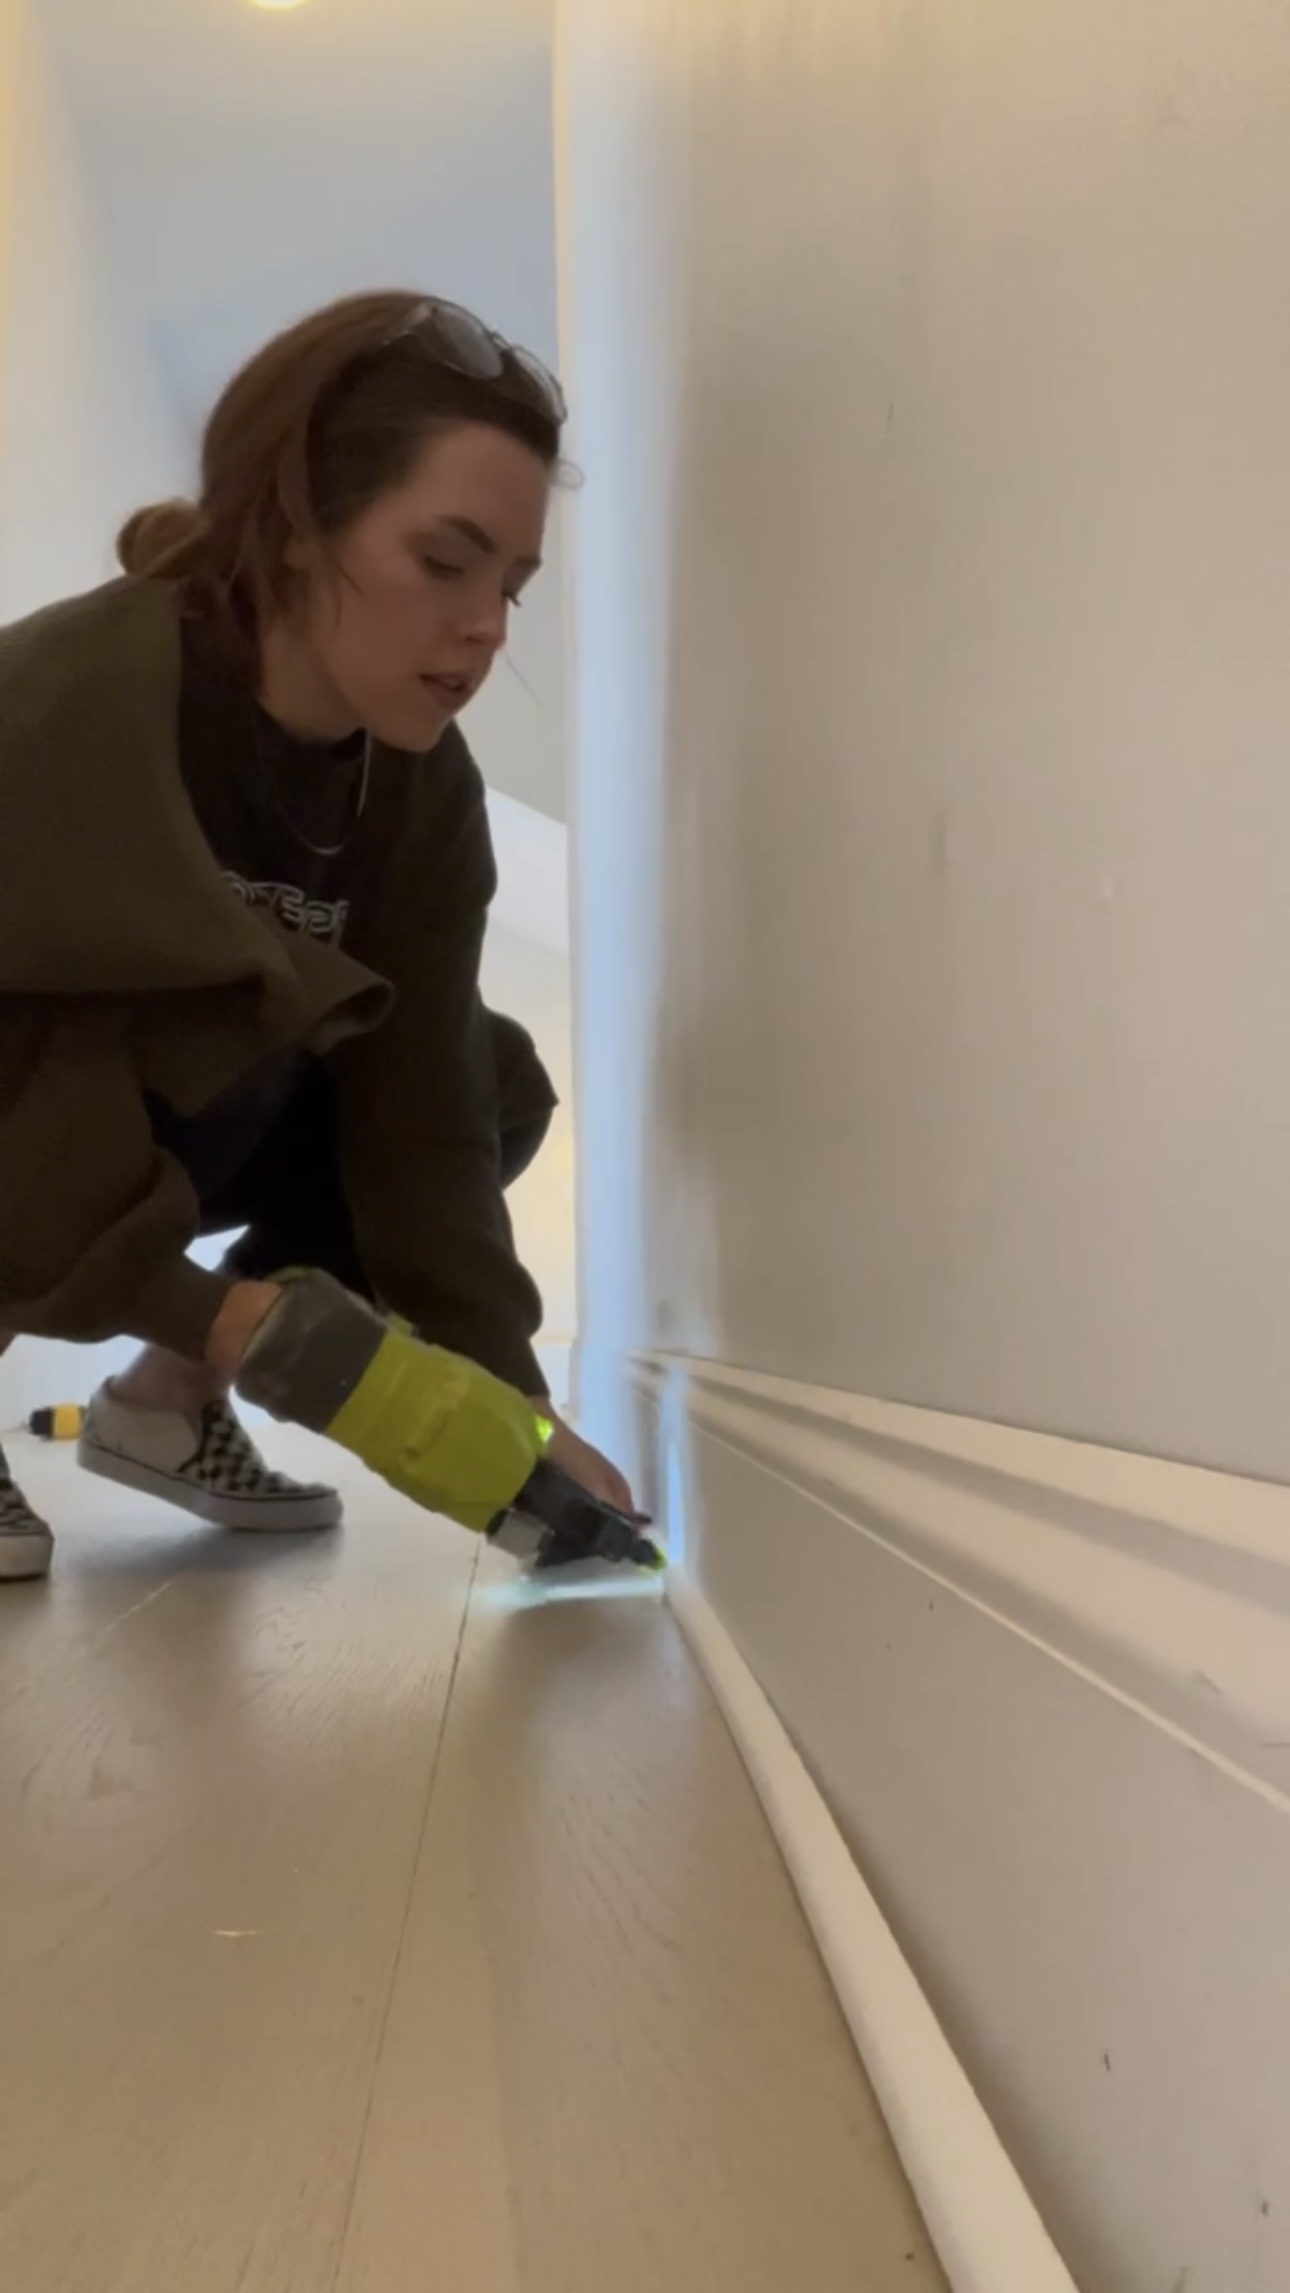
THIS is my new favorite gadget. David got it for me for Christmas. It’s a pencil! I’m always holding pencils in my mouth, dropping them, breaking them, etc. This one has a sleeve that you just stick in your pocket so you can easily slide the pencil in and out. AND it has a pencil sharpener on the bottom. IT’S SO COOL. I used it during this entire project while making all my cuts.

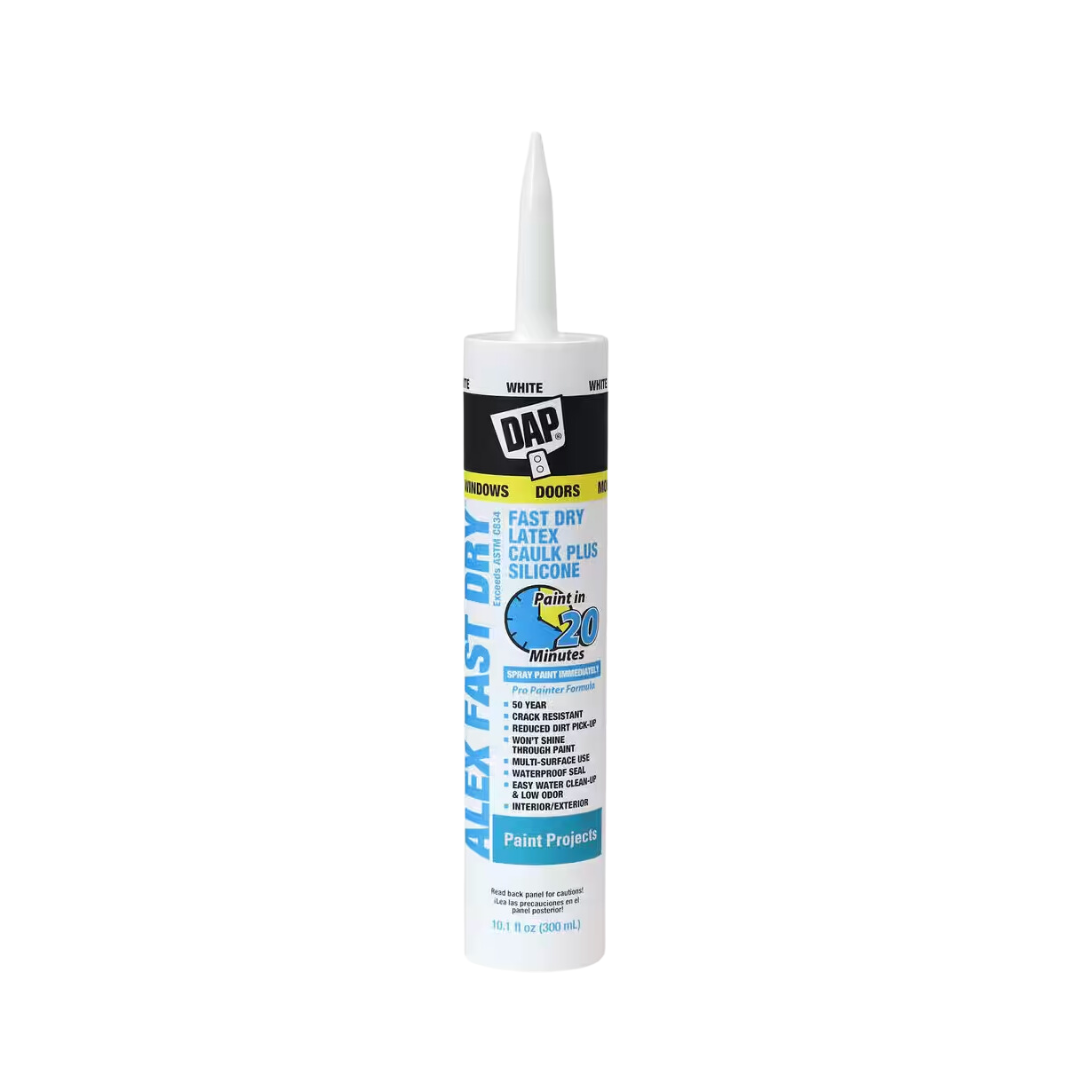
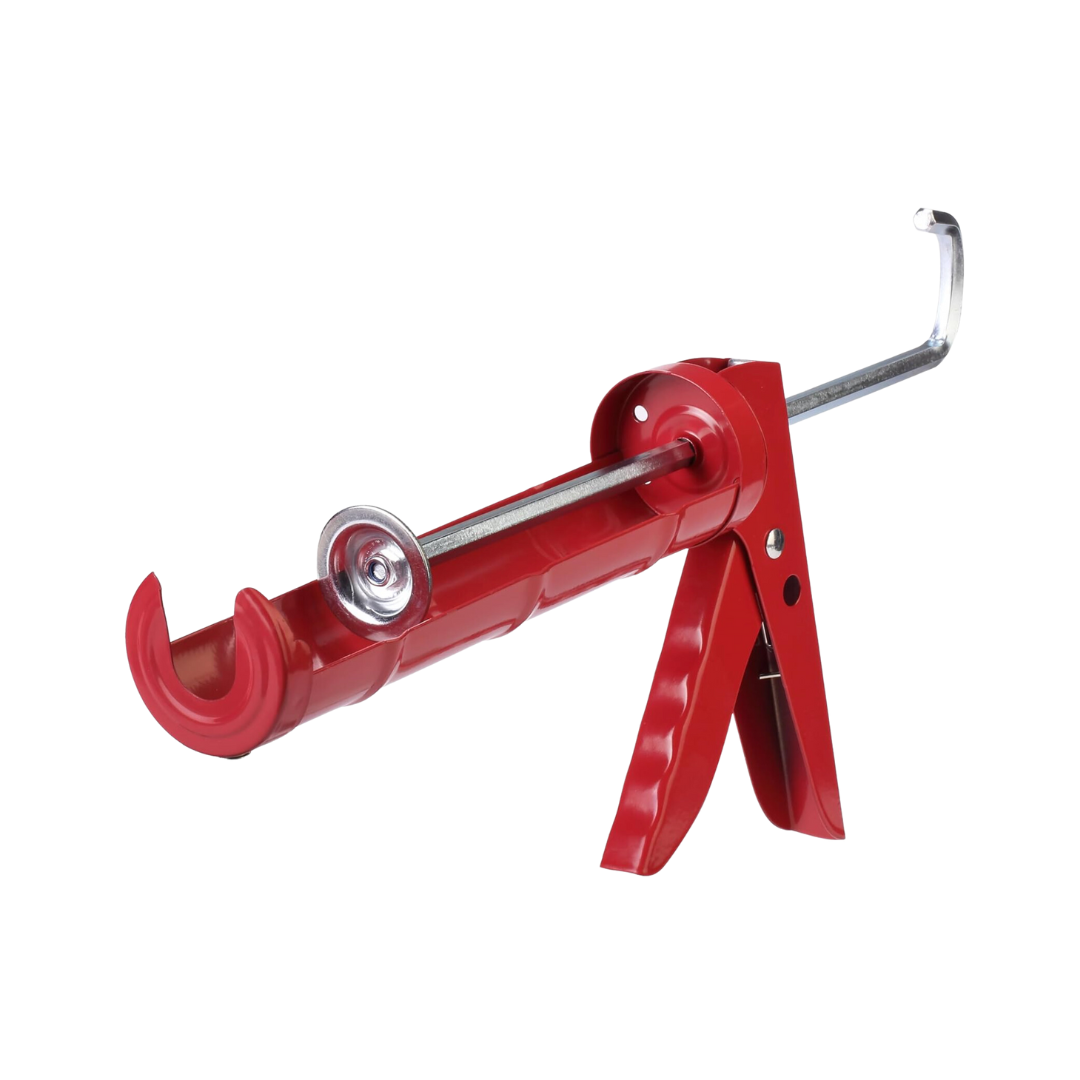
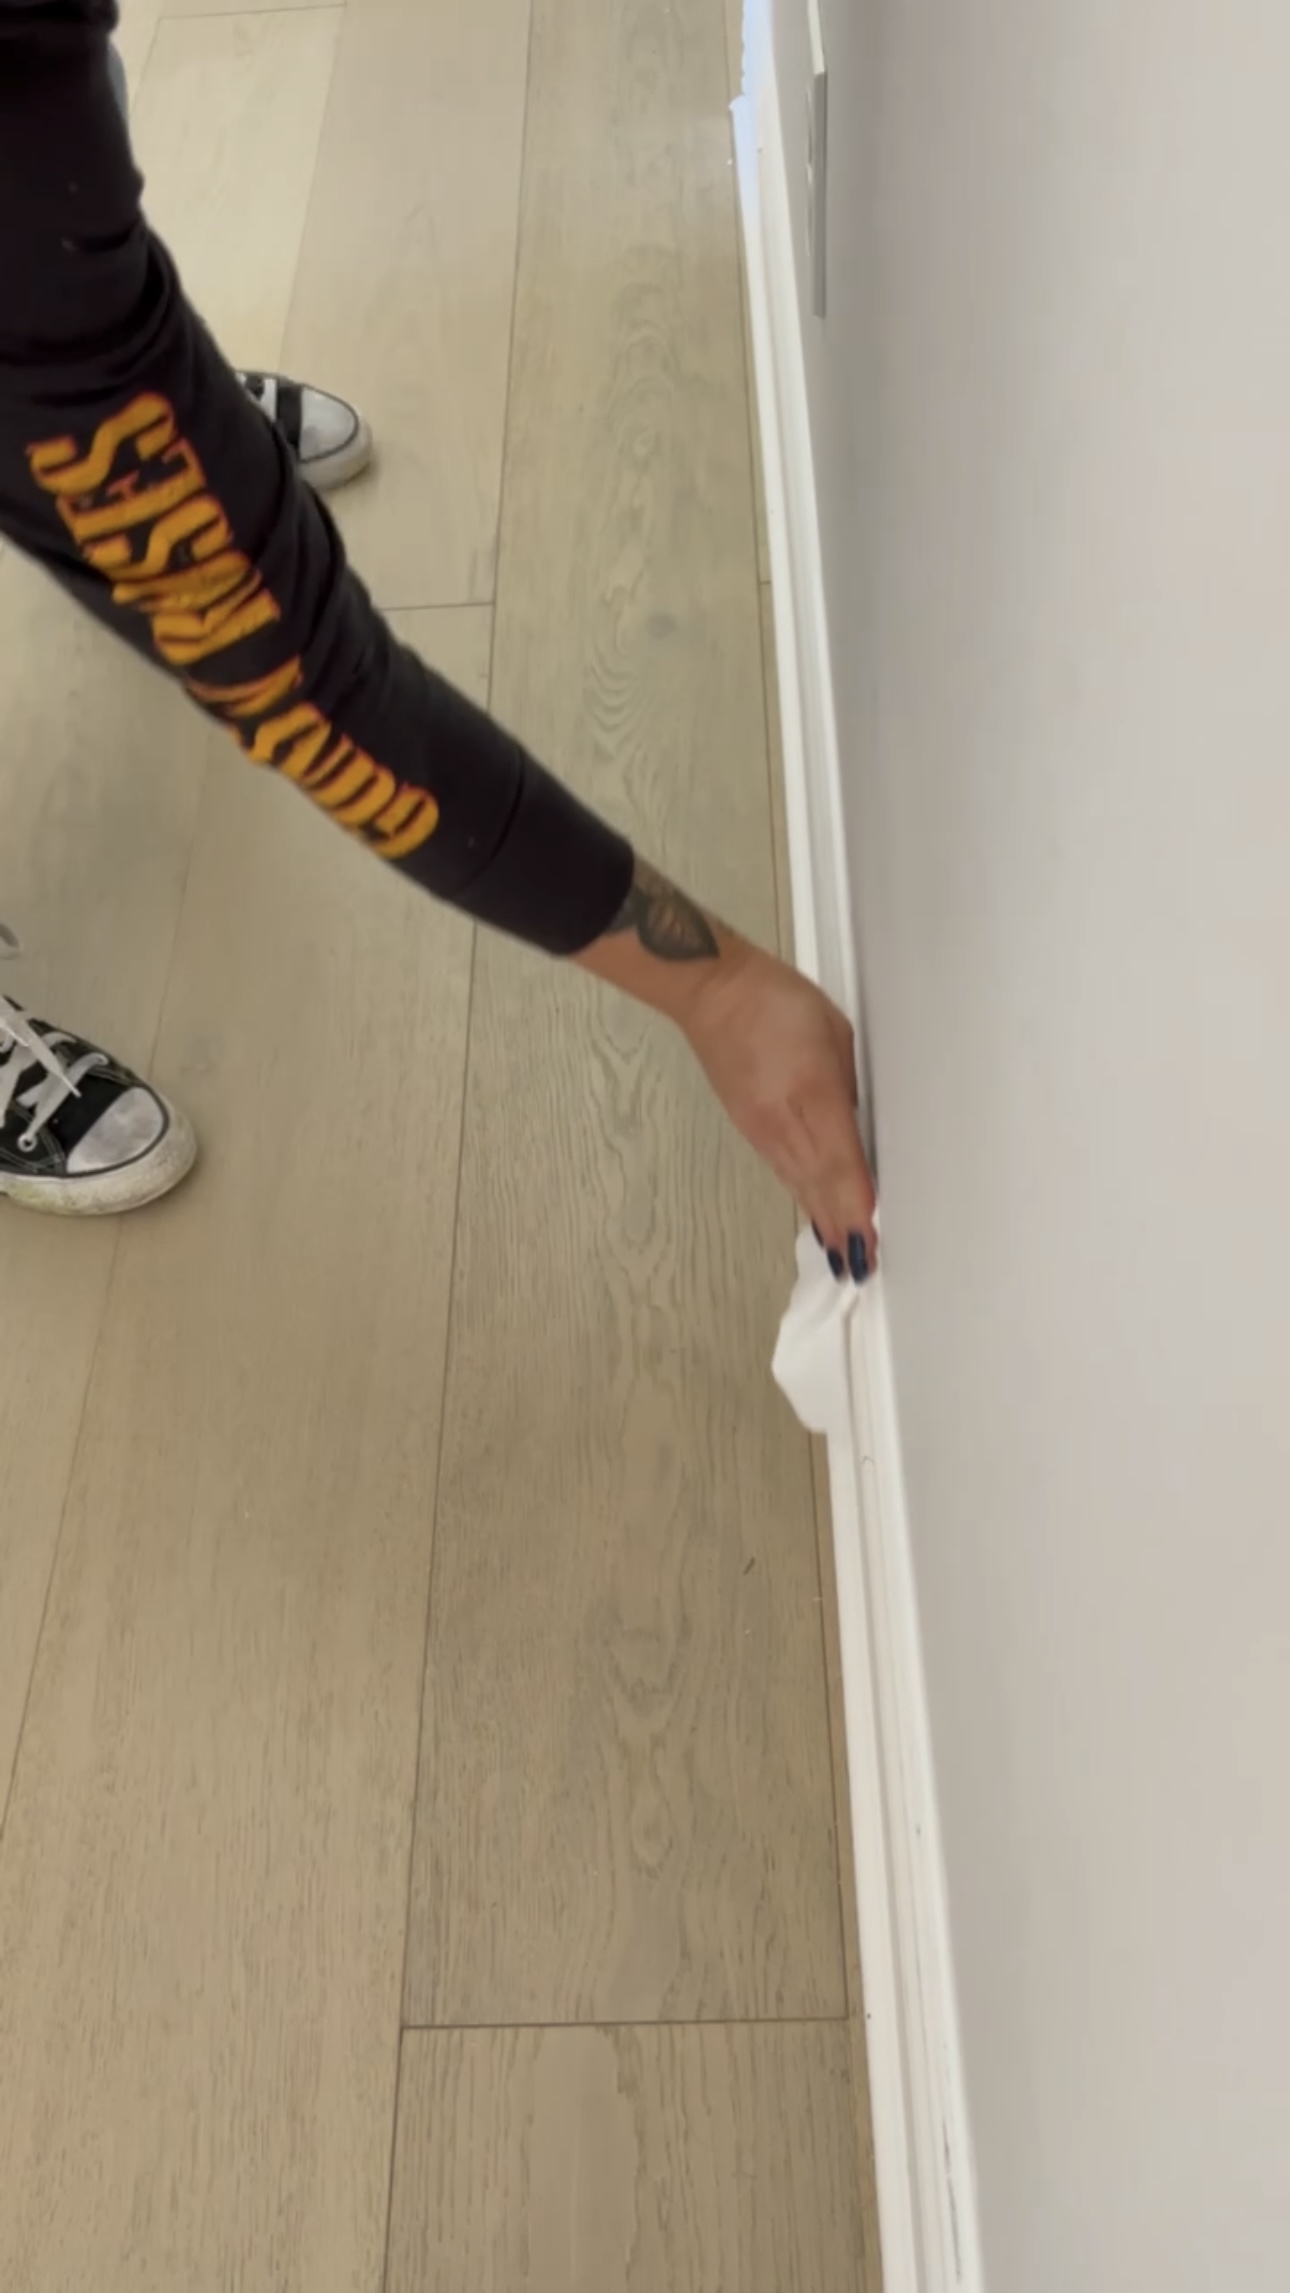
Next, I filled the holes and added caulk. I used flex caulk which is great for expanding joints and minimal cracking. I prefer to use baby wipes to clean up after caulk. It’s so easy and cleans up so well.

To cover the nail holes, I used DryDex spackling. I HATE going back and sanding so I just put a little bit on my finger and rub it into the hole. Then, I use my other finger to smooth it out. No sanding necessary!
Crown Moulding
Materials for Installing Crown Moulding

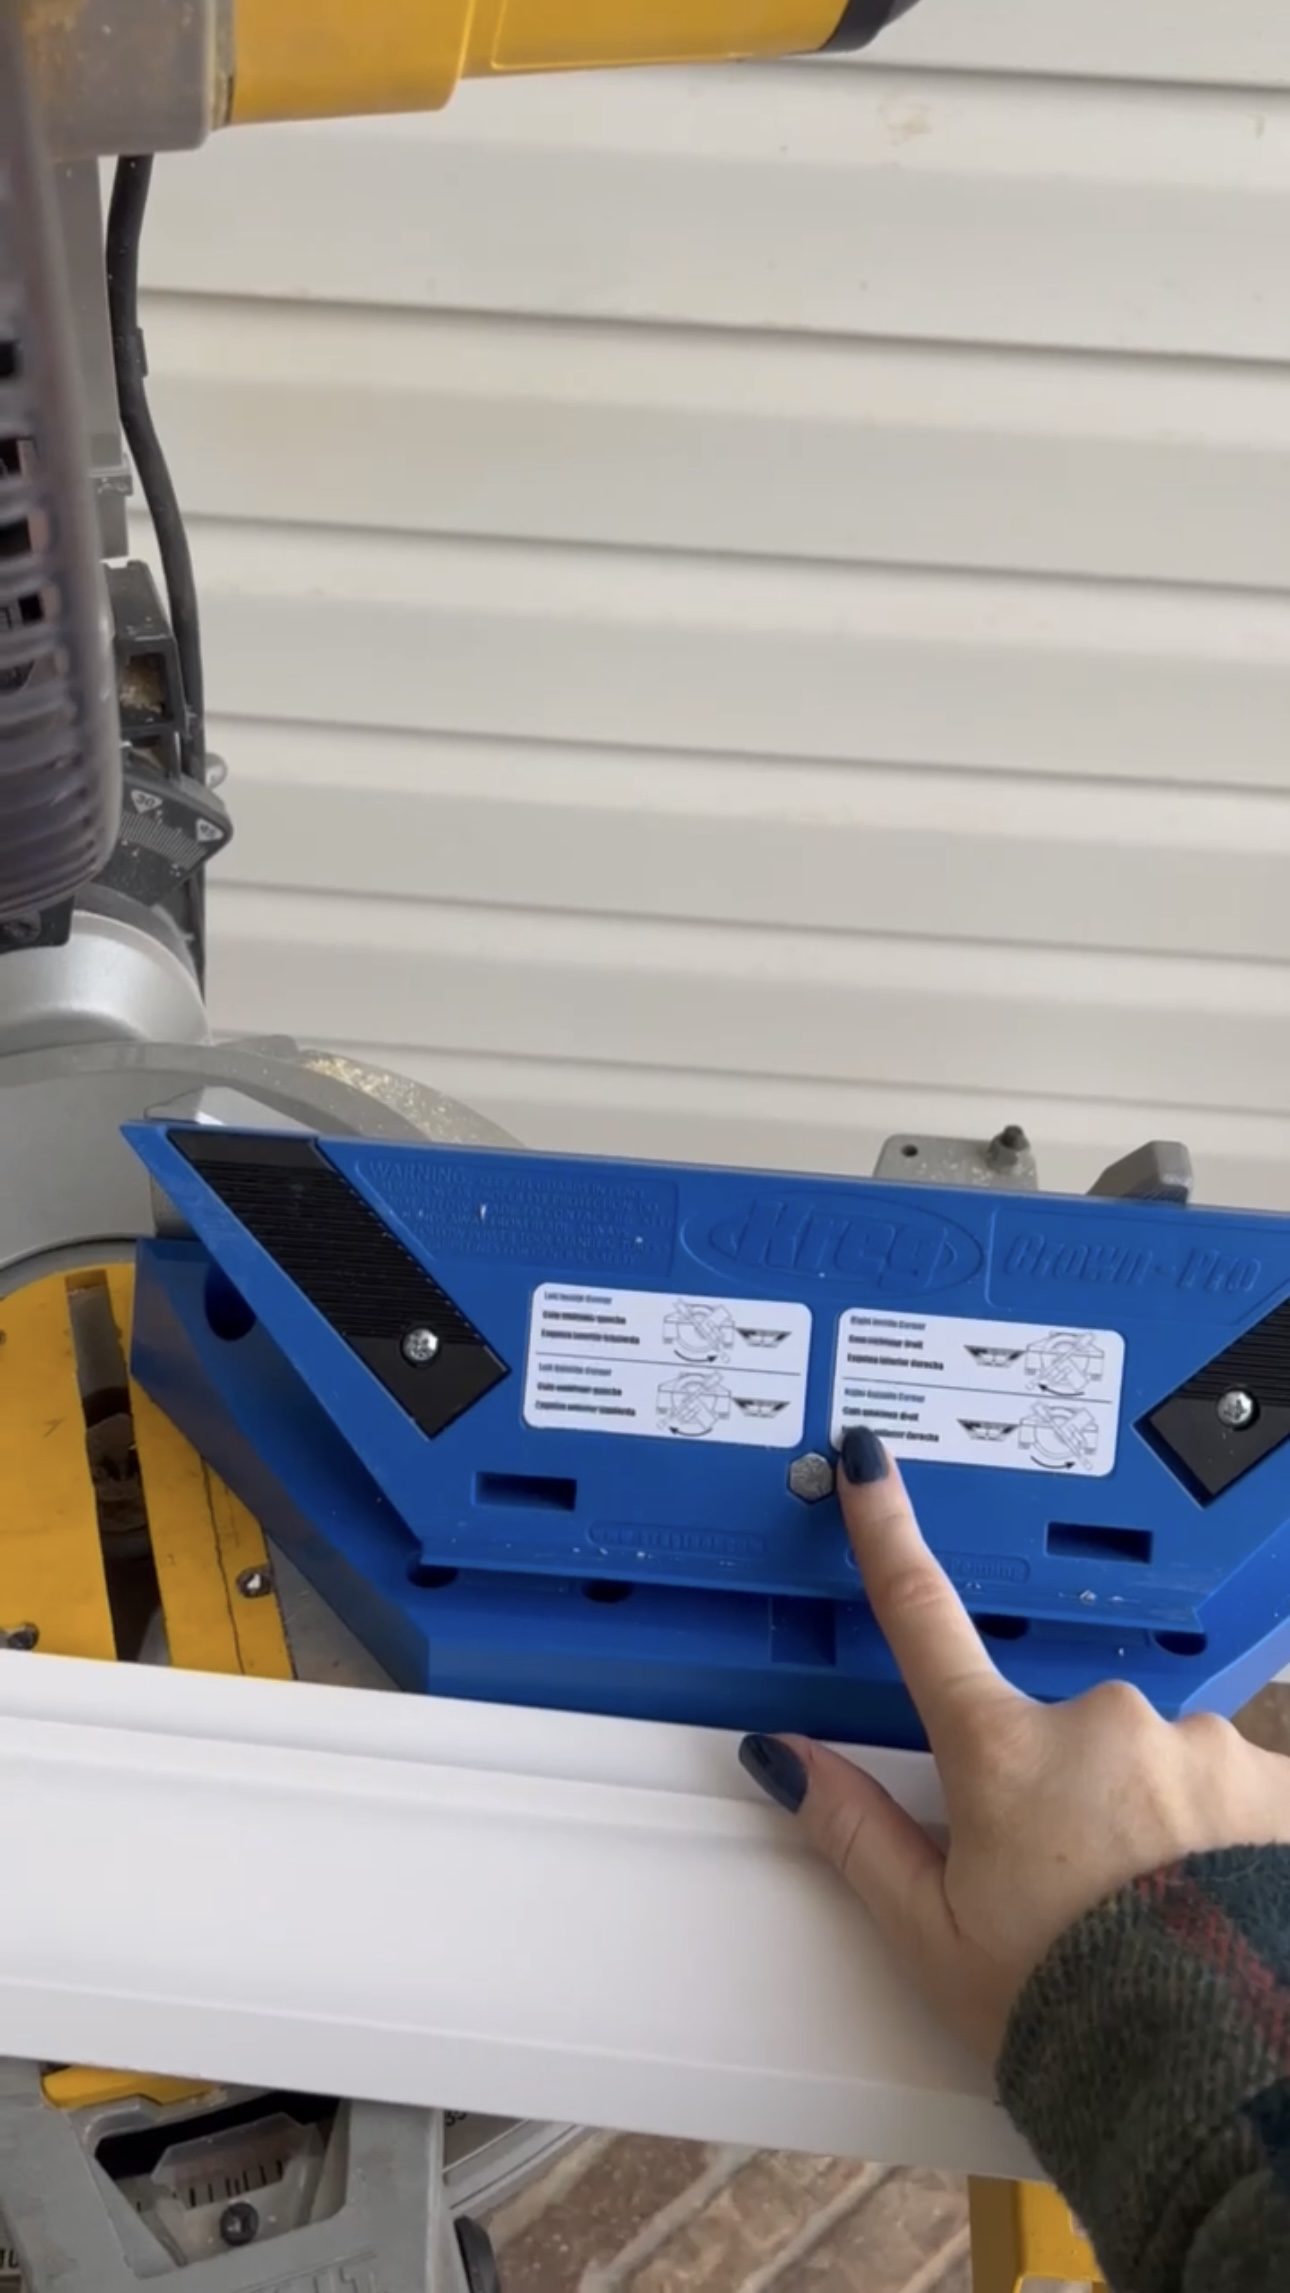
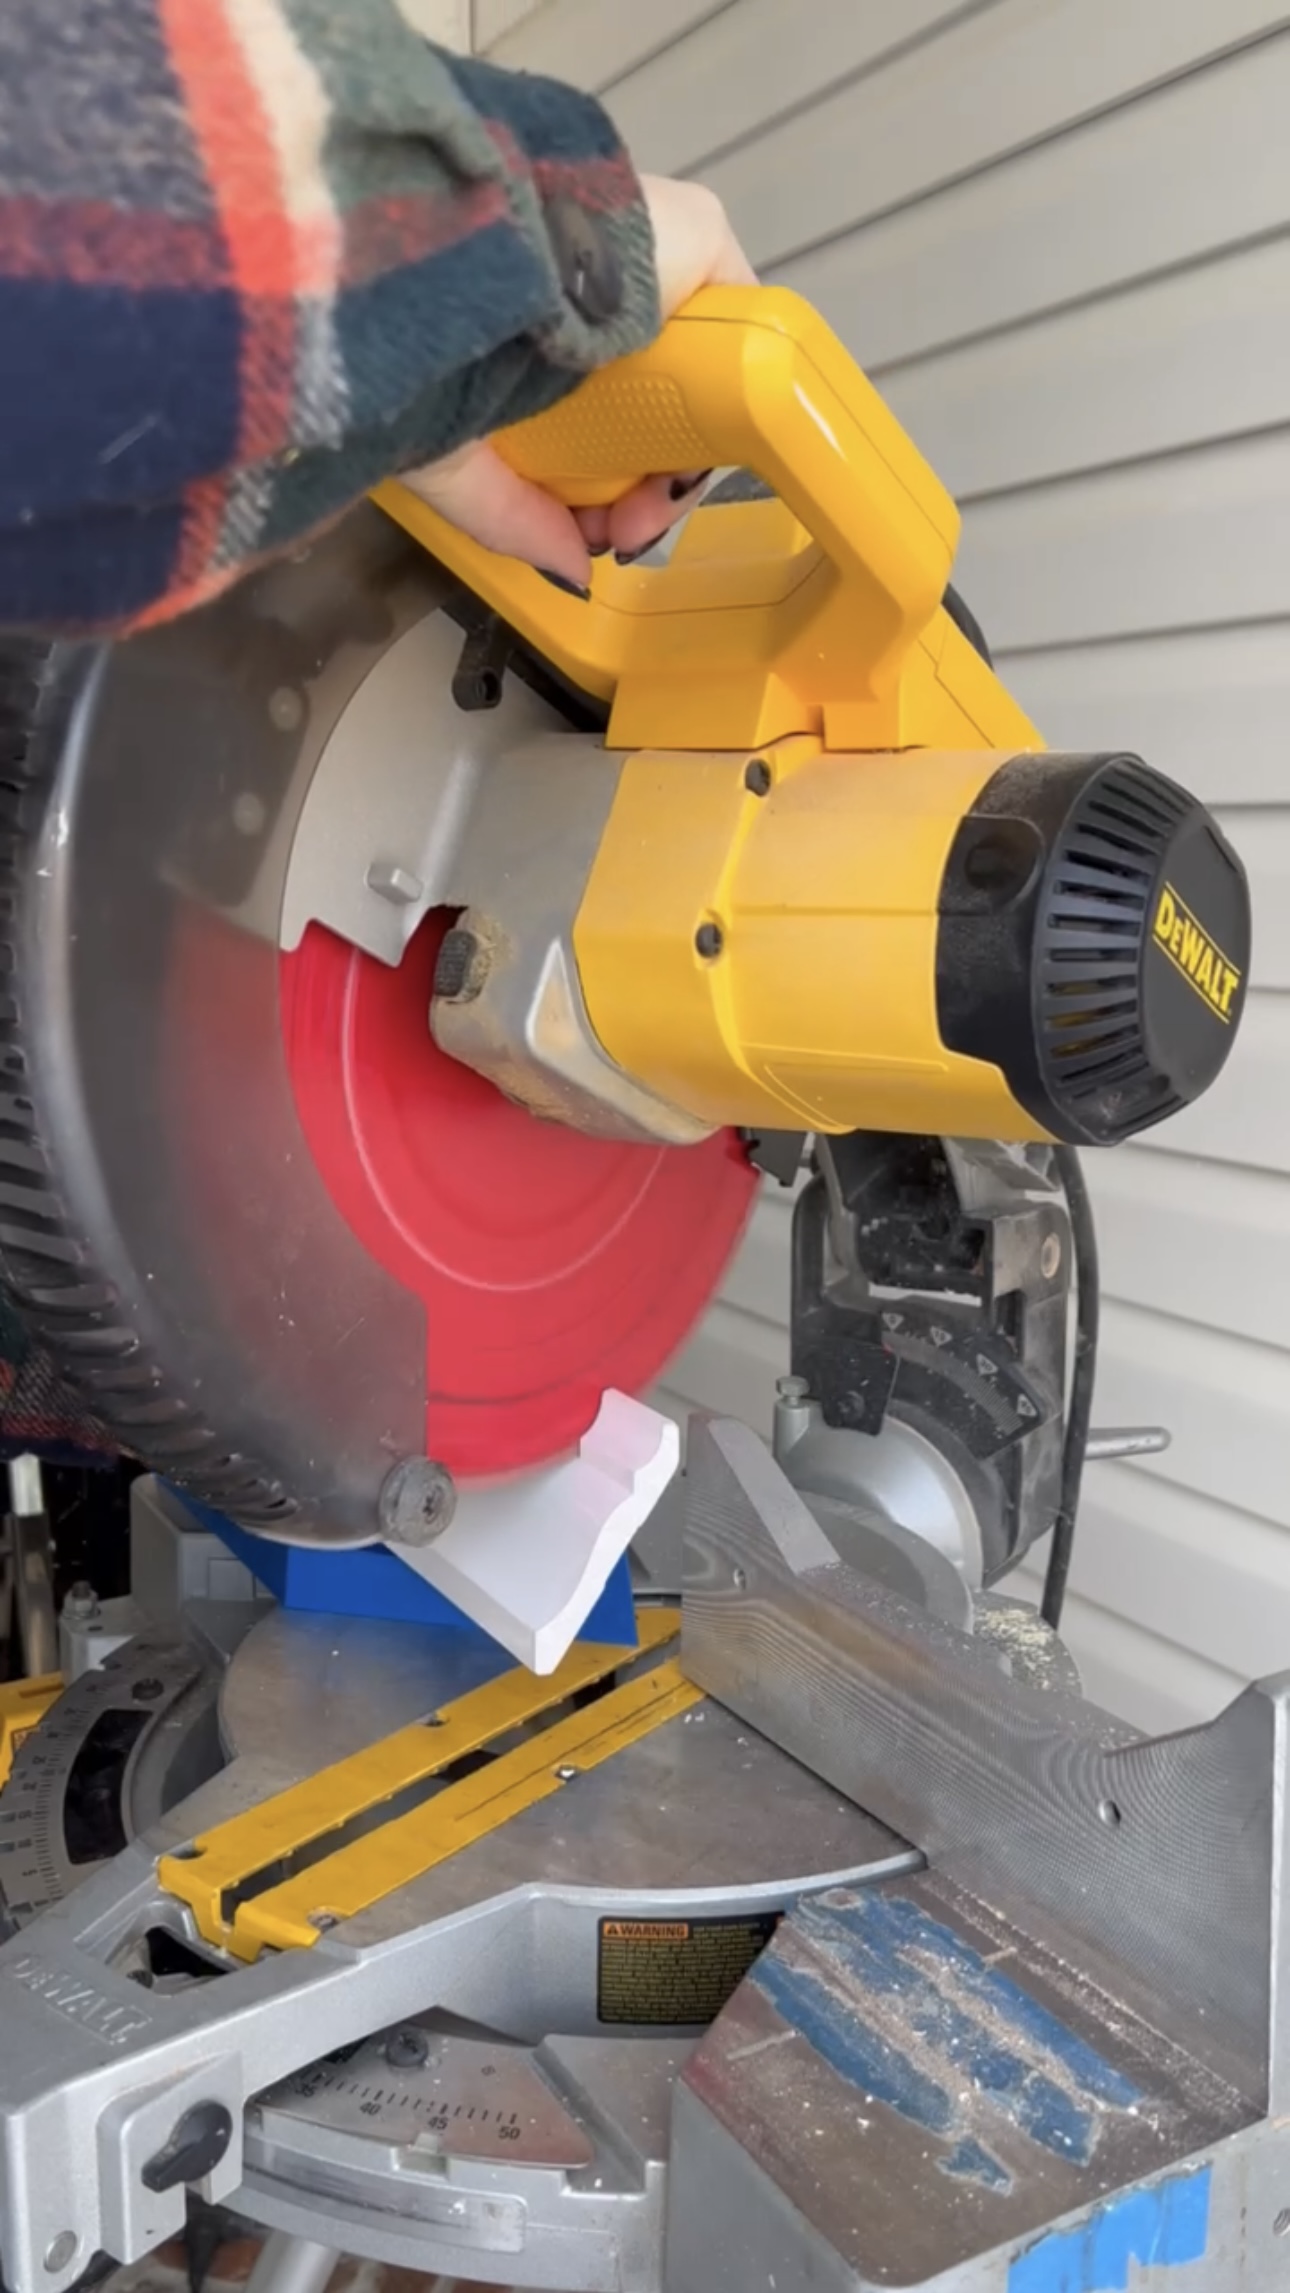
Cutting crown moulding can be a bit of a head ache, so I used my Kreg Crown Moulding Jig! For crown moulding, you have to cut it upside down. But you also have to think about so many things – whether it’s an inside/outside corner, which direction your saw blade is going. This jig tells you where to position for each cut. This way, you only have to find your angle and measurement – then cut. Super easy!
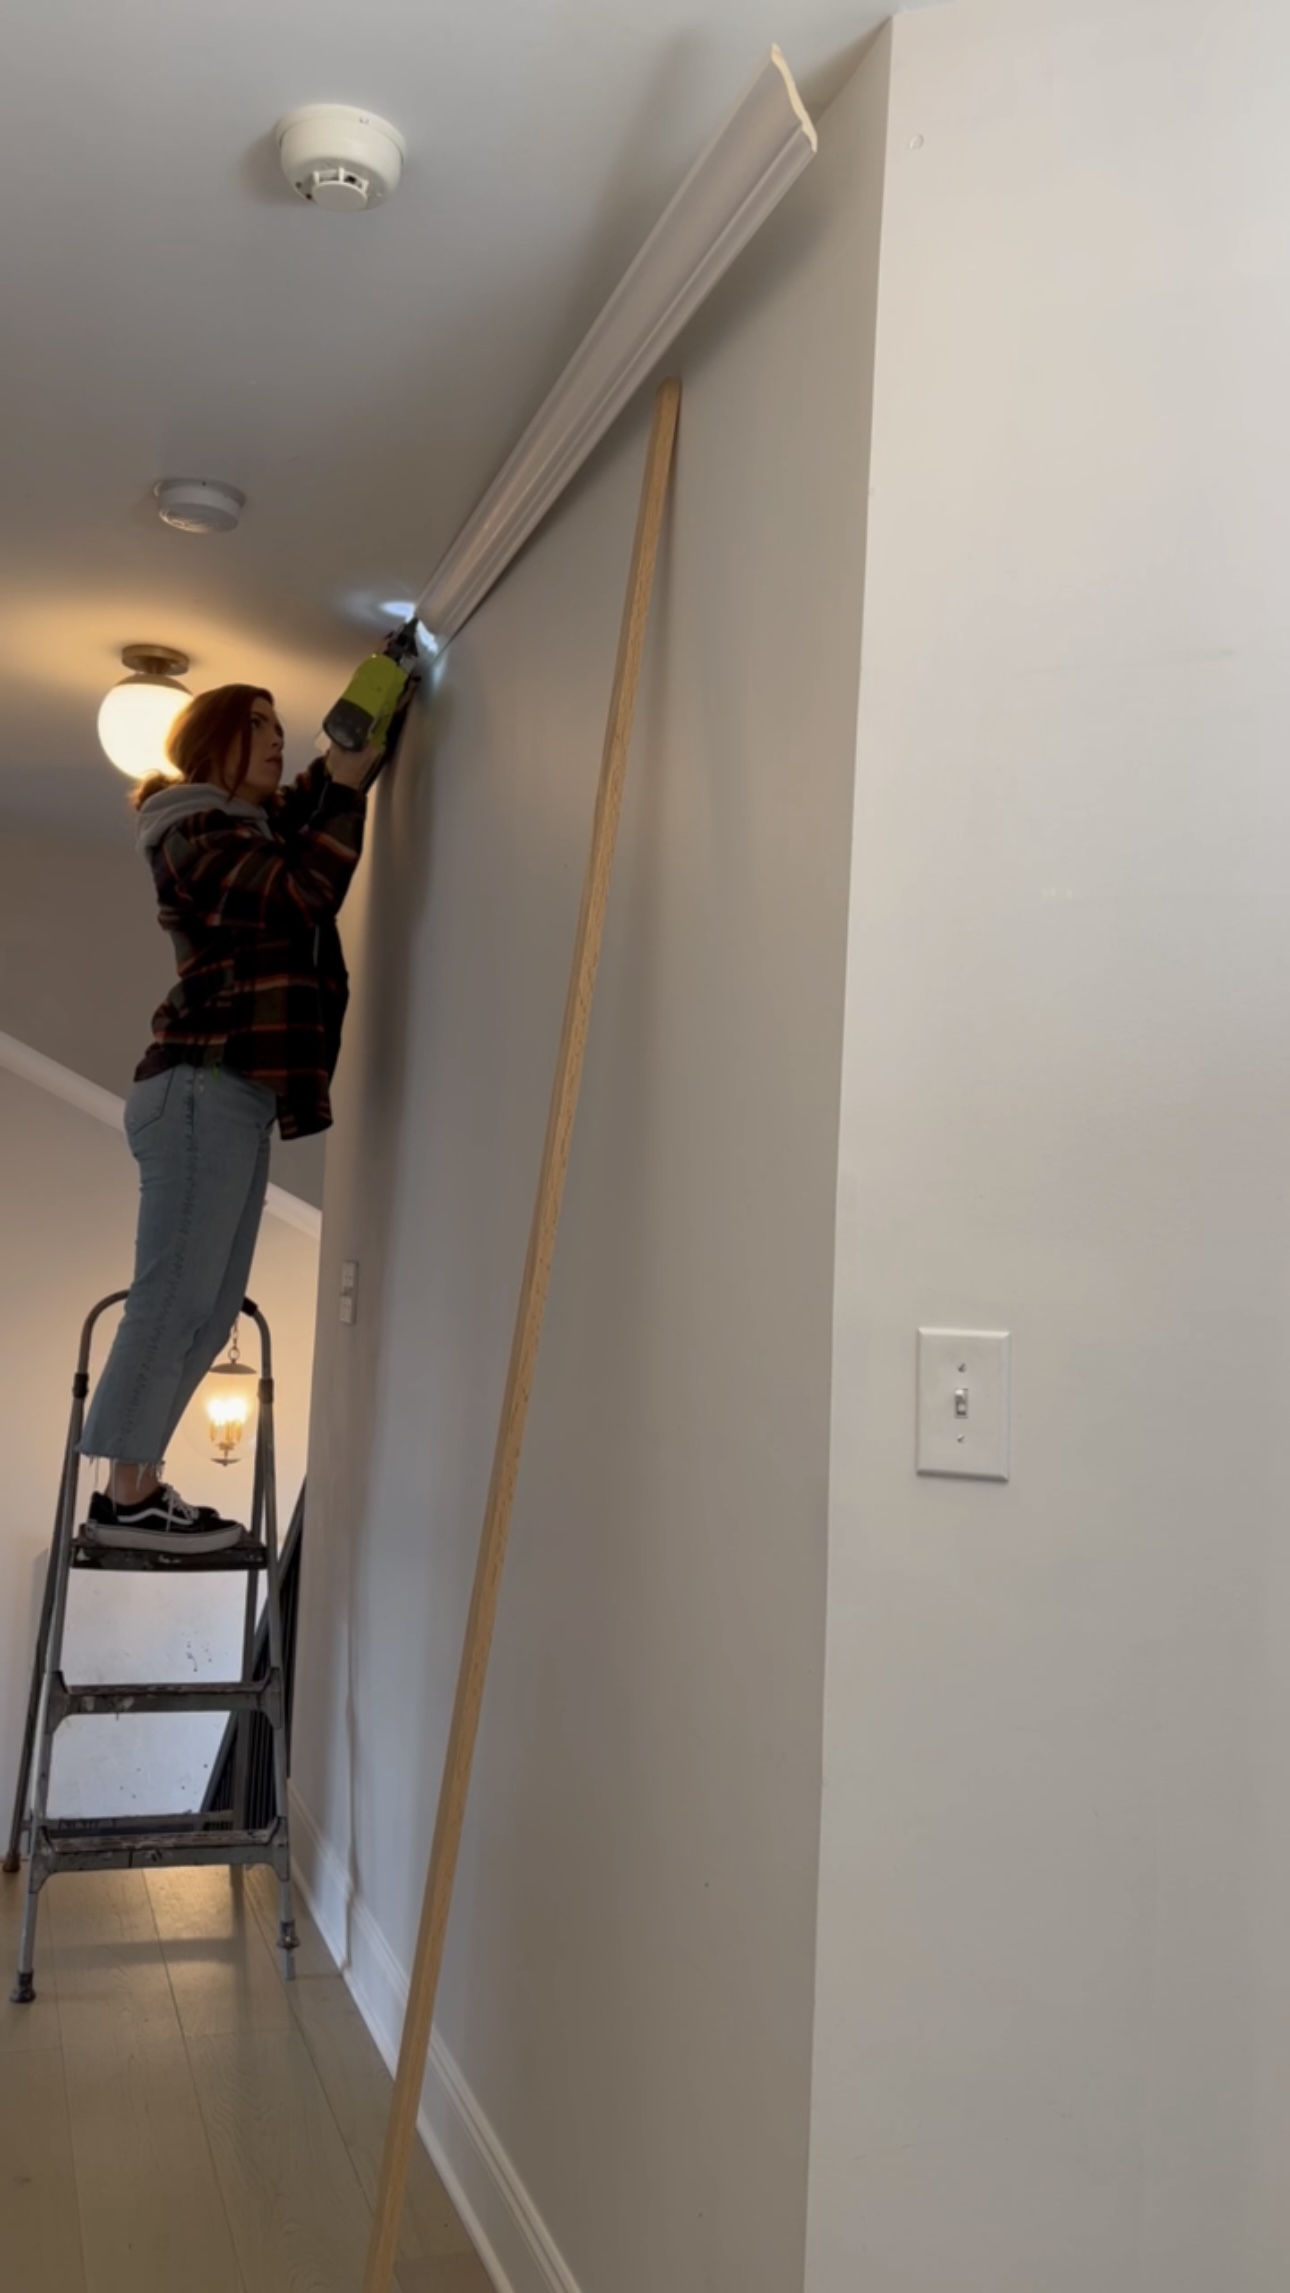
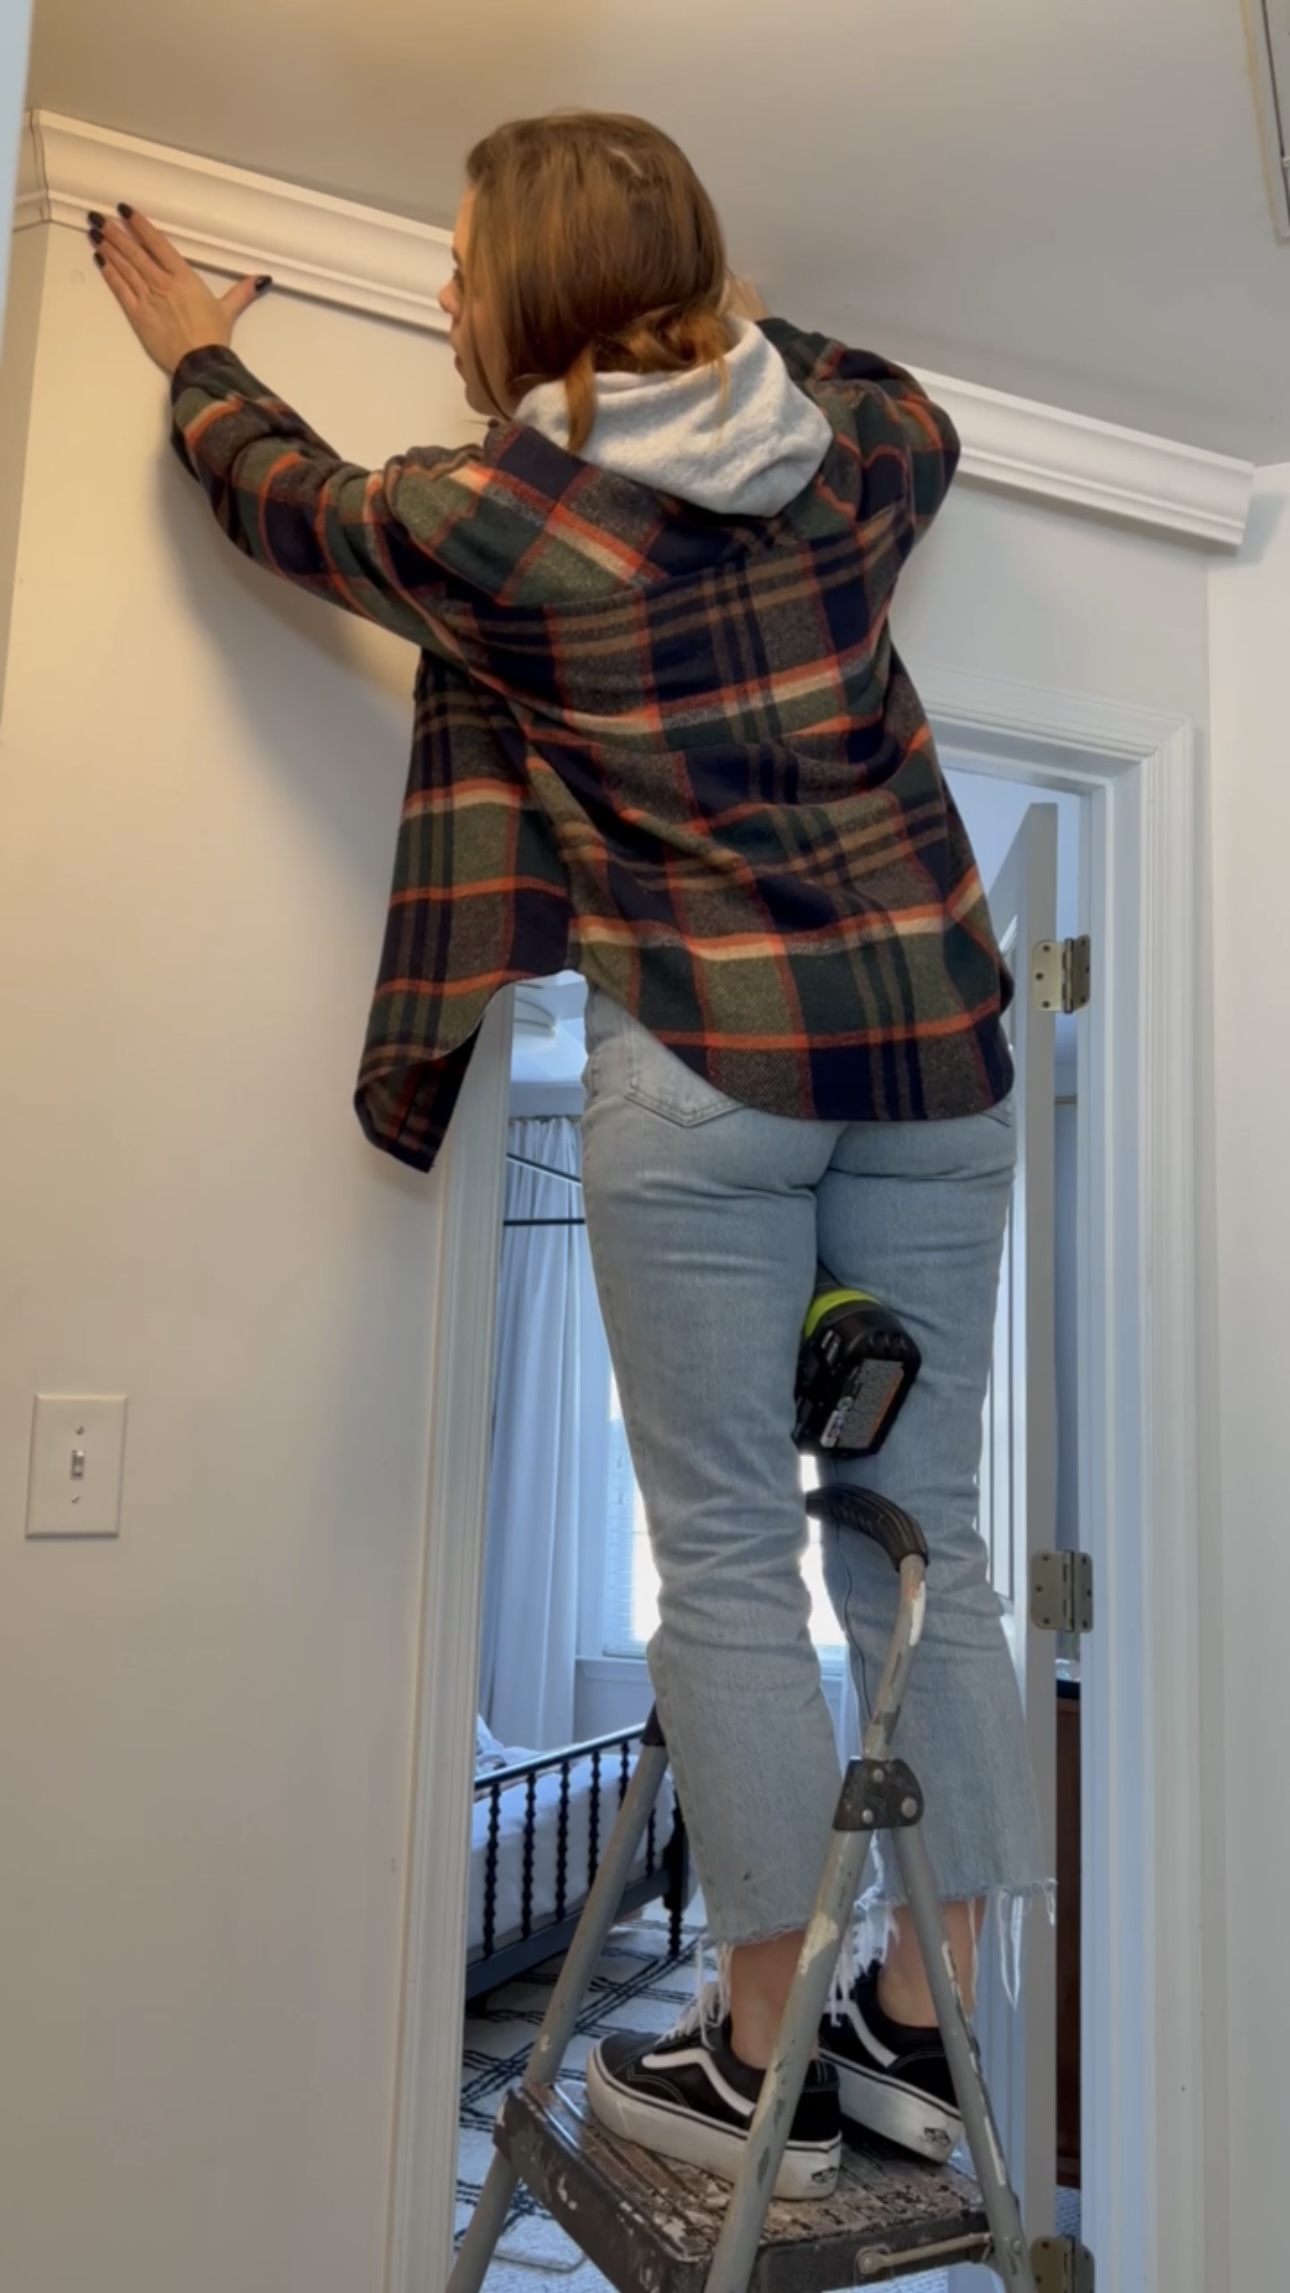
Then, I installed the crown moulding with my brad nailer all around the hallway.
Picture Rail
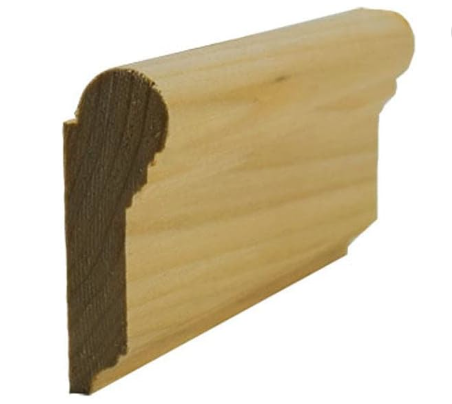
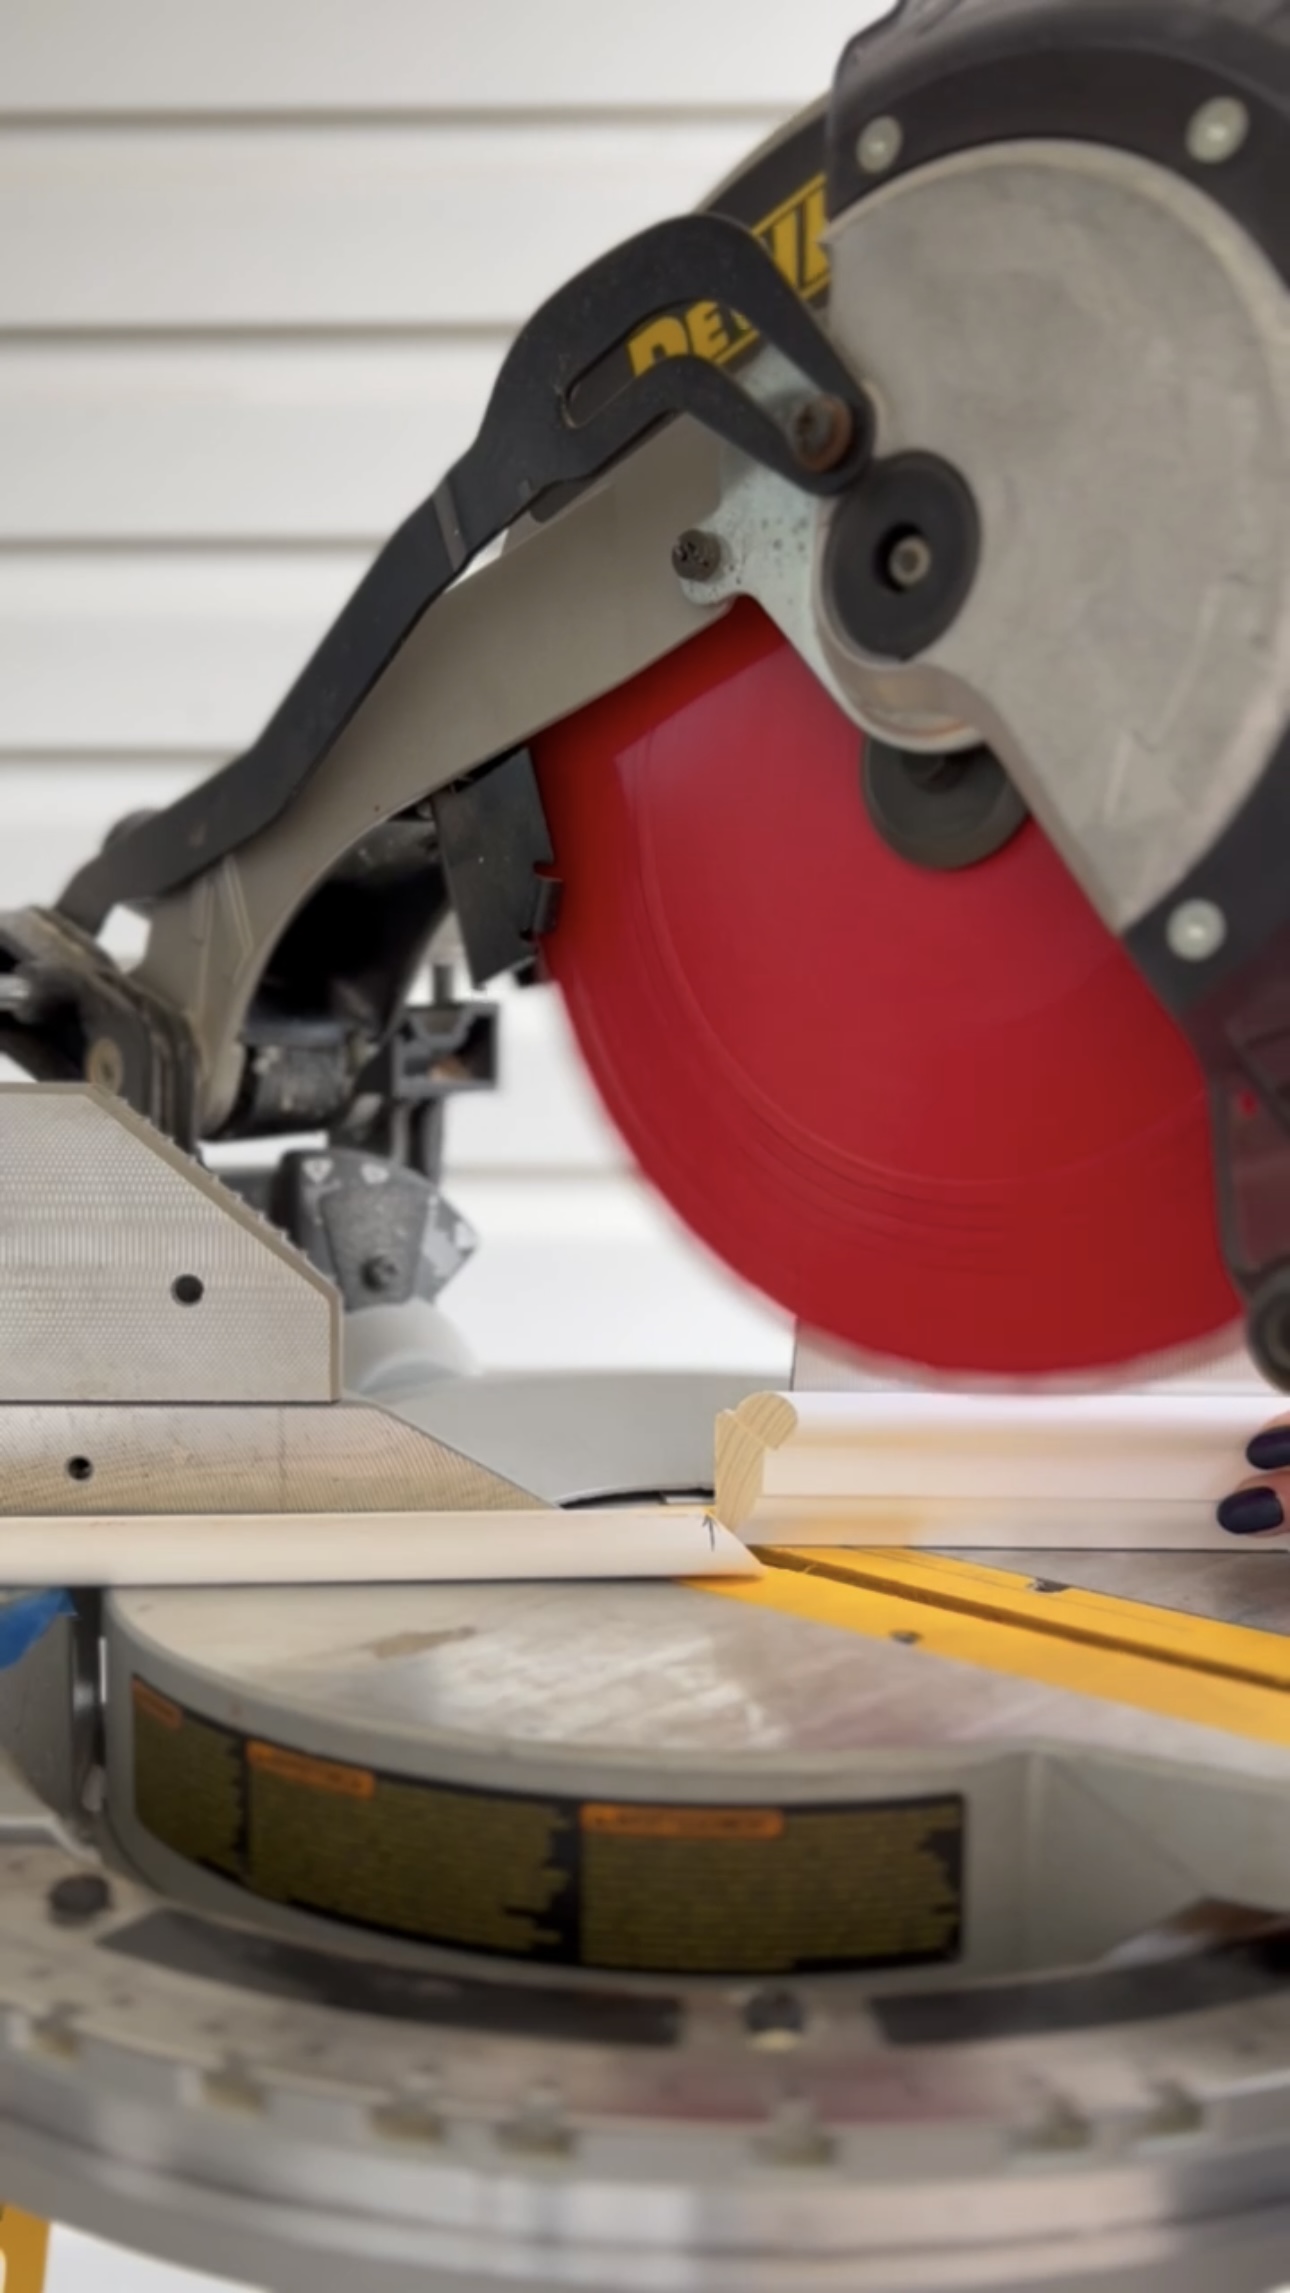
I love putting picture railing underneath crown moulding. It adds dimension to the crown and makes it look a bit beefier. I love to hang art from it. It’s a very traditional style moulding. I cut down my picture railing using my miter saw. Picture railing requires zero extra brain work as opposed to crown moulding.
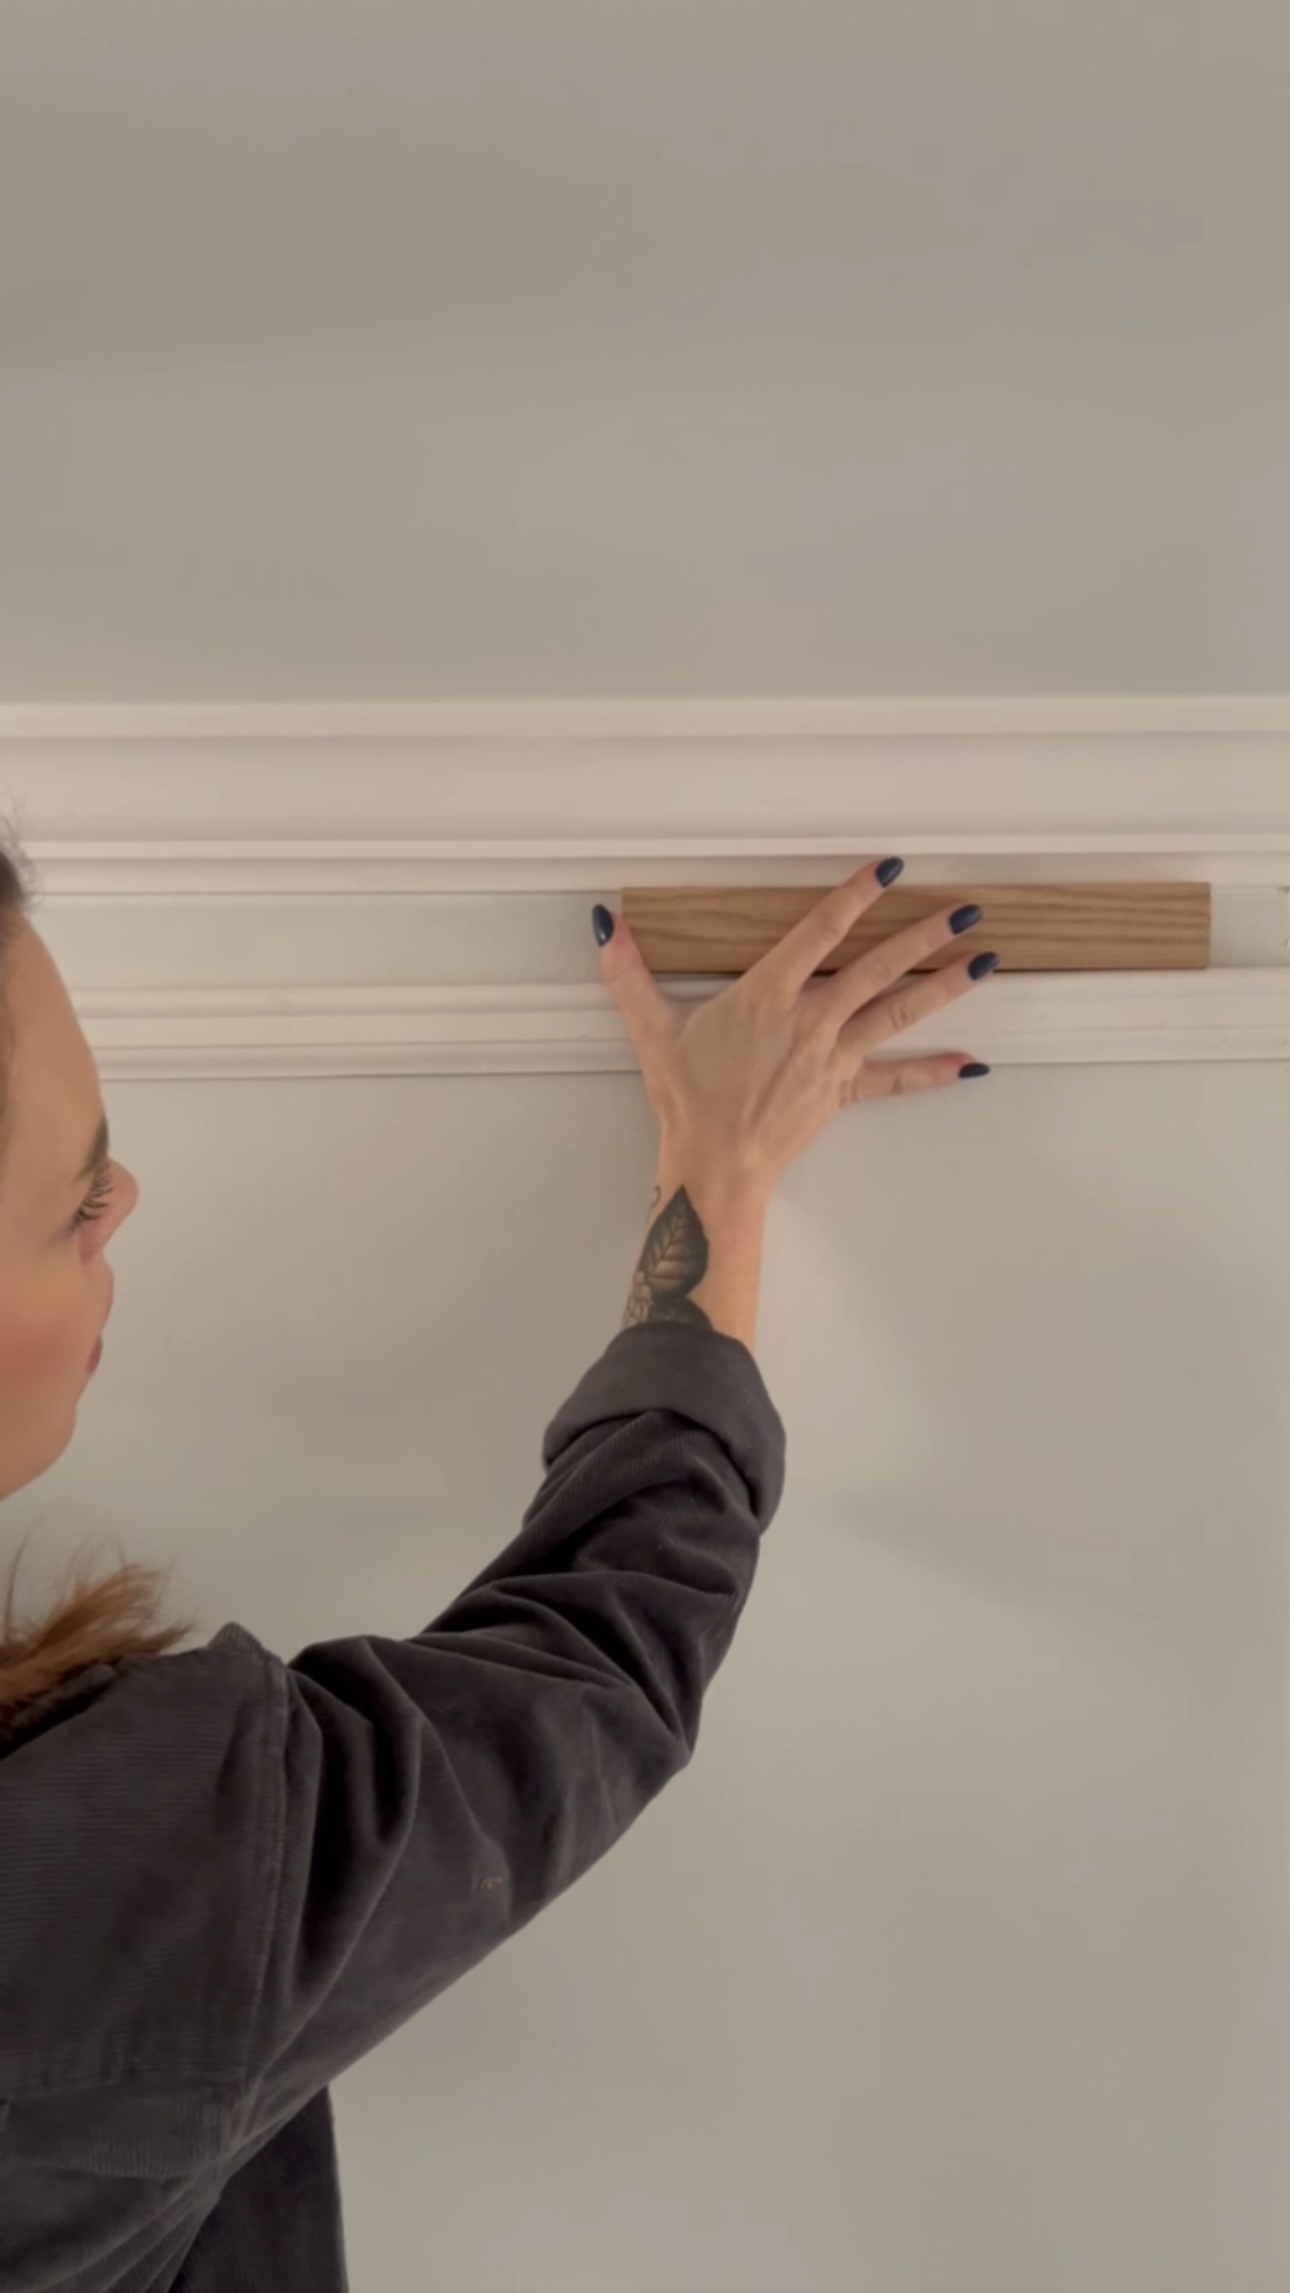
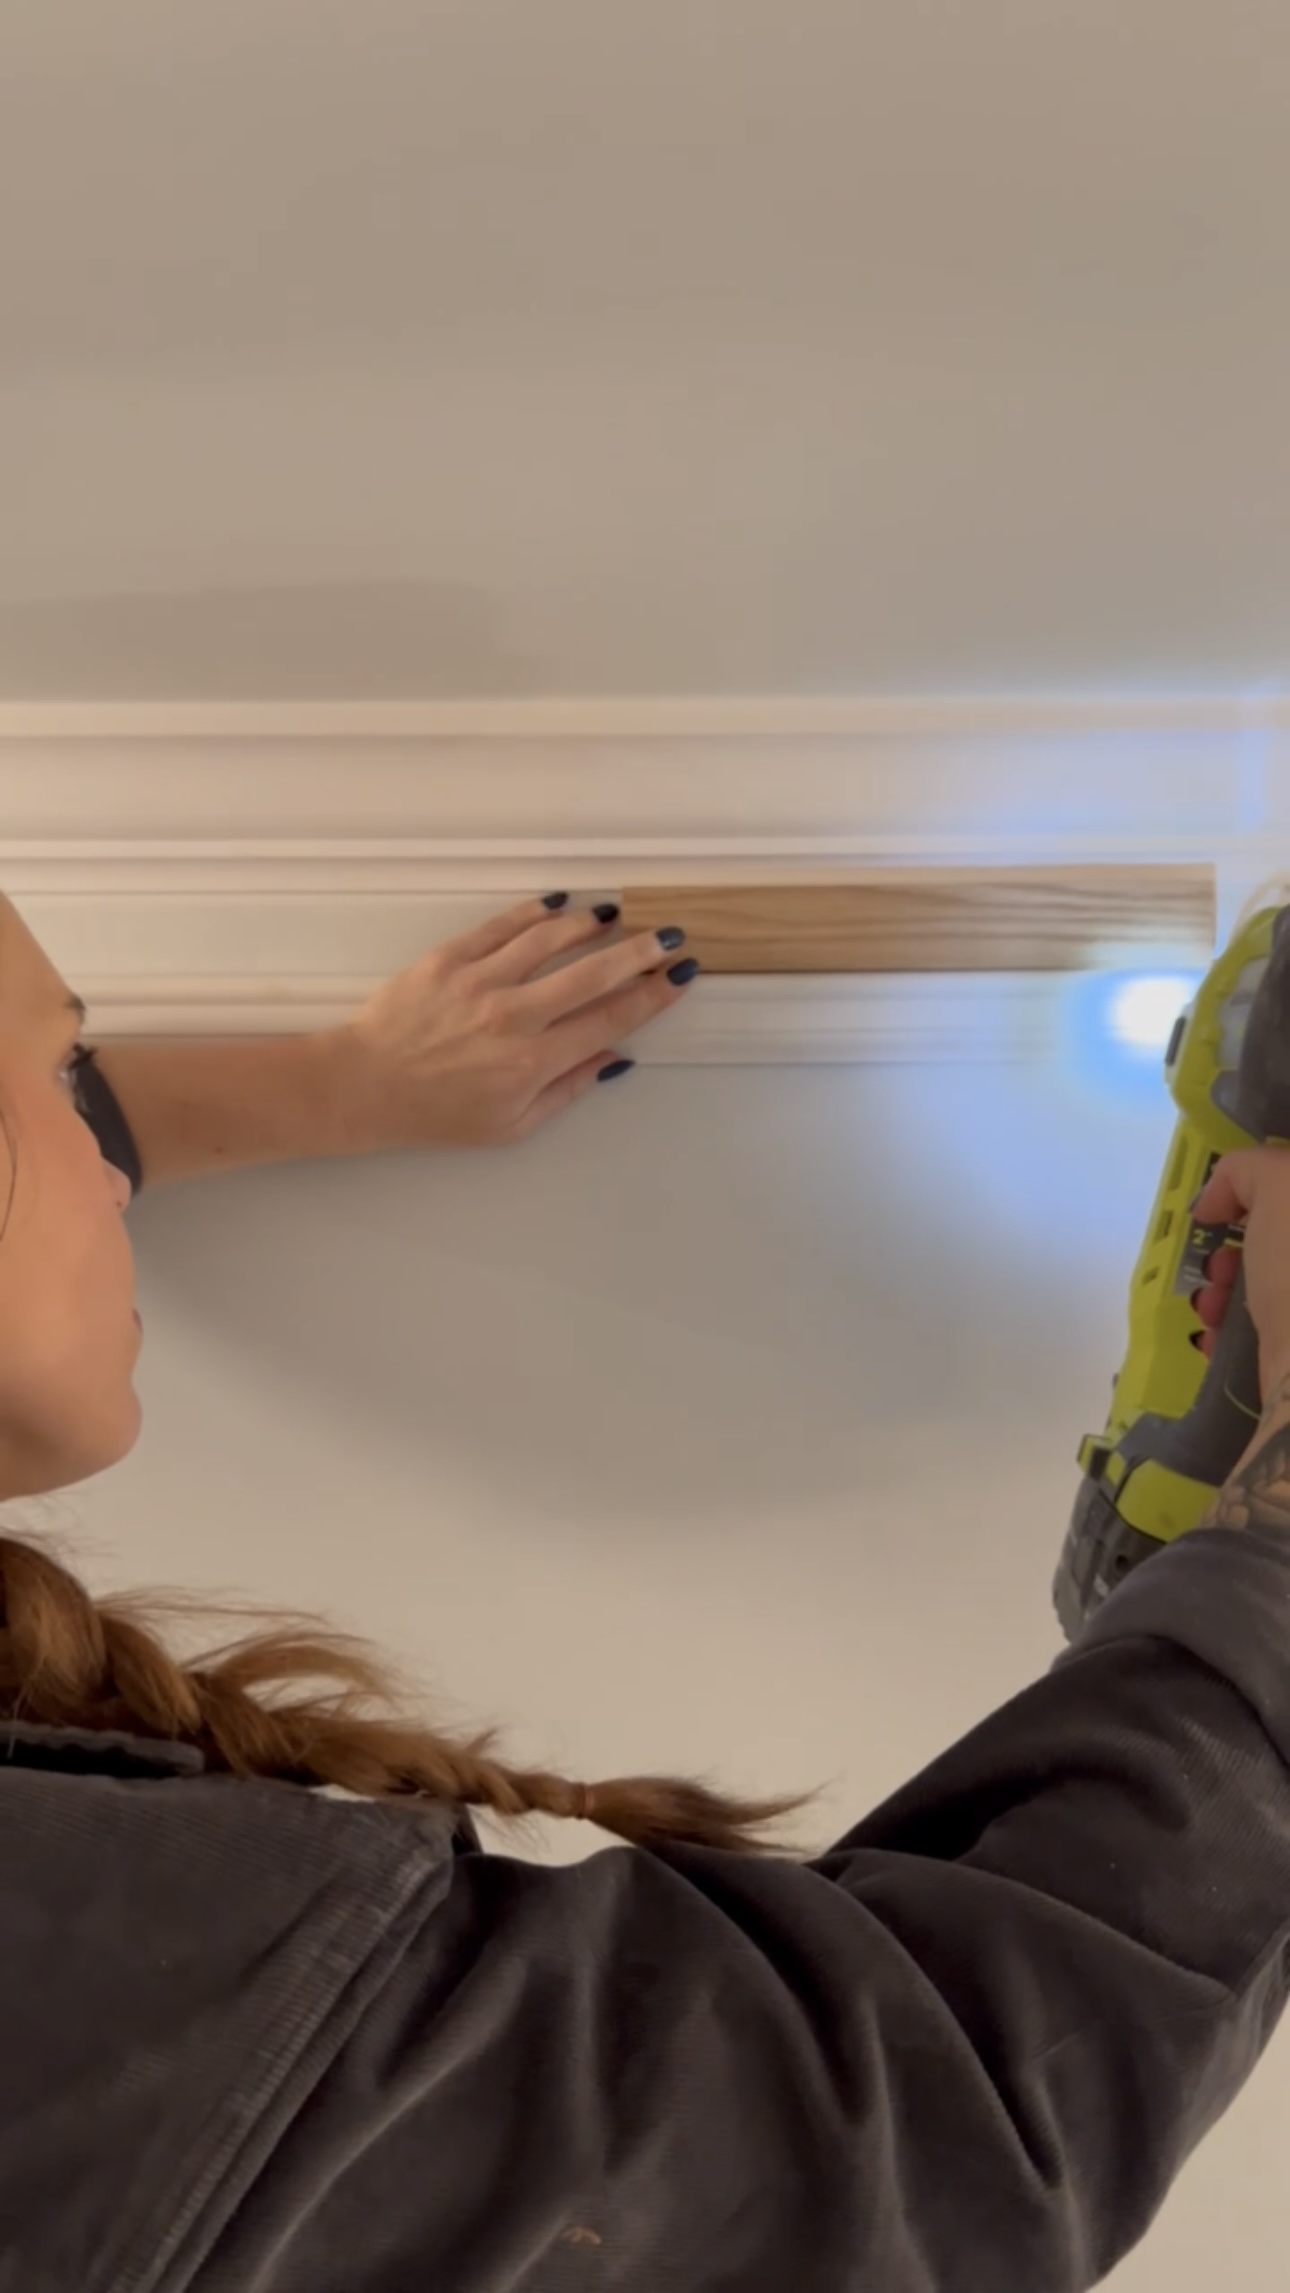
Then, I put up my picture railing! When I did this, I used a scrap piece of wood as a spacer. I placed it under the crown moulding while nailing the picture railing in. I just slid down that piece of wood as I went.
The is hallway is looking so much better already! Next up for this hallway makeover, paint!
– Cass