Rainie’s Room Makeover – Trim

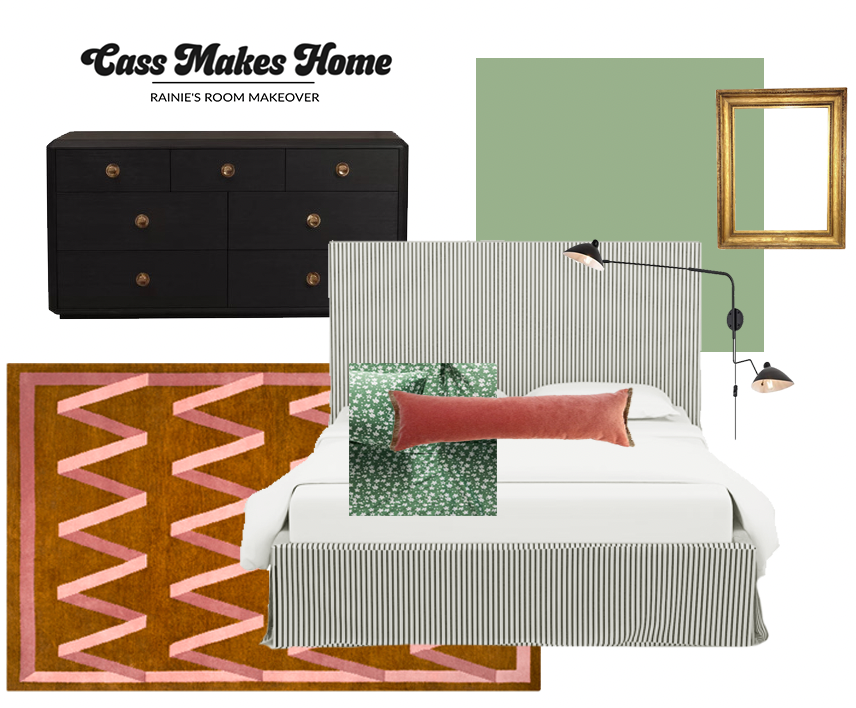
It’s time for the big ROOM SWAP! Baby boy is due at the end of August…which means we need to start preparing haha. As I talked about in my plans for our moving everyone around in this blog post, Rainie is moving into the guest bedroom. This is my mood board for Rainie’s room makeover!
*This post may contain affiliate links, which means I may earn a small commission if you purchase through my links, at no extra cost to you. I only share products I genuinely love.
When not in use by guests, this room became a bit of a storage spaced. I cleaned it out and donated almost every piece of furniture. After clearing it out, here is the current state of the guest bedroom:

Trim
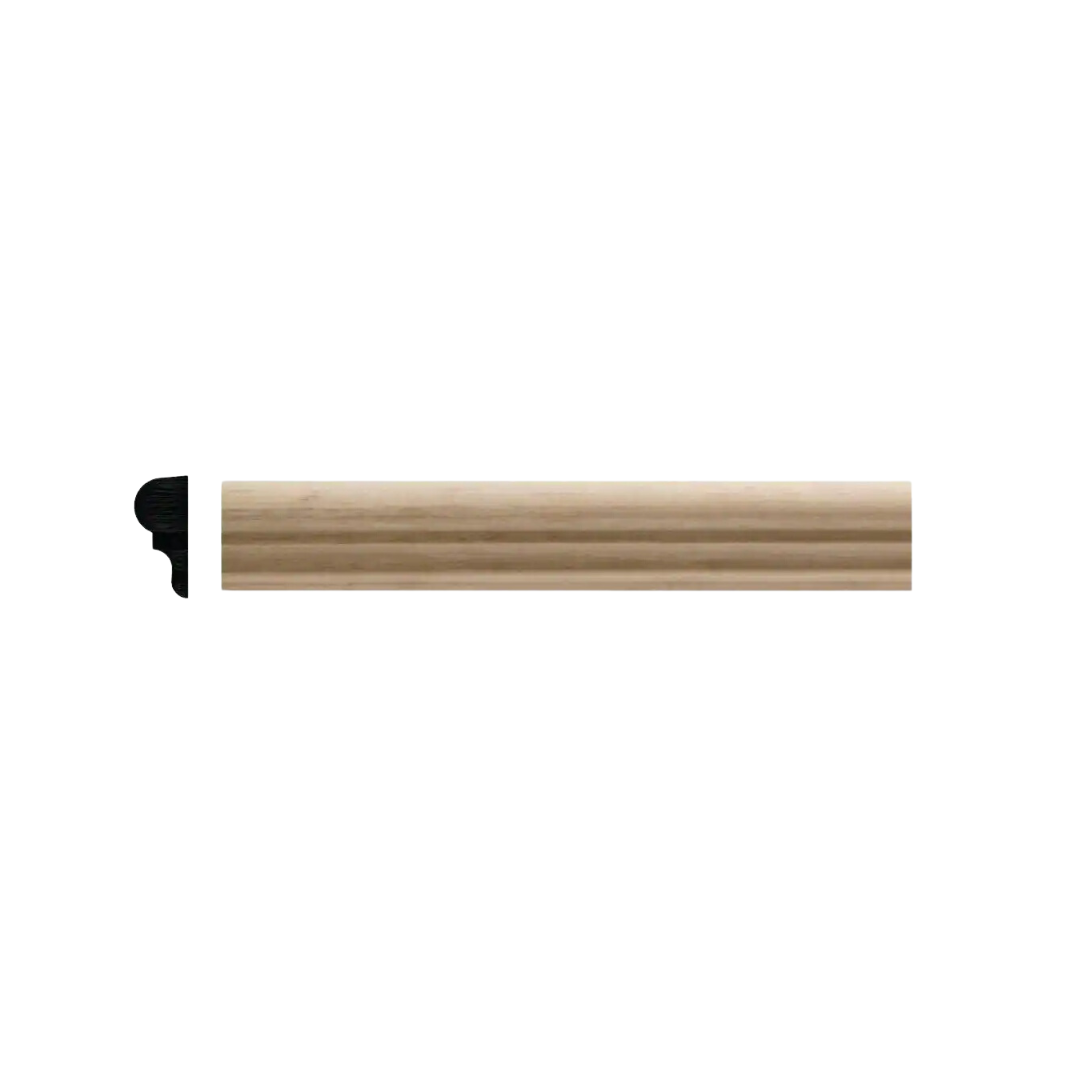
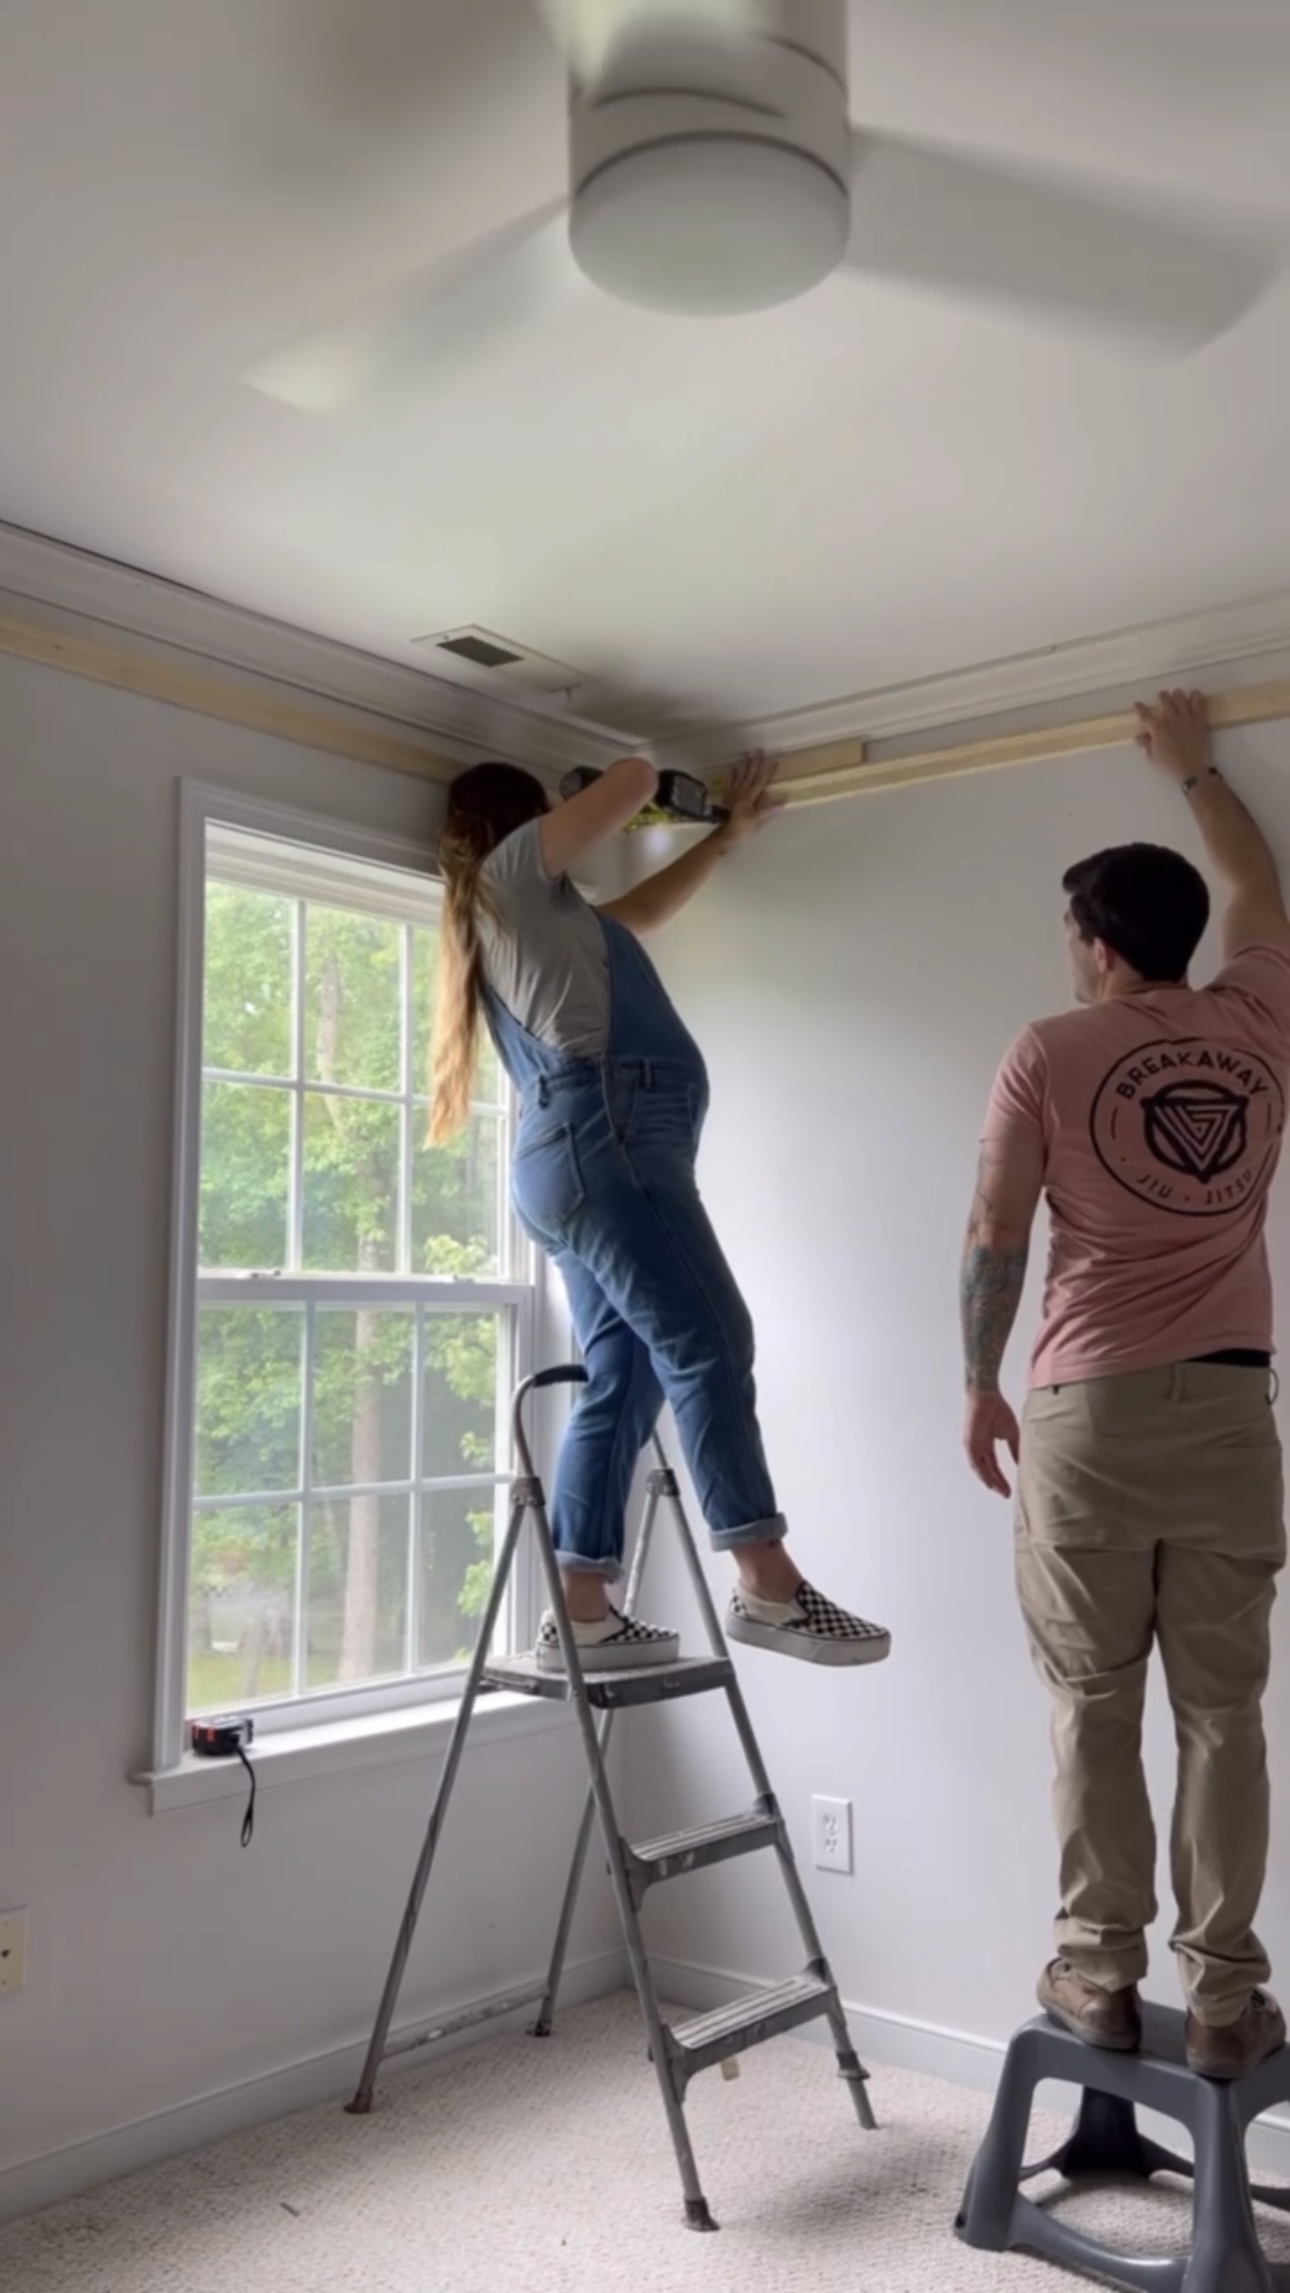
I decided to install crown moulding and picture railing in here to match the rest of the upstairs.
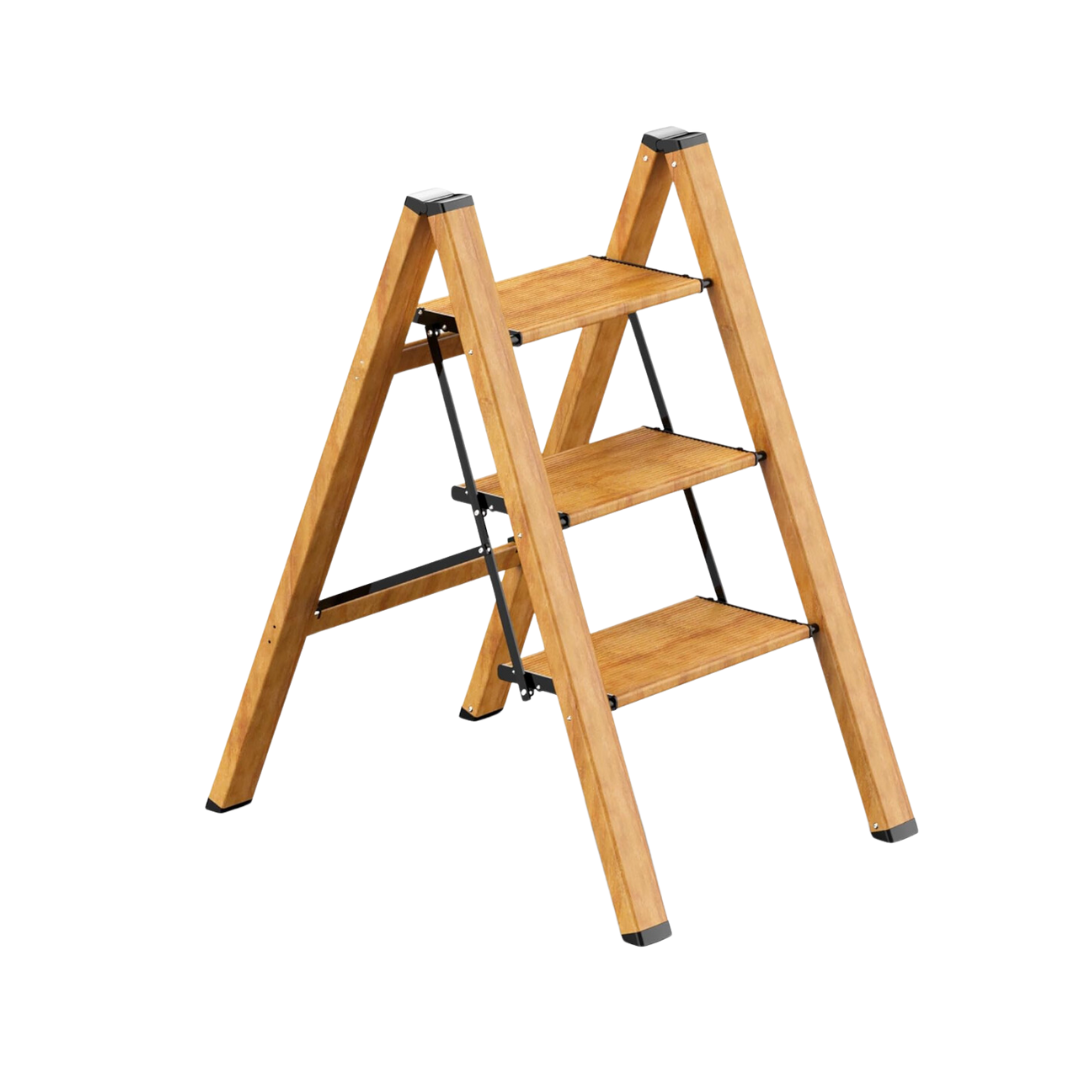
Here’s everything I used to install the trim:
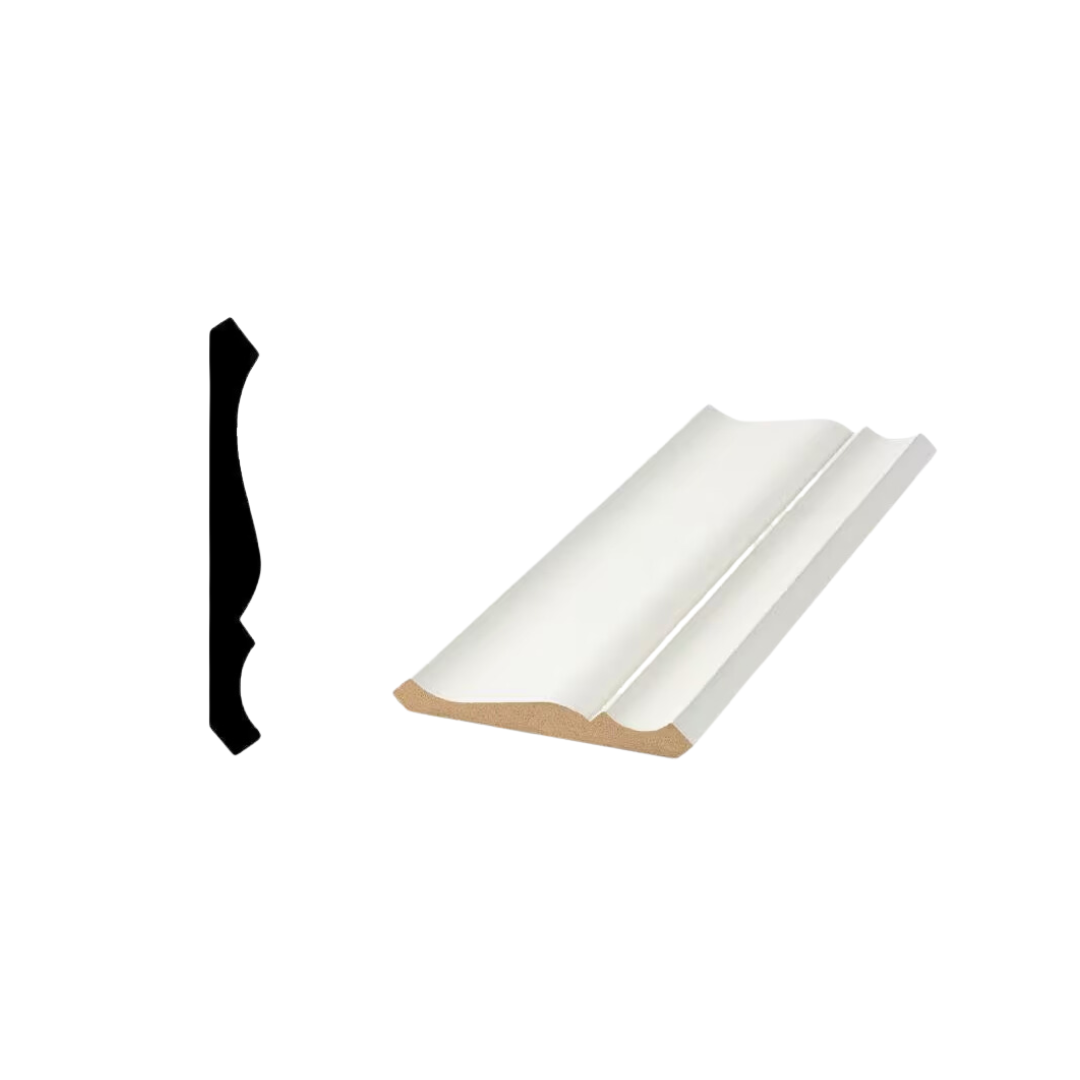


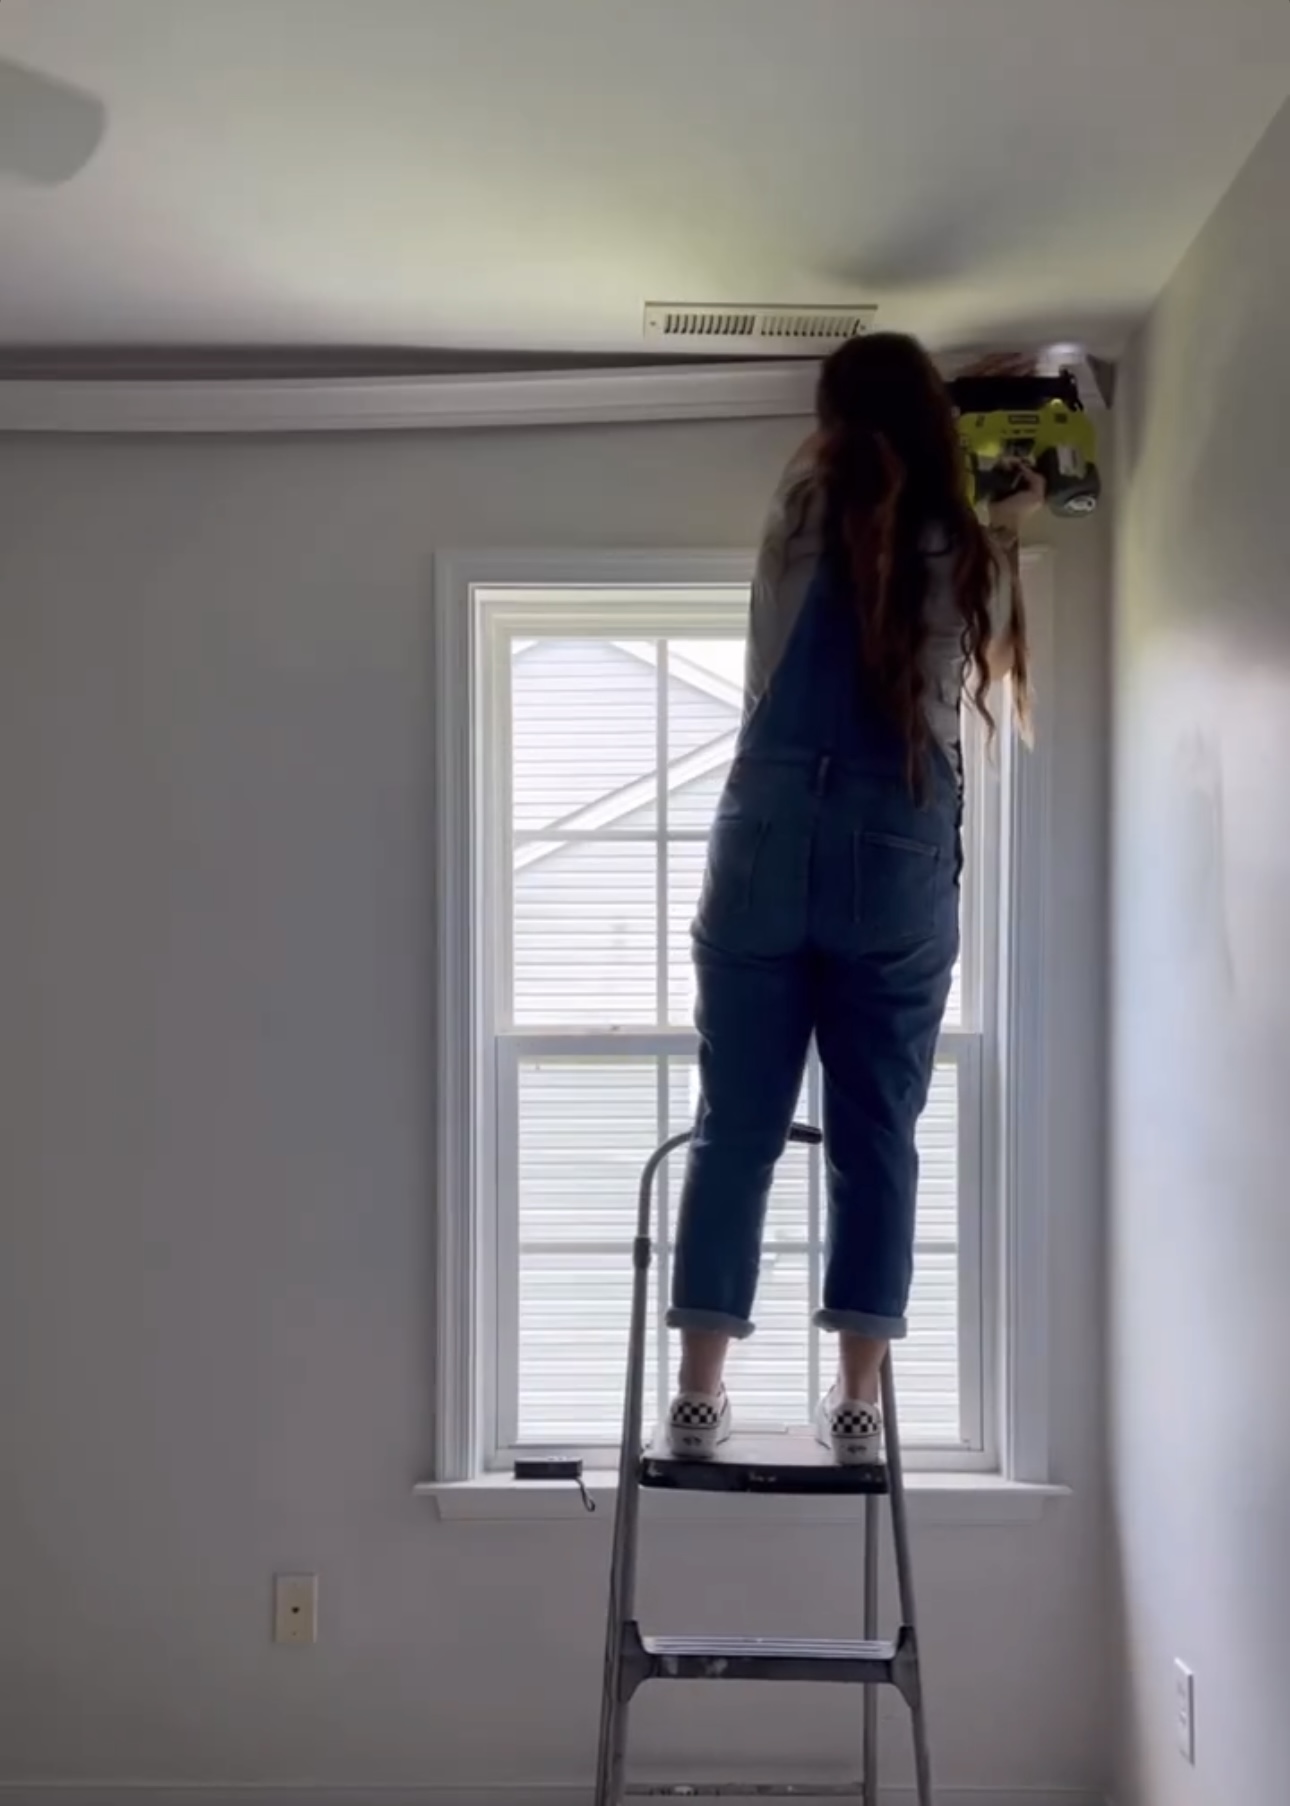
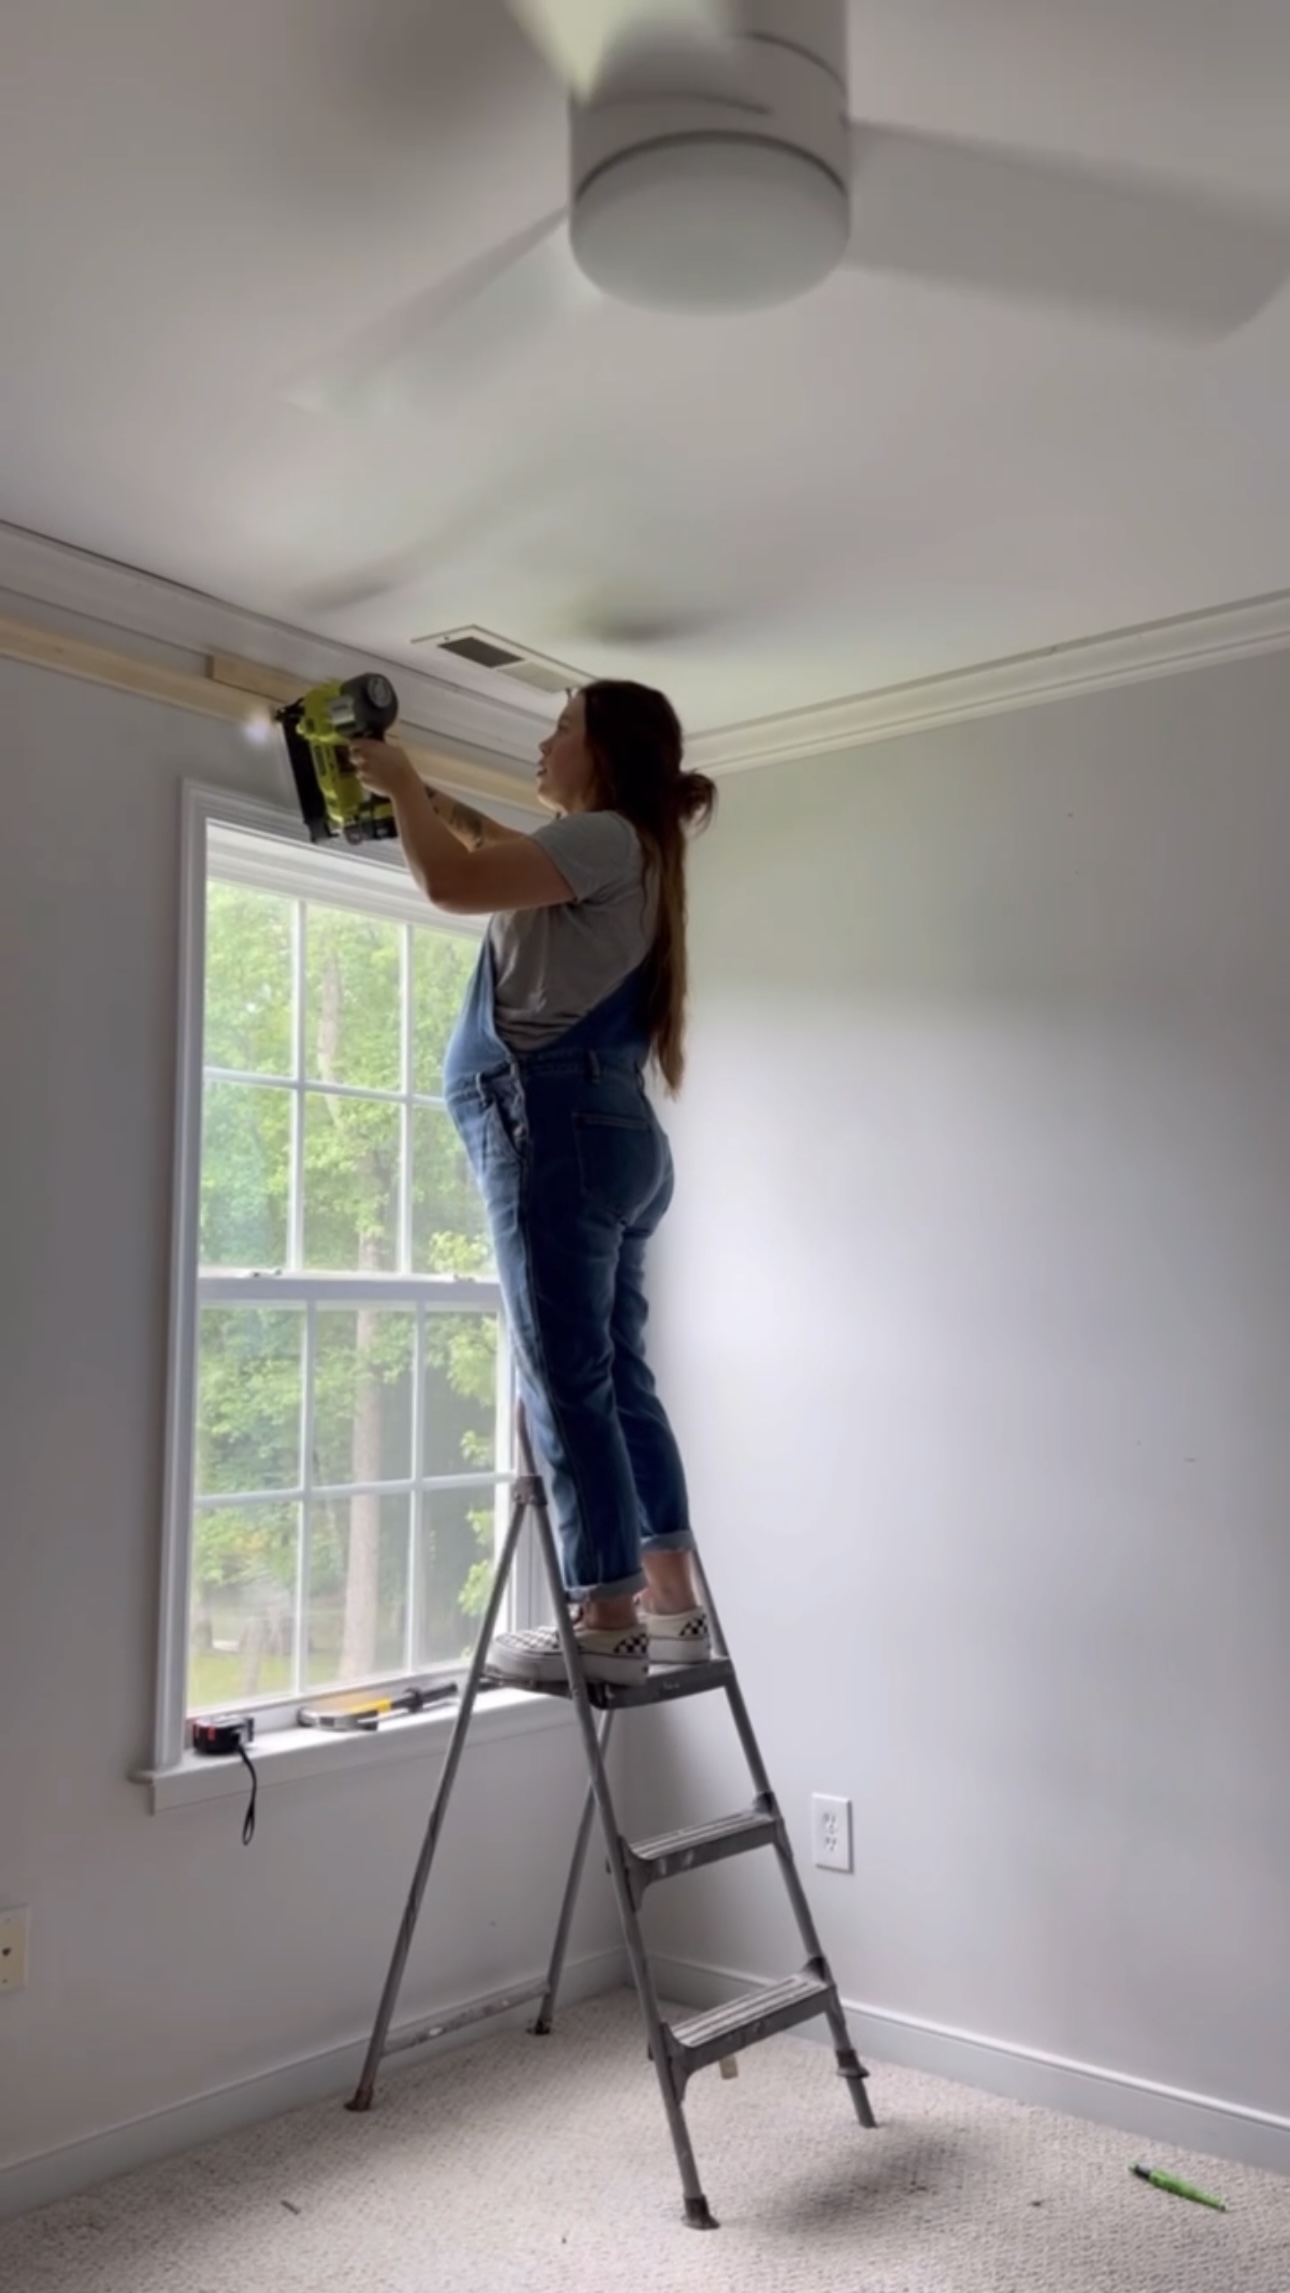
I cut down the crown moulding and picture railing to the correct size with my miter saw. Then, I installed the crown moulding with my brad nailer.
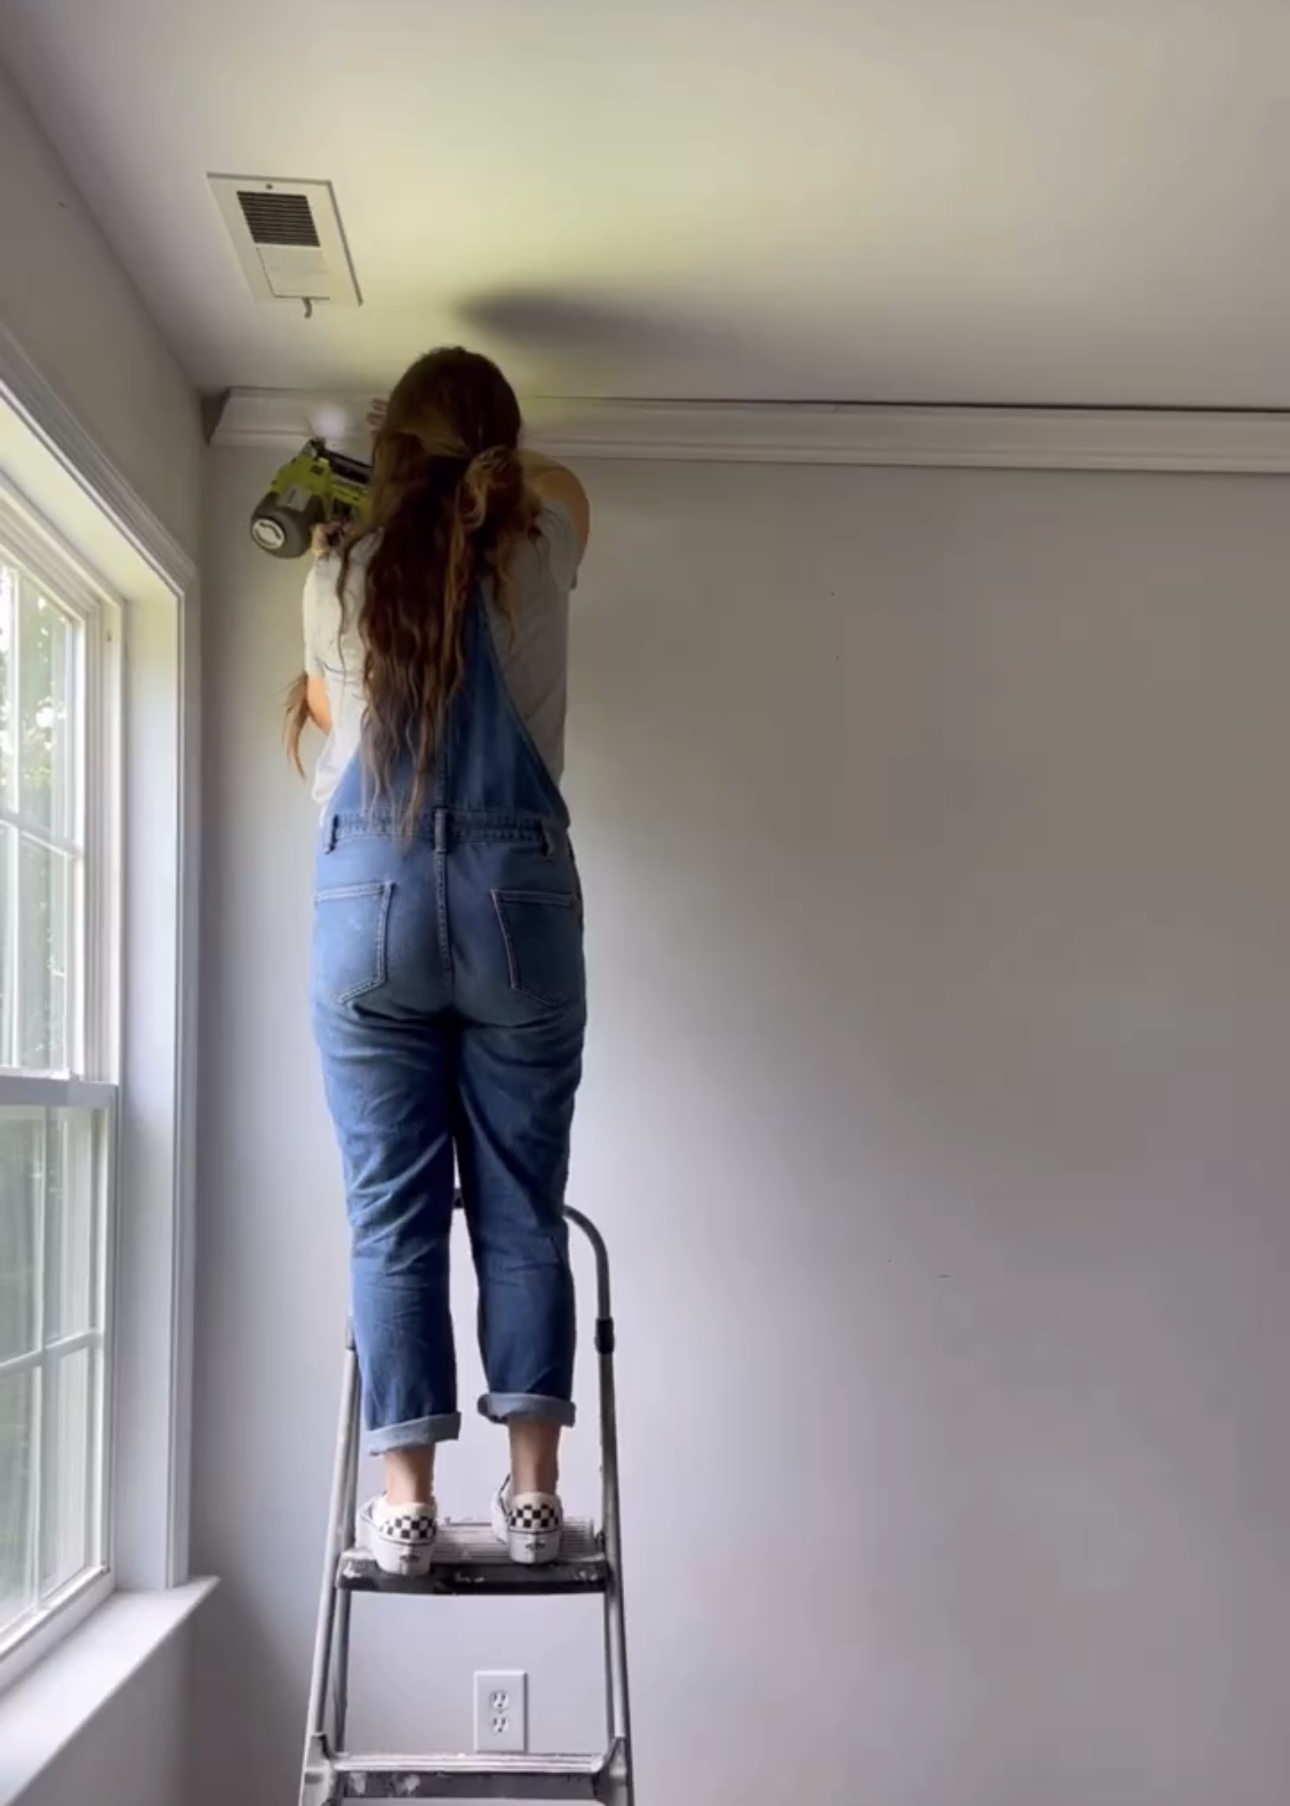

To simplify installation for picture railing, I like to use a small piece of scrap wood to place under the crown moulding while I nail in the picture railing. Then, I slide it down as I go.
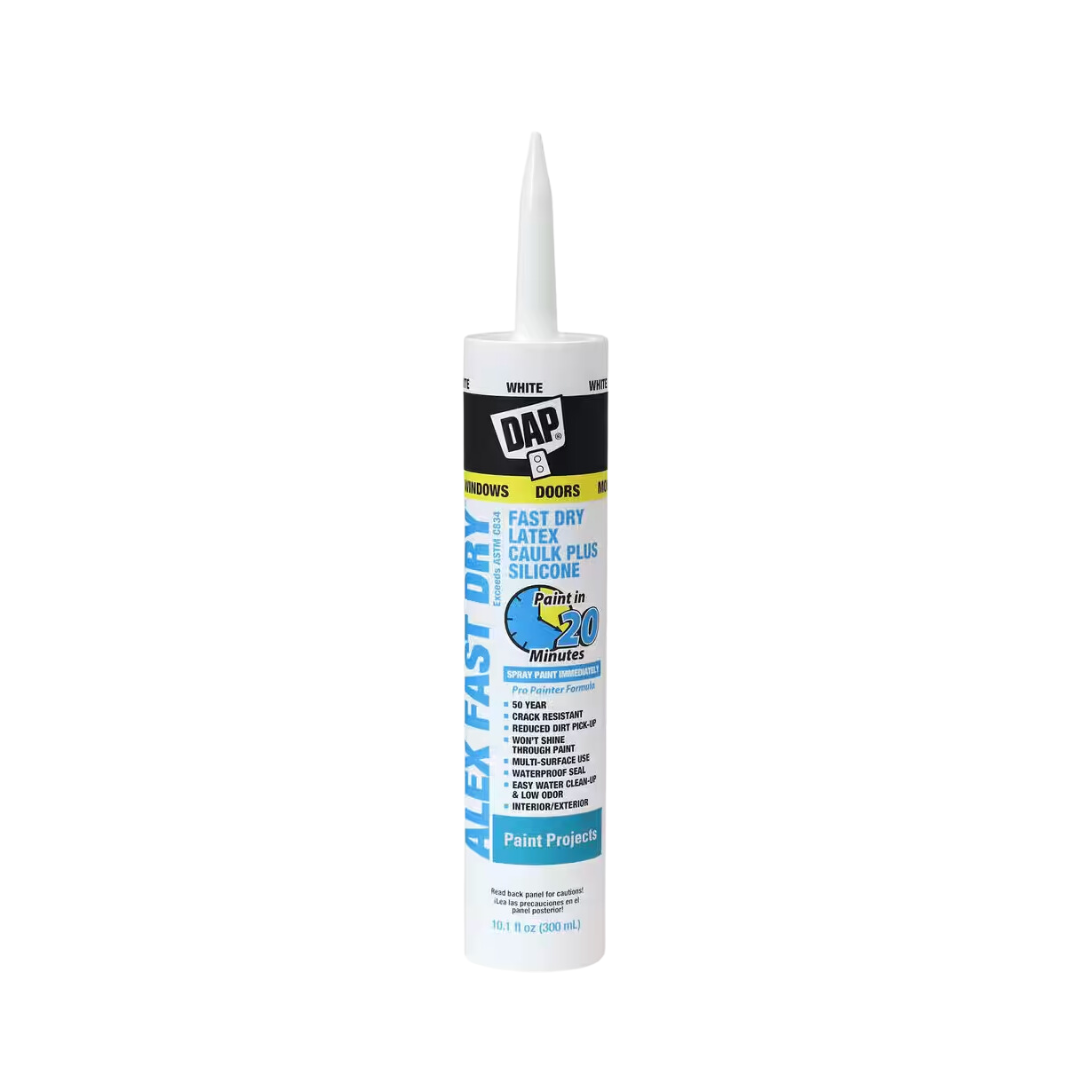
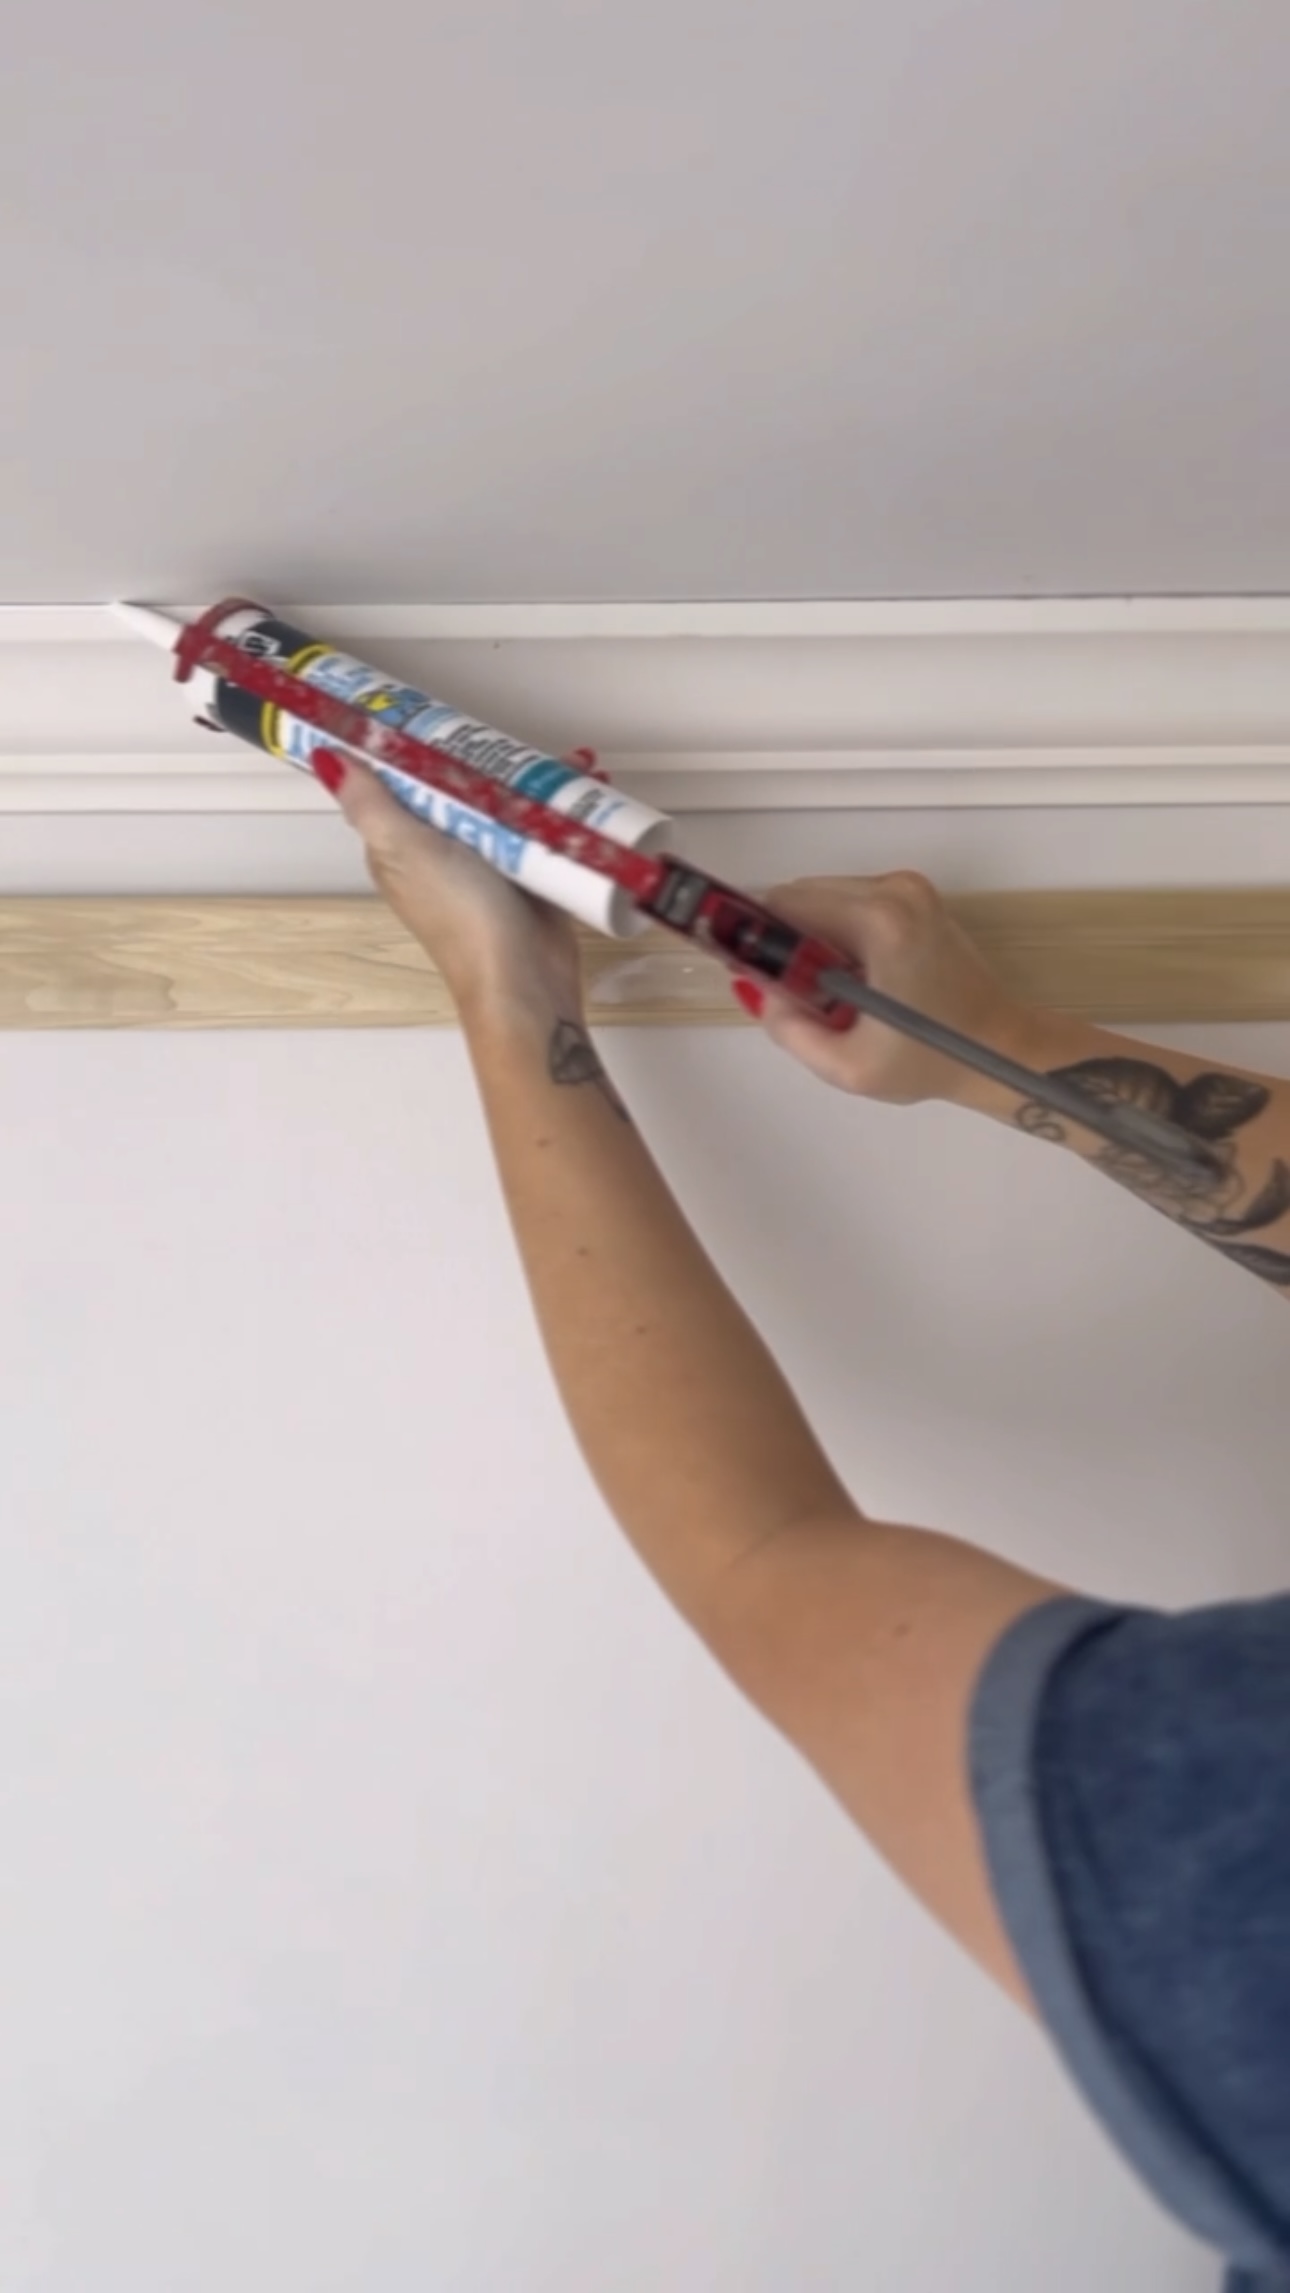
After that, I filled all the holes, corners, and visible seams with caulk! I always use a baby wipe to clean up.
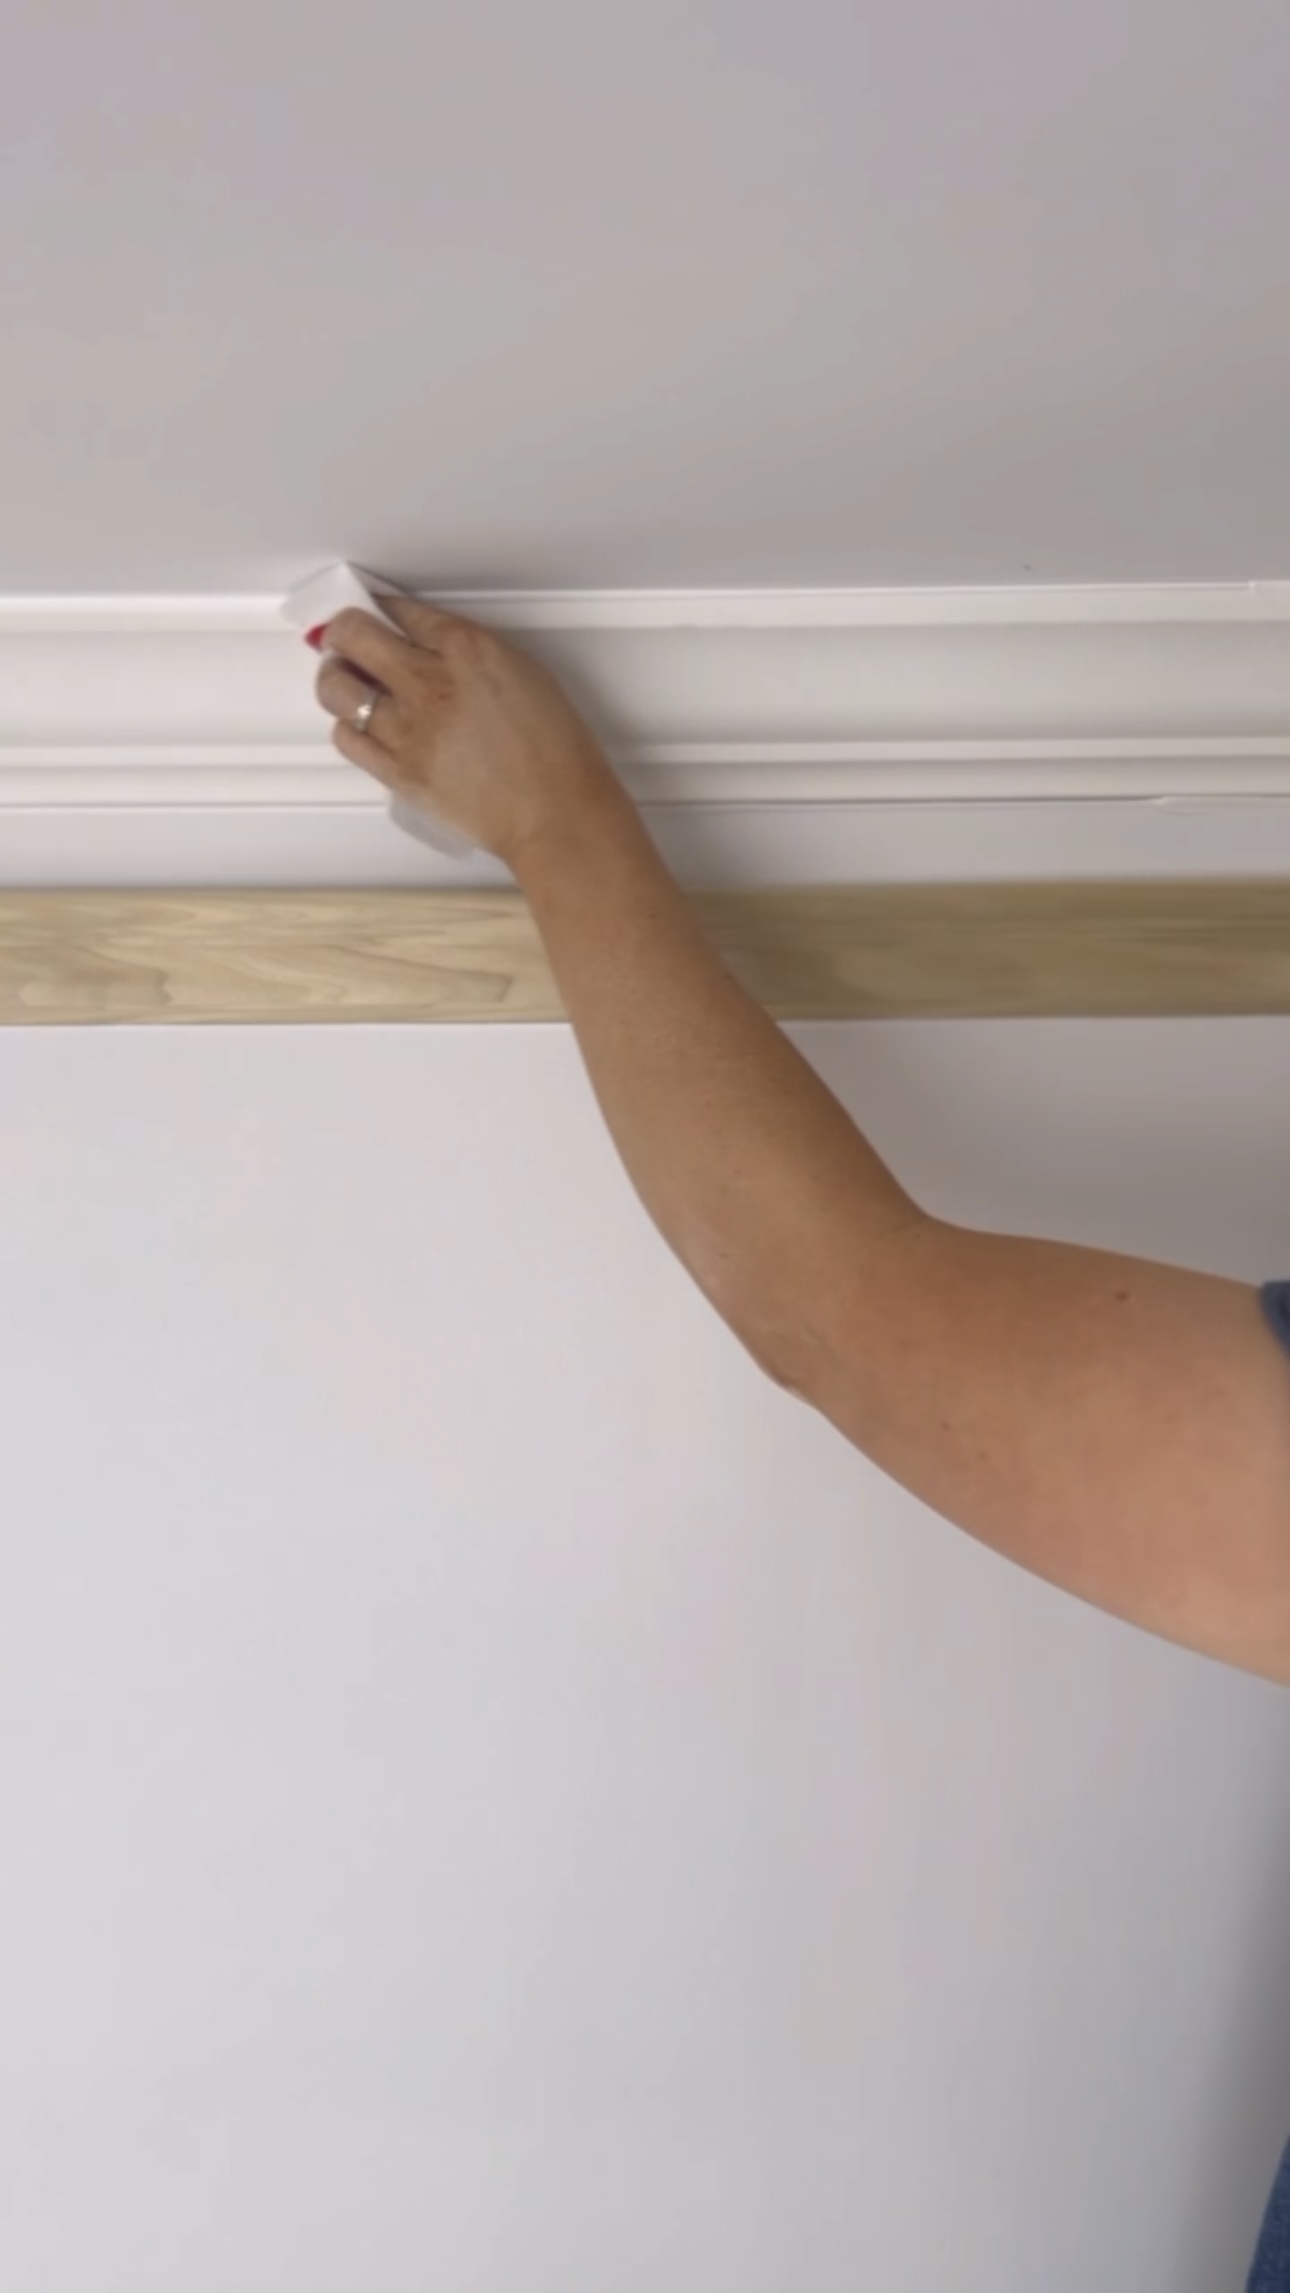
Trim is done – next up, paint! I cannot wait for you to see the color Rainie chose. It’s an instant burst of serotonin!

I can’t wait for the rest of Rainie’s room makeover!
– Cass