Rainie’s Room Makeover – Paint

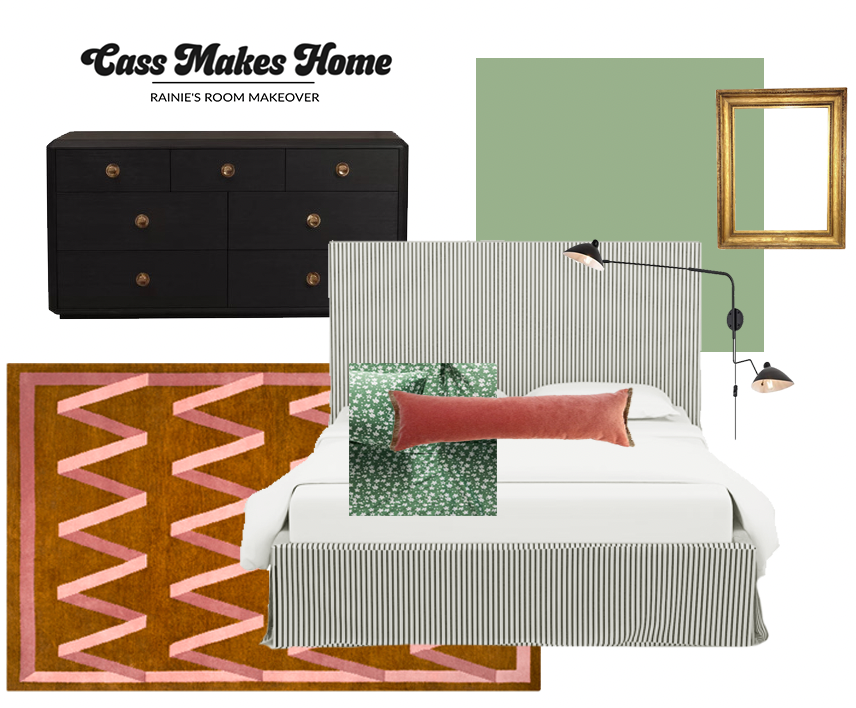
It’s time for the big ROOM SWAP! Baby boy is due at the end of August…which means we need to start preparing haha. Last we left off, I installed trim and picture railing in here. Today, I finally got to PAINT. I’ve been so excited to use this color. Rainie picked it out herself. As a reminder, this is my mood board for Rainie’s room makeover!
*This post may contain affiliate links, which means I may earn a small commission if you purchase through my links, at no extra cost to you. I only share products I genuinely love.
Prep for Paint
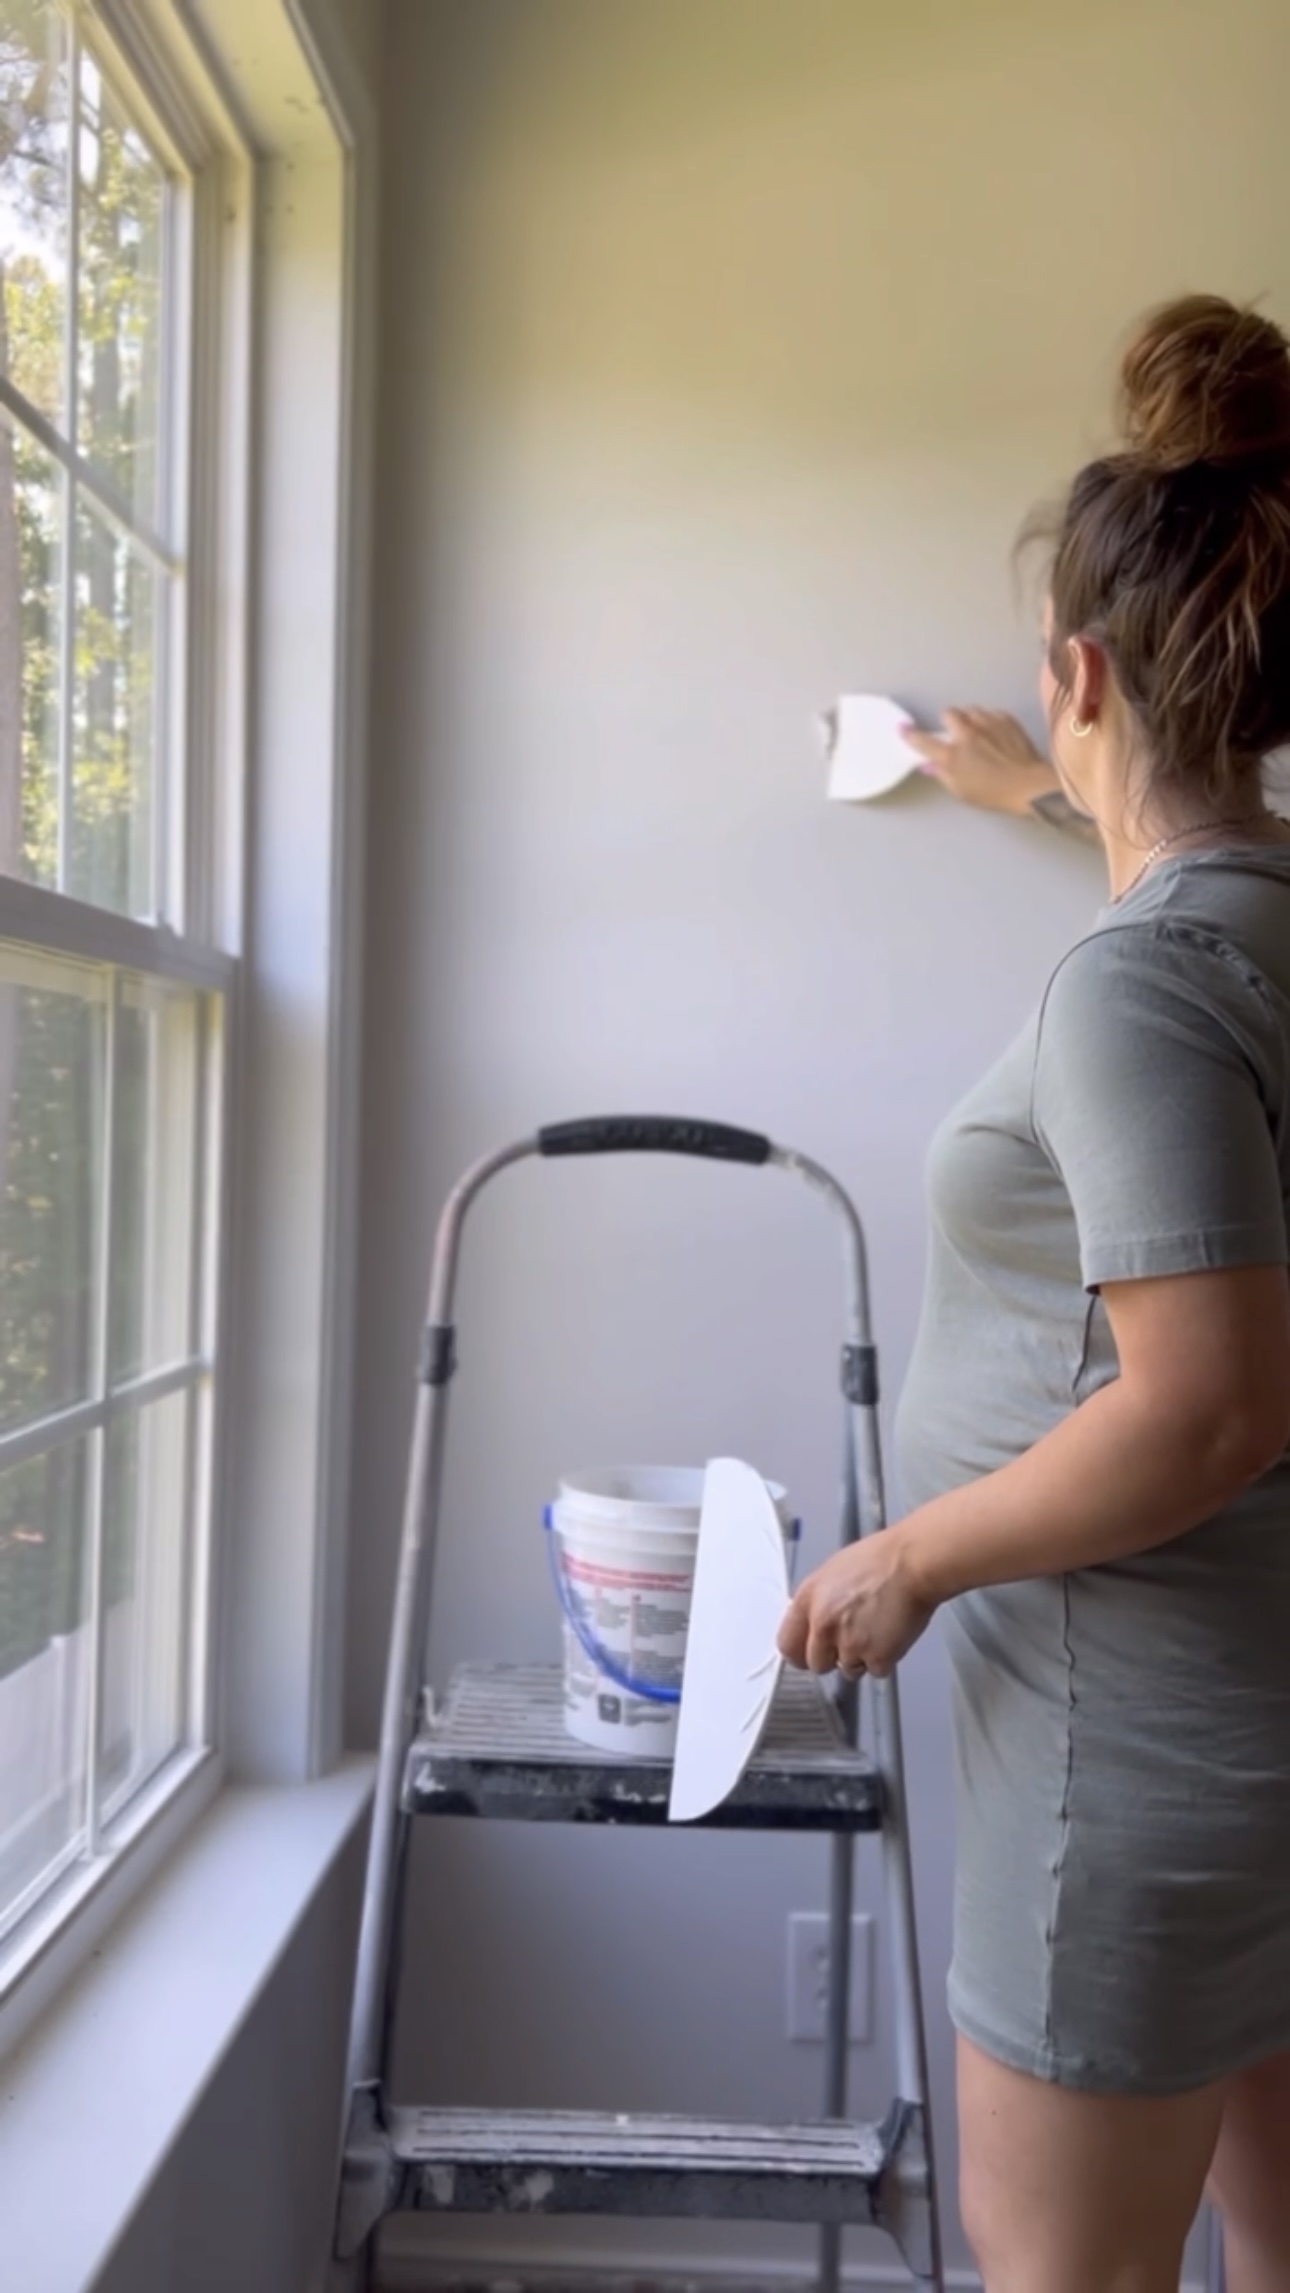
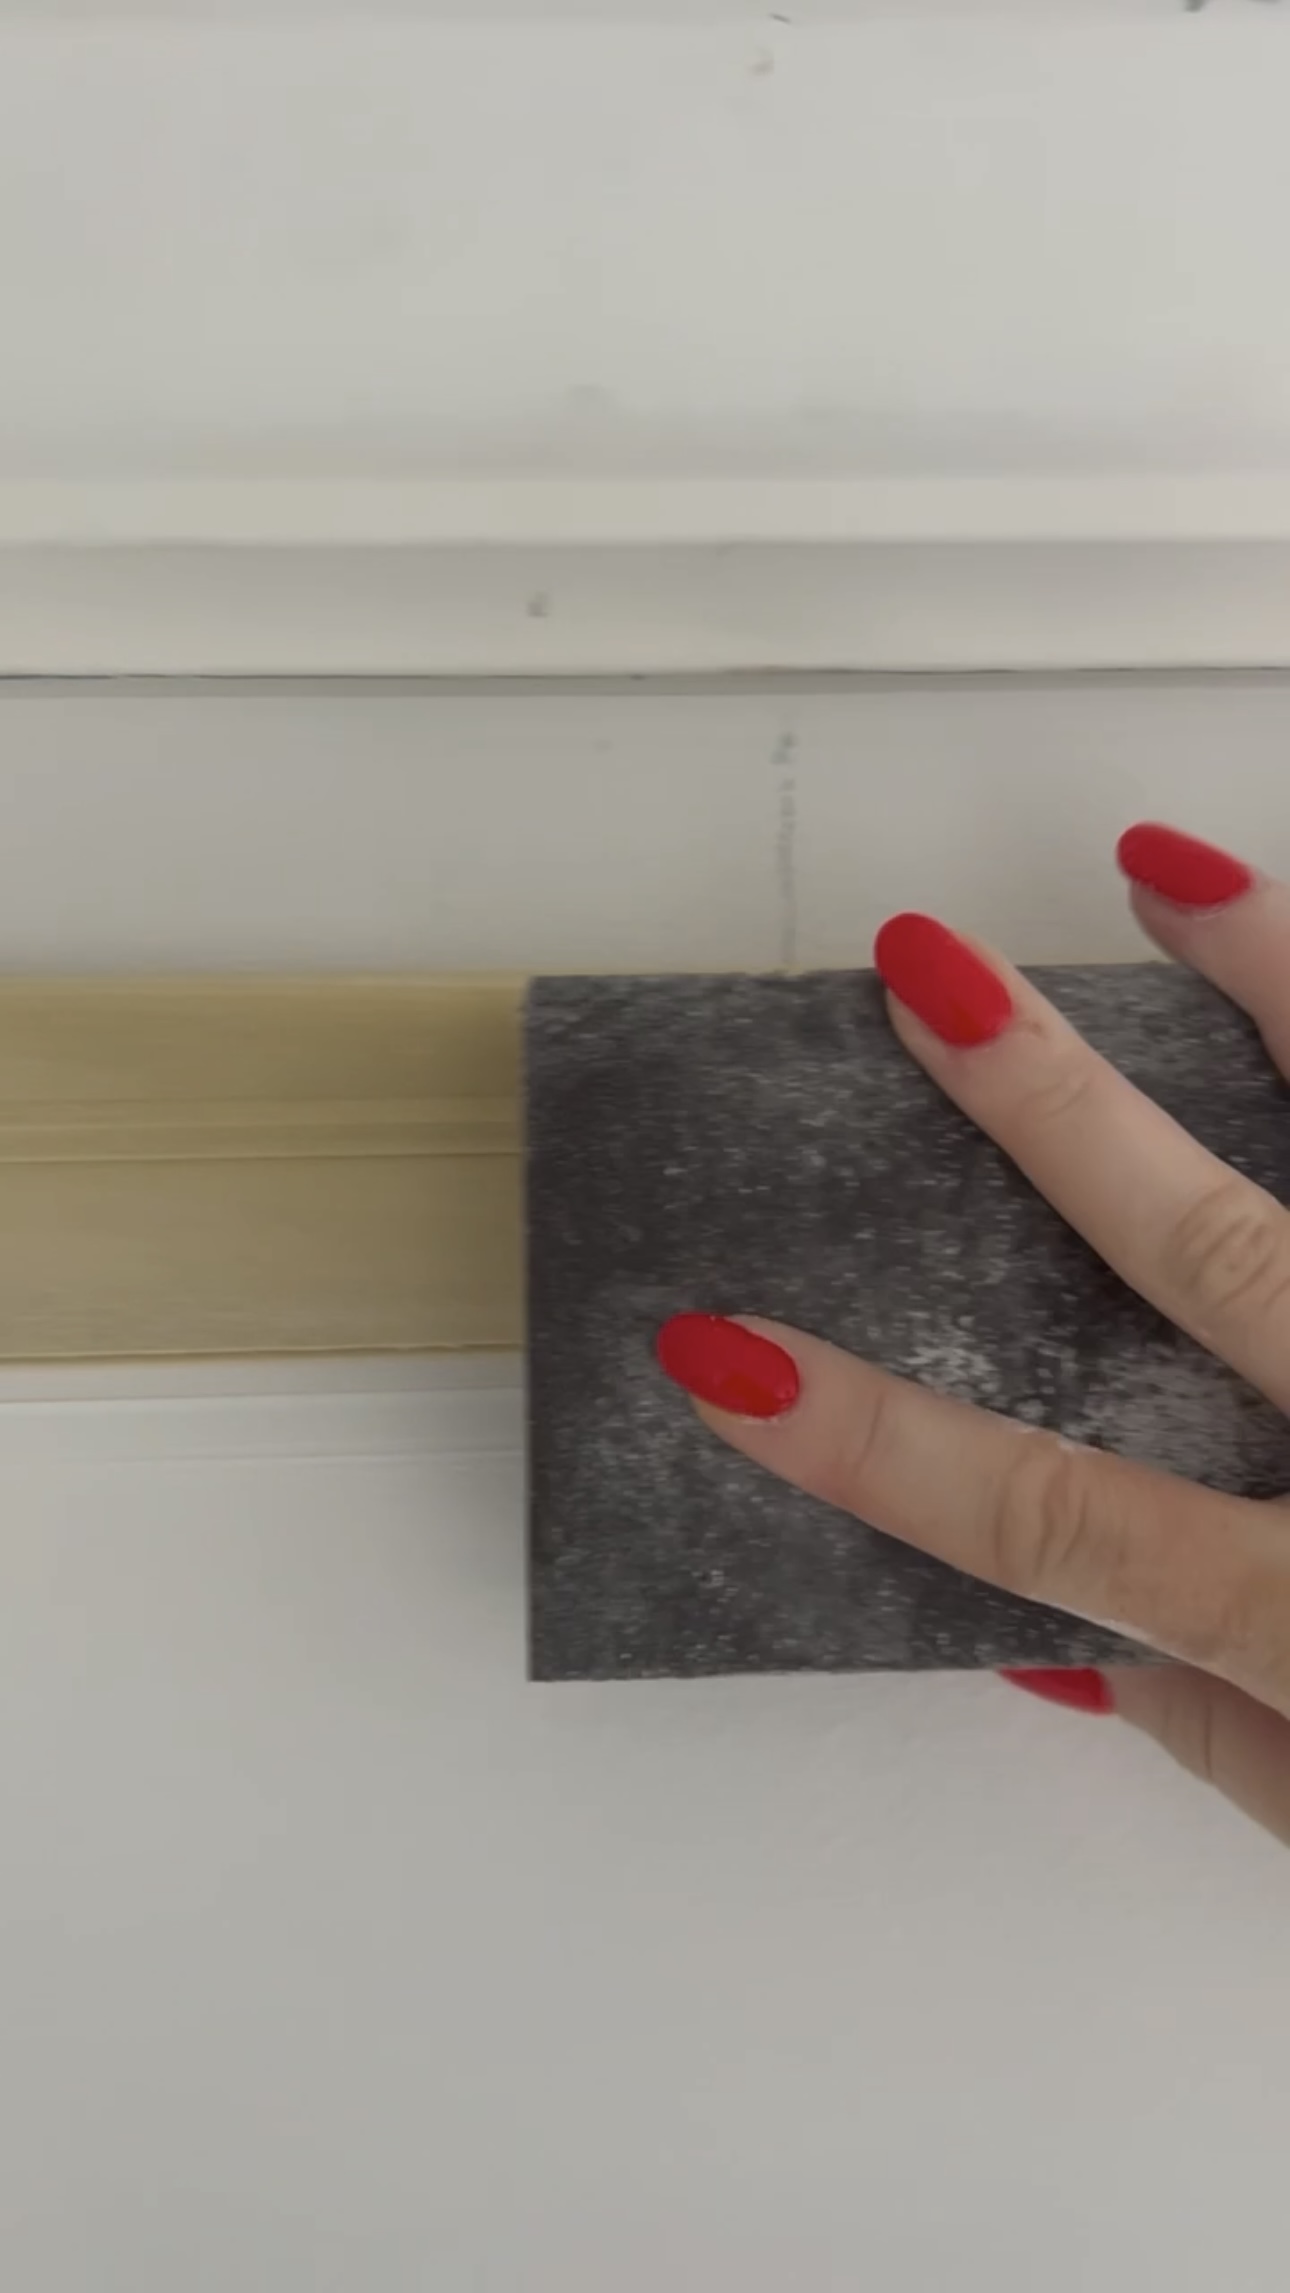
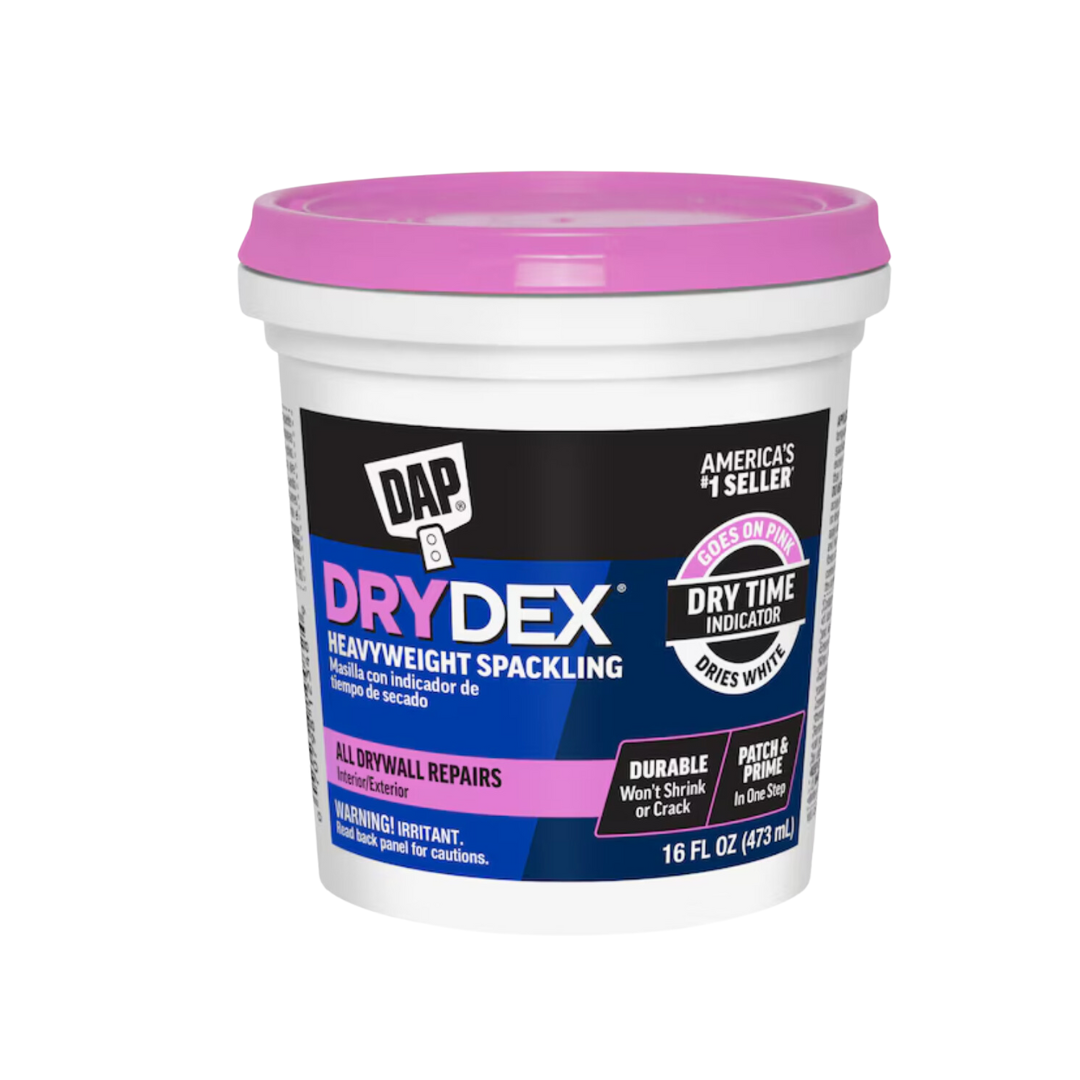
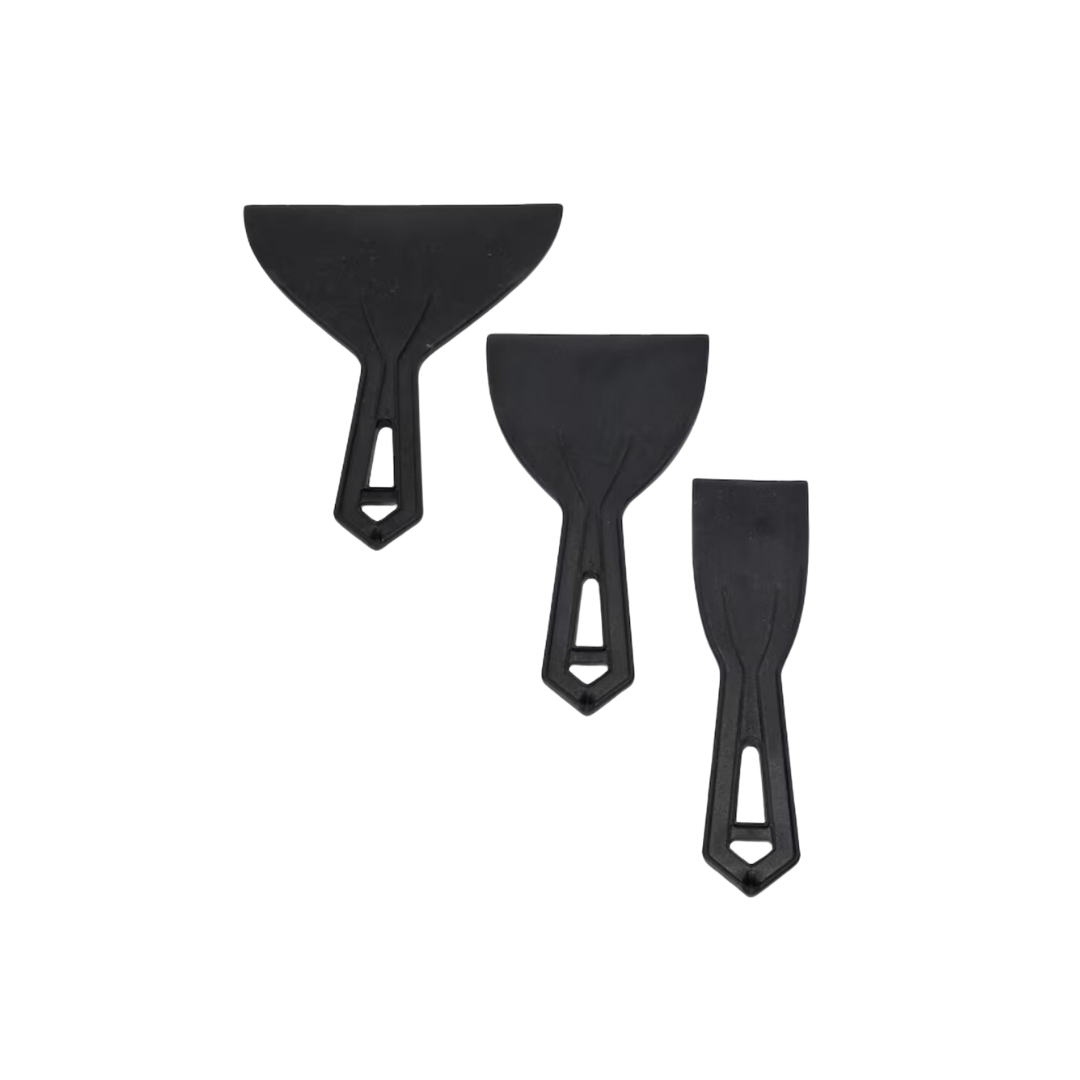
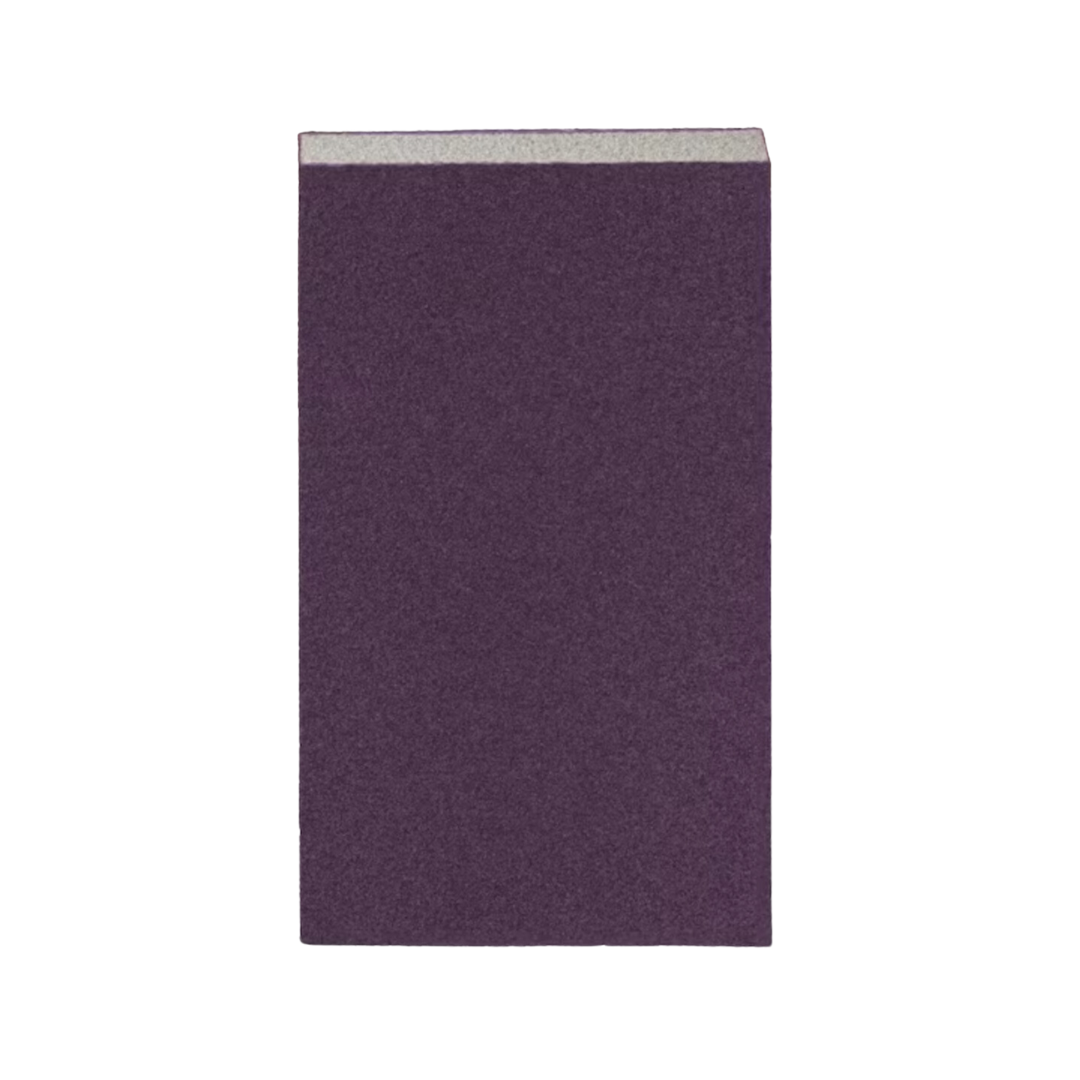
To prep for paint, I filled all the holes on the walls with spackle and a putty knife. Then, I sanded all of my patching and trim down with a sanding sponge.
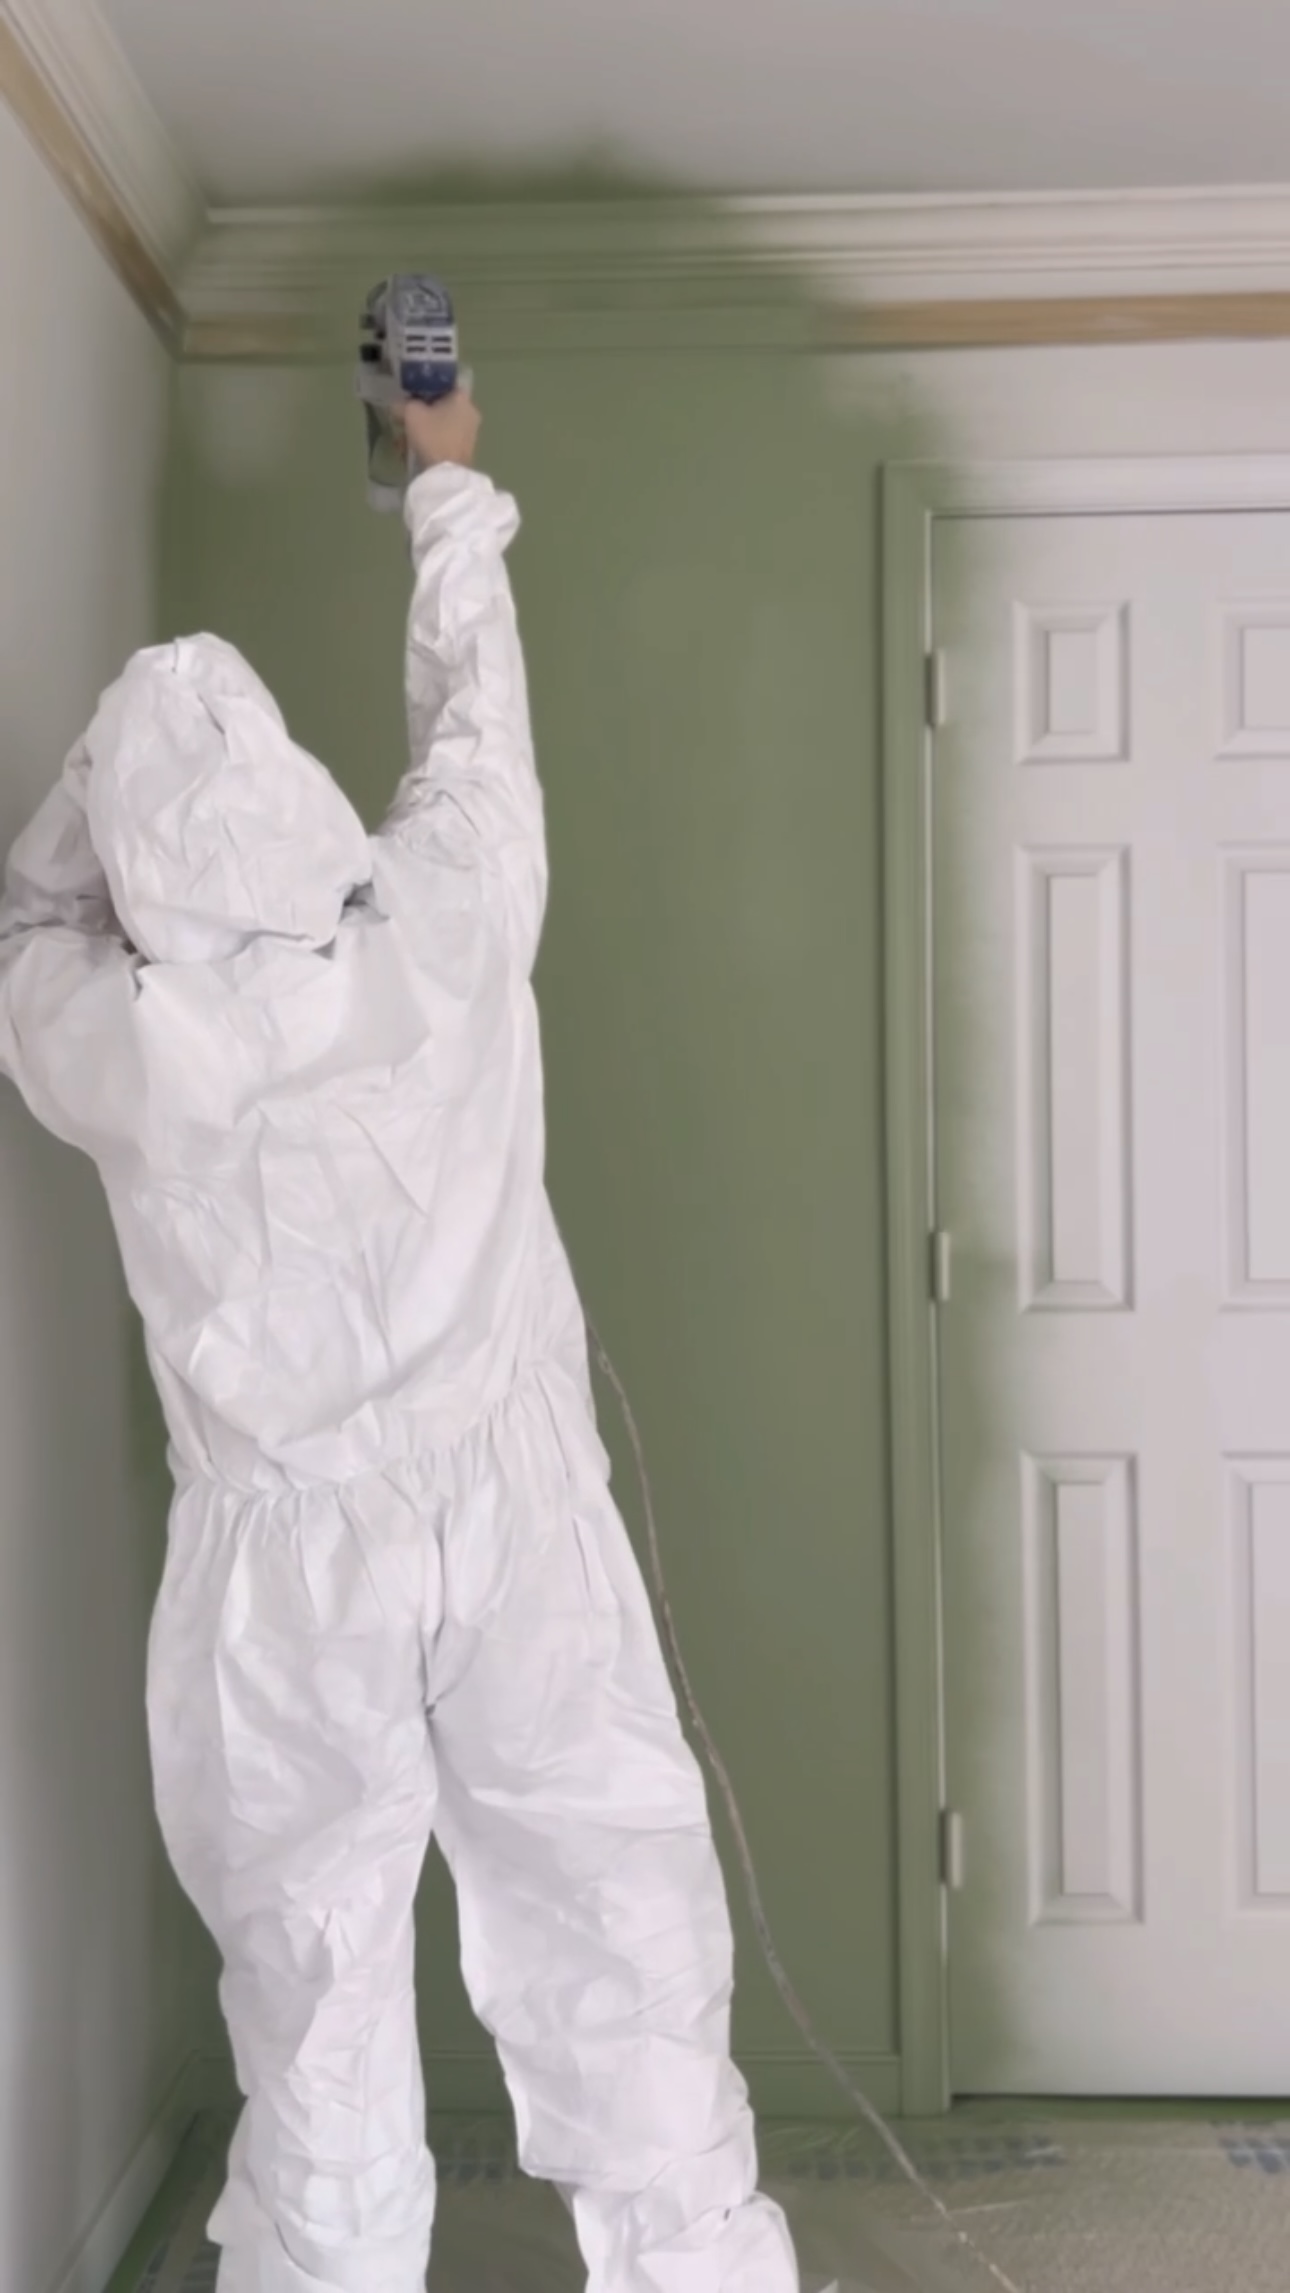
I decided to use a paint sprayer for this because I painted the entire room – walls, ceiling, and lots of trim. This way, it took me only 10 minutes to spray the entire room.
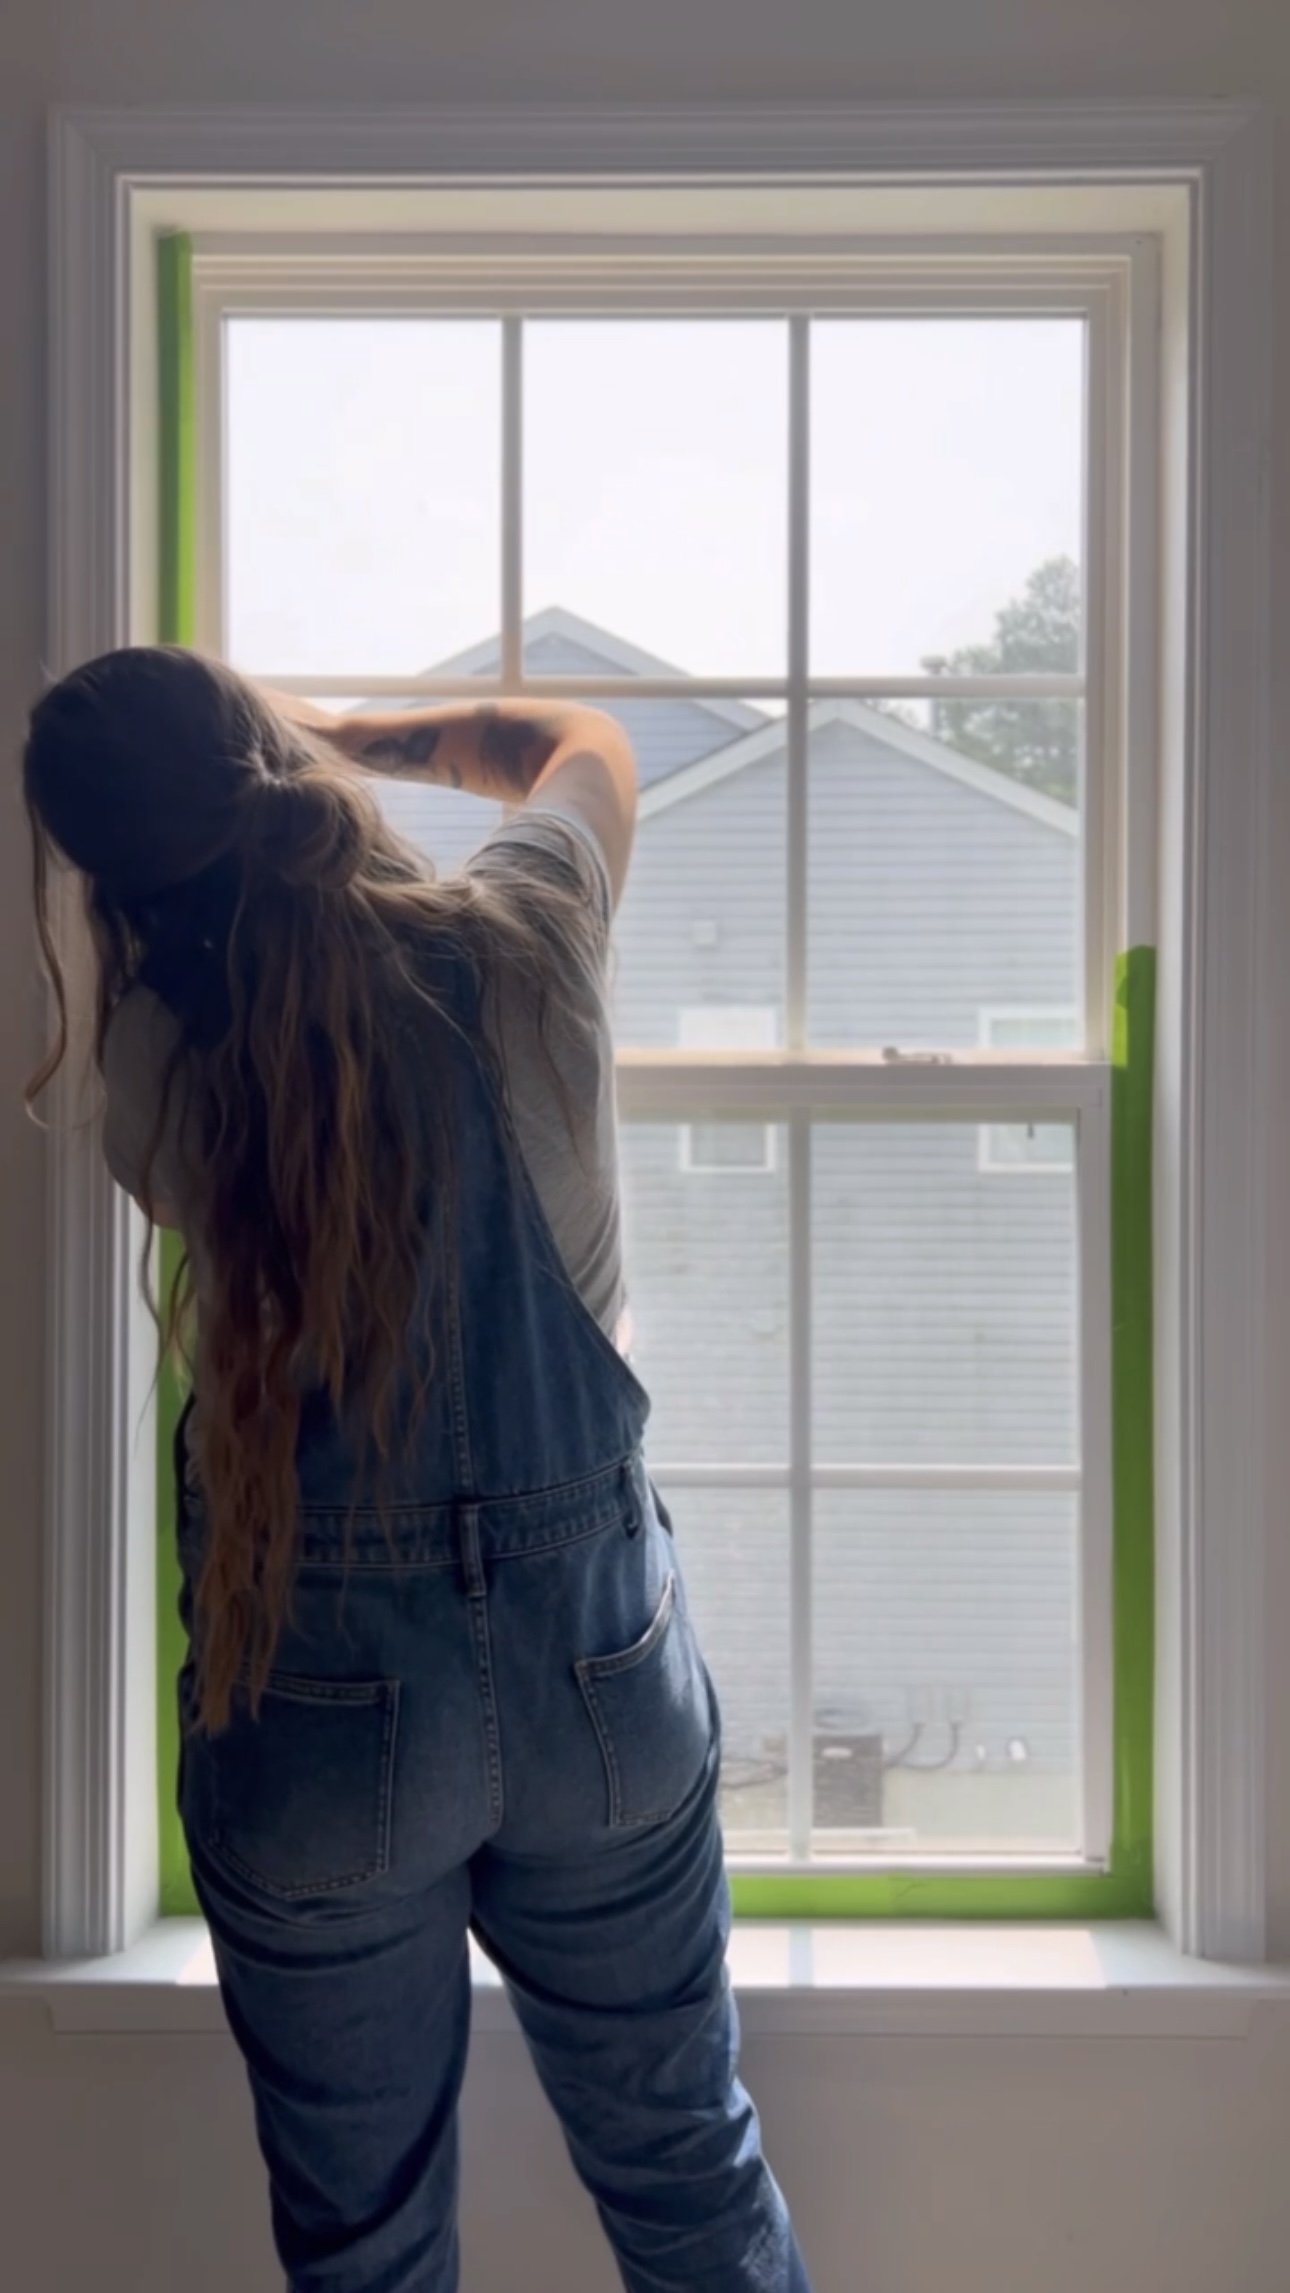
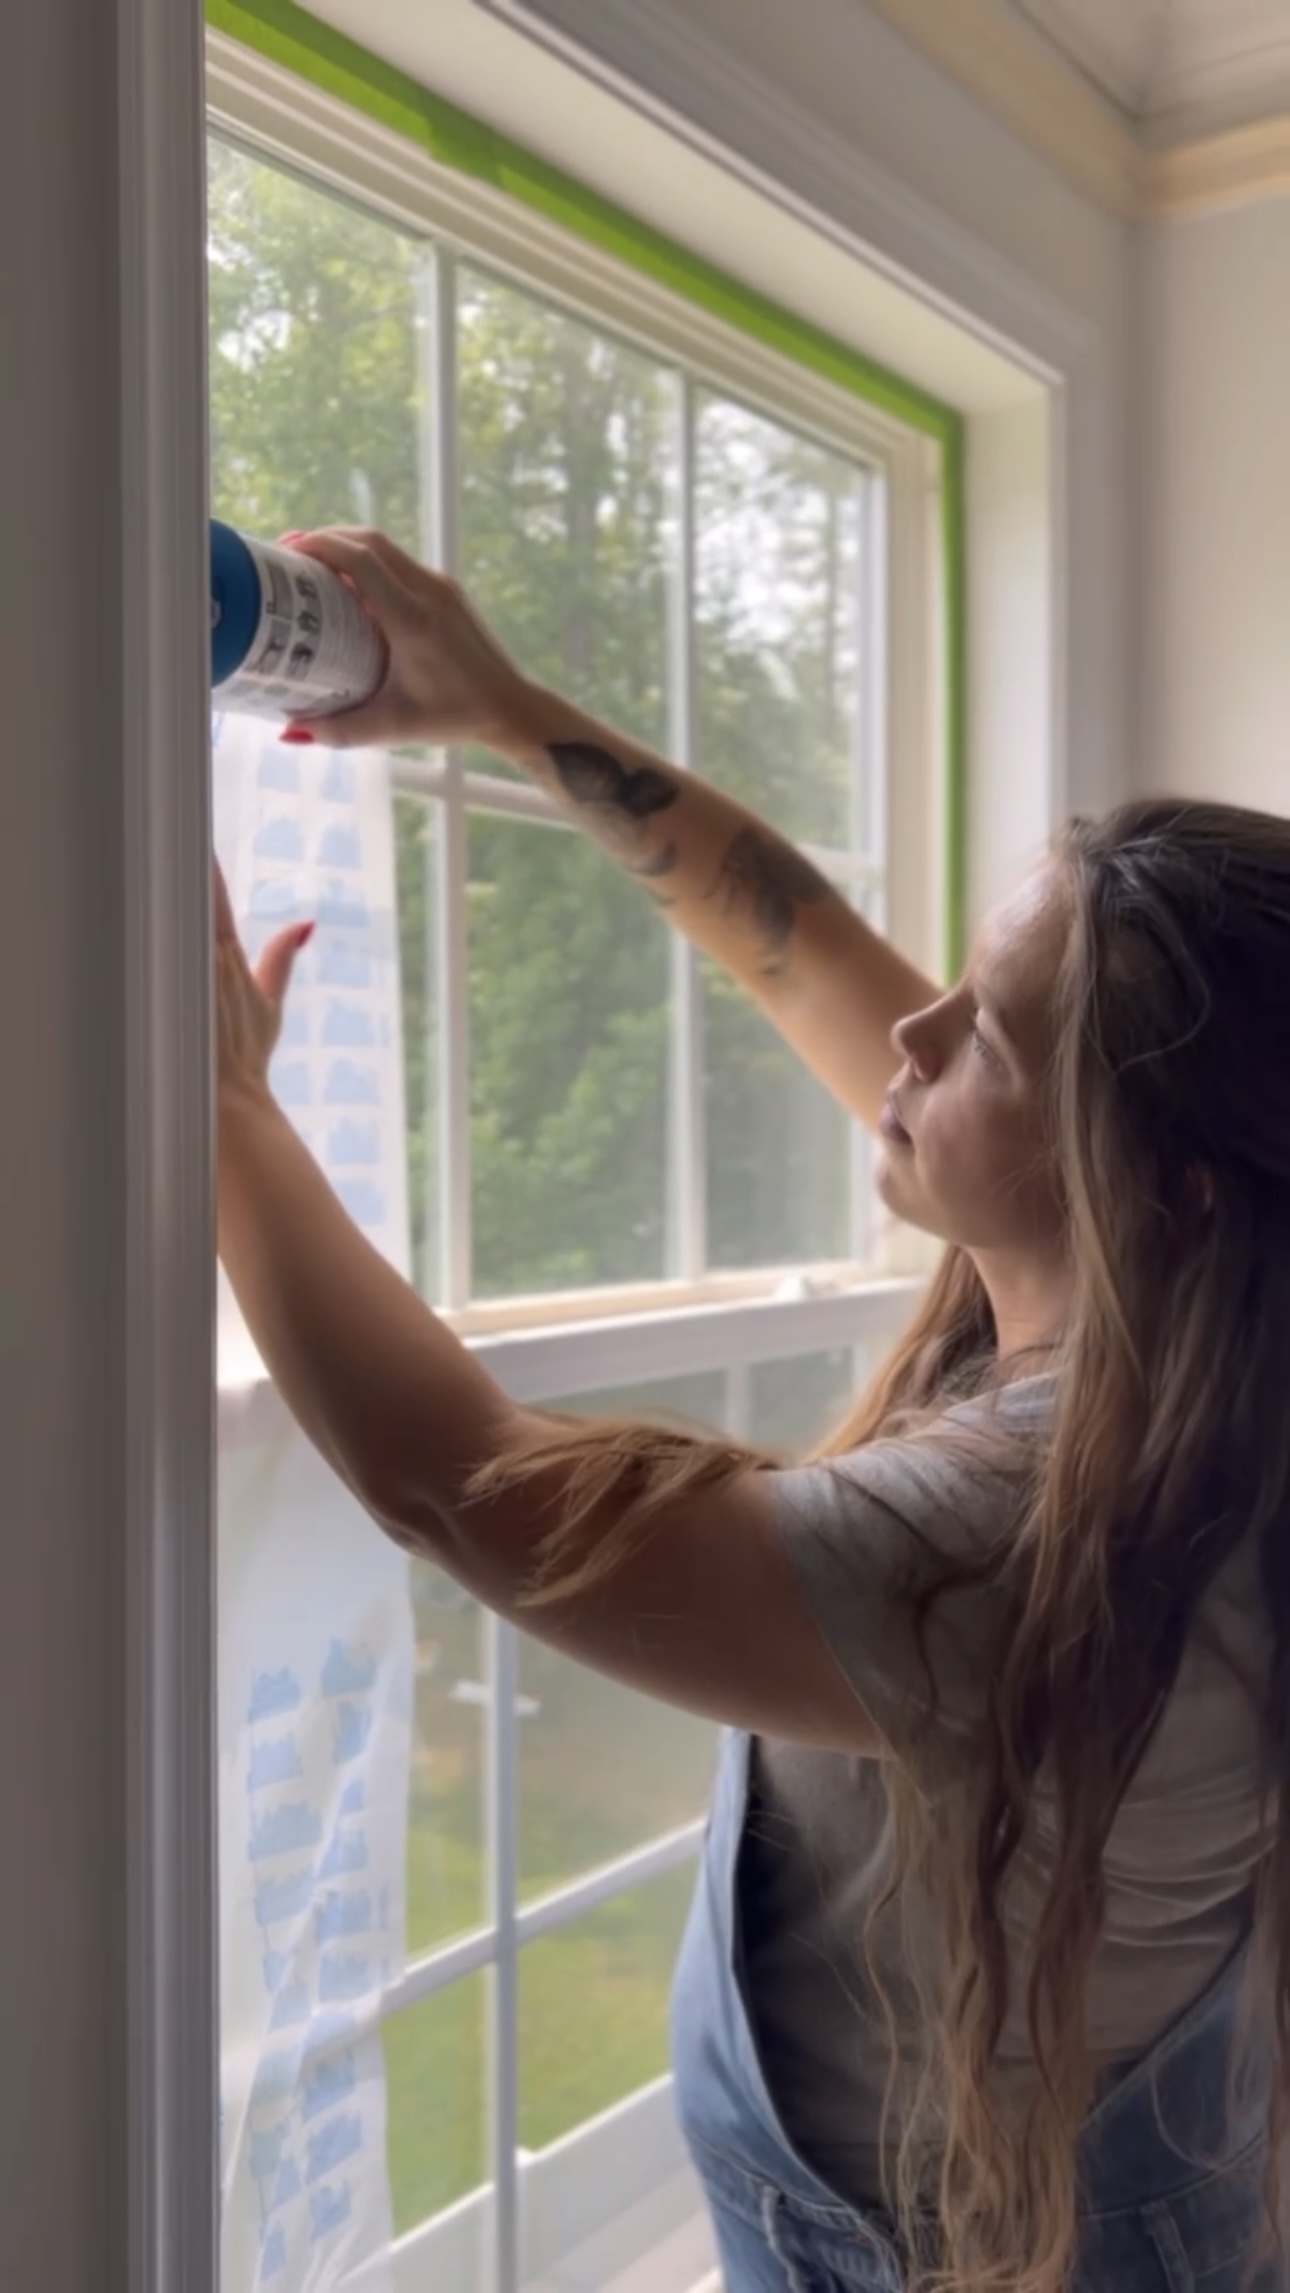
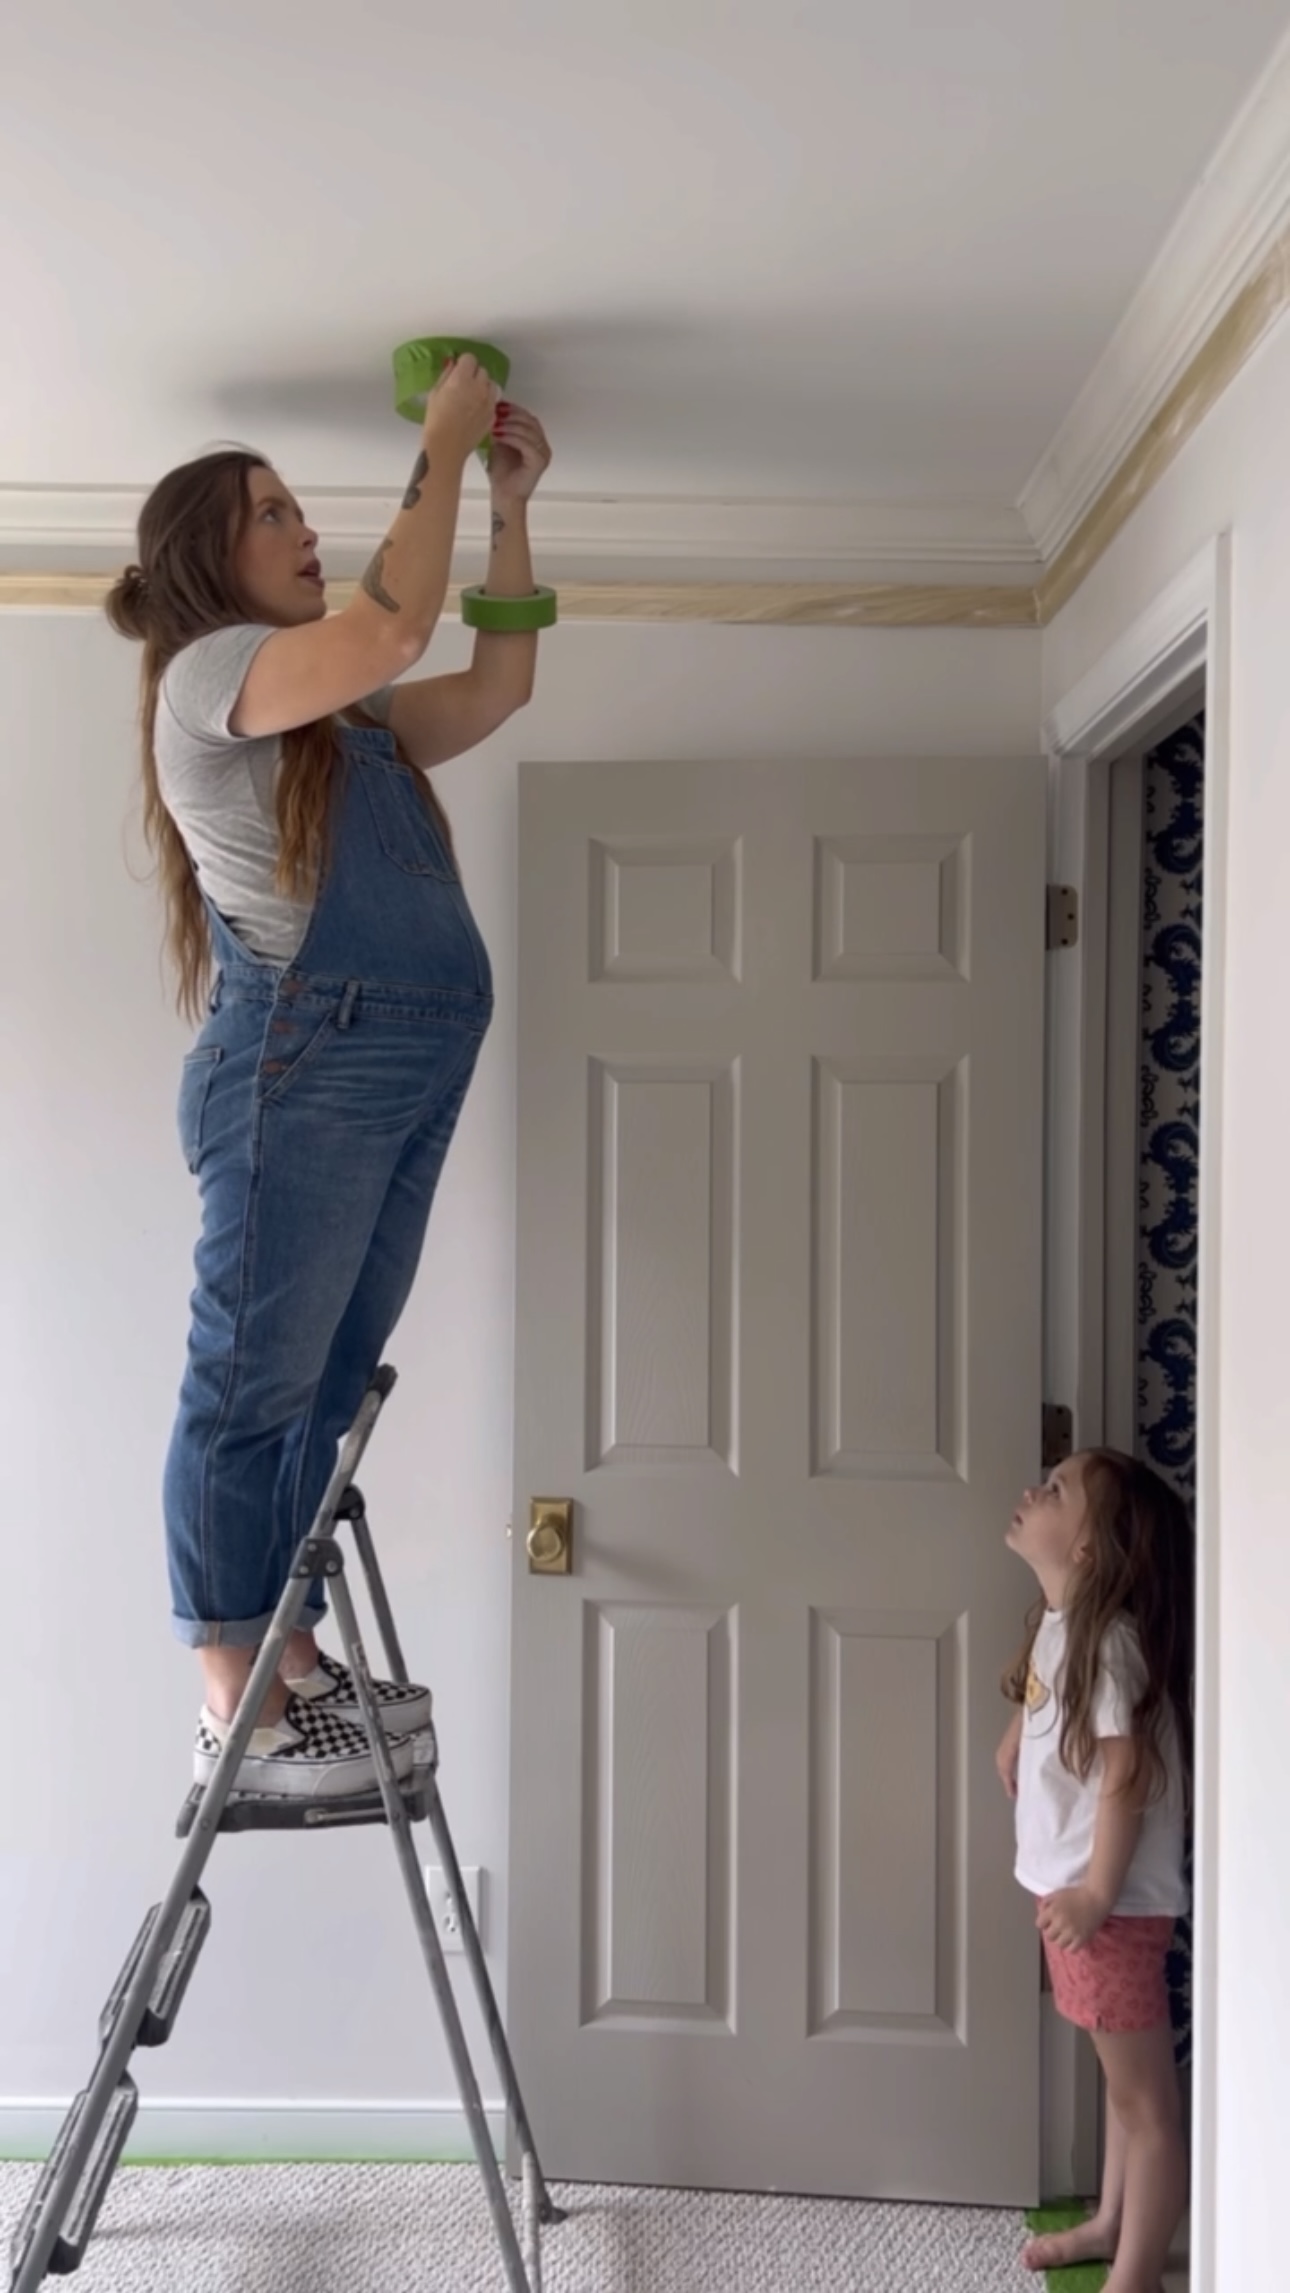
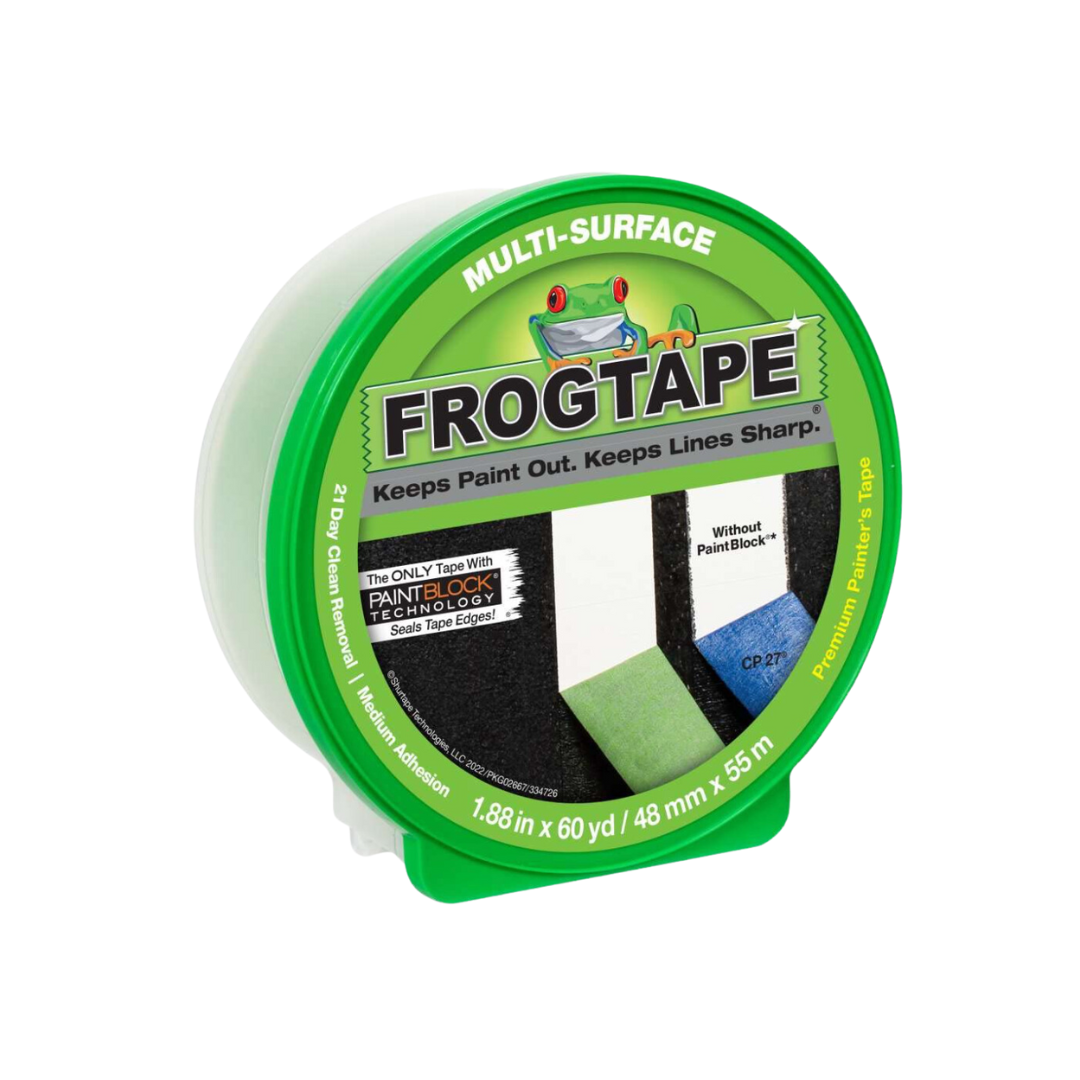
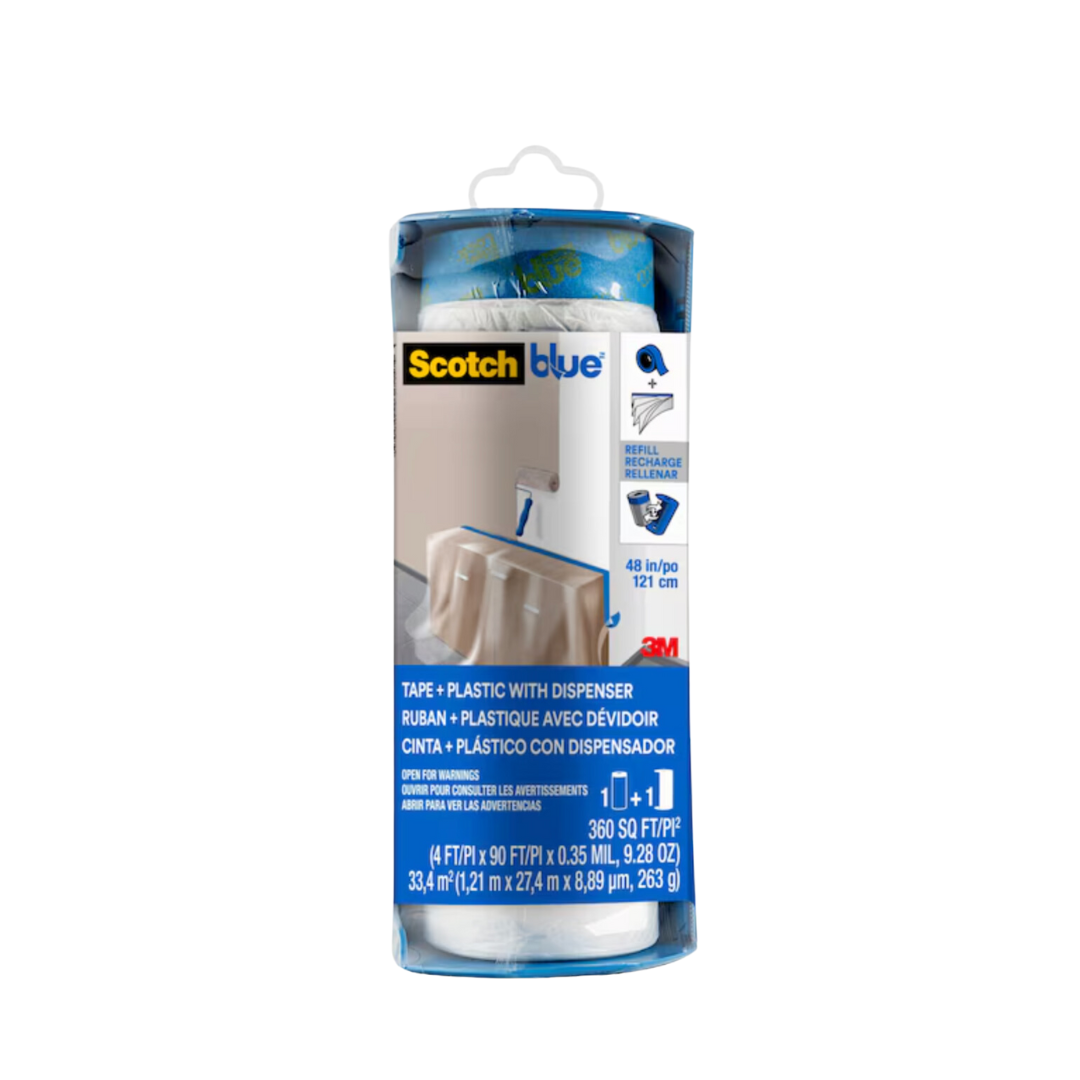
Then, I taped all the windows with painter’s tape and painter’s plastic. The blue painter’s tape attached to the plastic isn’t sticky enough. The lines with Scotch aren’t as crisp as they are with Frog. So, that’s why I used both Frog Tape and the Scotch Painter’s Tape and Plastic. I masked the doorway as well to prevent overspray into the hallway. I always cover the carpet too!

Time to Paint!
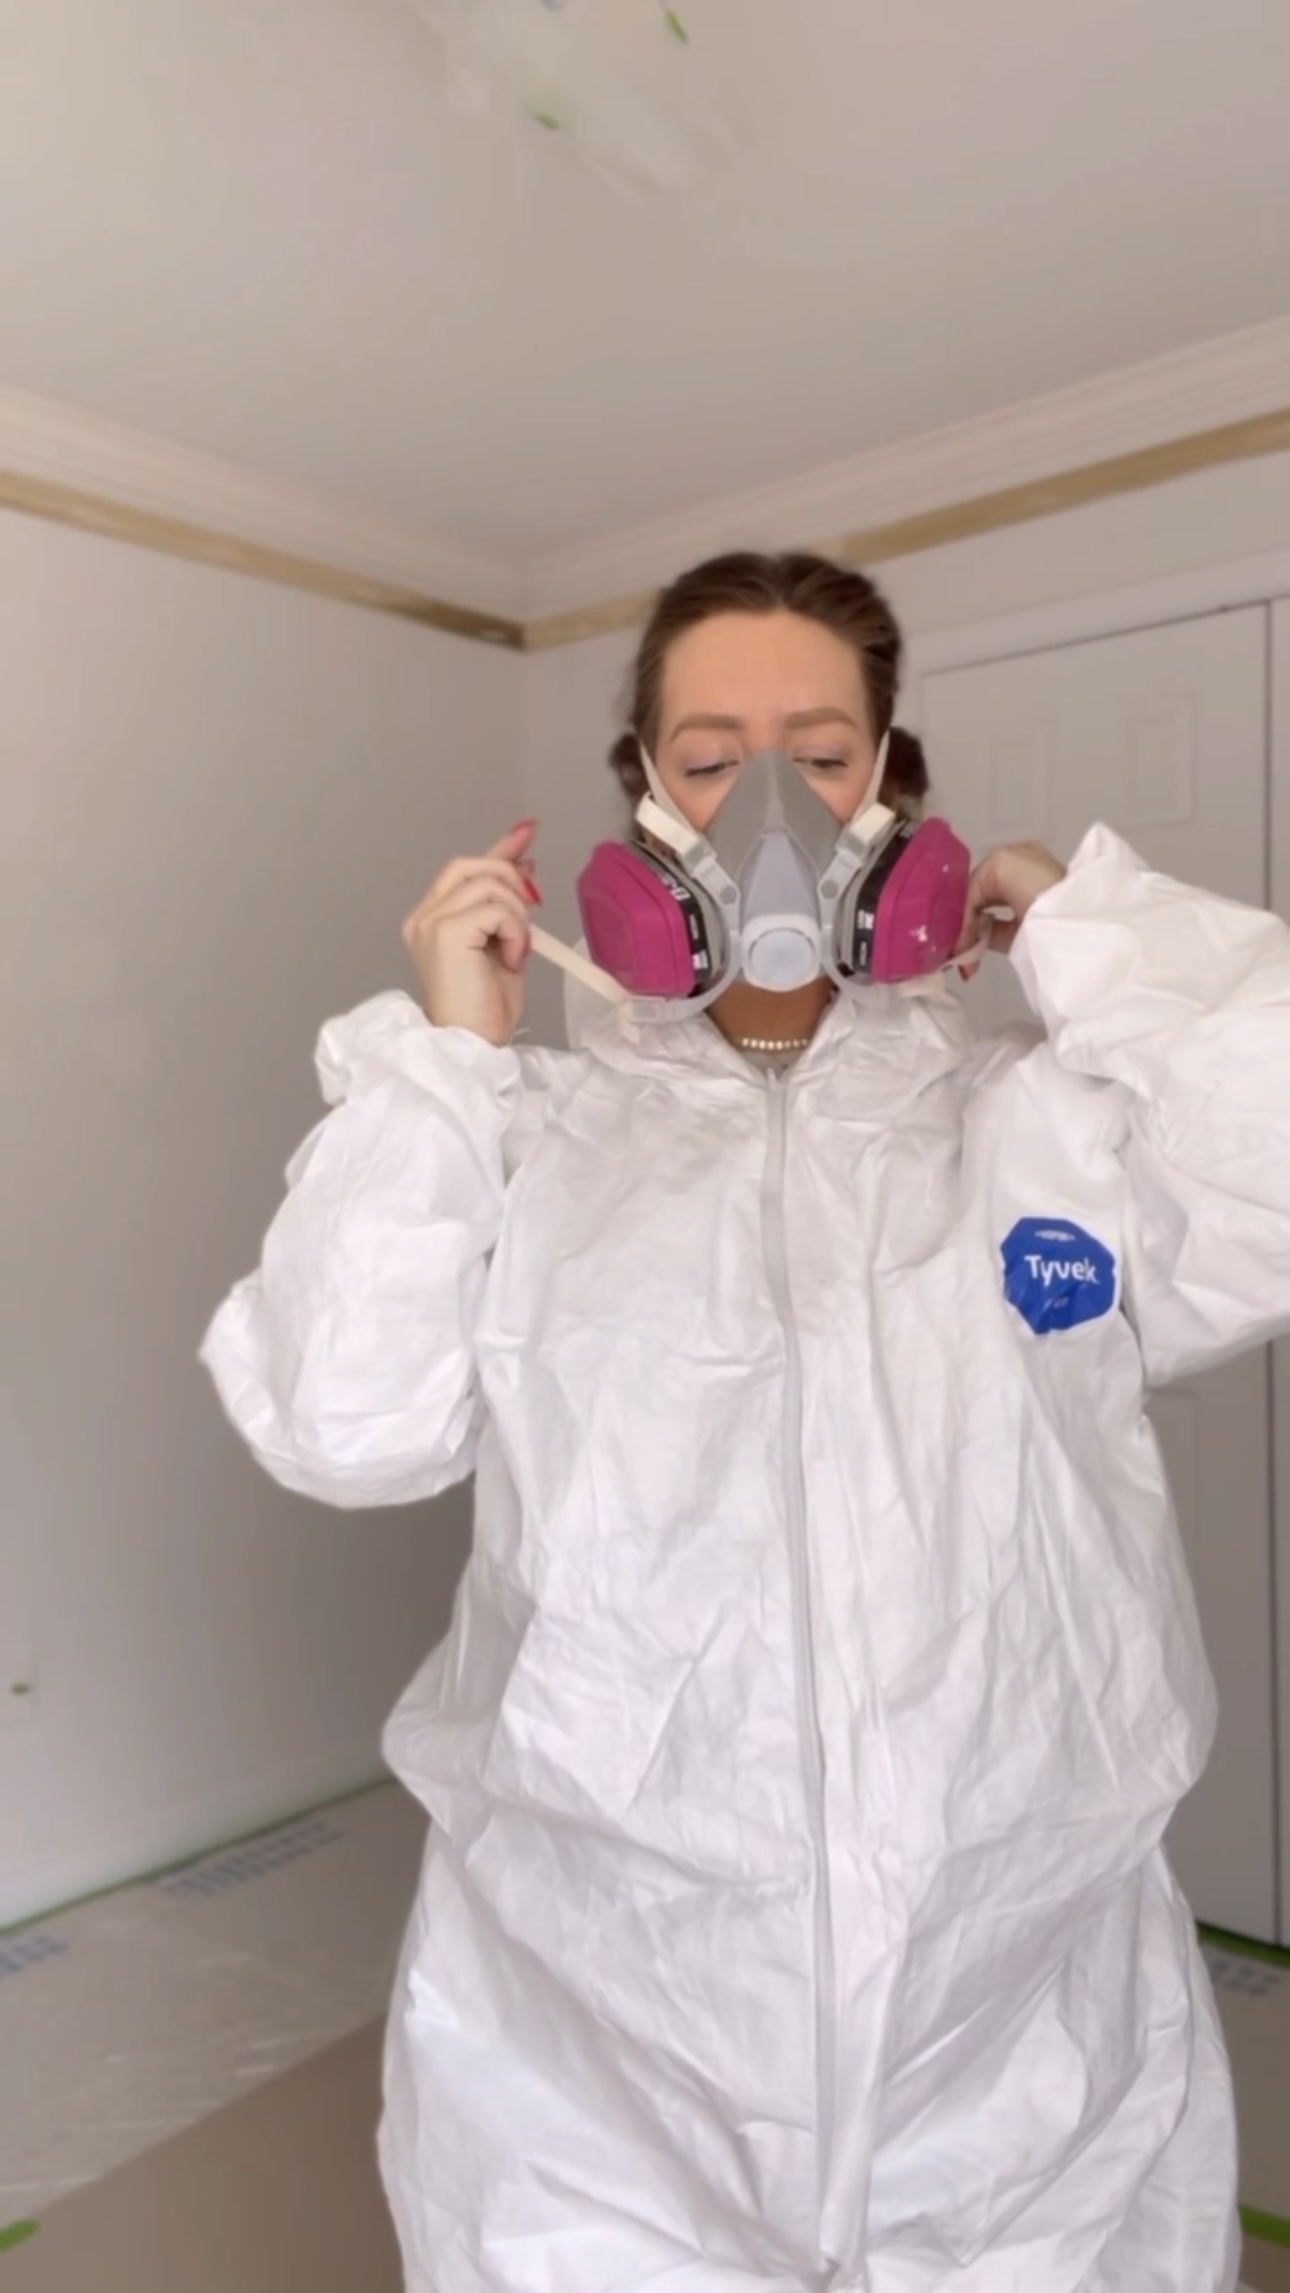
Next, I suited up, put my respirator on, and got to work!
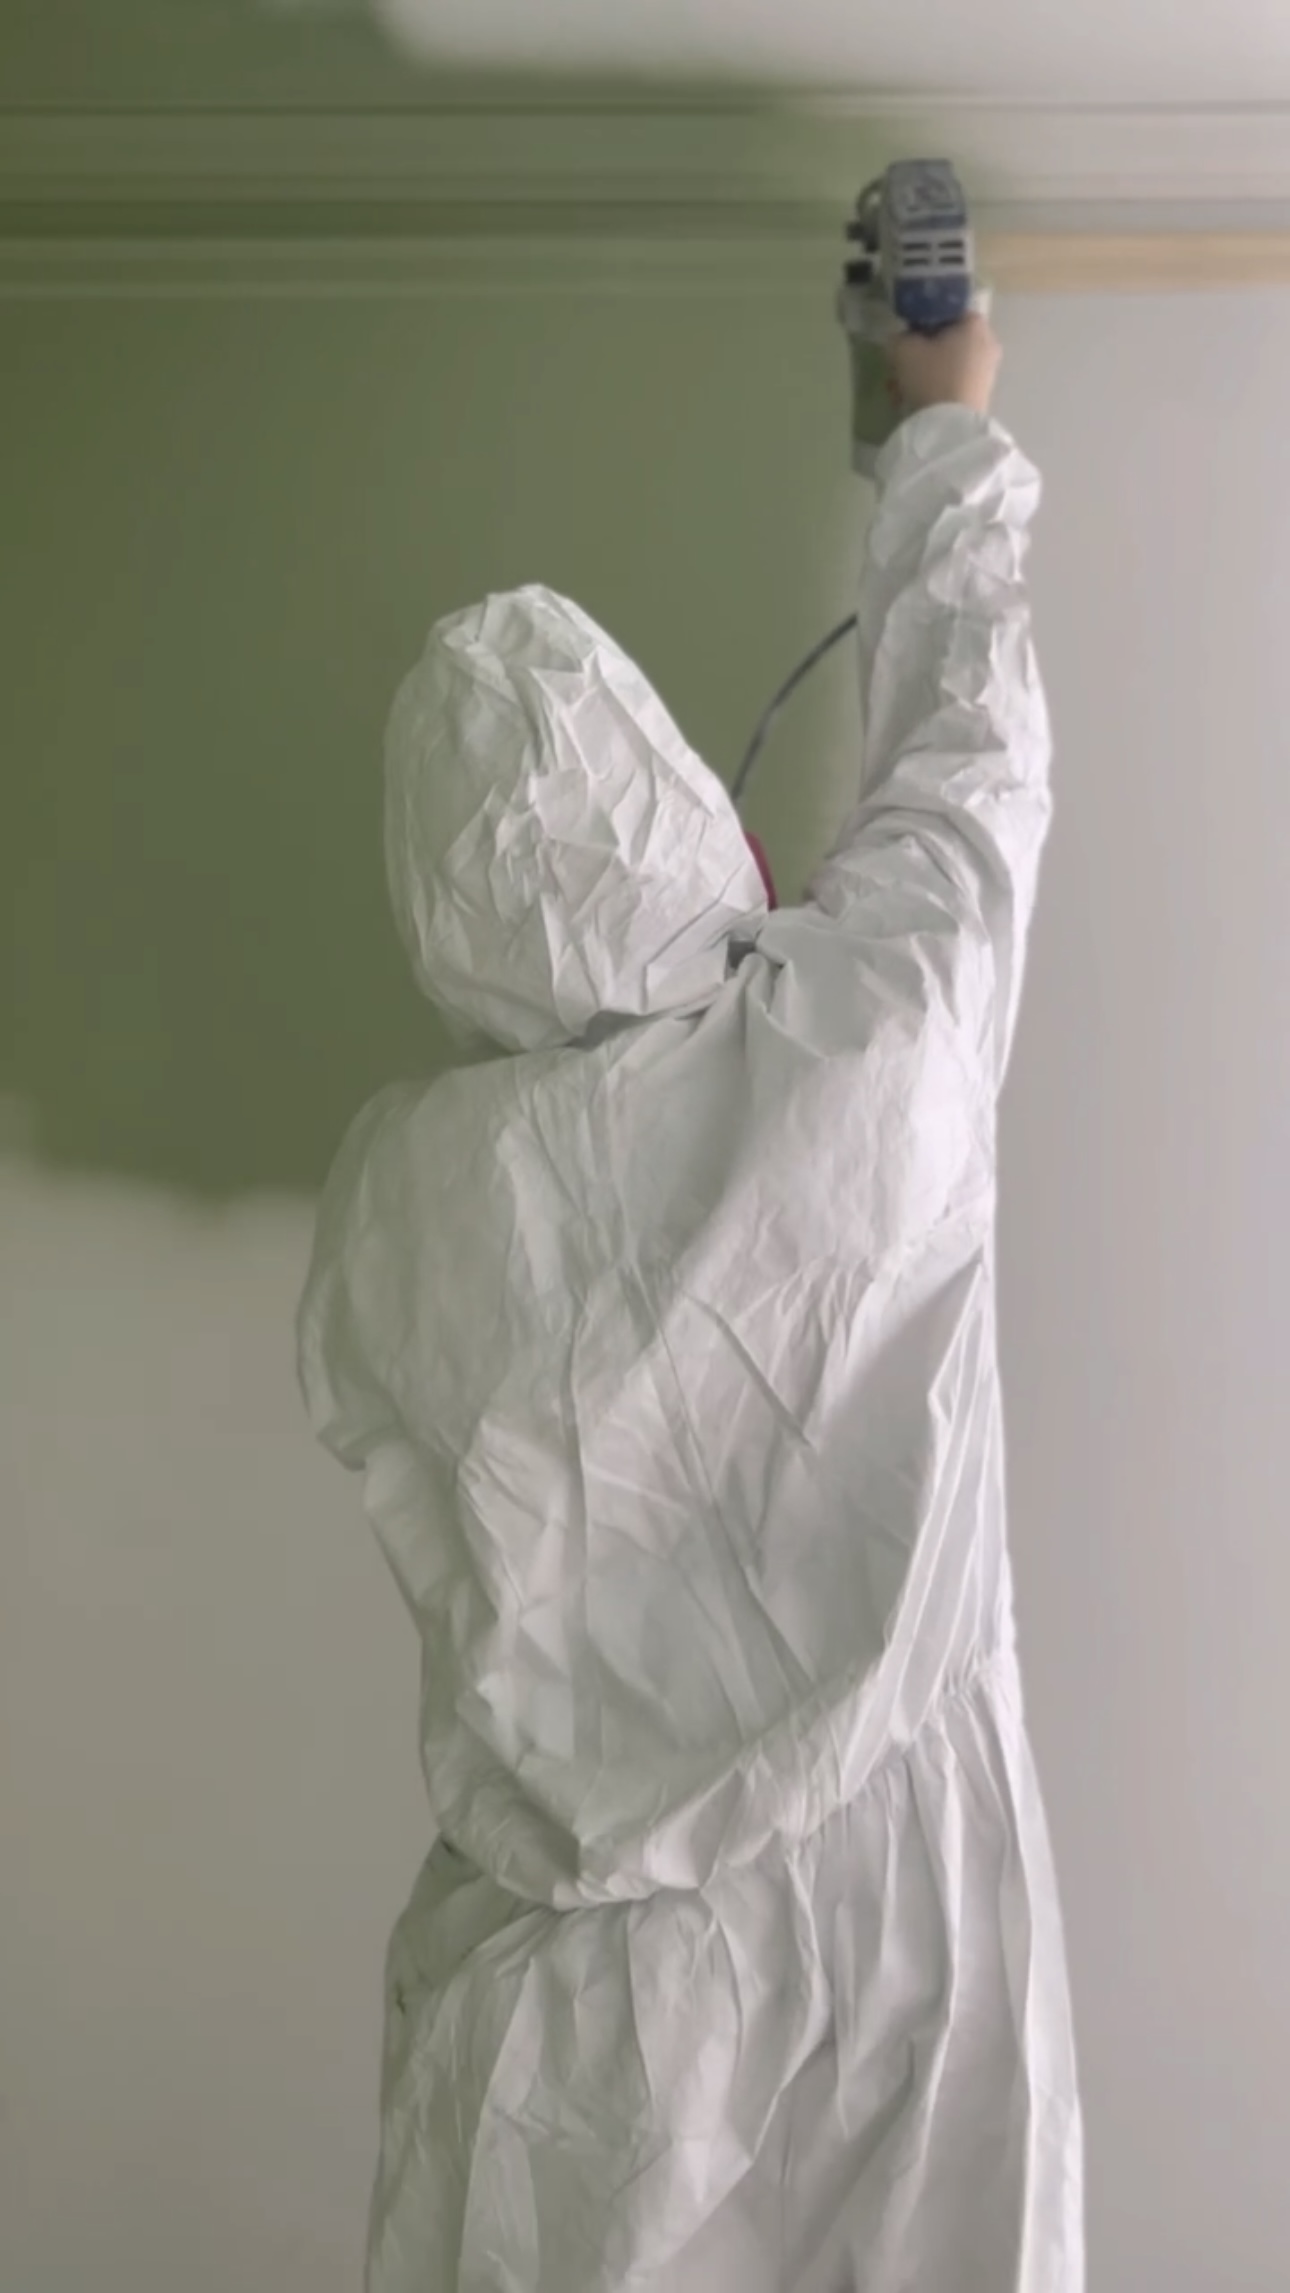
I used my Graco TrueCoat paint sprayer which is my FAVORITE. I had to refill several times for the whole room, but it’s the best and so worth it.


Hardware
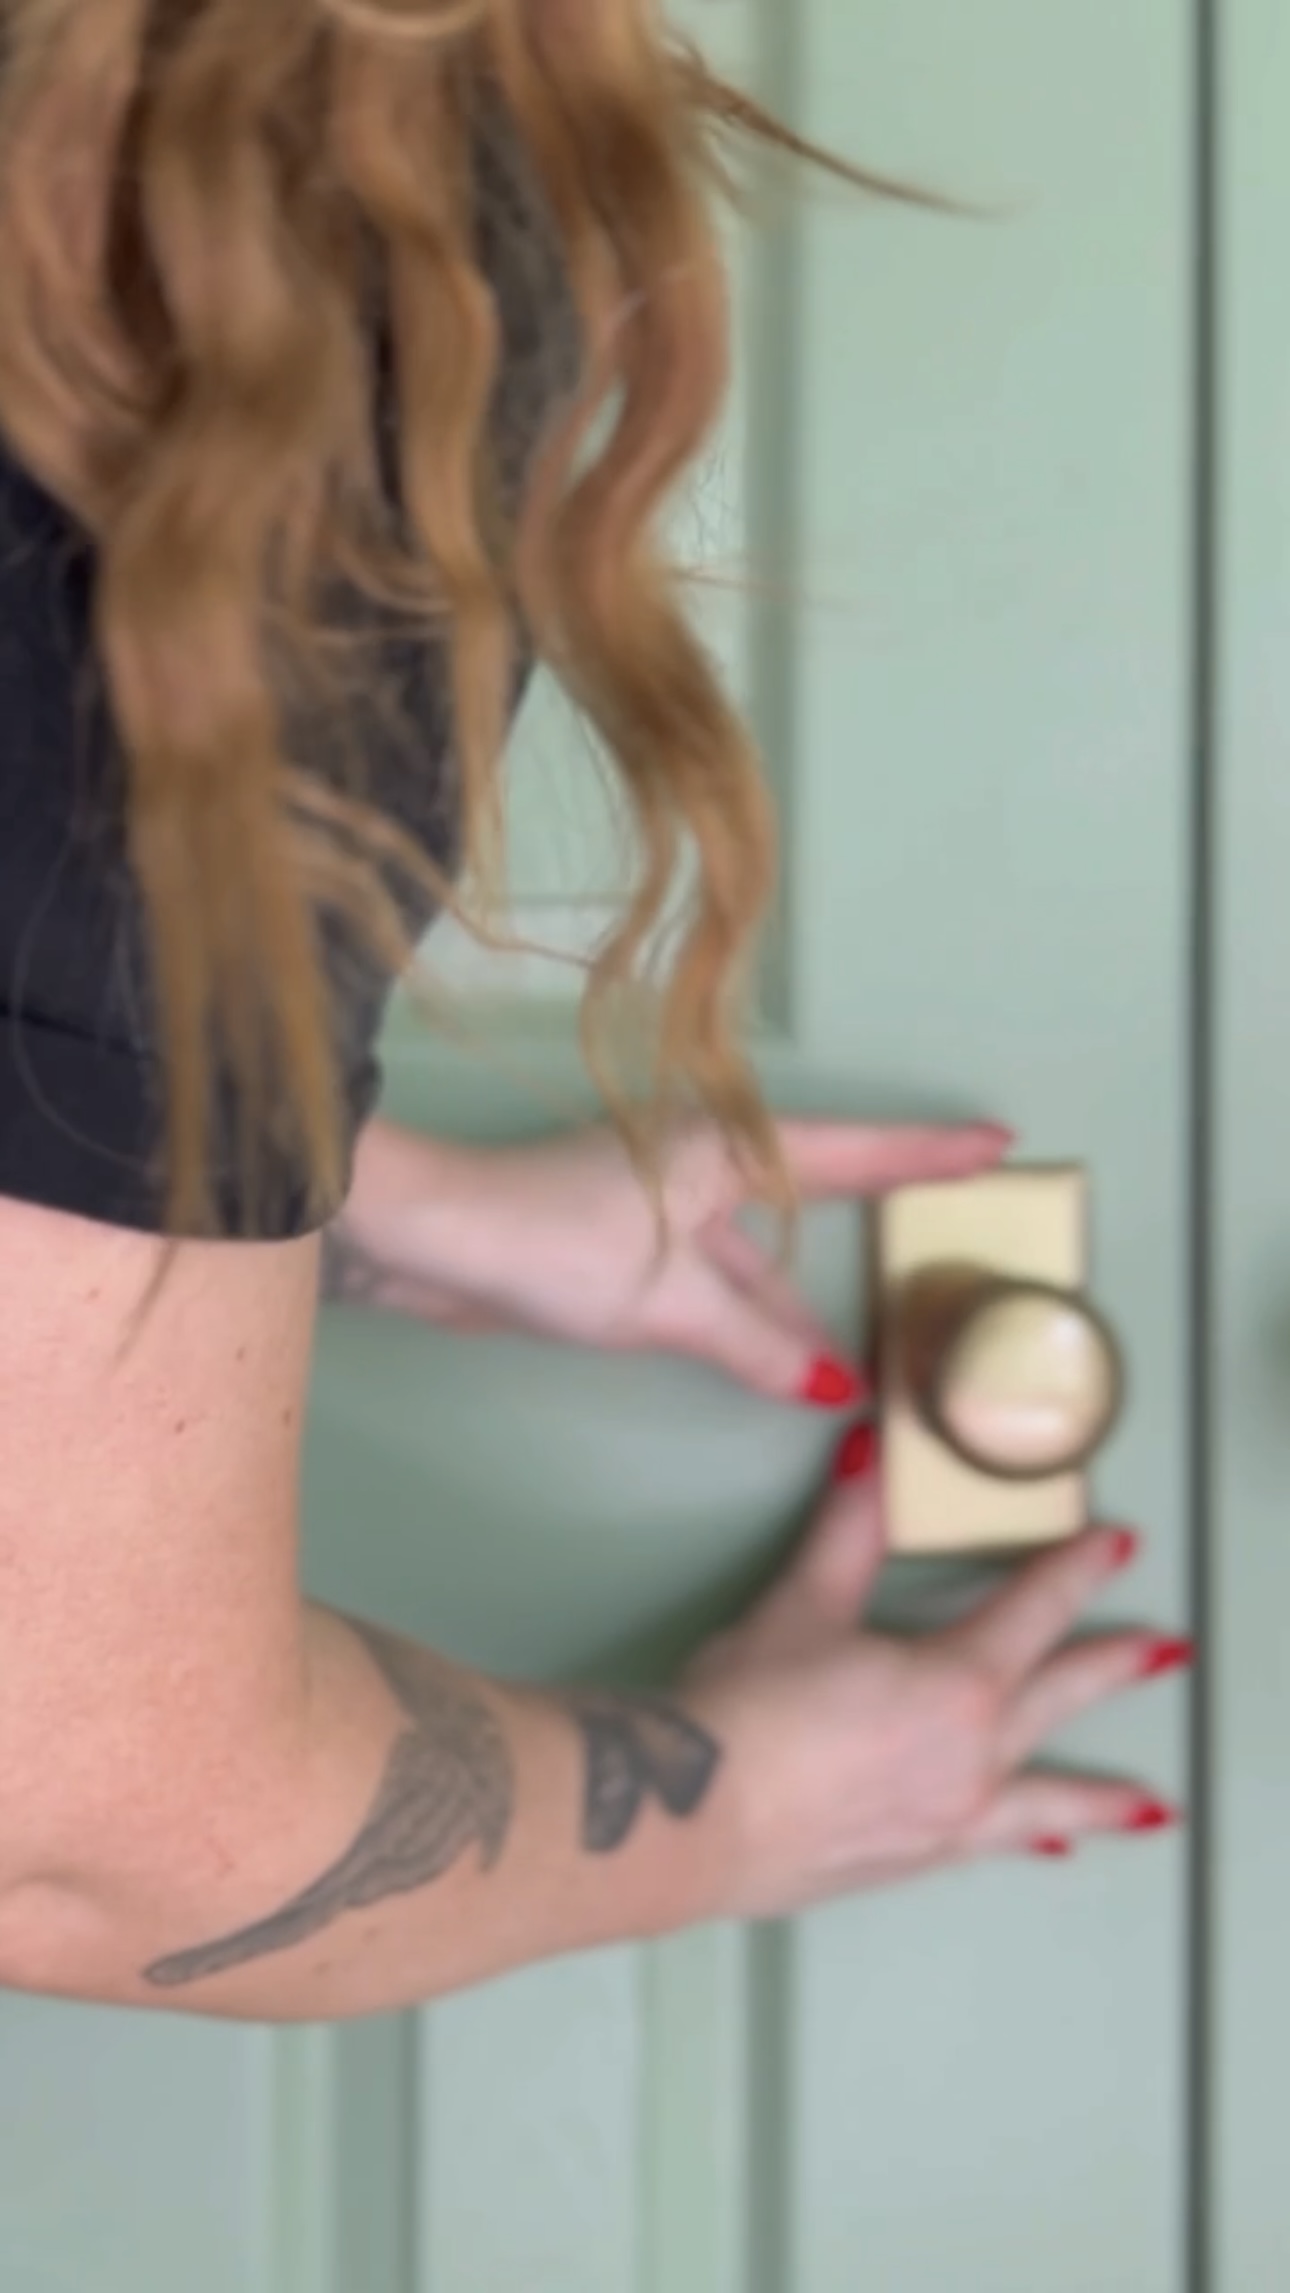
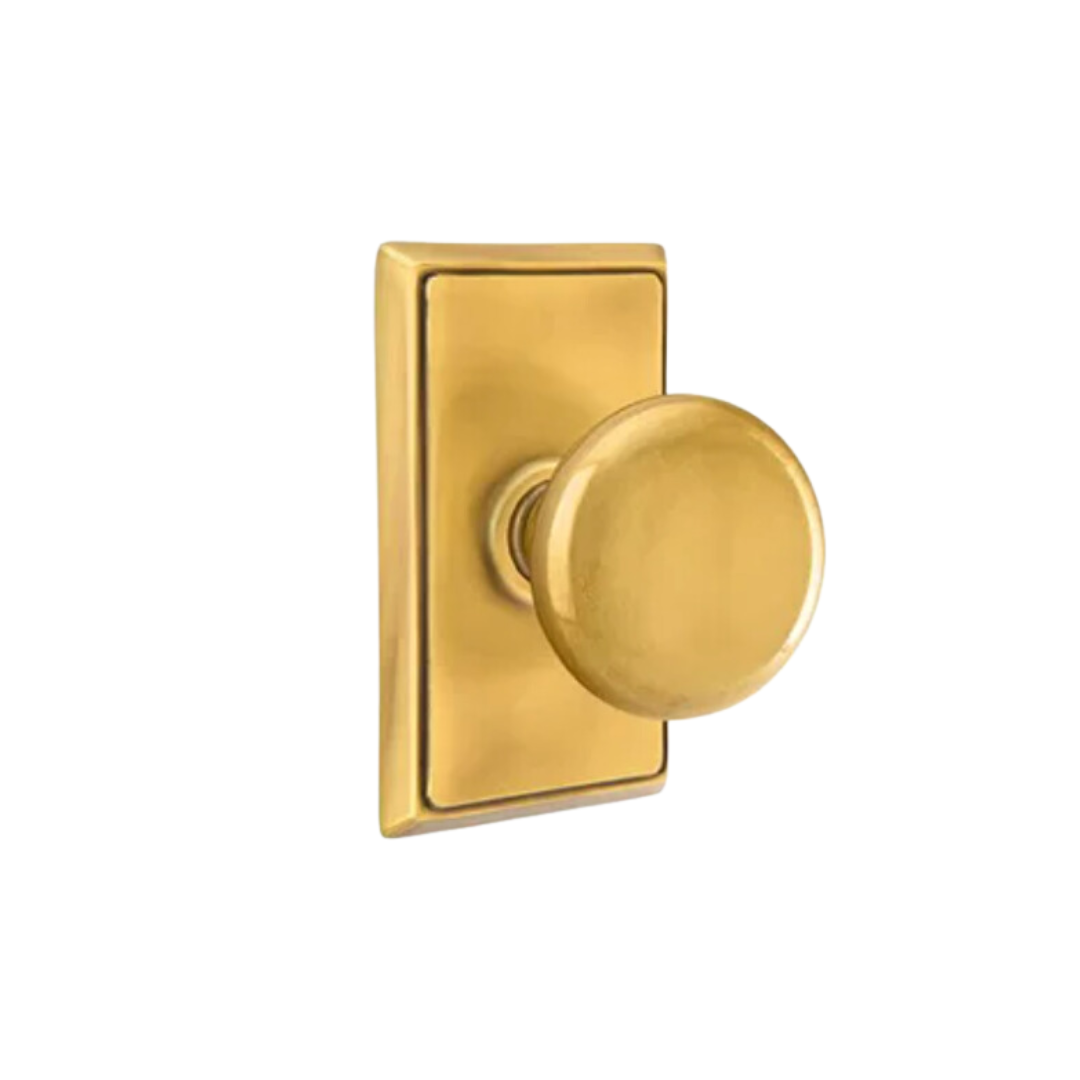
After all the paint was dry, I installed the door hardware. I used the Providence Knob from Emtek on Wayfair. I have these all over the house. The finish is antique brass.
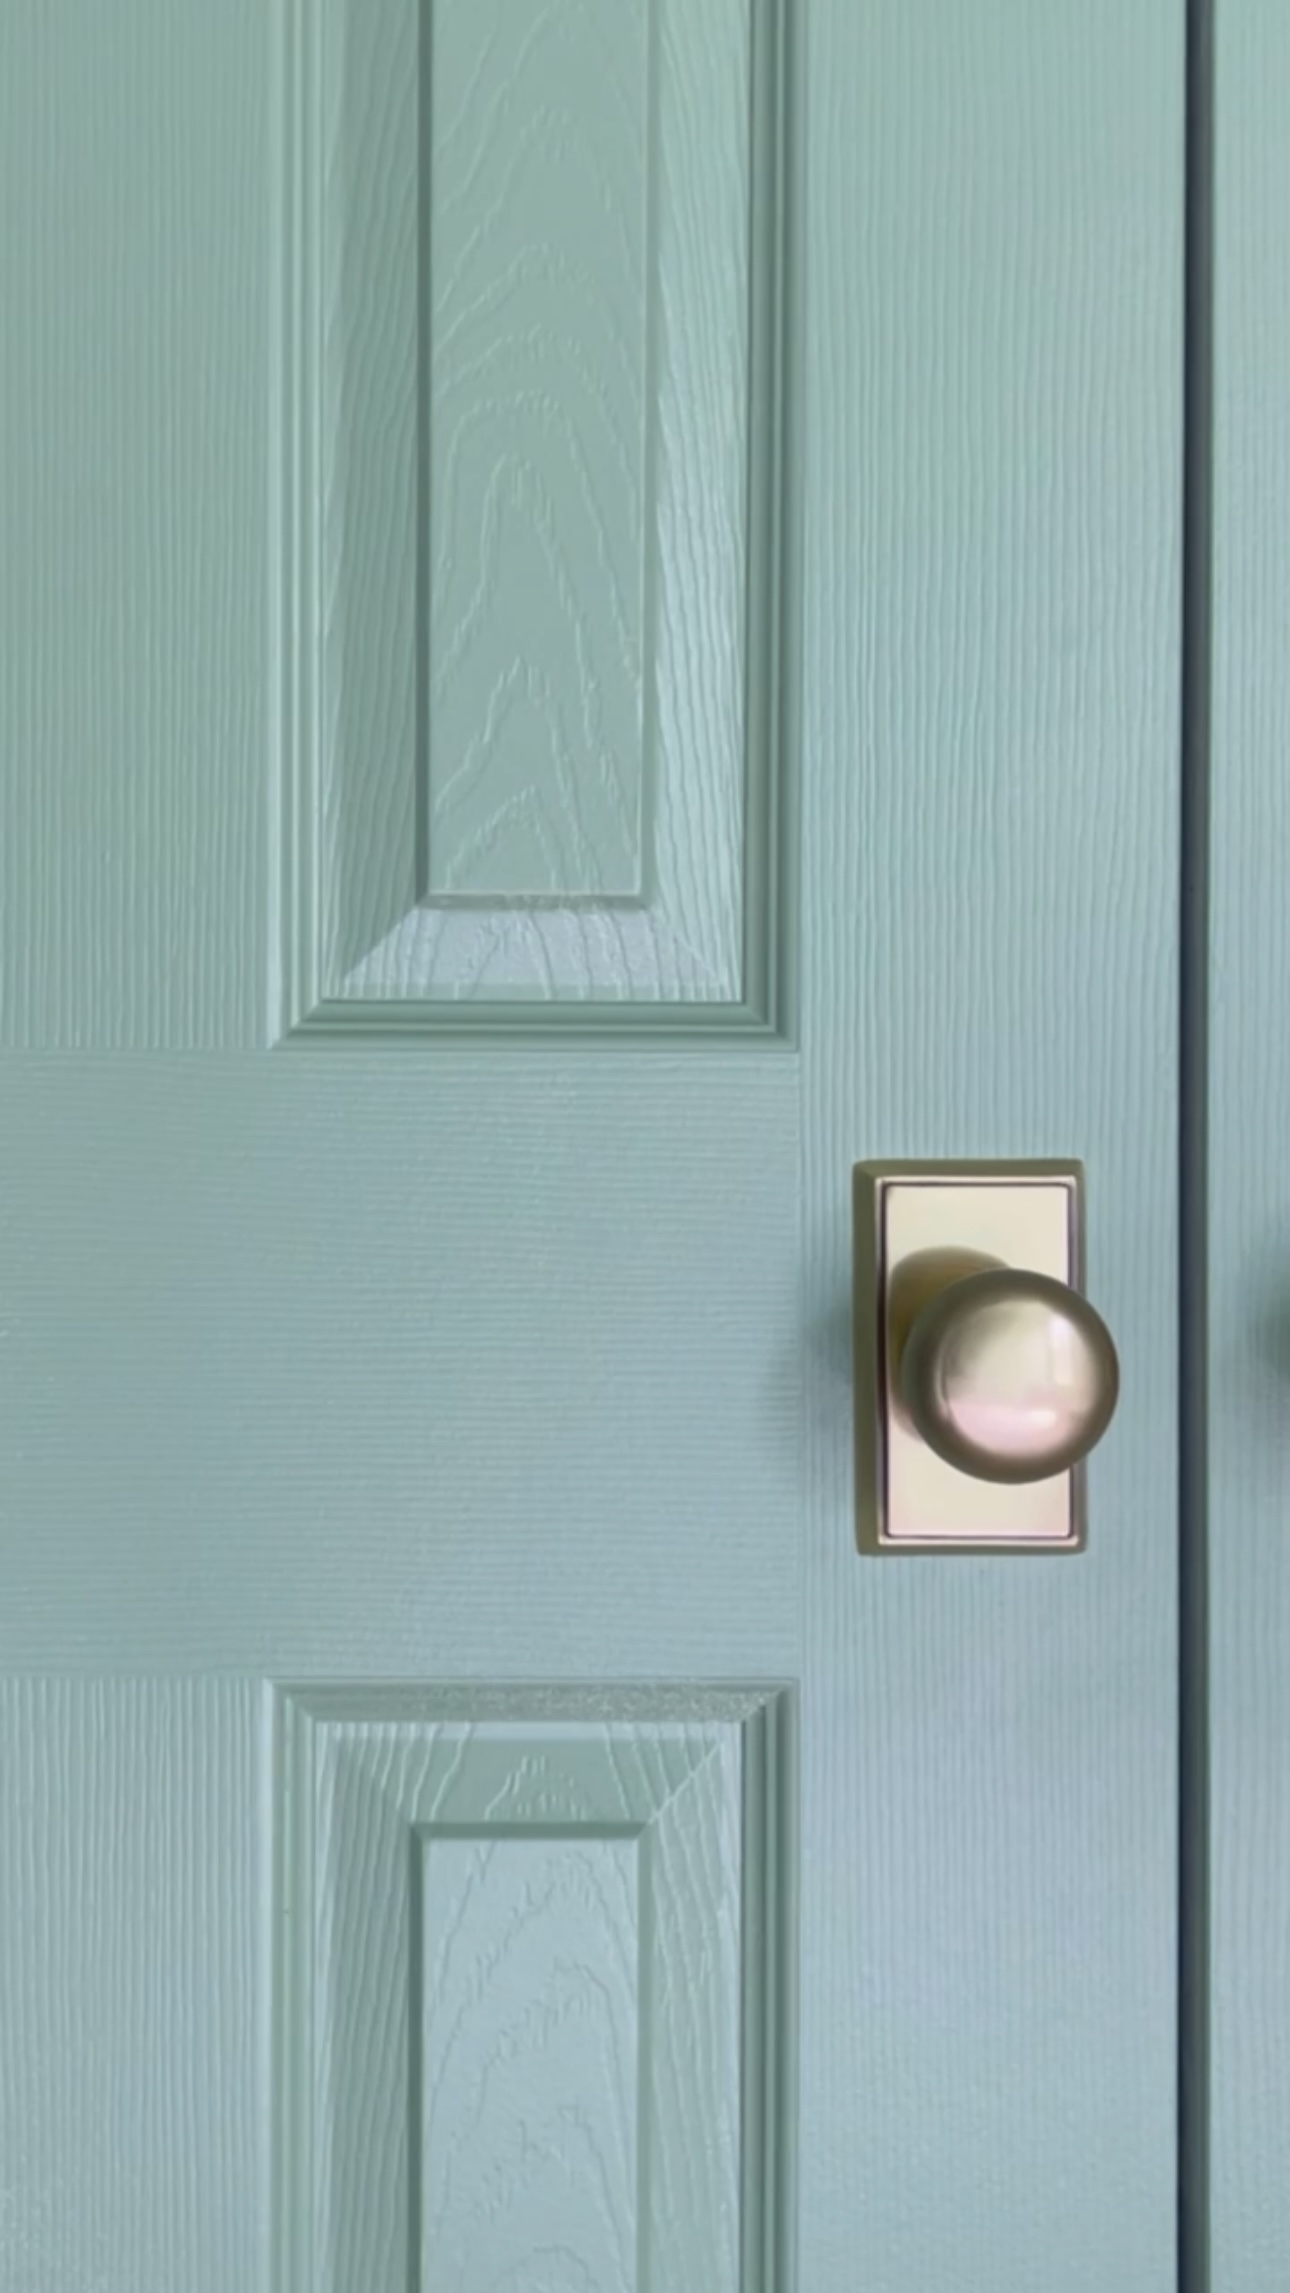
I love this color! It’s called Breakfast Room Green by Farrow & Ball. It’s an instant flood of serotonin when you open the door to Rainie’s room! This might be my favorite paint color ever!
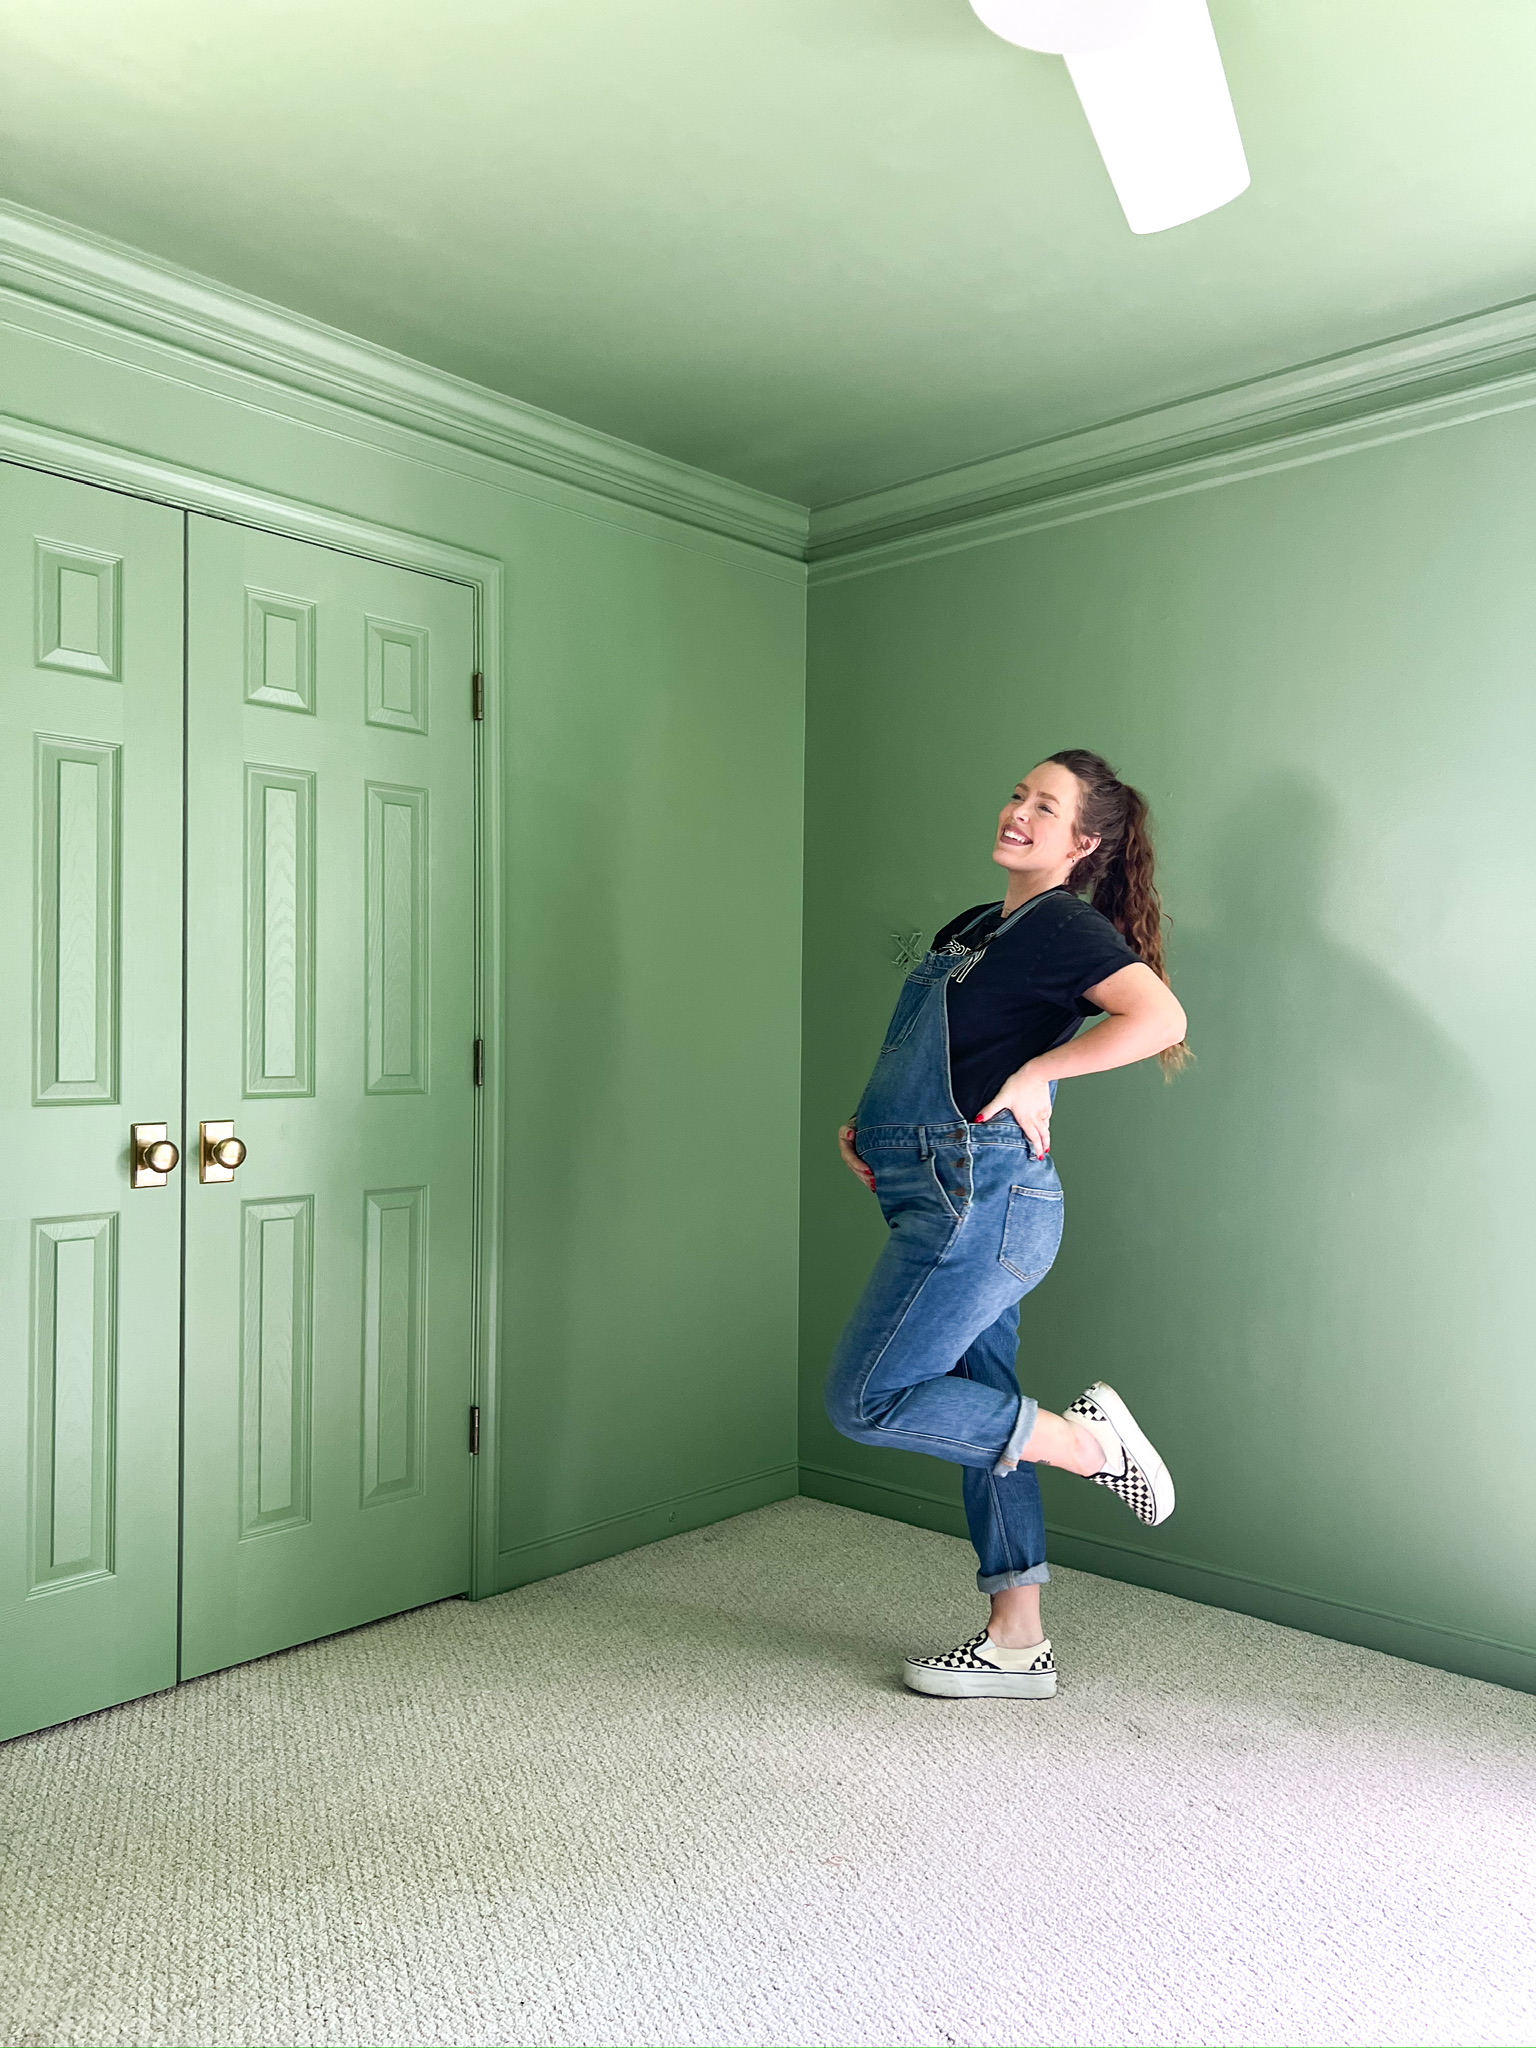
Next up for Rainie’s Room Makeover, I get to put in all the furniture and decor. This is my favorite part of every room makeover!
– Cass
Here’s everything I used to paint Rainie’s room!
- Spackle
- Putty Knife
- Sanding Sponge
- Frog Painter’s Tape
- Scotch Painter’s Plastic
- White Paint Suit
- Respirator
- Graco TrueCoat Paint Sprayer
- Brass Door Knobs
- Paint: Breakfast Room Green by Farrow & Ball


1