Main Bathroom One Room Challenge Week 4


If you’re new here…Hi! I’m Cass! Welcome to my One Room Challenge.
I’m a mom, wife, and fearless DIY’er. I live in Eastern Virginia with my little family. I’ve been passionate about the idea of homemaking since I was a young girl. I started trying to make our house a home when my husband, David, and I bought our first house. This started with painting and small home decor crafts.
My visions started becoming bigger but our budget was still small. Once my husband began leaving home on long deployments, I realized that if I wanted to make those bigger projects happen, I would have to just do it myself. I then began, little by little, trying out new things and teaching myself to use new tools. Now, in our third home together, I have learned how to tackle MUCH larger projects. Making my home with my own two hands has become my PASSION! I love taking my big ideas and making them come to life and I hope to inspire others to do the same!
*This post may contain affiliate links, which means I may earn a small commission if you purchase through my links, at no extra cost to you. I only share products I genuinely love.
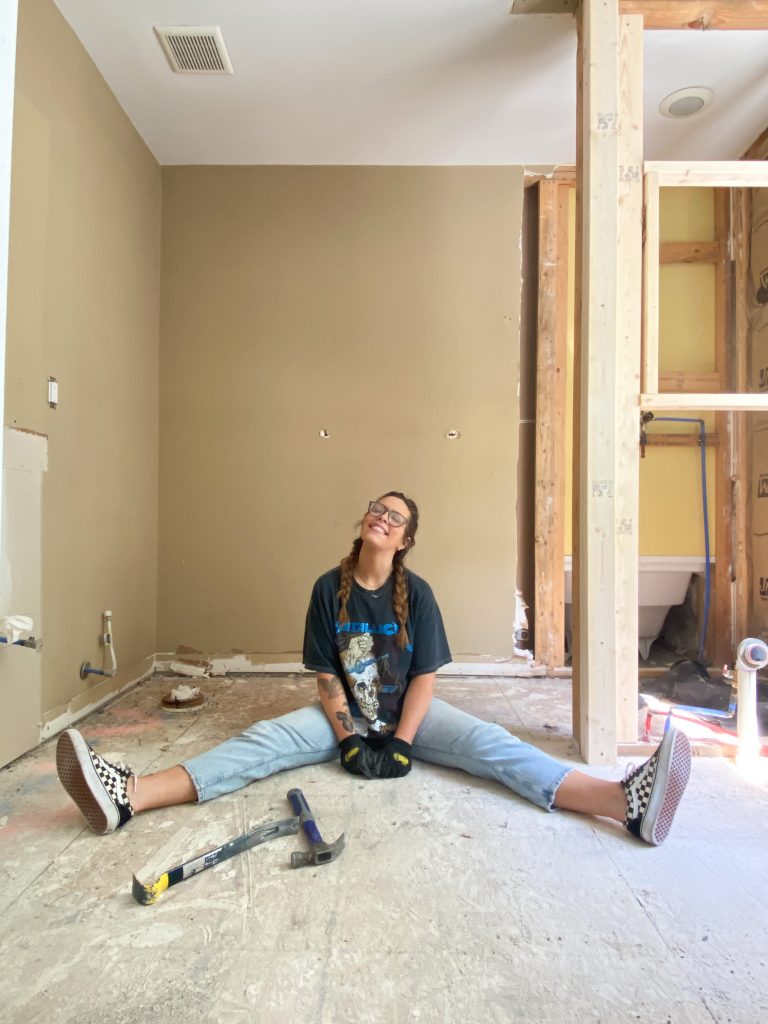
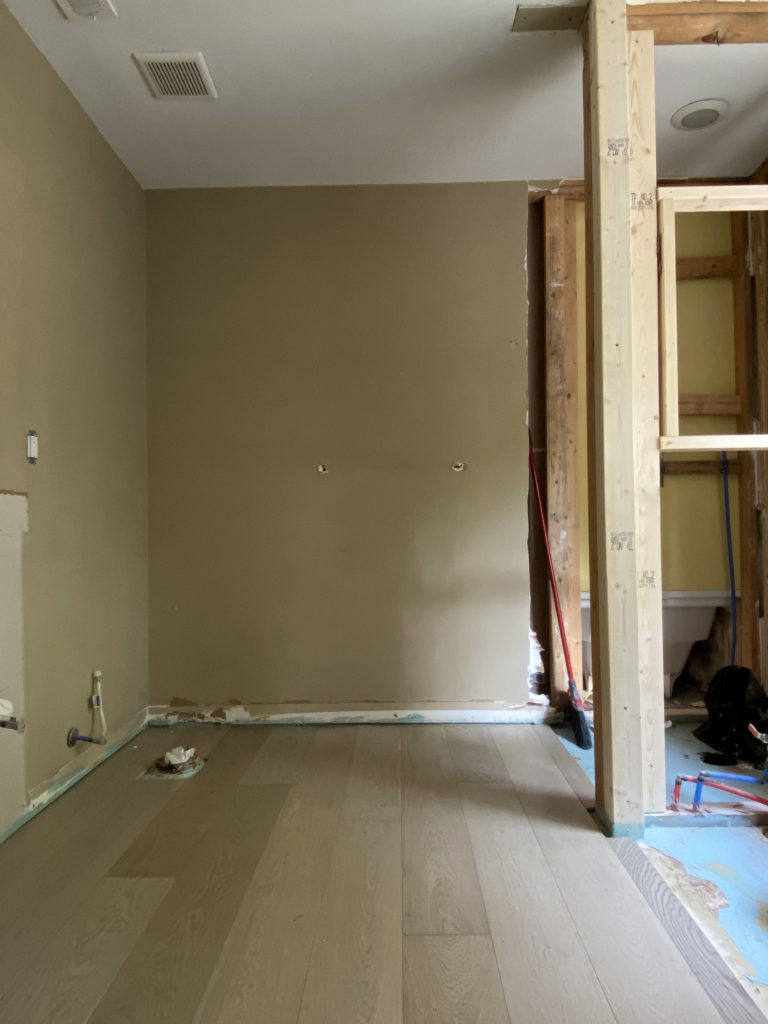
Last week for my Main Bathroom One Room Challenge I finished demo in the bathroom, so this week I got to start with a blank slate. Starting with floors!
FLOORING
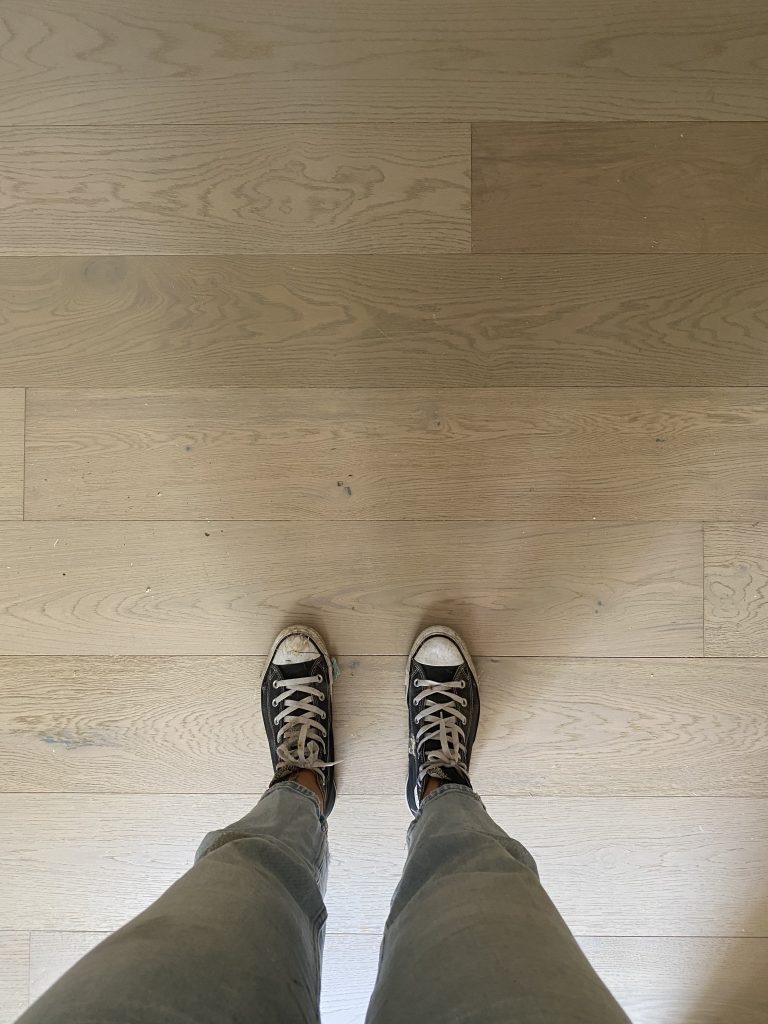
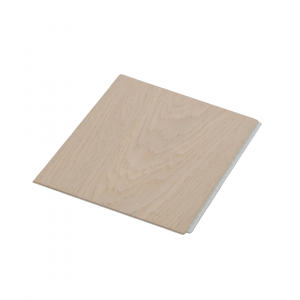
Remember back when I did the closet makeover and I was on the hunt for some Engineered Hardwoods that were waterproof? THIS is why! My plan all along has been to install this flooring in the closet/bathroom/bedroom/hallway upstairs. I eventually landed on Pacific Oak by Cali Bamboo (GeoWood). This flooring is water resistant, beautiful, and very durable.
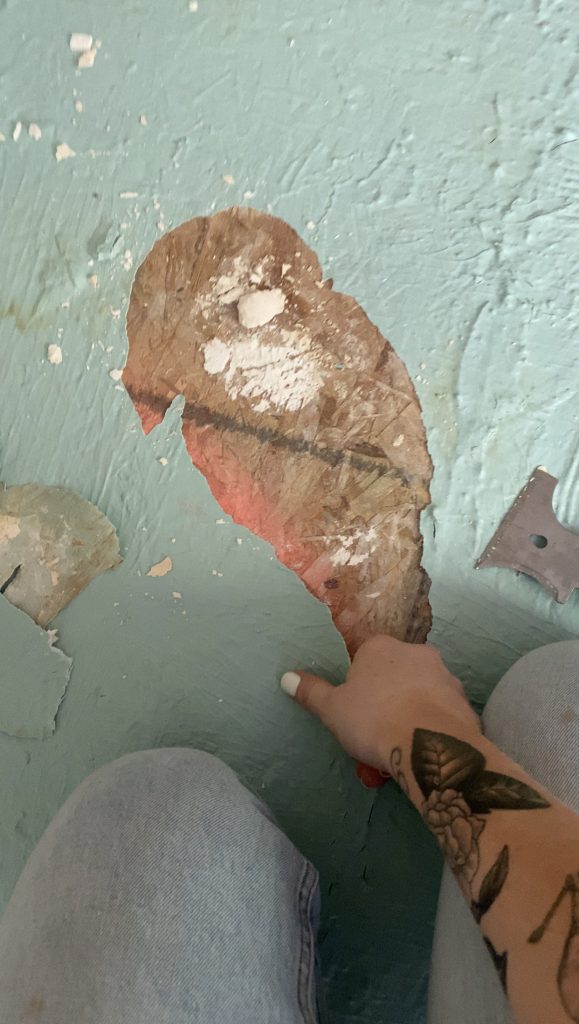
To prep the bathroom subfloor for installation, I thought it would be a good idea to add some sort of extra water protection. I purchased some AquaDefense and began applying only to find out that this would not work with my flooring. While this product is a great option for tile, the adhesive that I was using to install my floors needed a porous surface to adhere to (the AquaDefense is not porous). After it dried, I ended up peeling it all up from the subfloor.
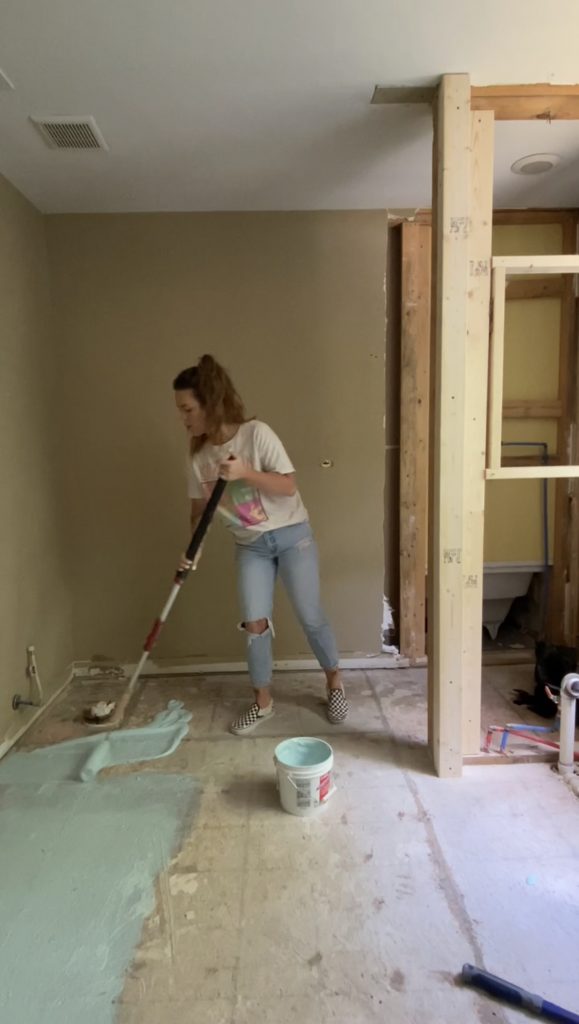
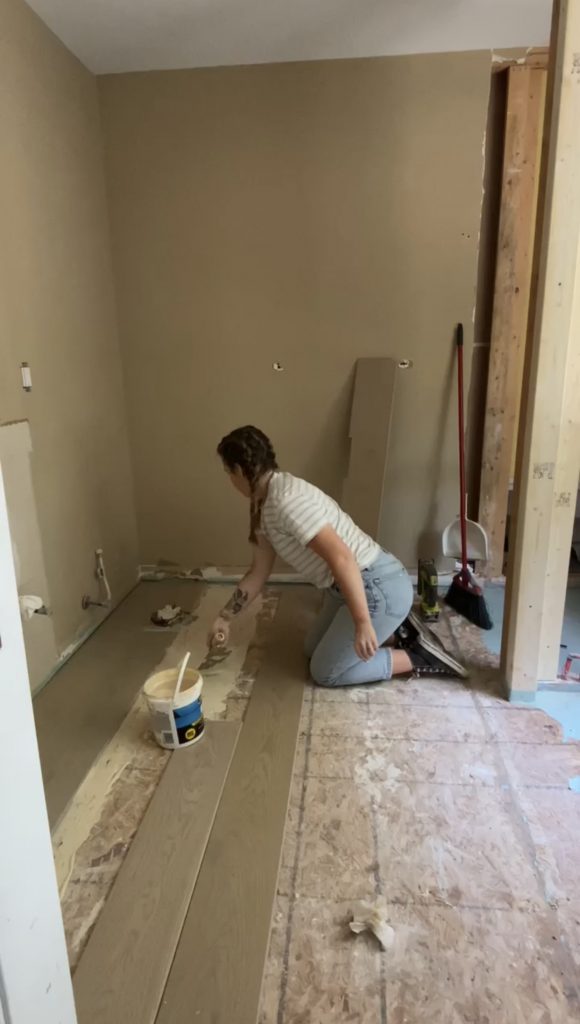
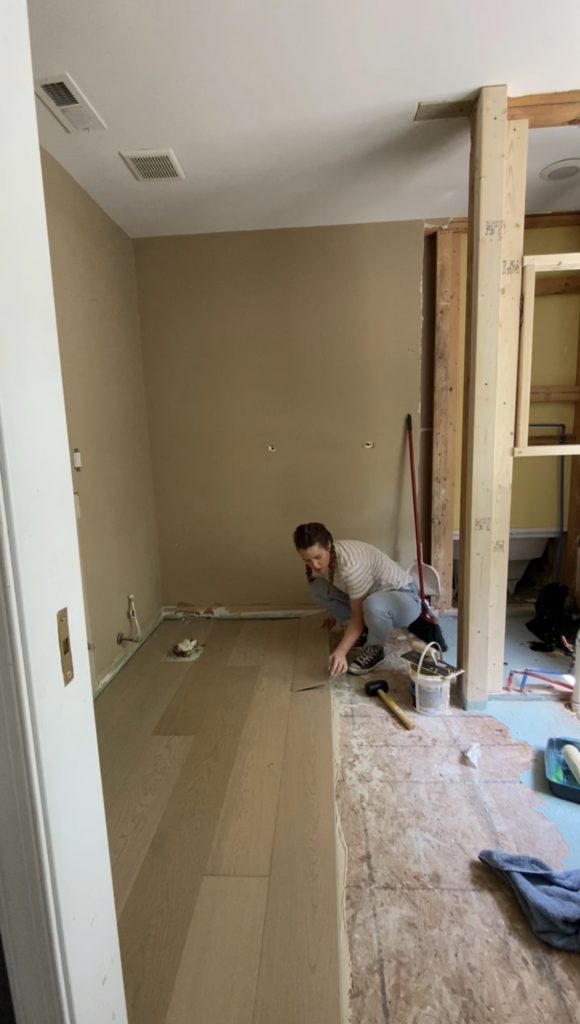
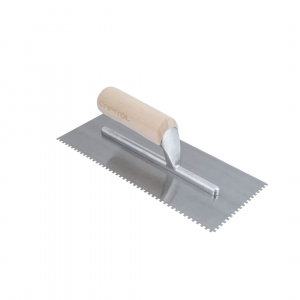
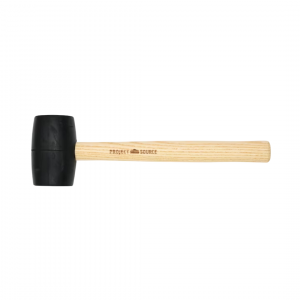
I placed 3/8 in spacers around the perimeter of the bathroom for my flooring installation. Using a 1/16 in. trowel, I spread Titebond 670 Adhesive onto the area where I would lay my first two rows of planks. I used my miter saw to cut my flooring to length, and began snapping and locking into place with the help of a rubber mallet. After installing all of my boards, I shuffled my way across each board slowly to press down weight and release any air pockets. I cleaned up any residual glue with some warm water and a rag.
The great thing about using adhesive for this installation is that it offers an additional layer of water resistance! Not to mention, it is very resilient to high traffic.
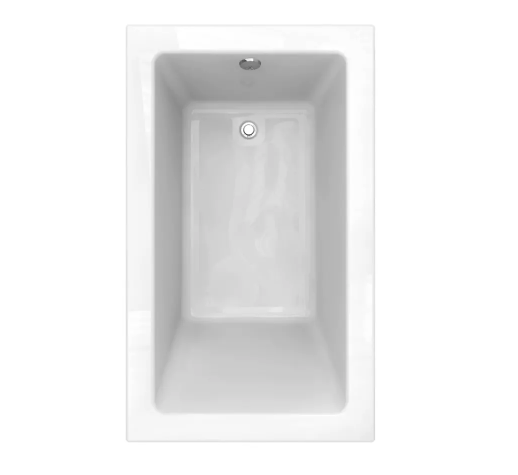
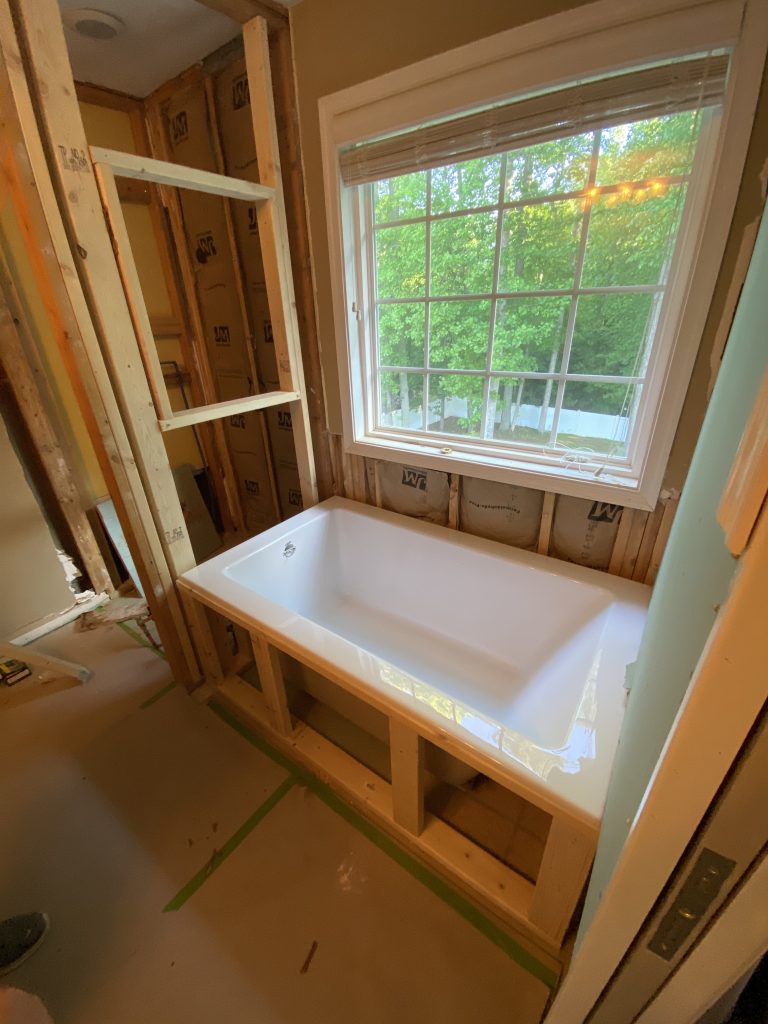
TUB
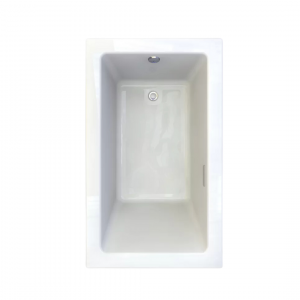
I purchased this beautiful soaking tub for the bathroom. I have always dreamed of having one. I’m not a HUGE bath person, but the idea of soaking in a deep tub like this has always appealed to me. This tub is meant to be under mounted, which means that it will mount from underneath a surface (in my case, a stone slab).
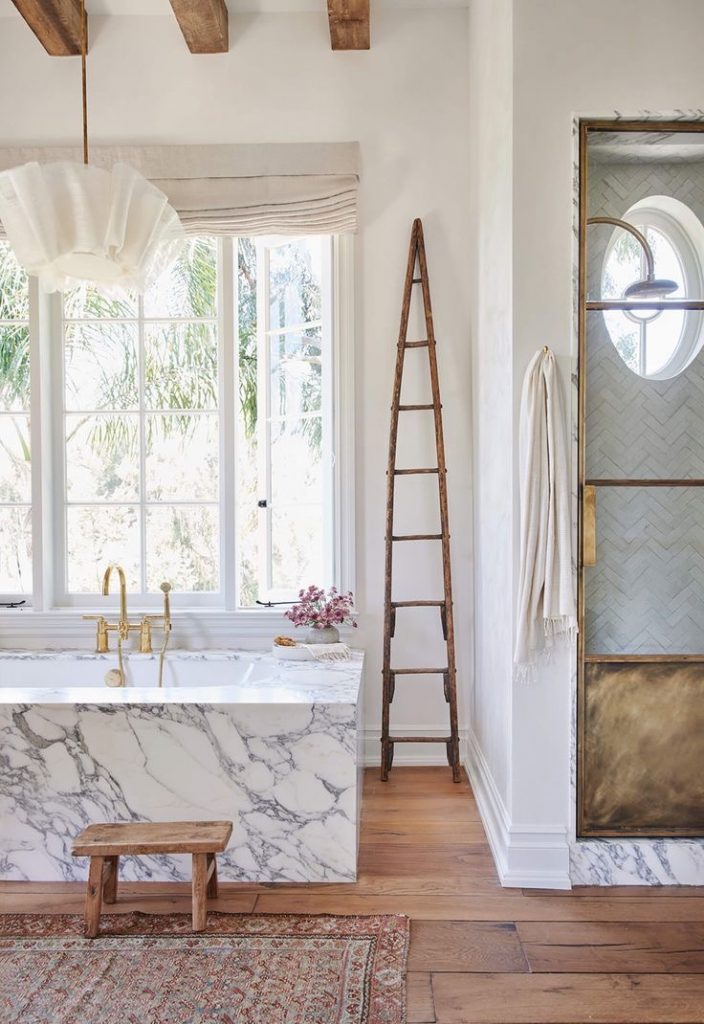
Here is the beautiful tub that gave me some inspiration. See how the tub sits under the marble, and the marble waterfalls down to the floor? That is my plan for this tub!
In order to install this tub, I needed to build a frame for support. Referring to the instructions that came with the tub, I used 2×4’s to build it. I also called in help from David’s Dad (who was previously a plumber) to help me with the plumbing for this. Relocating and attaching plumbing is a very risky thing to do. If I were to have taken this on myself, there would have been a high likelihood of making a VERY costly mistake.
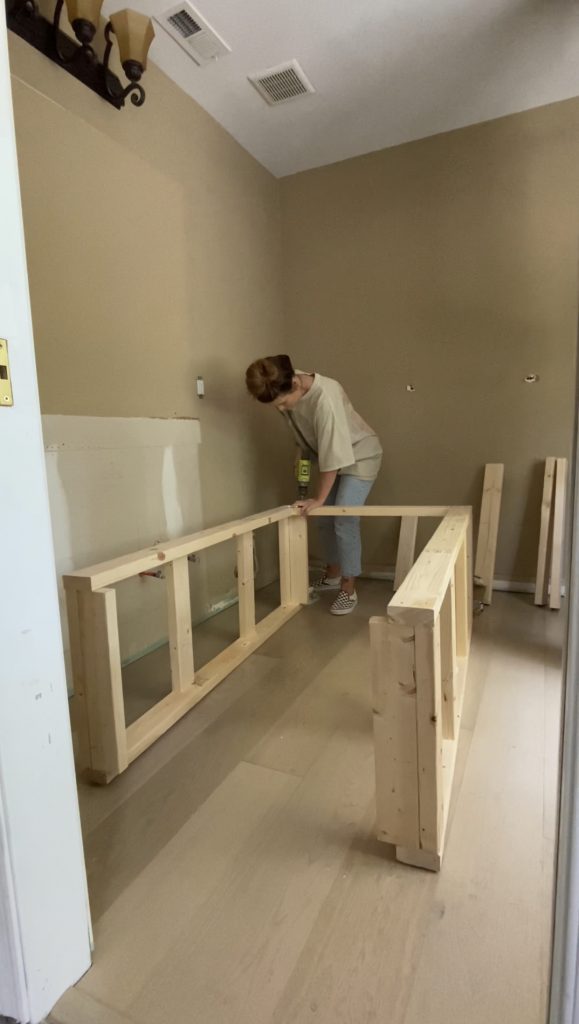

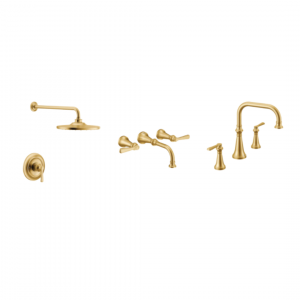
David’s Dad relocated the drain/overflow to fit the new bathtub, and taught me how to solder our new tub rough in valve and connect new plumbing to the faucet. The new tub is now connected and set in place! I can’t WAIT to install all of my beautiful plumbing fixtures! I’ll be using the Colinet Collection by Moen (from Build with Ferguson) with the most beautiful brass finish.

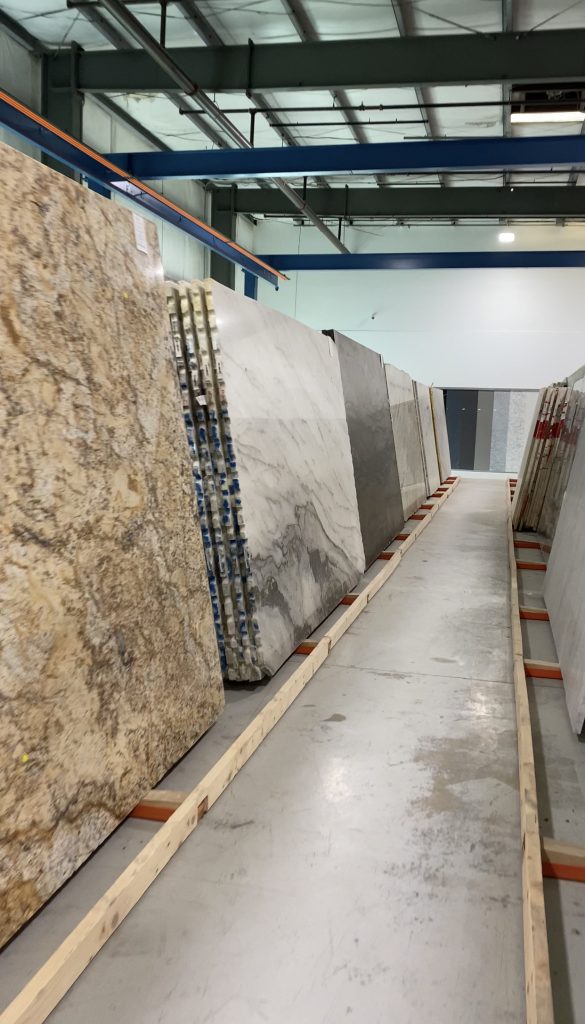
STONE
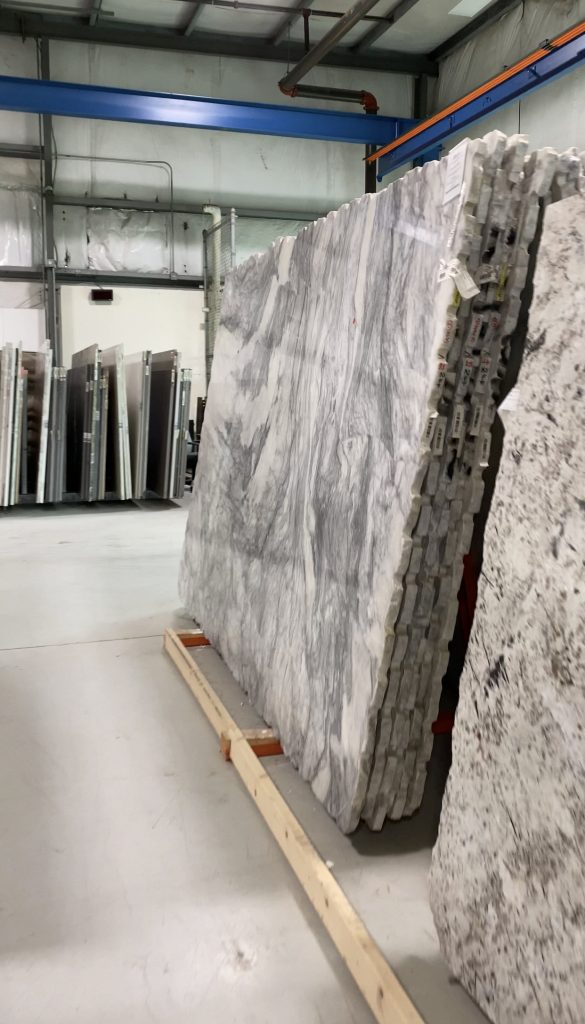
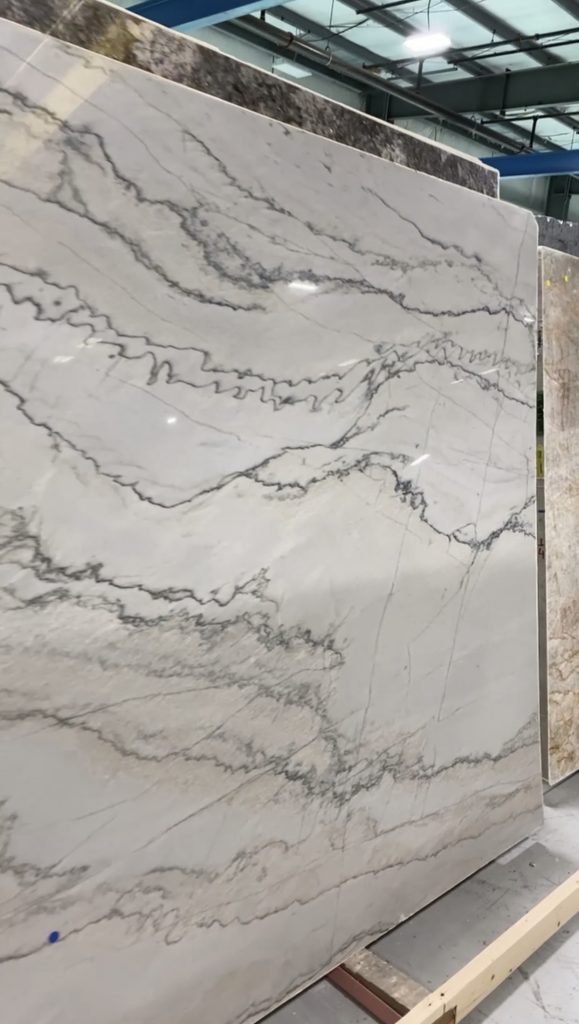
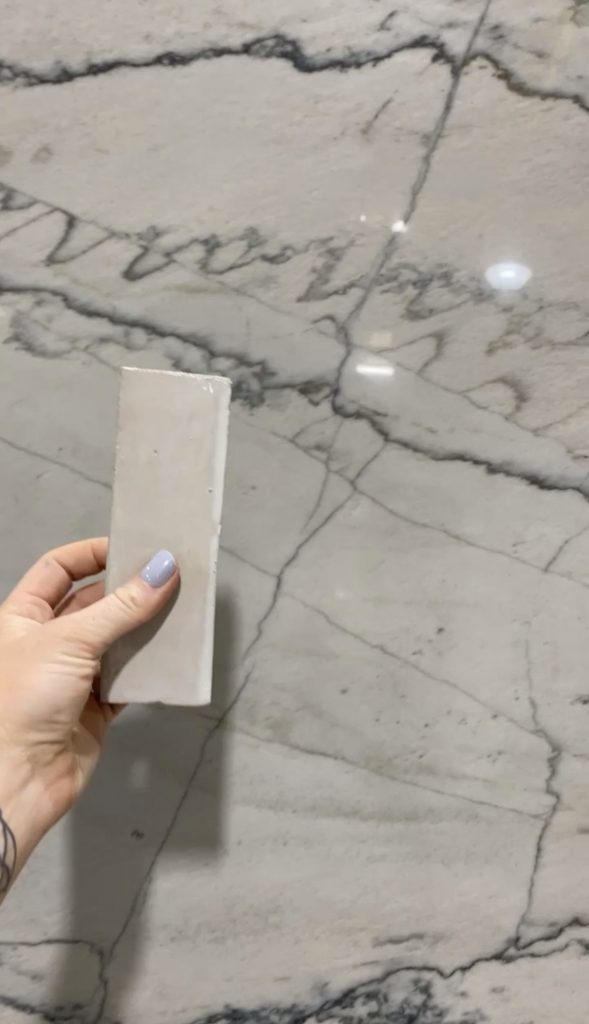
Another exciting thing that happened this week was picking out my stone slab! I went searching at Best Brazilian Granite in Portsmouth, Va (they have multiple locations in the area). My heart wanted a creamy white slab with some dark and delicate veining to sit atop my alcove top and vintage dresser-vanity. BBG had SO many beautiful options. I stumbled upon this beautiful “stormy cloud” marble slab (third photo below) and fell in love. However, I my original plan was to pick something more on the subtle side, so I kept looking.

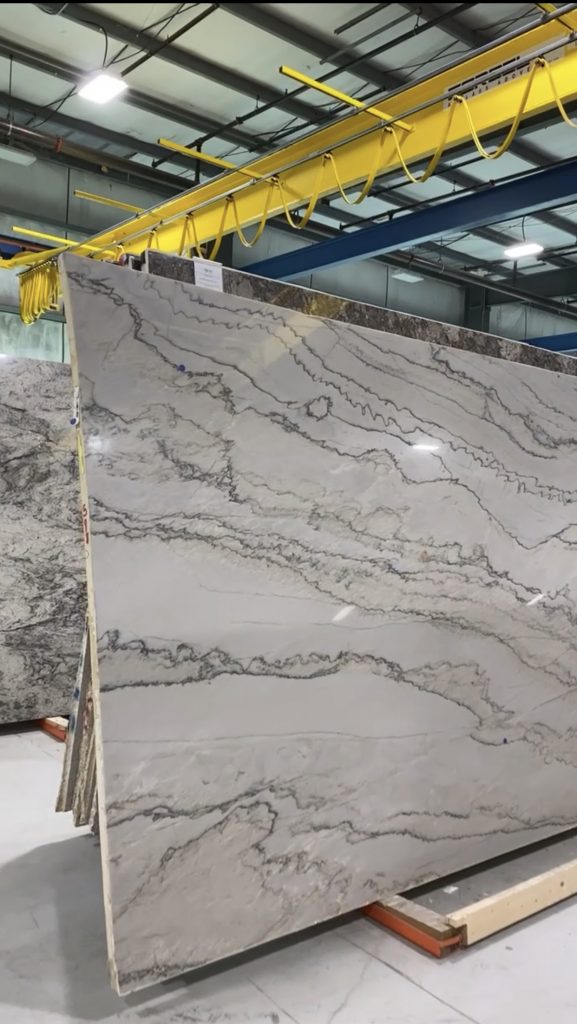
I landed on this slab of PERFECTION! It is a Calacatta Quartzite! The veining is just what I was envisioning, dark and delicate. The tones in the slab perfectly complimented my Natural White Zellige tiles from Riad Tile that will be installed in the shower. The great thing about Quartzite is that is is VERY strong. It is a natural stone that is much more resilient than marble, which means that it will be low maintenance. It is actually stronger and less porous than granite! While it does tend to cost more than the average granite slab, I think that the benefits outweigh the cost.
The BBG team will be coming to template for my slab next week! After that, it should take about 2 weeks for fabrication and INSTALL!

Things are starting to take shape! This blank room will start to resemble a bathroom here shortly and I am dying to see my vision come to life! Don’t forget to check up on the other Featured Designers next week during Week 5 of the Main Bathroom One Room Challenge!
Here’s everything I used this week for my Main Bathroom One Room Challenge:

Ariene C. Bethea | At Home With Ashley | Banyan Bridges | Bari J. Ackerman | Brit Arnesen
Brownstone Boys.| Dominique Gebru | Gray Space Interiors| Haneen’s Haven
Home Ec. | Nile Johnson Design | Pennies for a fortune | Prepford Wife | Rachel Moriarty Interiors
Sachi Lord | Susan Hill Interior Design | This Is Simplicite | Tiffany DeLangie | Victoria Lee Jones
Awesome 😘can’t wait to see
Yay, I can’t wait!!
Yay!!!
It’s looking great so far, such work! We almost did the same mistake of using the waterproofing paint under vinyl floors, good thing you caught it 🙂
I am so thankful I did!!