Main Bathroom One Room Challenge – Week 3 – Demo


If you’re new here…Hi! I’m Cass! Welcome to the One Room Challenge!
I’m a mom, wife, and fearless DIY’er. I live in Eastern Virginia with my little family. I’ve been passionate about the idea of homemaking since I was a young girl. I started trying to make our house a home when my husband, David, and I bought our first house. This started with painting and small home decor crafts.
My visions started becoming bigger but our budget was still small. Once my husband began leaving home on long deployments, I realized that if I wanted to make those bigger projects happen, I would have to just do it myself. I then began, little by little, trying out new things and teaching myself to use new tools. Now, in our third home together, I have learned how to tackle MUCH larger projects. Making my home with my own two hands has become my PASSION! I love taking my big ideas and making them come to life and I hope to inspire others to do the same!
*This post may contain affiliate links, which means I may earn a small commission if you purchase through my links, at no extra cost to you. I only share products I genuinely love.
Can you guys tell that I am having a BLAST this week with the One Room Challenge?! Seriously, this has been so much fun for me. Mostly because I’m destroying this bathroom that I have hated for so long. But also, it makes me feel so cool to do it! Last week I wrapped up the pocket door install. I am so happy with how it turned out! Especially with that gorgeous pocket door lock from Emtek 😍

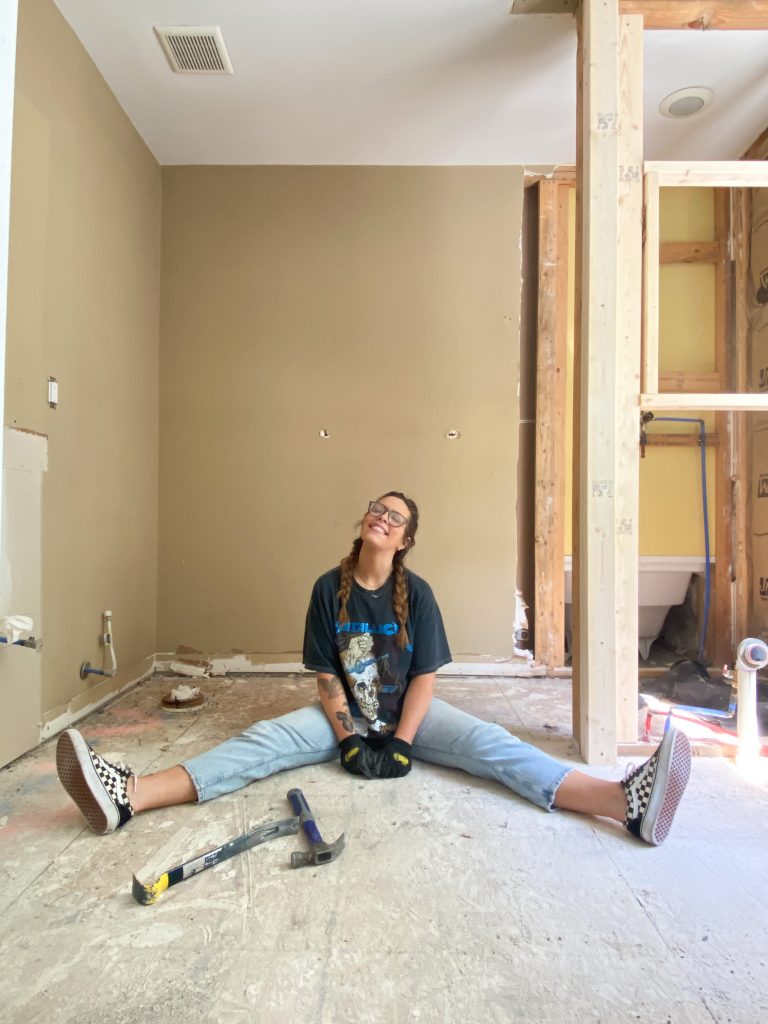
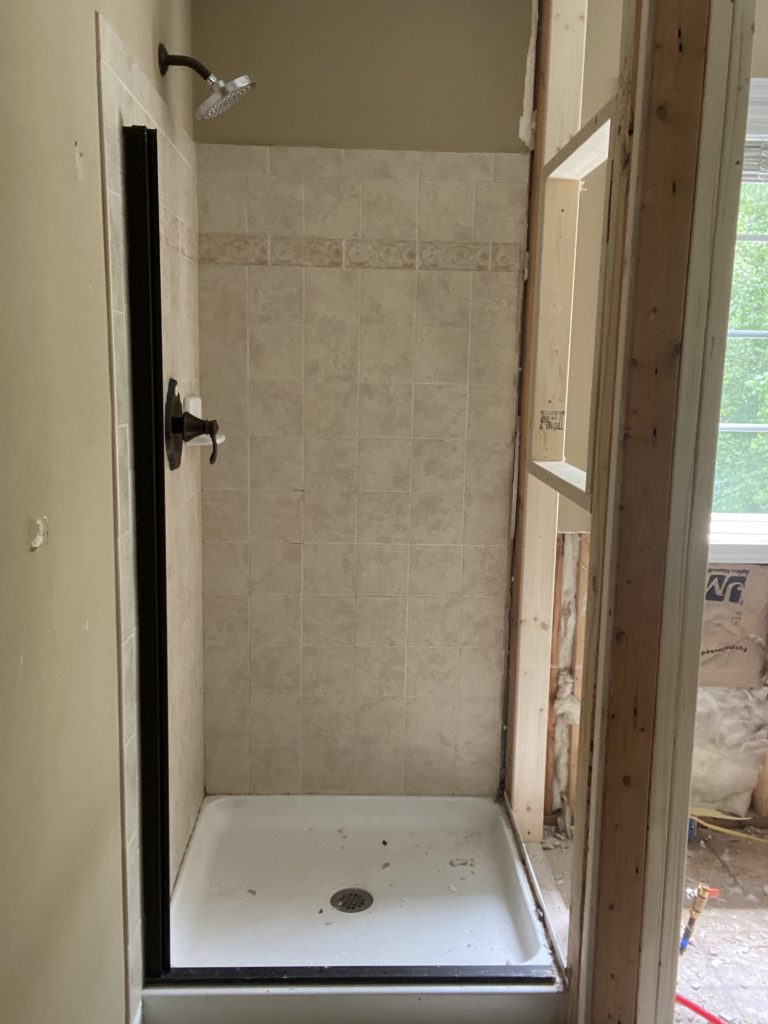
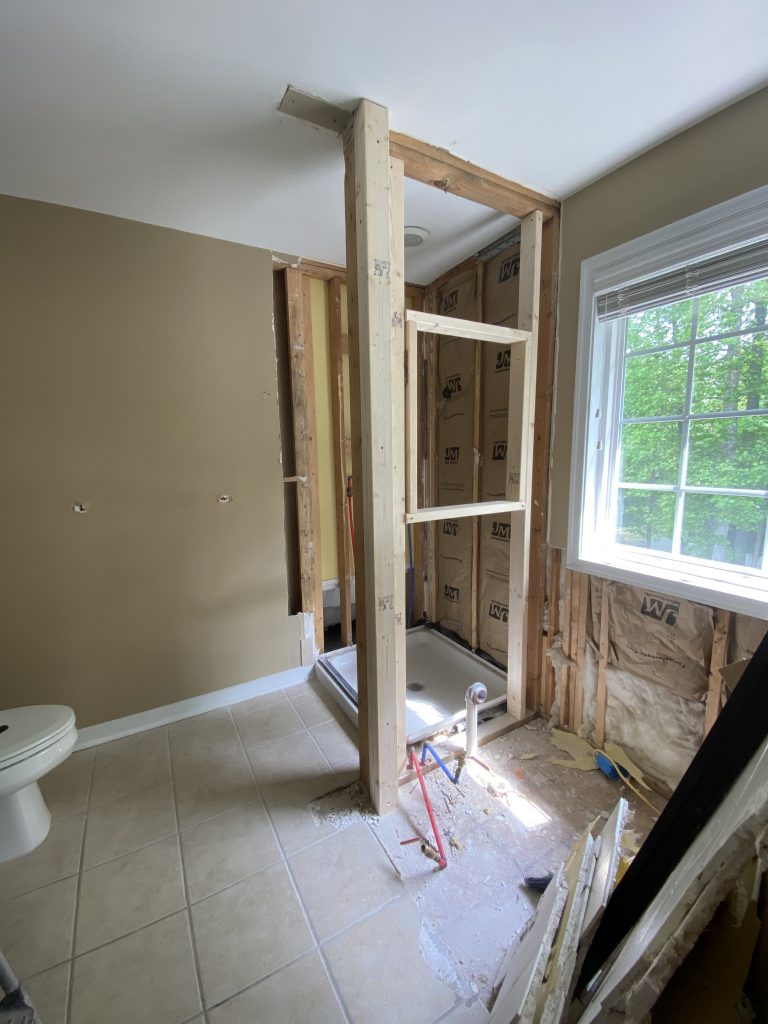
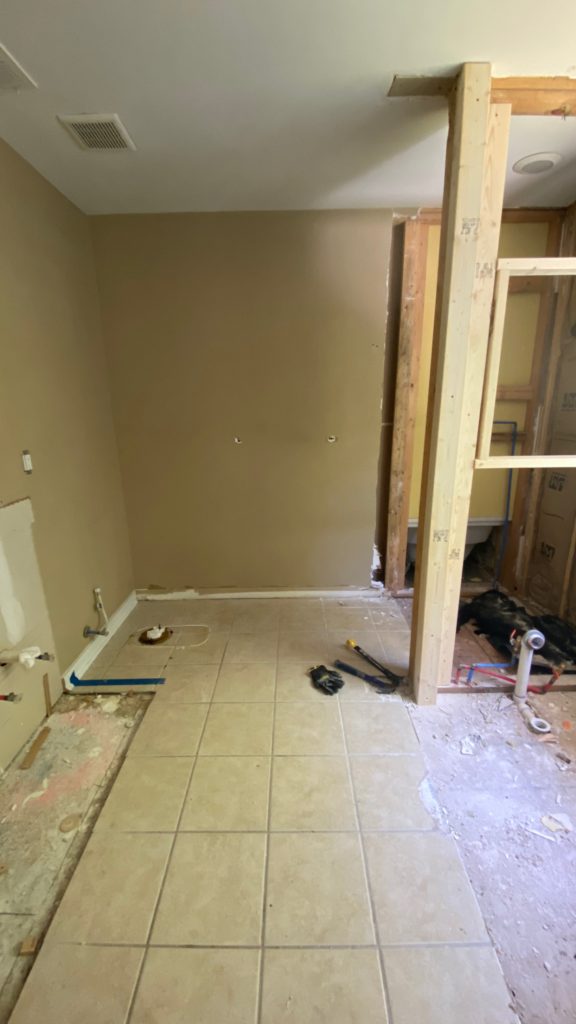
This week for the One Room Challenge, I began demoing the rest of the bathroom, starting with the shower.
If you watched along in my stories for the One Room Challenge, you will notice that I didn’t bother to remove the tiles and salvage the drywall. This is because it is actually much simpler to remove an entire sheet of drywall and replace it, vs replacing tiles one-by-one. During tile removal drywall can easily become damaged which results in more repair work along with the lengthy task of prying up each individual tile. In addition, removing tiles leaves thin-set/mortar chunks behind that require cleaning up until smooth.
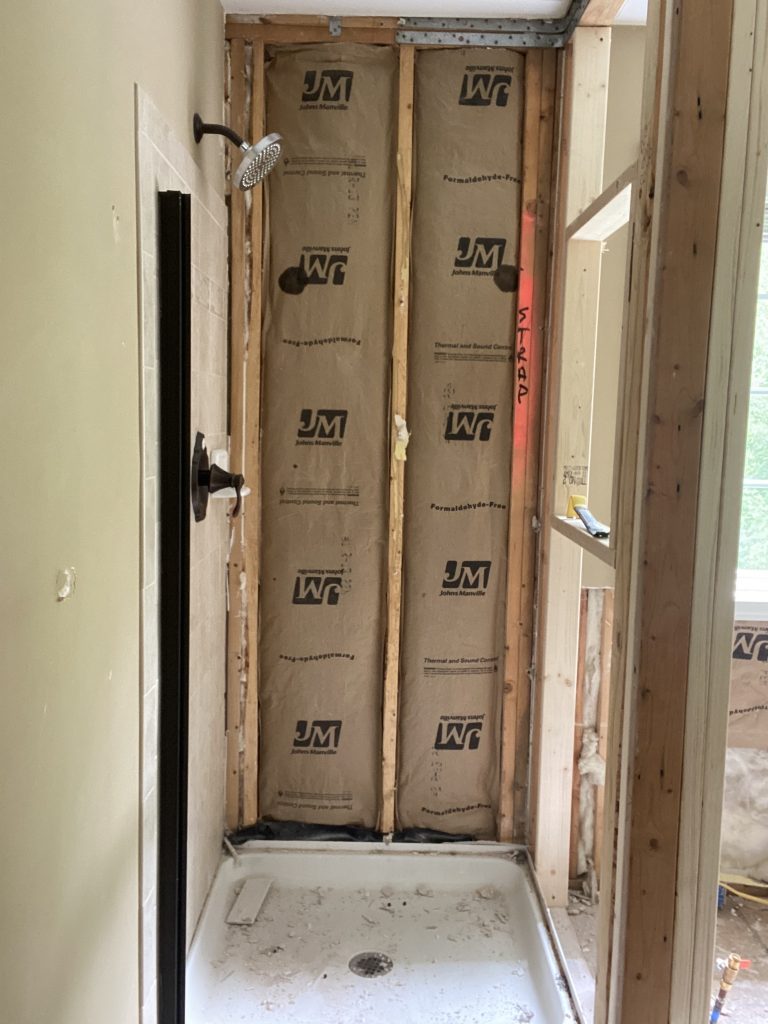
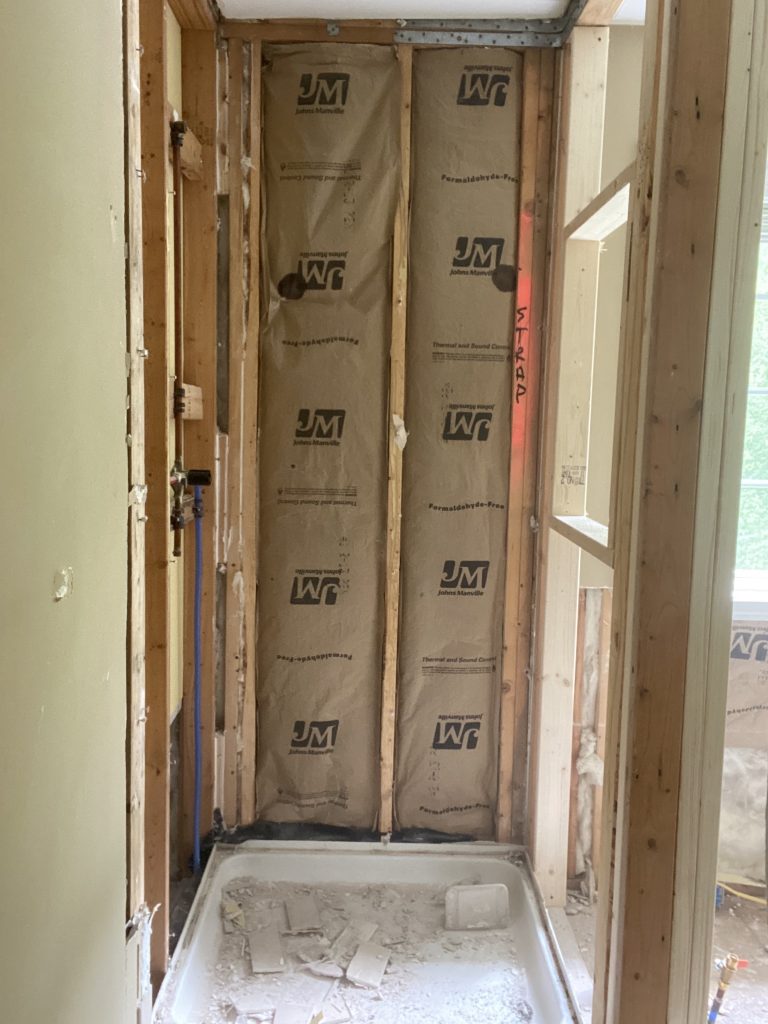
I removed all of the drywall surround in the shower after removing the plumbing fixtures. Then, I removed the shower pan by unscrewing the mounting clips, and then cutting the old drain flange. For this, I used my multi-tool and cut along the visible glue line inside of the flange (my glue was purple so this was easy to see). Going around the inside of the circle, I made sure to press the saw until it cut all the way through the PVC pipe. Once I made it all the way around, it was completely disconnected.
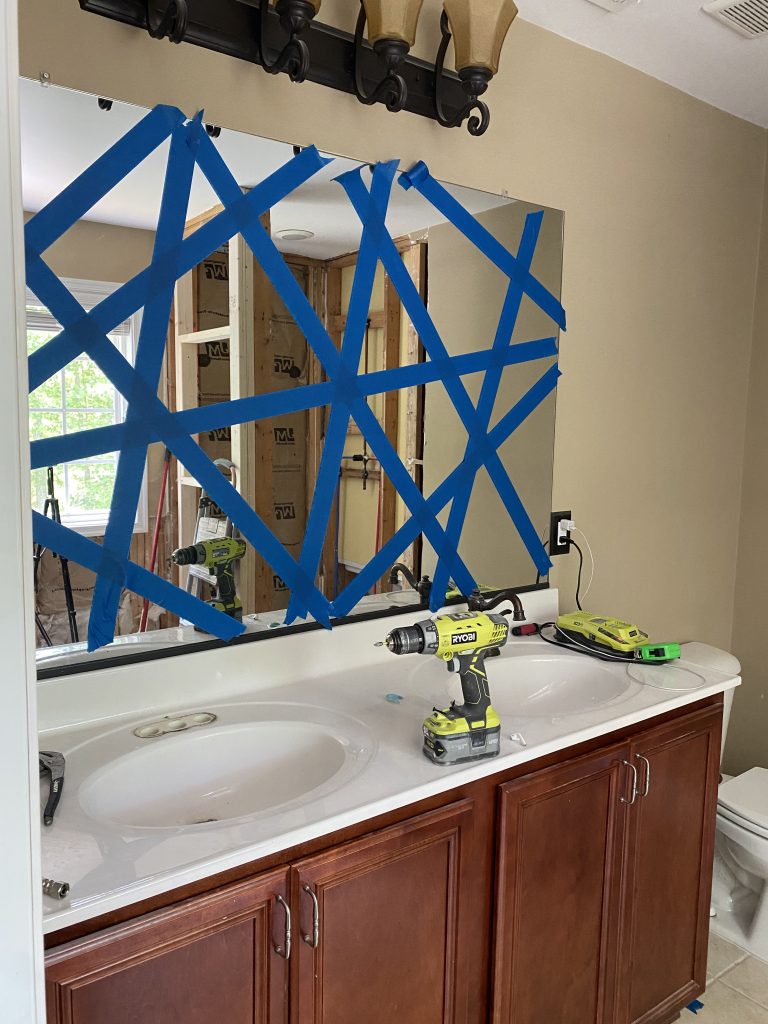
Removing the mirror
Next, I removed the large vanity mirror. I prepped this by placing tape across the surface of the mirror. Doing this helps prevent glass shards from coming loose if the mirror happens to break. Fortunately, the mirror was only attached by two screws and a thin piece of hardware along the bottom. This made for a simple removal!
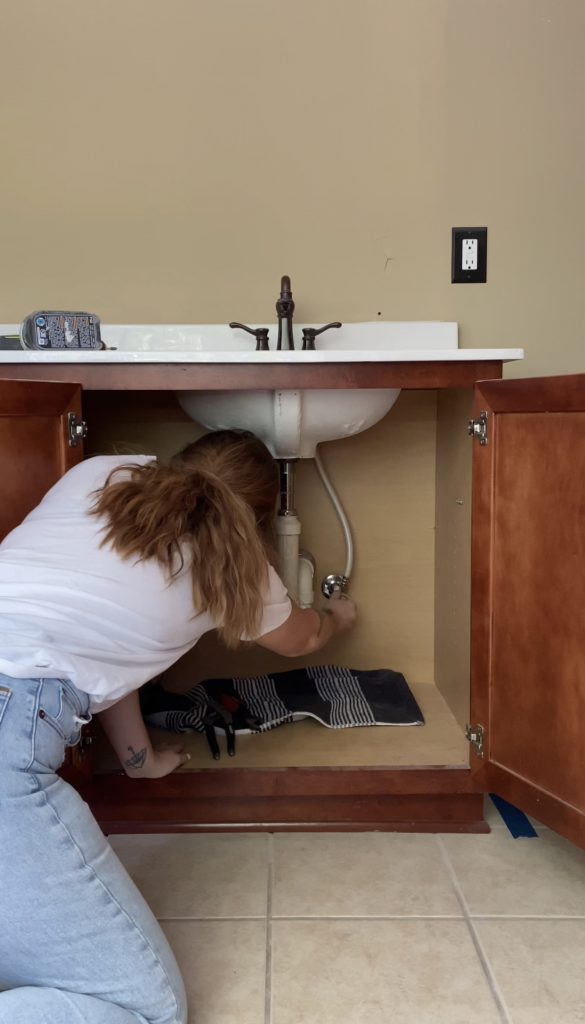
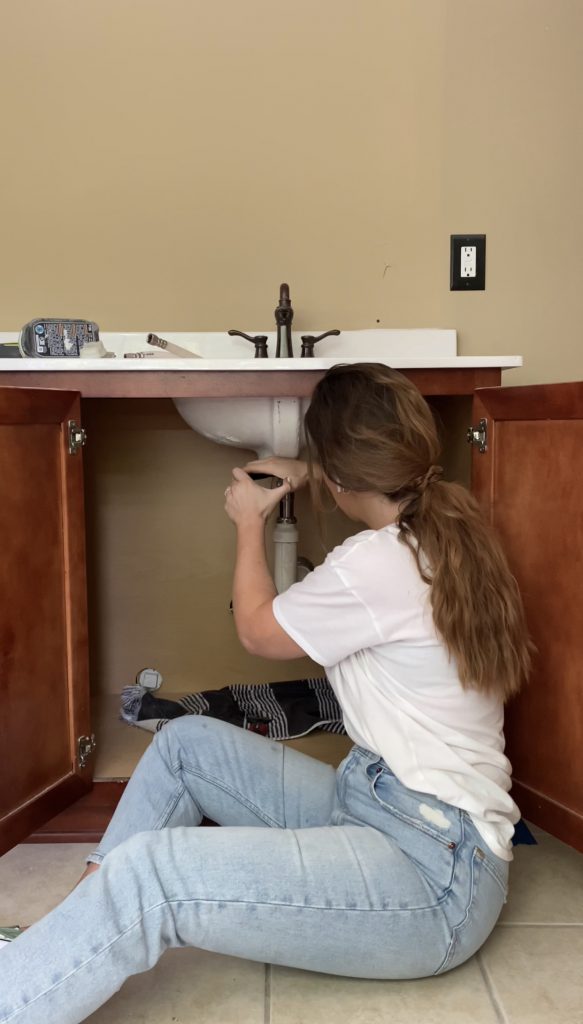
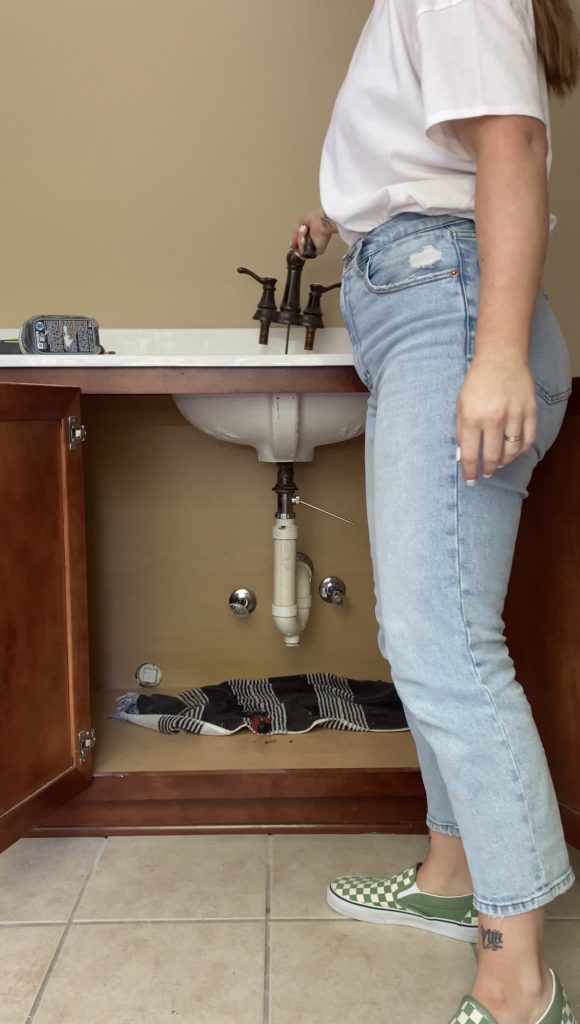
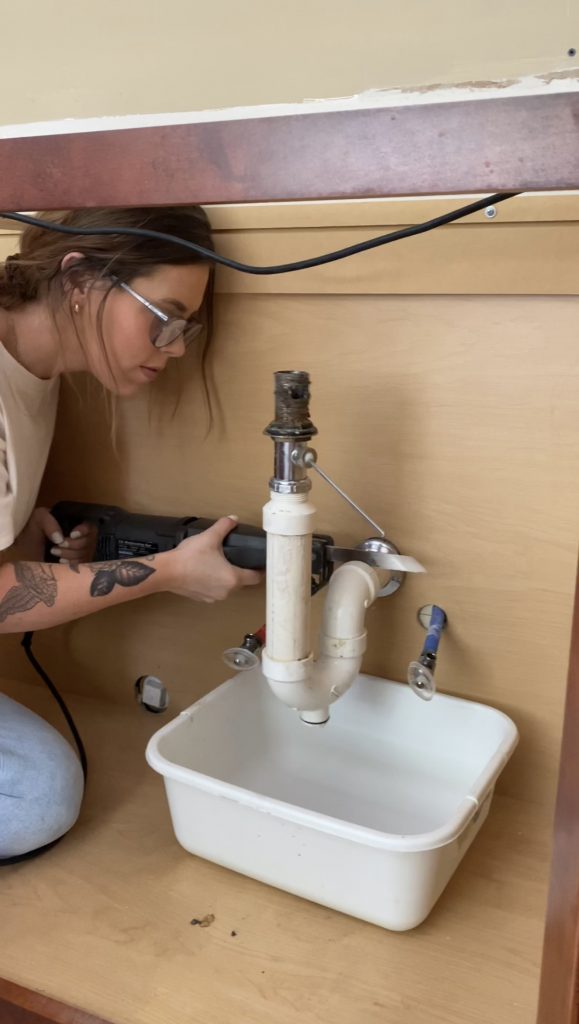
Plumbing Removal
Then, I worked on disconnecting the sink plumbing so that the vanity top could be removed. After cutting the water supply off, I unscrewed and disconnected the drain, compression tubes, and p-trap with pliers (I referenced a Youtube video on plumbing disconnection to make sure I was doing this correctly). After everything was disconnected from the sinks, I lifted and removed the faucets and then the vanity top. The P-traps remained in the vanity which would need to be removed in order to remove the vanity cabinet. If I had planned to re-use the p-traps, I would have had to cut the back of the vanity to remove. But since I needed to replace them to configure my new vanity dresser, I used a sawzall (reciprocating saw) to cut the PVC. I then was able to unscrew and lift the vanity out.
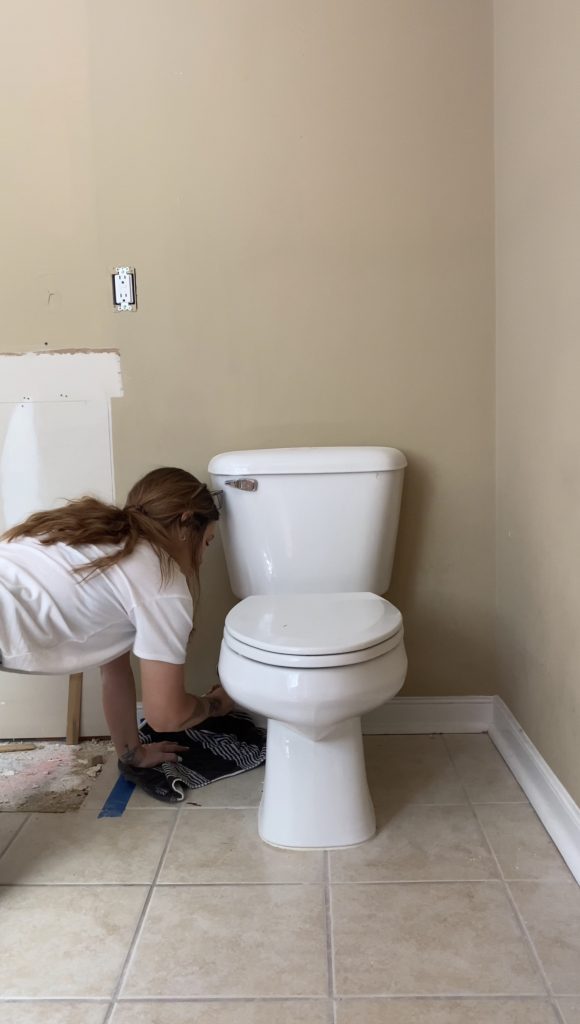
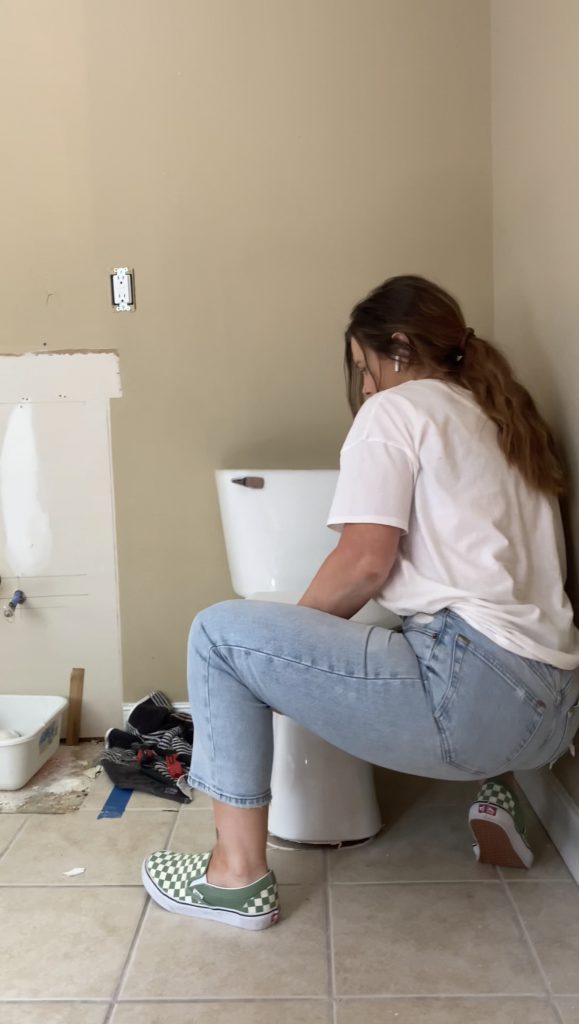
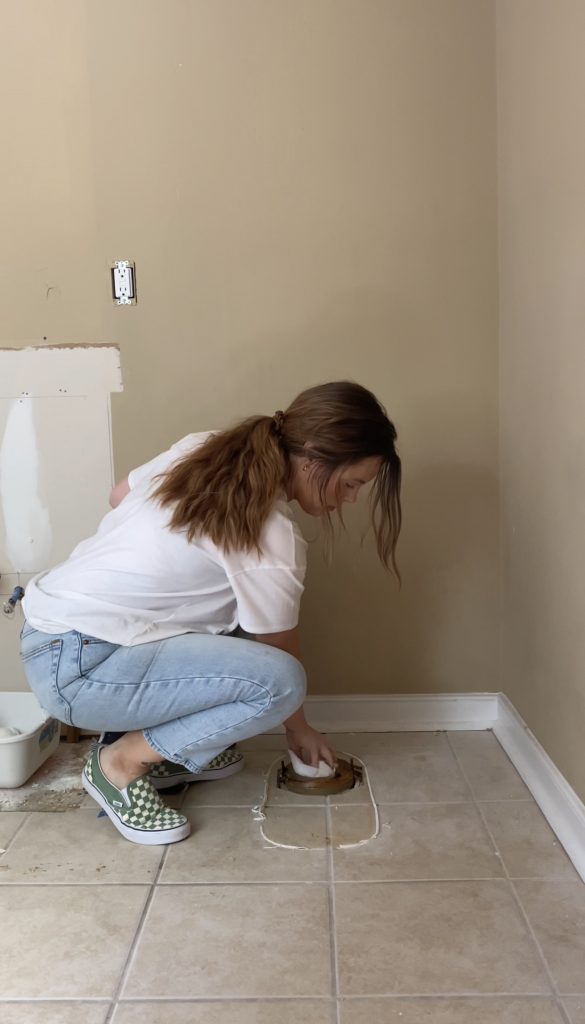
Toilet Removal
Next, I began disconnecting the toilet, starting with turning off the water supply to the toilet and then flushing and plunging until the water drained out. I then used some pliers to unscrew the water supply from the base of the toilet. I lifted off the caps on the base of the toilet and unscrewed the nuts with a wrench. In order to detach my toilet from the floor, I had to use a razor to cut the caulk along the bottom. I then lifted the toilet to break the seal, and turned it away from the plumbing connection in the floor. After I ha everything removed, I used some paper towels to stuff in the exposed sink drains and toilet drain to stop the leakage of the stinky gasses.
Floor Removal
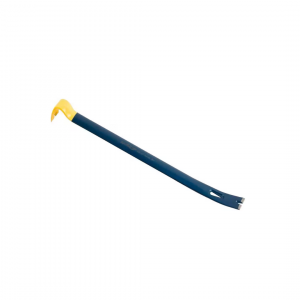
I then prepared to remove the floors by using my pry-bar to pull up any remaining baseboards/shoe moulding. This pry-bar is one of my newest tools that I have collected, and I am honestly sad that I waited this long to buy one. It has made this demo SO much easier and it was only $10!
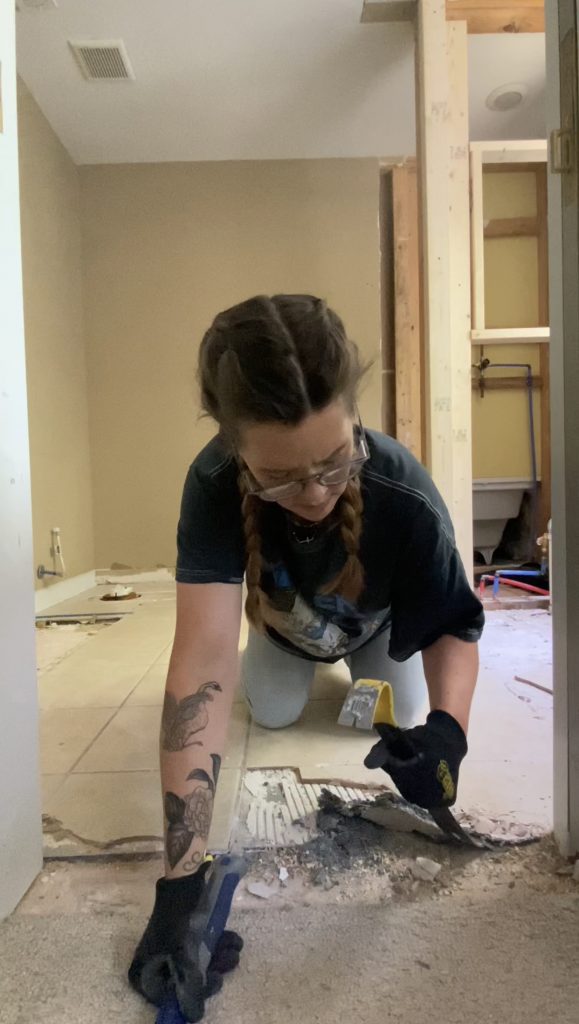
Now to remove some tile! There are a few reasons why I am removing my flooring all together (including the cement board underneath). Let me explain! Just like the tile/drywall situation, removing the Durock in sheets with the tile still connected, is a great way to save a ton of time and work. It is much more time efficient to remove the cement board and replace with new than it is to remove each single tile and clean up all of the mortar mess left behind. In my situation, I will actually not even be needing cement board under my new flooring, which makes this an obvious method of execution! I will explain more on that later, but I do plan on completely waterproofing my subfloor in a different way than using cement board!
Using my prybar and a hammer, I got to work. Because of my herniated lumbar disc, I asked David to take over for me. It took him about 30 minutes of hammering and prying to get everything completely loose. This job could have also been done with other tools that would have been a bit easier (like an air hammer or demolition tool for tile removal).
AND DONE! Now, let’s get to the fun stuff!
Here are all the tools I used for my bathroom demo:


Don’t forget to check out what the other Featured Designers are up to this week on their One Room Challenge spaces!
Ariene C. Bethea | At Home With Ashley | Banyan Bridges | Bari J. Ackerman | Brit Arnesen
Brownstone Boys | Dominique Gebru | Gray Space Interiors| Haneen’s Haven
Home Ec. | Nile Johnson Design | Pennies for a fortune | Prepford Wife | Rachel Moriarty Interiors
Sachi Lord | Susan Hill Interior Design | This Is Simplicite | Tiffany DeLangie | Victoria Lee Jones