DIY Pocket Door Install

Okay for real, WHY aren’t pocket doors more common? This space saving magic is life changing! I’m going to make my own DIY Pocket Door!

*This post may contain affiliate links, which means I may earn a small commission if you purchase through my links, at no extra cost to you. I only share products I genuinely love.
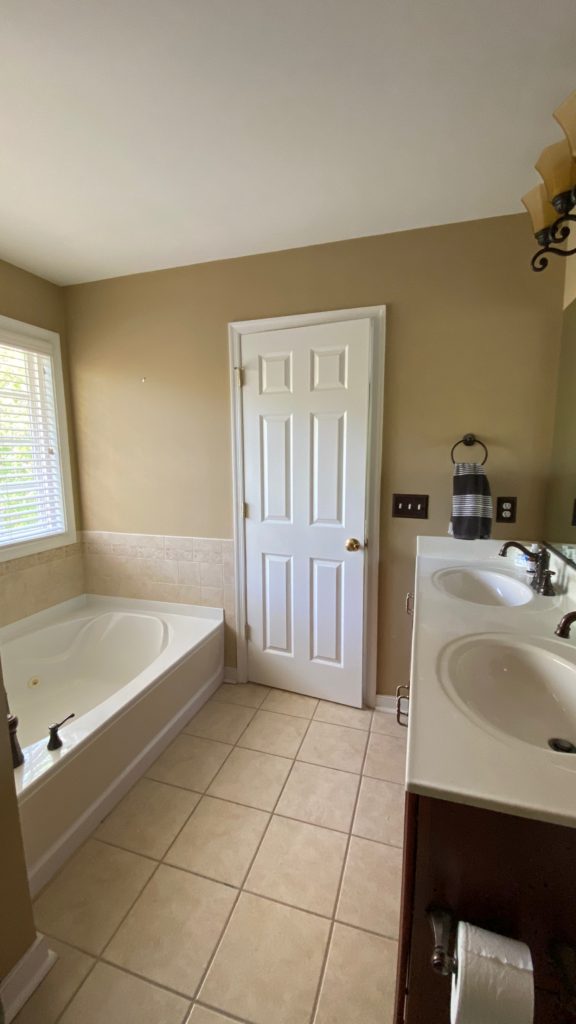
This week I took on the task of removing our current bathroom door and replacing it with a pocket door. Our previous door opened up right into the side of the bathtub in our main bathroom and blocked quite a bit of movement in the space. Installing a pocket door here has been on my list for quite some time….but the process of installing it has intimidated quite a bit.
PREP
Here is how it went down.
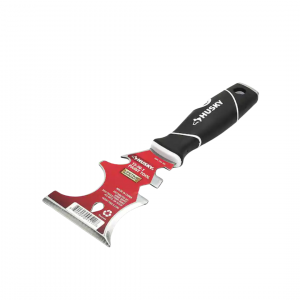
First, I prepped the door way. I removed the existing door and began pulling off all of the door casing trim on both sides. My painter’s tool and a hammer are what I used for this. Then I began removing the door jamb, which is the pieces of wood that sit on the inside of the door way. Hitting this with a hammer on one side until it became loose was the most effective method.
I also removed the existing threshold in the doorway (this was not necessary but had to be removed anyway to replace the flooring).
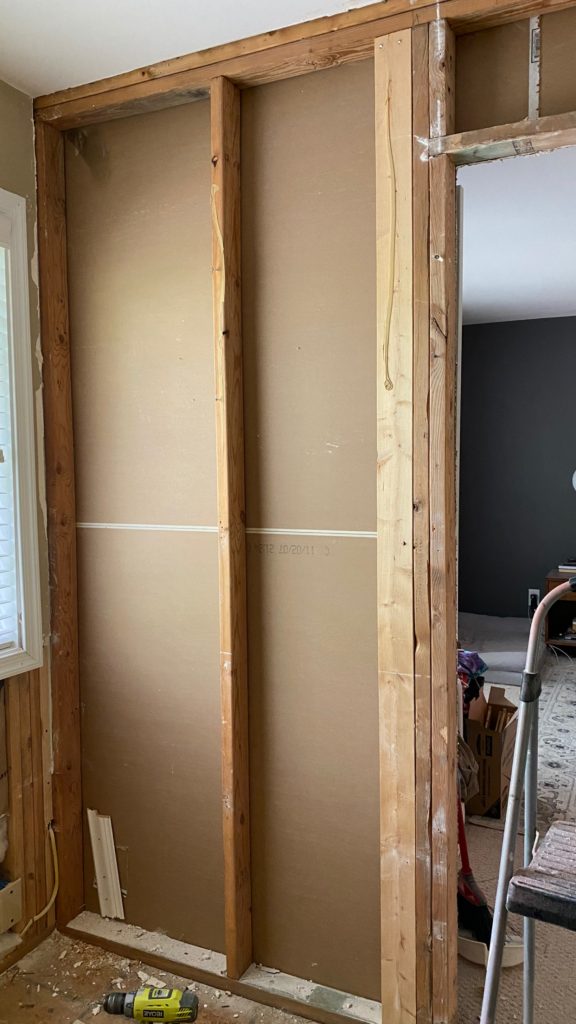
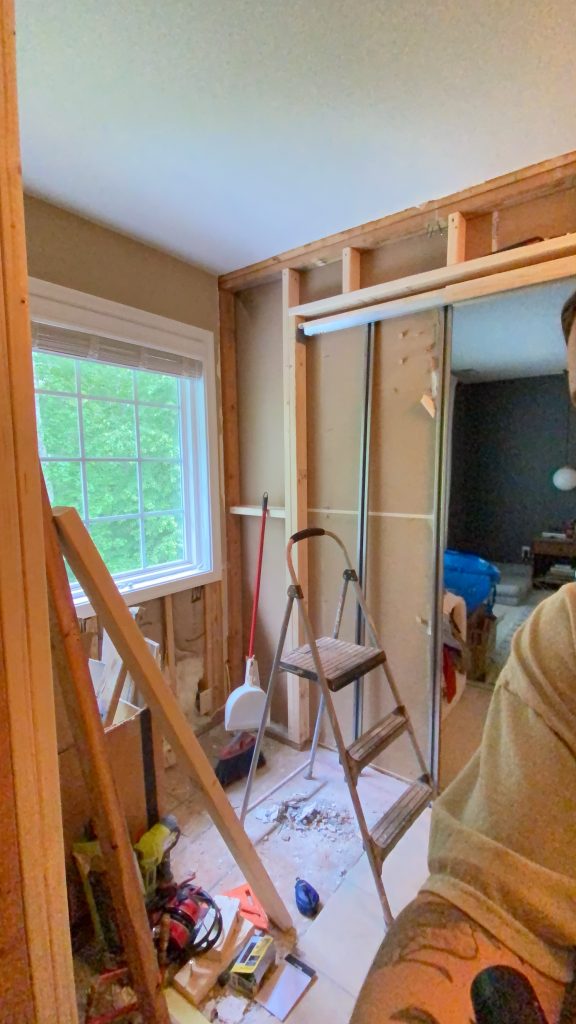
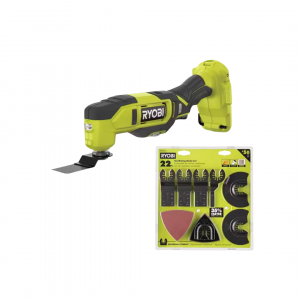
On the bathroom side of the wall (where the pocket door would slide in) I began removing the drywall so that I could access the framing. I used a multi-tool to cut, and then just started pulling the drywall with my hands (I would recommend using gloves for this so that you don’t get fiberglass itchiness like I did). Once all of the drywall was removed, I was able to assess my next steps!
Materials

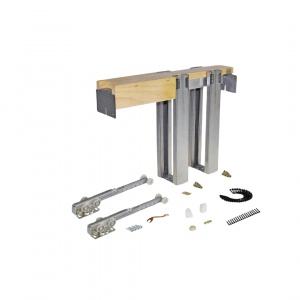
I ordered this pocket door kit from Amazon based off of the great reviews that it had. I found many other options that were more affordable than this one…but ultimately I decided that this was something worth paying extra for. Compared to the others that I looked at, this one seems to be much more high quality. In addition to that, it offers soft close which was a MUST for me!
Referring to the directions included with my pocket door kit, I found the diagram for the rough opening. The rough opening is the 2×4 opening in the wall that the frame kit will be installed inside. Using the diagram in these instructions, I was able to understand which studs needed to be removed from my current wall situation.
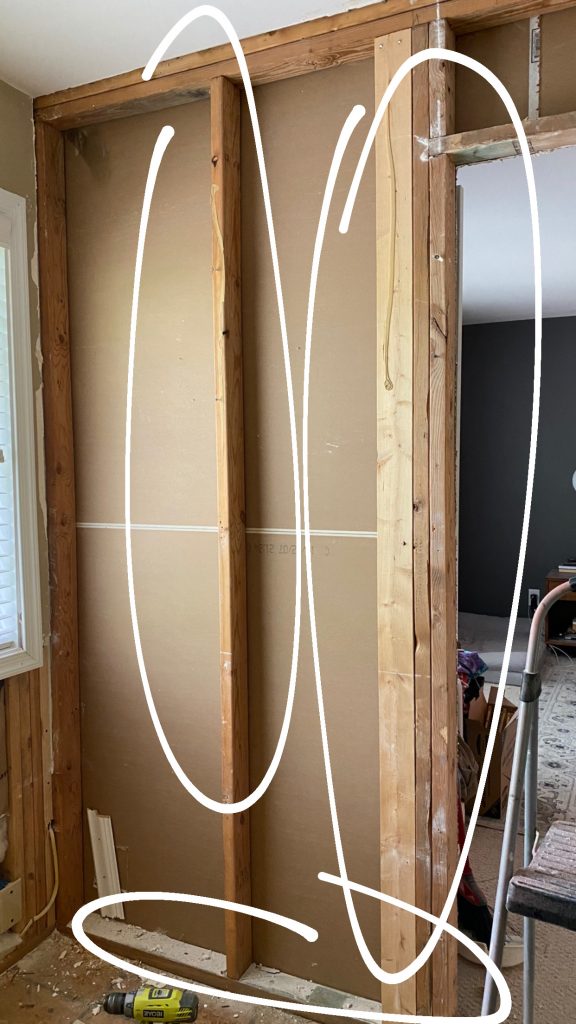
Based off of the diagram, I knew that these pieces needed to be removed.

***note
Do not remove wall studs without doing proper research! Newer houses are built using trusses in the attic to support the house structure. Most walls are not load bearding because of this. If you are unsure of whether a wall is load bearing, consult with an engineer.
I’m sure there are different ways to remove studs from a wall, but this is the way that I did it!
Demo
Starting with this guy in the middle, I took a hammer and began whacking at the top of the board (with lots of force). You will NEED ear protection for this. After several hard hits, it began to move. I kept going until it became completely loose on the top. I then pulled it out! Not too bad.
Moving on to the next 3 boards that were sandwiched together, I used my painter’s tool to pry them apart. Once the outside board began to shift, I placed my tool flat on the inside edge and hammered the end of my tool to pry it further out. I was then able to use my hammer alone to give it a few good whacks until it loosened. I repeat this with all of the remaining boards.

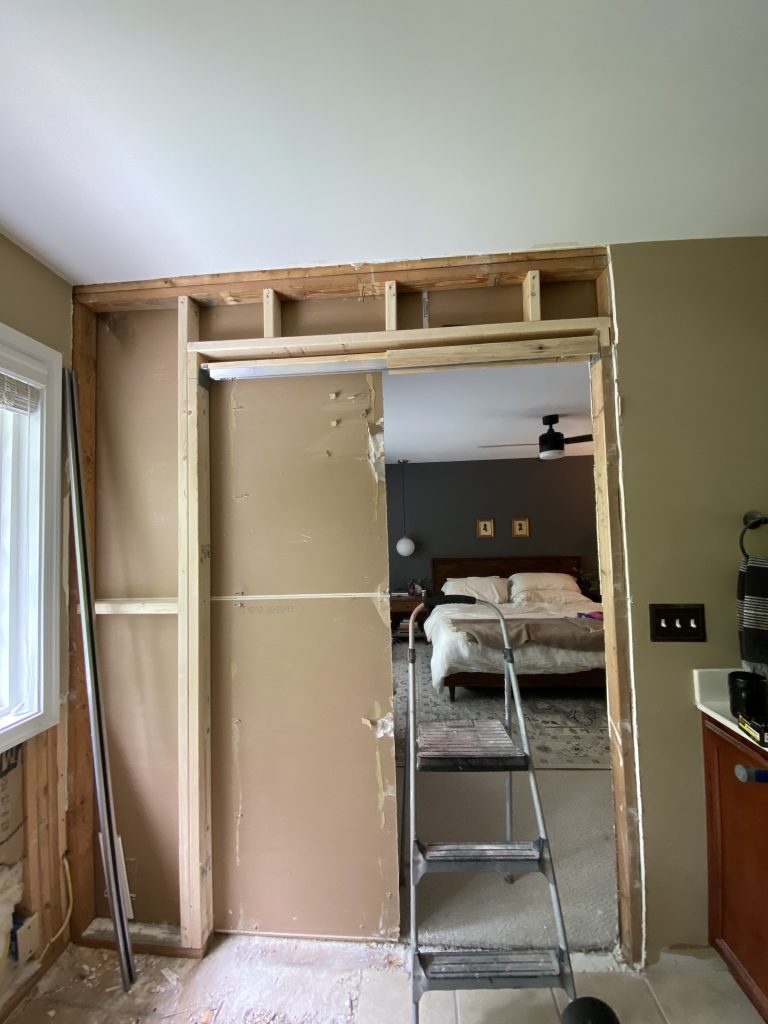
Now my wall was clear and ready for me to start constructing my rough opening!
FRAMING
I bought some new 2×4’s and started cutting them to length referring to the instructions that came with my pocket door frame kit. The rough opening required a similar layout to what the framing was before I removed it, but wider (about 2x the width of the door).

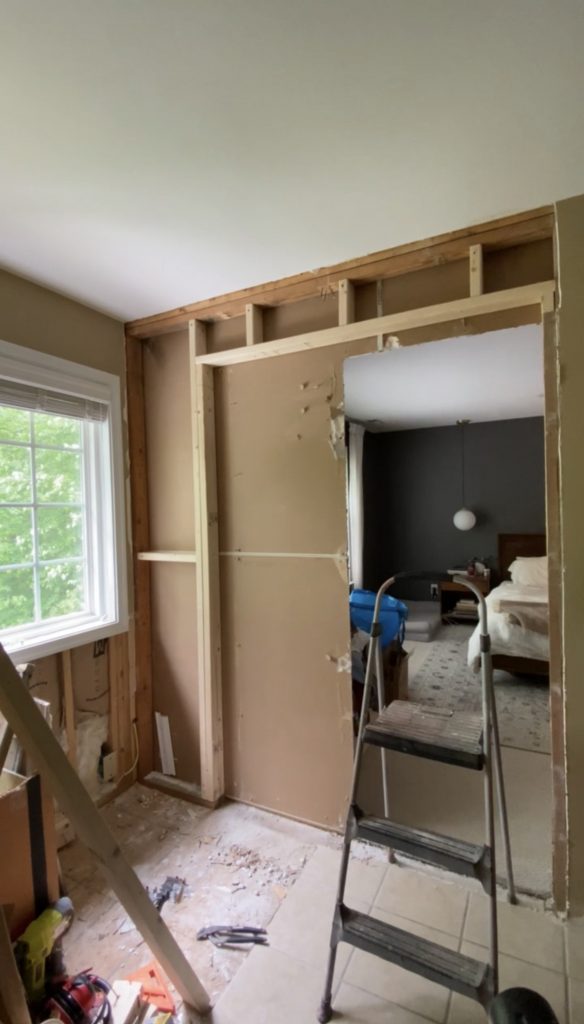
This is what the framing looked like when done!
KIT INSTALL
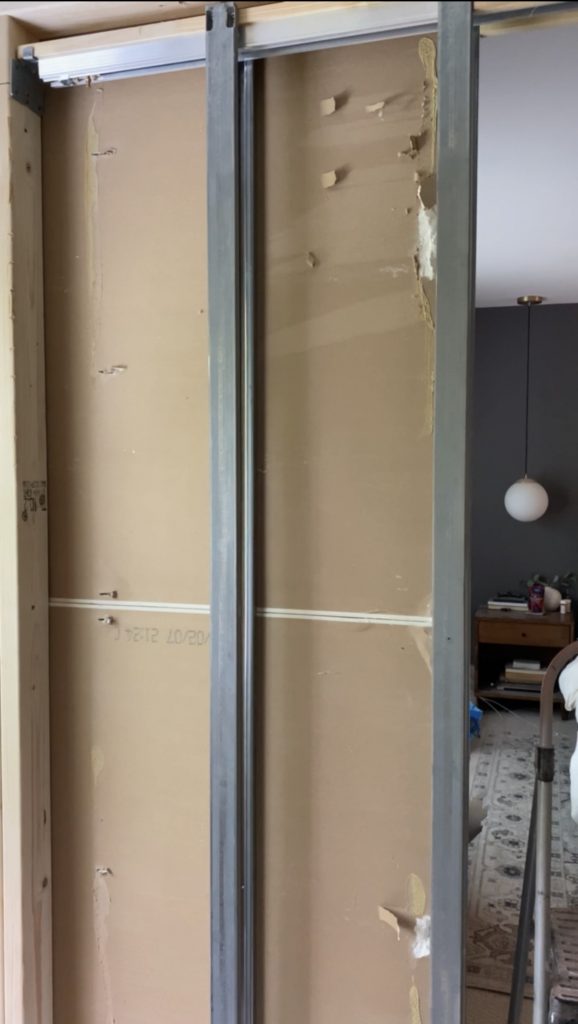
Referring to the door frame kit instructions, I placed a nail on each stud for the kit rest on while installing. To prep the floor, I snapped a chalk line to line up with the edges of the floor stud. This would be used to secure the floor brackets. In order to attach the metal studs to the bedroom side of the kit (where there was drywall) , I had to screw them in before installing the kit into the frame. I did this to avoid removing more drywall! I then placed the frame kit on the nails.
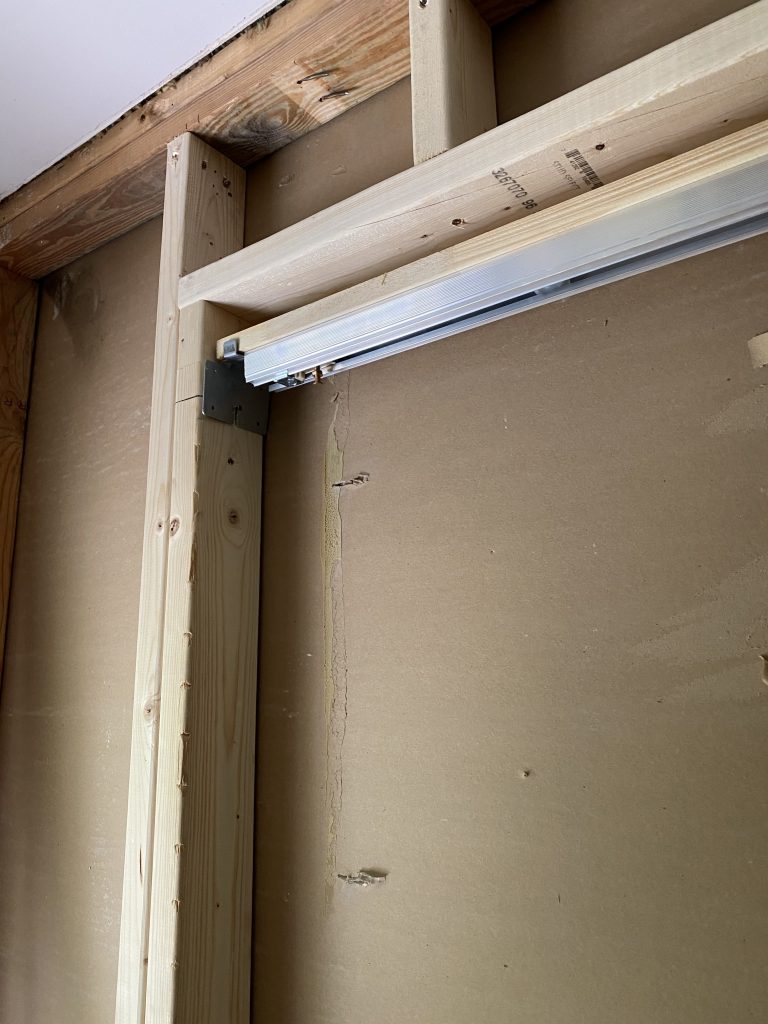
Once making sure the frame is level I secured with more nails. Then, I attached and secure the metal studs on the bathroom side. Next, I then lined up the floor brackets with my chalk line and made sure that the metal studs were level. After that, I then nailed in the floor studs after lining up with the chalk line.

DRYWALL & DOOR INSTALL
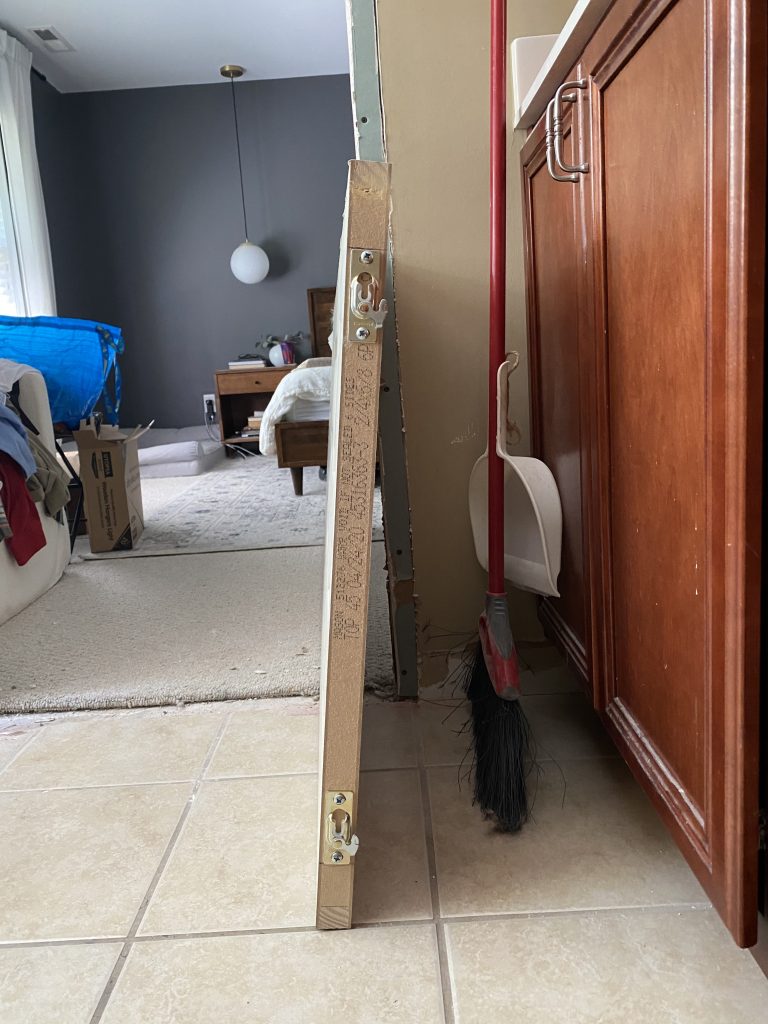
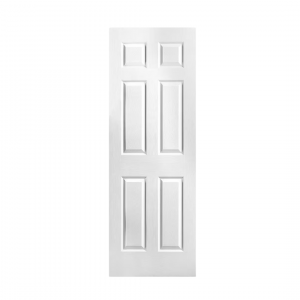
Using the metal drywall screws that came with the kit, I cut and installed new pieces of drywall to cover the open wall. I then prepped the new door for install. I purchased a plain hollow door at Home Depot (same exact size as the previous door). All of my install measurements were based off of this door size. I screwed in the bumper on the back of the door, and then the hanging brackets on the top.


I was then able to hang the door on the pocket door kit. This part would have been much easier with two hands. I had to prop the door up on the bottom while carefully lining up the brackets and closing the latch.
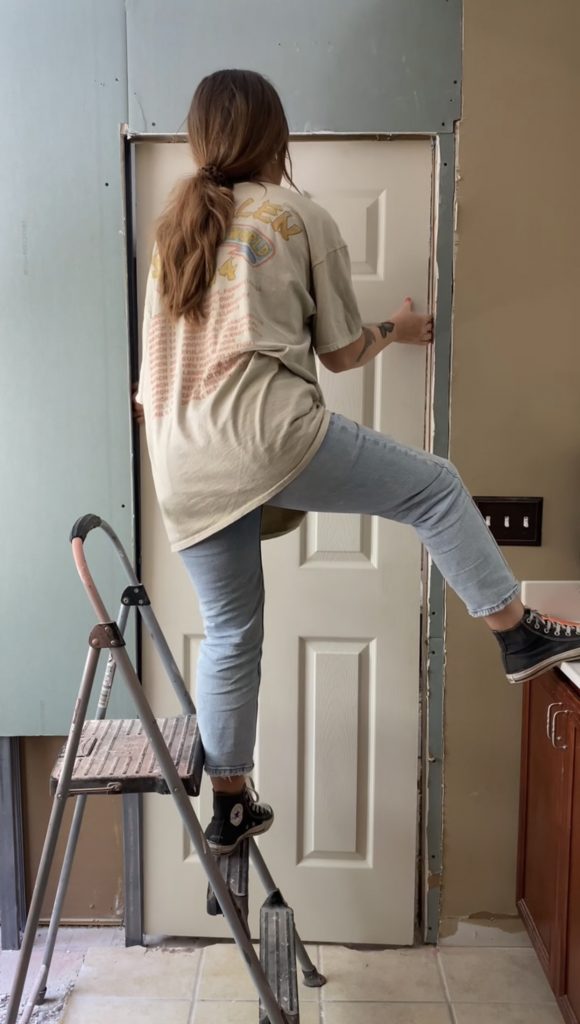

I also made sure to install the little bumpers along the bottom of the door that came with the pocket door kit. This helps keep the door from swinging when opening/closing.
TRIM
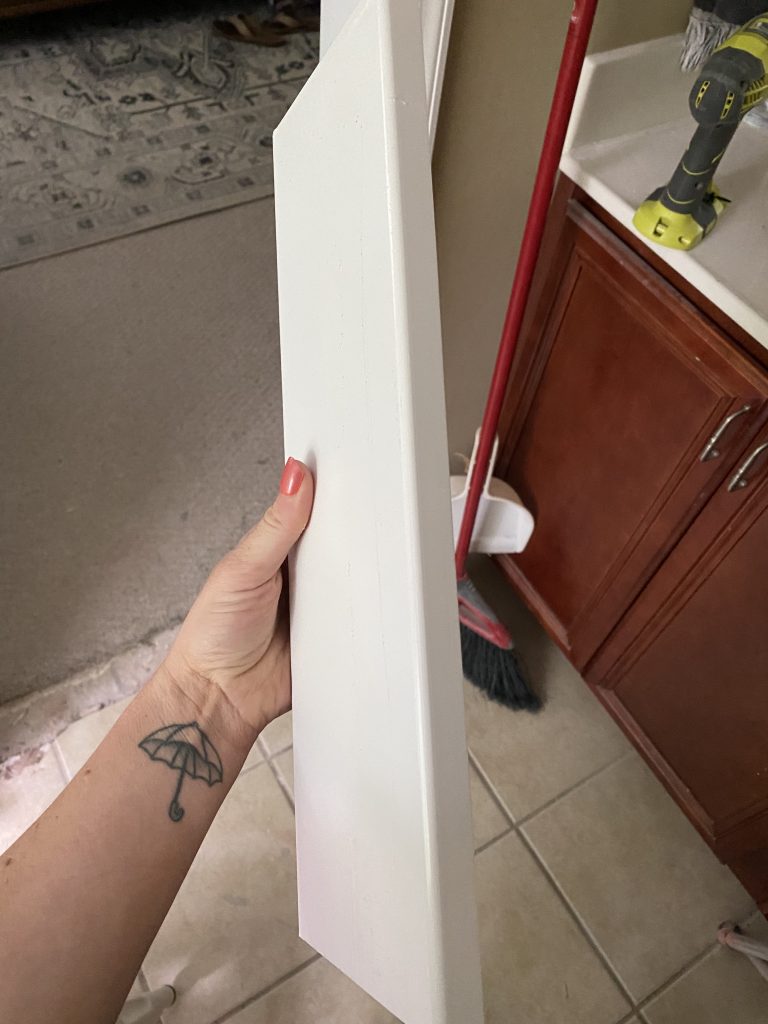
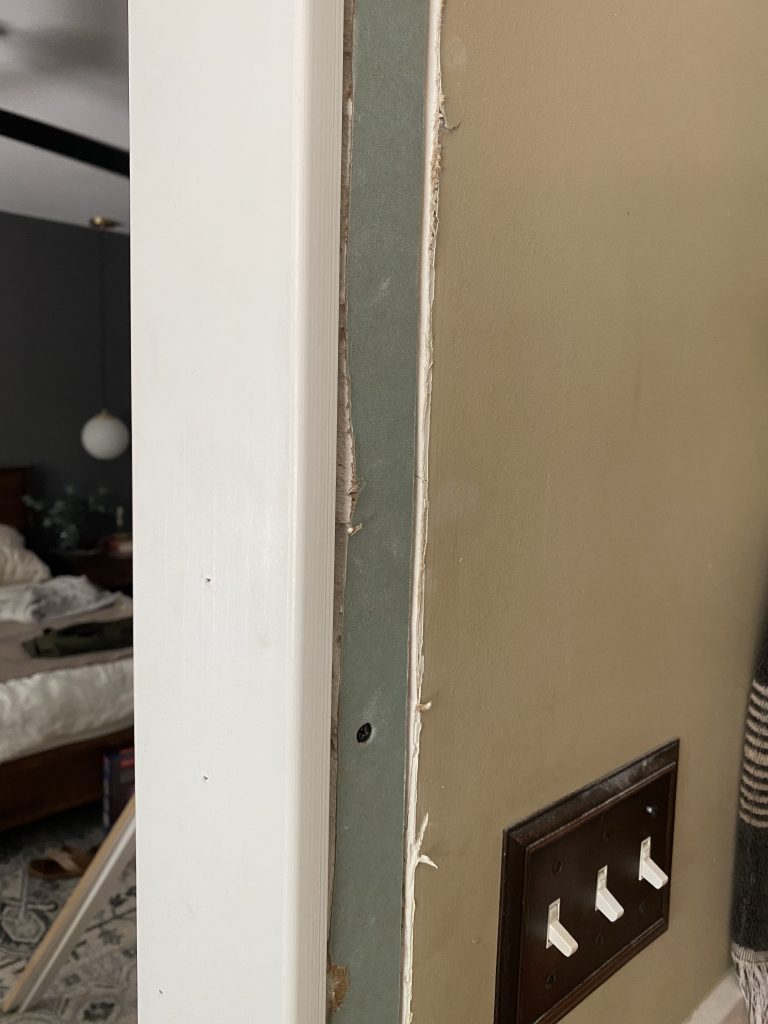


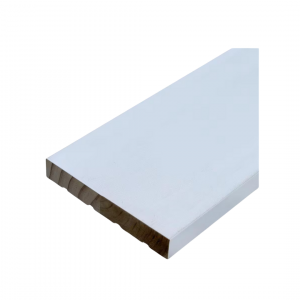
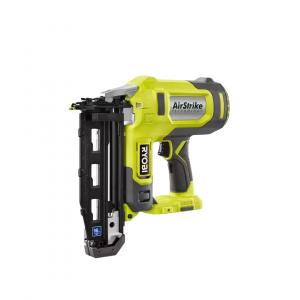
I grabbed some moulding for the new door jamb at Home Depot in the moulding section. This specific kind is the exact size of standard door jambs and has rounded edges. I cut to length and installed with my brad nailer on closed side of the doorway. Then, I cut to length for the opposite size and ran that through the table saw at 1.5 inches to get two pieces. After that, I installed along the opposite side of the door opening to sandwich the pocket door. Then I repeated this step for the top of the door opening.

I then cut some new door casing and installed with my brad nailer!
HARDWARE
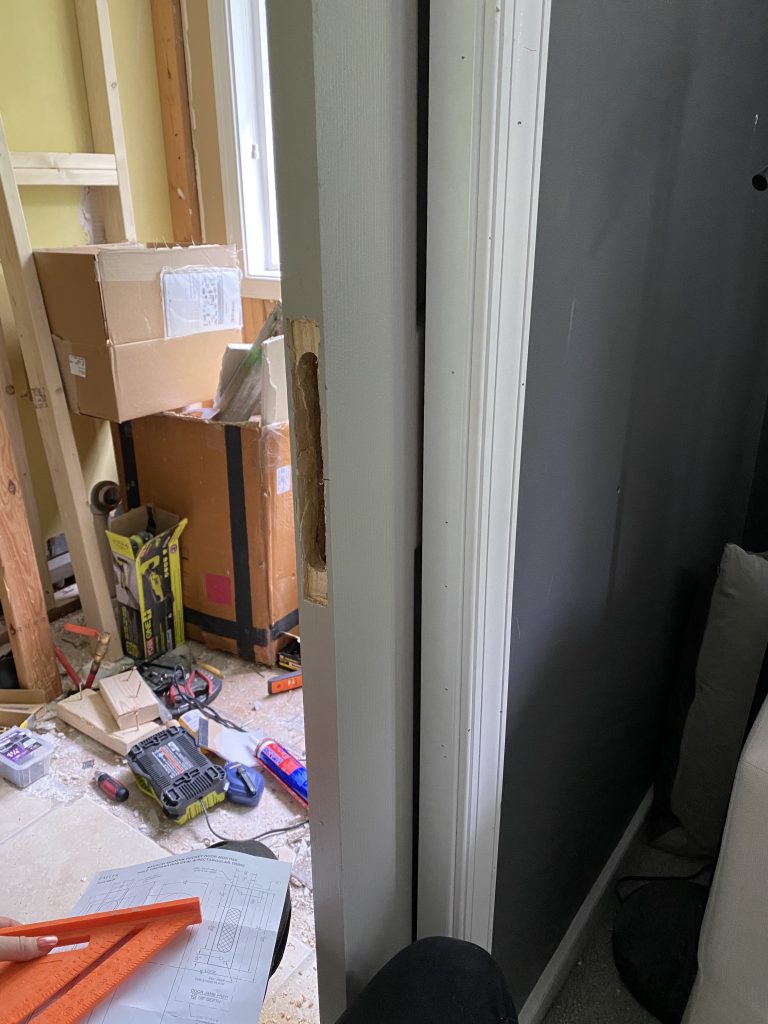
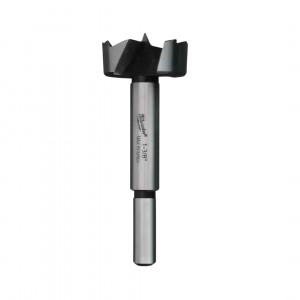
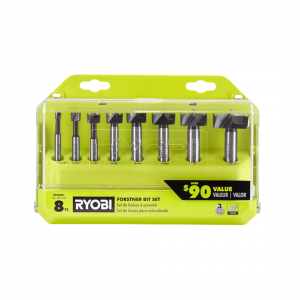
Following the instructions and template for my pocket door lock, I marked my door for cutting. I used a forstner bit (the size recommended on the hardware template) and cut out shallow holes between my marks. Then, I used a chisel to square it out. I then used a large drill bit to drill all the way through for the mortise box and chiseled until smooth.
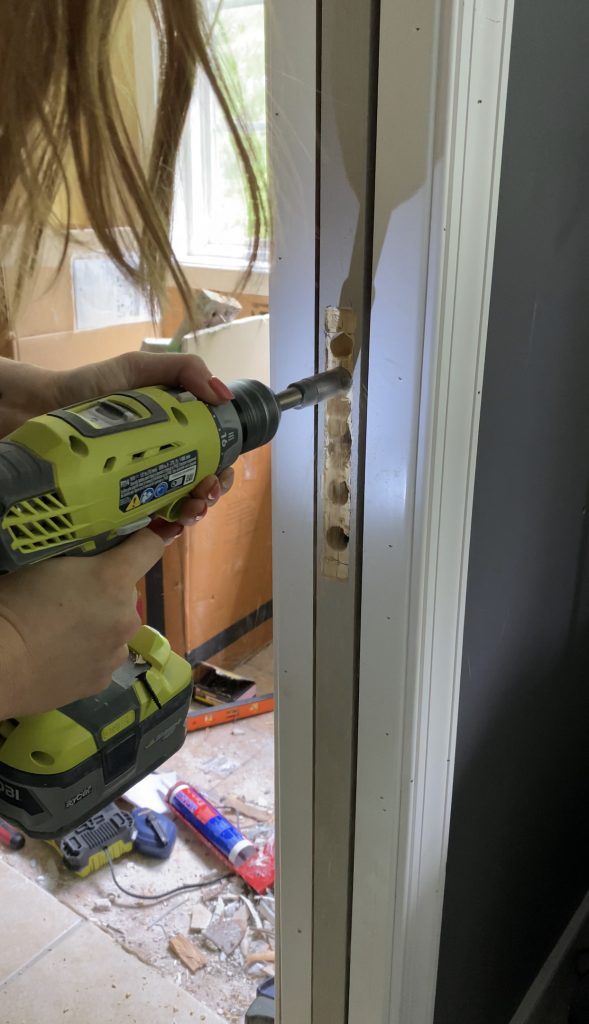
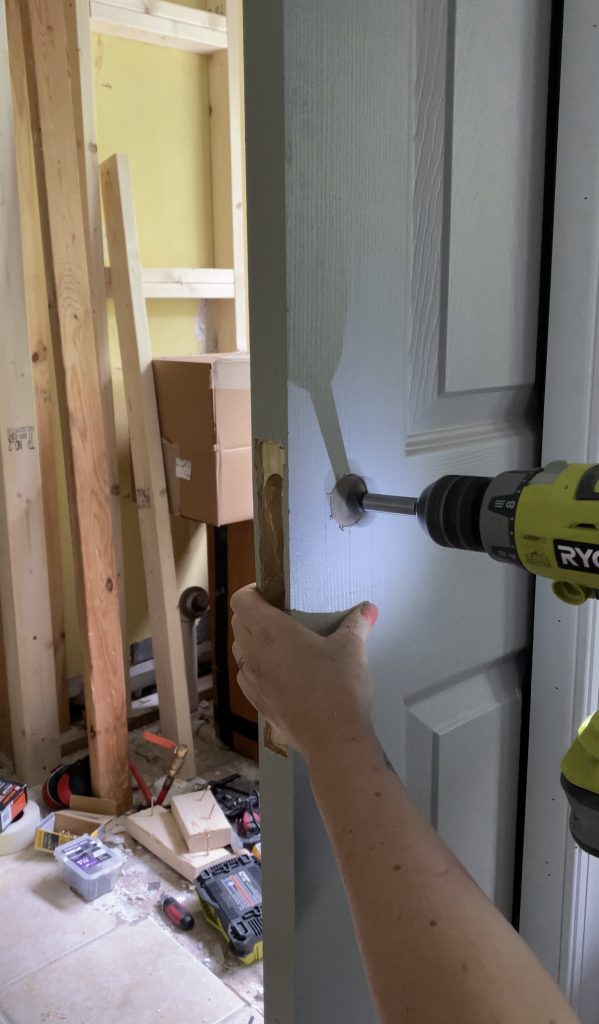
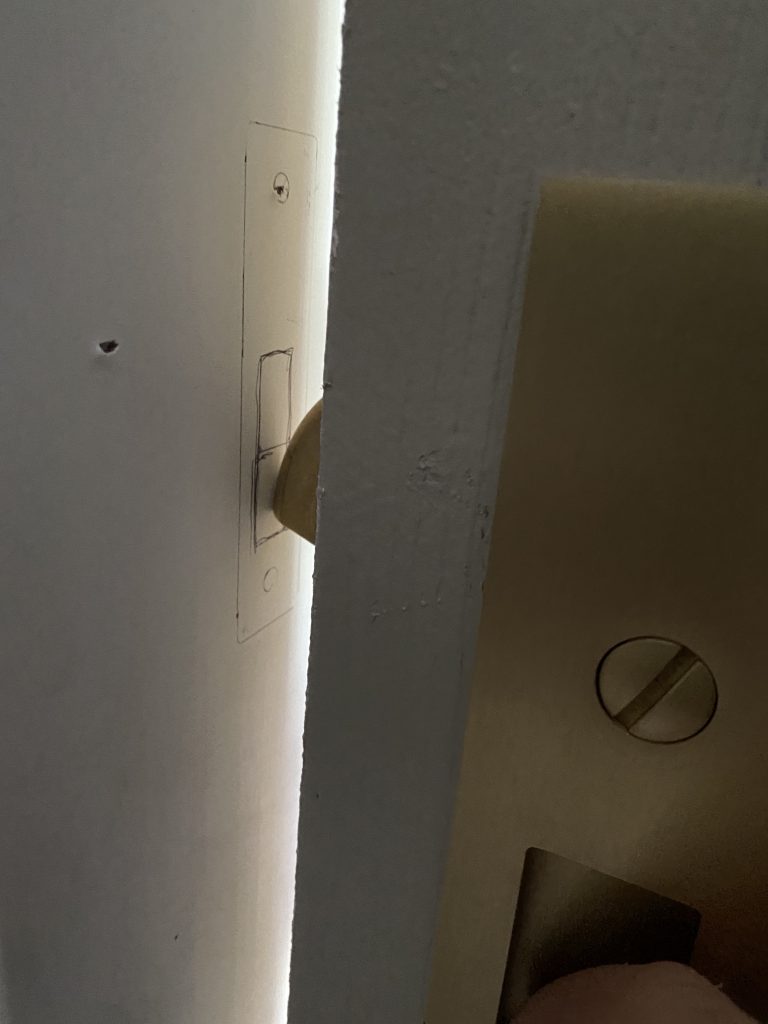
Next, I used a large forstner bit to cut two holes on each side of the door at my marks (made the marks using the template). Once the holes were cut, I connect the holes into an oval using my multi-tool. I was then able to instal the mortise box and handles on each side. On the door jamb, I marked where the lock touched.
I then lined up my plate on the strike jamb and traced to repeat the same process as the mortise box. Using a forstner bit to make shallow holes and chiseling until smooth and square. I marked where the lock hole would be using the plate, and drilled through. Then, I extended that hole down further by about half an inch. Next, I cleaned up the hole and installed the plate!

Paint Touch Ups
Once everything was tightened and set, I went back and made some paint touch ups. I will also need to fill holes and touch up paint along the door casing, but that will be for another day. AND DONE!
Paint Color : Anew Gray by Sherwin Williams
WHAT I USED FOR MY DIY POCKET DOOR
*all images are clickable

–Door