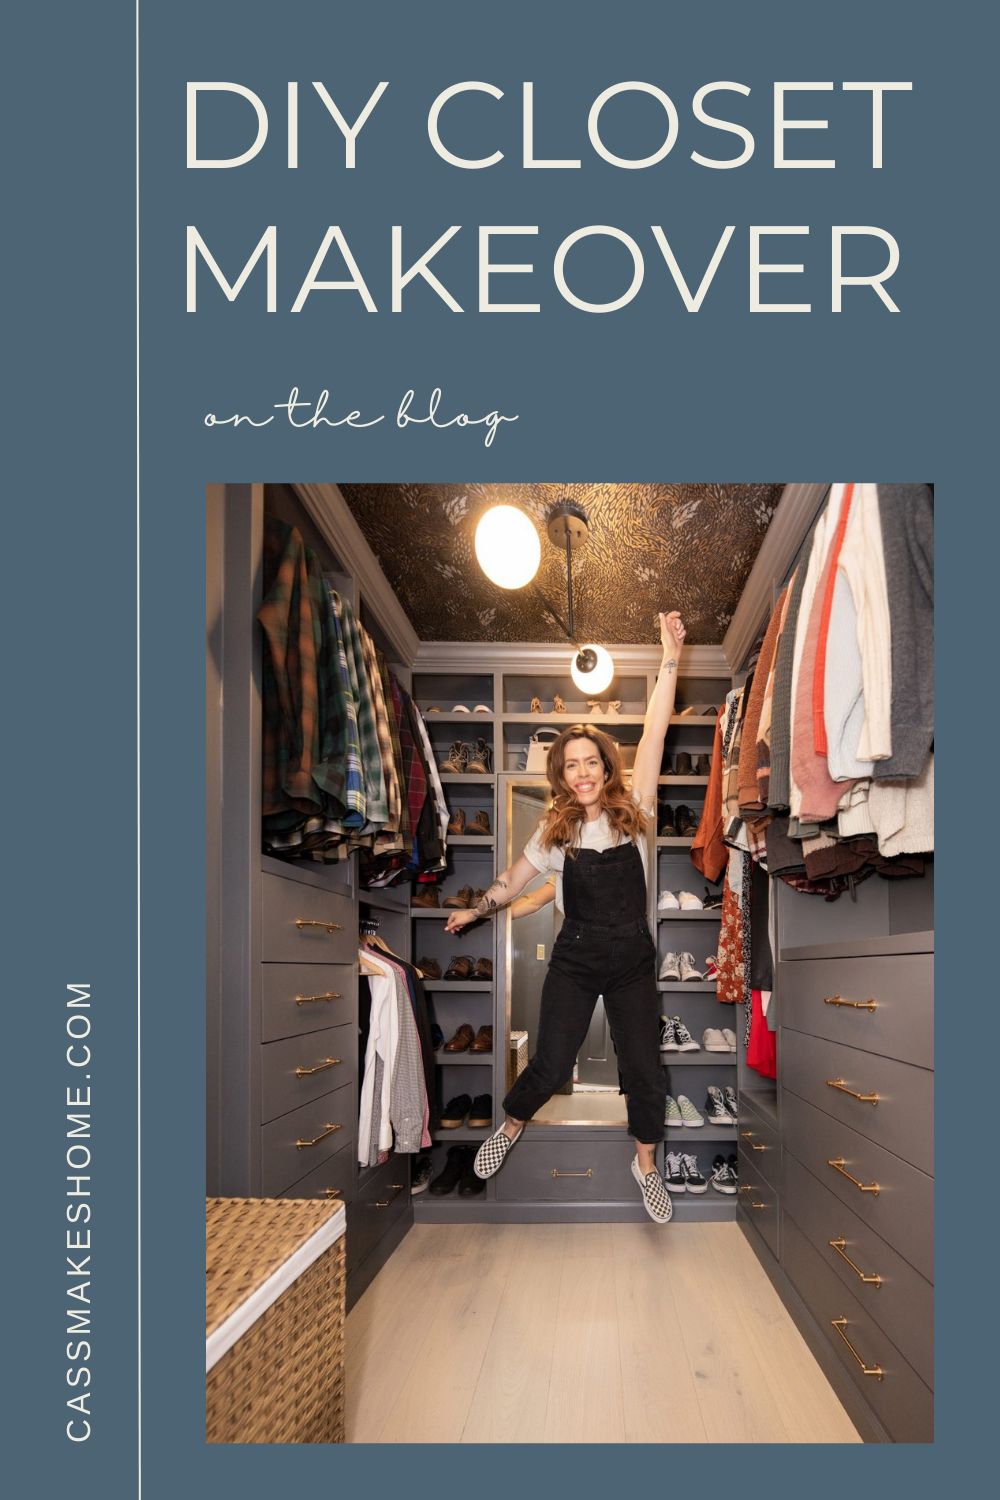
DIY Closet Makeover

Ever since moving into this house, our closet has STRESSED me out 🙈 I decided to do a DIY closet makeover!
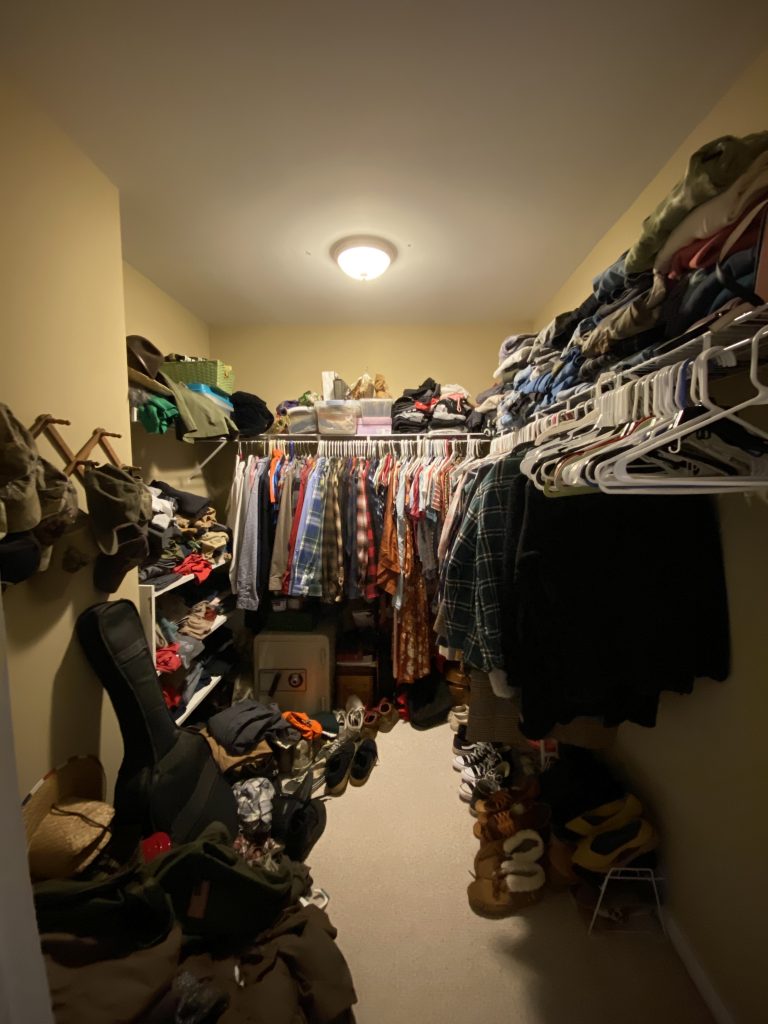
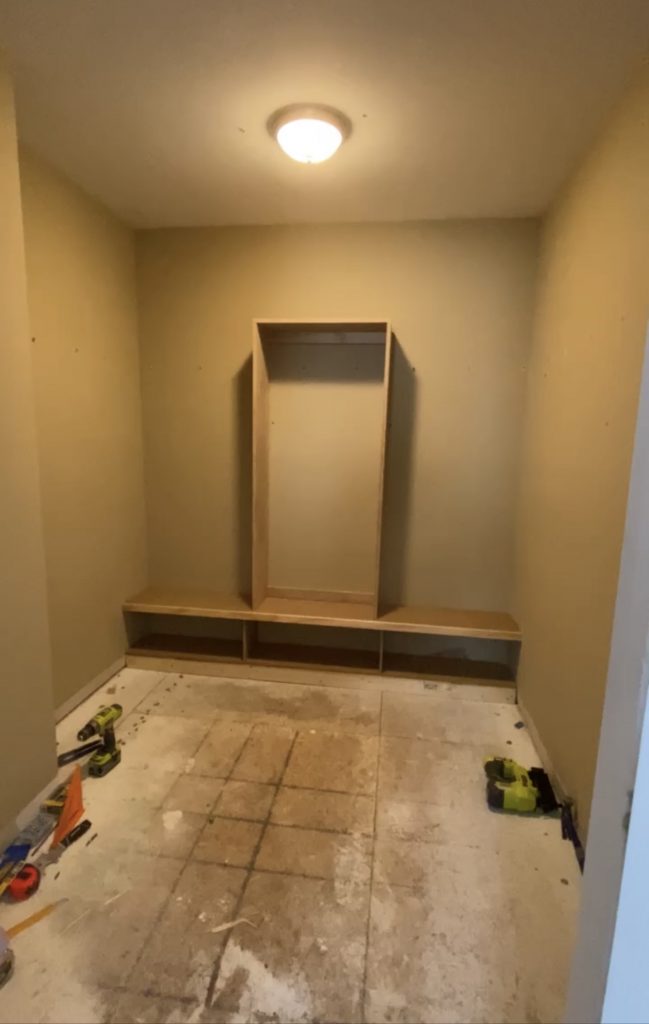
What I’m starting with:
*This post may contain affiliate links, which means I may earn a small commission if you purchase through my links, at no extra cost to you. I only share products I genuinely love.
Although it is decent in size (8 feet long x 7 feet wide), it lacks storage space. With only one wire clothing shelf, we were left with not much ability to keep our stuff organized. Time to rip it all out and make the most of this space!
My plans!
Here are some rough sketches that I began with. I always draw out my projects to help myself understand the steps that I need to take to bring my vision to life. I planned to mostly use some Ikea products in the space. This saves a lot of time/work compared to building cabinet boxes and drawers from scratch. I used the Ikea Pax planner (on the Ikea.com website) to help figure out the sizing of cabinet boxes that I would need for the additional storage.
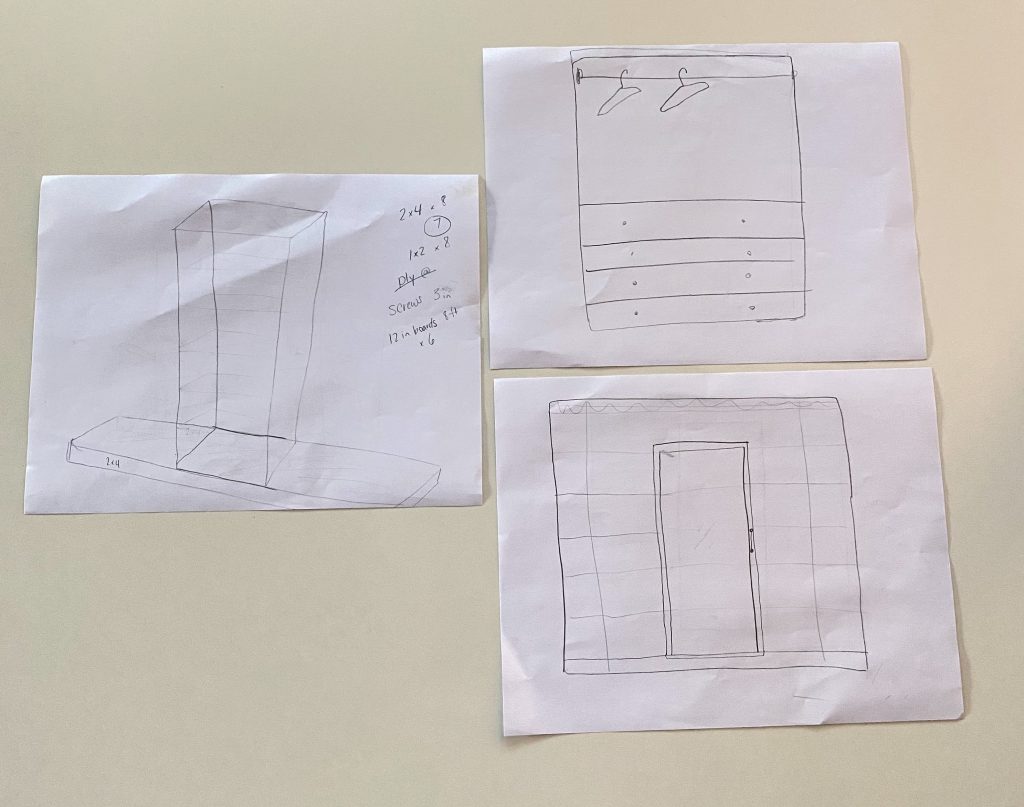
I also measured all of our clothes. This sounds weird, but it was necessary! This gave me an idea of how much hanging space I needed for each of us, and how much drawer space/shelving space the remainder of our clothing needed. I also measured the length of out clothing so that I could plan spacing for double hanging areas.
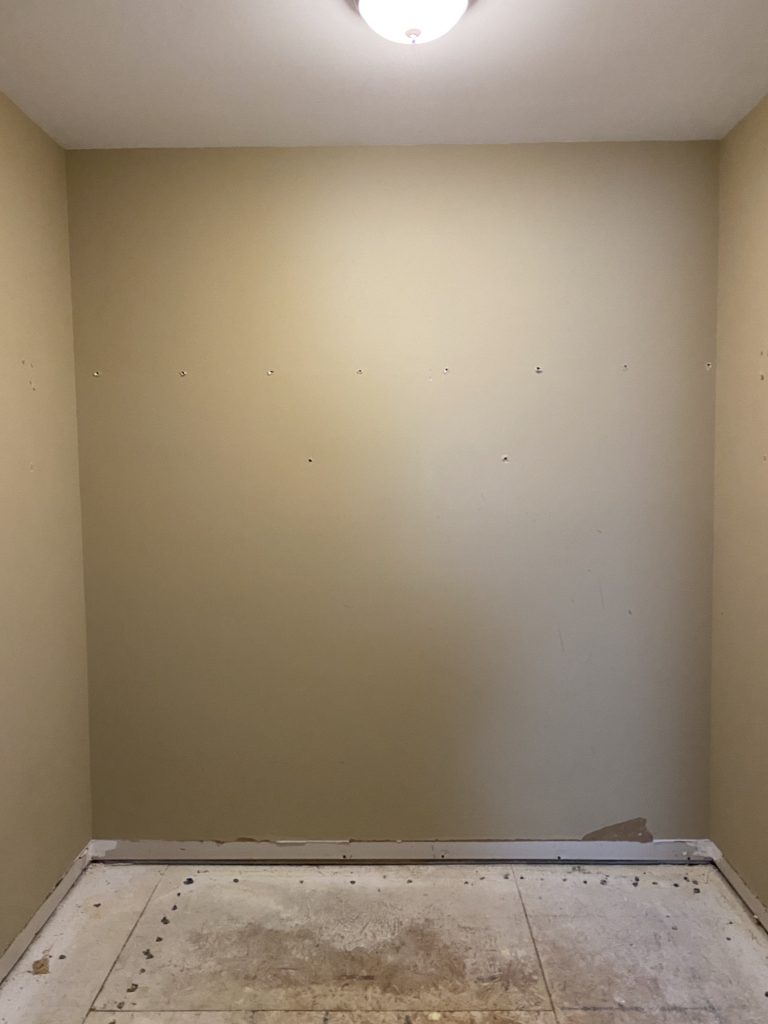
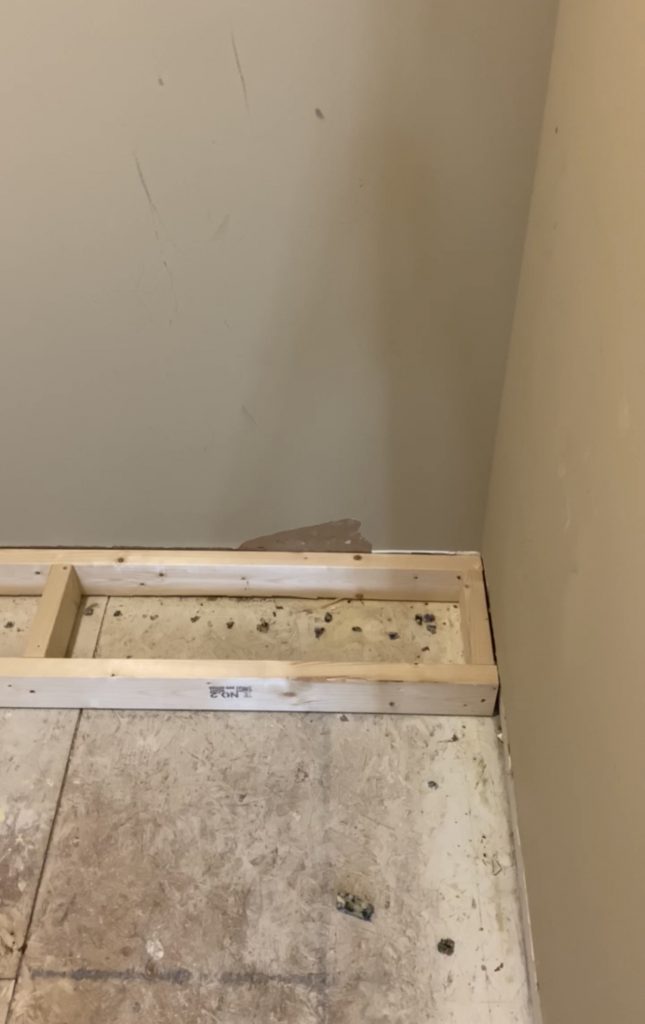
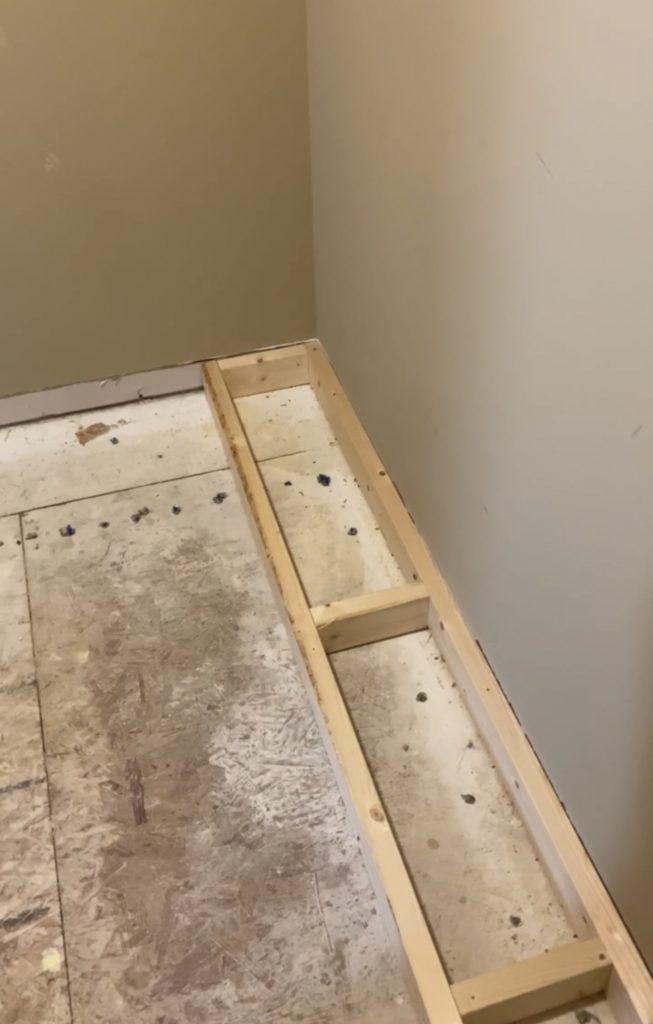
First, I began demoing with closet by removing the shelving, carpet, and baseboard moulding. Once the closet was a blank slate, I built a platform on the back wall to support my shoe shelving. Any time that I build cabinetry I do this (whether it is Ikea or custom). It gives it a good support base while also lifting it off the floor a bit which will give me room to add baseboards at the end. These details are what ultimately makes it seem high end when it is completed!
MATERIALS USED
*all images are clickable

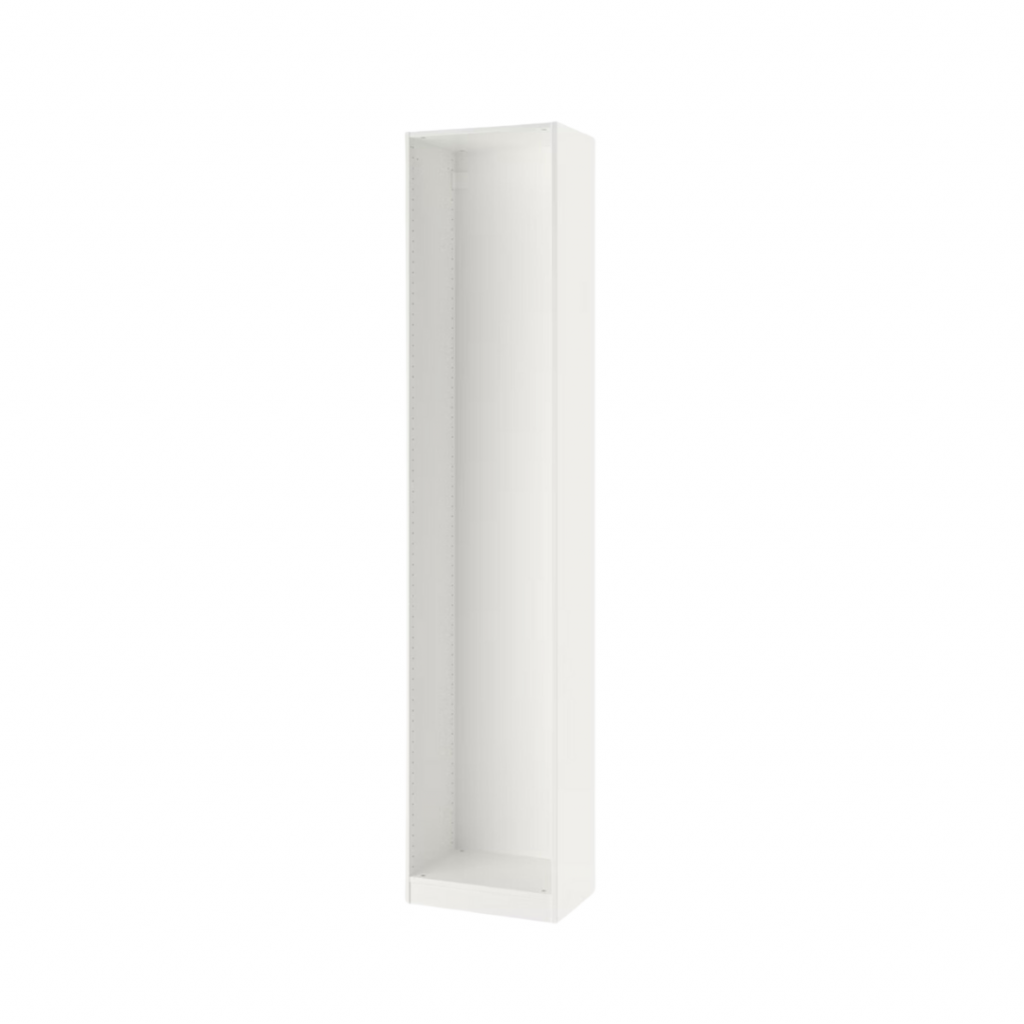

–Pax Cabinet Frames (Ikea)– 13 3/4 in D x 92 in H
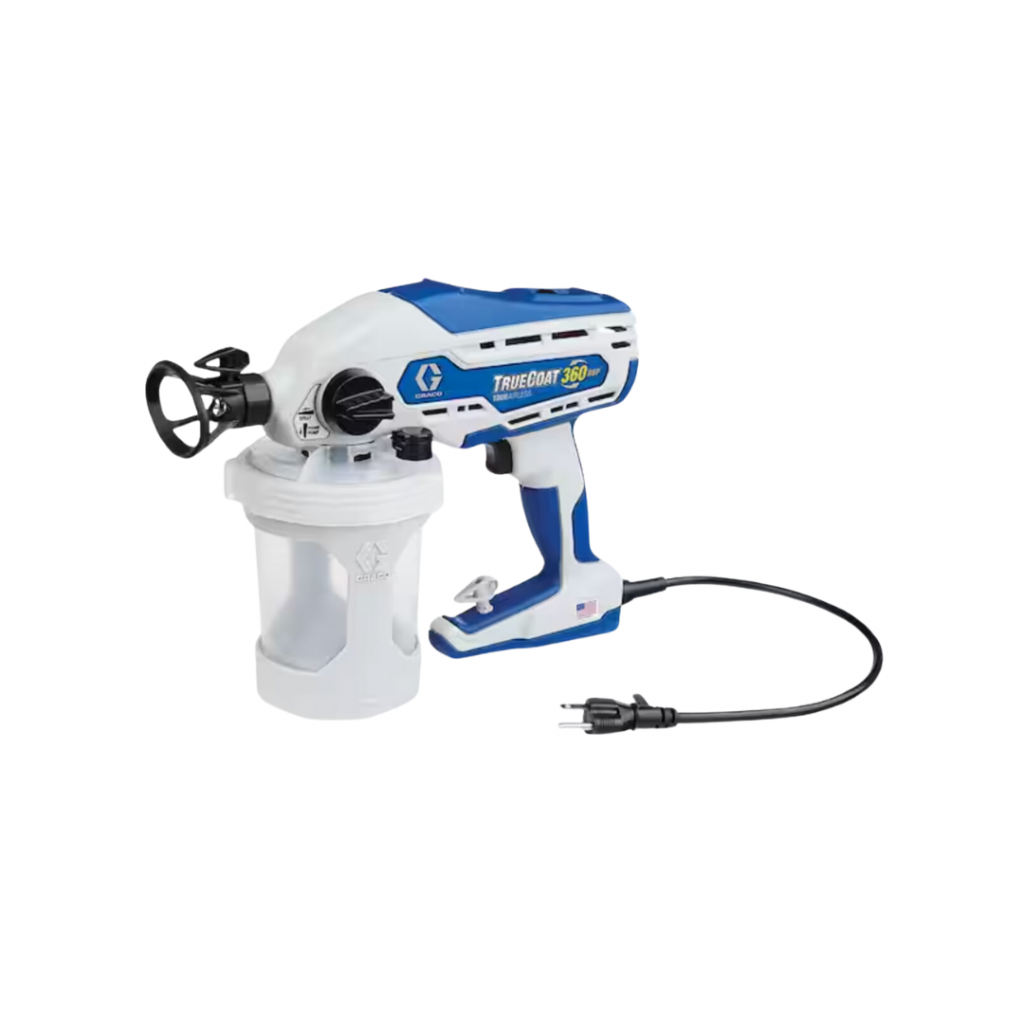
-Graco True Coat Paint Sprayer
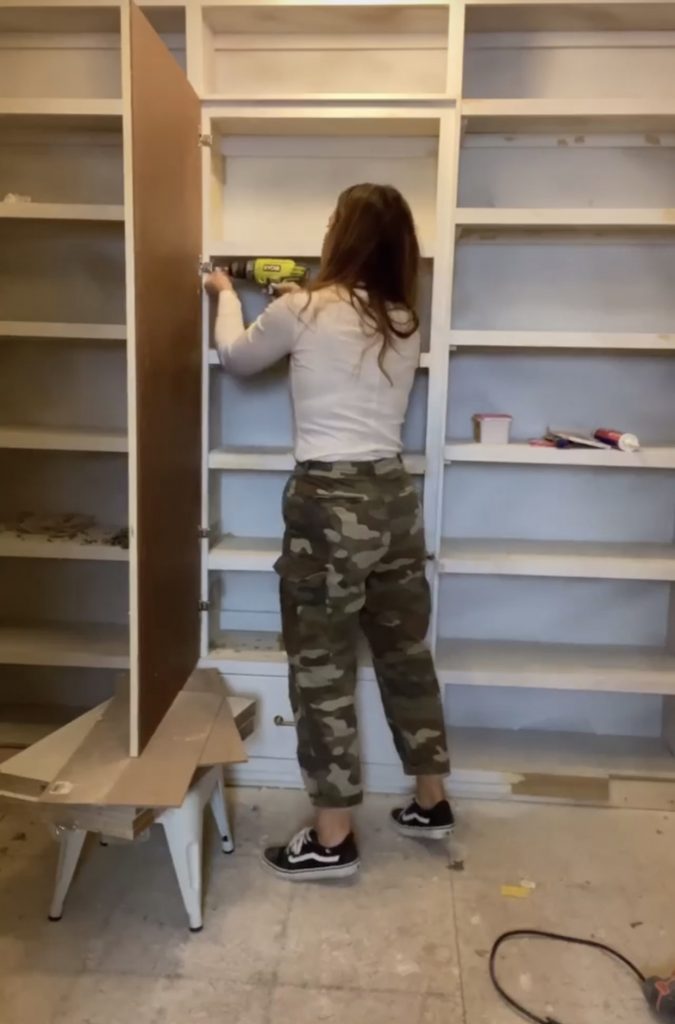
SHOE WALL
My shelving system would be 11 inches deep and will span the width of the entire wall. I made my platform using 2×4’s at this size. The box platform needed to be secured to the floor after making sure that it is level.
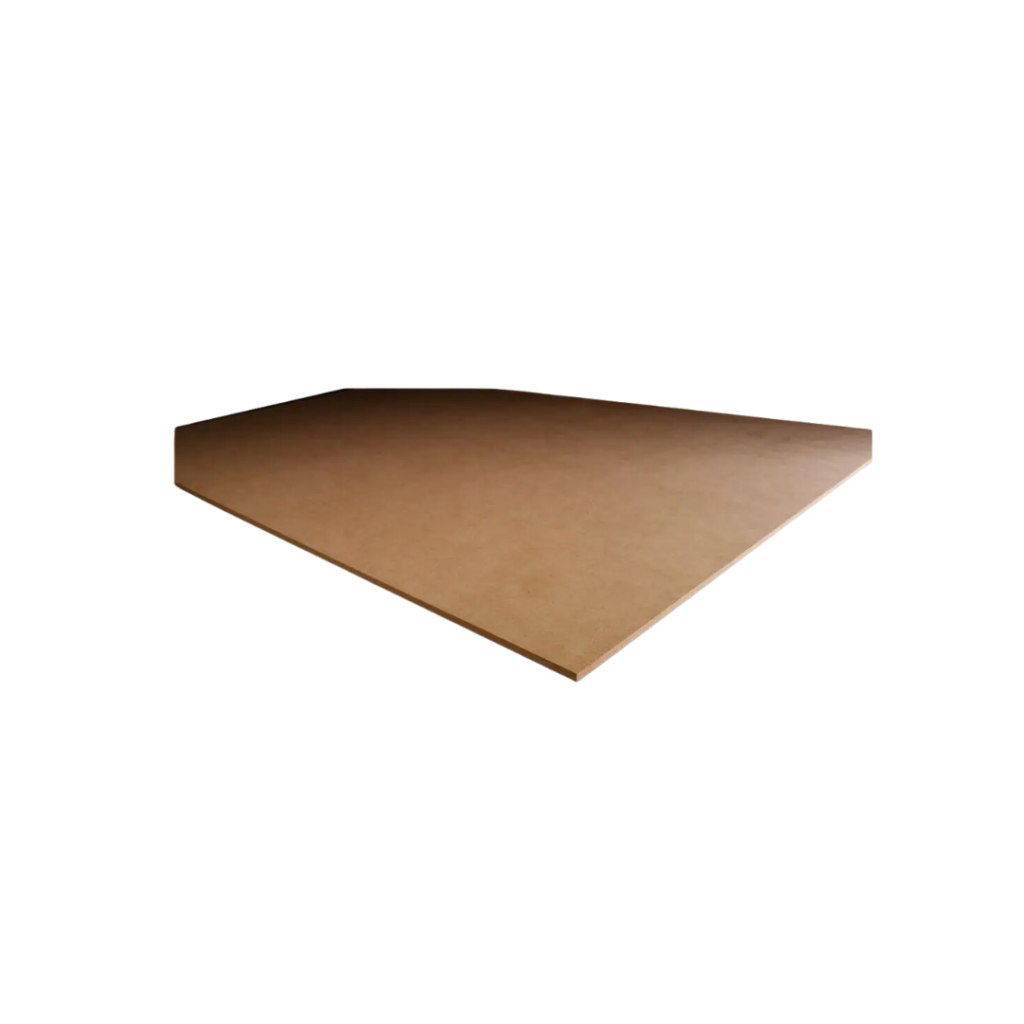
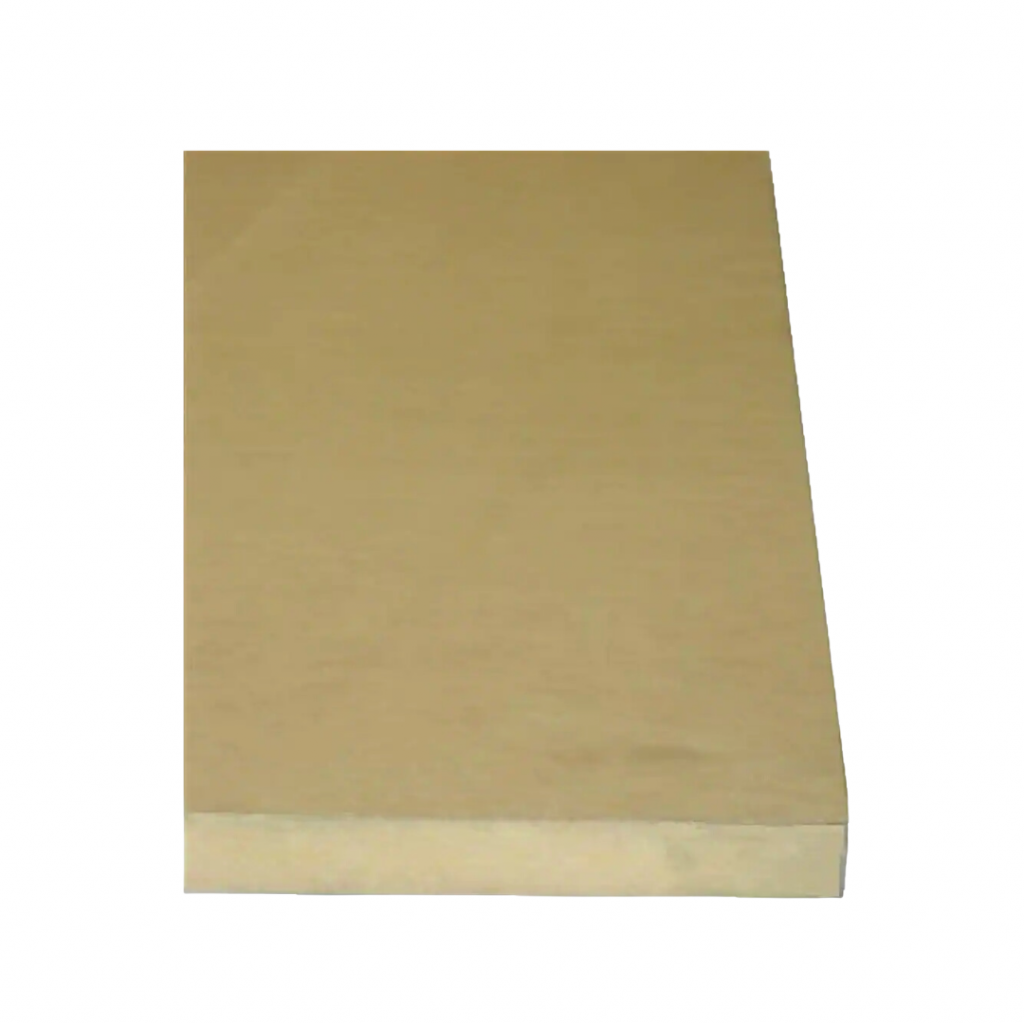
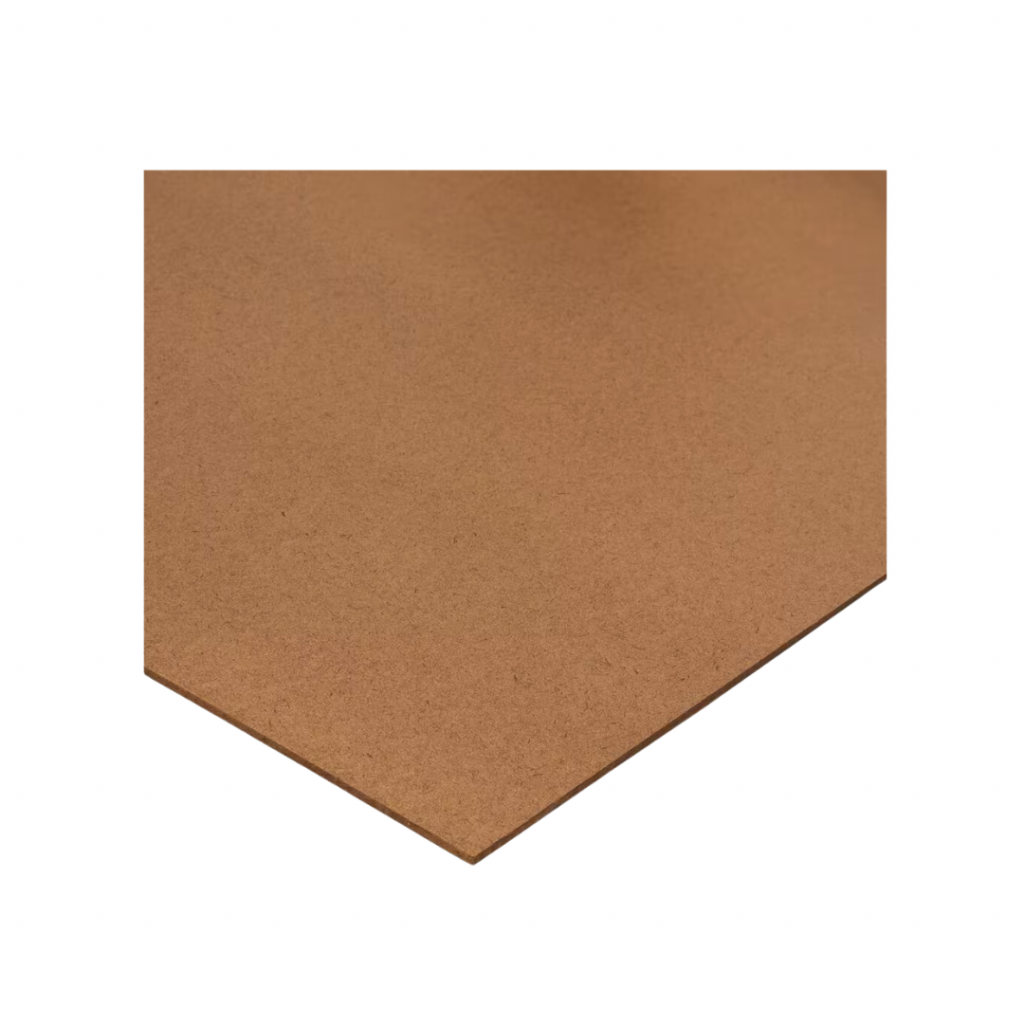
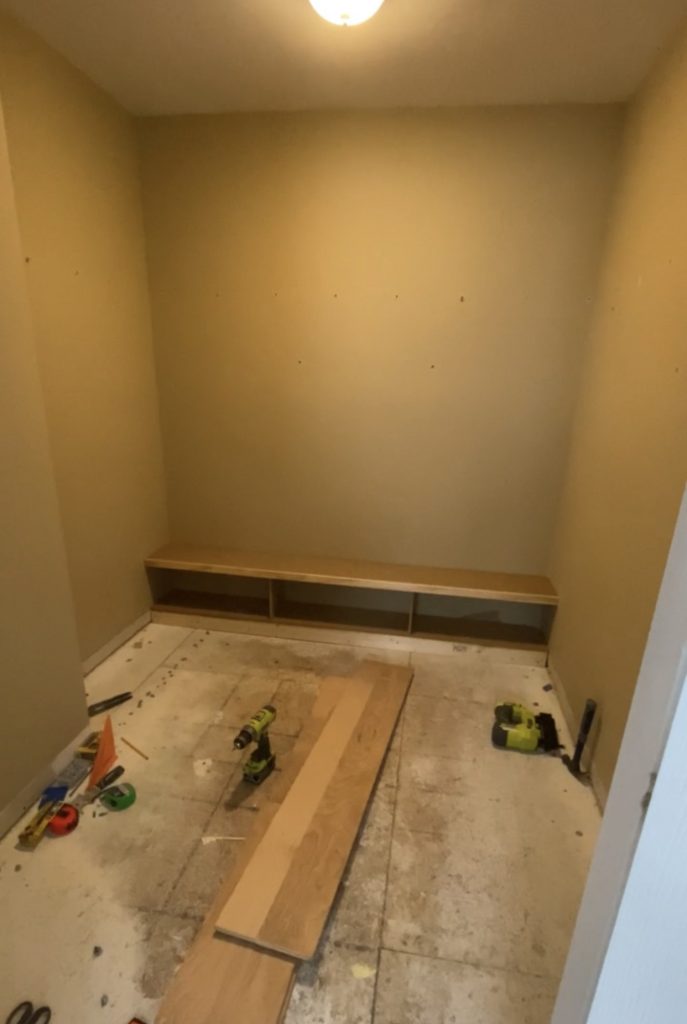
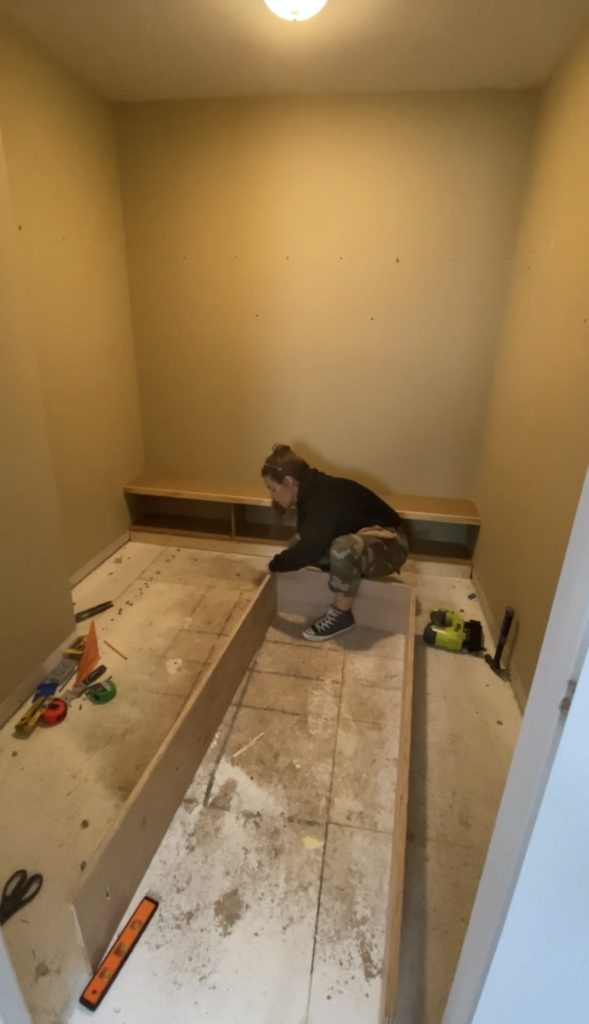
I then started to construct my shelving. I cut two sheets of 1/2 inch MDF down to 11 inch wide strips. Cutting the first shelf to size, I installed using 1×2 boards as support ledgers along the back and sides of each. The bottom shelf also needed some supports, so I added two with plans to make the center area into a drawer later on.
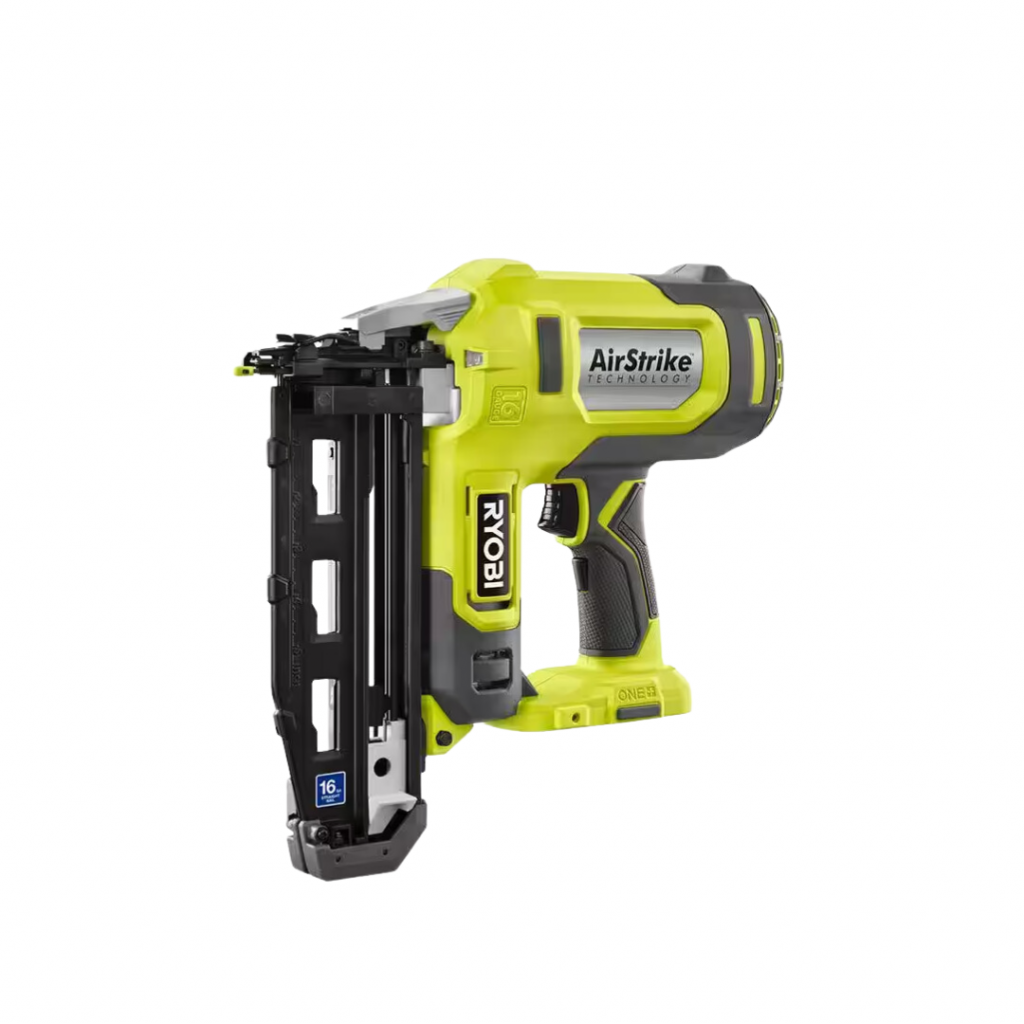
Each shelf support was nailed in several times with my brad nailer (glue can additionally be used for this for extra support). Once the shelf was placed onto the supports, I nailed along the perimeter to secure to the support ledgers.
Mirror Door Frame
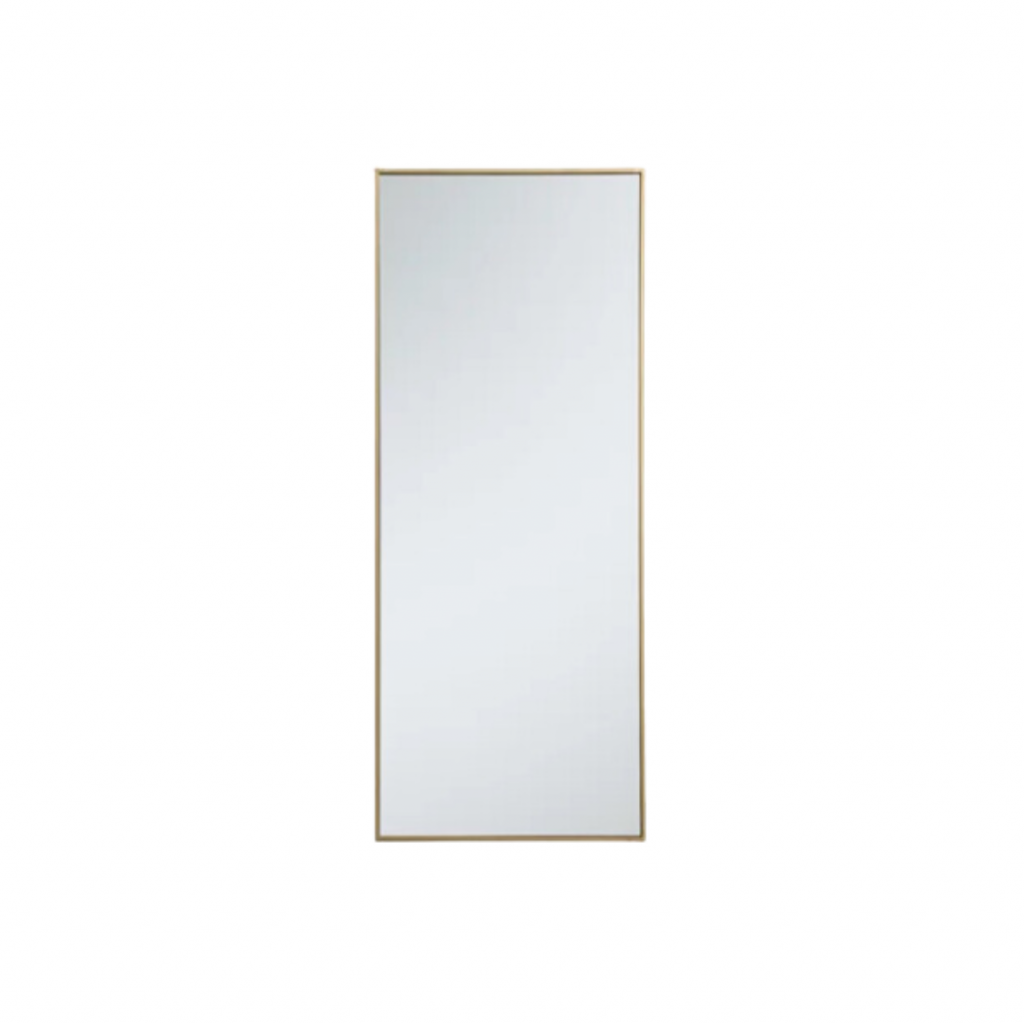
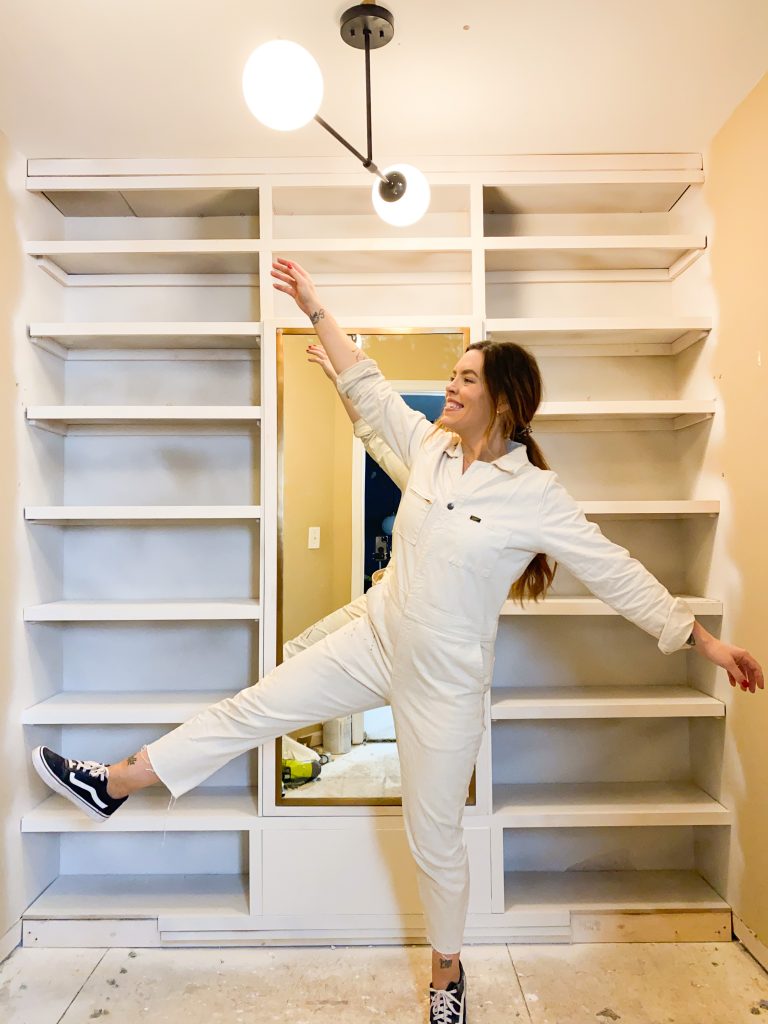
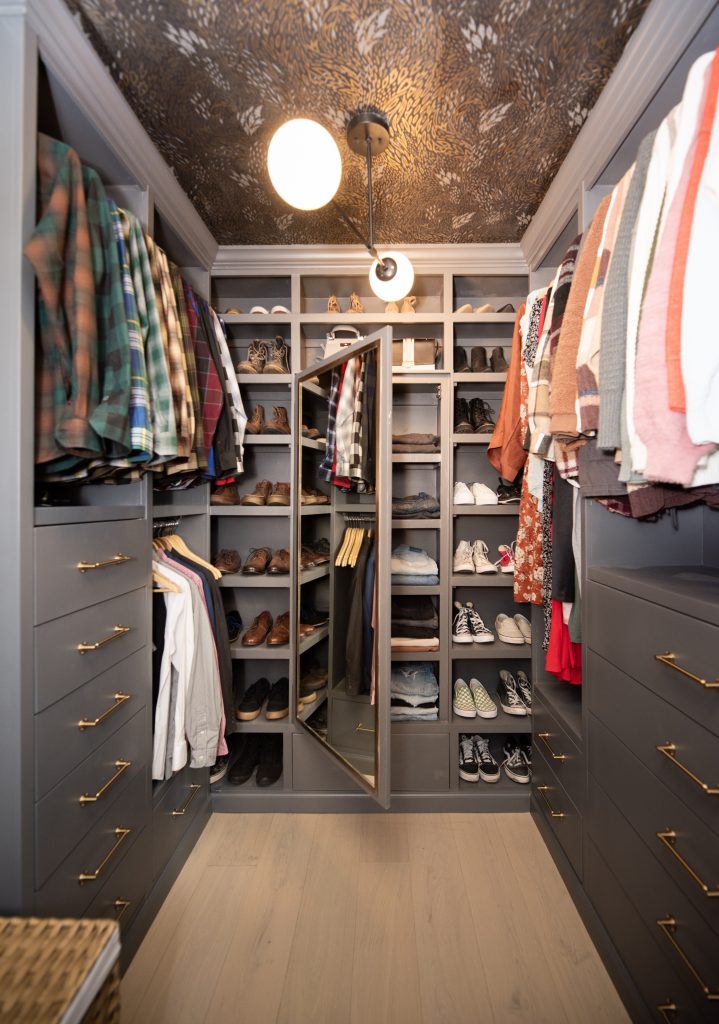
I then built out a box to fit the mirror that I had for this space. I really wanted to include a full length mirror in the design, but did not want to lose space by just mounting the mirror to a wall. So my plan was to turn a portion of the show wall into a cabinet, and attach the mirror to the door of it!

I used 1/2 in MDF for this that was cut to 10.25 inches instead of 11 like the surrounding shelving. This would allow for the cabinet door to be flush with the rest of the shelving. After building the box and mounting it centered on the first shelf of the shoe wall I added MDF around the outside of the mirror box that was 11 inches wide. This gave the box a frame that would be flush with the outside trim. The inside measurements of the mirror box was 3 1/8 inches wider and taller than the mirror. This would allow for the mirror to have a 1.5 inch frame around it.
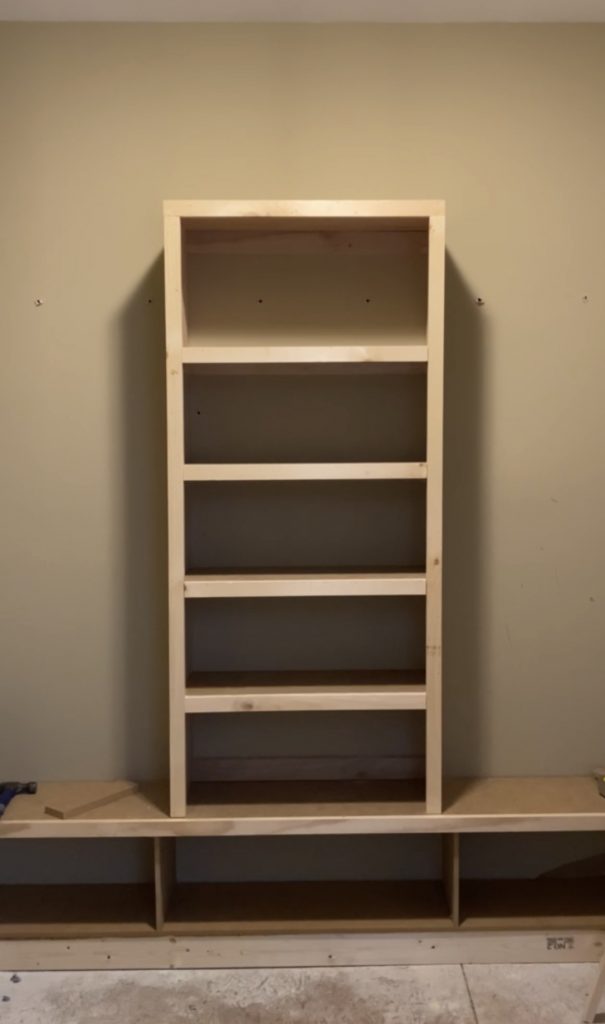
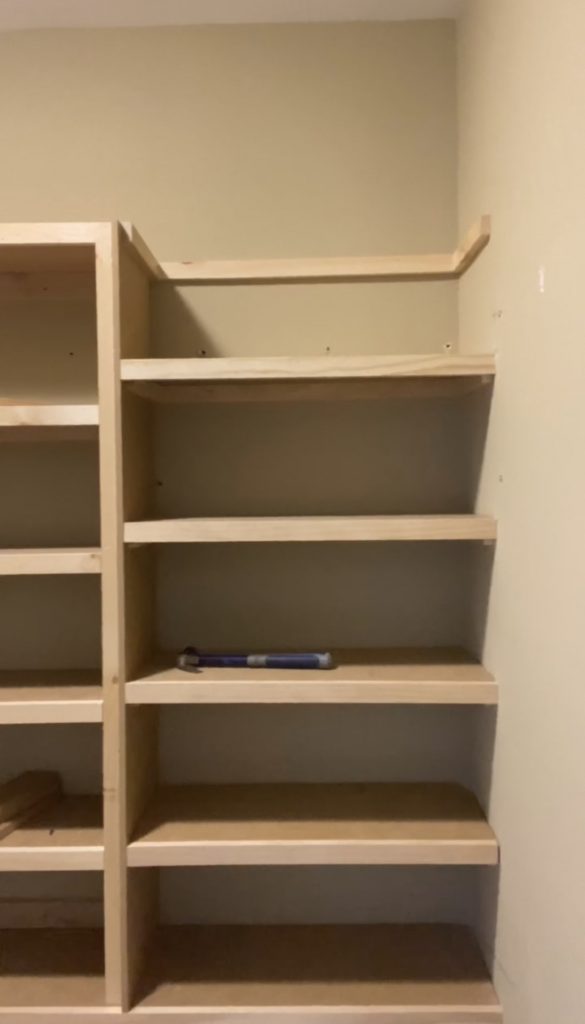

Adding Shelves
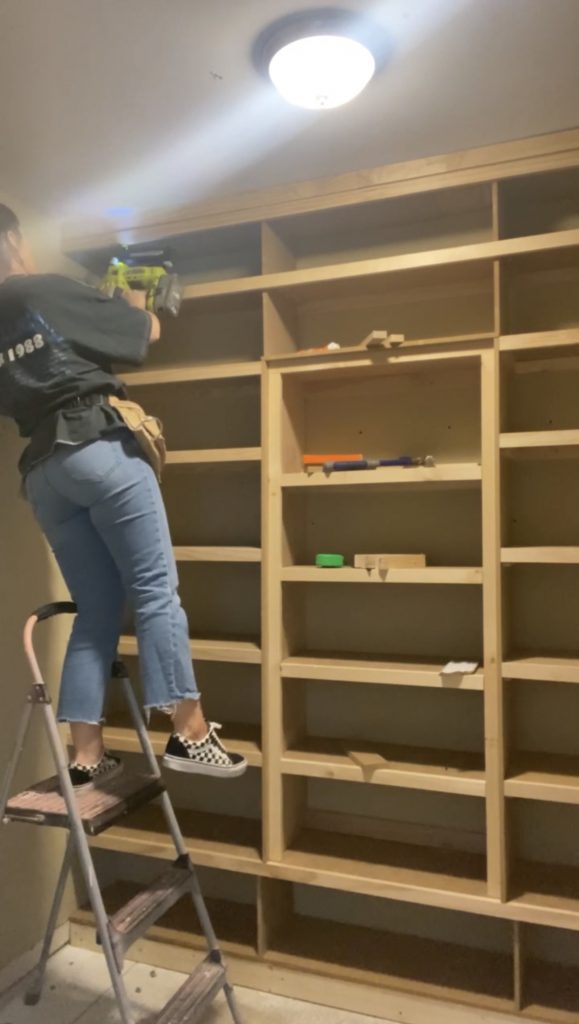
I began adding shelves along the sides and inside of the box. All of the outside shelves were about 9-10 inches tall. I varied the inside shelving to allow for storage larger items in some areas. I added an additional shelf above the mirror box along with support dividers above and below it.
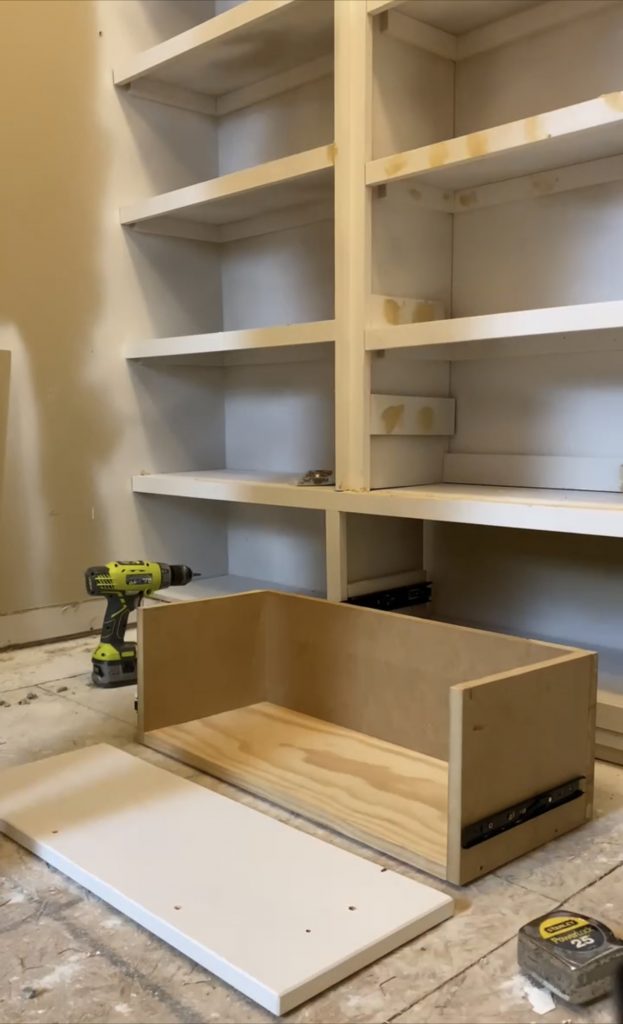
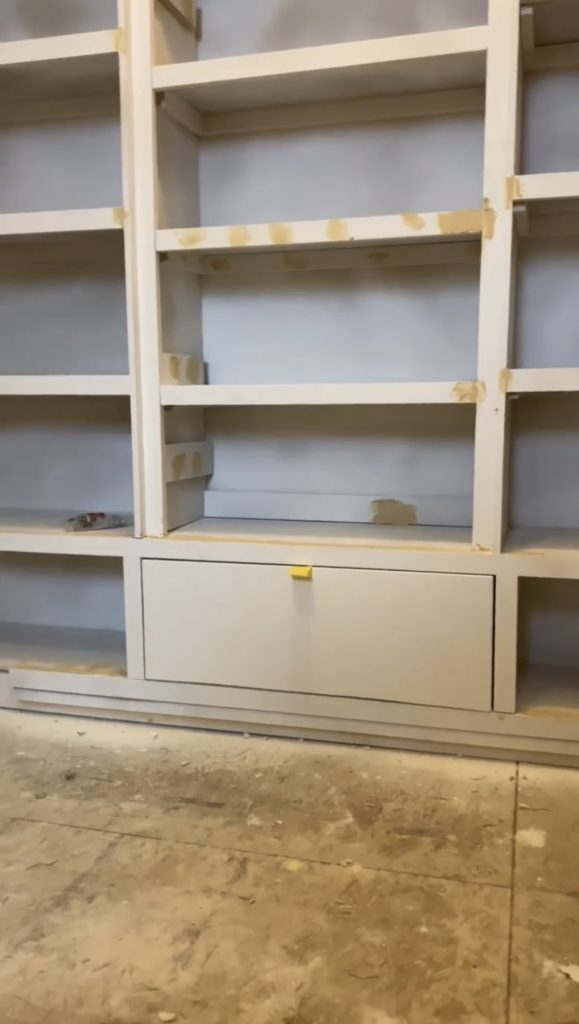
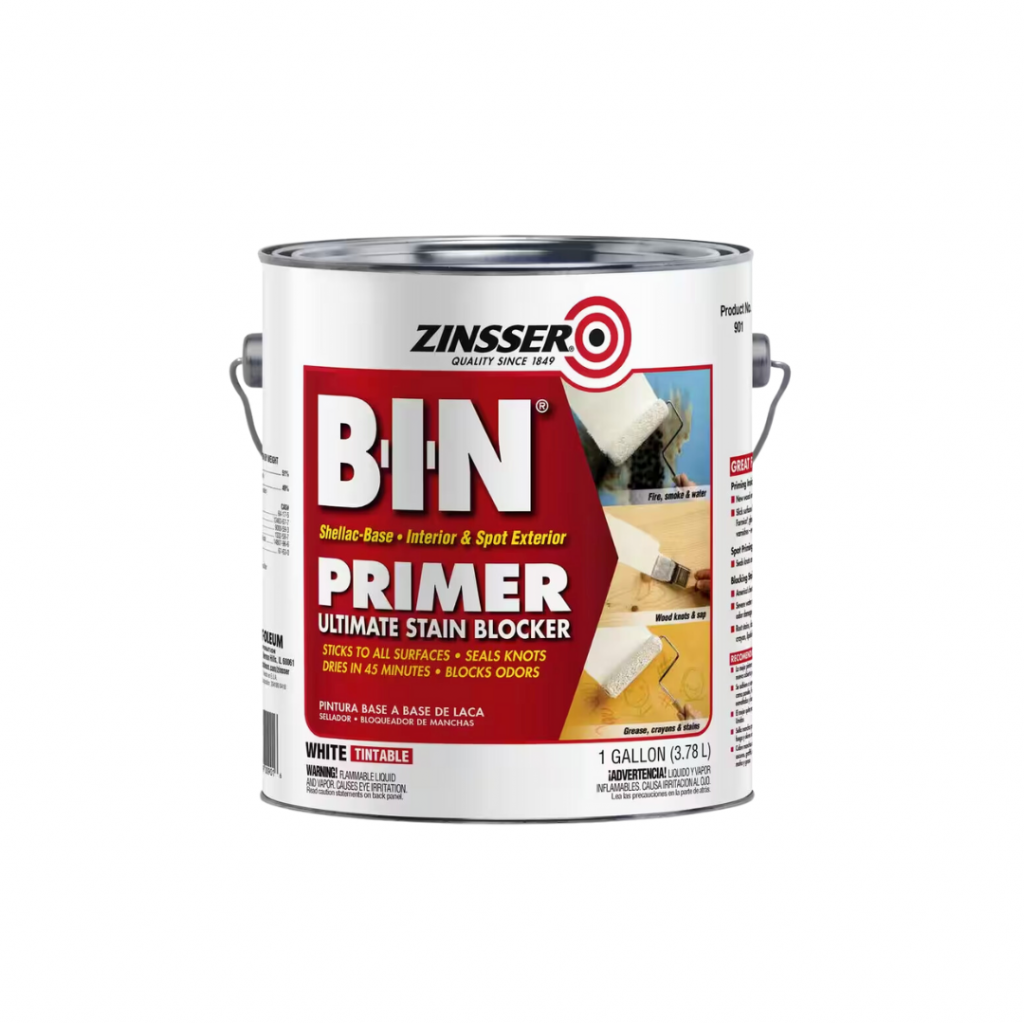
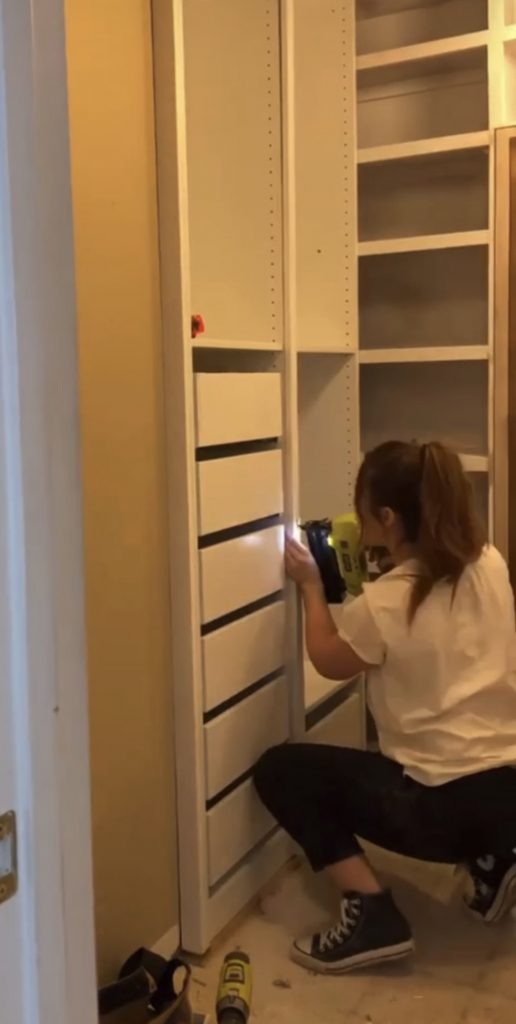
For the opening under the cabinet box, I built a drawer box using scrap wood. I installed with soft close drawer slides and screwed in a flat drawer front. I used my leftover 1×2 boards to finish the front of all of the shelving. Then, I filled holes and sanded those areas when dry and also sanded any rough edges. I used my sprayer to apply a coat of Zinsser Bin Primer to all of it!
MIRROR DOOR
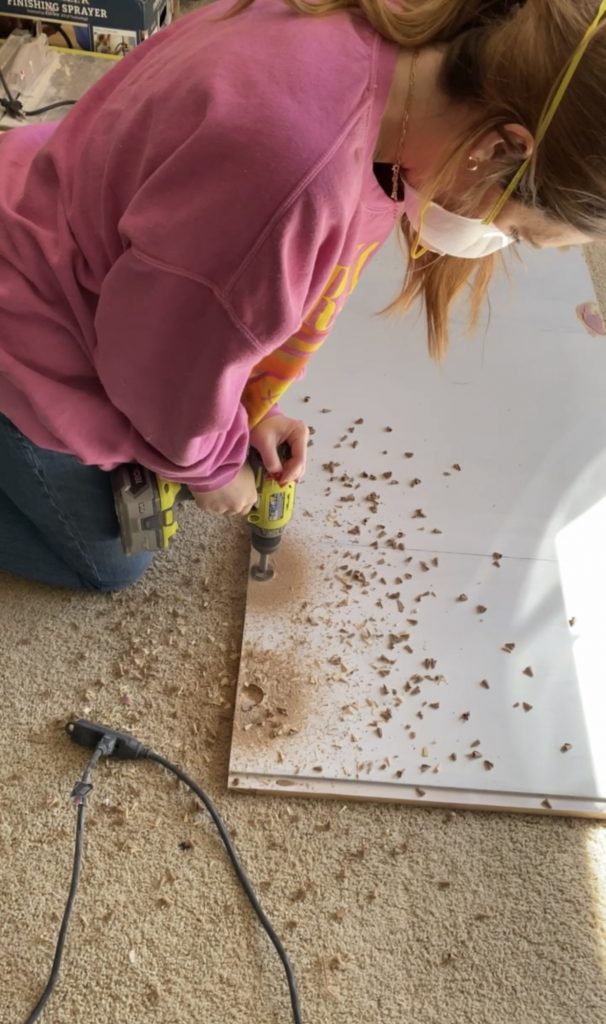
Using the 1×2 boards, I made a frame that would fit around the outside of my mirror. Also, I purchased some 1/4 in hardboard from Home Depot and cut this down to the exact size of that frame width and length. Then, I added pocket holes to my frame pieces and screwed them together. Next, I used construction adhesive to attached the frame onto the hard board and clamped it to let it dry.
Once dry, I added construction adhesive to the middle of the door and placed the mirror inside. This needed to dry completely before flipping it over and screwing holes for my hinges using a forstner bit. I made four holes for extra support.
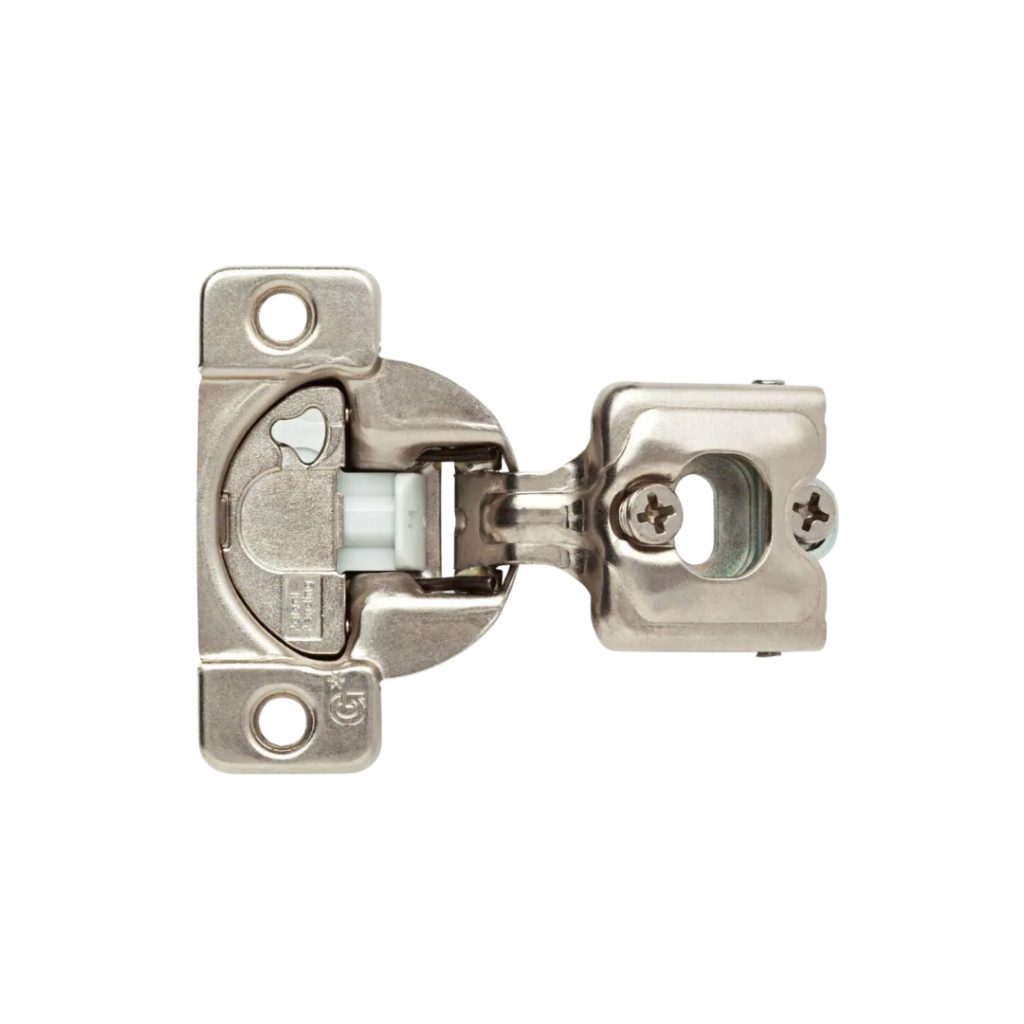
I then attached the mirror door to the cabinet frame using 3/4 in overlay hinges!
IKEA PAX
Next, I began building platforms along the side walls for the Ikea cabinets to sit on. These were much shorter than the first platform made (about 1.5 inches). I assembled all of the Pax boxes and began placing them. I chose the Ikea Pax boxes that were 92 inches tall and 13 3/4 inches deep. On the left side of the closet, I used 3 of the 19 in wide boxes. And on the right side I used one 19 inch, one 28 inch, and one 39 inch box.
Additionally, I had to shorten one of these boxes because they did not fit perfectly. I did this by cutting down the top and bottom pieces before assembling, and then constructing it with regular screws on the cut side.
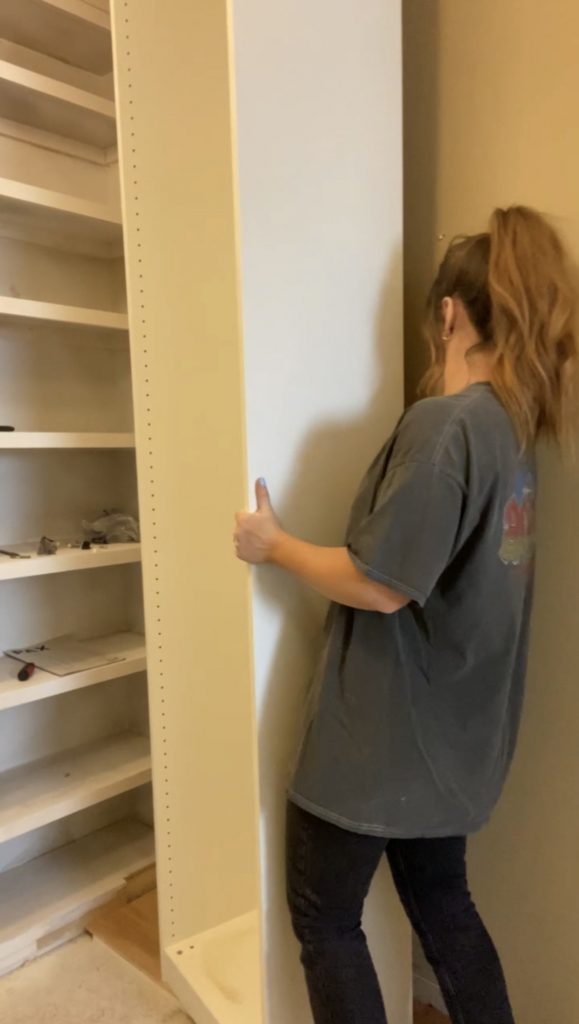
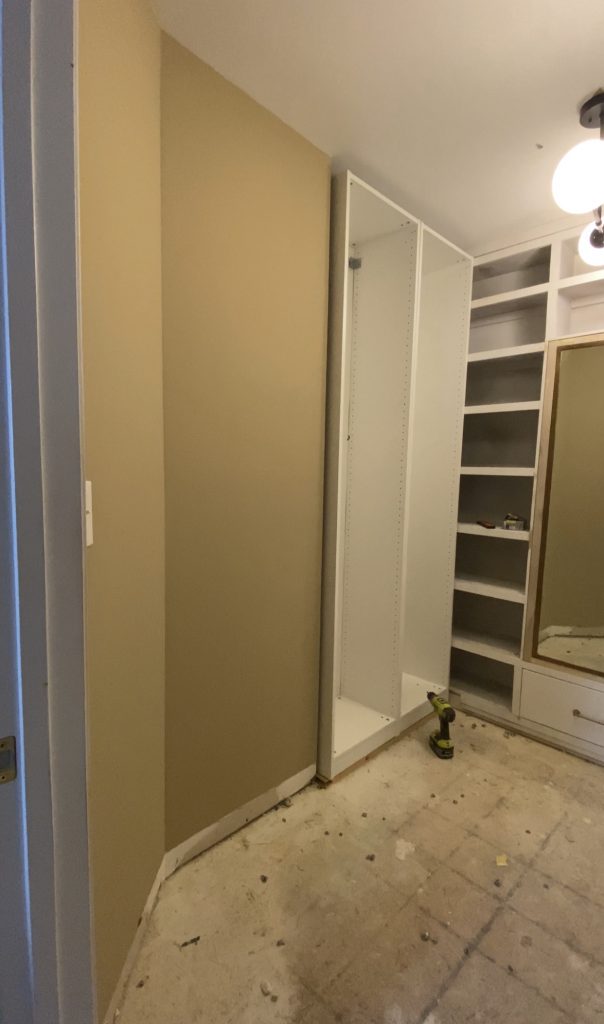
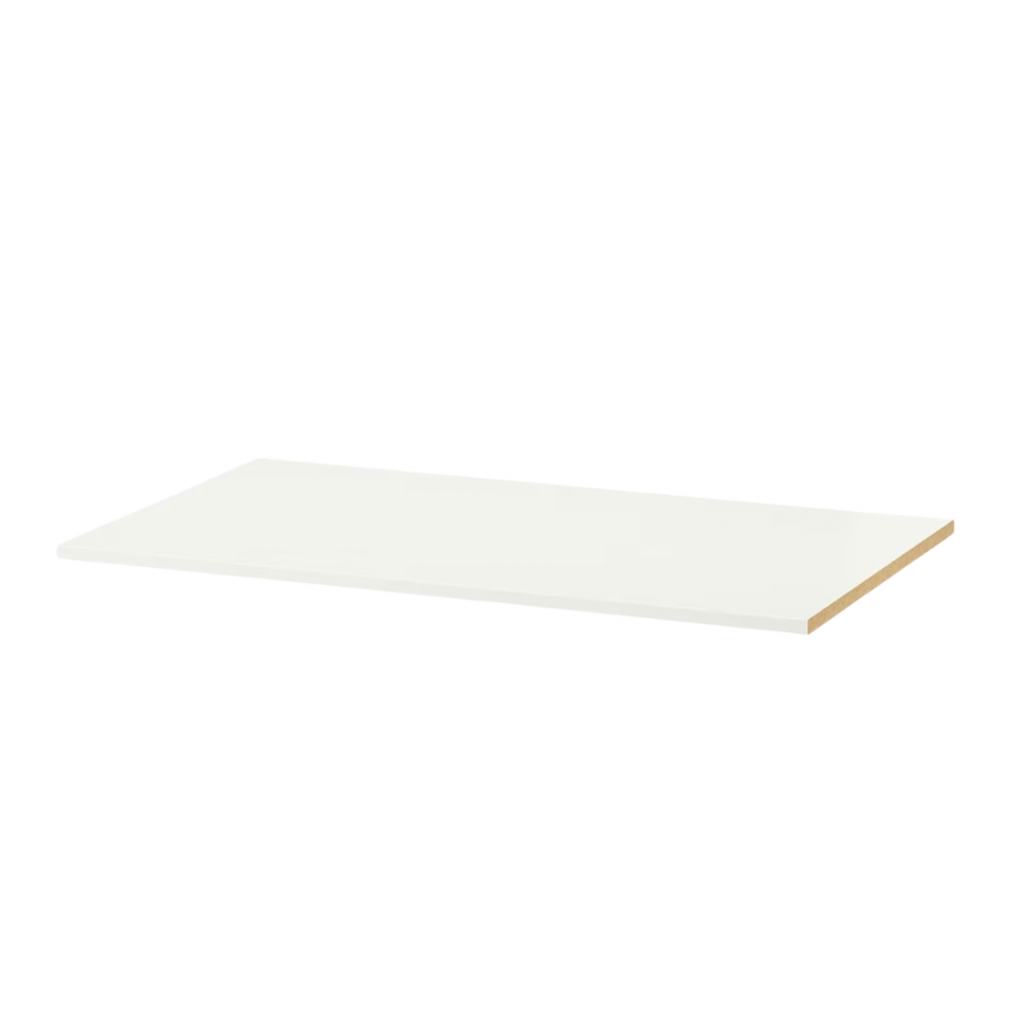
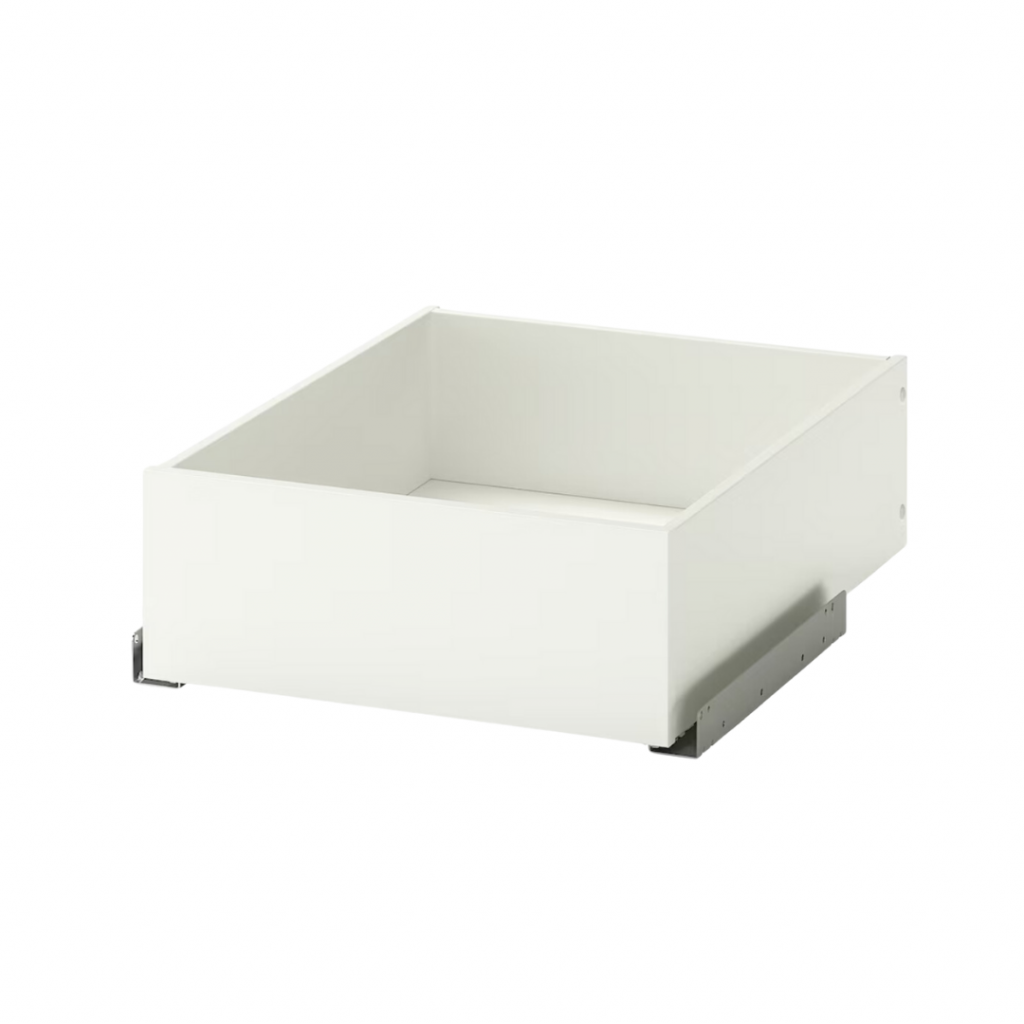
After placing each cabinet box, I made sure they were all level. I screwed each one together using 1.5 inch wood screws. Then I used 3 in wood screws to secure each box into the wall studs along the bottom and on the sides. I was then able to add in my shelving and drawers (I used the Ikea Komplement shelves and drawers to fit my Pax boxes). Also, I had to adjust one drawer and two shelves to fit my adjusted cabinet box.
Trim
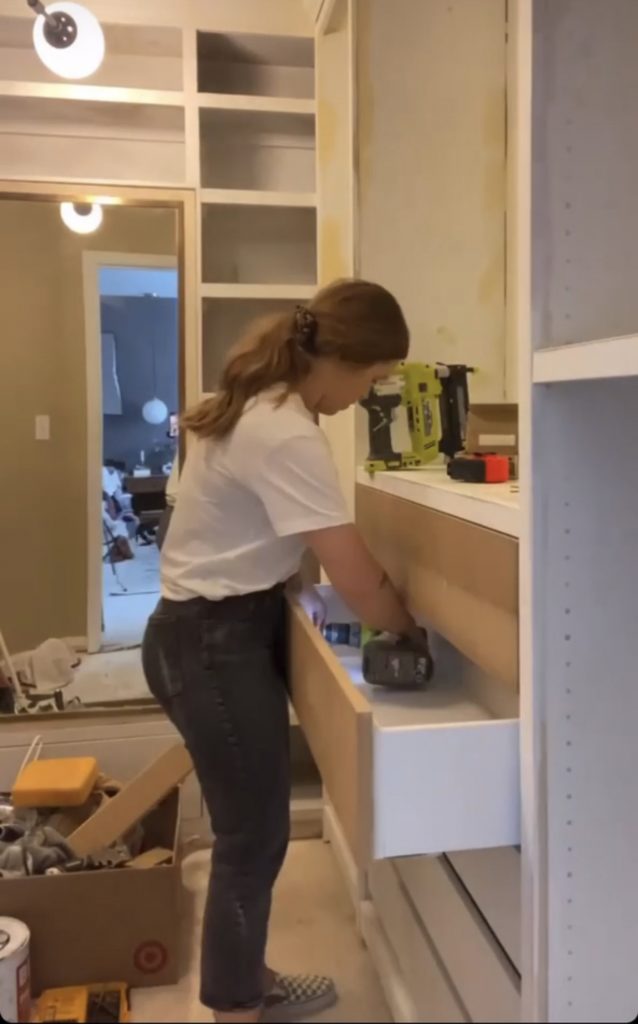
I then purchased some 1.5 in MDF trim and began cutting it to length to attach to all of the Ikea Shelving and cabinet boxes. This gave everything a nice finishing touch while also covering up seams of the joining cabinet boxes. It also allows for me to add cabinet fronts to the drawer boxes!
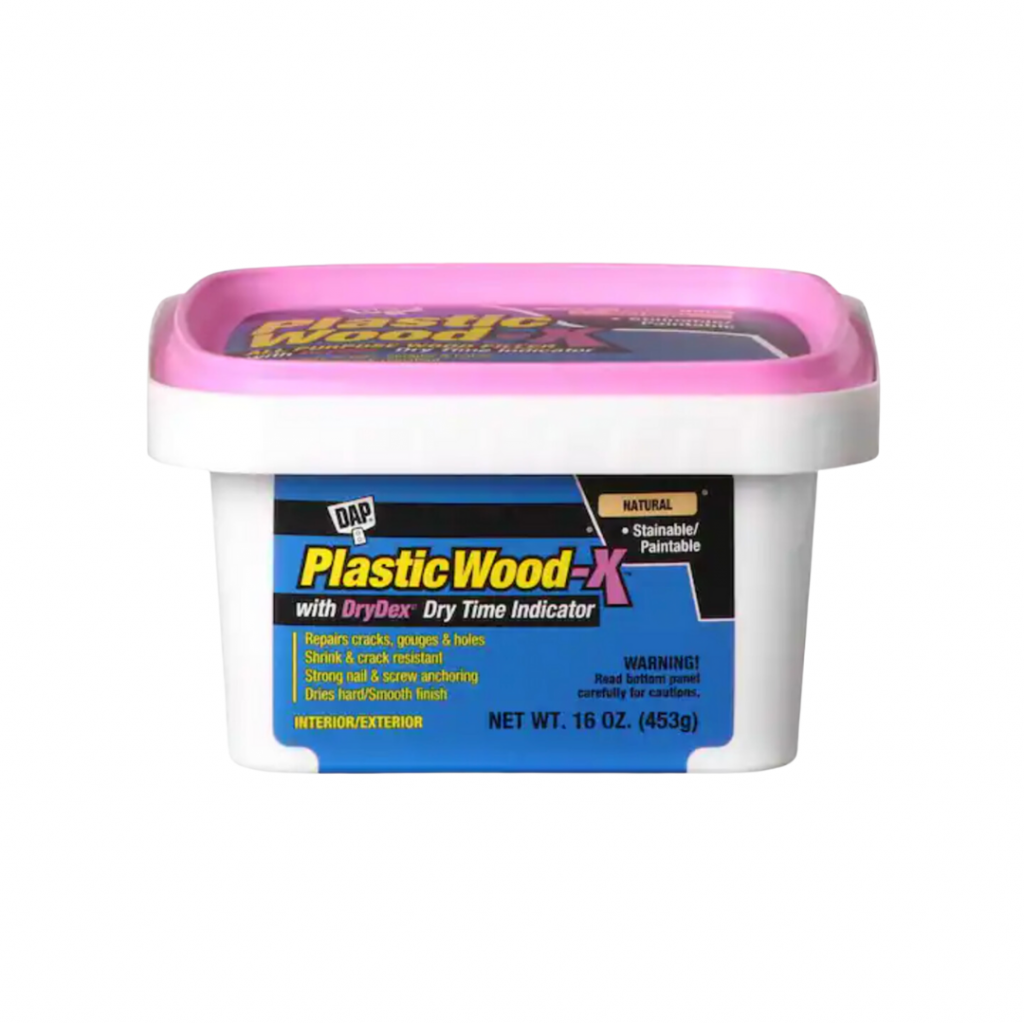
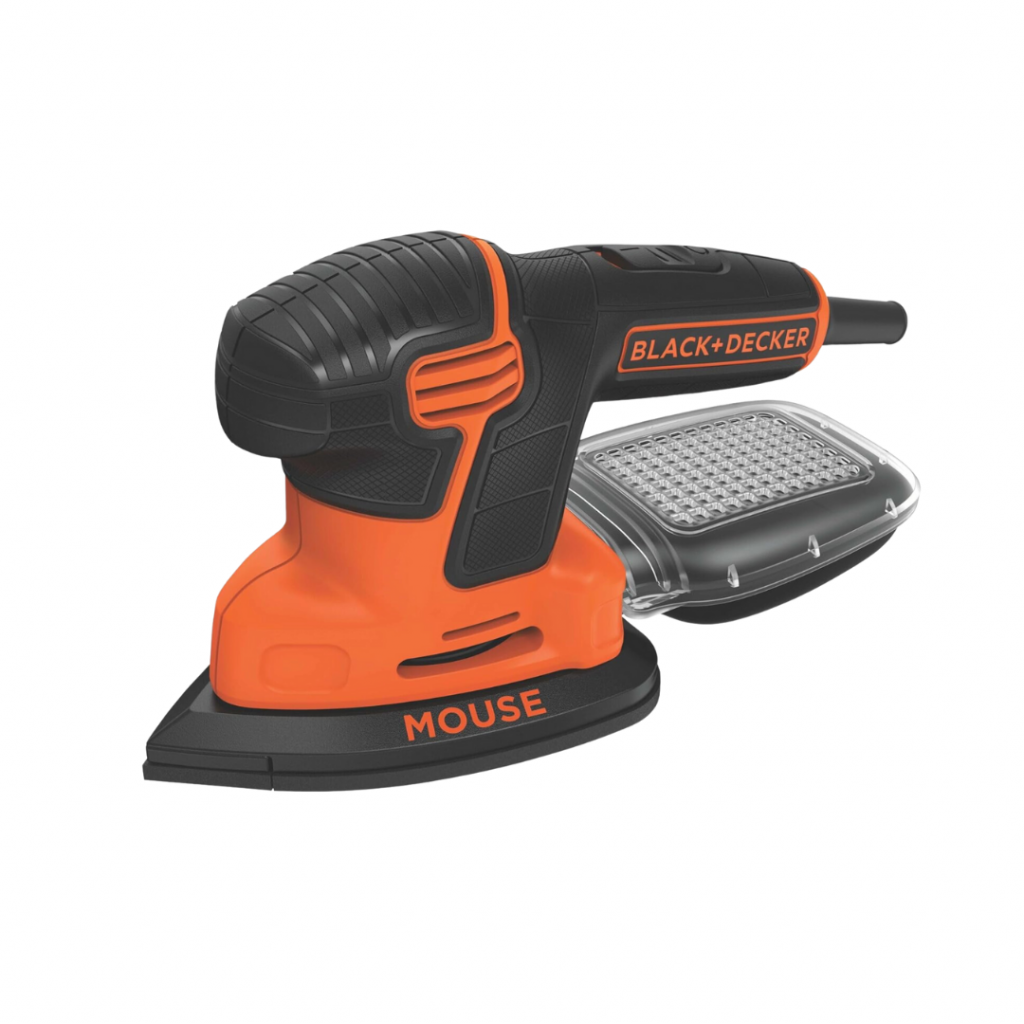
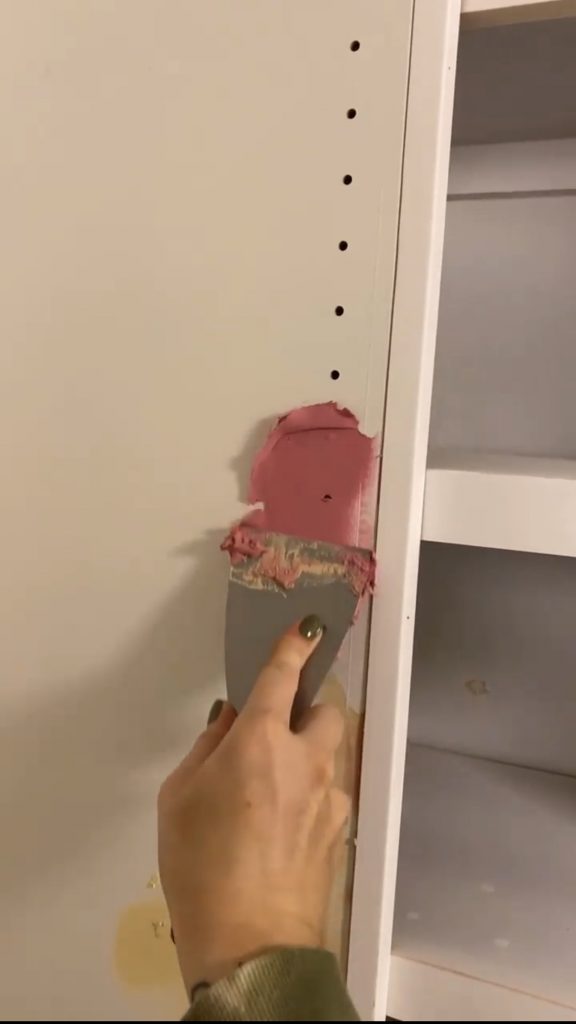
I filled all exposed holes on the cabinet boxes using DAP Plastic Wood, and filled any nail/screw holes that were visible. I sanded it all smooth with my mouse sander and wiped it clean to prepare for painting.
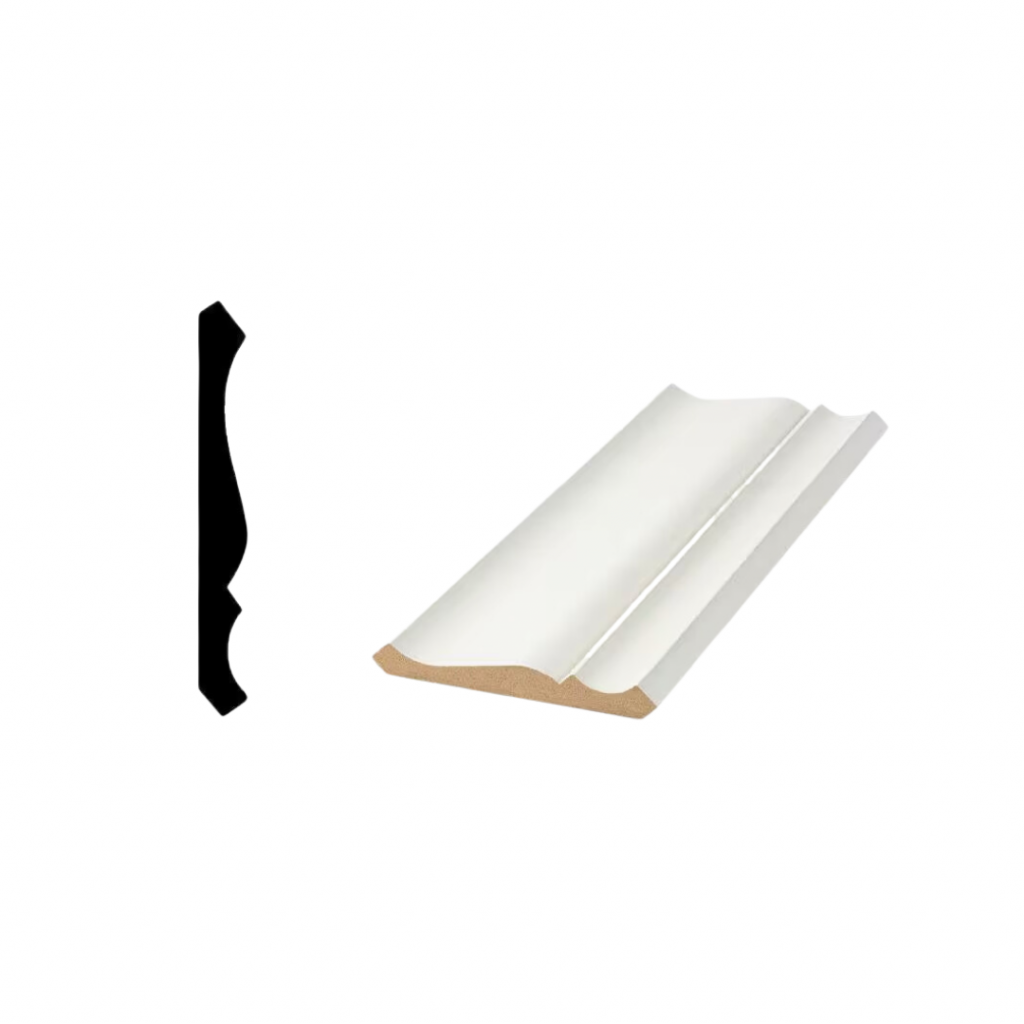
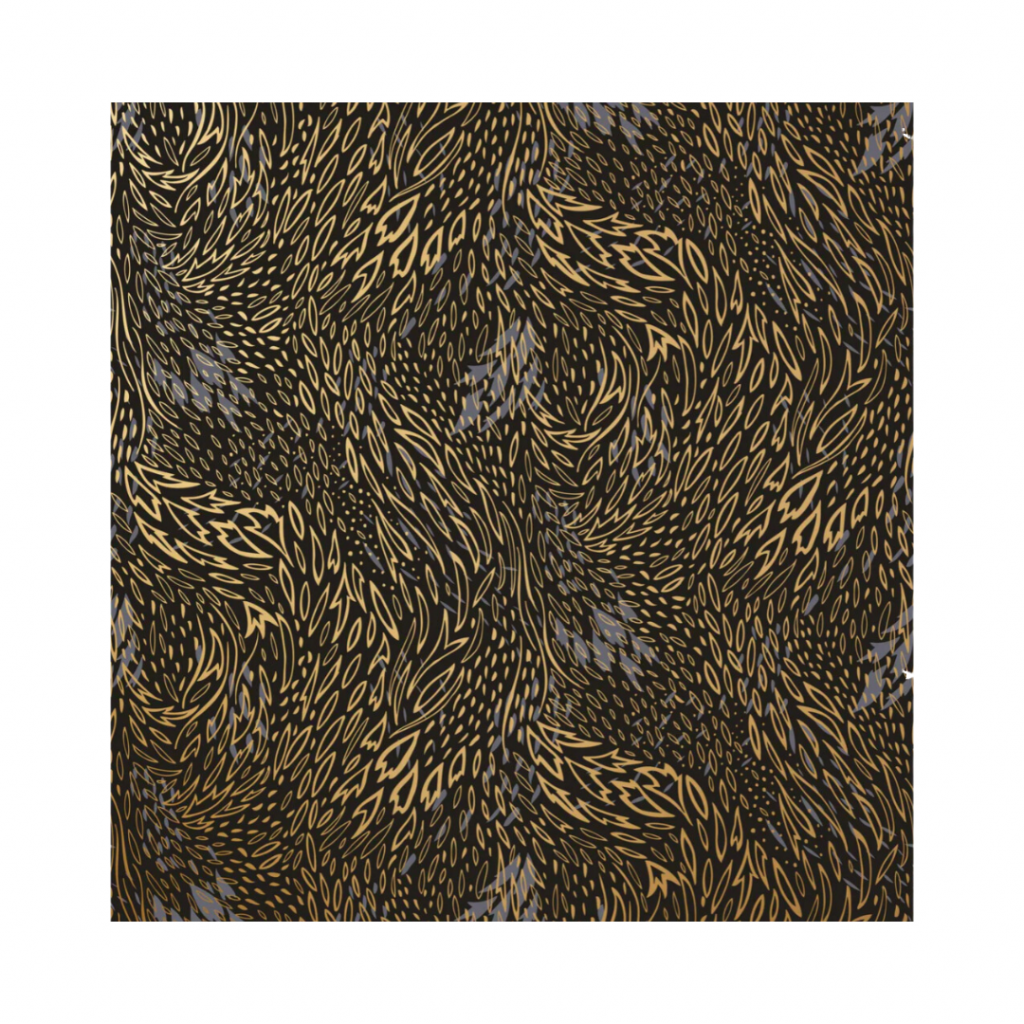
After installing this wallpaper to the ceiling, I installed some 3 5/8 inch crown moulding along the top for a nice finished look.
DRAWER FRONTS
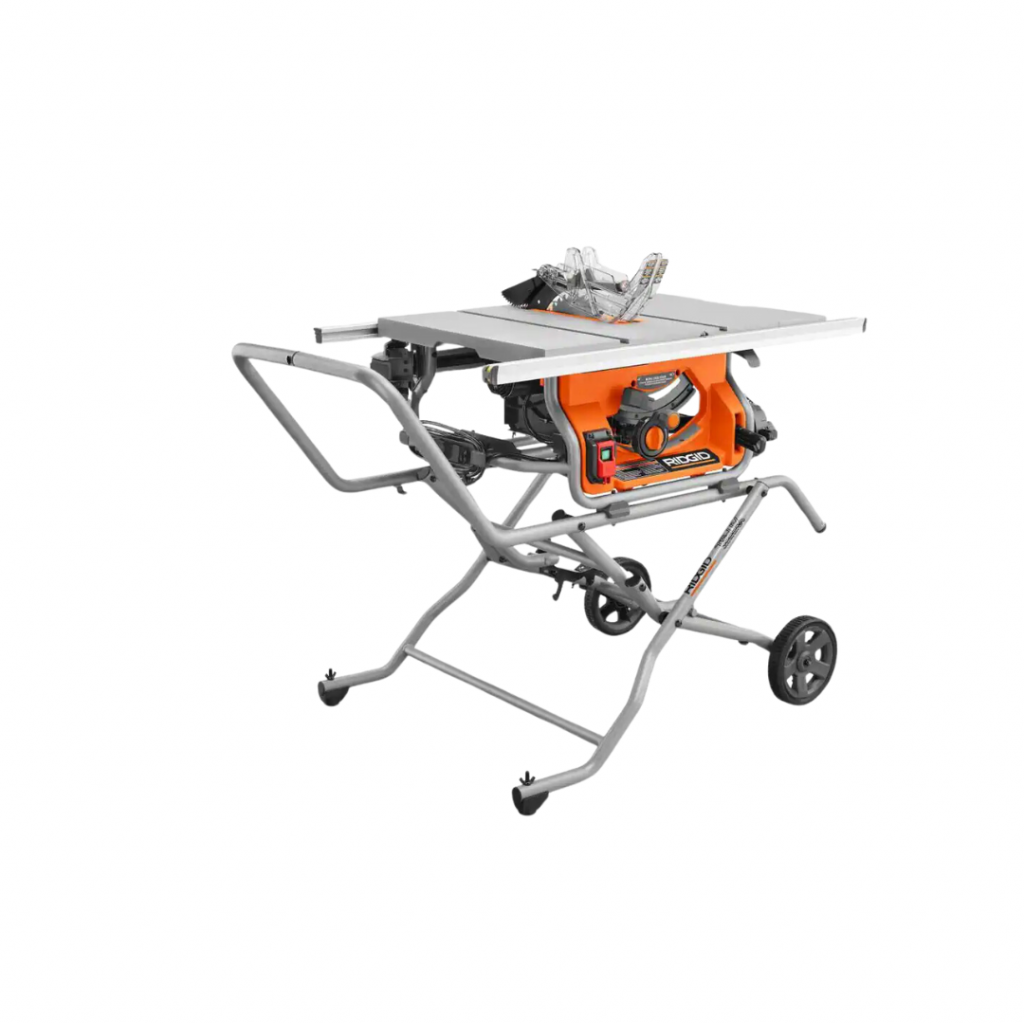
Next, using 3/4 in MDF (I purchased several 16 in x 4 ft shelving boards to cut back on costs), I made the drawer fronts for all of my drawers. To find the sizing, I measured the inside of each drawer opening and subtracted 1/8 in from the width and height (to allow for a small gap all around). I cut each one using my table saw. To install, I held in place (spacers would be ideal, but I just eyeballed) and used my brad nailer to hold. I then opened the drawer to place two screws from the inside of the drawer!
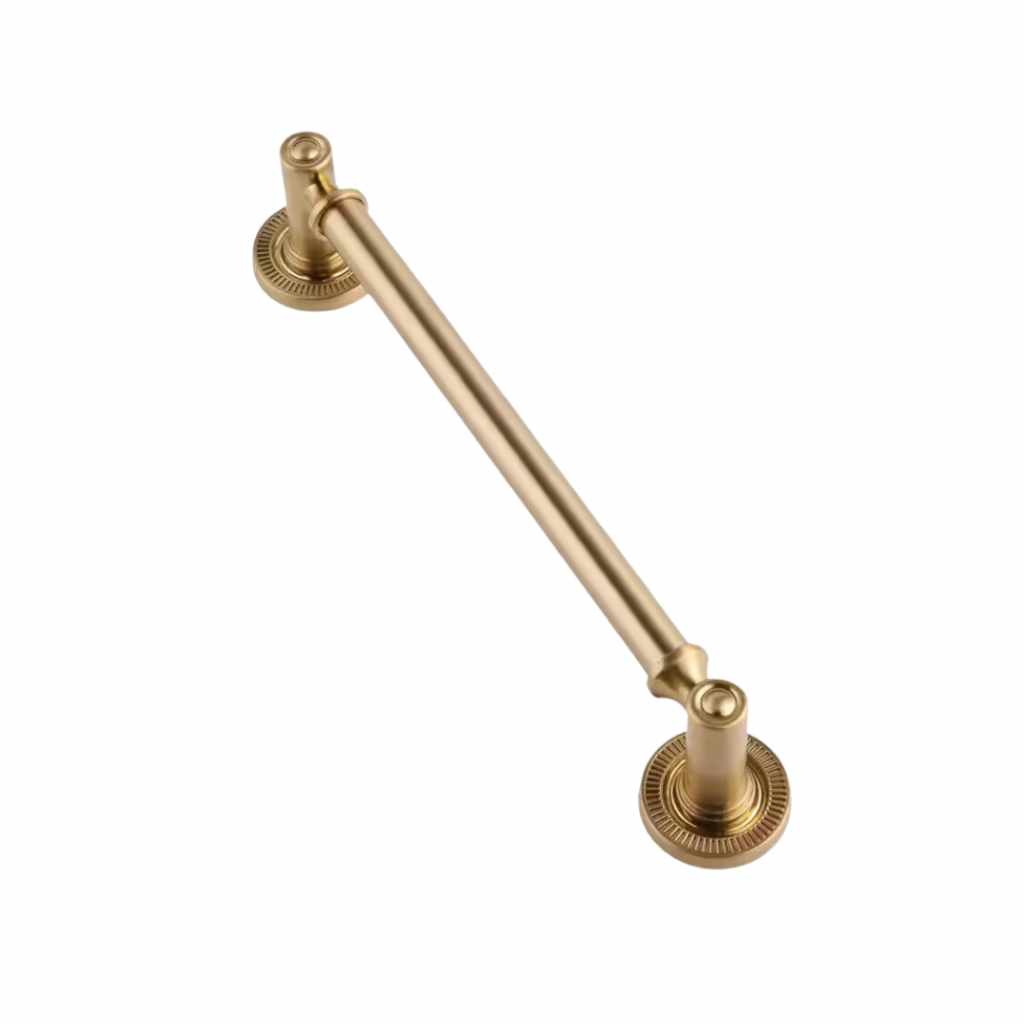
I used a drill bit to drill holes for my drawer pulls.
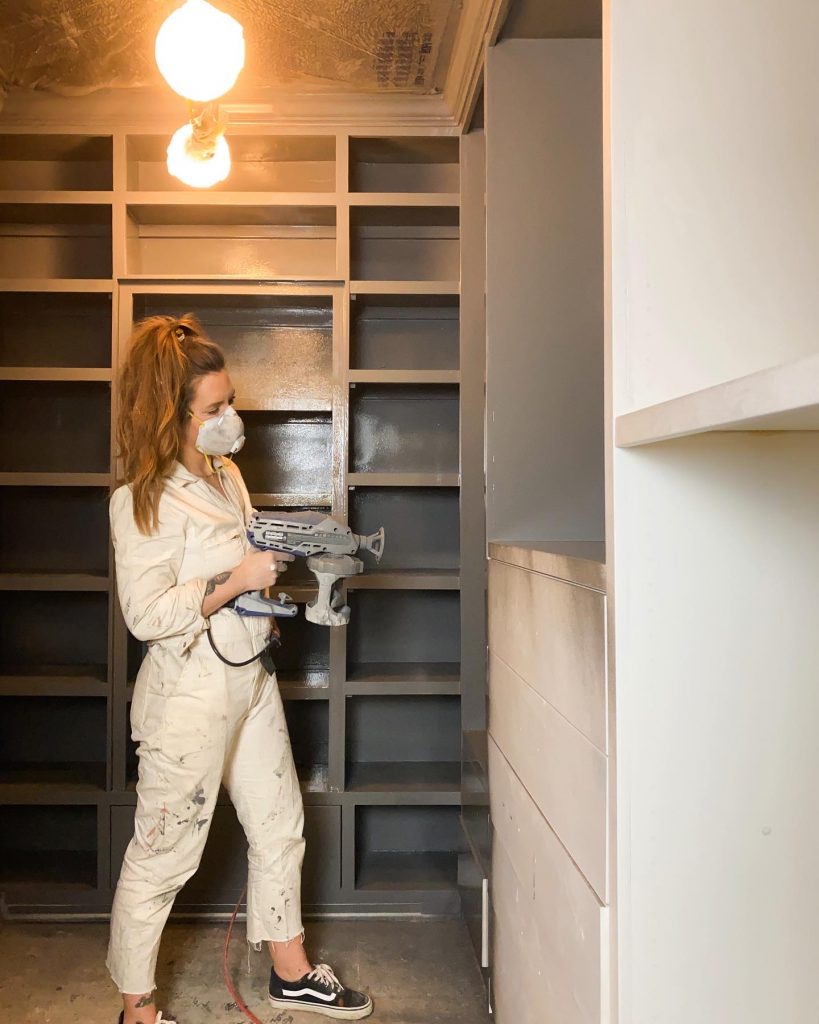
PAINT
I taped off the ceiling using scotch tape + plastic. Also, I removed the mirror door and taped off/covered the mirror. I rolled Zinsser Bin Primer onto all of the Ikea cabinetry and MDF. I used my new Graco TrueCoat to paint everything in the color Welded Iron by Behr in Satin finish.
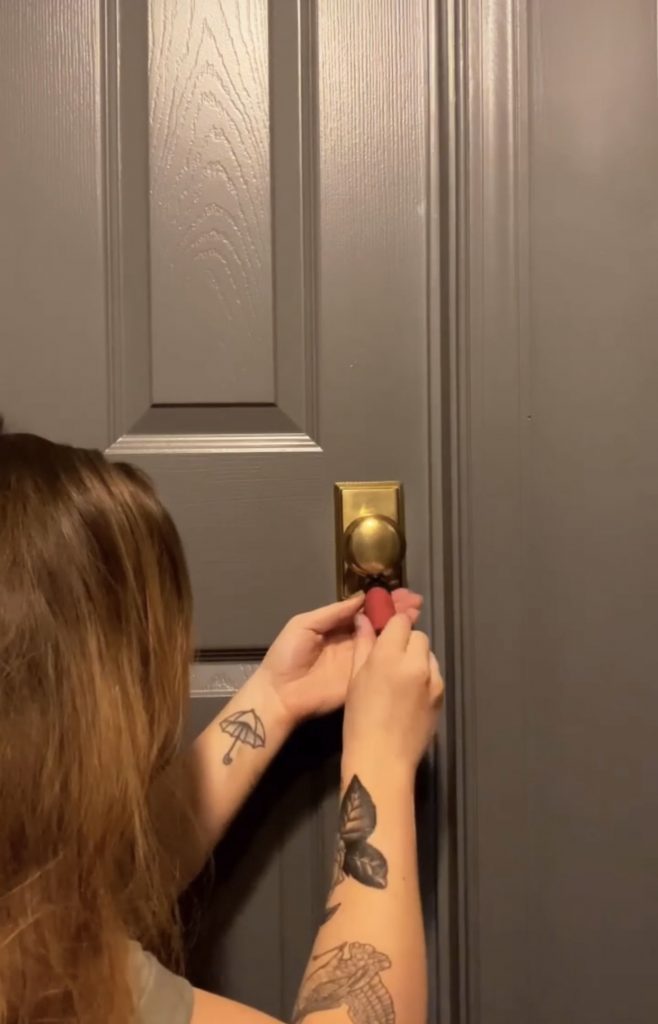
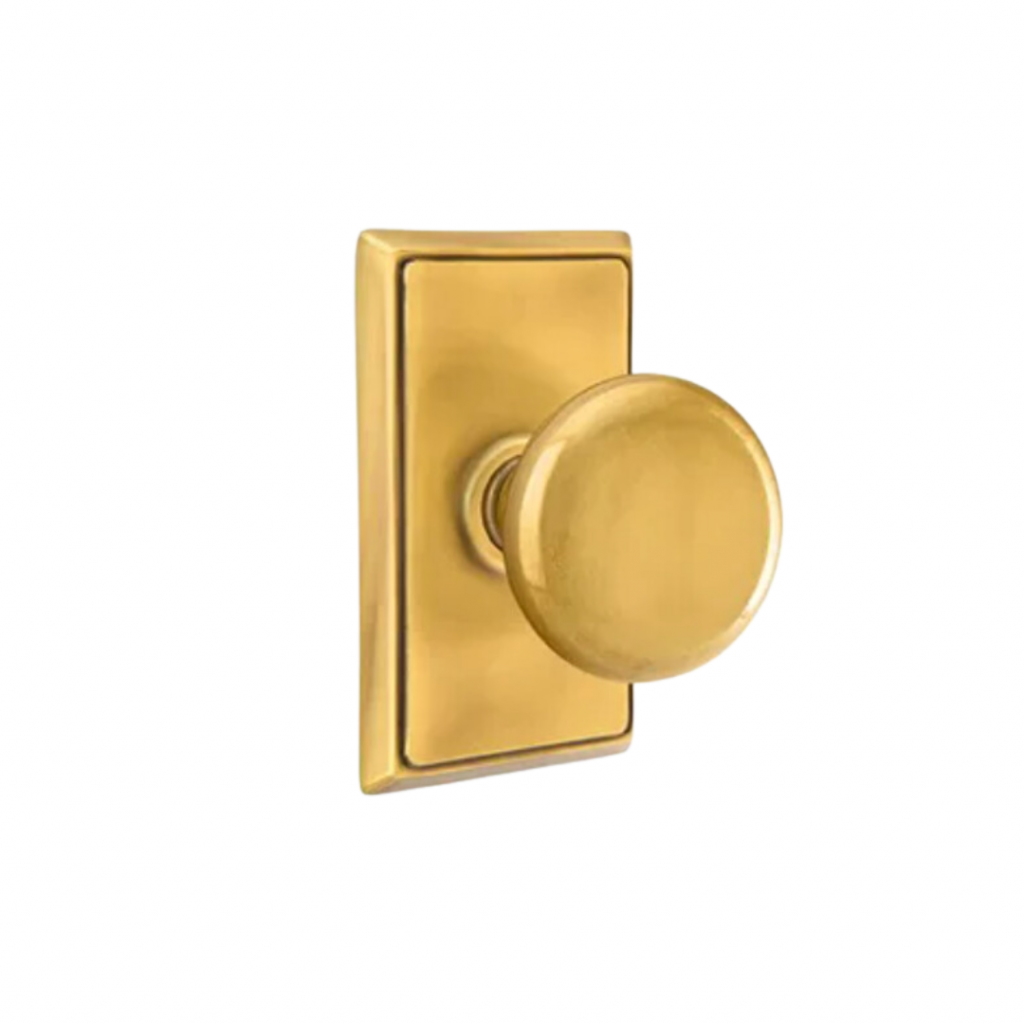
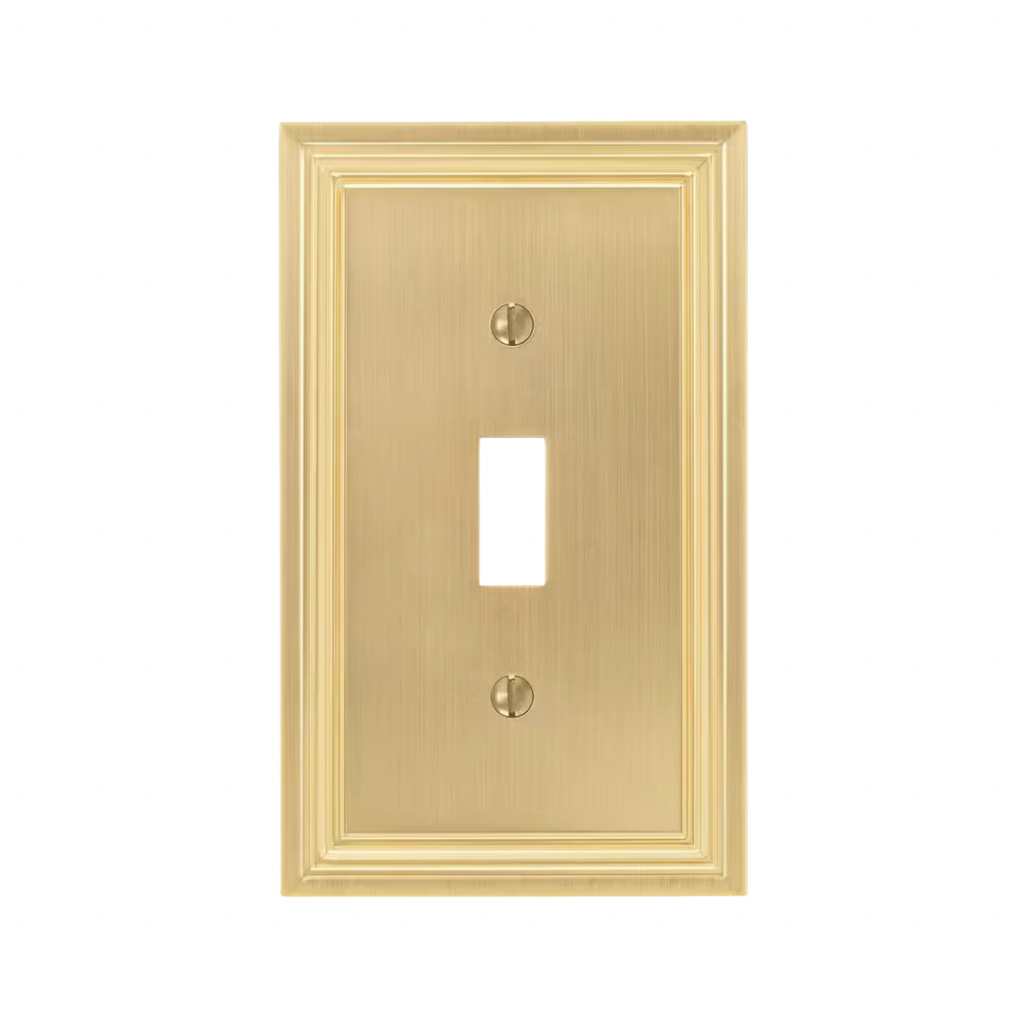
Once the paint was dry, I hung the mirror door and installed my drawer pulls, door knob, and brass switch plate.
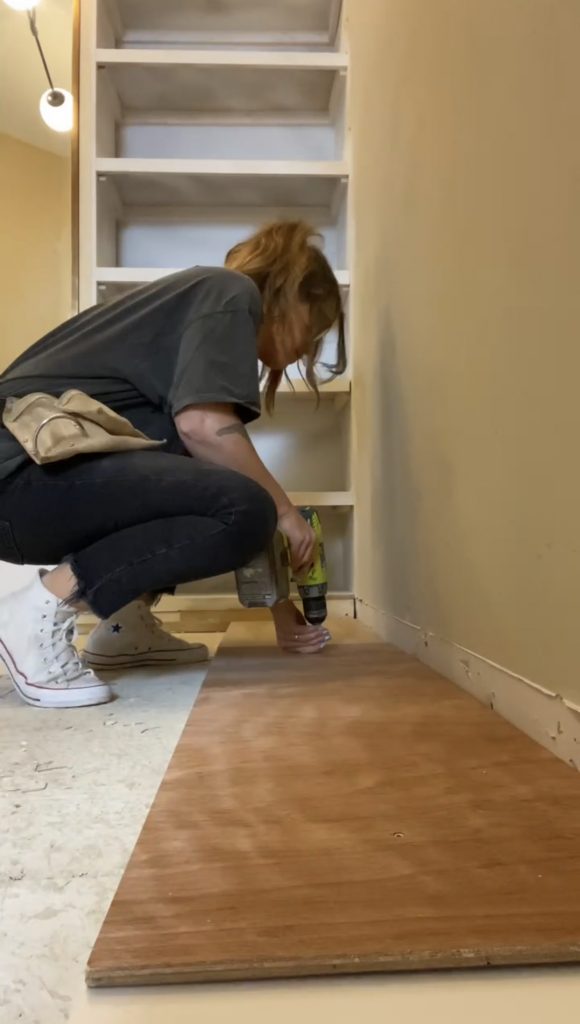
FLOORING
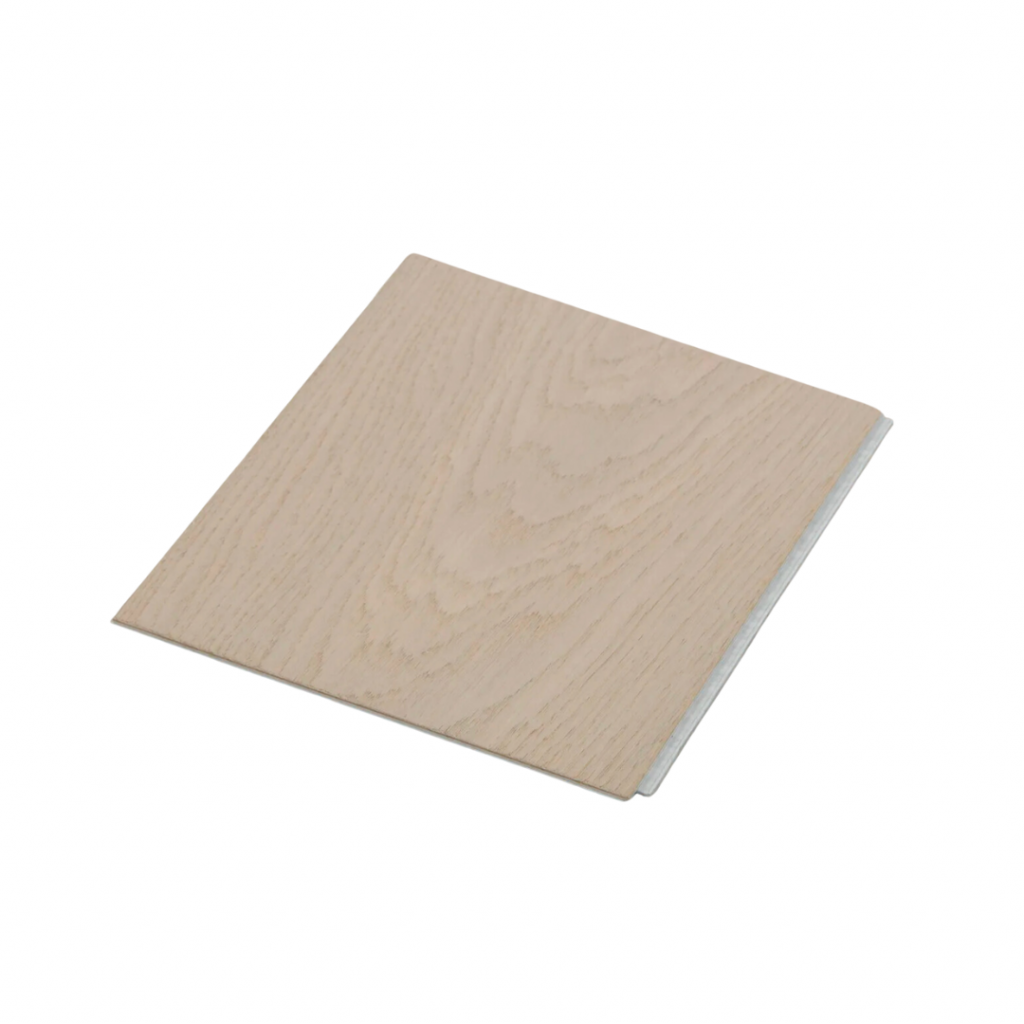
Before installing baseboards, I installed new flooring! I went with this Pacific Oak engineered hardwood by Cali Bamboo. This flooring will also be added in our bedroom and hallway. I installed the flooring using the click and lock method and finished it off with new baseboards that were painted to match the closet.
DETAILS
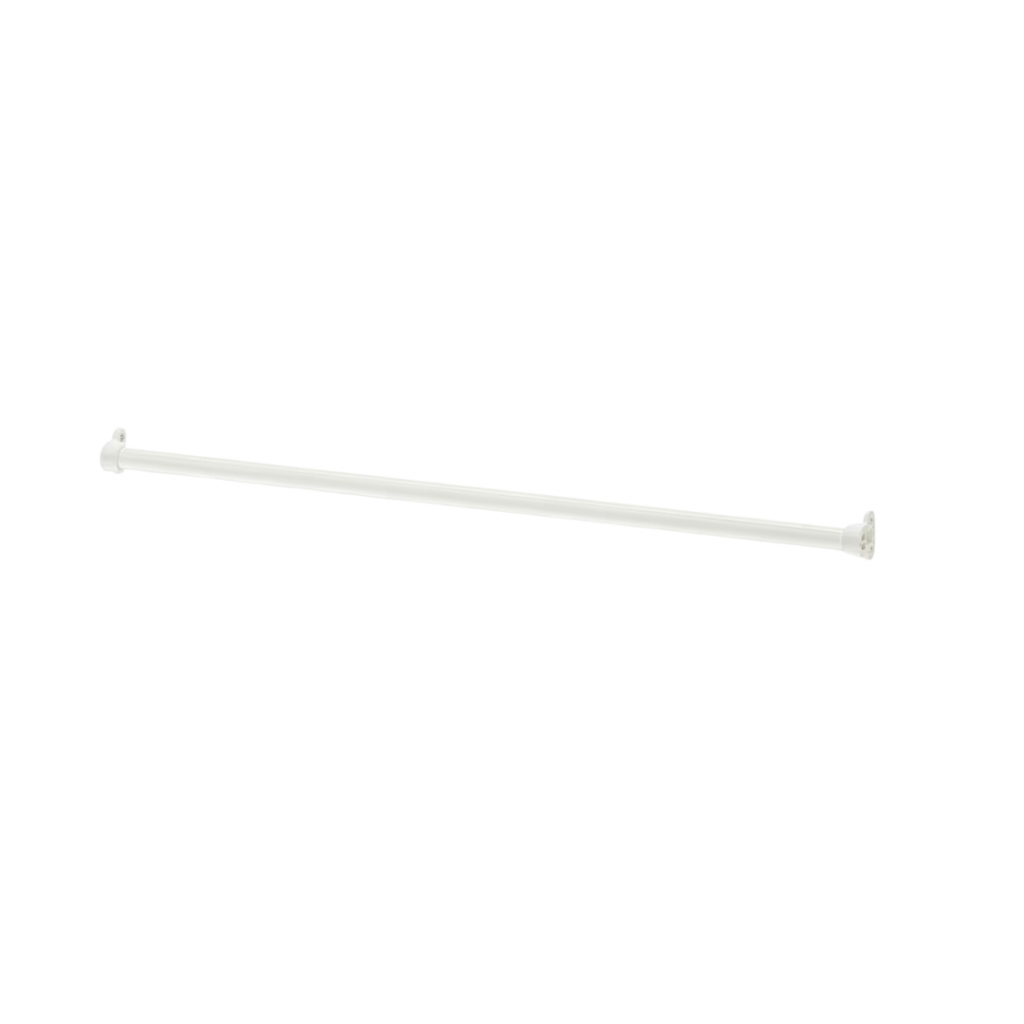
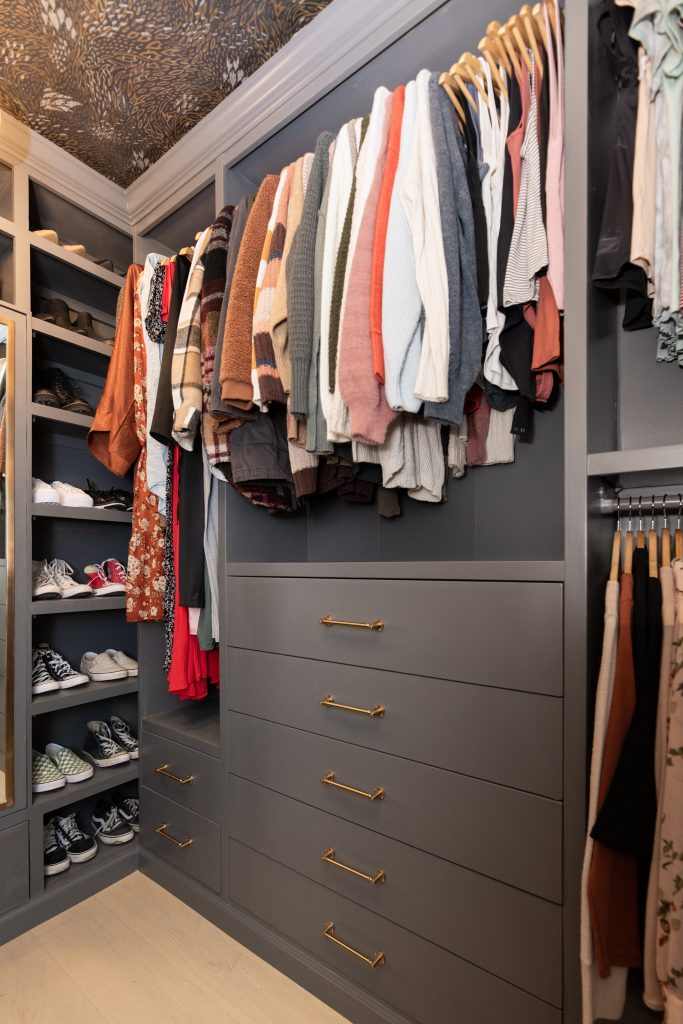
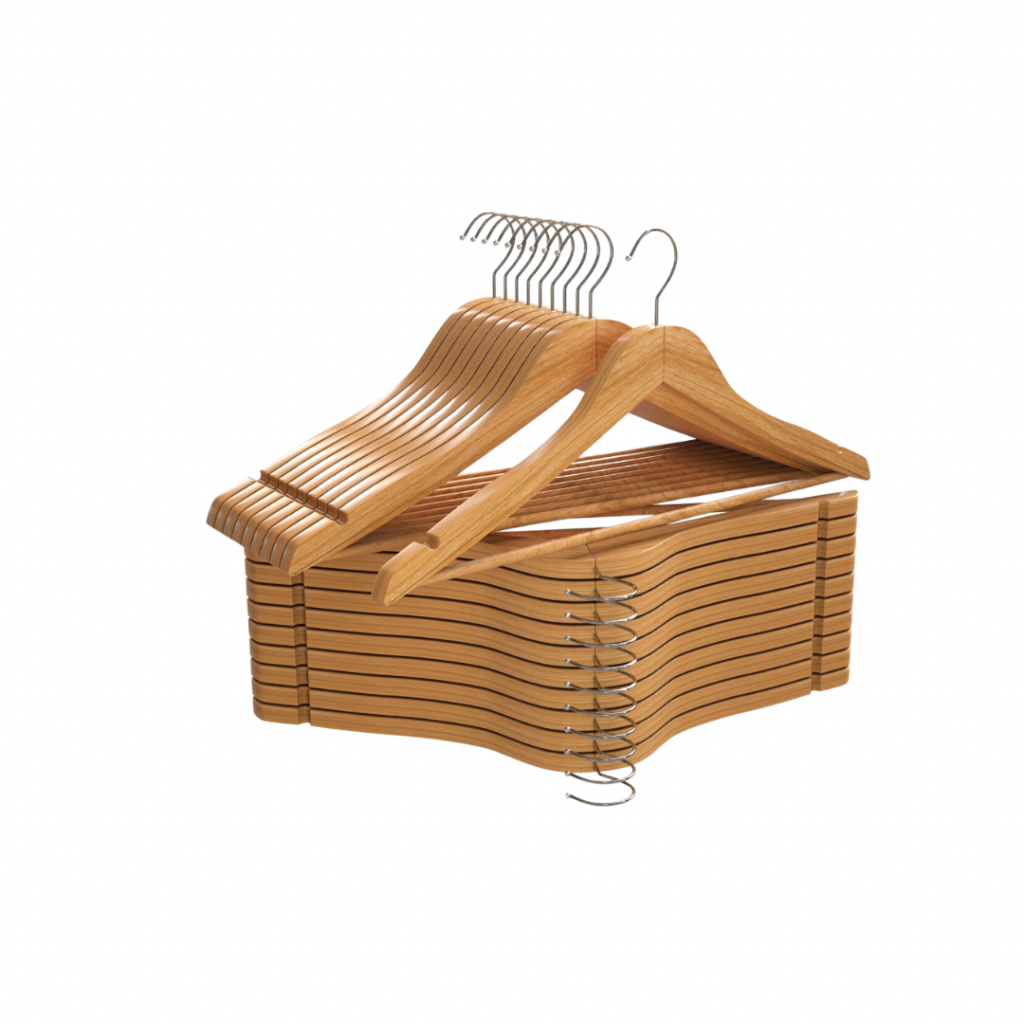
Finally, I used Komplement rods to hang clothing. Since I chose the shorter depth cabinet boxes, I could not center these rods. They are 6 inches in from the edges of the cabinet framing. I used these wooden hangers from Amazon to hang our clothes. I also added a beautiful vintage rug from my friend Nicole @bente_vintage!
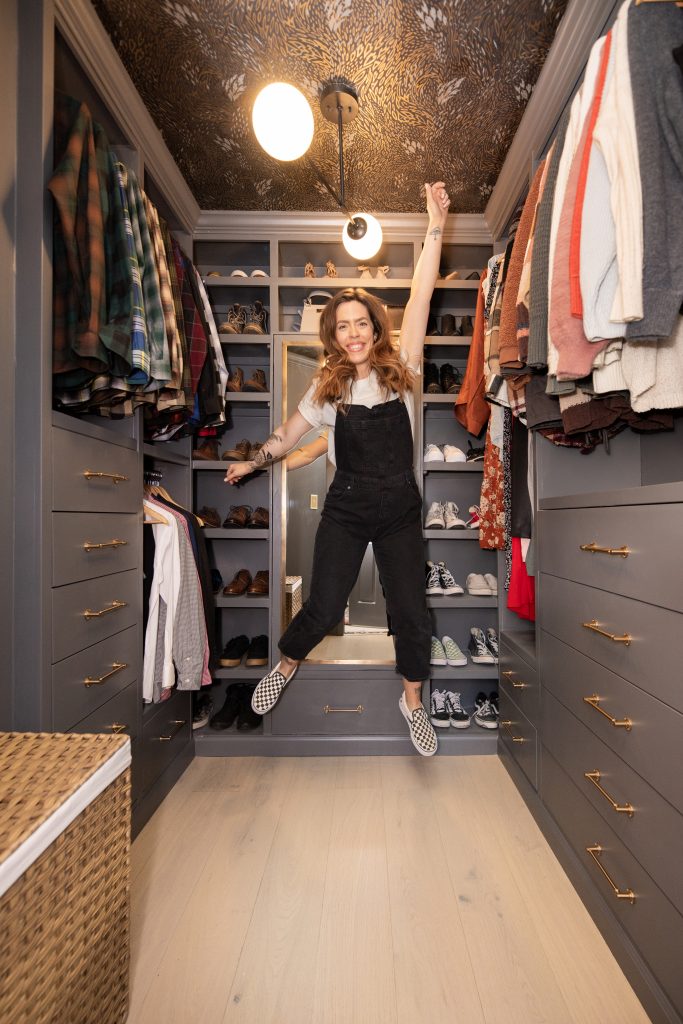
I’m SO PROUD OF THIS DIY CLOSET MAKEOVER!!!! Just for fun, here is a side by side before and after 😉
Overall for the BUILD of this closet, I spend about $1,500. This was for all building materials, Ikea systems, and hardware (not including decorative items like wallpaper and flooring). Since my wallpaper was left over from a previous room, I spent an additional $400 ish for the decorative items. Altogether, this whole closet cost me under $2k 💥
DECORATIVE ITEMS
I love the way your closet turned out Cass, looks so good and I love every detail!
Thanks, friend! I am so so happy with it!
I will try to fix that link issue! I chose to roll the primer because that specific one has very bad fumes. Also it is shellac based, which makes it very difficult to clean the sprayer afterward. I hope that helps! It used to be the same way with my husband until I just committed to not asking him for help😜
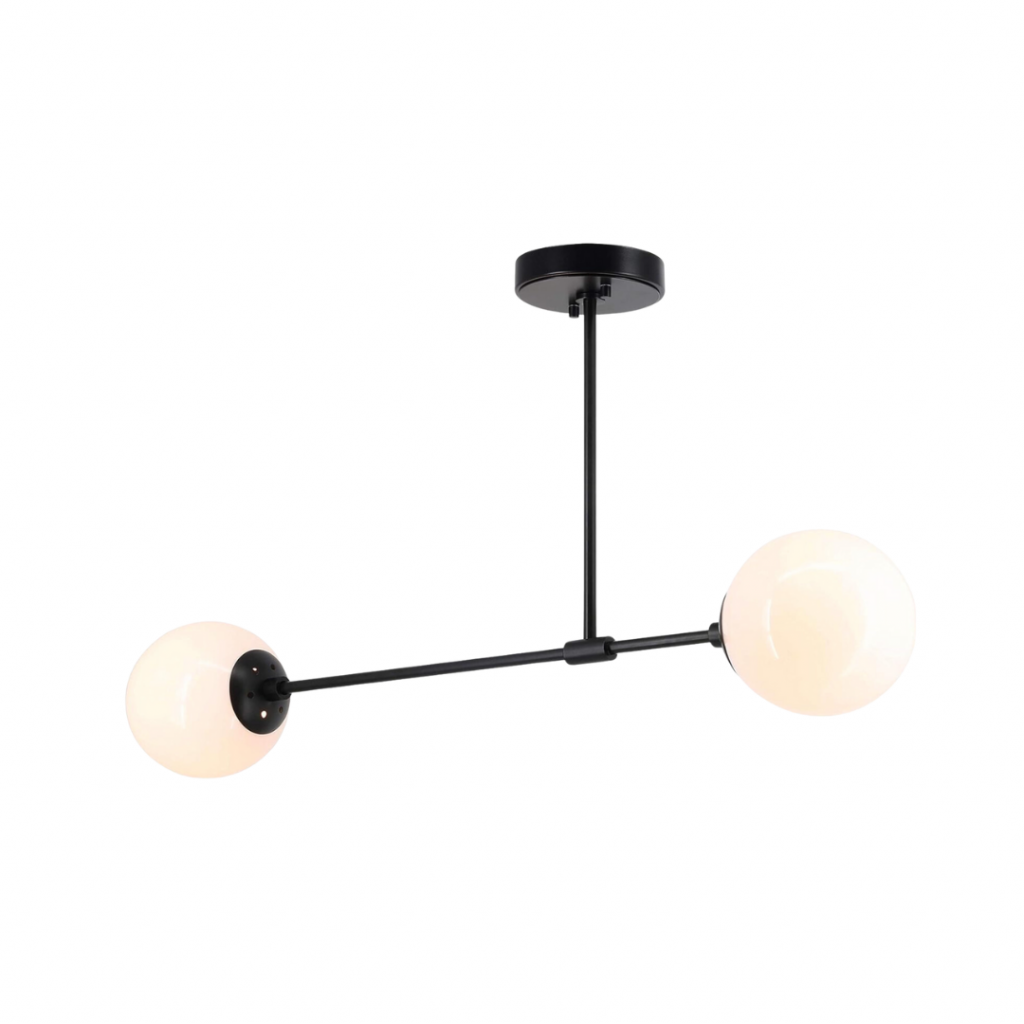
This is beautiful! I love the deep gray you used in the space. What height are your ceilings? Looking at using the same or similar light fixture in a living room!
Thank you!! They are 8 ft in this room!
Hello! Your closet is beautiful. Will you share the paint color and info about the wallpaper that you used on the ceiling? Thank you!!
Hi Lisa! The paint color is Welded Iron by Behr in Satin finish and the wallpaper is Forest Floor from Hygge & West. Here’s the link!
Hi! Yes, here’s the link to the overlay hinges.
Overlay Hinges
Hey! Closet is great, did you drill holes for komplement rods?
We love this! Would you share the dimensions of the room before installation?
Yes! 8 feet long x 7 feet wide!