DIY Bubble Chandelier

Here’s how I made my DIY Bubble Chandelier!
*This post may contain affiliate links, which means I may earn a small commission if you purchase through my links, at no extra cost to you. I only share products I genuinely love.
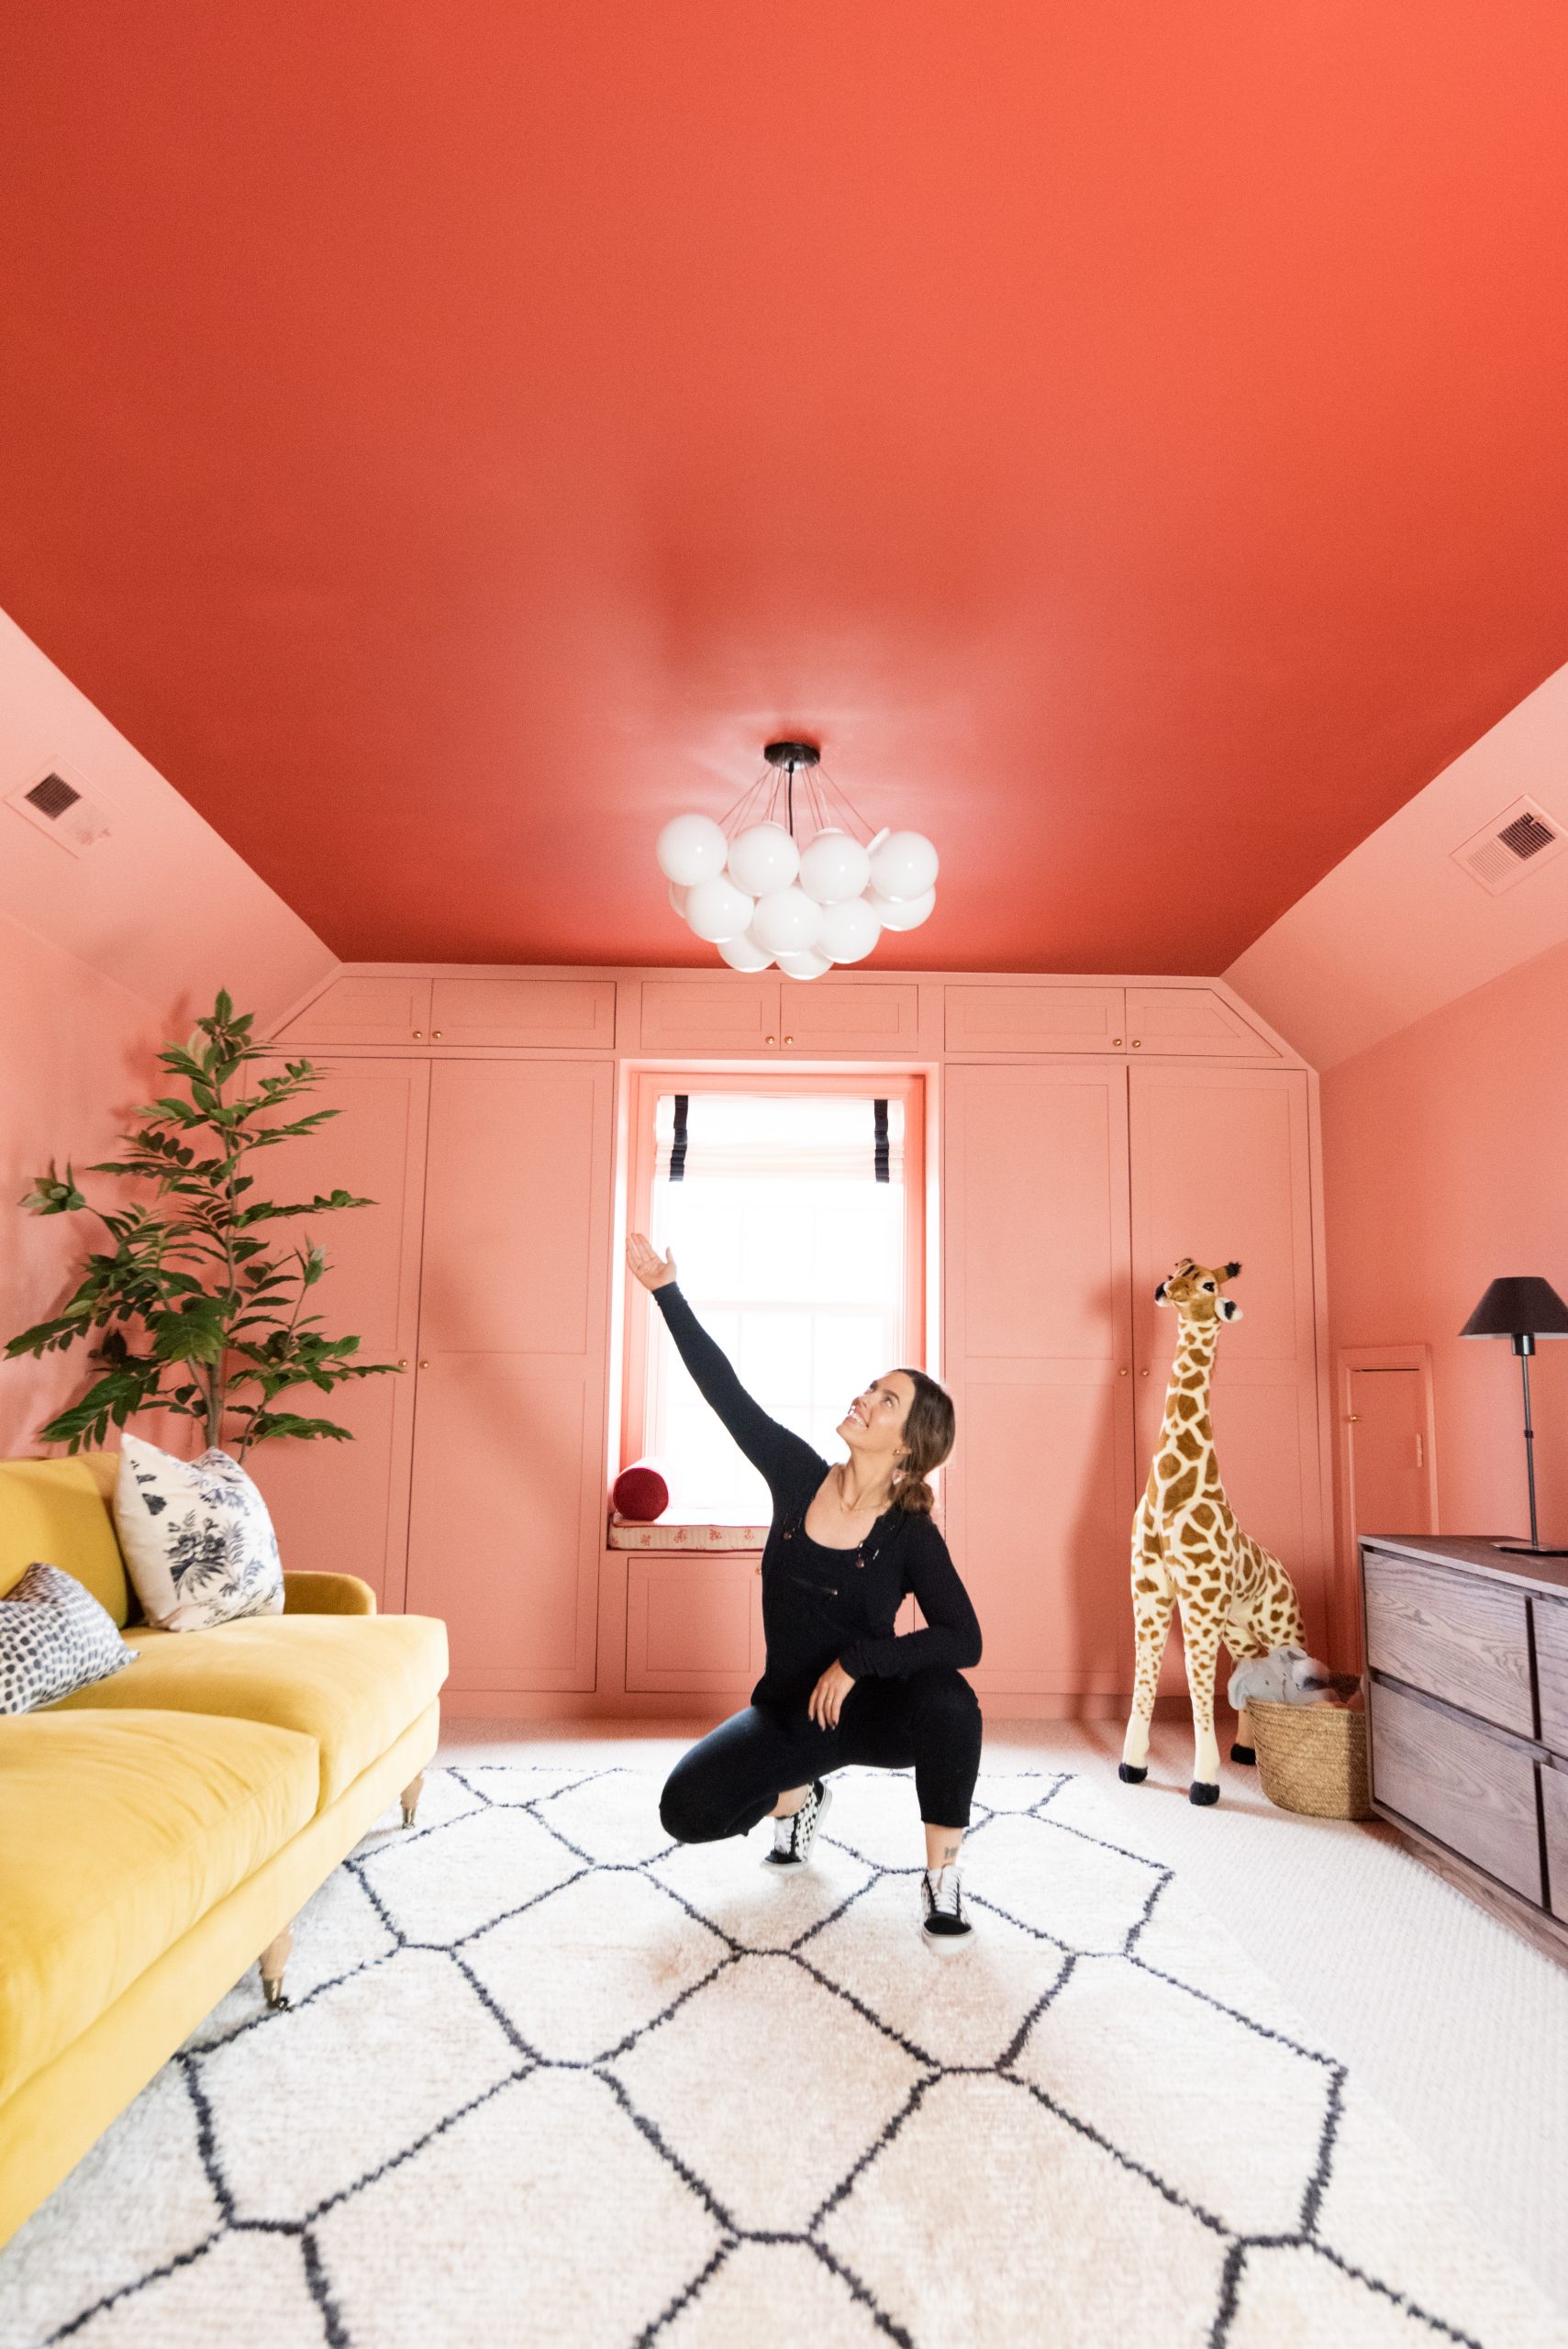
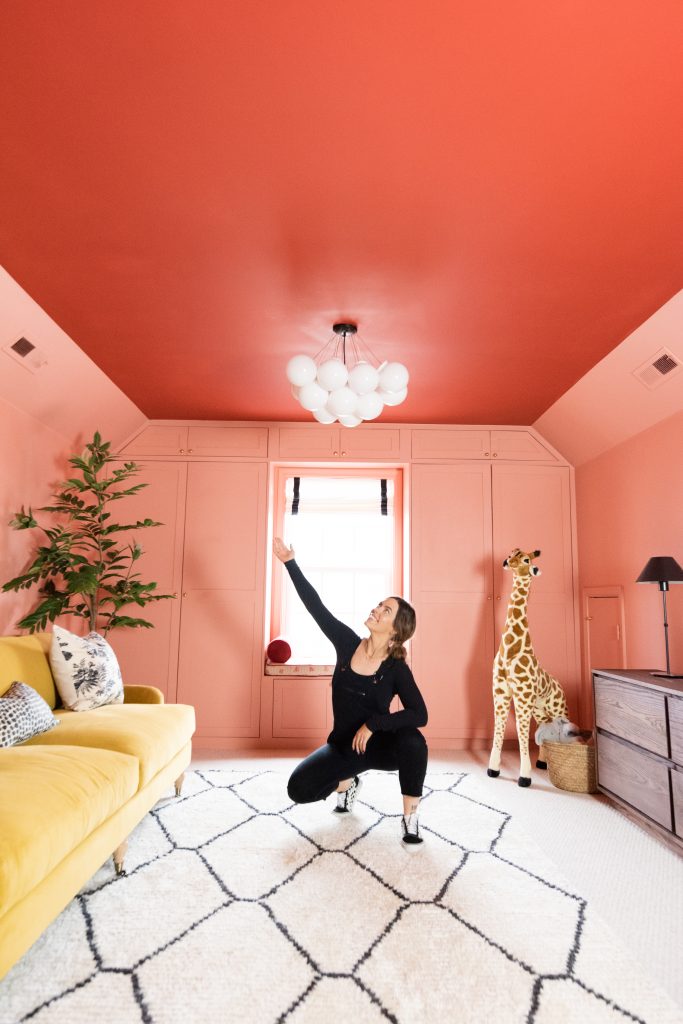
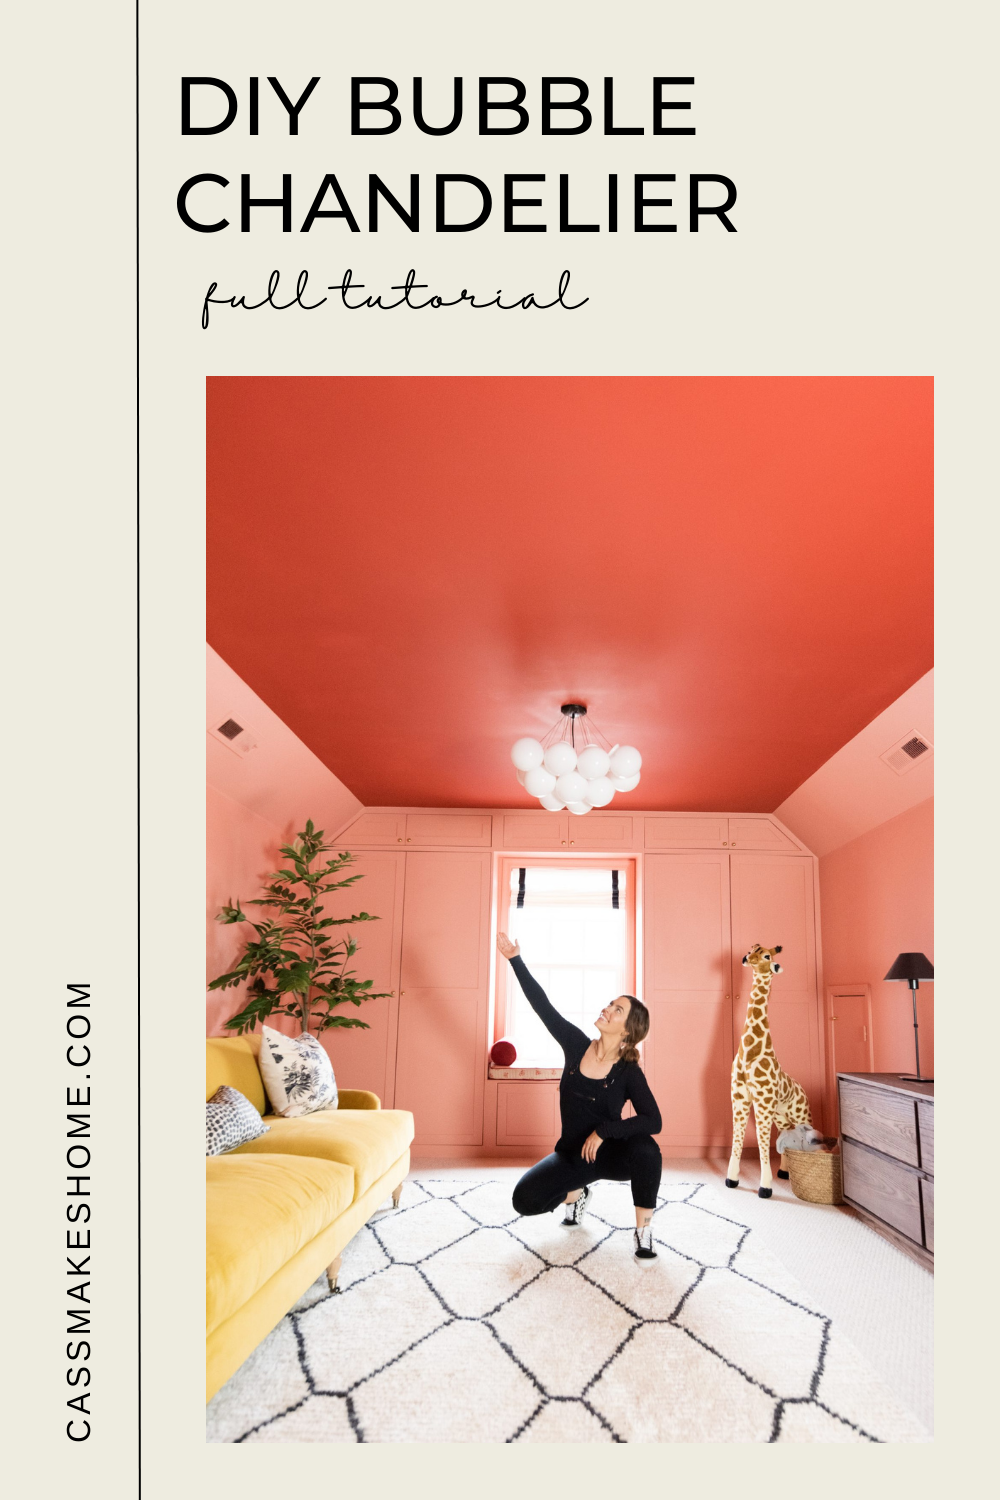
I fell totally in LOVE with a chandelier that I wanted to put in the girl’s playroom. It was fun, whimsical, and straight up beautiful! But of course, was WAY too pricey and I also found out was being discontinued so I could not purchase it. My wheels started turning and I thought, “Why not MAKE it???” Turns out, making this chandelier was one of the EASIEST DIY’s I have ever done! And it turned out SO GOOD!
The inspiration: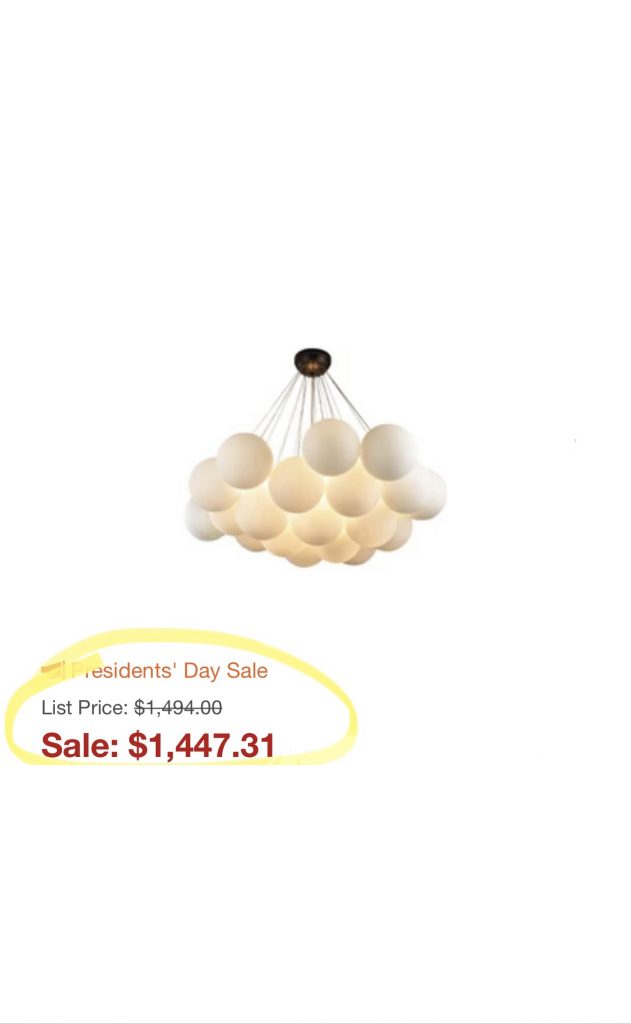
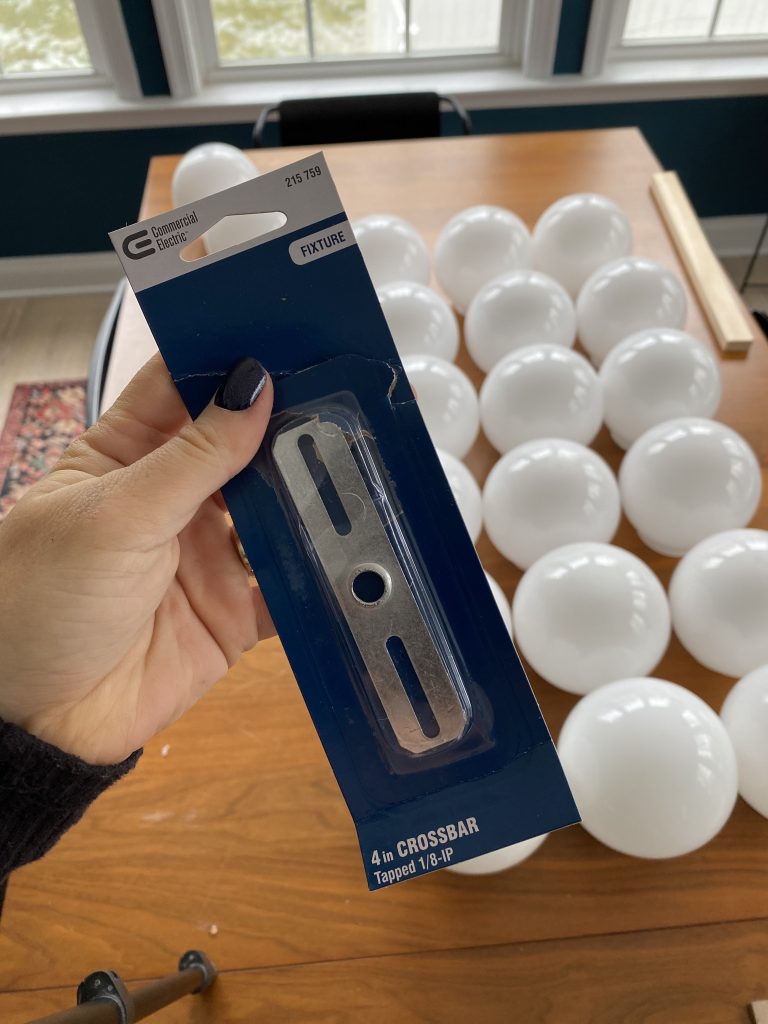
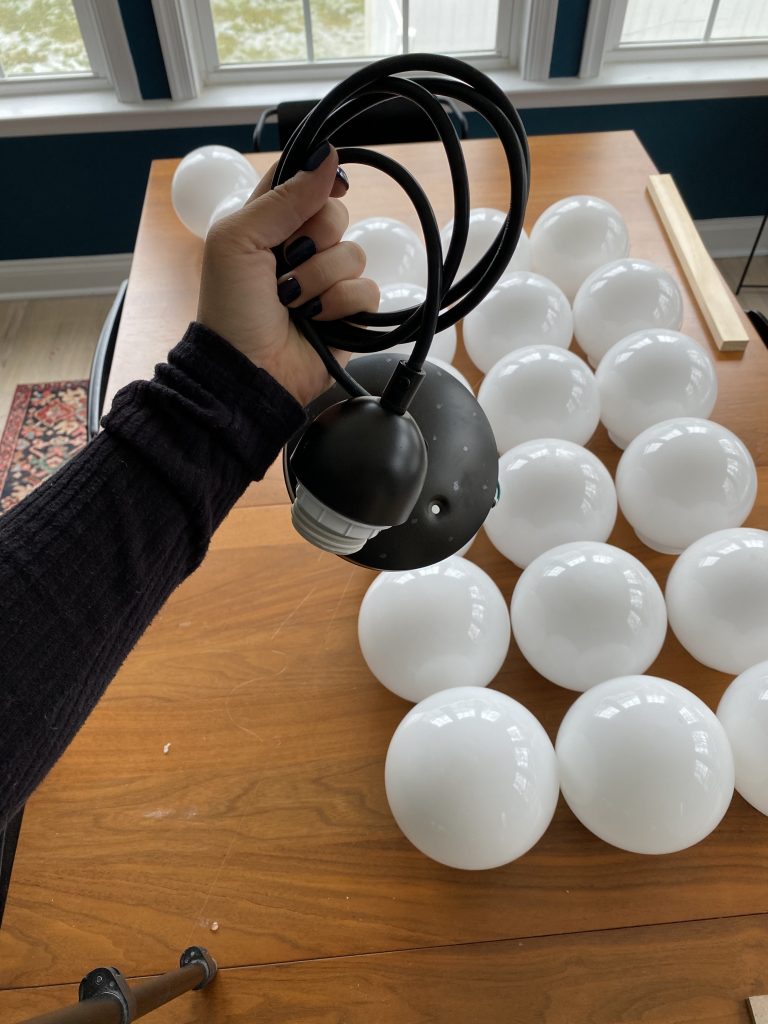
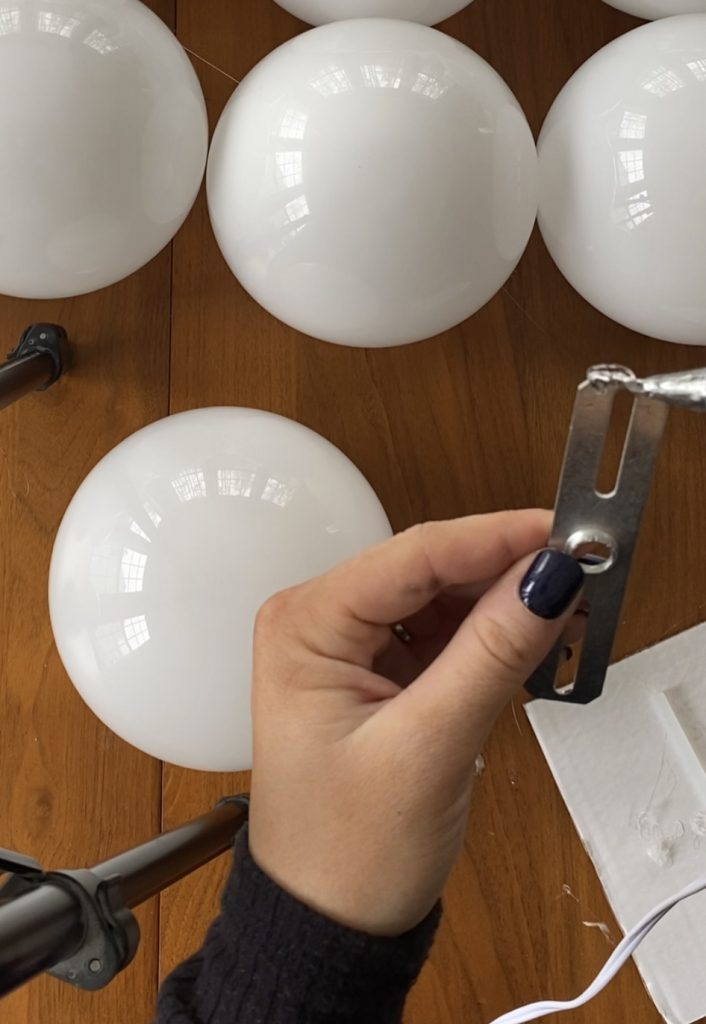
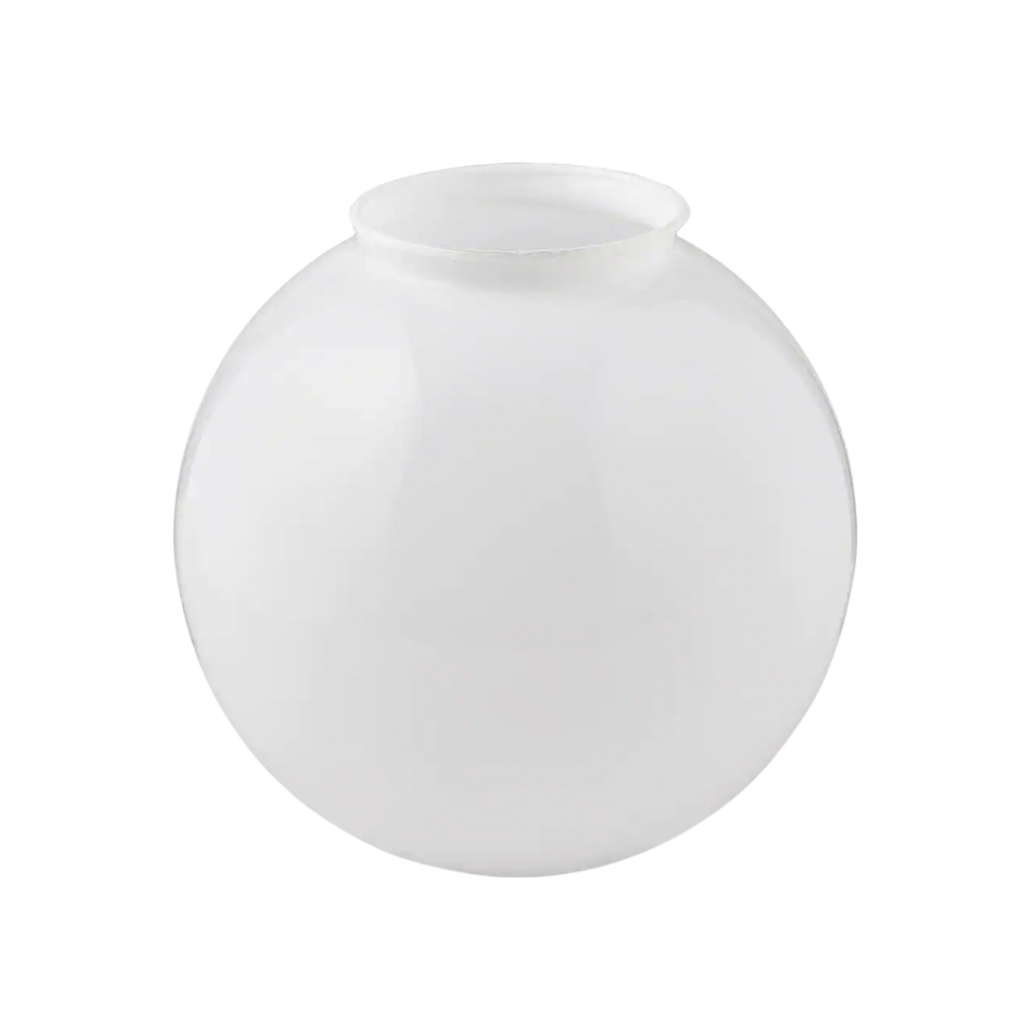
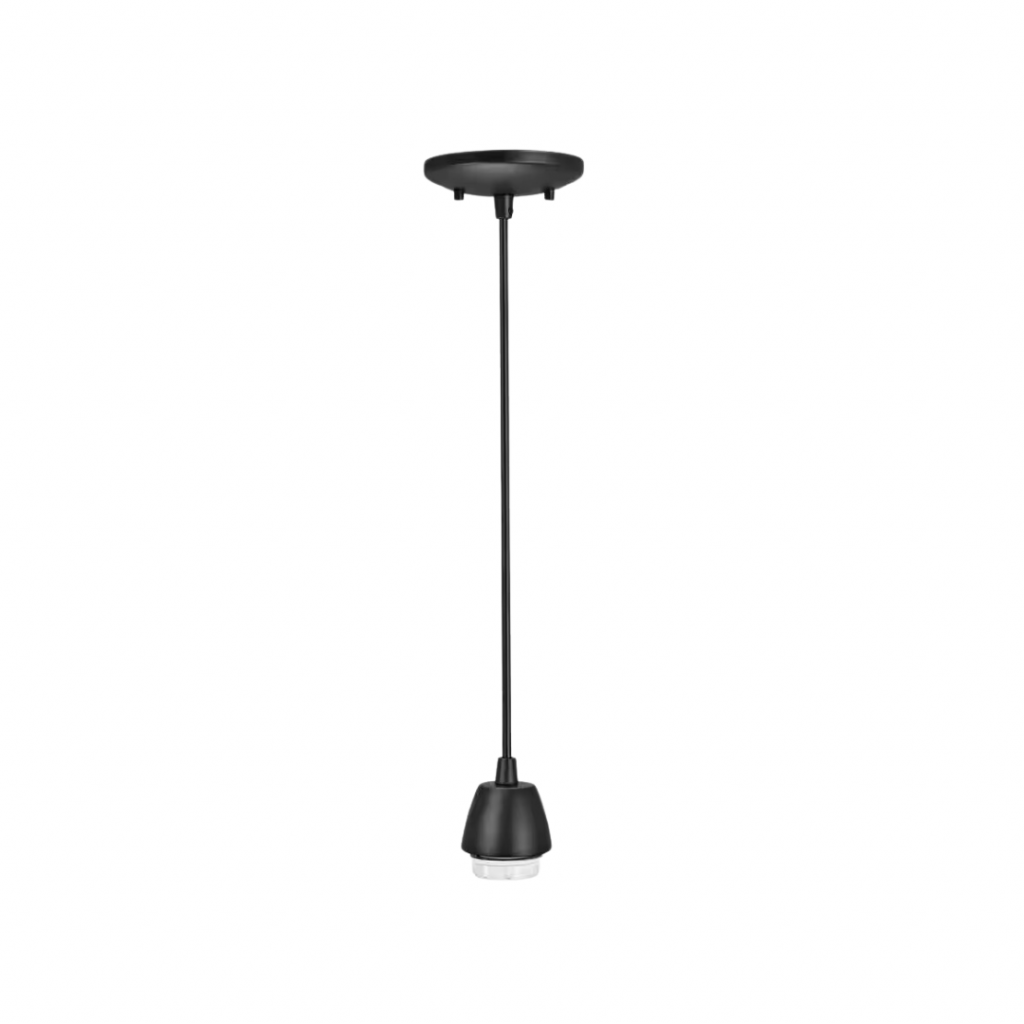
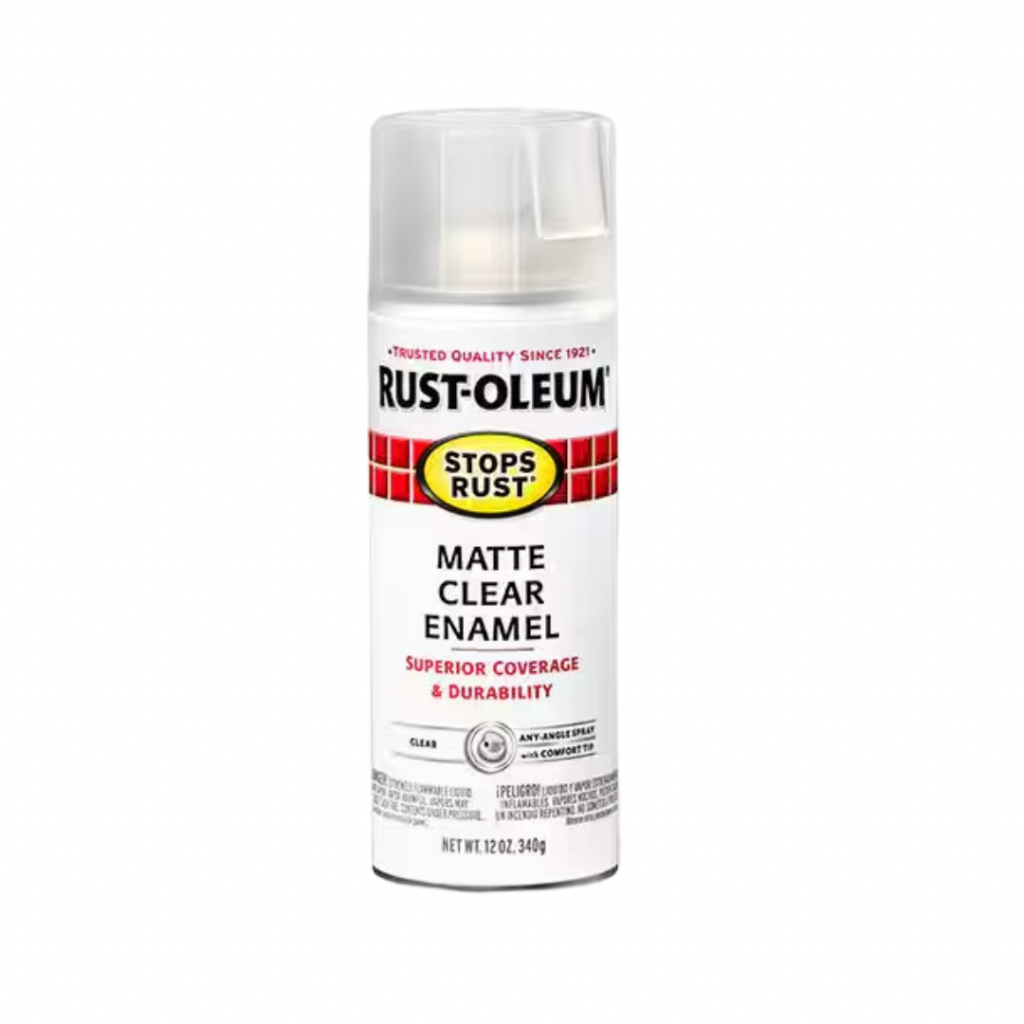
So I traveled to multiple Home Depots to purchase 20 of these 6 inch glass globe shades. Although the shades on the original chandelier were matte, these are glossy. I probably could have sprayed a clear matte enamel on them to give them a matte look! SO simple. Regardless, I think they worked great for this! I found these globes in the lighting section along with these metal cross bar brackets. I grabbed a few different types of these, but found that these worked the best and were the cheapest. I’d recommend ordering these since it seemed that each store did not have any in stock. I also grabbed a mini pendant light kit and two packs of lamp wire.

MATERIALS:
20 Cross Bars
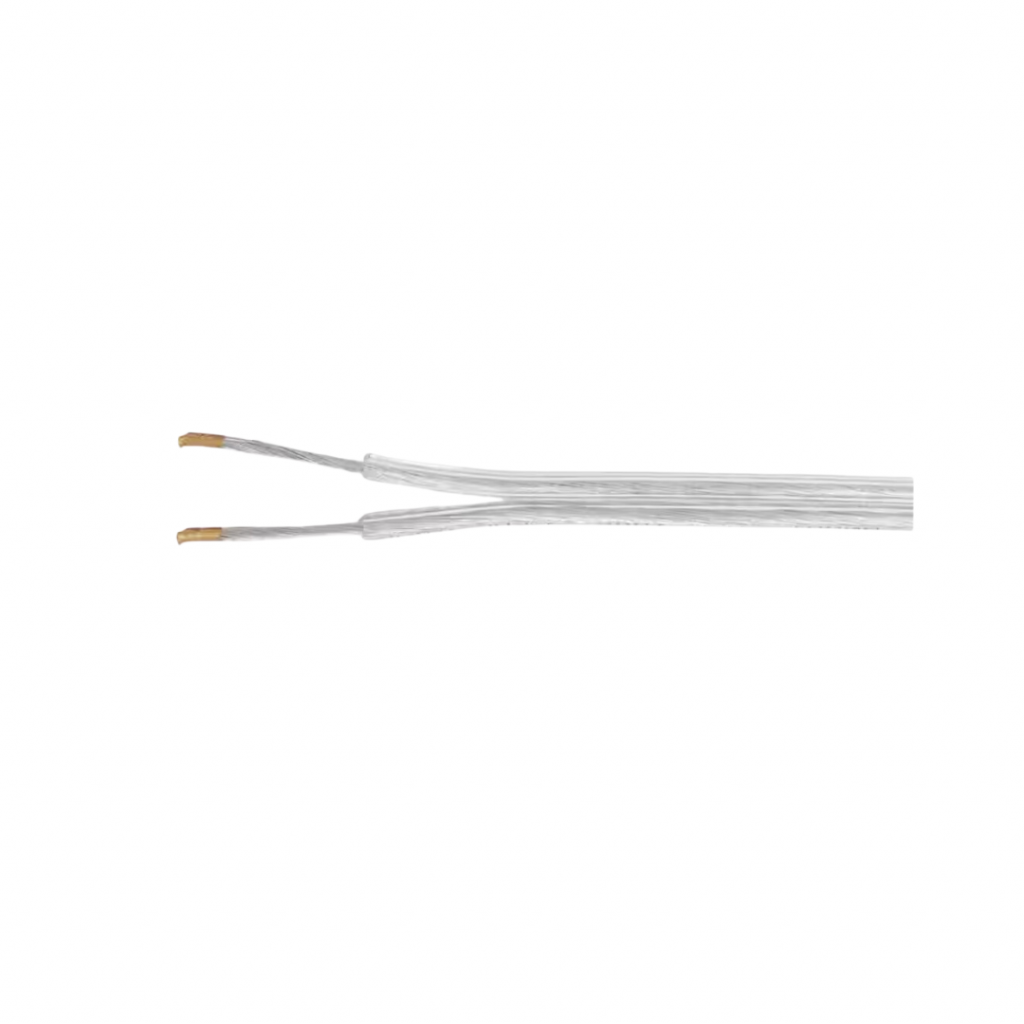
Lamp Wire x 2
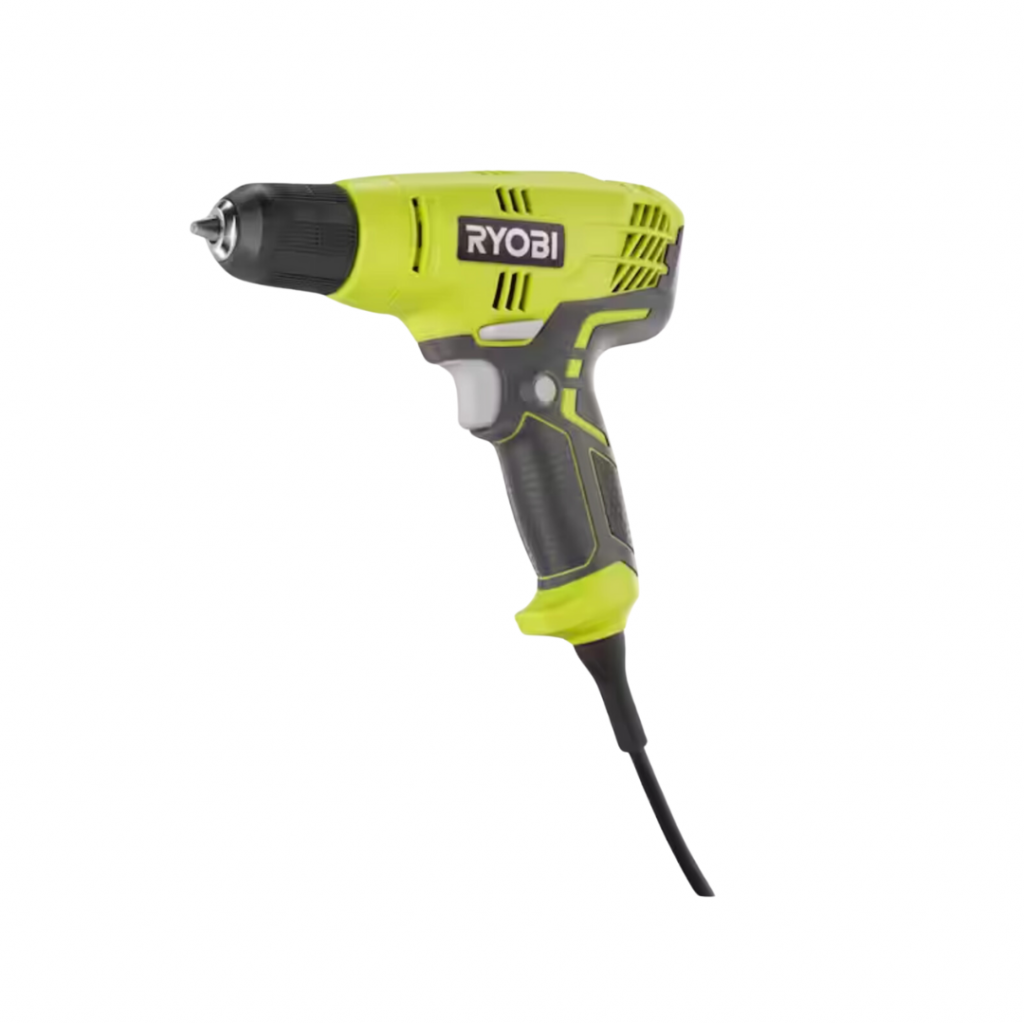
Drill/Small Bit
Step 1
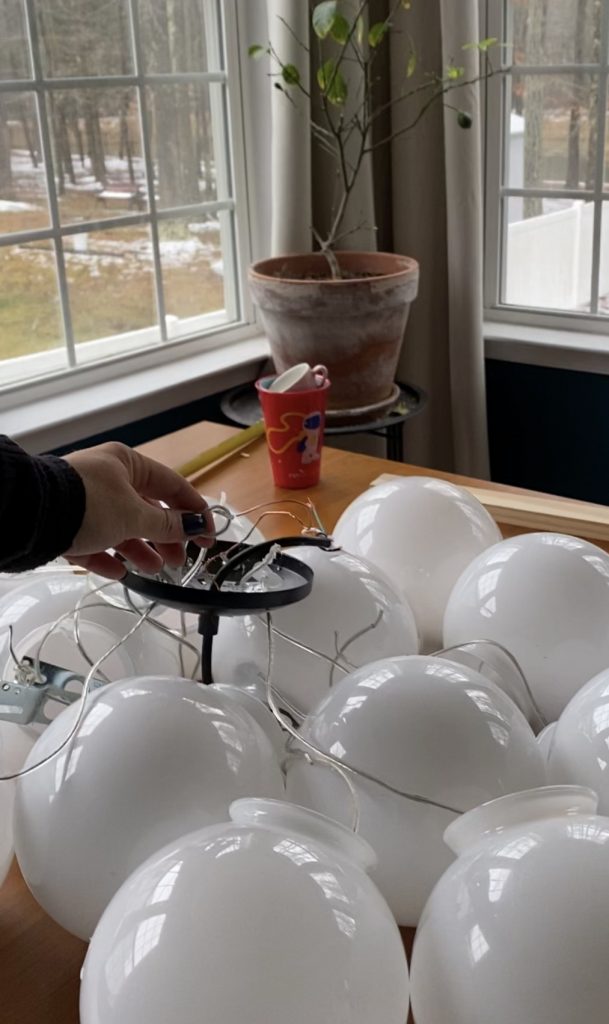
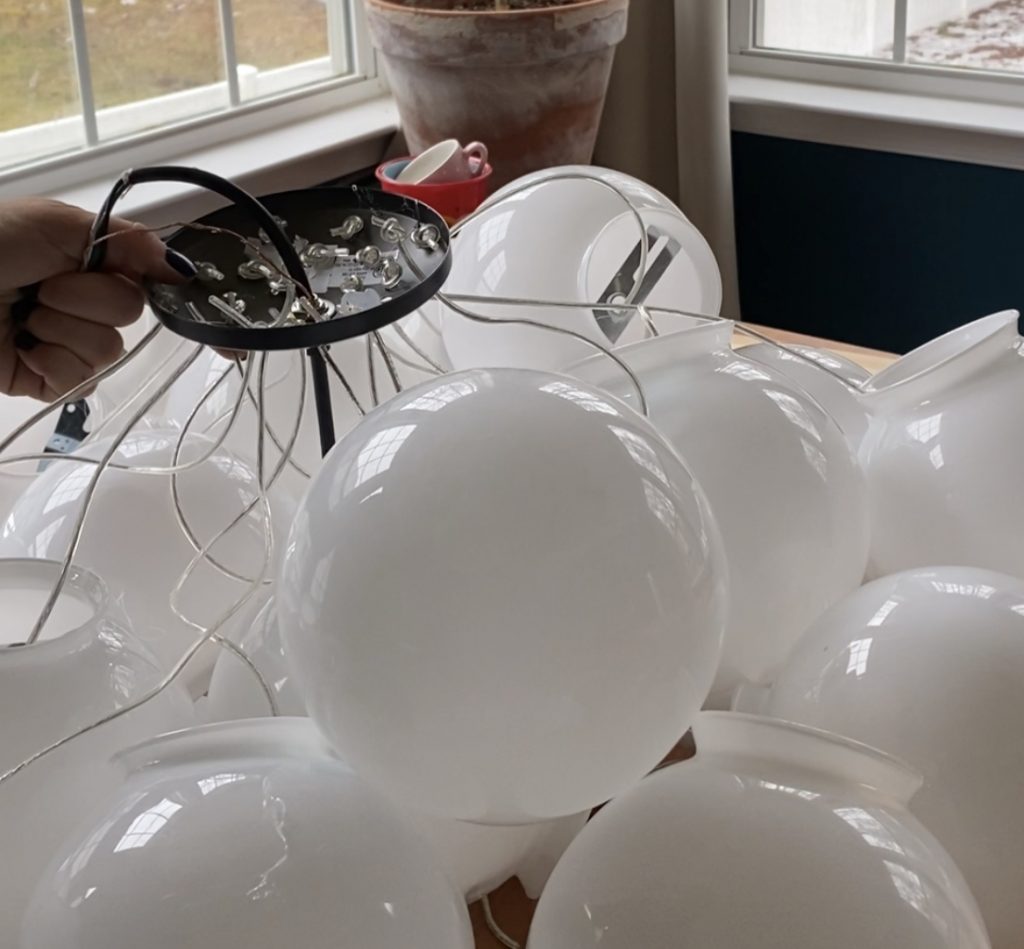
I started by adding some hot glue to each end of my cross bars and turning them to place inside of each of my globes. The globes would not have bulbs in them, and this was only to connect the lamp wire to the globes. I let each globe sit (opening end down) while the glue dried. While the glue was drying, I used a pencil to make 20 marks on the canopy of my pendant light. I tried to space them out evenly. Also, I grabbed my lamp wire and split it all down the middle. I did this by just pulling the ends apart all the way down until the two wires were separated.
Step 2
I then began to make marks with a pencil on the light canopy. I made 20 dots that were evenly spaced apart (just light the original chandelier). Once my marks were good to go, I prepared to drill a hole on each mark. I found a drill bit the exact size of my lamp wire (which was split). I proceeded to make a hole at each mark with my drill (make sure your surface is protected for this step). To do this, I started slowly on the mark to create a small indention. Then I turned up the speed and pressed down to force through and make the hole.
Step 3
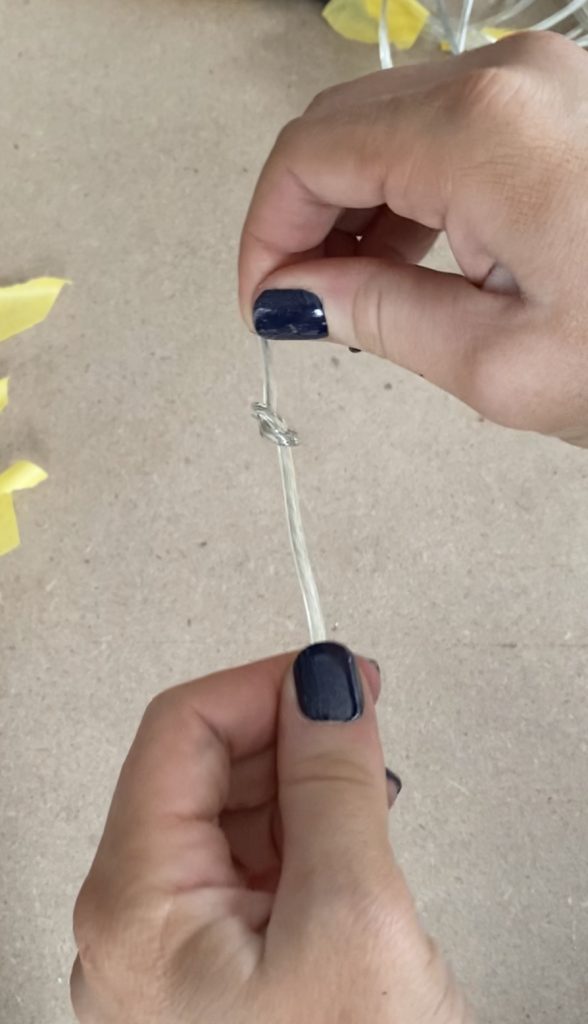
Then I began measuring and cutting my lamp wire. I tied a single knot in the top of the wire and measured 13 inches down. Next, I placed tape at the mark and cut a few inches past that. Marking with a sharpie would have been much easier for this! I repeated this step until I had 20 cut wires. I then threaded the open end of each wire through the hole in my brackets on my globes. Doing this allowed for the knot to hold the globe. For the brackets that had a large hole in the middle, I would thread the wire through one of the smaller holes off center.
Step 4
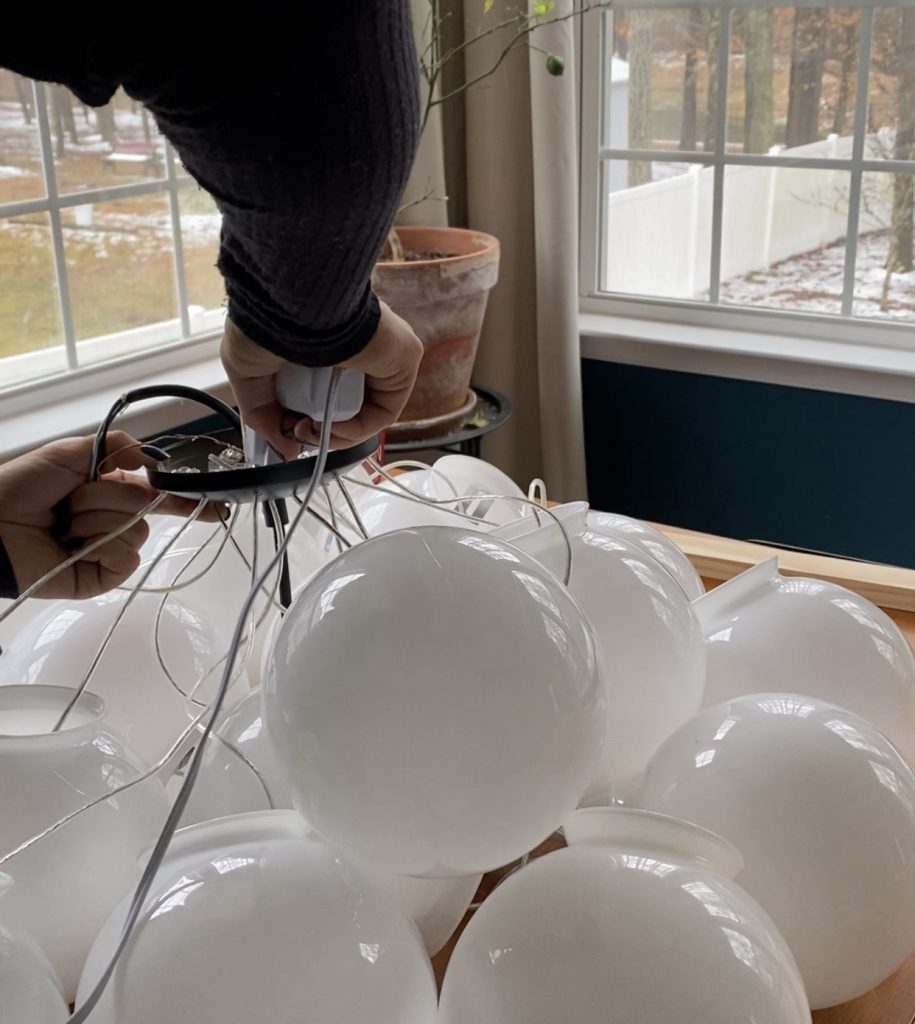
The next step was to begin threading my wire through my canopy! When doing this I made sure to pull the wire through each canopy hole and stop that the tape/sharpie mark. I would then tie off with another knot inside the canopy and snip the excess with scissors. For the globes that hung along the outside, I tied them just slightly shorter than the others. Doing this make it look much better while hanging! Once everything was tied and trimmed, I used some additional hot glue on each knot for extra security.
Step 5
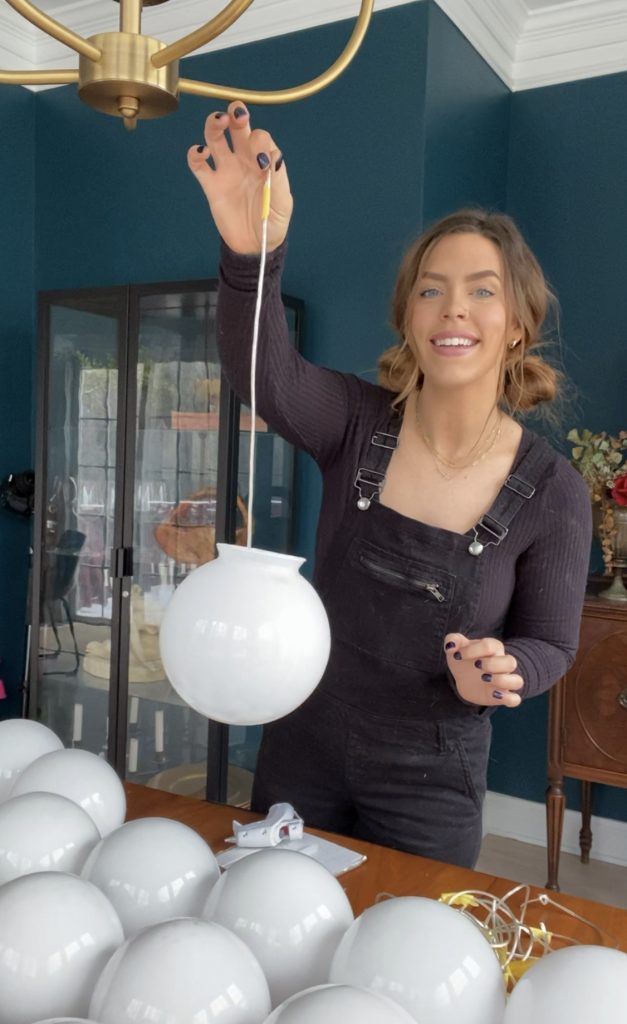
After the glue dried, I made sure that my pendant was the correct length. I shortened it to about 11 inches from the top of the canopy (using the little screw on the side of the wire) to the bottom of the light kit. This ended up being slightly too long, so I shortened it about 1-2 more inches so that once I screwed in the light bulb, it hung down in between all of my globes. I trimmed the excess wiring and then hung my chandelier!
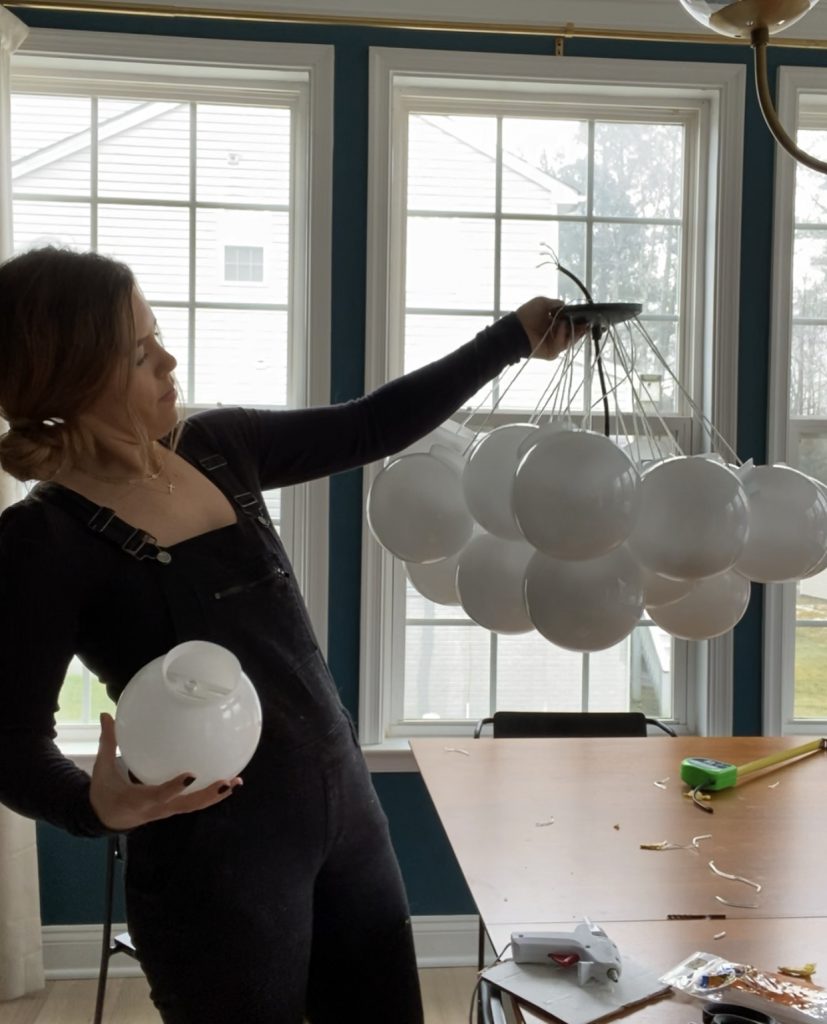
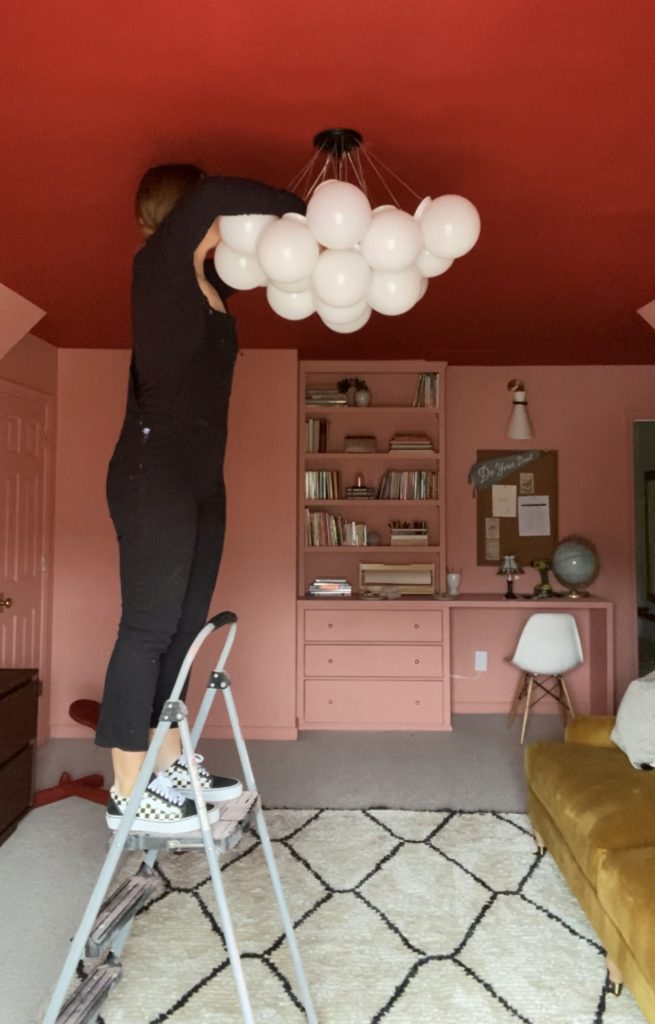
Once my light was hung, I had to do some shifting with the globes so that the wires were not twisted. This part was so important! I also shifted them around until most of the globe necks were not visible. This was not necessary, but I think it makes the light look much better!
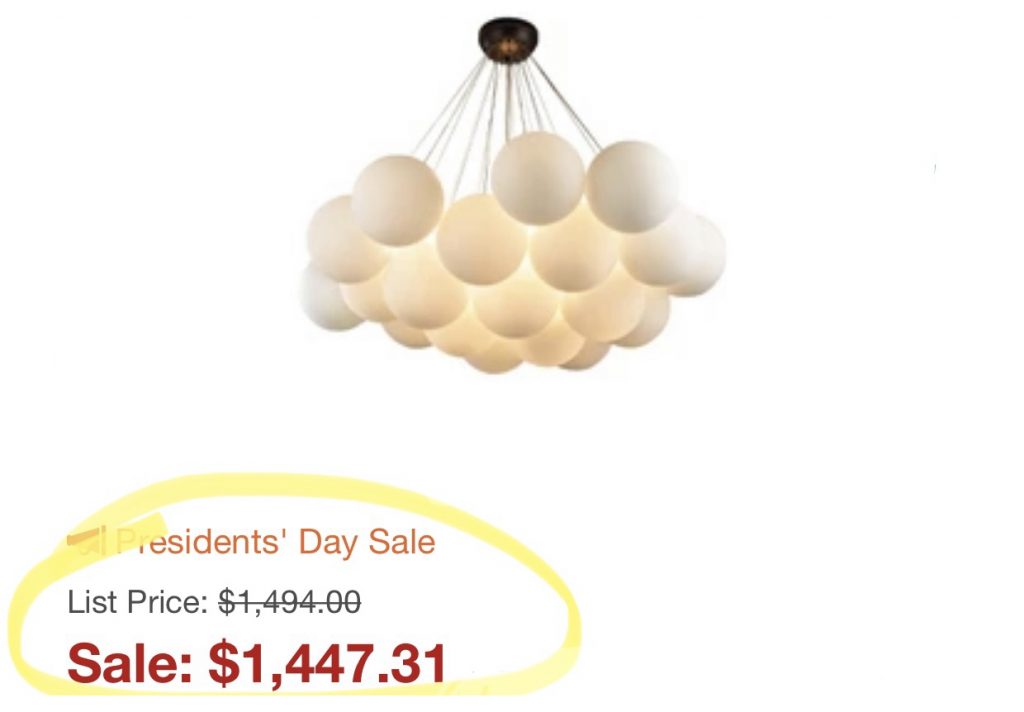
Overall, this was SO easy to do and only cost me about $230 compared to $1,500! I’m sure there are also other modifications that could be done to this to make it even cheaper than that!
-Cass
Here’s everything I used for my DIY Bubble Chandelier:

so there’s only one bulb in the whole thing? not a bulb for each “bubble”?
what does it look like turned on?
This is just so cool. I love anything with those white globes. The original has six! 60 watt bulbs. Seems to me that would look ready for an airport landing. I like your version better. You have a super ingenious way of thinking.
Thank you so much!! I thought the same thing! The lighting is perfectly subtle!
I love it! But how do you change the light bulbs if the cross bar is glued in?
There is only one bulb and it is not inside of a globe!
That sh** gangster
The chandelier you created sounds absolutely incredible! It’s so inspiring to see how you turned a disappointing situation into a fantastic DIY project.
Aw, thank you so much!! I love it too…so sweet to work on this with my sister ❤️