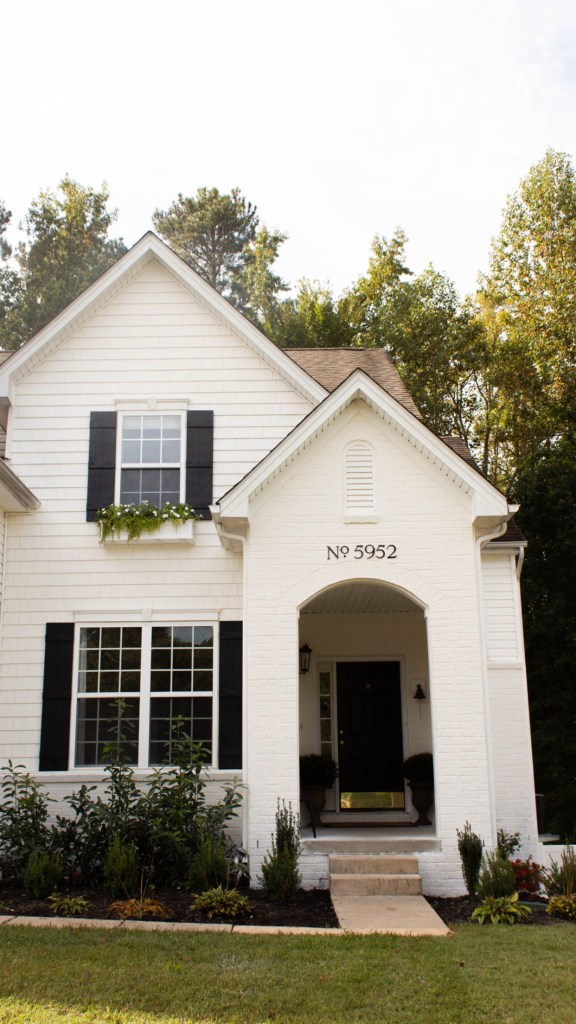
DIY Brick Pavers

After painting the house, I realized that our concrete porch/steps were in need of some attention. My mind immediately jumped to aged herringbone brick. It is just SO beautiful and classic! Immediately I knew that this is what our porch needed. I found these thin brick pavers by Old Mill Brick. They are the perfect warm aged look that I was going for! I’ll be laying my own DIY brick pavers!
*This post may contain affiliate links, which means I may earn a small commission if you purchase through my links, at no extra cost to you. I only share products I genuinely love.
Because my porch and steps are concrete, I am able to install the pavers directly on top. The whole process will be pretty simple! I’ll lay the brick out onto the area to get an idea of how I want them. For my 96 sq. ft. porch and two 4 ft wide steps, I purchased 9 boxes of the Herringbone Brickwebb, 3 boxes of the Thin Brick Singles, and 3 boxes of the Thin Brick Corners (all from the Castle Gate Collection). I also purchased two bags of the Old Mill Brick Tile Adhesive.
Products used for my DIY Brick Pavers:
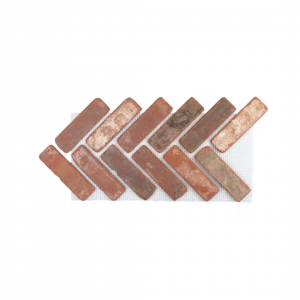
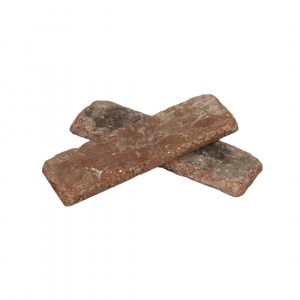
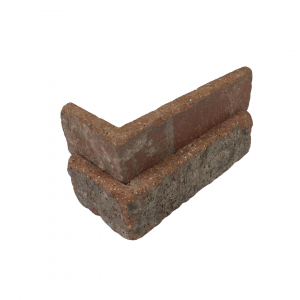


-Brick Pavers (Herringbone Sheets, Single Pavers, Corner Pavers)
–Safety Glasses/mask/gloves
PAVER INSTALLATION
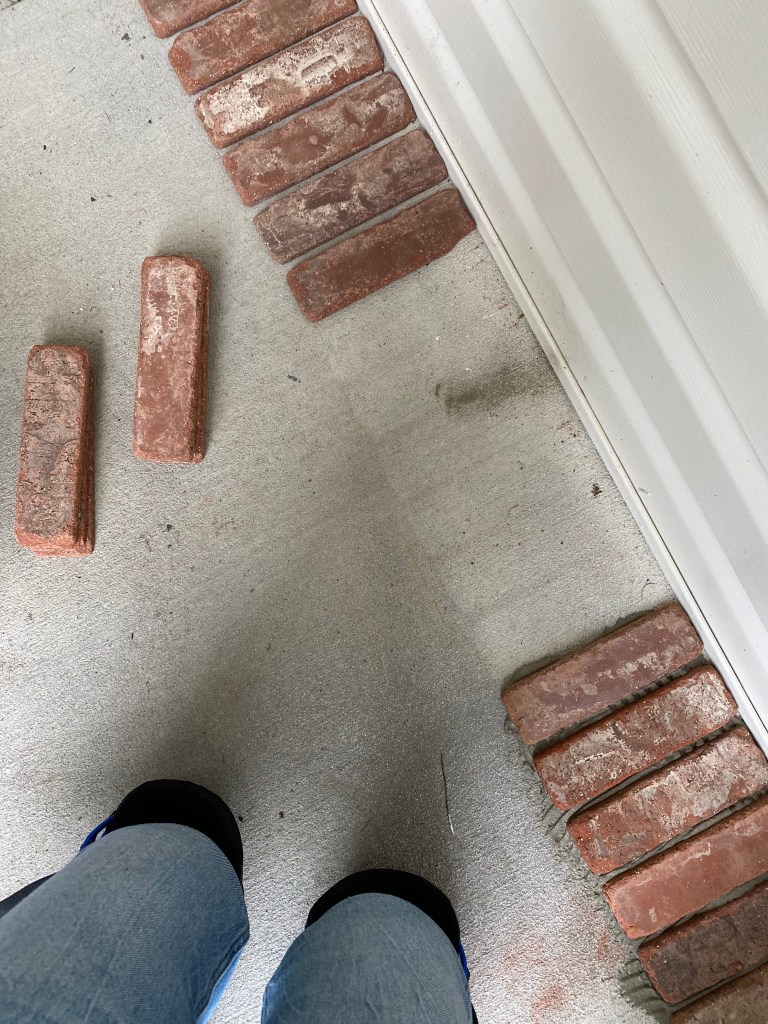
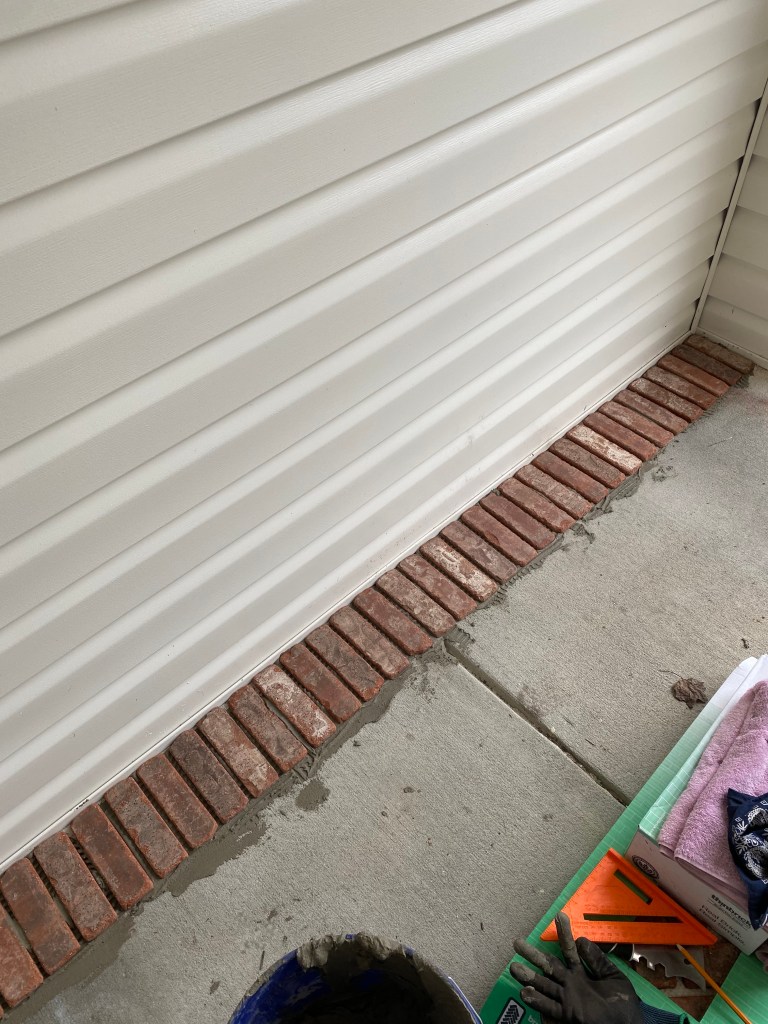
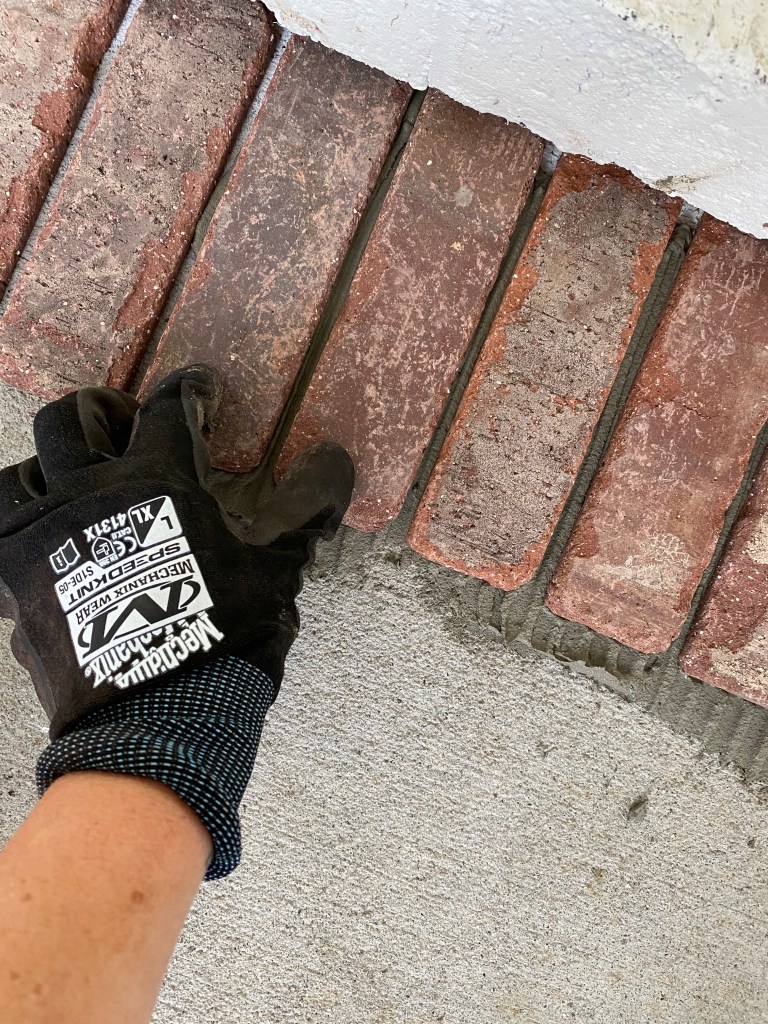
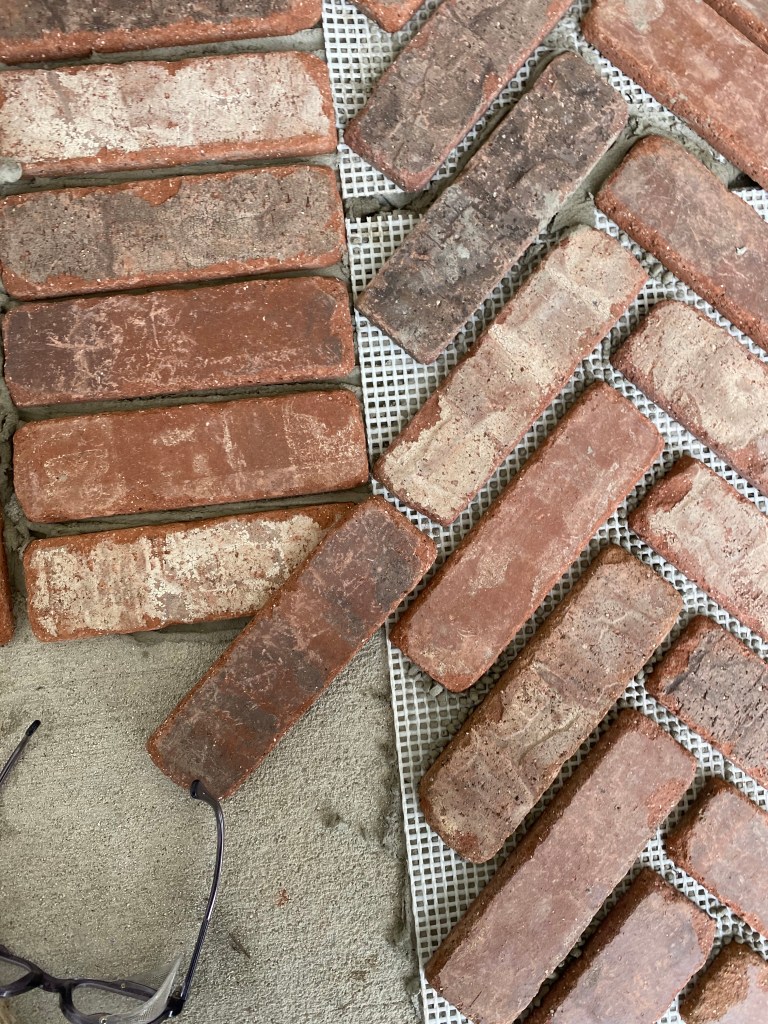
My first step is to start arranging my border brick pavers. I love this look on a brick pathway/patio. It looks more intentional than just a pattern with no border. I’m laying the brick singles turned facing away from the walls to create the border. Once my border meets a corner, I’ll turn the bricks.
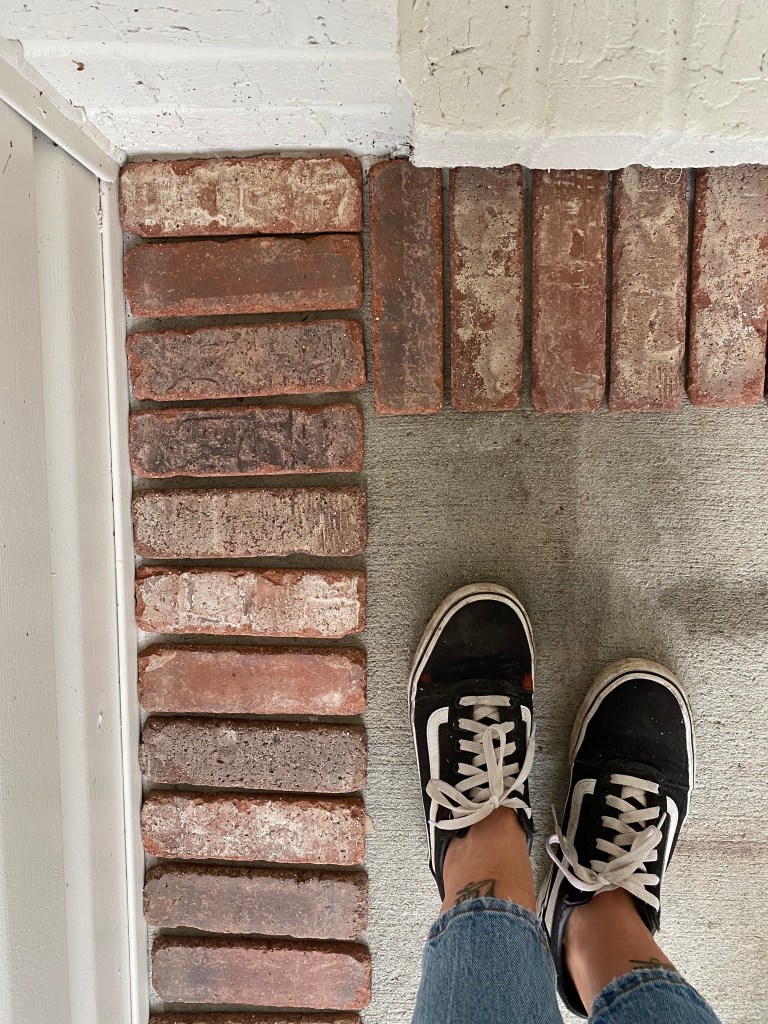
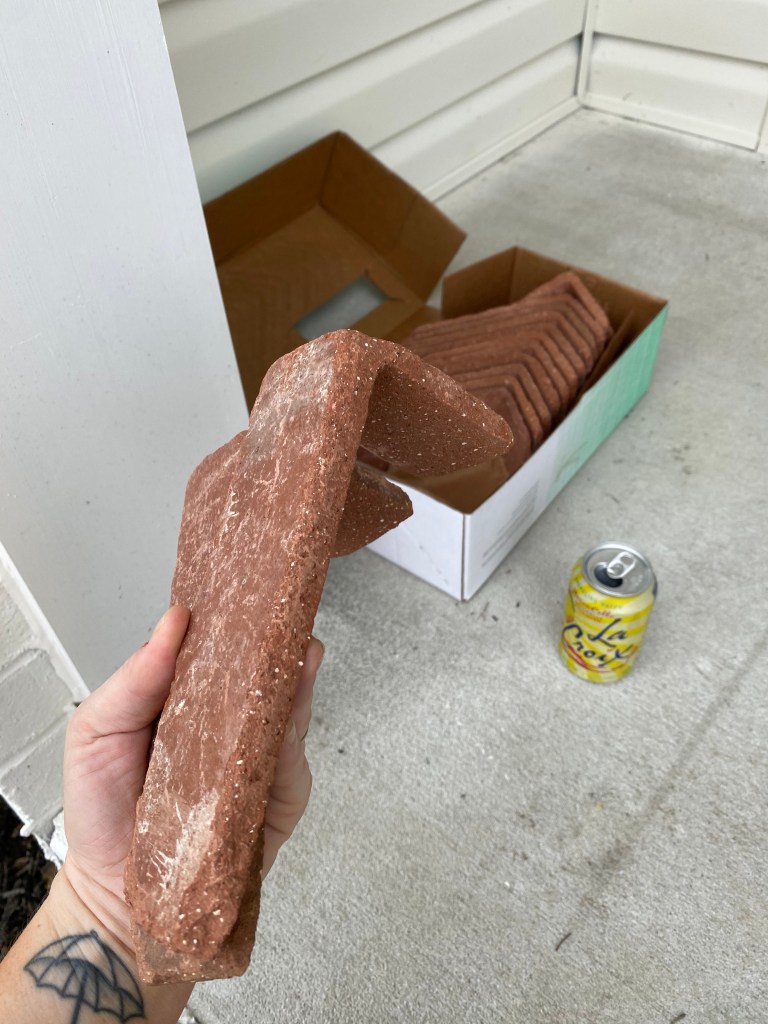
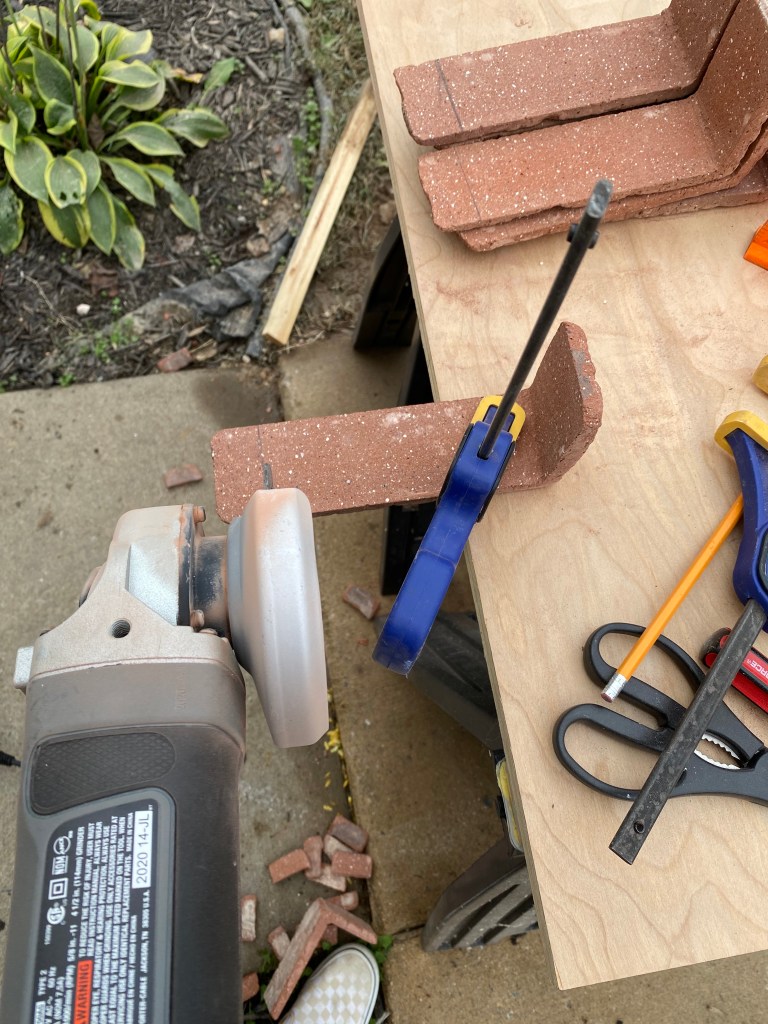
I’m arranging my corner pavers along the edge of the porch. While doing this, I’m making sure to space out each paver the same width of the bricks in the herringbone sheets to get it all cohesive. My corner pavers need to be slightly shorter (about 1 in.) in order to sit flush onto the step. I’ll clamp down each piece to a piece of plywood on my sawhorses, and cutting each one down with my angle grinder (using a diamond blade). My corner pieces are now ready to be installed!
Corner Pieces


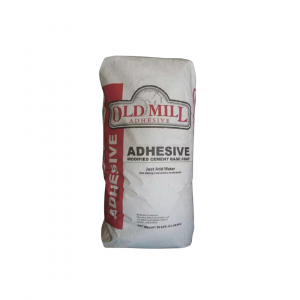
Tile Adhesive
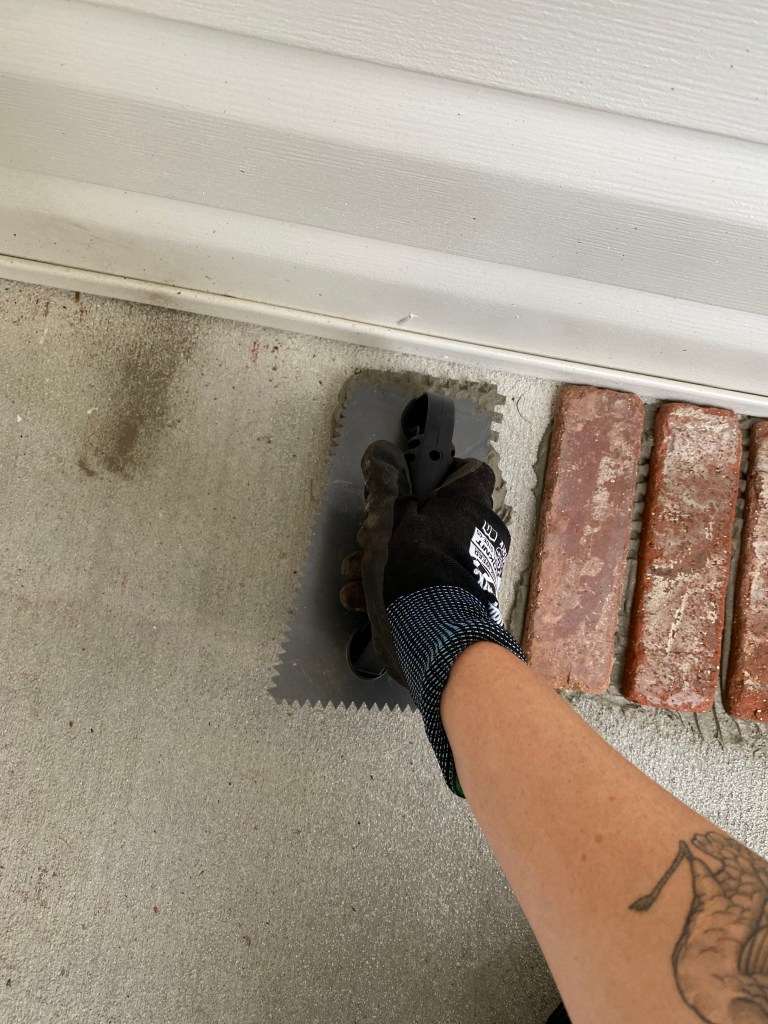
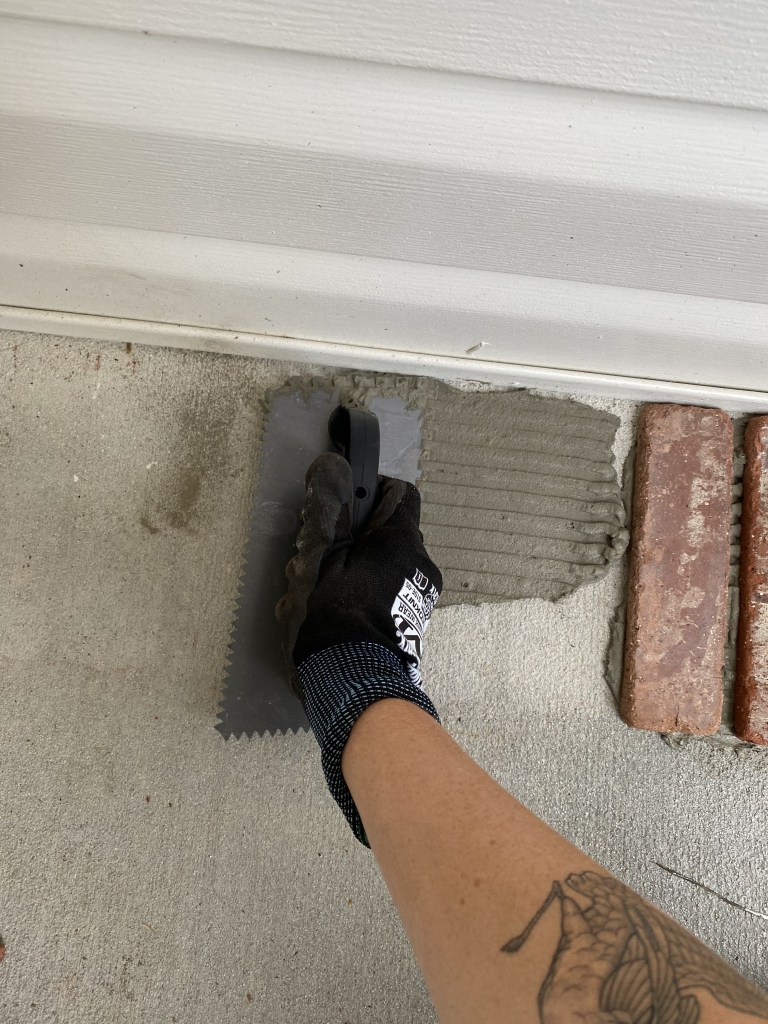
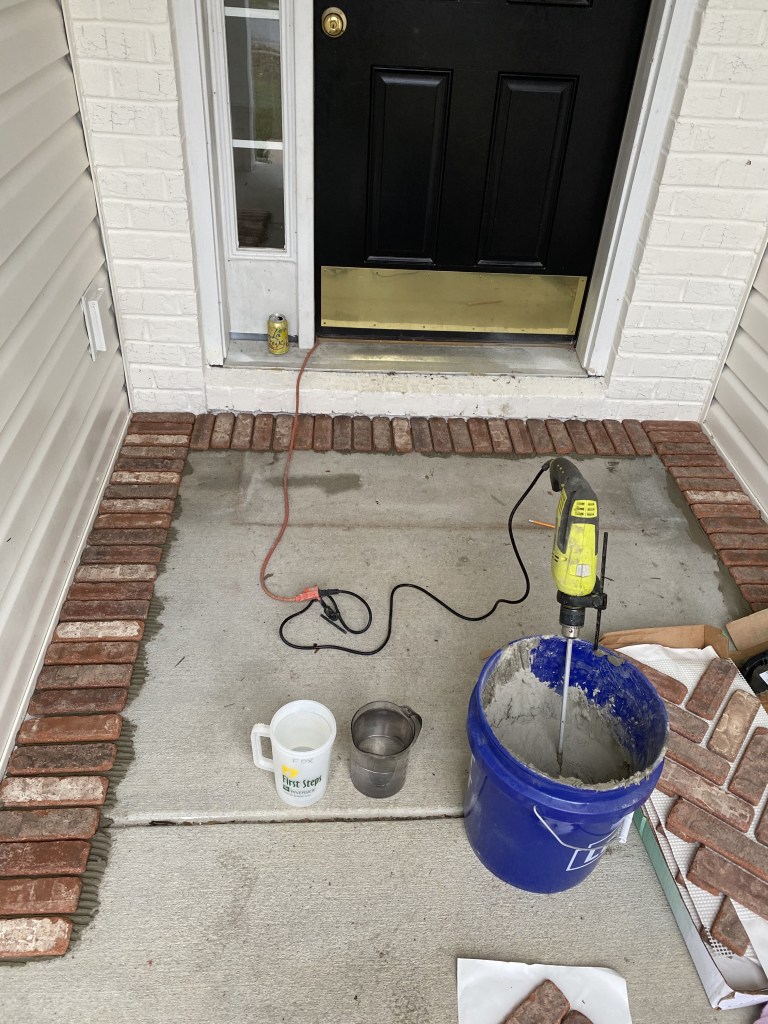
Now that my border is ready, I’m mixing up my tile adhesive! I’m using the Old Mill Brick brand adhesive that is recommended by the company. I’m mixing the adhesive in a bucket using my hammer drill and a mixing paddle. After my adhesive is mixed, I’ll begin scooping it out of the bucket with my trowel to smooth onto the concrete in the area where my border will lay. Working in sections, I’m smoothing out adhesive and then carefully replacing the pavers spaced evenly. I’ll work in groups of about 6 pavers at a time. While tile spacers would have been helpful for this, I’m just eyeballing the spacing.
Since I’m going for a more aged/rustic look it doesn’t really matter if it’s perfect. Once each section of brick is down, I’ll go back behind to shift the bricks until the spacing is even.
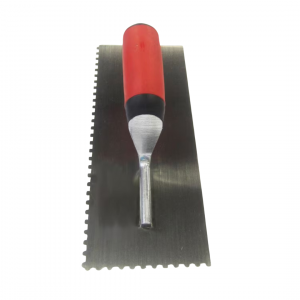
The trick with tile adhesive application is to apply with a notched trowel while tilting it slightly. You want the trowel to not flatten the adhesive, or take too much adhesive away. Tilting right about in the middle is key! This give you the ridges needed for proper adhesion.


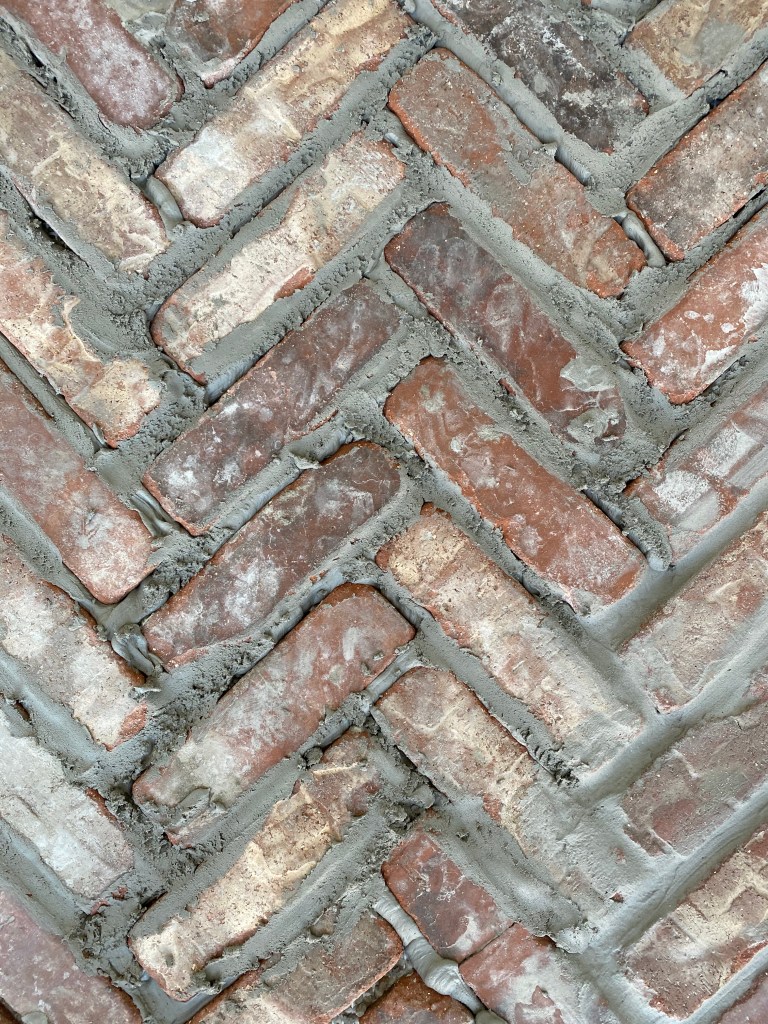
Laying Brickwebb
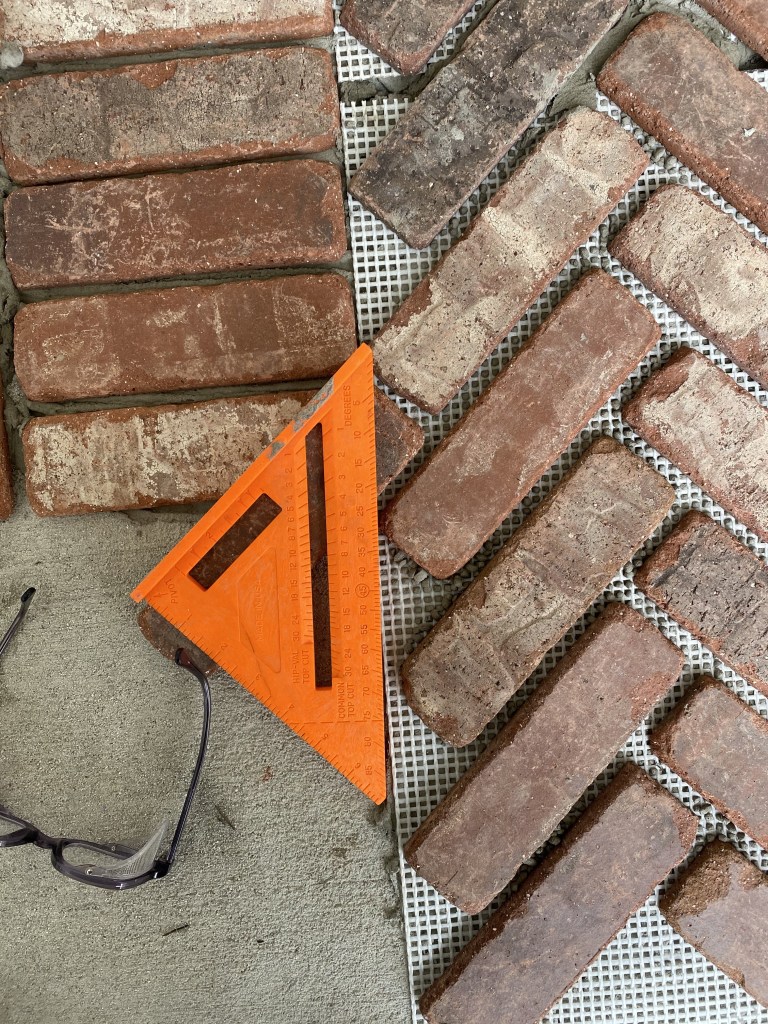
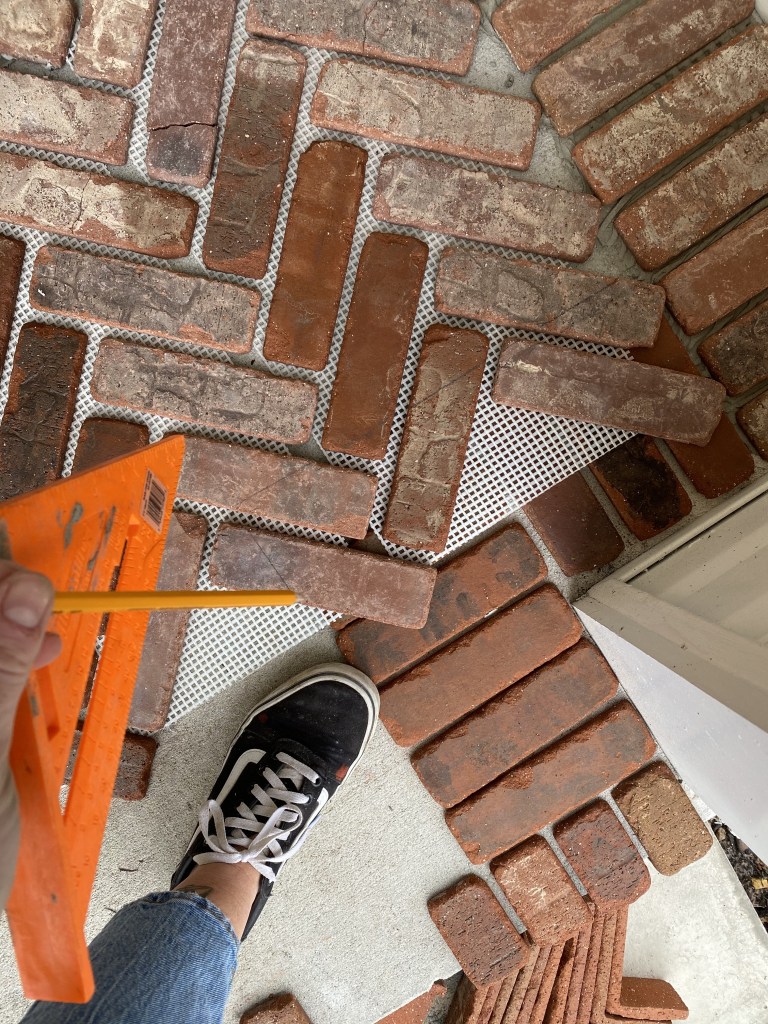
After working my way around to complete the border of the porch, I’m preparing to place my herringbone sheets. I’m marking the center on the porch with a pencil to line up my first brickwebb sheet so that it will be exactly centered. Then, I am continuing to place my sheets and lining them up so that the spacing between each is even. This gives me the opportunity to find out where I need to cut my brick sheets before placing with the tile adhesive.
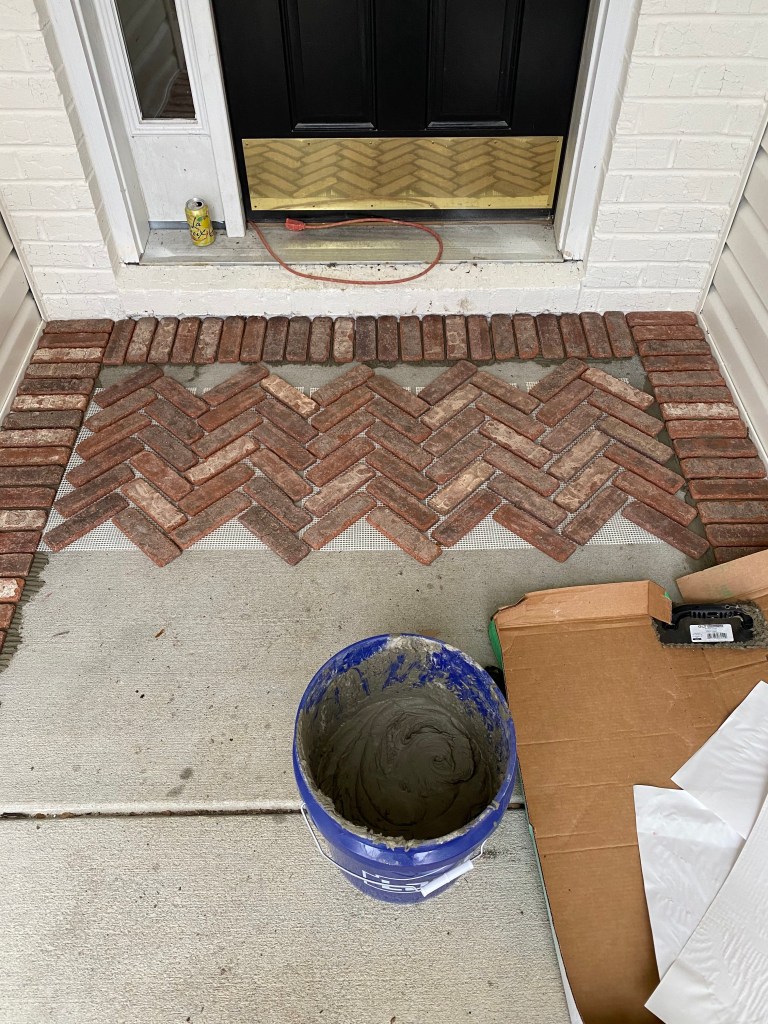
On the areas that run into the brick border, I’m just laying the brickwebb over and marking with a straight edge where each will need to be cut (being mindful off cutting for grout line consistency). I have many areas where only a small corner is needed. Also, I am marking and preparing pavers to cut for these.

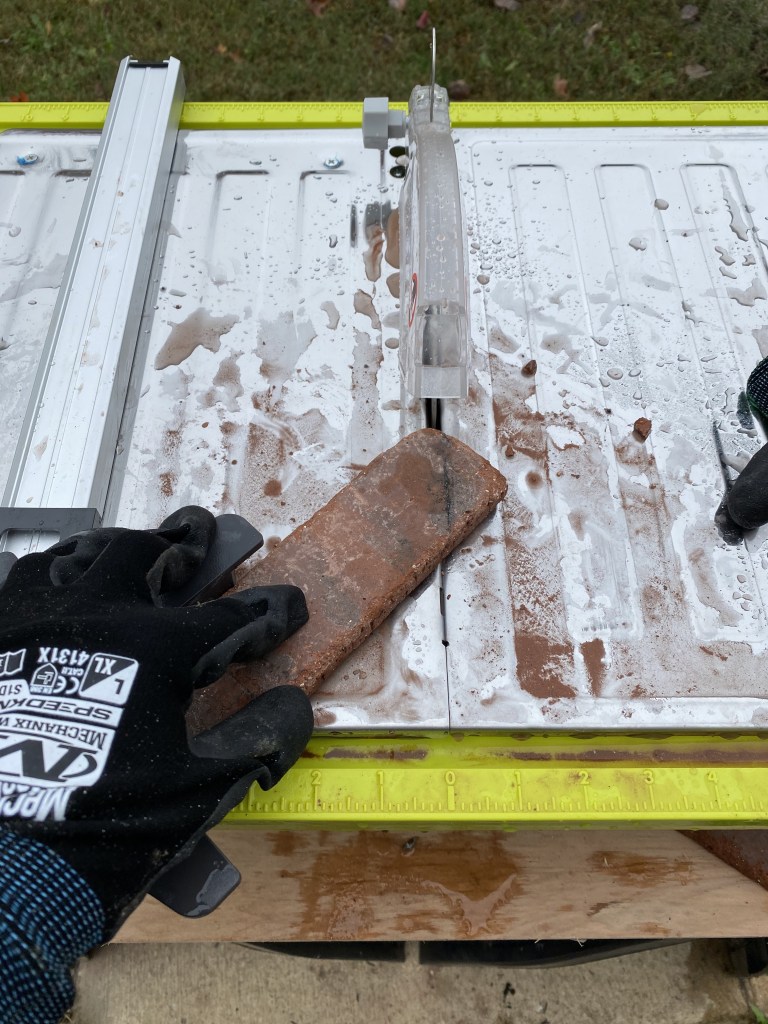
Cutting my tiles..so worth it!
I purchased a wet tile saw to use for quickly cutting my pavers. This was such a great decision! I recommend using this over an angle grinder. It can be a bit messy, but it is so much easier! I’m able to cut all of my little corner pieces within about 15 minutes. My brickwebb sheets can even be cut down down easily with it. It is especially helpful for cutting the little triangle pieces that will fit into all of the empty spaces around the border. There are probably forty of these! I can use the miter guide on my saw to quickly cut all of these.

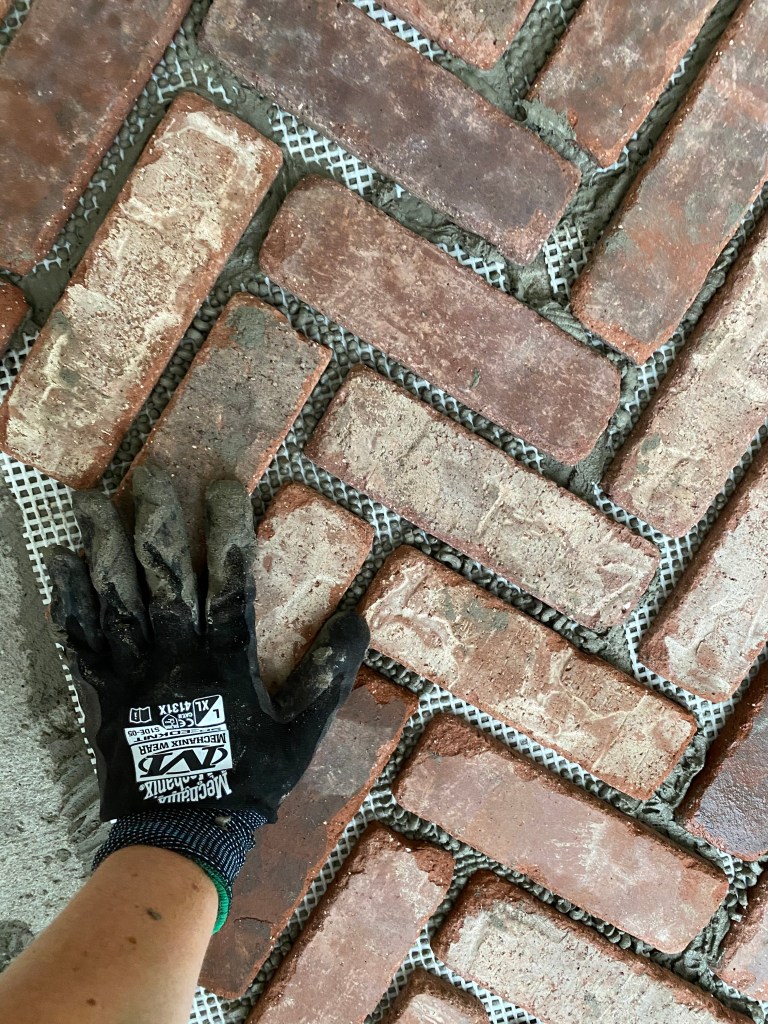
Once my pieces are all cut, I’ll begin applying the tile adhesive to the concrete surface working in rows. The goal is to press down the brick sheets until the adhesive squeezes through the webbing. When an entire row is installed, I’ll go back to make sure that the spacing is even. It takes a while for the adhesive to dry, so there is time to shift the paver position before it is too firm.
Along the way, there are some pavers that come loose from the brickwebb sheets. When this happens, I’ll apply my adhesive to the back side of the paver to replace it.

Corner Pieces
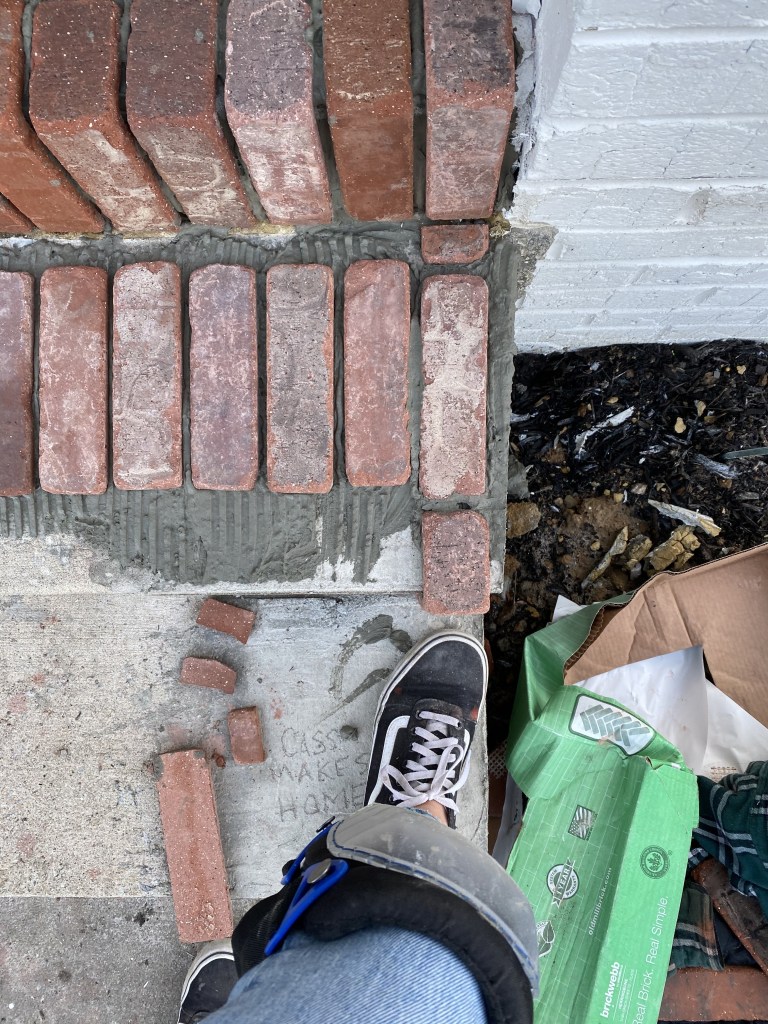
Then, I’m making my way down to the final row of brickwebb. I’ll place my corner border pieces along the edge of the step to mark where these sheets need to be cut. After cutting and applying, I am able to move onto the steps.
I’ll be repeating the process with the corner pieces on the top step. The corner pavers only need about an inch cut off of each to fit flush onto the steps. After cutting, I’m applying the first row with adhesive. For these pavers, I’m finding that applying the adhesive straight onto the paver is much easier. I’m continuing to use the same method with my trowel for the application. I’ll apply each paver with about the same spacing as the brickwebb sheets. Once the entire step is filled, I am able to shift them to fit full bricks without having to cut one down.
I’m repeating this for the next two steps making sure to line up each brick with the top step. Also, I am making sure to align the end corner pavers so that they hang over the edge of the step by about 1/2 inch. The reason I’m doing this is because I want the pavers on the sides to be flush with the side of the steps. Once the corner pieces are installed, I’m applying single pavers to the top of each step to line up with the corner pavers. I can use other paver layouts than this, but I think this looks really good.
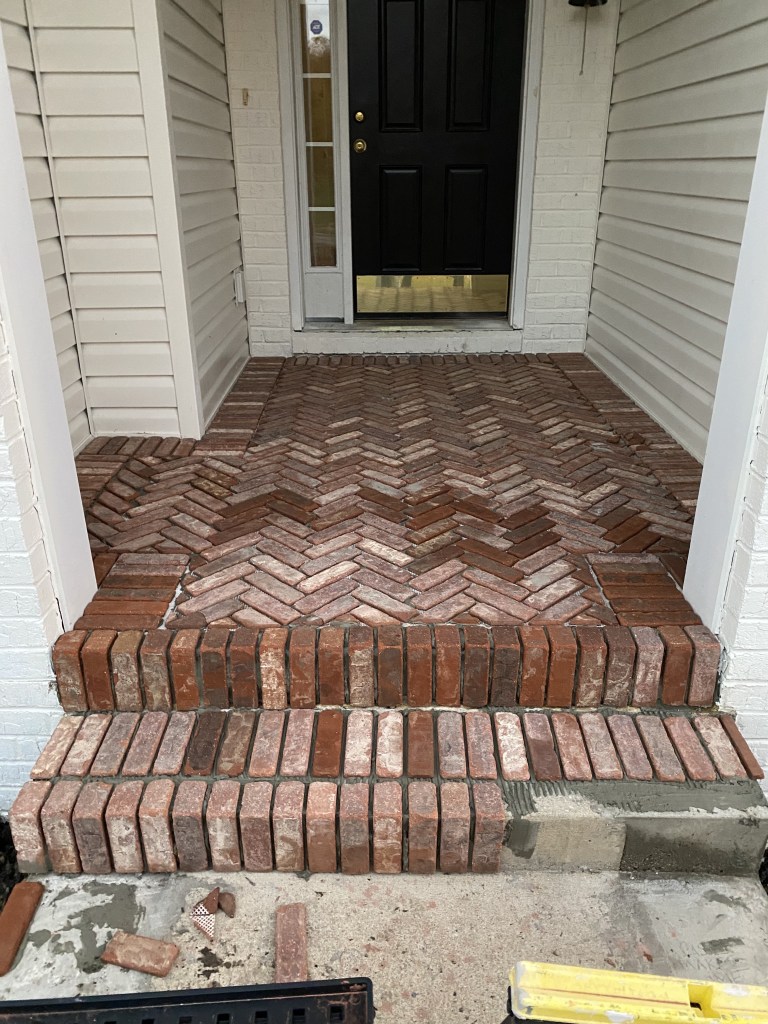
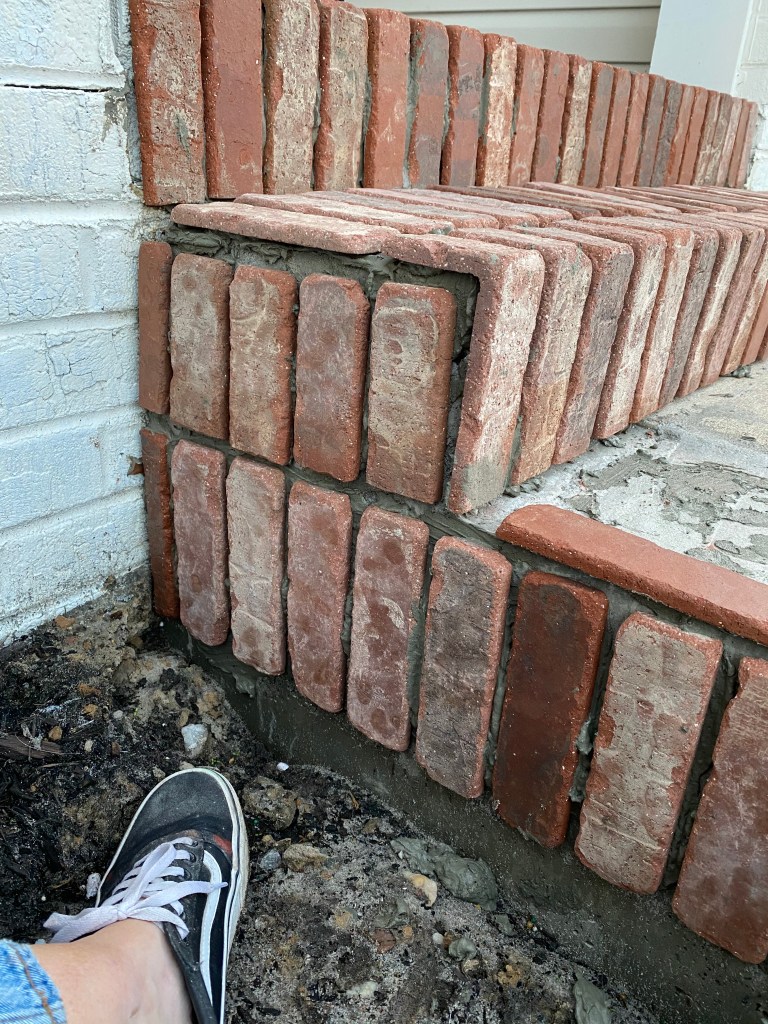
Onto the sides!
Then, I’m moving onto the sides of the steps, arranging the pavers vertically in rows. I’m cutting down the first several on the top to line up with the step. The pattern, I decided, will end with some horizontal pieces along the bottom on the steps. During this process, I’m having to use thicker adhesive and press/hold a bit to keep the pavers from sliding down. After this is done, I’ll let the tile adhesive set for 24 hours.

During the process of laying my pavers, there have been several corner pieces that broke. After running about six short on these pieces, I am able to use the tile adhesive and use them with no issues. Ordering a new box is an option, but I only need six pieces which feels silly. I’m mixing the fixed pieces throughout the steps (and on the edges where there will be less foot traffic) and they are not even noticeable!
GROUT
It took me a while to figure out the best method for this. I’m still not convinced that I even figured that out. But, I will share what works best for me and some ideas that I think could also work even better!
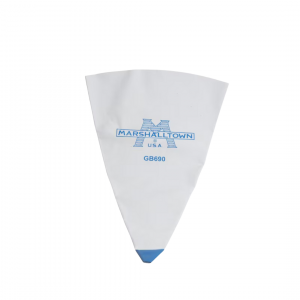
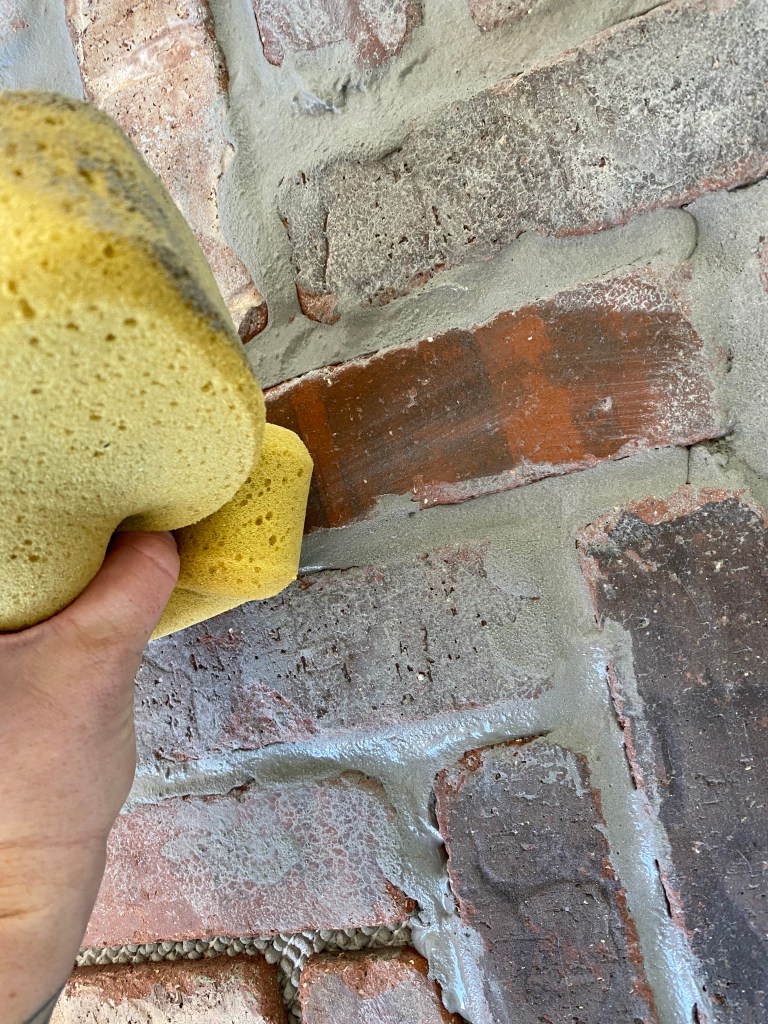
First, I’ll mix the grout (I used this All-in-one grout in the color Pewter) with water until thick and creamy like frosting. I’m using a trowel to scoop my grout into my piping bag. To start, I am working in sections and squeezing the grout into the cracks. It works the best when the grout is filled just up to flush (or slightly more) with the pavers. Anything more than that will get messy. After filling cracks in a section ( I’m working my way the entire width of my porch by about 3-4 feet), I’ll let the grout sit to firm up a bit.
This is HUGELY important. Then, I’ll go back and lightly scrape the excess grout with my fingers. After this is complete, I’m using a wet sponge to press the grout down and smooth it out. Afterward, I’ll go behind to clean up the grout from the brick surface with a wet sponge.


Keep in mind, this process is very time consuming and messy. At the end of it all I am left with some significant grout haze. However, I am able to successfully clean that off with my pressure washer once the grout is dry.


What I’d do differently next time…
As I said before, I am not sure that this is the best method. It was very time consuming and VERY messy. After some research, I found that there is a specific tool for this job that makes it a breeze. Although I did not try it on my porch so I am not sure, a friend of mine shared that she used this method and it worked great! I wish that I knew about this before starting my porch. THIS tool (brick jointer). It is made specifically for this job. The trick with using it is that you have to wait until the grout is pretty firm. Once the grouted section is ready, you use this tool to scrape the grout, and a brush away excess grout with a bristle brush.
COST BREAKDOWN
Brick Pavers – $1,090 (about 100 sq. ft)
Tile Adhesive – $ 100
Grout – $120
Tile Saw – $130
Trowels/Piping Bag – $30
Sponges/Bucket/Scrubber – $20
TOTAL – $1,490
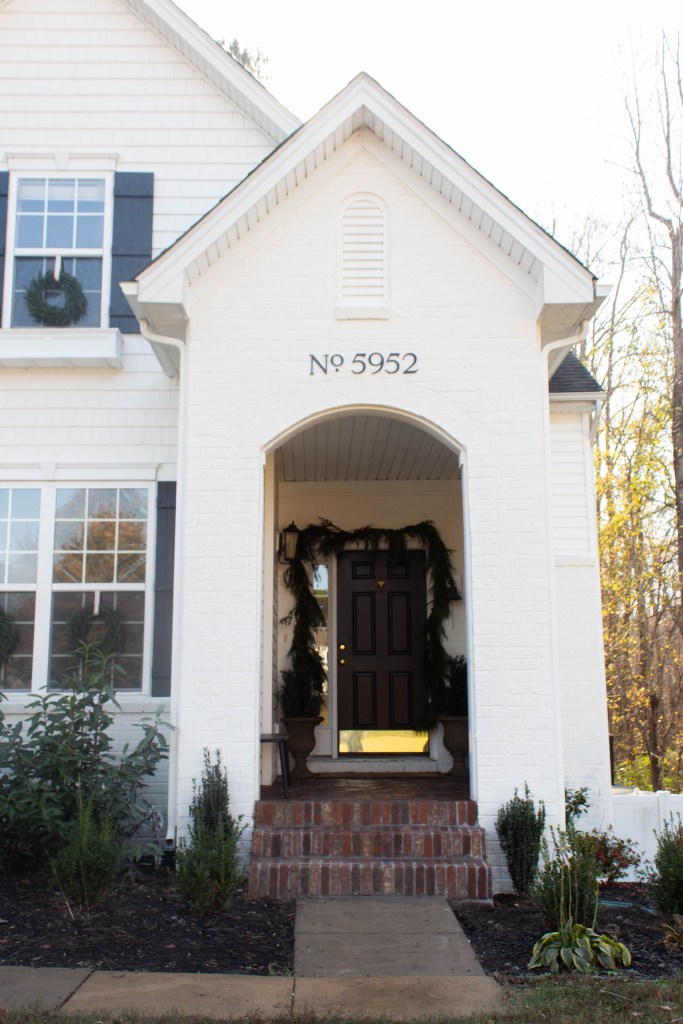
Overall, this was definitely one of my most difficult (and most costly) projects. But I truly love how it turned out and think that it added so much character and warmth to our exterior! It really looks like it has been here for YEARS which is exactly what I wanted. Maybe one day (when I recover from this) I will take on that walkway!
-Cass
It really looks beautiful. I just so impressed with all the difficult projects that you tackle. So inspiring!
Thank you so much!!
I loved getting to follow along on this one! The before and after are so different!
They really are! I’m so glad you enjoyed following along!
Looks GREAT! Makes me think I might be able to do it!!!!
Yay!! It was a lot of work, but totally doable and worth it!
Widening the steps made a huge difference! Before they looked like an afterthought; now they fit the porch perfectly. The addition of the brick tile is perfection. Good job!
Thank you so much!!!
What an impressive job! Well done!
Thank you so much!!!
Hi Cass! Love this so much and planning on doing something similar at our house next spring. I know you shared this on your Instagram but any chance you can link your safety glasses? Thank you!
https://rstyle.me/cz-n/eg47vhcm4z7
Thank you so much!!!
It really looks beautiful. Thanks for sharing the inspiring content!
Thank you!
Any chance we could see the side of your steps after they are finished? I’m doing a similar project and wondered how the corners look all done.
Hi,
I love how it turned out, so beautiful! I’m working on a similar project and was wondering if you have the paint color of your brick and trim.
Thank you! It is Swiss Coffee by Behr 🙂
Hello. I am infatuated with your project outcome. It so transforming! Do you know if this thin brink could be applied to an exterior wall? My home is a 70s ranch, brick exterior. The front of the homes brick facade goes up 10 ft to the trim boards except on a peak where the brick stops at 10 ft it there is a hardibacker cement boards up to the peak. I want a more cohesive look and wondered if this could be applied over that wood and I could individually paint the thin bricks to better match my brick. What do you think?
Thank you!! This thin brick can absolutely be applied to an exterior wall! I would just recommend making sure that you use the correct mortar/grout for exterior applications. I bet it will look beautiful!! Good luck!
You did a great job explaining how you made your porch. I am interested in how you are doing your steps.
We are about to do this in a week or two. Thank you for the helpful tips. We also bought castle gate. Did you do something special to prep the concrete?
Love this! Thank you for sharing. Contemplating if I should attempt this on my own, LOL! We currently have board and battan siding painted in Behr Swiss Coffee. What color is your trim, or is it all Swiss Coffee? I also love the house numbers! <3
Yes! It’s all Swiss Coffee 😊
Beautiful!!…Amazing Job!!
Thank you so much!
I used to do this at home. Brick pavers are the ideal material to make a DIY backyard patio for entertaining and more. I want to share that this backyard idea is the ideal weekend project for any yard. That’s especially true if you are on a budget or searching for a simple change. I love how adding a brick paver patio can be a complete backyard game changer.
Same! It seriously elevates the space so much.
Thank you so much for these awesome DIY brick pavers ideas! I’m so excited to start making my own brick pavers. I’m sure my garden will look amazing with the addition of some homemade brick pavers. It’s going to be such a great project to tackle. I’m looking forward to picking out the colors and designs for my bricks, and I can’t wait to get started. I’m sure it’ll be a fun and rewarding project, and I’m sure my garden will look great when I’m finished! Thanks again for the great ideas.
The brick pavers are definitely a game changer! You’ll love it.
What a transformation, WOW! 👏👏👏
Thank you!!😍
This DIY brick paver porch makeover is absolutely stunning! 😍 I love how you transformed the space, and the step-by-step guide on your website is so helpful. The new porch looks like the perfect spot to relax and enjoy the outdoors. Great job on the craftsmanship and attention to detail! 👏 Did you encounter any challenges during the process, or do you have any tips for someone looking to do a similar project? I’d love to hear more about your experience! Thanks for sharing this inspiring project. Can’t wait to see what you tackle next! 🛠️💪 #DIYHomeImprovement #PorchMakeover #HomeRenovation
Thank you so much! It was so much fun to work on. I definitely would have used a brick jointer if I could go back in time and do this project again!
What white trim paint did you use on your exterior?
It turned out beautiful! I hope it’s held up and lasts for years to come!
Hi! I just found you on line and LOVE what you’re doing! Can you please share where you got your house numbers?