Rainie’s Room One Room Challenge – Week 1


I am SO excited to finally be joining in on the One Room Challenge! I have wanted to participate in this for a long time, and I could not be more EXCITED.
I’ve decided to tackle Rainie’s room, and I can’t wait to share my plans with you guys! She has been in need of a room upgrade for a while now, and I can’t wait to give her a BIG girl room that is so special for her.
Let’s start with some before photos!
*This post may contain affiliate links, which means I may earn a small commission if you purchase through my links, at no extra cost to you. I only share products I genuinely love.
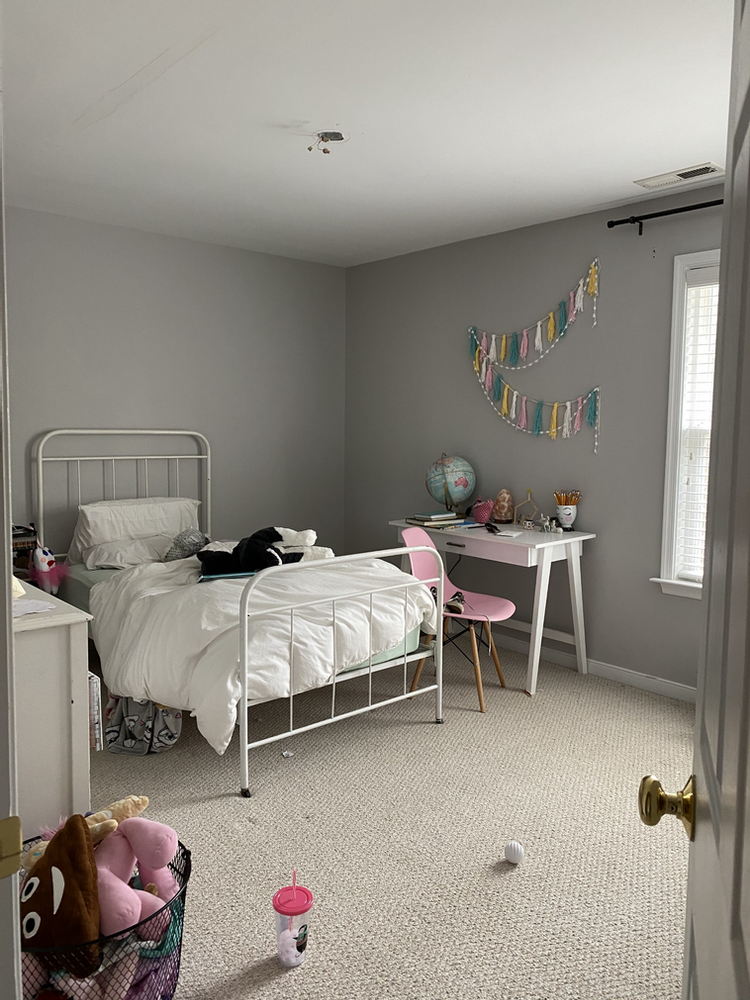
BED
There are a lot of things wrong with this layout. First, the room has an awkward shape with one offset window. The wall that her bed is on in the photo above is the shortest side of the room. I definitely plan on changing the location of her bed, and upgrading it to a full size.
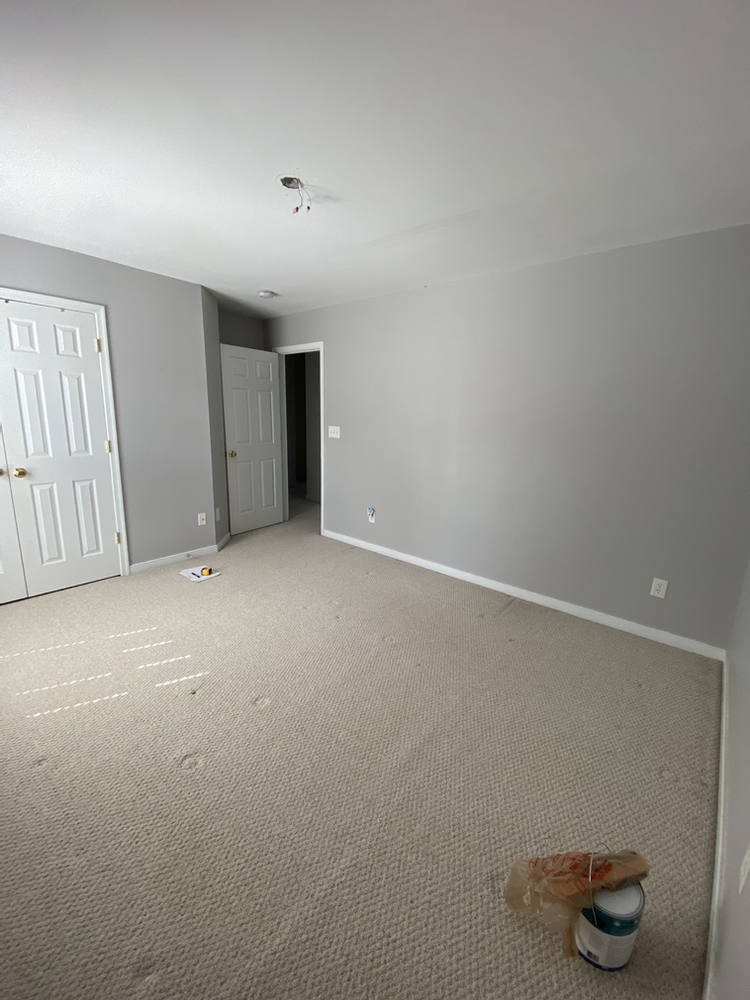
My plan is to move her bed to this side of the room. It is the longest wall, so it just makes more sense!
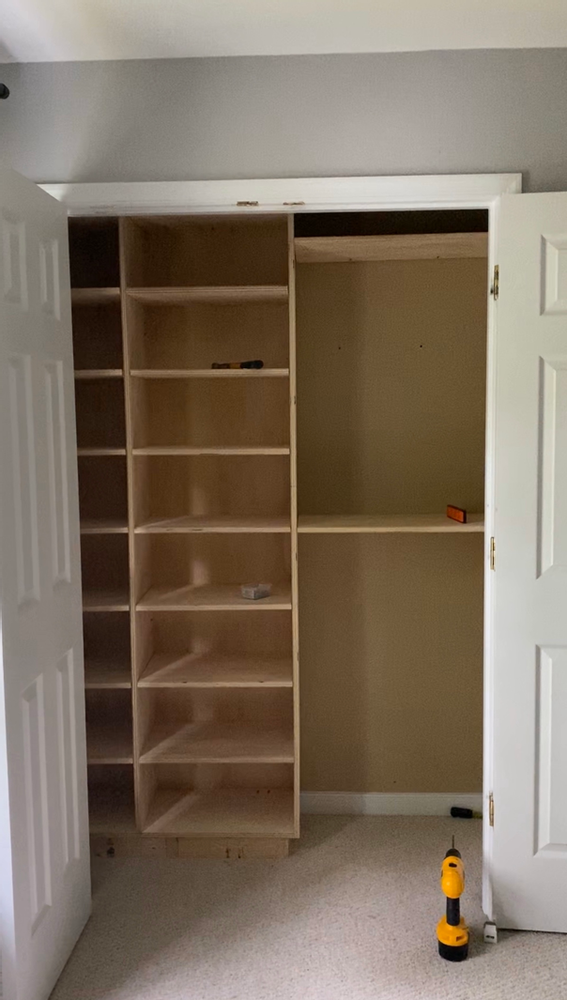
CLOSET
Also, Rainie has SO MUCH STUFF. She is a junk collector. So, I want to optimize storage in this room and give her lots of drawers to shove the junk in. I have a head start with her closet. I’m planning to have a built in closet system for her as well!
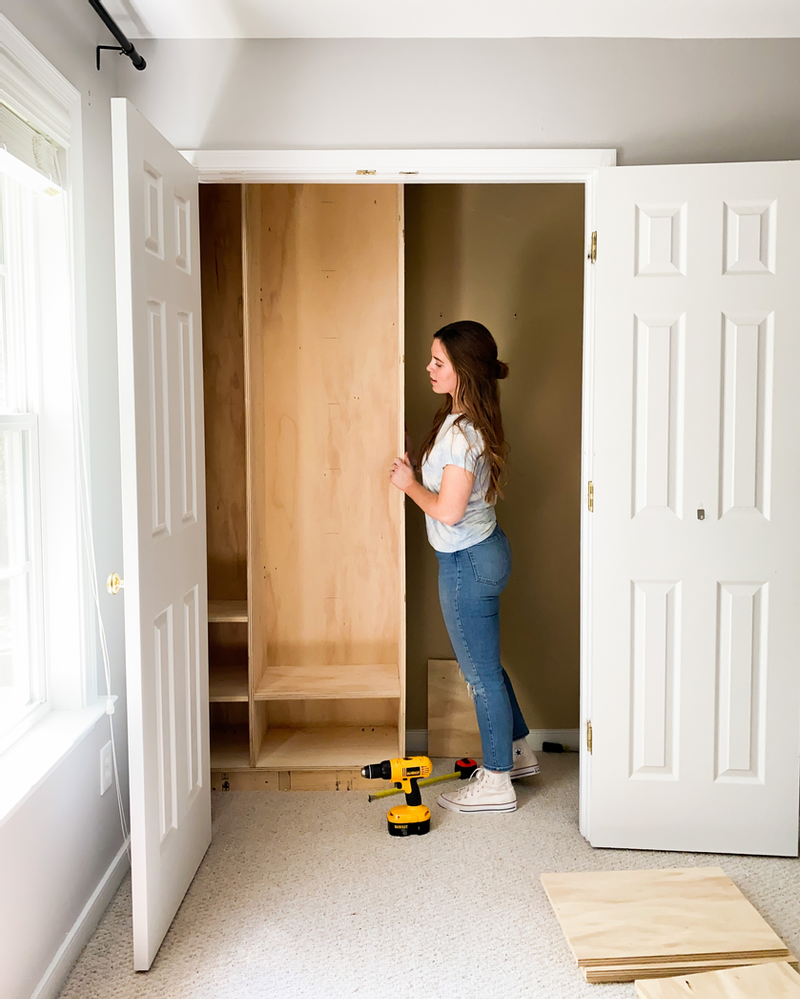
I’m so excited to give her all of this extra storage and give her closet a GLOW UP. Additionally, I’ll be adding drawers to this unit, along with double clothing rails. It’s gonna be good. AND it will be so fun to paint and style!
PAINT
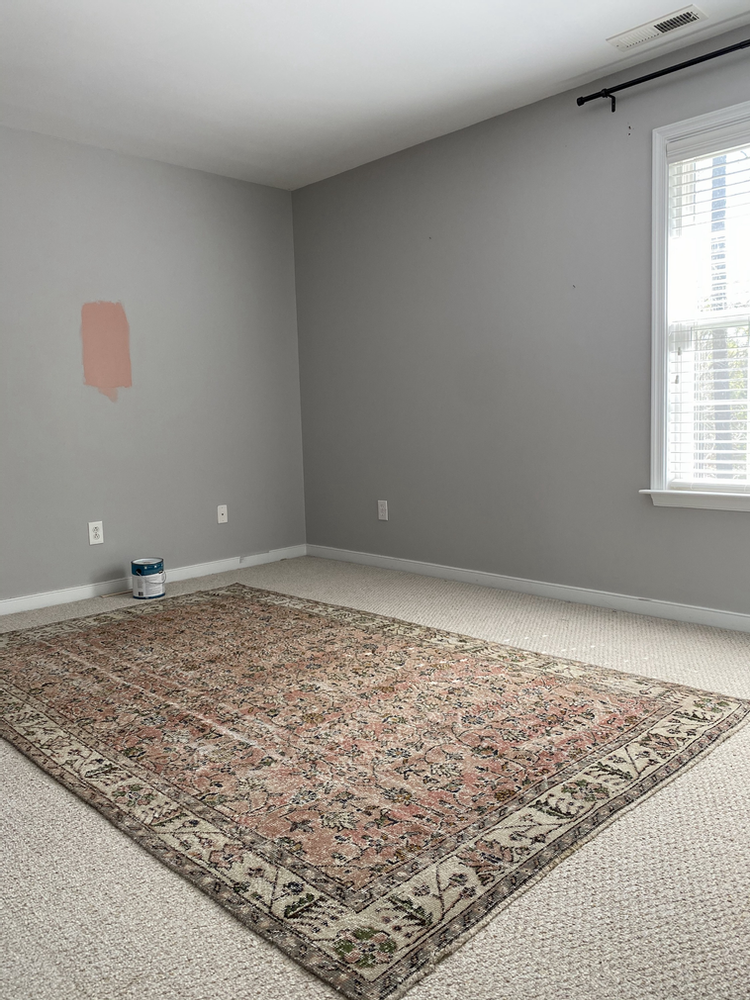
Next, let’s talk about PAINT. This is something that I’ve had a hard time nailing down. My whole inspiration for this room came from a paint color (Bubble Shell by Behr) and this vintage rug. In fact, it wasn’t until I rolled out this rug and put the paint onto the wall that I realized something wasn’t quite right. I wanted to give Rainie a BIG GIRL room. I felt like I was doing the exact opposite of that by painting the whole room pink. SOOOOO…
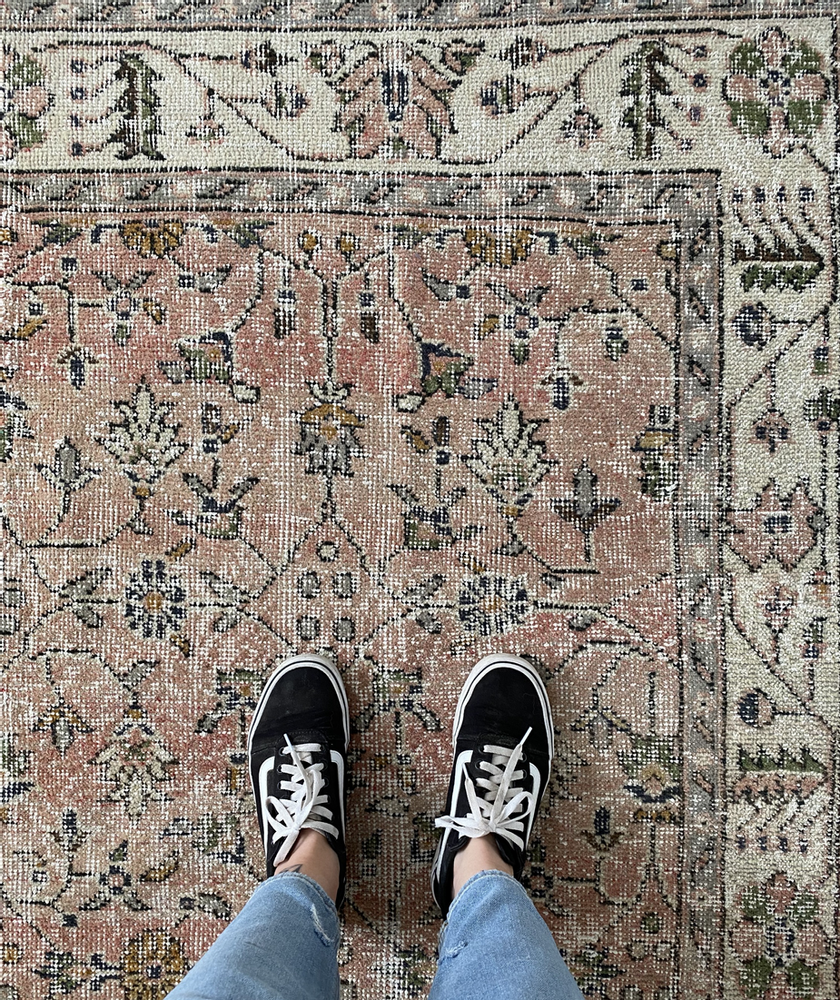
I found new color inspiration from this INCREDIBLE vintage rug from Revival Rugs. There are so many great colors in it. That dusty blue/grey! That deep saffron! That rich OLIVE! (Can you guess which one I’m going with based off my enthusiasm??)
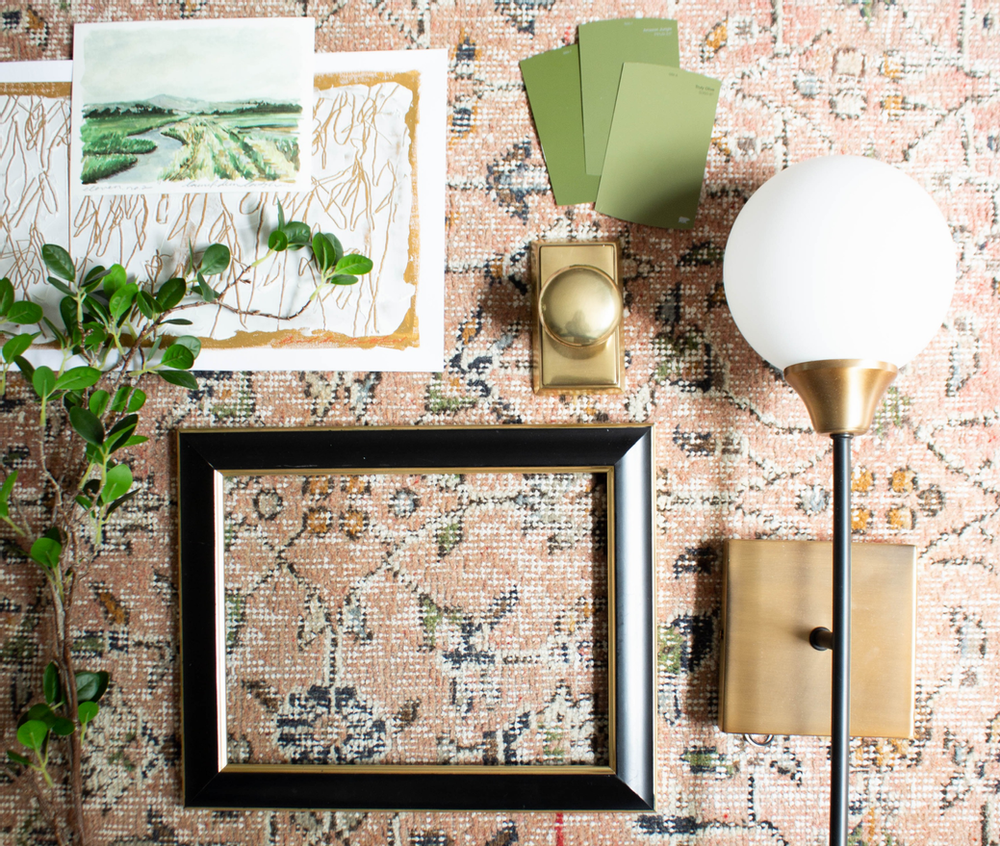
As you can see, I can’t handle the excitement!! I wish that I could have somehow squeezed the headboard and armchair into this flat lay, but look at all of the goodness! I am DYING to install these globe sconces and the new door hardware from Emtek! Okay, let’s take a look at the design board!

Moody and vintage vibes with a feminine flair. She is OBSESSED with ballet, so I am planning to install a ballet barre for her with a little gallery of art above it. OMG. It’s going to be so good! And to make things extra fun, I am going to keep the room a surprise for her! She has seen the mood board, and I have worked with her on paint colors so she knows what to mostly expect. But, I’ll be keeping the door shut from here on out and doing a full on reveal for her at the very end. It will be so special!
ONE ROOM CHALLENGE SCHEDULE
Here is a glimpse at my plans for the next 8 weeks:
Week 2: Finish up closet
Week 3 : Add decorative moulding / wall treatment
Week 4: Paint
Week 5 : Refinish dresser
Week 6 : Install lighting / hardware / ballet barre
Week 7 : Gallery Wall / Decorate
Week 7: Build Night Stands
Week 8 : Photograph
This week I will be focusing on the closet. I’ll need to completely build out and install the drawers, add some finishing trim to the face of all of the shelves, install the clothing rails, add some decorative trim to finish off the top and bottom, fill holes/sand, and PAINT! I’m planning to paint the entire closet the same color as the room. This will add some drama and be SO much more fun that just painting the entire closet white.
I also plan on adding some sort of decorative wall moulding in here. Originally, I planned to add in some panel moulding (single boxes like in my living room), but I want to change it up a bit and step out of my comfort zone! Stay tuned for my thoughts on that.
I can’t wait to get started and to take you guys along! In the meantime, you can go here to check out what the other One Room Challenge participants are up to!
[…] those gorgeous olive paint swatches that I included in the mood board for this room?? I tossed them. I love olive. And I’m sure that it would have been so beautiful in here. But […]