One Room Challenge Week 3 – Crown Moulding Tutorial


I wanted to step out of my comfort zone a bit and try something new with trim work in Rainie’s room. We have crown moulding and panel moulding throughout the house, so I also wanted to honor that style to keep everything feeling cohesive. I decided to add crown moulding and picture rail moulding!
*This post may contain affiliate links, which means I may earn a small commission if you purchase through my links, at no extra cost to you. I only share products I genuinely love.
CROWN MOULDING
I picked up this MDF crown moulding from Home Depot. This was the same kind that I installed in the powder room that matches the rest of our house. It wasn’t necessary to choose MDF in a bedroom, however it does tend to have less imperfections compared to wood moulding. This saves some time in the long run, so to me it is worth the 15 cent increase in price.
I measured all of the walls to get a loose estimate of how much trim I needed. The perimeter of the room was about 54 ft. I picked up 5, 12 ft pieces of crown. This gave me a little extra to work with, which is always a good idea!
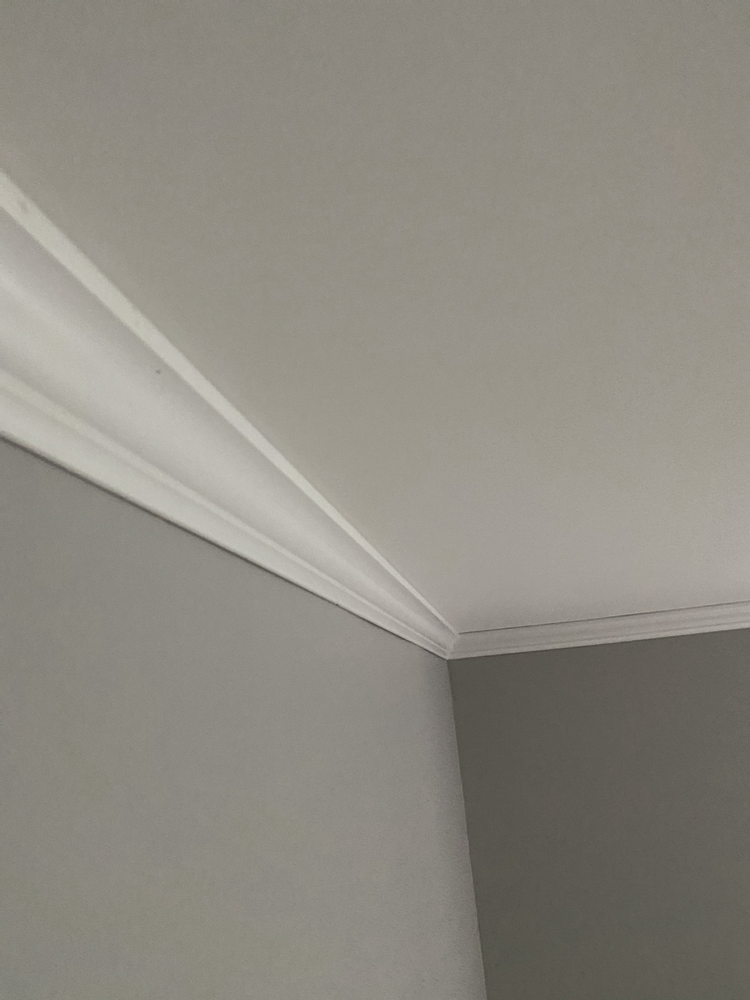
Crown moulding is cut and installed a little differently than other moulding. It sits straddled over the wall/ceiling corner. This makes for some interesting cuts. Instead of cutting a top pointing angle, you cut a bottom pointing angle (this means that the bottom is the longest on your cuts). It seems like it wont fit, until you place your moulding together on the wall/ceiling!
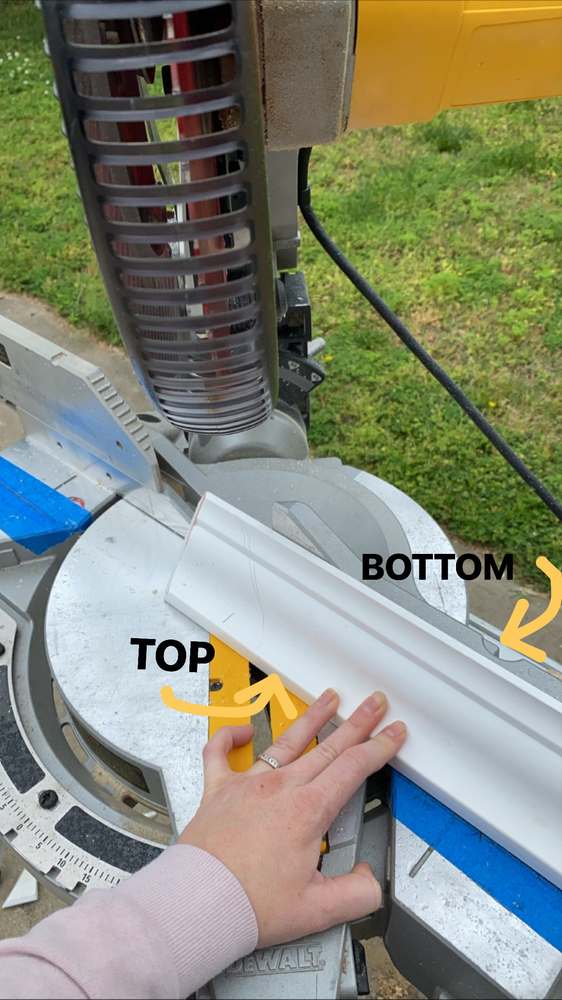
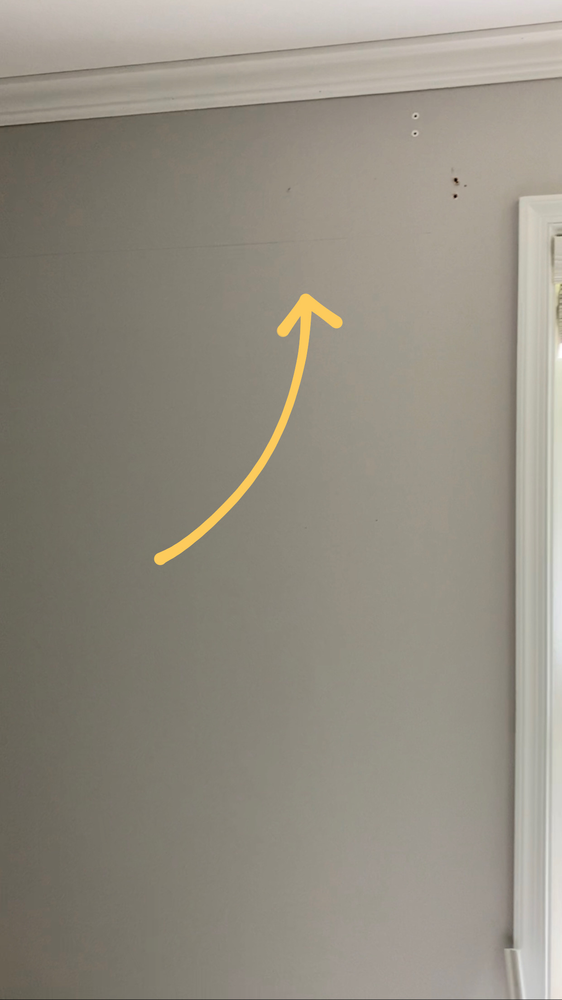
Start by measuring the wall from each corner on the TOP. If it is a long wall, measure out from the corner and mark at 50 or 100 inches (something simple to add and remember). Make a mark there, and then measure from the opposite corner to the mark. Add the two measurements together!
You will then make your cuts at that length (I will go over joining two pieces together as well). The crown moulding will be the longest at the BOTTOM (remember the words long bottom AKA Neville Longbottom AKA Fat Bottom Girls by Queen).
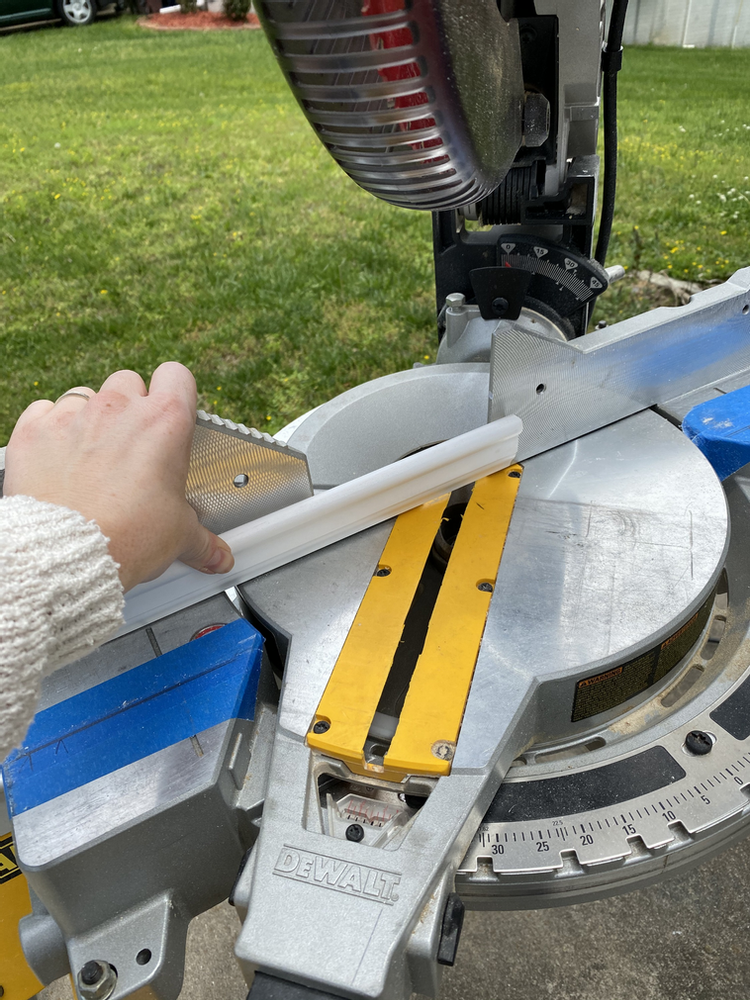
OKAY let’s get to the cutting part! I used my miter saw and set it to 45 degrees. Here is where it gets weird. You don’t cut crown moulding like other moulding. You flip it upside down and cut that way! SO WEIRD I KNOW. You also have to make sure that your moulding is lined up the exact same way each time so that each piece joins together perfectly. To do that, place some painter’s tape on the flat part of the saw (table). Place a piece of your trim onto the saw and make each side flush. Then use a pencil to draw a line on your tape on both sides of the blade. When you make your cuts, you will line of your moulding with this line each time to make your corners match up perfectly!

Now for the cuts. Flip that trim upside down and make your first cut on the very end of the trim at 45 degrees, making sure that the longest side is the BOTTOM of the trim (which will be at the top of the saw since it is upside down ). I know, it’s confusing. But it gets easier! Once you make this end cut, you will then measure from the cut to mark your measurement. Then, slide your piece down and turn your miter saw to the opposite direction at 45 degrees and cut at the mark. Make sure that you line it up so that your blade stops at the line! You now have your first cut!
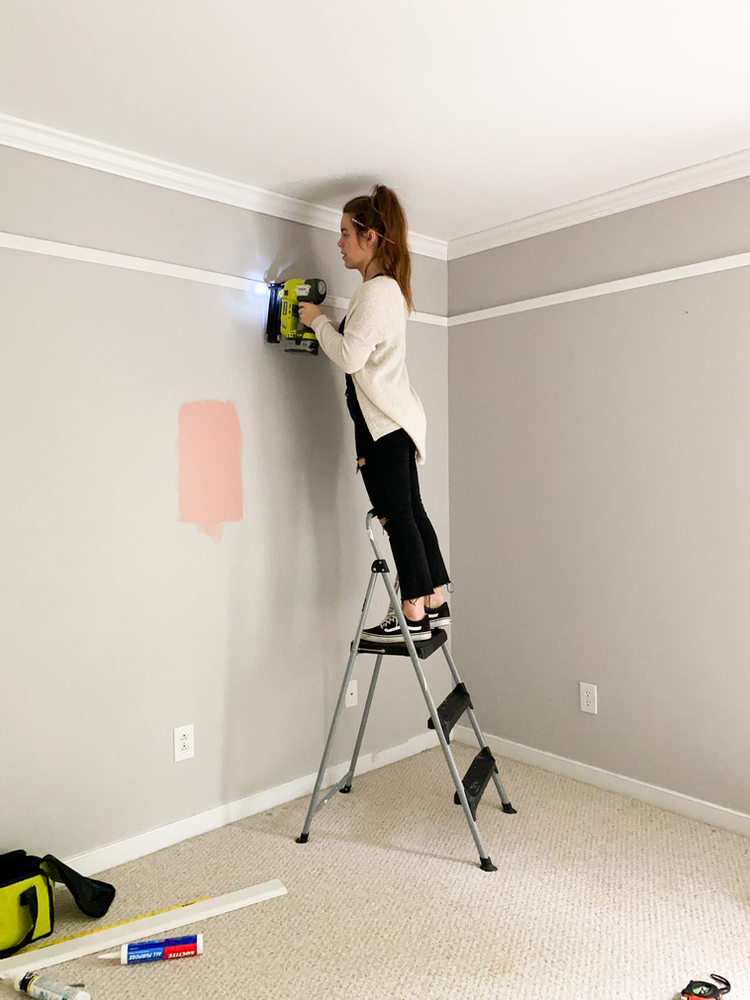
Time to install it. Place it up onto the ceiling/wall and hold it so that it is flush on both sides. Using a finishing (brad) nailer, place nails along the top into the ceiling. I also add a few along the bottom. Repeat this step on the next wall to meet the corners together.
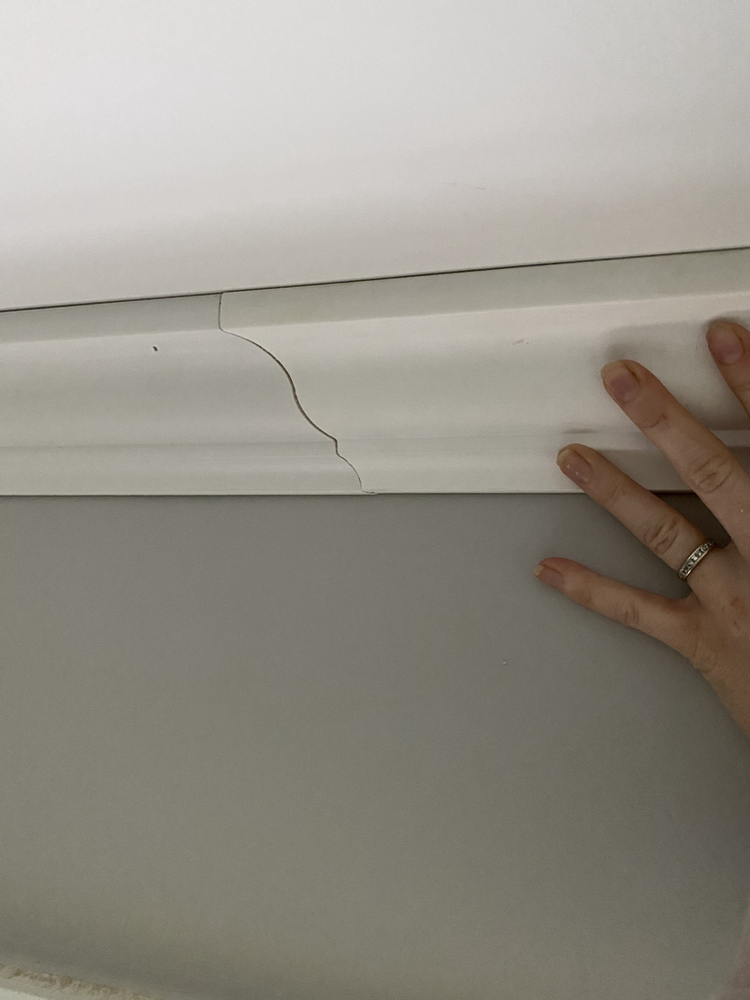
If you have long walls, you will have to join pieces together. To do this, you would install a piece using the instructions from above. Then, measure out the distance from the bottom edge of your installed piece to the end of the wall. You will cut the corner like any other, and you will move the blade to the opposite 45 degree of the joining piece (the bottom is the shortest side on this). Once it is all installed, you can fill in any joining cracks with caulk and/or wood putty.
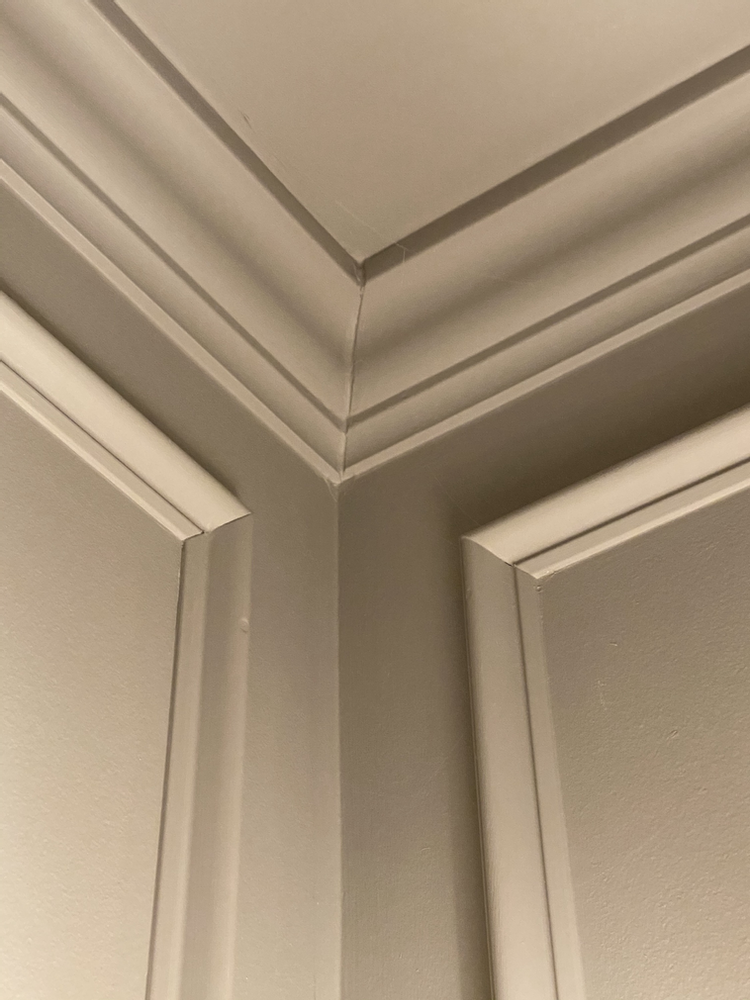
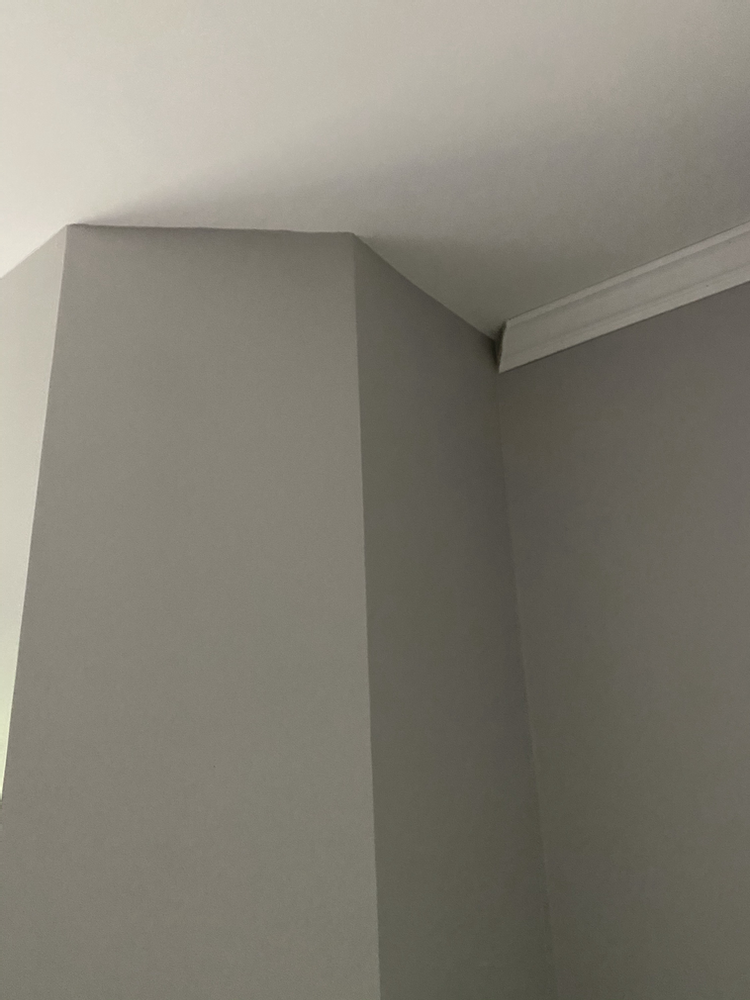
For OUTSIDE CORNER cuts you would also cut the trim upside down, but with the opposite rule for angles (like you would regular moulding). Longest measurement on top of the trim and shortest on bottom.
In Rainie’s room, I had to deal with some weird outside corners. This area had two smaller angles to work with. I had to cut these pieces at 22.5 degrees. I figured this out by dividing 45 degreed in half (two corners to make up a full 90 degree corner, rather than just one).
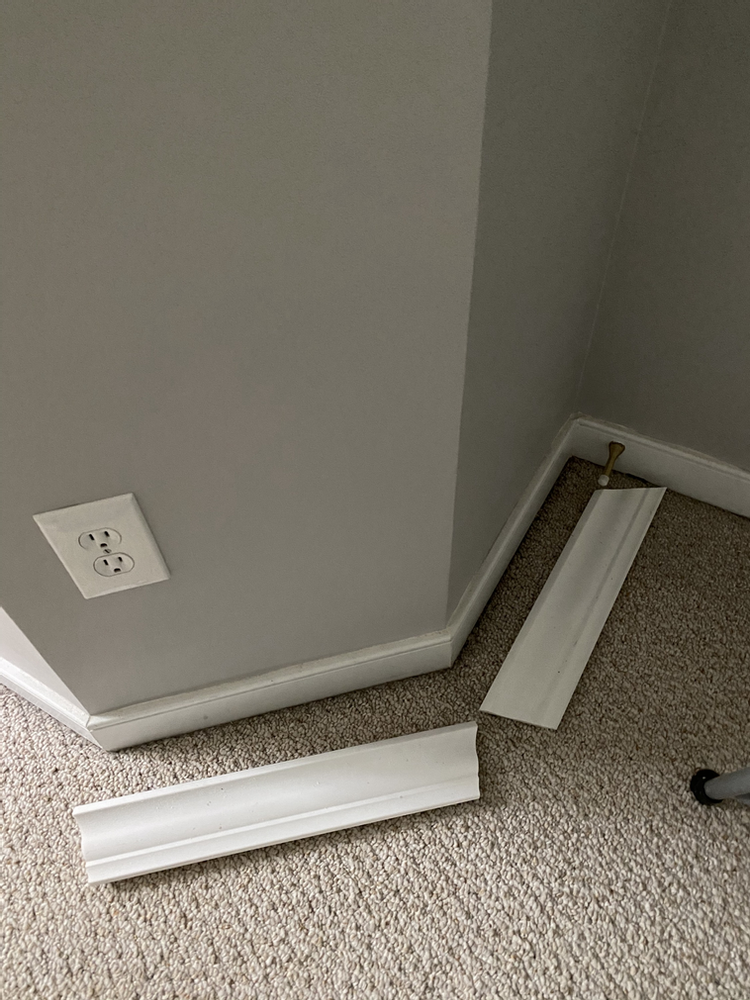
If you make a cut that is too short and don’t have enough trim to make another cut, you can just cut a sliver in the same direction as the corner and attach with a construction adhesive (Loctite).
PICTURE RAIL MOULDING
Installing this picture rail moulding was so much more simple. Picture rail is typically installed slightly under the top of window/door trim. I decided to install mine 1 inch lower than the top of mine.
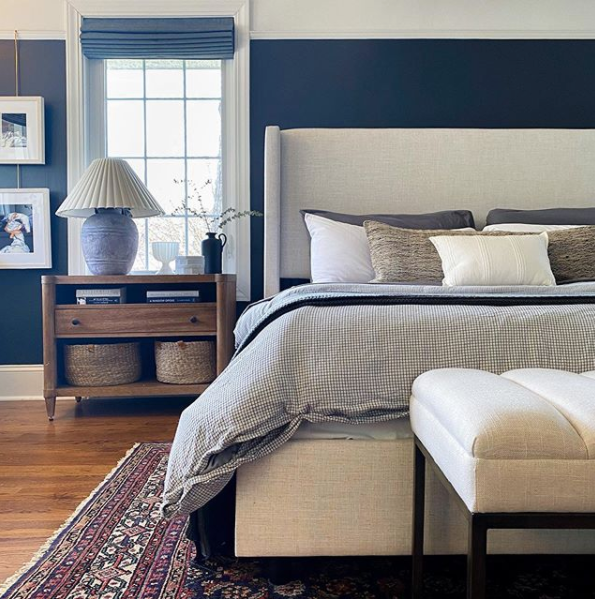
image source : @hamb.home
The same methods are used for measuring my walls and for measuring my crown moulding. I made a mark at one inch below the top of the door trim and made a mark. I then drew a level line all the way across the wall to line up my trim with as I go. You can also use a laser level!
When the picture rail is butting up to the door/window trim, it does not need an angled cut. This make the installation so simple. Once the moulding meets a corner, it requires a 45 degree cut. In this case, you will turn the moulding so that the back of it is flush with the saw fence. You will then make a 45 degree cut so that the back of the trim is longest, and opposite for outside corners!
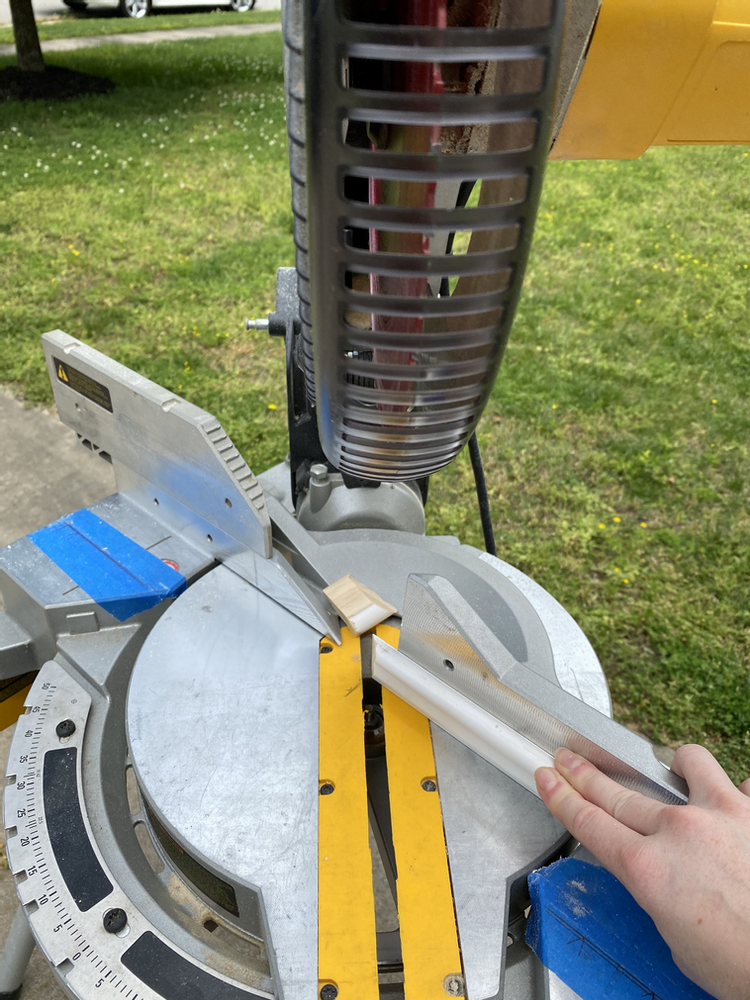
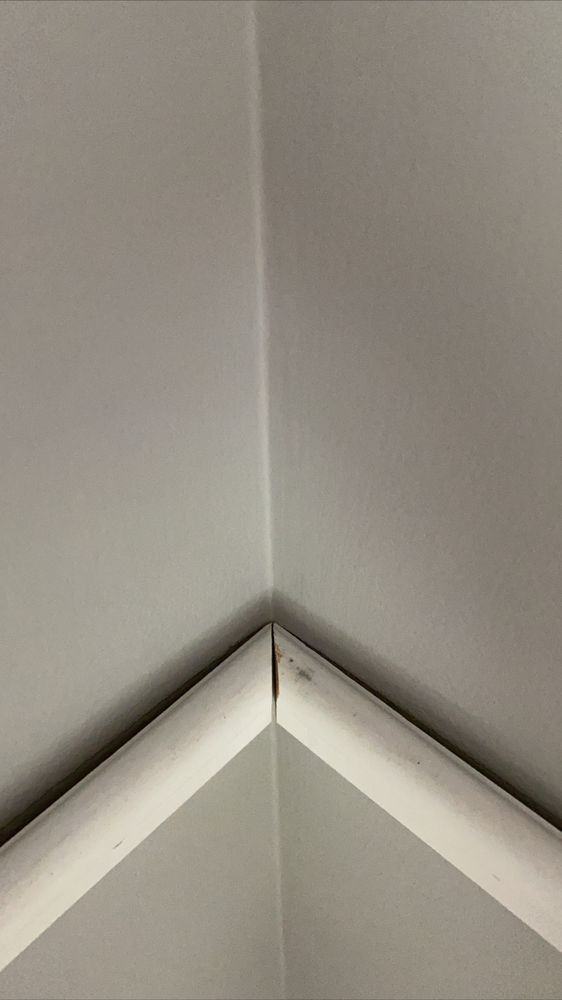
this photo is looking down from above picture rail
It is important to make sure that your blade is on the outside of your mark when cutting so that your cuts are accurate. When the saw goes through the trim, it takes the width of the saw blade off with it!

The same rule applies for this trim when you need to join two pieces together. Cut the end at a 45 degree angle, and cut the joining end at 45 degrees in the opposite direction.
Once all of the moulding is installed, you can caulk along the top and bottom using a paintable trim caulk. You can also fill in the larger seams/gaps with caulk. Then fill in any nail holes with wood filler. The larger gaps can also be touched up with wood filler. You will sand it all down when the filler dries, and then it is ready for paint!

Here’s everything I used for my DIY Crown Moulding!


Don’t forget to check out what all of the other great accounts are up to for this week of the One Room Challenge. Go here!
Wow, your progress on the One Room Challenge is truly inspiring! I checked out your post on https://cassmakeshome.com and your moulding tutorial is so detailed and helpful. The transformation in your space is already looking stunning. I can’t wait to see the final result! Keep up the fantastic work! 👏💪 #OneRoomChallenge #DIYHomeDecor