Playroom Refresh – Cabinets

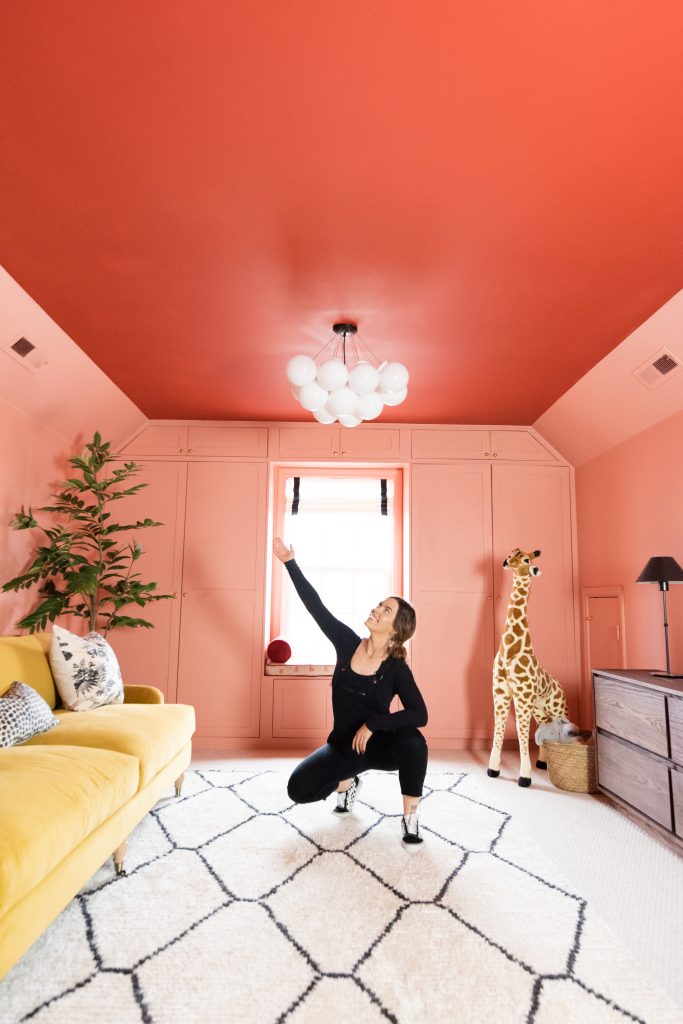
Who remembers the playroom?! I did this playroom for the girls before we knew we were having a boy. It’s very pink and needs a little refresh to be a bit more gender neutral. The whole space is pretty beat up (which is the sign of a very loved playroom!). Time for a playroom refresh!
Here’s what the playroom looked like, all pretty and pink! The girls have absolutely loved this space. I even made the bubble chandelier on the ceiling!
*This post may contain affiliate links, which means I may earn a small commission if you purchase through my links, at no extra cost to you. I only share products I genuinely love.
Paint
I’ve loved the pink in here…but truthfully, I’ve been tired of it for a while. If the color looked exactly like it does in the picture above at all times of the day, I’d leave it be. But most of the day there is a weird hue shift that makes the walls appear more hot pink than salmon and it just gets so overstimulating. So, I tested out some green paint swatches on the wall and landed on Budding Green by Benjamin Moore!
I ran into a biiiiit of an issue though. The green was looking pretty blue than I wanted. I wasn’t sure if it was because of the light, like the pink. I stopped painting because I started spiraling.

If I were to keep painting, there was a chance the color would read like the original color that I picked. There was also a chance that it would turn out just like the pink, so intense. I sat on it for a couple of days and decided to color drench the room the same color as the ceiling in here – which is Light Salmon by Benjamin Moore!


Here are all of my essential paint tools!
DIY Ticket Artwork
I had this fun idea for a piece of DIY art to put above the sofa. I saw this ticket collage art print and had this idea to collect actual vintage tickets & make my own. So, I found a ton of tickets on Etsy! I grabbed a foam board and spray painted it ivory to give it a warmer background.
After the paint was dried, I sorted and arranged the tickets onto the foam board. I downloaded a few more ticket prints from Etsy and I honestly couldn’t tell the difference. Since I ran out of tickets to fill the whole space, this was perfect!


Air Vent
Ever since I first replaced the air vent cover in my upstairs hallway for a custom one, I haven’t been able to stop swapping them out around my house. To replace it, you score the caulk line, remove the screws, and pop the old one. Then, you just insert and screw in the new one! Finally, caulk, paint, & pop on the new screen (it’s magnetic). I like to paint the trim and vent the same color as the trim in the room. So since the playroom is color drenched, I painted it the same color as the rest of the room –
I replaced the one in our kitchen hallway and upstairs hallway.

You can read more about how I swap them out here in this blog post!
Built-In Doors
The last thing I needed to do was build new built-in doors. I built these custom when I initially built these. I used MDF, a really dense and heavy material. The doors were swung on and beat up by the kiddos so they definitely needed to be replaced. Here’s what they looked like when I first built them!
Instead of building them exactly like I built them before, I decided to do two half doors – so I’d need 16 doors total. I got solid, 1/2 inch sheets of MDF, then 1/4 inch MDF to make them look like shaker doors! I cut the 1/4 inch pieces down into 2.5 inch strips down on my table saw. This was going to be wayyyy easier and cost effective! It’s super important to wear a mask when cutting MDF. I only know this because last time I did it without a mask, everyone yelled at me. Hahaha.


I assembled them with construction adhesive and clamps. Then to fill in the gaps, I used plastic wood! Next, I sanded everything down to get it ready for paint! Each door took about 15 minutes to make, not including filler/sanding.


I feel like this is such a great option for beginner DIYer’s OR for someone not wanting to deal with how difficult making cabinet doors can be! I would not recommend using MDF boards for a kitchen or bathroom since MDF swells with moisture. So keep that in mind!
I used this hinge hole jig and it makes it so much easier to make the holes for hinges perfect!


Paint
I primed the doors with Zinsser Bin Shellac Primer – then I painted the doors the same Light Salmon color as the rest of the room!


Way back when I first did this room, I made a mistake by using a water-based primer on the inside shelves of these bookcases. I decided to fix them and do it right this time around! I sanded, re-primed (the right way) and painted! This was so annoying but worth it. This wasn’t super necessary…but I’ve grown so much in my DIY skills and I want to be proud of this.


For top coat, I used the Behr Poly Urethane. This is my all time favorite top coat!
Shelves
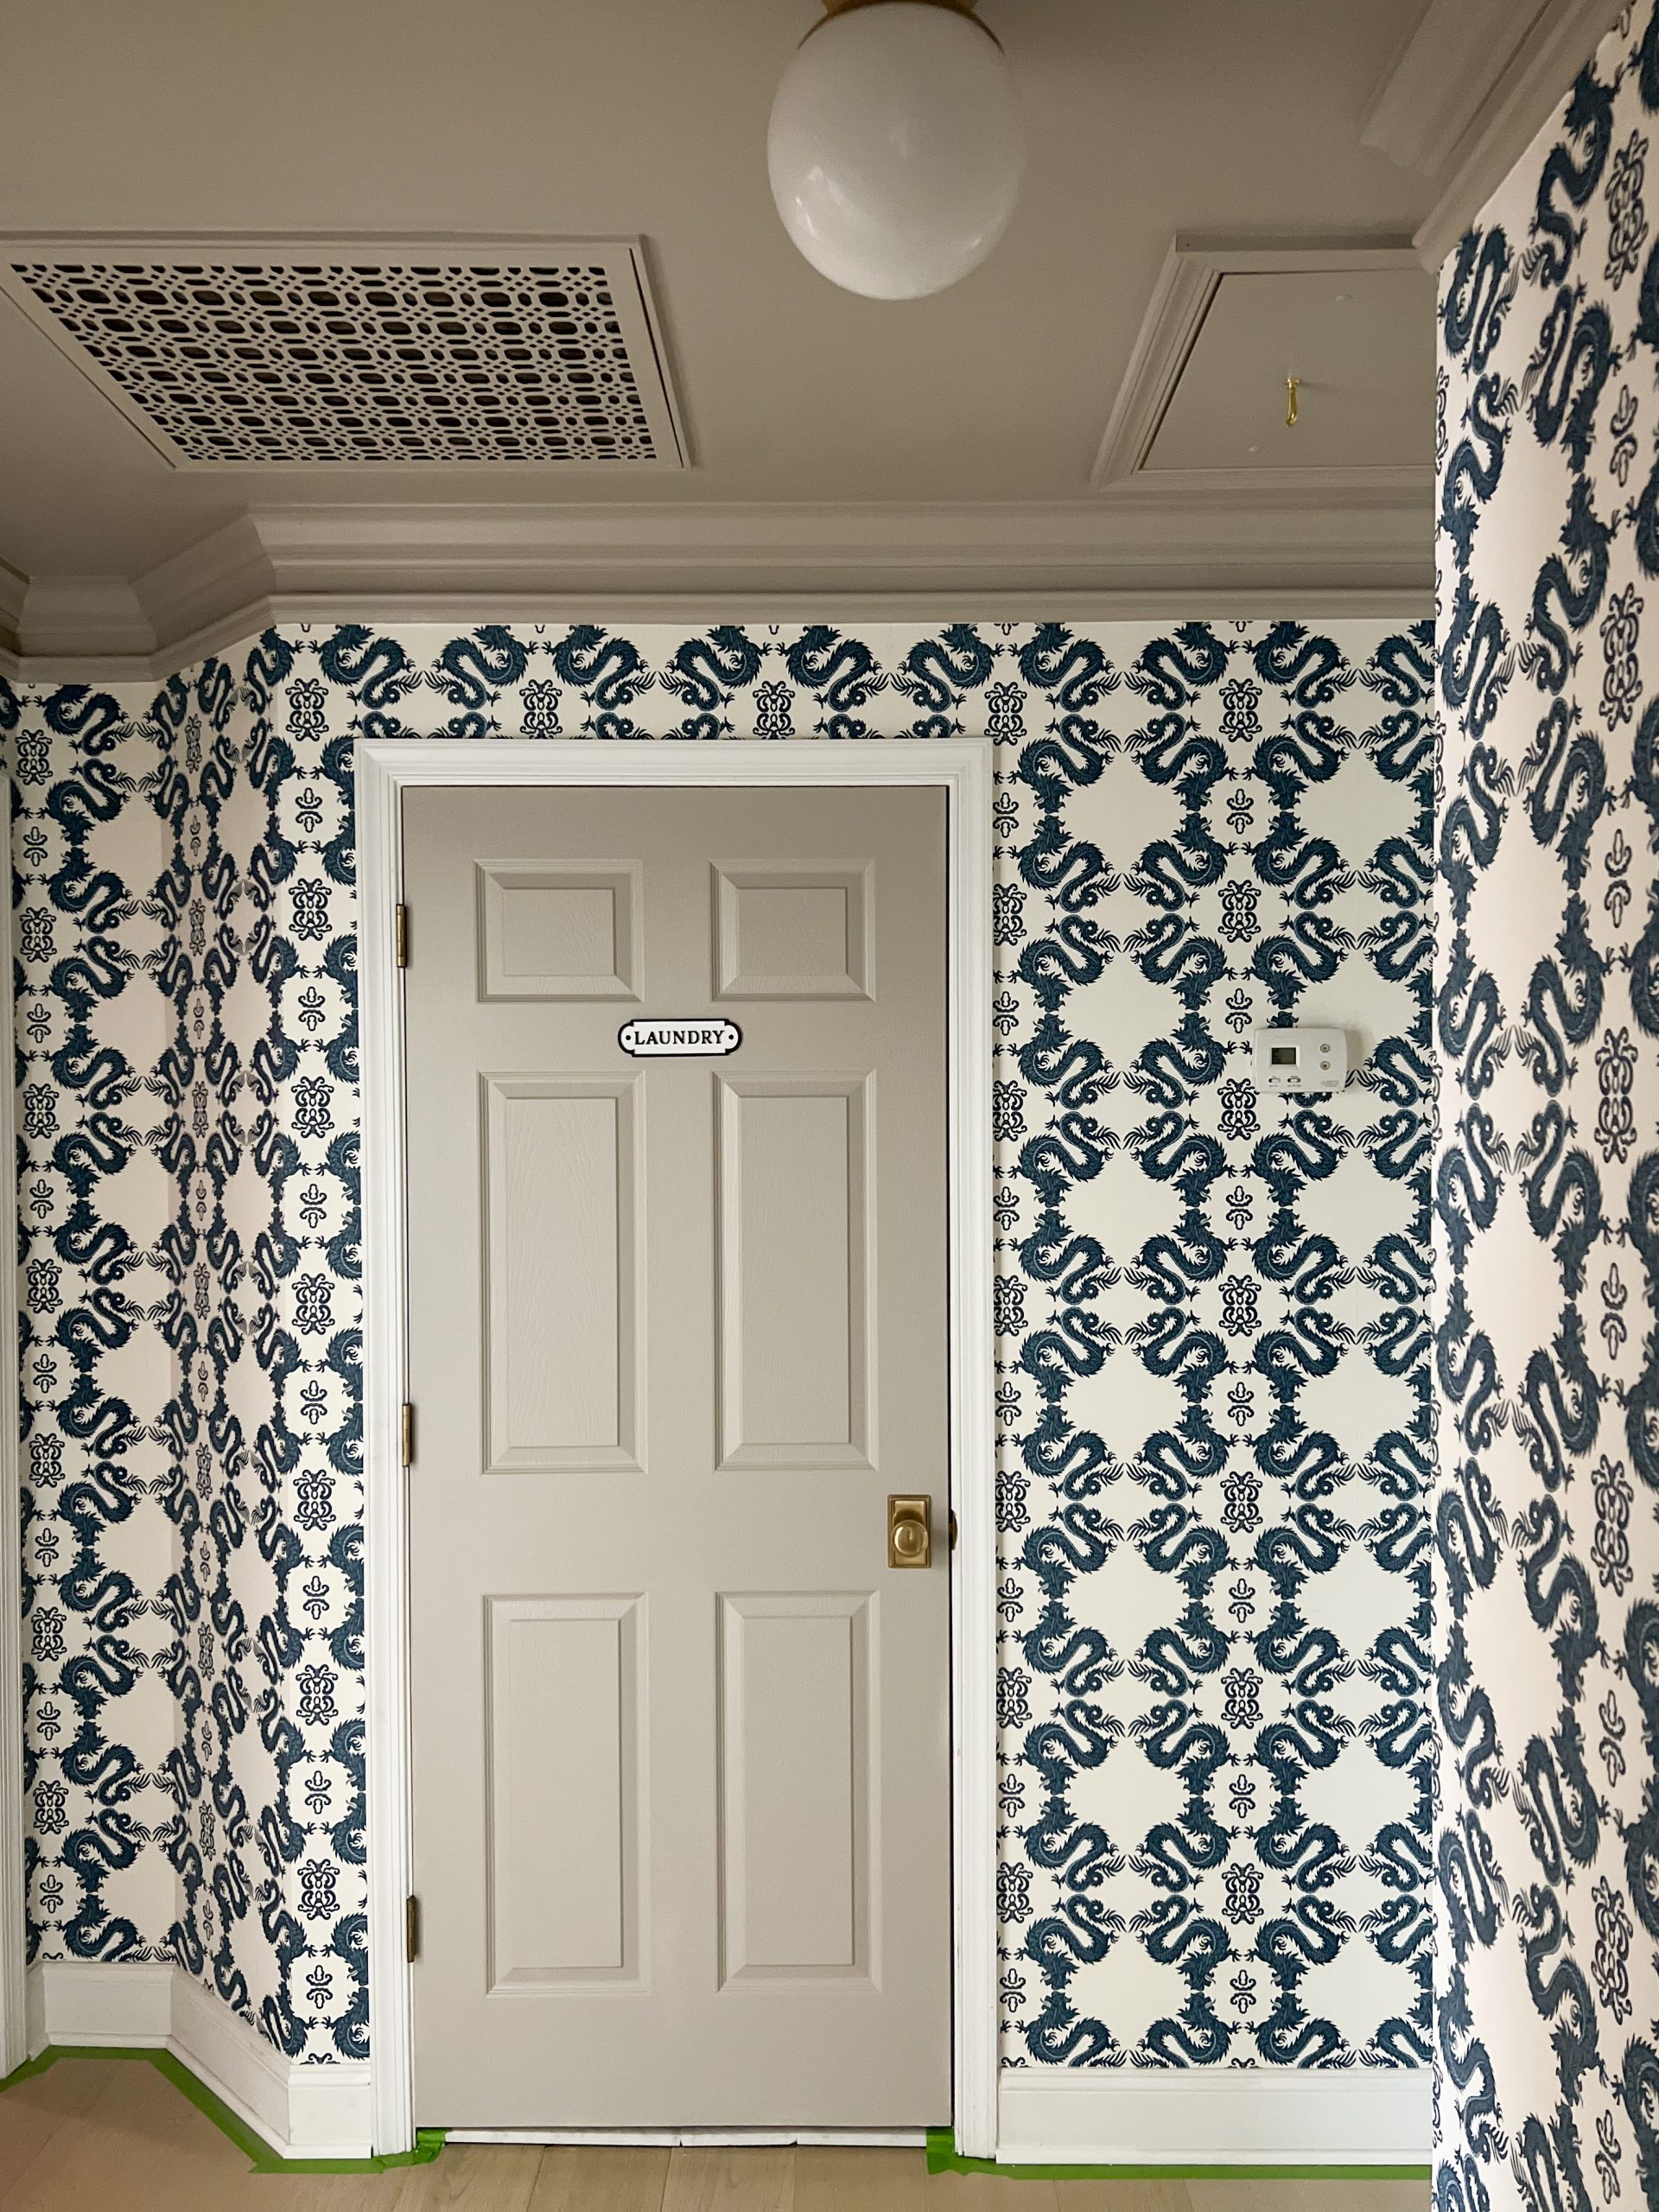
I still wanted to use my previous shelves since they were still in good condition (other than the paint). So, I decided to use this patterned wallpaper! Sooo cute. Again, not necessary but a cute detail!

Hardware
I got this gorgeous hardware by Tradition Hardware. It instantly gave these doors so much character.


I won’t lie, I avoided finishing this project like the plague. But it’s almost there. I’m committed to finishing this and I can’t wait to show you!