Our Deck Makeover – Progress

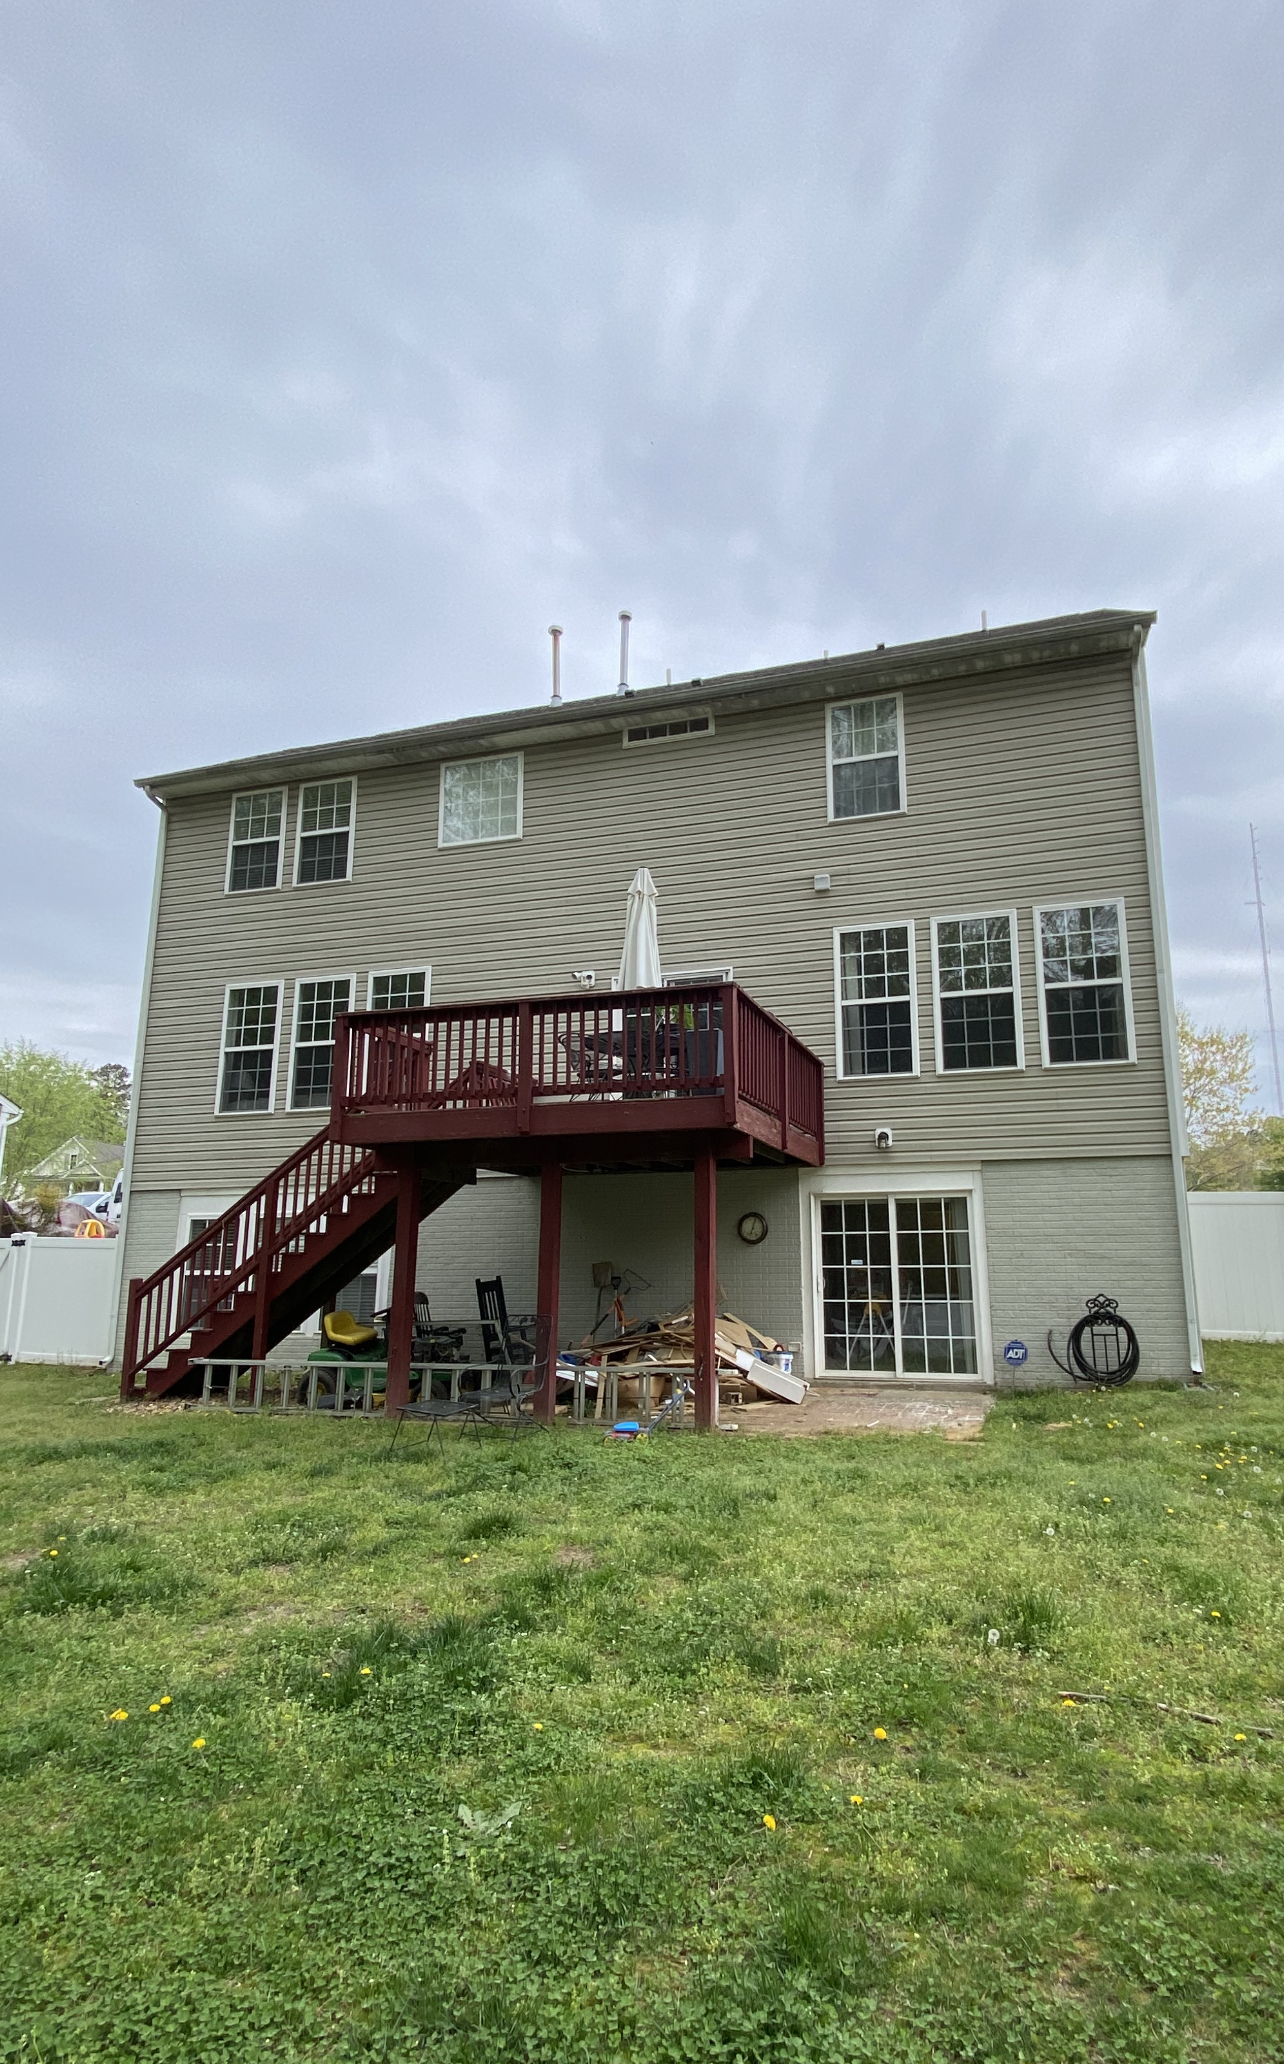
If you’ve been following along for a while you know that this deck makeover has been in the works for quite some time. We got started on this project last summer and are finally getting close to the finish line after breaking for the winter and a few shipping delays. Here is a quick reminder of what we started with…
*This post may contain affiliate links, which means I may earn a small commission if you purchase through my links, at no extra cost to you. I only share products I genuinely love.
We chose this decking and railing from Trex:
Trex Enhanced Naturals Decking in Toasted Sand
Trex Transcend Railing in Charcoal Black
You can read more about these in the Deck Makeover-Before Blog Post!
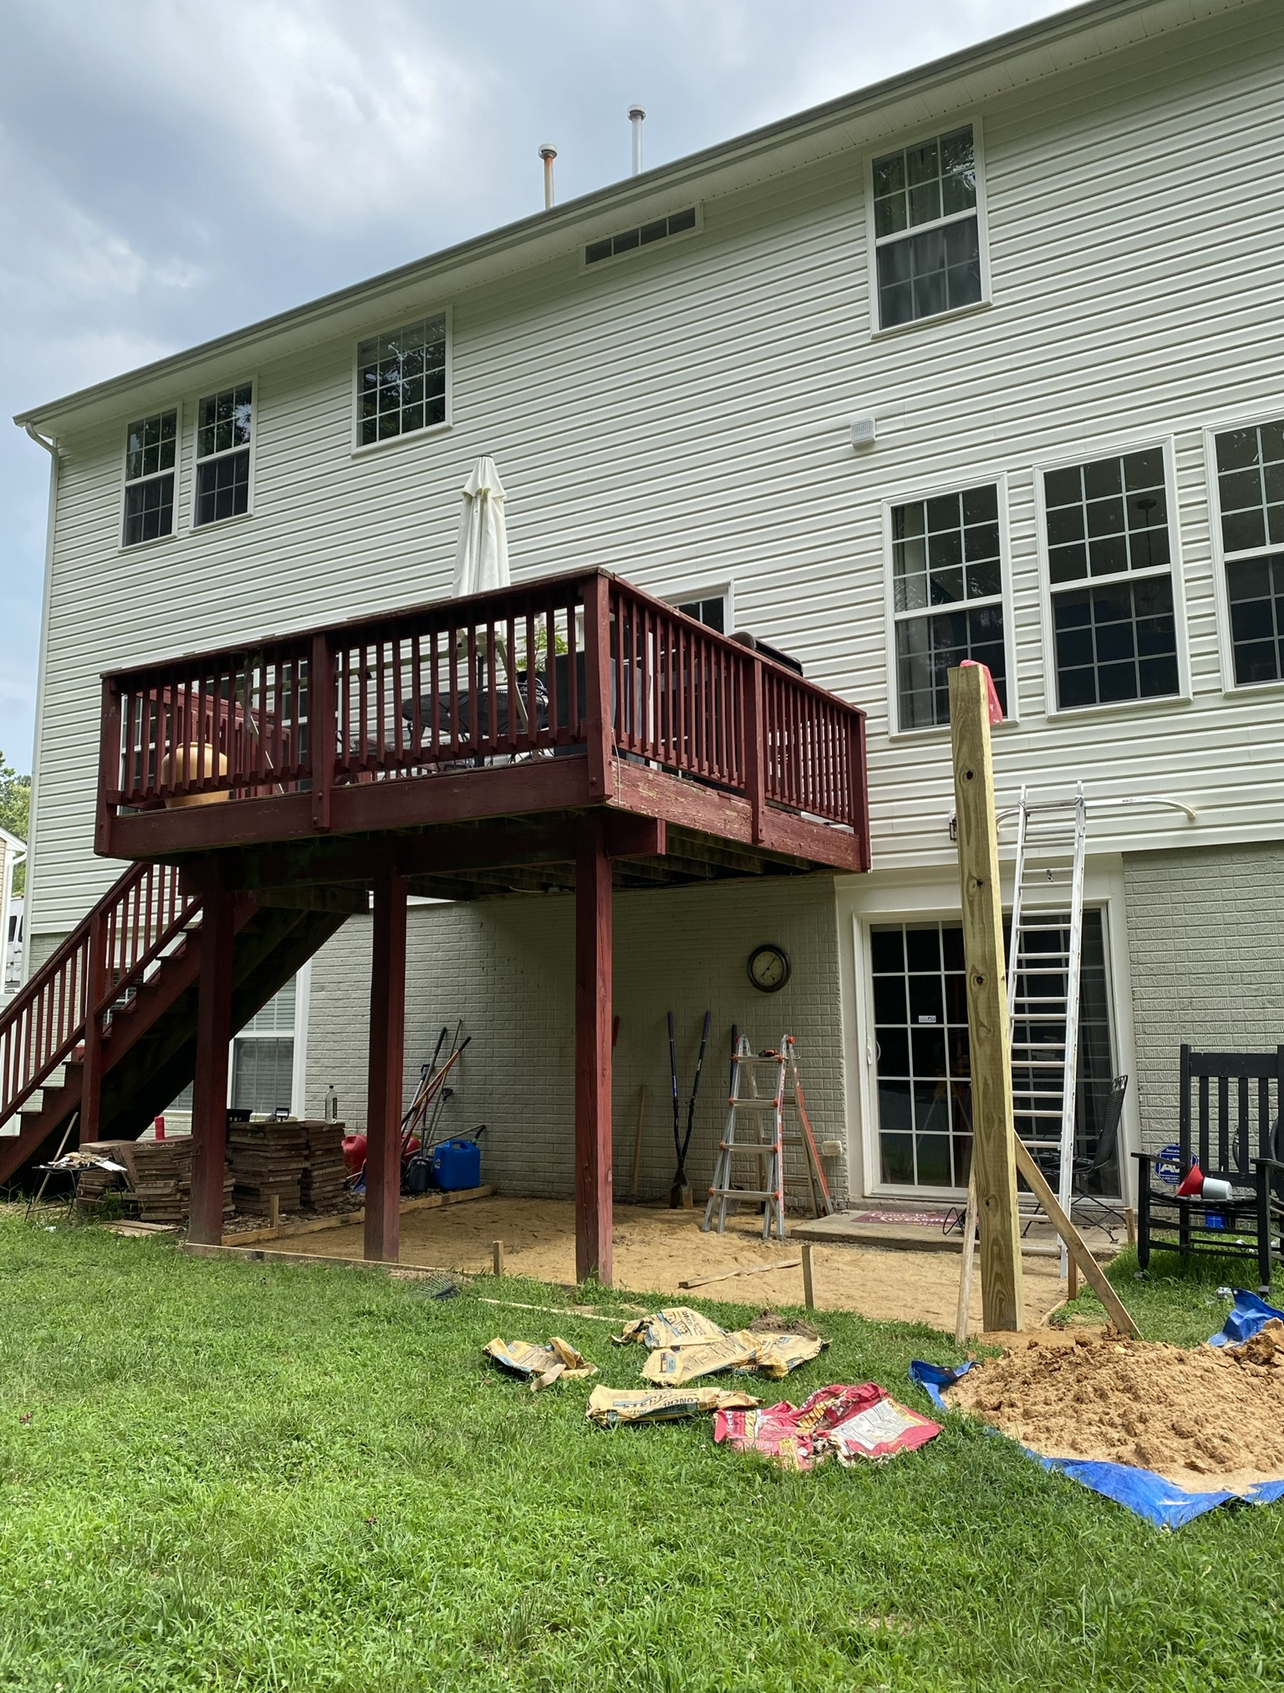
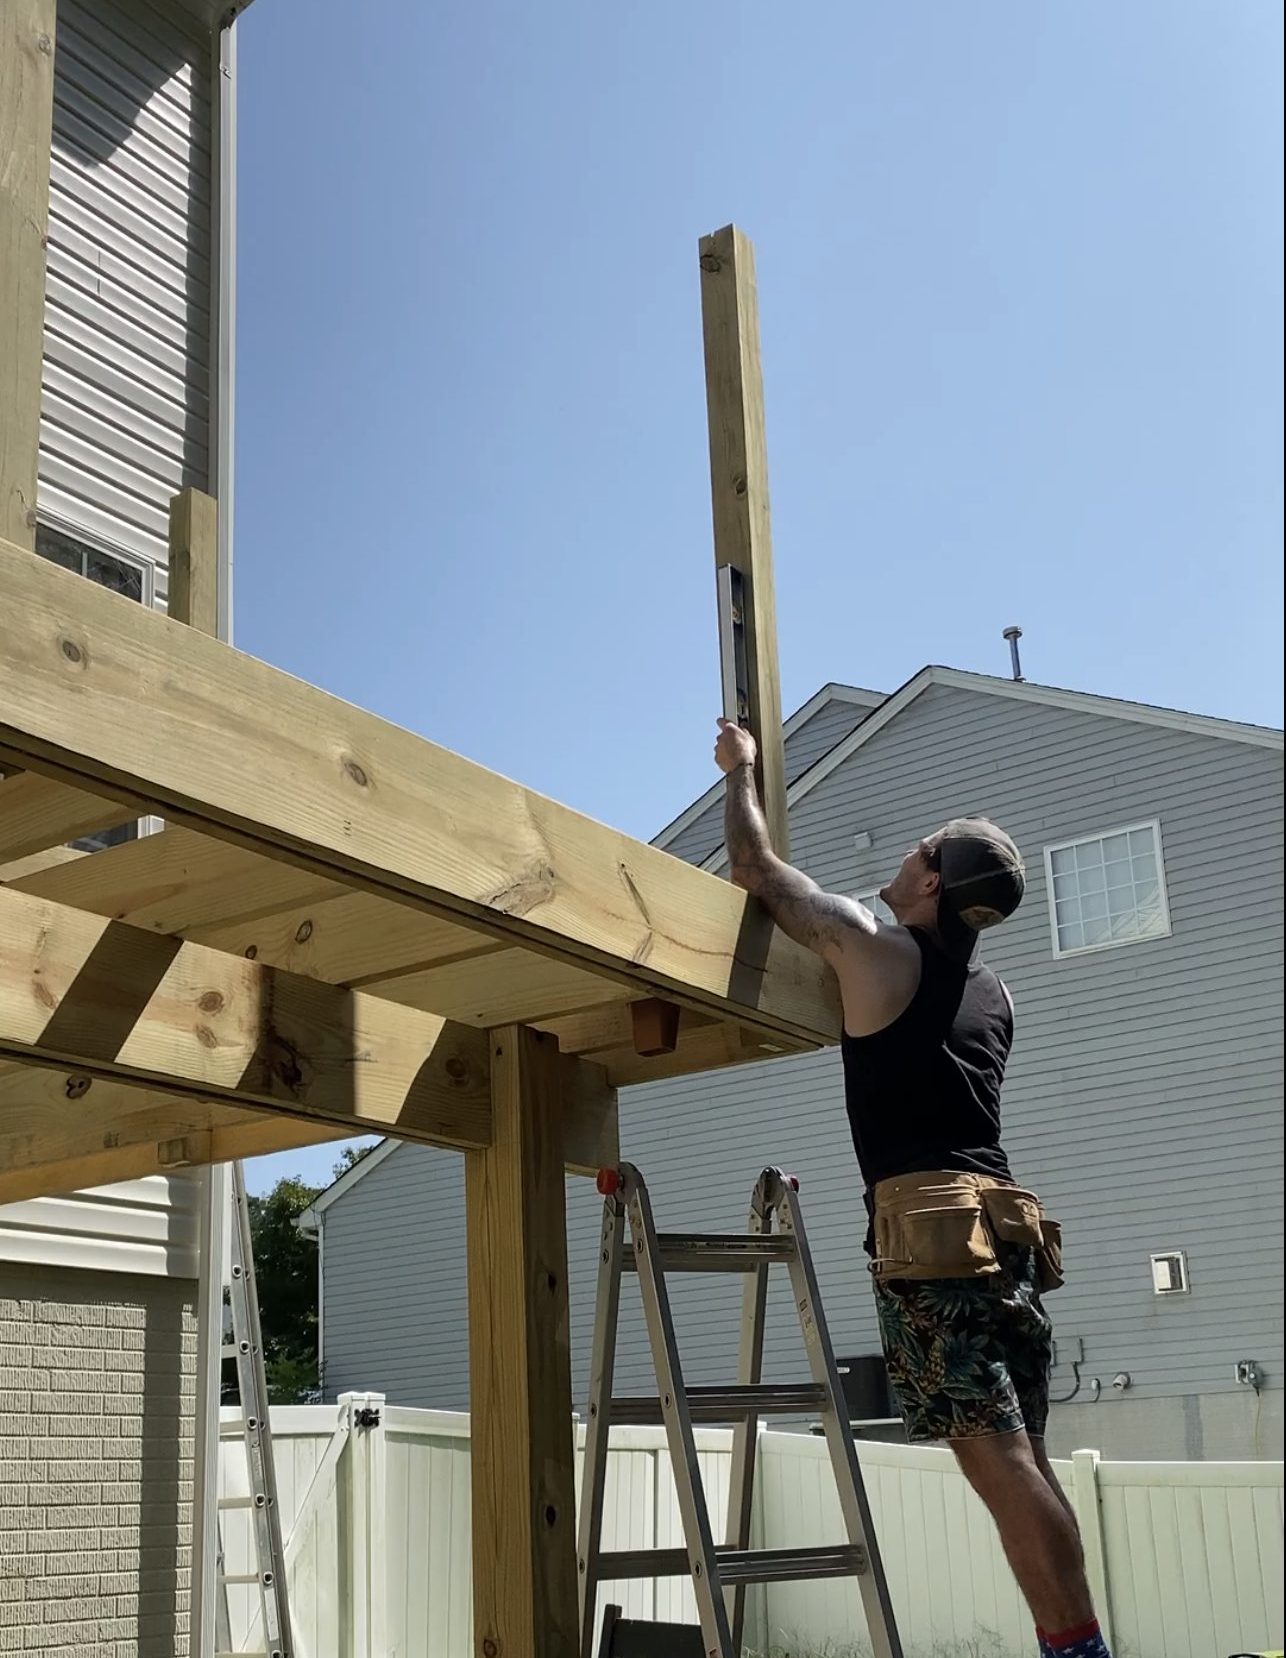
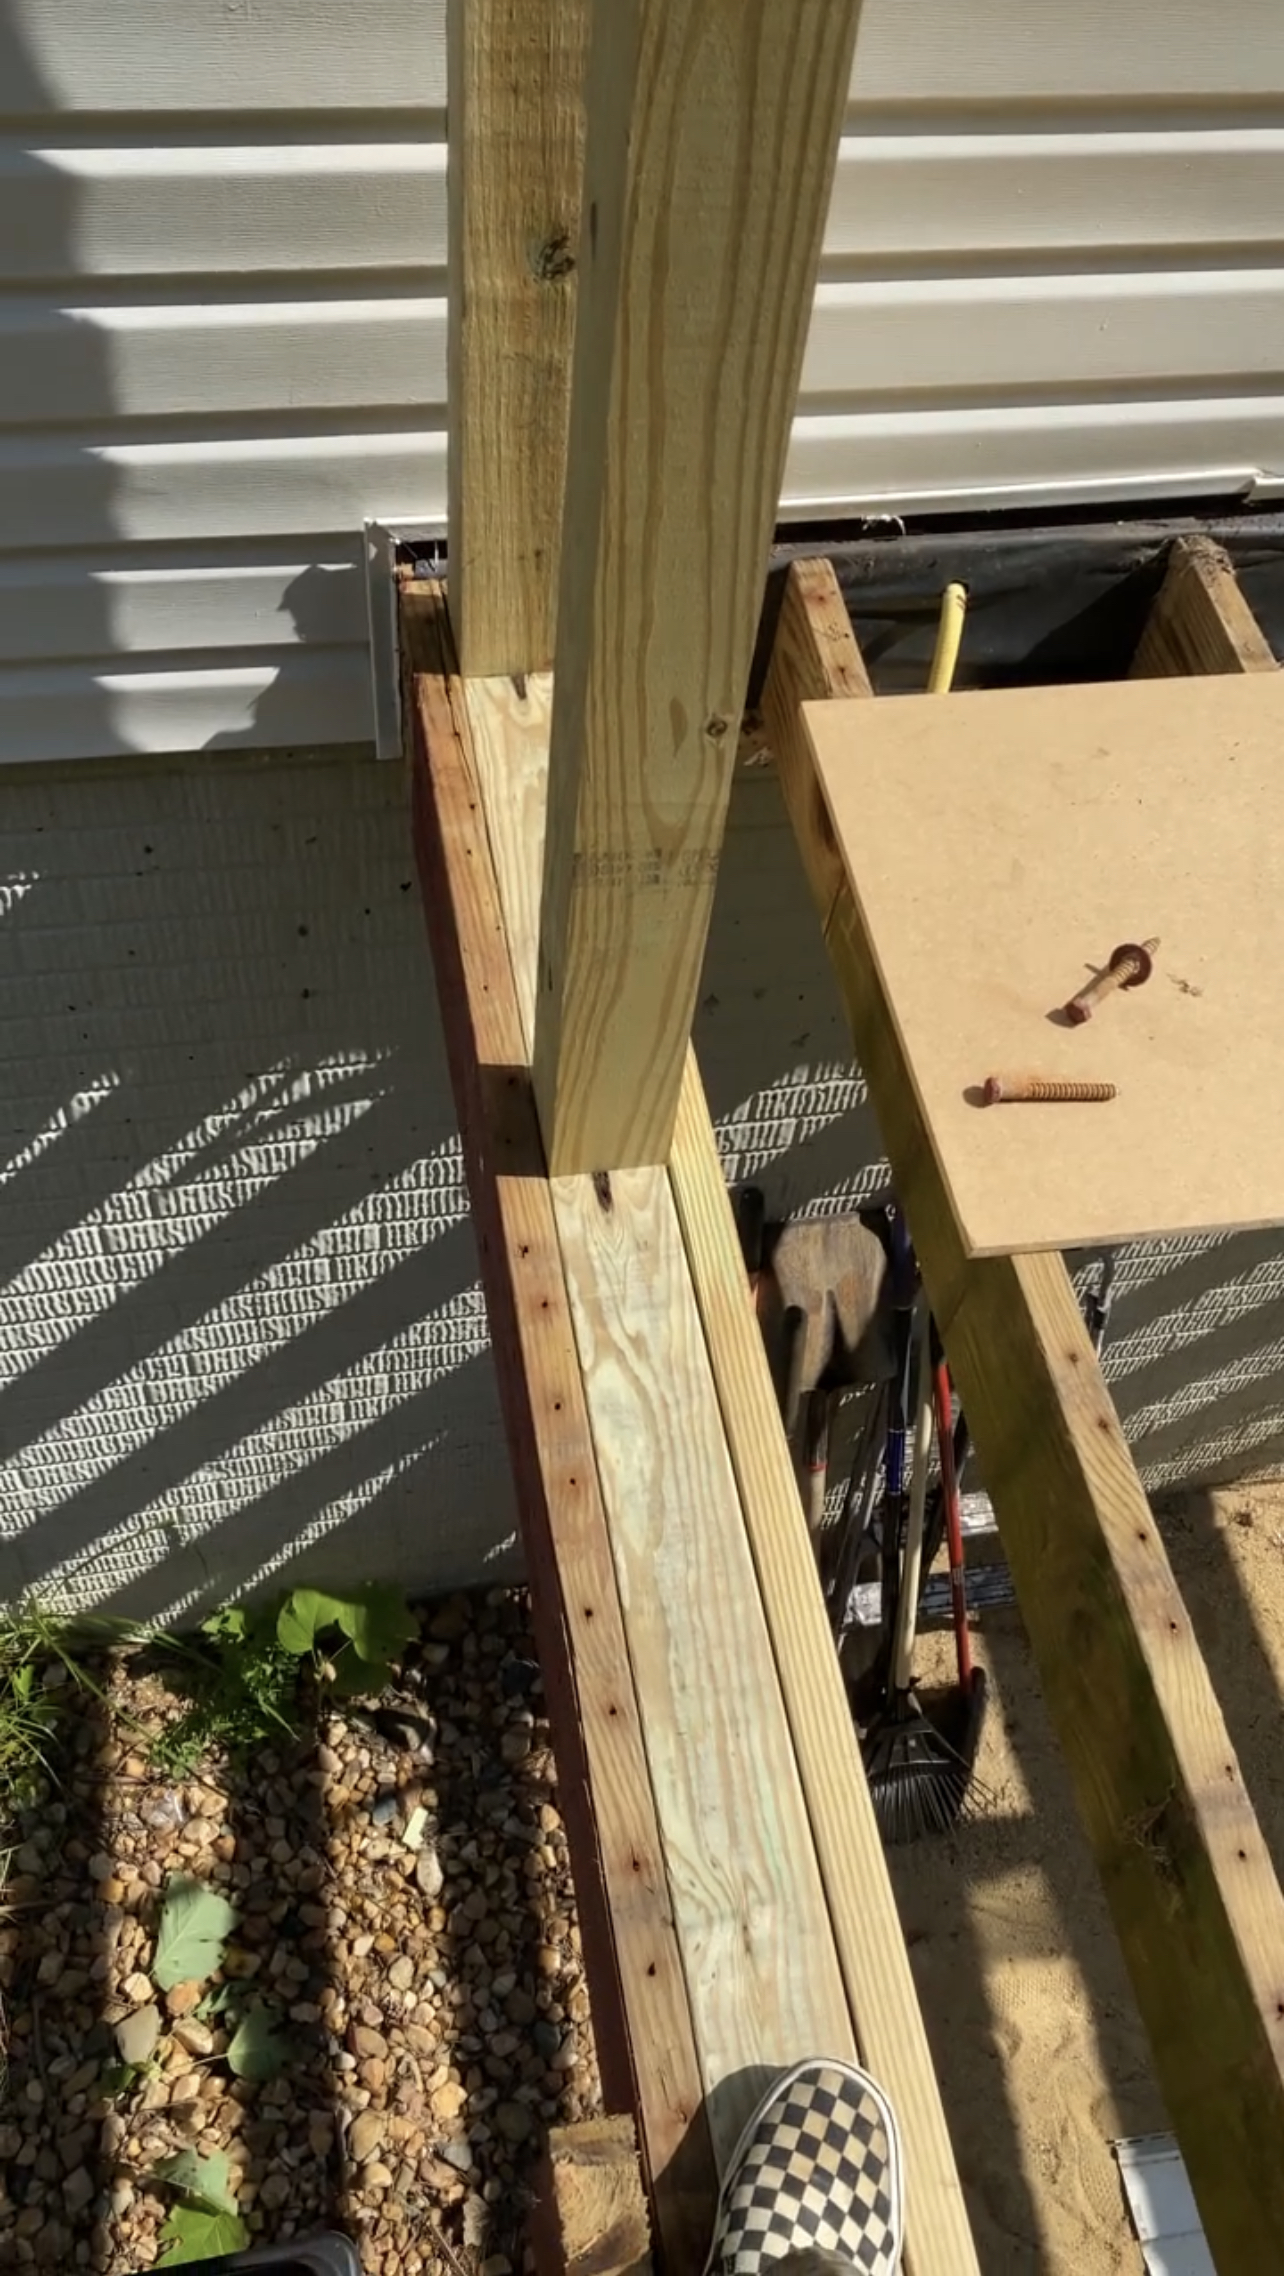
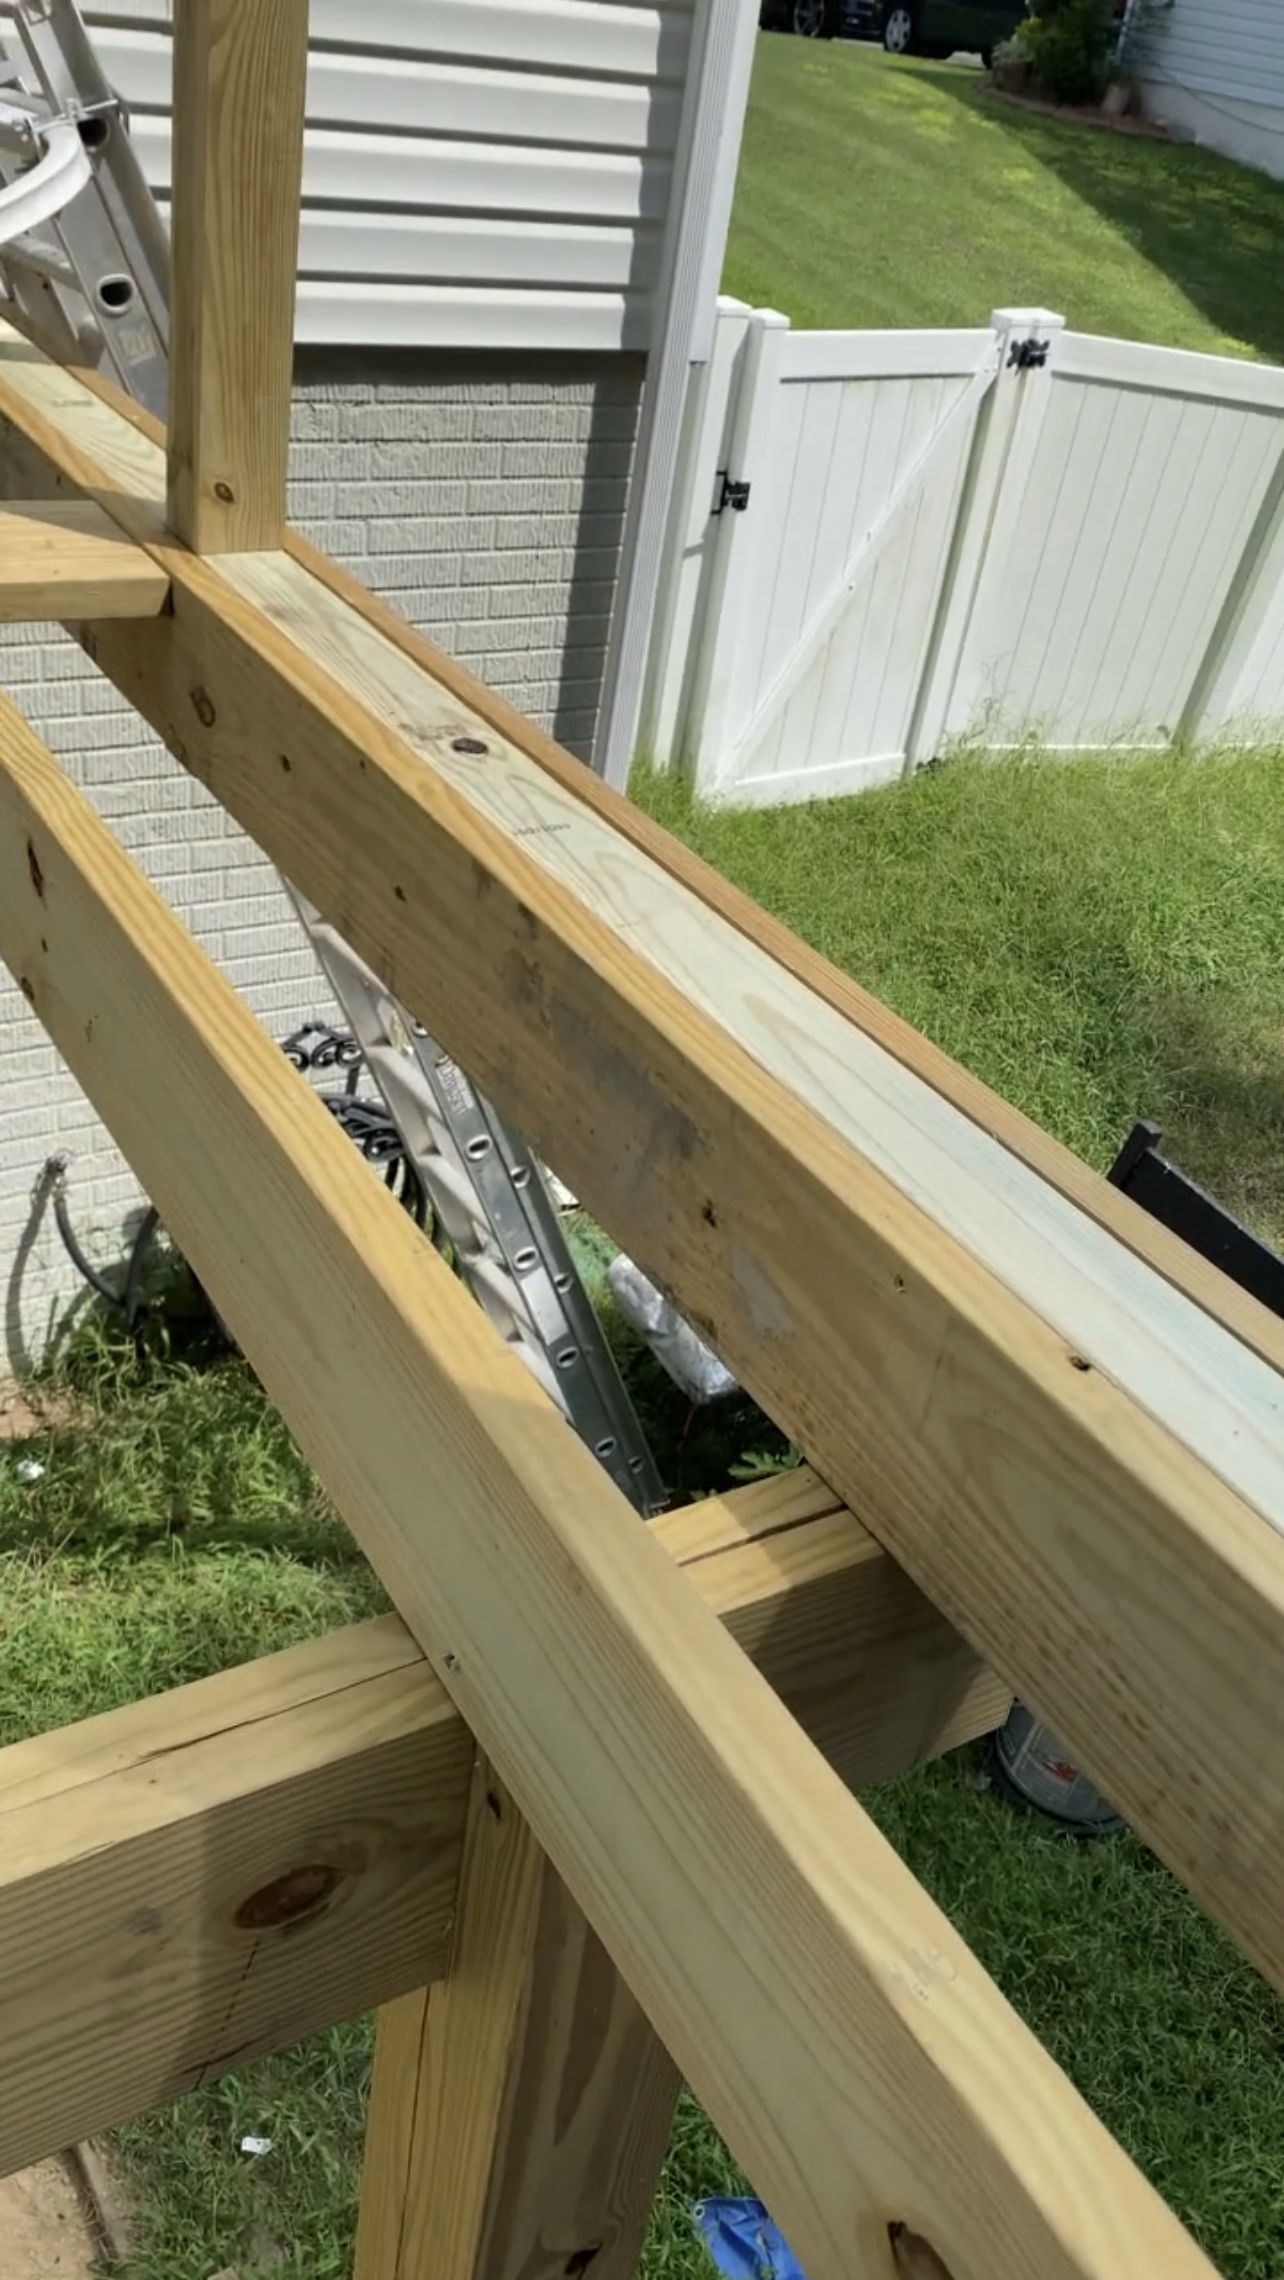
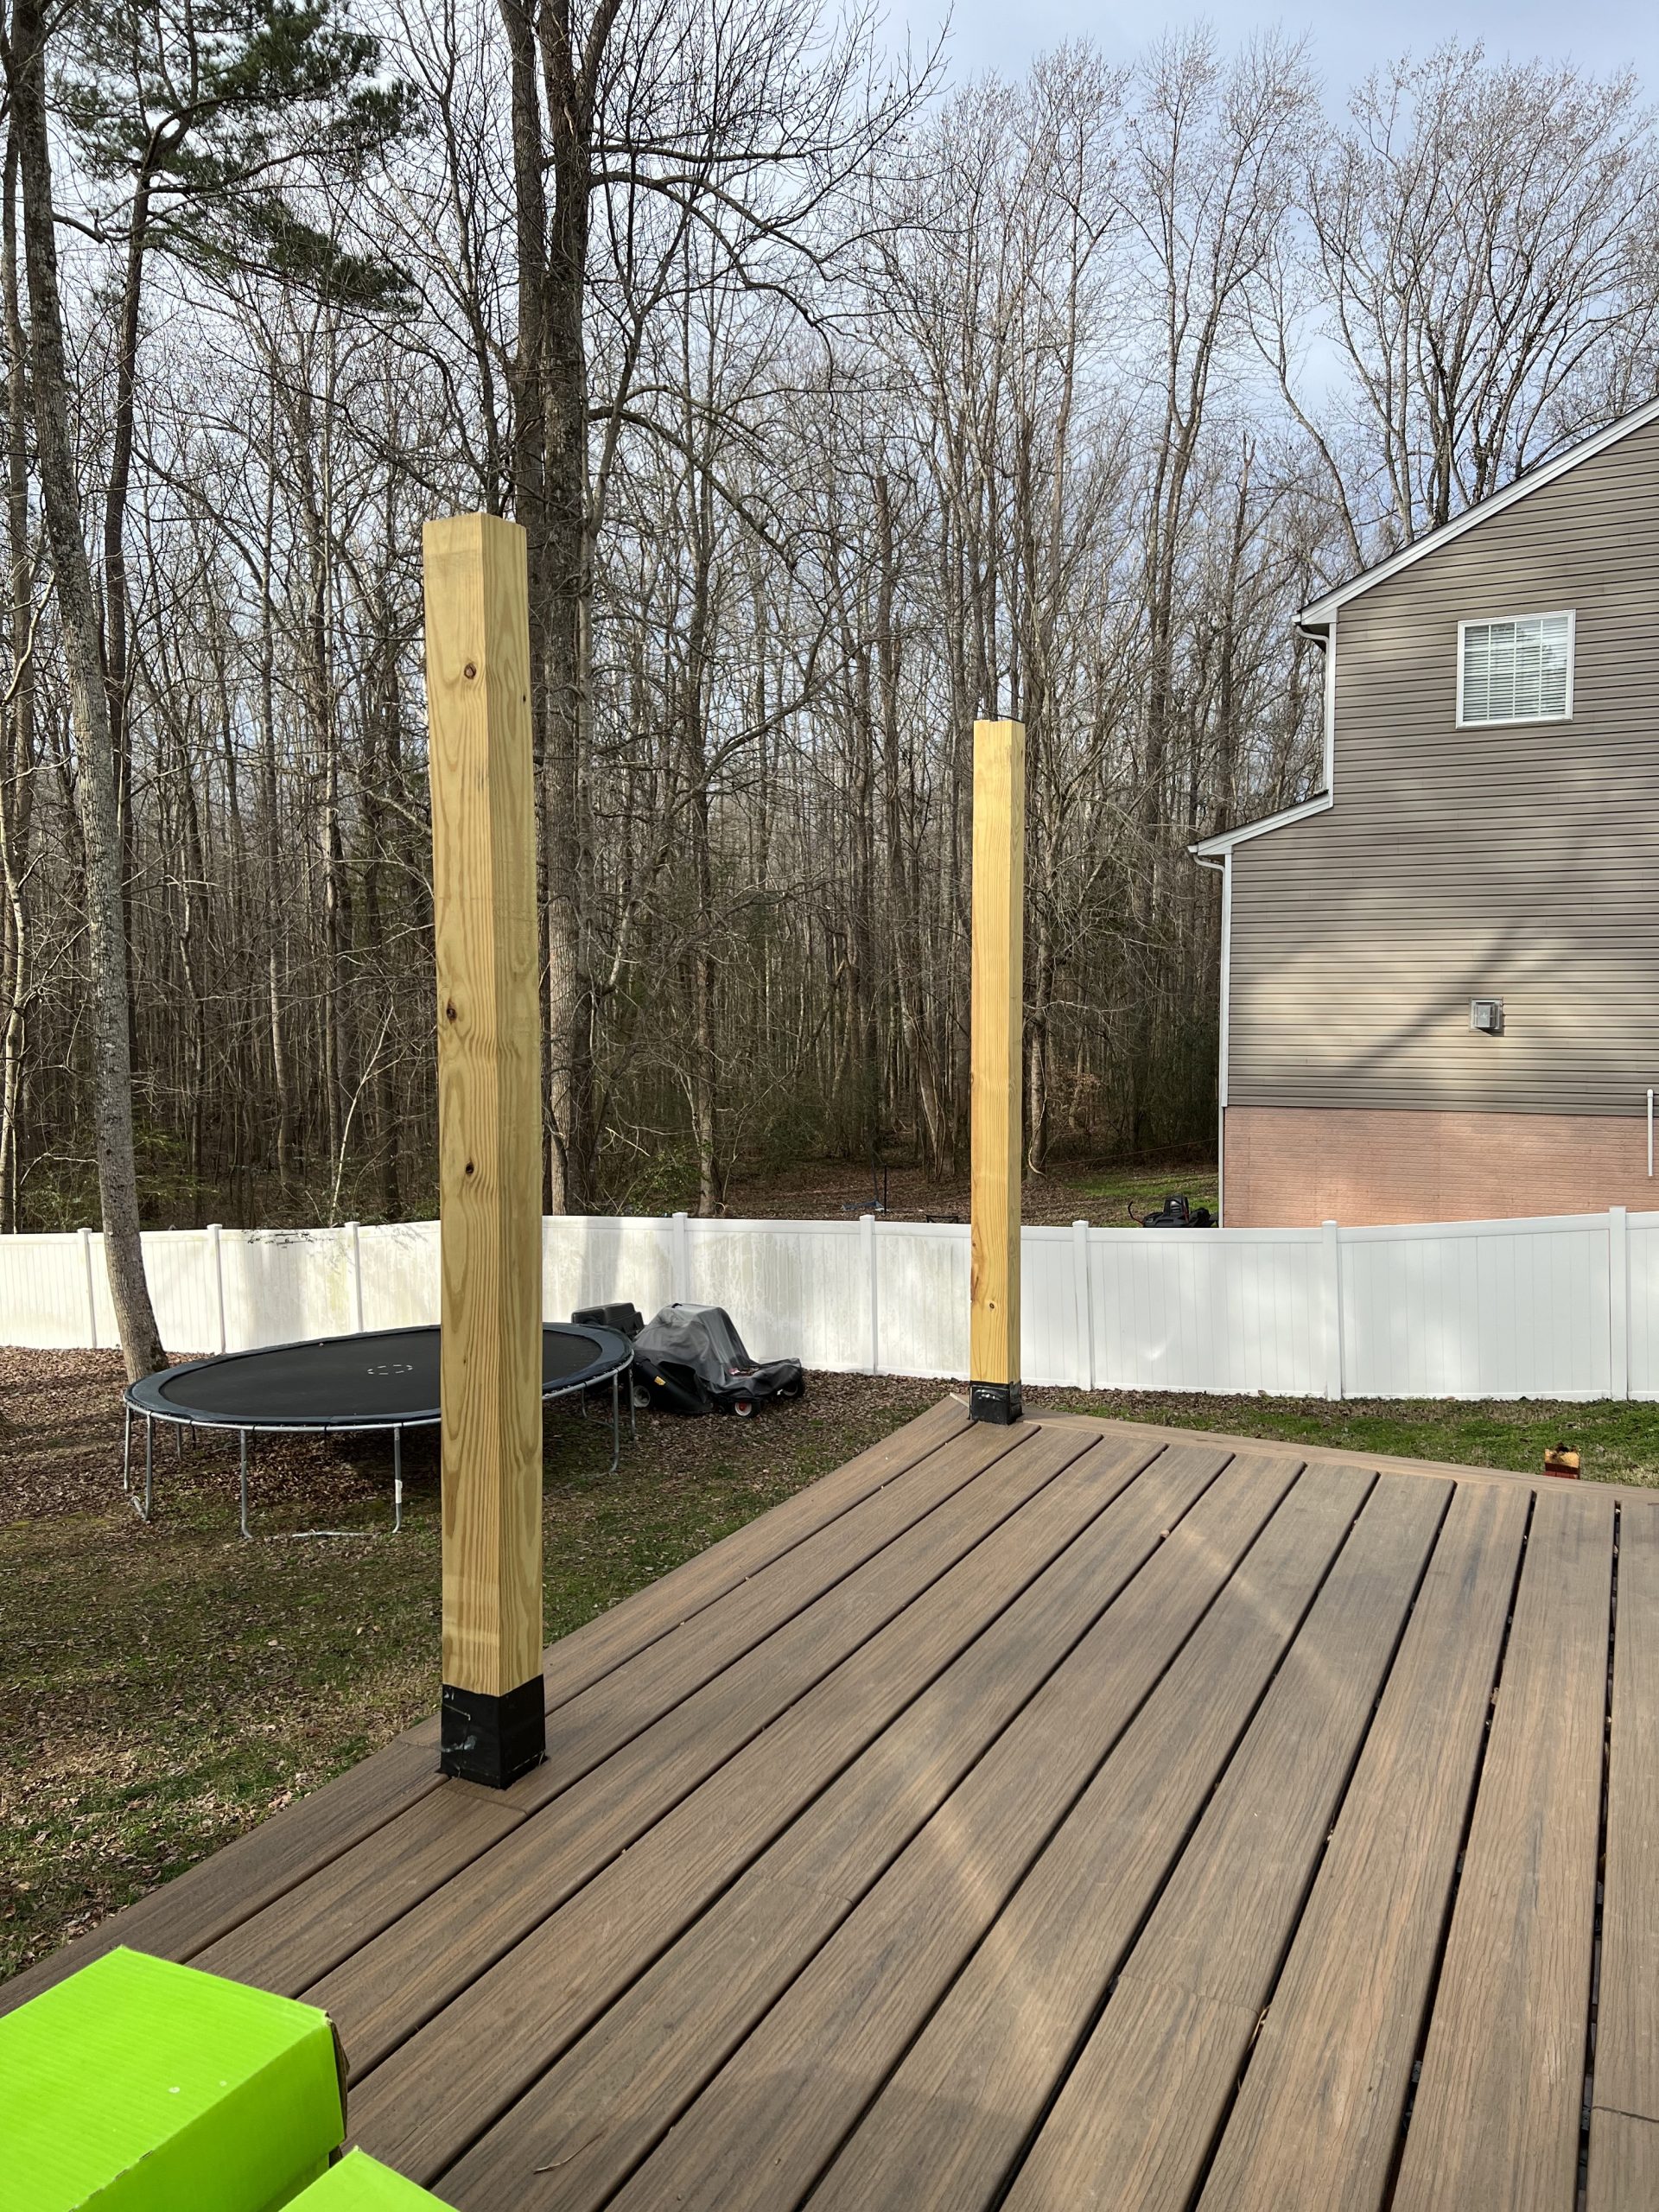
The very first step for us was to demo and widen the existing structure. The size of our deck was just not working for us and we wanted more room to entertain/lounge. David had a friend come and help out fo this part. They added an additional post and framed out the extension by about 6 feet. Then we removed all of the old rotting deck boards so we had a clean slate to work with. I knew that I eventually wanted to give the patio underneath the deck a makeover so we went ahead and ripped up all of the old pavers down there as well.
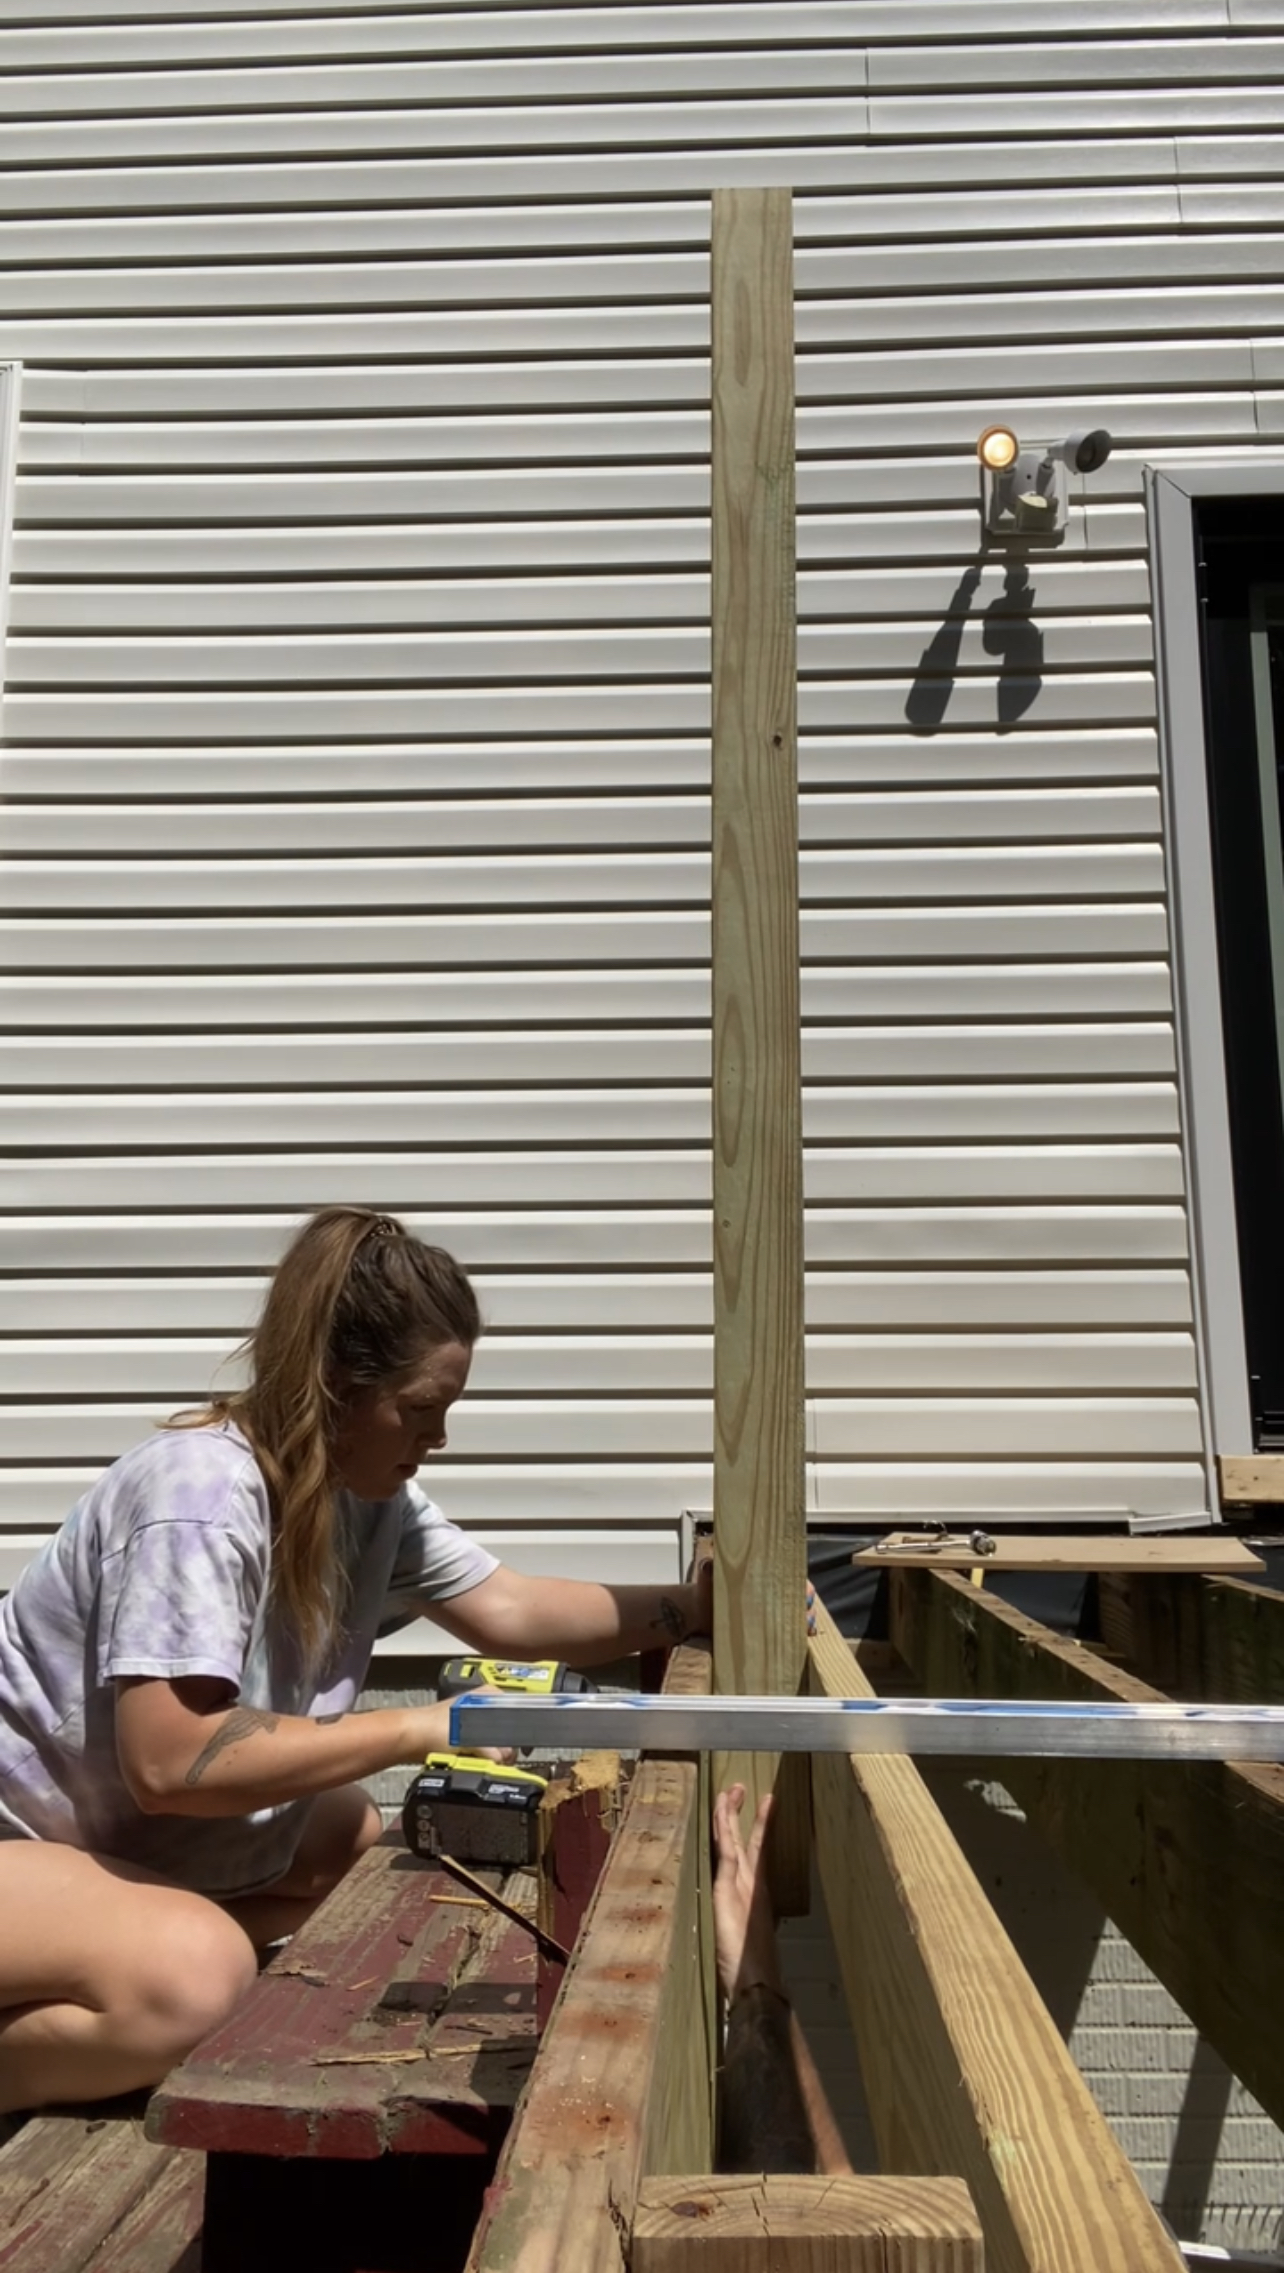
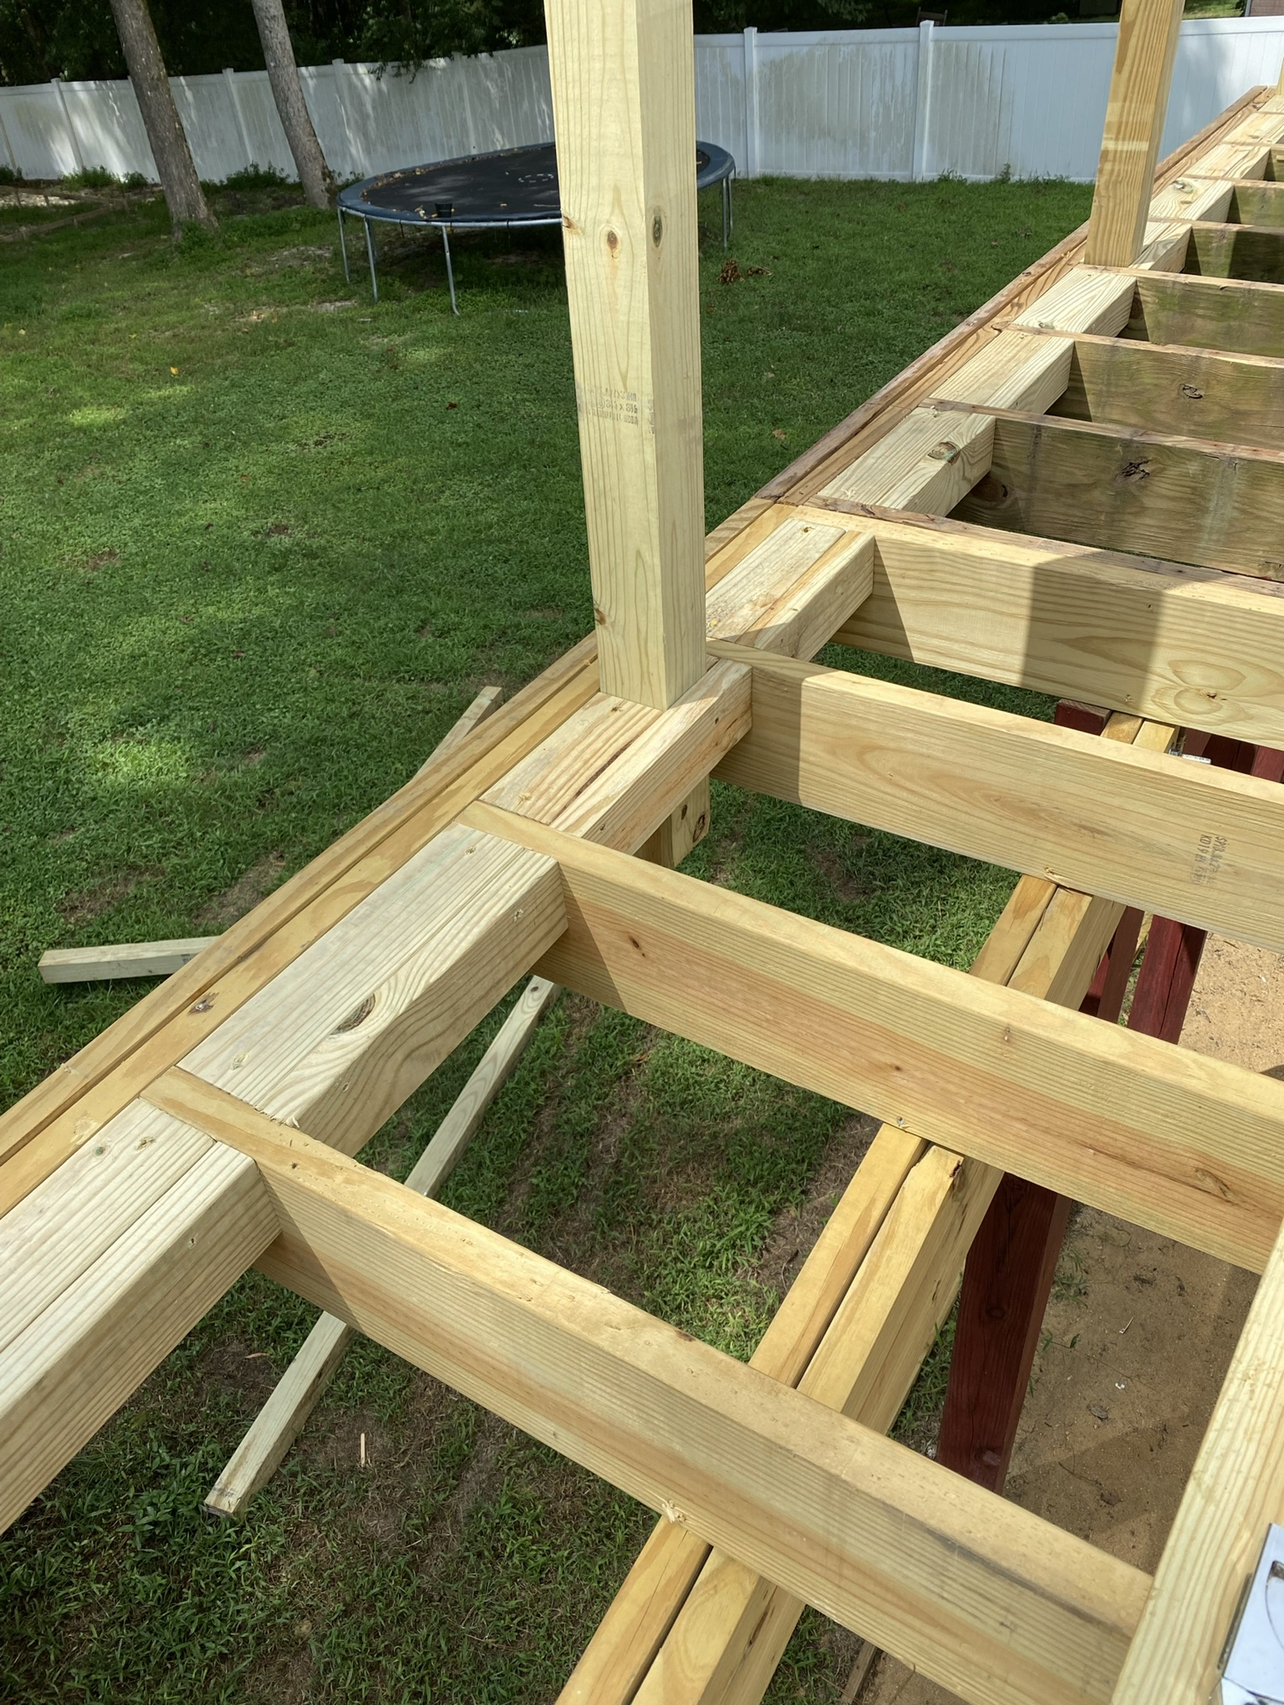
David and his friend placed a new post and built an addition (about 6 ft wide) onto the original deck frame. We also added new posts and blocking. The blocking is necessary for installing picture framing around the deck (which we knew we wanted to do) and also for installing the next step around the new posts.

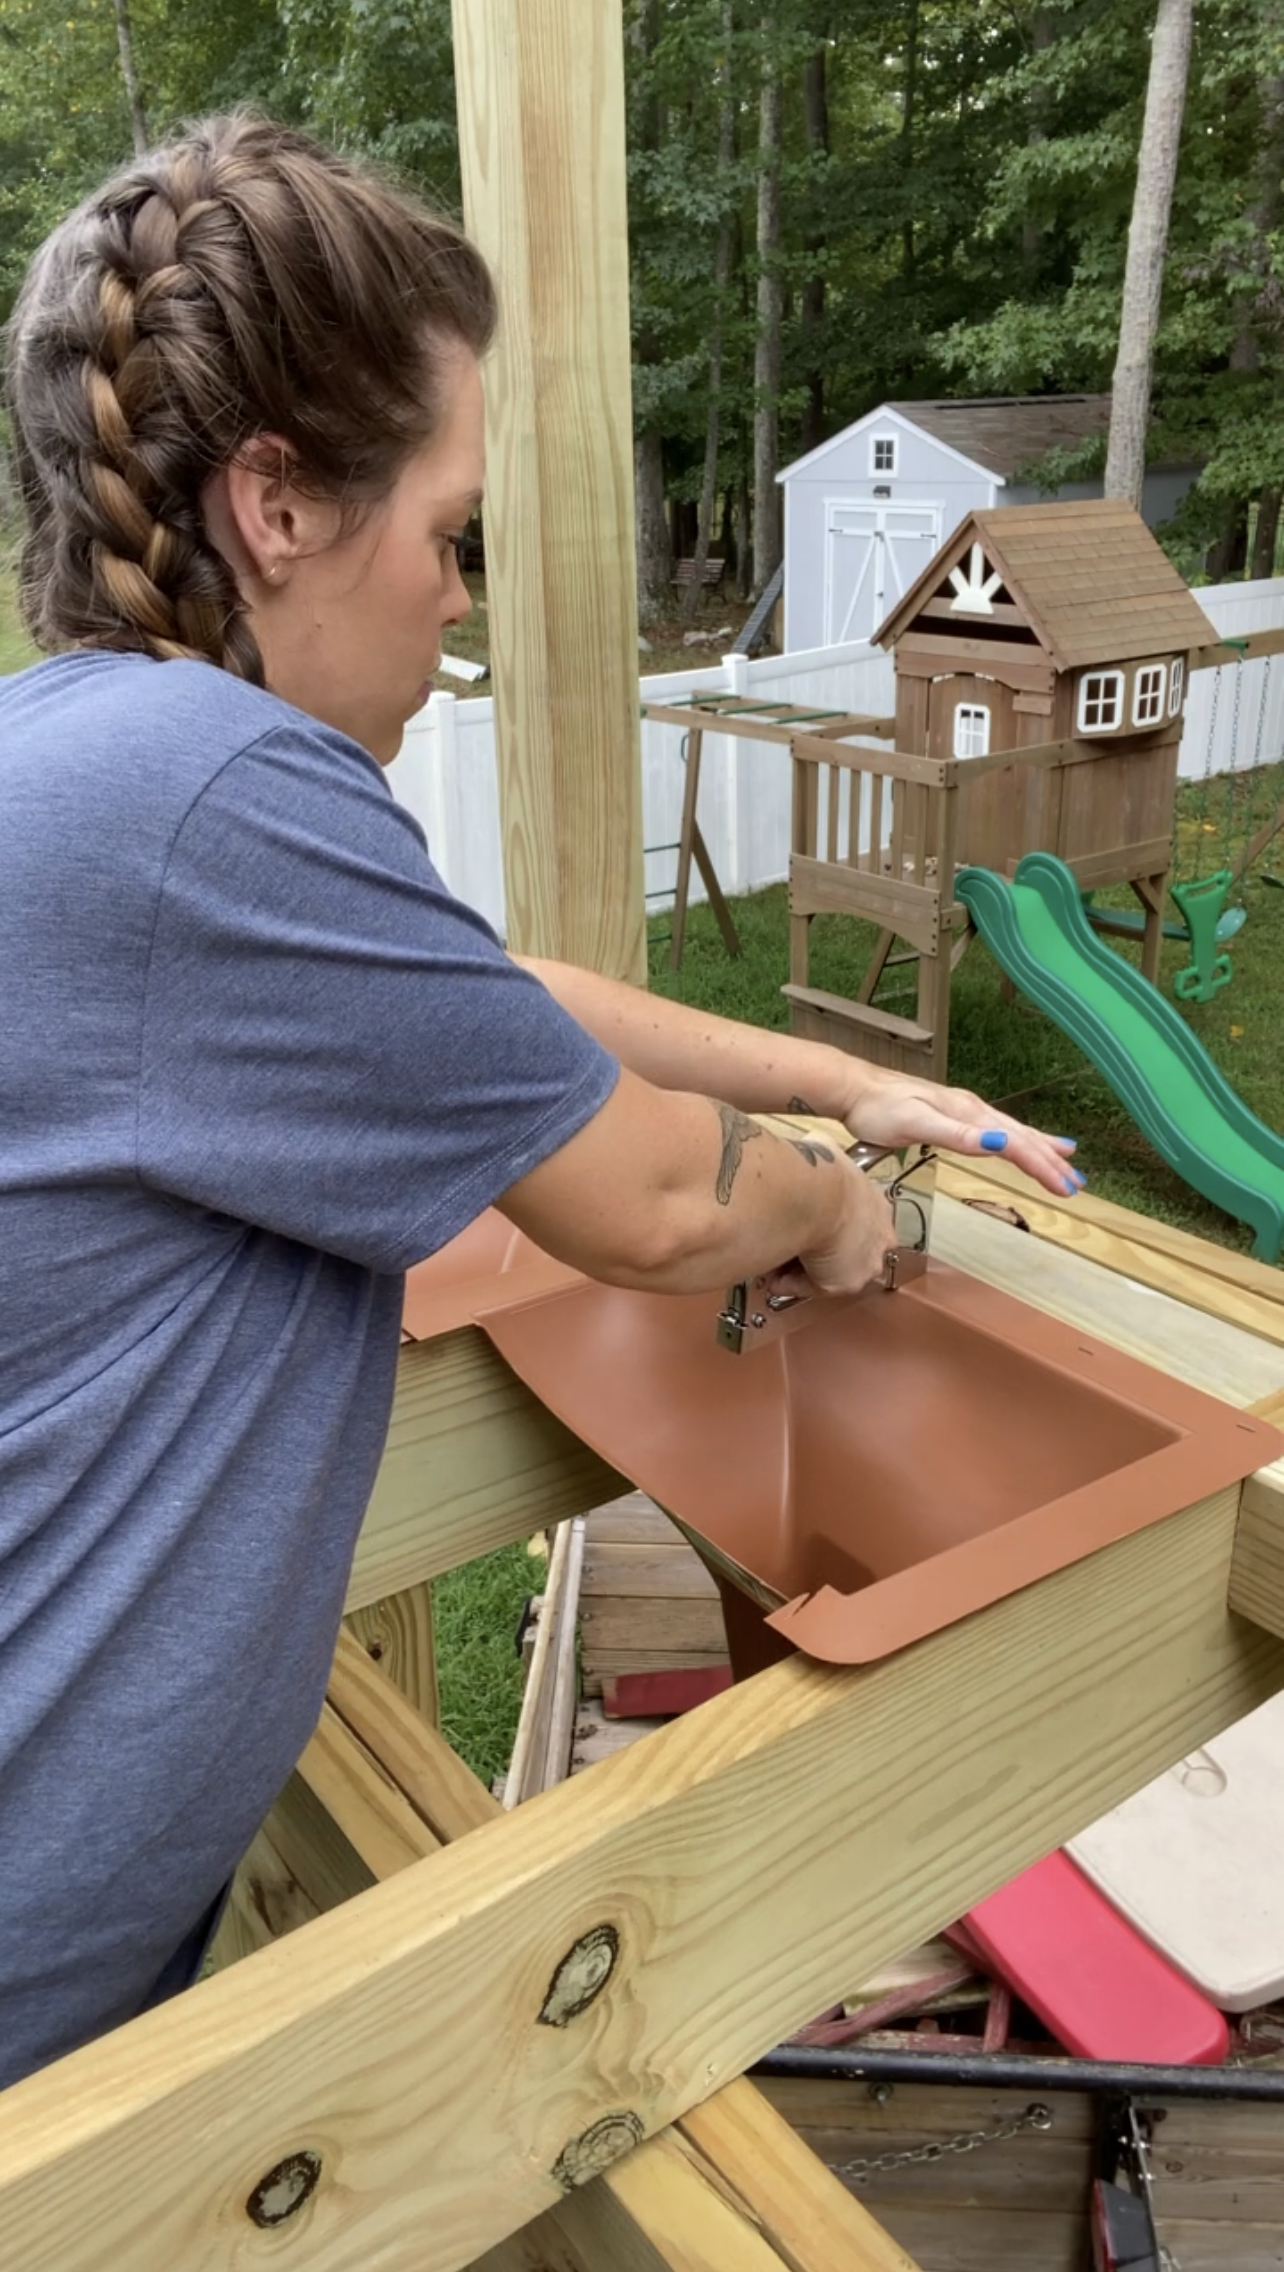
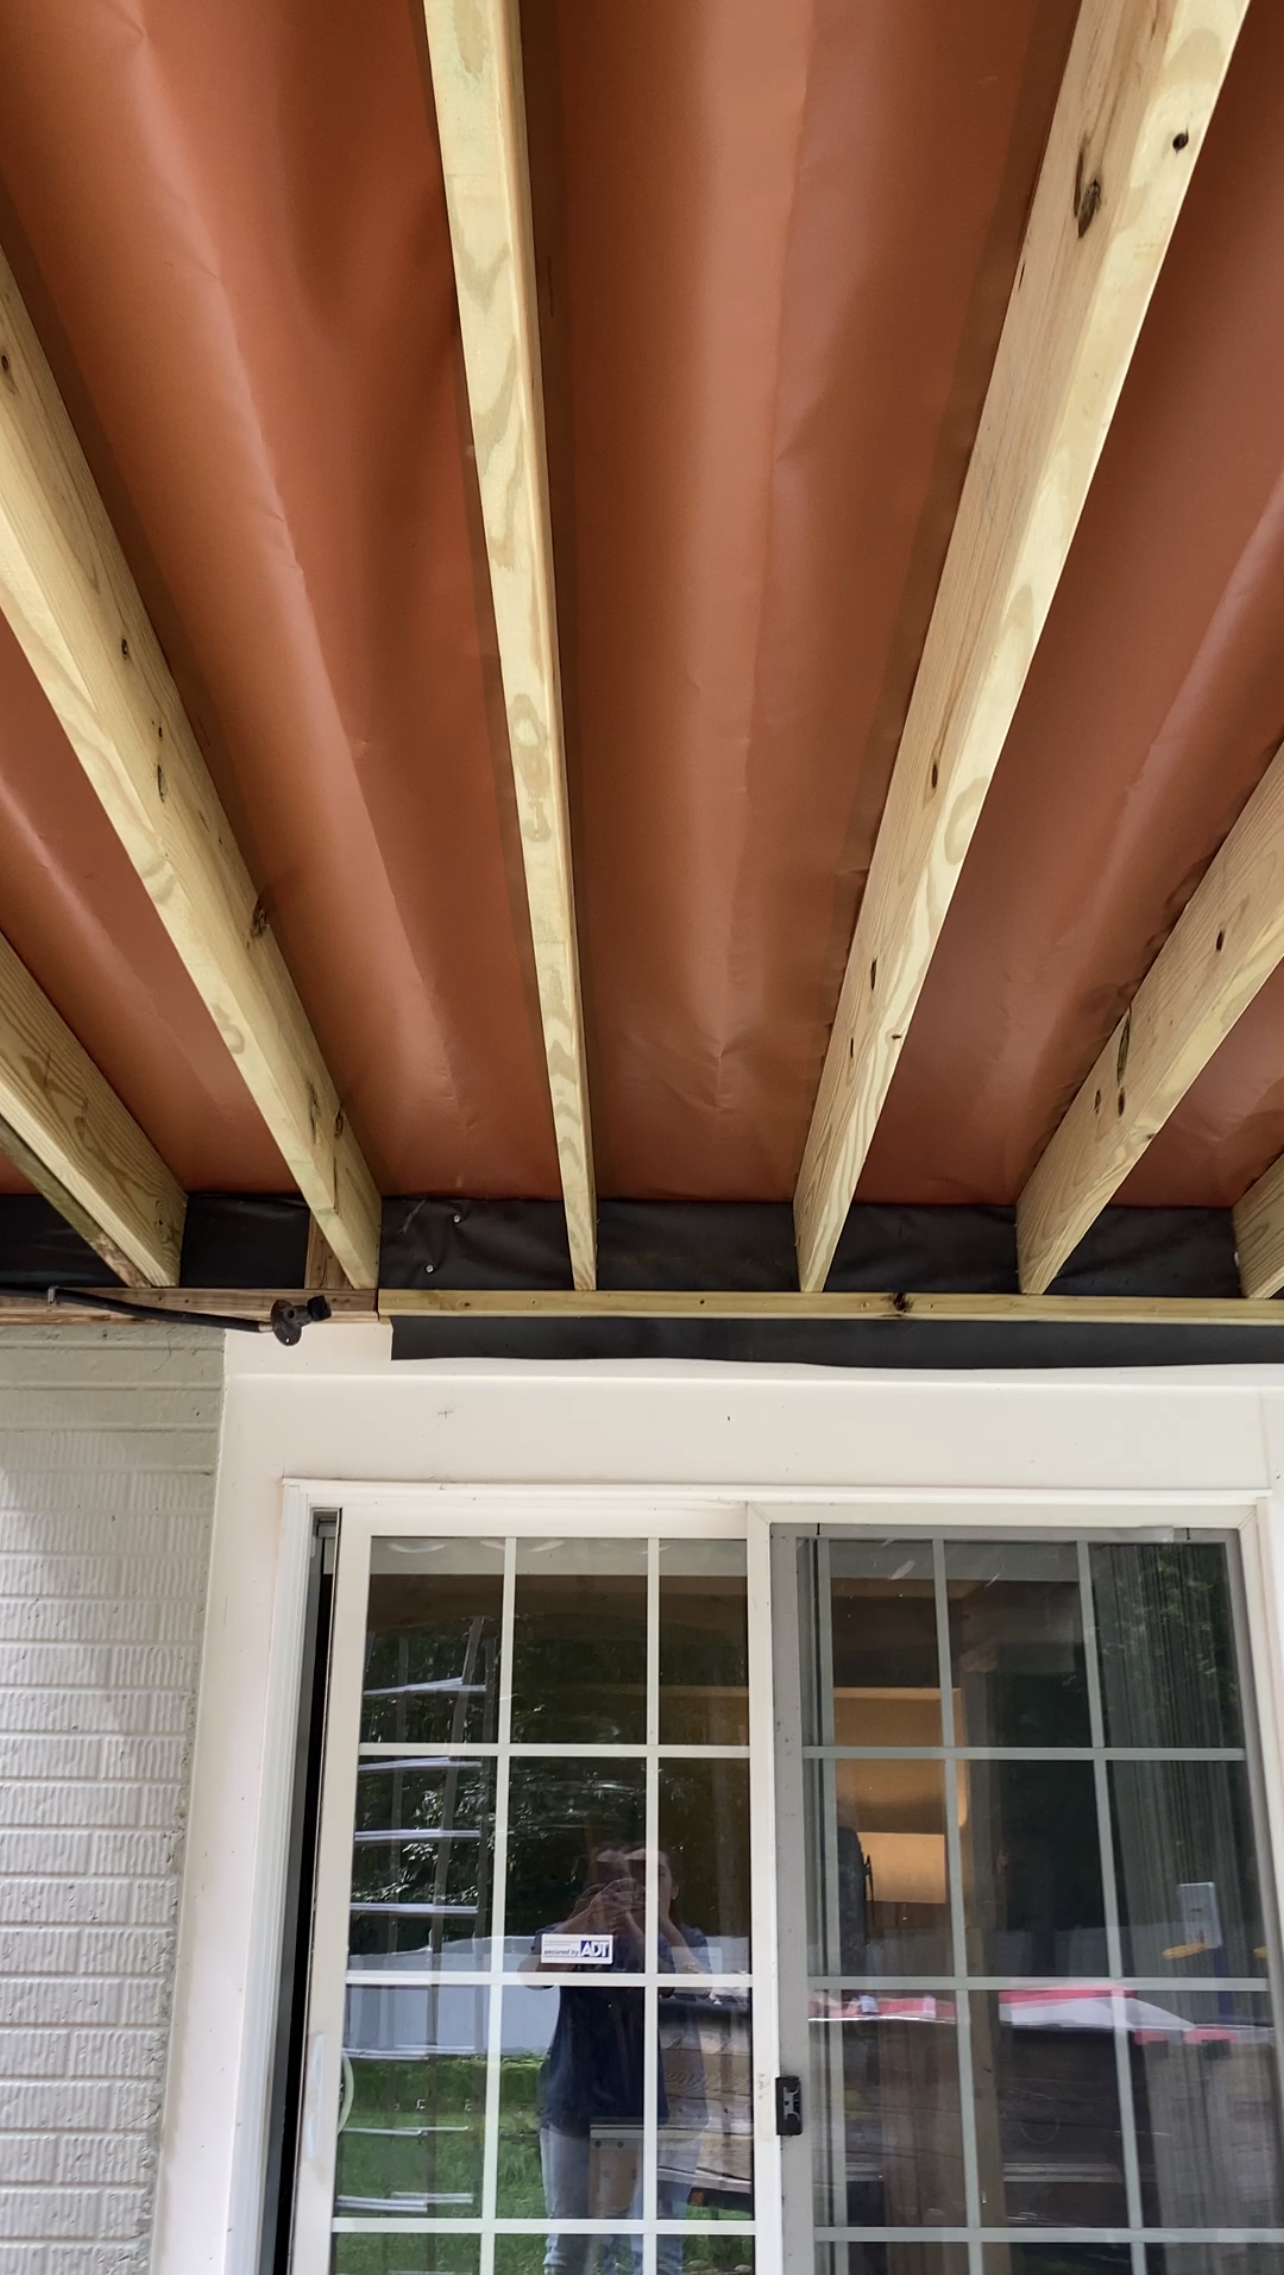
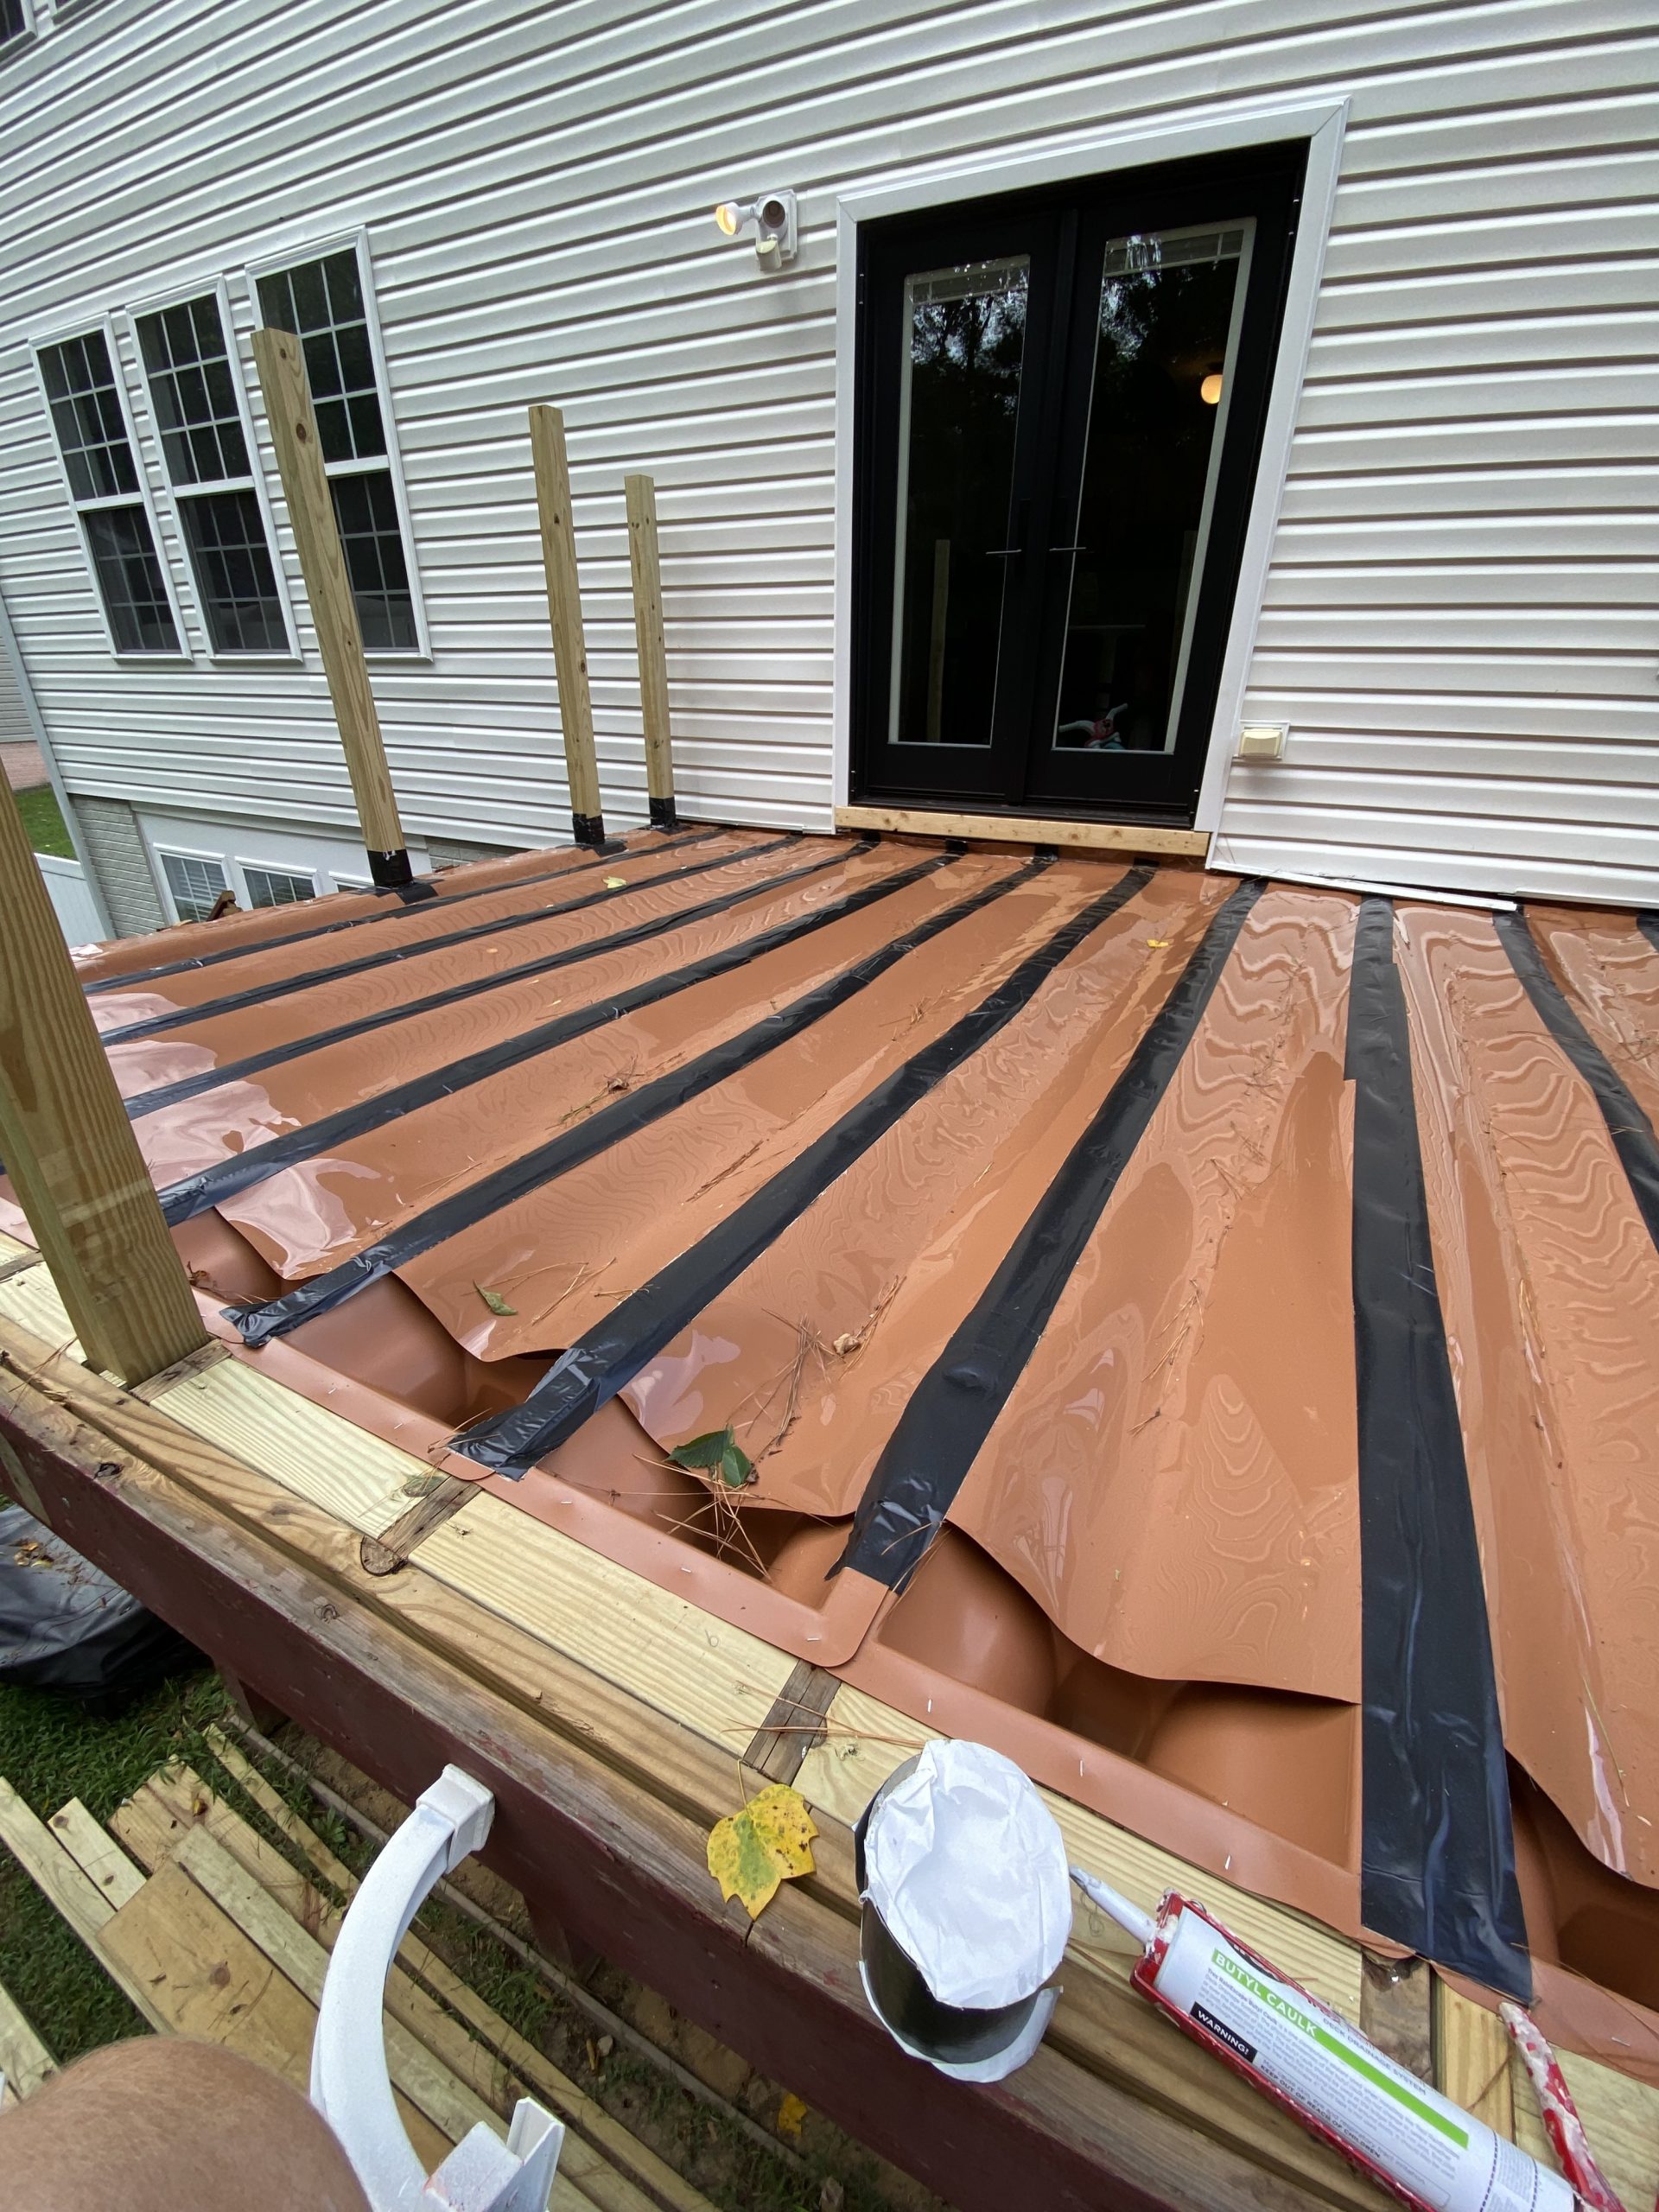
Before putting on any new deck boards, I decided that this would be a great opportunity to take our patio to the next level. Trex sent us some AWESOME stuff called RainEscape. It is basically a gutter system that you install under your deck boards to seal off/waterproof the area beneath. I began installing this between the joists before installing the new deck boards so that we could have a dry & rain-free patio under our new deck!
To install the RainEscape system you need these supplies:
-Downspout (1 per joist channel)
-Trough Material (this runs the length of you deck between each joist)
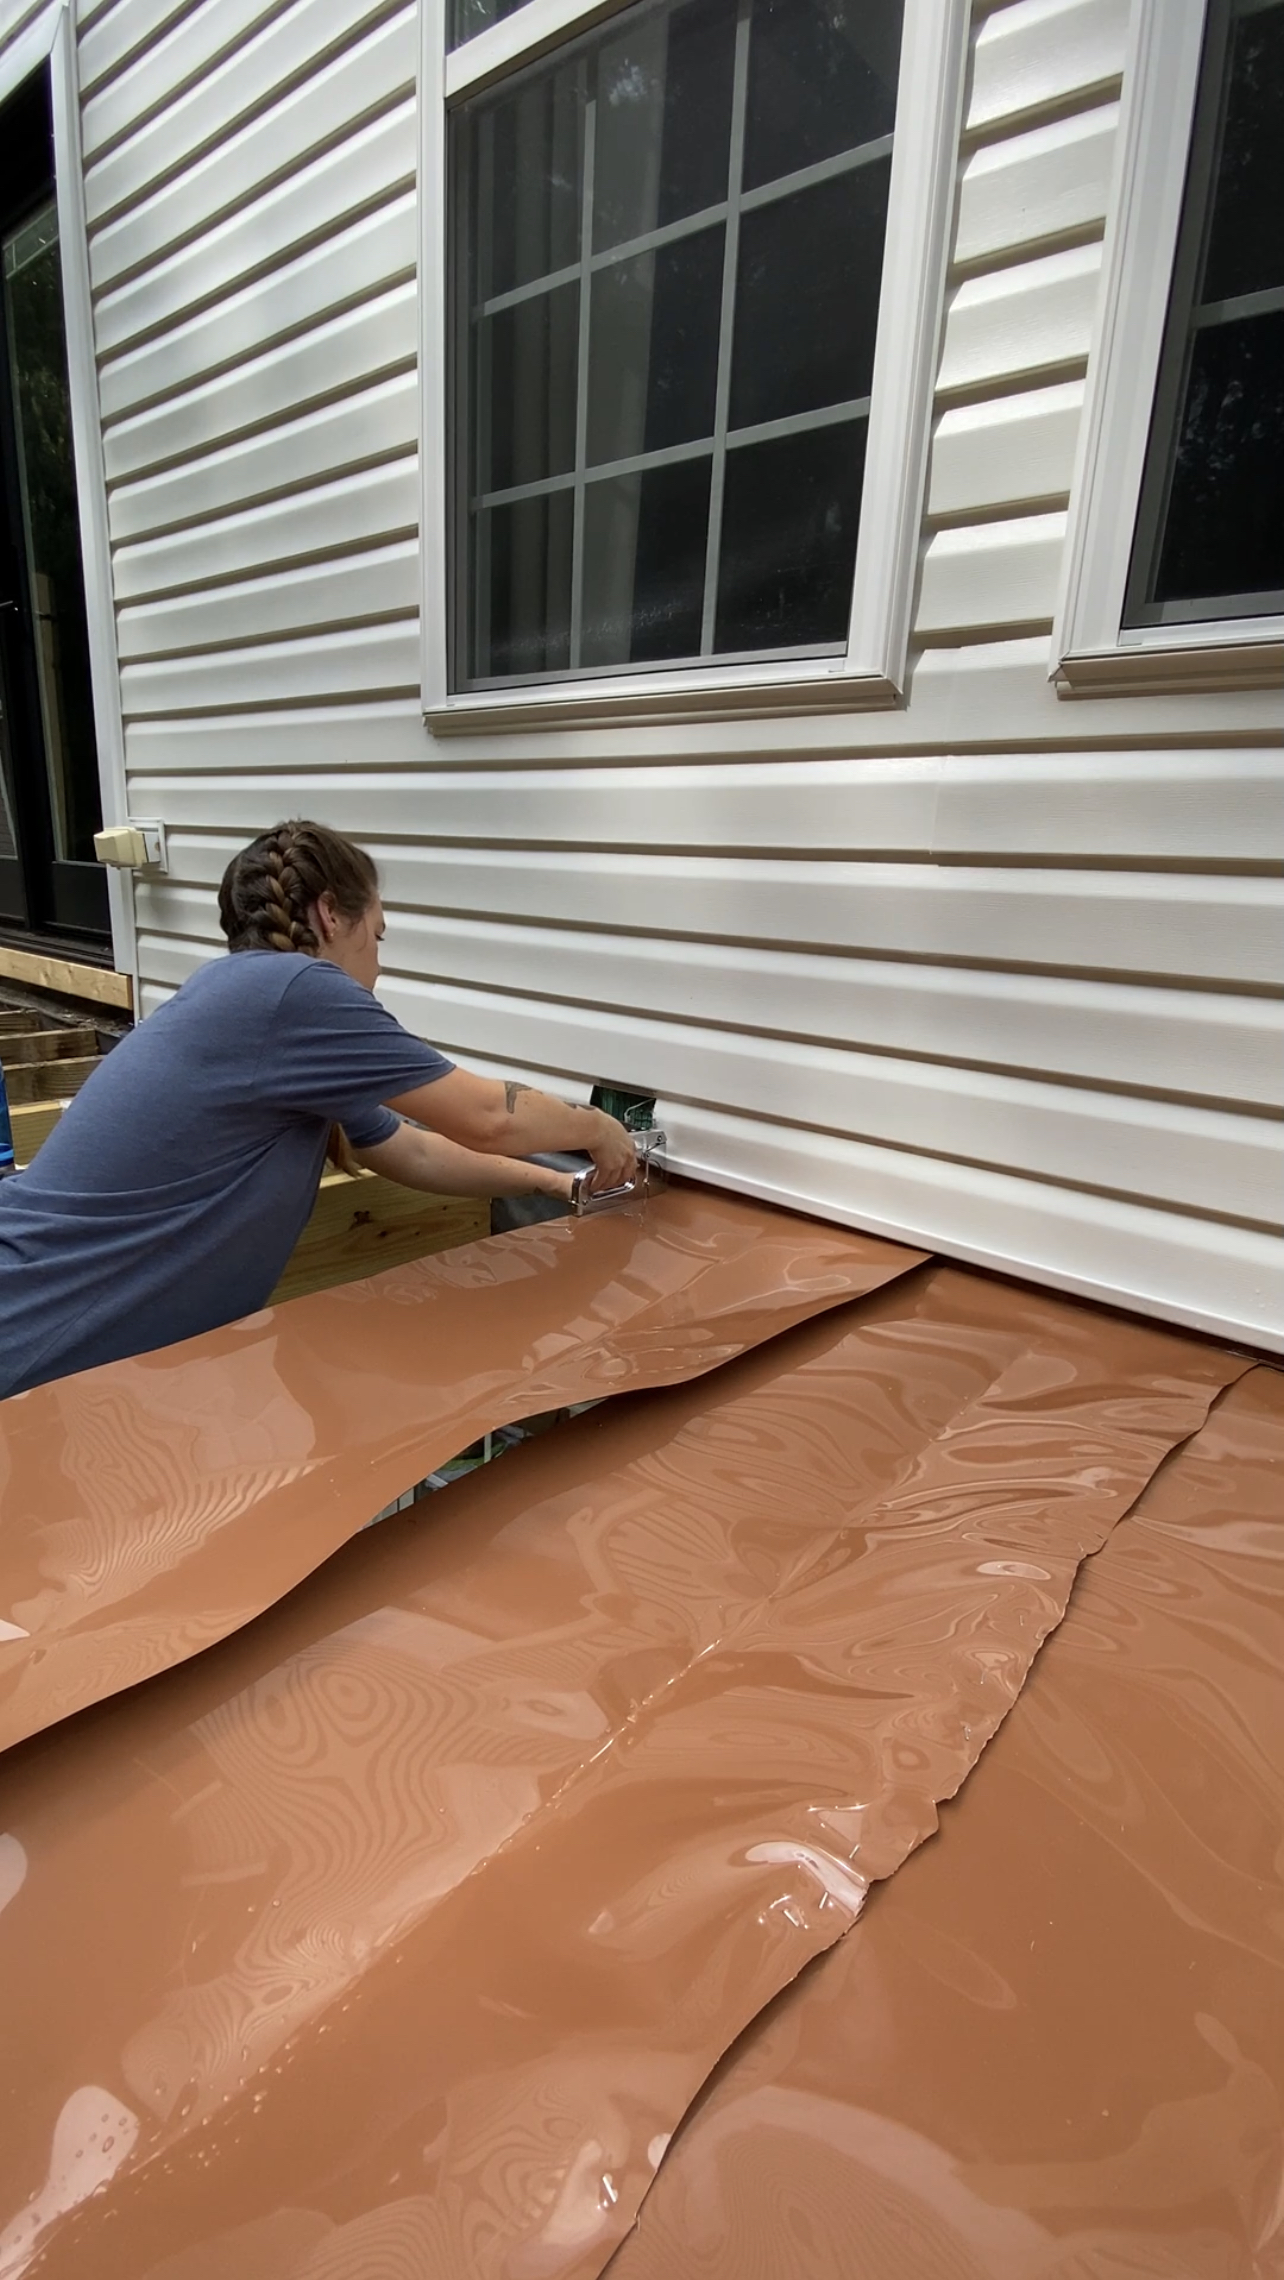
-Wall Flashing
-Butyl Tape (you need lots of this)
-Stapler/Staples
-Butyl Caulk
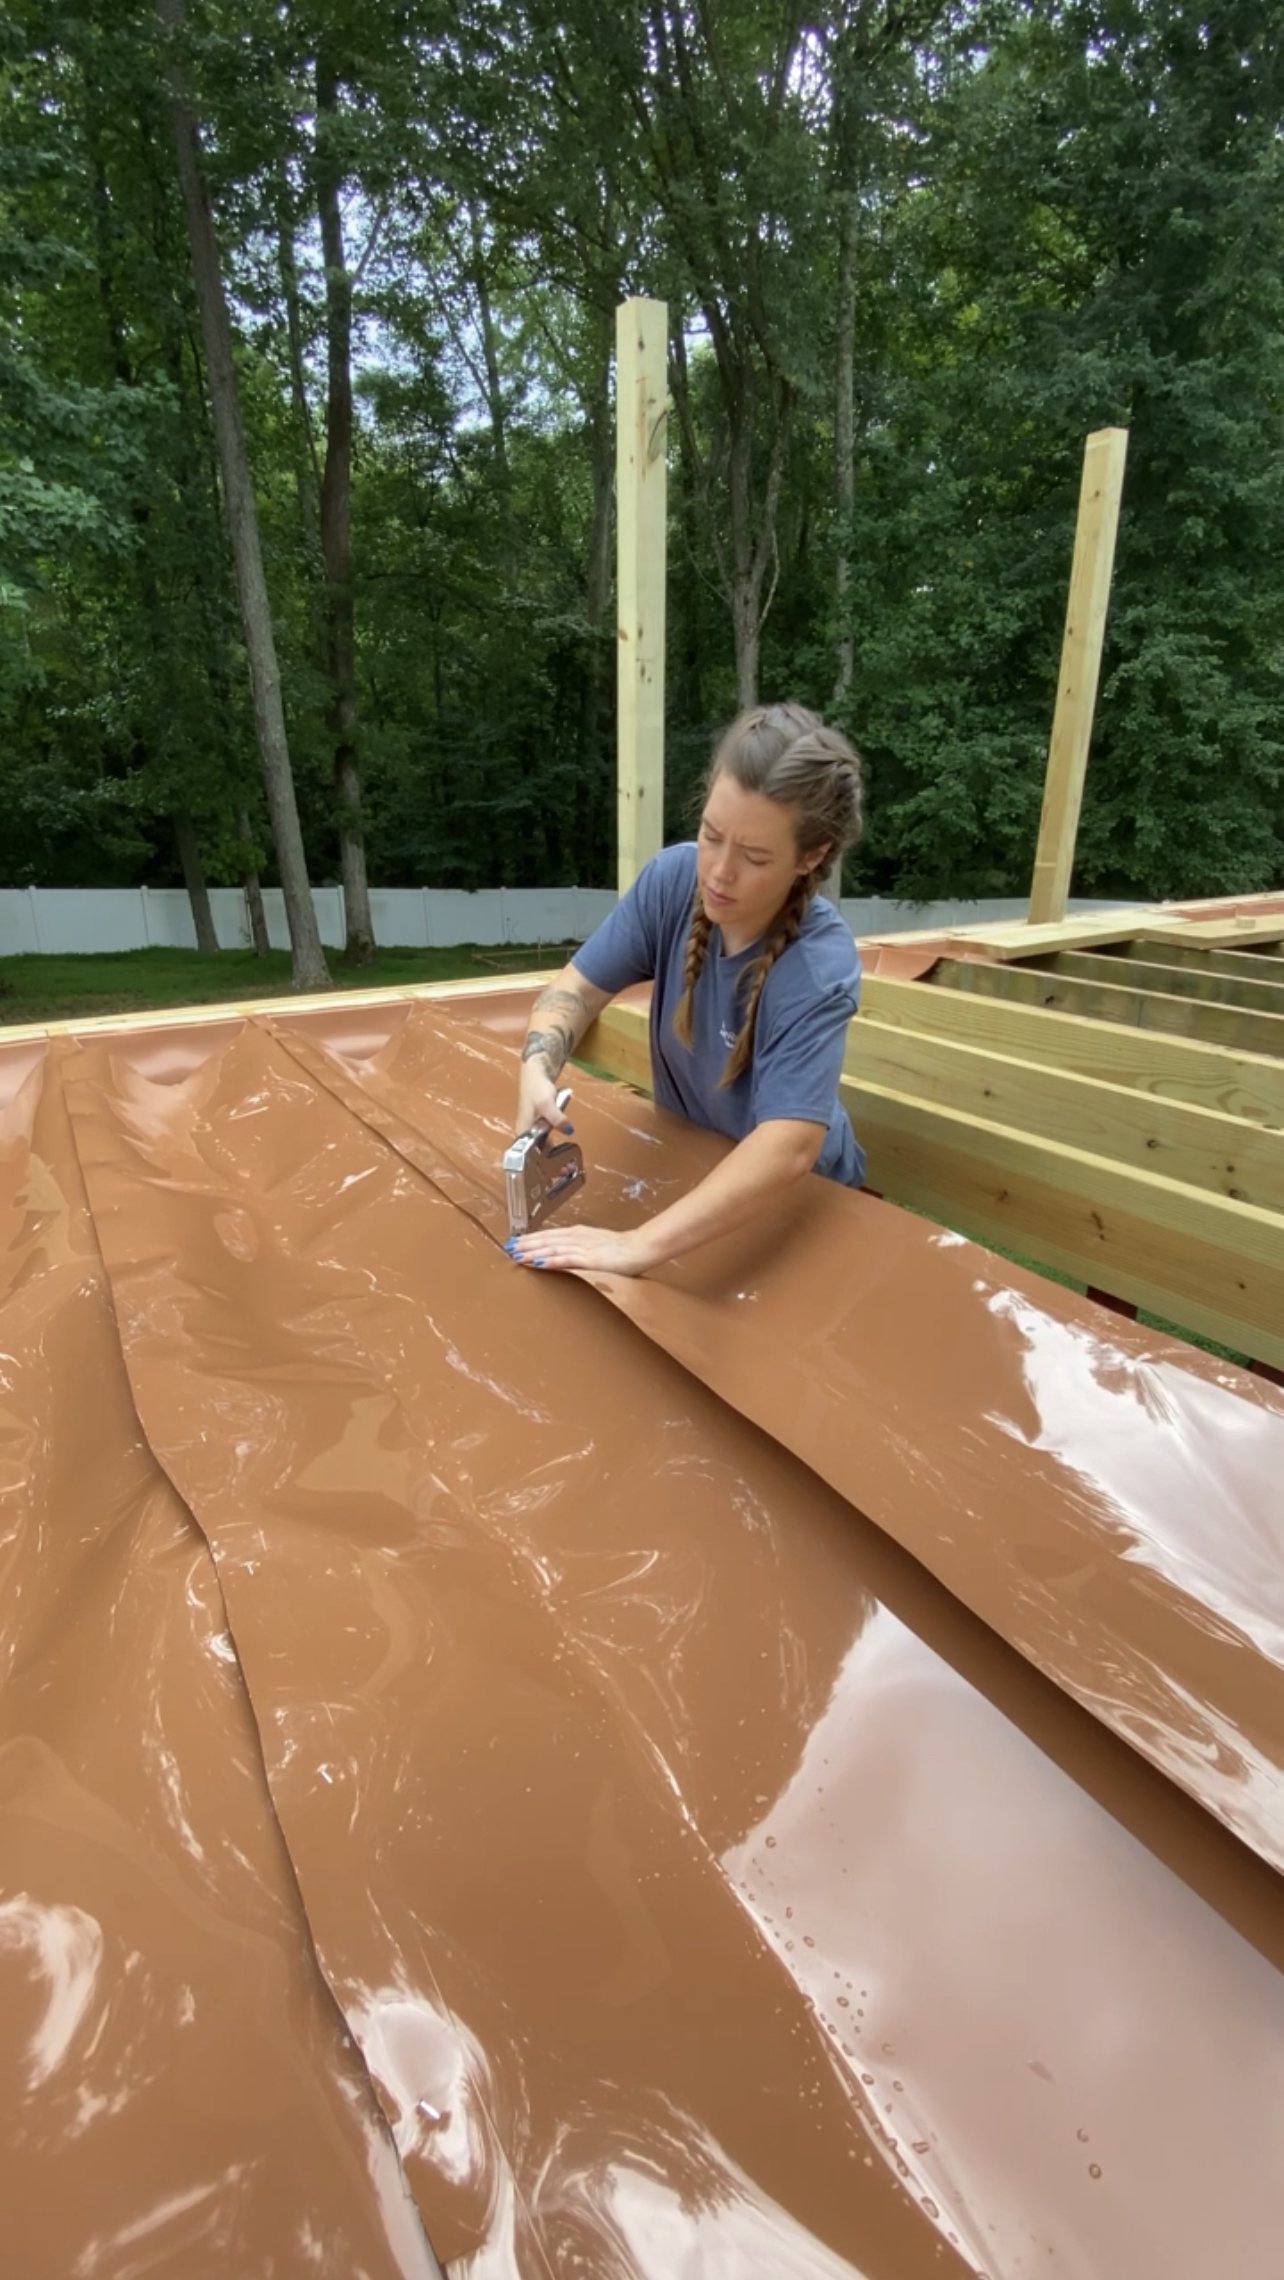
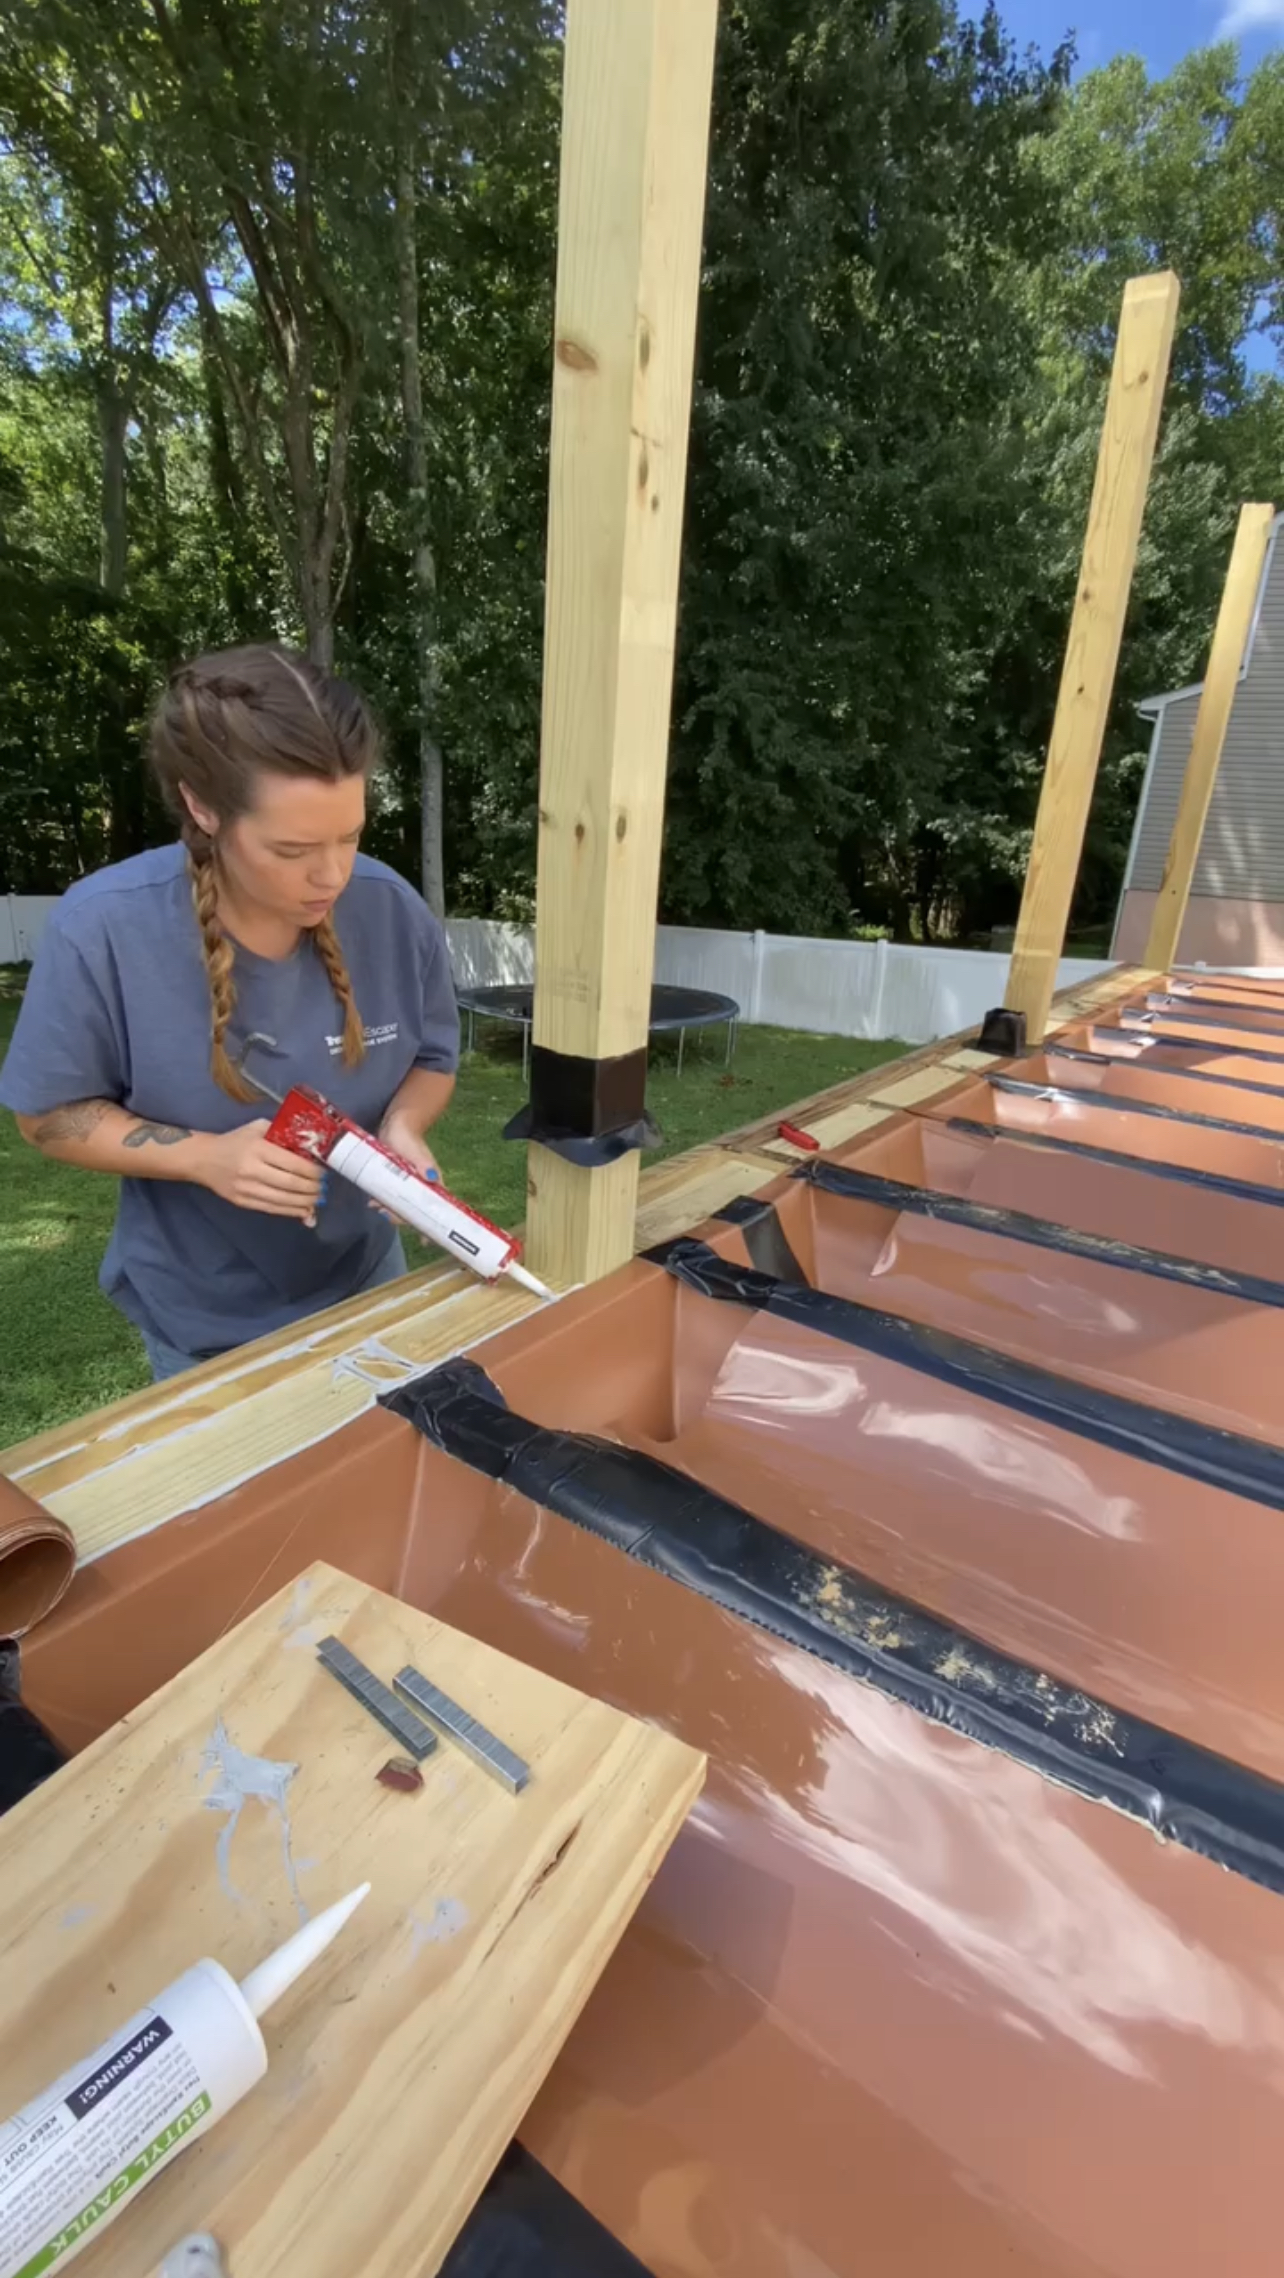
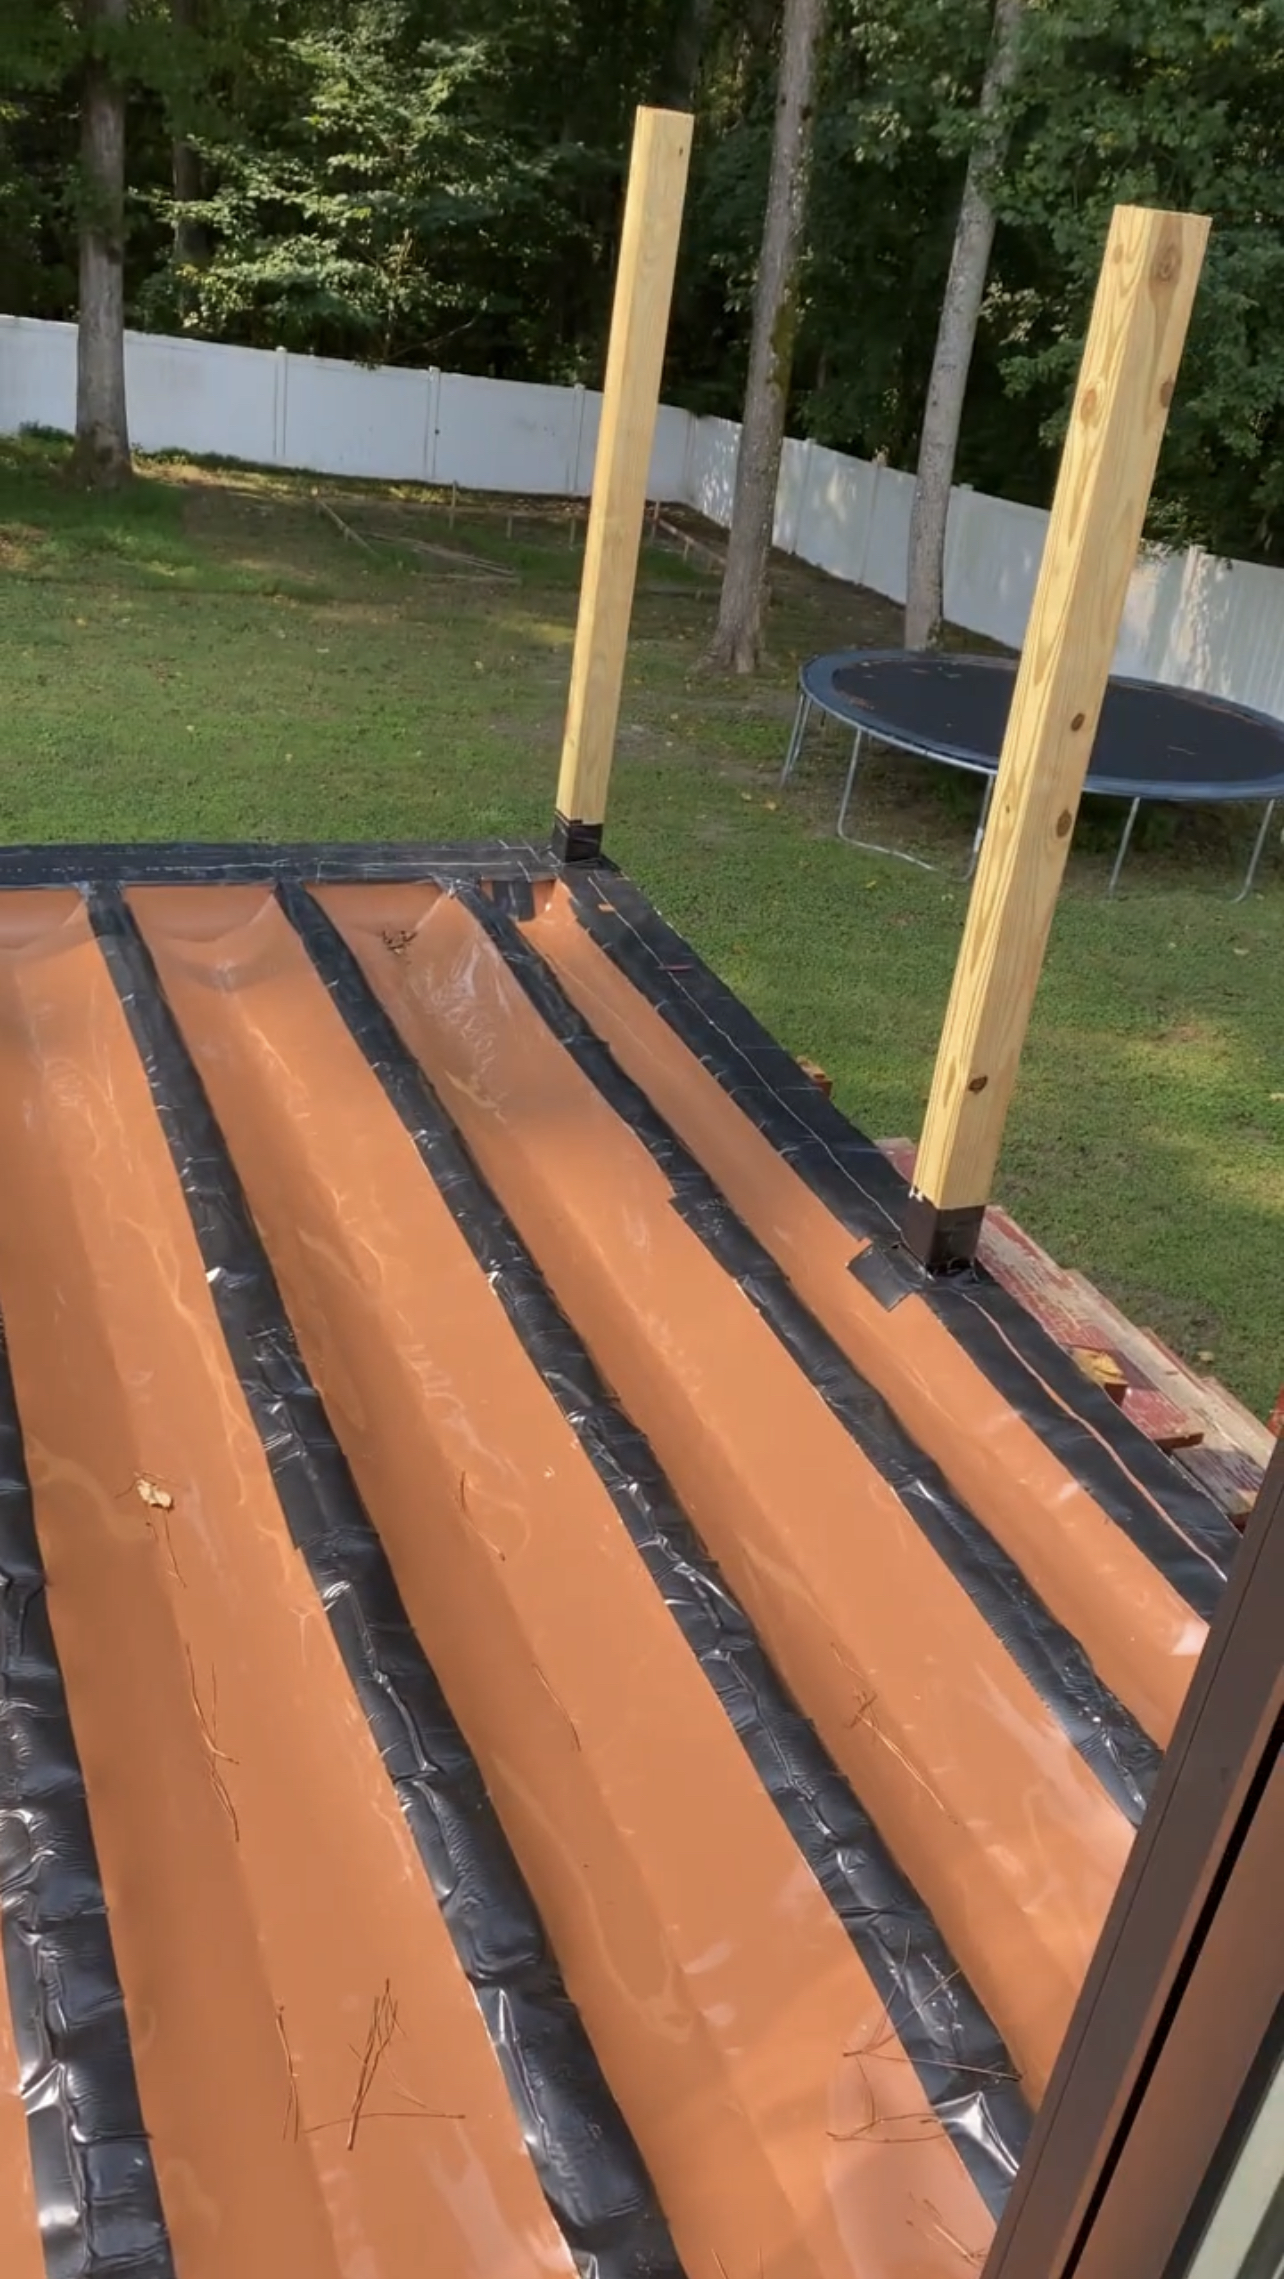
Laying Trough Material
The process of this begins with rolling out and stapling the trough material between the joists of the deck. You start with the material taught, and then increase the amount of material by following the guide line. This creates an incline for water to flow out. I then applied the Butyl Tape to all seams to seal it all up. The butyl tape also creates a seal when screws penetrate it. So cool!
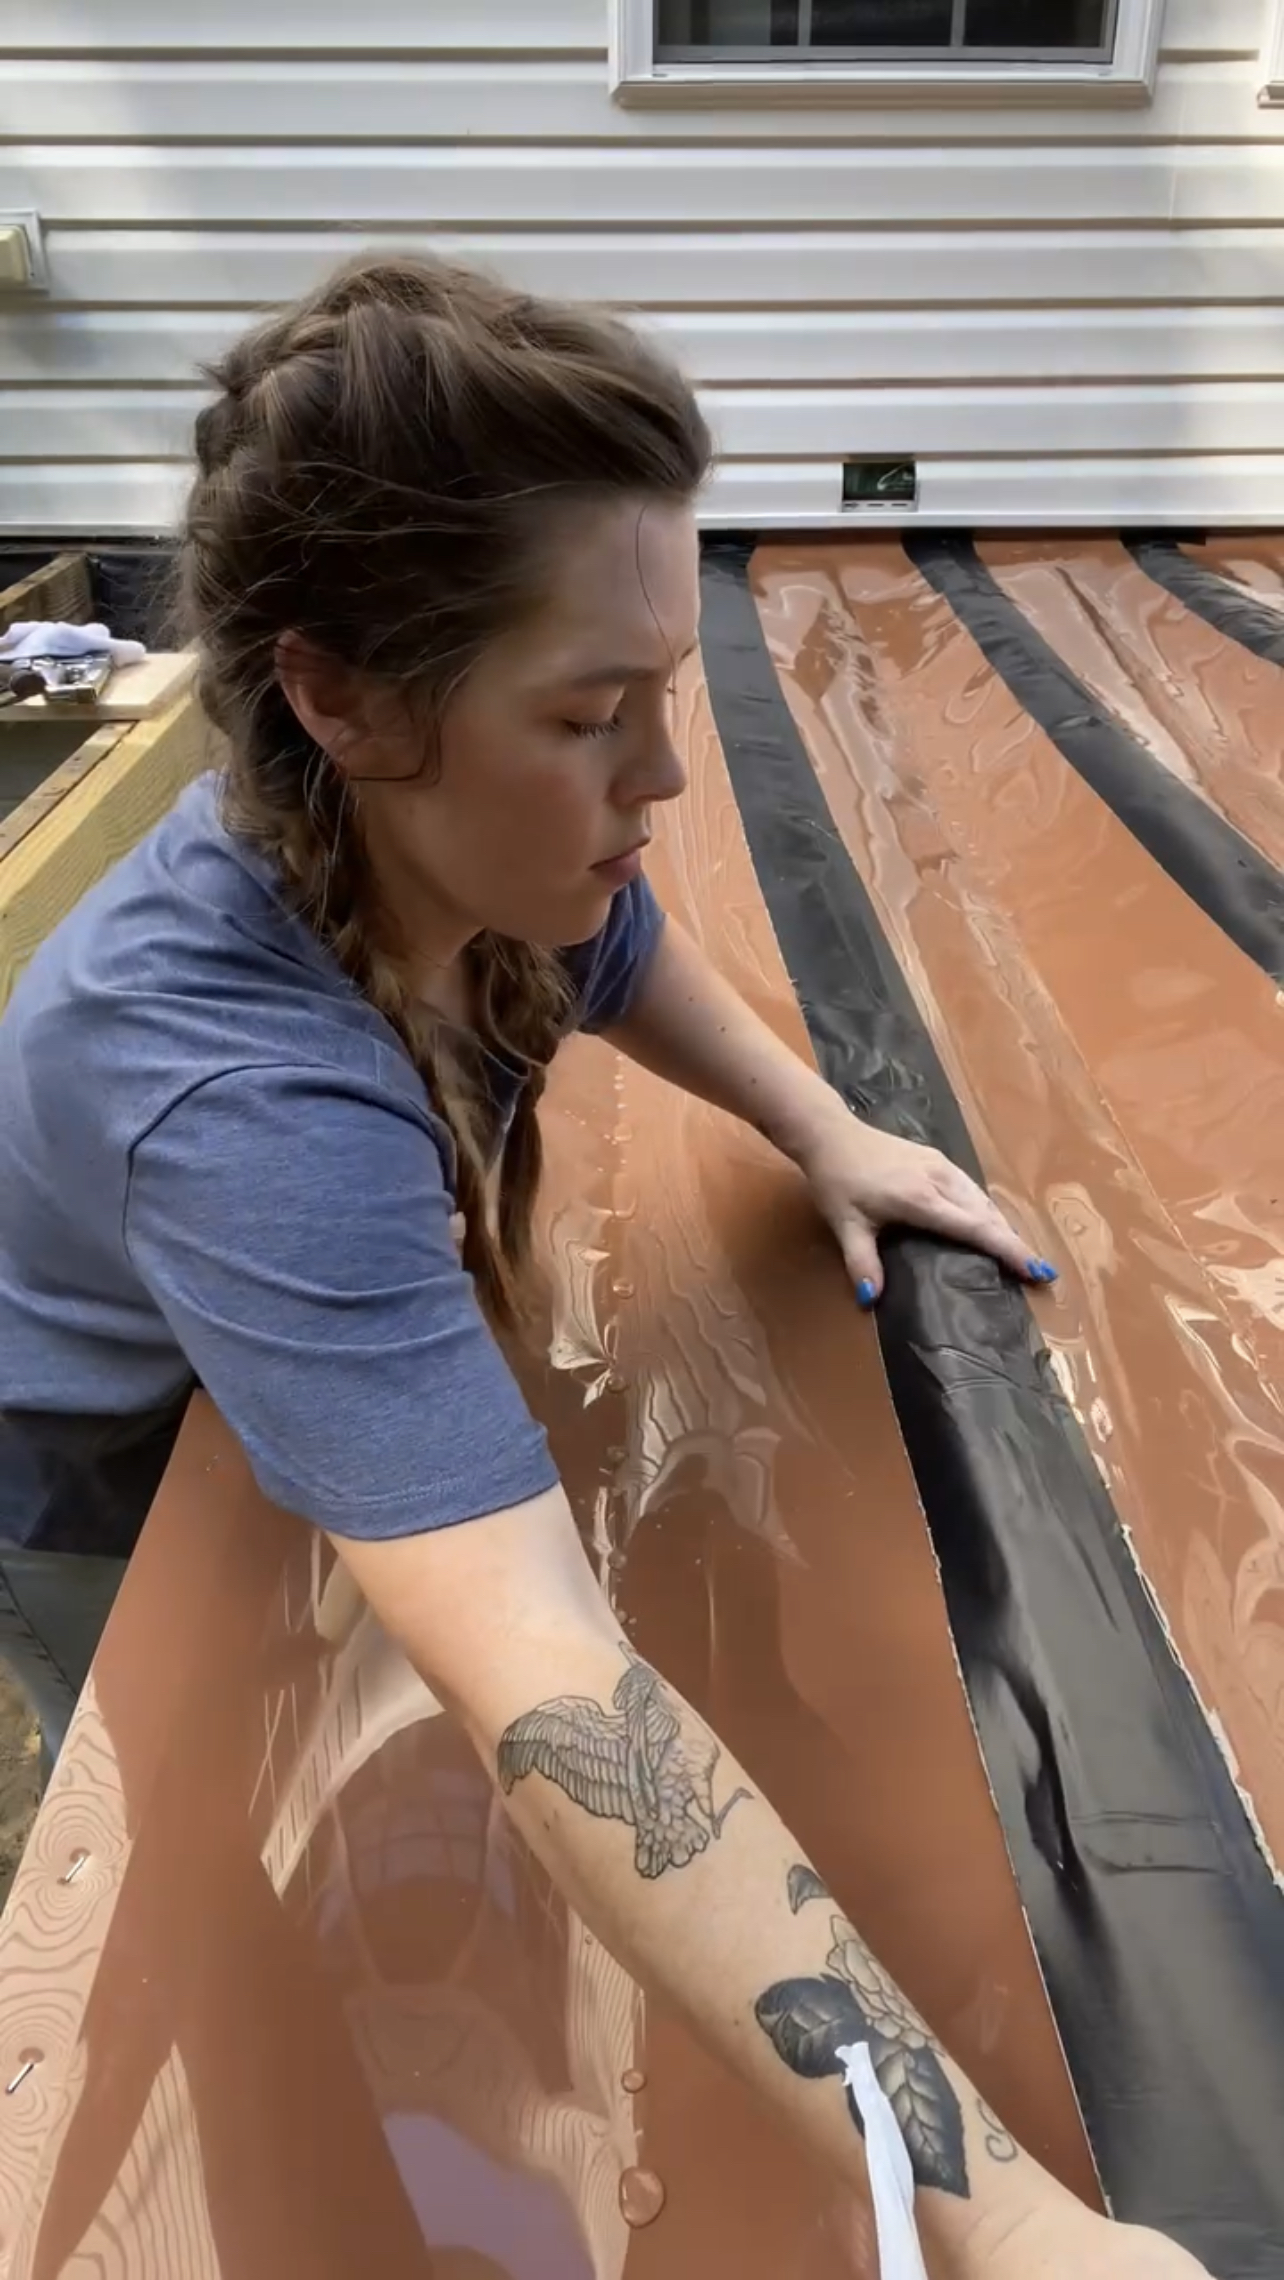
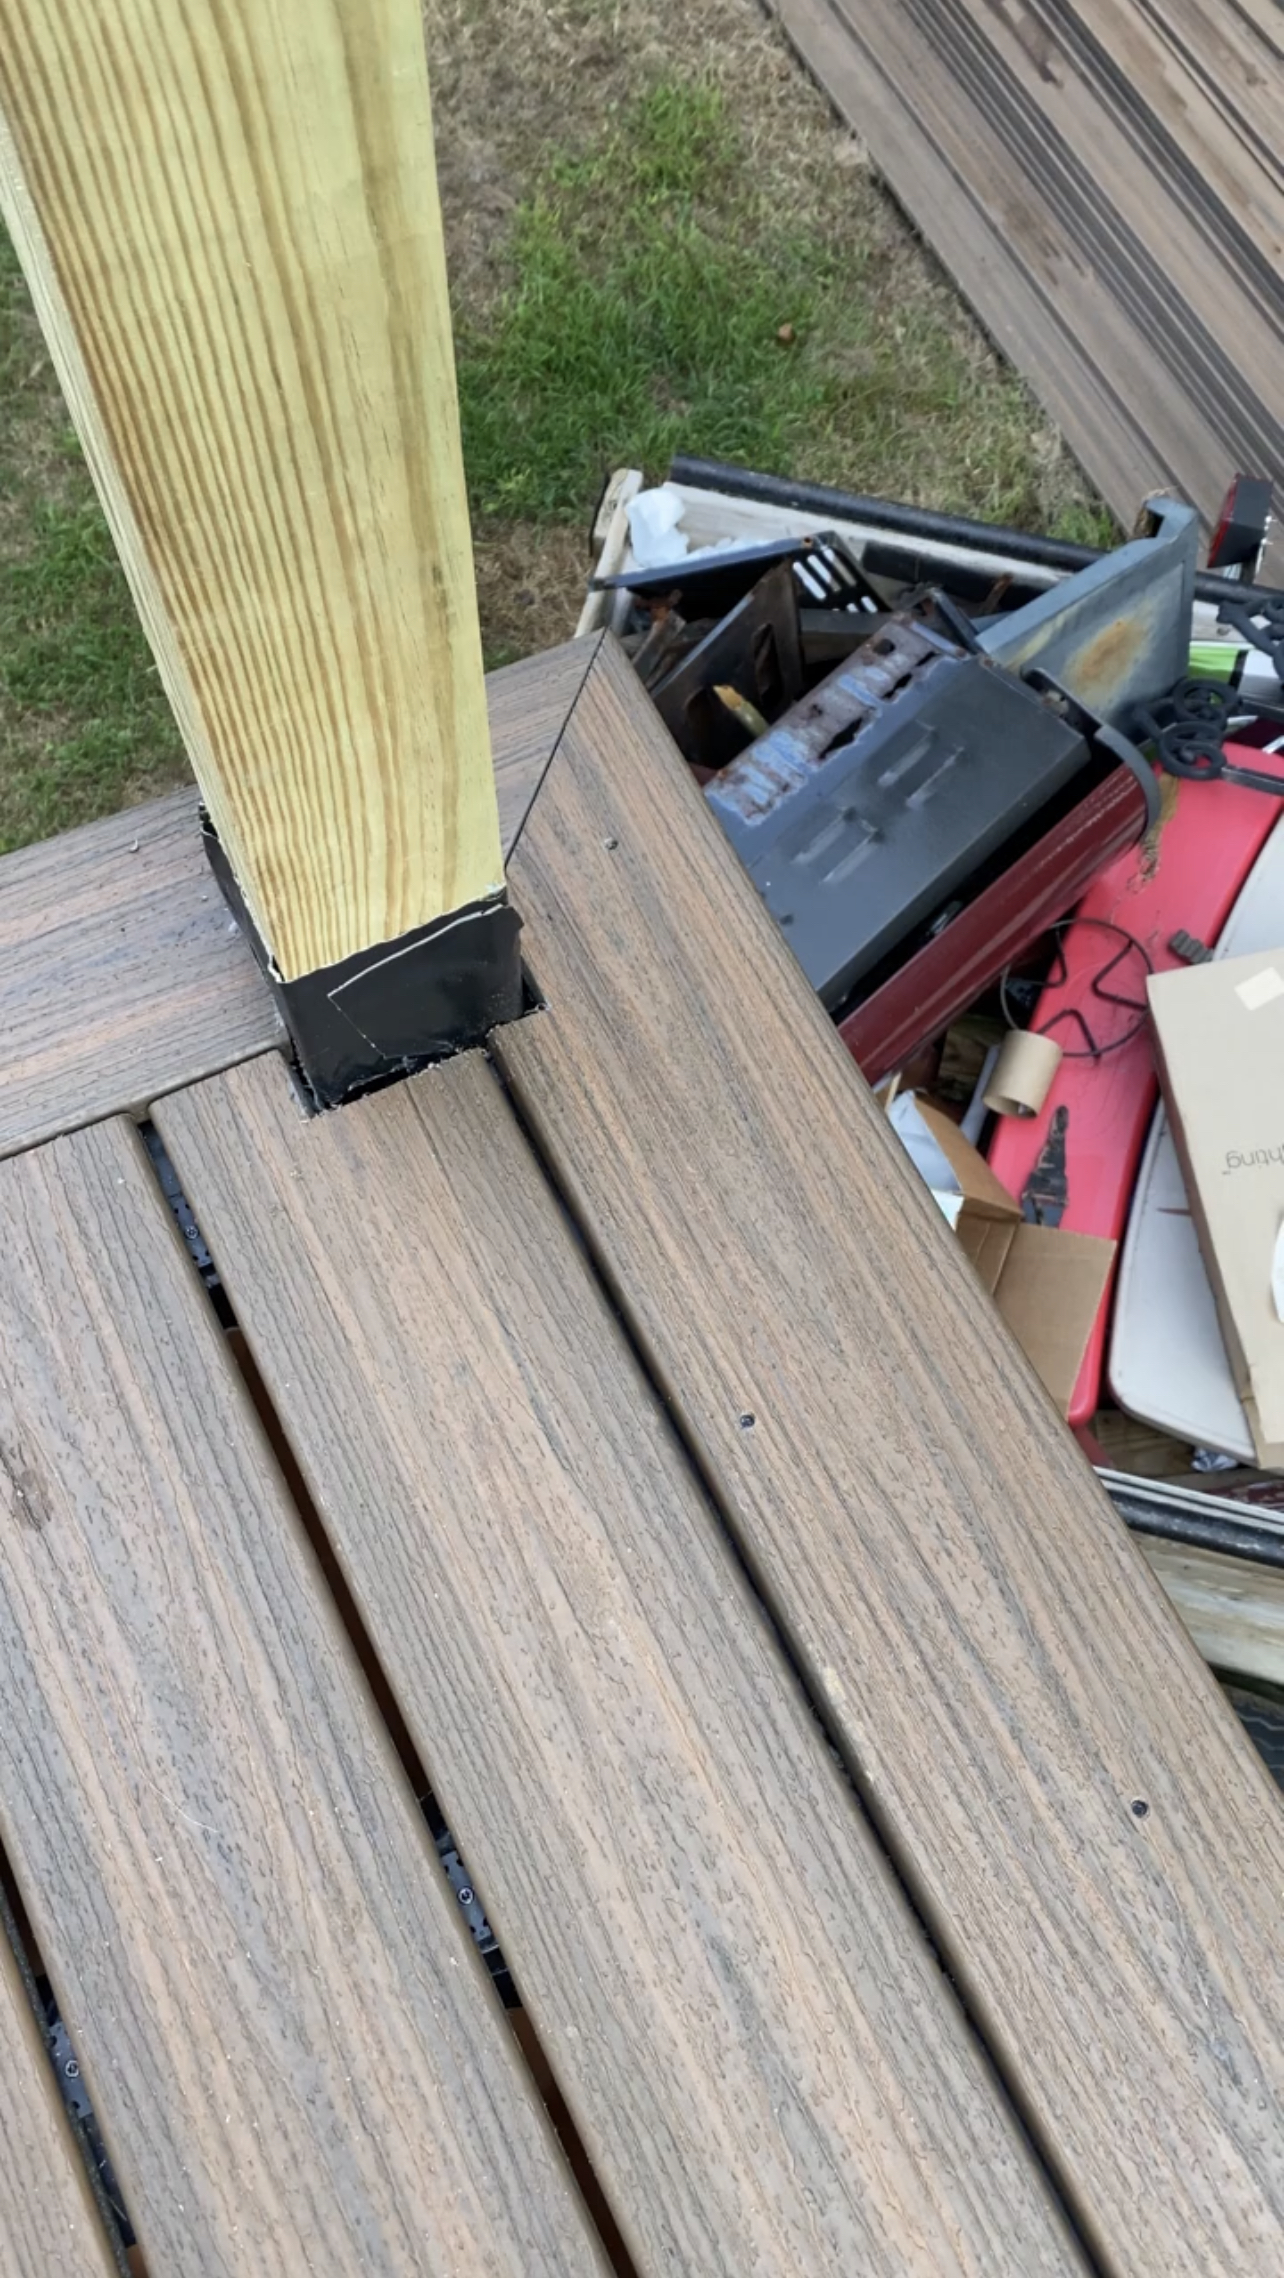
Caulking
After this step was complete, I applied Butyl Caulk in all of the exposed board seams and then I covered the exposed edges (where the blocking was) with more trough material using my stapler. I also made sure to apply butyl tape around the bottoms of all posts.


You can watch a full tutorial for installing Rain Escape here!
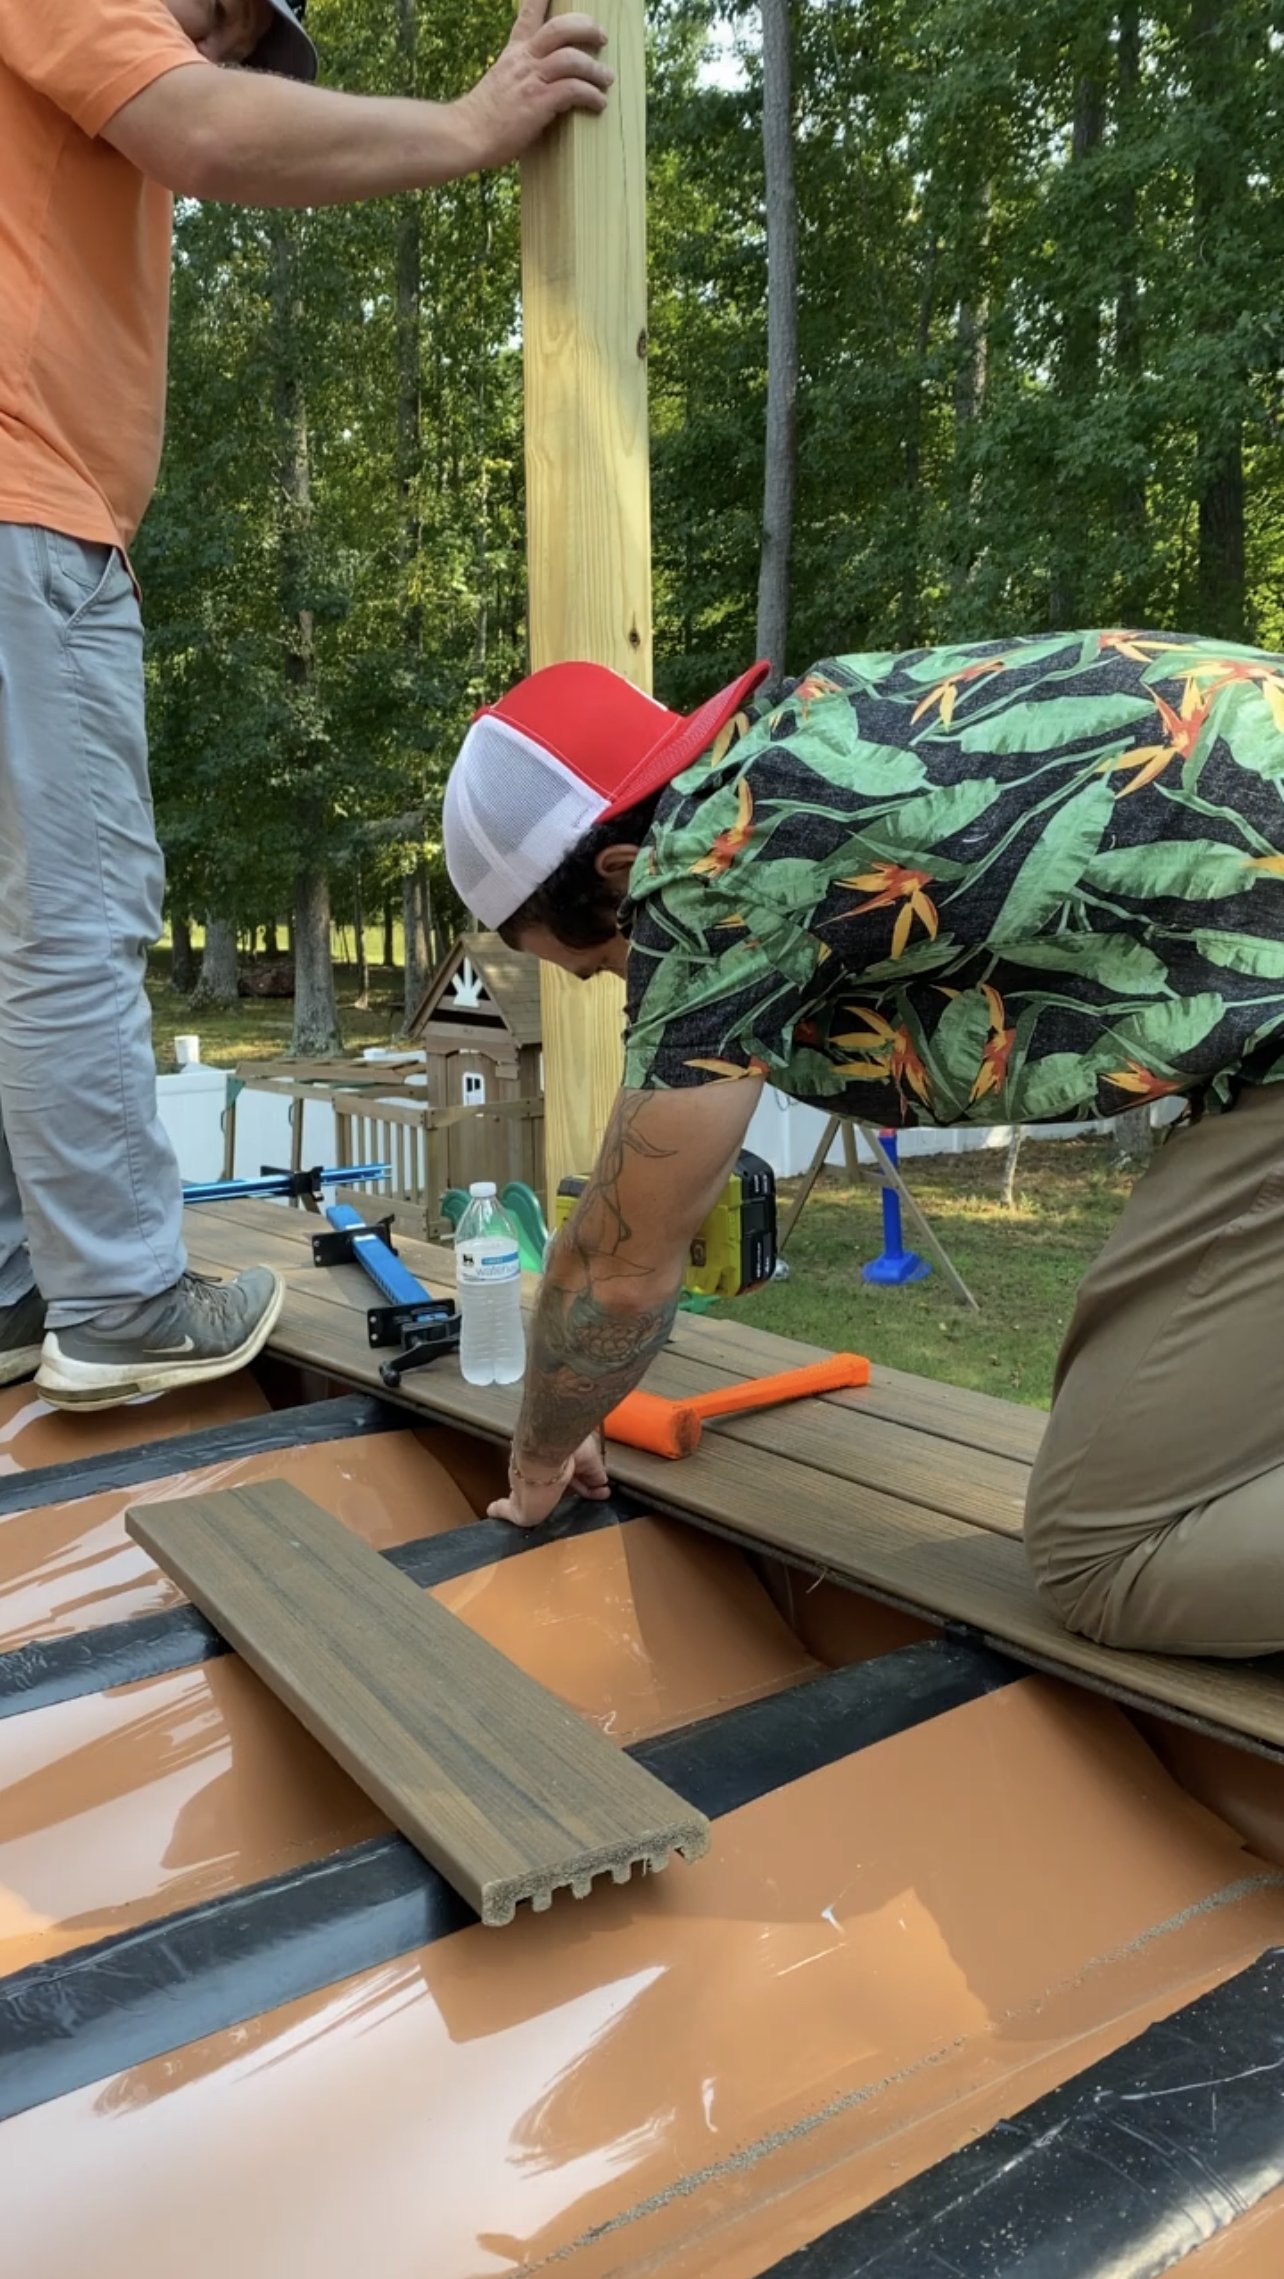
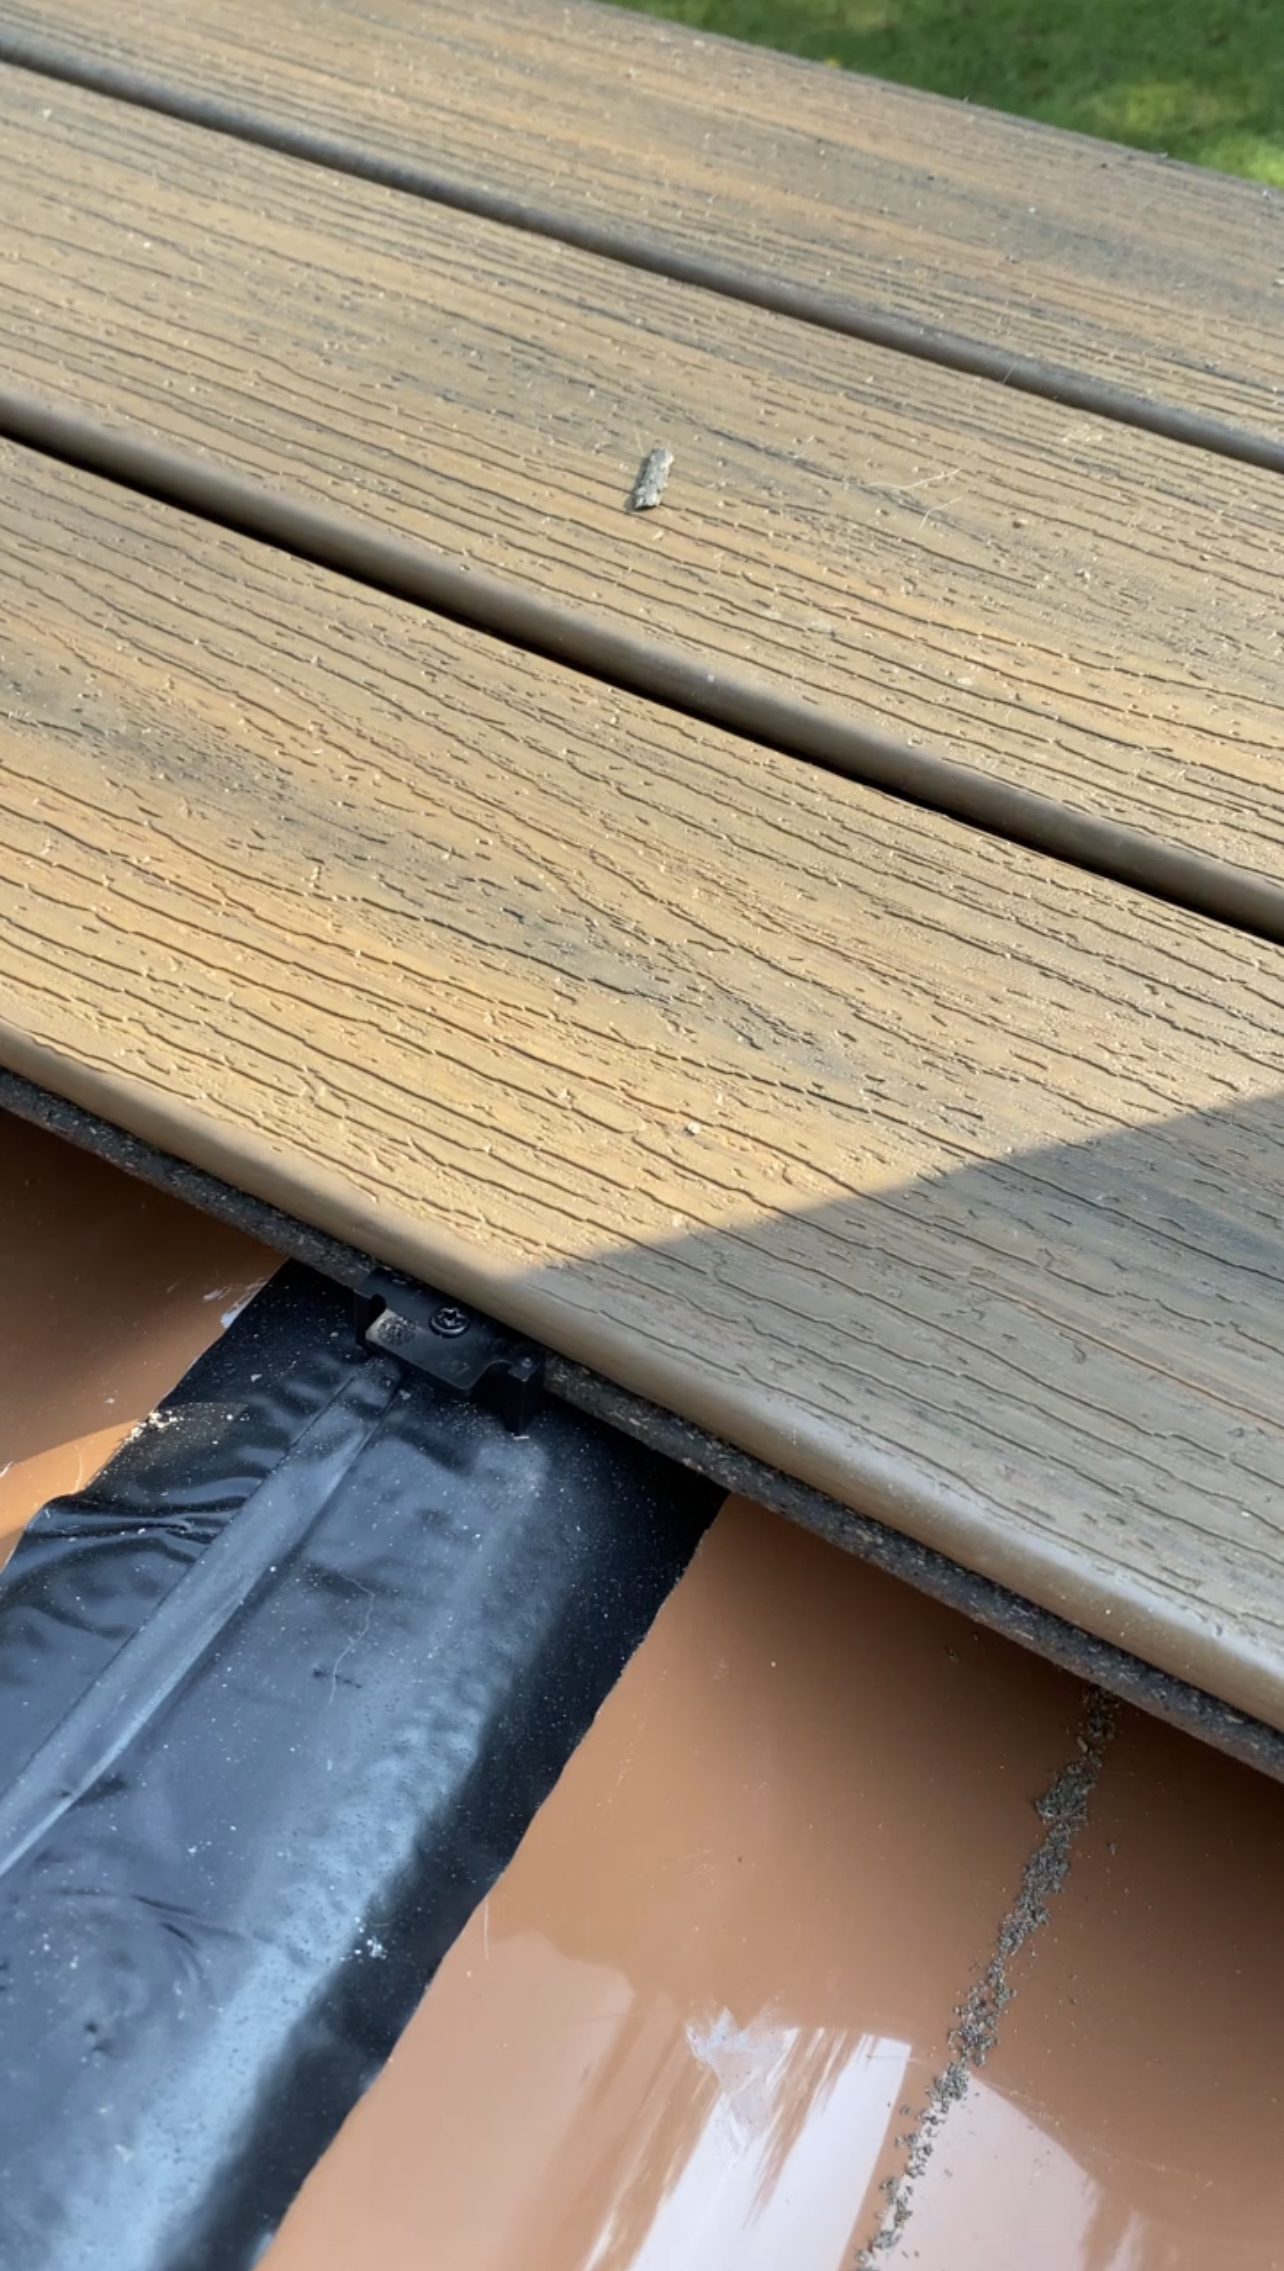
Deck Boards
After the Rain Escape system was installed, we began the process of installing the new deck boards. We started by installing the picture framing around the three exposed sides of the deck using square edged boards. Working out way backwards from the outside end of the deck, we installed the deck boards one by one in a staggered pattern using Trex Hidden Fastening system and the grooved edge boards. This was so easy! I would highly recommend using the hidden fastener system.
Stairs
We hired a general contractor to come and built the new stair structure for us since we wanted the stairs to be completely redone. We had them shifted back by about two feet and then we had the contractor add a landing on the stairs and turn them at 90 degrees out into the yard. He finished building the structure in two days, and then I took over with finishing up!

Like the deck, we needed enclosed posts and blocking for the railing system and picture framing. So I cut some additional stringers and installed them along the sides of the entire staircase. I also added blocking using scrap wood that I had leftover. I also used this opportunity to clamp my 12 in fascia boards on the sides of the stringers and trace out the outline of the steps so that I could easily cut it later after installing the deck boards.
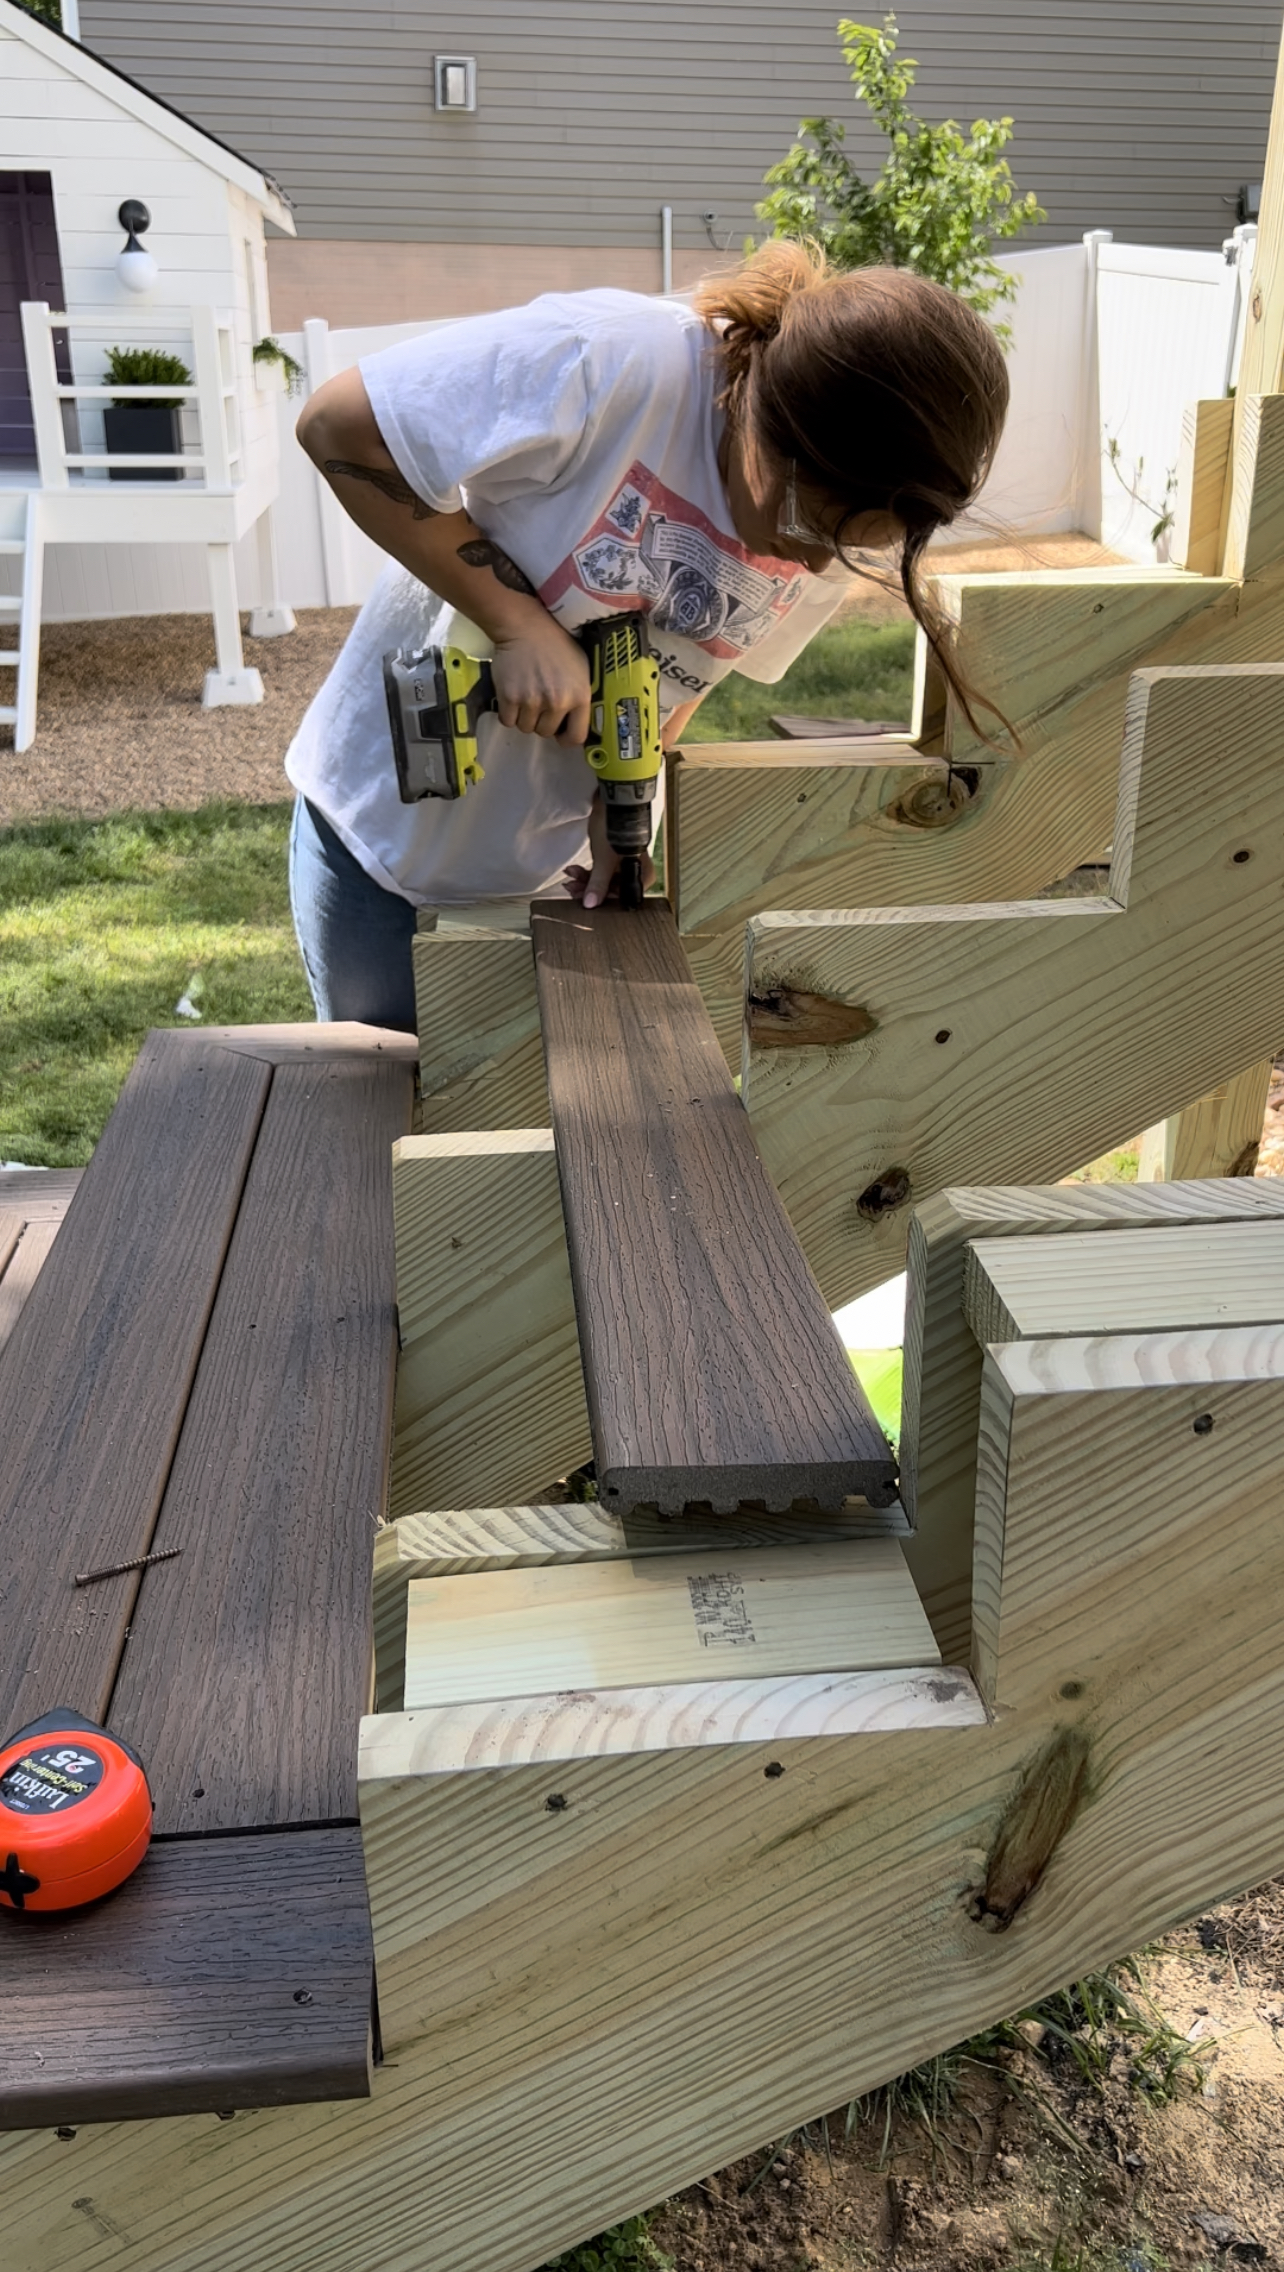
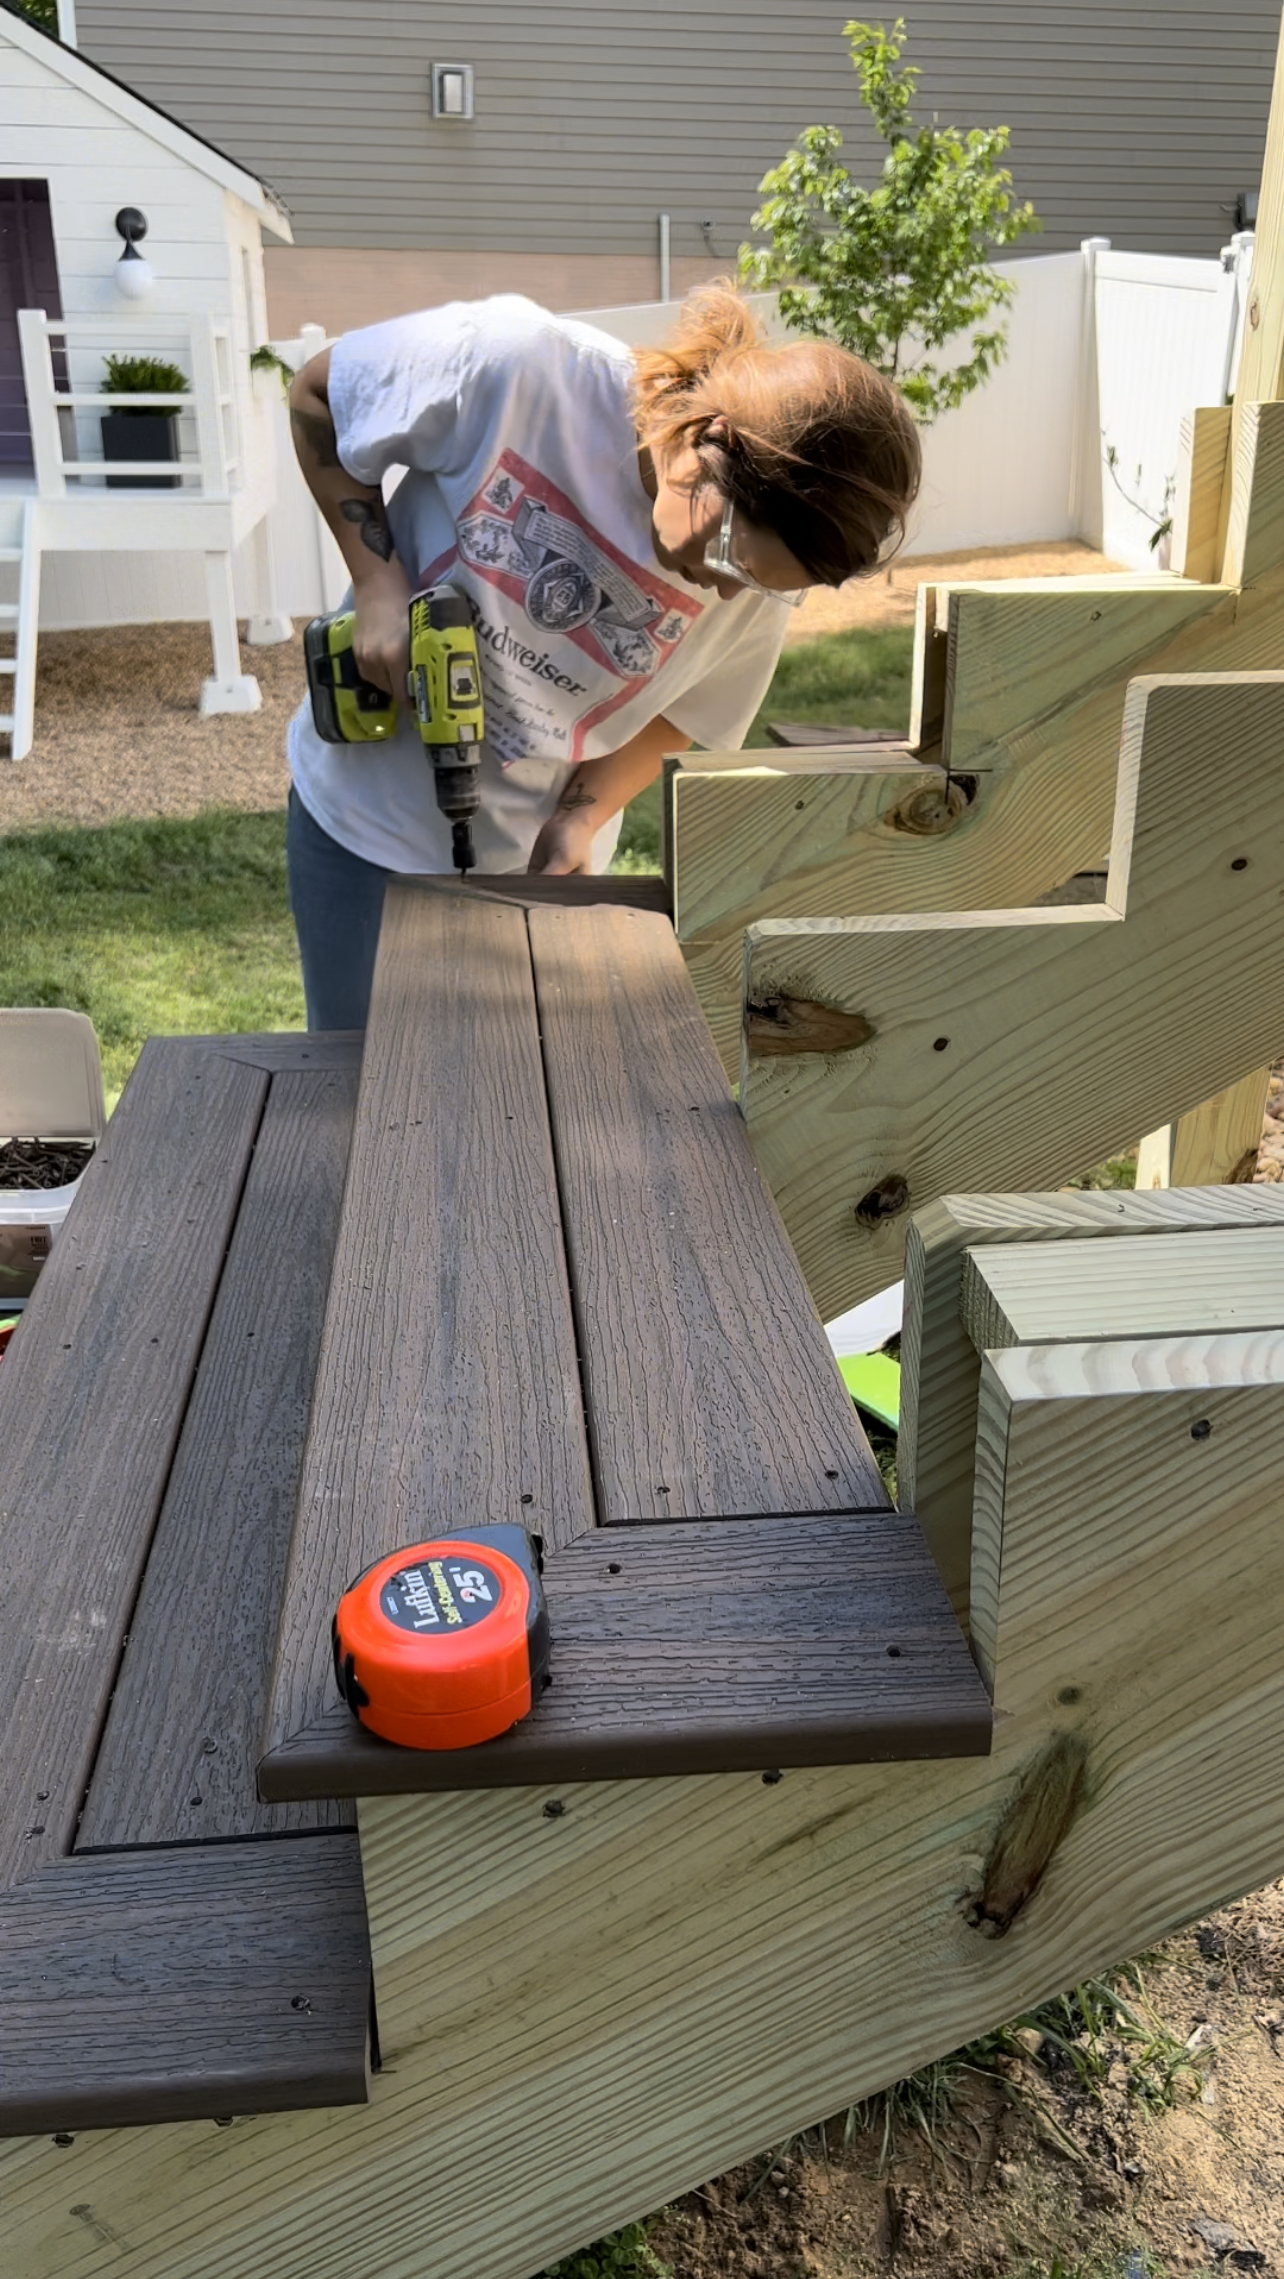
Deck Boards
I then began installing the deck boards onto the stairs. Since the edges of the steps would be exposed like the picture framing on the deck, I used square edge boards for the picture framing. For the square edge boards, I used a bit with s stopper for my drill. This allowed for the screws to be set with room for plugs to fill the holes.
Deck Risers
Once all of the deck boards were installed, I cut the fascia boards using my jig saw and screwed them in. I also began cutting and installing the deck riser boards to go on the face of each step. I also attached more fascia boards around the outside of the deck to cover up the wood and around the sides of the landing on the stairs.
Along the way I would fill in screw holes using plugs that match our decking using a hammer. This was tedious, but also very satisfying! I had a lot of holes to fill, but I did a little at the end of each work day to make some good progress.
I also worked on our beautiful new railing. We went with the Trex Transcend in Charcoal Black. It is so sleek and substantial and really simple to install.
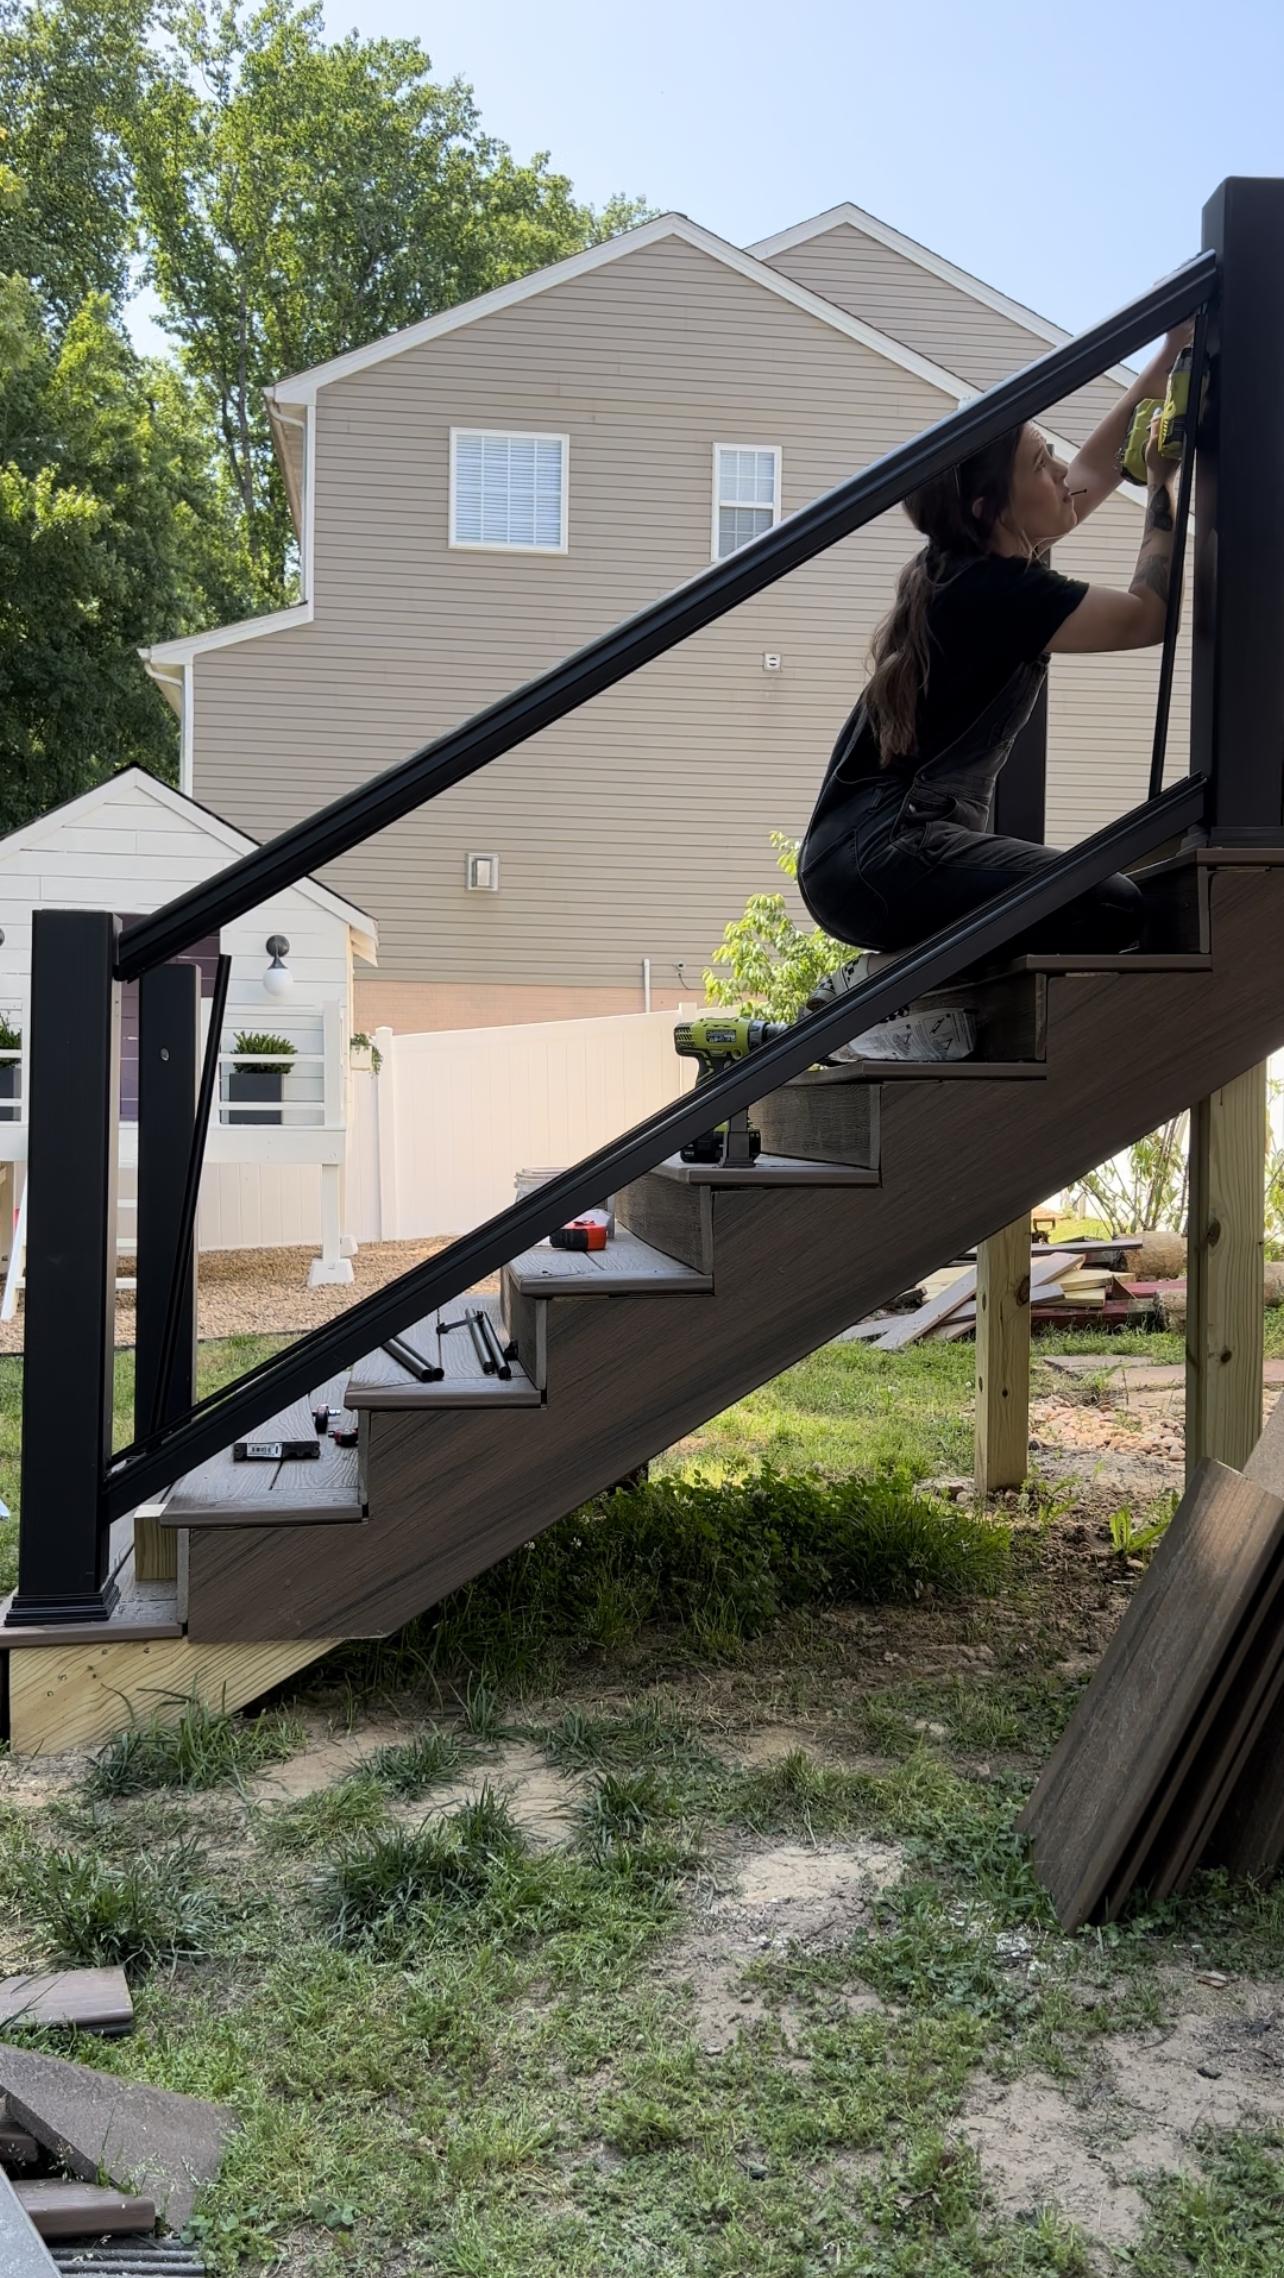
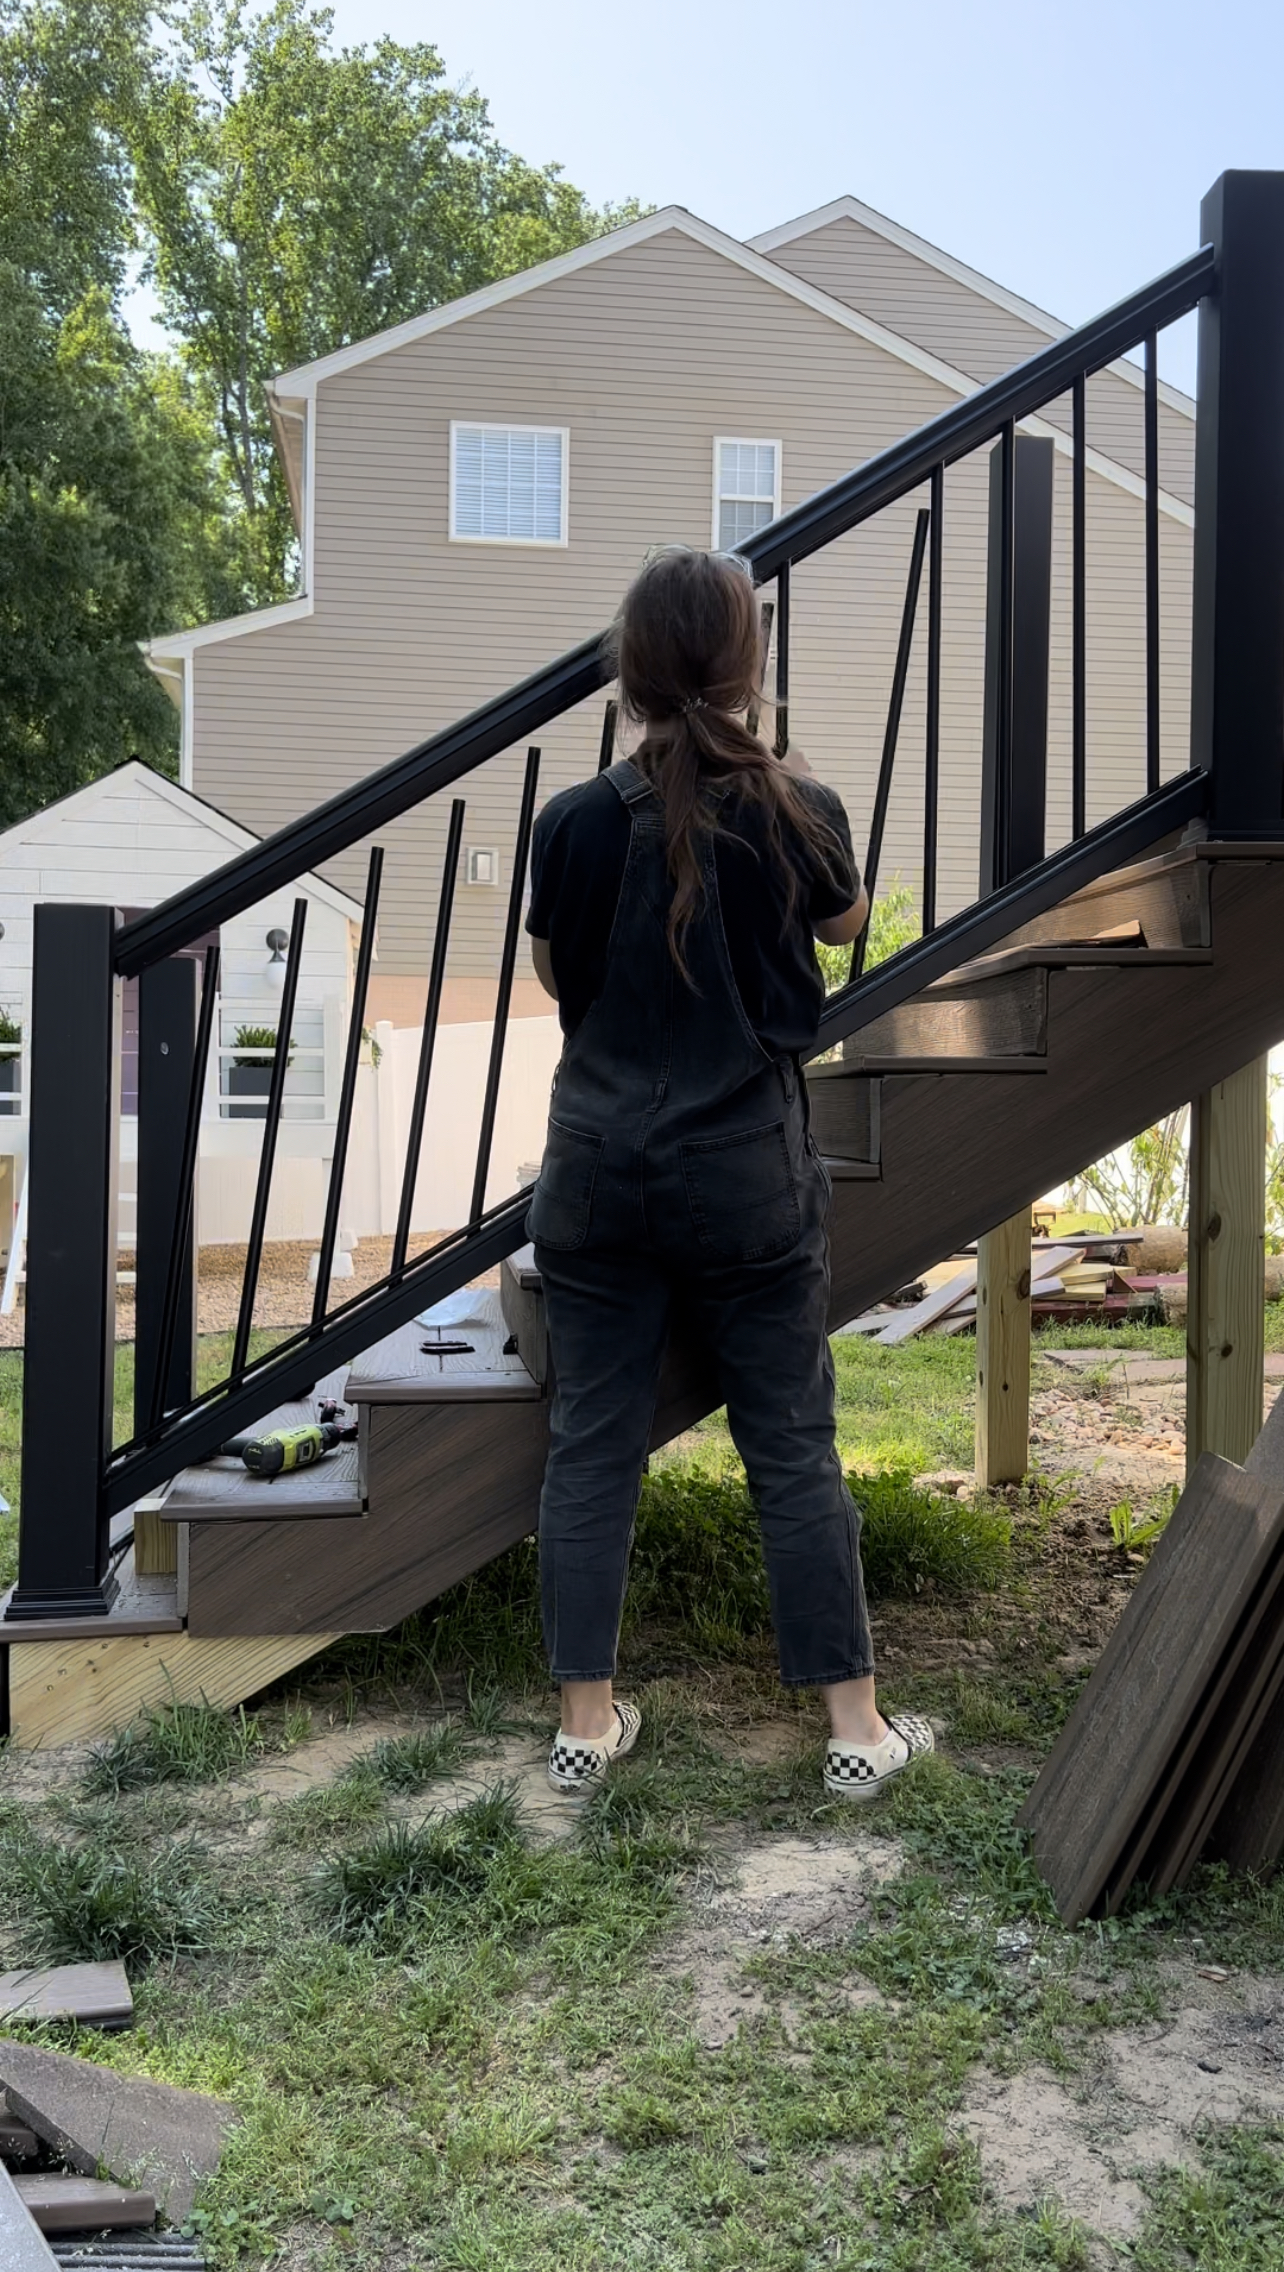
I only have a few more sections of railing to install (plus a few last details) before this project is finish. I can’t wait for this beautiful part of our home to come to life and to use it every chance we get!
Hi Cass! We love what you did with your landscaping! Can you please share where you purchased your landscape edging for your planters? It was a massive roll and you were able to stake it down into place. Please and thank you! I will also send this in Instagram comments!
Hi! Thanks for your helpful post. We’re remodeling a large deck also, and thinking of using the RainEscape system. I wondered if the blocking you added interfered with the rain system at all? Did you have to adjust anything because of the blocking’s
Hi Cass,
I just discovered you on IG & I love your content!!! I’m sending you a message regarding the Rain Escape you installed. Can this be installed under an existing deck? Look forward to hearing from you.