


If you’re new here…Hi! I’m Cass!
I’m a mom, wife, and fearless DIY’er. I live in Eastern Virginia with my little family. I’ve been passionate about the idea of homemaking since I was a young girl. I started trying to make our house a home when my husband, David, and I bought our first house. This started with painting and small home decor crafts.
My visions started becoming bigger but our budget was still small. Once my husband began leaving home on long deployments, I realized that if I wanted to make those bigger projects happen, I would have to just do it myself. I then began, little by little, trying out new things and teaching myself to use new tools. Now, in our third home together, I have learned how to tackle MUCH larger projects. Making my home with my own two hands has become my PASSION! I love taking my big ideas and making them come to life and I hope to inspire others to do the same!
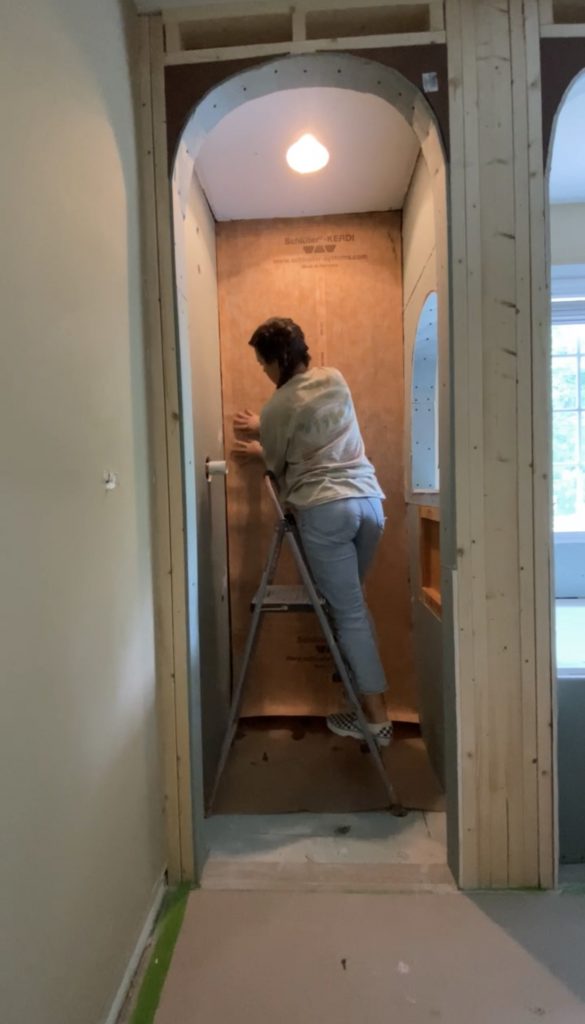
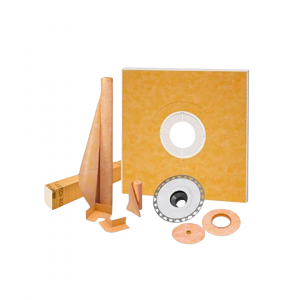
This week in the bathroom renovation, I began prepping the shower for tile with some shower waterproofing. I purchased a shower kit by Schluter-Kerdi which has all of the components to completely waterproof a shower. These kits come in multiple sizes, and can be cut down to size. I purchased the 48×48 in. kit from Lowe’s which came with a roll of waterproof sheeting, a drain valve, corner and seam tape, plumbing flanges, and a sloped shower pan.
Time to do some shower waterproofing!
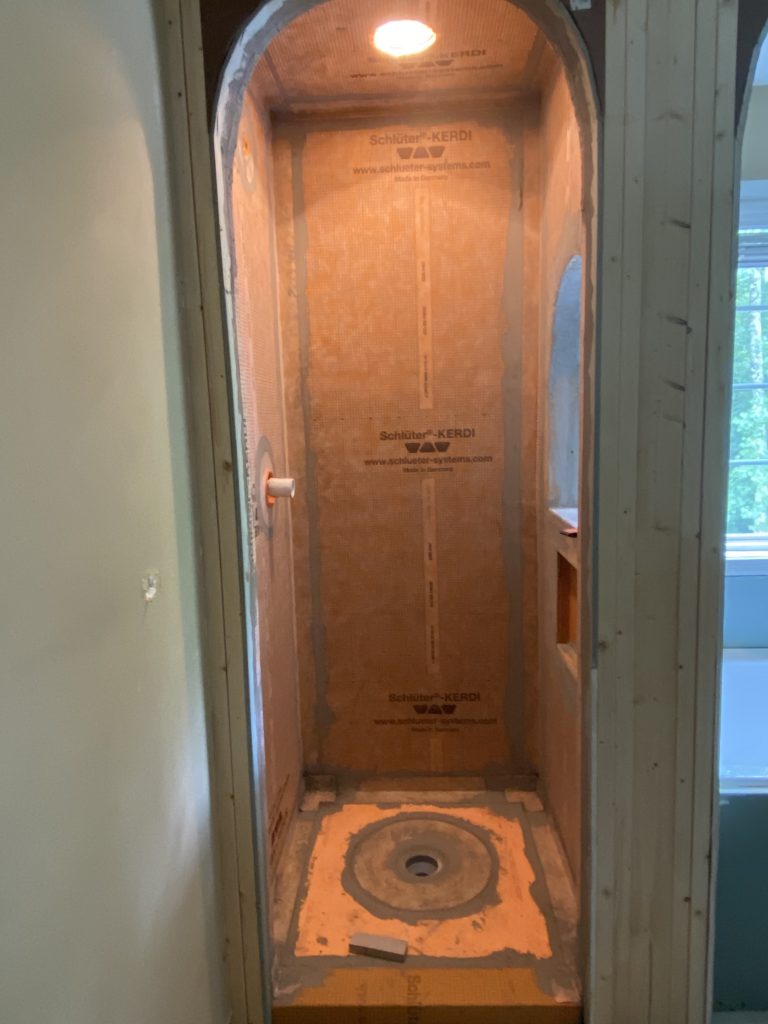
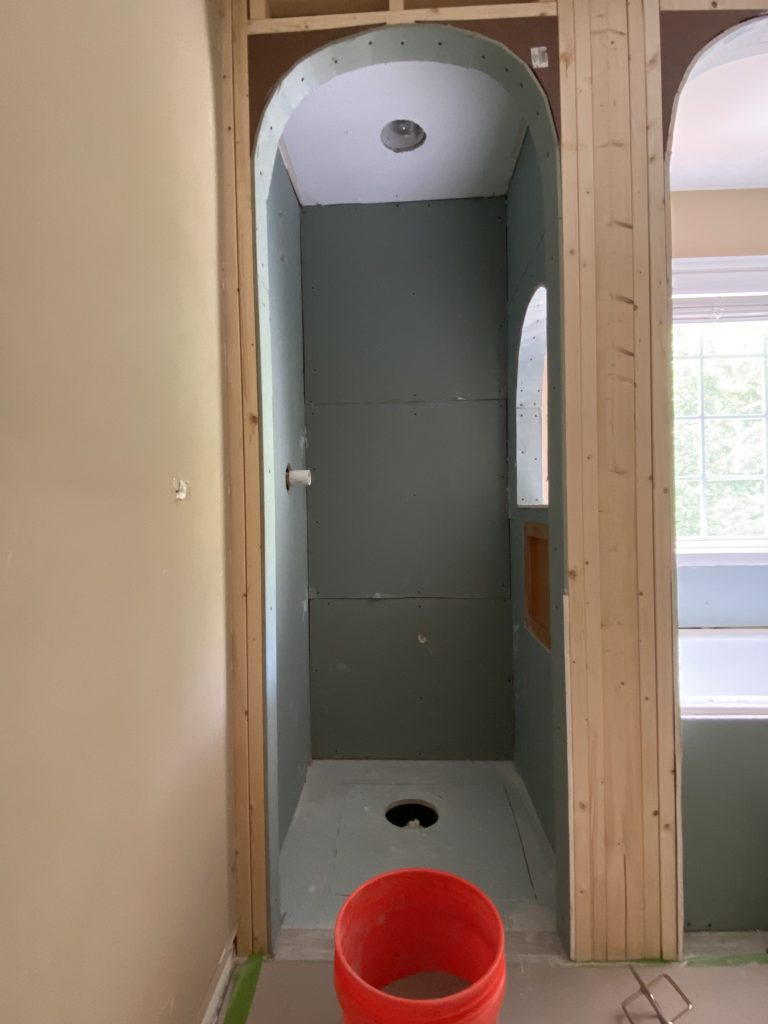
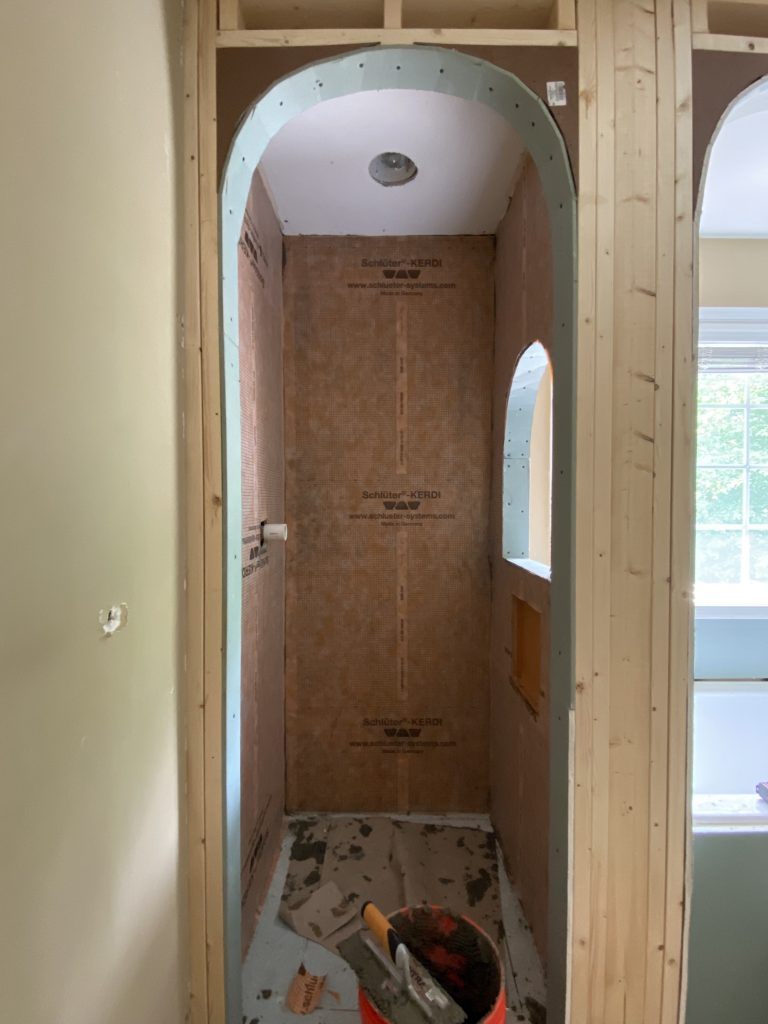
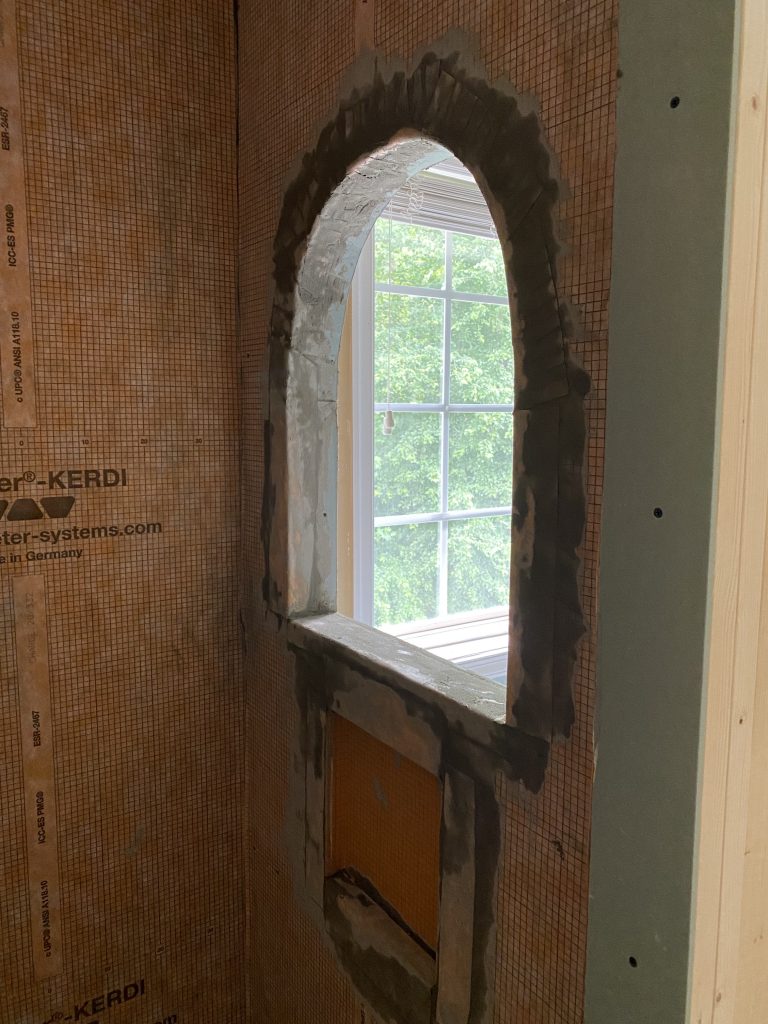
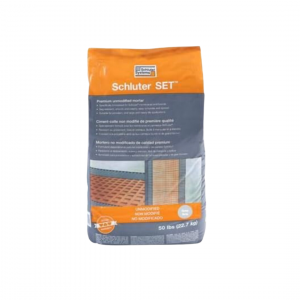
Schluter also offers a thin-set mortar to use with their products. I was not able to find any that would arrive on time, so I used a standard non-modified thin-set mortar as their website recommended. Last week, I installed mold resistant drywall in the shower and the arches. This is an appropriate surface for the Schluter to be applied to. I also purchased a Schluter shower niche. This fit snugly into the wall framing in my shower (I had to install mine under the arch window because there was a stud in the way on the center wall) and secured flush with the drywall.
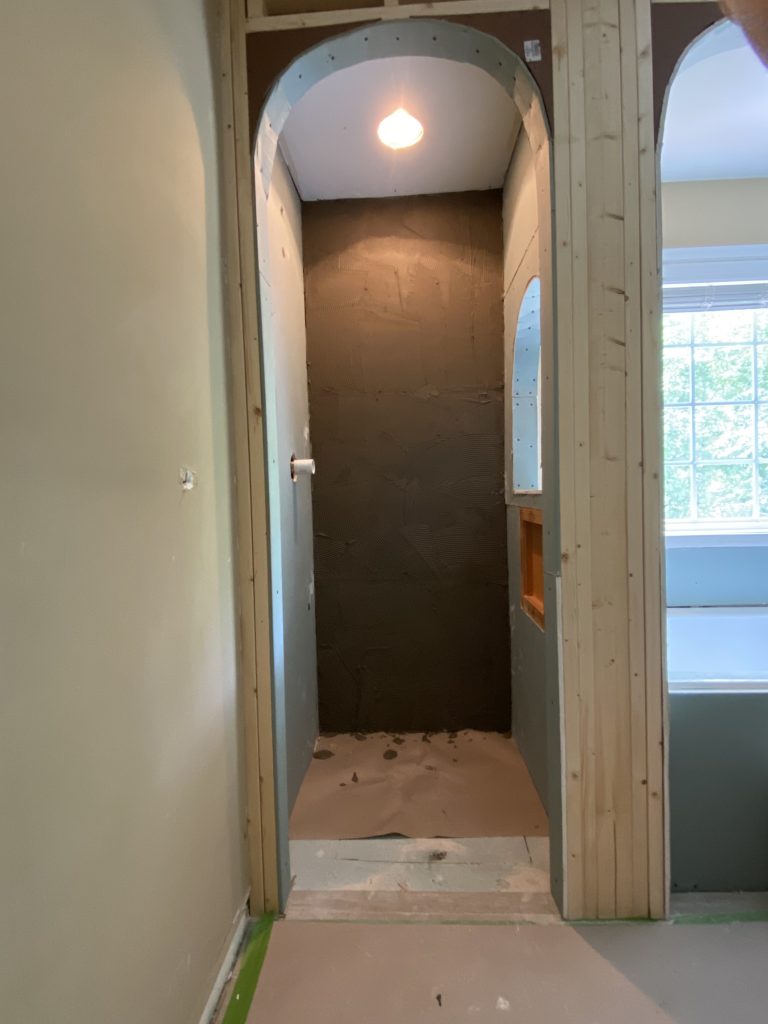
Mortar
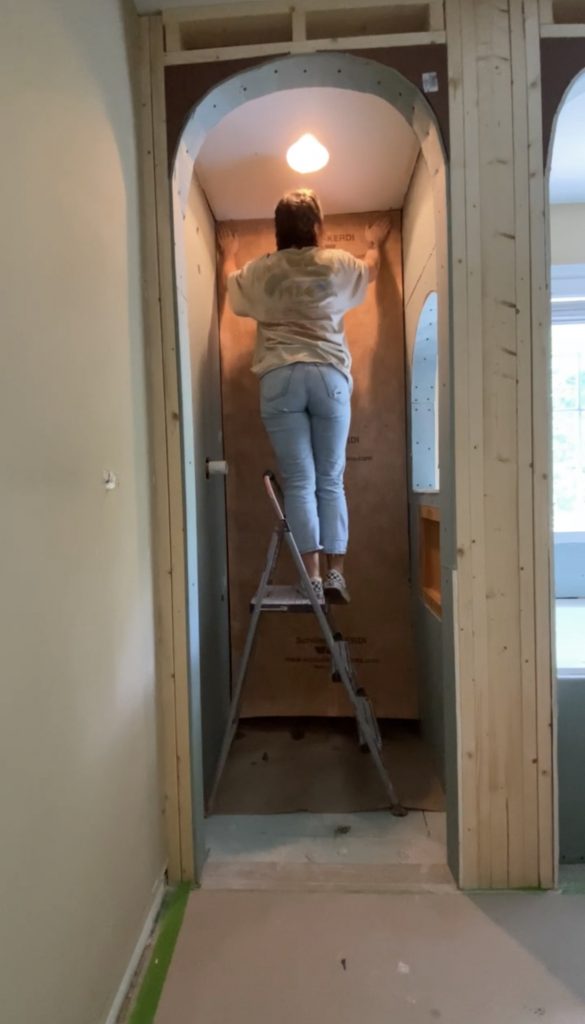
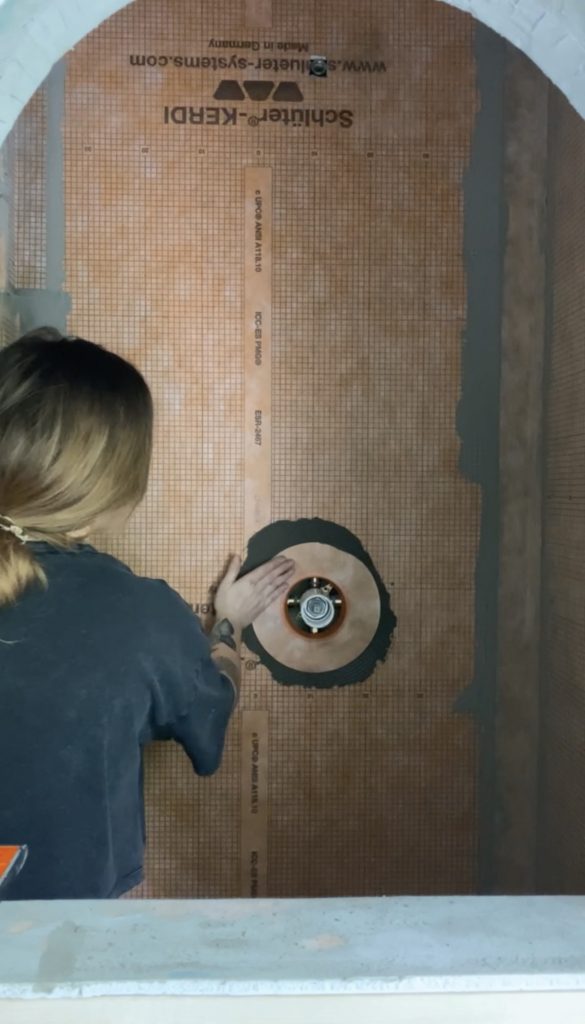
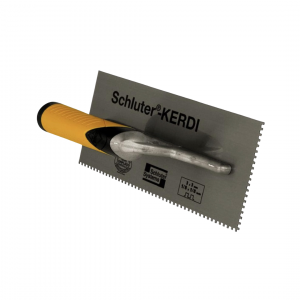
I began the shower waterproofing by applying my thin-set to one wall using a notched trowel (I used the Schluter trowel). Then, I cut down my sheeting to the appropriate size, and began smoothing it onto the wall that I had applied the thin-set to. Next, I worked my way from top to bottom of the wall making sure to smooth out any wrinkling in the membrane. After it was smooth, I went back with a flat edge (I used a large putty knife) to press and smooth the whole wall. This step was repeated for each wall in the shower.
Shower Niche
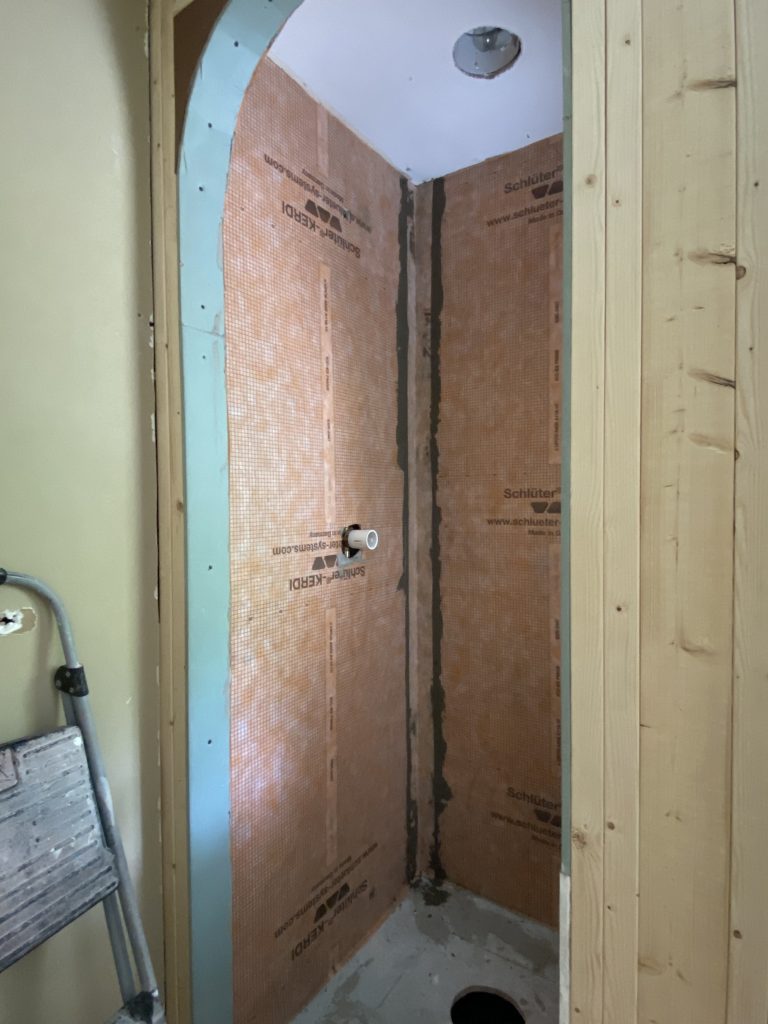
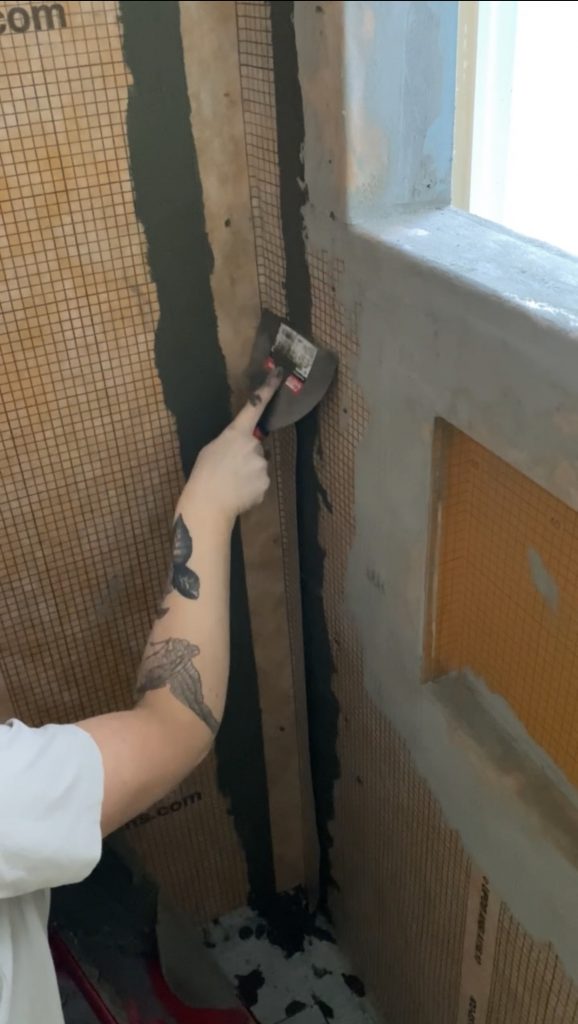
For the shower niche, arch window, and plumbing I used a razor to cut through. After my flat surfaces were covered, I began applying the seam tape to any seams and to the inside edges of the arch window and doorway. First, I applied the thin-set with a small trowel making sure to cover slightly wider than the tape width. I then applied the seam tape and ran a drywall taping knife down each piece to smooth out and remove excess. For the curved openings, I cut small notches along the seam tape to help it bend smoothly. I found that cutting the strip into smaller sections was helpful for the arched areas.
Plumbing
For the plumbing in the shower, I applied the thin-set around and applied the flanges that came with the kit. This helps to seal and keep everything in the shower safe from water leaking. Next was to install the shower pan!
Drain Prep
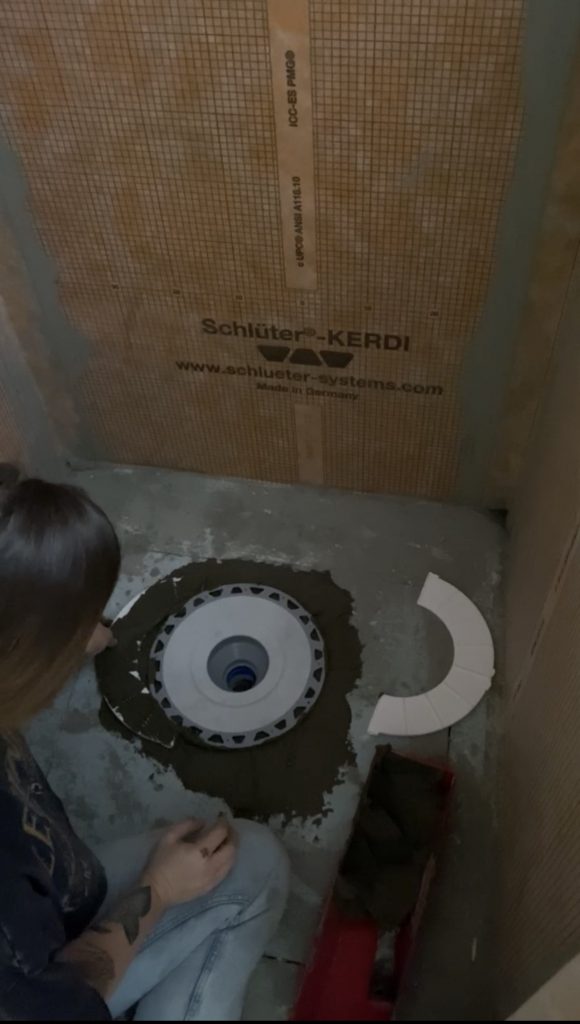
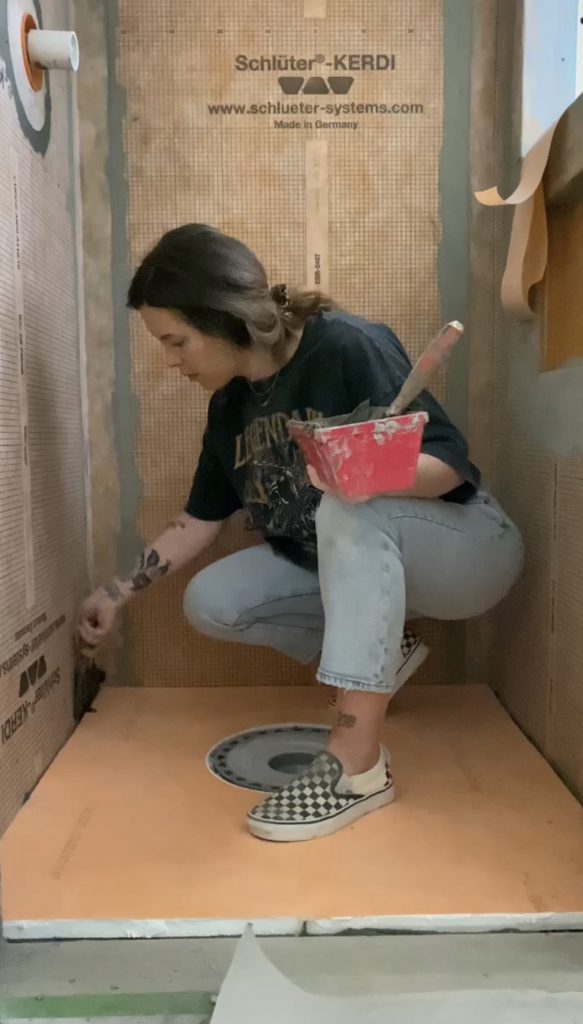
To prep the drain, I used the Schluter instructions for installing a drain where there is NO plumbing access (this means that I can’t access the shower plumbing from underneath). I dry fitted the drain flange into the PVC drain tube under my shower floor using the spacers that came with my shower kit. I then removed and applied PVC cement to the drain flange and drain. Using a twisting motion, I installed the drain. I removed the spacers and coated each side in the thin-set. I also spread thin-set under and around the drain flange with a small trowel. Then I placed each spacer back under the drain flange to bond it securely to the floor. After that, I removed the excess thin-set and wiped the area clean.
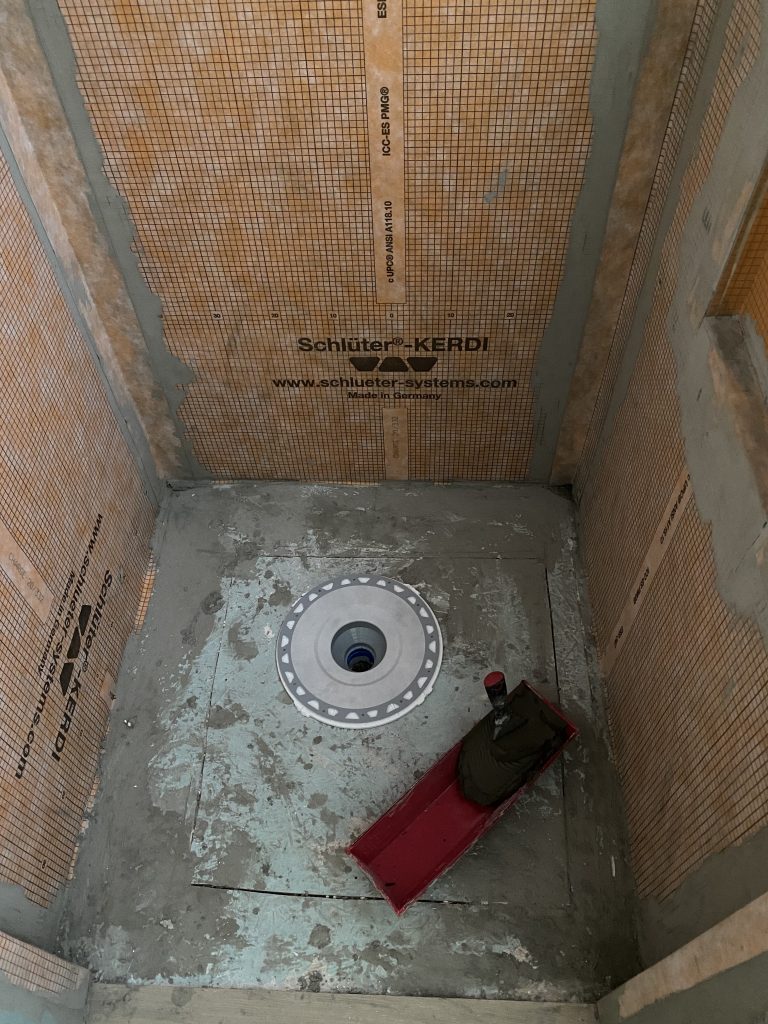
The products from Schluter are able to be cut to size using a utility knife. I cut down my shower pan and curb to size to fit my shower. Then, I applied thin-set to the shower floor and pressed down the shower pan to adhere. This step is repeated with the shower curb. The remaining seam tape was used to seal off the seams around the edges of the shower pan and also installed the corner seals.
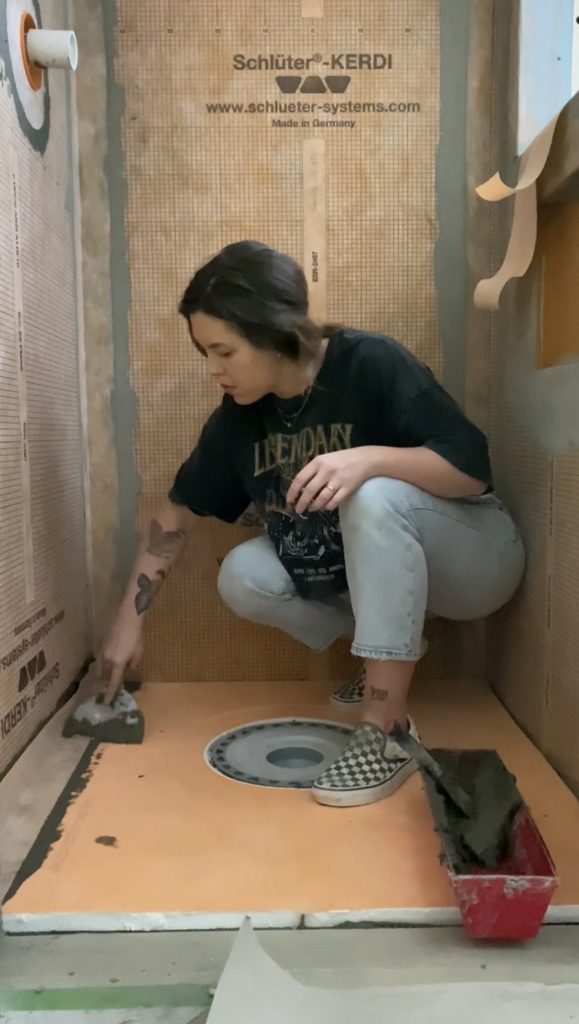
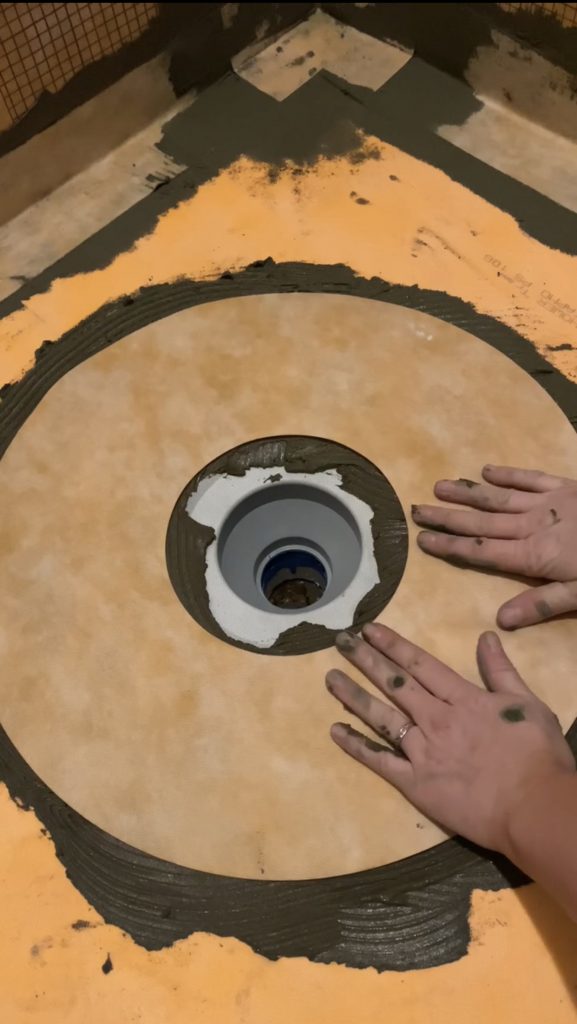
Additionally, I applied thin-set around the drain and applied the drain flange.
Now my shower waterproofing is completely done and ready for TILE!
Here’s everything I used for my shower waterproofing!

Don’t forget to check in with the other Featured Designers this week to see the progress they are making!
Ariene C. Bethea | At Home With Ashley | Banyan Bridges | Bari J. Ackerman | Brit Arnesen
Brownstone Boys | Dominique Gebru | Gray Space Interiors| Haneen’s Haven
Home Ec. | Nile Johnson Design | Pennies for a fortune | Prepford Wife | Rachel Moriarty Interiors
Sachi Lord | Susan Hill Interior Design | This Is Simplicite | Tiffany DeLangie | Victoria Lee Jones

Hey Cass! Just wanted to say thanks for sharing this information! My husband and I are currently renovating our bathroom and I’ve been digging to find more information on the correct mortar to use with this product. This was nice confirmation! I appreciate all the information you share, it’s so helpful!
<3 Beth
I’m so glad this was helpful! Thank you so much!
Wow. I’m so impressed girl. I wish I had internet back when I was young and doing renos! It was rough trying to figure stuff out by myself.
Congrats on creating a beautiful, gorgeous, inspirational bath!
Thank you so much, Deb!