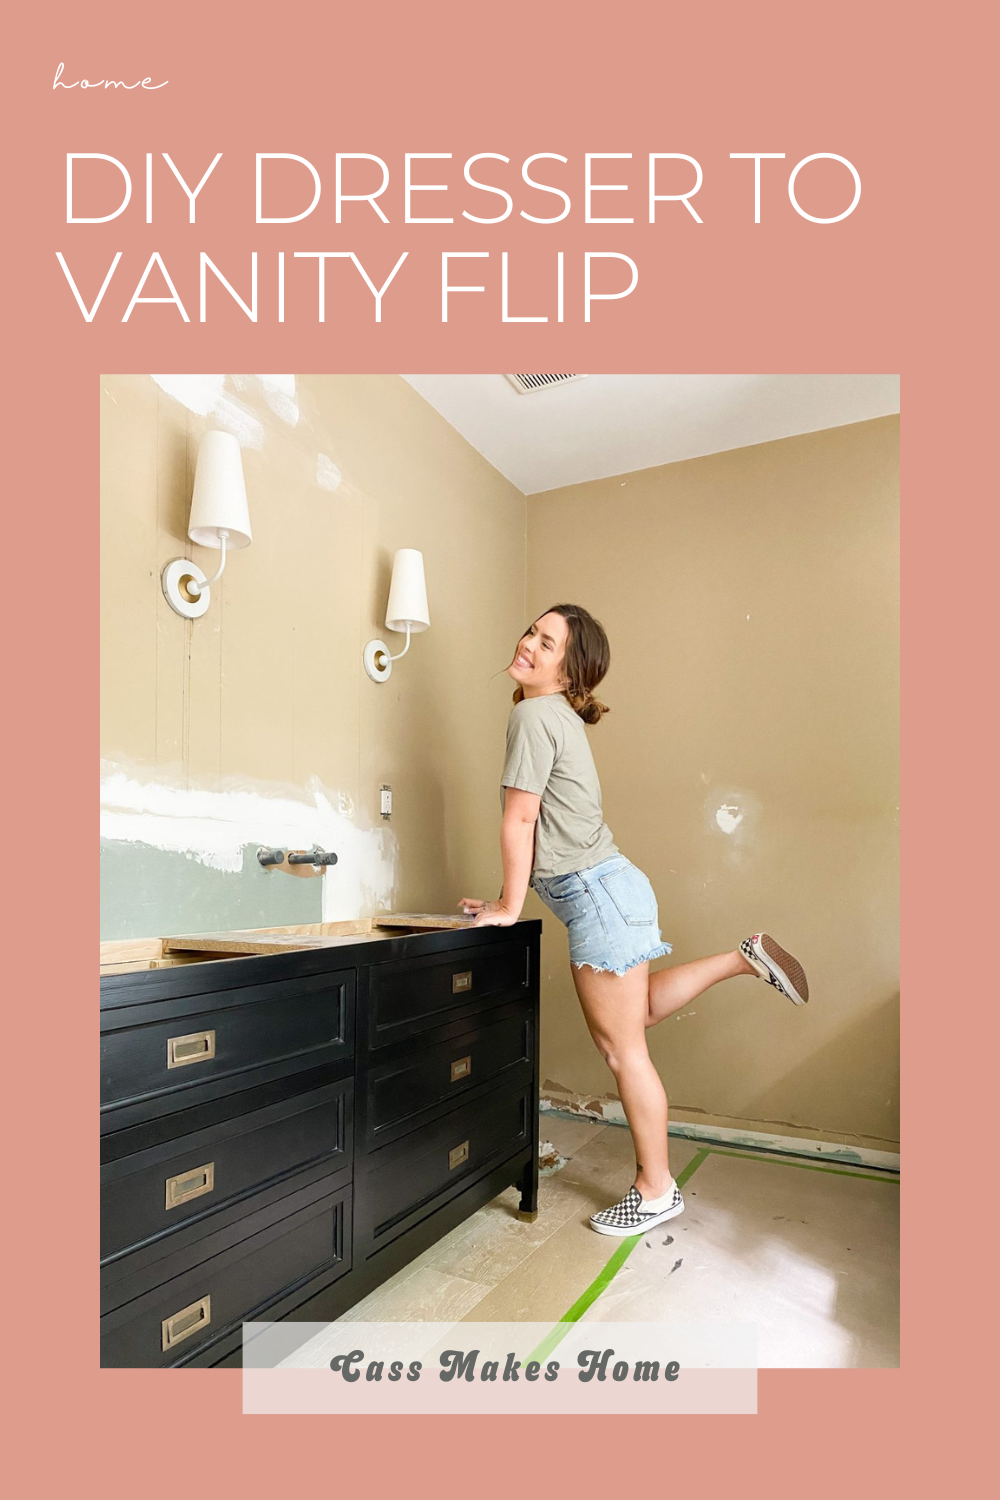
One Room Challenge Week 7 Main Bathroom – Dresser Vanity


If you’re new here…Hi! I’m Cass! Welcome to the One Room Challenge!
I’m a mom, wife, and fearless DIY’er. I live in Eastern Virginia with my little family. I’ve been passionate about the idea of homemaking since I was a young girl. I started trying to make our house a home when my husband, David, and I bought our first house. This started with painting and small home decor crafts.
My visions started becoming bigger but our budget was still small. Once my husband began leaving home on long deployments, I realized that if I wanted to make those bigger projects happen, I would have to just do it myself. I then began, little by little, trying out new things and teaching myself to use new tools. Now, in our third home together, I have learned how to tackle MUCH larger projects. Making my home with my own two hands has become my PASSION! I love taking my big ideas and making them come to life and I hope to inspire others to do the same!
*This post may contain affiliate links, which means I may earn a small commission if you purchase through my links, at no extra cost to you. I only share products I genuinely love.
Okay, remember my One Room Challenge mood board for this bathroom??
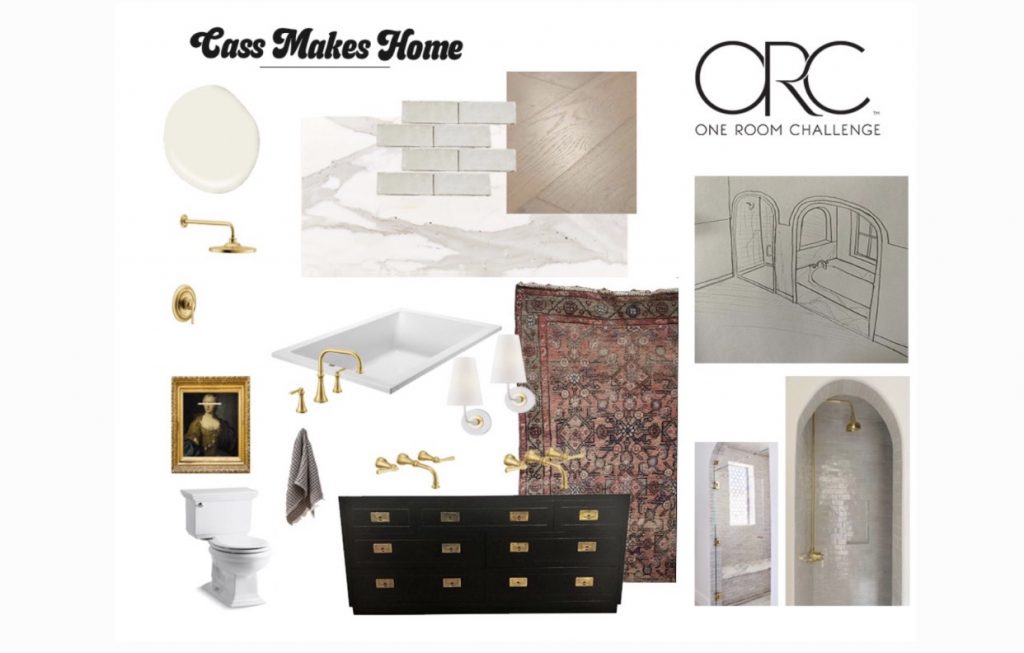
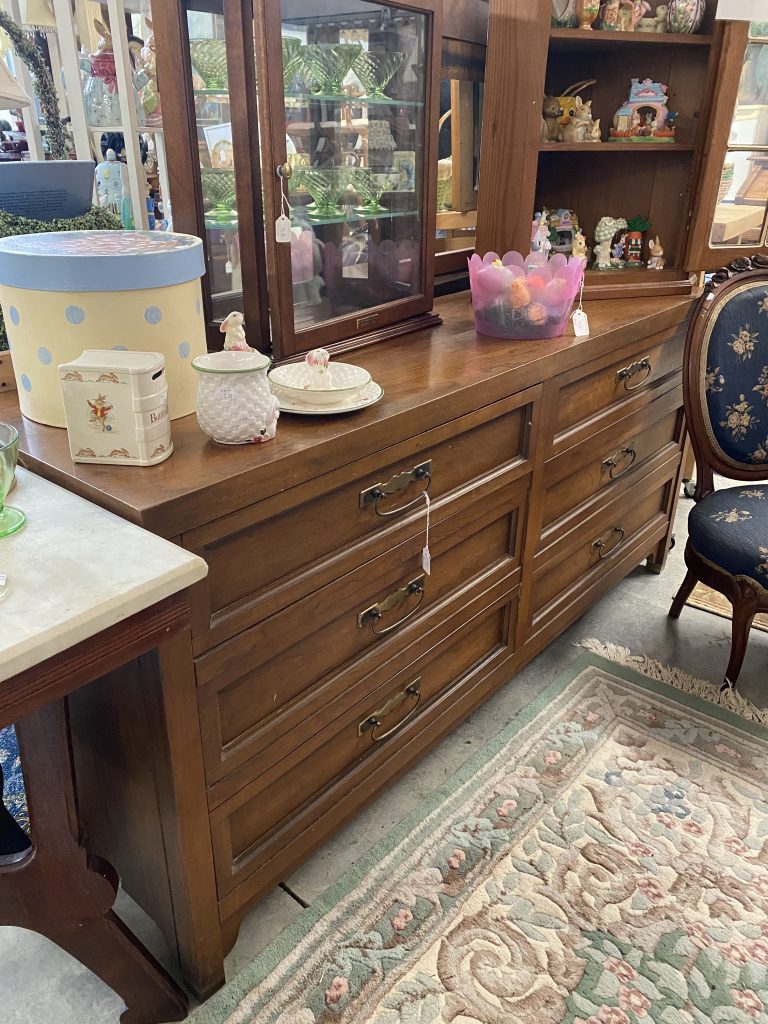
I have been DYING to find a beautiful vintage campaign dresser to put in this space and use it as my vanity. Unfortunately, I searched for WEEKS and could not find a single on that was even close to my budget. Most vintage campaign style dressers run around $1,000 a pop. No, thanks! I ended up popping into a random thrift store in a nearby town one day with my parents and the girls after having brunch. I could not believe that this dresser was one of the very first things that I saw in the store. It resembled the shape and style of the campaign dresser on my mood board and just happened to be the exact dimensions that I was looking for. It was perfect for this One Room Challenge project! Oh, and it was ONLY $75. It was fate!
What I started with:
Prep
I brought it home and began prepping it for the slab/sinks to be installed on it. because my sinks would be attached to the Quartzite slab, I need to cut out some holes on the top of the dresser to allow room for the bottom of the sinks to fit in. I cut out about an inch larger than the sinks using my circular saw on the dresser top. This did not need to be perfect, because it would be covered with my slab. I secured my dresser to the wall with a 2×4 that was screwed into the studs.

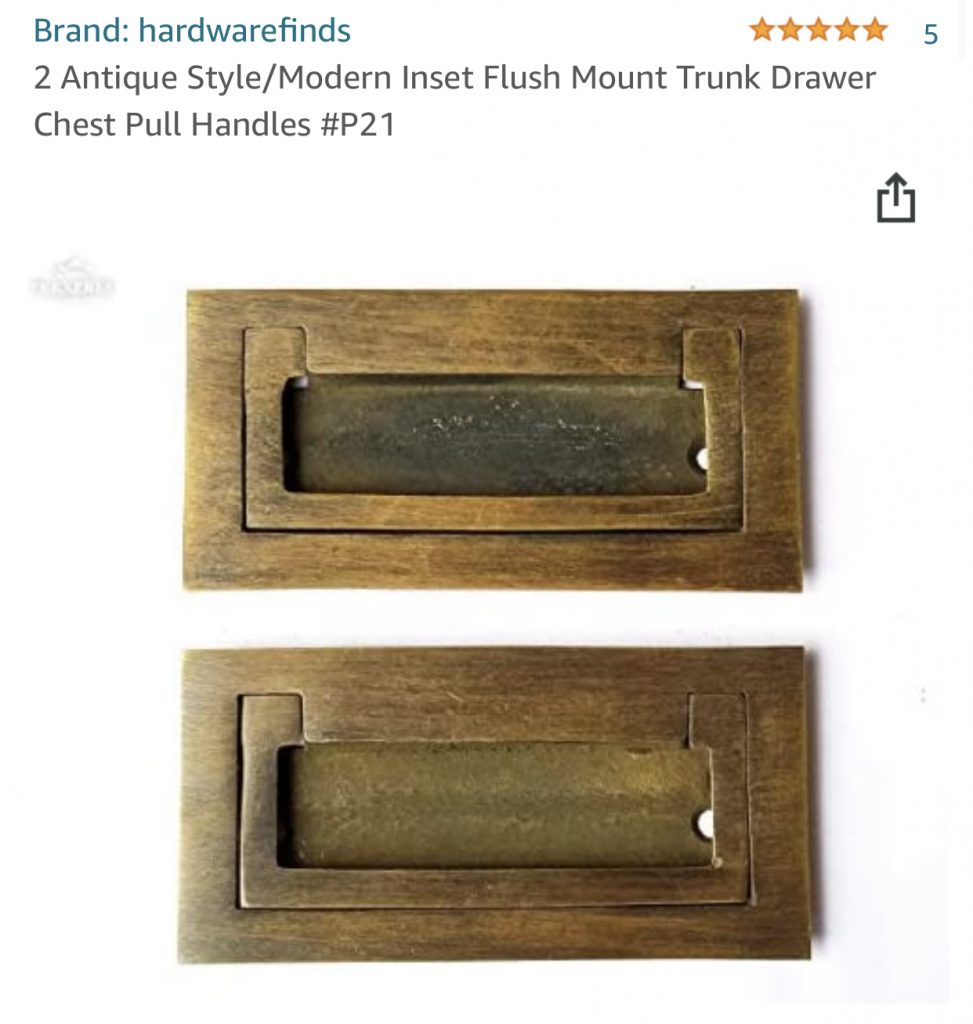
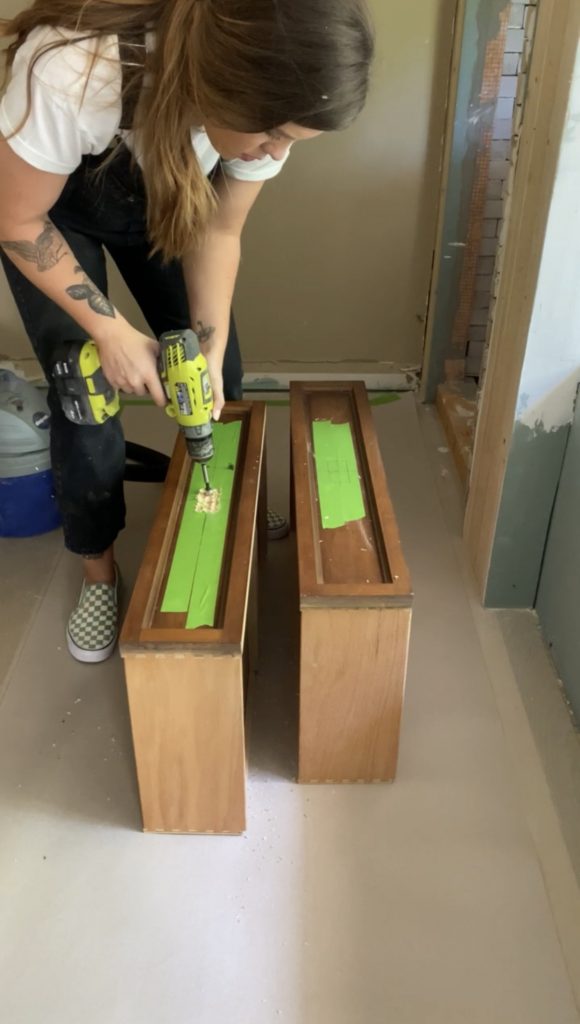
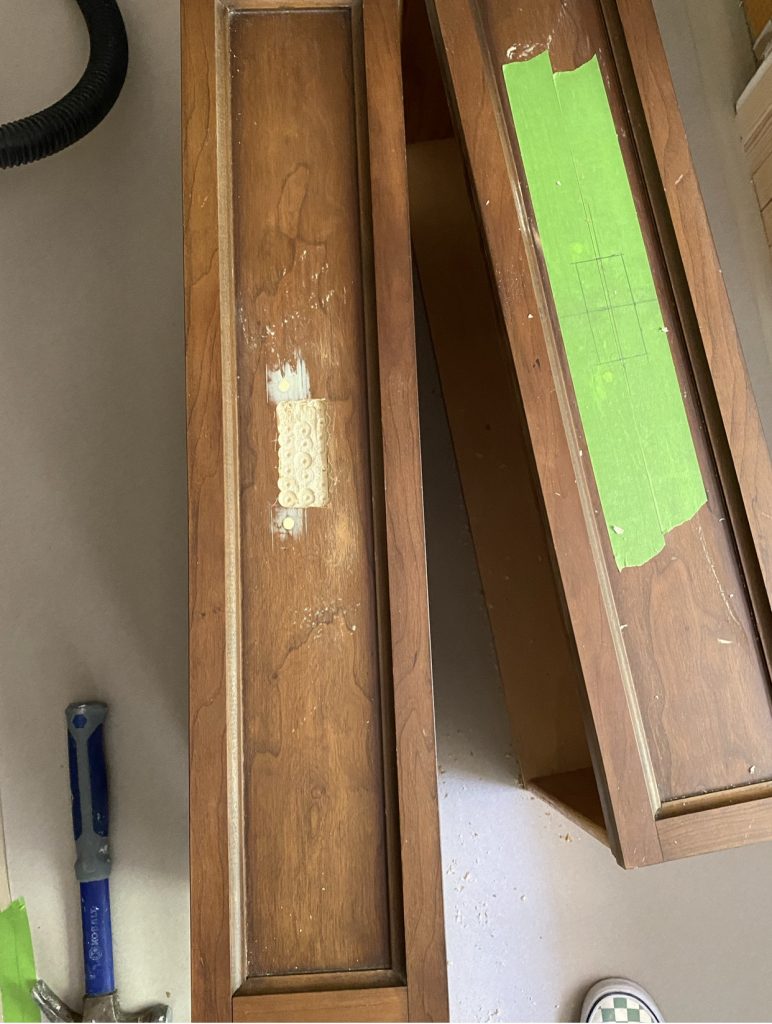
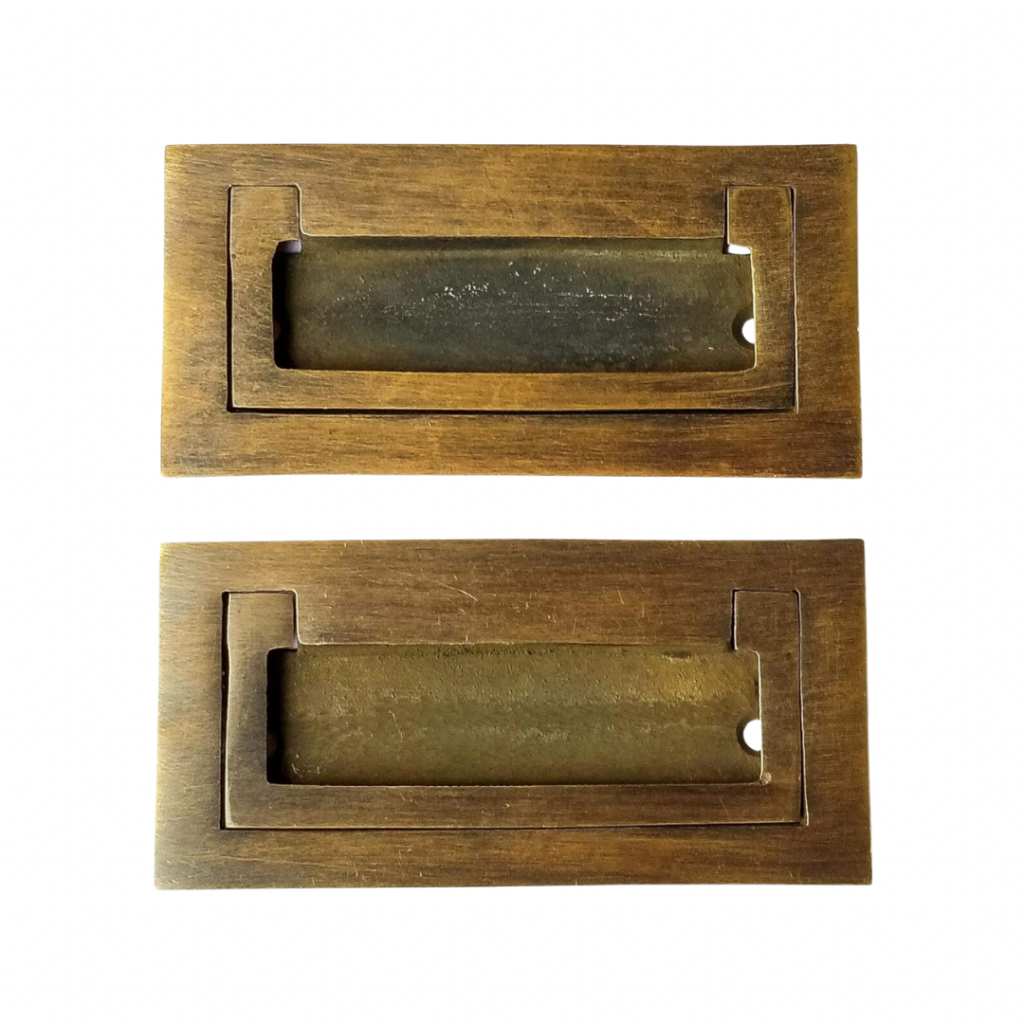
Drawer Pulls
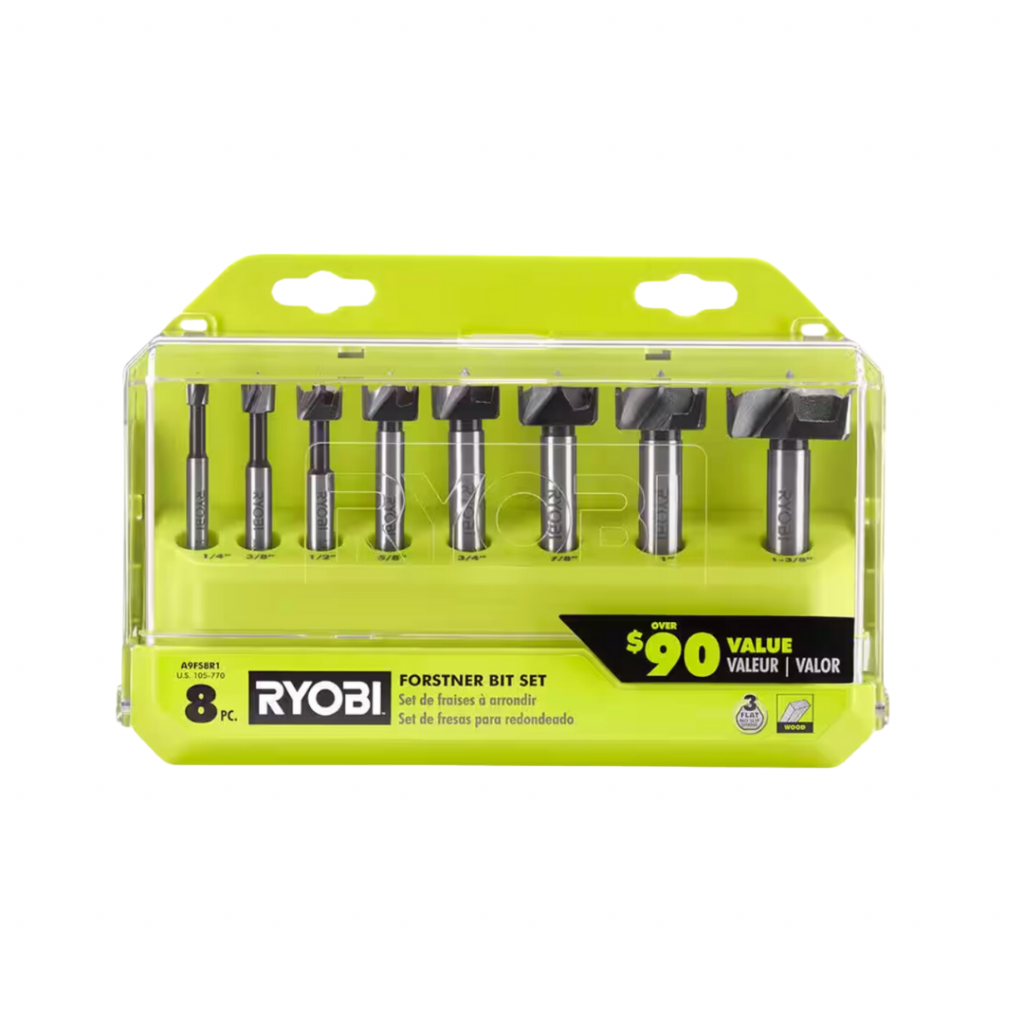
Then, I got busy trying to make this dresser look as close as I could to my inspiration dresser. I purchased these campaign style recessed drawer pulls to install on them. These drawer pulls were on Amazon! To install, I measured and marked where they would be centered on the drawers. First, I used painters tape for this to see my markings on the wood. Then, I used a forstner bit and drilled about halfway down in each corner of my rectangles. Then, I continued drilling holes around the perimeter and center. I vacuumed up the mess, and then began chiseling the areas smooth until my drawer pulls sat flush in the holes.
Because of the sinks, I was going to lose my top drawers completely. But I wanted to find a way around this!
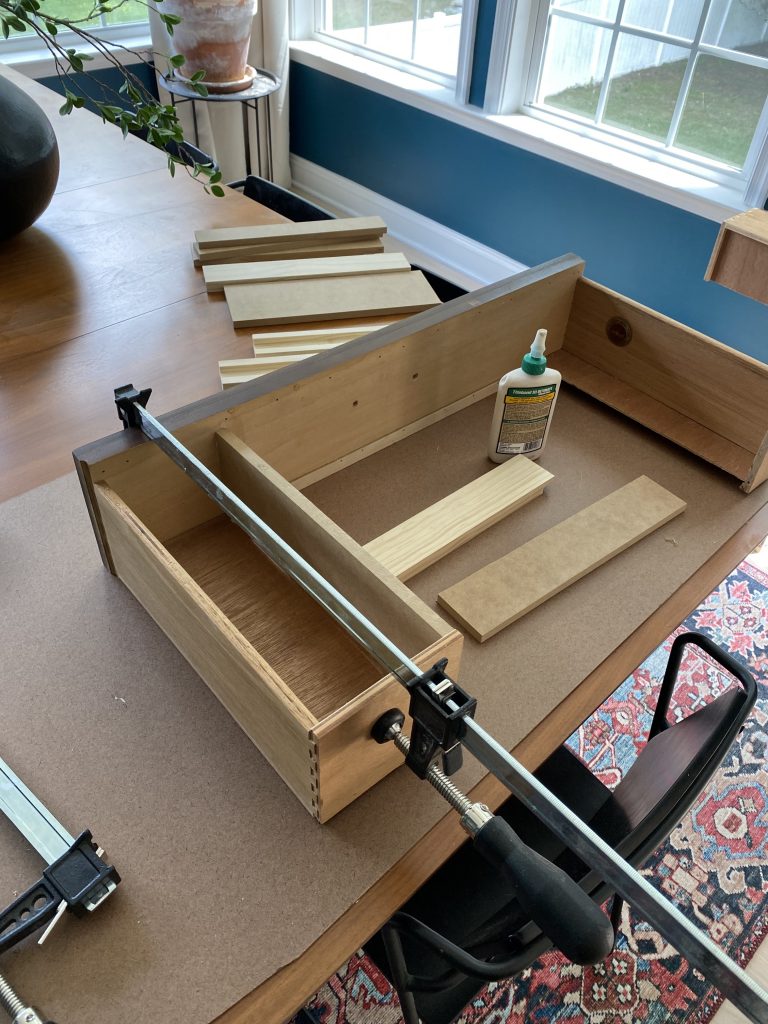
Converting the Top Drawers
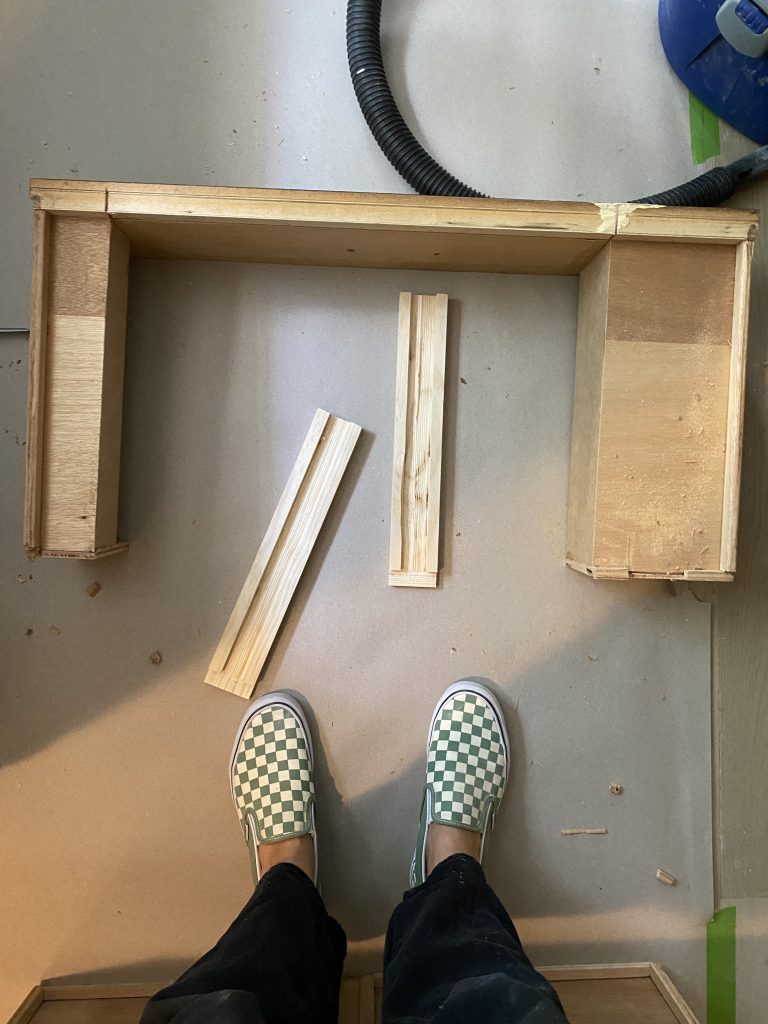
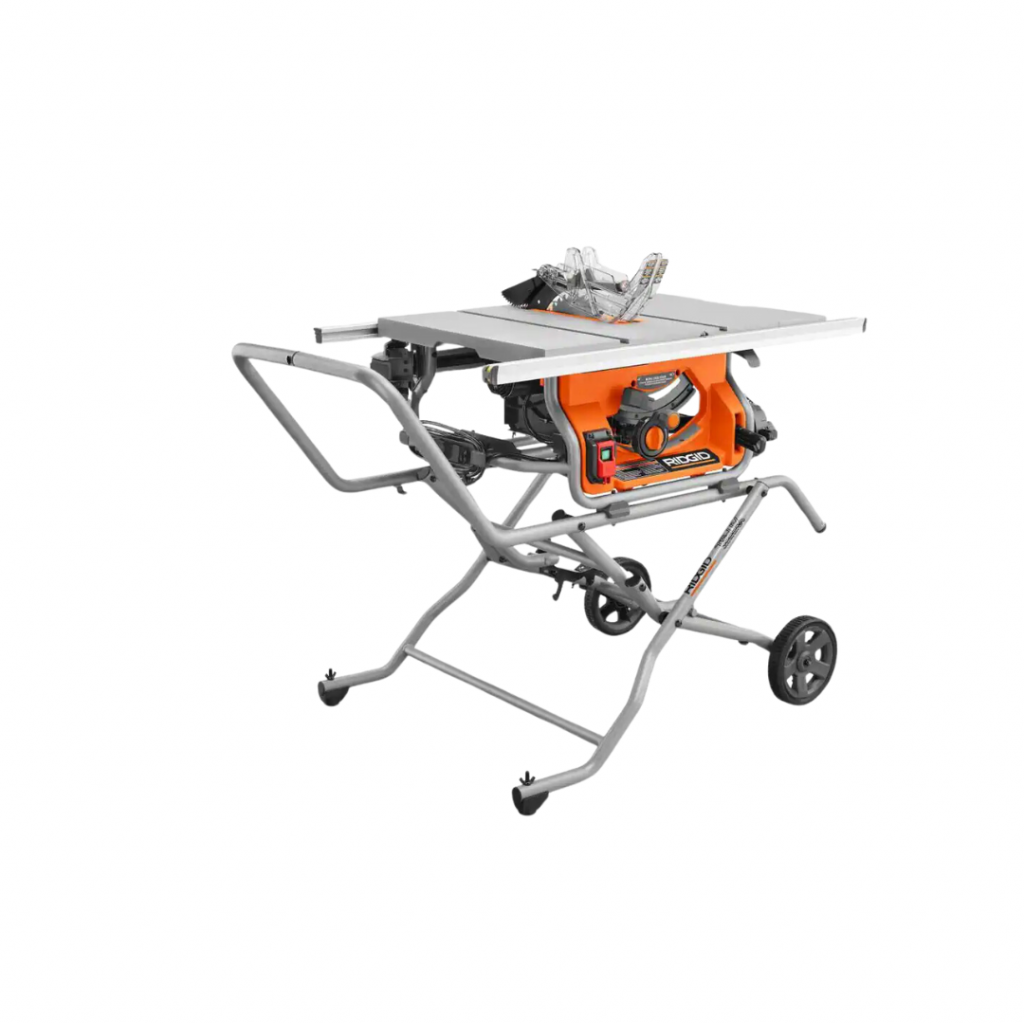
Since the drawer fronts would pretty much touch the front side of the sinks underneath, I decided to convert the two top drawers and use the available space on the sides. I cut out and removed the pieces separating the top and middle drawers. Marking my drawer boxes to line up with the edge of my cutouts, I used my table saw to cut down the drawer boxes until I could remove the middle. I was left with two sides of the drawer. I cut down some 1/2 in MDF scraps to make new sides for those sections and used wood glue/clamps to secure them for a while.
Also, I recreated the previous rails and tracks to install on the new drawers using some scrap pine. First, I started by cutting out the slides to match the exact size as the previous. Then, I lowered my saw blade to about 1/2 in and began running each piece through the saw to cut out notches. Next, I moved then saw fence slightly and repeated these steps until I had a 1 in notch in the center of each track.
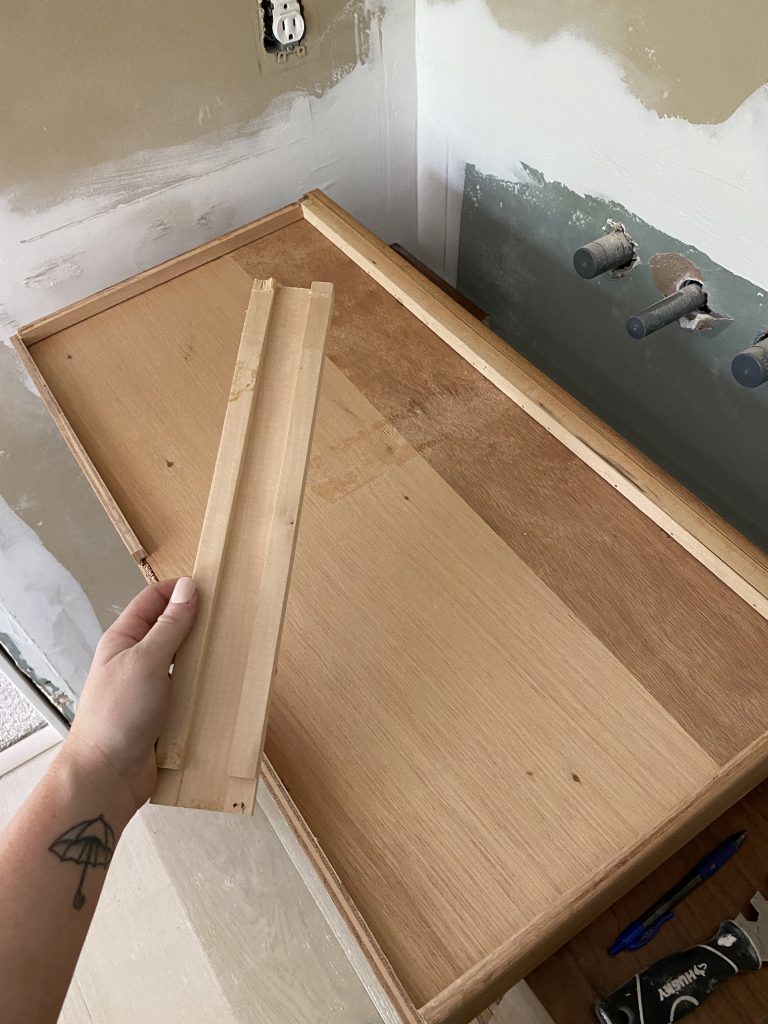
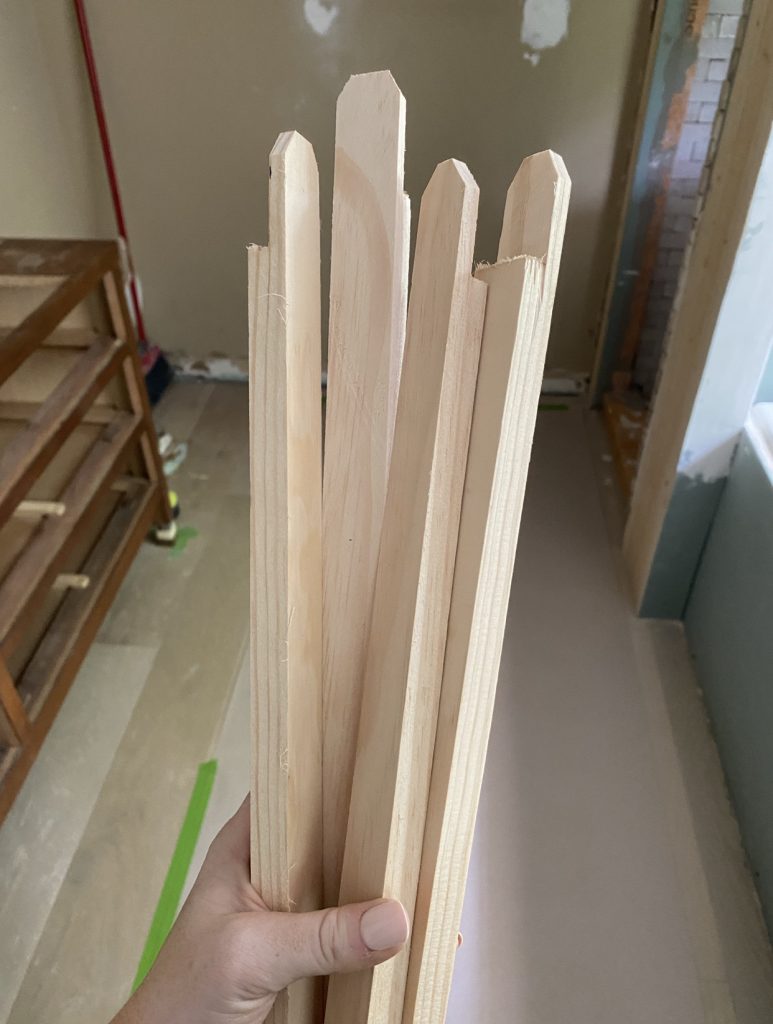
I used some additional scrap pine to cut new rails and replicated the existing by notching out the end. Then, I had four of each of the rails and tracks for my new drawers. Using wood glue, I attached the new tracks on each side of the new top drawers and let them dry. To install the rails, I put each new drawer into place in the dresser. Next, I added some wood glue to the ends of each rail and gently slid them into place under the drawers. I left them all to dry before securing with nails.

Paint
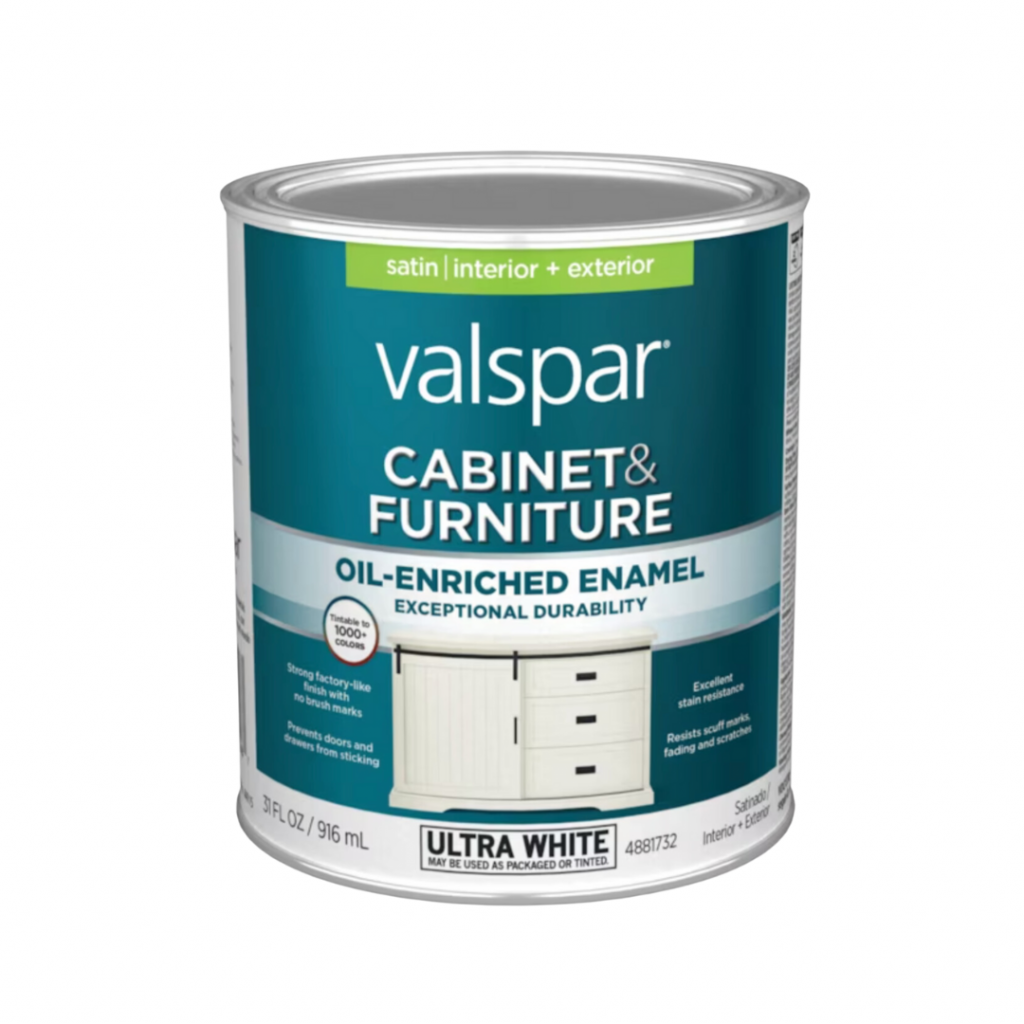
I also painted the dresser using Valspar Cabinet & Furniture Enamel. I’ve used this before on some vintage furniture (the nightstands in the guest bedroom) and love how they turned out. This paint does not require sanding or prep! I just brushed on a few coats and let it dry. I also put on some water based polycrylic for extra protection.
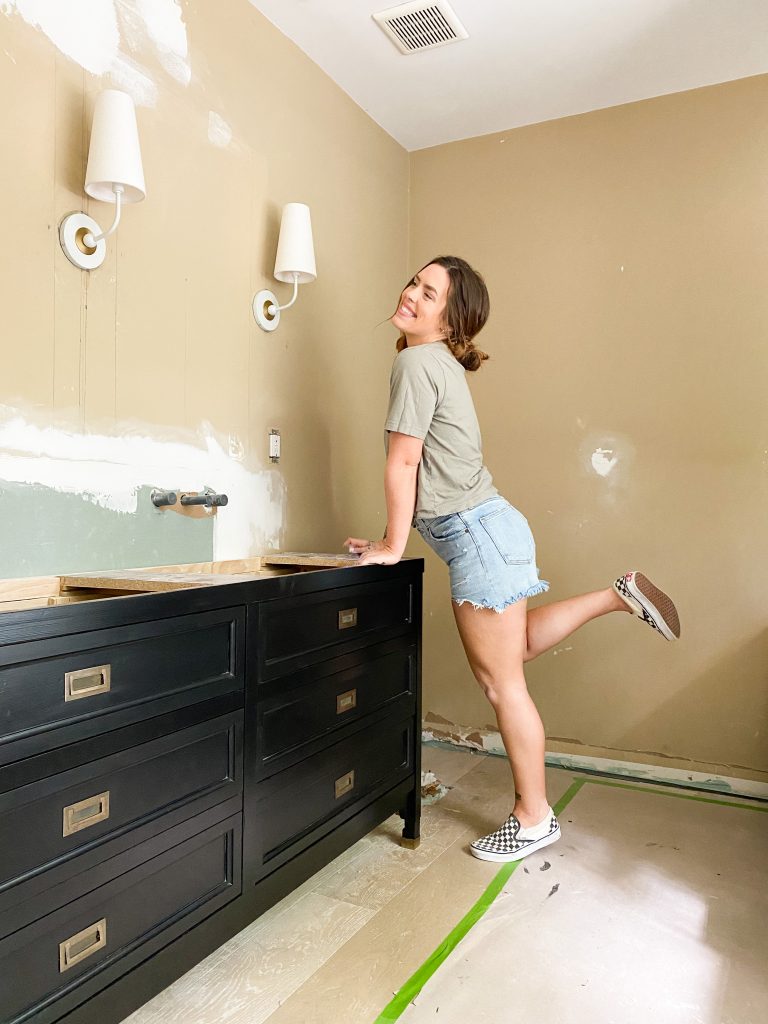
I’m obsessed with how this turned out!! But once the slab got installed on top, it was NEXT LEVEL!
I worked with Best Brazilian Granite (out of Portsmouth, Virginia) to find the perfect slab for my bathroom. I’d explored their showroom last month in hopes to find a natural stone that had some dark and delicate veining along with some warm undertones. Thankfully, I ended up finding this perfect slab of Calacatta Quartzite, which perfectly complemented my Natural White Zellige Tiles from Riad Tile.
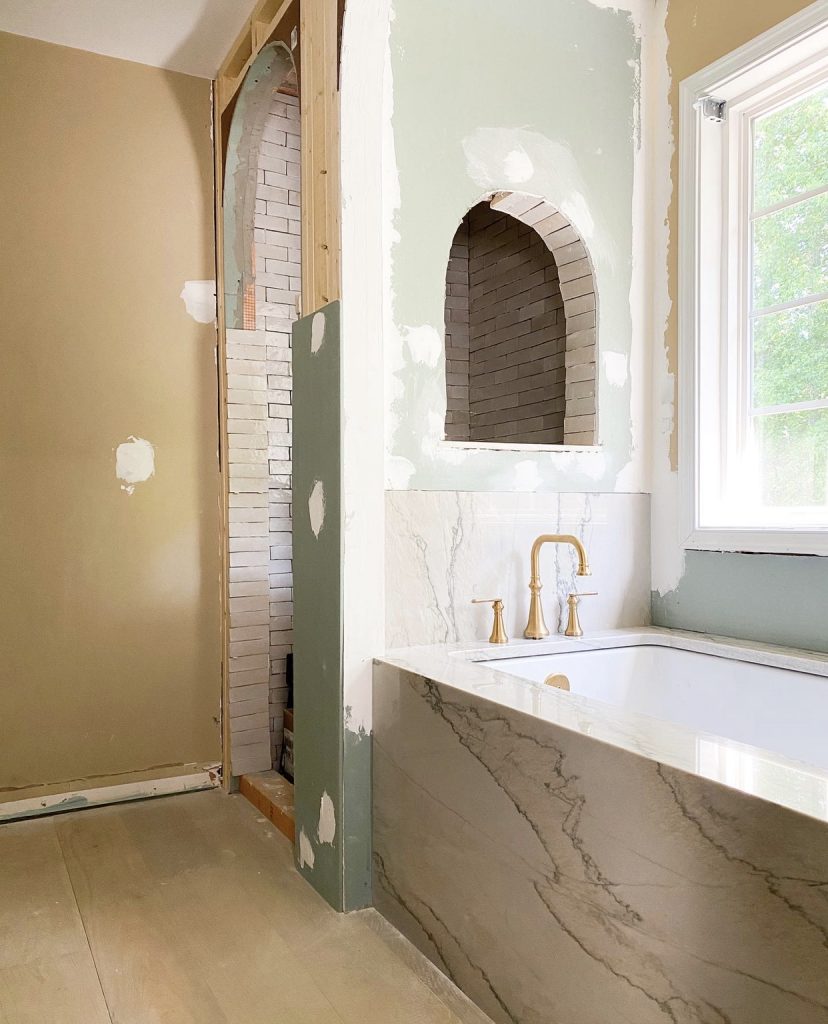
My sister helped me to draw up the design for this tub alcove where the stone would waterfall down to the floor. I think it is the perfect modern touch that this bathroom needed!
Here’s everything I used for this DIY Vanity Dresser for the One Room Challenge:


Don’t forget to catch up with the other Featured Designers and their One Room Challenge Spaces!
Ariene C. Bethea | At Home With Ashley | Banyan Bridges | Bari J. Ackerman | Brit Arnesen
Brownstone Boys | Dominique Gebru | Gray Space Interiors| Haneen’s Haven
Home Ec. | Nile Johnson Design | Pennies for a fortune | Prepford Wife | Rachel Moriarty Interiors
Sachi Lord | Susan Hill Interior Design | This Is Simplicite | Tiffany DeLangie | Victoria Lee Jones
[…] During week 7, I transformed this vintage dresser (which I found for $75 at a thrift store) into the vanity of my dreams. You can read about that here! […]
Incredible work on your bathroom! I am INSPIRED AF! I’m looking for the paint you used on the cabinet but can only find cabinet coat in white online and at Home Depot. Did you use black and if so, where did you find it?