Home Gym Renovation – Wood Plank Wall

After renovating most of this space last year and making this decorative glass grid wall, I decided that I wanted to add some warmth to the space by adding some wood wall planking. I left off last working on electrical and prep. You can read more about that here. Let’s get started with this wood plank wall!
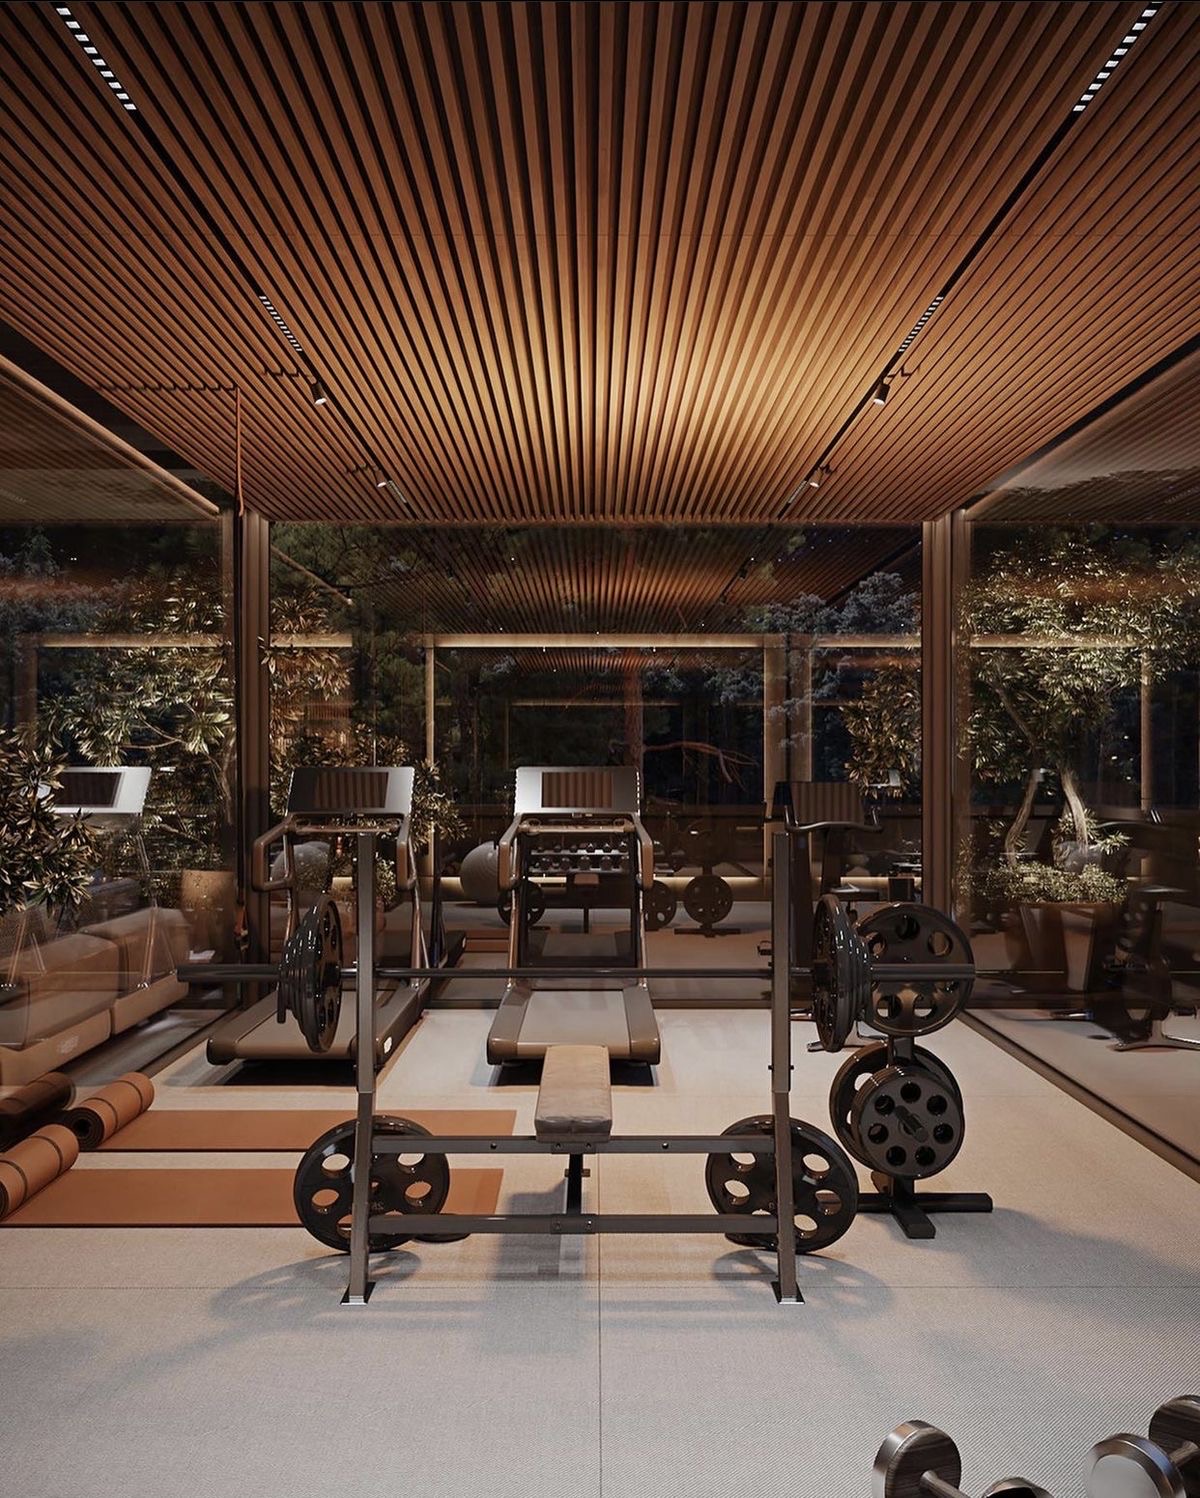
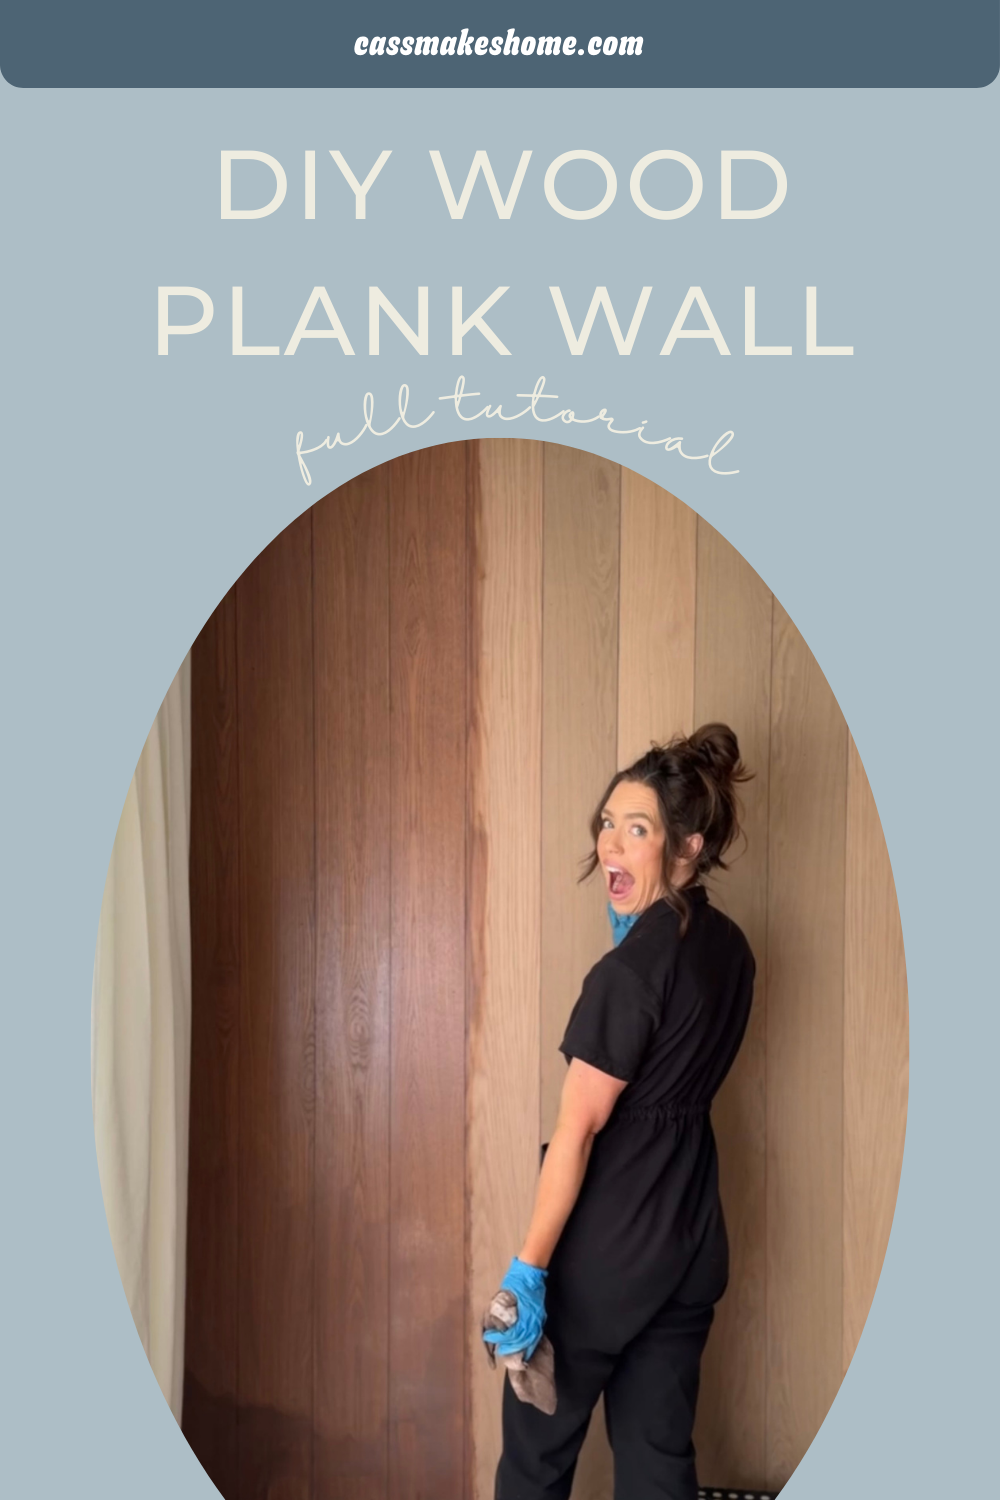
This is the vibe I’m going for in the basement.
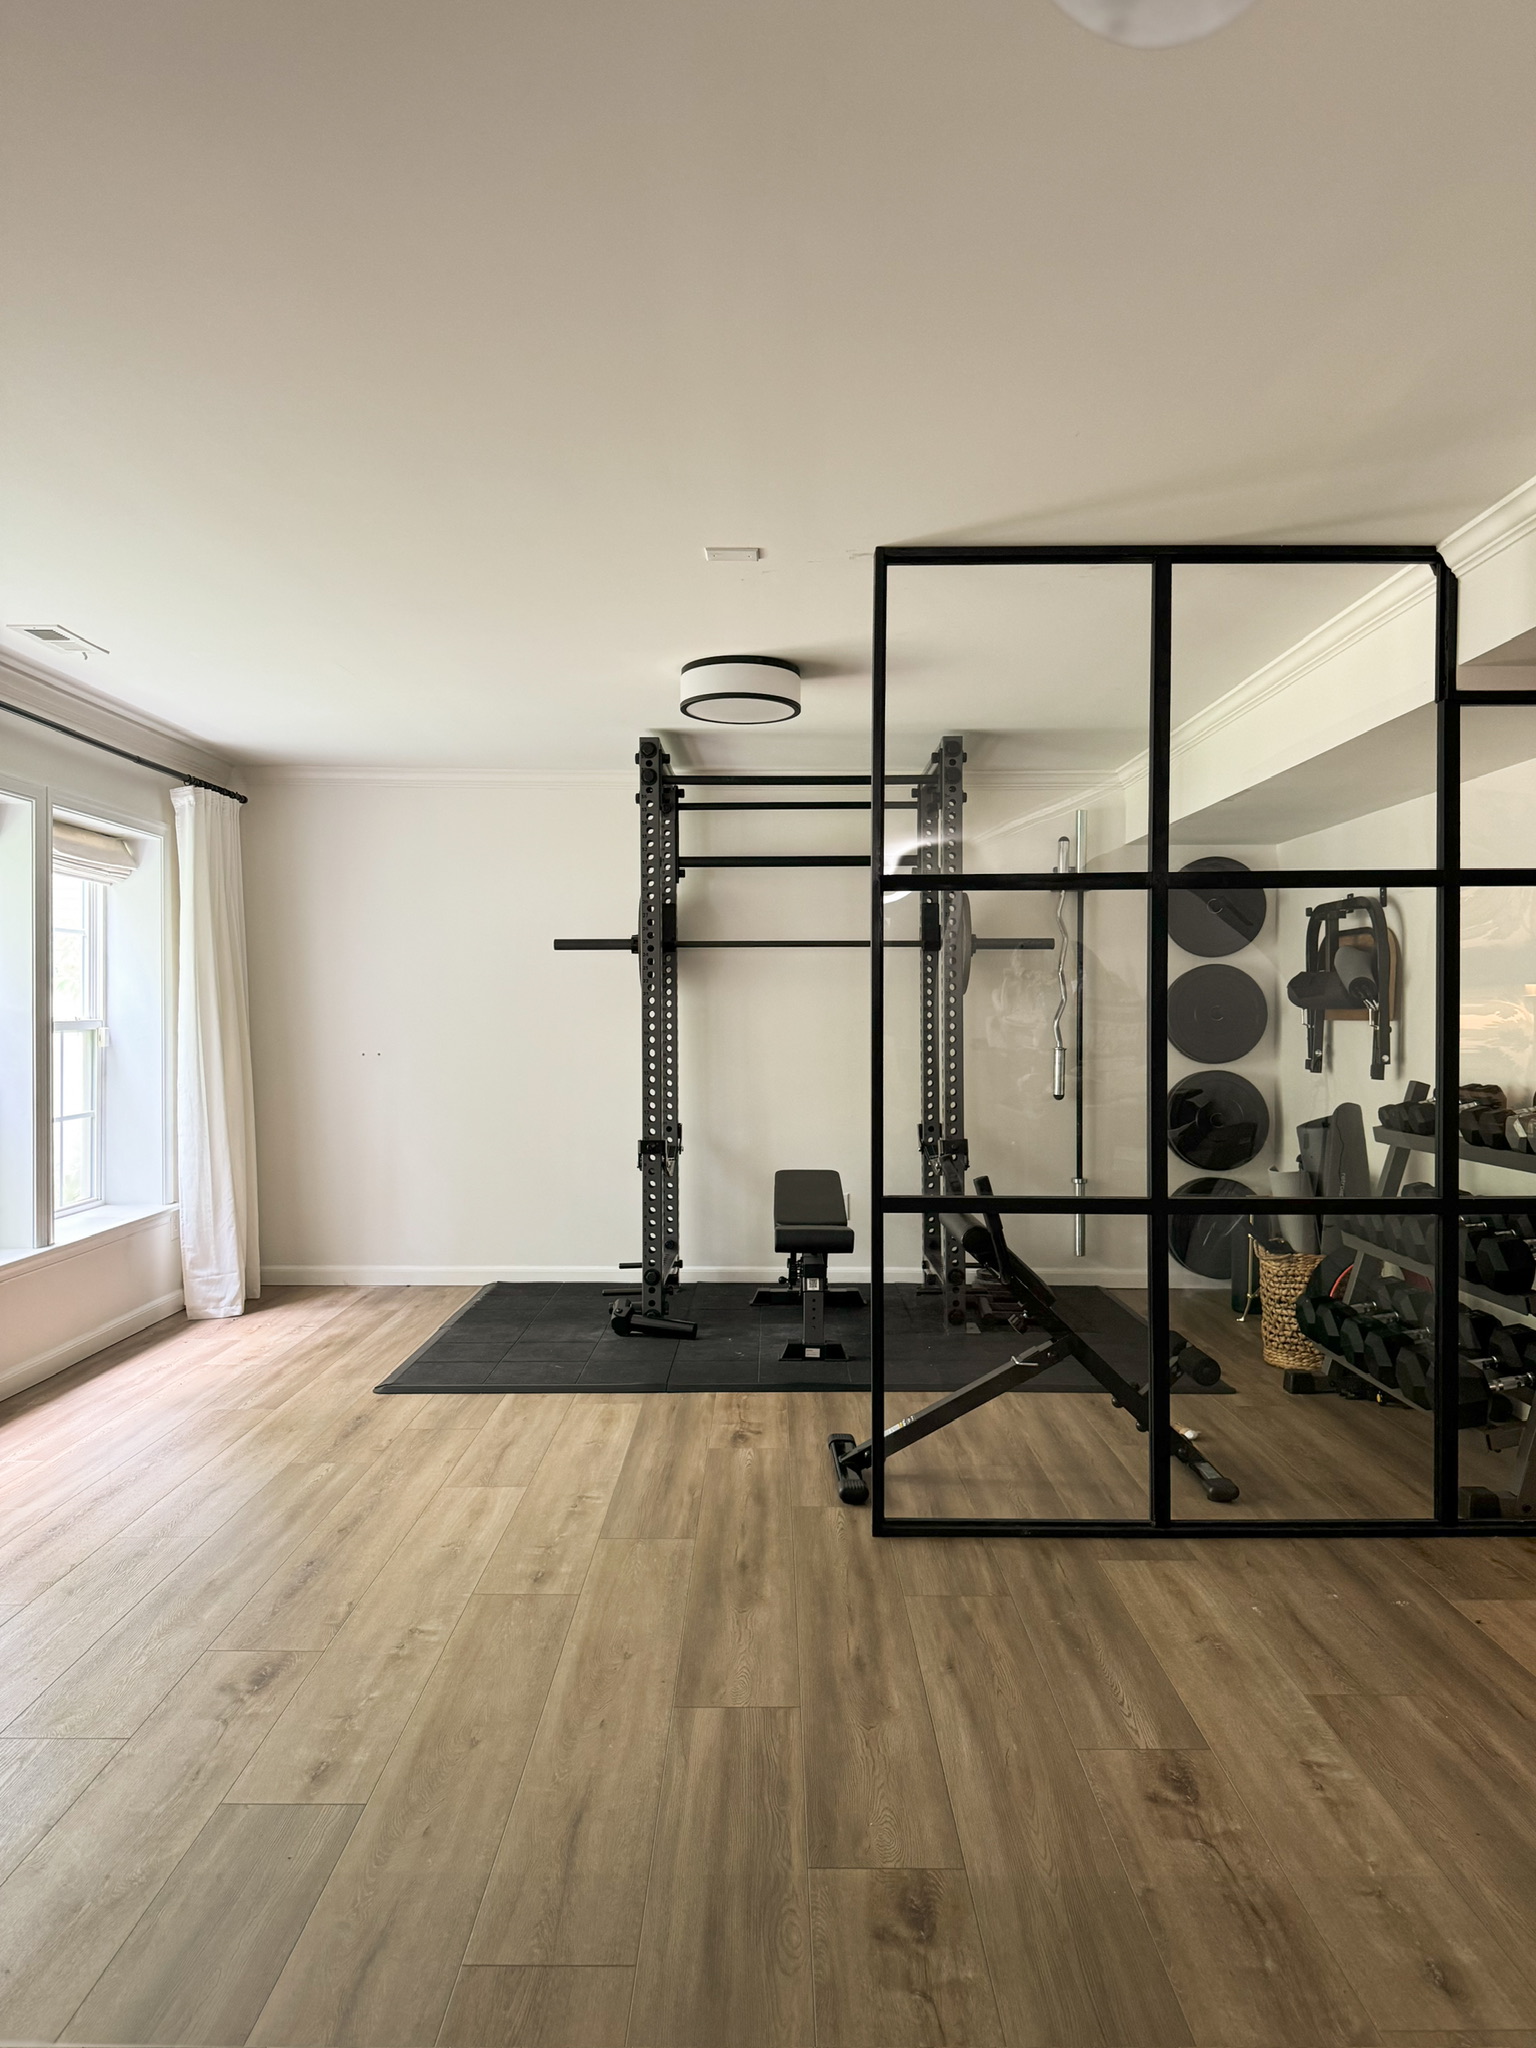
Just a refresher – here’s what the home gym looked like when we started:
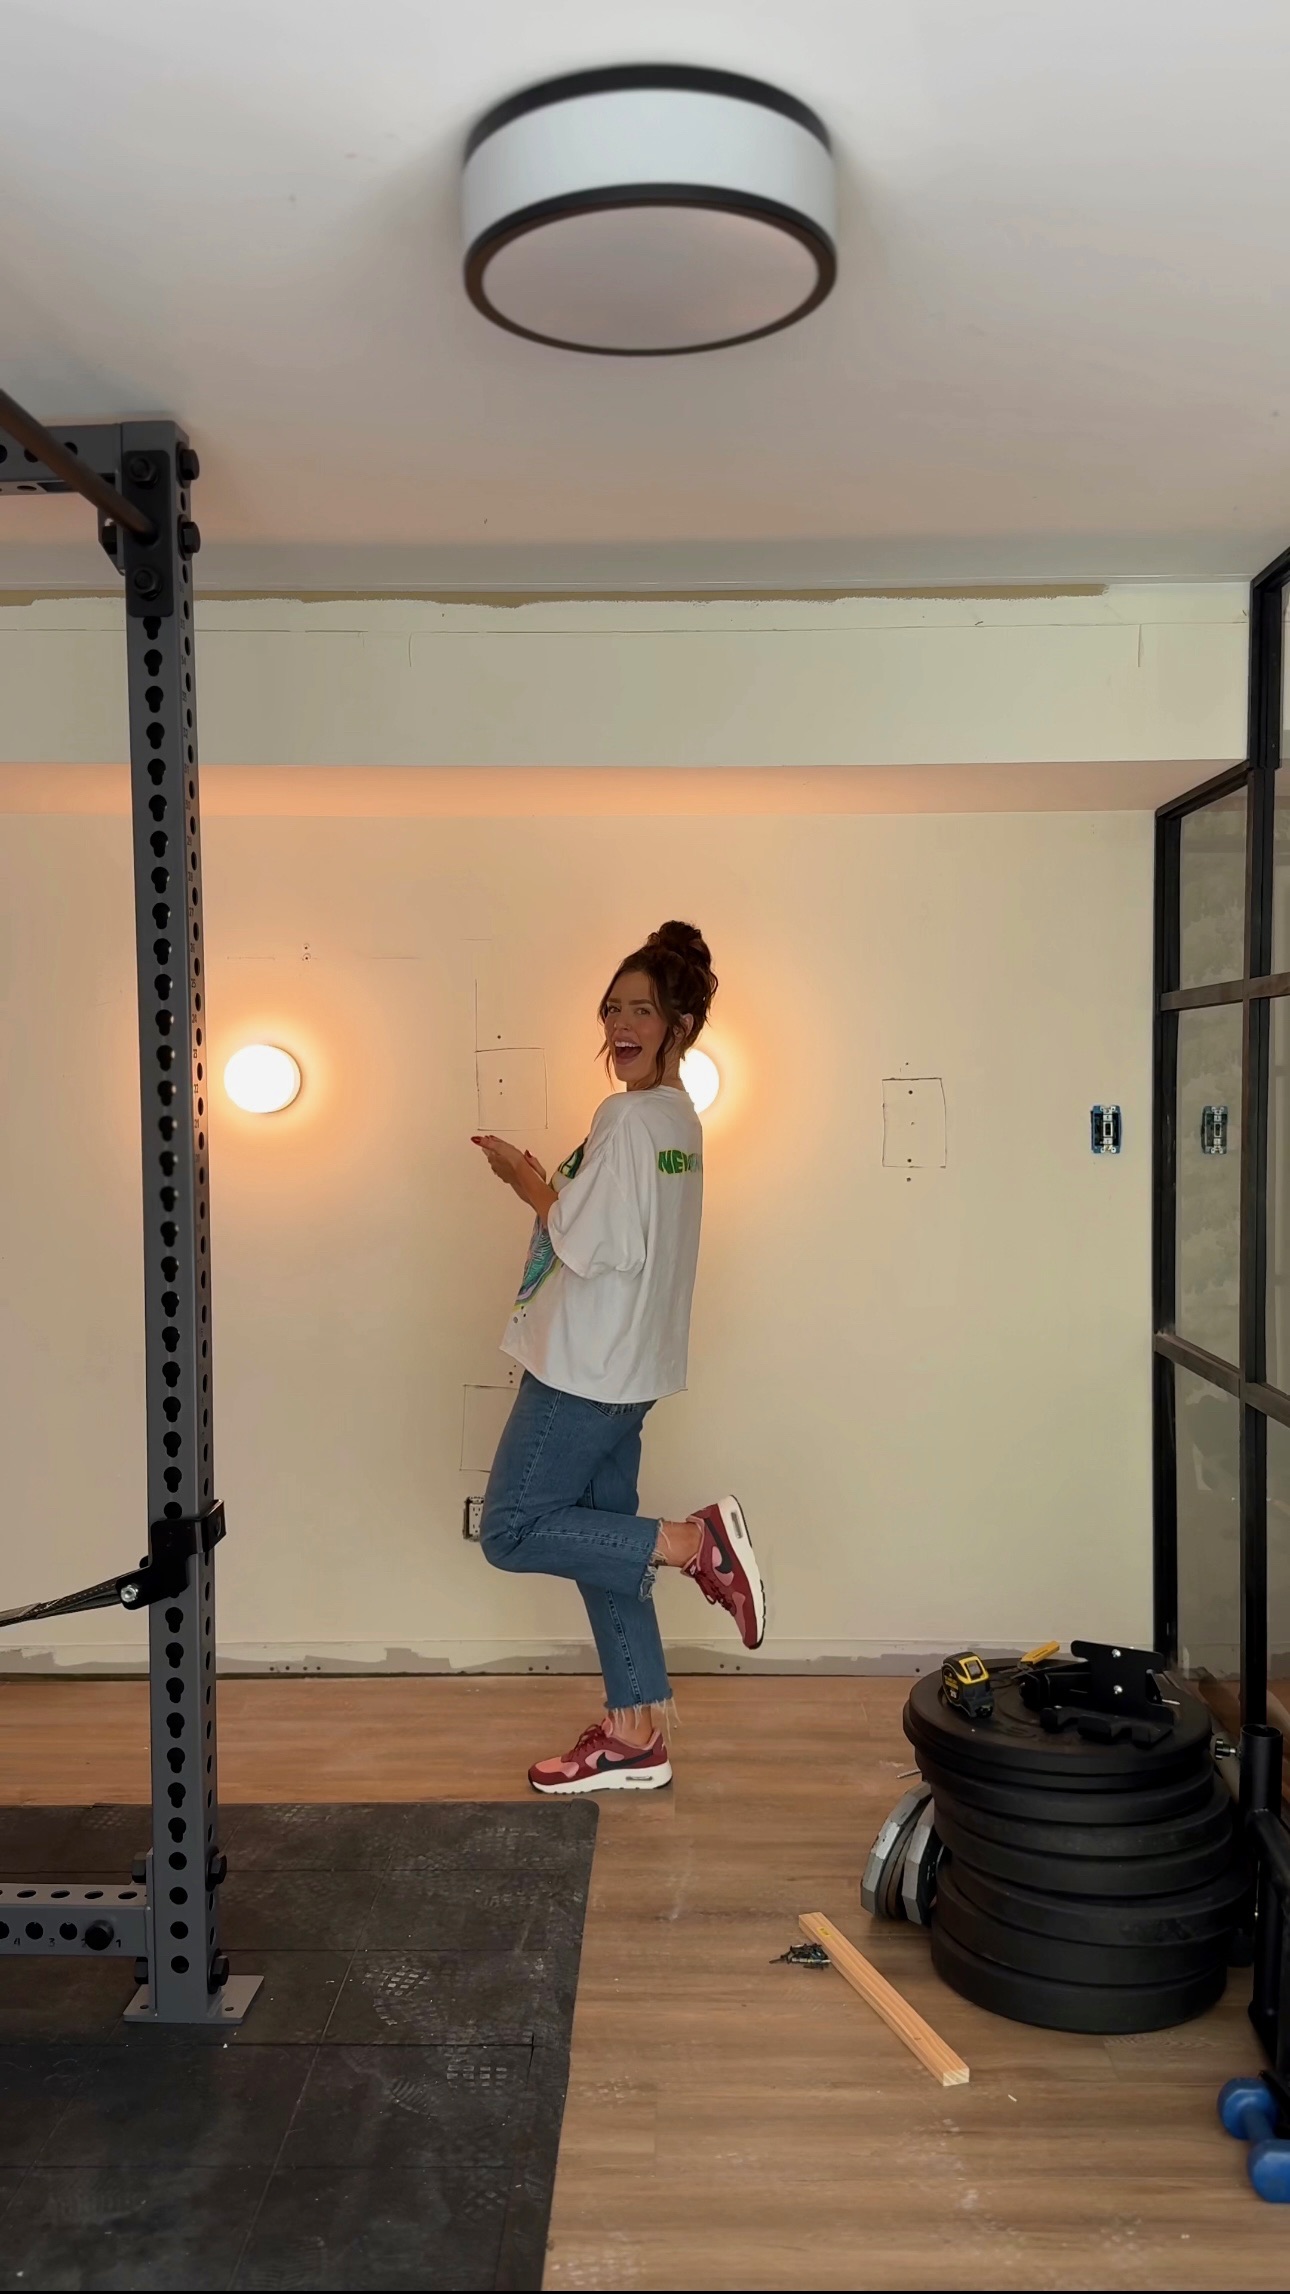
After installing new electrical and lighting, here’s where we’re at now! (I’m obsessed with these globe light sconces!)
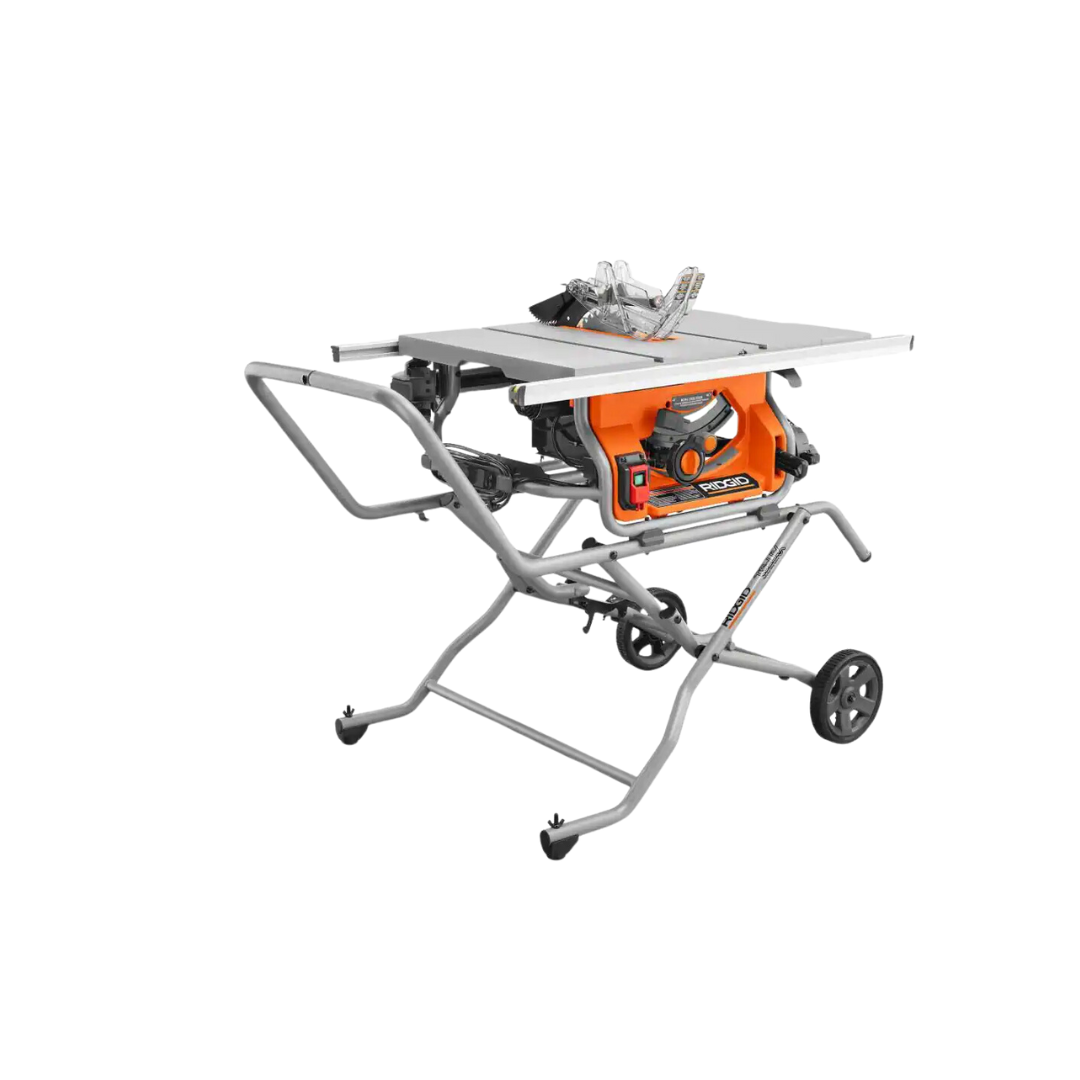
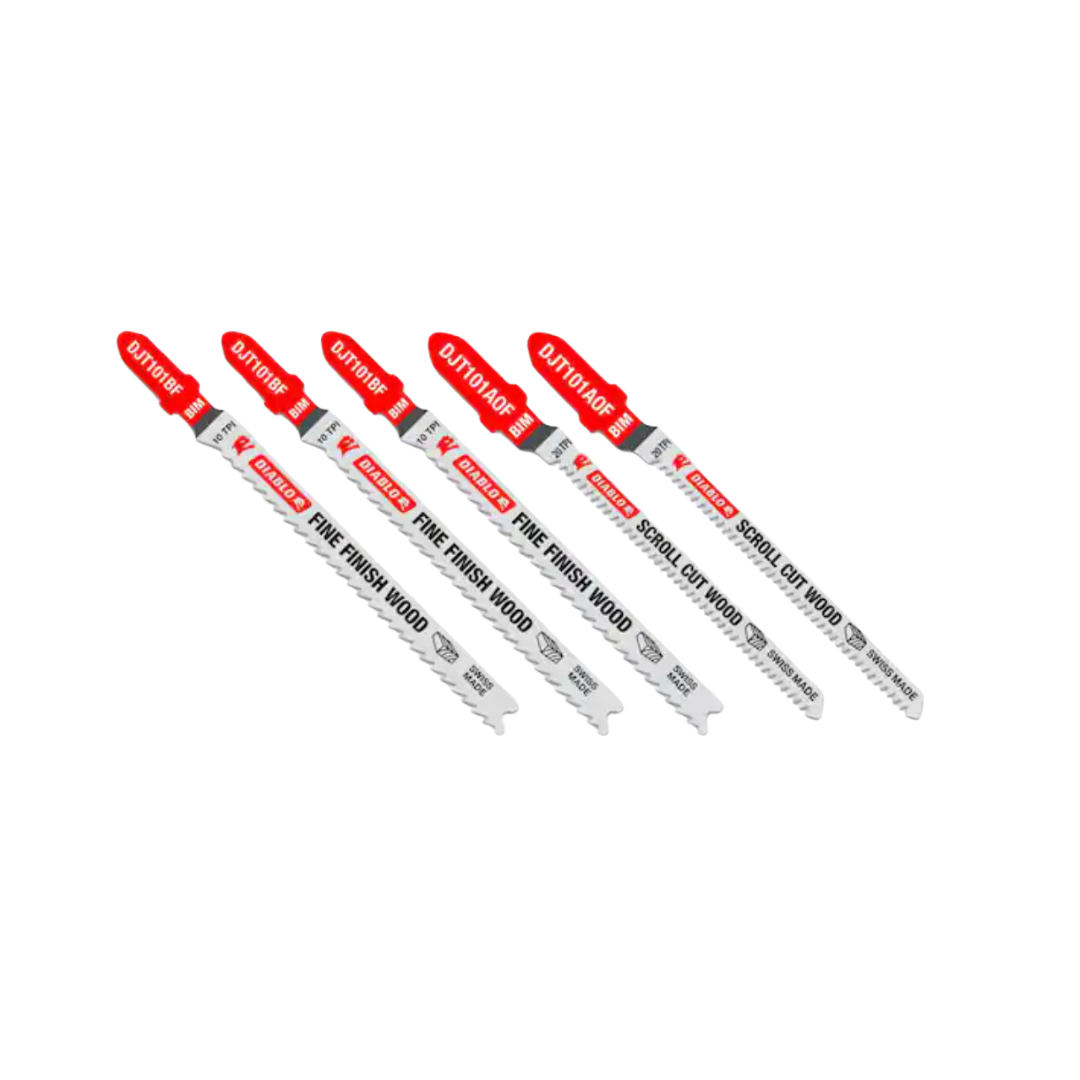
Here’s everything I used for the wood planking
- Table Saw
- White Oak Plywood
- Brad Nailer
- Nickels (trust me)
- Drill
- Fine Finish Wood Blade
- Step Ladder
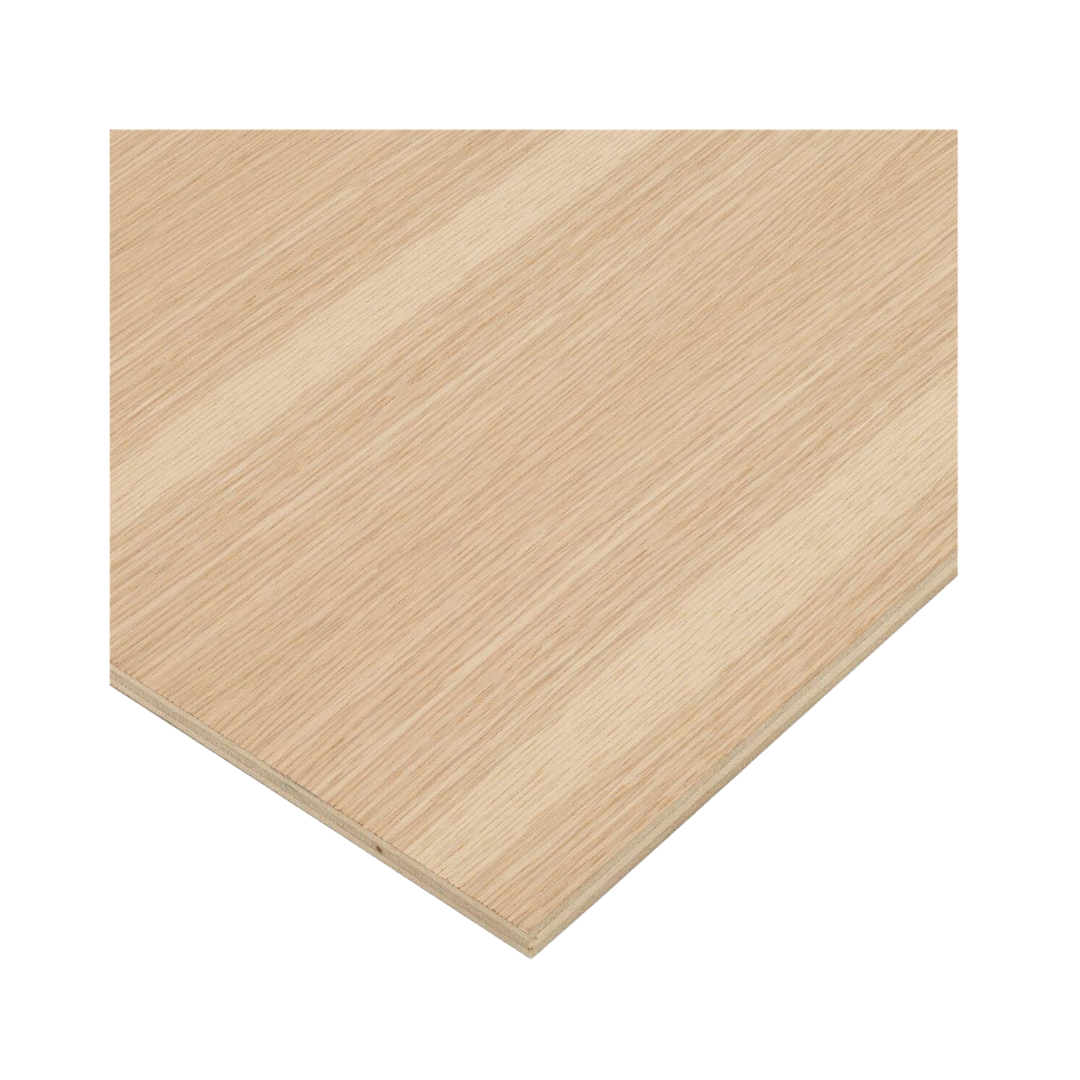


I researched for quite some time and landed on plywood. The wall I’m putting it on is 8 feet tall. I want a more modern look. So, I want full planks going up and down. I’ve seen people use flooring before for this type of project. If there are a bunch of seams and spaces where the flooring pieces connect vertically, it would start to look more rustic. The look I’m going for is more modern.
Plywood vs. Oak Planking
As always, I wanted this project to be budget-friendly. Here’s the cost break down showing plywood versus other oak planking.
- White Oak Ship Lap boards 8 ft – $124 each
- Plywood cut down to 6 inches – $19 each
- Tongue and groove – $85 each
Plywood was definitely my best option since I needed to purchase more than just a few boards!
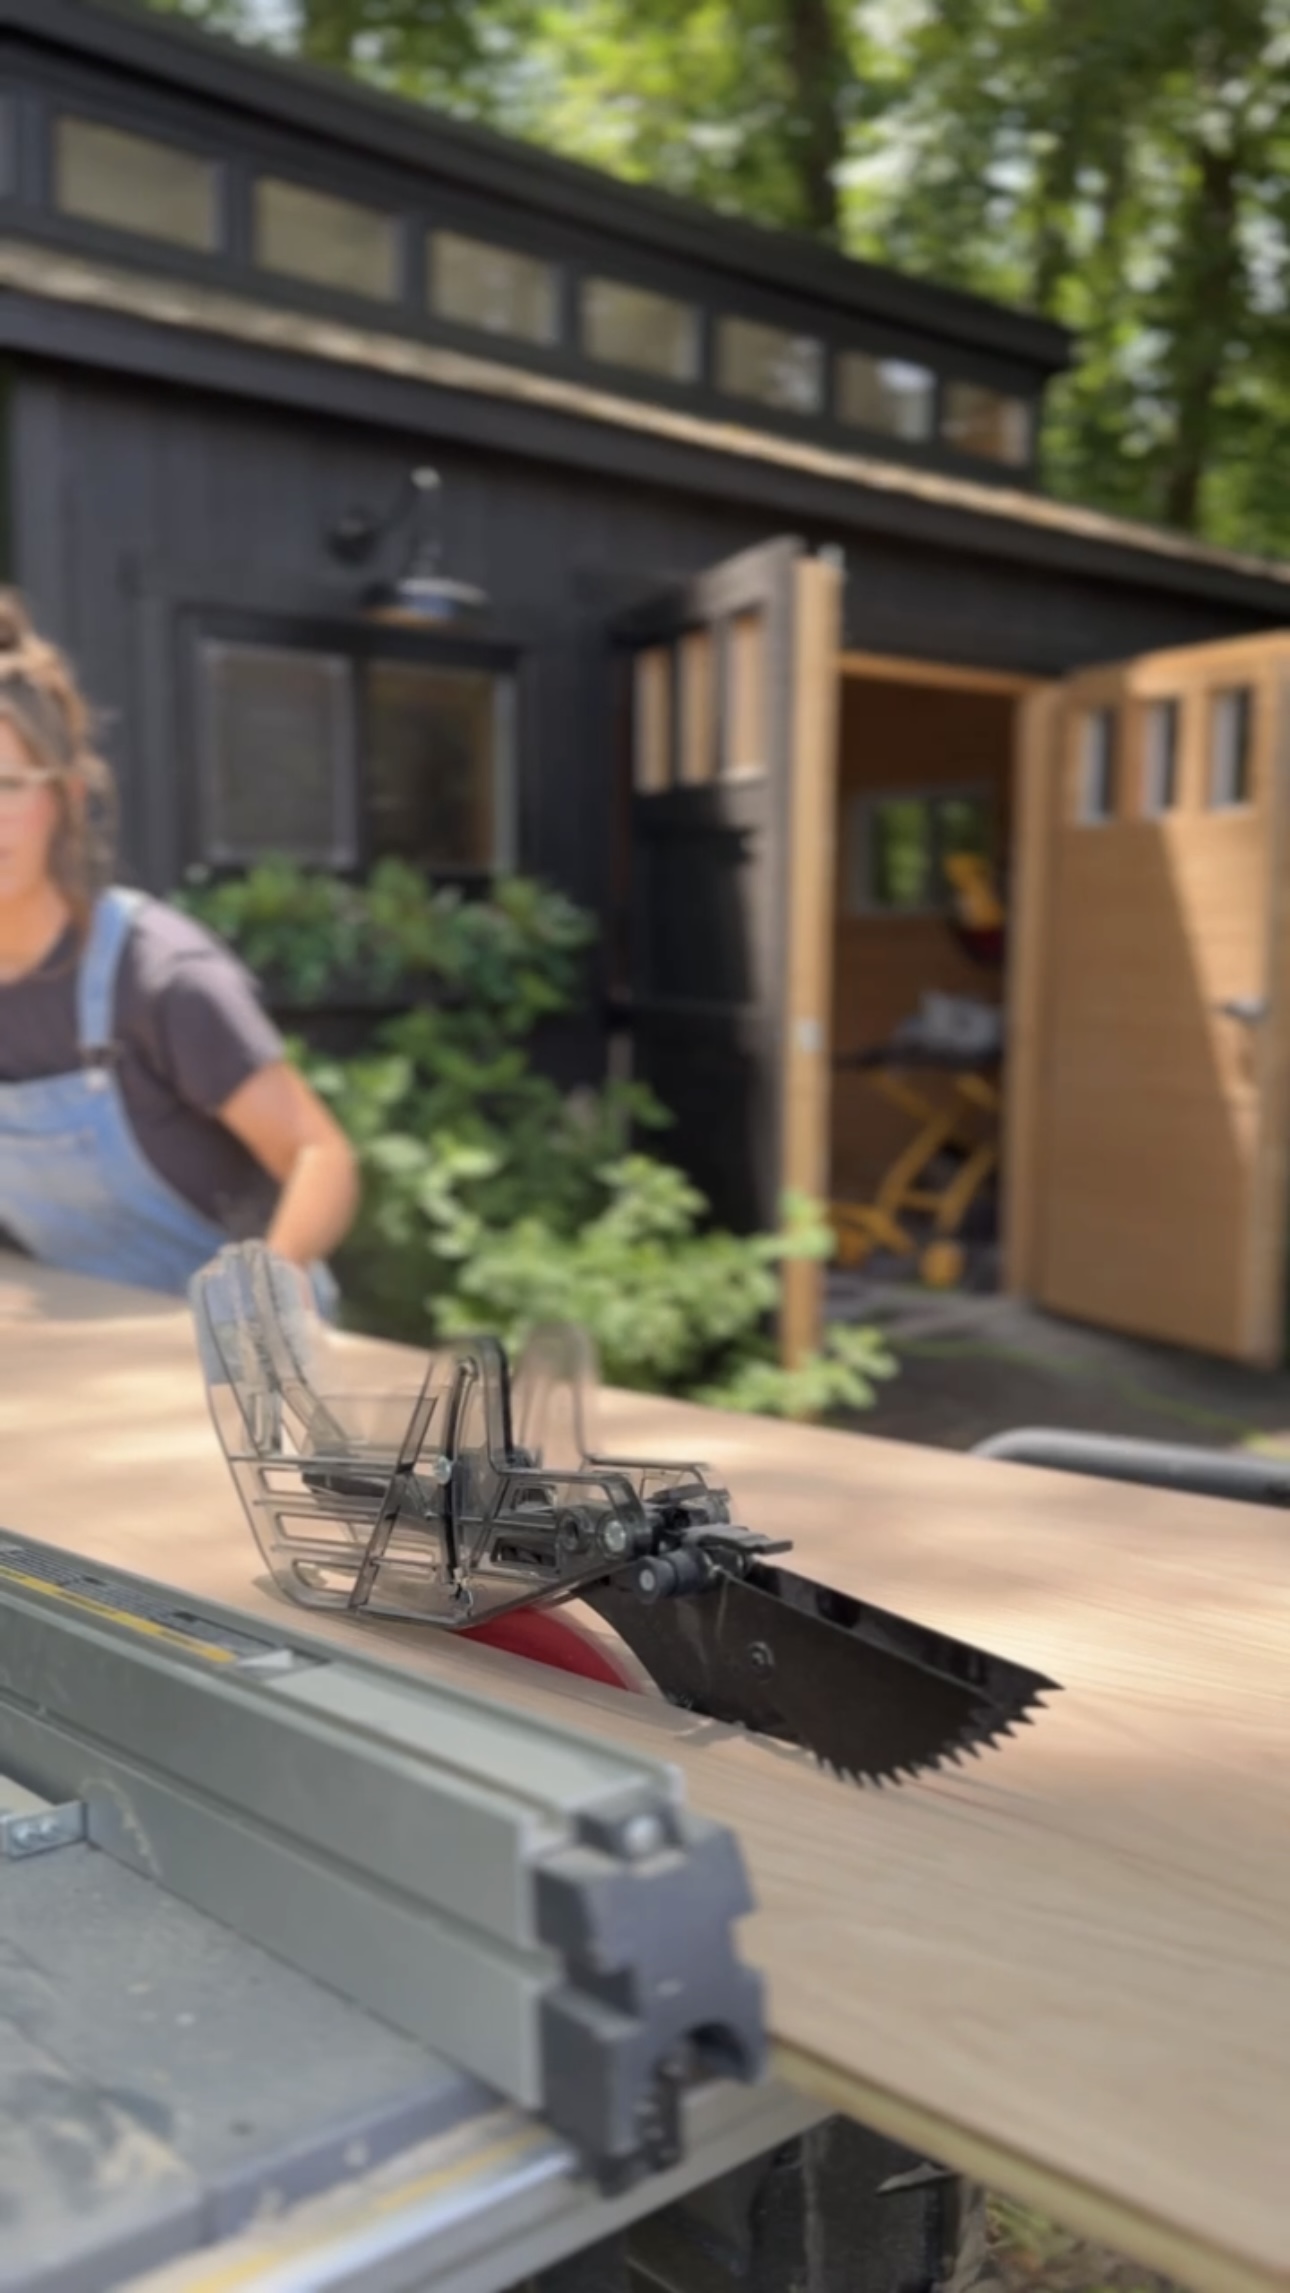
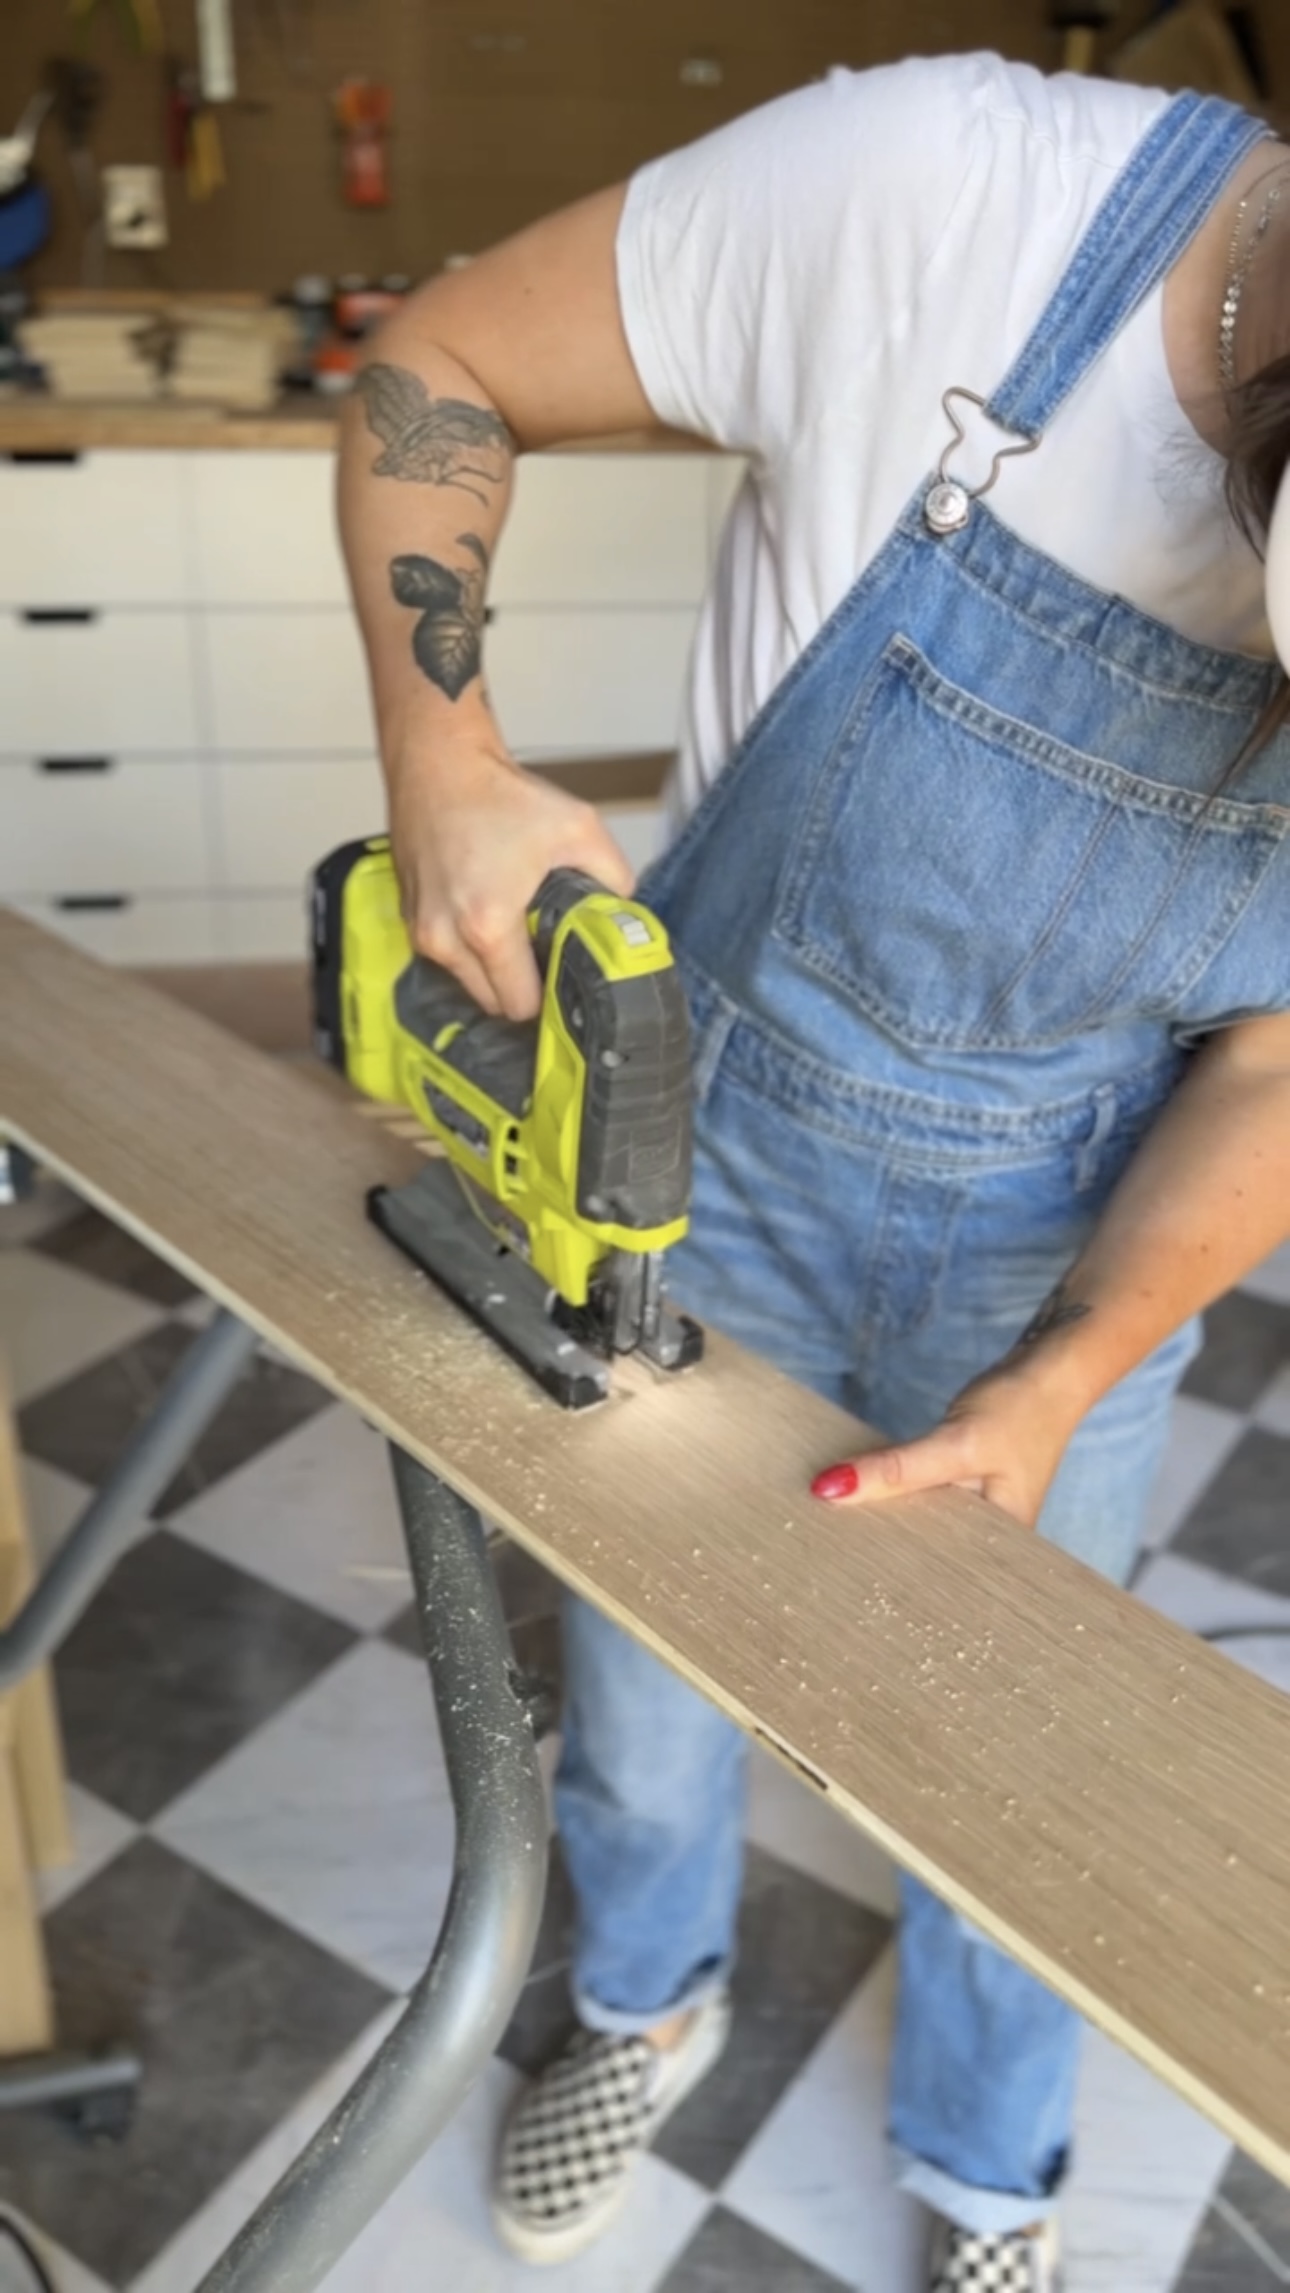
Making cuts
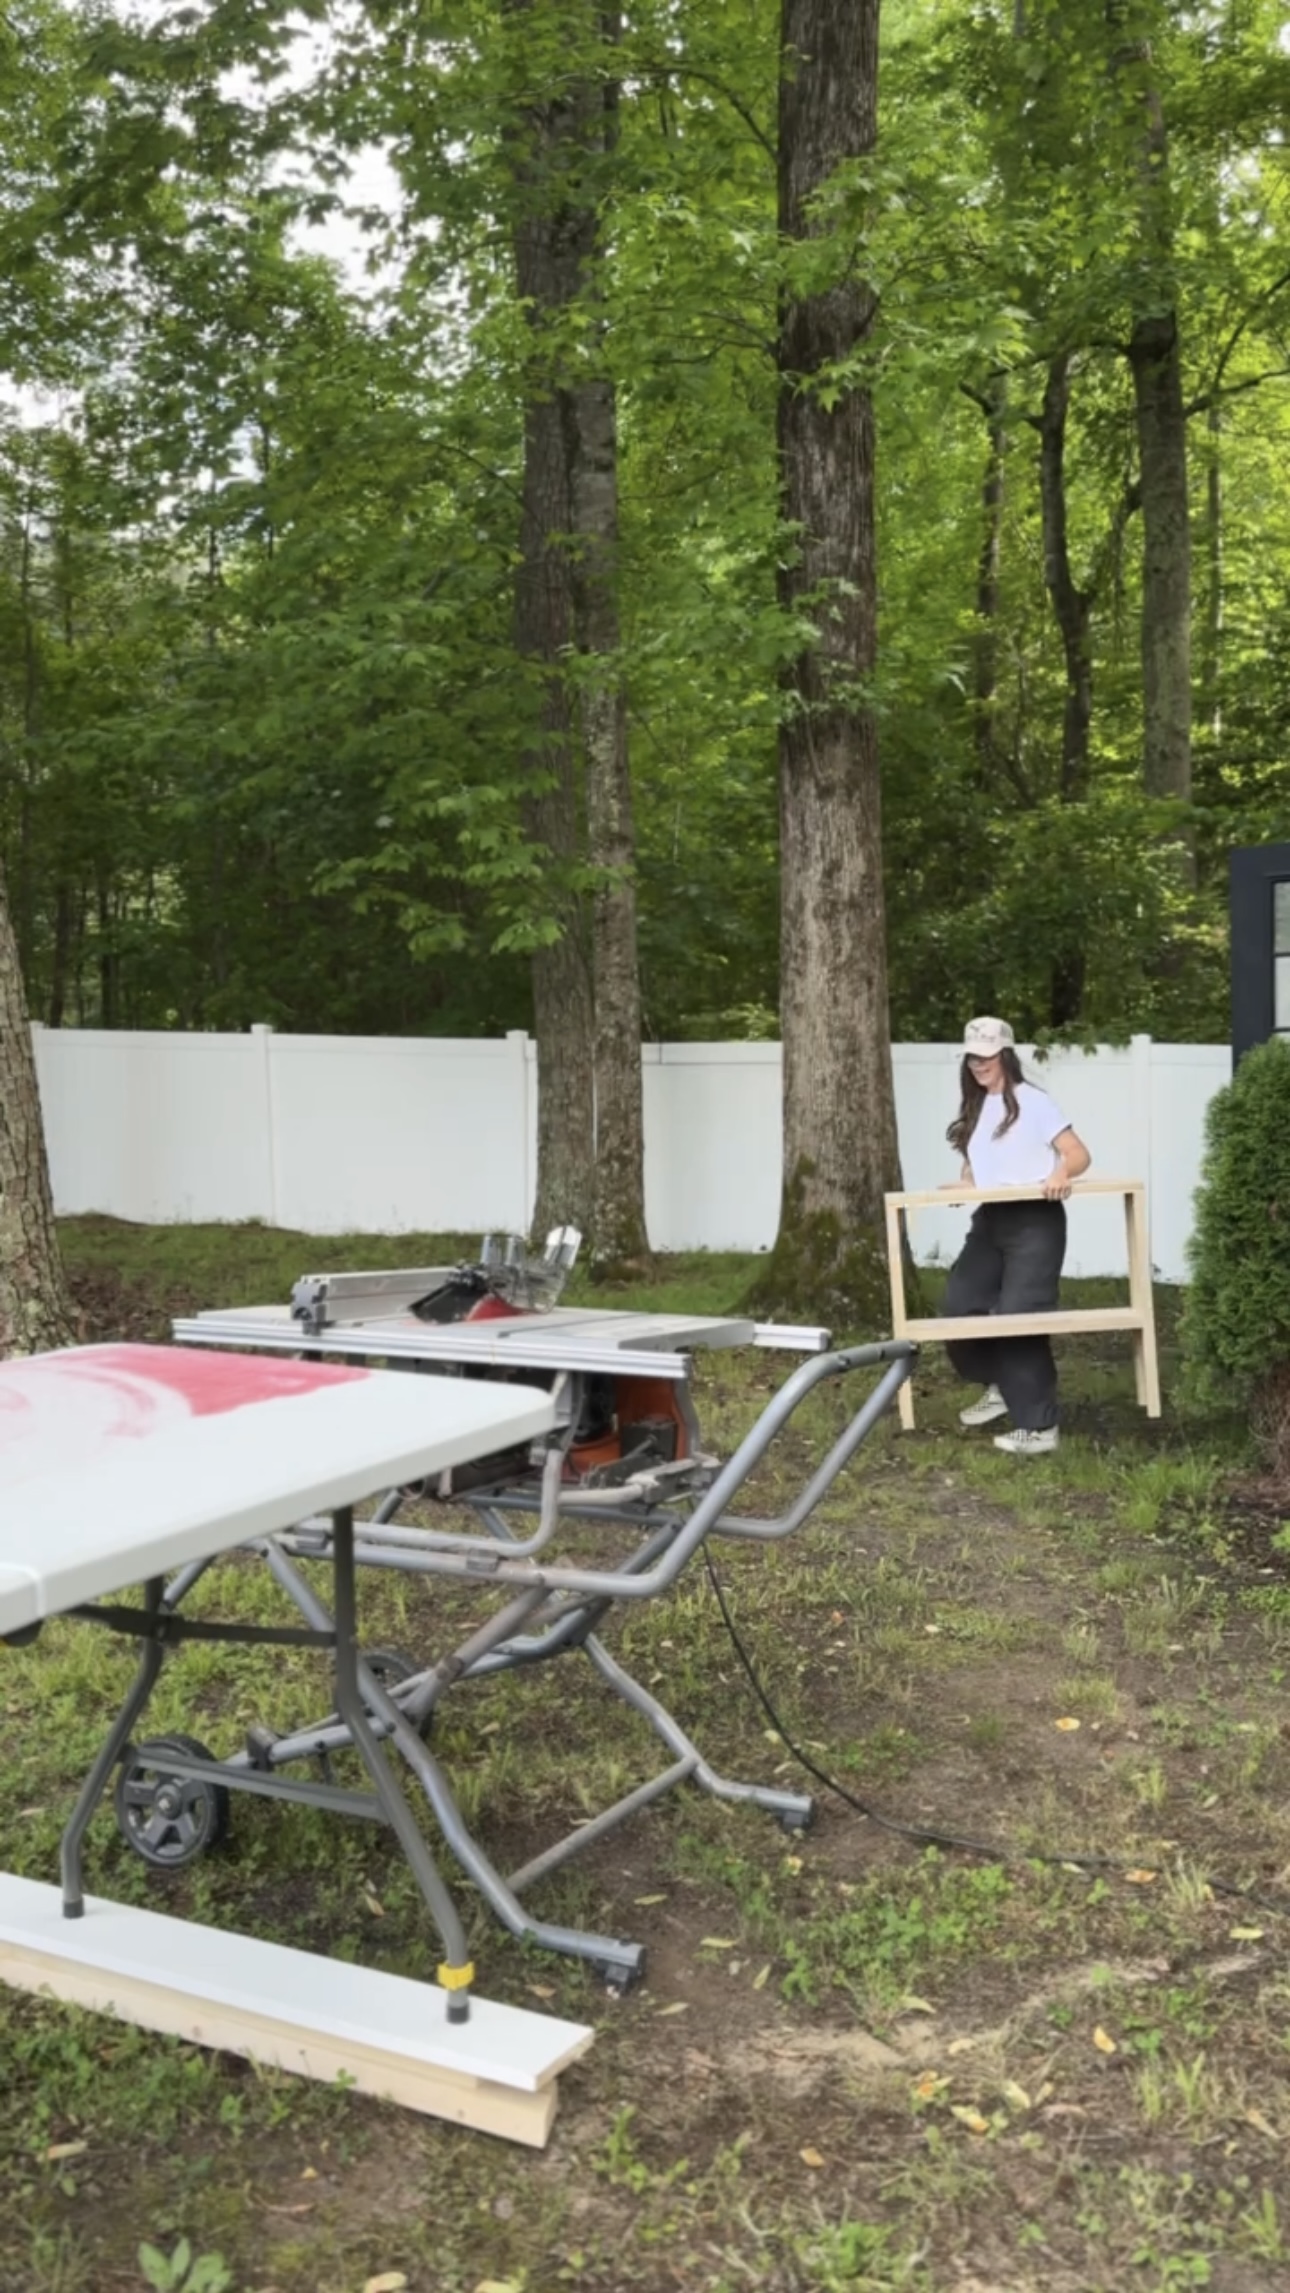
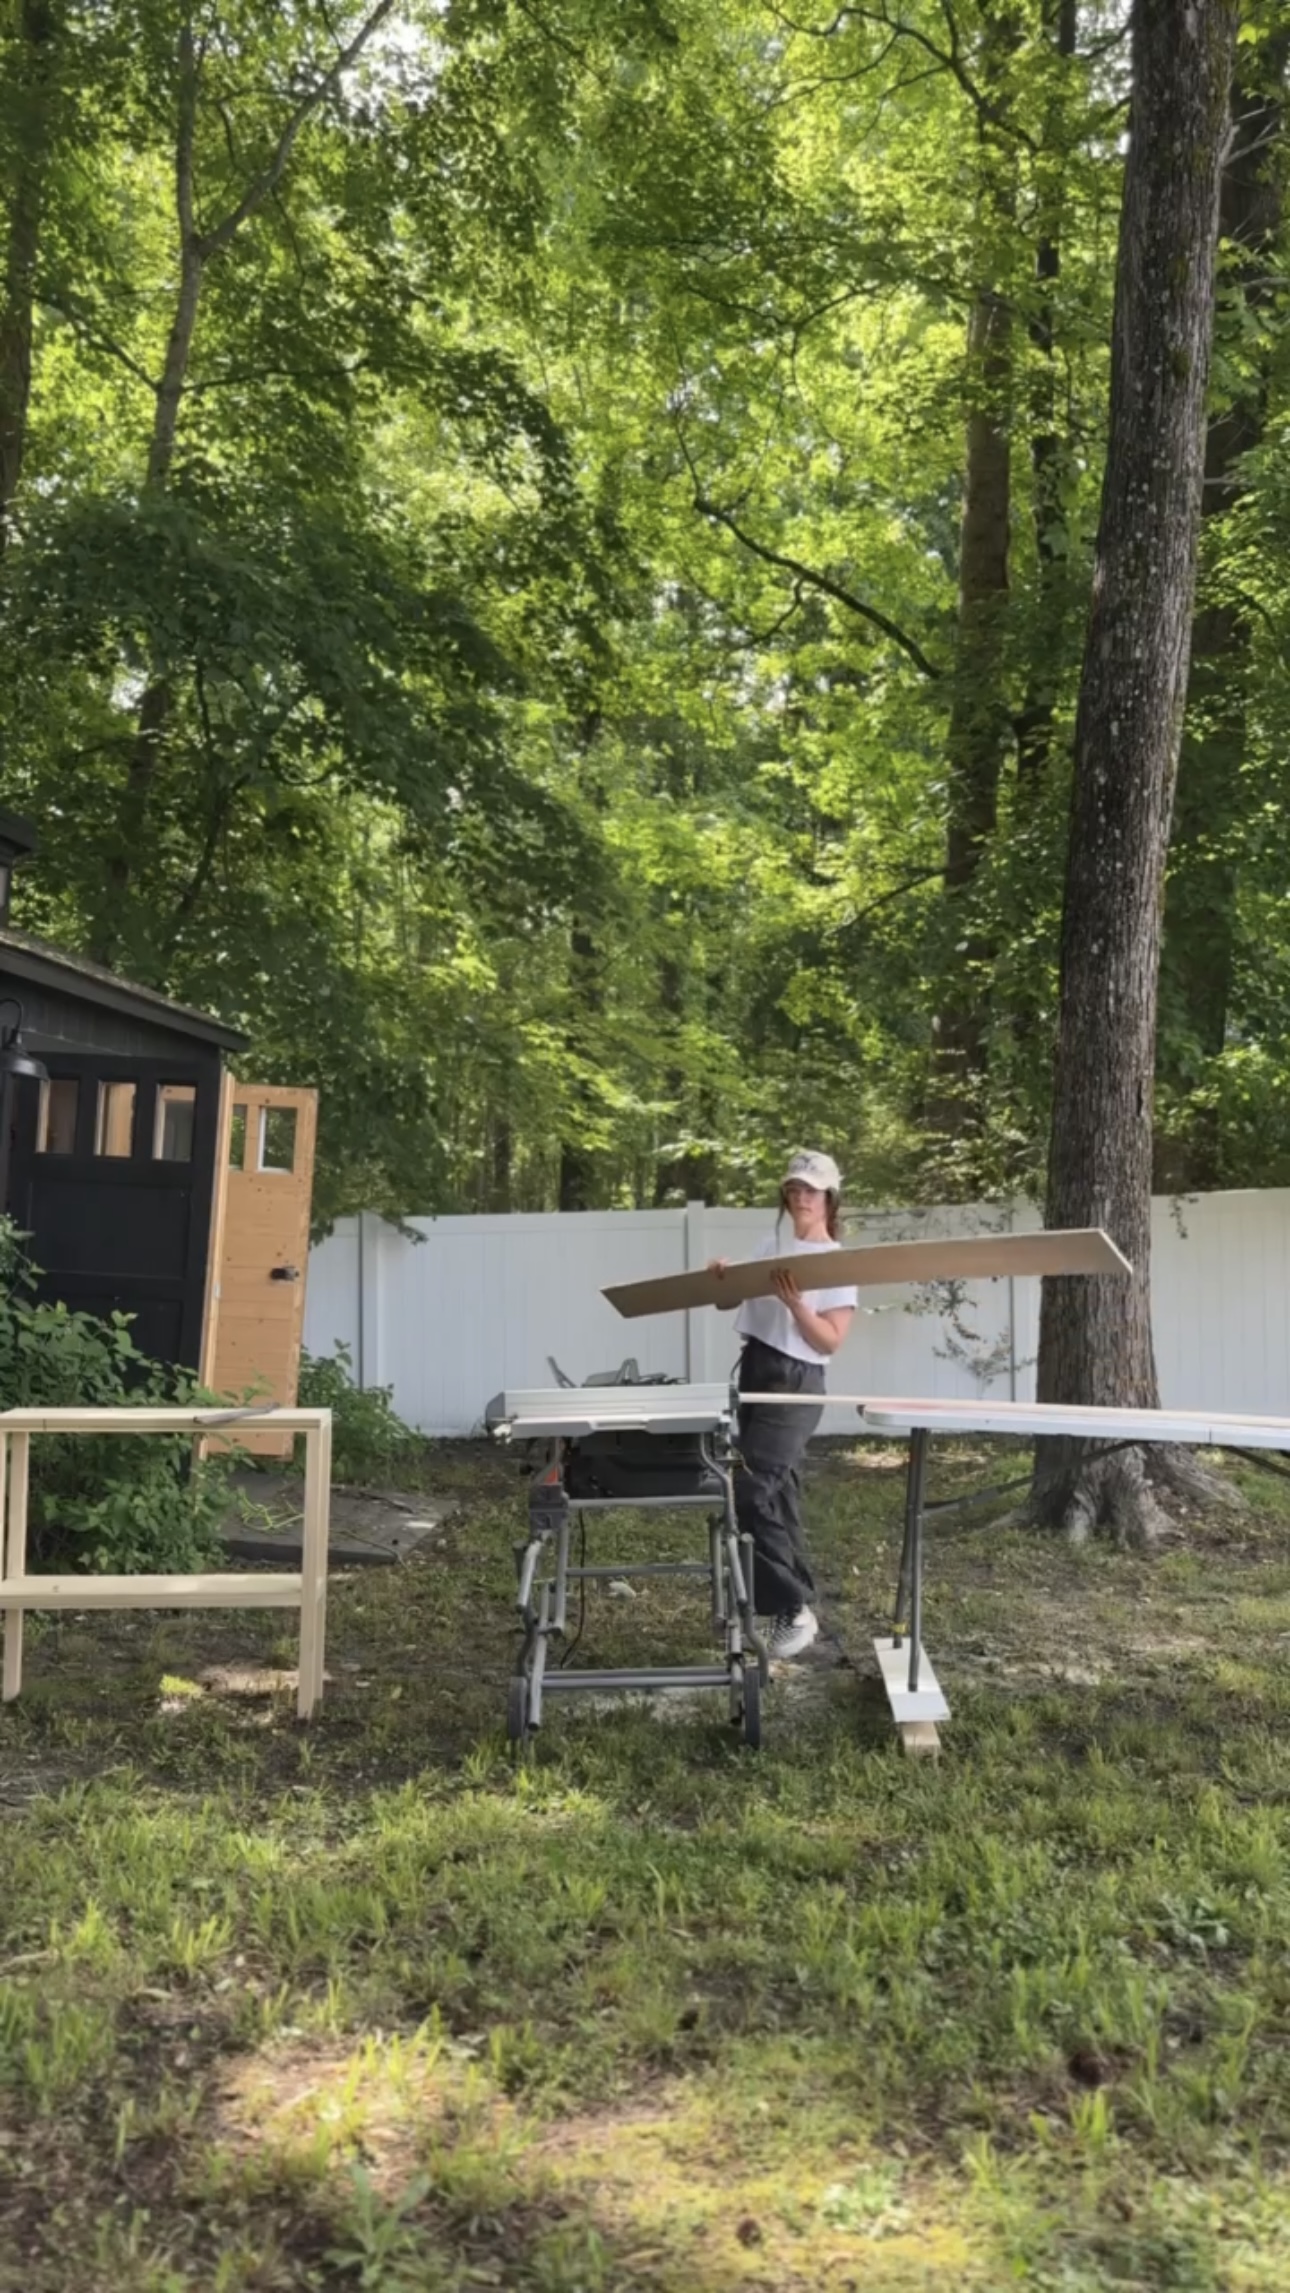
I had 16 of these huge plywood boards to cut. Initially, I didn’t have enough space in my workshop to make these cuts on my table saw so I moved outside for this!
I was running the boards through the table saw. If there was tons of movement on either end, the cuts wouldn’t be straight! So, I put this white foldable table at the end of my table saw and…..my trashed console table from my DIY console table build. It was the EXACT height I needed.
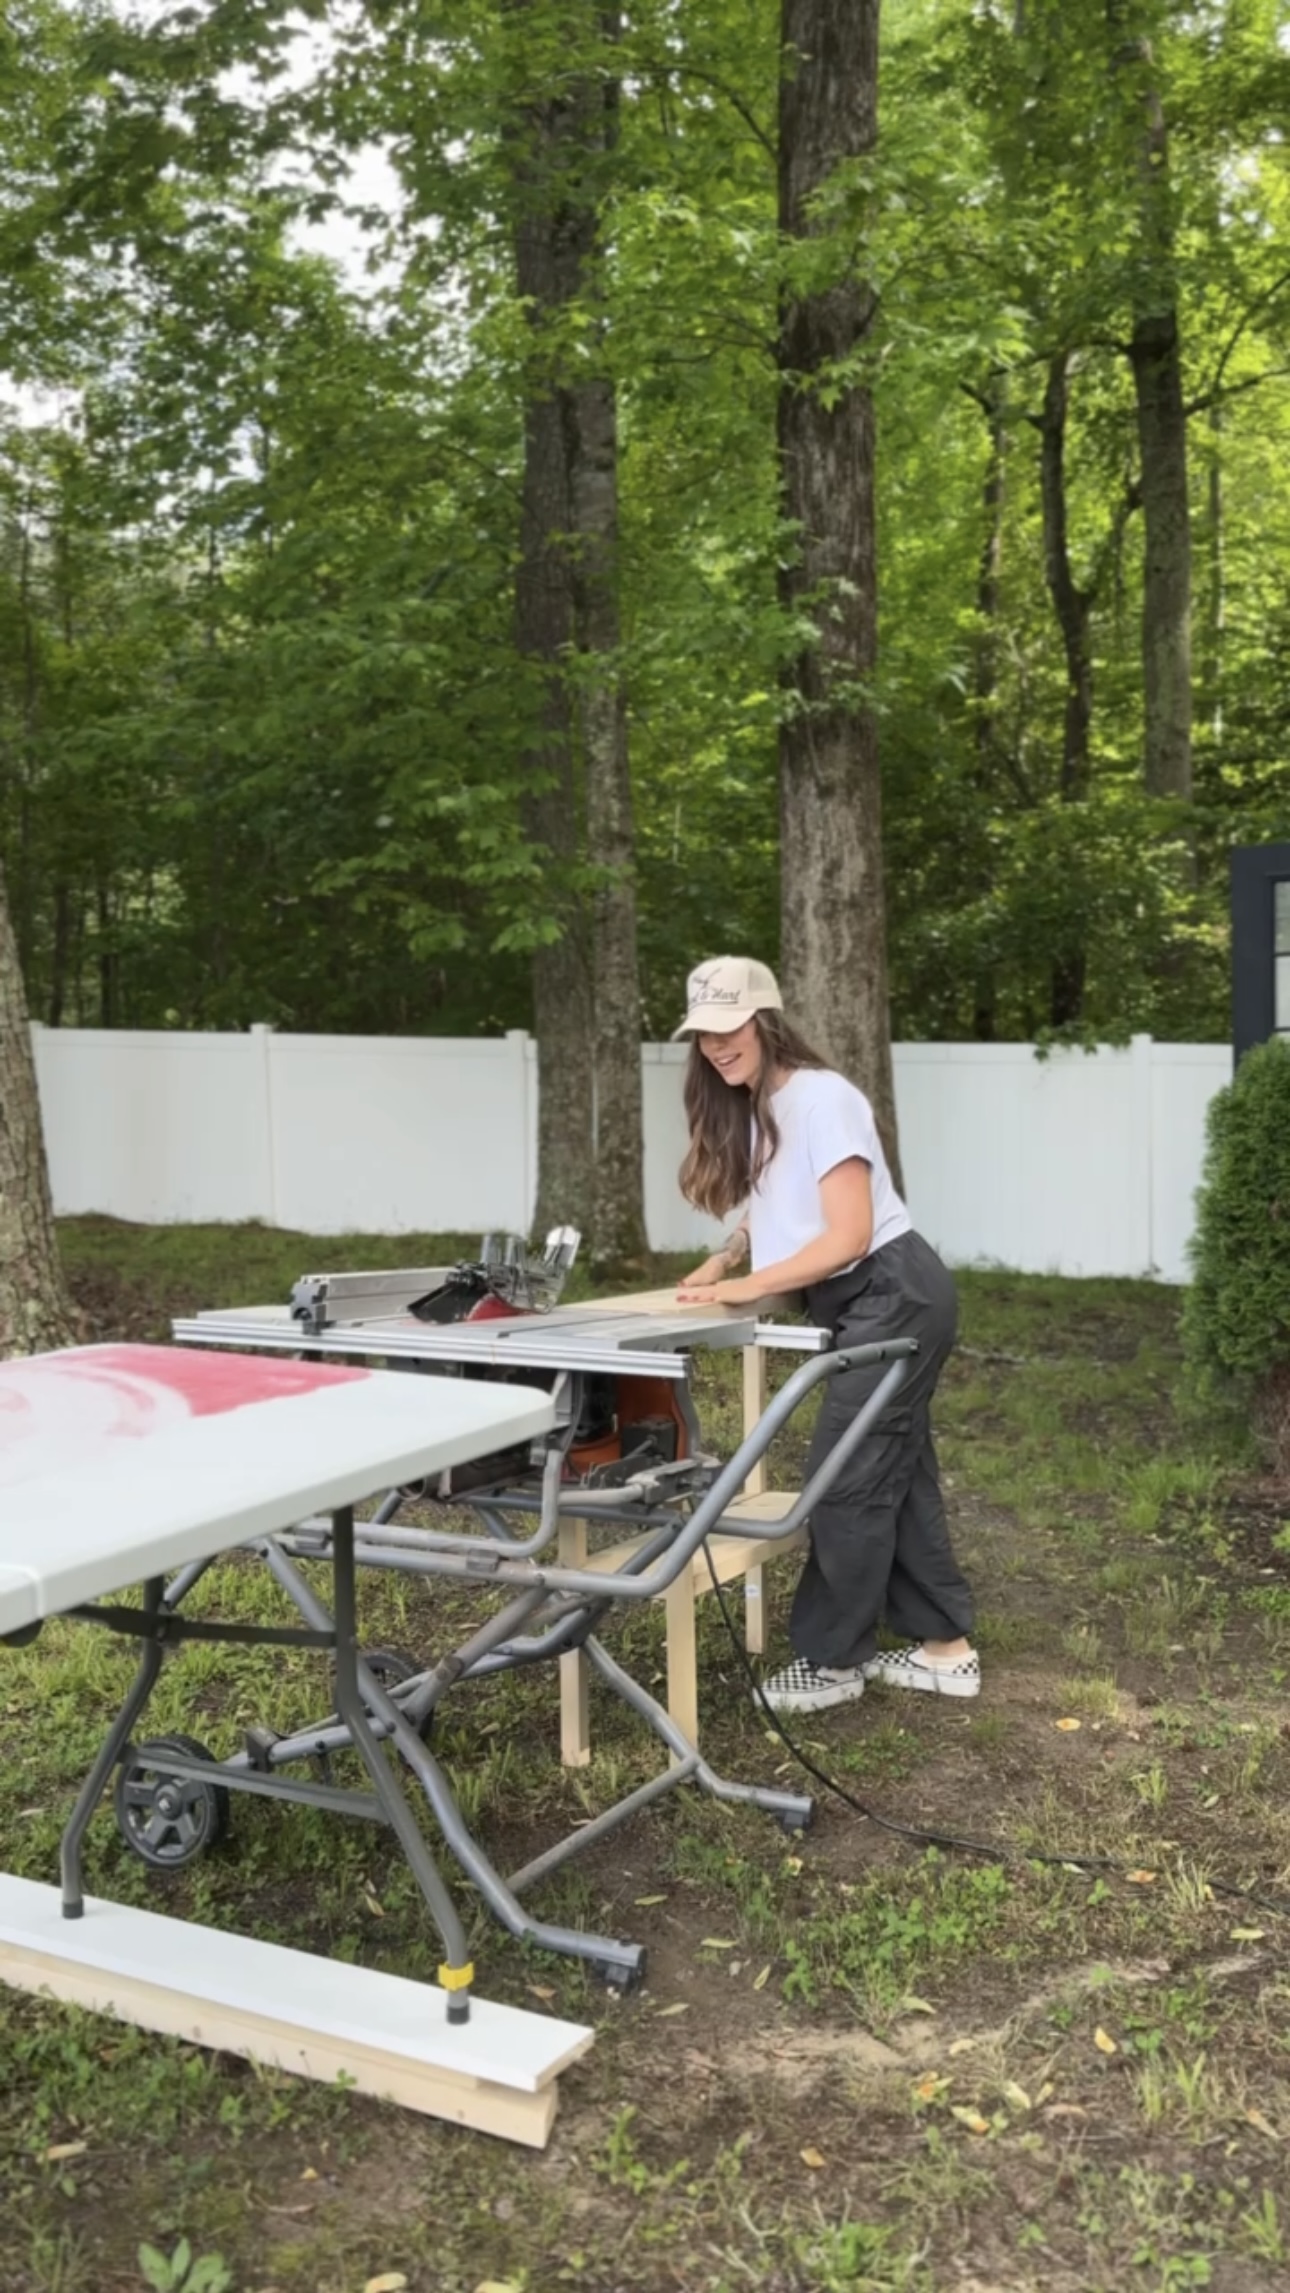
Then, I got started making my cuts! My setup and my cuts went perfectly! You can see how the tables helped support the weight of these long pieces of wood. This way, I only had to worry about the cuts being straight.

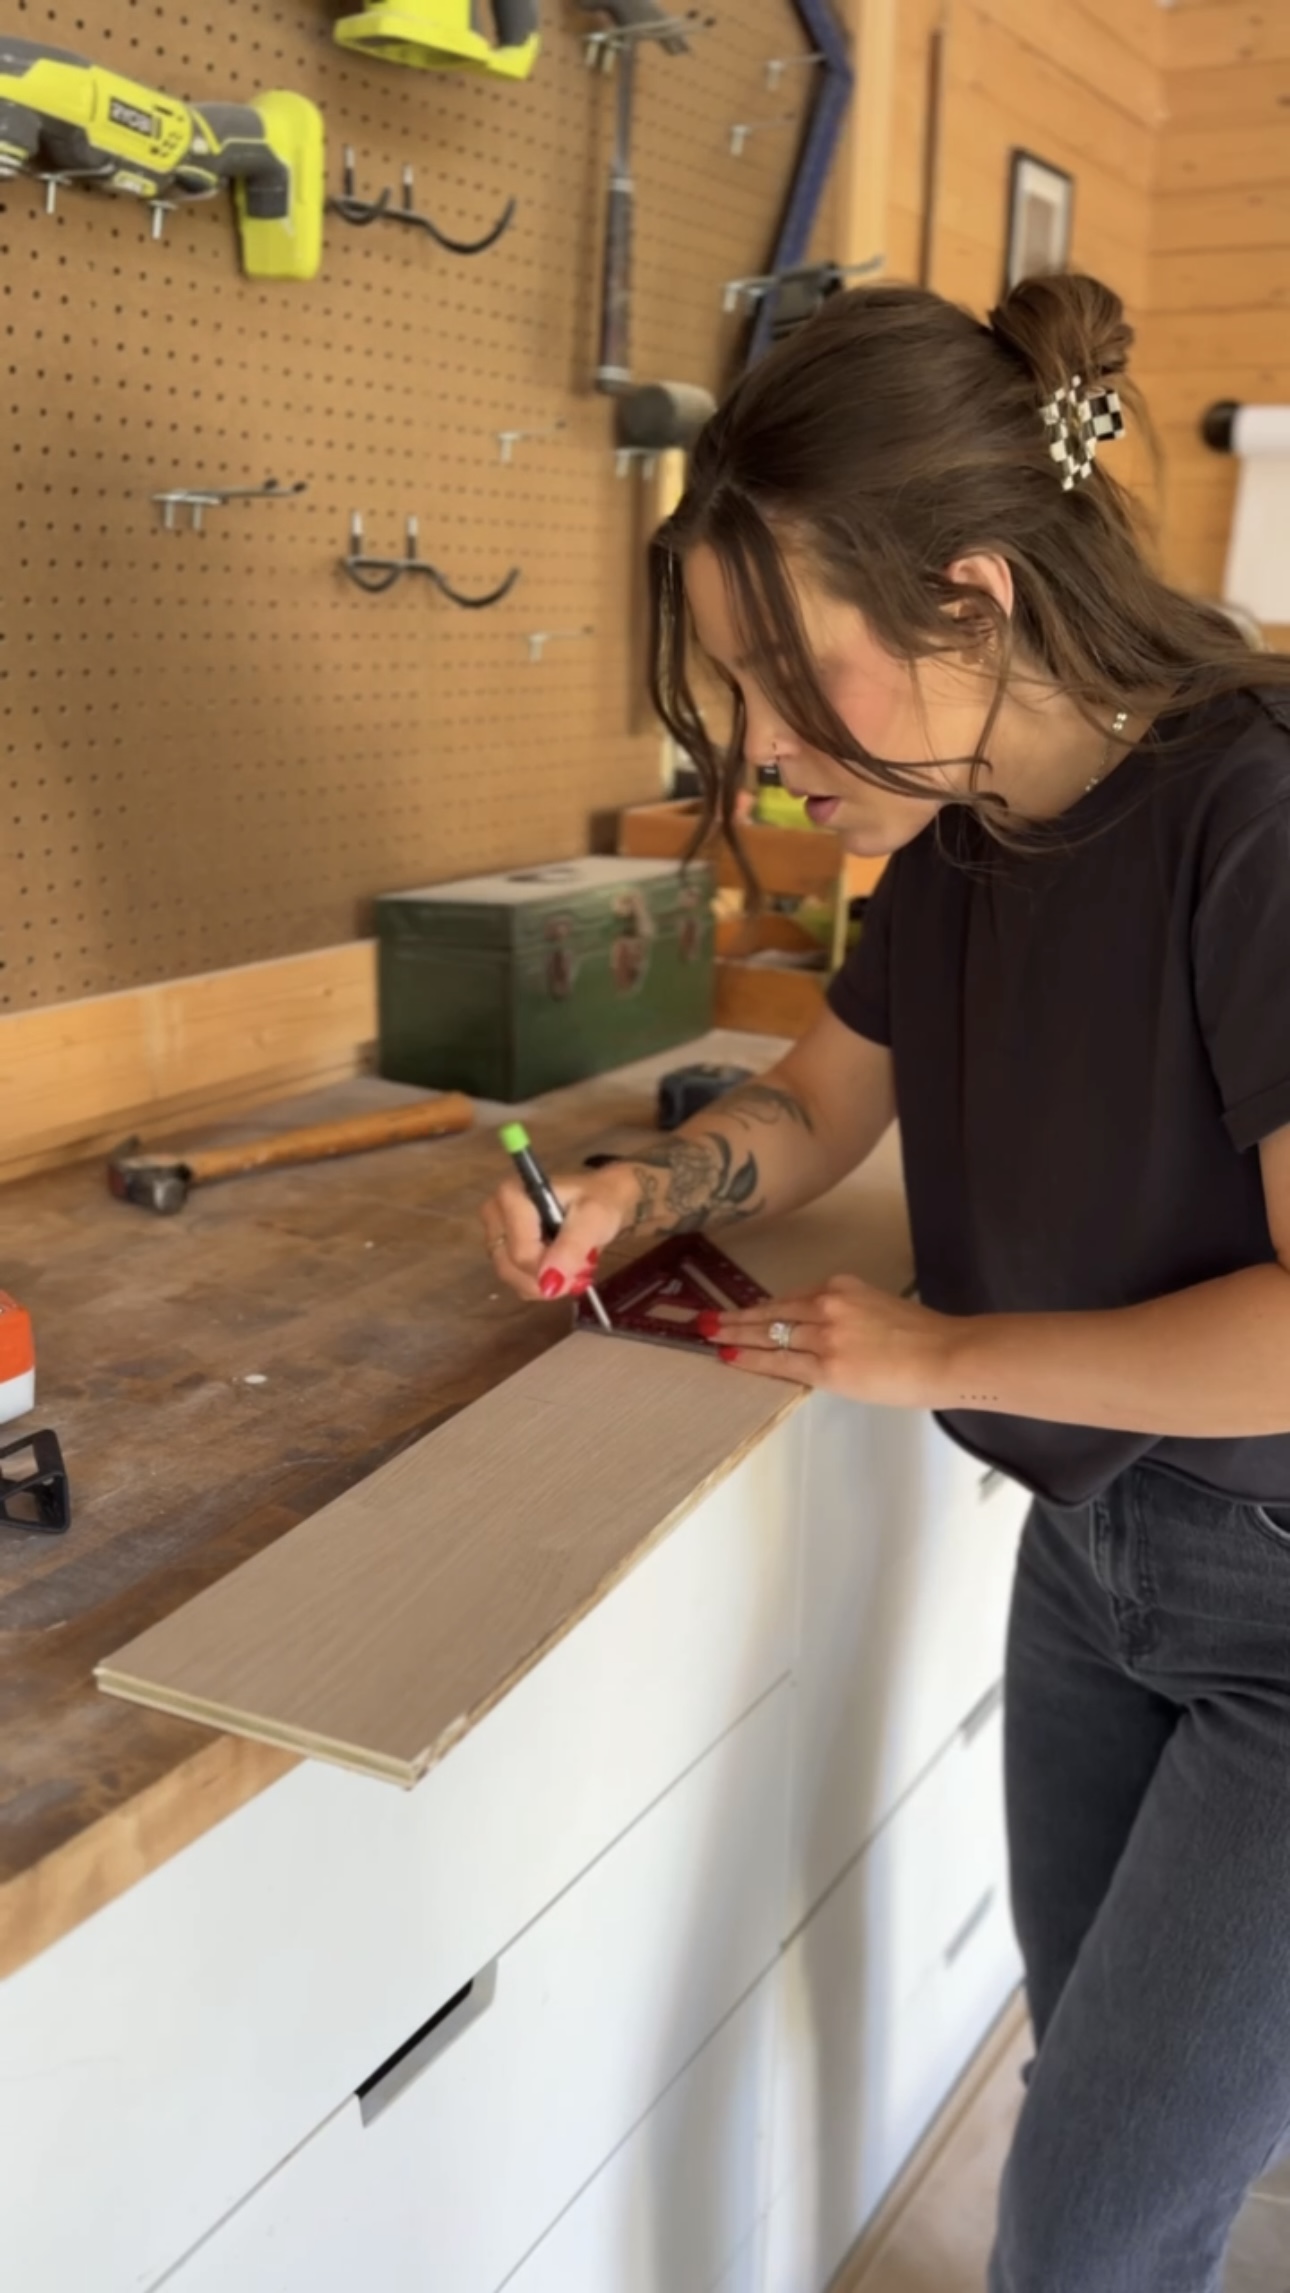
I cut each board just shy of 6 inches wide.
About the table saw
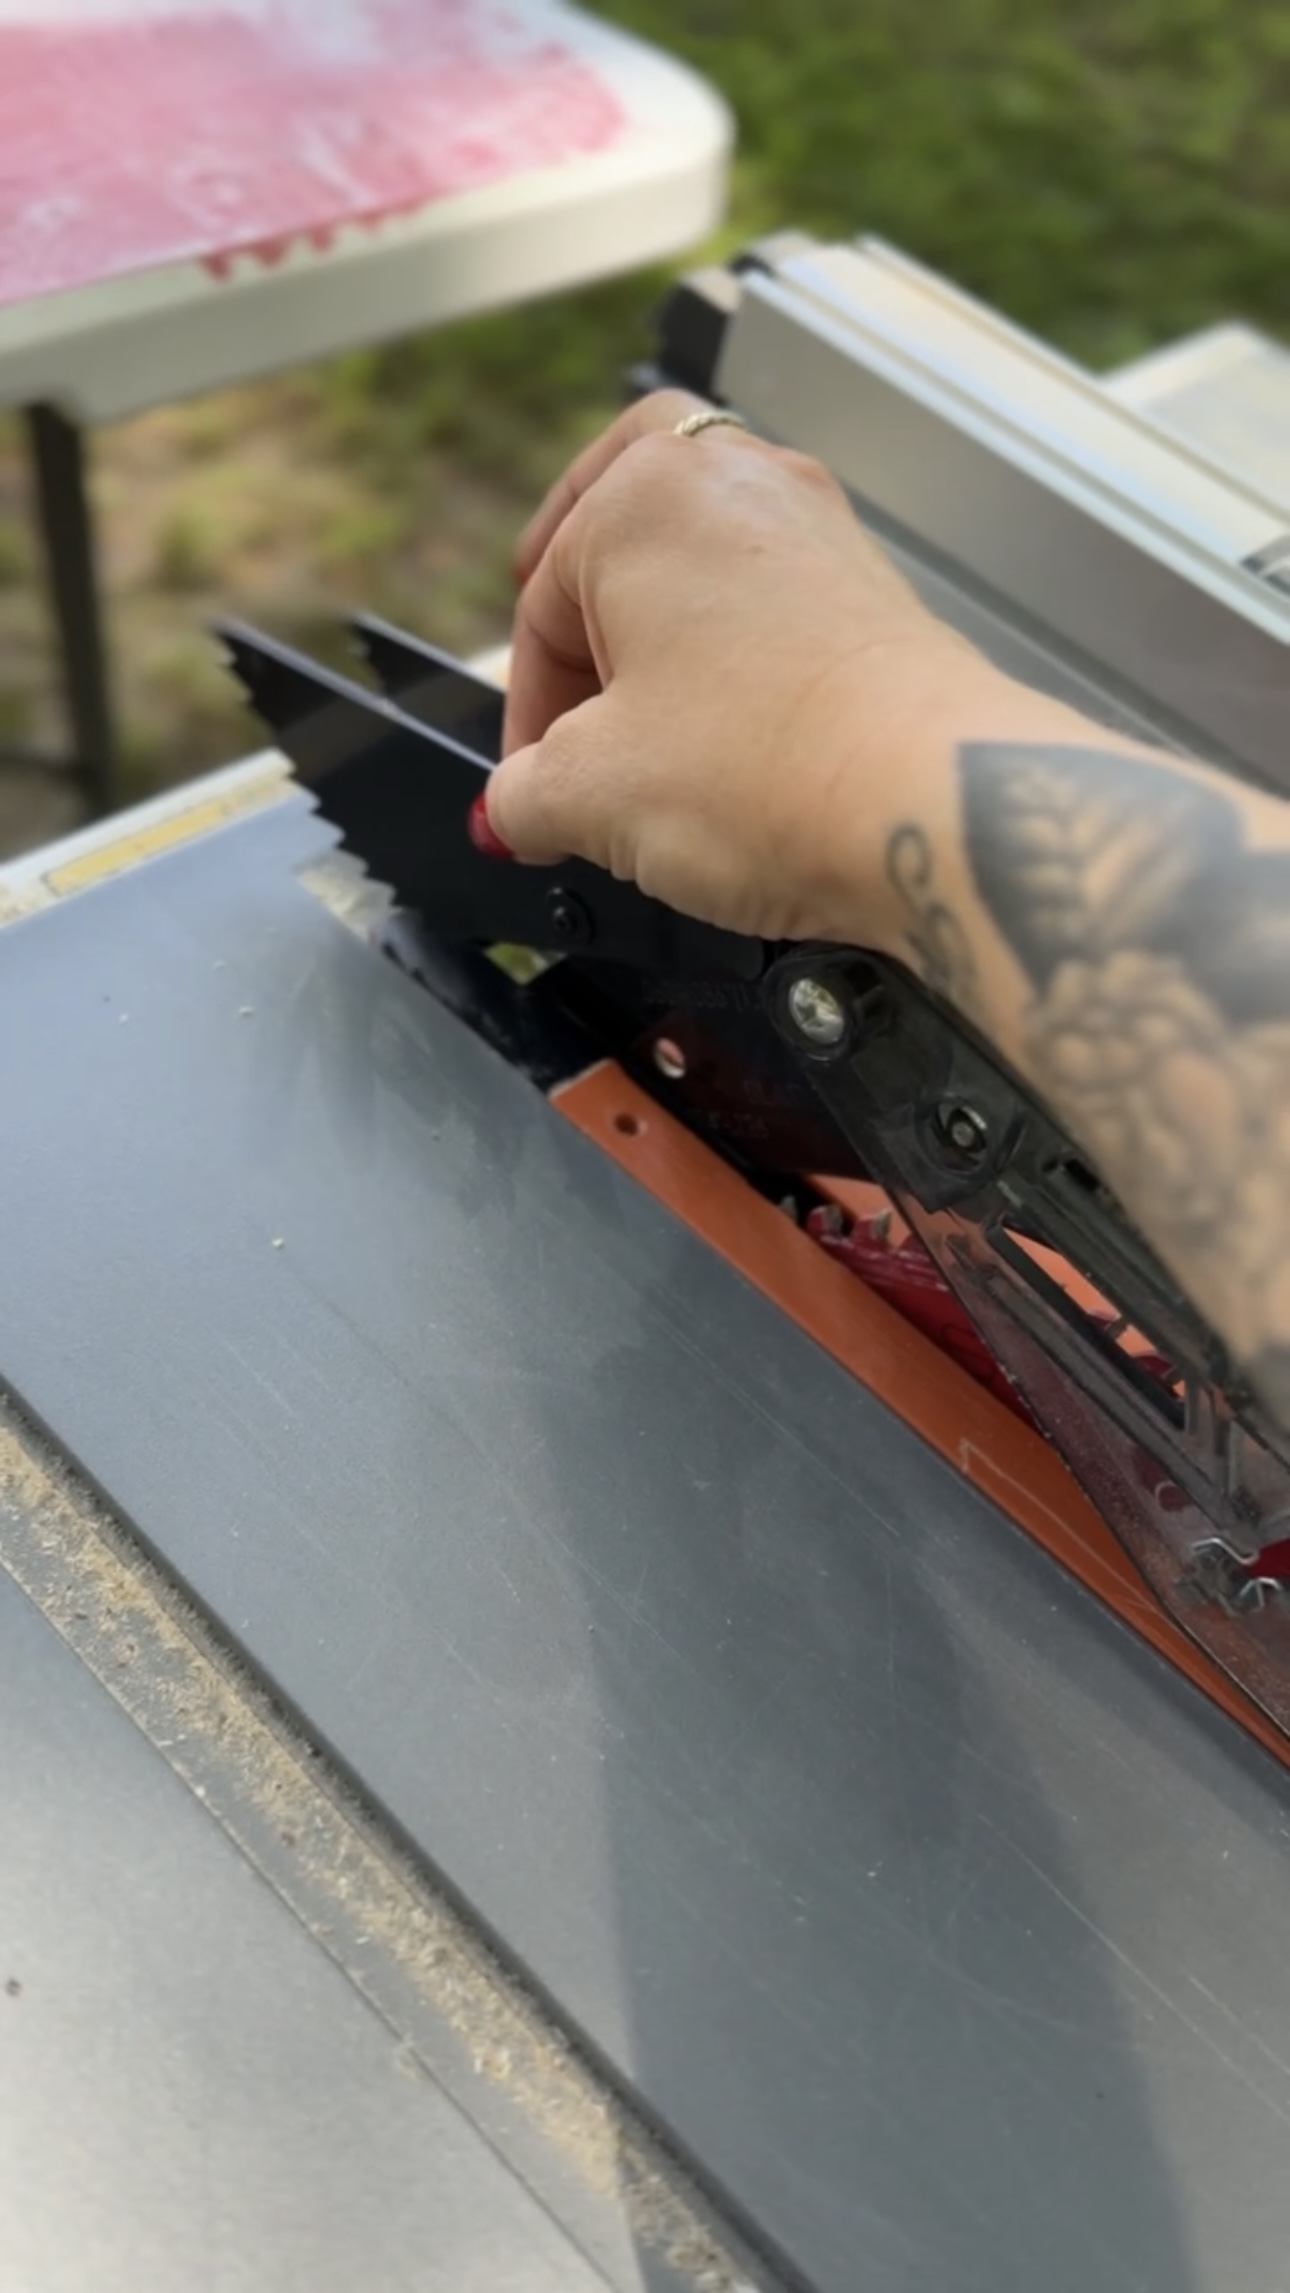
No matter how many times I use my table saw (which is a lot), I still get nervous! It’s dangerous and I’m sure a little healthy fear is a good thing. But I almost find myself trying to talk myself out of using it. I just had to push past this fear – the other side of the fear is the best!
There are tons of safety features on my table saw that make me feel a little extra comfy when I’m making a lot of cuts.
This is a blade guard to protect anything from touching the blade.
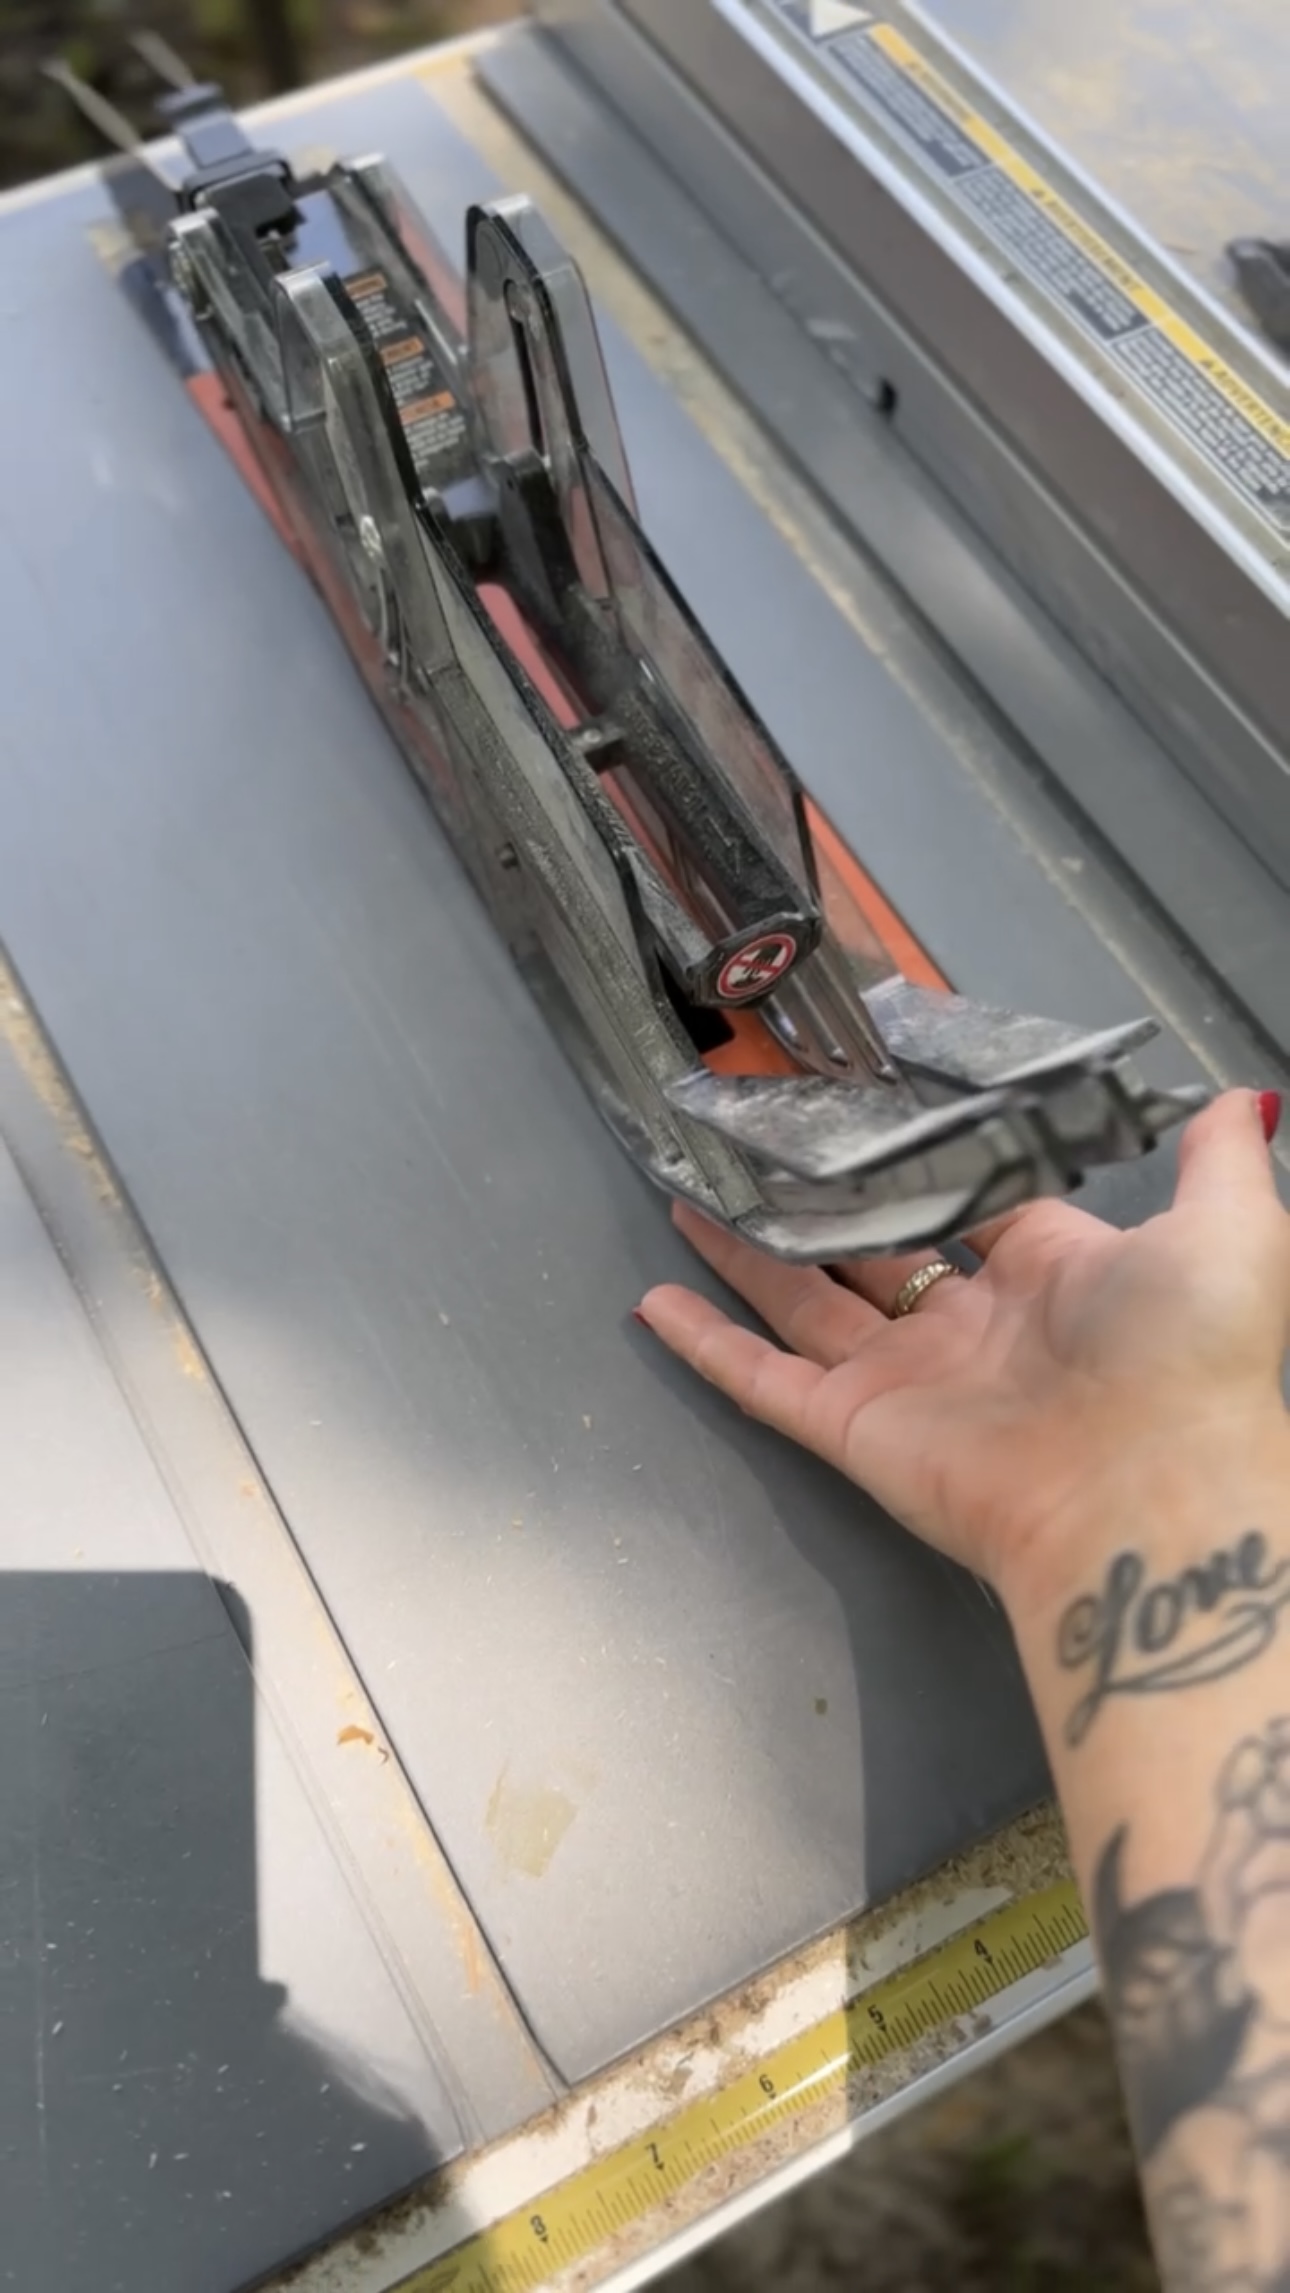
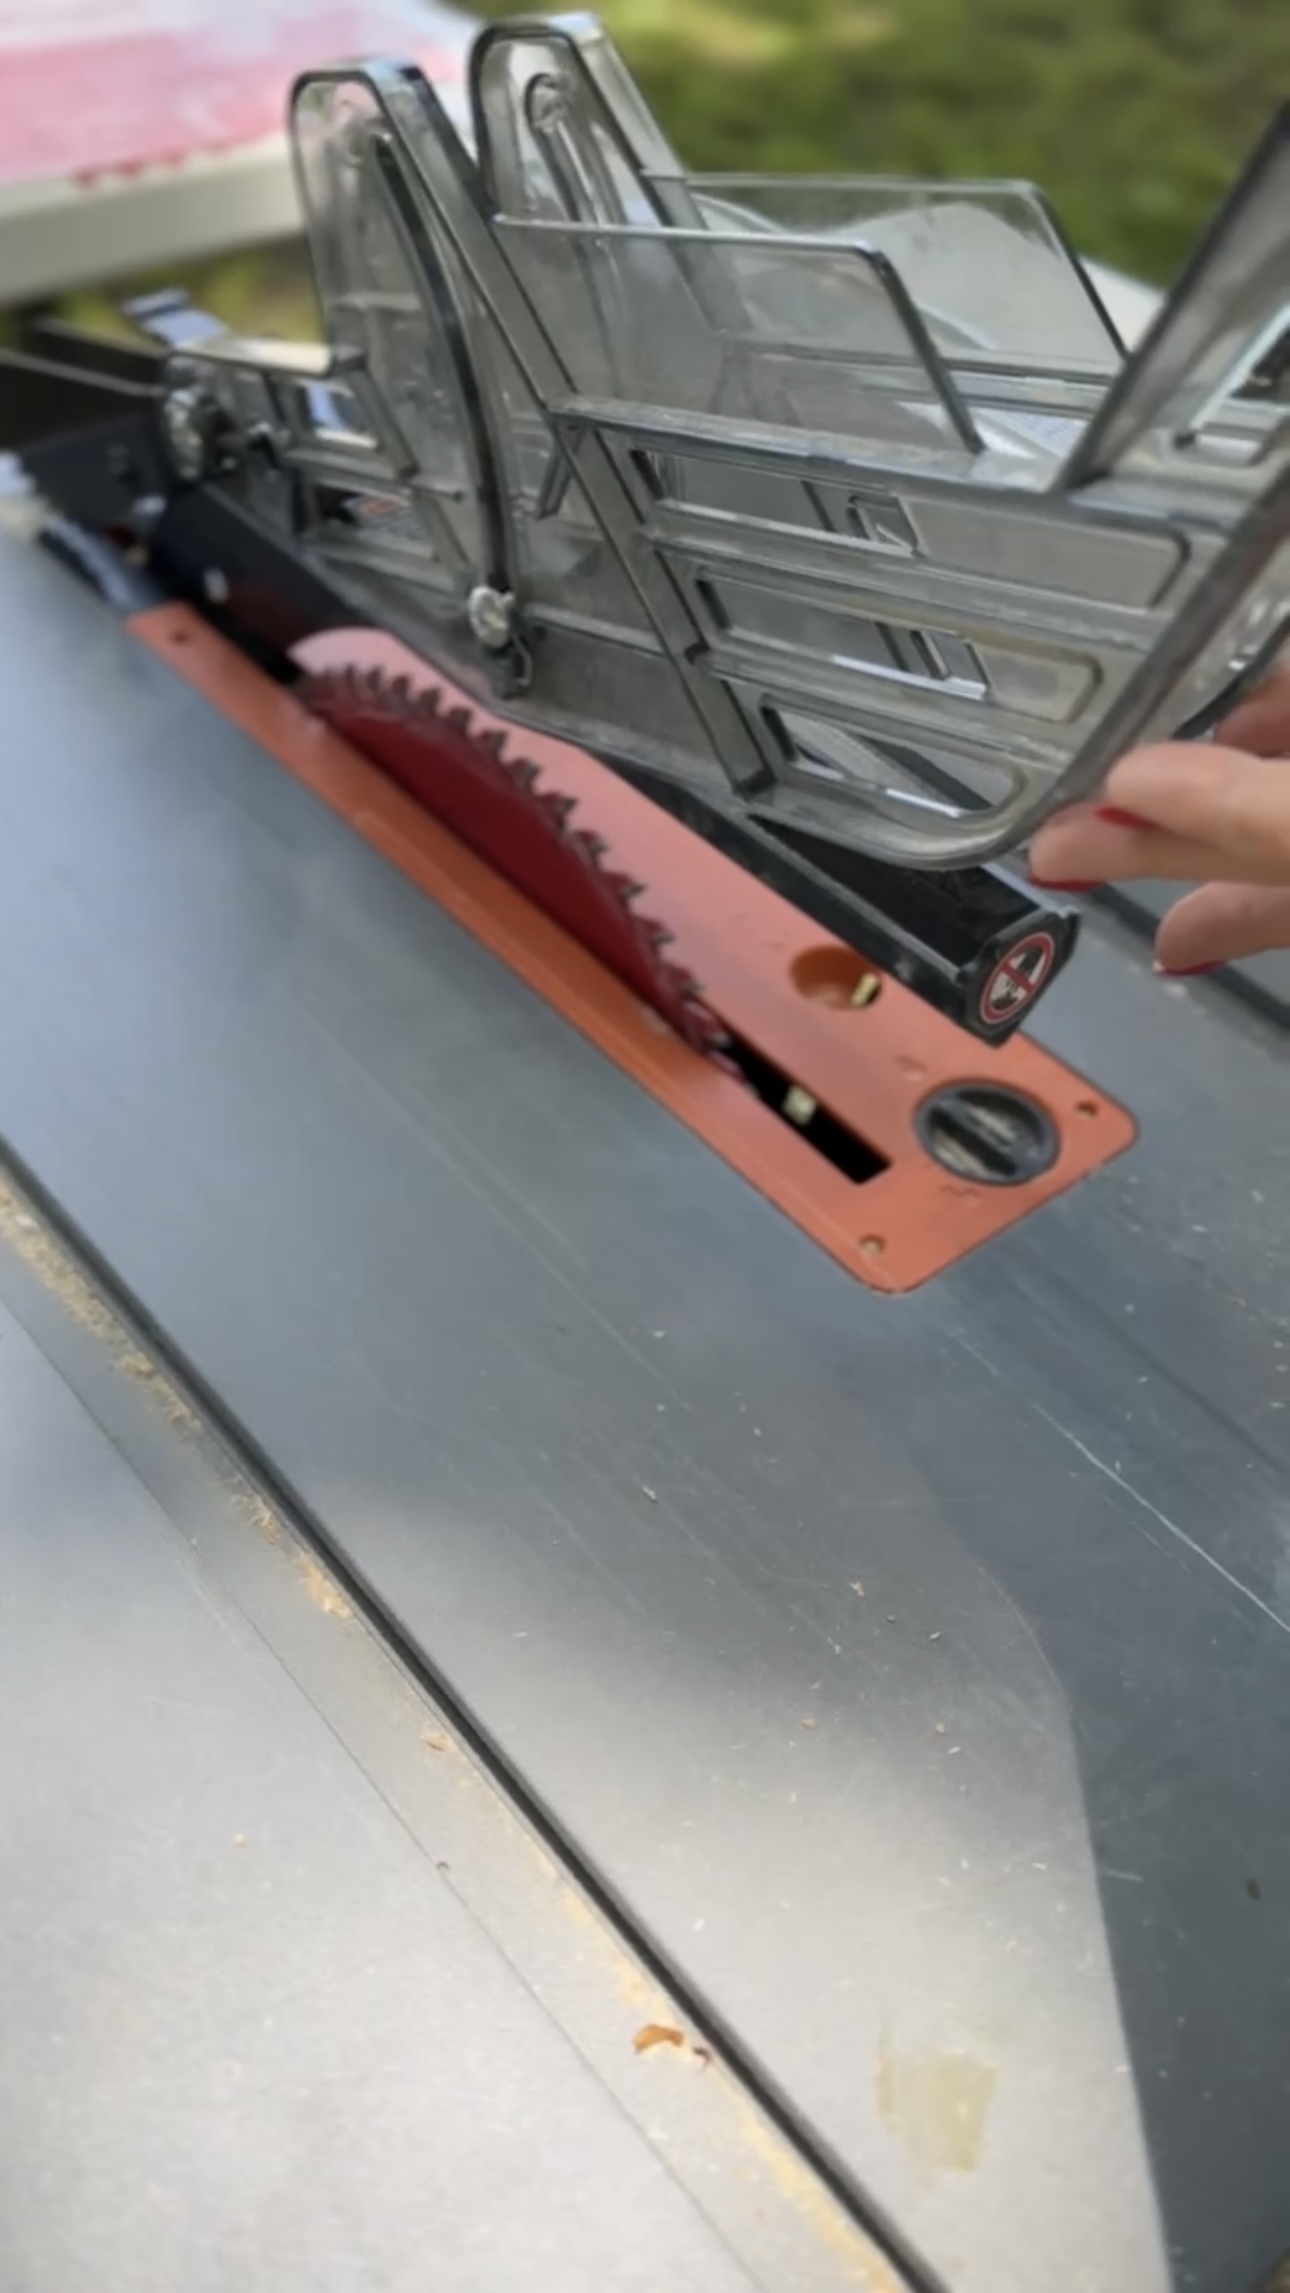
This holds the wood down with these sharp ridges to prevent it from kicking back at you if the blade grabs it!
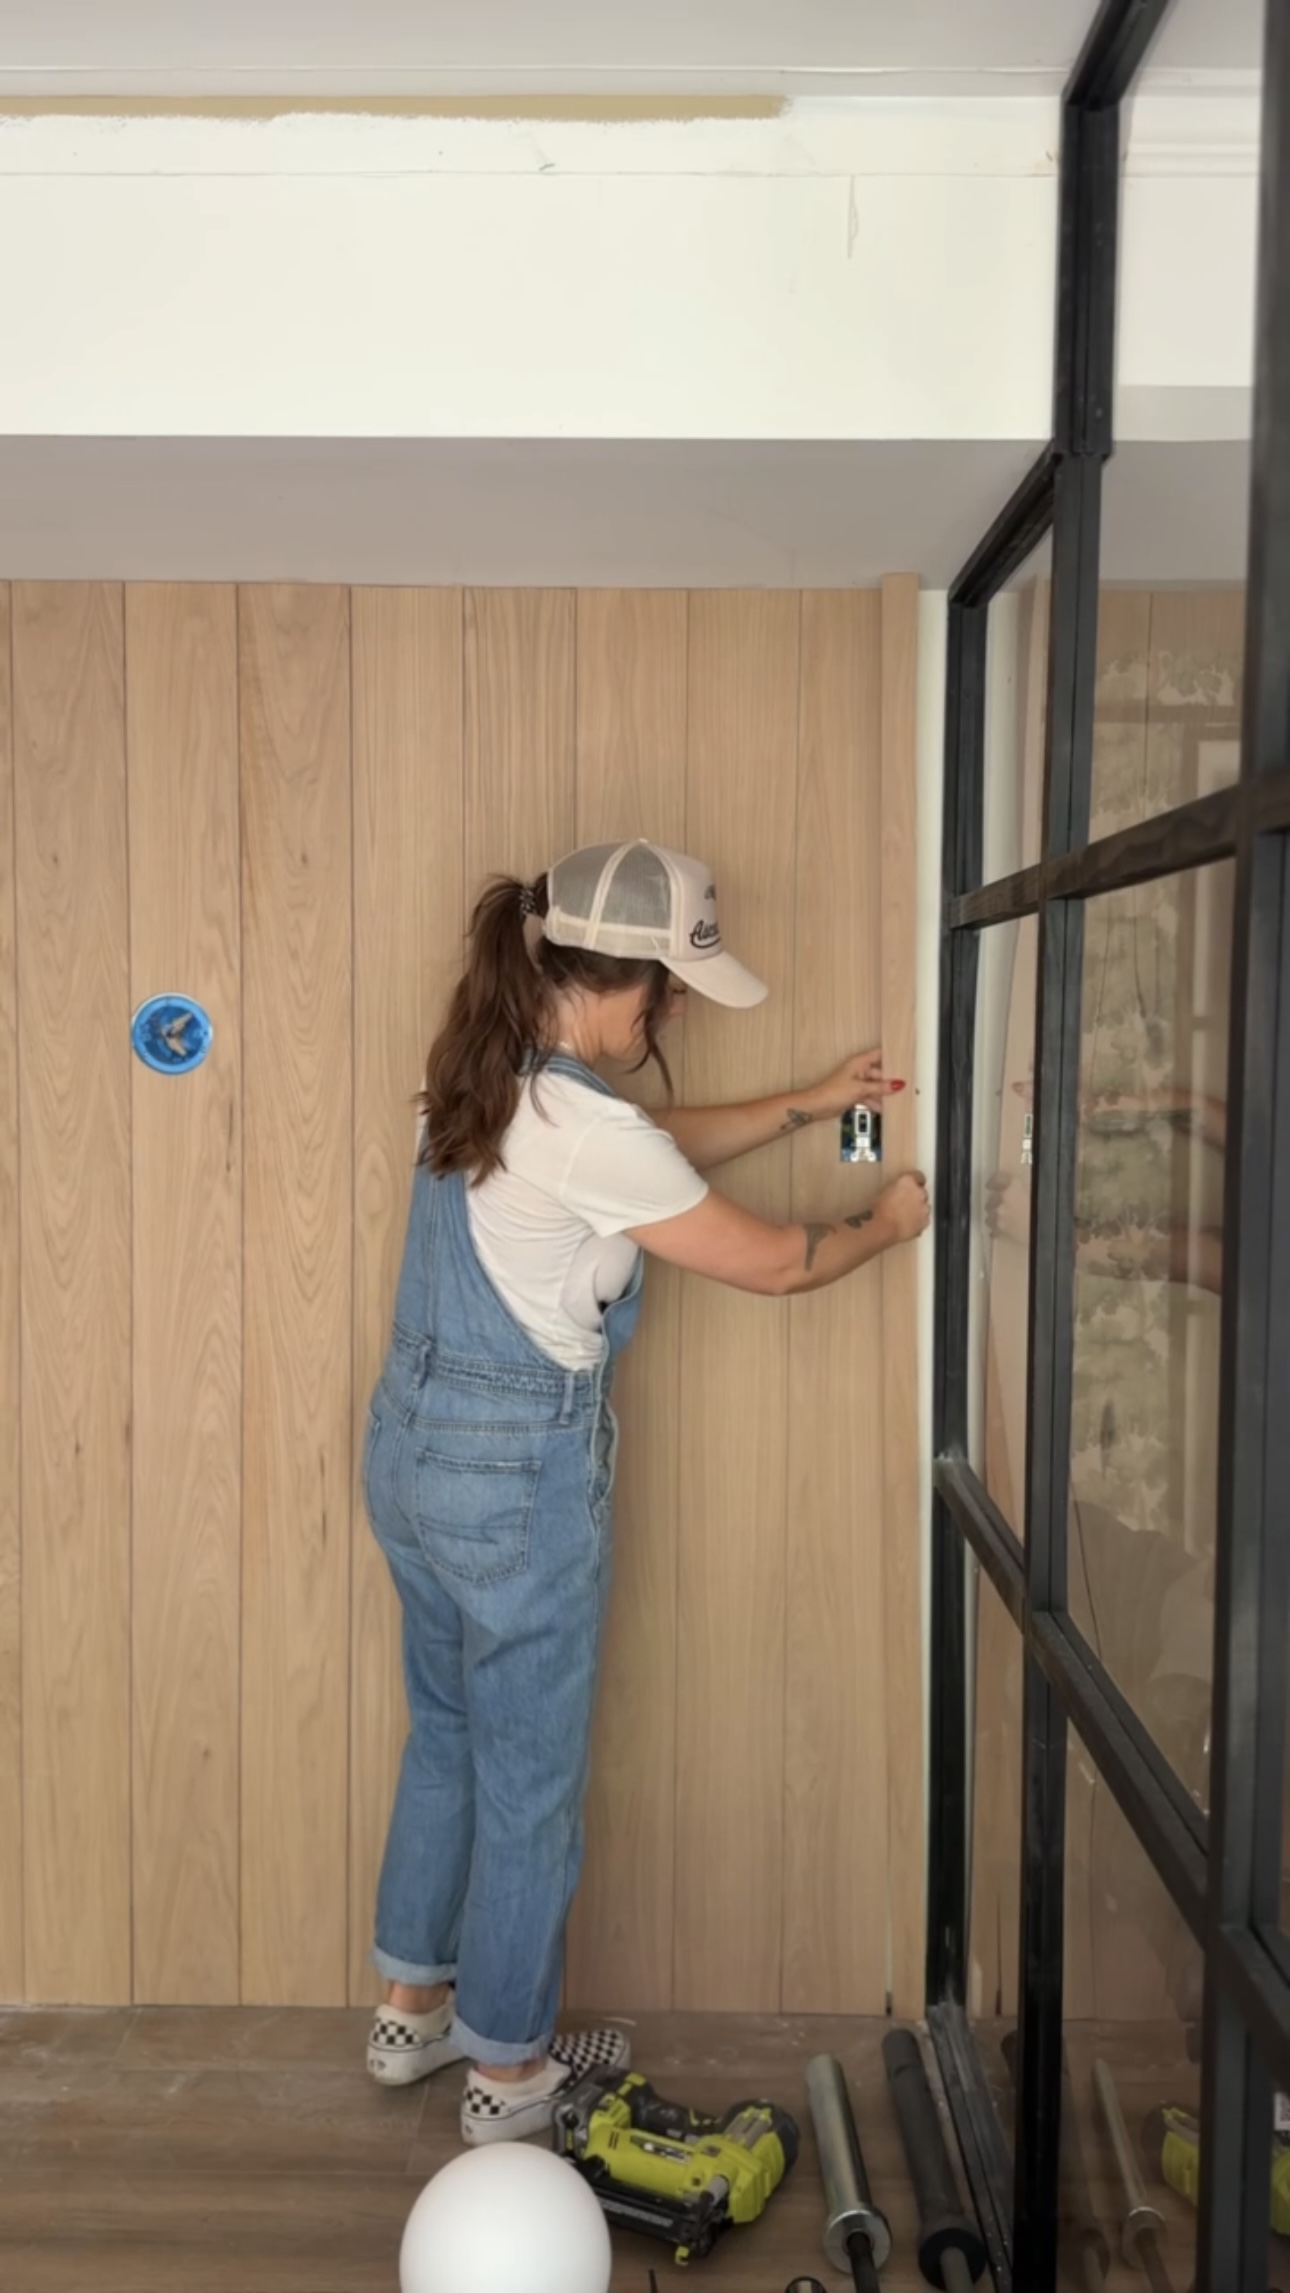
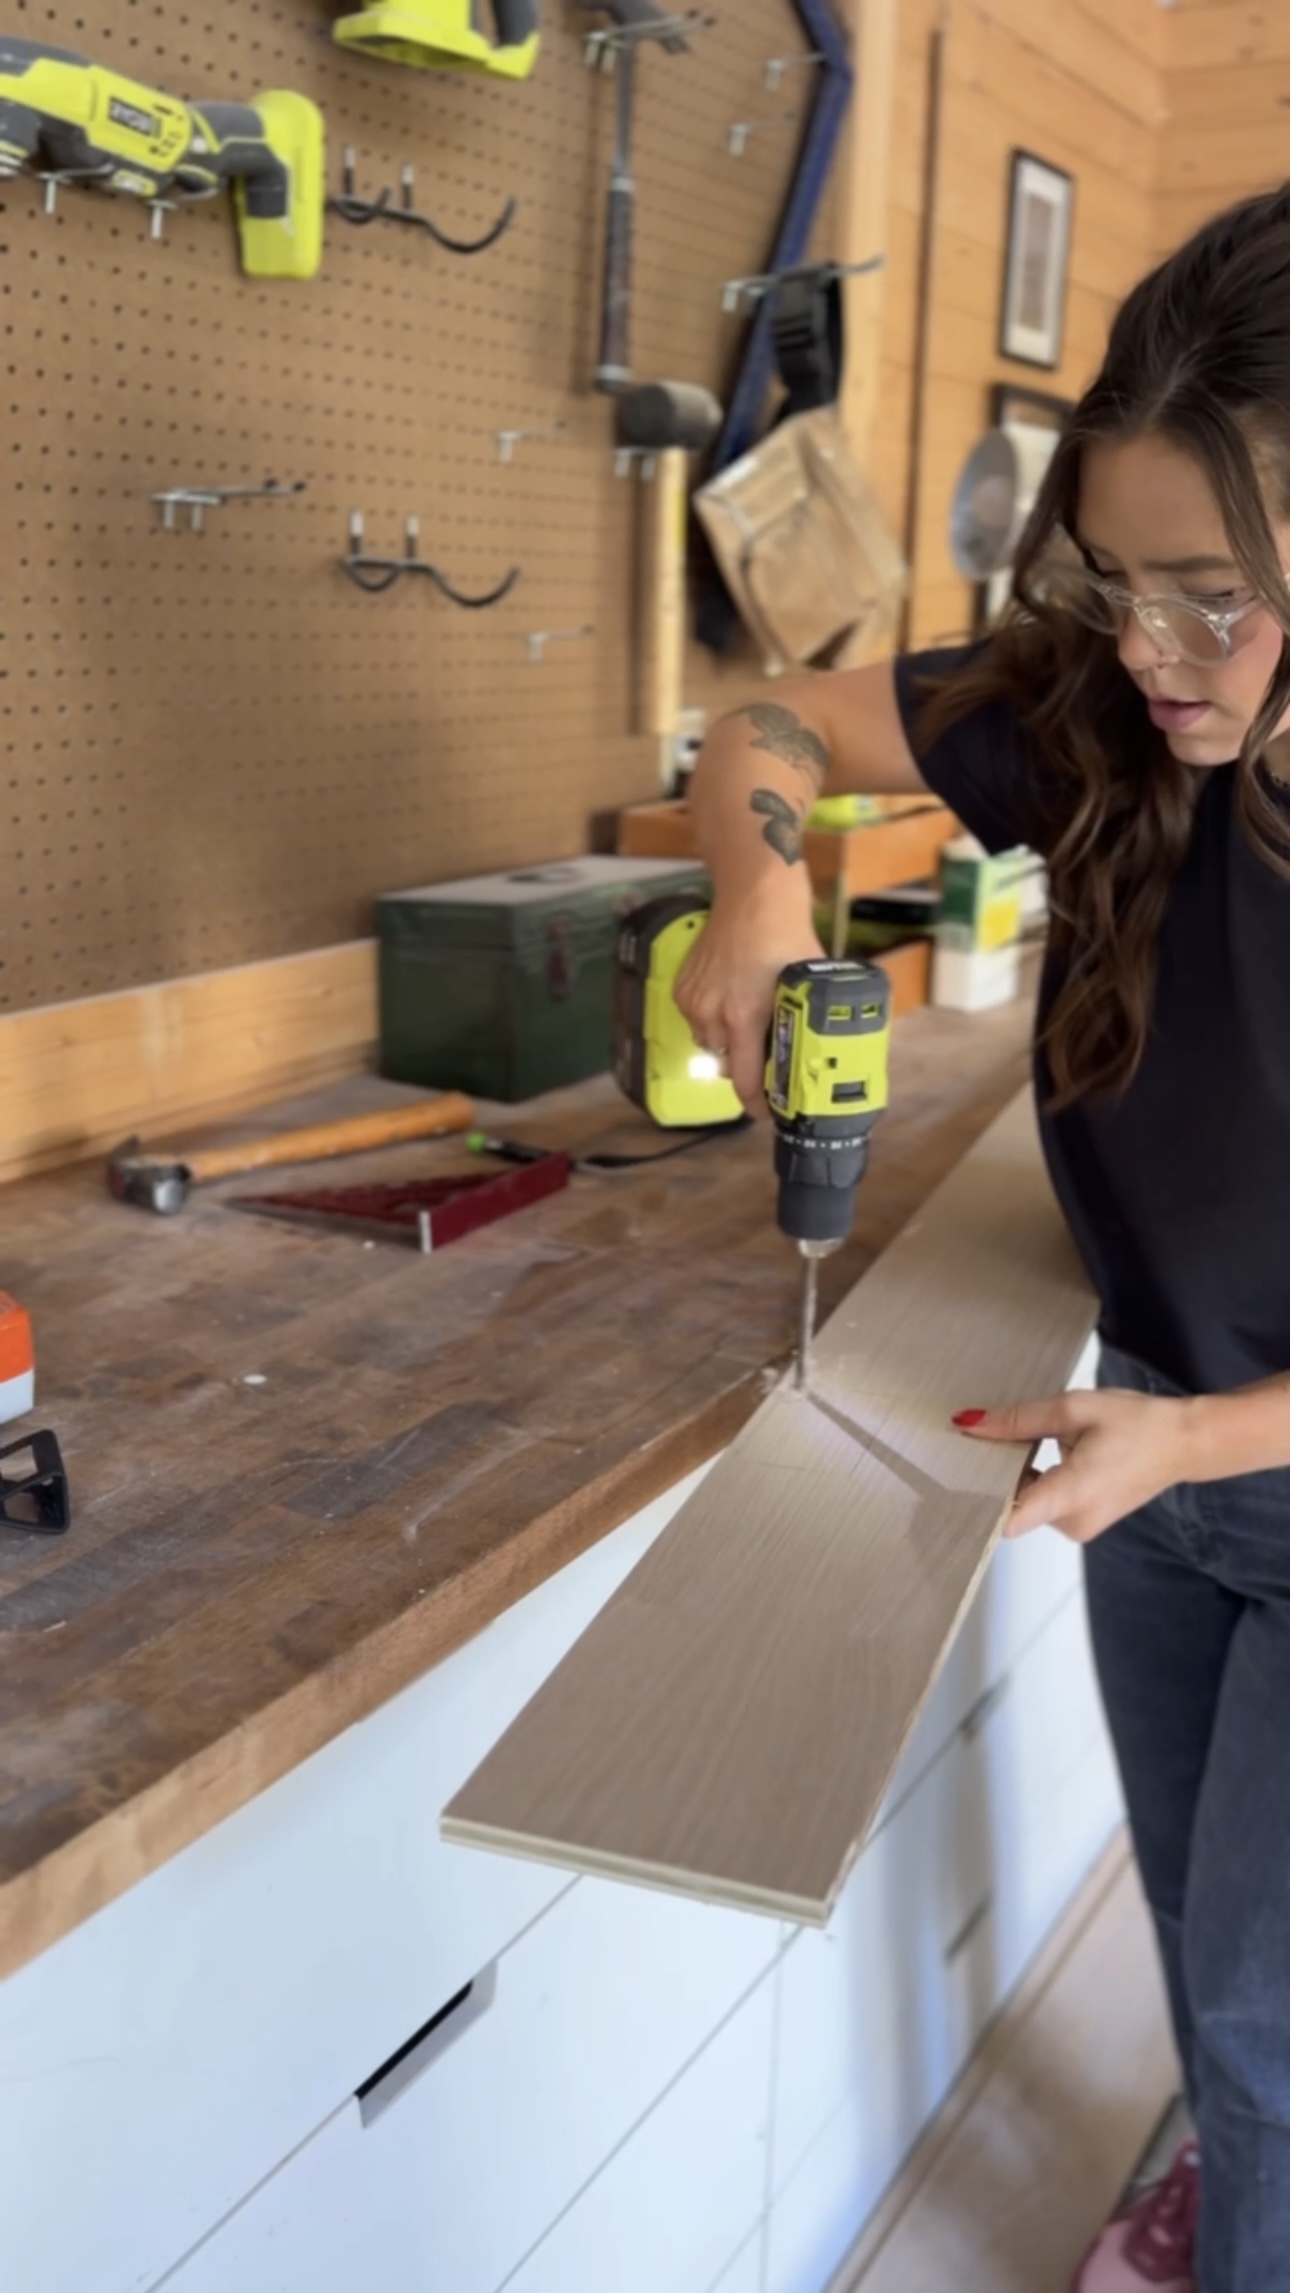
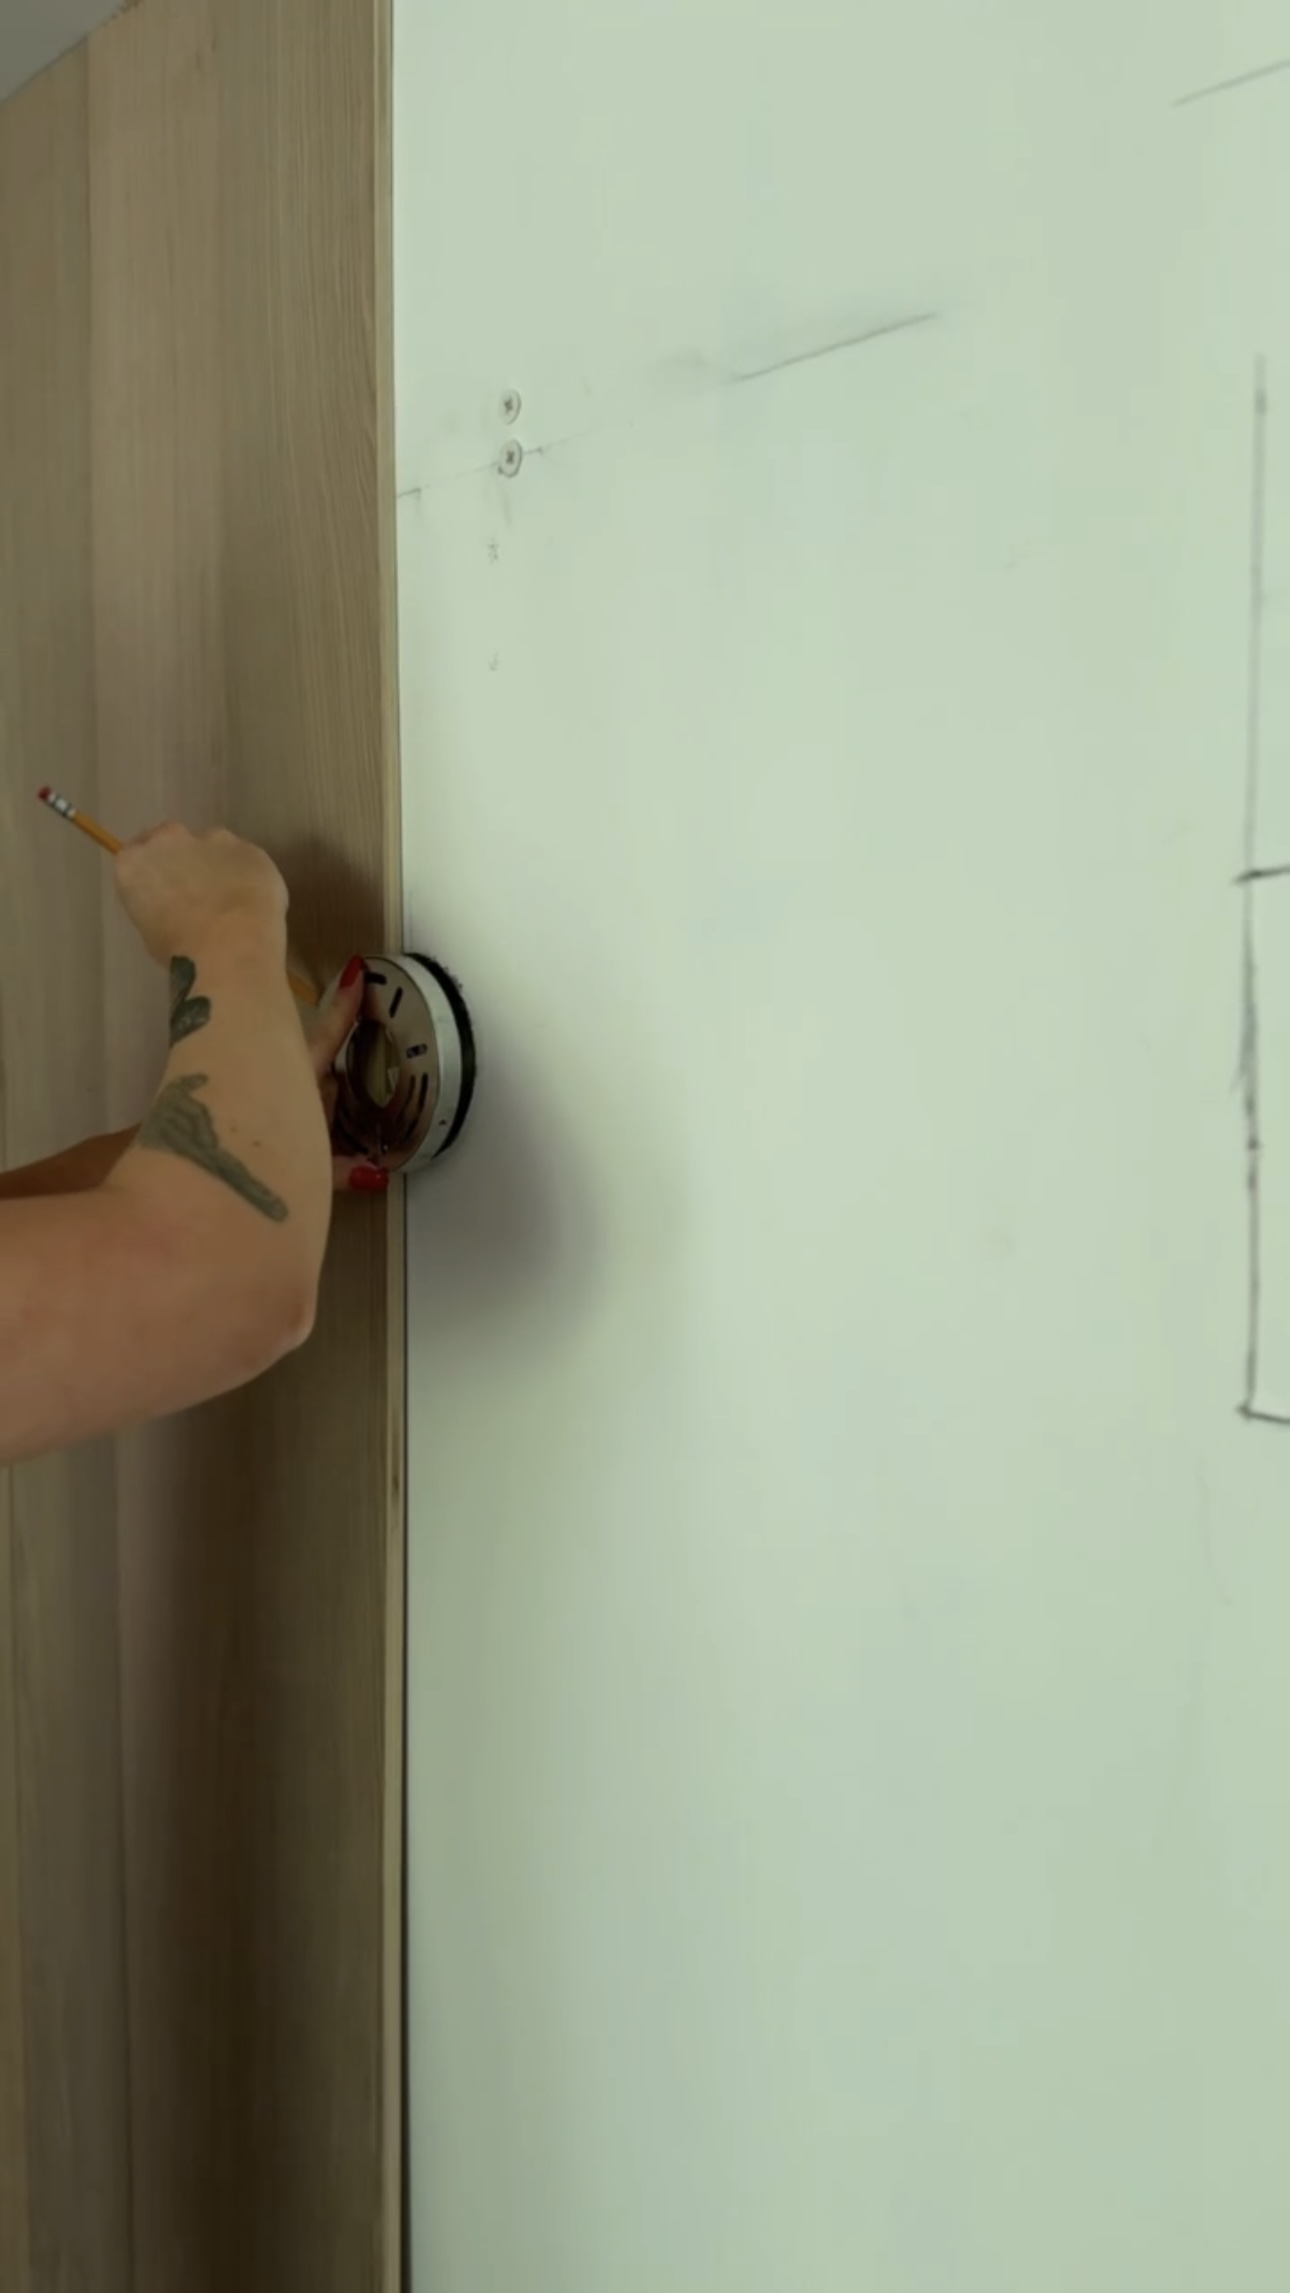
Cutting around outlets and electrical
I needed to make holes in the planks for my outlets. I measured where they outlet would lay, made marks, and used my jigsaw to cut the outline for the outlet.
Since I brought out the wall by adding this wood, I had to bring out my outlet as well so the switch plate could sit flat. I unscrewed it and replaced the screws with longer ones. Easy!
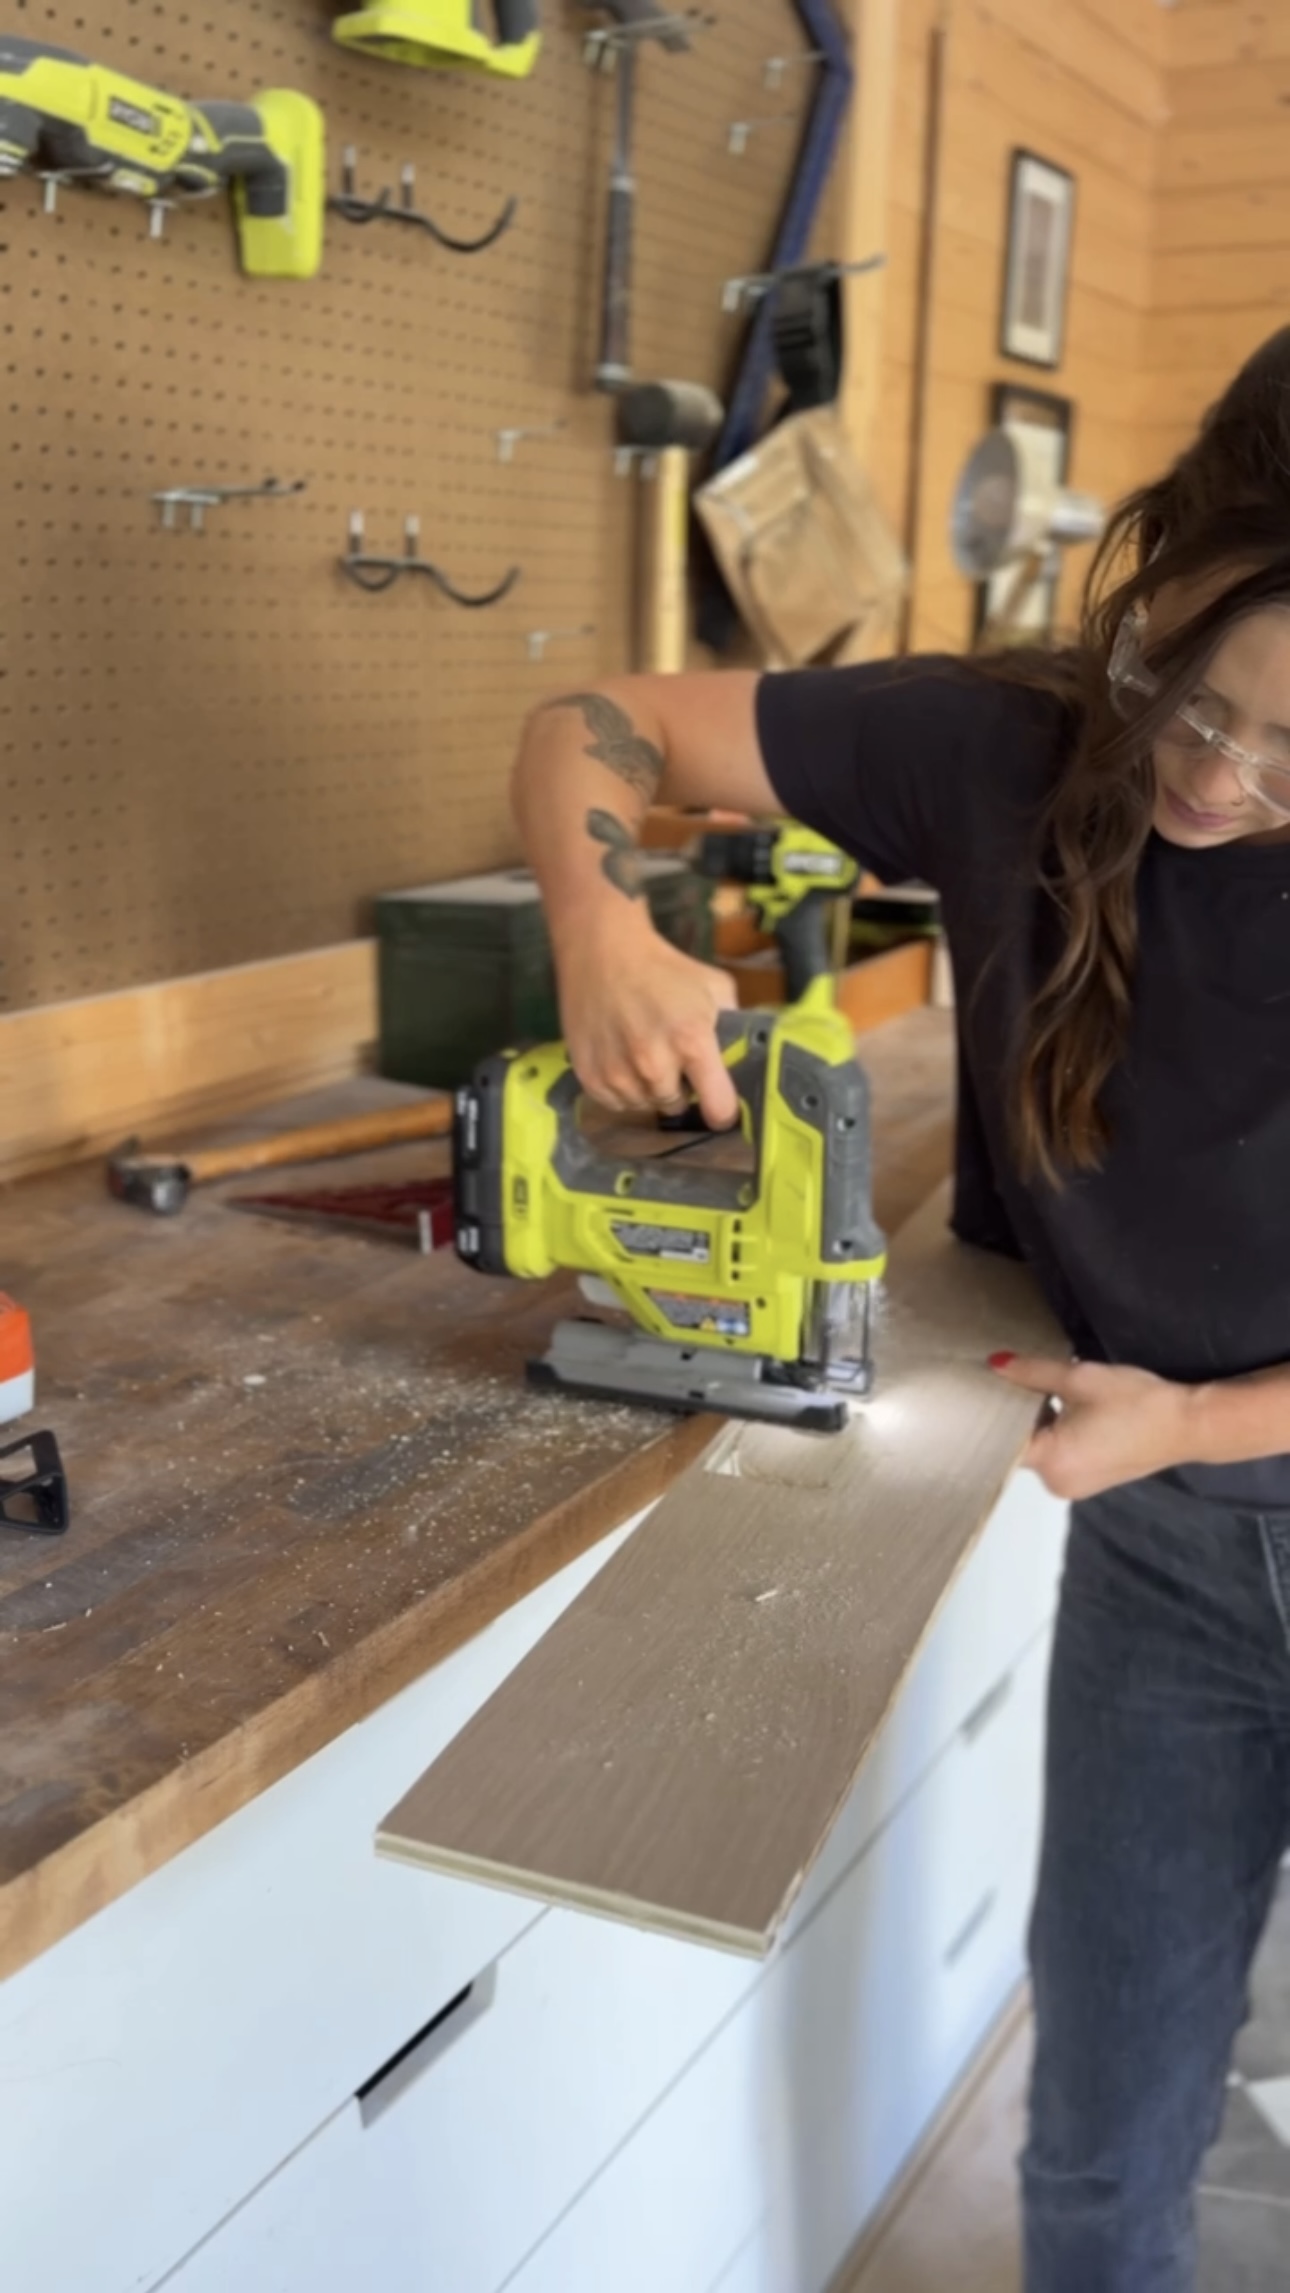
I needed to make circular cuts in the wood as well for where the sconces would be. So, I marked the circles and cut the planks with my jigsaw.
I learned quickly that I needed to use a Fine Finish blade rather than a Fast Cut blade to preserve the boards. On the right, I used the Fast Cut blade and it tore apart the wood. The left is with the Fine Finish Blade.

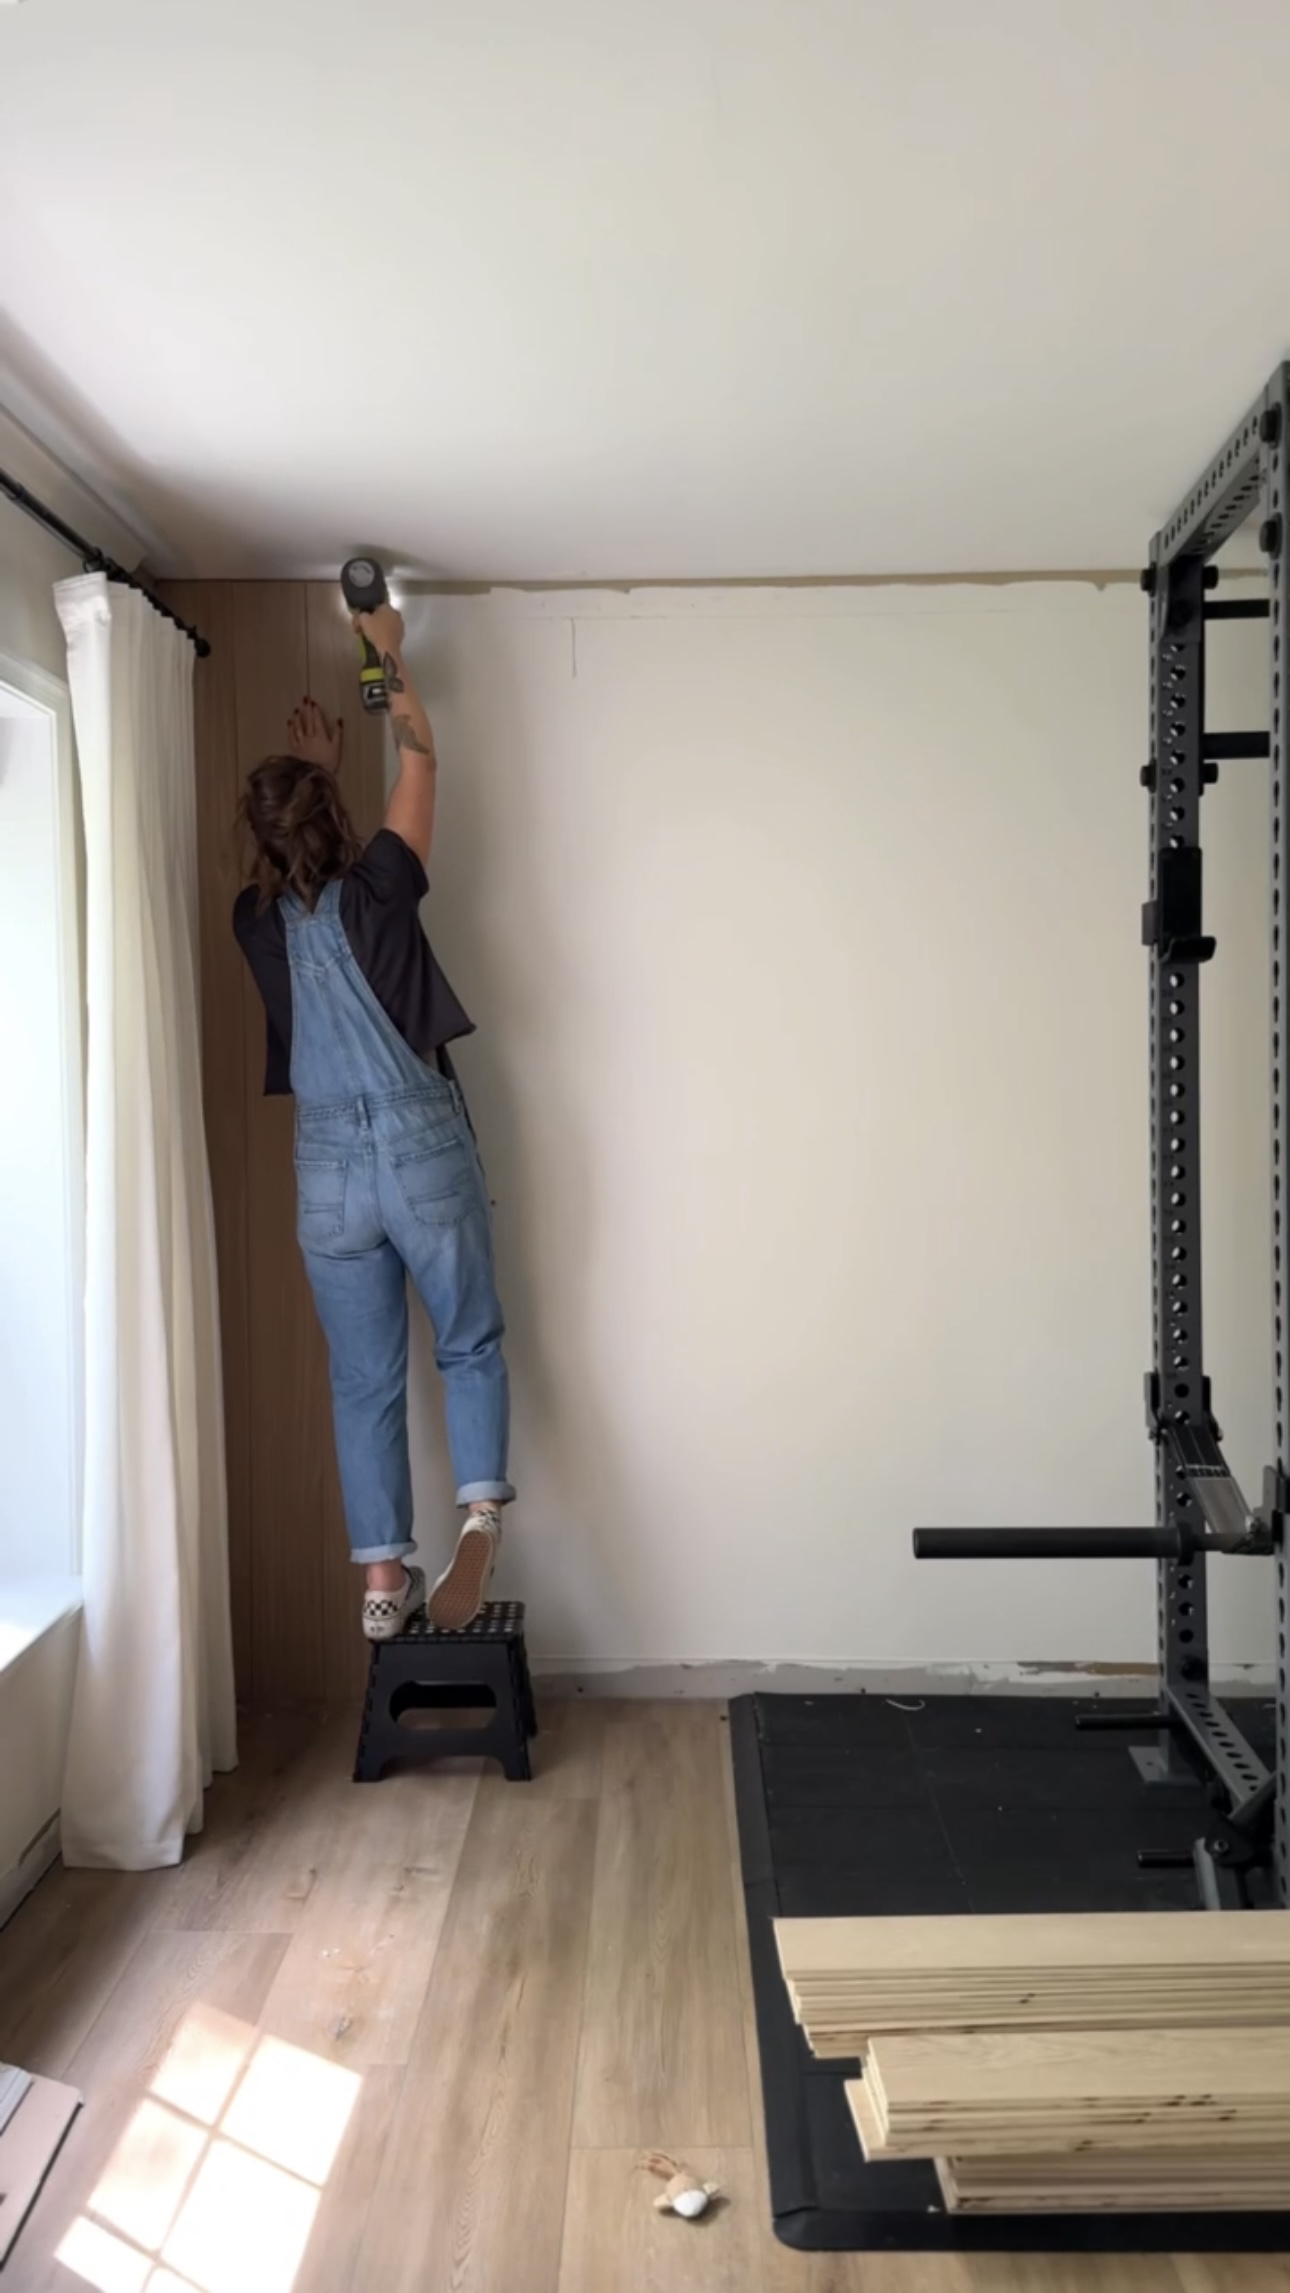
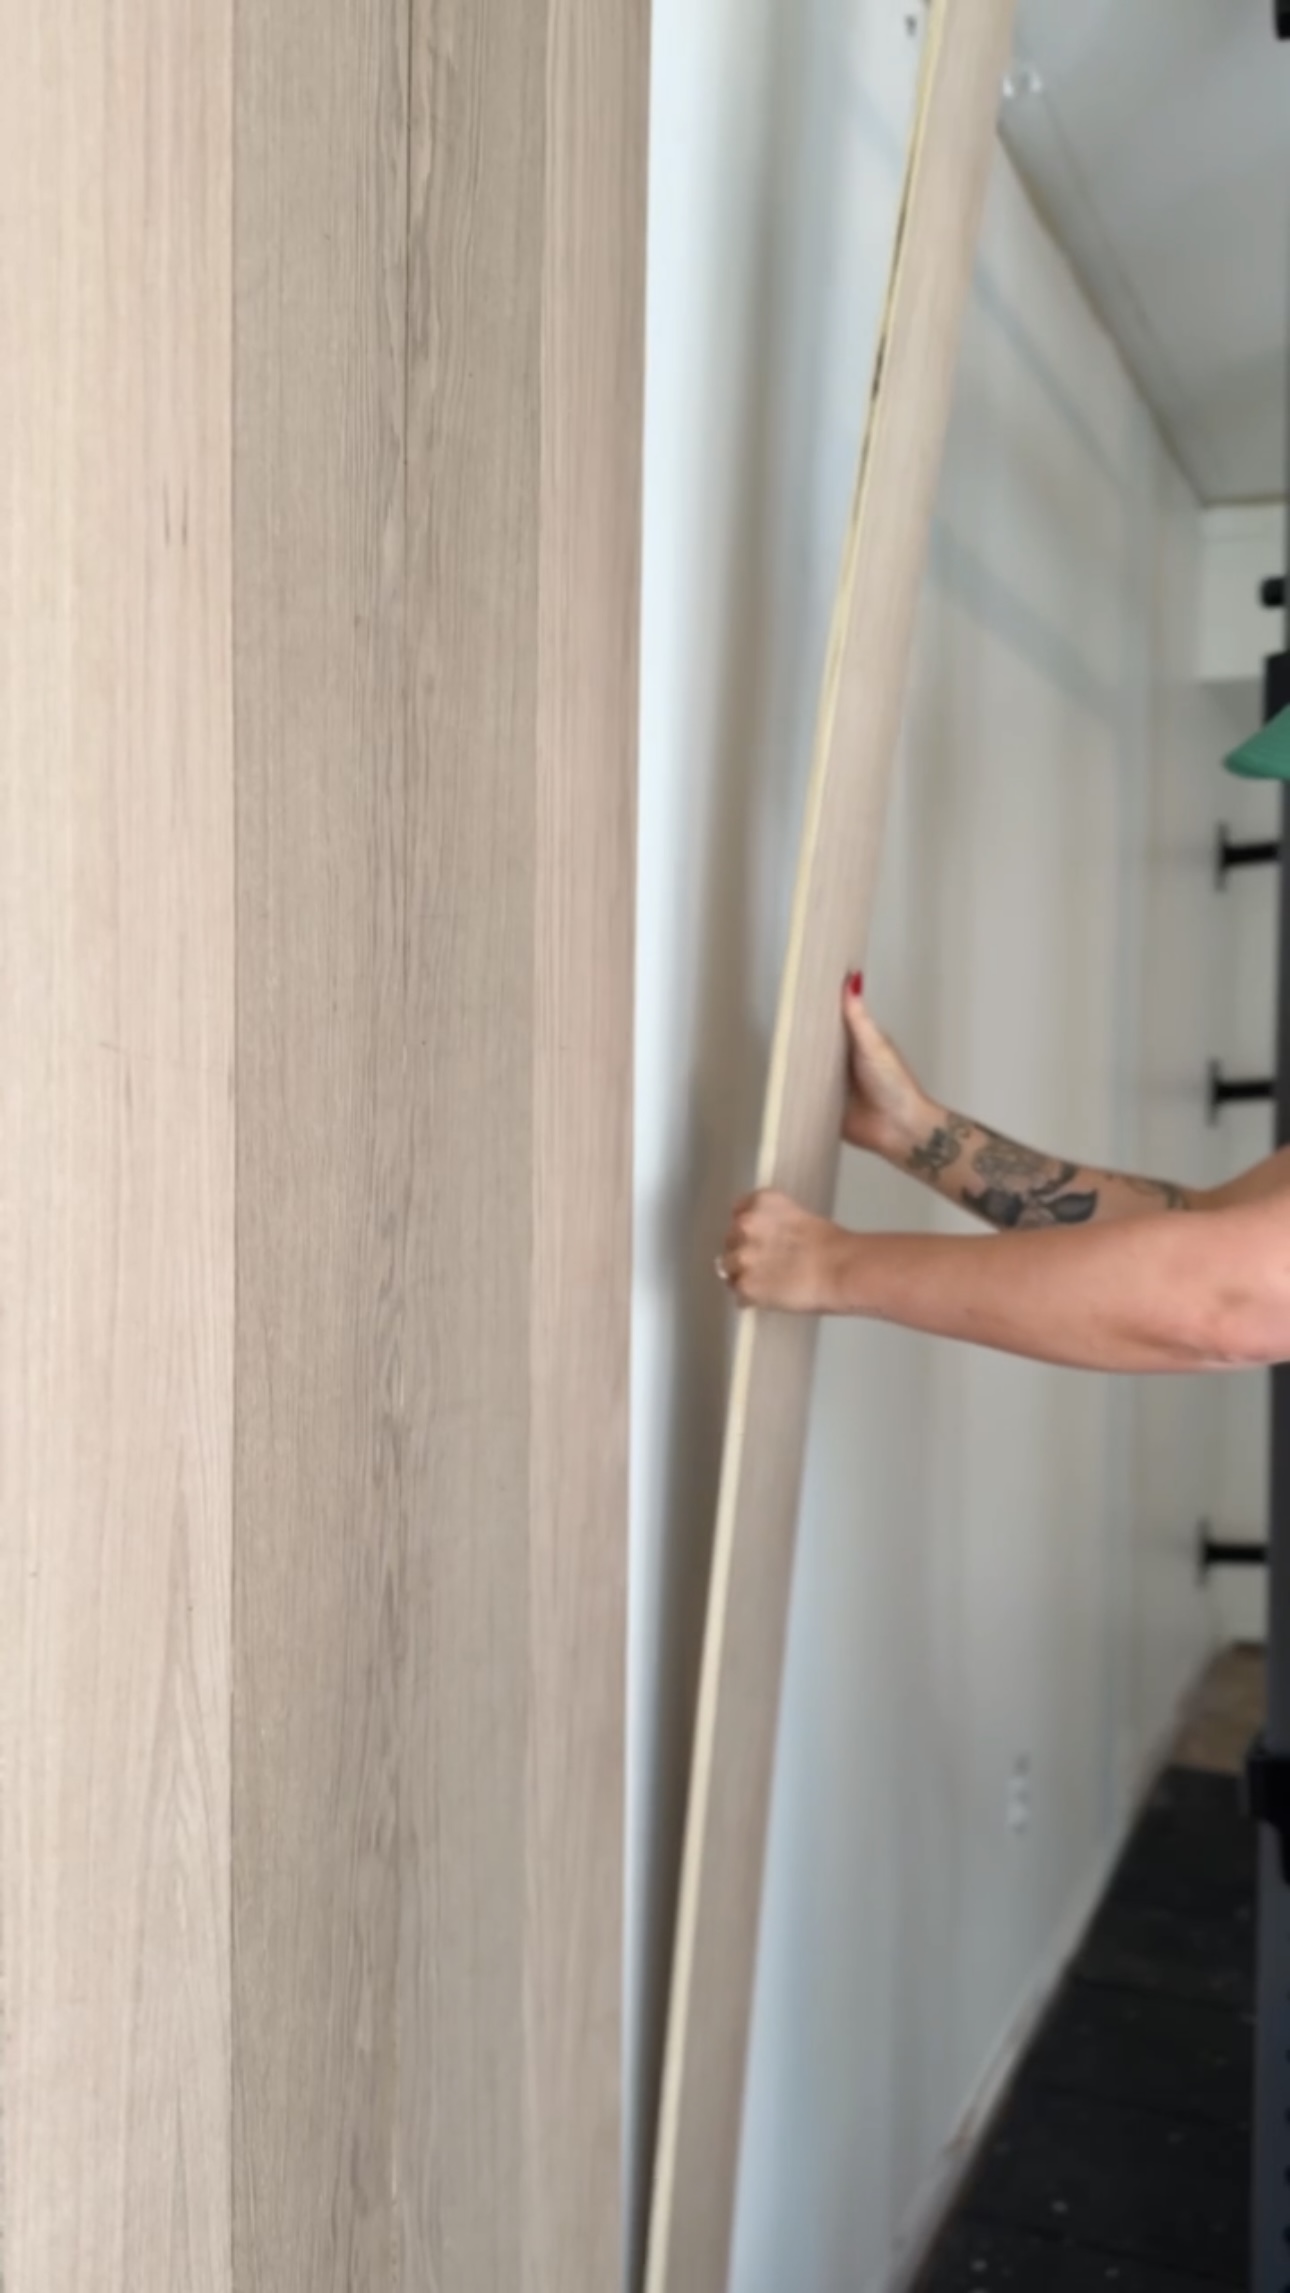
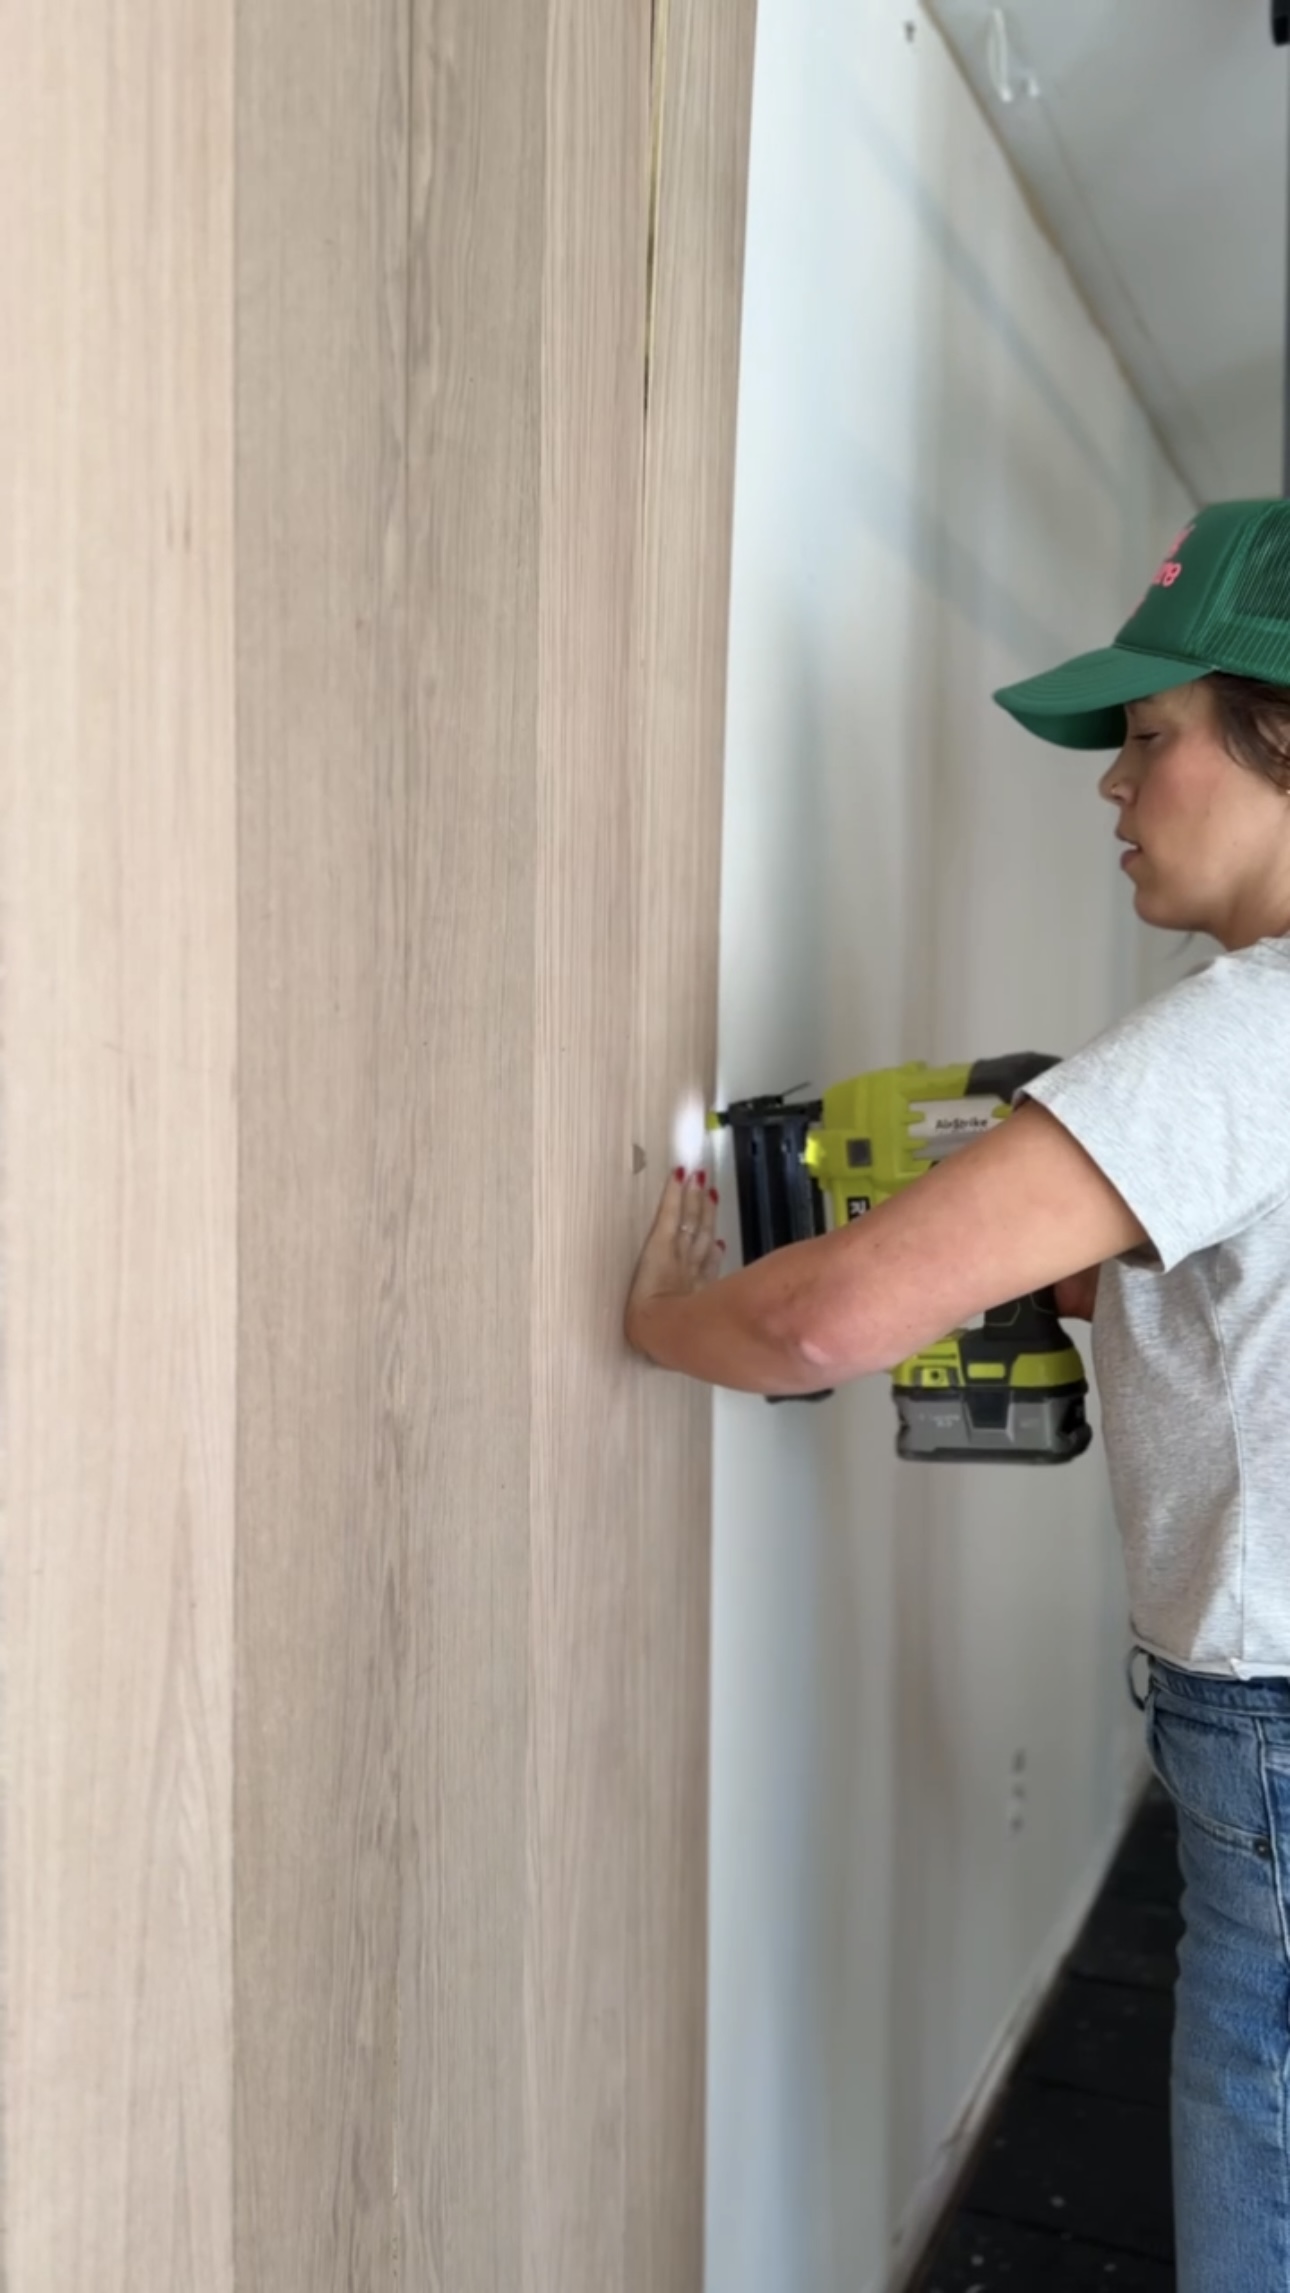
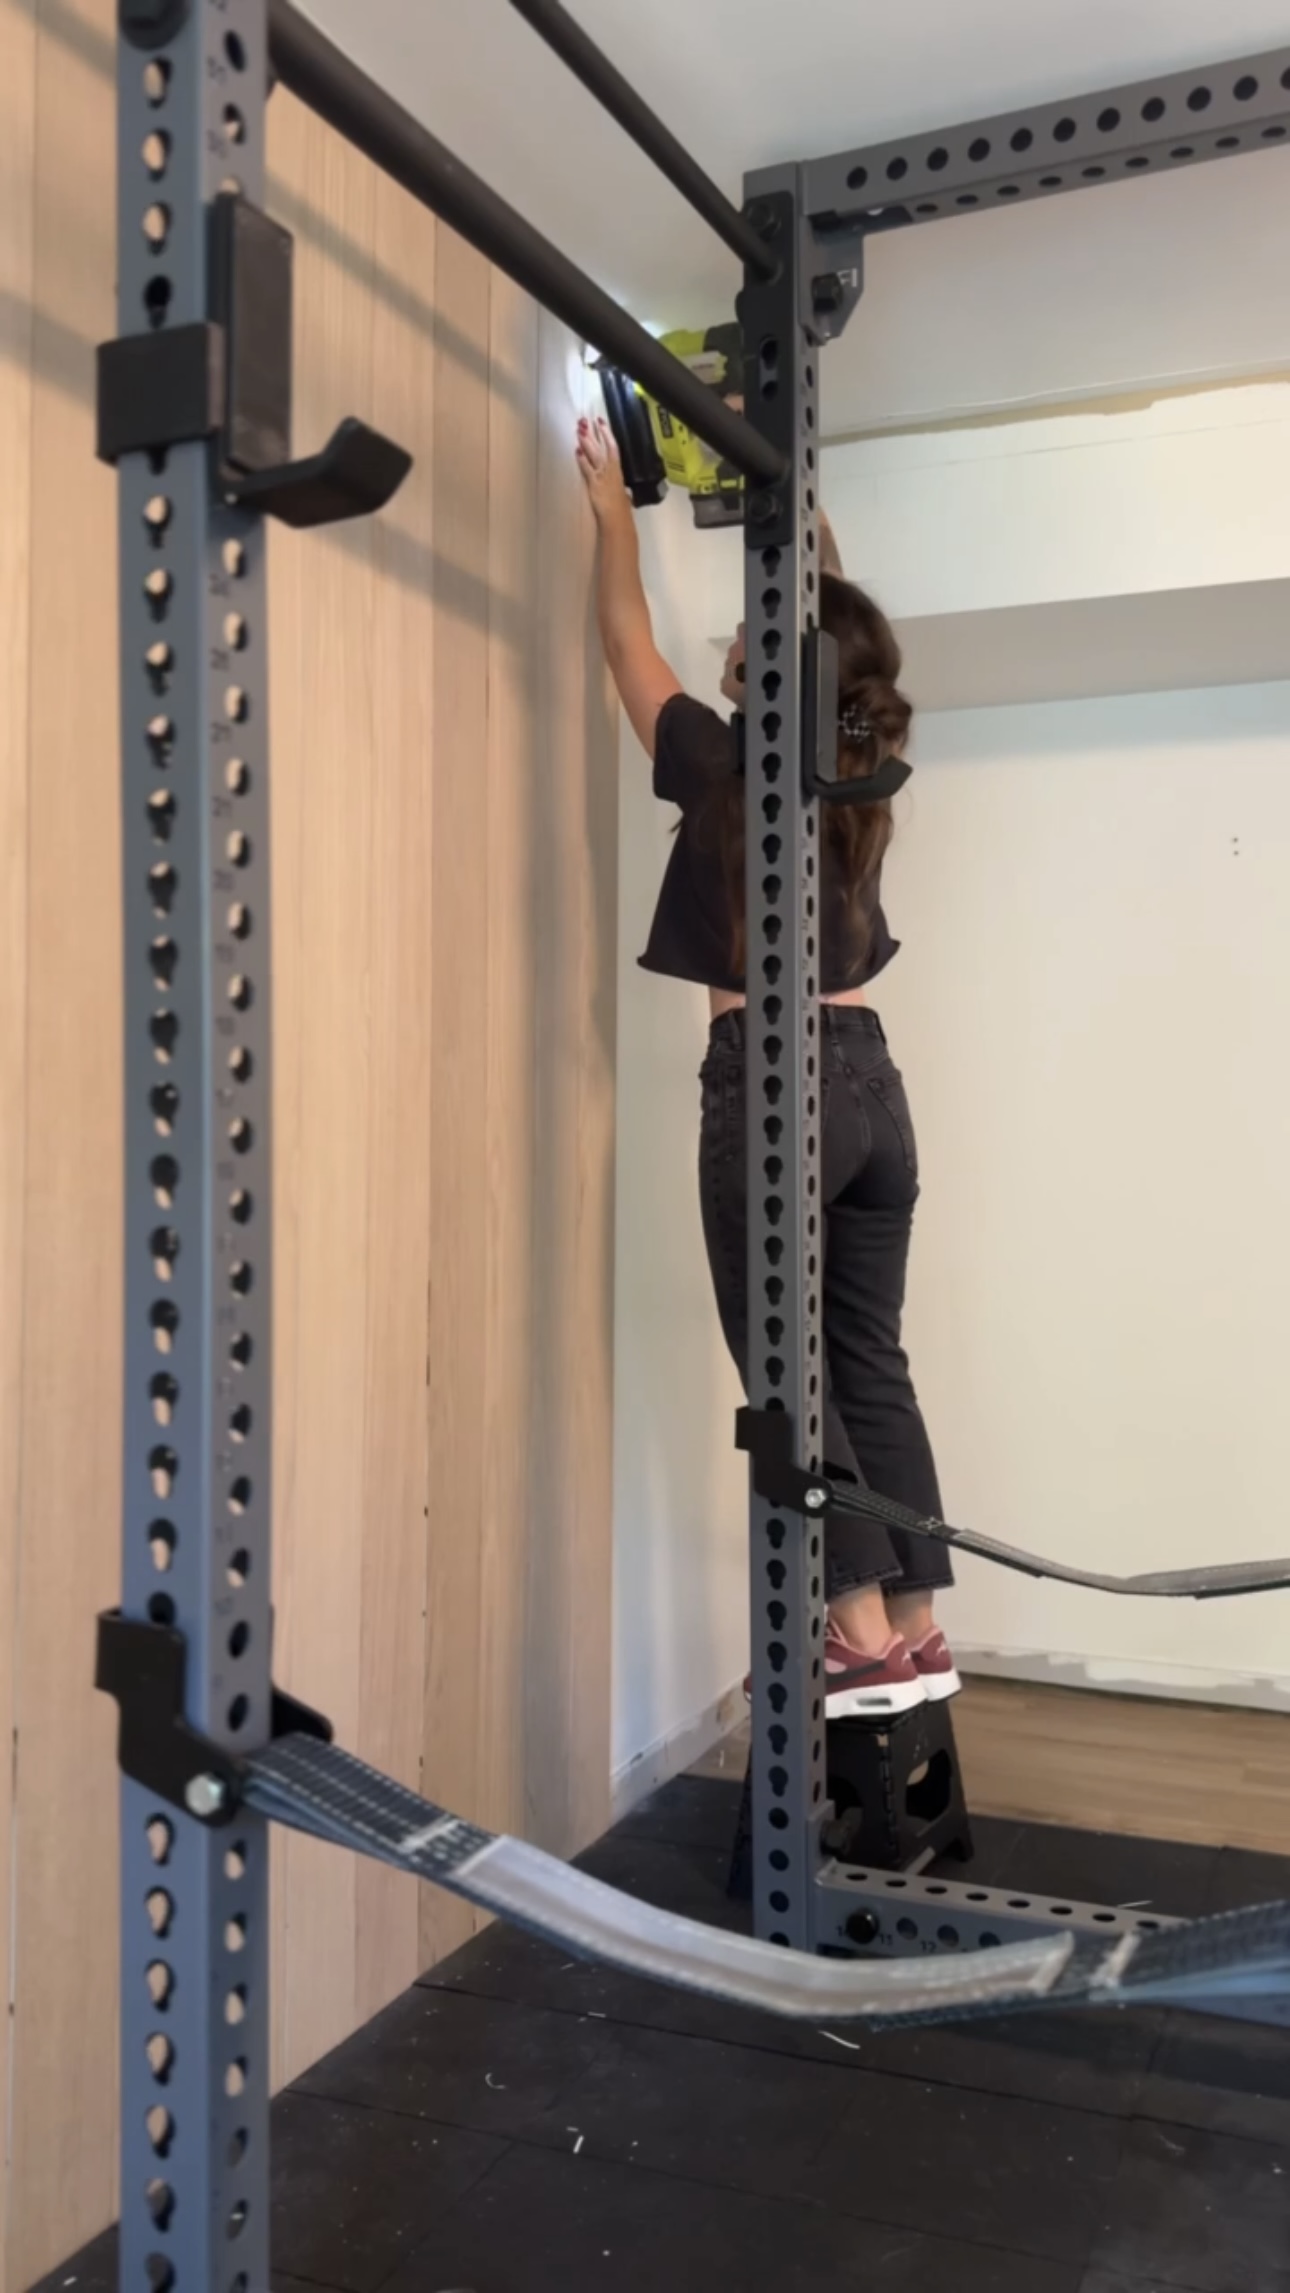
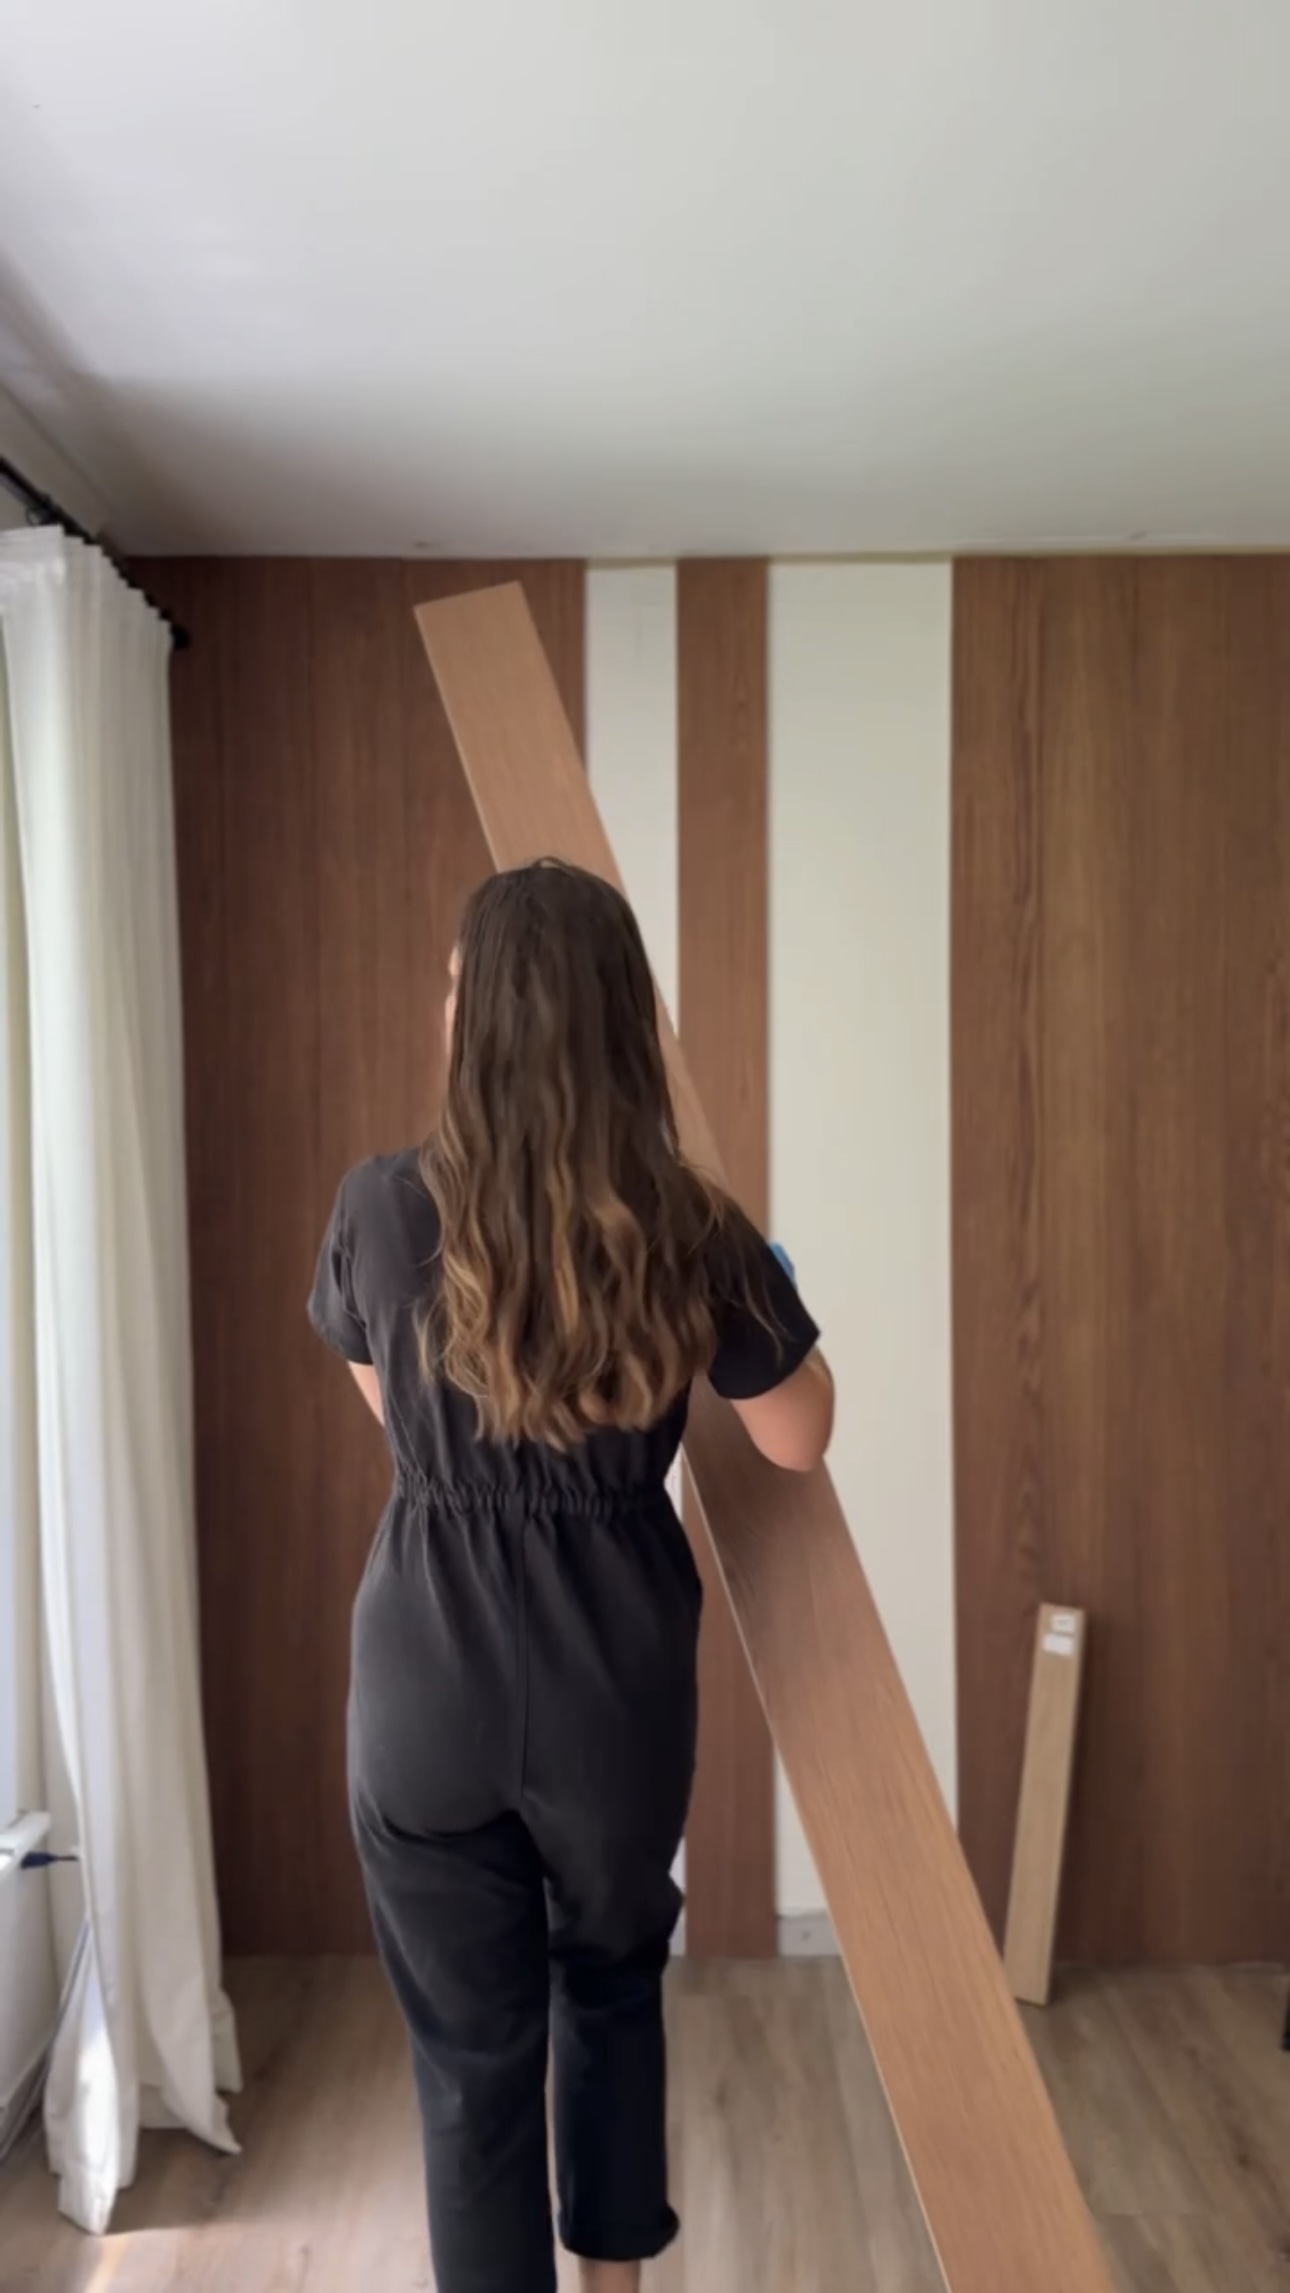
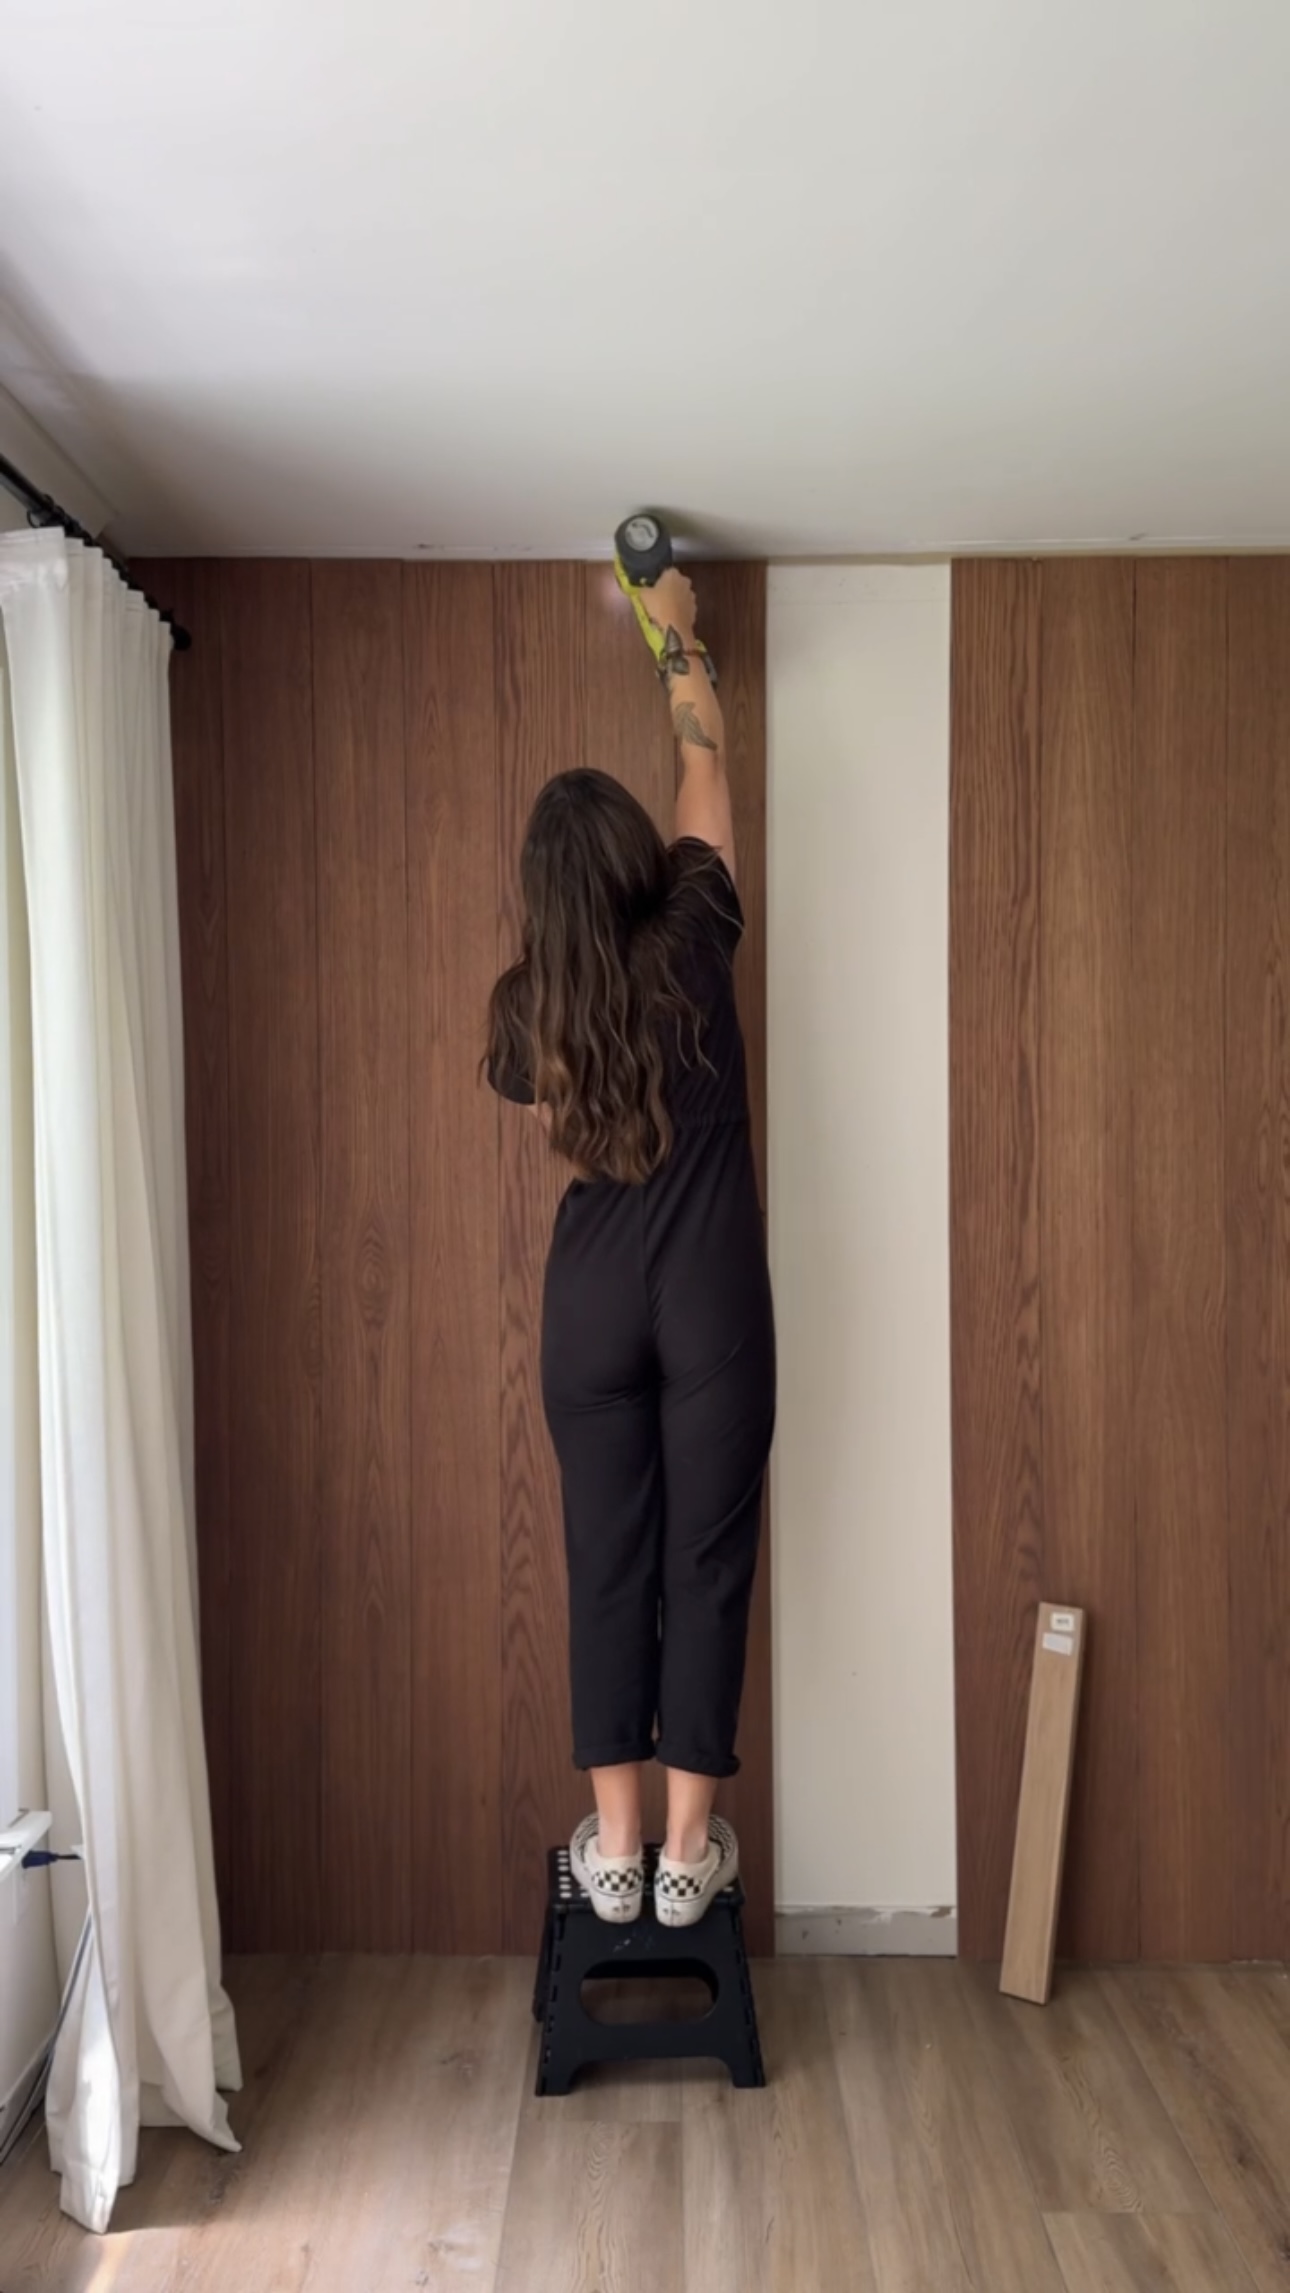
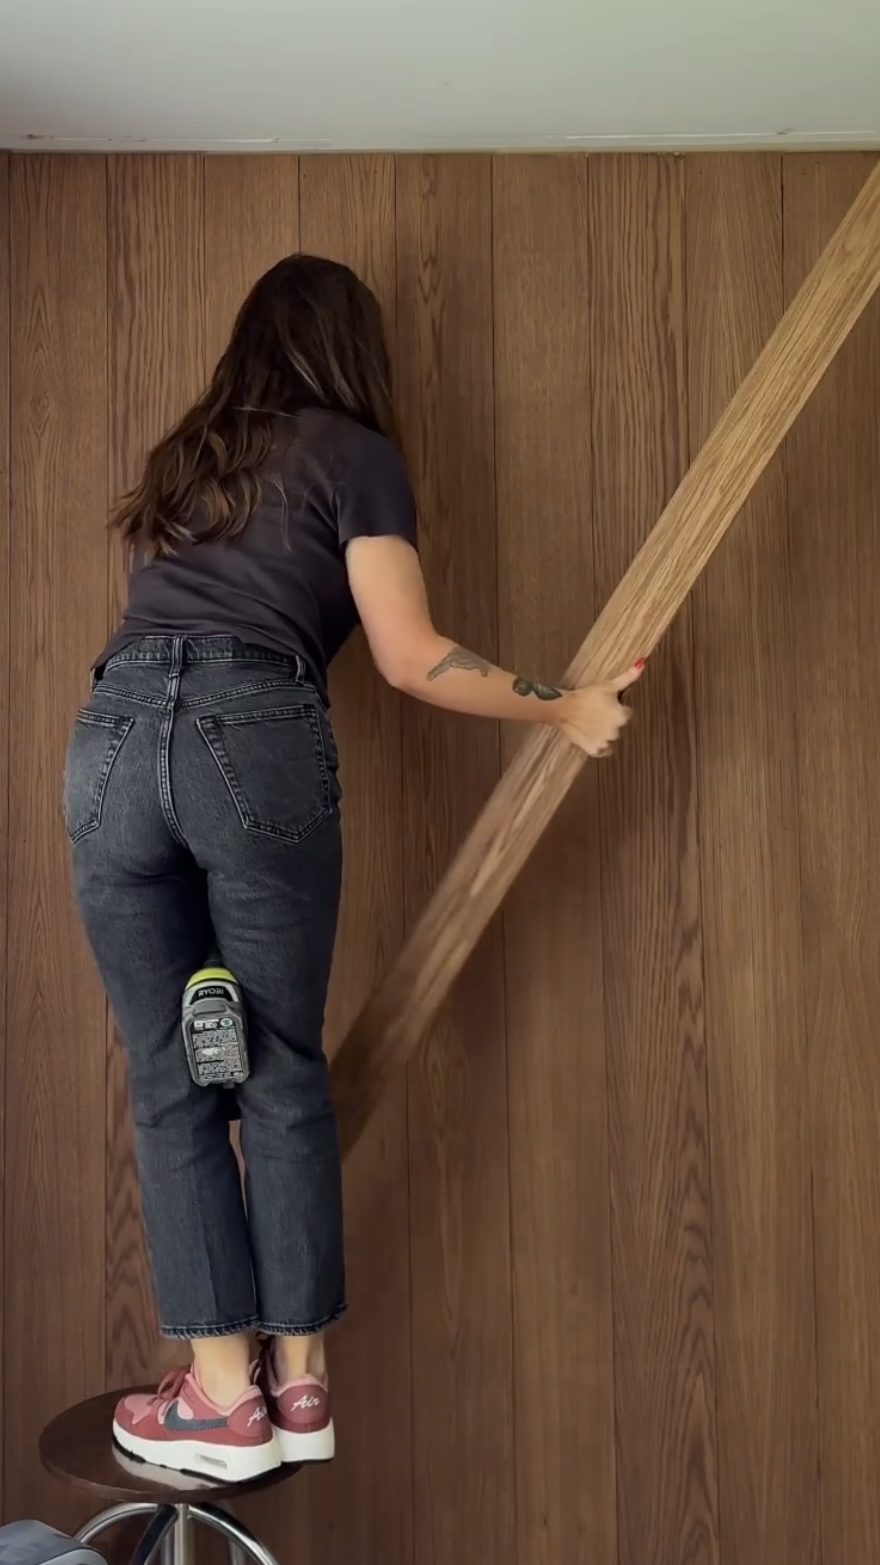
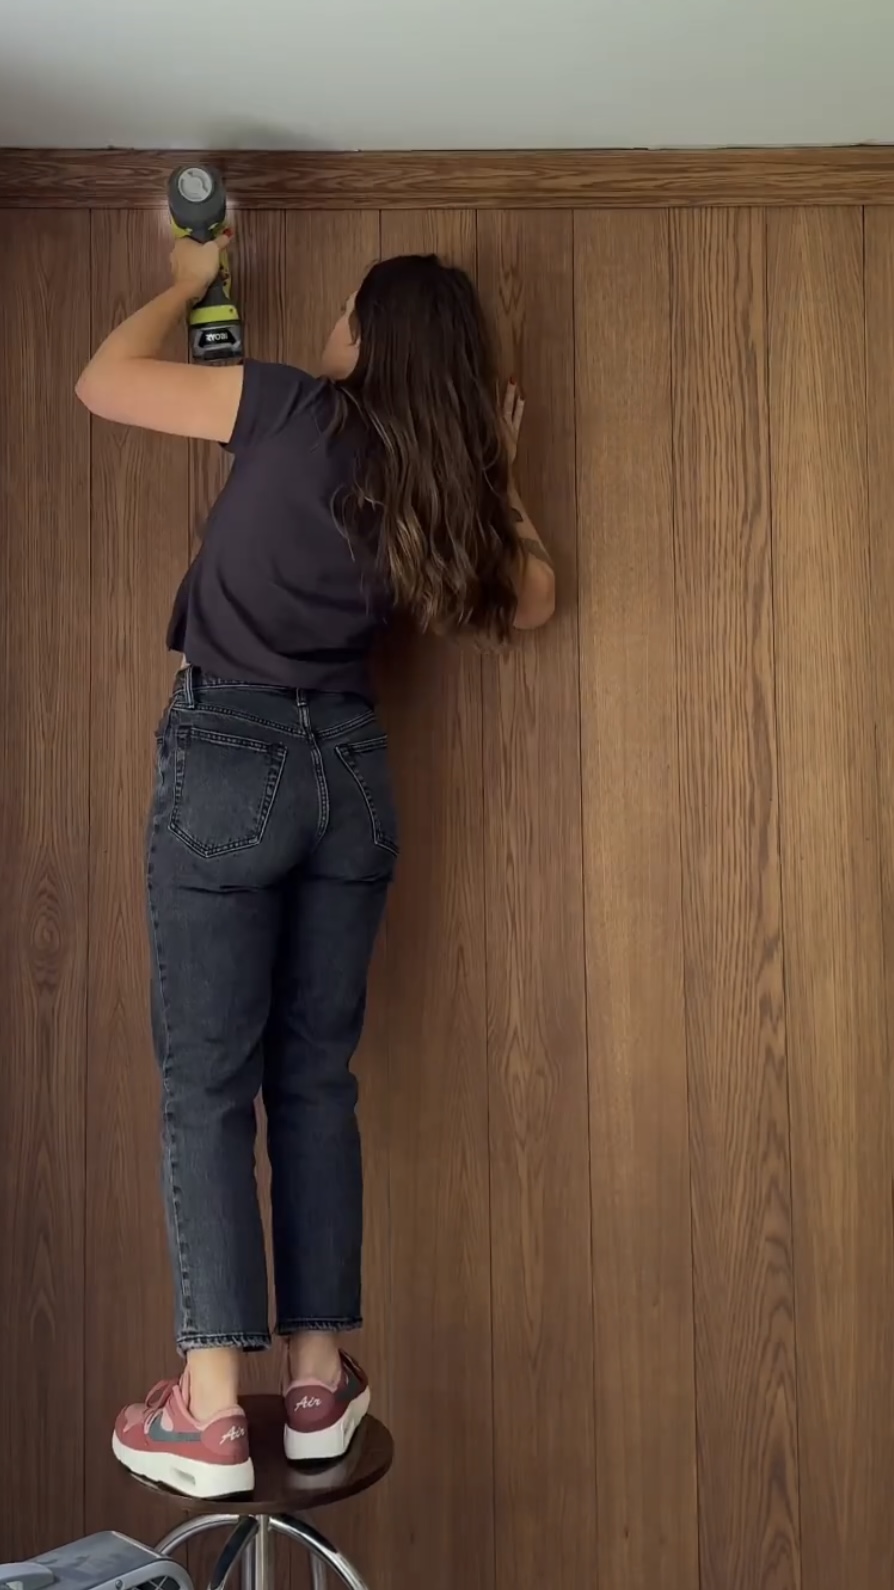
Installation
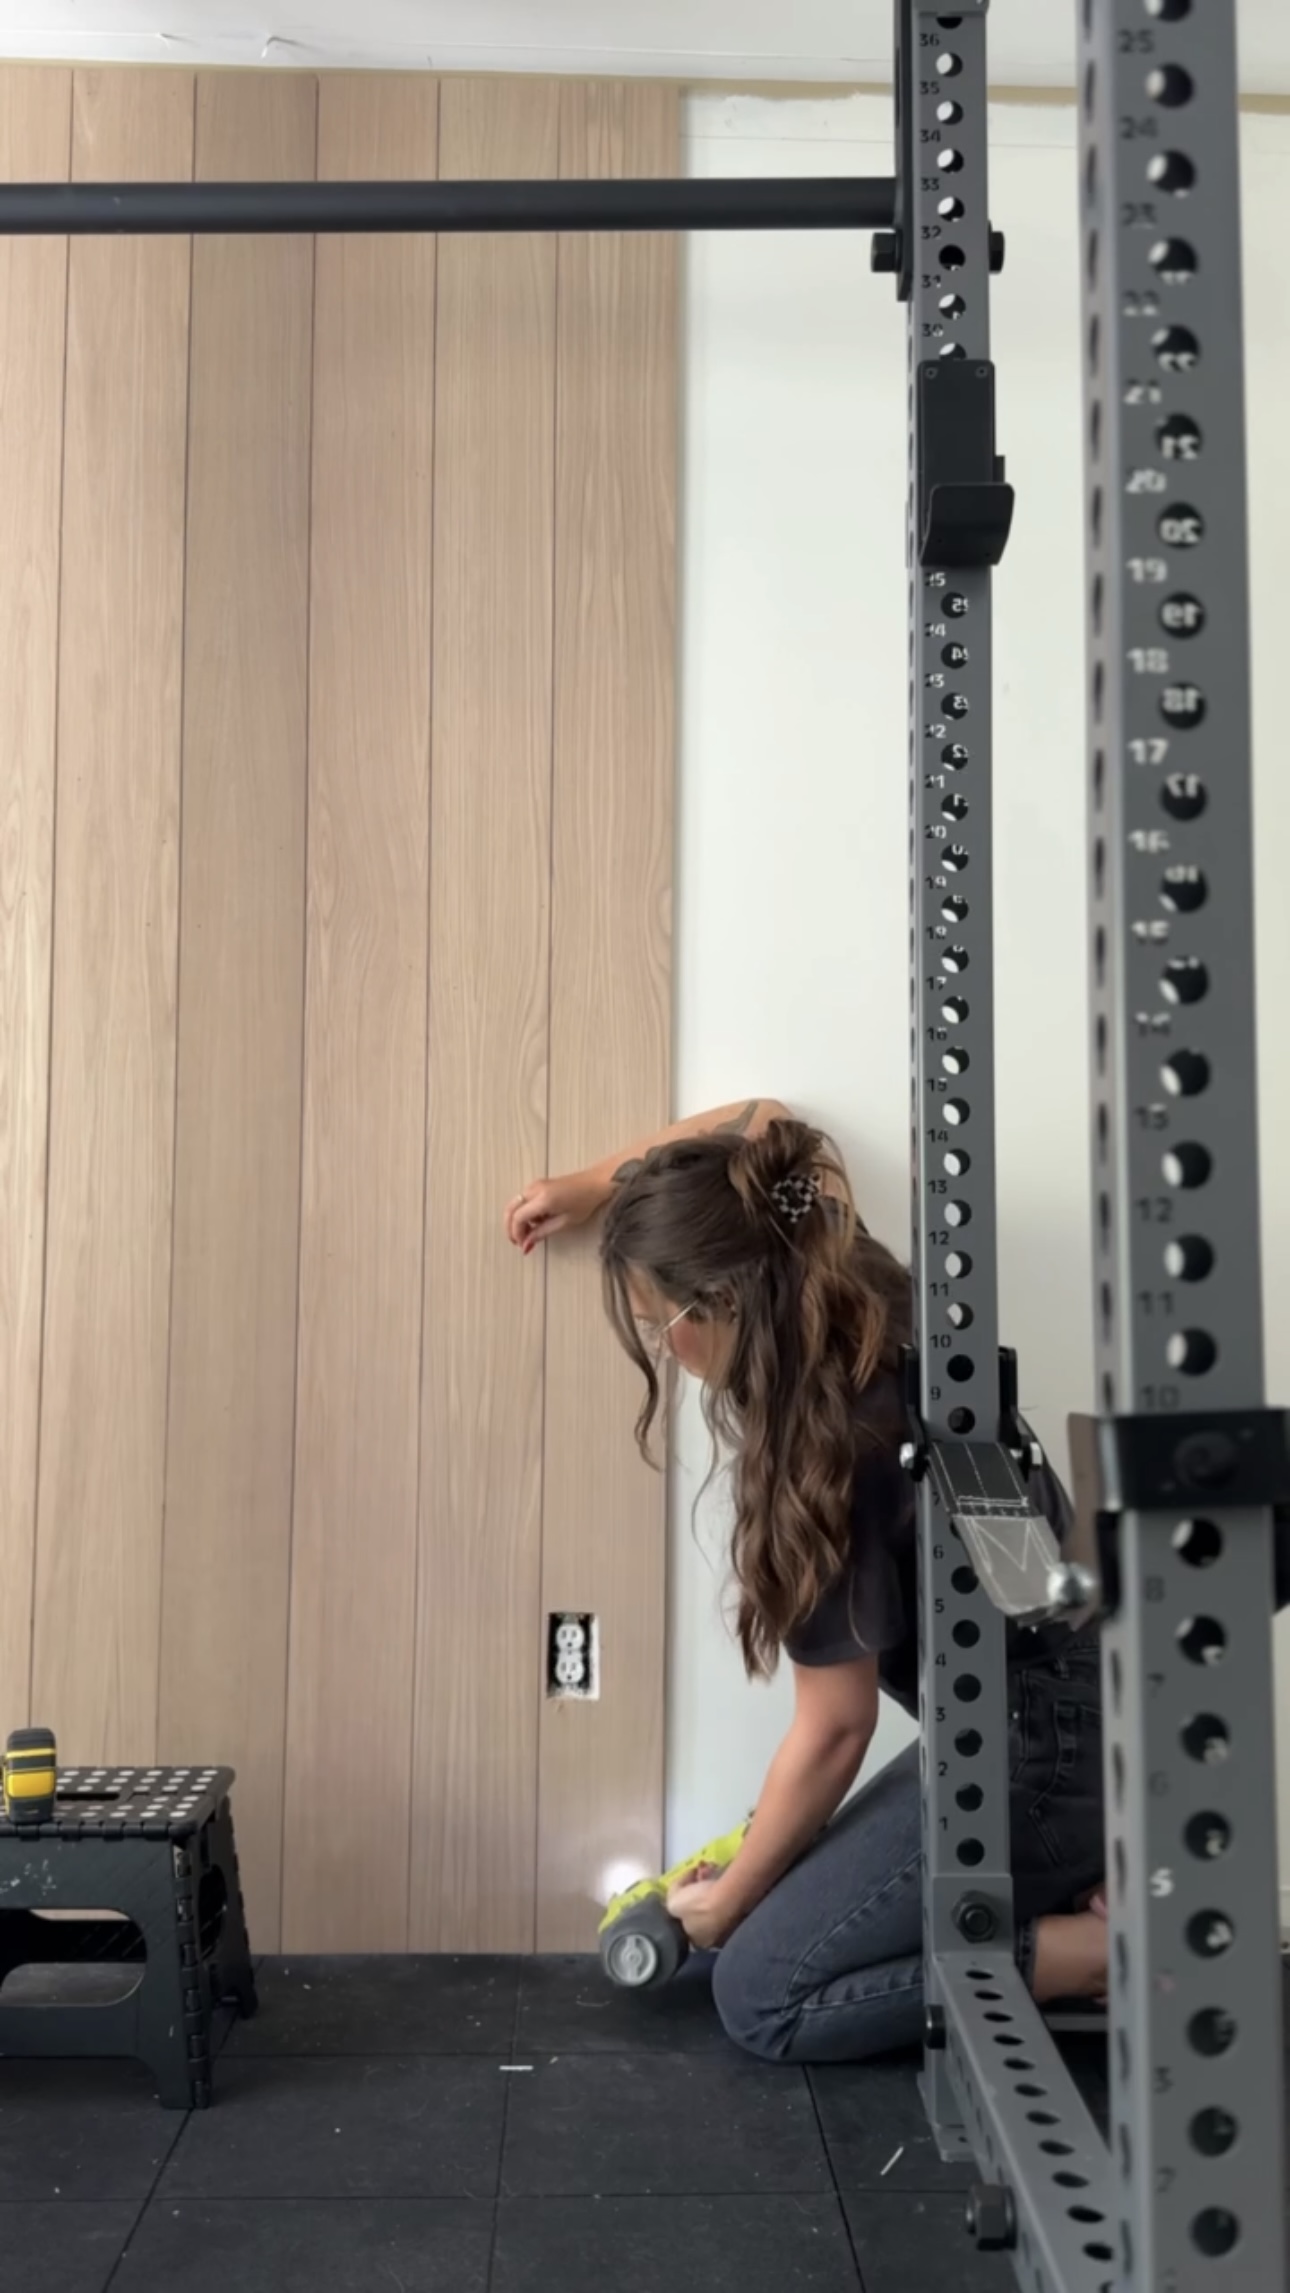
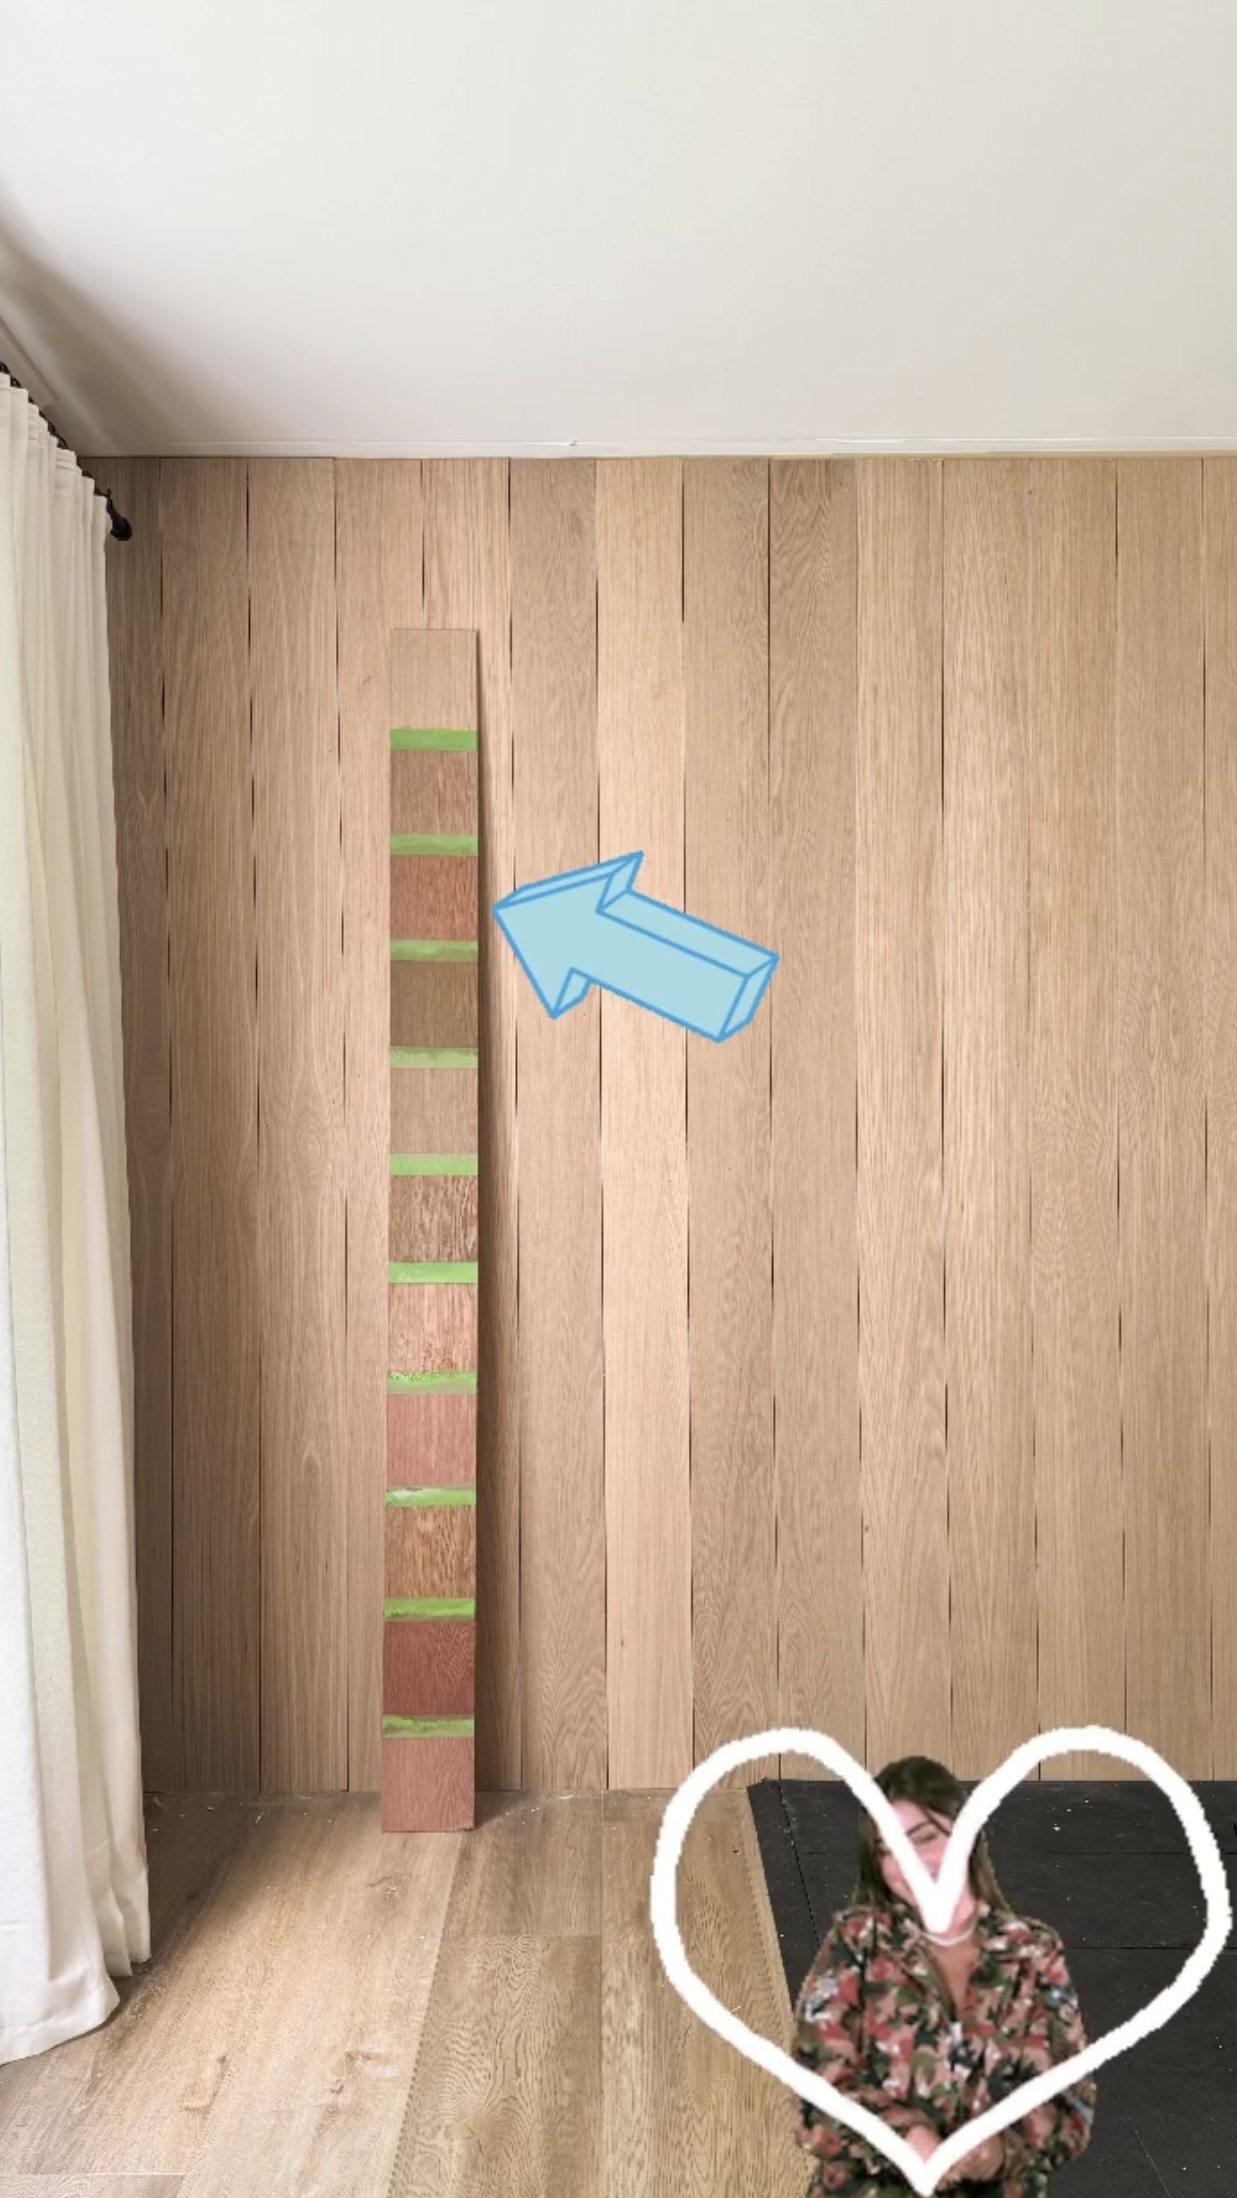
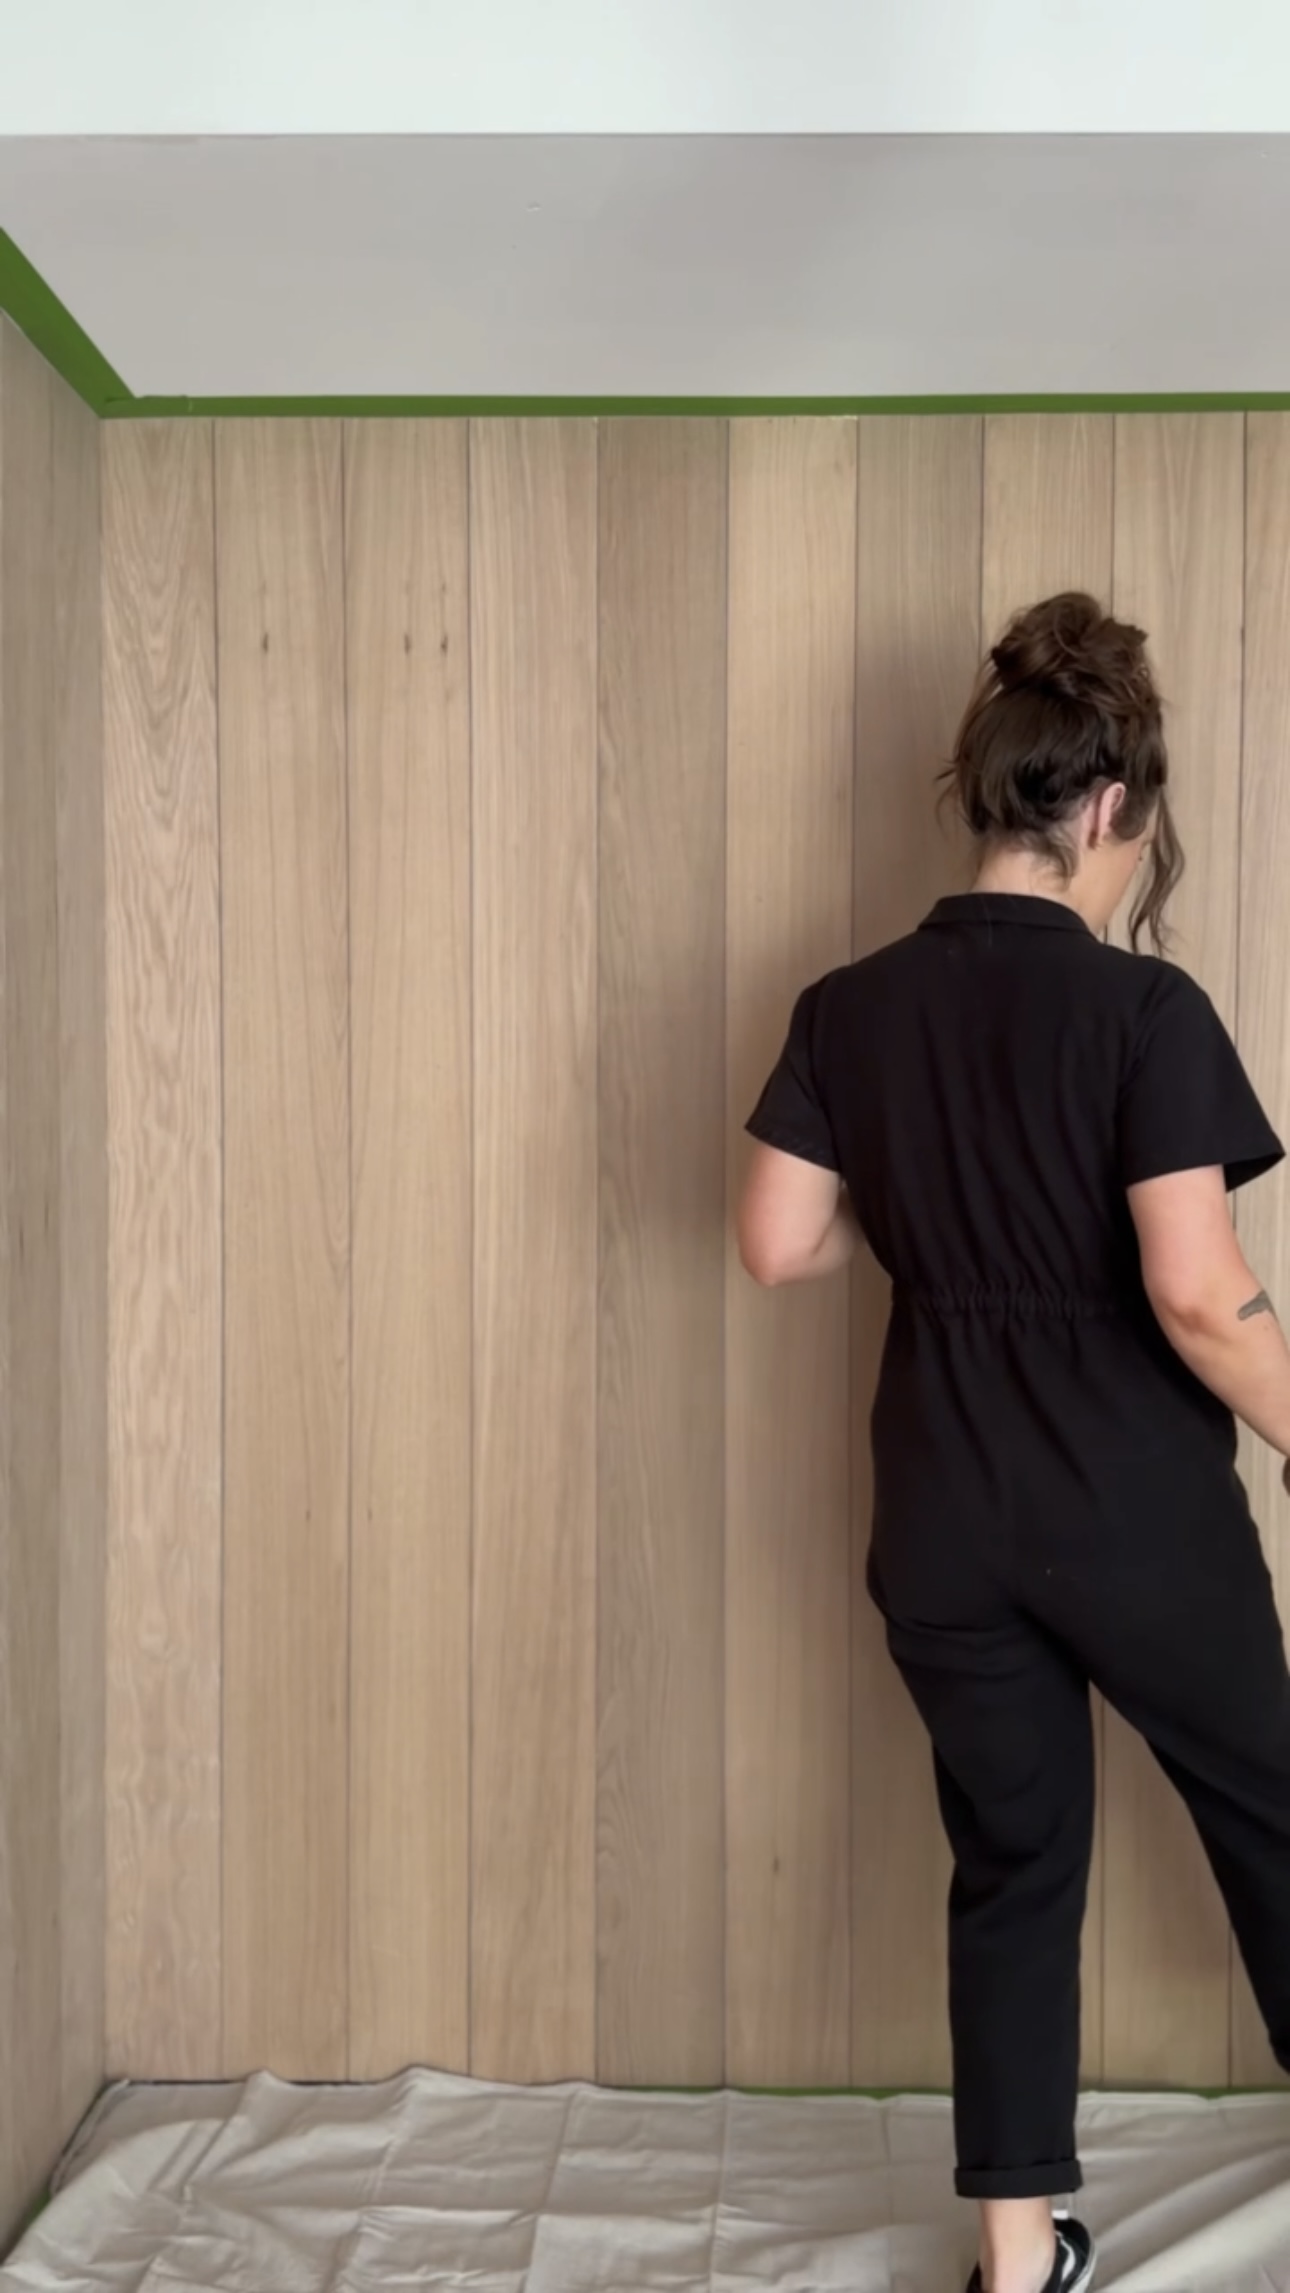
I decided to hang up some planks of wood before being totally done with the cuts. I’d hit my limit with the saw and needed some visual motivation. I used my brad nailer to put these up and I used nickels as spacers between the planks. WOW I am excited.
The goal was to make it look high end and luxurious. But, I was using white oak plywood and doing this on a budget. By using nickels as spacers to make tiny gaps, it made it look like the expensive, tongue and groove white oak.
Some of the boards look a lot different on each side. So, I just picked whatever side I liked better to face out.

Why put the boards up first instead of staining them first?
I got this question a lot. Really, either way would work! I chose to do it this way because if I were to pre-stain the boards, I’d have to do them in segments. I don’t have a space large enough to lay all these boards out flat on the ground, stain, buff, and wait for them to dry. I’d have to do that inside anyway. AND I have bad back so doing a lot of bending over work is not good for me. So that’s why I decided to hang the boards first!
Stain
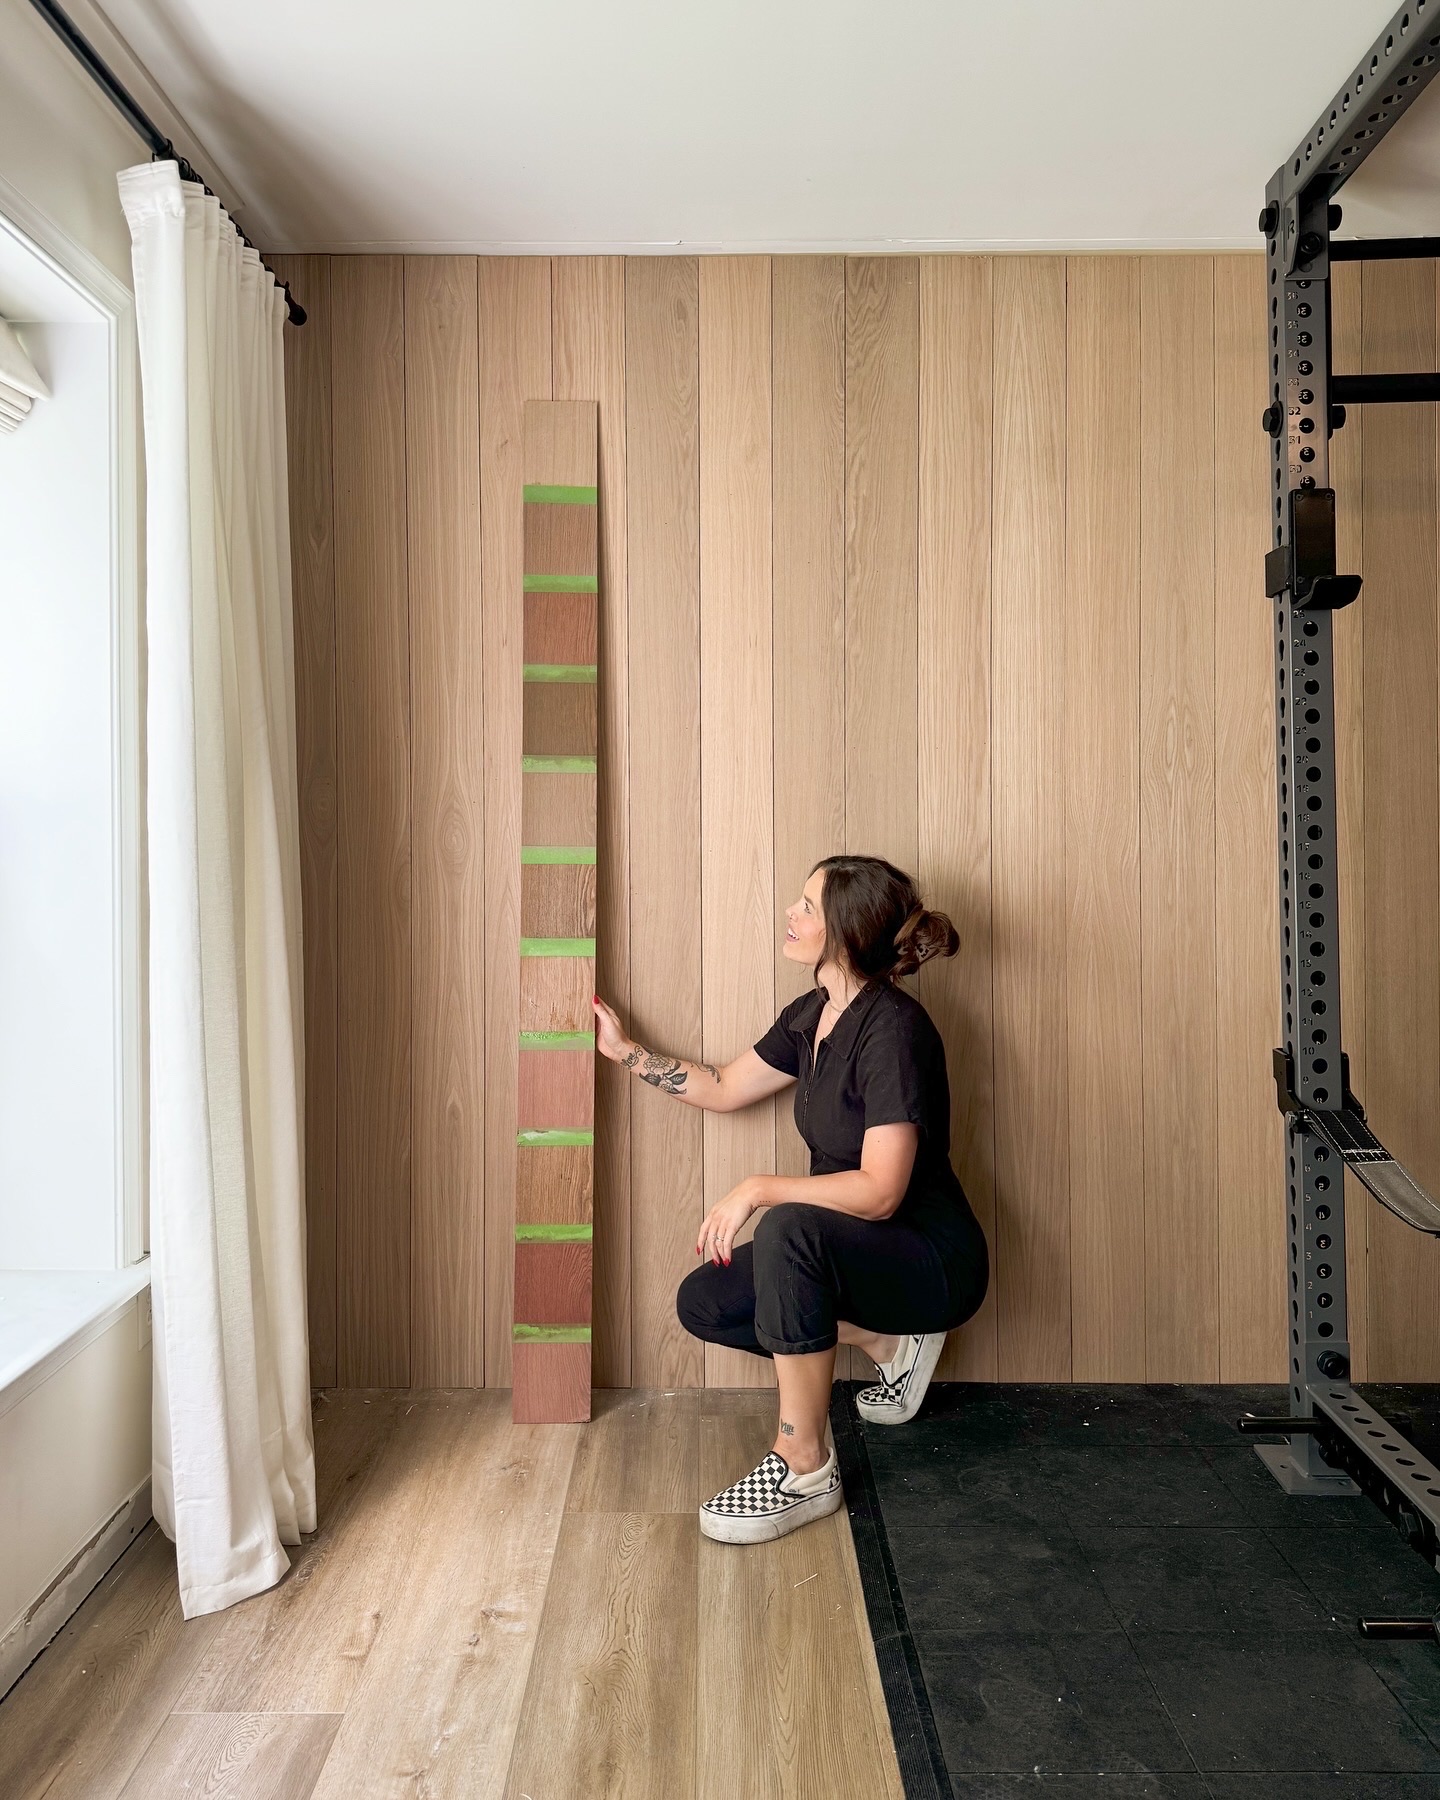
After putting up my Flexia reformer, I decided I wanted to pick a color for the wall that would compliment the wood floor and the reformer. I was a bit traumatized by The Cursed Console Table & that entire staining experience. SO many people recommended I use Rubio Monocoat. It’s a one-step stain and apparently it’s amazing! I bought a ton of samples to try out as many stains as I could before making a decision
Materials for Stain
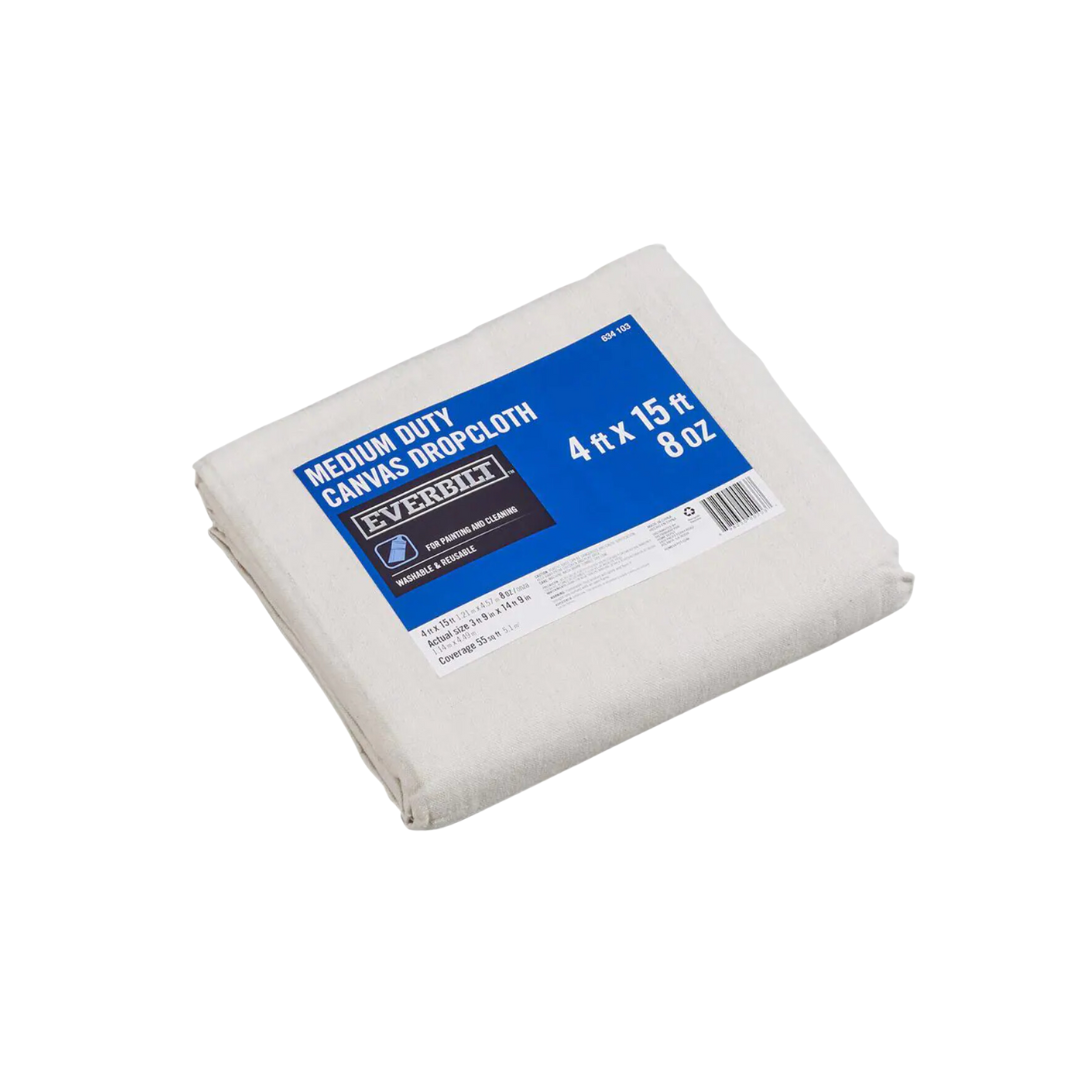
- Drop Cloth
- Step Ladder
- Rags
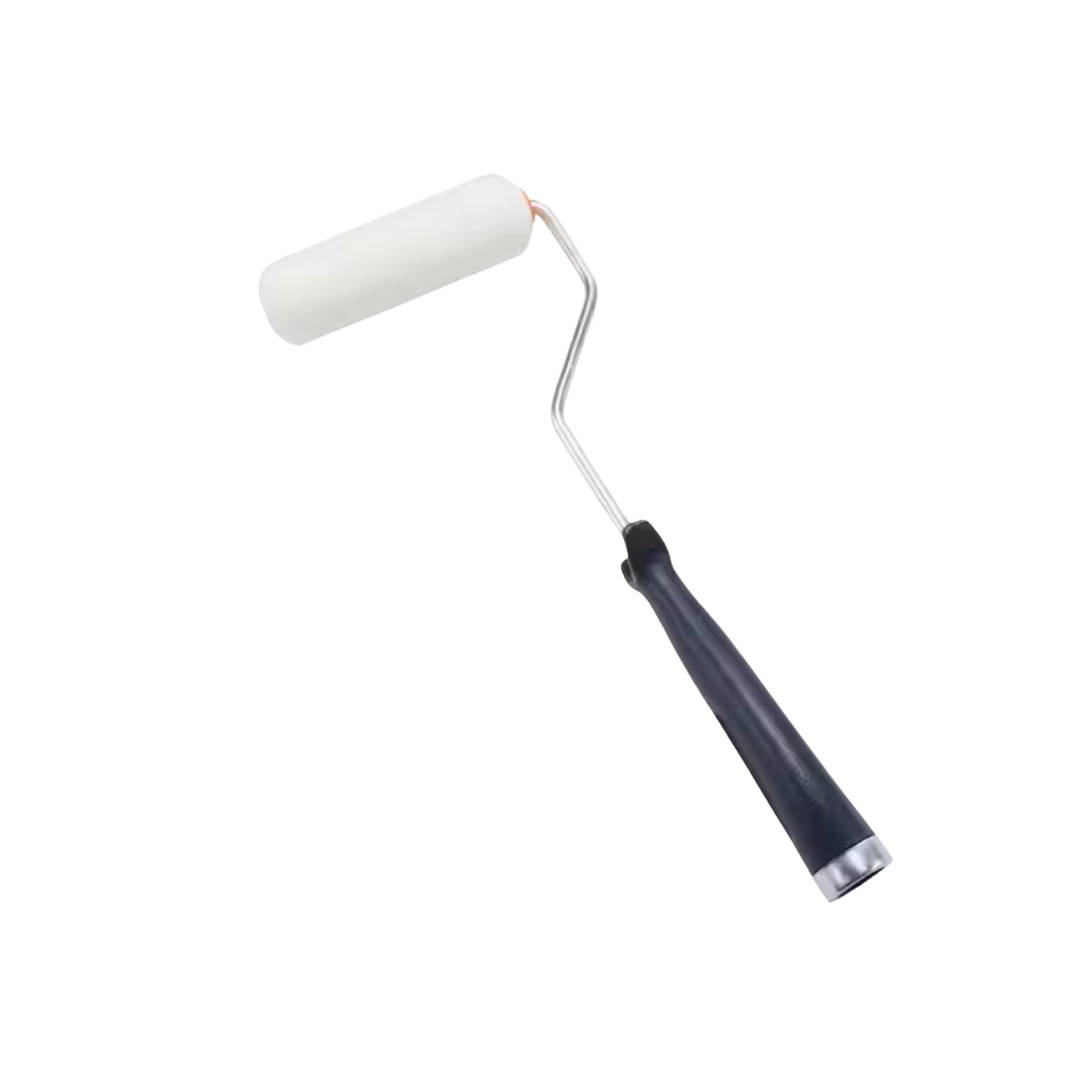
- Paint Roller
- Aqua Rubio Monocoat
- Ice Brown Rubio Monocoat
- Pure Rubio Monocoat
- Disposable Gloves

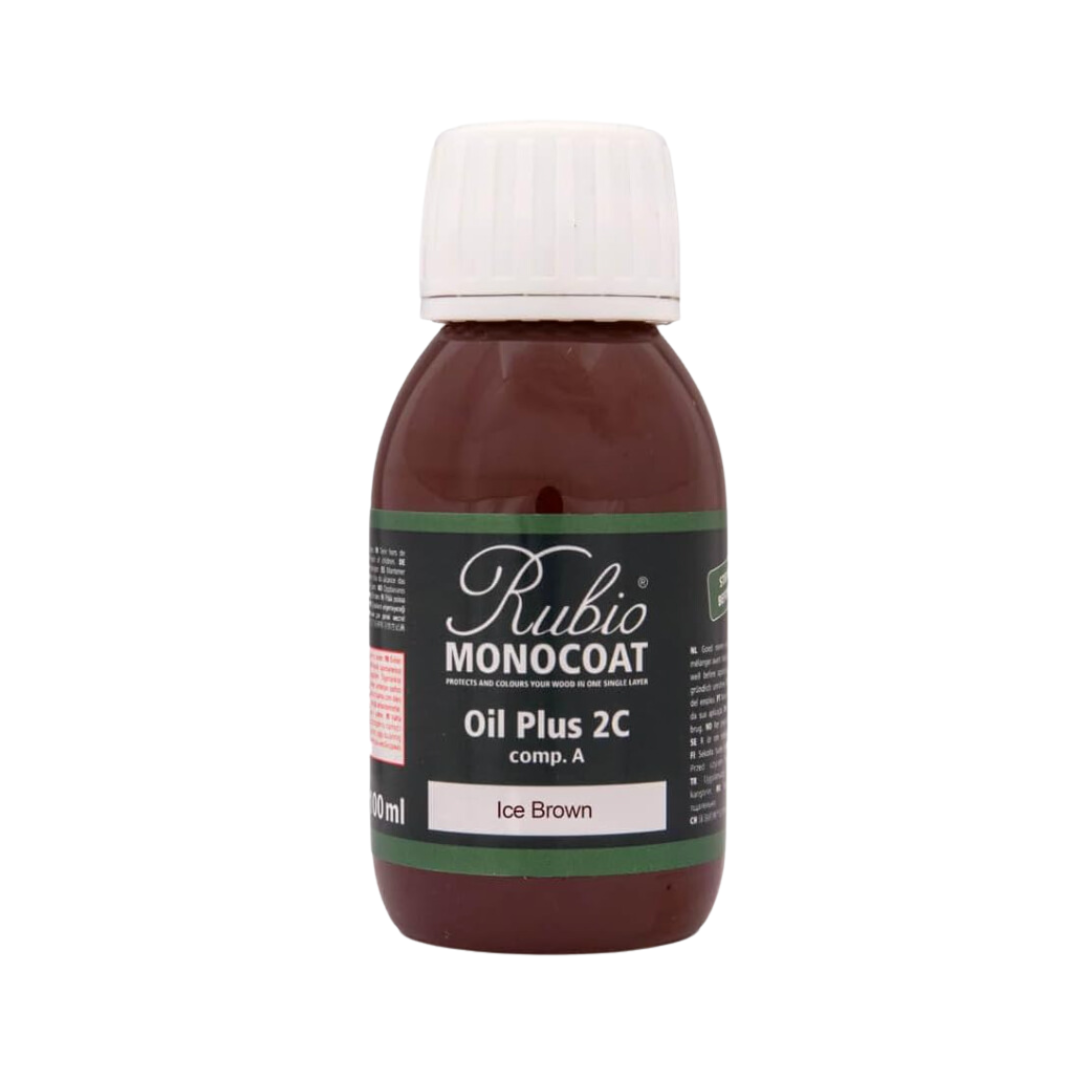


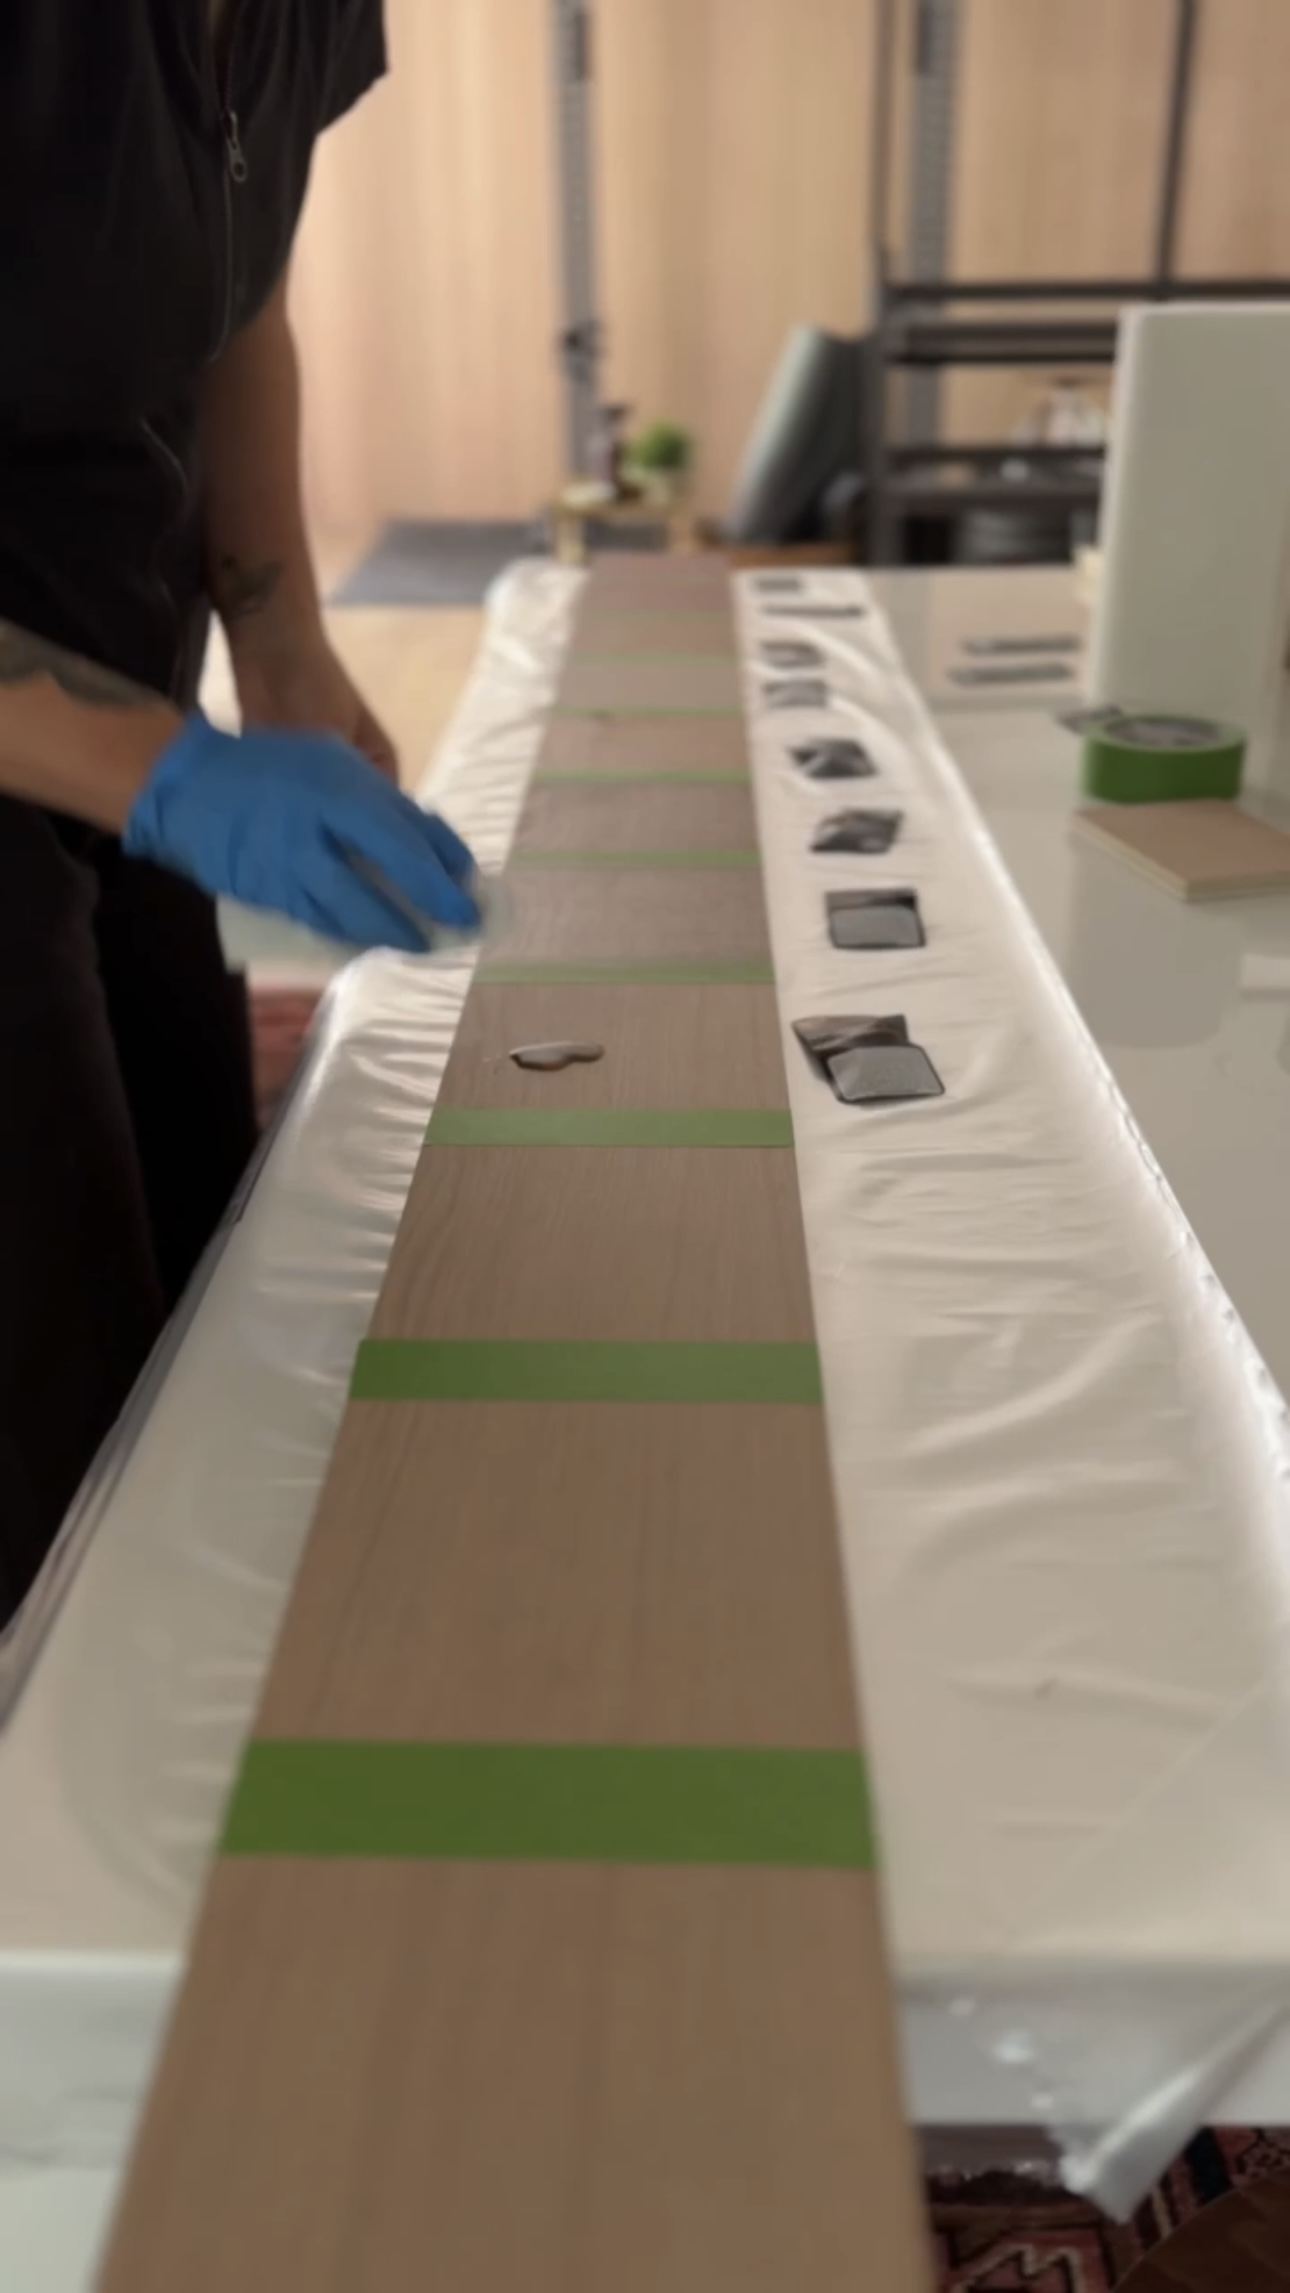
I felt like a mad scientist trying to figure out my stain combination. I mixed like 40 different combinations. When I mixed the two most random colors together, it was the one! This combination was 1 part aqua, 2 parts ice brown, and 1 part pure and DANG I love this color.
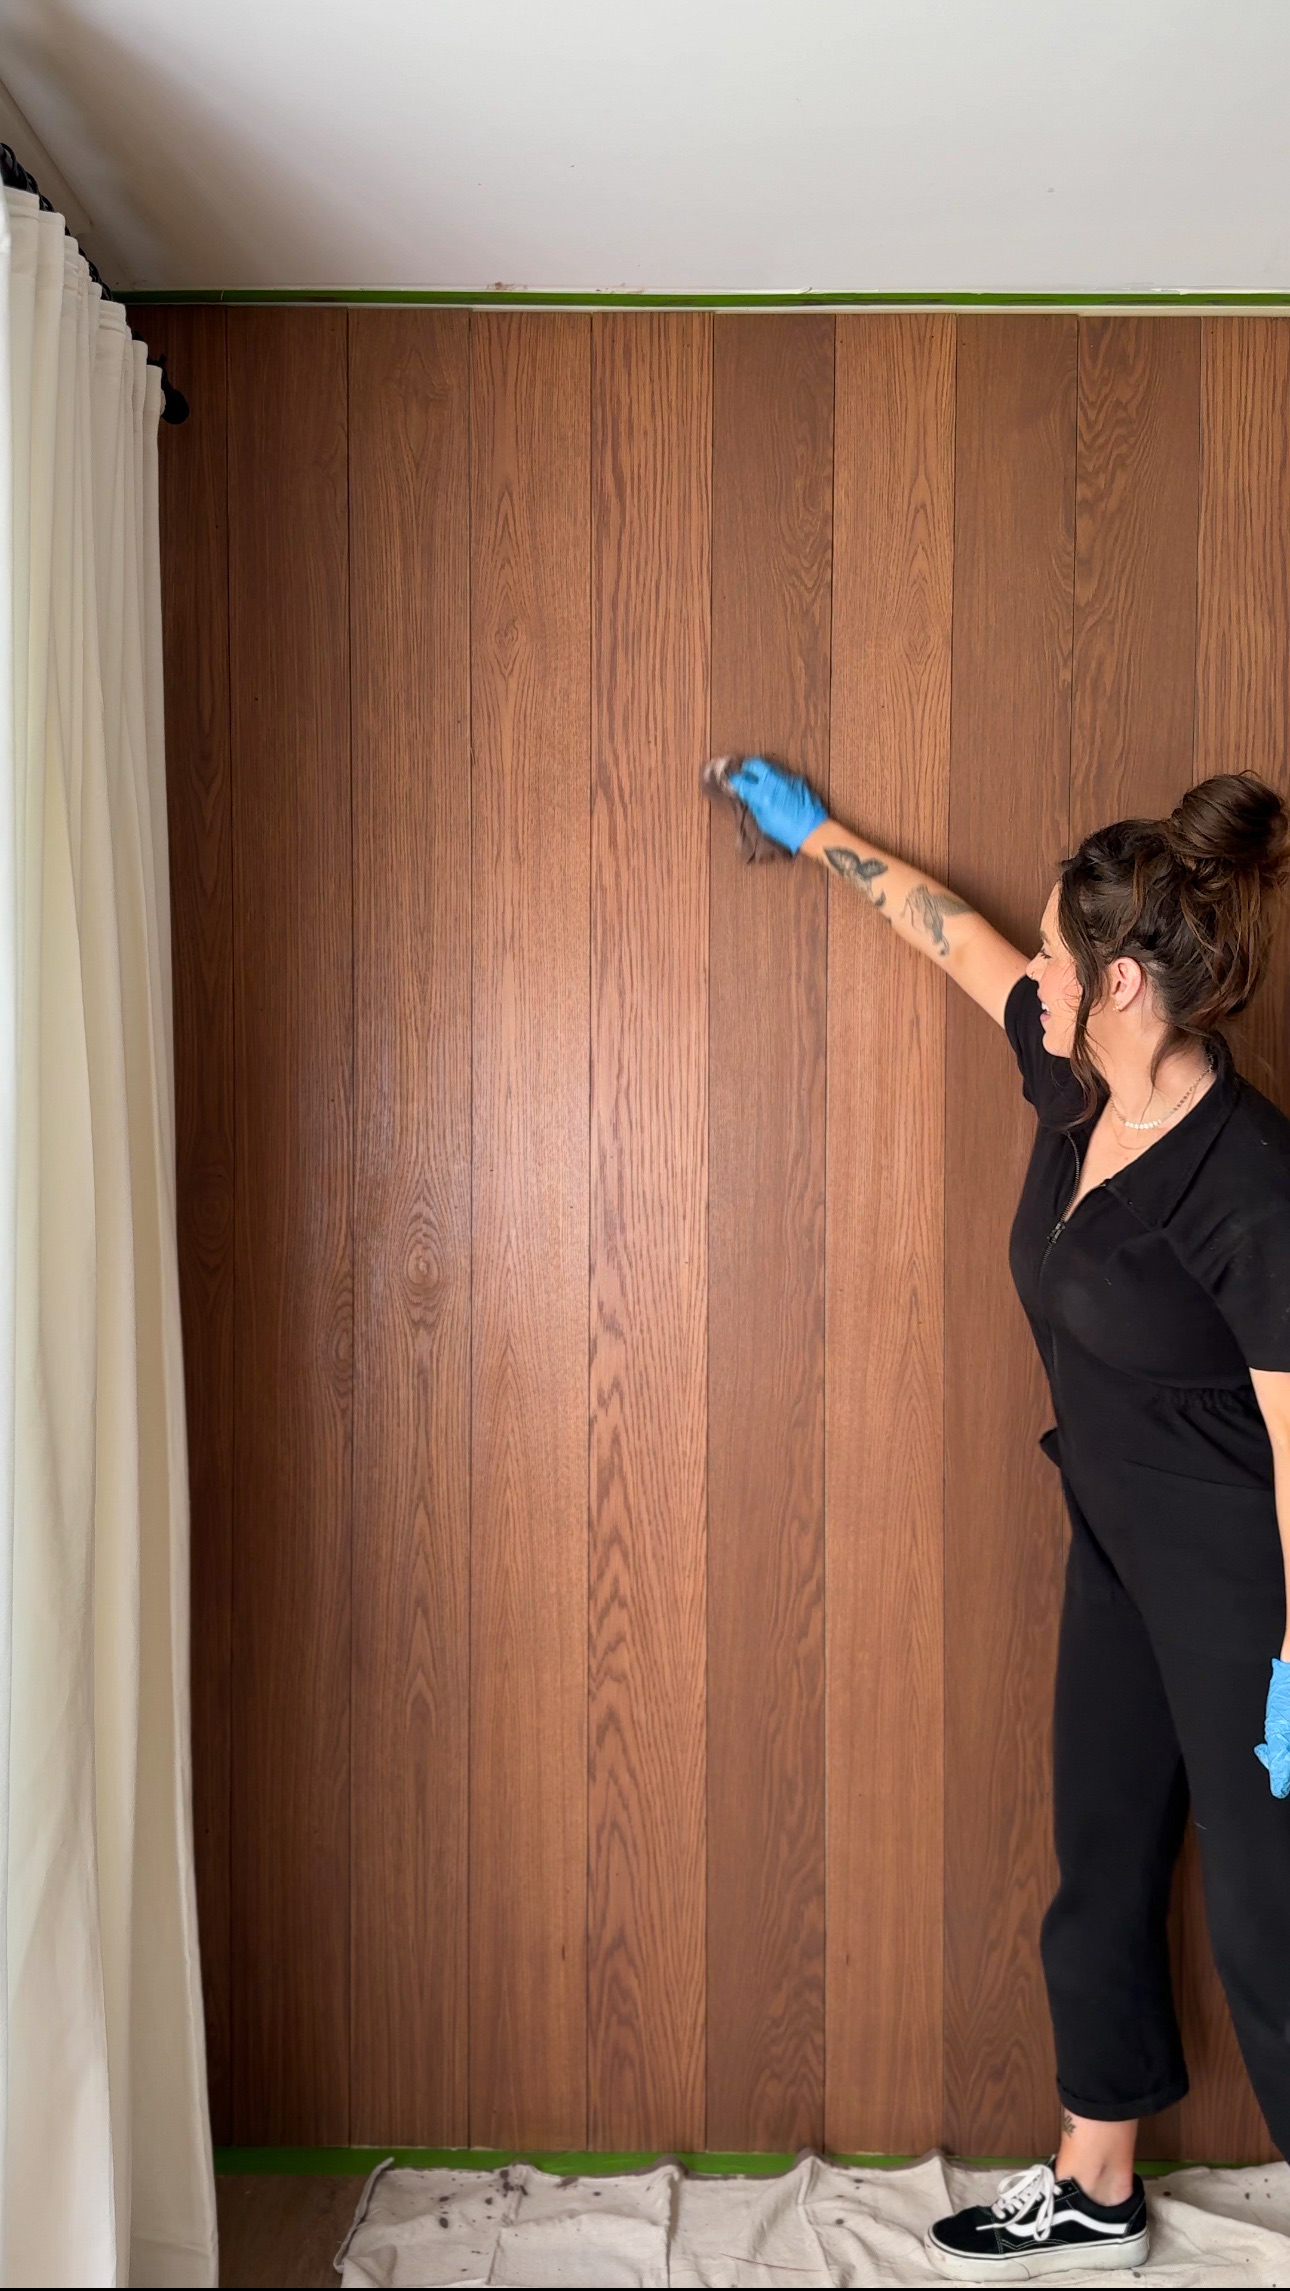
Then, I got to staining! First, I made sure to lay out a drop cloth to protect my flooring. I mixed a bigger amount of my stain concoction and rolled it on with a paint roller and then went over it with a rag.
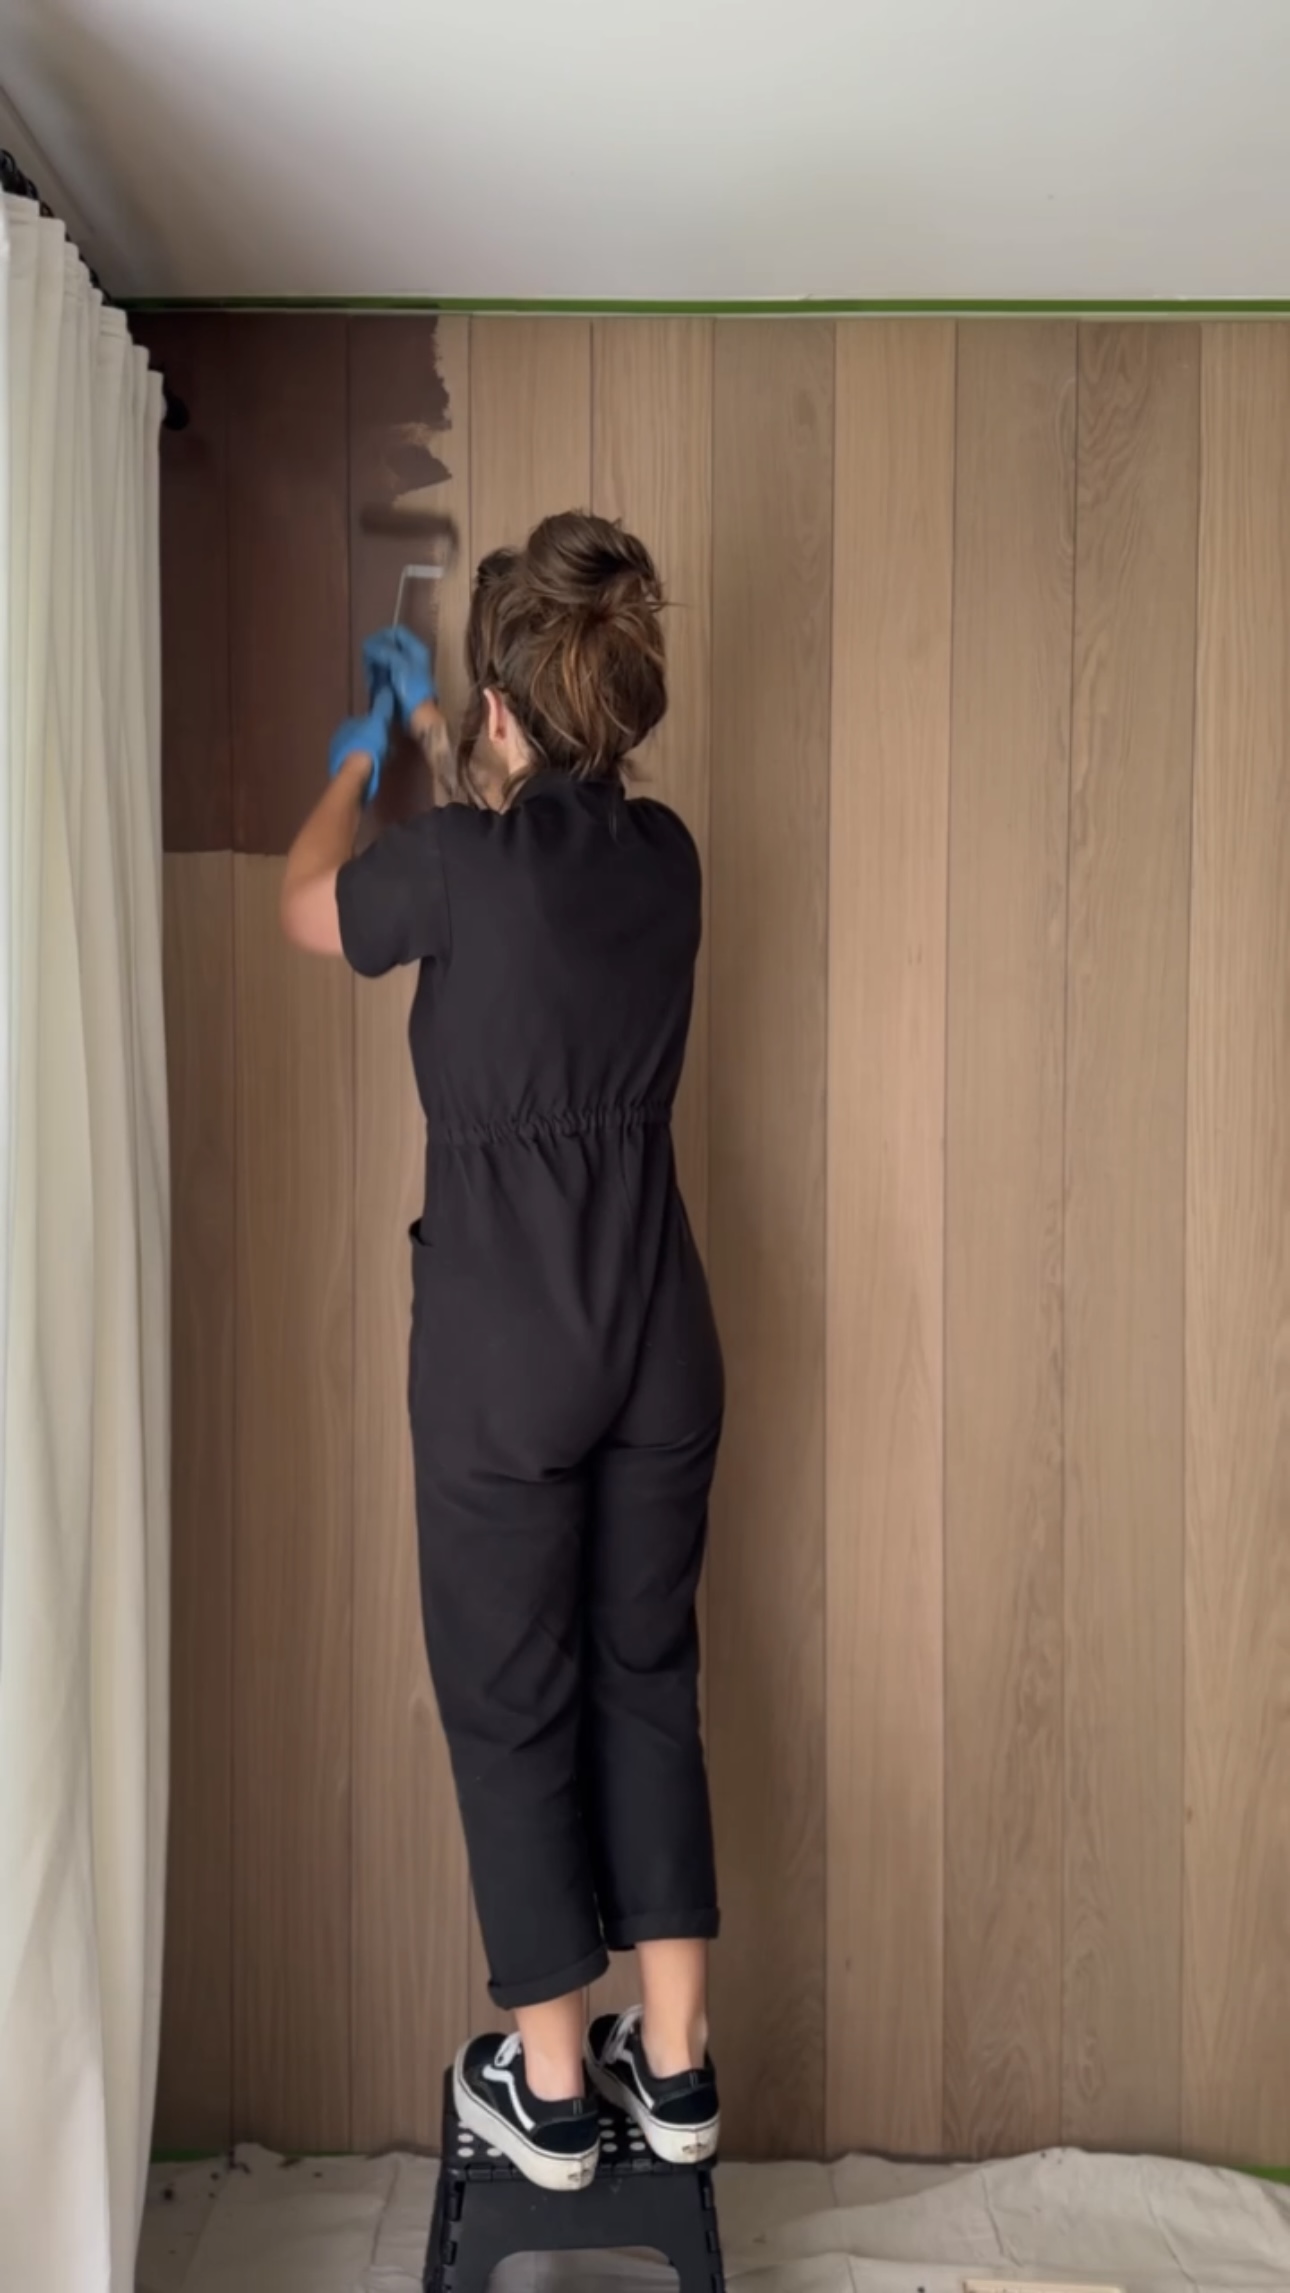
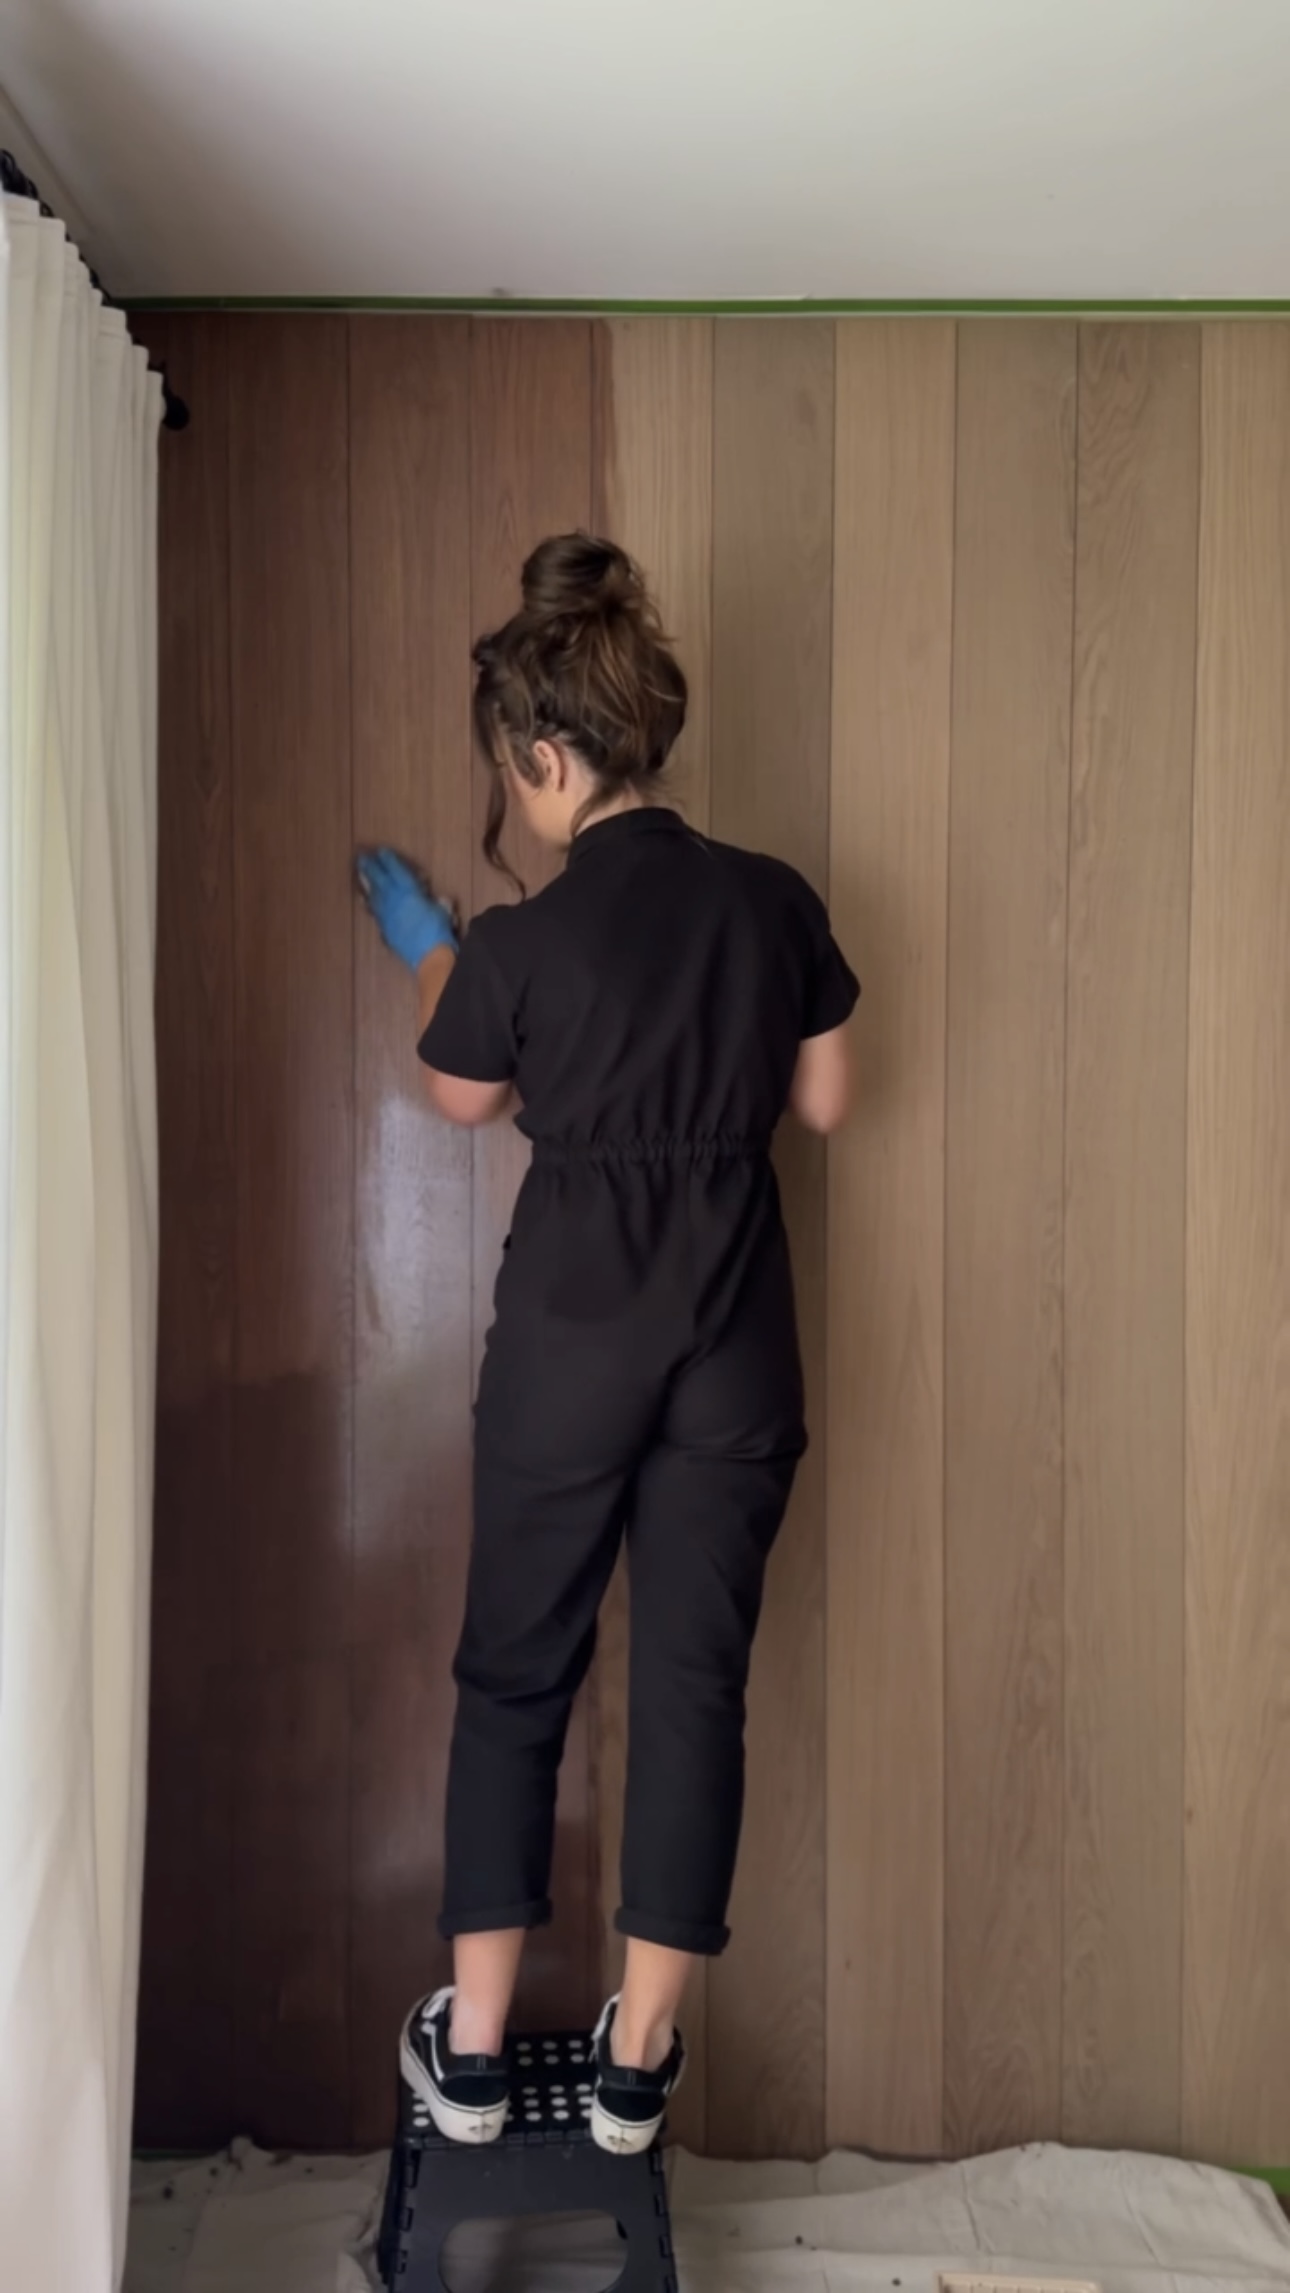
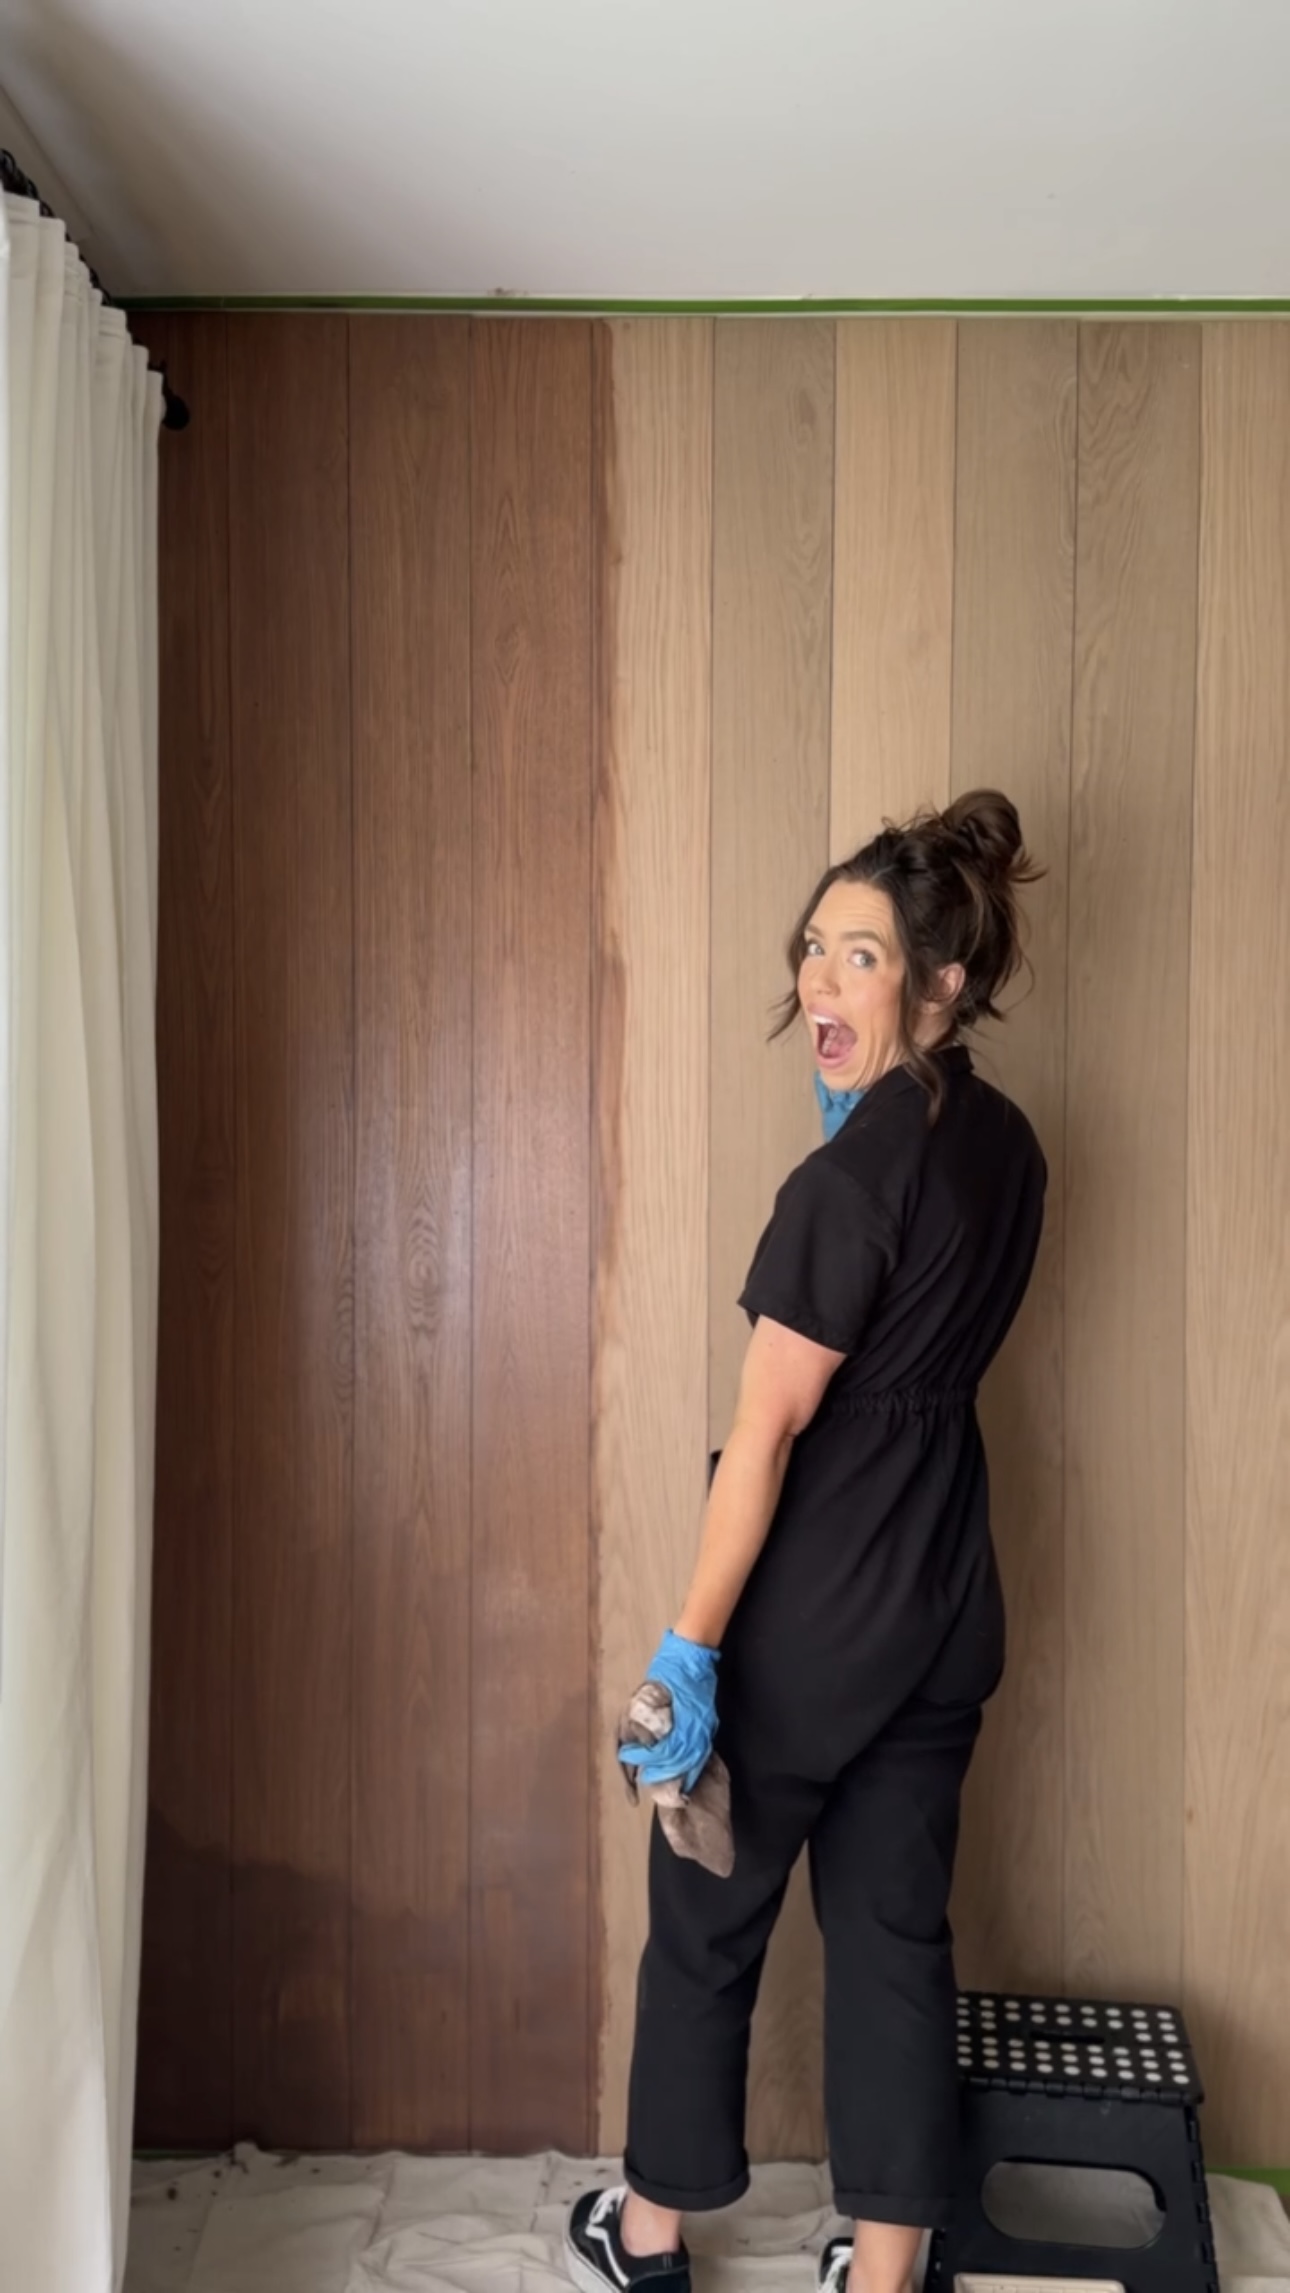
Rubio Monocoat really impressed me. I understand why so many people recommend it! It goes on like butter. I didn’t run into any issues or any lap lines. I’m sold!
*Warning about staining
Something very scary happened in the midst of this project. We were woken up at 2am by smoke alarms and very quickly realized there was a fire in our home. When I was staining these wood planks, I was tossing the rags into a bag hanging on the squat rack which is a HUGE no-no. I knew that but I was not thinking at all. Stain is extremely flammable and can combust when it dries. You’re supposed to let stain rags dry out before you put them into a bag or container.


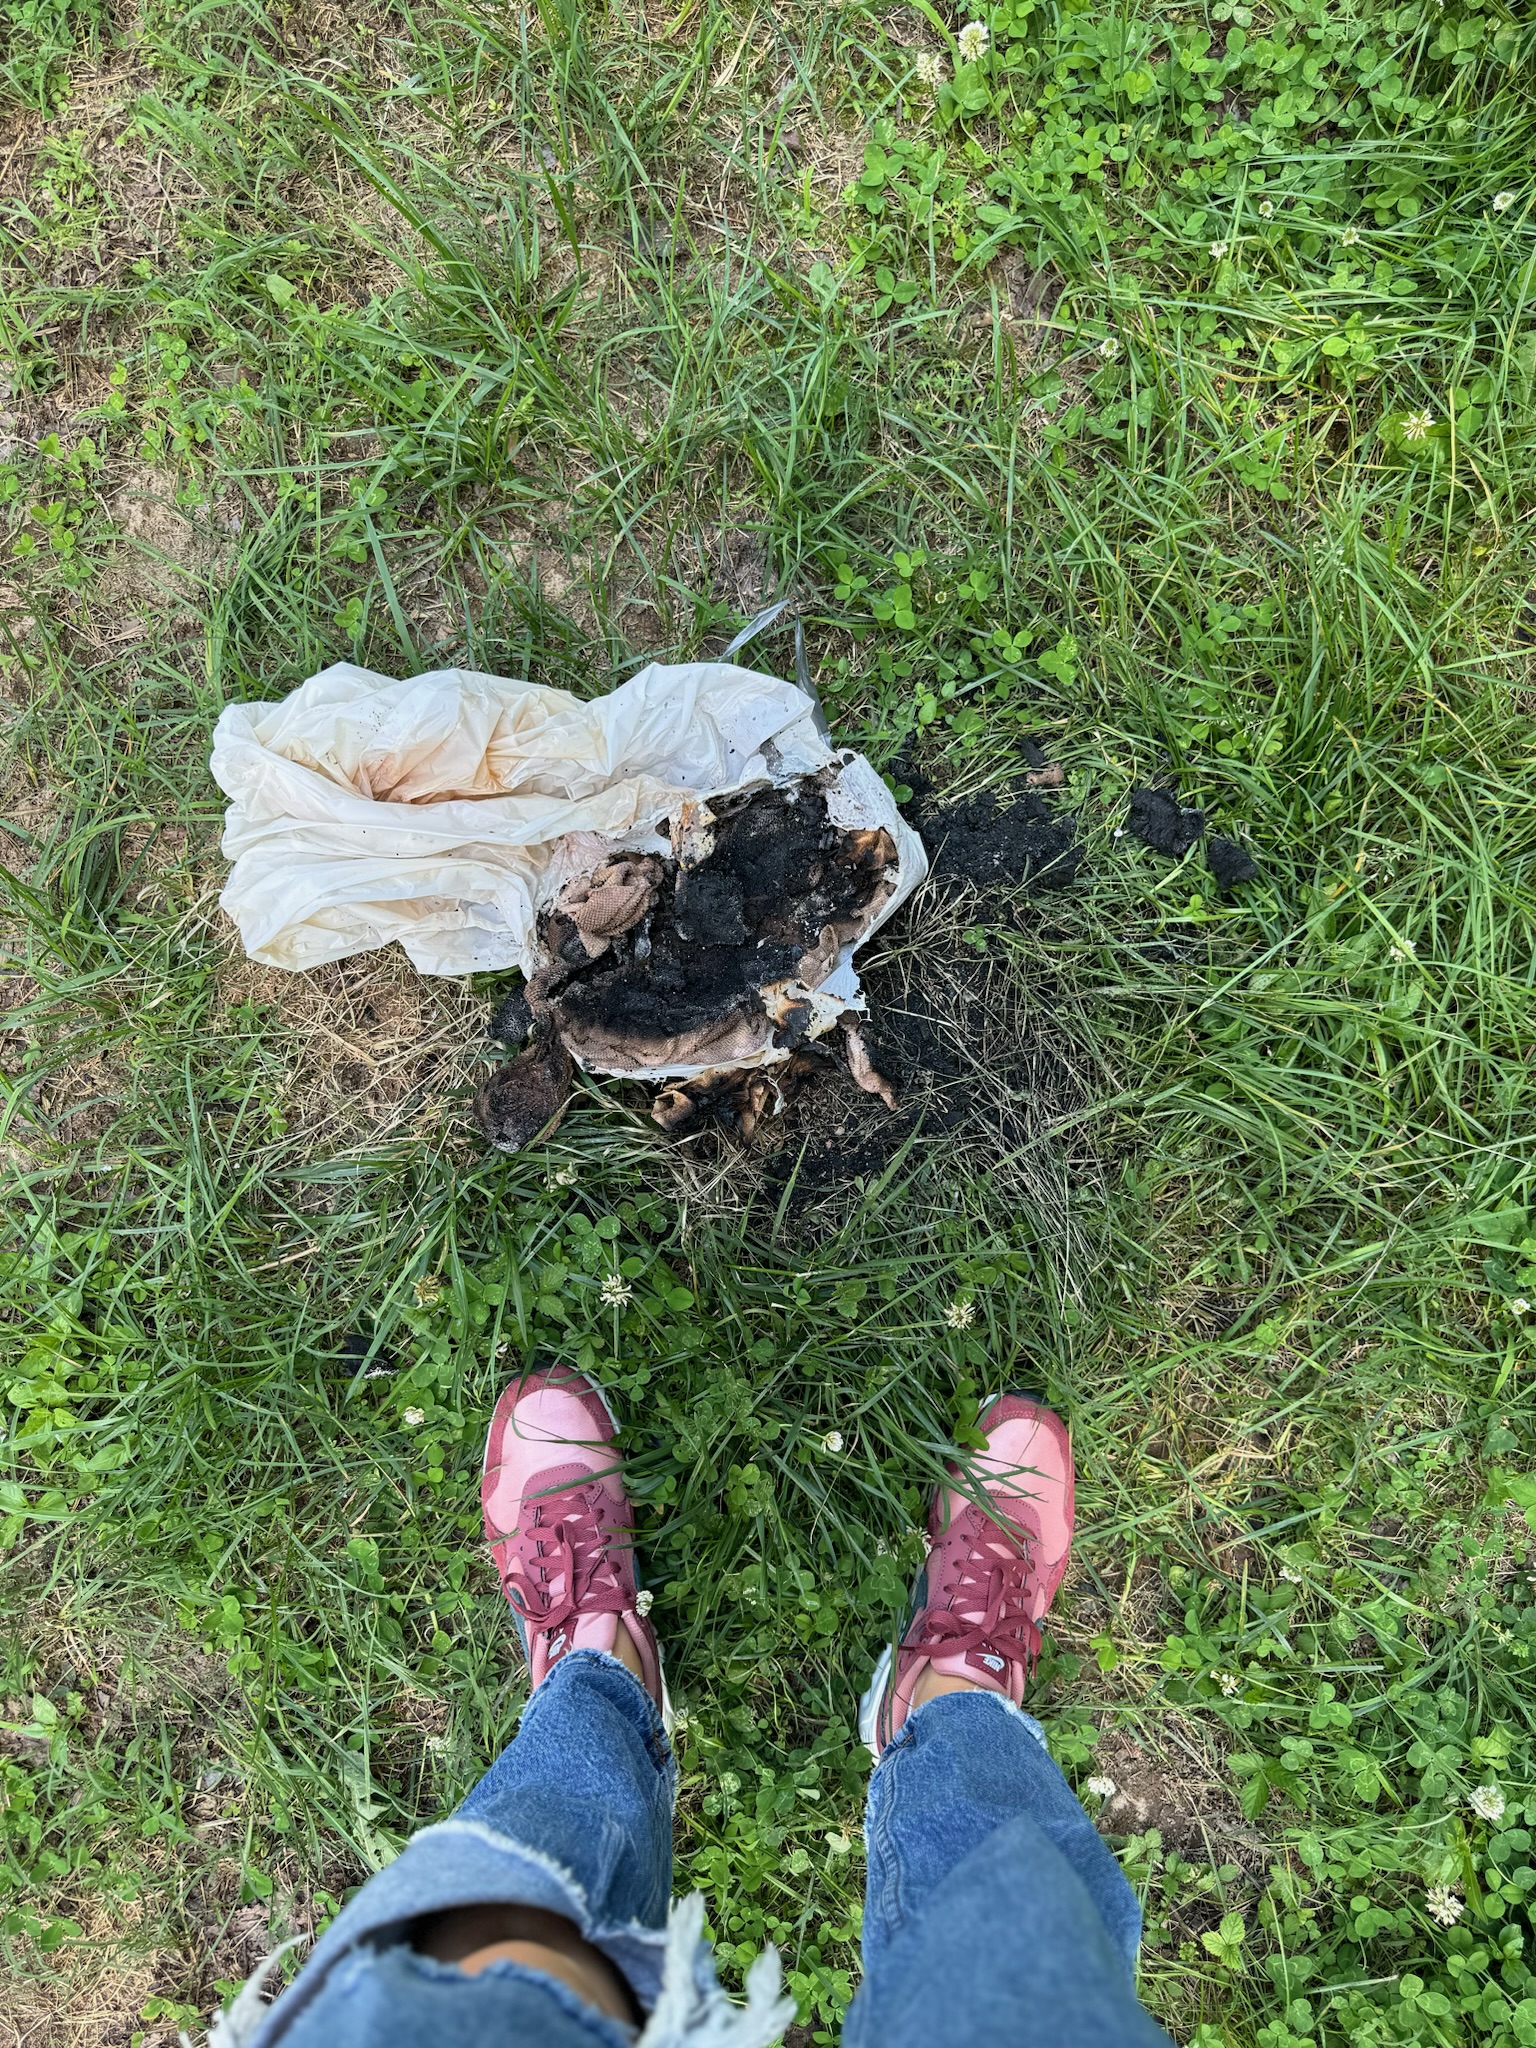
I can’t believe how close we were to losing our home or even our lives. In the future, I will be letting my stain rags dry out on a nonflammable surface before disposing them. I’m surprised by how many people this has happened to and by how many people did not know about it! Aside from the smell and the bag with the firefighters took outside, the only sign of anything happening are these ashes on the ground. I’m so grateful that our home and our family are safe!
From here on out, to dispose of my staining rags, I will have a ziploc bag with water in it. I’ll put the stain rags in there so they won’t dry out before I’m ready to dispose of them safely!
Back to staining!
I took out about 5 boards because they were quite a bit darker. White oak has a good bit of variation in color. I didn’t think it would bother me…but it was definitely bothering me. So, I decided to swap these pieces out for lighter pieces I had left over.

Crown Moulding
I stained some crown moulding in white oak and it looks👌
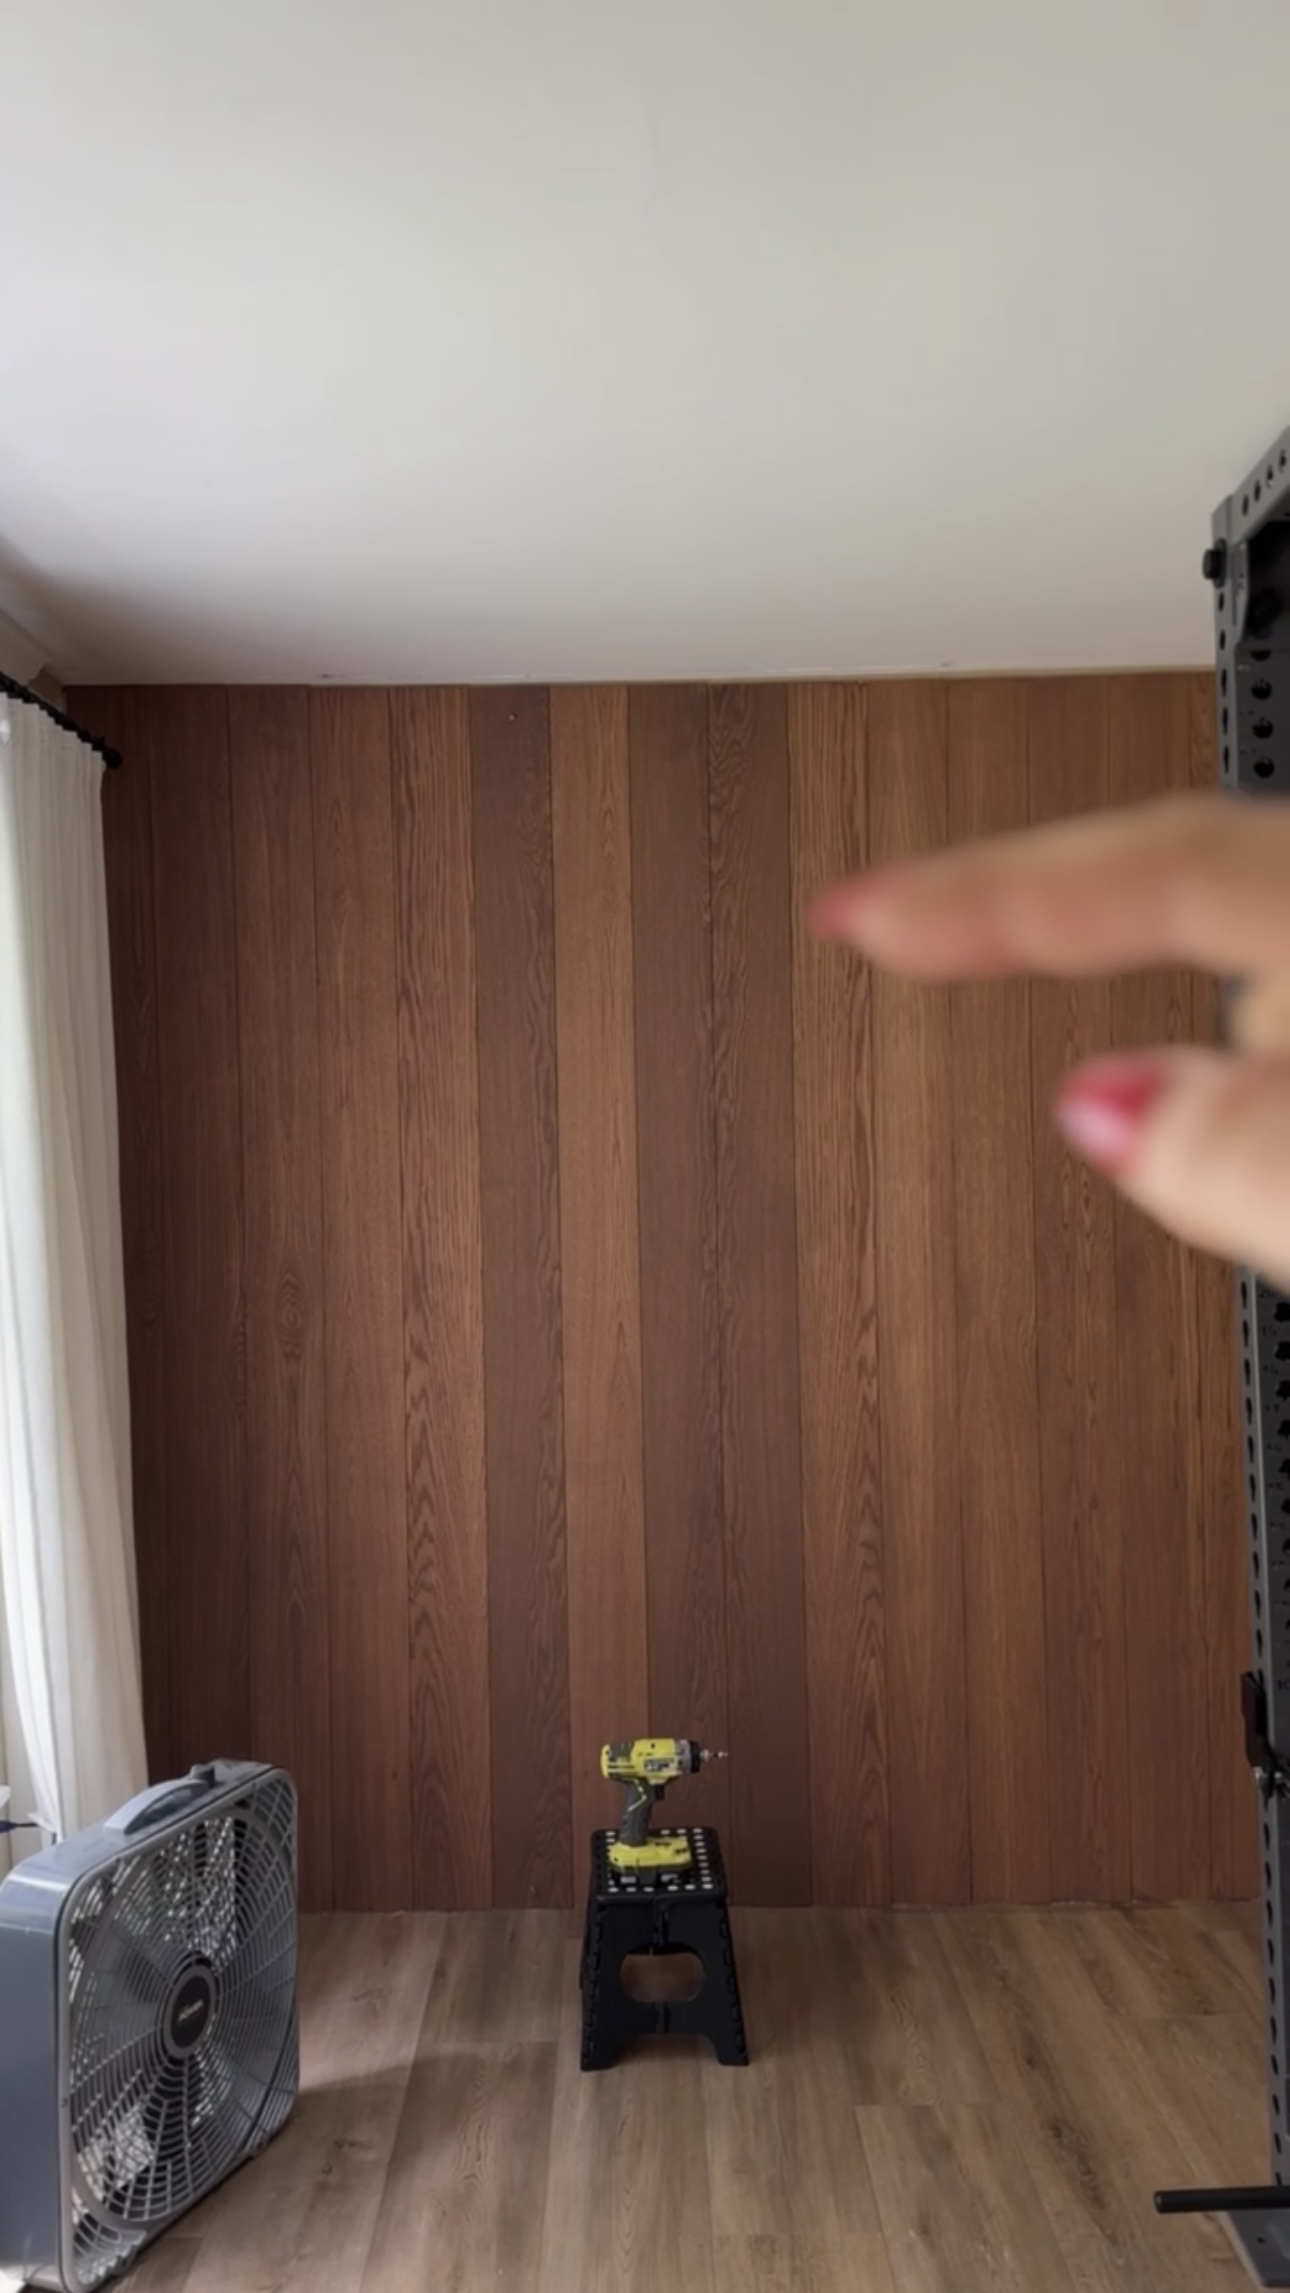
I CANNOT wait to show you the finished product! Keep an eye out for the Home Gym Renovation Reveal!
– Cass
Here’s everything I wore in my stories working on this project:


- Nirvana Tee
- Ascot & Hart Trucker Hat
- Going Nowhere Fast Trucker Hat
- Black Cargo Pants
- Platform Checker Vans
- Blue Denim Overalls
- Gold Poppy Choker Necklace
- Blue Striped Ribbed Tee
- Red Nike Air Max SC SE
Do you think I could obtain a similar outcome with knotty pine. I love the look of your wall, but the white oak plywood panels are now $57+ a piece.