Exterior Paint DIY – Painting our Brick and Vinyl Siding

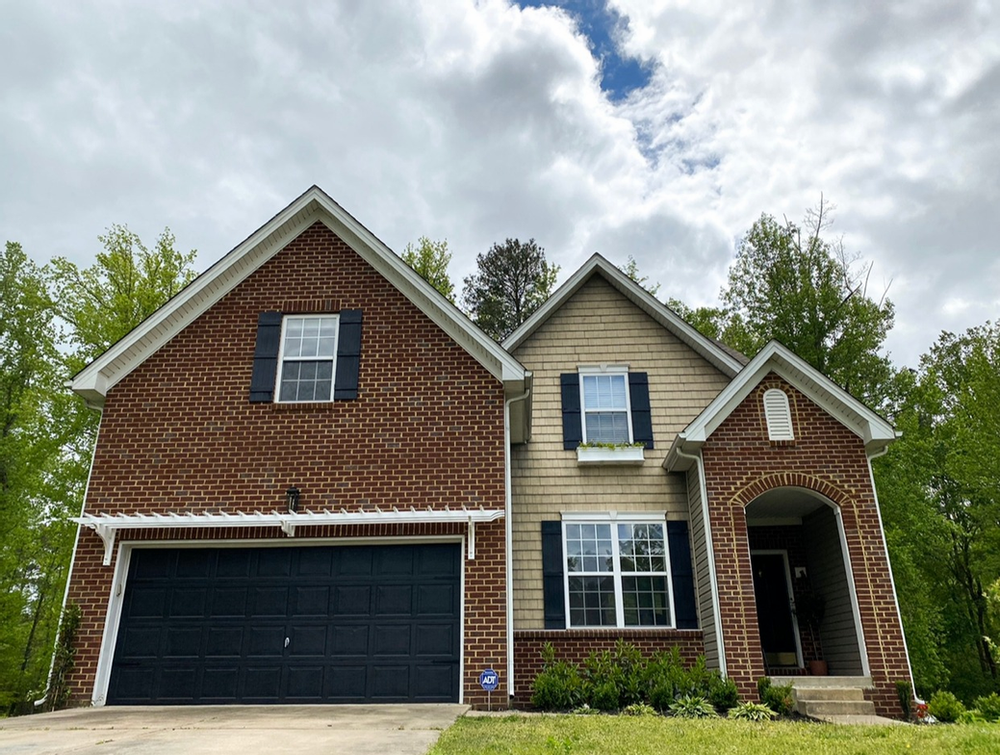
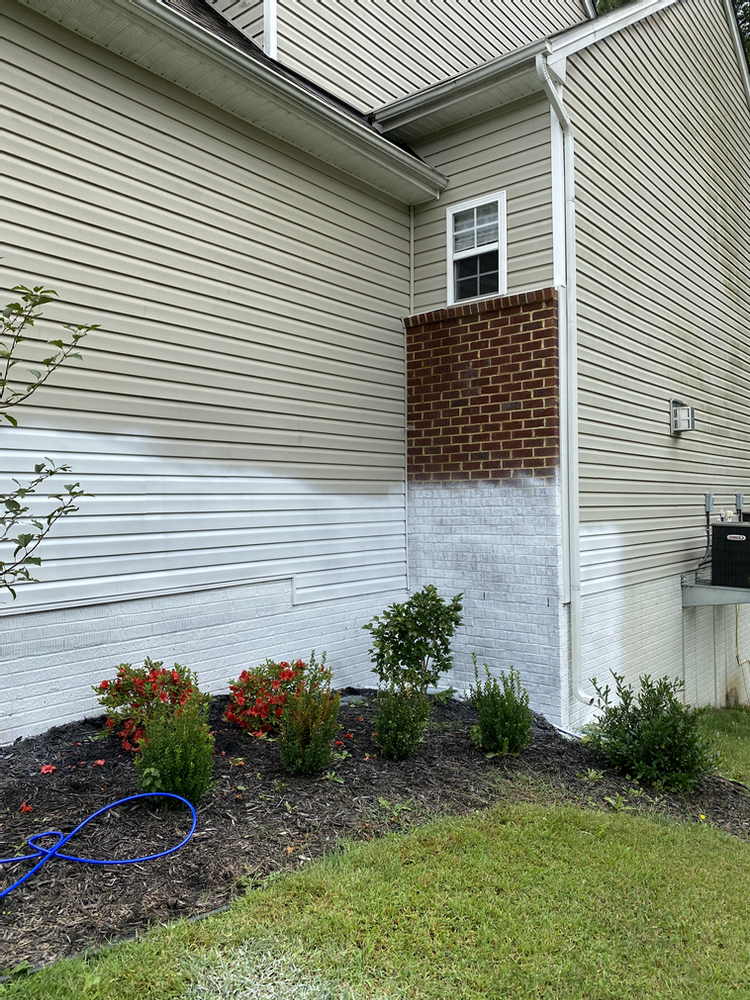
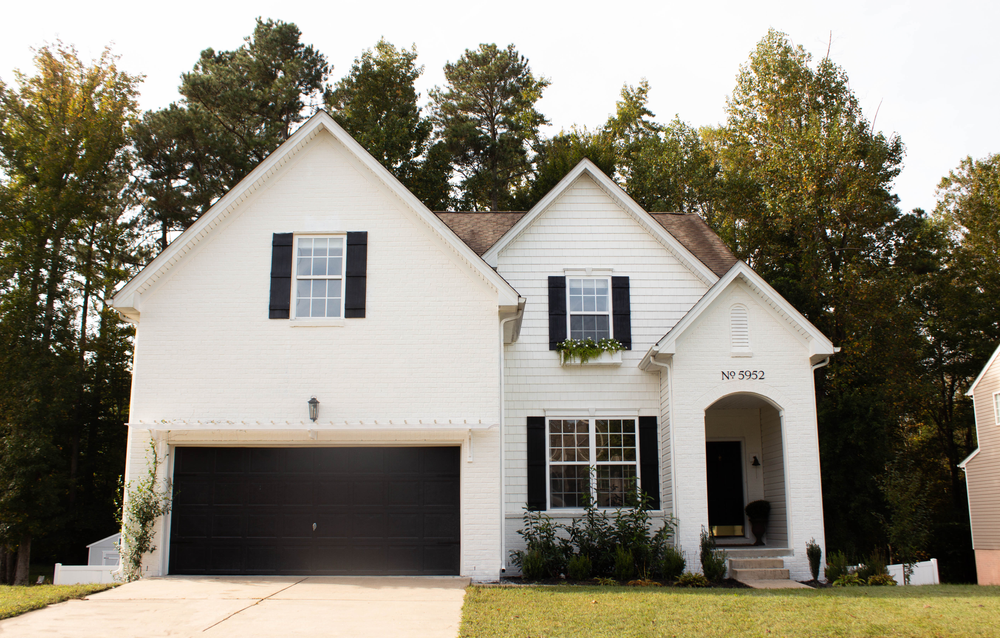
WHITE CREAMY BRICK has held a space in my dreams for quite some time and I am actually still in denial that I finally have it! This project was a big one, and also pretty intimidating at times. But painting our brick was so worth it! Here is a look back at where we started. This is a shot of our home in the spring of this year before doing any exterior updates.
*This post may contain affiliate links, which means I may earn a small commission if you purchase through my links, at no extra cost to you. I only share products I genuinely love.
We did a little updating by spray painting the shutters, replacing the landscaping, adding a window box, painting the garage door, and building a pergola over the garage. This made a big impact, but I still craved the white brick after! We decided to break this project up into phases. Our house is three stories tall in the back and on the sides (we have a walk out basement). And the sides of the house have a steep hill, which is pretty tricky to work with. Eventually, we will rent a lift and tackle the sides and back of the house, but for now we are just starting with the front!
Choosing our paint
Starting with some paint swatches, I narrowed down my choices to Swiss Coffee by Behr. The most perfect creamy white. Bright, but not too bright. Warm, but not too warm. I am so happy with it! Not to mention, it perfectly matches my lime-washed fireplace! Side note: I DID consider going that route (lime-wash) for the exterior, but chose not to because of availability issues from Covid.
Prep!
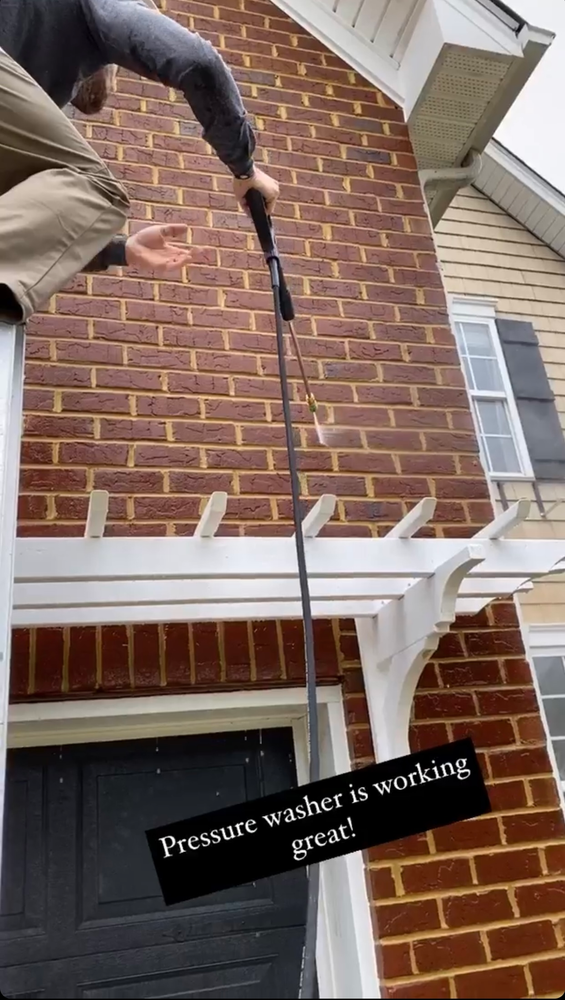
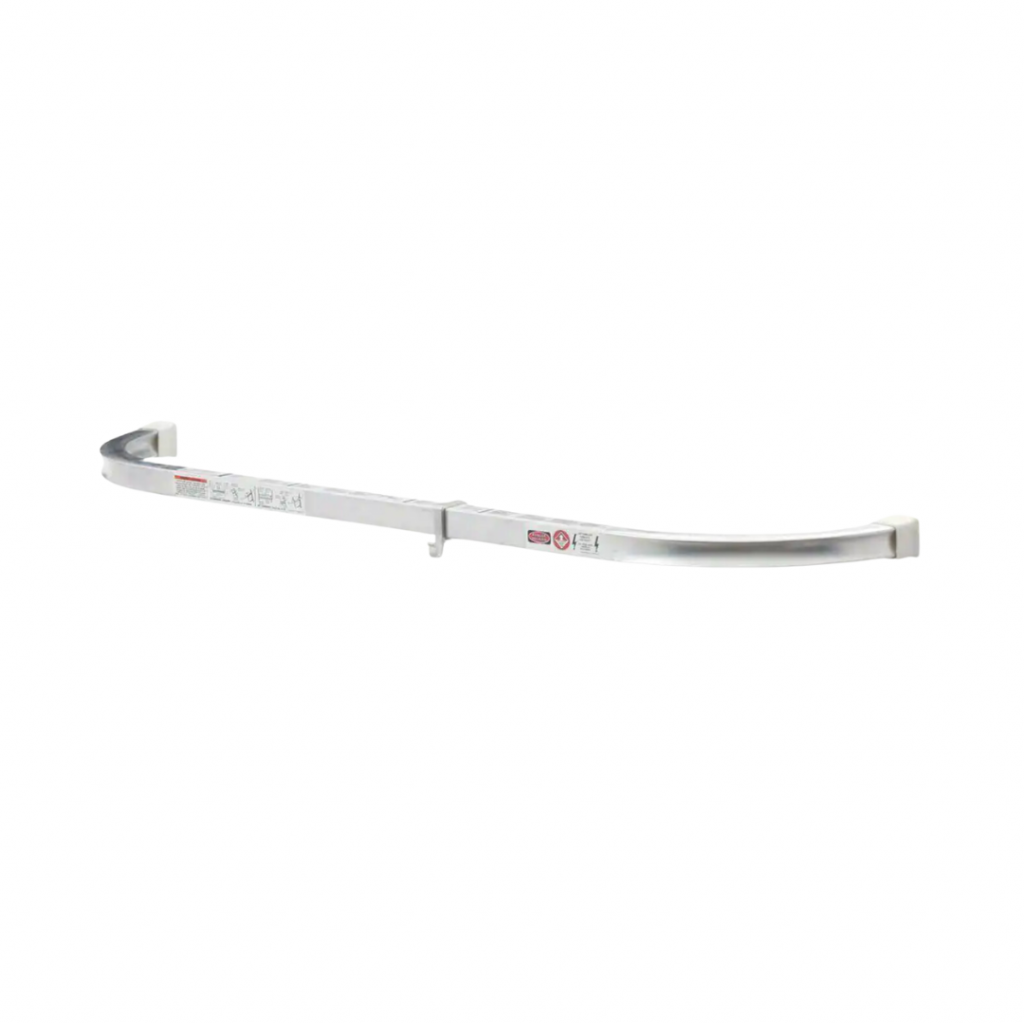
We prepped the house by pressure washing. I found this affordable pressure washer on Amazon and it worked great! We sprayed the brick with just water to clean it. The vinyl was sprayed with a small amount of outdoor cleaner added to really loosen the grime. We worked from top to bottom and used a ladder with ladder stabilizer, making sure not to spray upward on the siding (this would cause water to run behind the siding which can be very bad). Once this was done, we let the siding completely dry before the next steps.

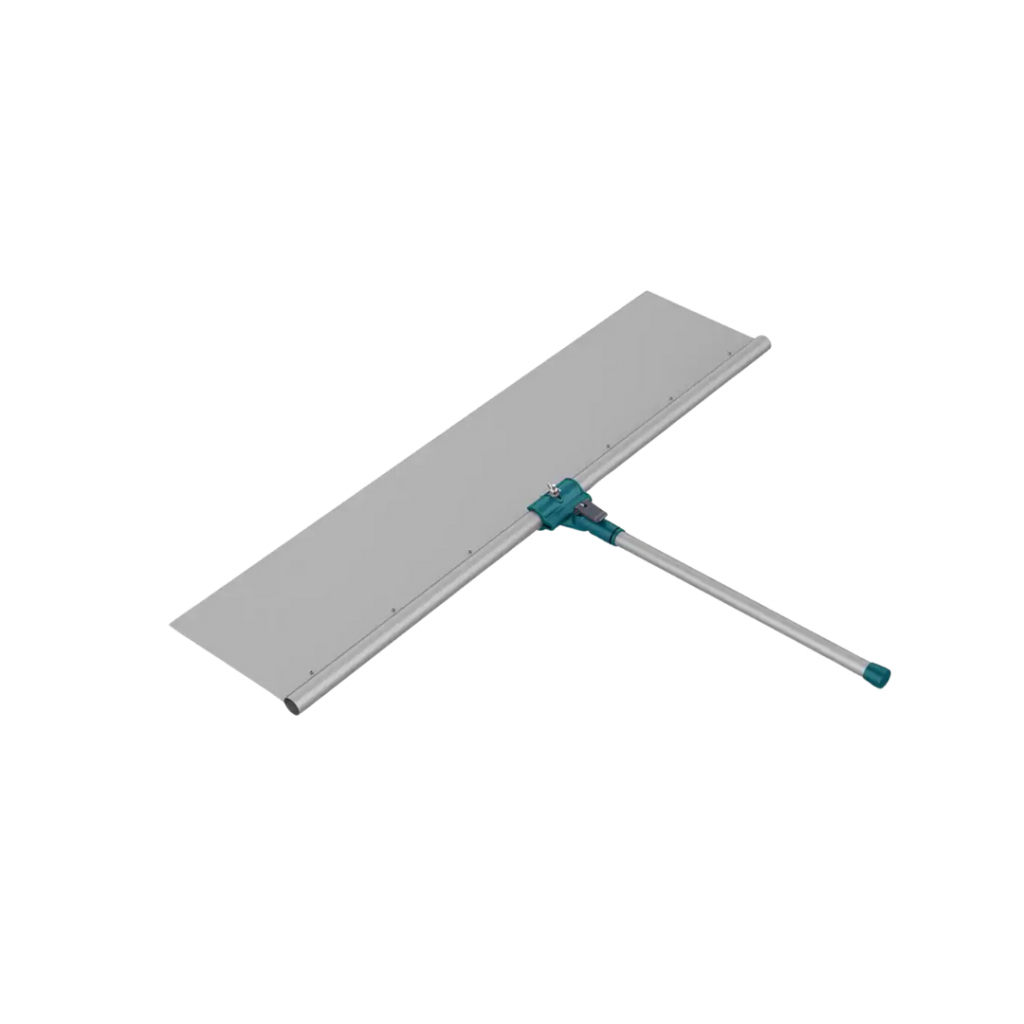
We started prepping the house for paint by taping off all windows/doors. I used Frog tape to cover the edges, and applied Scotch Paint + Plastic after to completely cover the surface of the window or door. Also, I added some tape to the ends to keep the plastic from moving while painting. In addition, we covered the pergola, light fixtures, and threw a tarp over my jasmine plant. Covering plants is a must, and we did not do that (except for the jasmine). I totally regret that, because now my plants are covered in a film of paint. It is also important to cover the ground where you do not want overspray settling directly around the house within about 15 feet. We removed our shutters and window box as well. Soffits and gutters we left untaped. A paint shield was used to prevent paint from getting on those areas.
Supplies
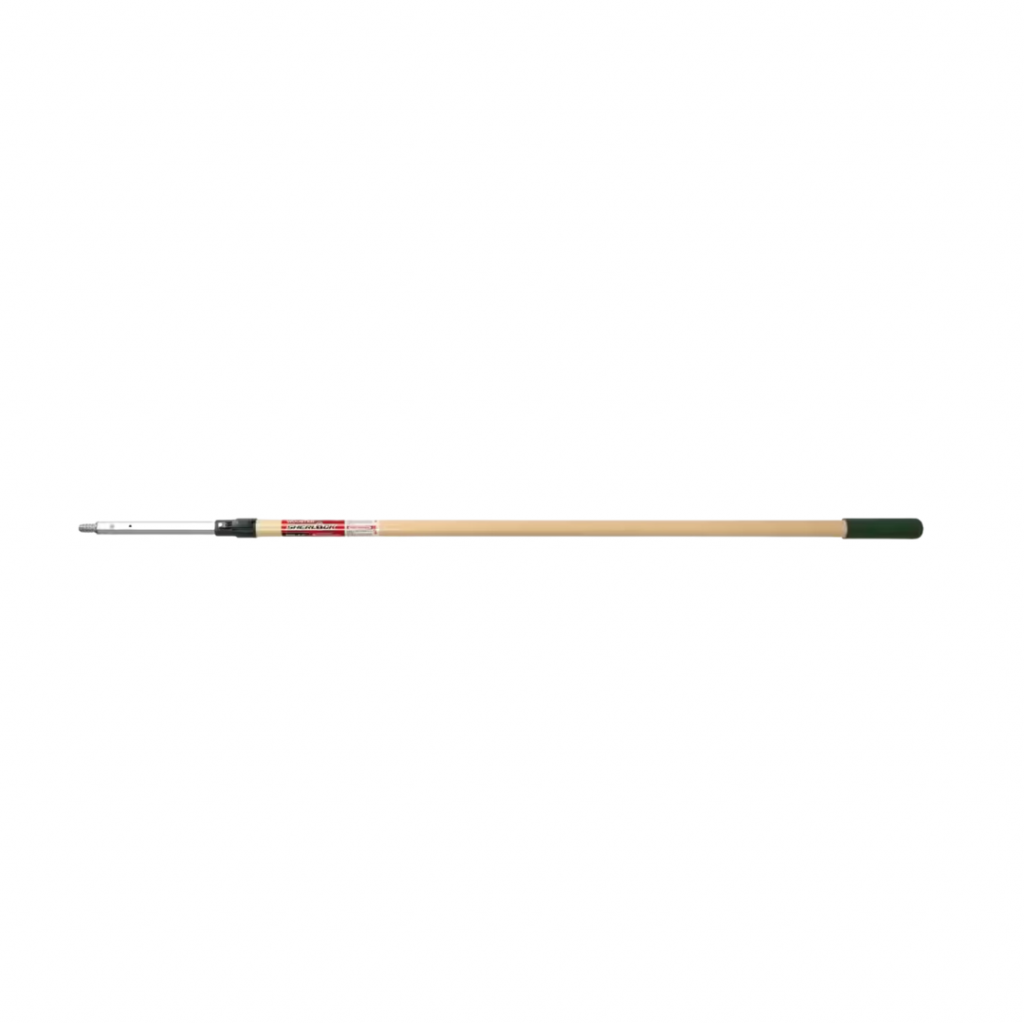
For this entire project we rotated between multiple ladders. We had two extension ladders, one that was really heavy and David needed a lot of help moving. This helped us reach the highest peak of the front. A smaller aluminum 20 ft extension ladder. We added the stabilizer to this and used it for most of this project. We also used a 6 ft A-frame ladder and step stool.
These are the supplies we used for painting our brick: (all images are clickable)
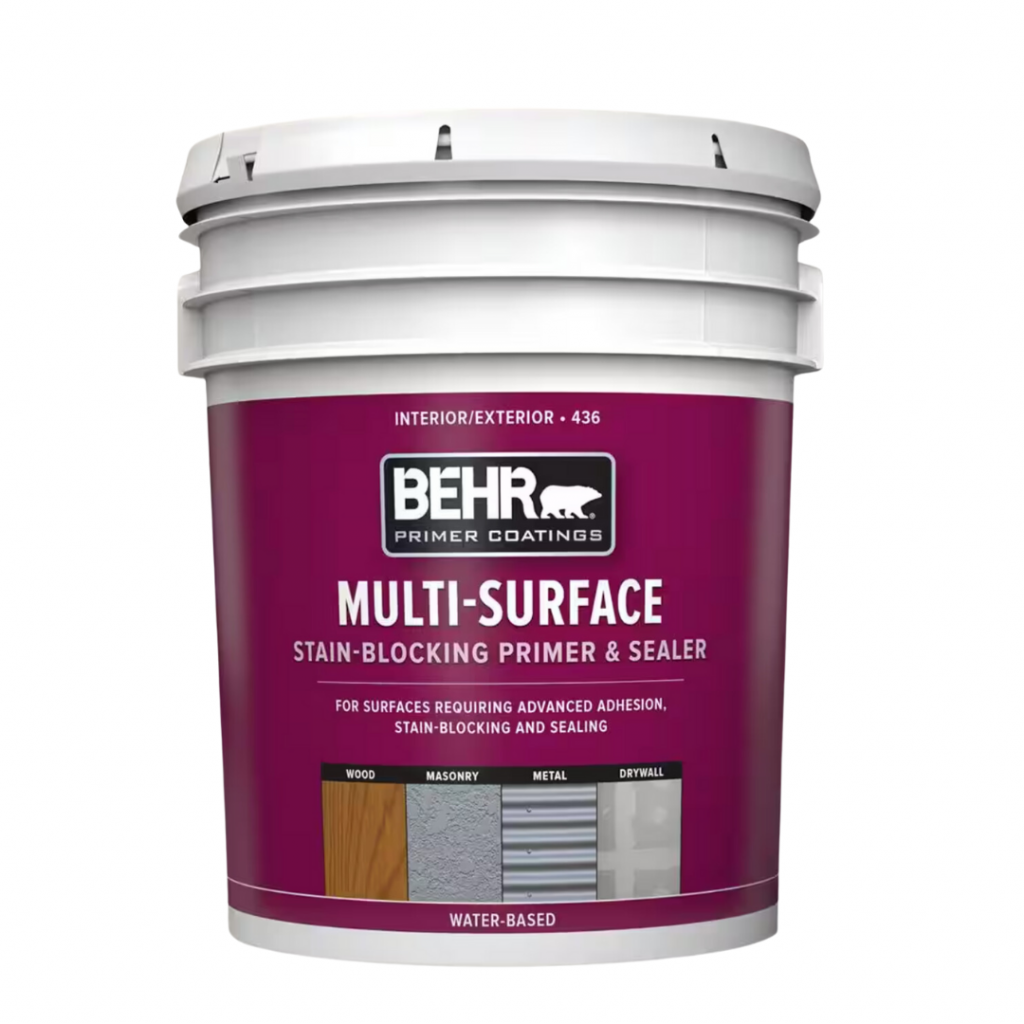


Multi-Surface Primer (5 Gal x 1)
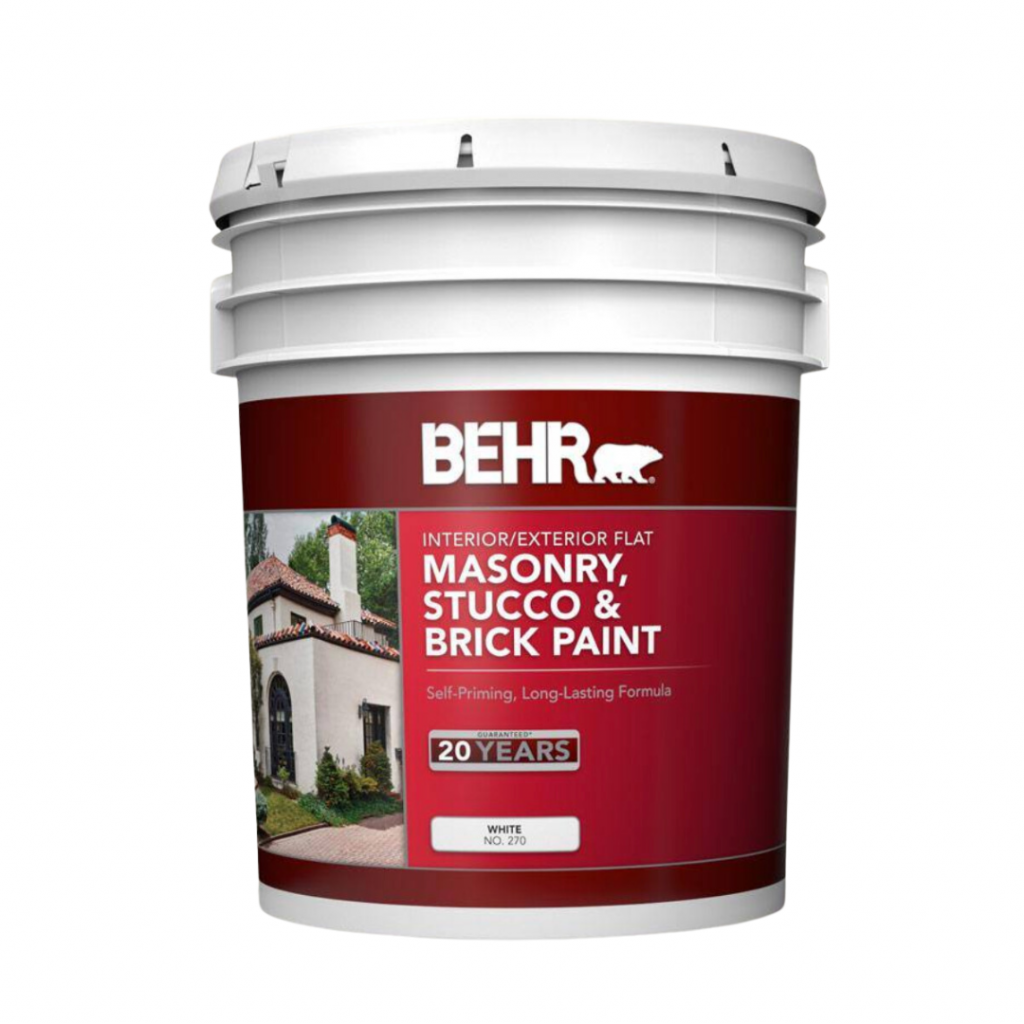
Masonry Exterior Paint (5 Gal x 1) – Swiss Coffee by Behr in Flat/Matte
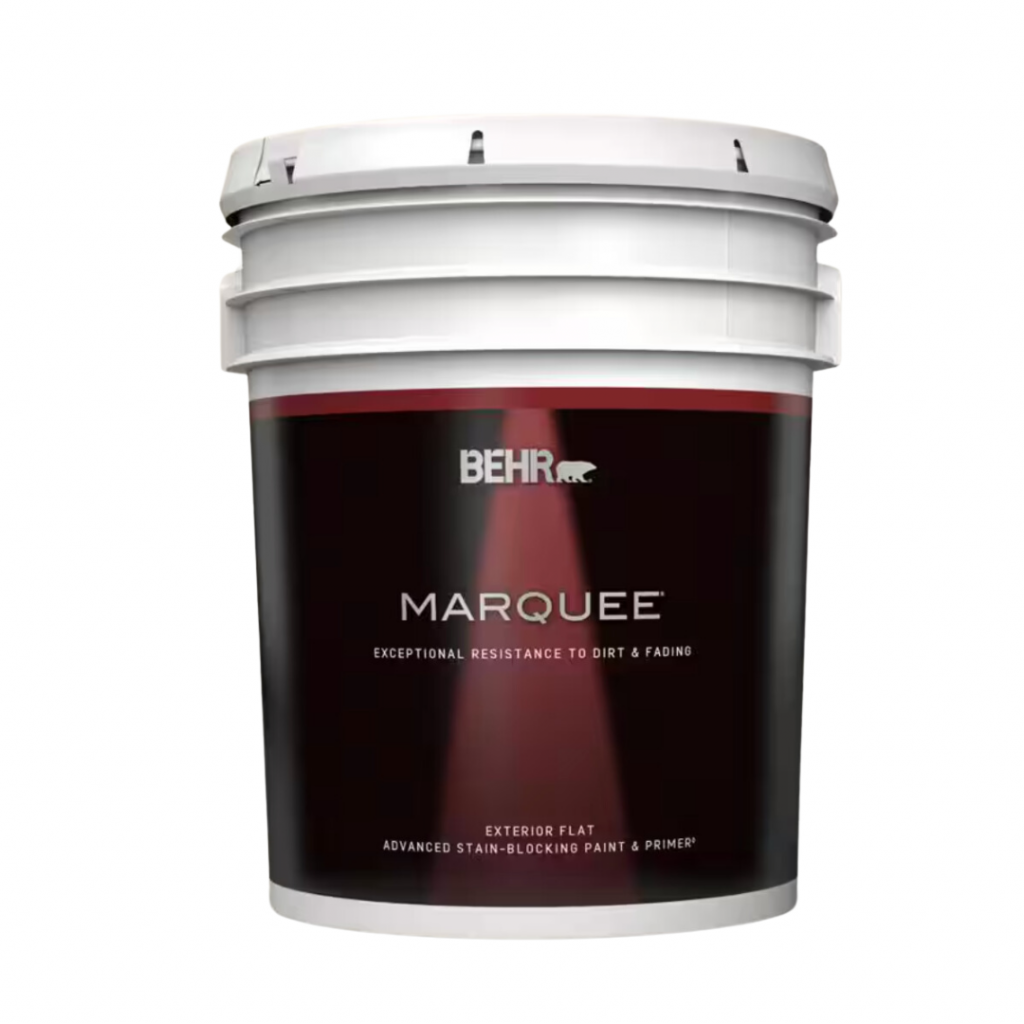
Marquee Exterior Paint (5 Gal x 1) – Swiss Coffee by Behr in Satin
Roller Cover for Rough Surfaces
Roller Cover for Semi-Smooth Surfaces
We realized we needed our own paint sprayer..
I originally planned to rent a sprayer from Home Depot for this. But while I was there, I realized that this could potentially be a multi-day project and that buying one could really save money. I was so right on this. I even took a risk by buying one of the cheaper pro sprayers and was TOTALLY BLOWN away. This is not an exaggeration. I genuinely think that this sprayer was one of my favorite purchases ever! The setup/clean up are definitely the most frustrating part about using it. But everything else was smooth sailing. We only had a small handful of clogs for the ENTIRE project. And clearing the clogs was SO simple (like you just turn the nozzle and spray it out).
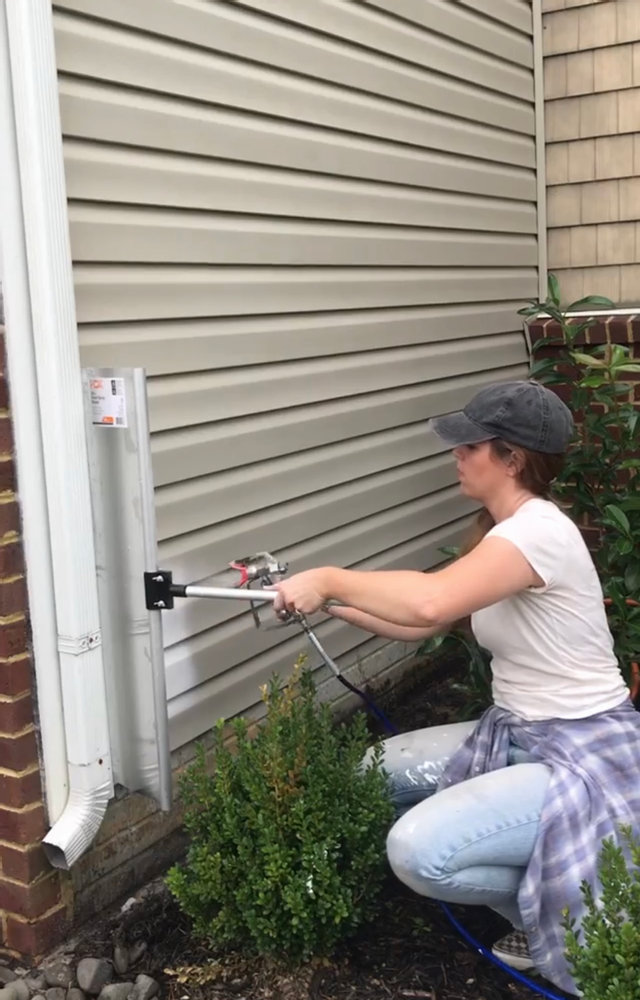
Primer
We started with primer over every surface that would be painted. The paint sprayer was prepped and ready to go. We sprayed one even coat and let it completely dry. The primer that we used was approved for both surfaces. One important technique to remember while spraying is to keep the spray the same distance away from the surface the entire time and to be cautious when overlapping areas. We really liked using the paint shield for areas that we hadn’t taped off. Since our paint/primer were both white, we just careful sprayed around the soffits along the roof line. We cleaned up the paint sprayer completely after the primer was applied and left the paint to dry completely (overnight).


Time to paint!
Next, we began spraying the brick with the masonry paint following the same steps. We had a roller handy for any back rolling that was needed (here were only a few areas where there was some dripping, so we used the roller to smooth that out). We did one generous coat over the brick! The surface was really forgiving with a heavier spray.
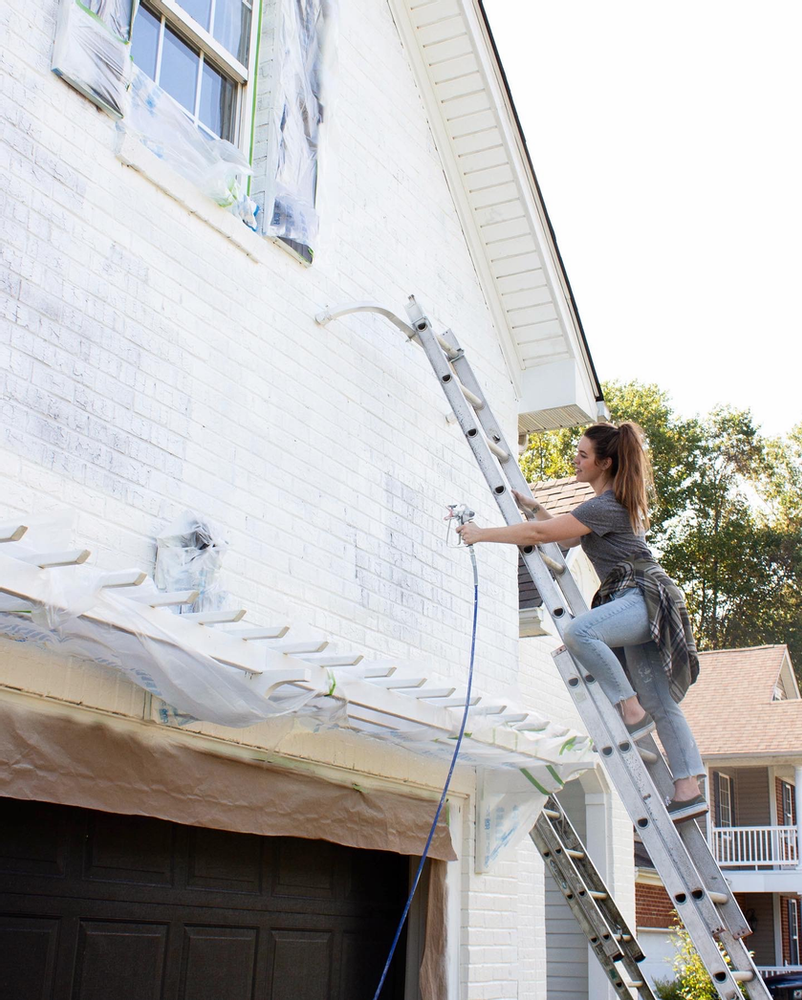
We learned that the best method (especially when using a ladder) is to work from top to bottom. This ensures that the ladder is not resting on wet paint while moving around. David also attempted rolling on the paint to see if this would be faster (eye roll) but it most DEFINITELY was not. The paint sprayer was SO worth it! We finished painting the brick and cleaned out the paint sprayer.
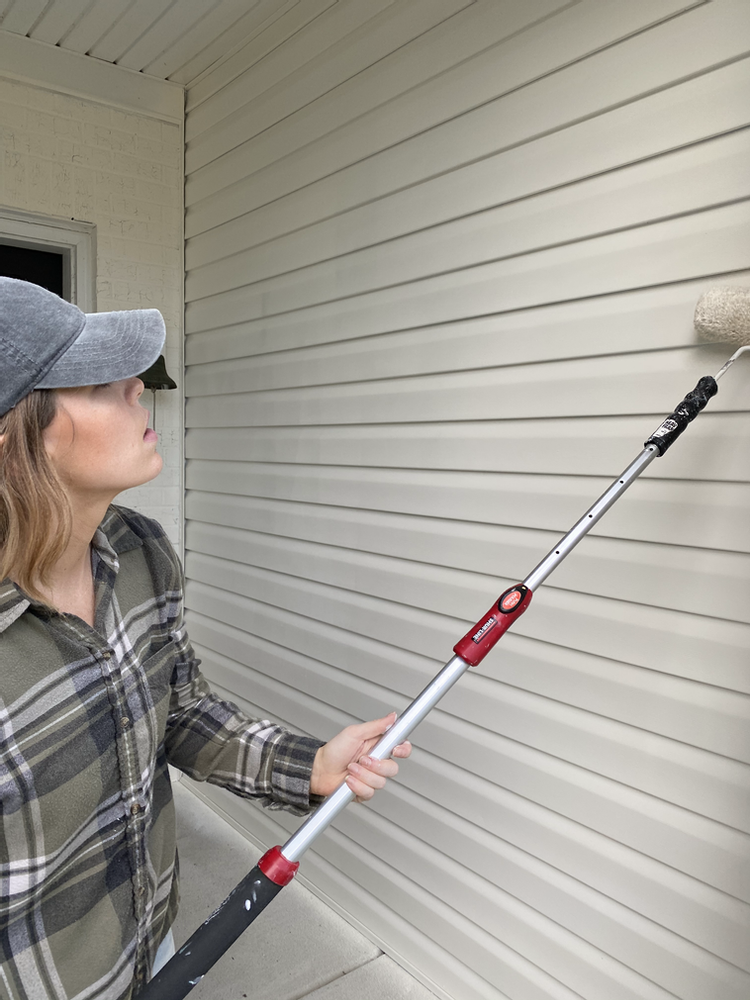
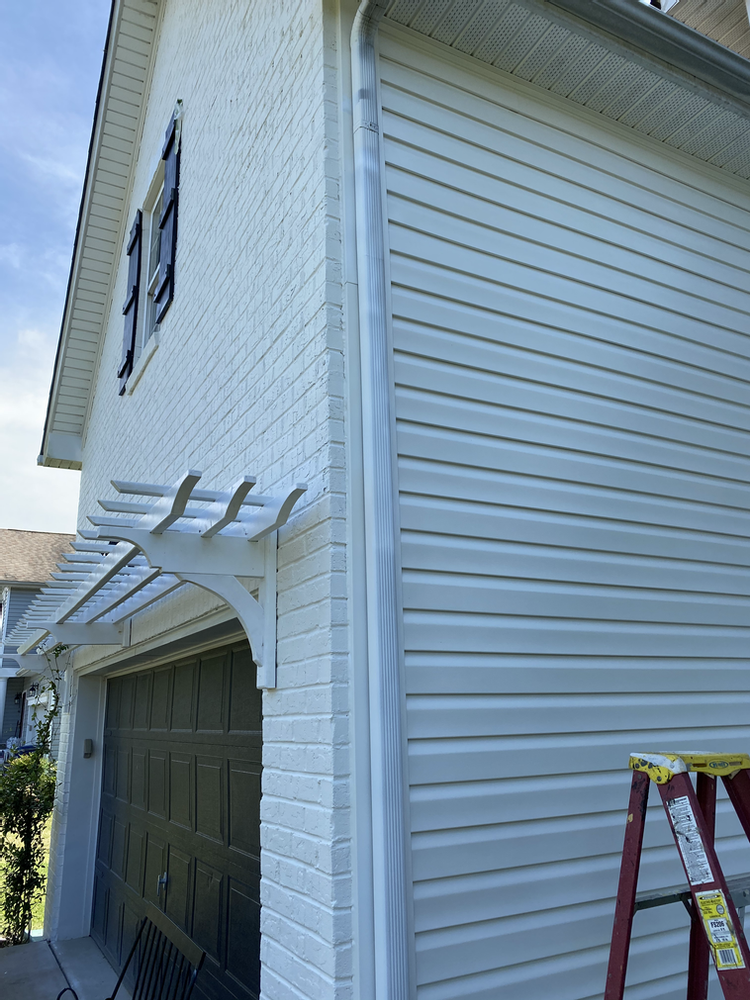
Vinyl Siding
The next step was to paint the vinyl siding. We prepped the sprayer with the Behr Marquee Exterior Paint. This paint is definitely expensive. But, I felt really certain that I wanted to spend the money for the extra durability that it would give on our vinyl. I also chose a satin finish so that it would be more stain/dirt resistant and easier to clean. We painted the vinyl siding using the same method as before. But we applied two coats instead of one, making sure to spray lightly and even without overlapping. The first coat only needed to dry for about ten minutes in each section before applying the second.
If we had the time, it would have been smart to wait way longer, but this actually worked out great because we didn’t have to worry about resting the ladder on uncured paint. We just made SURE to back roll immediately after the second coat. This was done in every area of the vinyl siding.
Done!


We both learned a lot during this project. It was a BIG one, but every bit of if was worth it! This phase of painting cost a total of about $800. There are plans to do the back and sides in one phase with the help of a lift!
I wanted to comment because no one else has, haha…It really looks amazing!!! I follow you on IG
Thank you so much!!!
Your house looks great! I have tan siding and a brown roof and want to do white siding like yours! Is your roof brown?
Thanks!!!
Erin
Yes! Our roof is brown😊
We have old ugly siding and I was looking for ways to update it. Your home looks brand new! Love it. Thanks for sharing. I know this will be a large project for us but well worth it.
Yay! It is crazy how much of a difference paint can make!
Hi! Thanks for putting all of your projects on here – I refer to them often! I have a quick question on this one – we’re getting ready to spray our brick house and we’re not sure how to deal with the roof. Did you cover it at all? Or were you just suuuuper careful not to overspray onto it?
Thanks!
I am so glad!! Yes, we were super careful when painting along the roof line. Using a paint shield (under $30 at Lowes/Home Depot) was super helpful for those areas where we wanted to block the overspray!
LOVE this! Everyone keeps telling me not to paint my vinyl siding. But it’s this light cream and just makes the house look dirty. I hate it! Did you hear not to paint it? How did you decide to go ahead?
It looks fantastic! I do have a couple of questions: how did it do through the winter? Do you have any regrets? And if your eves were same color as the siding, how would you paint those? Eves are my main concern….
This looks amazing!! How much did this project cost?
Wow, you did fantastic job! With this kind of transformation, your house seems like a new one. Thanks for sharing!
I’m so scared to paint our house but it desperately needs it. I feel a bit more confident after reading your process. Your house looks stunning
Your house looks amazing, what color do you recommend painting the garage door and shutters? I want them black like your pictures.
Thank you for sharing this project, this is really helpful. I have been looking for a good guide on how to paint brick and vinyl siding but I couldn’t find one that was easy to follow. This guide has made my painting job much easier than it would be without the proper tools and materials needed.
Thank you! Tricorn Black (Sherwin Williams) is my go-to black 🙂
When you said you back rolled the vinyl siding… what did you mean? 🙂 it looks great. I want to paint my house so bad
This looks fabulous; I just bought a red brick house I want to paint. Did you only use 3 5- gallon buckets of paint?
I really like the ladder attachment you have. That would definitely make using the extension ladder much safer.
Great Work!
[…] Source: Cass Makes Home […]
What color was the white you used?
[…] Source: Cass Makes Home […]
The step-by-step instructions are extremely helpful, especially for beginners like me. You’ve made the project so understandable and achievable. It’s really encouraging to see that with the right guidance and a bit of DIY spirit, one can make incredible changes to their home.
Beautiful house! You’re giving me confidence to paint my vinyl siding! Could you share where got your house numbers?? They’re so cute! Thanks!
This is a fantastic resource for DIYers looking to paint both brick and vinyl siding! Following your two-coat approach for vinyl siding is particularly helpful.
One question for you – did you find any difference in how long you had to wait between coats for the brick compared to the vinyl? It would be interesting to know if the more porous surface of the brick affects drying time.
Did you ever do the back? if so do you have details on the lift portion>?