DIY Faux “Vintage” Art!


*This post may contain affiliate links, which means I may earn a small commission if you purchase through my links, at no extra cost to you. I only share products I genuinely love.
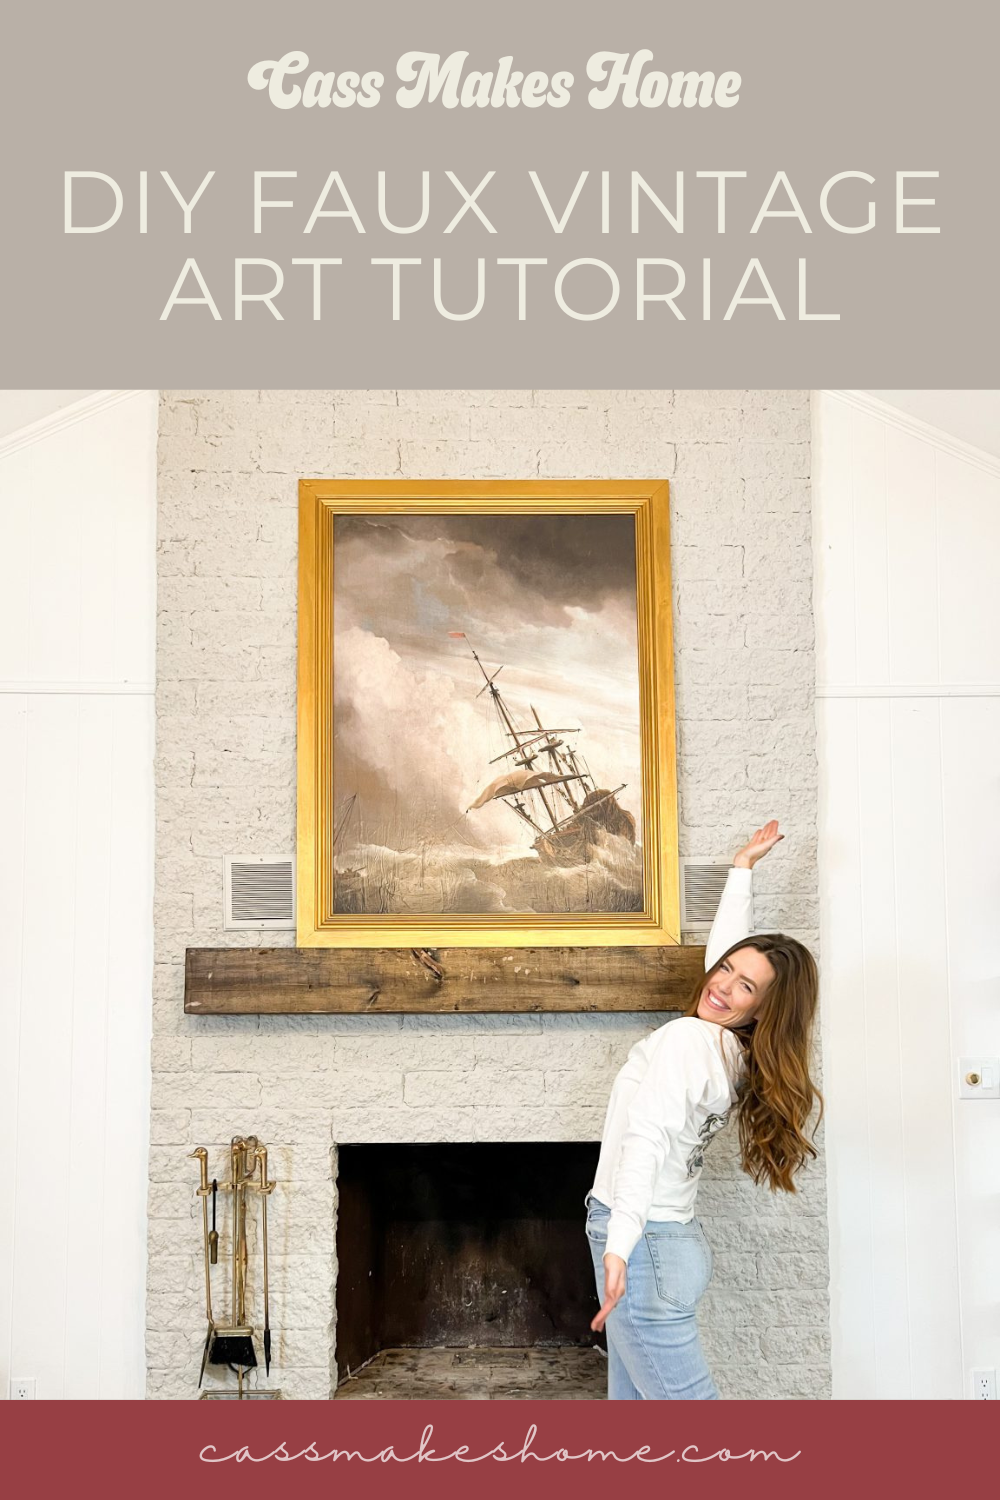
You guys know that I am ALL ABOUT trying to find ways to DIY things that I can’t afford and/or find. Well this was such a fun one – DIY Faux Vintage Art! I made this piece for my best friend’s study makeover!
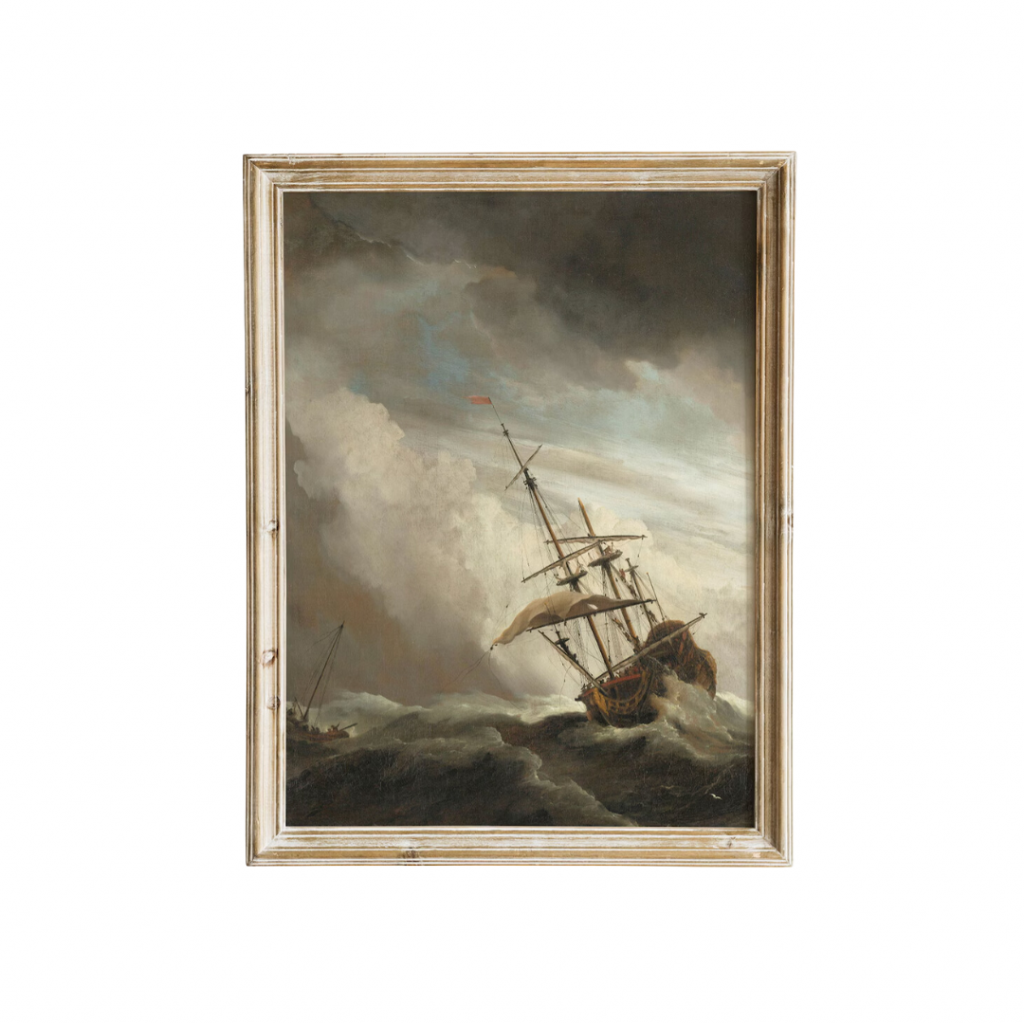
I’d been on the hunt for a large scale piece of vintage art to place on my best friend’s fireplace mantle and came up empty-handed after searching Facebook Marketplace and alllll of my local spots for a few weeks. I came across this digital print on Etsy a while back that kept coming up in my hand when I was picturing some inspiration for it. Finally, I thought, “Maybe I just need to DIY it!”
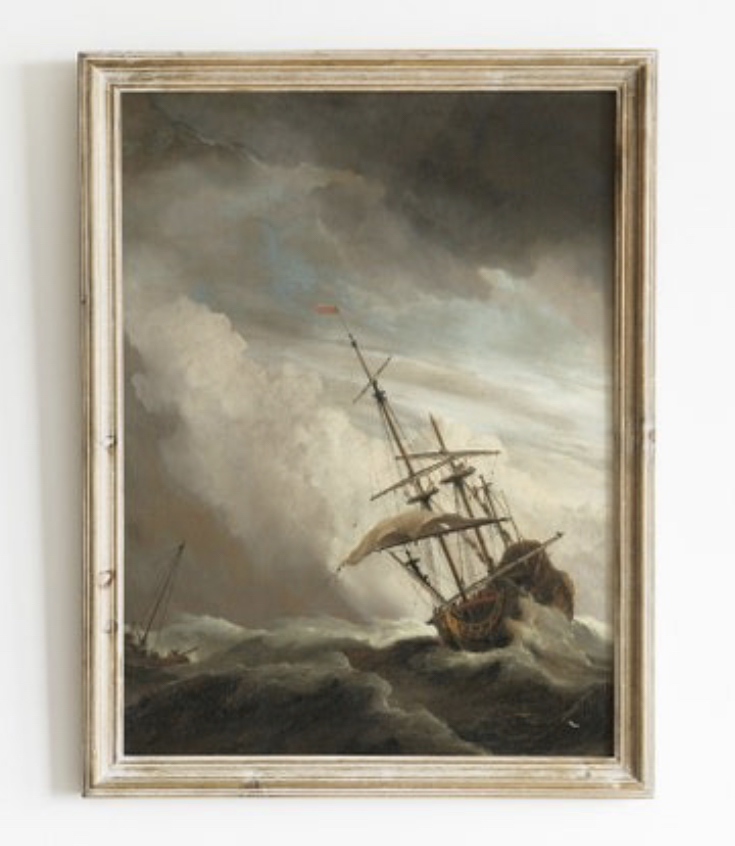
I purchased the digital download and had it uploaded on Mpix’s site (they are my go-to site for ordering prints). I decided to order it in a 36×48 in poster print. Once it arrived, I got to work!
Supplies :
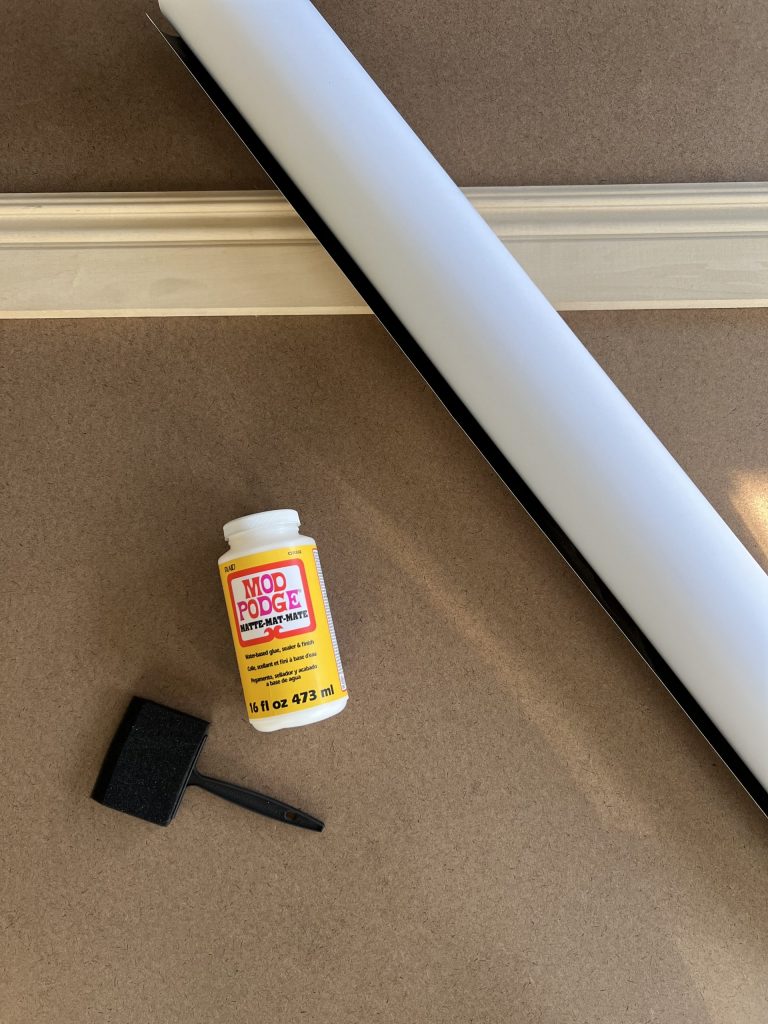
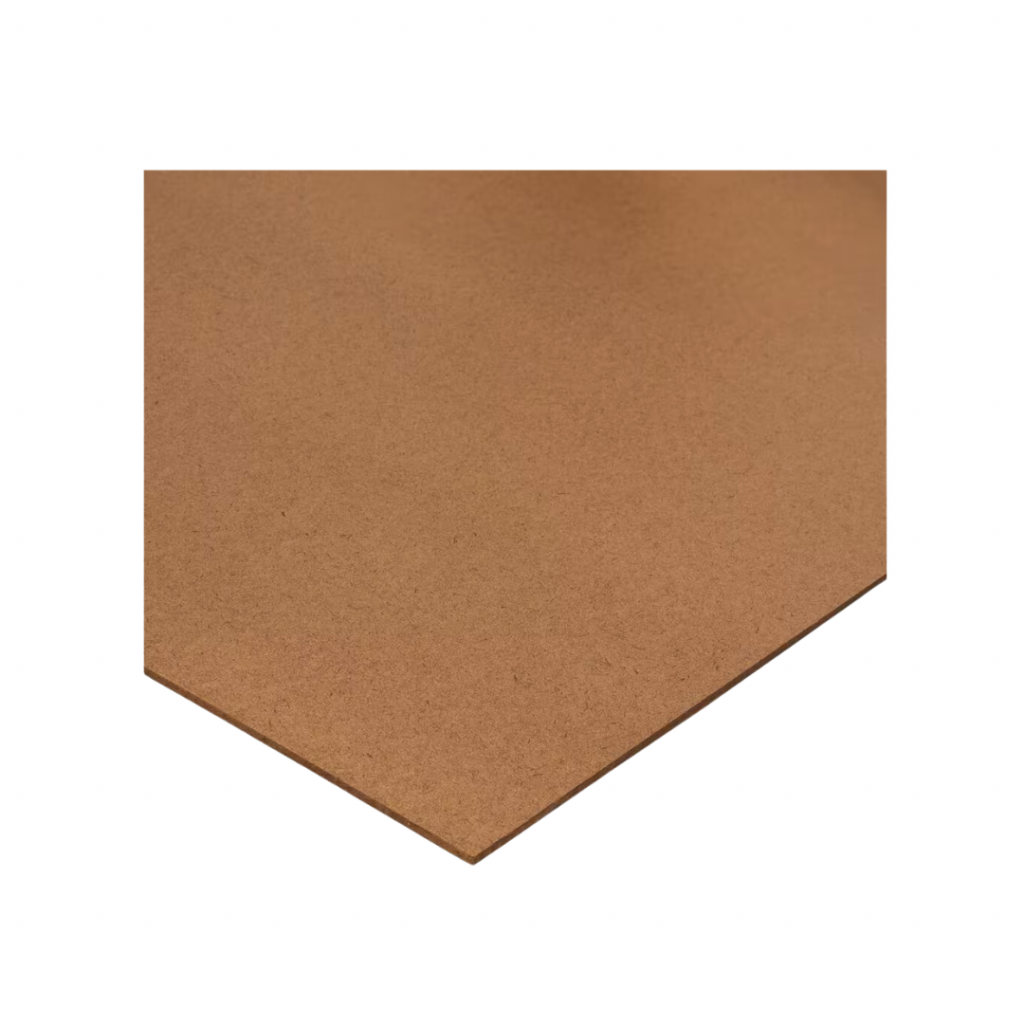
- Tempered Hardboard (cut to size)
- Poster Print
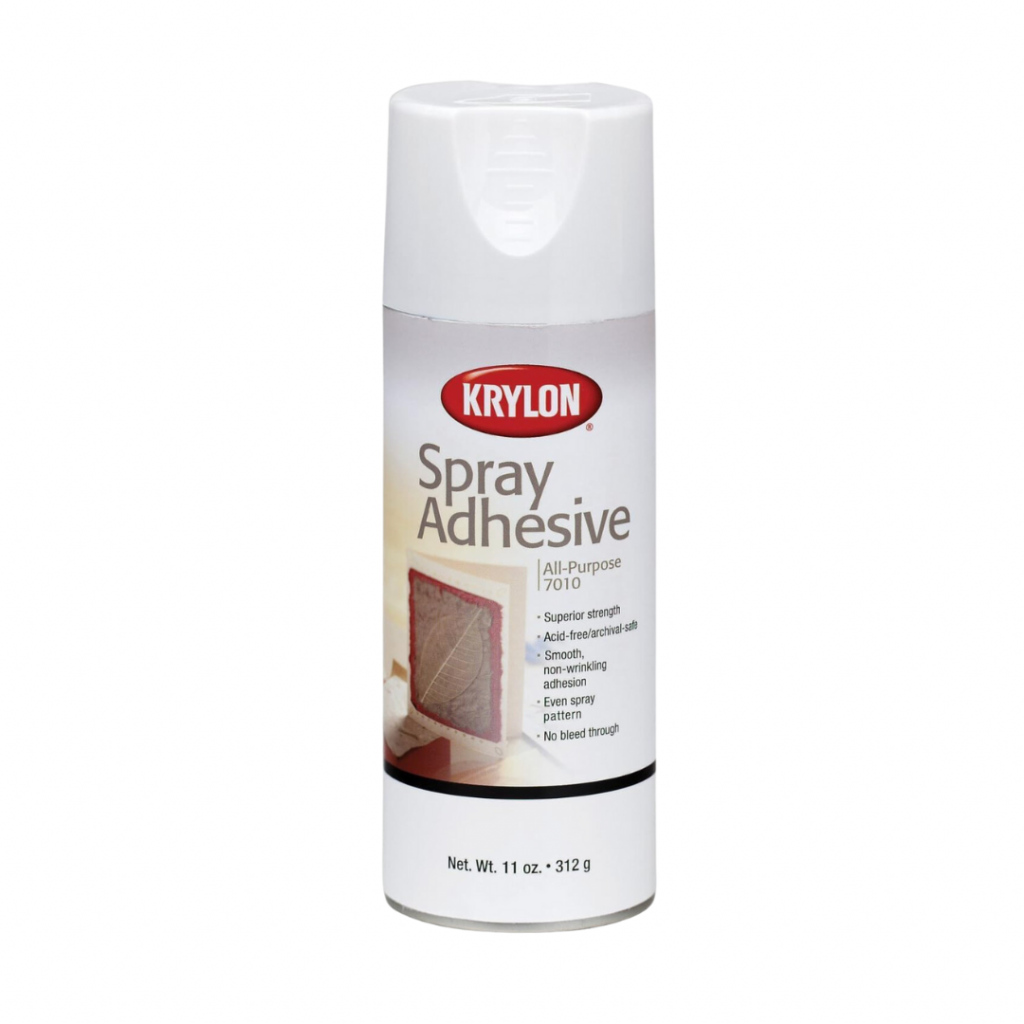
- Spray Adhesive
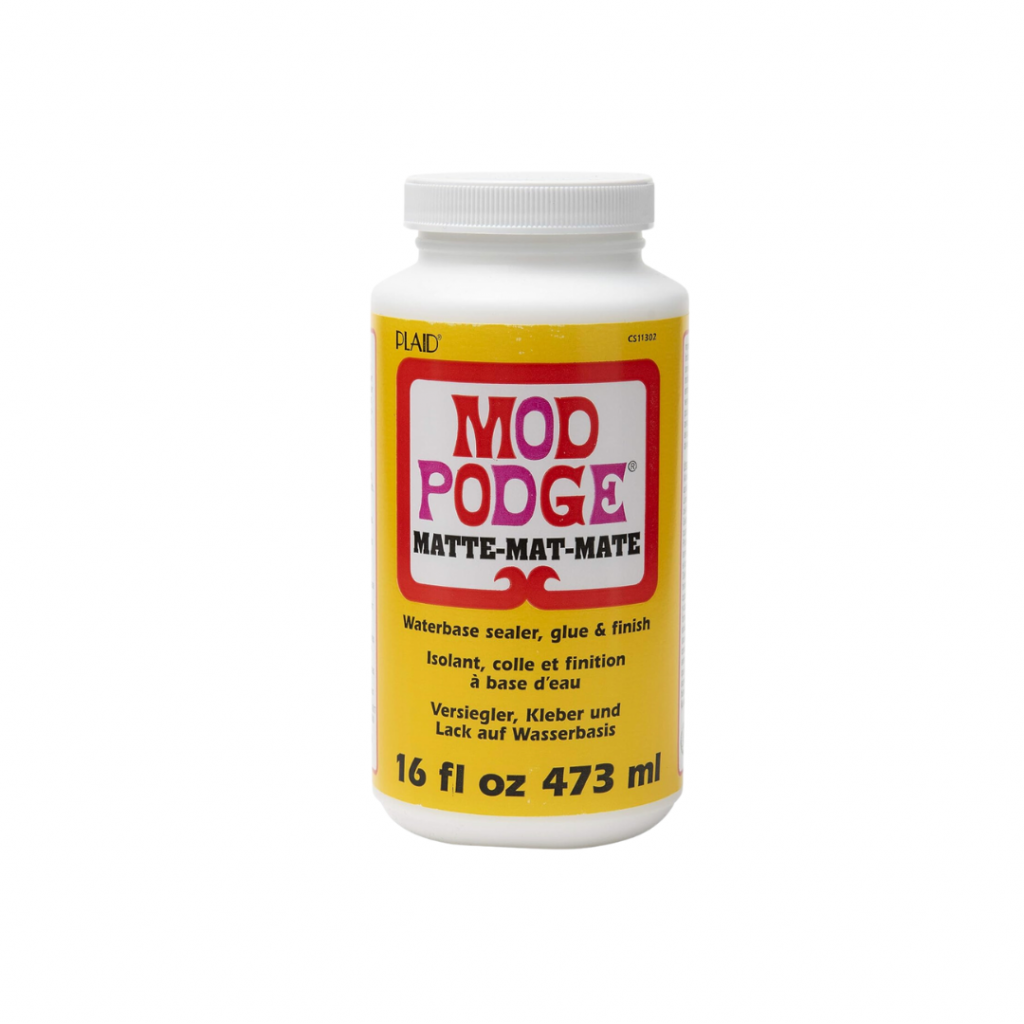
- Mod Podge
- Foam/Craft Brushes
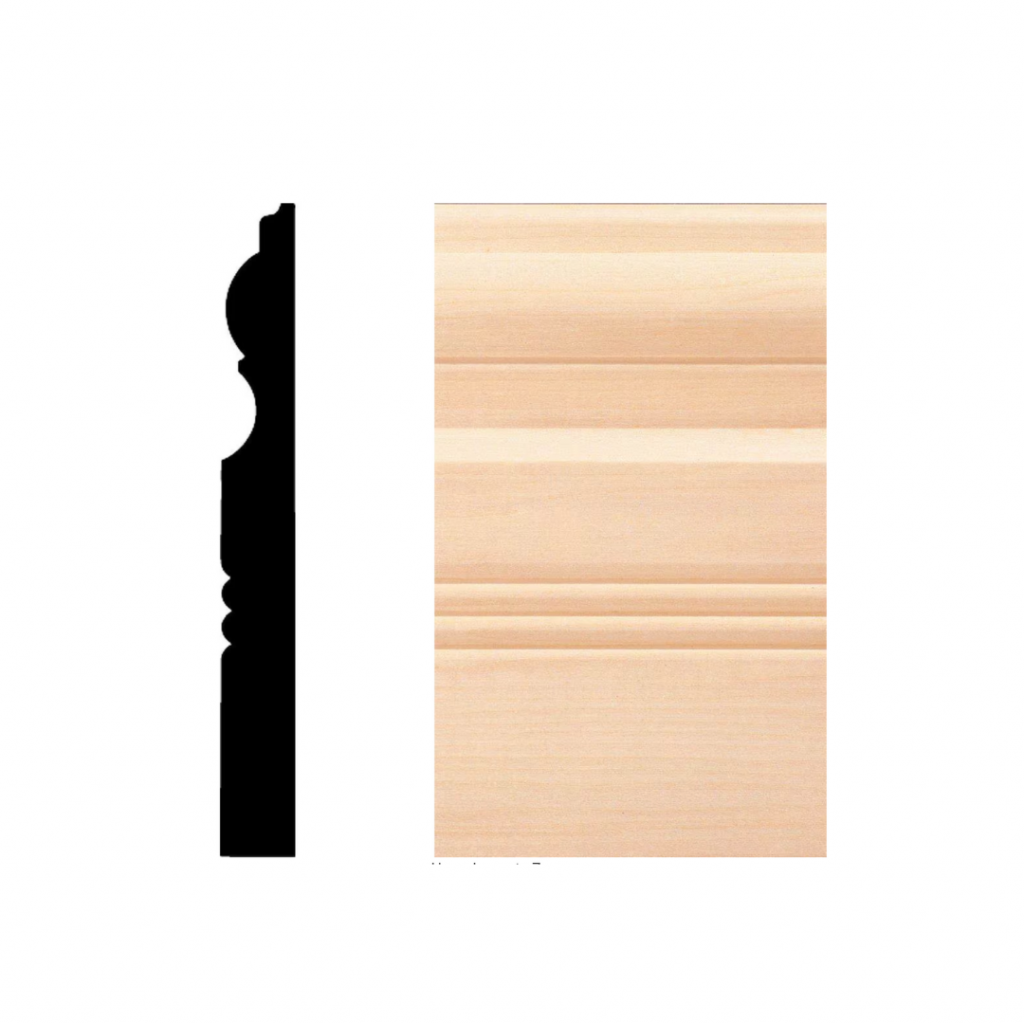
- Trim
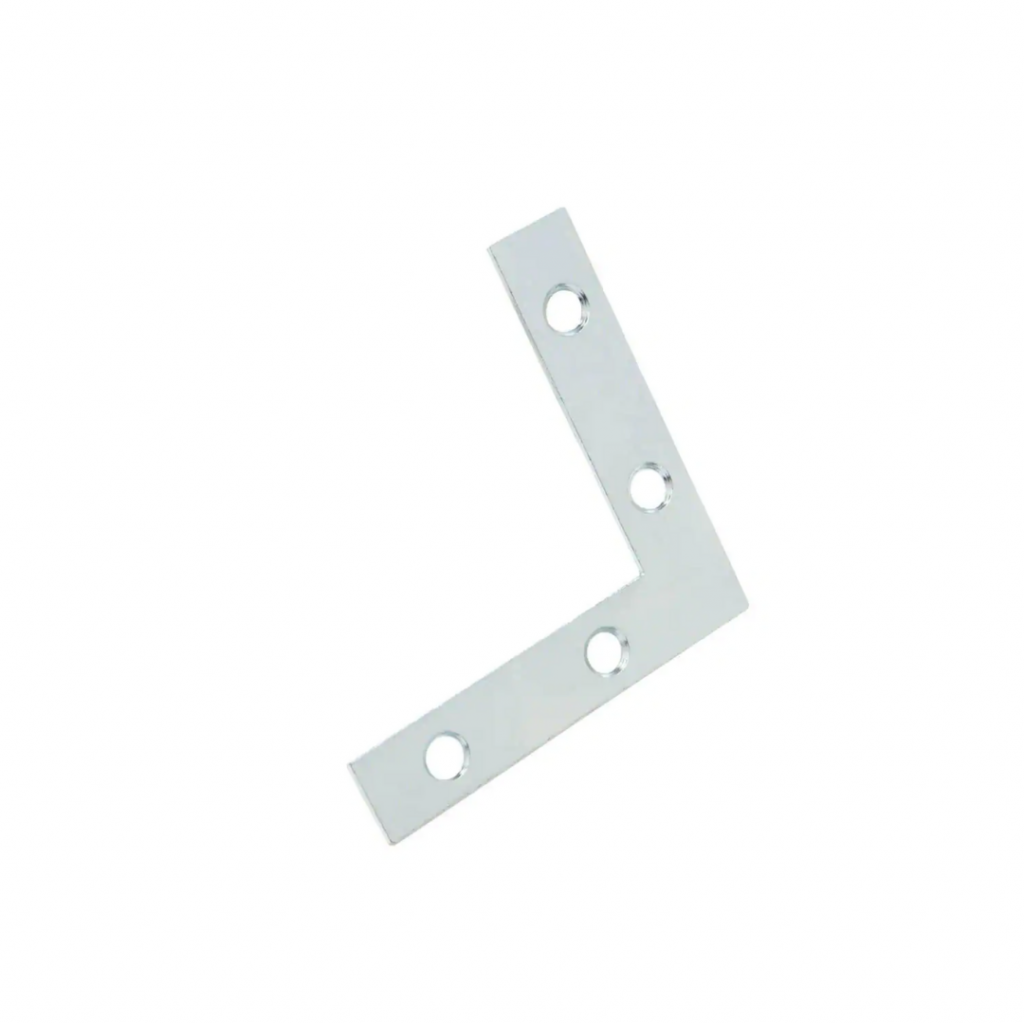
- Corner Braces
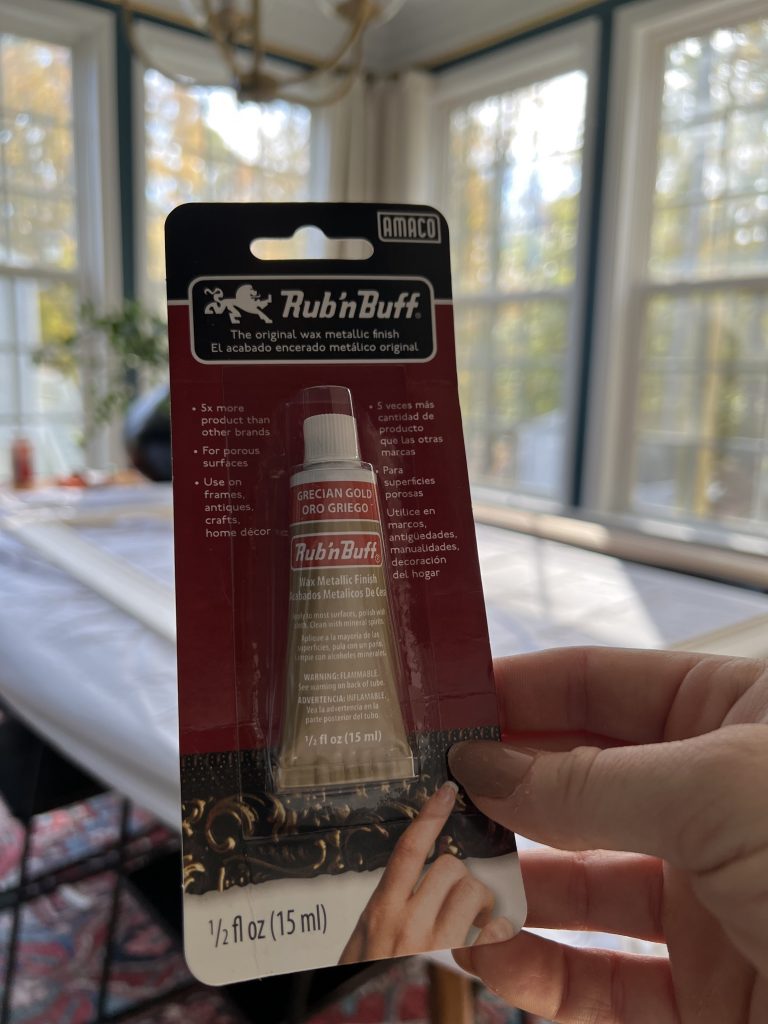
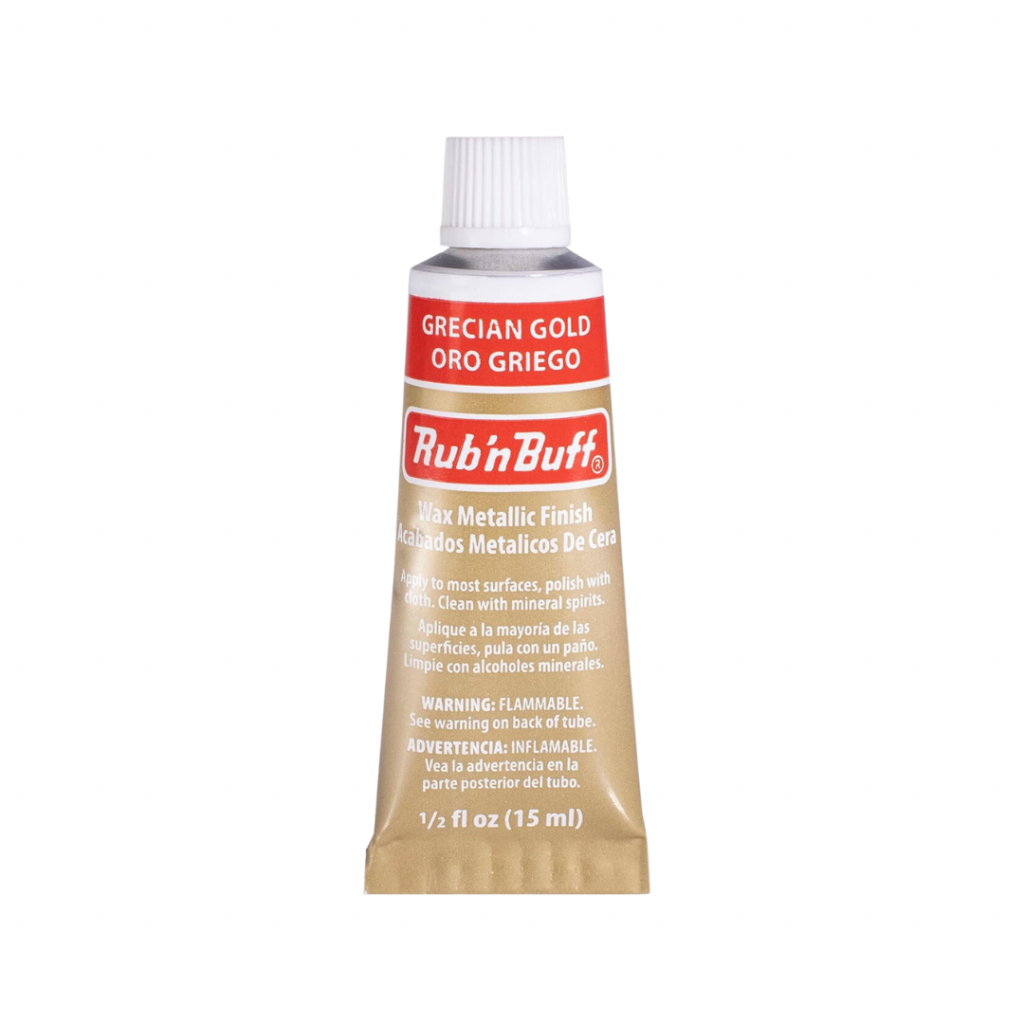
- Rub n’ Buff
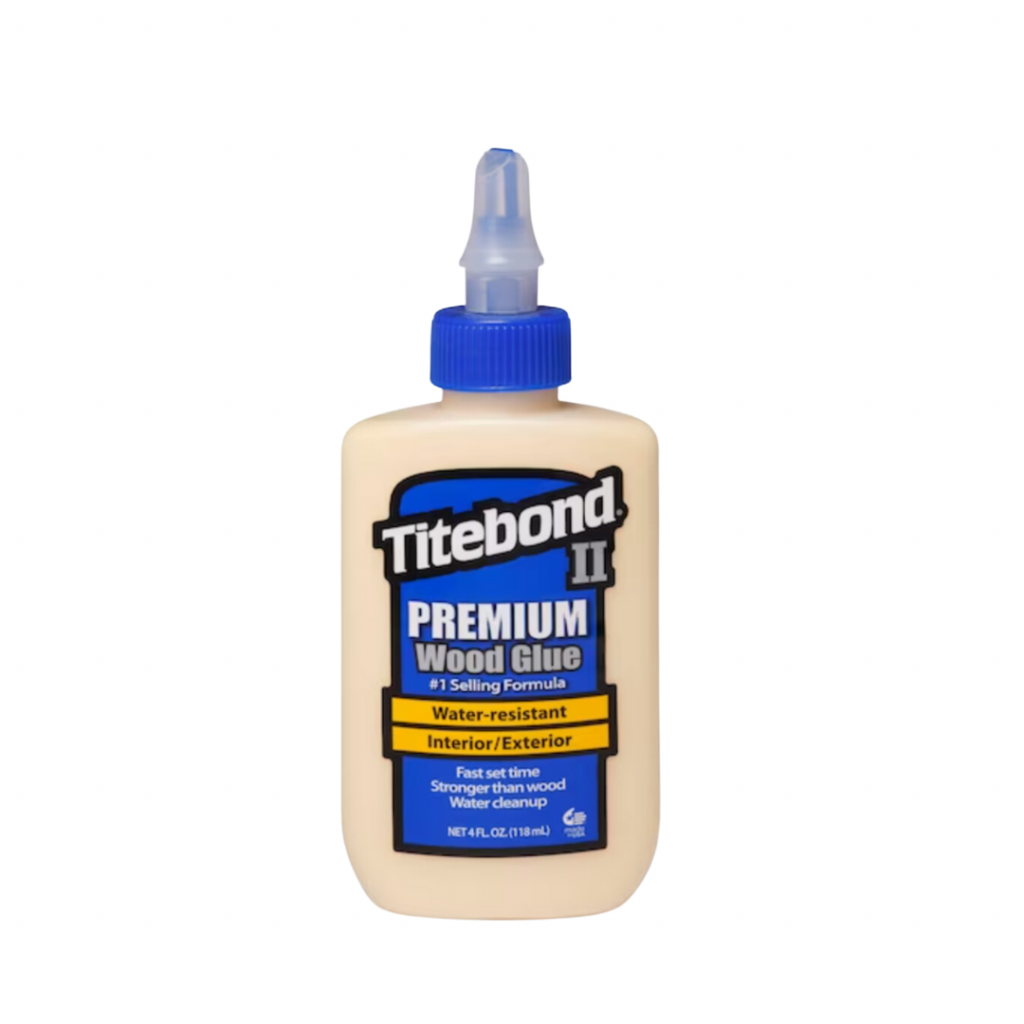
- Wood Glue
Tools:
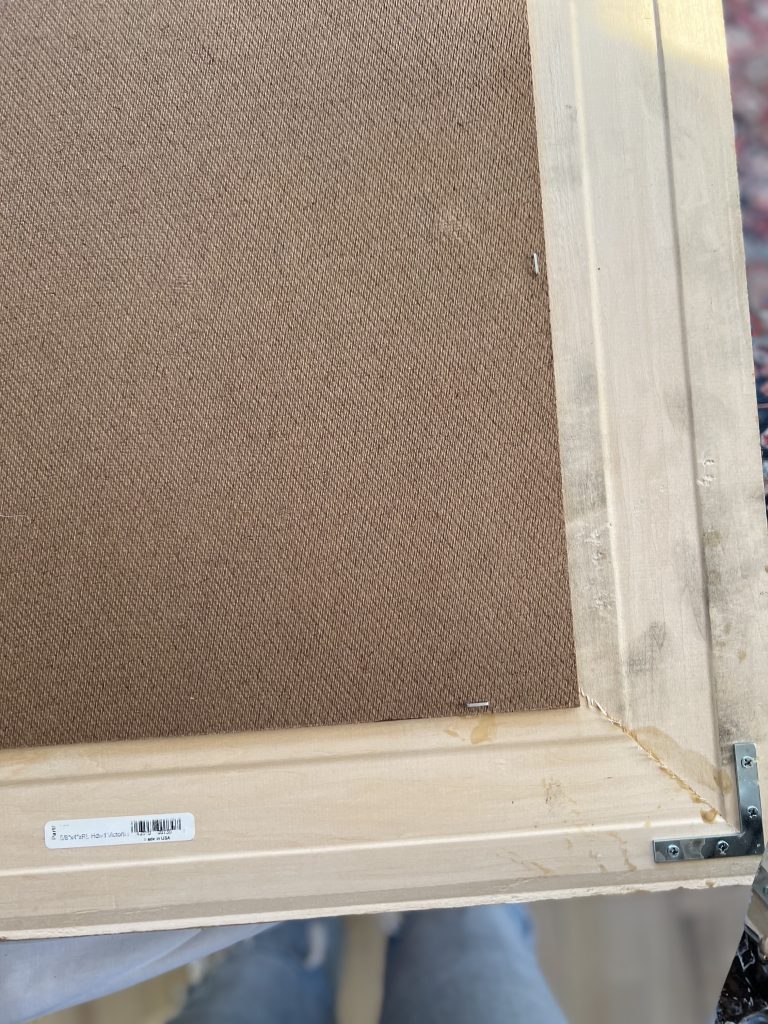
I went to my local Home Depot and grabbed a sheet of Tempered Hardboard for about $12. I asked an employee to cut this down to size for me. P.S. They are always SO great about doing this! I requested to have it cut to 37×49 inches so that I would have a bit of room around the edge for my frame to be attached when the art is completed.

Once I brought the cut down piece of hardboard home, I got my post print ready to attach it. I mistakenly did NOT do this the right way. But, you can learn from me!
****DO NOT USE MOD PODGE TO GLUE POSTER PRINT. USE SPRAY ADHESIVE!


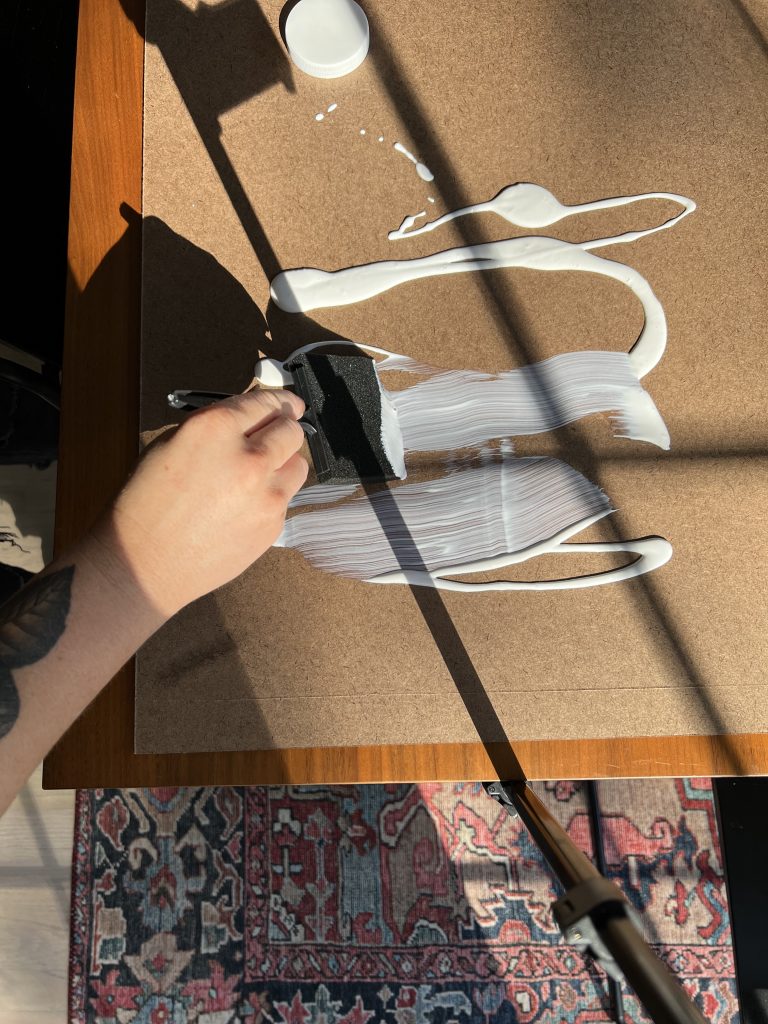
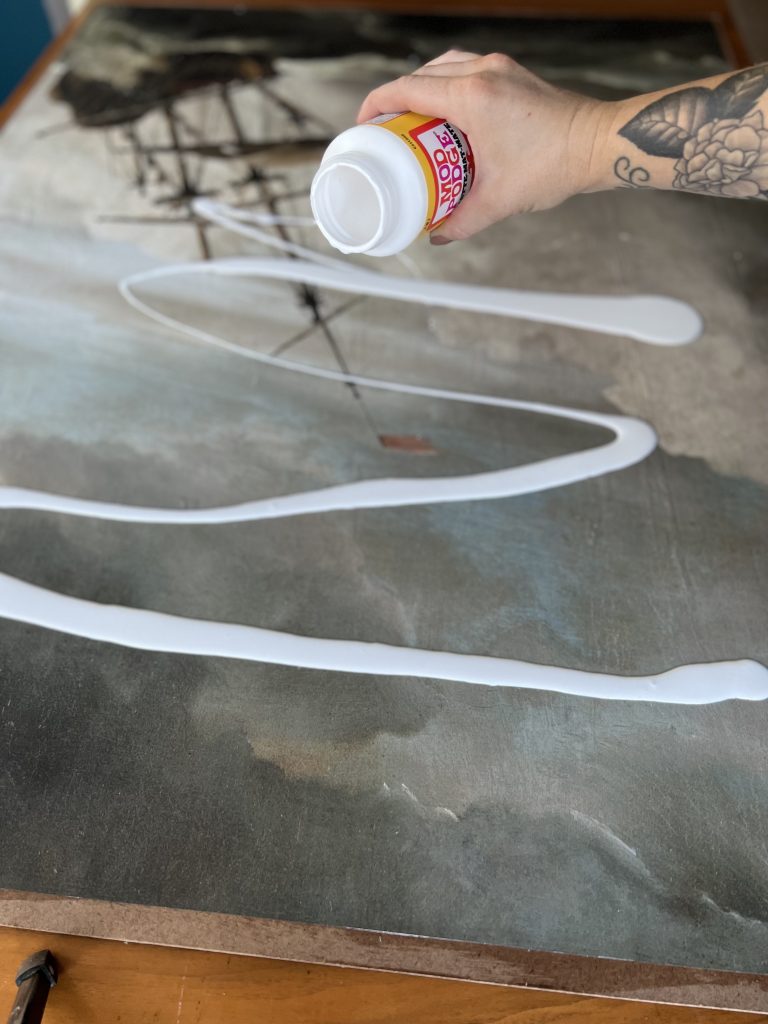
I poured Mod Podge on the hardboard and spread it out with a foam brush before rolling out the poster on top. I have used this method before with a different material (wallpaper), and it worked great! But in this case, my poster started bubbling all over. I would suggest swapping out Mod Podge with a spray adhesive like this! Mod Podge is water based, which does not mix well with a poster print!
In order to fix my mistake, I spend quite some time trying to smooth out my bubbles with a putty knife/spoon. Eventually I had a surface that had lots of wrinkles which ended up working out! That mistake did make my art resemble an old piece of art even more! But, if I could go back, I would have just used a simple spray adhesive instead.

To make the “vintage” look…
After the adhesive dried, I spread a layer of Matte Mod Podge on TOP of the poster. This gives it a seal and a nice finishing texture. The trick for making it appear more “vintage” is to do it very sloppily! I used a foam brush for this as well.
Making the Frame
While the mod podge was drying, I started constructing my frame!
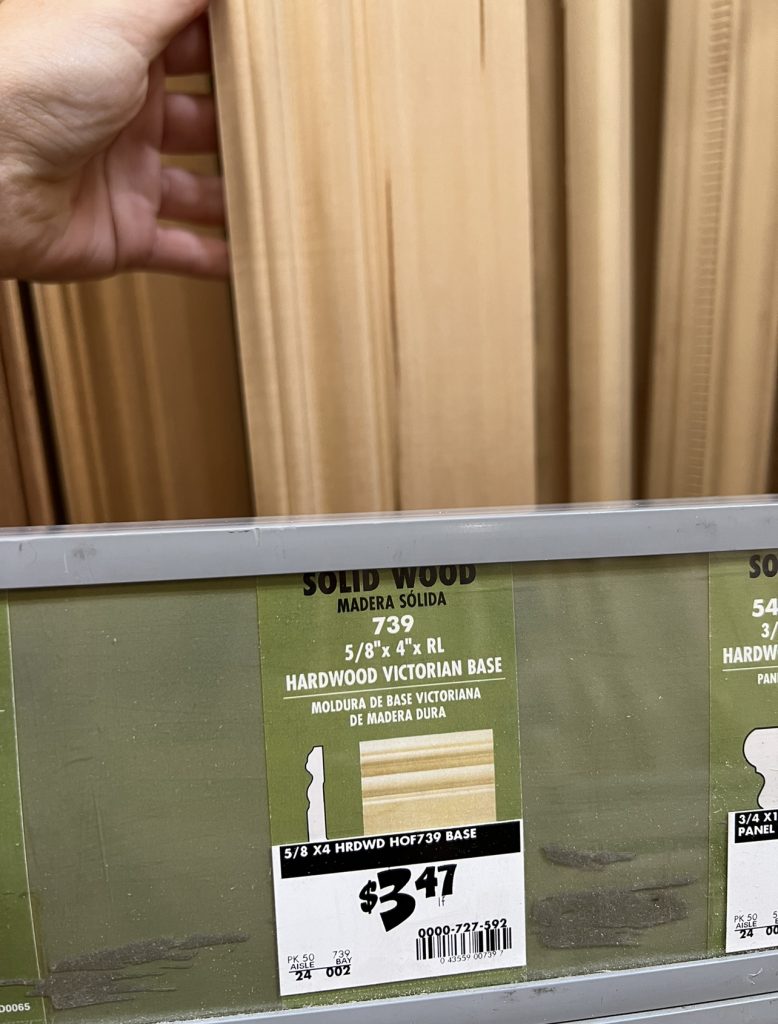
I grabbed this trim from Home Depot. There are lots of other beautiful options as well. This one was a bit pricier, but I thought that it looked the most true to an old antique picture frame, so I thought that it was worth it! I also grabbed some corner brackets for the frame. A large frame like this needs extra support.
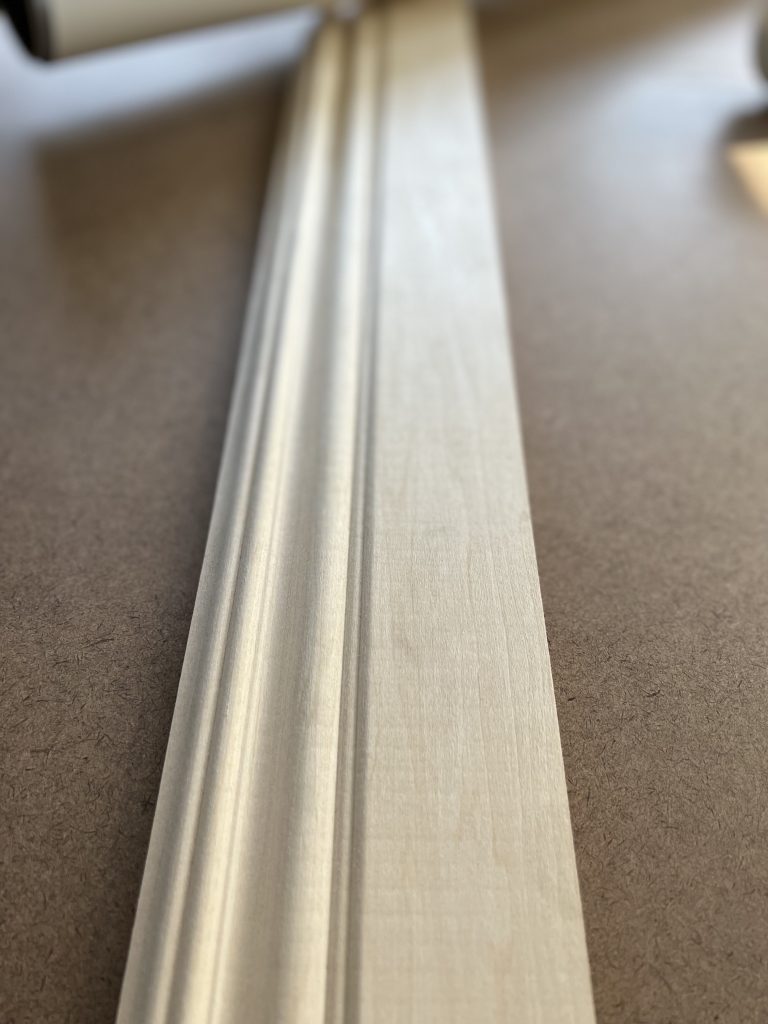
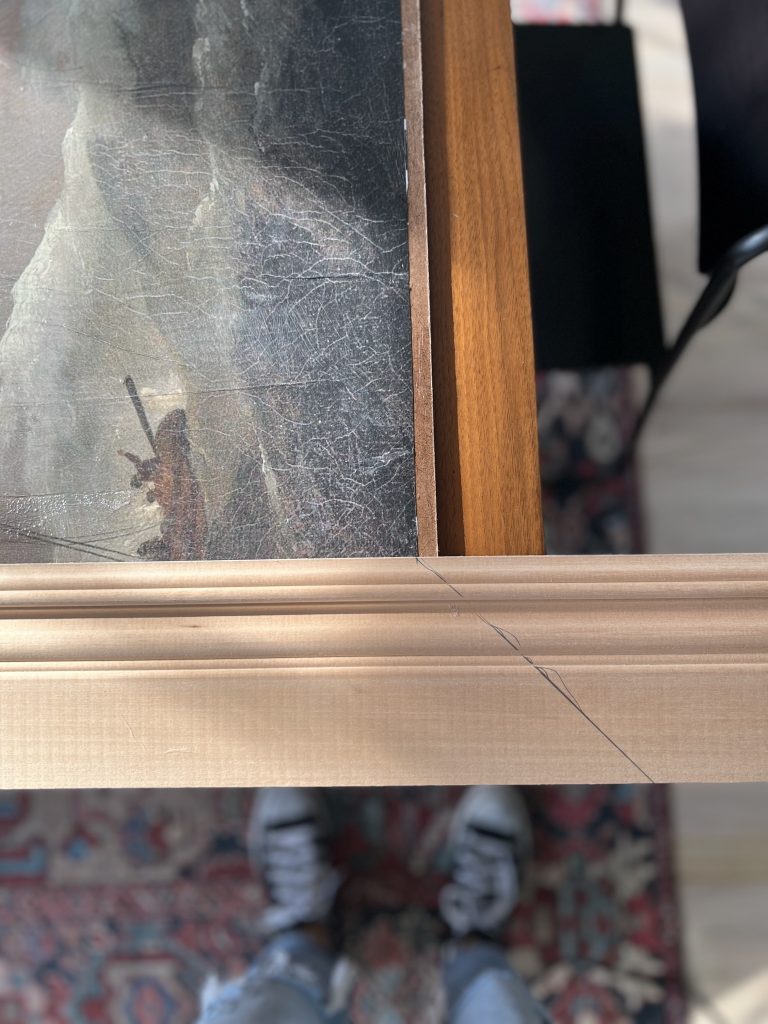
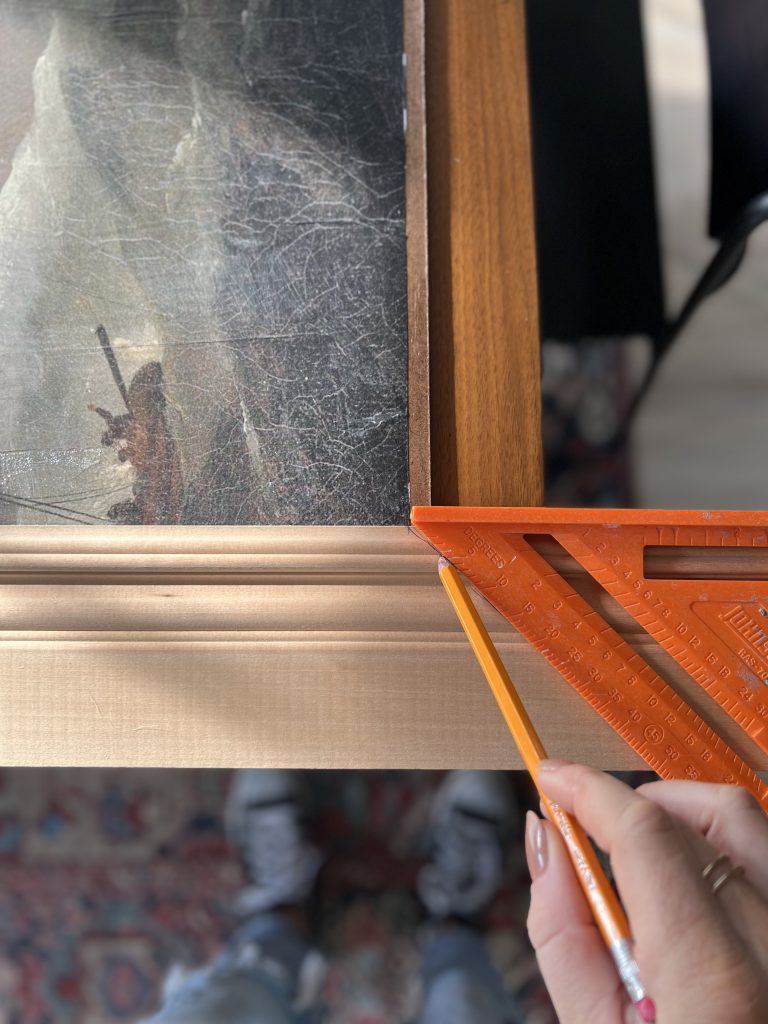
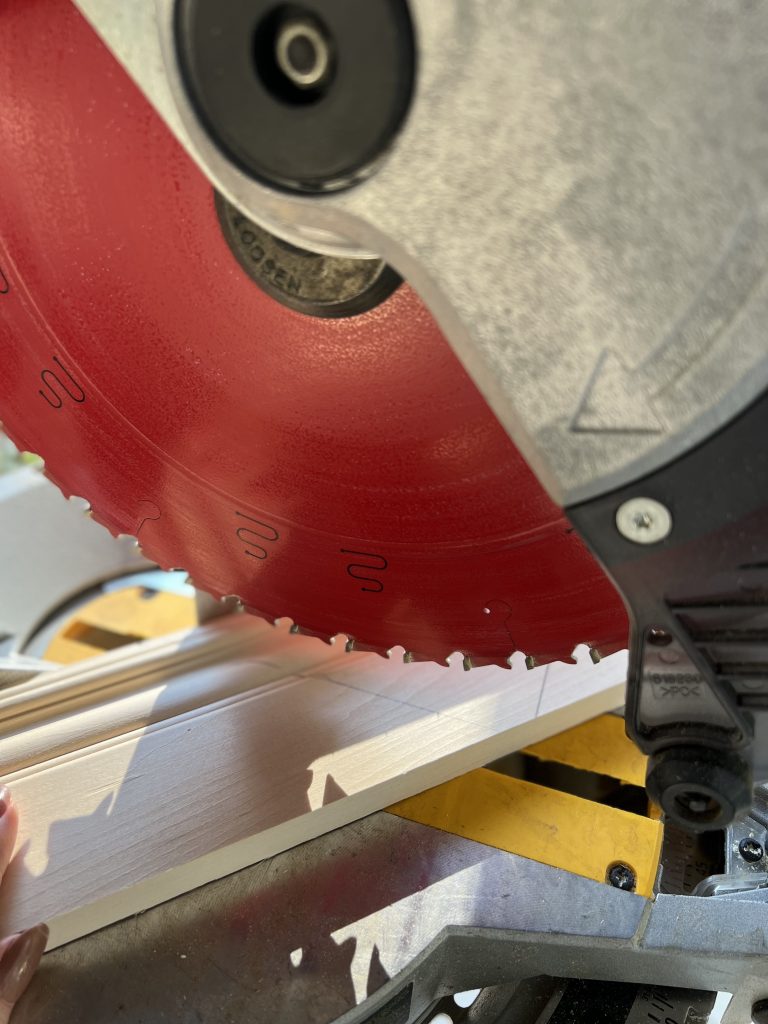
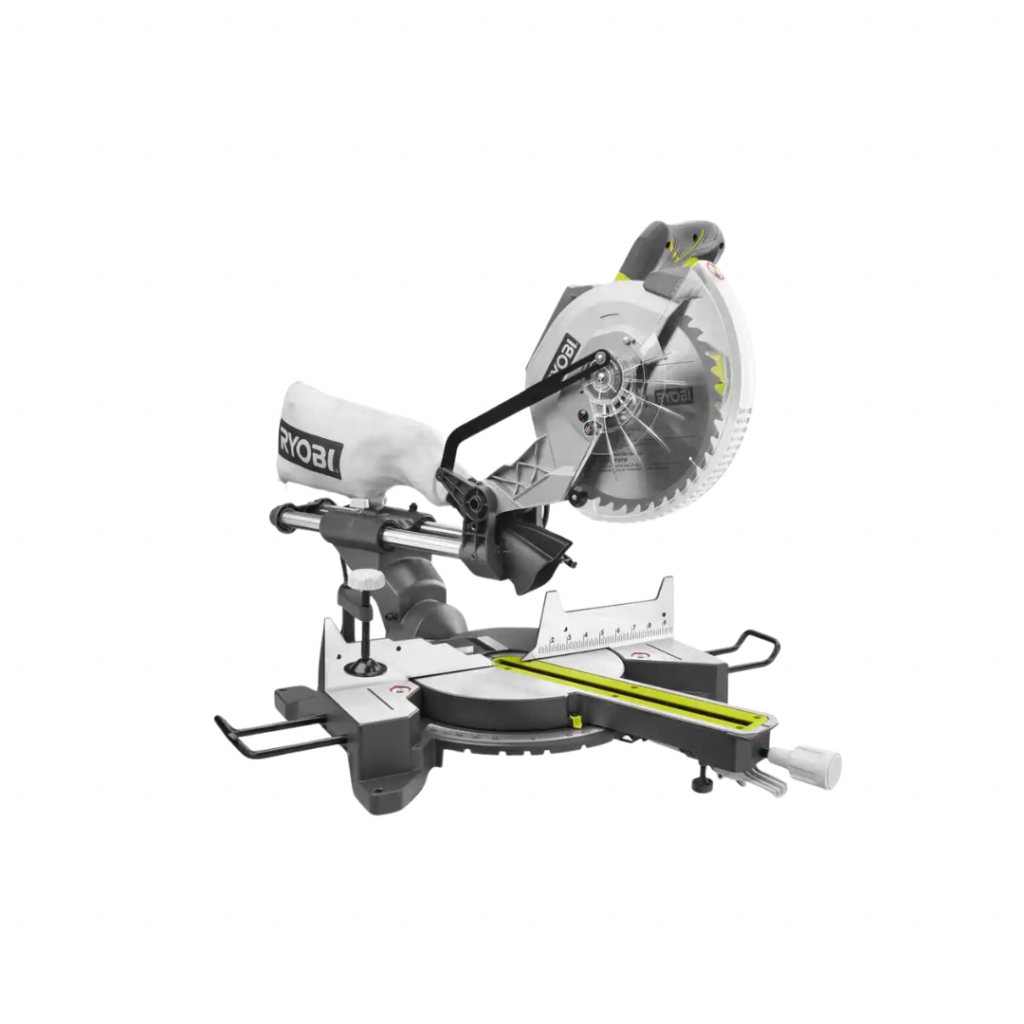
I measured and marked my trim and cut my four pieces with my miter saw. Make sure that you are cutting each corner with your measurements in mind! It helps to draw it out first. In this case, I marked my measurements on the inside of the trim and cut OUT for each piece.

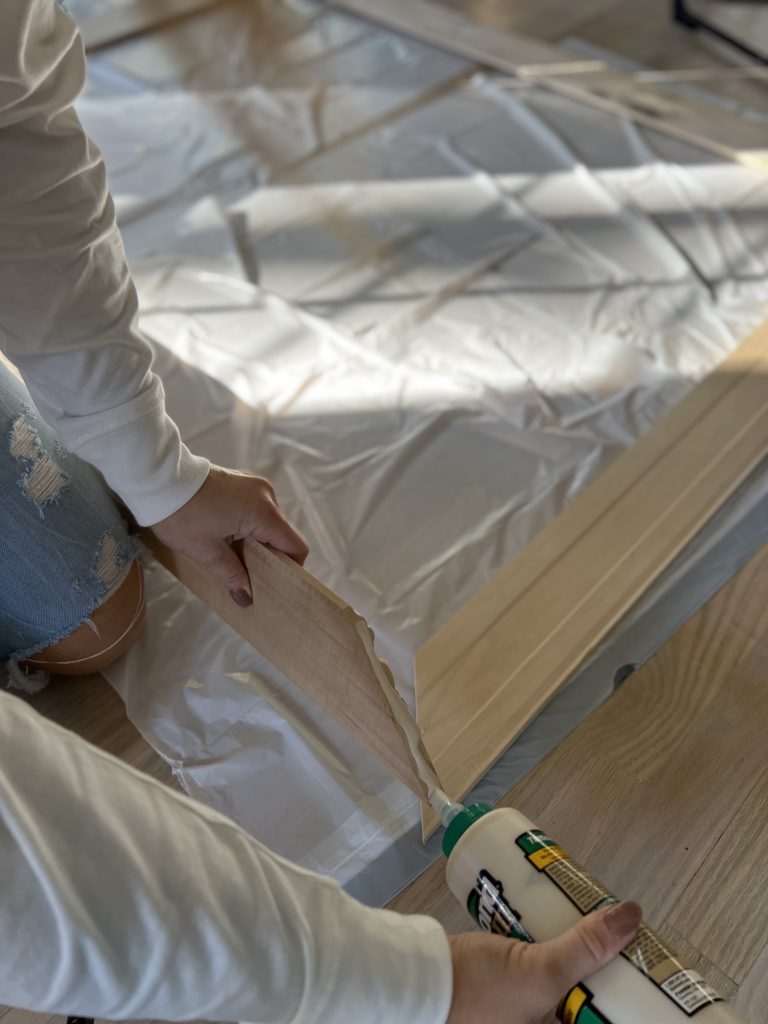
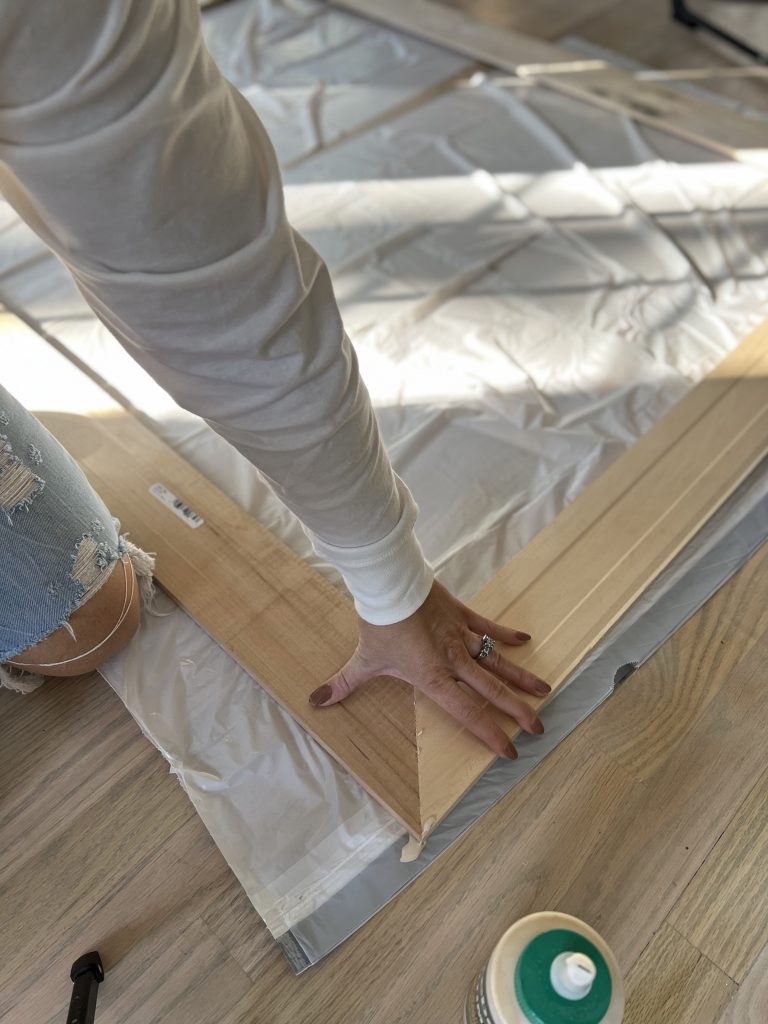
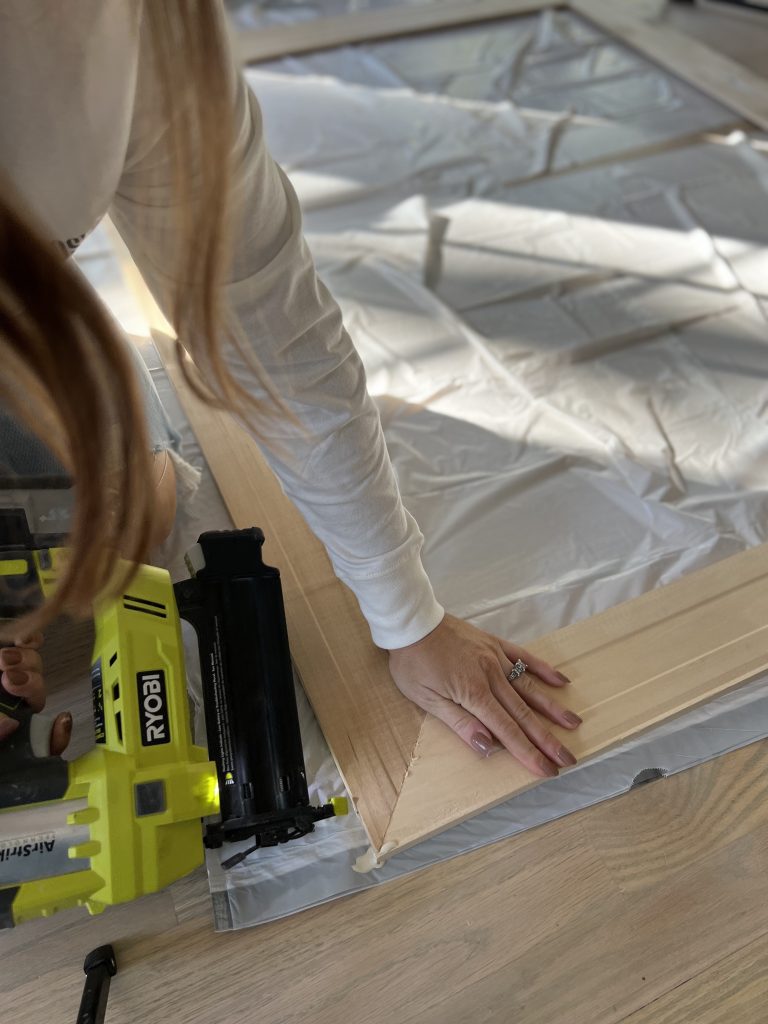
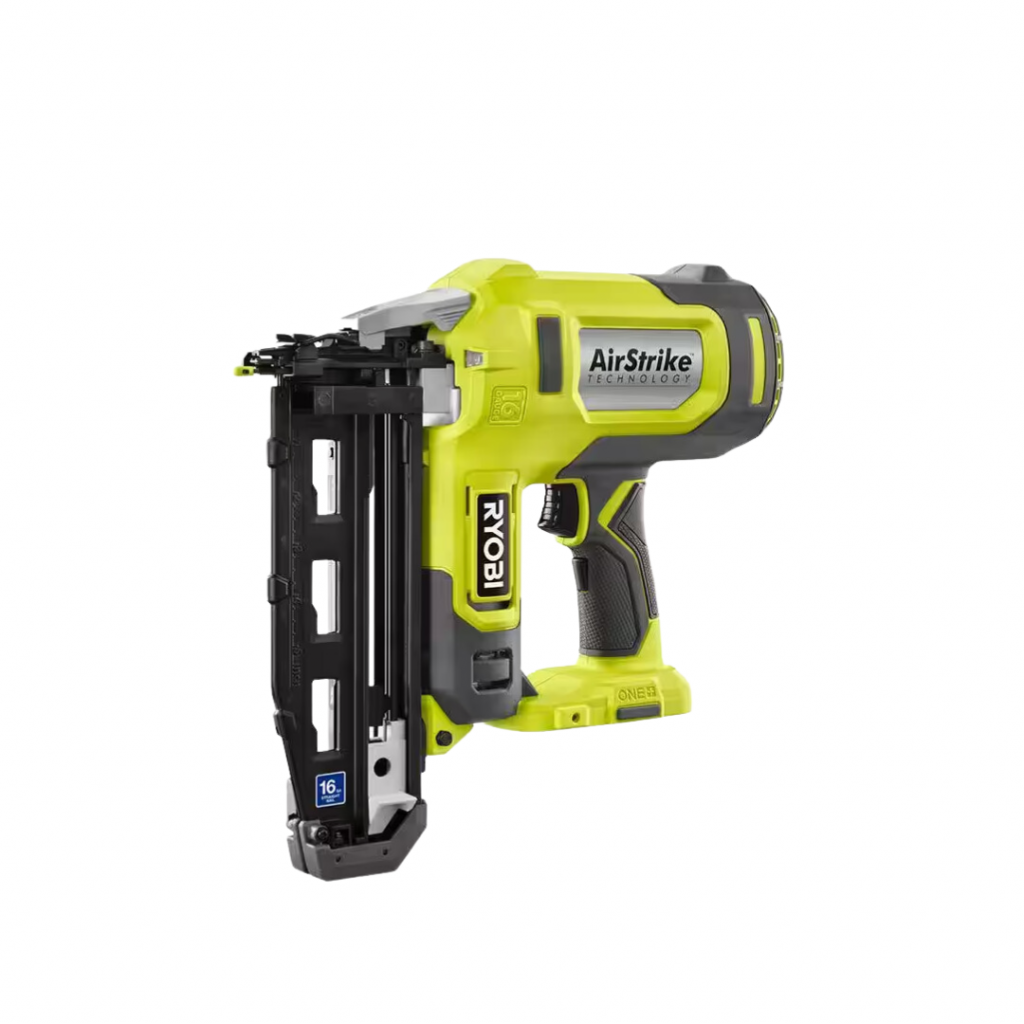
I laid them all out and prepared them to be glued together. Then, I added a bit of wood glue at each corner and placed firmly together. While the glue dried for about 30 minutes, I used my brad nailer to secure from each side. After the glue dried, I attached the braces to each corner of the frame for additional support.

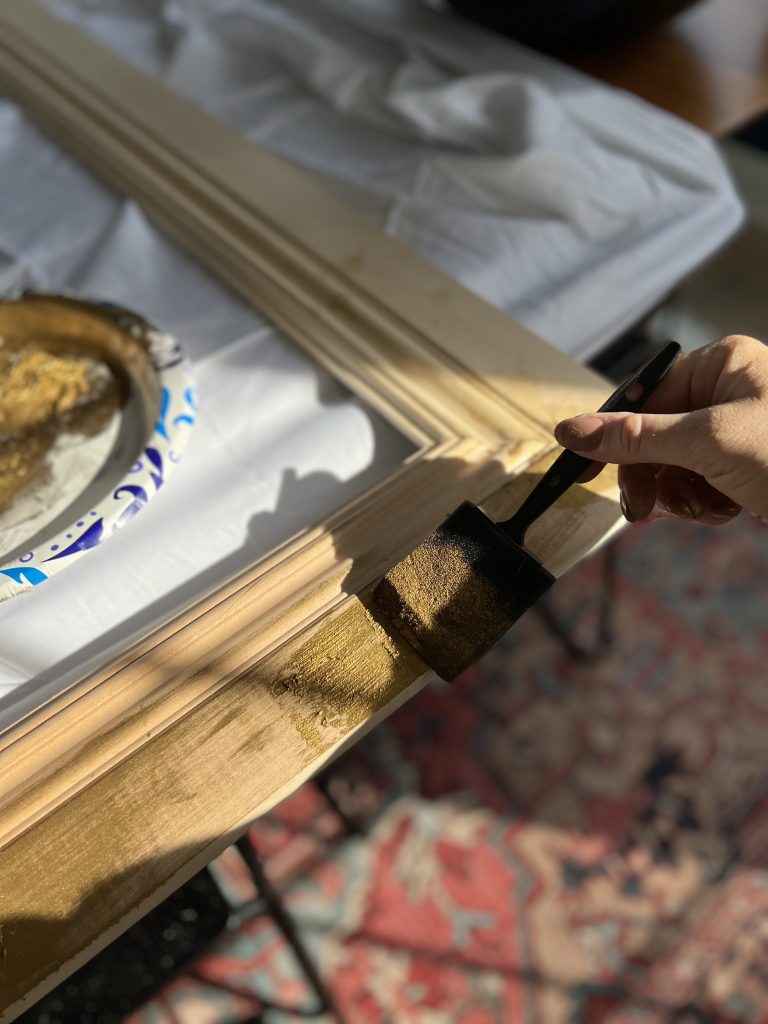
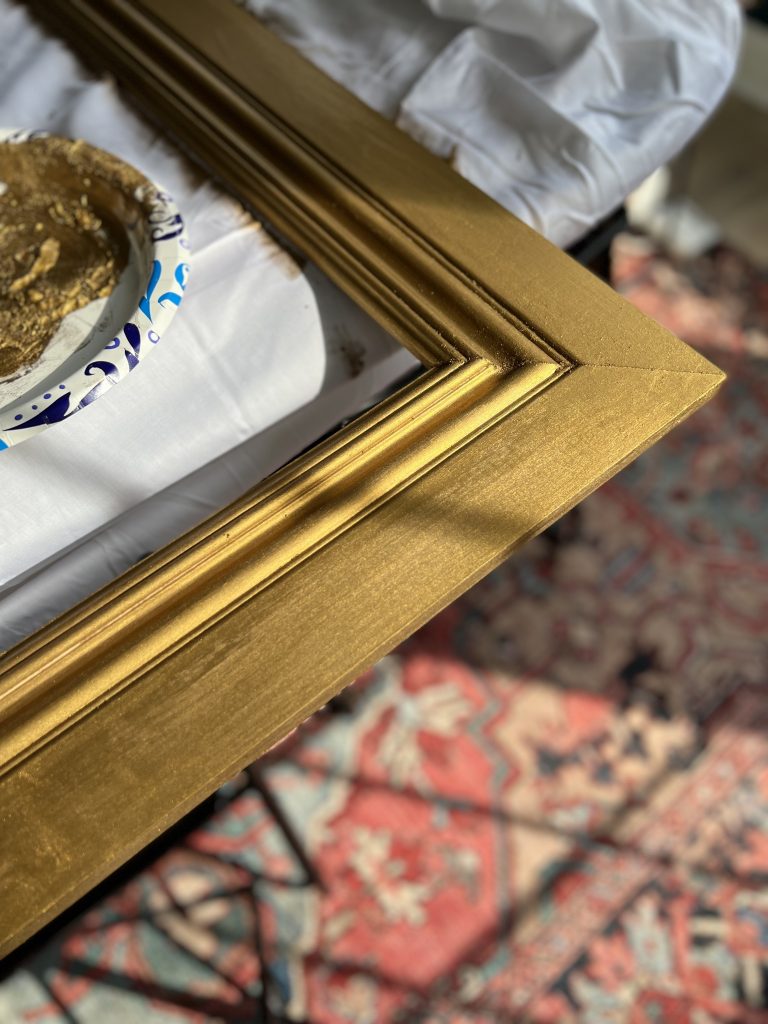
Rub n’ Buff
Once the frame was complete, I started applying the rub n’ buff! Grecian Gold is my absolutely favorite shade of this stuff. It looks so similar to an antique frame! Using rub n’ buff is a great idea for things like this. It gives a much more realistic texture than spray paint and can be applies to virtually any material! Make sure to apply with the windows open though! It STANKS!

After the frame was dry, I flipped it over and centered my hardboard art onto it. I used a stapler around the edge to staple it to the frame.

And DONE!
I am so happy with it! It truly does look old and was so easy to do! I can see myself doing this many times in the future.
Here are some other similar prints that I loved!
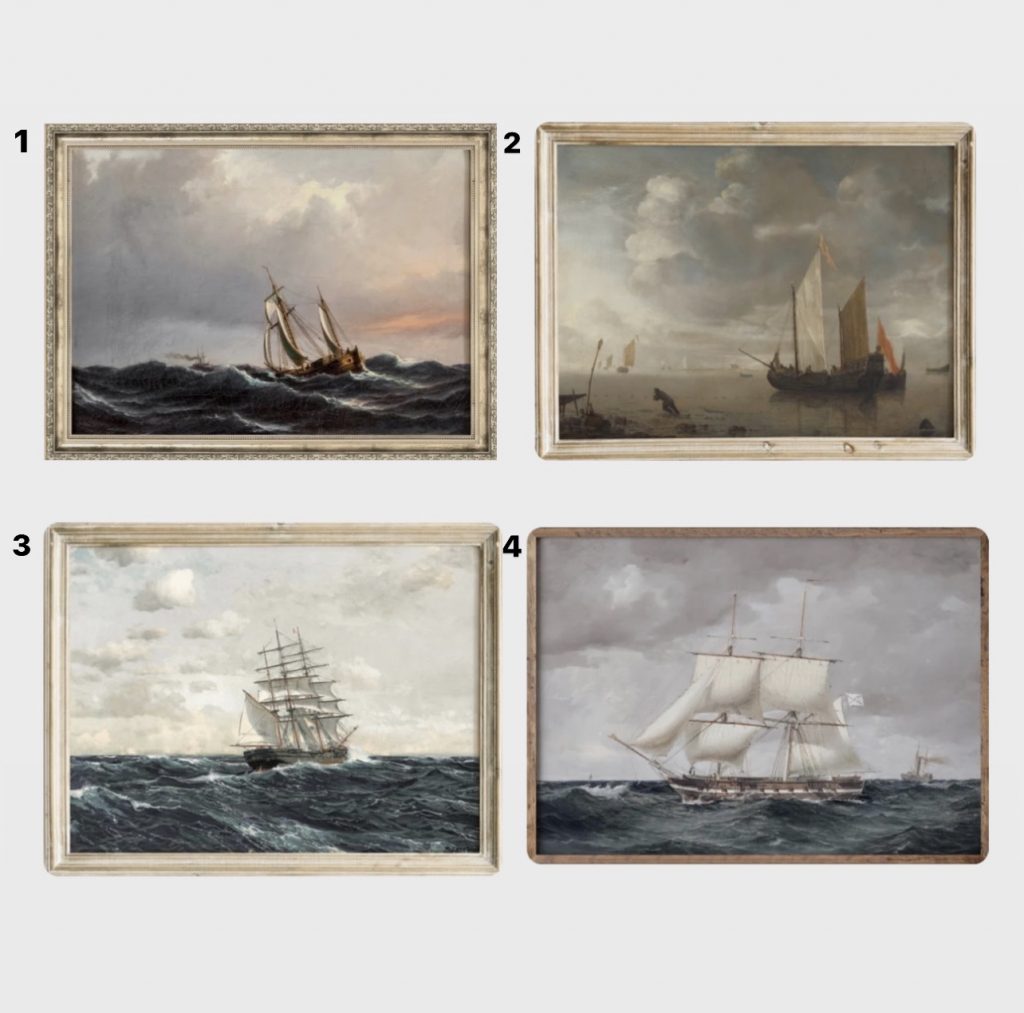
- Moody Nautical Ship Painting Print
- Sailboat Painting Print
- Nautical Print Painting
- Vintage Ship Ocean Painting
Would you try making this DIY Faux Vintage Art?
-Cass
Here’s everything I used for my DIY Faux Vintage Art:
Okay I LOVE this DIY but have a question. When I go to MPIX’s website I am not seeing any option for a poster print like this. Am I missing it? The product options I see are: Prints, Giclee Prints, Modern Metals, Canvas Gallery Wraps, Wood prints, Standout prints, and Acrylic prints and blocks.
Rachel,
It’s there! If you go under prints, it will bring you to an additional menu and “poster prints” should be there! Hope this helps!
https://www.mpix.com/products/homedecor/poster-prints
Thank you so much for responding!