DIY Stair Runner


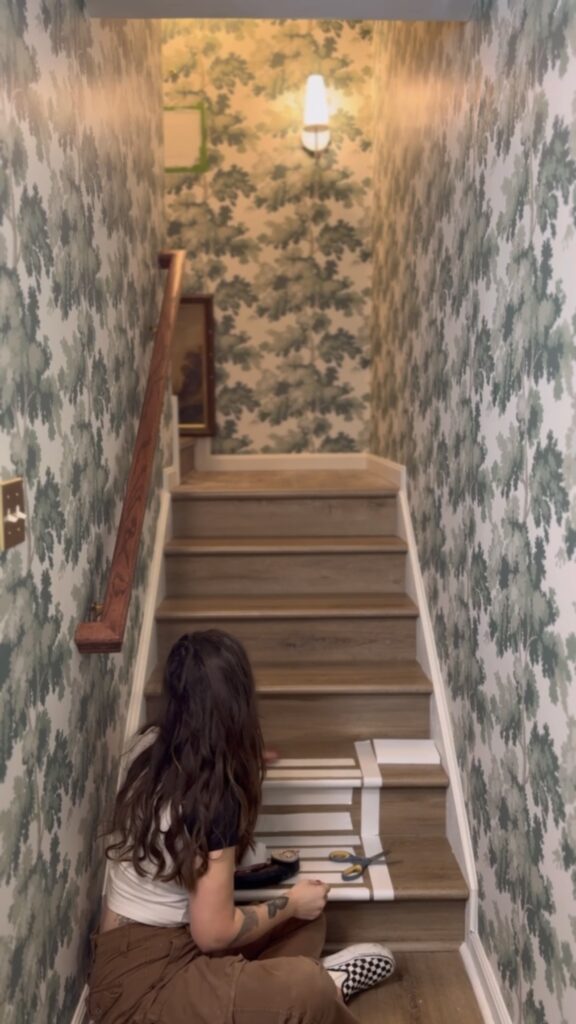
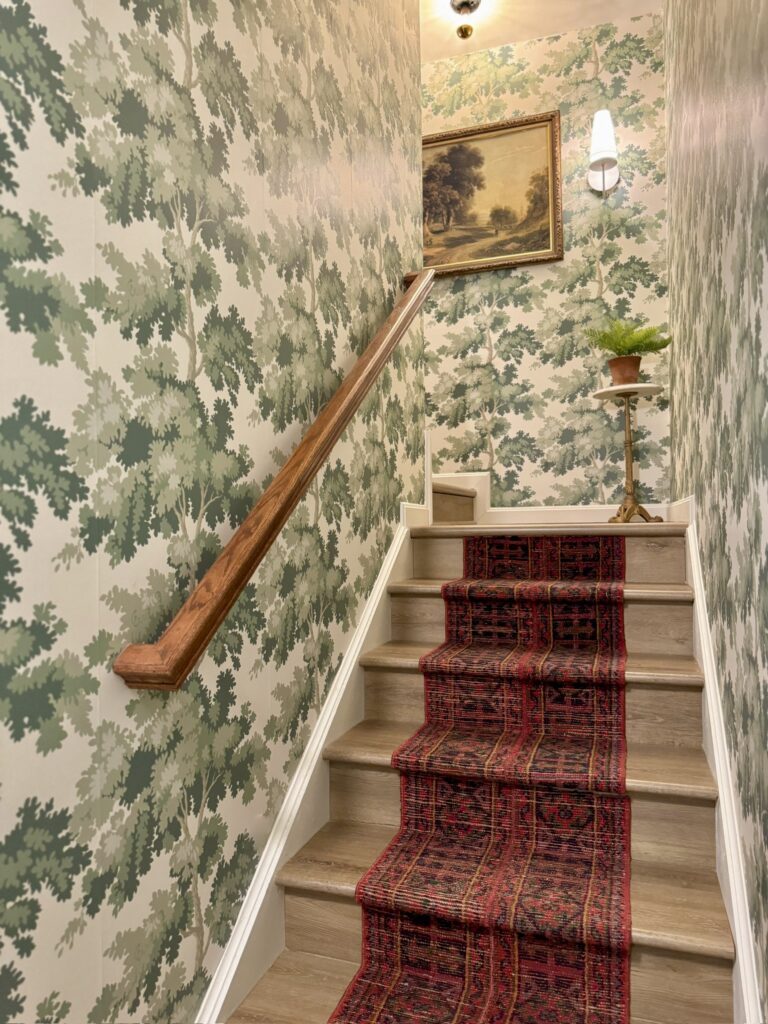
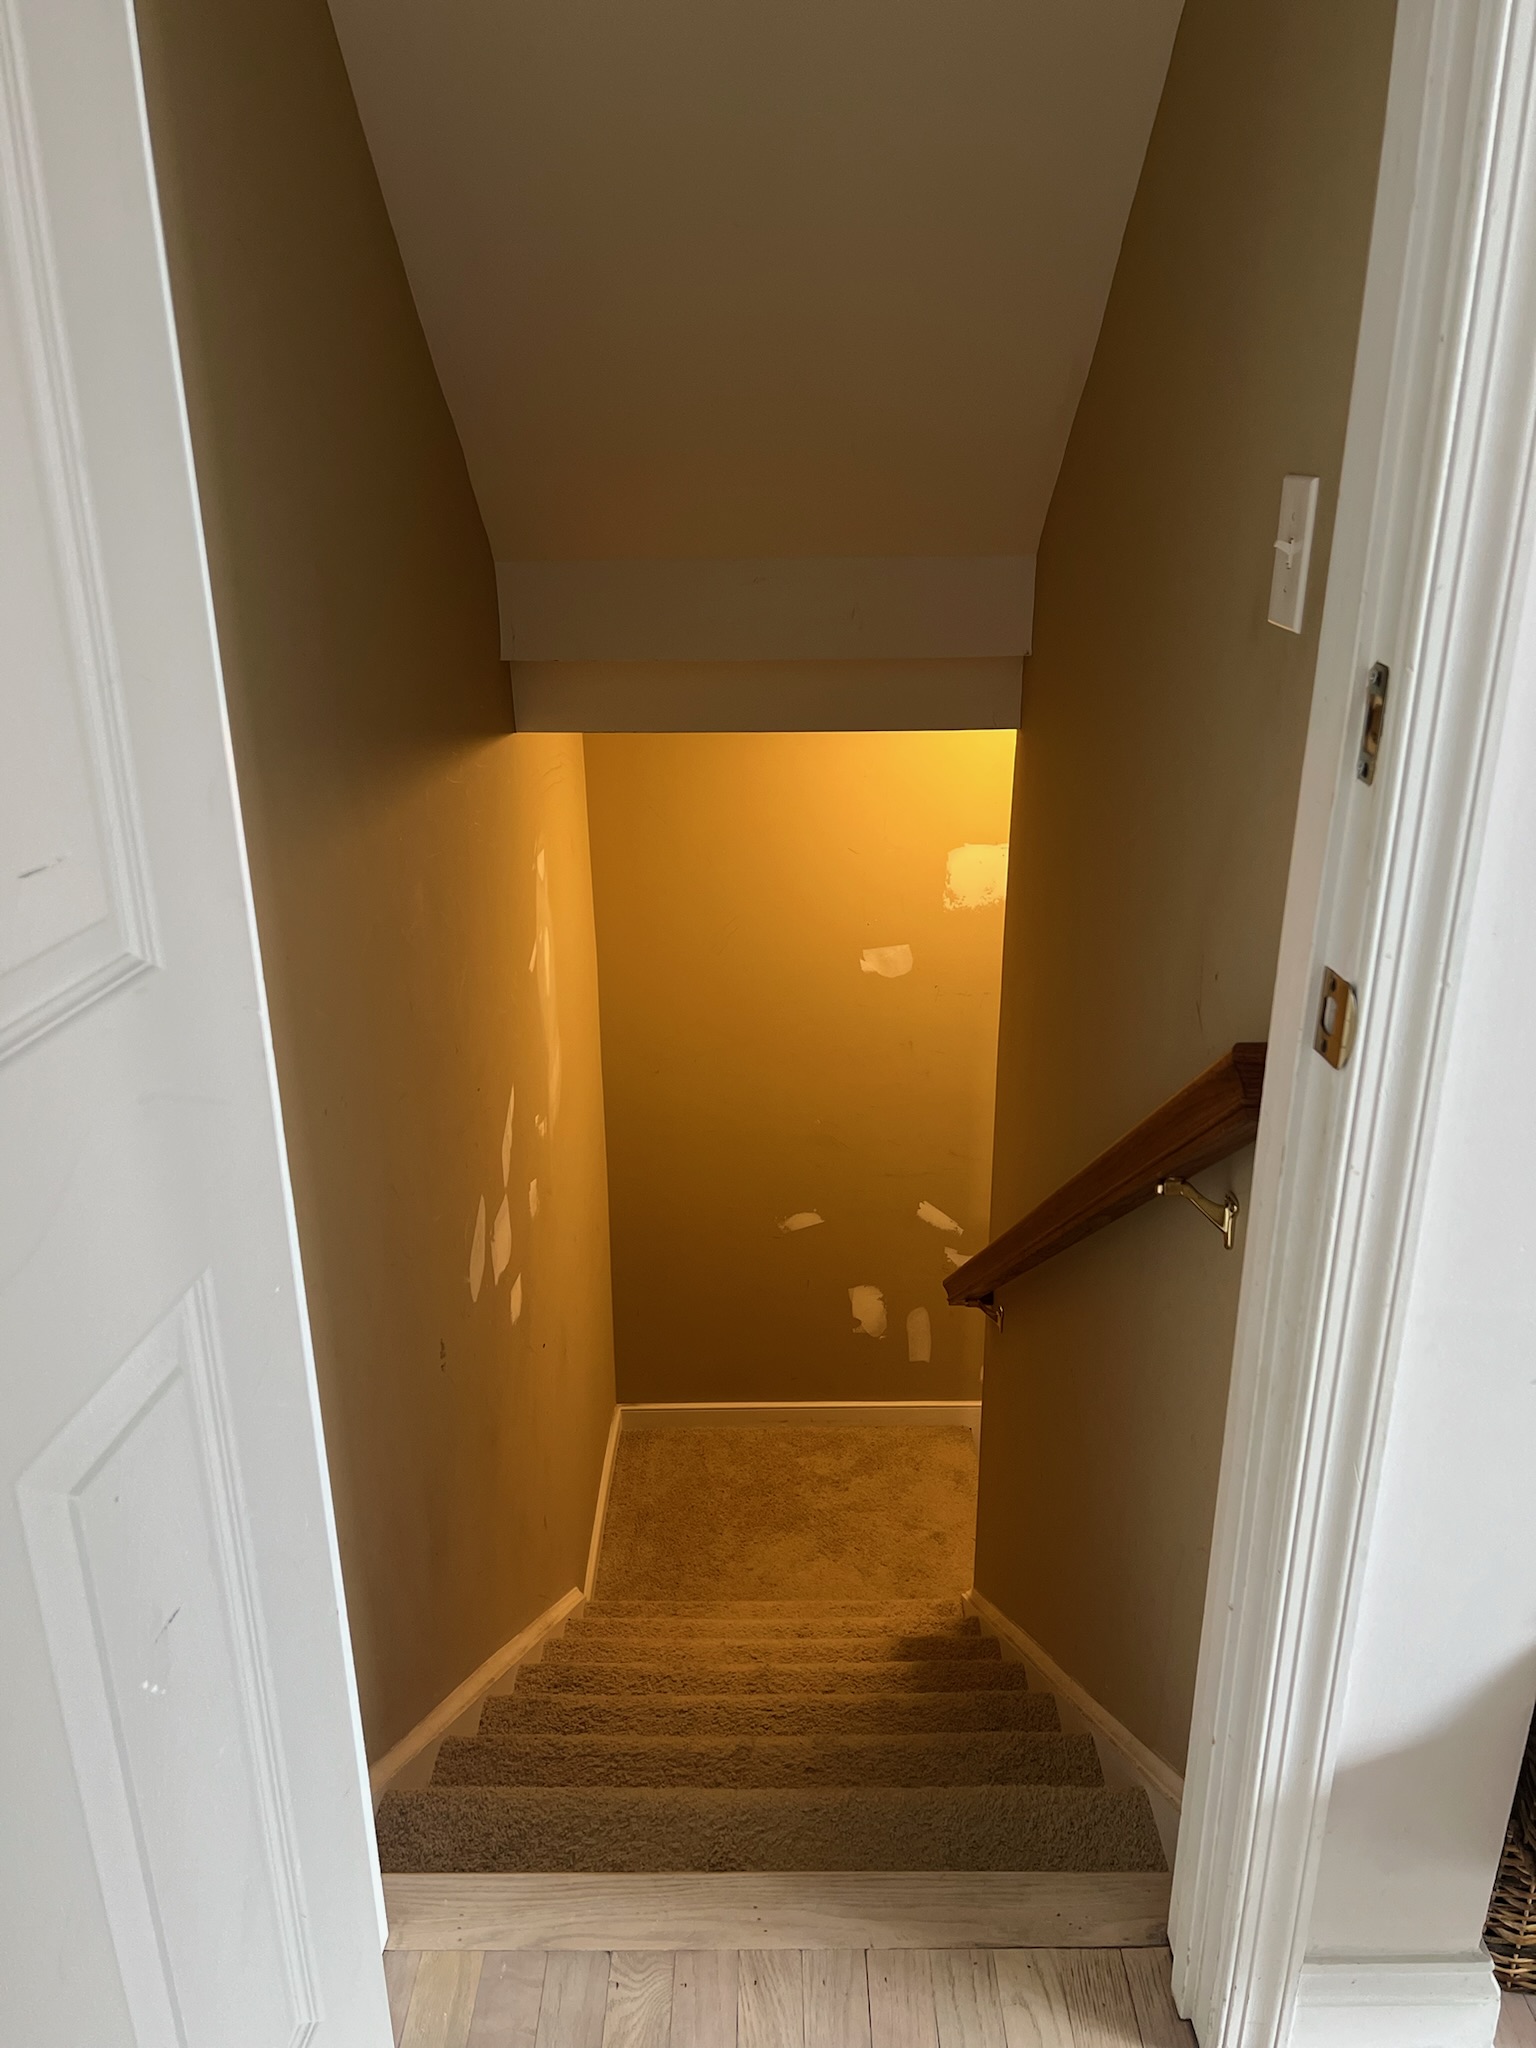
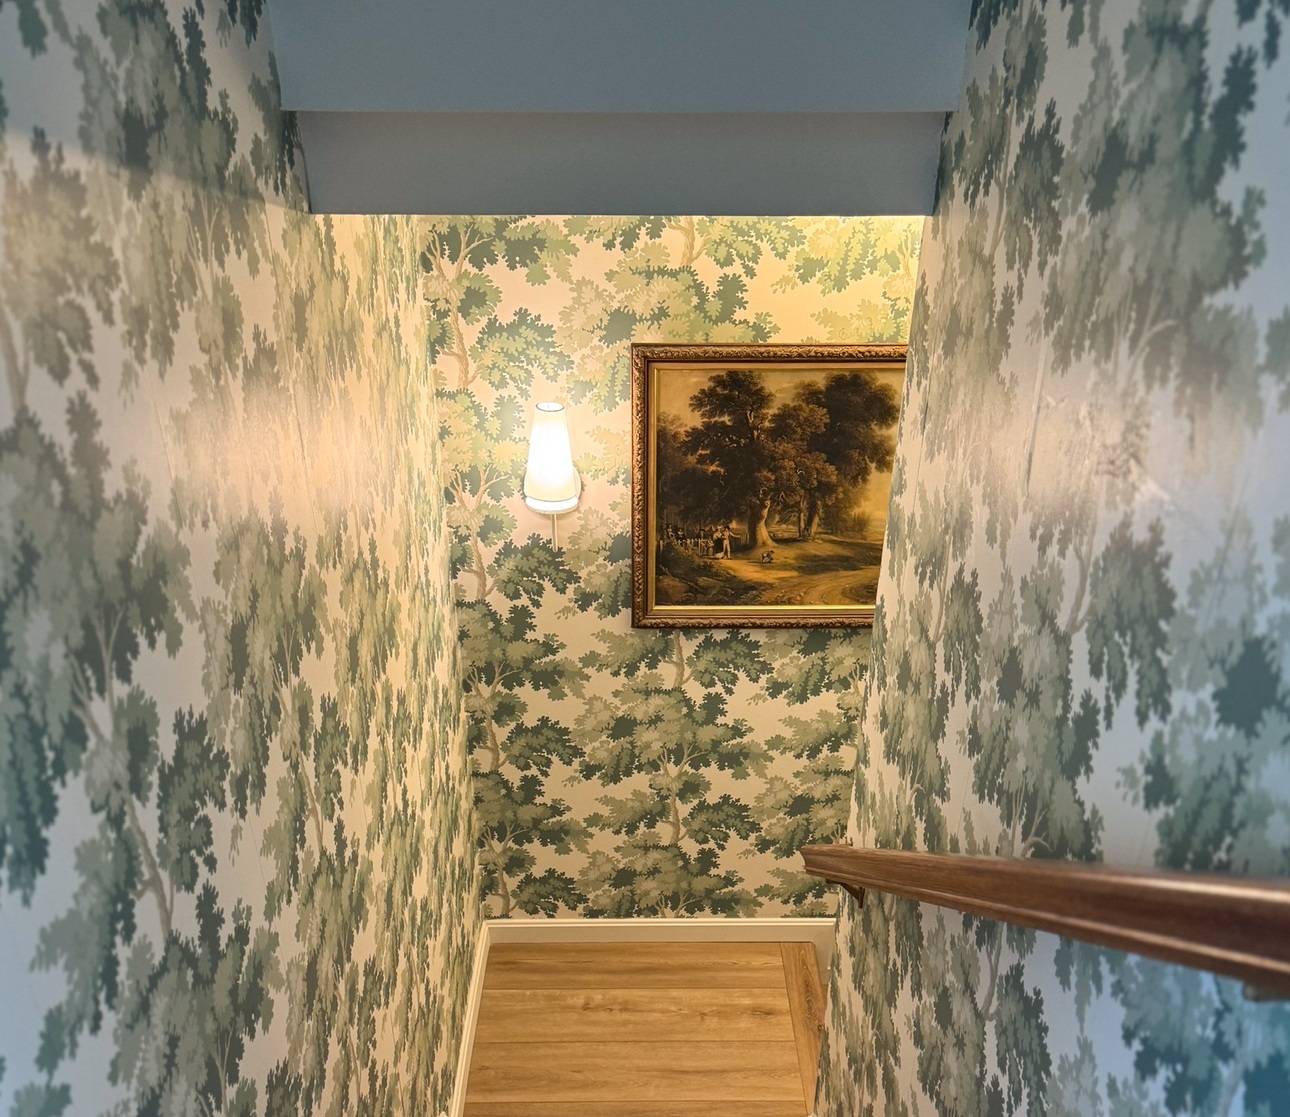
The basement stairway is looking so good! I’ve been giving this area of my home some attention because stairways and hallways deserve some love too! So far I’ve installed new stairs, wallpaper, and new lighting in this space. Now, I’m working on a DIY stair runner using just carpet tape.

Let’s do it!
I used carpet tape because I didn’t want to put any holes in my new LVP floors. Here’s how I did it.
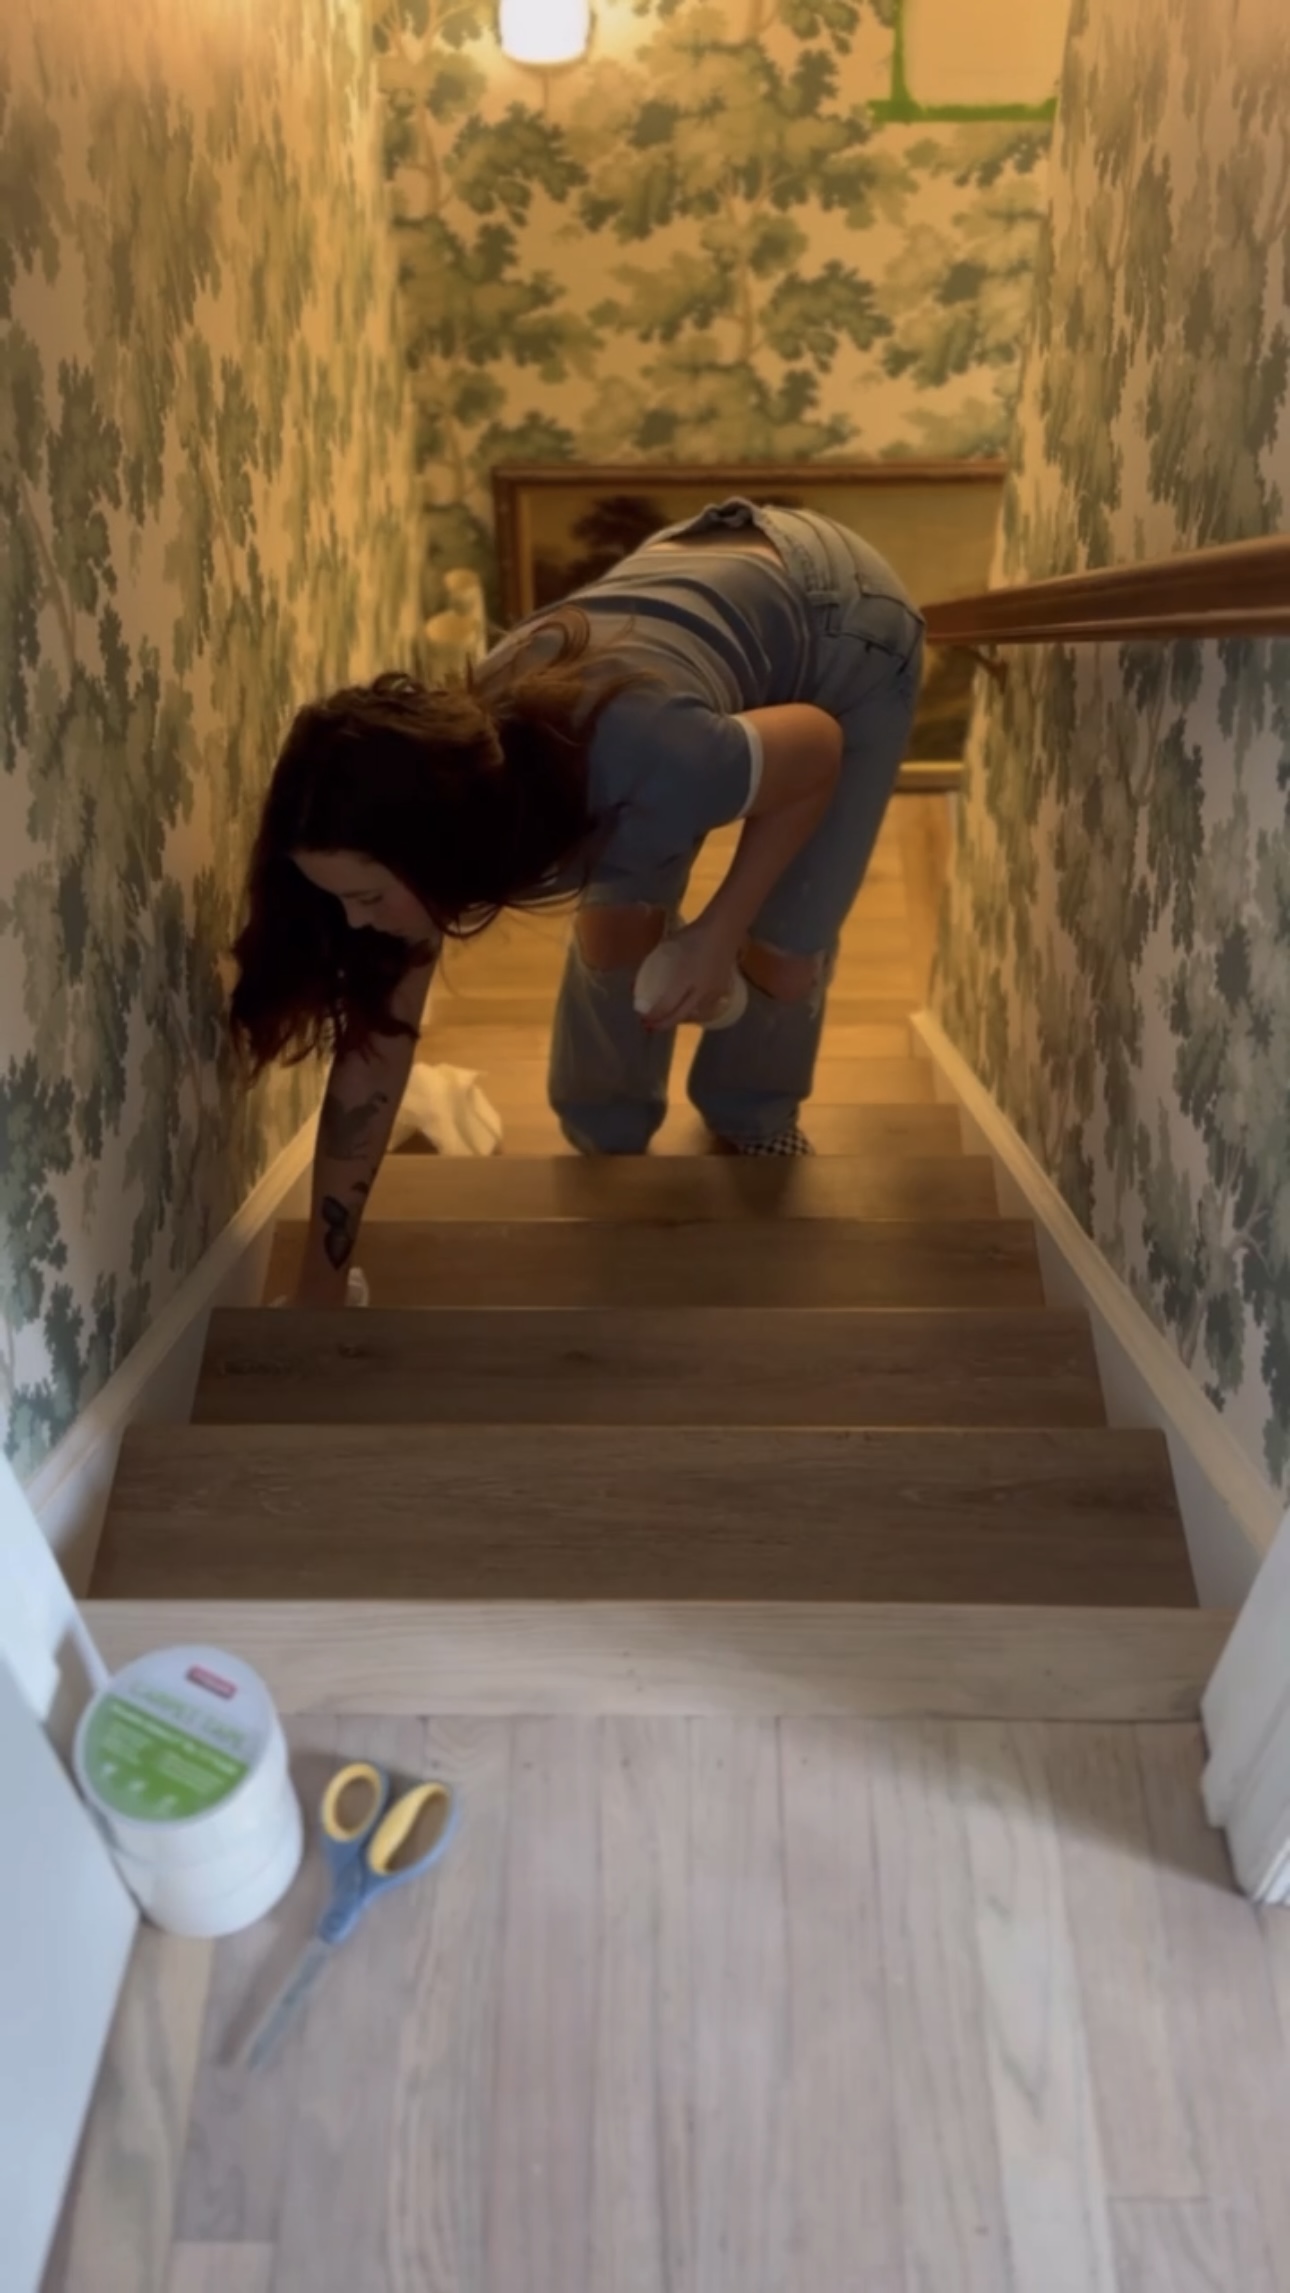
I started out by cleaning and prepping the floor. This is an easy step to skip, but makes all the difference! This will help the carpet tape stick better.
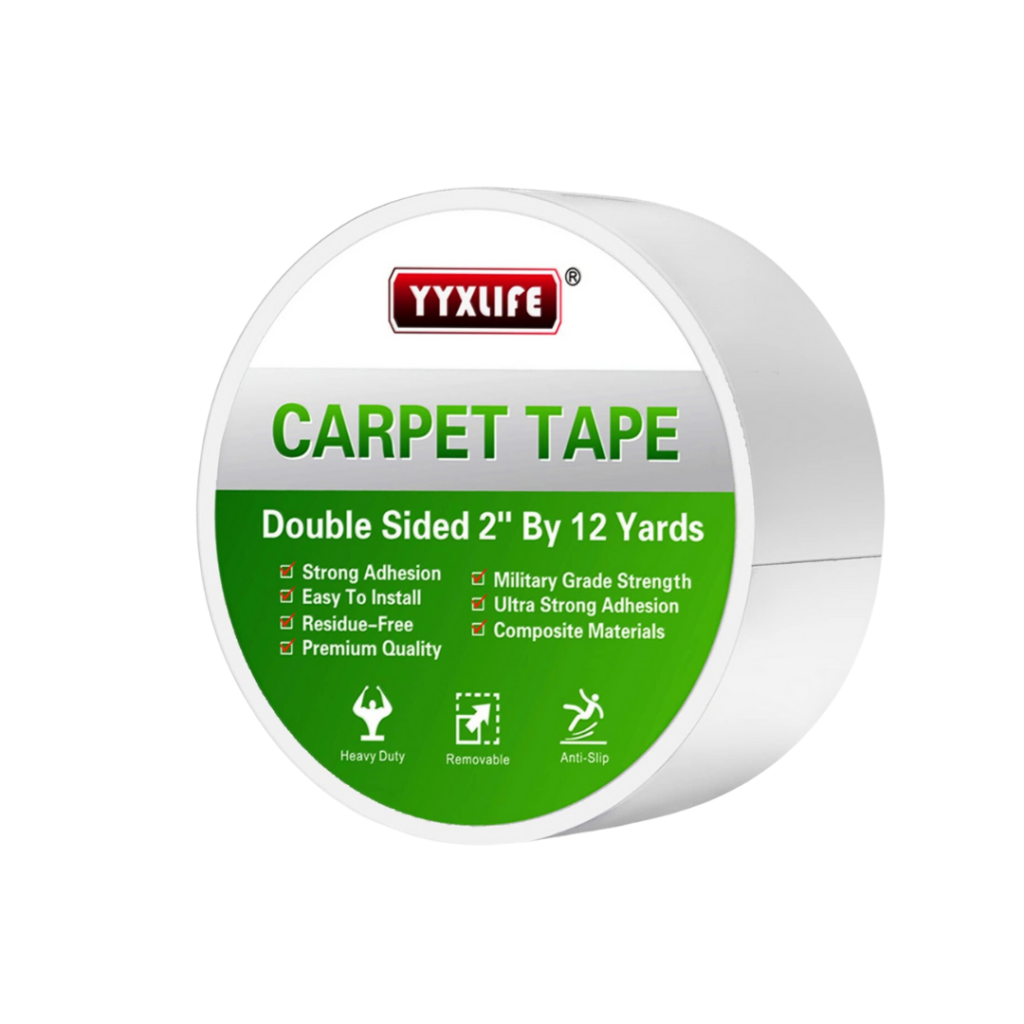
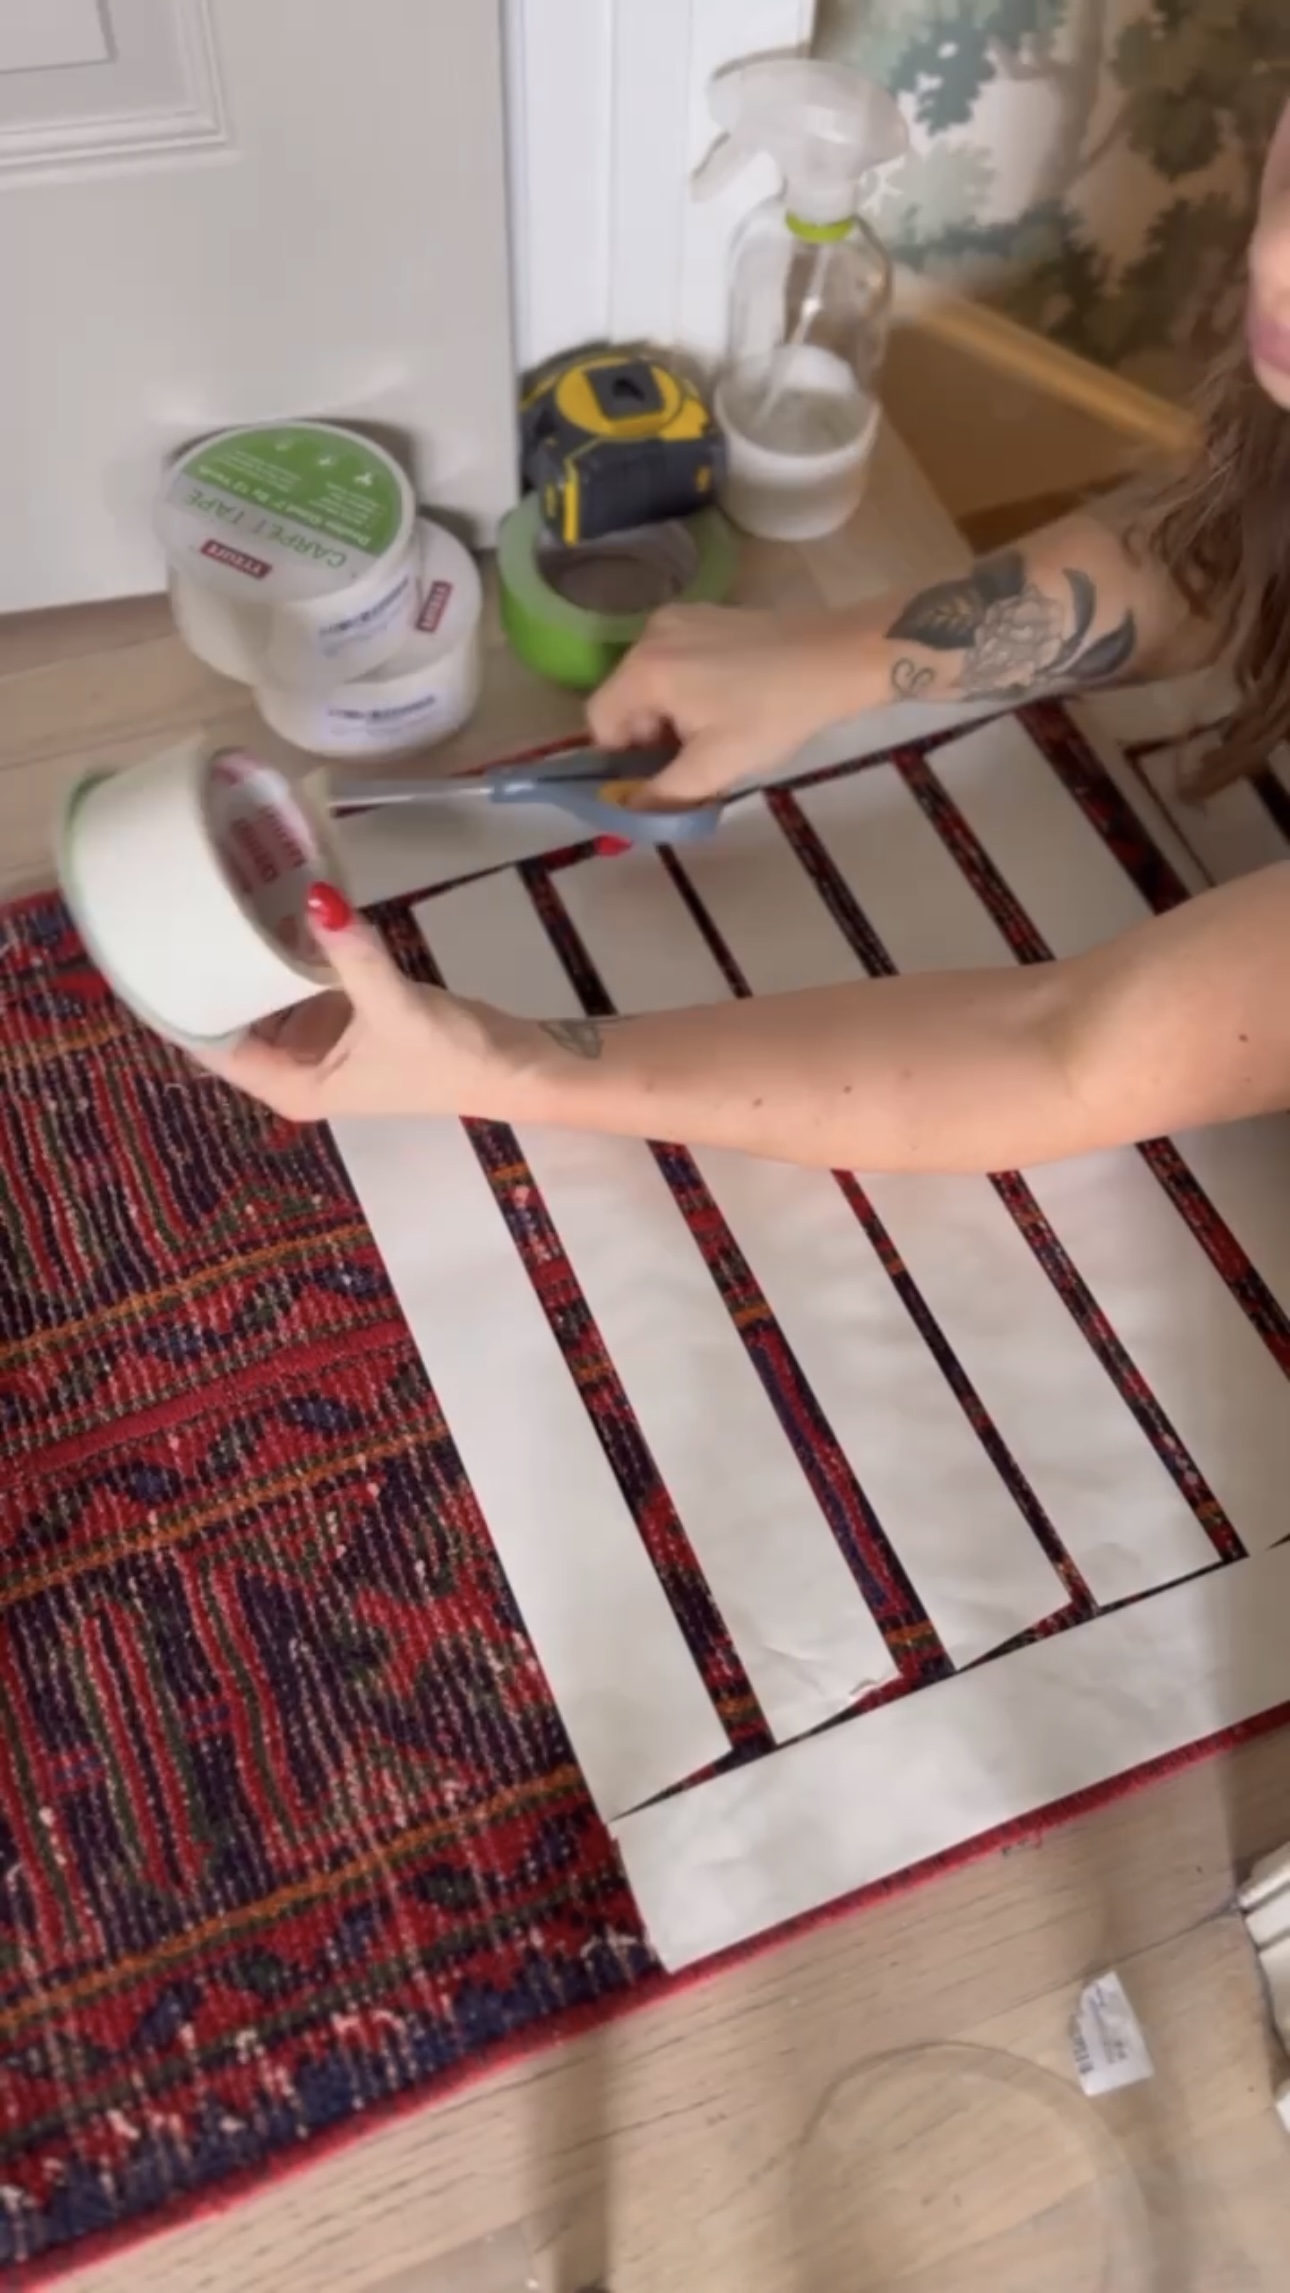
This is the carpet tape I used from Amazon. It’s incredibly strong! I basically just covered the entire back side of the rug with tape and hoped for the best.
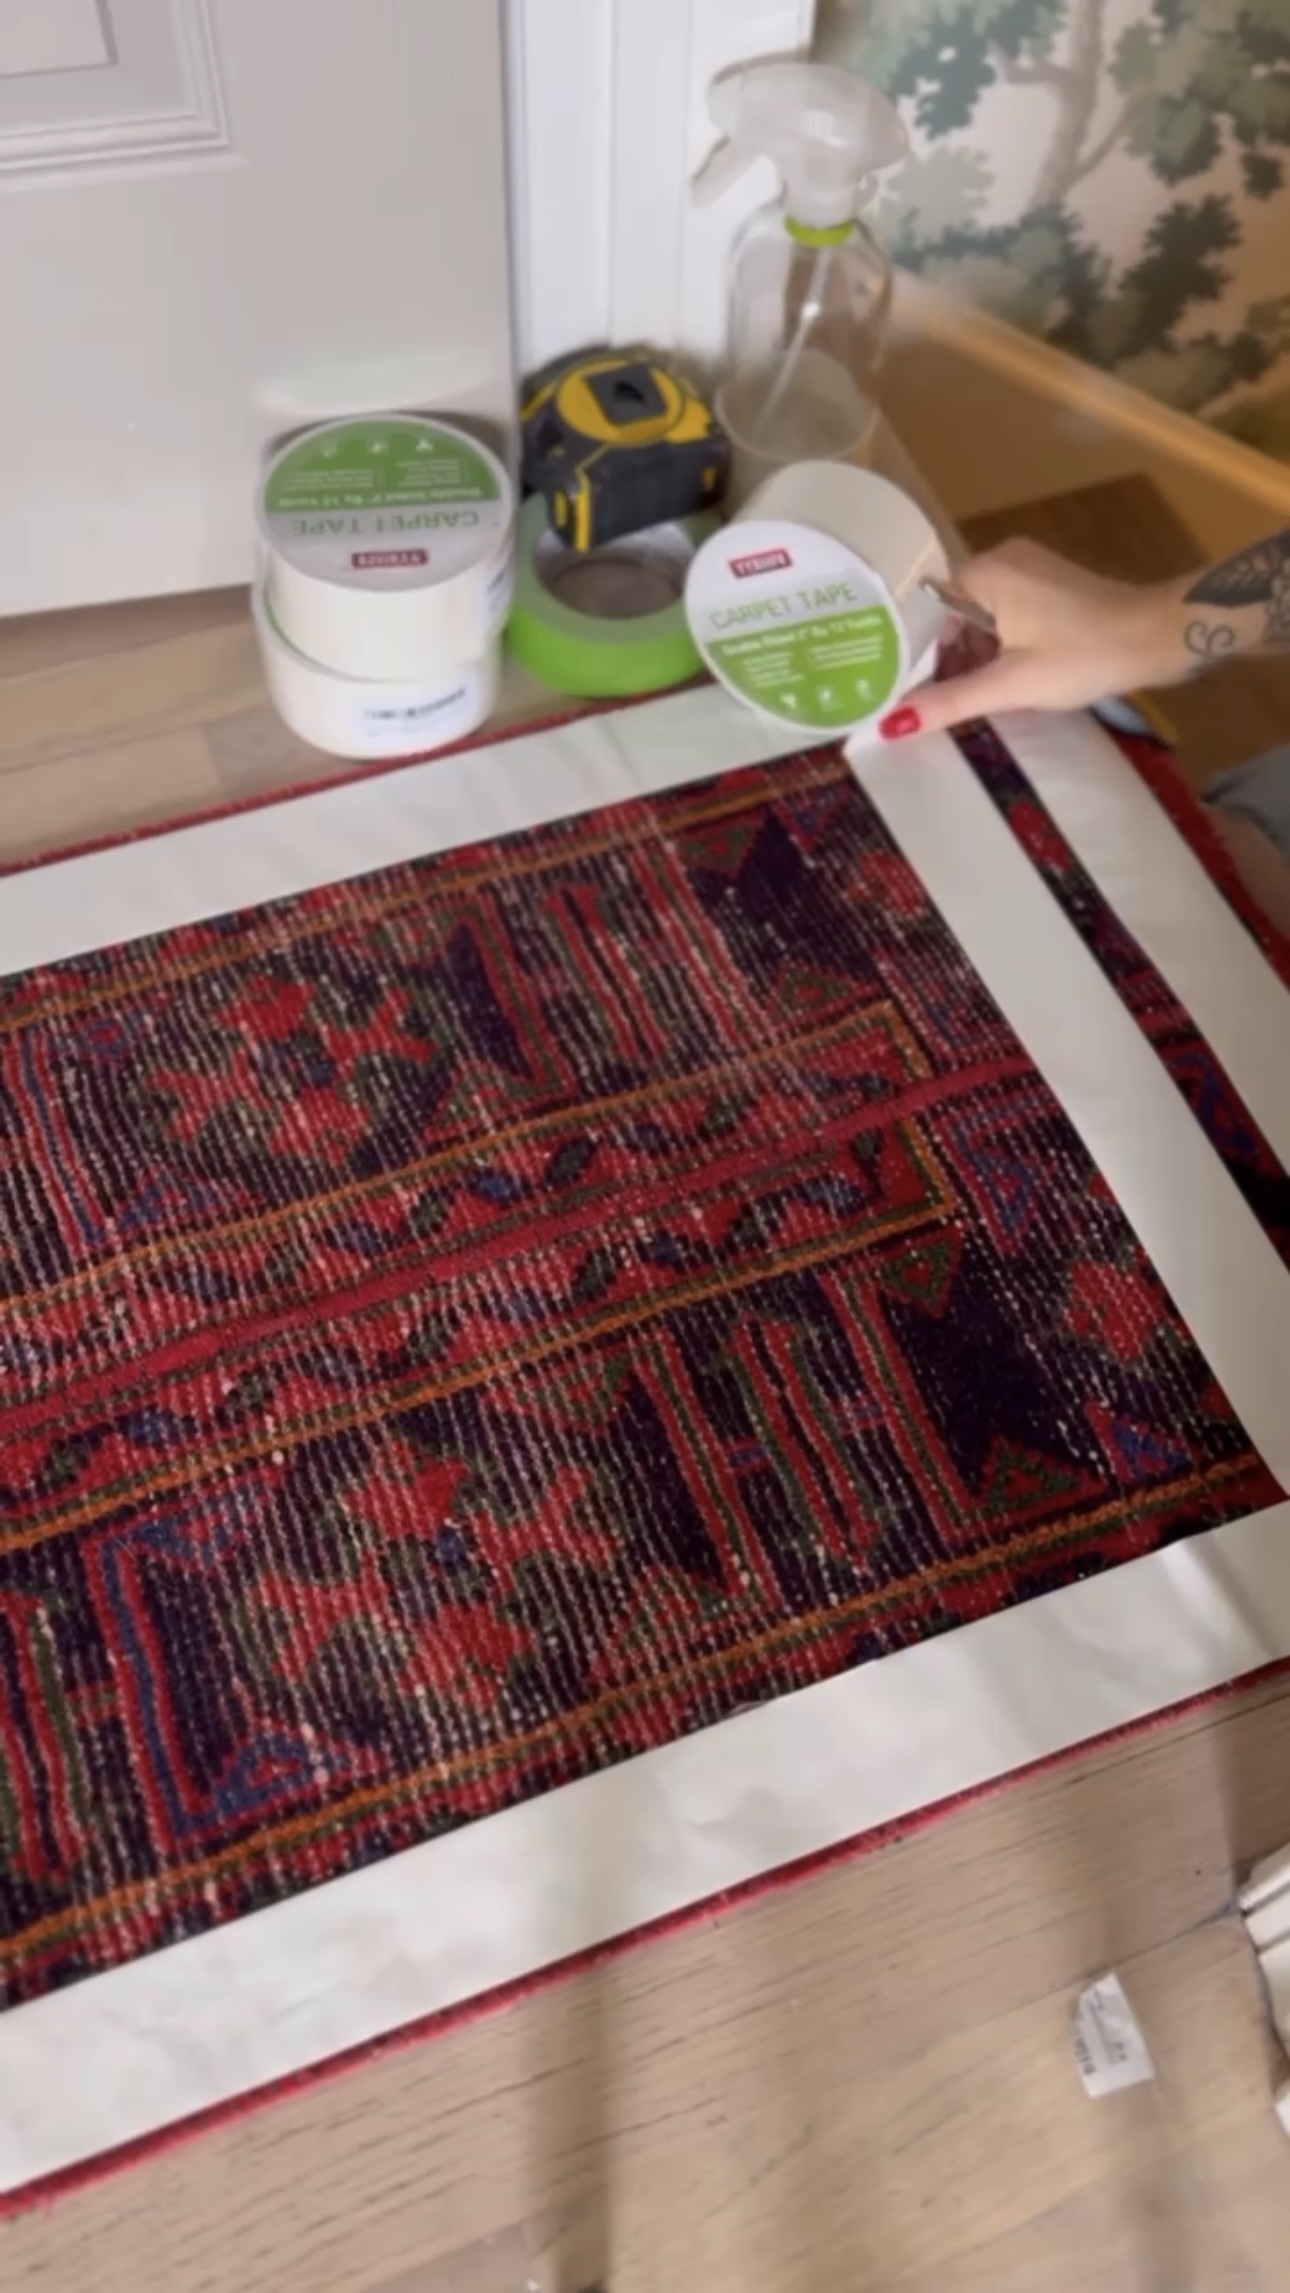
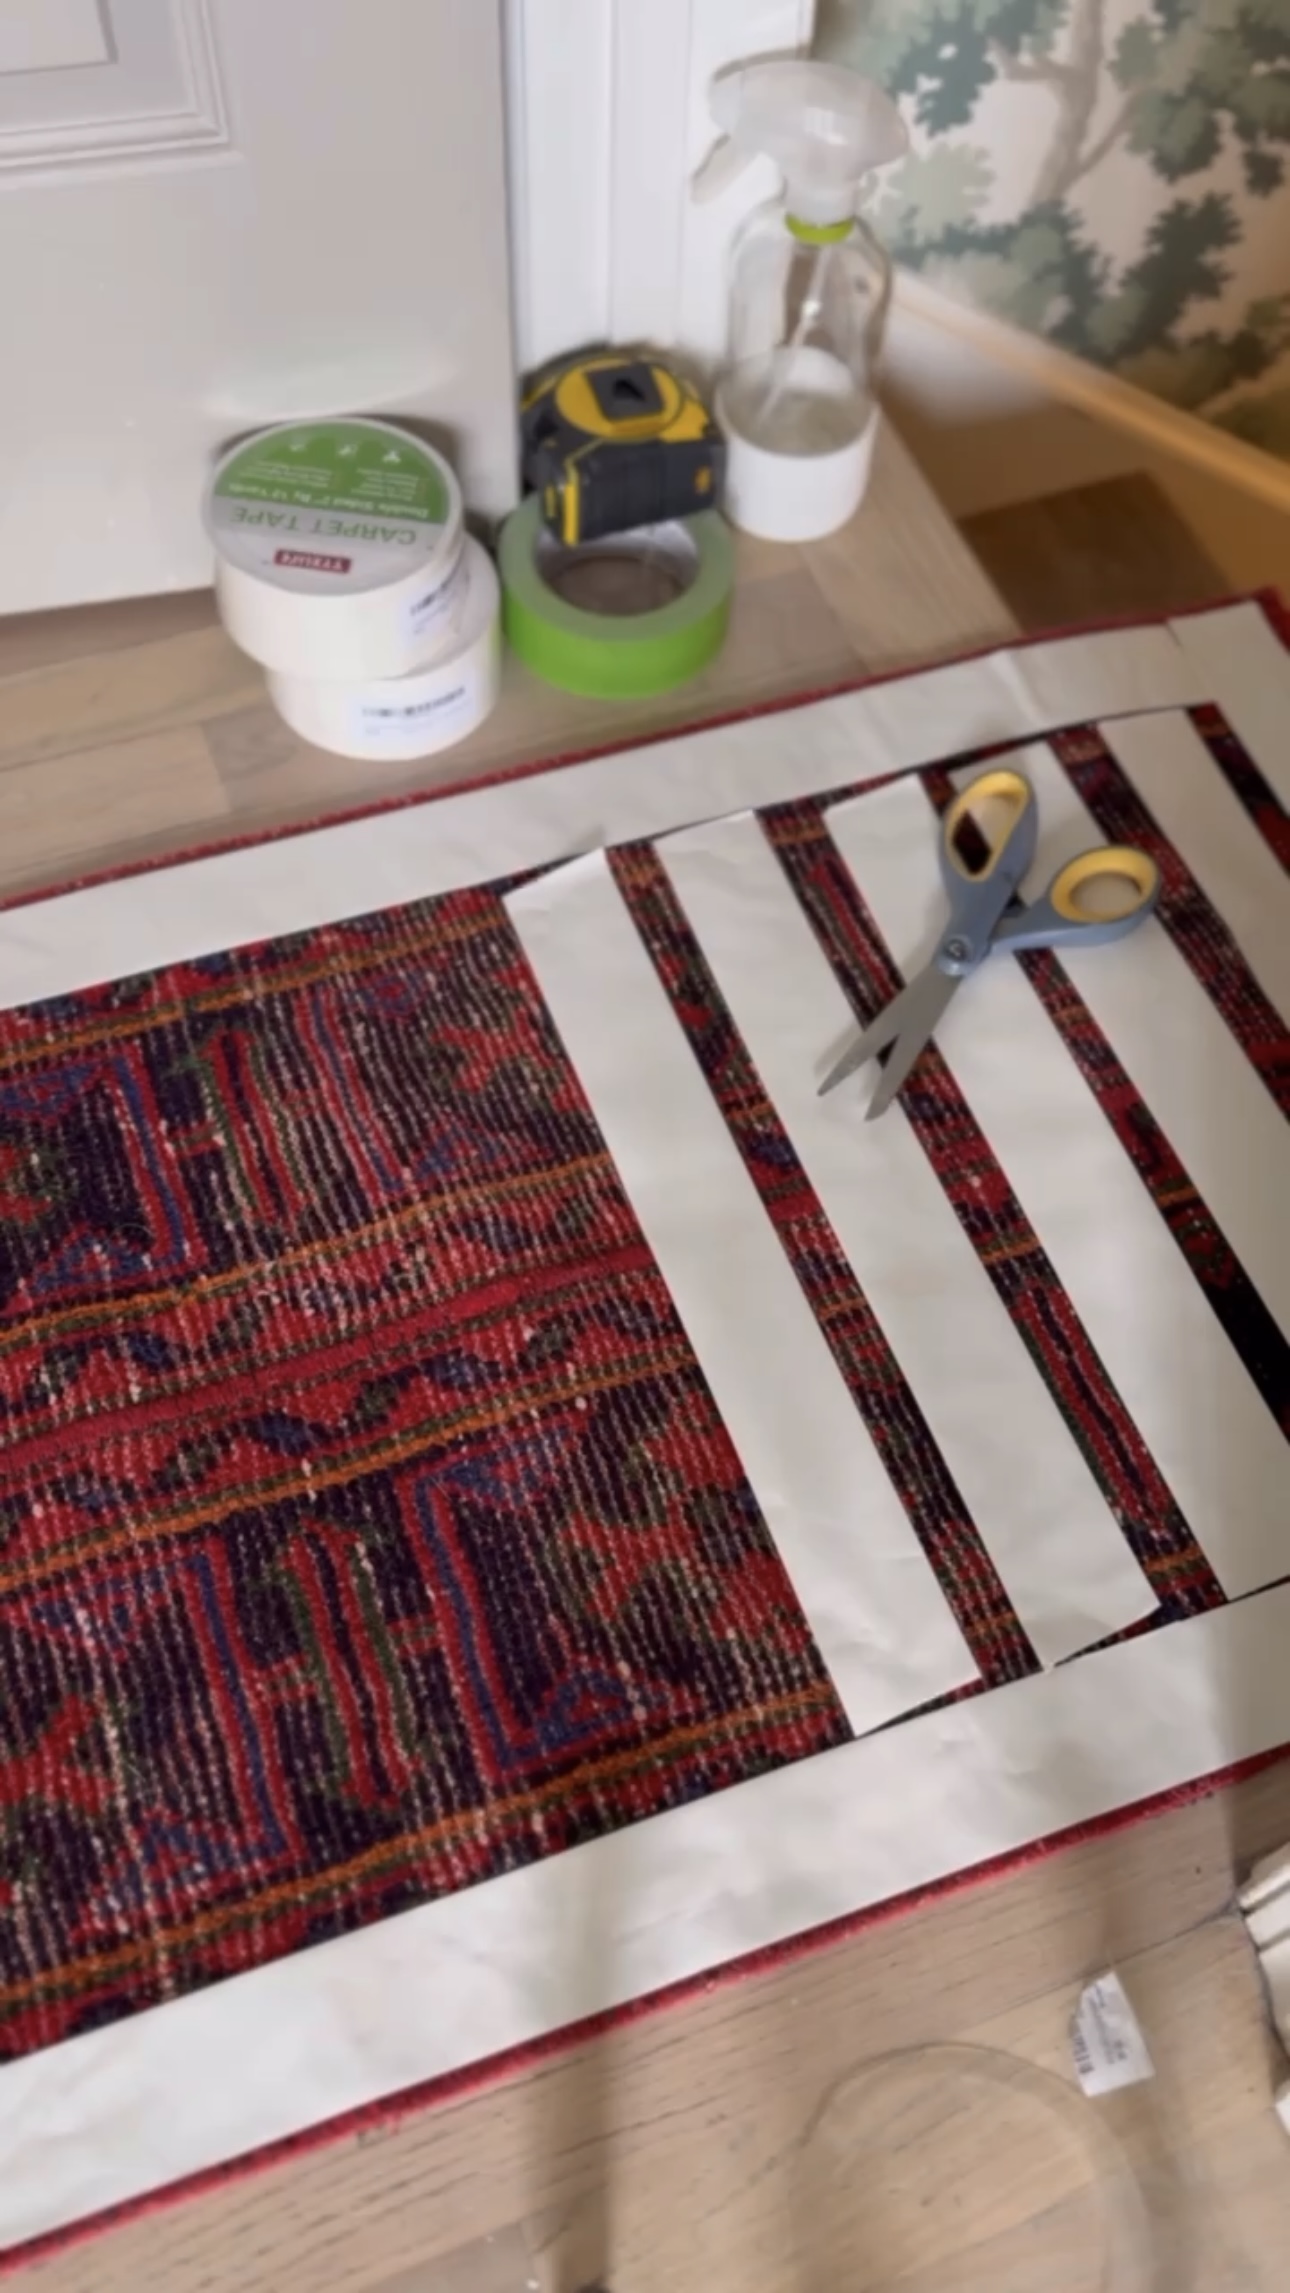
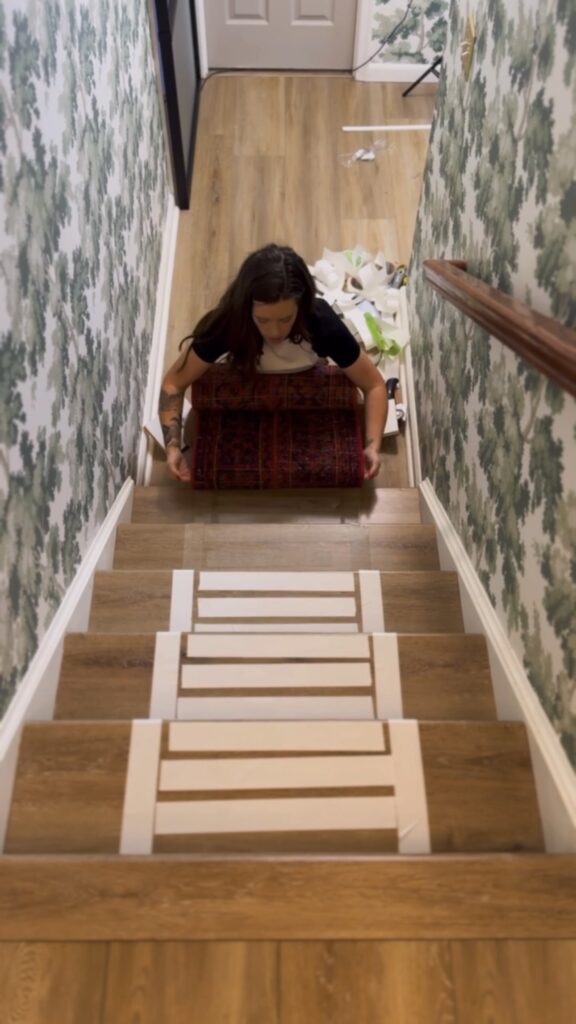
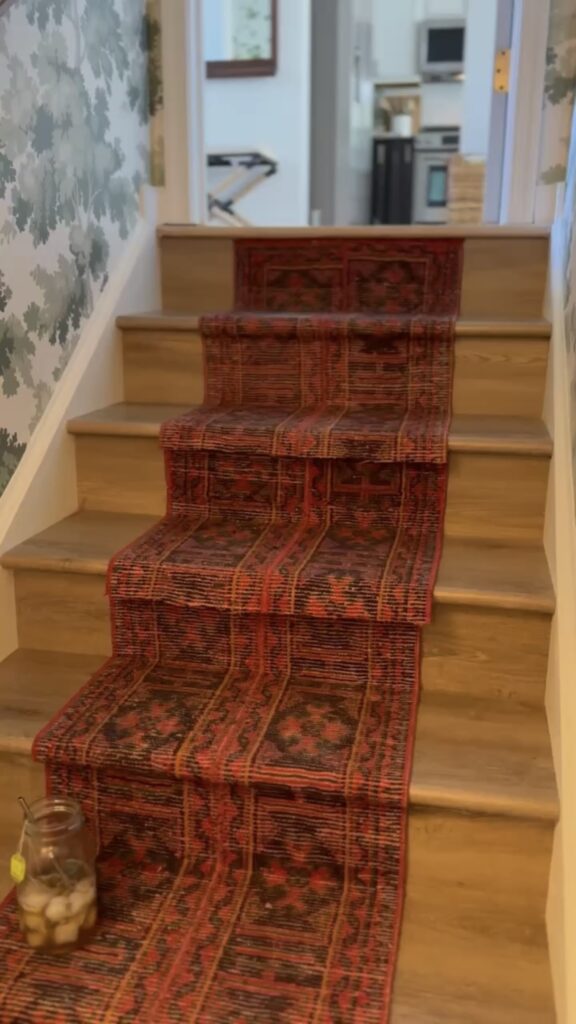
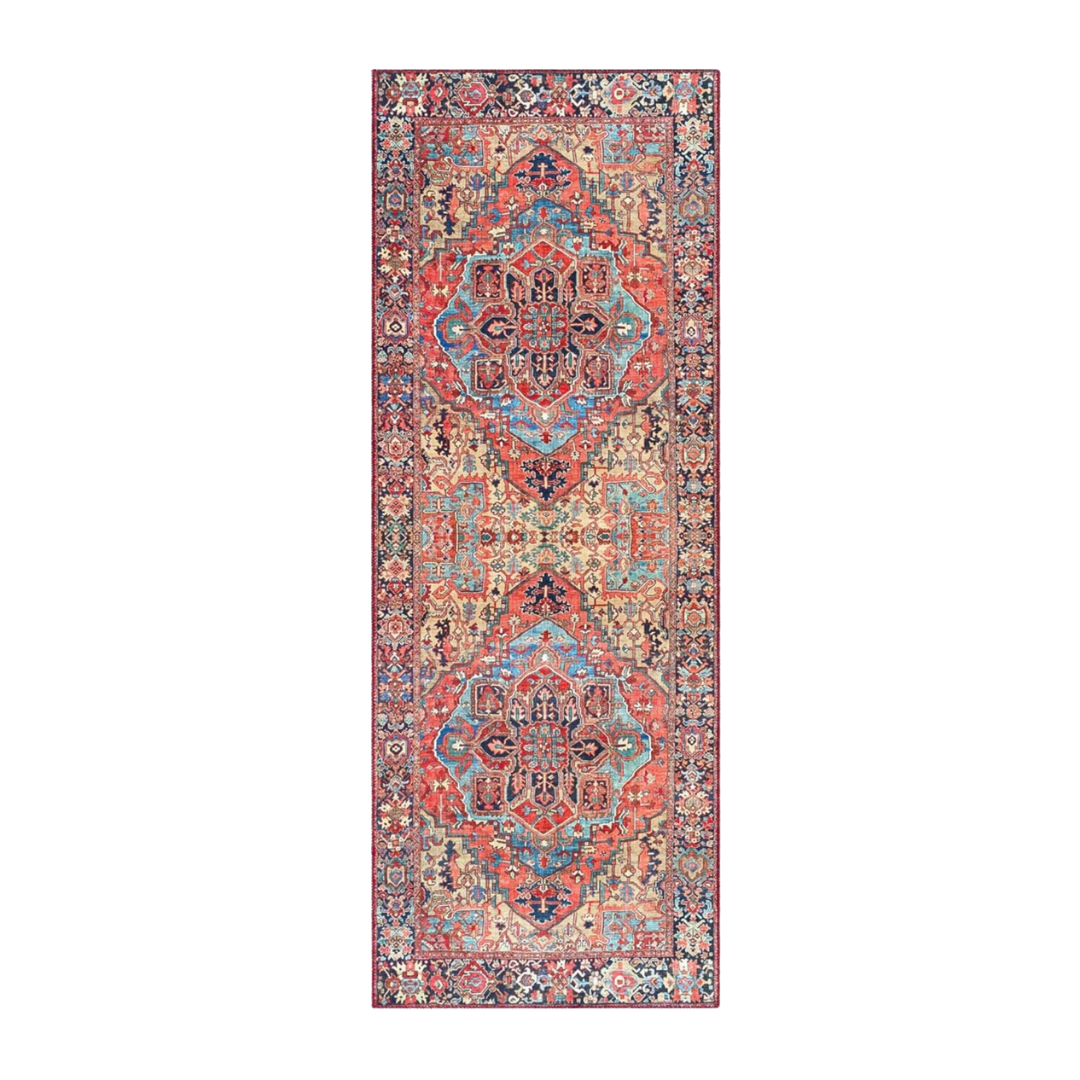
The rug is vintage from Chairish. It’s 21 feet long – the perfect amount to cover all the stairs.
*PS this is actually the back side of the rug. The colors on the front were too vibrant for what I wanted so I used the back instead.
I ran into some trouble when laying my runner down. The tape was too sticky – not a bad thing! But I had a hard time lining up the rug centered on the steps because this stuff is SO sticky.
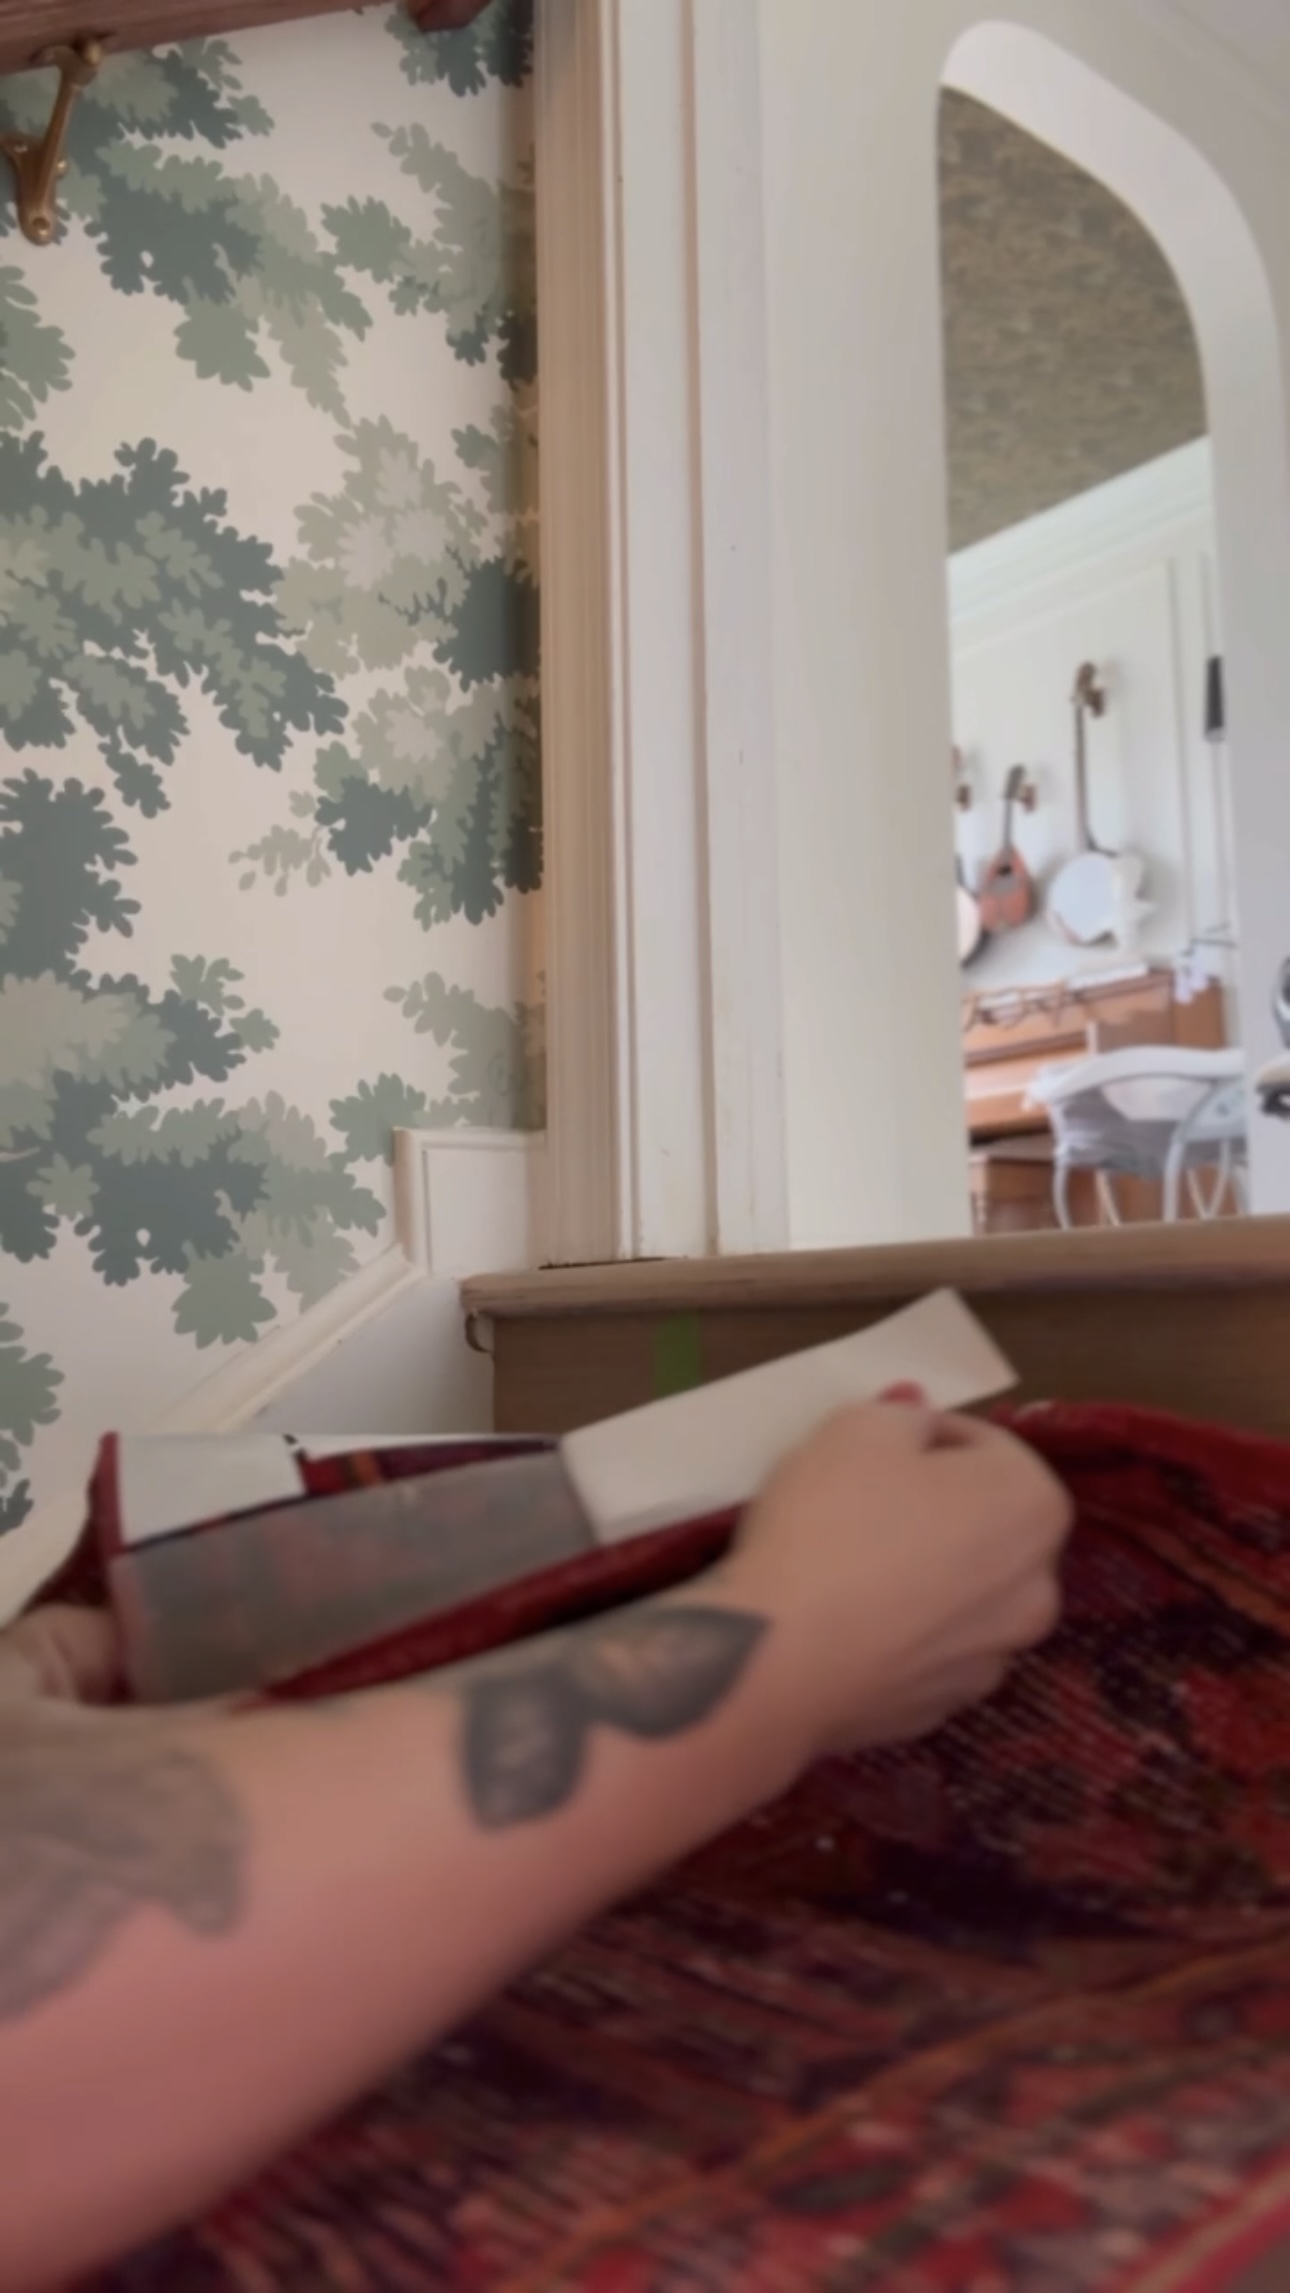
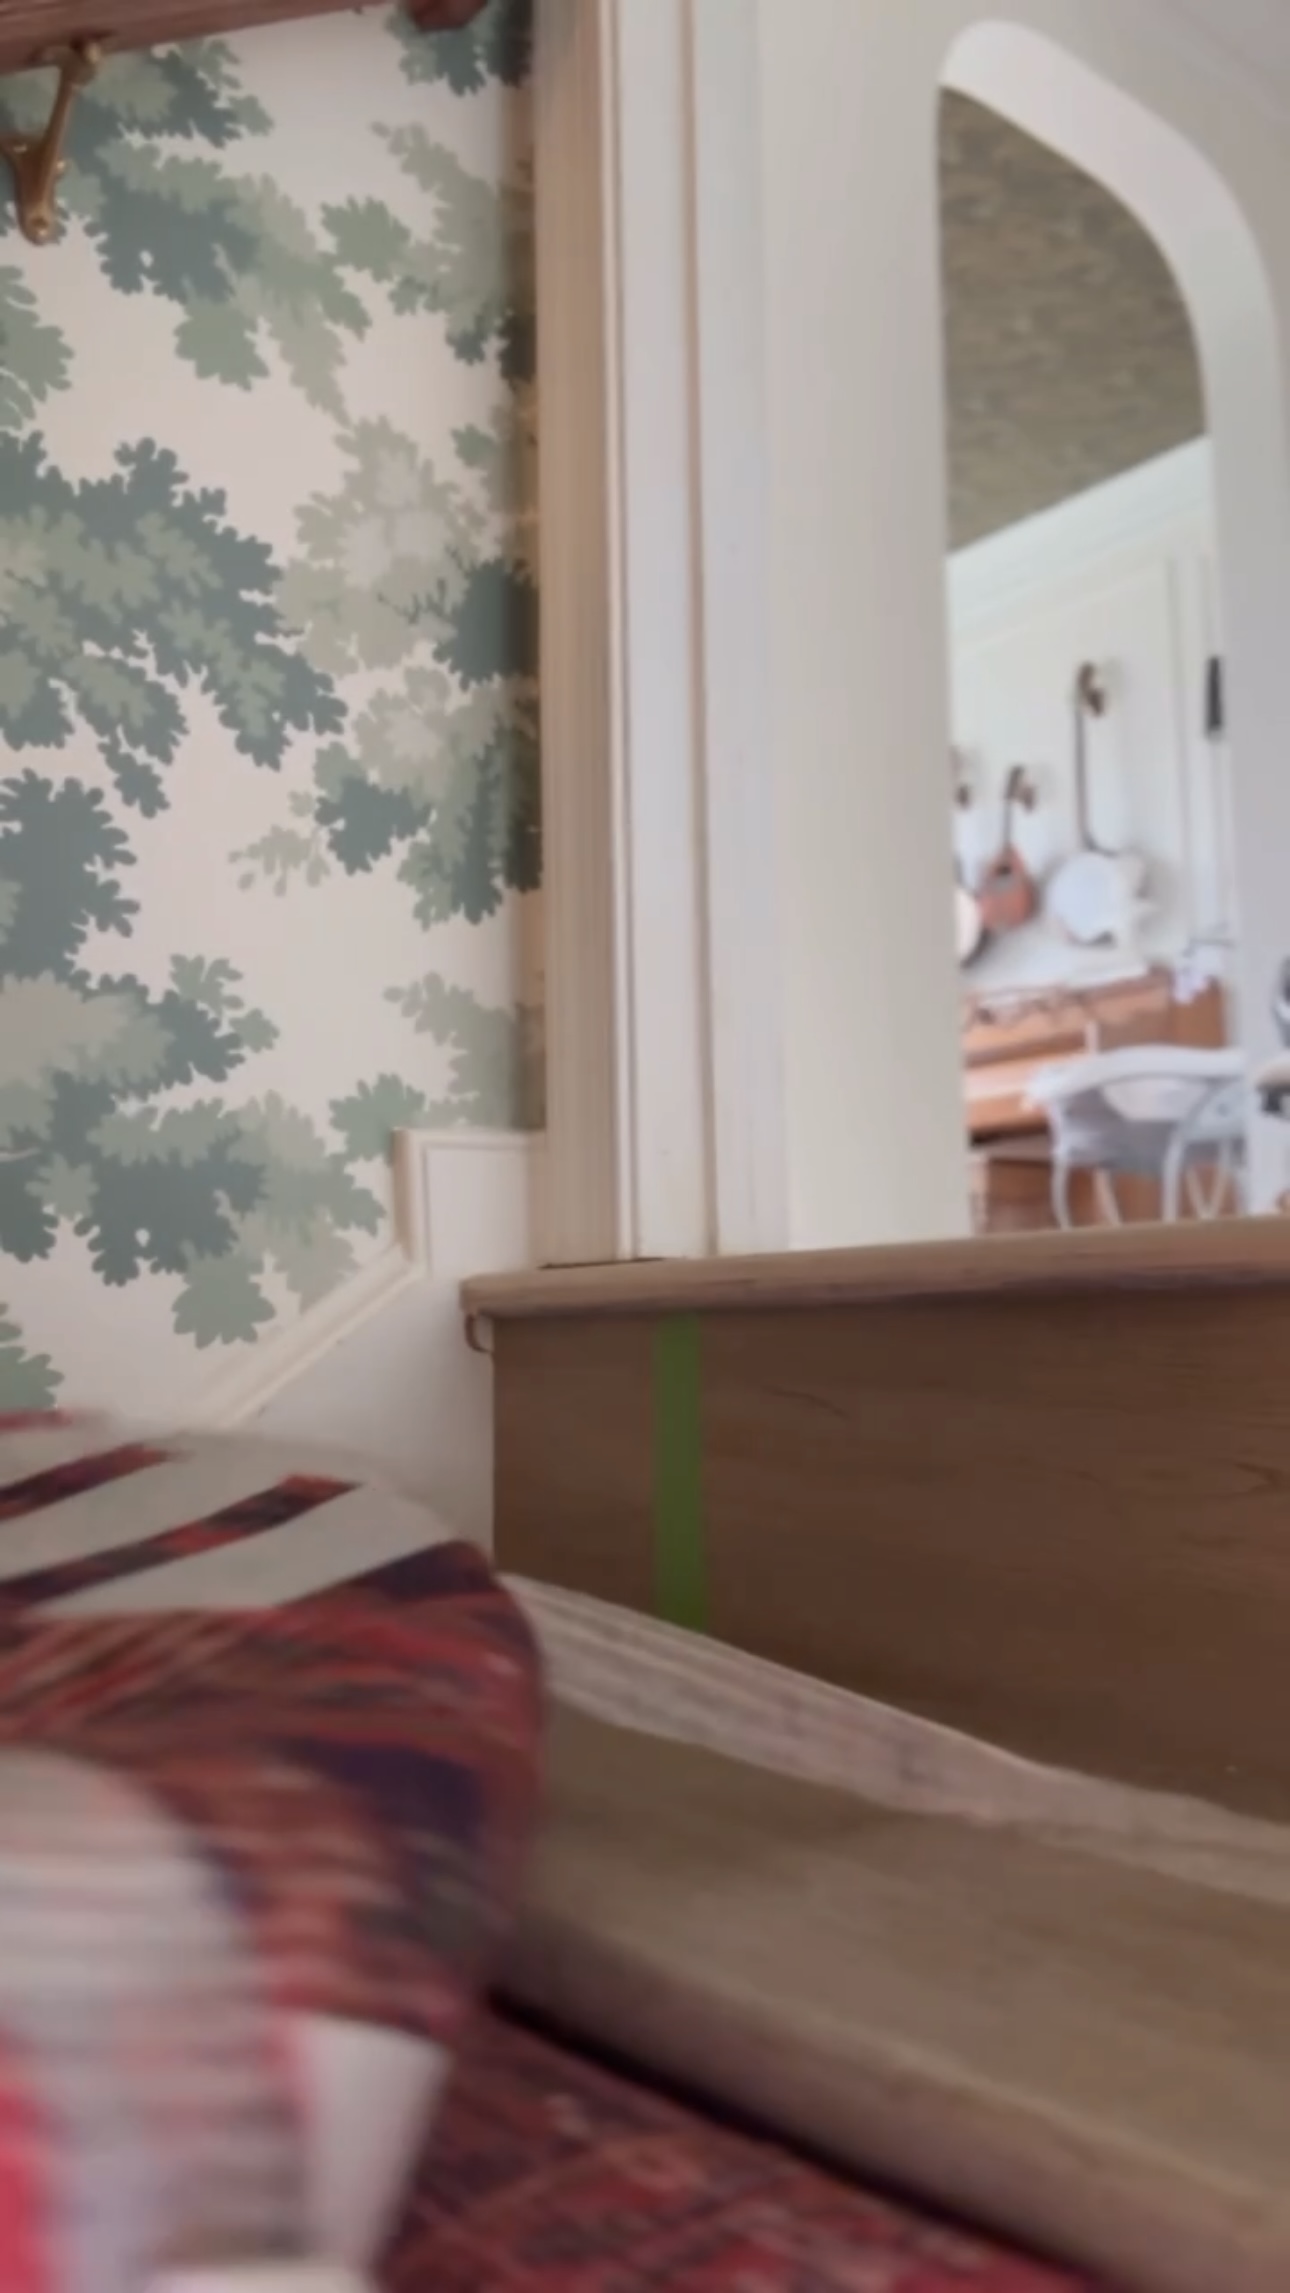
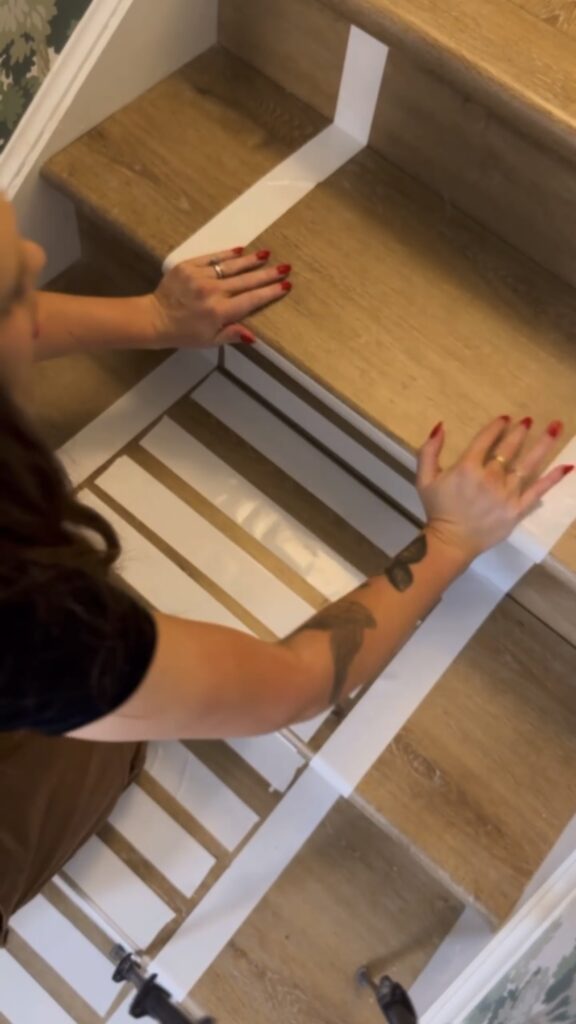
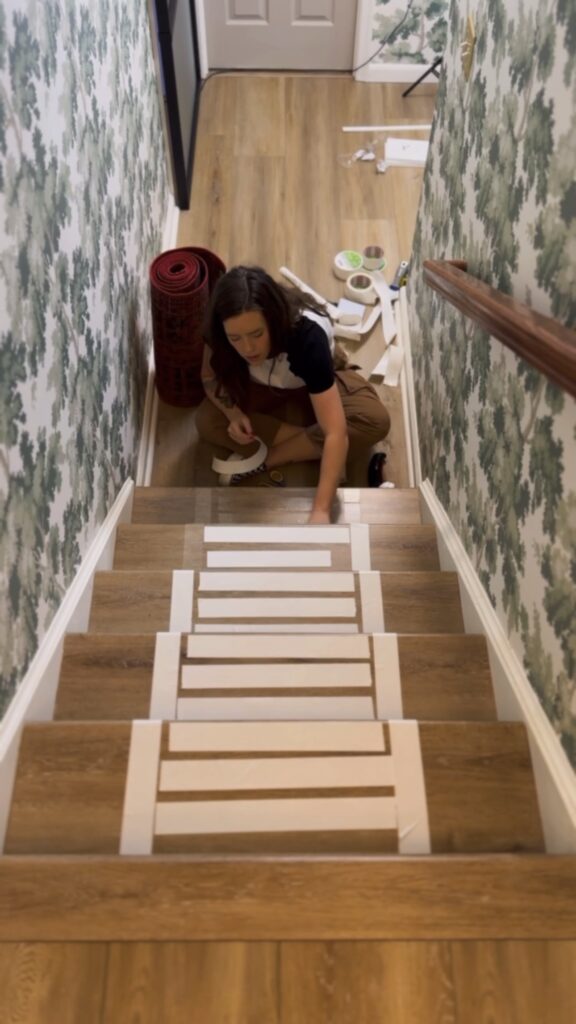
I figured out that if I start from the bottom instead, I can peel and roll onto the steps without having to stick where it’s not supposed to. A bunch of people also suggested I put the carpet tape on the stairs themselves and stick the rug to the stairs rather than the other way around. I don’t know why I didn’t think of that! So, I used wood scraps to mark where I’d lay the carpet and got to work.
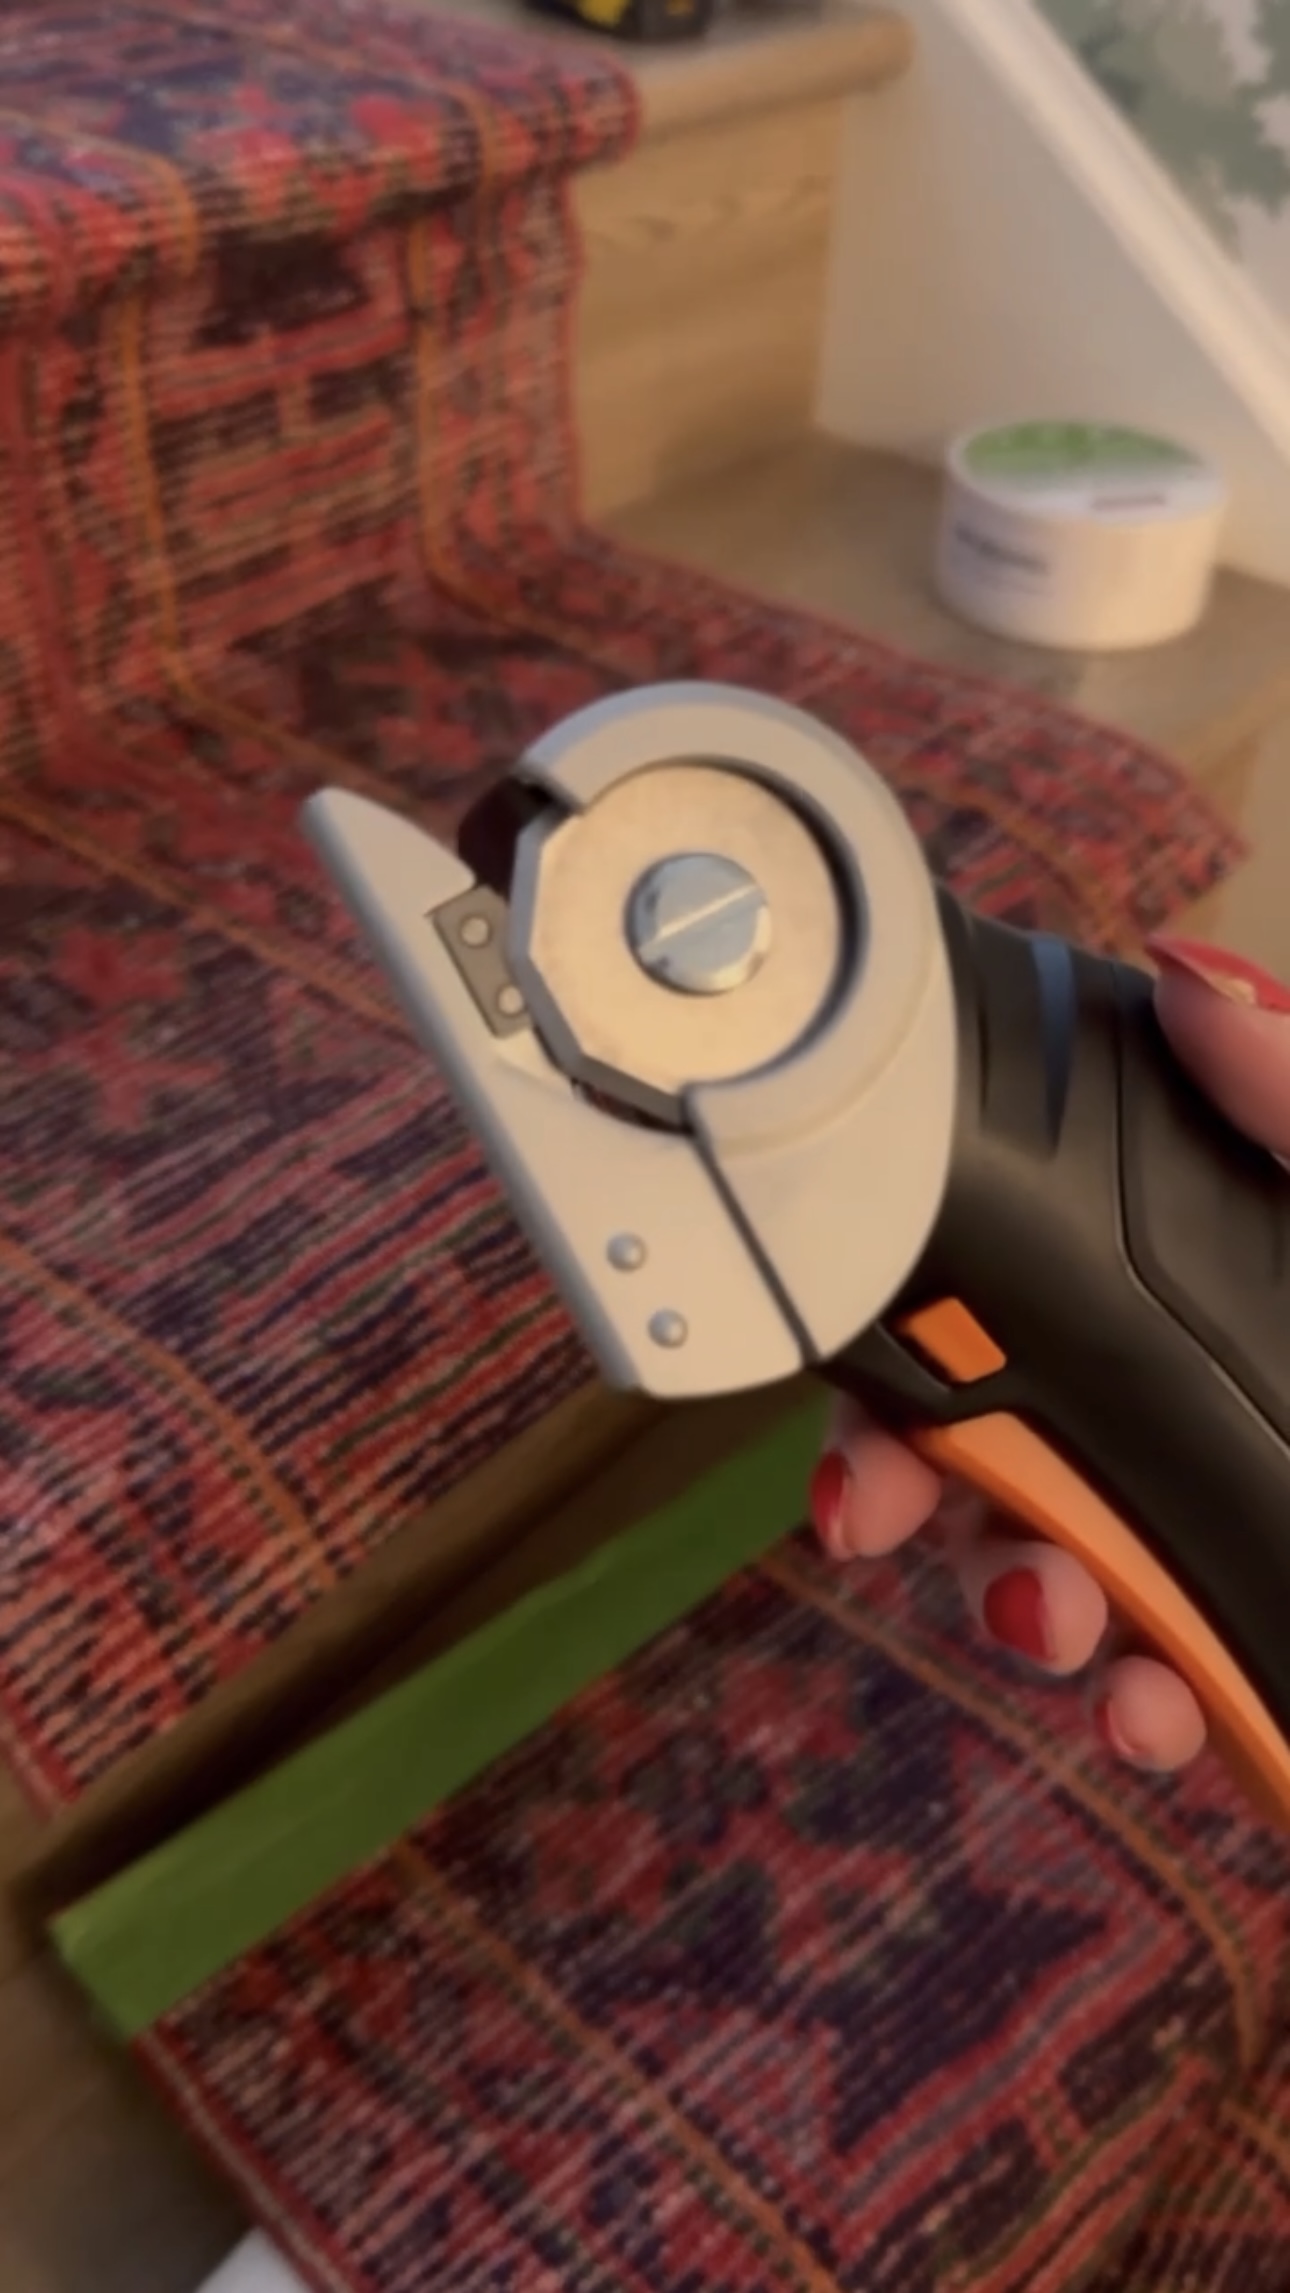
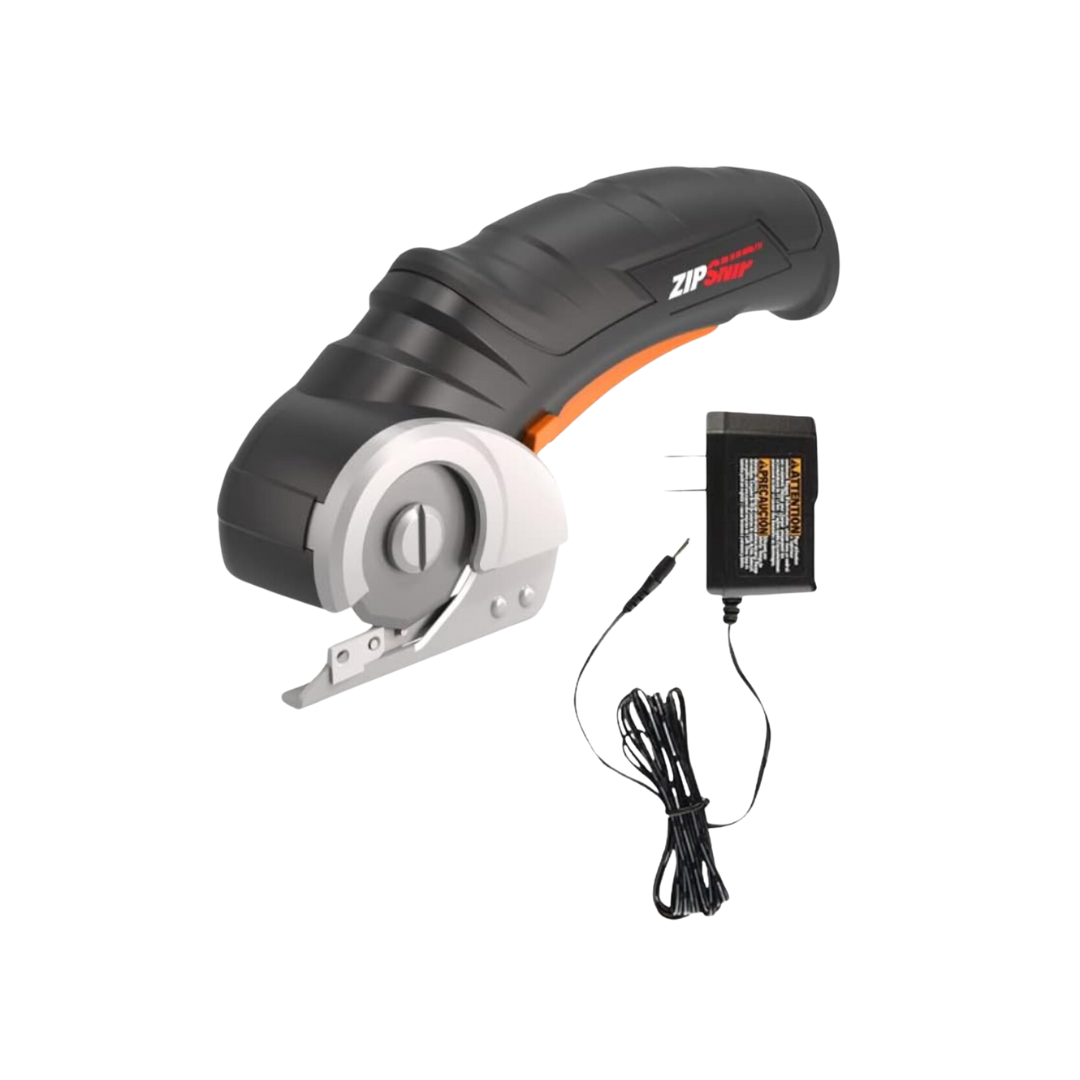
I ordered these electric scissors just incase I needed to cut this and DANG they work so well. I’ll be using these forever.

I cut the rug quite a few times because I felt like it was smart to work in smaller sections incase I need to fix it in the future. This way, I don’t have to remove the whole rug if I run into issues with one section later.

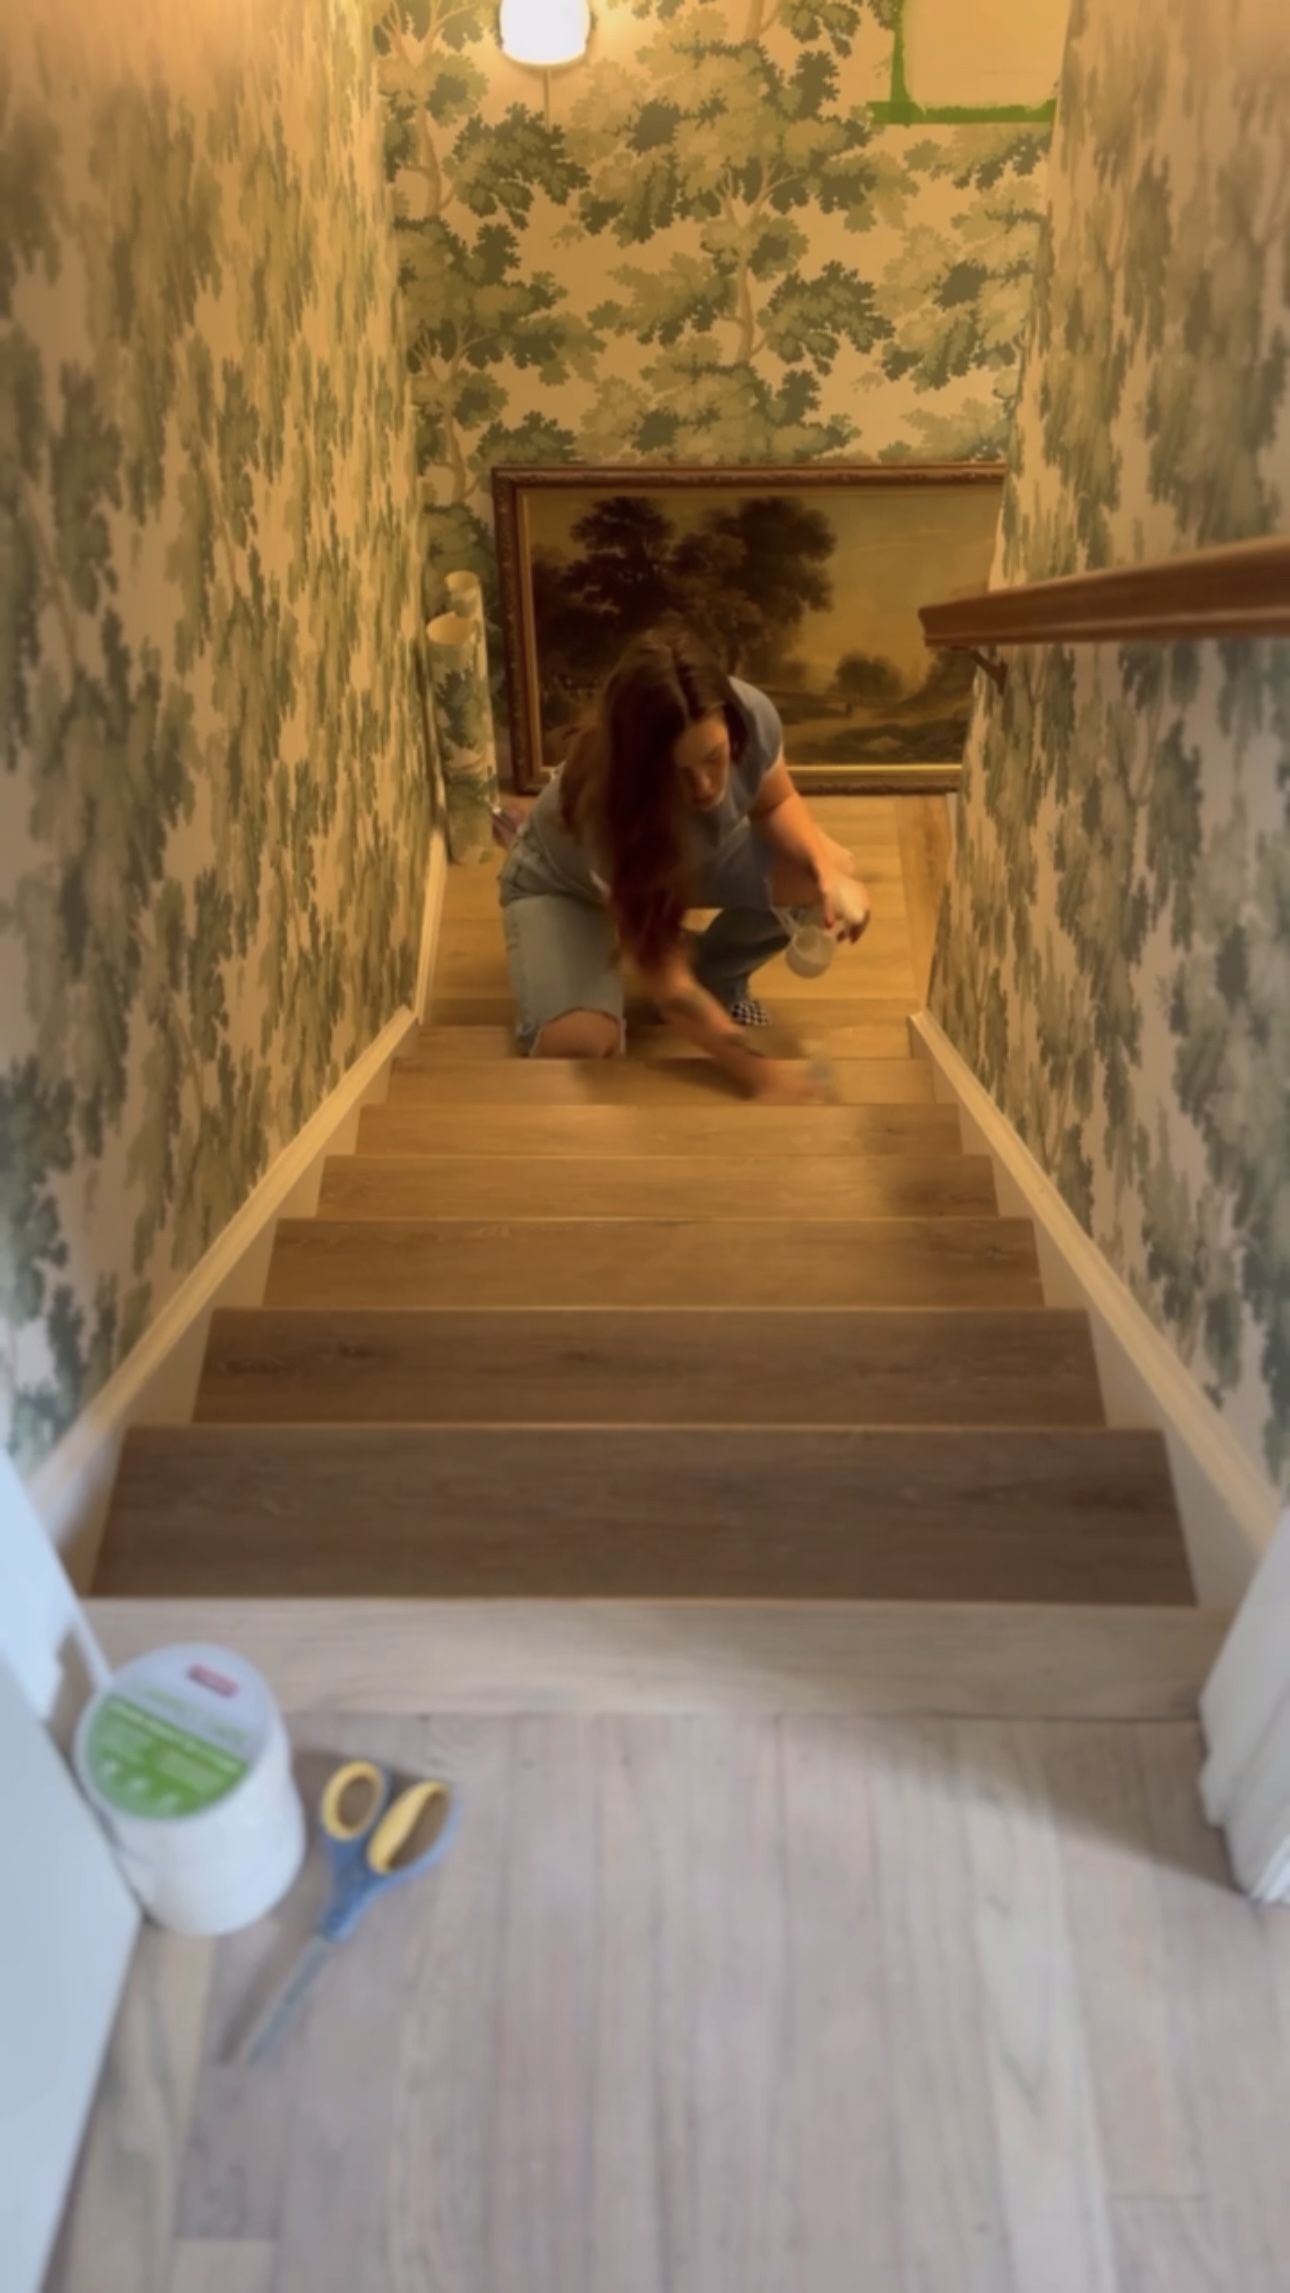
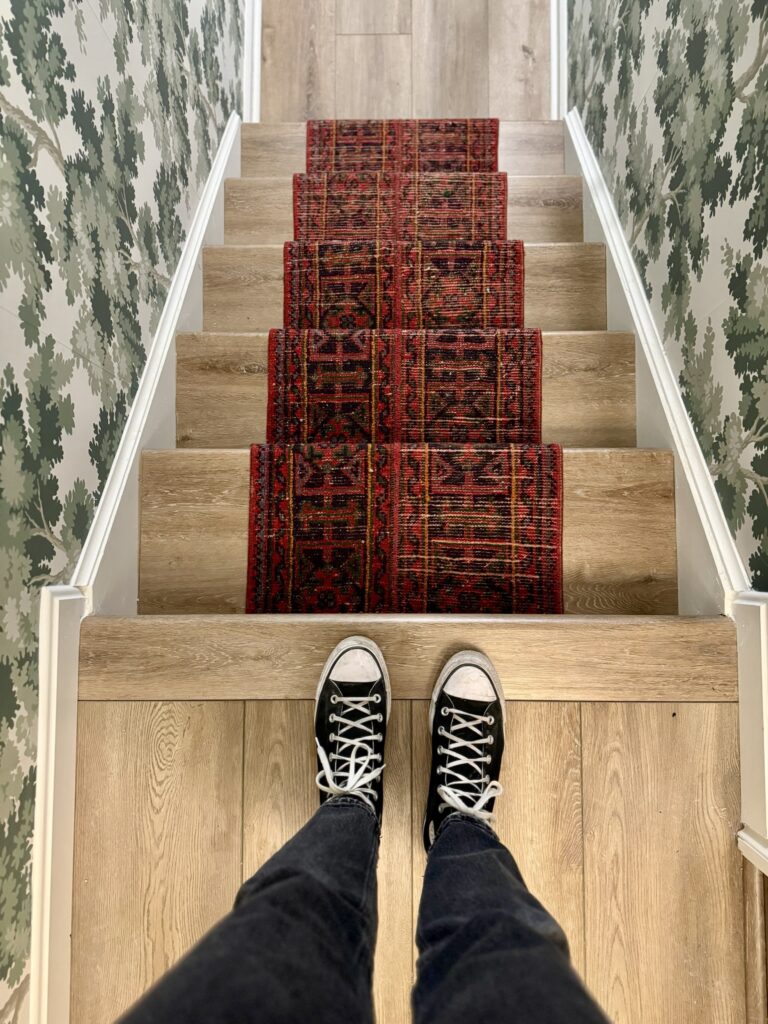
I went up and down the steps all day and the runner didn’t budge at all! The real test will be time…but it worked!
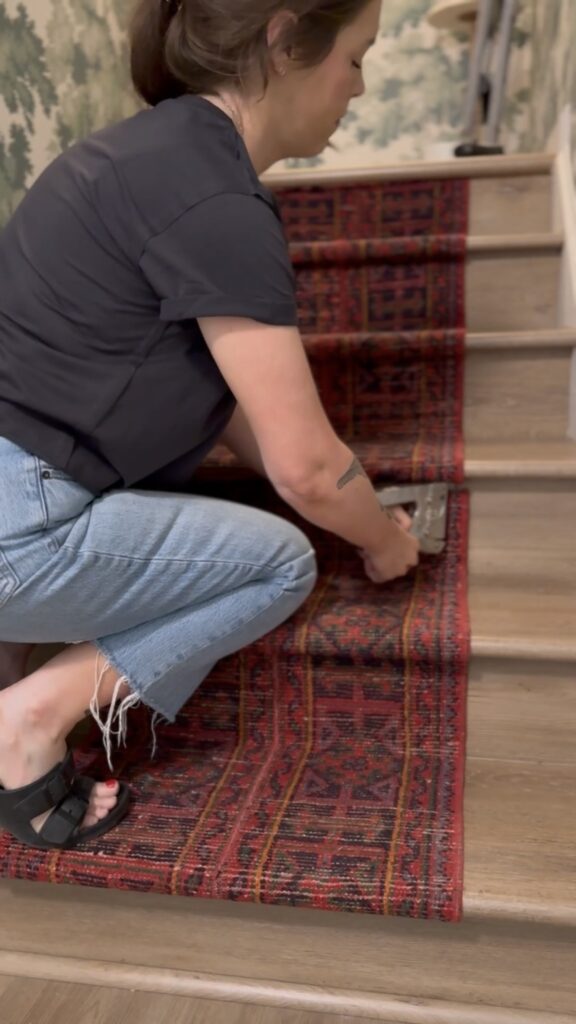
Over the weekend, I noticed that the areas I cut under the nosing had loosened. If I pushed them down, they would stick, but would come undone again. Since this area is hidden, I decided to go in with my handheld stapler. I wasn’t sure if they staples would even puncture the rug – but they did and it worked perfectly!
If you plan to try this project, please make sure to test the tape on your flooring and make sure it doesn’t damage!
WOW. I love this!
It’s crazy to see where we started and where we’re at now!

Here are the links to the carpet tape and electric scissors I used for my DIY Stair Runner. Also, a look alike for the runner I used!


Leave a Reply


I love this look and idea. I have LVP stairs and didn’t want to damage them with staples. I have dogs, though, so I’m curious to see if you have issues with durability.
Hi Susan! I ran into a little bit of a durability issue when it was just carpet tape. Once I added the staples underneath the stair noses, it was solid! I haven’t run into any issues since then!