DIY Garage Pergola

Adding a pergola or trellis to our house has been on my to-do list since I can remember. I am OBSESSED with vines and cottage exterior styles. After scheming up my brick-painting exterior plans, I knew that my garage needed a pergola with a vine growing alllll up in it.
I began my research. Saving many images of pergolas over garages from Pinterest helped me to get a grasp for what I wanted. And although the idea of building it completely seems foreign and a little scary, I quickly knew that it was my only option if I wanted to save some $$$ (as per usual).
There’s plenty of these PVC wall brackets online in many sizes. These would be great for anyone is less concerned about budget, and more concerned about doing it yourself. And the price really isn’t bad! However, I had some trouble finding matching middle brackets. If you have a LONG single garage door like mine, a middle bracket is necessary. This was another reason why I’m deciding to build mine.
*This post may contain affiliate links, which means I may earn a small commission if you purchase through my links, at no extra cost to you. I only share products I genuinely love.

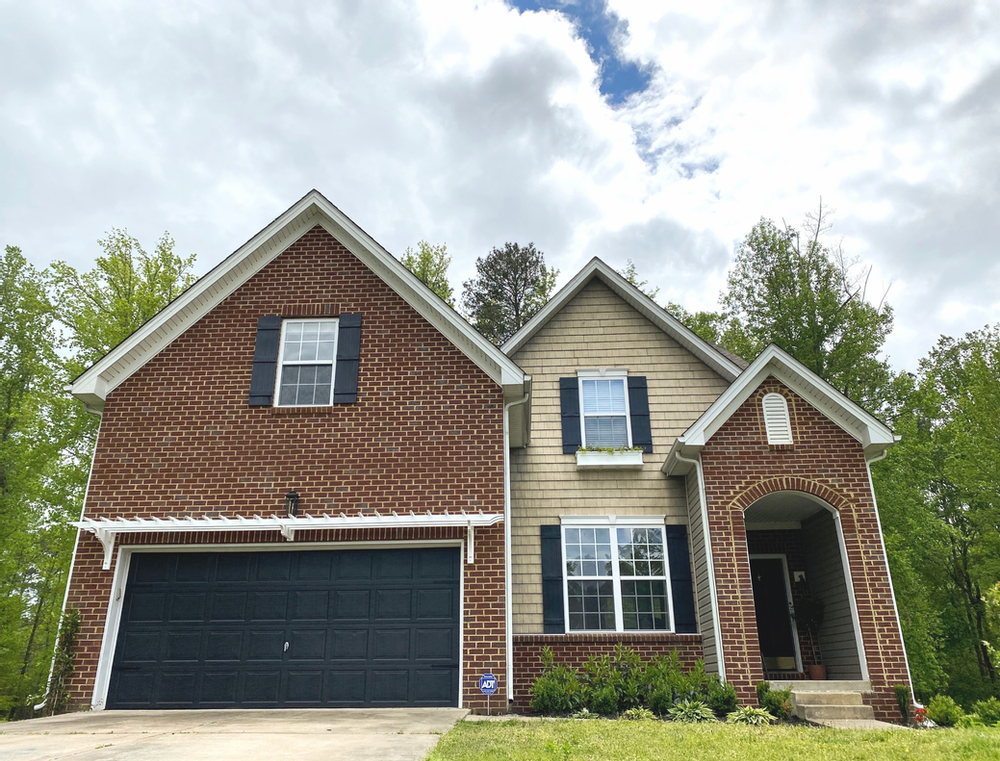
I always start with some sketches. I HAVE to visualize and physically look at things move forward. Here are my exact plans for my 16 ft garage pergola.
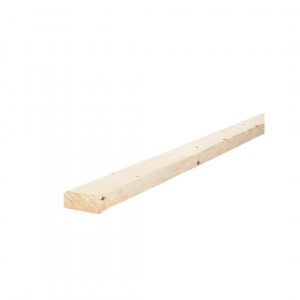
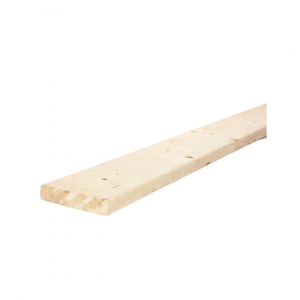
After drawing up these sketches, I am able to put together a list of my supplies needed. My brackets will consist of 2×4’s and 2×6’s. My rafters are 2×4’s and my purlins are 2×2’s. Here’s the shopping list for my husband. I’m sending him off to the store (aka Home Depot).
SUPPLIES
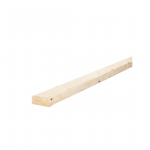
–2x4x10 (7)
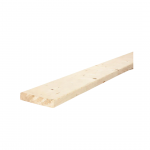
–2x6x10 (1)
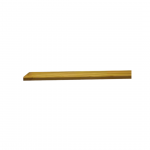
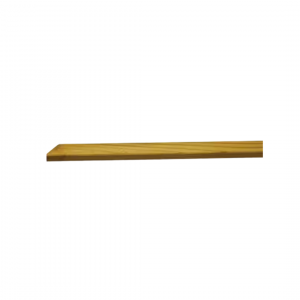
–2x2x42 in. balusters (about 15)
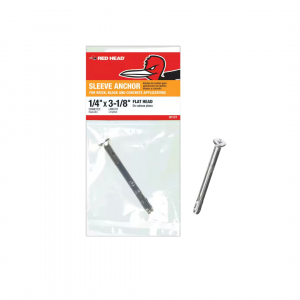
–Sleeve Anchors (for brick) – same size as masonry bit
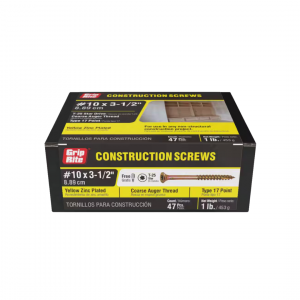
–Construction screws (3.5 in and 2 in)
Because there are no 2x4s longer than 12 ft at our local HomeDepot/Lowes, we’ll use two 10 ft boards and butt them together in the middle. All of the lumber that we’re choosing is either pressure treated or kiln dried for outdoor durability.


MEASUREMENTS
Here is how I decided on the measurements:
I literally am just sticking a measuring tape to the side of the house and deciding that 22 inches was the right size for a bracket. I also am leaning toward this general size for my pergola because the brackets above that are sold online are right around this size. And by just visualizing, I know that I want the purlins to be about eight inches apart from each other. After deciding this, I was able to do the math to decide how many purlins I will need based off my garage width.
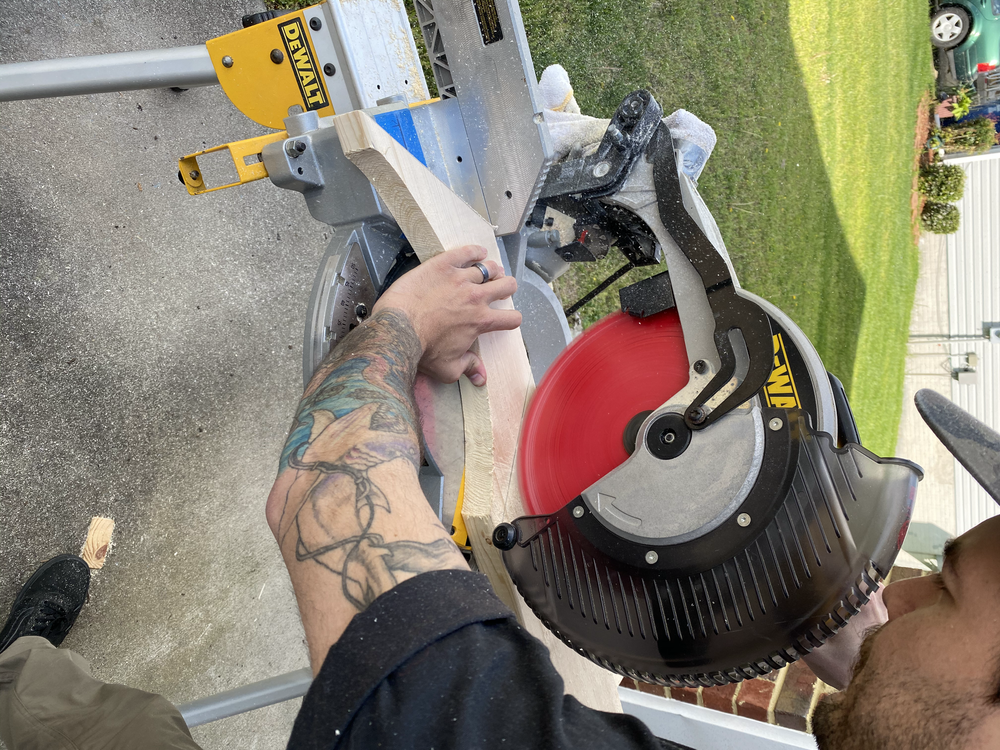
We’ll begin by making all of our straight cuts with the miter saw:
2×4’s – Two 22 inch pieces (back of the side brackets) and one 8-10 inch piece for the middle bracket
2×6’s – Three 22 inch pieces for all three brackets
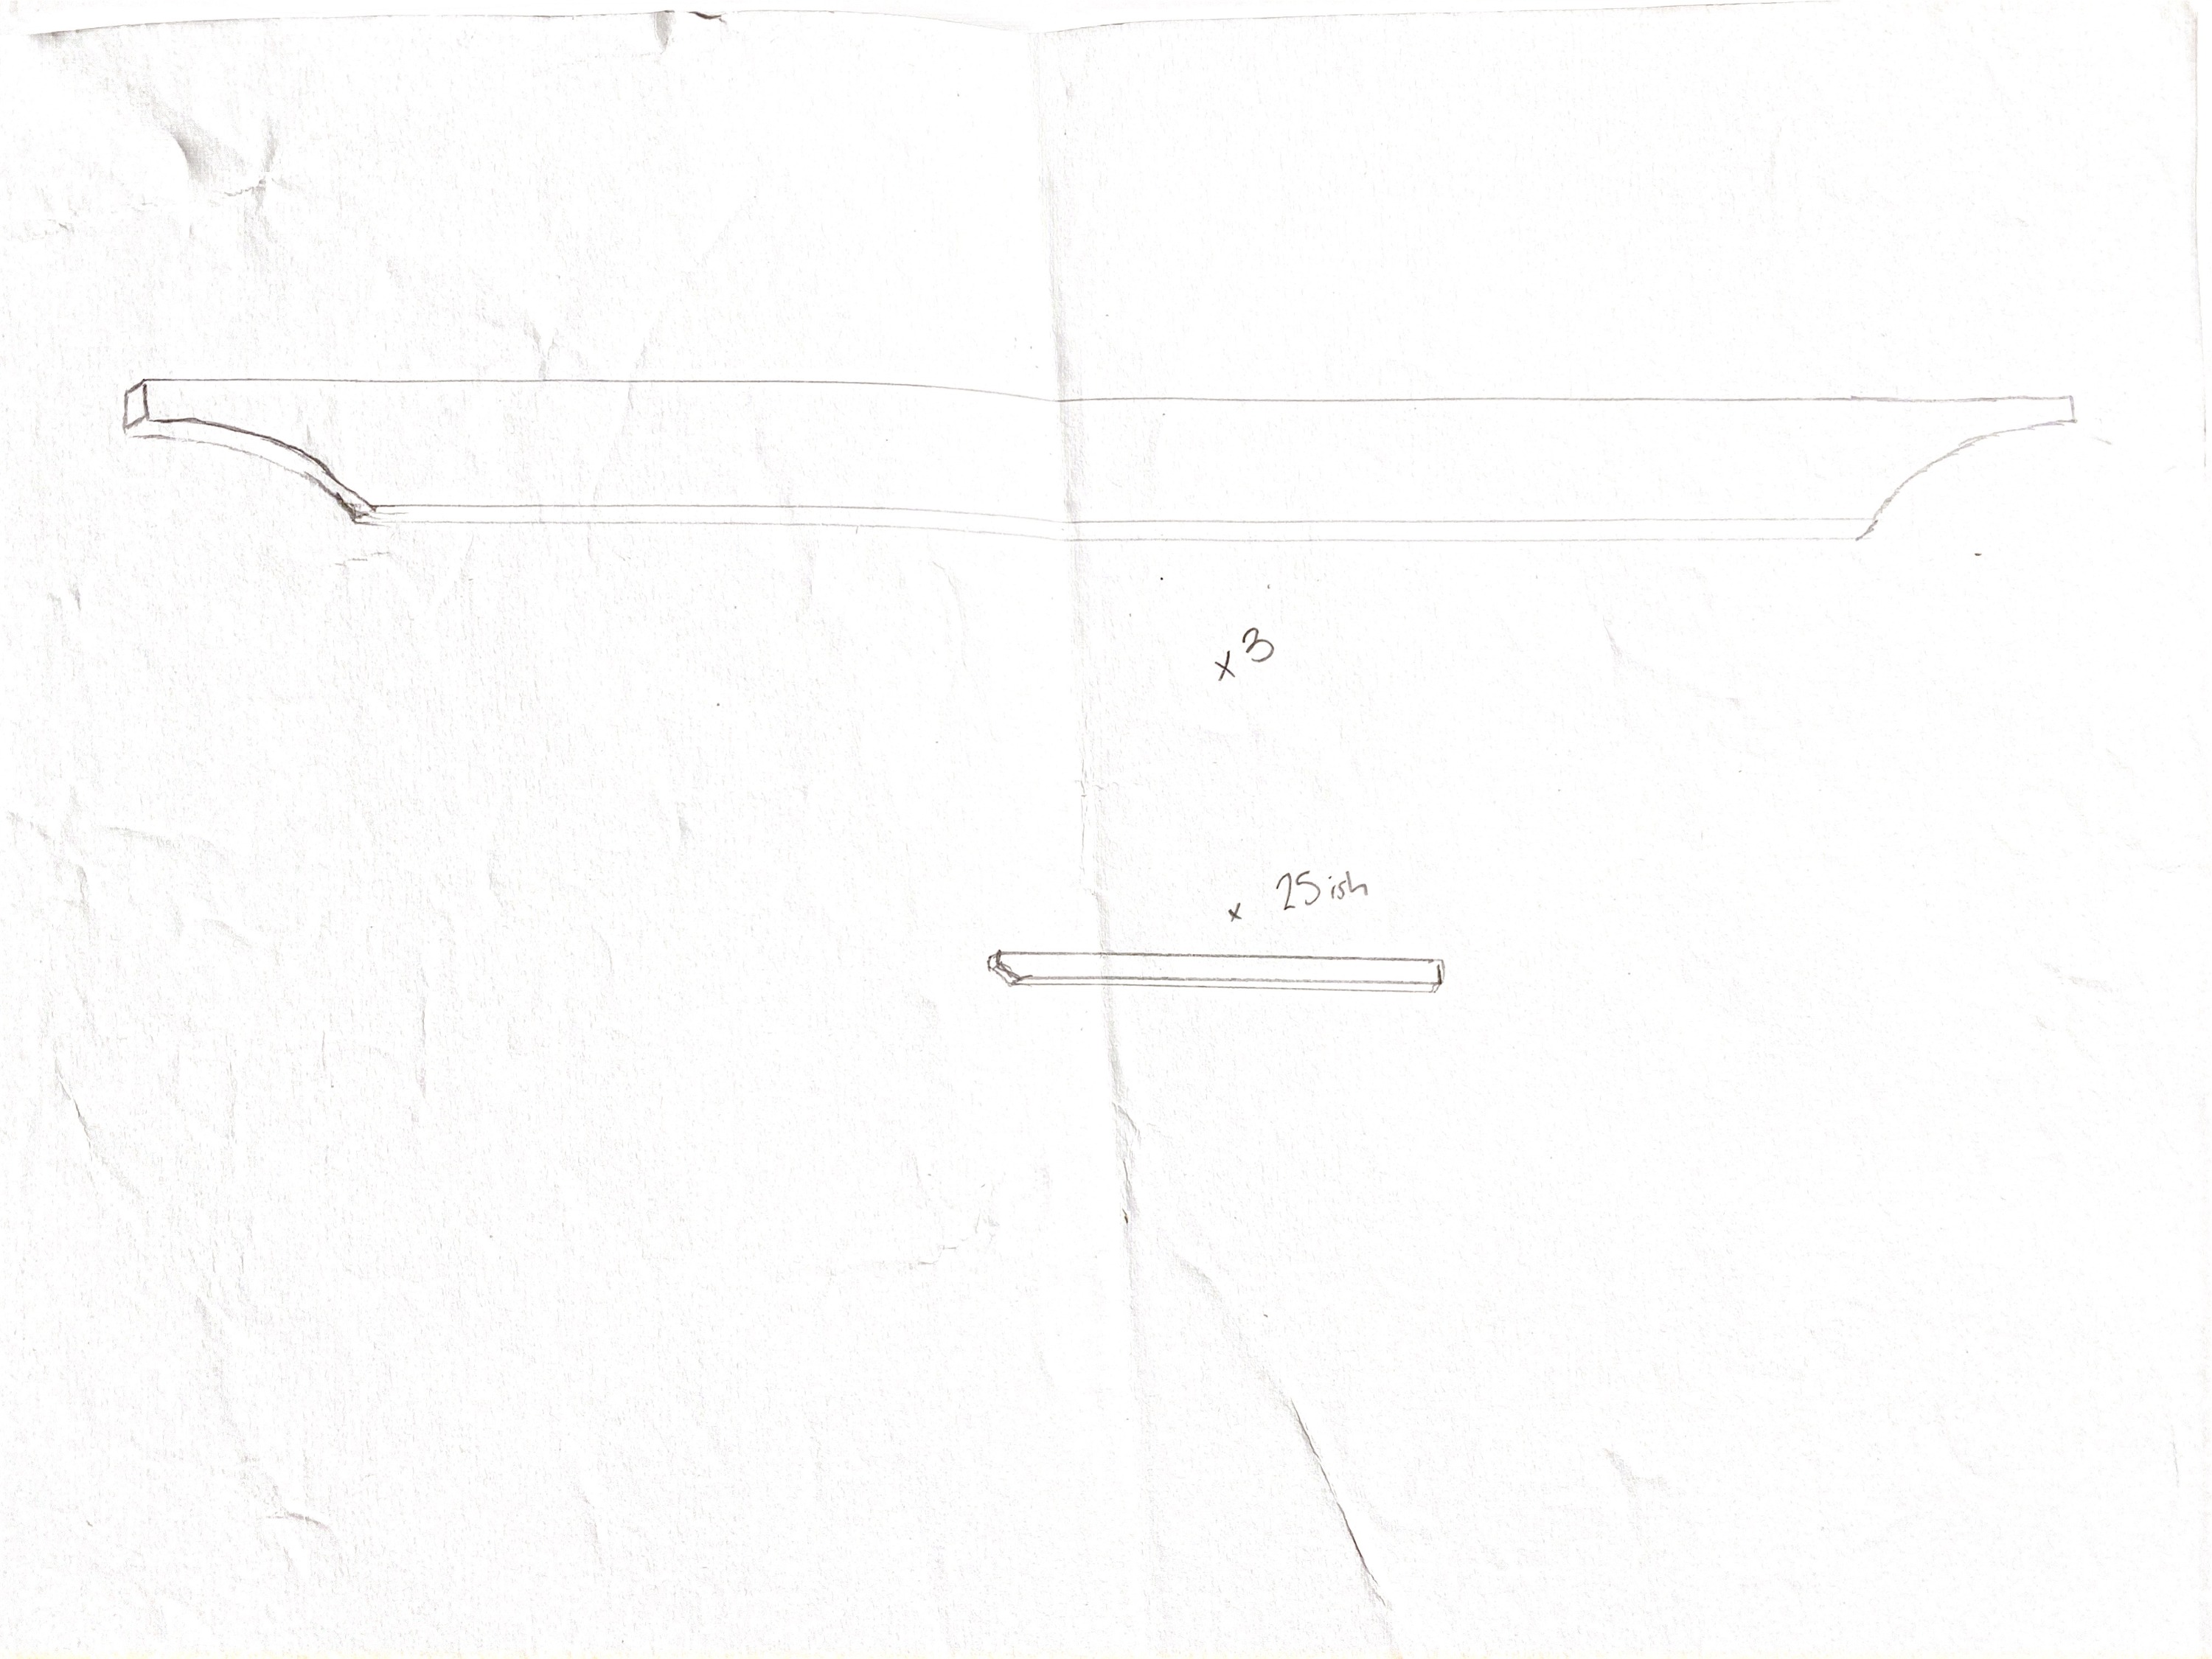
2×2’s – Cut each 42 inch piece in half
We’ll then use the router to make a more decorative edge around the 2×4’s that will be the back pieces to the brackets. We only have one router bit (this one) and don’t plan on buying a new one, so we’ll just go with it! This is pretty simple to do. While the 2×4 is held or clamped, you just guide the router along the edge. This is way easier than it seems!
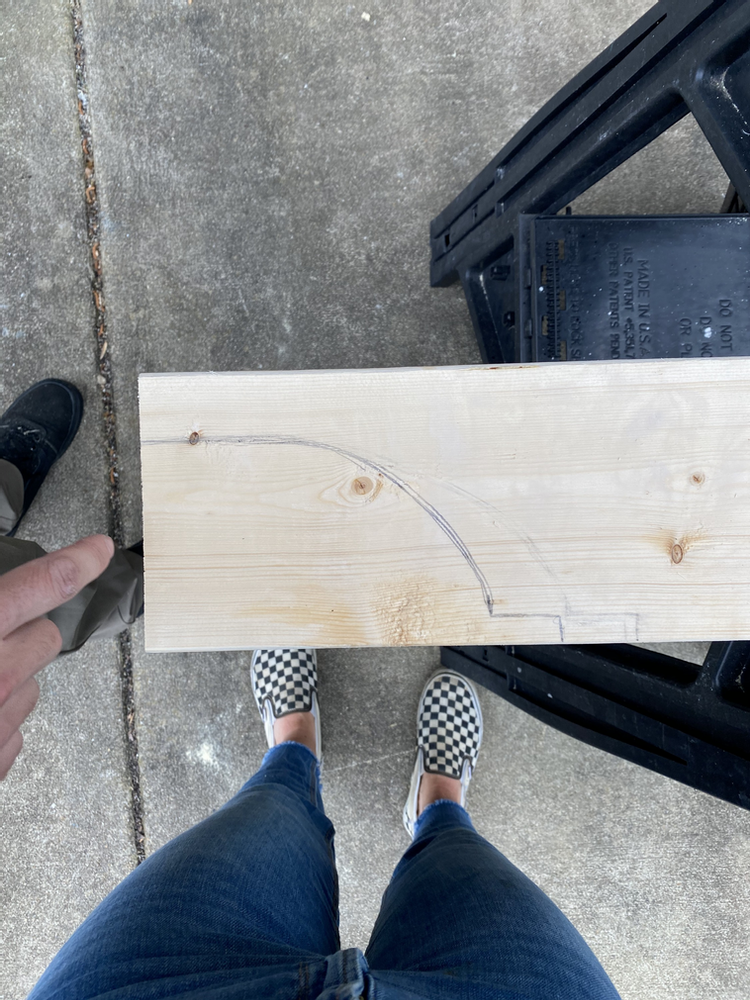
While David is routing the edges, I’m drawing my templates out on the wood for jig saw cuts. He’s using the jigsaw to make a cut, and then we’ll used the cut as a template to trace on the next pieces!
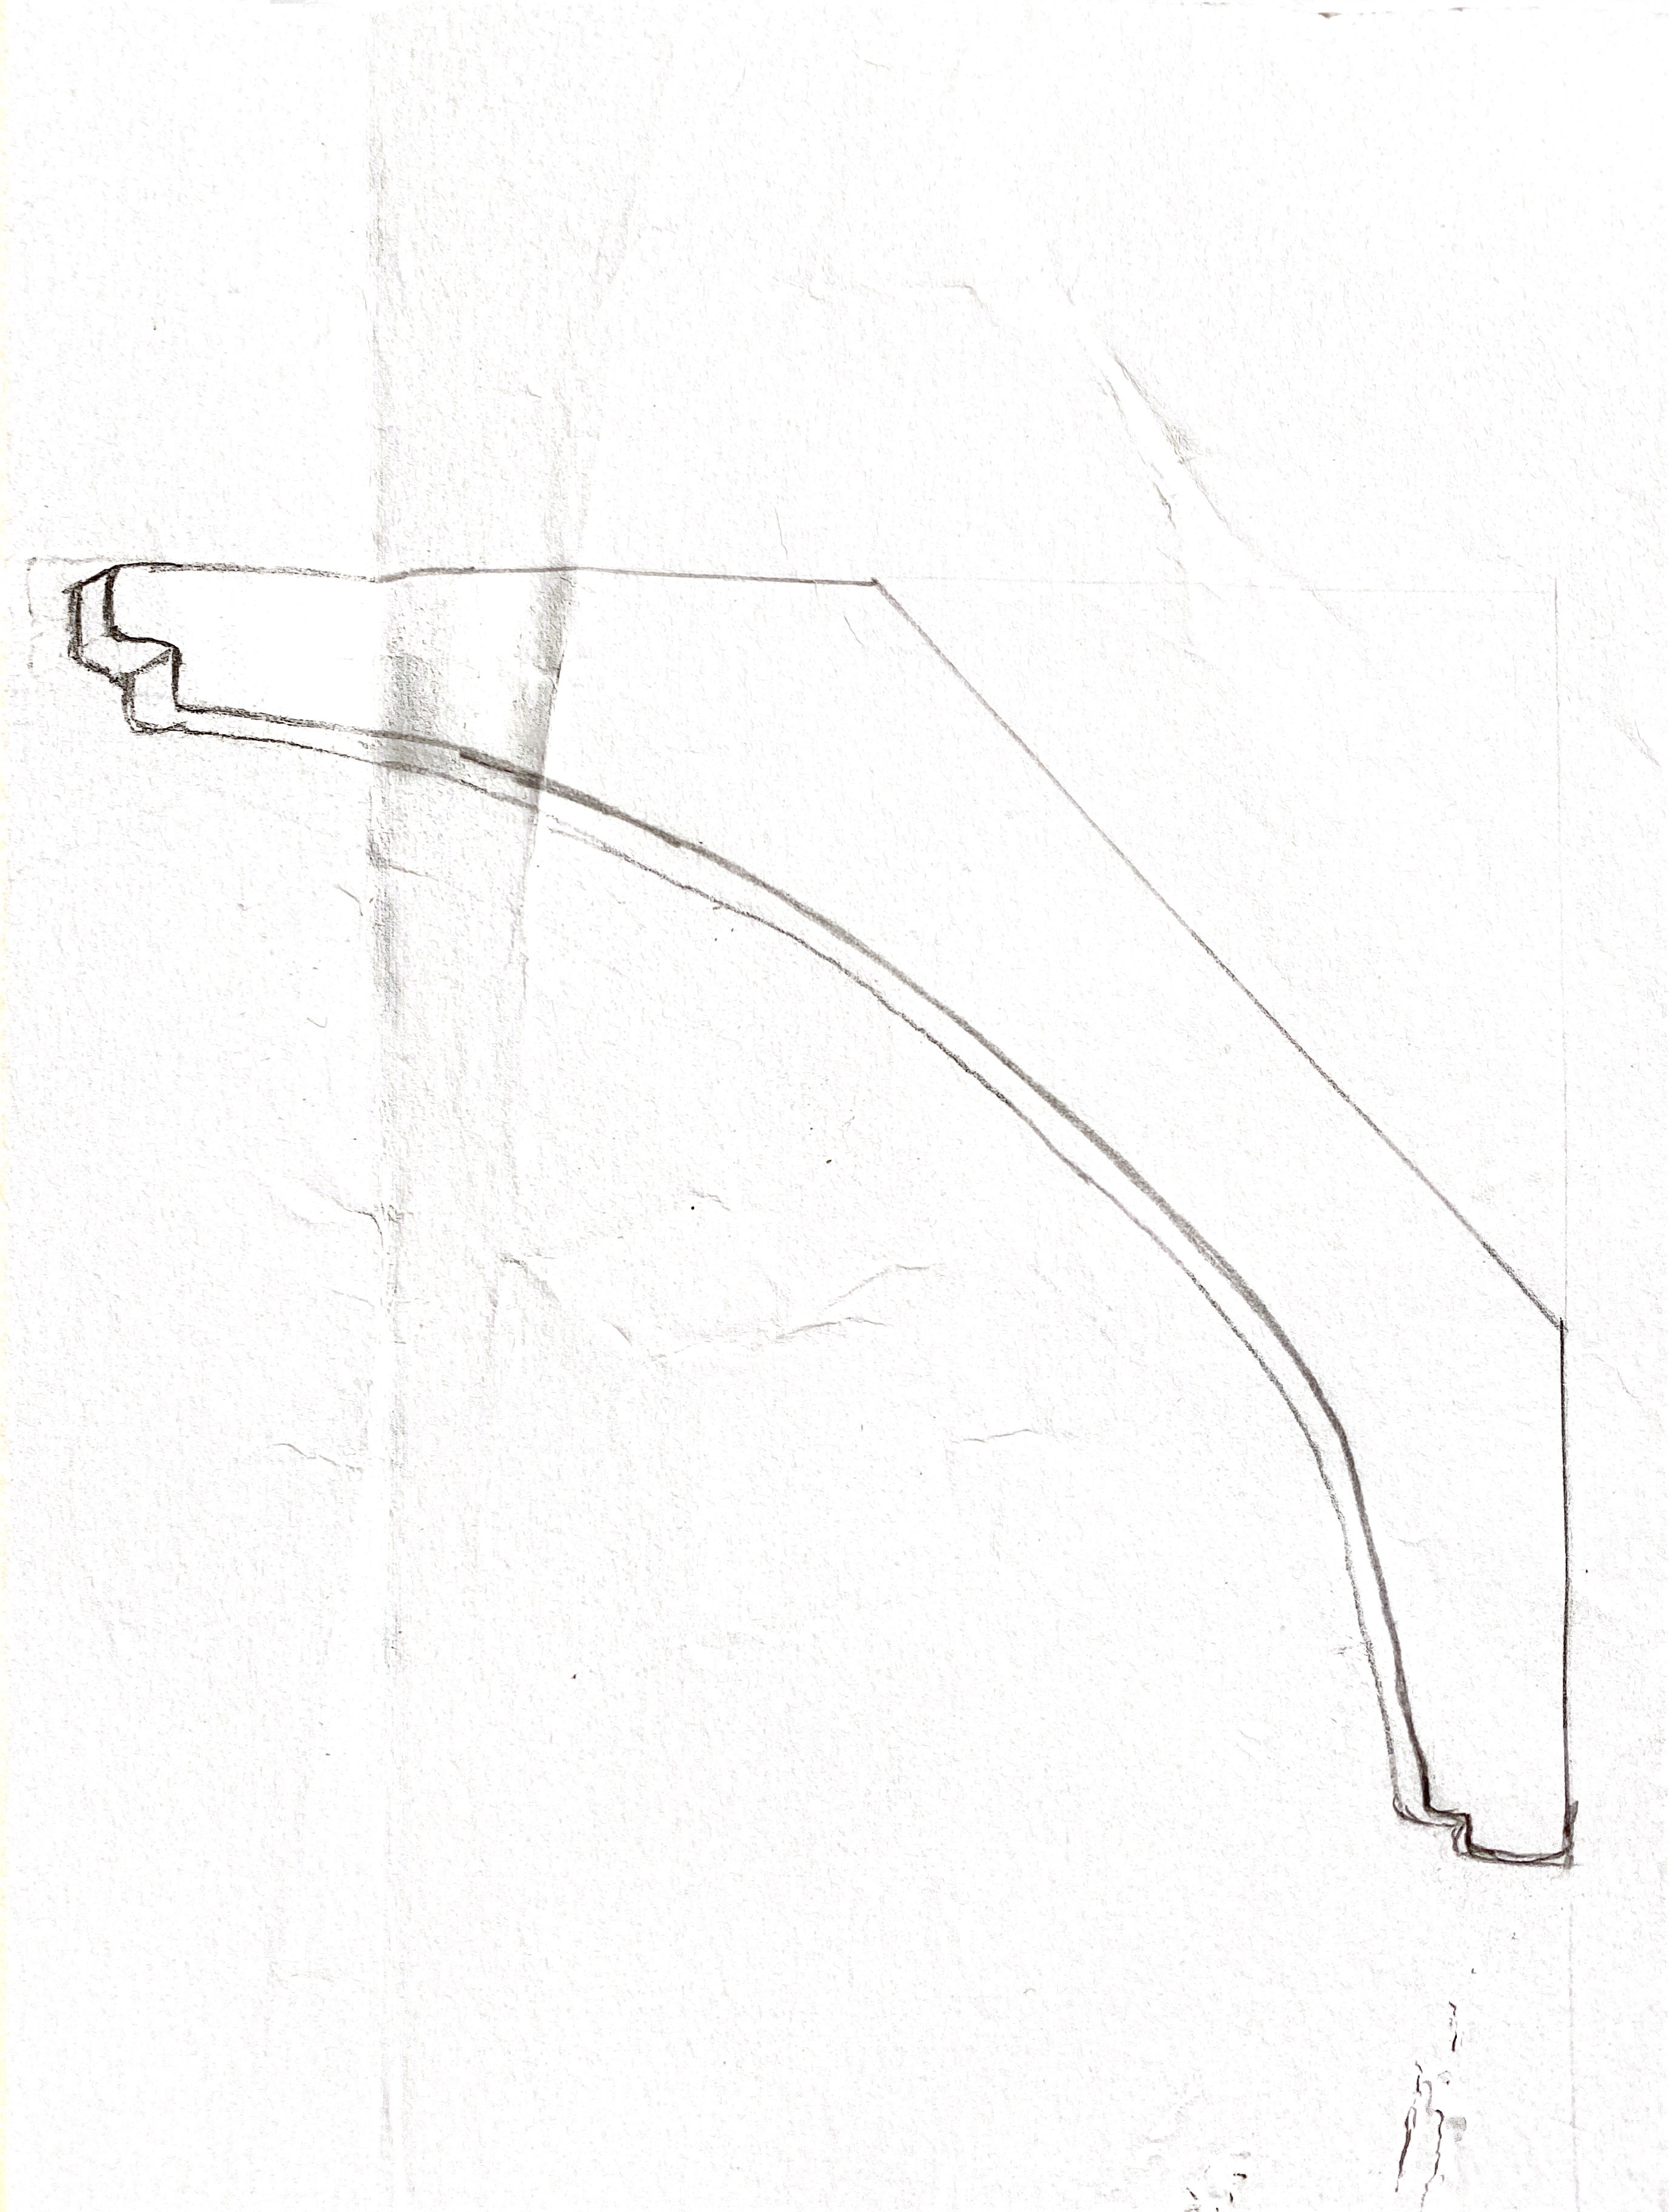
2×4 Raters
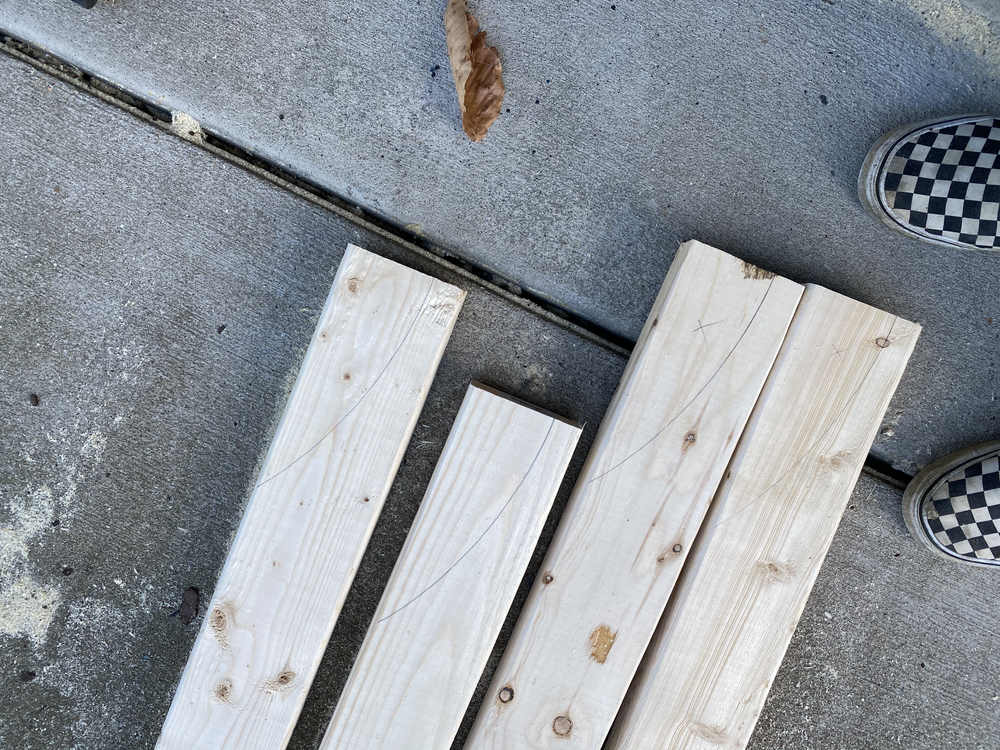
2×6 Bracket Arms
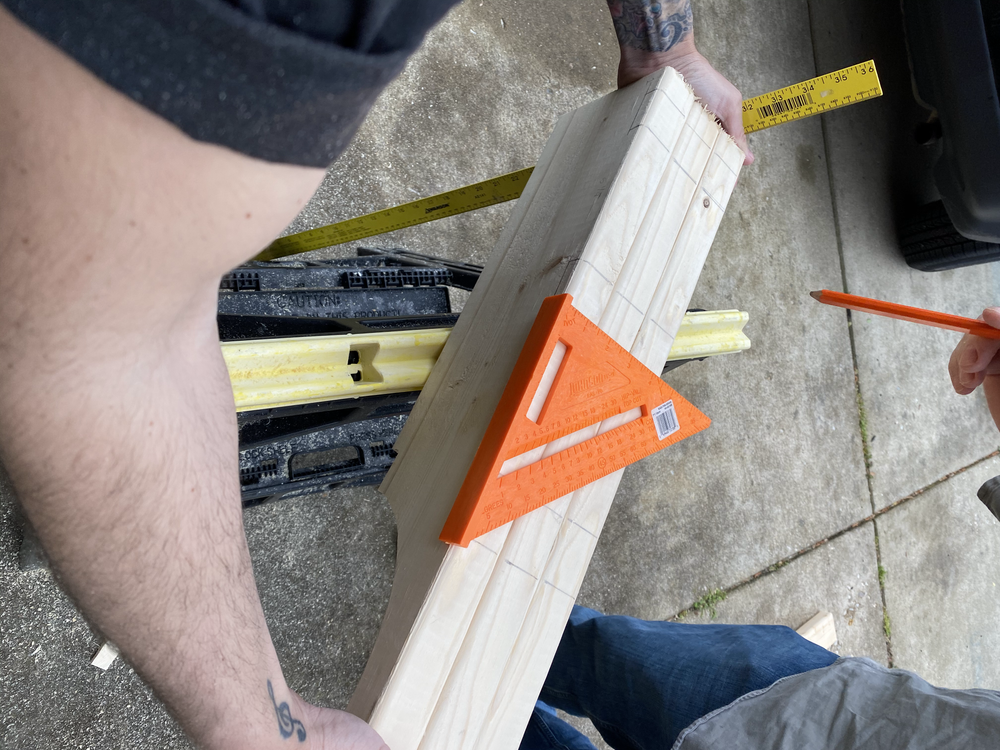
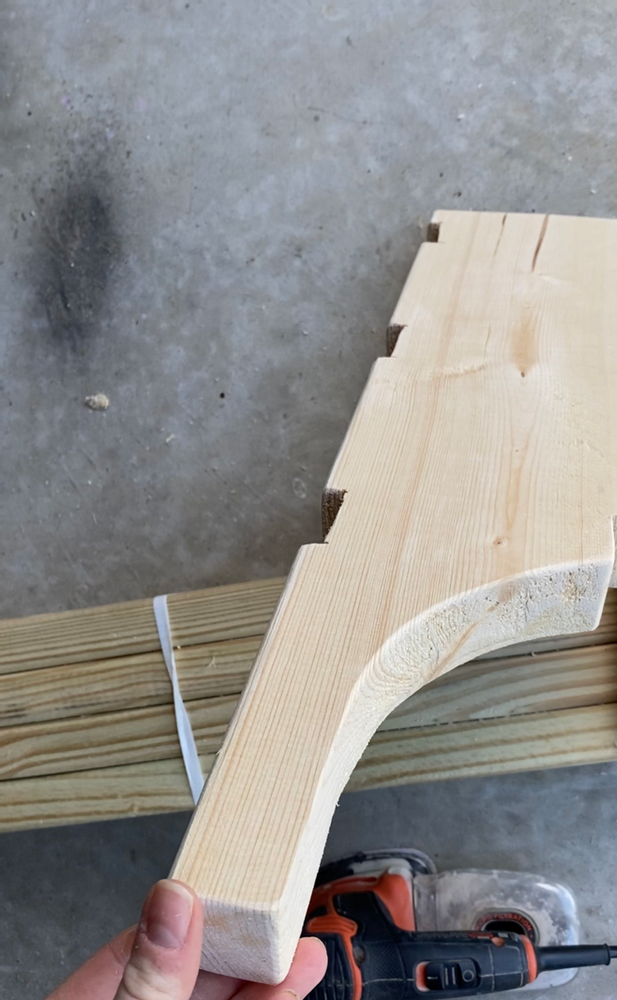
We additionally cut out these little notches on top of the bracket arms. While I don’t think these are necessary, I would definitely recommend doing it. It is so helpful to stabilize the rafters when installing. I’m drawing these cuts out as well, making sure that they are spaced out evenly and will be measured exactly the same (1.5 inch width of rafter x .5 inch deep).
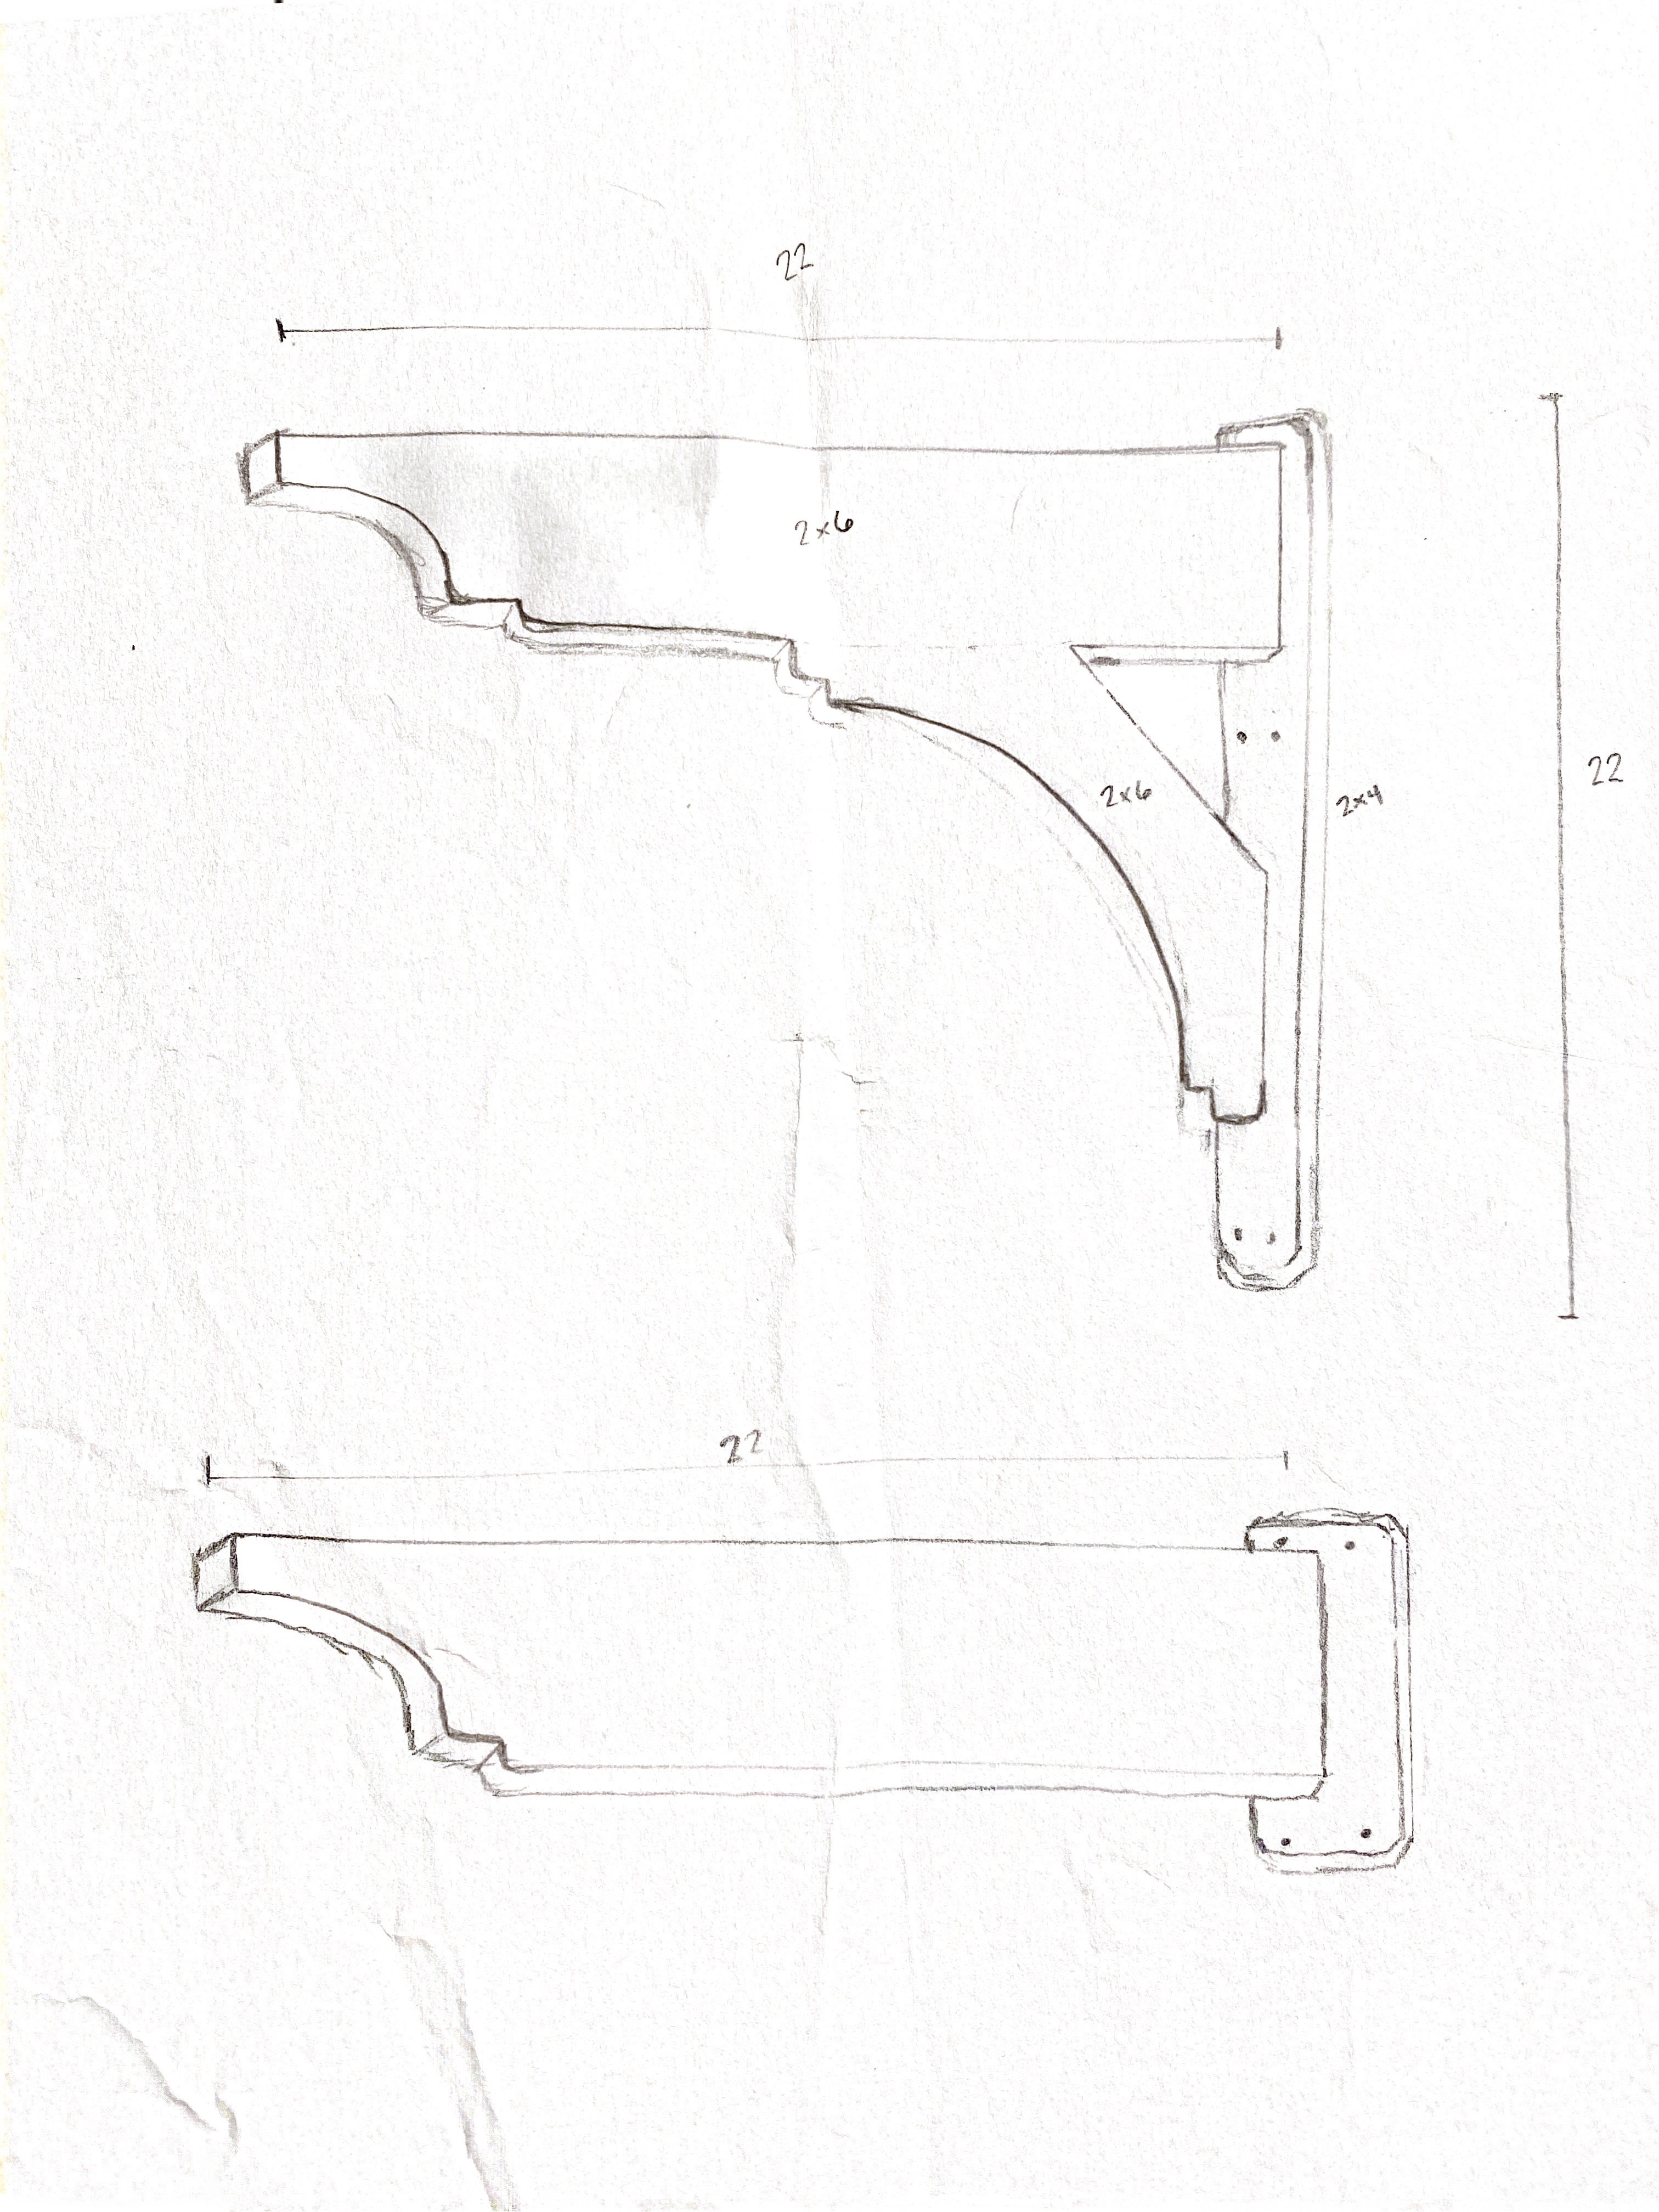
2×6 Bracket Arches
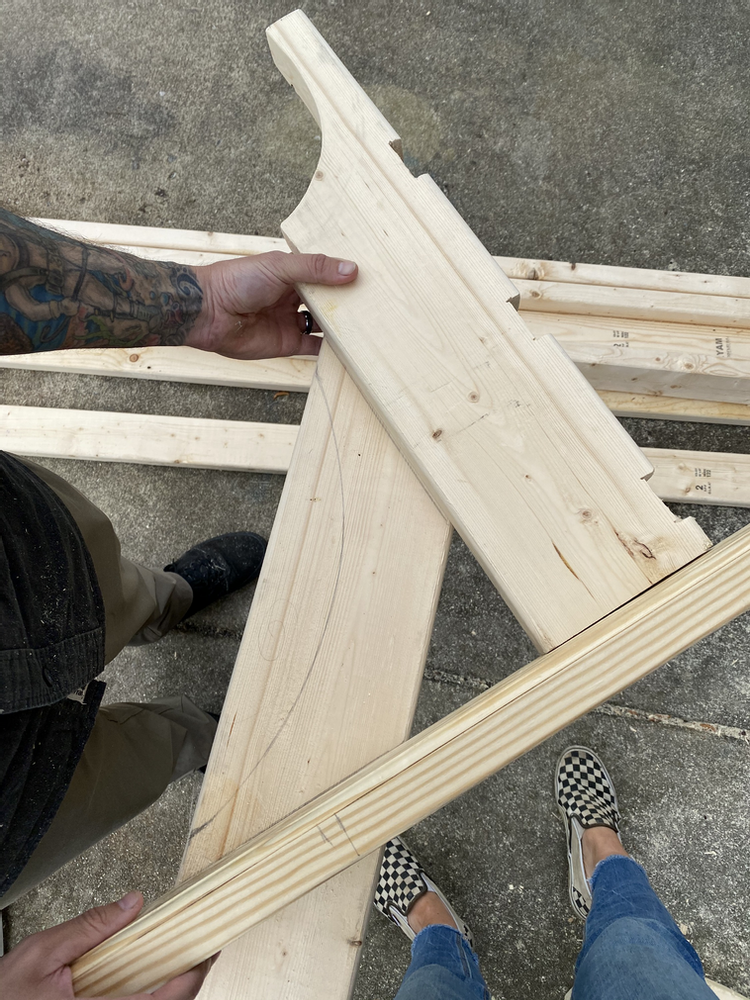
In order to draw up this template, we’ll hold up the two existing bracket pieces in place diagonally over a 2×6. This helps me to draw out how I want it. Luckily, we have an oval trash can nearby that we are able to use to make the most perfect arch! David is using a jig saw to cut the arch side of these pieces, and then the miter saw to cut the flat edges.
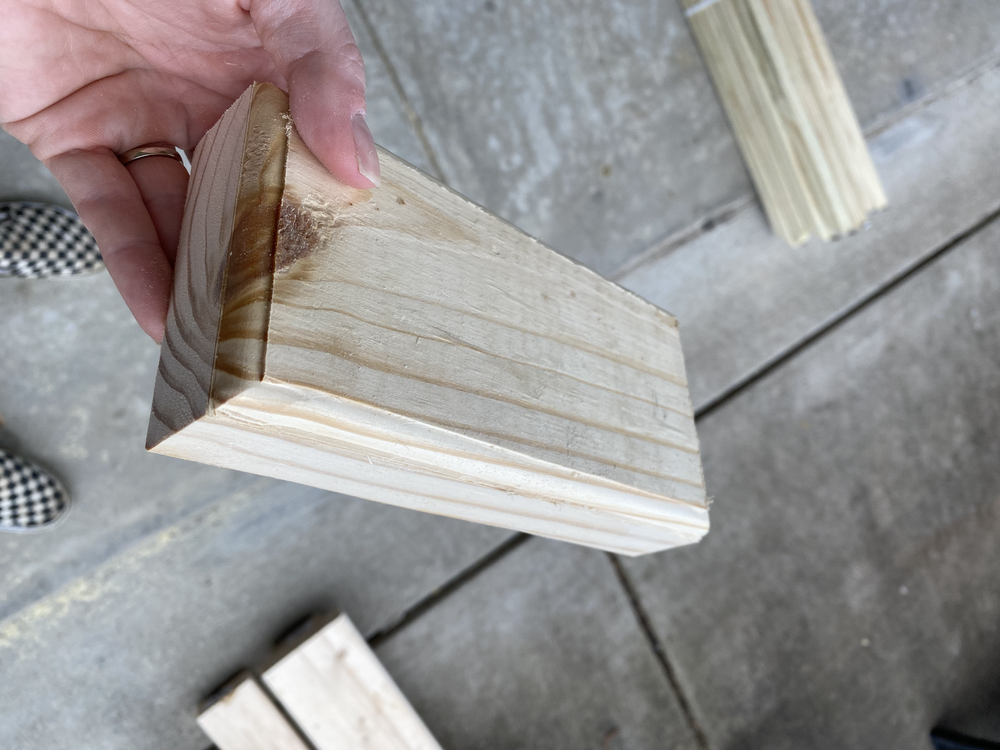
David is making these cuts, and then I’m sanding down allllll of the edges. I want the decorative 90 degree cuts to be rounded, so I’m making sure to sand those down a little extra. I’m also doing light sanding over all of the wood using 80 grit sandpaper and my mouse sander. This will help smooth out the imperfections in the wood before painting. I’m also lining up the purlins to make sure that they are all the same length. Some pieces are slightly longer than the others, so I ‘m making sure to sand the ends down a little extra (you could also cut).
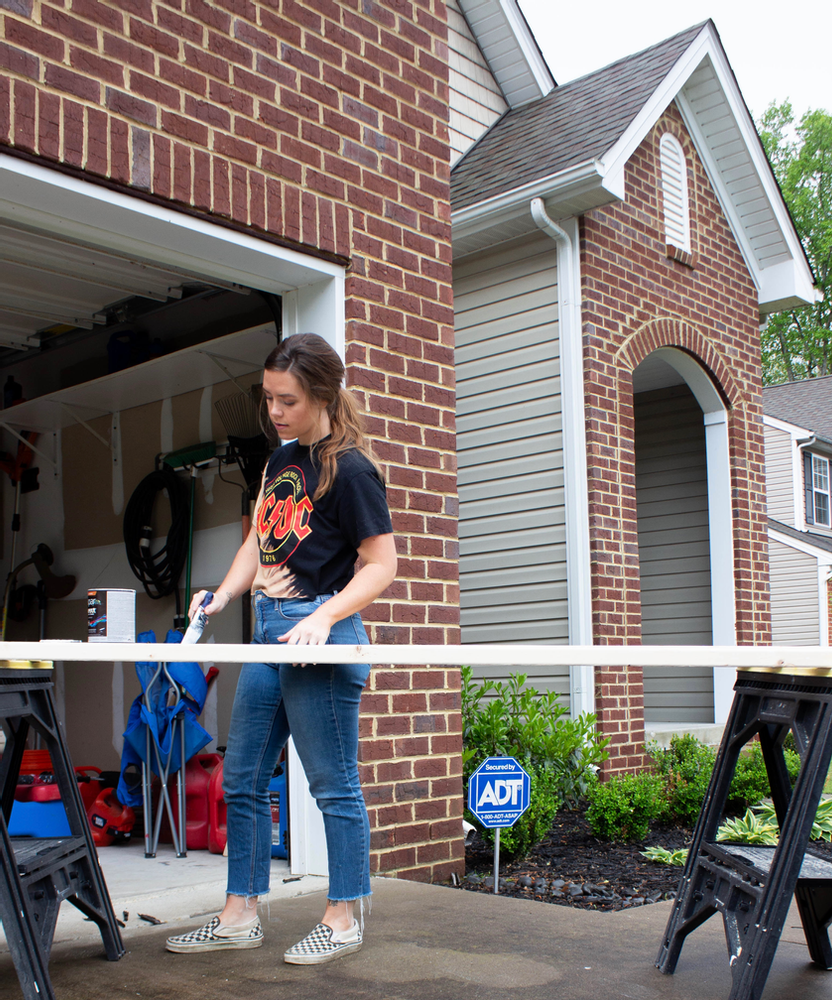
PAINT
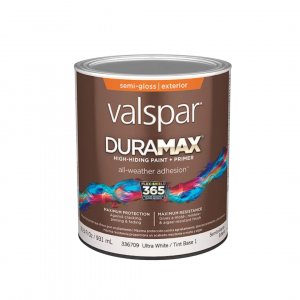
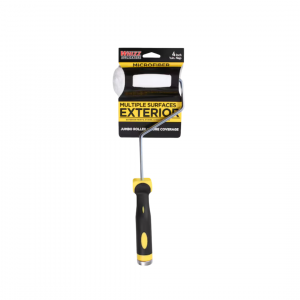
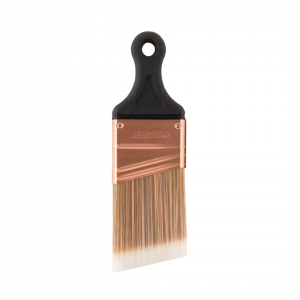
I’m giving them all a good wipe down to prep for paint! This Valspar Duramax Exterior latex Paint in Ultra White (Base 1) – semi-gloss is what I’m using. An exterior small roller is what I’m using for the majority of the painting, and going back in with a 2inch angled brush to get in all of the crevices. Everything has two coats!
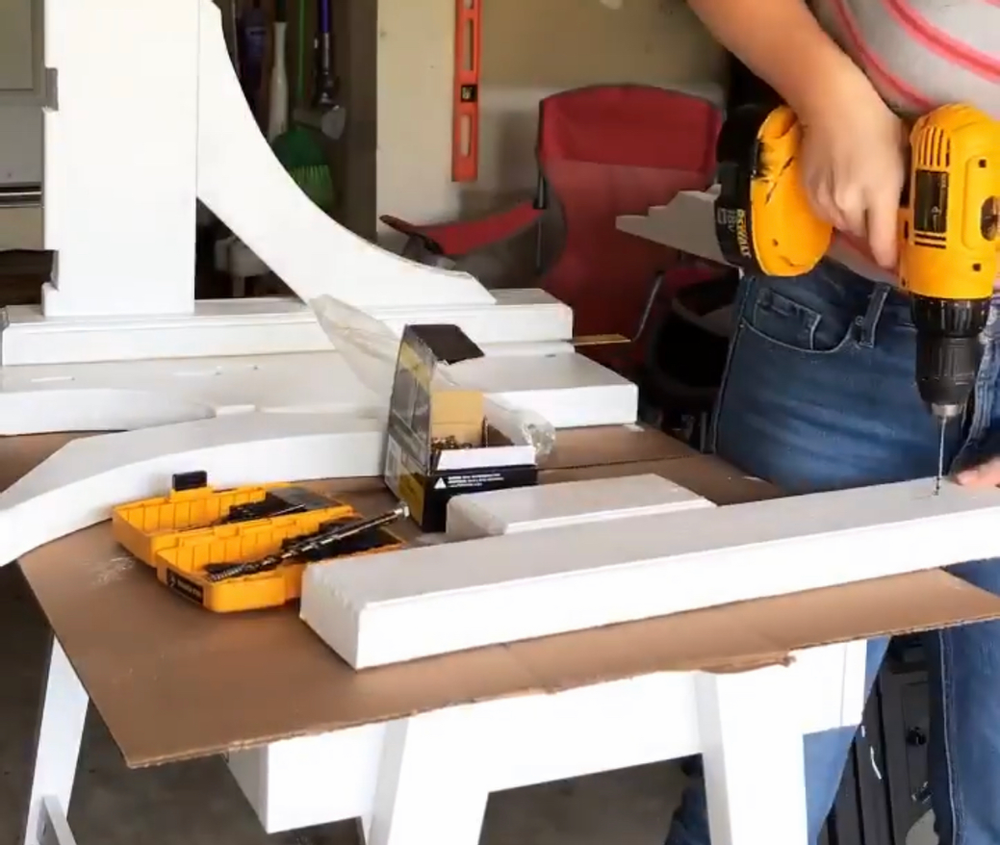
ASSEMBLY
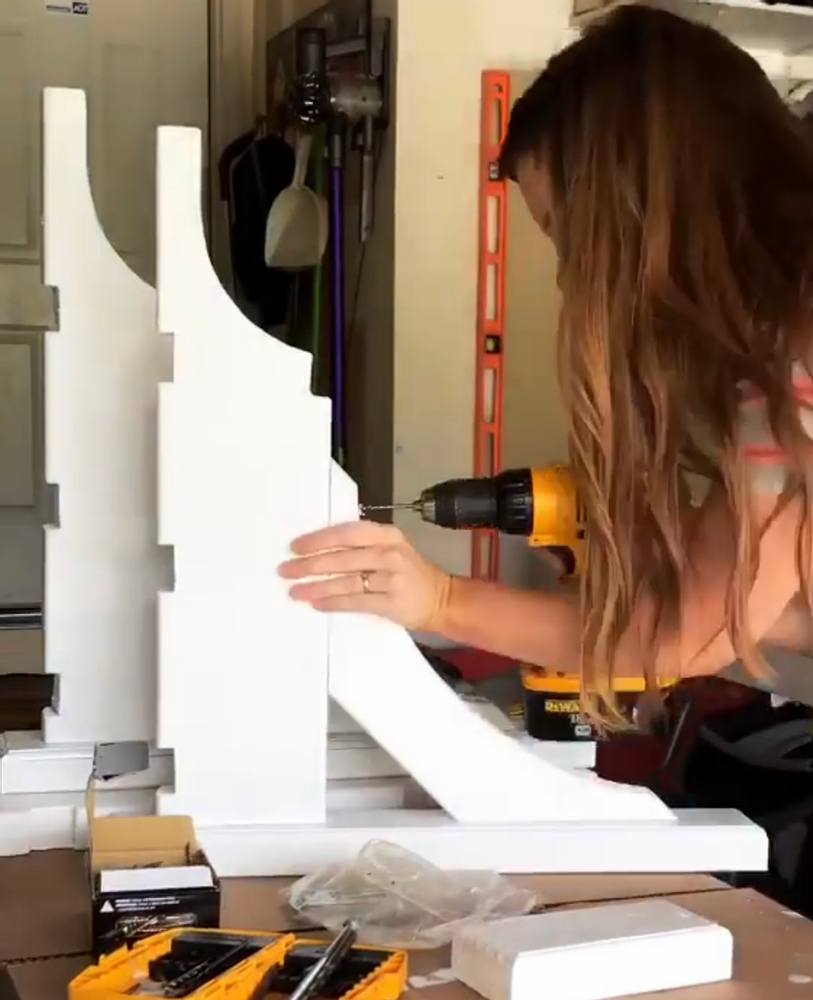
The brackets will be ready for assembly after the paint is dry. I’ll begin by measuring and making marks on my back pieces (2×4’s) for where the bracket arm will sit. After making sure it is centered, I’ll measure and mark where my two holes will be to connect these two pieces. I’m making the marks on both pieces and using a drill bit slightly smaller than my screws to make pilot holes. Then, I’ll screw in through the back of my 2×4 and connect my bracket arm to screw in! I’m repeating this for the other two brackets. Make sure to counter sink your screws!
For my side brackets, I’ll place the arch middle piece making sure that it is centered and flush. I’m drilling a pilot hole straight through on both ends, and then securing it with screws!
MOUNTING
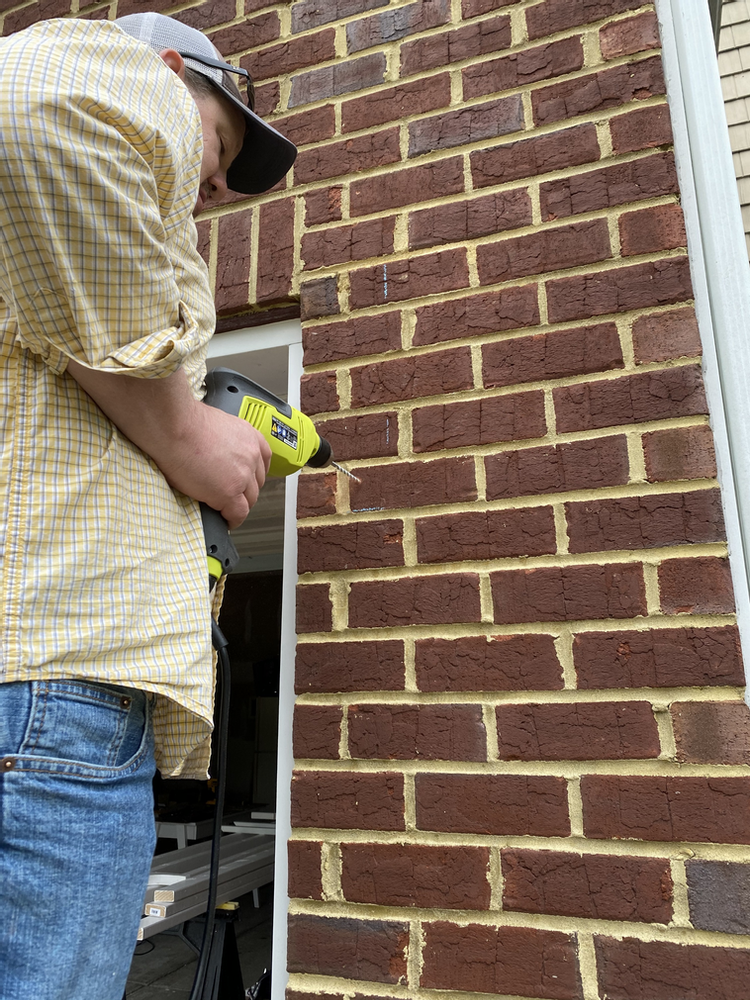
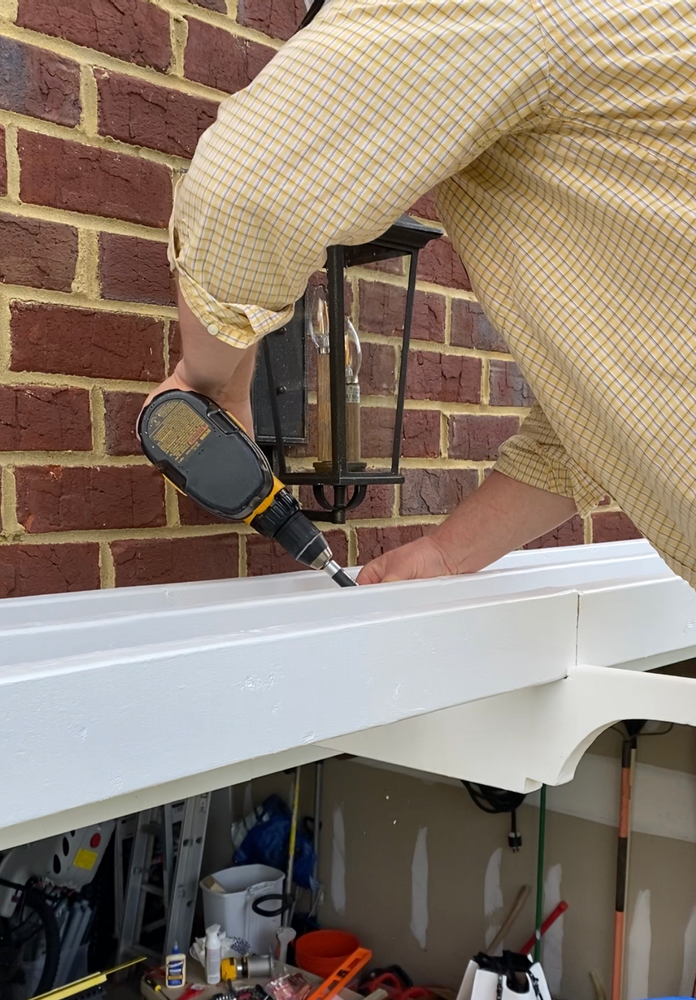
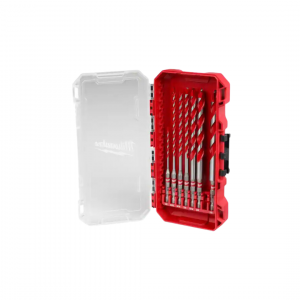
For our pergola, we have to use a hammer drill and masonry drill bit to drill through our brick siding. We found these sleeve anchors at Home Depot that matched the size of our masonry bit. They are great for brick, but are not removable. Once they are in, they are IN.
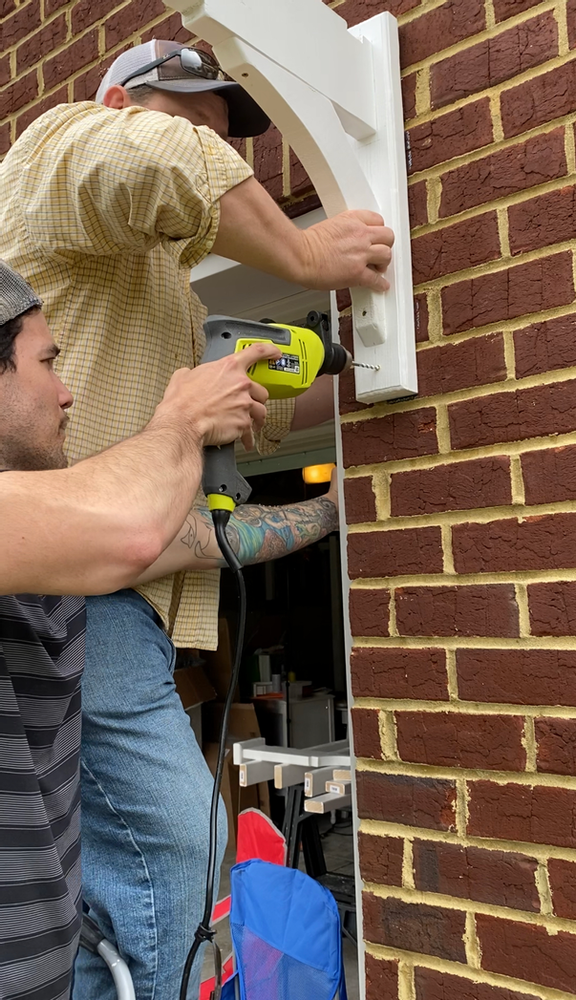
While David’s Dad is holding one side bracket in place (making sure that it is in the exact location that I wanted it to be) on the house, David is using the hammer drill to drill straight through on the bottom and top of each bracket. Once the bit hits the siding, he’ll let go. This will give him a mark on the brick so that we can remove the bracket and drill into it.
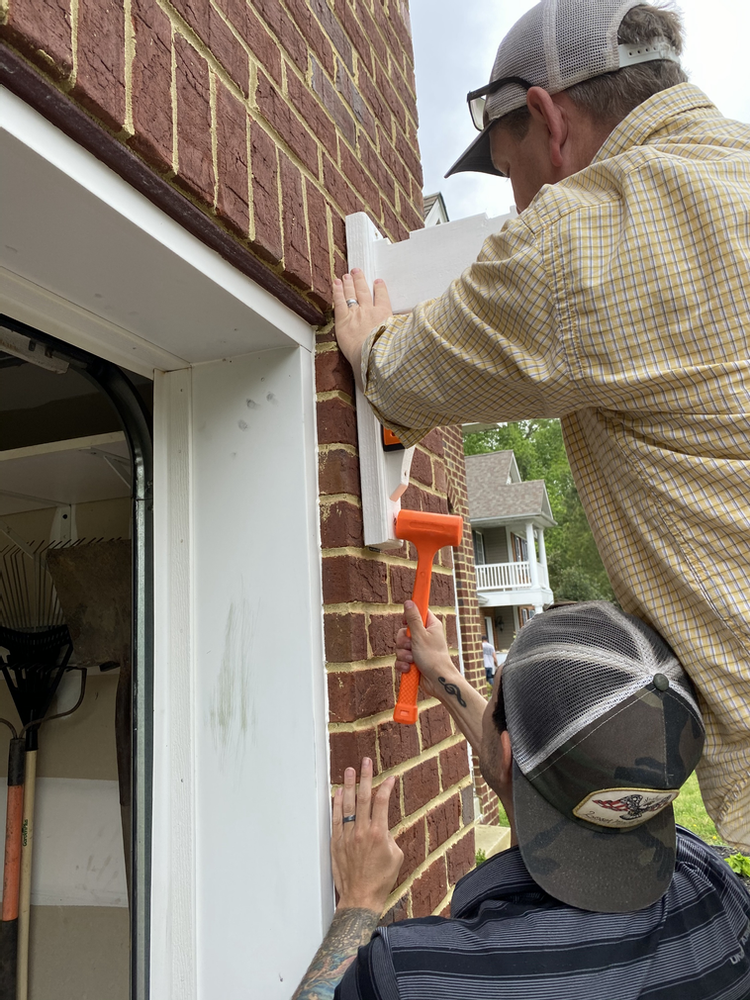
Once the holes are drilled into the bracket and brick, he’s using a slightly bigger drill bit on the bracket holes so that the sleeve anchor can glide through a bit easier. When the anchors are in the holes on the brackets, he’s hammering them into the siding. After the anchors are mostly in, we’ll hold up a level to make sure that the brackets are perfect. After a little adjusting (hammering the top a little more or the bottom a little more), he’s using a screwdriver to tighten the anchors. This secures them into the hole! We’ll this step for the other two brackets
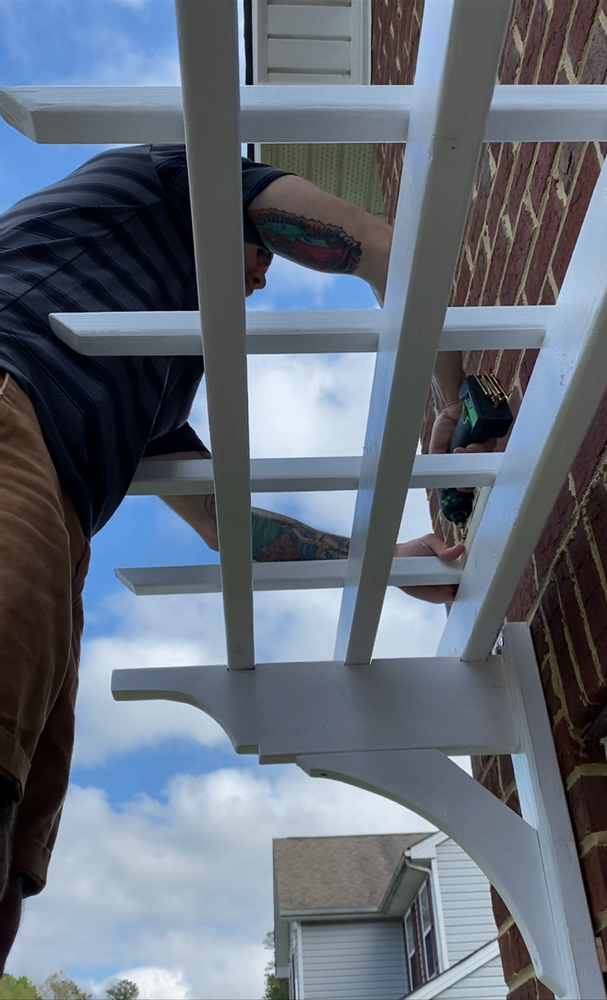
The rafters will then be placed into the notches on the brackets. Because we have two pieces butting together, David’s Dad is placing the screws at an angle from the top of the wood, so that they can be secure together, and also into the bracket. We’re securing each rafter to each bracket with screws as well, making sure to countersink them.
PURLINS
To add in the purlins, I’m using a scrap piece of wood and cutting it to eight inches to use as a spacer. This is helping it go by very quickly. We’re starting in the center of the pergola, and straddling the first two purlins over, using the spacer (I also marked half for reference). I want to keep the purlins flush the the back rafter so that they are sticking out as far as possible. We’re then placing a screw where each purlin meets each rafter. This is not necessary, but feels like the most long-lasting way to do it. We are hoping that doing this extra step will help to prevent the rafters from warping over time as well. We’re countersinking these screws carefully. The smaller pieces of wood can be split easily, so it is important to not counter sink TOO far.
After the pergola is completely built and secure, it is time to fill in some screw holes (I’m using plastic wood), touch up some paint, and wait for your neighbors to copy your DANG good work.
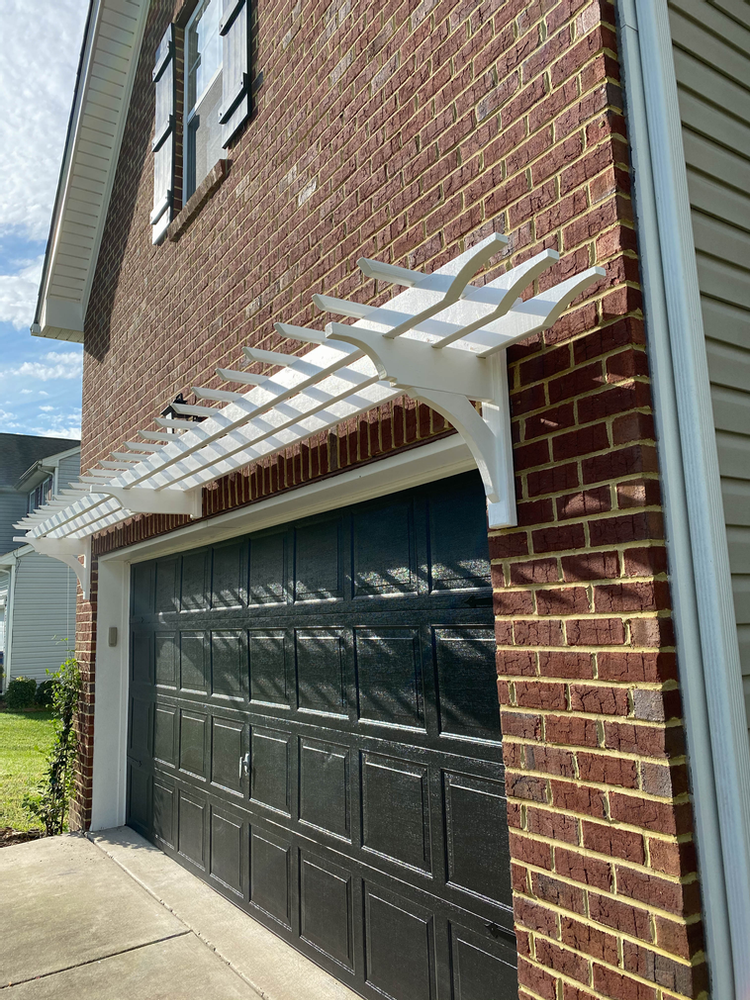
Here’s everything we used for this DIY Garage Pergola!


Looks great. I’ve been wanting to do this over our double garage doors. About how much did this project cost you?
This is brilliant! How much did the materials cost?? Thanks, Jane
Wow, it’s looking awesome! No one can believe that this garage pergola has built by your own. Really appreciate your work!
Would love to know what your cost is! This is exactly what I want to do.
I am planning on doing this to my garage soon and love how yours turned out! Let me ask you, now that a couple of years has gone by, how is it holding up. Is there anything different that you would do or recommend?
Thanks,
Valerie
Dang….you just completed what I have been planning for my single car garage also. I’m so jealous. I too, have saved ideas from Pinterest for a while now. For ME personally, the only flaw I see, is that I don’t have the hubby or the father-in-law.
I gel stained my garage door and will do the same color on the pergola, then plant white clematis vine. The brown wood stain and the white will be contrasting.
So far I have only got as far as buying the clematis and staining the garage door.
Beautiful!
Congratulations! You guys did a great job, and really looks great. Also, the step by step by explanations with pics fantastic. Thank you for sharing!!!
Beautiful!
Could you make brackets for the vintage look. For my front porch post
My husband and I have been considering a garage pergola like this. However, we will need to attach it to vinyl siding instead of brick. Will attaching it to the siding damage it. Your advice will be appreciated. I love how it looks.
This is my situation as well. Did you end up doing this project?
It would be lovely to see photos of this a few years later.
I have to combined 2 11’ rafters. What is the best way to secure them together?