Basement Bathroom Vanity Makeover

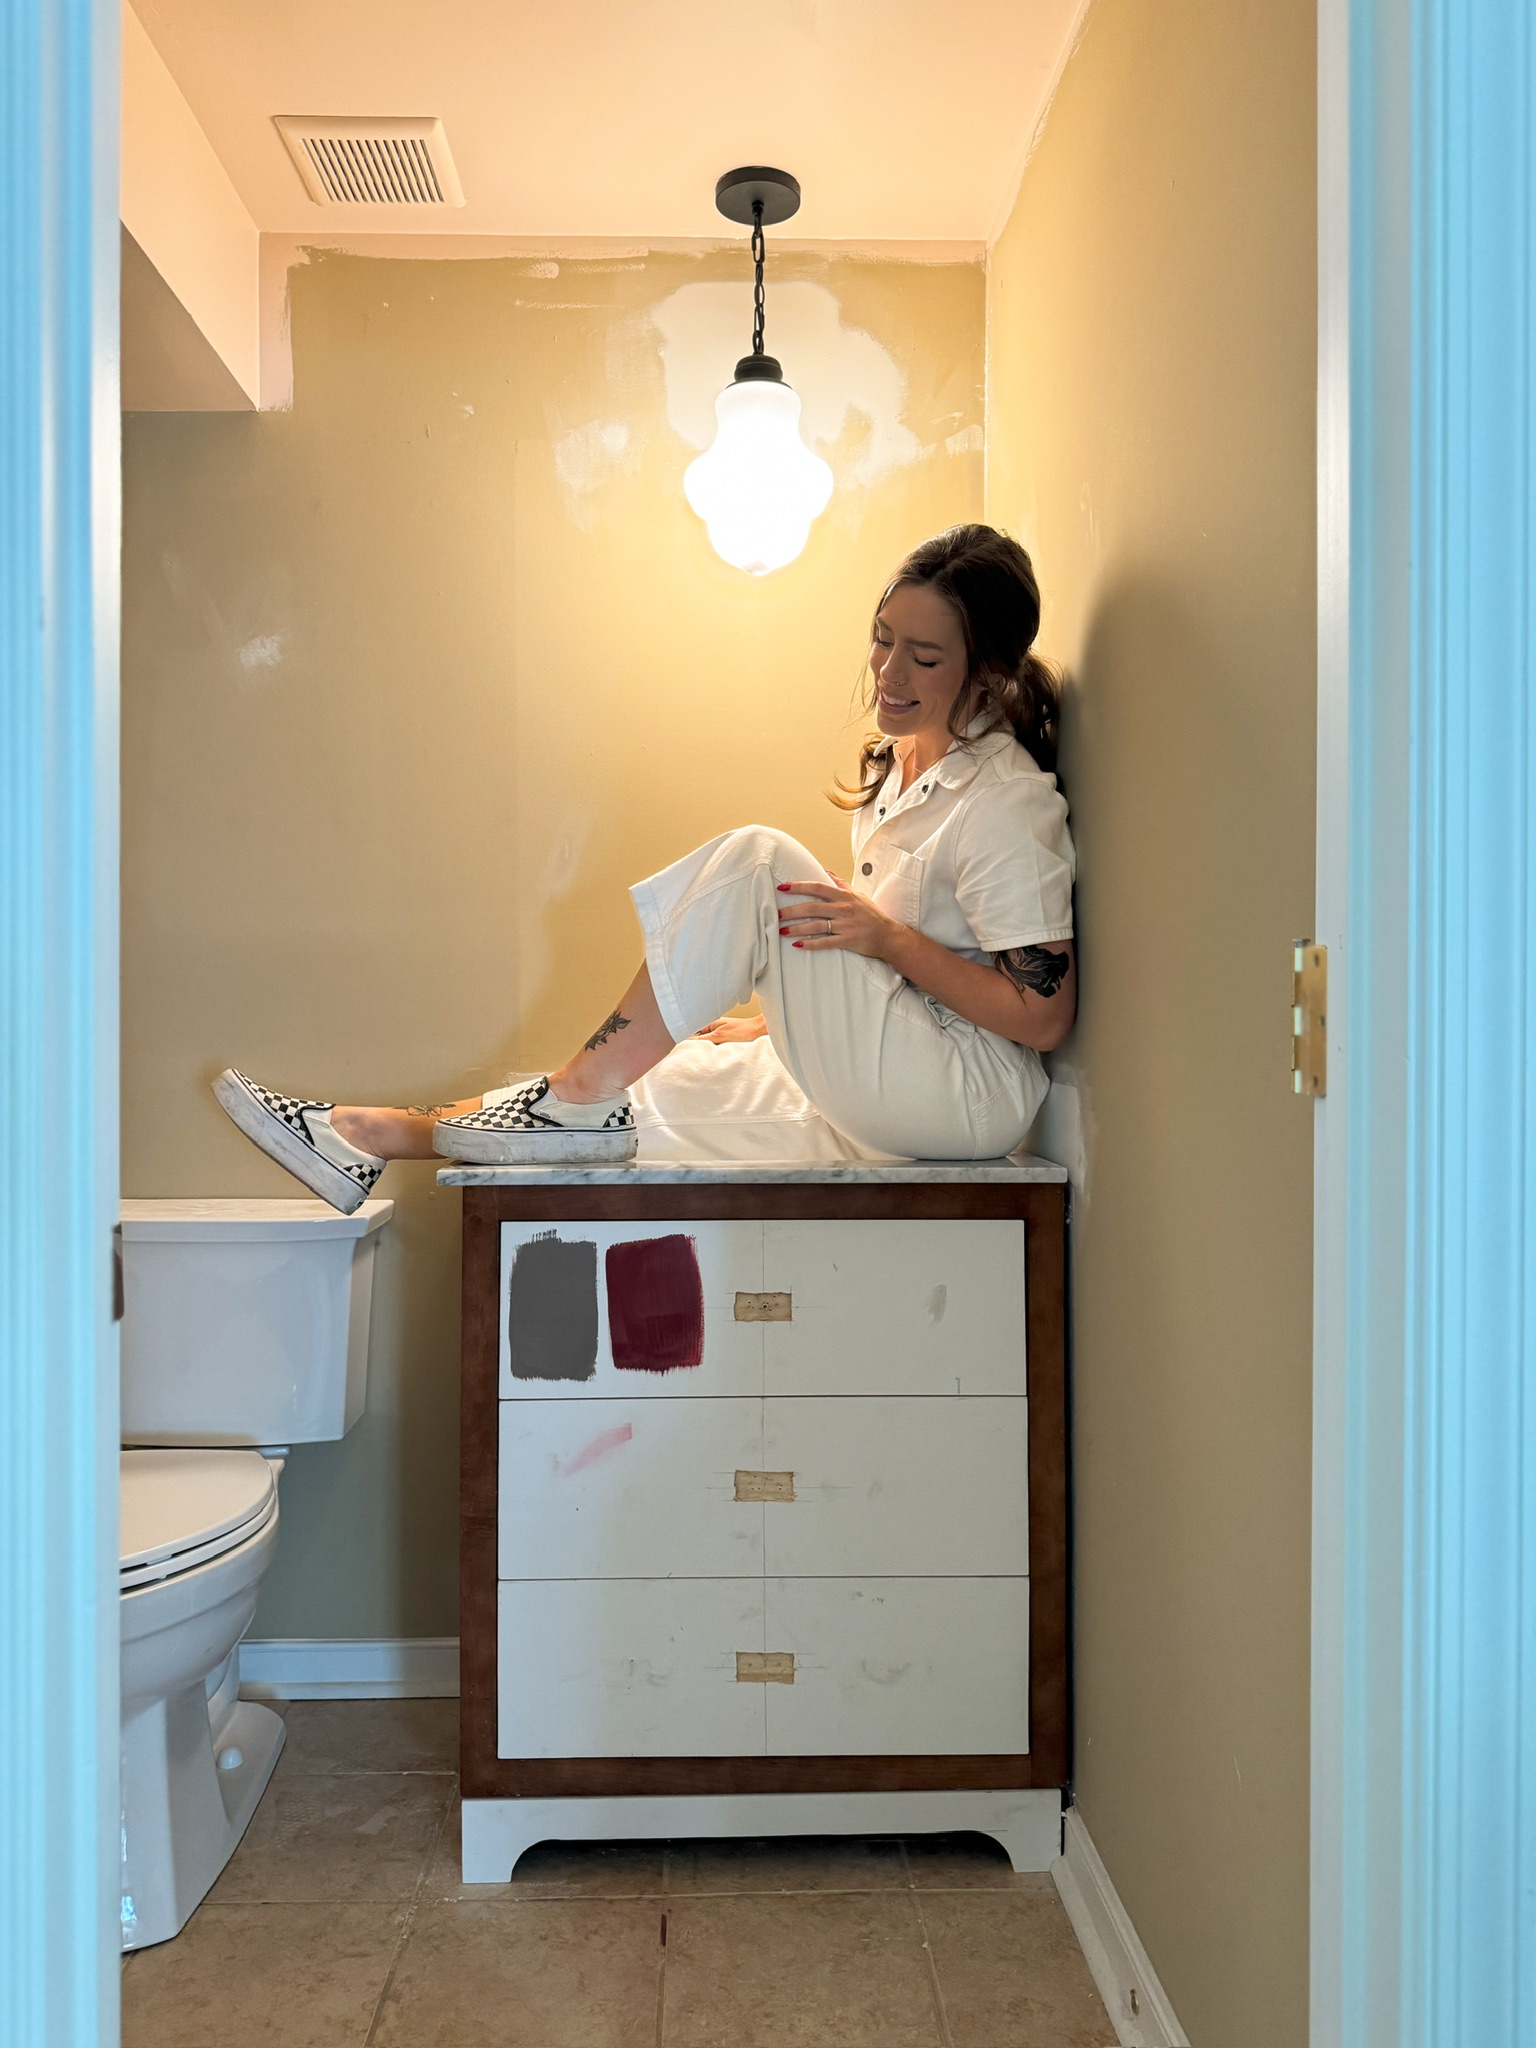
I’ve been working on my basement bathroom to wrap up all my basement renovations. This is the last big project! This is a full bathroom down here with lots of potential. I didn’t want to a full scale renovation – I want to work with what I’ve got! I planned to do a lot without doing a lot. Does that make sense?! When we last left off, I installed a new toilet & new lighting. Next up, a vanity makeover!
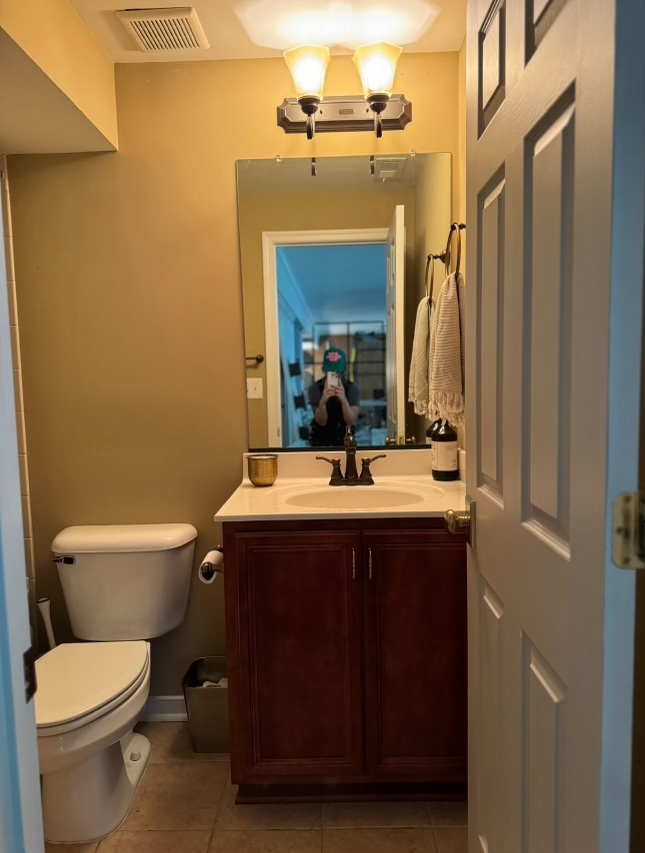
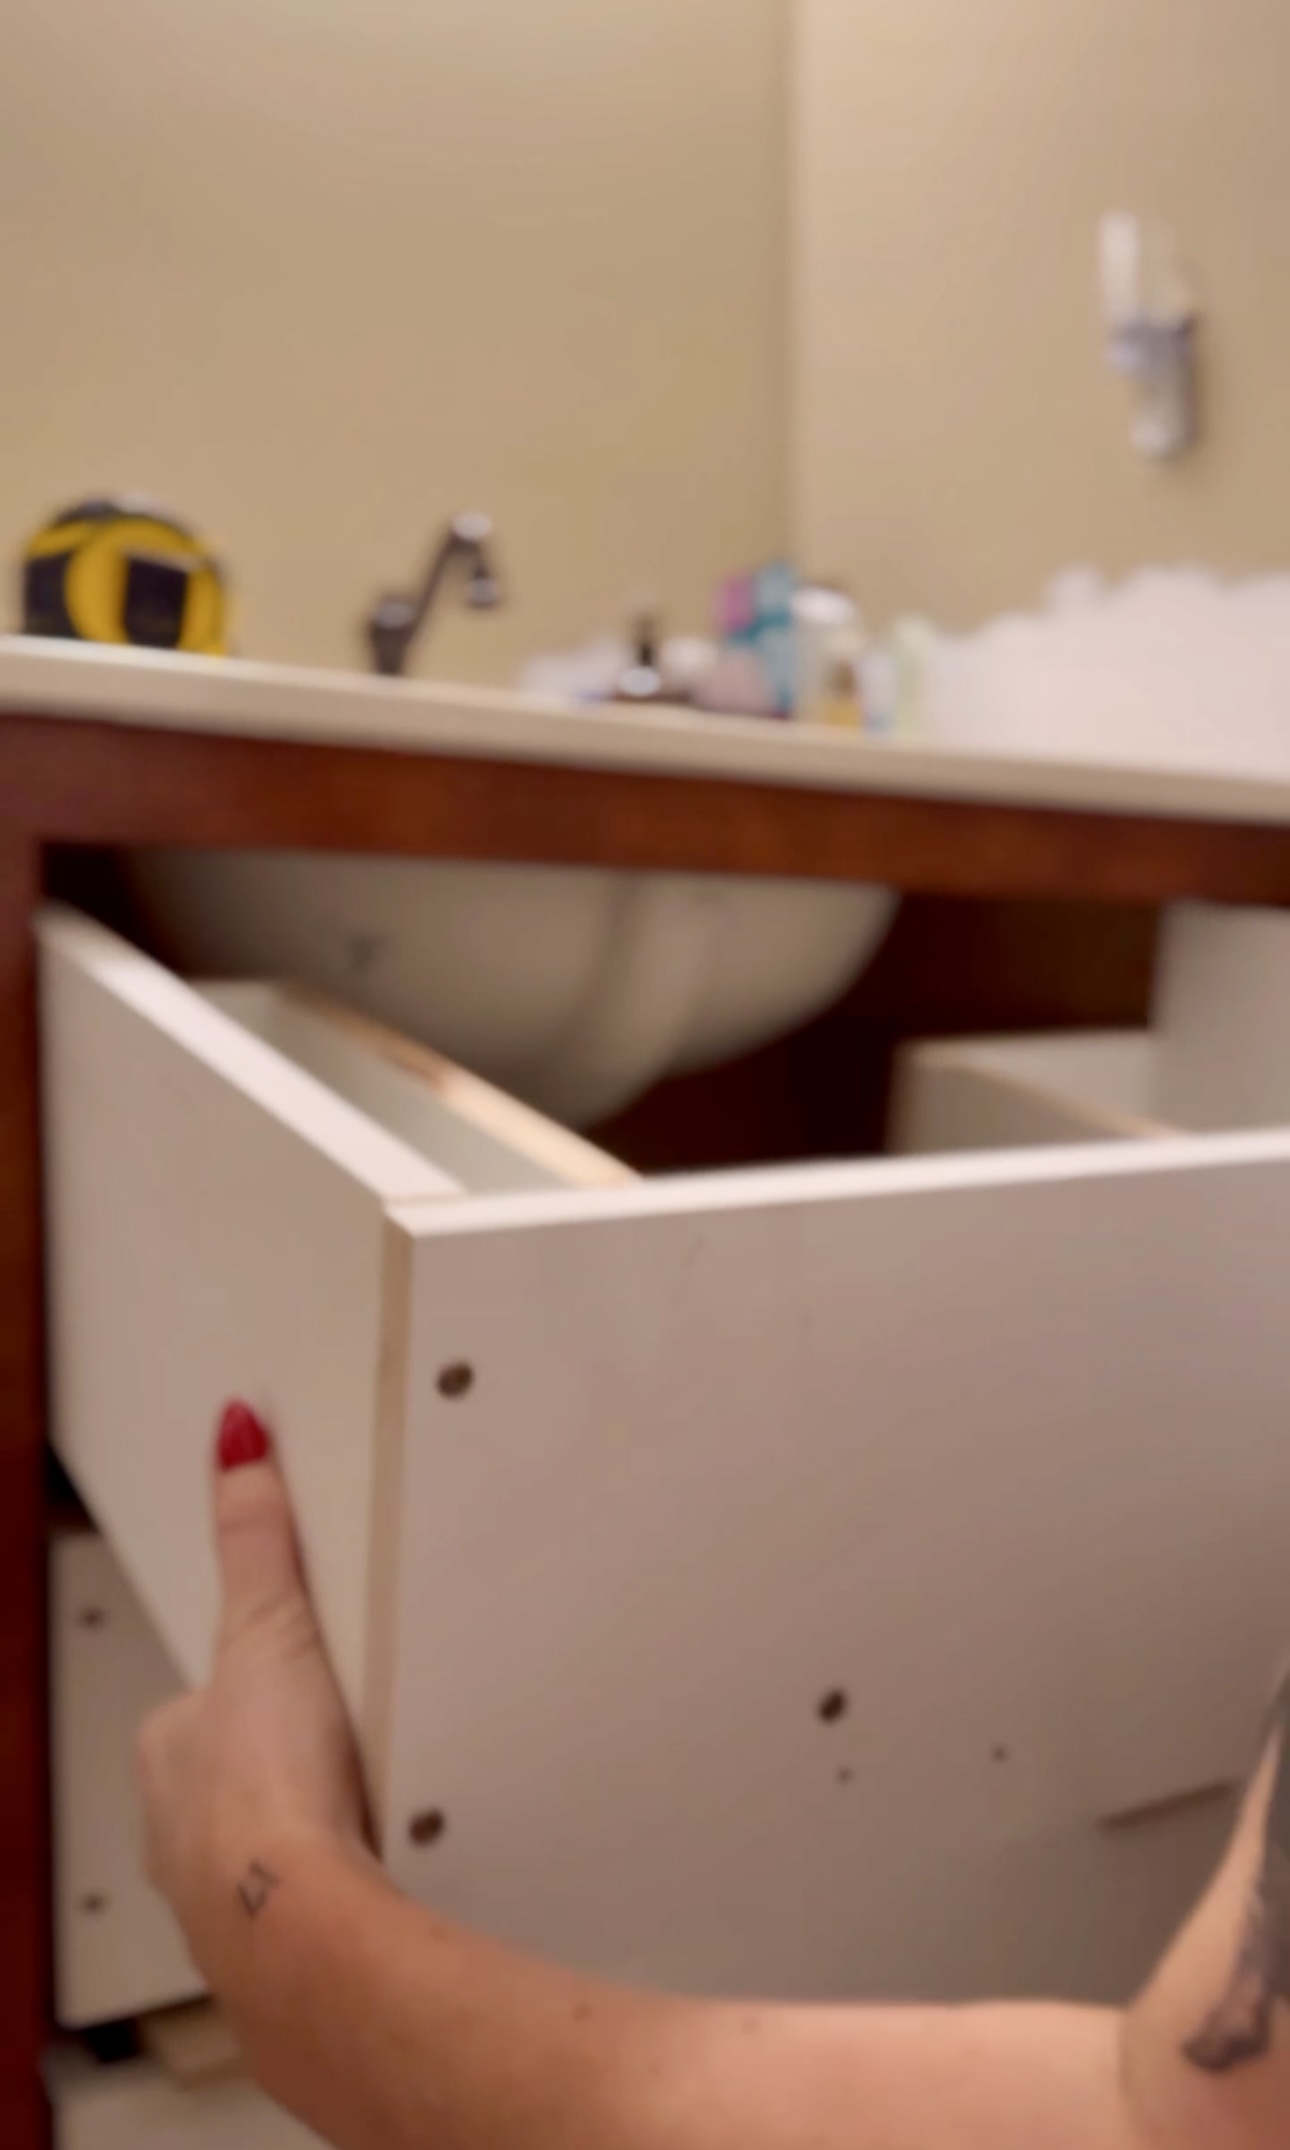
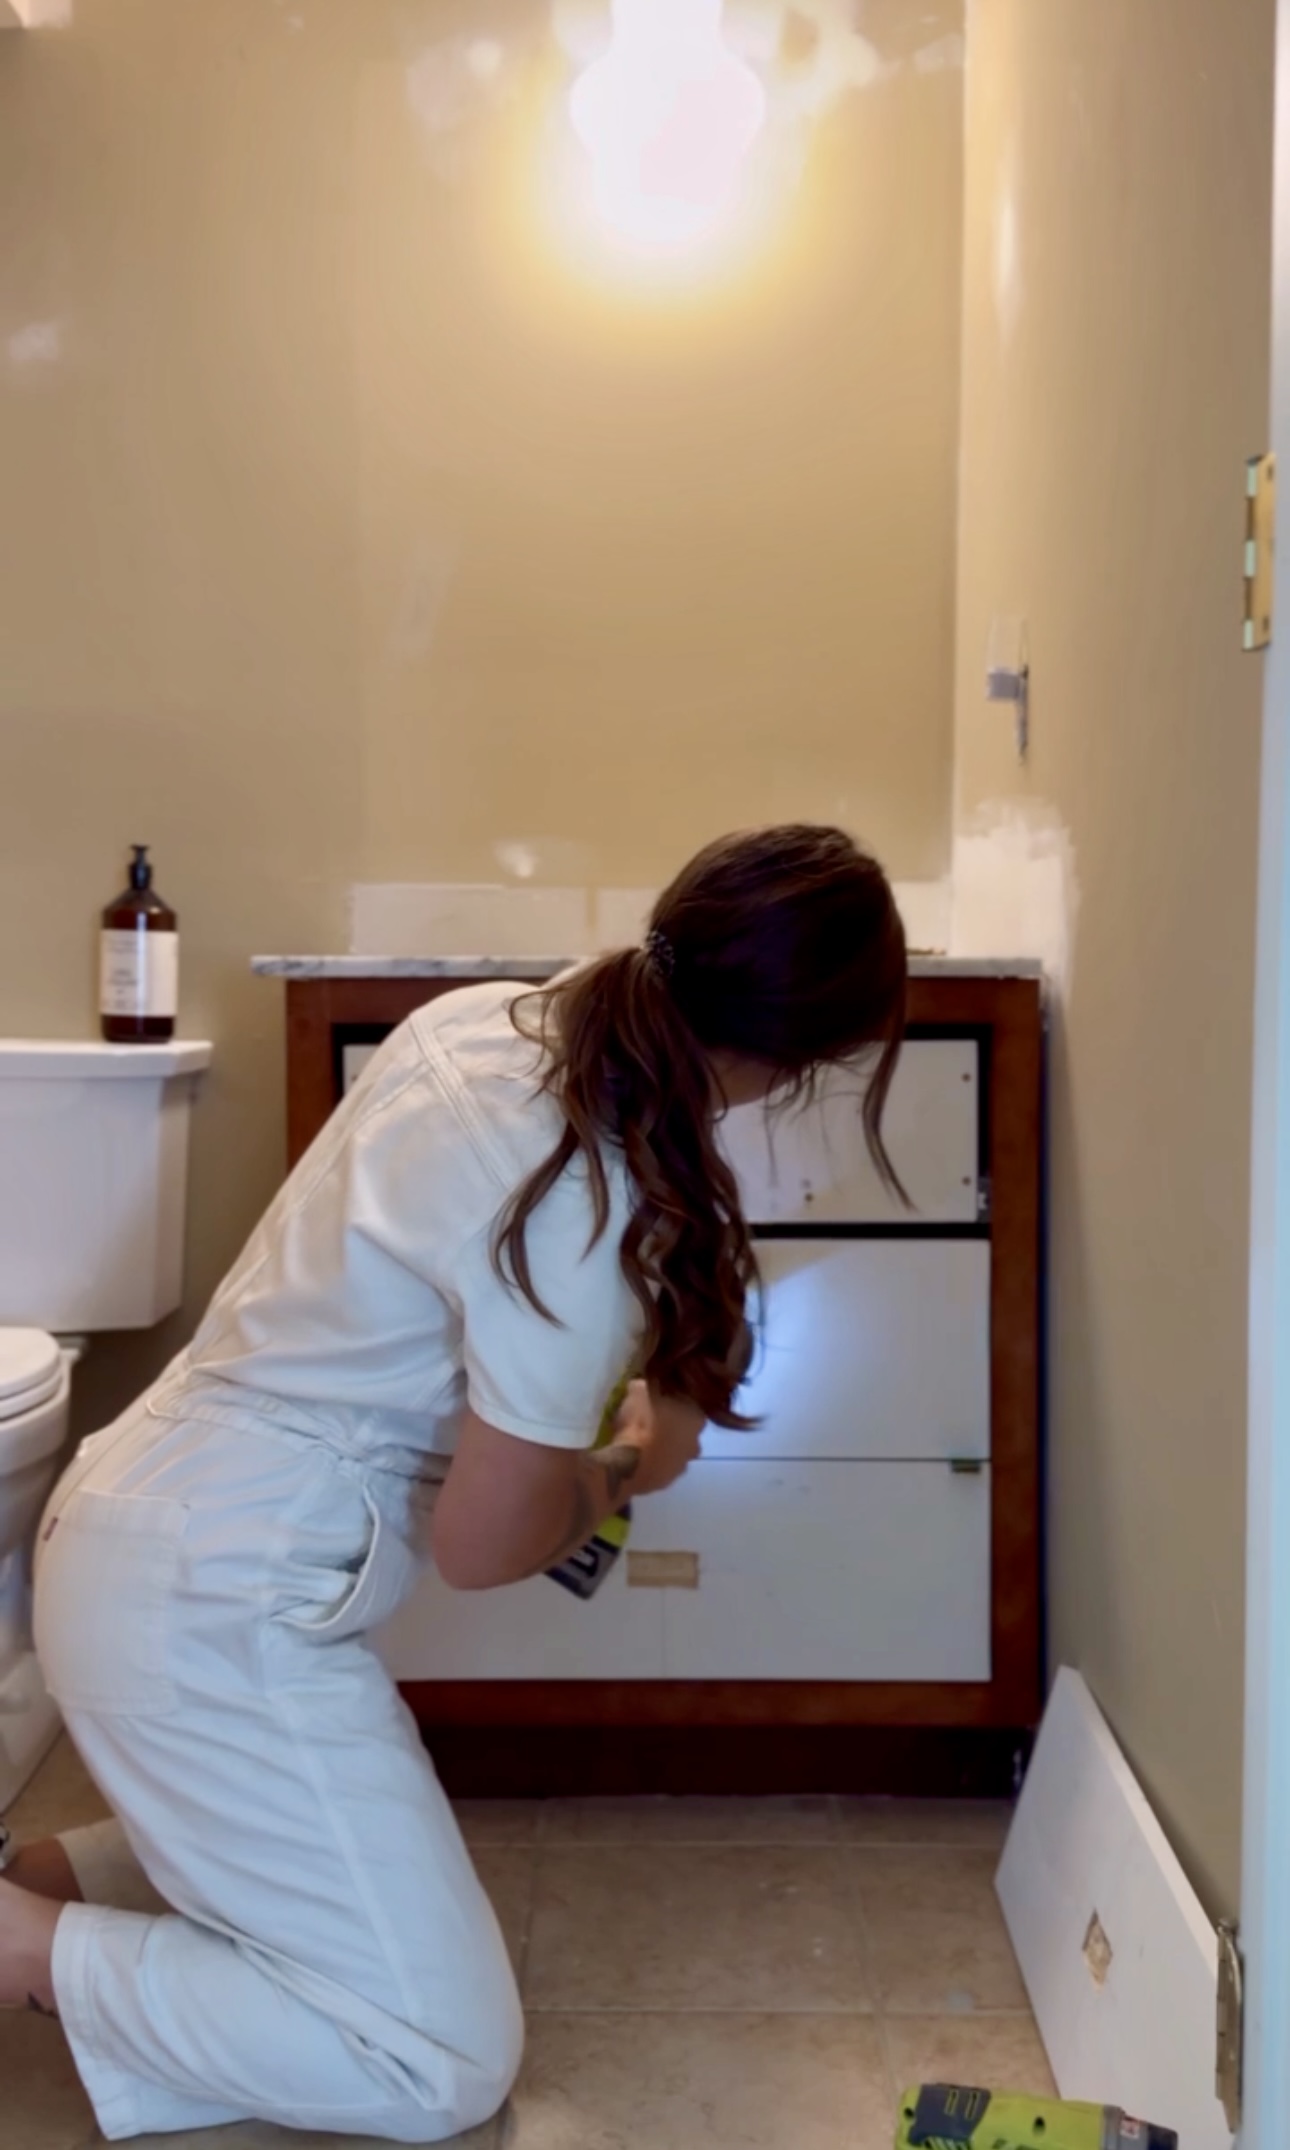
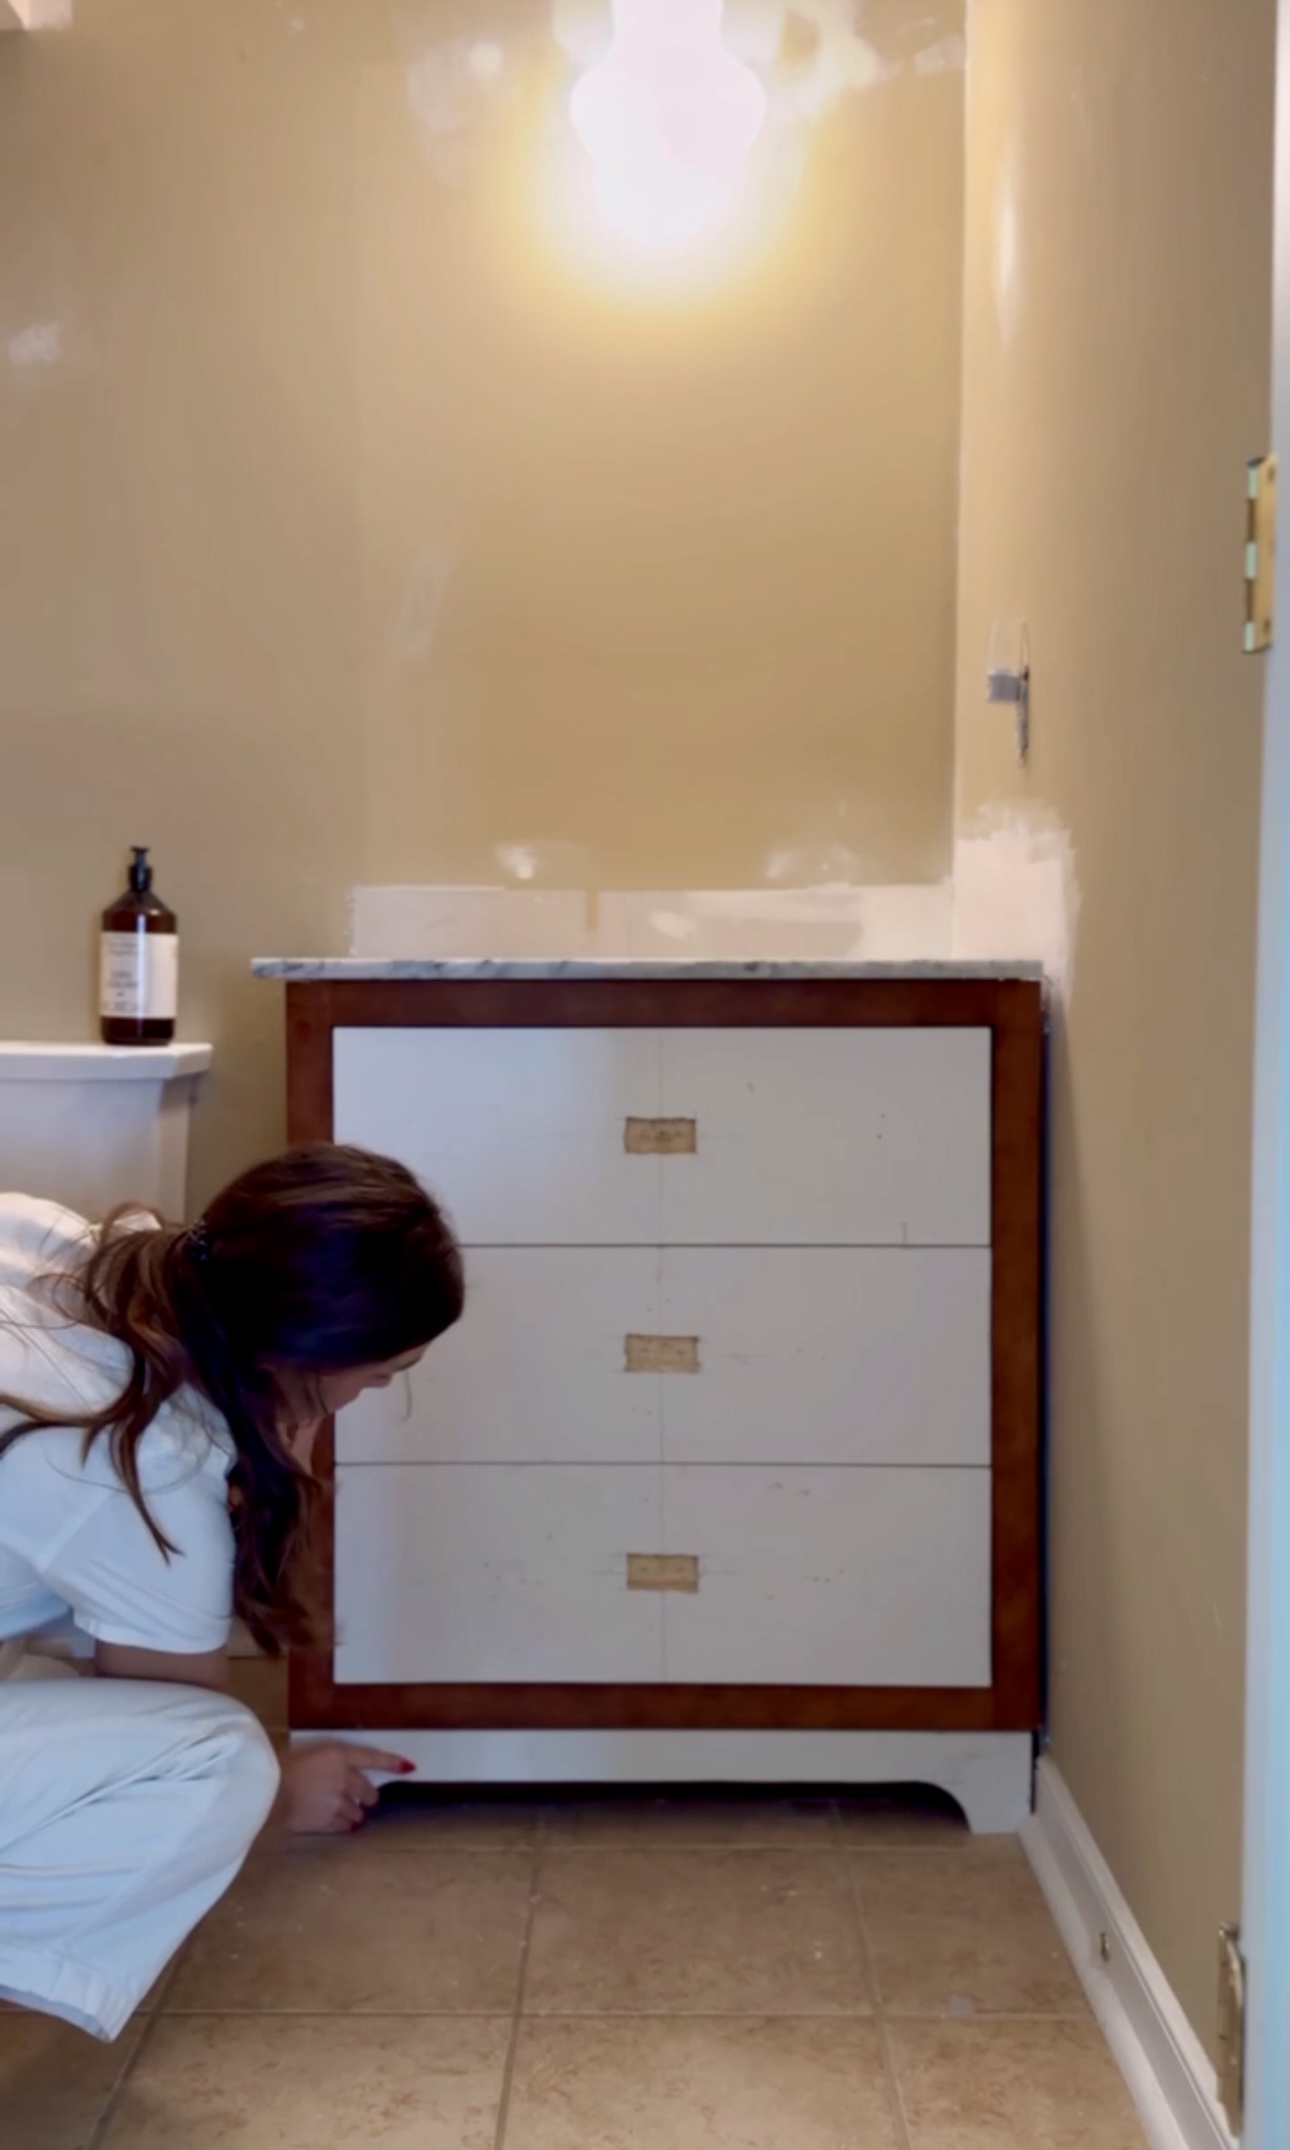
Now it started to get juicy. I had a fun plan for this vanity! I don’t love vanity cabinets – I feel like it’s a waste of space and I visually like drawers more. I planned to convert the vanity that’s already in here into drawers! Here’s what it looked like before I started.
*This post may contain affiliate links, which means I may earn a small commission if you purchase through my links, at no extra cost to you. I only share products I genuinely love.
Plans
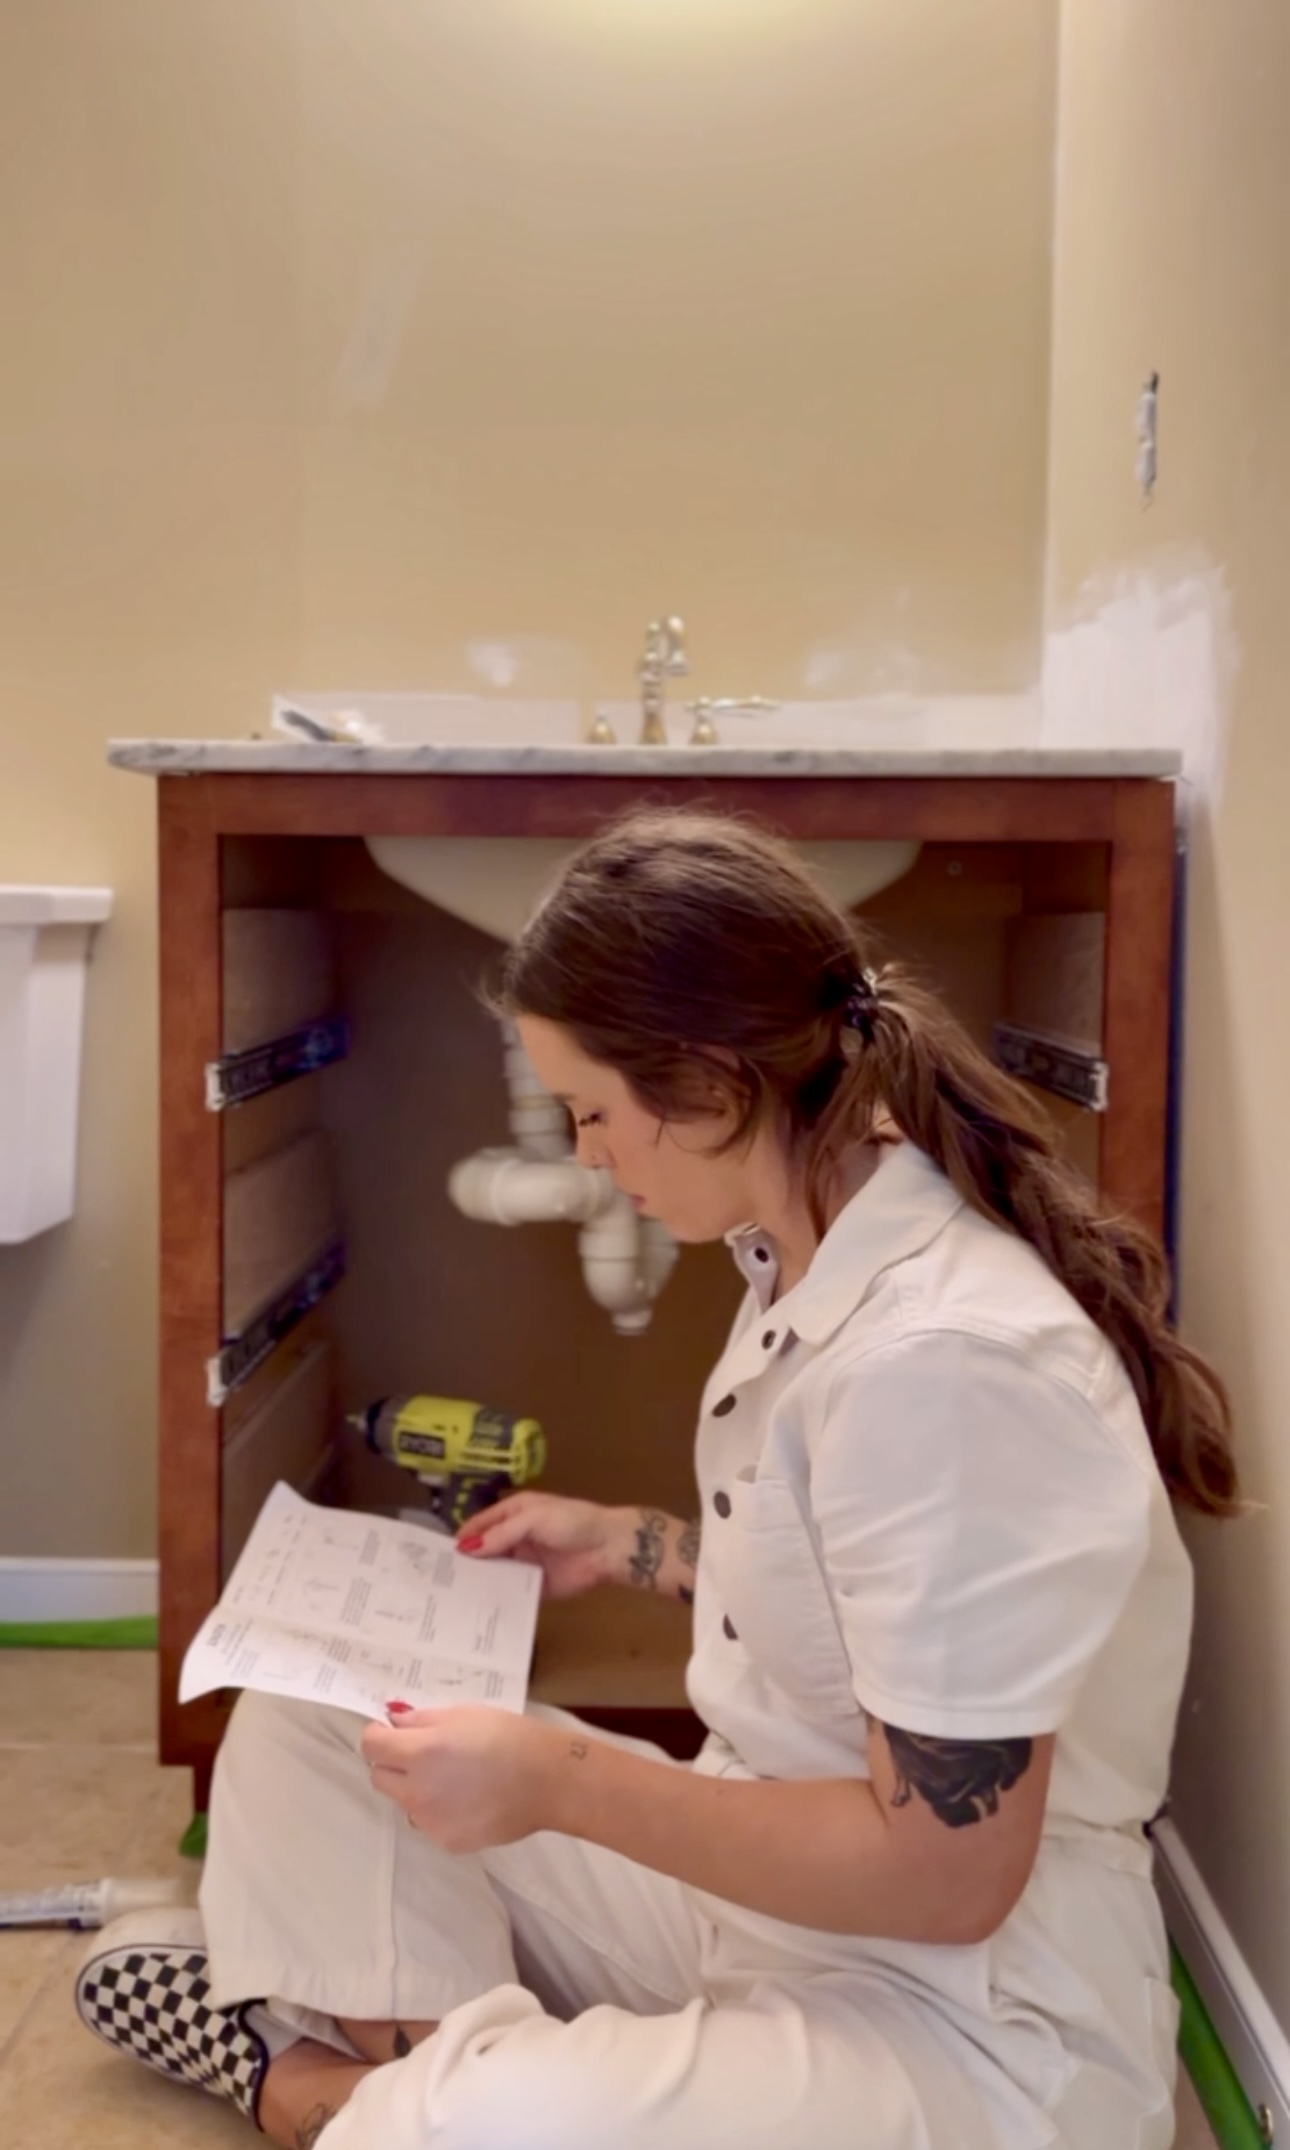
The plan was to take the doors off, add in drawer slides, and build drawer boxes to fit around the plumbing. I did something similar for the dresser vanity conversion in my bathroom so I’m familiar with the process. You can see that whole process in this blog post. I turned this thrifted dresser into a vanity!
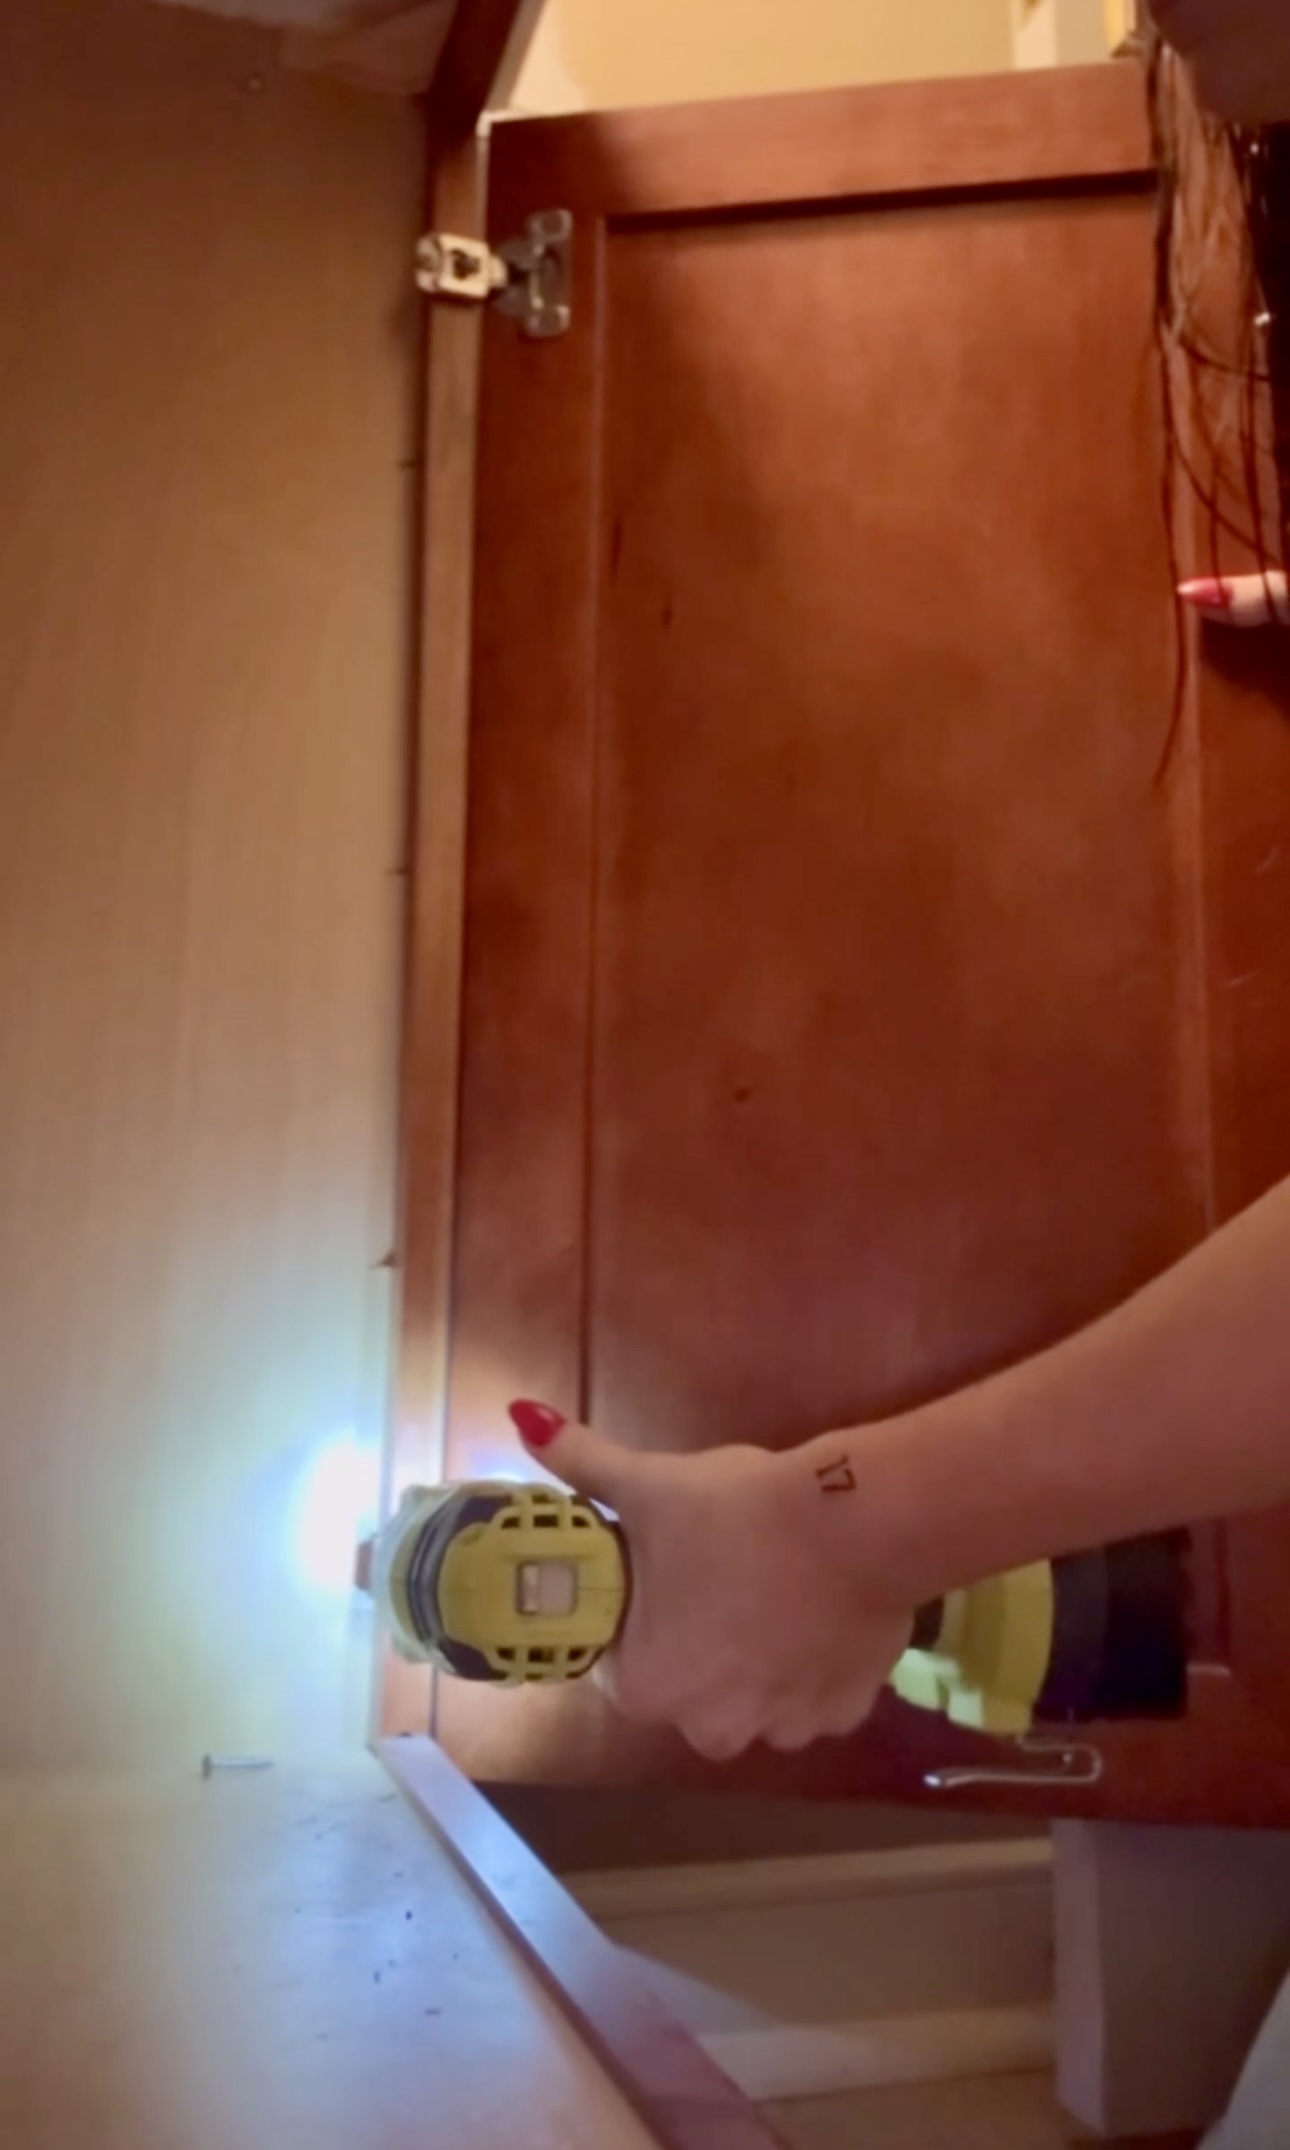
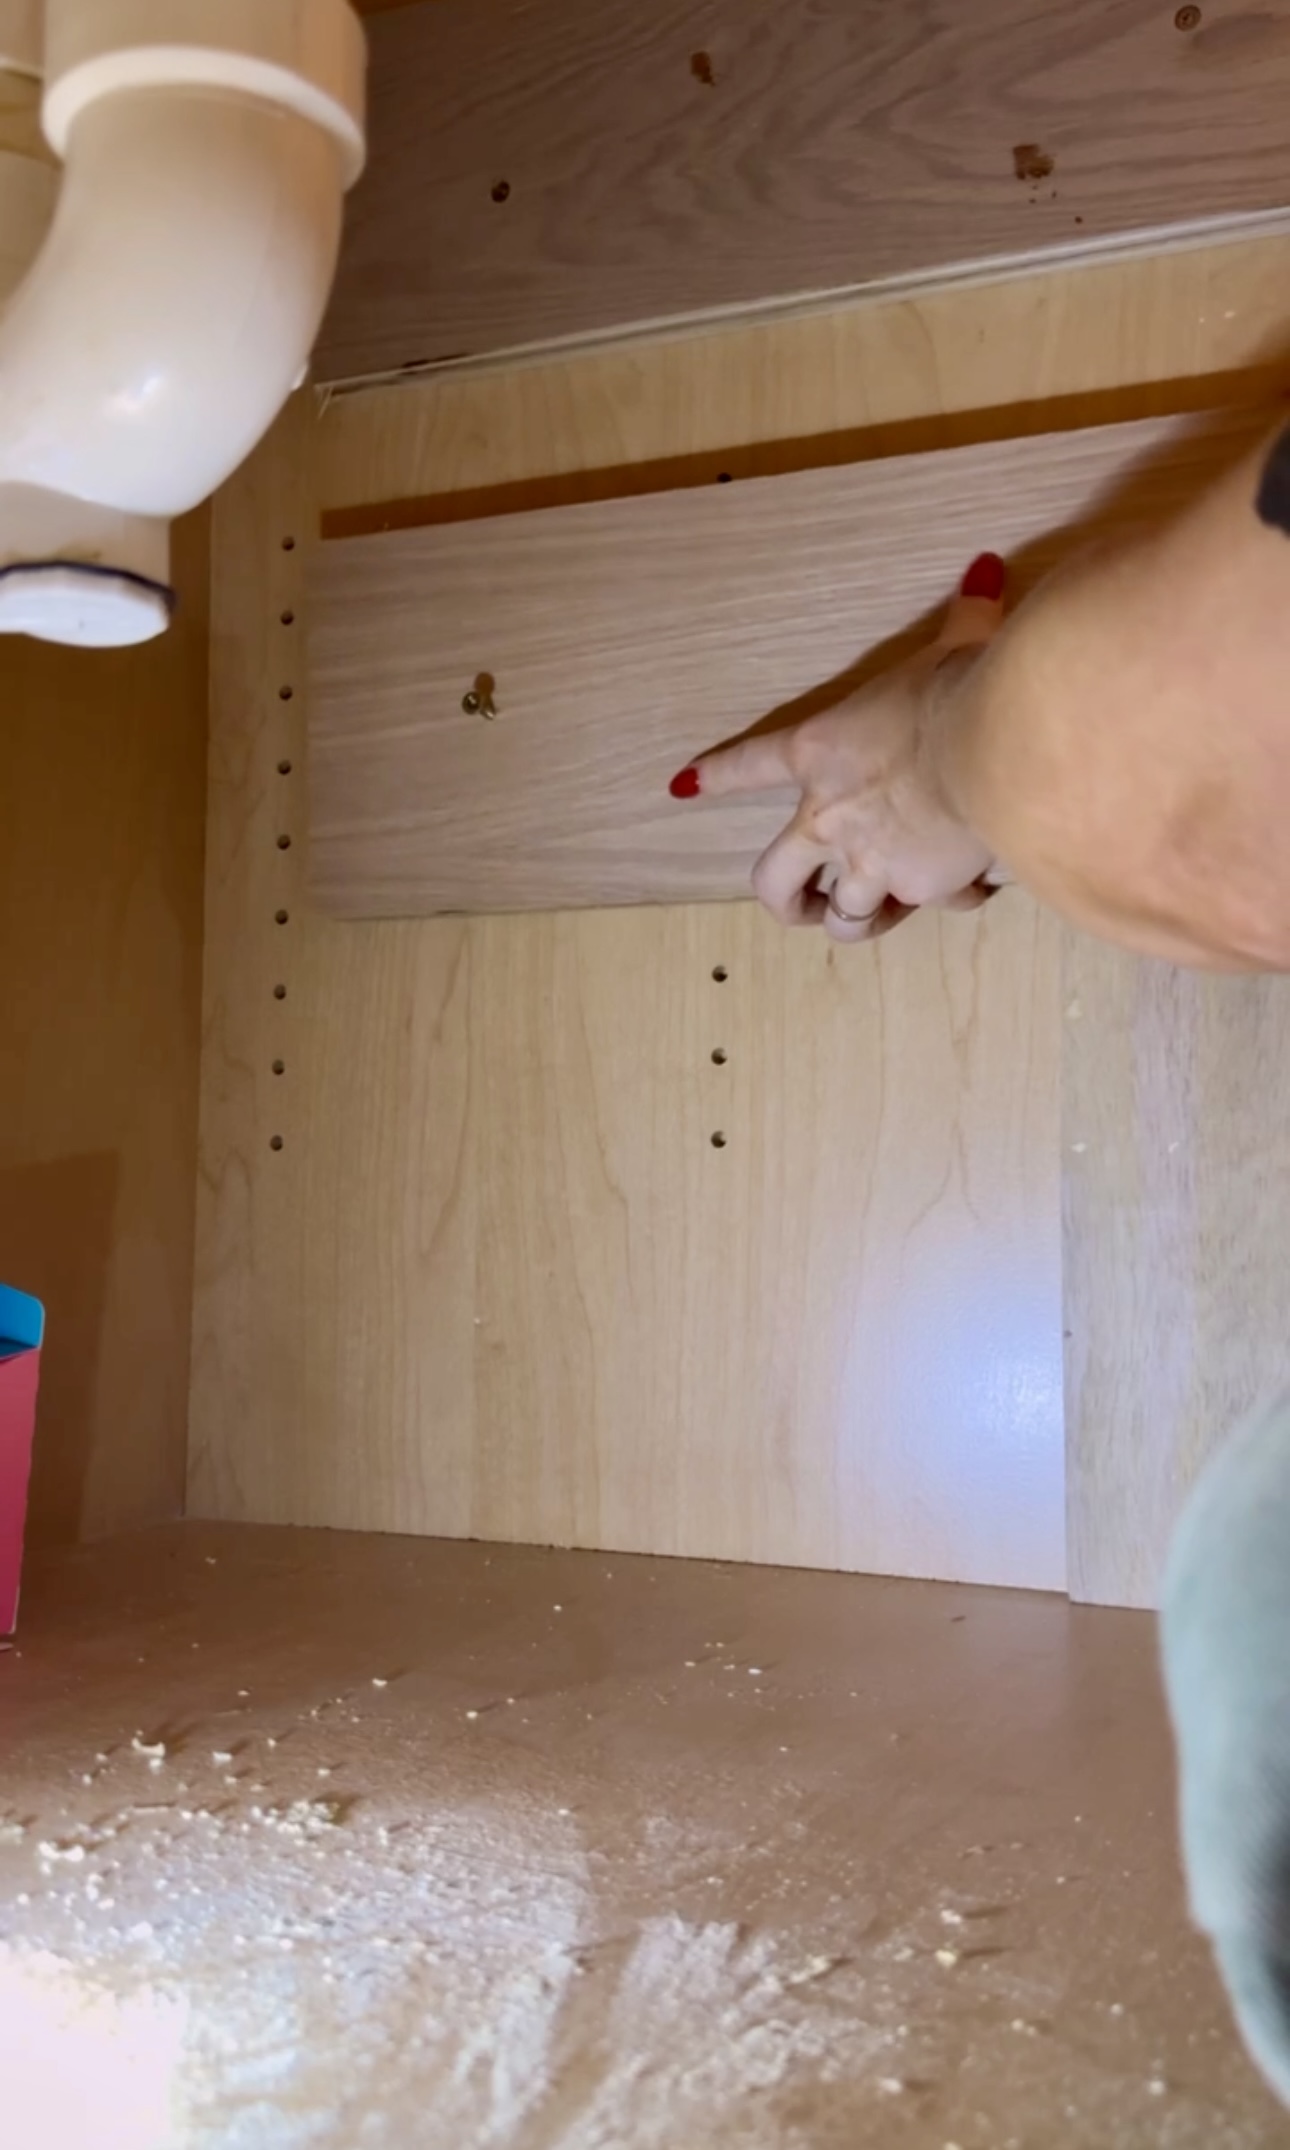
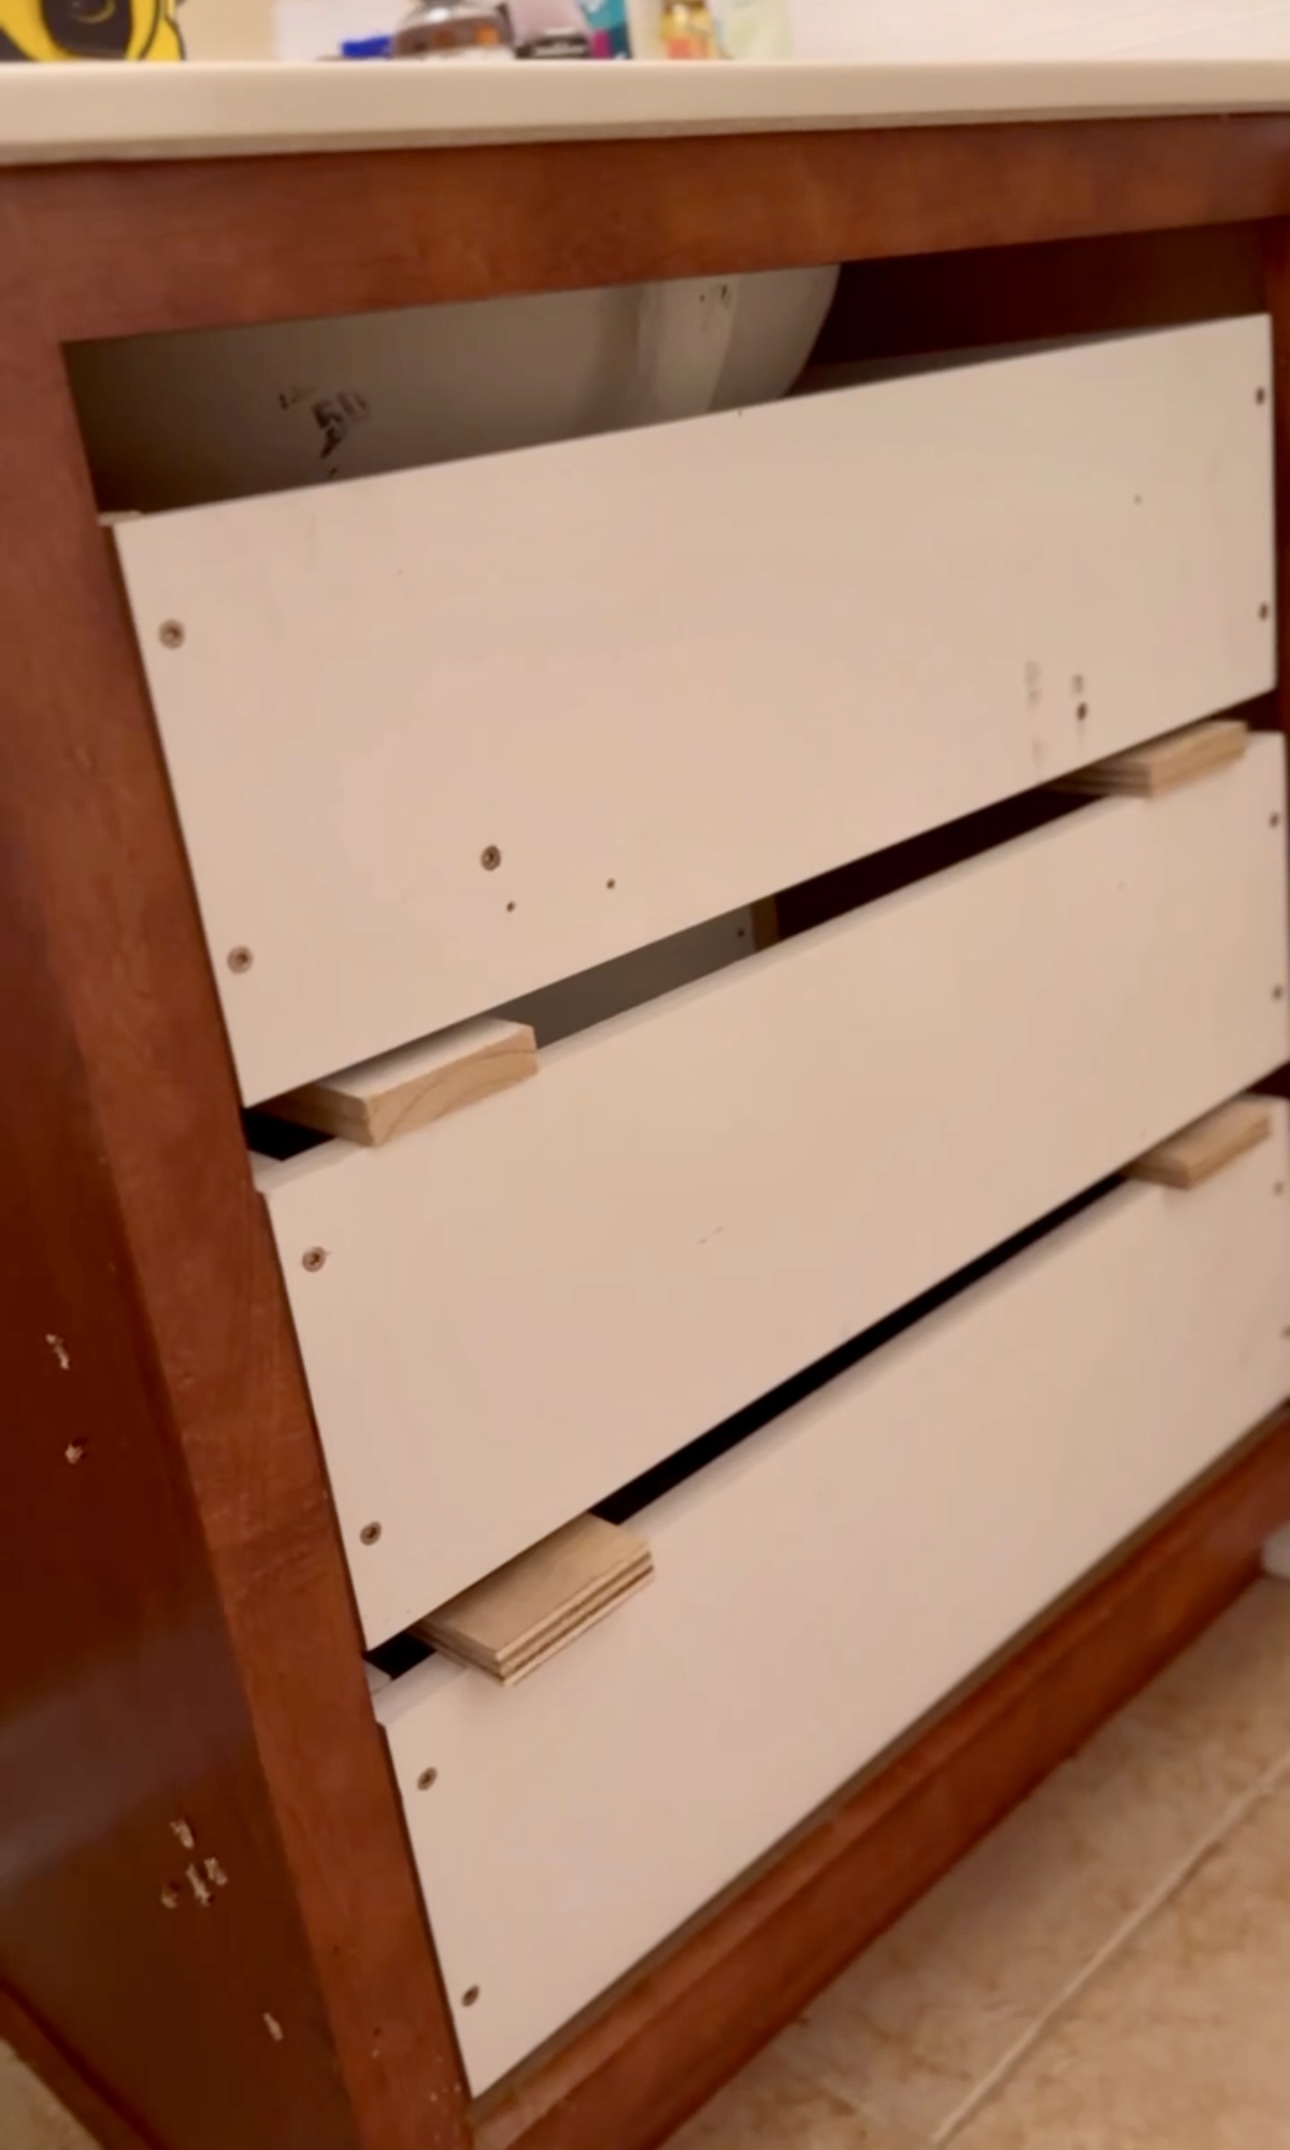
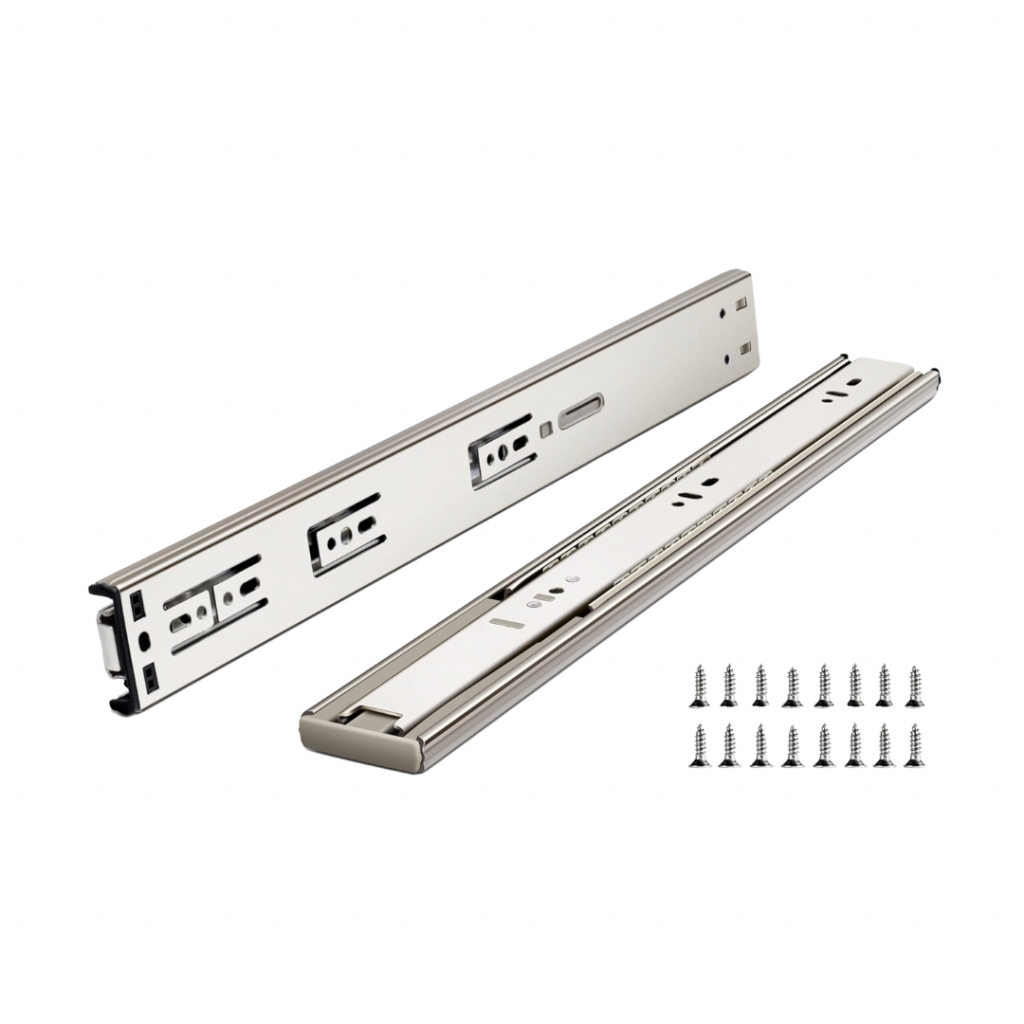
First, I removed the doors. Then, I added blocking for my drawer slides with wood glue and screws. I added this blocking to make the inside of the vanity flush with the framing so the drawer slides could actually open!
Drawer Boxes
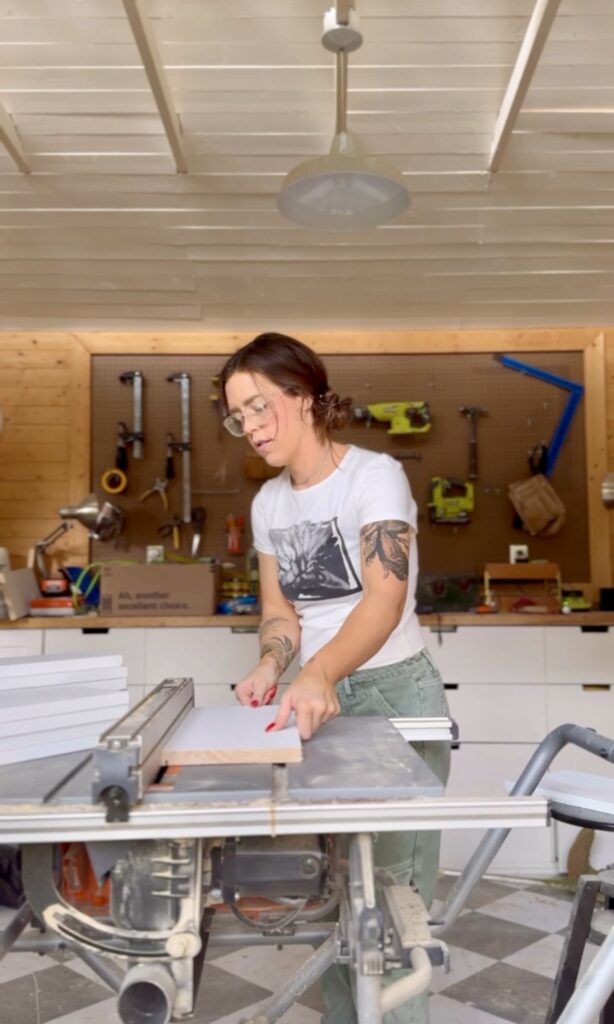
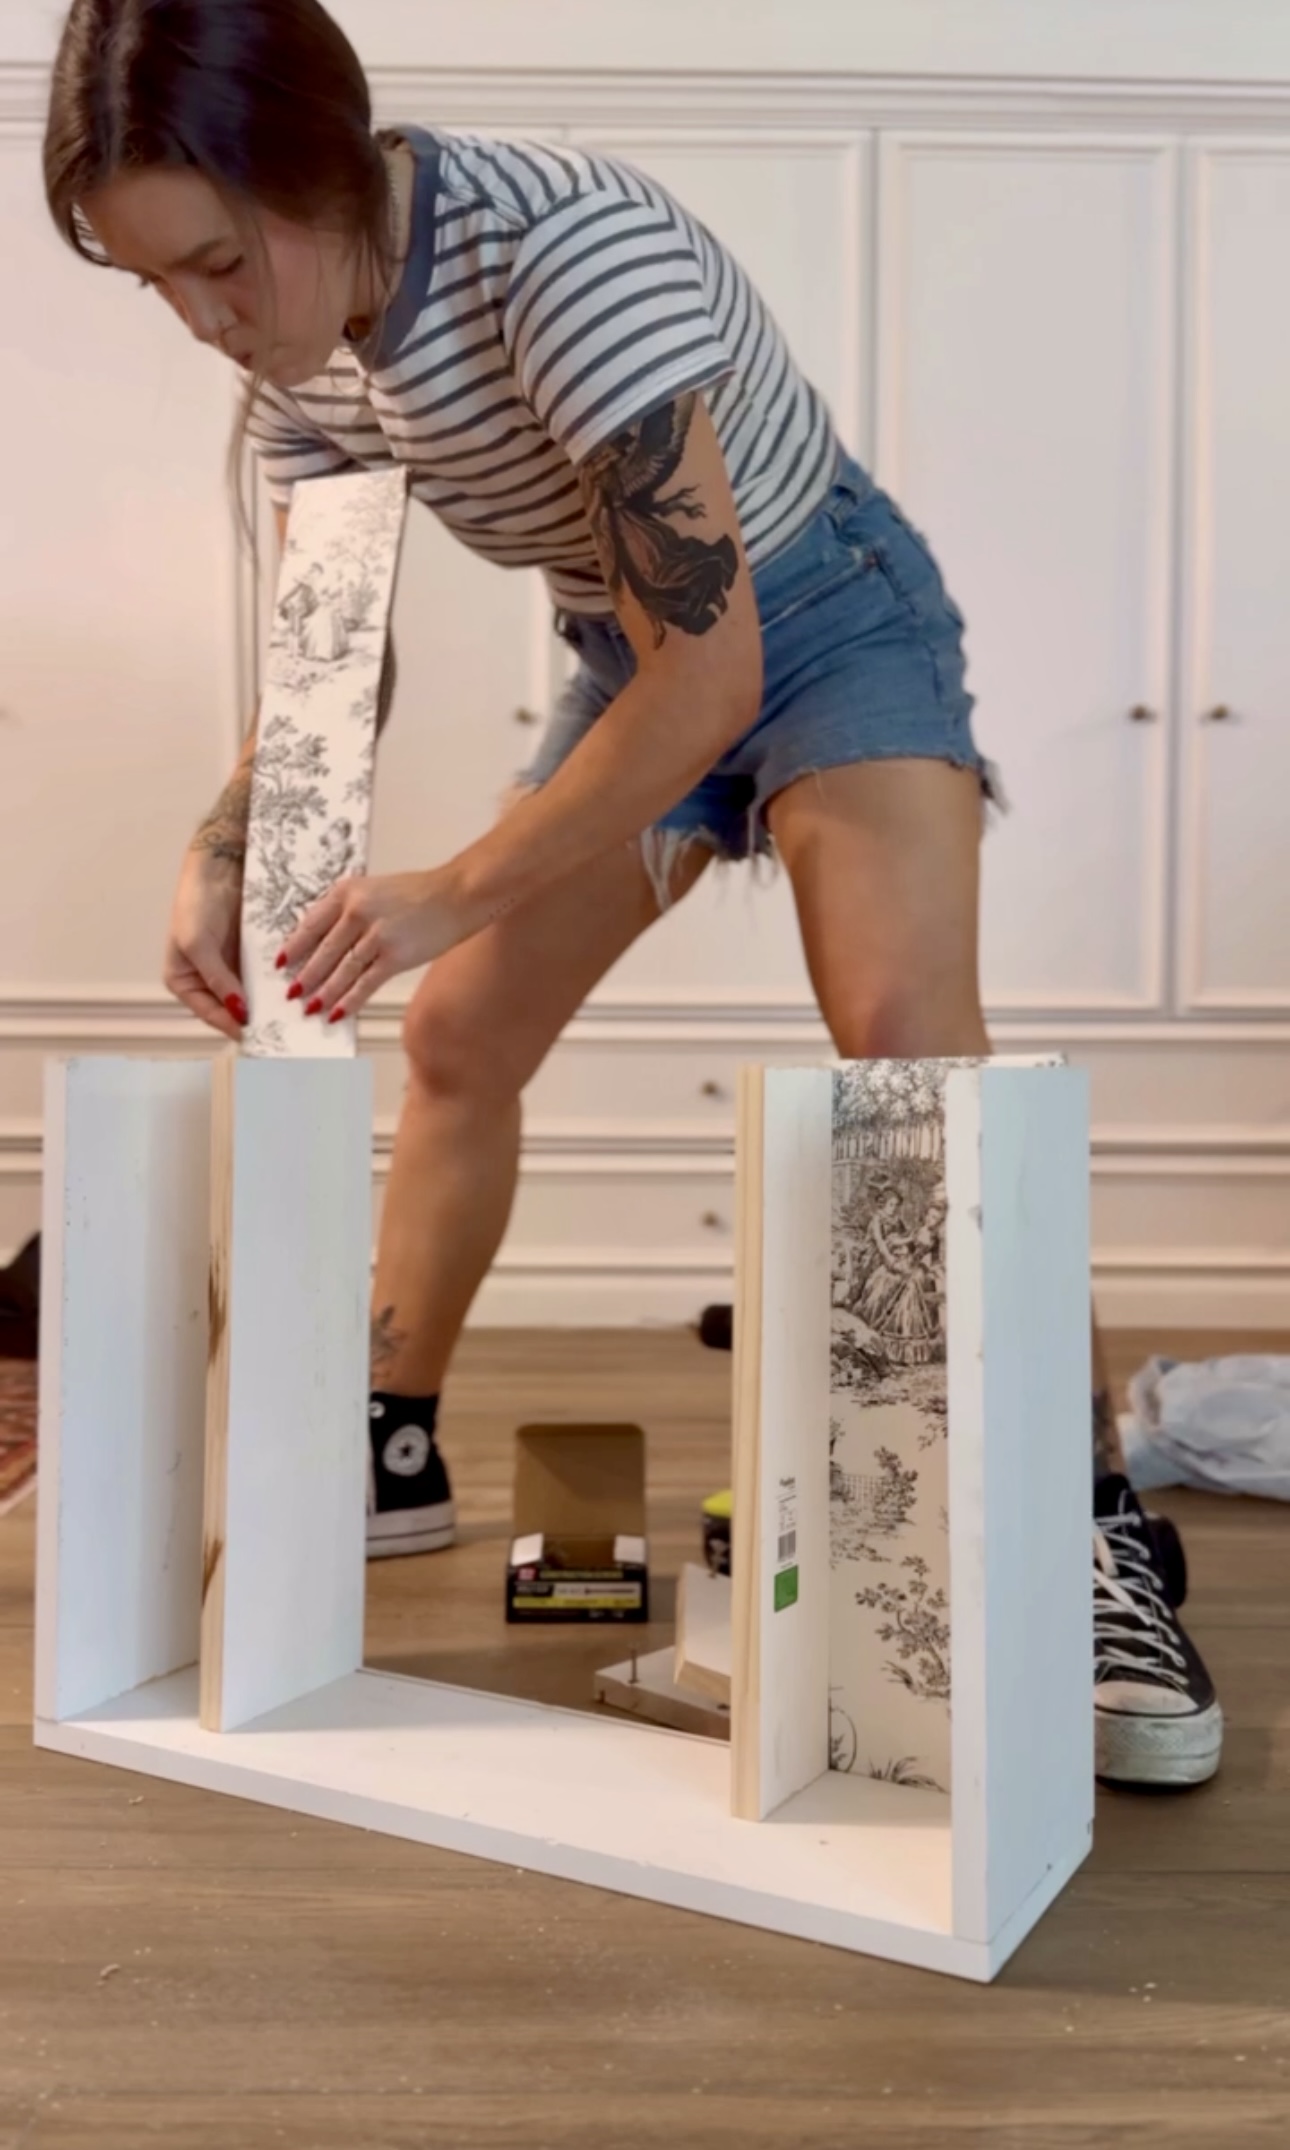
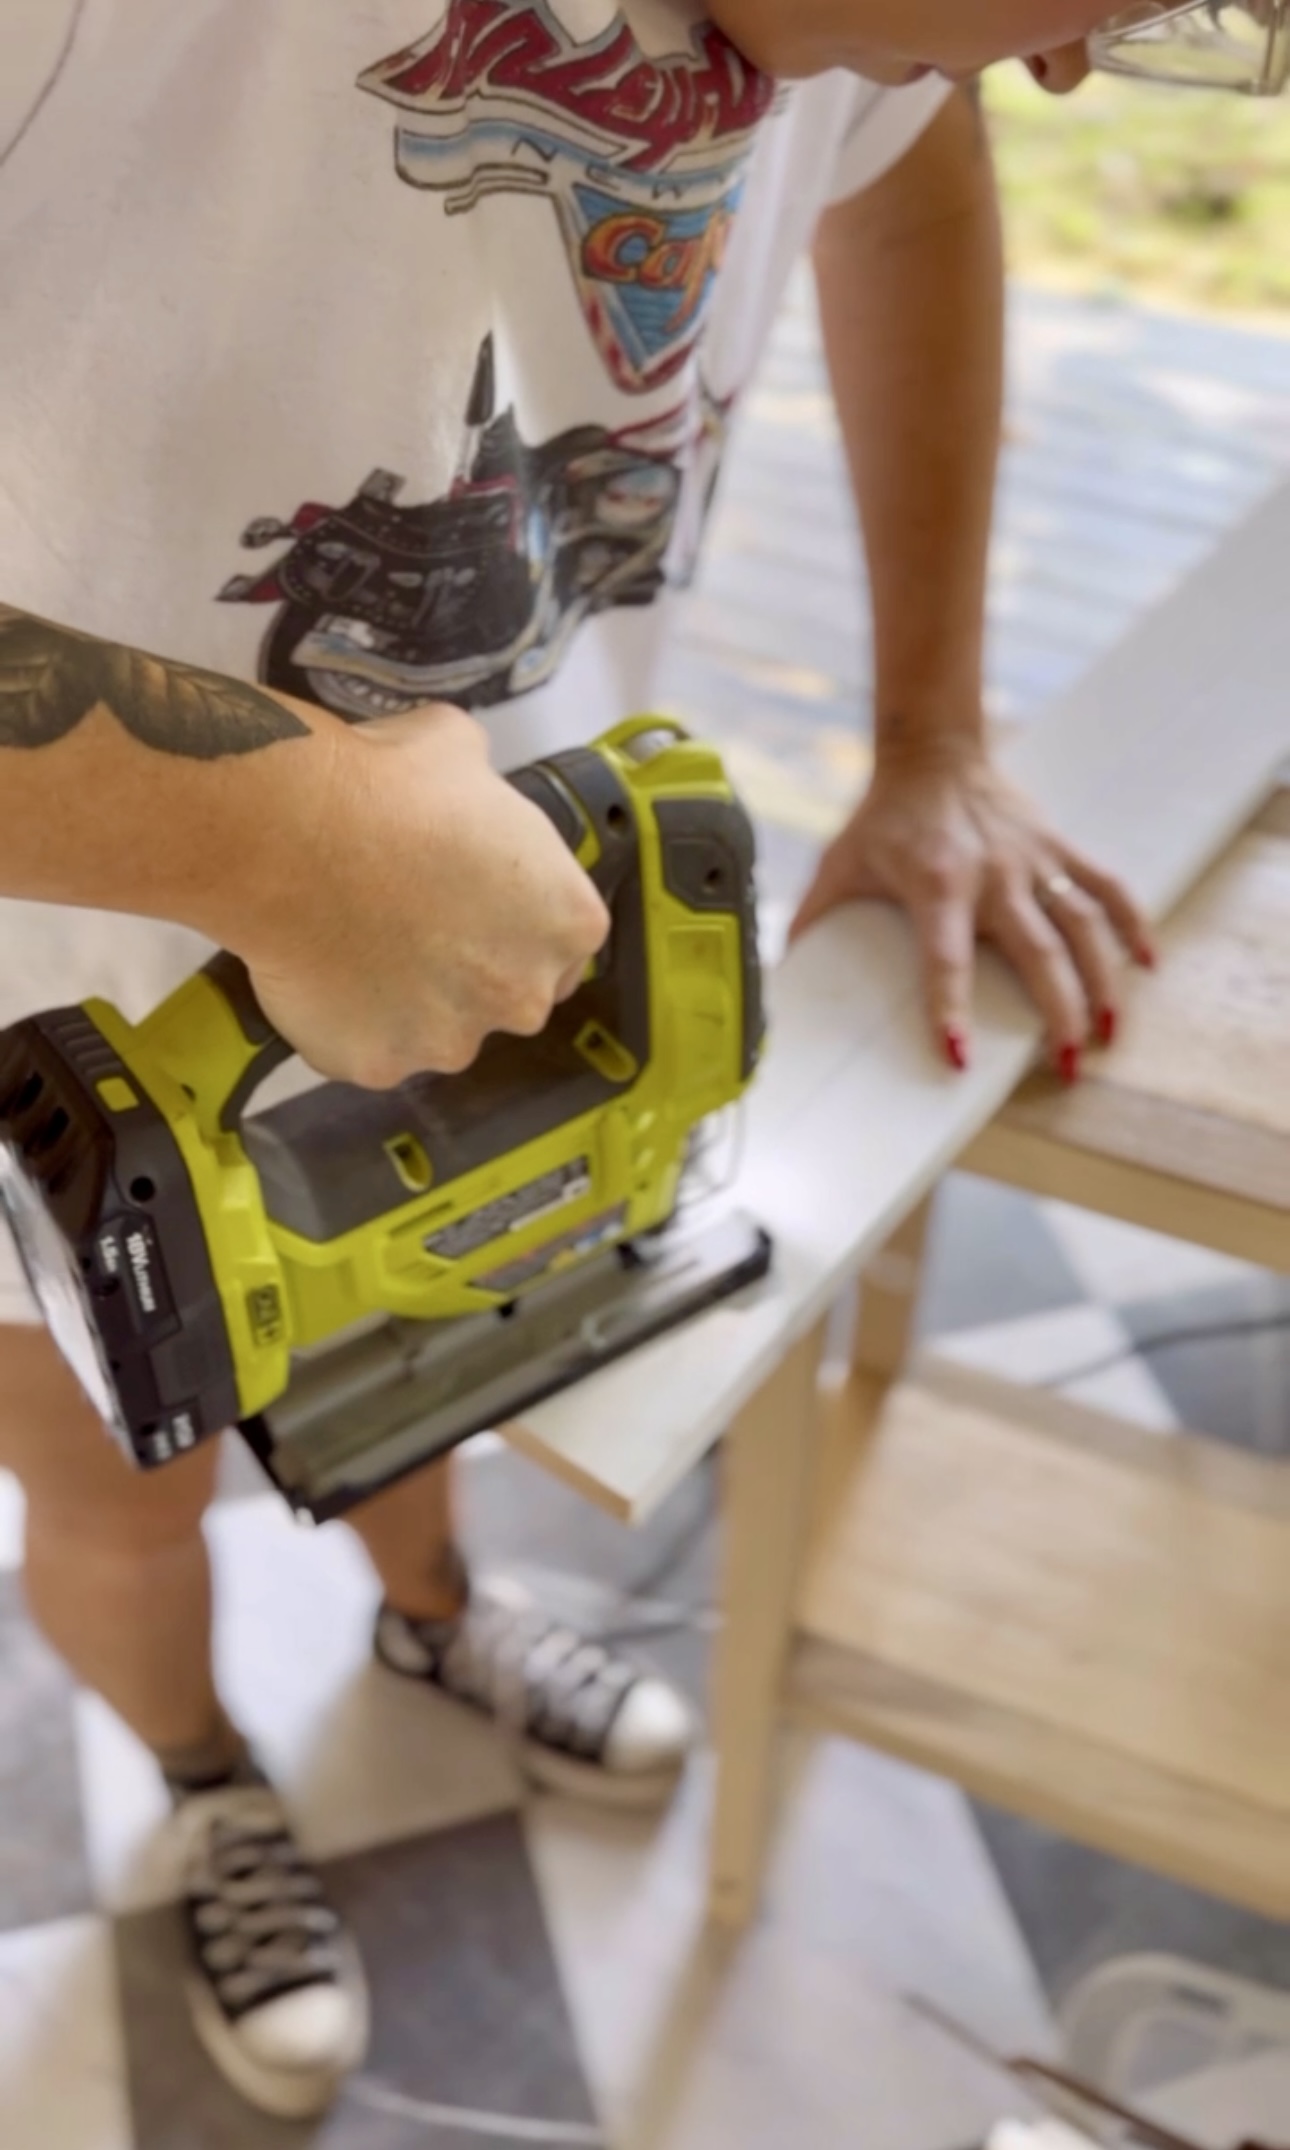
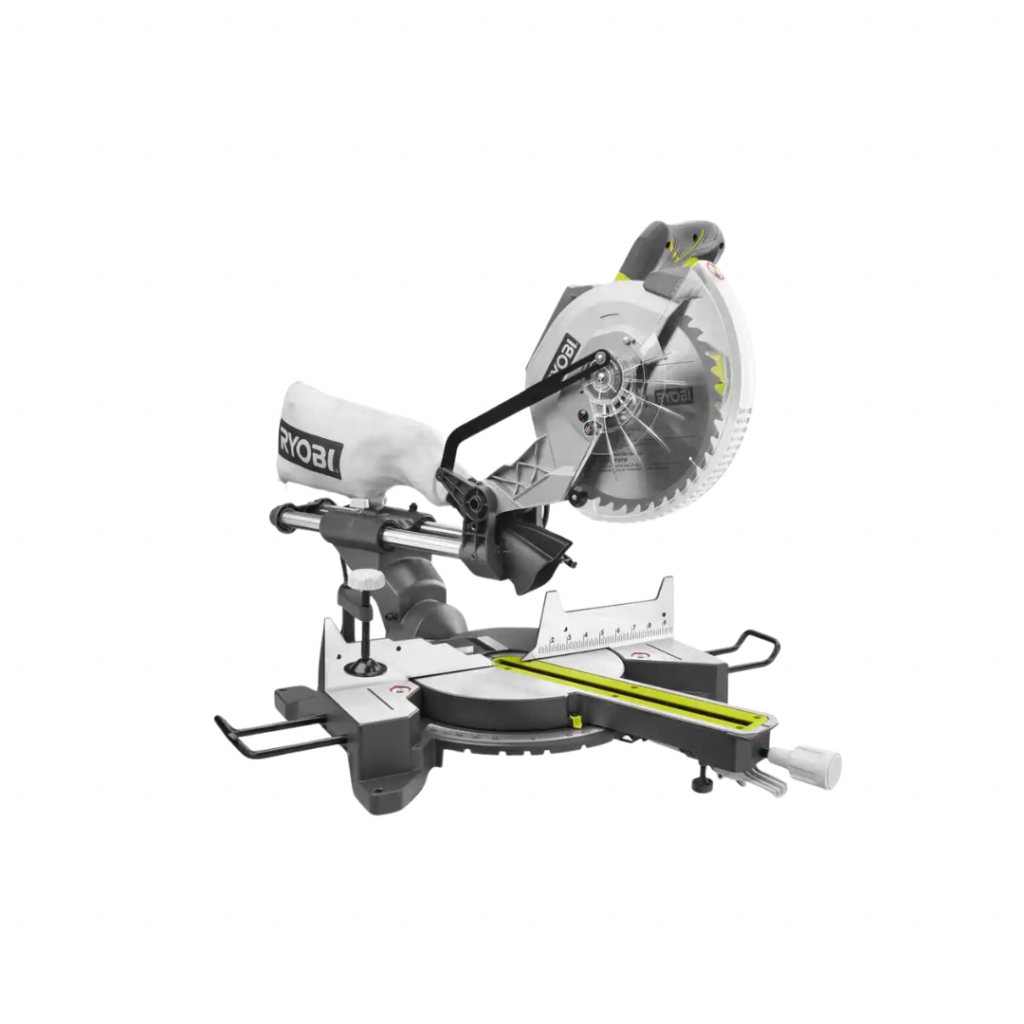
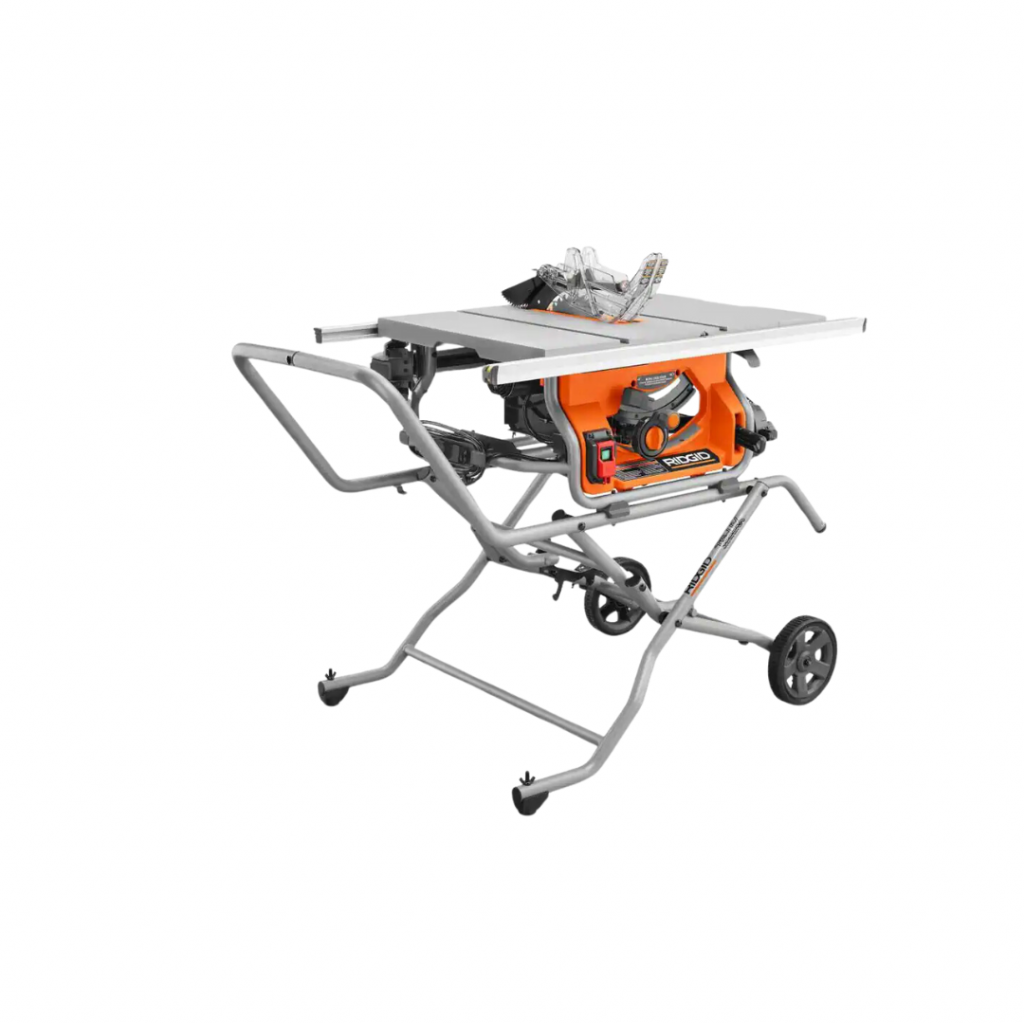
Then, I went out to my shed to make my drawer boxes. I cut down all of the pieces on my miter saw. Then, I used my table saw to cut out a little channel for the drawer bottom to sit when it was all put together.

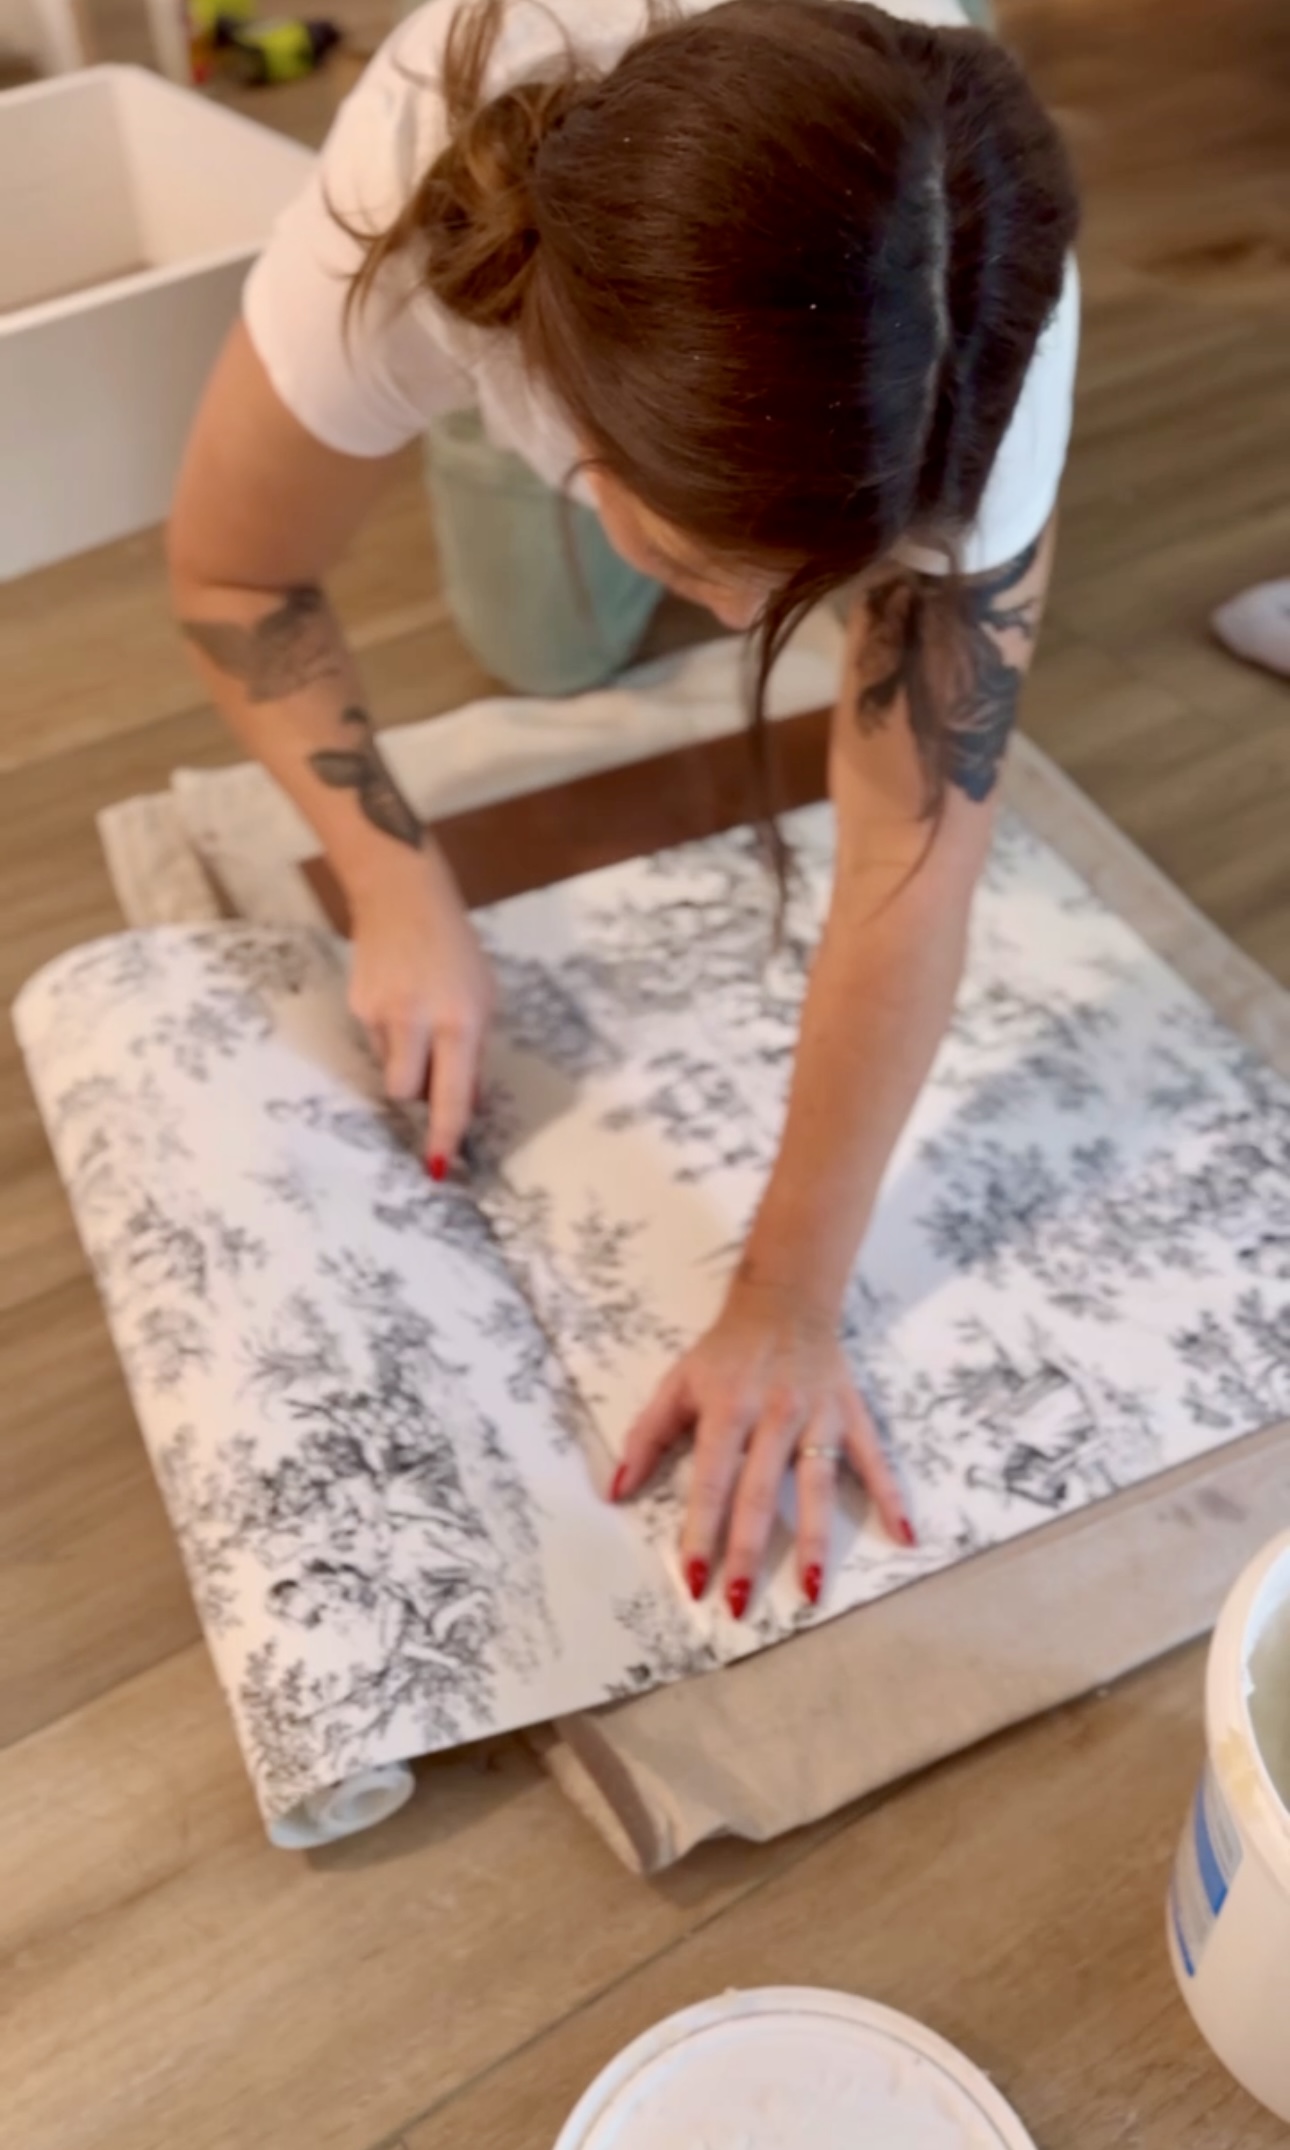
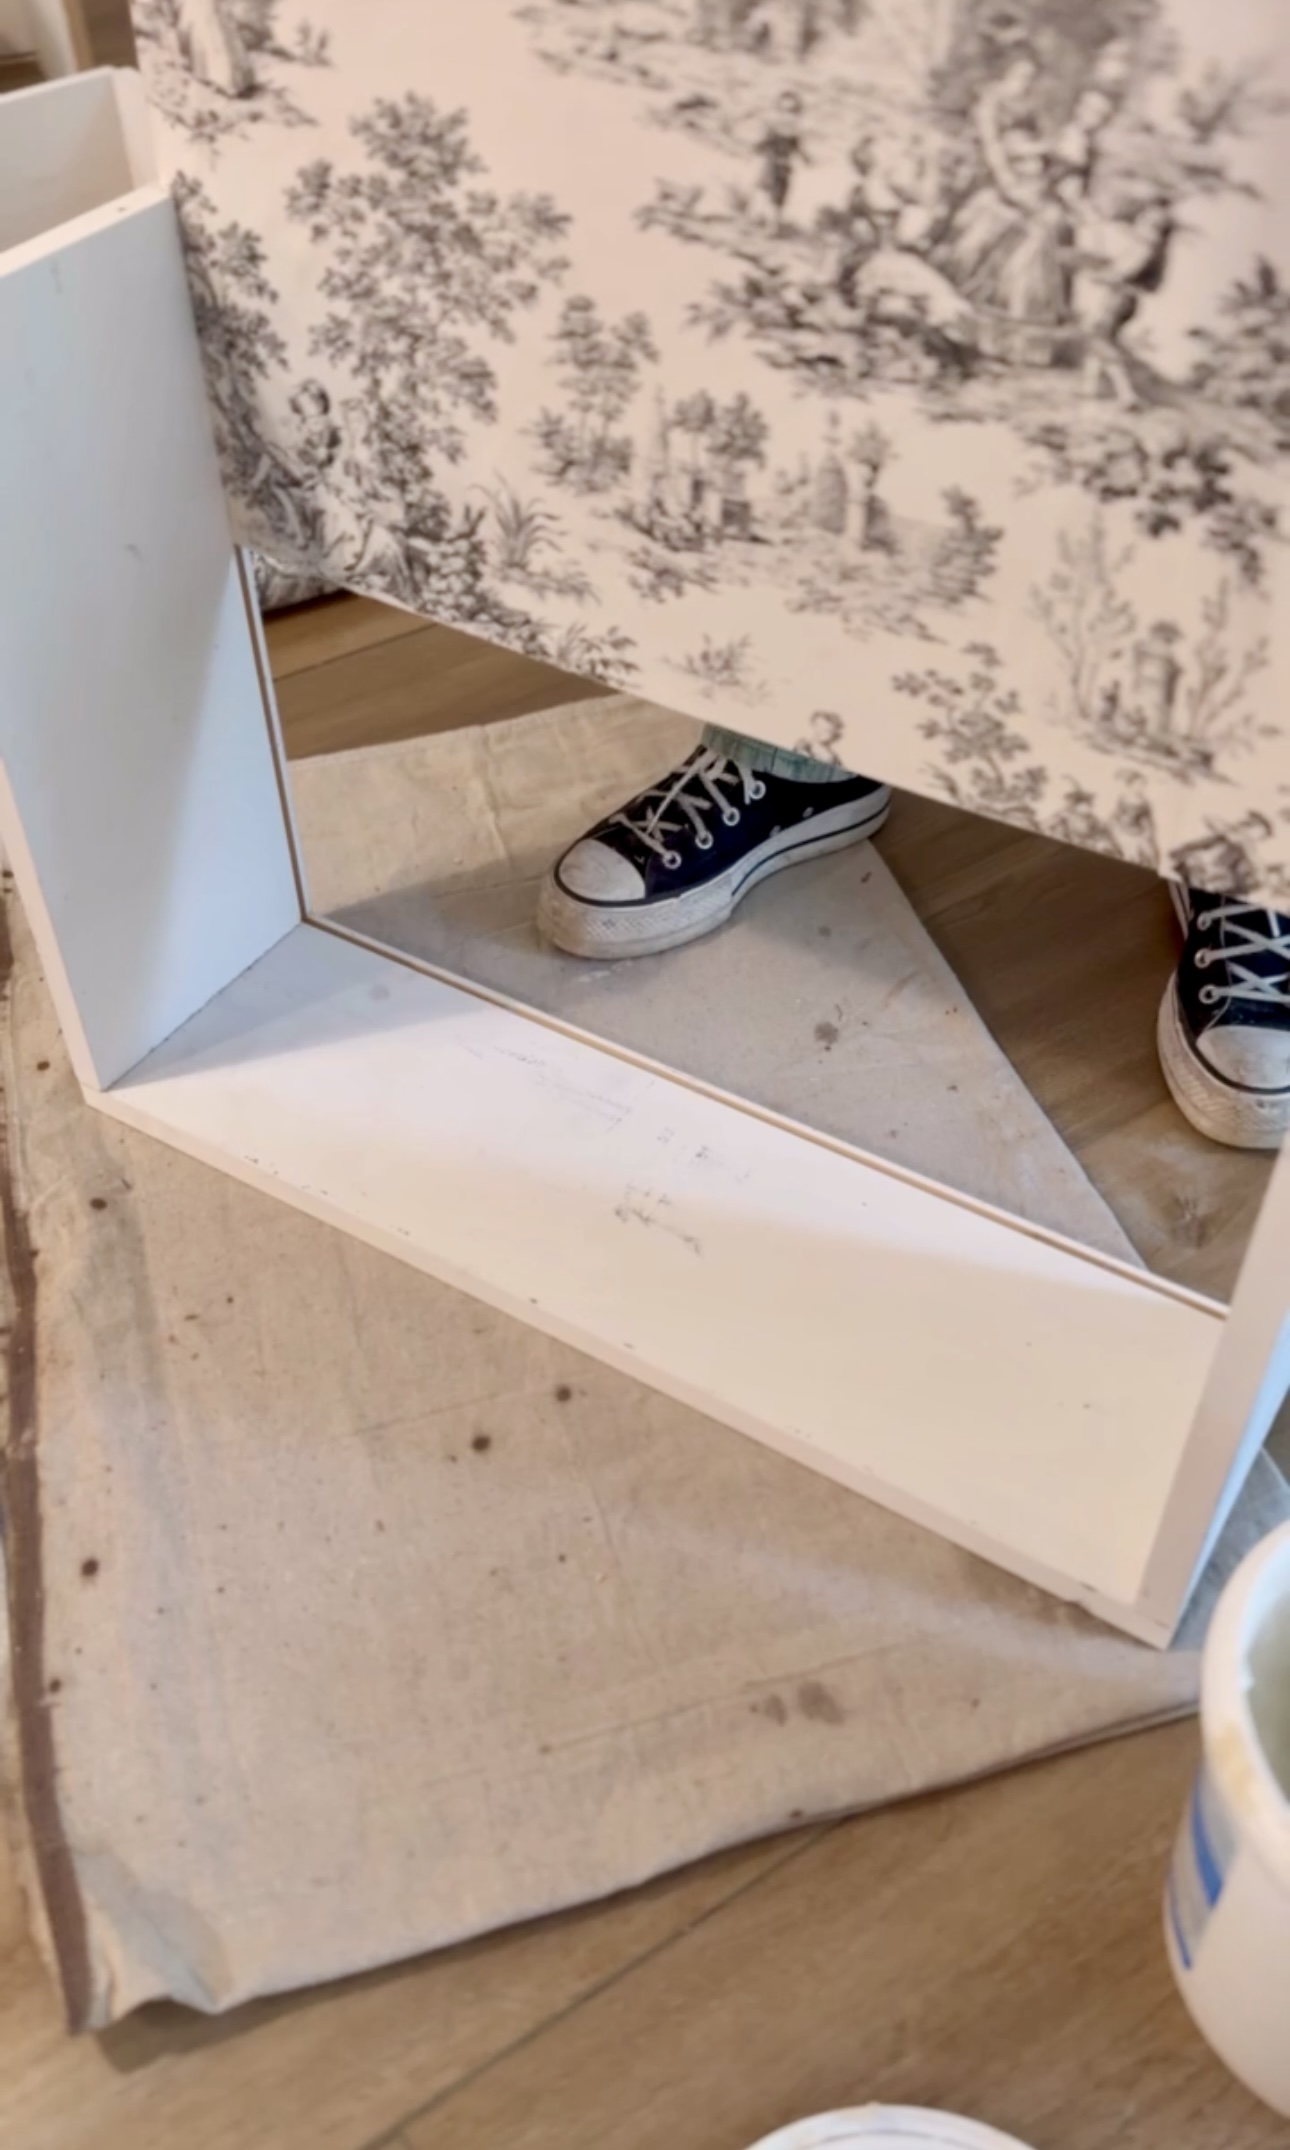
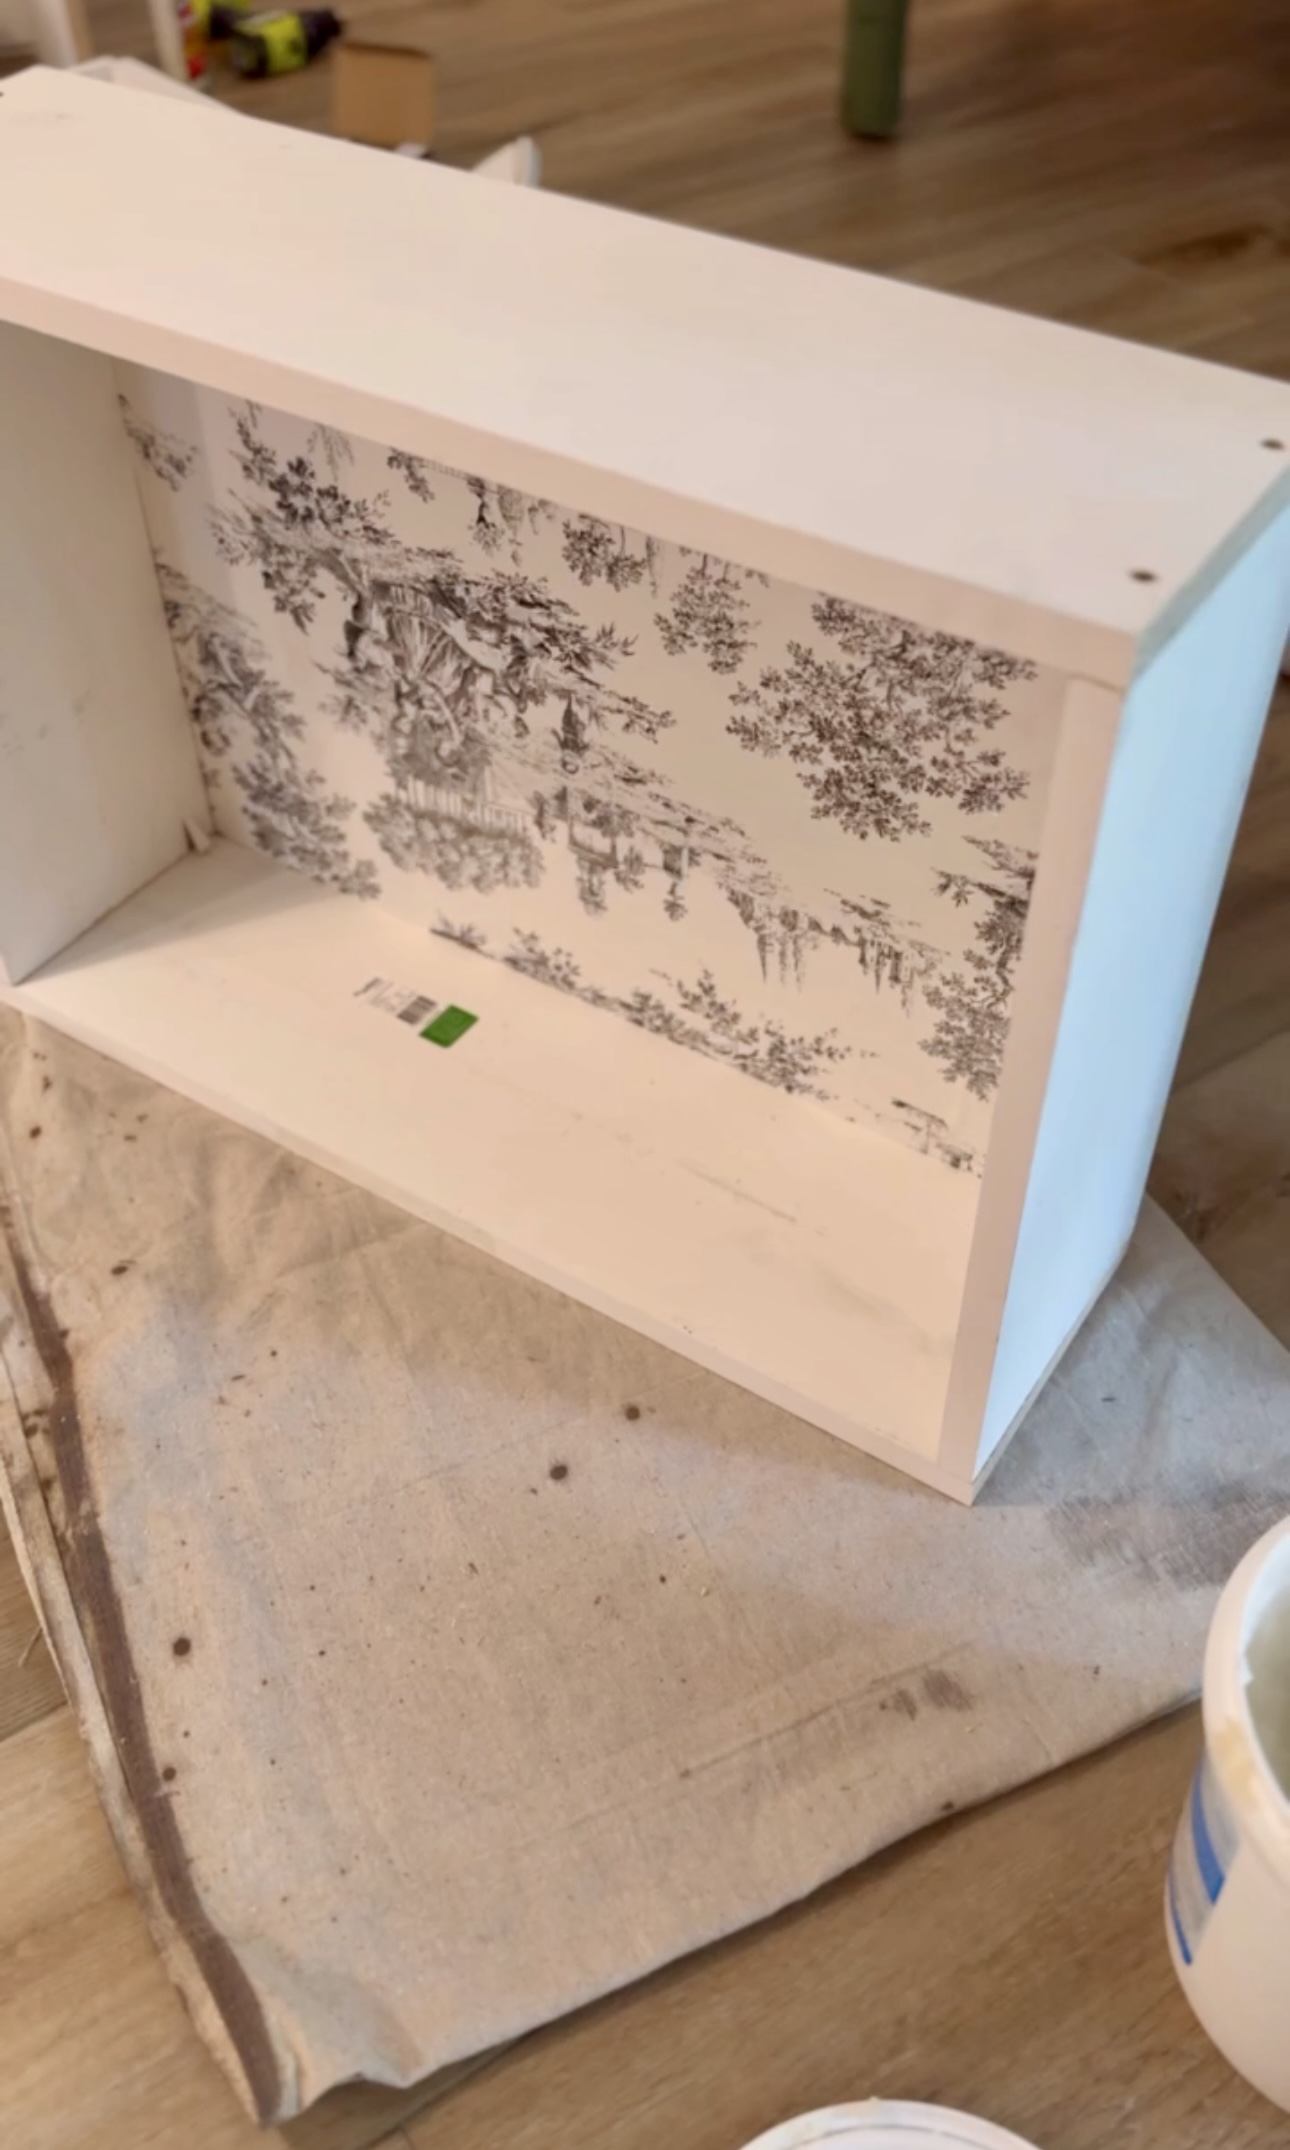
I added some wallpaper to the bottom pieces for a fun little surprise when you open the drawers!
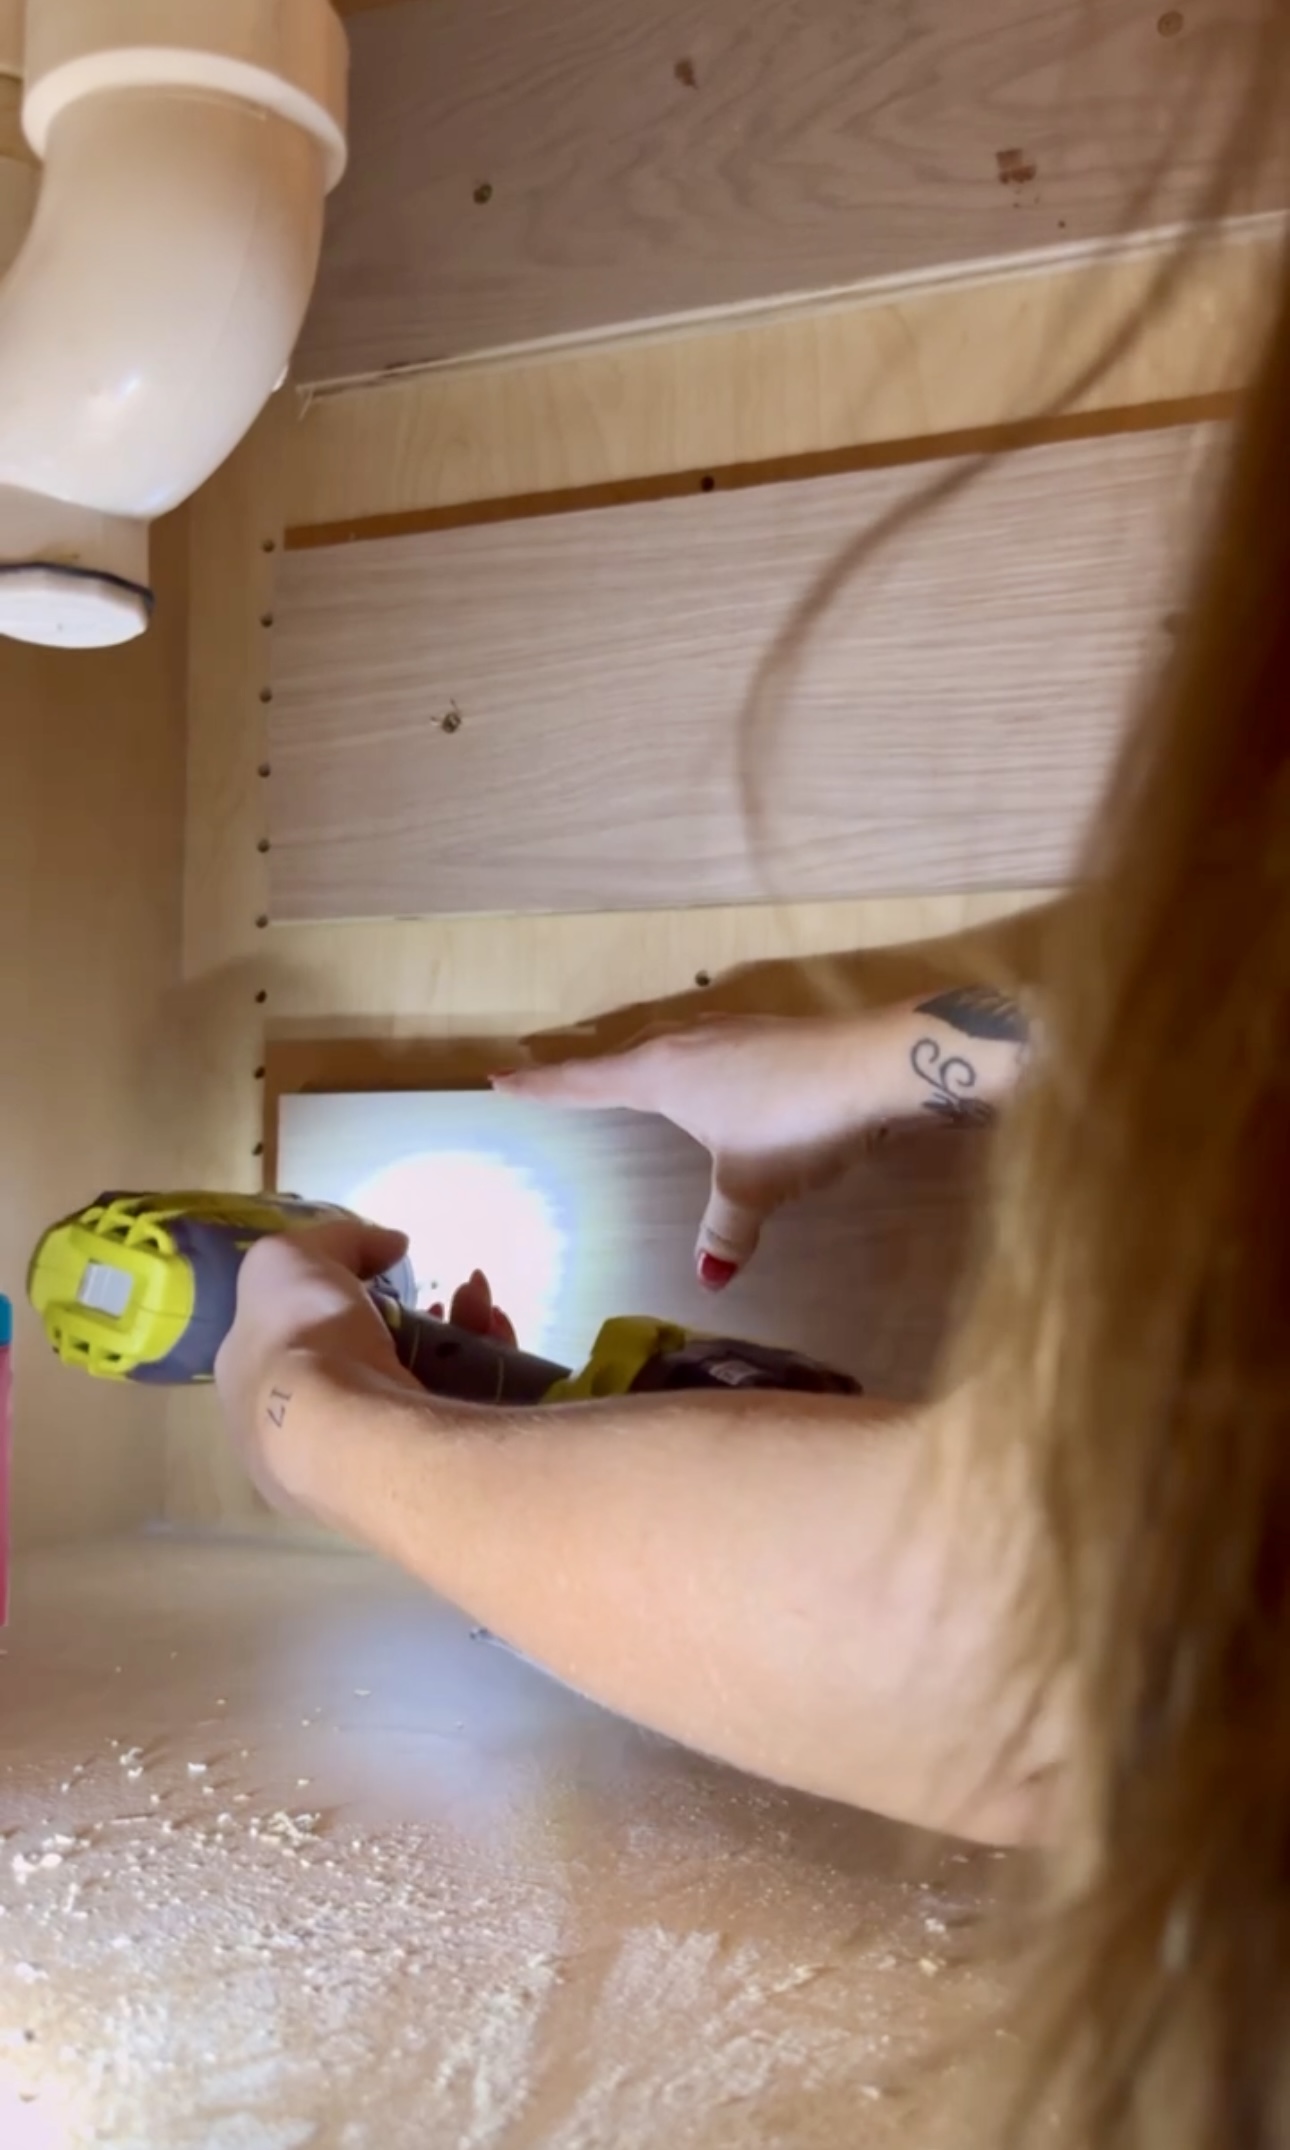
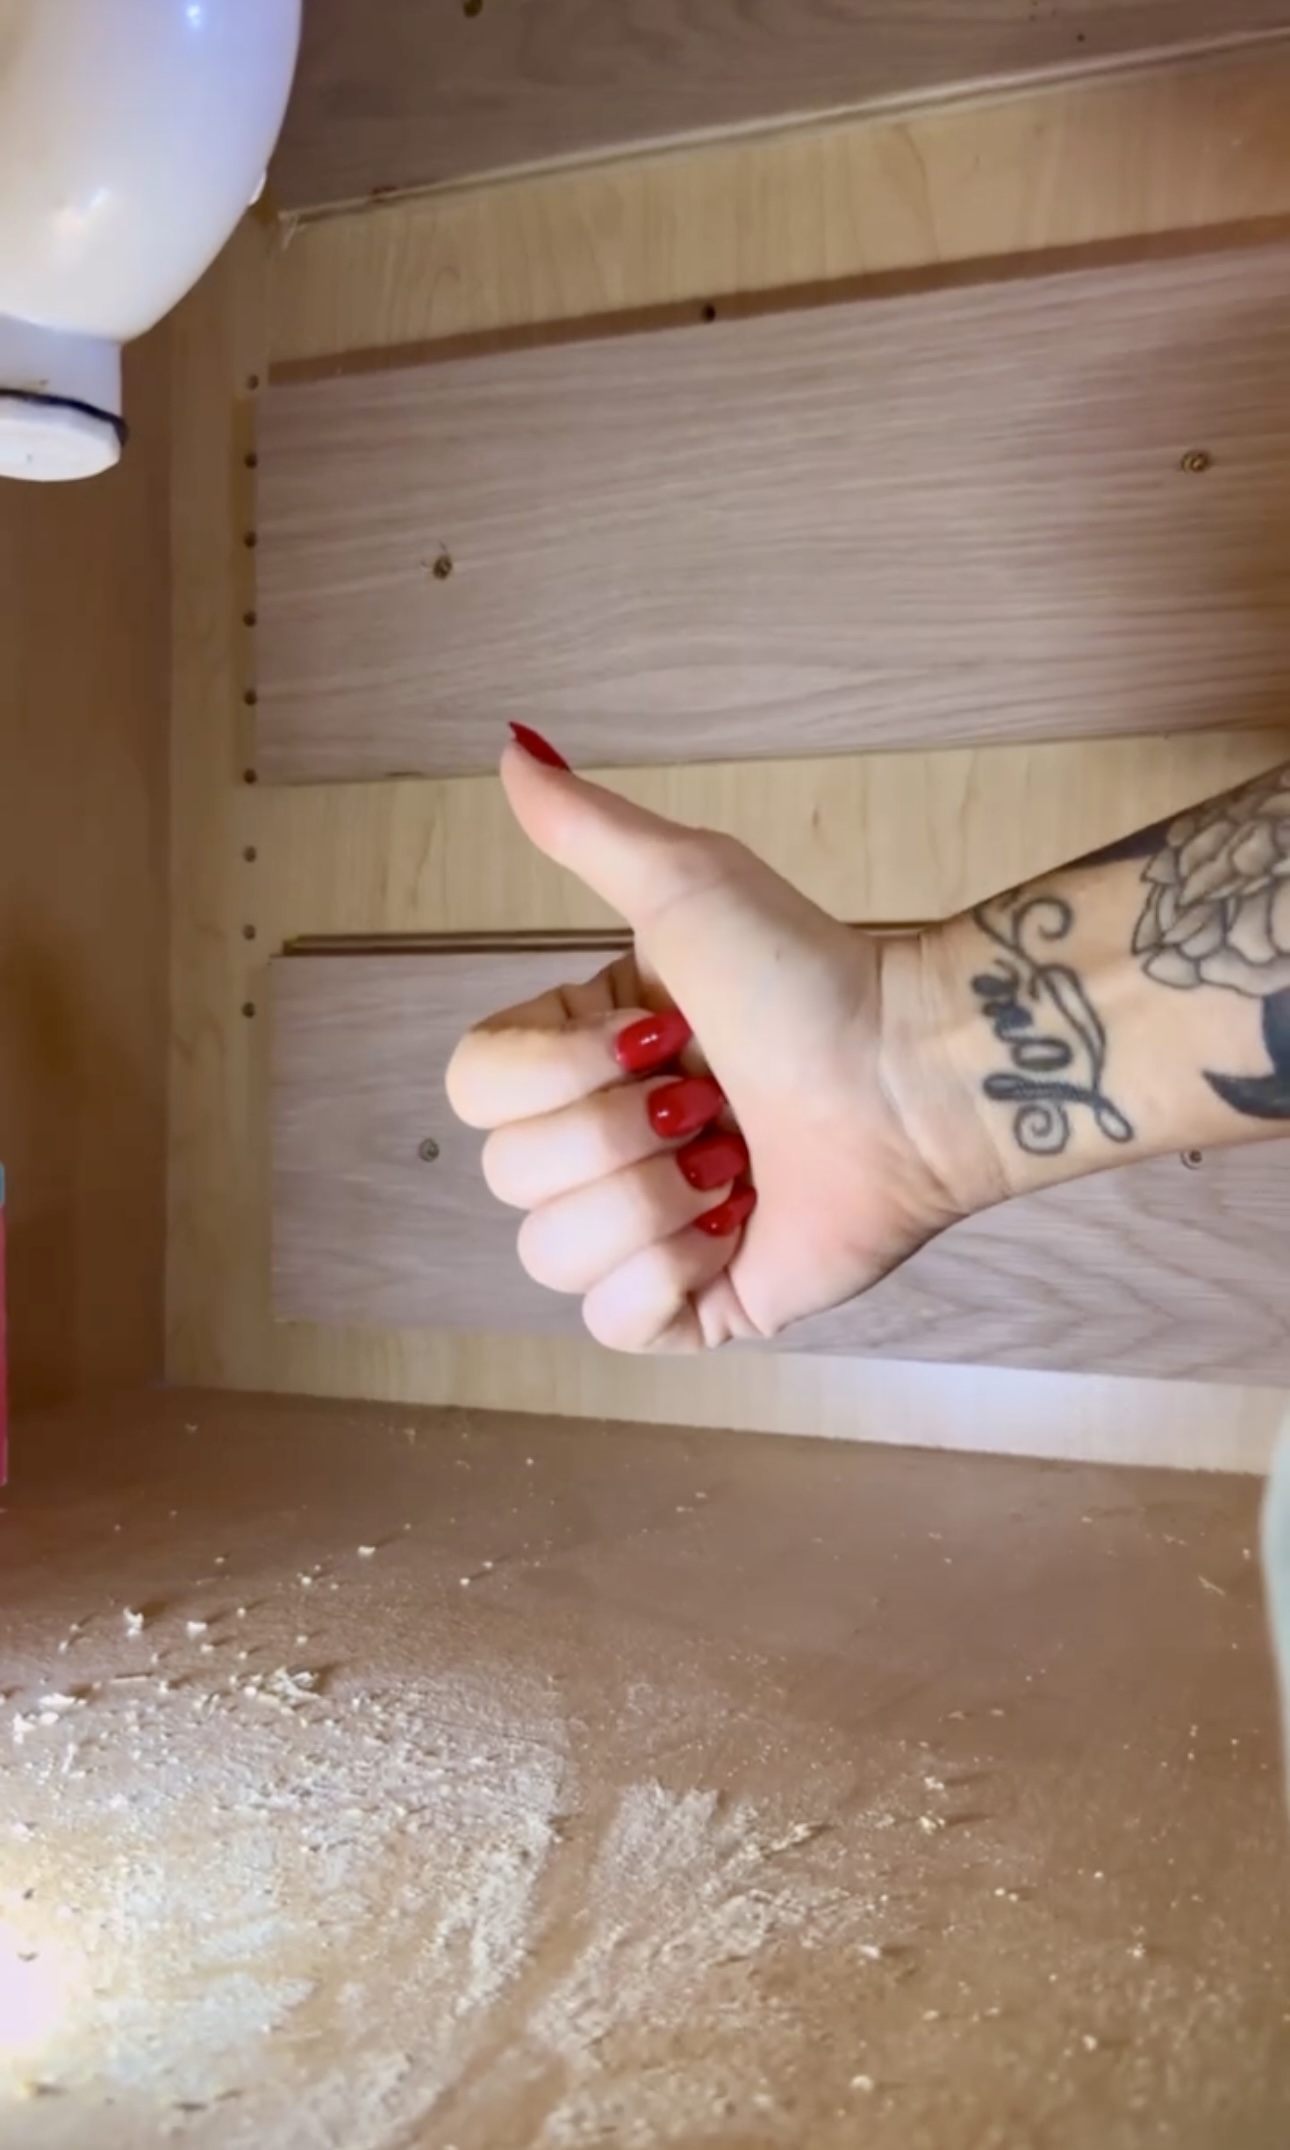
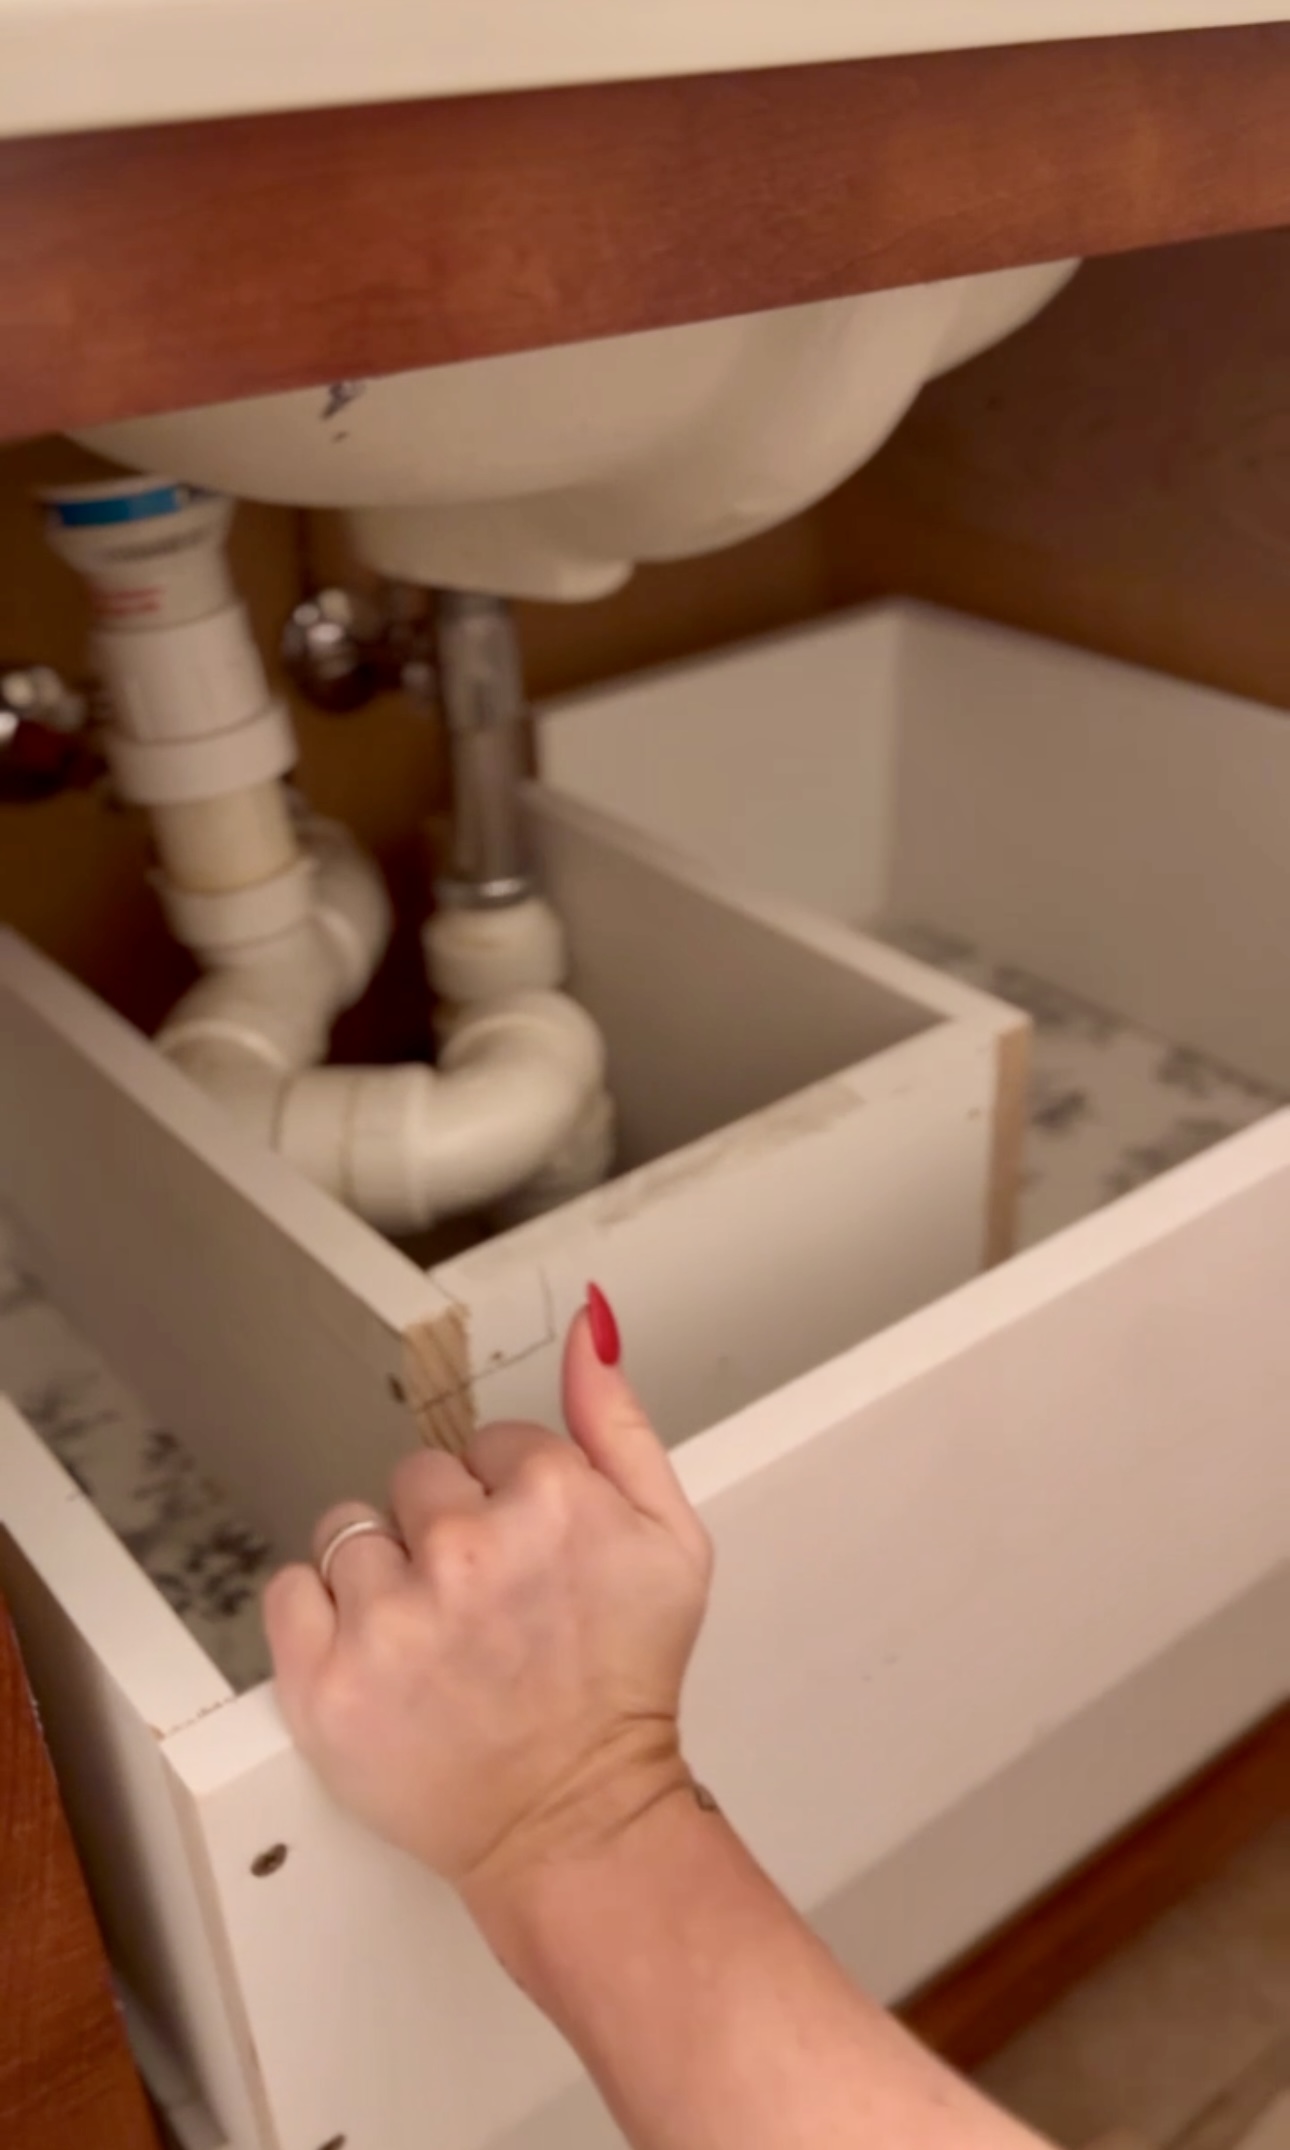
The first drawer was easy – but the next two interfered with the plumbing. I basically left the center section of the drawer open to fit around the plumbing I tested this with spacers and it worked!
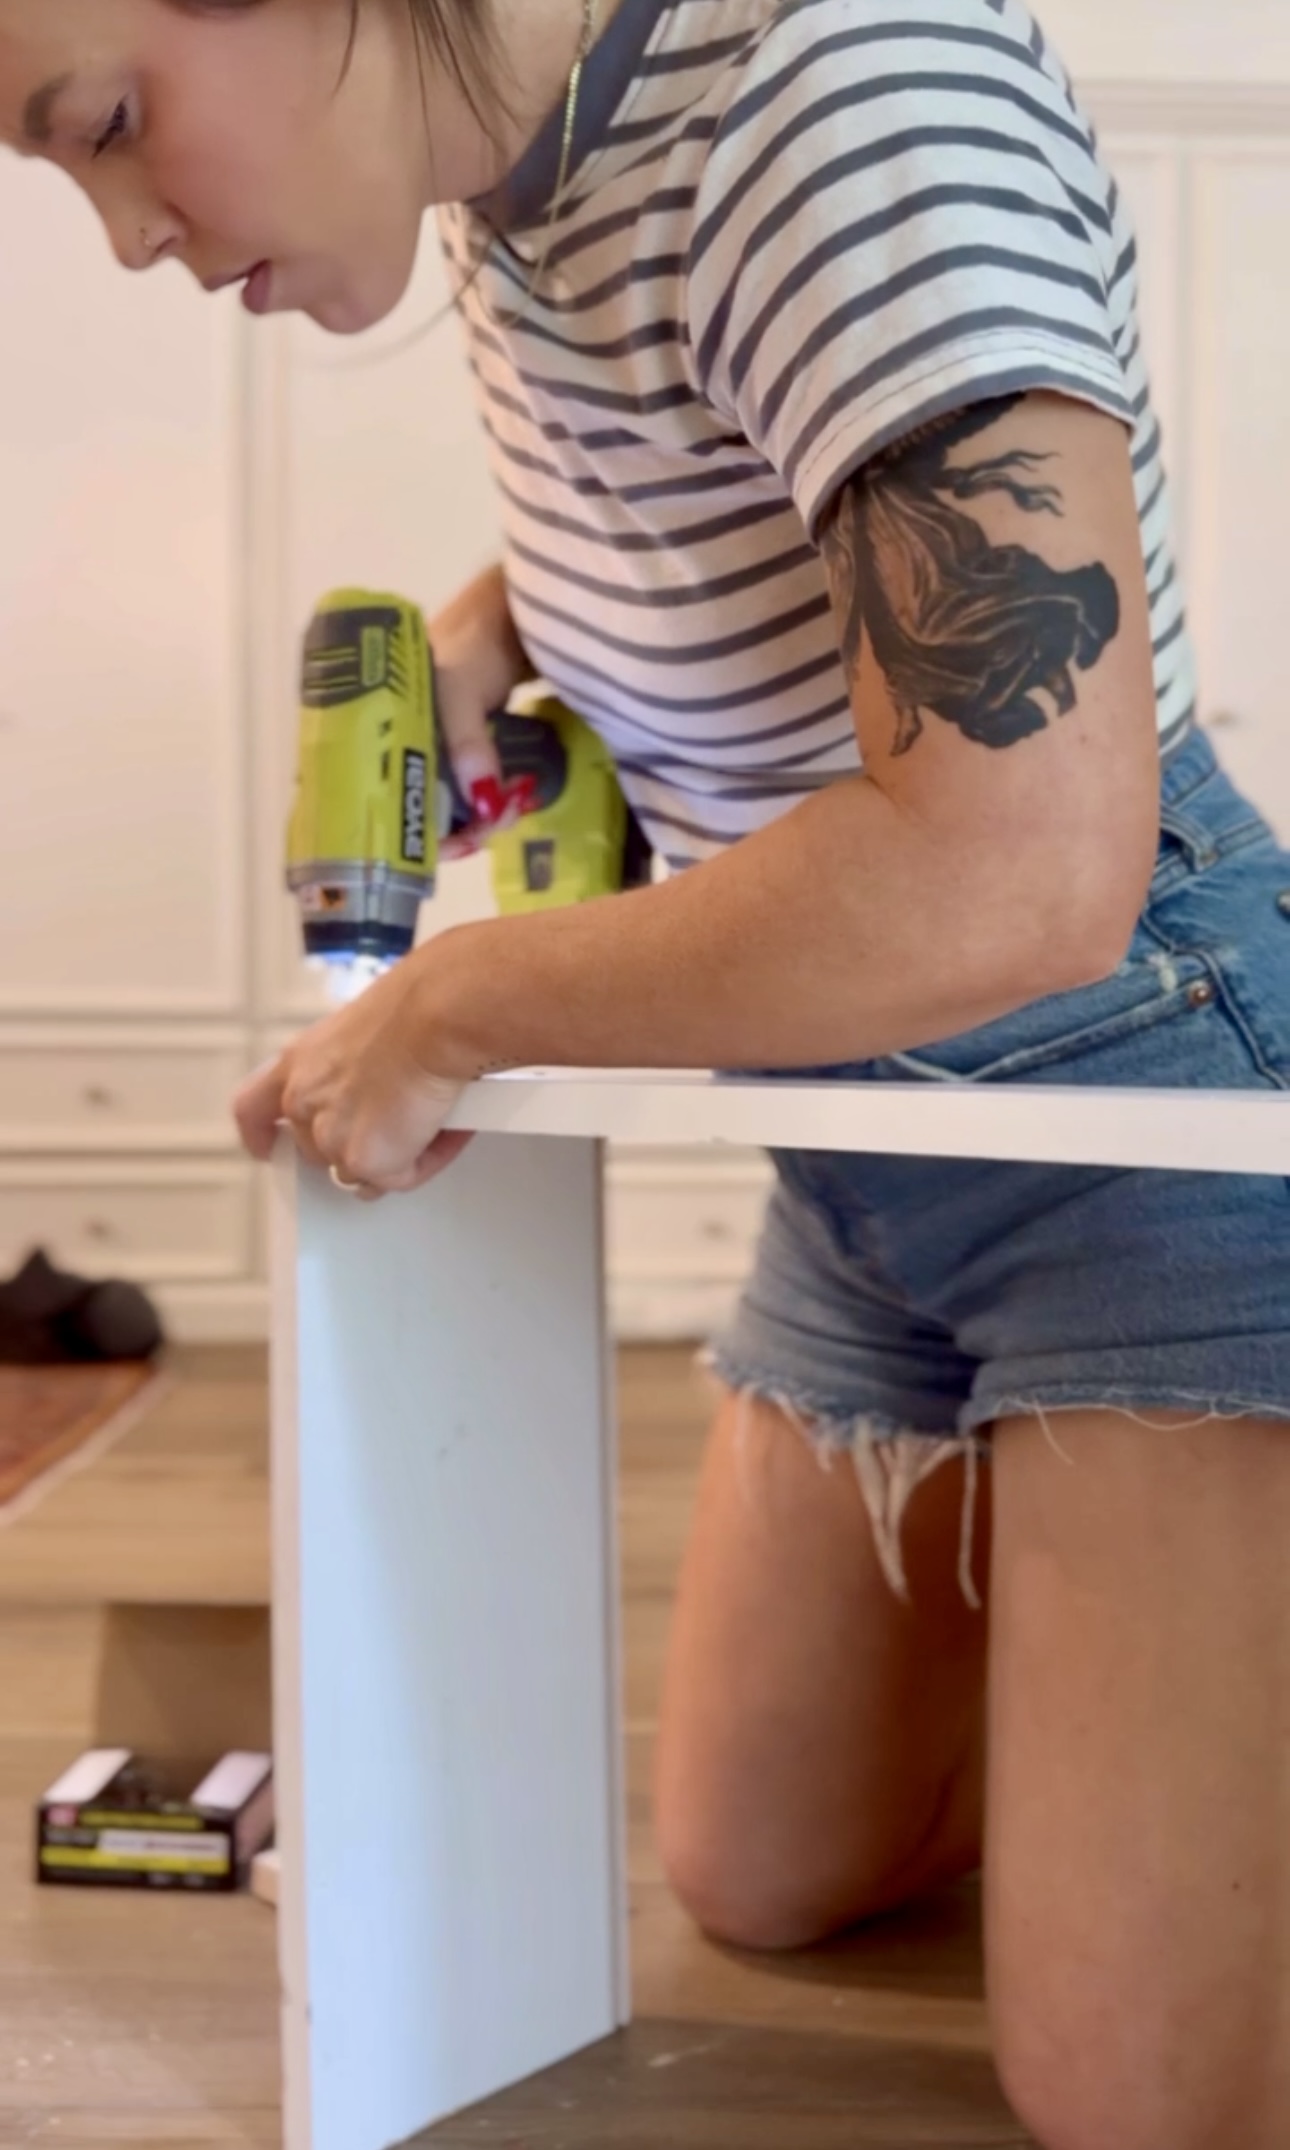
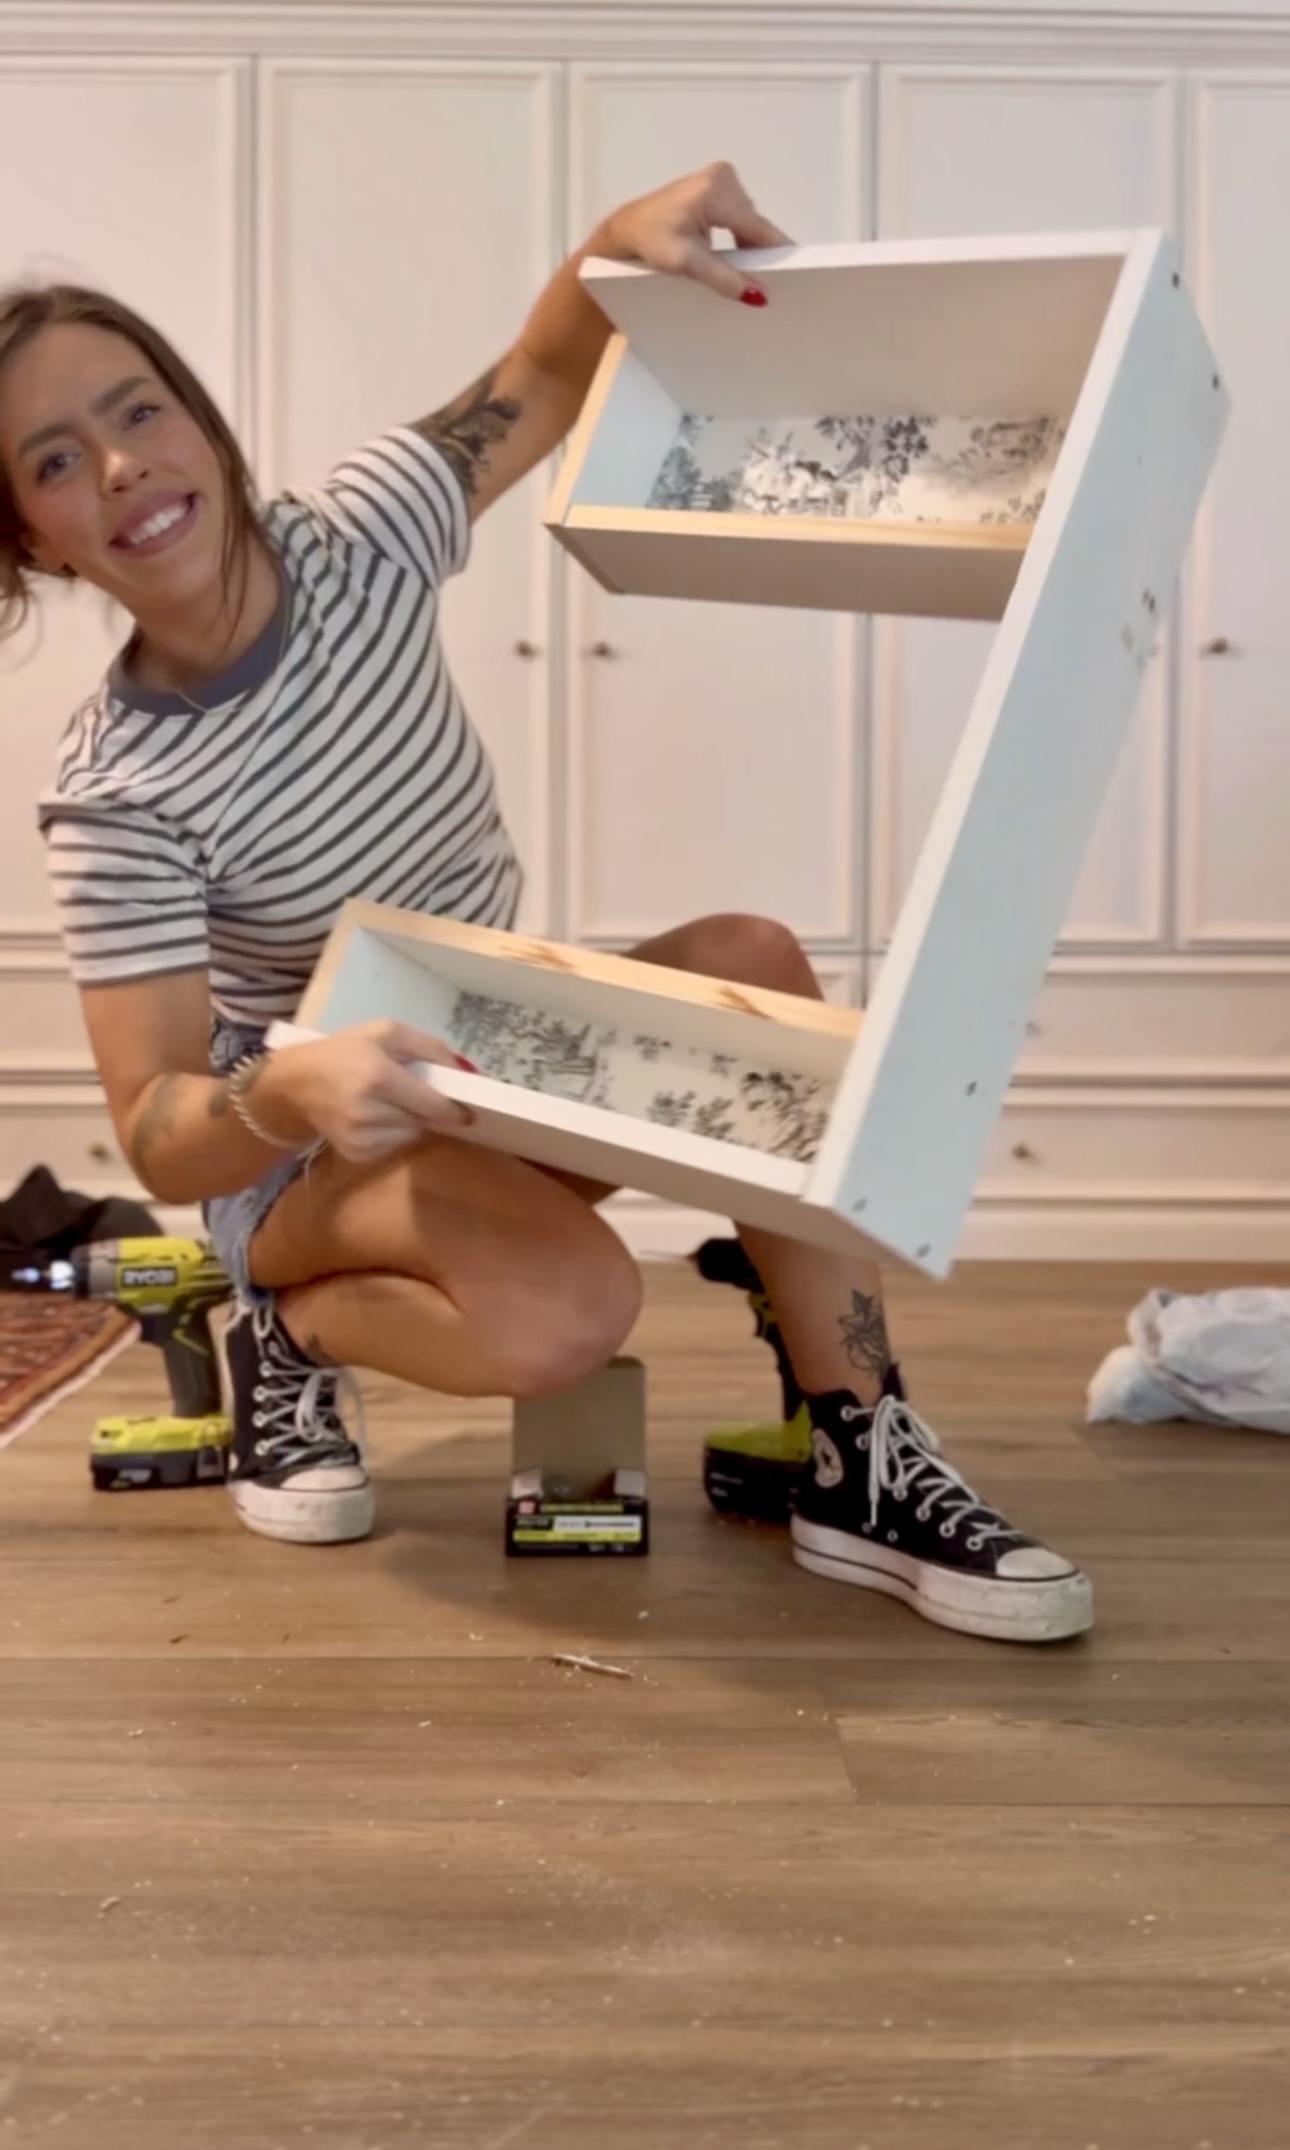
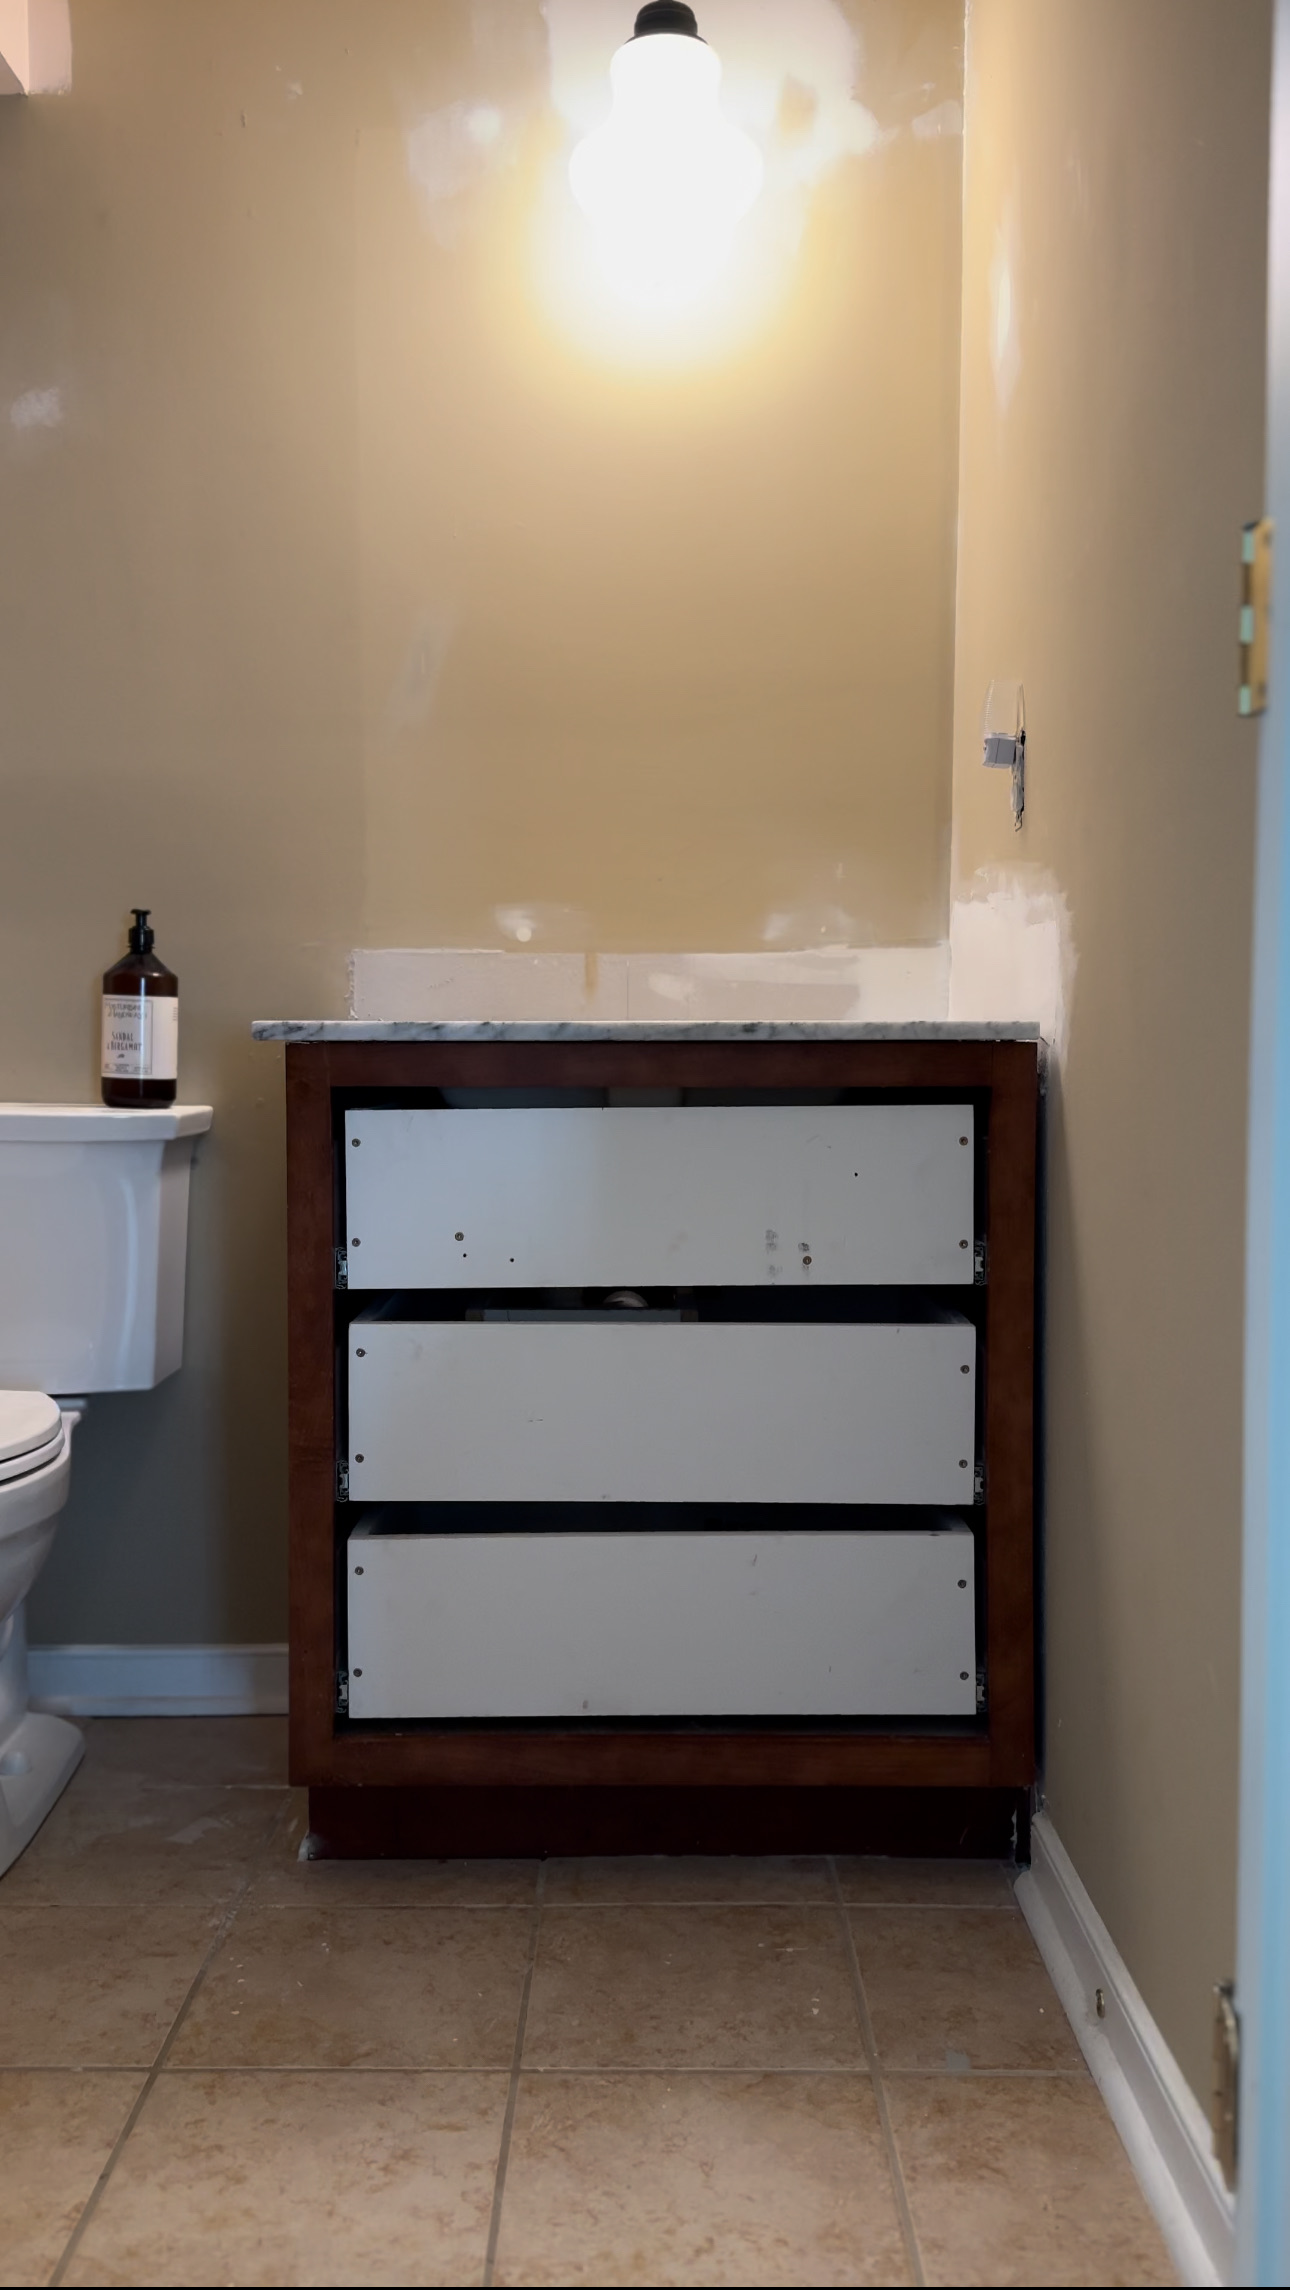
Next, I installed drawer slides and put the drawers in! This was a bit more time consuming than I thought it would be but it looks great.
Drawer Fronts
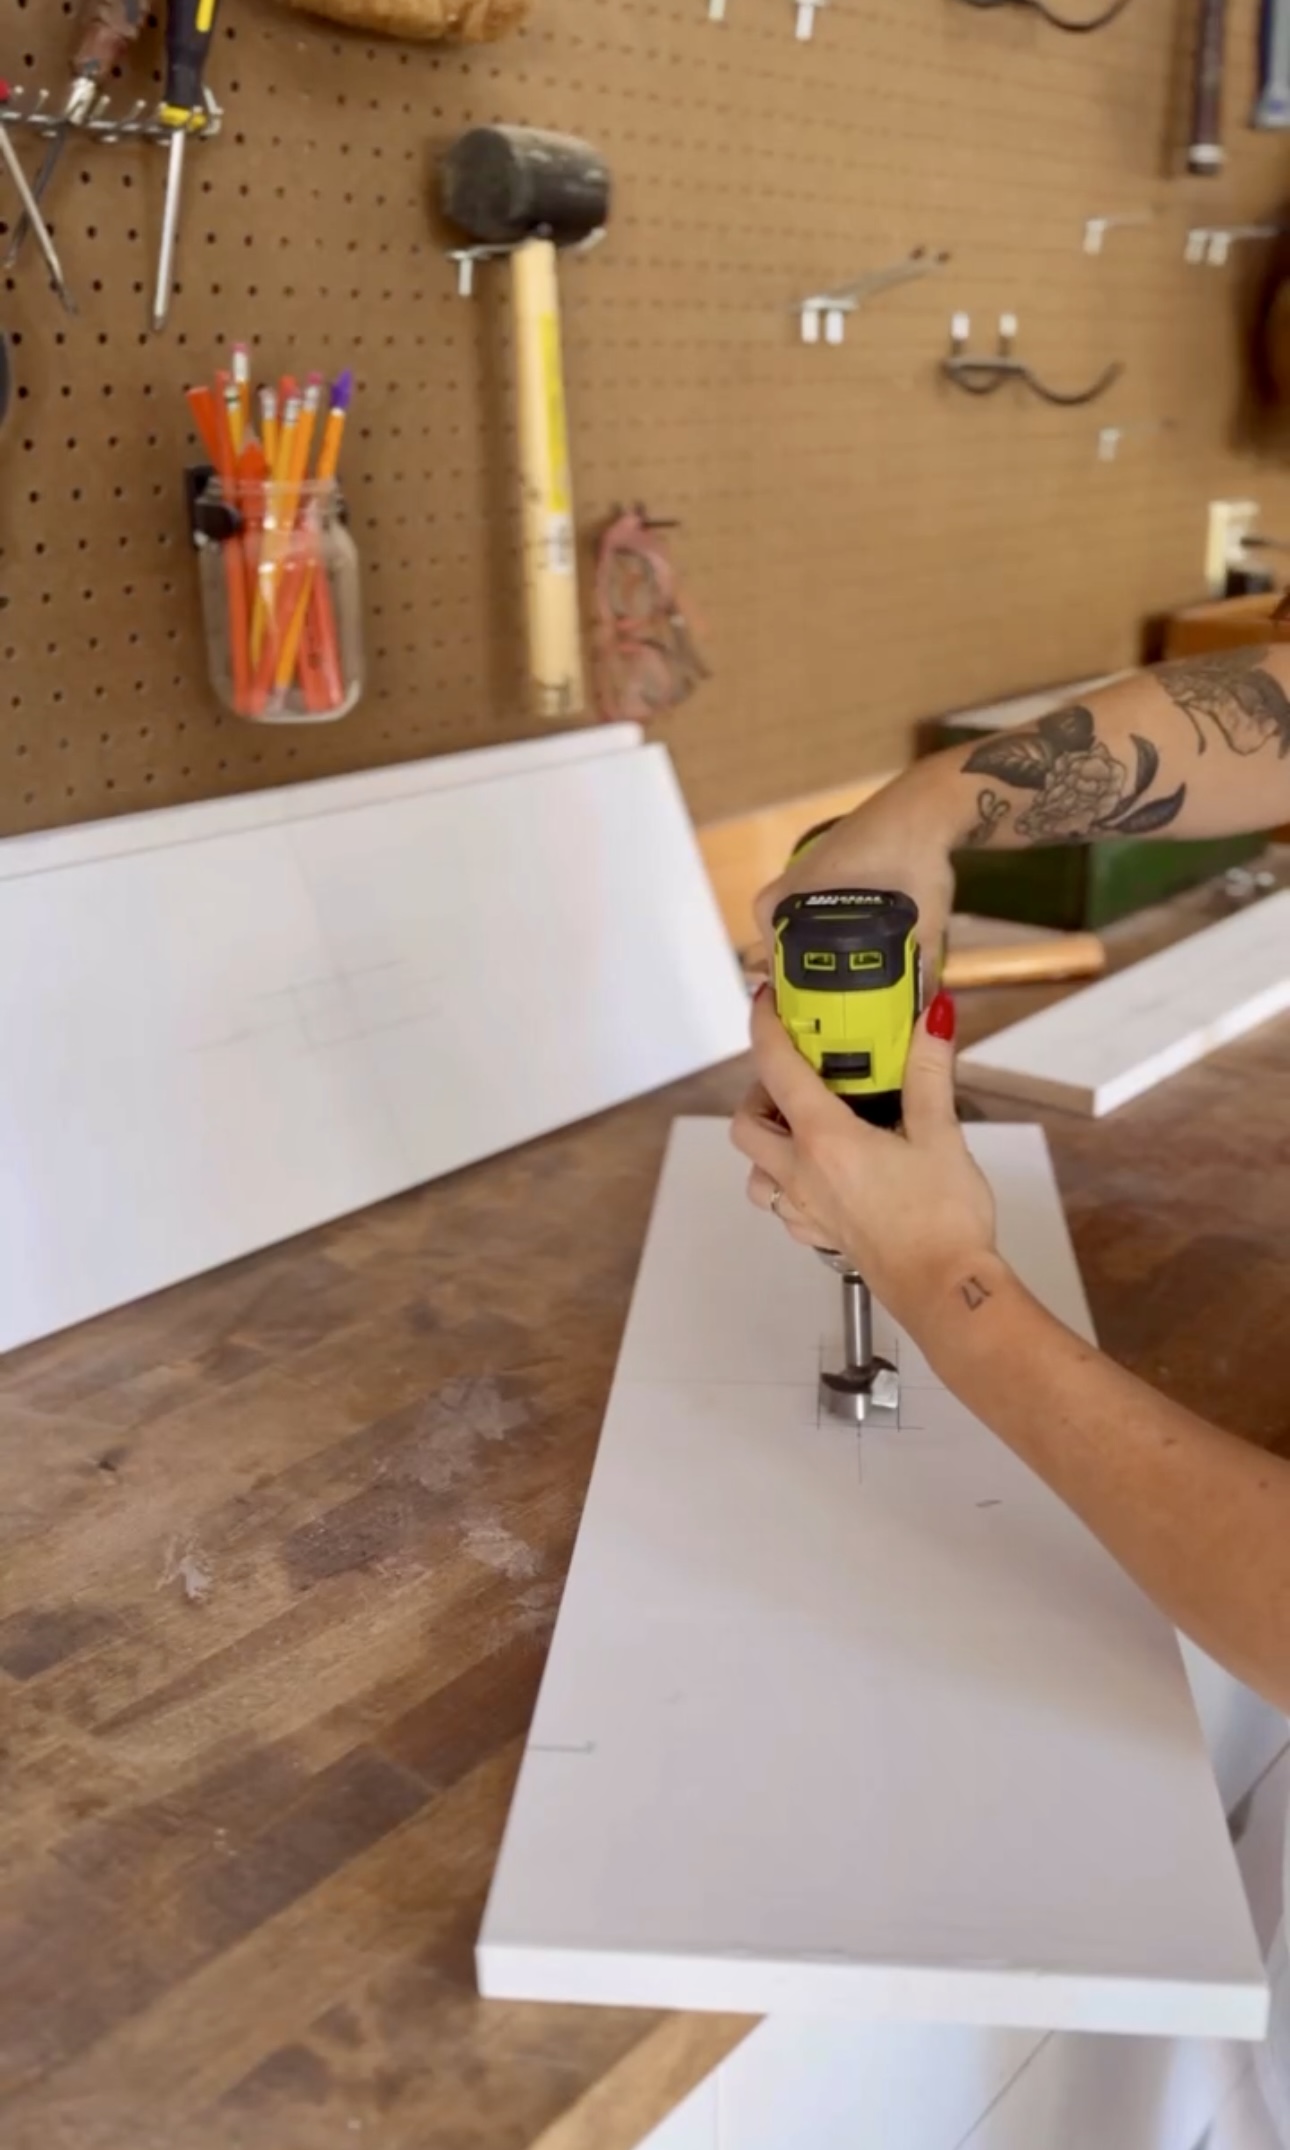
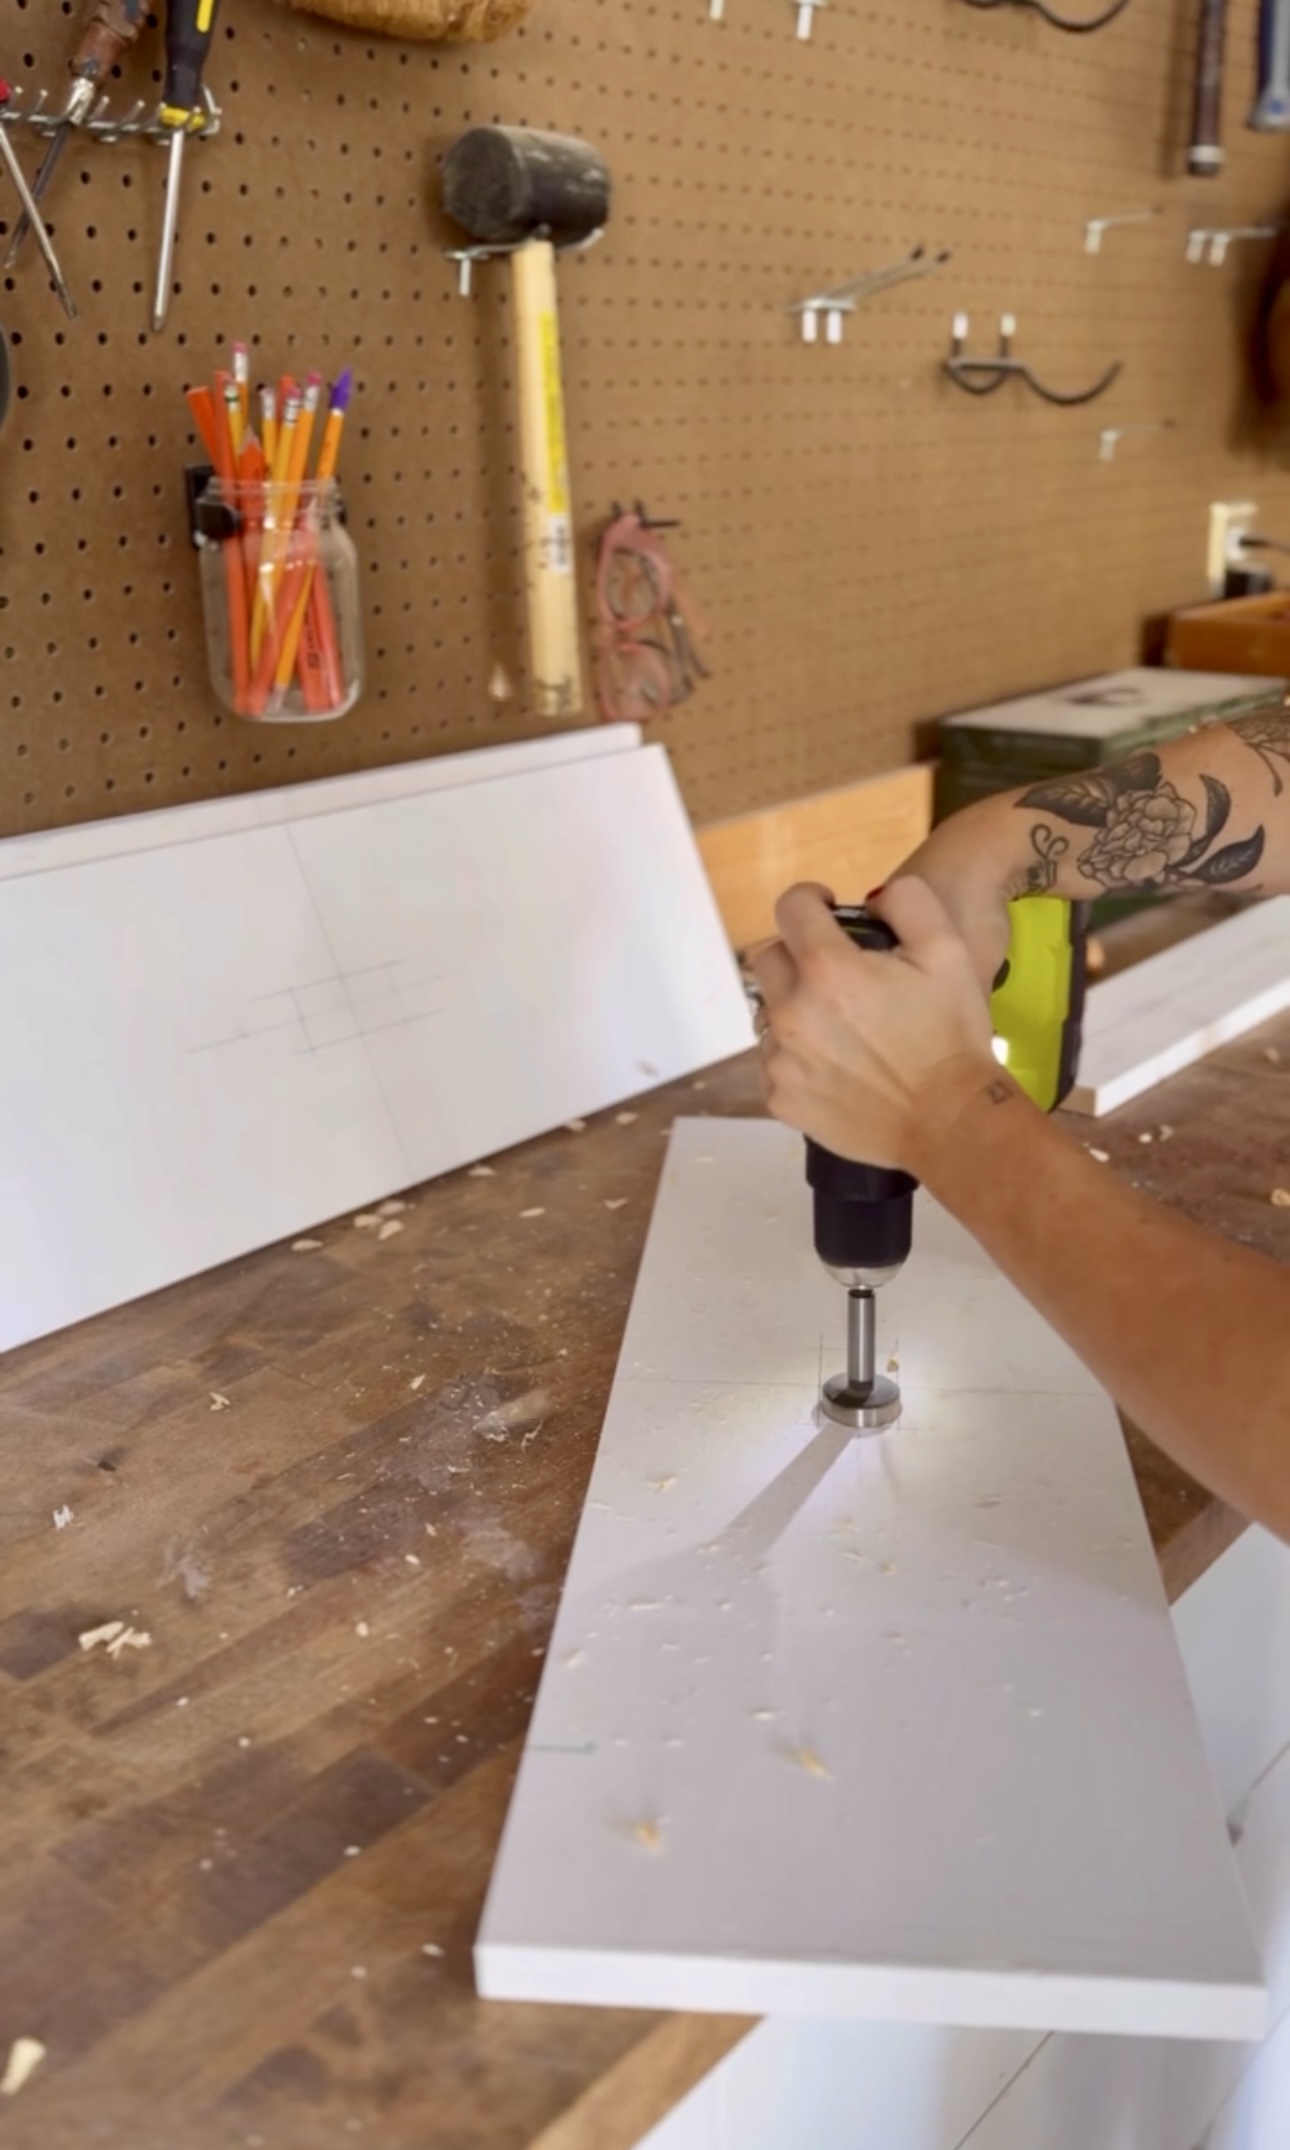
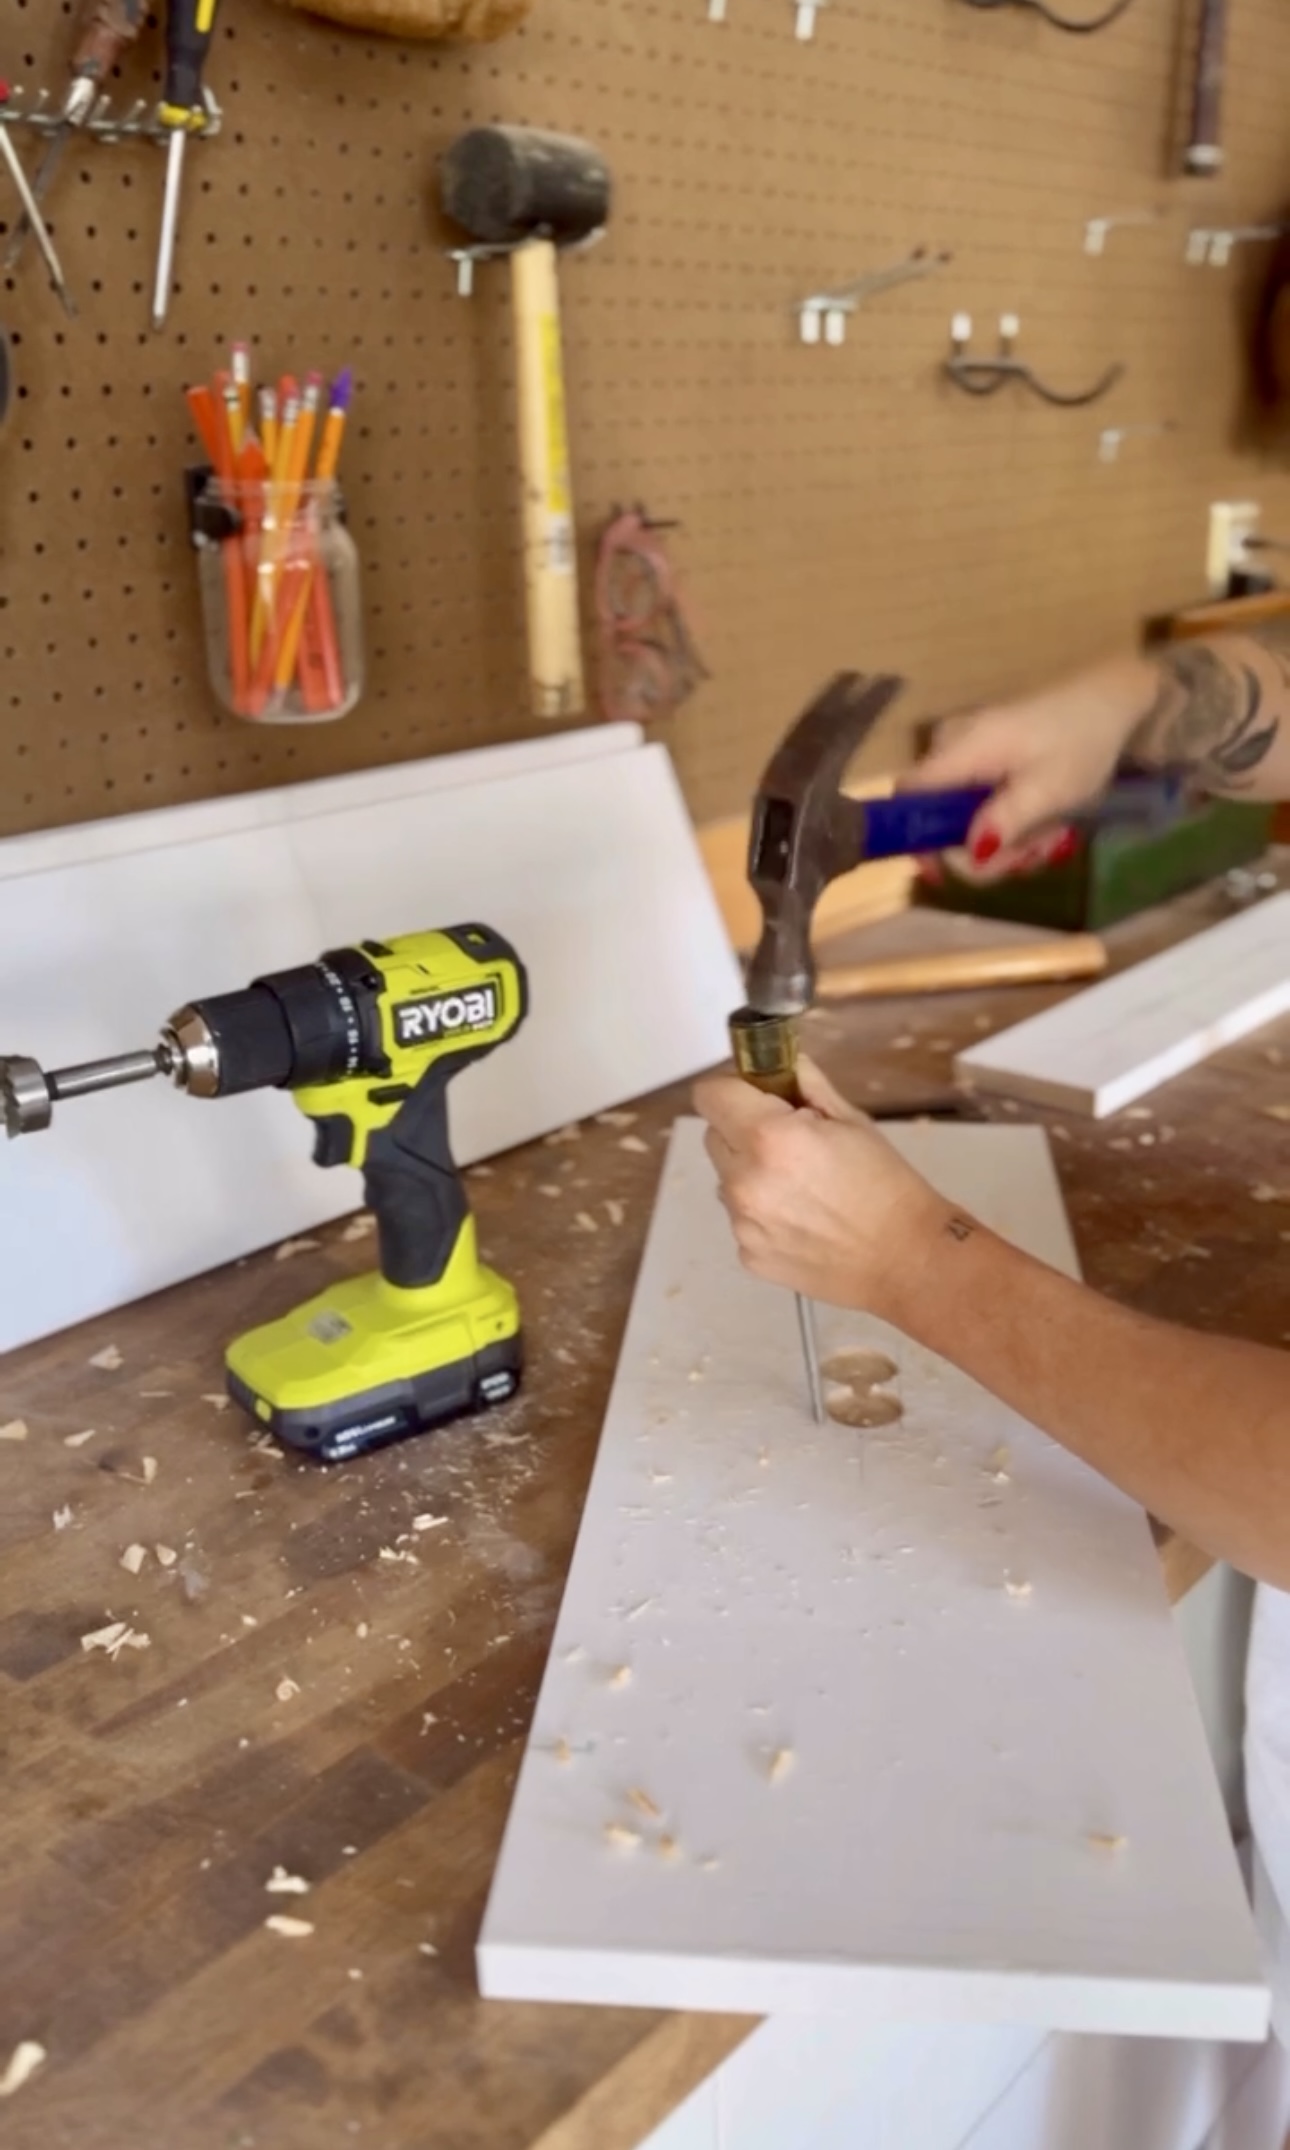
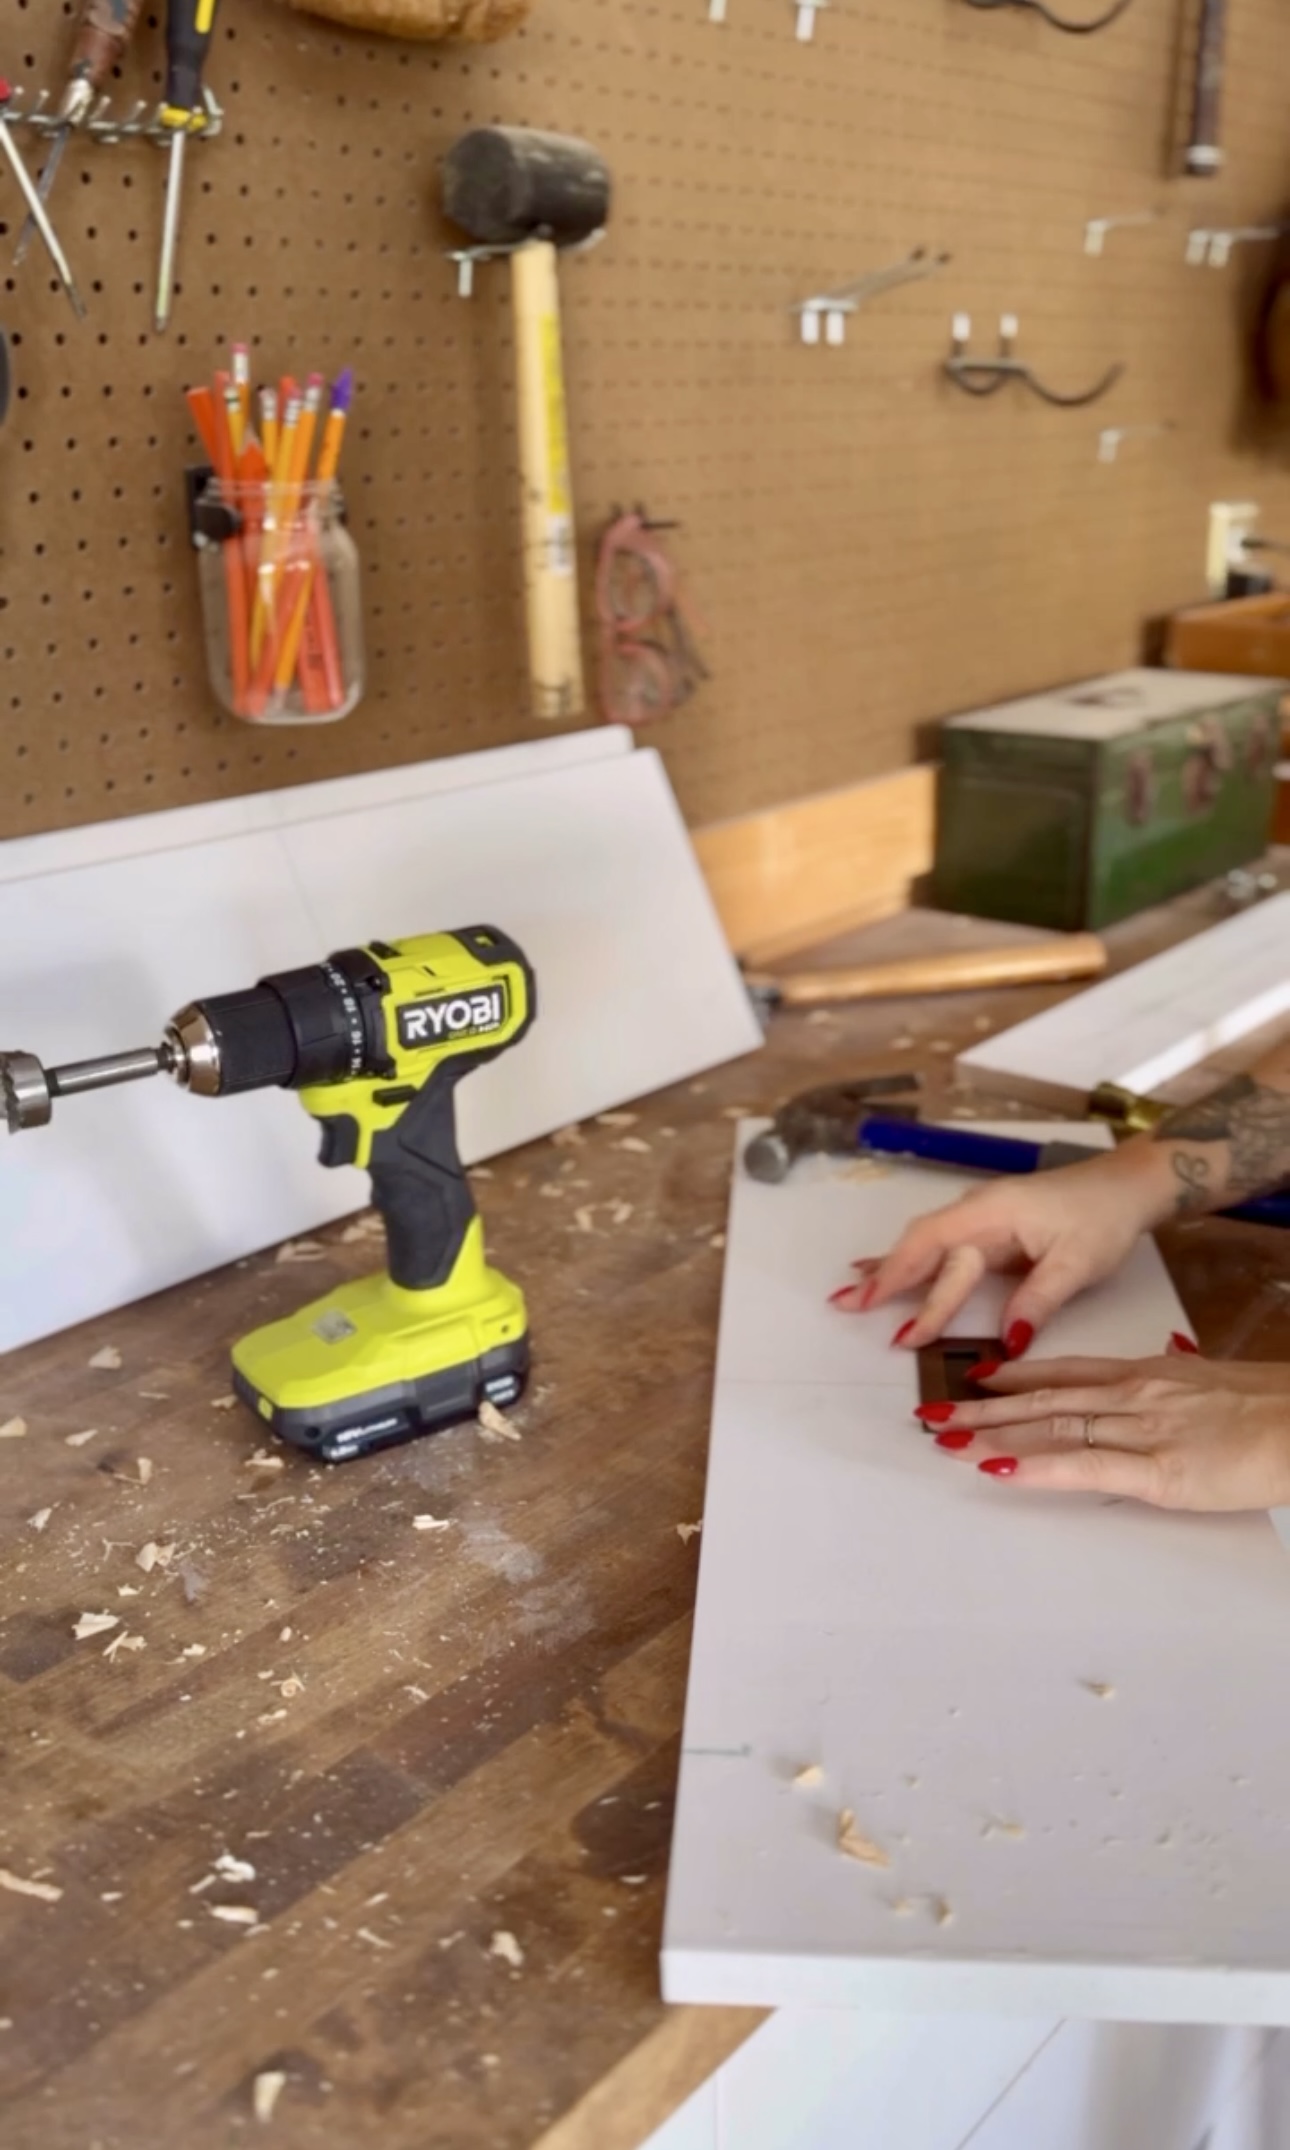
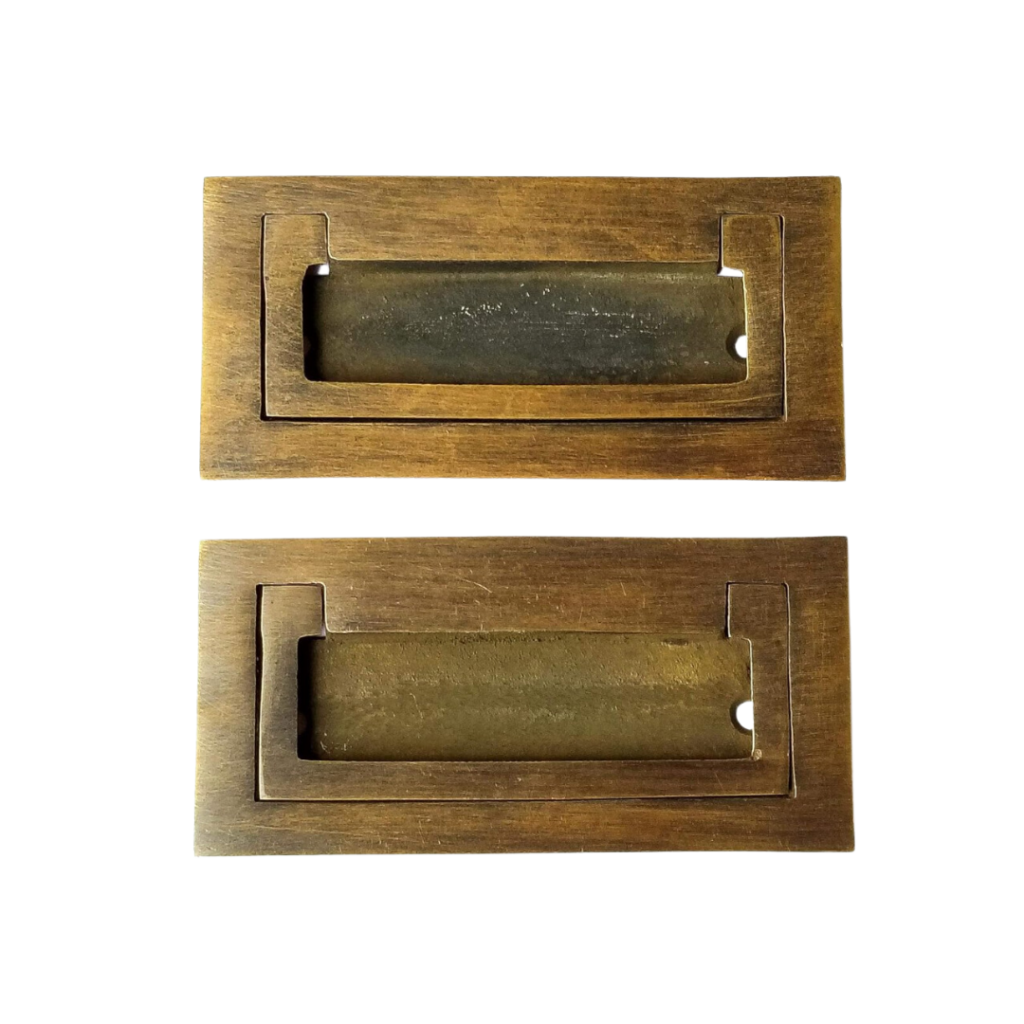
I cut down all of my drawer fronts. Then, this is the hardware I used on my bathroom vanity too.

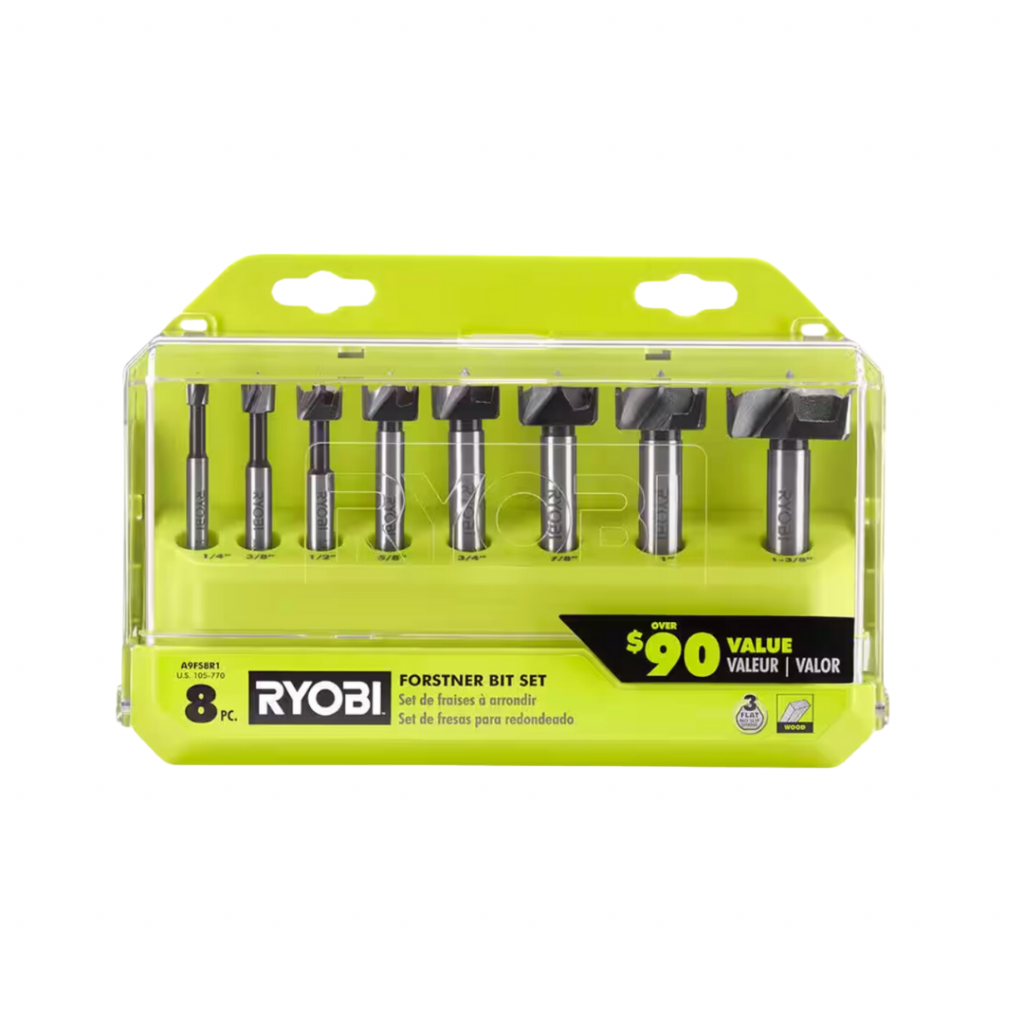
I needed to notch out part of the wood in order to install these. I marked where the hardware would lay and then drilled with a larger forstner bit and chiseled out the space for this hardware.
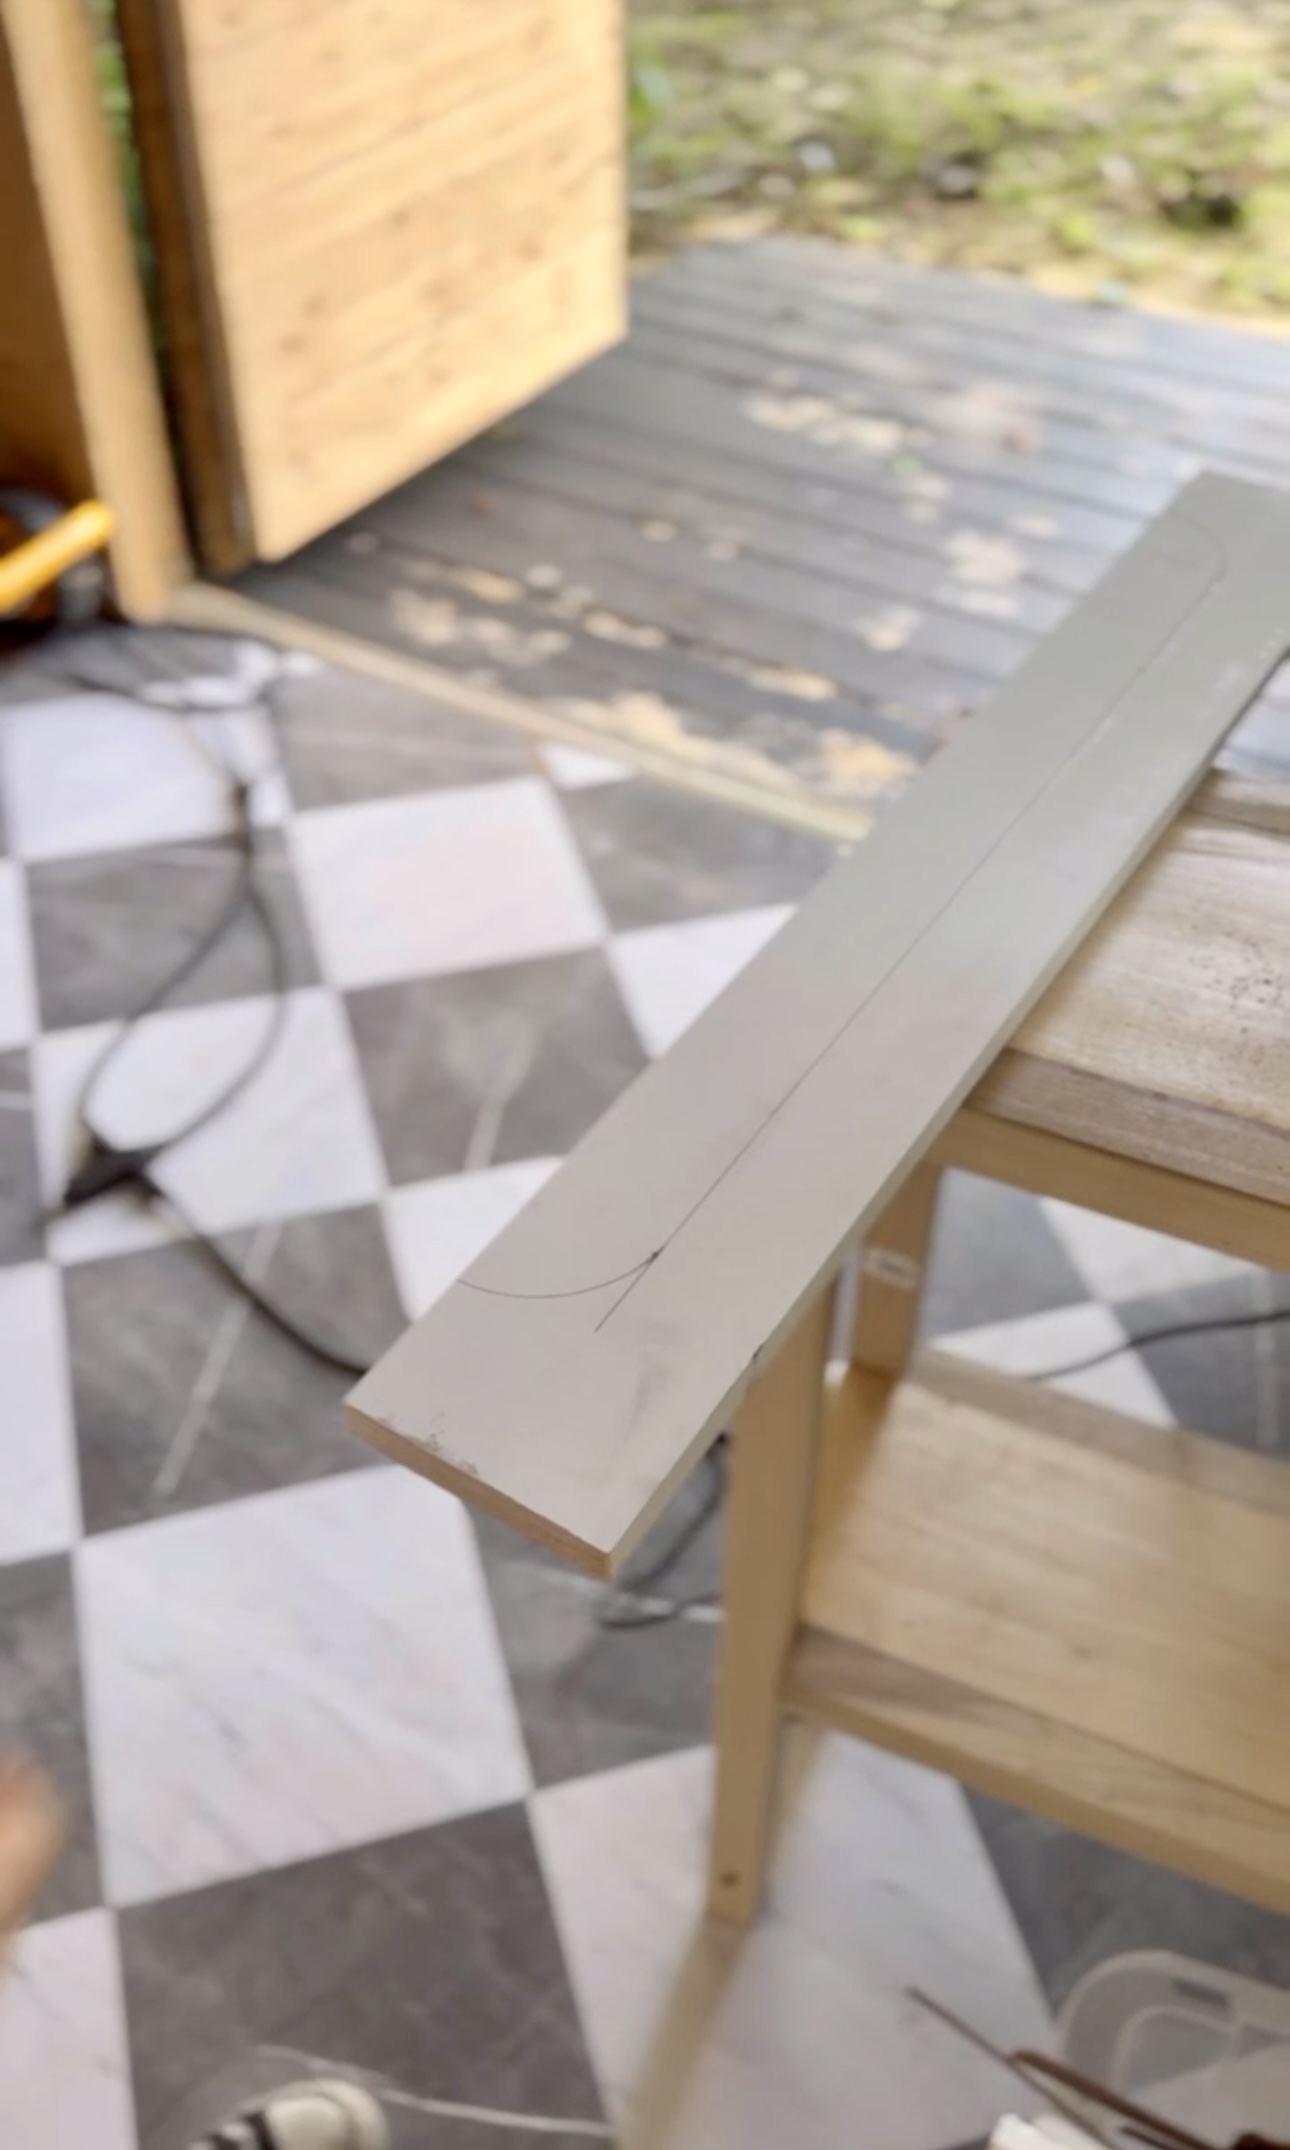
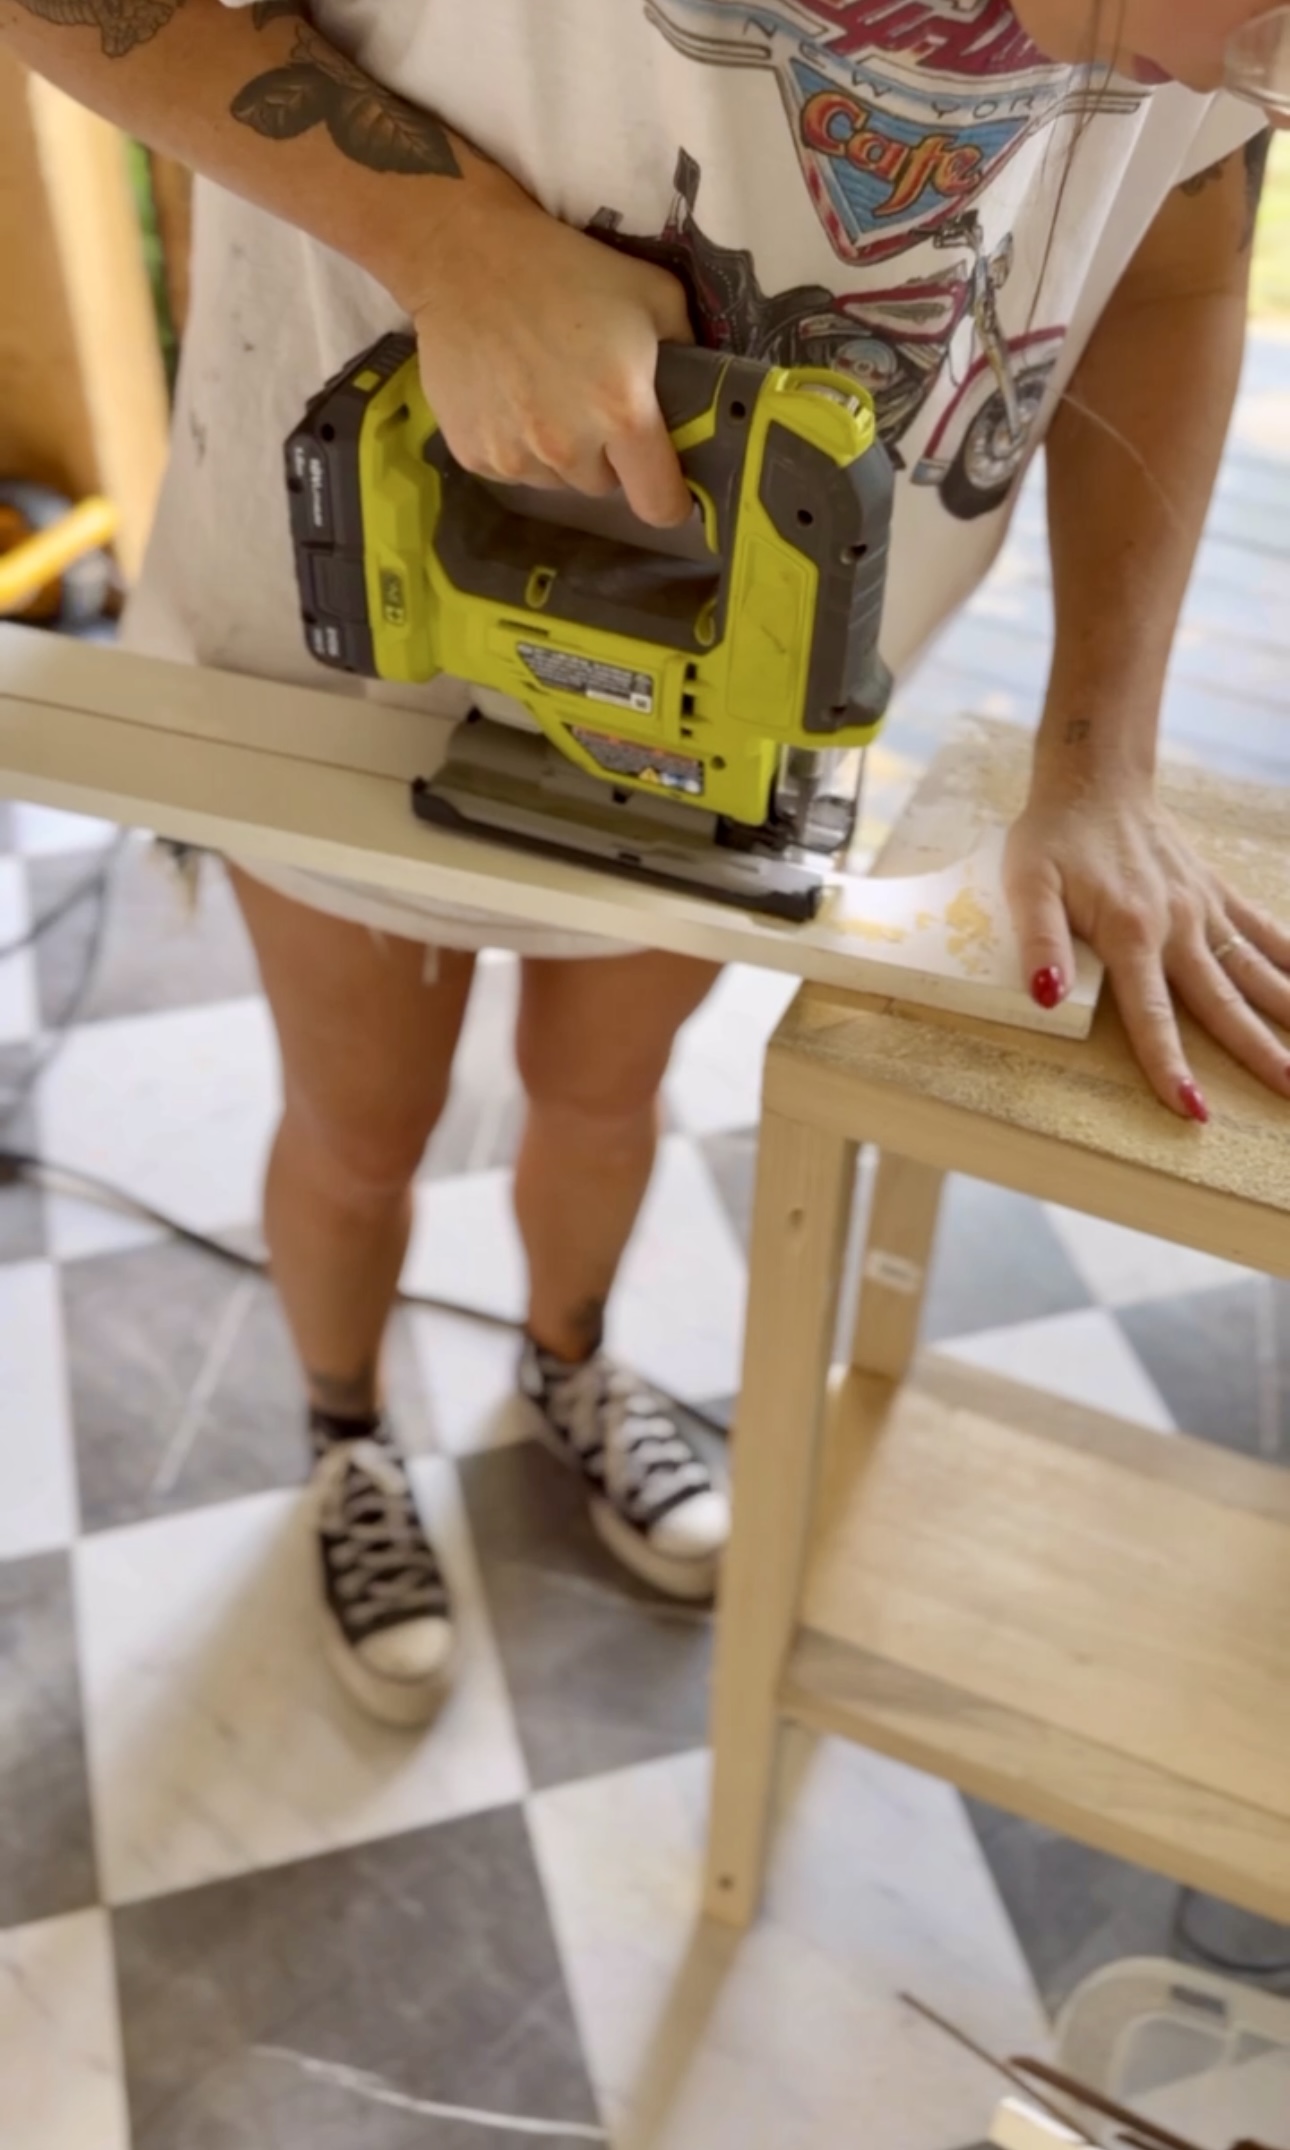
I decided to add a toe kick to make the vanity look a bit more high end. I used painter’s tape to draw the radius (love that trick). My friend @abby_roadhome did this on hers and it looks amazing. I marked it with a pencil and cut it down with my jigsaw!
Then, I installed the drawer fronts and toe kick!
Vanity Top
The vanity top that was in here wasn’t terrible. But I ended up finding a marble top at Home Depot that was pretty affordable. So I went ahead and ordered it!
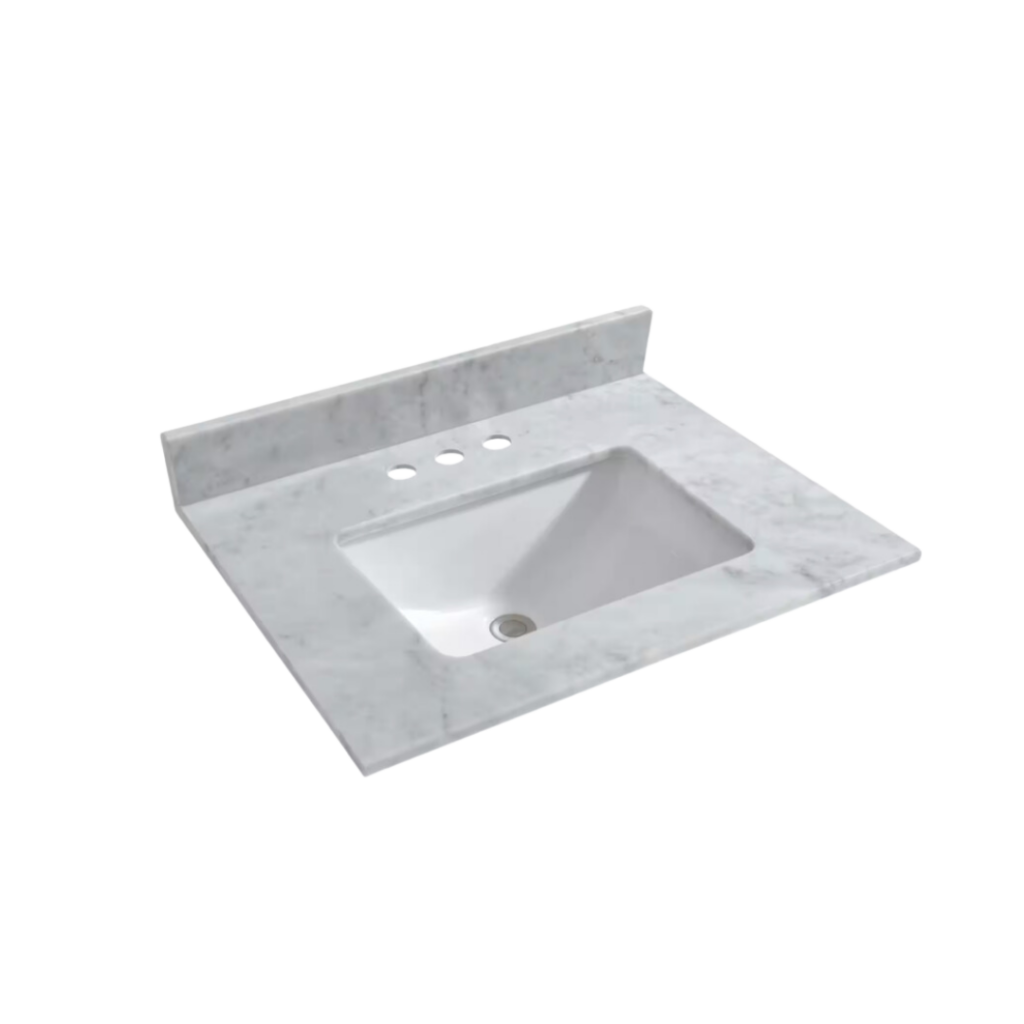
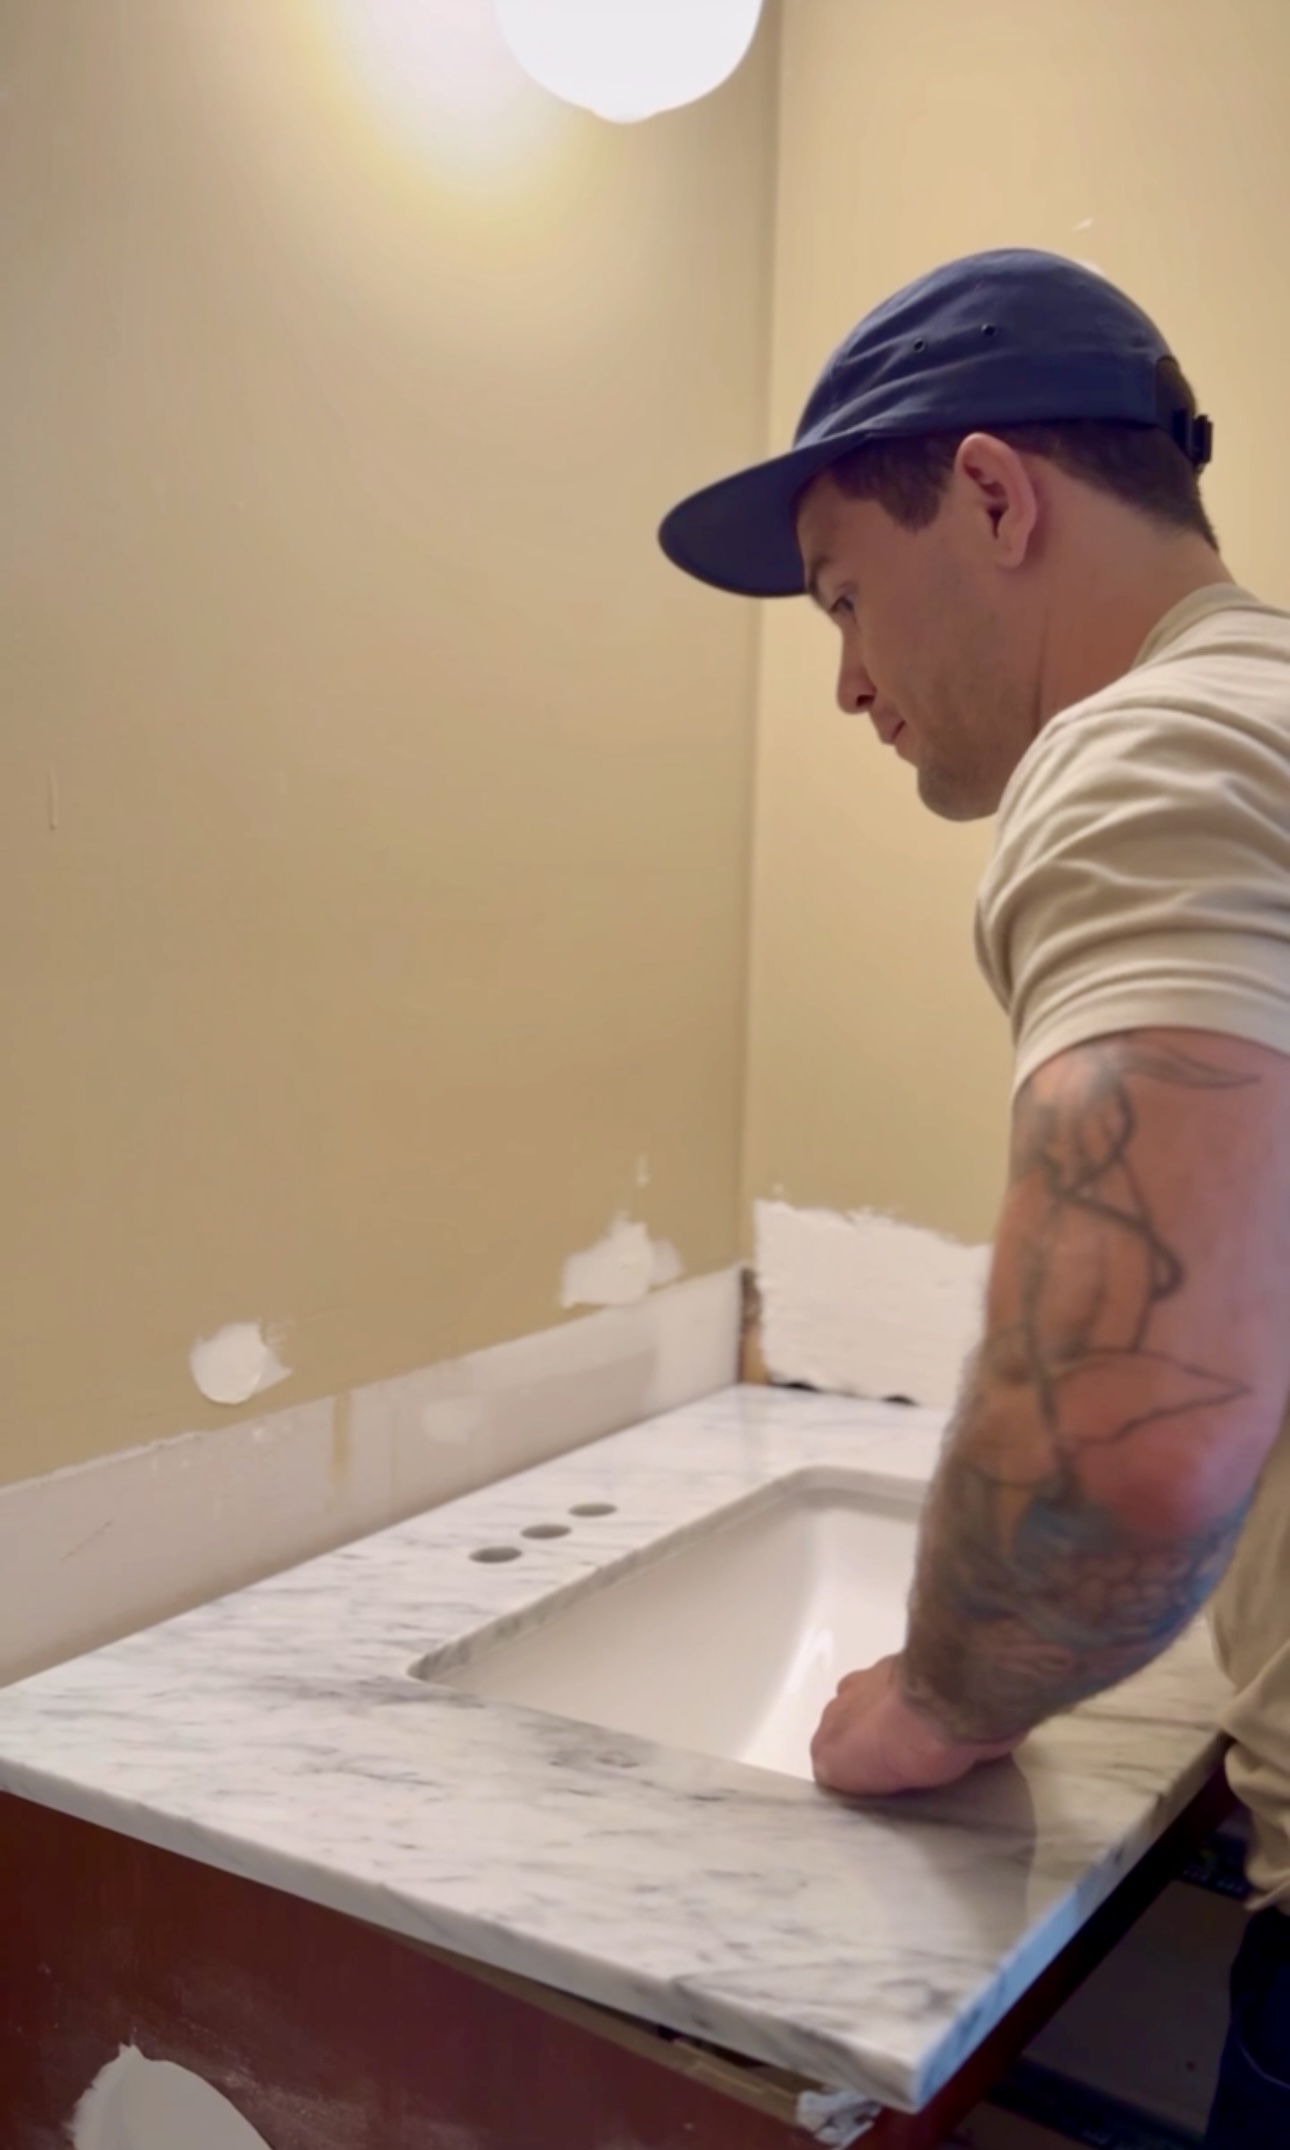
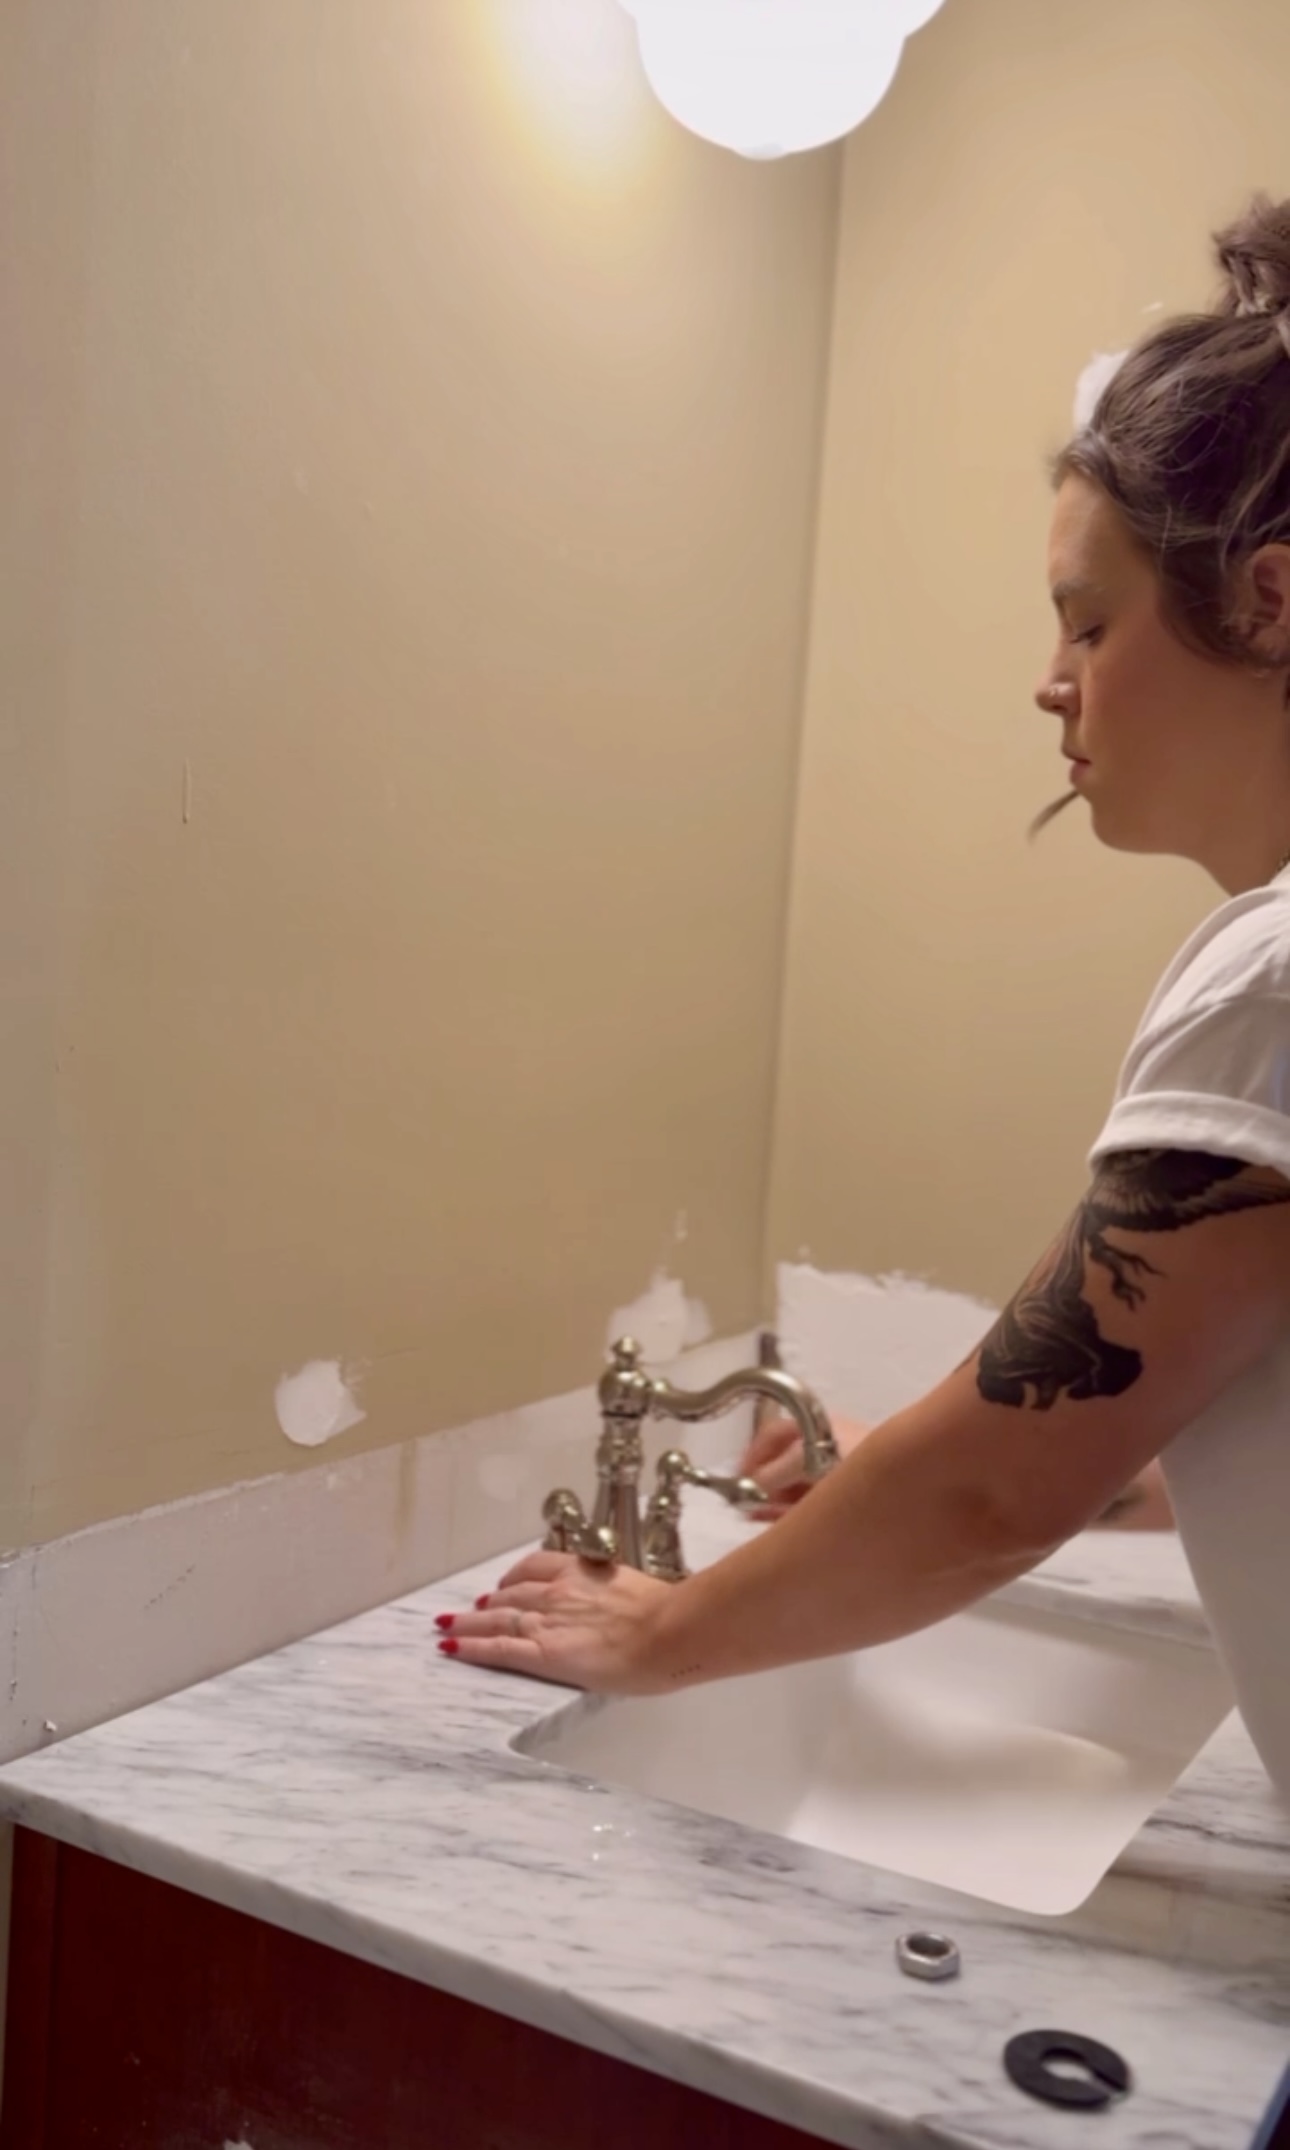
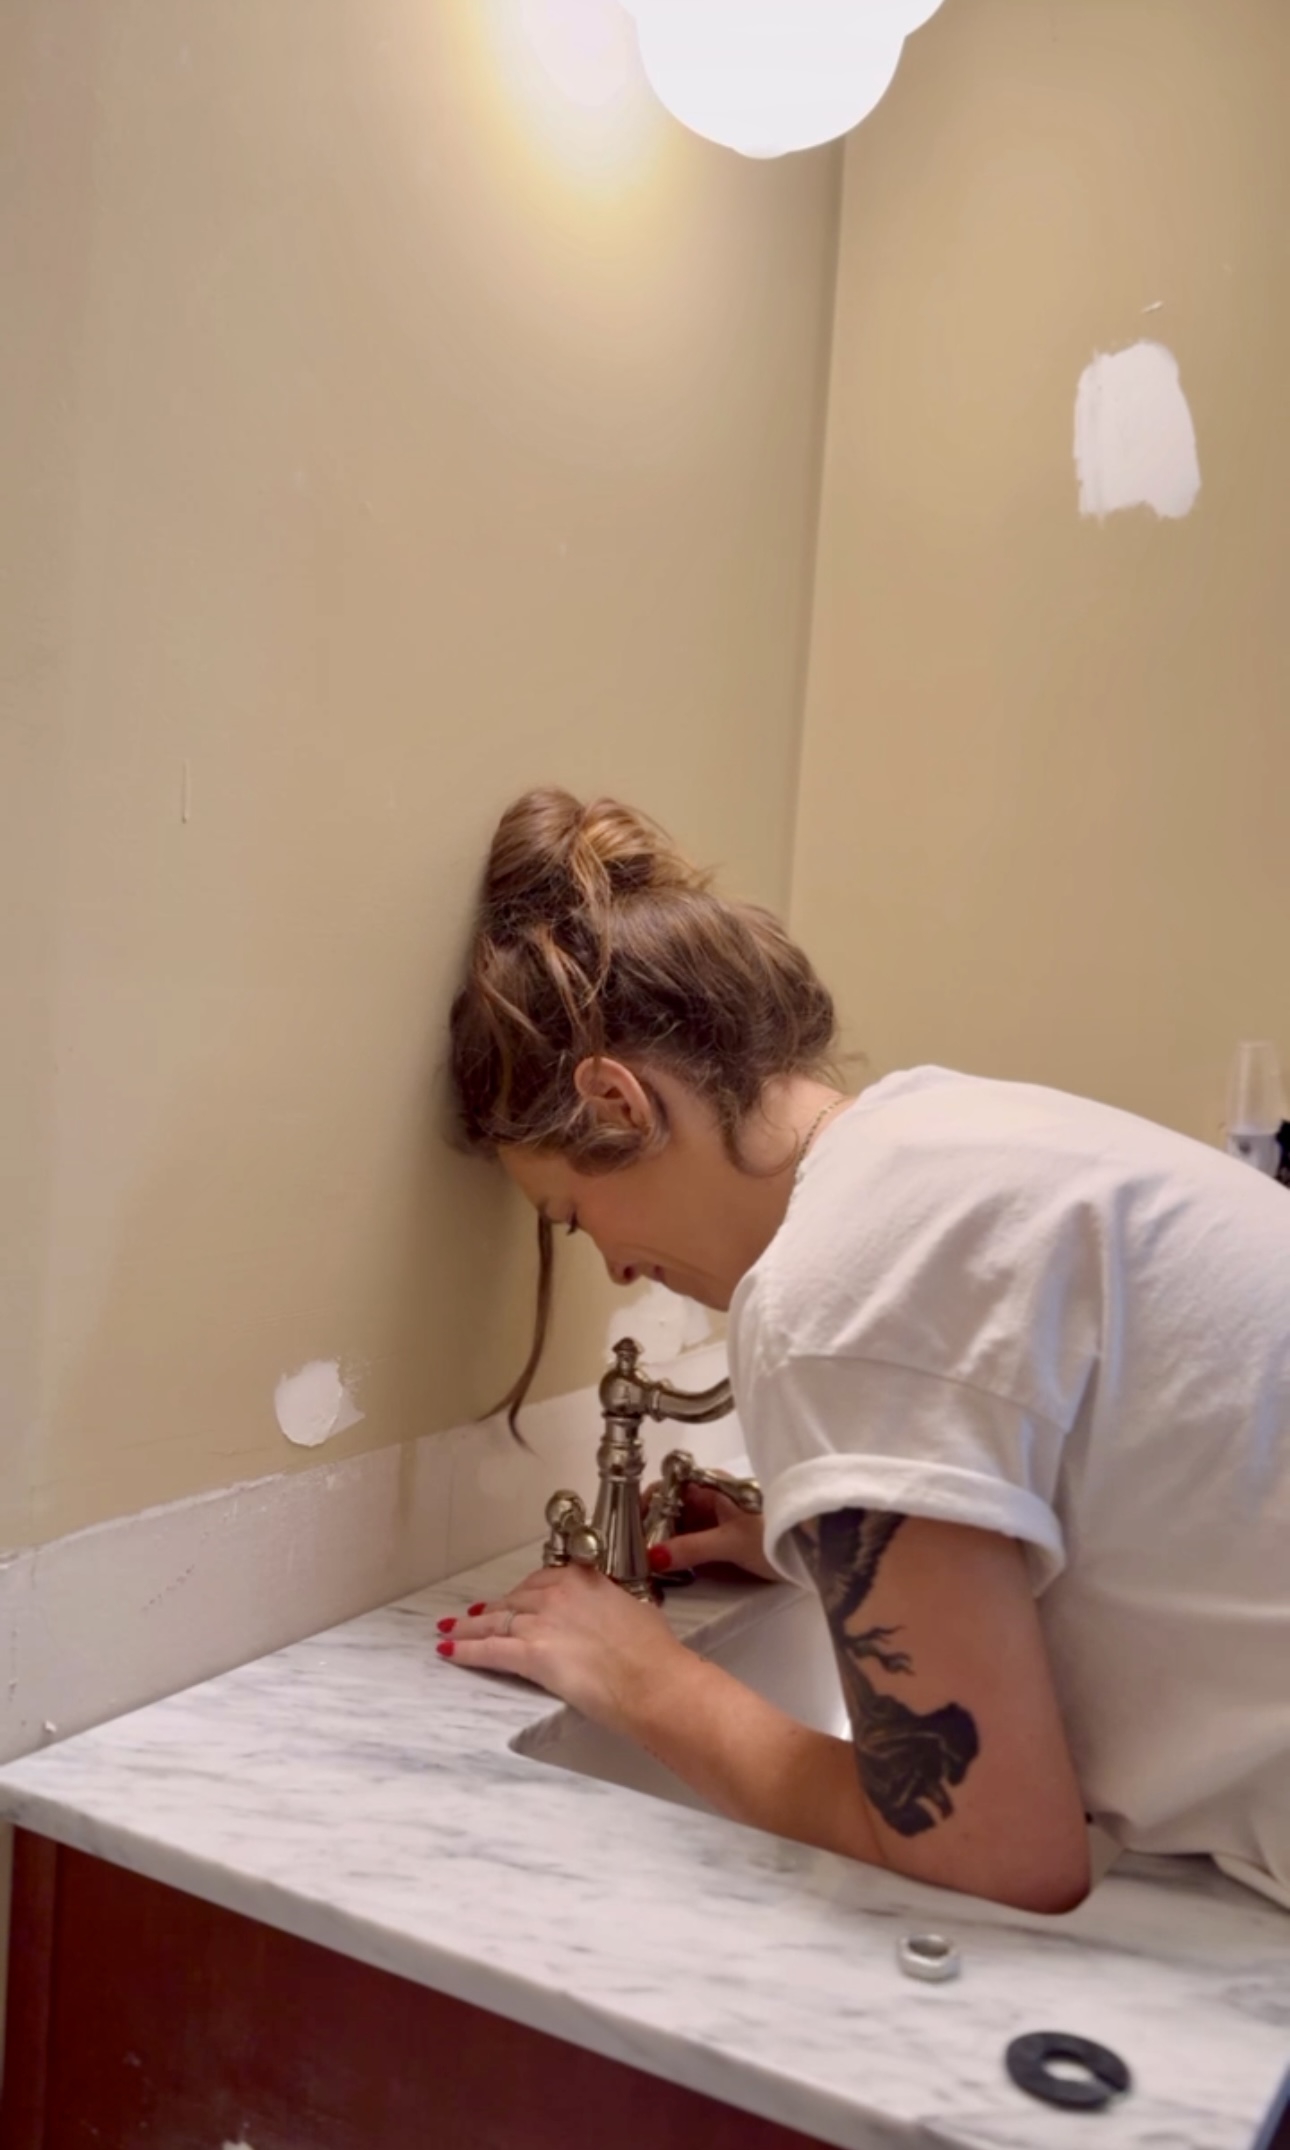
The new sink didn’t line up with the plumbing (DUH CASS) and the faucet didn’t fit the sink holes.🫠 BUT I got the marble top on so that was a win!
Plumbing
As I discovered, the new sink drain sat a couple of inches back AND lower than the old one. So, I came to the conclusion that I just needed to remove the old plumbing and start over.
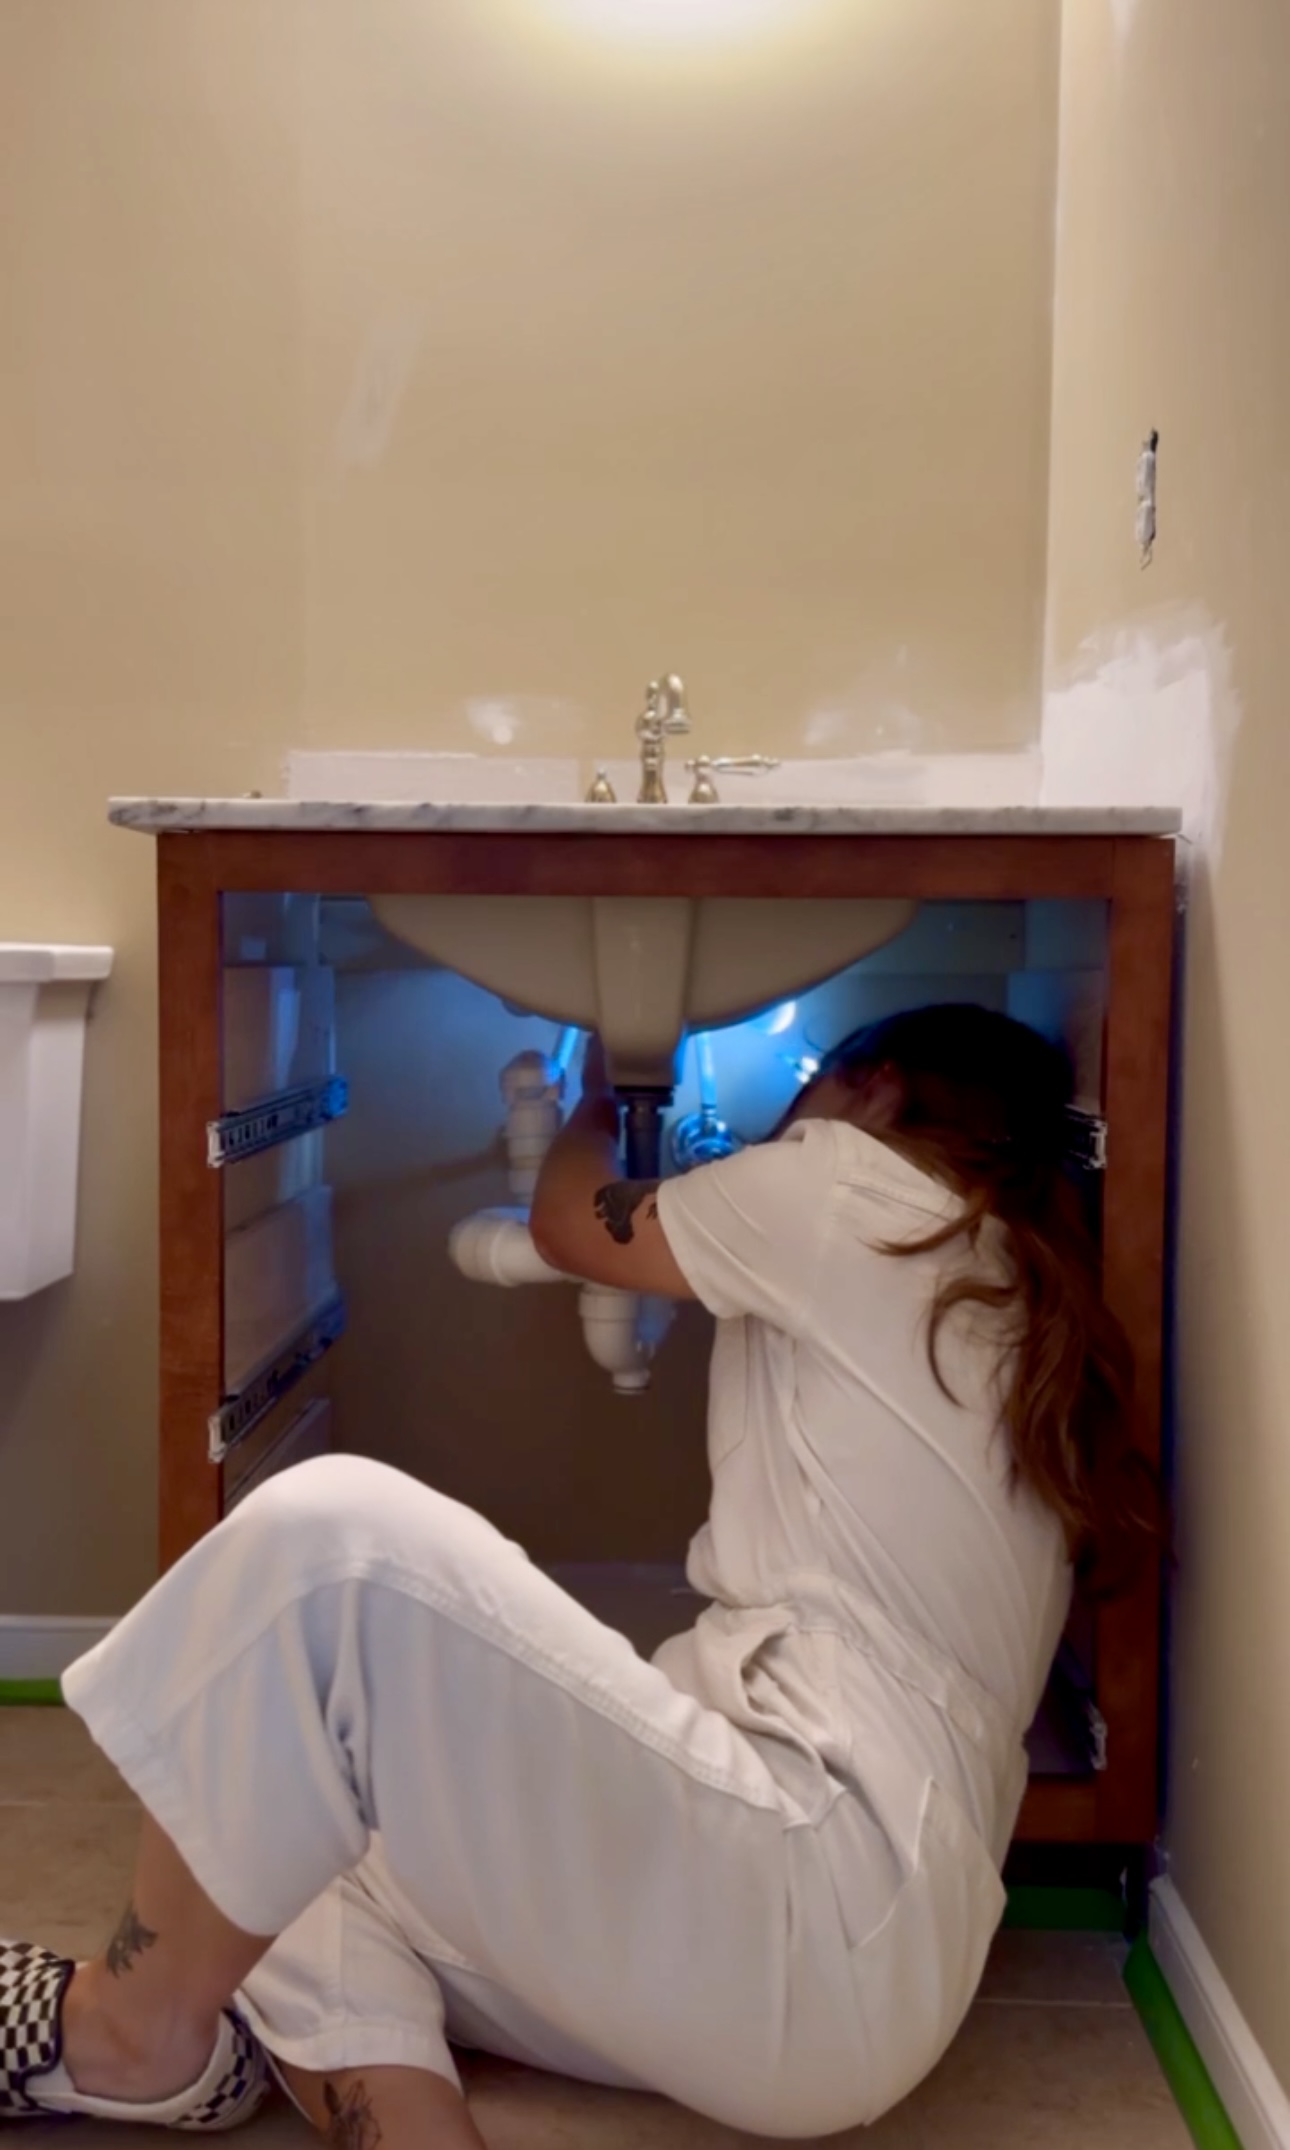
It was a bit chaotic but I got it straight and the water worked!
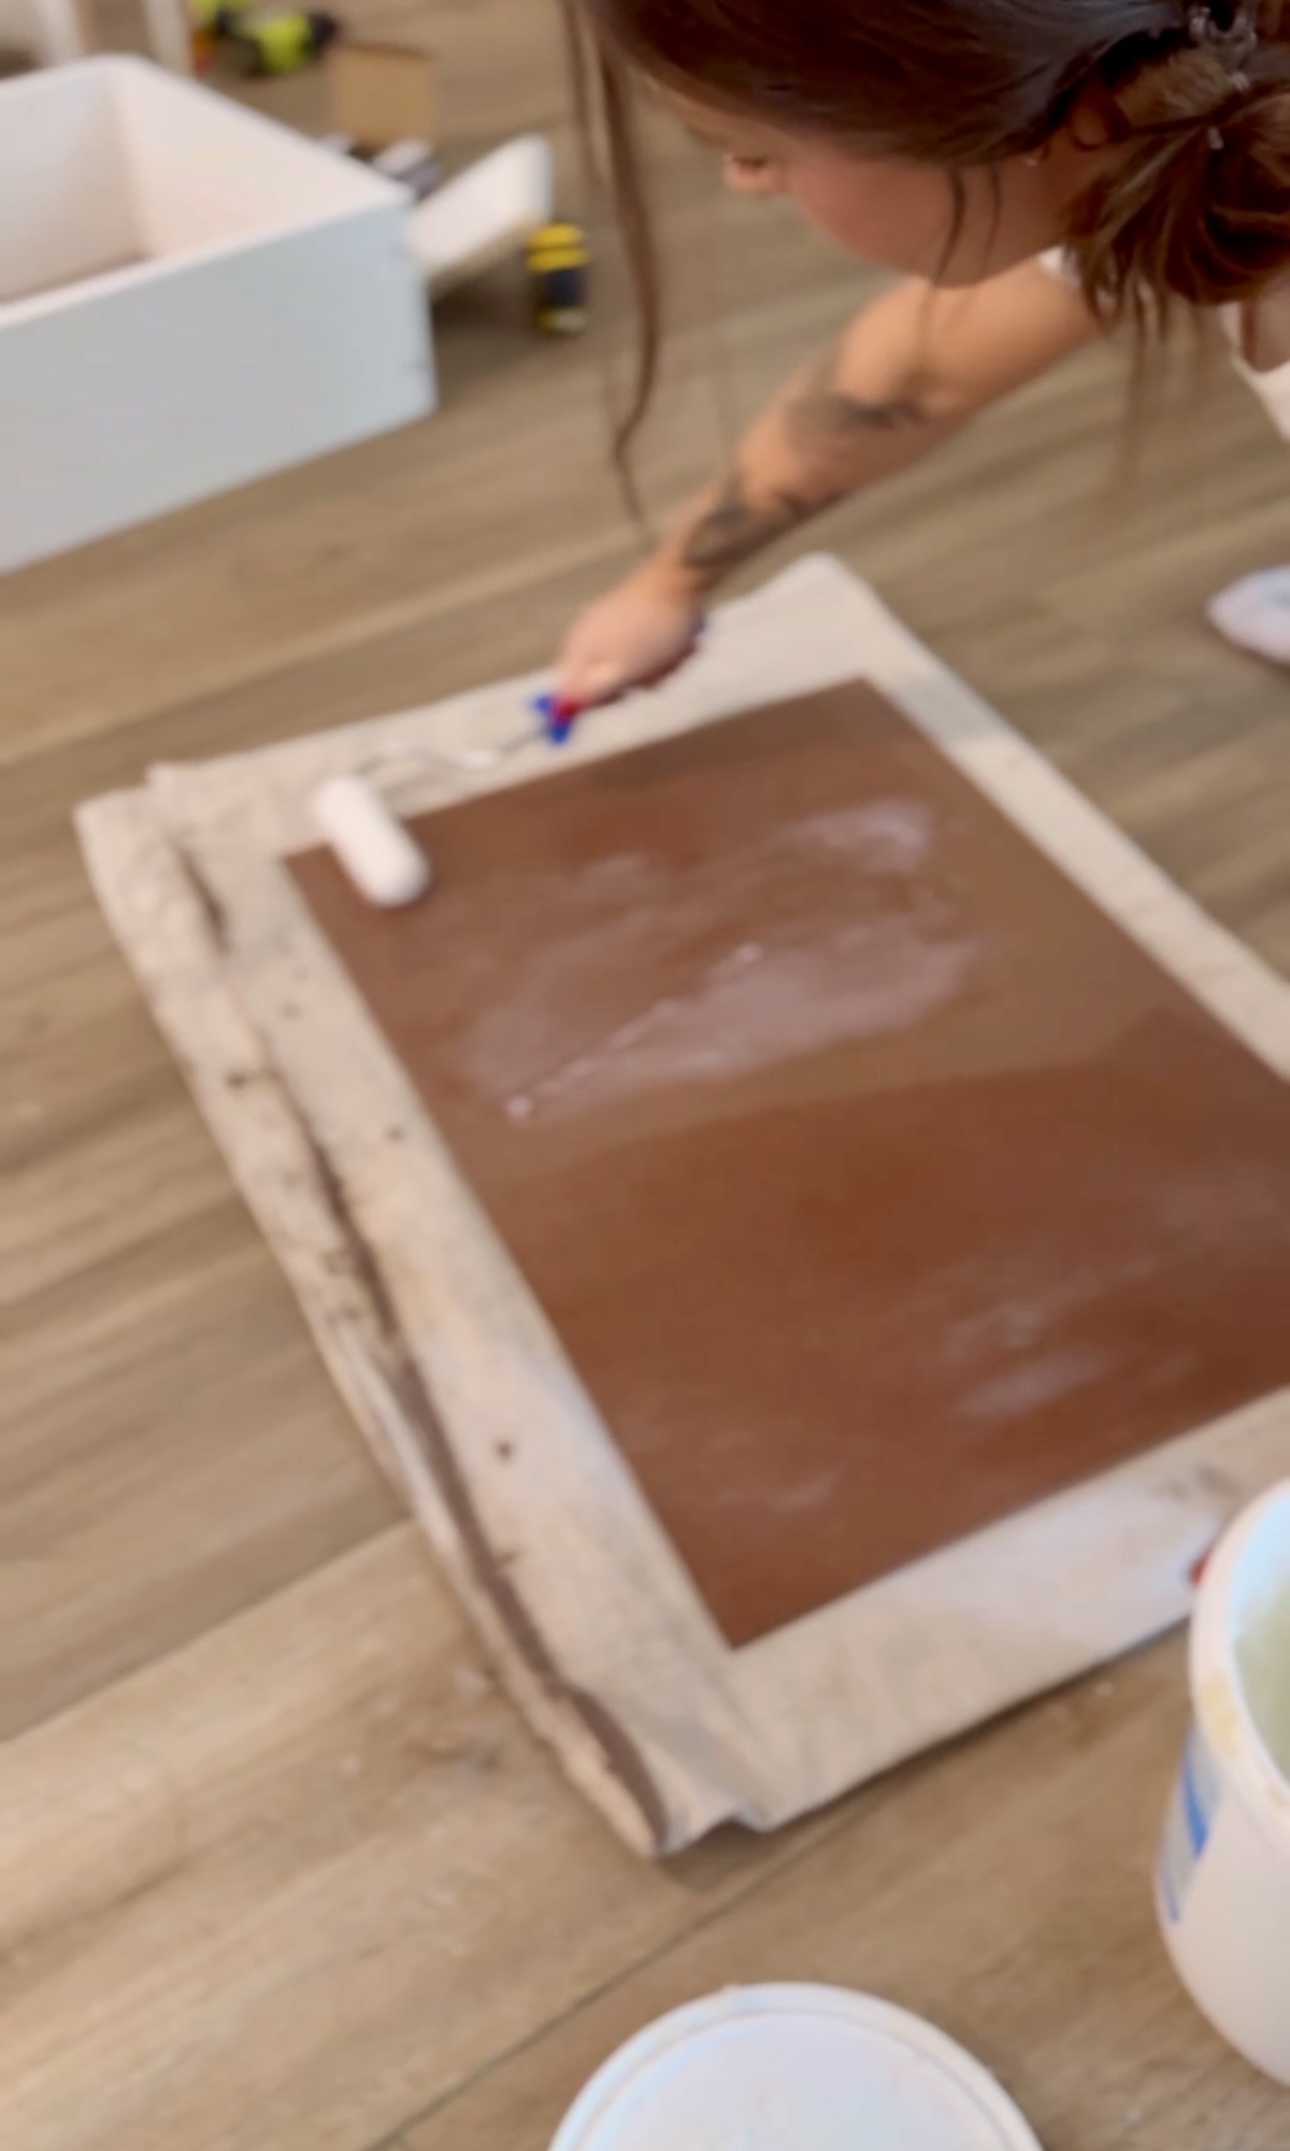
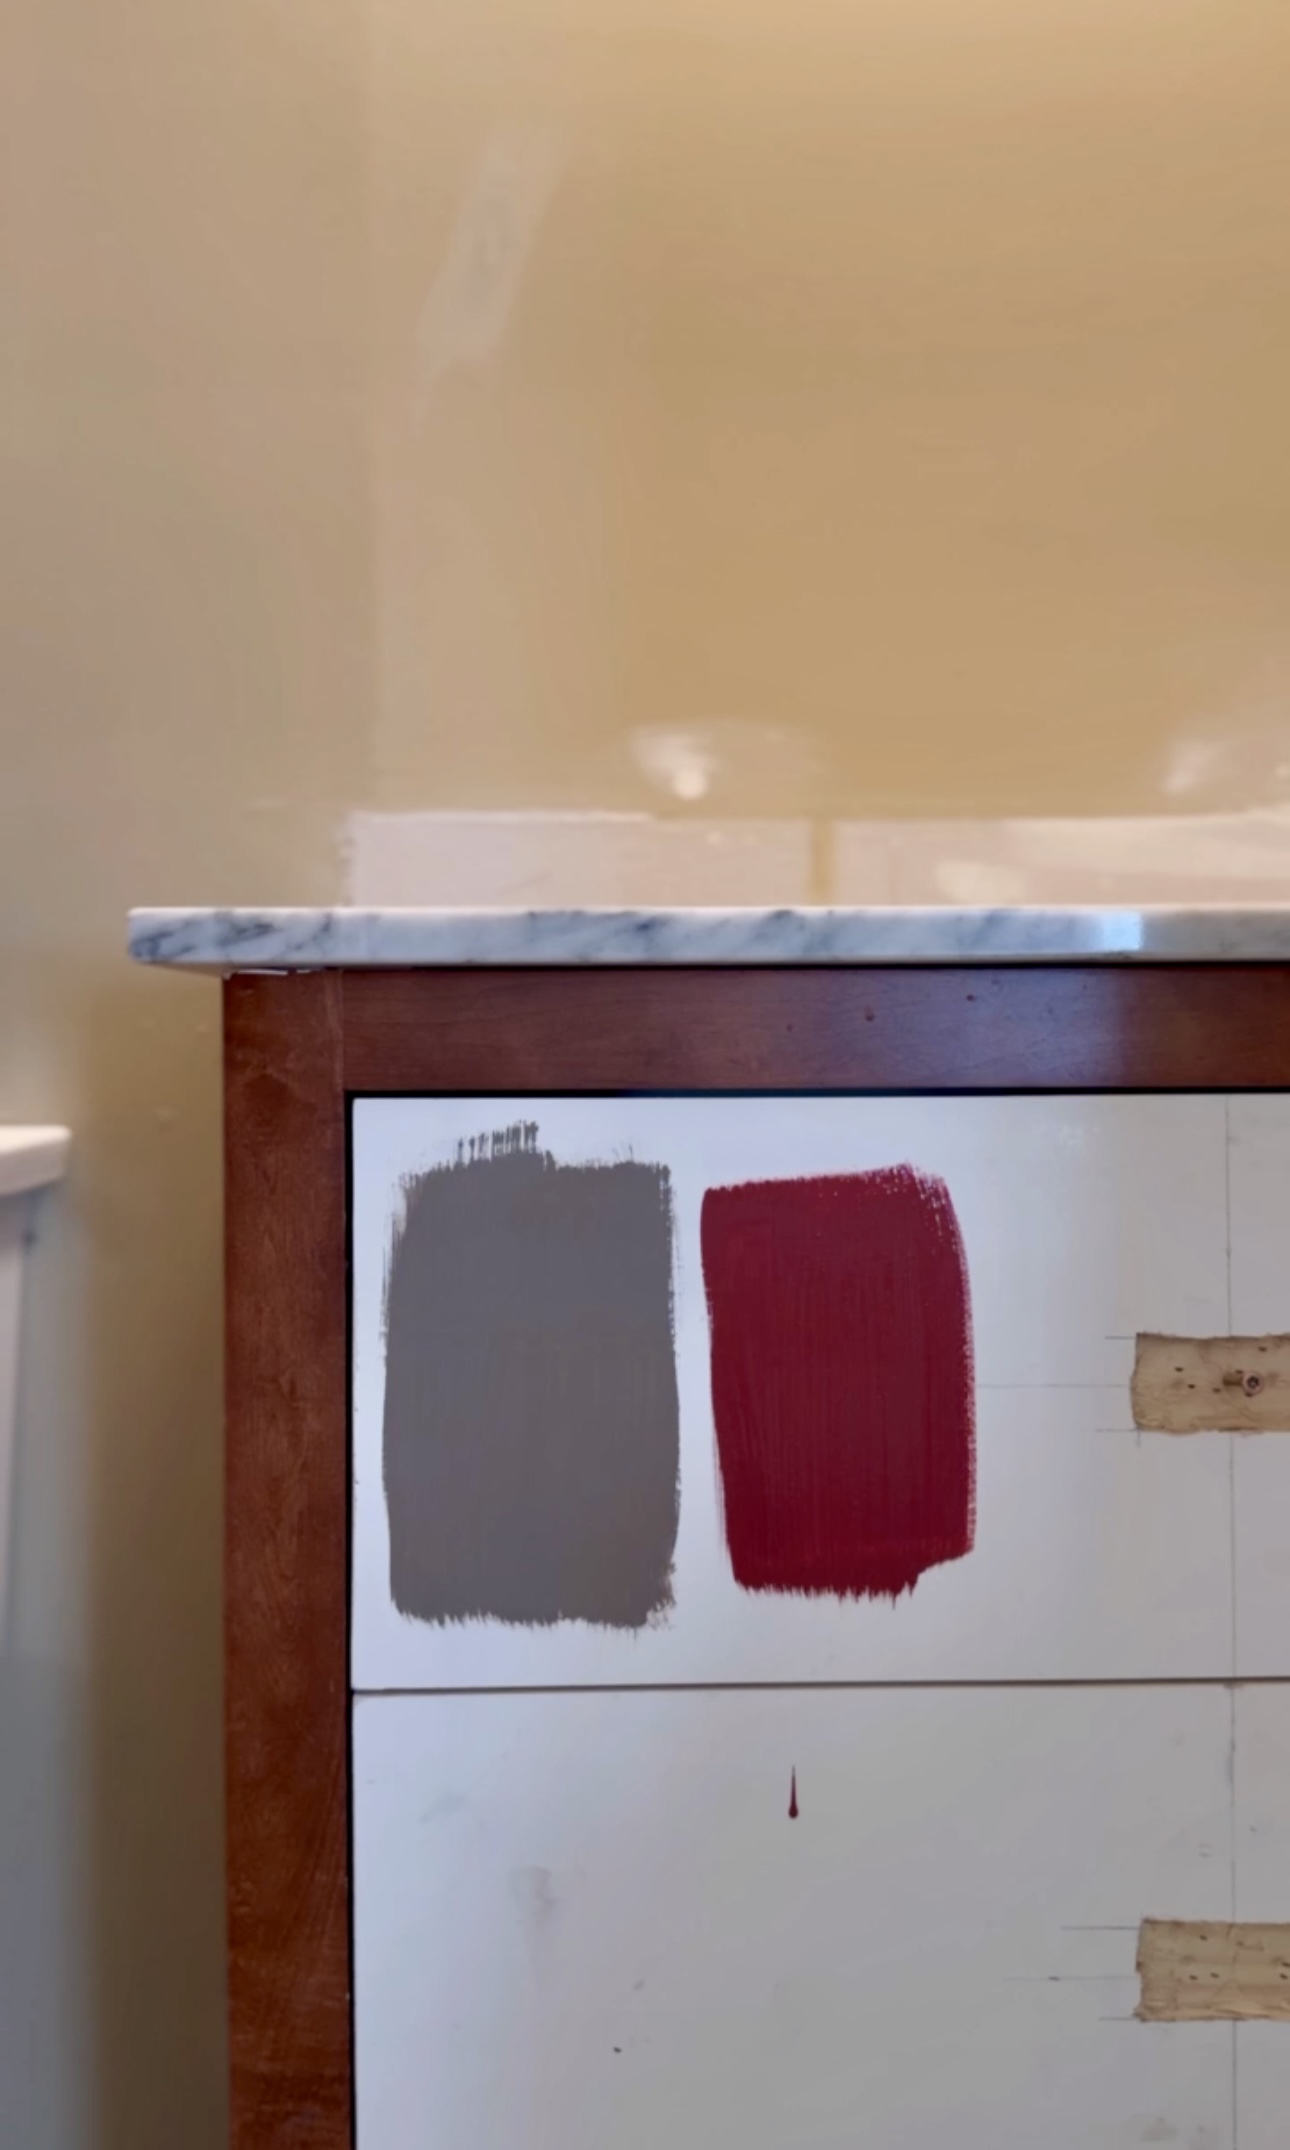
Paint
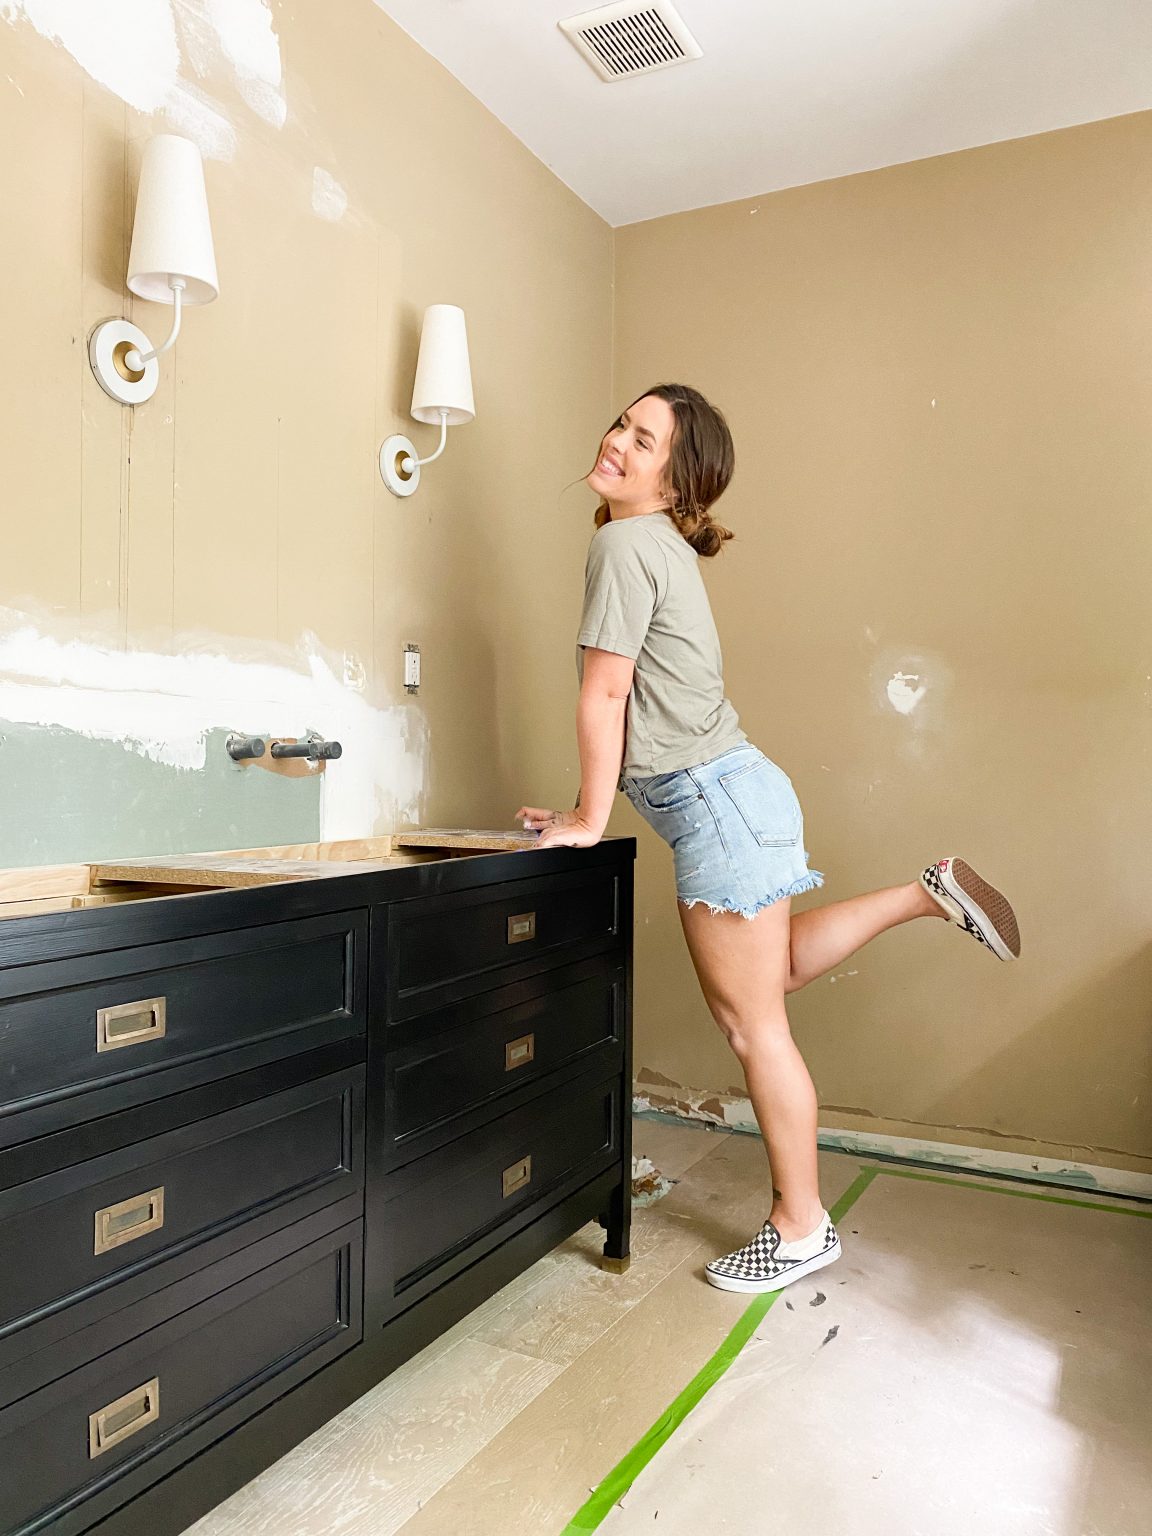
I was planning to paint the vanity this deep, mushroom-y color. BUT I am SO obsessed with the red wall color (Rumors by Behr). So I thought I might color drench on the vanity?
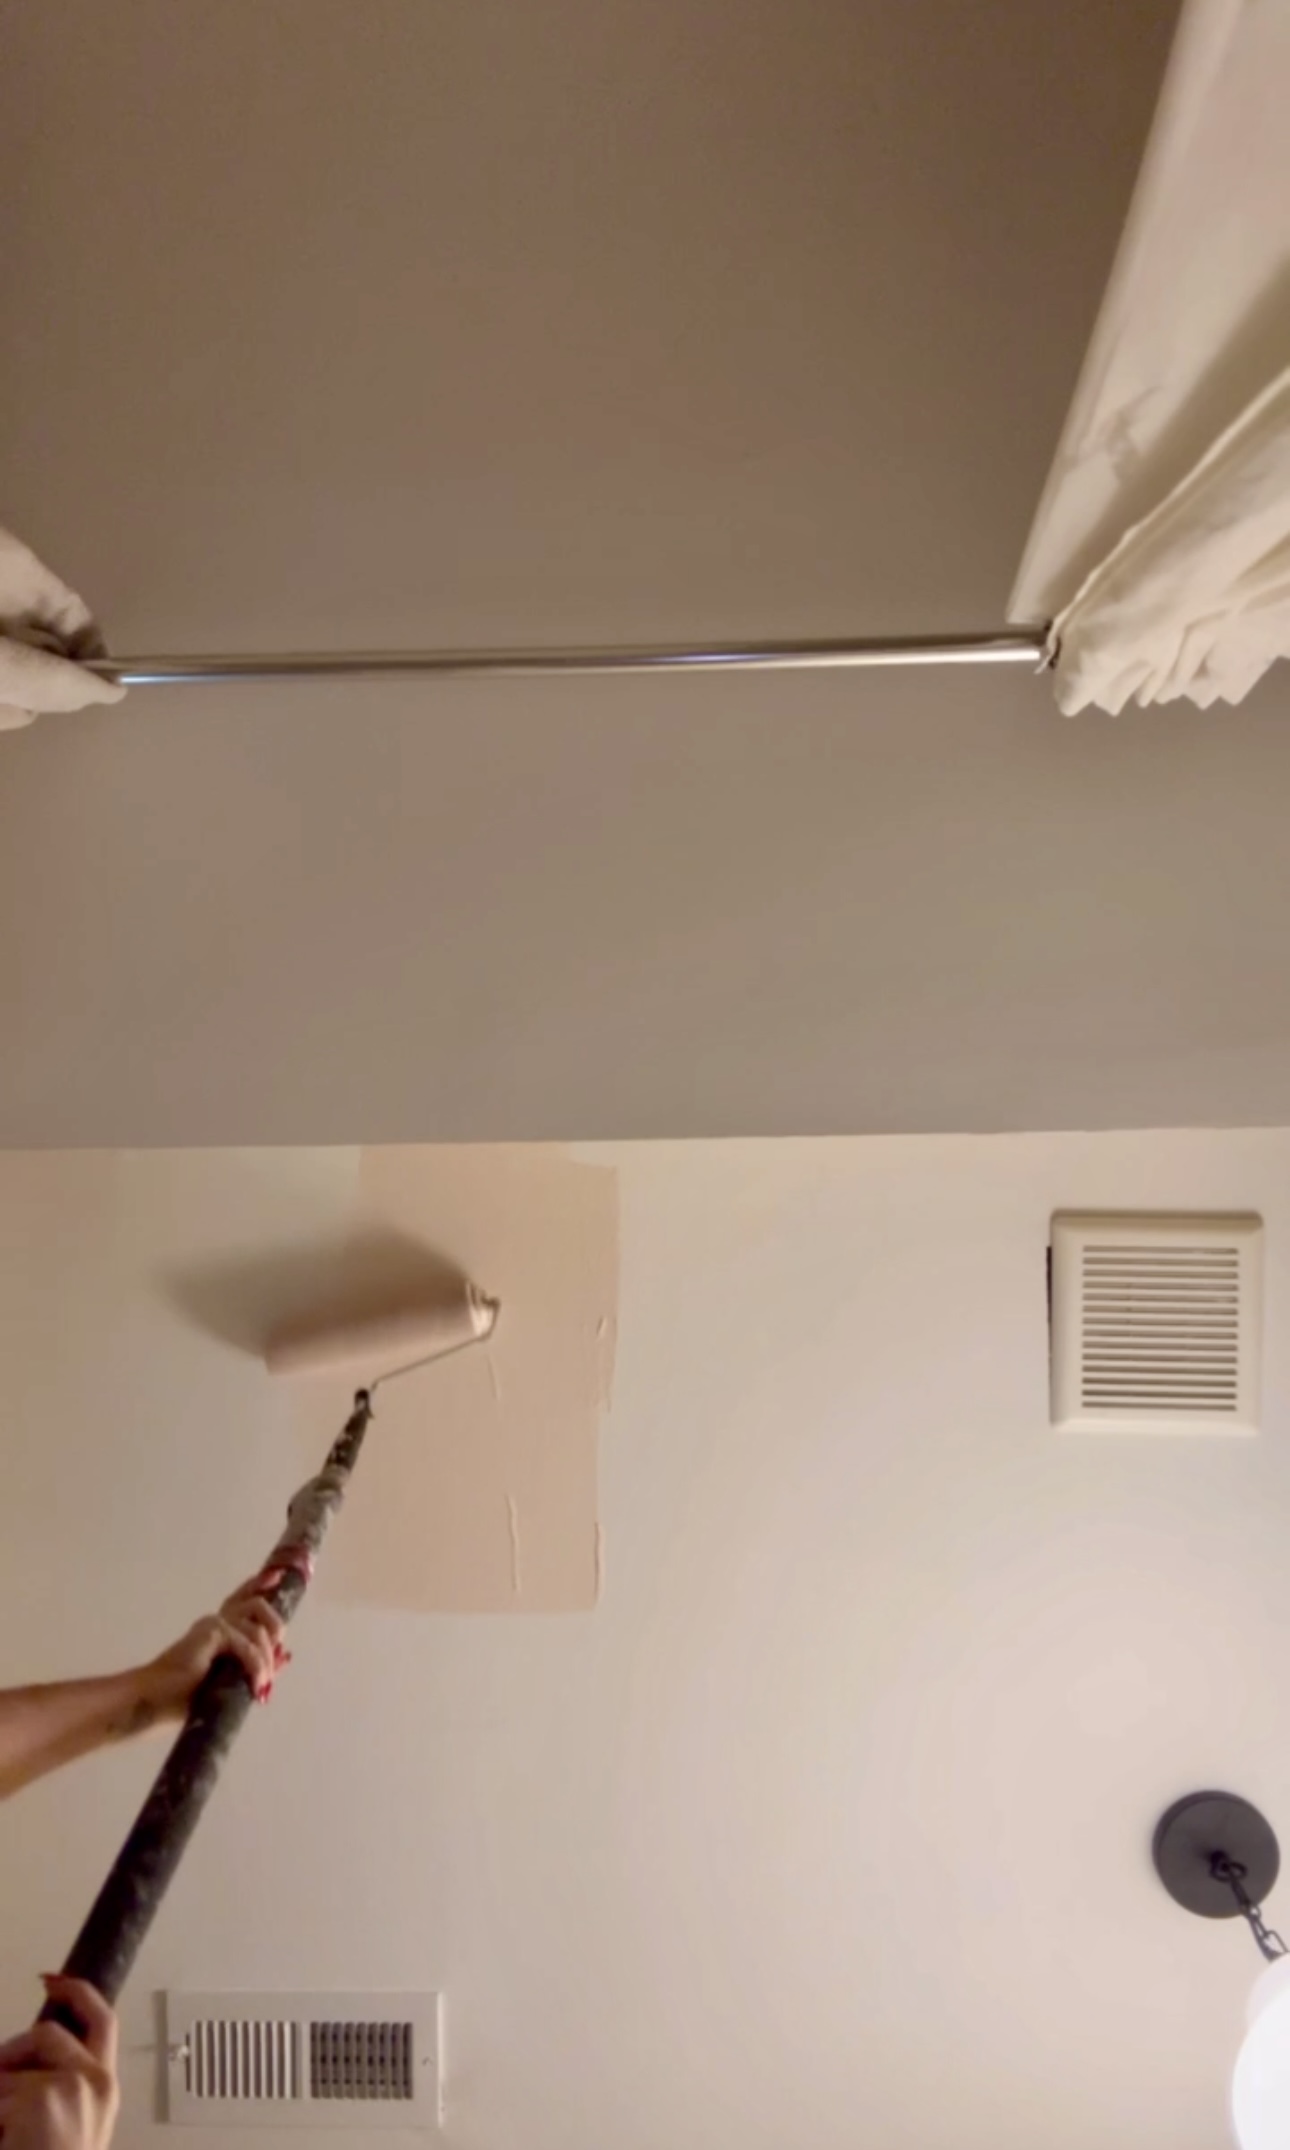
I also decided to paint the ceiling in here with Nutmeg Frost by Behr. It’ll look great against the red!
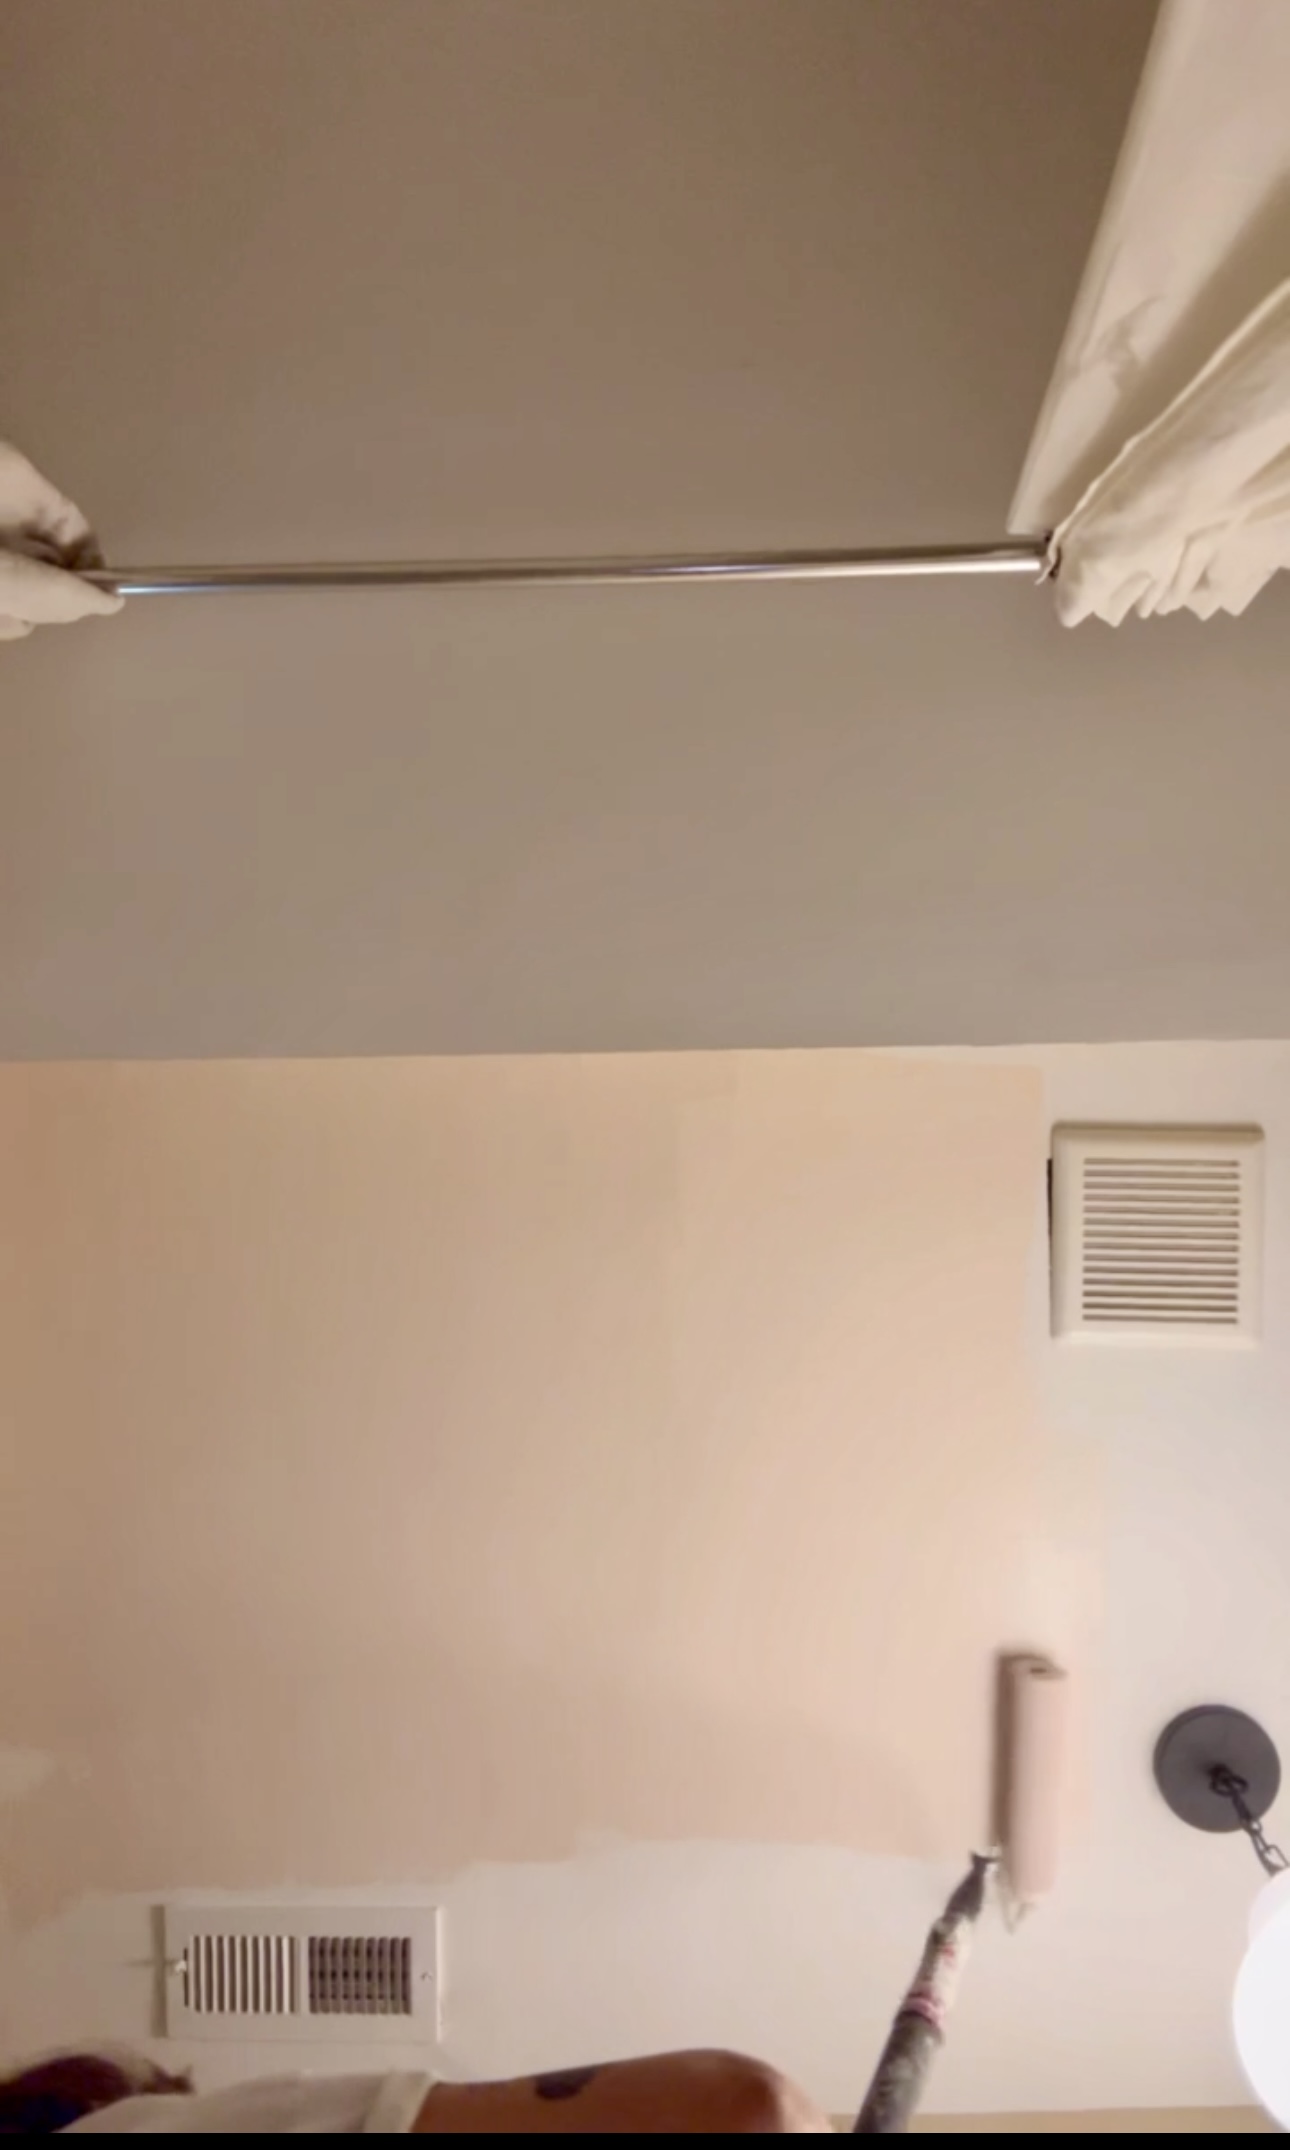
Looking good in here!
Stay tuned in my stories this week as I finish up this vanity and paint the tile floor in here!
– Cass
Materials for my vanity makeover:
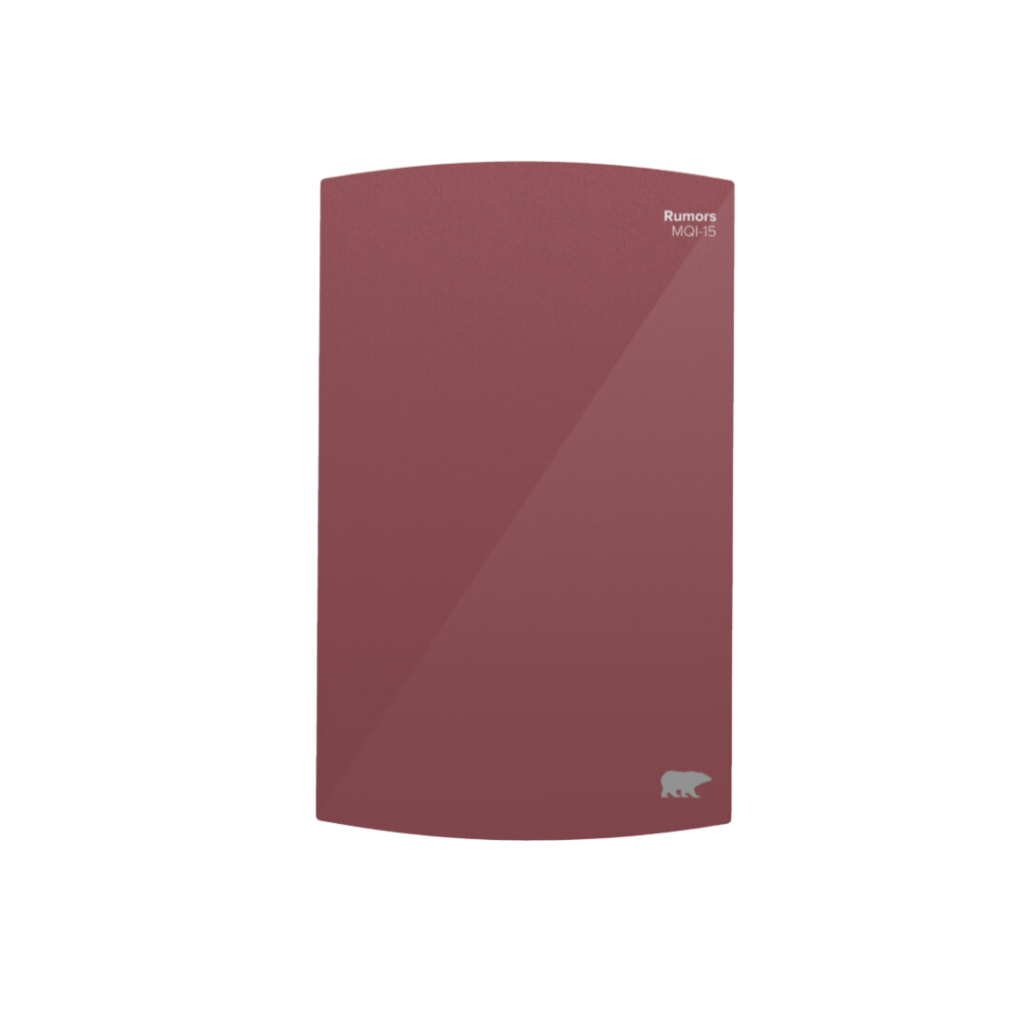


- Rumors by Behr
- Nutmeg Frost by Behr
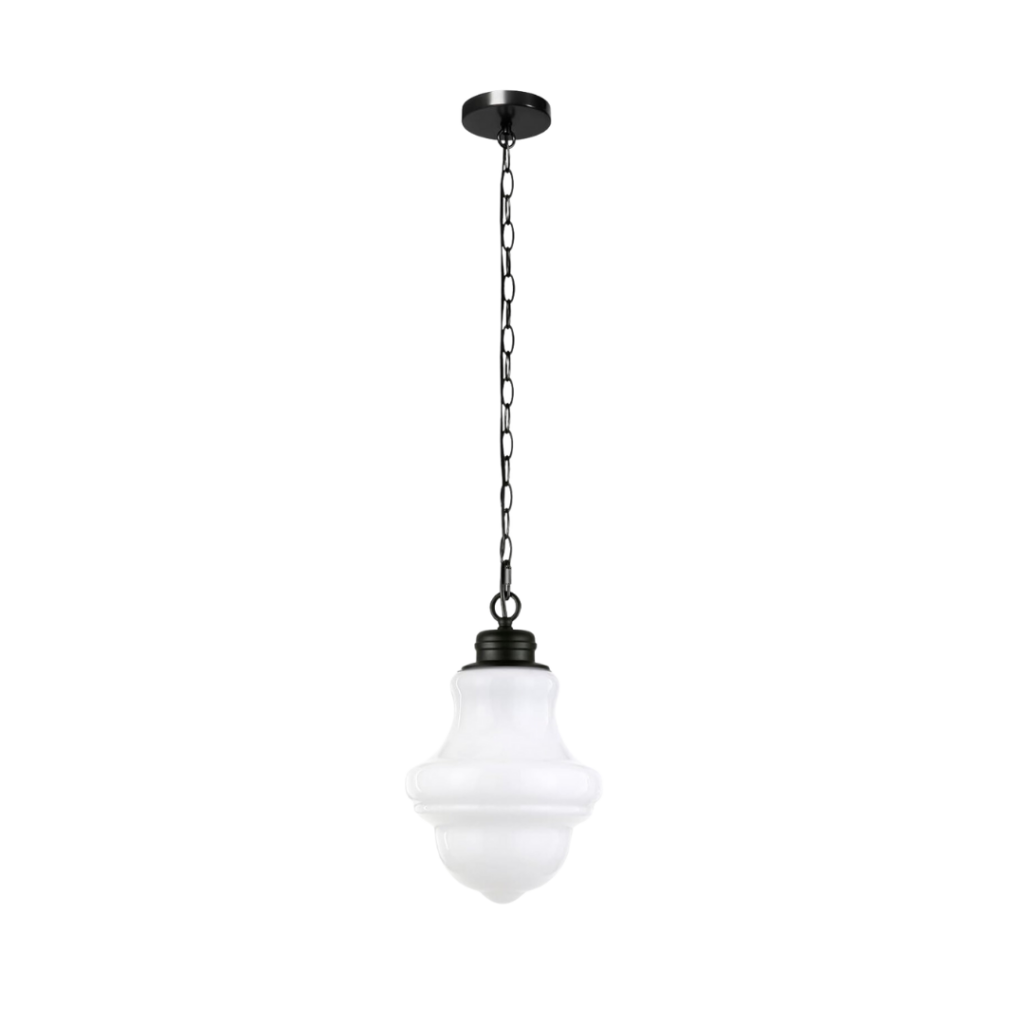
- Pendant Light
- Marble Vanity Top
- Drill
- Forstner Bit
- Wood Glue
- Miter Saw
- Table Saw
- Drawer Slides
- Drawer Pulls
- Jigsaw
Everything I wore in my stories this week!