DIY Console Table

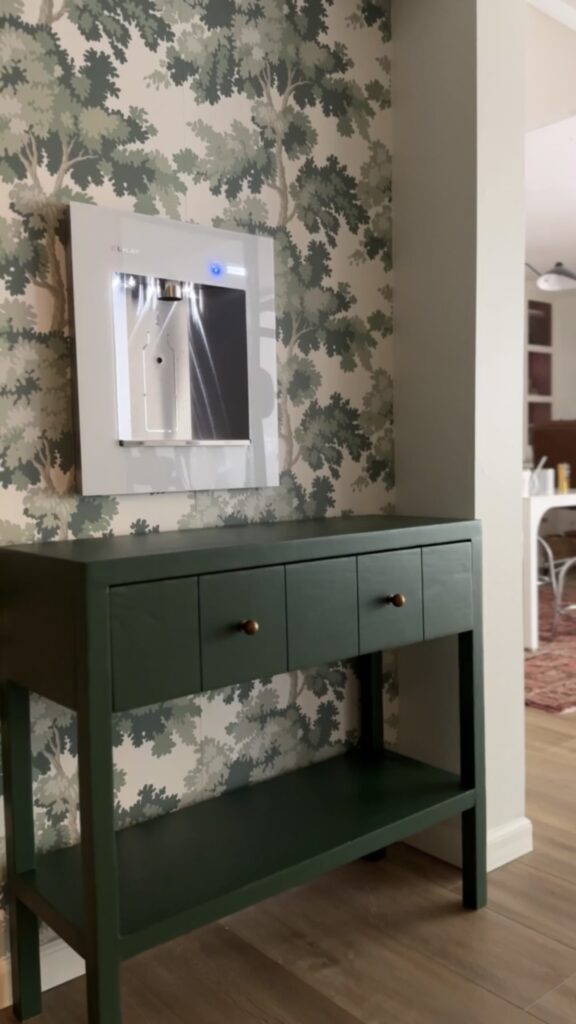
The little area at the bottom of the basement stairs needs a piece of furniture below the Elkay water dispenser. I thought it would be fun to turn it into a drink station. I couldn’t find a piece of furniture I liked on Facebook Marketplace – so I decided to make my own DIY console table!
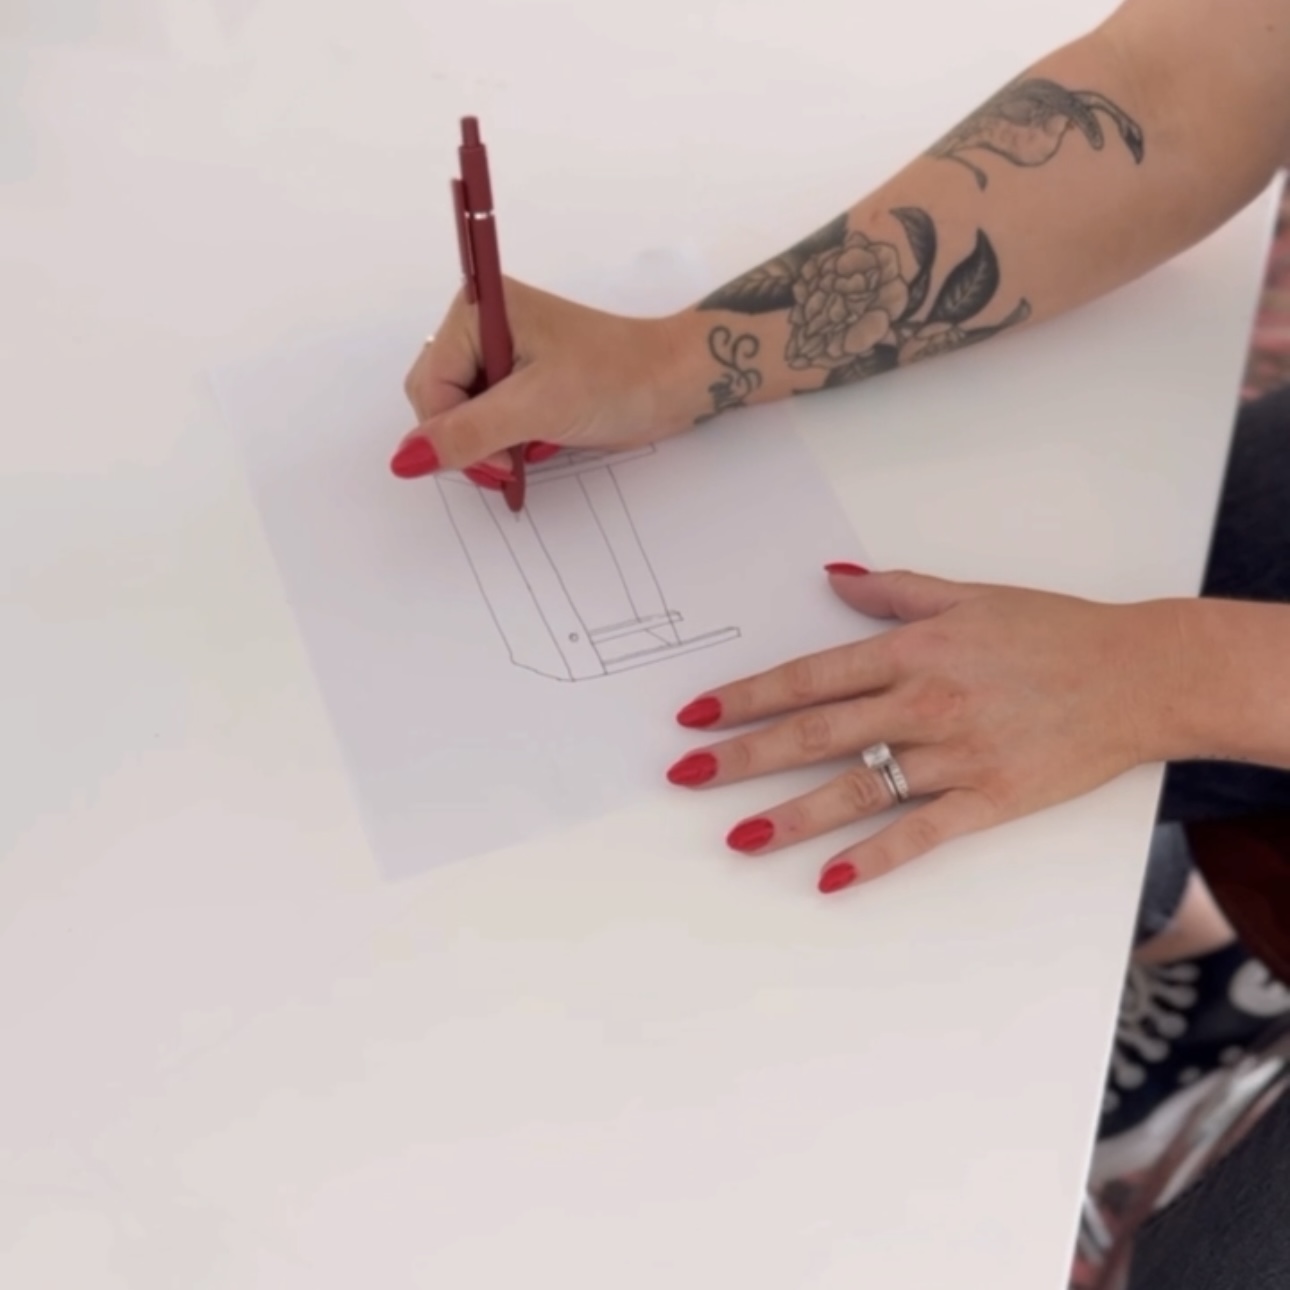
This is very exciting because I haven’t built a piece of furniture in a long time! I need something more narrow and modern for this drink station. I’ve got some inspiration in my head, I just need to sketch it out and make it come to life! Here’s my rough sketch of what I’m thinking.
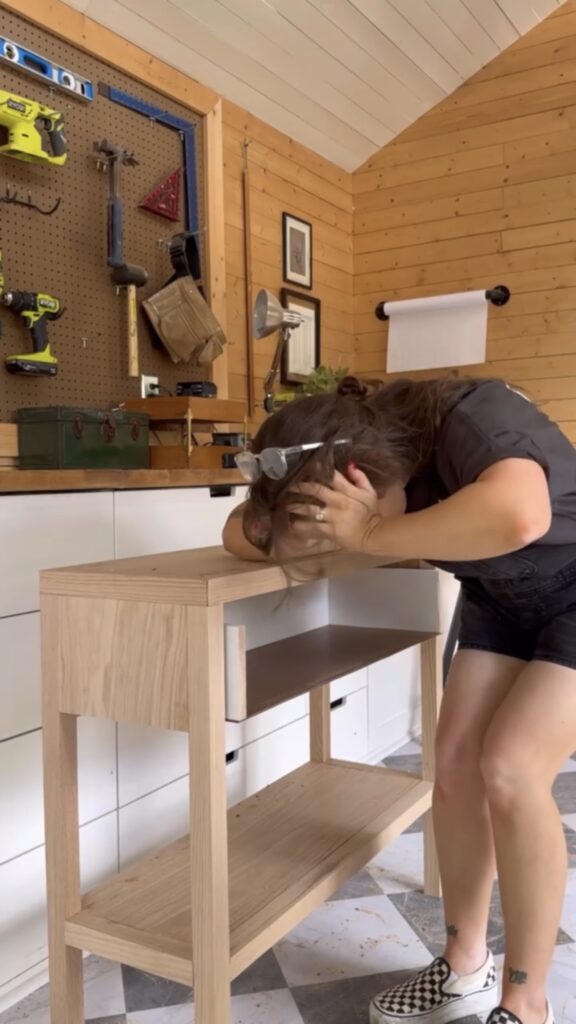
If you’ve been following along in my stories, you know this console table is cursed and made me lose my mind.
Here are the supplies I used for this DIY Console Table:
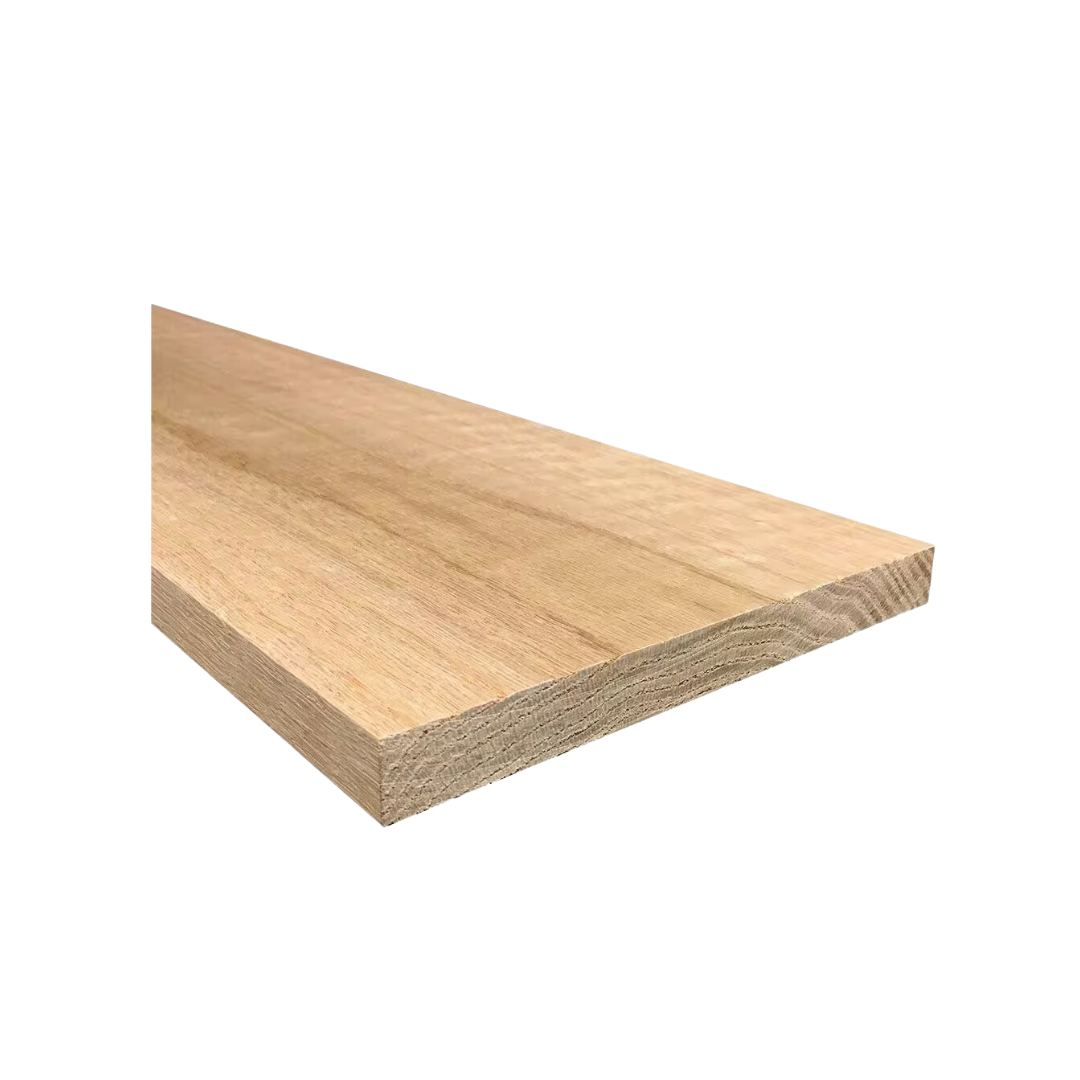
- Poplar (this is what I started with)
- Red Oak (this is what I ended up with 😂)
- Brass Knobs
- 1.5 x 1.5 pieces
- 1 long 8 inch board
- Miter Saw
- Wood Glue
- Brad Nailer
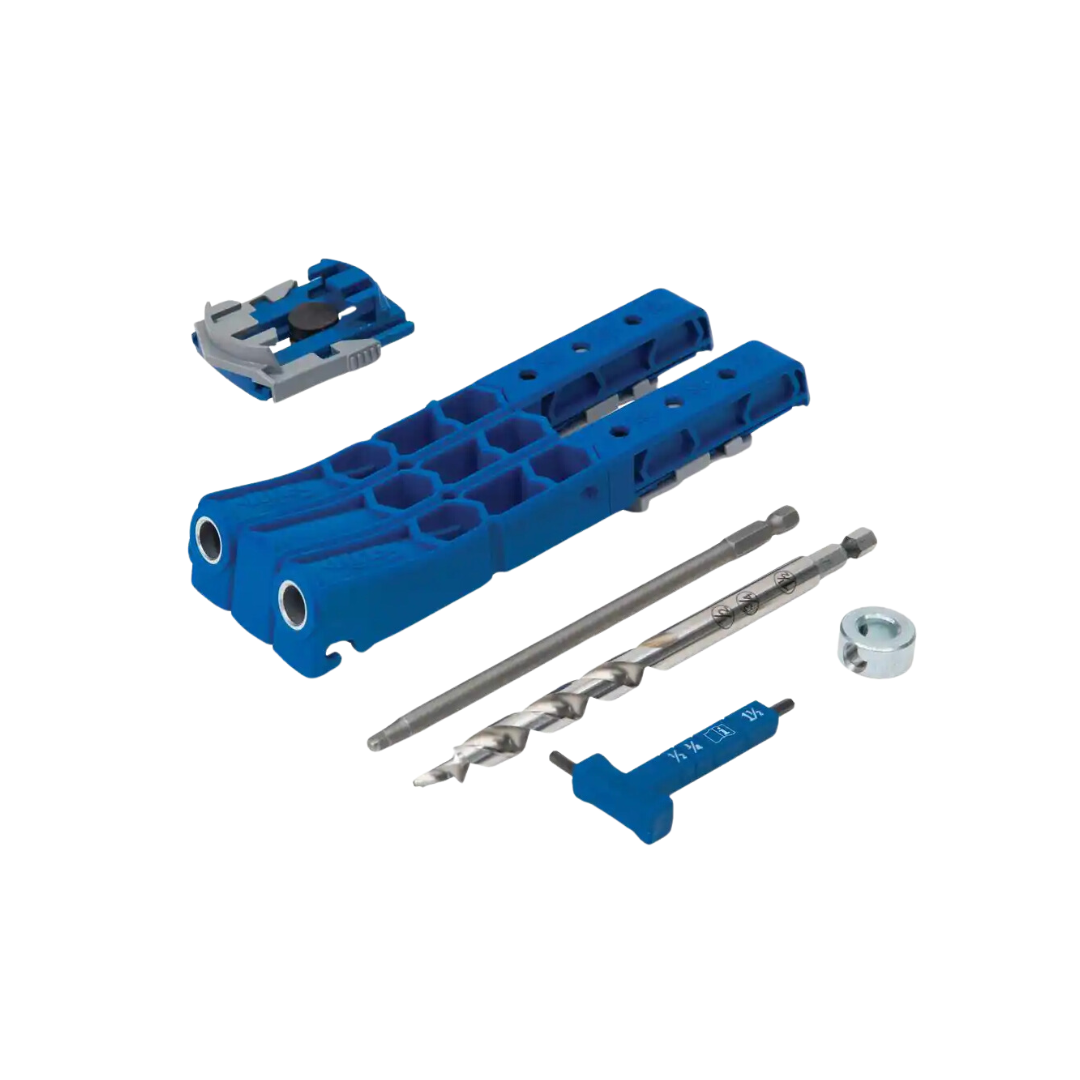
- Pocket Hole Jig
- Drawer Slides
- Drill
- Mouse Sander
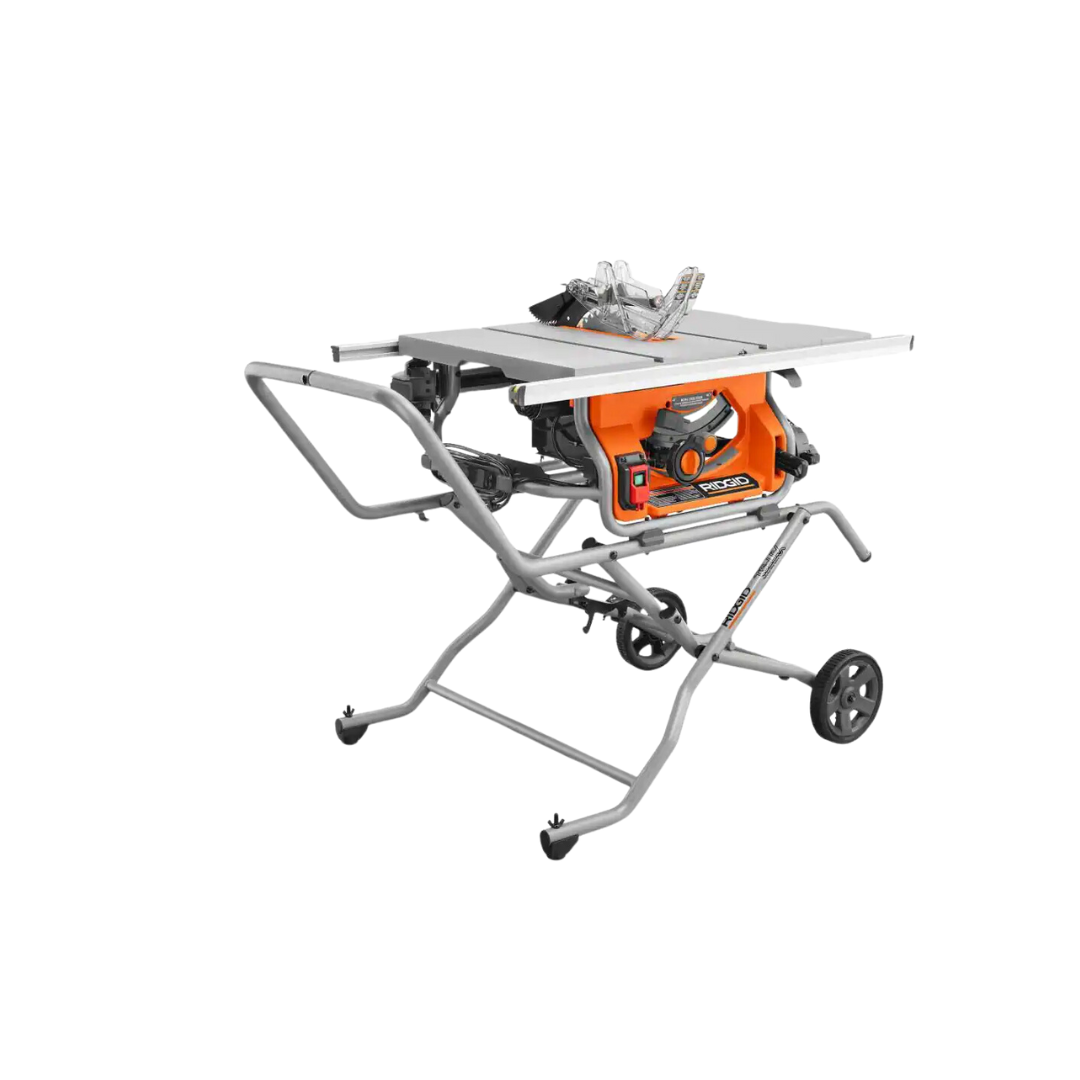
- Table Saw
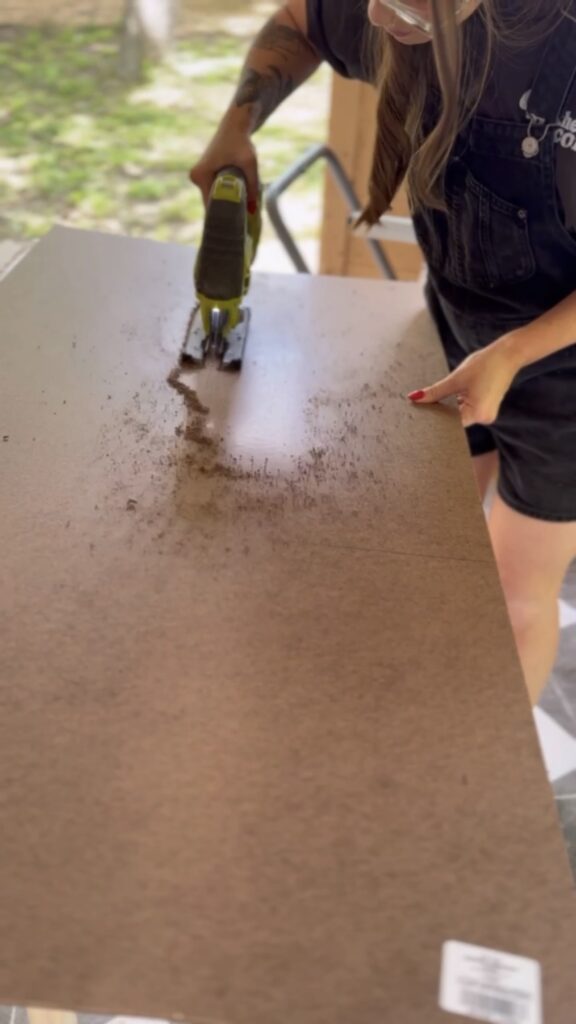
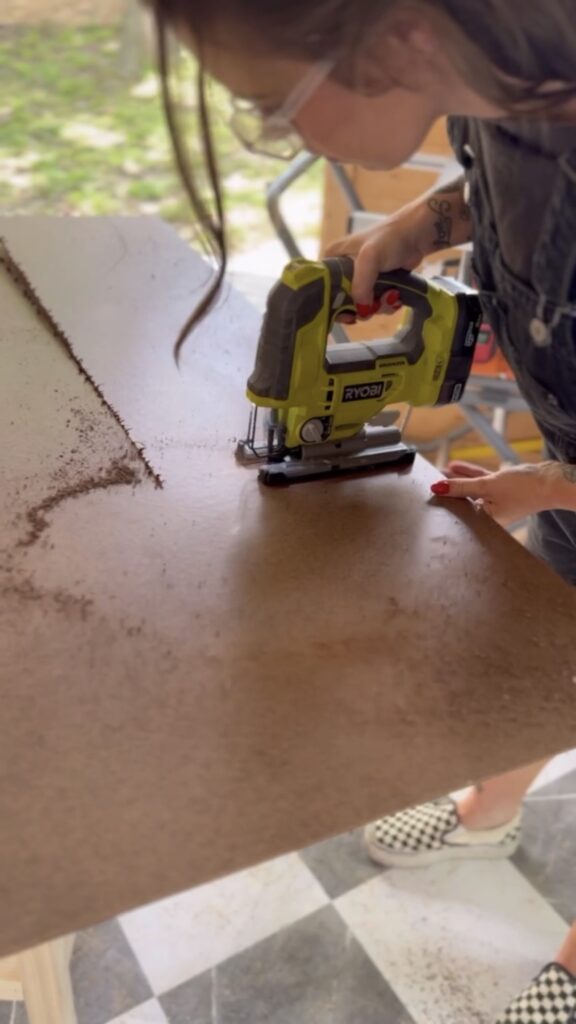
- Jigsaw
- Clamps


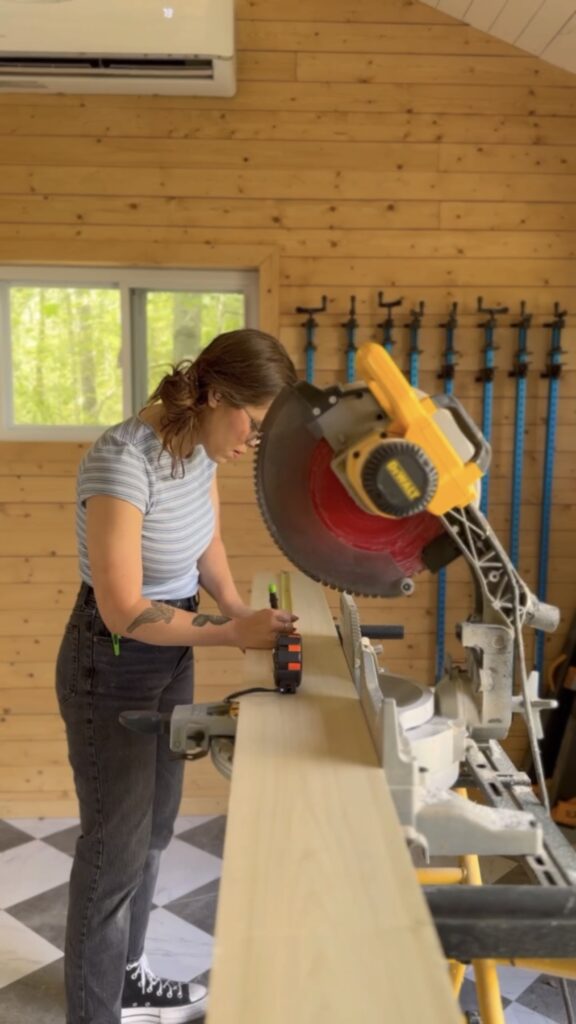
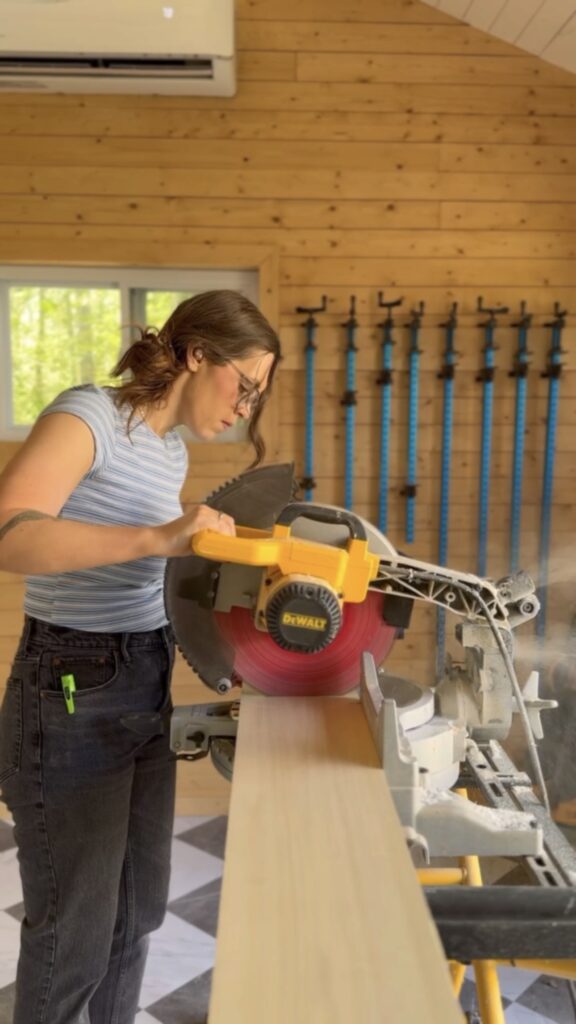
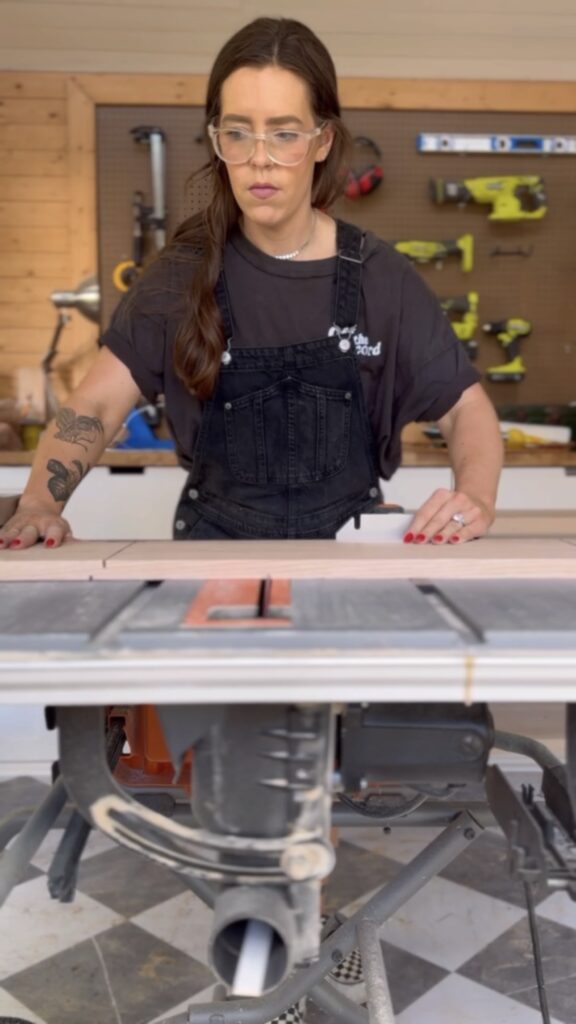
I started by making all my cuts on my miter saw.
Assembly
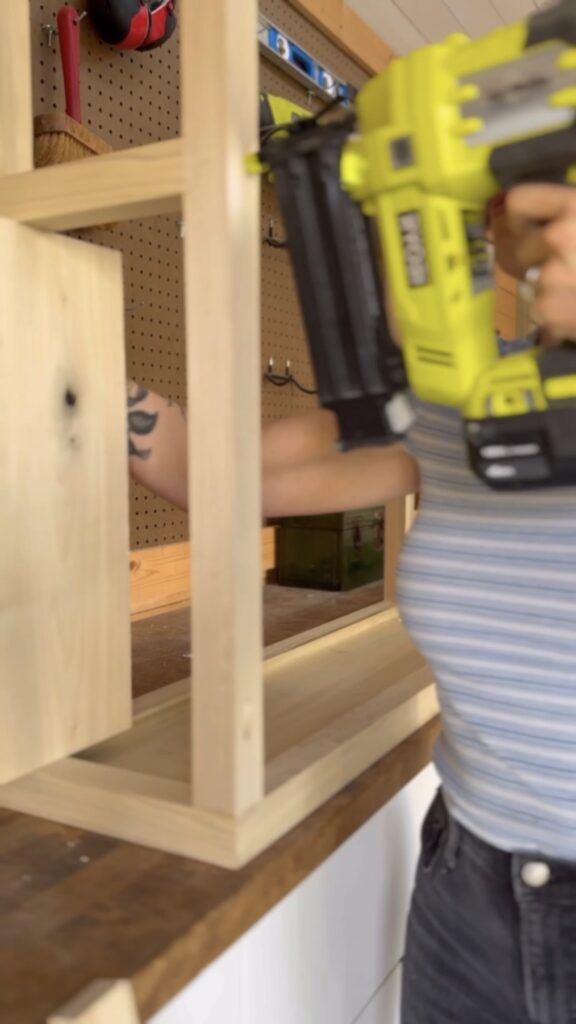
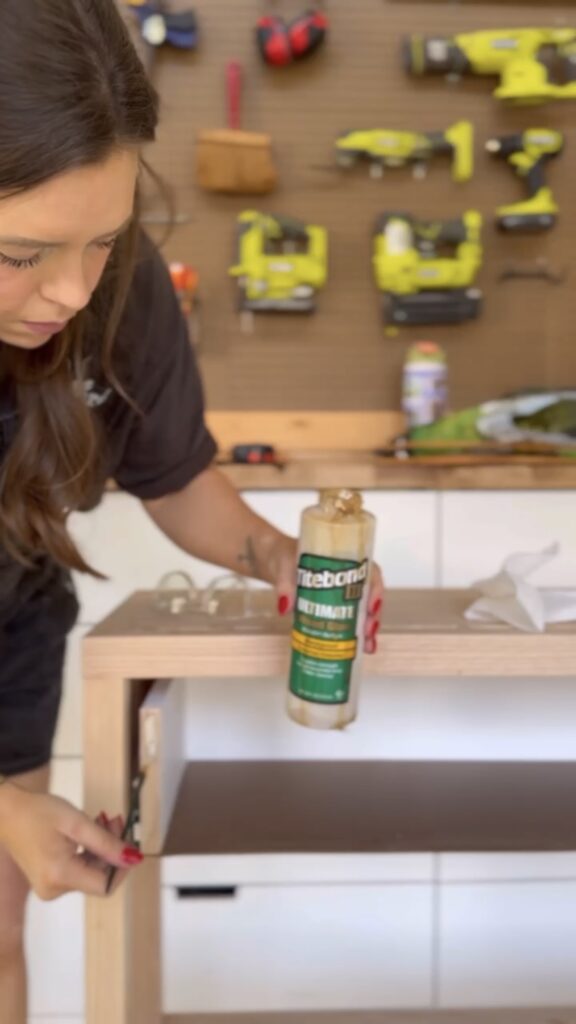
Next, I used wood glue and brad nails for the top of the table and the side framing pieces. I clamped it so the wood glue could dry.
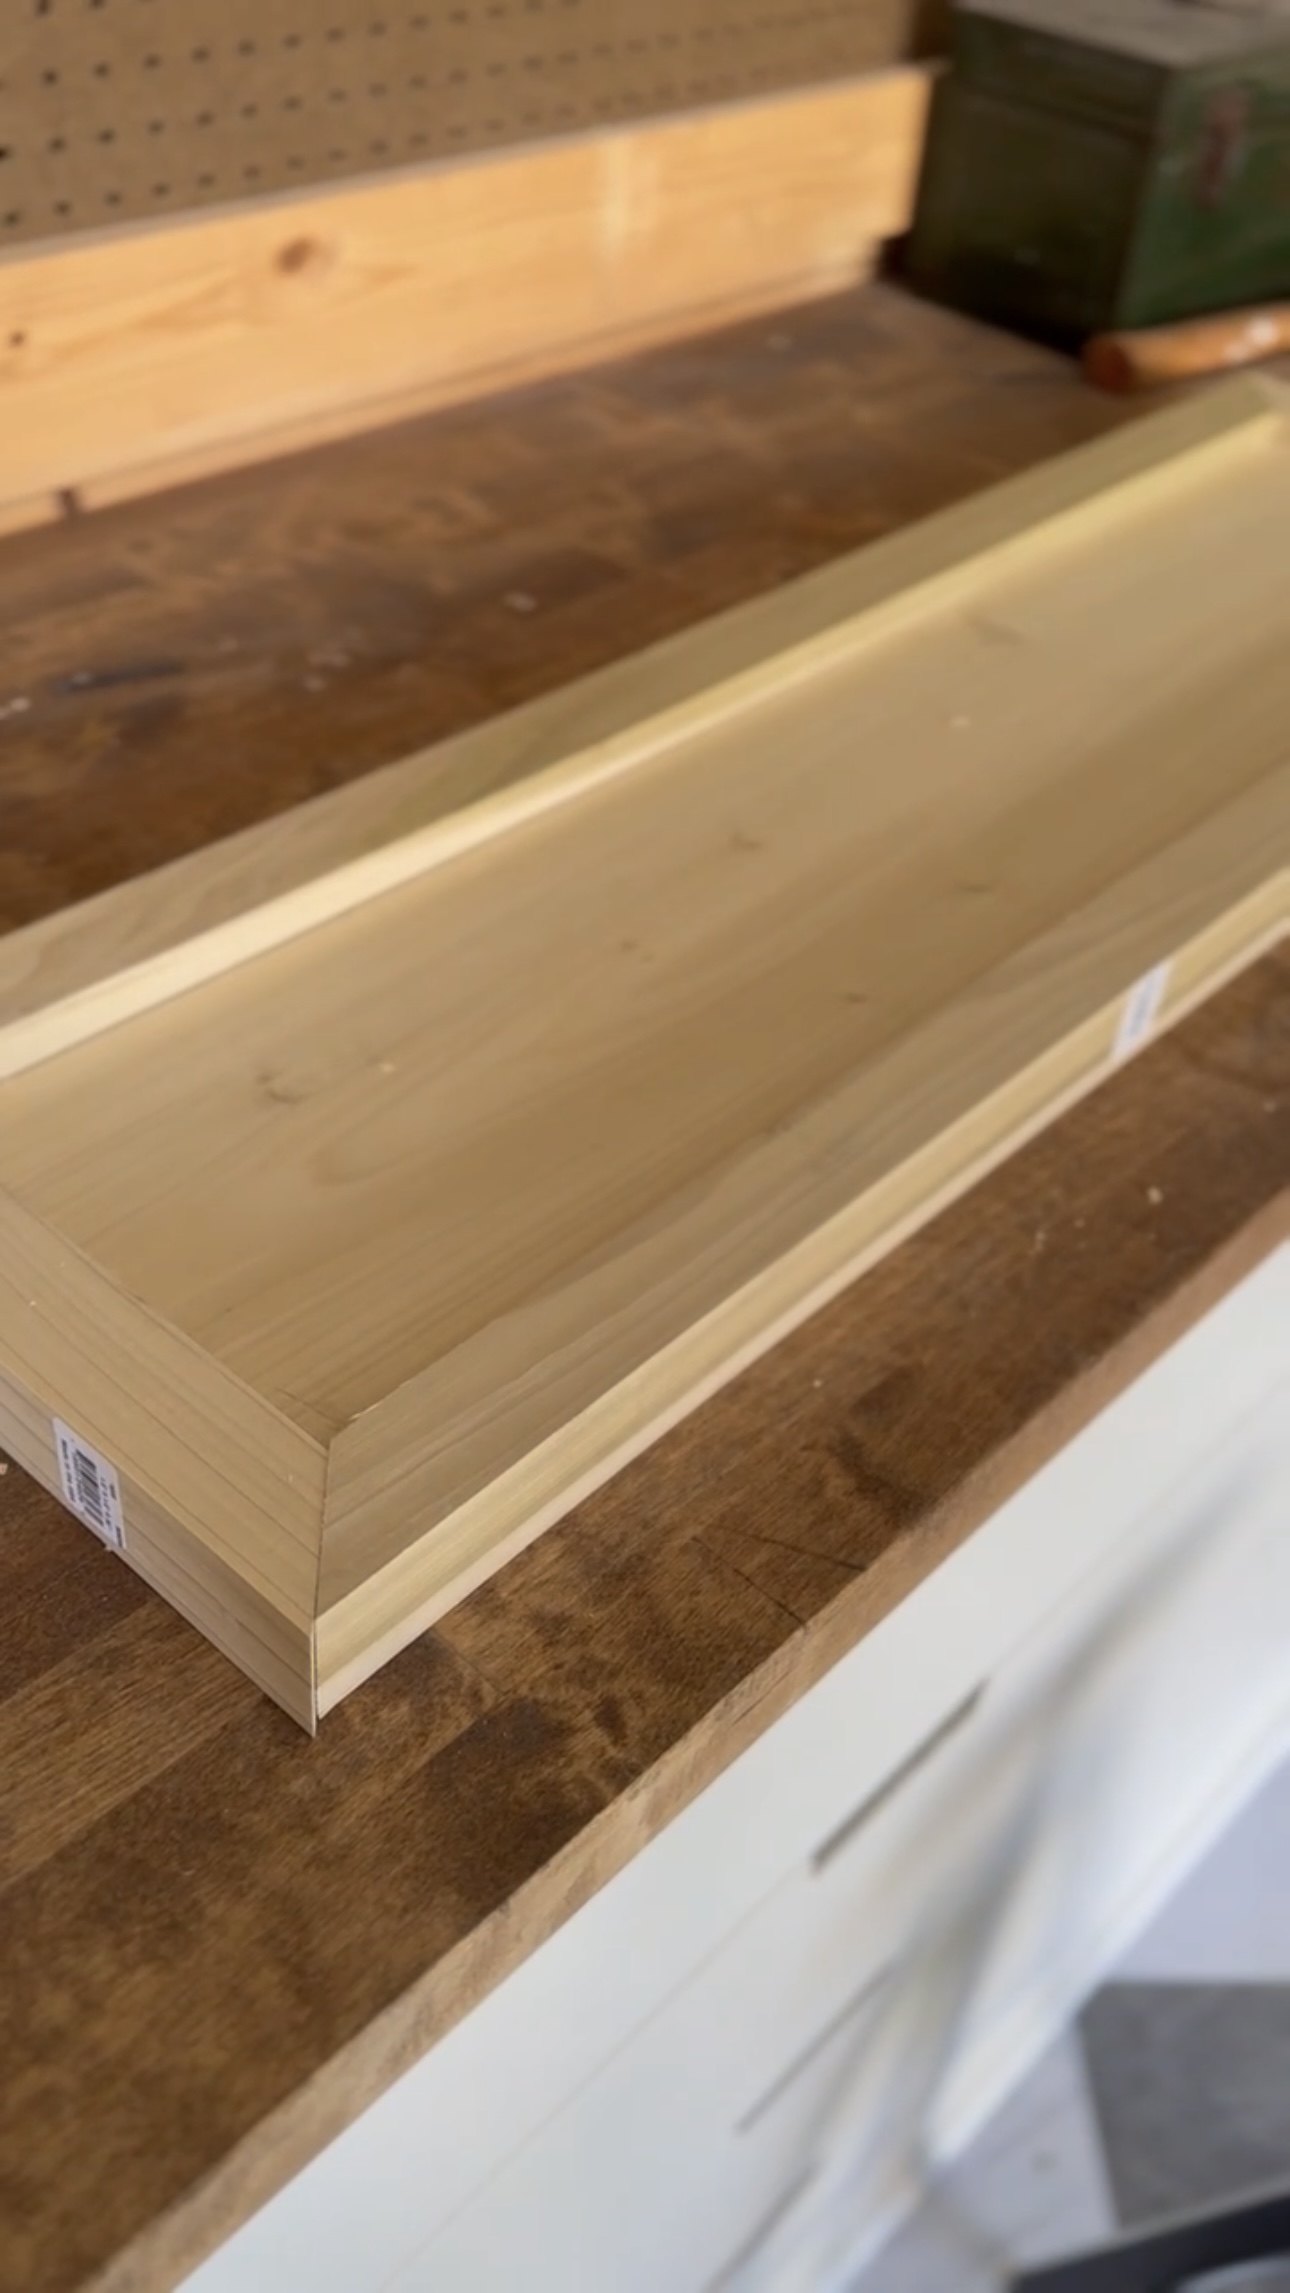
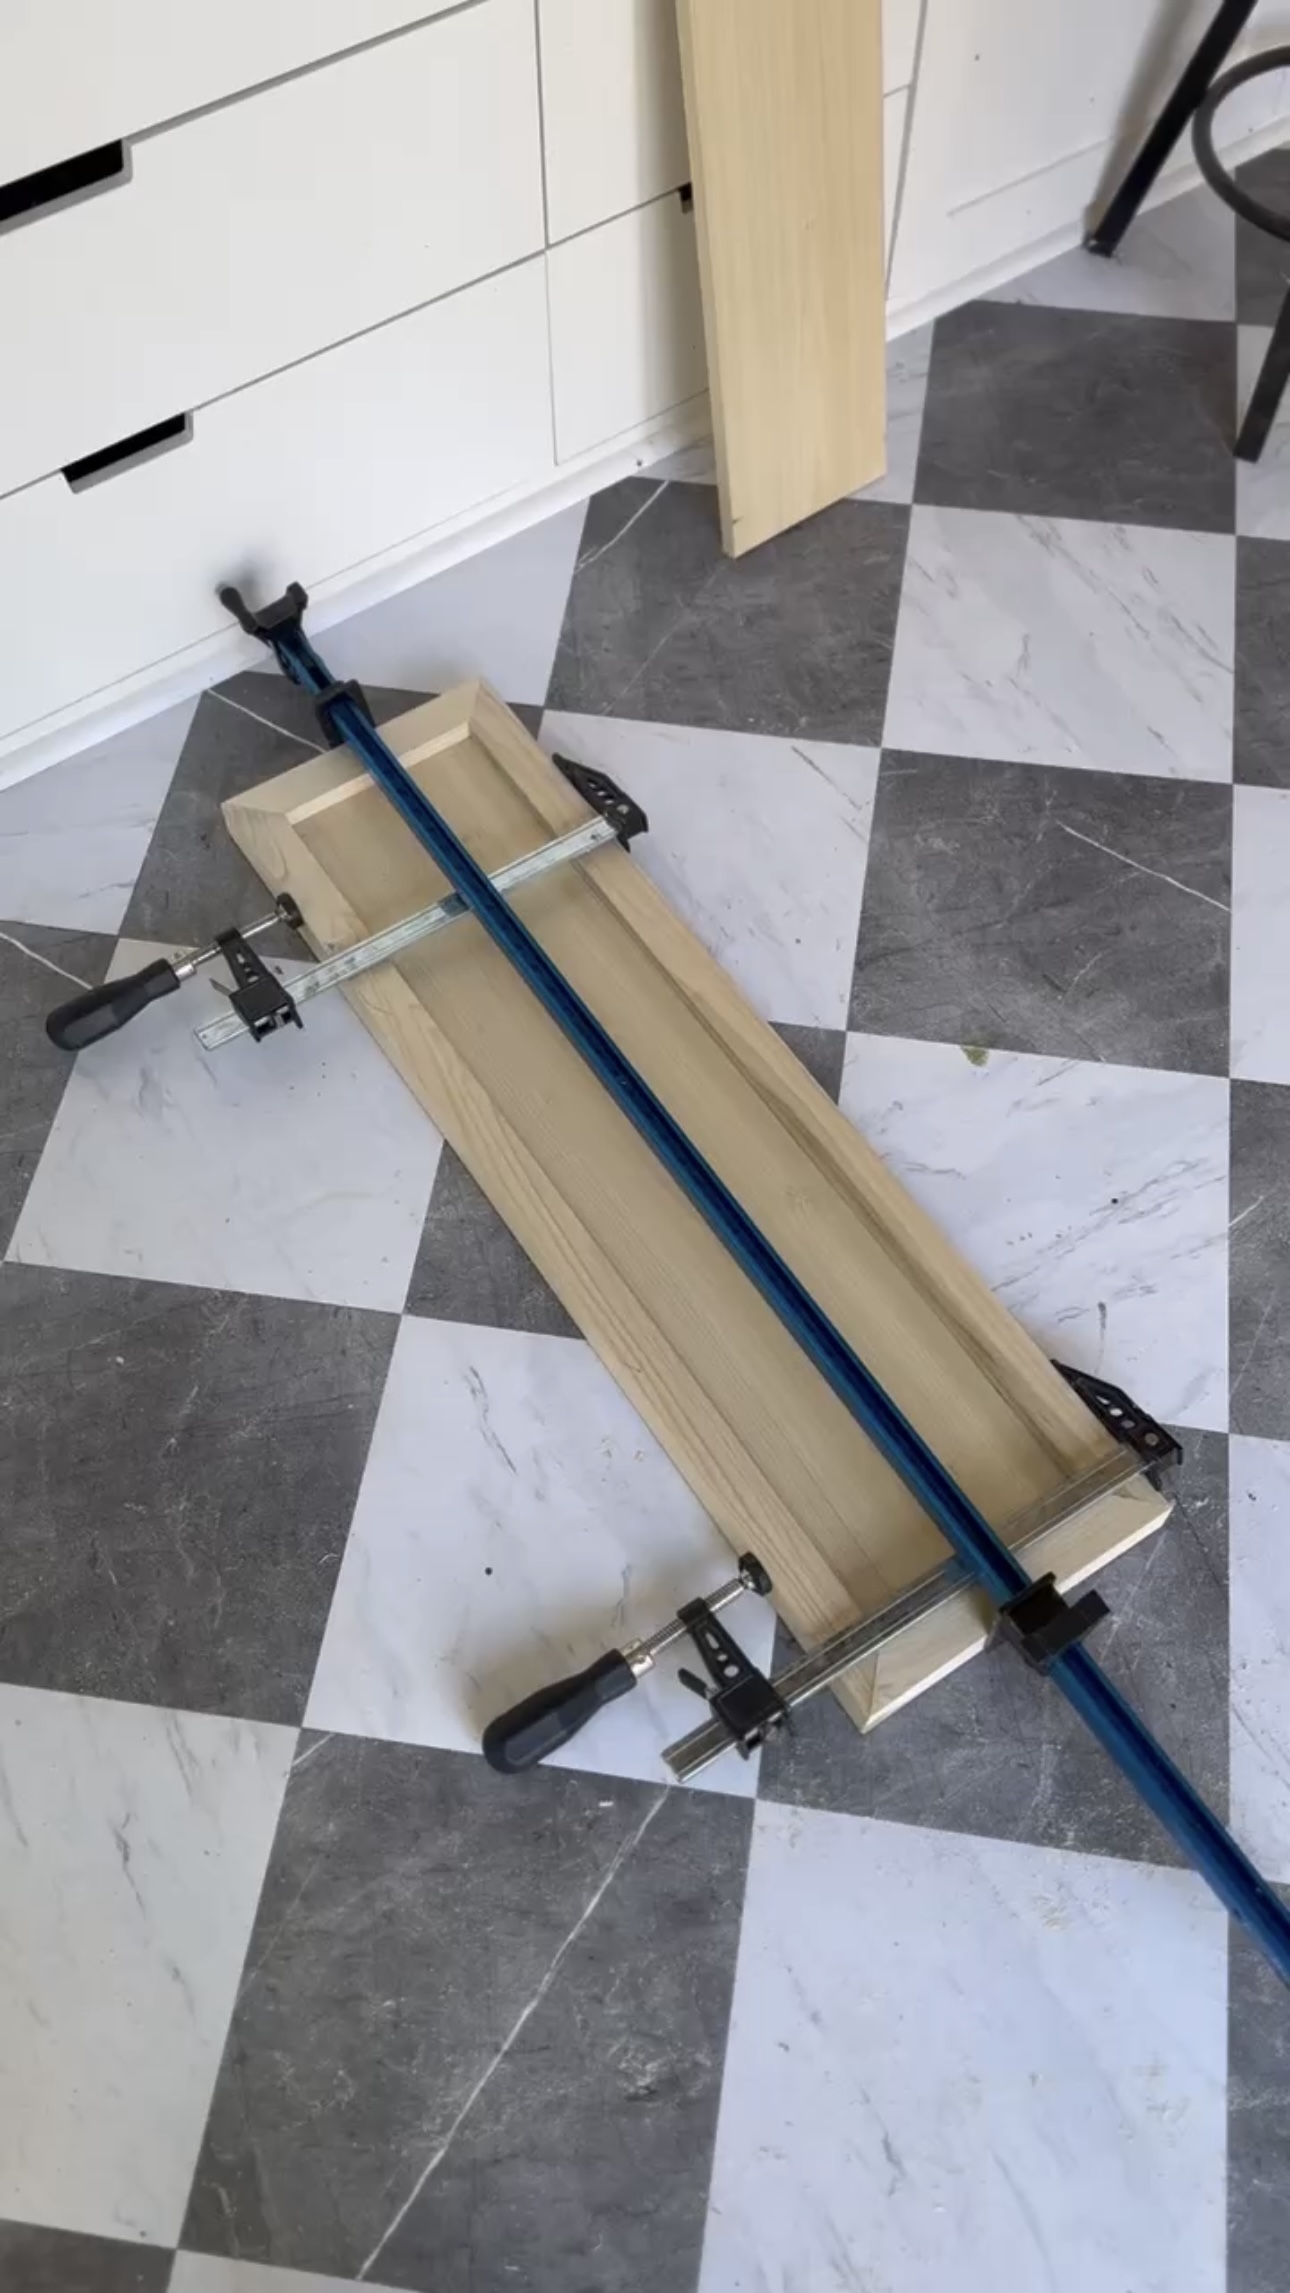
Table Legs
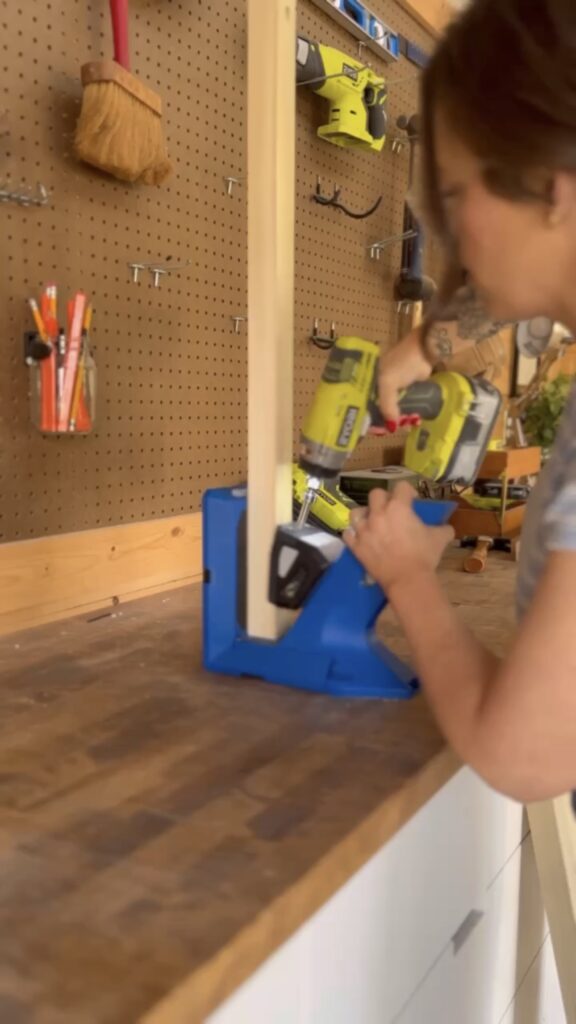
Then, I drilled some pocket holes for the legs. I wanted pocket holes so the screws would be hidden. I used wood glue to attach the legs. Then, a third of the way down, I added pieces between the legs for my shelf.
A Moment Of Honesty
I decided I wanted to throw this entire thing in the trash. As I kept progressing, things kept going wrong. There were splits and gaps and it was driving me crazy. I tried to save money by using poplar but the more I looked at it, the more I hated it.
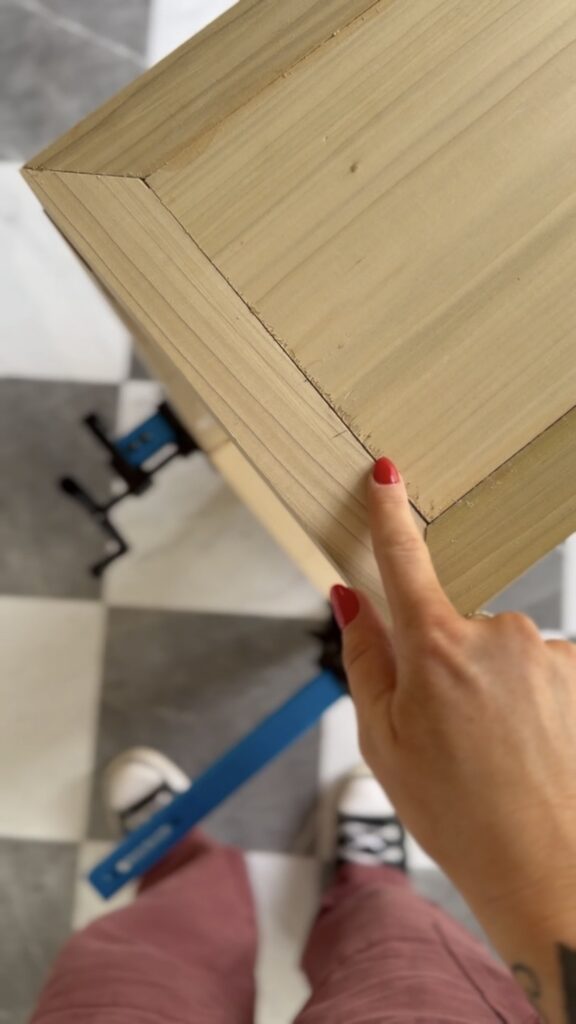
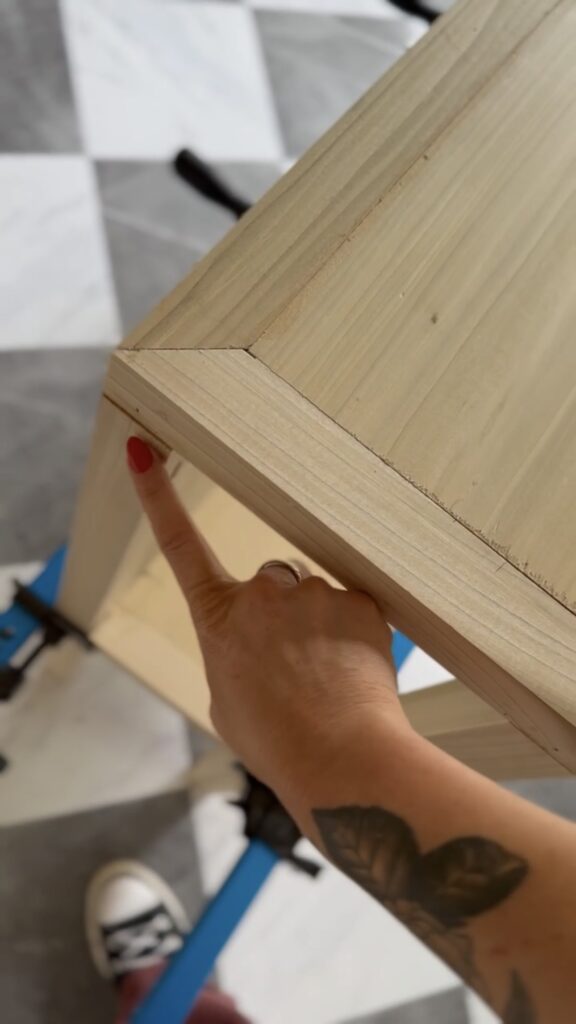
I couldn’t put more energy and time into this table if I hated it this much. I’ve built a lot of furniture. I know from experience that I’ll never stop being annoyed by the issues I see with a project. So, I decided it was worth it to start over.
Take 2!
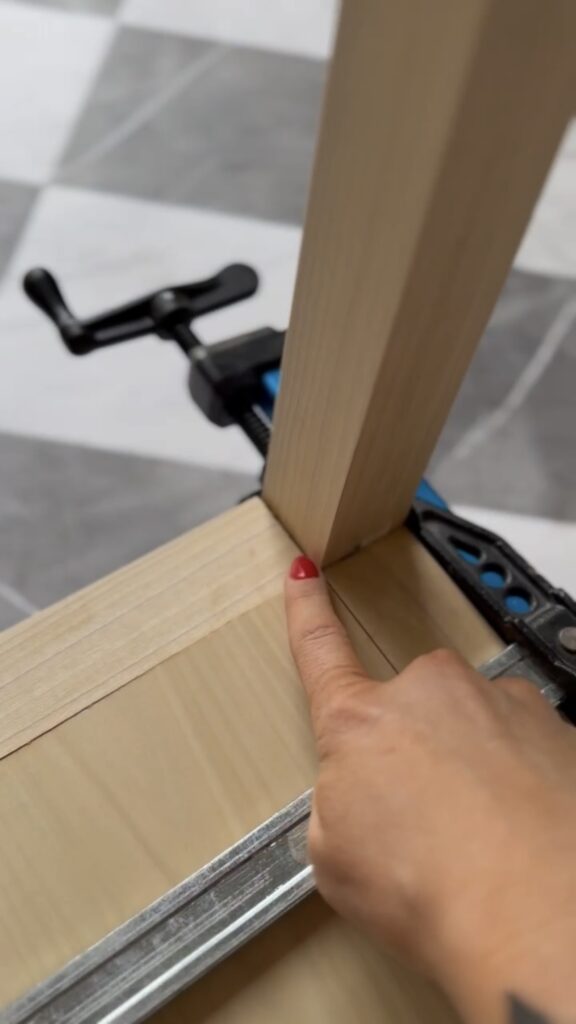
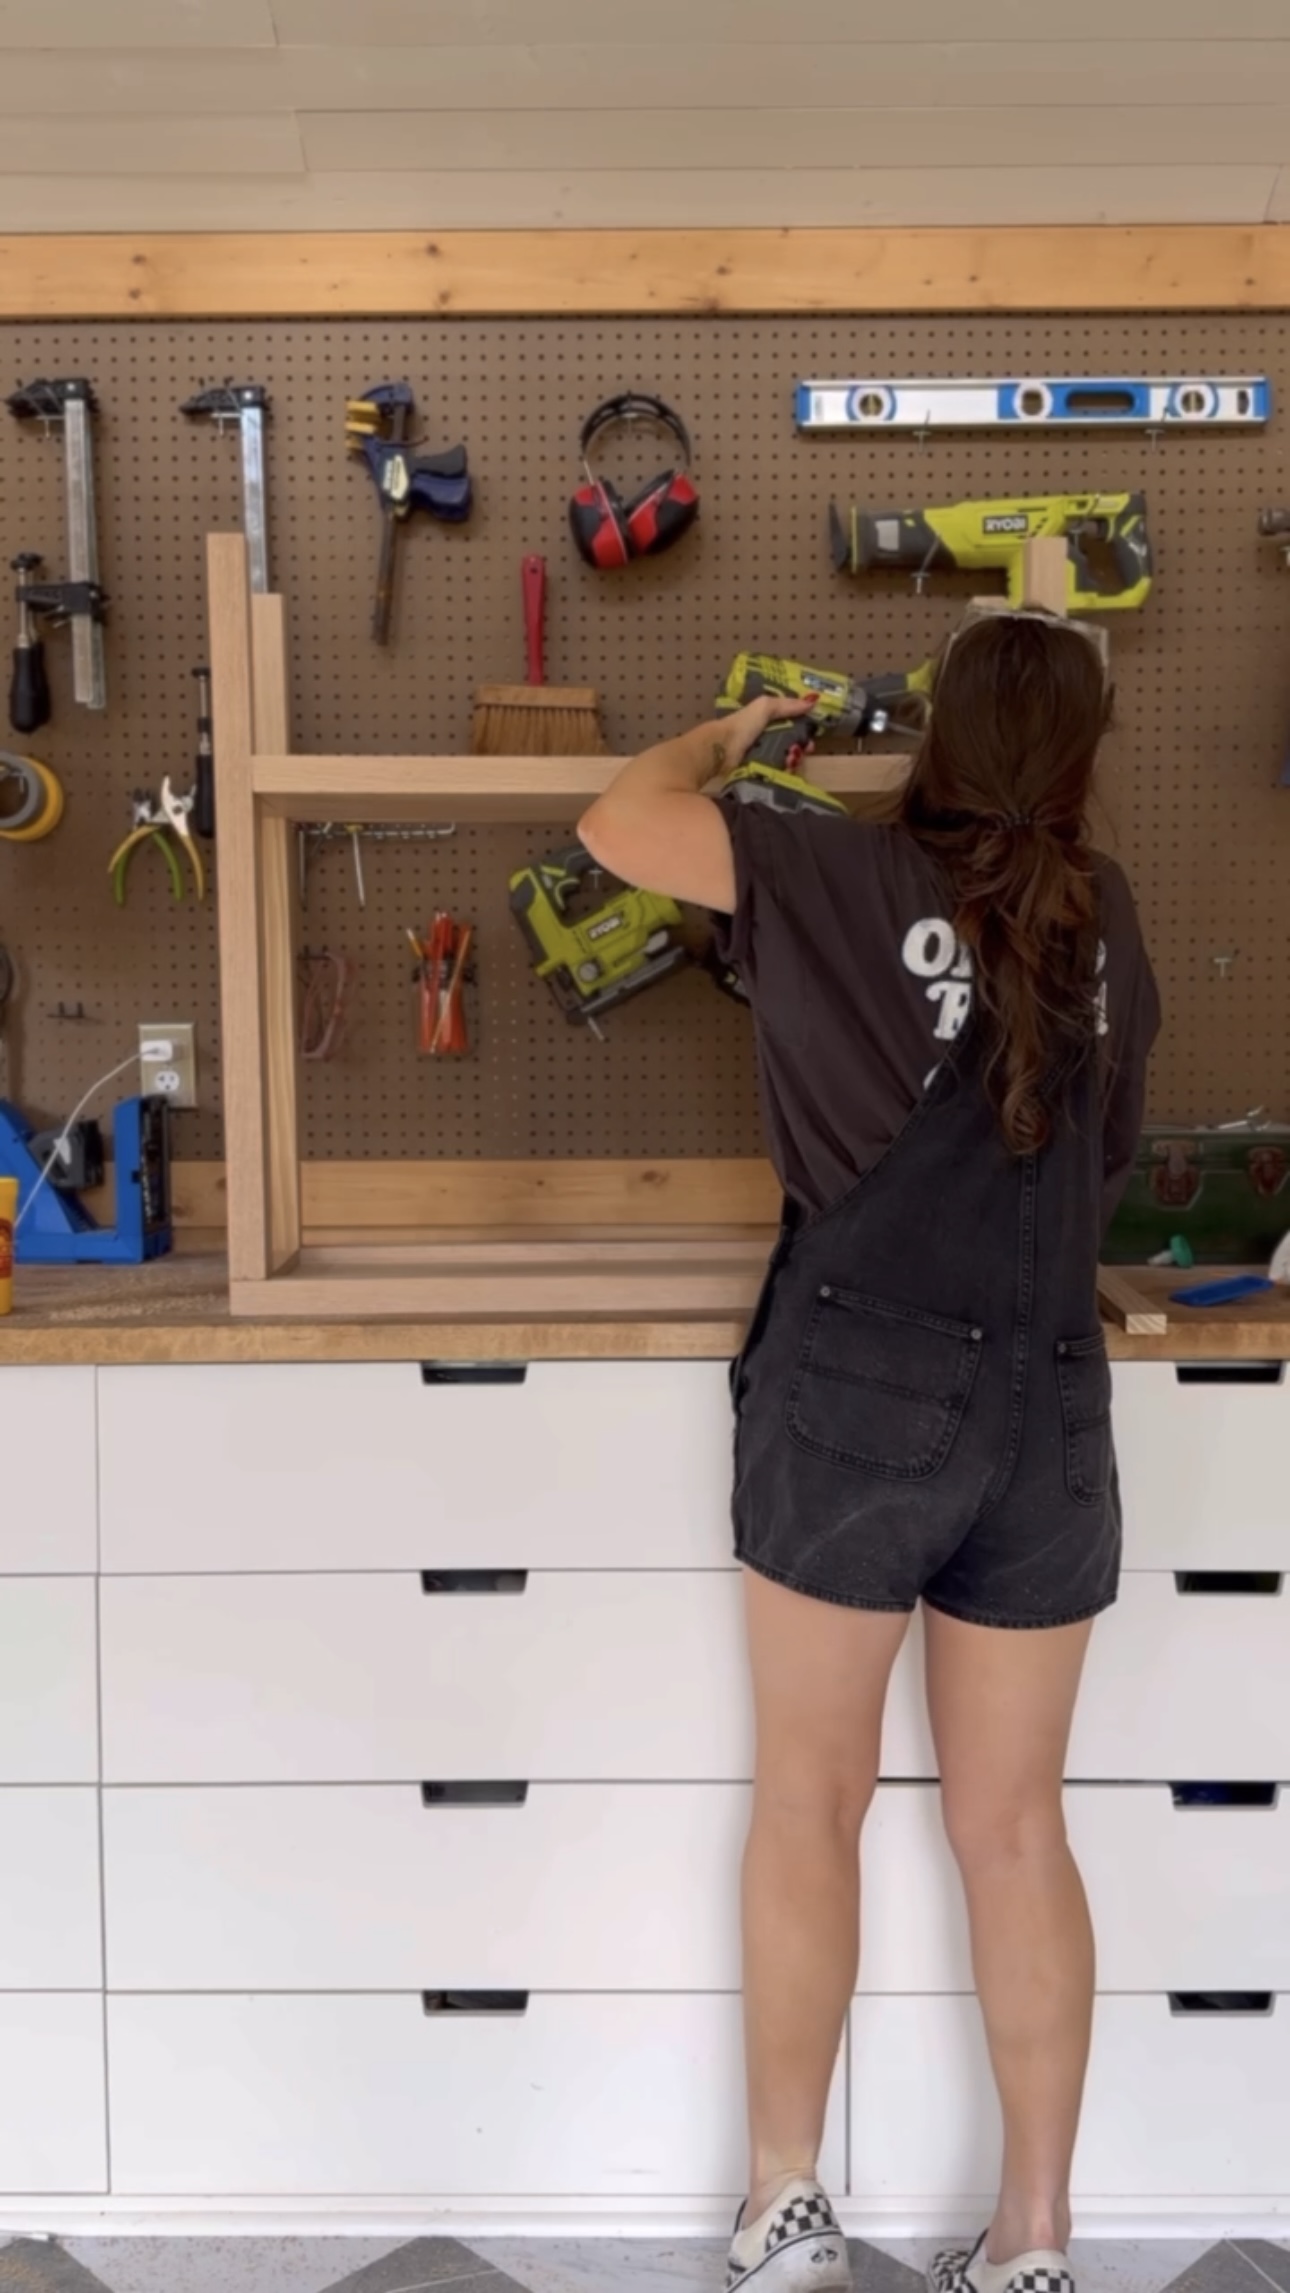
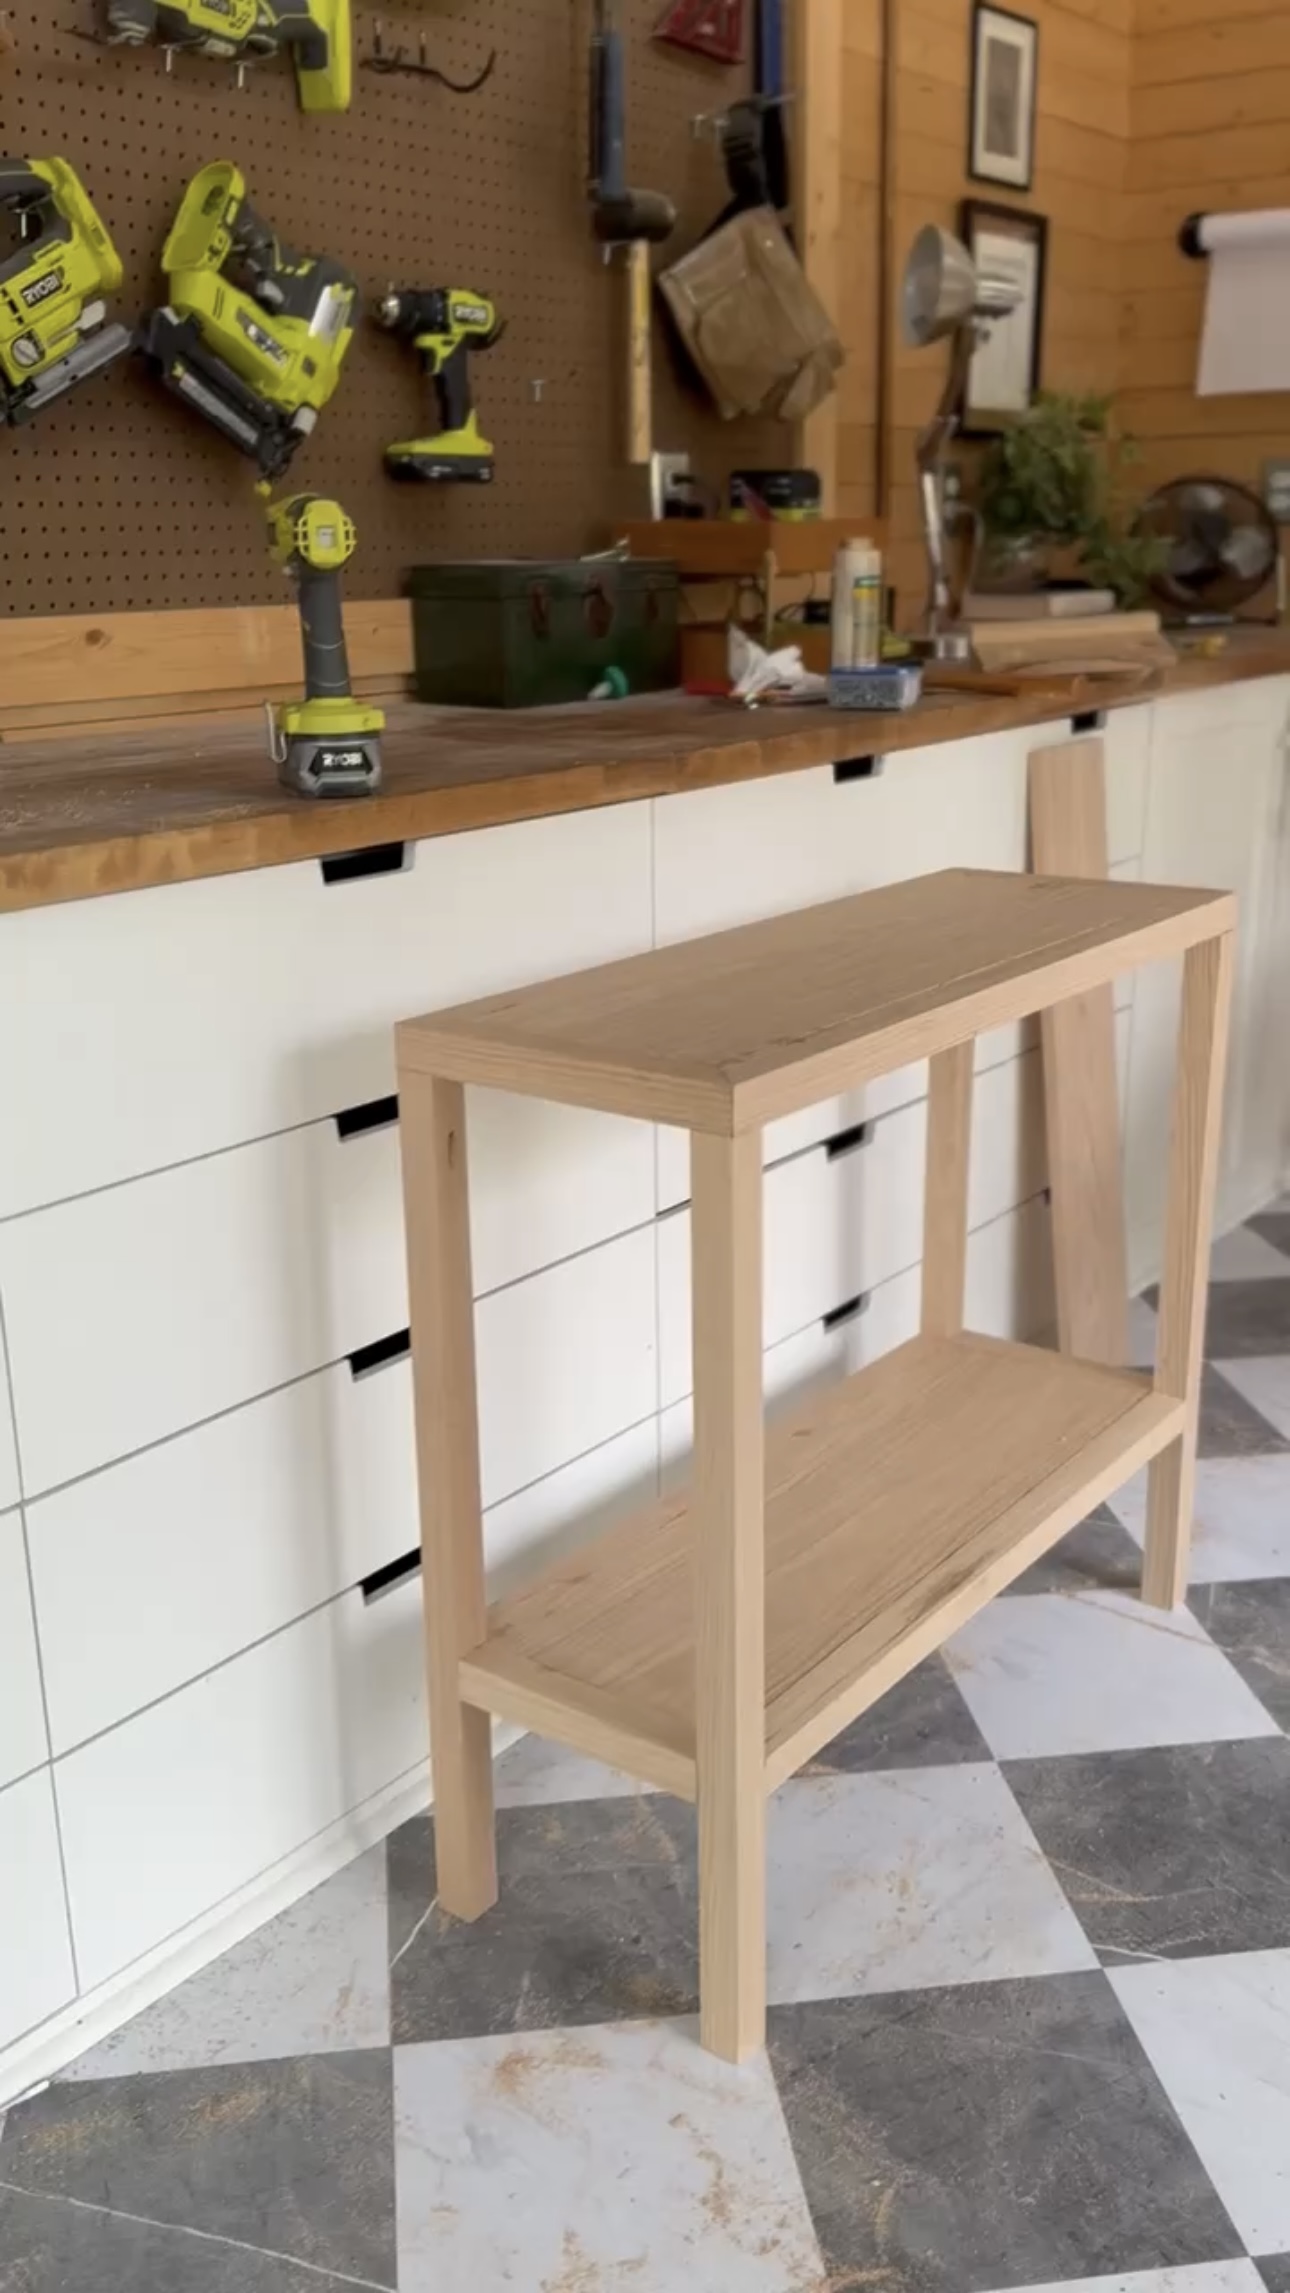
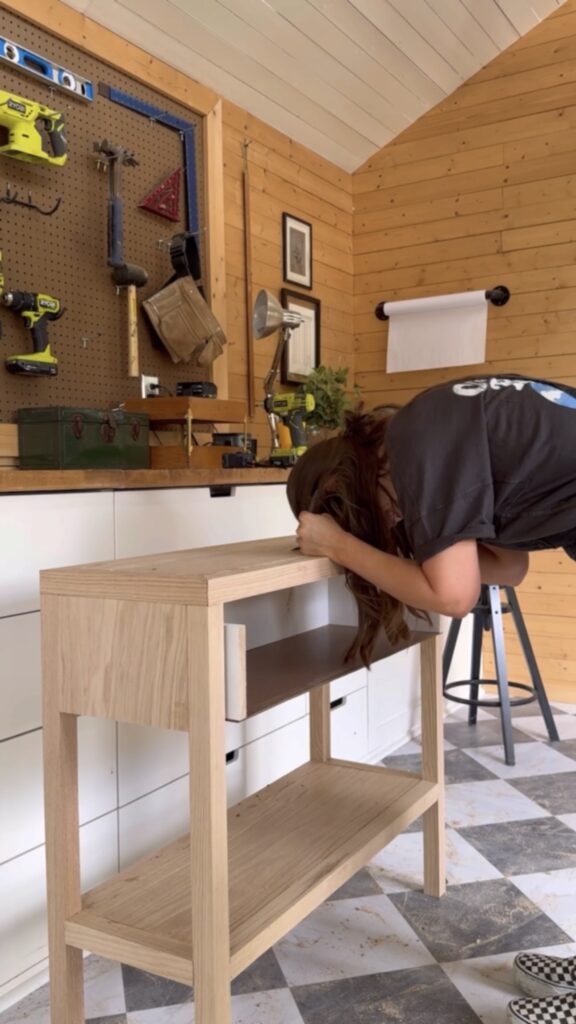
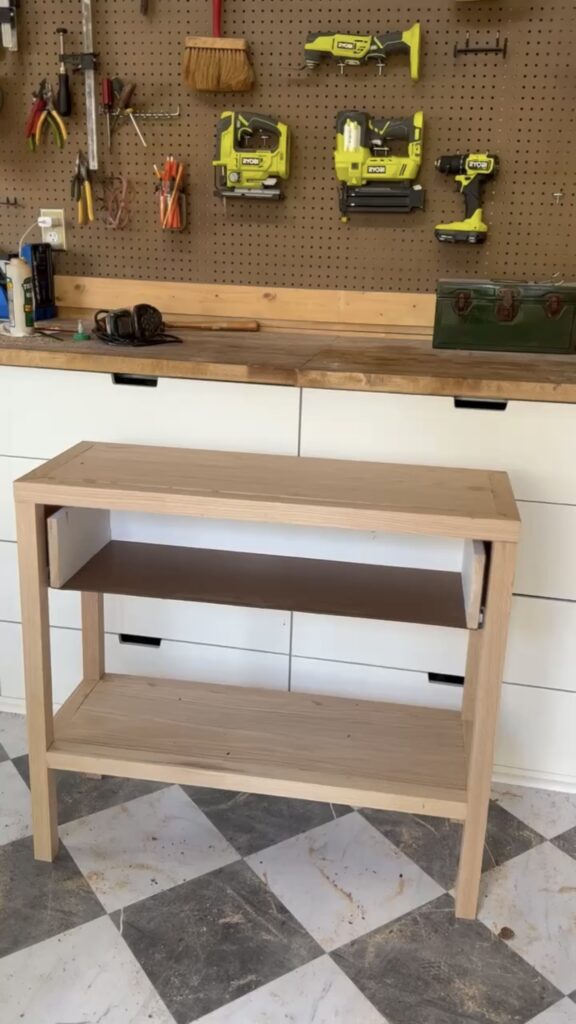
So, I got the oak and started again! I used all the same steps, but with new wood. This time, I let the wood glue cure completely before I even thought about attaching the legs. That way, I wouldn’t have any thing wonky going on.
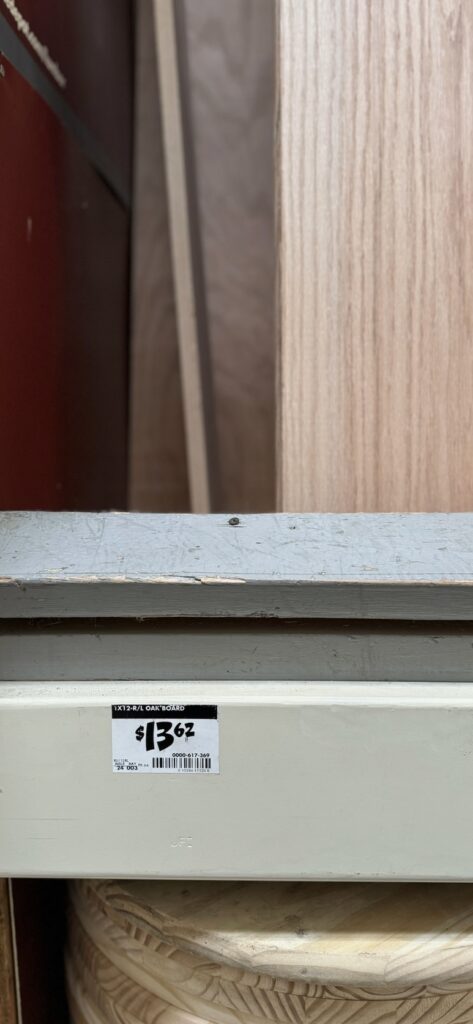
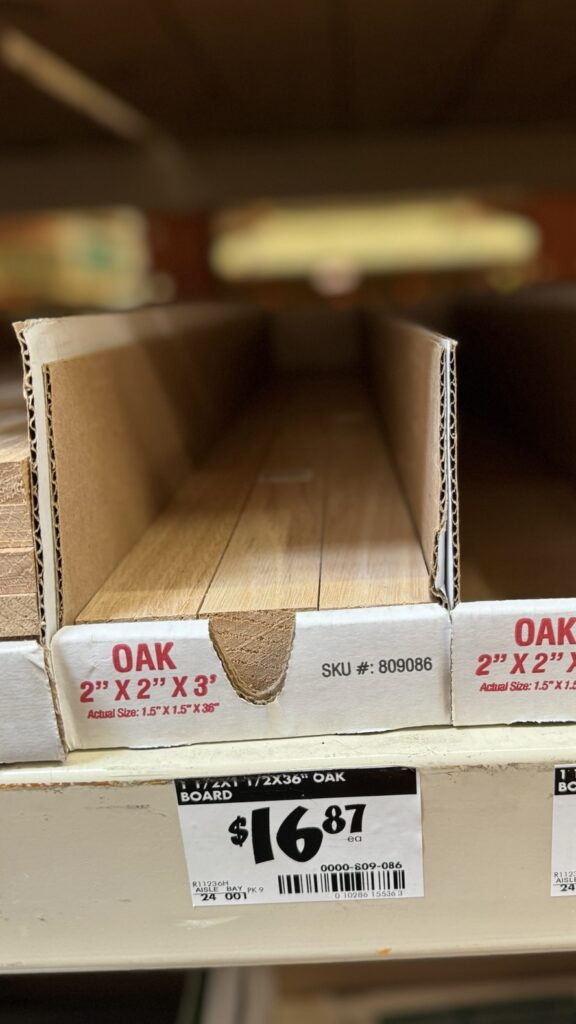

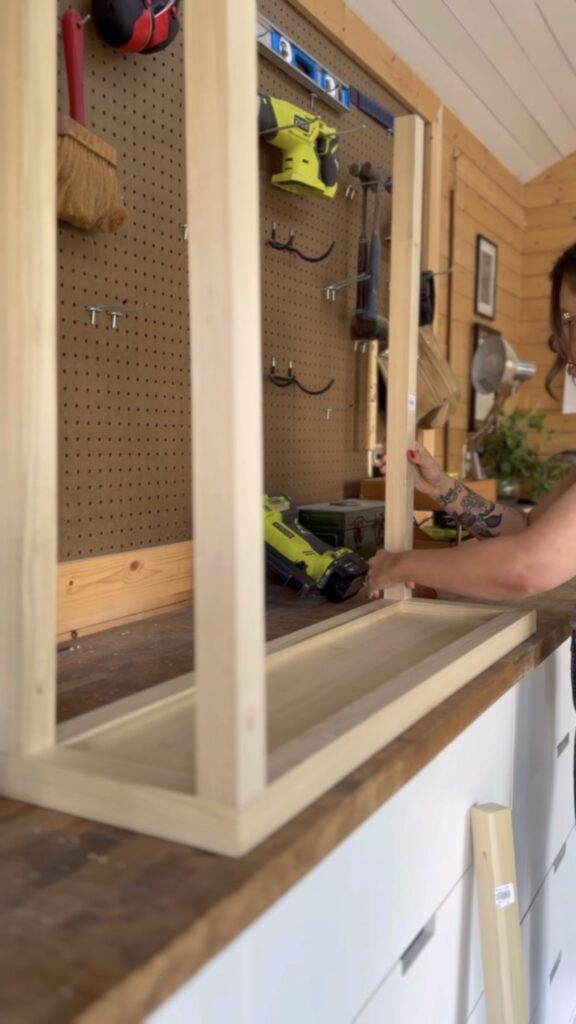
Table 2.0 was already SO much better! I installed the shelf and then got started on my drawer.
Drawer Slides
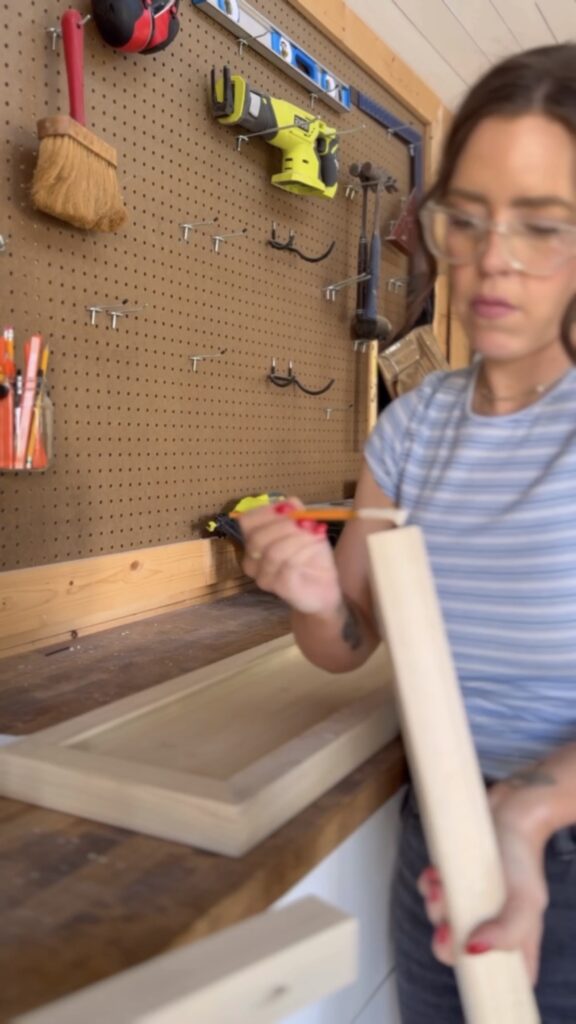
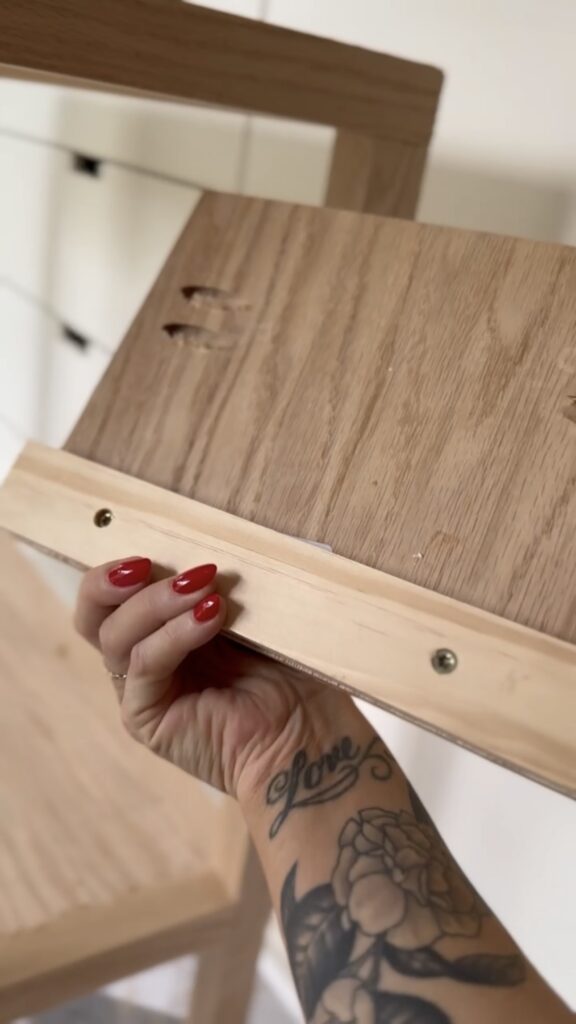
First, I made these side pieces for the table that will attach to the drawer slides.

Drawer Box
I built my drawer with my jigsaw, wood glue, and my drill!
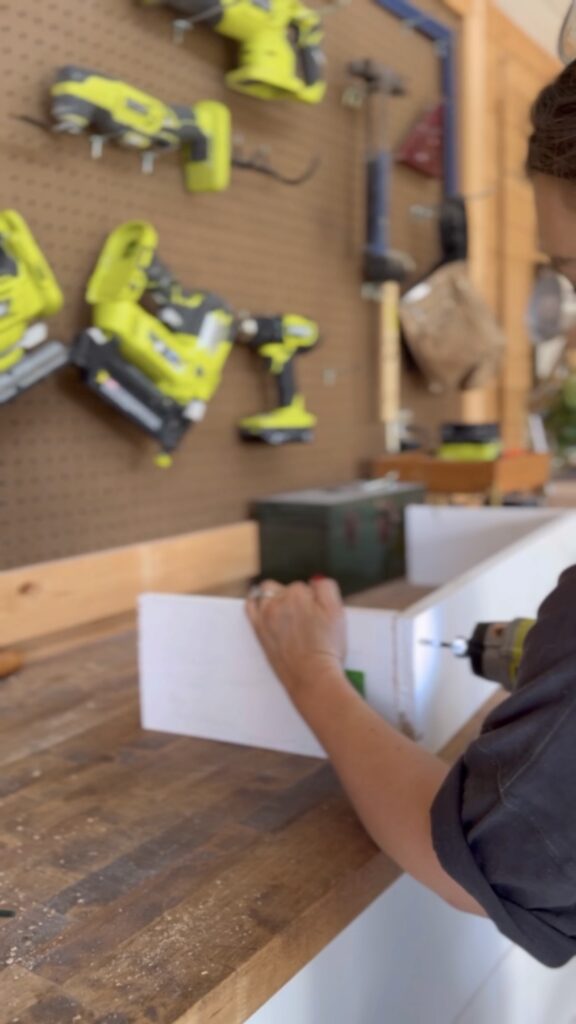
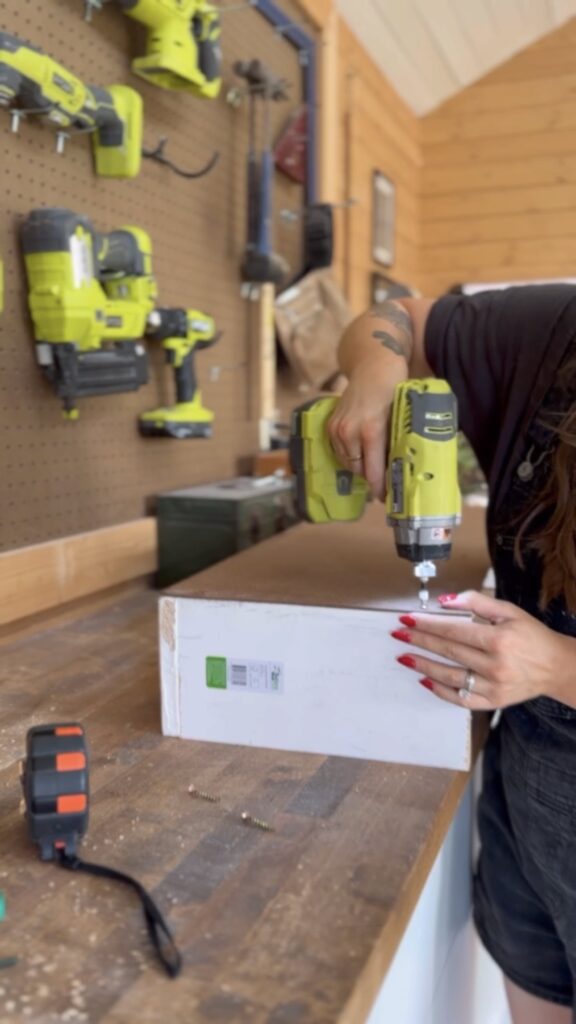
It took around 18 minutes to get this drawer attached and in the table when I realized I forgot to add the thickness of the drawer from when I made my mark for the sides. These drawers gave me so much trouble!
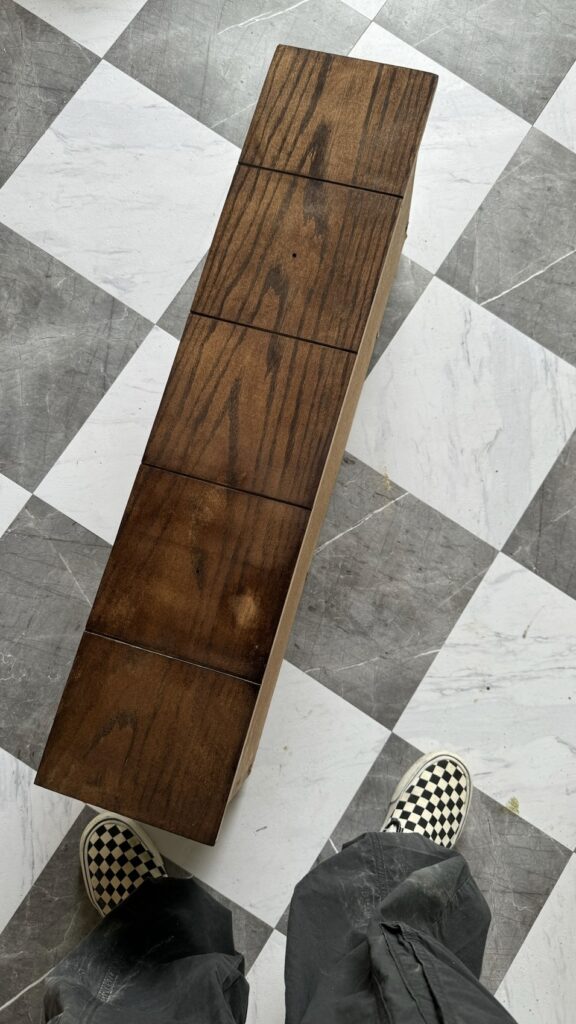
Drawer Face
FINALLY I got it. Next, I needed to attach my drawer front. But, I wanted to add a decorative detail to this. So, I ran it through my table saw to add a grid like design.
Then, used some wood glue and clamps to attach the drawer front.


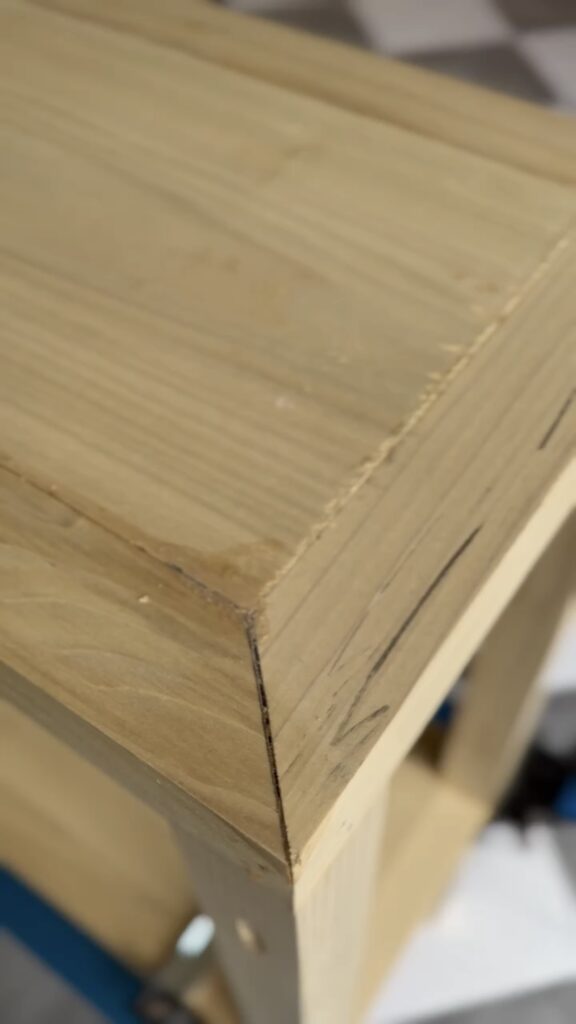
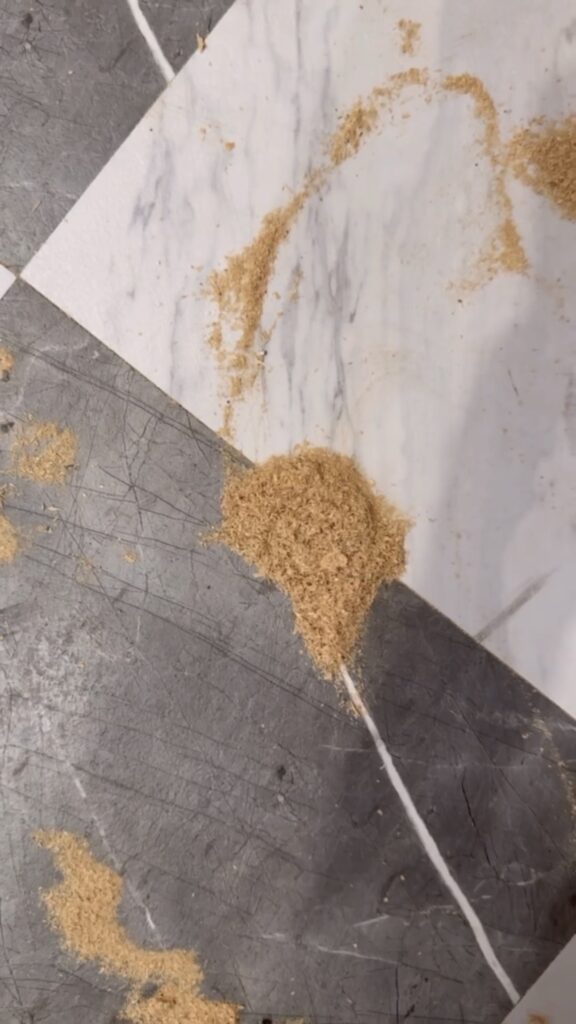
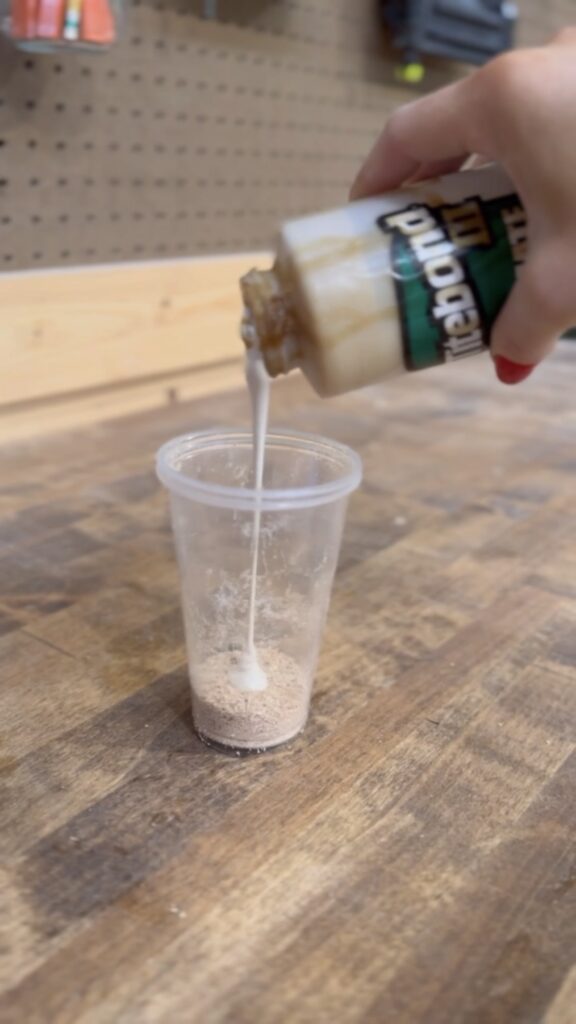
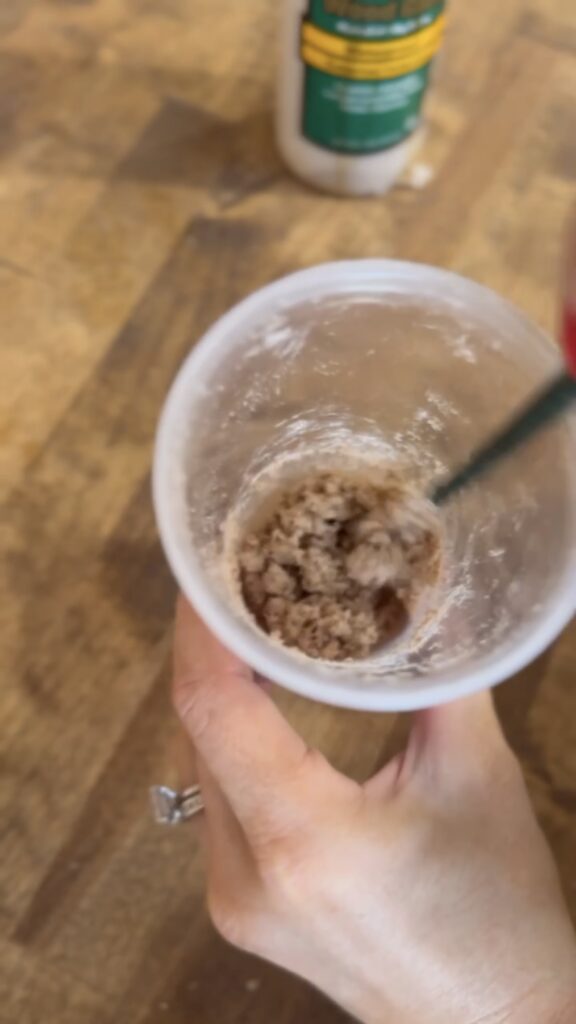
I used my sawdust and wood glue to make wood filler for all of my gaps/cracks.
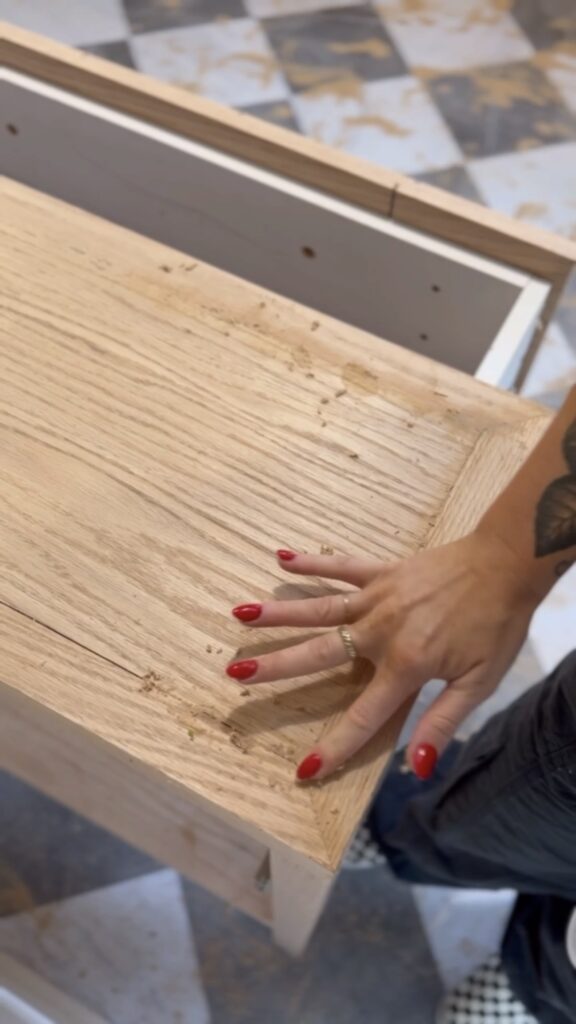
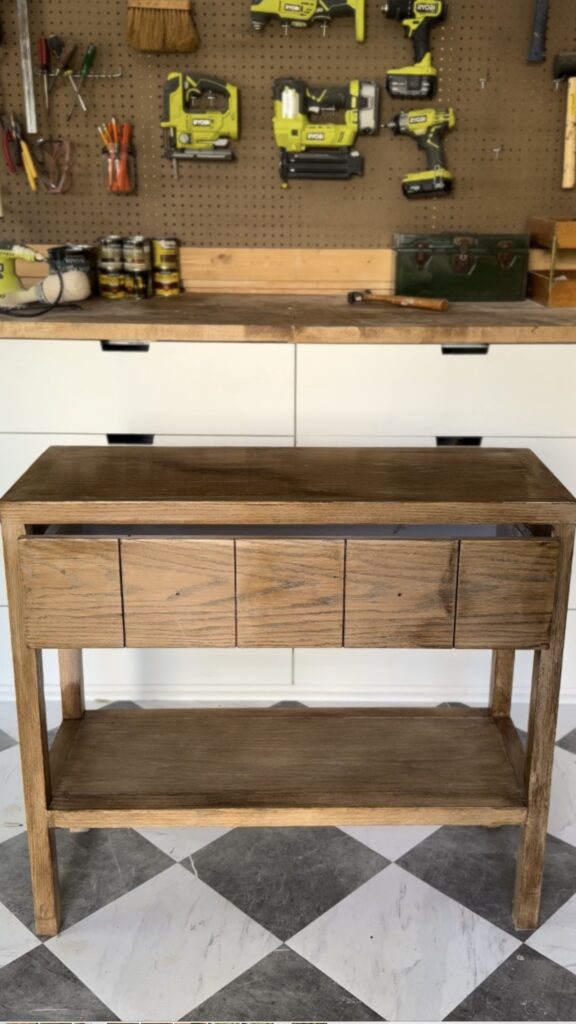
Look at this little cutie! Next, it just needed a stain and finish…or so I thought.

Time to stain!
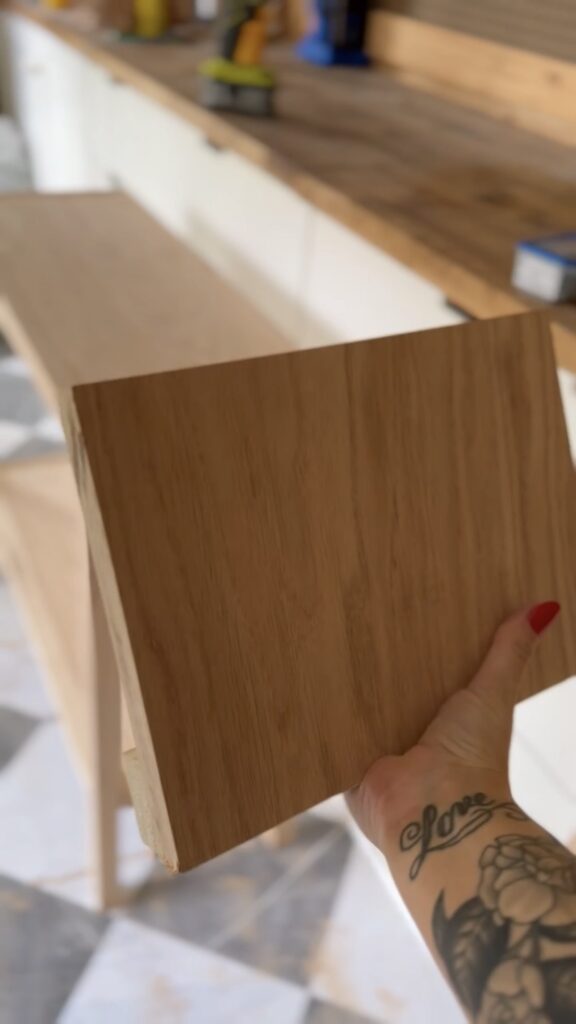
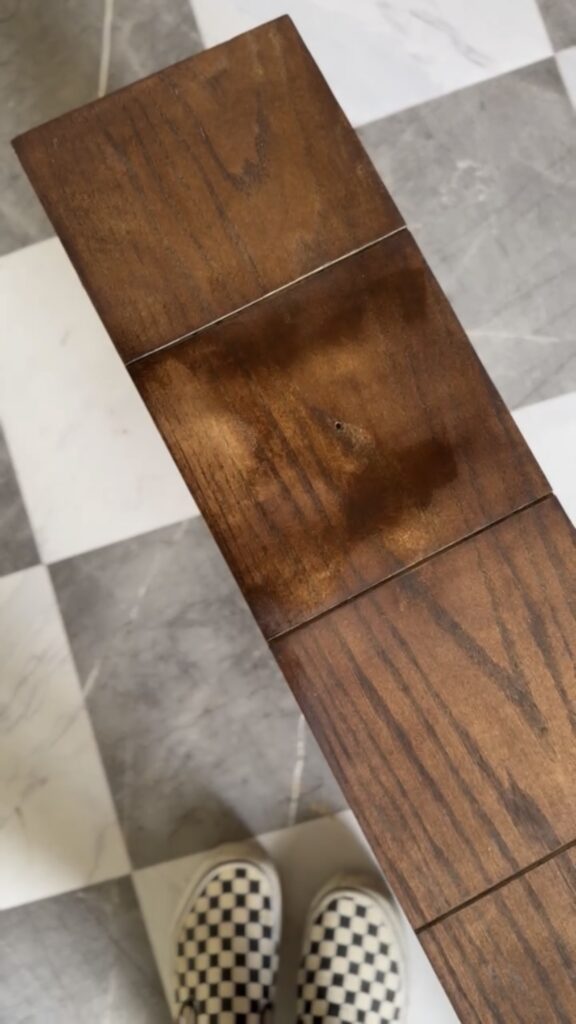
I used my Mouse Sander to sand down the table and prep it for a stain. Red Oak is a very grainy/stripey wood. When you put stain on it, it enhances that. That’s not the look I’m going for so I decided to mute it down by using a pickling stain first to tone down the grain. The difference is subtle, but check it out!

I put stain on the front…and I hated it. I tested it and everything! So, I sanded it back down and started fresh.
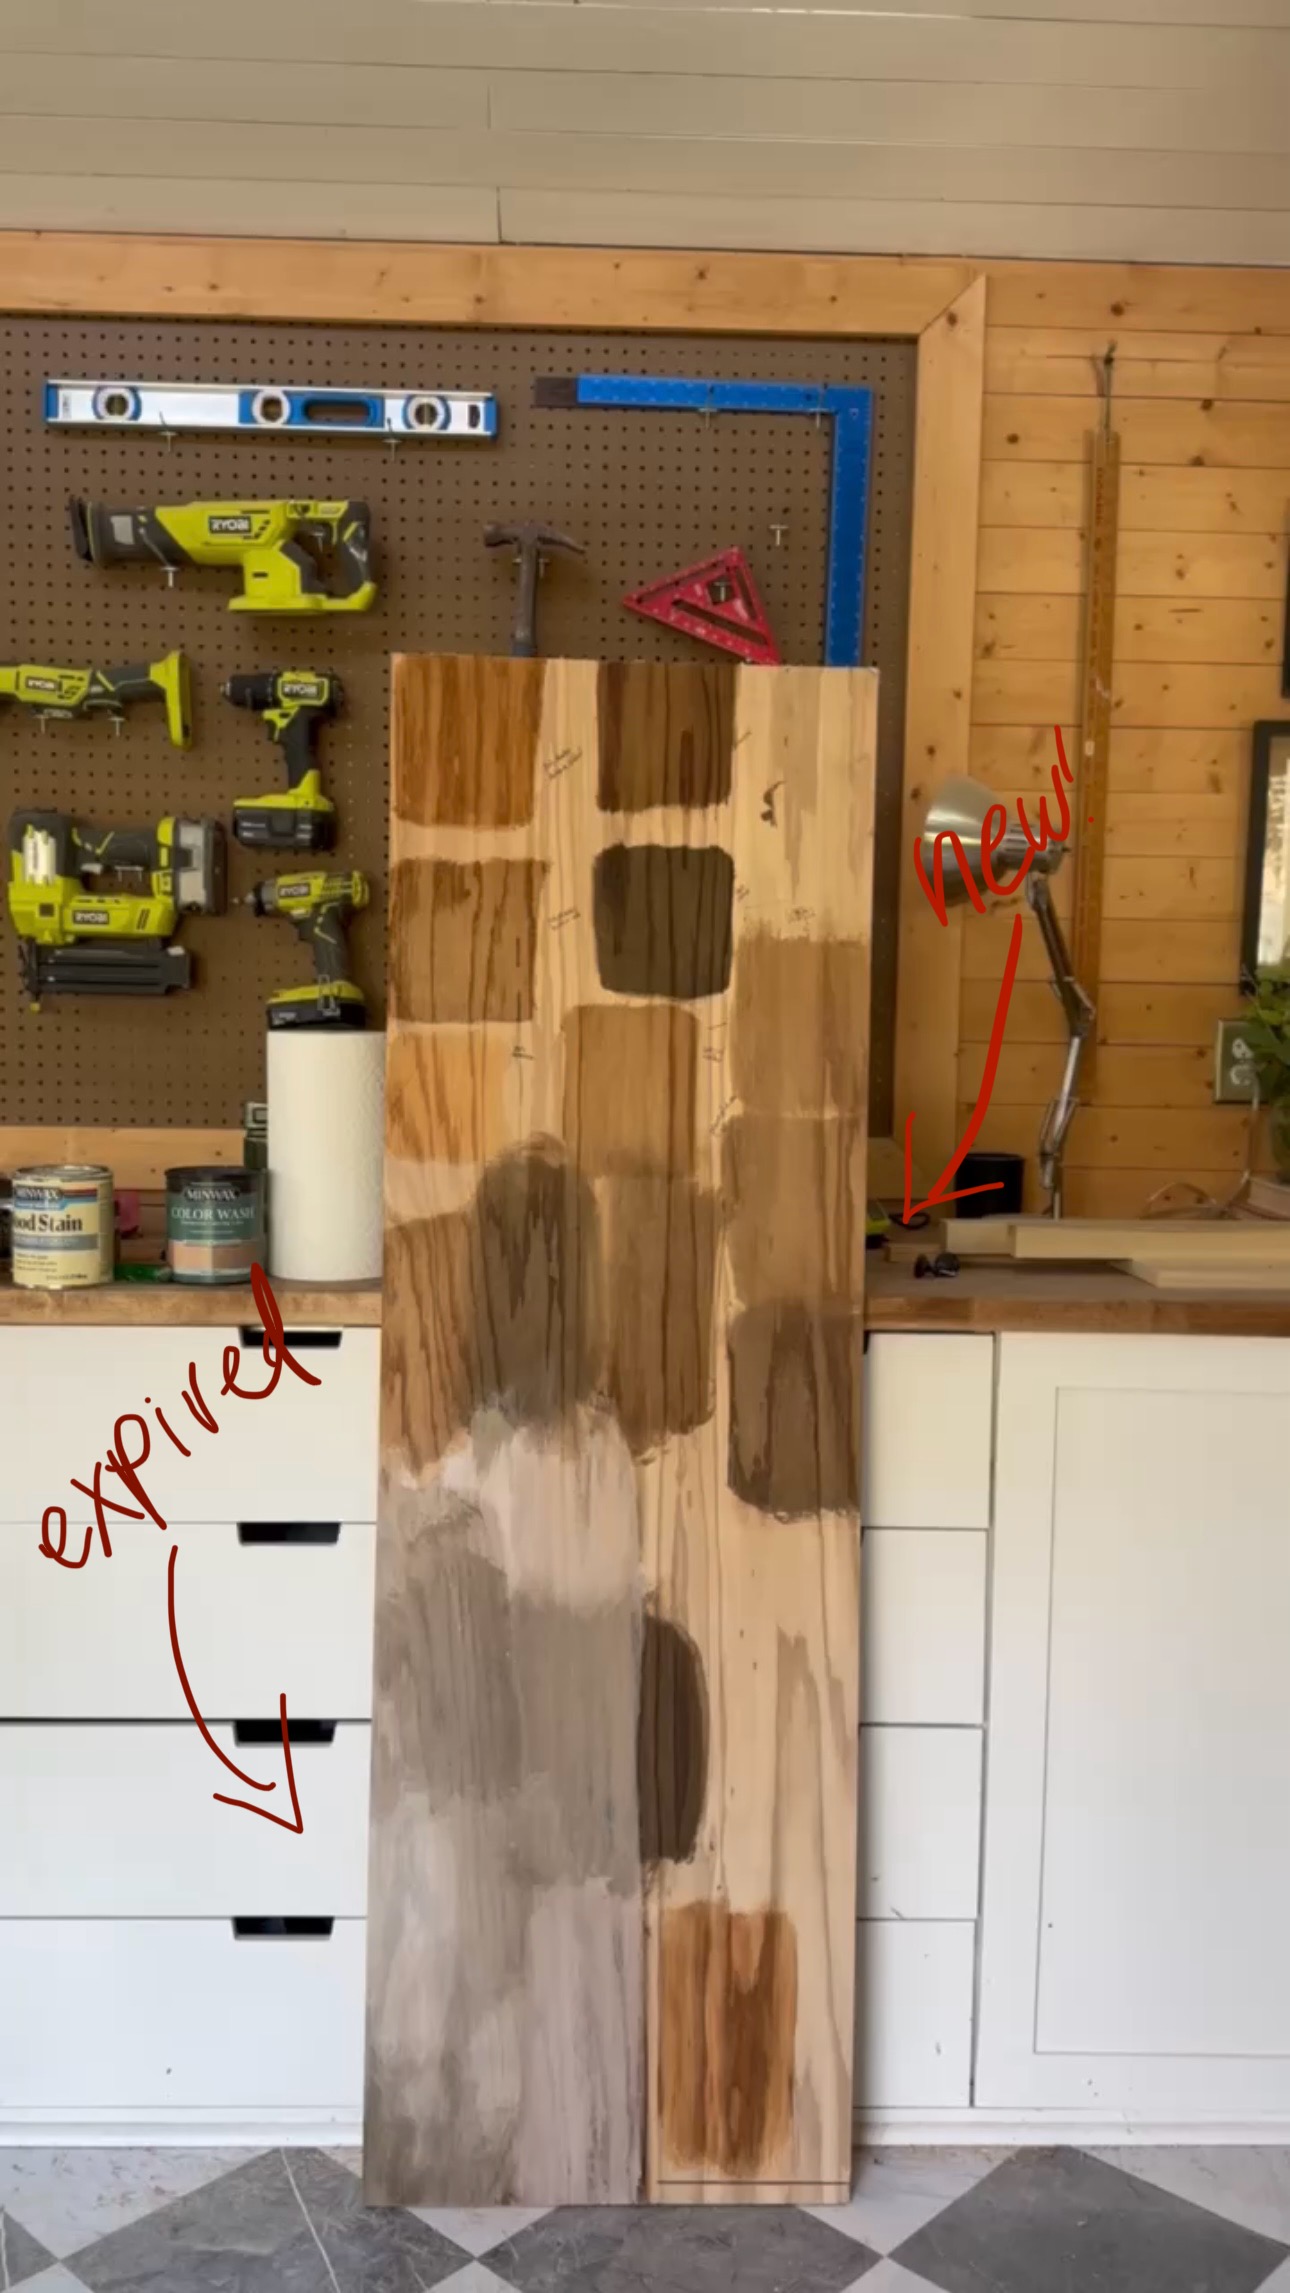
I thought I had figured it out. My whitewash was too old. You can see on the left, I used the expired white wash. On the right, I tested with a new can of white wash and it looked so much better.
I said, “If this doesn’t work…this table is cursed.”
It didn’t work. The table was cursed. I have no idea what went wrong! This was the closest I got to what I wanted. Every time I tested it out on the scrap wood it was TOTALLY fine. I don’t get it!!!!! This has never happened.

I gave it one last go. If it didn’t work again, the table was getting painted.
This time, I figured I put this mix and poly stain on too thick with the brush. It was overlapping the areas that were already dried. I LOVED the color from last time, the grain just wasn’t right. So, I decided to try very thin coats with a foam roller instead. I used the shade Mission Oak from Minwax.
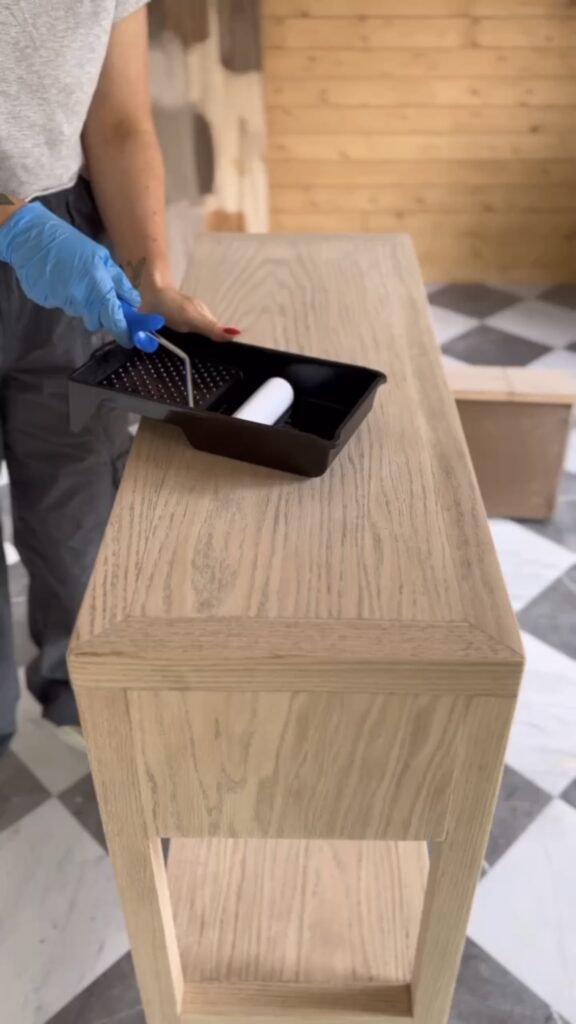
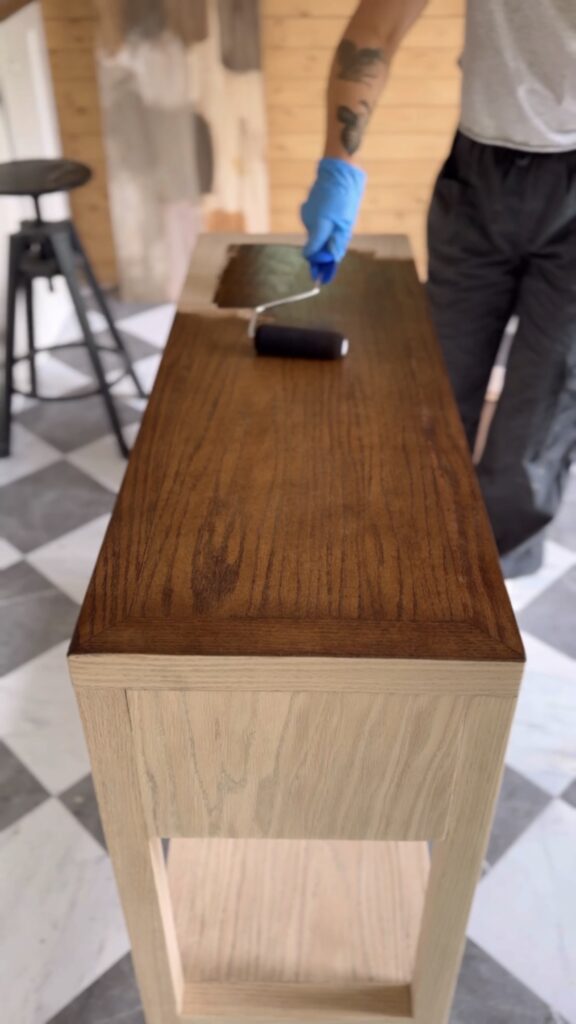
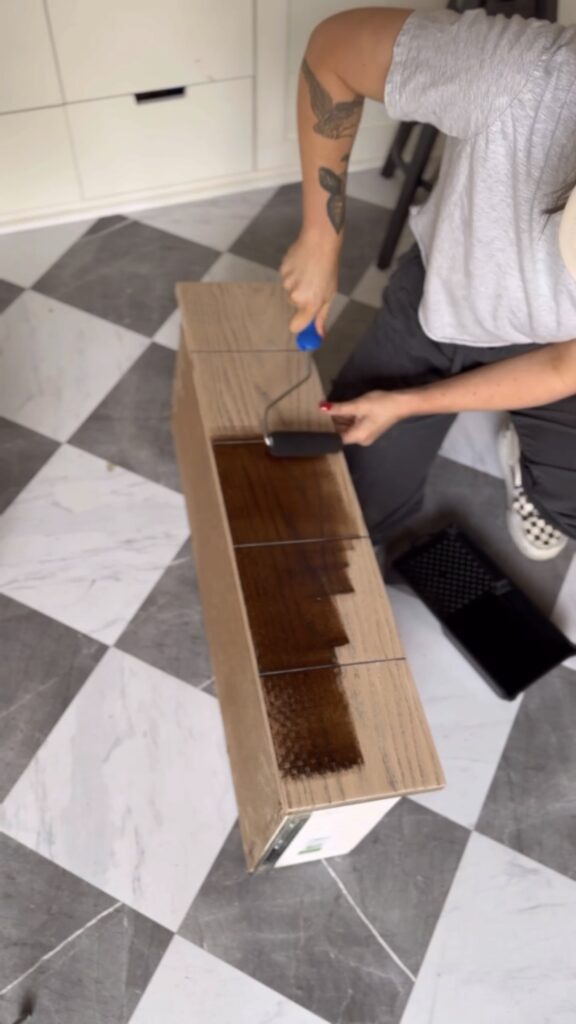
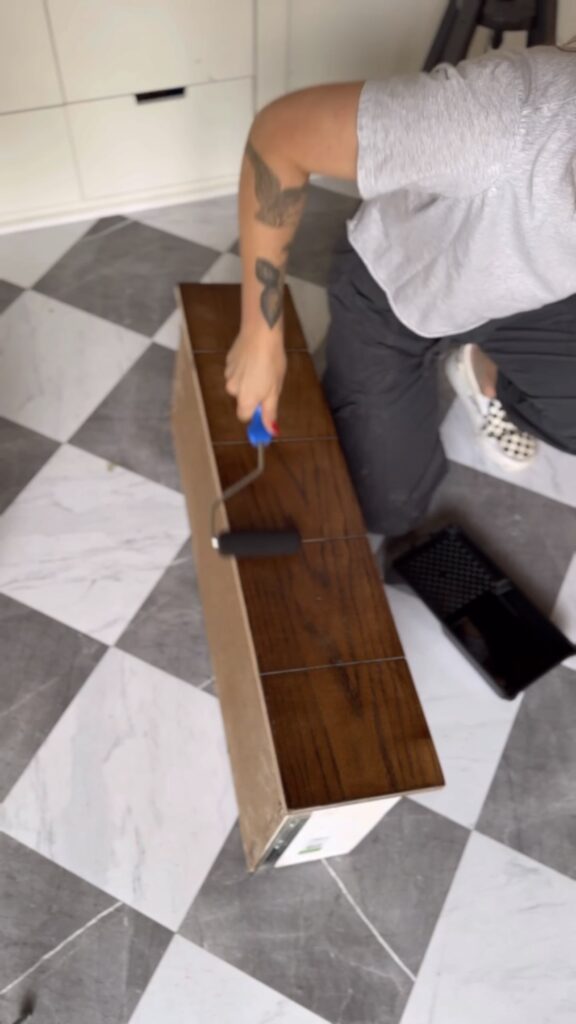
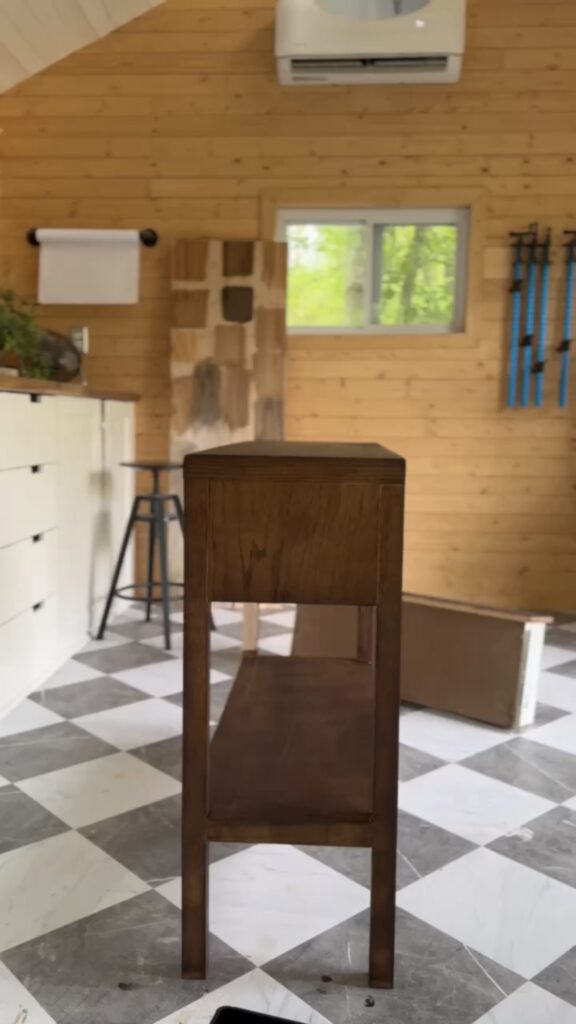
It did NOT LOOK GOOD. The top looked good, but the shelf, legs, and drawer looked so uneven. How much energy should I put into this for it to just not look perfect?
Why not wood conditioner?
Some people were suggesting that maybe it’s because I didn’t use wood conditioner. That could definitely be the case. But everything I’d tried on this table, I’ve done successfully on wood before. I’ve stained red oak without wood conditioner many times and it usually stains really well. One time, I actually used wood conditioner and it turned out terribly. So, I never used wood conditioner again. This table is definitely cursed.
I told everyone if my last attempt didn’t work, I’d burn this thing, or paint it. So of course, I went with painting it.

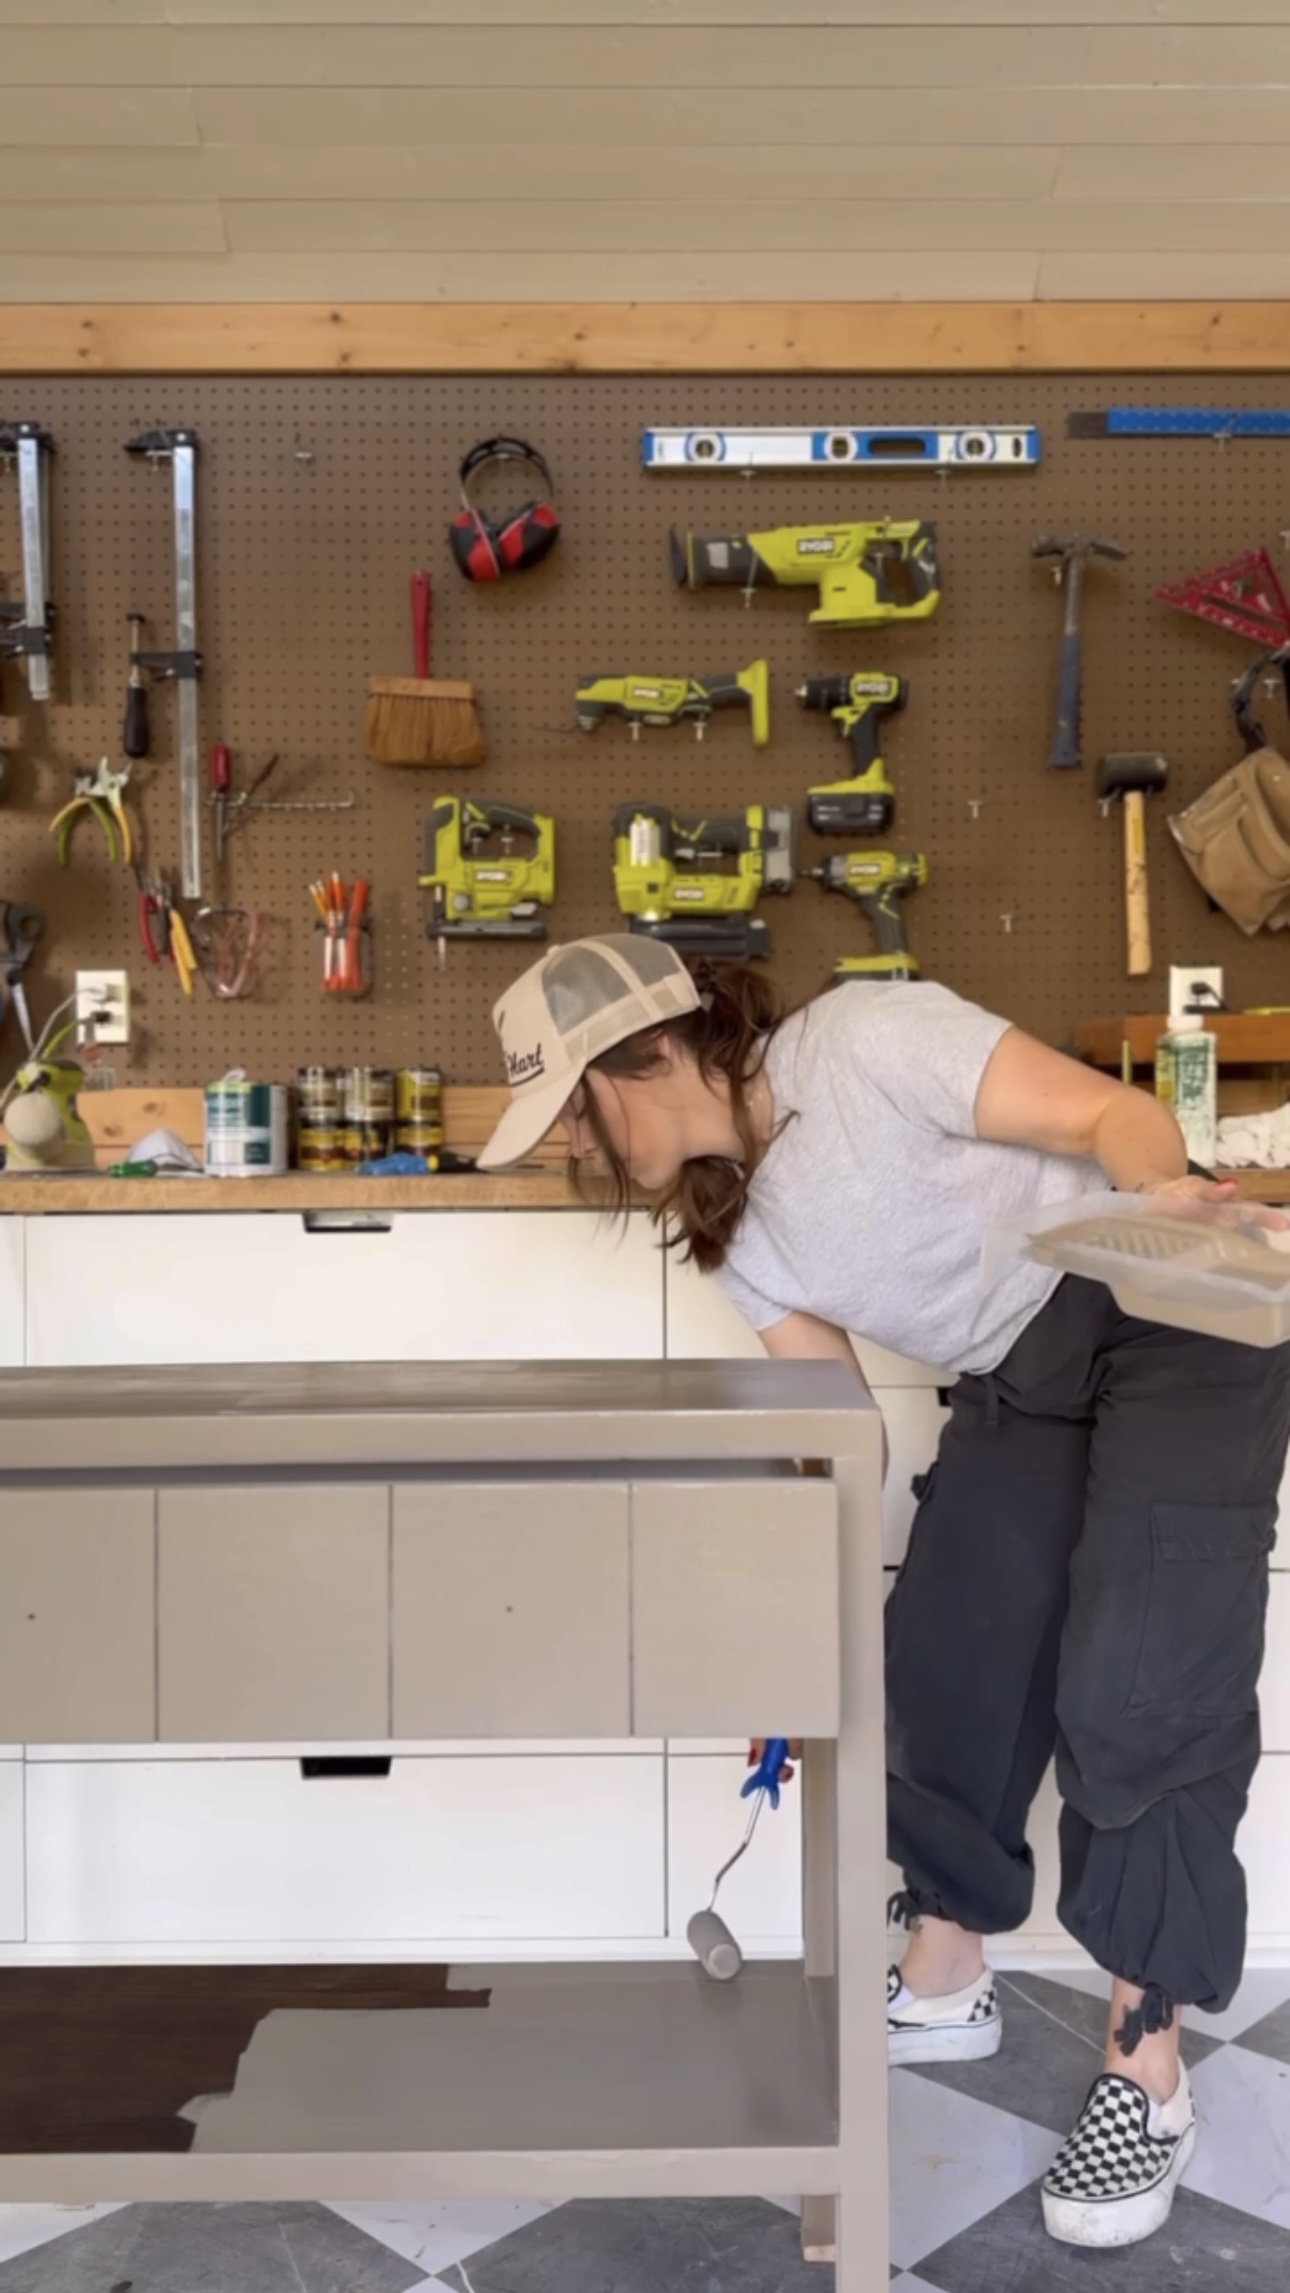
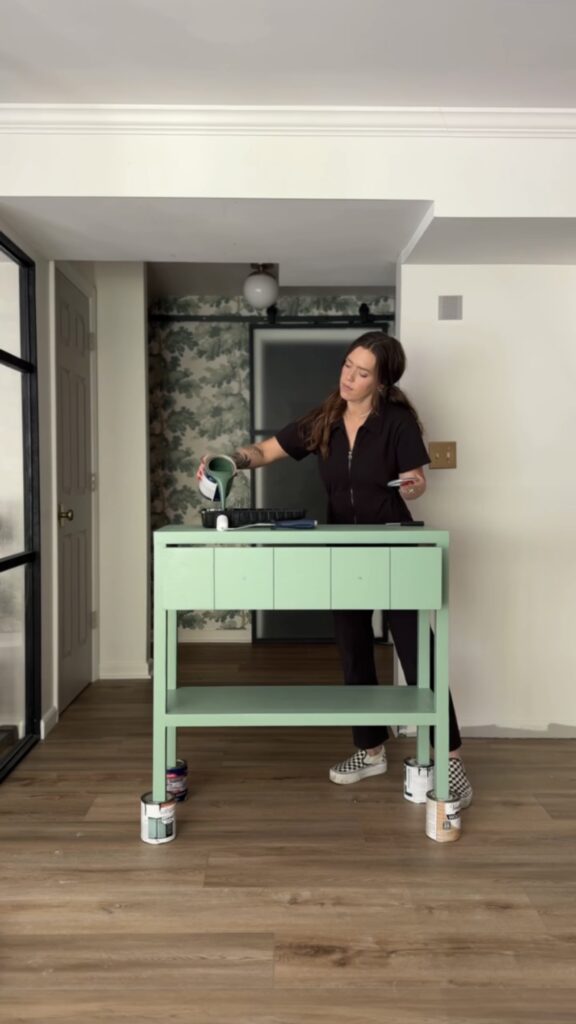
I was recording a video of the final product with paint and I was trying to say “Here’s the paint and I love it!” I couldn’t get myself to say I loved it. I chose a mushroom color. It was really pretty but it just wasn’t making me happy. Maybe it was the table making me angry? So I had to get more paint. I chose this light, sage green. I don’t know how I got here!

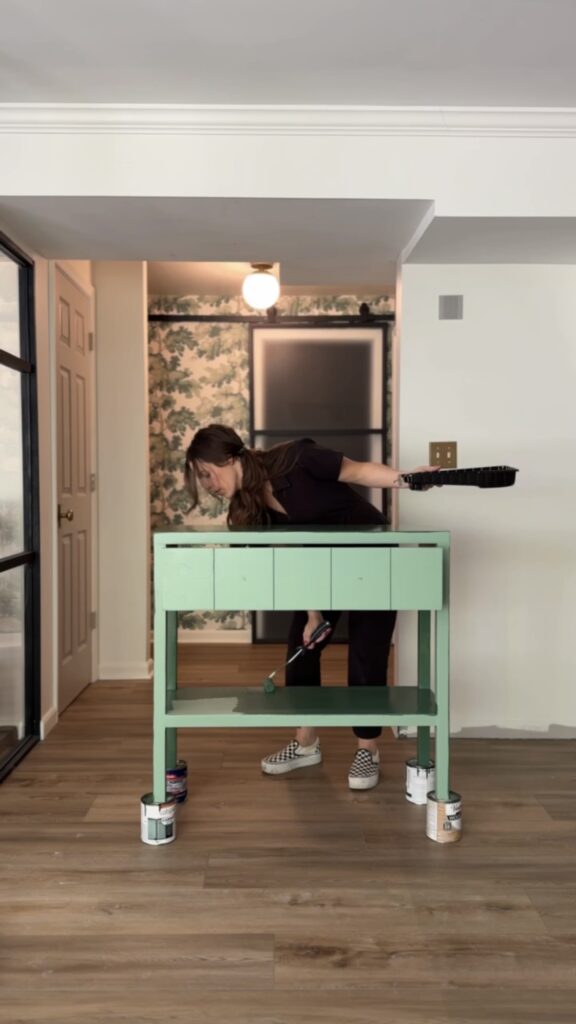
DON’T JUDGE ME. After sitting with it over the weekend, I still didn’t love it. It was so far from what I originally wanted. I was going to make sure I was happy with it. This light sage green color was cute….but again just not right.
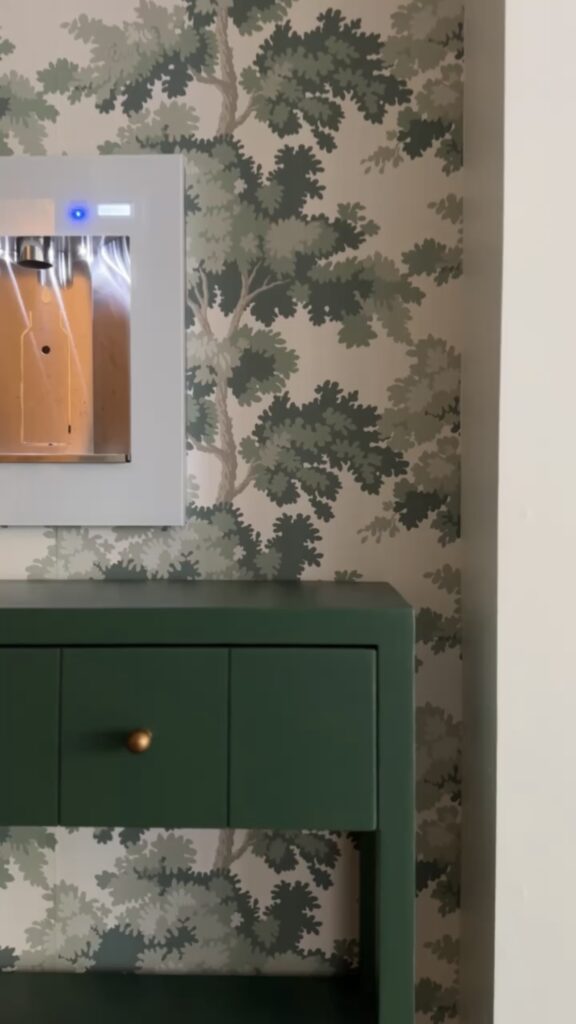
The FINAL color was this dark green. This color, I love!
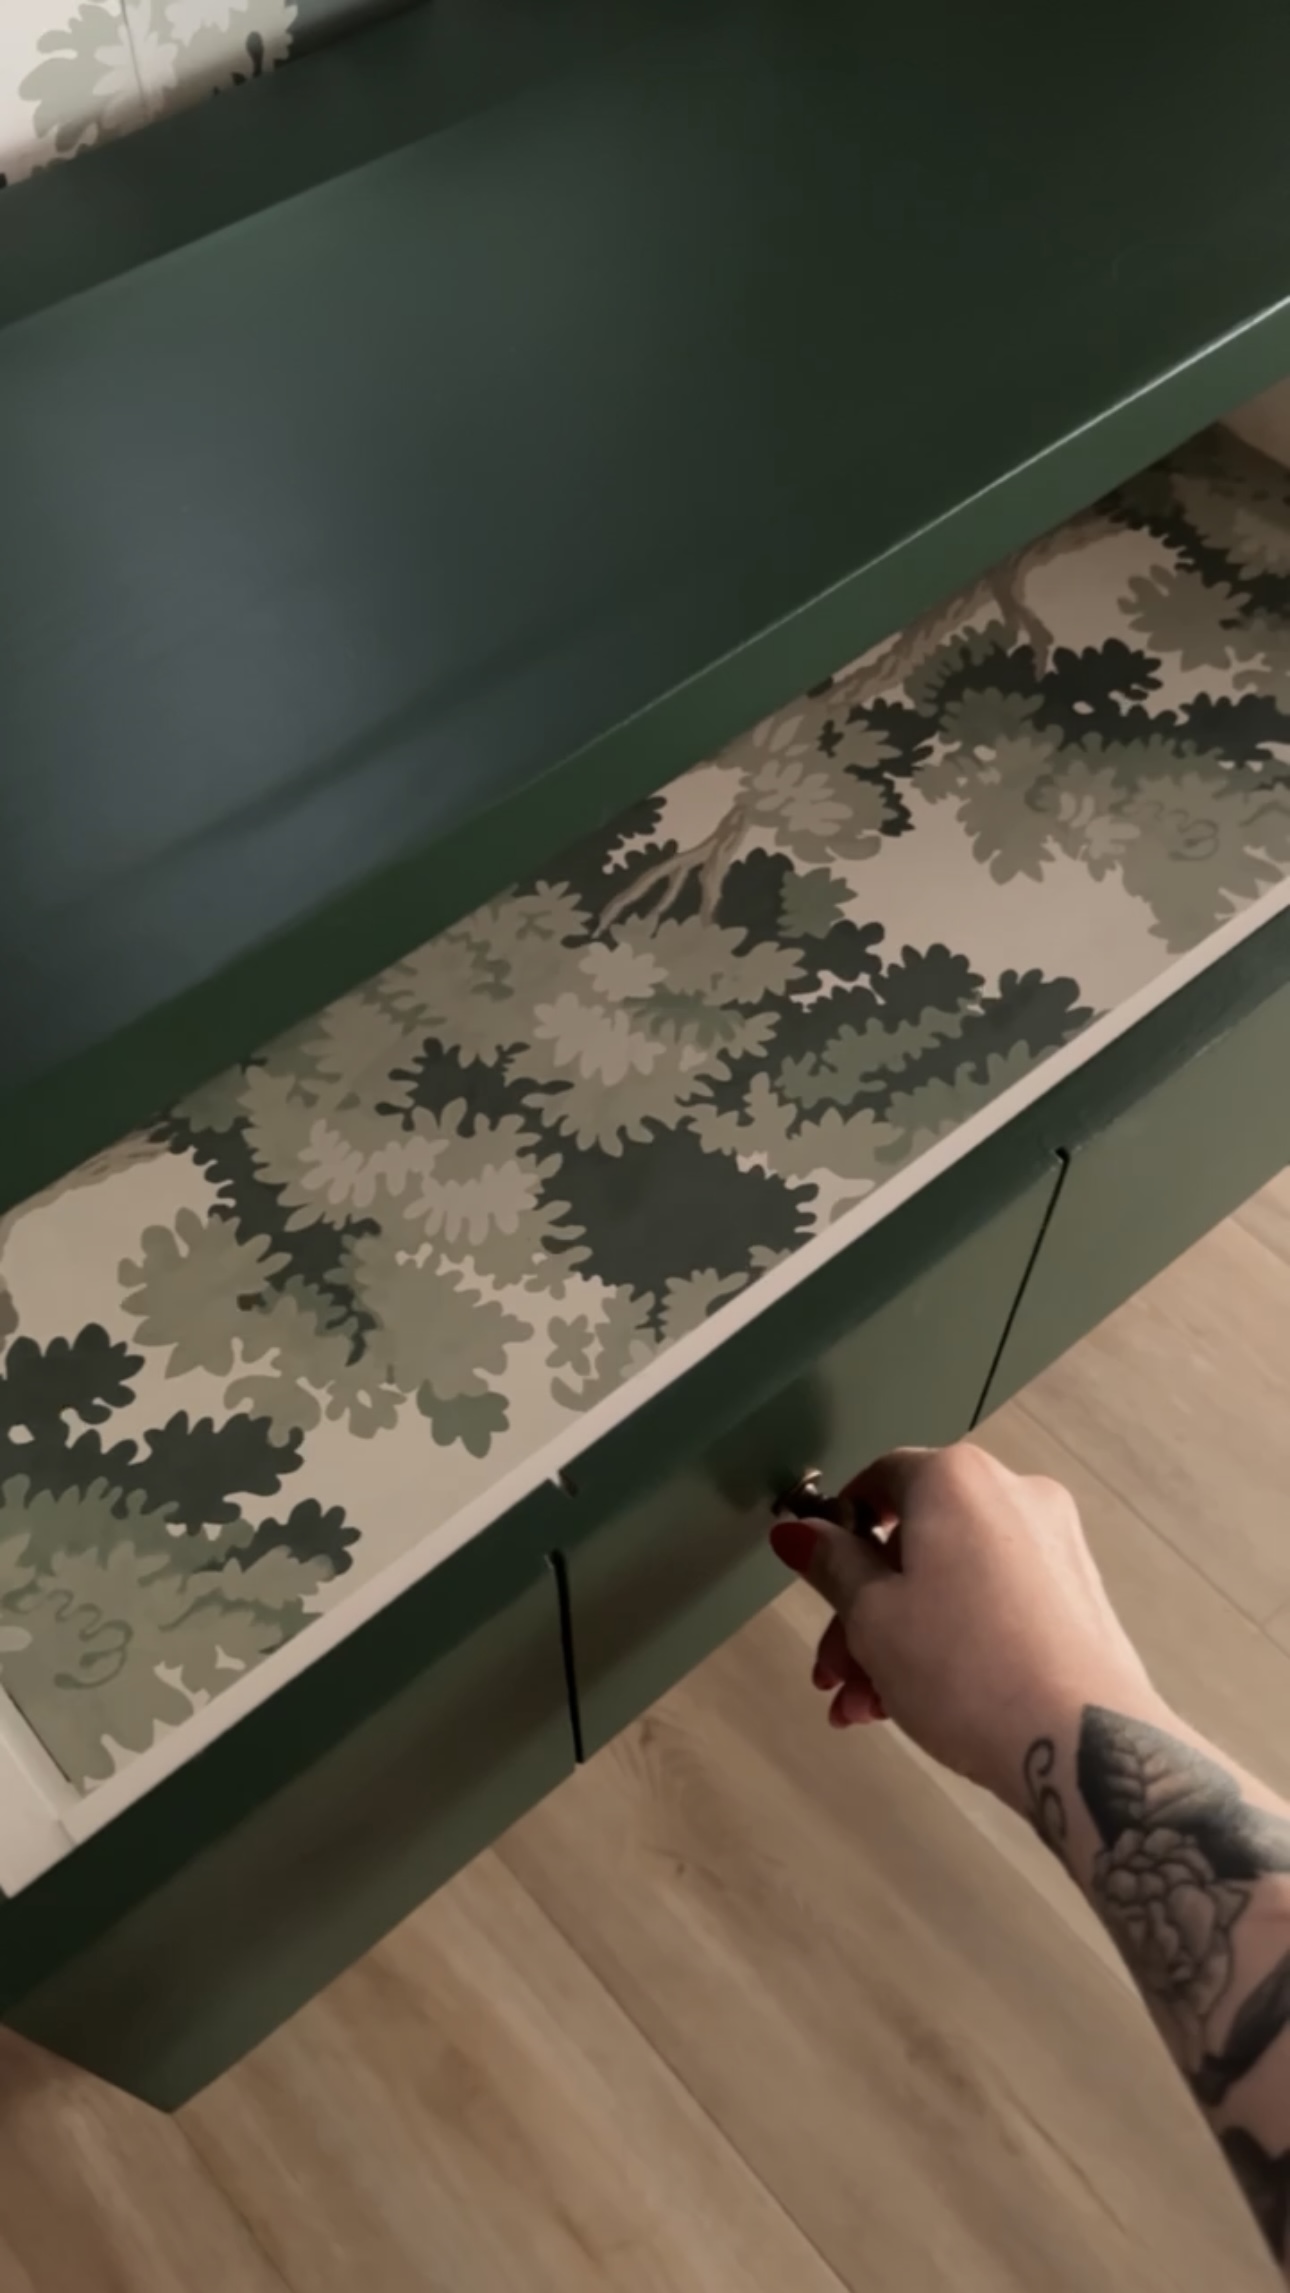
I had some extra wallpaper from the hallway and added it to the drawer as a fun little surprise to tie it all together!
It kind of felt like it was supposed to be this dark green color all along! FINALLY I’m happy with it!
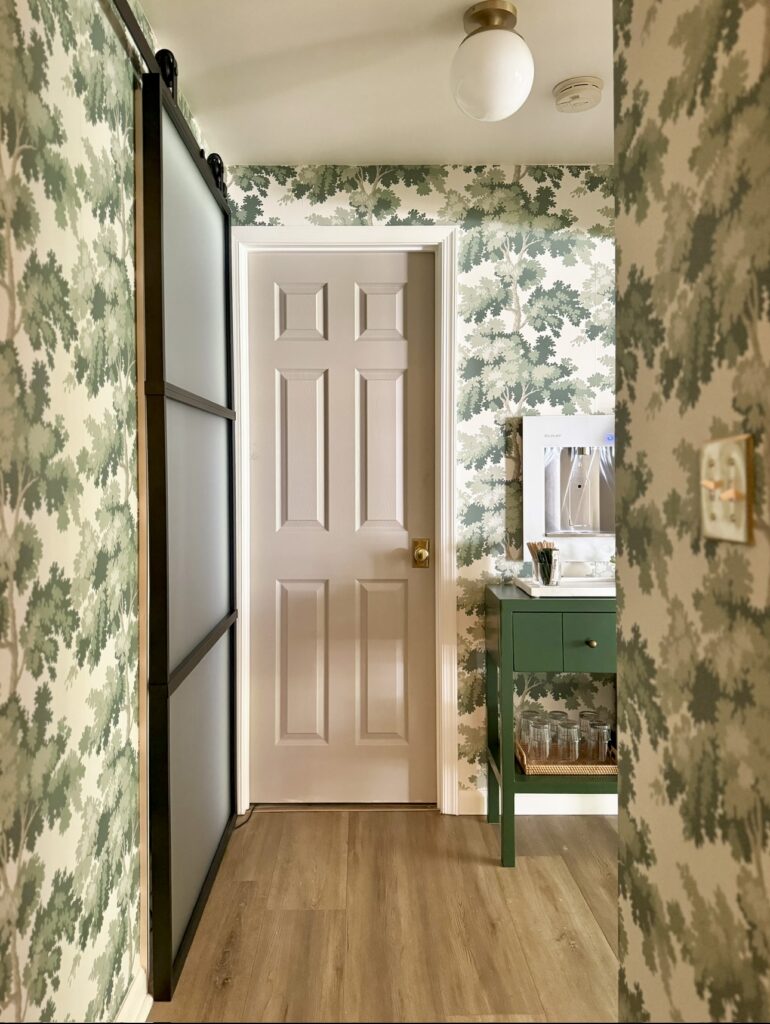
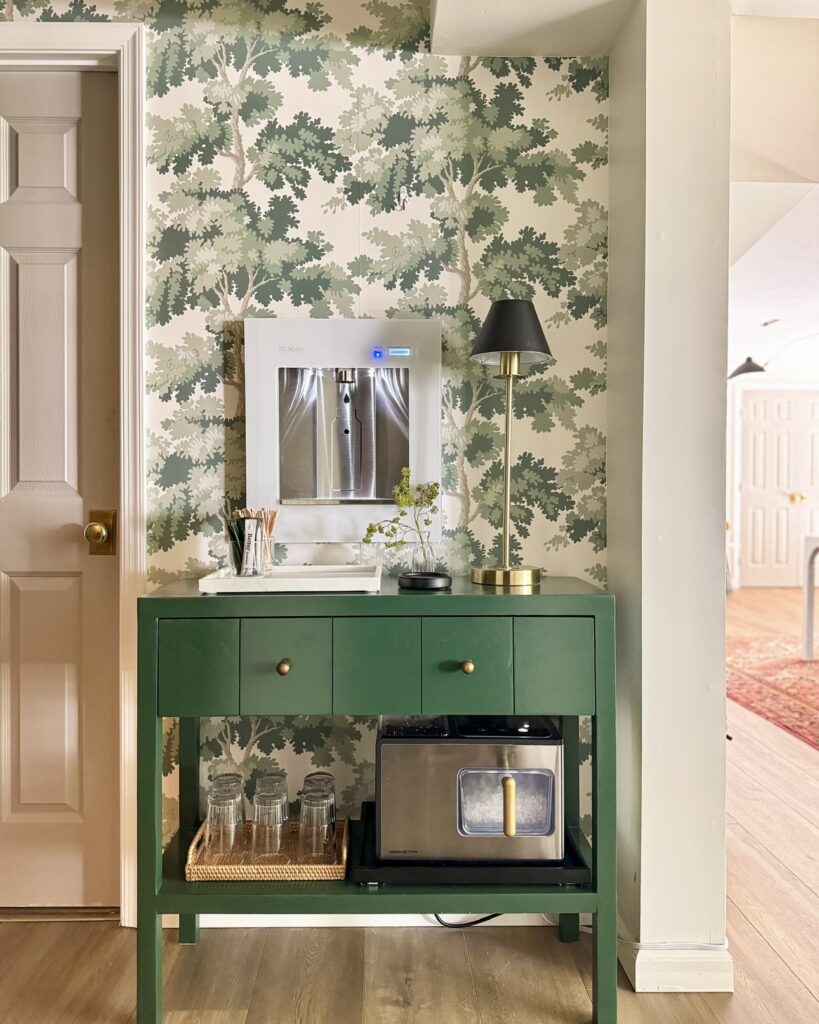
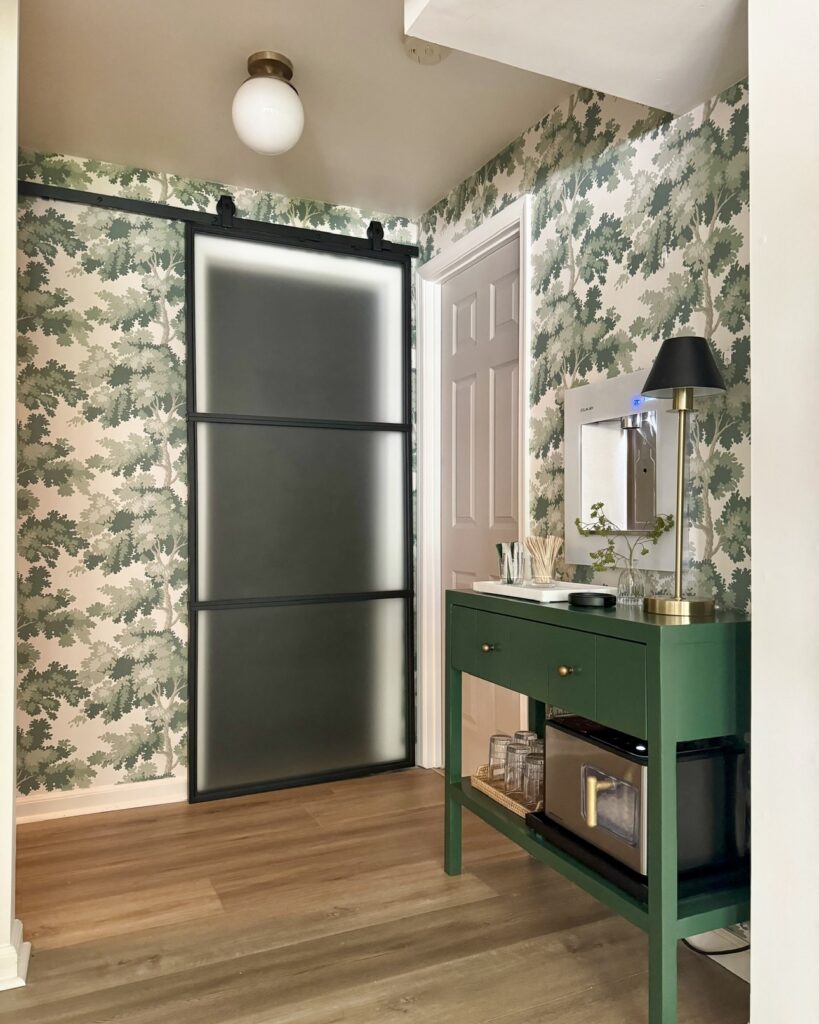
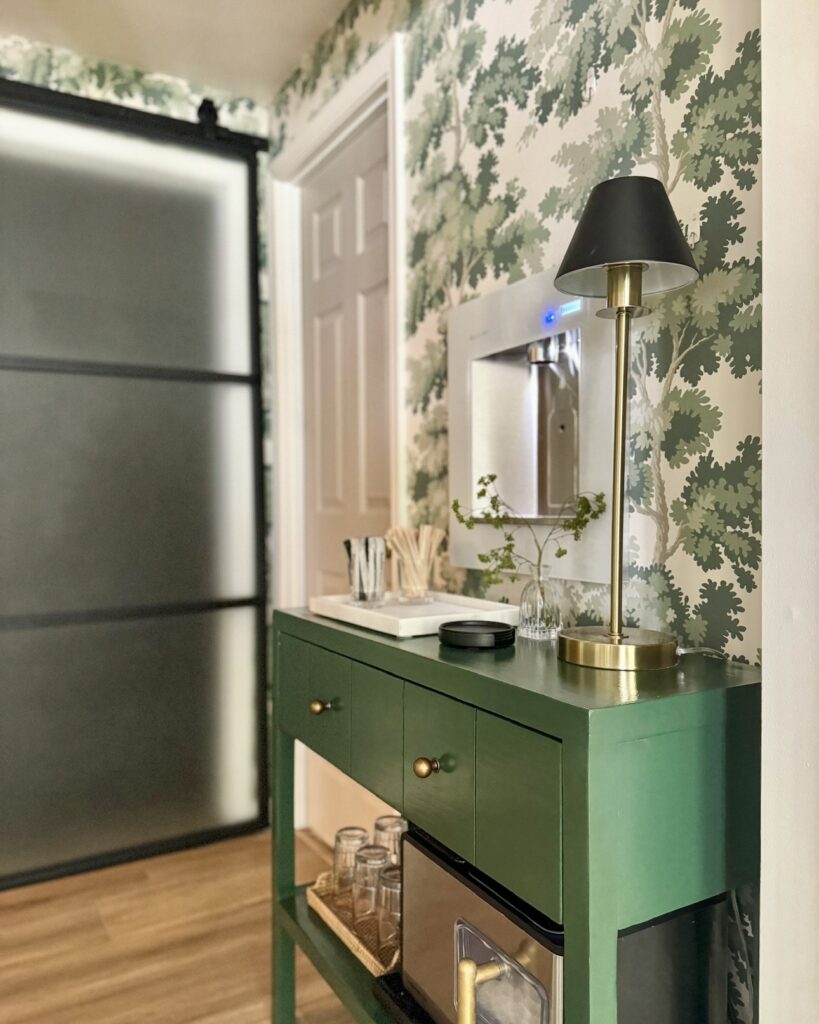
I turned this DIY Console Table into a drink station and I’m obsessed with it. Click here to see everything I did to make it the perfect addition to my basement!
Here’s everything I wore in my stories this week working on my cursed DIY console table!


- Safety Glasses
- Ultra High Rise 90’s Straight Jeans
- AE Ribbed T-Shirt
- Poppy Gold Choker Necklace
- Thin Gold Necklace
- Laurel Gold Ring
- Burgundy Wide Leg Cargo Jeans
- White Cropped Tee
- Aerie Black Cargo Pants
- Abercrombie White Tee
- Platform Checker Vans
- Platform Converse
- “Going Nowhere Fast” Trucker Hat
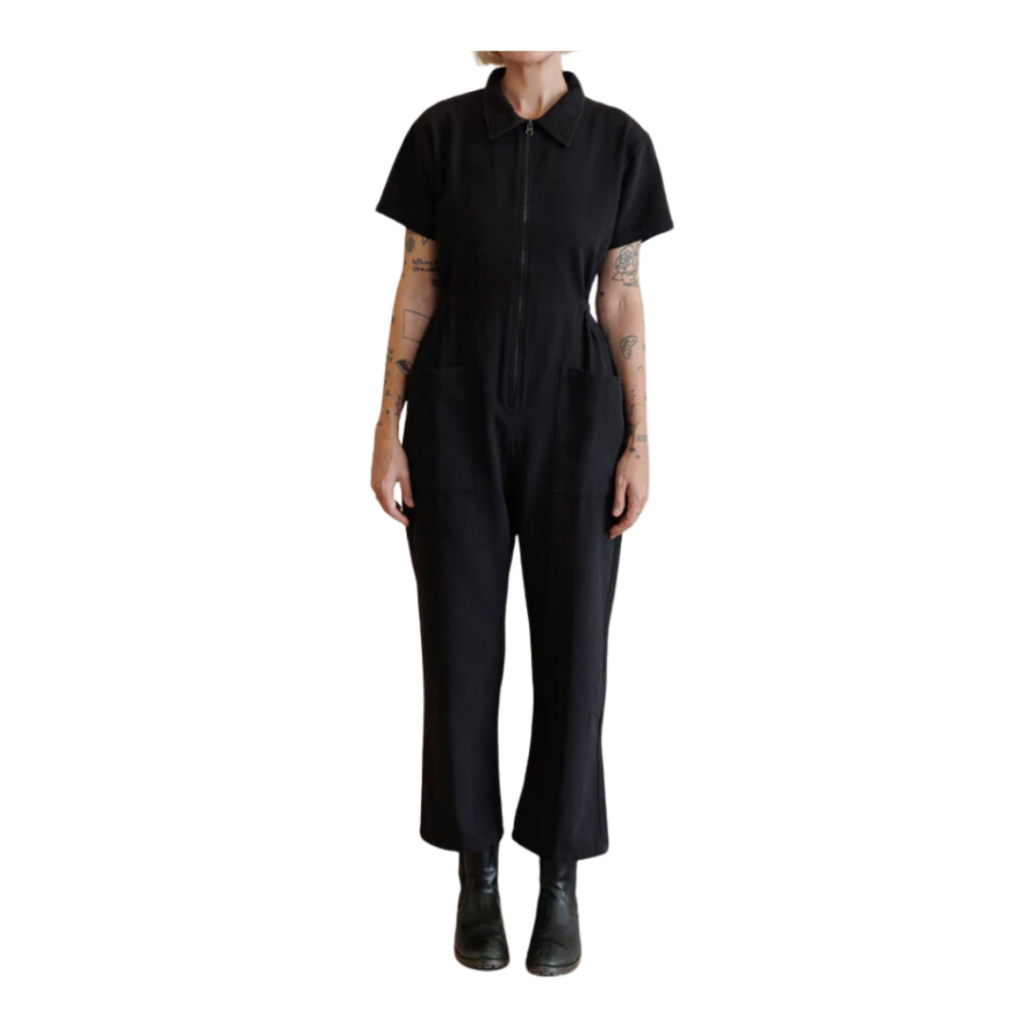
- Noble Utility Suit
- Nirvana Tee
