Basement Stairway Makeover – Wallpaper

I’ve been renovating my basement stairway and I’m SO excited. I’ve done so much work in the basement and it’s a space I love to be in. Hallways and stairs deserve some love and attention too! I’m having such a blast with this basement stairway makeover. Today I can’t wait to install some wallpaper!
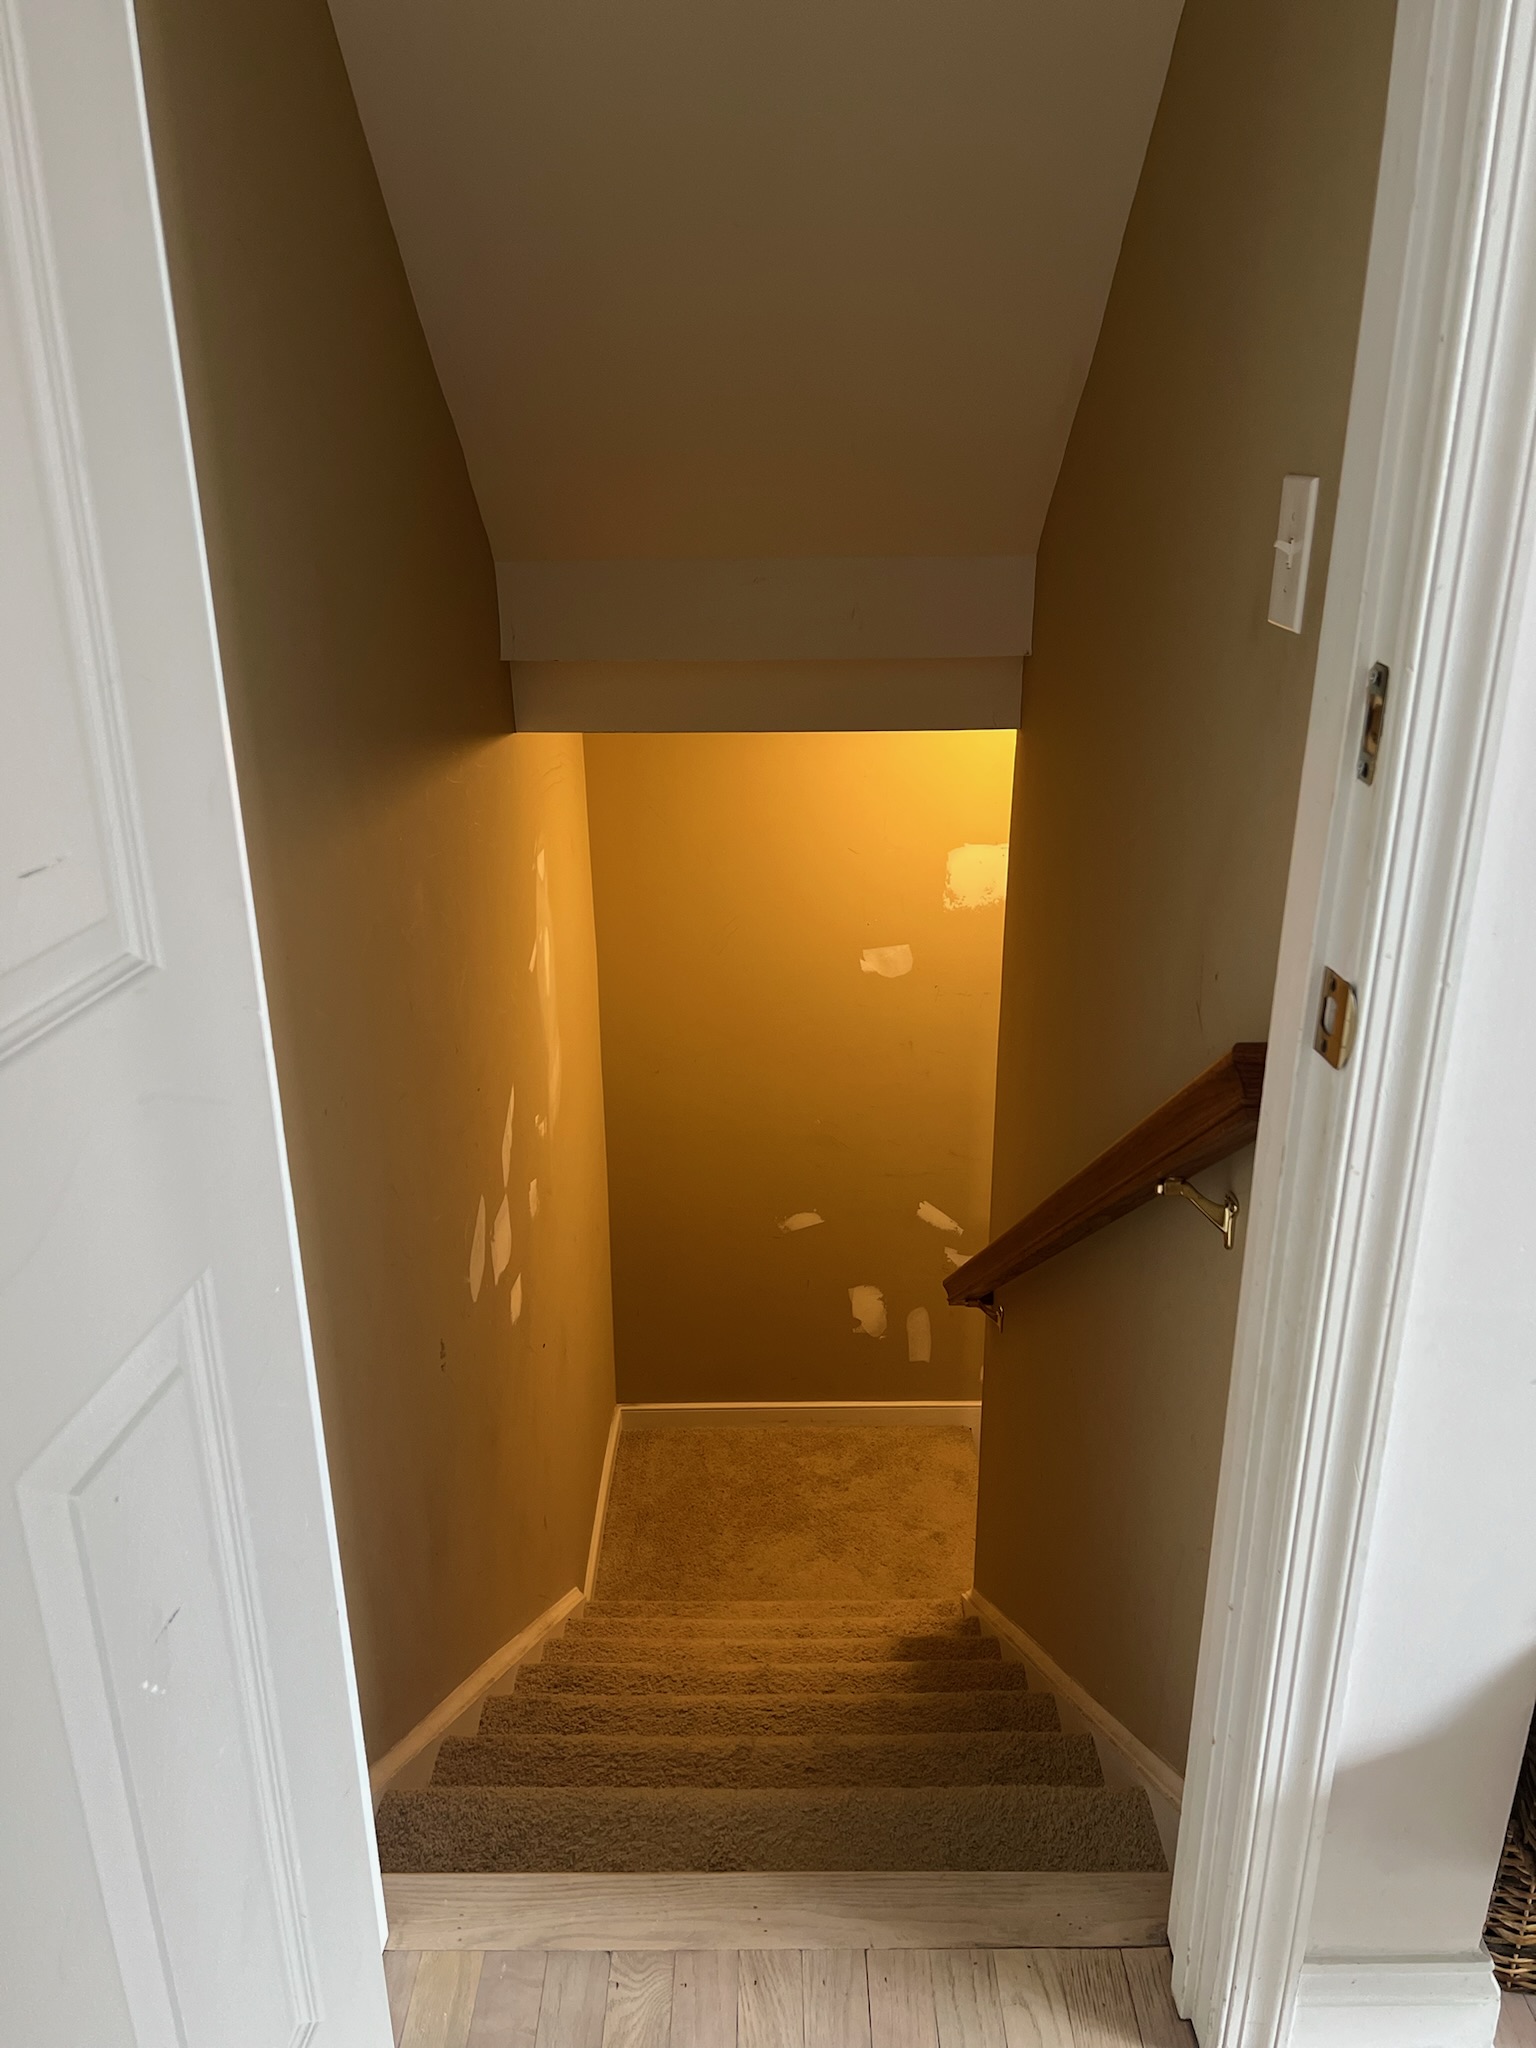
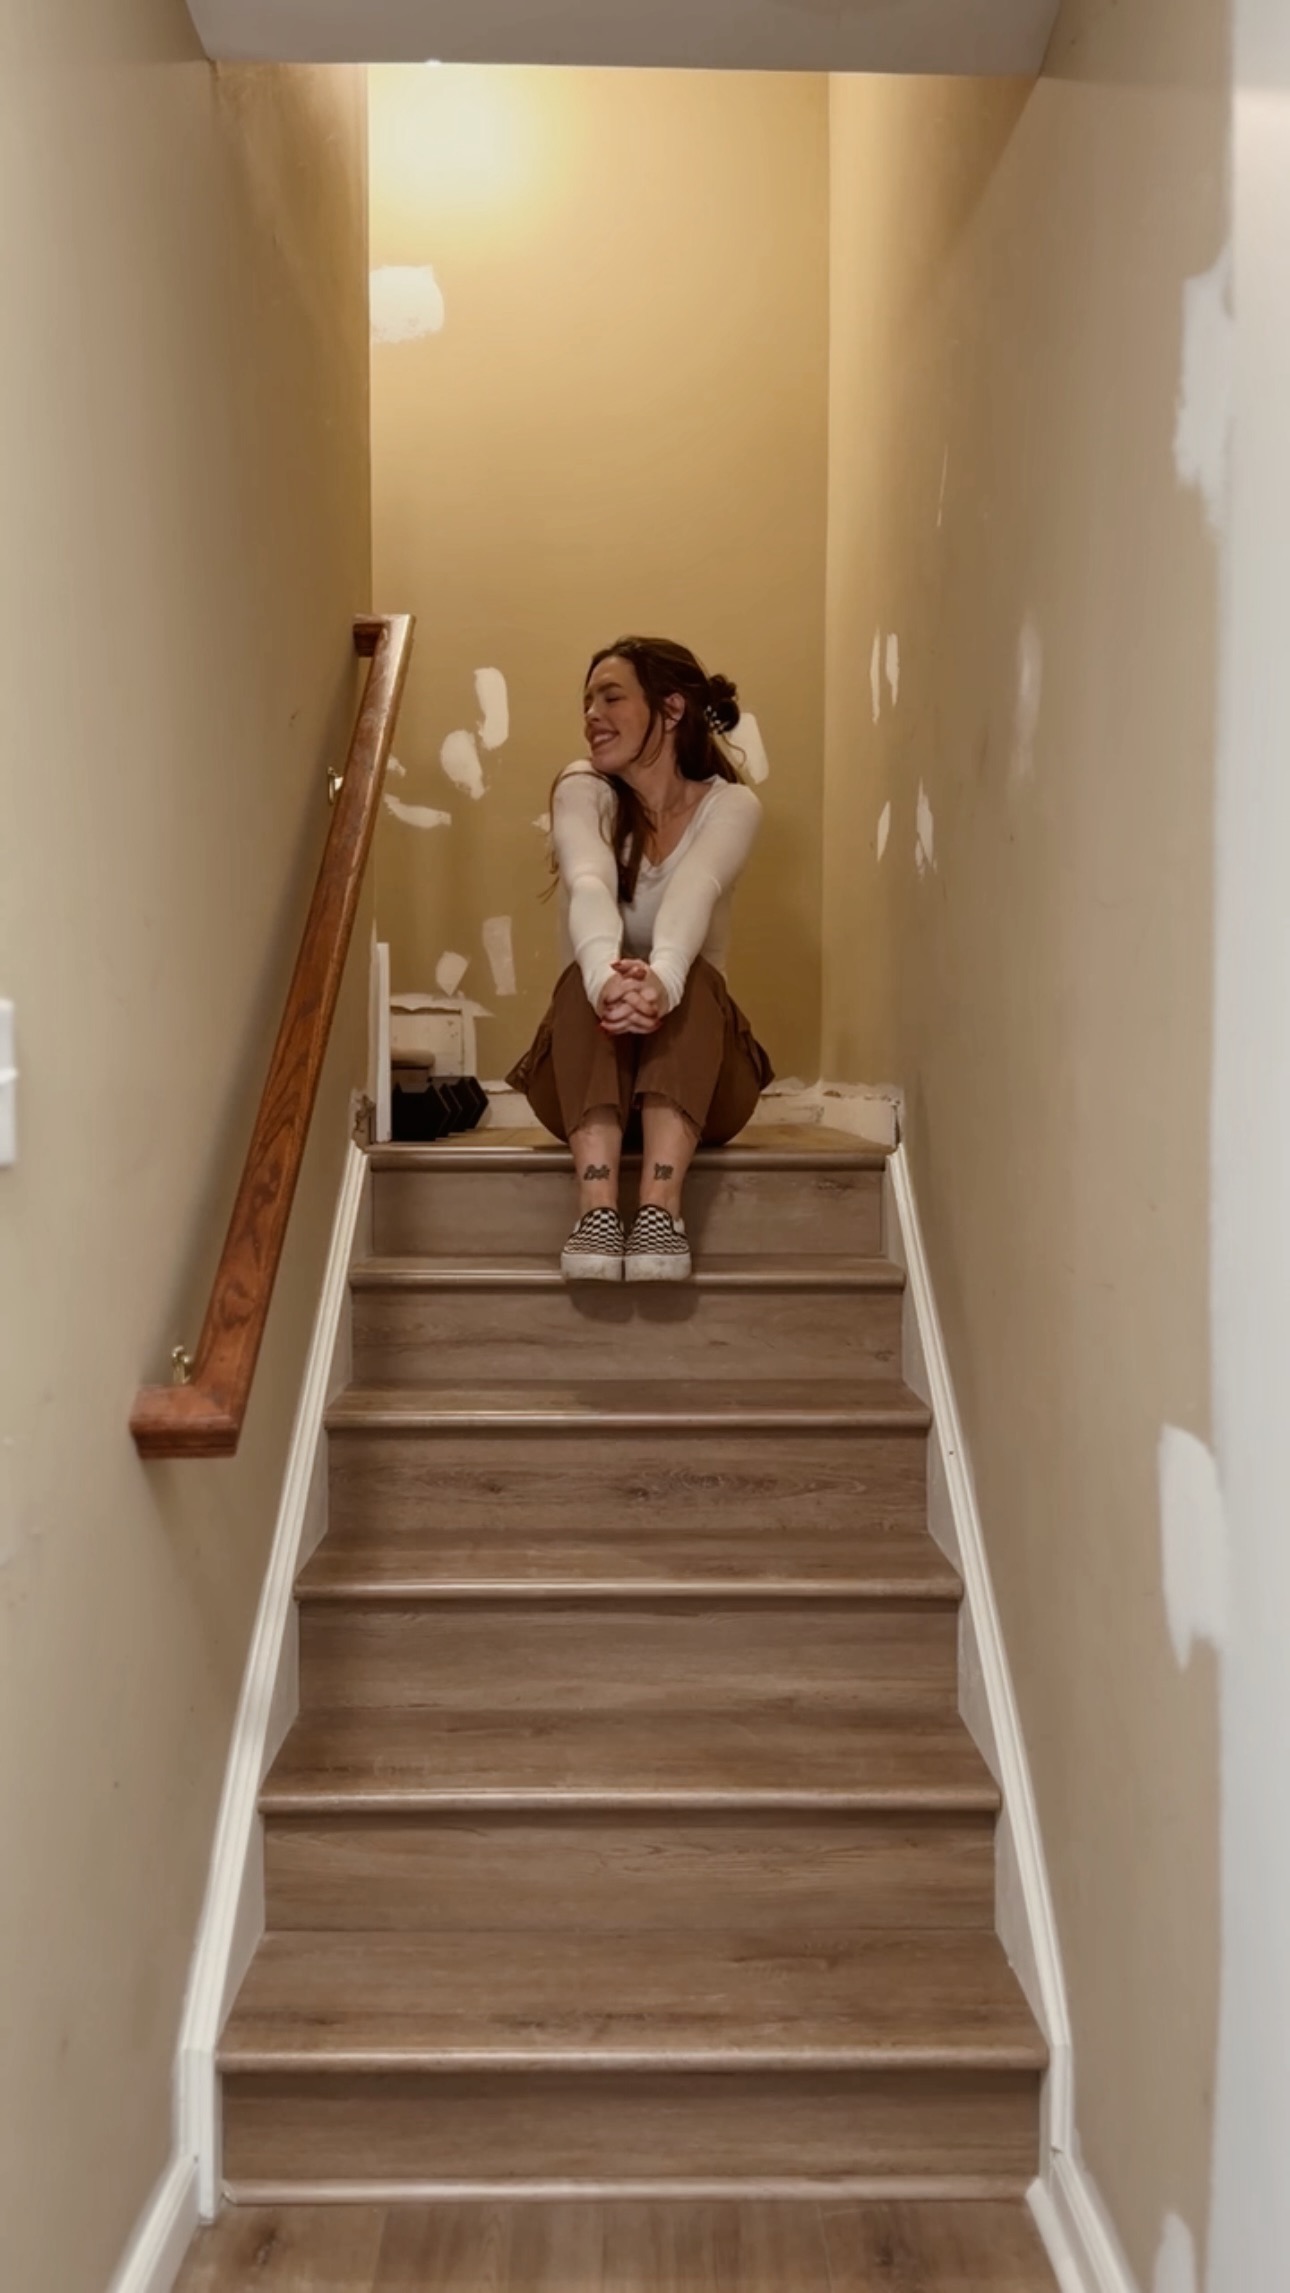
Here’s where we started:

After ripping up the carpet and installing new stairs, here’s where we’re at:
Wallpaper
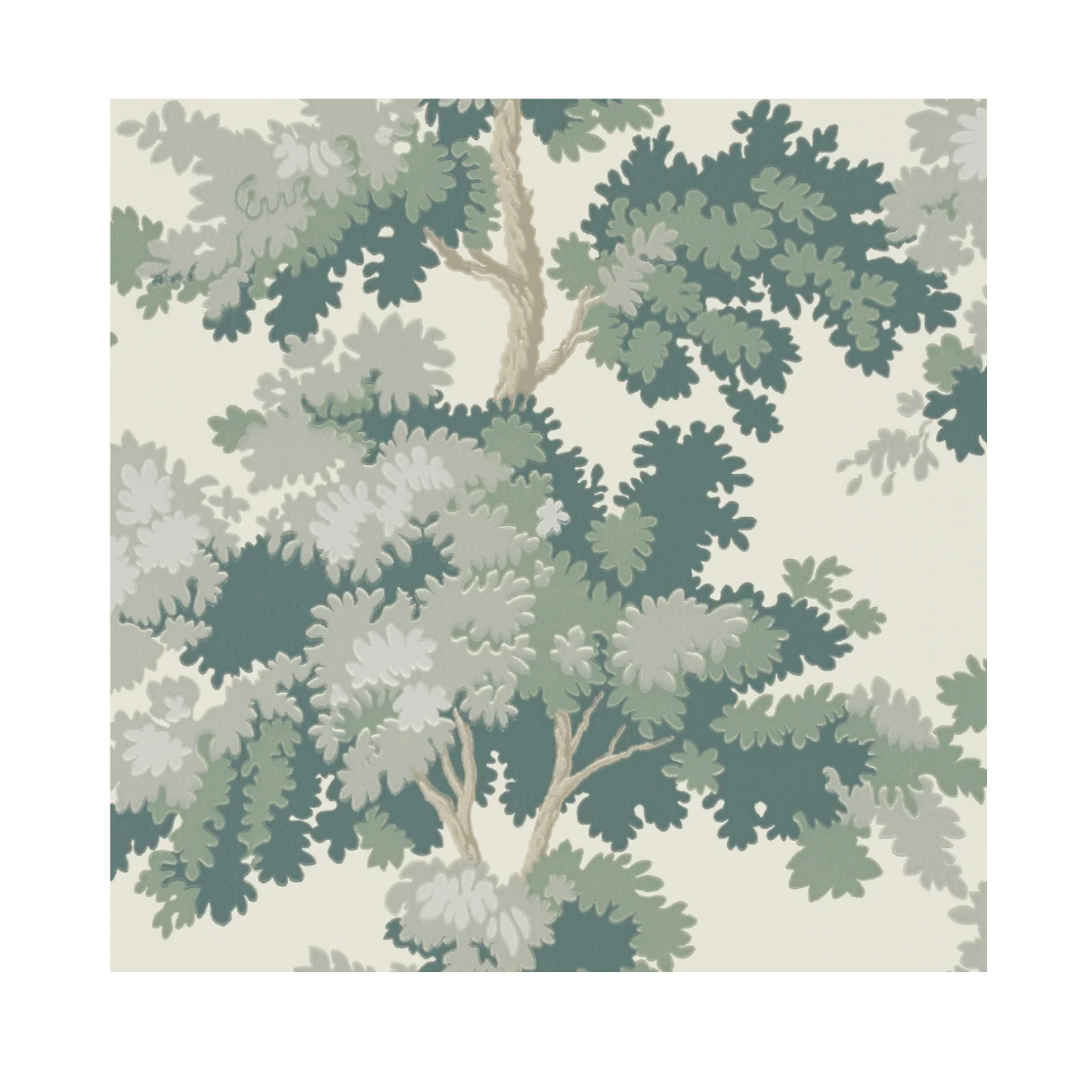
It’s time for wallpaper! I have been crushing on this wallpaper for a few years now. I’m so excited to finally use it somewhere somewhere! It’s from Sandberg wallpaper. It’s called Raphael in Green.
Materials
For this project, I’ll need:
- Raphael Wallpaper – Green
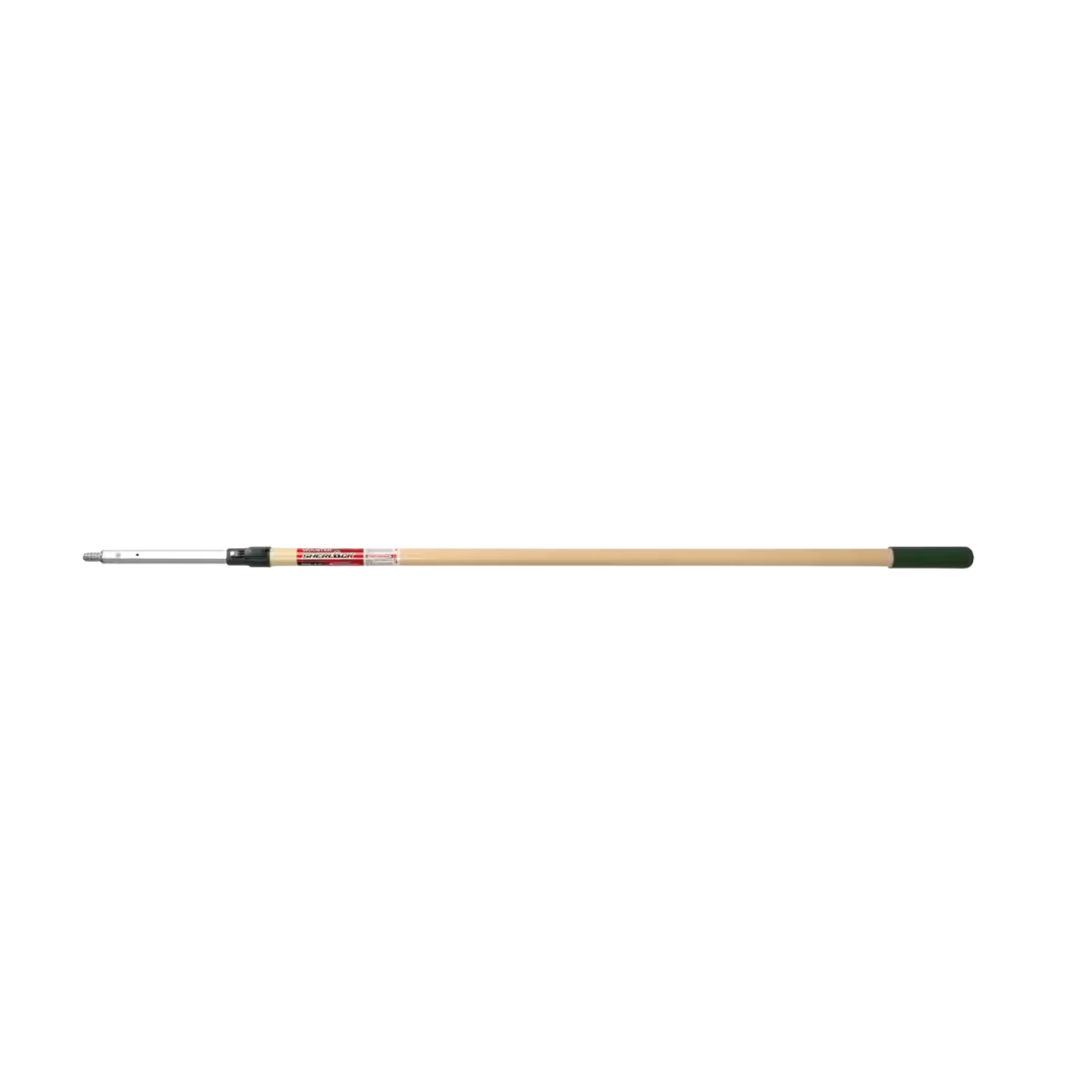
- Adjustable paint roller pole
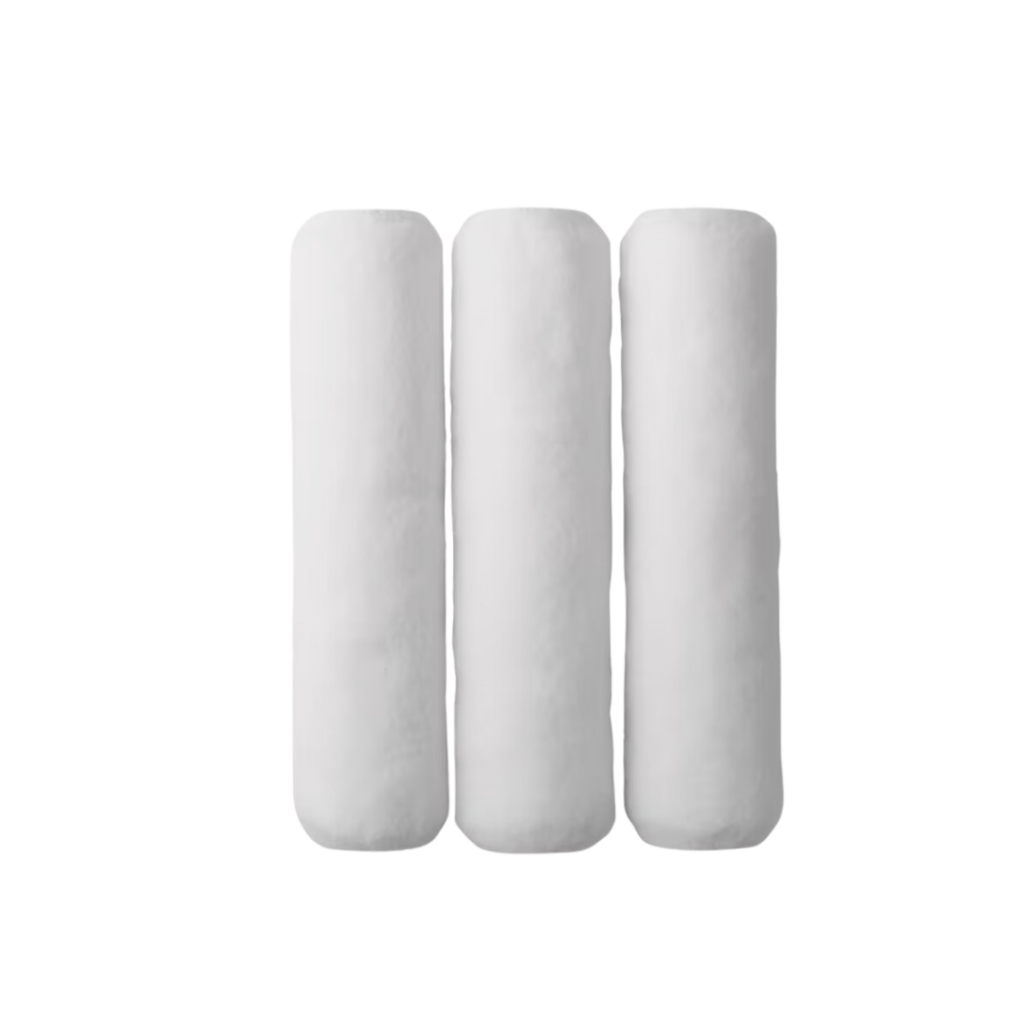
- 9 inch paint rollers
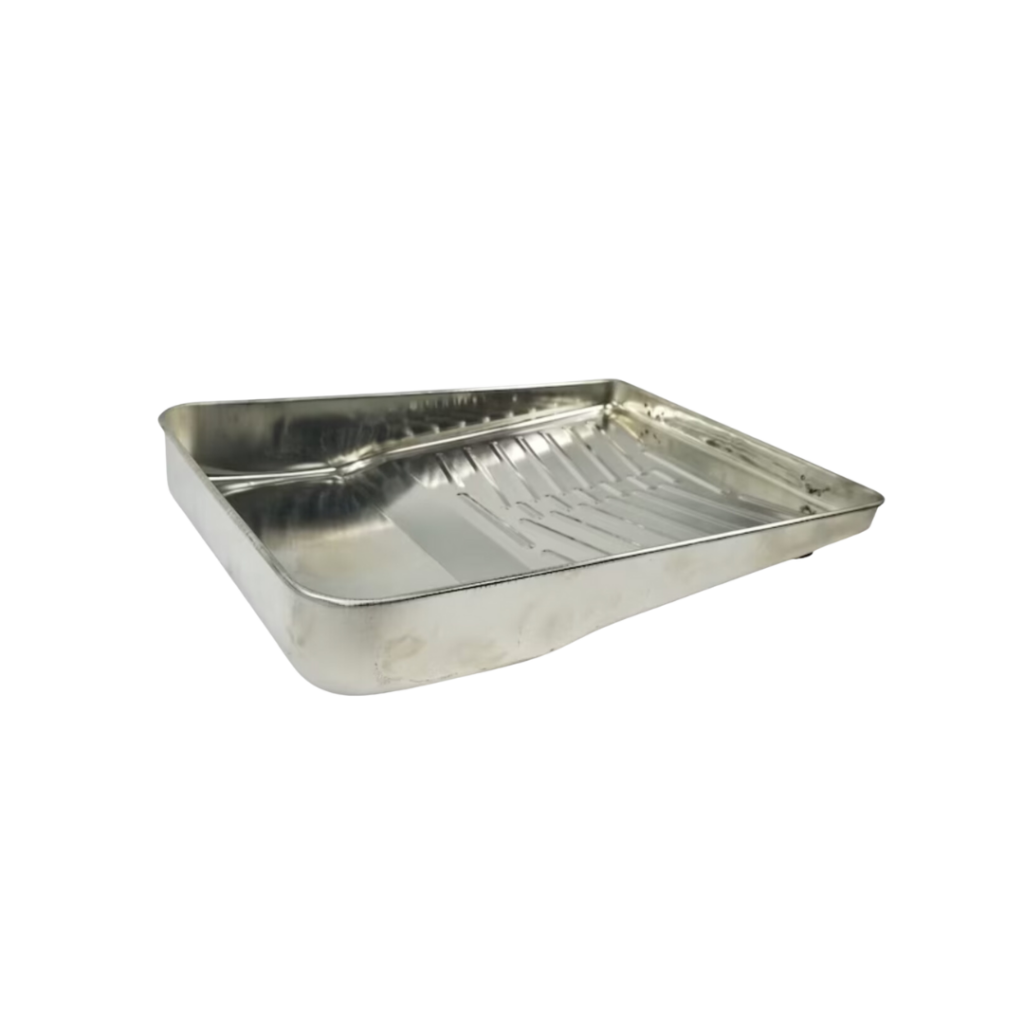
- Paint tray
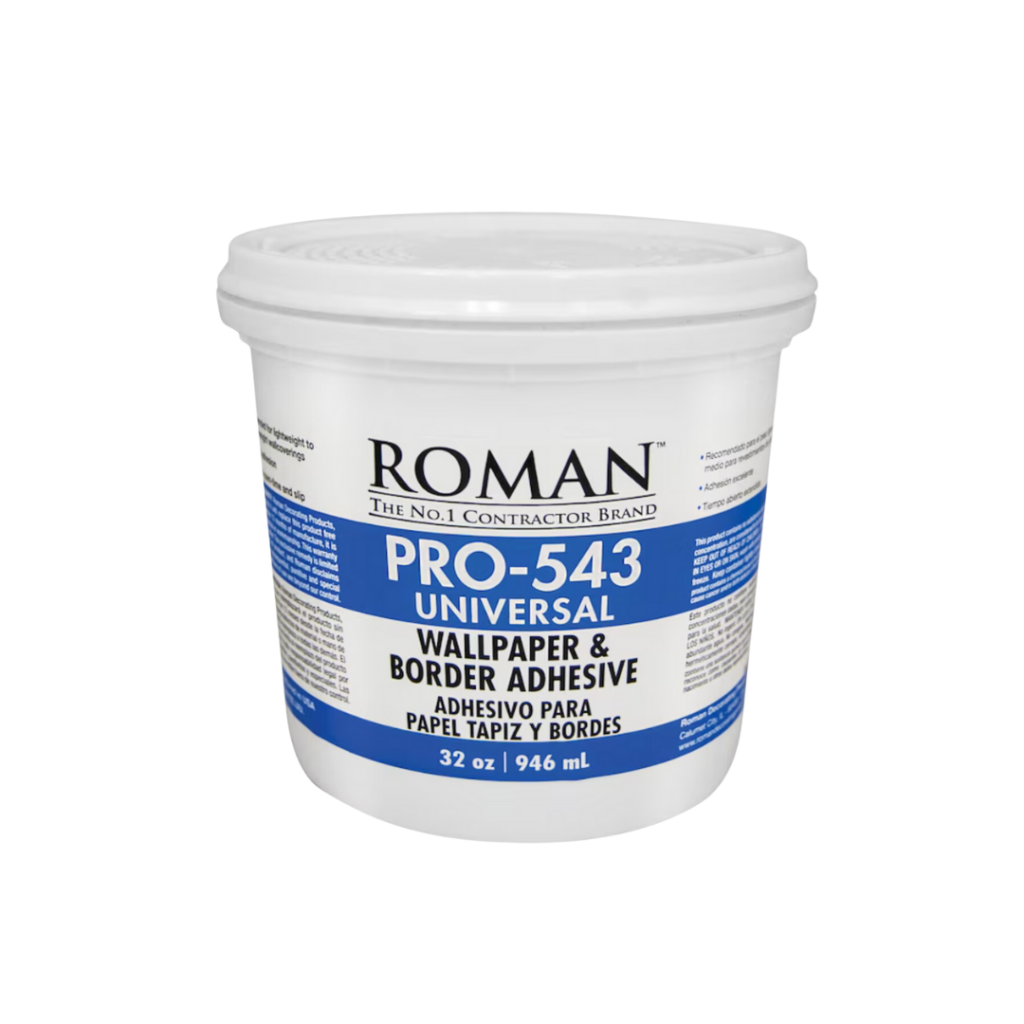
- Wallpaper Adhesive
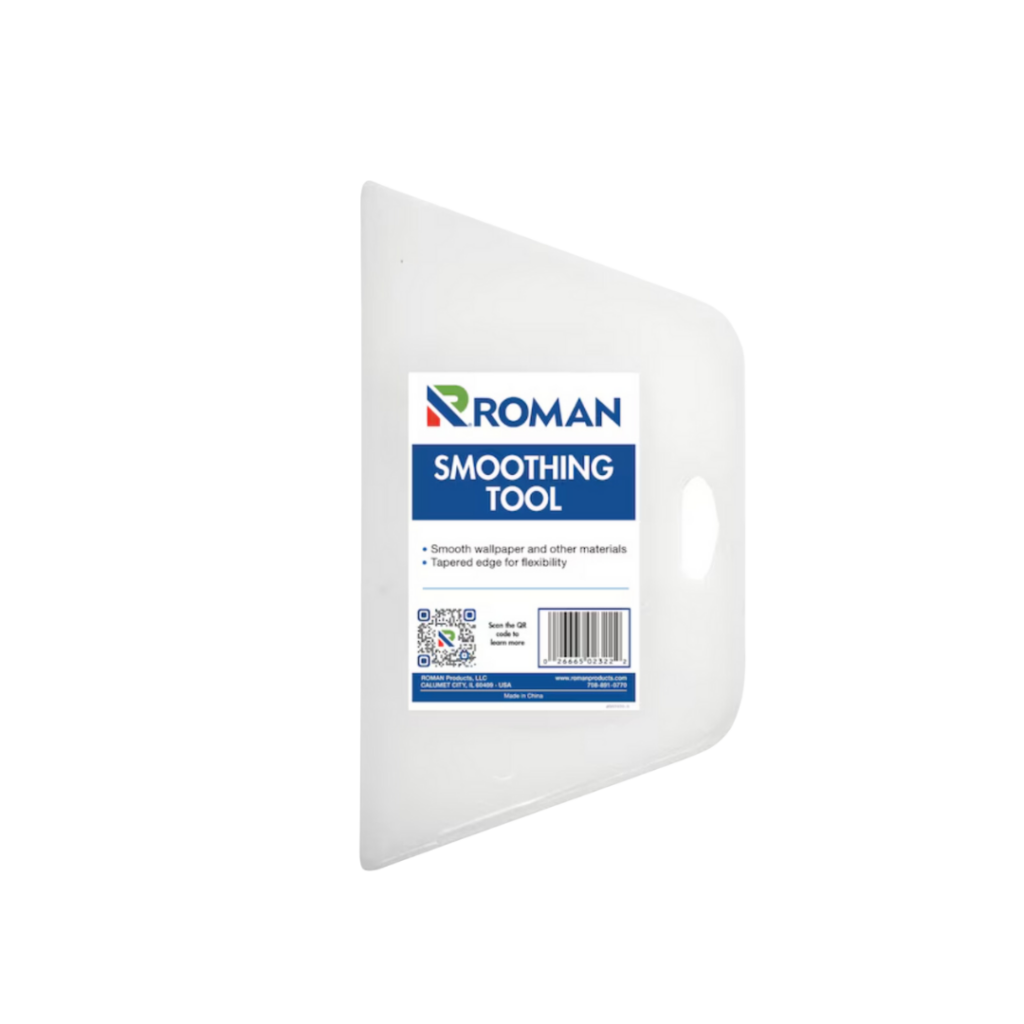
- Wallpaper smoothing tool – I used a putty knife which totally works too!
- Utility Knife

I actually really enjoy installing wallpaper. It doesn’t require doing any math so I can just zone out and put it up…it’s kind of therapeutic!
Let’s get started!
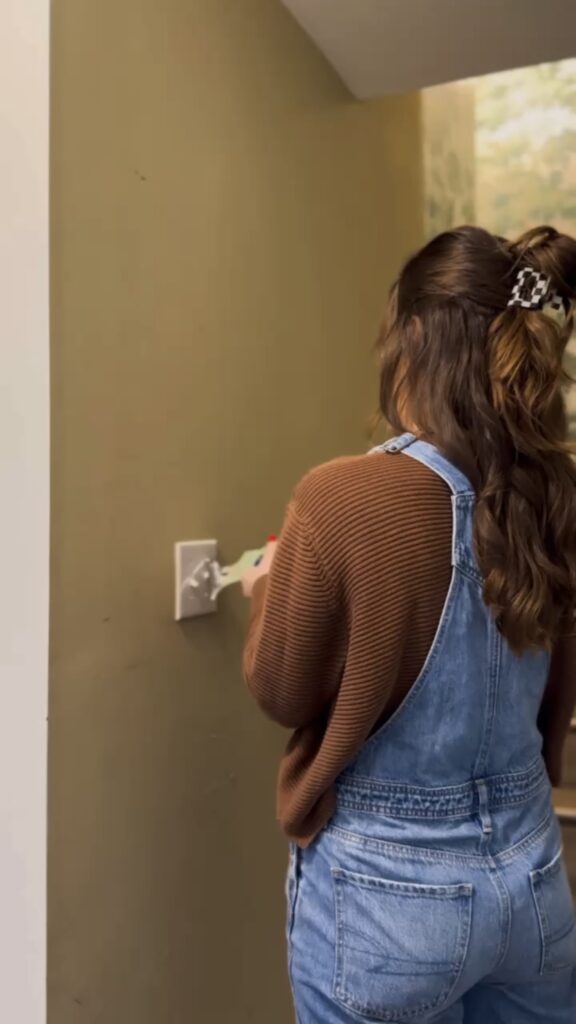
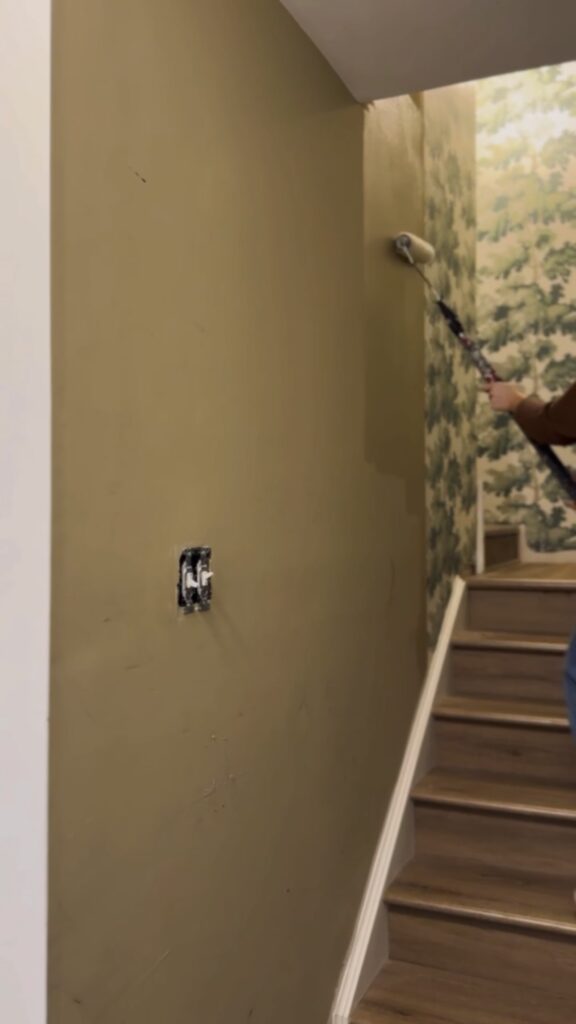
First, I removed all the switch plates I have on my walls. I’ll lay the wallpaper as close as I can to the holes in the walls and then reinstall the switch plates when I’m done.
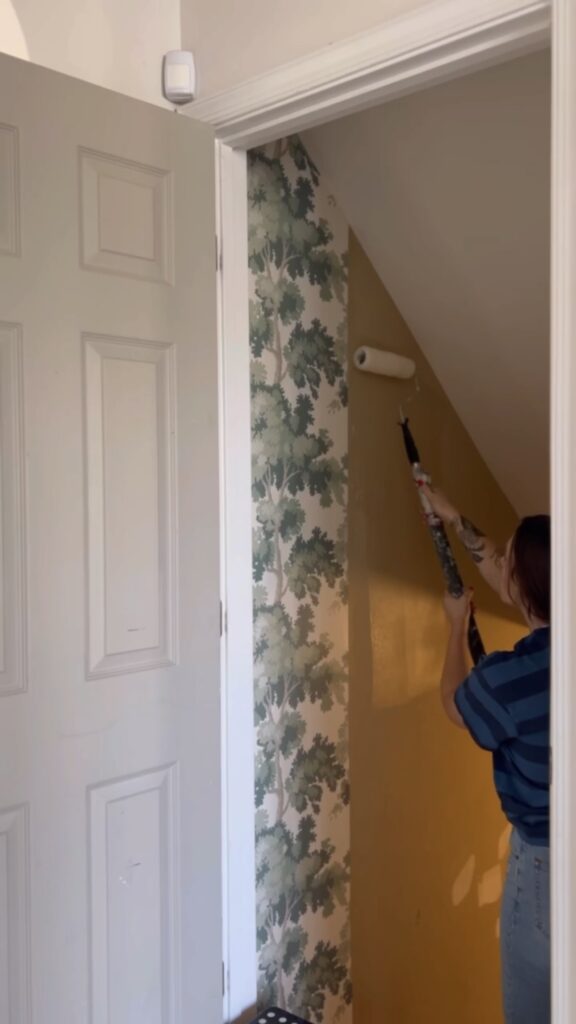
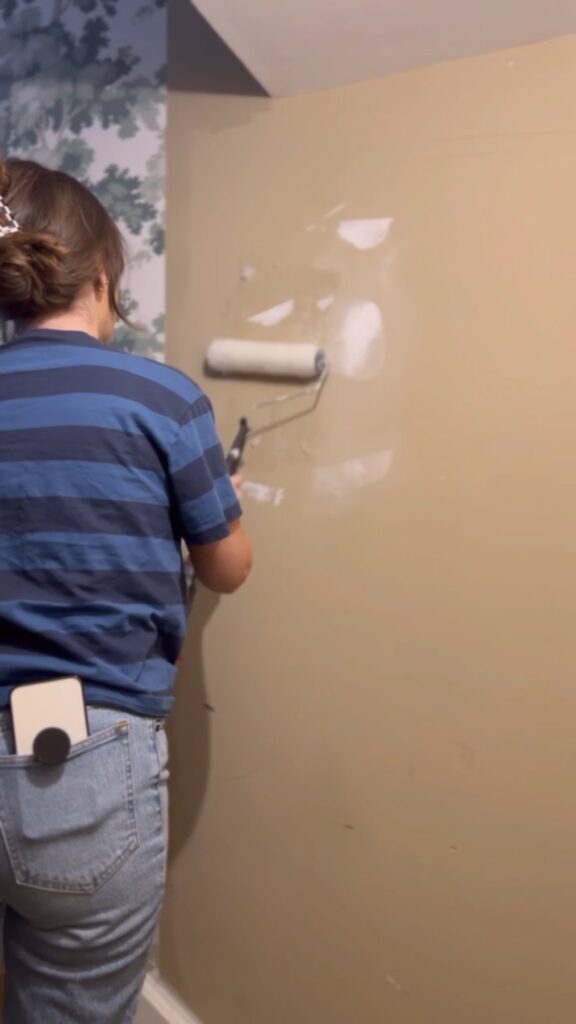
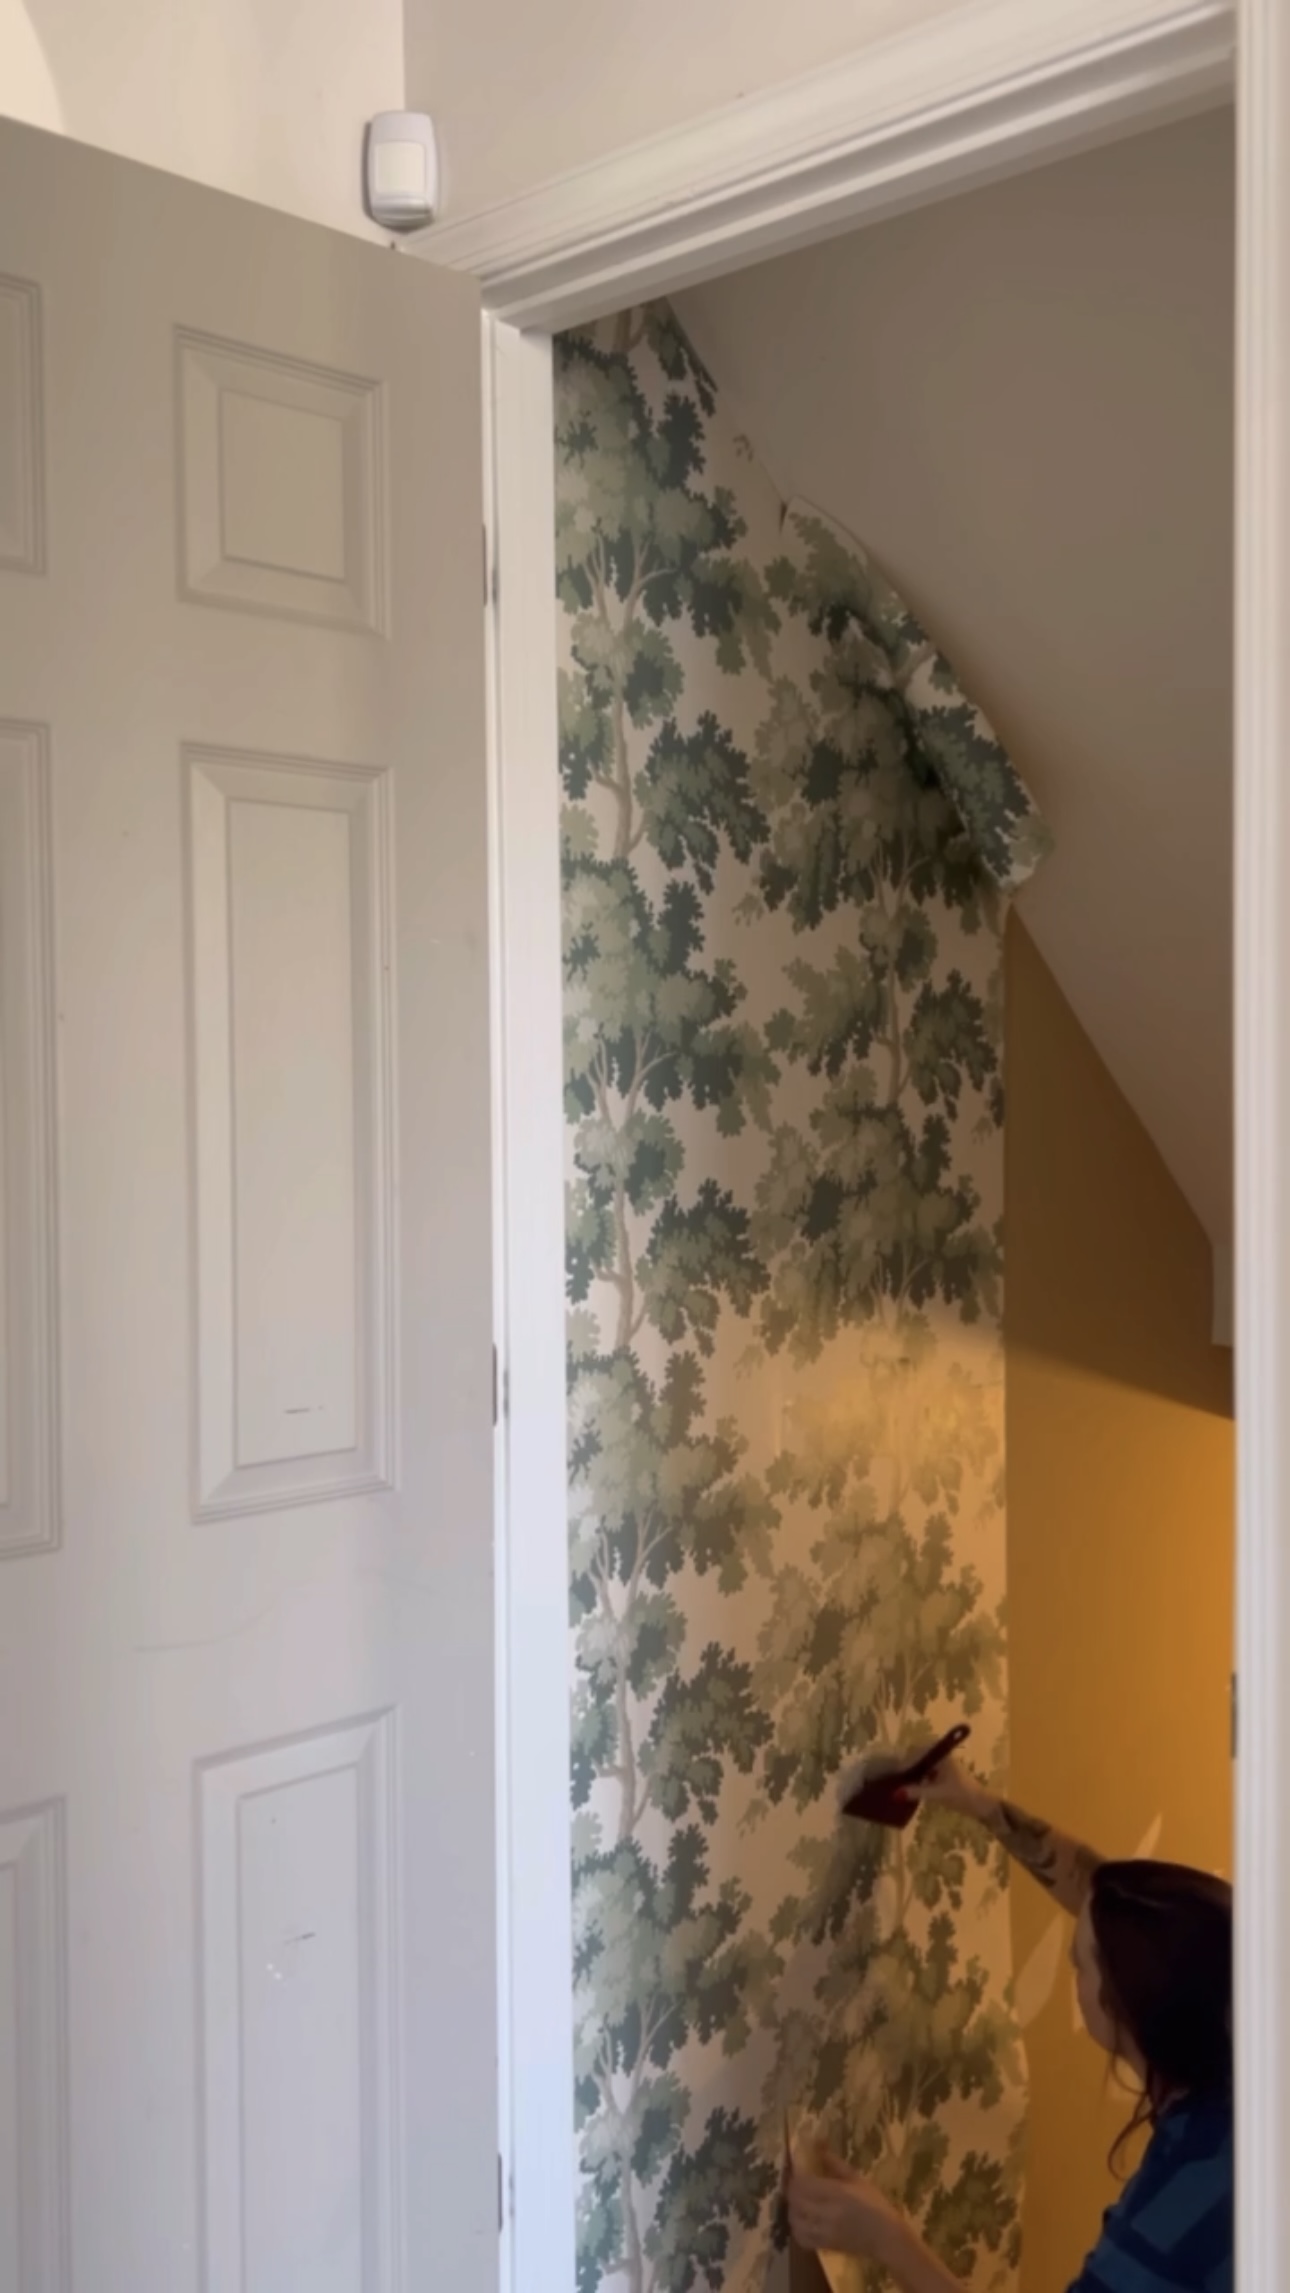
To hang wallpaper, I started by rolling on the adhesive.
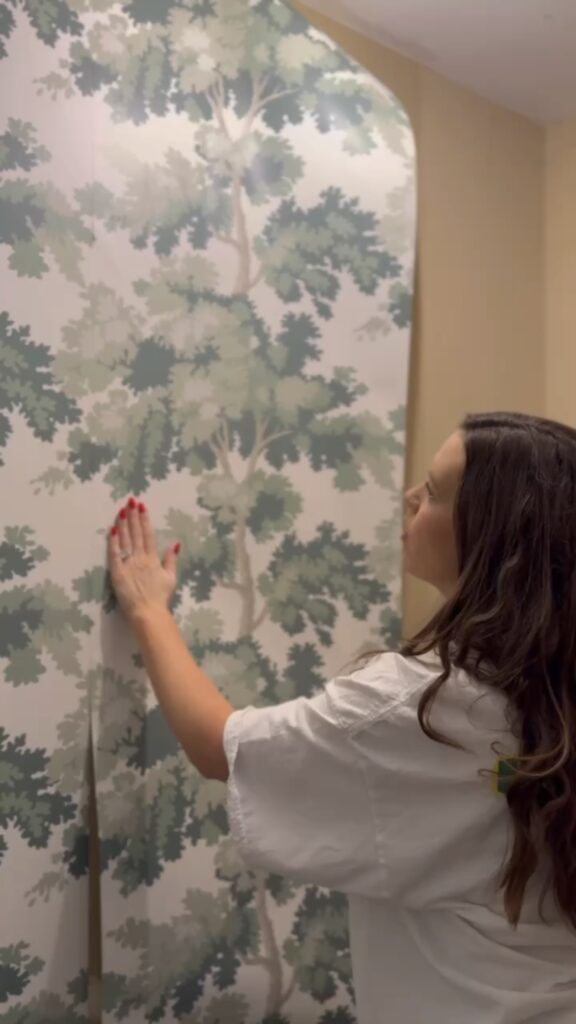
Then, I lined up all the edges. If they aren’t exactly line up, I’ll have wallpaper that gradually gets crooked as I go…I don’t want that!
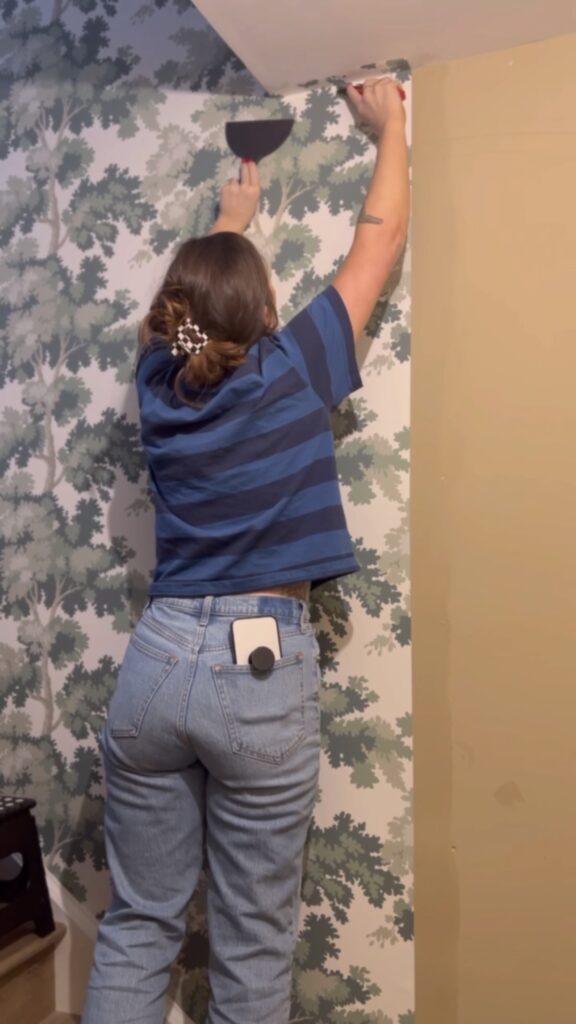
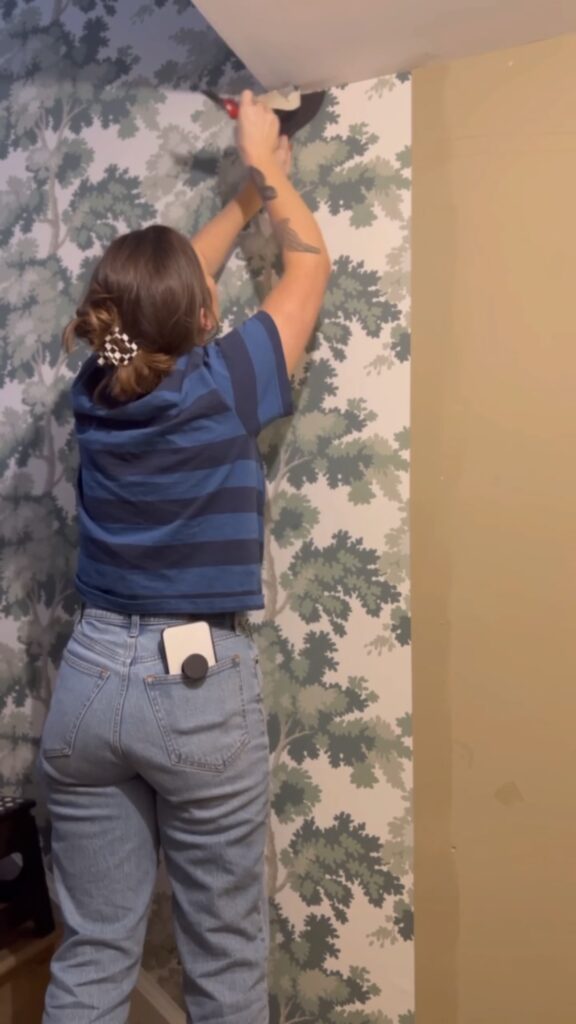
I made sure to smooth out allll the bubbles with my putty knife.
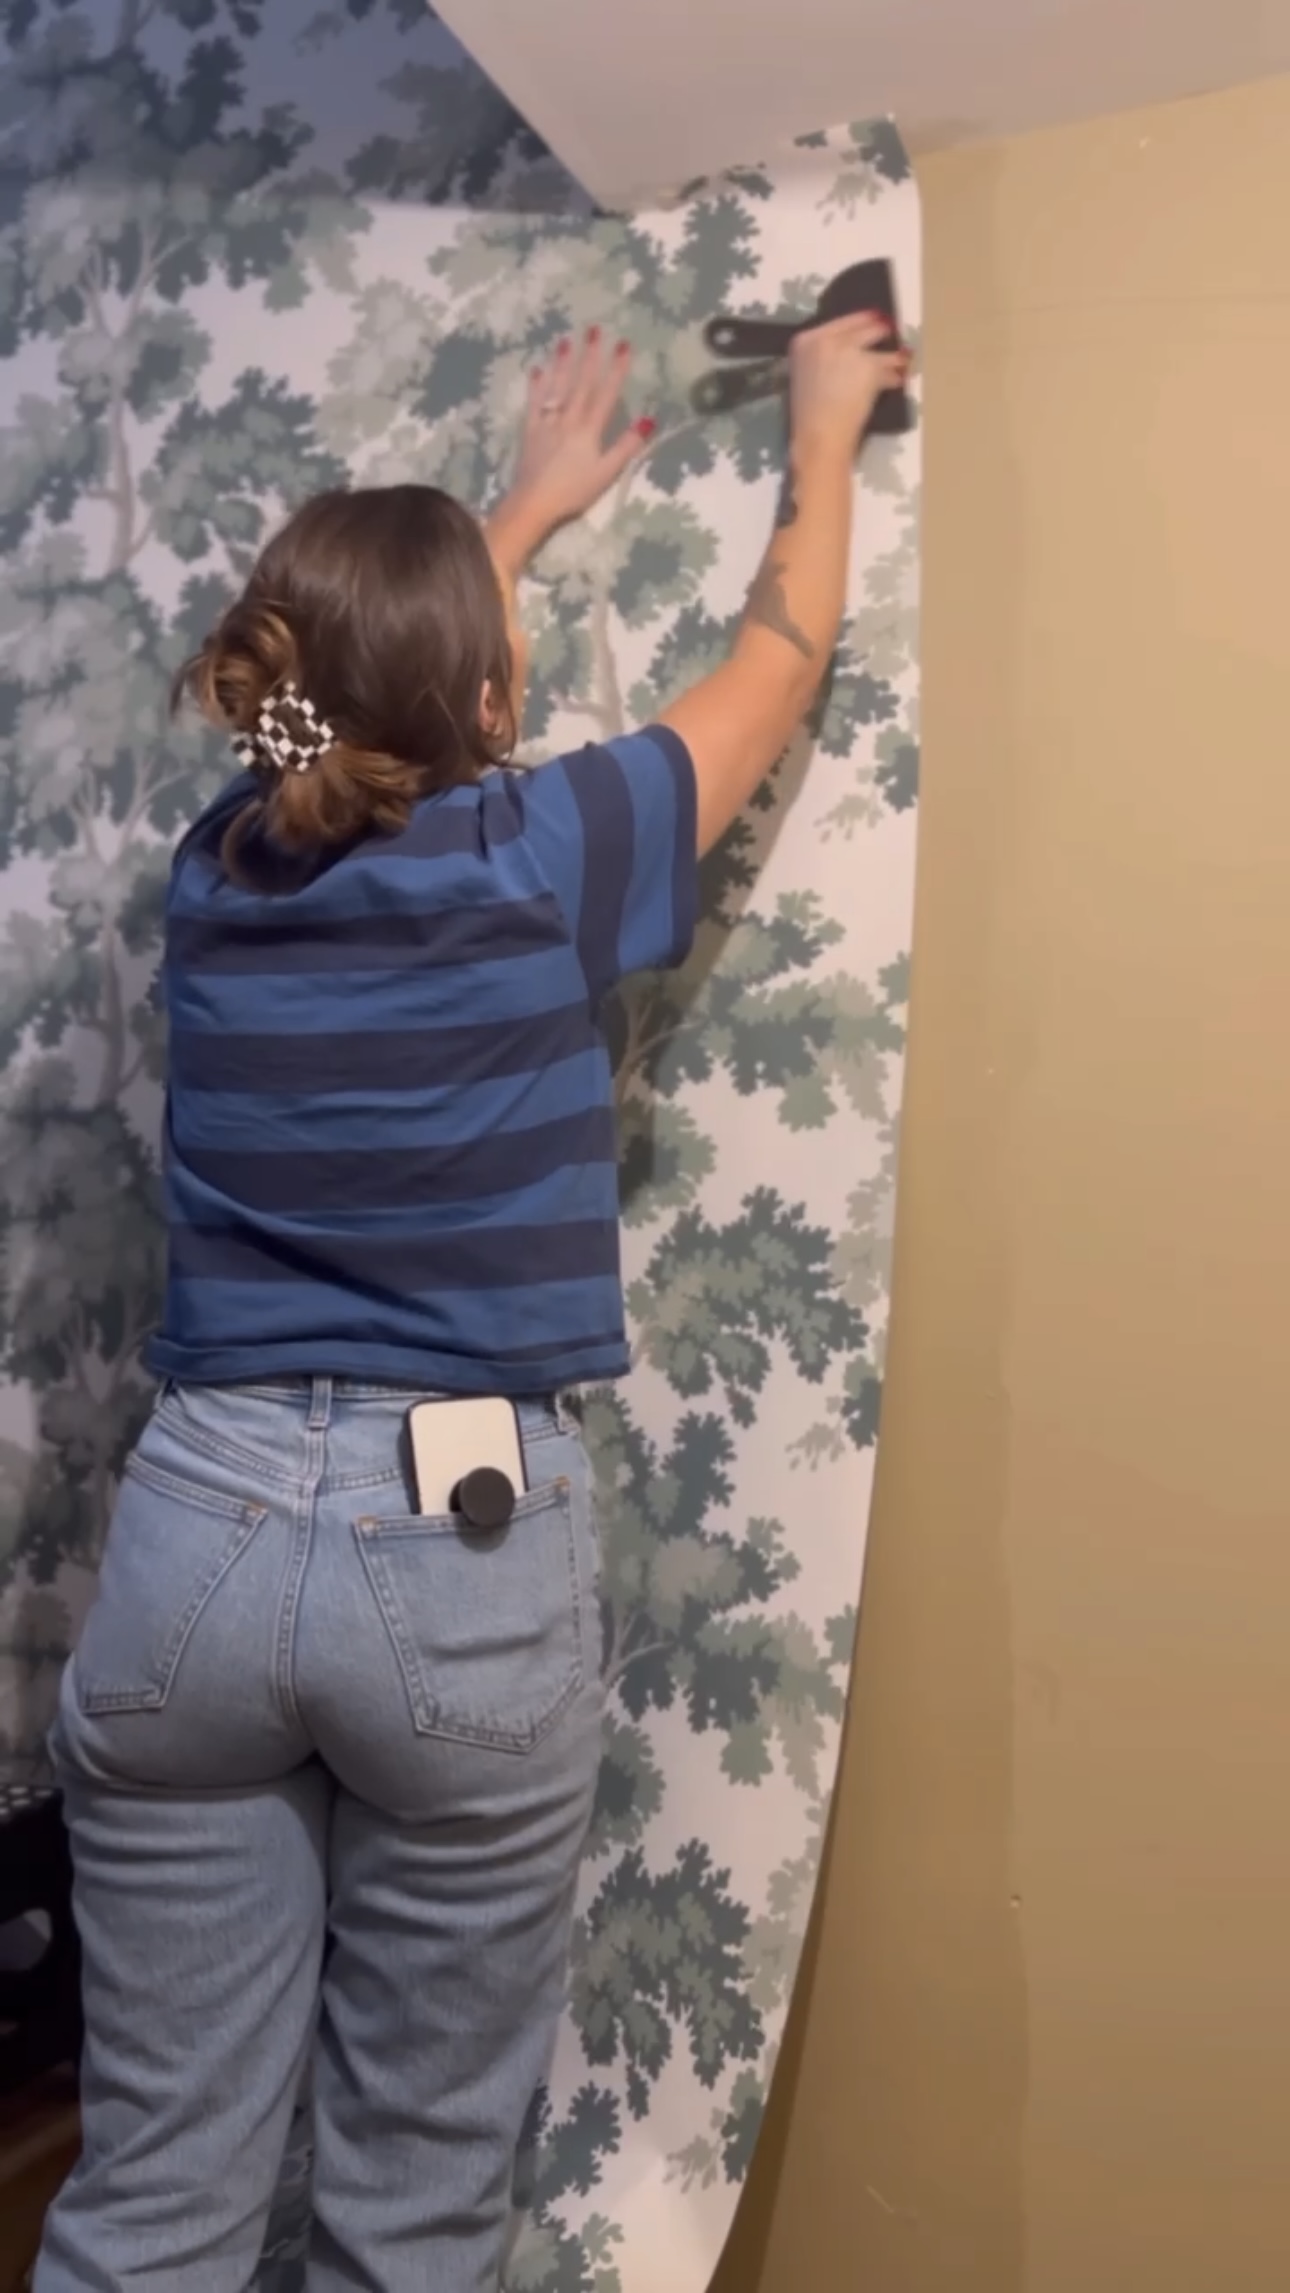
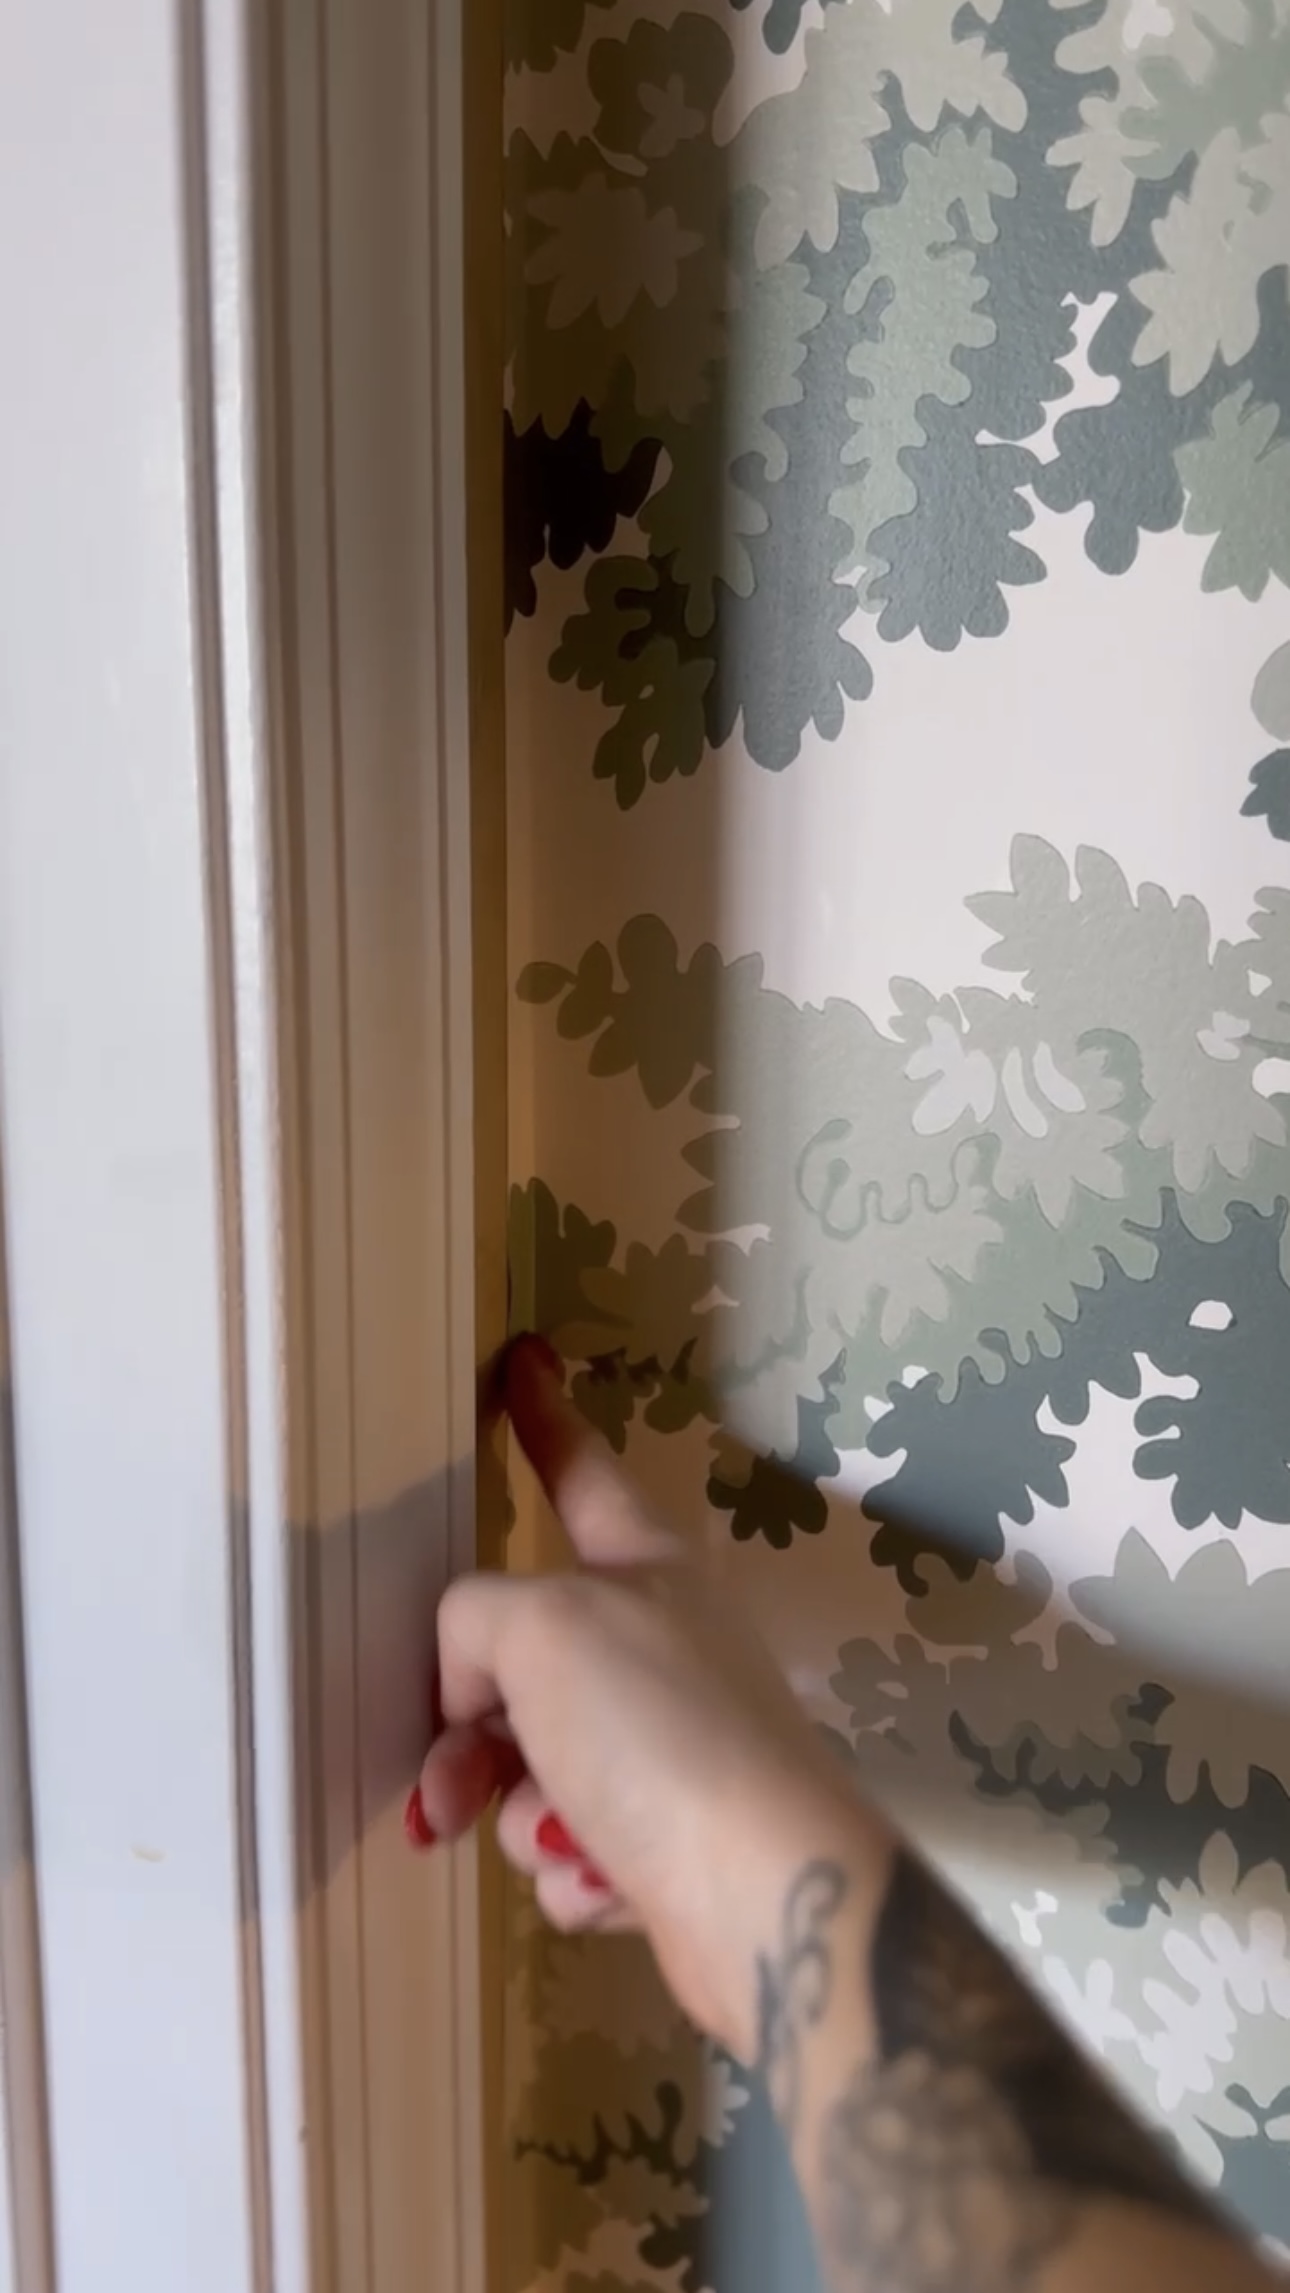
Then, just cut off the edges with a utility knife! I used my putty knife to hold the wallpaper against the wall so it doesn’t come up while I removed the excess.
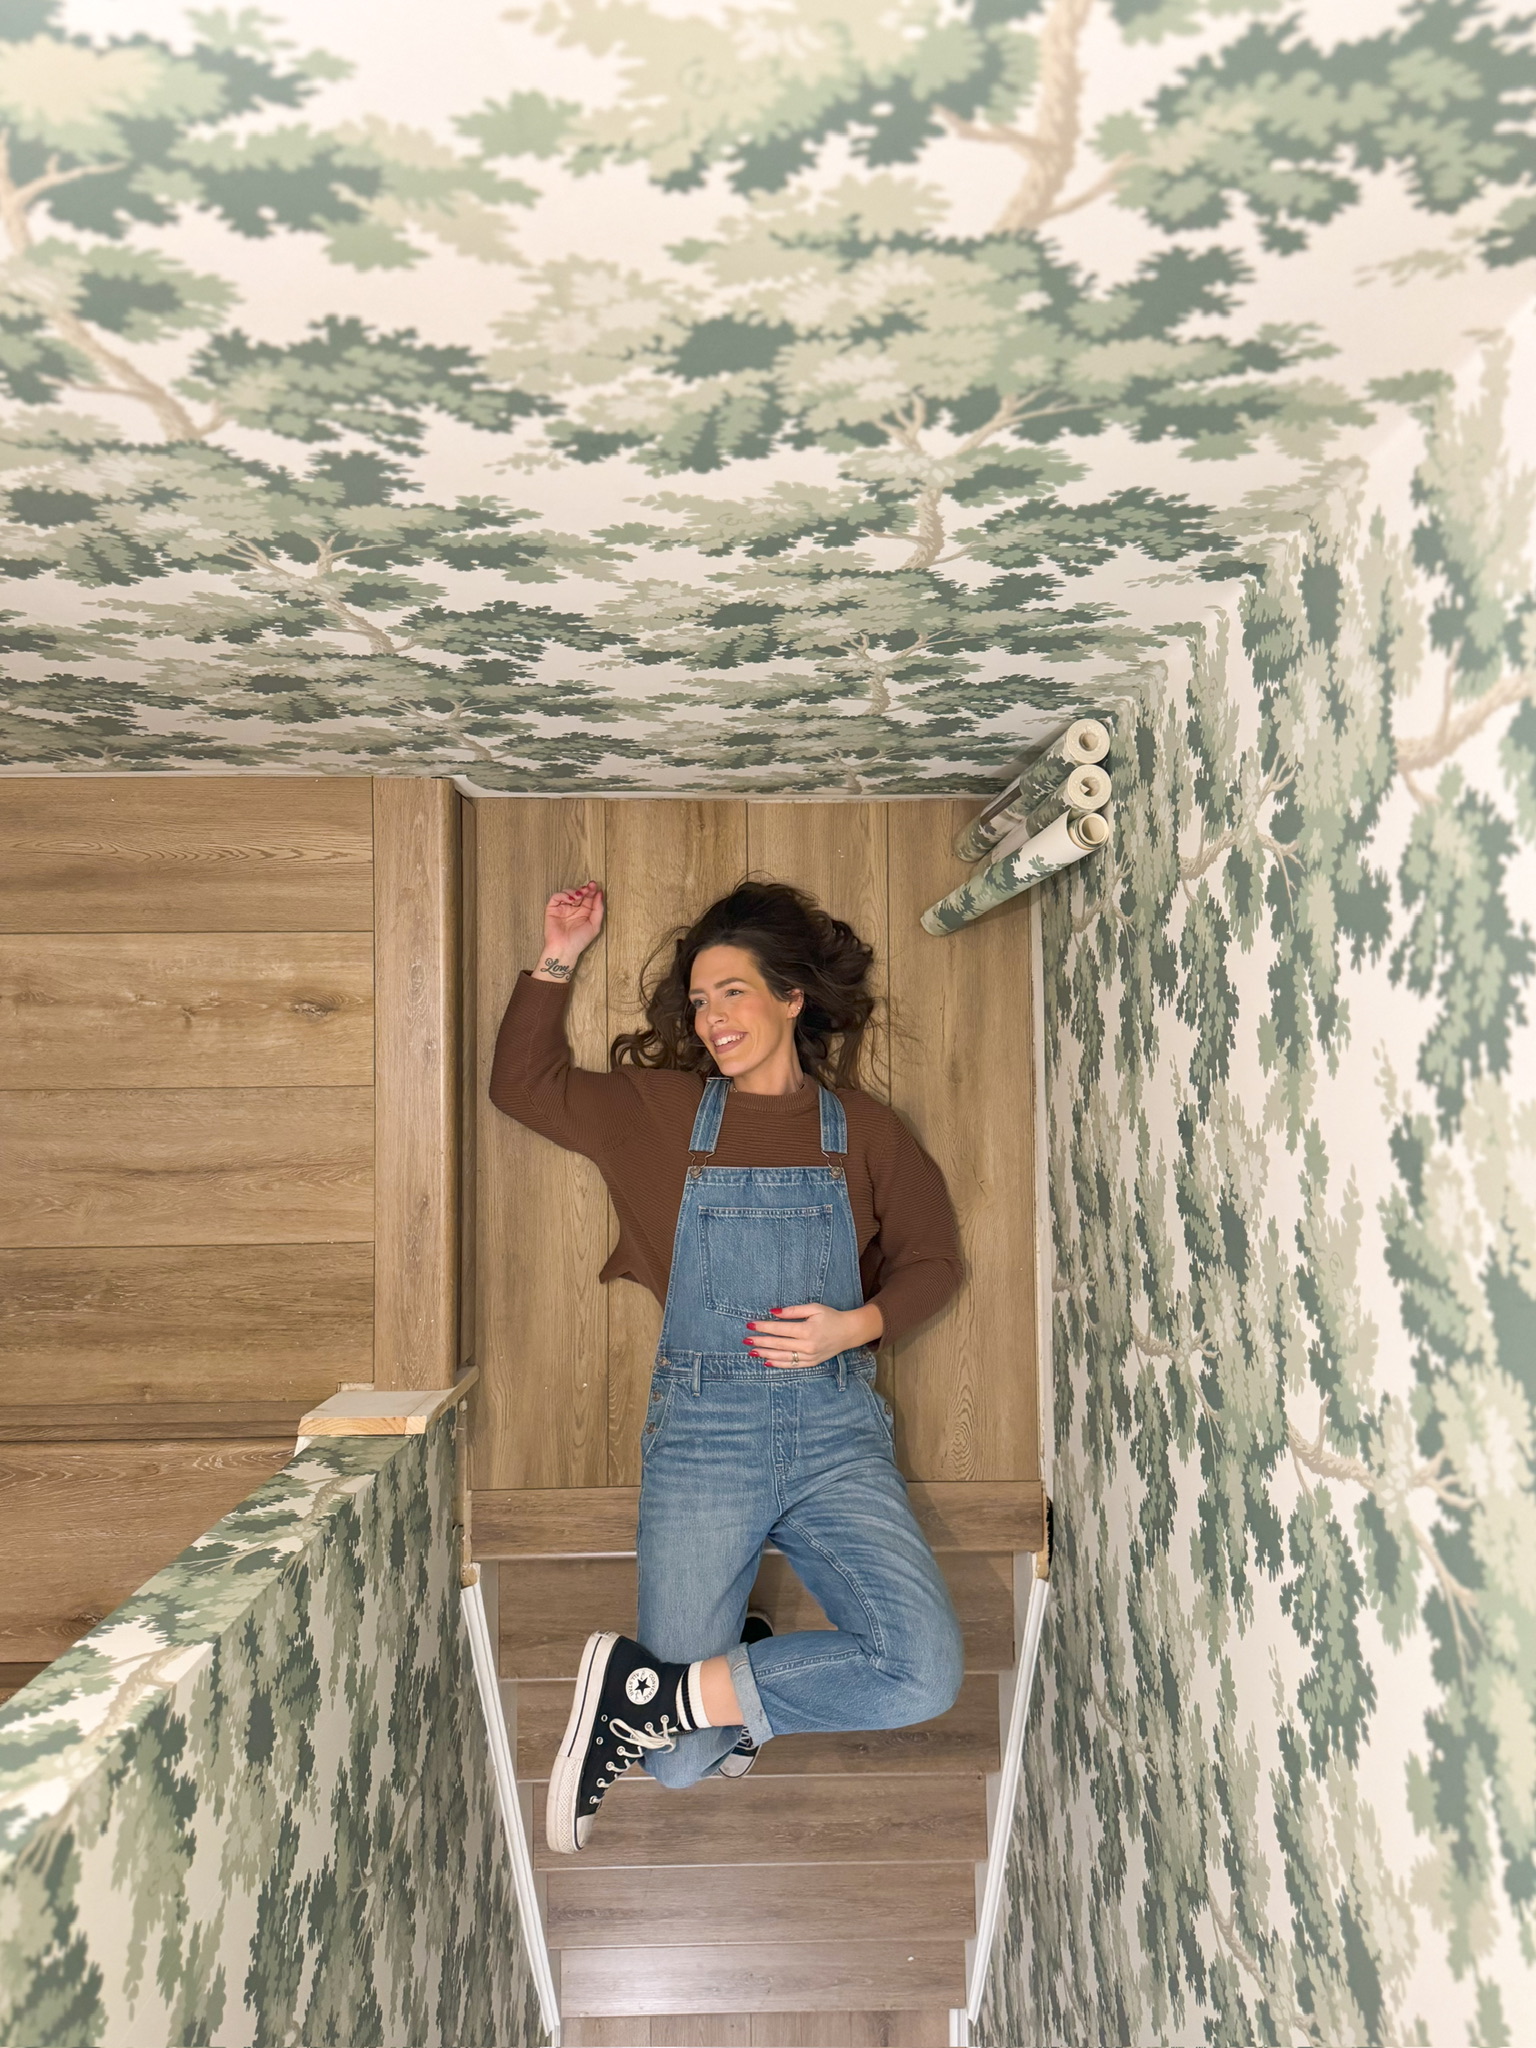
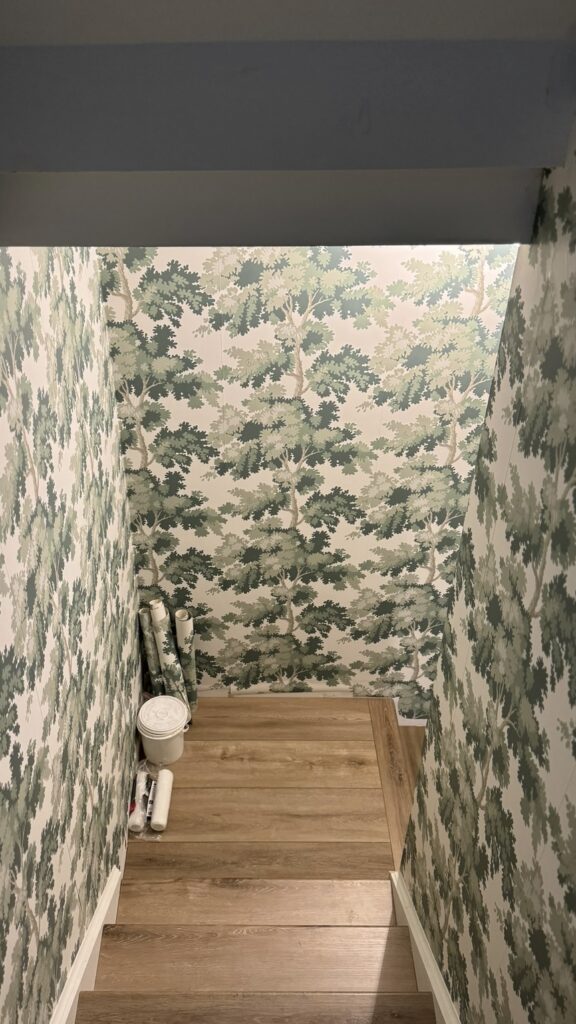
I am absolutely in love with this wall paper and flooring combo!
A note about wallpaper
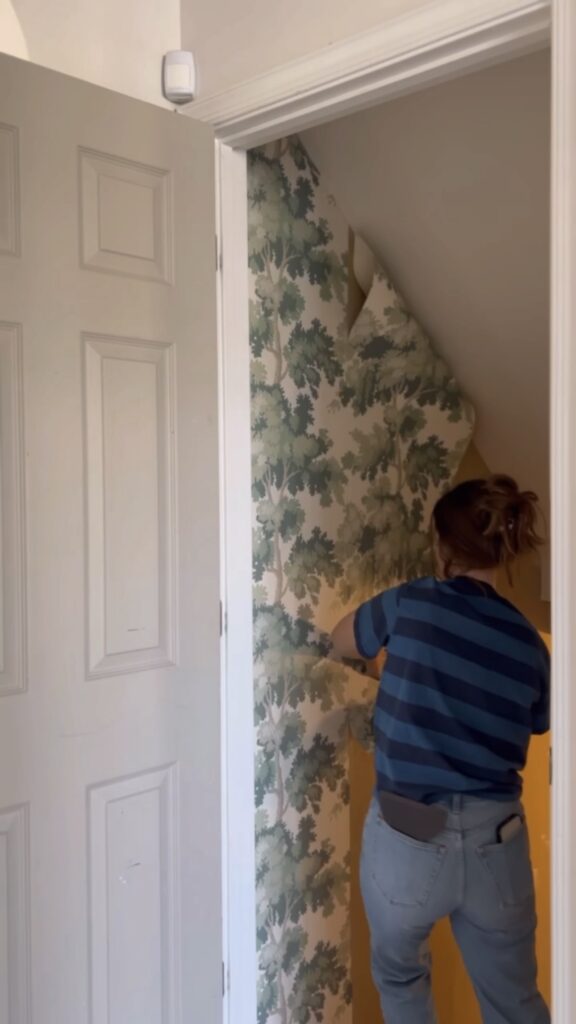
A really important note about hanging wallpaper – the first sheet needs to be as level as possible. NEVER start in the corner because corners aren’t perfect! You want to start by overlapping the corner a little bit. This will make sure all your pieces afterward are level! Here’s what I mean.
Also, not every piece goes up easily. Some pieces give me HELL and some are a piece of cake!
Handrails
Originally, I wanted to redo the handrails completely. I hated them when they were against the yellow/brown paint before. But now, against this wallpaper, they’ll look beautiful. However, I am gonna rub-n-buff the hardware. Those little details make a difference!

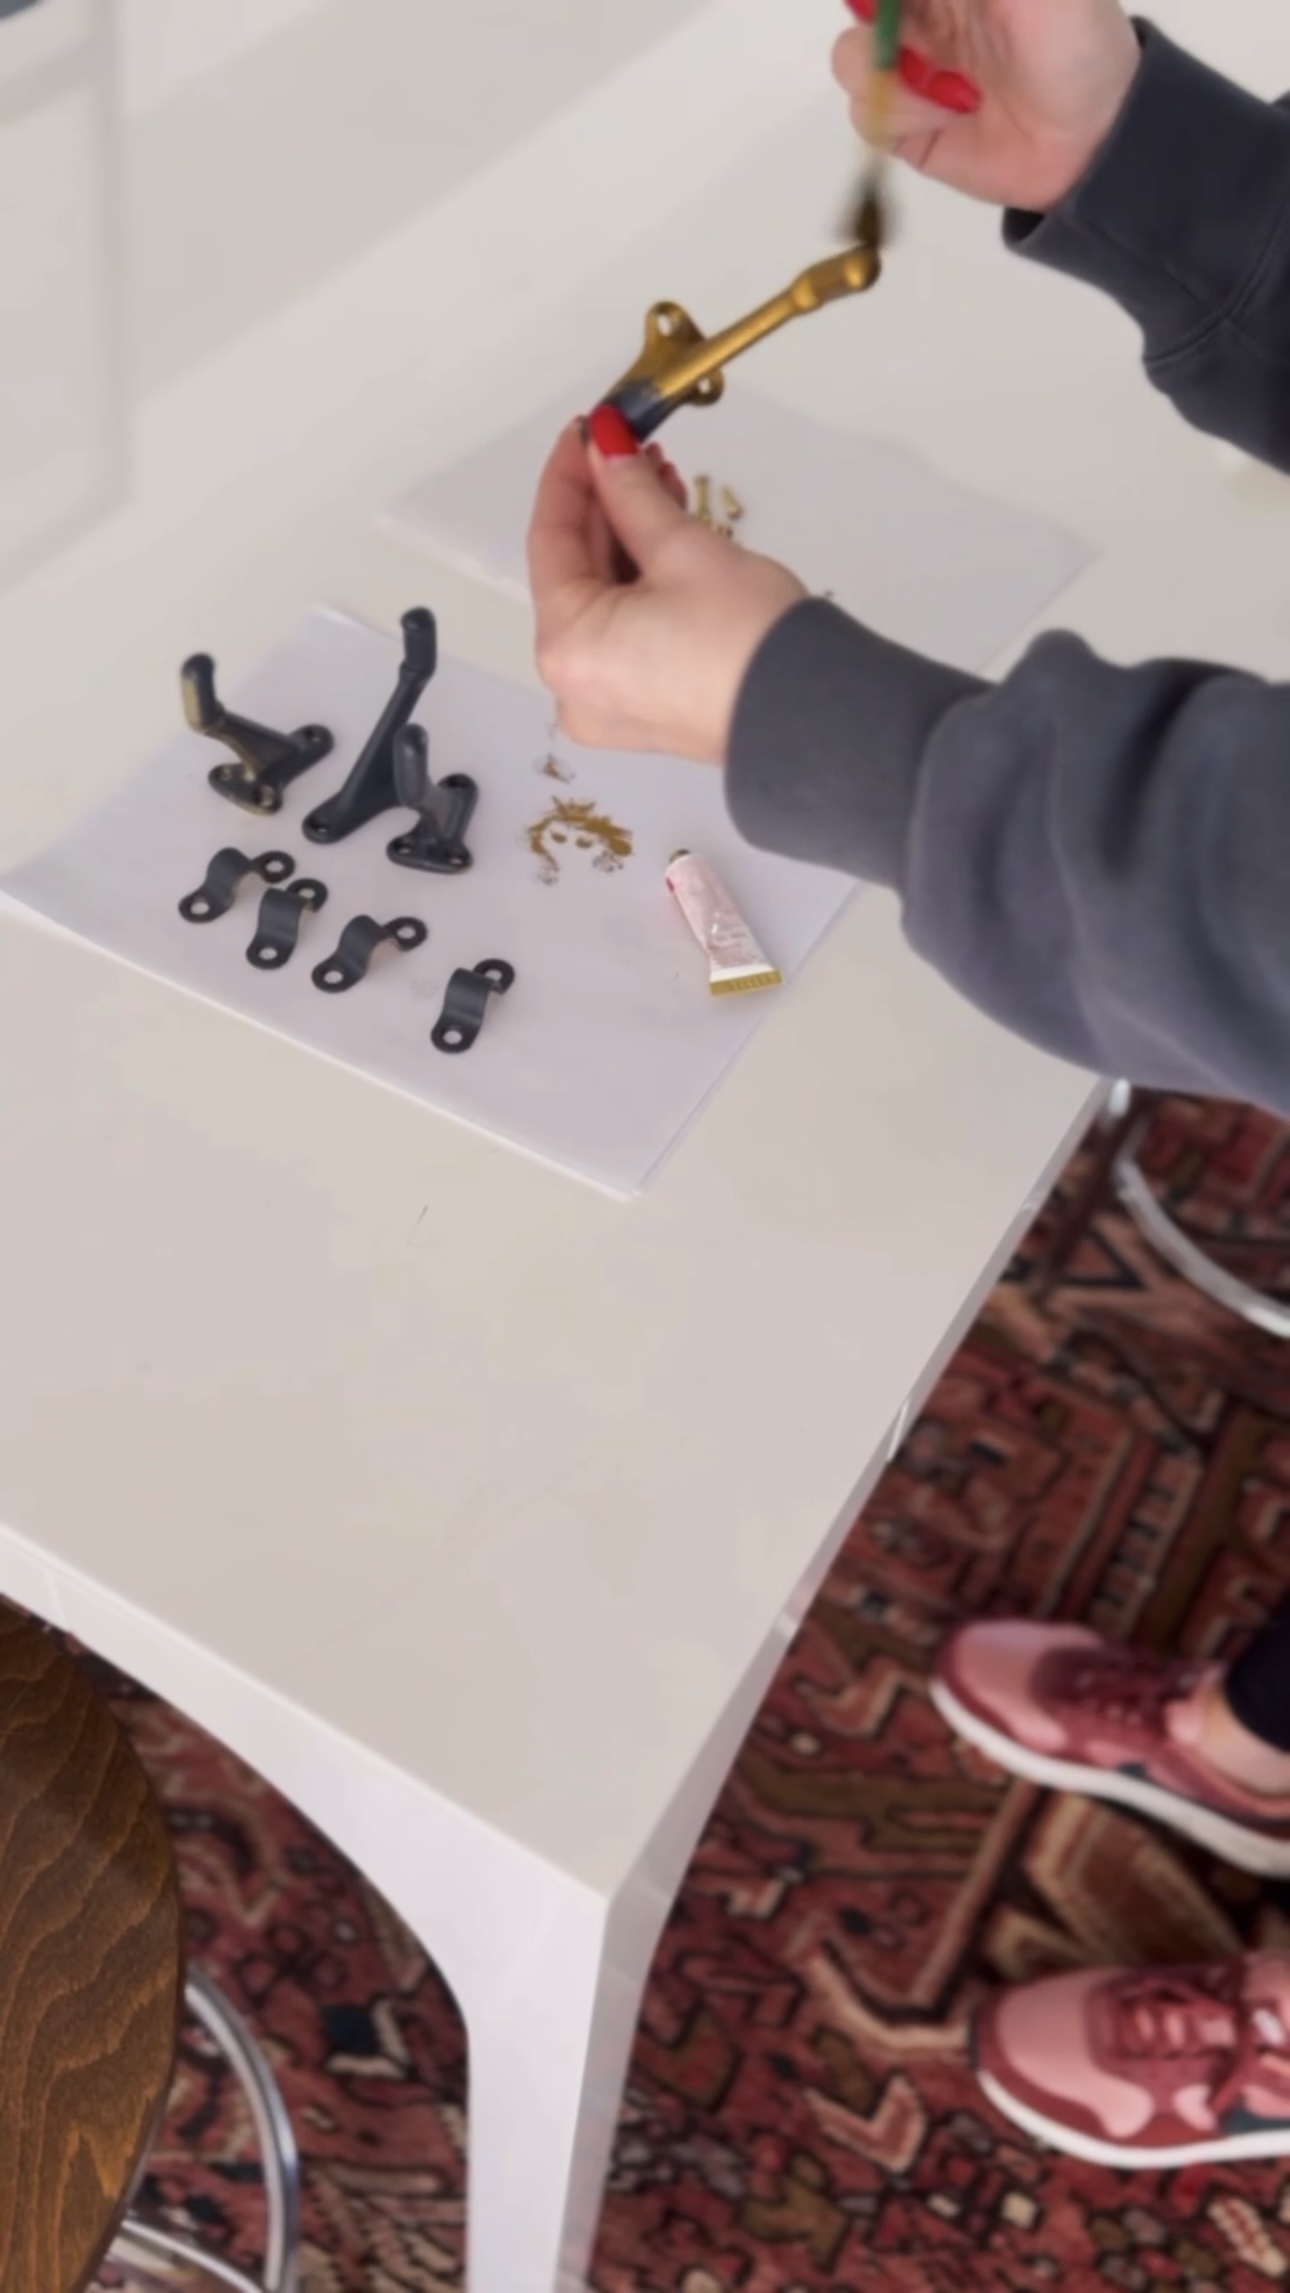
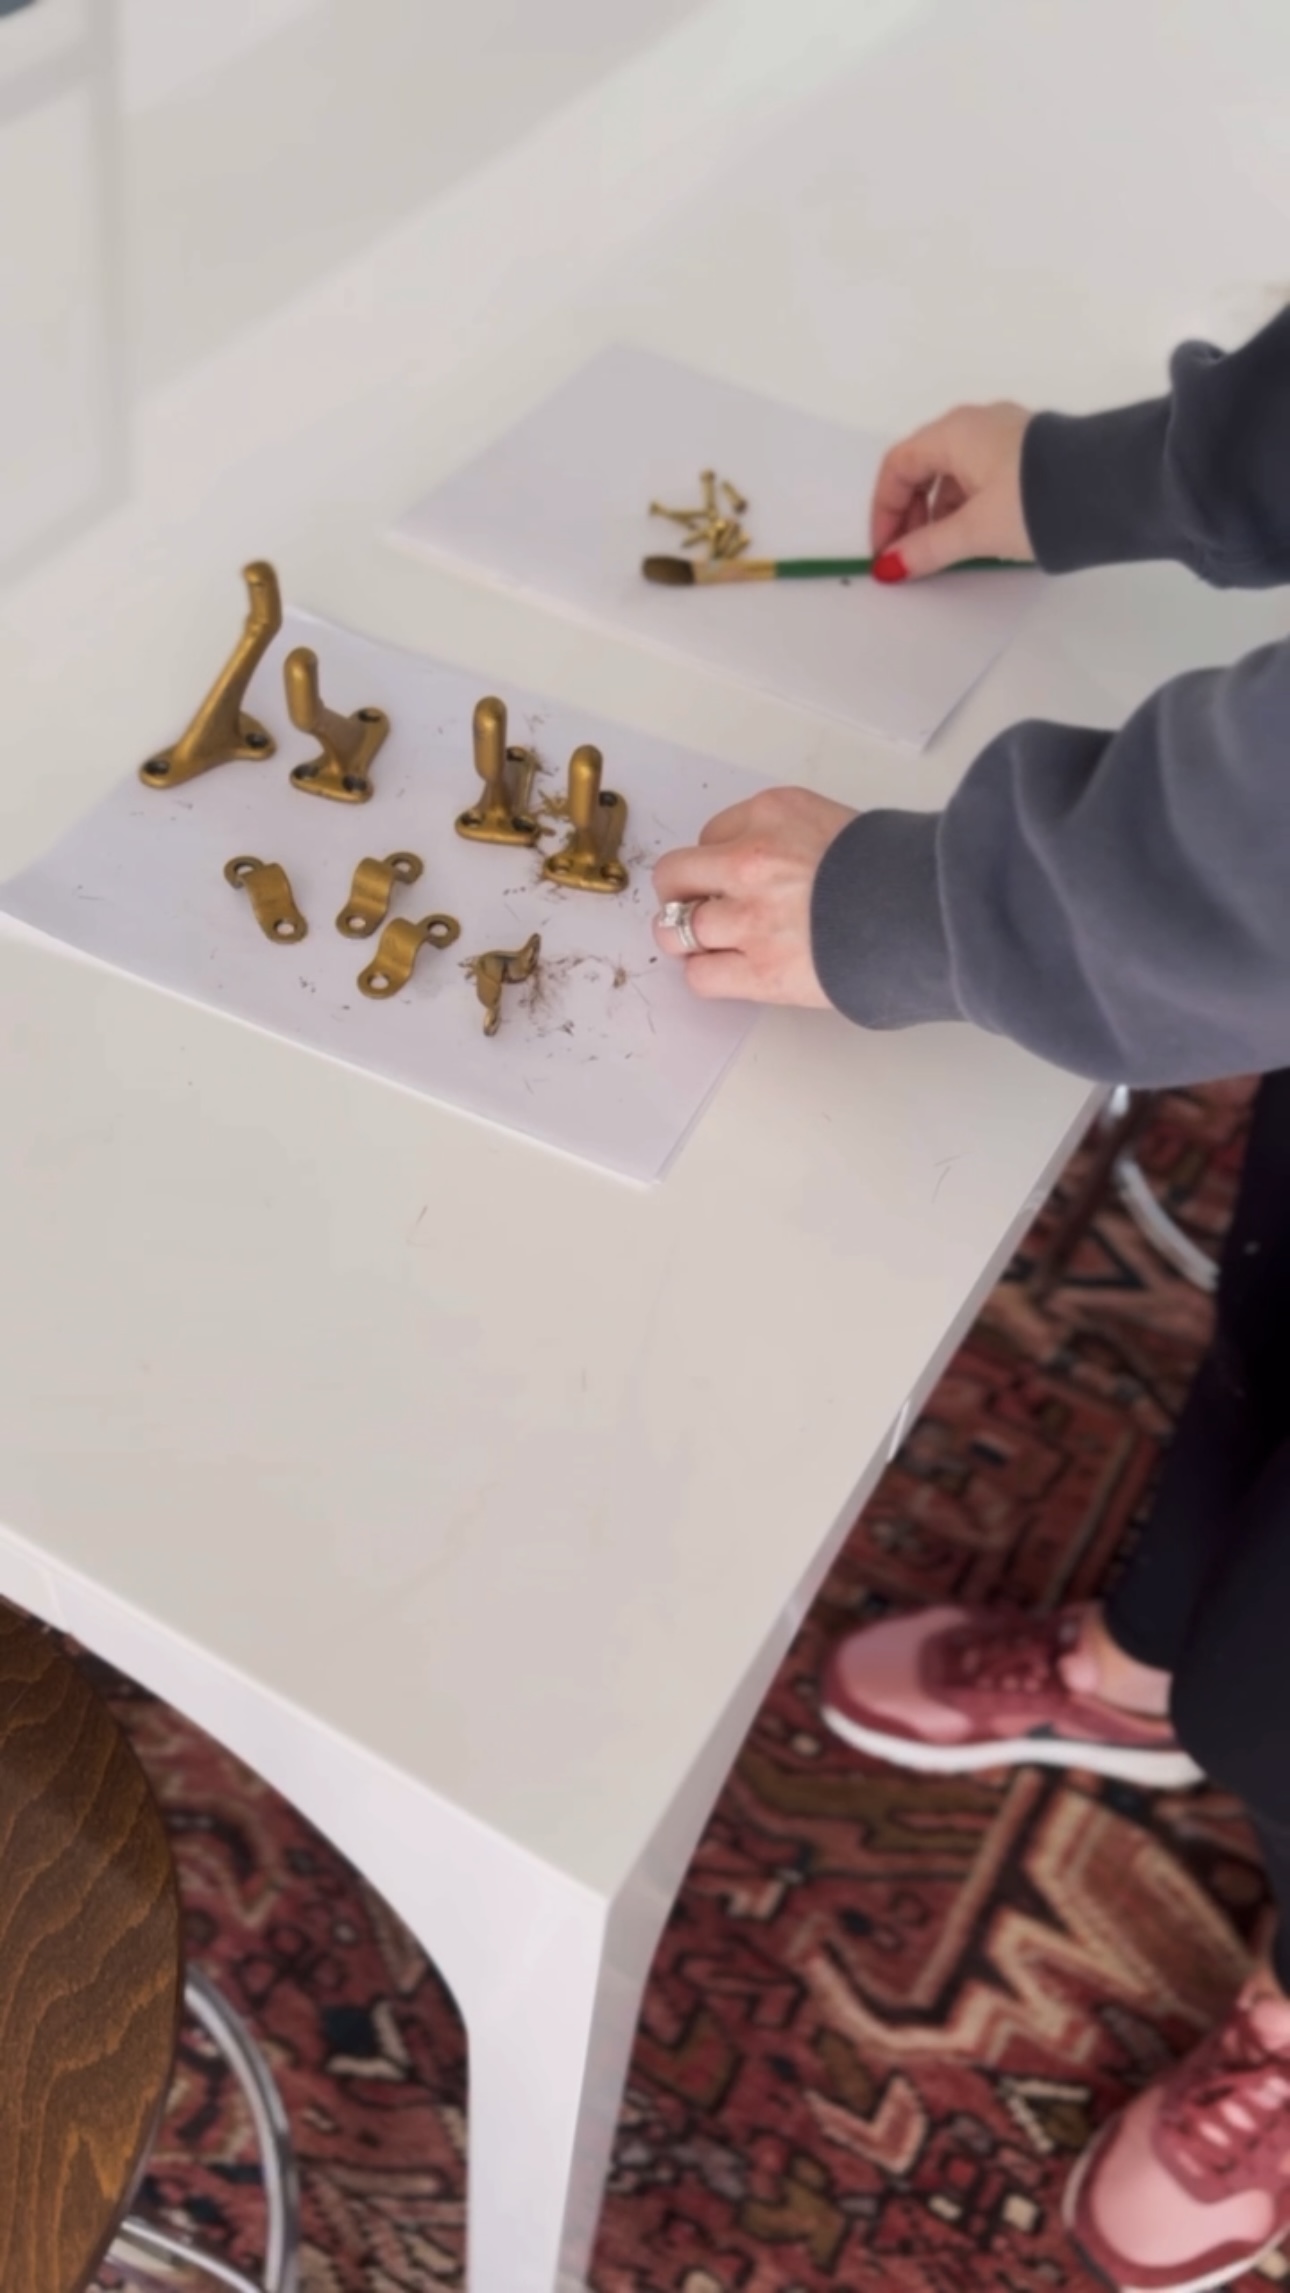
I gave them a coat of spray paint first! This gave the rub-n-buff something to stick too.
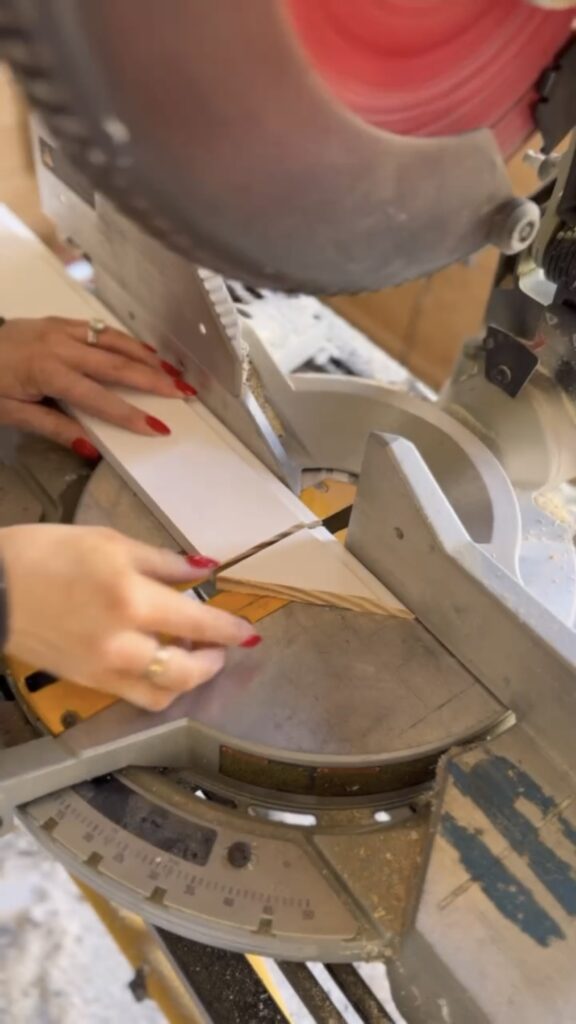
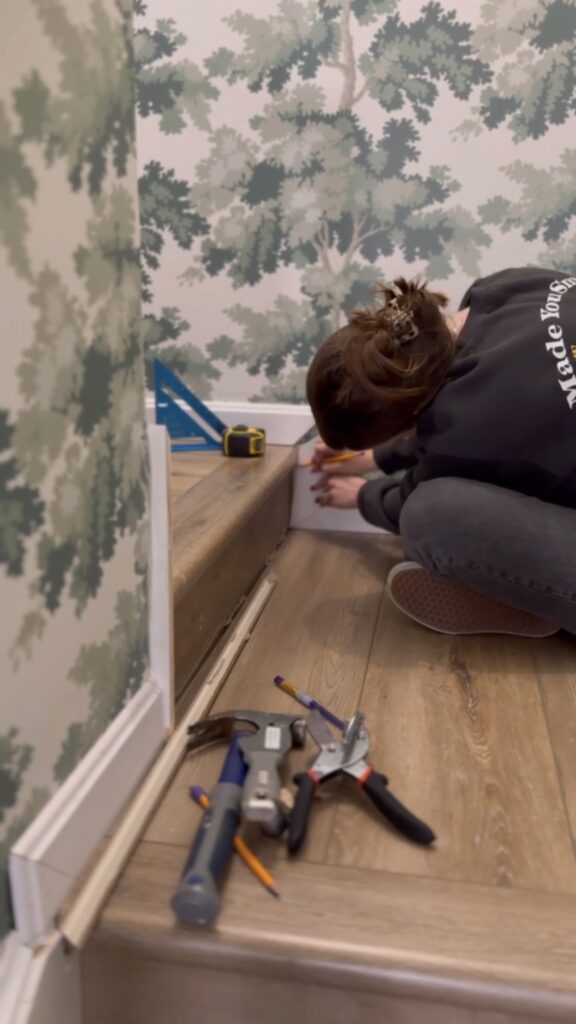
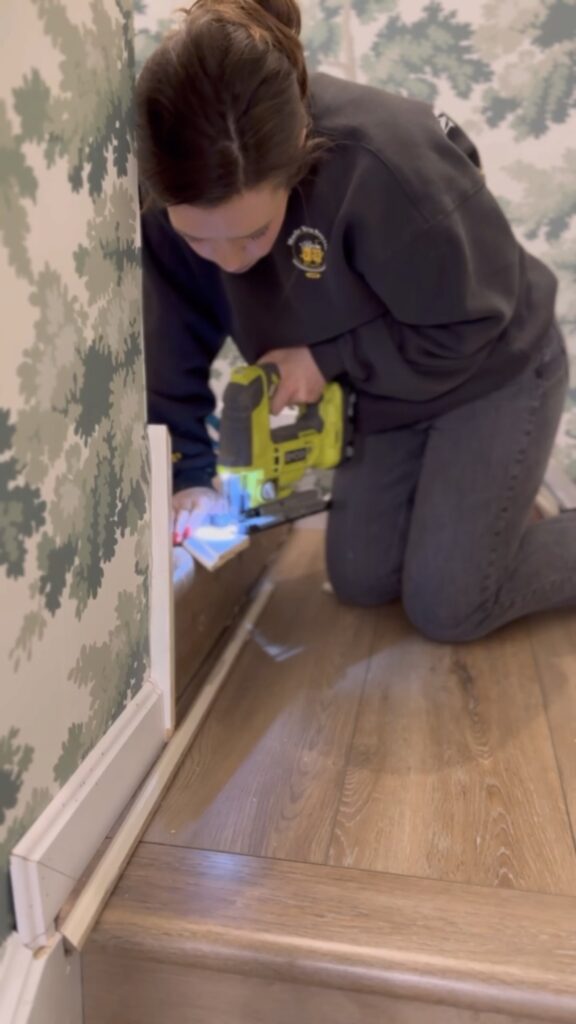
Landing Trim
The trim on the landing took a lot of measuring, trial, and error. I had to cut around the stair noses and every tiny detail with my jigsaw! It took a lot of brain power but I finally got it!
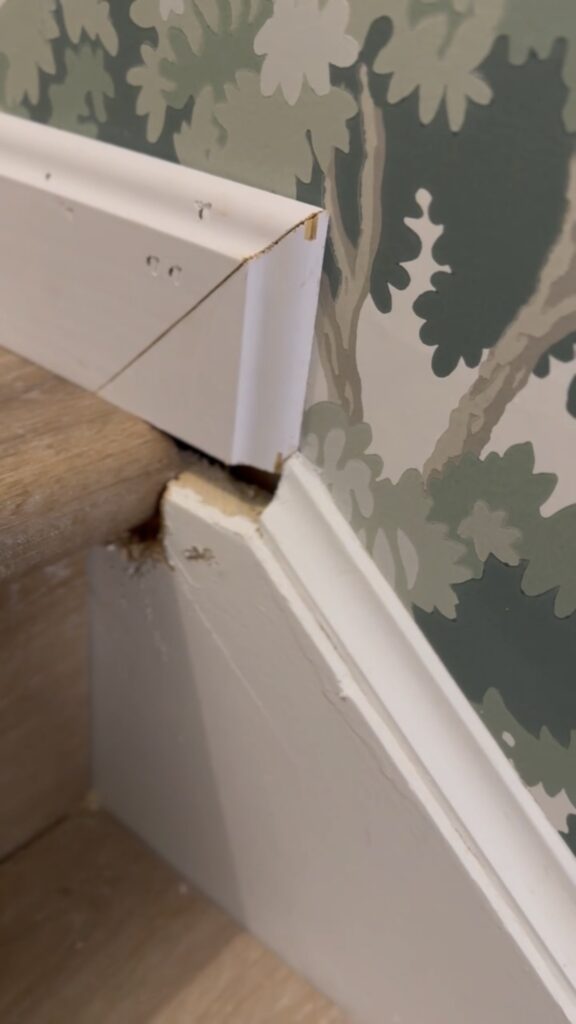
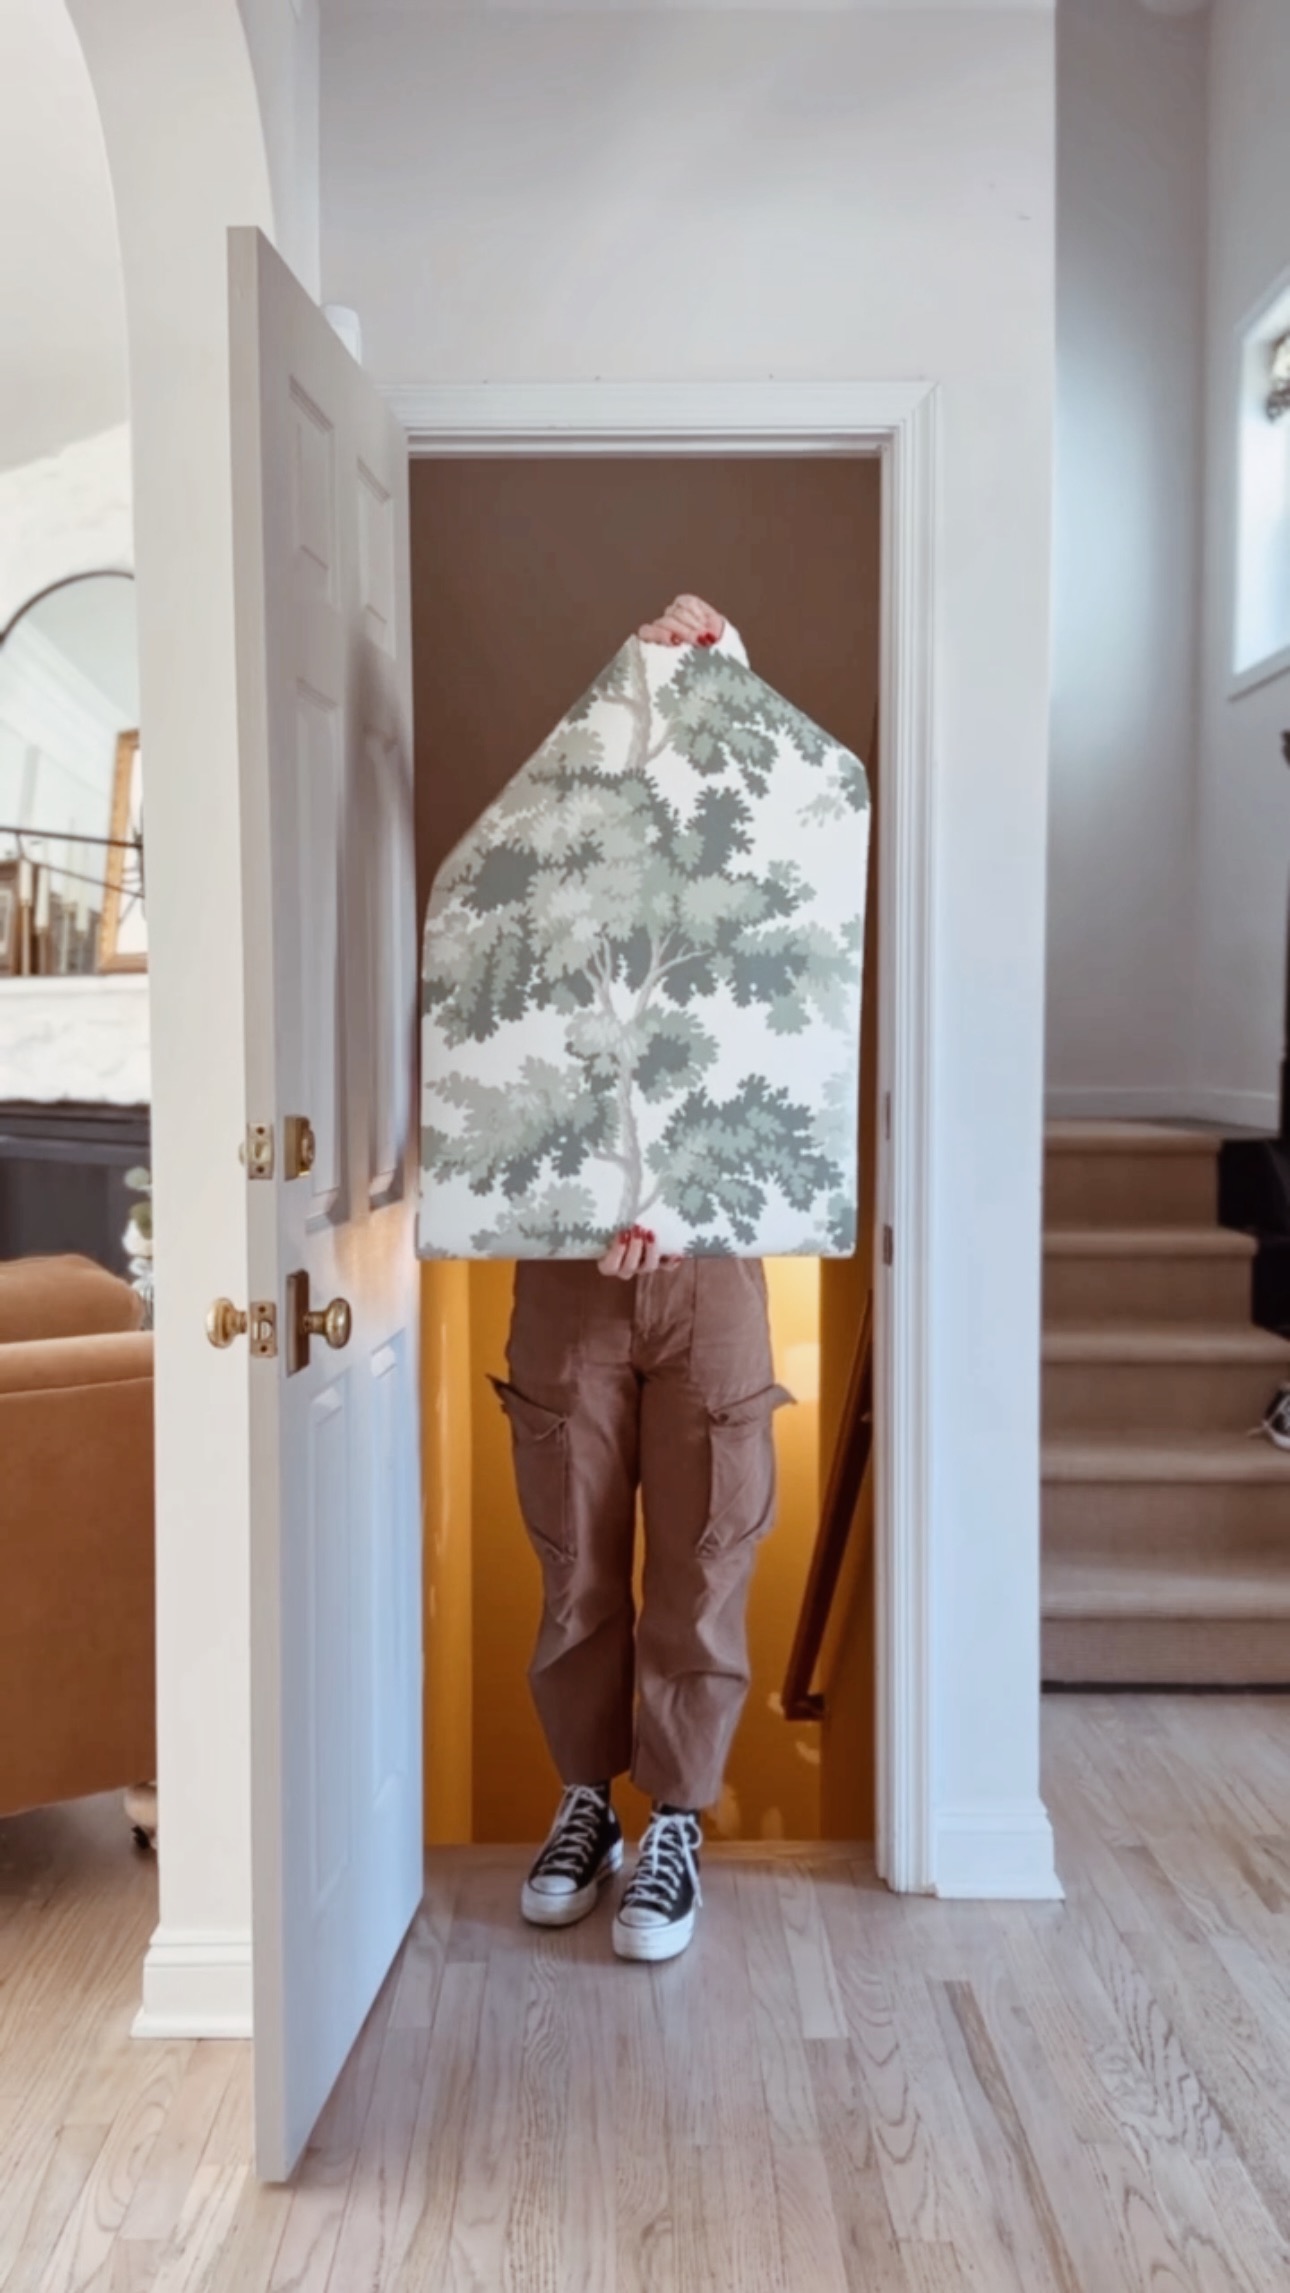
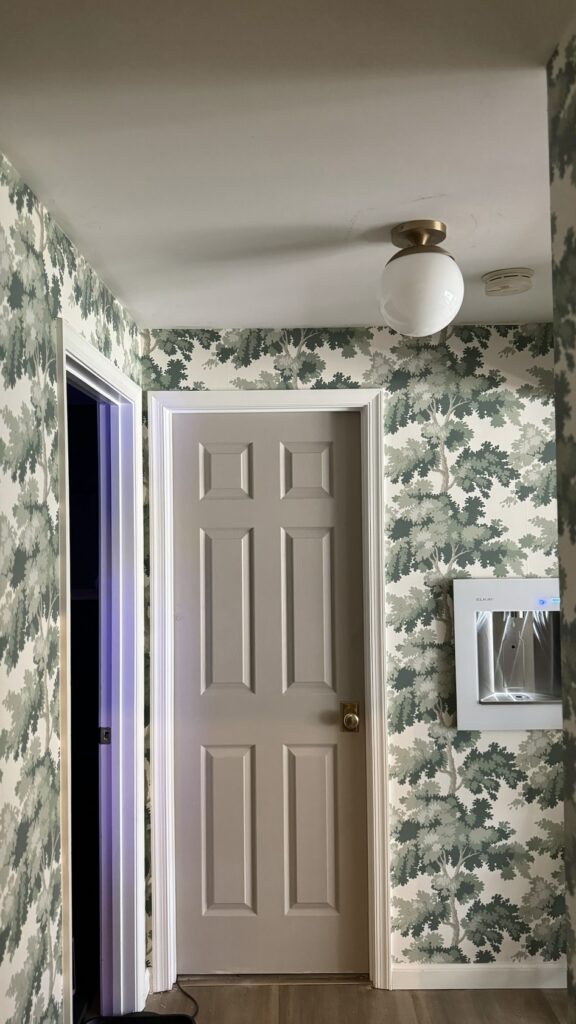
I LOVE how this looks! I love that when you open up the door to this basement, you’ll get a little surprise! This took about 3 days to finish up, working on a little bit each day!

I can’t wait to keep making progress on this Basement Stairway Makeover!
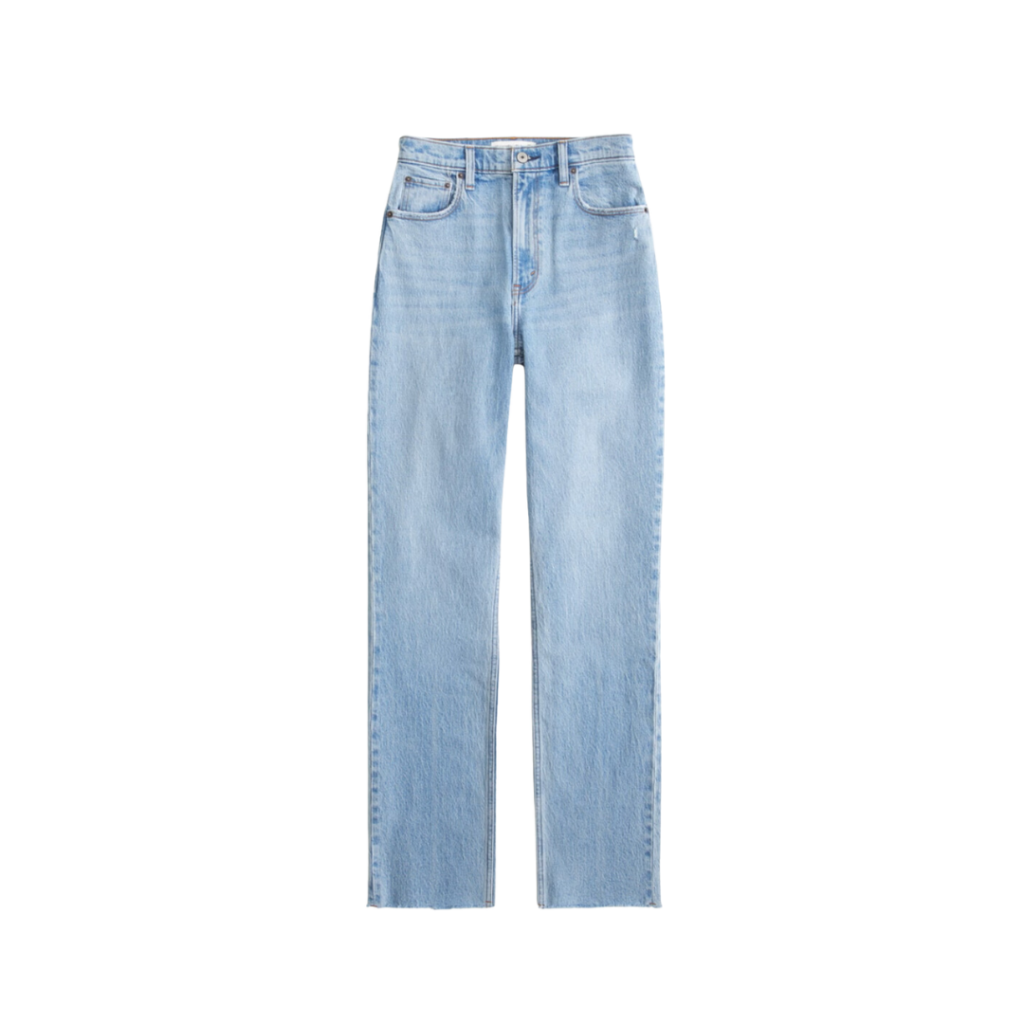
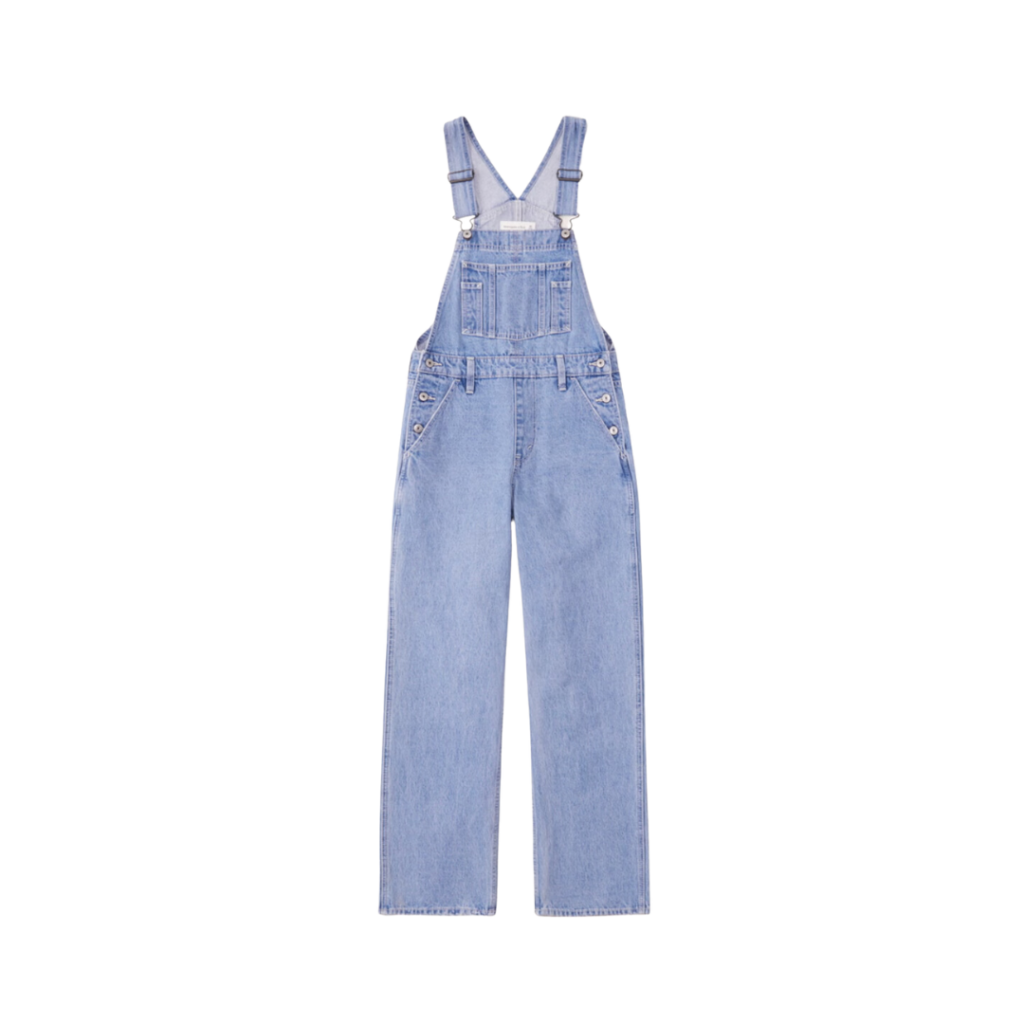
And here is everything I wore hanging up my wallpaper this week!