One Room Challenge Week 4 – Paint

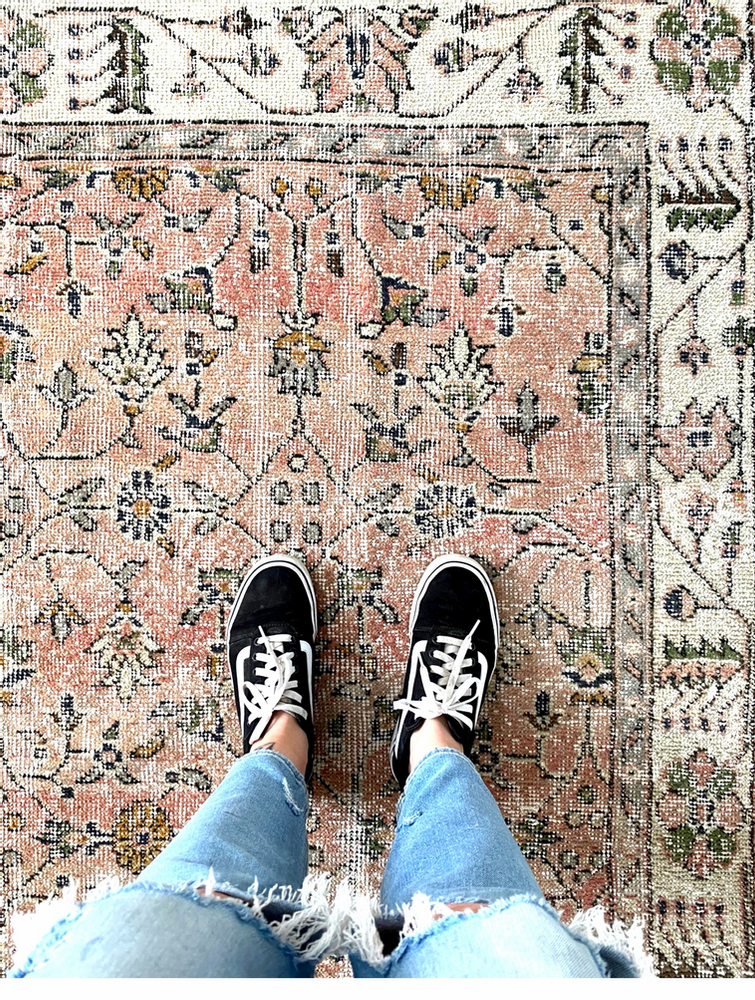
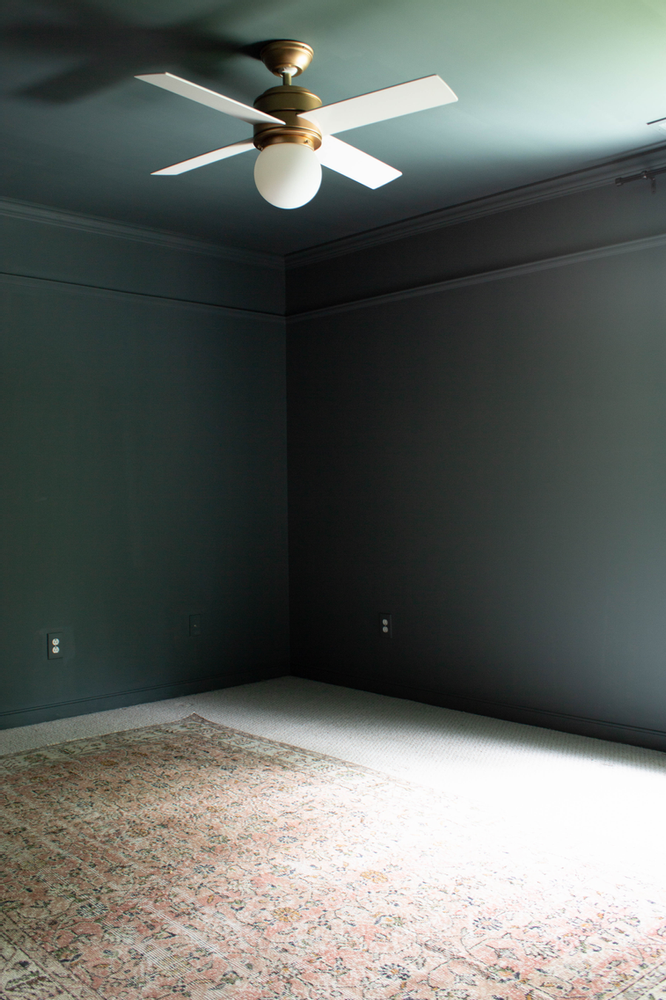
Remember those gorgeous olive paint swatches that I included in the mood board for this room?? I tossed them. I love olive. And I’m sure that it would have been so beautiful in here. But truthfully, I needed something FRESH and and little more unique. I went back to this rug for inspiration and fell in love with the idea of a deep dusty blue/green/grey.
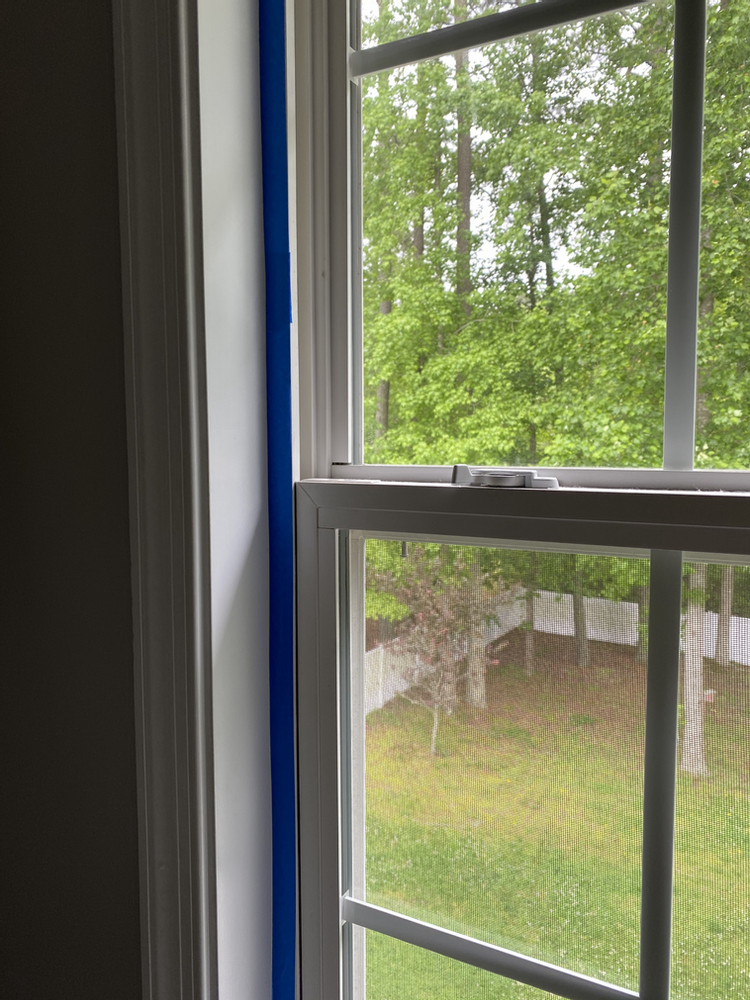
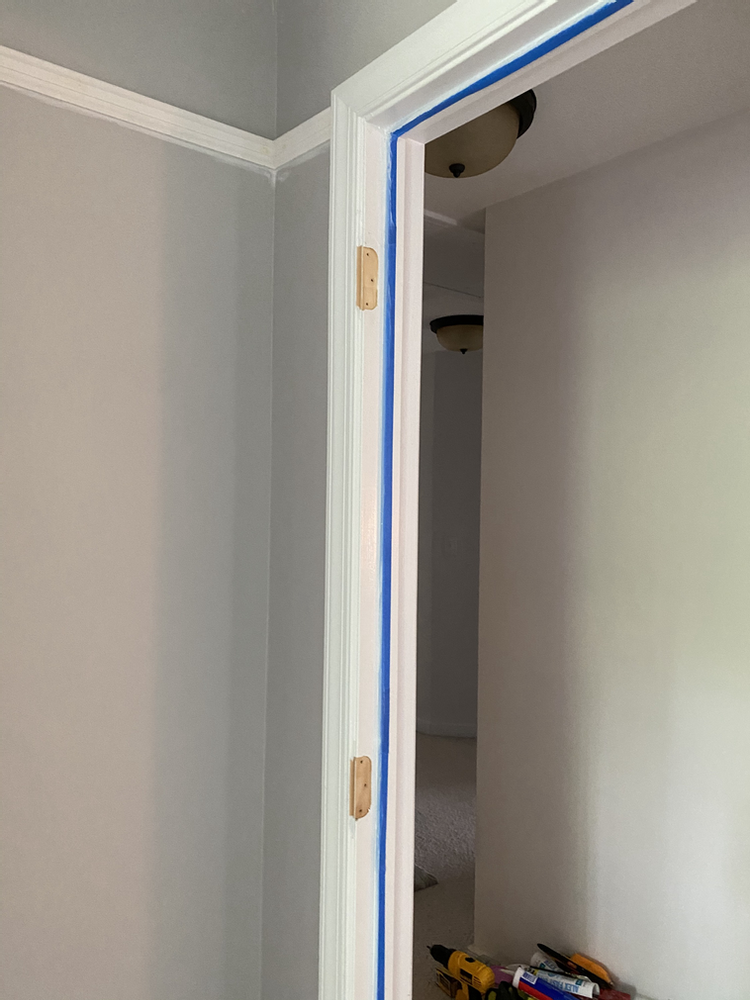
Here are the things that I did to prep:
Caulk and fill holes/seams
Sand any rough surfaces (wood filler)
Wipe down all sanded areas
Tape off window and doorway
Remove outlet and switch plates
Vacuum debris around baseboards
Tape
After doing my prep, I sealed my tape line by painting over with the base color (white in my case) so that we was no bleed through while painting. This was my first time trying this method and it worked SOO well. Crisp, perfect lines are worth an extra step!
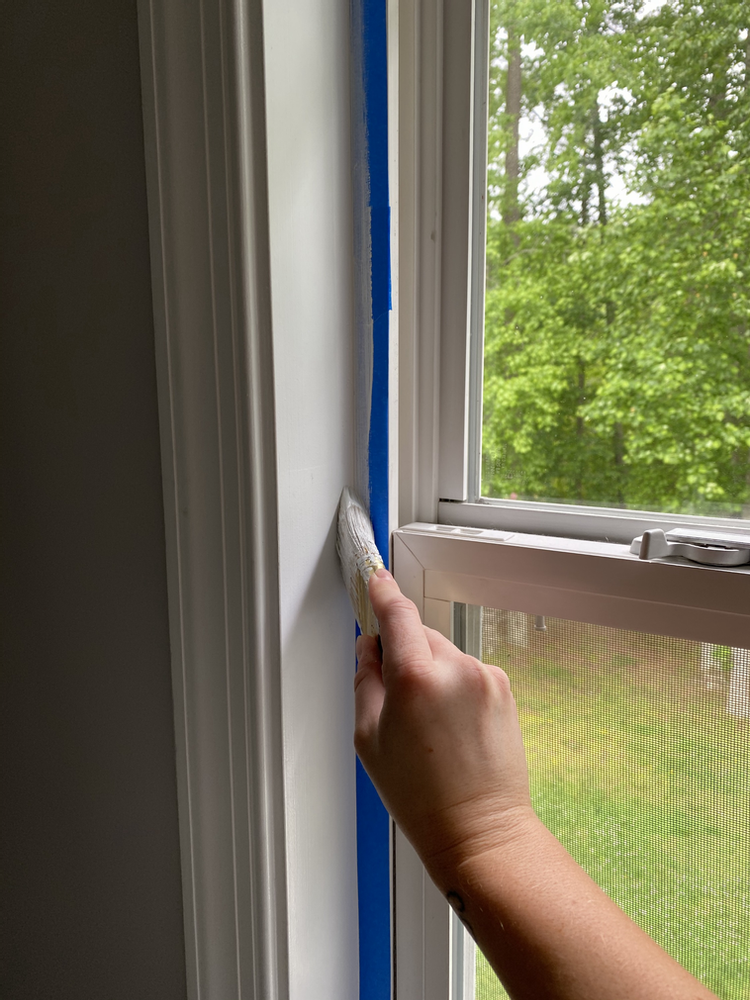
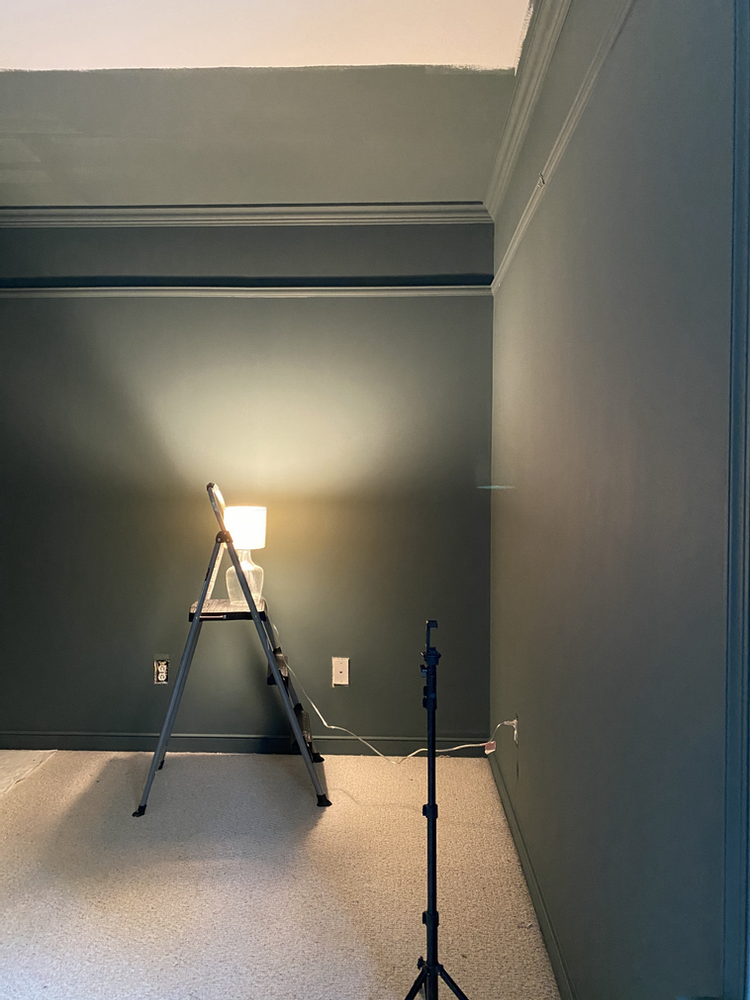
I ended up using Benjamin Moore’s Knoxville Grey on the walls/trim/ceiling of the room. It was the perfect color choice for this room! Deep, romantic, moody and just SO beautiful! I tried out the Ben line from BM which was the cheapest option. However, I do NOT recommend it. I would have been much better off paying for the higher end gallon or even color matching at Lowes. My finish ended up super uneven, and I had to do three entire coats over everything, PHEW!
Time to paint the walls!
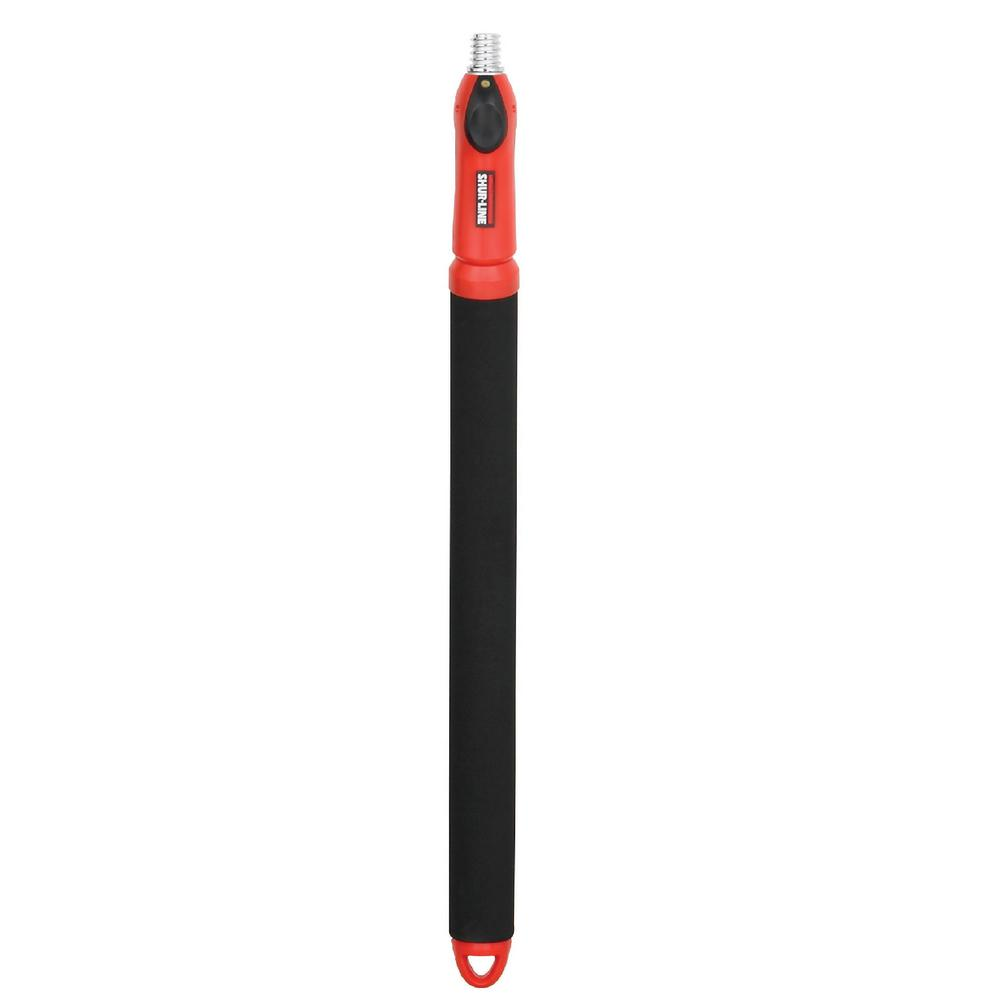
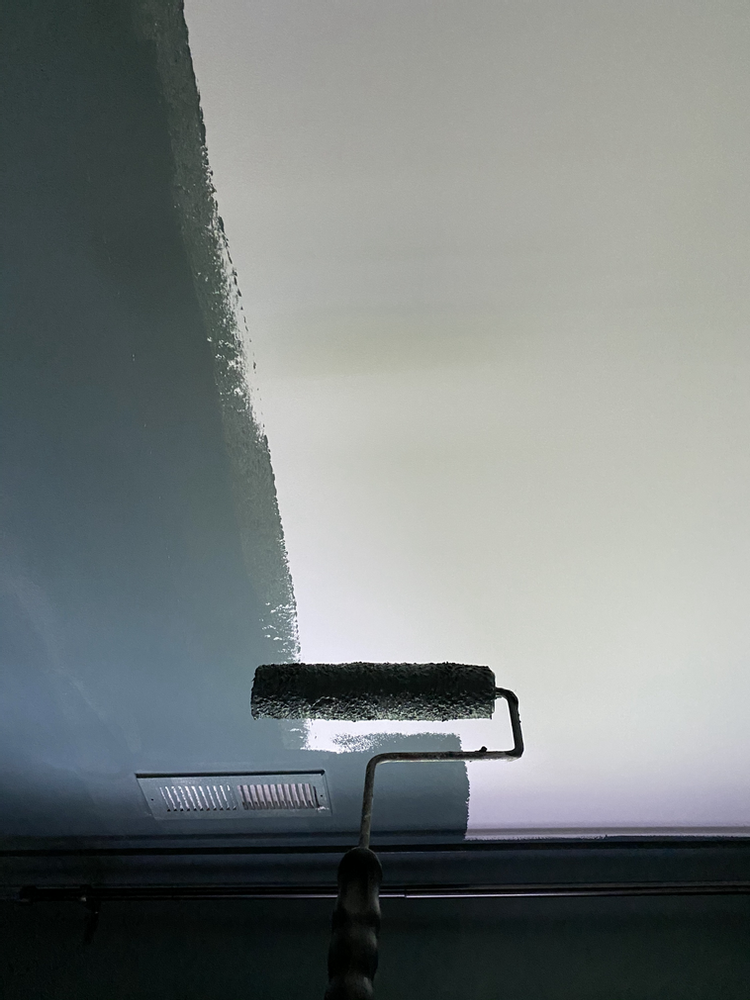
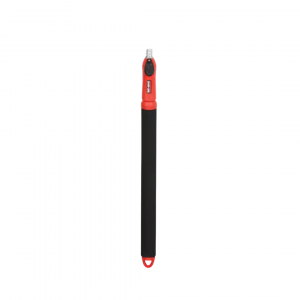
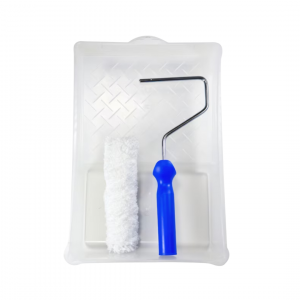
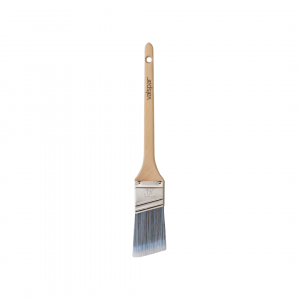
I used an angled brush to paint the crown moulding, picture rail, baseboards, and window trim/door casing. And I used a microfiber roller on the walls and ceiling. This is the roller arm that I used, it is so great for hard to reach spaces. I have used this for years, and I would never use another!
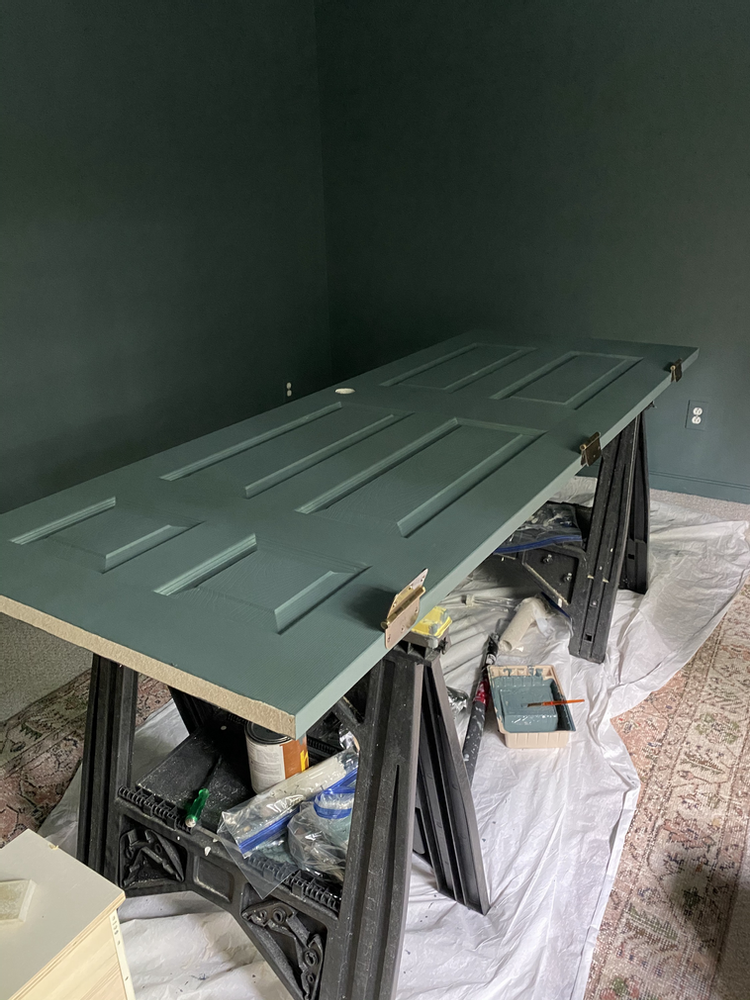
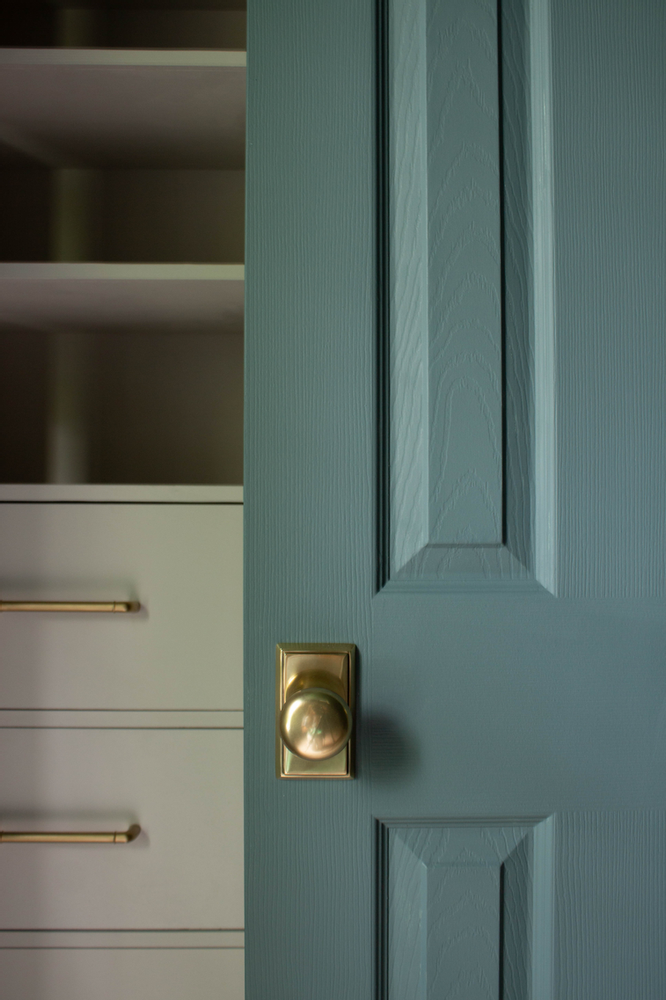
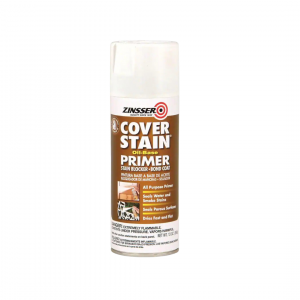
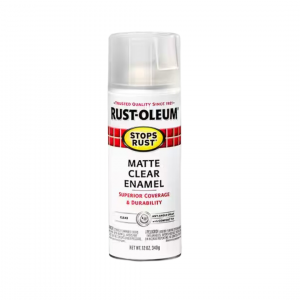
I painted the doors in Knoxville Grey to continue the dramatic tone-on-tone look. Then, I used these foam rollers made for doors and cabinets. I’ll also paint the outlet/switch covers the same as well. I did this by using my small foam roller and just rolling right over them! I would highly recommend spraying them with primer first for durability. Eventually, I sprayed mine with this clear enamel after paint, and it seemed to work just fine!
Painting the closet!
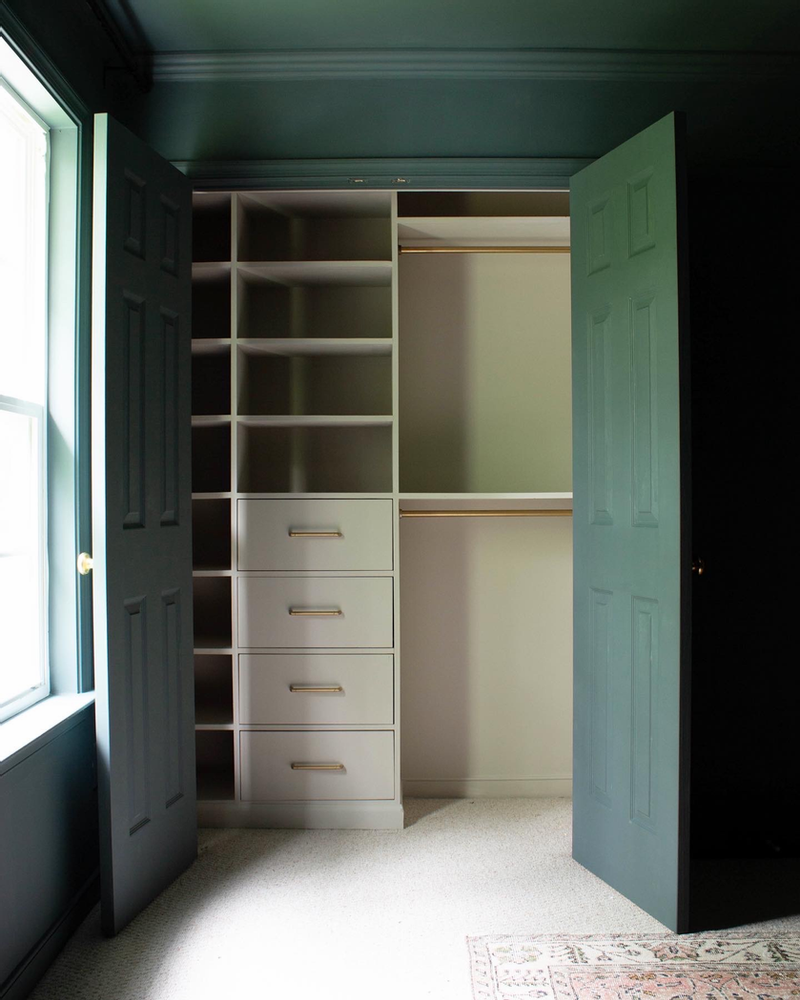
Once the room was completely painted, I had narrowed the closet paint down to Accessible Beige by Sherwin Williams. It was the perfect warm grey/beige that this room needed. I painted the entire closet (ceilings/shelves/trim) with a small microfiber roller and cut in to edges with a 1.5 inch angled brush. Using a paint sprayer for this would have been ideal, but the roller worked just fine.
Hardware
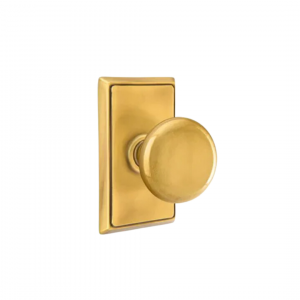
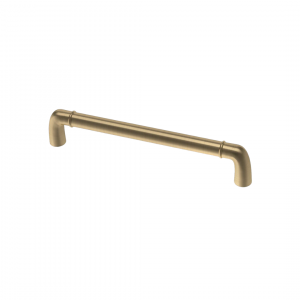
After painting I attached all of my hardware (drawer pulls, closet rods, door knobs). I got these GORGEOUS knobs from Emtek. The finish is called French brass. I am planning to use these throughout our house. They are perfect!
Here is the tutorial for my DIY closet built in!
Click here to go check out what the other amazing people are up to this week during the One Room Challenge!
Here’s everything I used for this closet painting project:

Your point of view caught my eye and was very interesting. Thanks. I have a question for you.