Nursery Makeover – Crown Moulding & Picture Railing

August is here so it’s time for a nursery makeover! We did some moving around in the house to prepare for the new baby. Rainie moved into the guest bedroom, Emery moved into Rainie’s old bedroom, and August is going in Emery’s old bedroom. You can see the plans for the makeover here!
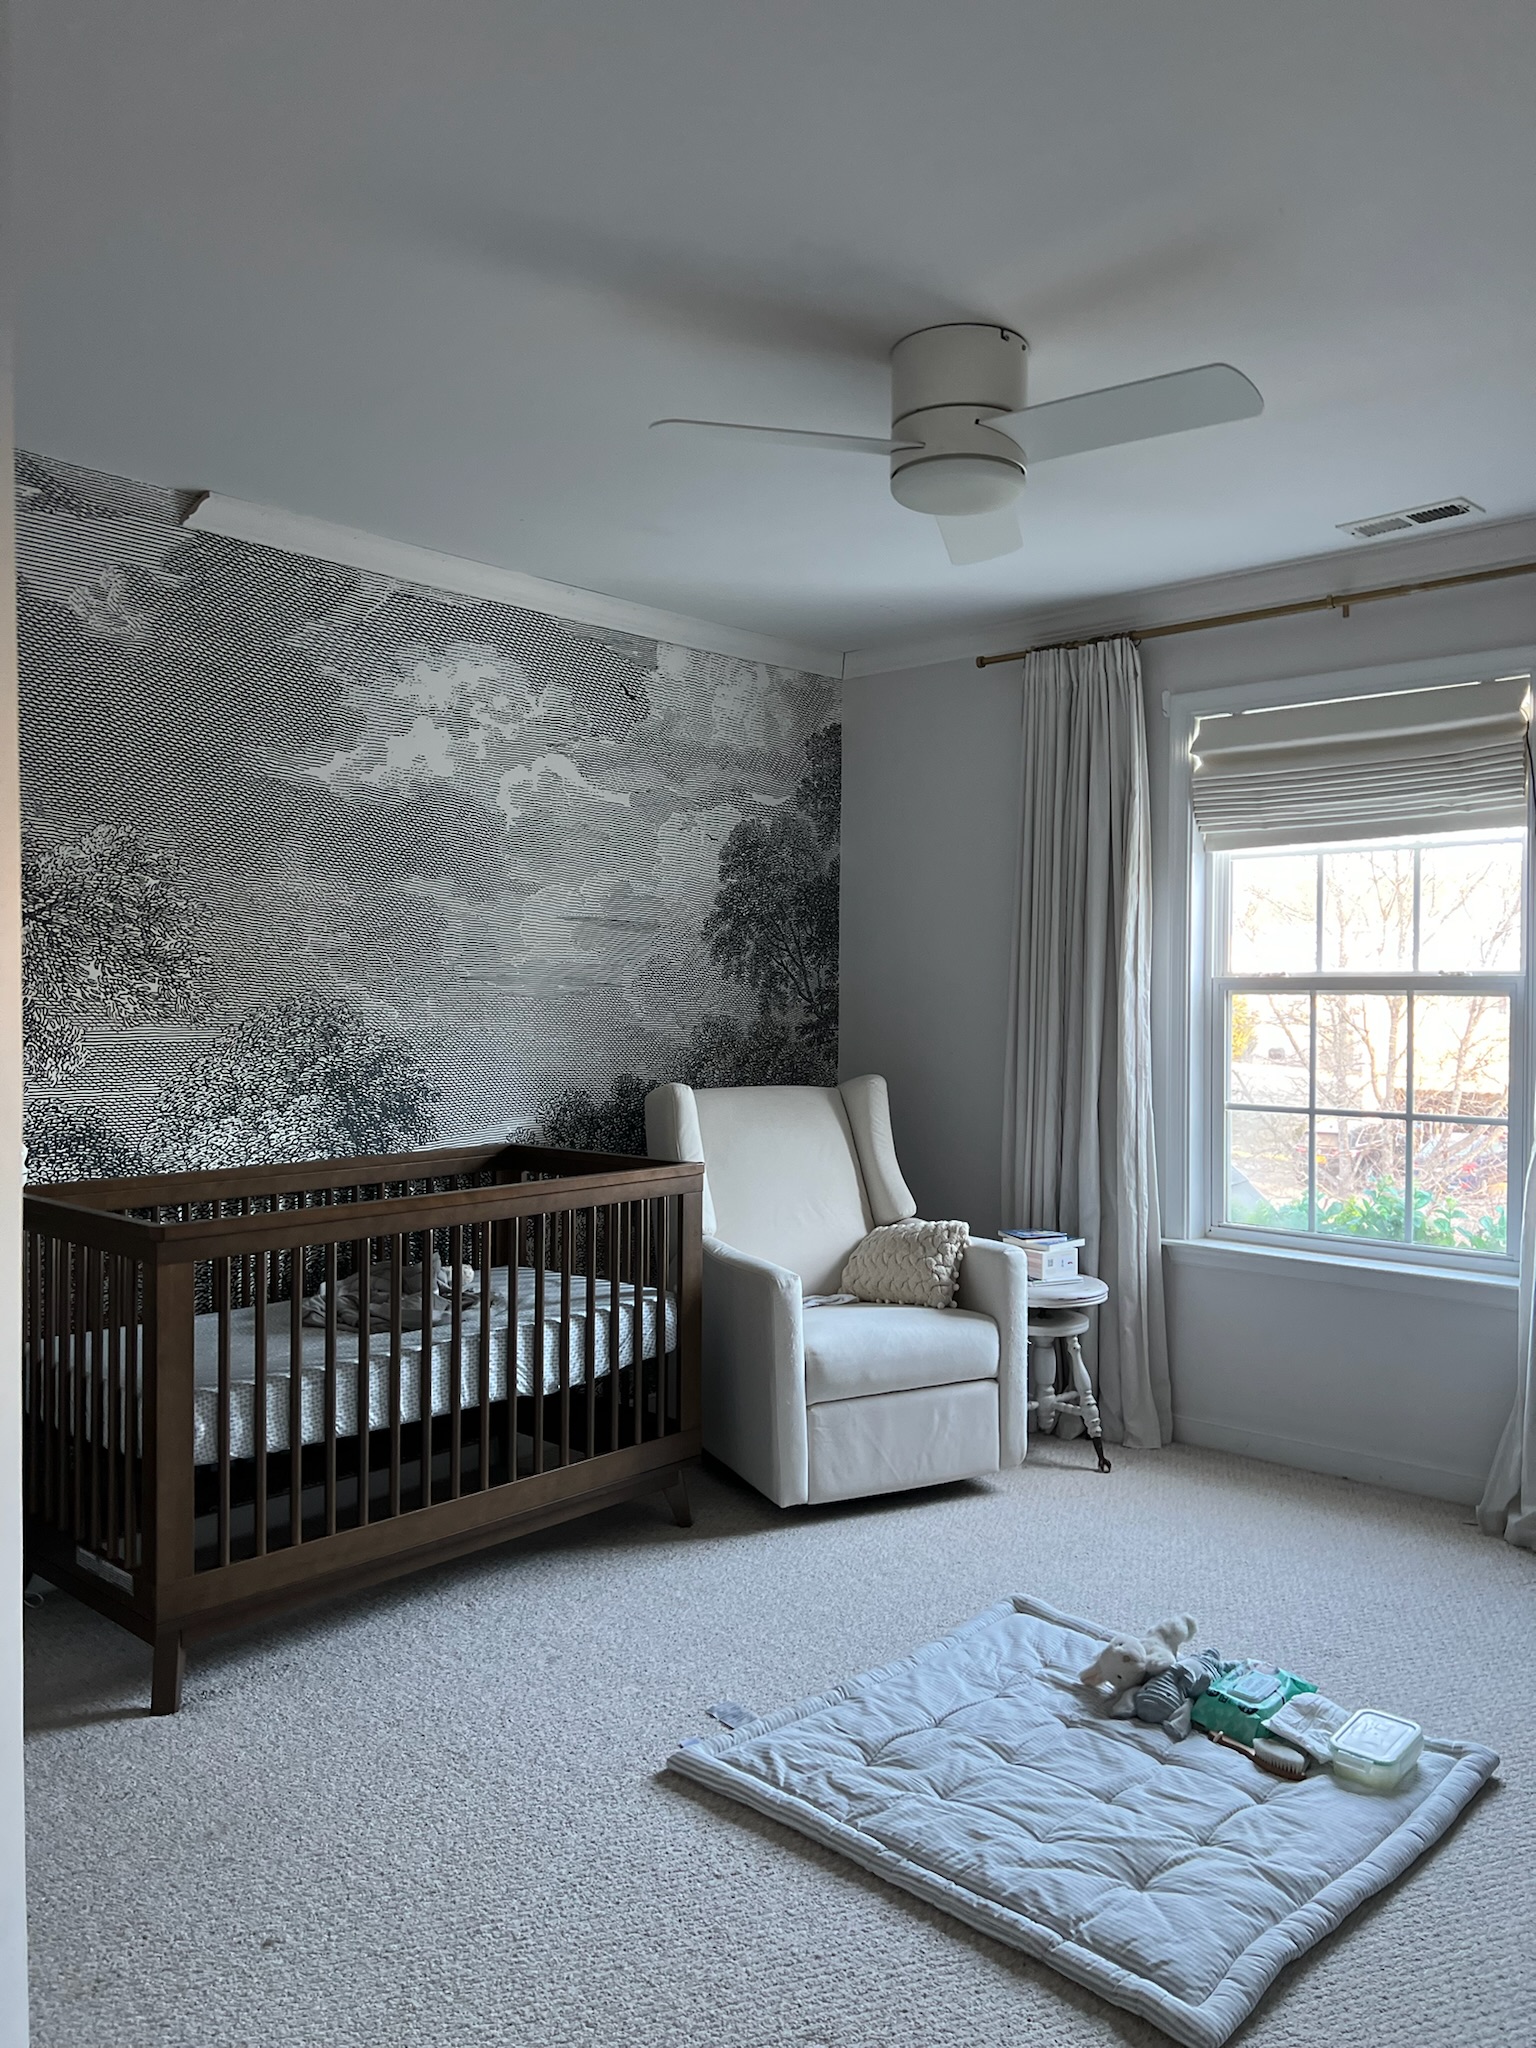
Here’s what I started with:
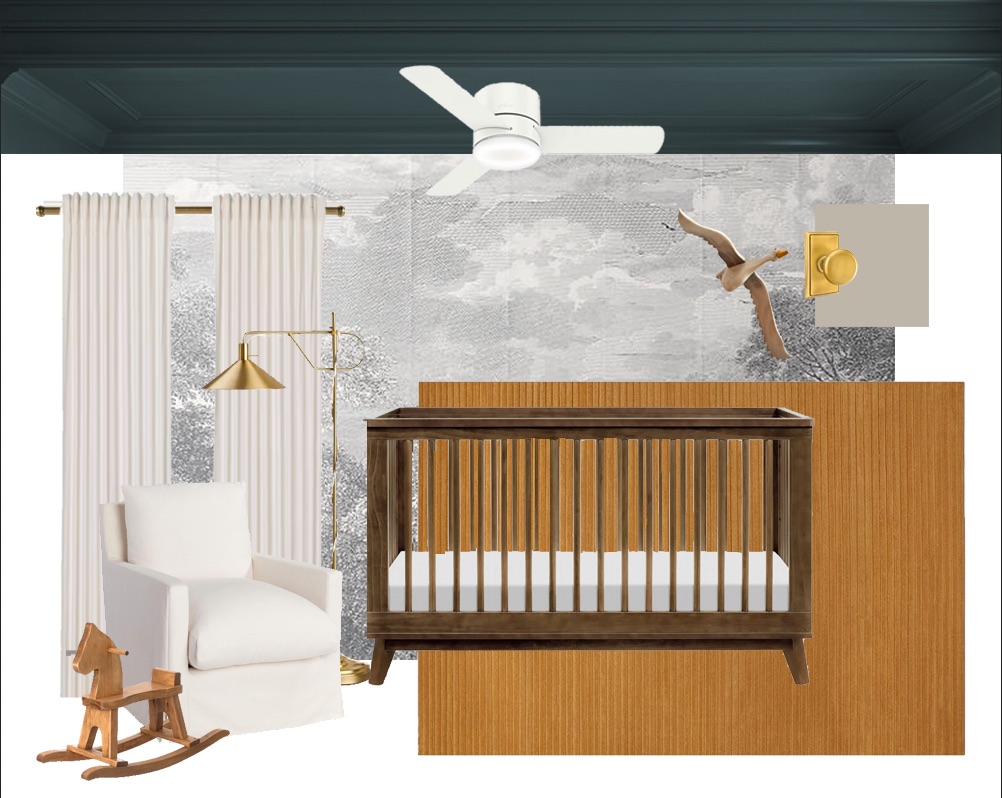
And this is the mood board I’m working with:
Let’s get started!
Materials
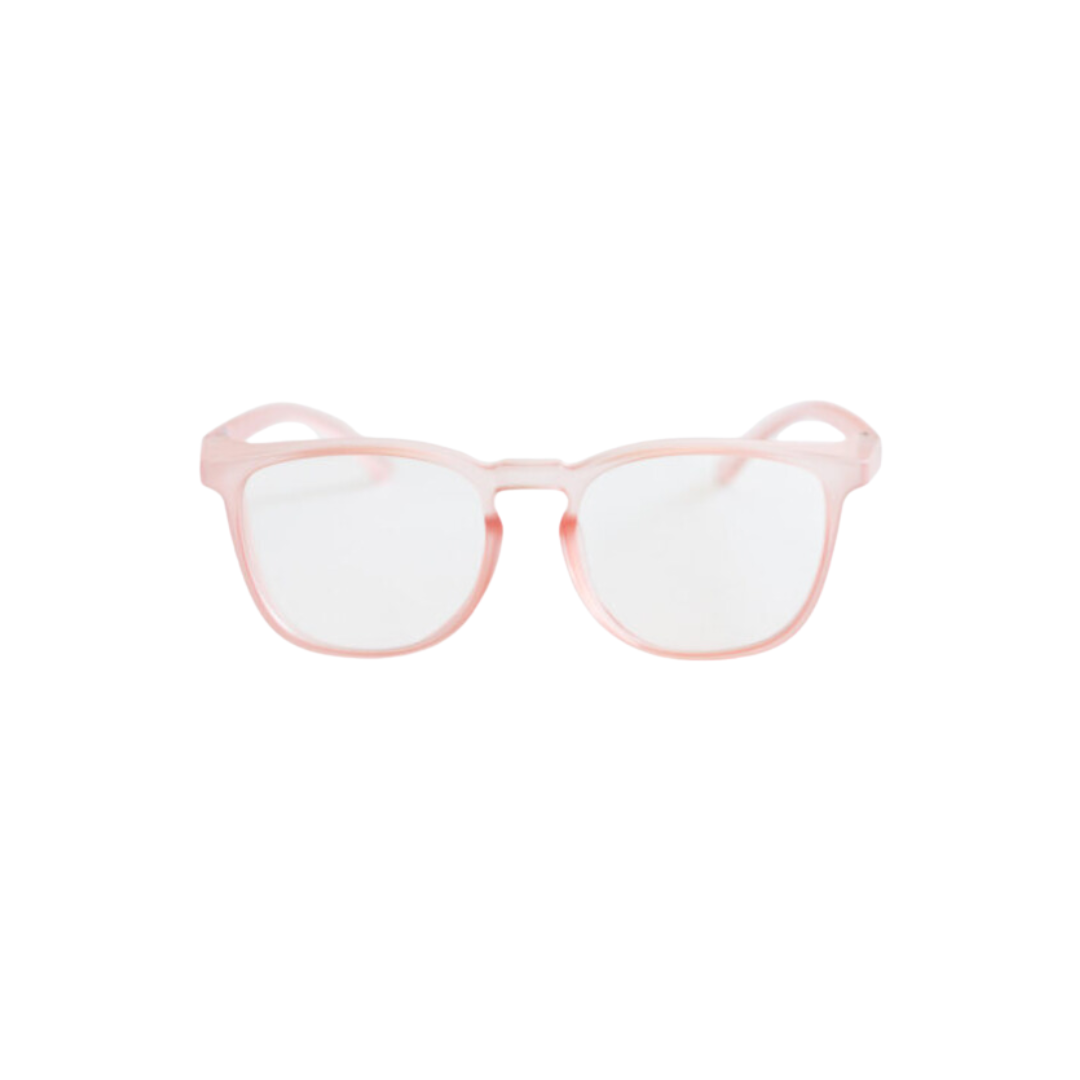
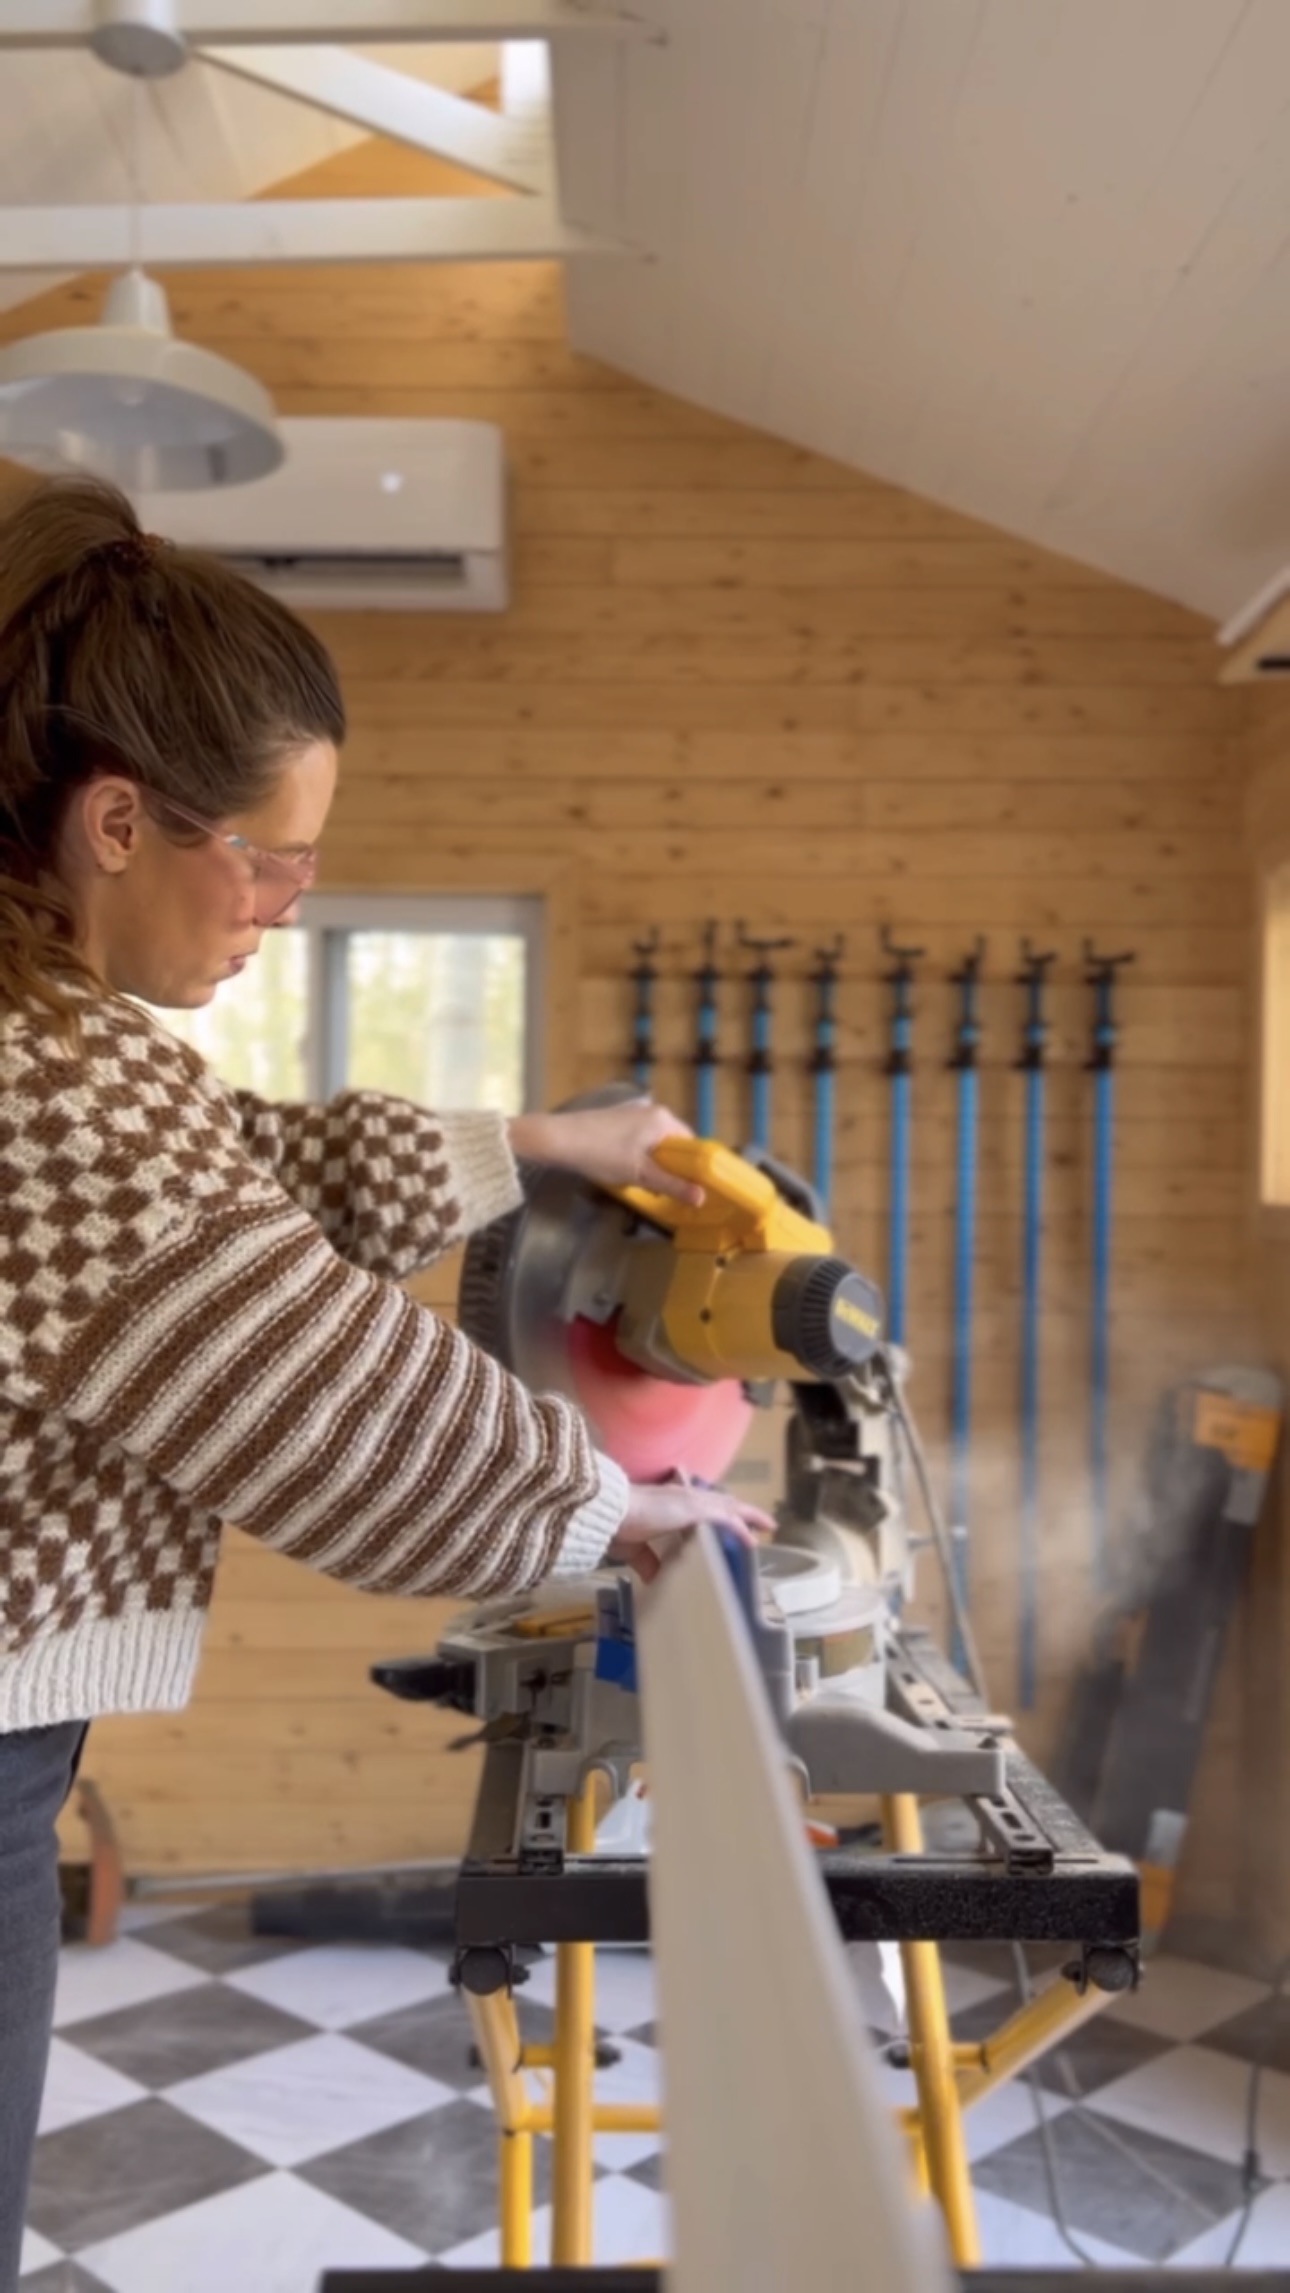
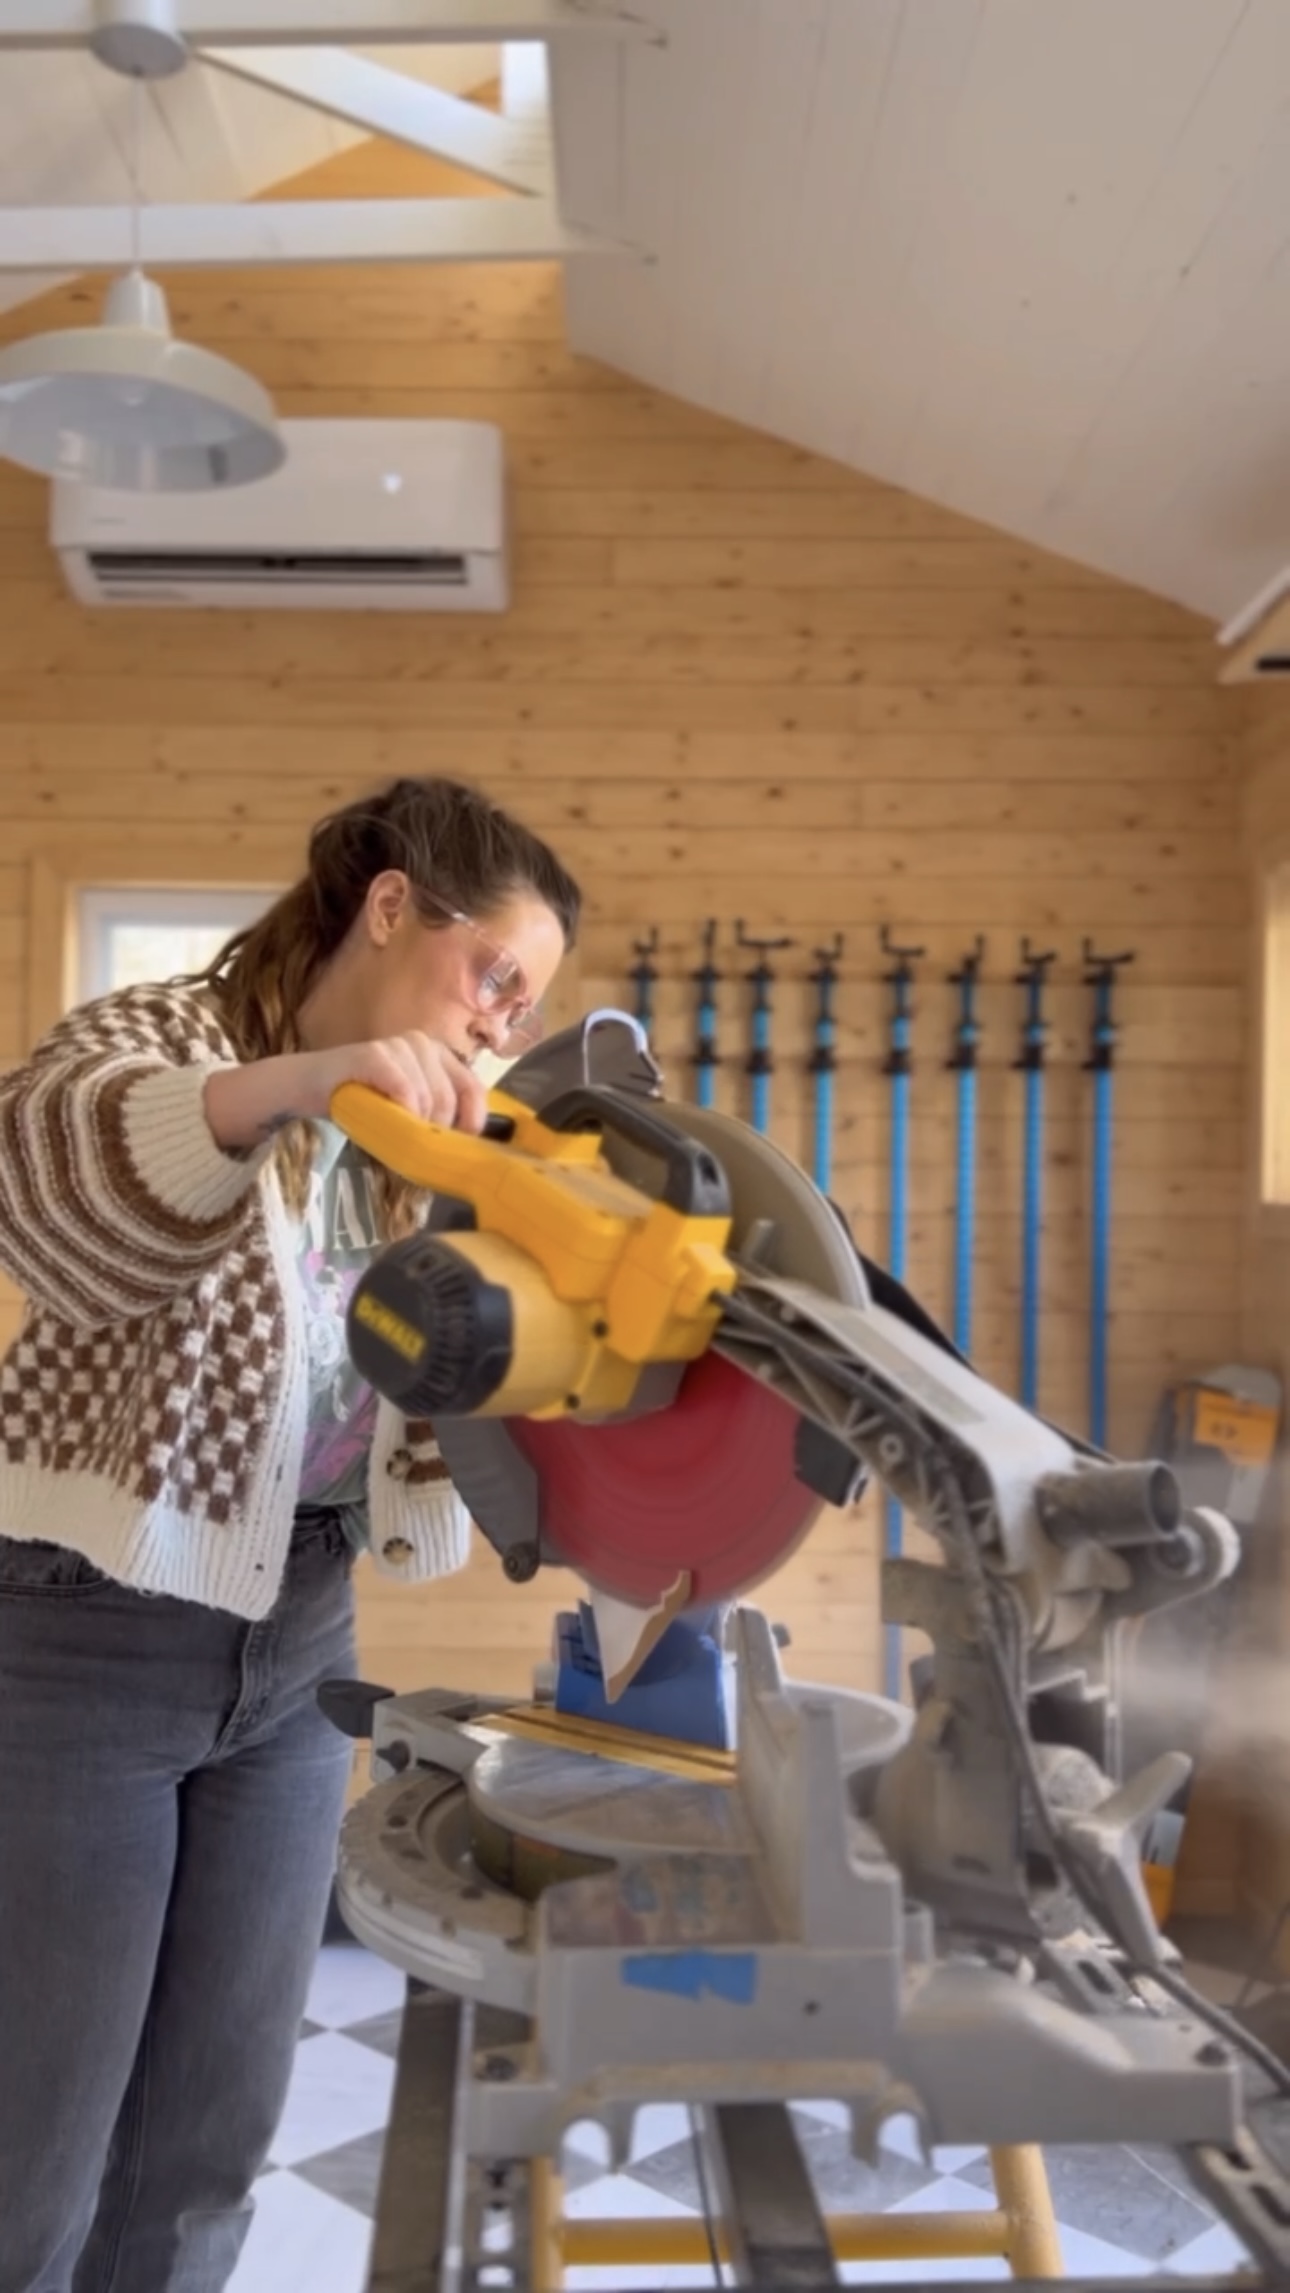
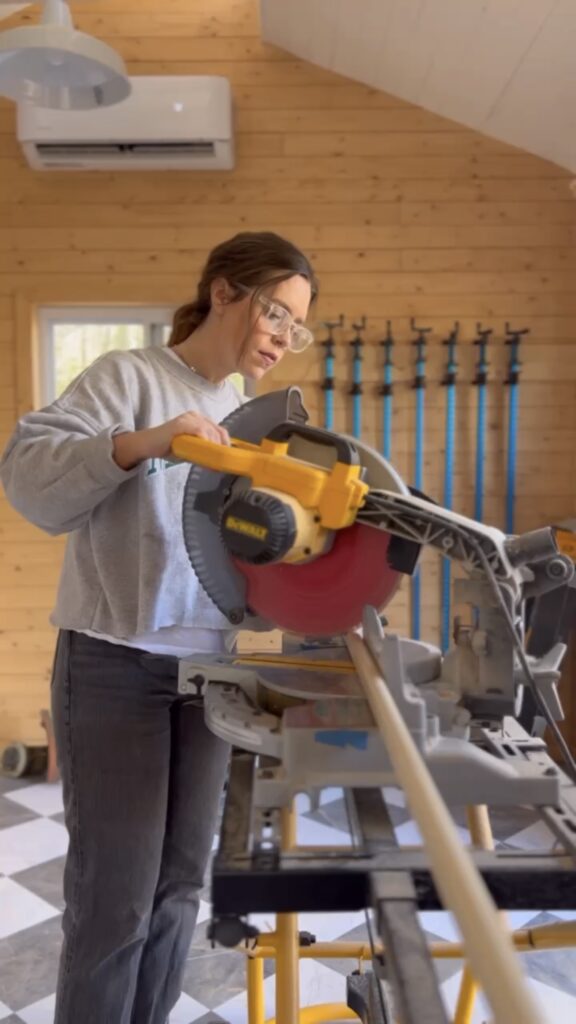
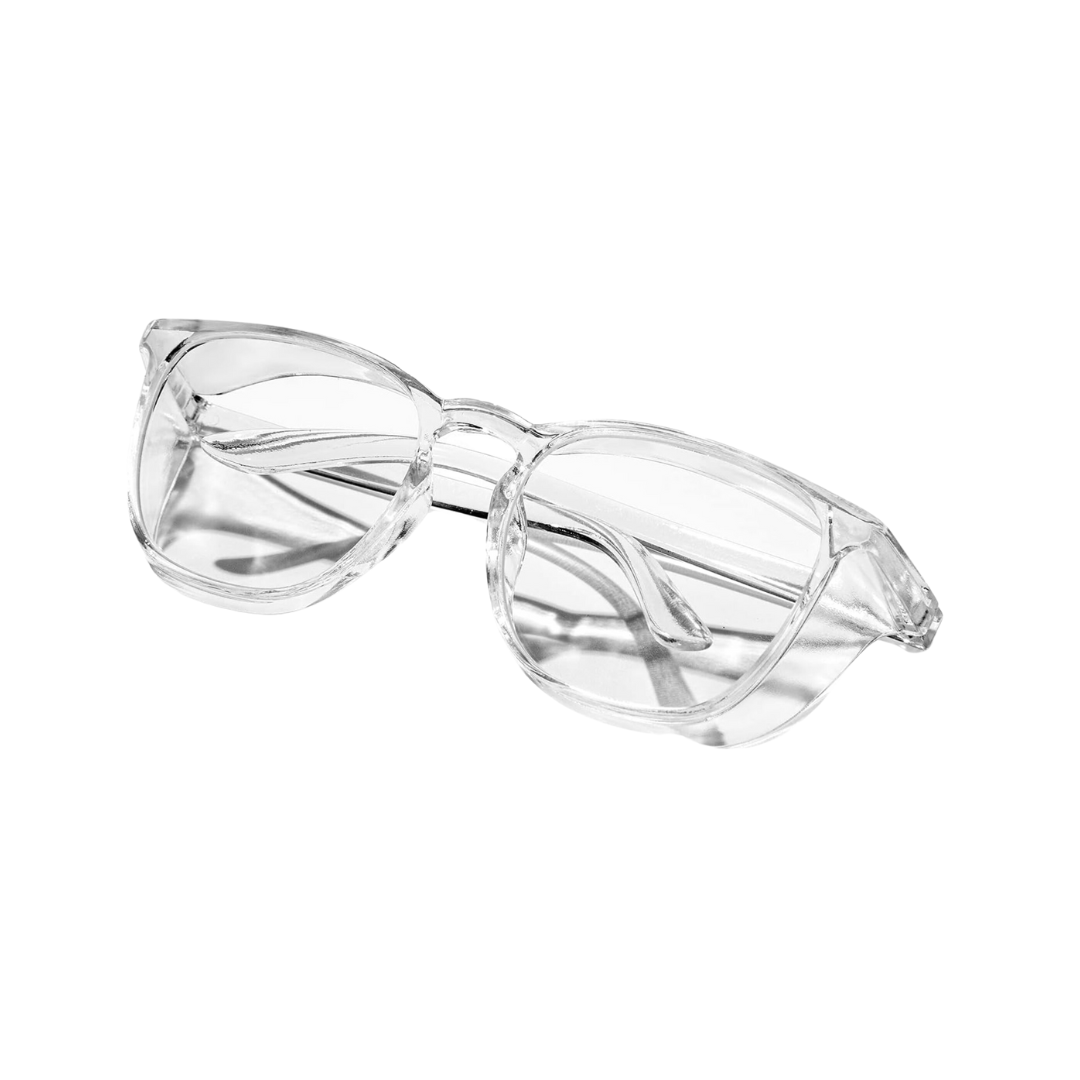
- Safety Glasses – These are new and I LOVE them.
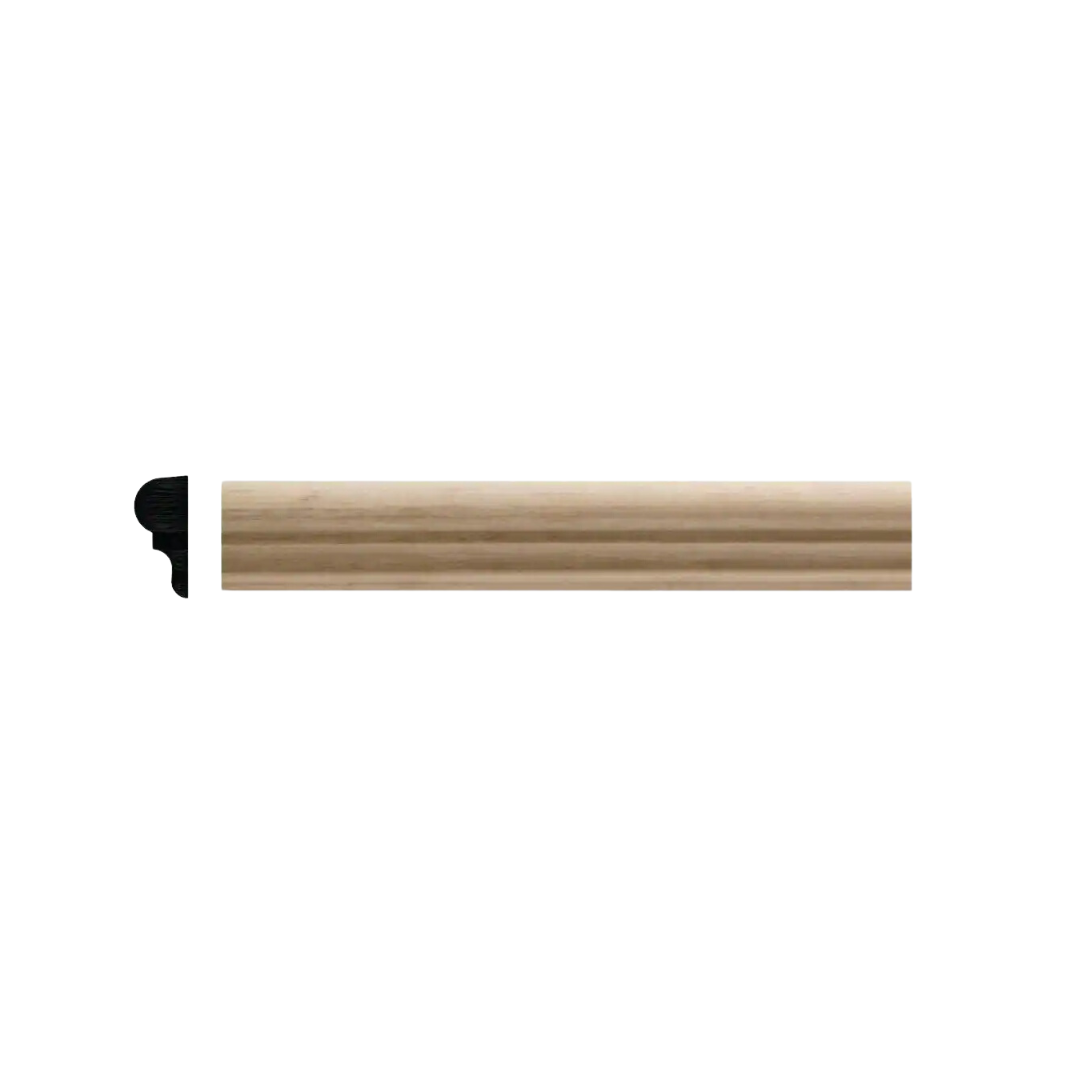
- Crown Moulding
- Picture Railing
- Miter Saw
- Saw Stand
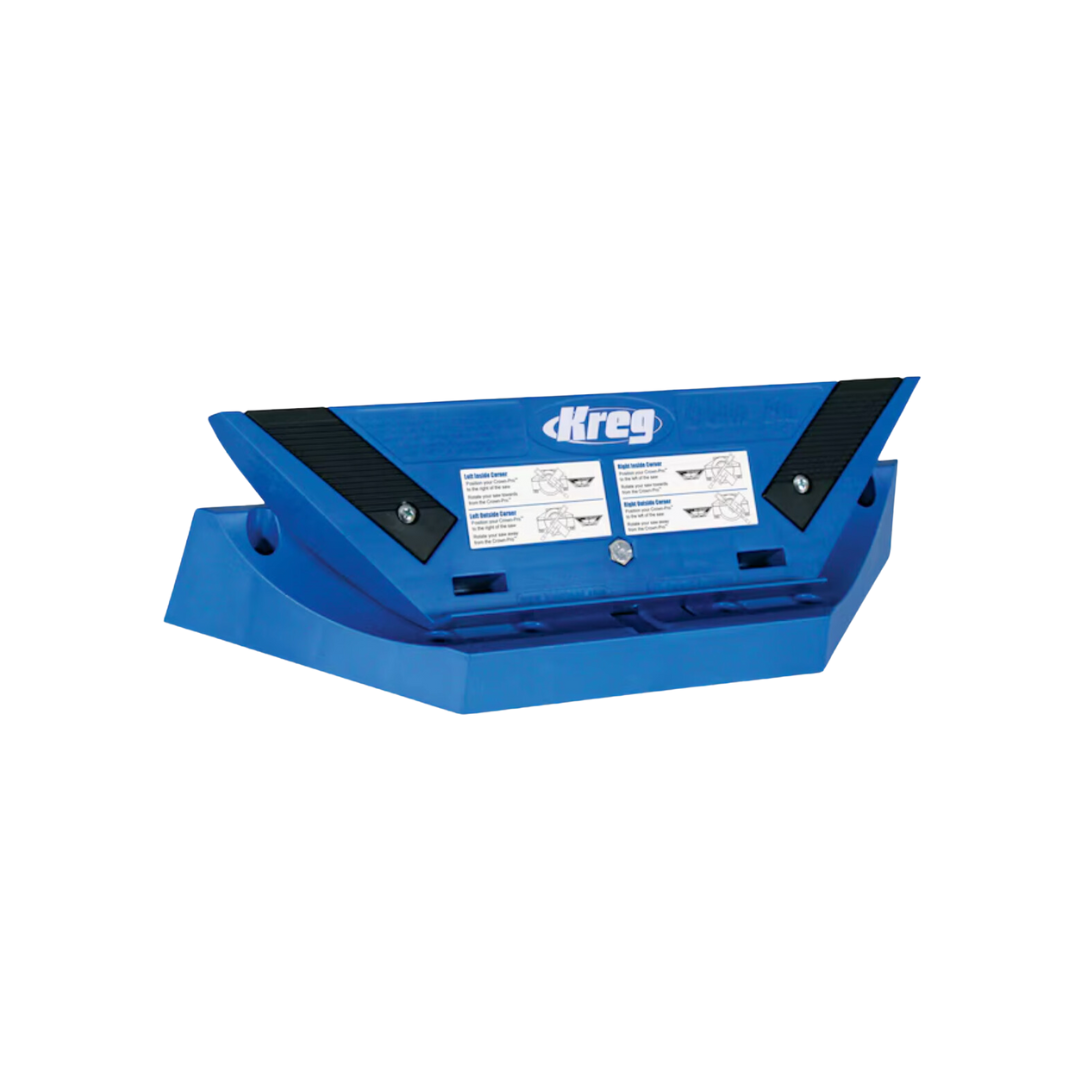
- Kreg Crown Moulding Jig
- Brad Nailer
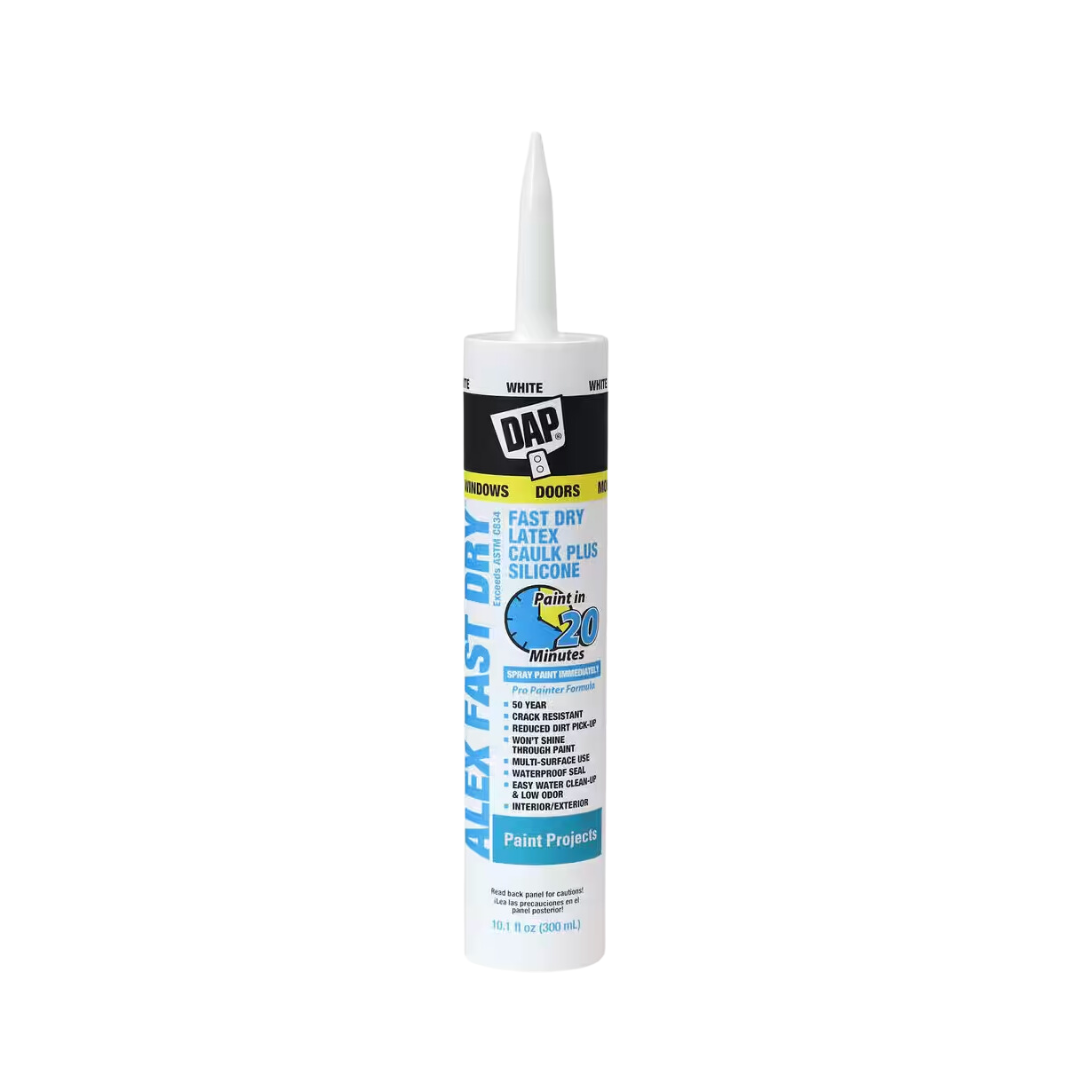
- Caulk
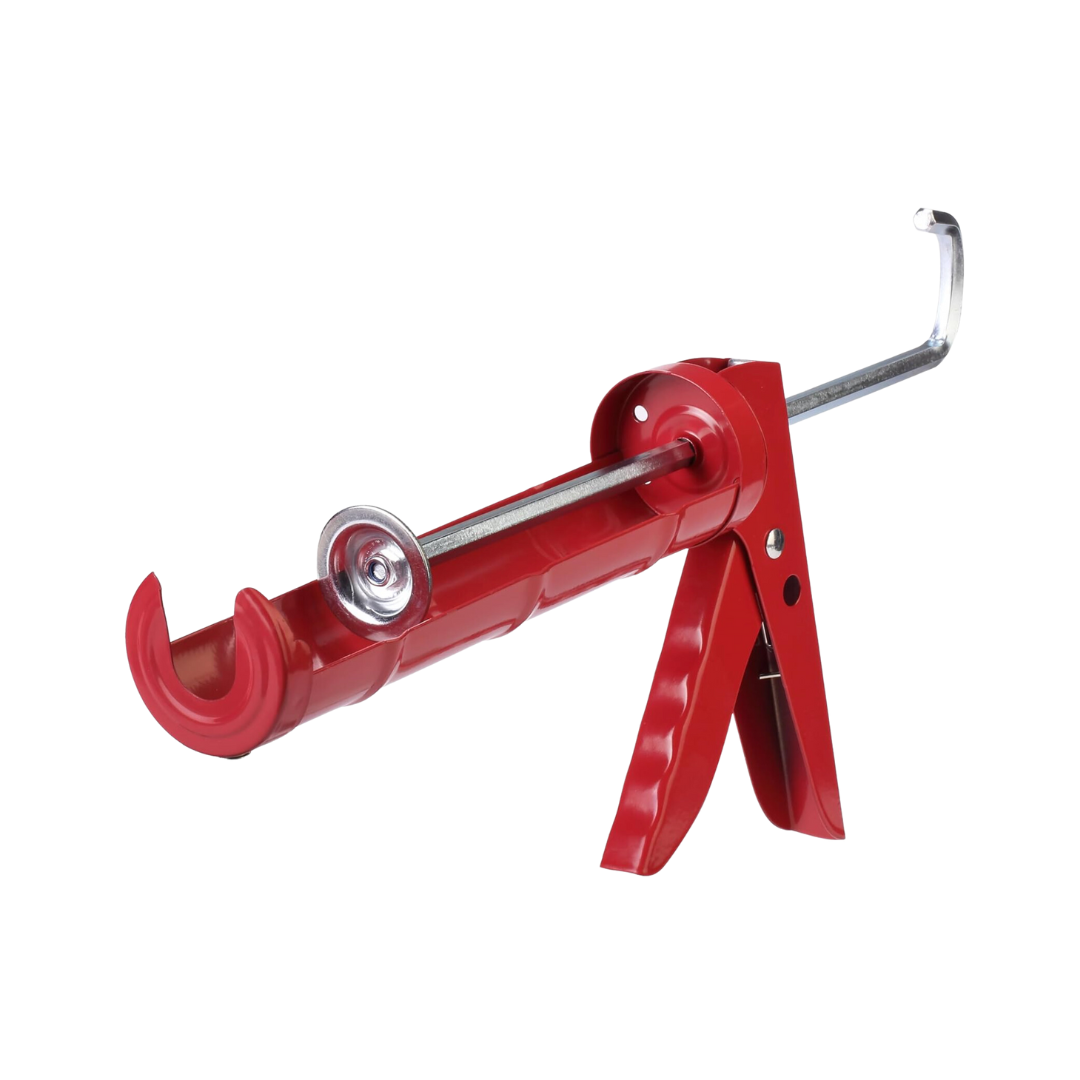
- Caulk Gun
- Step Ladder
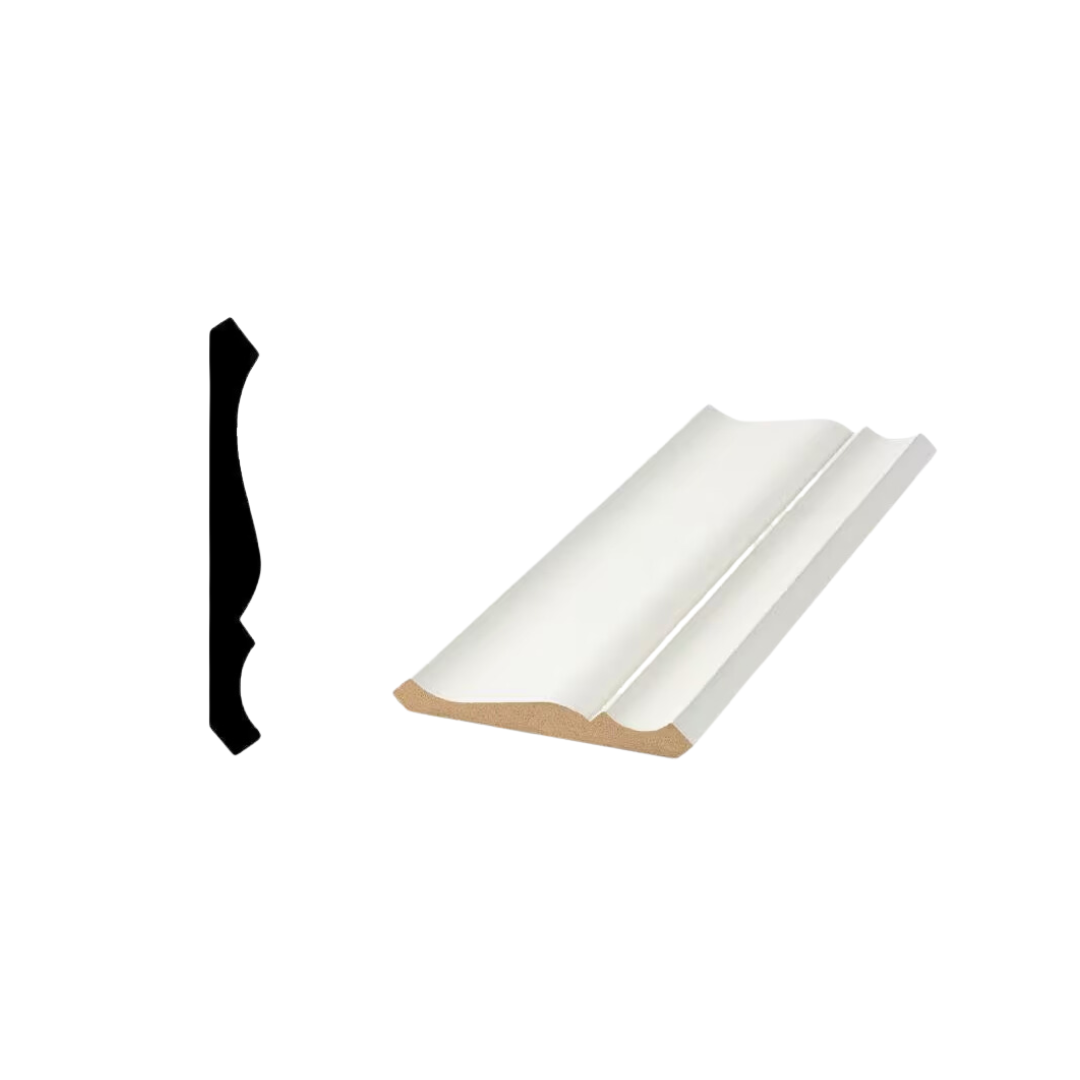


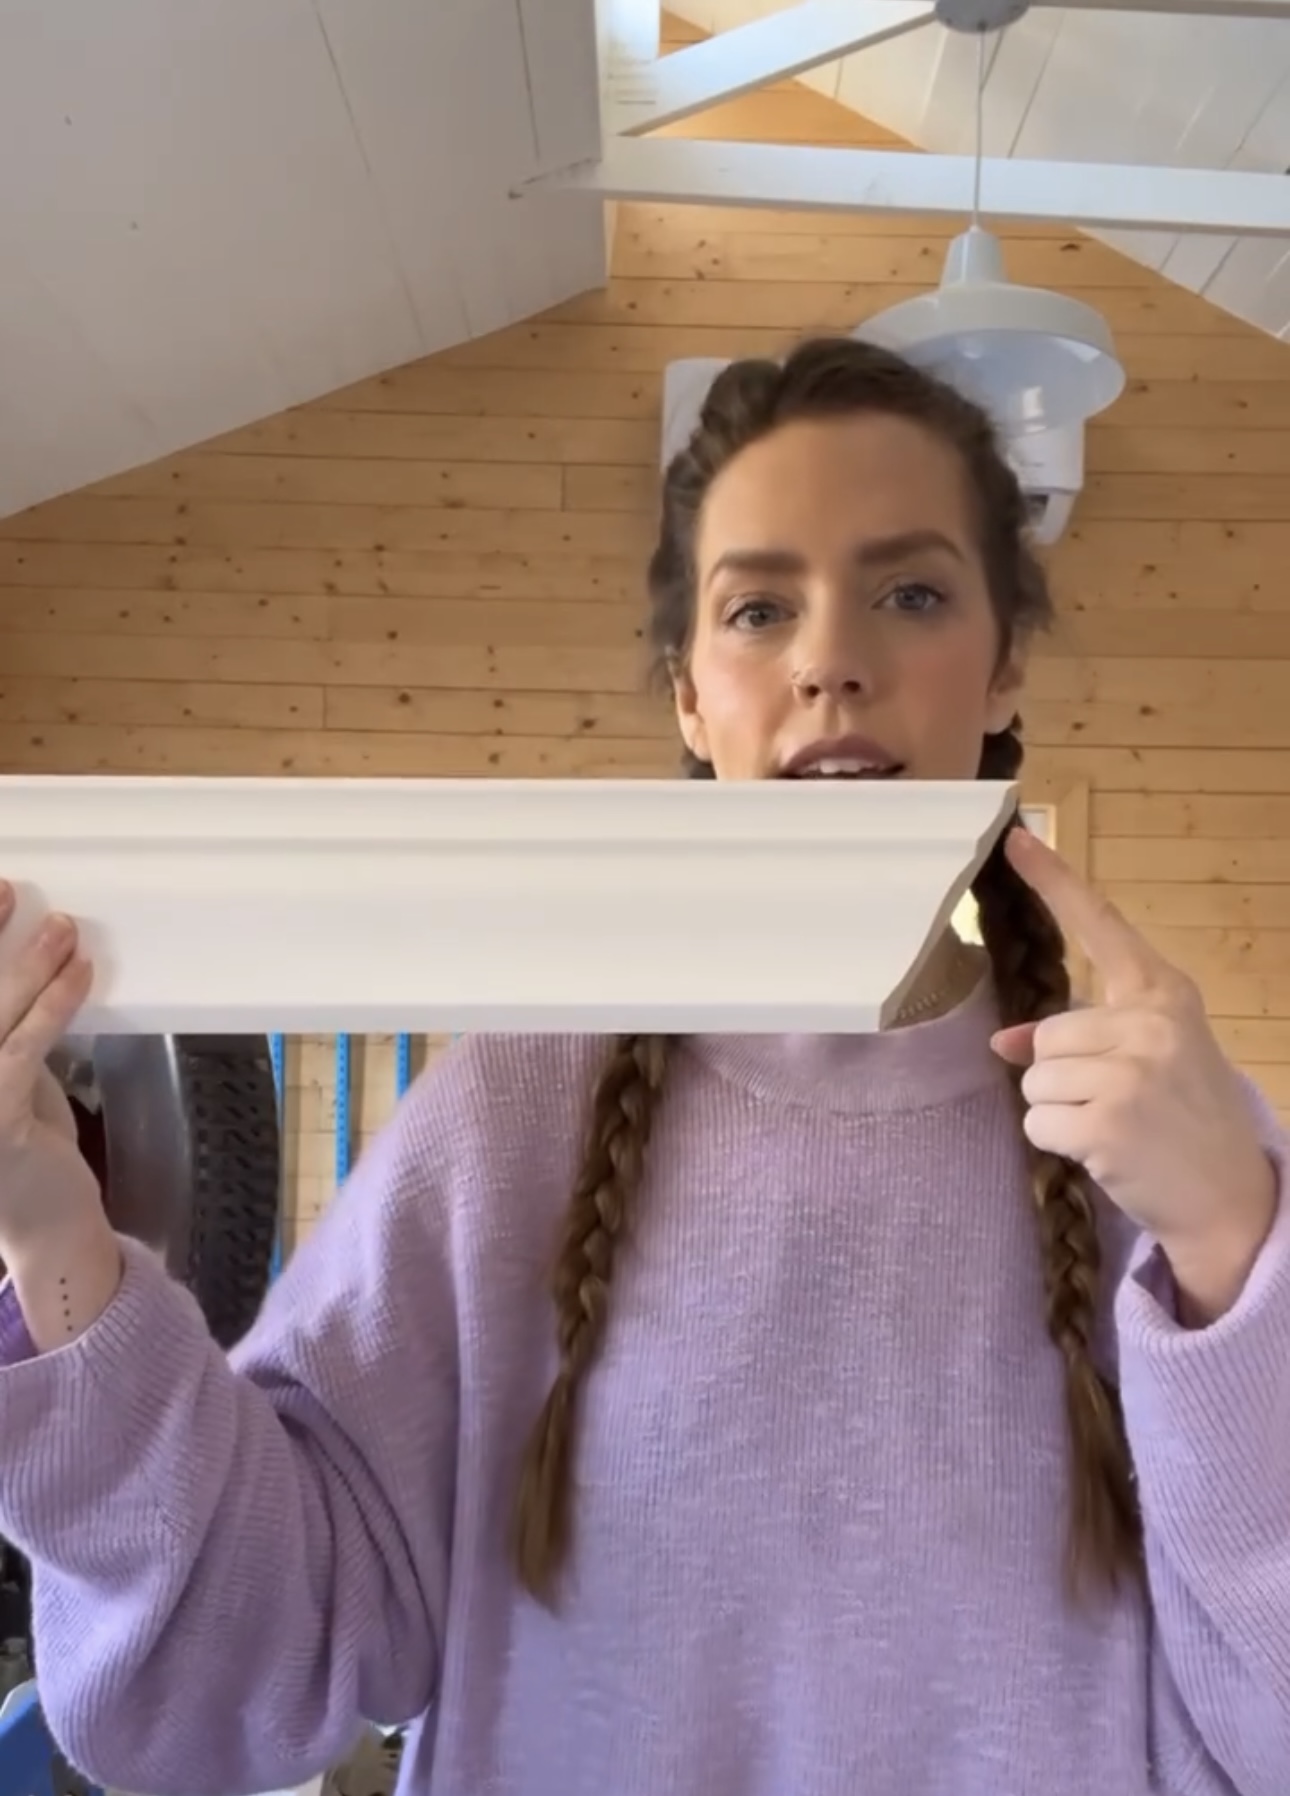
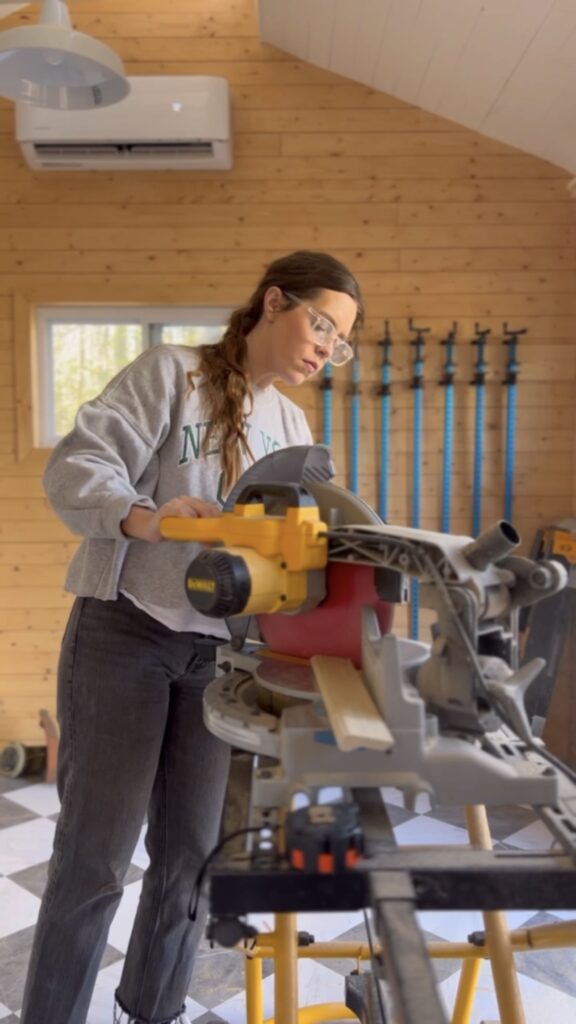
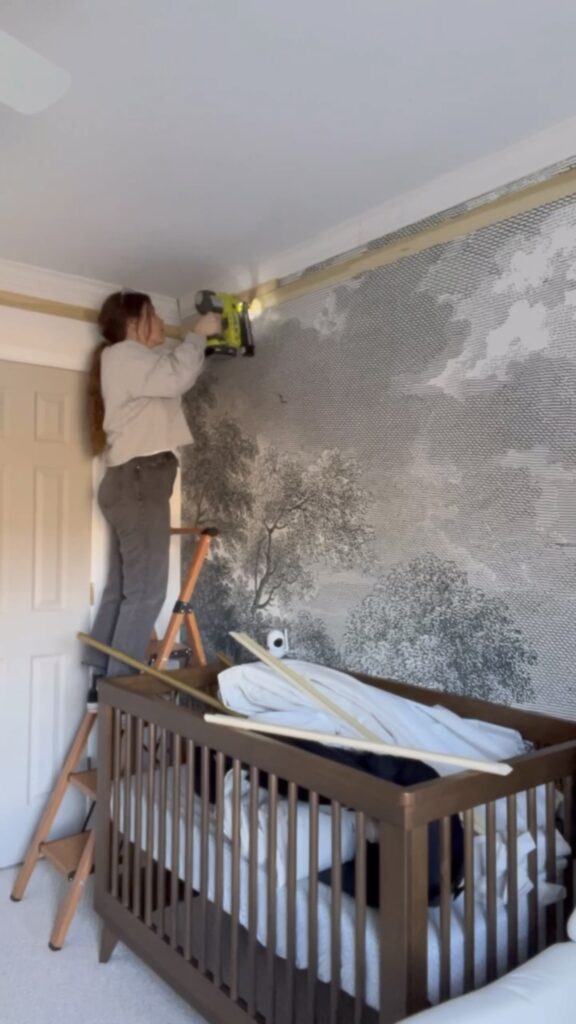
Crown Moulding
Cutting crown moulding is challenging. But, I have this jig that makes it so much easier.
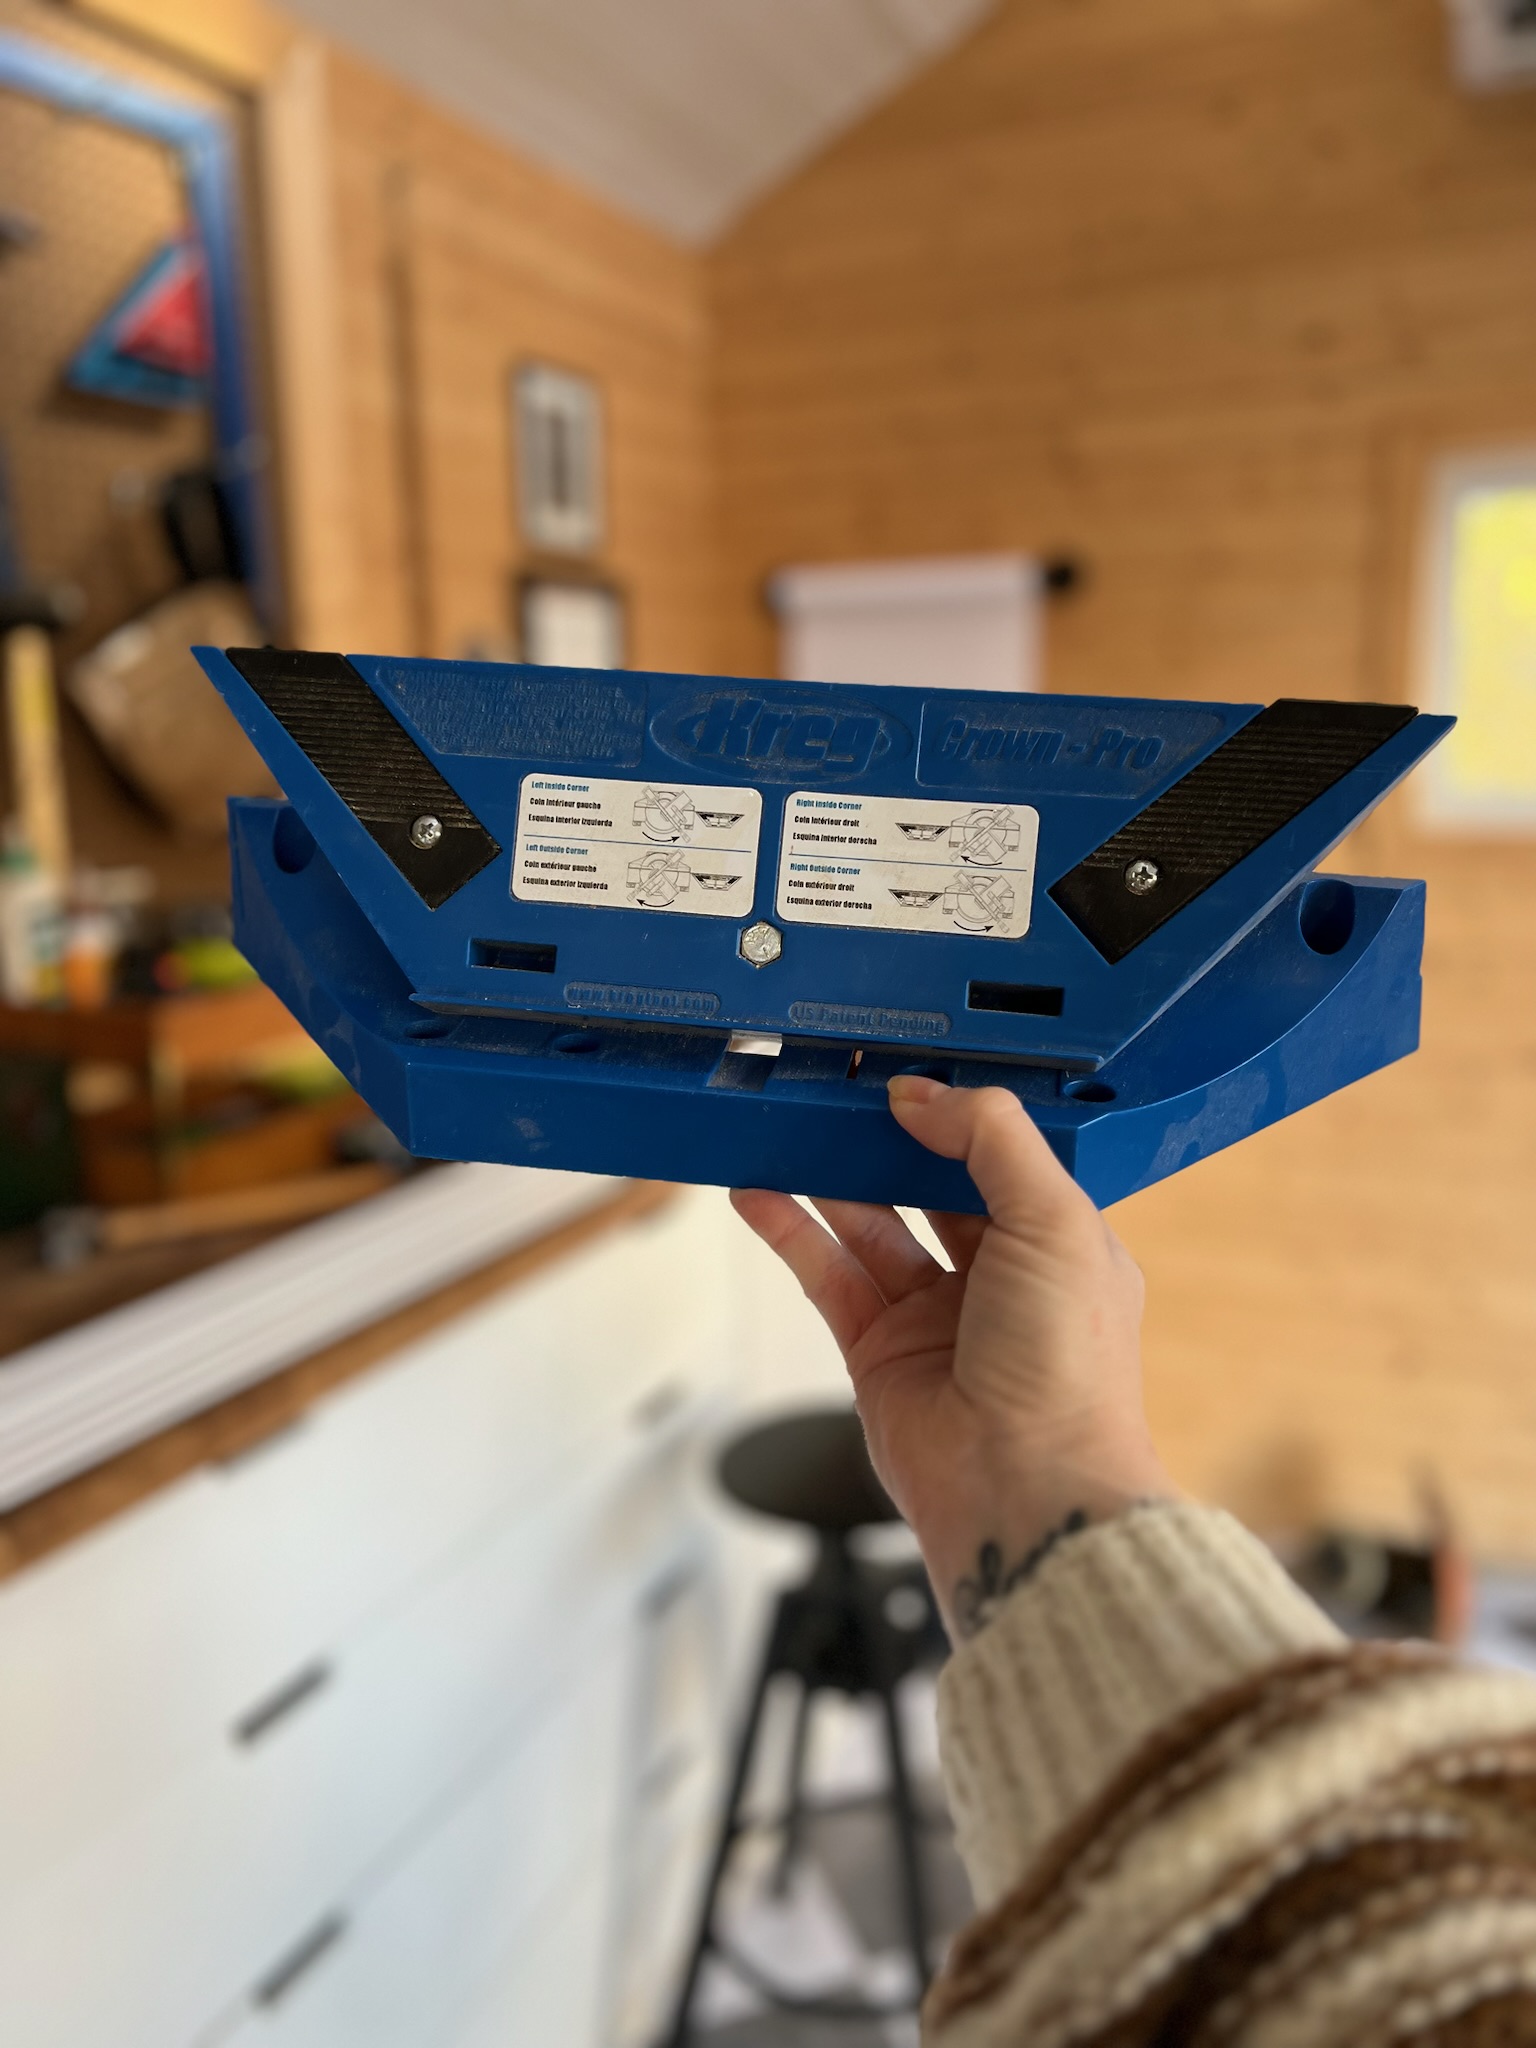
To cut crown moulding, you have to cut it upside down and at an angle. Each piece has to be exactly the same or the corners won’t meet perfectly. Very annoying. This jig holds each piece in the exact same position every single time. It also has a guide on it for each type of corner.
*a note about crown moulding
Since you’re cutting crown moulding upside down, you have to keep that in mind when making your angled cuts. It’s so confusing but remember to pay attention to the angles you’re cutting!
When you’re cutting an inside corner, it looks like this and when you flip it, it goes the opposite way.
It might not make sense when you’re looking at the cuts, but look what happens when you put them together!
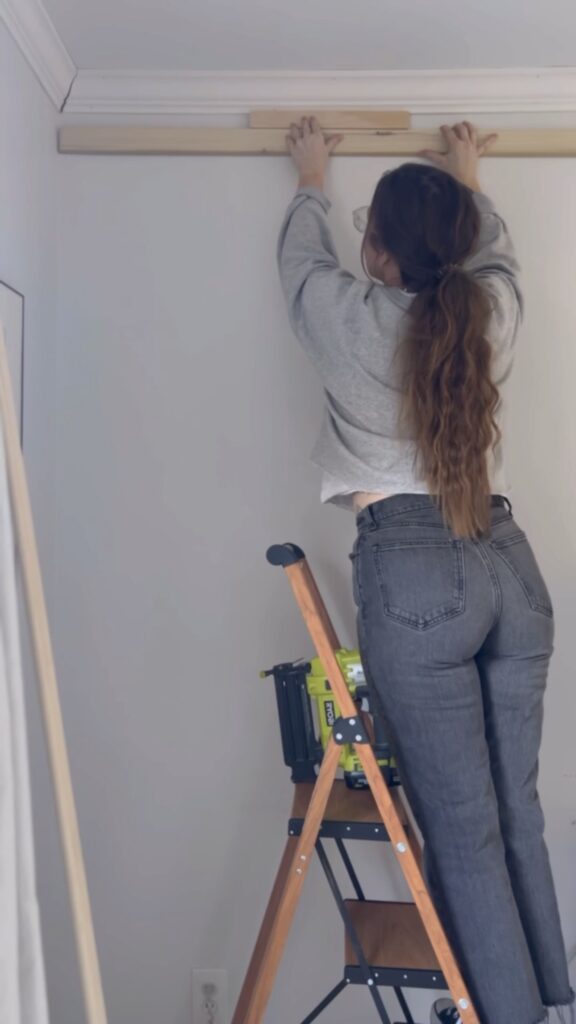
Then, I installed my crown moulding with my brad nailer. Usually I’d take all the furniture out of a room to give it makeover, but I wanted to work around the furniture in here so I didn’t disrupt August’s space.
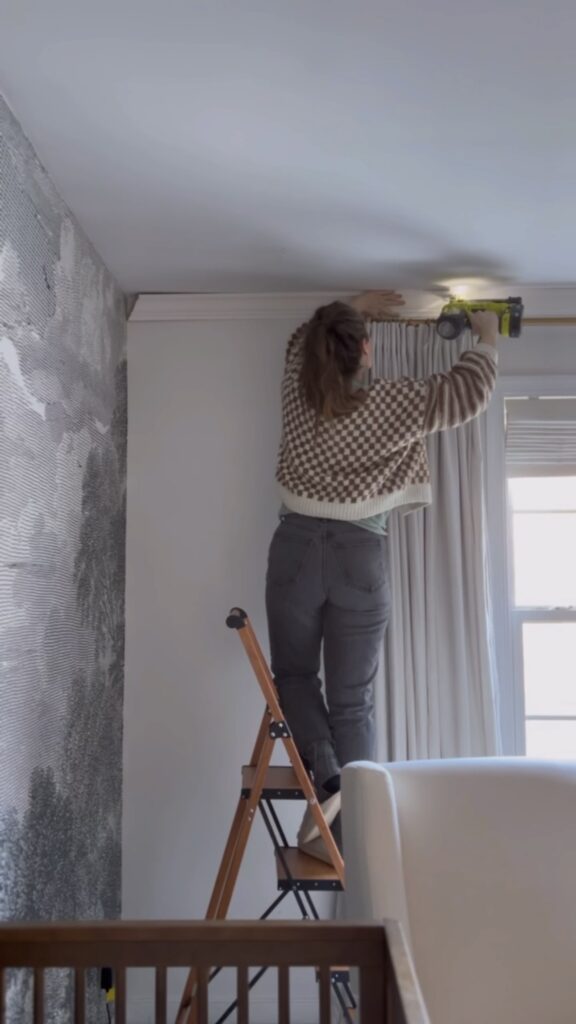
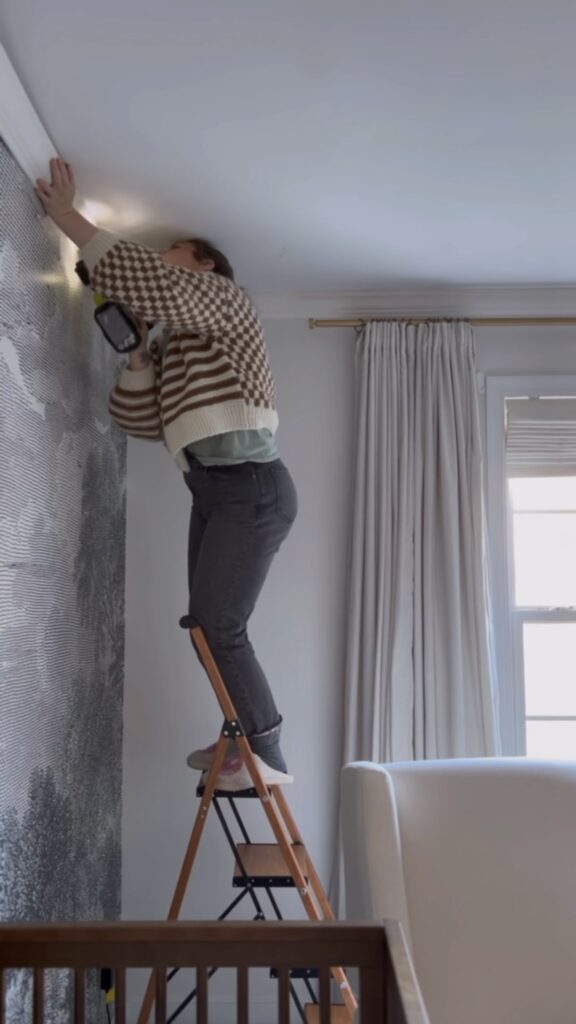
I always leave a little bit at the end of each piece loose so I can manipulate it a when putting up the next piece.
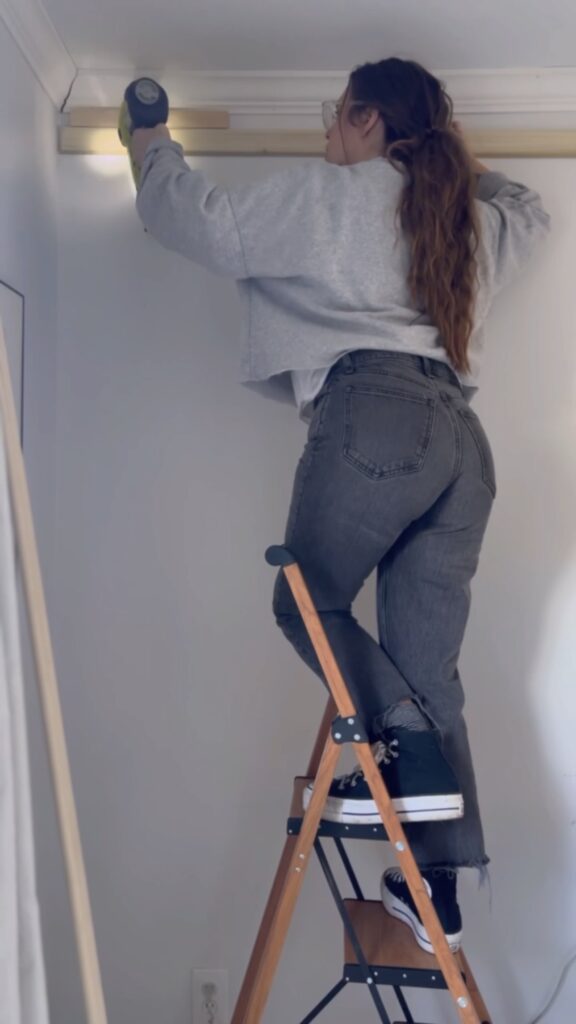
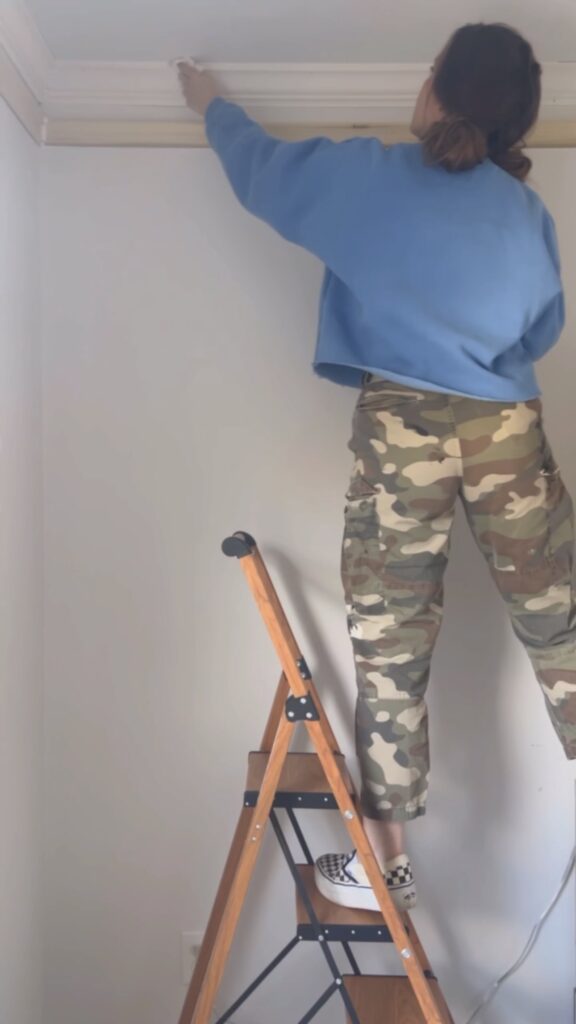
Picture Railing
Picture railing is a traditional type of trim that’s found in a lot of older homes. It’s used to hang artwork. I’ve been installing it all throughout our home. I love the extra dimension it adds to the crown moulding. This stuff is way easier to cut – no confusing angles or measurements!
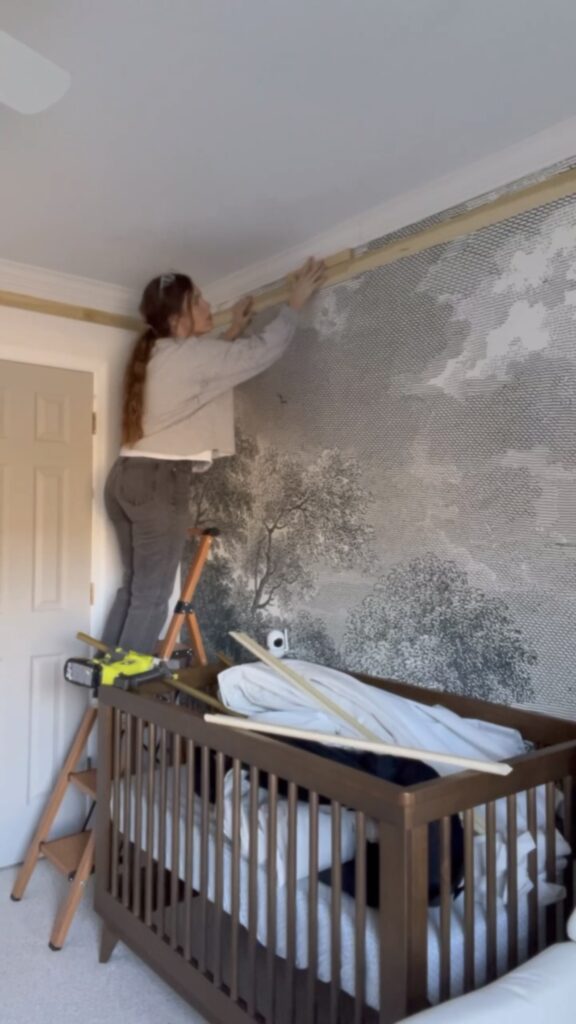
I used a 1×2 piece of scrap wood to measure a space between the crown moulding and picture railing. I just used my brad nailer to hang the picture railing and slid this piece of wood down as I went. It only took me about 20 minutes to hang the picture railing around the entire room!
Caulking
Even with the jig, the crown moulding corners weren’t perfect. BUT caulk made it perfect! I put caulking along the top and bottom of the crown moulding, along the bottom of the picture rail, and on the inside corner. Then, I used a baby wipe to clean up!

Next up for this Nursery Makeover, paint!
-Cass
Here’s everything I wore in my stories this week!


- Pink Safety Glasses
- Clear Safety Glasses
- Ultra High Rise 90’s Straight Jeans
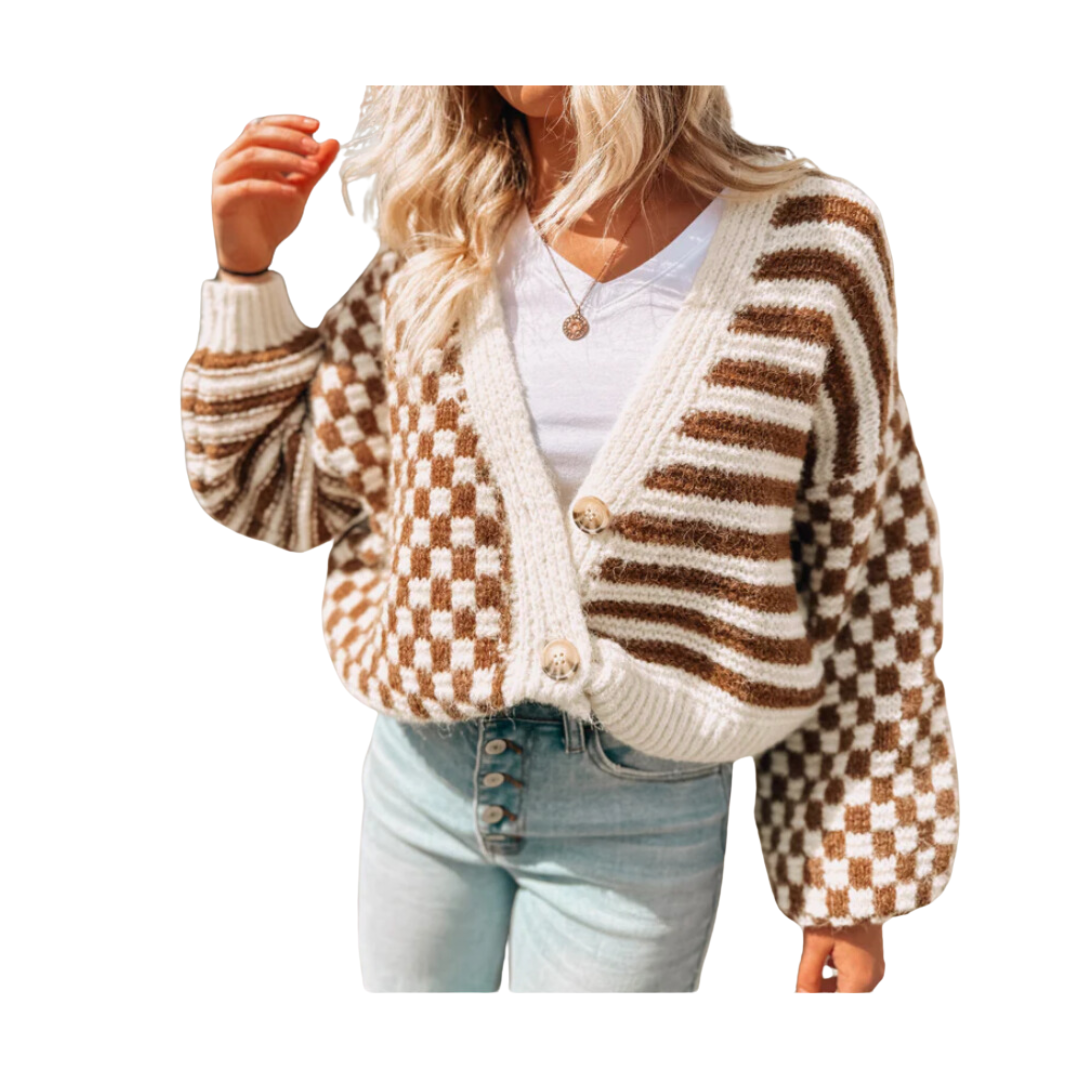
- Checkerboard Cardigan
- Platform Checkered Vans
- Poppy Gold Choker Necklace
- Free People Sweater Set – (The pink I have isn’t sold anymore. But there are such cute options right now!)