DIY Vintage Terra-Cotta Pots
I’ll admit that I got a little angry when I started looking up “vintage style” terra-cotta pots for the gardenia trees on my porch. I had the vision. I NEEDED these pots. And I found out that they can be SO expensive. Like, I don’t even understand how they can be that expensive. And I needed two of them! So, I decided to make my own DIY Terra-Cotta Pots.
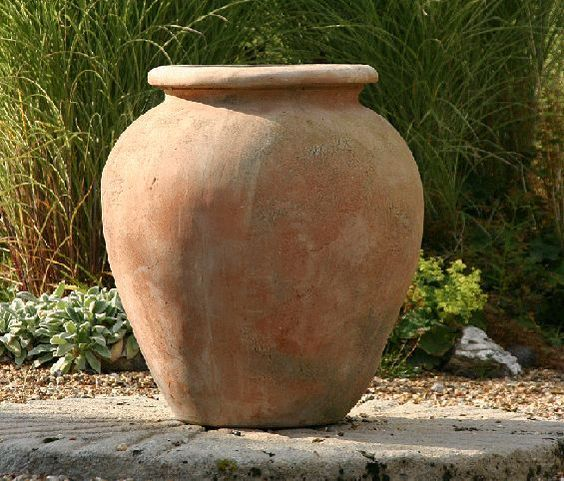
This is my inspiration pot!
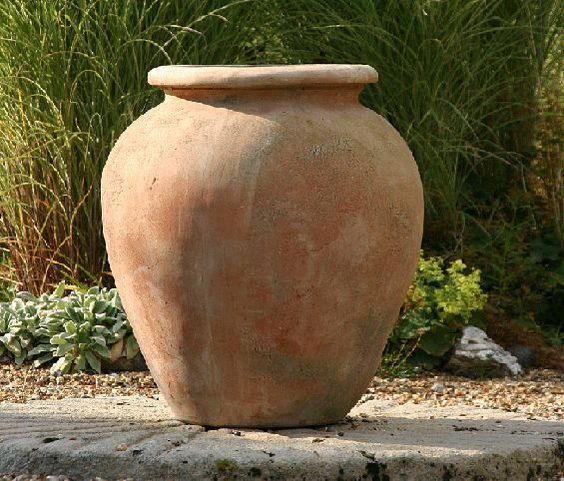
I had my heart set on an urn style pot, but could not find one that was even close to my price range AND terra-cotta. Cue the DIY lightbulb! “Maybe I can do a faux terra-cotta look on a cheap pot!” I did a similar technique to a thrifted table lamp in my living room and it turned out great!
Here is the issue. I couldn’t find a single pot that was the shape I wanted for less than a few hundred dollars each. But, after using a Pinterest trick (searching and image and scrolling down to find similar items), I found this one for $40 and ordered two ASAP. They are perfect.
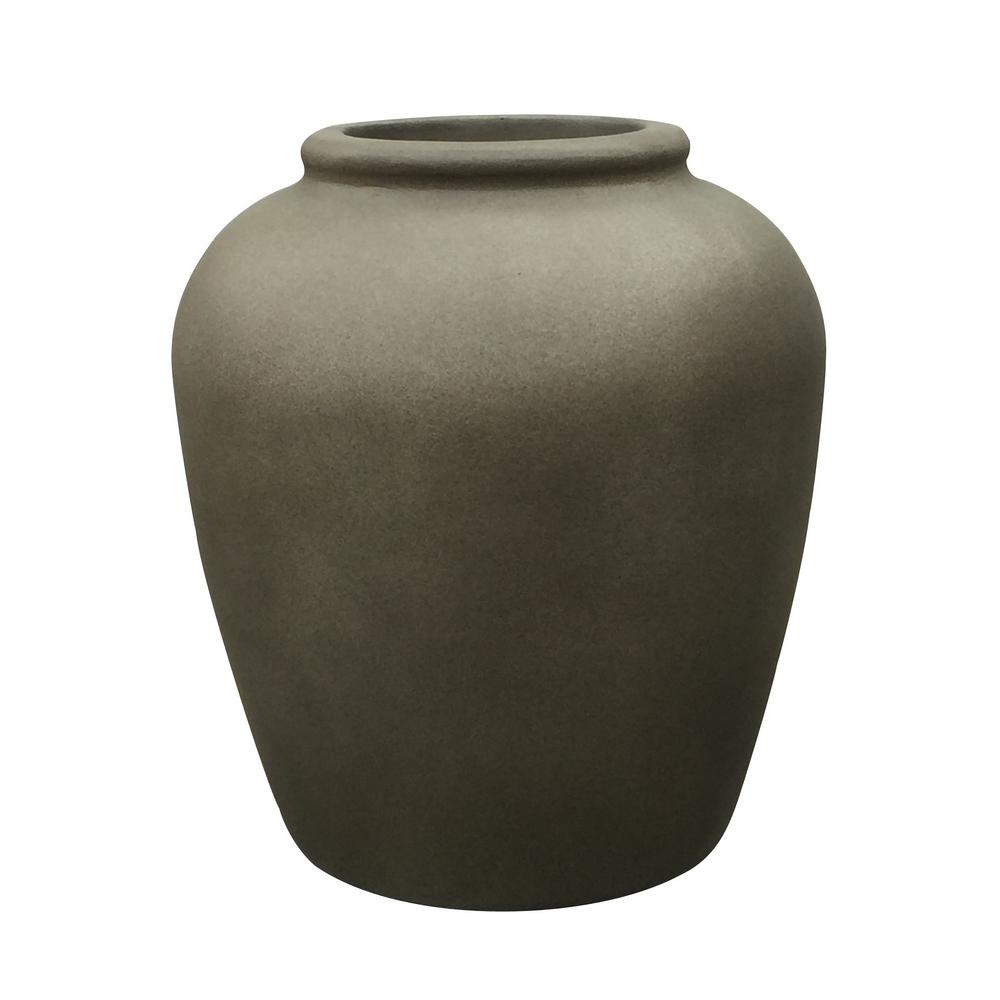
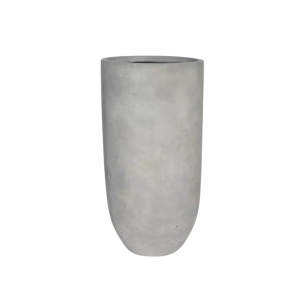
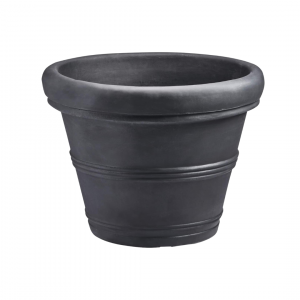
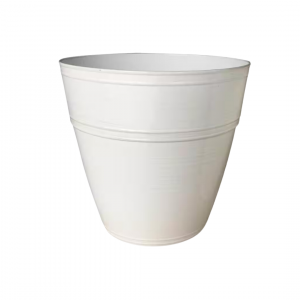
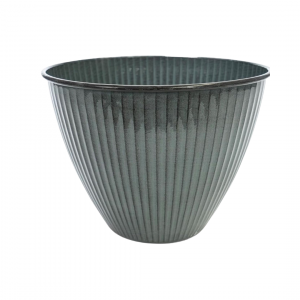
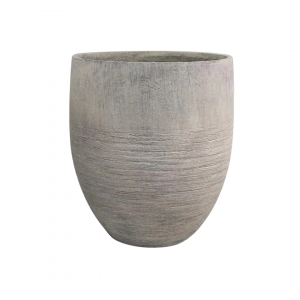
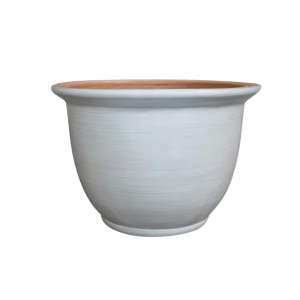
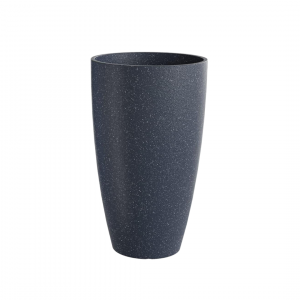
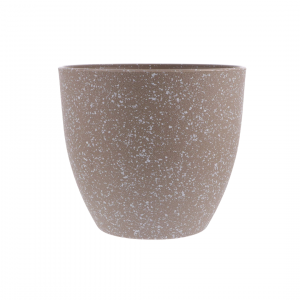
These pots are currently out of stock. Here are some other affordable pots that would look great with this DIY!
*click on image for link
Okay, let’s get to it!
PRIME
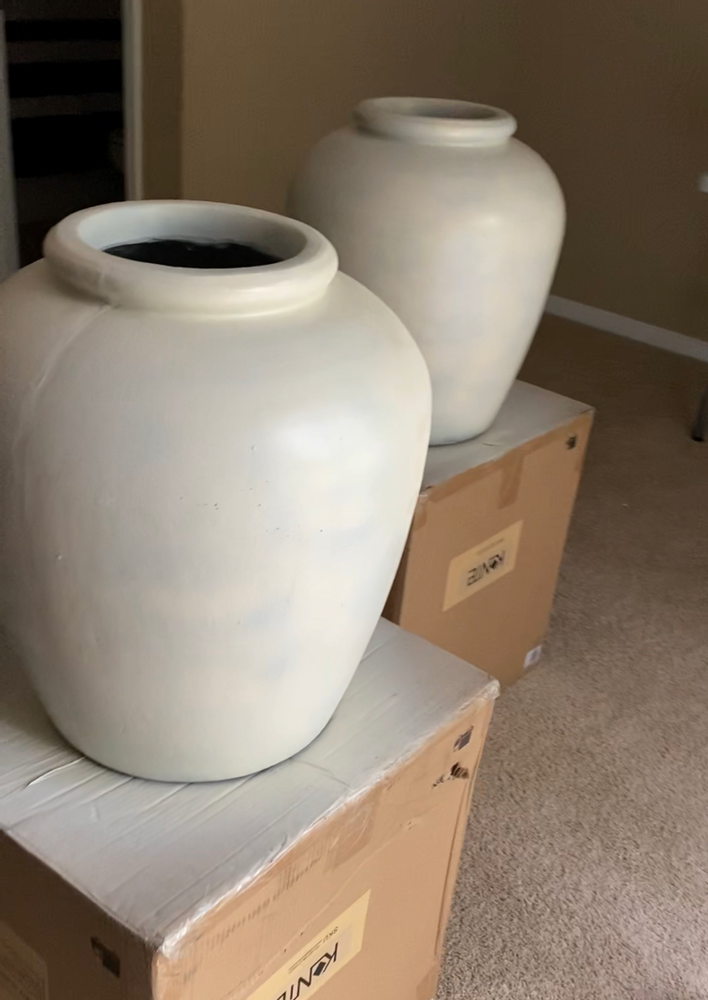
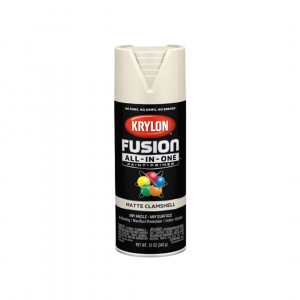
I started by spray painting them both with an off white paint. This spray paint is my favorite. It bonds to anything and sprays really well. I would have preferred using flat/matte finish, but they were out of stock. I sprayed two light coats.
PAINT
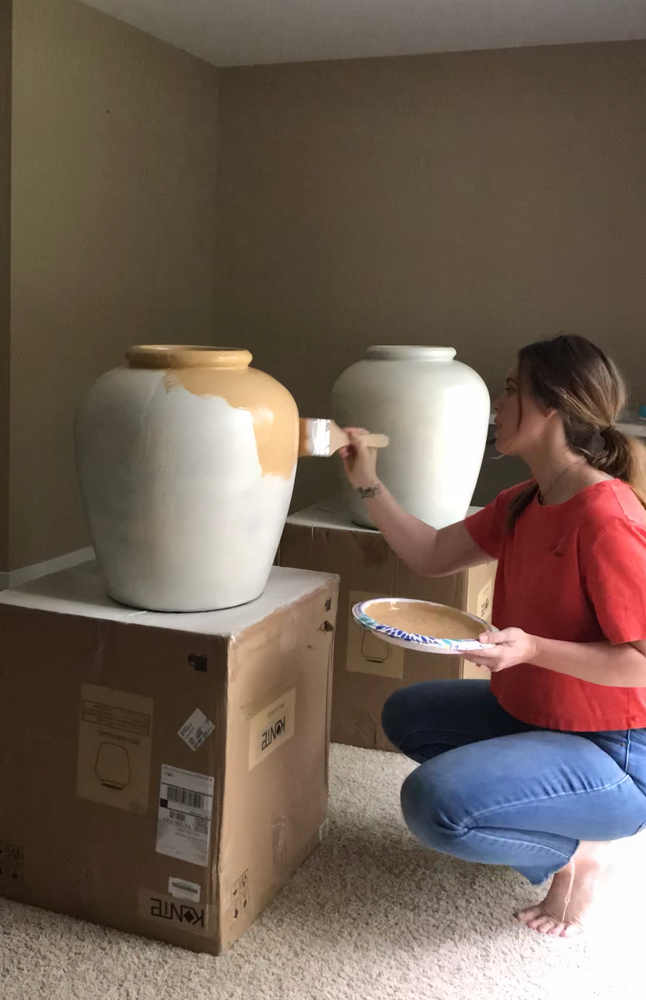
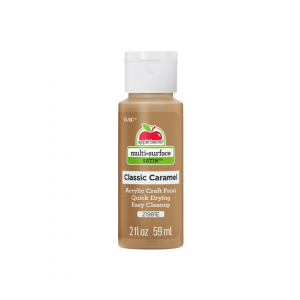
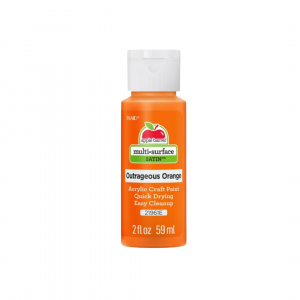
Once the paint was dry, I mixed up some craft paint to make the color of terra-cotta. I used Classic Caramel (one entire bottle) and a few large squirts of Pumpkin Orange.
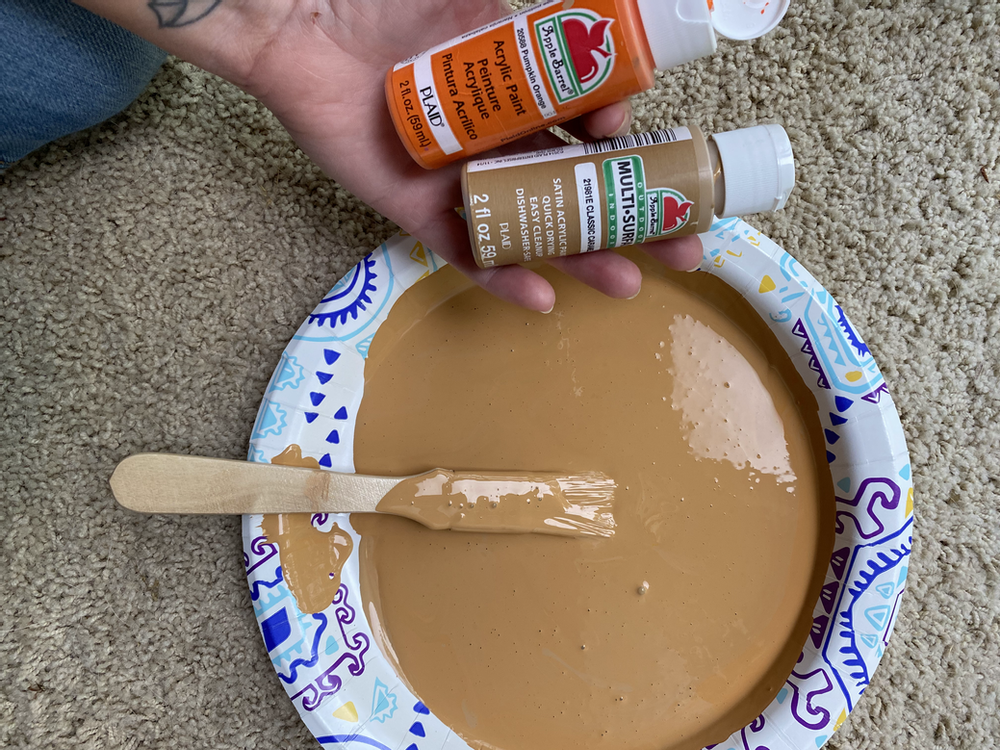
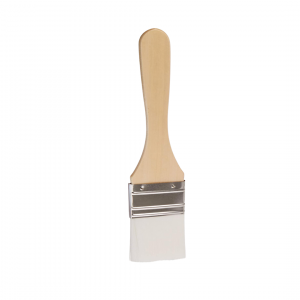
Once the paint was mixed to the right tone, I began painting the pots with a craft brush. There will be some brush strokes, but this is fine! I think that spray painting this coat on is also a great option! However, mixing spray paint is not an option, so you would have to make sure to pick the right color, which can be difficult if you are going for a specific look.
I would definitely recommend using spray paint for both layers if you are planning to use your pots outside in an uncovered area! I am not totally sure how craft paint would do being exposed to the elements. Here is a spray paint that might work for this look!
SAND
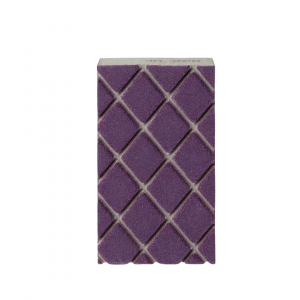
After the craft paint is completely dry, sanded down the pot with a sanding block (220 grit)! This allows for the white spray paint to peek through. There are other techniques that could also work for this (watered down paint blotting, garden lime, etc.).
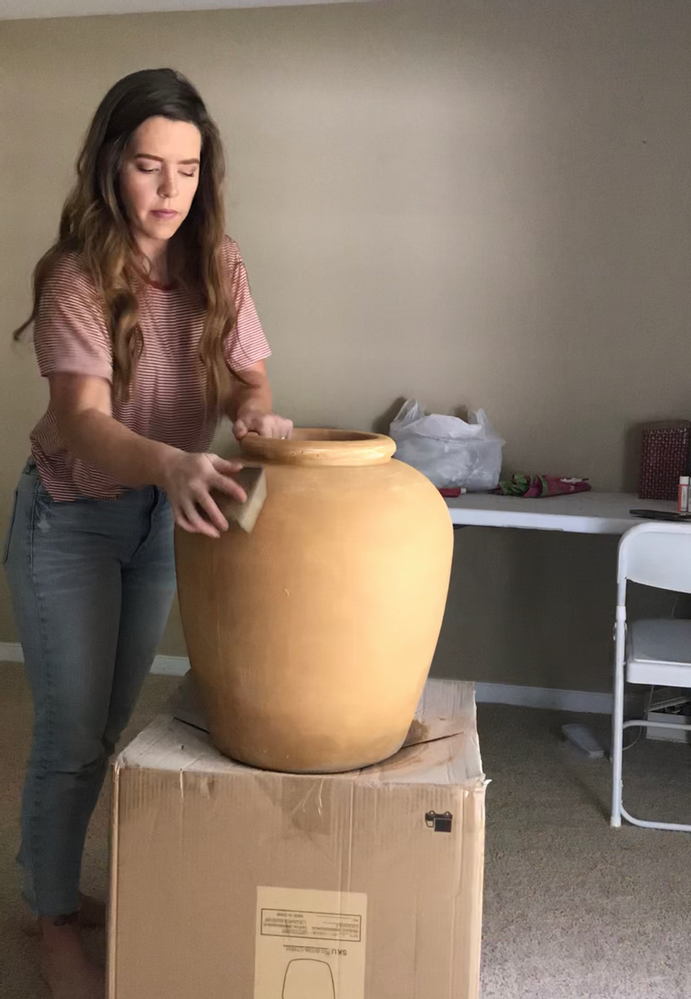
I sanded more heavily around the rim of the pot and base, to create a more authentic look and match the pots that were my inspiration. This makes more of the white paint show. Make sure to use a light grit sanding block. Anything heavier results in scratches.
And once it looked pretty close to my inspiration photo, I was done!
Here’s the inspiration photo:
And here’s mine!
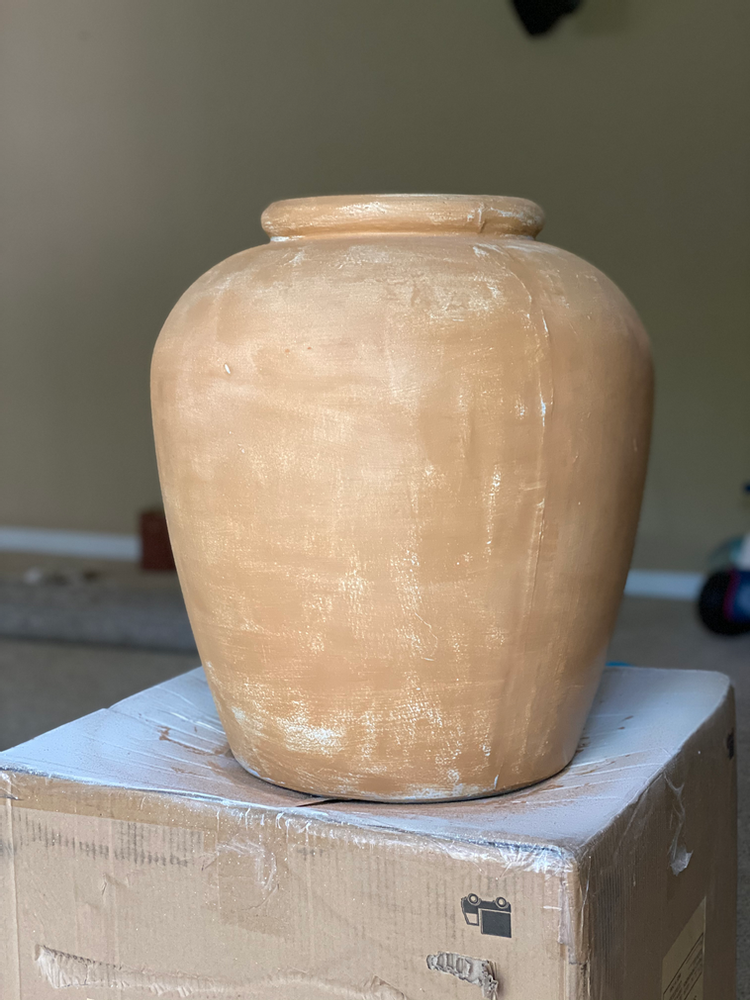
I love that they look expensive and pretty darn authentic. All for around $85! Which is crazy considering how expensive pots can be! This can also be done on pots that are different materials, because a good spray paint bonds to many materials.
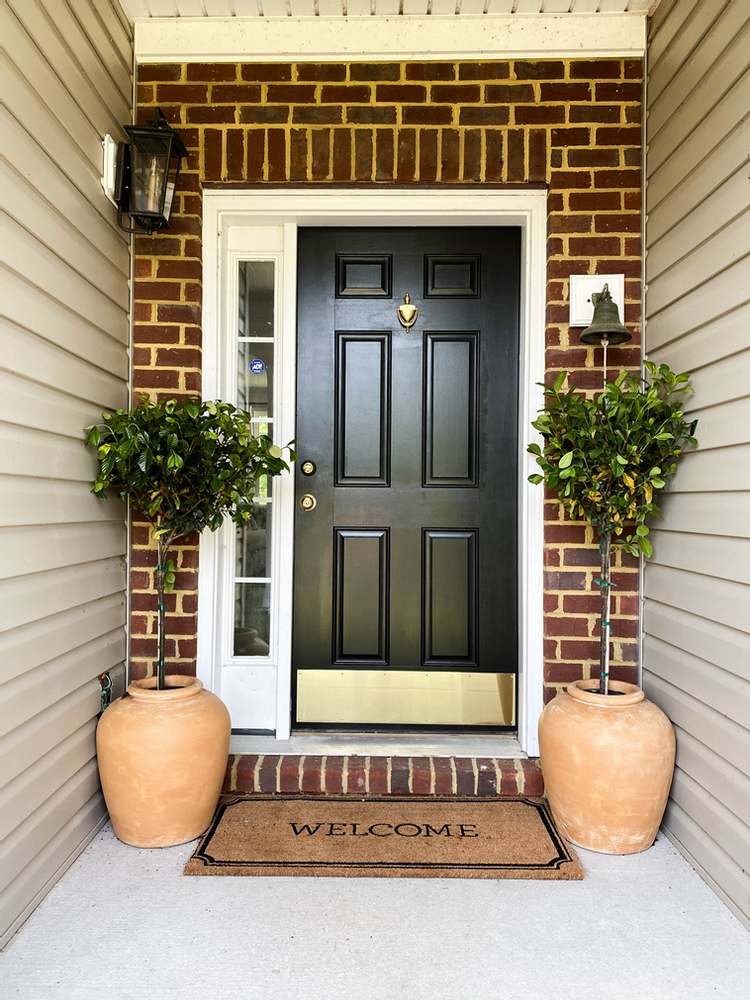
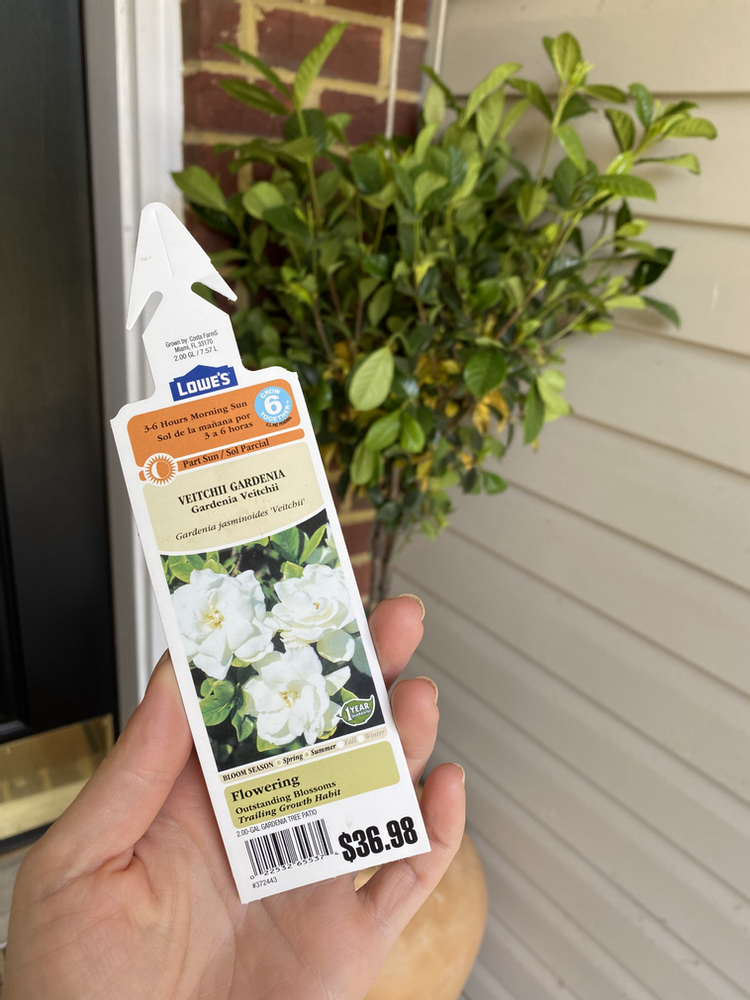
This porch still has a long way to go, but it’s looking so great. These planters really make a huge impact! I filled my pots with gardenia trees that I purchased from Lowe’s.
Here’s everything I used for my DIY Terra-Cotta Pots!
Where did you get the pots? I clicked on the link but nothing showed.
Thank you,
Emily
I have what I think you call the urn style pot just like the picture from I think Mexico…can you tell me how much they are going for? Thank you
What is the spray paint that you used
zelo lepo-hvala
What paint color is your front door and garage?
These DIY vintage terra-cotta pots look absolutely charming! 😍 The weathered and rustic aesthetic adds such a delightful touch to any garden or indoor space. I’m really impressed with your creativity and skill in transforming ordinary pots into something so beautiful and unique. 🌿🏺 It’s inspiring to see how a simple DIY project can make such a big difference in home decor. Do you have any tips or tricks for achieving that authentic vintage look? I’d love to give it a try myself! Thanks for sharing this lovely idea with us!
Oh my, i read your script on the clay pots and u wrote exactly what i was thinking! They look gorgeous.
Your point of view caught my eye and was very interesting. Thanks. I have a question for you.