DIY Sink Stand

*I am sharing a better method than what we used in hopes to provide a more trustworthy tutorial.
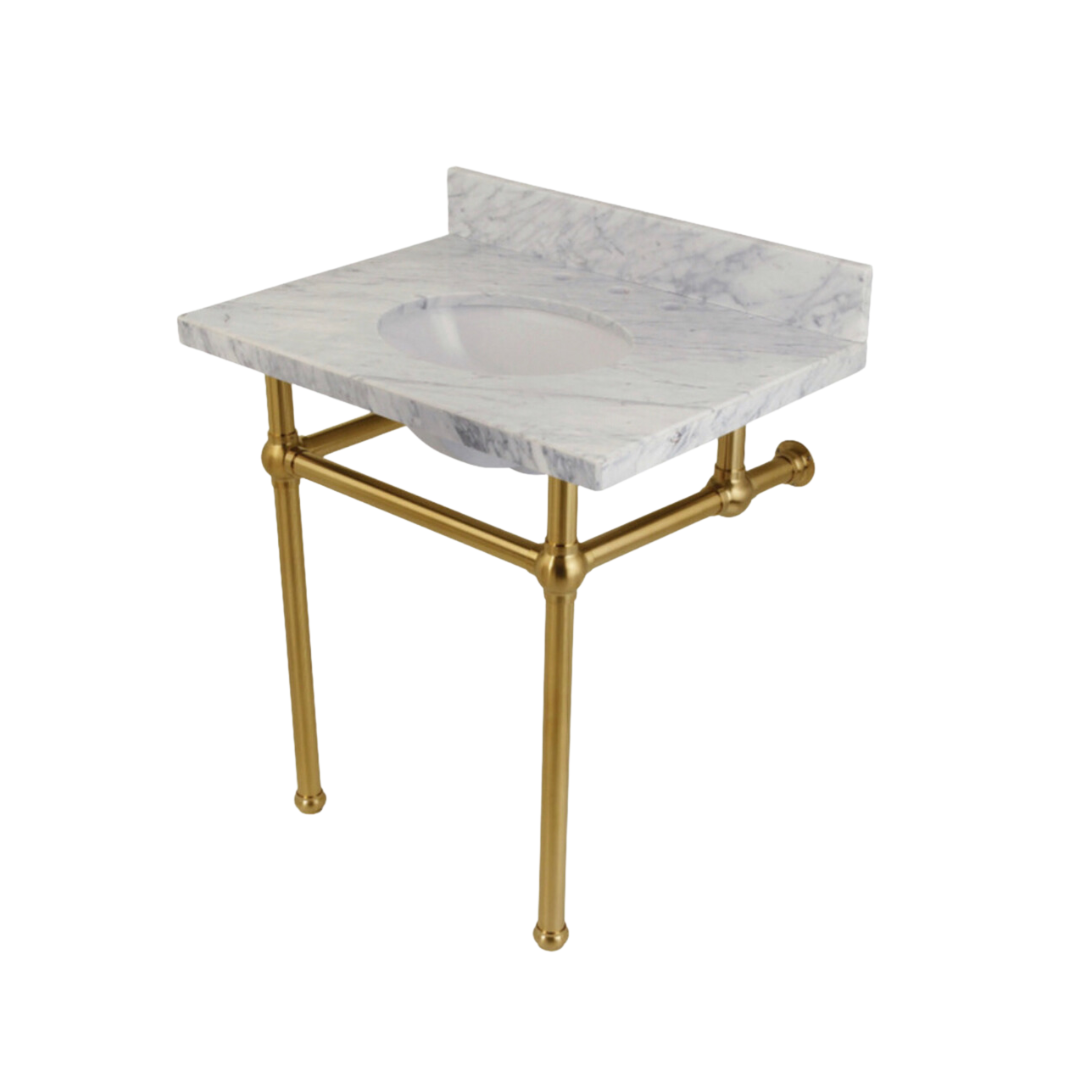
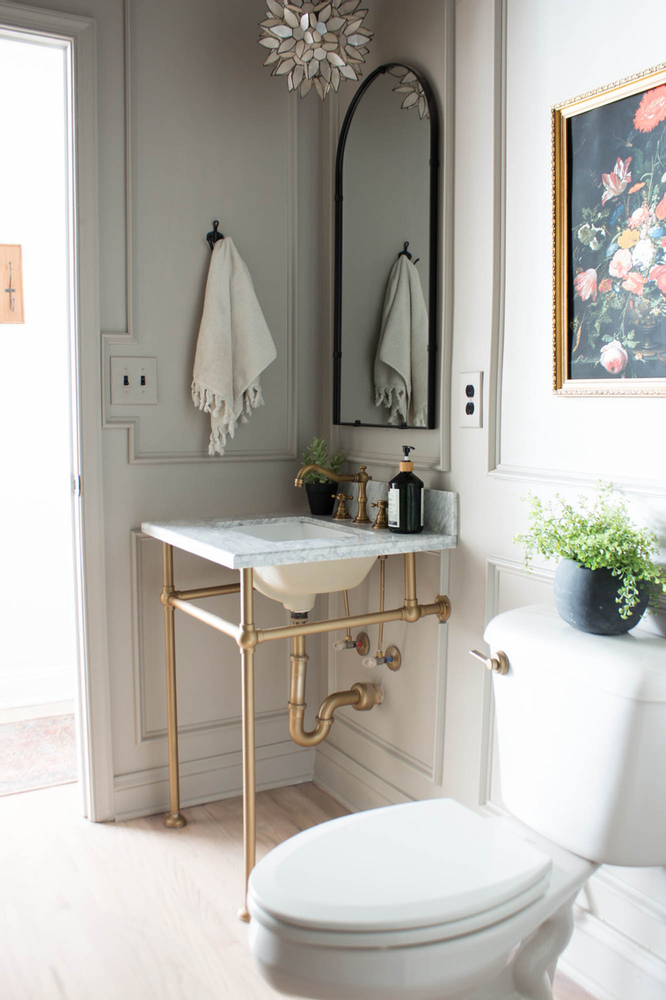
Inspiration struck me for this powder room renovation when I laid eyes on this sink. Seeing the price ($1,000 ), I knew that would NEVERRR happen. But I was determined to find a way! I decided to make my own DIY Sink Stand.
*This post may contain affiliate links, which means I may earn a small commission if you purchase through my links, at no extra cost to you. I only share products I genuinely love.
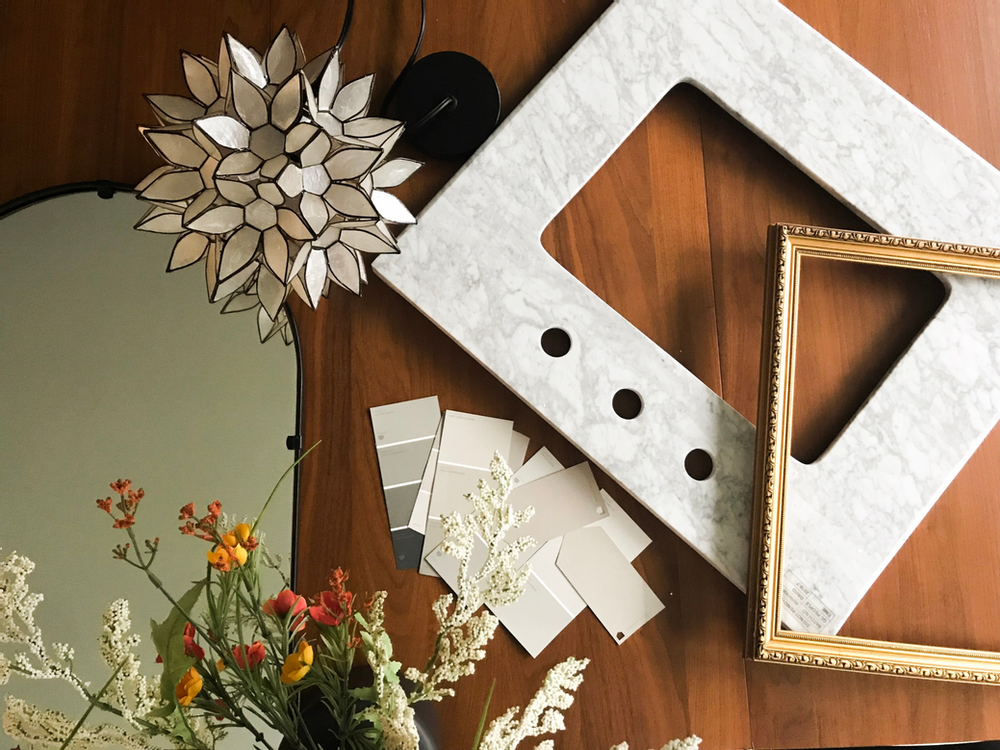
I was lucky enough to score this marble vanity top on Facebook Marketplace for $30. The dimensions were perfect for my powder room. I created a virtual mood board and got to WORK on my DIY Sink Stand.
Here is another great marble vanity top option!
After a whole lot of research, I was able to find these fittings that matched the look of the console sink that gave me inspiration.
HARDWARE
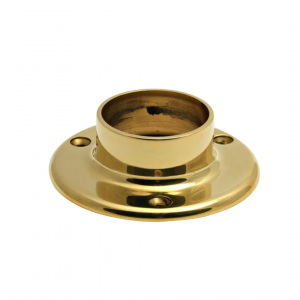

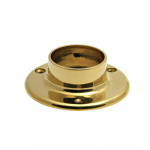
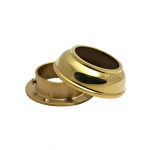
I chose the 1 inch diameter hardware, since I prefer the look of a more slim tubing. For this, I ordered 6 wall flanges, and two of each of the ball fittings and flanges with covers. Then I began researching for what kind of pipe/tubing to use. The website that I ordered these fittings from sells a tubing that coordinates with these fittings. However, it can be pricey. I found a better option!
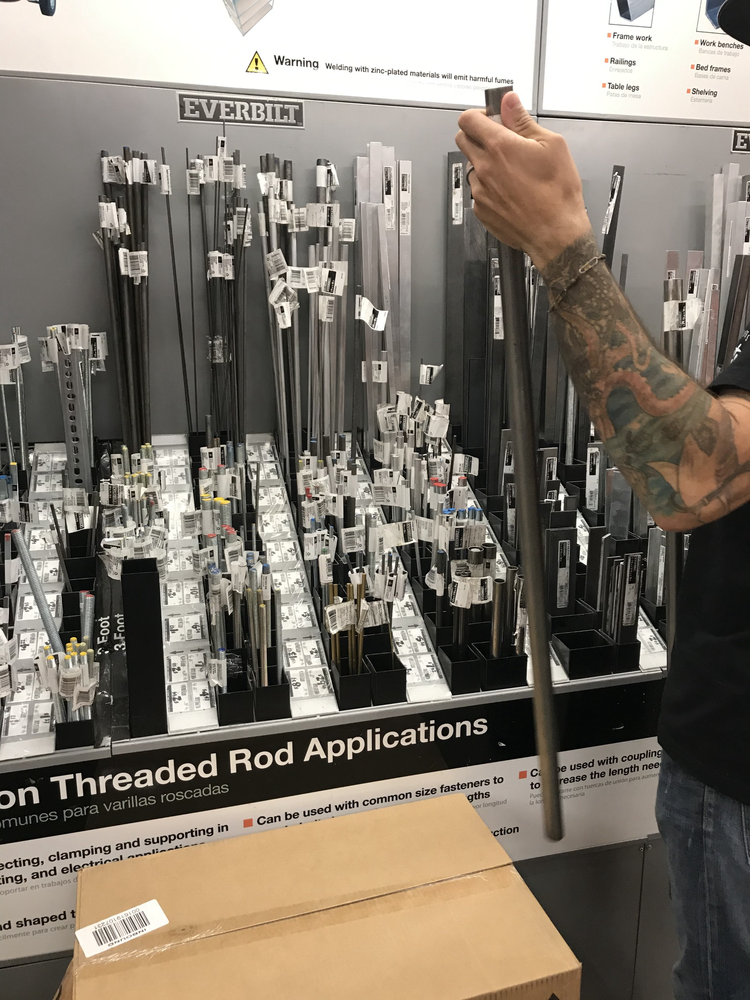
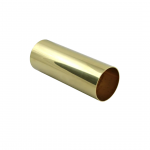
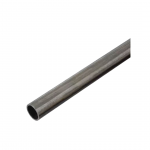
We experimented with several different types of tubing/piping that we found at our local hardware stores. The main issue was that we needed tubing with an OD (outer diameter) of 1 inch to fit inside of our fittings. A lot of the pipes that we tried out were slightly too large to fit. This tubing was pretty much perfect.
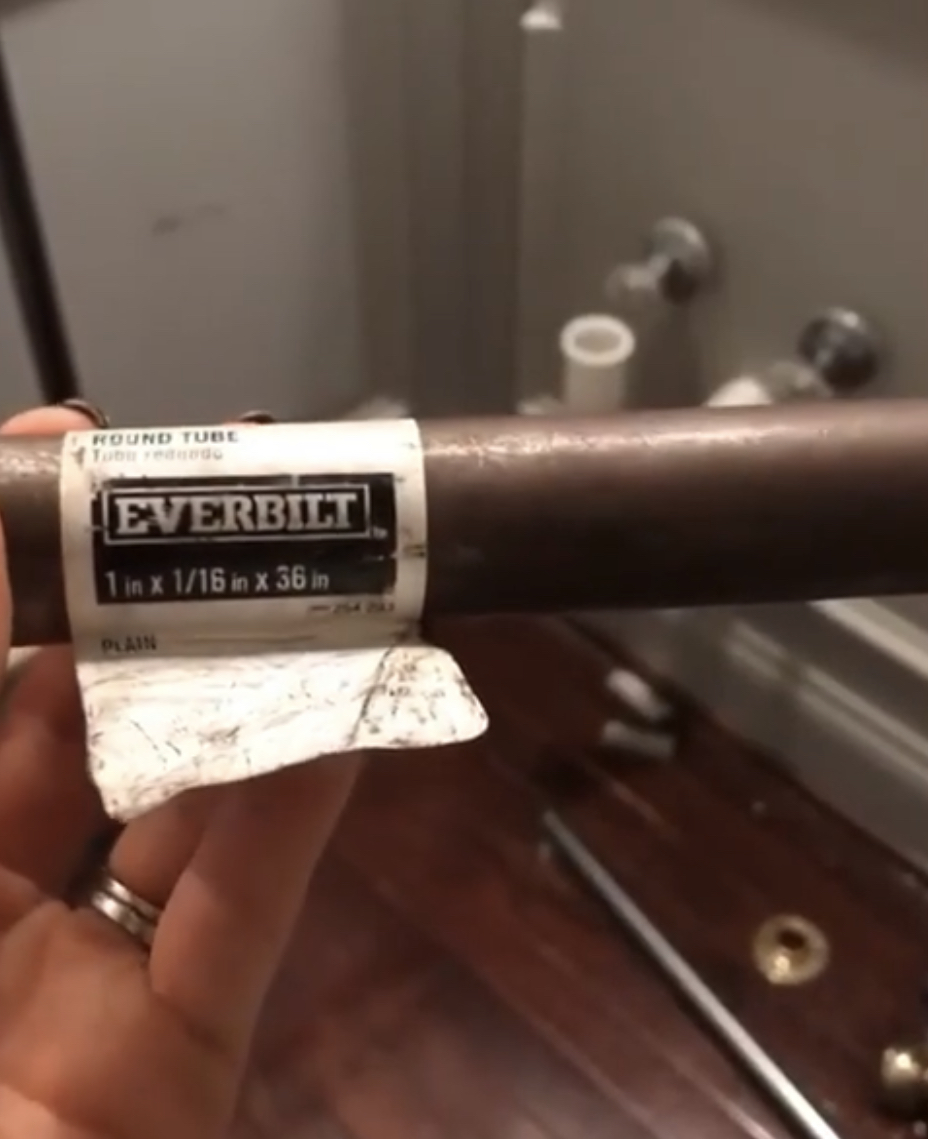
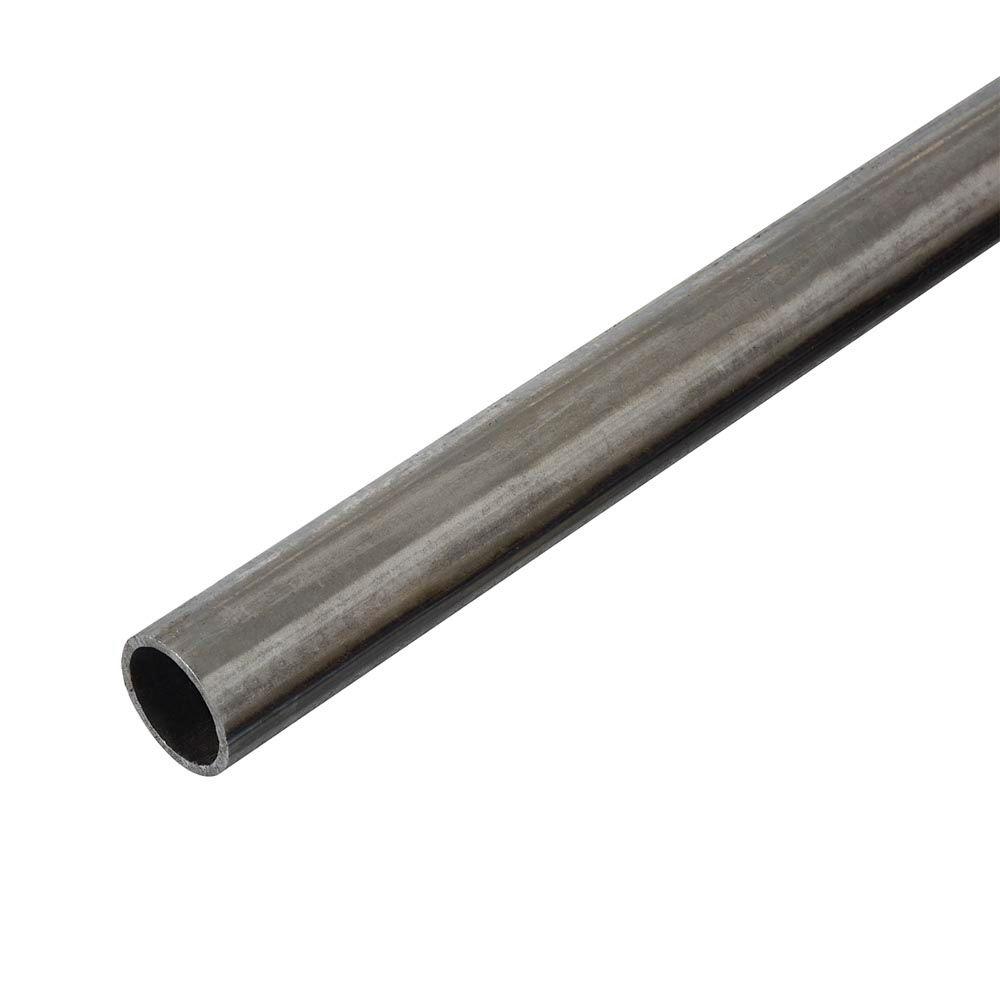
We purchased 5 pieces of this tubing from our Home Depot (the website will tell you what aisle to look on if you have your location entered) and had a little extra! Keep in mind that every bathroom and vanity top is different. You will need to make measurements to fit accordingly.
PLANS
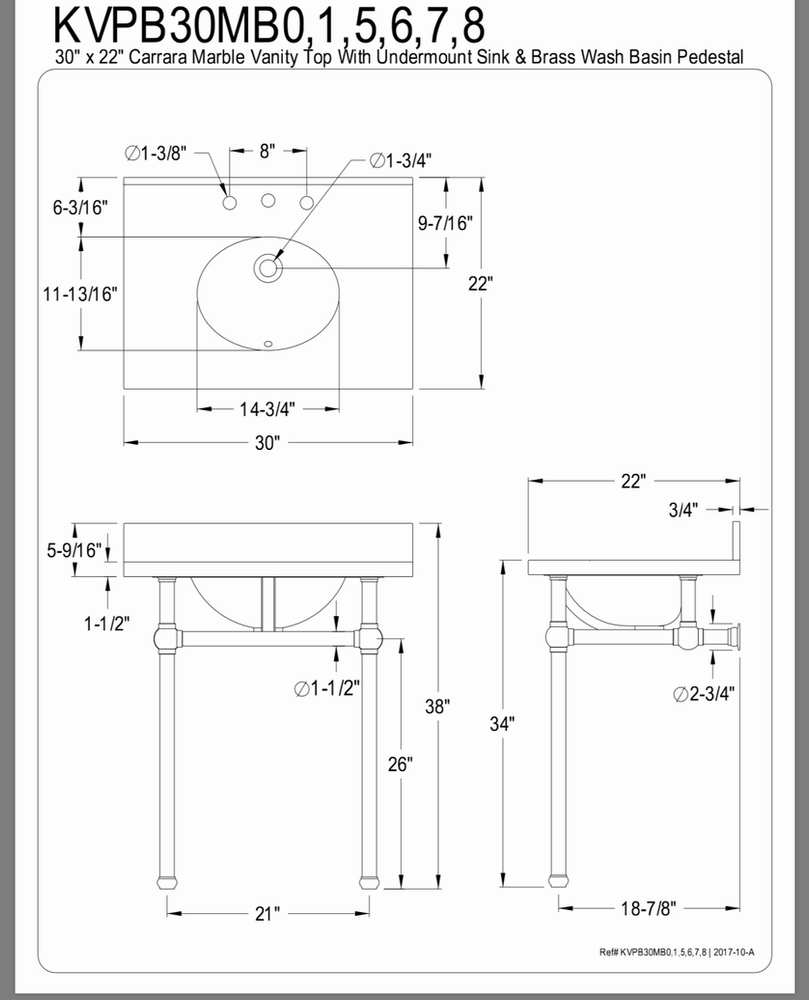
Next, I used this diagram that I found online that was on a product page of a console sink with similar measurements to my marble vanity top. I was able to use this for reference over the next phase of this DIY sink stand project, which was taking measurements and cutting the tube in preparation to build the sink stand!
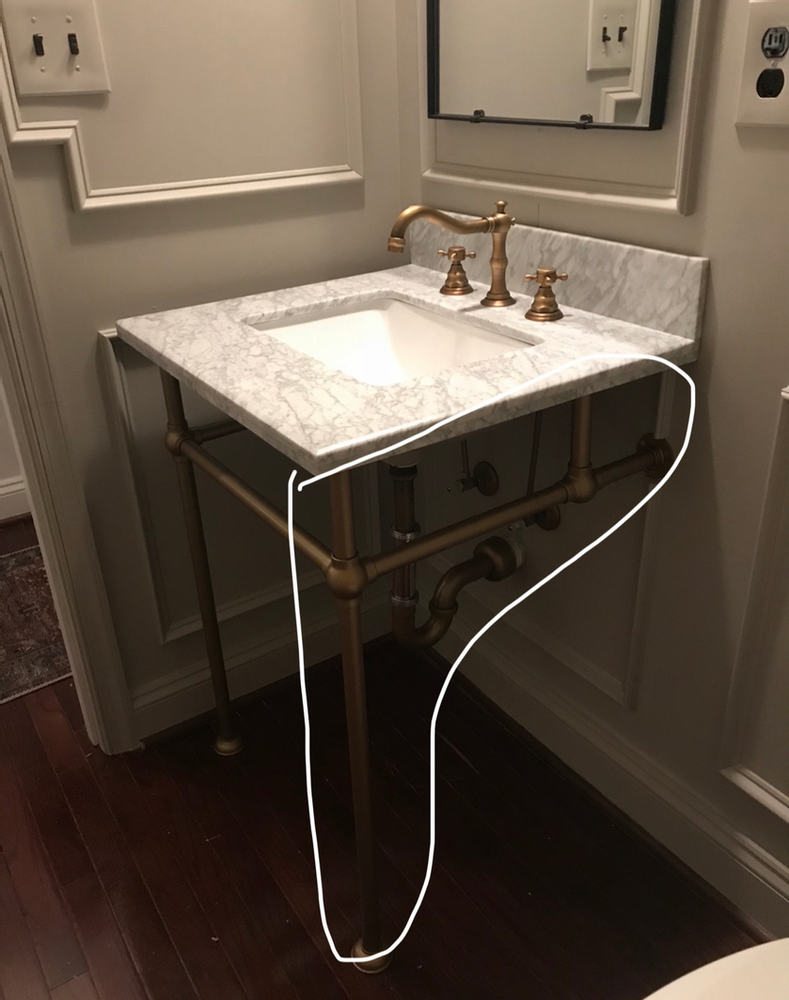
We started by making a ledger for the sink to sit on. This can be done with a sink bracket, or a piece of wood (like a 1X2) drilled into the studs to hold the weight of your sink. We decided to use our panel molding because it was going to be installed under the sink anyway. We made sure to secure it EXTRA by using a heaping amount of Loctite Power Grab, and screwing it into the studs behind it. Once doing this, we were able to work together by setting the marble vanity onto the ledger to make our measurements.
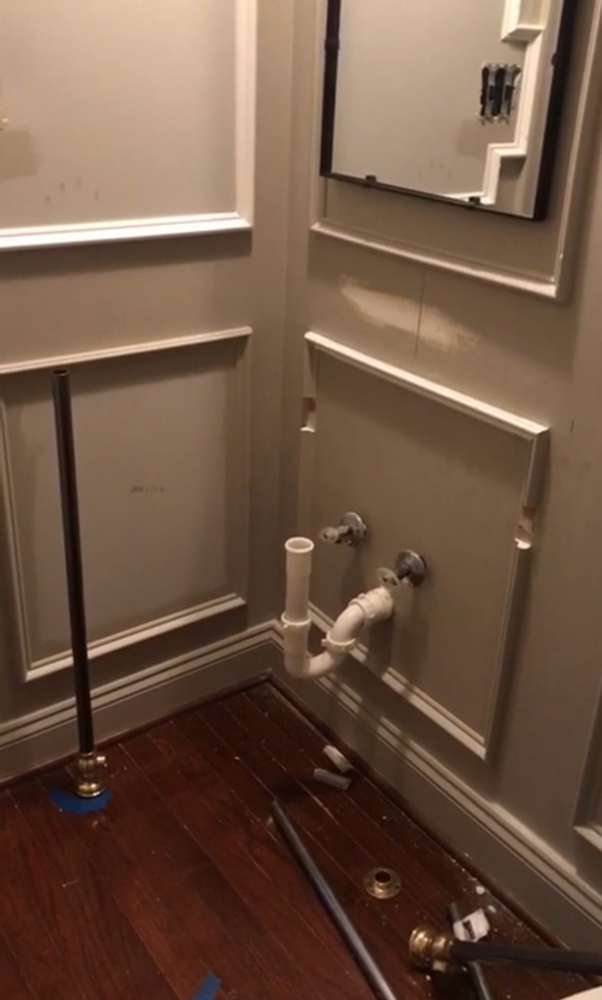
*When installing the panel molding, I did not take my sink width into consideration. This is why my husband had to cut pieces out of it.
Our method worked for us, but there is BETTER way to do this!
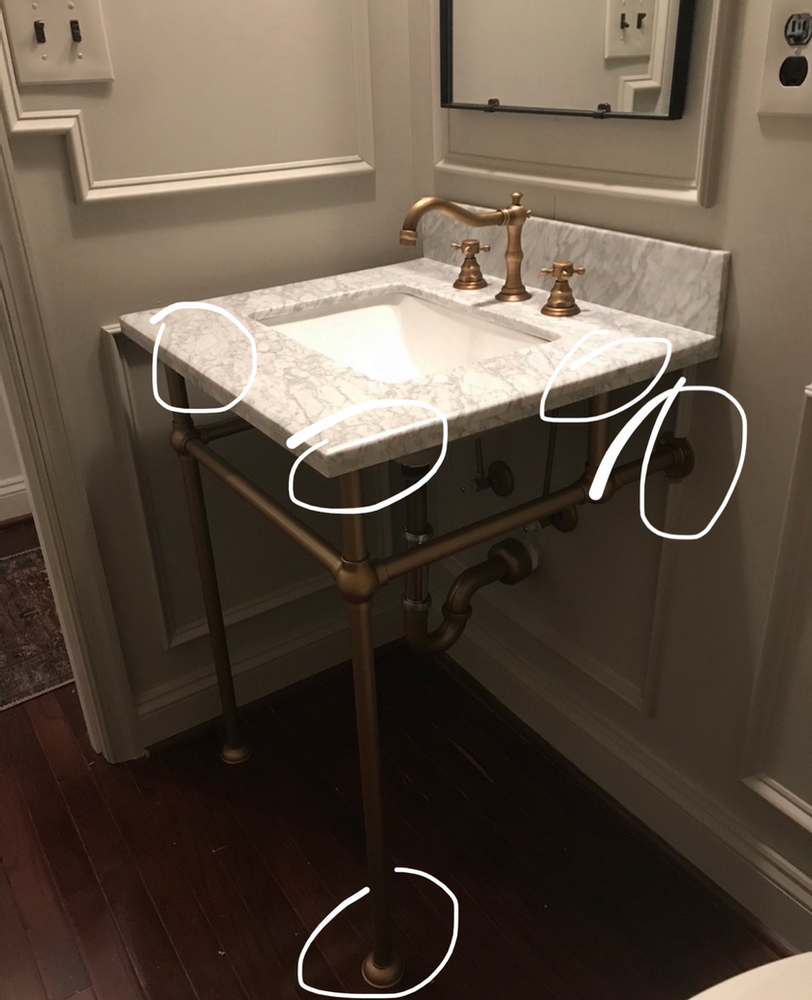
1. Find out how tall you would like you sink to be, and subtract the thickness of your vanity top from that. This will be the measurement of the two front legs.
2. Turn your vanity top upside down on a work surface, and have someone help by holding your front legs on the front corners of your sink (in the position that you want them to be). Measure from the back of the pipe, to the back edge of the vanity top to find the measurement of these two pieces.
3. Next, measure between the two pipes to find the measurement of the front middle piece.

4. Decide how low you would like for you horizontal pieces to be so that you have this measurement.

5. You will also need to decide on your measurement for the distance between these two fittings.
Next, you will cut your pieces! We used this pipe cutter and it worked great! Once you have all of your pieces cut, you will need to assemble the stand. You will need this professional epoxy to help secure you fittings to you tubing.
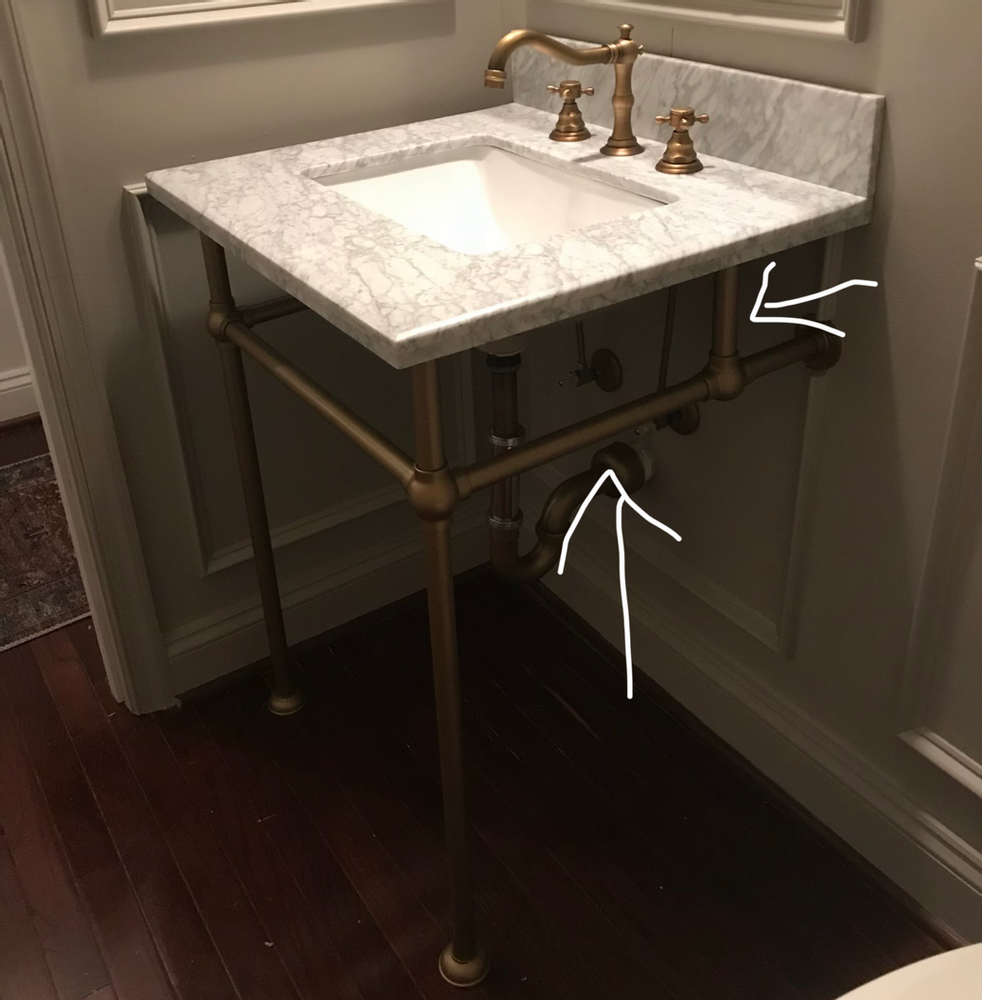
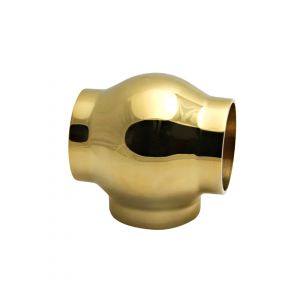
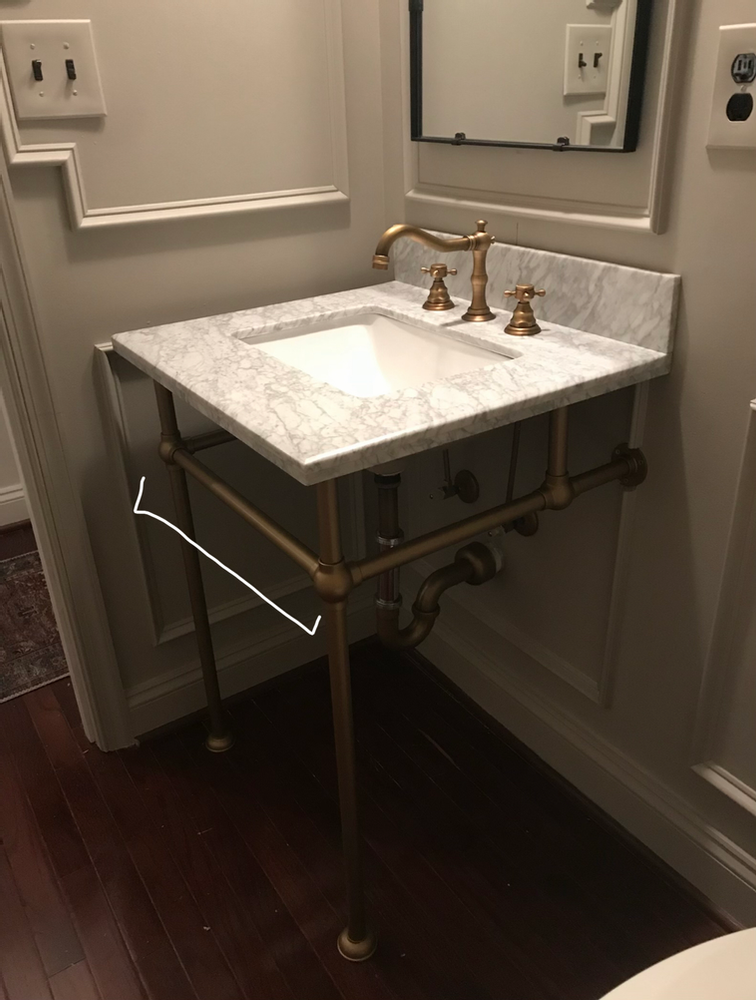
Start with these two pieces of tubing, slide on your Ball Tee Fitting to the longer piece and inject some of your epoxy once the fitting is in the correct position (refer back to your measurements). Allow to set on a flat surface (at least five minutes). Repeat for the opposite side, making sure that they are both positioned at the same measurement on the tube.
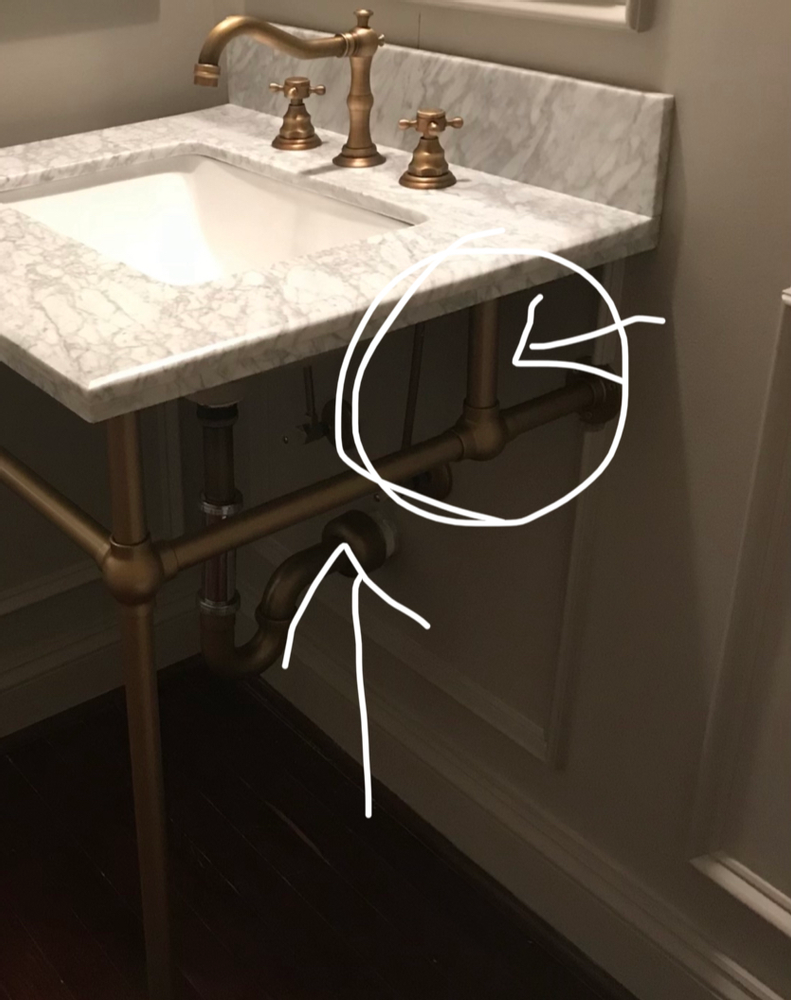
After the epoxy has set, you will inject more epoxy and add in the little piece. Repeat for the opposite side. Let it set. While the epoxy is drying, measure the length of this small tube from the end, to the edge of your tee fitting.
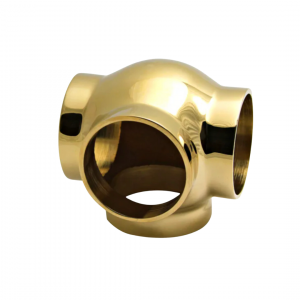
Using that measurement, slide your Side Outlet Fitting onto the front leg. Position it using the measurement (it should match the exact length from the end of the pipe to the edge of the fitting from the last step), and inject the epoxy. Allow to completely CURE for one hour on a flat surface. Repeat for the opposite side.
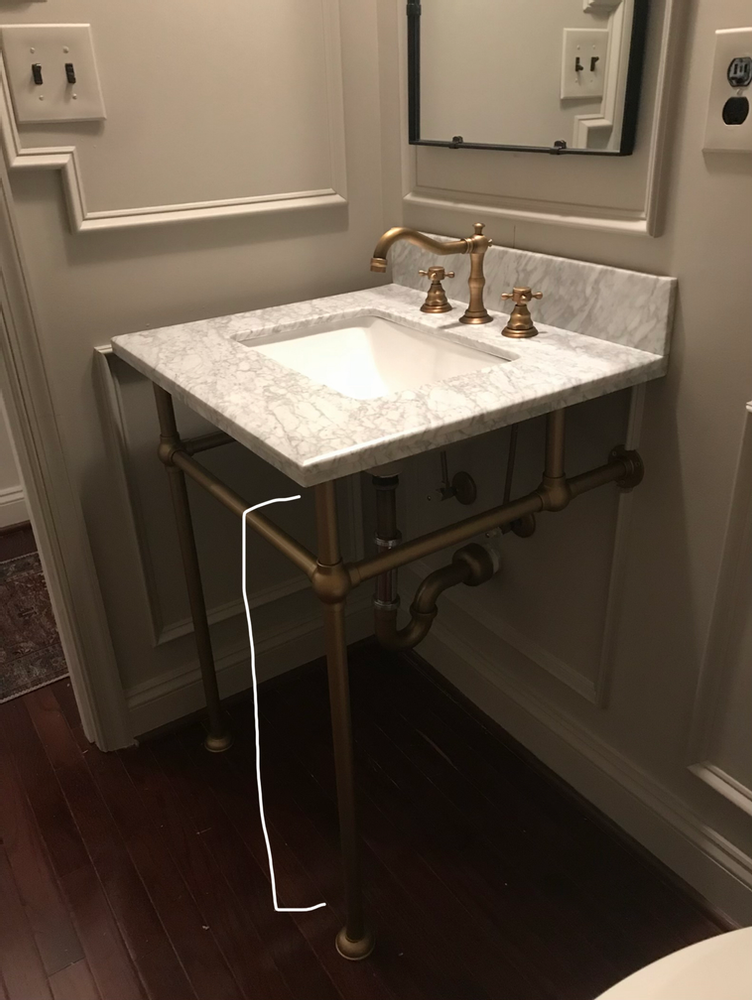
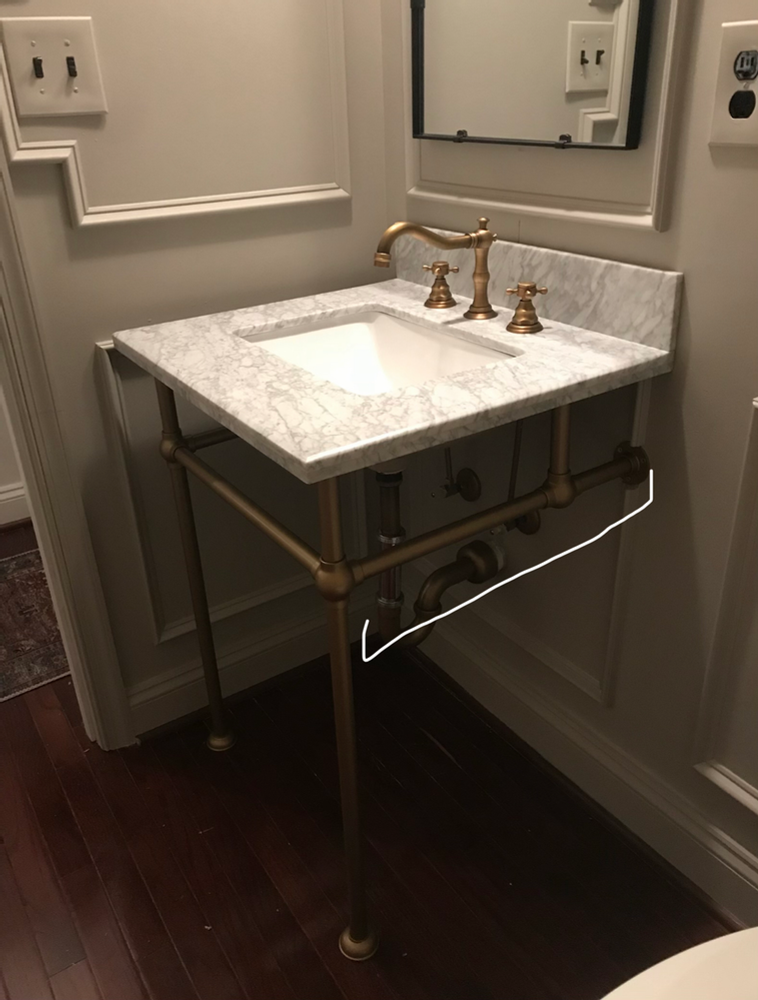
You will then have both sides of the DIY sink stand complete.
6. Add the wall flanges onto the ends of all pieces using the epoxy.
Make sure that the end of your tube is flush with the flange so that all measurements will be the same. Let cure for at least ONE HOUR.
While the epoxy cures, measure and make a mark on your wall where the 1×2 ledger will sit. This will be the measurement of your front leg, minus the extra lip around the edge of your vanity top.
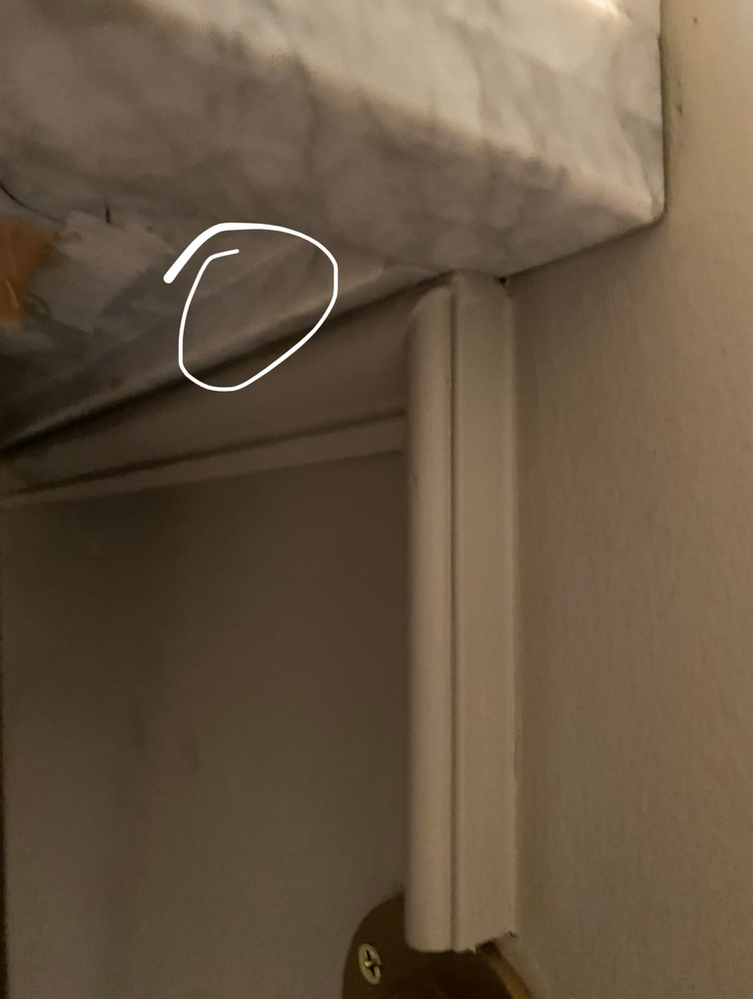
Cut your piece of wood. This should be at least 6 inches, but not as wide as your sink. Line up your piece of wood and screw it into the studs of your wall. You can use Loctite to secure this even more. Make sure that it is at least somewhat centered between where you sink will sit so that it will not be visible once installed.
**If your vanity top does not have a sink attached to it, now is the time to do that.
7. Paint
After your epoxy cures completely, you can spray paint your pieces. I used this Rustoleum Metallic spray paint along with this clear satin enamel finish and had great results. Use this if you would like more of a brass look! Let the paint dry overnight (will take longer if the area is cold).

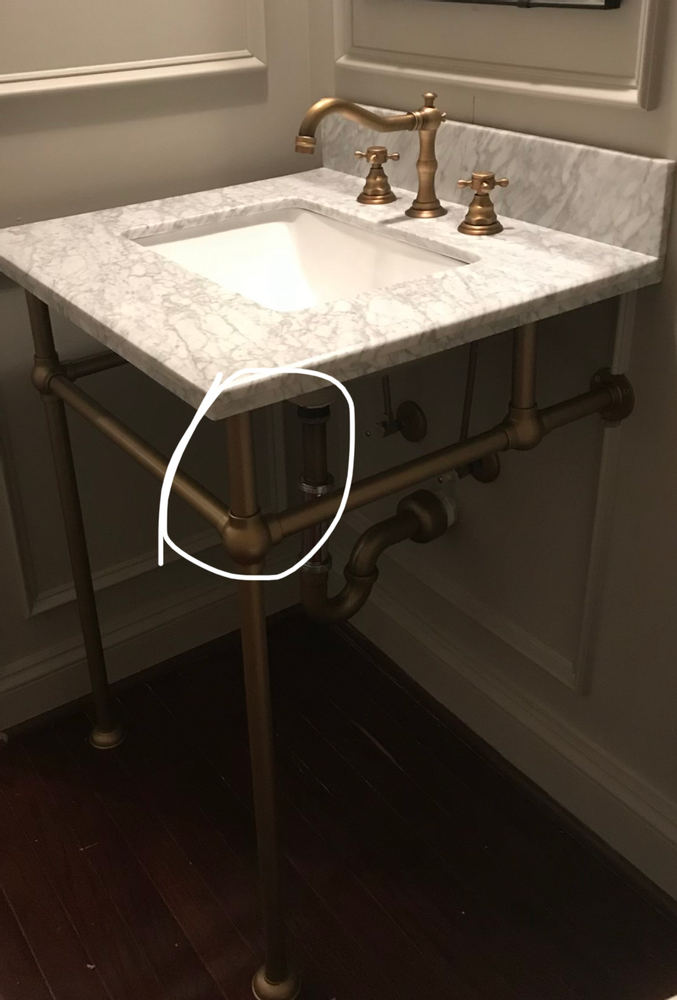
It is time to complete the stand by adding the middle piece. To do this, have a helper hold one piece of your stand and let the wall flange press onto the wall where your sink will be installed. Inject epoxy into the side outlet of one of your fittings, and insert your front tube, and repeat with the opposite side while pressing the stand onto the flat wall while it sets.
While your sink stand in position, you can screw in your wall flanges and floor flanges (the flanges come with coordinating screws). Let sink stand cure completely for AT LEAST one hour. I would recommend letting it cure for even longer for a stronger bond.
You can then add epoxy to the top of your ledger and four flanges. Add the vanity top to your stand and let cure. Use Loctite to secure backsplash to the wall if you have one.
***Although we did not use this method, I would highly recommend doing it this way over the way that we did. We also had help installing the new plumbing so I can’t offer help with that. However, I did paint our new plumbing fixtures with the same paint that I used on the DIY sink stand.
SUPPLY LIST
– Vanity Top
–,,Tubing (about 5-6 pieces depending on the size of stand)
–,,Ball Tee Fittings x 2
–,,Side Outlet Tee Fittings x 2
–,,Wall Flanges x 6
–,,Wall Flanges with Cover x 2


I love this so much. Thanks so much for breaking it down and linking the hardware. I’ve been obsessed with these sink bases, but like you said, so expensive. I’m totally doing this for our addition!
Yay! It seemed so intimidating but it really was pretty simple! Good luck to you if you try it!
I love this so much!! I’m so happy I came across this!! I’m getting ready to buy all materials (yay!). I have a question – you have wall flanges with covers linked at the bottom but in the description you mention floor flanges. Are those essentially the same thing?
Your directions & links out are the most helpful thing ever. Thank going for doing this! Is looks AHmazing in your bathroom!!
This is amazing. We spent over 4K for the similar version from RH and yours honestly looks better. Where did you get the mirror?
Thank you so much for sharing. I’m in the process of a bathroom renovation and so glad I found this. I’m wondering how the sink is holding up a couple years later. Do you mind providing an update?
I love the paint color on the walls in the bathroom. Can you share the color? You are talented!
Thanks for sharing this! we are exploring building one ourselves or buying one that includes the sink top. How much did this end up costing you?
With the tubing being hollow have you had any issues? We’re considering doing something similar but our sink tops are cast iron so quite heavy.