DIY Nightstands – One Room Challenge Week 7

My hunt for nightstands to complete Rainie’s room led me to a stunning pair that were WAYYY over my price range. But that price inspired me to try building my own DIY nightstands. There are probably more cost effective ways to duplicate the nightstands that I built, but the way that I did it seems to be the most straightforward/simple way.
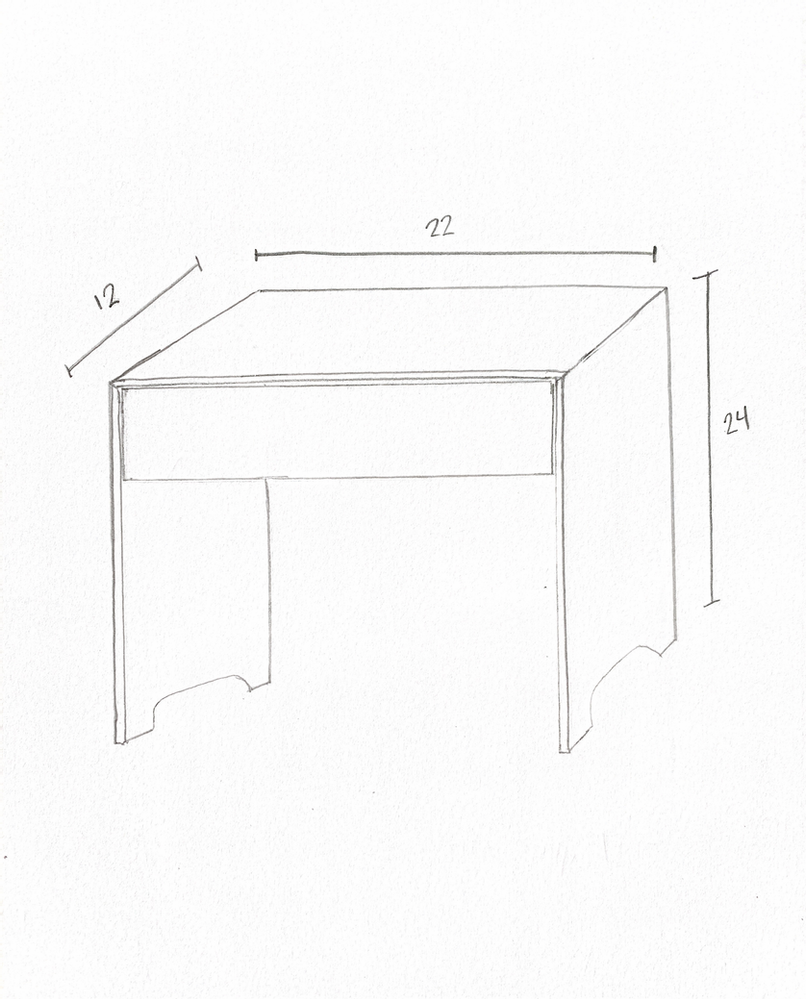
Here is the (ROUGH) sketch that I drew up. The dimensions here are the exact dimensions that I went with for mine!
SUPPLIES
Poplar Boards x 3
Drawer Slides (10 in) x 2
1×4 Pine x 2
TOOLS USED
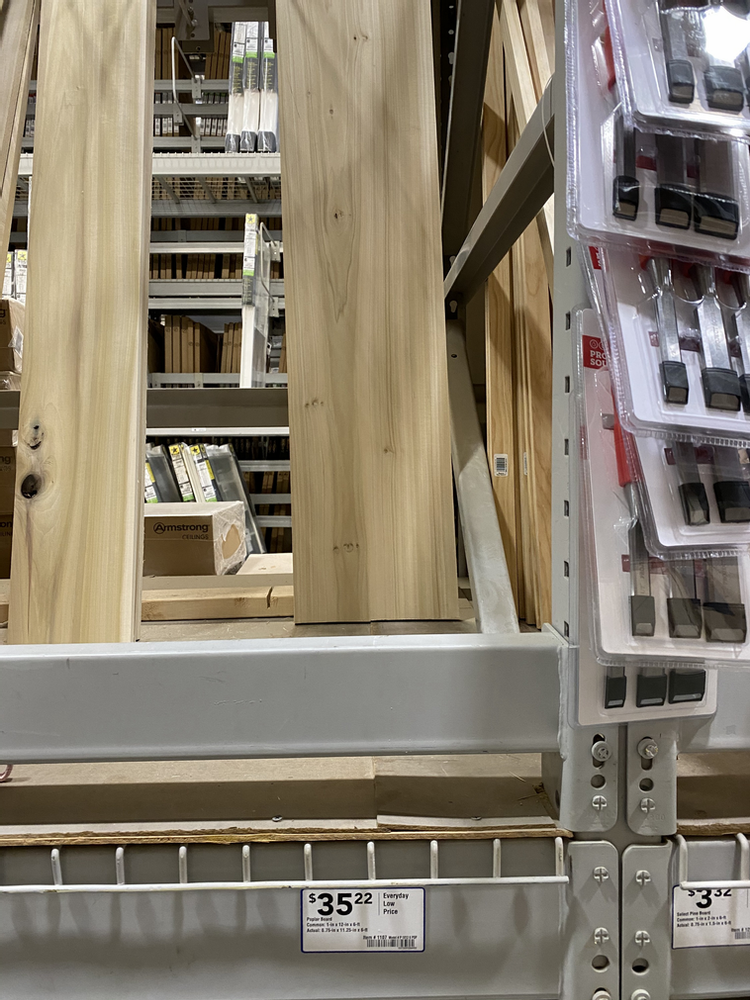
I found these poplar boards at Lowe’s for $35 each (6 ft long). I purchased three and had some extra by the end. For the drawers I purchases these slides, two pieces of this 1×4 pine (8ft), and one small sheet of 1/2 in plywood.
Wood Cuts
I then made my first cuts, which consisted of the four sides of the nightstands. These cuts were 22 inches long with a mitered edge. I did this marking my cut line and adjusting my circular saw to a 45 degree angle. Then, I lined up my saw with my cut line (accounting for blade width) to mark where the edge of my saw fence was. Next, I lined up a straight edge (wood) and clamped it on each end. This gave me a guide to make a perfectly straight cut with my saw. I repeated this three times for all four sides.
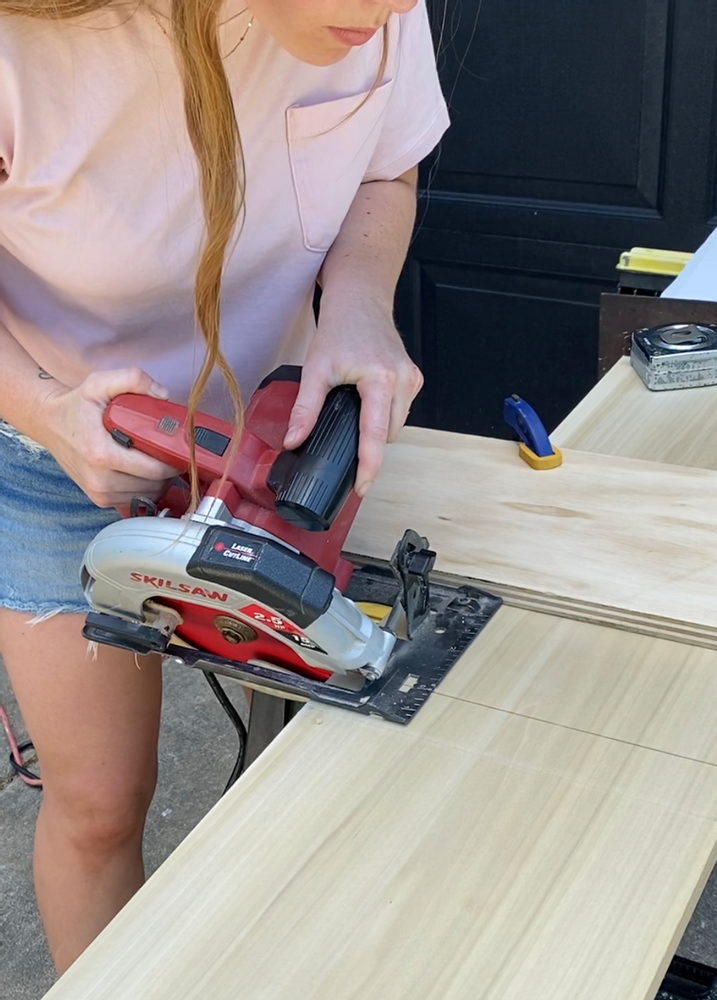
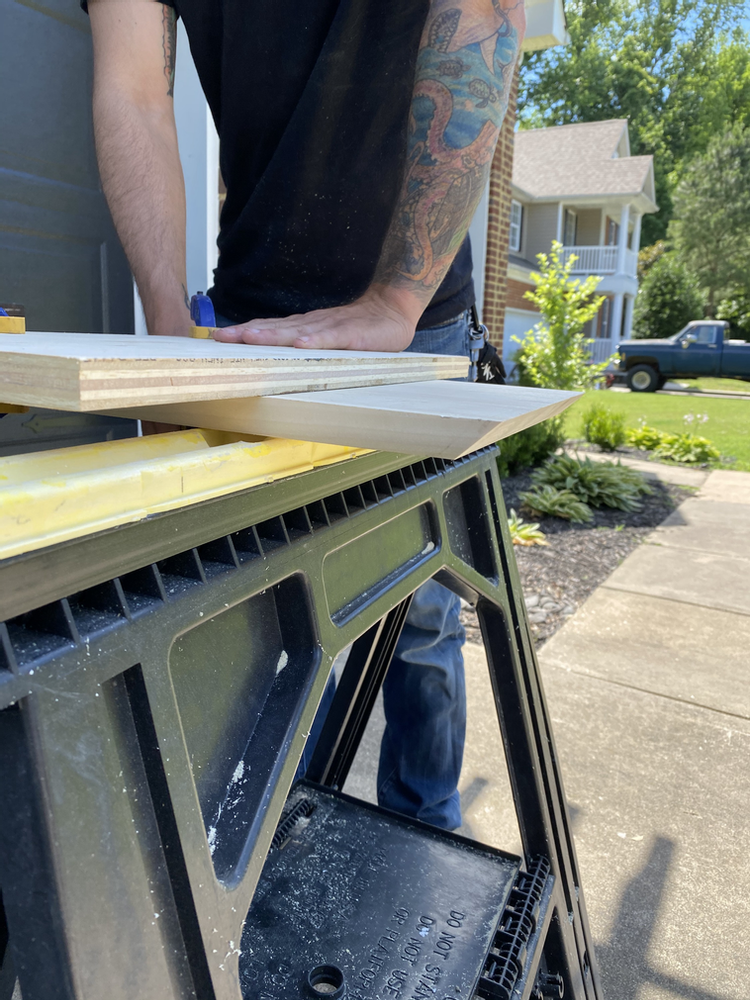
I then cut out my two nightstand tops in the same way, but also flipping the piece over to miter the other end (both ends of the top pieces should be mitered). After my pieces were cut, I used a jigsaw to cut out the detail on the bottom of the nightstand sides.
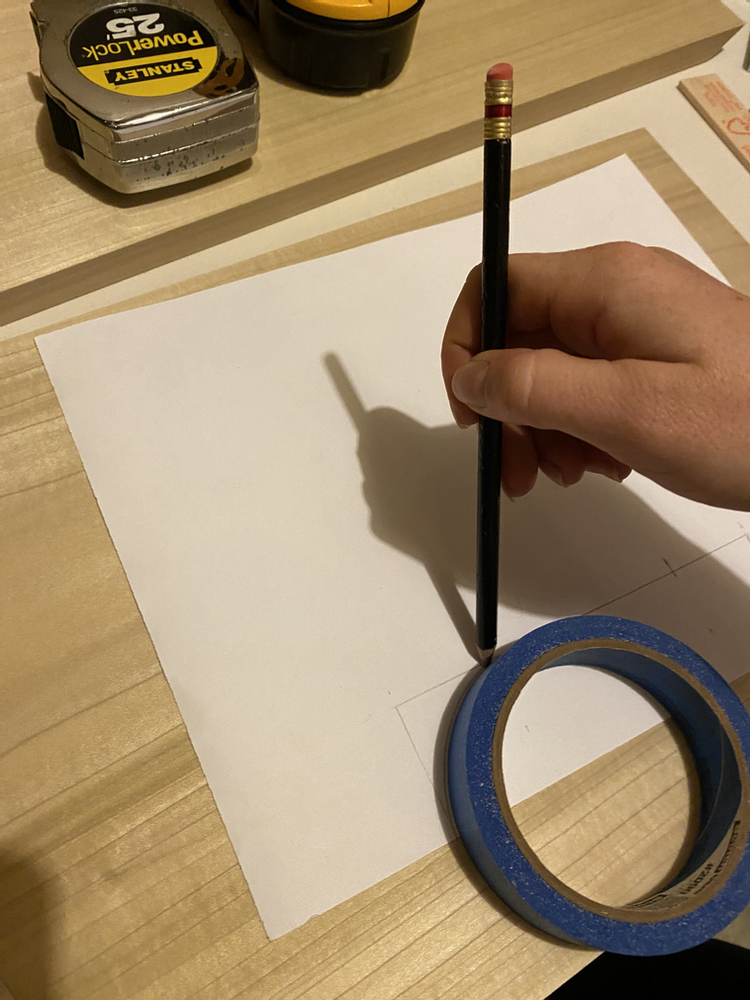
I created a template with a piece of paper the exact width of the nightstand. I measured straight lines and used a roll of painters tape to make the arch and repeated on the opposite side. This gave me a perfect template to trace my design onto the wood. I cut out the bottom part of my template and help the paper onto the wood and drew on the design with my pencil onto the four side pieces.
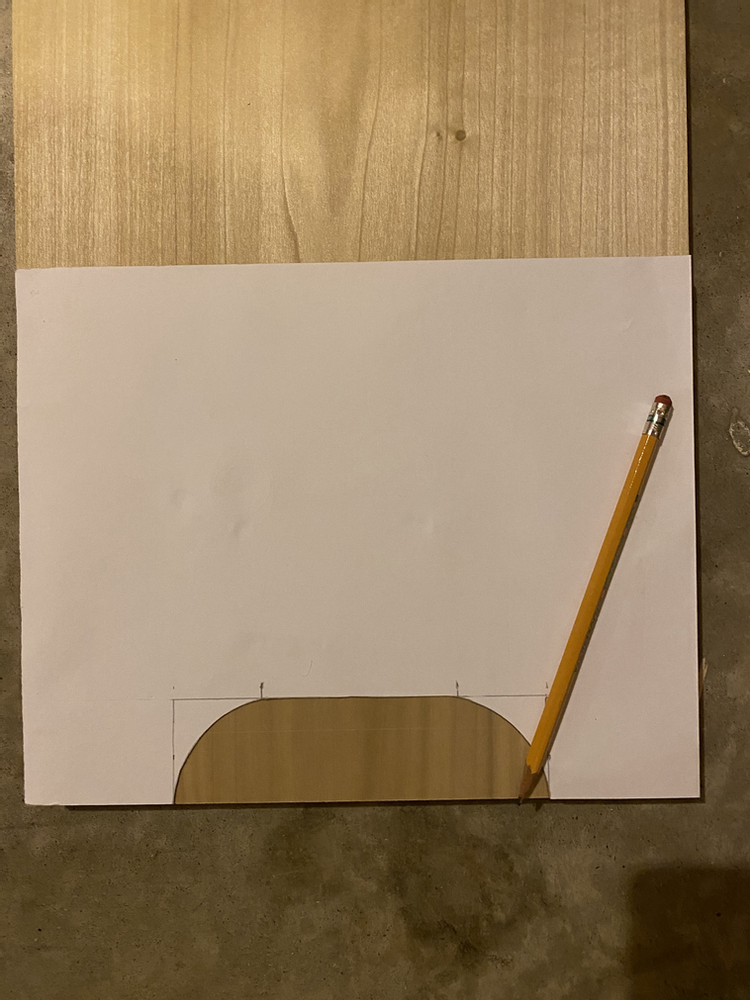
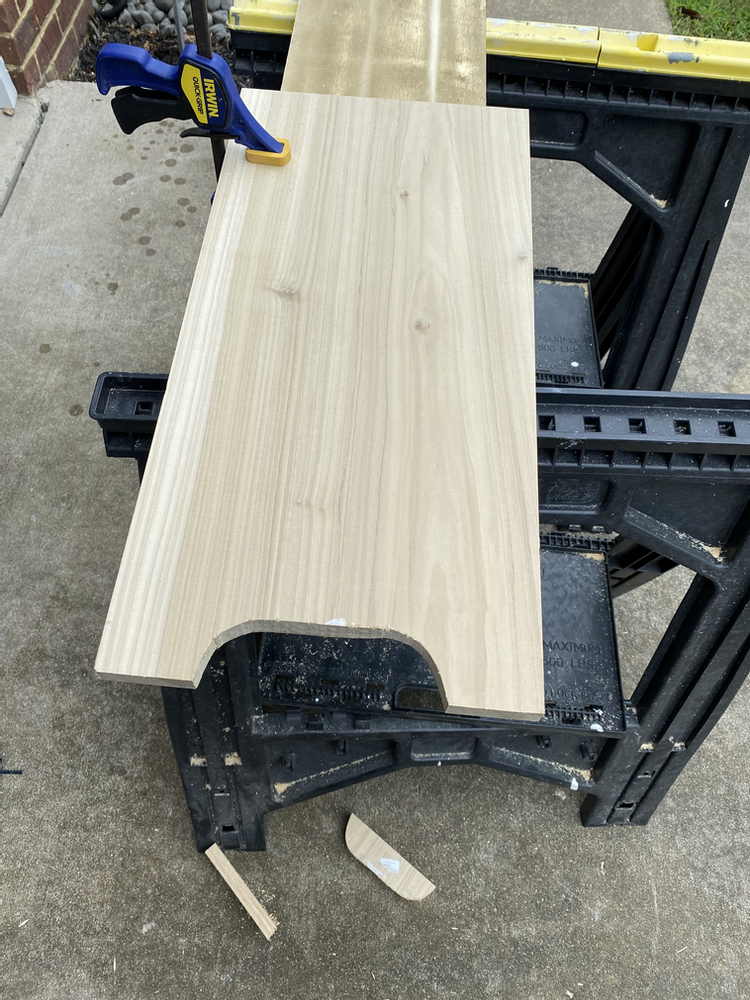
After this was drawn, I used a jigsaw to carefully cut out my design. I started on one side, stopping midway to pull it out and start again from the opposite side. This gave me more control.
Assembly
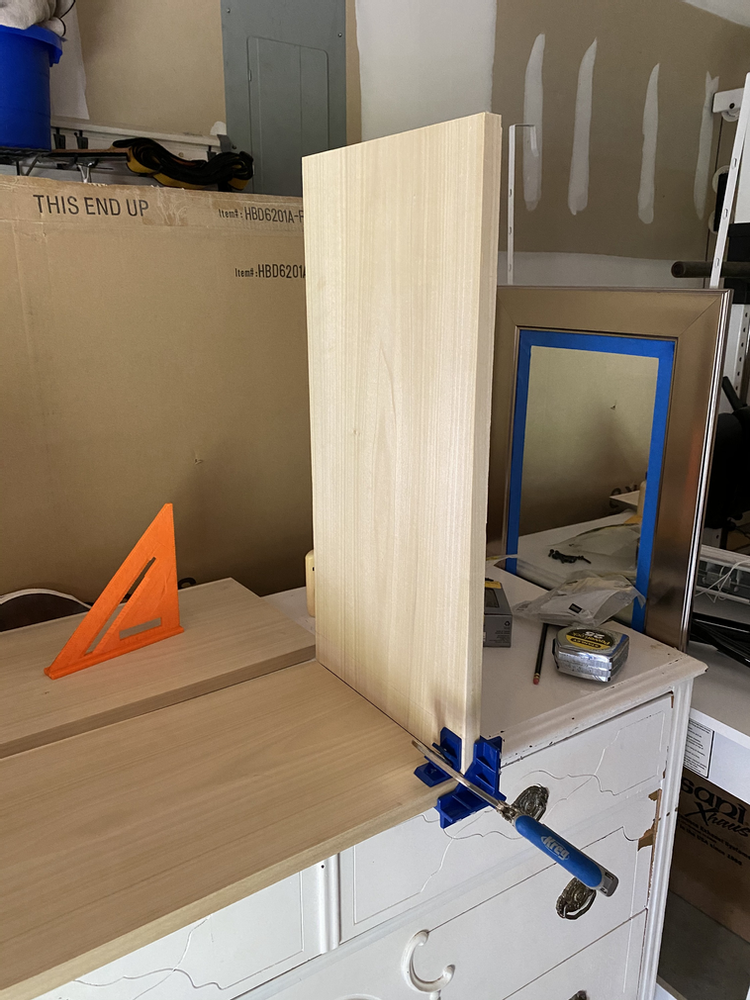
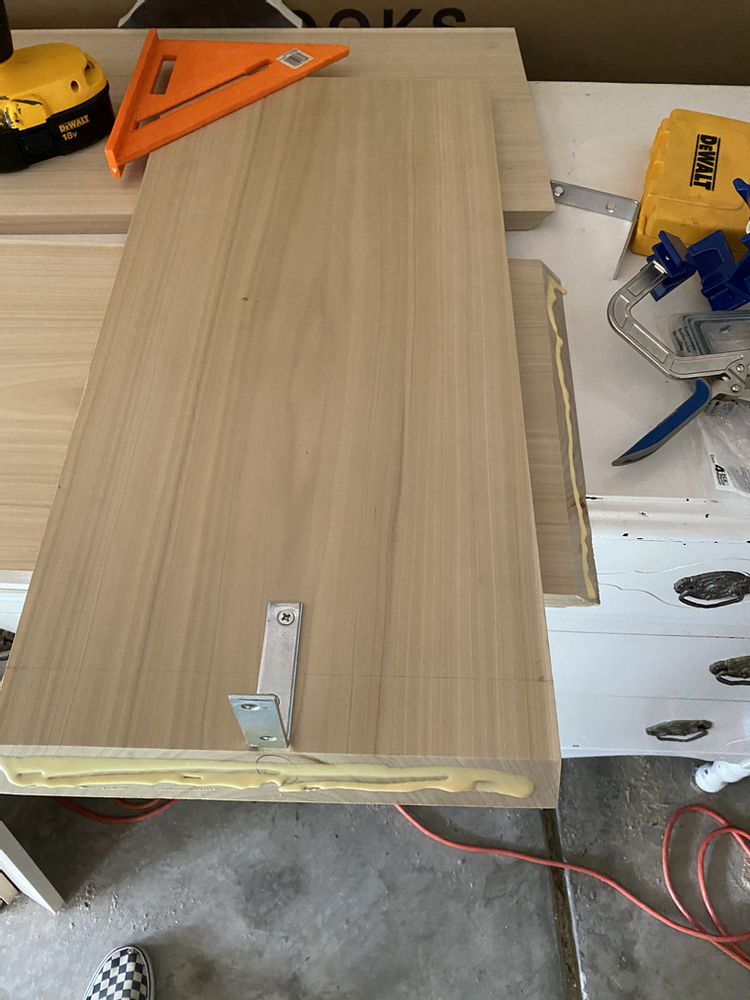
The next step was to build the nightstands. Using this corner clamp, I connected one side piece to the top. I used these corner brackets for extra stability. While one side was clamped, I placed a bracket and screwed one side in (doesn’t matter which). I then removed my clamp and applied wood glue to each mitered edge, and placed them back together with the corner clamp. While the glue dried, I screwed in the other side of the bracket and left it to bond for at least an hour before removing the clamp. I repeated this step for each corner!
Now that the nightstands were built, it was time to build the drawer boxes. I began by taking a measurement of the inside width of the nightstands. I subtracted 1 inch from that measurement to allow for the drawer slides (most slides are .5 inches each). That measurement would be the width of my drawer box. I decided that my drawer box should be 10 inches deep, because I wanted to leave room for my 3/4 in drawer face.
My cuts for the drawer boxes:
1/2 inch plywood
2- 21.5 x 10
3/4 inch pine
4- 8.5 inch
2-21.5 inch
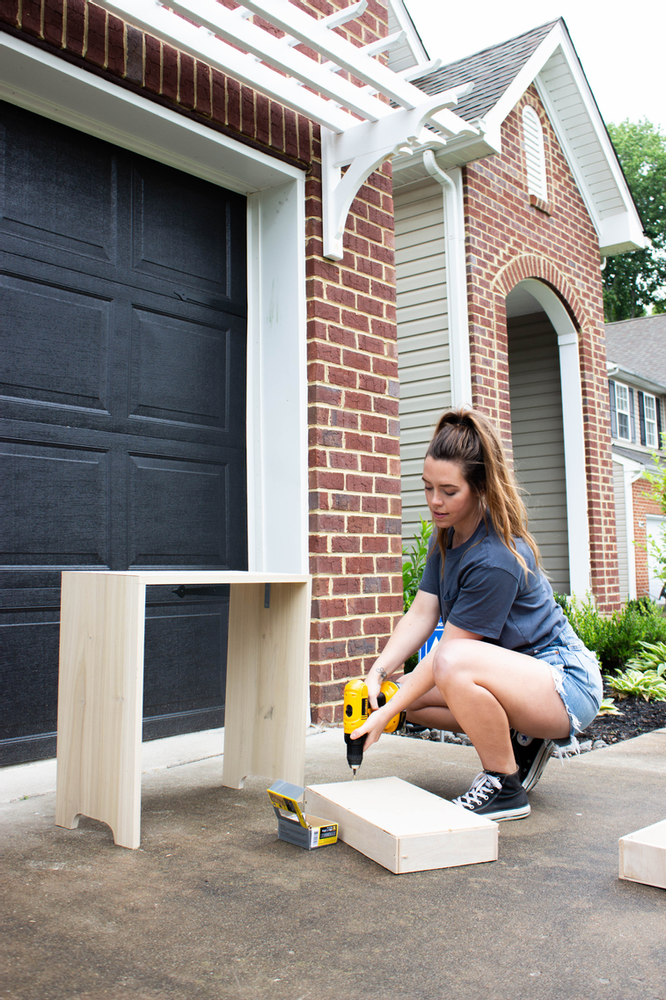
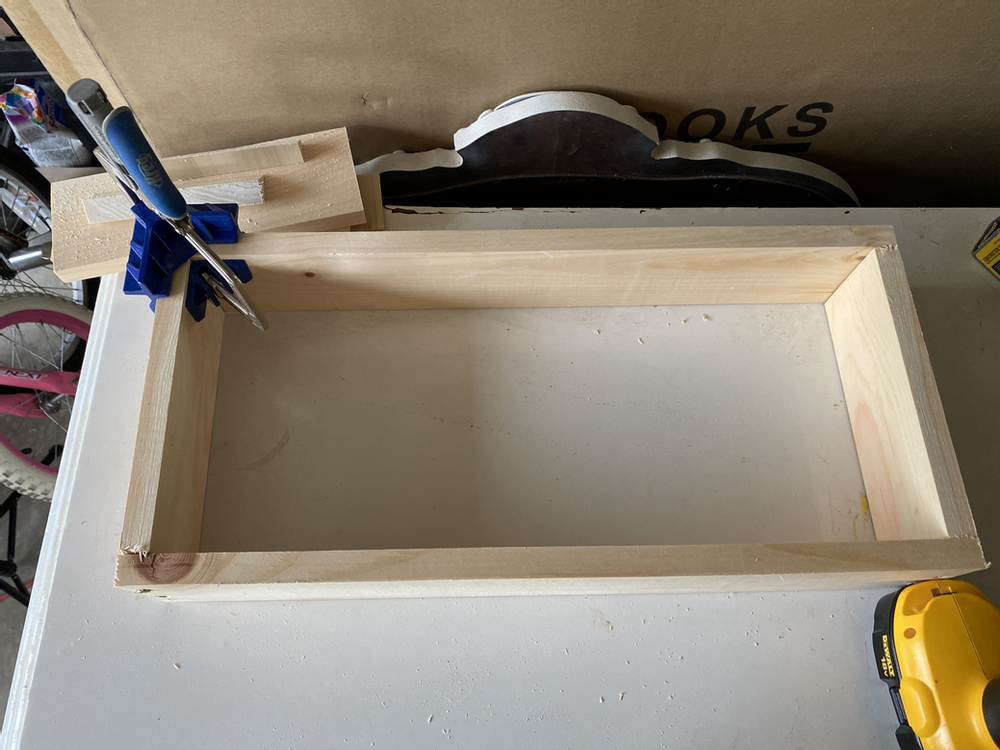
I built out the drawer box by gluing and clamping each side with my corner clamp and drilling two screws straight in to each corner. Once this was done, I attached the drawer bottom with additional screws until secure.
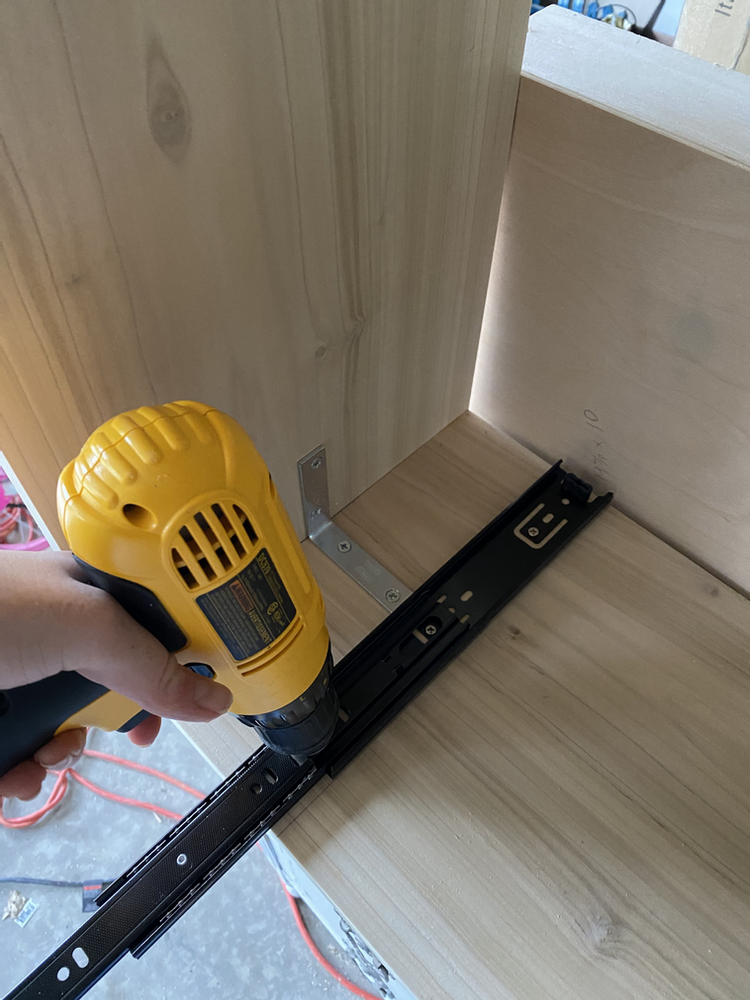
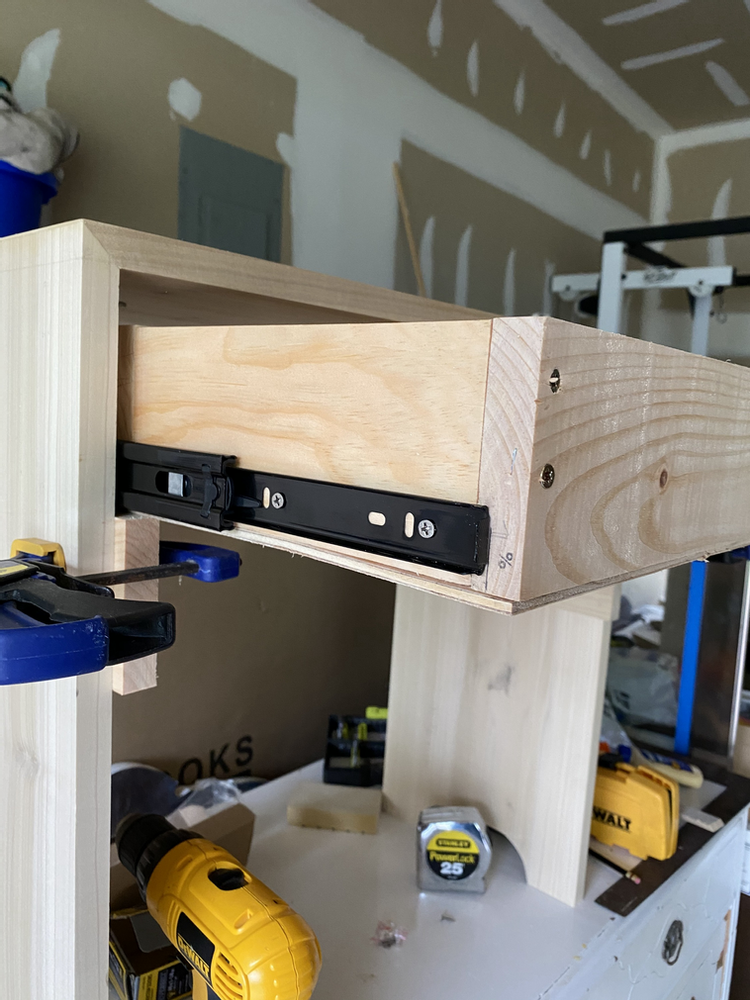
I then attached the drawer slides to the inside of the DIY nightstands. First, I laid the nightstand on its side to reach easily. Using a heavy object pushed flush up to the back of the nightstand (as a blocker), I placed a slide on to the side flush against the back and the bottom of the bracket. I marked where the bottom of the drawer slide was on the wood. Then, I removed the slide, and used a carpenters square to draw a straight line at the mark that I made. Next, I placed the drawer slide back and lined it up flush to the back of the nightstand and with the straight line while screwing it in (I used three screws).
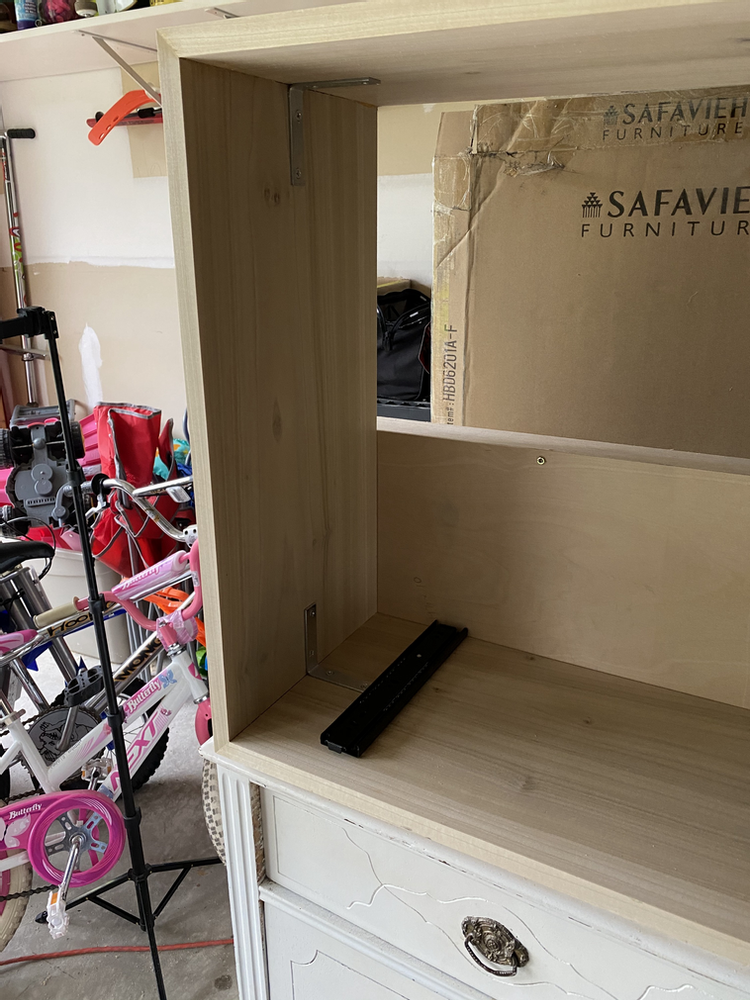
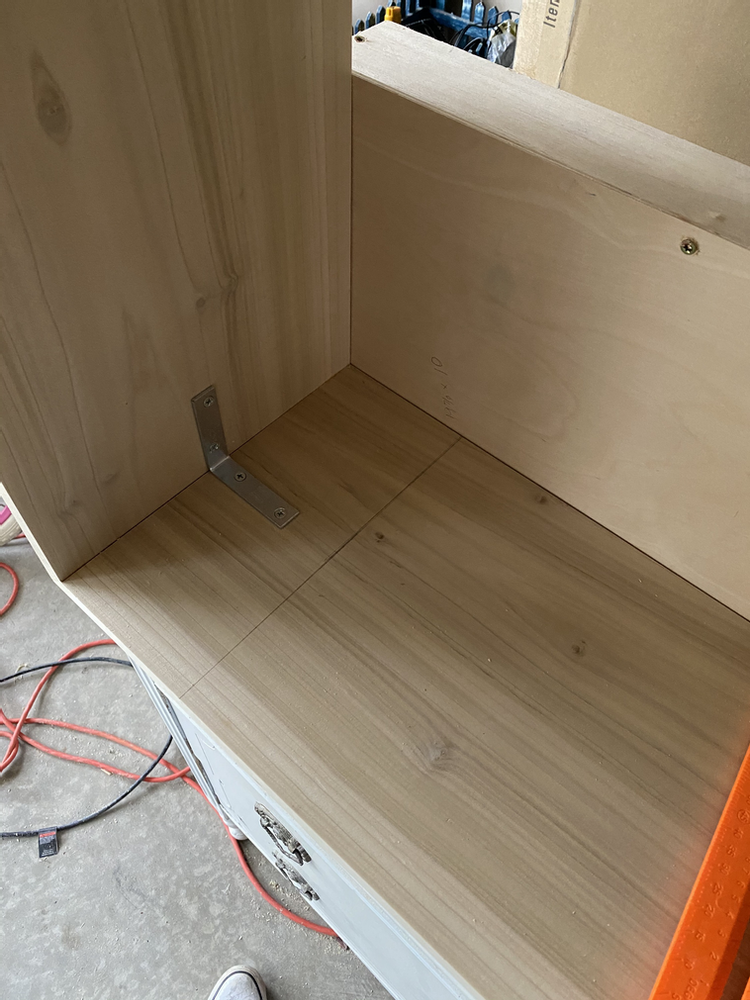
Drawer Installation
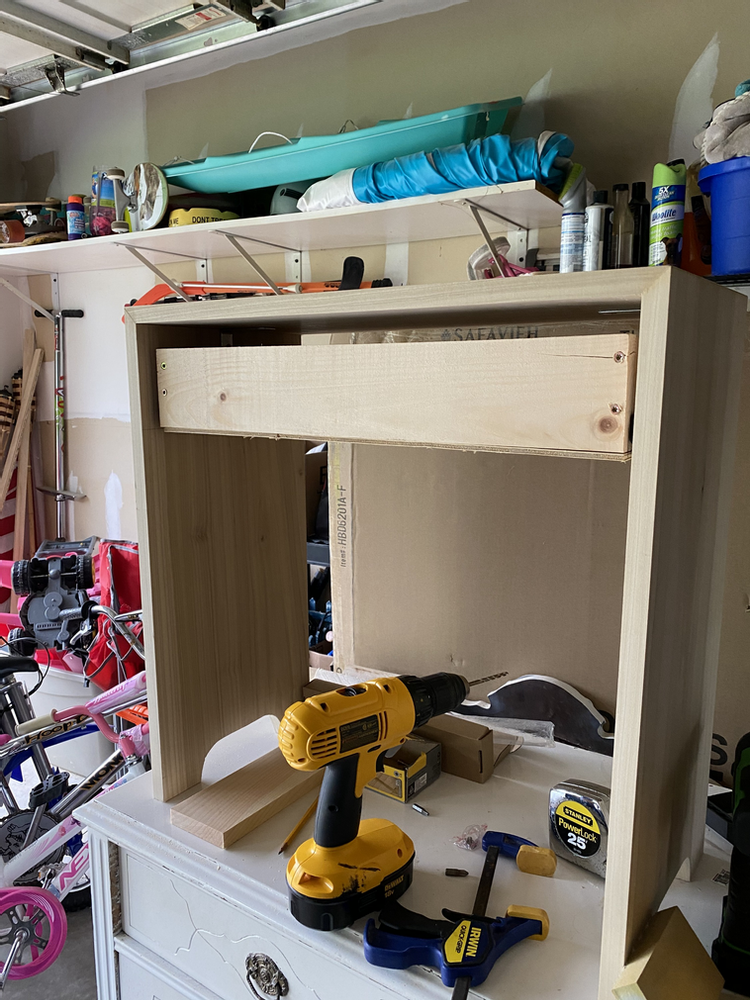
Once both slides were in, I turned the nightstand back onto its feet and clamped two lightweight pieces of wood directly under (flush) the drawer slides to act as a support for my drawer box while I installed. After this, I made sure that the slides were closed and measured from the from of the slides to the front of the nightstand (1.5 inches). I subtracted the thickness of my drawer face from this measurement (.75 inches) and was left with half an inch. This was how far back my slide needed to sit on my drawer boxes in order for the front to sit flush. I measured and drew and mark .5 inches back on each side of drawer boxes.
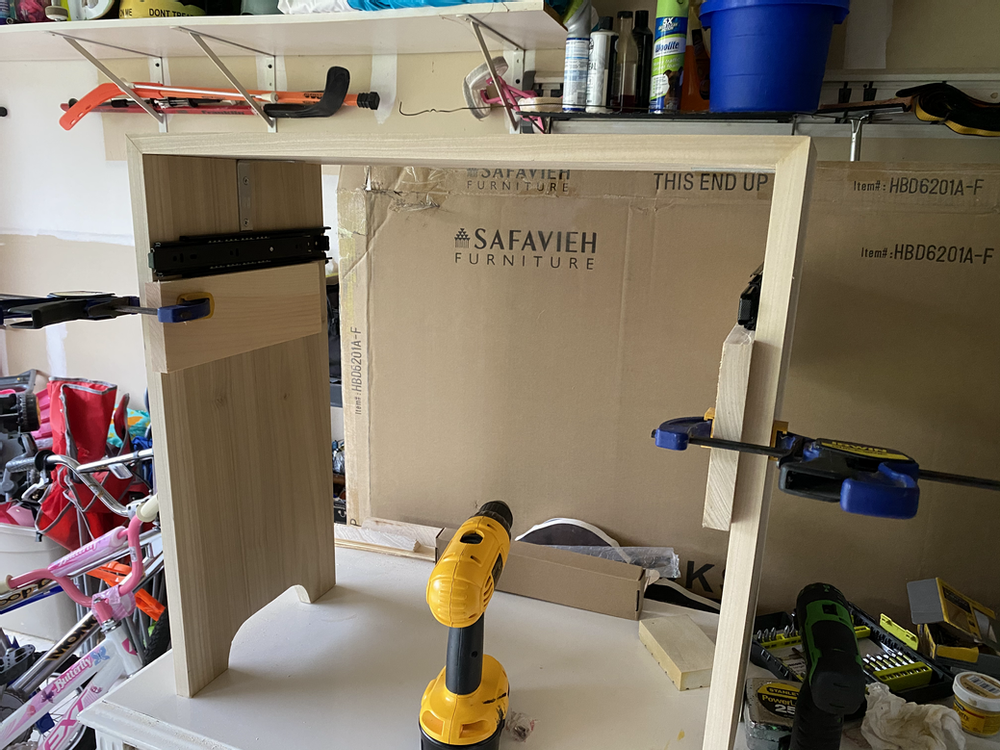
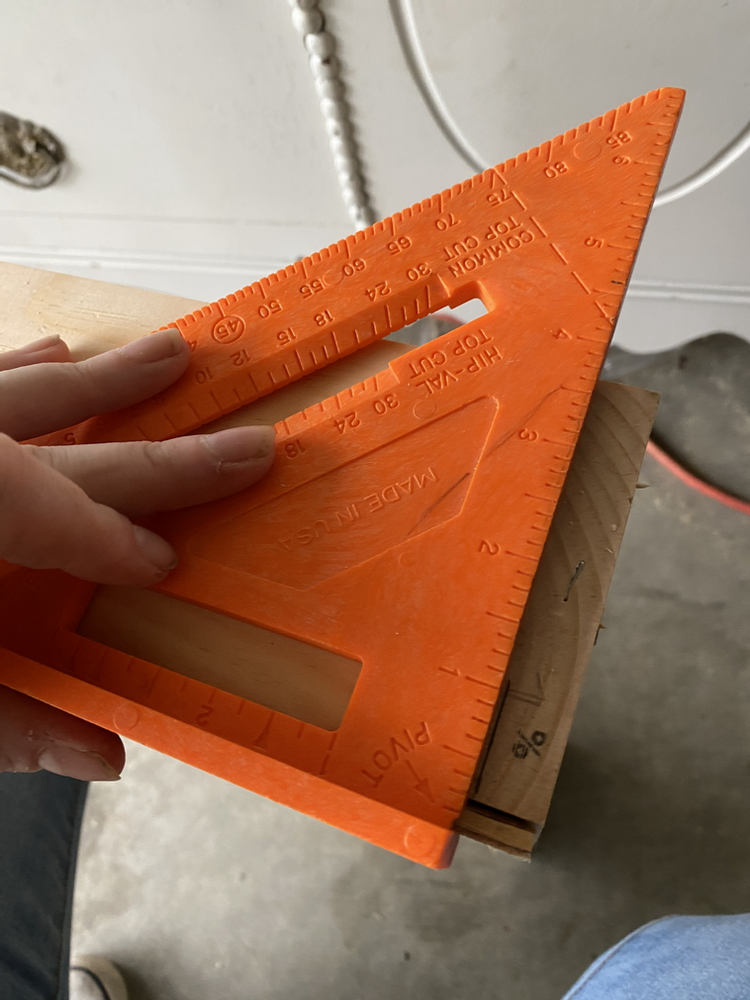
I opened the drawer slides back up and placed the box onto the clamped wood supports, gently. Then, I slide out the drawer slides on each side to line up with my marks on the boxes. Once the slides were lined up, I made sure that the box was sitting perfectly flat onto the wood supports. I then screwed in the slides to the drawer boxes!
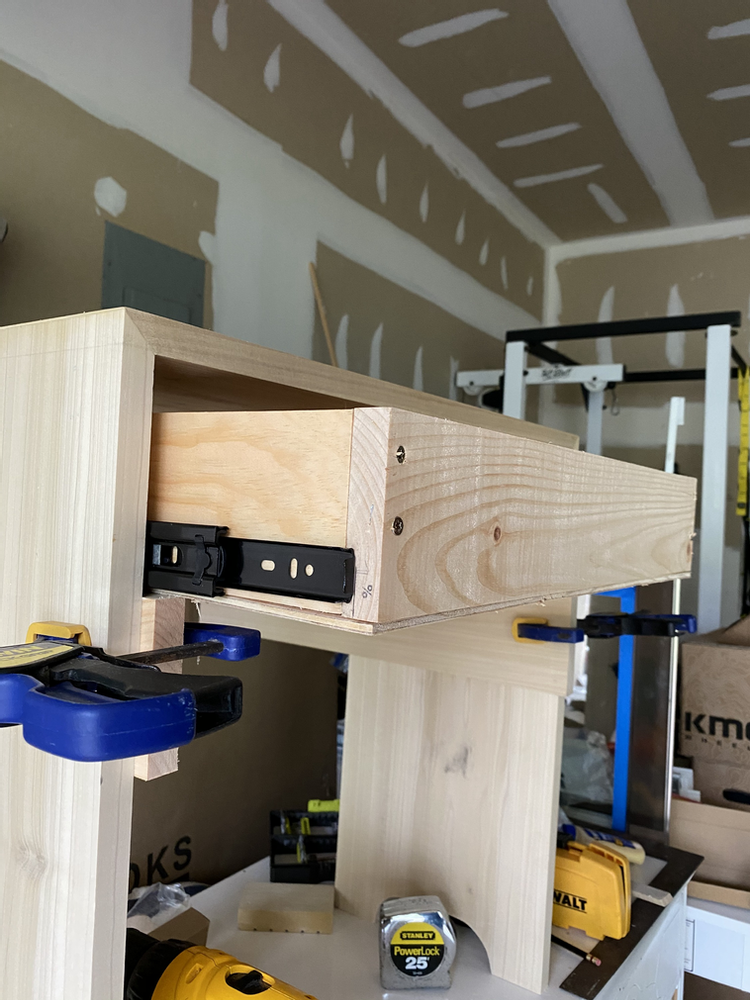
Drawer Fronts
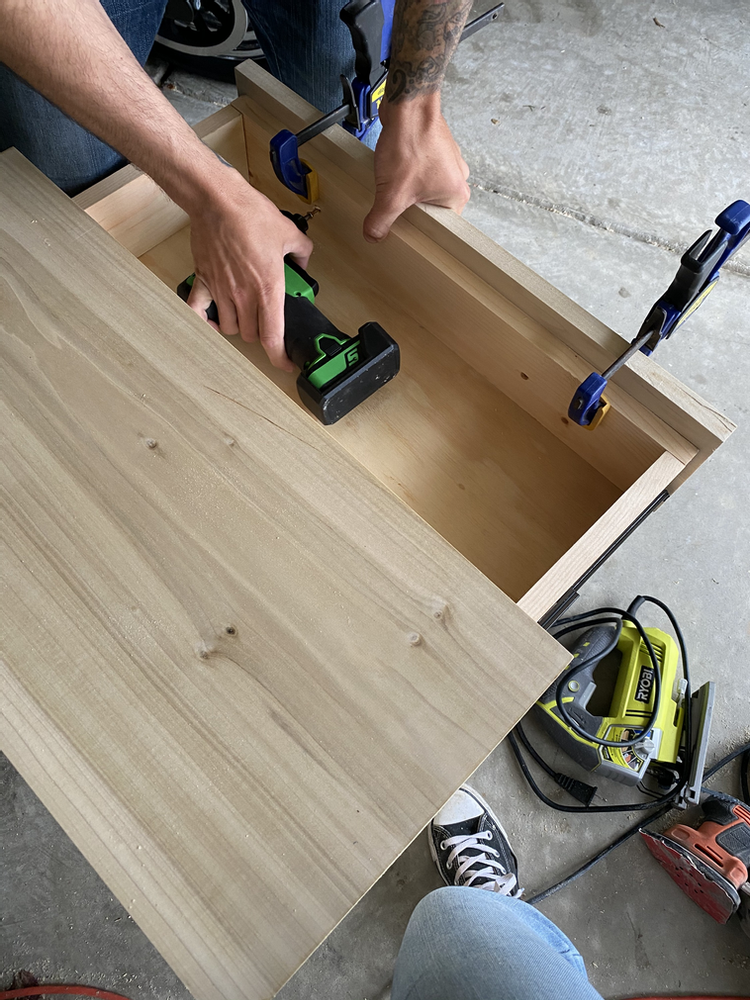
Using my remaining poplar, I cut out the two drawer fronts. Mine were cut to 5.5 inches tall and 22.25 inches wide (leaving a small crack around the edge when installed). Once they were cut and the edges were cleaned up and lightly sanded, I held up the front onto the drawer box to align it into position. While my thumbs pressed onto he drawer face, I used my fingers on the bottom of the drawer box to slide it out gently. I then had David gently reach over and clamp it into place. I was then able to reach into the drawer and screw in two screws from behind, attaching the drawer face.
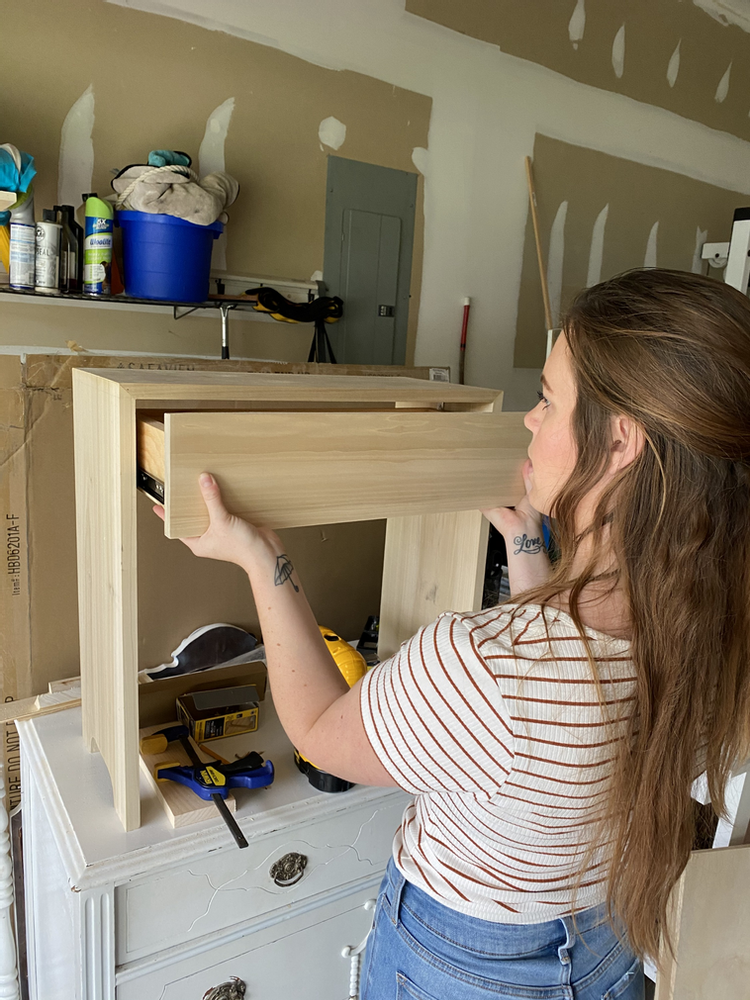
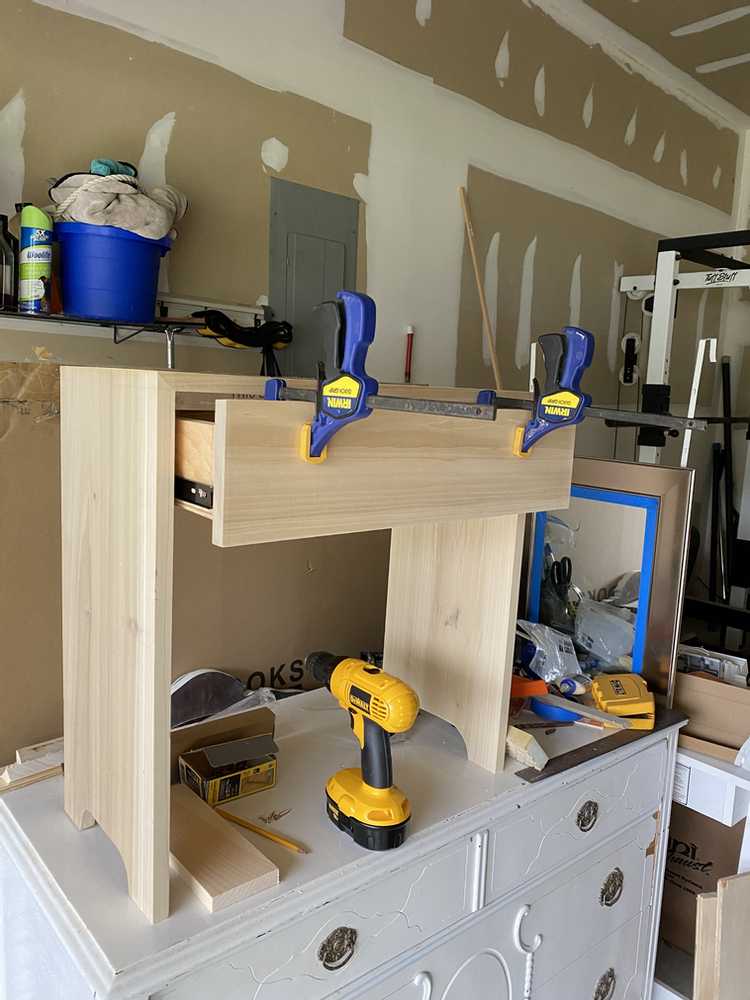
This part took patience. I had to do some adjusting on one of them, which is totally okay! Just unscrew and screw again until it’s perfect.
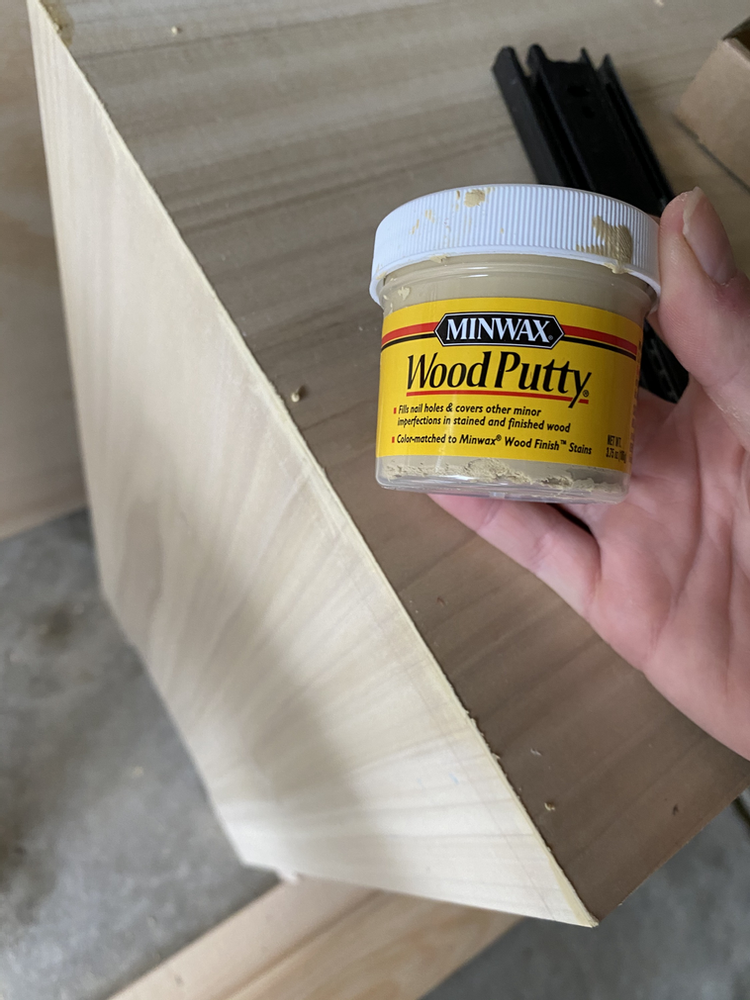
I filled it any cracks with wood putty (in natural pine) and sanded smooth after drying, while also sanding down any rough edges. I wiped it down with a damp rag and then applied two coats of matte polycrylic using a foam roller (brush is suggested).
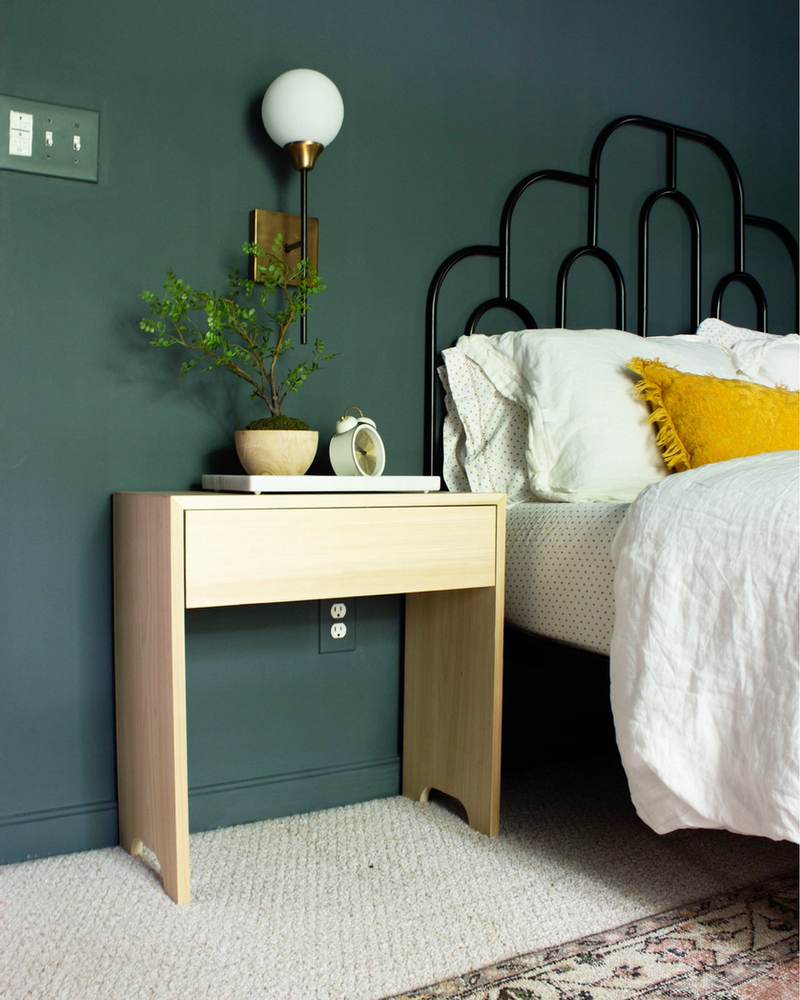
AND DONE! All for Under $150 for BOTH DIY nightstands!
Go here to check out what everyone else is up to for Week 7 of the One Room Challenge!
Here’s everything I used for my DIY nightstands!


