DIY Murphy Bed

I’ve been working on installing built-ins in my basement with a hidden murphy bed. I left off assembling all the cabinet boxes. You can read about that process here! Next up, I’m building a DIY murphy bed!

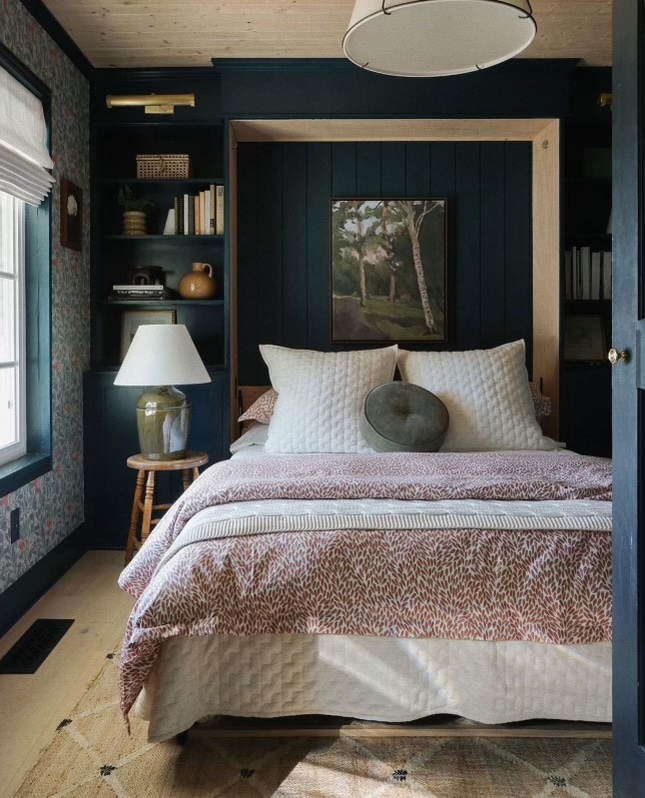
We don’t have a guest room now that we have Auggie. So, the basement will function as that when guests stay with us. Here’s my inspiration for this DIY murphy bed.
DIY Murphy Bed Supplies
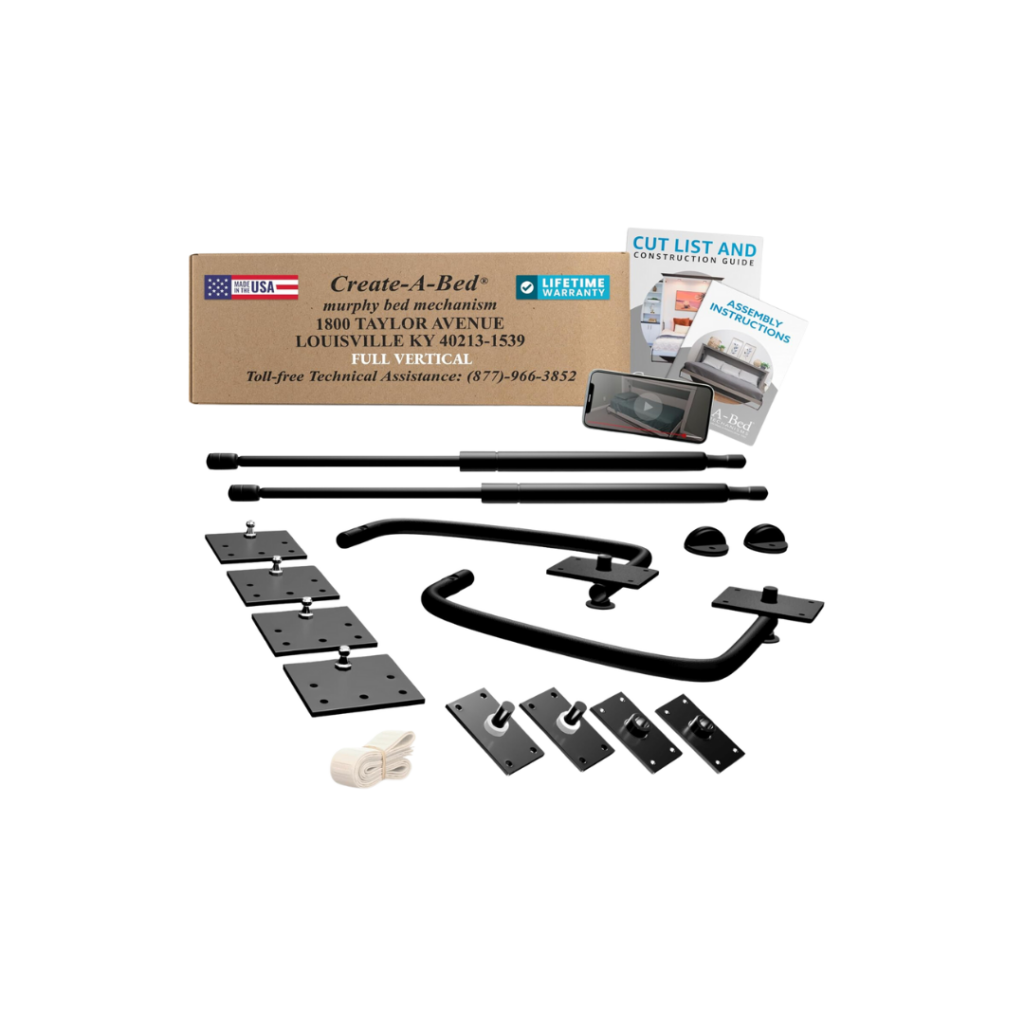


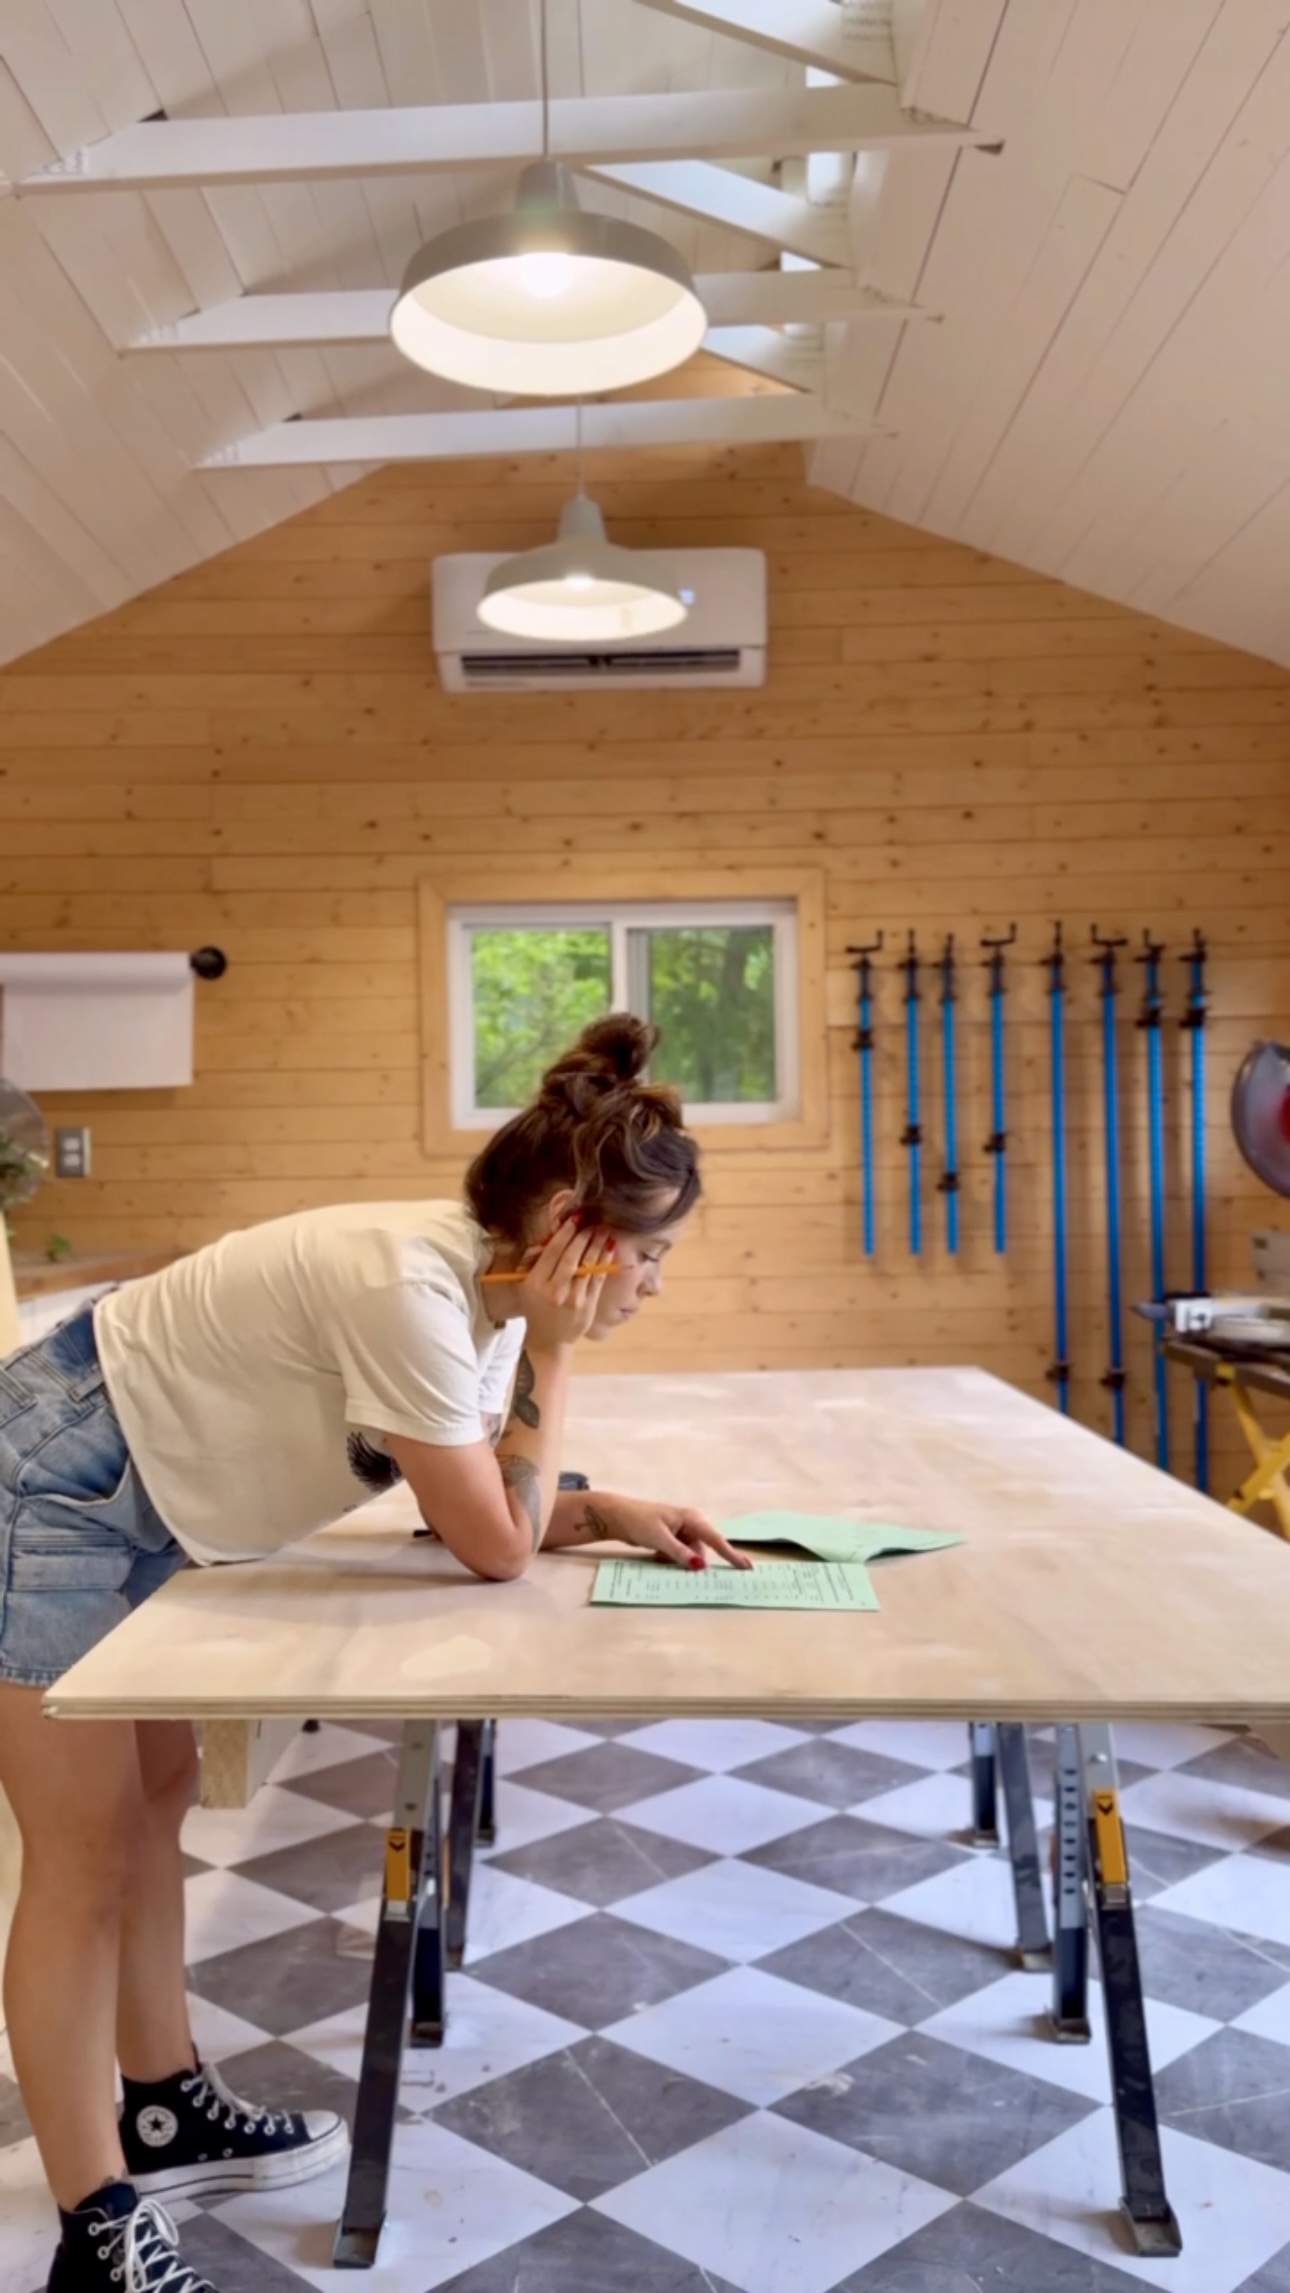
This murphy bed hardware kit gives you in depth instructions with all the plywood you need to buy and a cut list. I was a bit intimidated – it’s definitely a lot. But I’m up for the challenge!
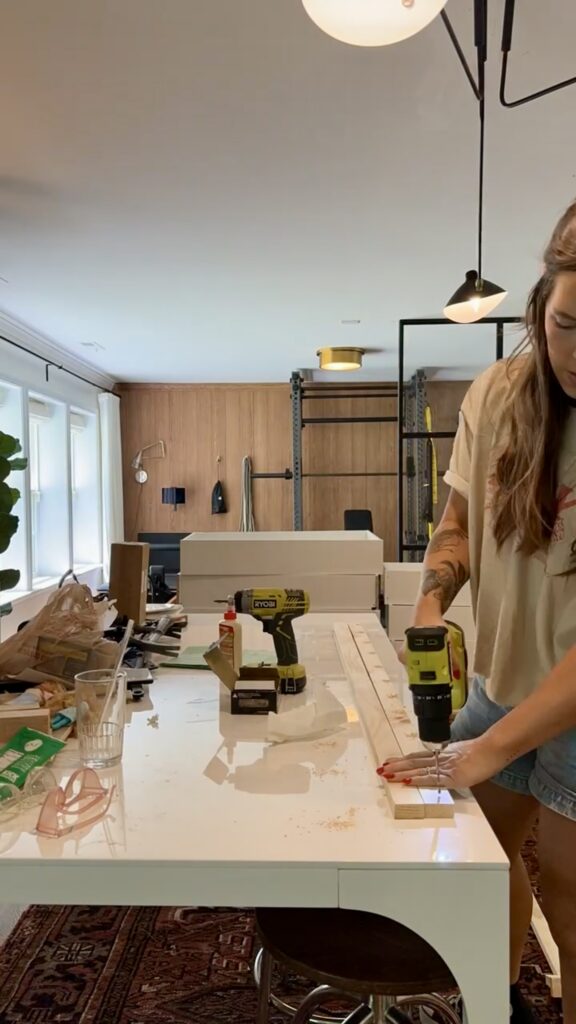
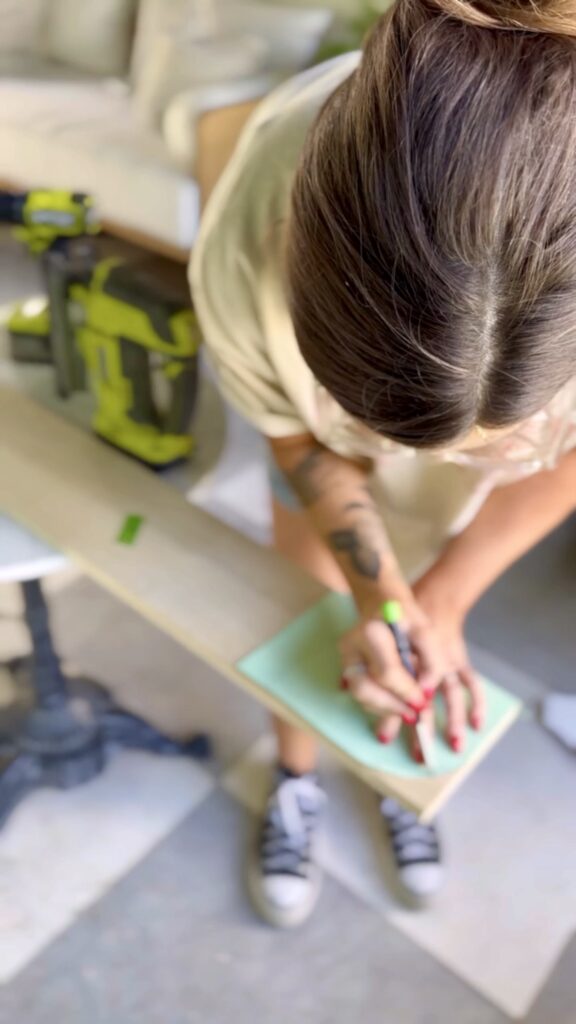
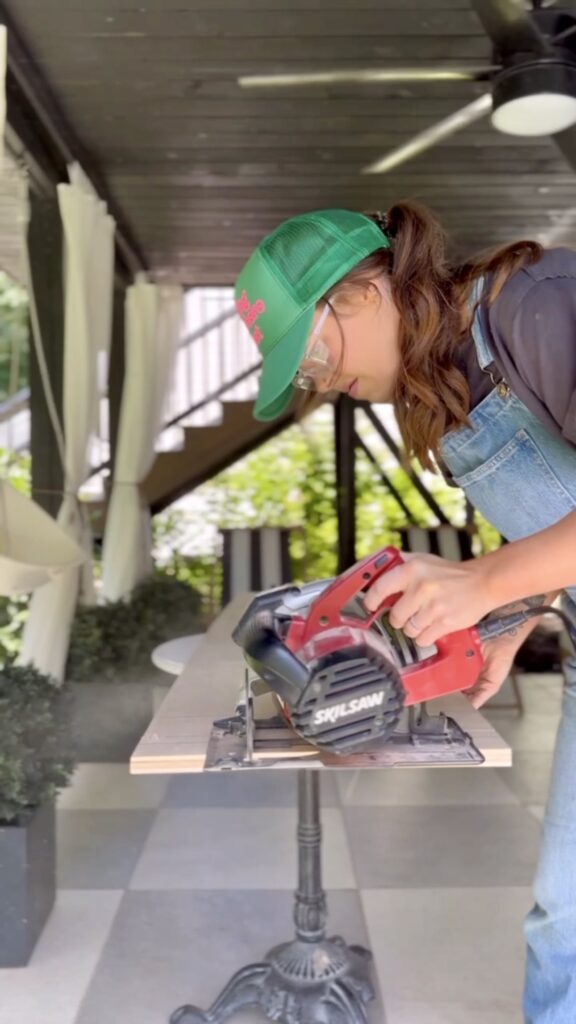
Making My Cuts
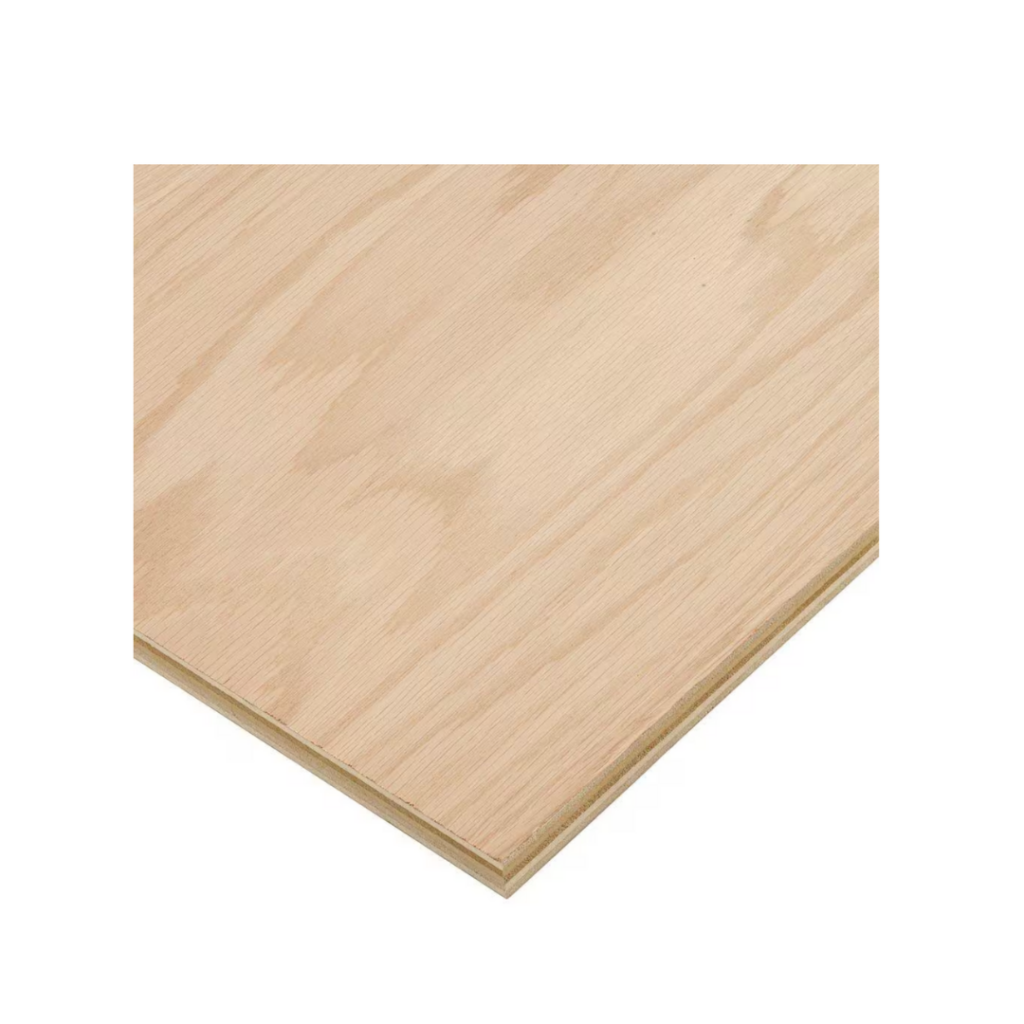
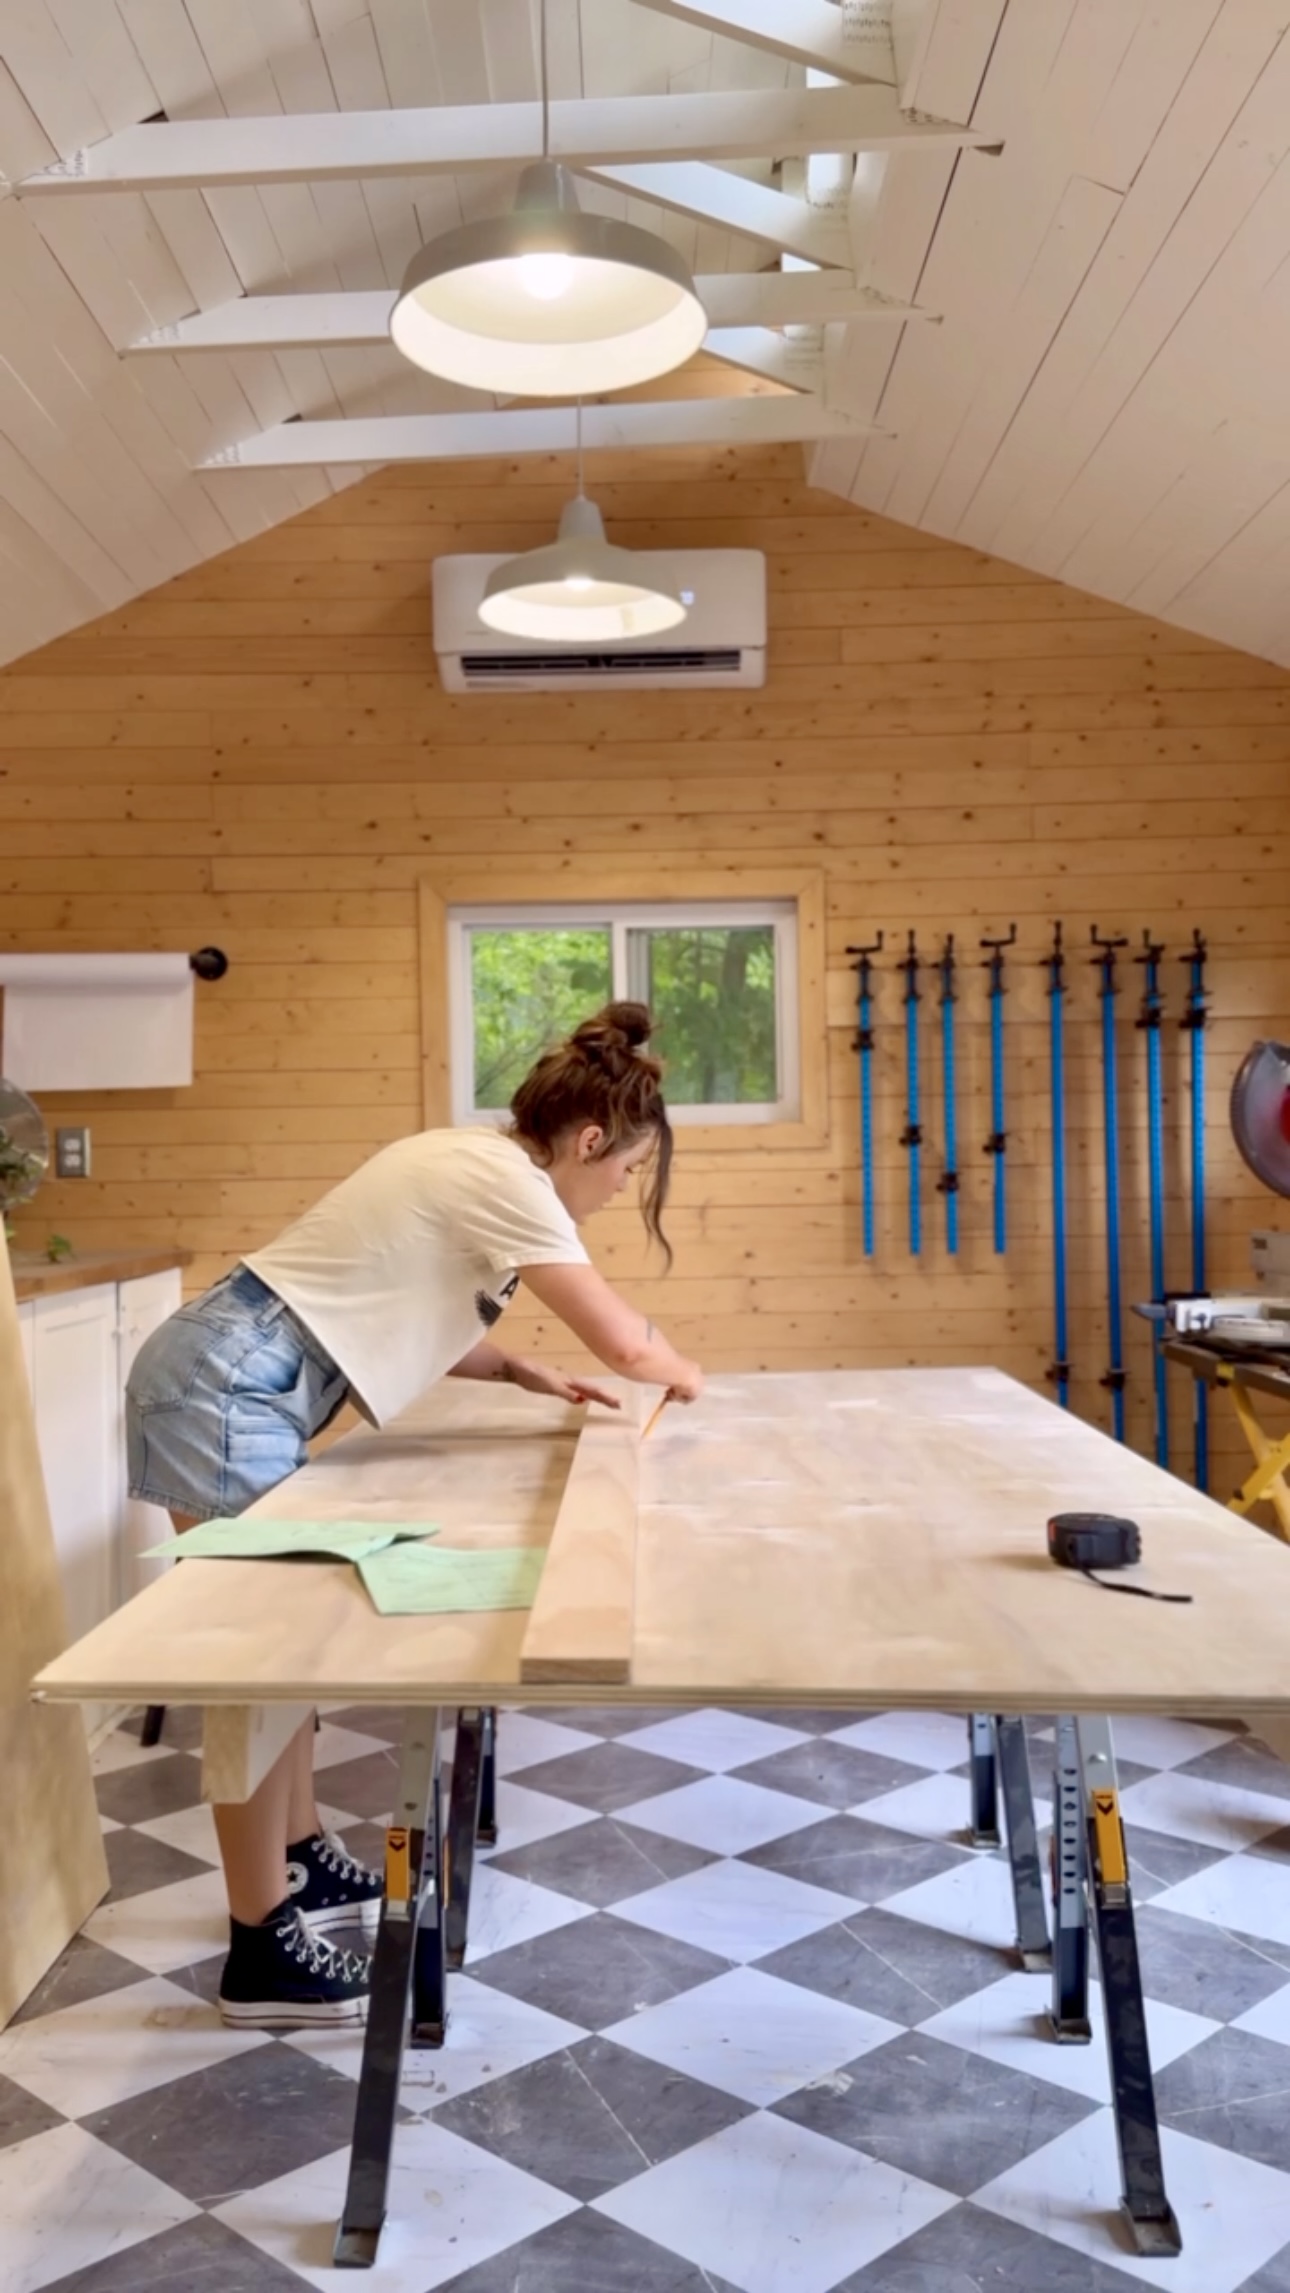
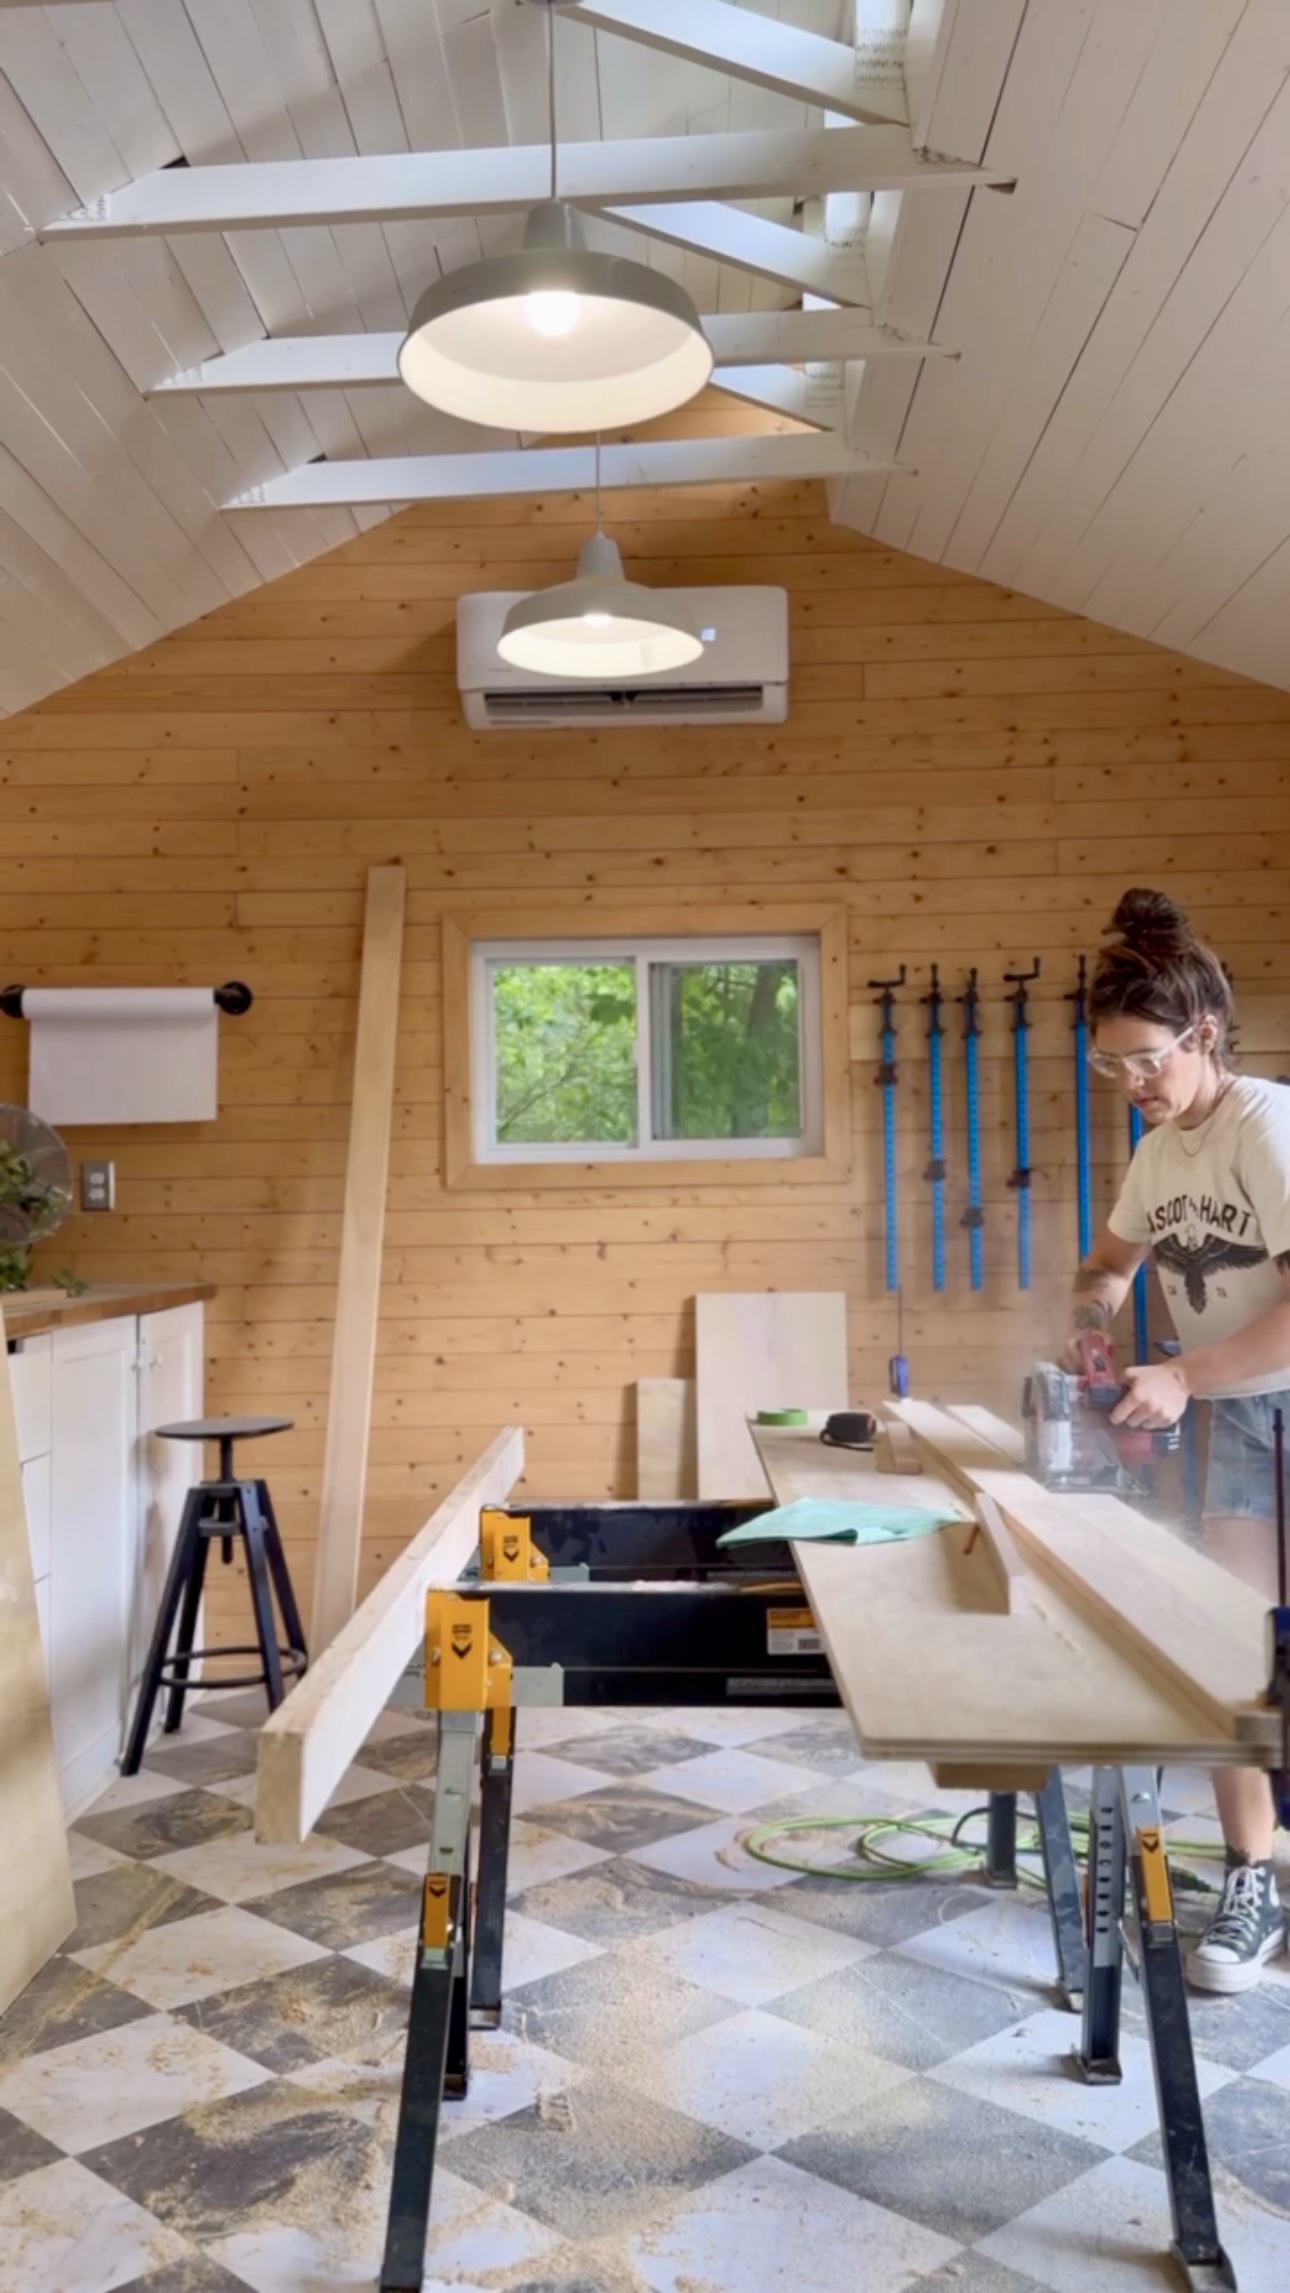
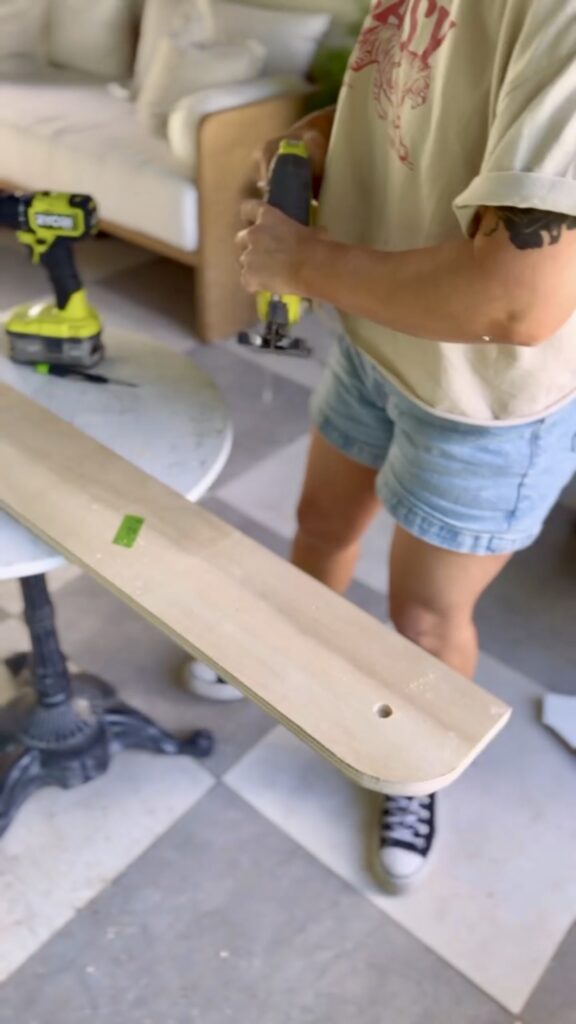
I started by making all the necessary cuts outlined in this kit. When you cut a piece of plywood, you want to have more than enough support. I thought I had enough support here but I didn’t. The plywood was dropping in and putting stress on the blade and it got stuck. This is dangerous, so I added another piece of wood underneath my plywood for added support.

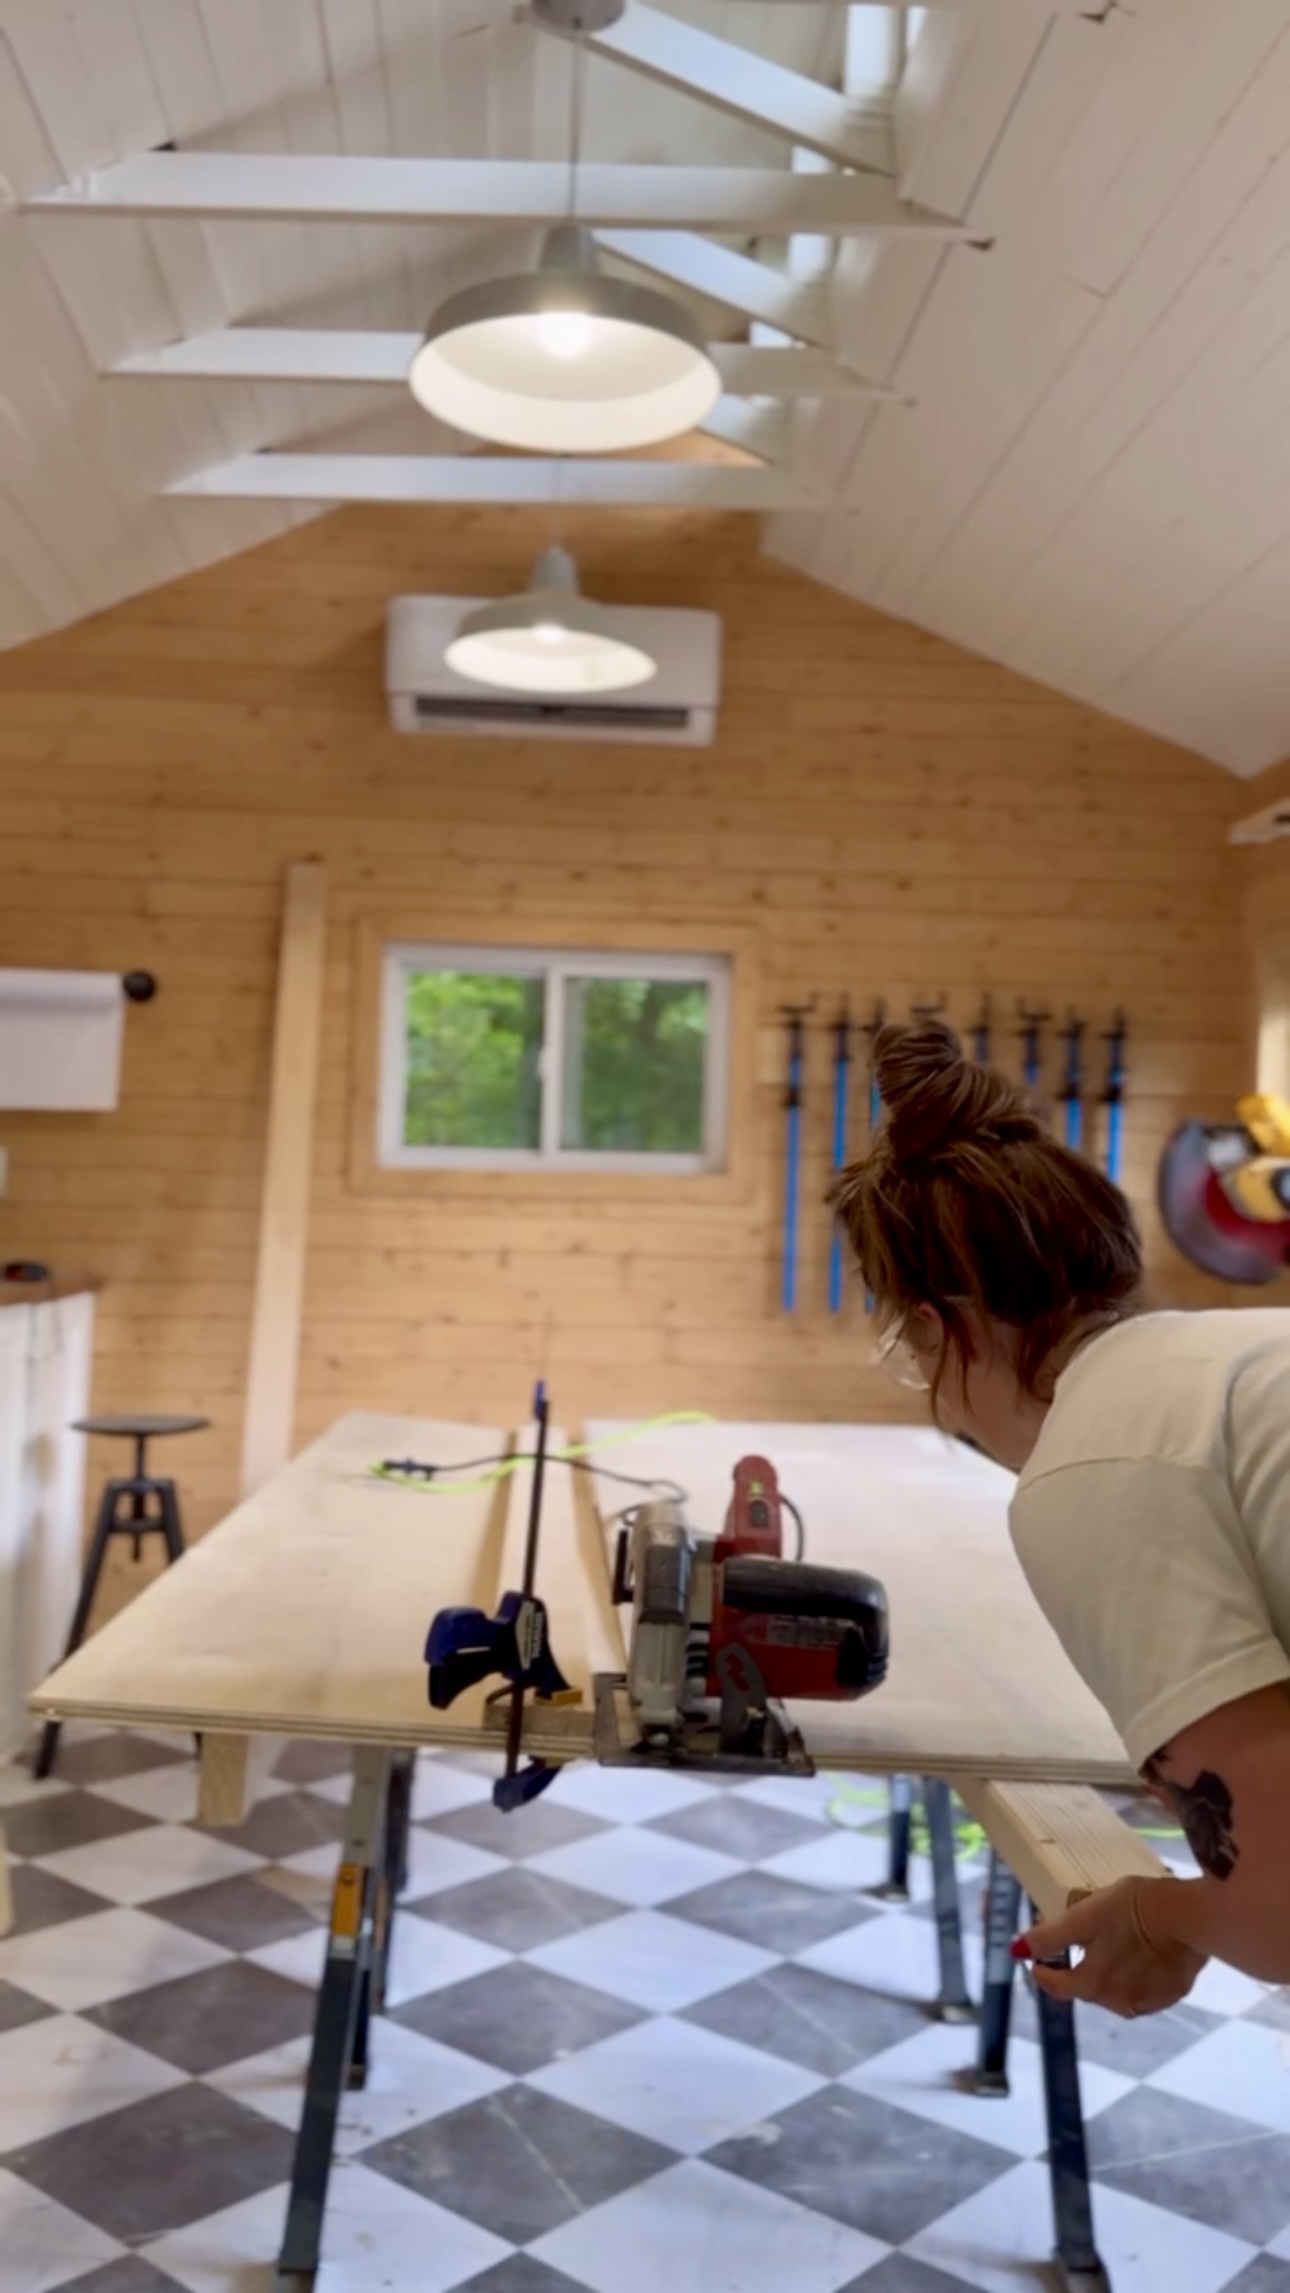
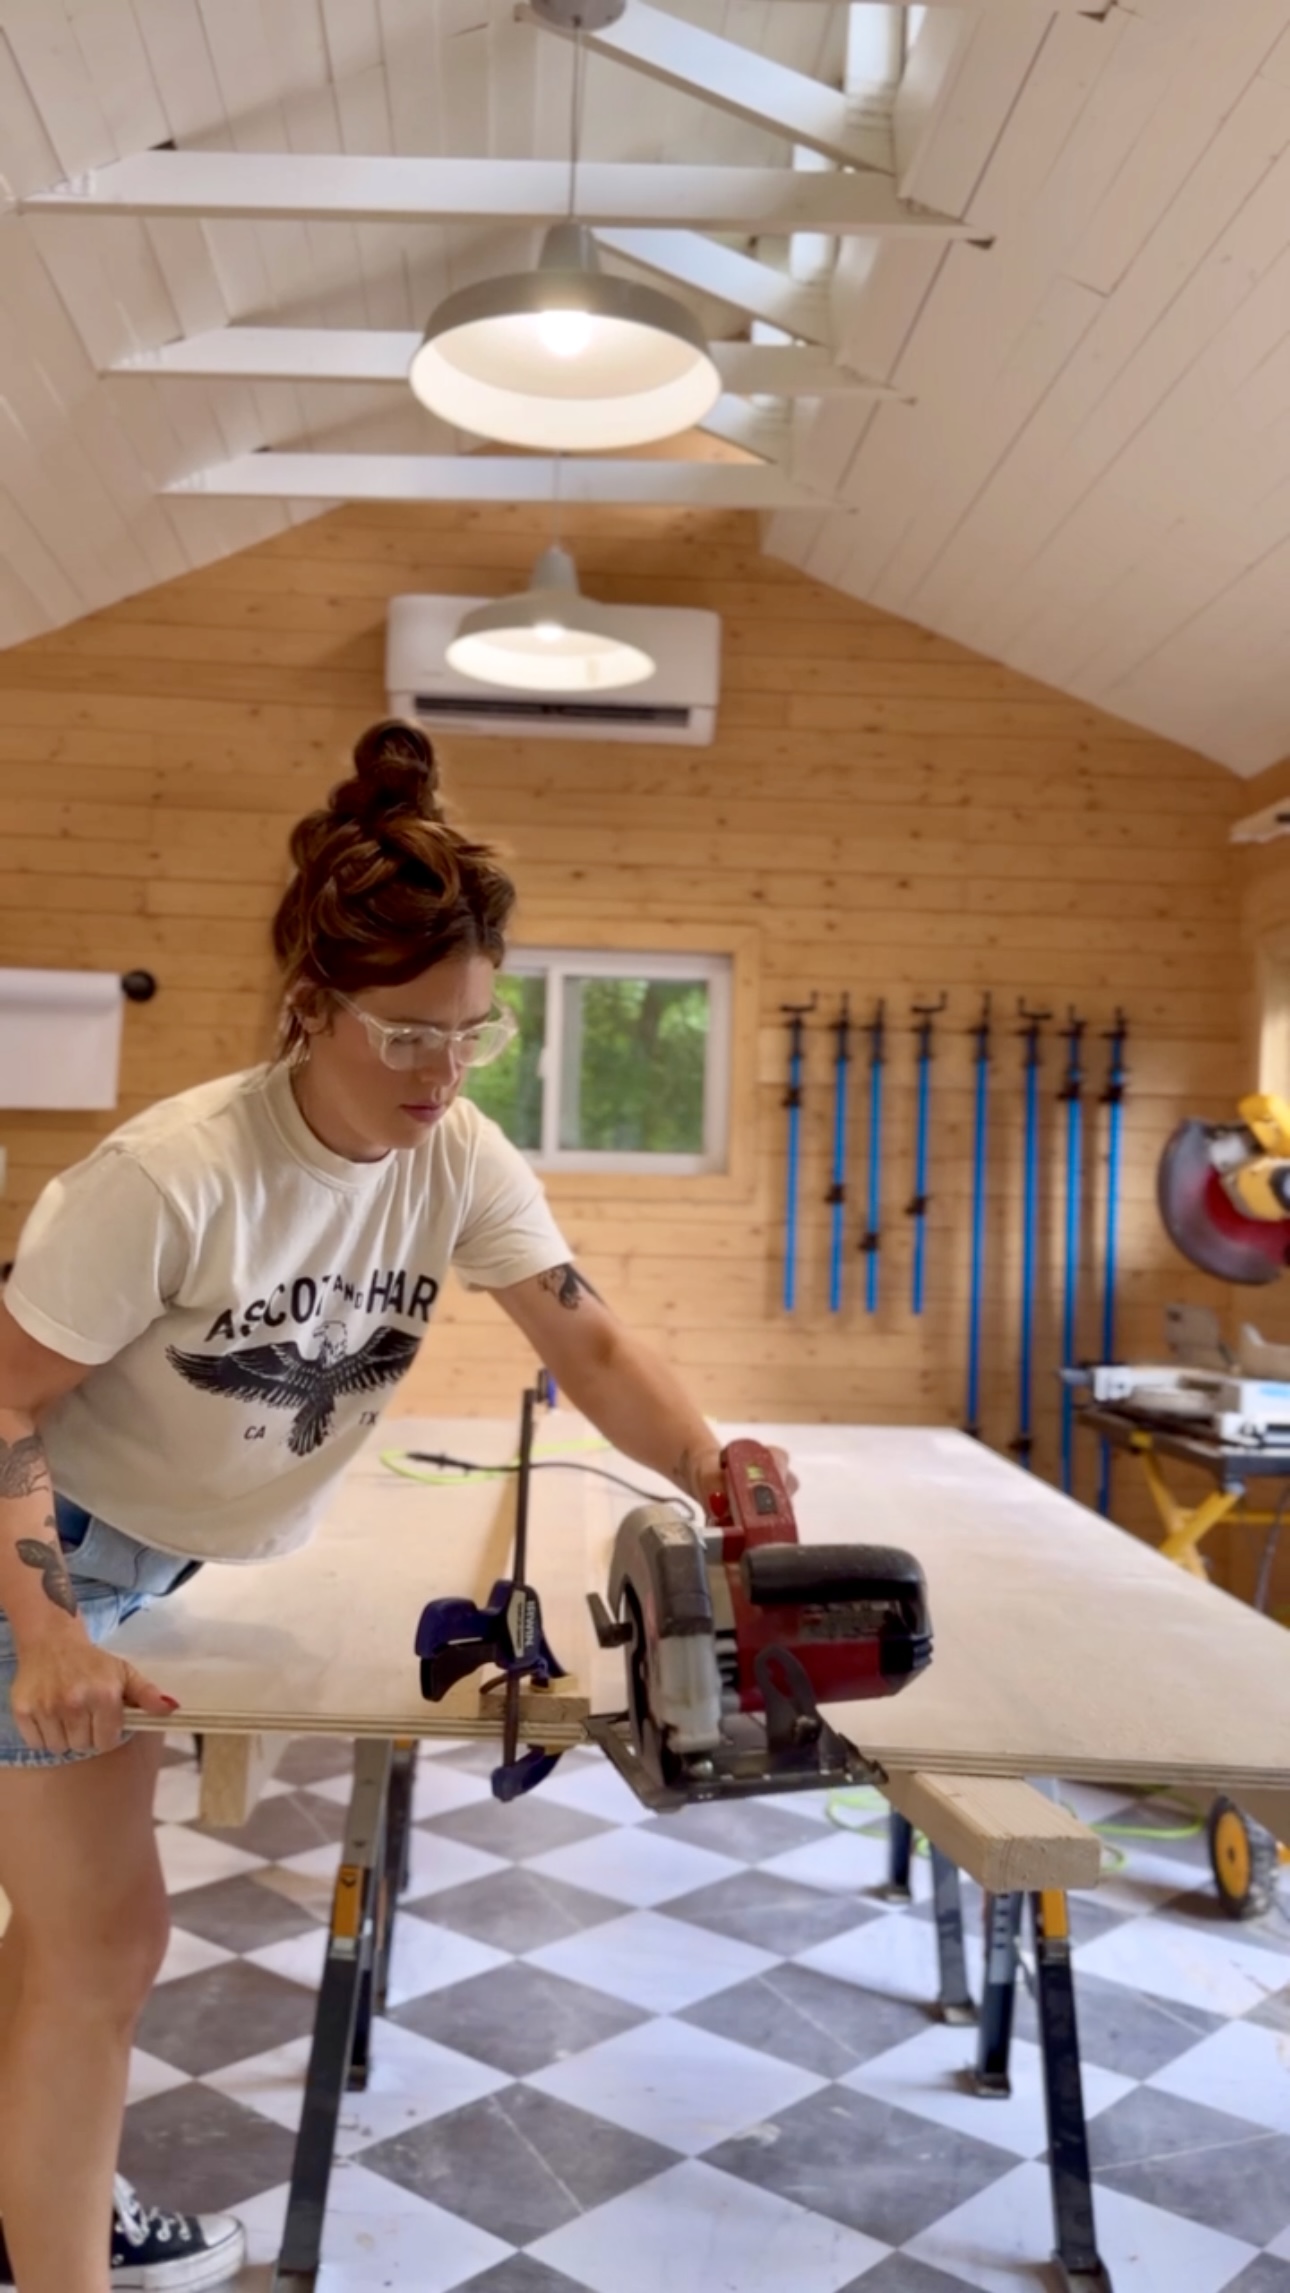
I got back to making my cuts. There were so many of them to make…haha.
Assembly
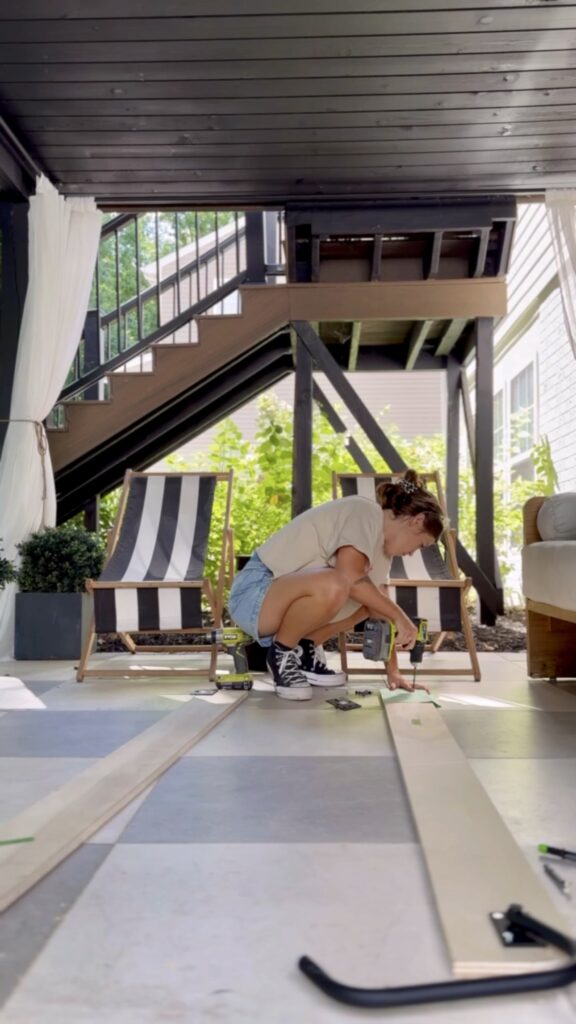
With all my wood cut, it was time to just start following the instructions and putting it all together.
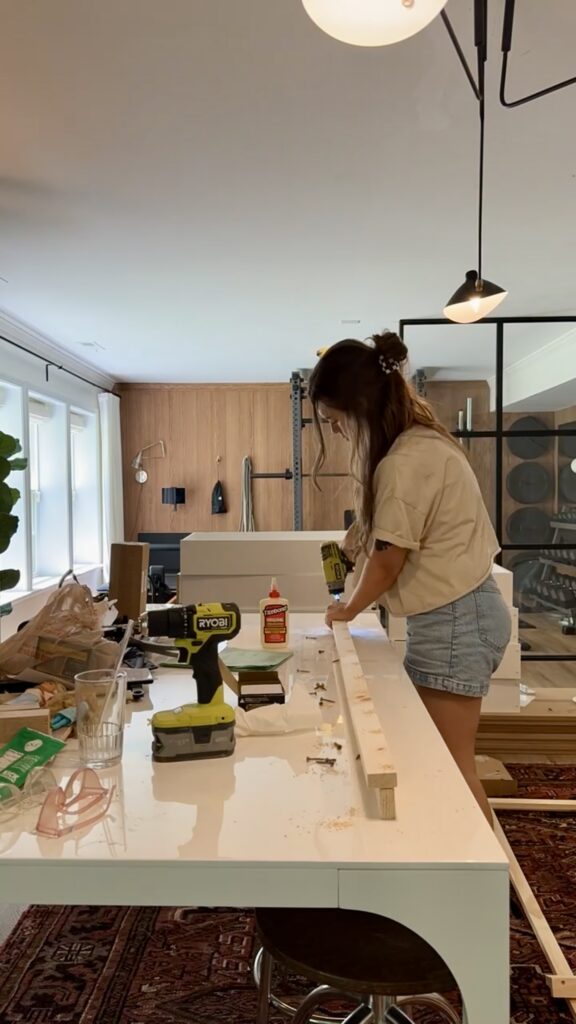
The instruction booklet comes with little templates as well for specific cuts and places to drill which is SUPER helpful.
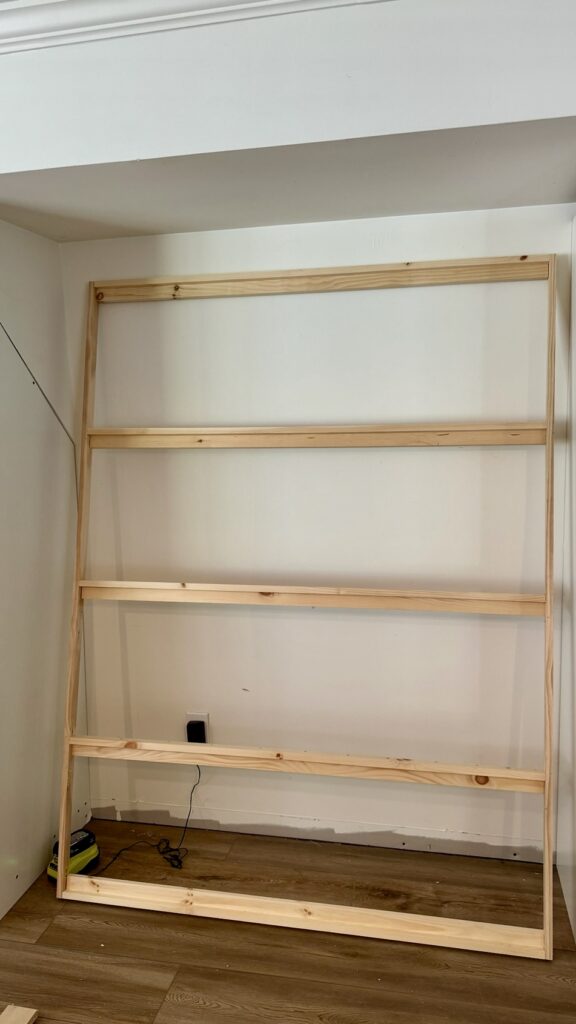
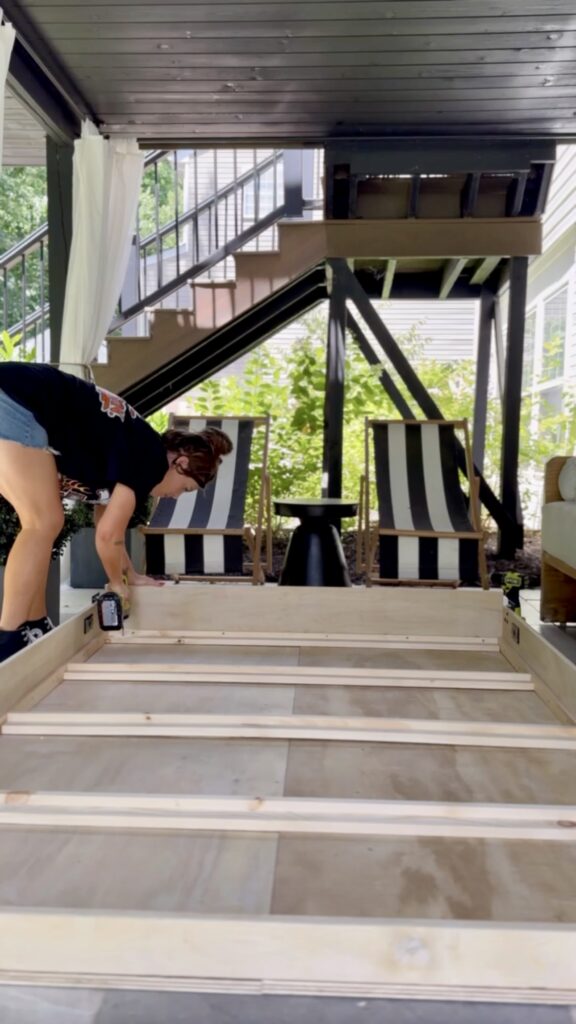
It was really starting to come together. I took the main frame I made and glued/screwed it into the face panels. With that, the bed part was done!

Installation
With the bed portion done, I started on the cabinet portion. BUT I realized it WASN’T GOING TO FIT!!!! It’s a full size bed – the actual bed will fit. It’s the cabinet the bed goes in that was too big.
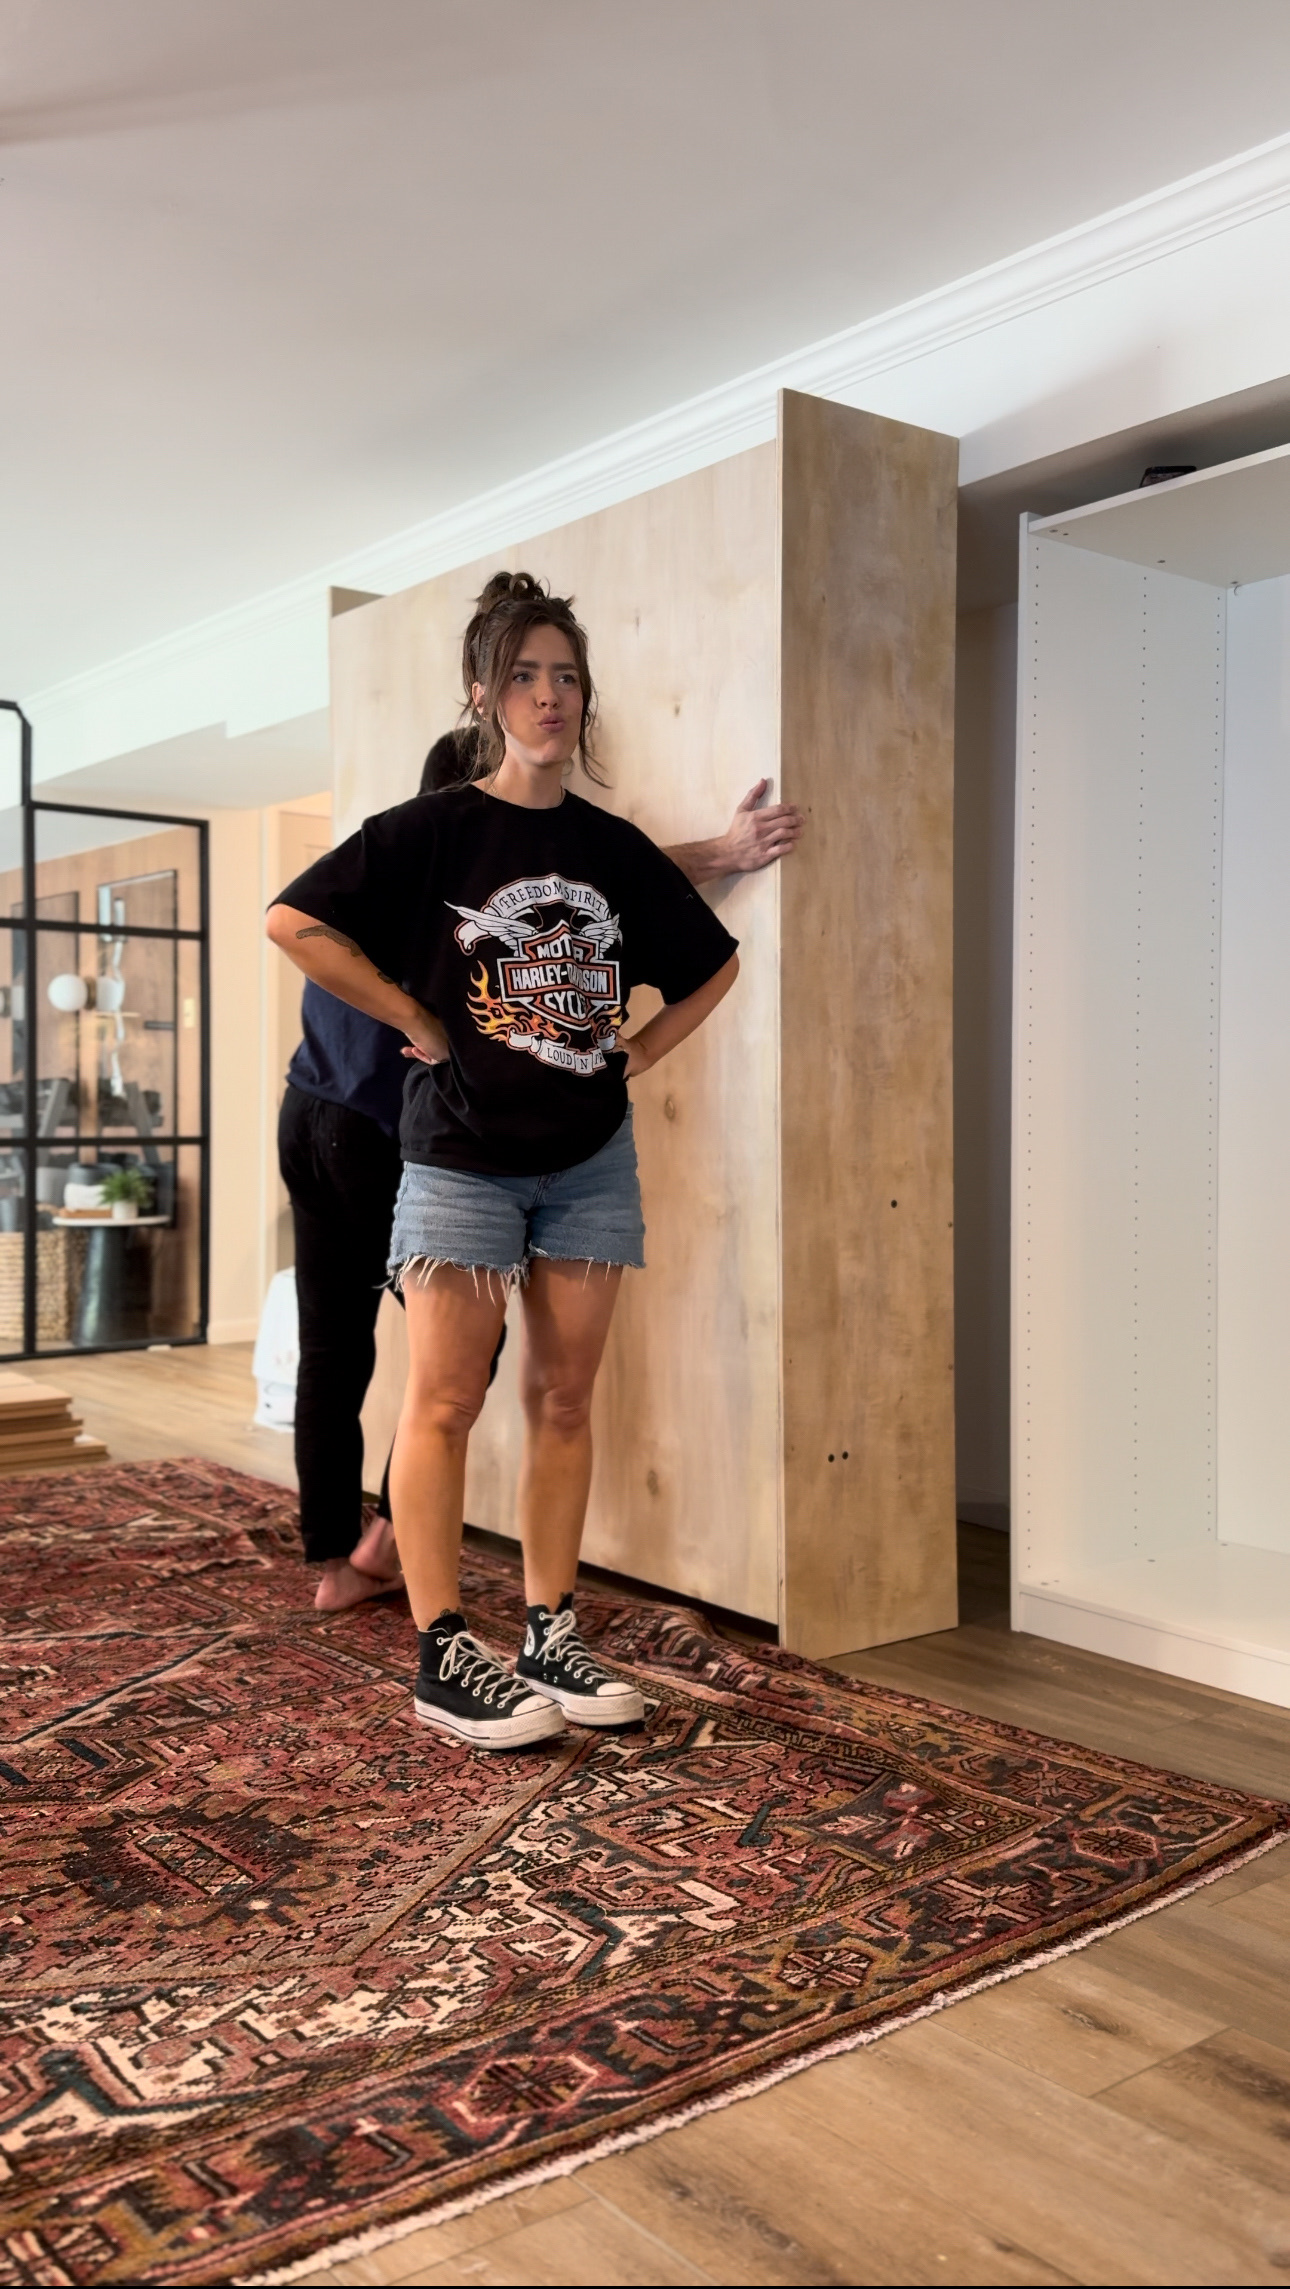
So, I cut off JUST enough off of each end of the cabinet sides to make the cabinet 3-5 inches shorter. Then I reassembled it and crossed my fingers.

I’m SO RELIEVED. It worked! I will have to change my game plan a bit, but for now I was just so glad it fit!
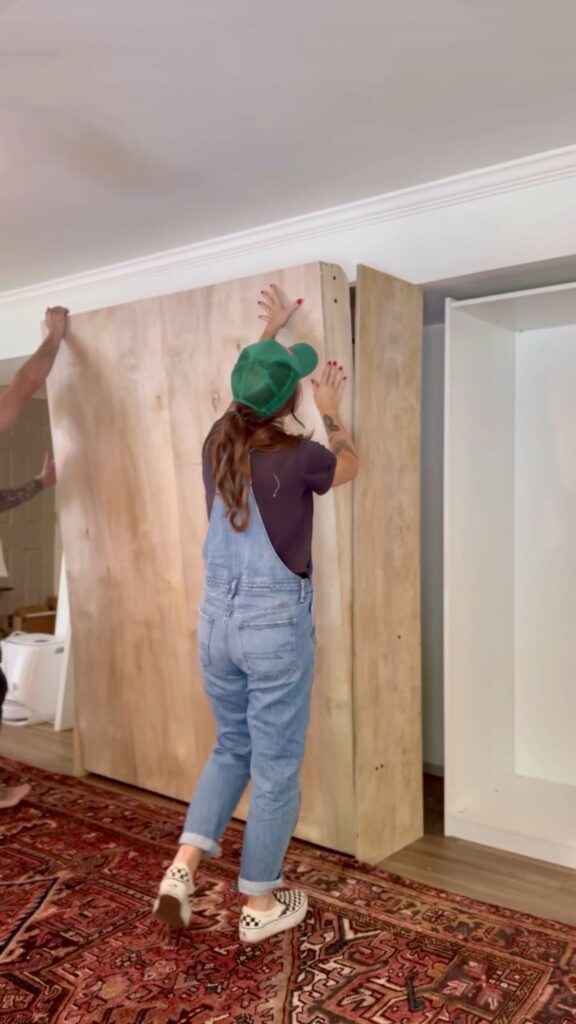
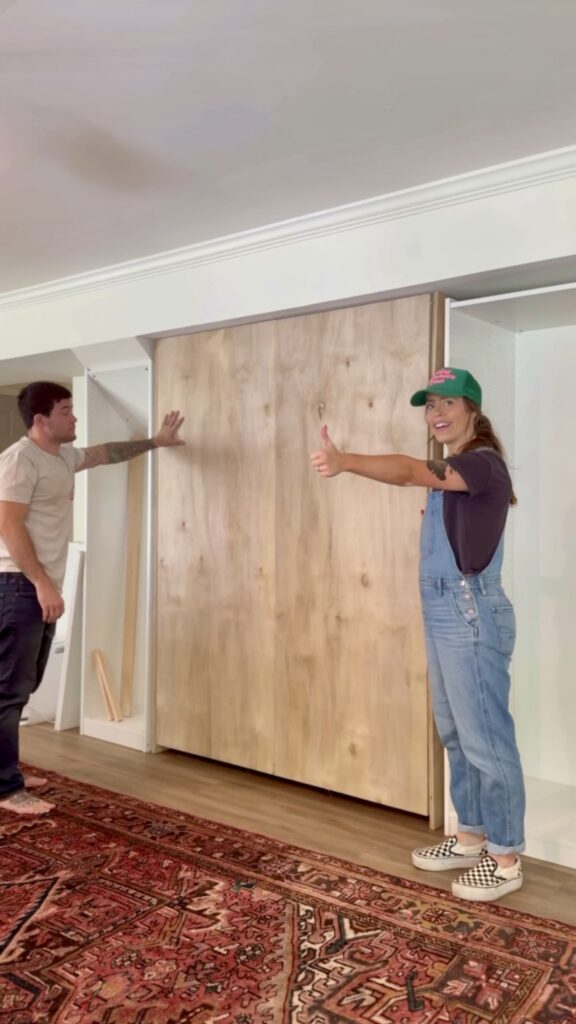
When I mounted the bed, I mounted it to the cabinets and the ceiling as opposed to the wall. I did this so the murphy bed would be in line with the rest of the cabinets. I decided to add plywood to the open area so it looked more cohesive.
It took about 3 days to make all these cuts and assemble this bed. After overcoming one huge obstacle, we had a functioning murphy bed! I can’t wait to start making this wall of custom built-ins beautiful!
Here’s everything I wore this week working on this DIY Murphy Bed:


Never GIVE UP, NEVER, EVER…… give into something that is , that will soon be something that counts. . ……..All My LOVE fOR YOU could fill up all the gas station’s in Burrilliville and then some!!!! Oh yes, what is your number? Cucumber🥒, are you still here, among The Living? Yes, and not for honey 🐝 either!!