DIY Bookshelf

This week, the goal is to finish the entire nursery makeover! Last week, I hung all the art and it really brings the room together! You can read about it here. This week, I want to make a DIY Bookshelf!
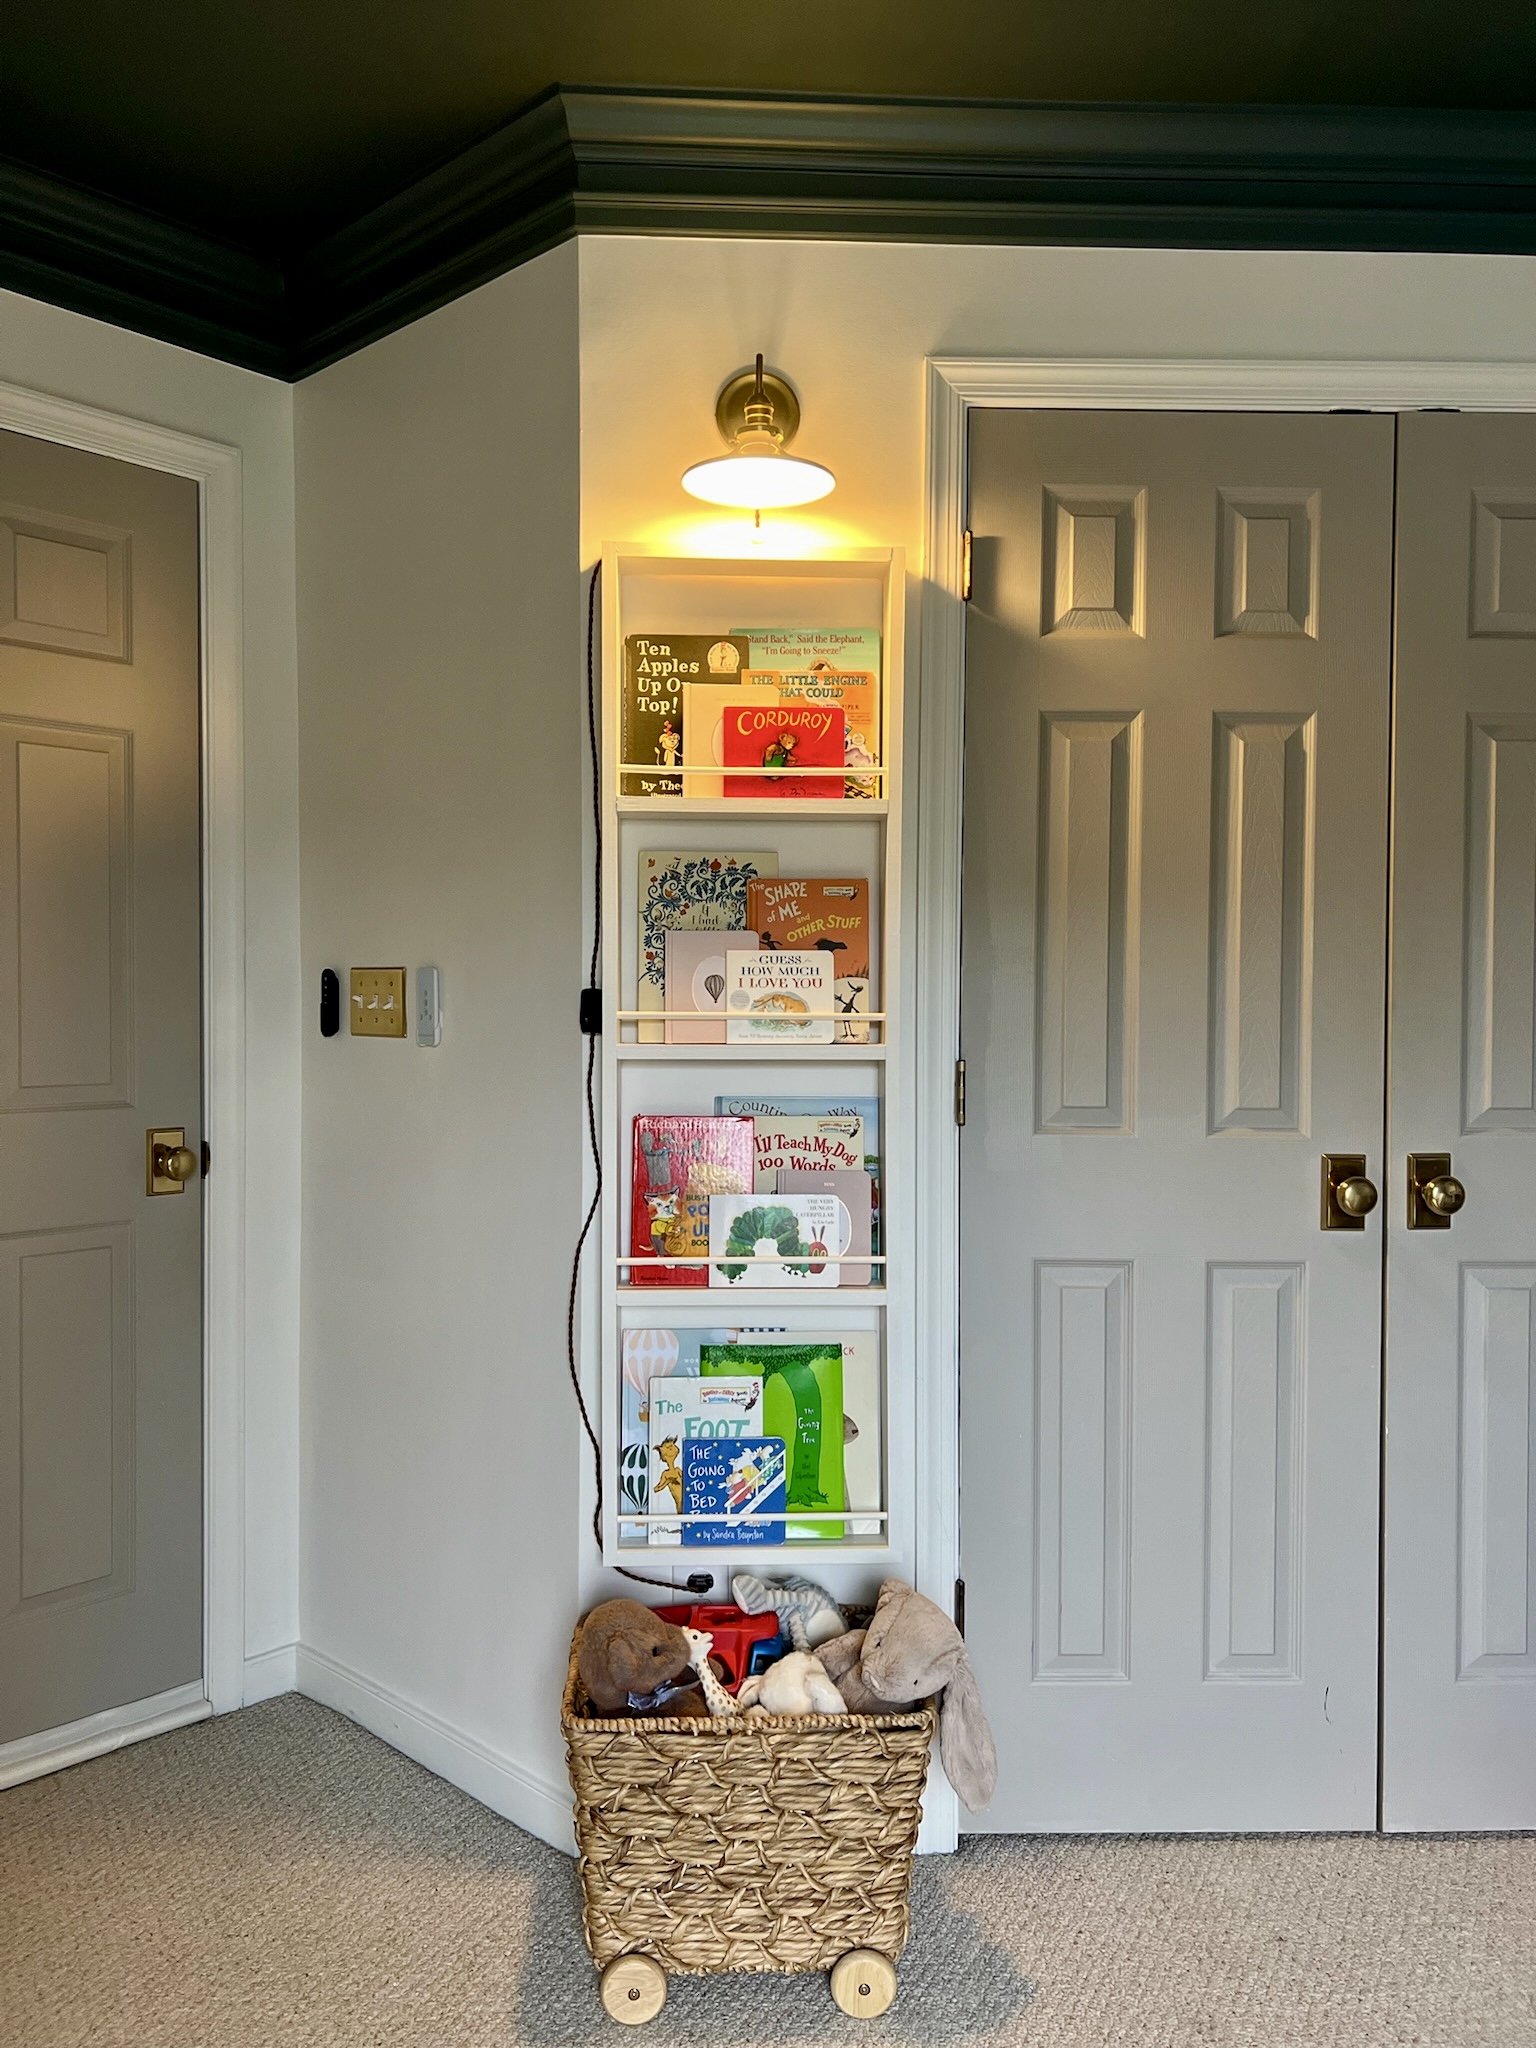
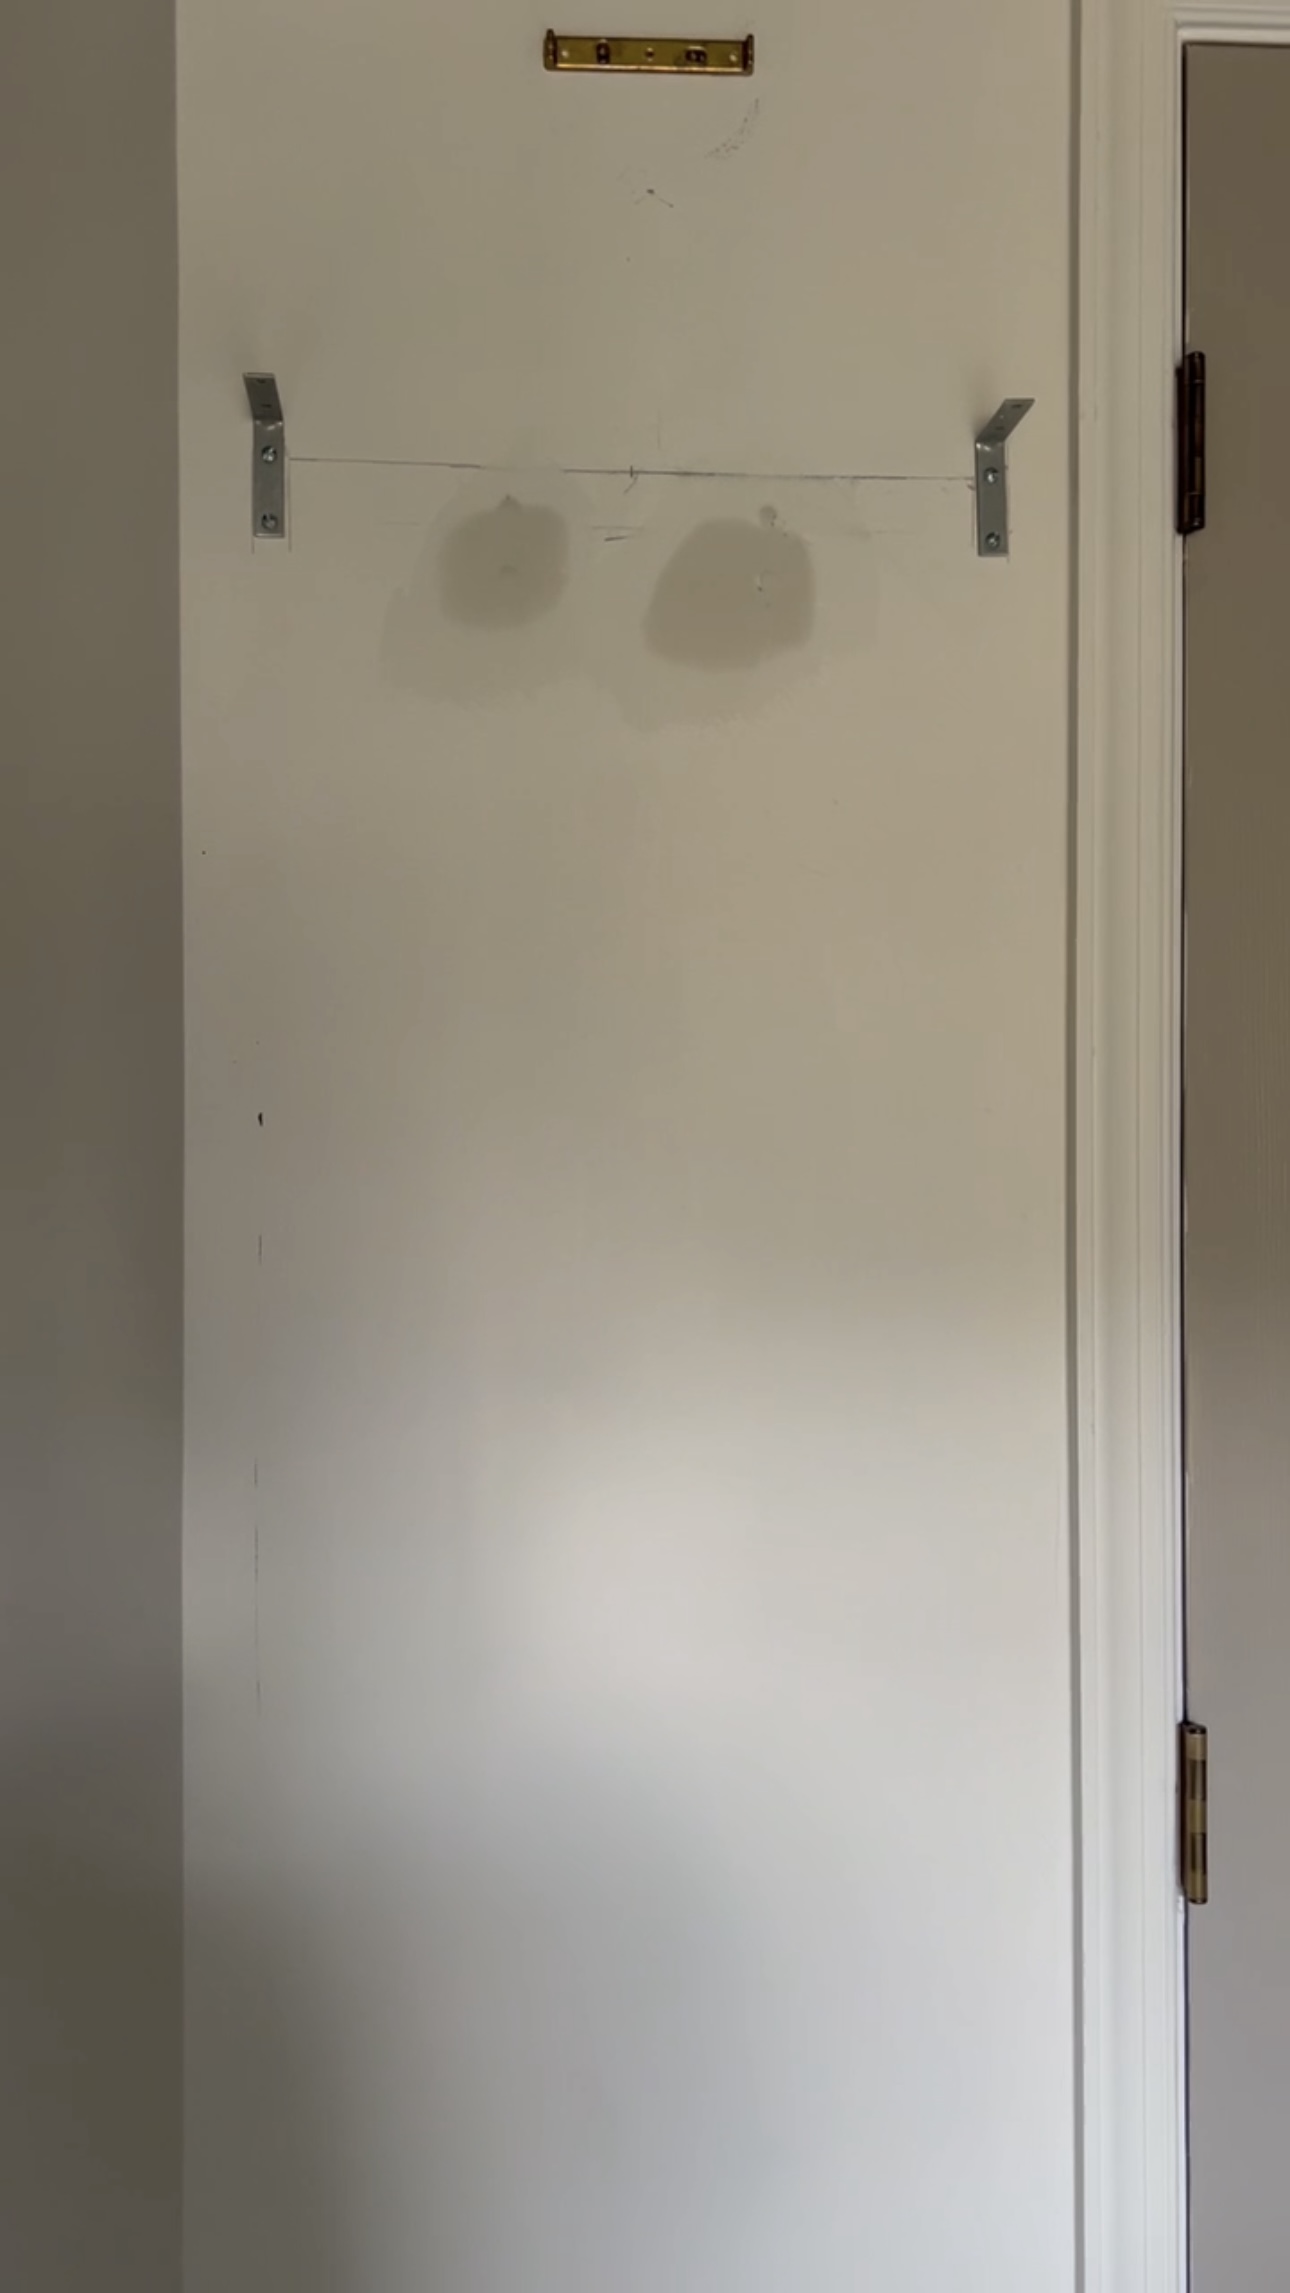
I decided to put it on this little sliver of wall. This spot didn’t necessarily needed anything, but I thought it would be a really cool place to put a bookshelf.
I wanted to make a shelf where the books face outward, like this!
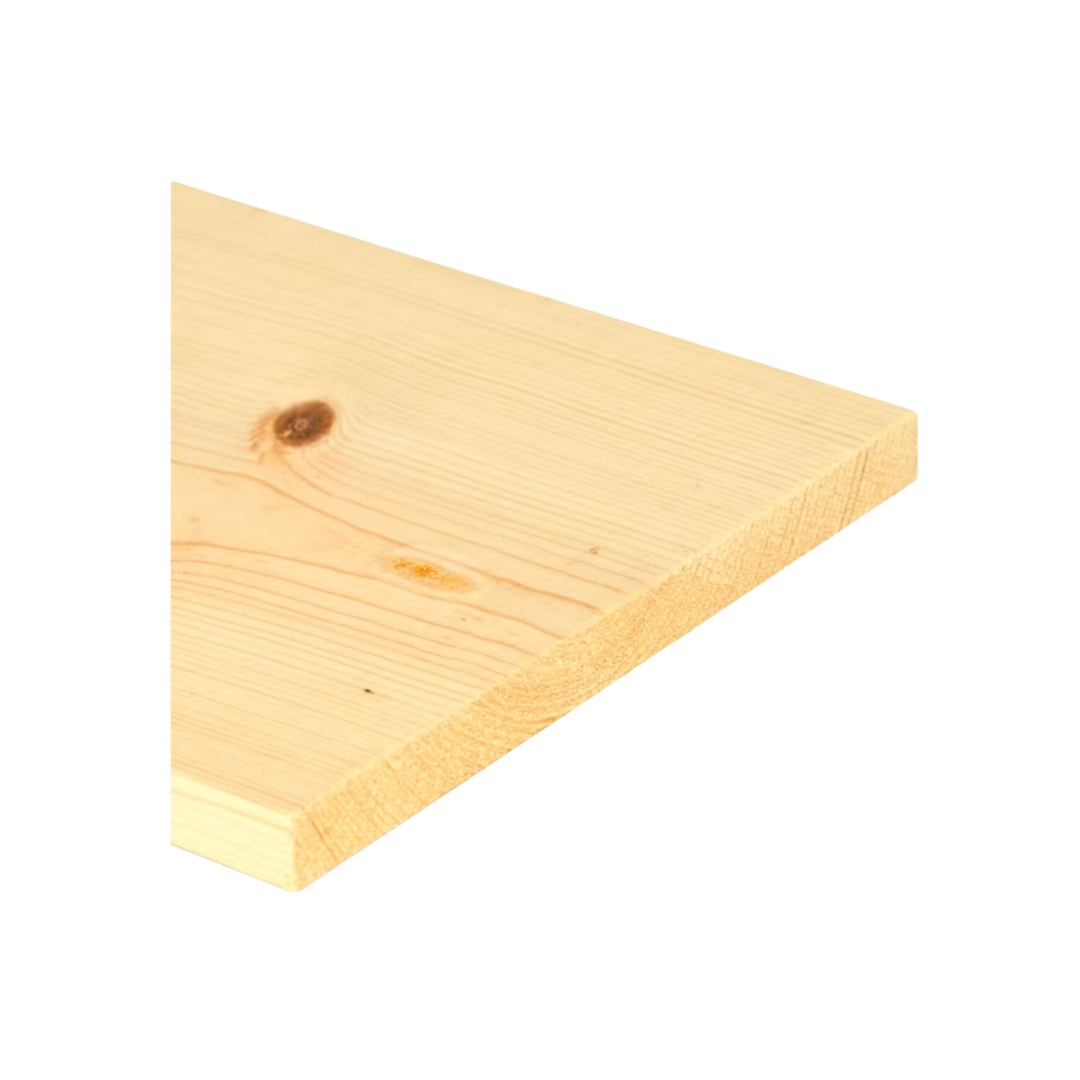
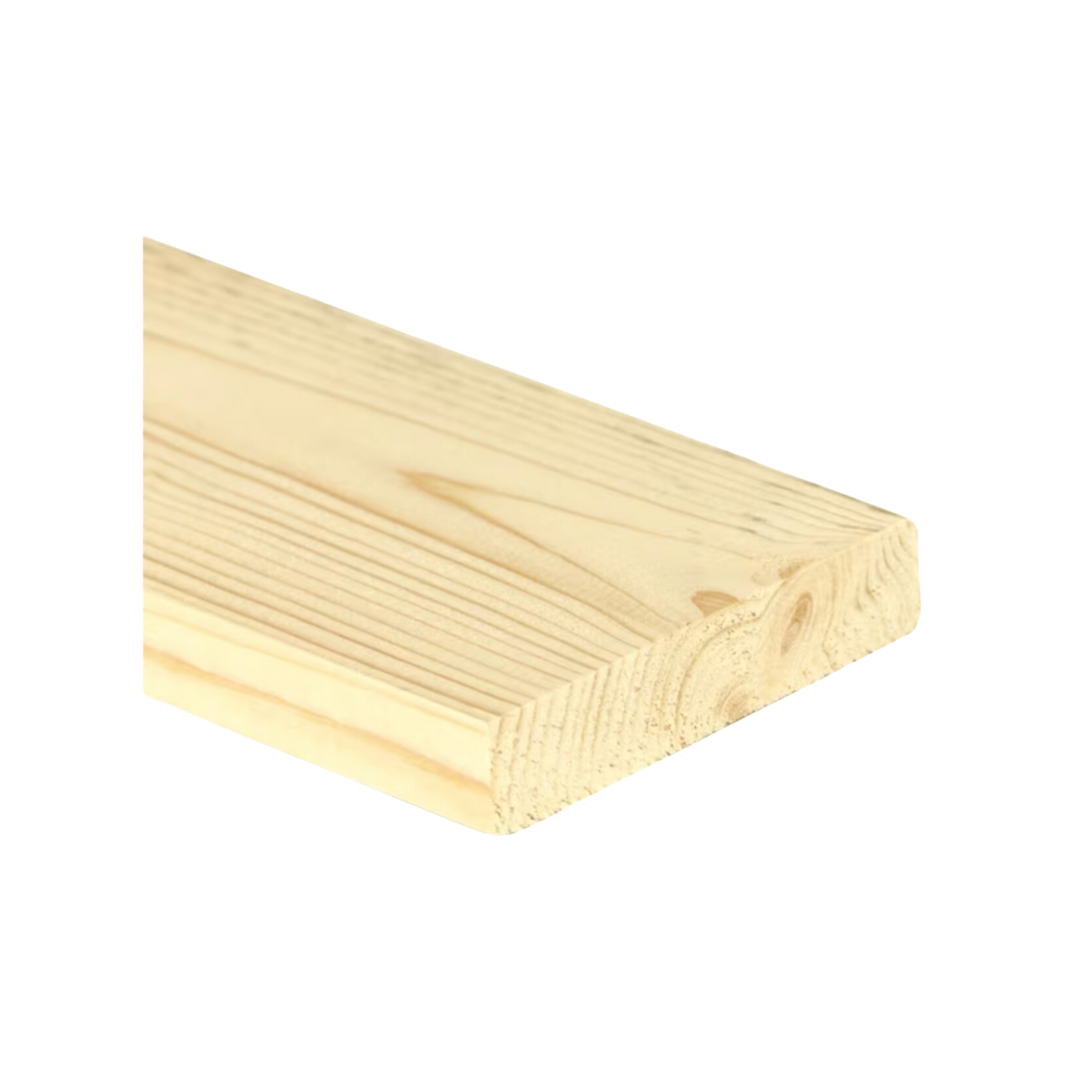
Materials

Measurements
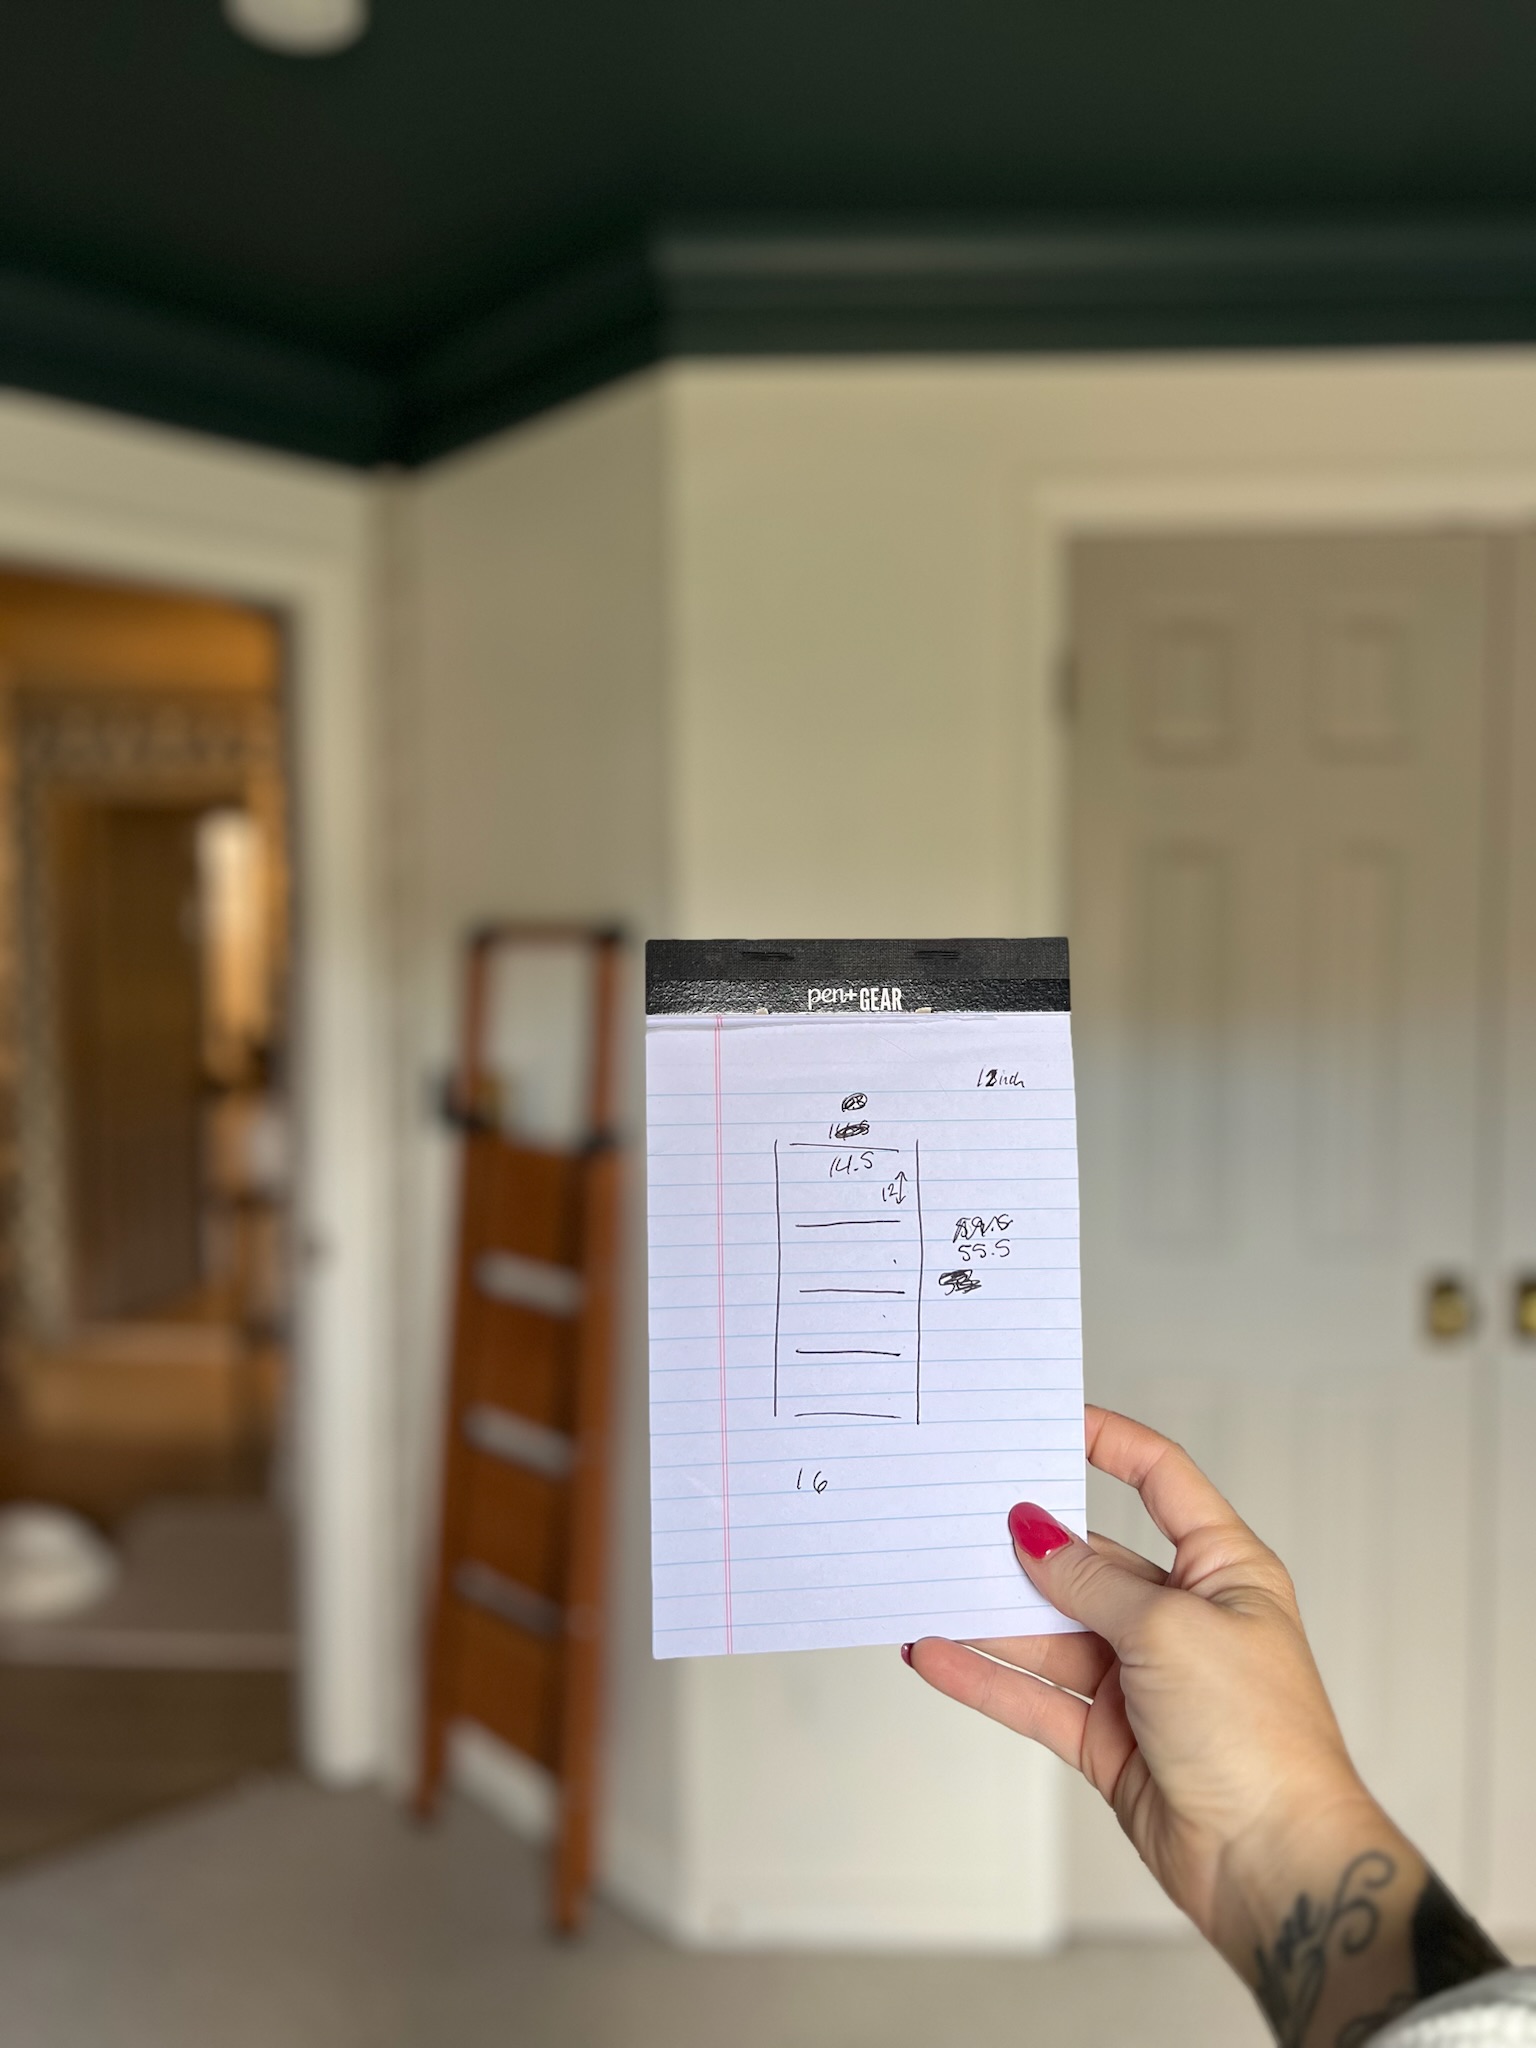
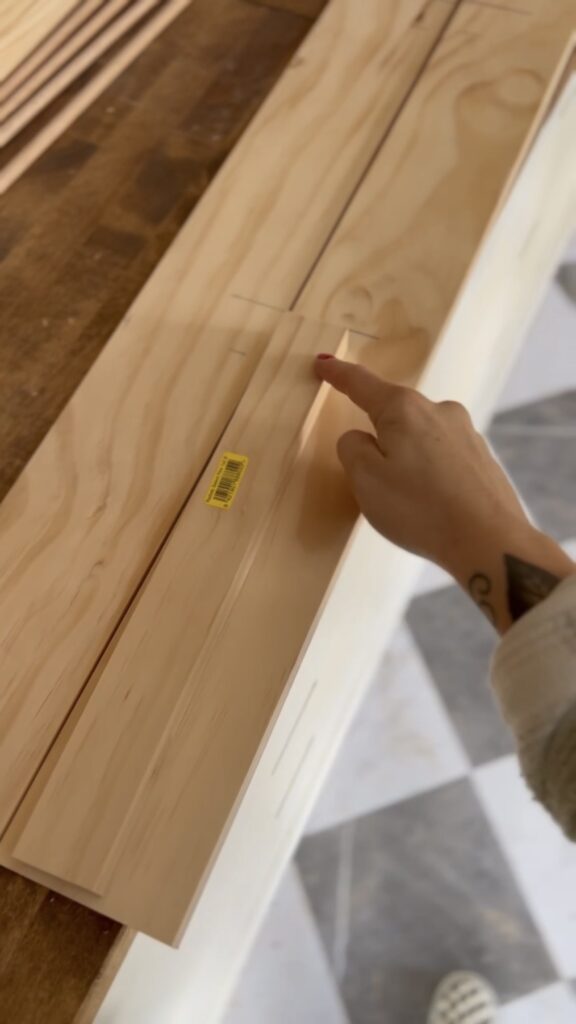
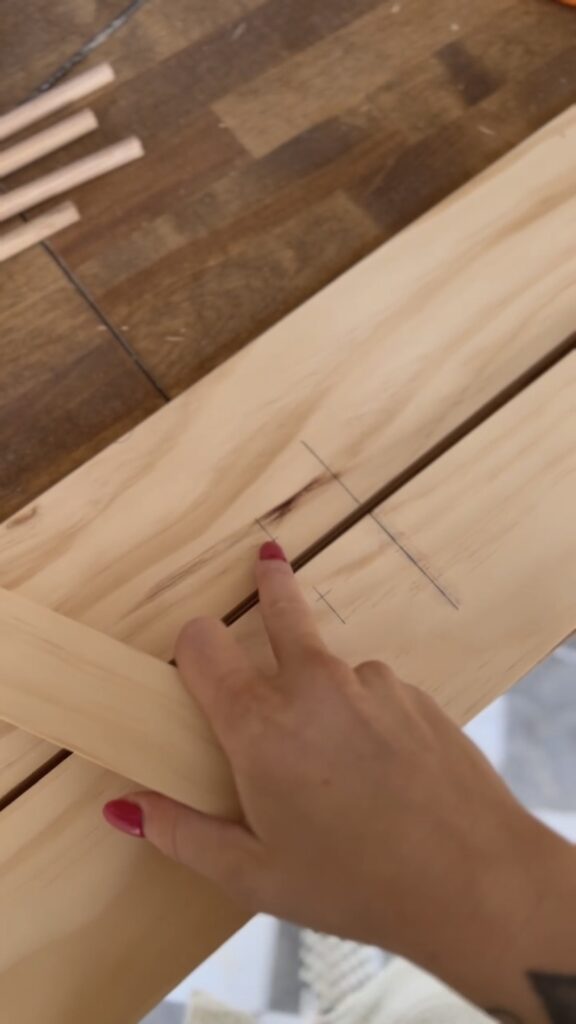
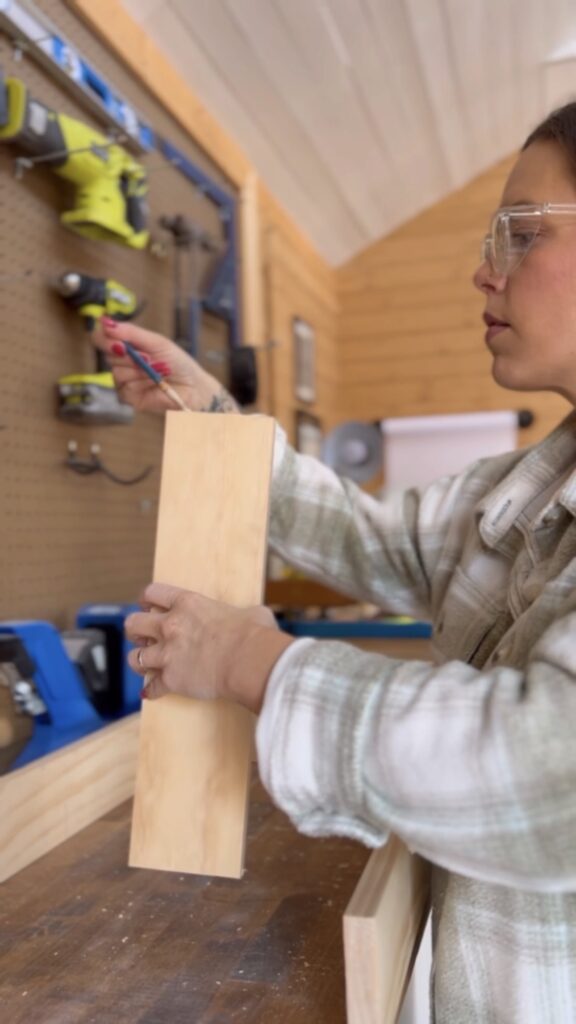
First, I made a sketch with all of my measurements.
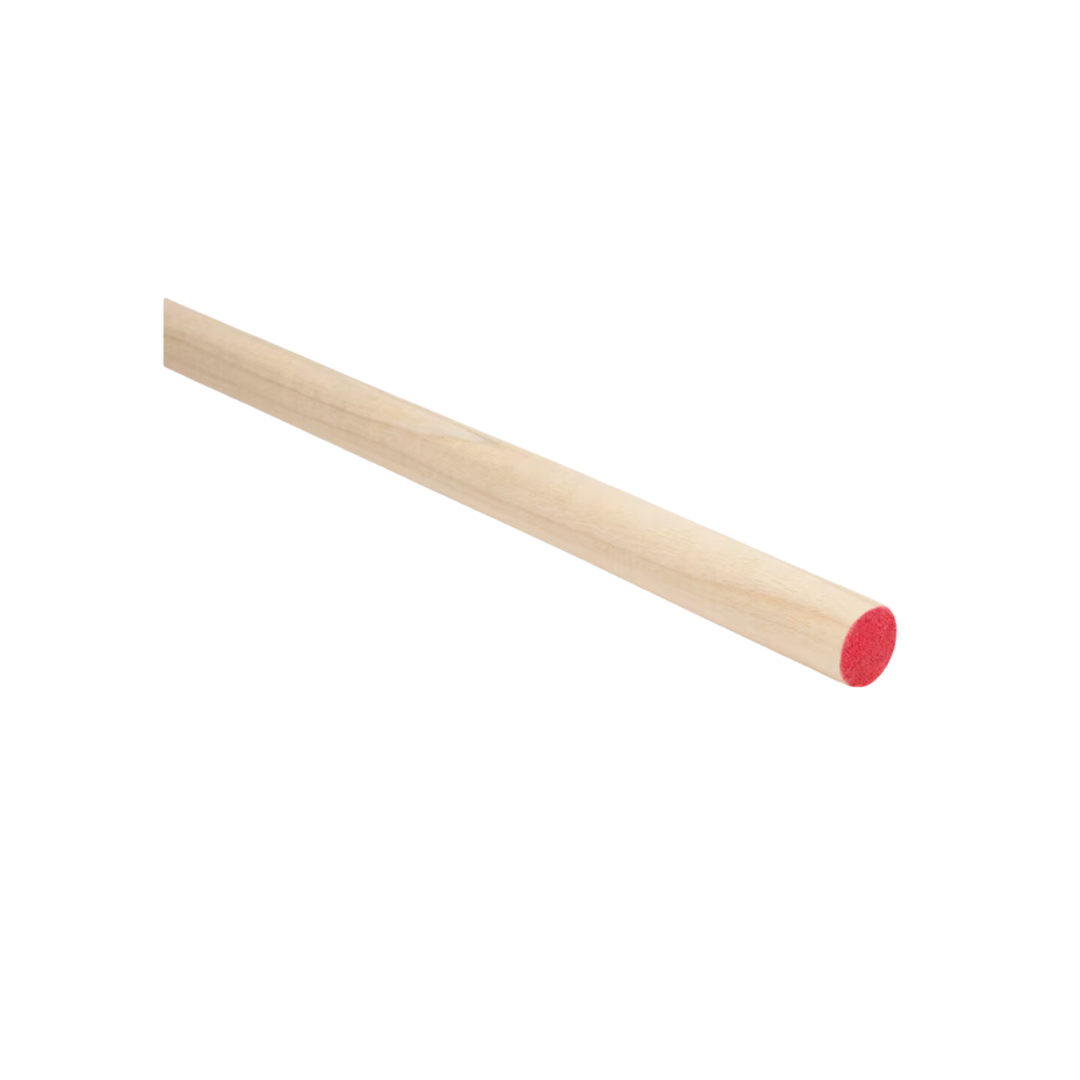
I used a scrap wood to mark where the shelves and dowels would go. The dowels add a really cute decorate element and also keep the books from falling!

Assembly
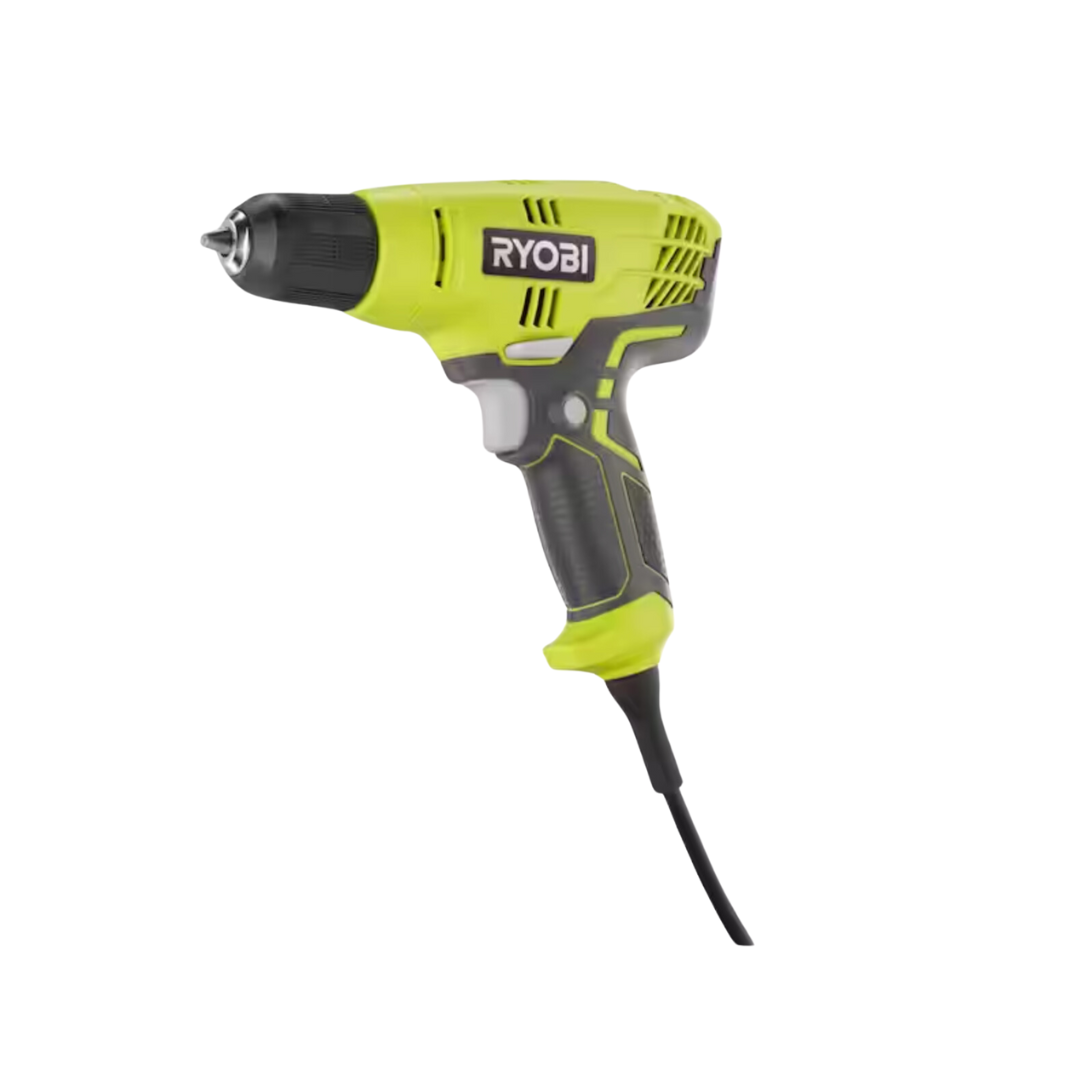
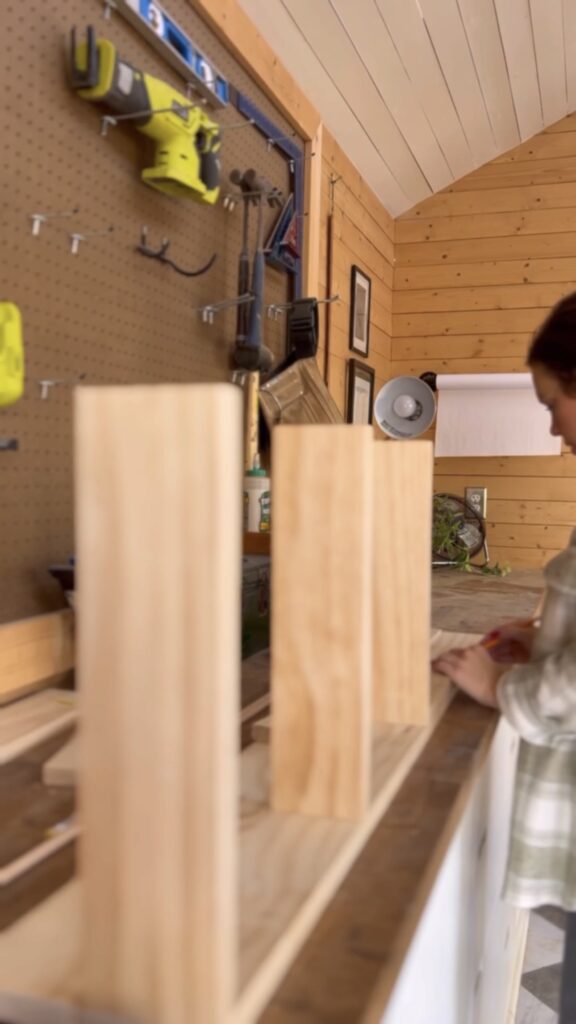
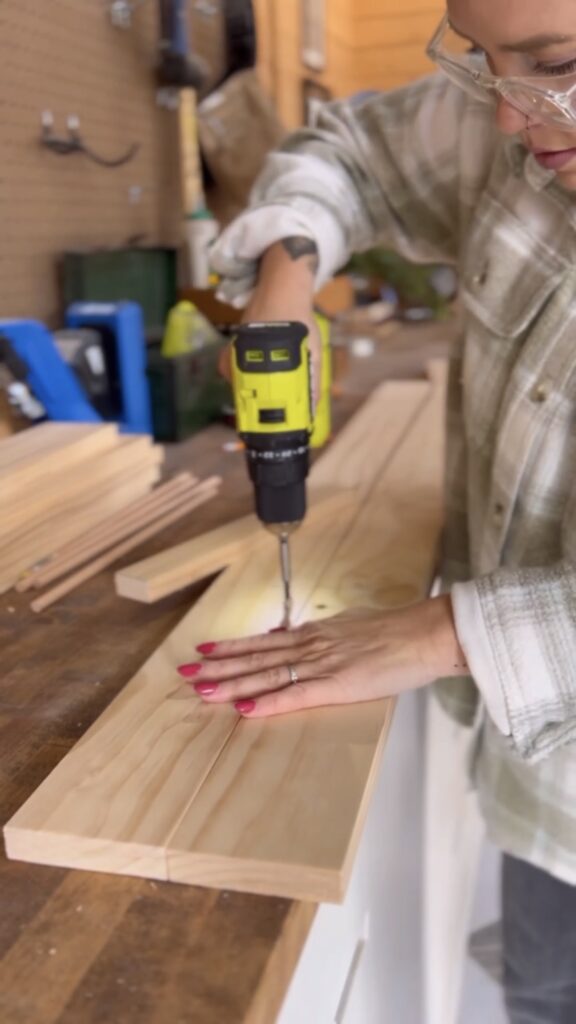
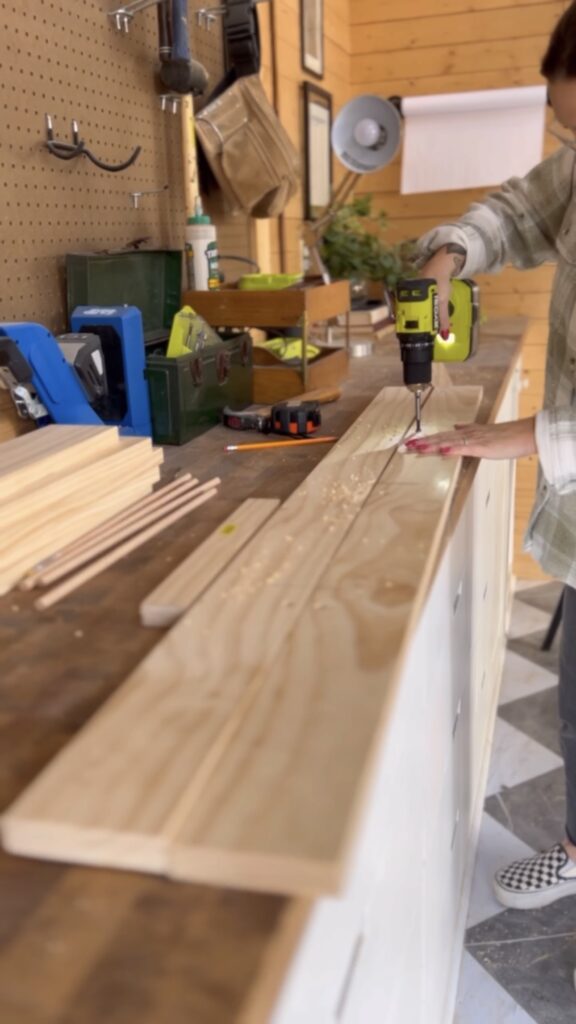
First, I used my drill and forstner bit to make the holes for the dowels! The dowels I used are 1 inch in diameter.
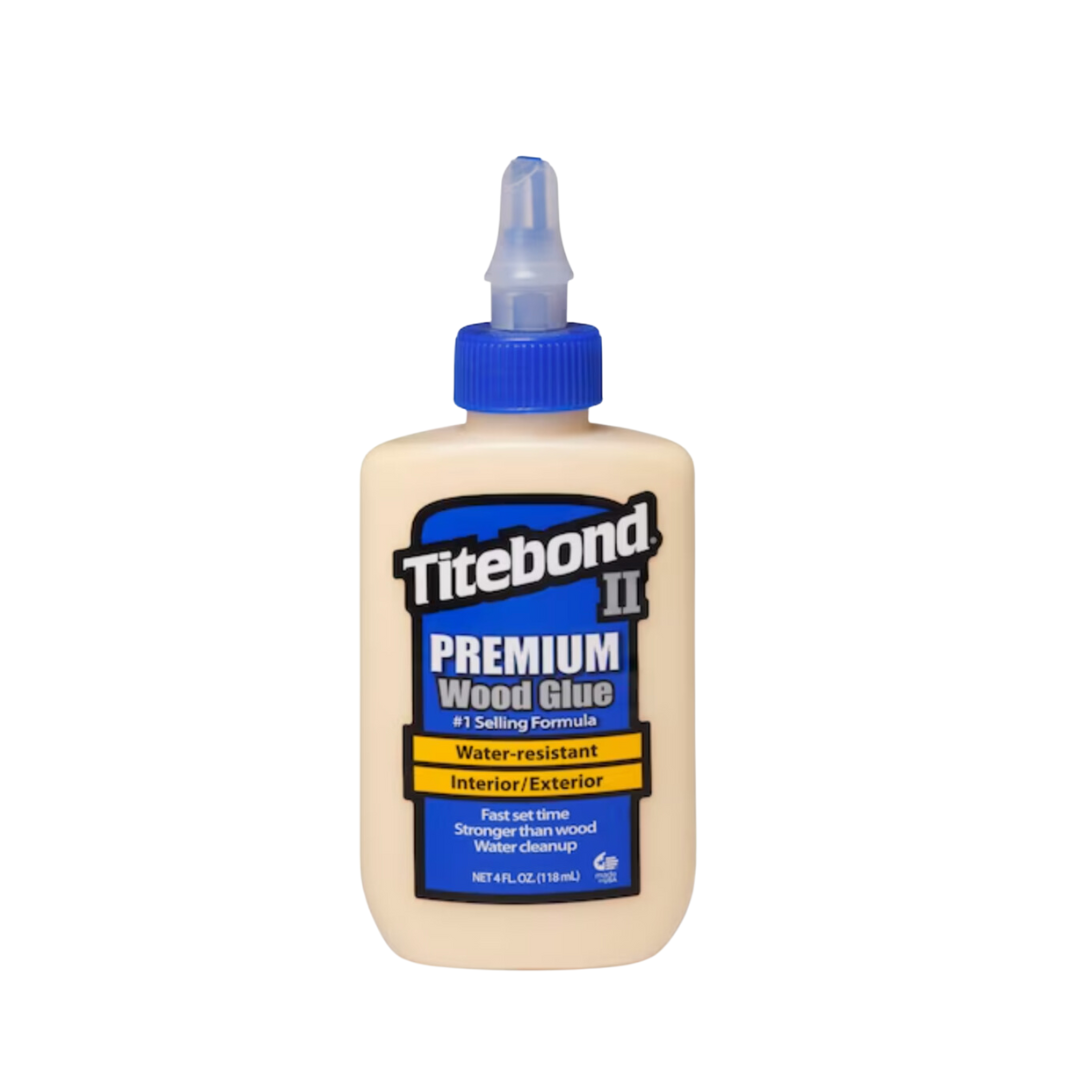
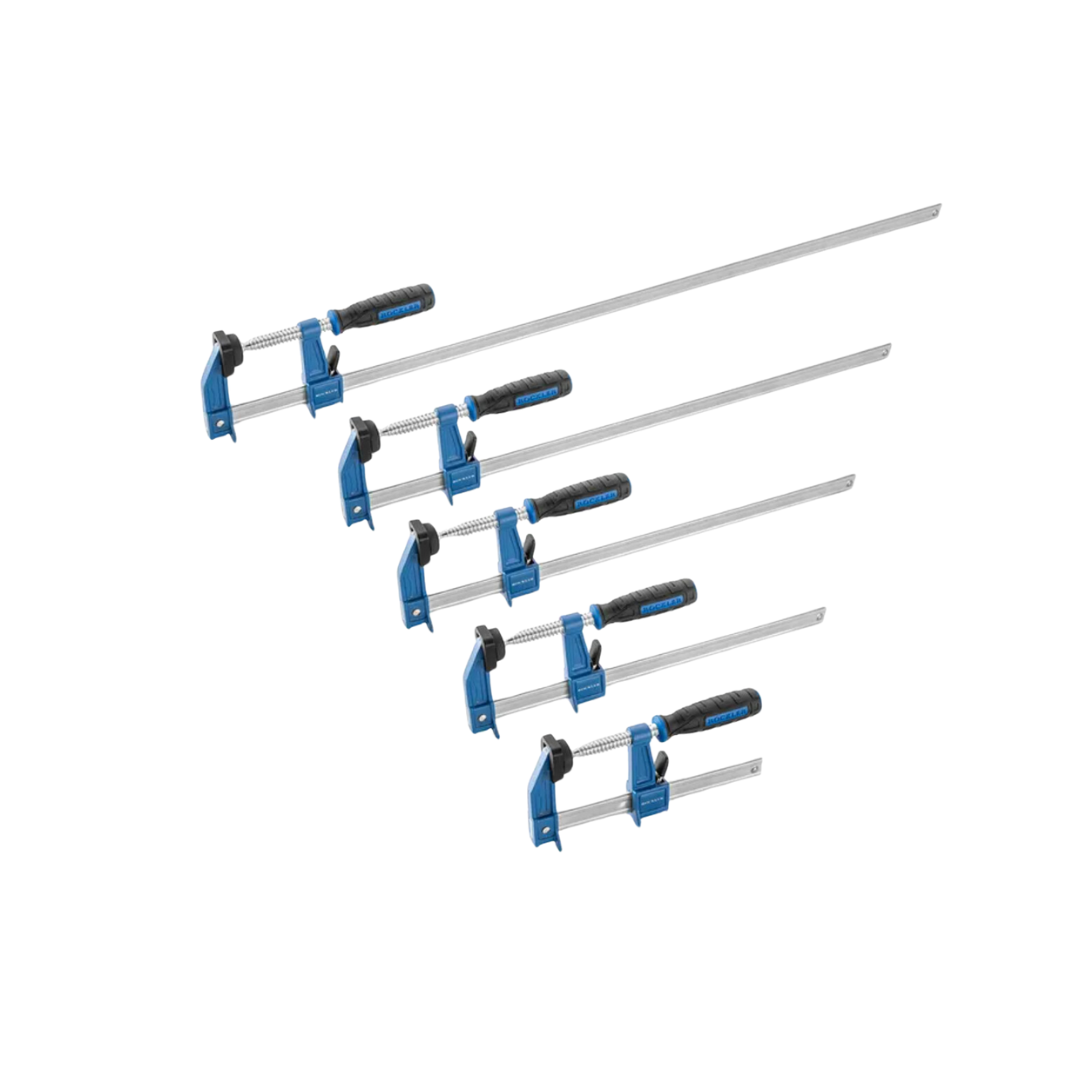
I used wood glue and clamps to place and secure the shelves. First, I added wood glue to the edges of each shelf and made sure it was lined up. Then, I added wood glue to the dowels. Wood glue is just as strong as screws, if not stronger in some instances! Since this shelf will just hold light children’s books, wood glue worked great!
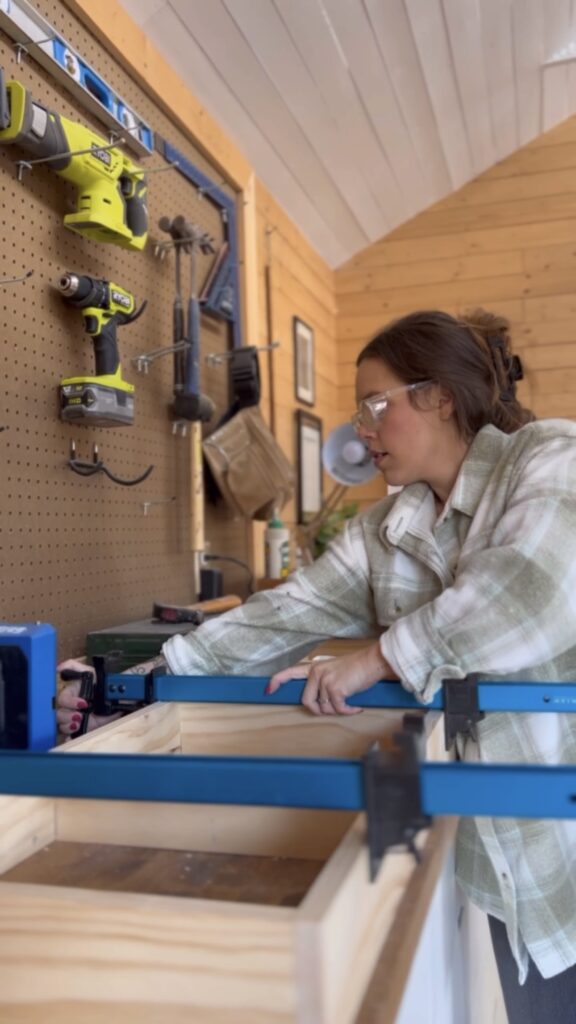
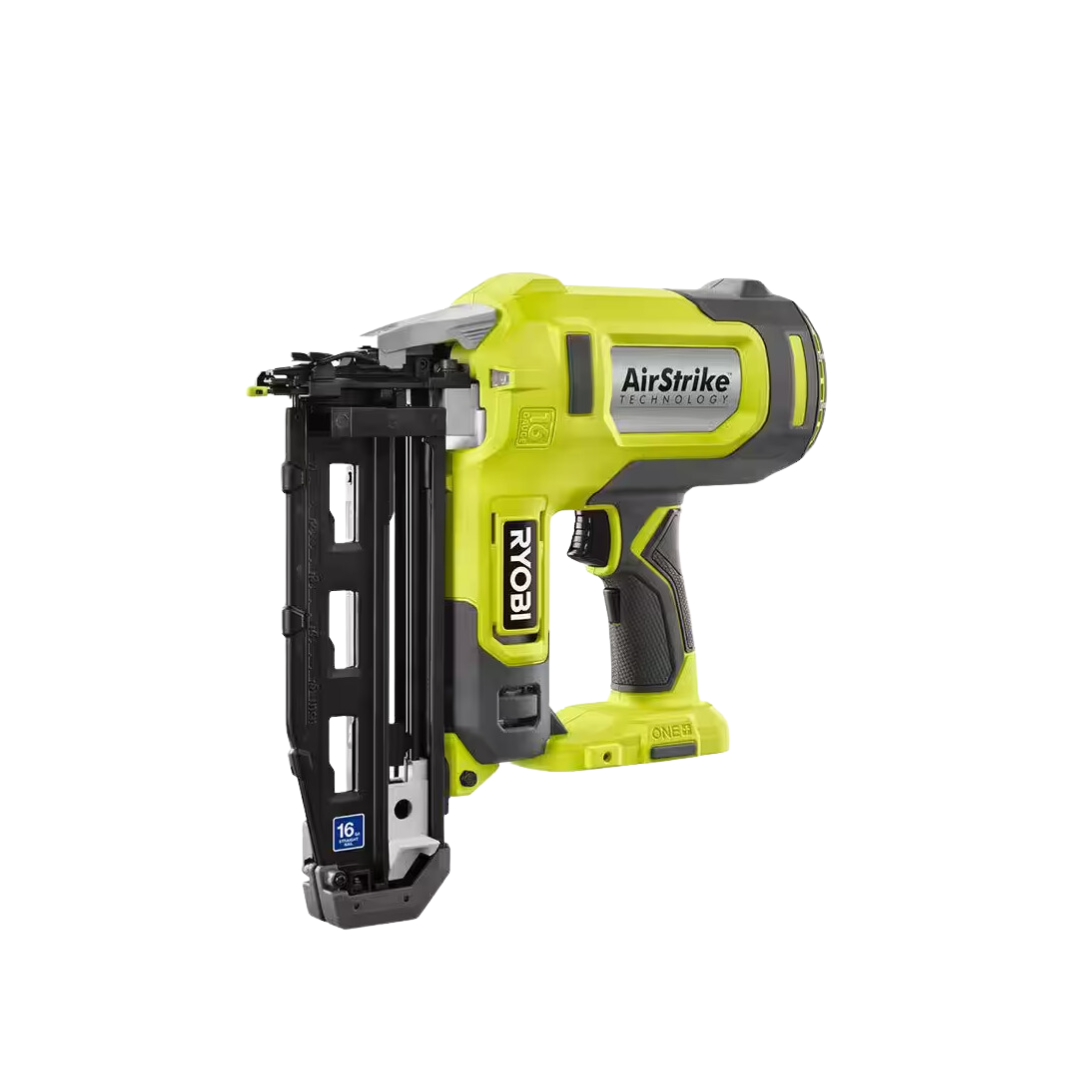
Then, I used my brad nailer to give some extra strength to the shelves.
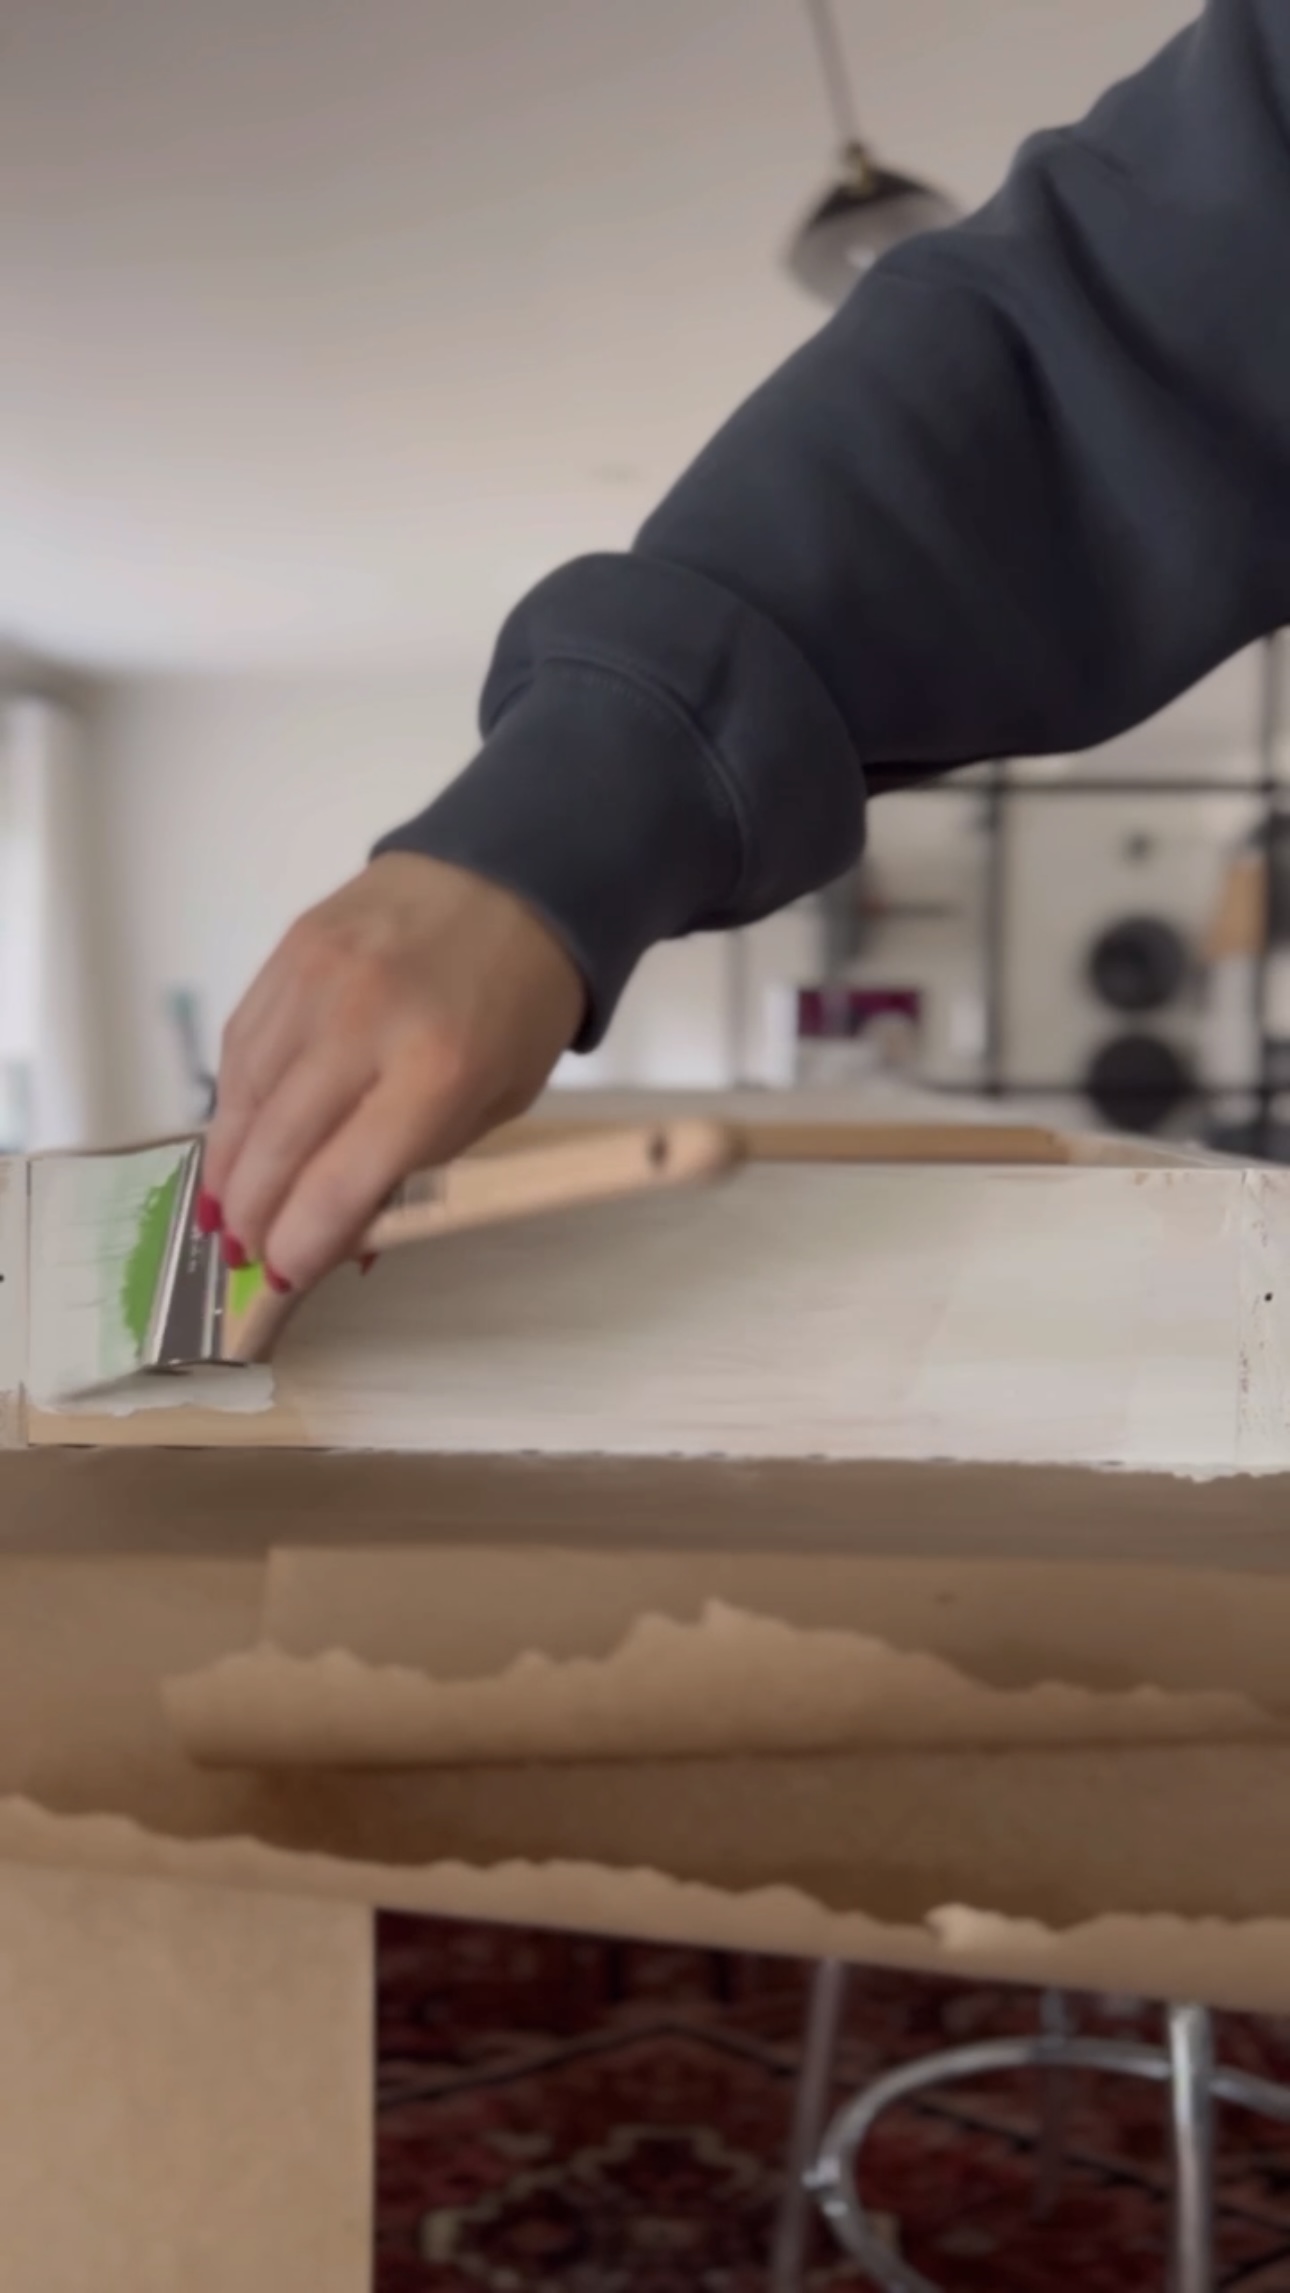
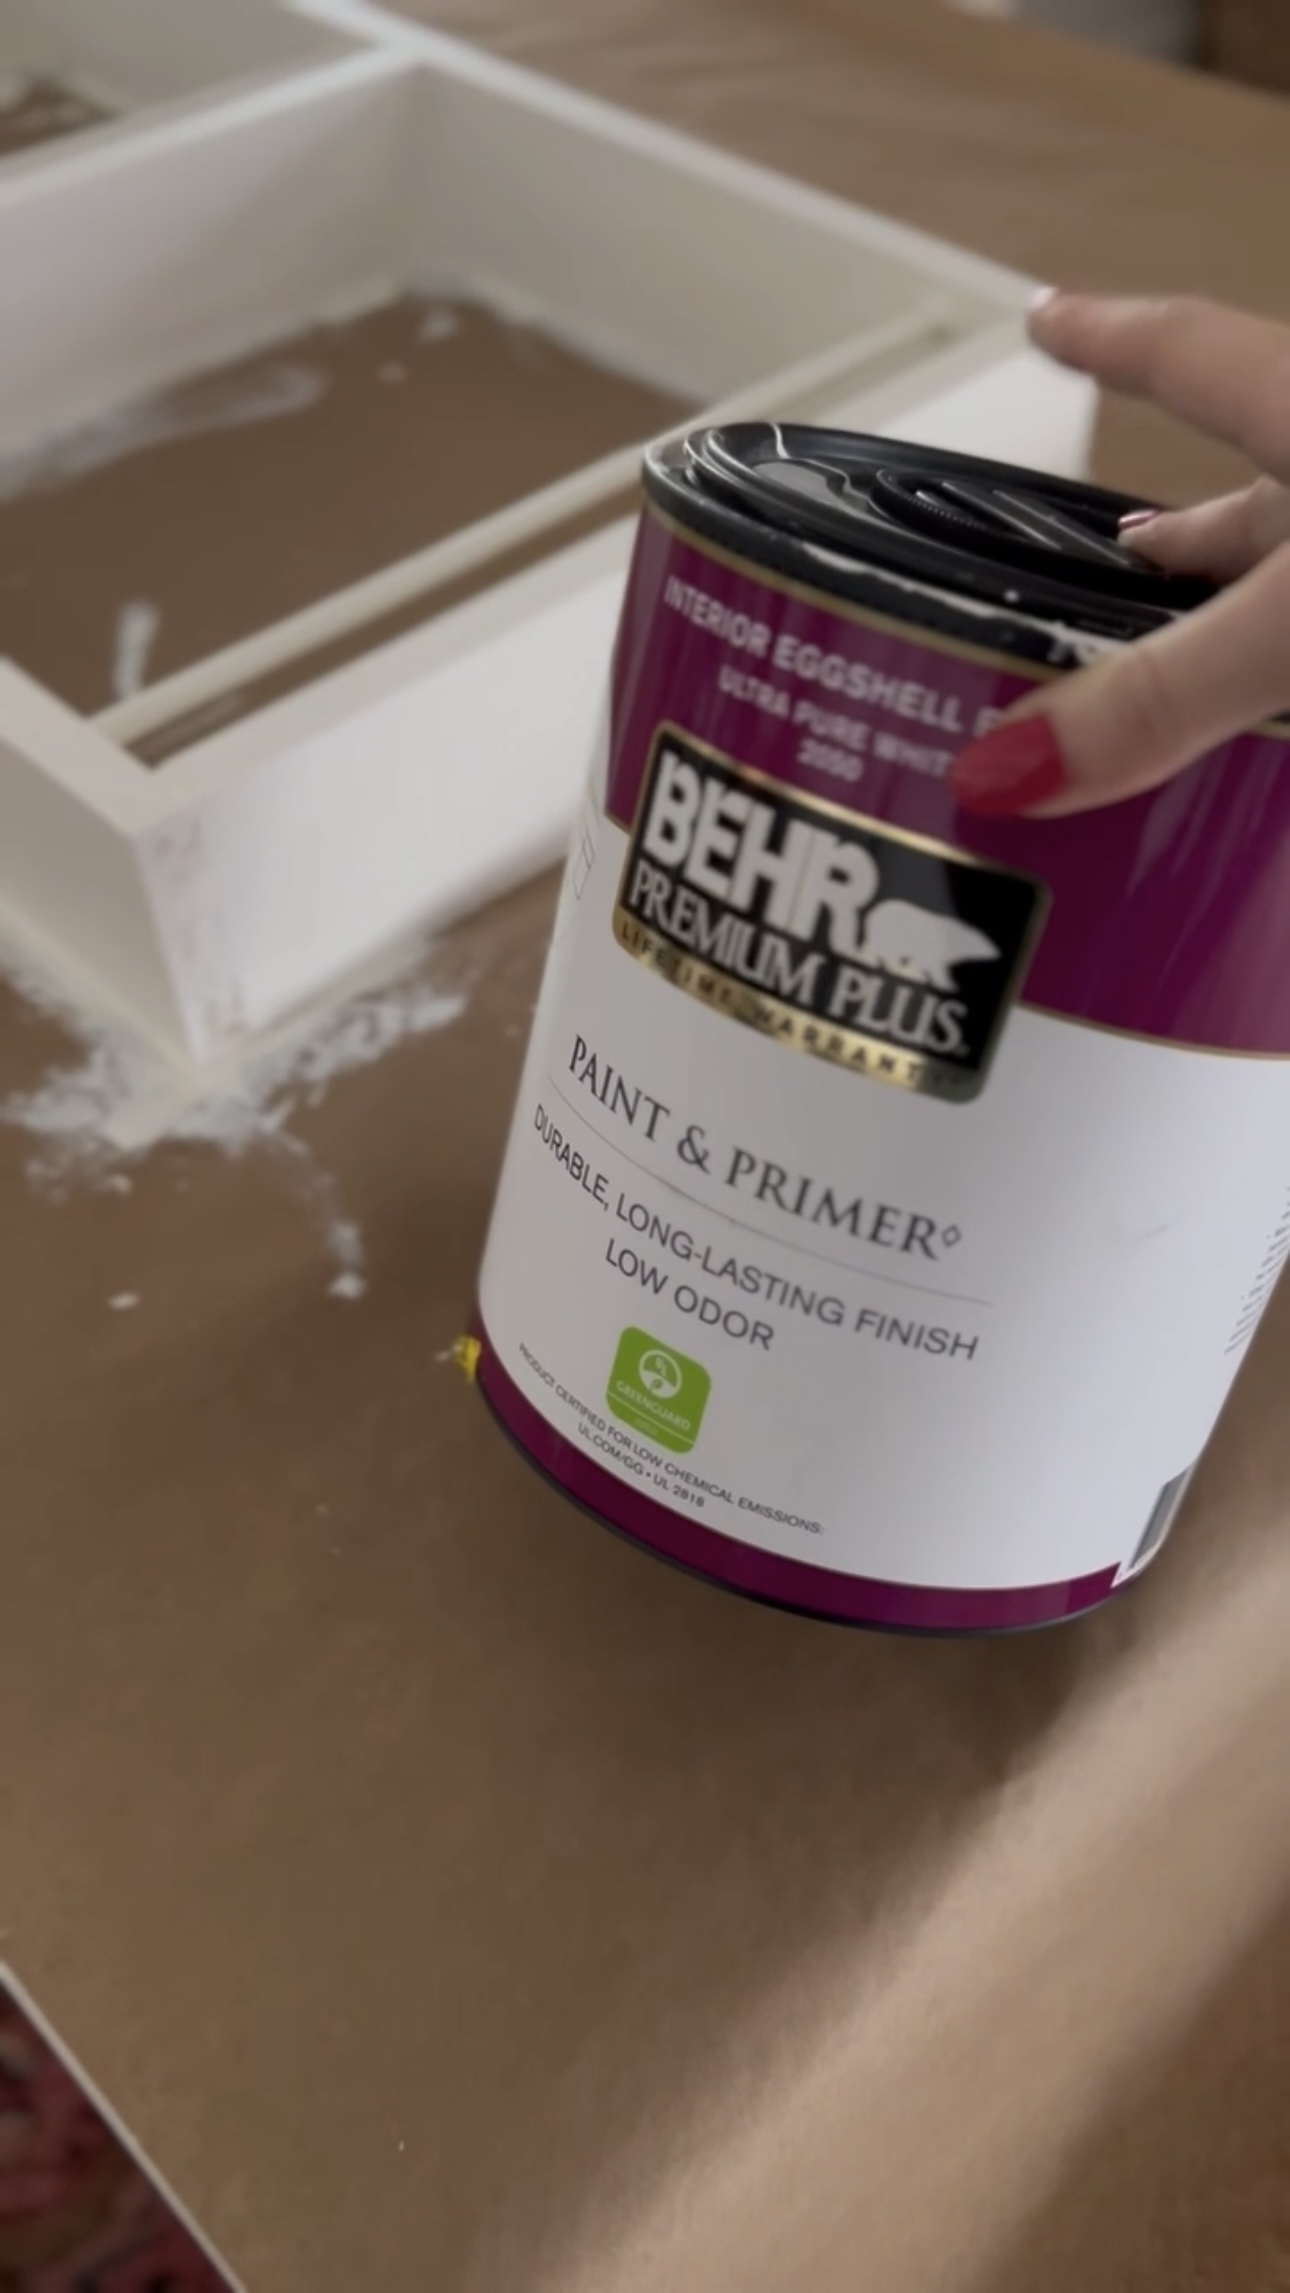
Paint
Originally, I wanted to stain this piece. But, I felt like staining it would be too dark in this space. I decided to paint it white with the leftover Swiss Coffee wall paint I had!
Installation
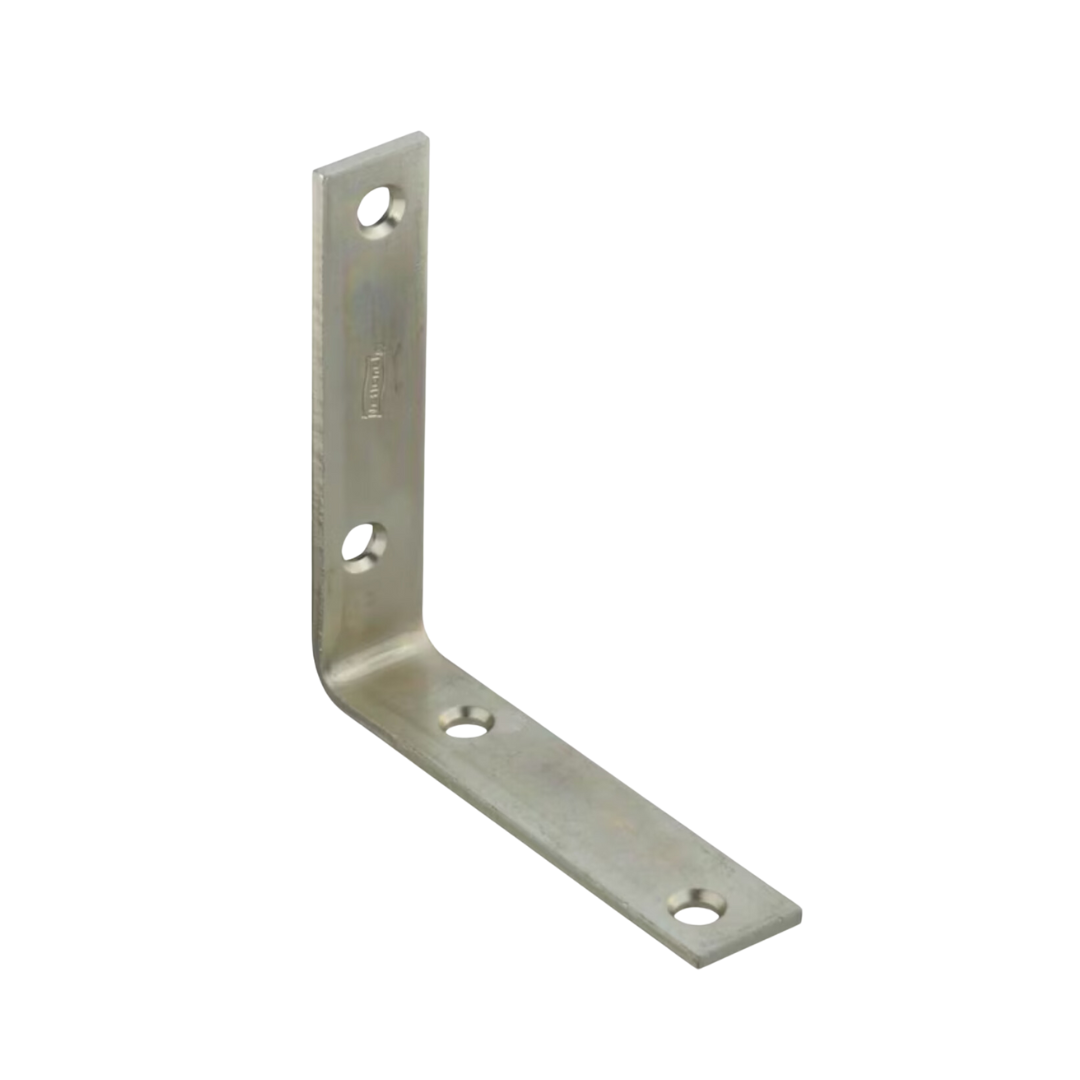
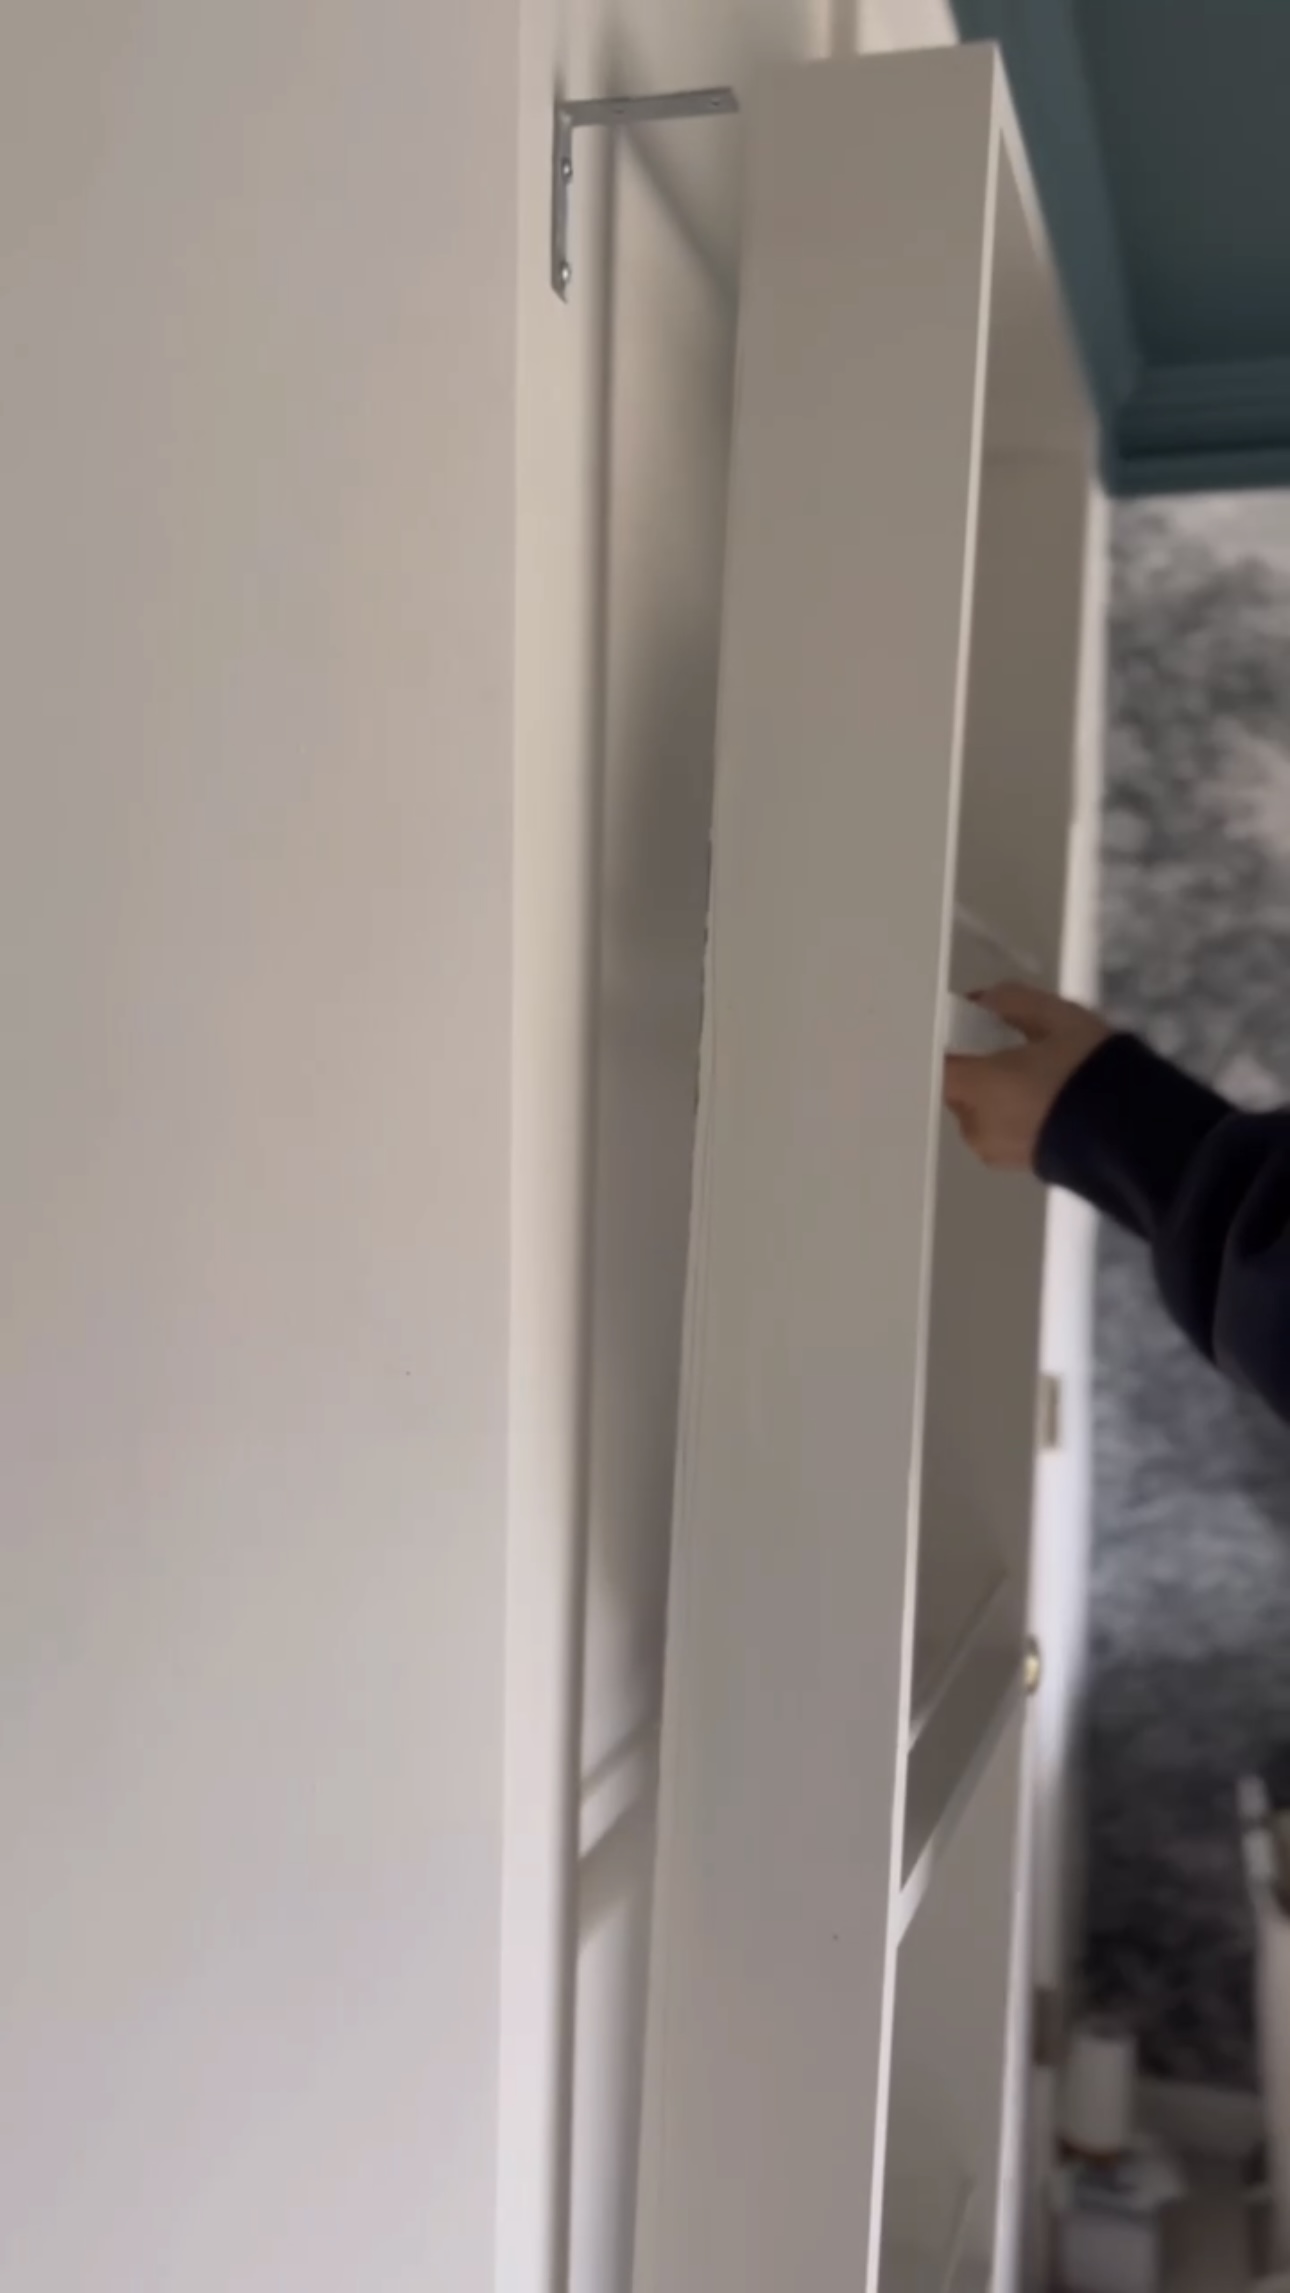
I used corner brackets to hang this bookcase. I put them on the wall, two on top and two on the bottom, so they’d be hidden behind the bookcase once it was secure!
White was definitely the move! I love how the colors of the books pop. This DIY Bookcase feels like the perfect addition to August’s Nursery!
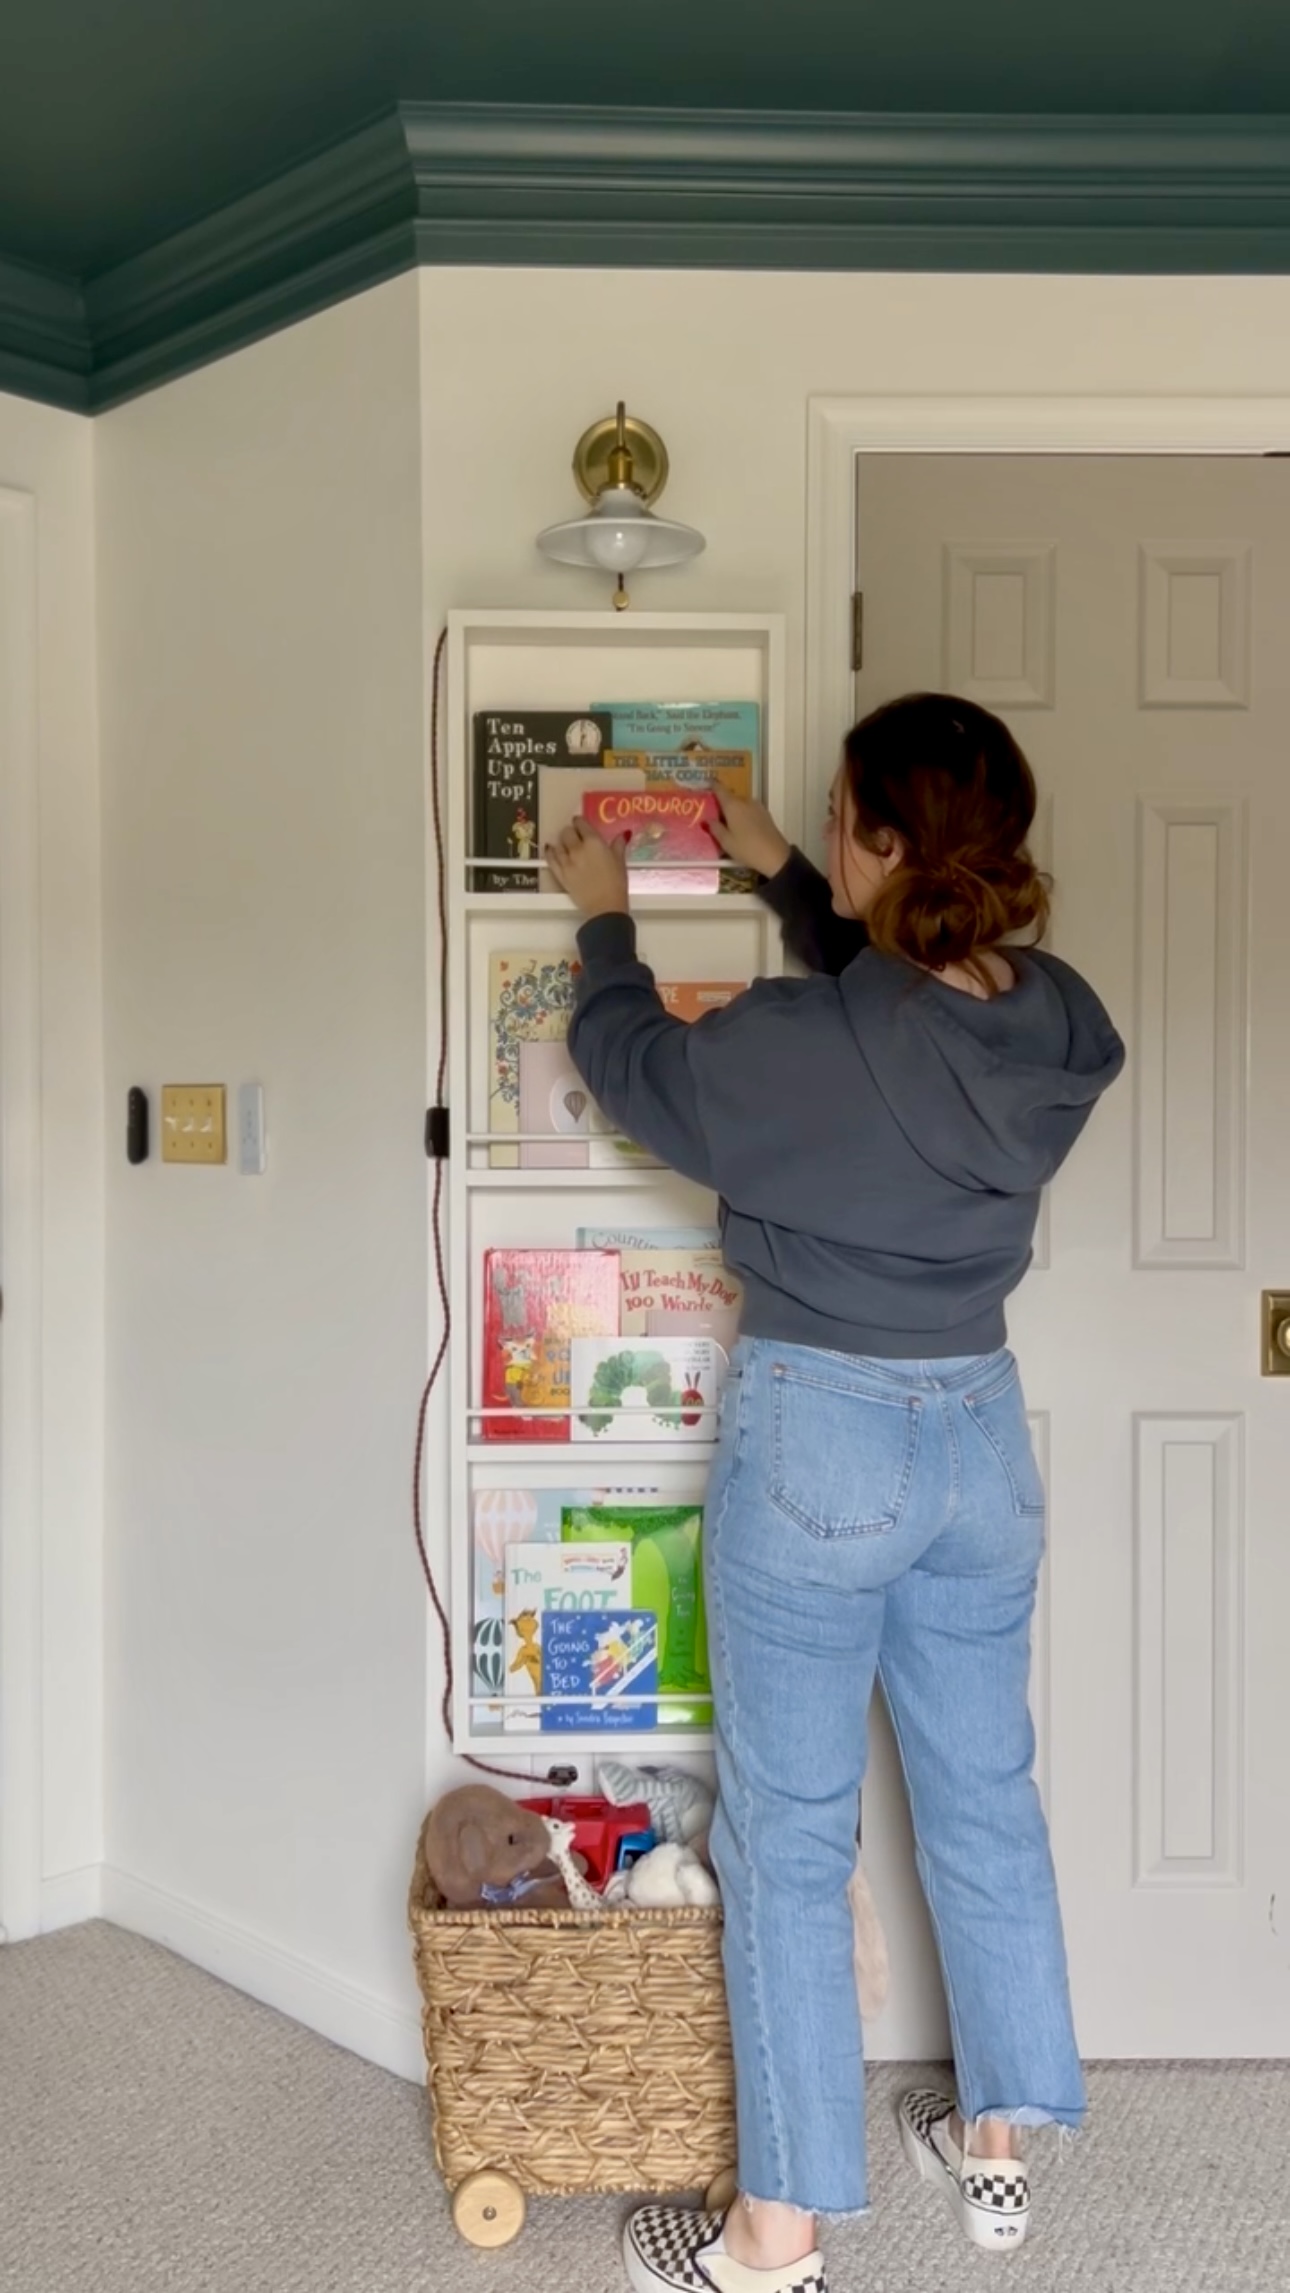
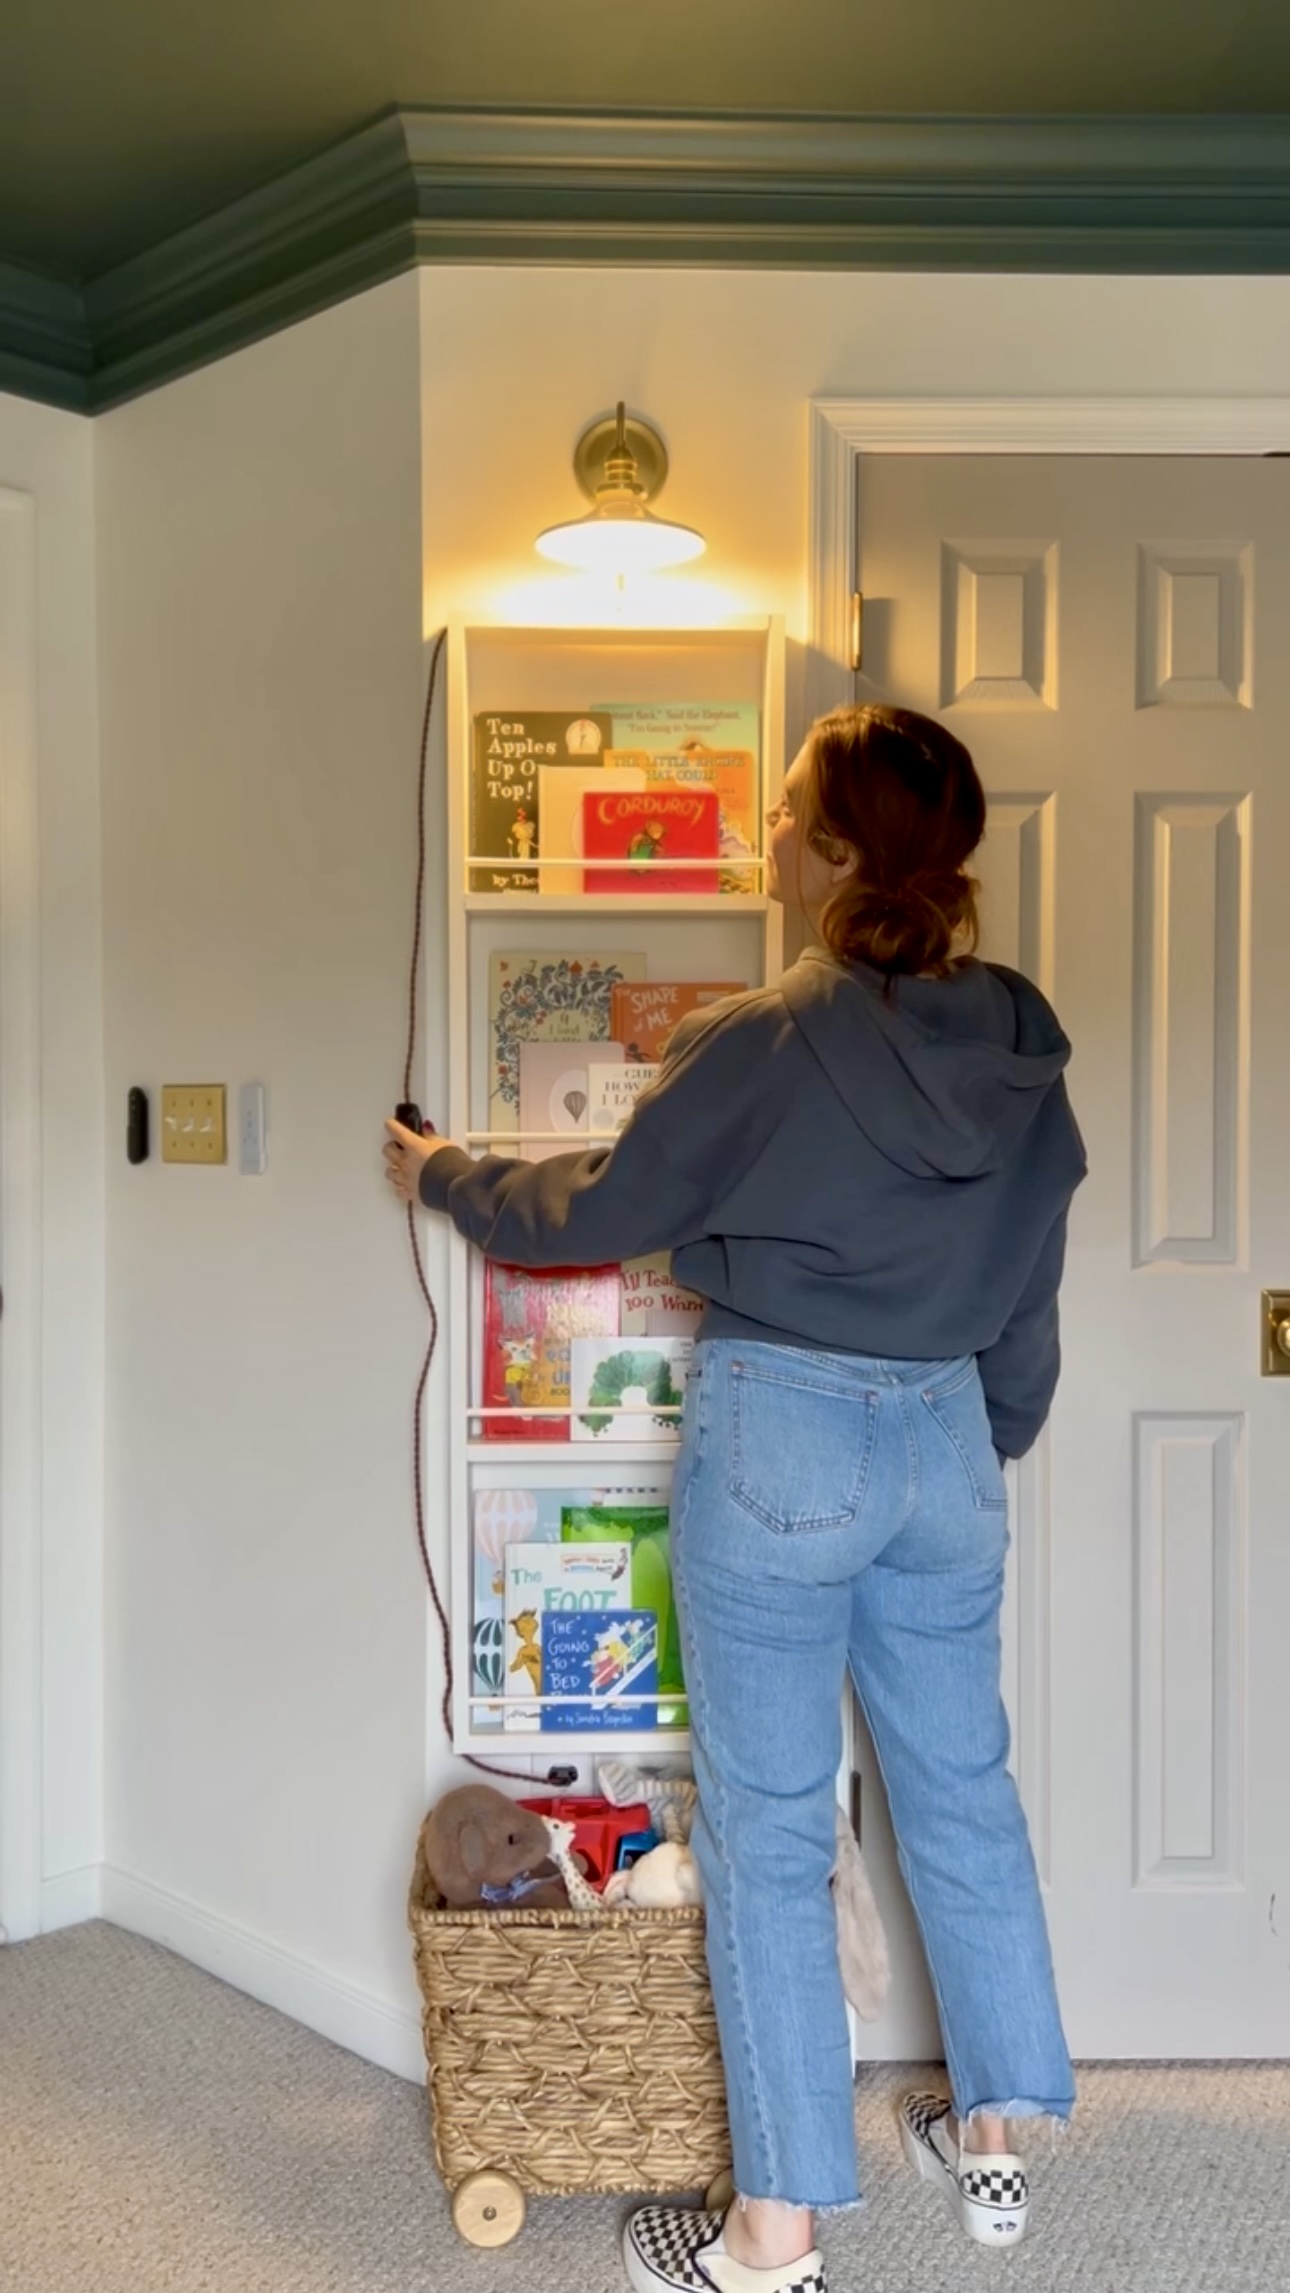
This light is from Etsy! I planned to conceal the cord, but I actually like how it hangs off the side!
Here’s everything I wore in my stories this week working on this DIY Bookshelf!