Dining Room Built Ins

I’m so excited to be getting started on this dining room makeover! This was the first room I did in our house when we moved in and my style has just evolved so much since then. Also, our family has evolved a TON and we need a space that better suits us. I have such fun plans for the dining room. You can see them all here in this blog post. I’m starting this room makeover with some dining room built ins!
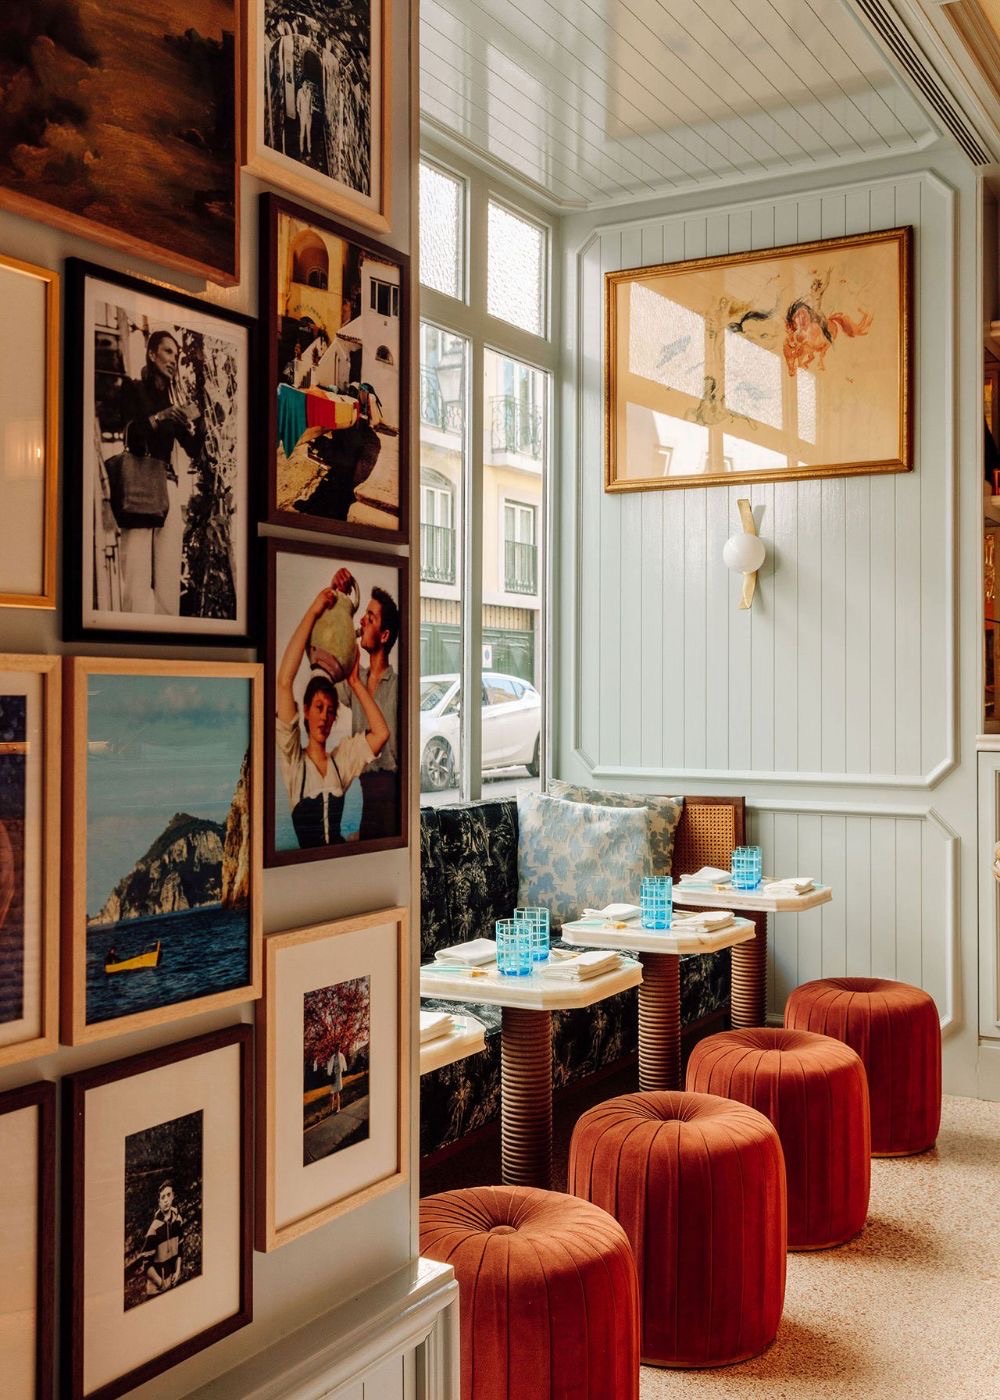
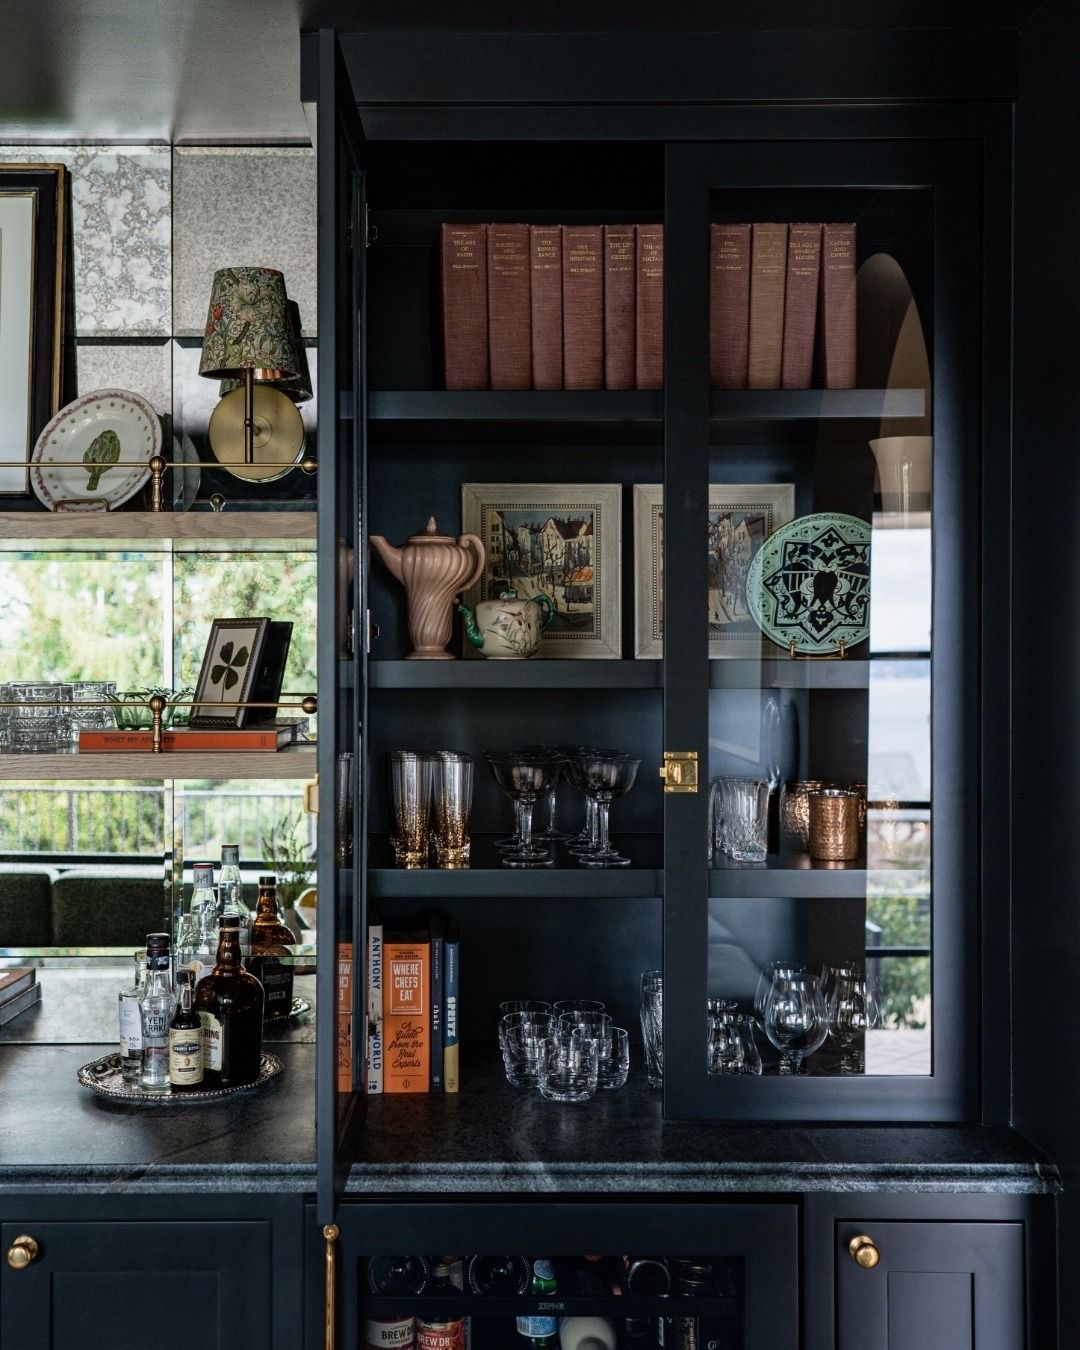
Reminder that this is the inspiration and the mood I’m going for in here:

And here is my mood board:

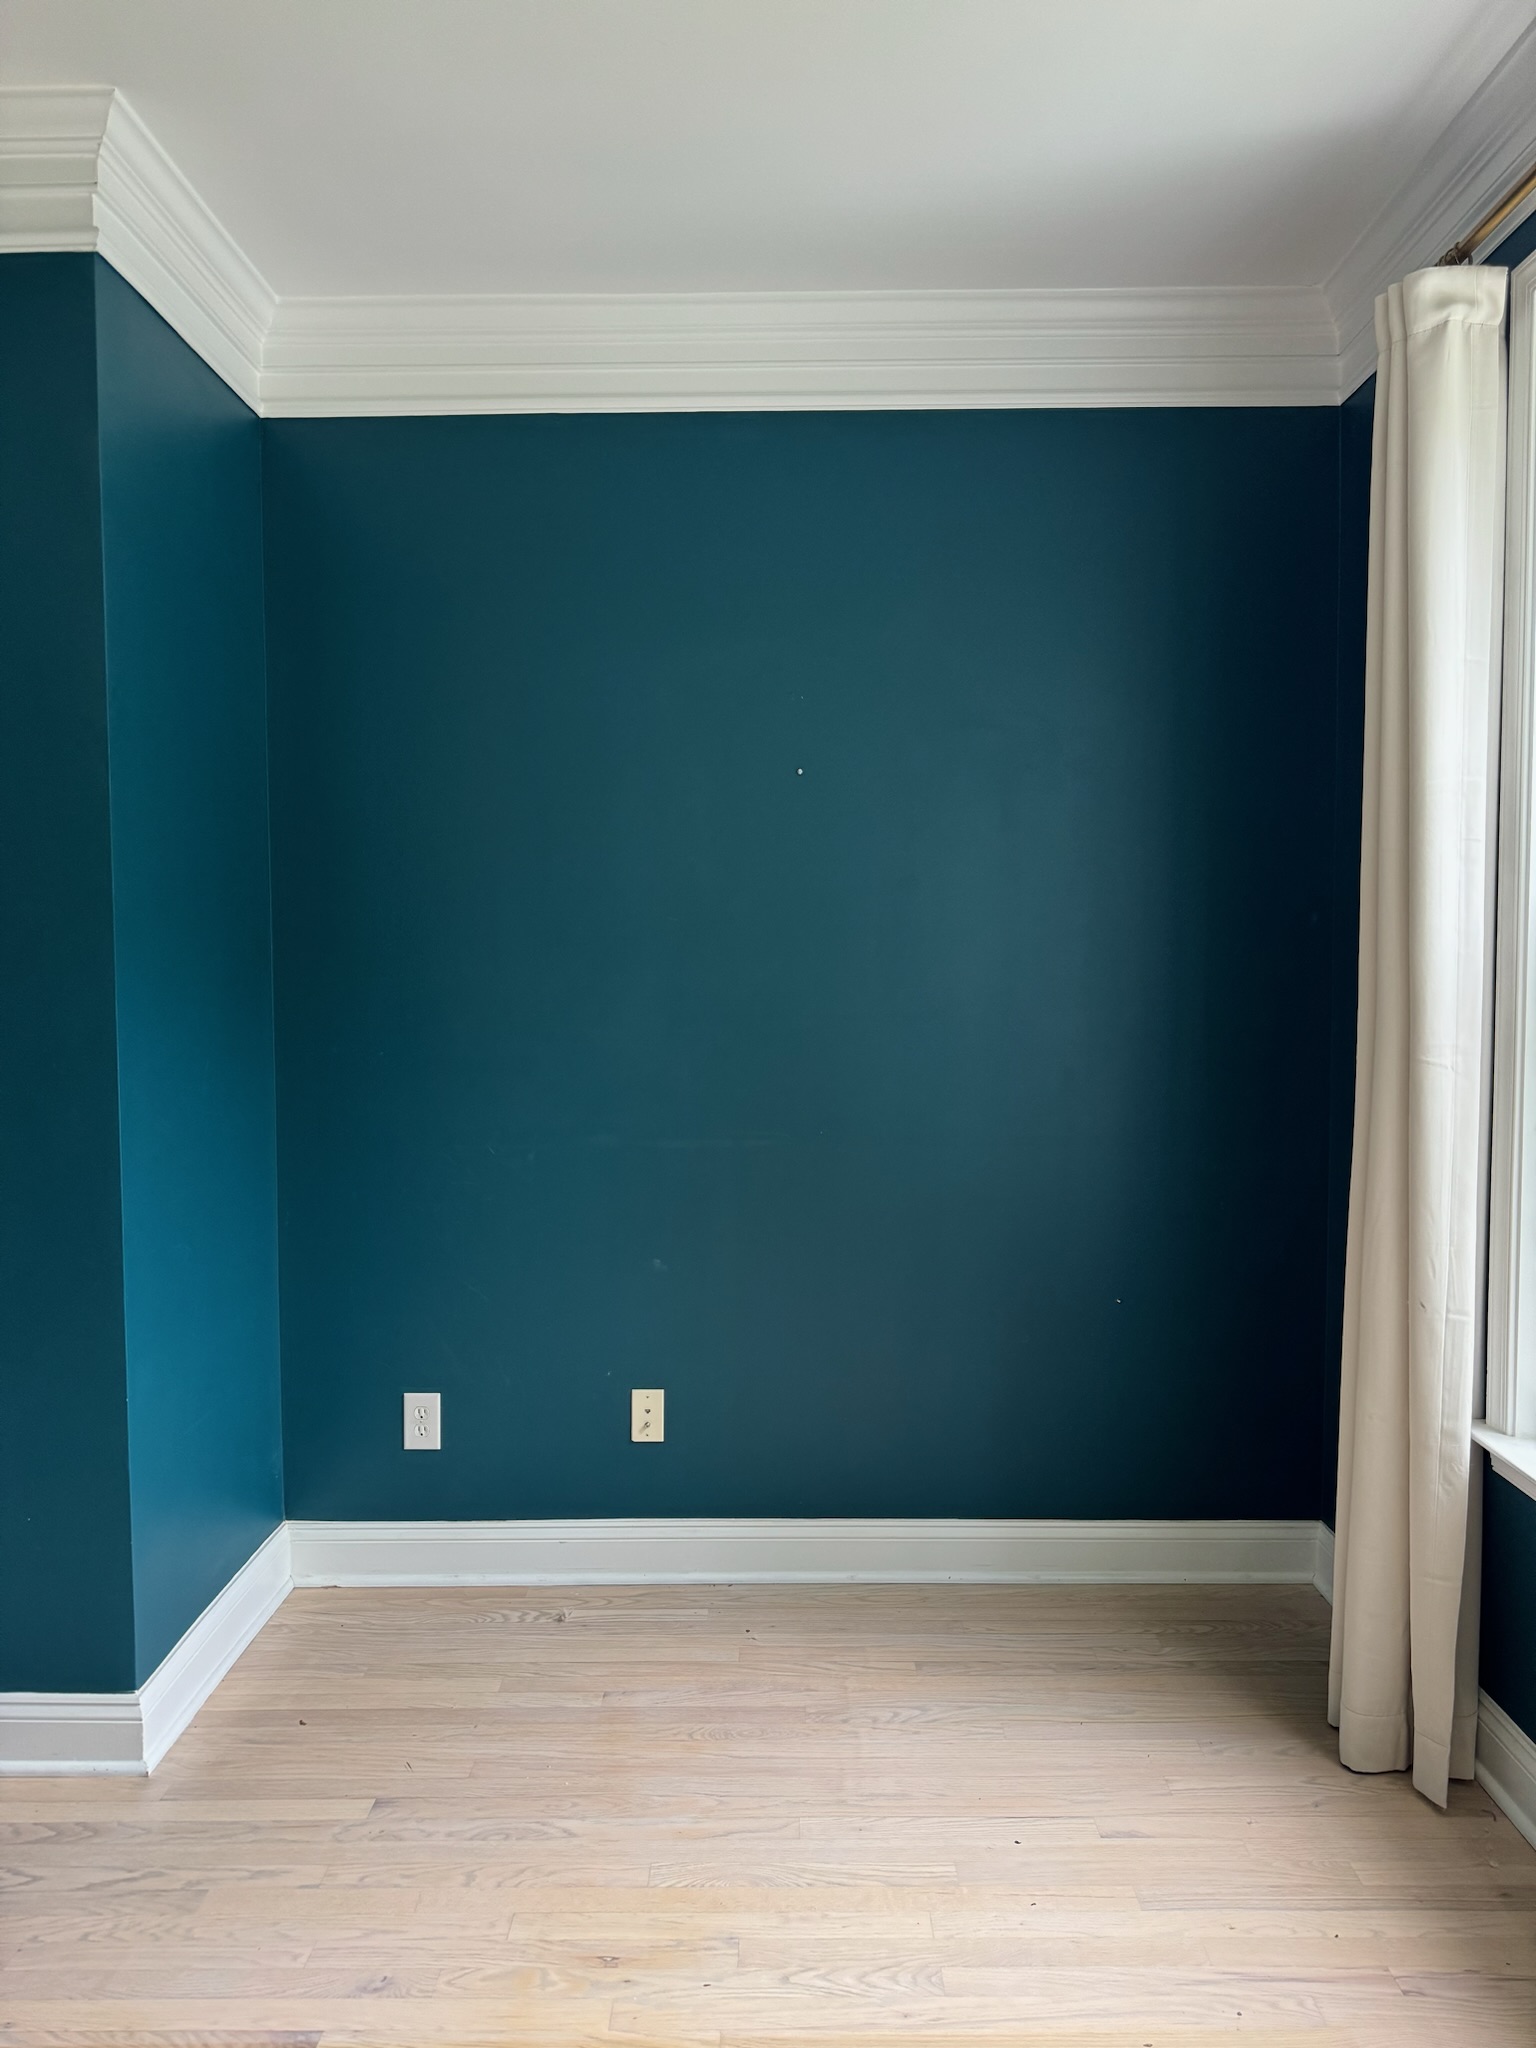
Then, here was the empty space before I got started!
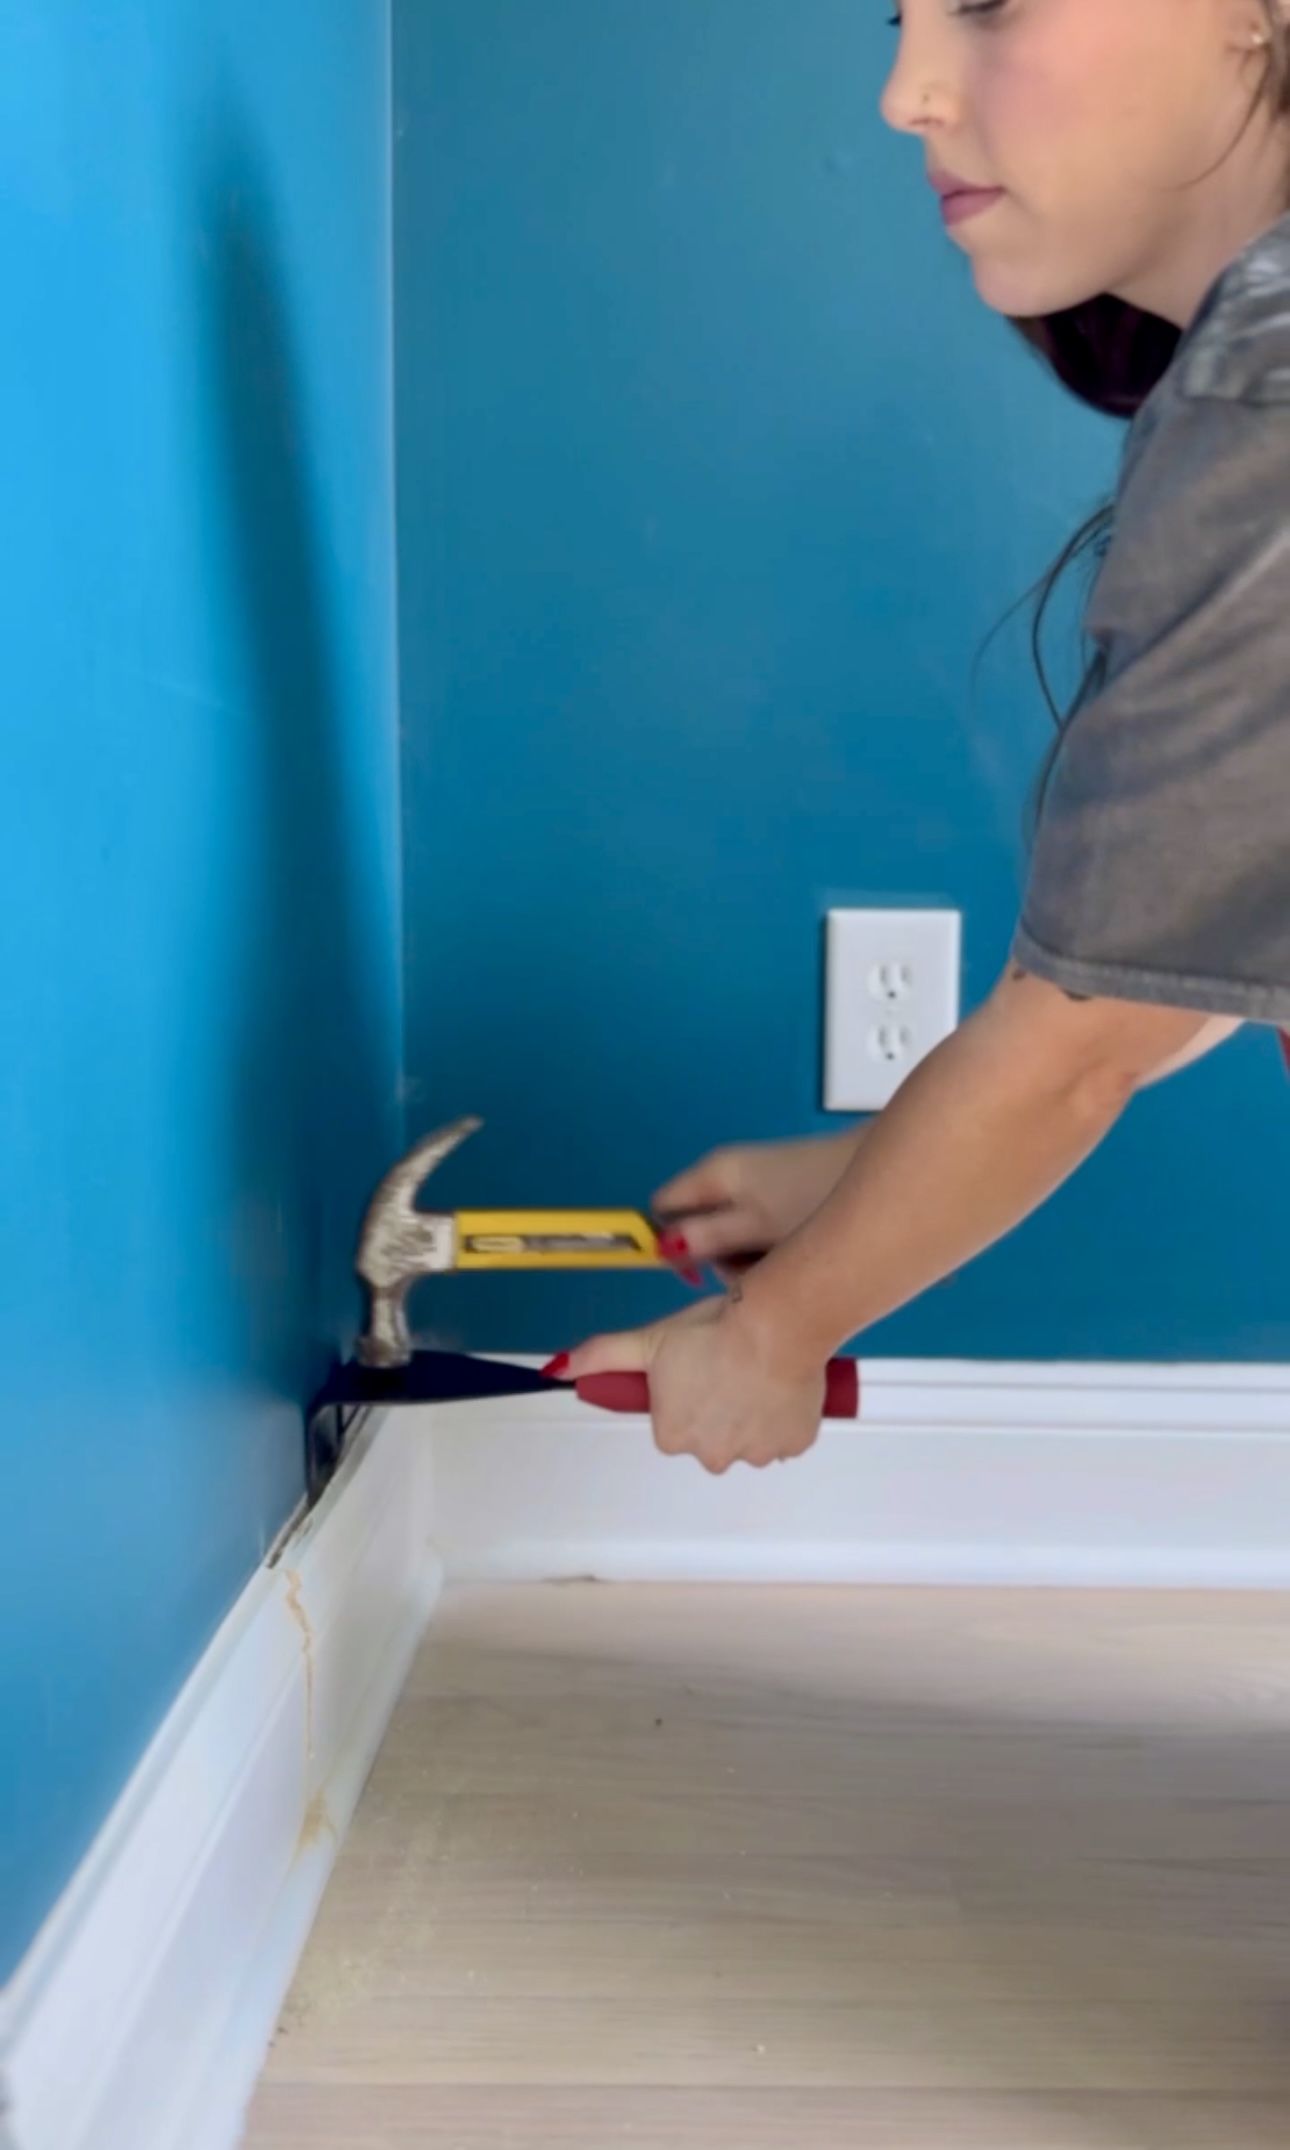
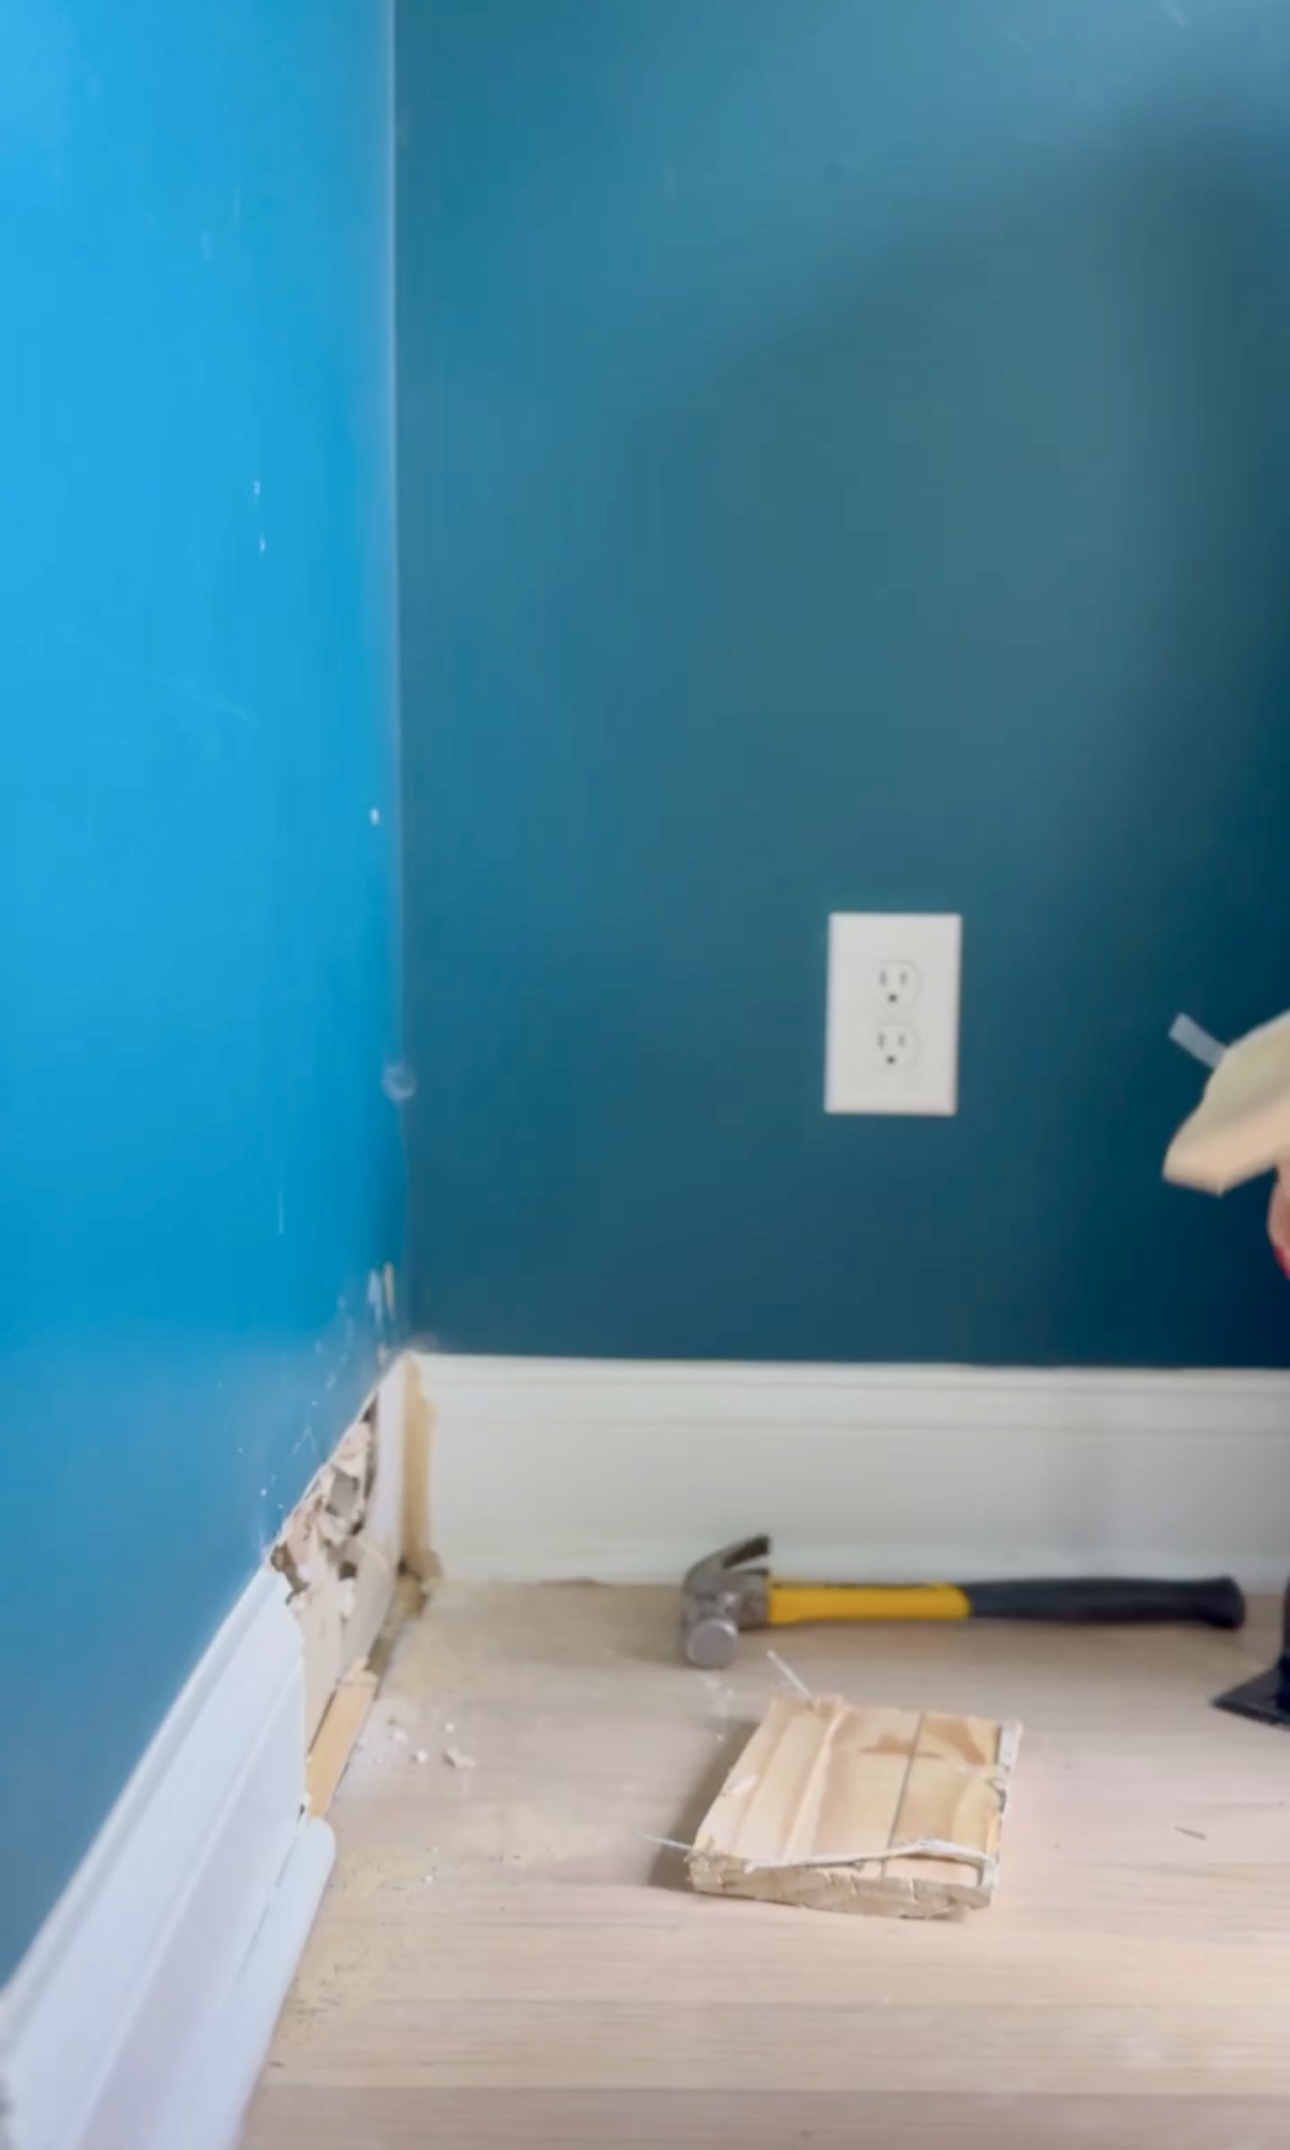
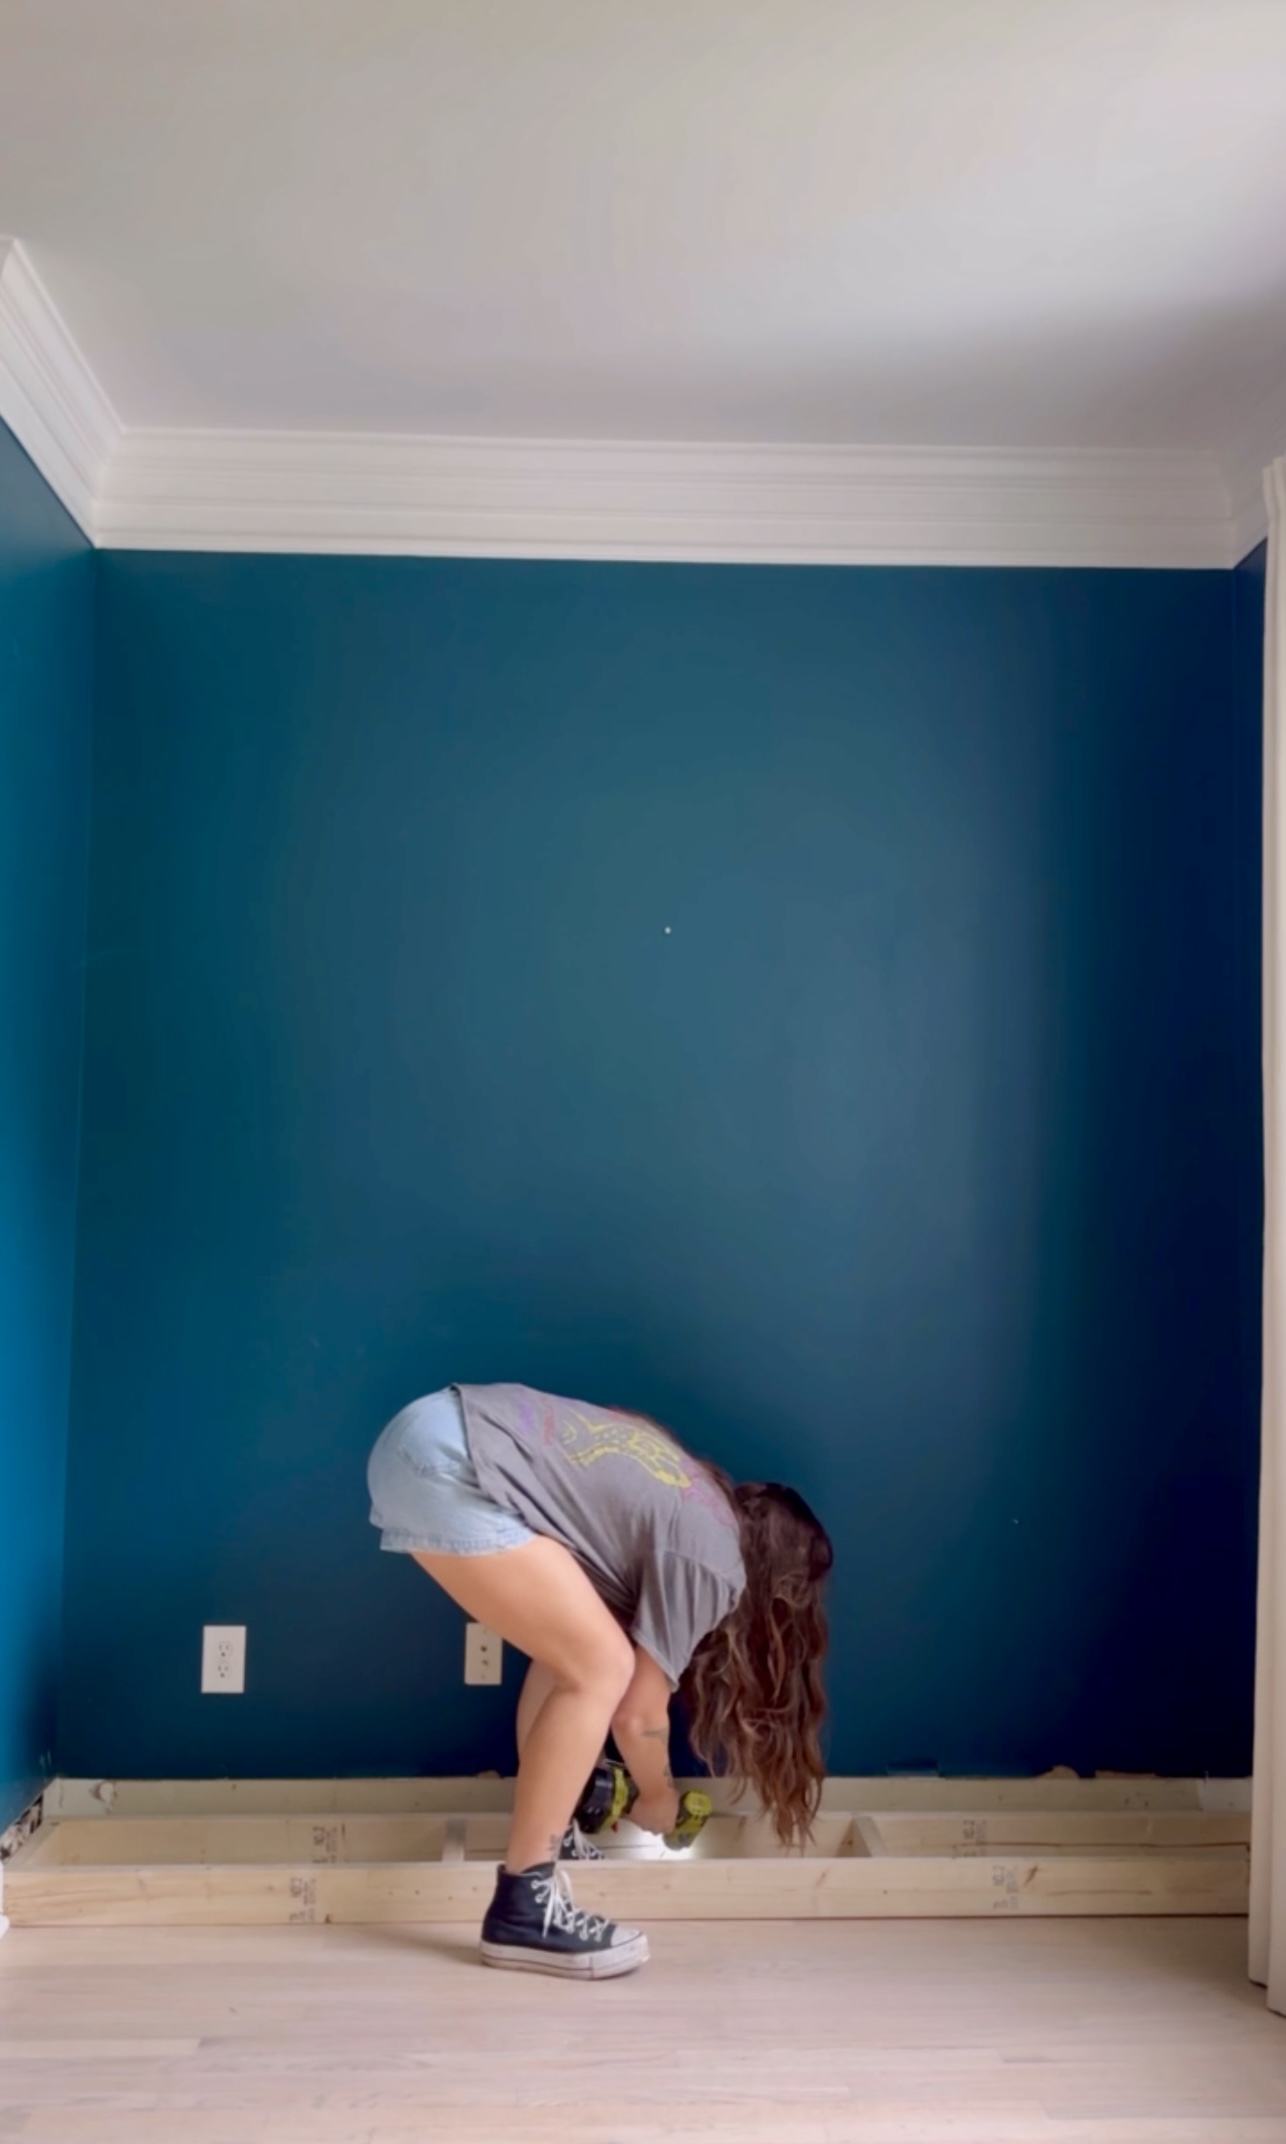
Trim Removal
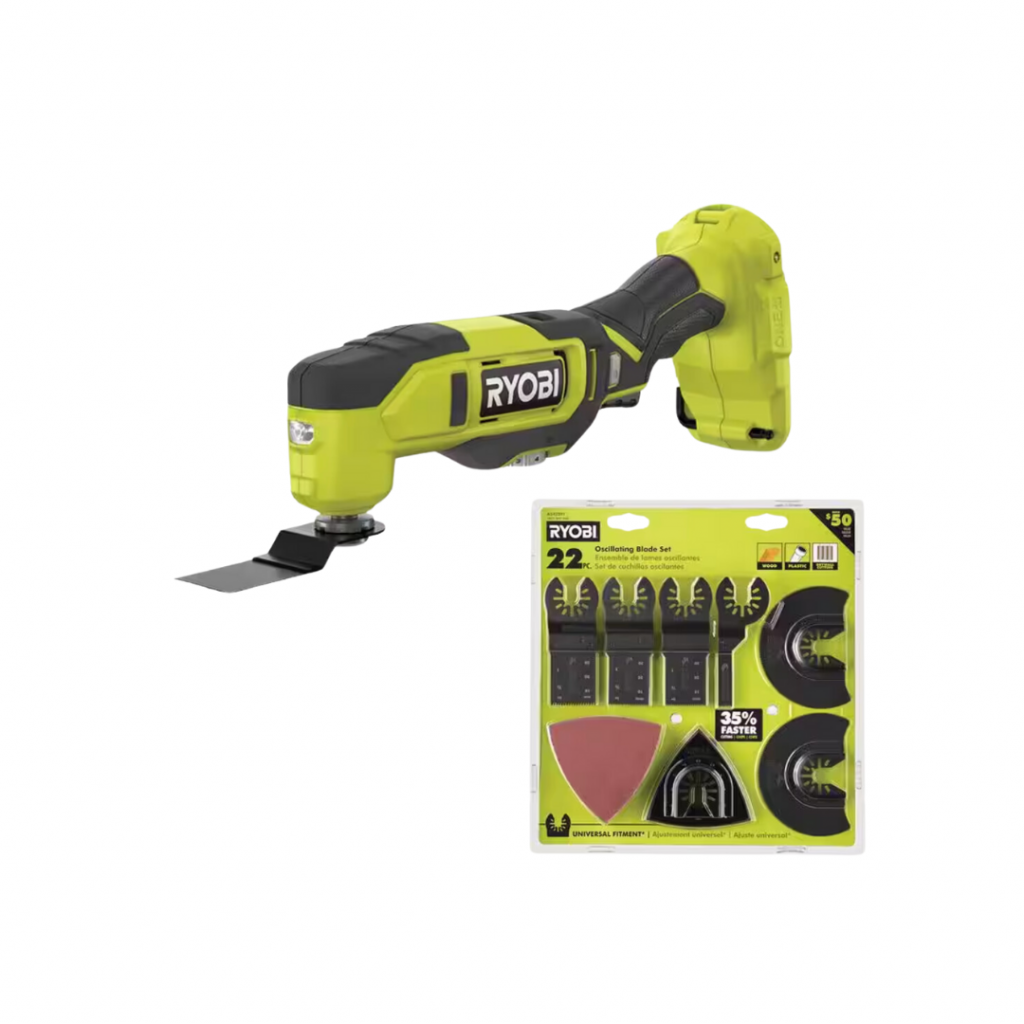
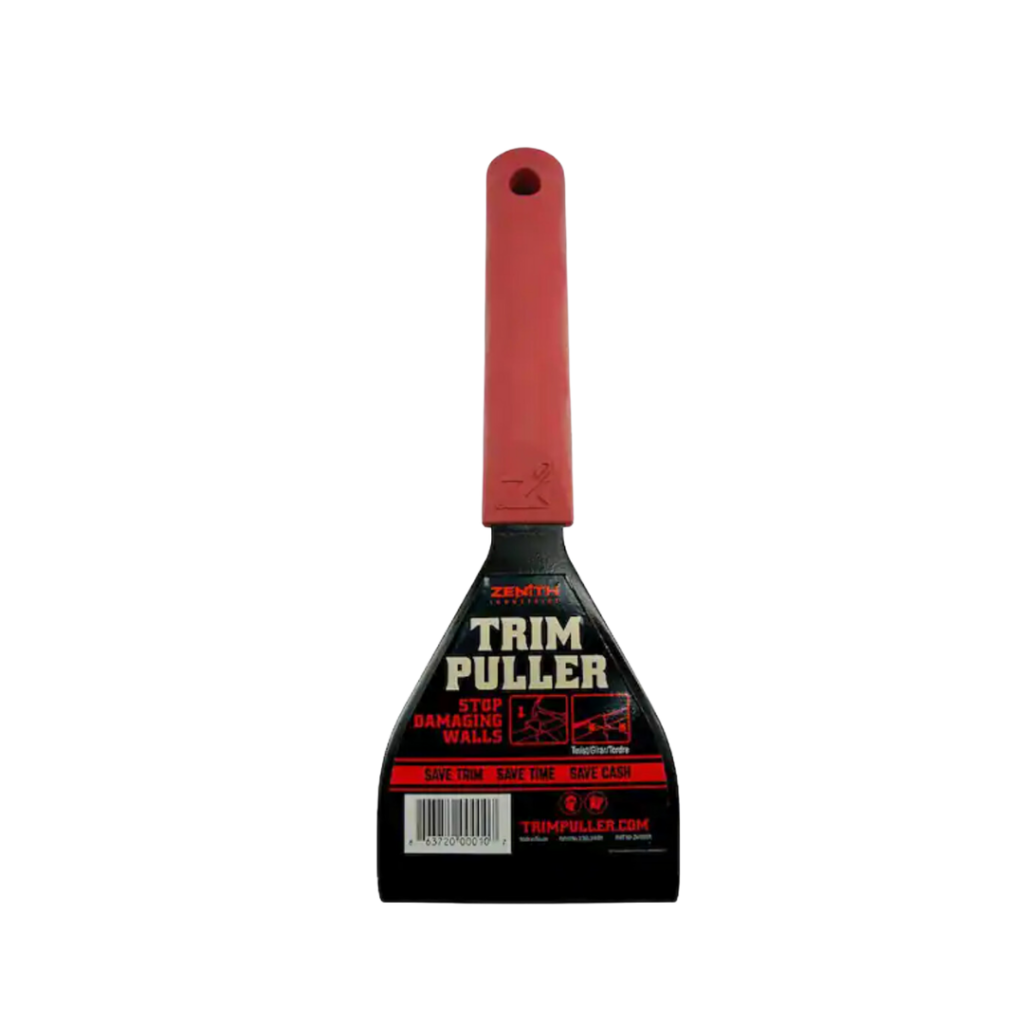
First, I removed the trim where the built ins would be going. For this, I used my multi tool, a trim puller, and a hammer. To do this, you cut the baseboard using the multi tool. Then, you wedge the trim puller between the baseboards and the wall, and tap with a hammer and pry it off!


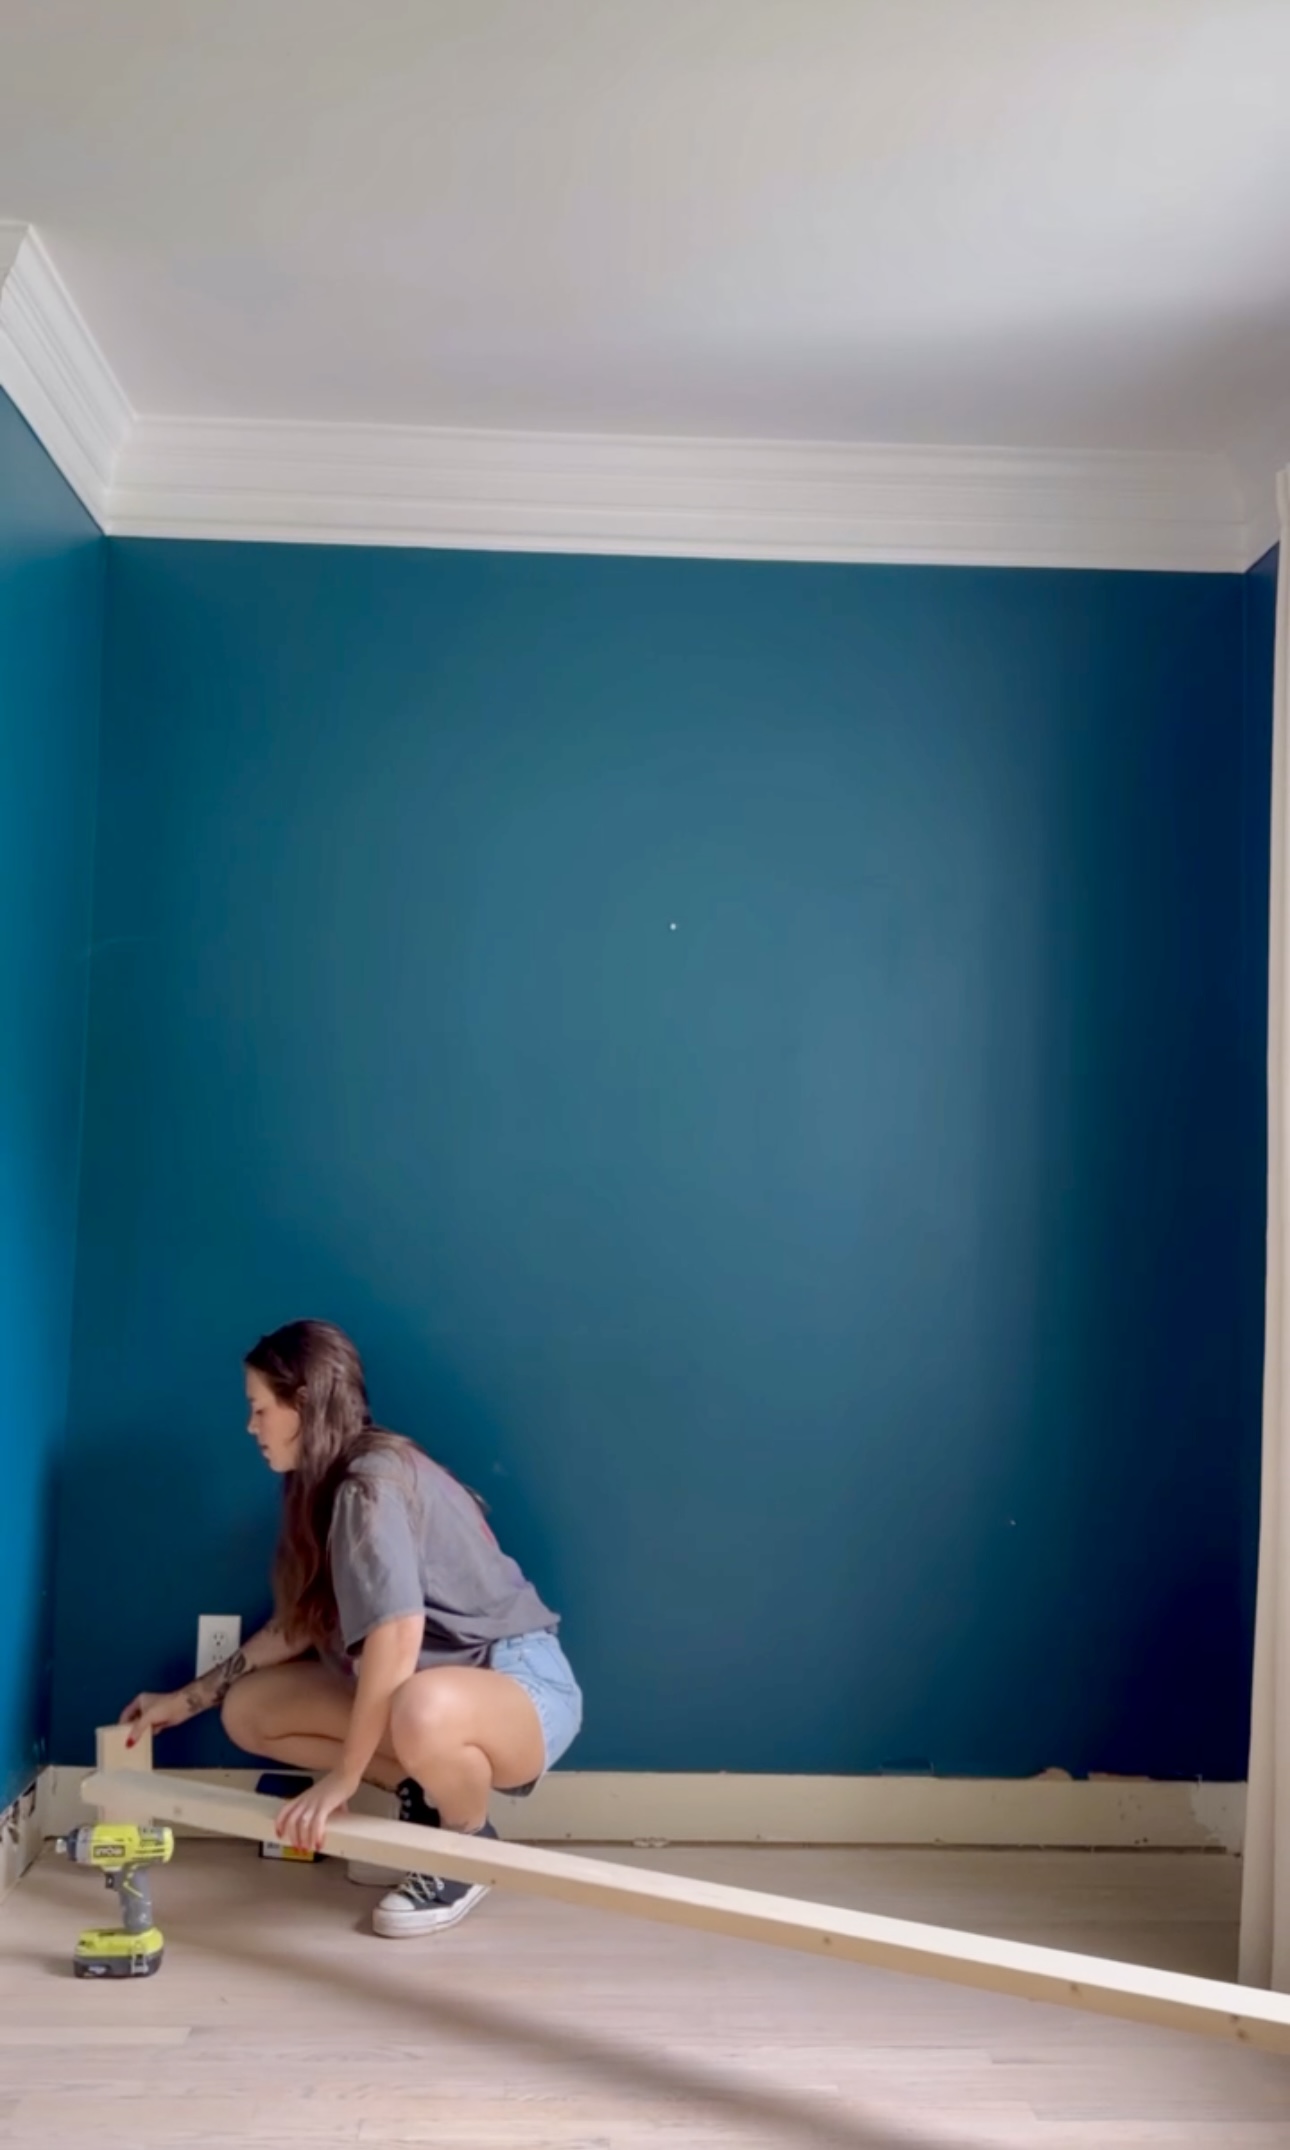
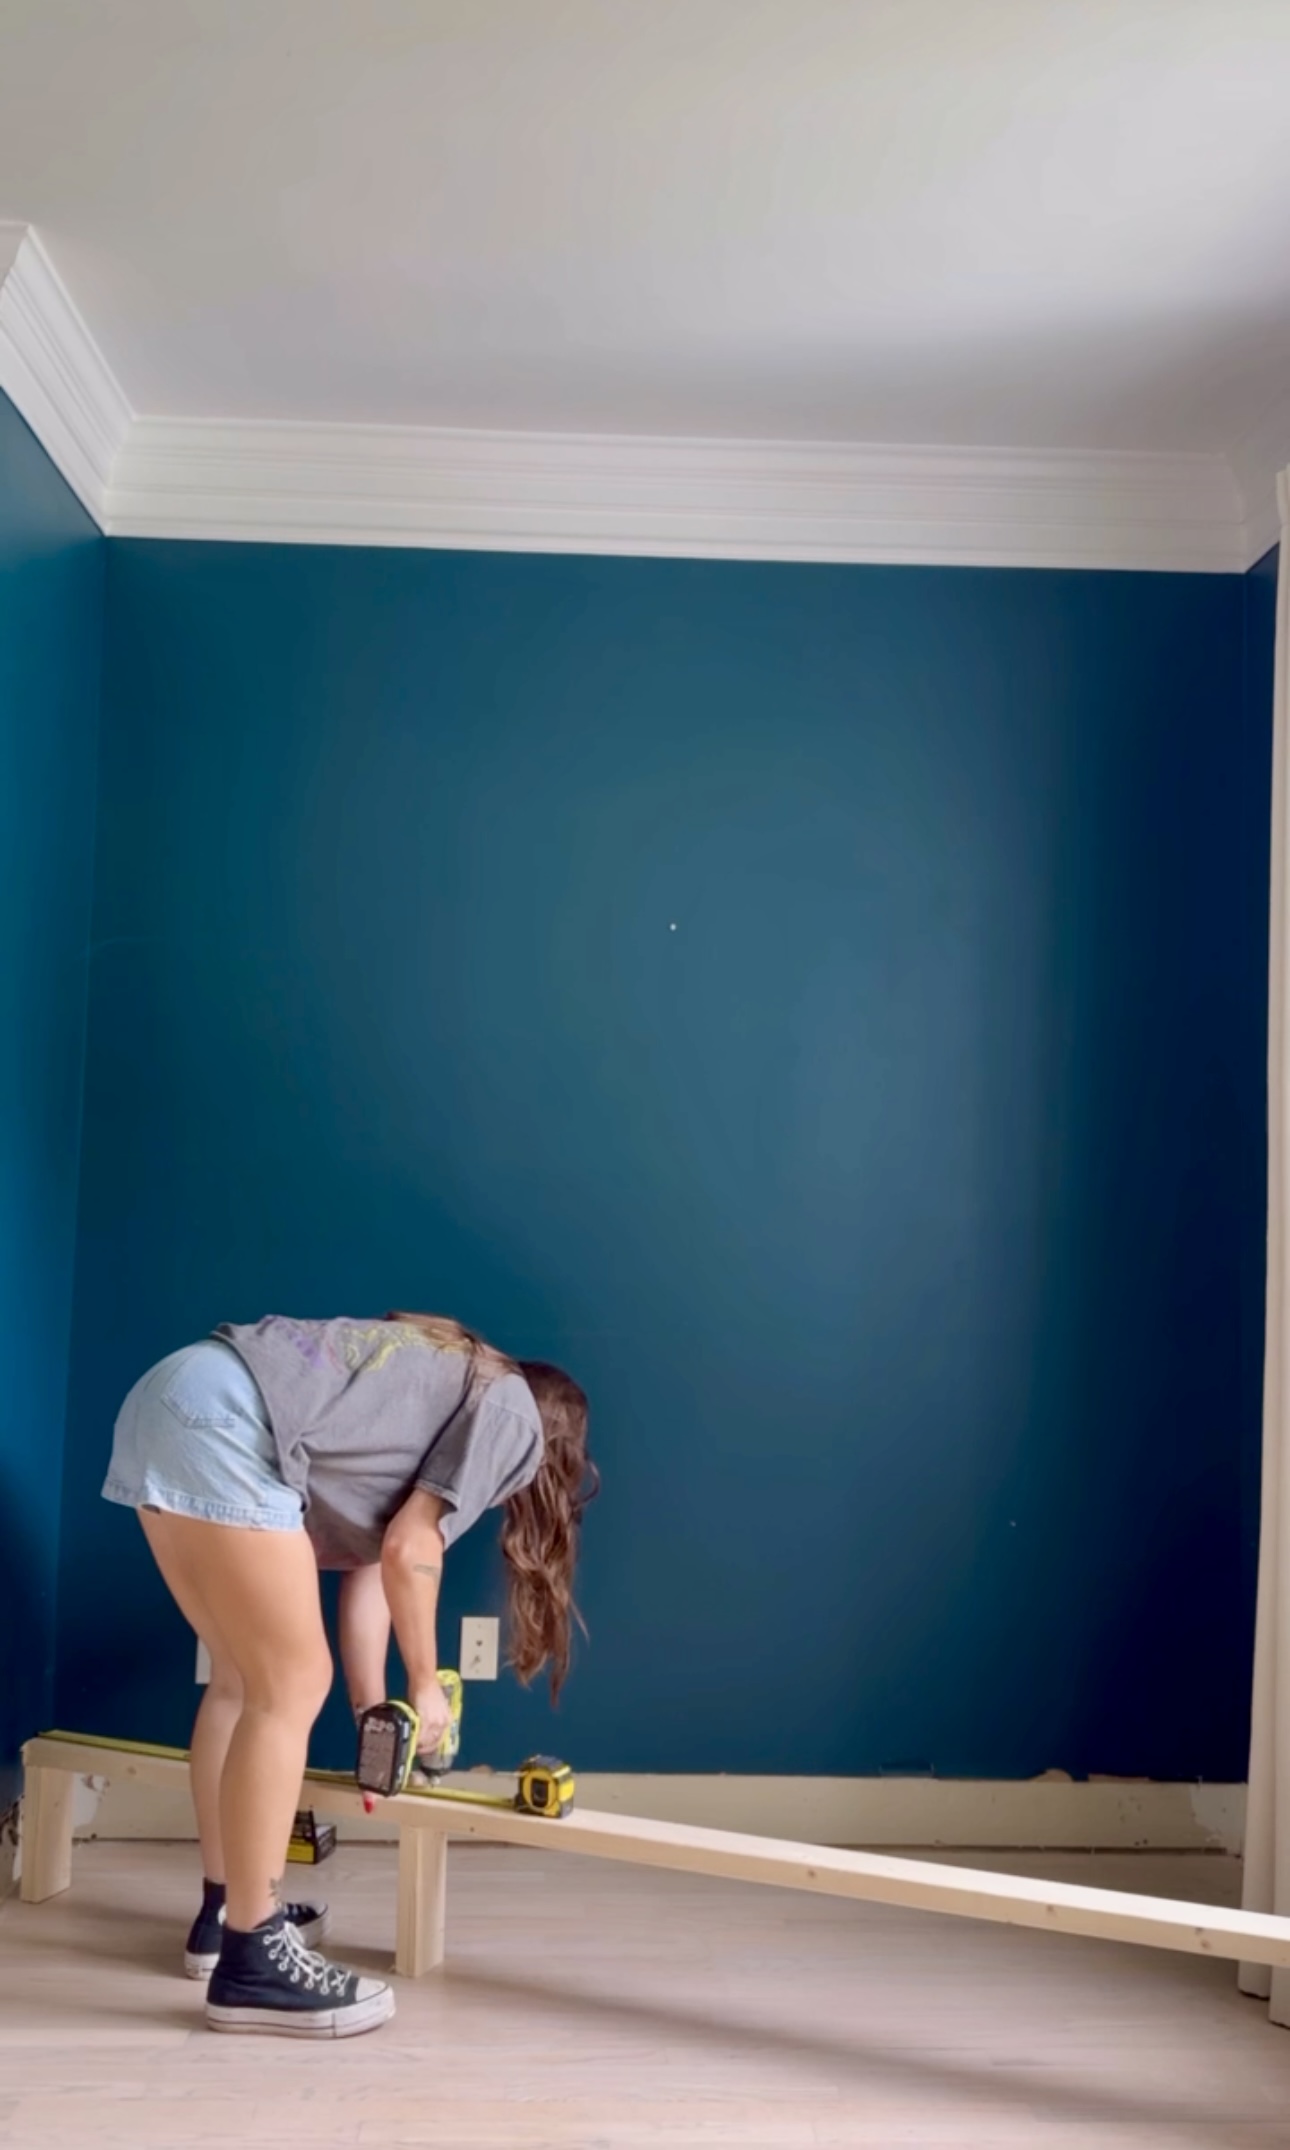
Making a Base
I planned on putting the baseboard back on underneath the built in cabinets. So, I built a platform so the cabinets could be elevated above the trim. I had to add another layer so that the trim would work with the cabinets.

Cabinet Installation
I picked up these pre-assembled cabinets from Home Depot to save myself a TON of work rather than building them myself. They were pretty affordable too so it didn’t really cost me much more than it would have to build them!


Then, I reinstalled the trim! I had to cut the pieces on the wall next to the built ins at an angle with my multi tool so the trim under the baseboards would line up. It was so satisfying putting the trim back on.
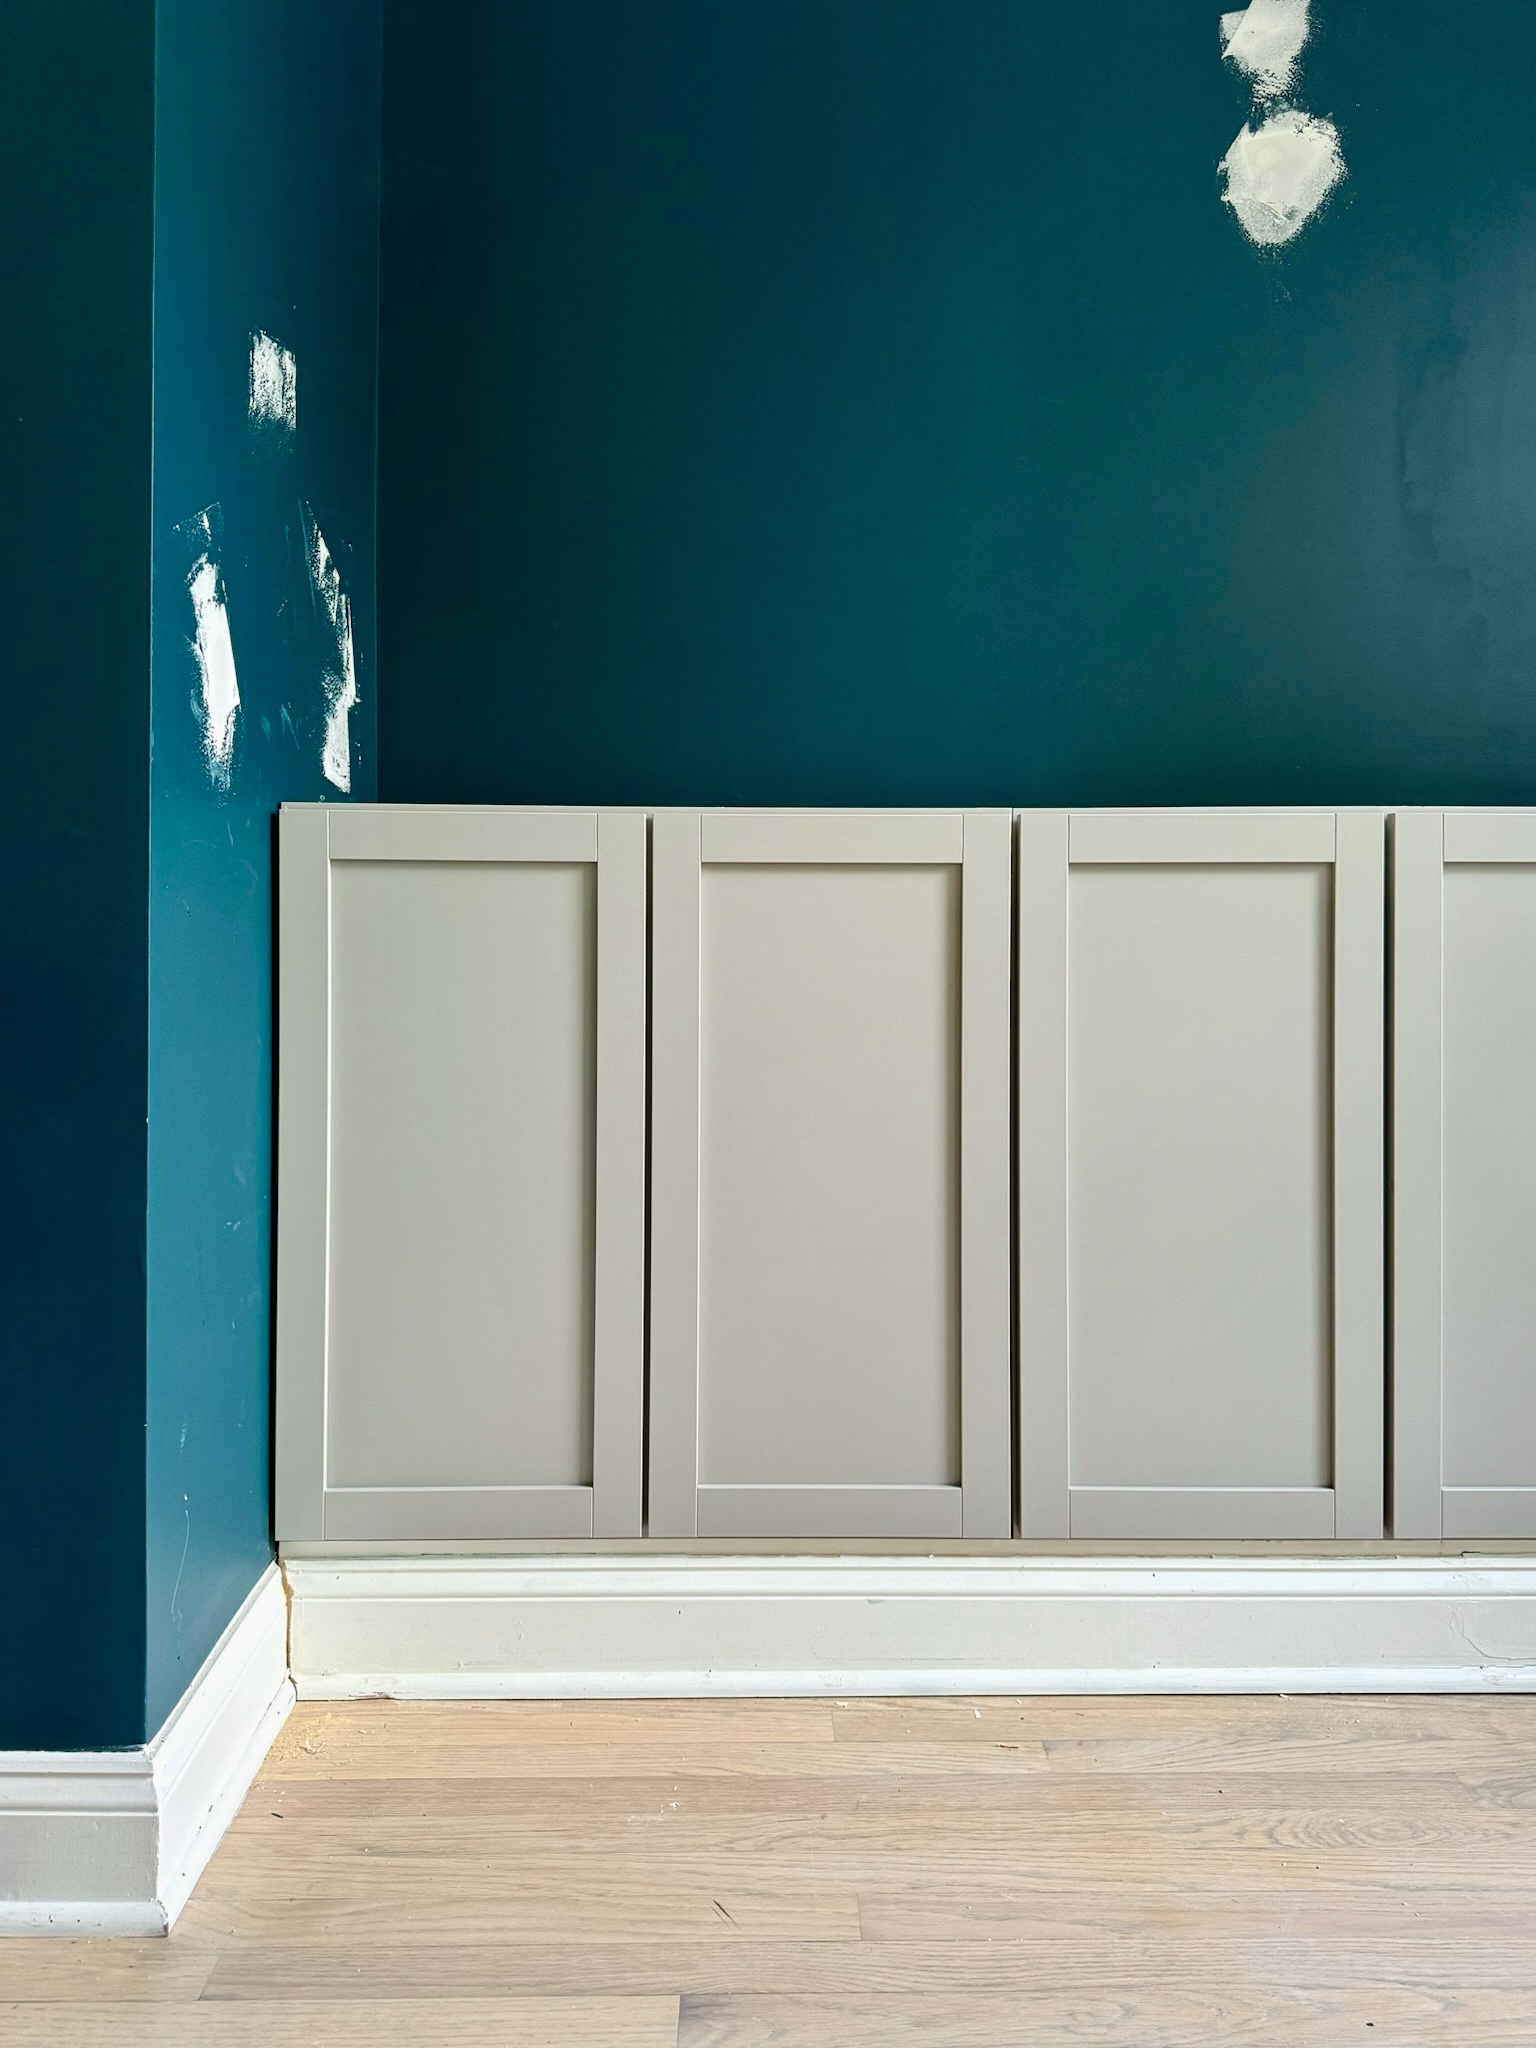
Then, I screwed the cabinets into the base I made to secure them. I used upper cabinets rather than lower cabinets for this. Lower cabinets would have been way deeper and that isn’t the look I was going for!
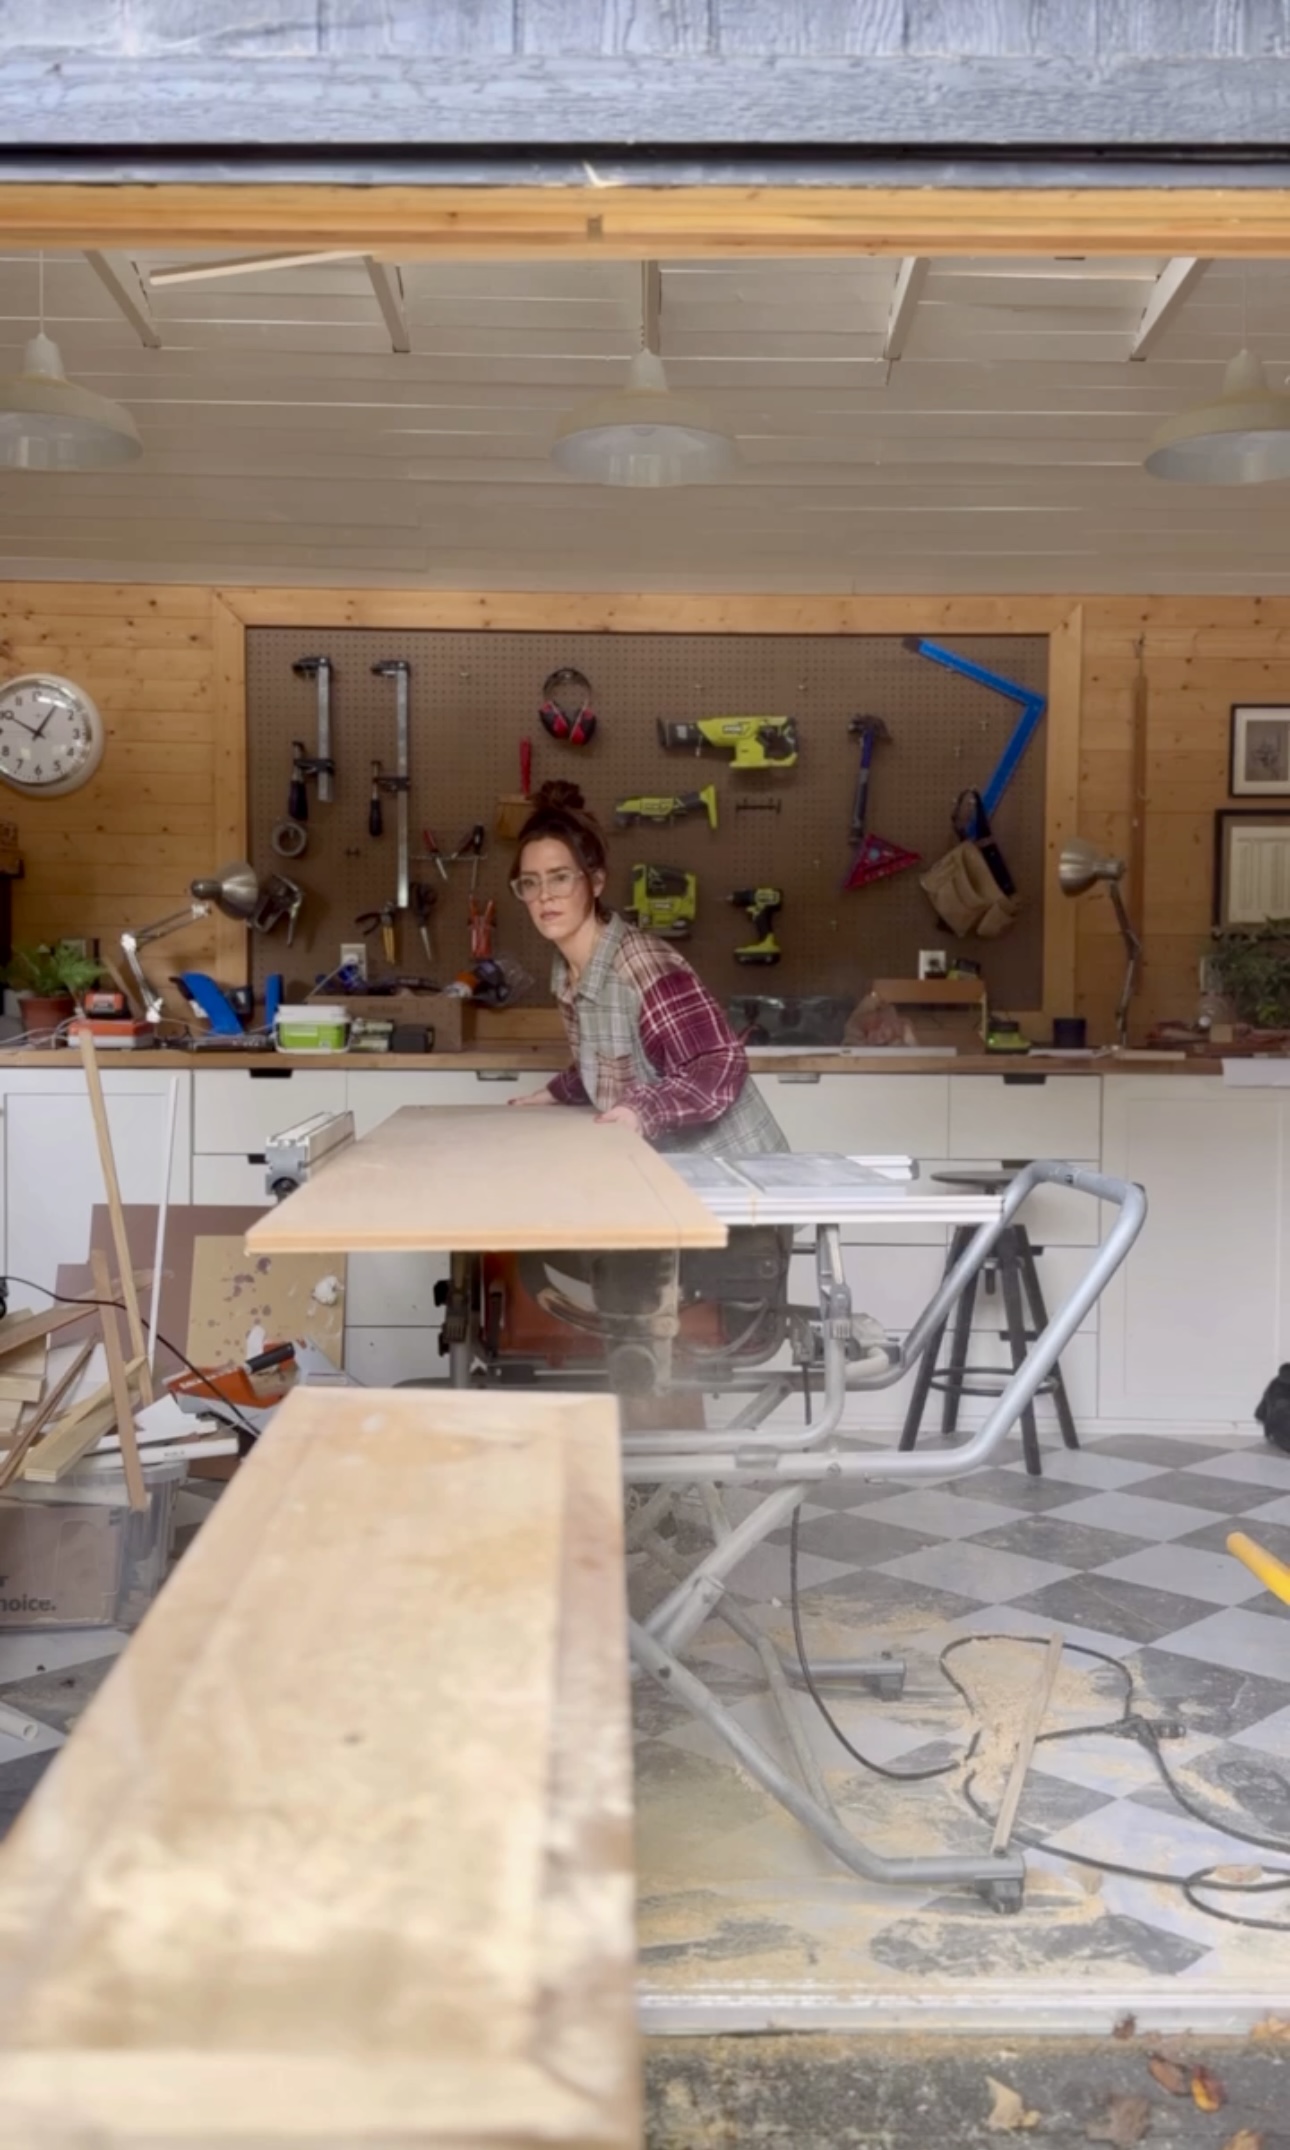
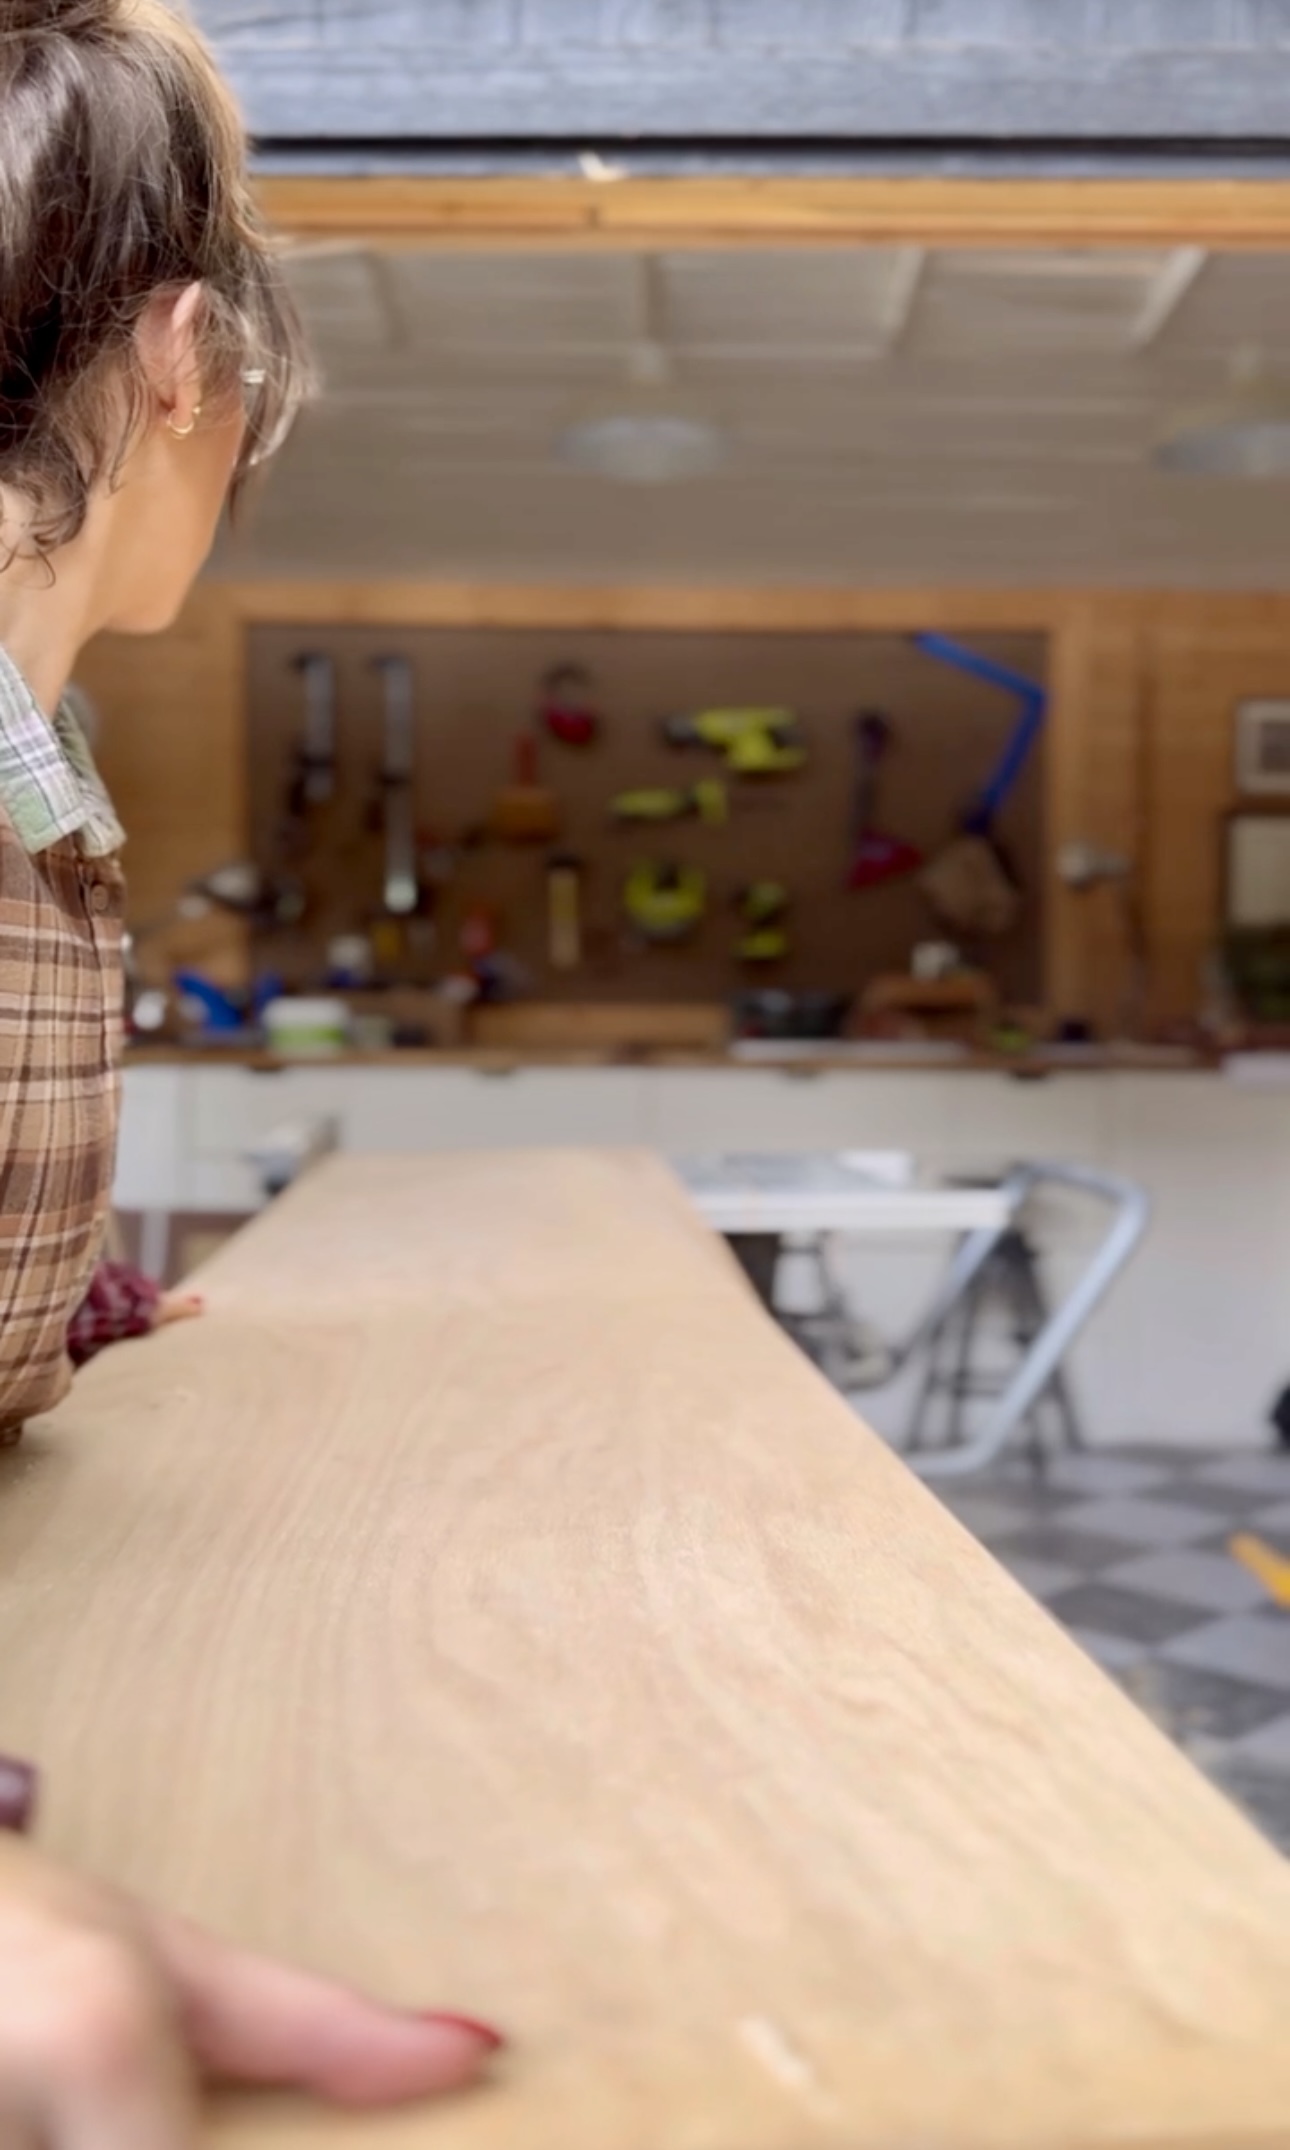
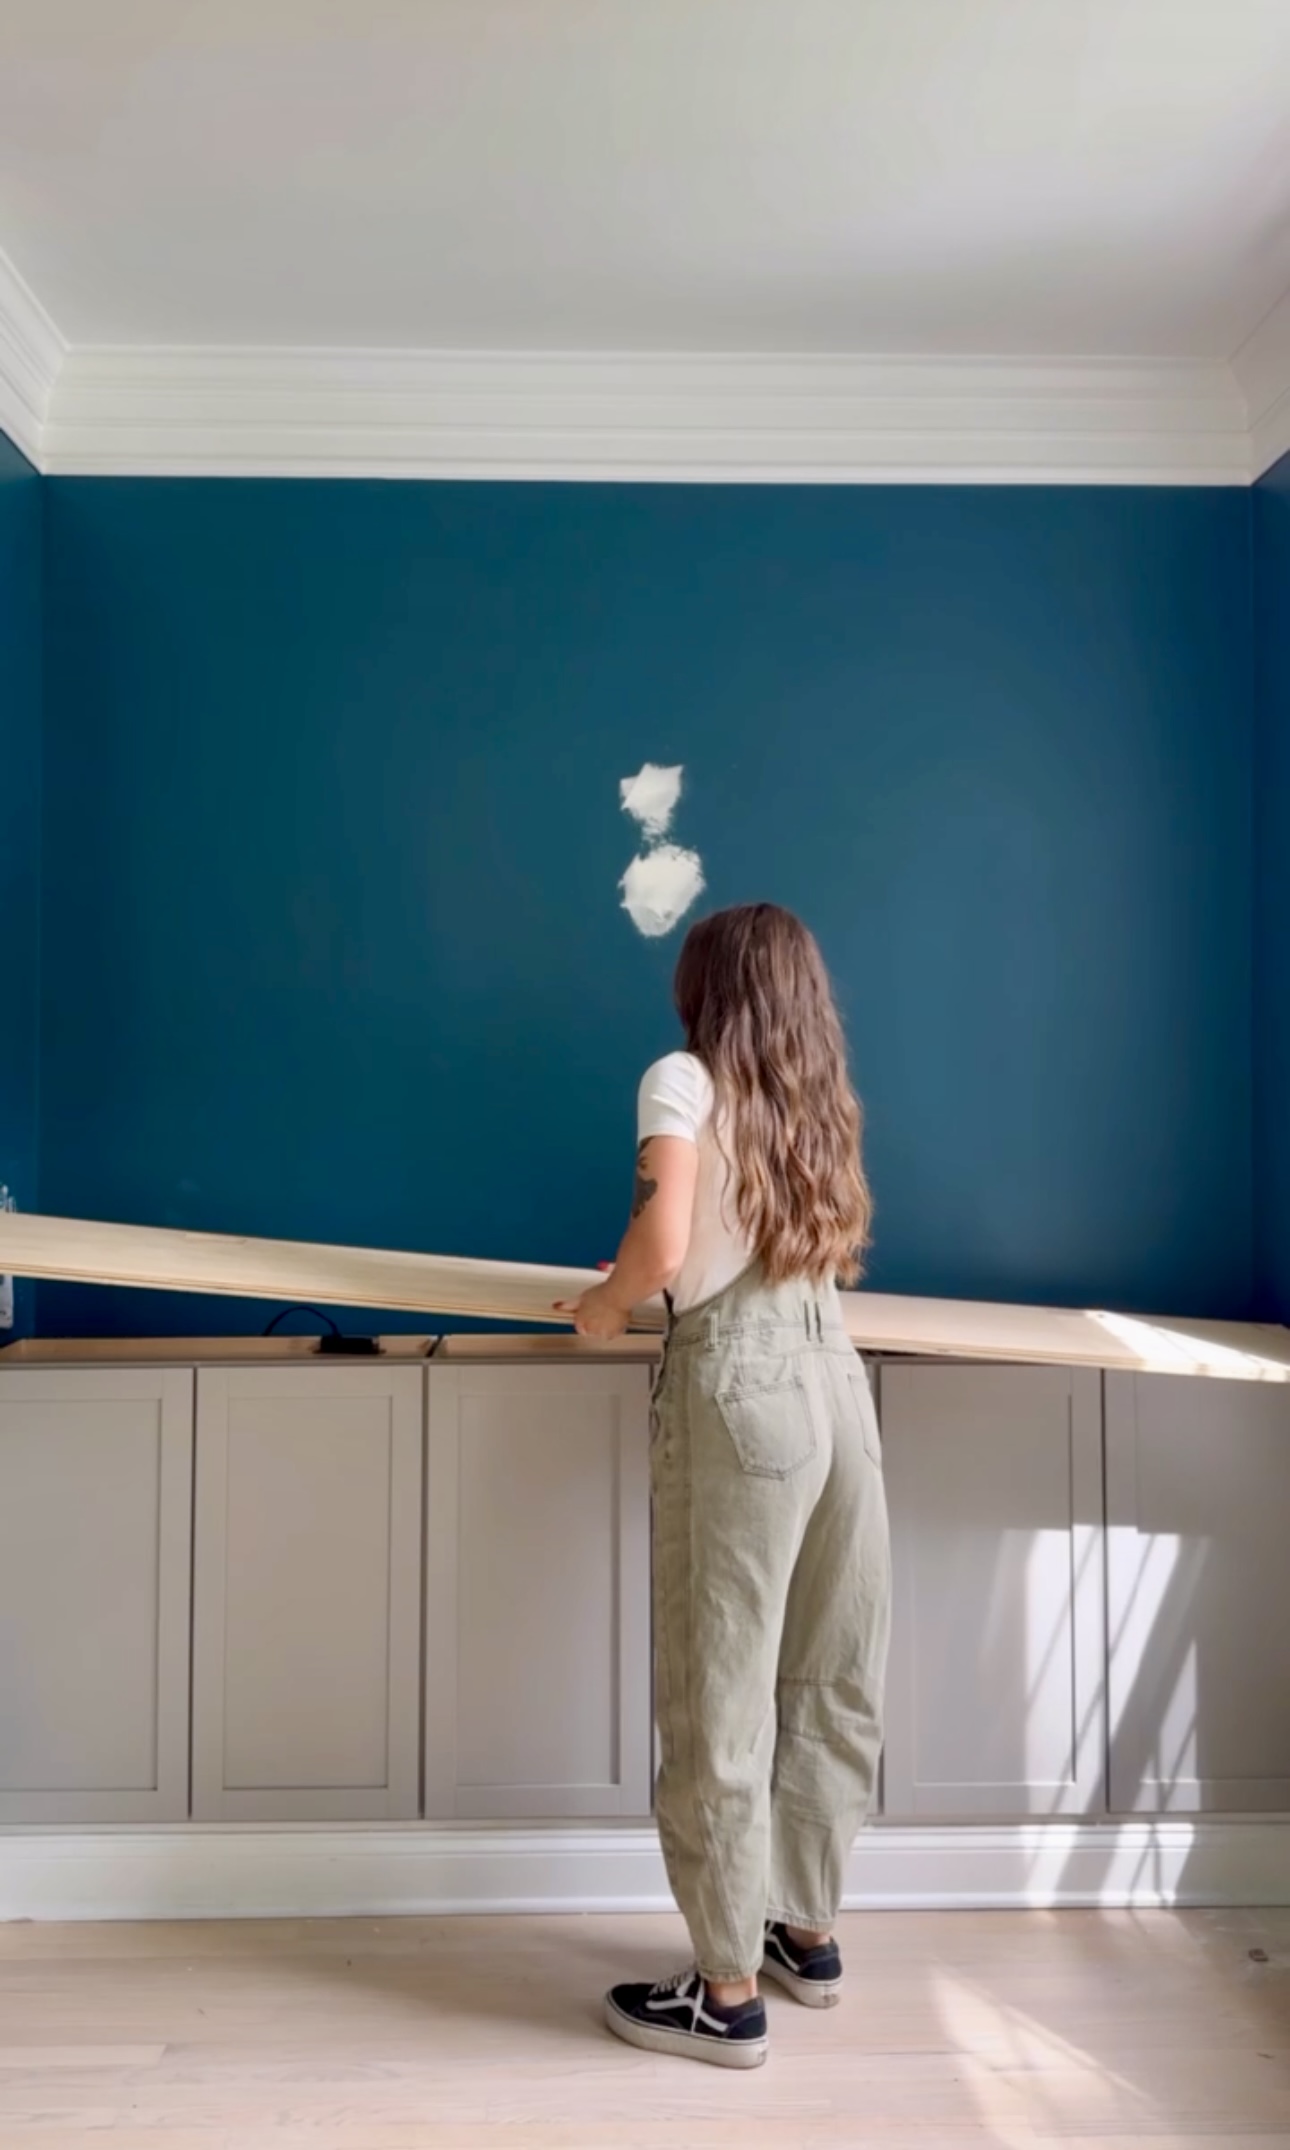
Cabinet Top
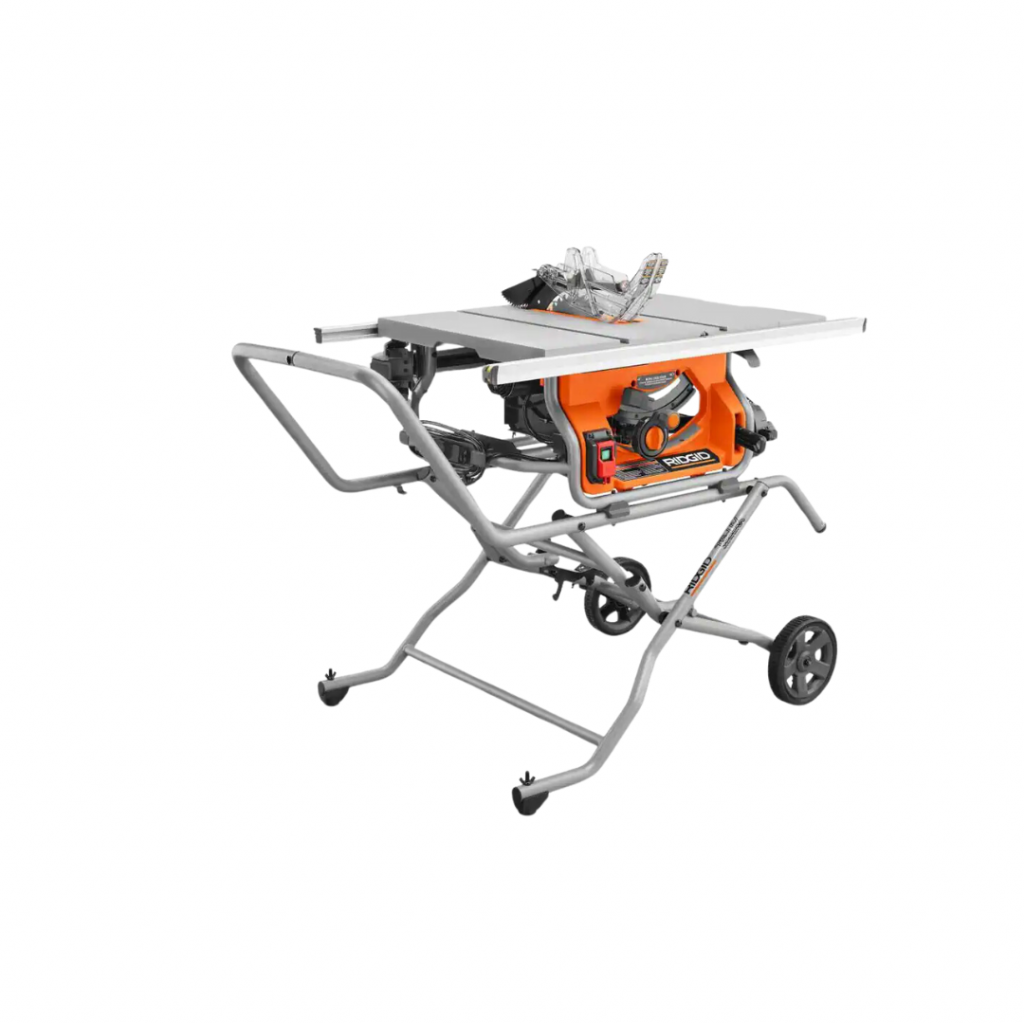
I used scrap plywood to make the cabinet top. I cut it down on my table saw (and used the first version of my cursed console table for support of course😂)
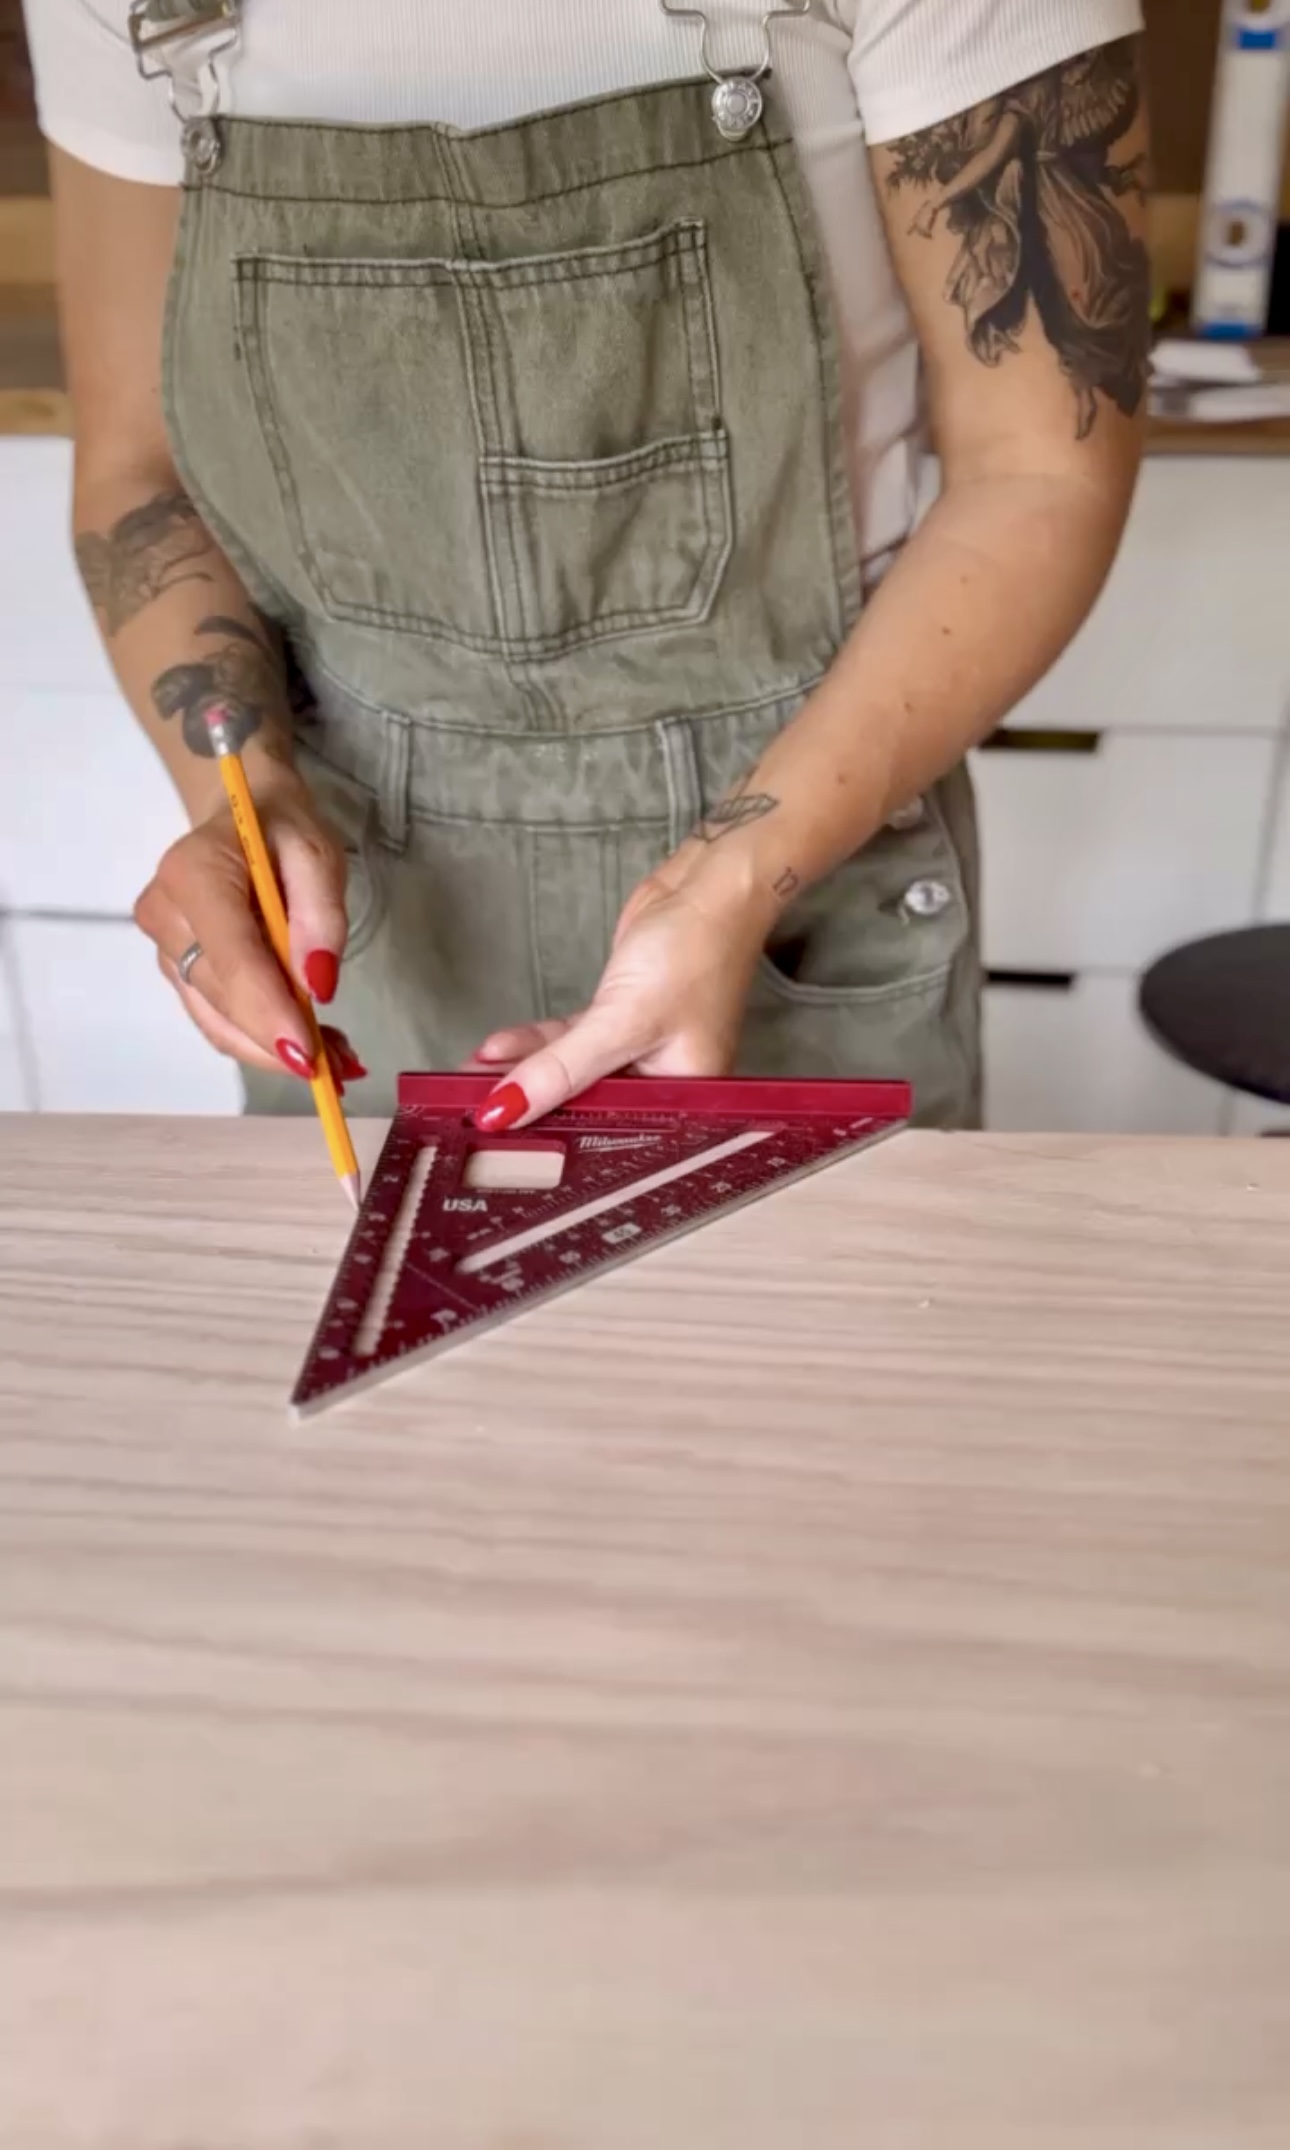
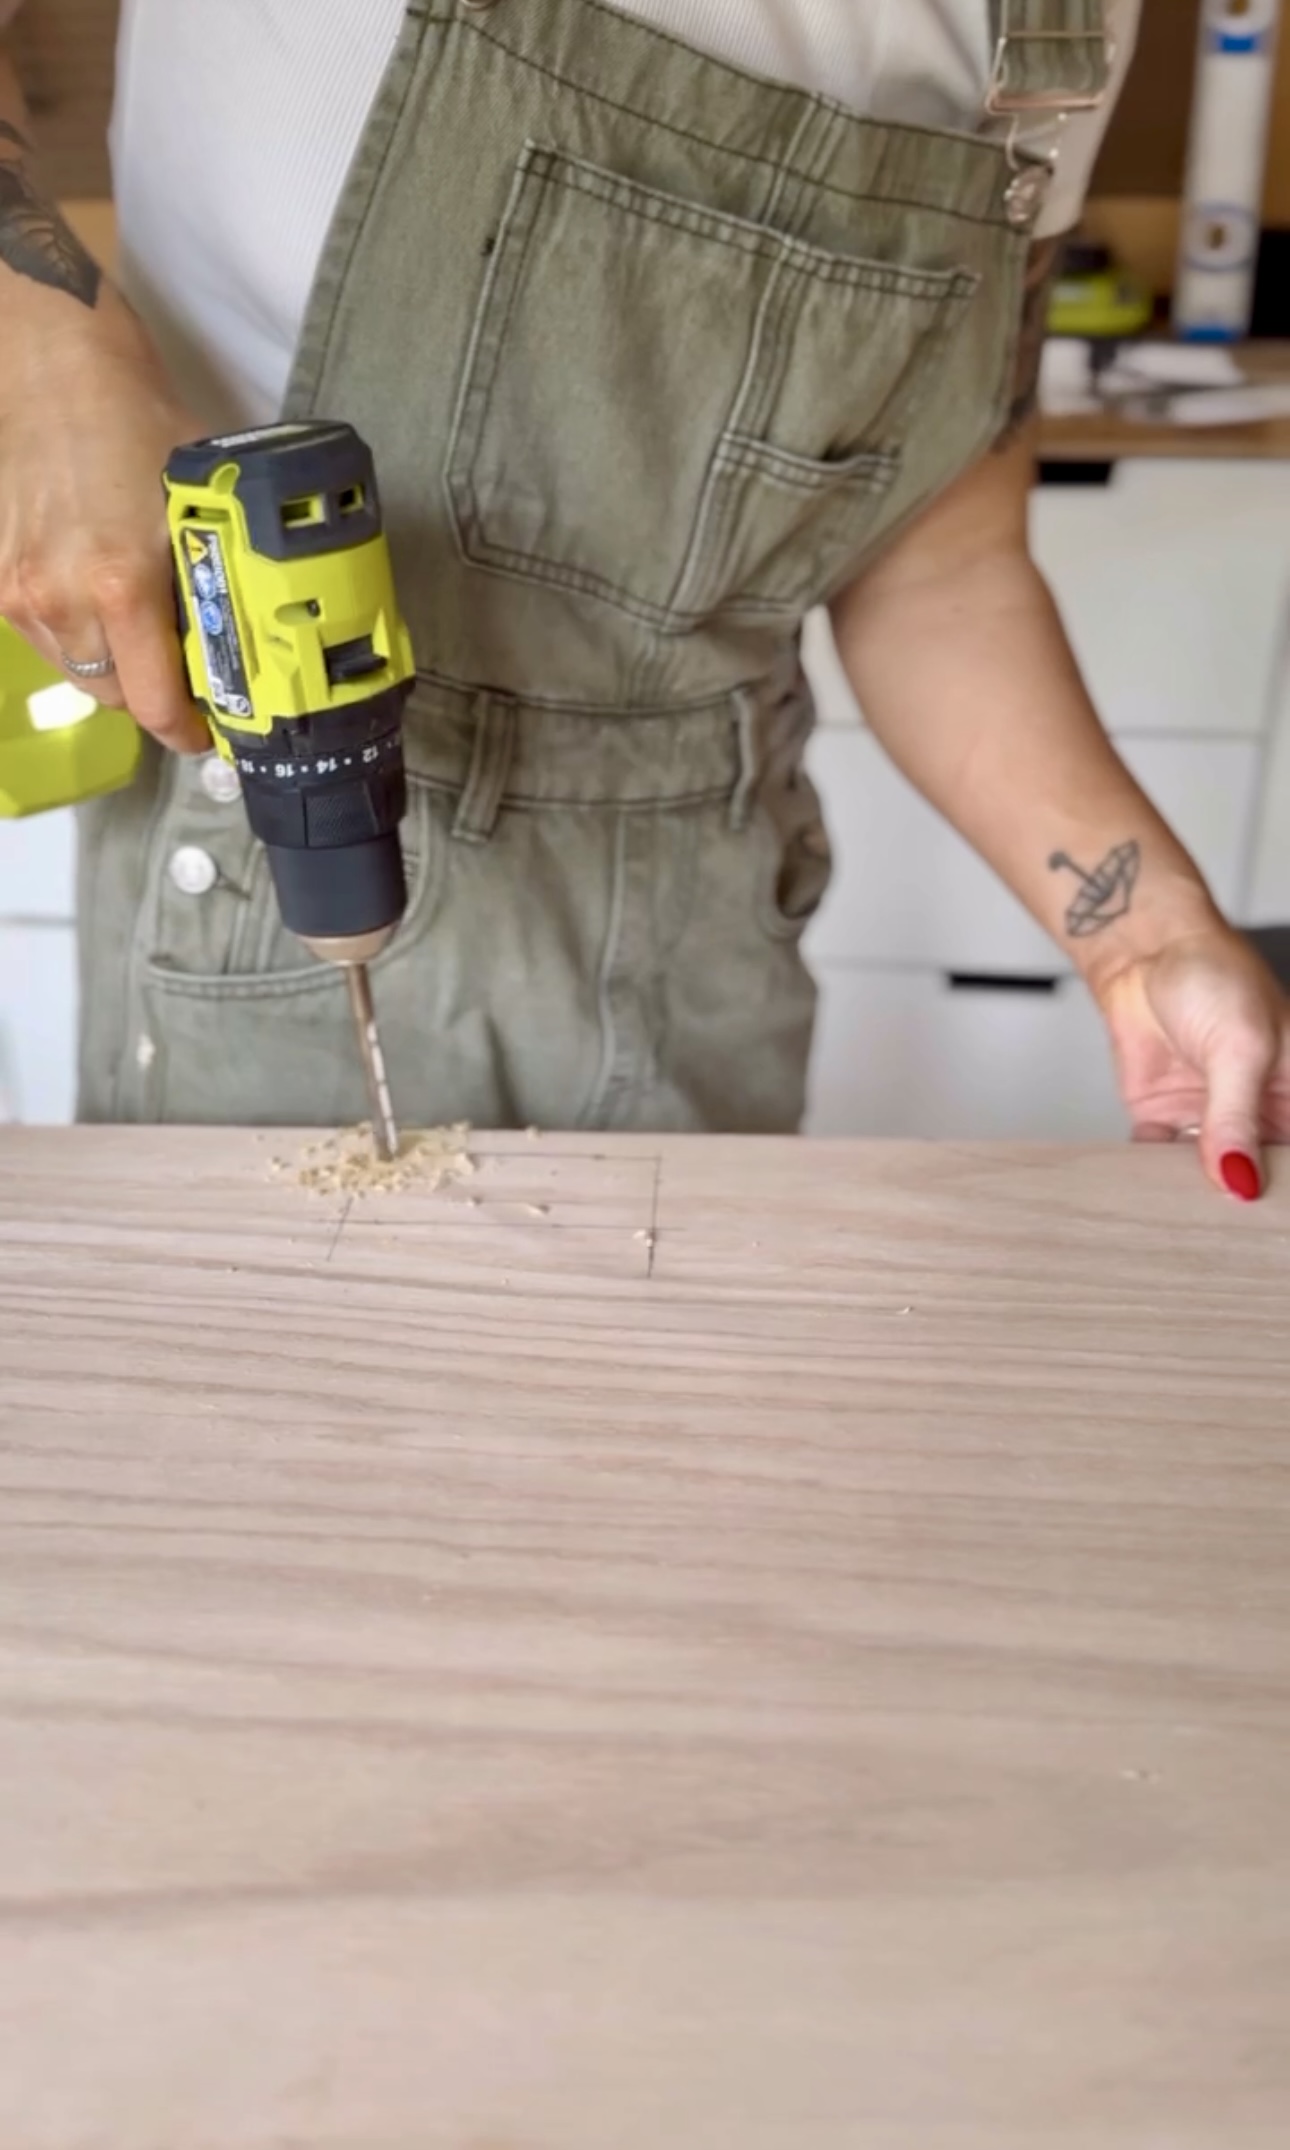
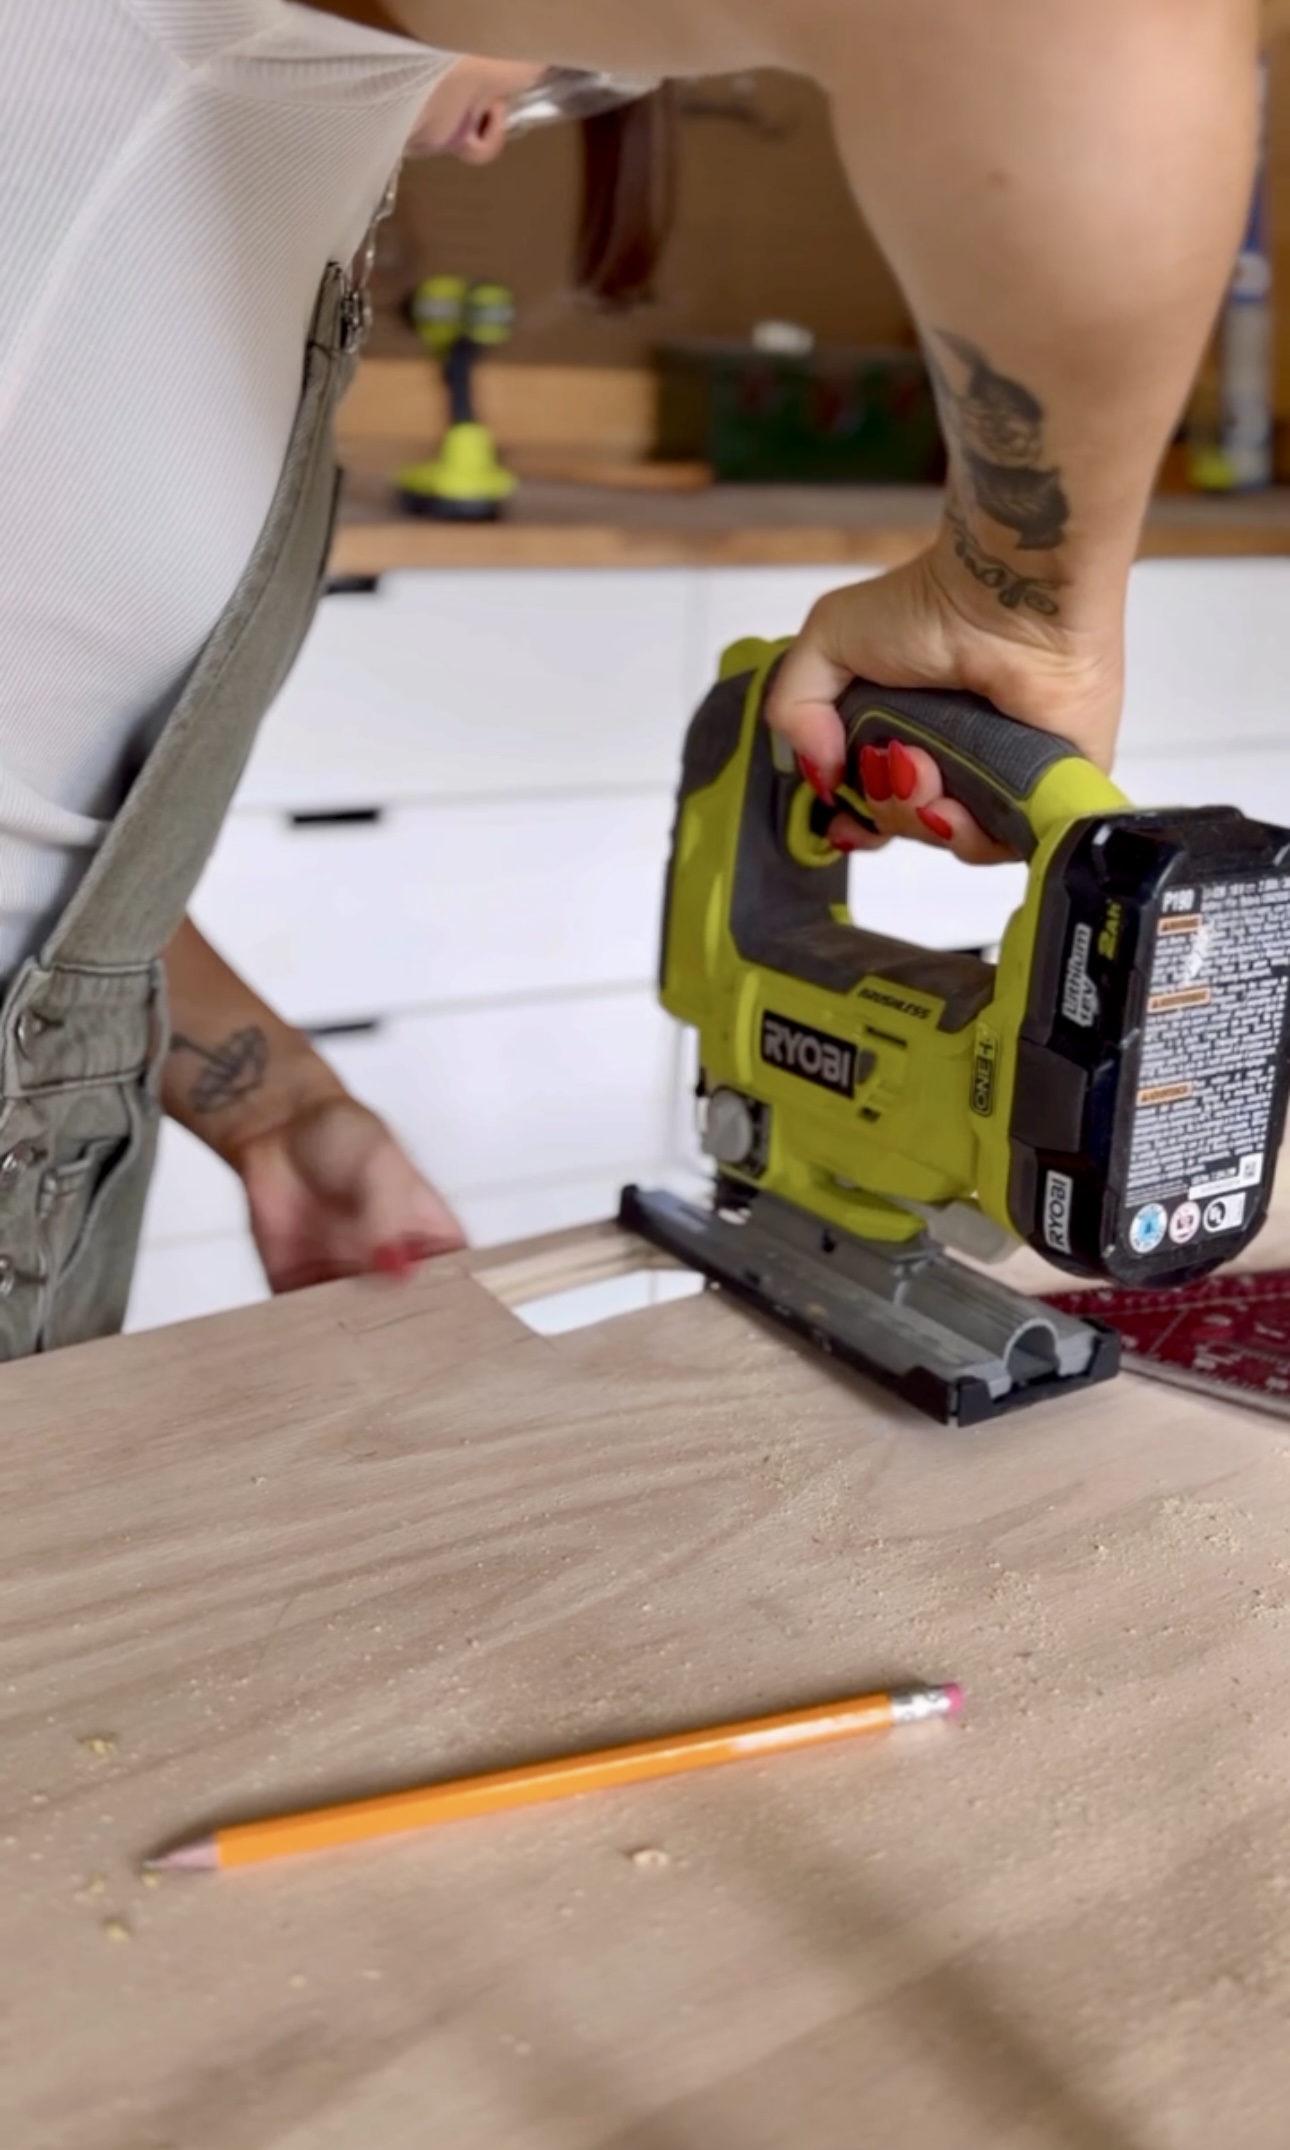
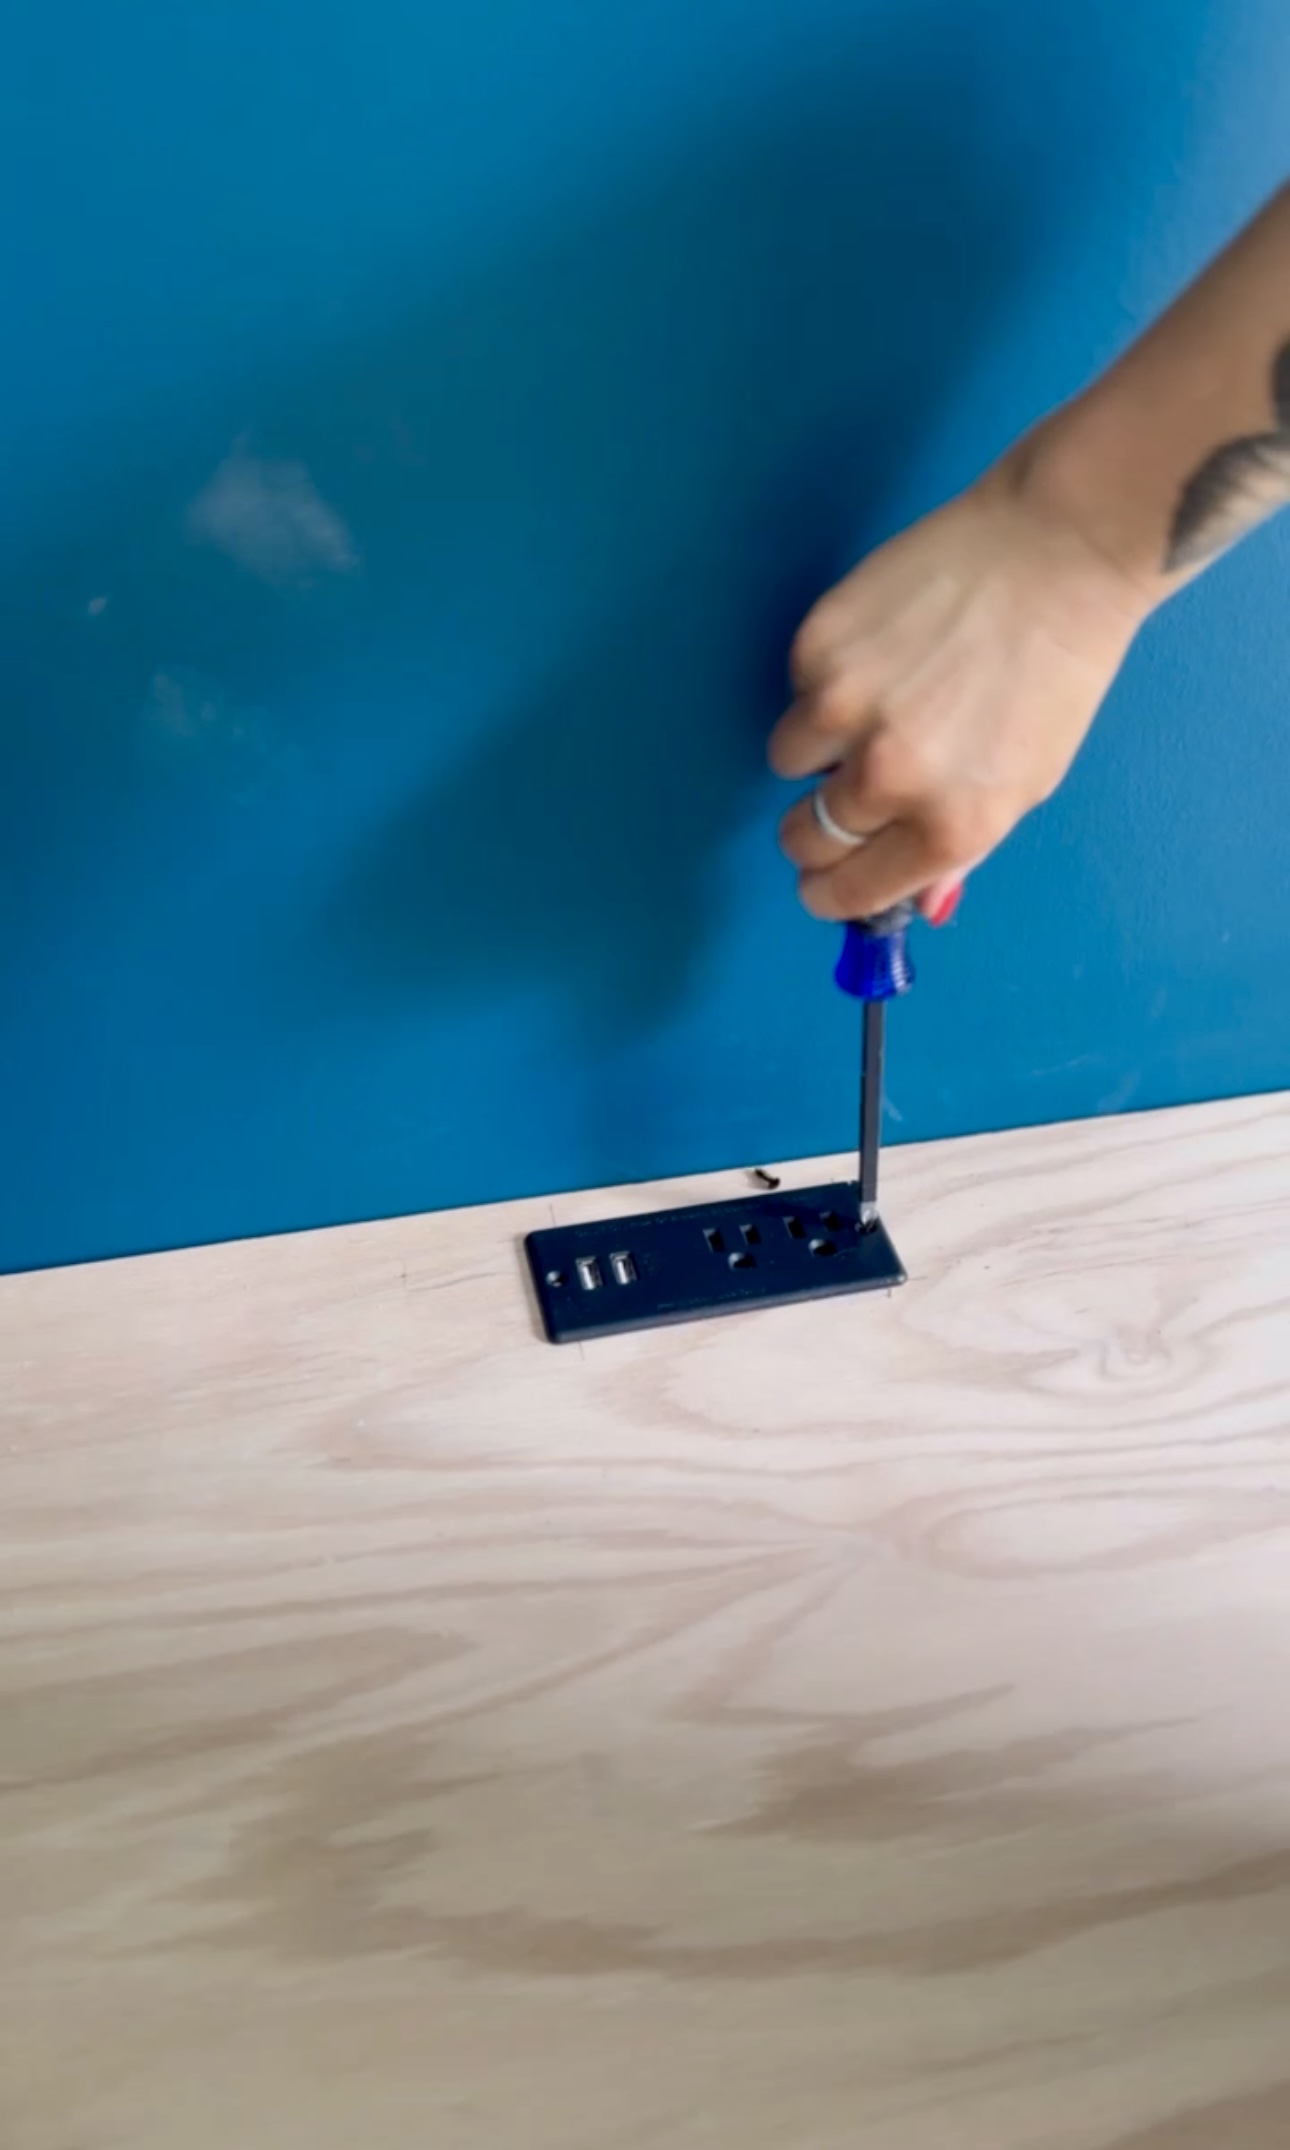
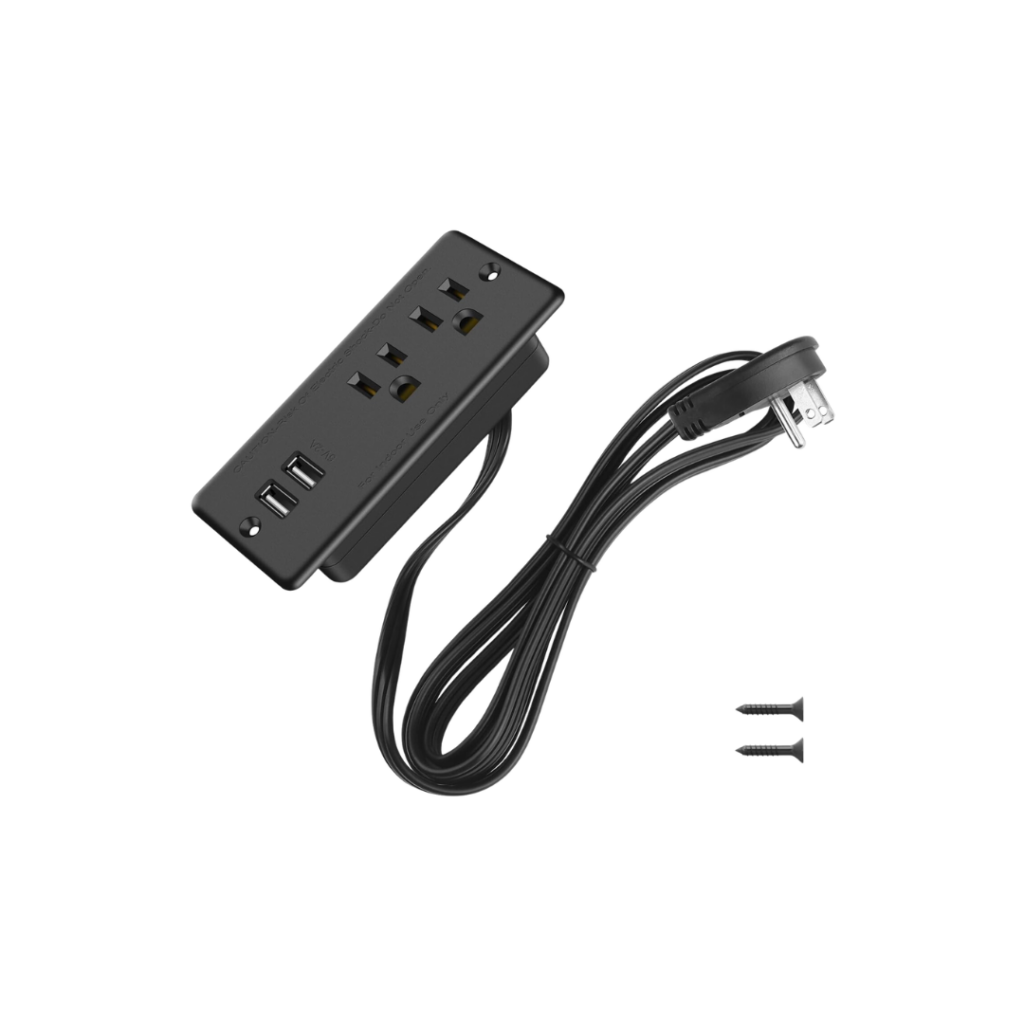
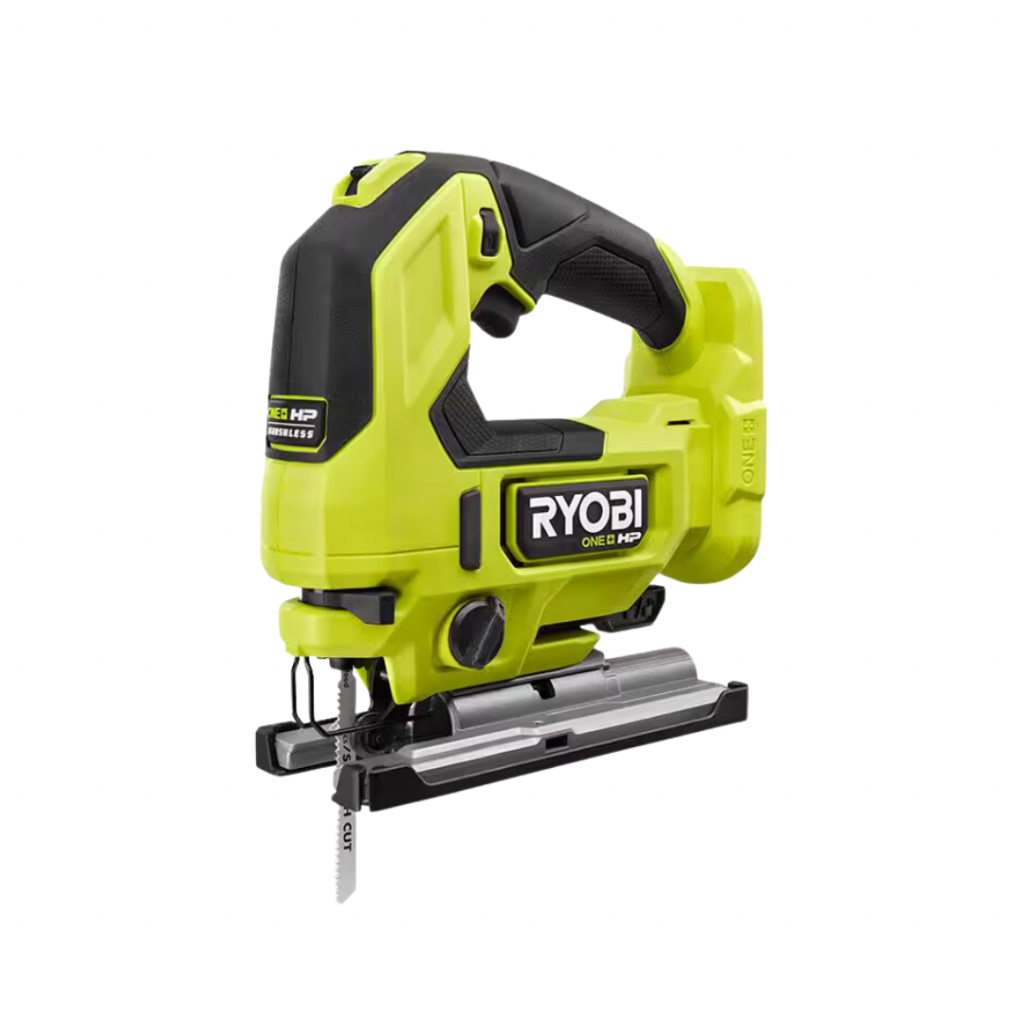
Some of you noticed that I blocked the outlets with the cabinets I installed. To fix this (and make it better) I cut out space for some plug extenders that have outlets AND usb ports! It was so easy. I just marked the size of the extenders and cut out the space with my jigsaw.
Then, I plugged in these extenders, and screwed them into the cabinet top.

Edge Banding
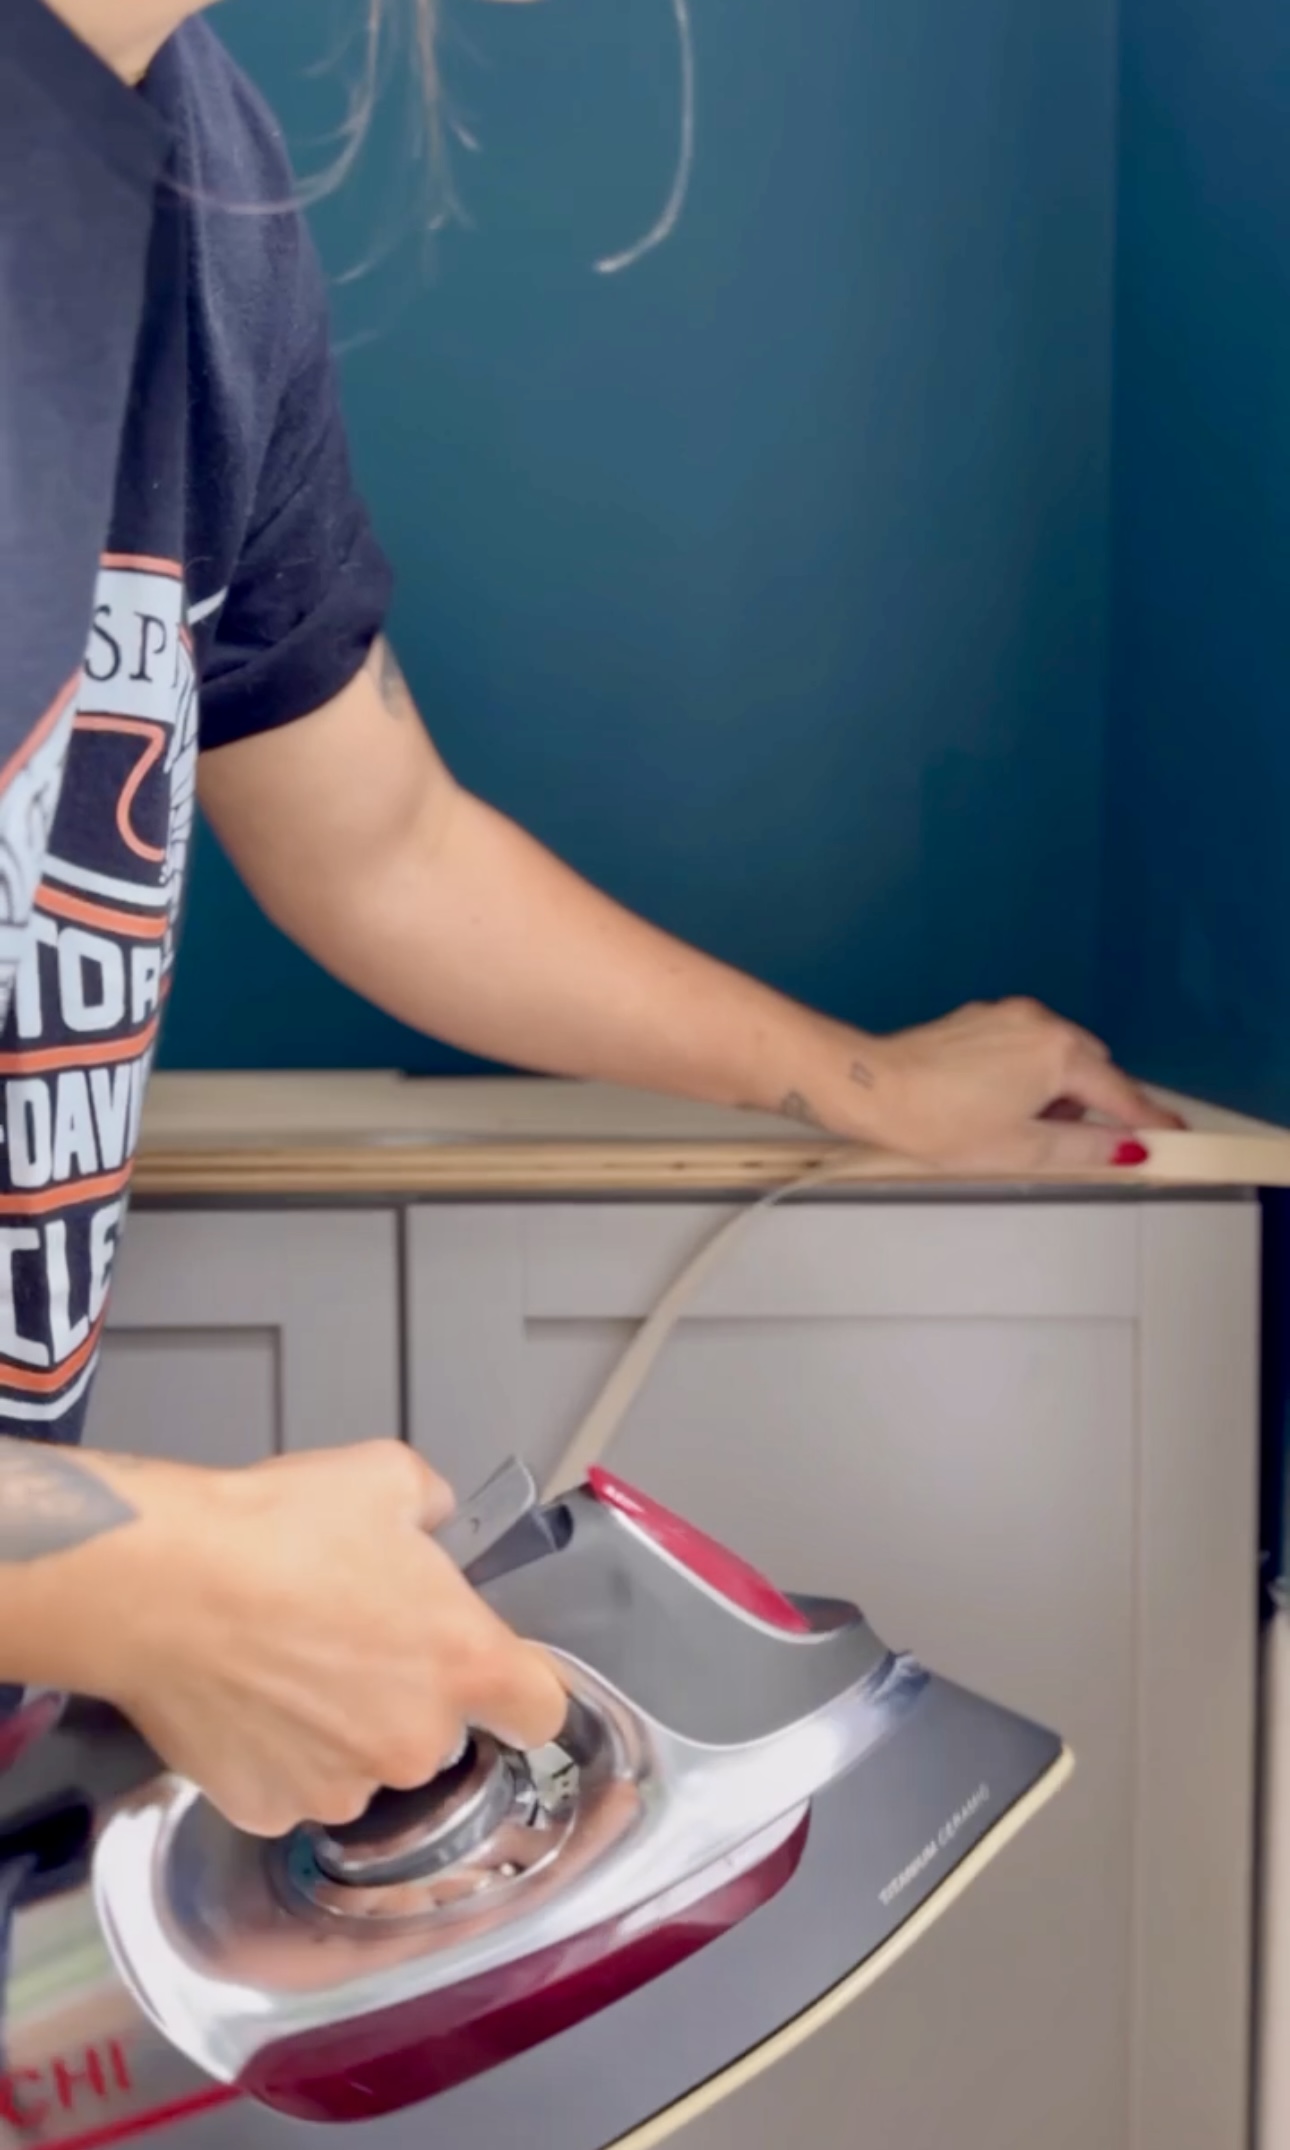
Next, I added edge banding to finish off the plywood edge. Even though I’ll be painting this, it gives the edge of this a nice, smooth finish under the paint. So easy, and so worth it!


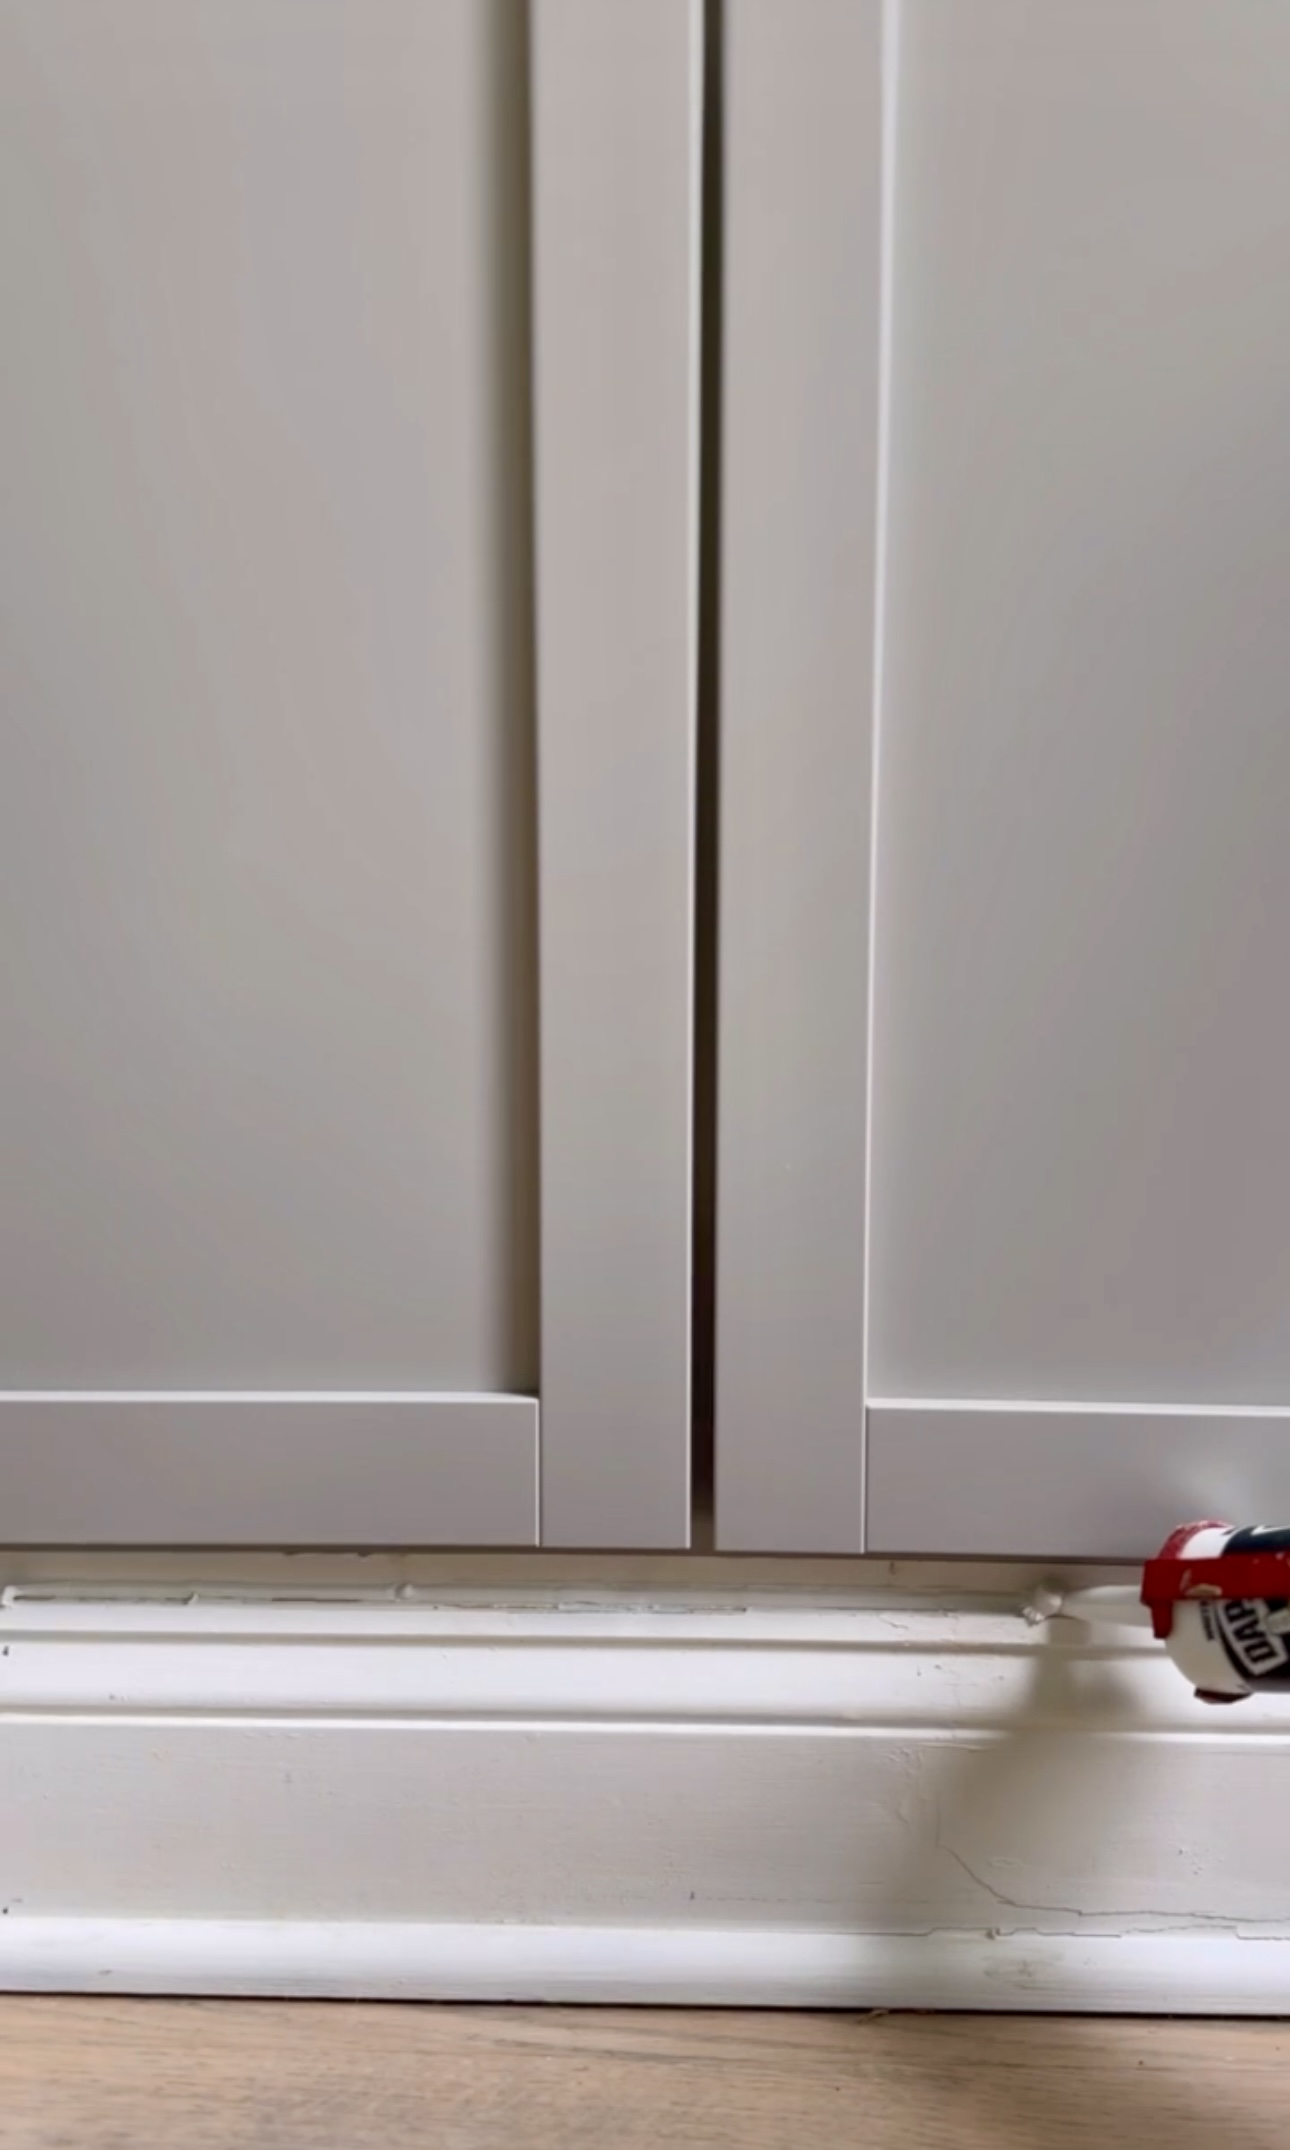
Finishing Details
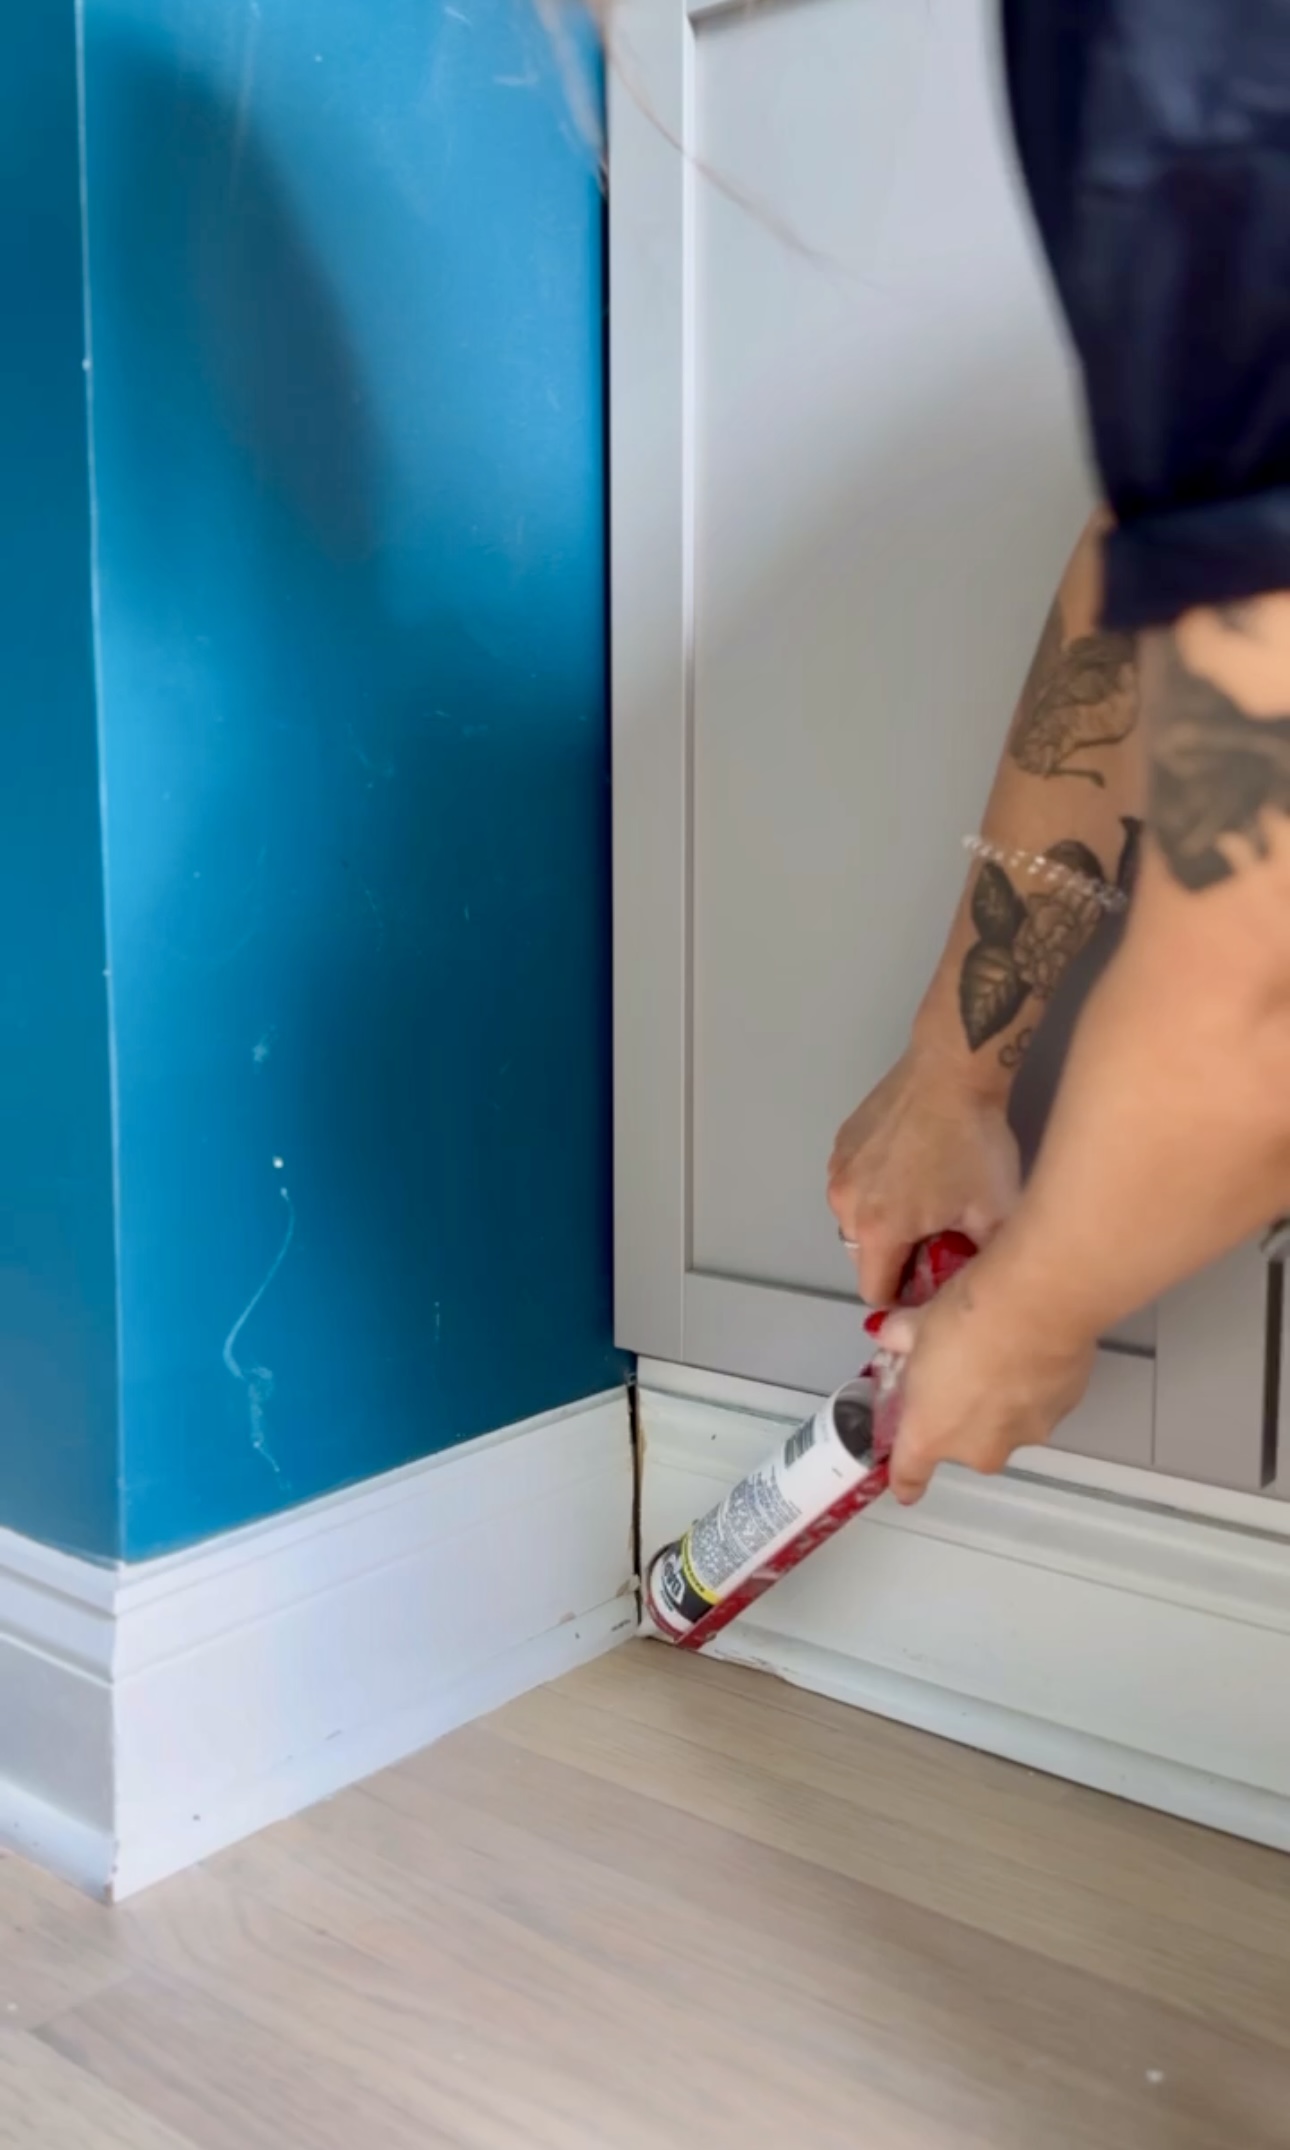
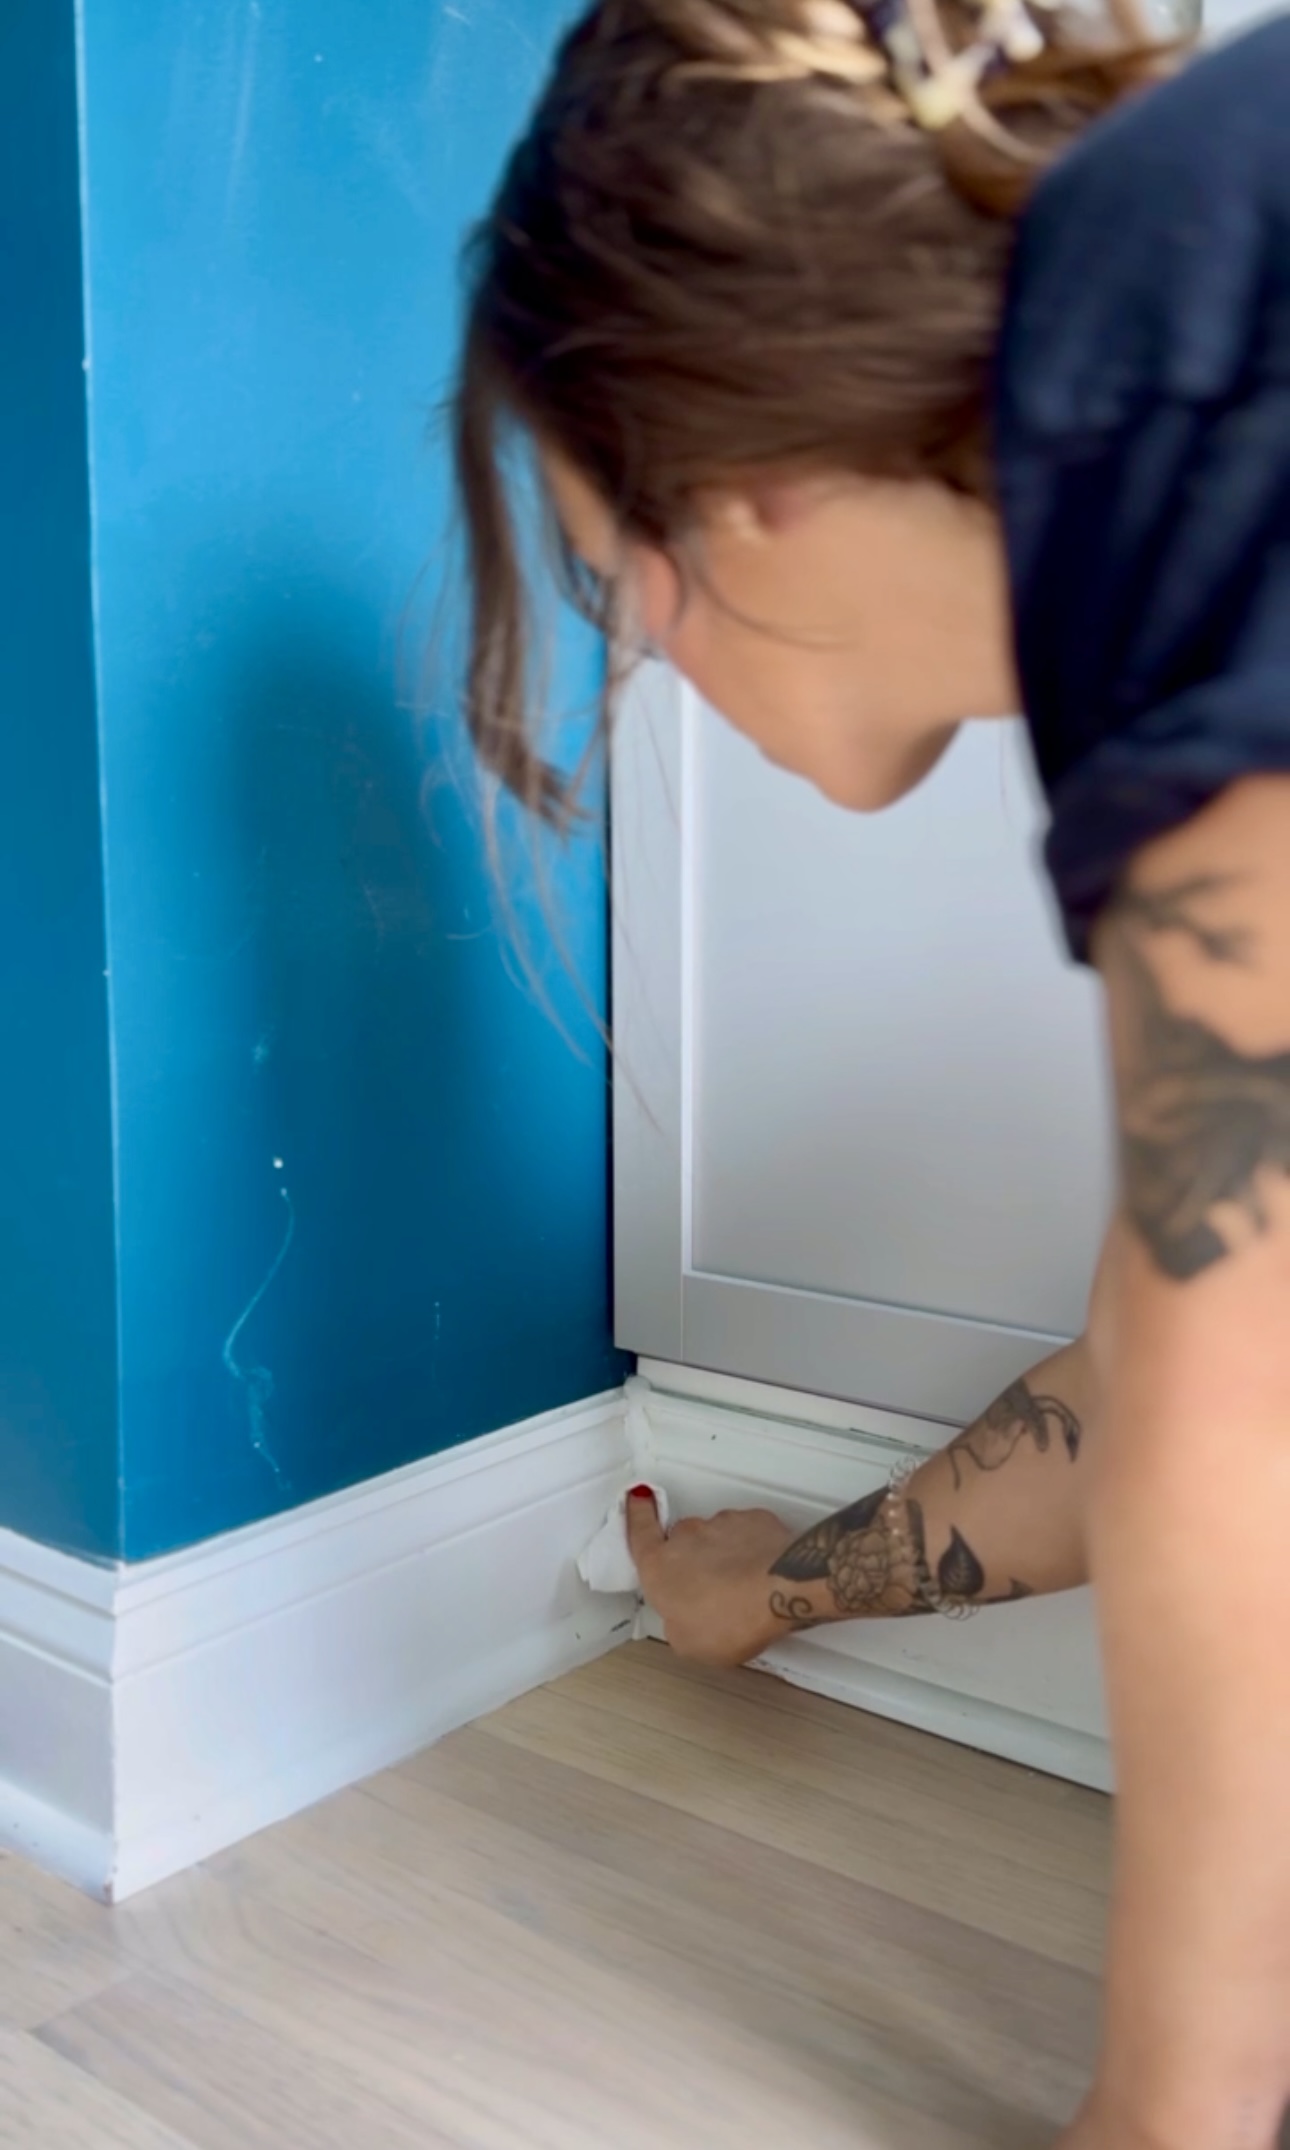
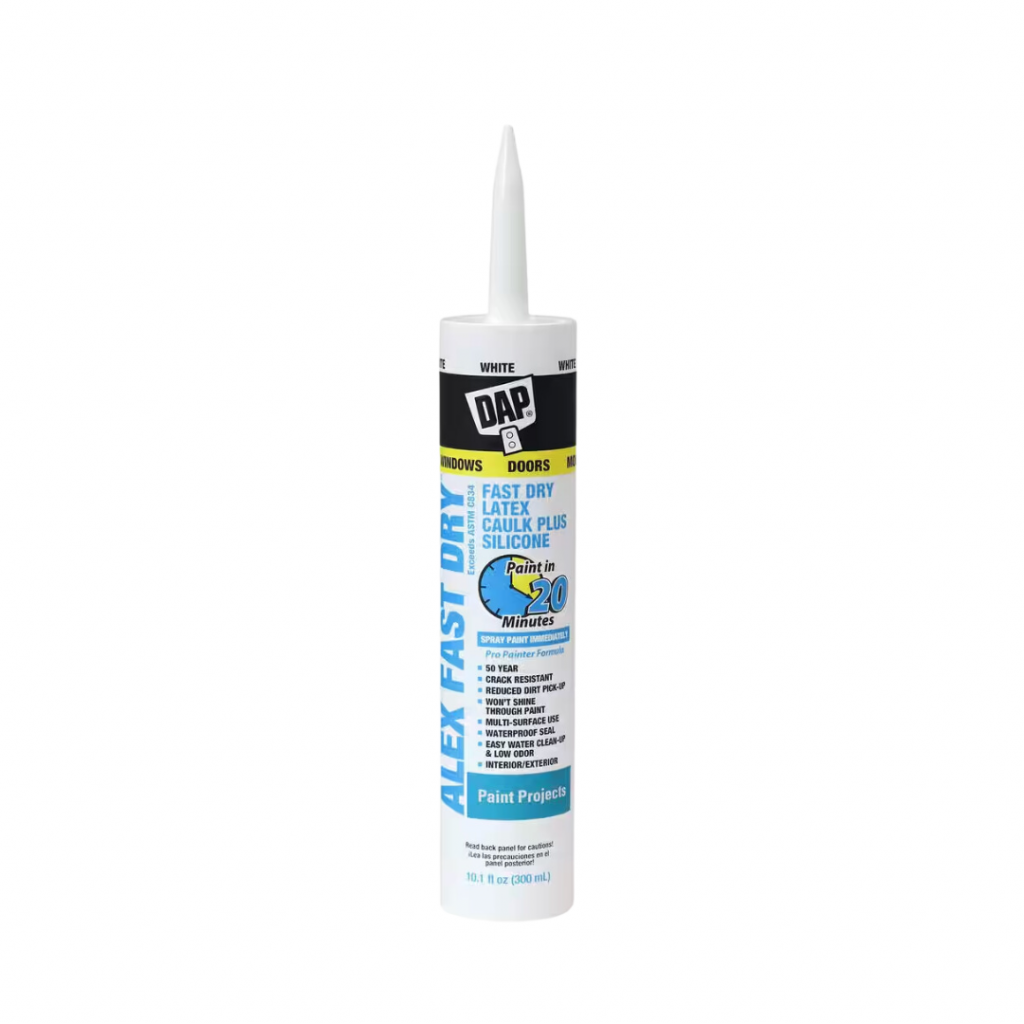
I wanted to have all the finishing details done before I started the bookcase because it motivates me a little bit more. So, time for caulking! I love watching all the cracks ✨disappear✨. And you know me, I always clean up my caulk with baby wipes (which I always have handy these days) and it works like a charm every time. Such easy clean up!
A lot of you were wondering what I would’ve done if the cabinets didn’t fit perfectly in the nook. I would have filled in the gaps with trim. And if I needed to, I could have also added trim between each of the cabinets. But, these cabinets come in multiple sizes so there are lots of options.
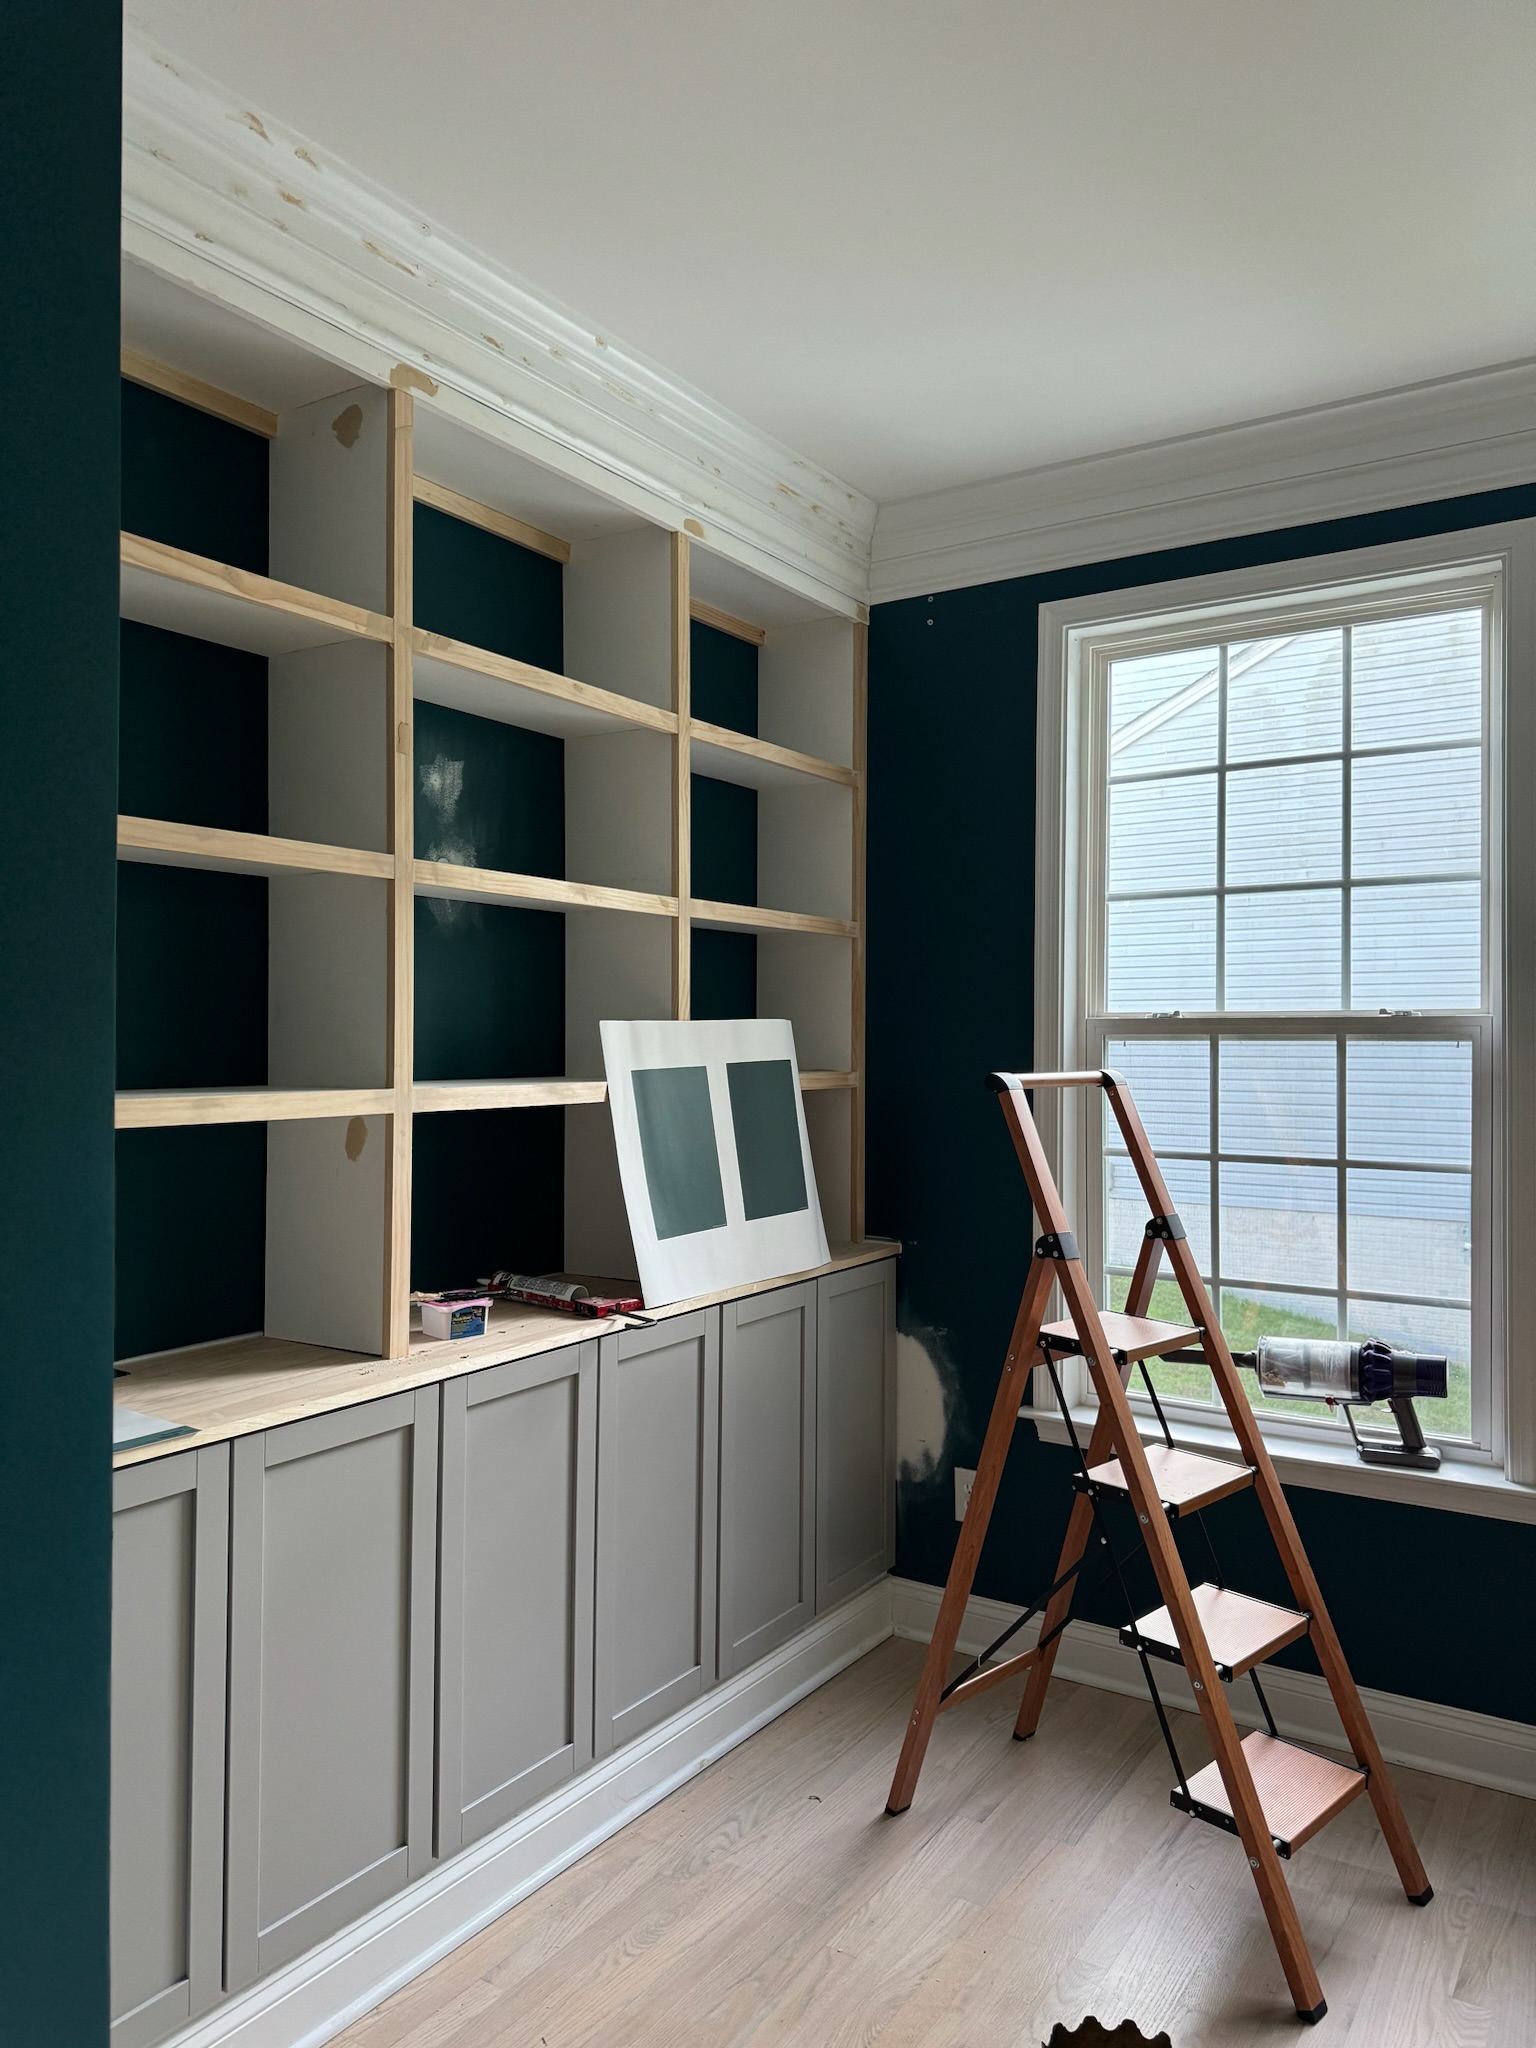
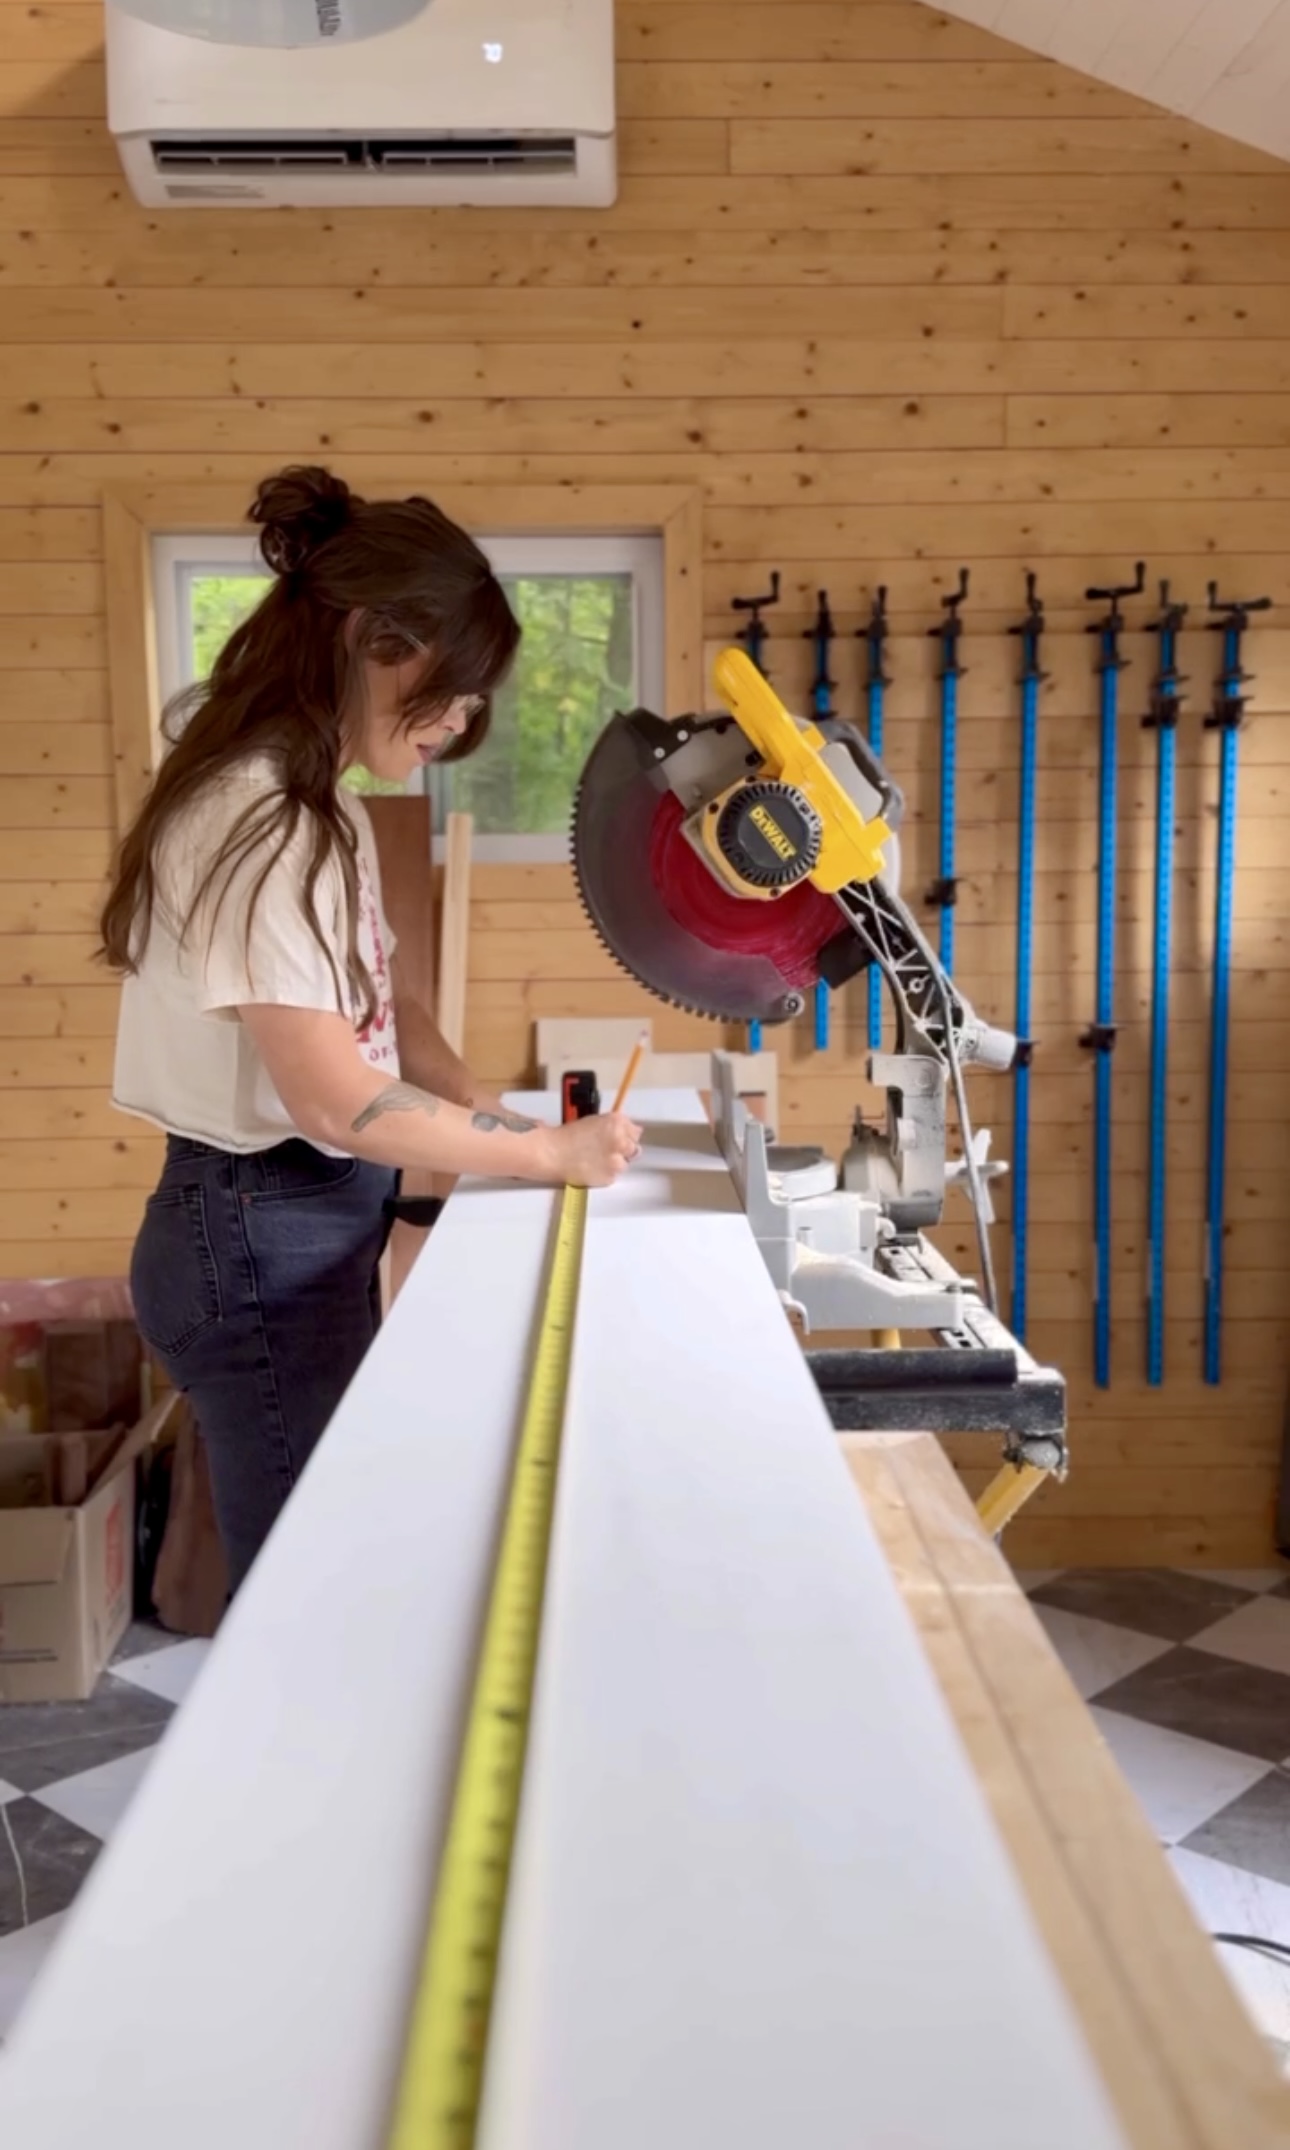
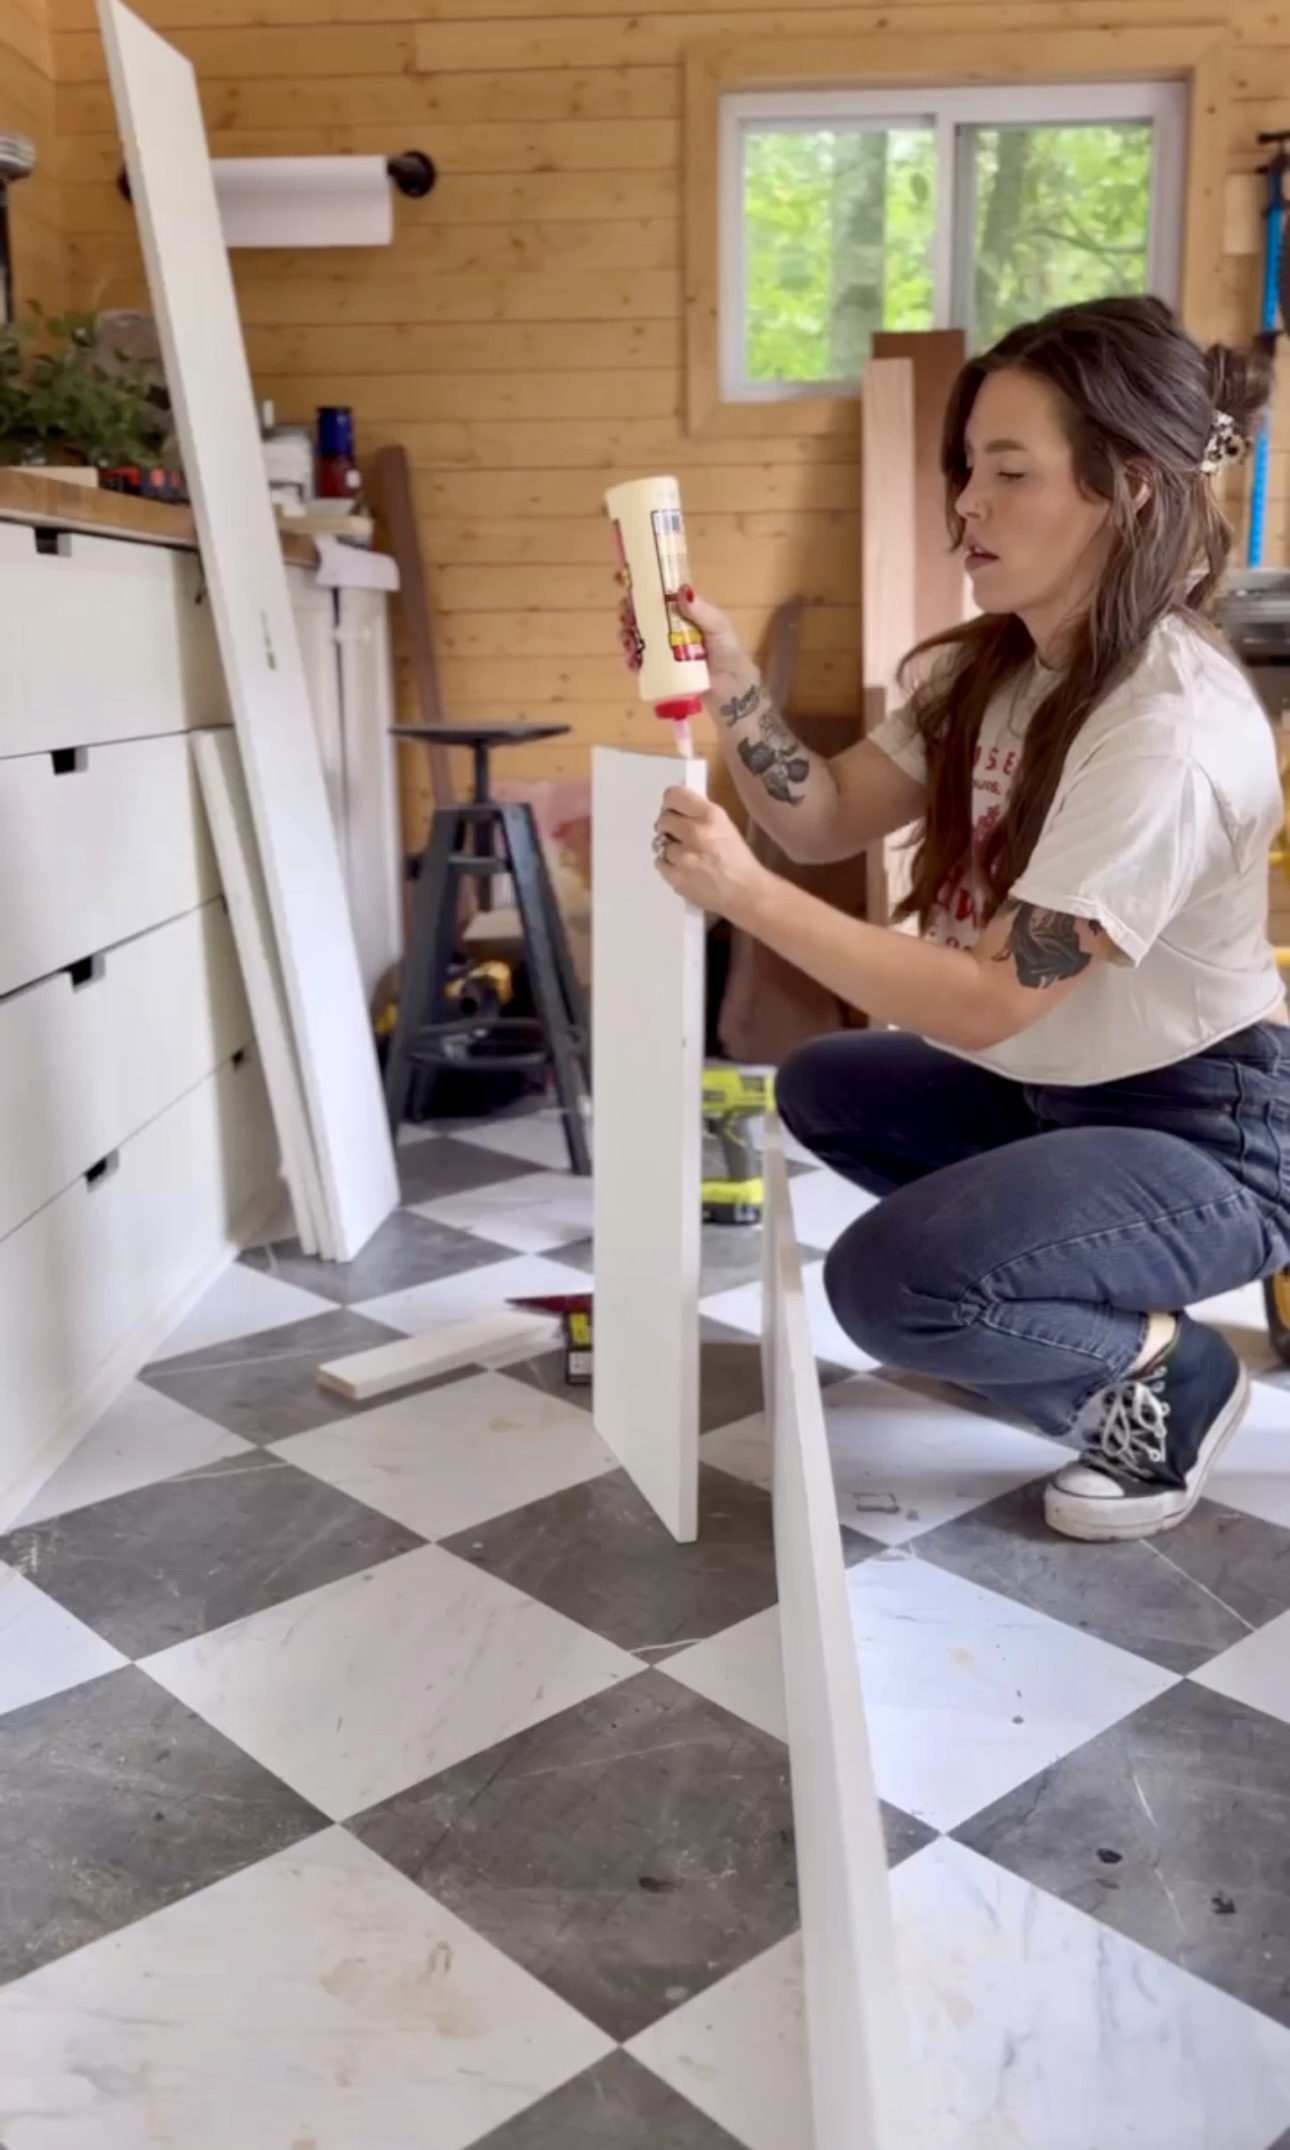
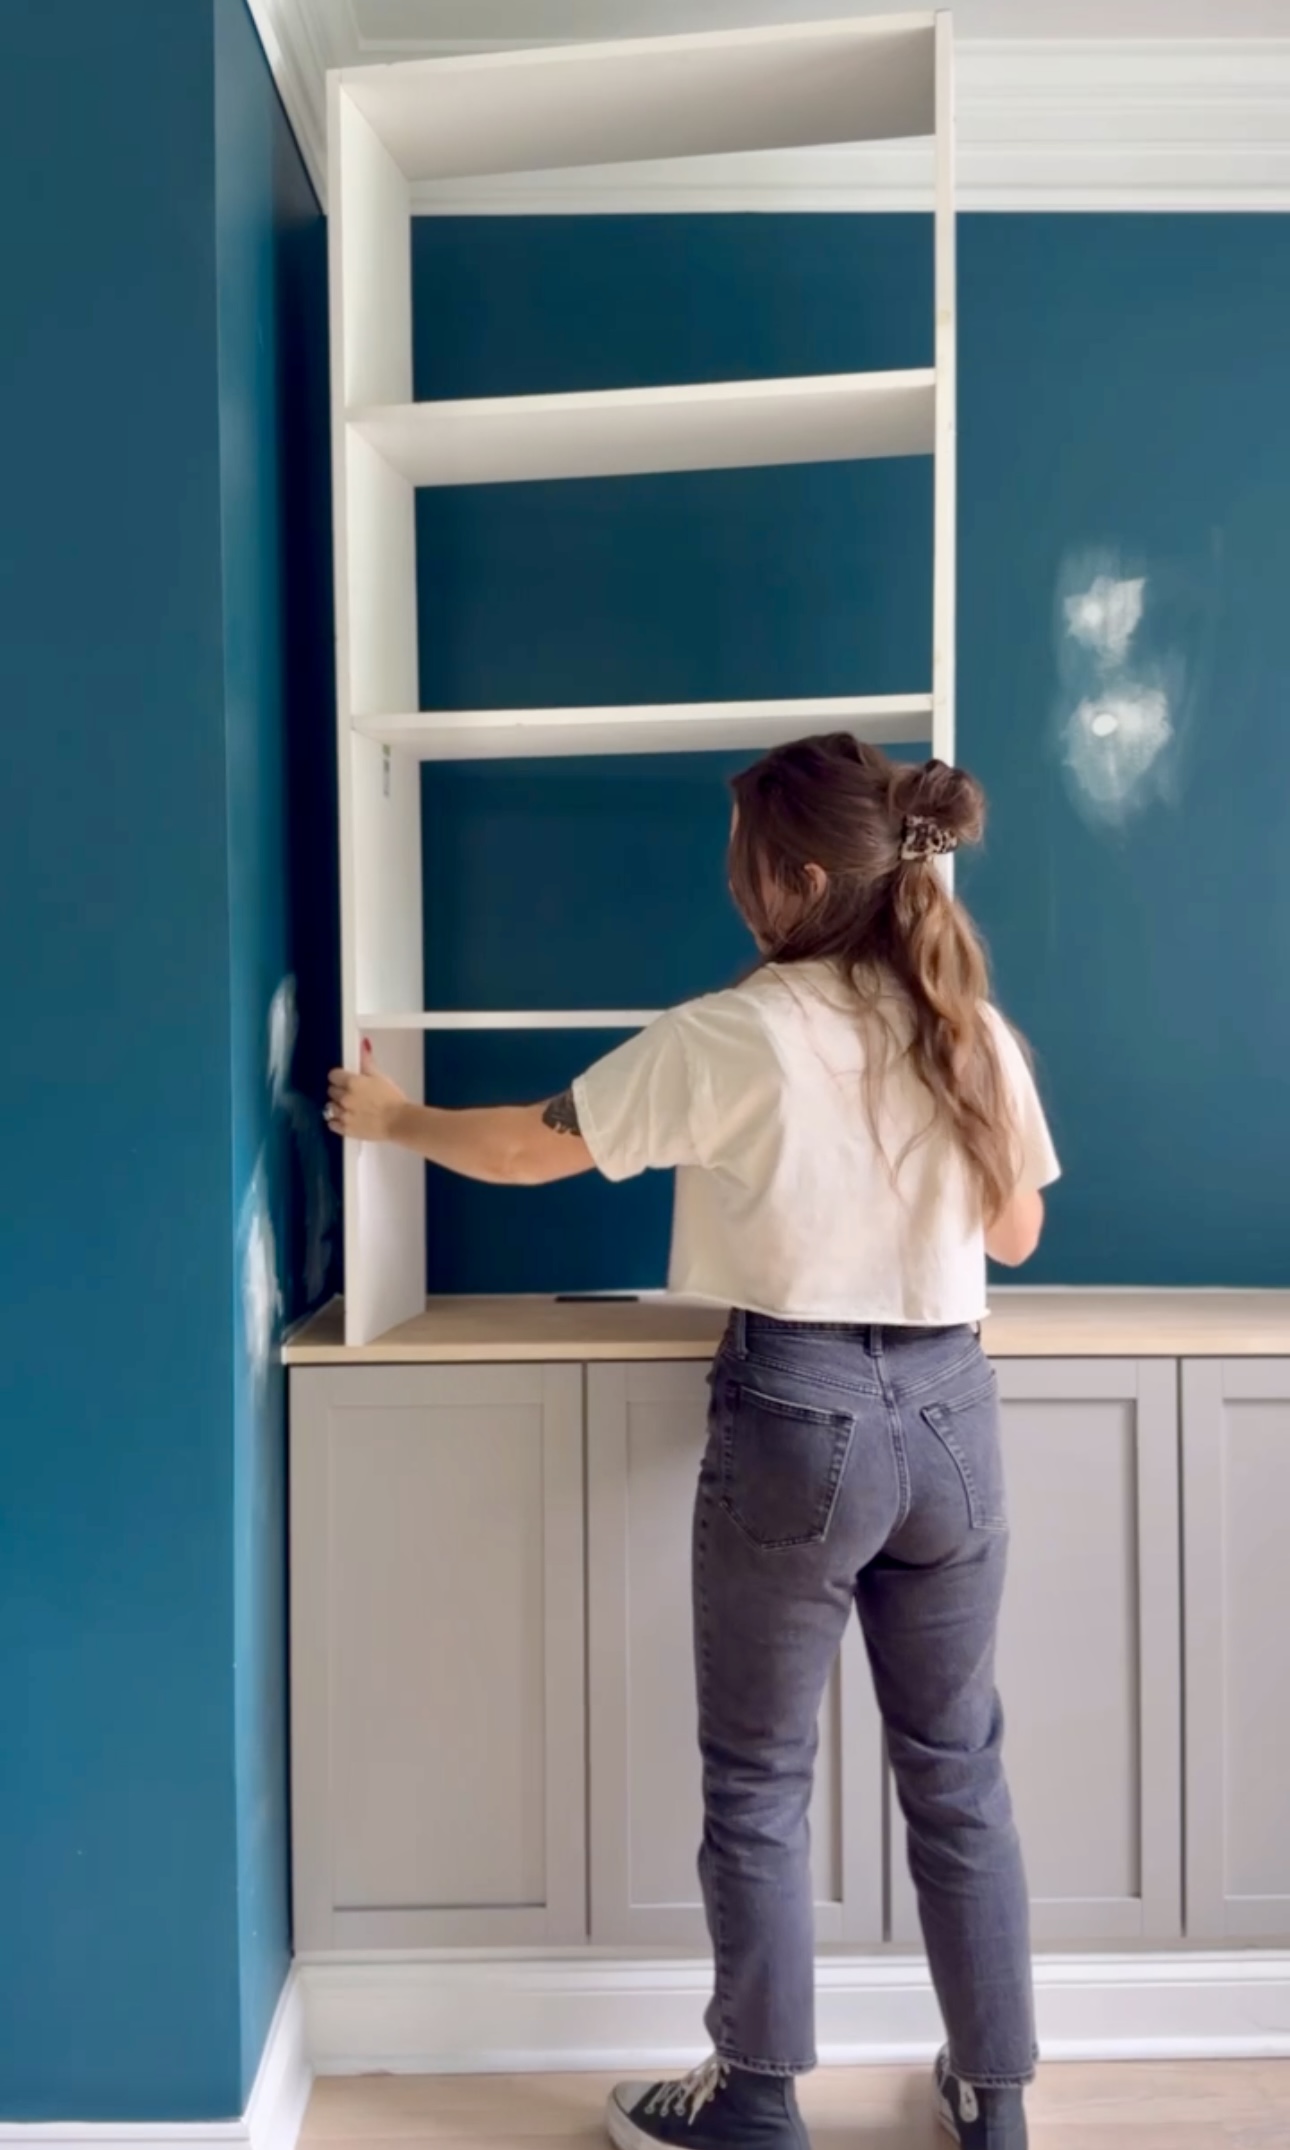
Bookcase Shelves
Next, I started building the shelving units for the bookcase that would sit on top of these cabinets. For these, I used primed pine that was about 12 inches deep. I used a scrap wood spacer between the shelves while I glued and screwed them in. I built a total of 3 of these shelving units. They’re nice and solid!


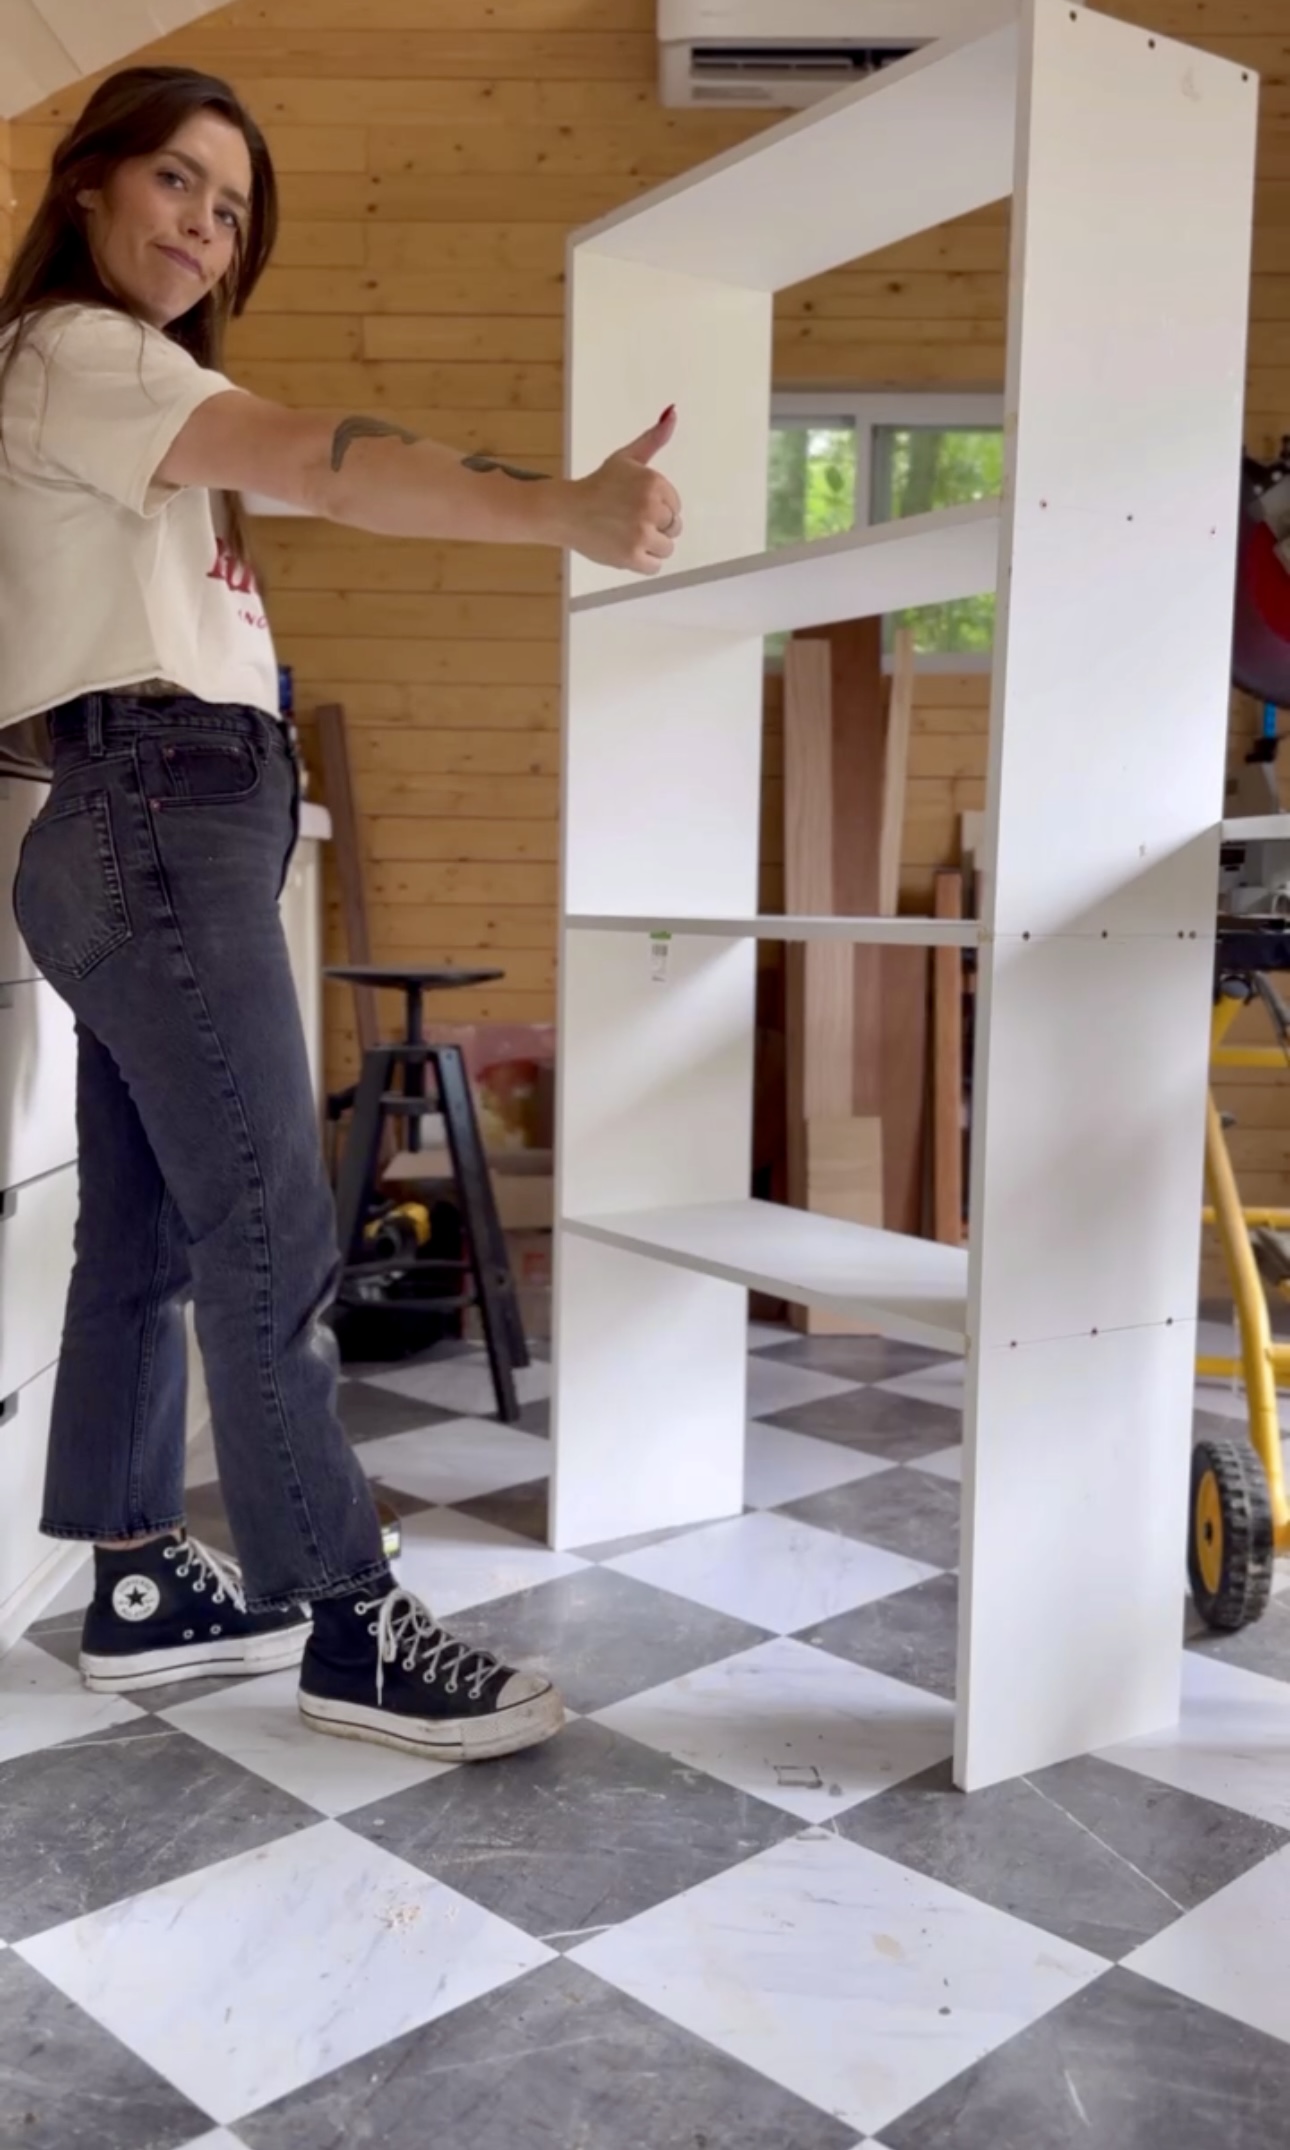
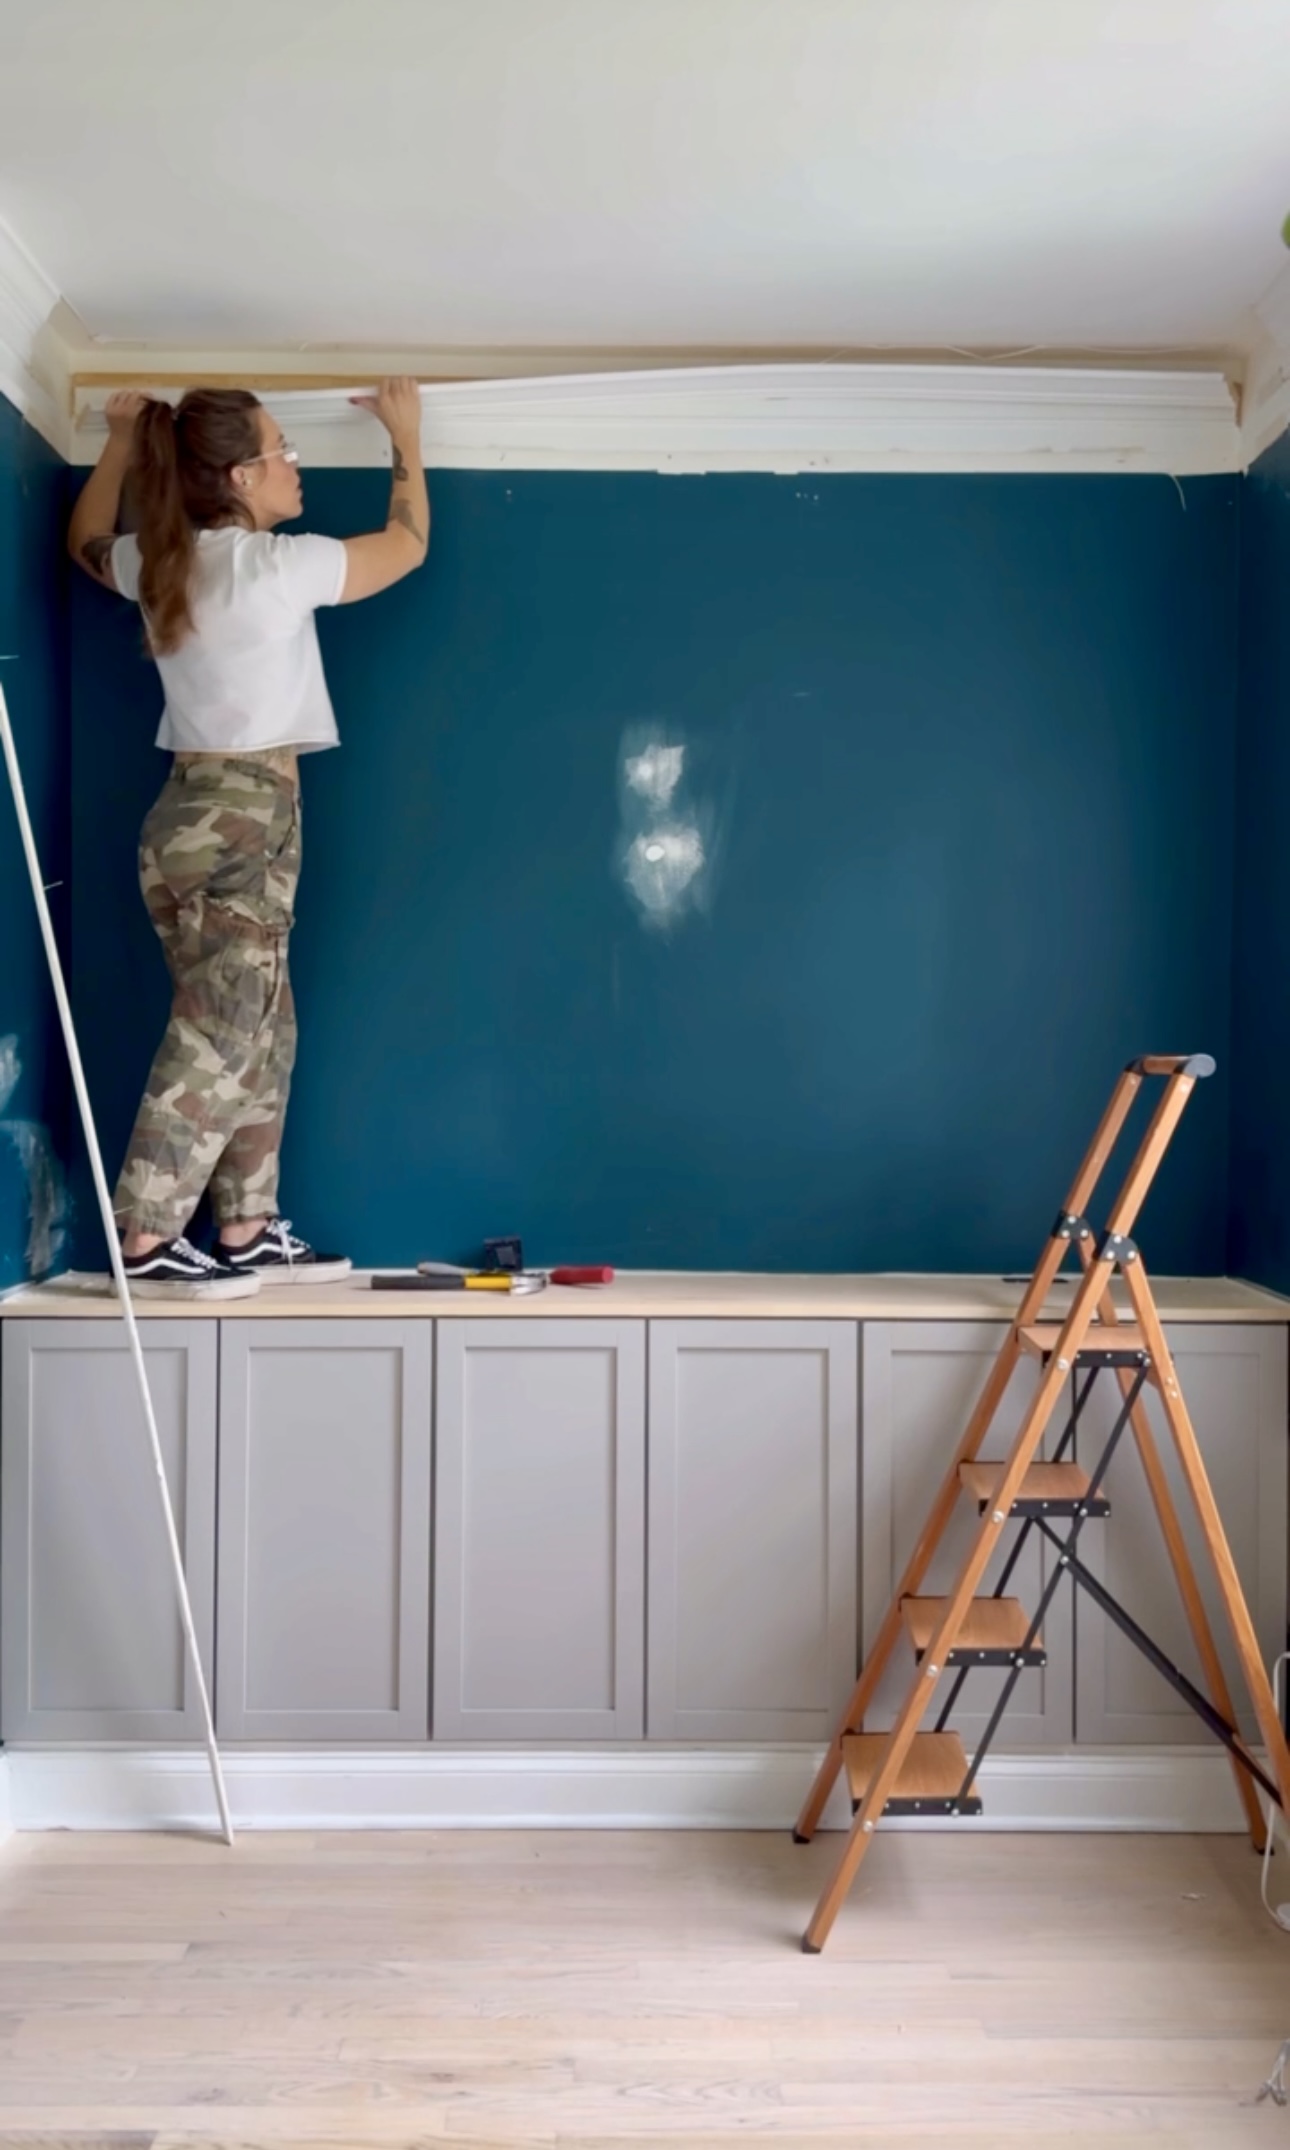
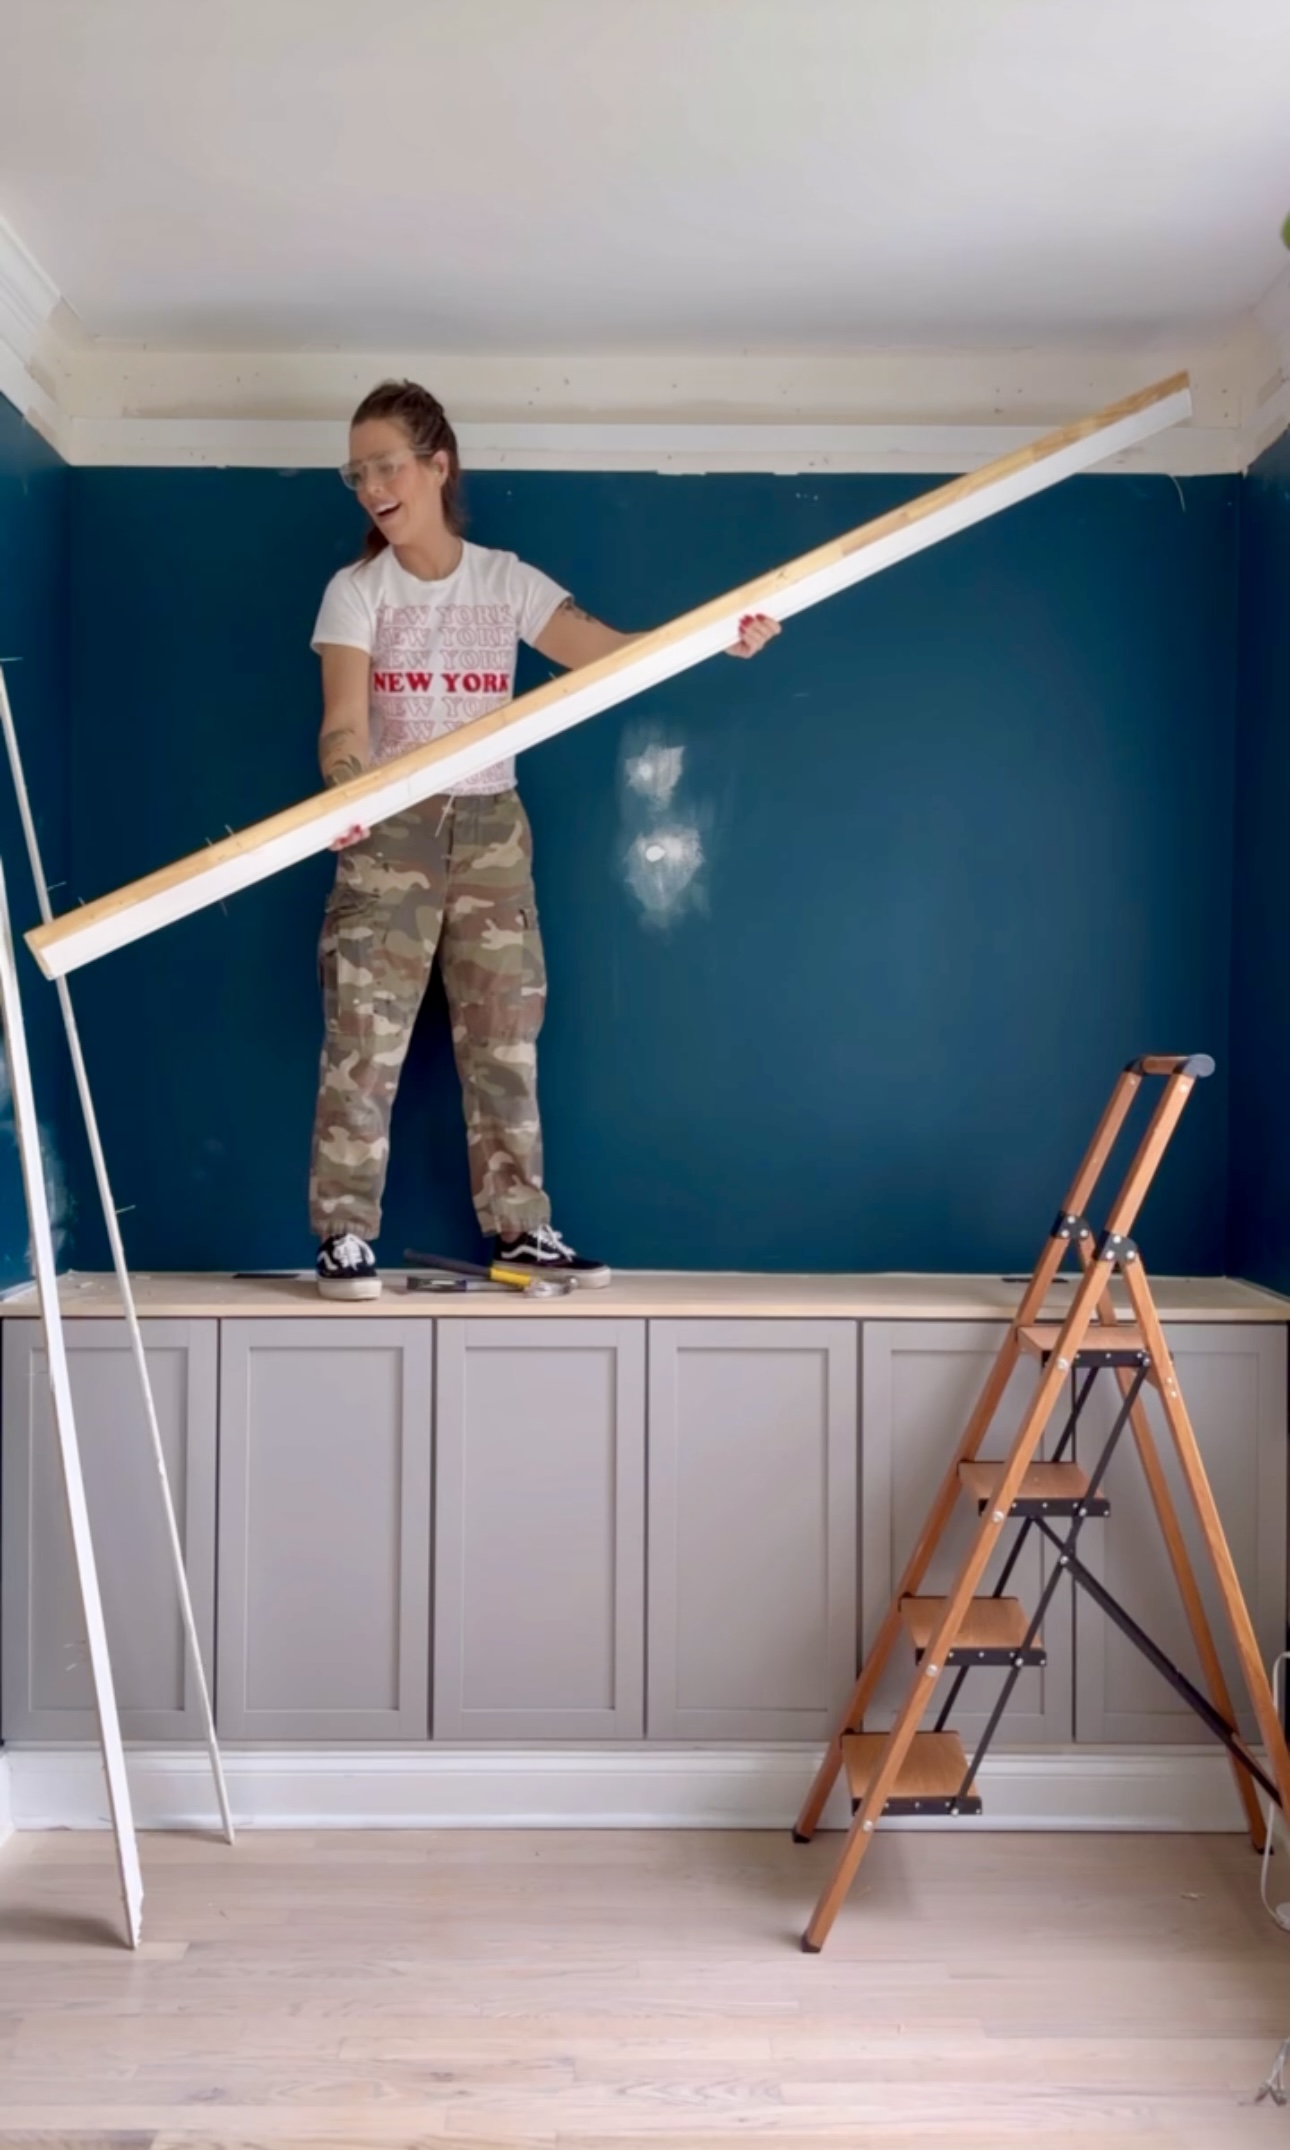
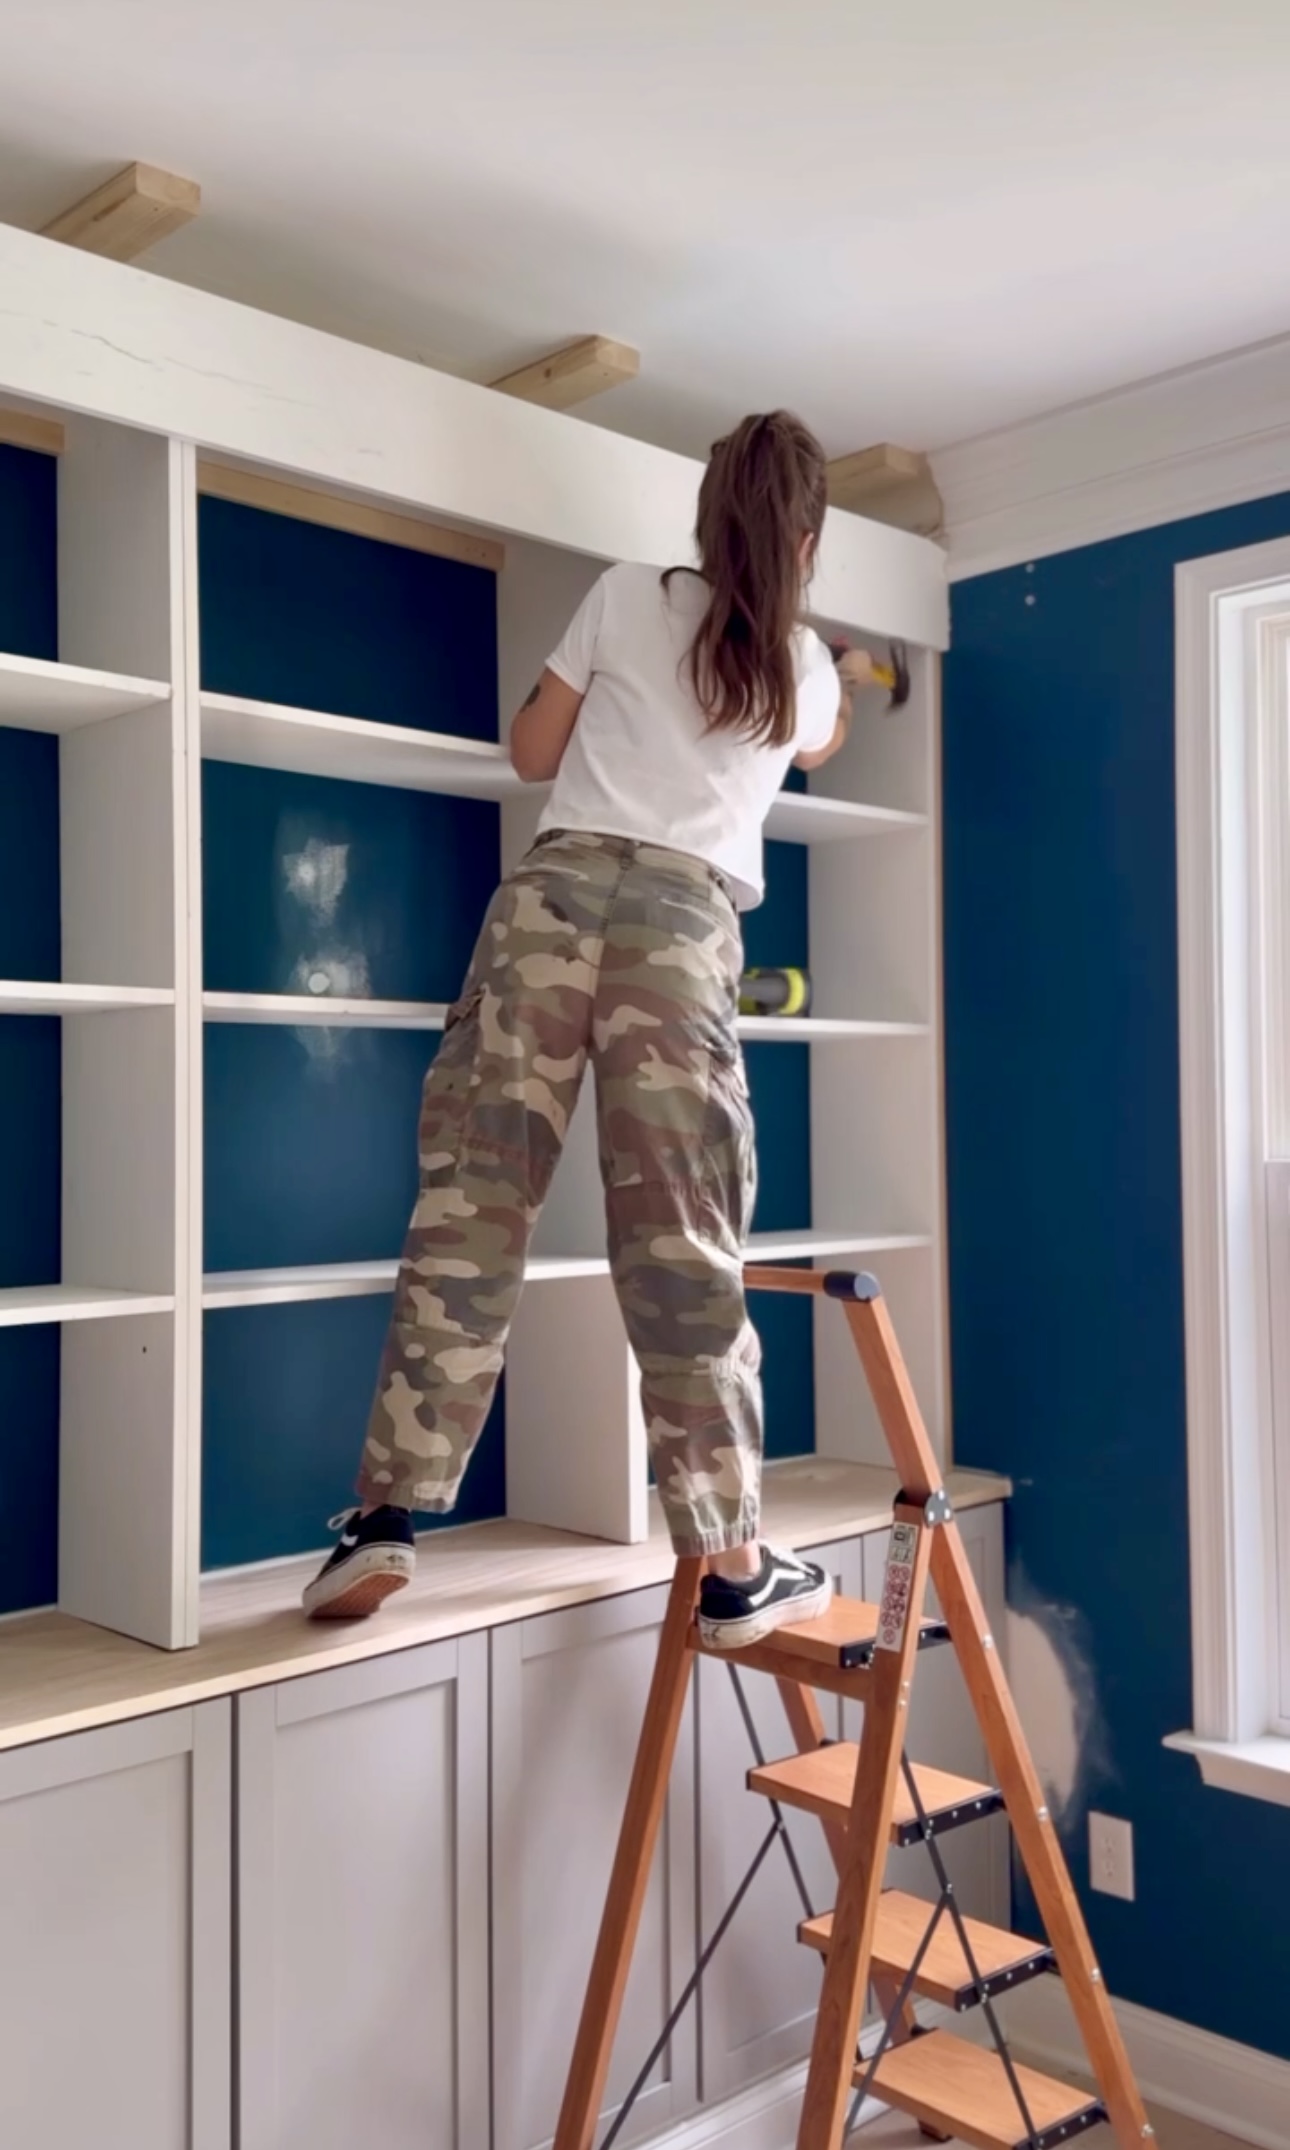
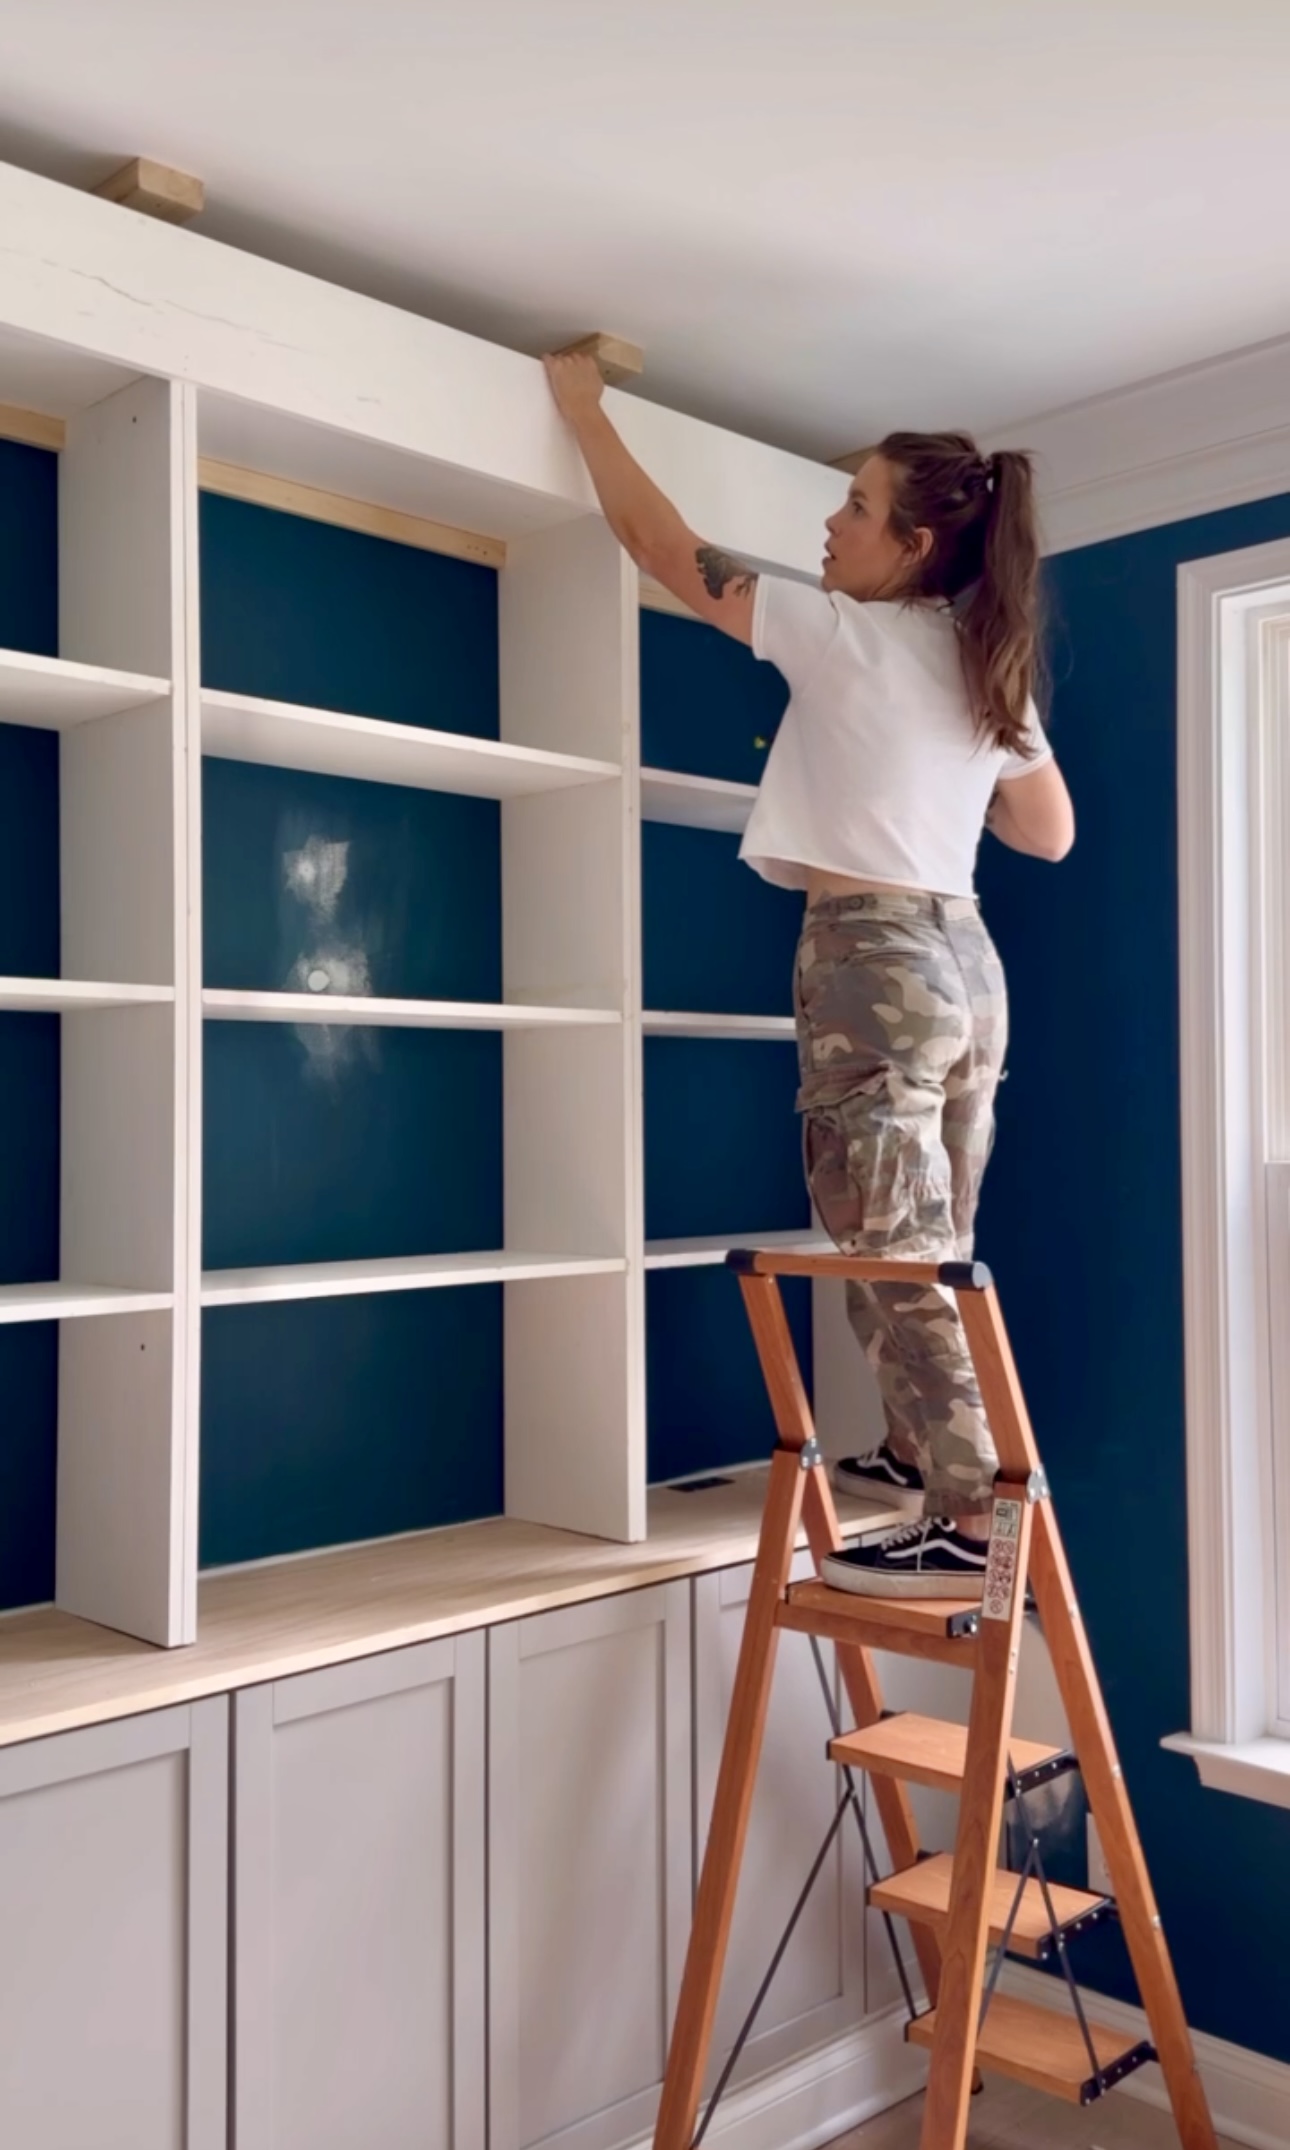
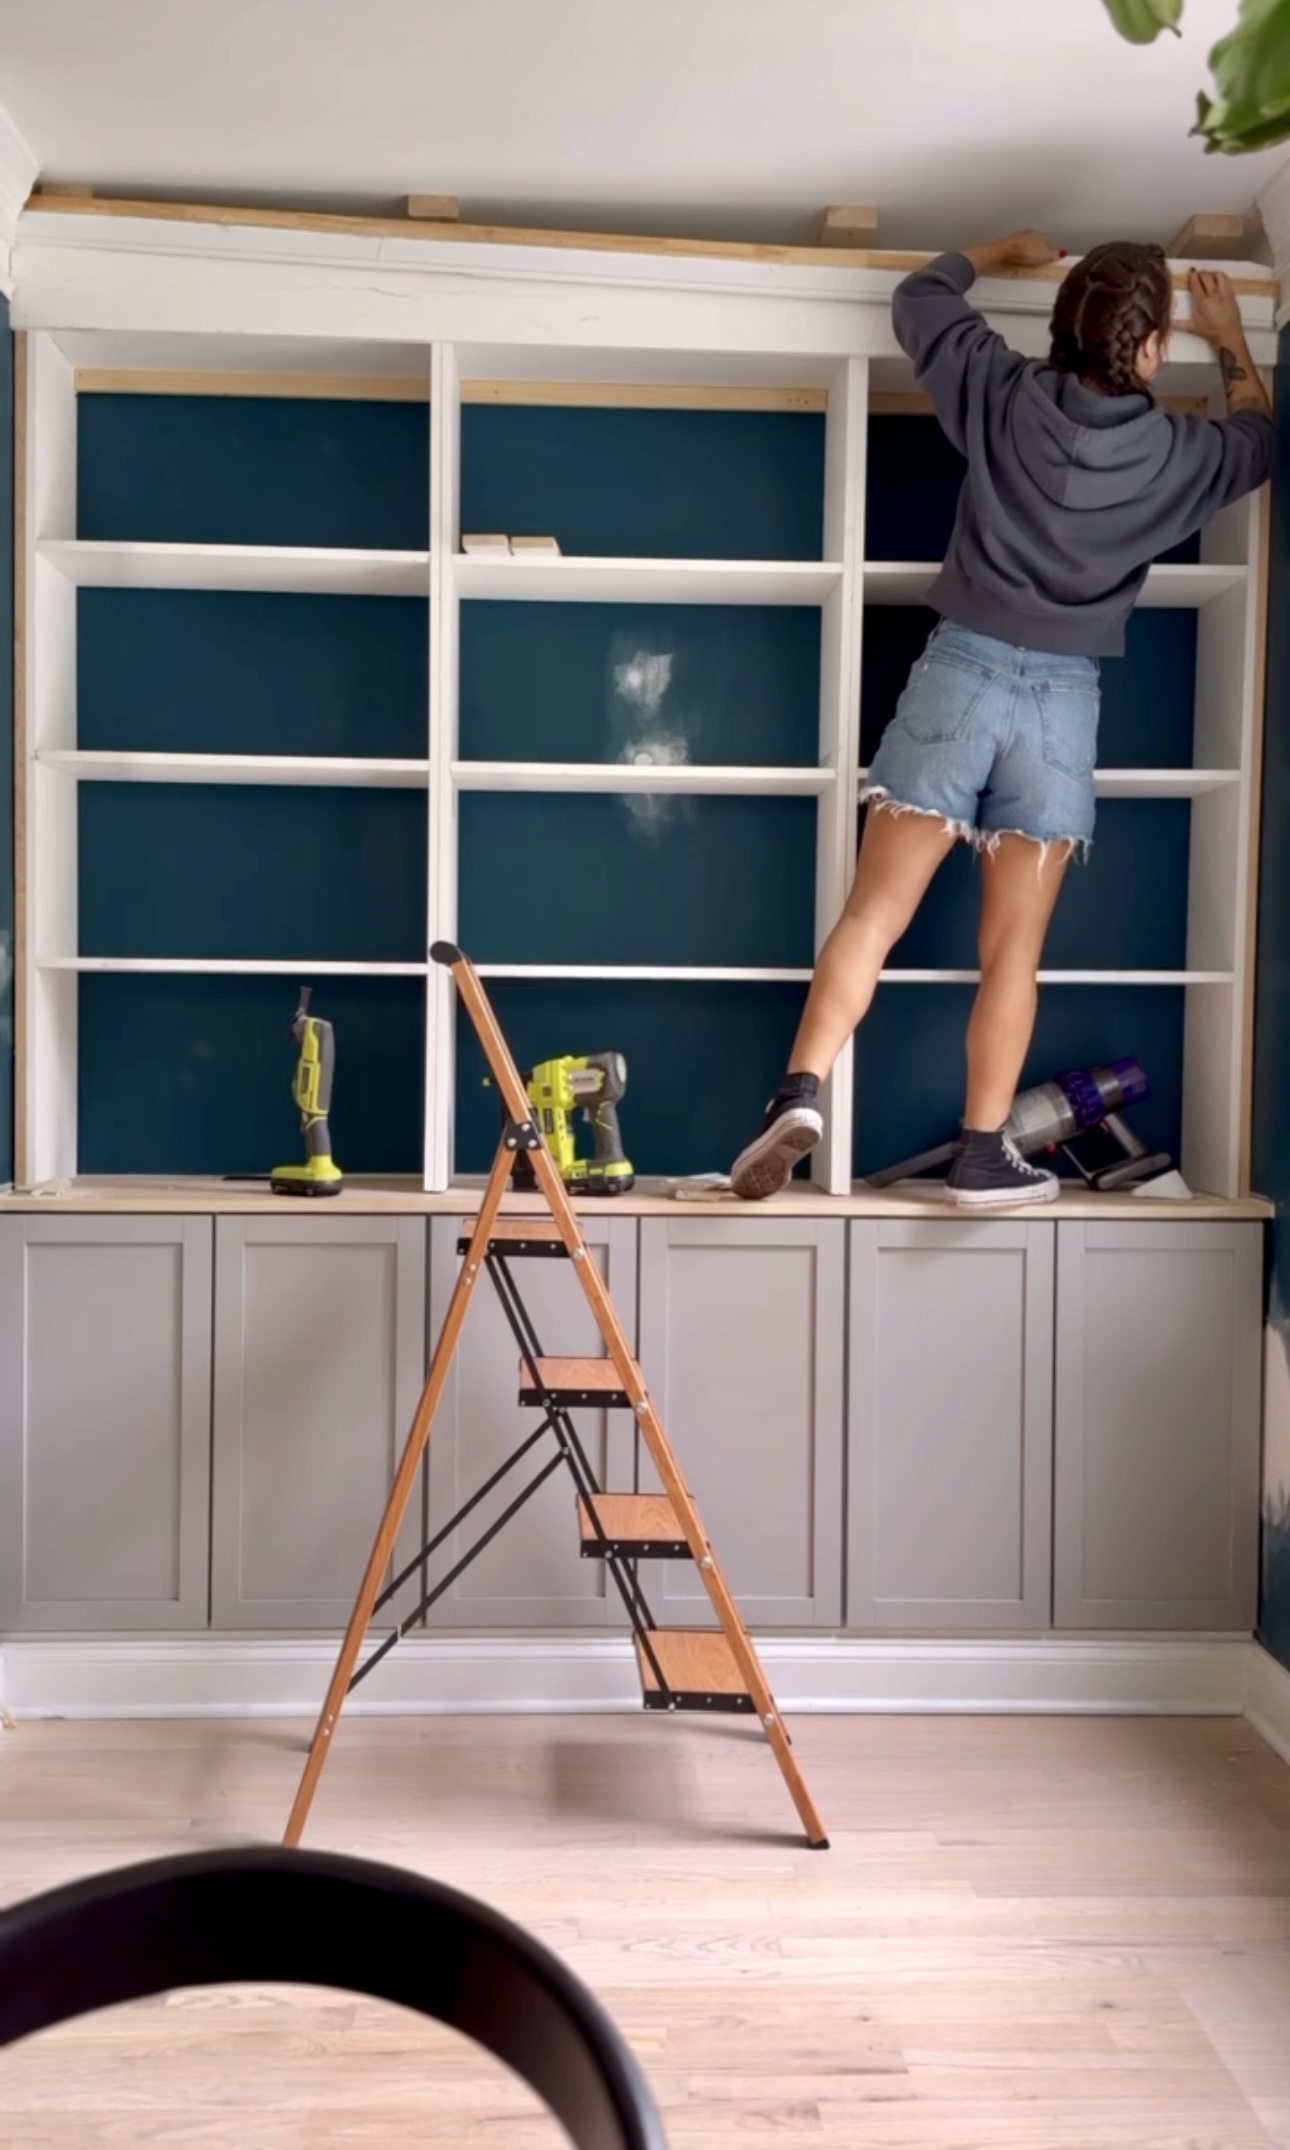
I put the first one up to visualize it. The plan was to take off and run the trim on the ceiling along the front of the bookcases. I’d need to add a support for the trim to attach to as well.
Removing Trim
The reason I was nervous about removing the trim is because I planned to reuse it for the front layer over the bookcase. There are THREE LAYERS of trim. I didn’t want to have to buy new trim and try to match it exactly. Soooo fingers crossed!🤞
I cut the caulk line with a blade first and then *gently* pried little by little with my tools. The pieces I cut with my multi tool weren’t being used again so it was okay that they split. Other than those spots..NO DAMAGE. PHEW!
Thankfully, that was a bit of a cake walk. I don’t think I would have been able to handle split trim that day…Time to install these bookshelves!
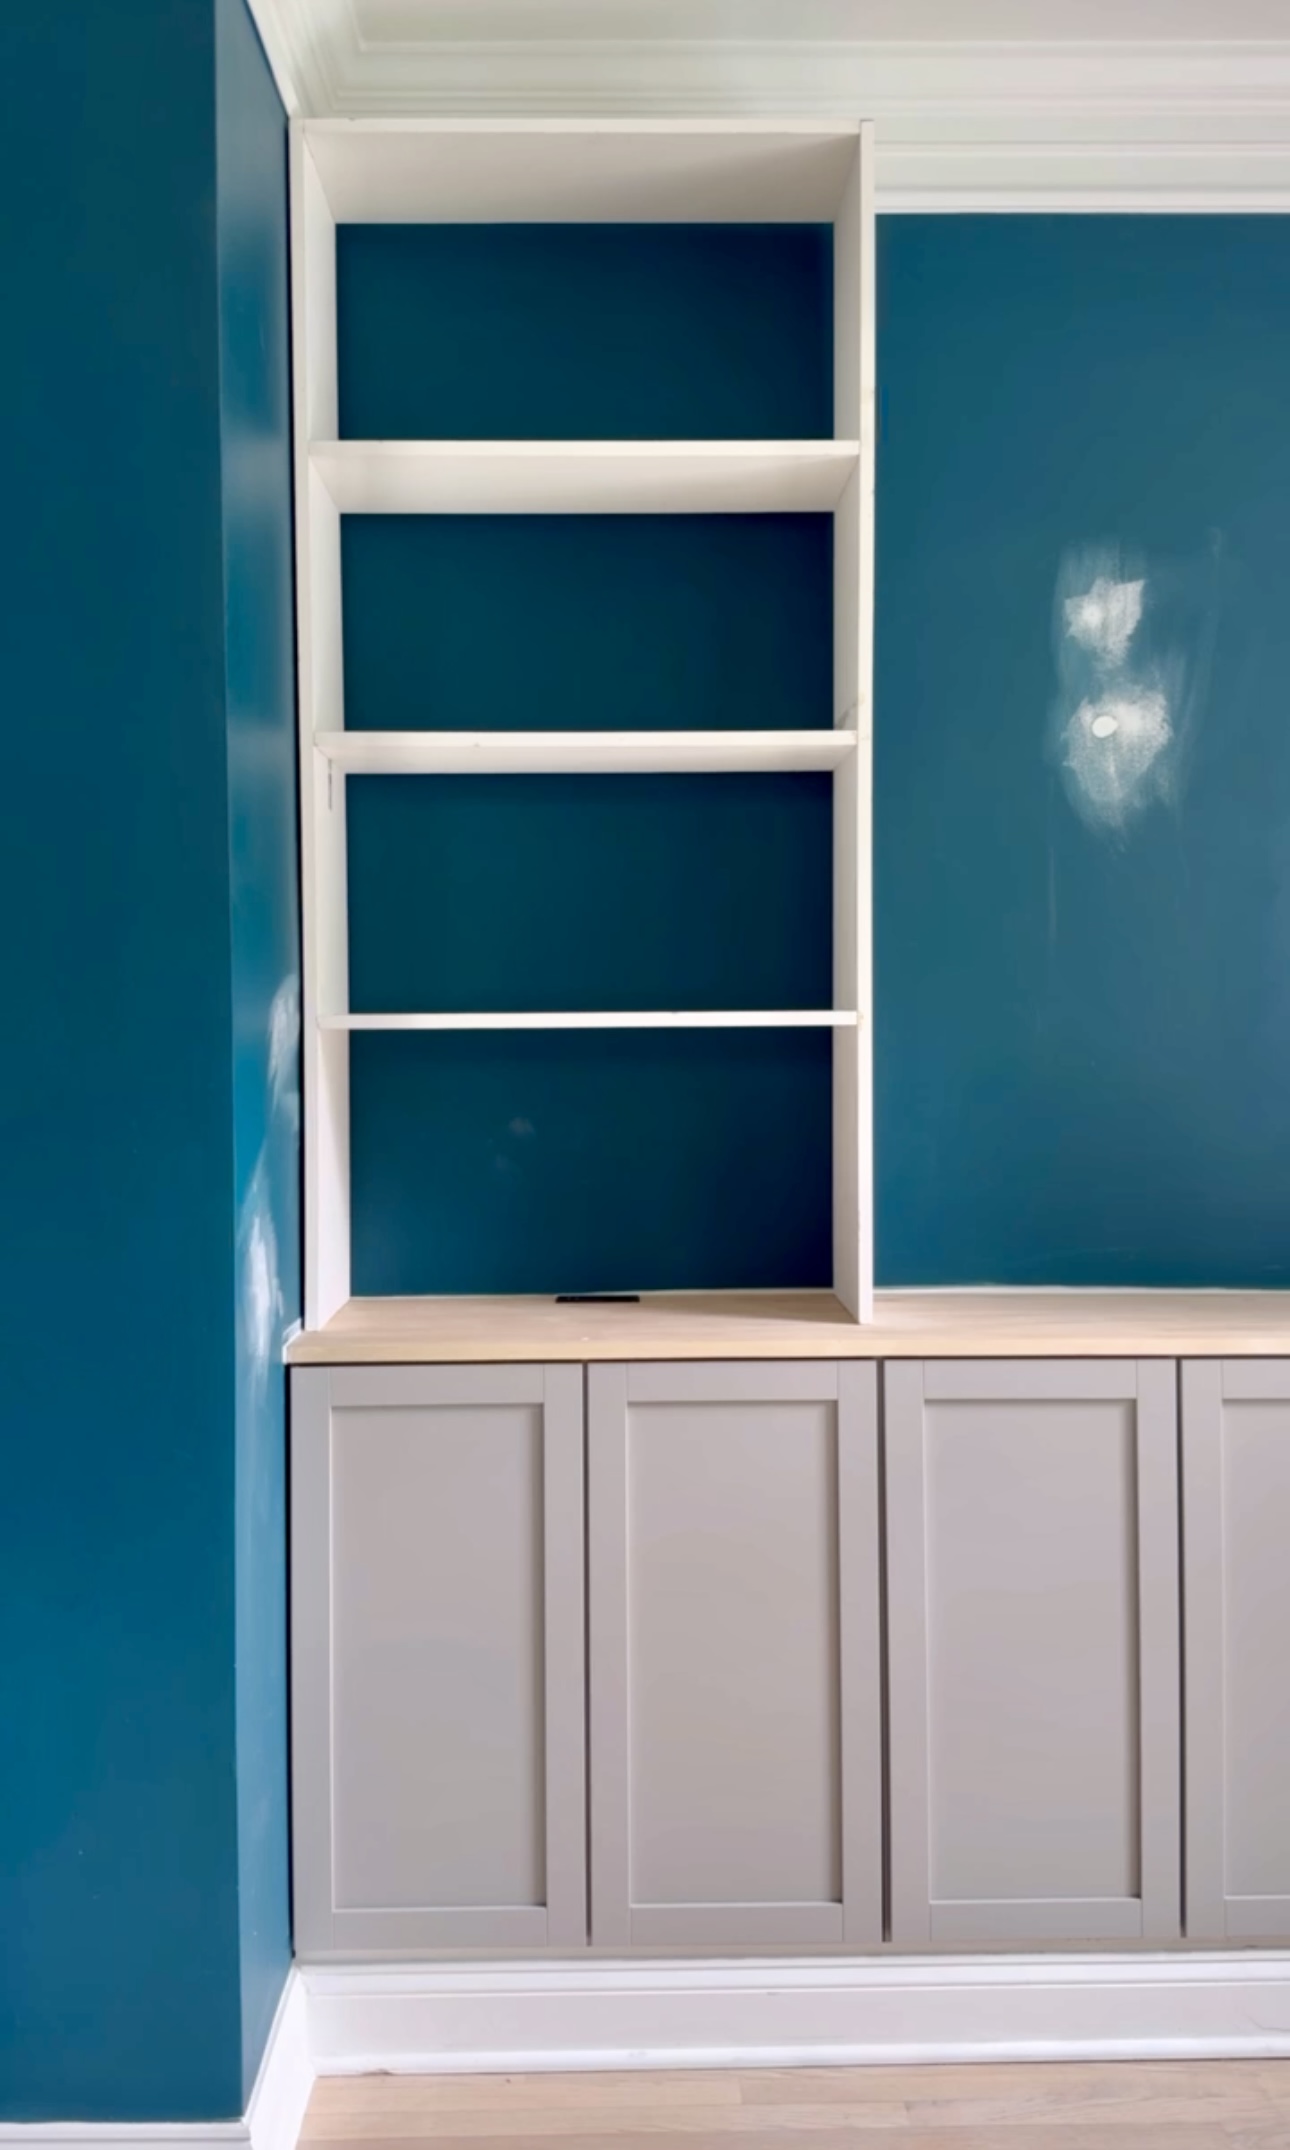
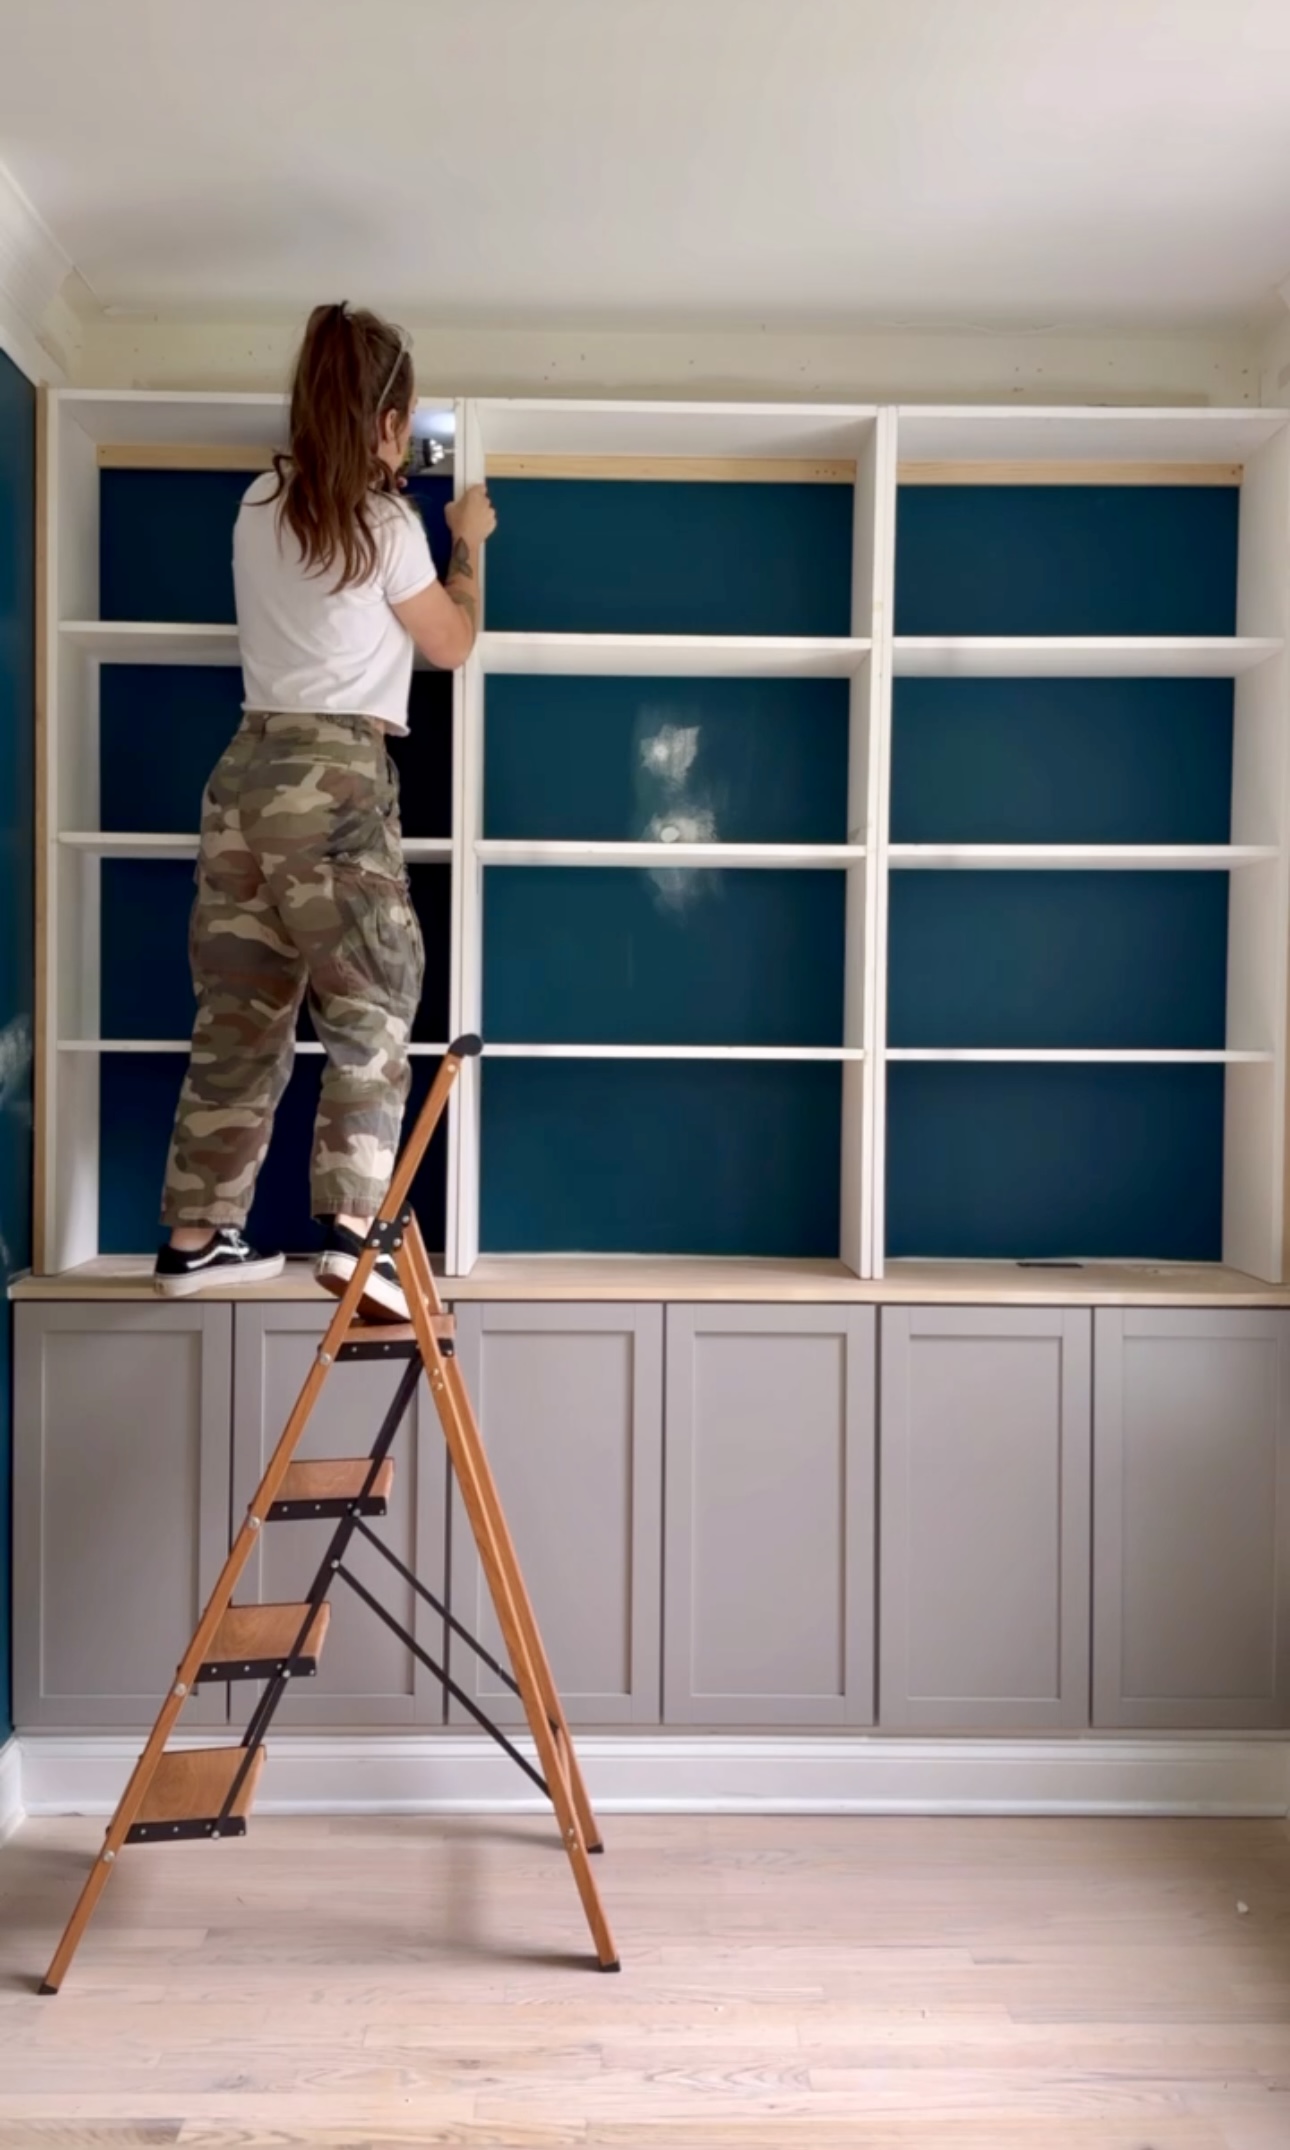
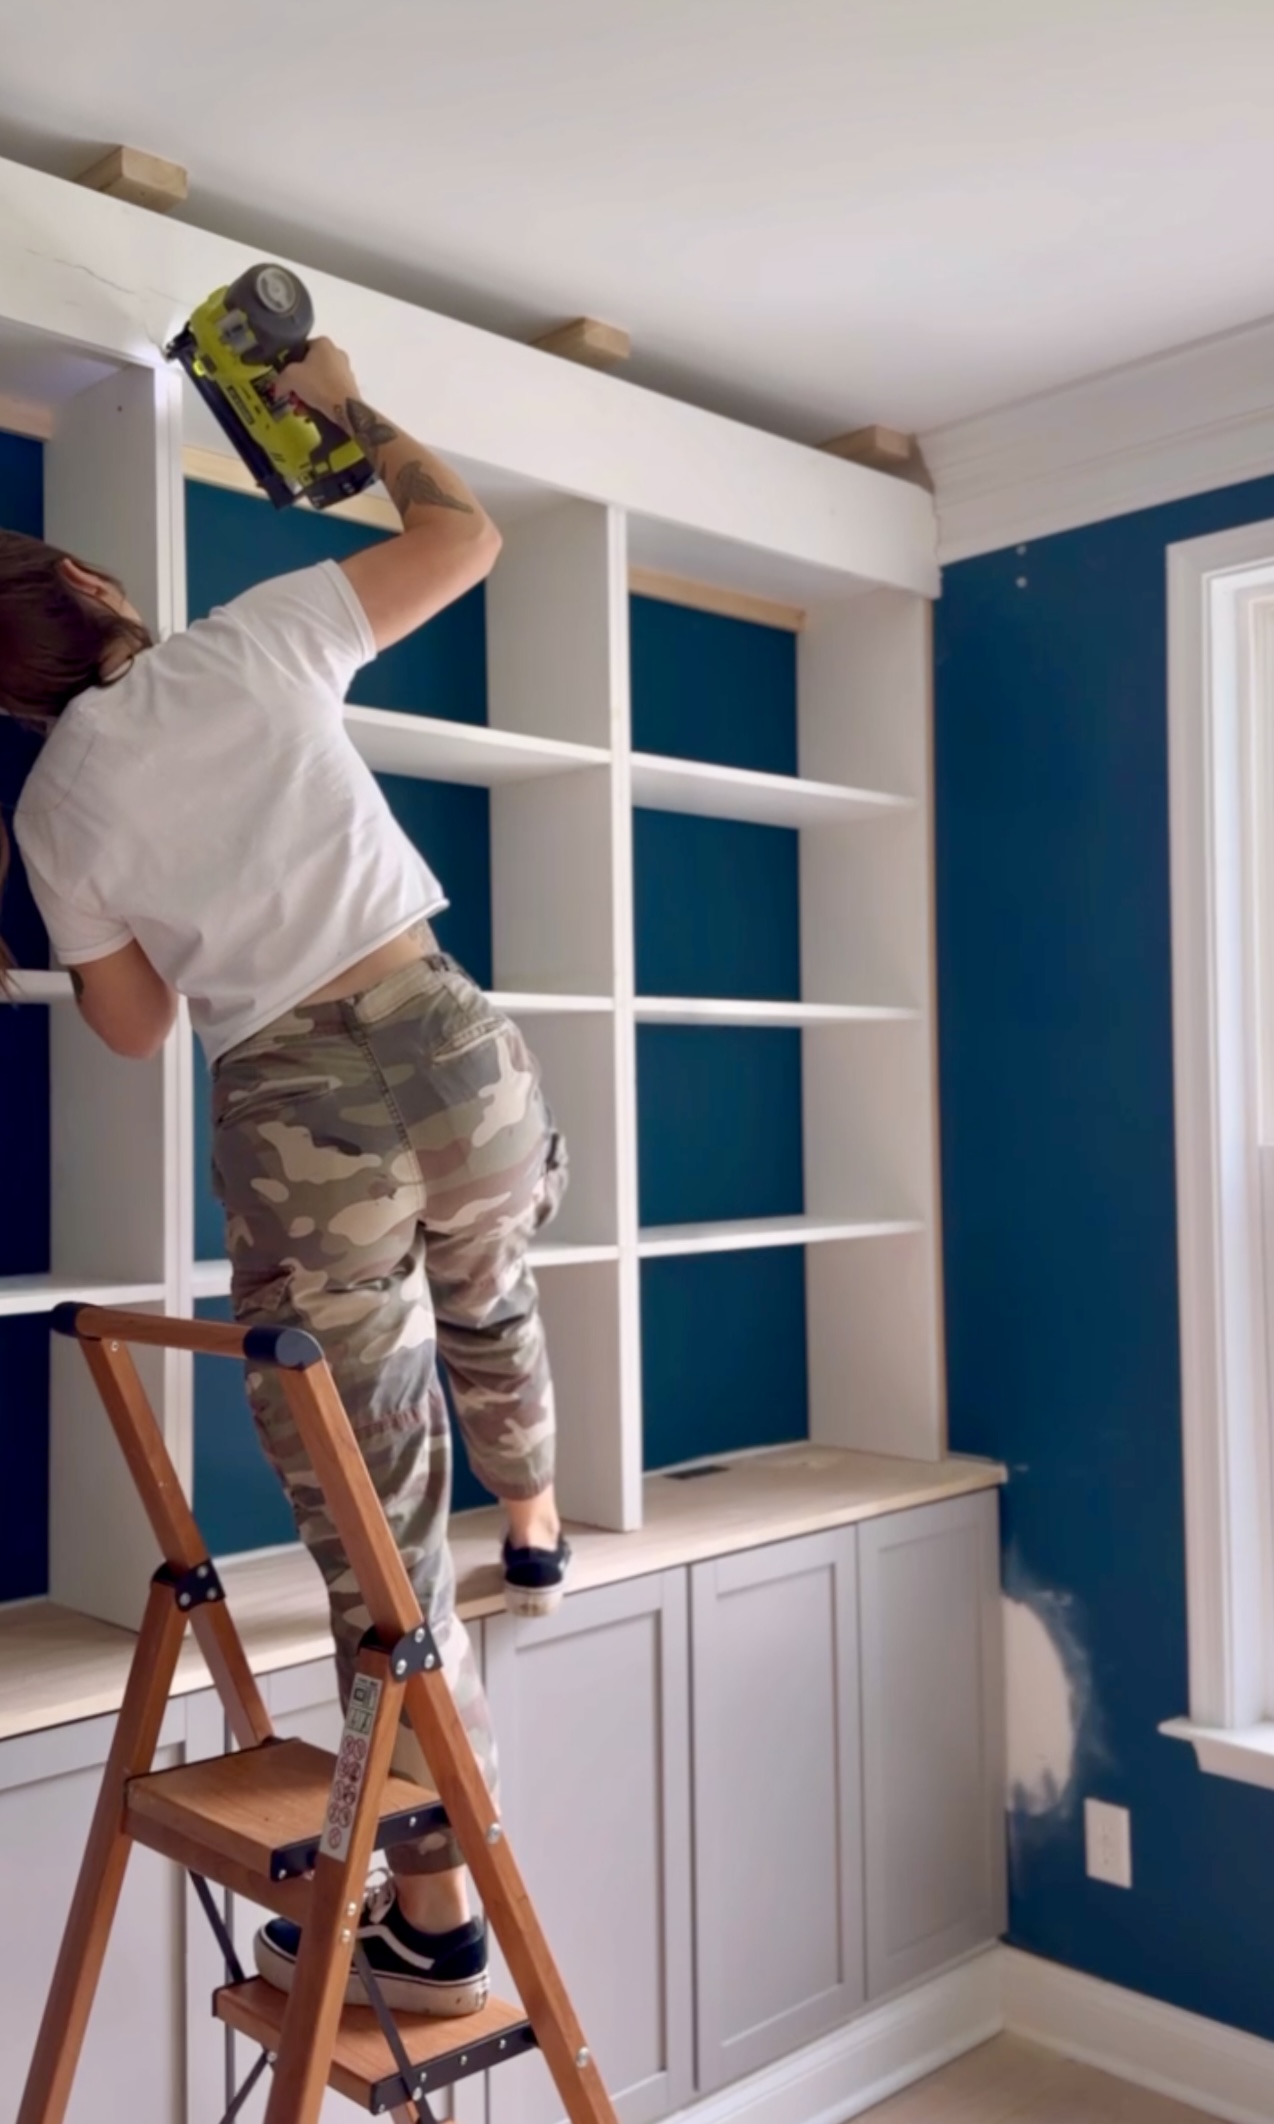
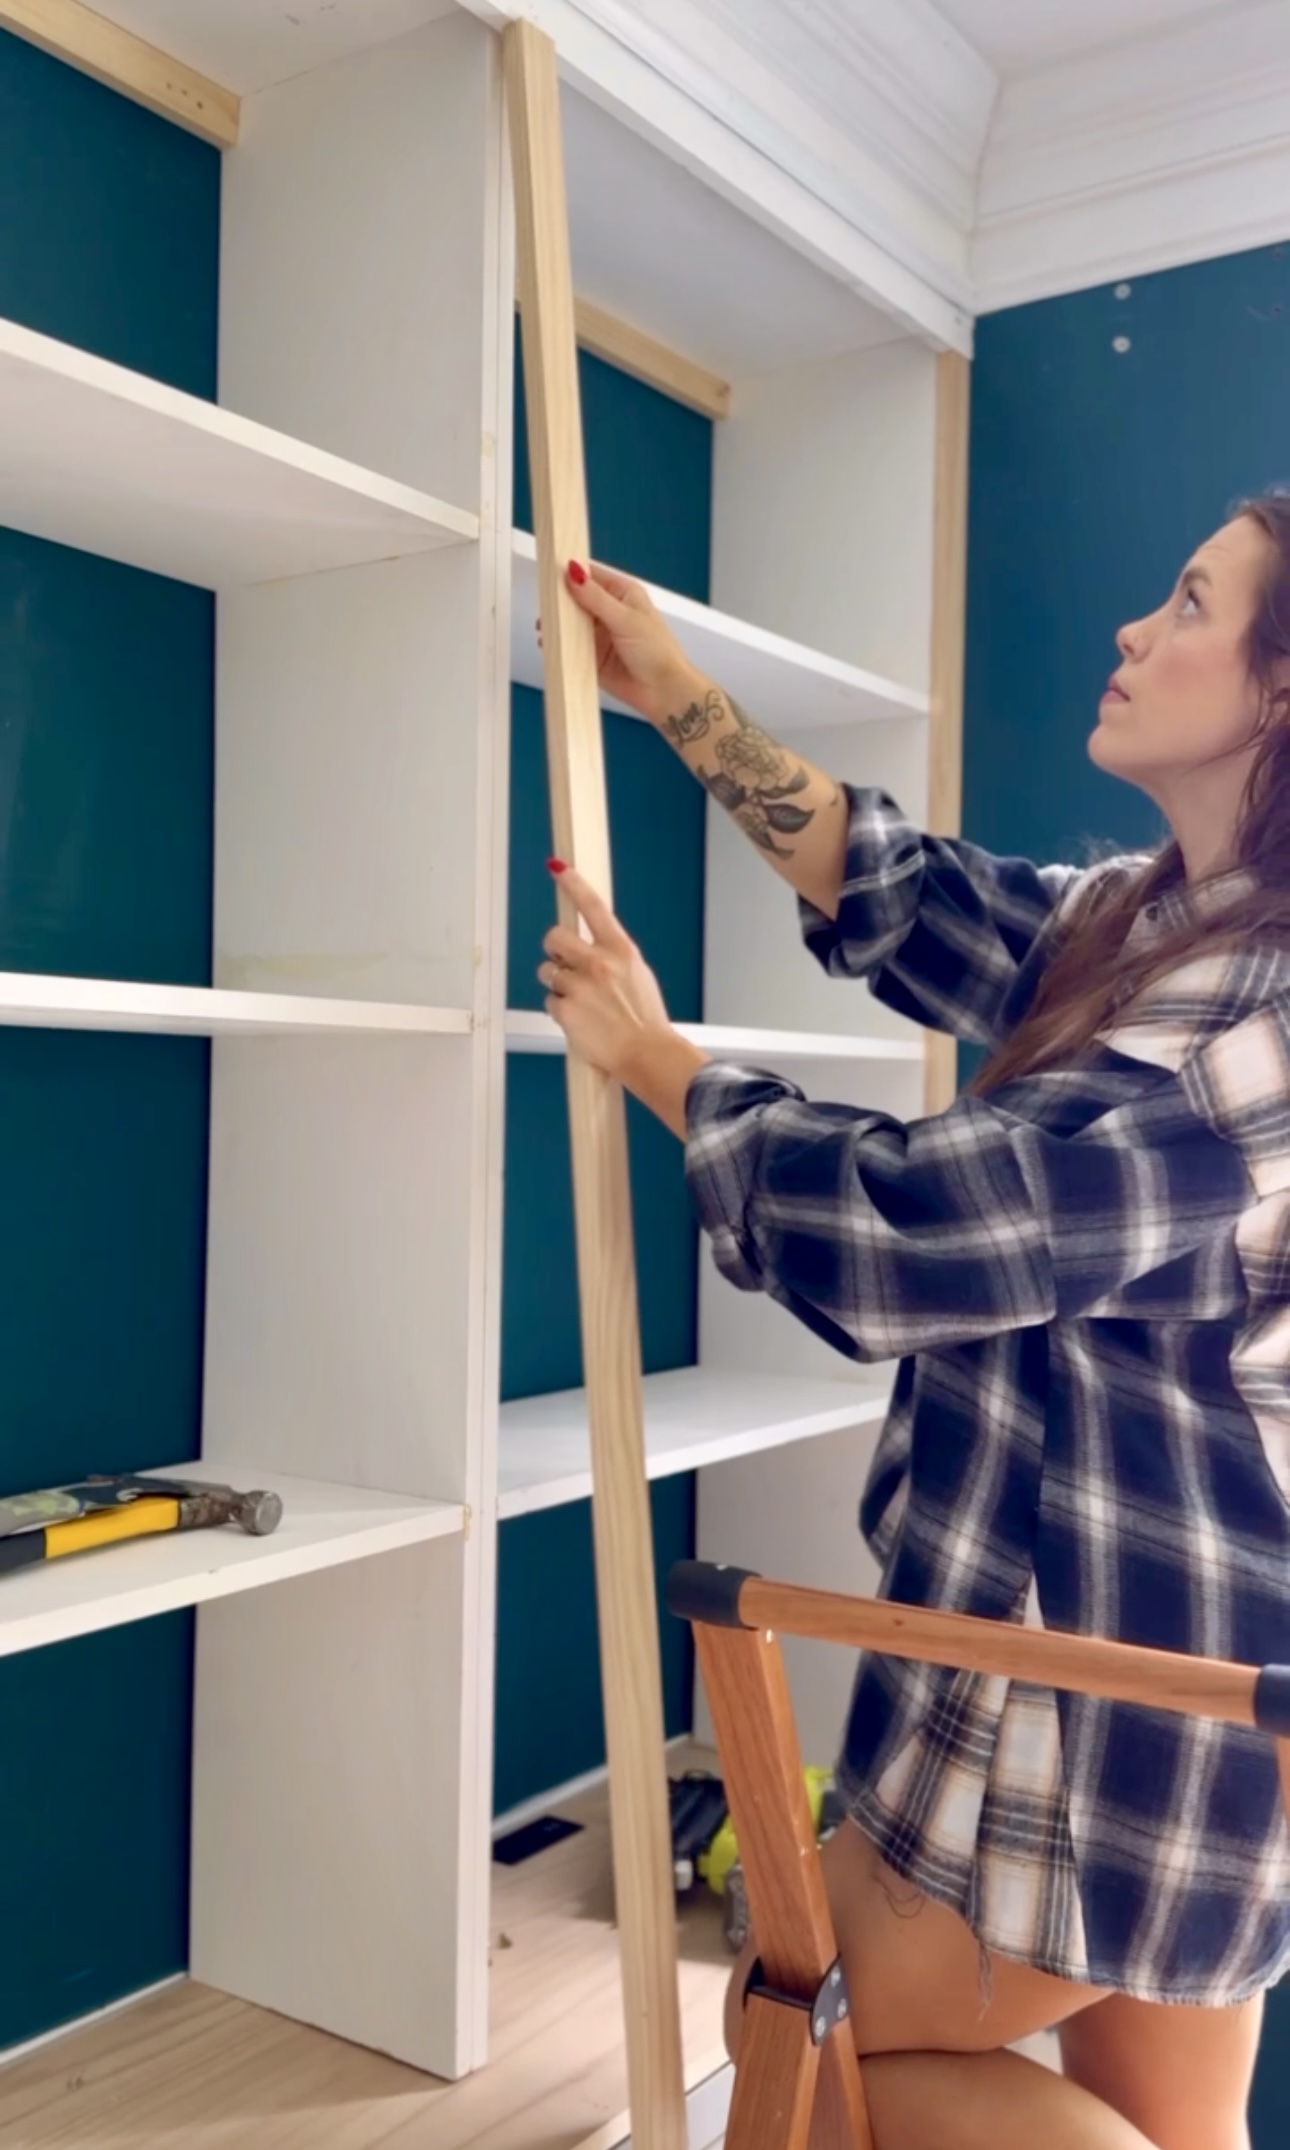
Installing Bookshelves
I brought these bookshelves in and WOW they looked GOOD! Then, I screwed these into the studs on the wall to secure them.
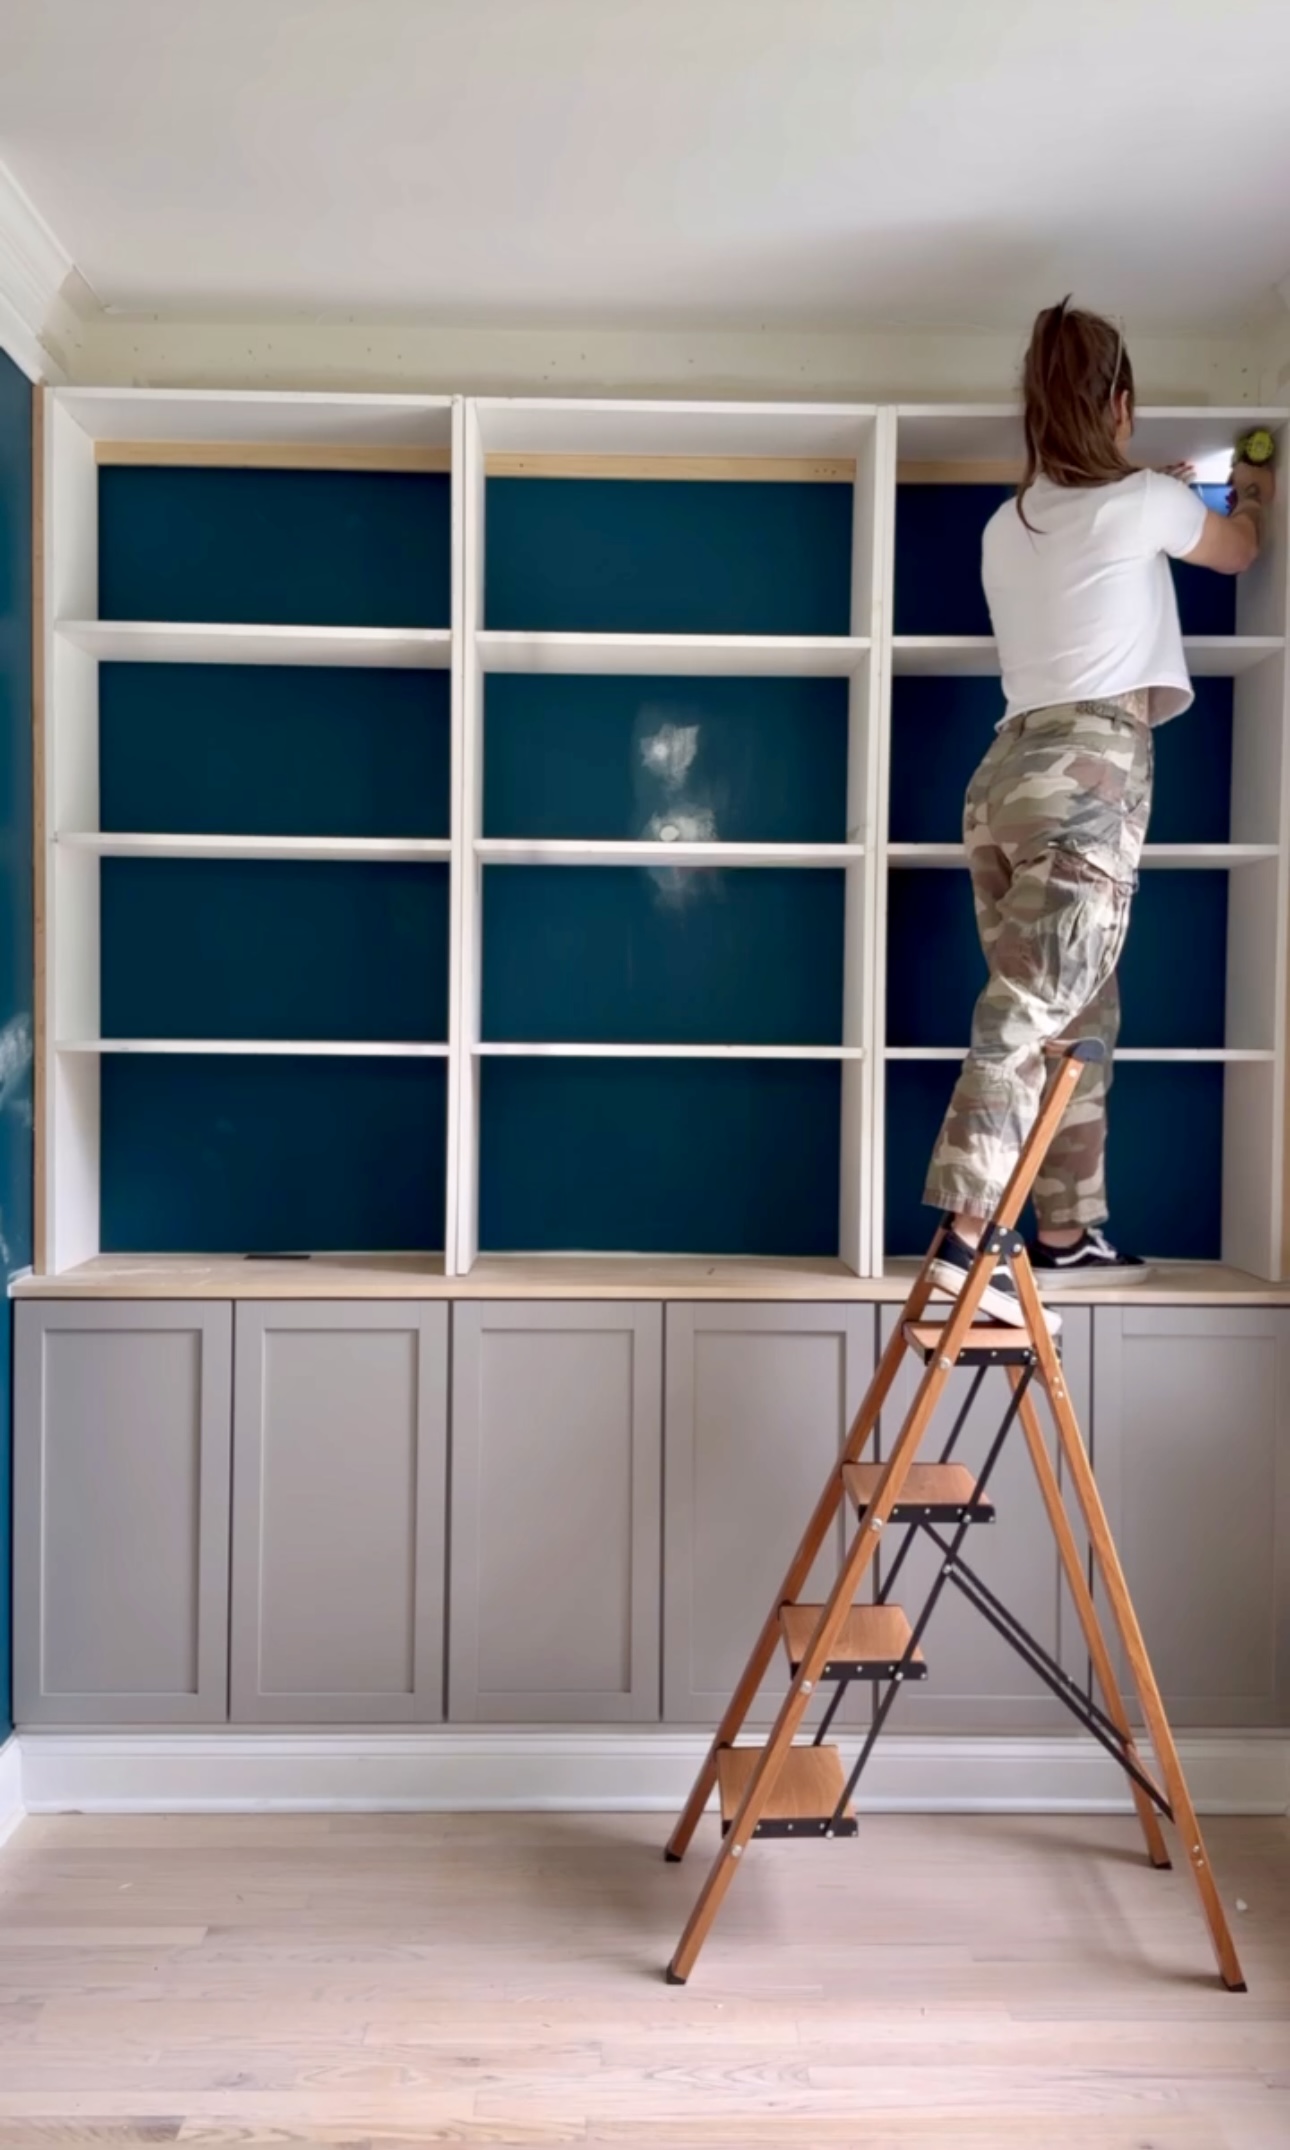
I added a board for the trim to attach to as well. There are so many details to figure out in these big projects. I like to not think too hard about it and just figure it out while I go!
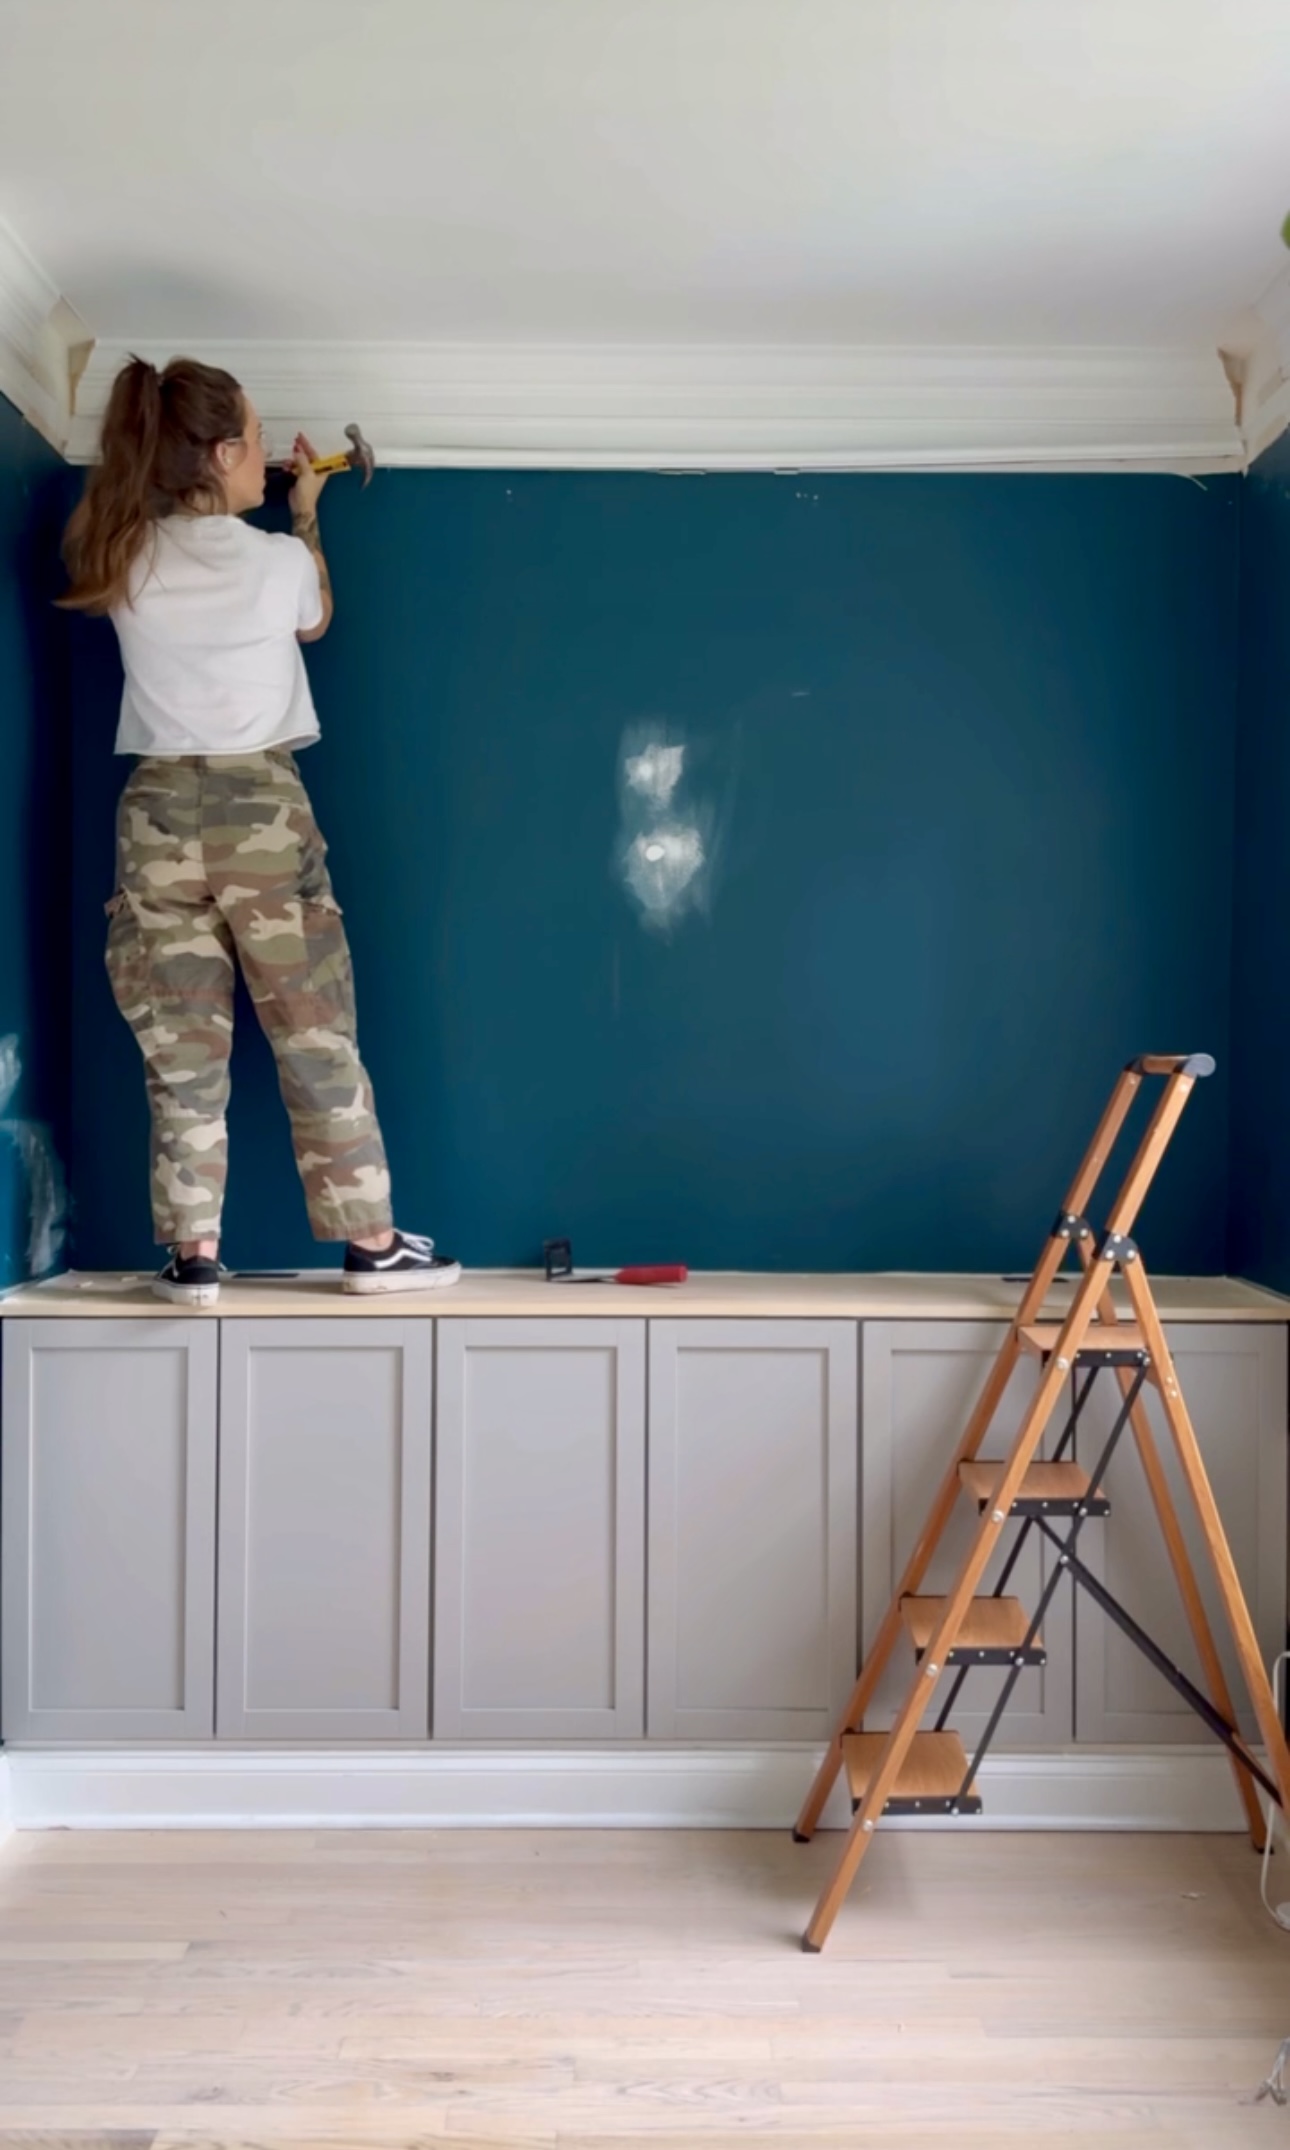
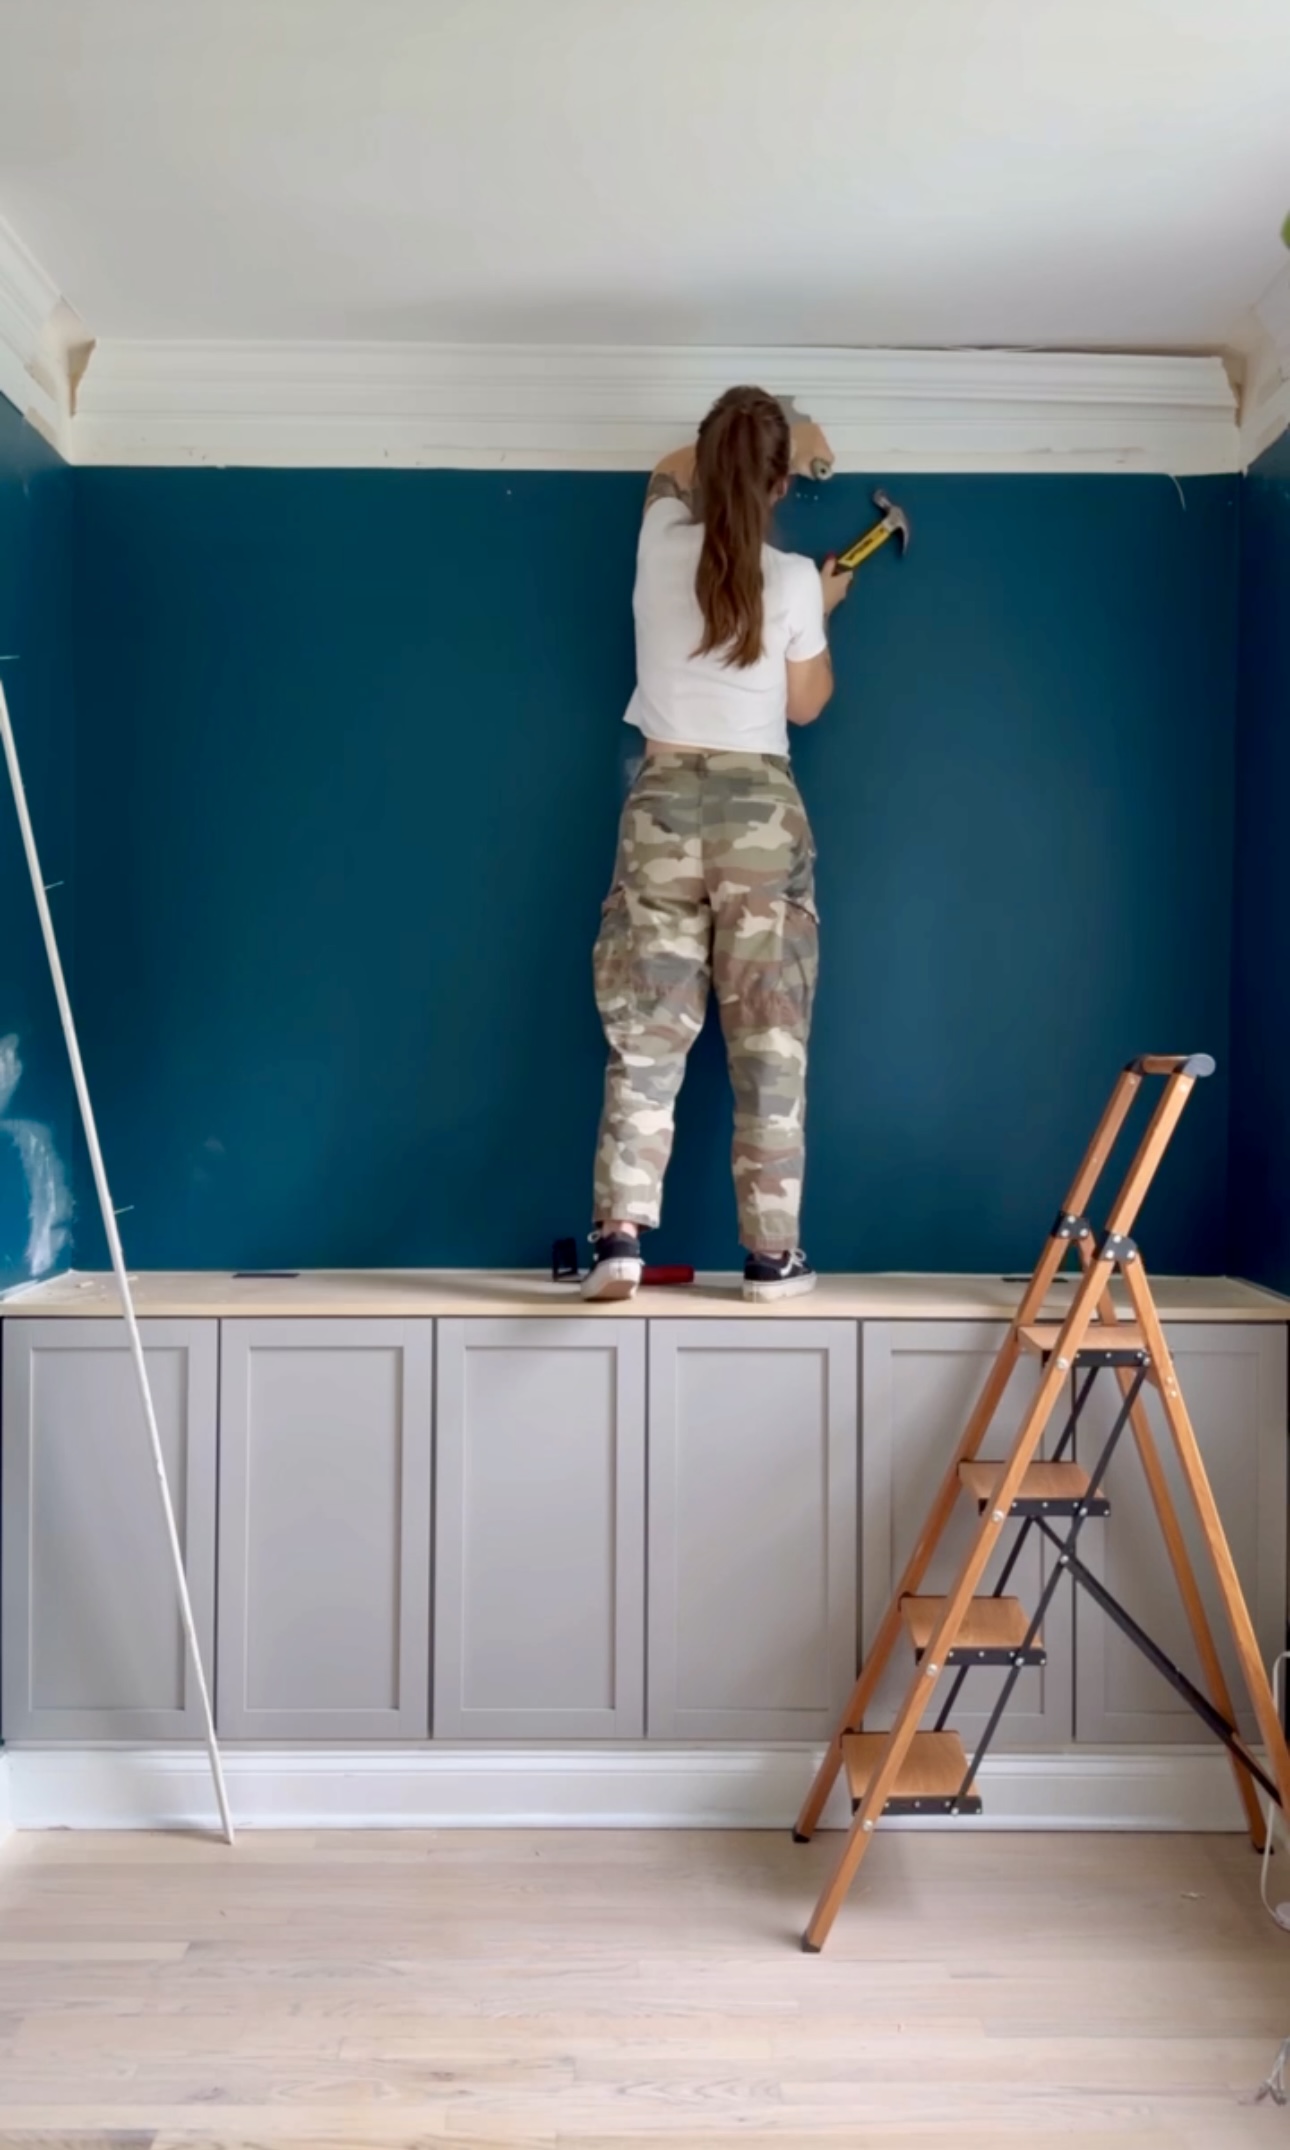
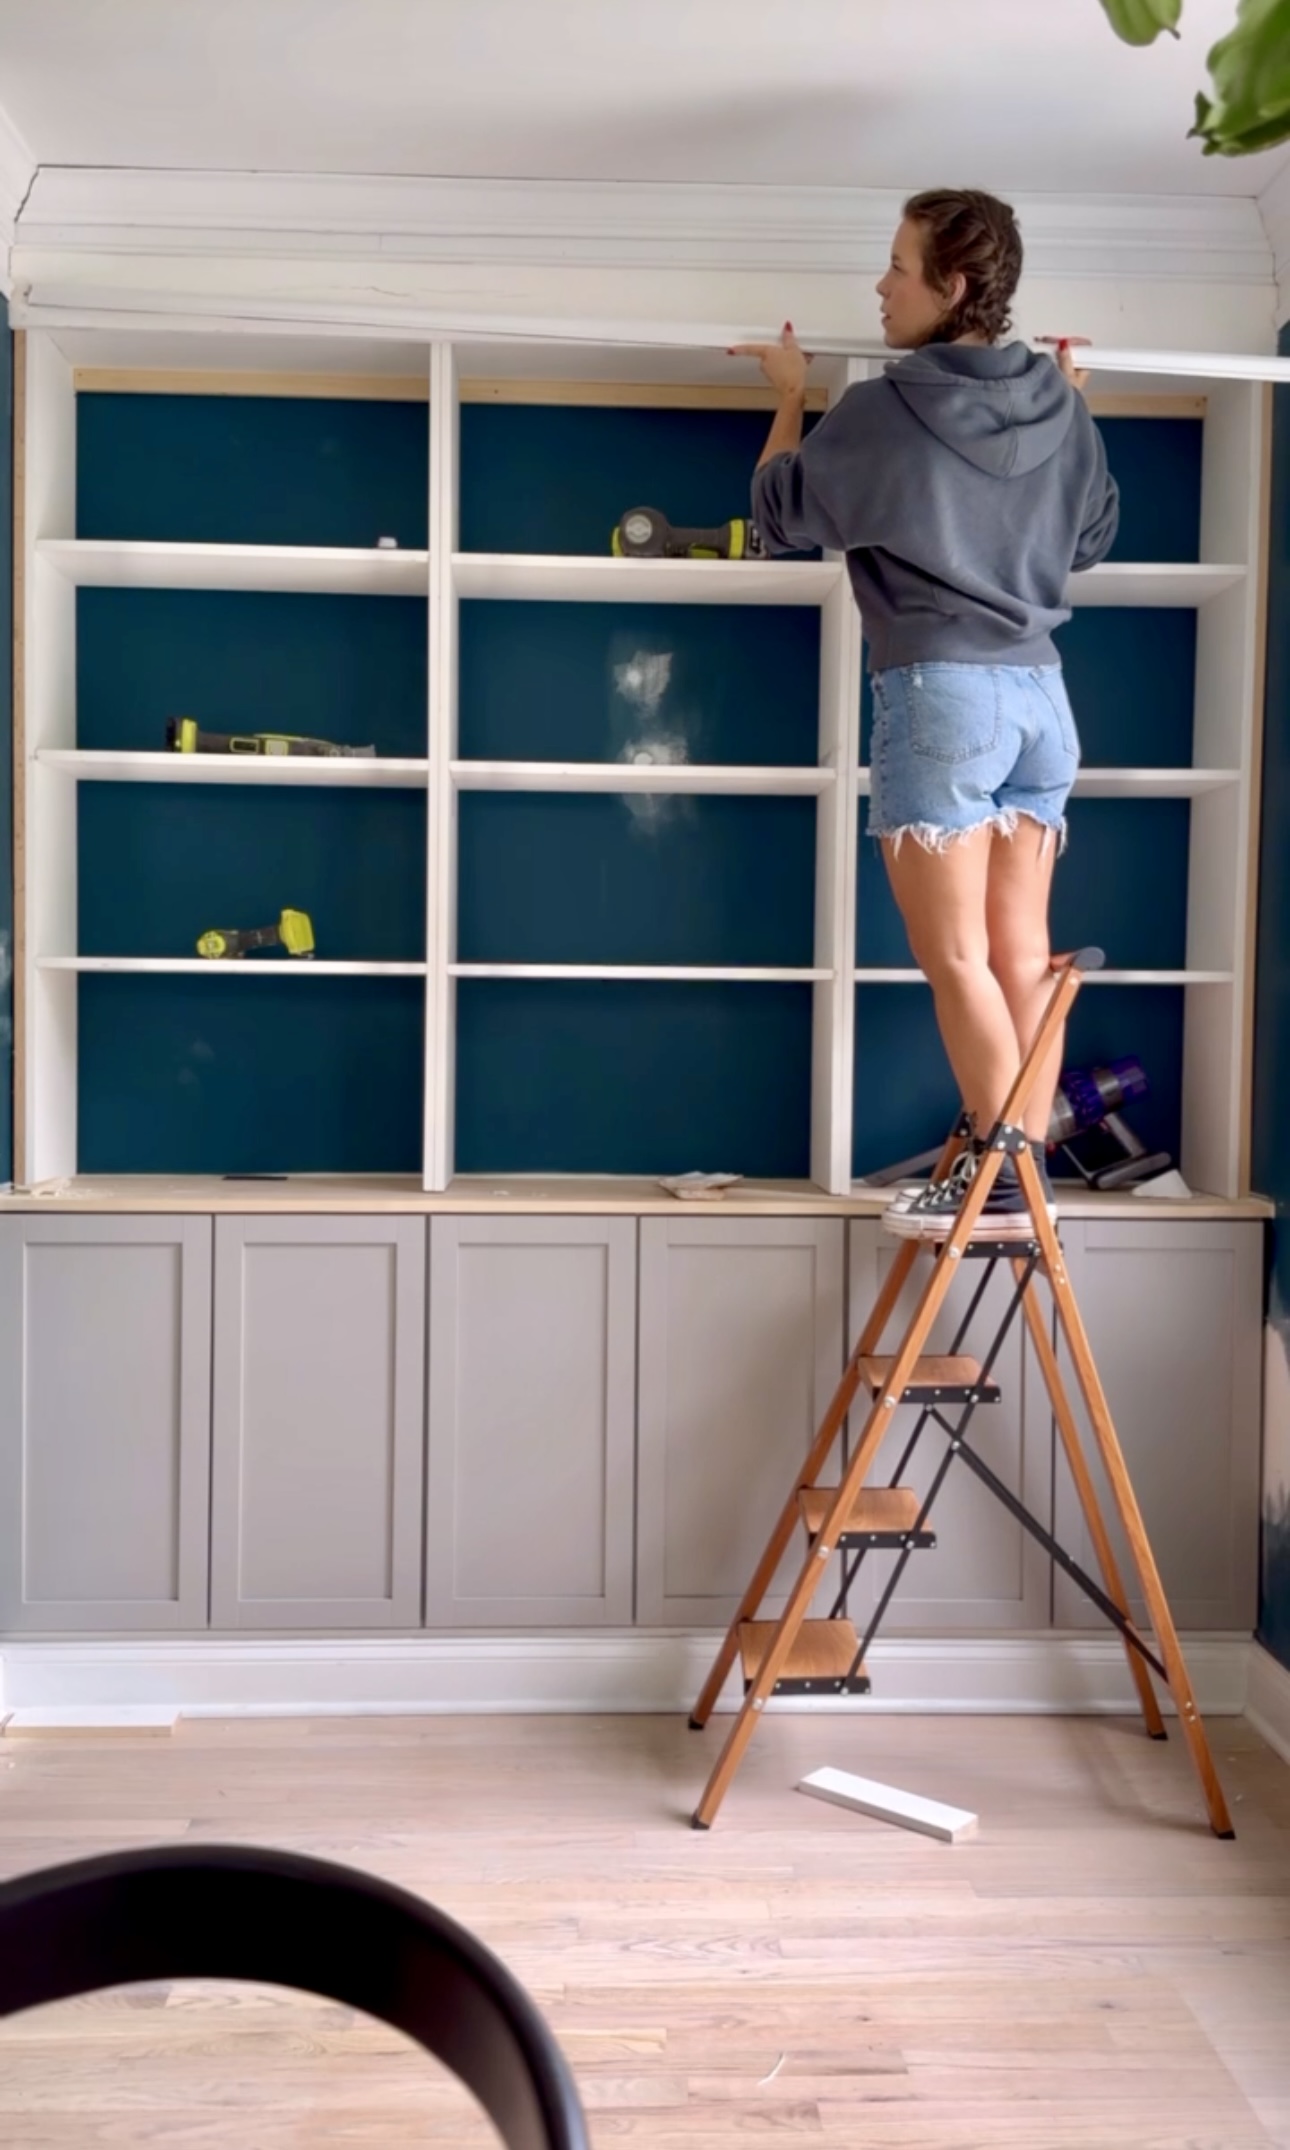
Trim
I had to cut the trim that was still on the wall at an angle. I just went for it with my multi tool and hoped for the best. Hahah. This tool is actually one of my favorites! It takes some practice to get used to and would not recommend using it one handed. But, it comes in SO handy SO often!

After, I installed the trim. It definitely wasn’t perfect, but nothing a little caulk can’t fix!


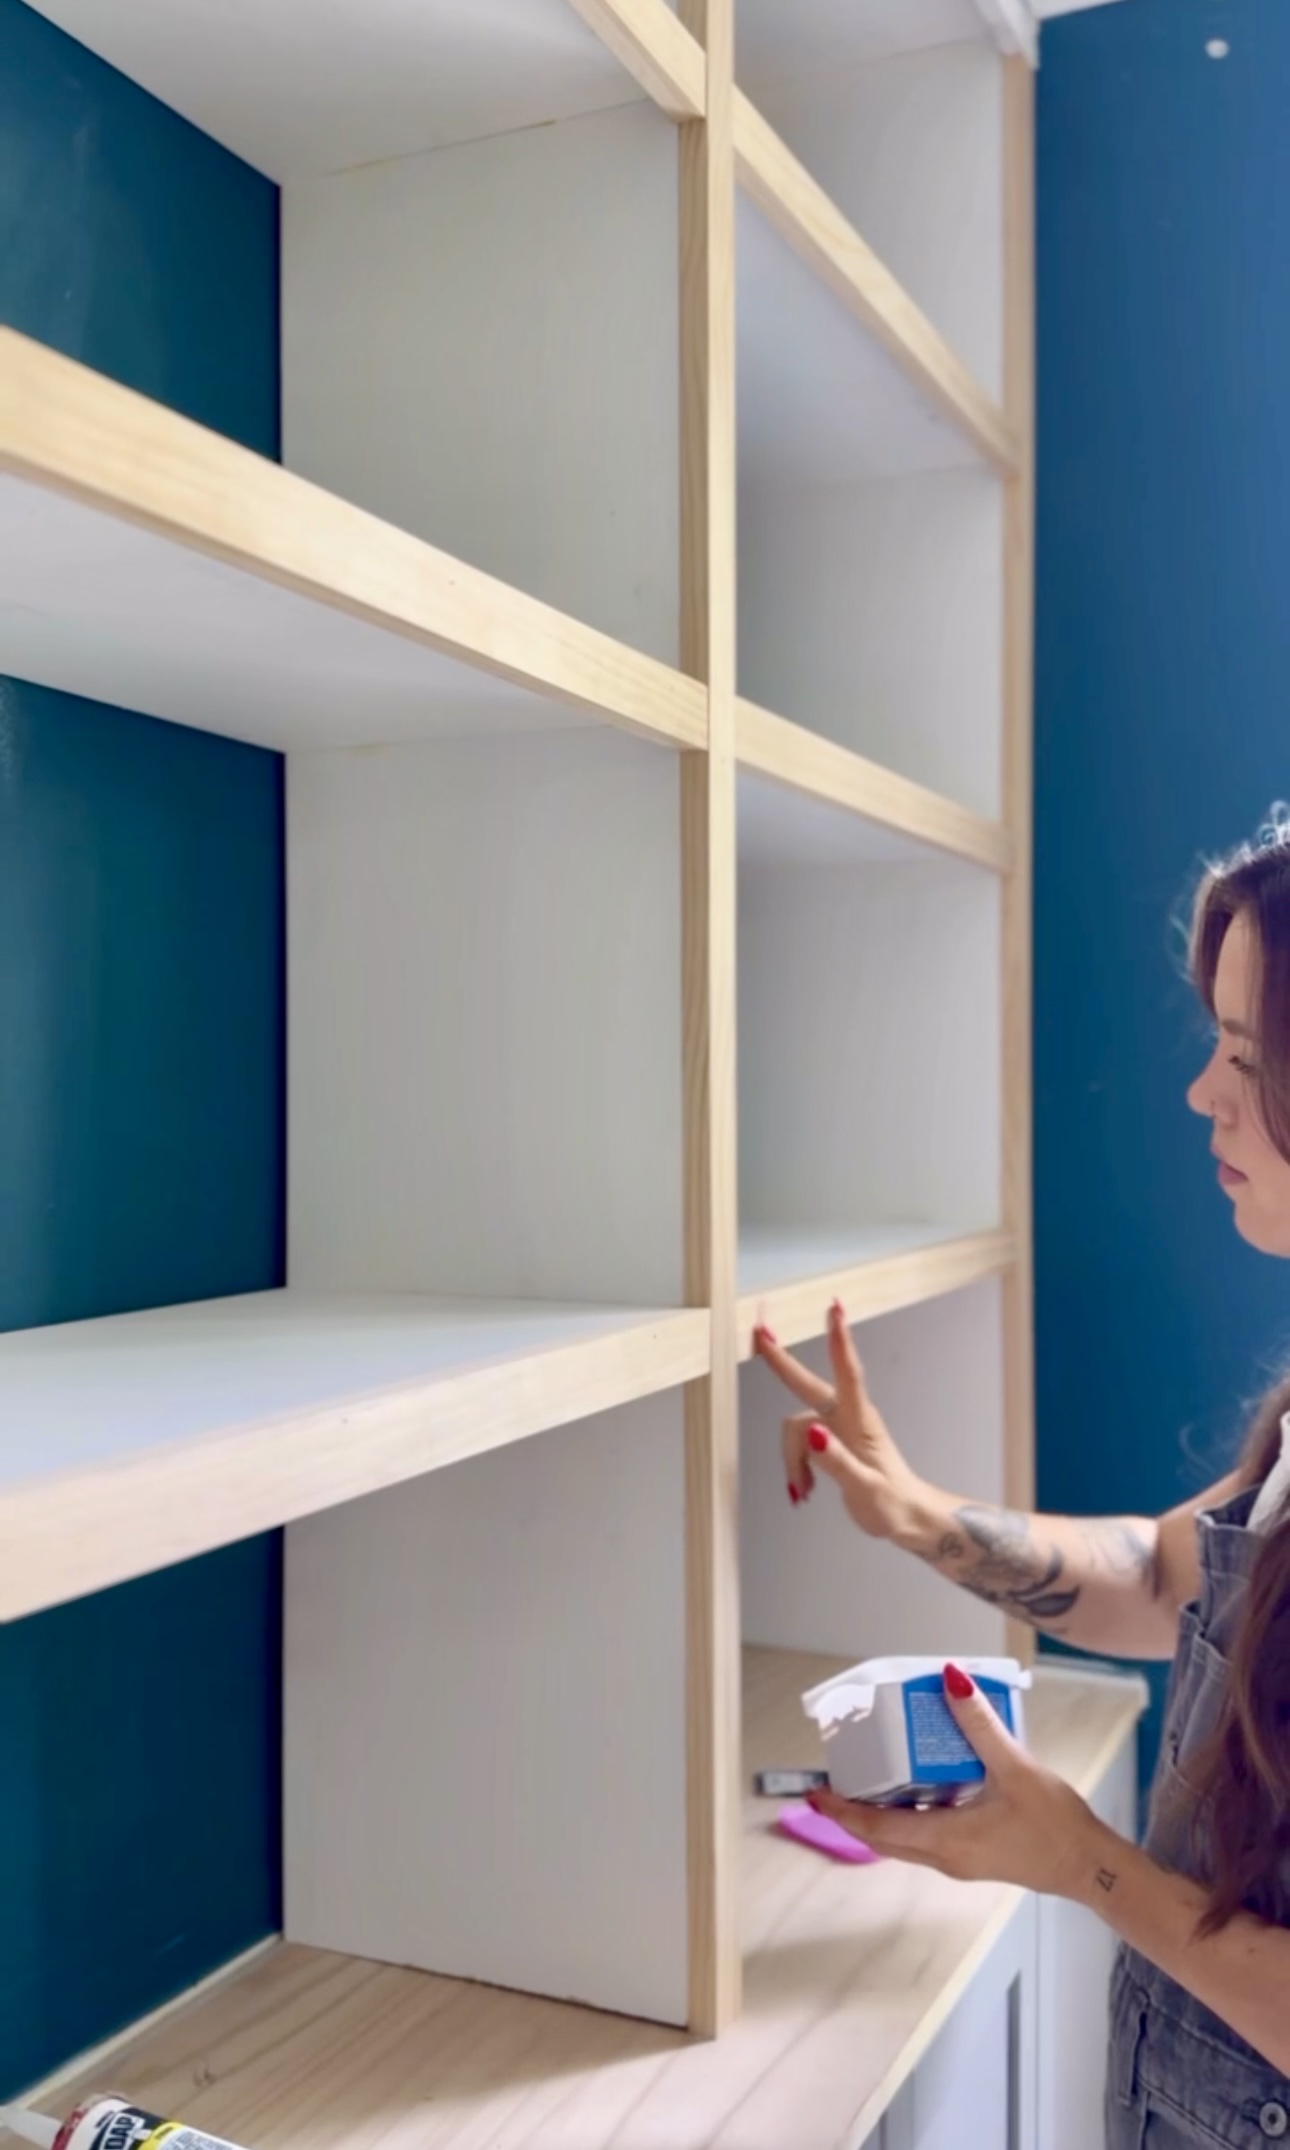
Finishing Details
I installed some face framing to clean up the whole look. It made everything flush with the board that the trim is attached to. All that was left was filling and sanding…then everything was ready for paint (which I’m sure will be controversial)! So I filled all the nail holes on the face framing and sanded everything down!


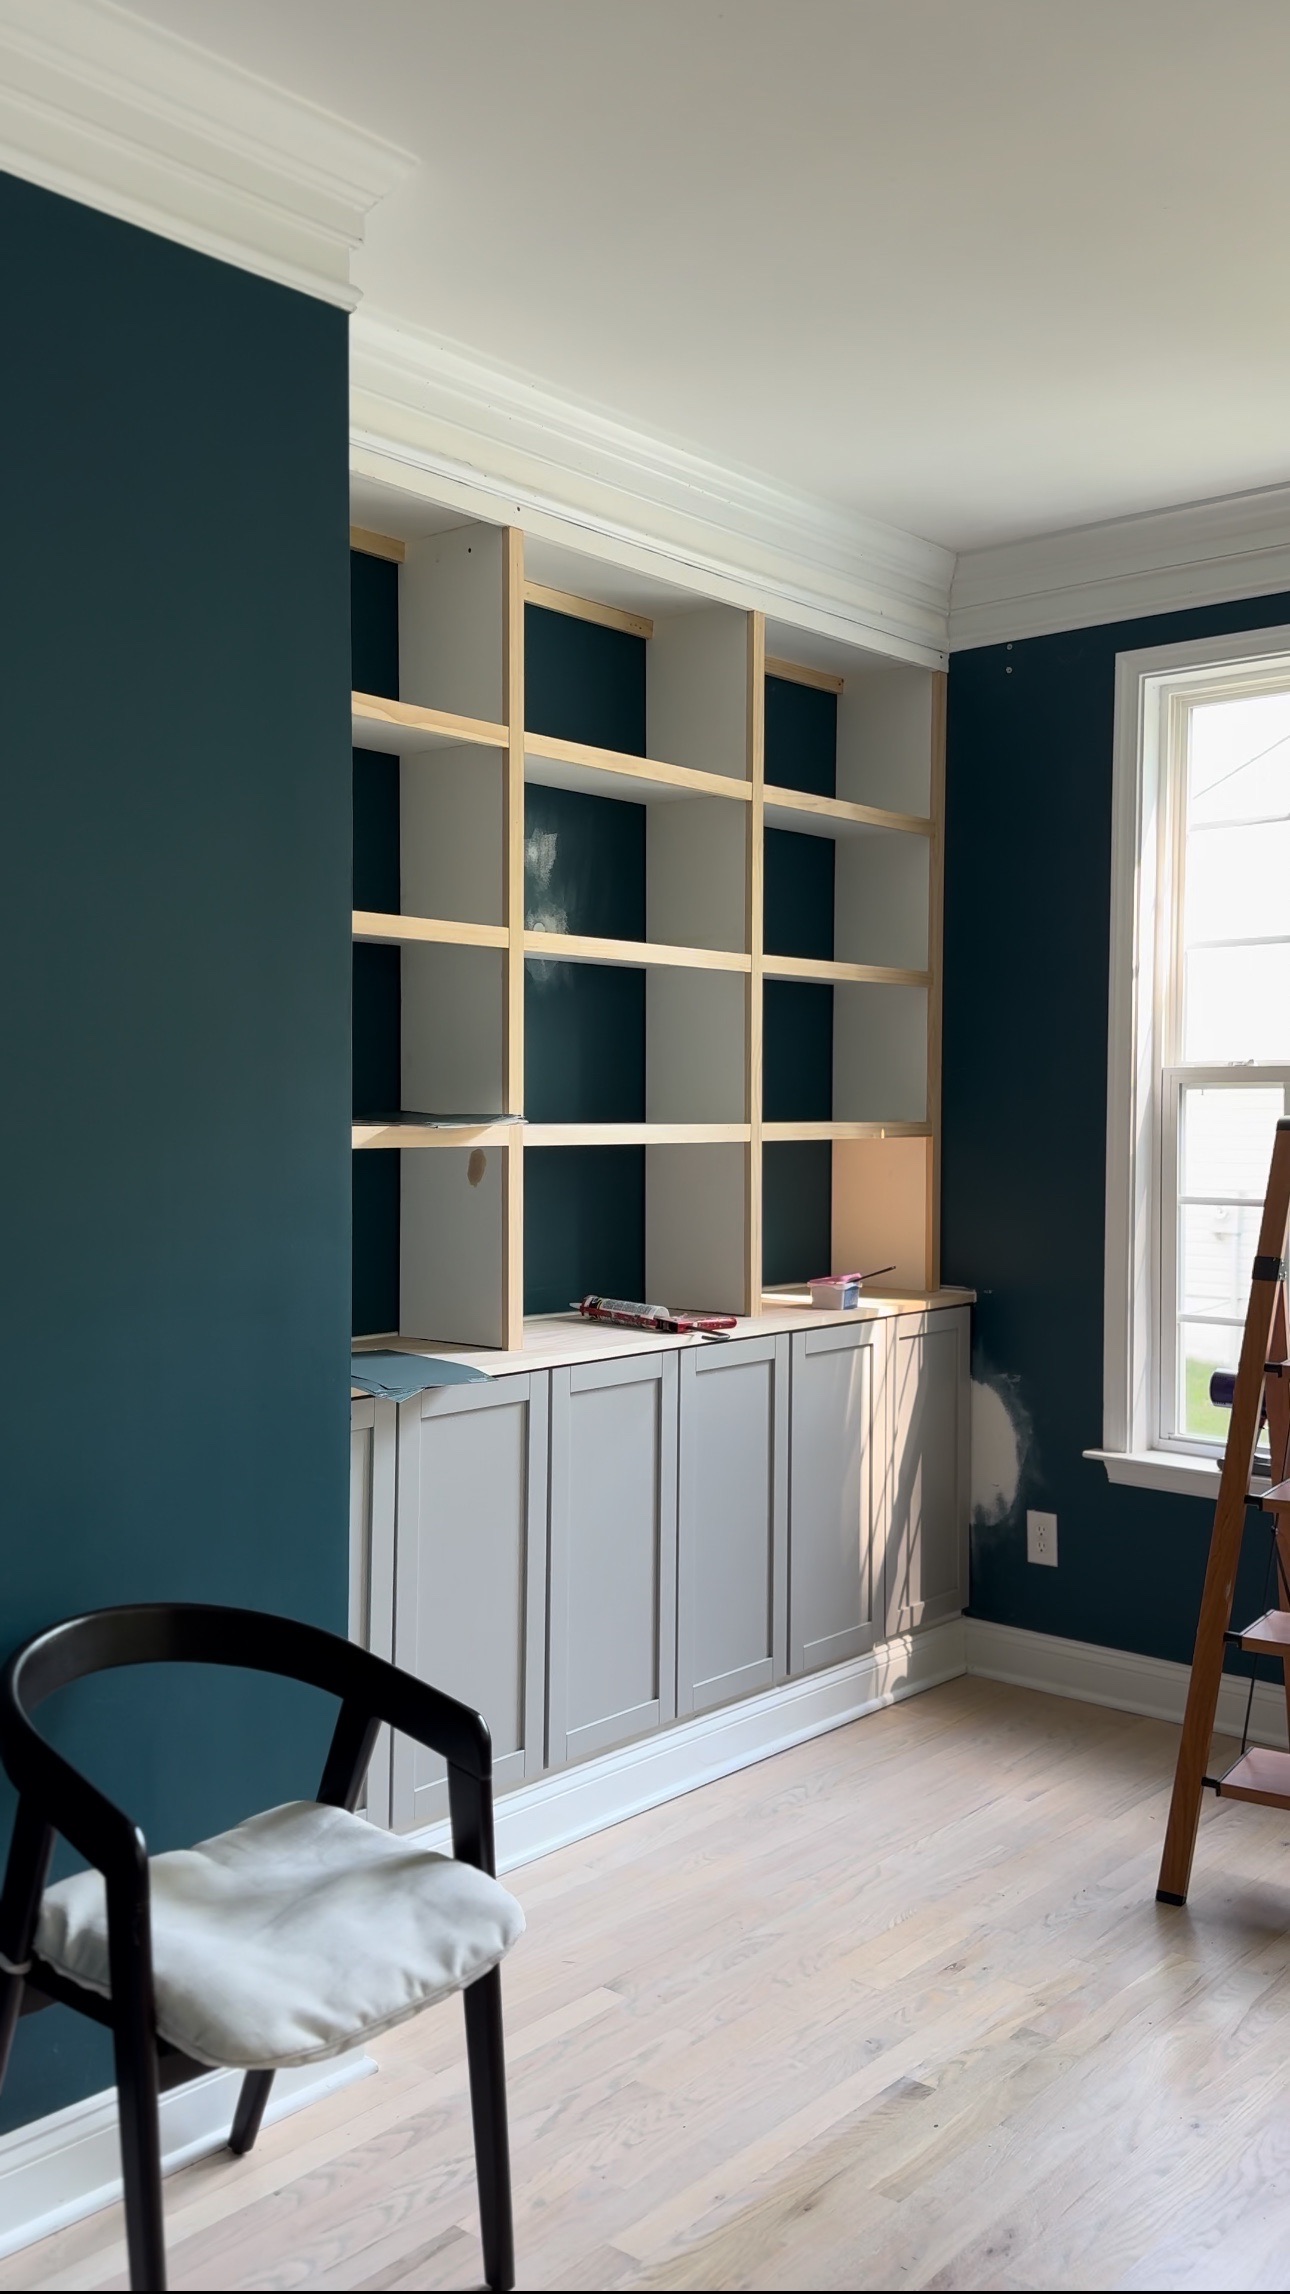
Paint
Now, I loved the color that was already in here. But I decided to paint the whole dining room, including the built ins. During certain parts of the day, the lighting makes this color look like a royal blue and that’s definitely not what I’m going for. So I decided to pick a paint color that would give me the tone that I love throughout the entire day. So, I got a bunch of different paint samples and ended up going with Riverway by Sherwin Williams!
I can’t wait to show you the reveal!
– Cass
Materials for my Dining room Built Ins:
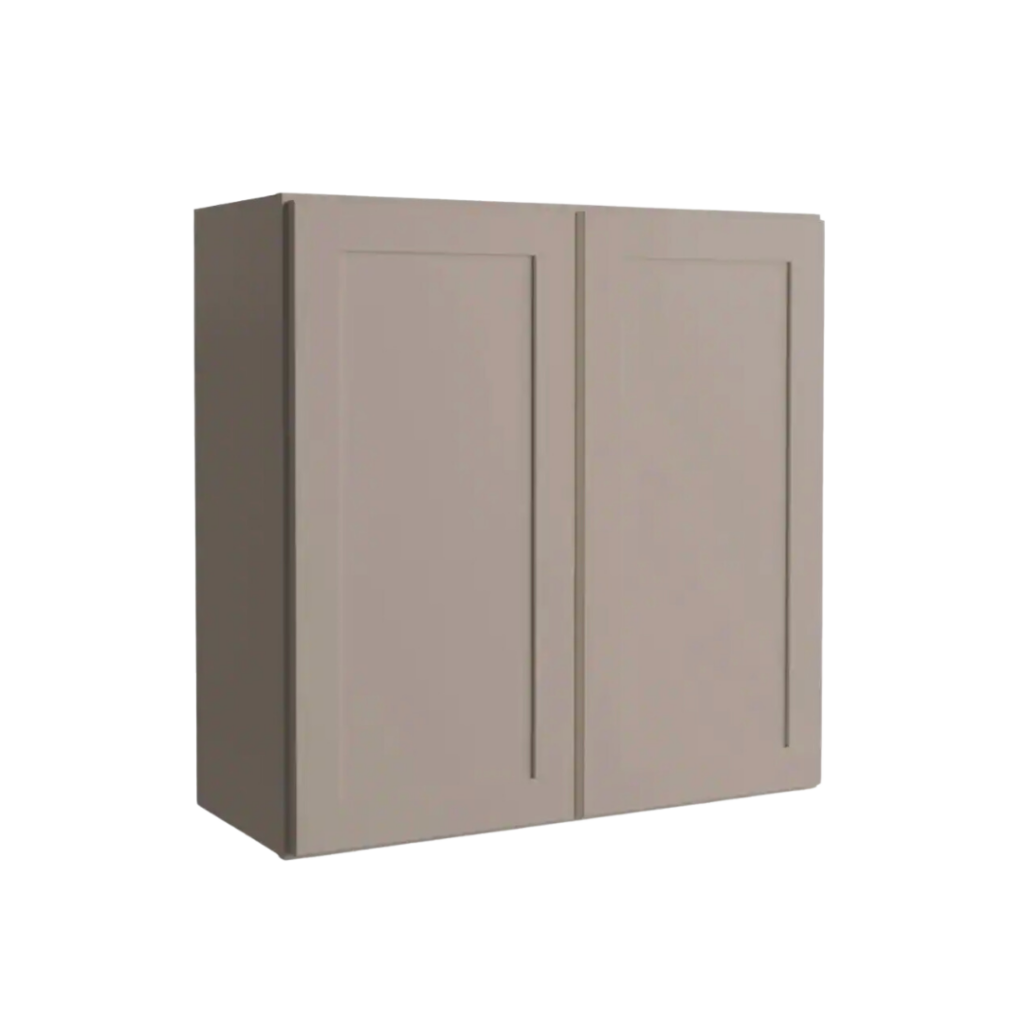


- Pre-Assembled Cabinets
- Outlet Extenders
- Edge Banding
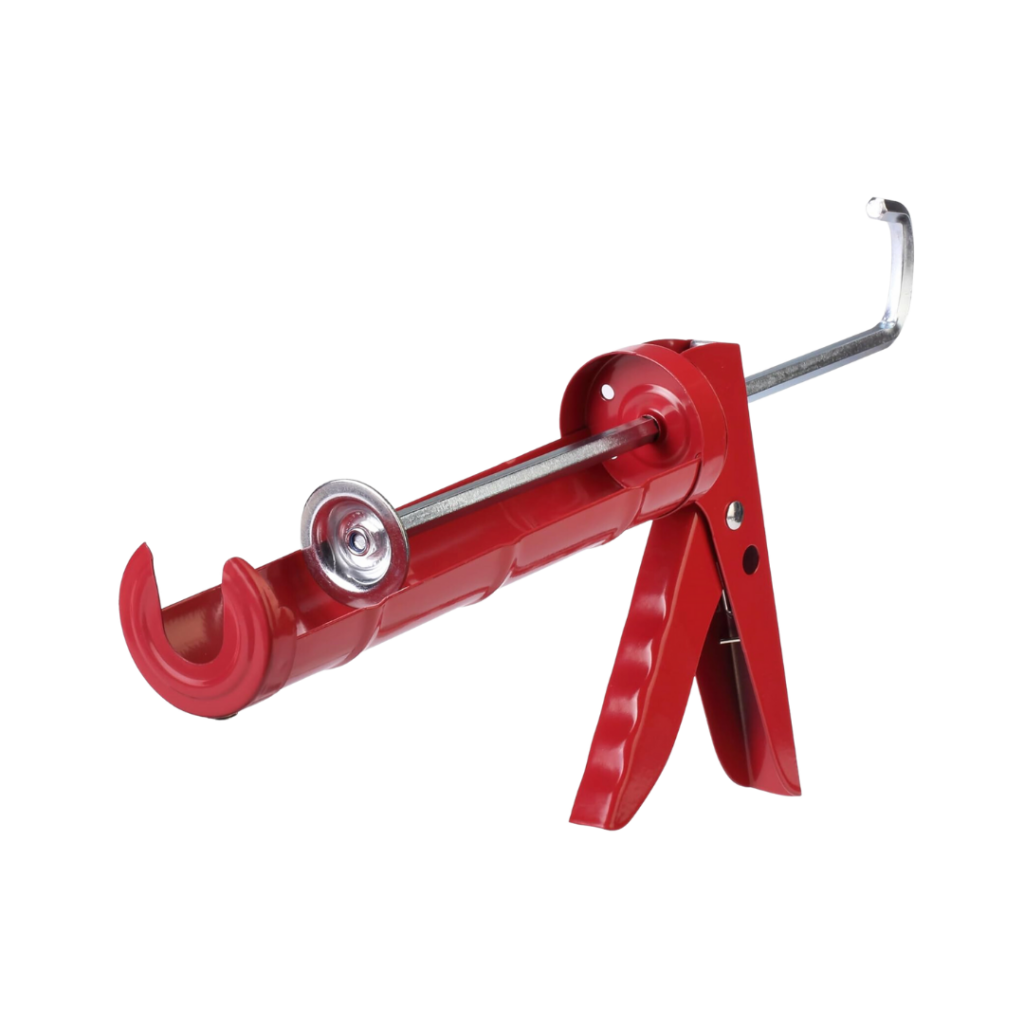
- Caulk
- Caulk Gun
- Wood Glue
- Primed Pine
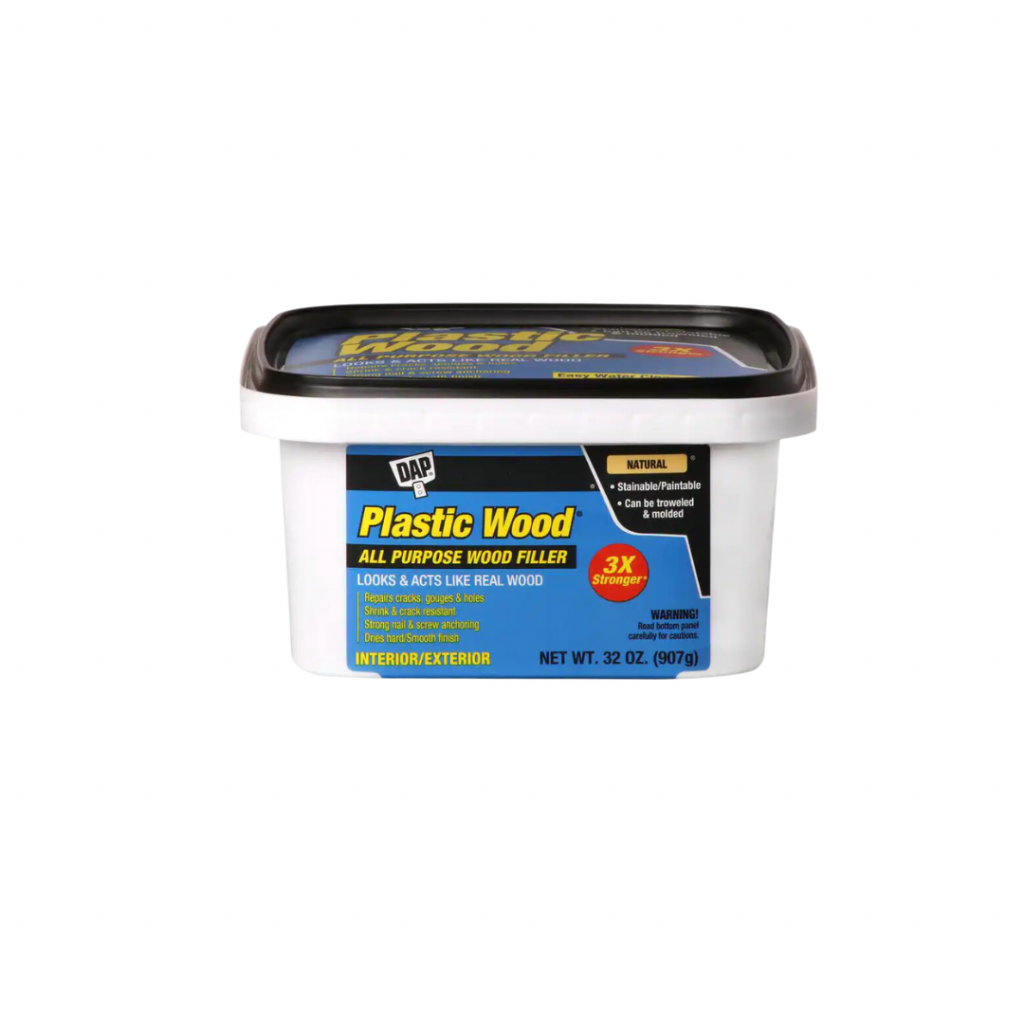
- Wood Filler
- Sanding Sponge
Tools for my Dining Room Built Ins:


And here’s everything I wore in my stories this week!


[…] DIY built-ins look great. (open in same […]
Did you set the cabinets flush against the wall? How much space did you leave for the outlet extender/cord? Thanks!
What finish did you use on the cabinets? I see you did the trim in satin and walls eggshell, but curious about the finish for the cabinets. Thanks!
[…] Built in dining room cabinets are a great addition to any home, offering both style and practicality. These custom pieces are designed to blend seamlessly with your space, making the utmost of available square footage without taking up gratuitous bottom space. Unlike freestanding cabinetwork, built- in closets are designed to fit impeccably into your room, furnishing a cohesive look. Whether you have a large or small dining area, built- sways help you stay organized while enhancing the overall design. They also offer a unique result for hiding clutter and displaying ornamental particulars, making your dining room both functional and aesthetically pleasing. […]
Hi! Do you attach the base to the floor? I’ve been scouring these tutorials and it’s hard to find this info. Trying to use a bookcase to create a large cased opening situation between two rooms in an open concept room and am not sure about that piece. Thanks!!
Gorgeous! Did you install the cabinets a few inches out from the wall to create the depth you wanted for the counter top? I see you used 12″ deep cabinets, and you said the bookcases were built with 12″ boards, but it looks like you have several inches of countertop exposed between the cabinets and shelves. If so, how did you secure them to the wall? Some kind of spacers?
Can you please describe how you painted over thermofoil cabinets? Thank you!
equilibrado dinámico
Dispositivos de ajuste: esencial para el rendimiento suave y eficiente de las máquinas.
En el entorno de la innovación moderna, donde la efectividad y la fiabilidad del sistema son de máxima importancia, los equipos de balanceo juegan un función vital. Estos dispositivos especializados están desarrollados para equilibrar y asegurar elementos rotativas, ya sea en equipamiento productiva, automóviles de movilidad o incluso en equipos caseros.
Para los profesionales en conservación de sistemas y los ingenieros, operar con aparatos de equilibrado es importante para promover el funcionamiento estable y estable de cualquier dispositivo giratorio. Gracias a estas herramientas tecnológicas sofisticadas, es posible reducir sustancialmente las movimientos, el ruido y la presión sobre los rodamientos, prolongando la tiempo de servicio de componentes valiosos.
De igual manera relevante es el papel que desempeñan los dispositivos de calibración en la servicio al comprador. El asistencia especializado y el mantenimiento constante empleando estos dispositivos posibilitan ofrecer soluciones de alta excelencia, elevando la agrado de los compradores.
Para los propietarios de proyectos, la inversión en unidades de equilibrado y dispositivos puede ser clave para optimizar la rendimiento y eficiencia de sus dispositivos. Esto es sobre todo relevante para los dueños de negocios que administran modestas y medianas emprendimientos, donde cada punto es relevante.
Asimismo, los equipos de ajuste tienen una extensa utilización en el campo de la fiabilidad y el monitoreo de nivel. Posibilitan encontrar probables problemas, impidiendo mantenimientos elevadas y daños a los aparatos. También, los datos generados de estos equipos pueden emplearse para perfeccionar métodos y incrementar la visibilidad en plataformas de exploración.
Las zonas de uso de los equipos de ajuste abarcan diversas sectores, desde la fabricación de bicicletas hasta el monitoreo ambiental. No afecta si se trata de extensas elaboraciones industriales o modestos locales hogareños, los sistemas de balanceo son necesarios para proteger un rendimiento productivo y sin fallos.
I love how you cover this topic with such depth and clarity. It’s evident that you put a lot of effort into researching and presenting this information. Well done!
The best cat t-shirts for sale offer trendy and fun designs that every cat lover will adore. From cute, playful illustrations to clever, witty sayings, these shirts are a fun way to express your love for felines. Made from soft, breathable fabrics, they provide comfort for everyday wear. Whether you prefer minimalist designs or bold, colorful graphics, there’s a cat t-shirt to match every style and bring a touch of feline fun to your wardrobe. https://energypowerworld.co.uk/tshirts
Amazing article. Do you use a mouse for gaming? If so, the dot per inch calculator, also known as eDPI, helps you calculate the perfect mouse sensitivity for smooth, precise gameplay. For more details, check out an informative post about the eDPI calculator.
canada pharmacy world: canadian pharmacy no scripts – canadian 24 hour pharmacy