Basement Stairway Faux Vintage Art
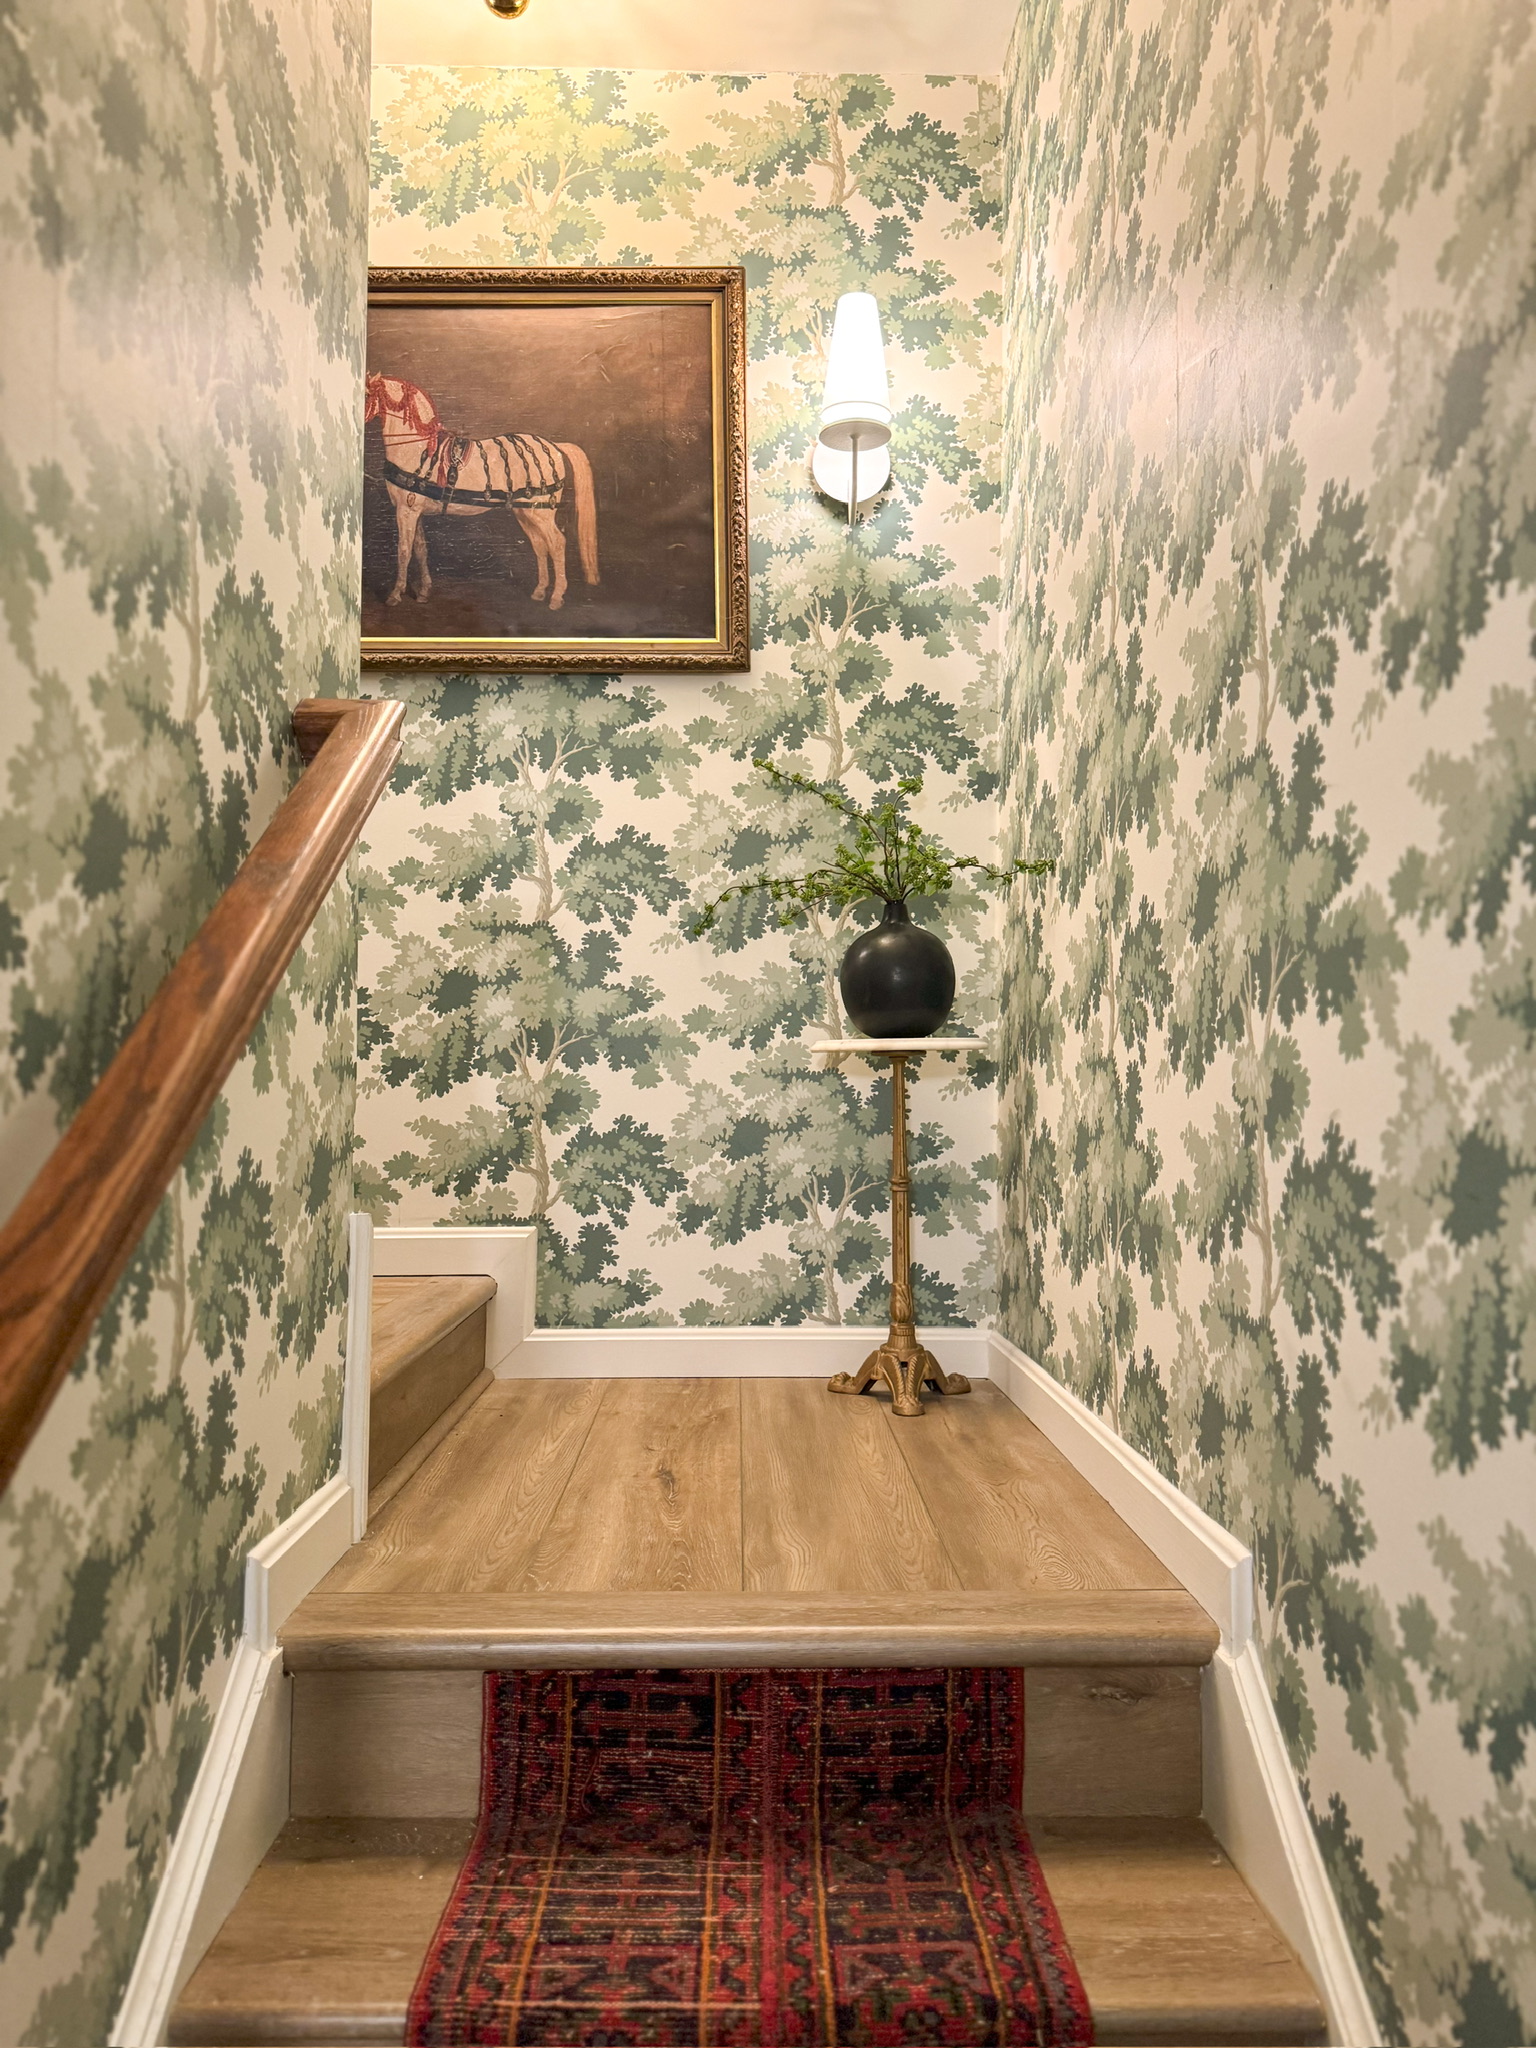
I have been loving my basement stairway makeover! As I always say, hallways and stairways deserve love and attention too. I’m so glad I gave some well earned love to this basement stairway! You can see the process here. After a few weeks of this new addition to our home, I decided the landing needed some new artwork. I love the piece that was originally in this space, but it just didn’t feel right here. So, I decided to make some faux vintage art for the landing!
Here’s the art that was hanging there initially.
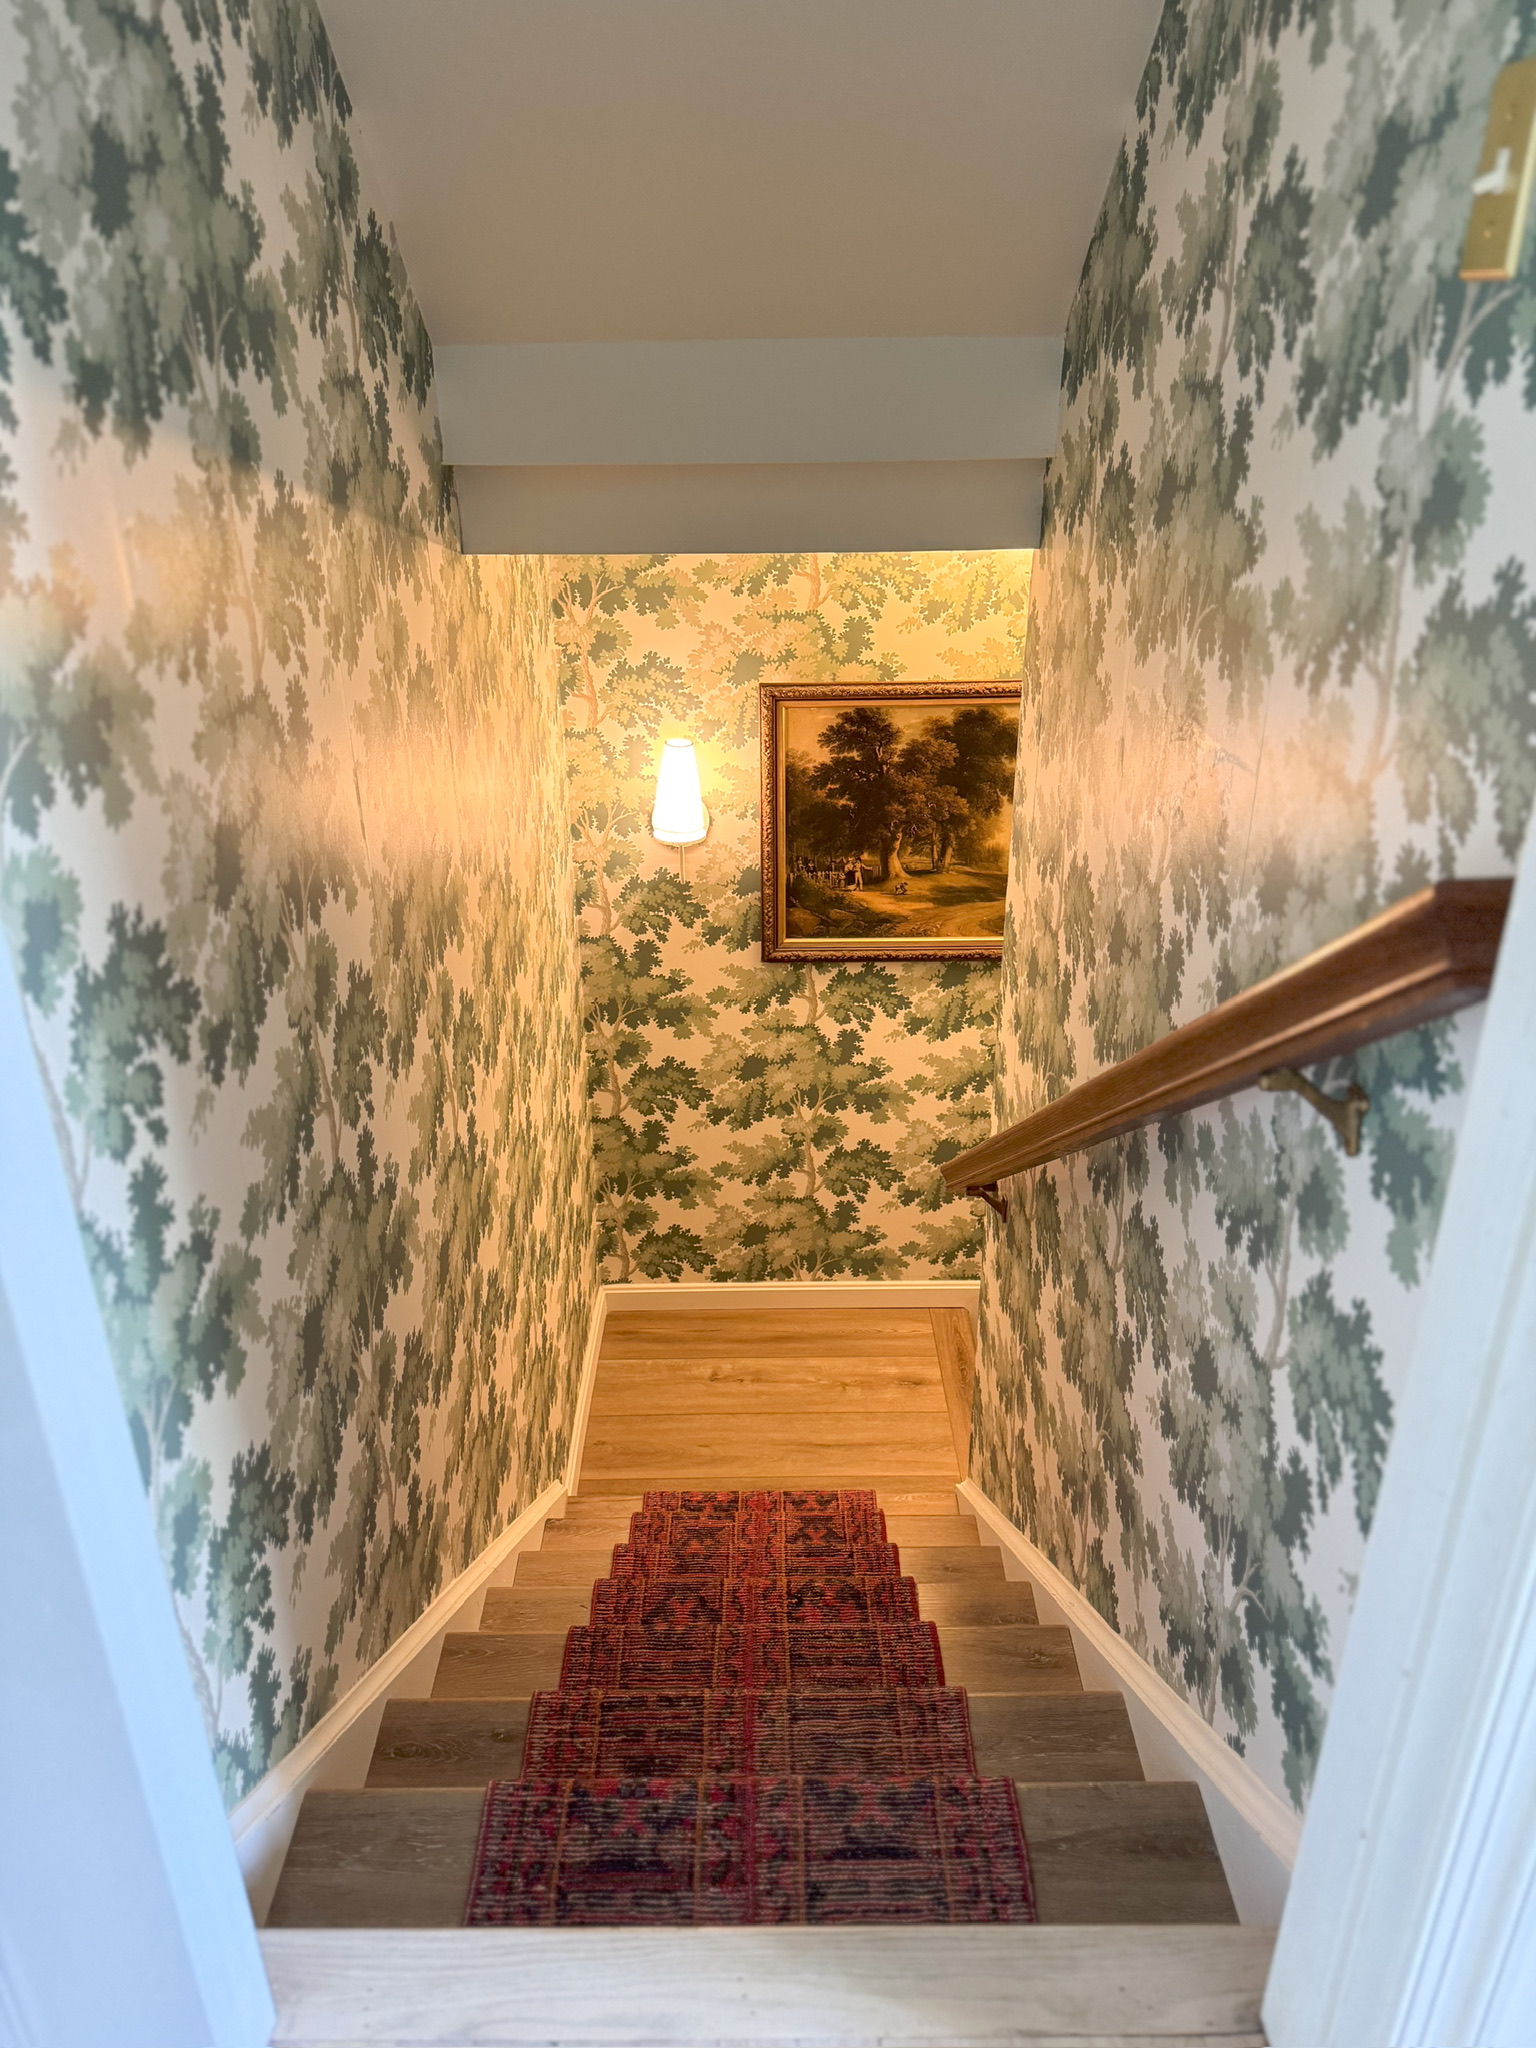
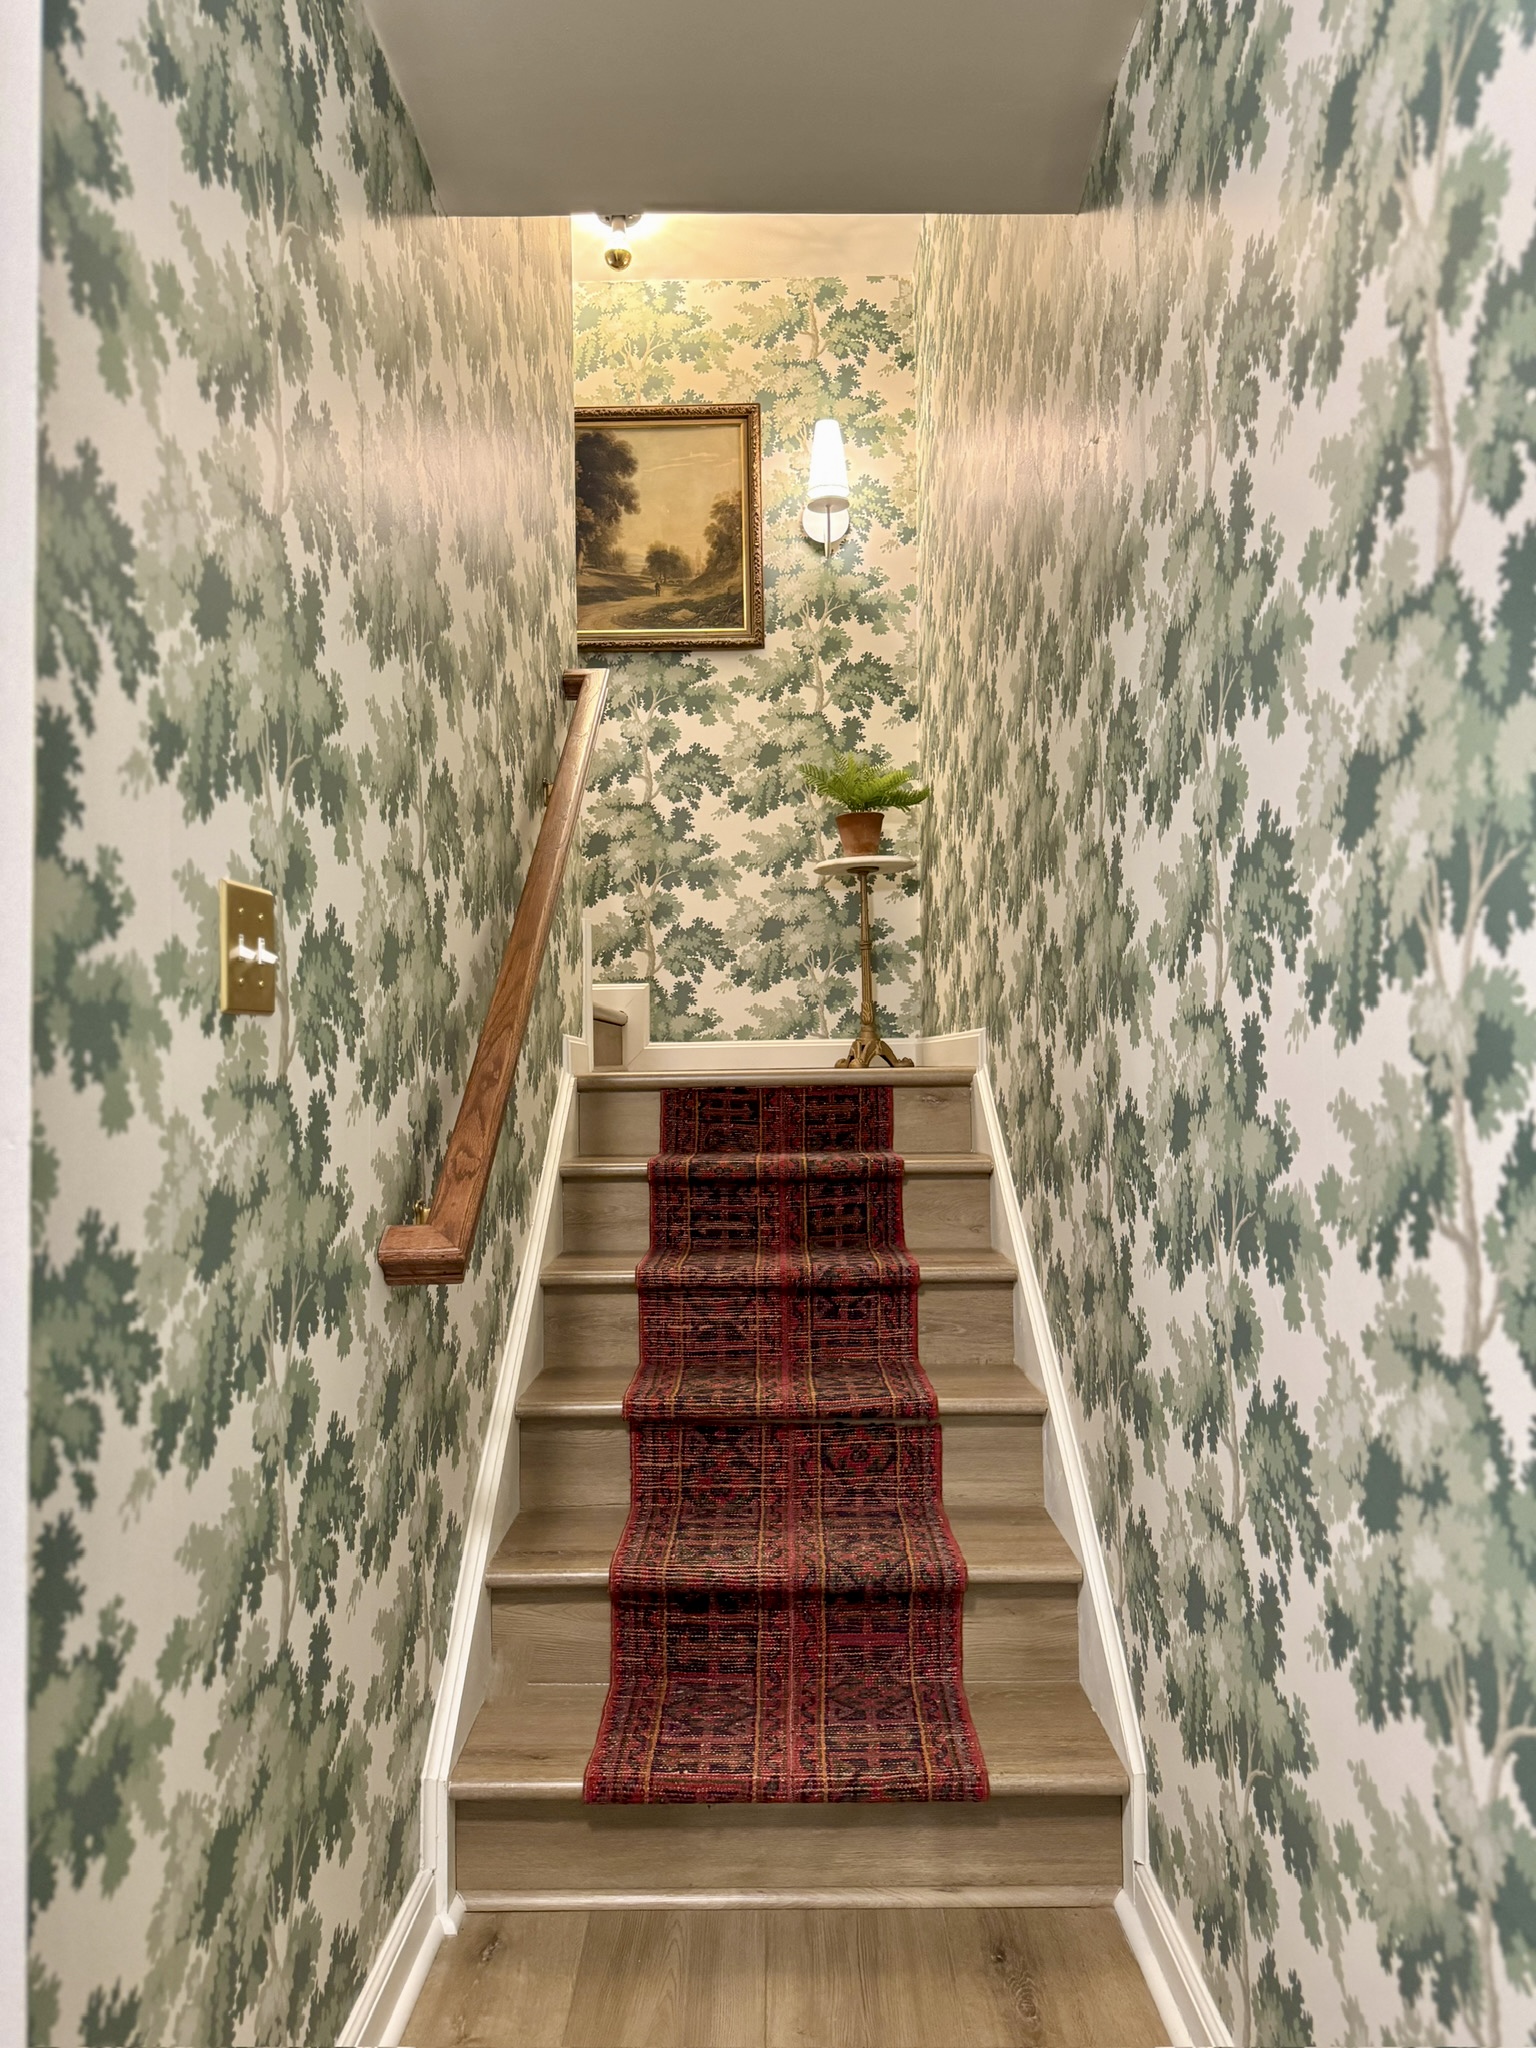
Like I said, I think it looks good but I think I could find something a bit better. So, I decided to swap it out. I was choosing between these two.
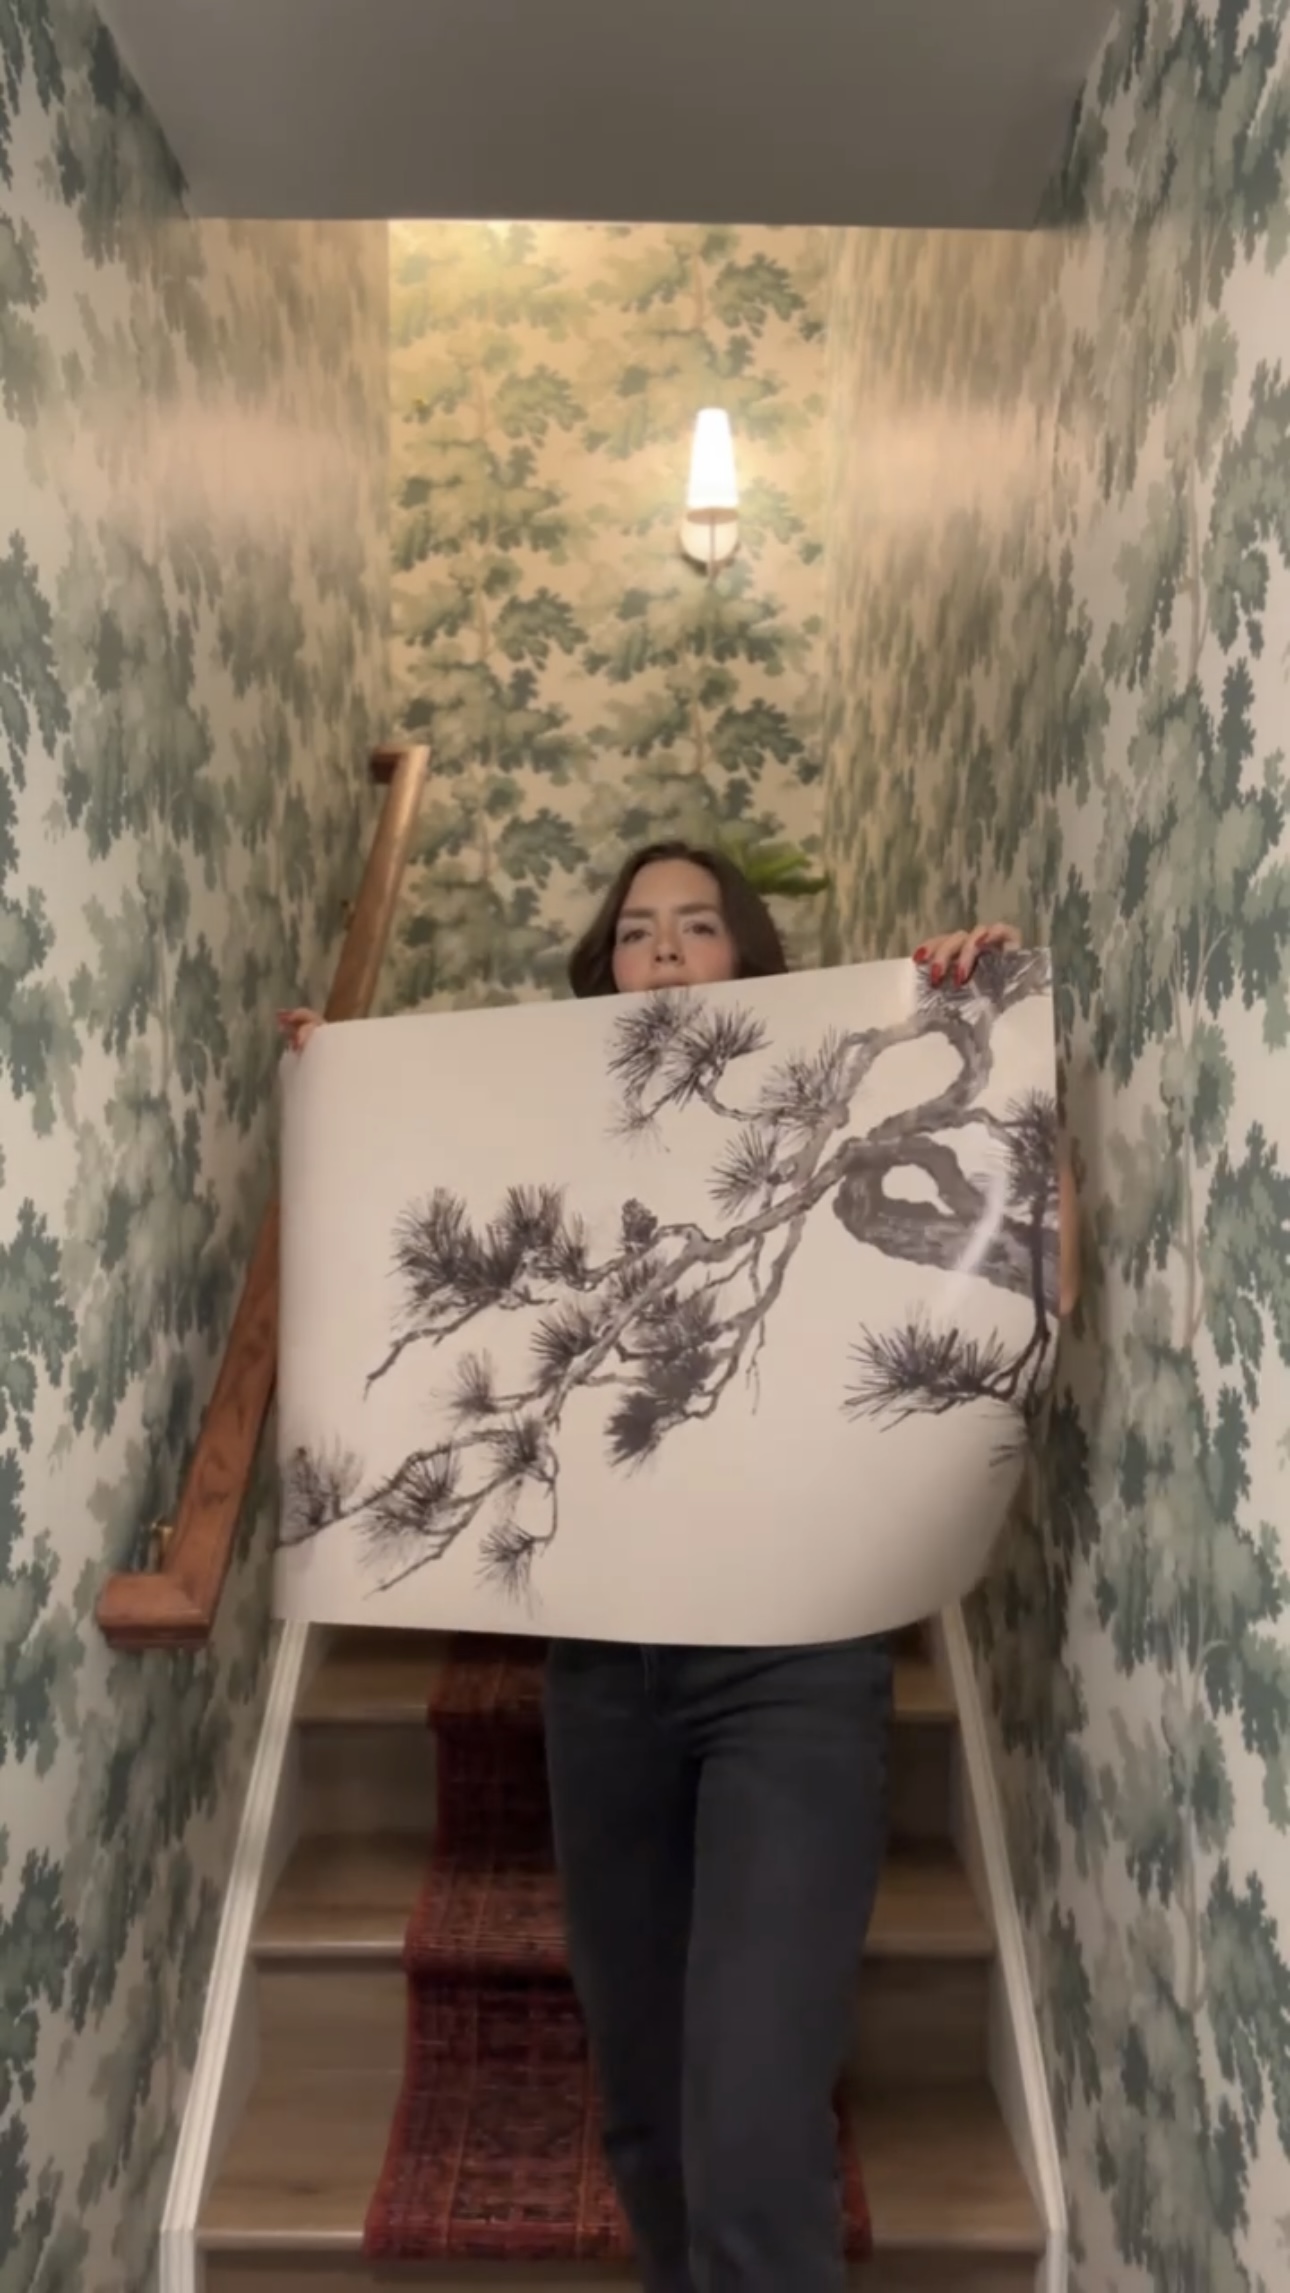
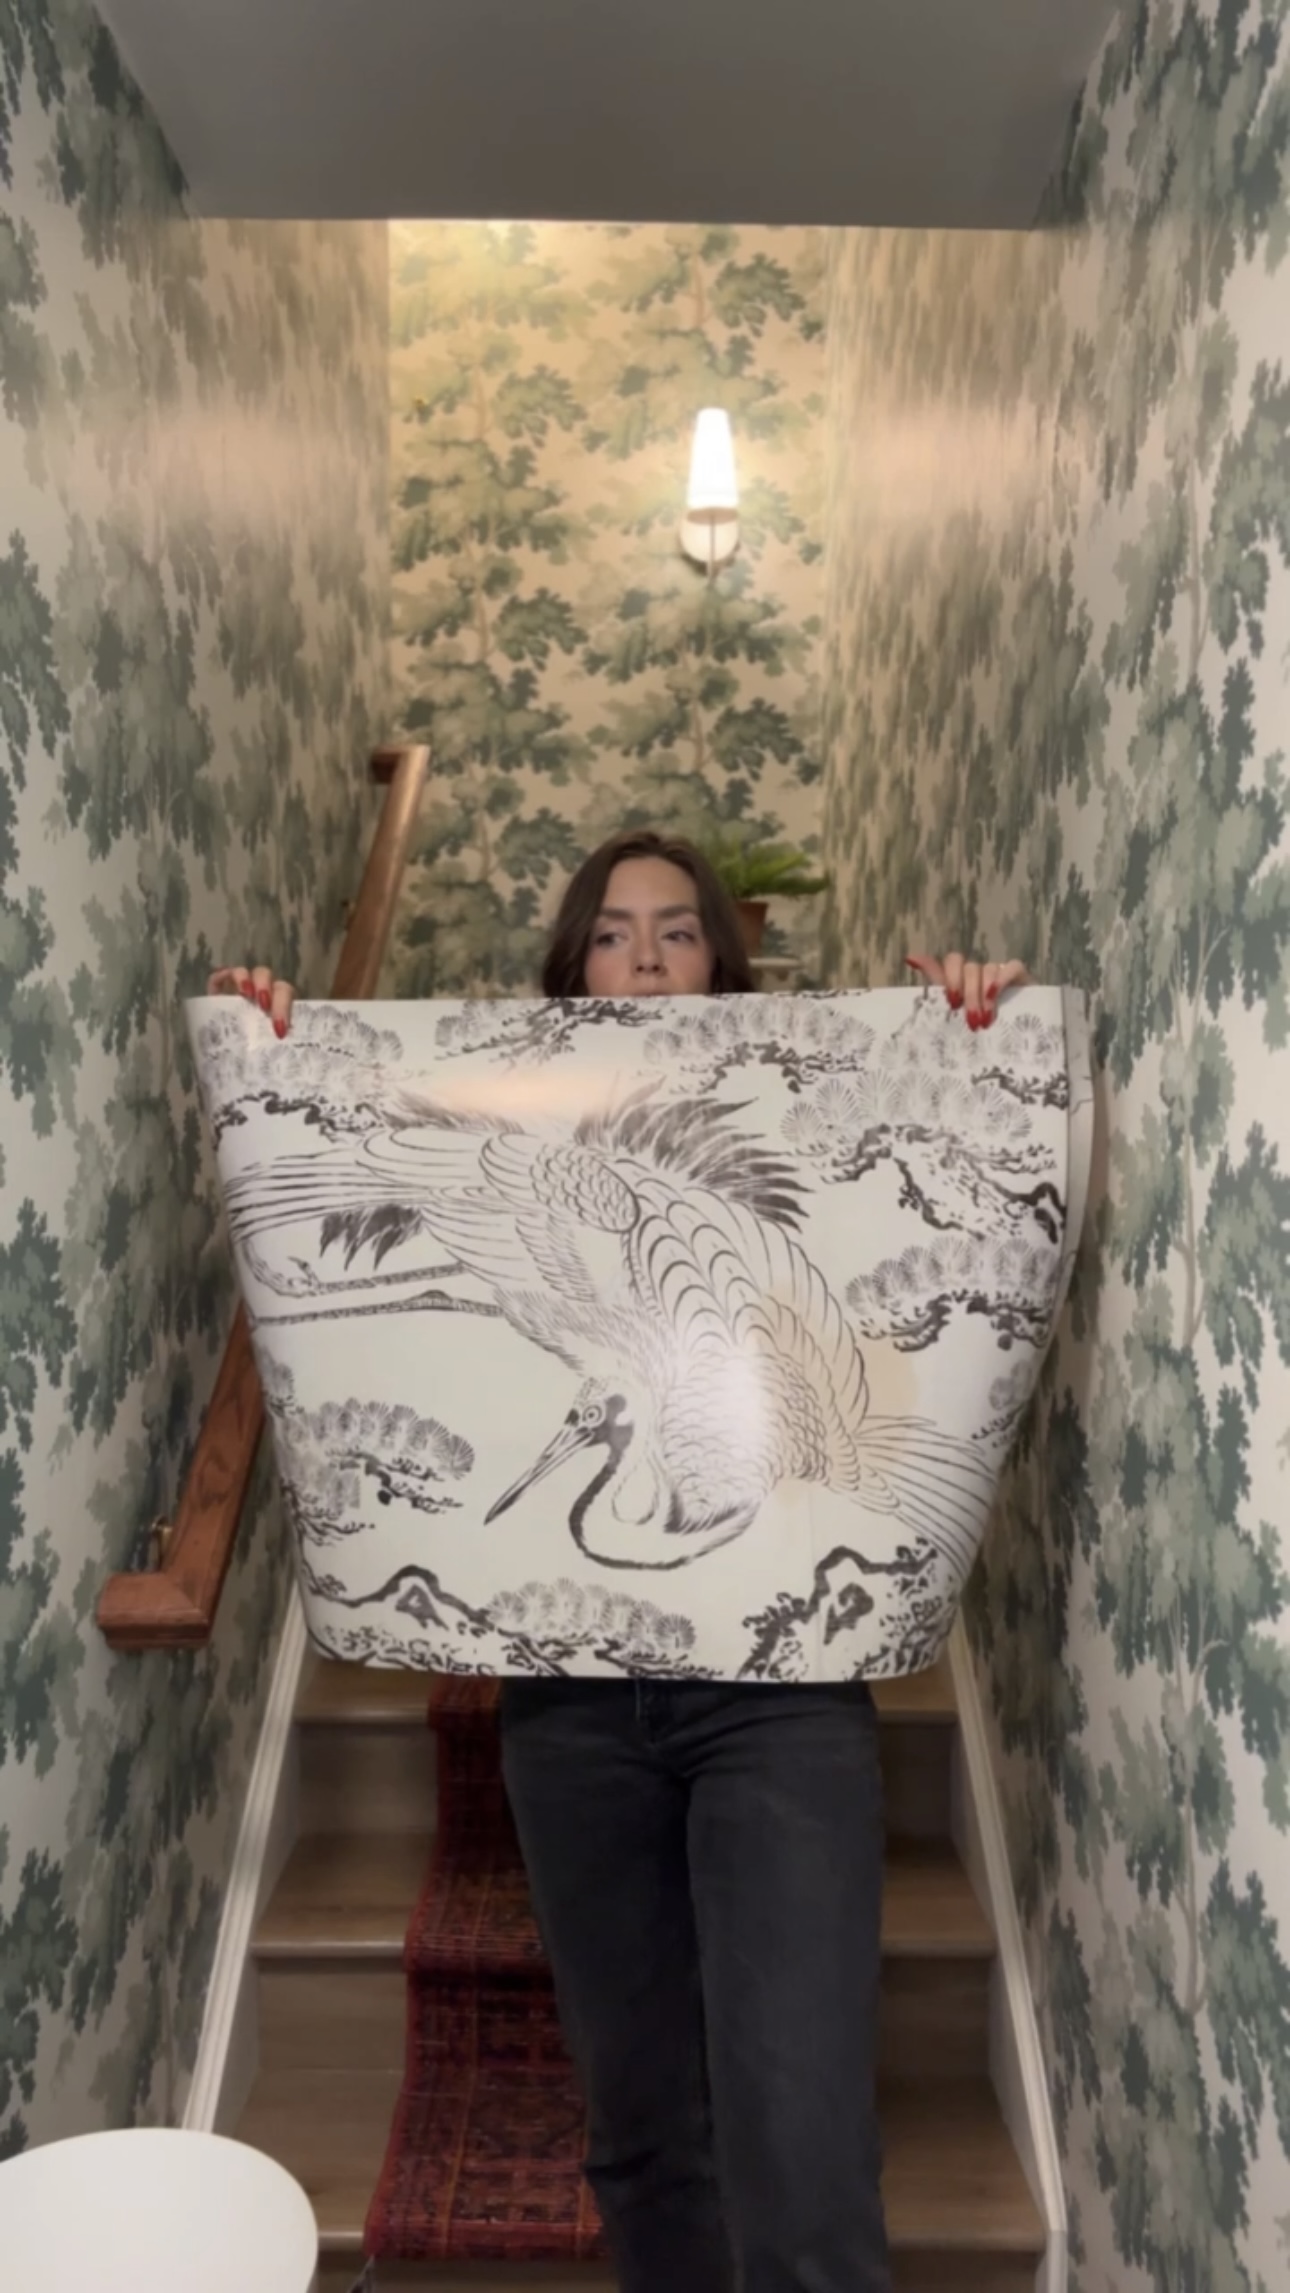
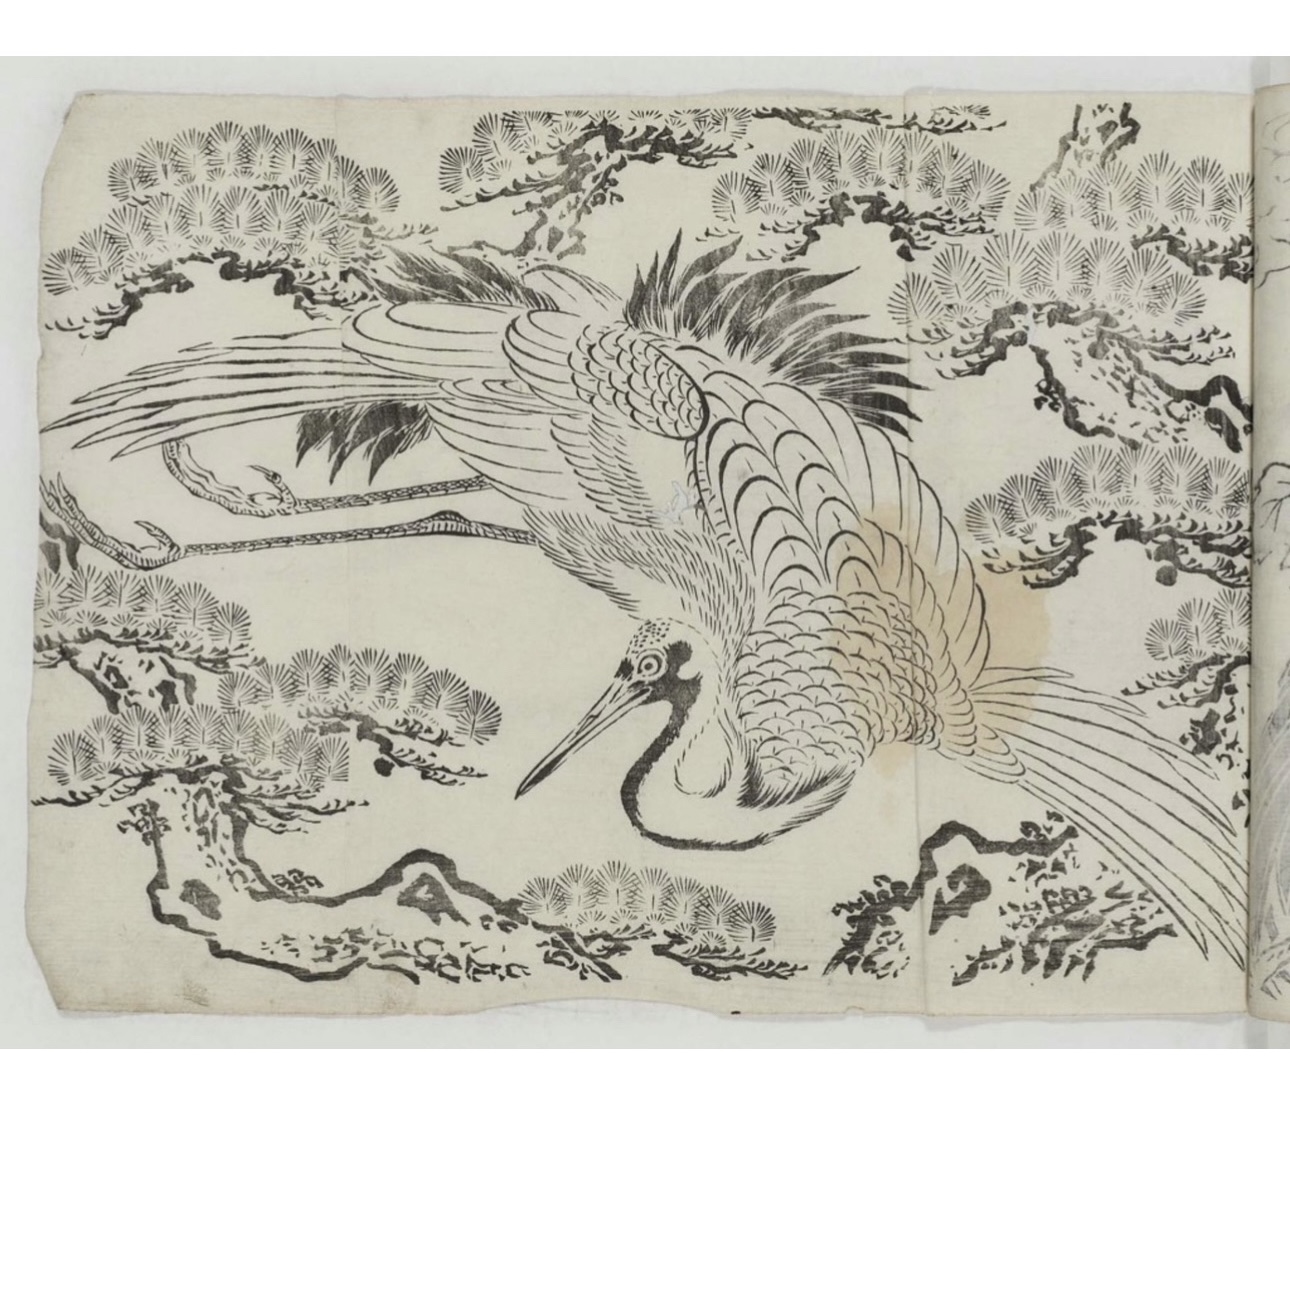
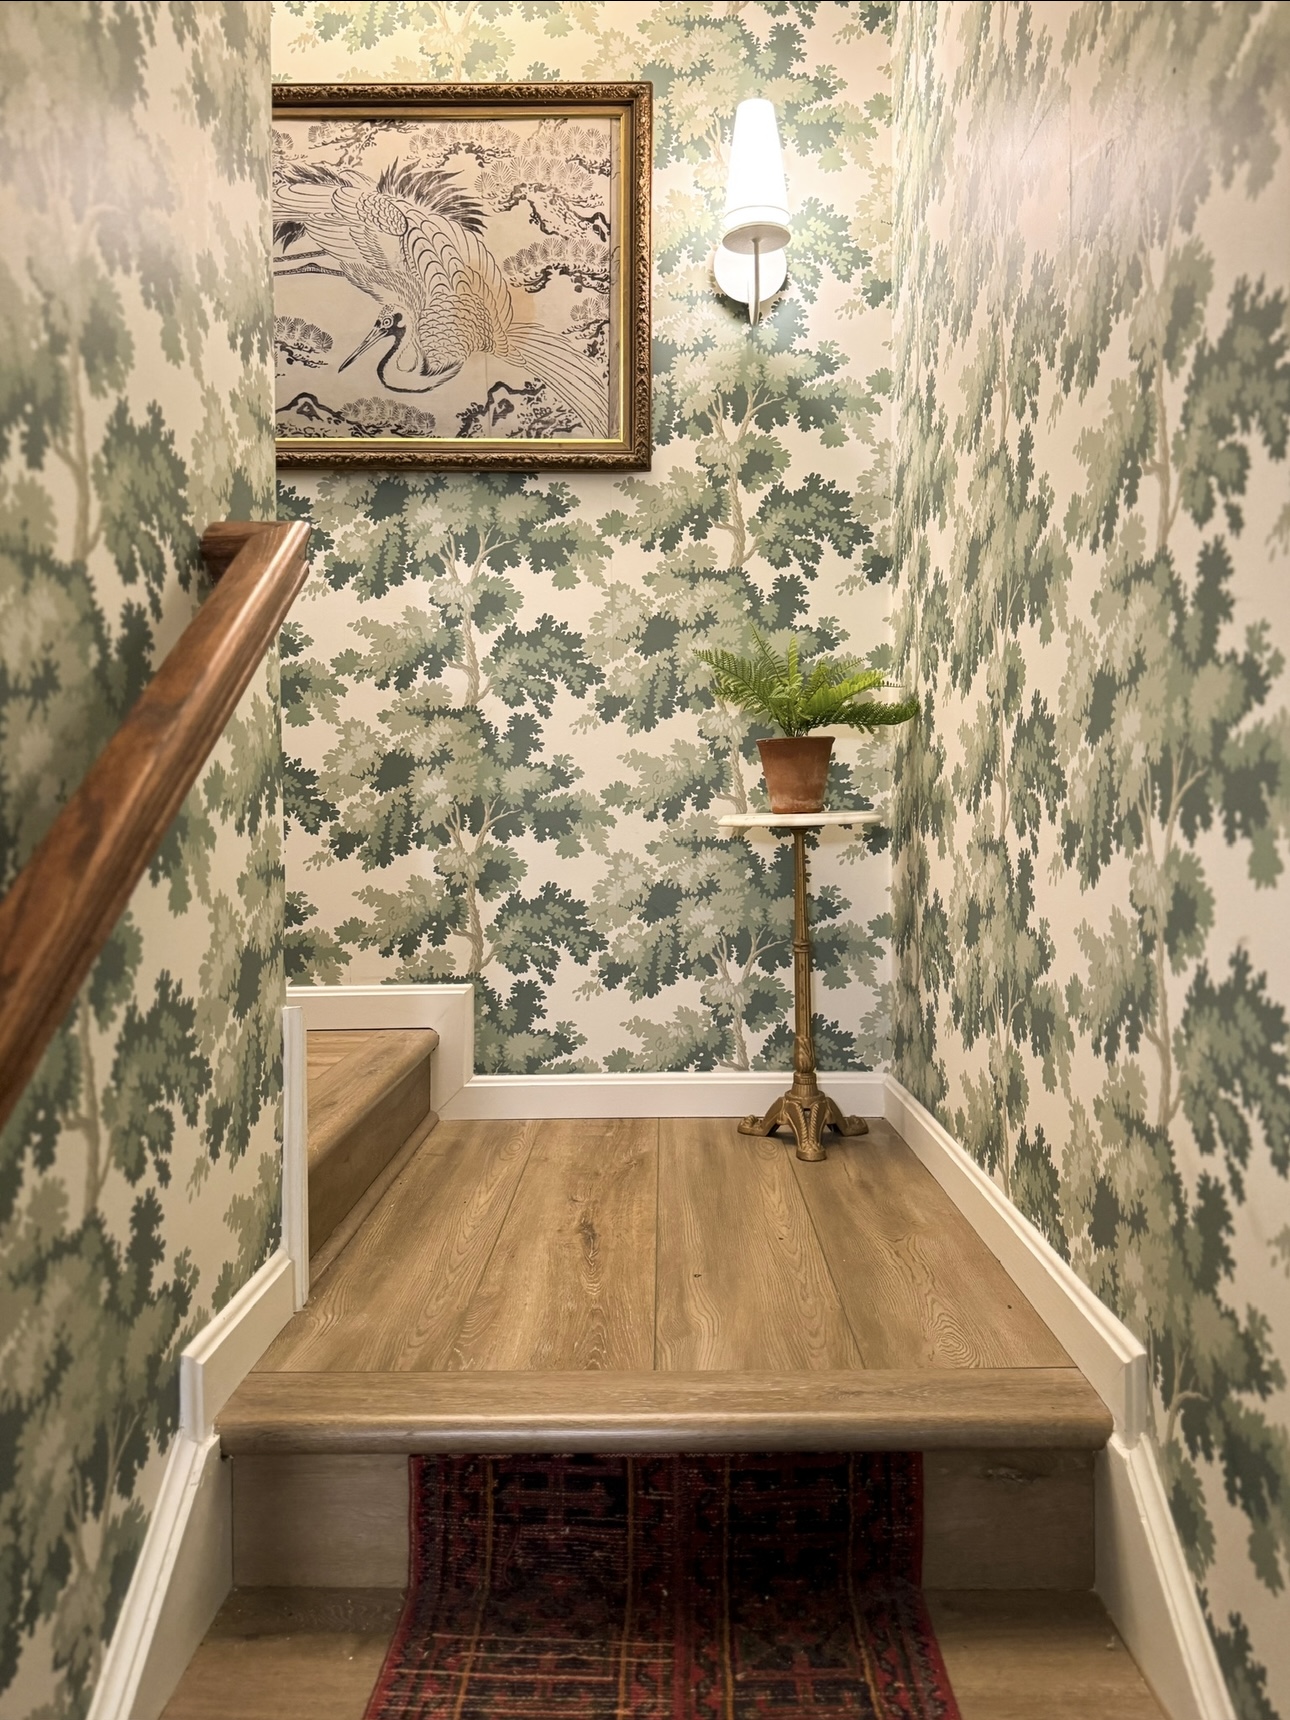
Emery and I both like the one with the crane (right)…so let’s turn it into some faux vintage art! I actually found this image for free on the Museum of Fine Arts site! The quality for a large scale isn’t great but I don’t really mind.
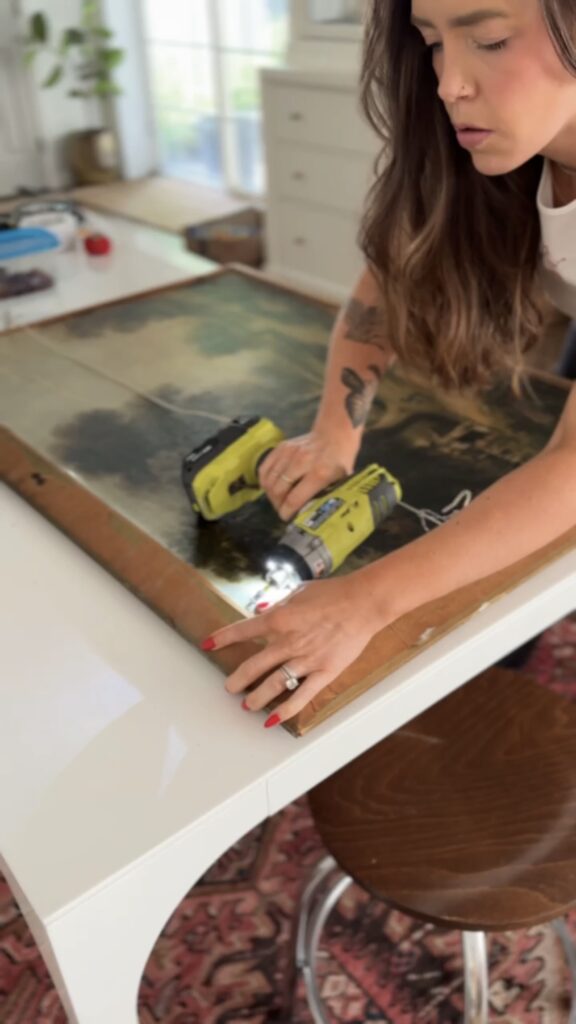
First, I took down the art off the wall and removed the art. These old frames usually have a million staples in them to pop out. So, I spent some time with that. I wanted to keep this art incase I wanted to re-use it again one day. So, I just decided to attach the art on the backside of it using mod podge.
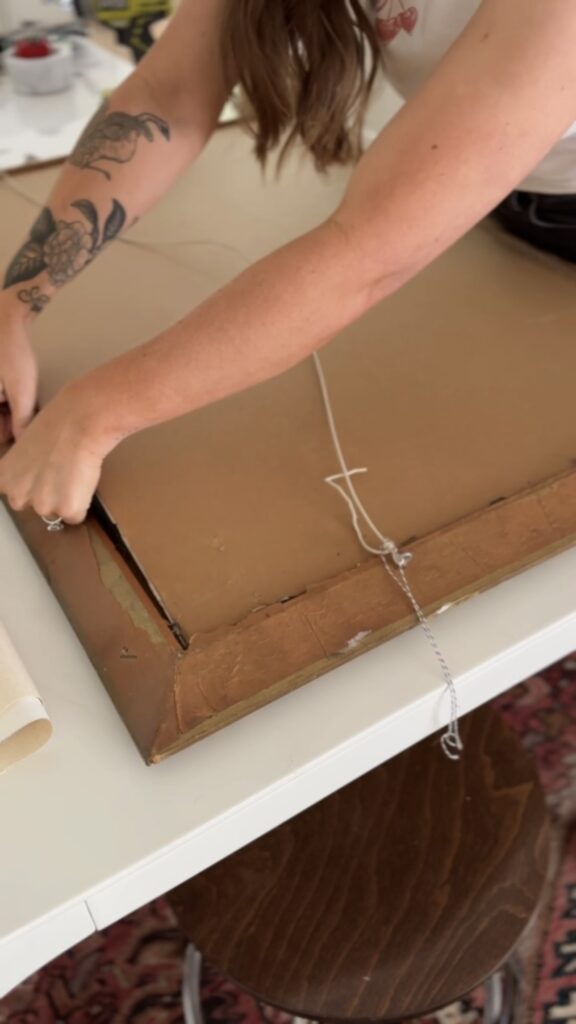
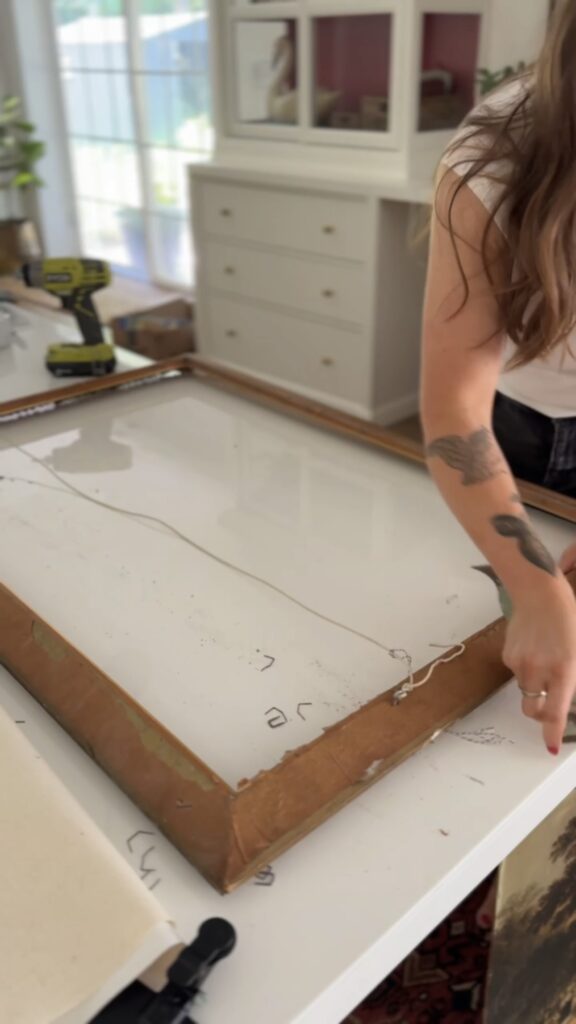
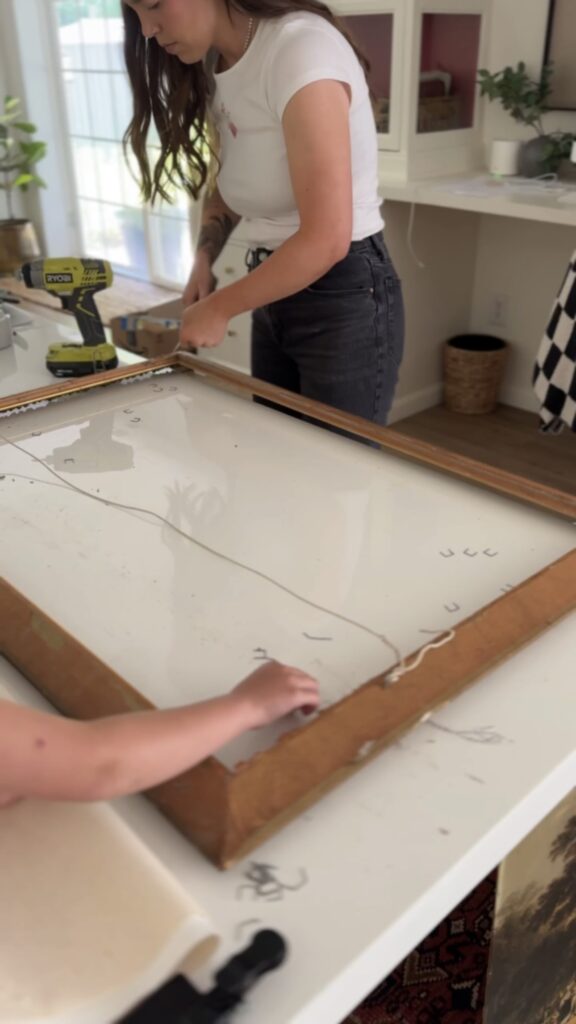
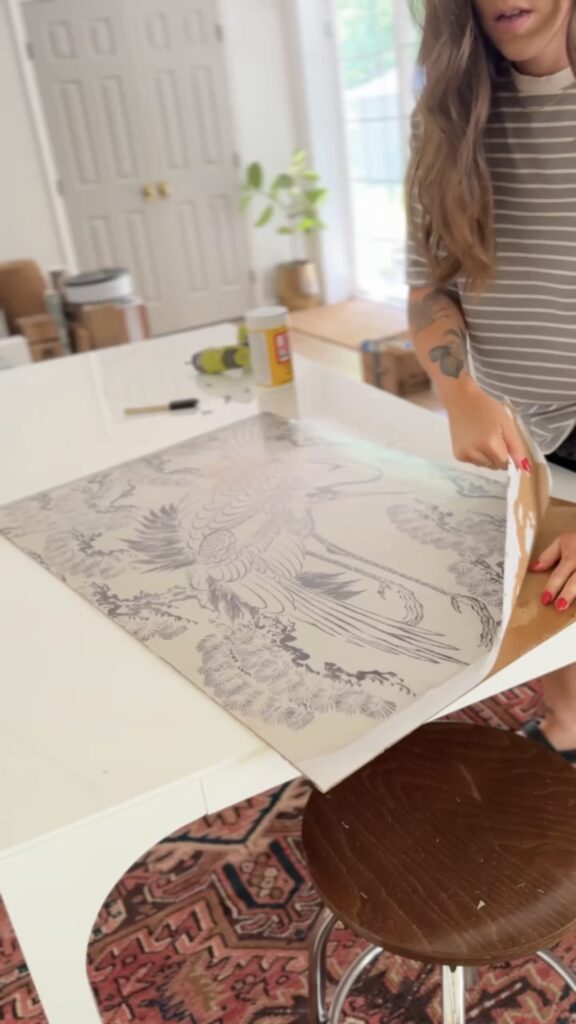
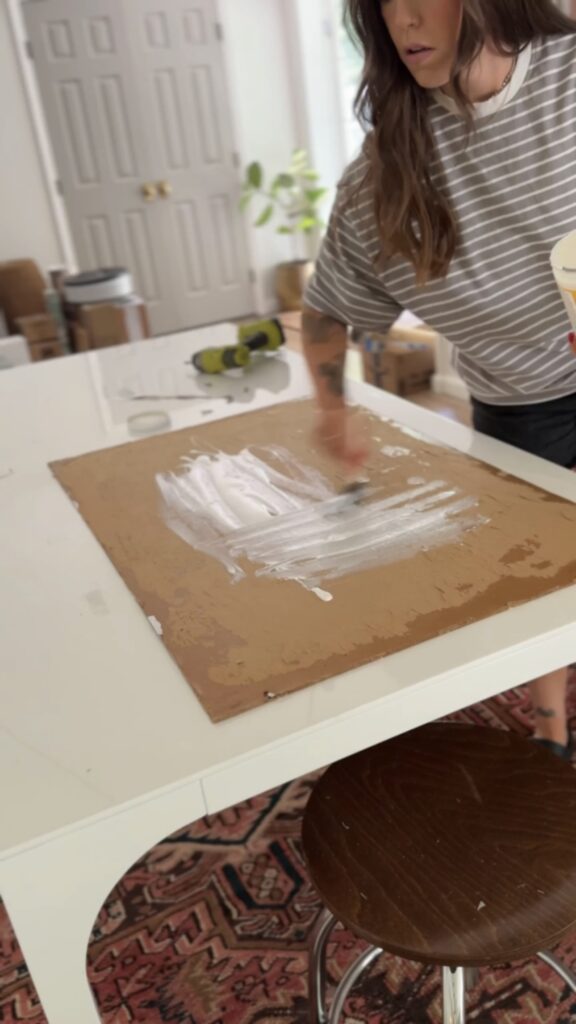
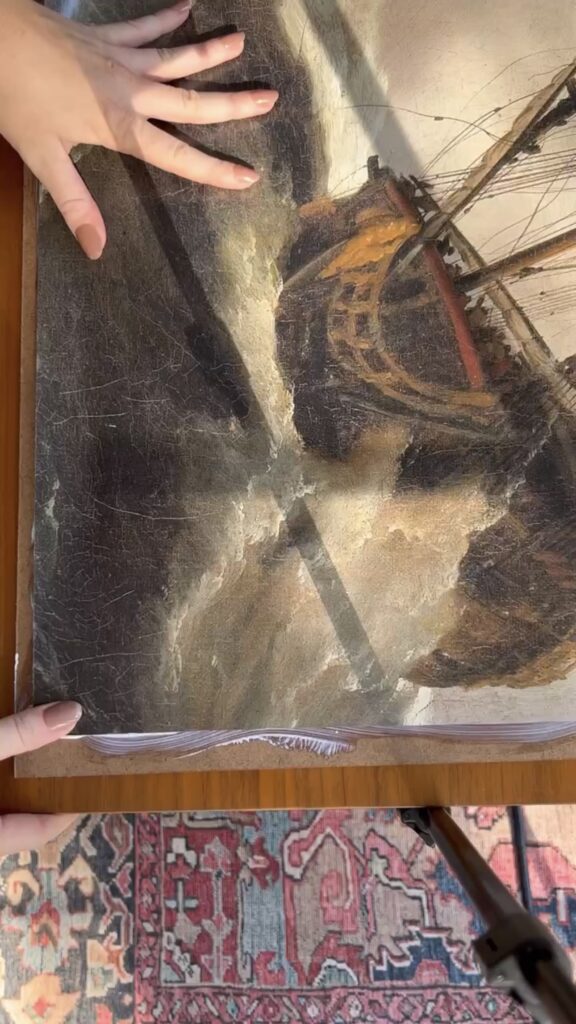
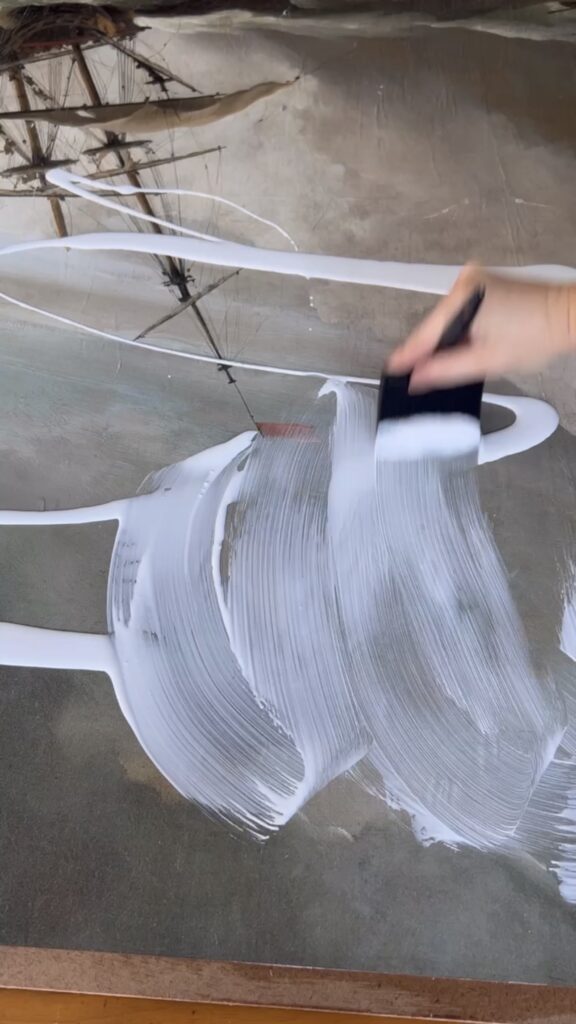
I applied a layer of mod podge to the back of this board with a craft brush and laid the artwork on top of it.
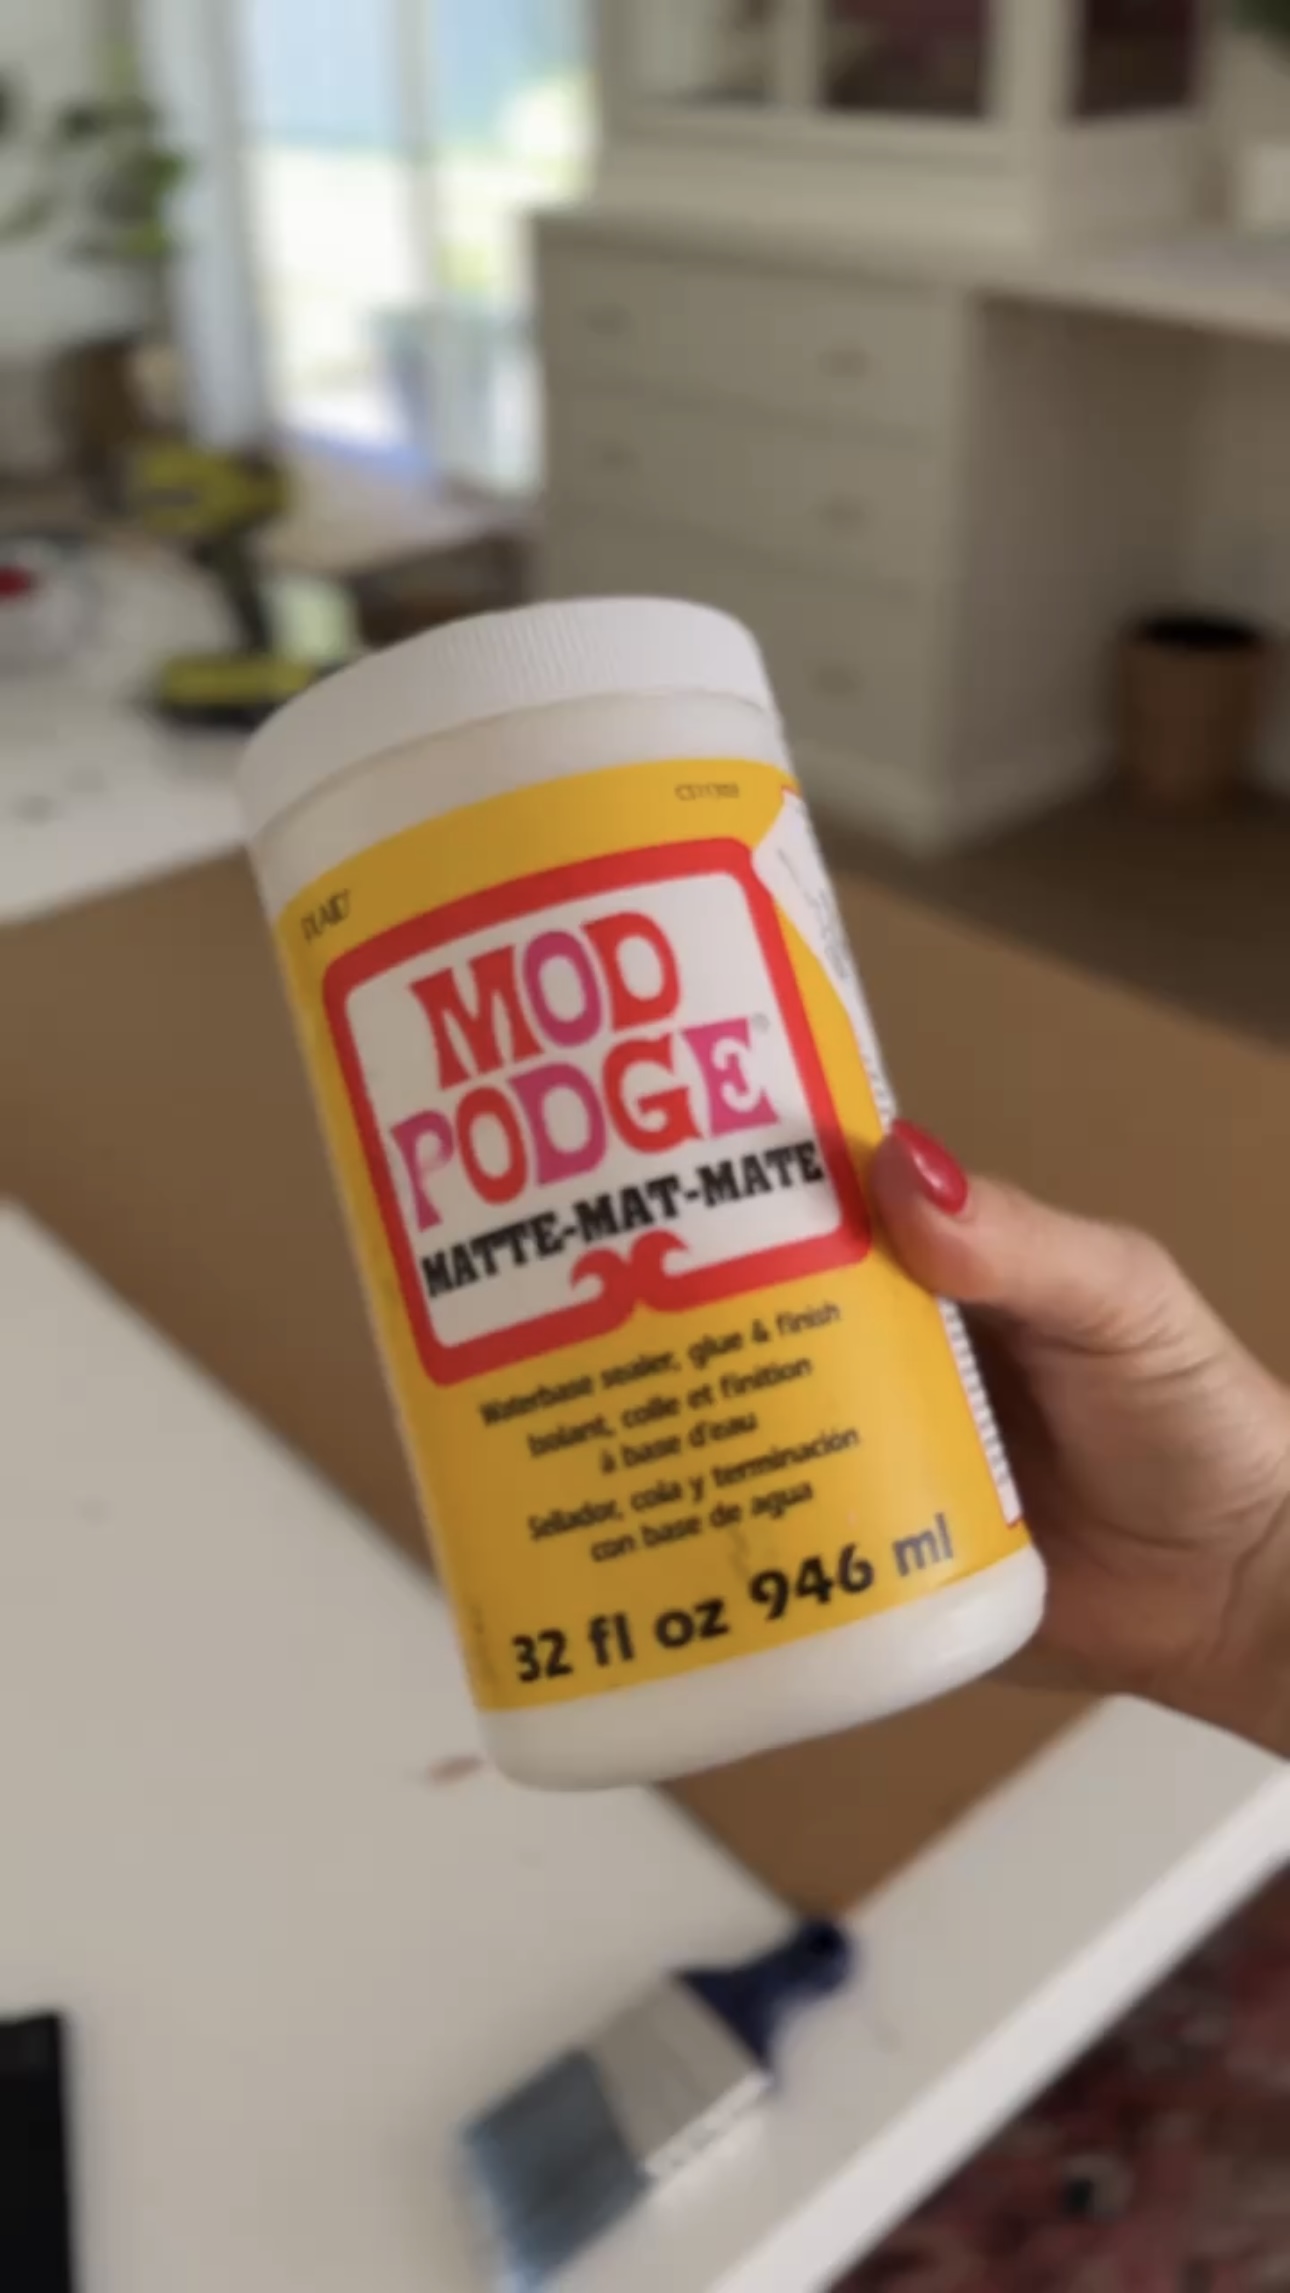
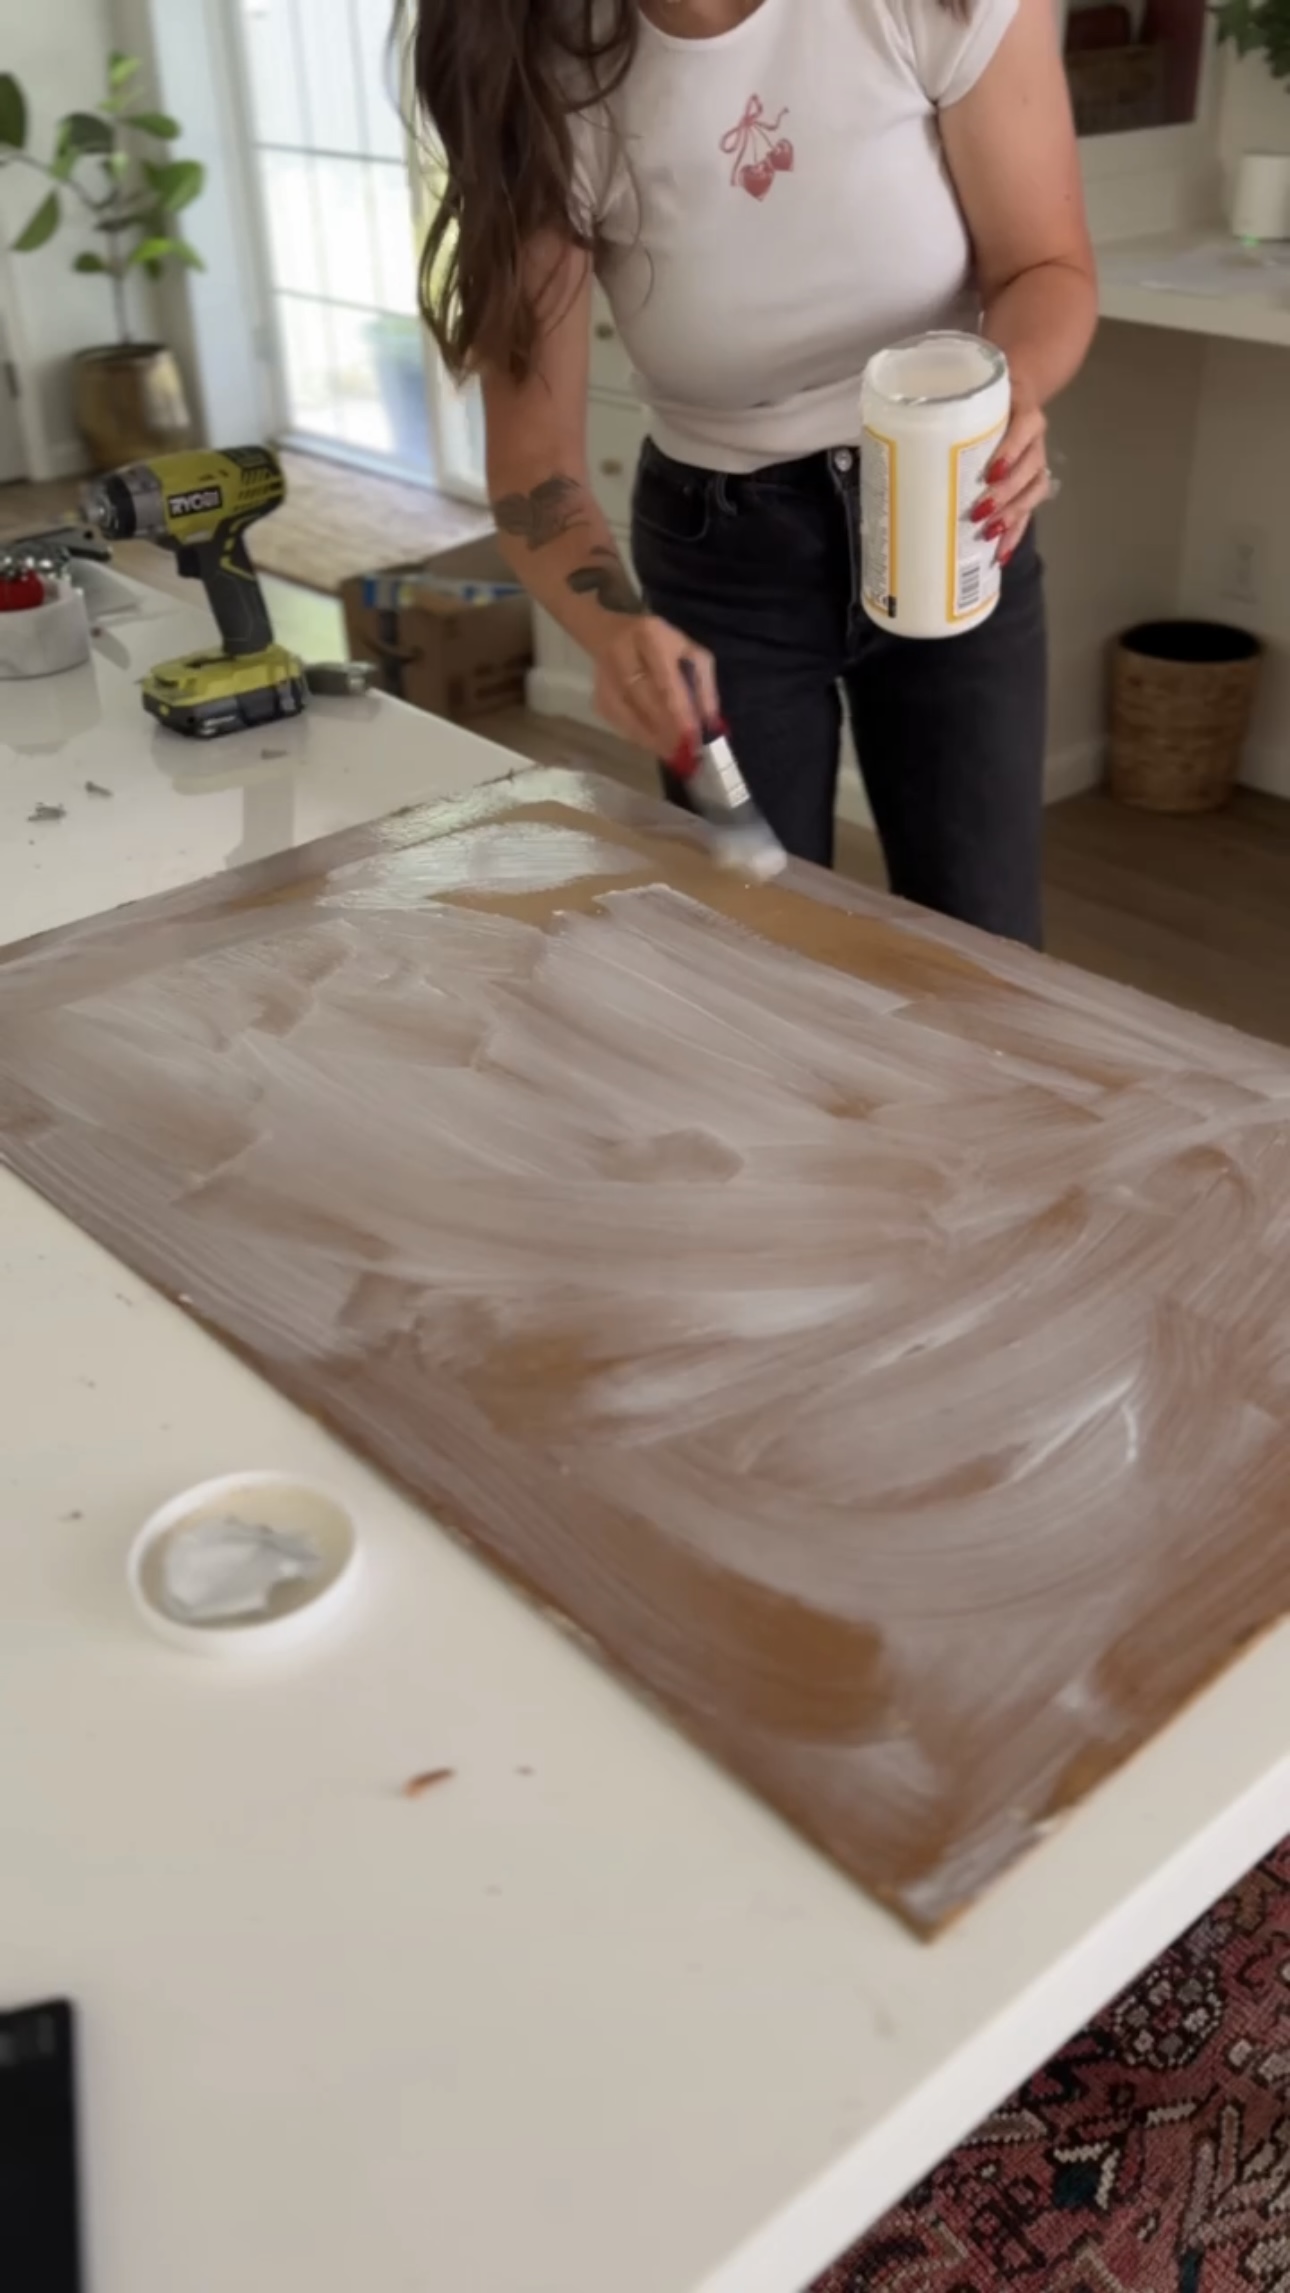
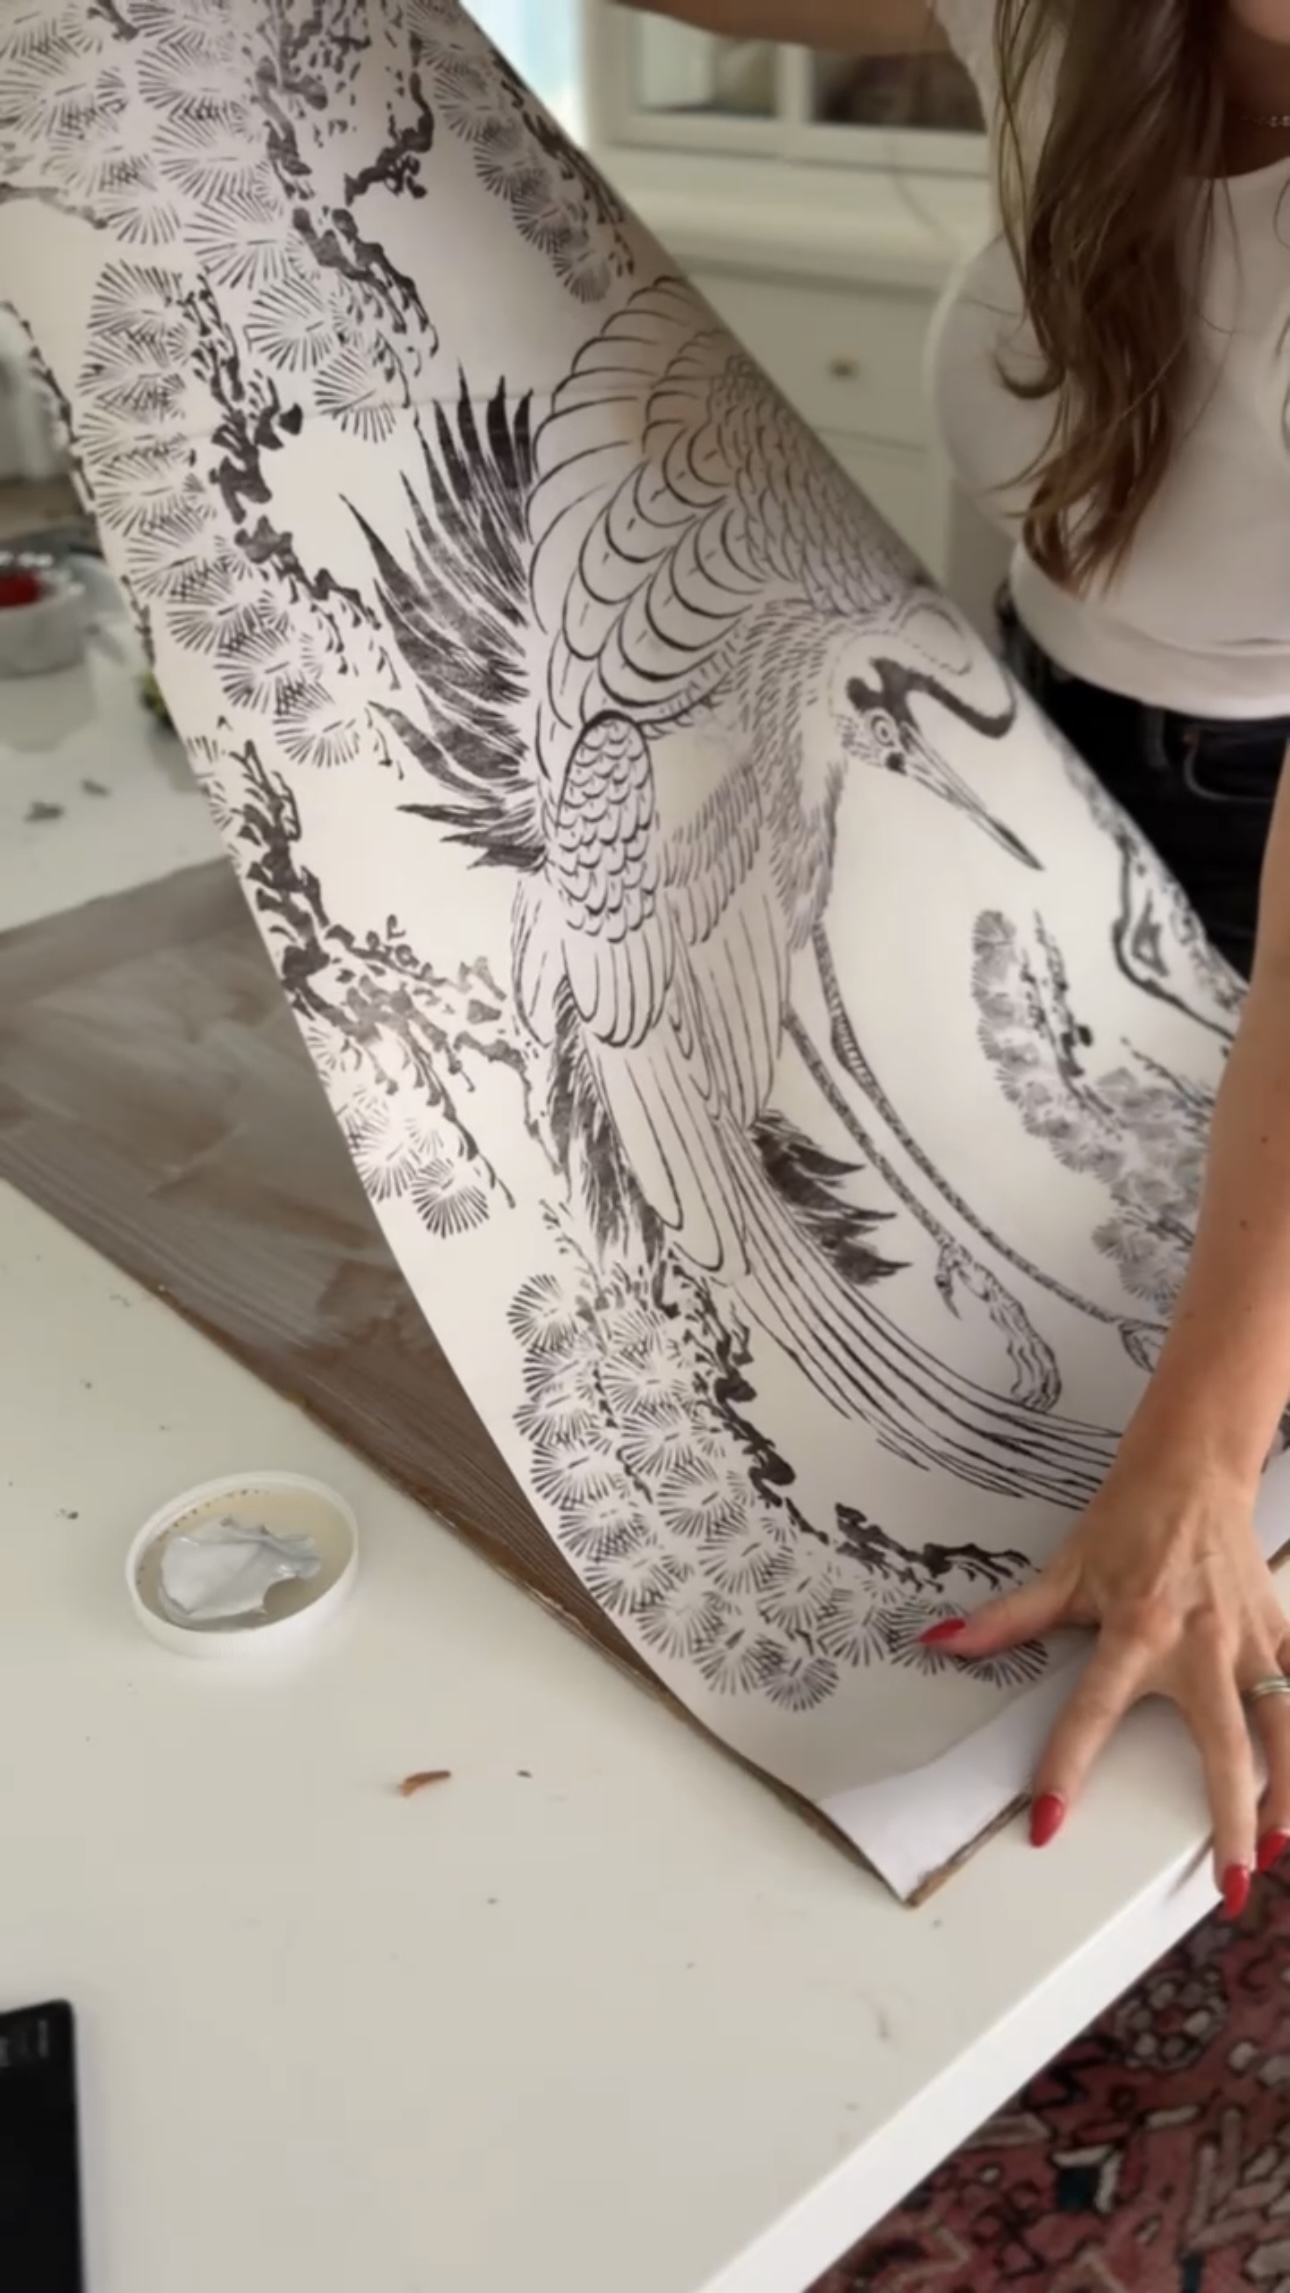
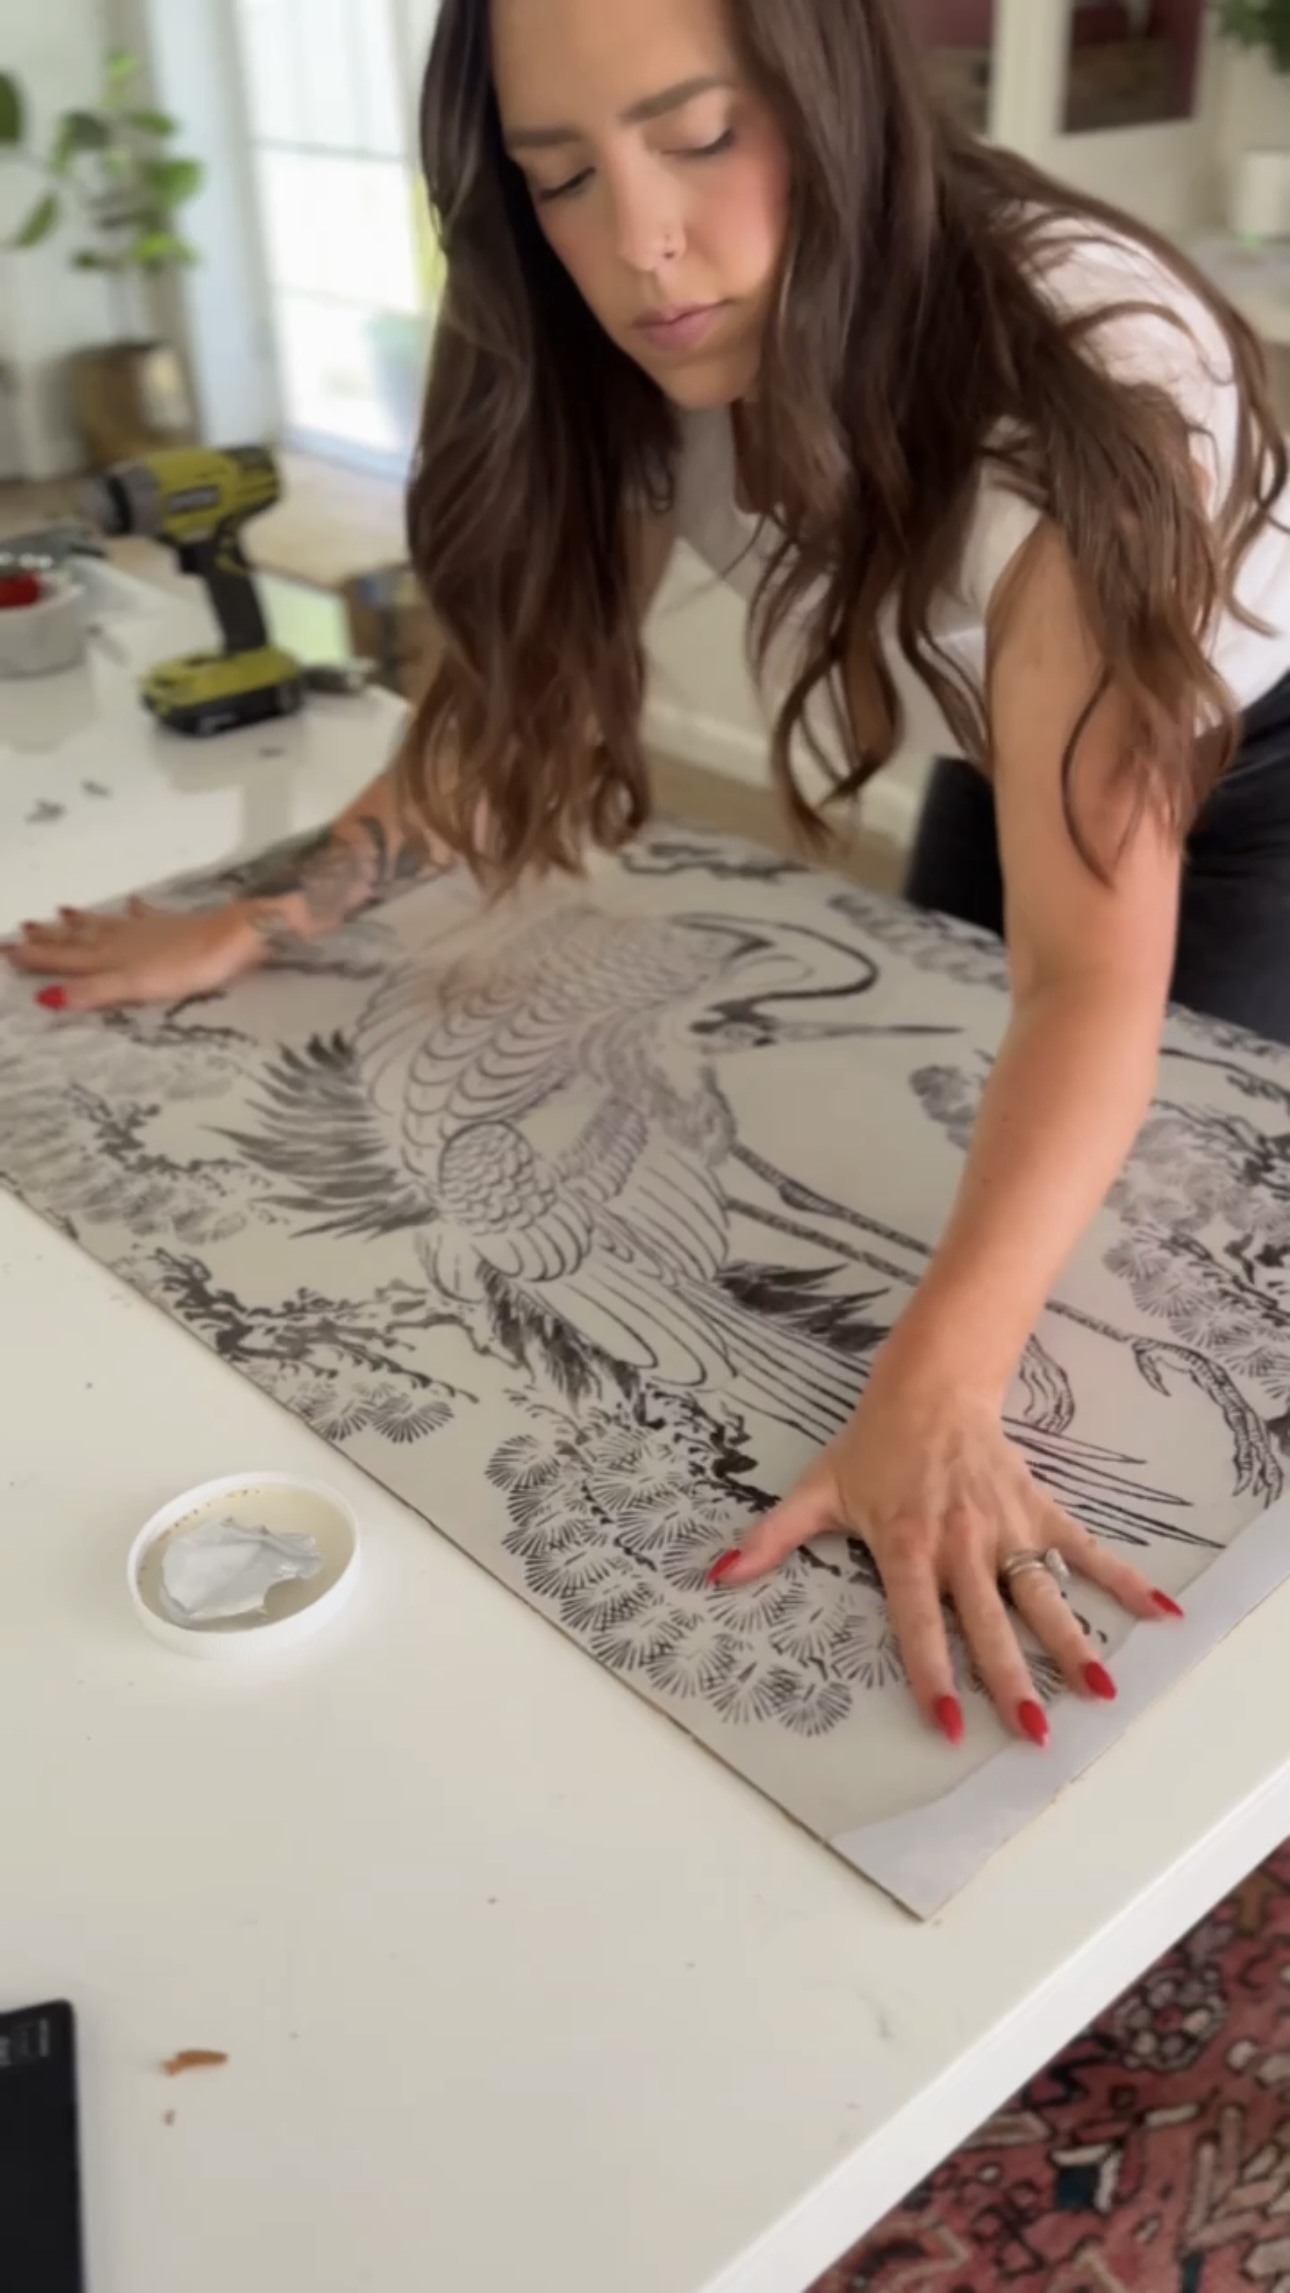
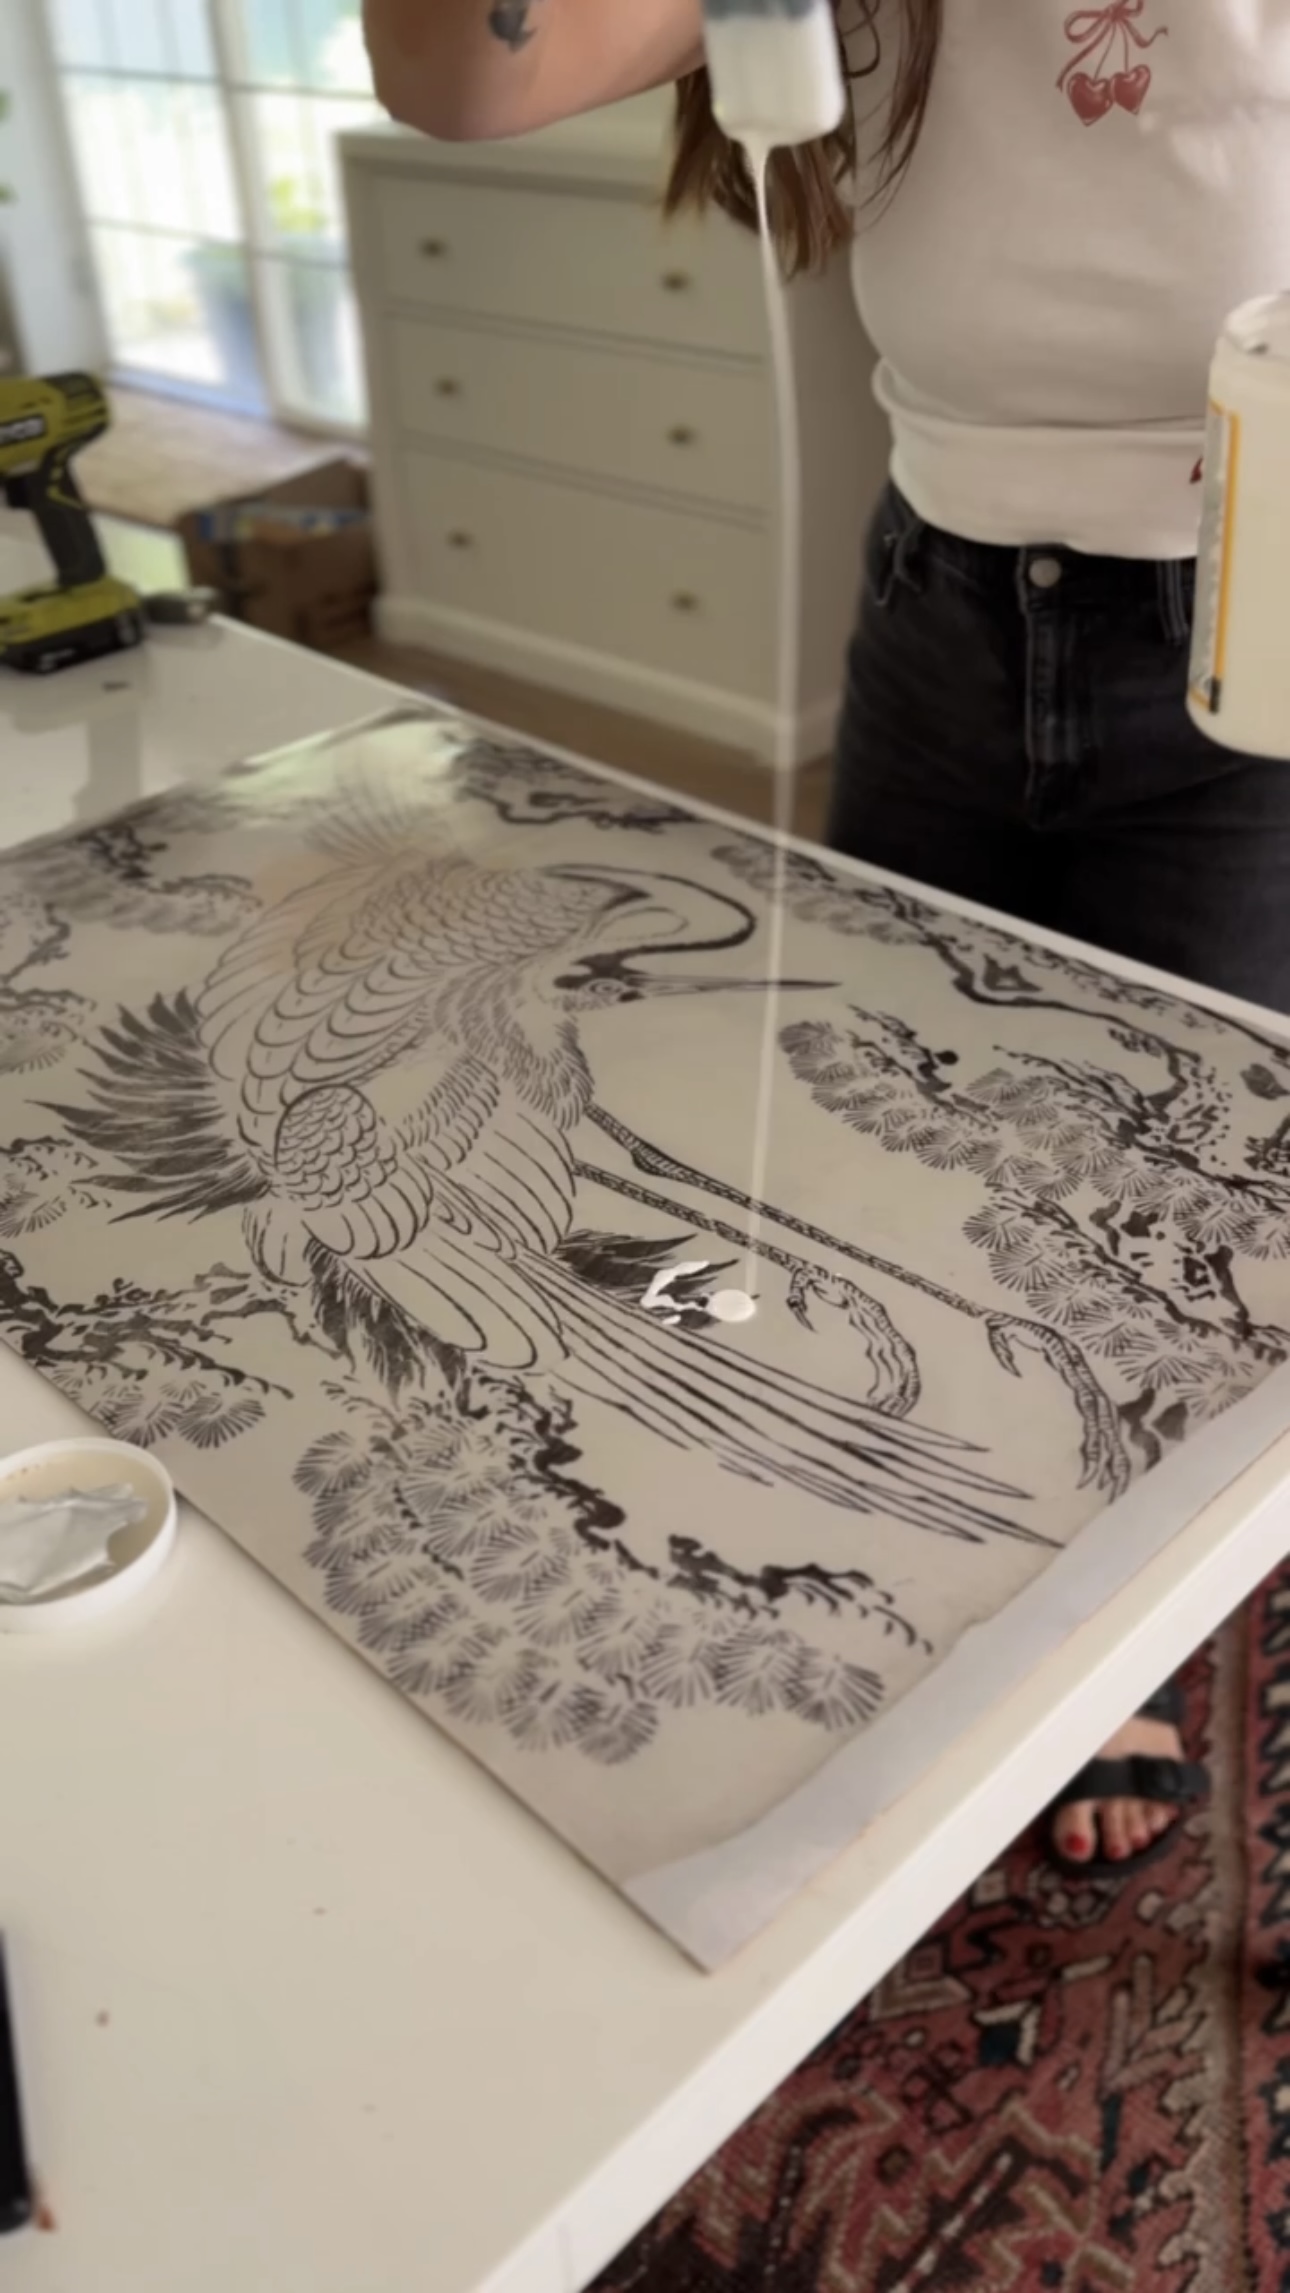
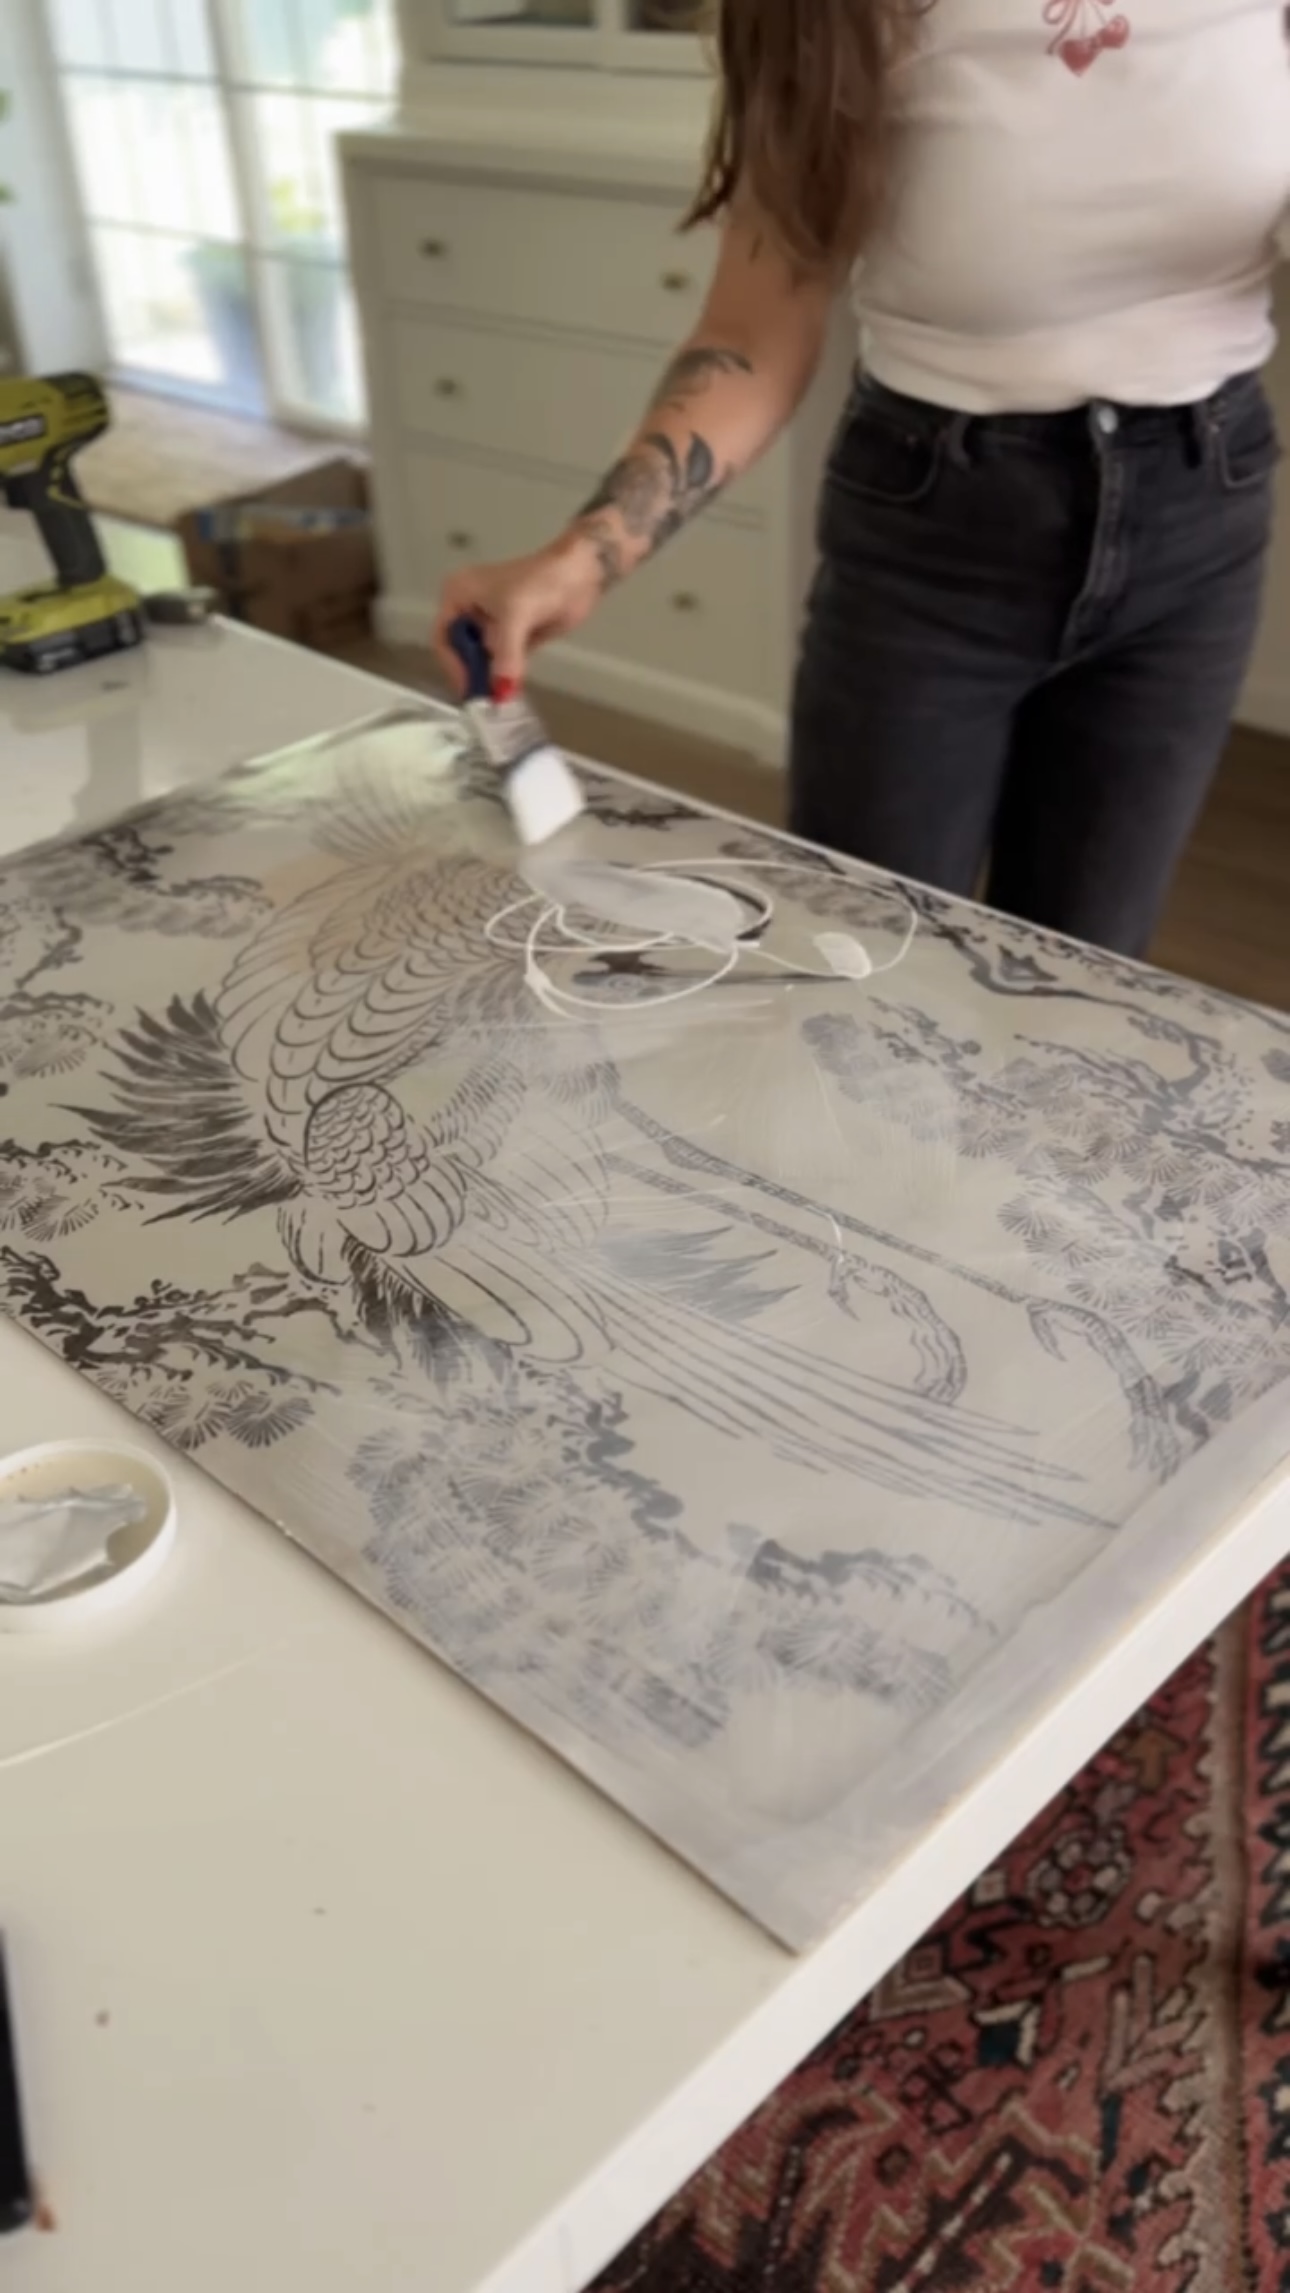
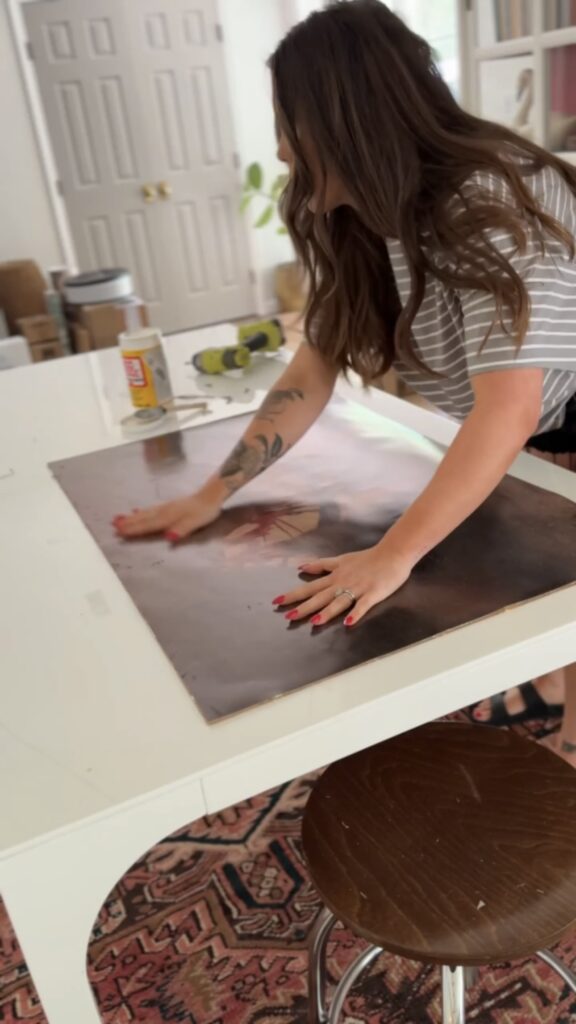
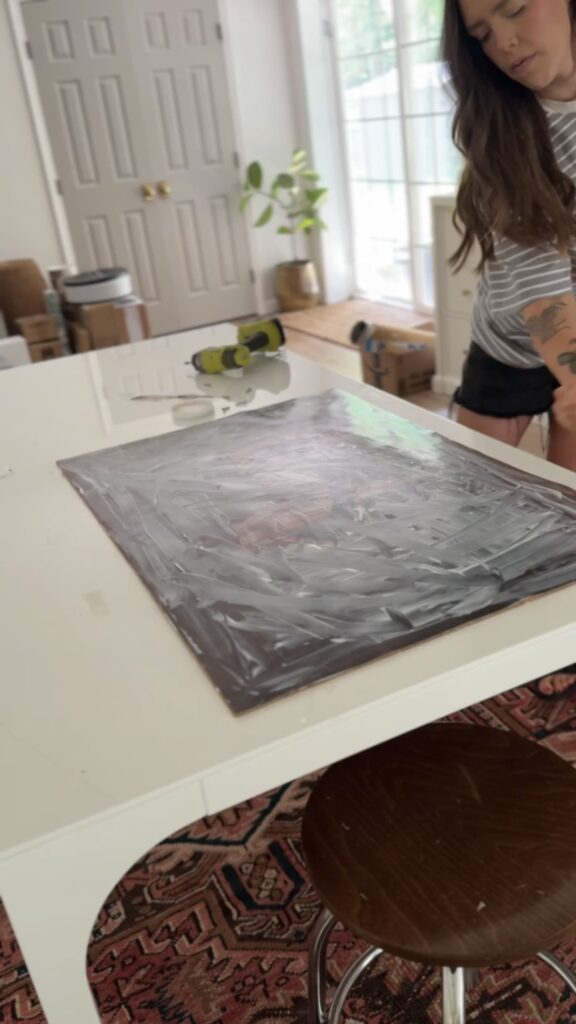
This print is actually made to look antique. But, the shiny glare makes it less convincing. So, I put a sloppy layer of mod podge on it to give it an old oil painting effect. Mod podge goes on white but dries clear – so don’t worry!
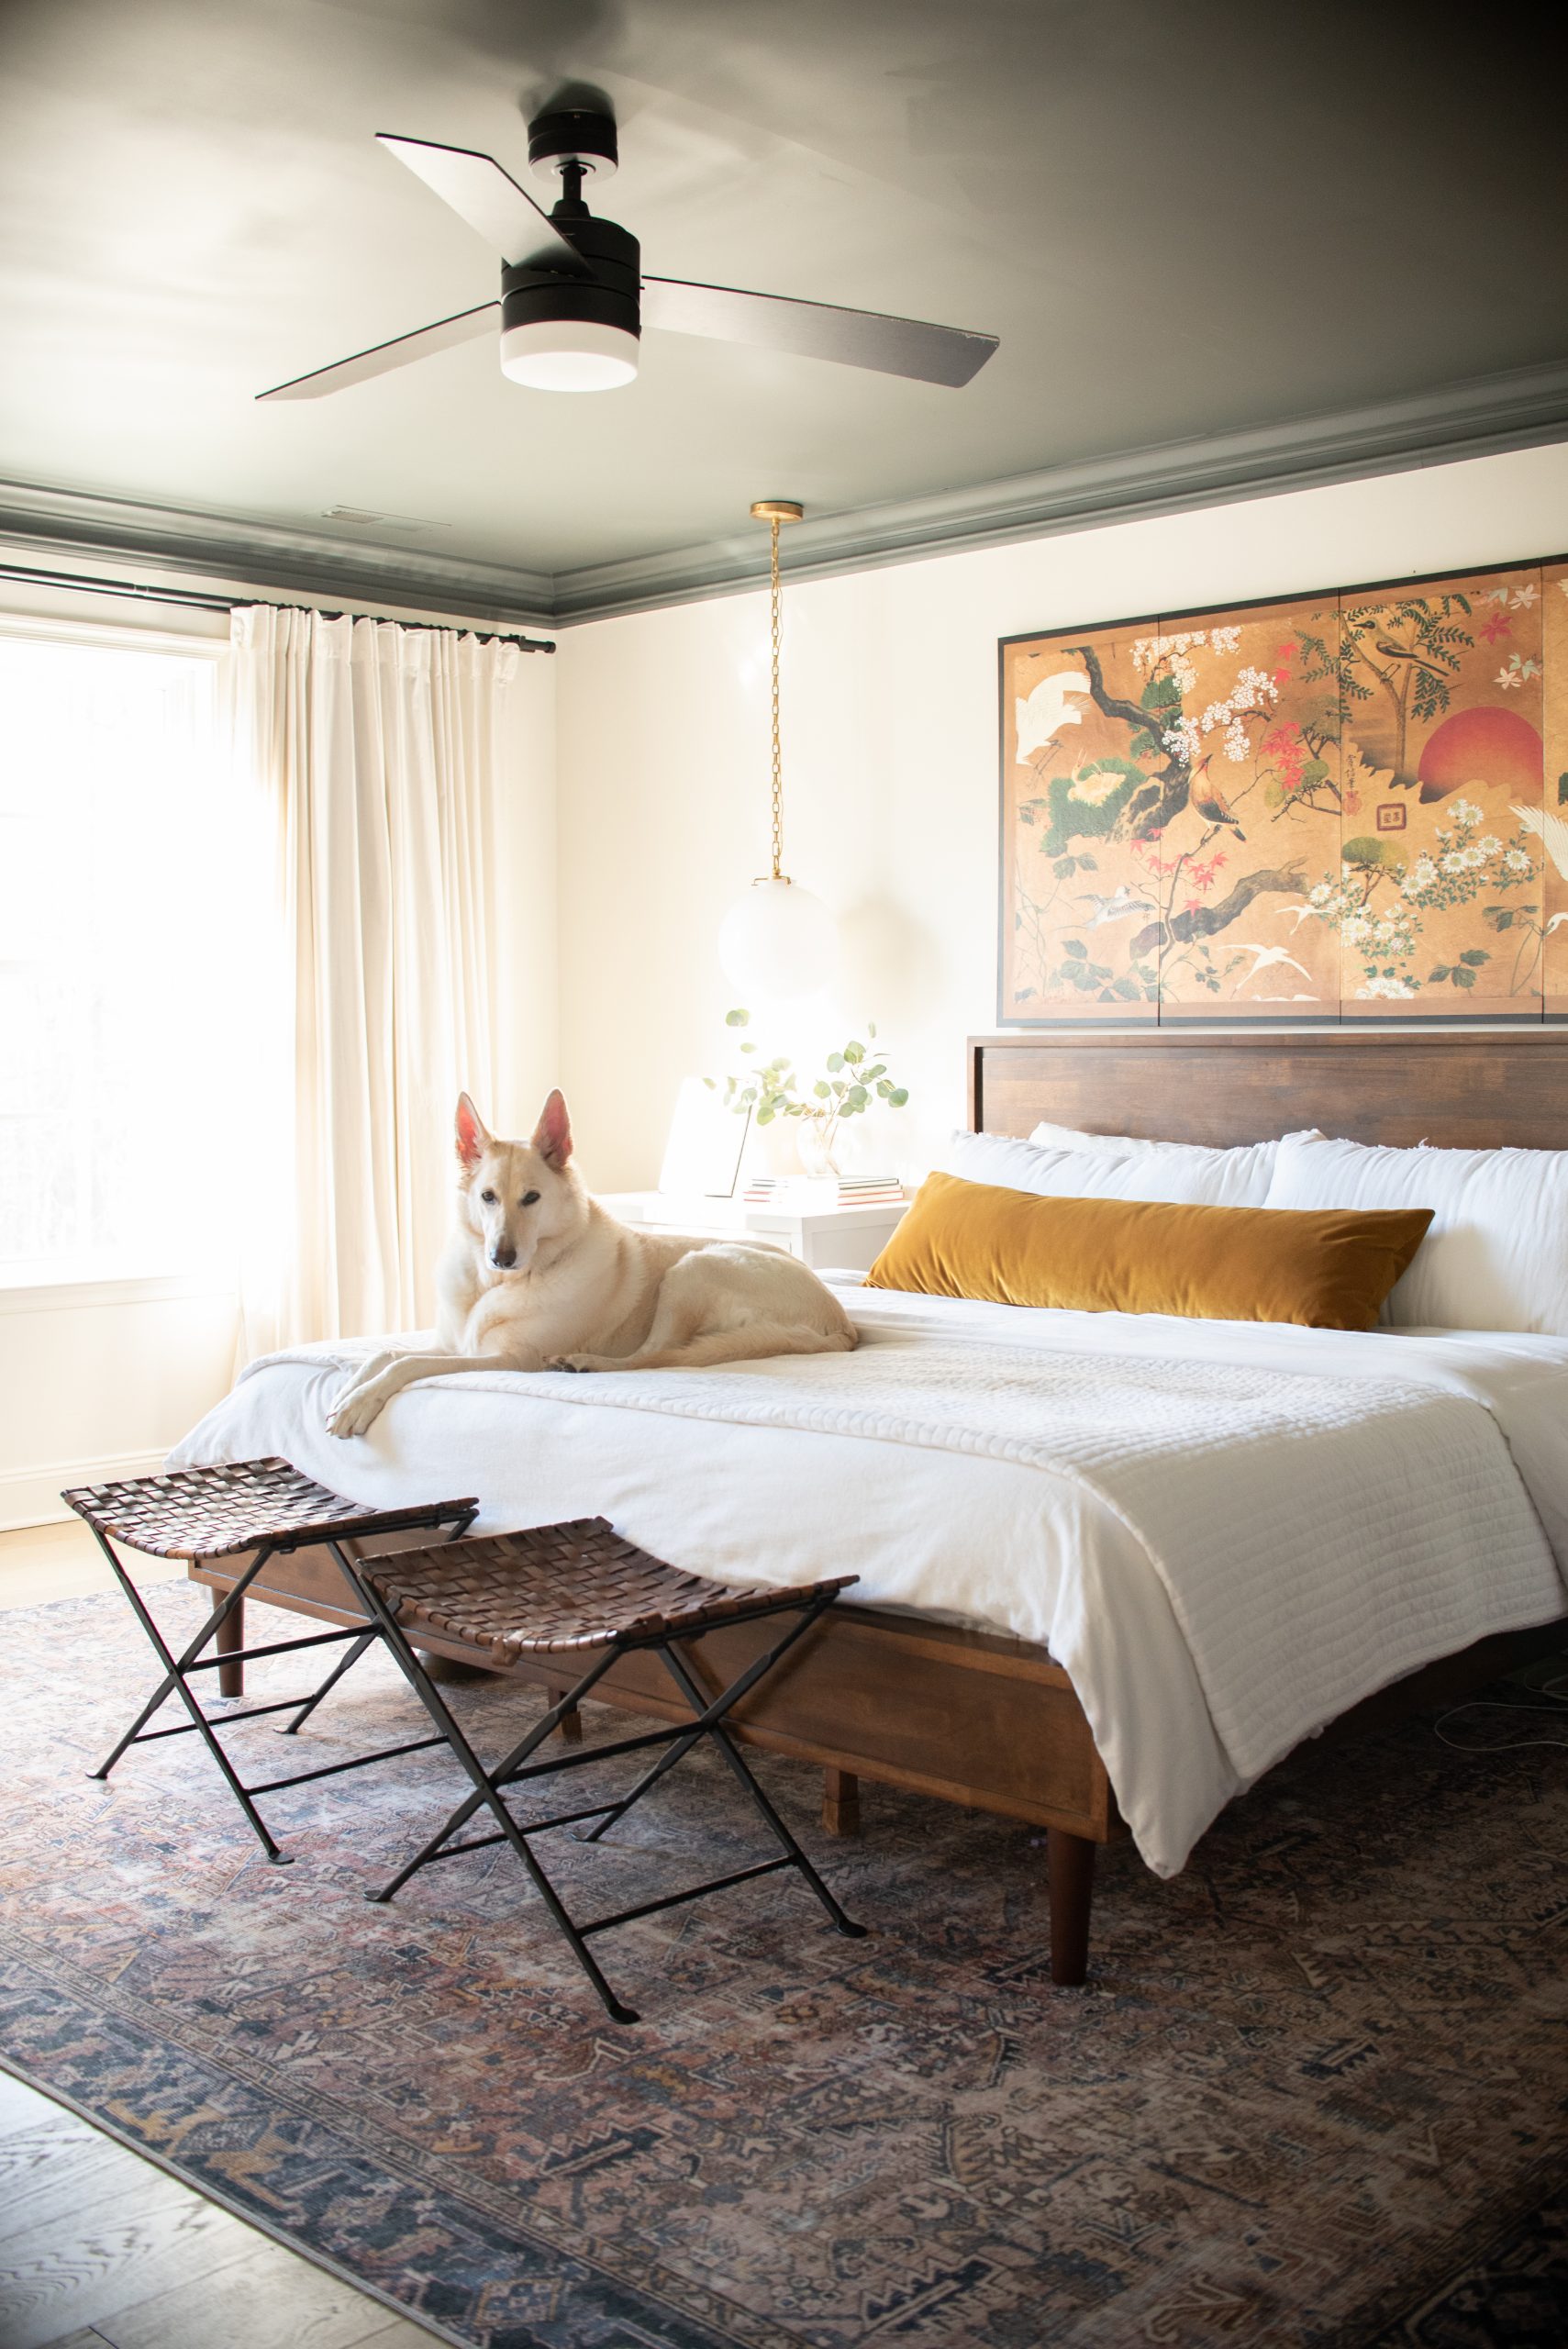
I’ve actually done this a few times before. I did it in David and I’s room to make this vintage Japanese folding screen look.
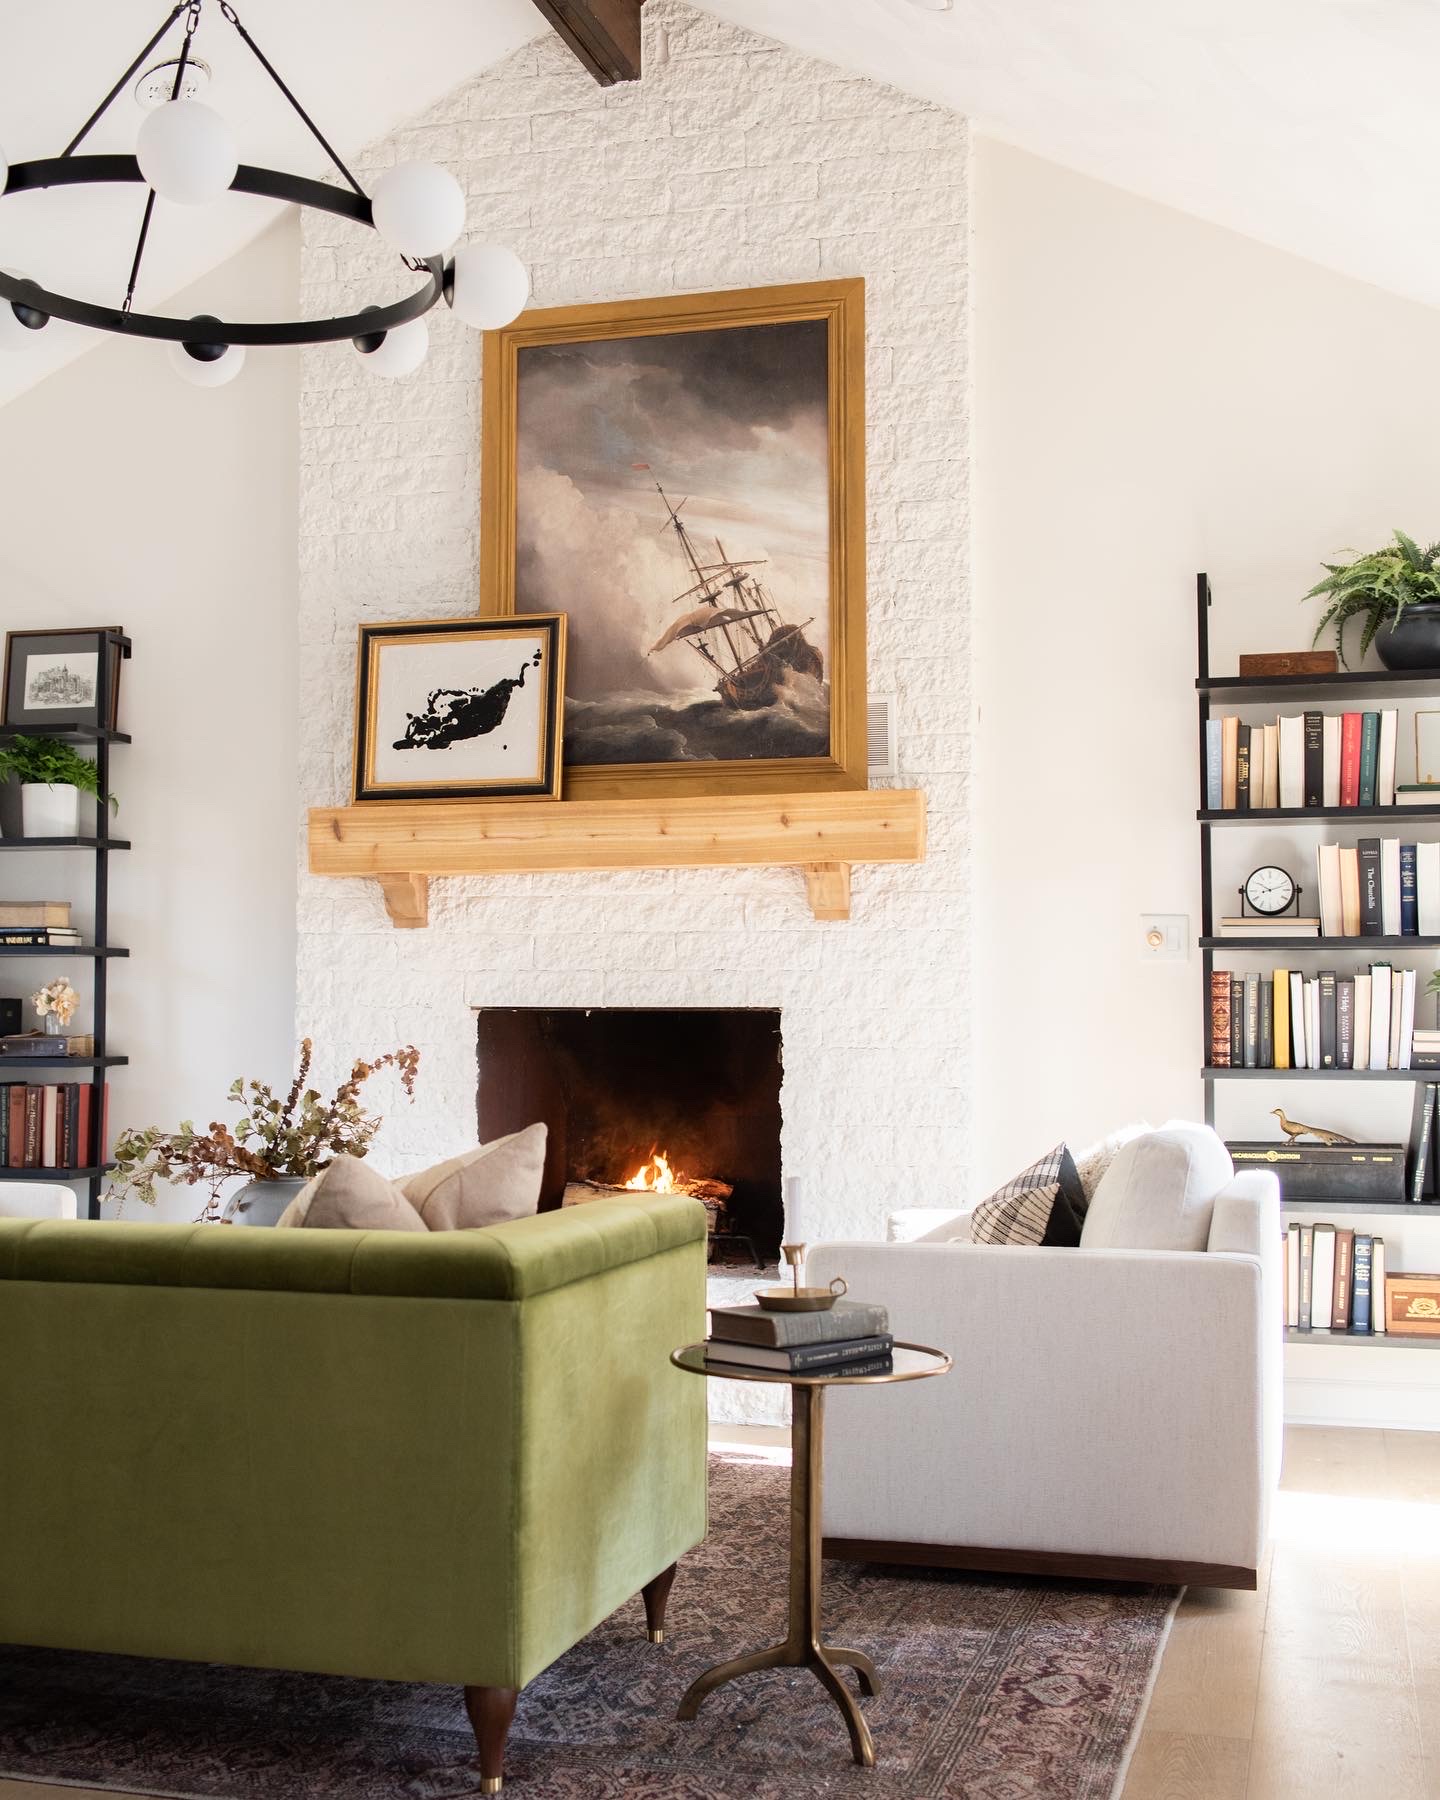
I also did this in my best friend Tiffany’s study with a huge ship print!
Look how cute this looks up against the wallpaper! This definitely feels more me.
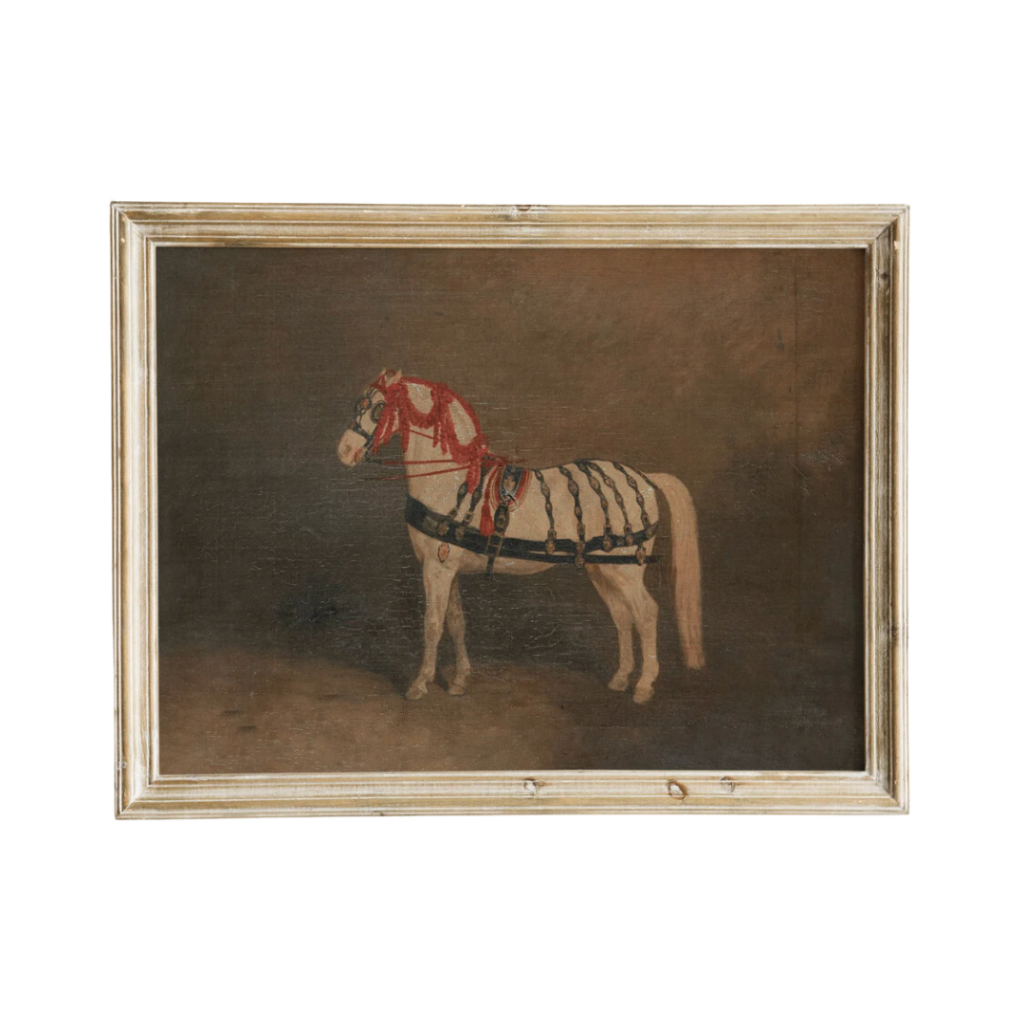
Aaaaand then after sitting with it for a day, it still didn’t feel totally right. I picked another print and I think this is the one because it doesn’t really compete with the wallpaper. AND it has red in it which I think is just perfect.
I’ve been using the app called “Same Day Prints” and it’s great. You choose your pickup location (mine is Walgreens) and it prints within a few hours. I got the 24×36 inch size.
I peeled the crane print off and rolled it up to save it for later.
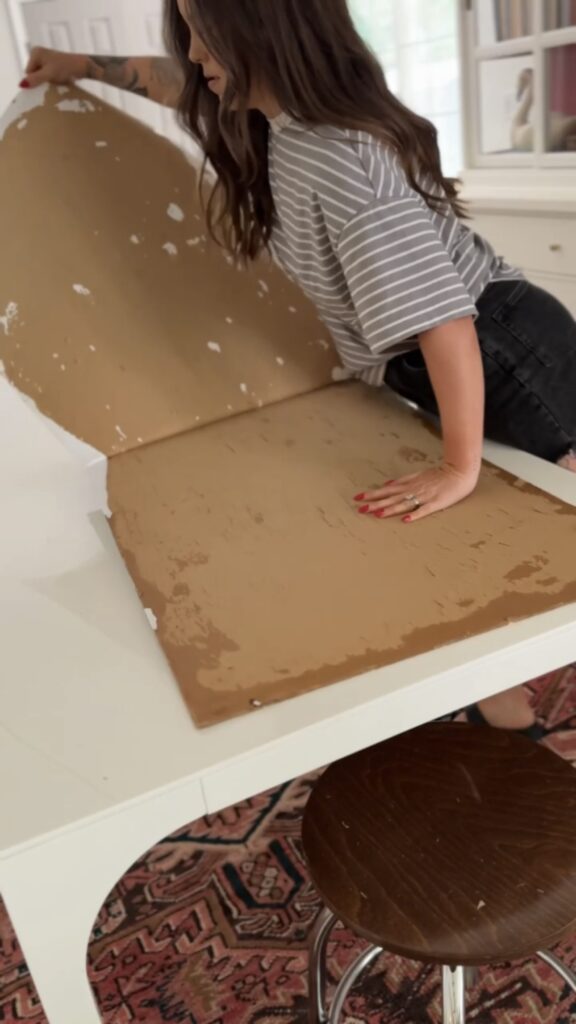
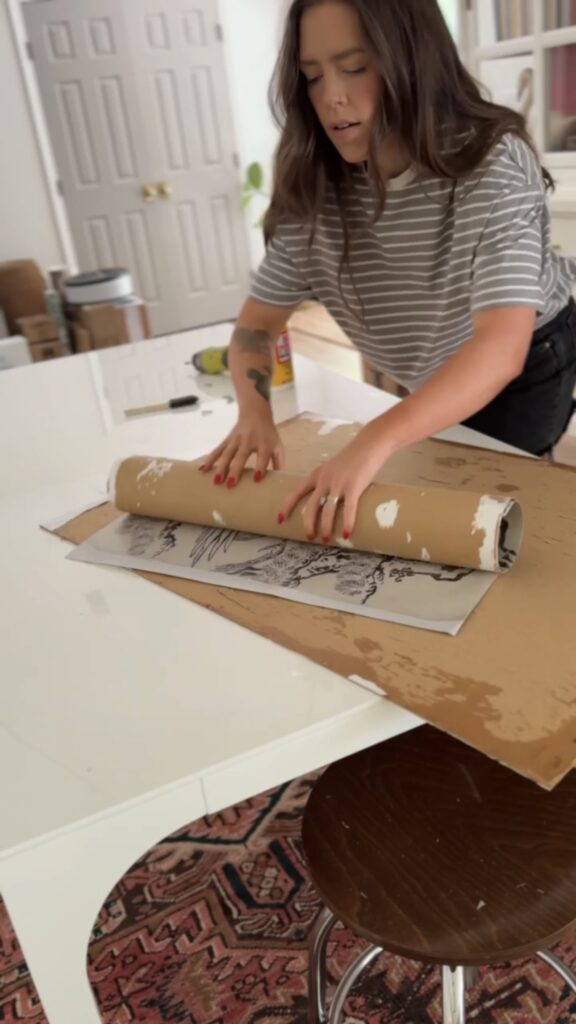
Then I repeated the whole mod podge process with my new horse print!
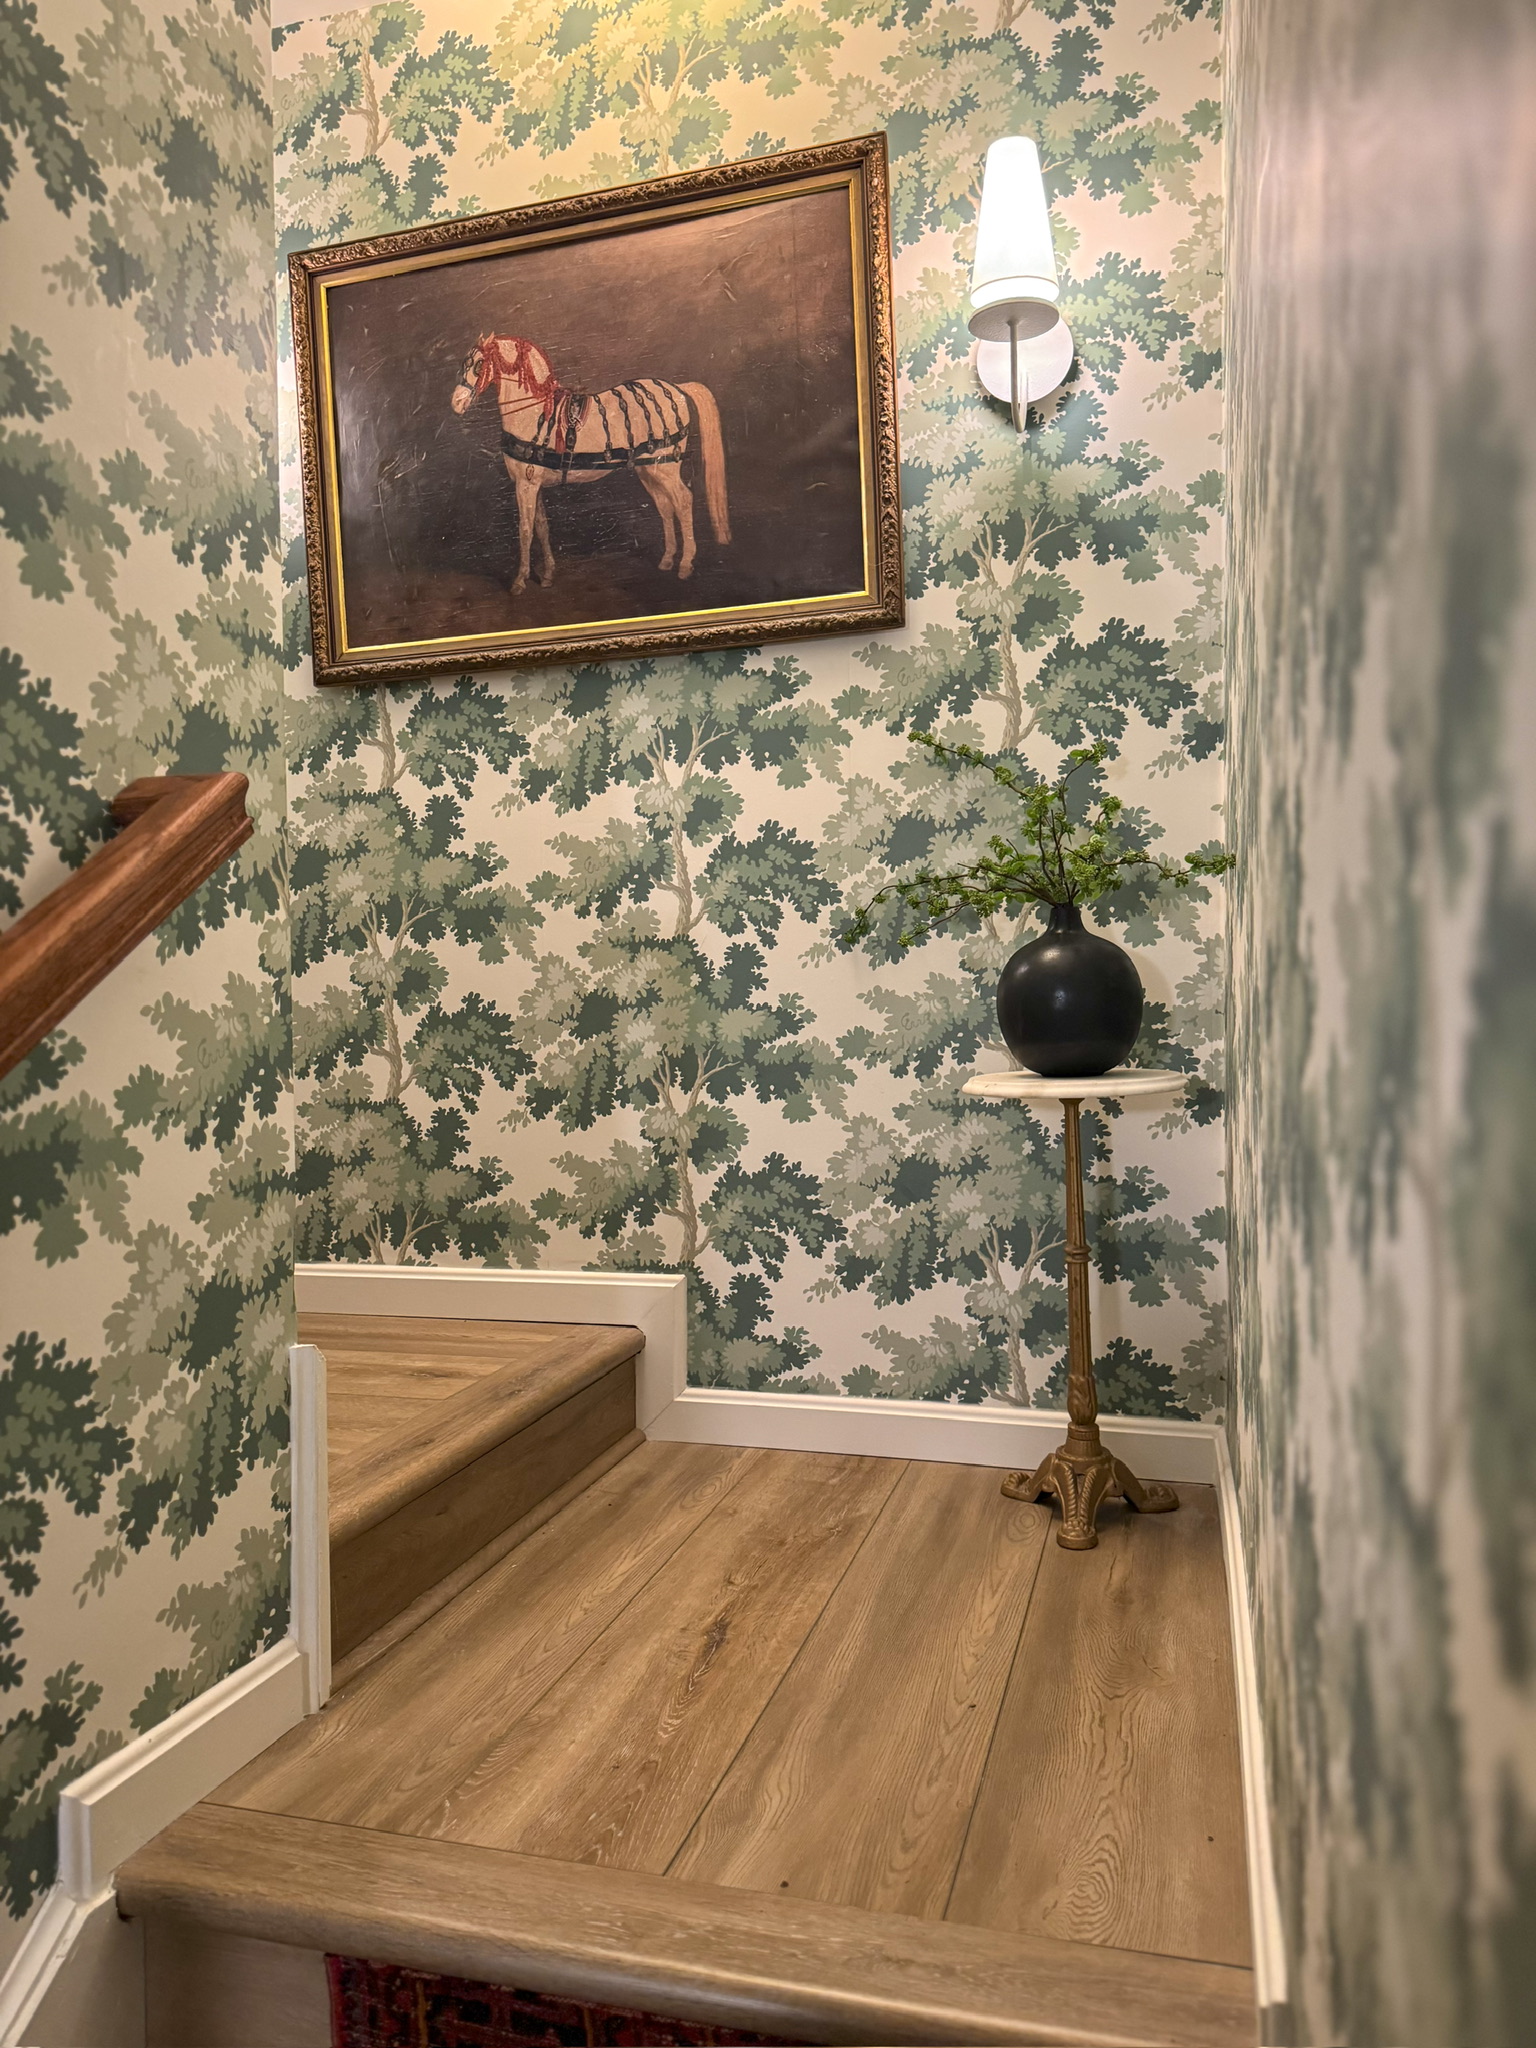
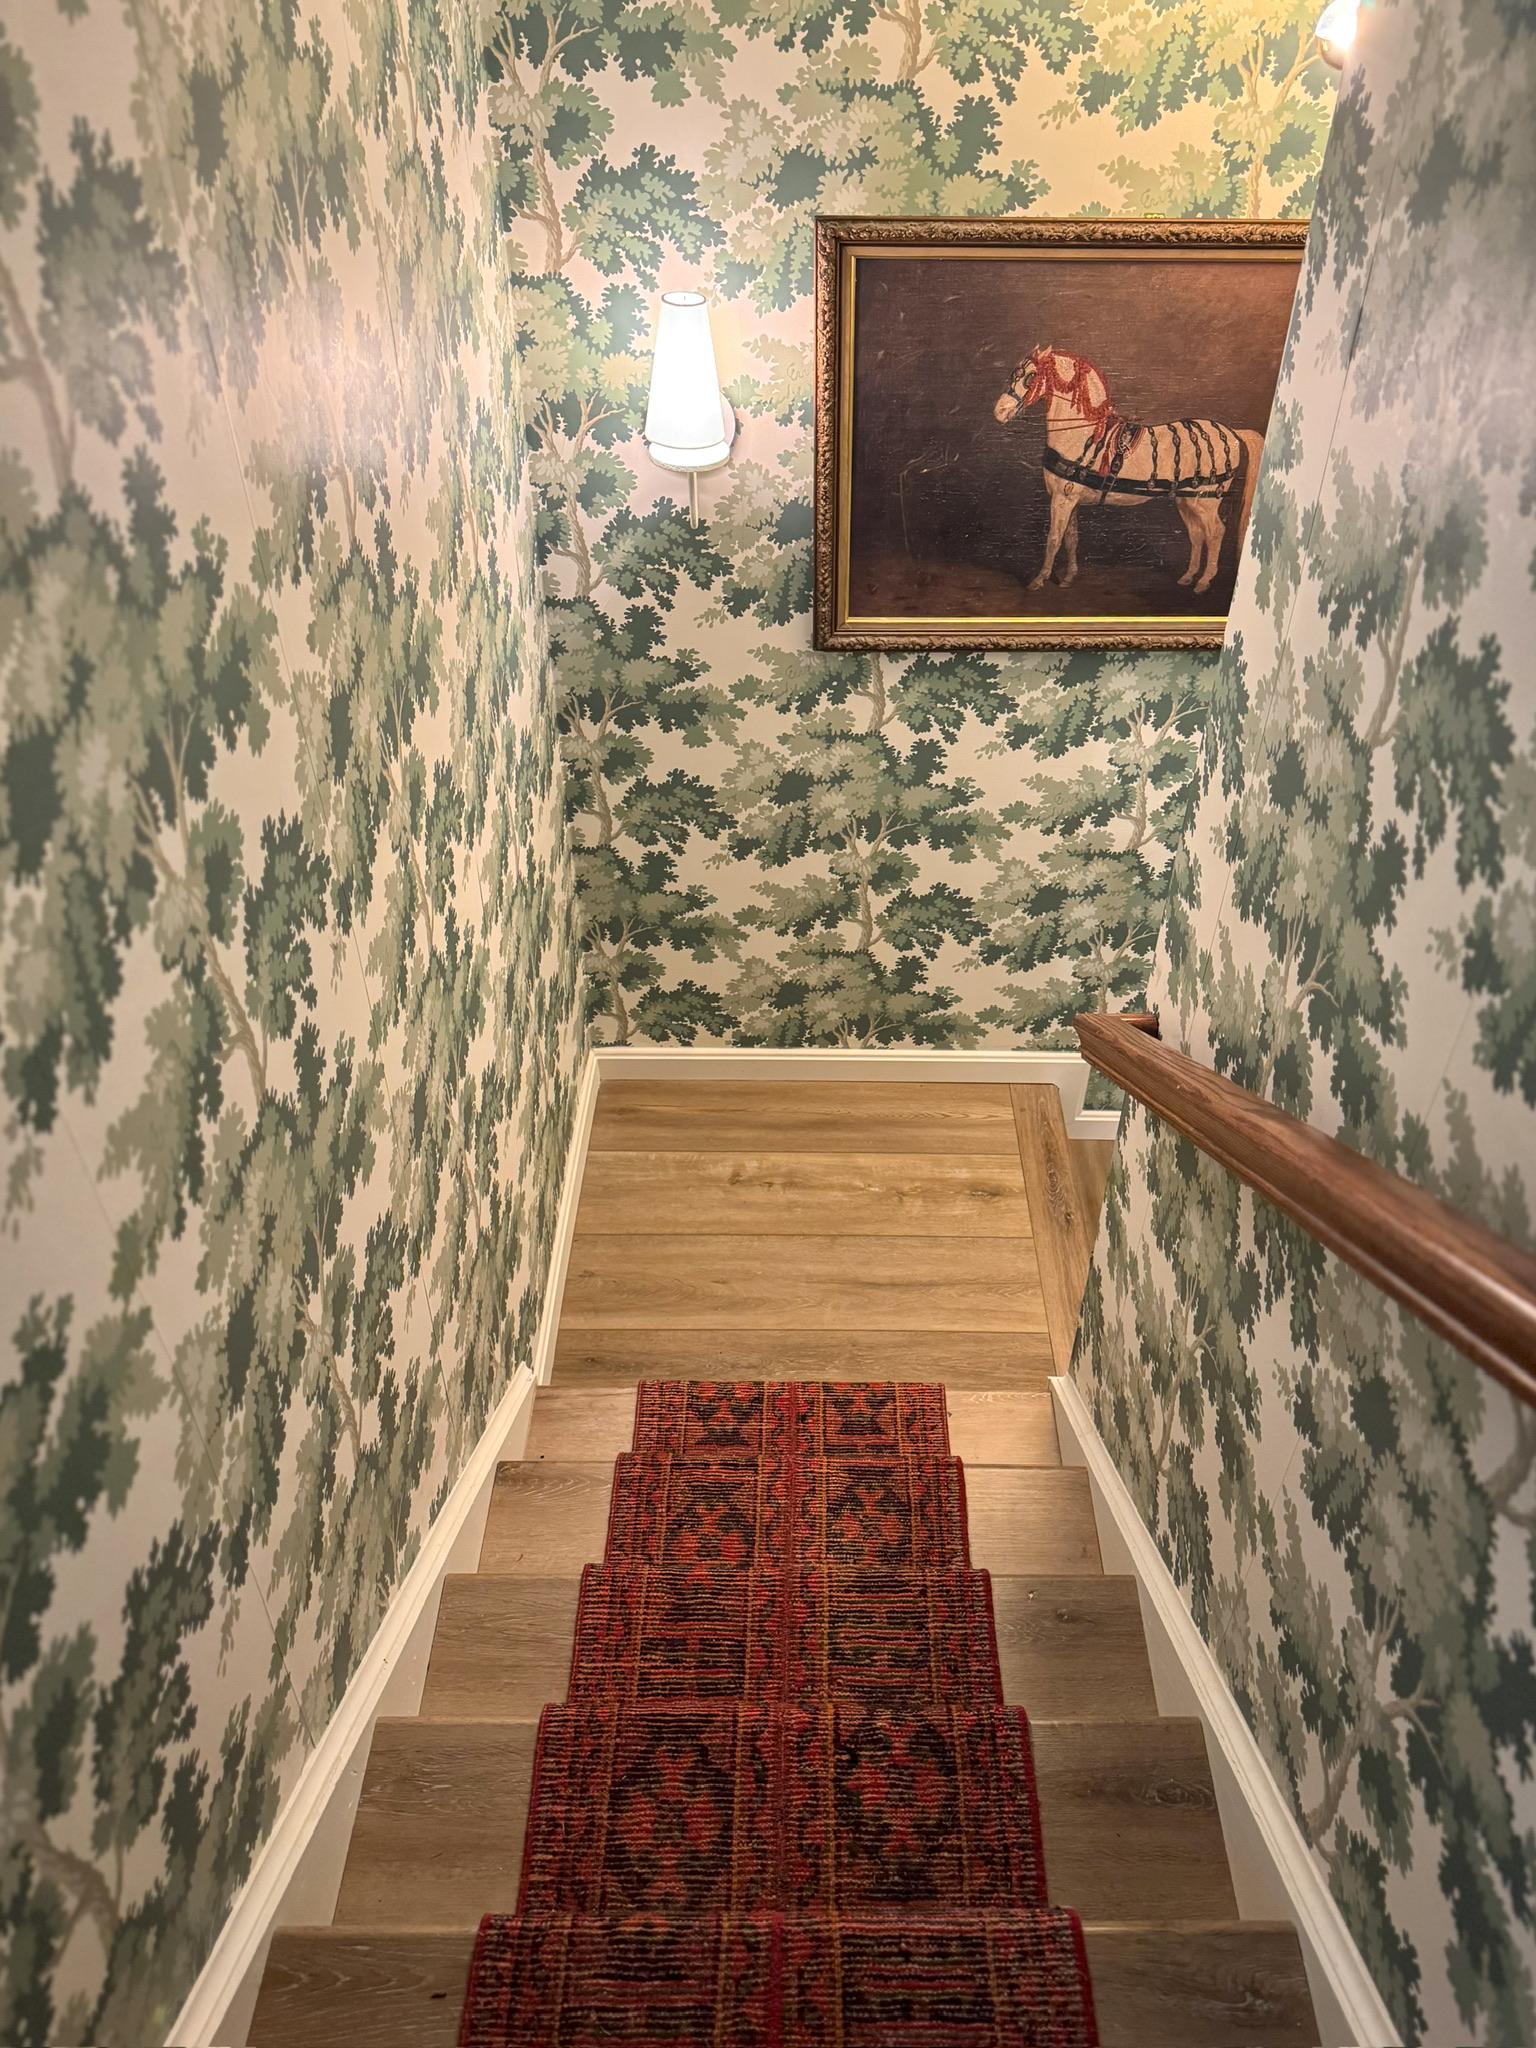
Okay, yep. This is the one. I love how it compliments the stair runner! I am so happy with this!
Building a Vintage Frame
If you can’t find a vintage frame you like, you can just build one! This is what I did for the art in Tiffany’s study. For this you’d need:


1 – First, make sure the hardboard is cut down to the size of your art with a little extra around the edges for your frame.
2 – Apply print to hardboard using this mod podge process.
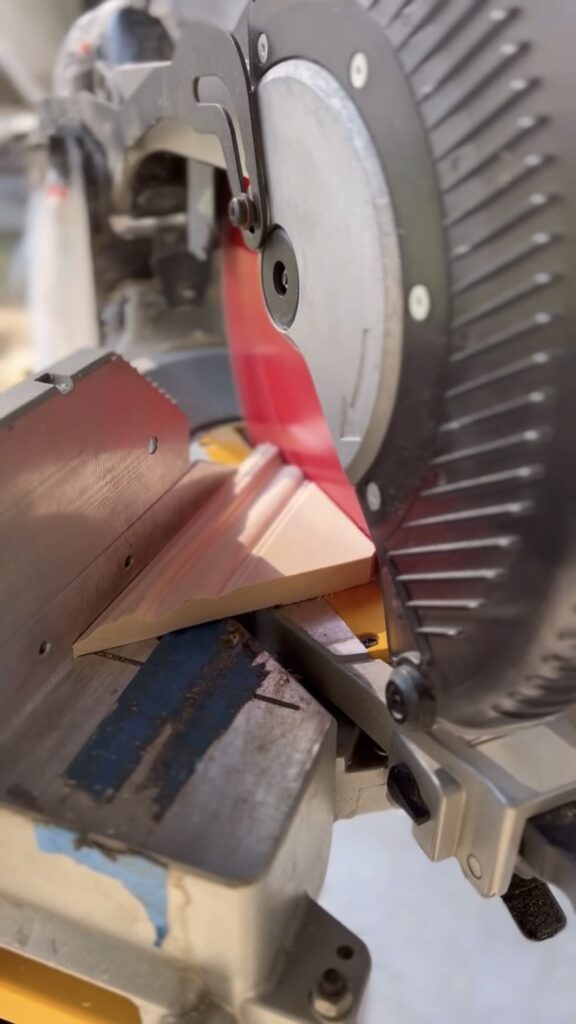
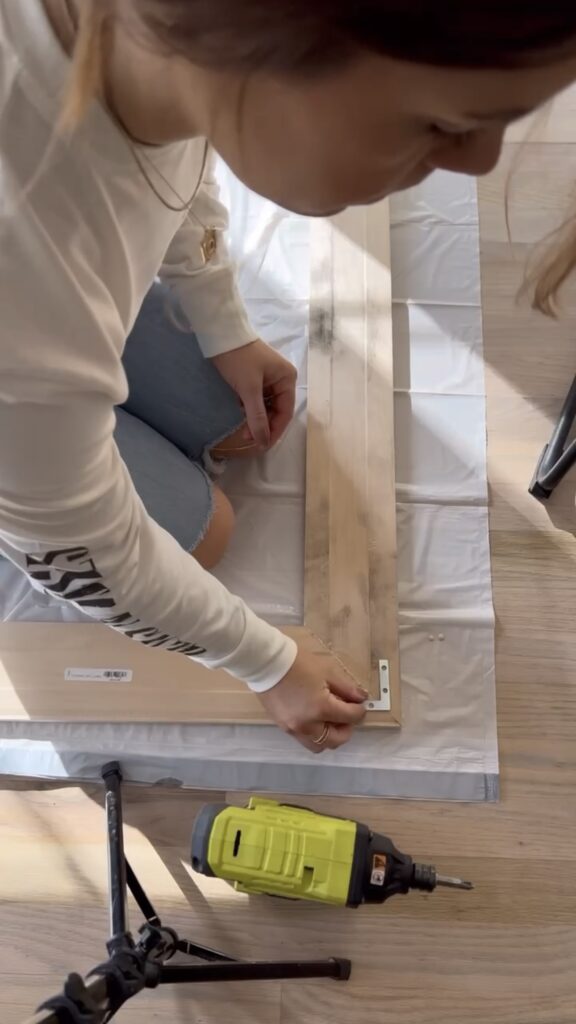
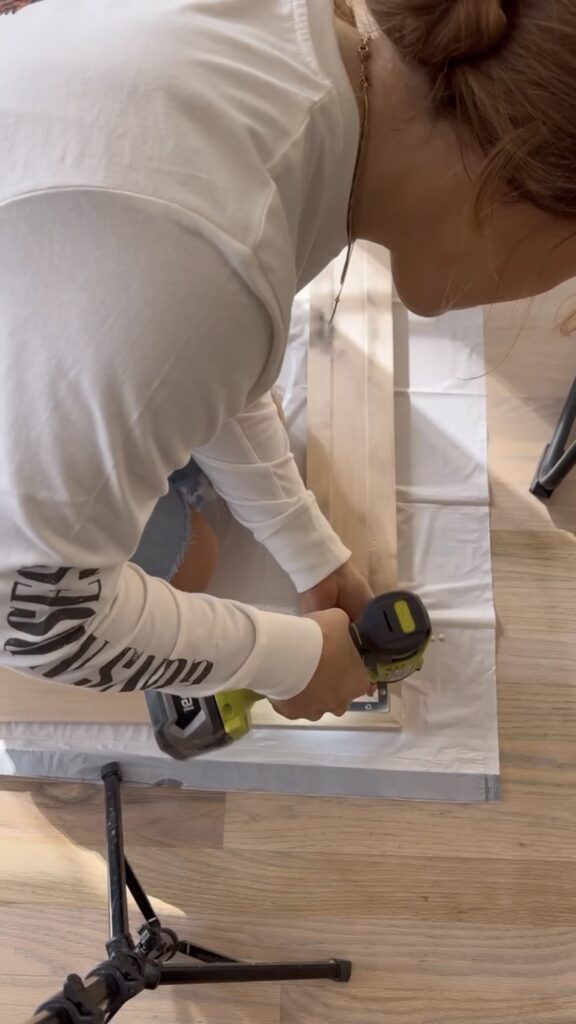
3 – Cut trim down on miter saw and assemble with wood glue, nails, and corner braces.
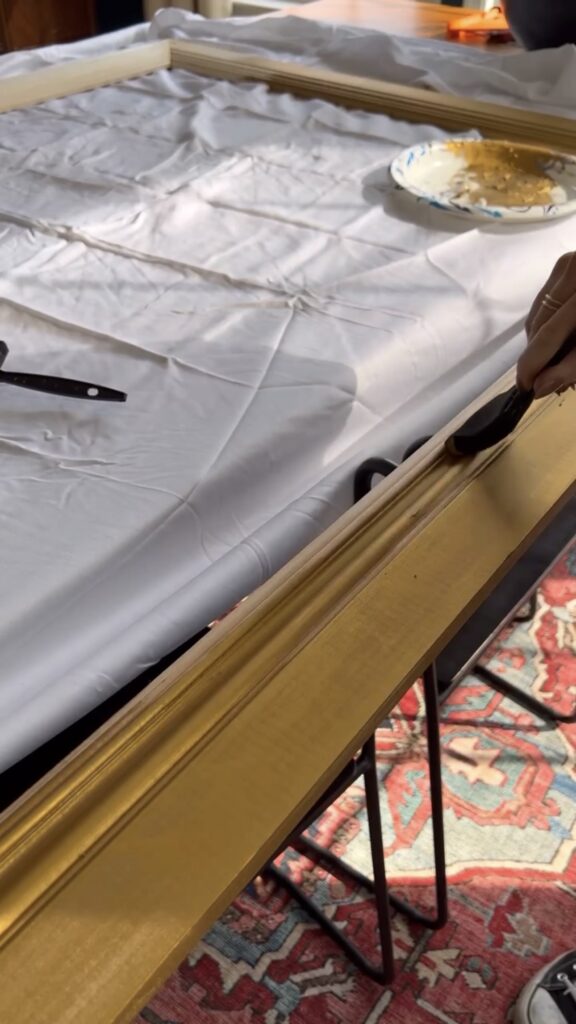
4 – Apply Rub n’ Buff to the entire frame.
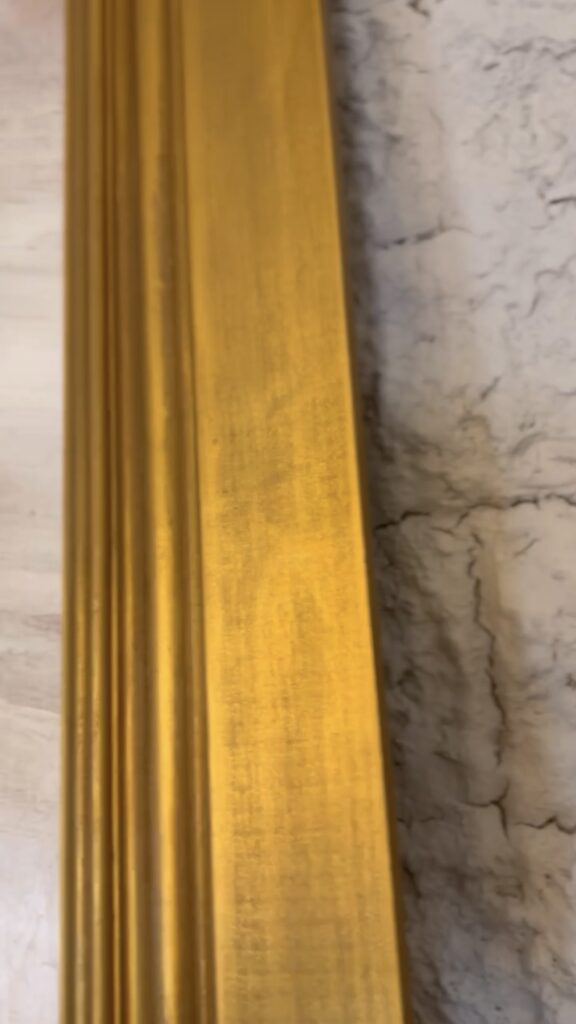
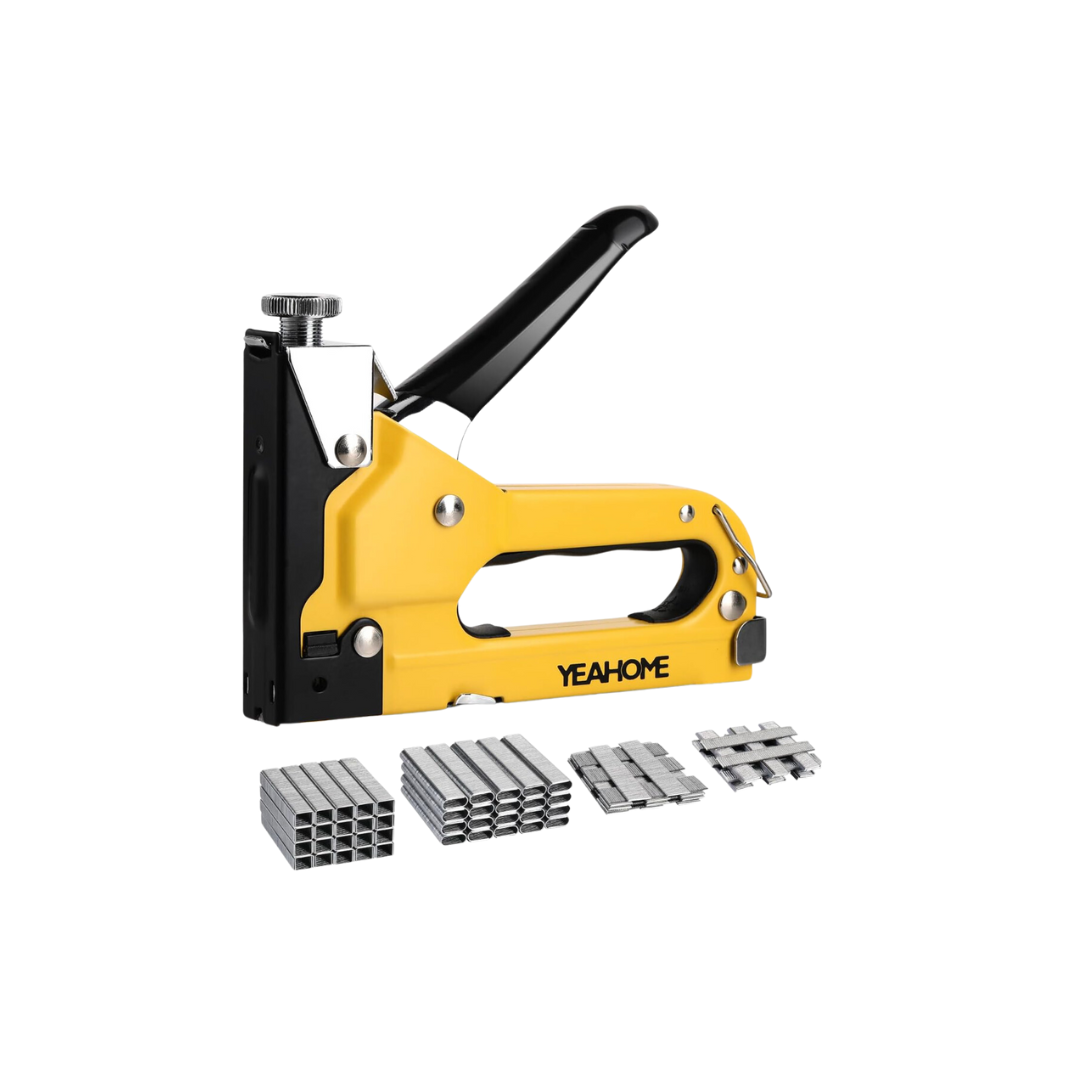
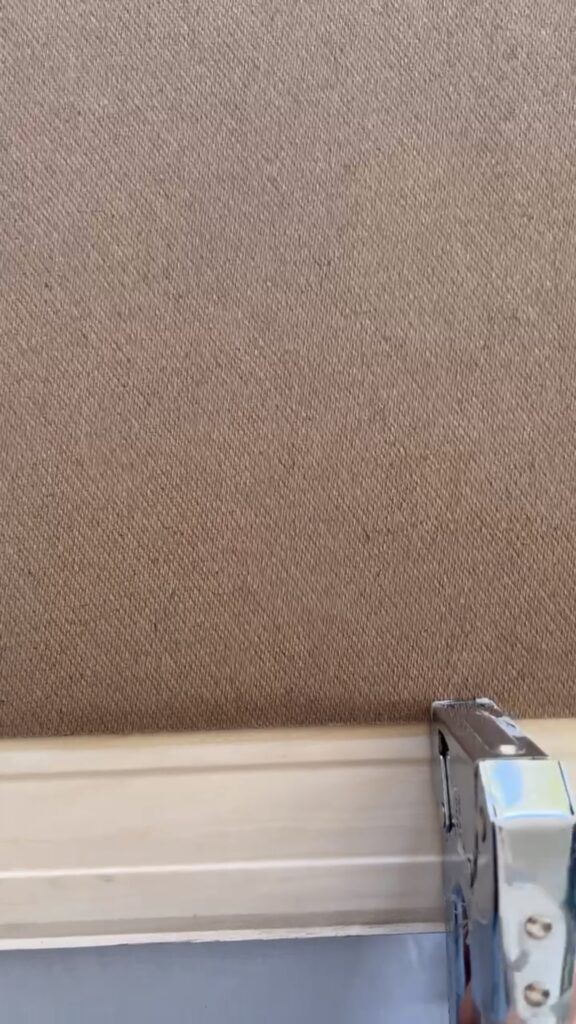
5 – Use staple gun to attach the art on the hardboard to the back of the frame.
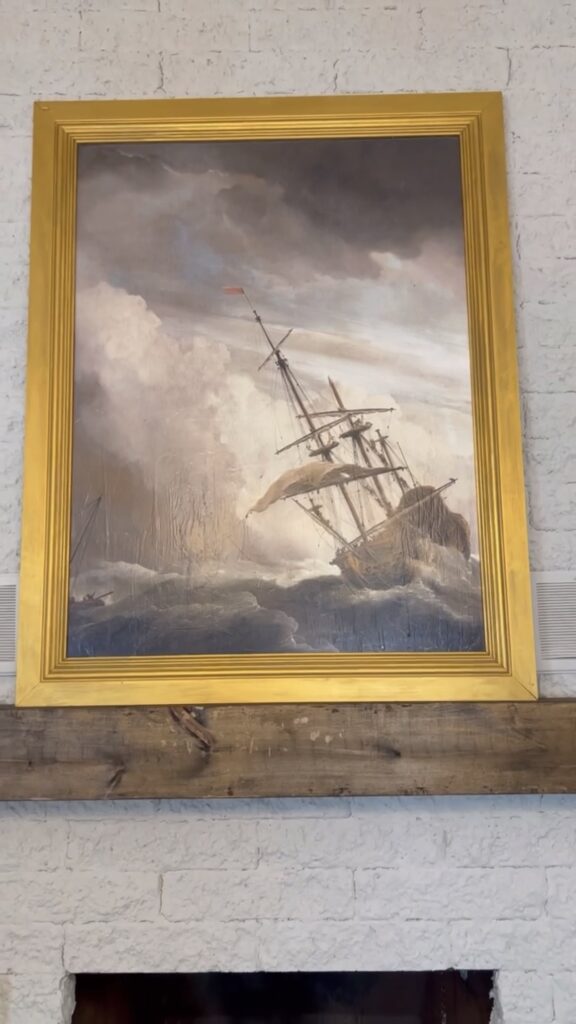
This is such an easy DIY and adds so much character to any space and piece of artwork!
– Cass
