From Tile to Stone: My Kitchen Backsplash Makeover

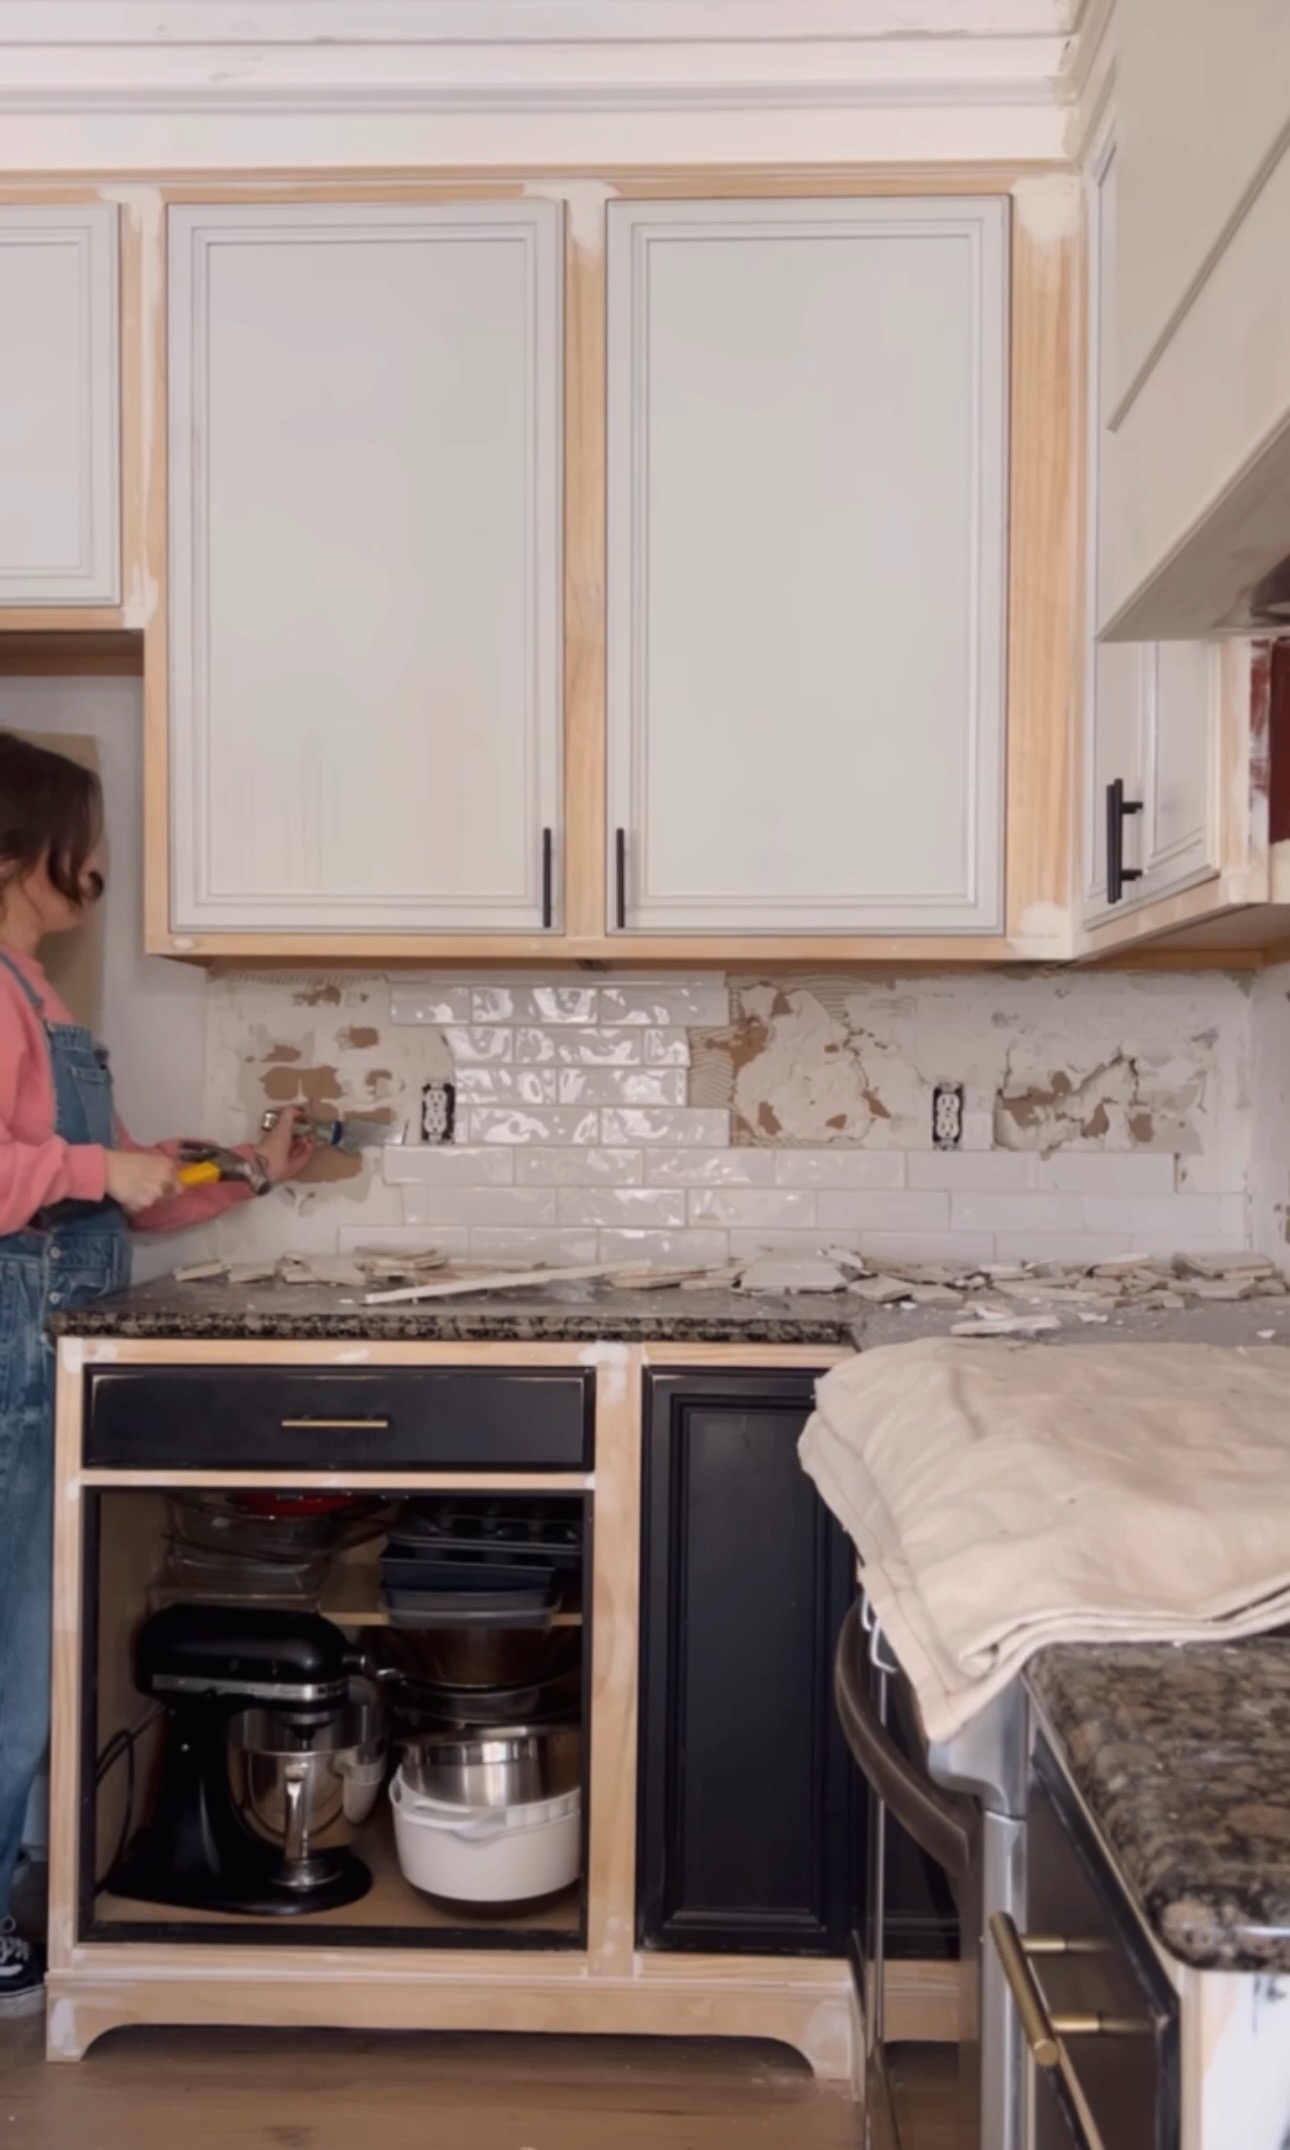
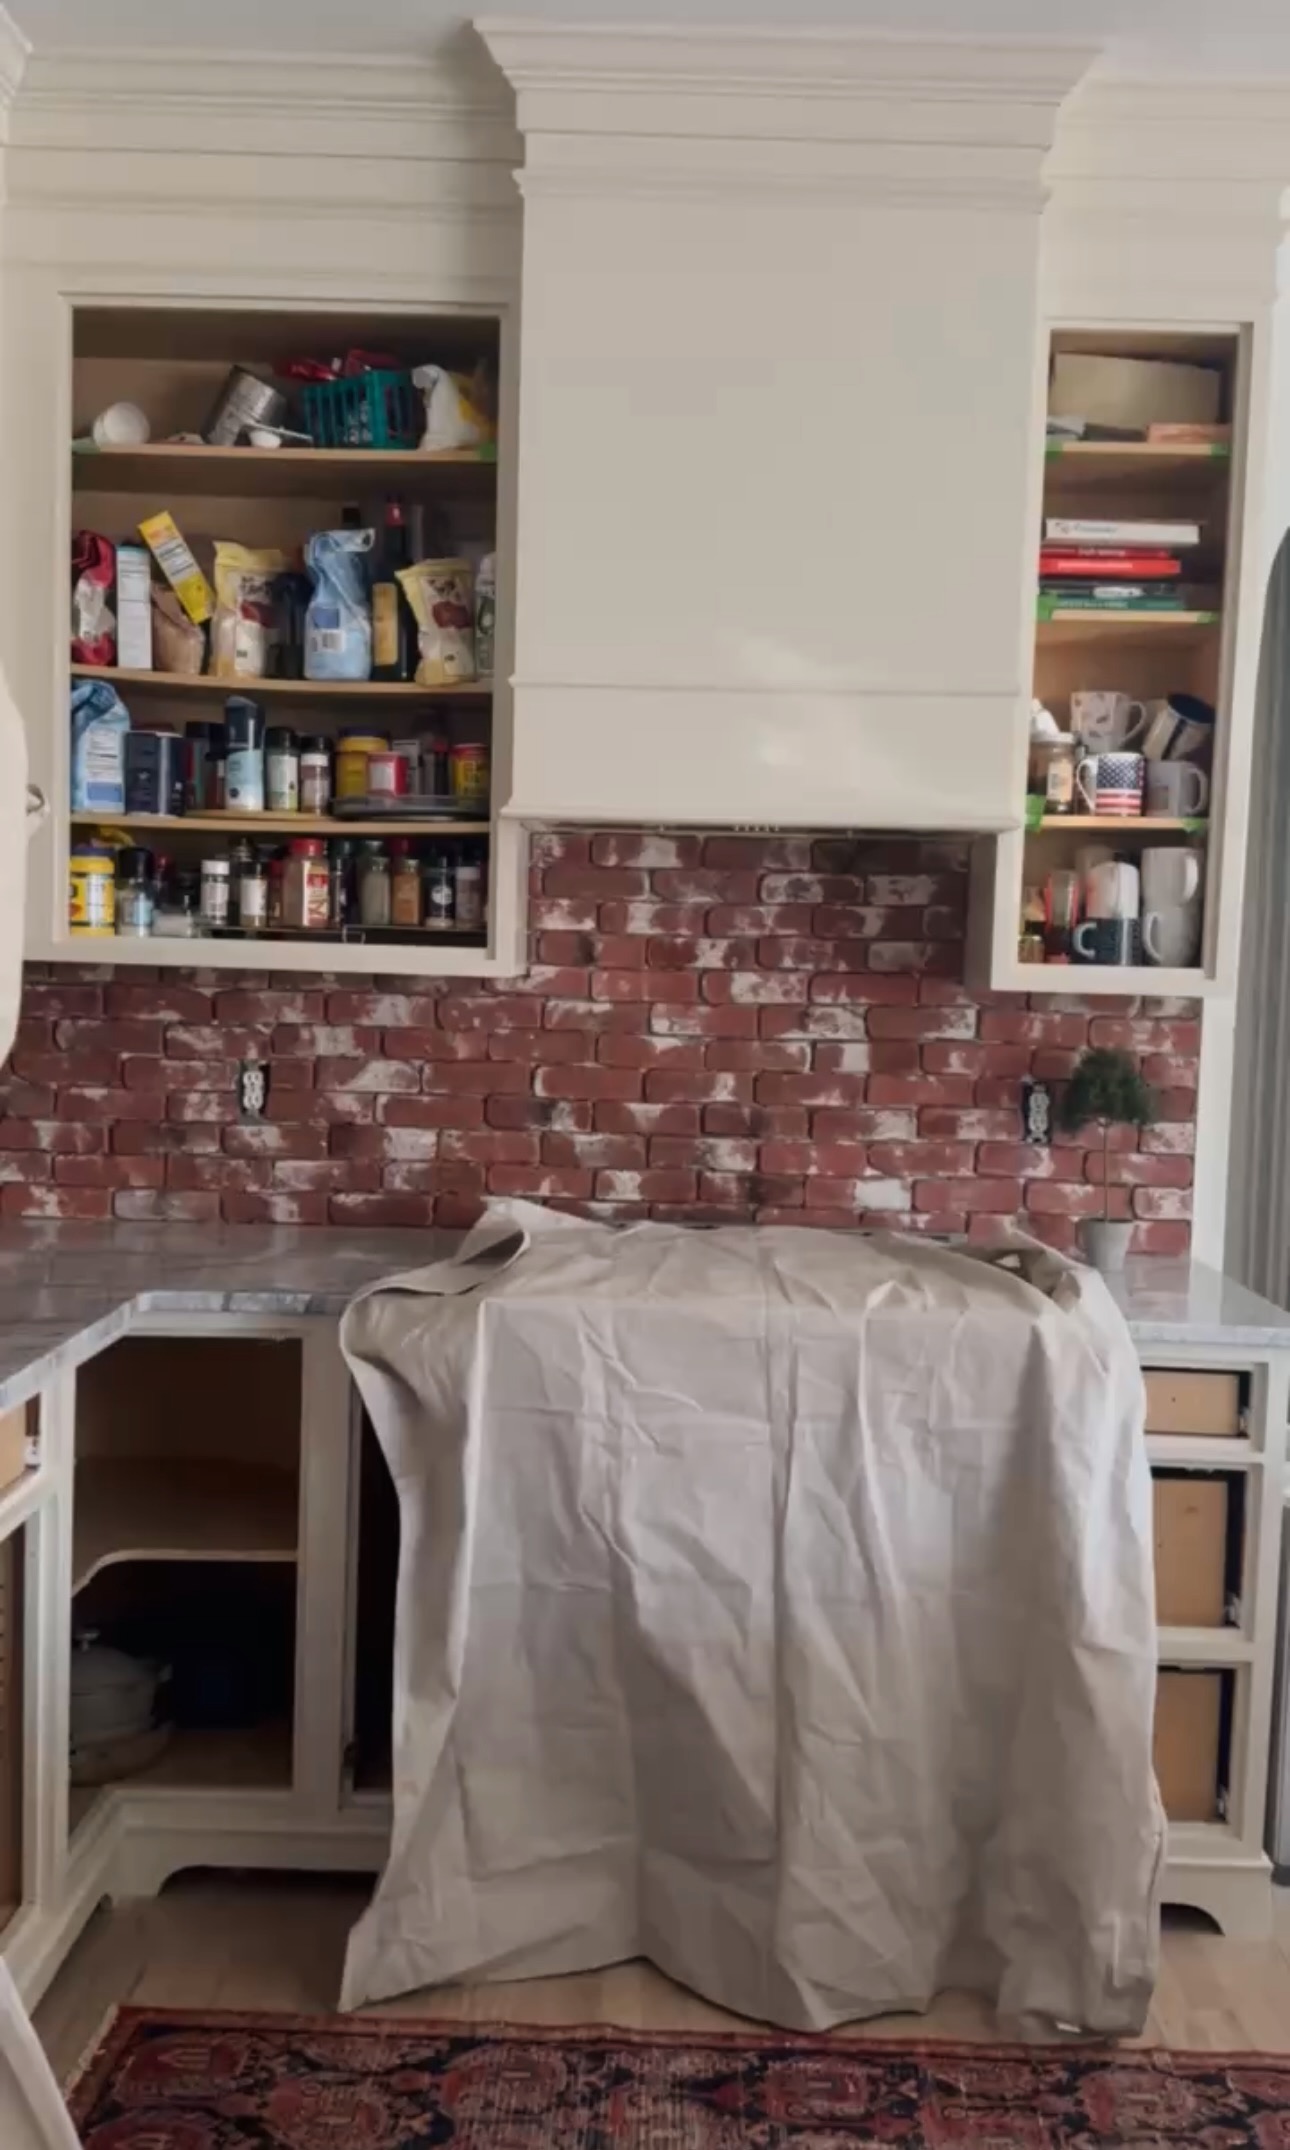
Working on the kitchen backsplash this week! I’m so excited for this part. I actually do love the tile in here. BUT I had an area that needed to be patched anyway. I LOVEEEE a textural brick/stone look in a kitchen. So, I decided to do that instead of just buying more of the existing tile and installing that. Let’s do it!
*This post may contain affiliate links, which means I may earn a small commission if you purchase through my links, at no extra cost to you. I only share products I genuinely love.
Demo
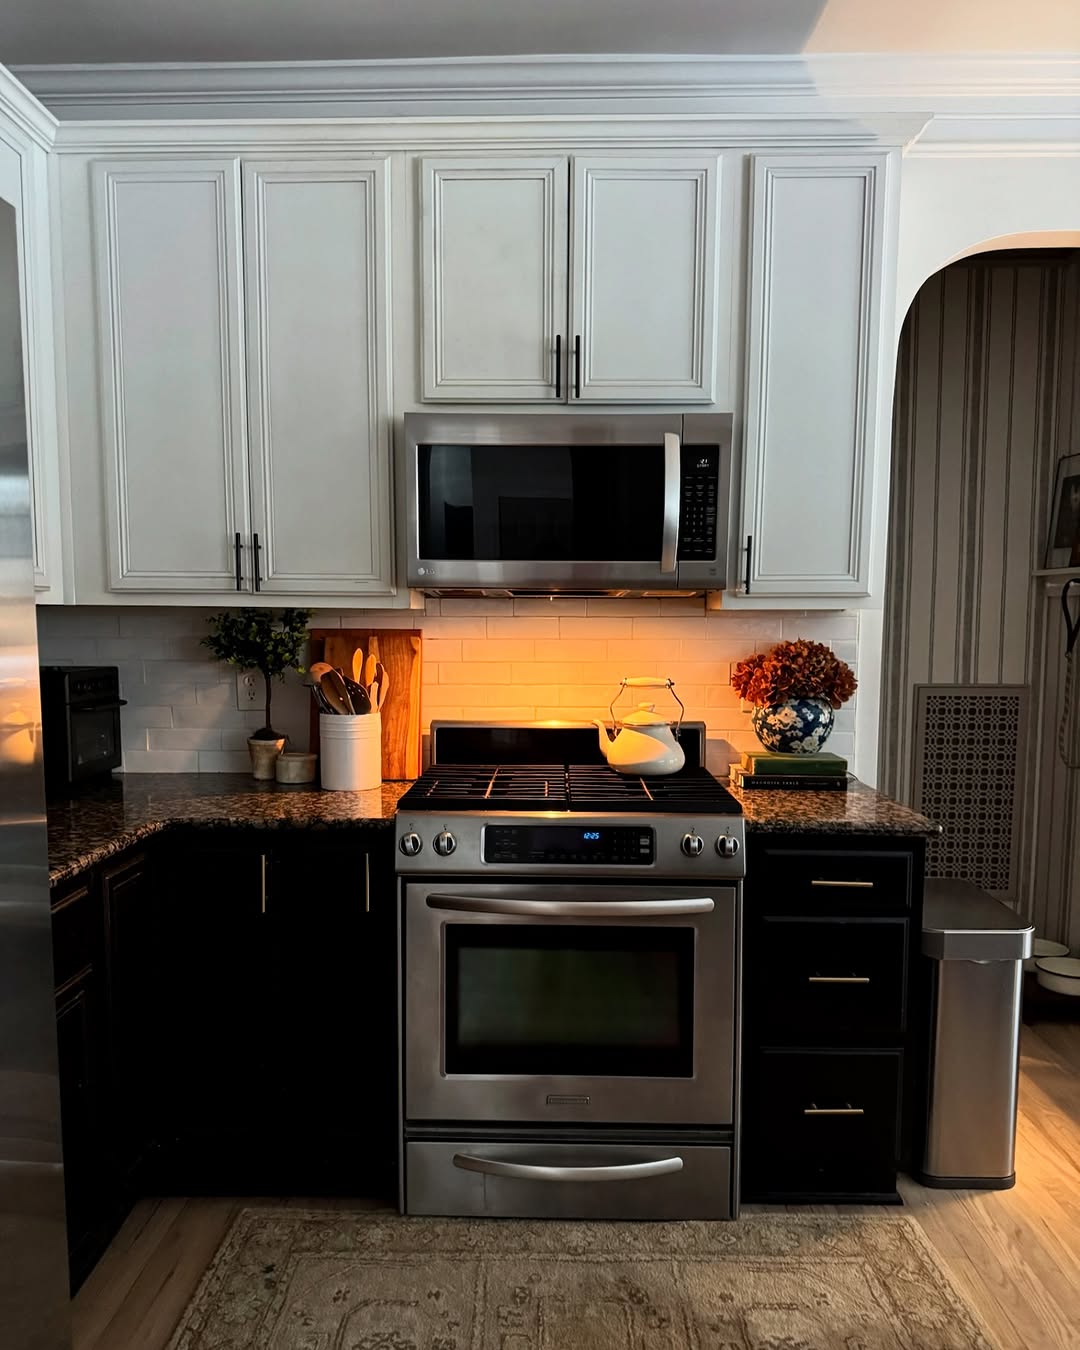
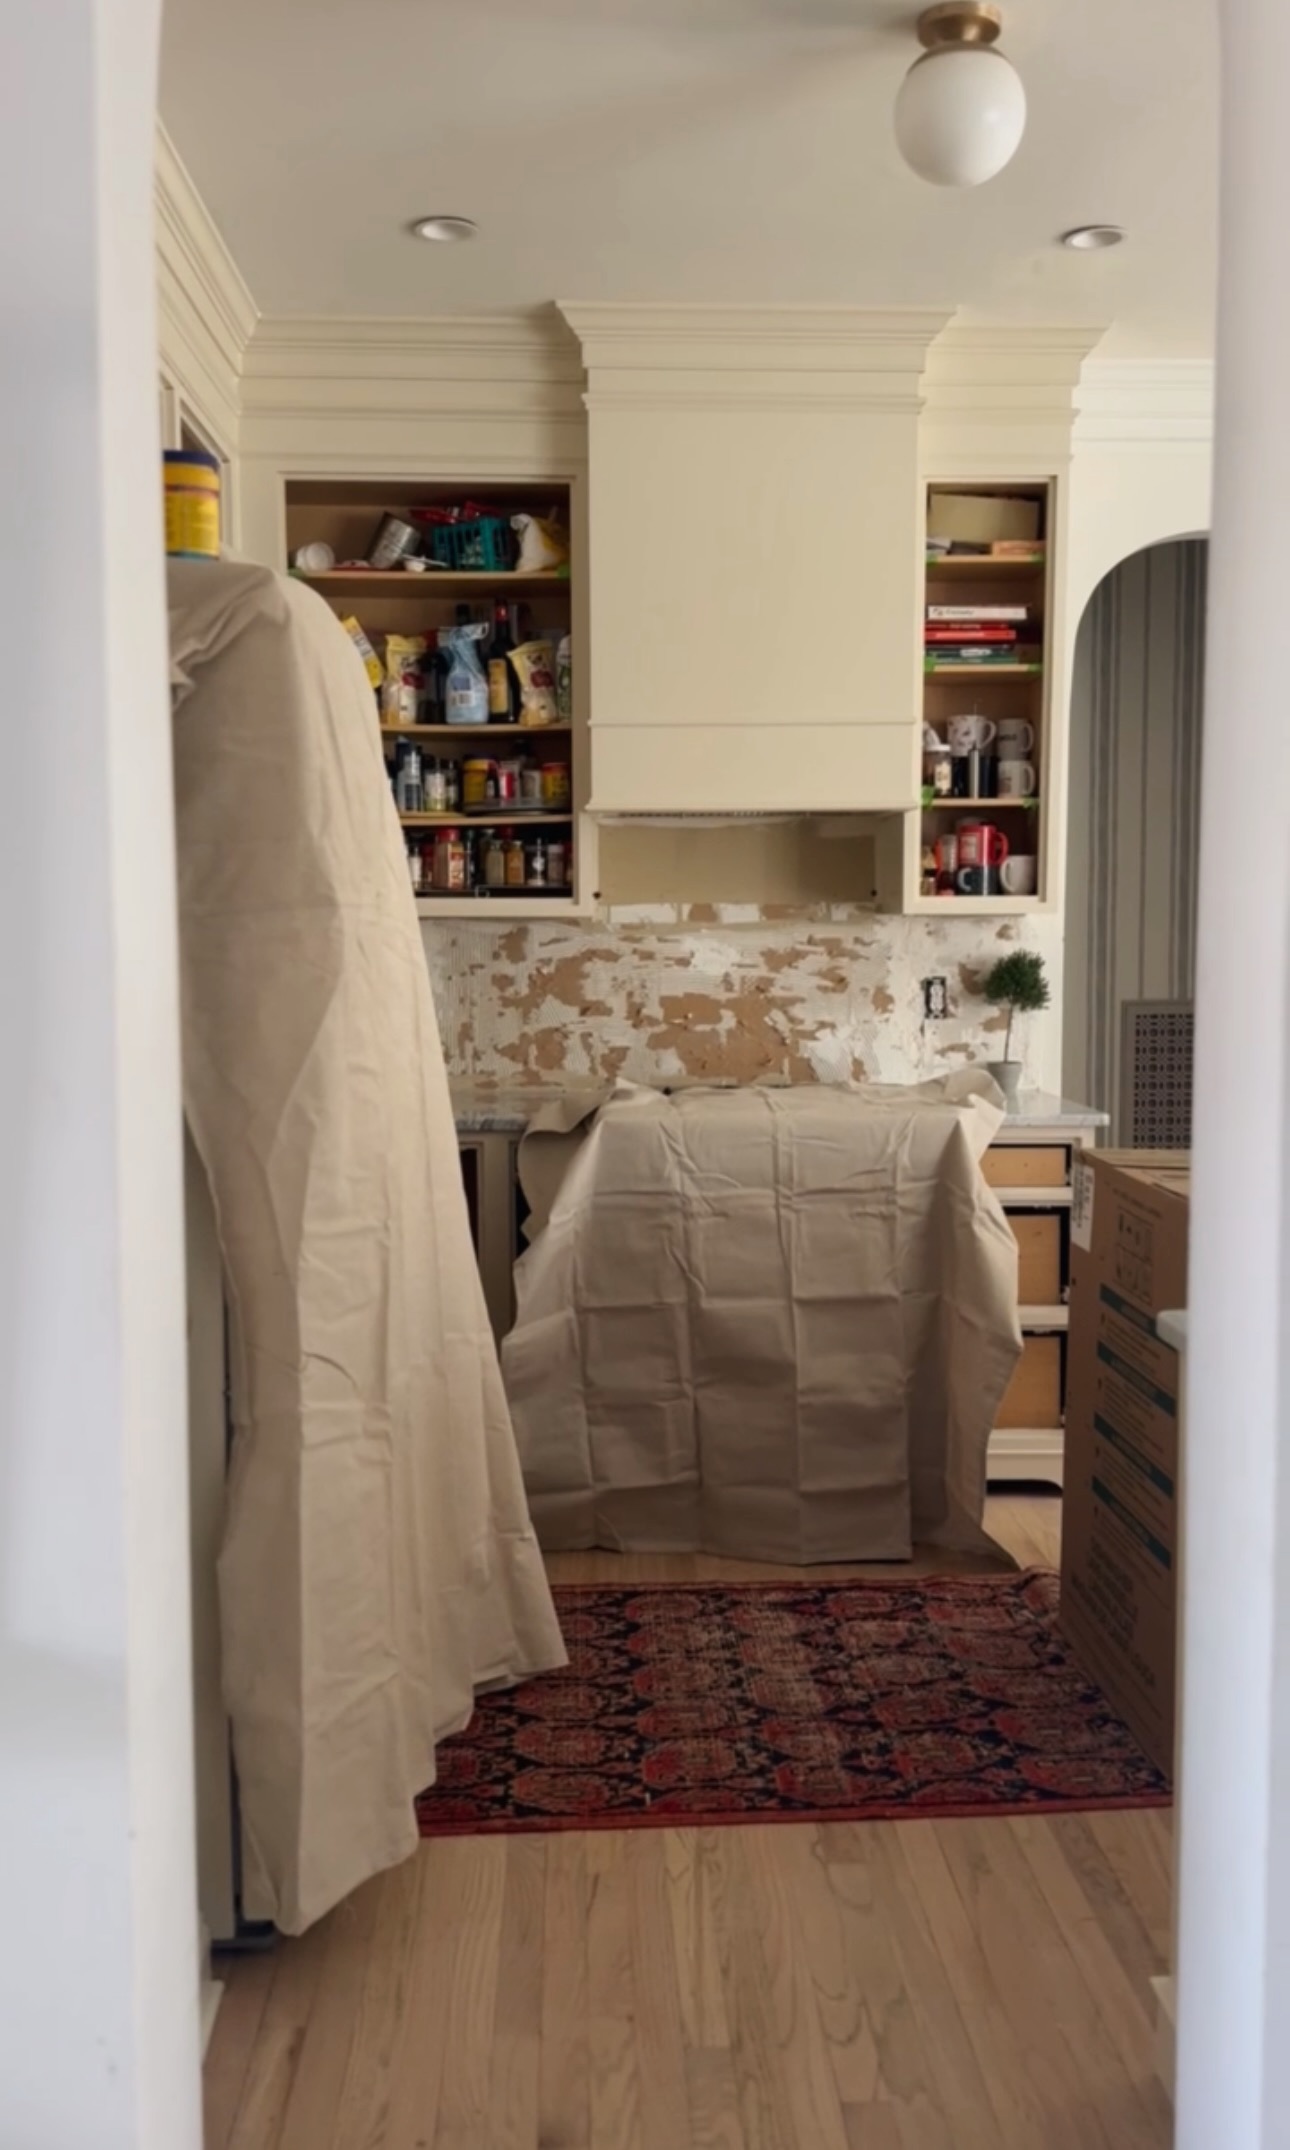
Here’s a picture of the old tile:
I removed the tile with a hammer and my painter’s tool. It took me about 45 minutes to chip away all this tile.
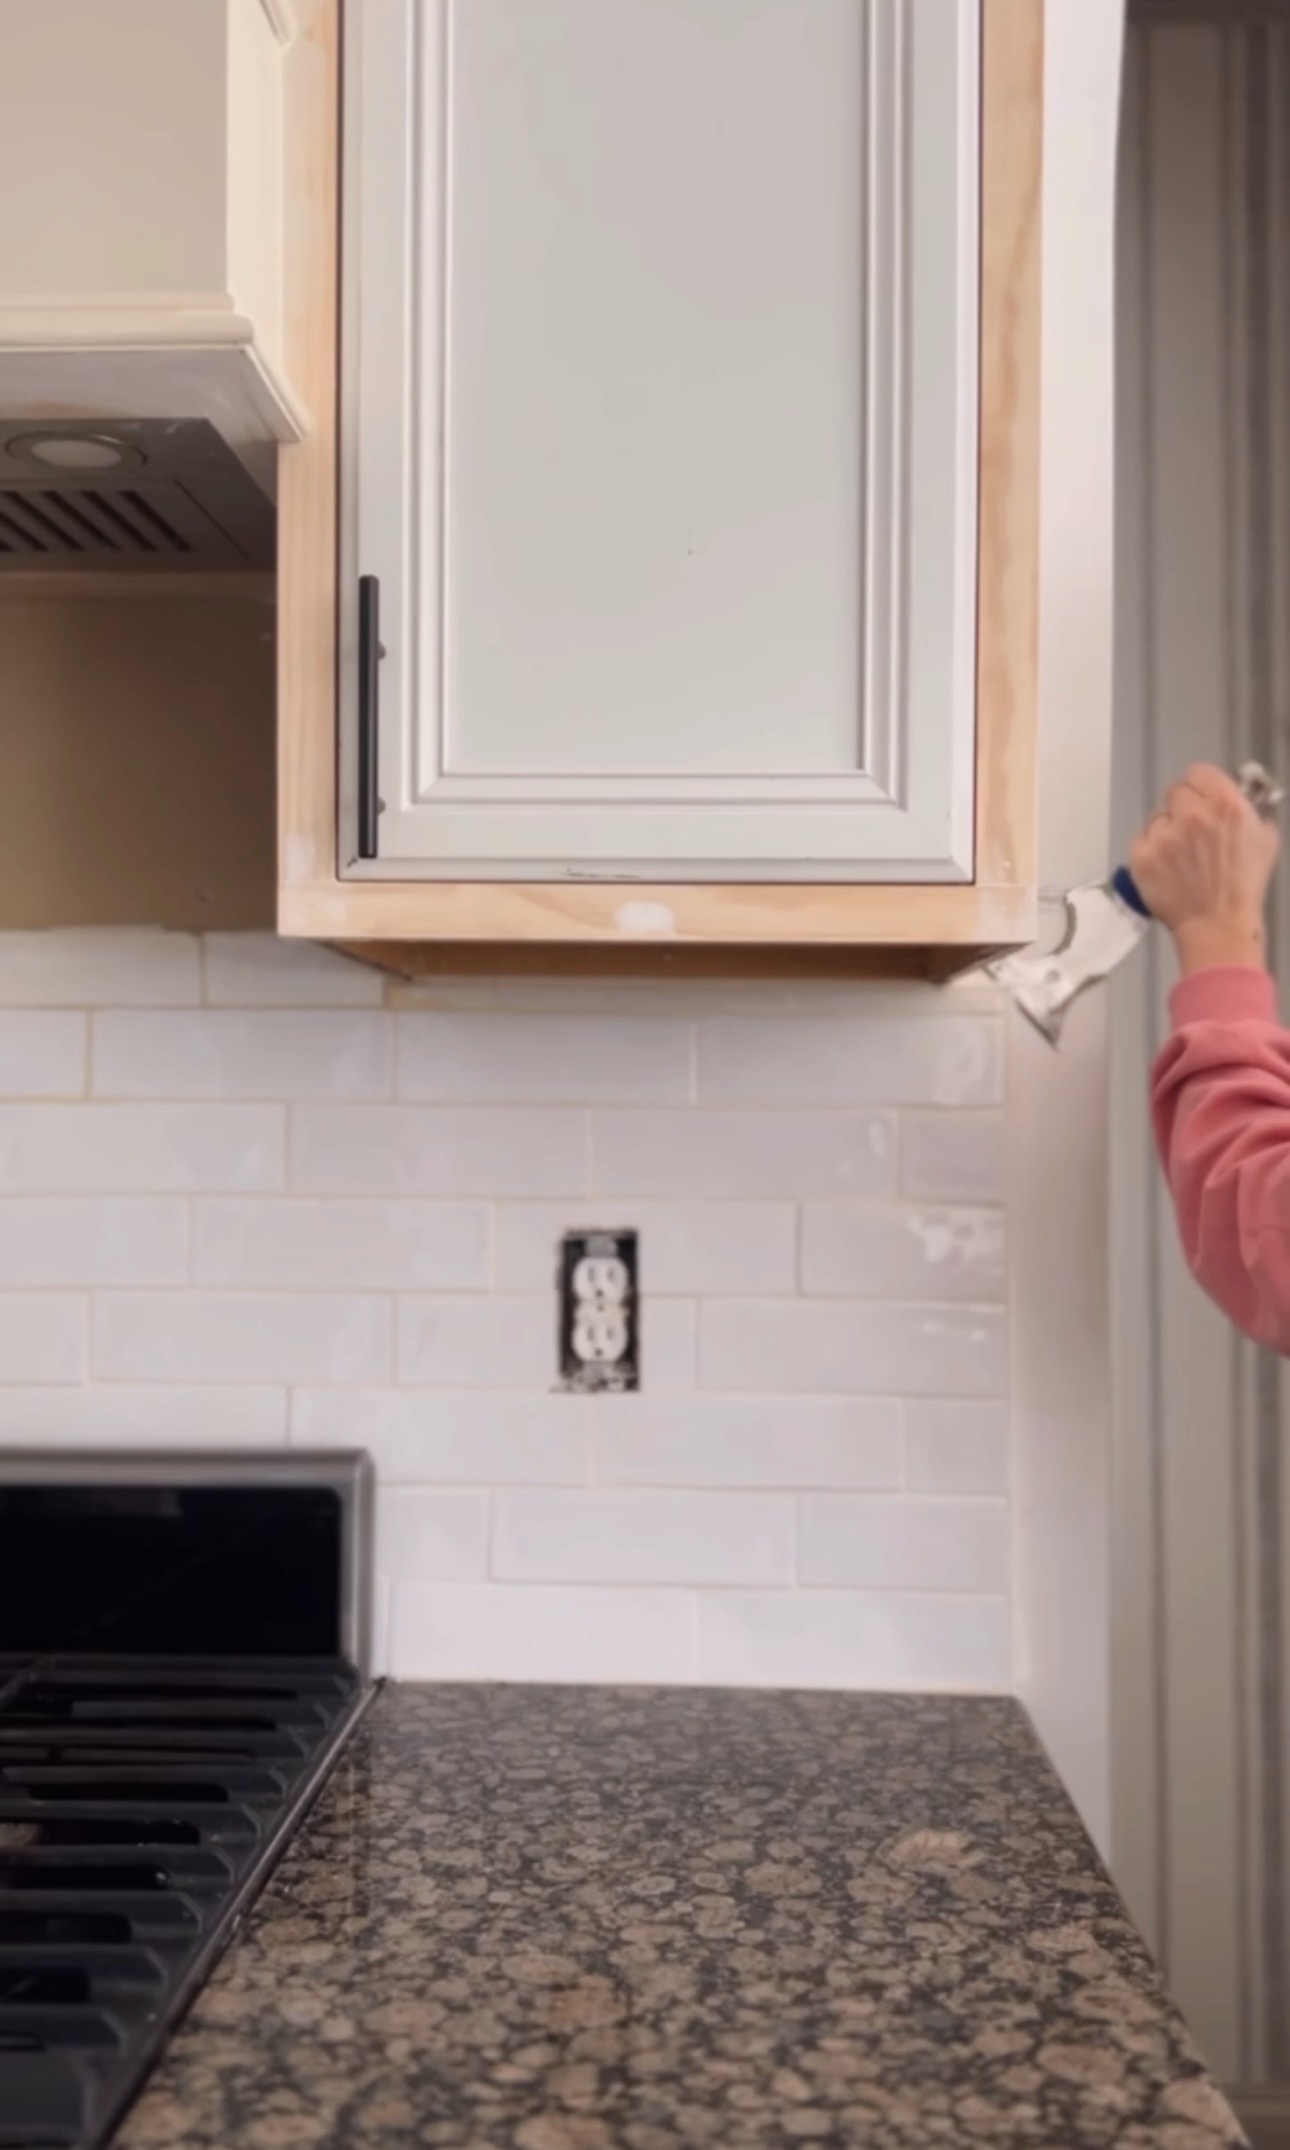
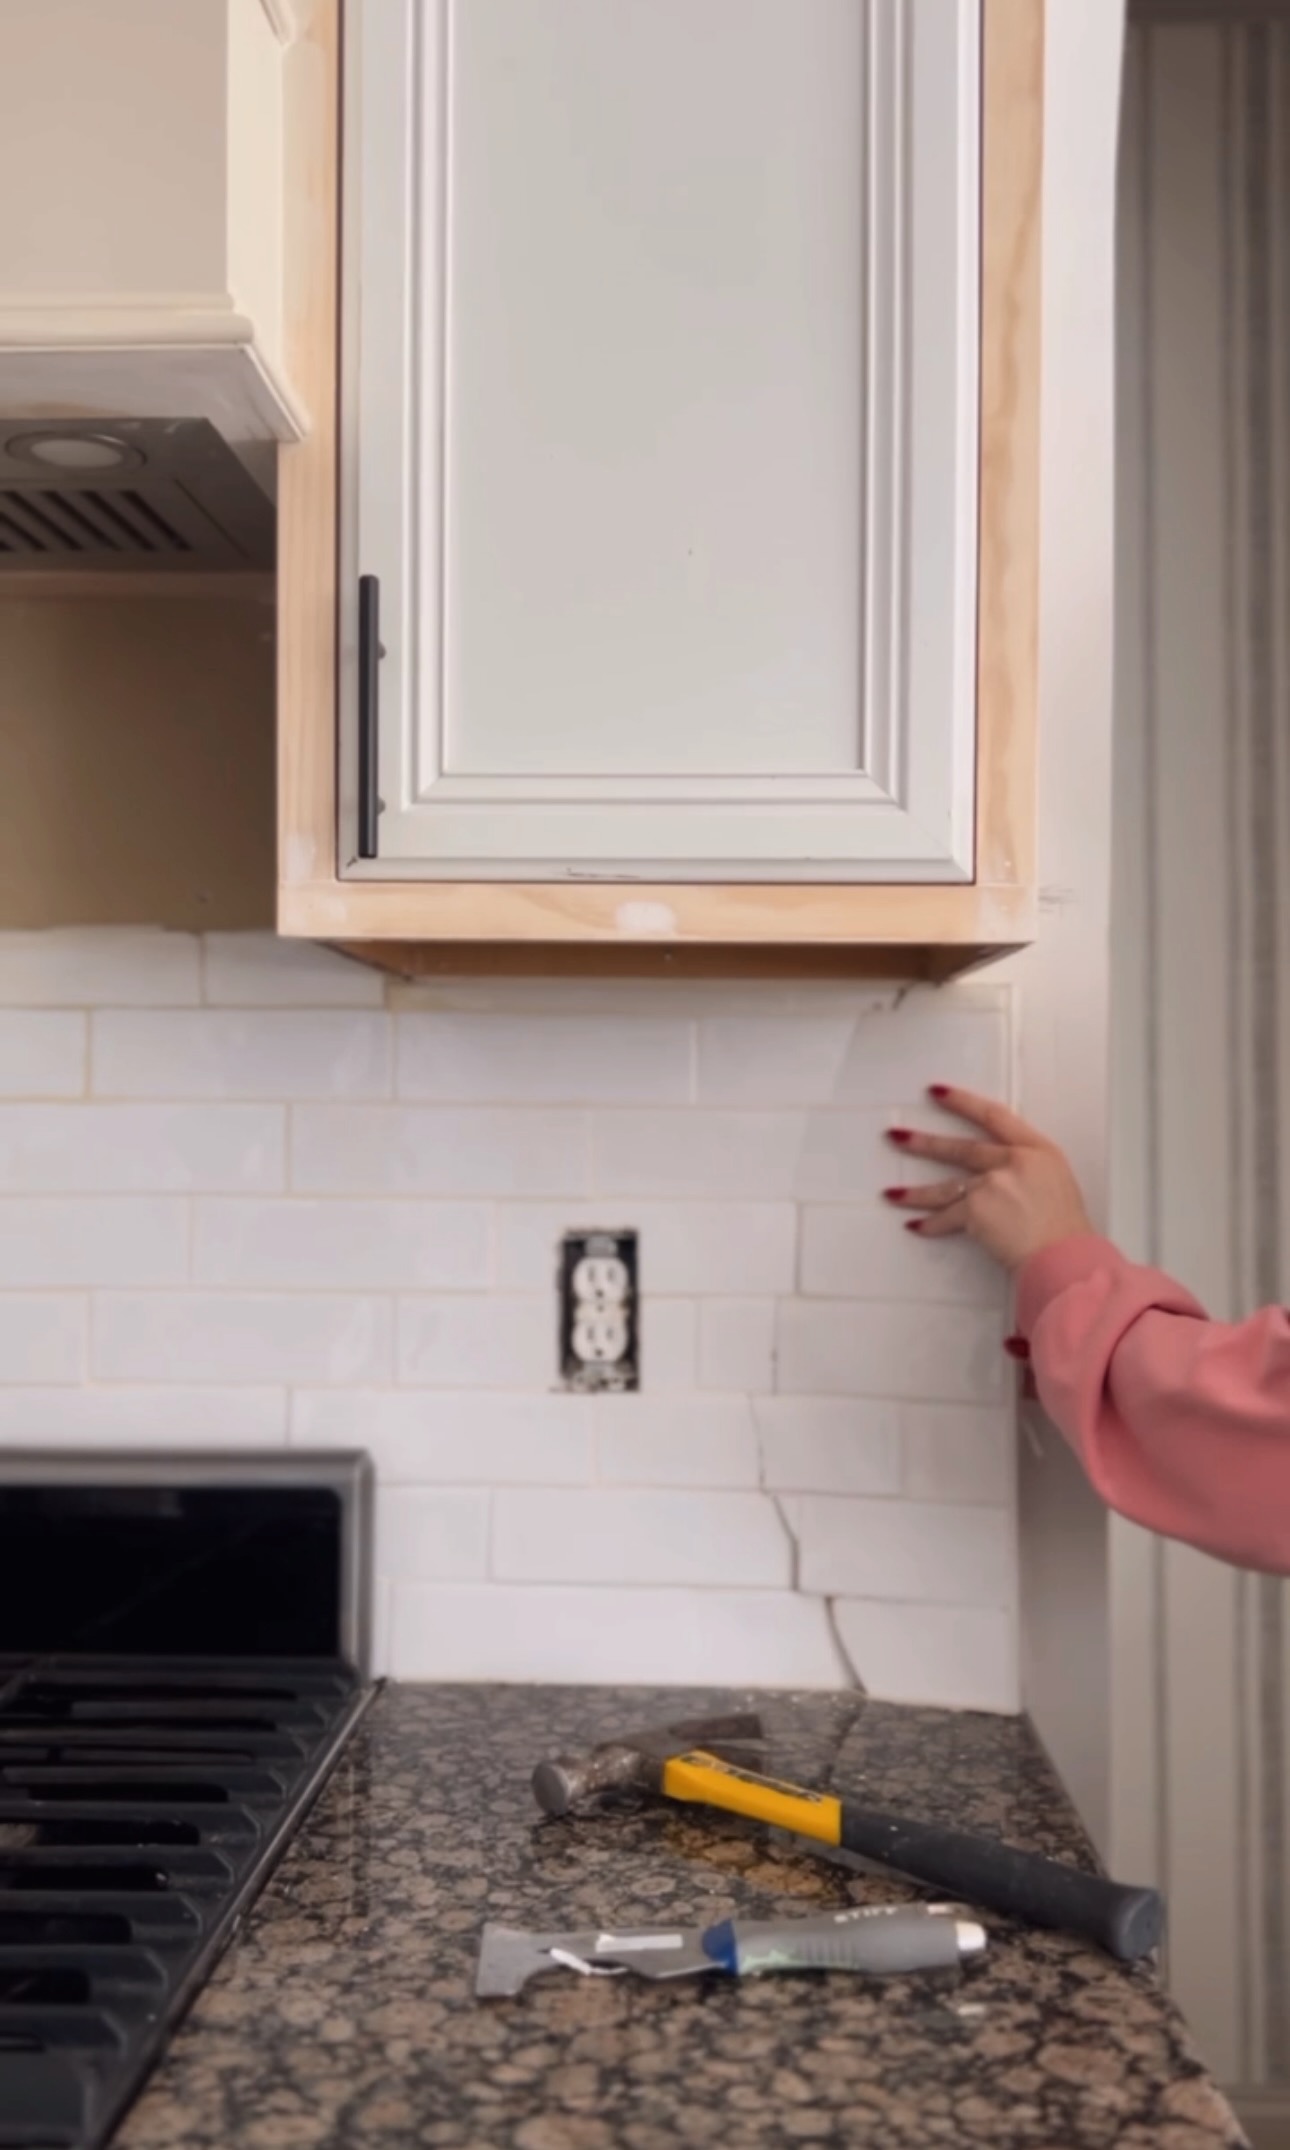
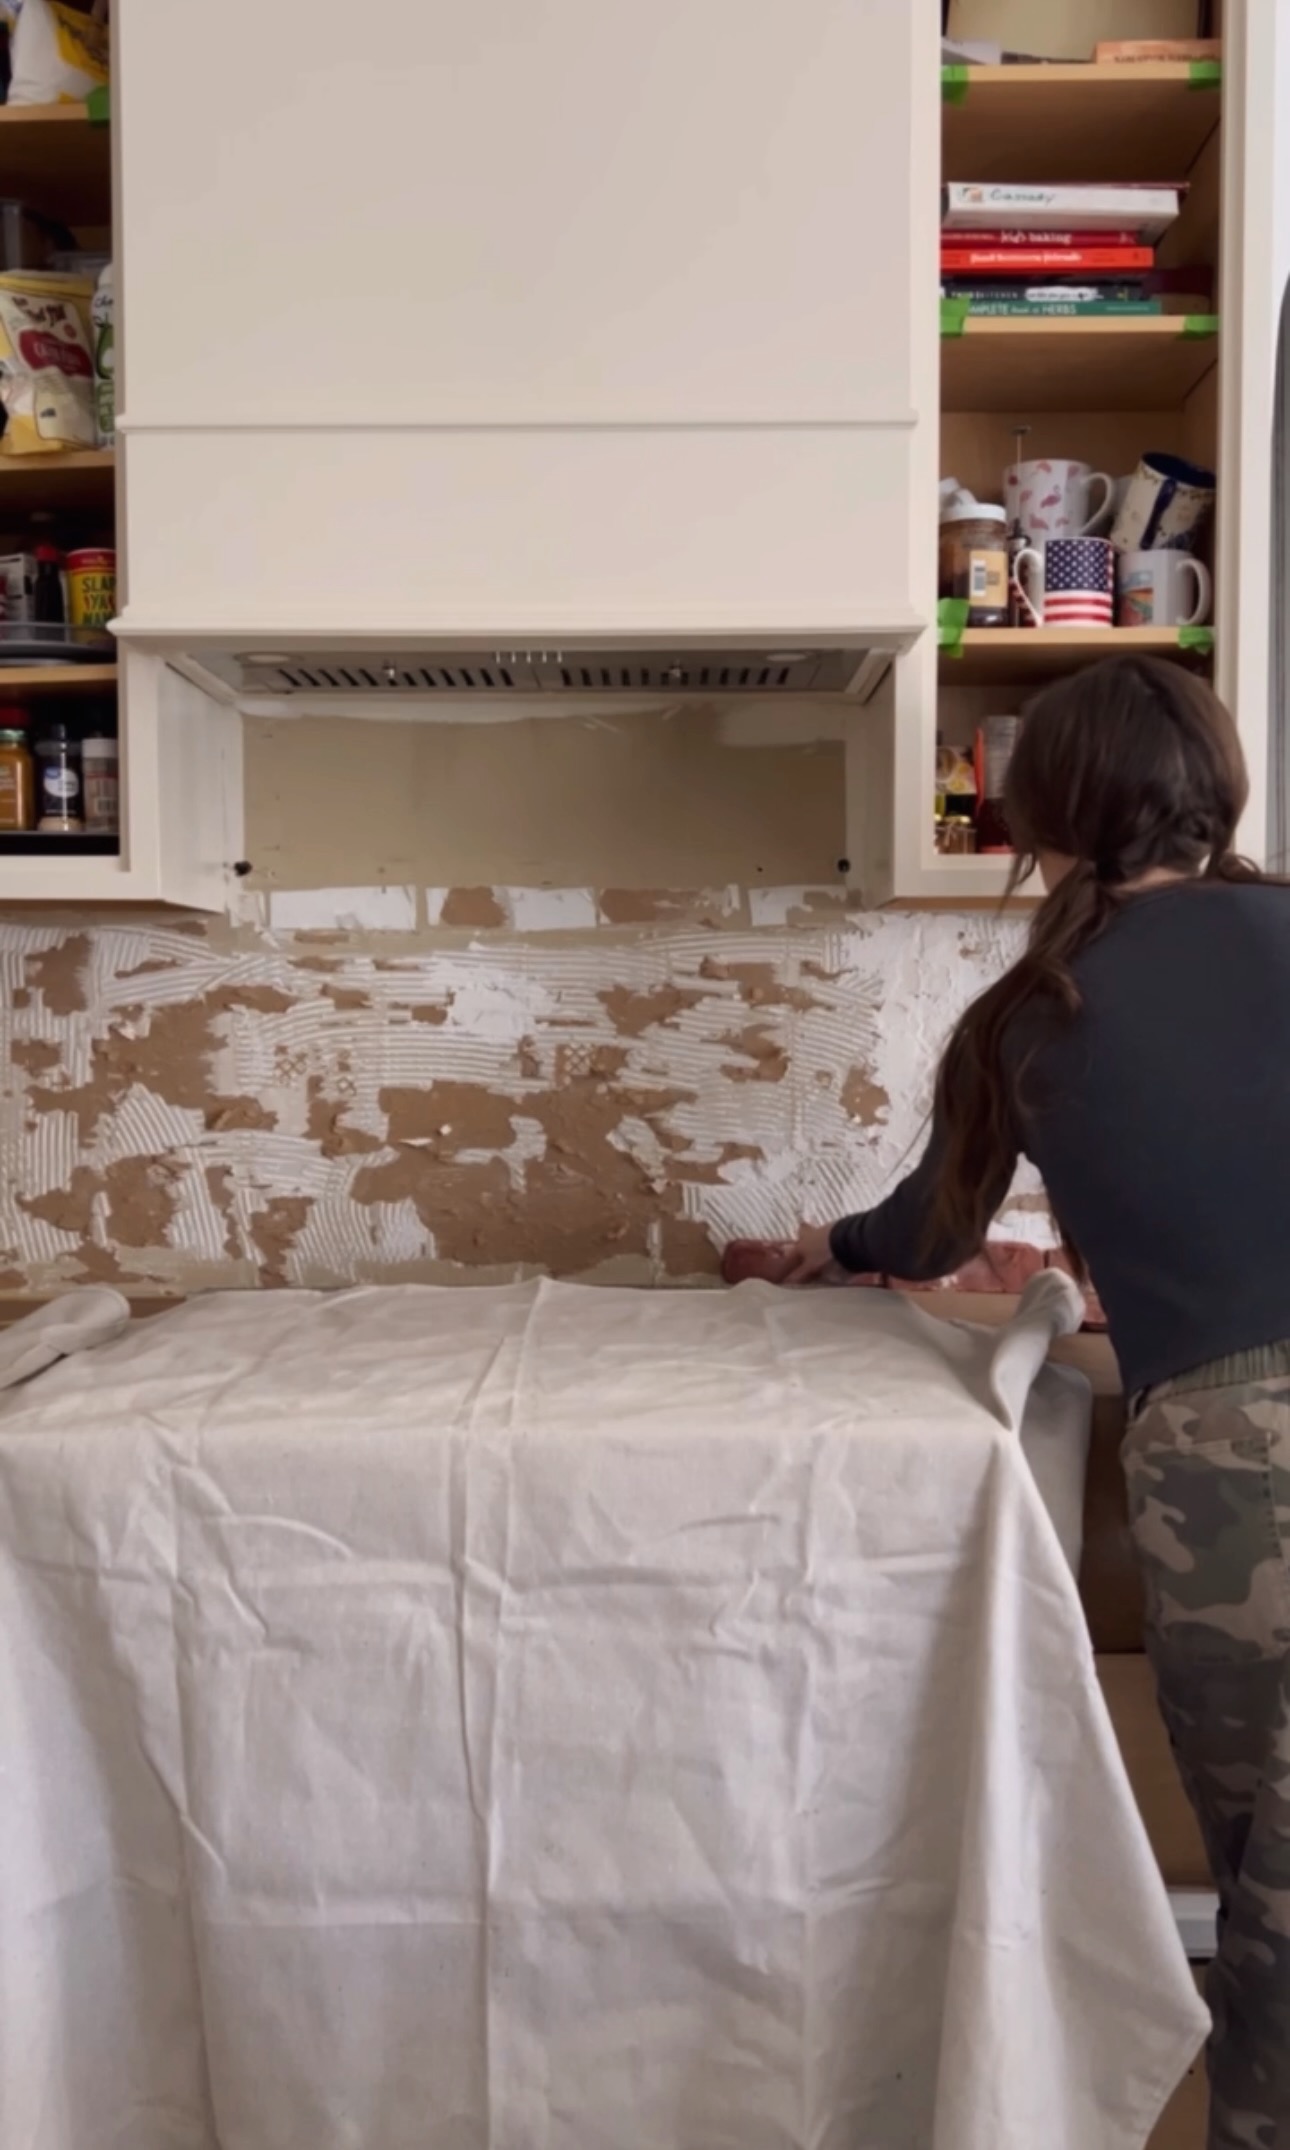
Drywall
Next, I patched up my drywall to prep for tile! I cut each piece down to size and then drilled it into the studs.
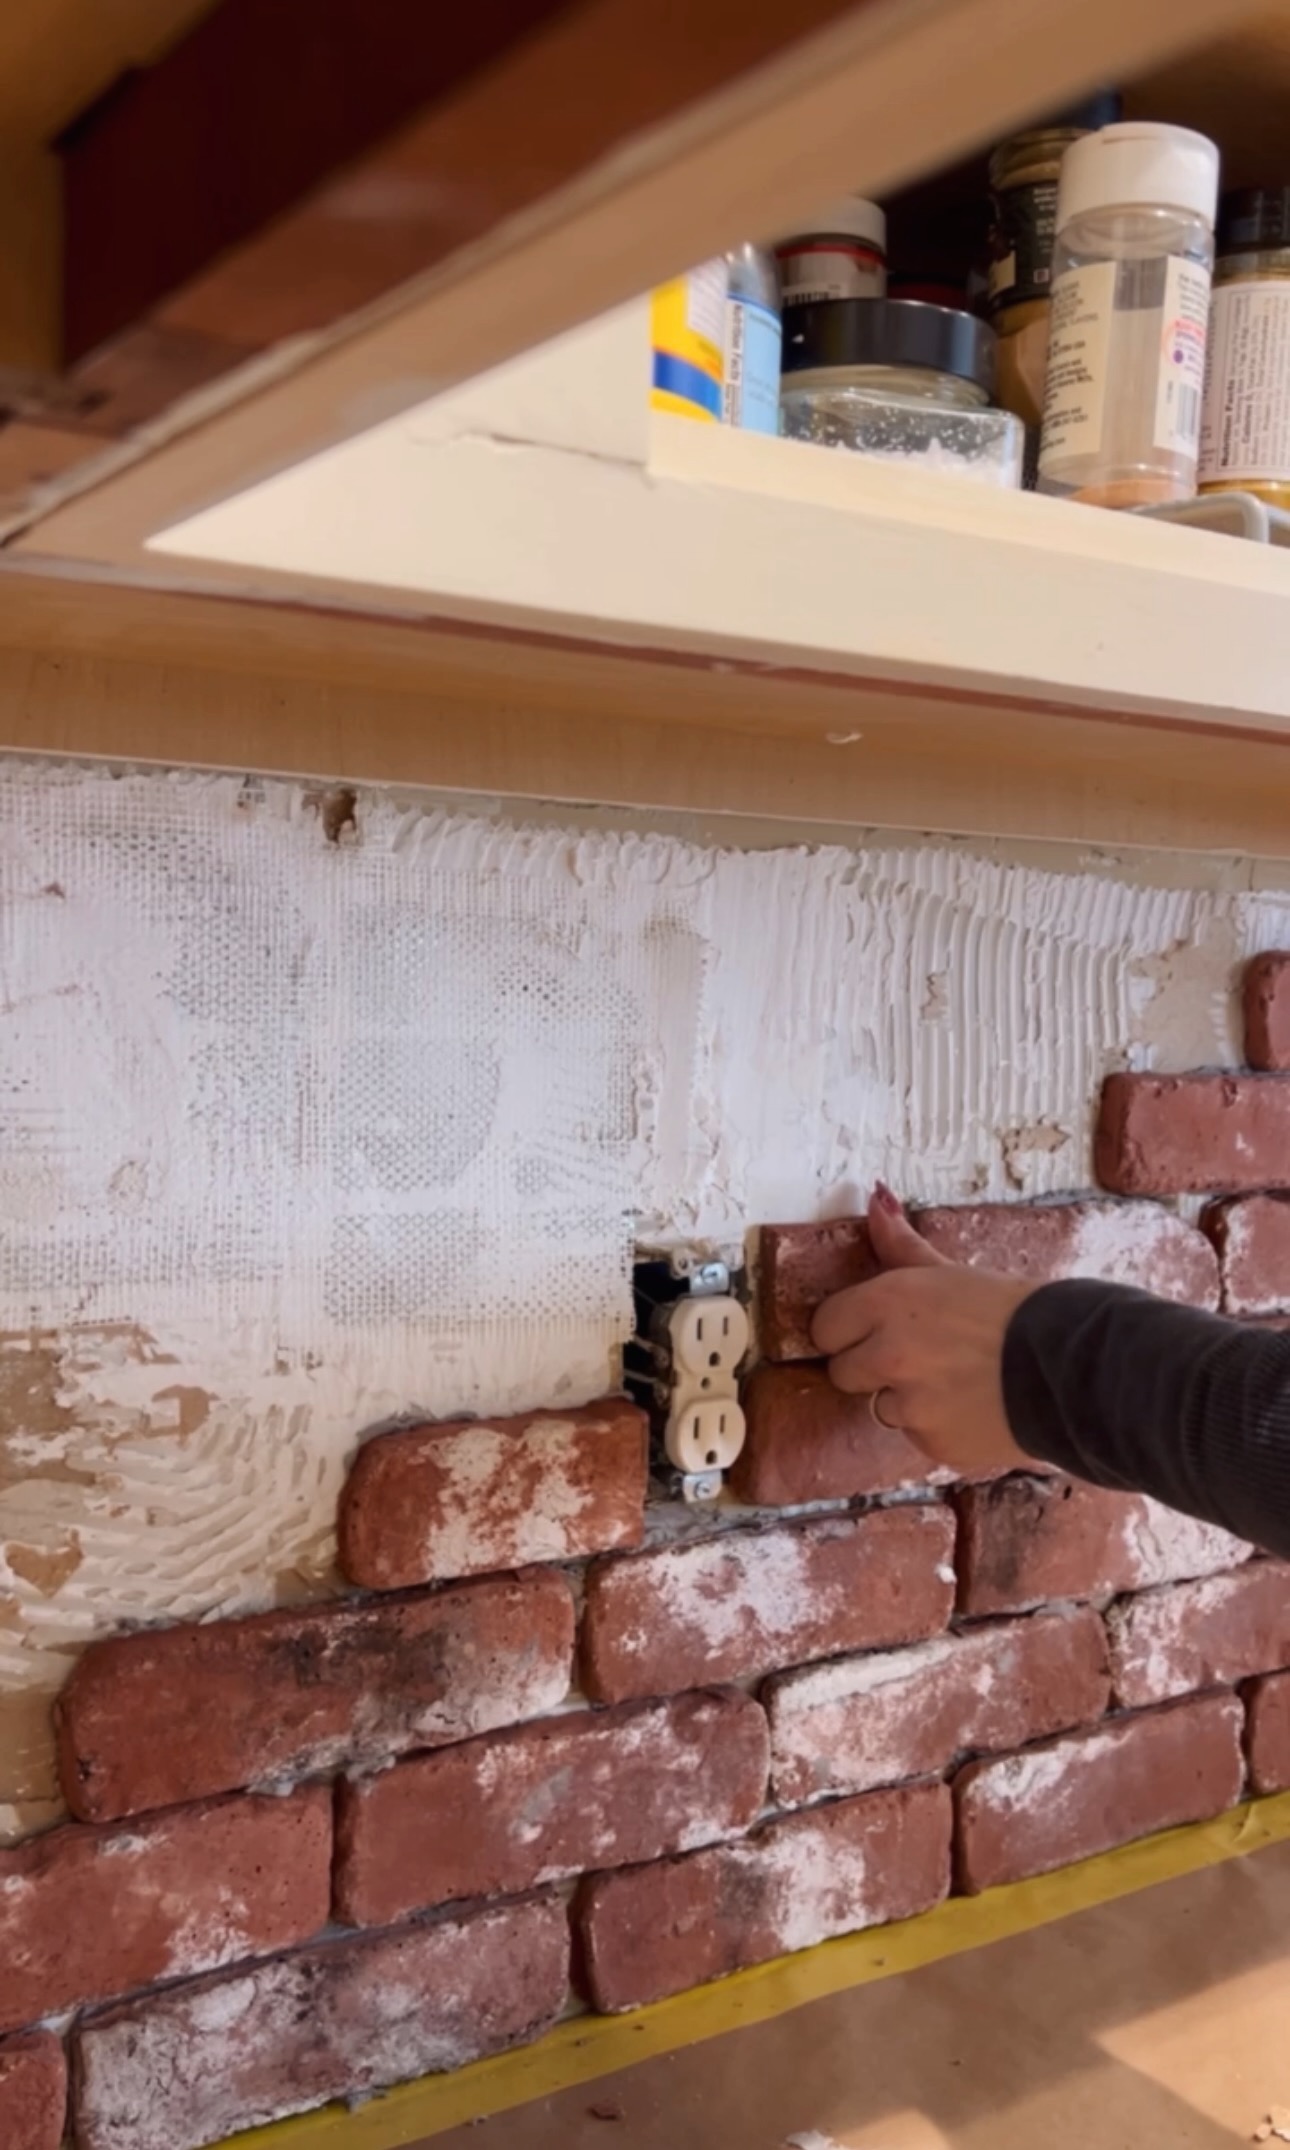
Tile
Time for tile! Remember how I’m doing a textural stone look? I used brick pavers for this! The pavers were all very irregular so there was no need for spacers. All I did was back butter (use the trowel tool to spread Thinset onto the backs individually) and firmly placed them on the wall.

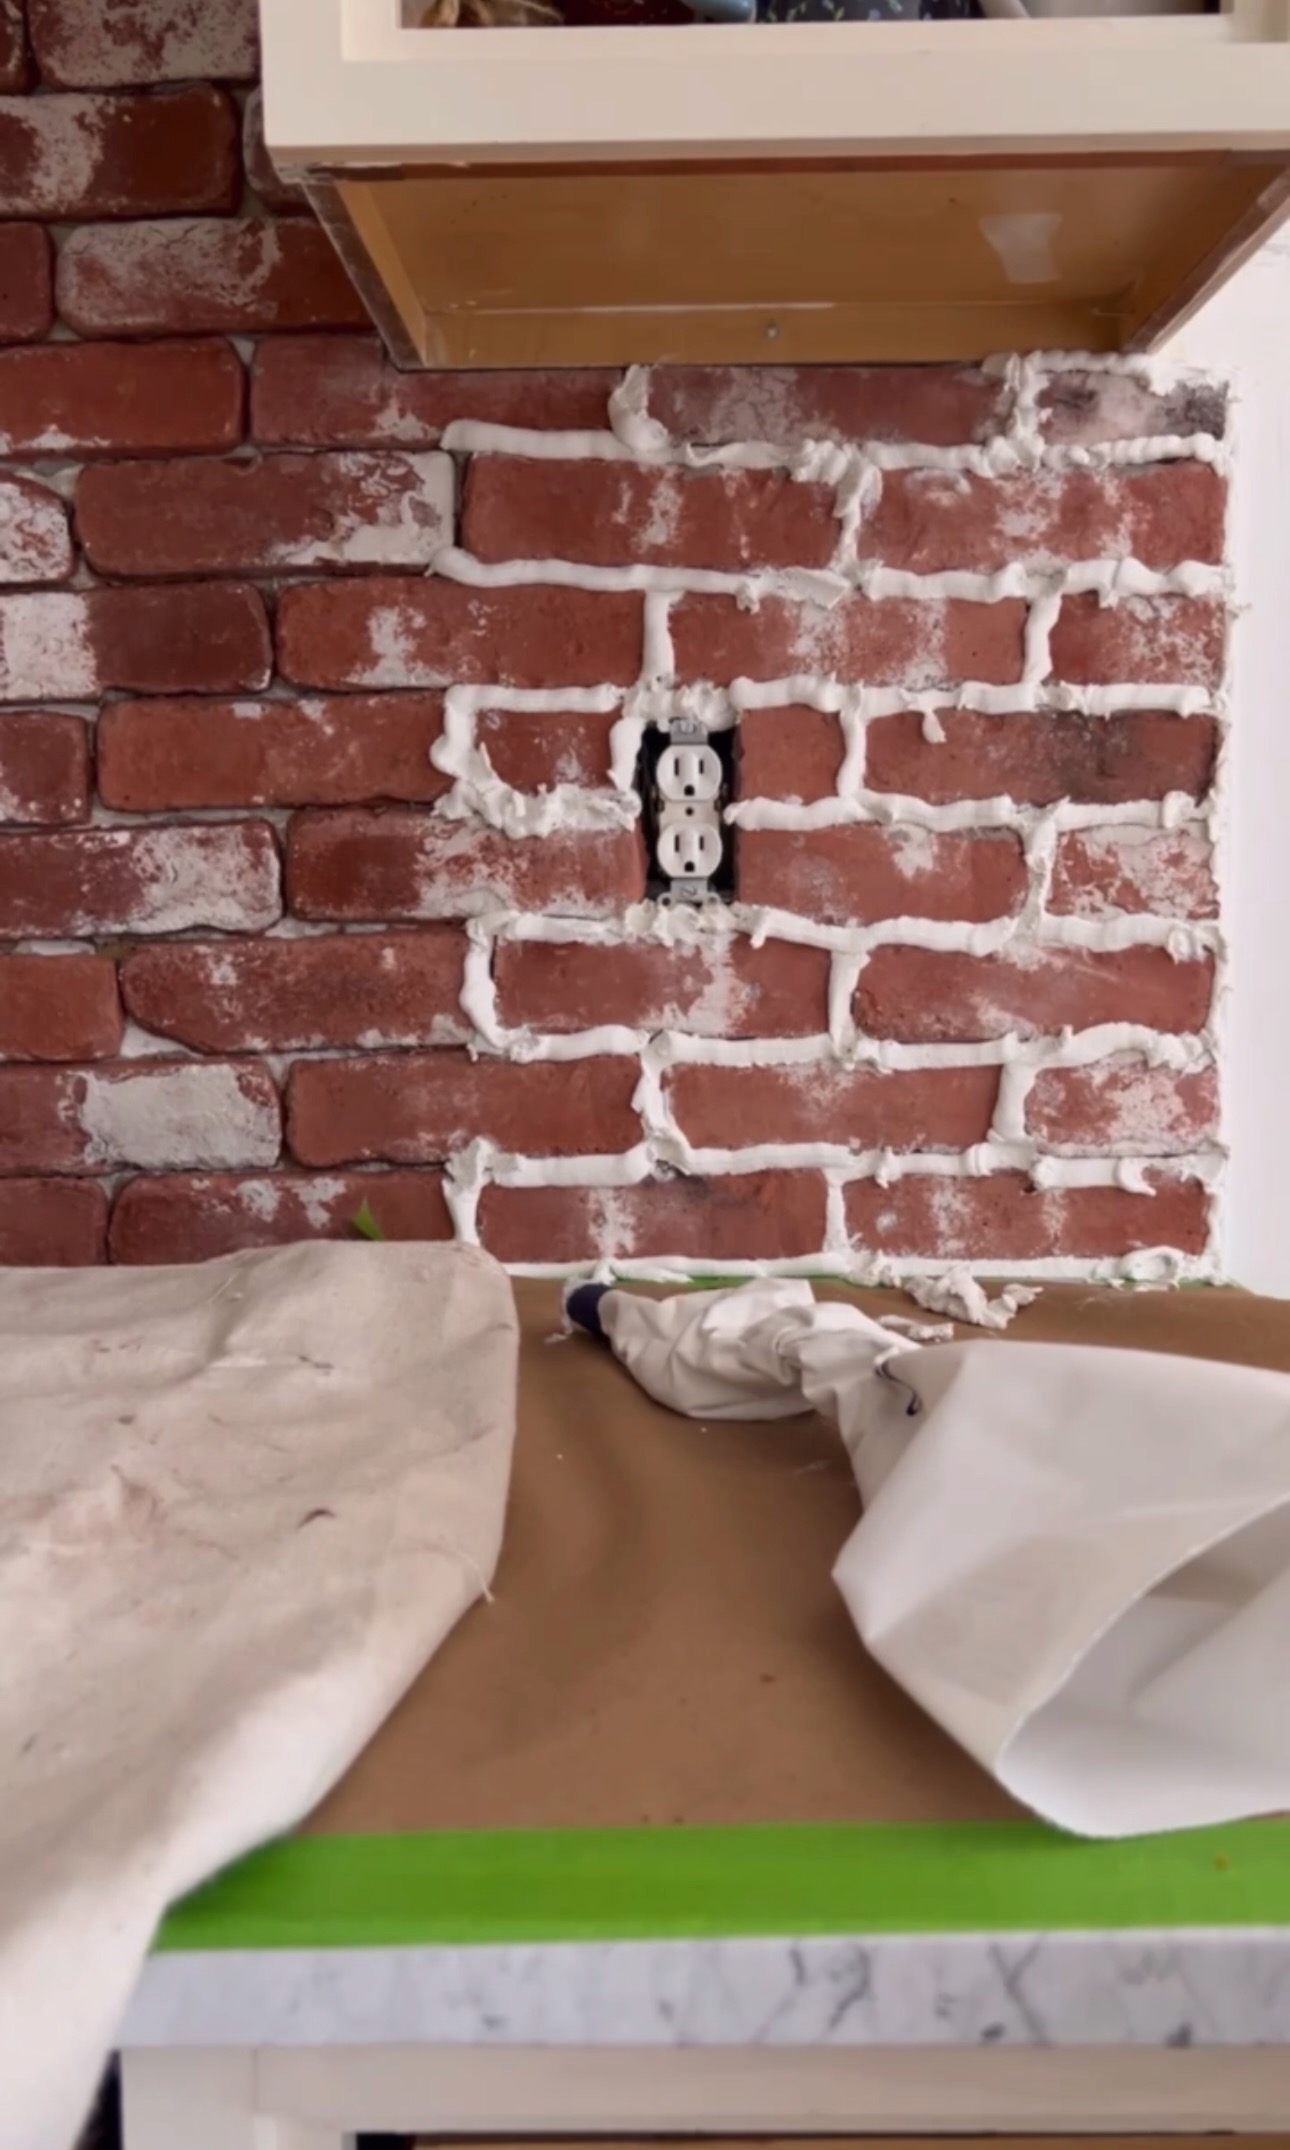
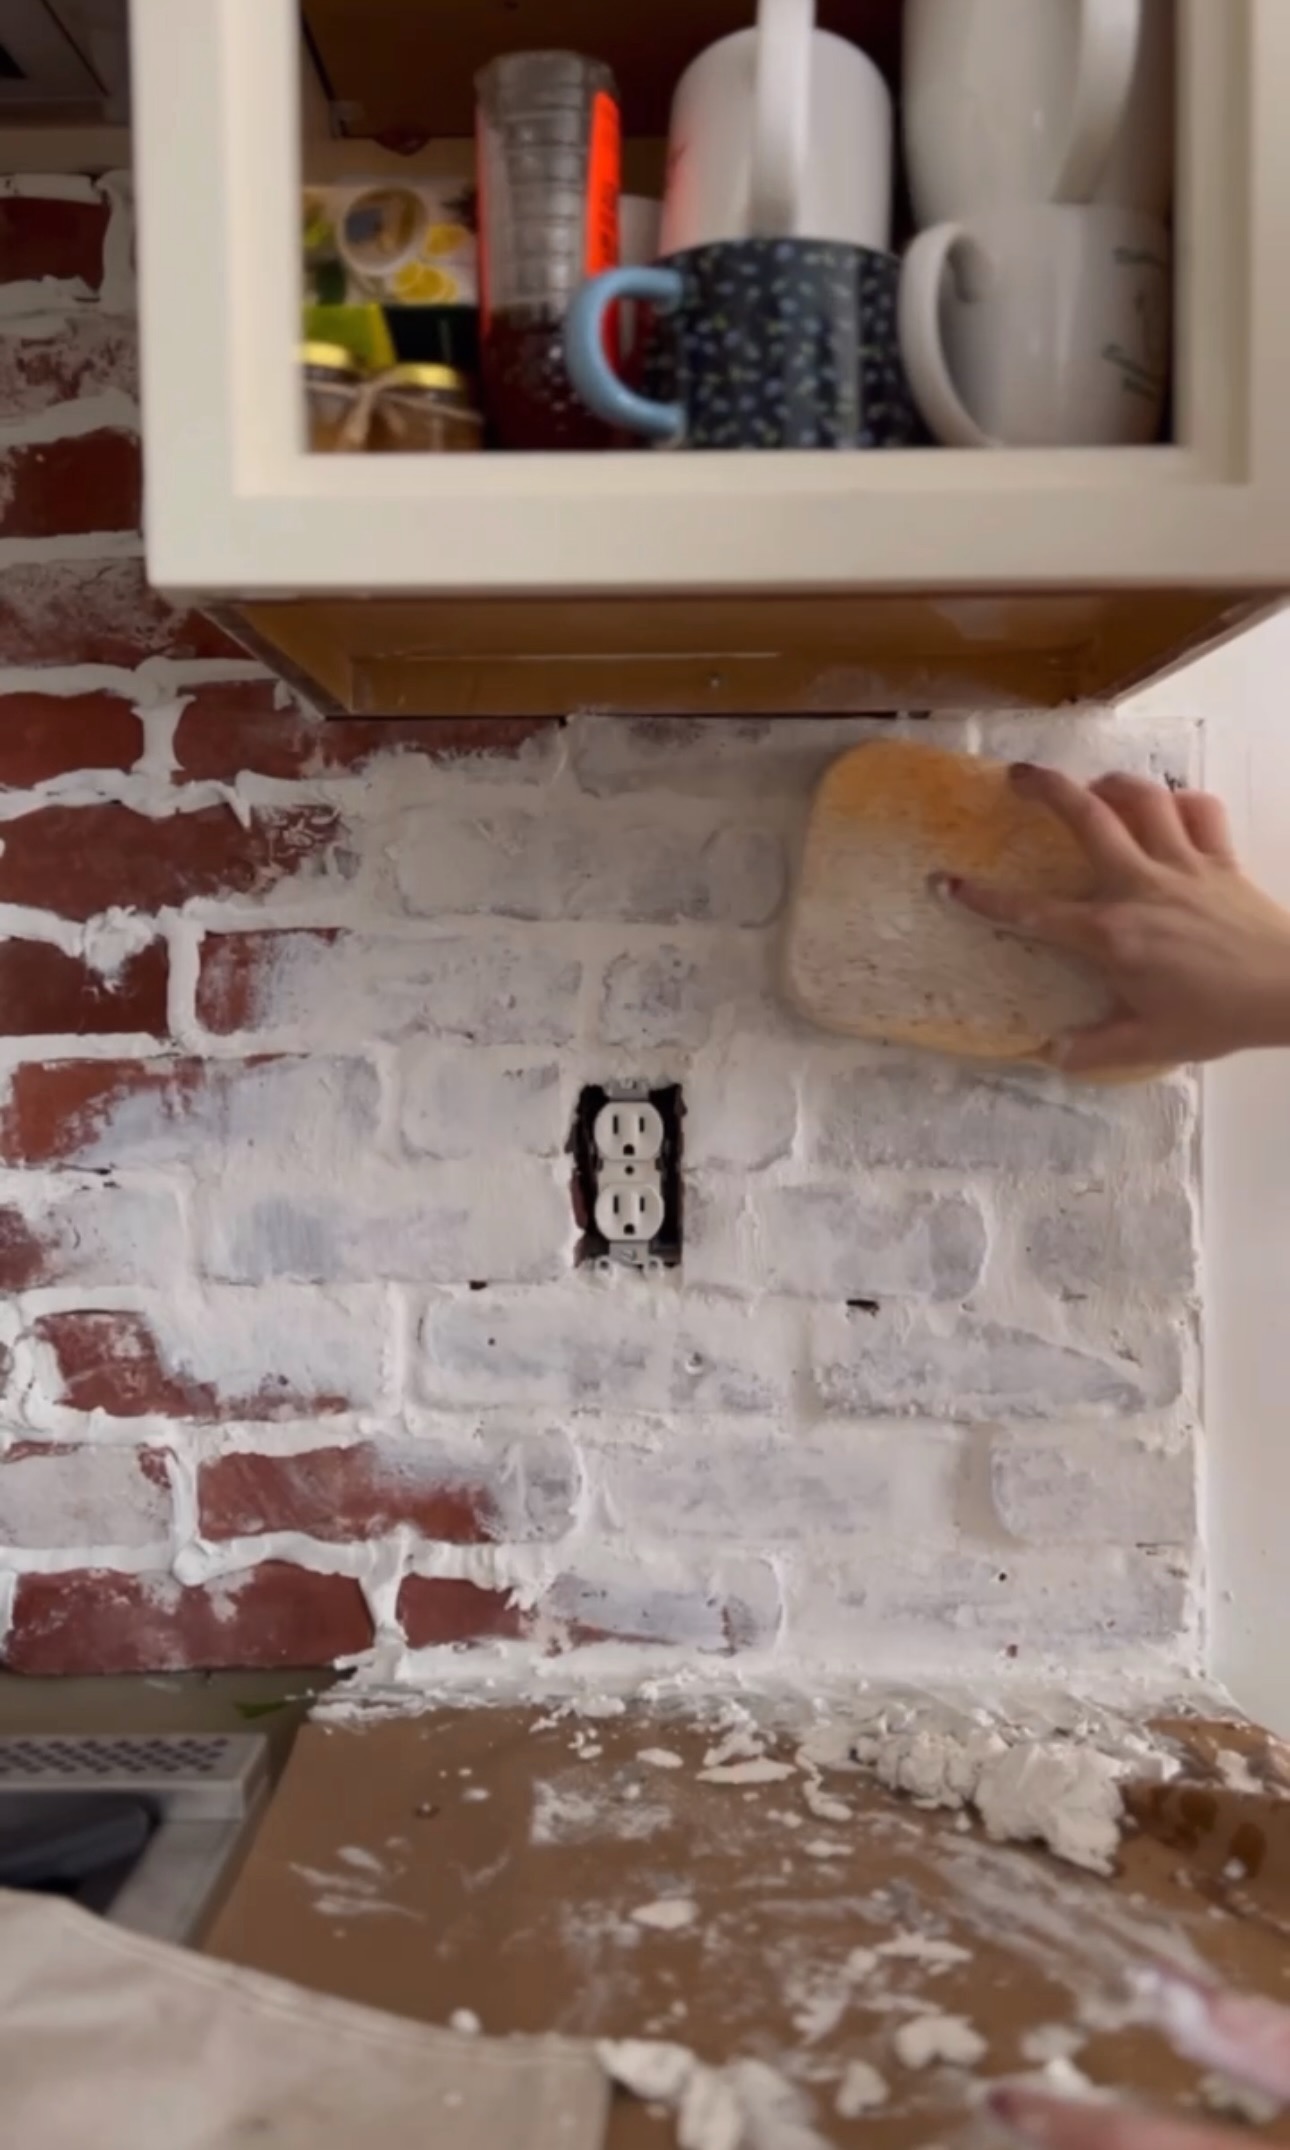
Grout
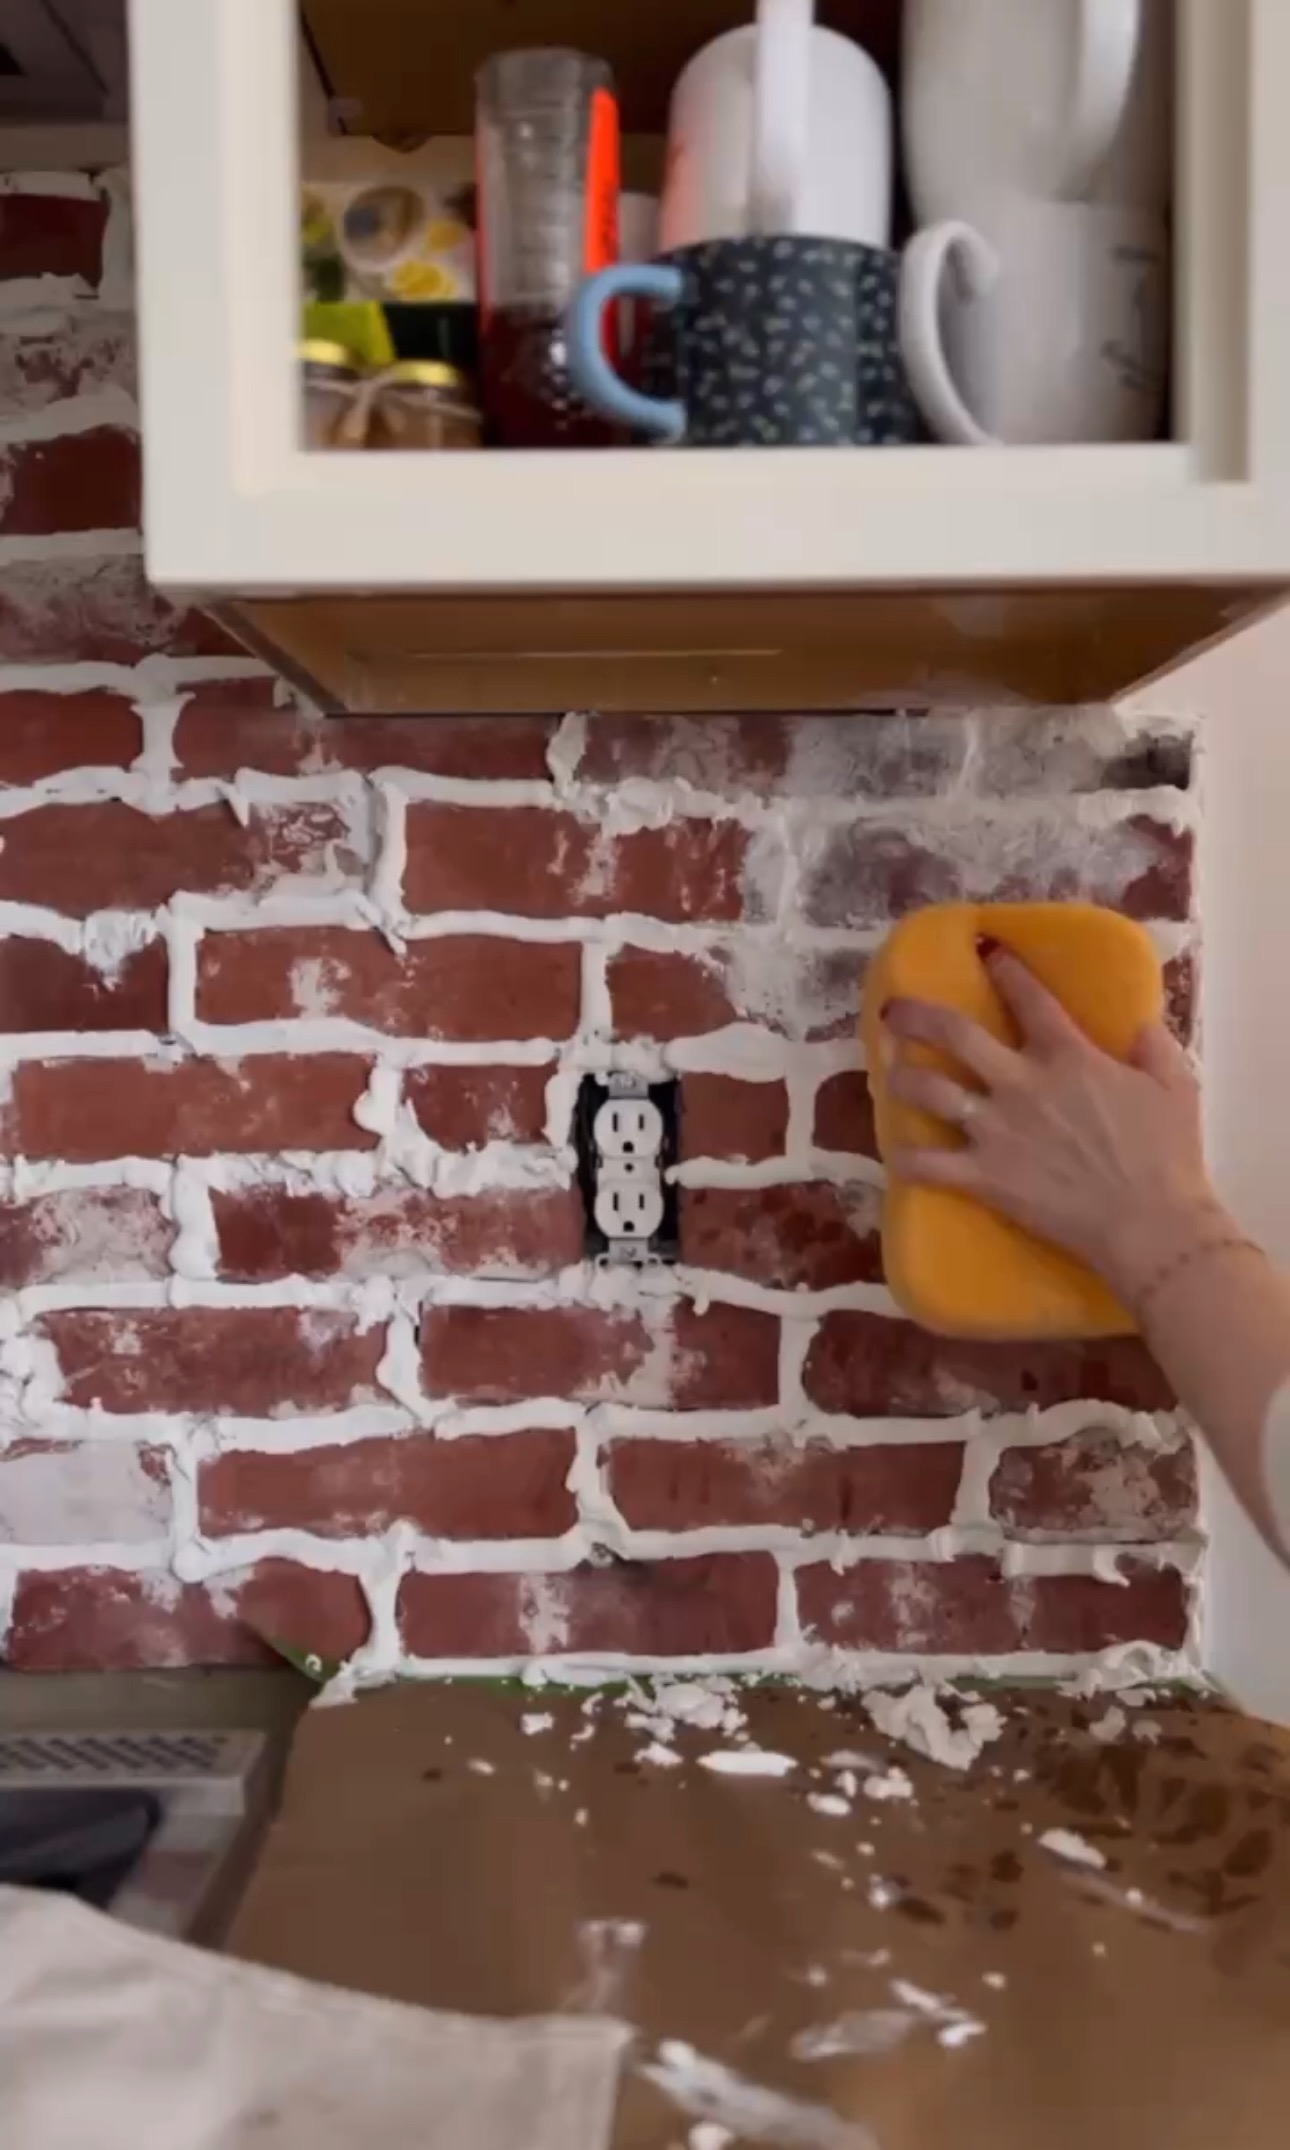
I used a pre-mixed grout and a piping bag. First, I piped between the pavers like icing and then smushed it out with a wet sponge. I waited a little bit for the grout to firm up before I went in with the sponge to give me my ideal texture.
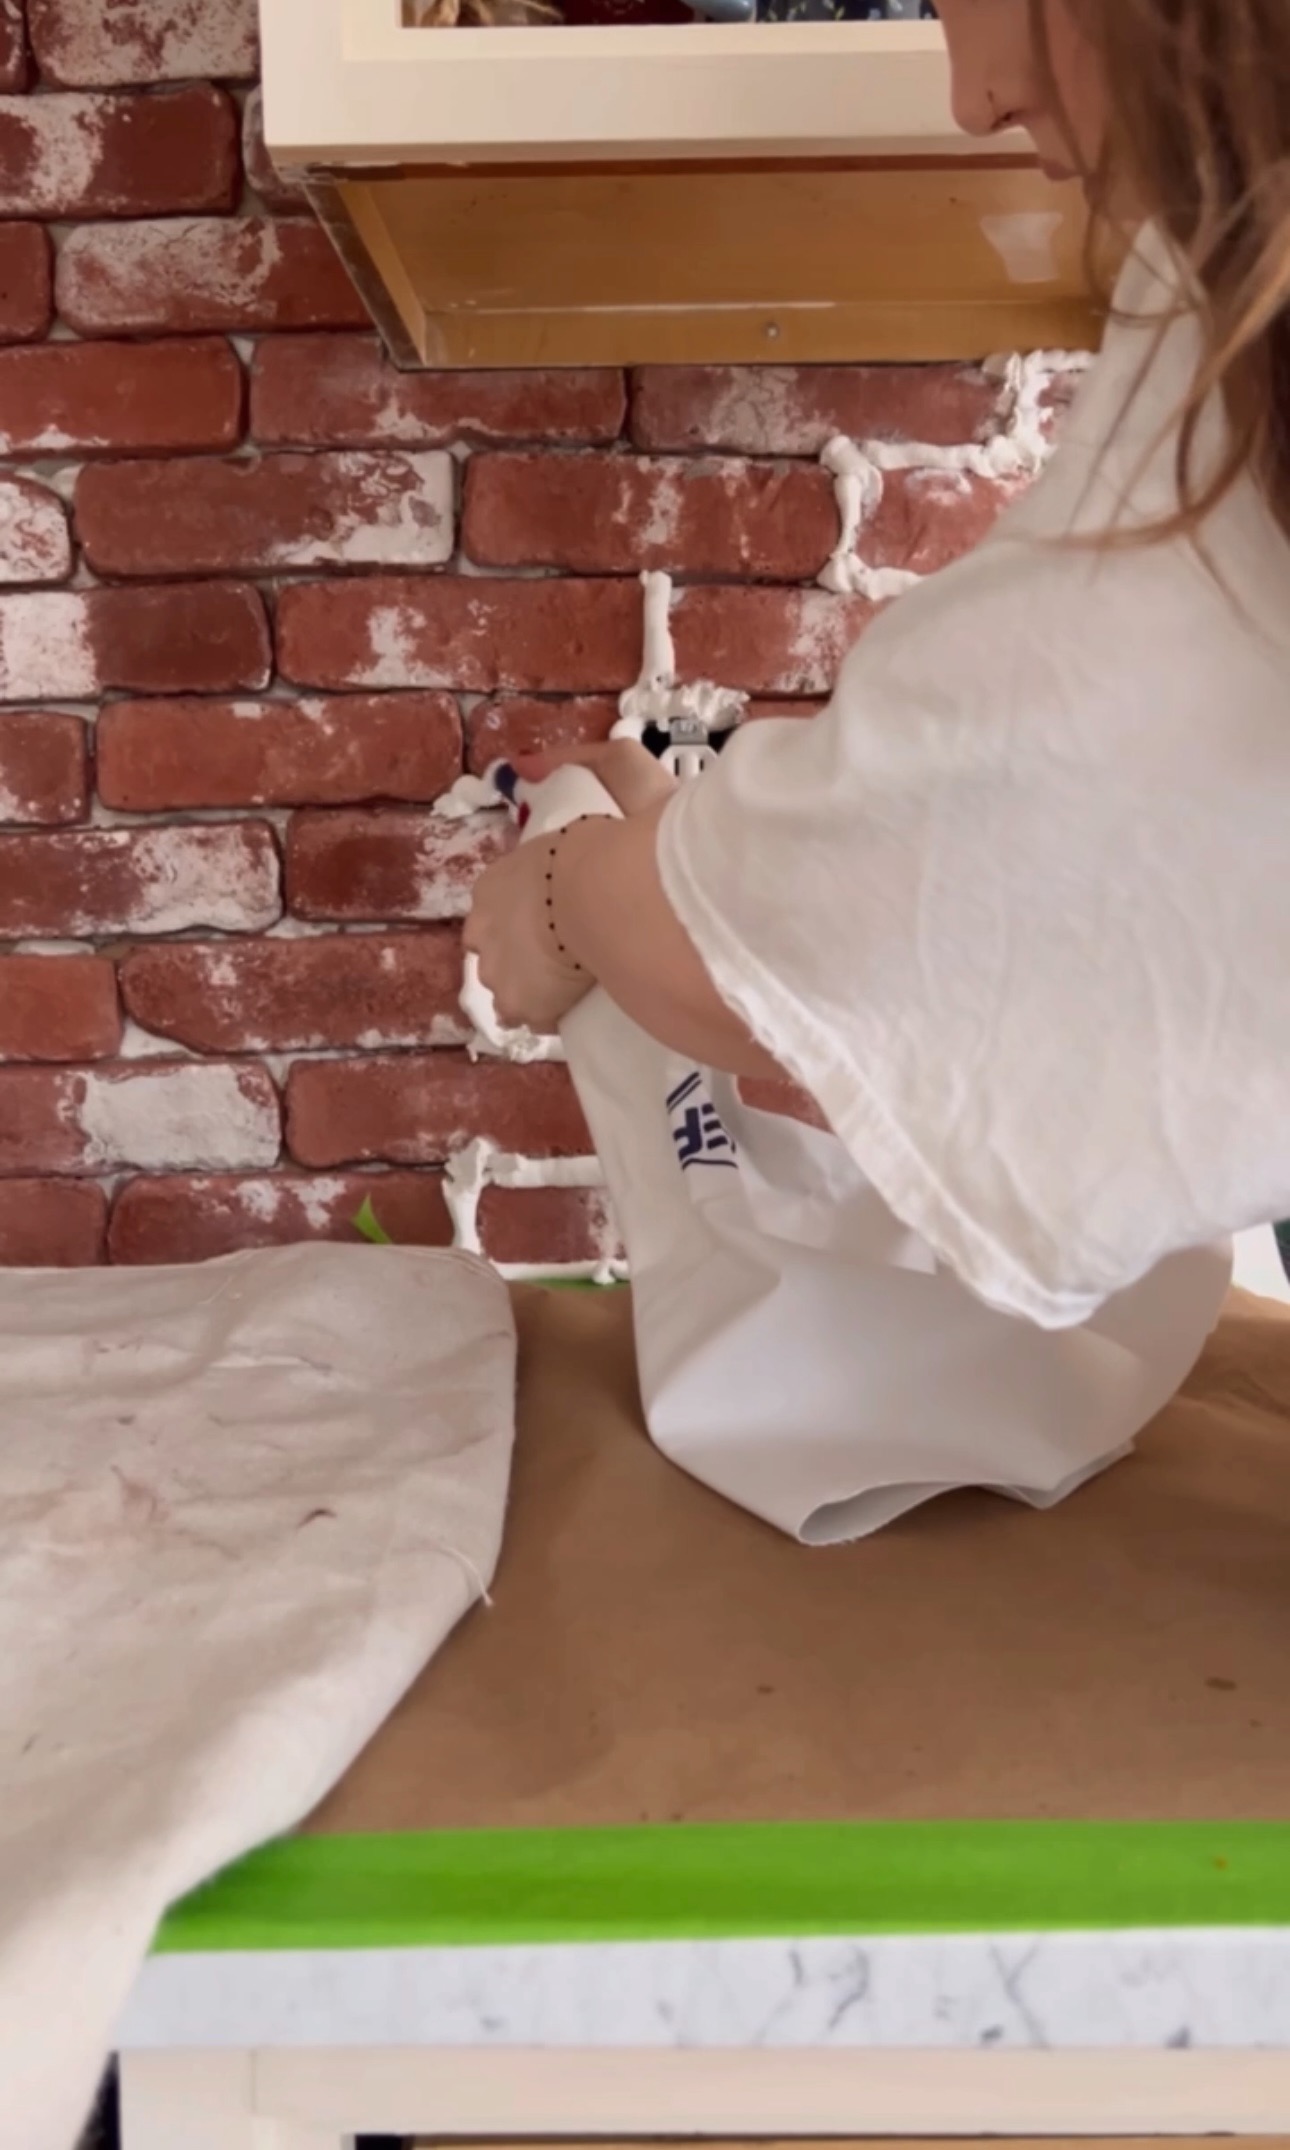
When the grout started to feel a bit more firm to the touch, I went in with my wet sponge. It gives it more of an old world/aged stone look rather than having the cracks channeled out like typical, modern day brick. I wanted to get enough brick definition without digging deep into the channels.
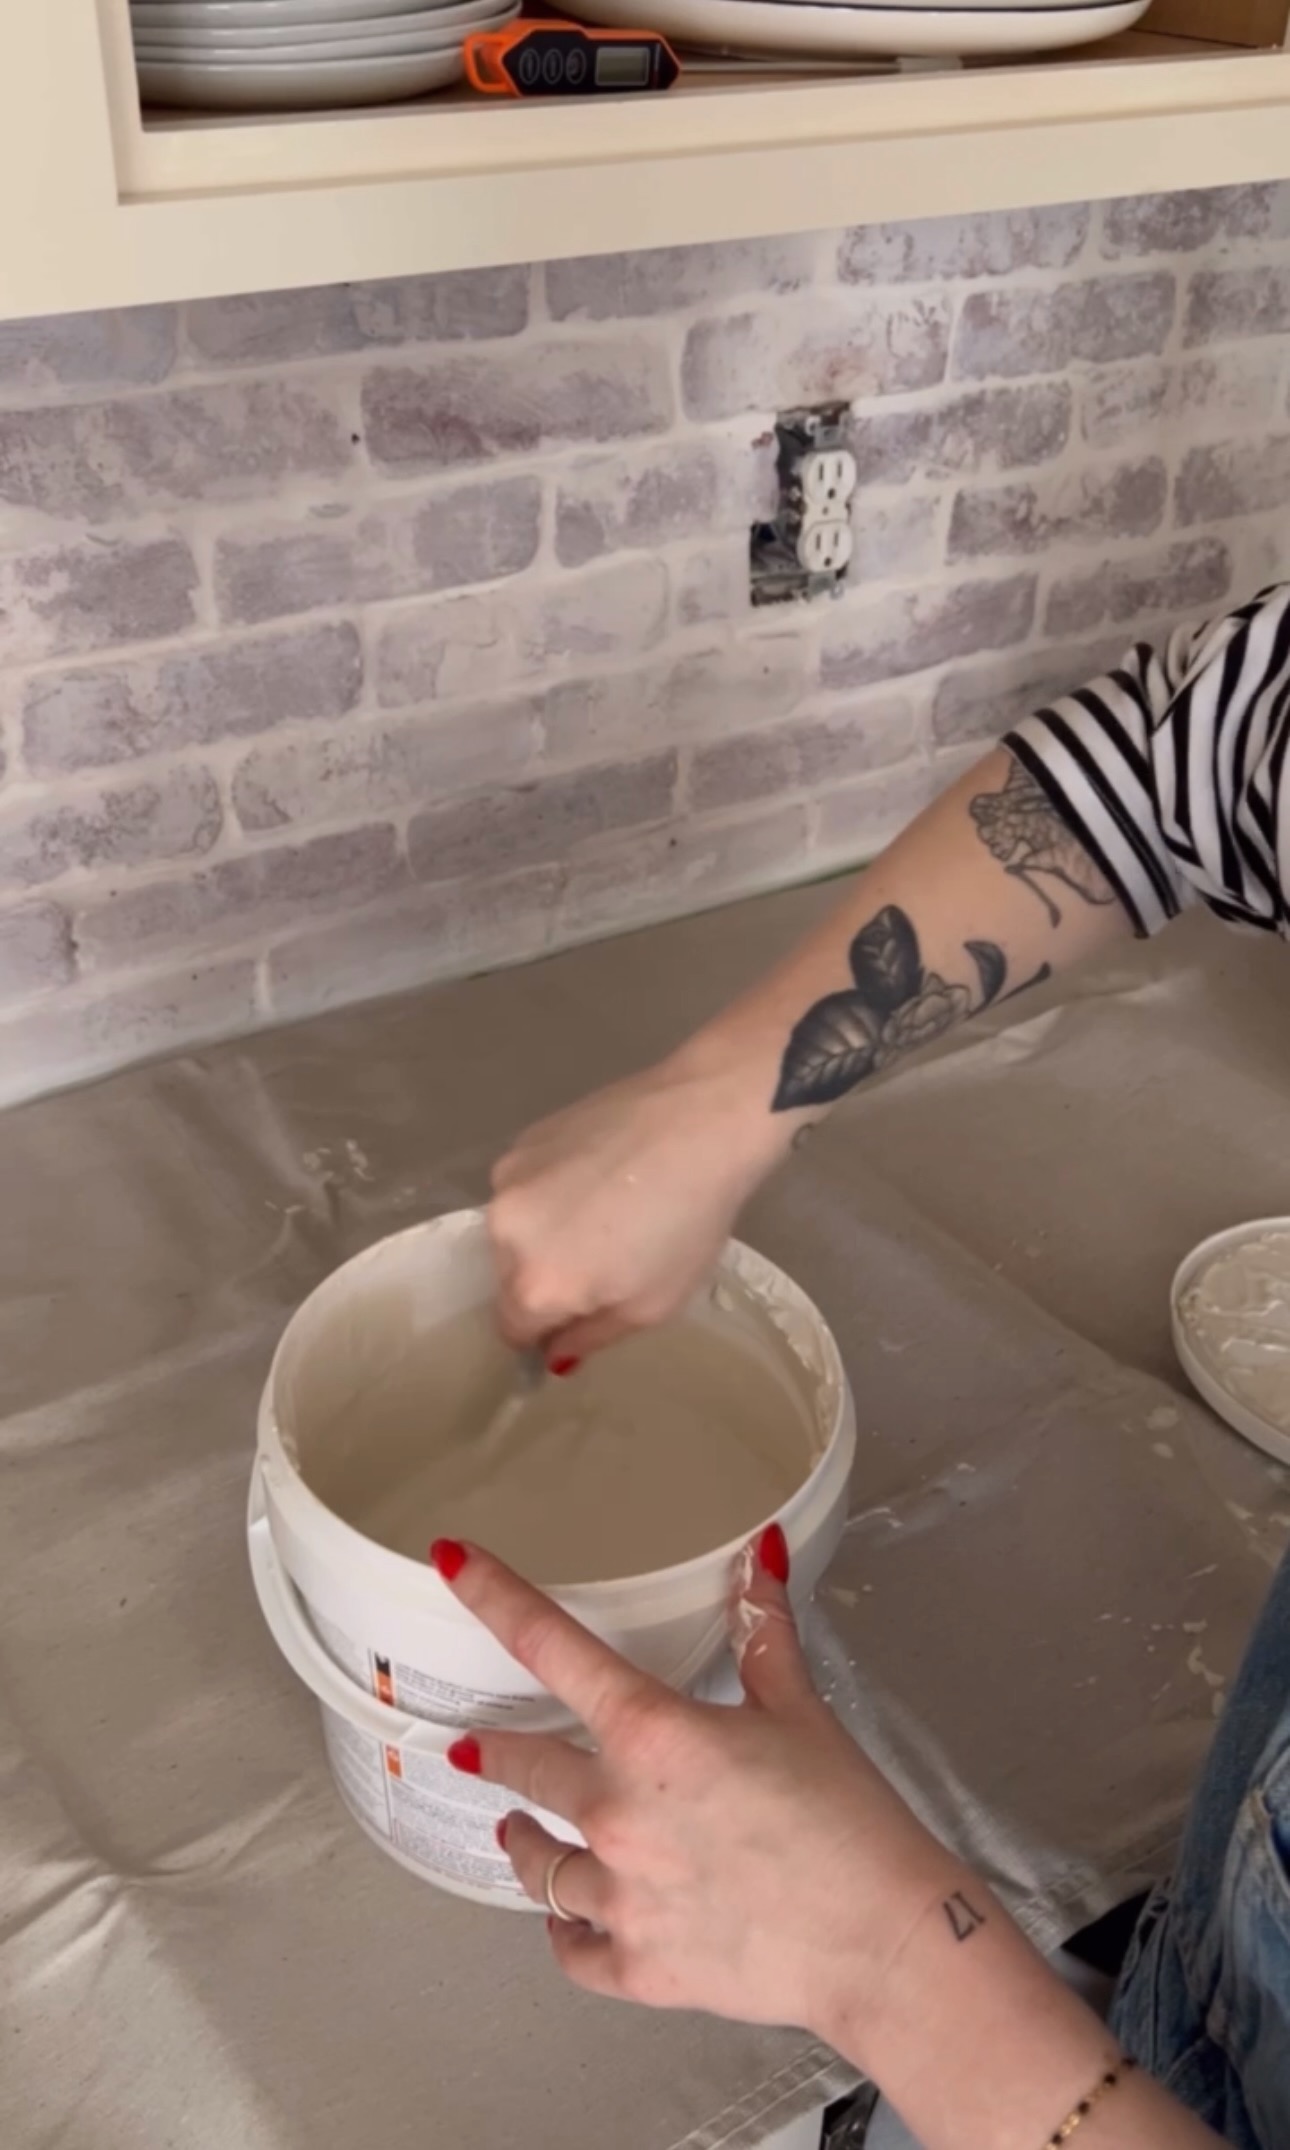
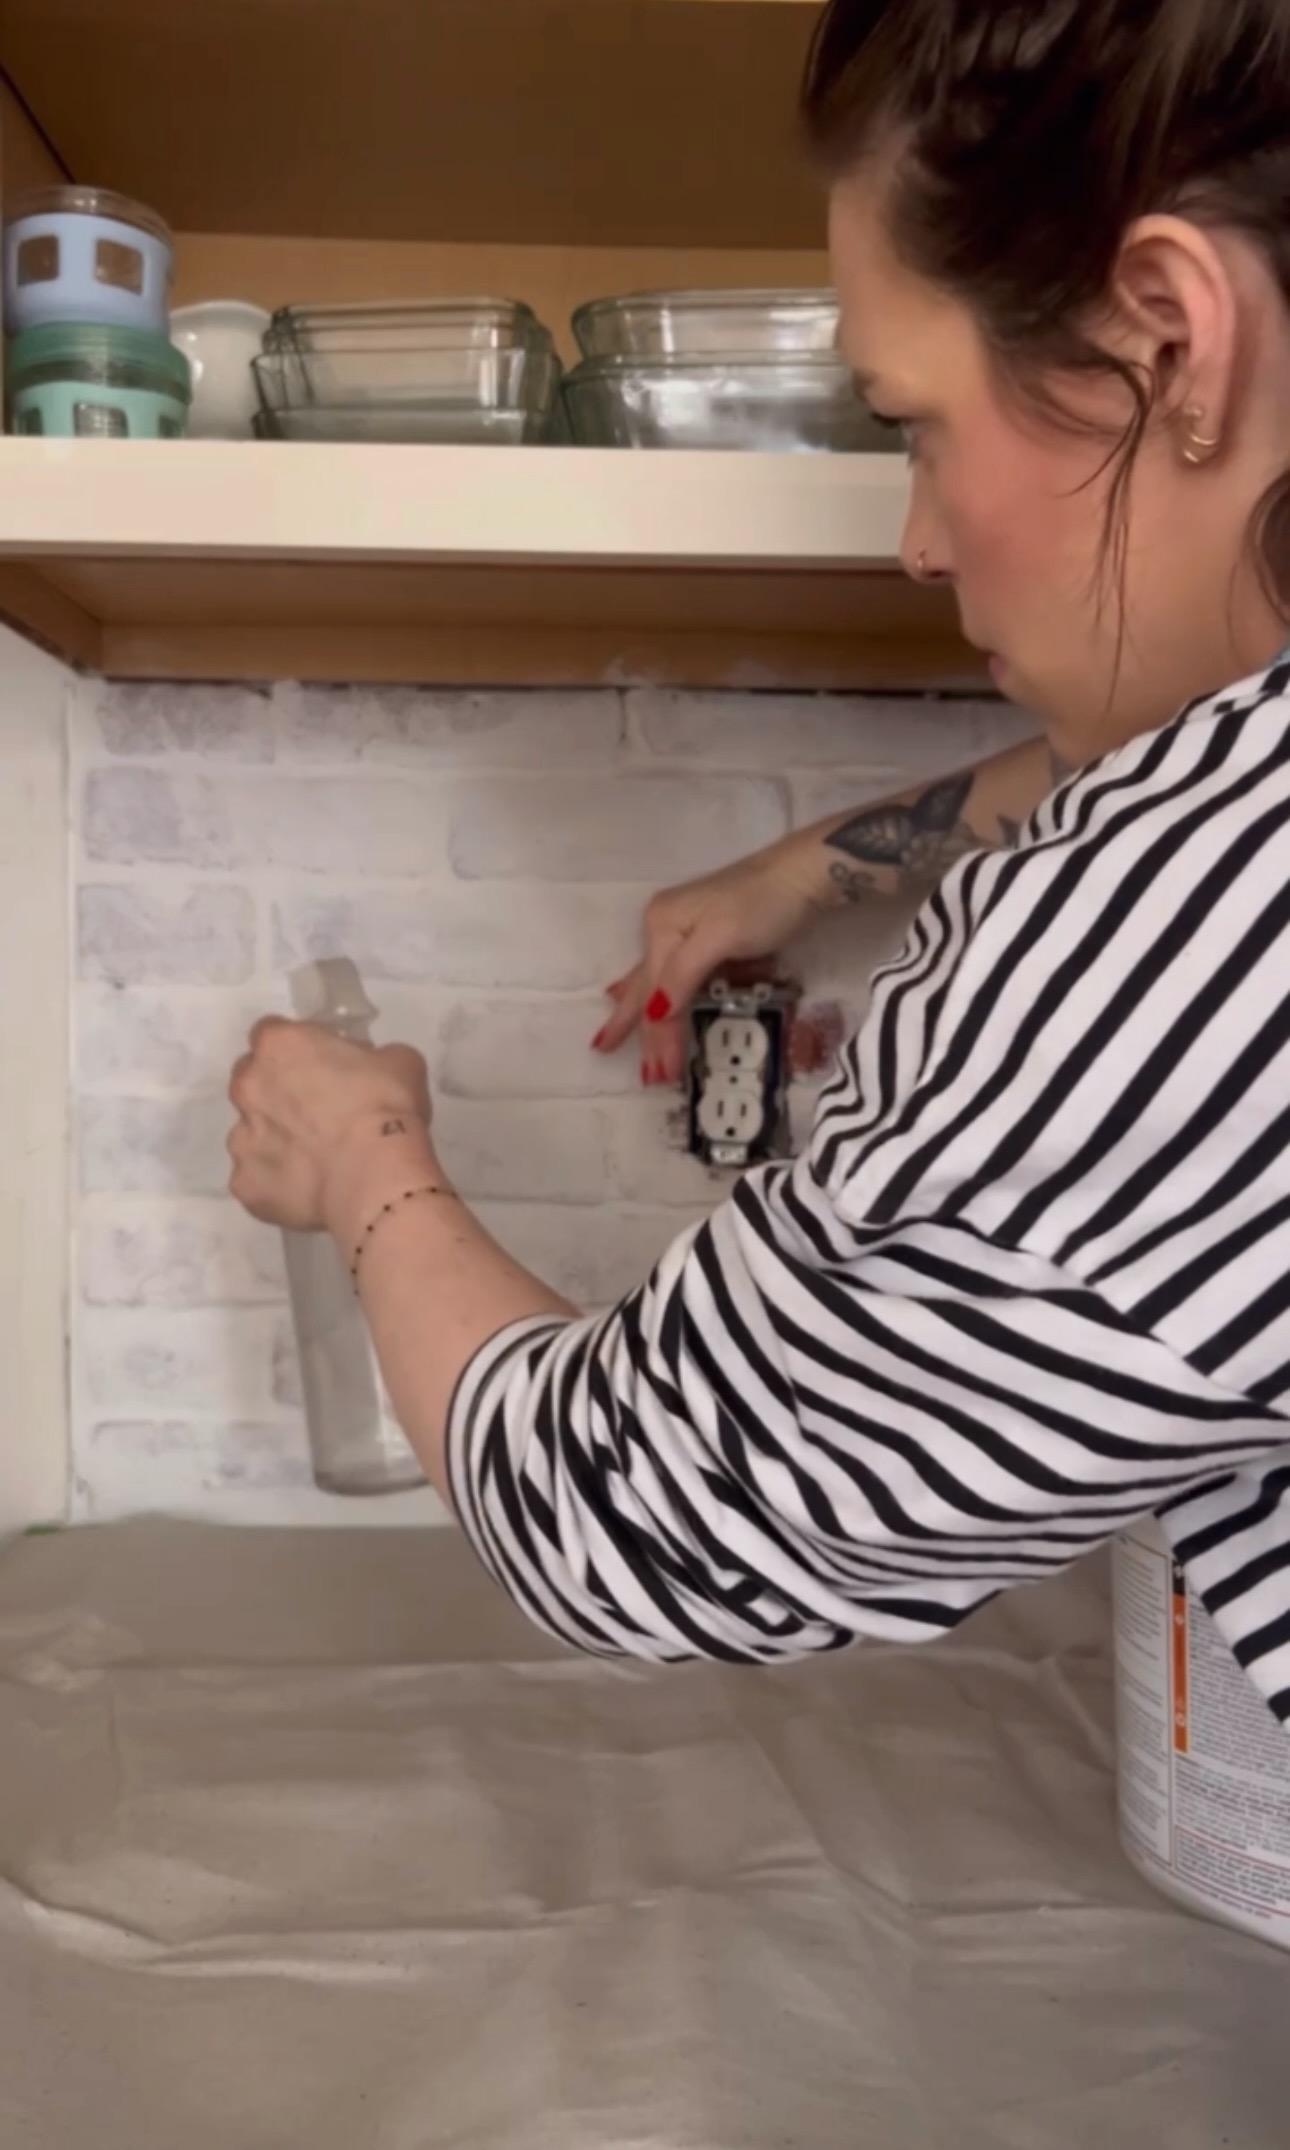
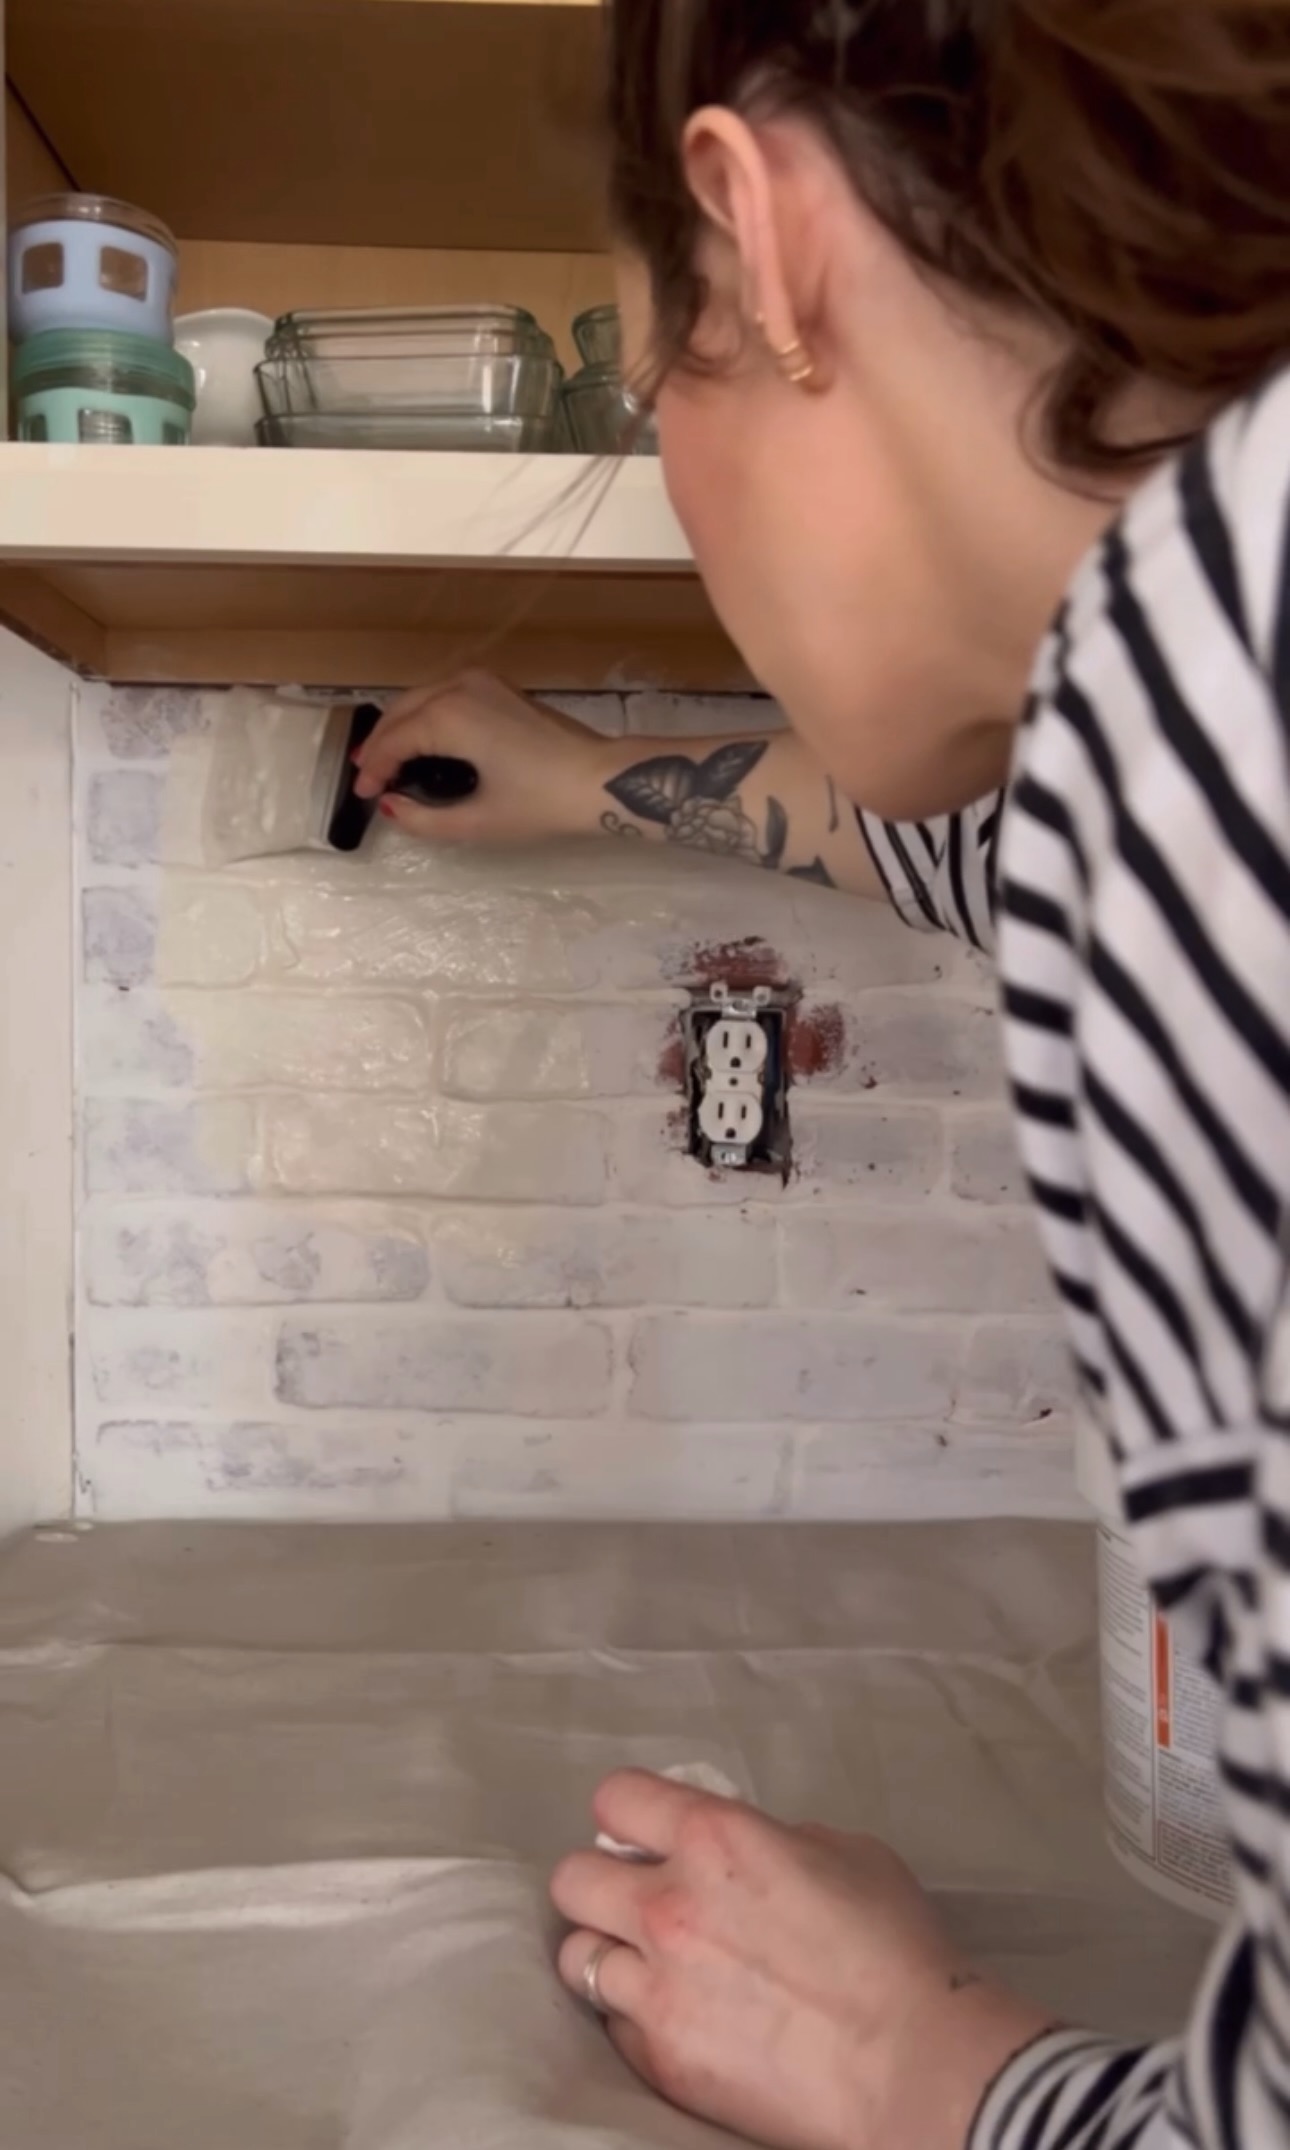
Lime Wash
I was so excited for this part. I used Romabio Lime Wash, the same stuff I used on my fireplace years ago! It’s held up so well. You just dilute it a little bit with water, dampen your surface, and then apply with a brush. I did 2 coats!
Look how PRETTY IT IS!!!!!
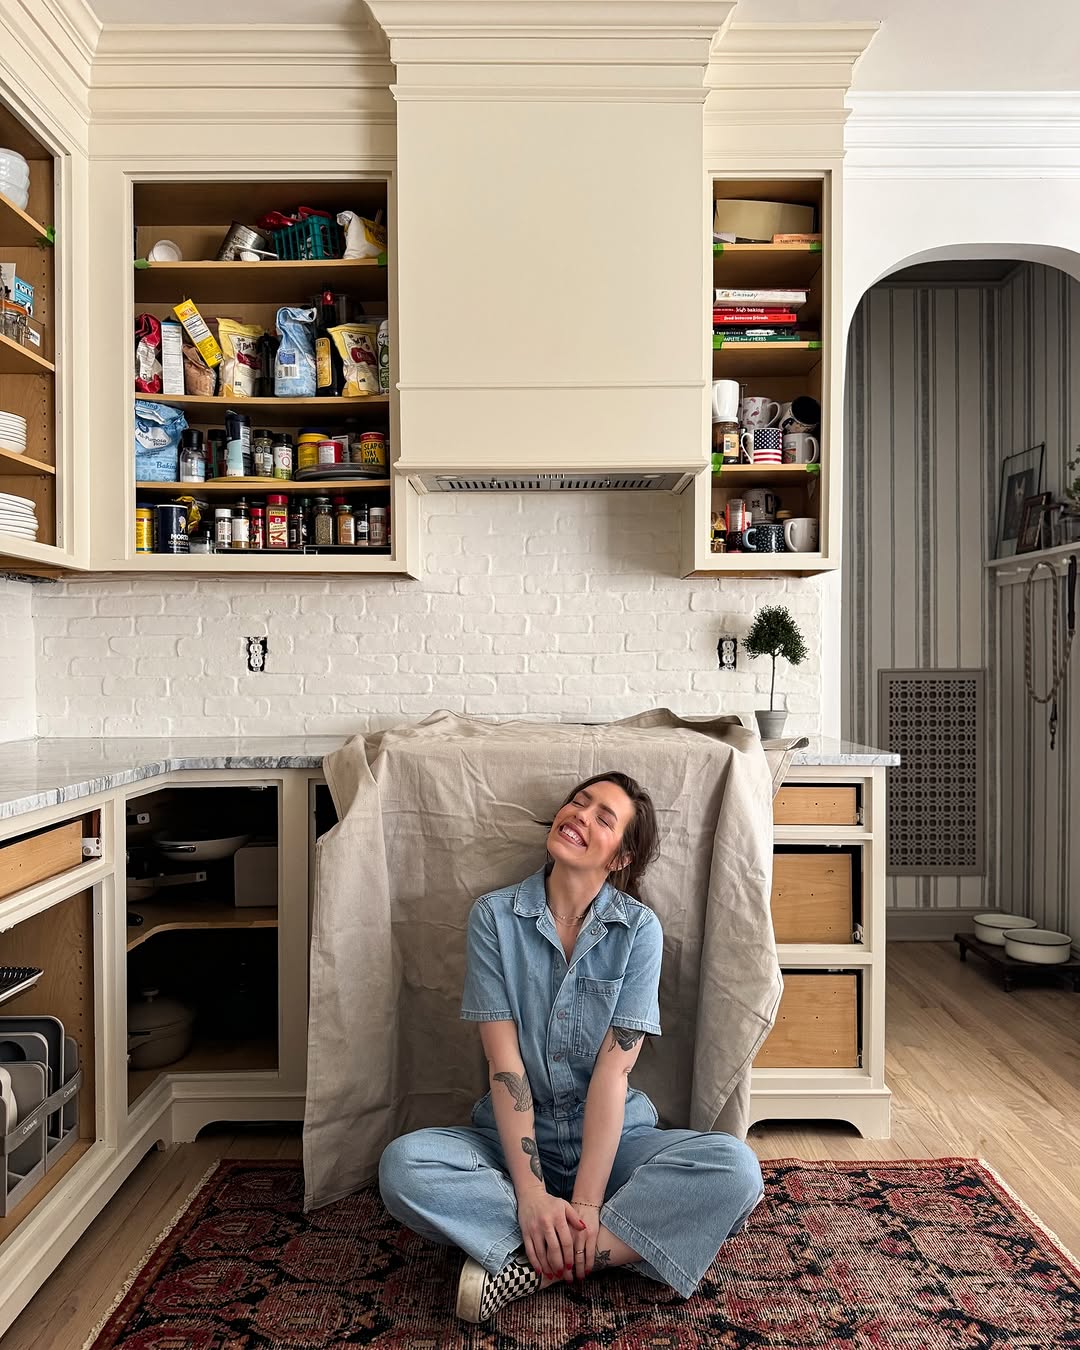
The texture is perfect. It looks like old brick that’s been there for 100 years which is exactly what I was going for!!! I can see the light at the end of the tunnel…the kitchen is almost done! If you need a reminder of where we’re headed, you can see my kitchen makeover plans here in this blog post!
I love it! I’m looking for the paint colors you used on the cabinets. Can you share?
I love the brick blacksplash and it’s been on my dream board for my kitchen… my concern is how “wipeable” it is? I’m worrierd about things getting stuck in the grooves of the brick. How has it been for you?
I was worried too – but it’s super easy to wipe down!