DIY Second Hand Dresser

I finished painting August’s Nursery last week and now we just need a new dresser. I wanted to give whatever second hand dresser found a face lift. So I decided to do this DIY second hand dresser project.

I actually had this dresser saved on Facebook Marketplace for a while. I thought something better would come along. But it checked all my boxes and was super affordable. I couldn’t pass it up. Here it is!
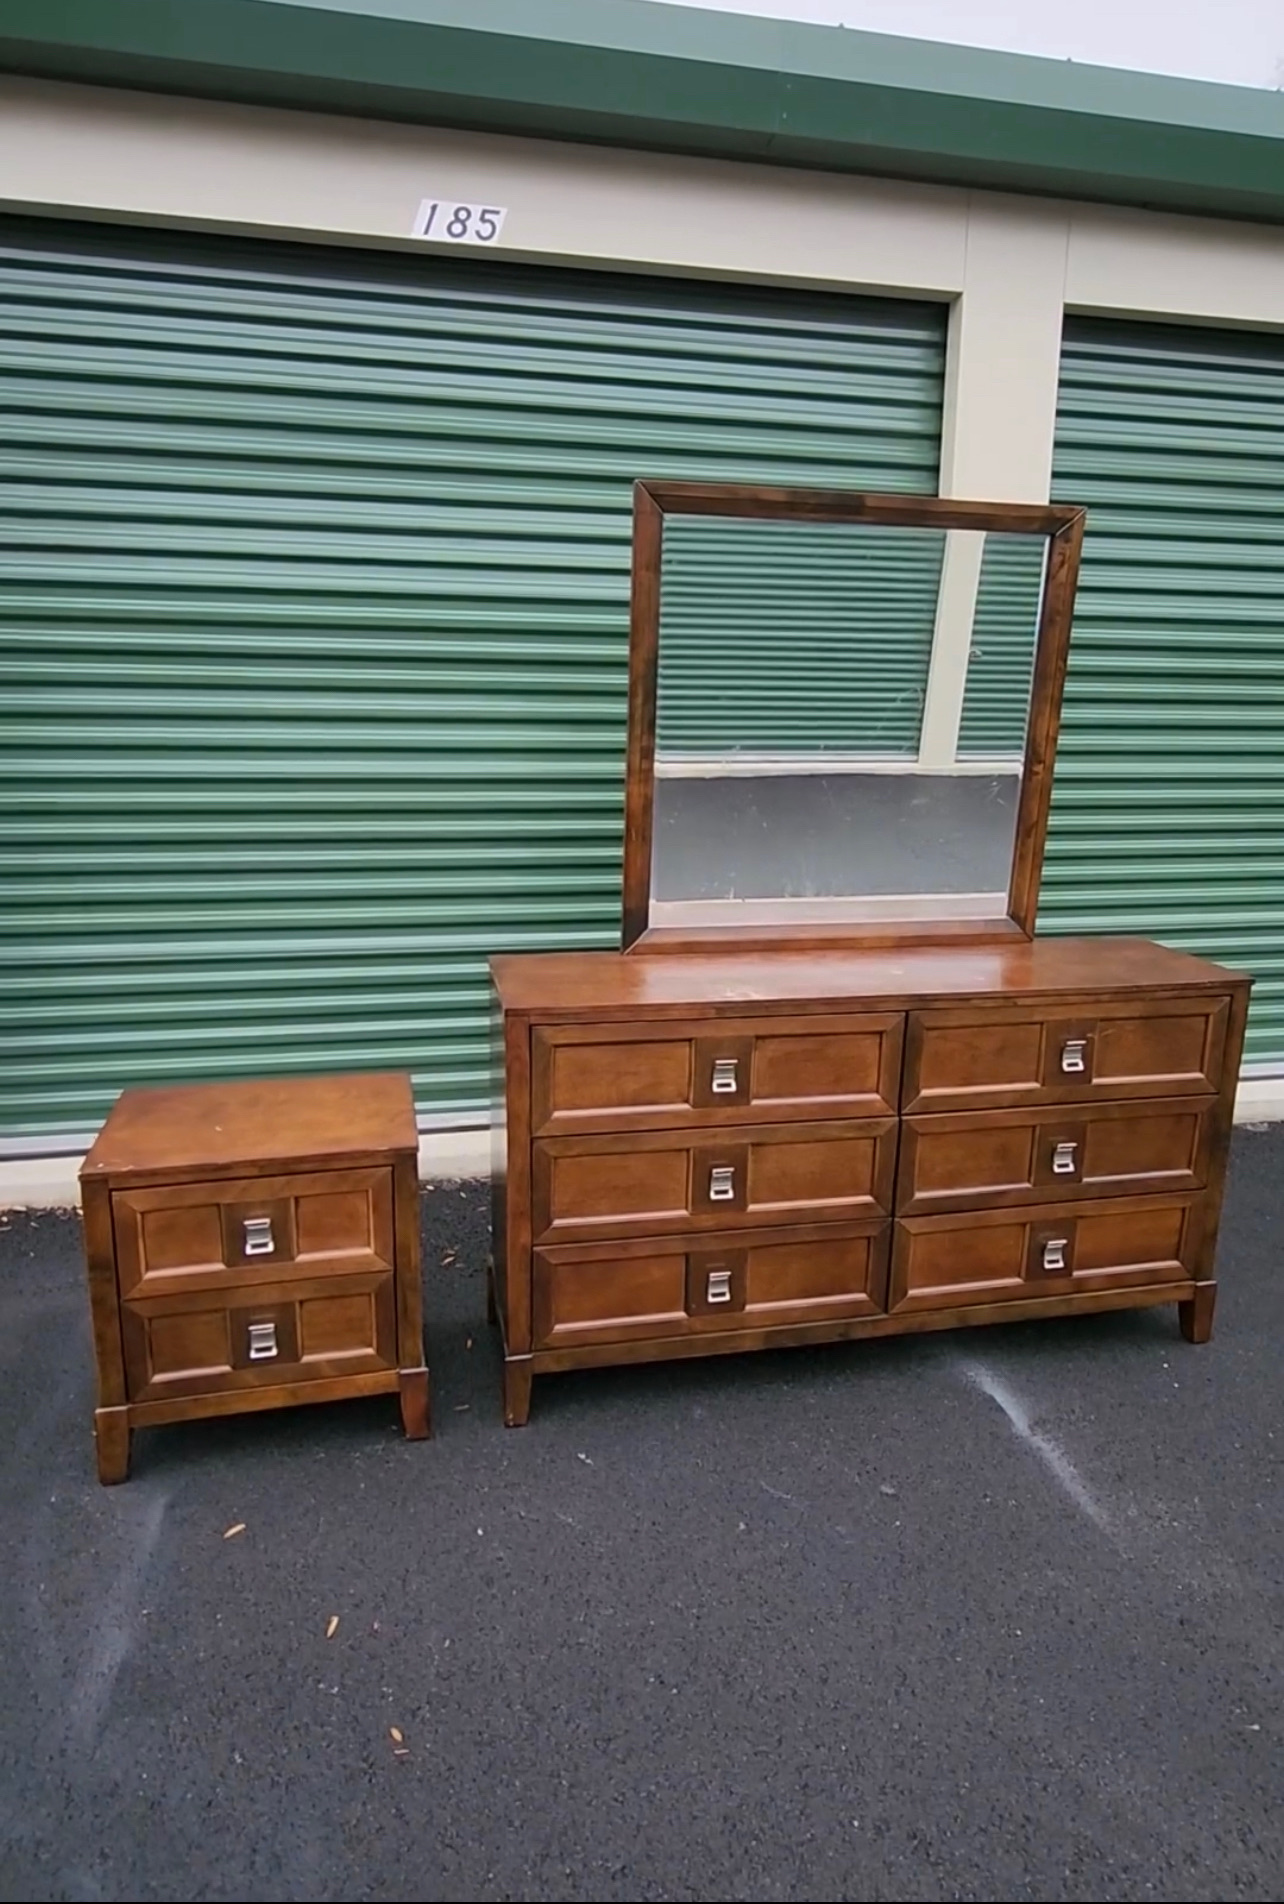
She’s got great lines. The dimensions check out. The perfect dresser for this project! It definitely was damaged. The wood tone was beautiful but it’s actually veneer. There were tons of chips and scratches – so I didn’t feel bad about painting it!
Materials for my DIY Second Hand Dresser
- Drill
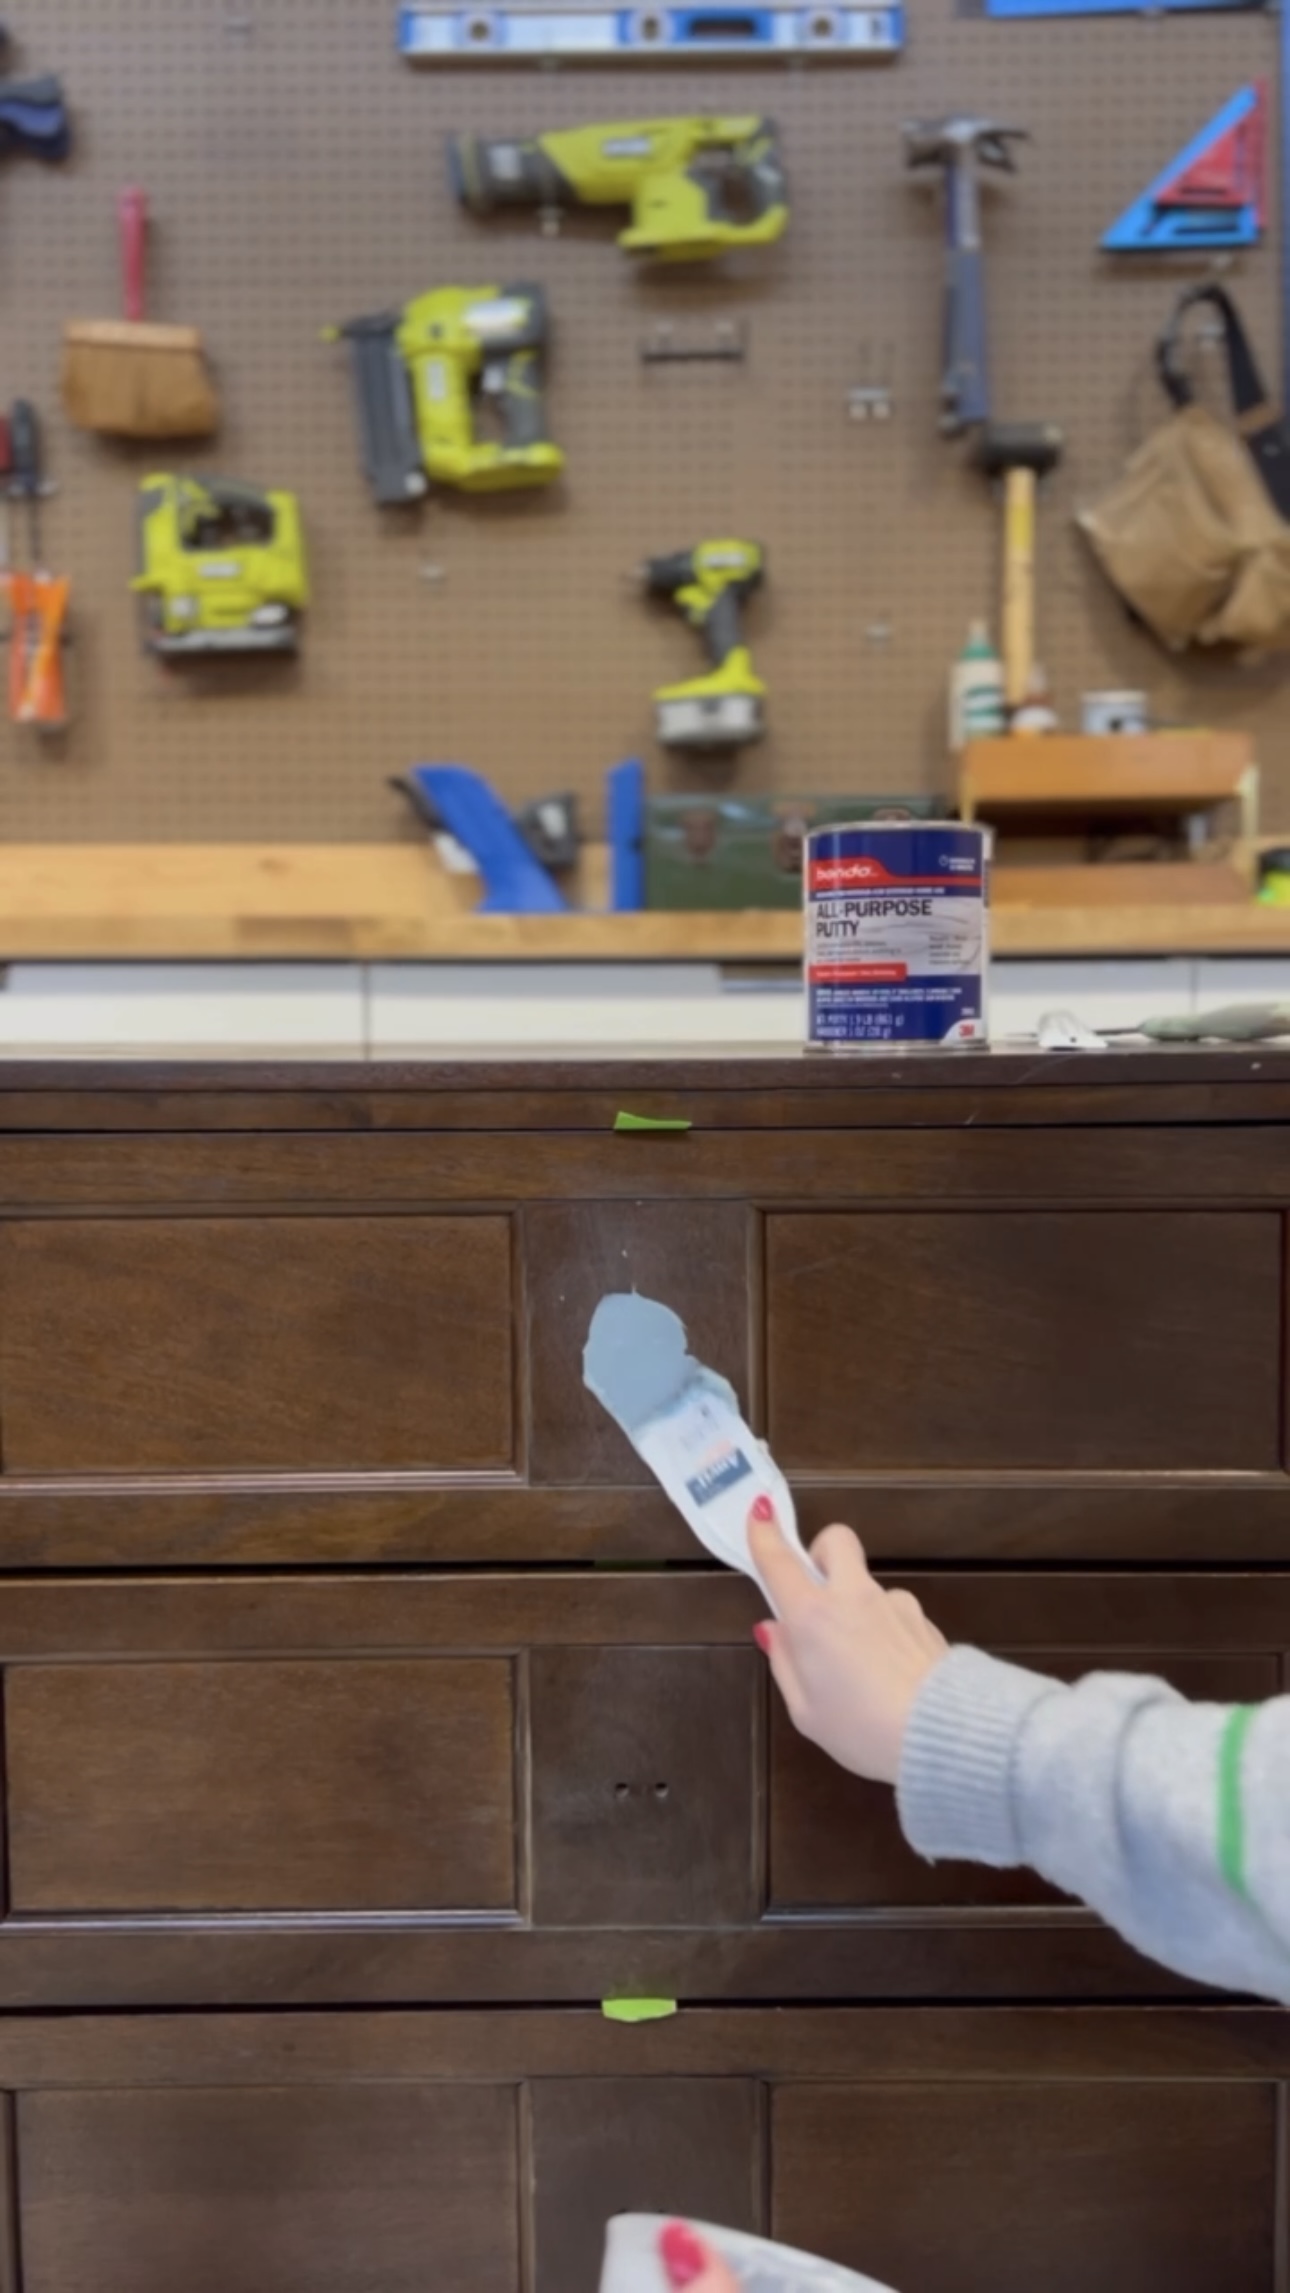
- All Purpose Putty
- Green Painter’s Tape
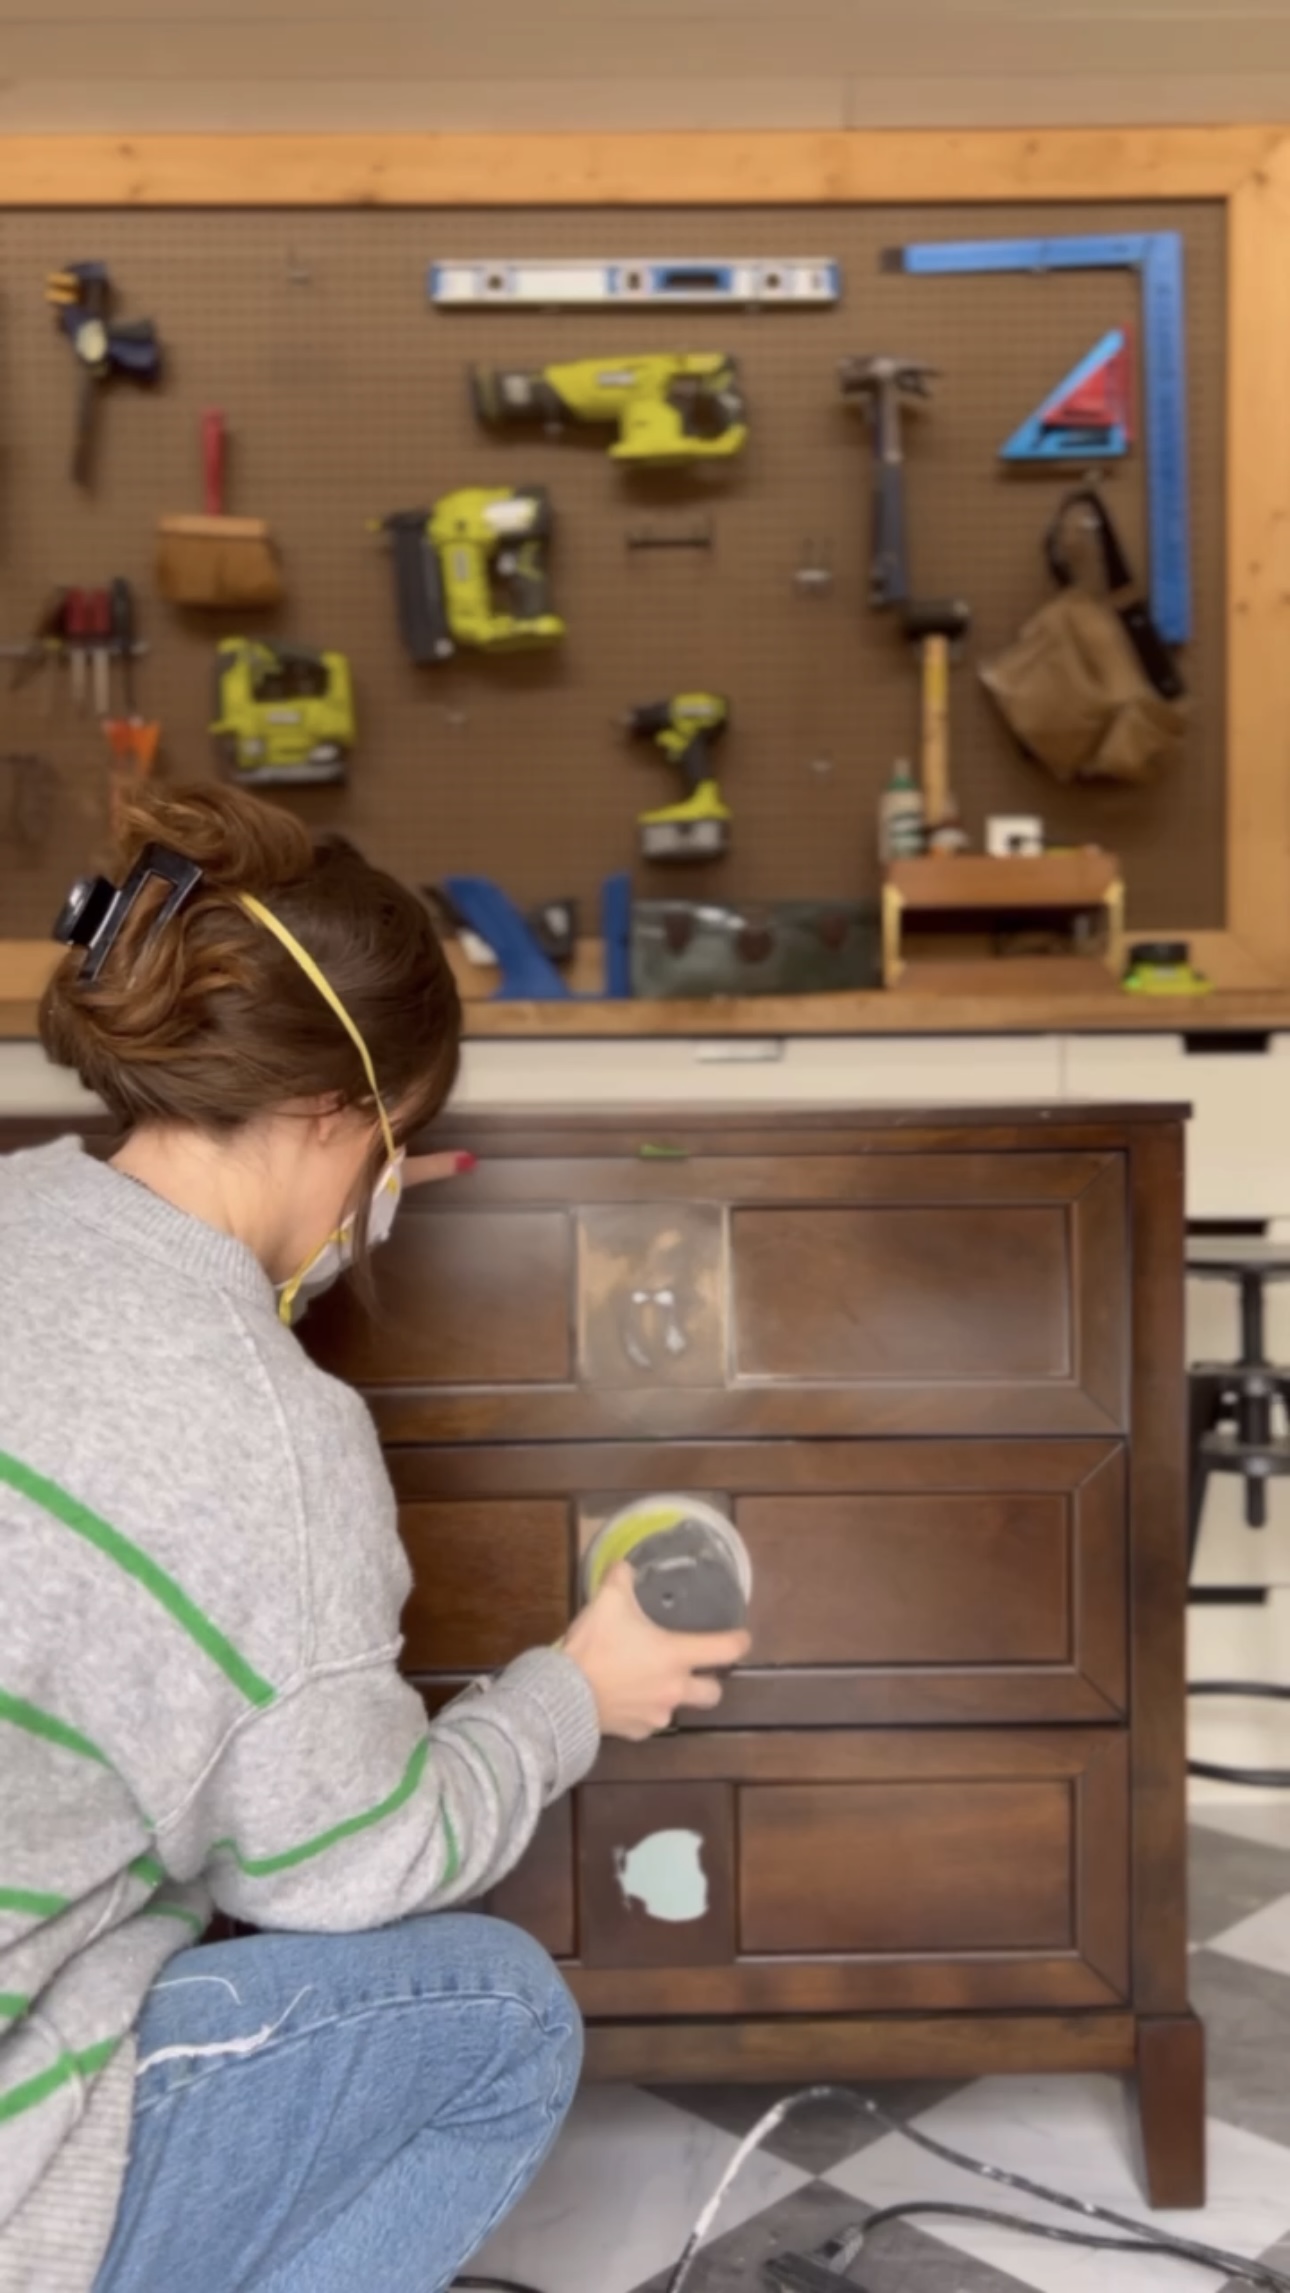
- Orbital Sander
- Flocked Foam Roller
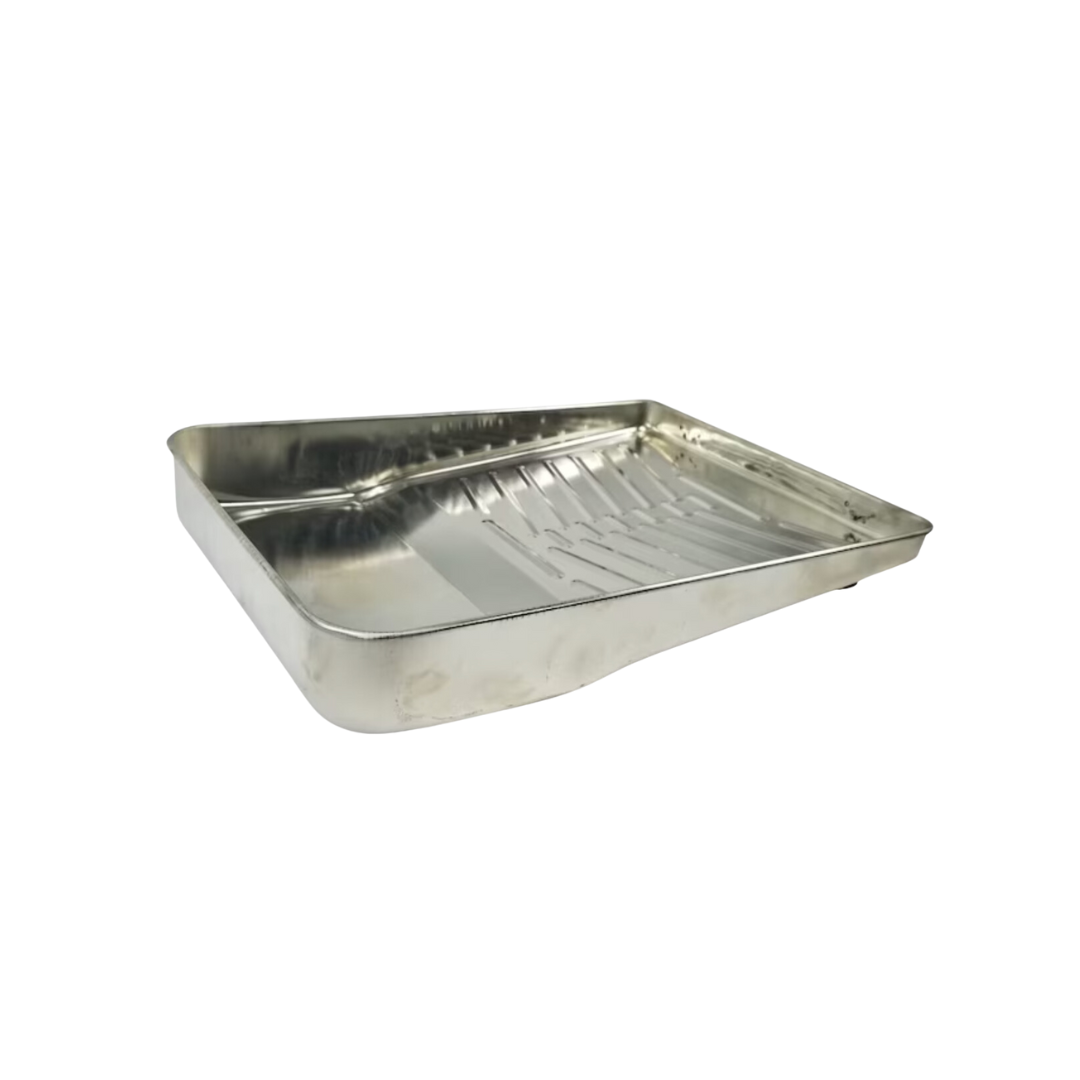
- Paint Tray
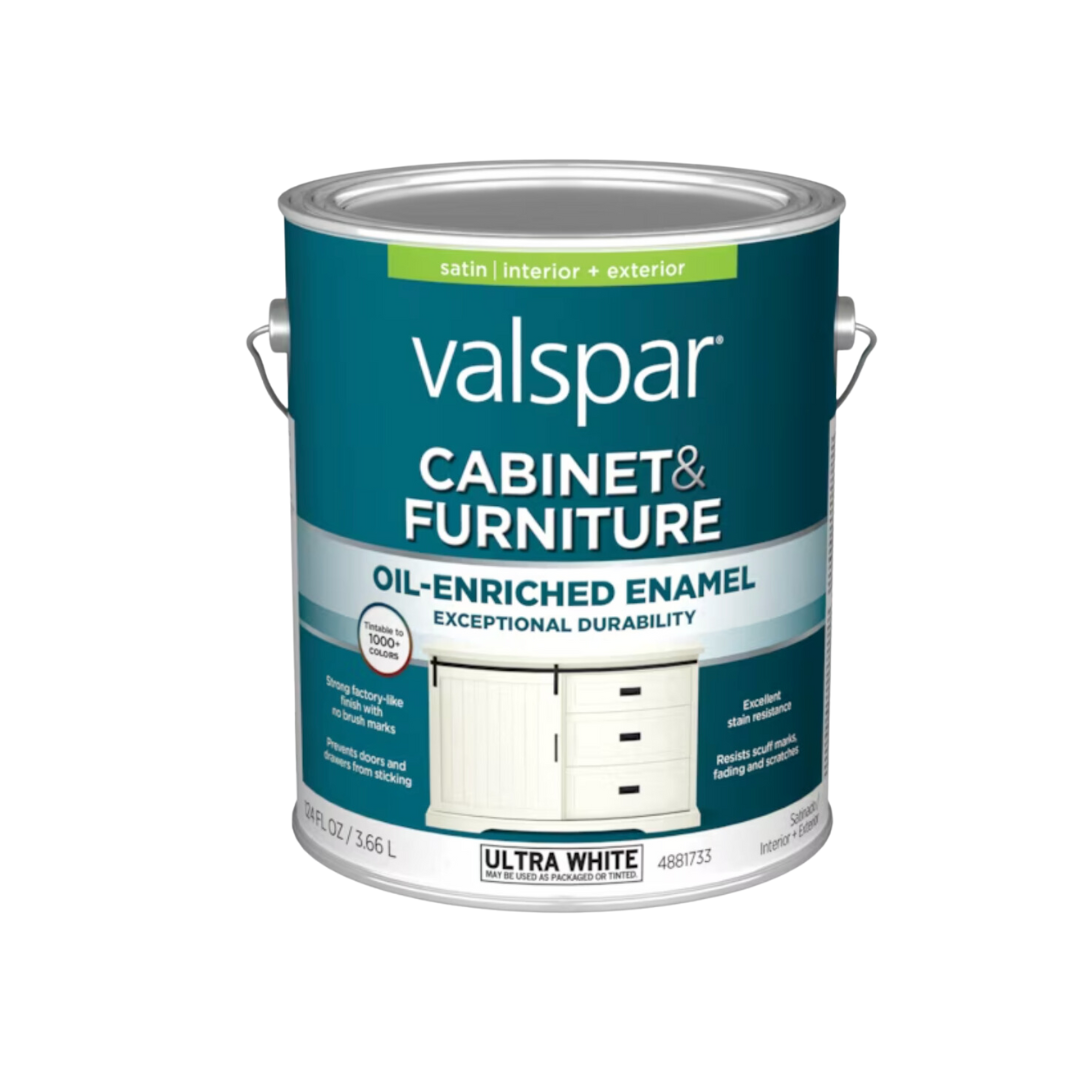
- Valspar Cabinet and Furniture Oil Enamel
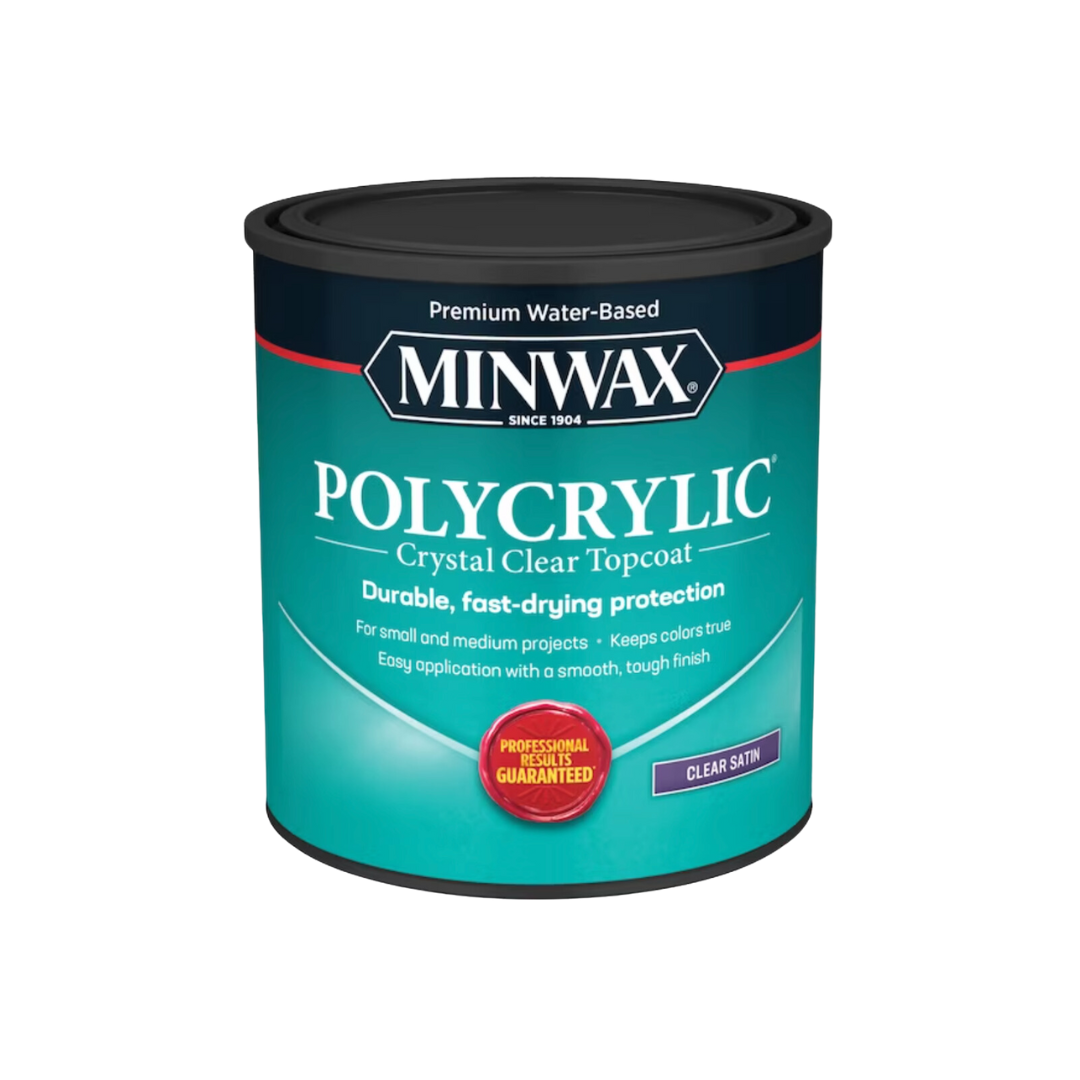
- Satin Polycrylic
- Brass Knobs


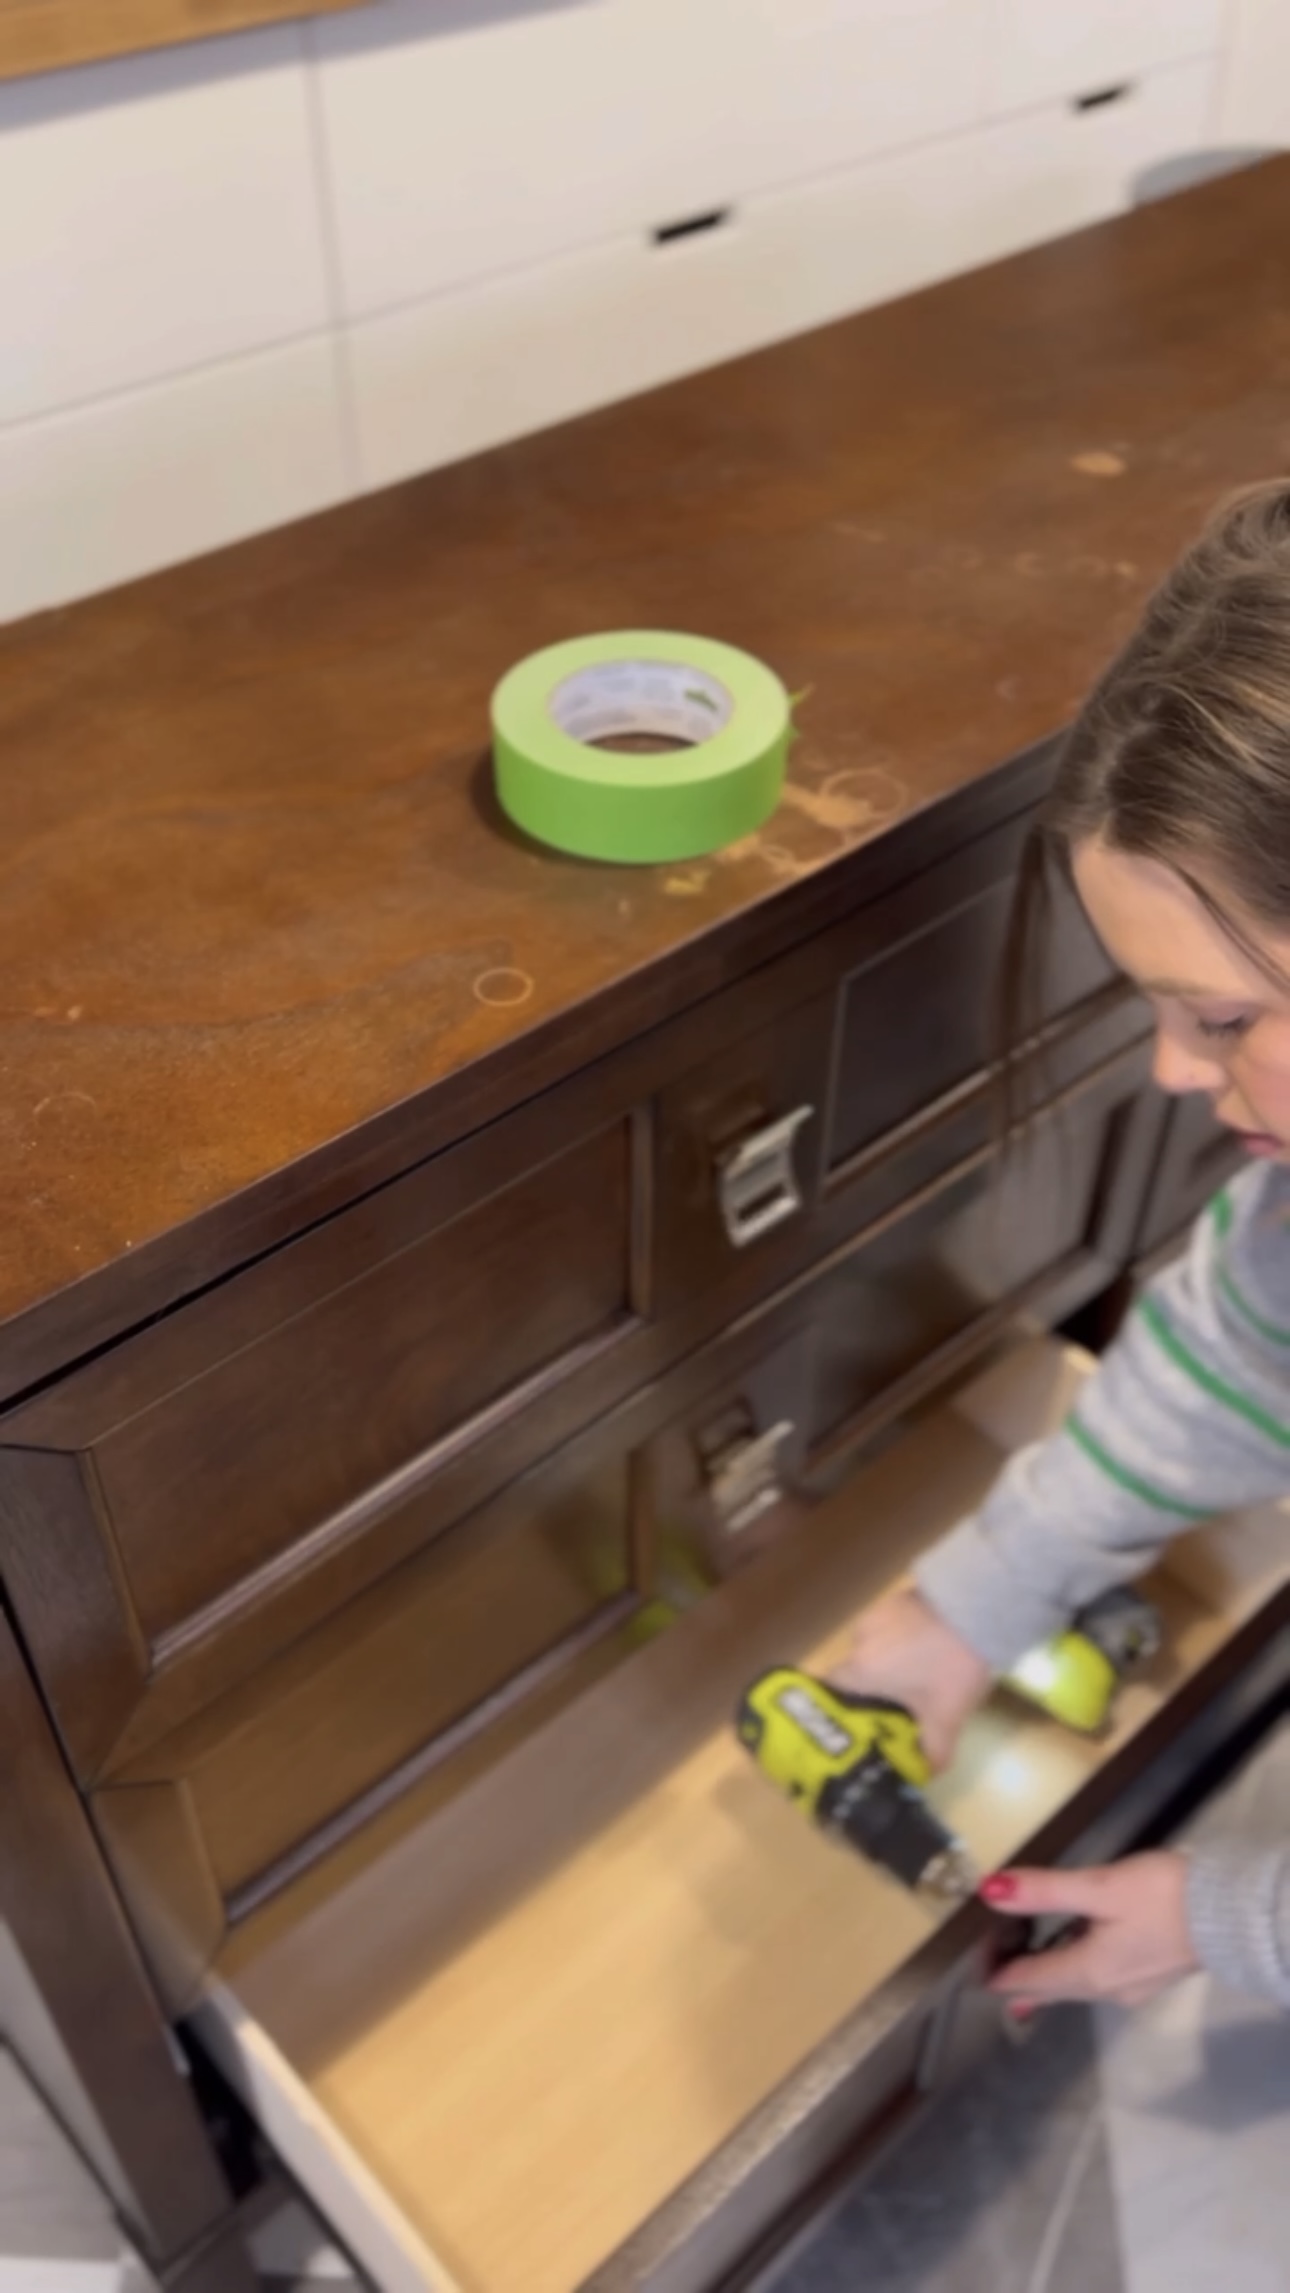
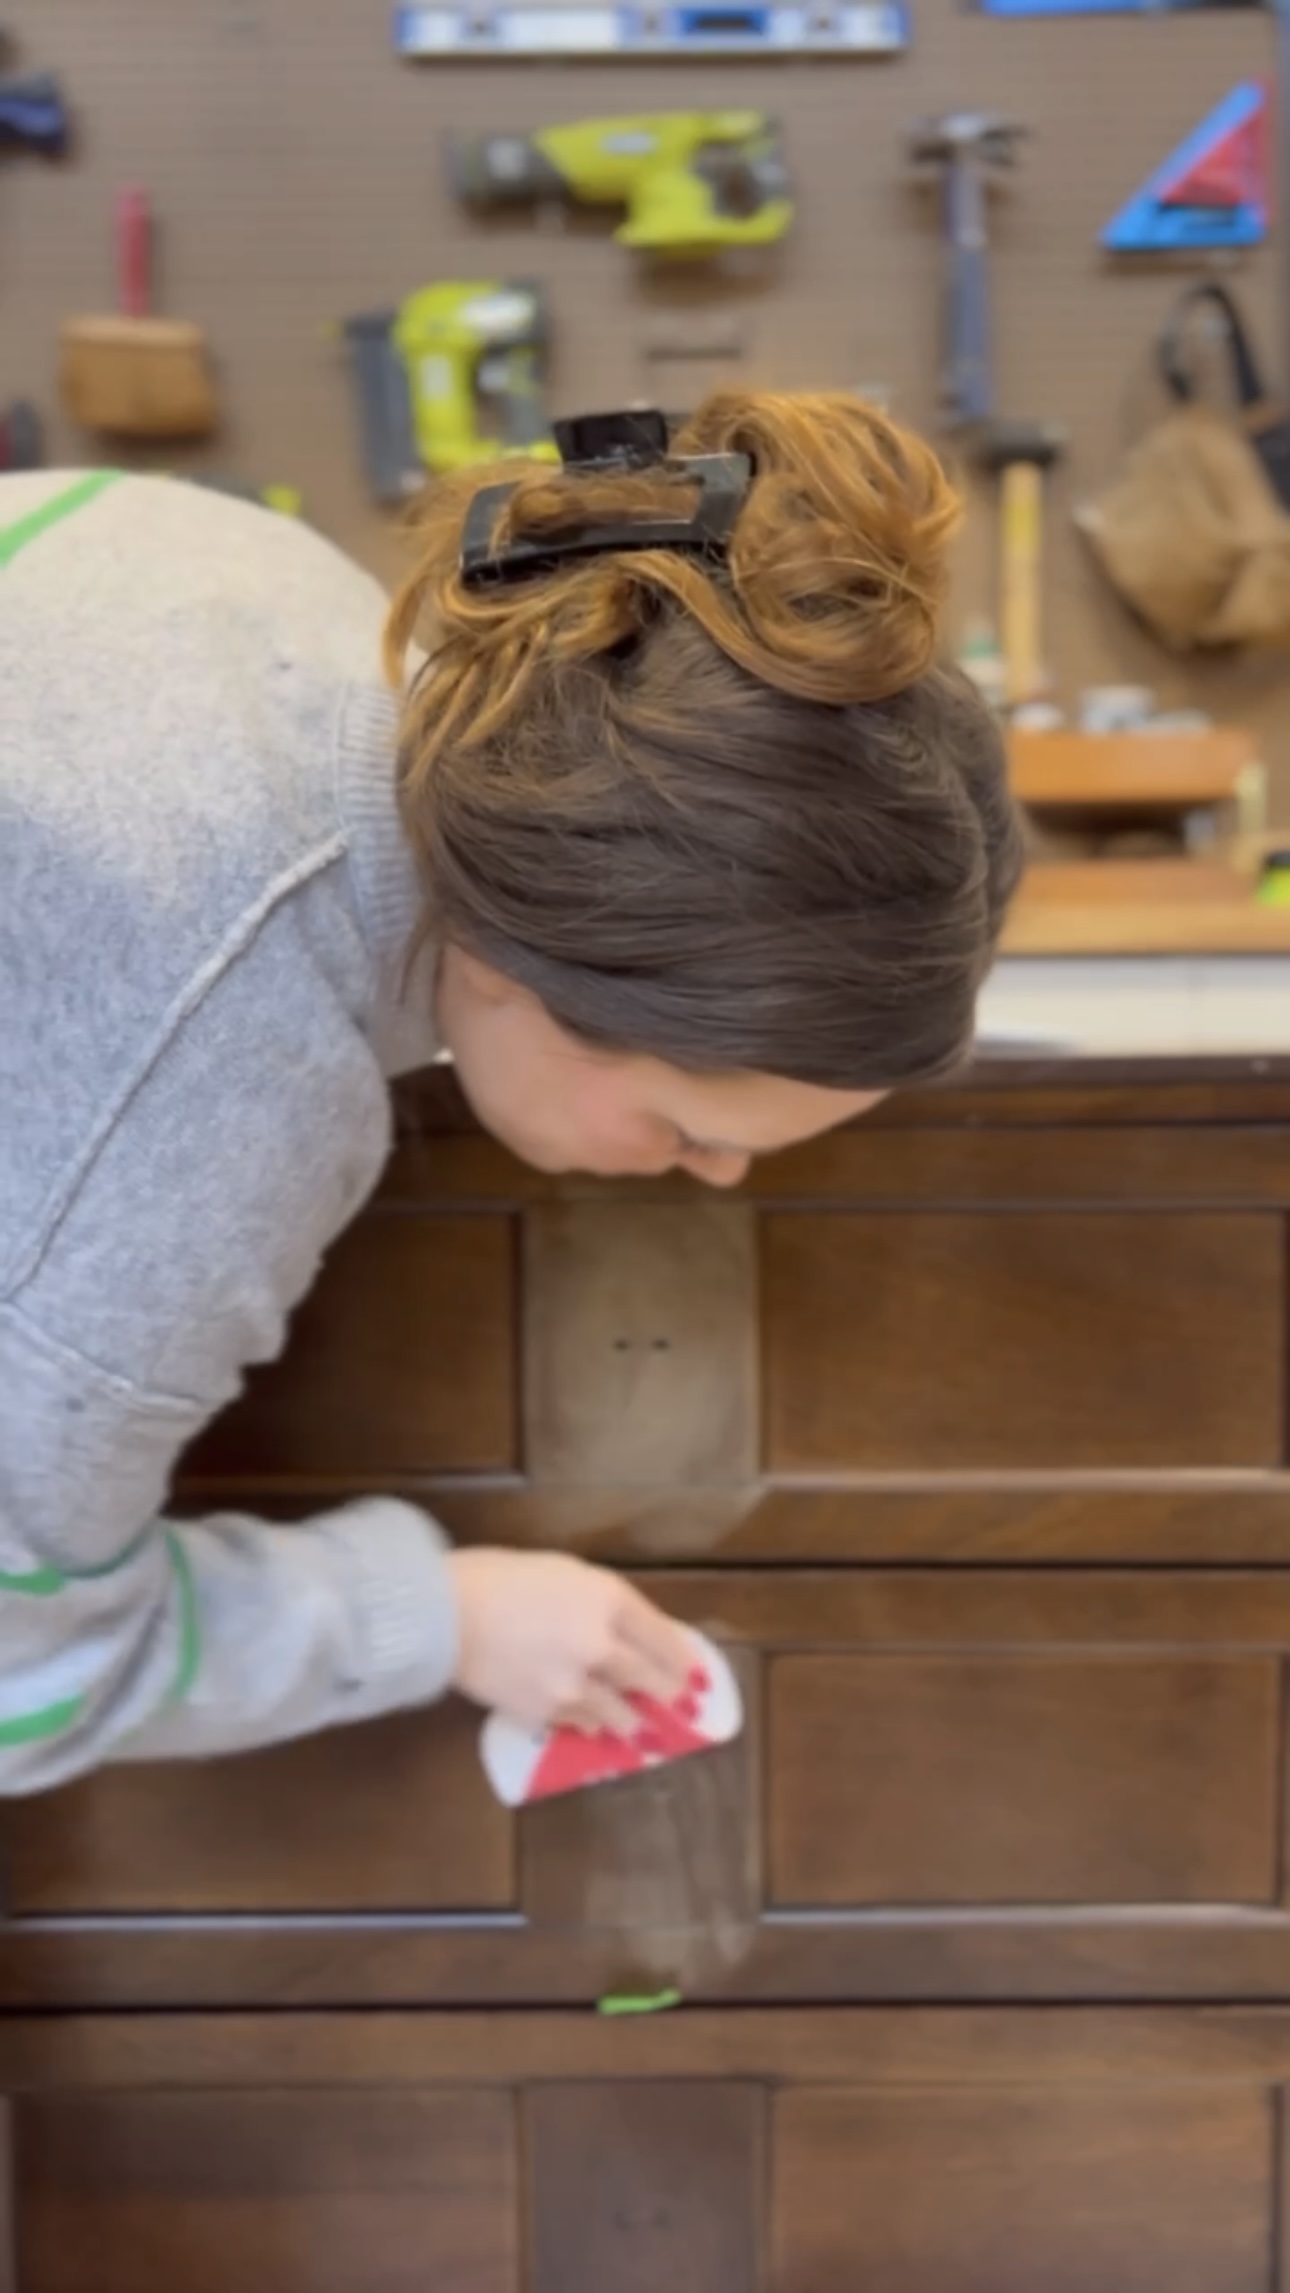
Prep for Paint
To prep for paint, I taped the inside of the drawers so when I removed the hardware, I’d still be able to open the drawers. I used all purpose putty to fill the holes where the hardware was. The knobs I wanted on this dresser only needed one hole and the old hardware had two. This stuff dries super fast! I applied it, let it dry, and sanded it down.
Paint
Time to paint! I used Valspar Cabinet and Furniture Oil Enamel. It holds up so well and requires no prep – so you don’t even have to sand with this stuff!
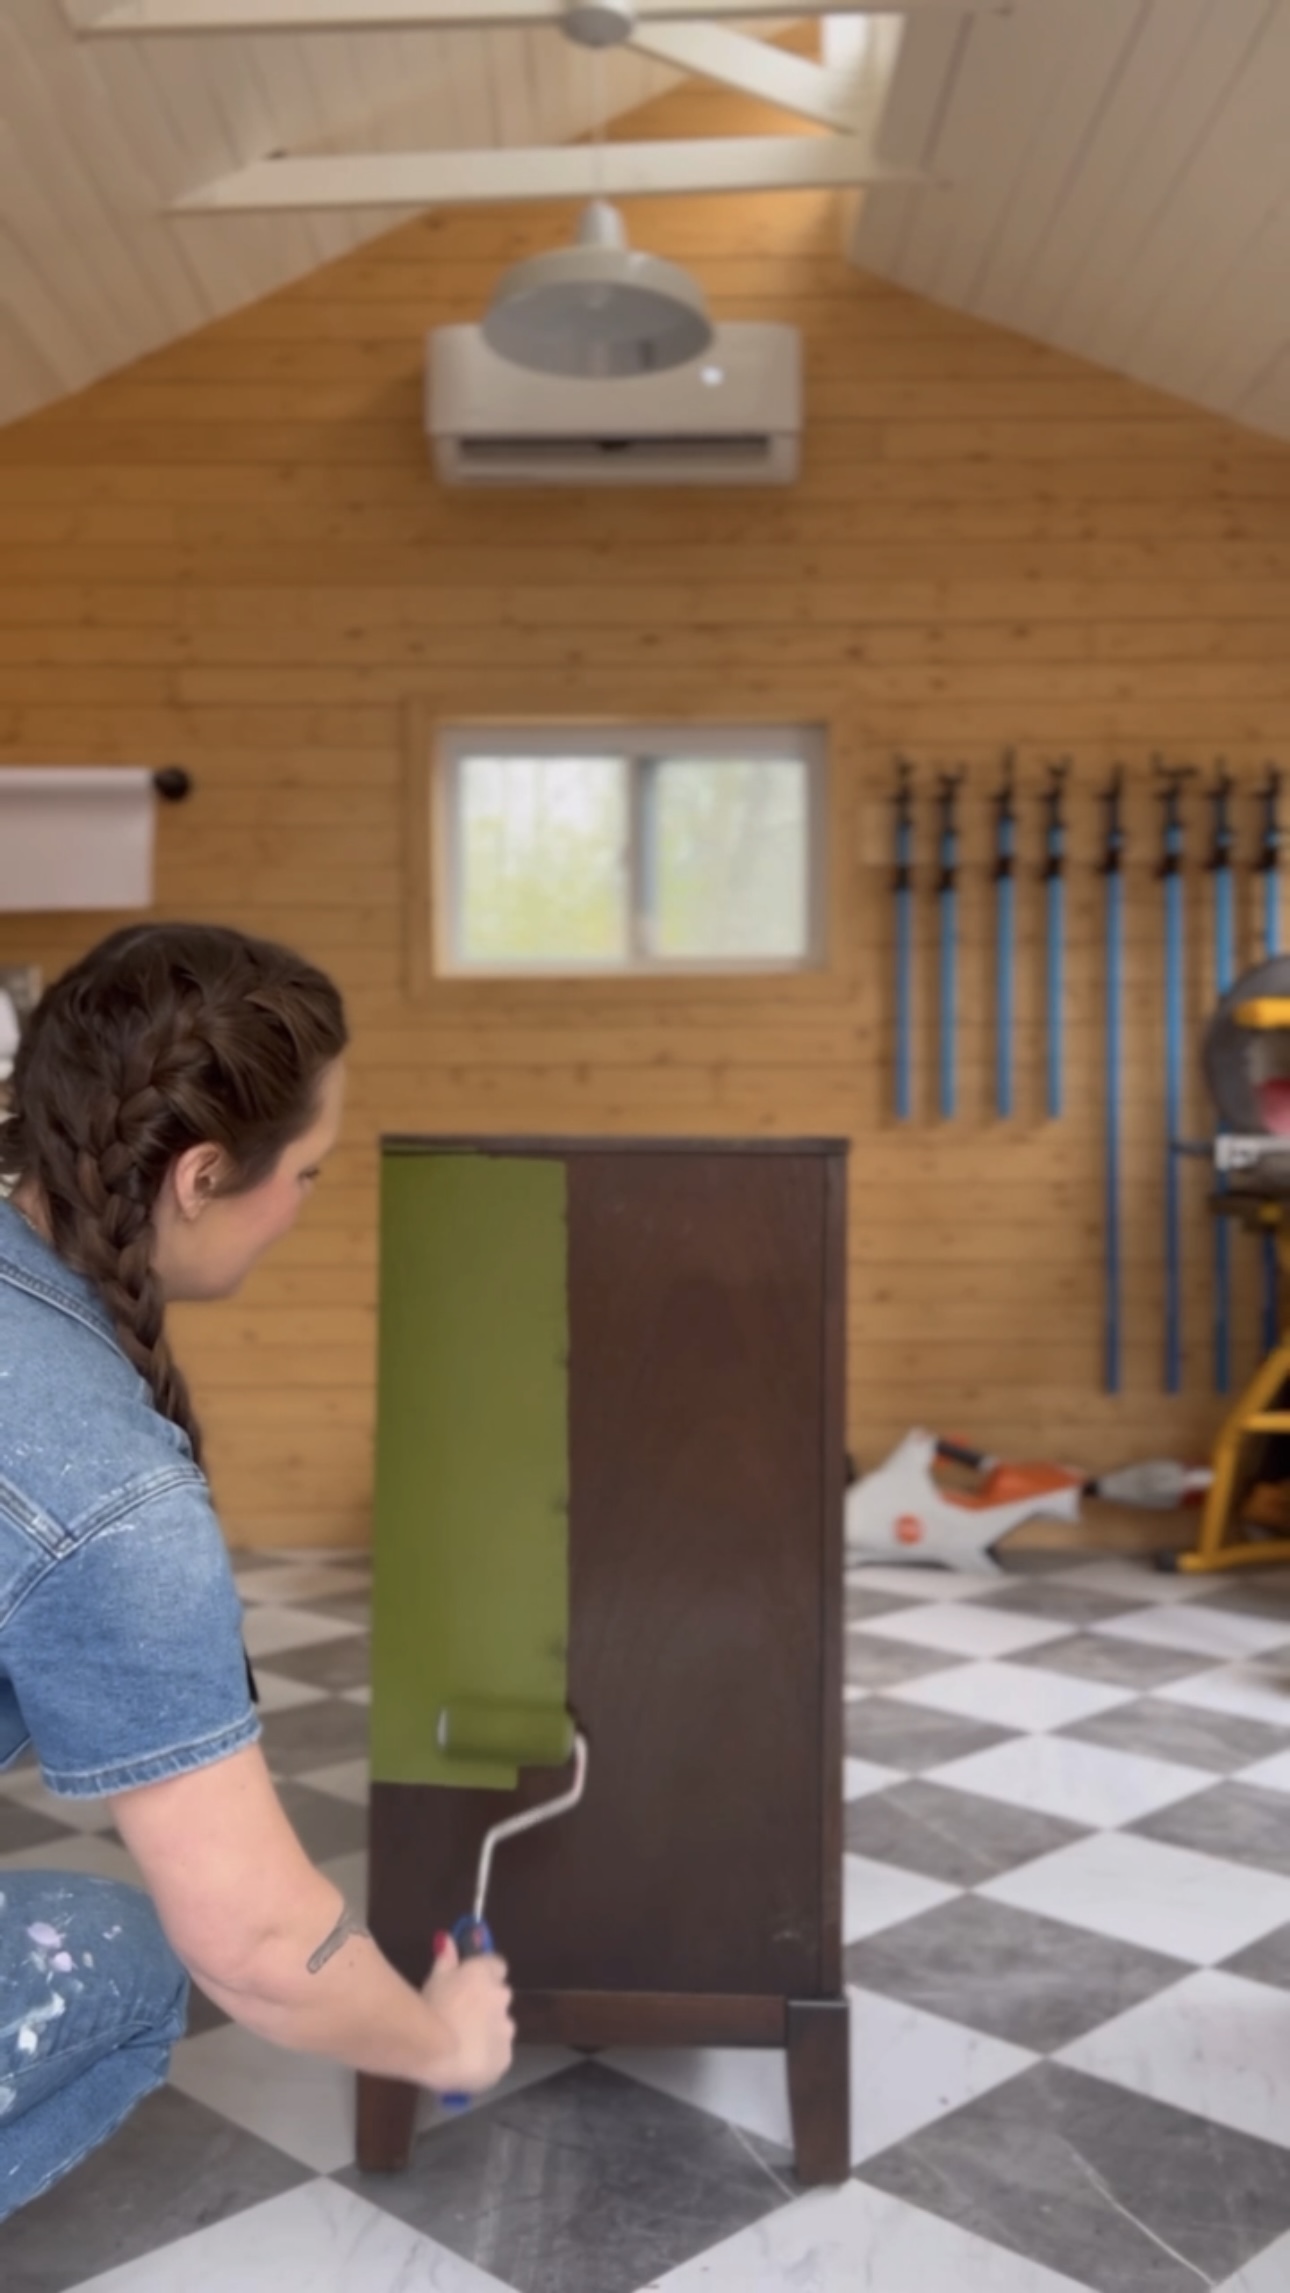

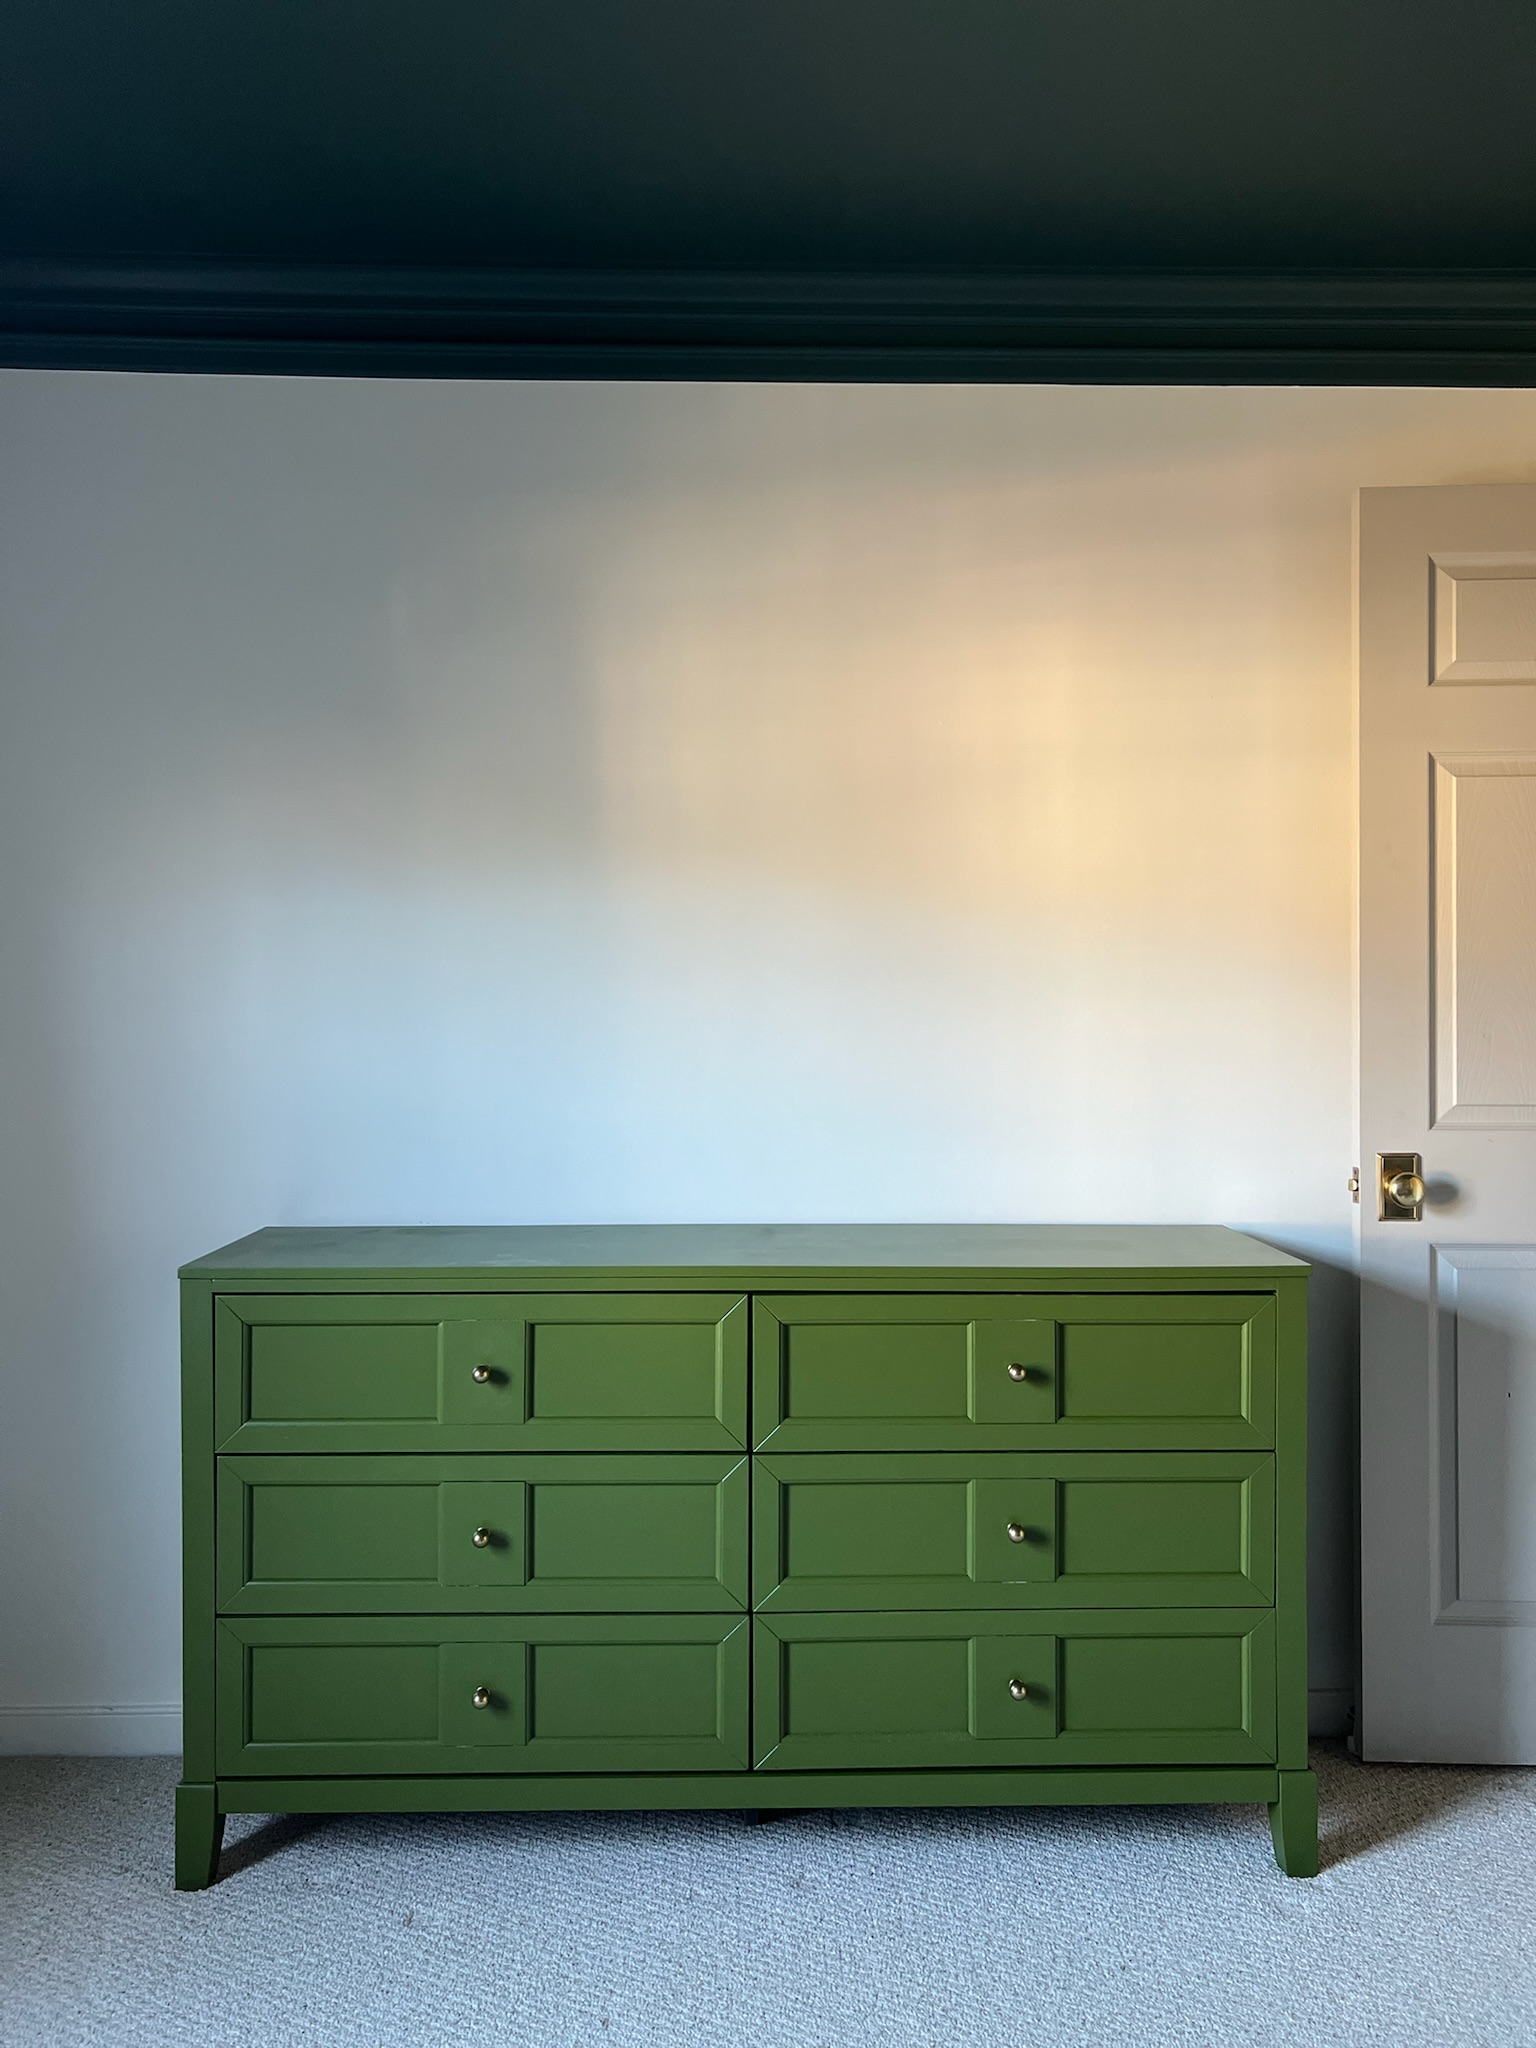
The color is Basque Green by Sherwin Williams. I know you might think this color would look weird with the ceiling color, but I PROMISE it works. Trust me!
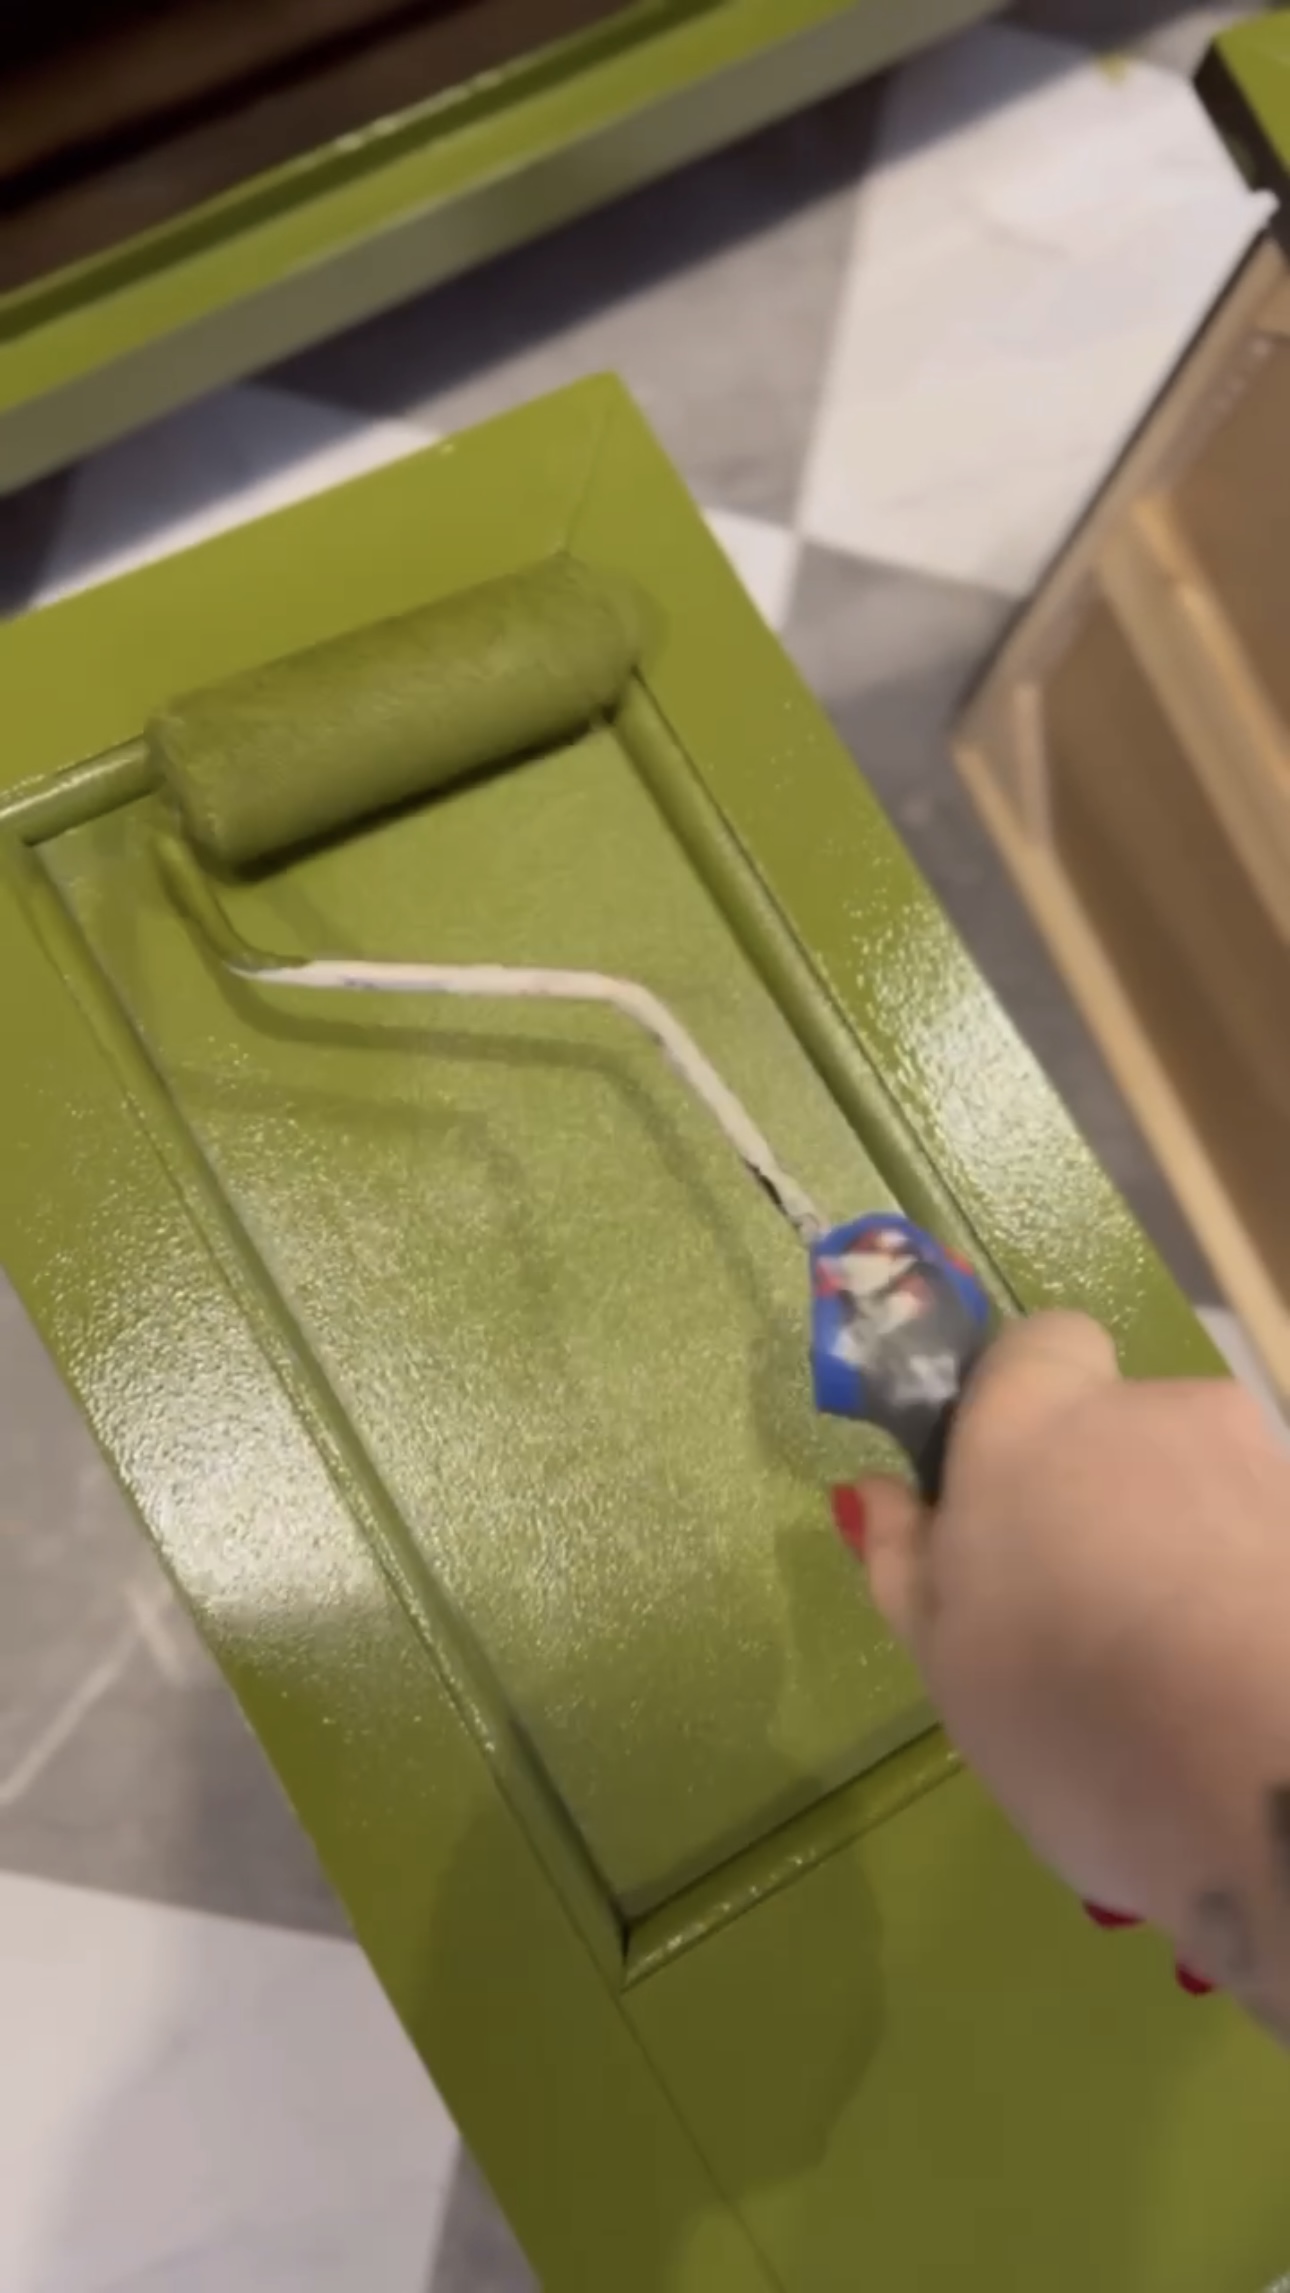
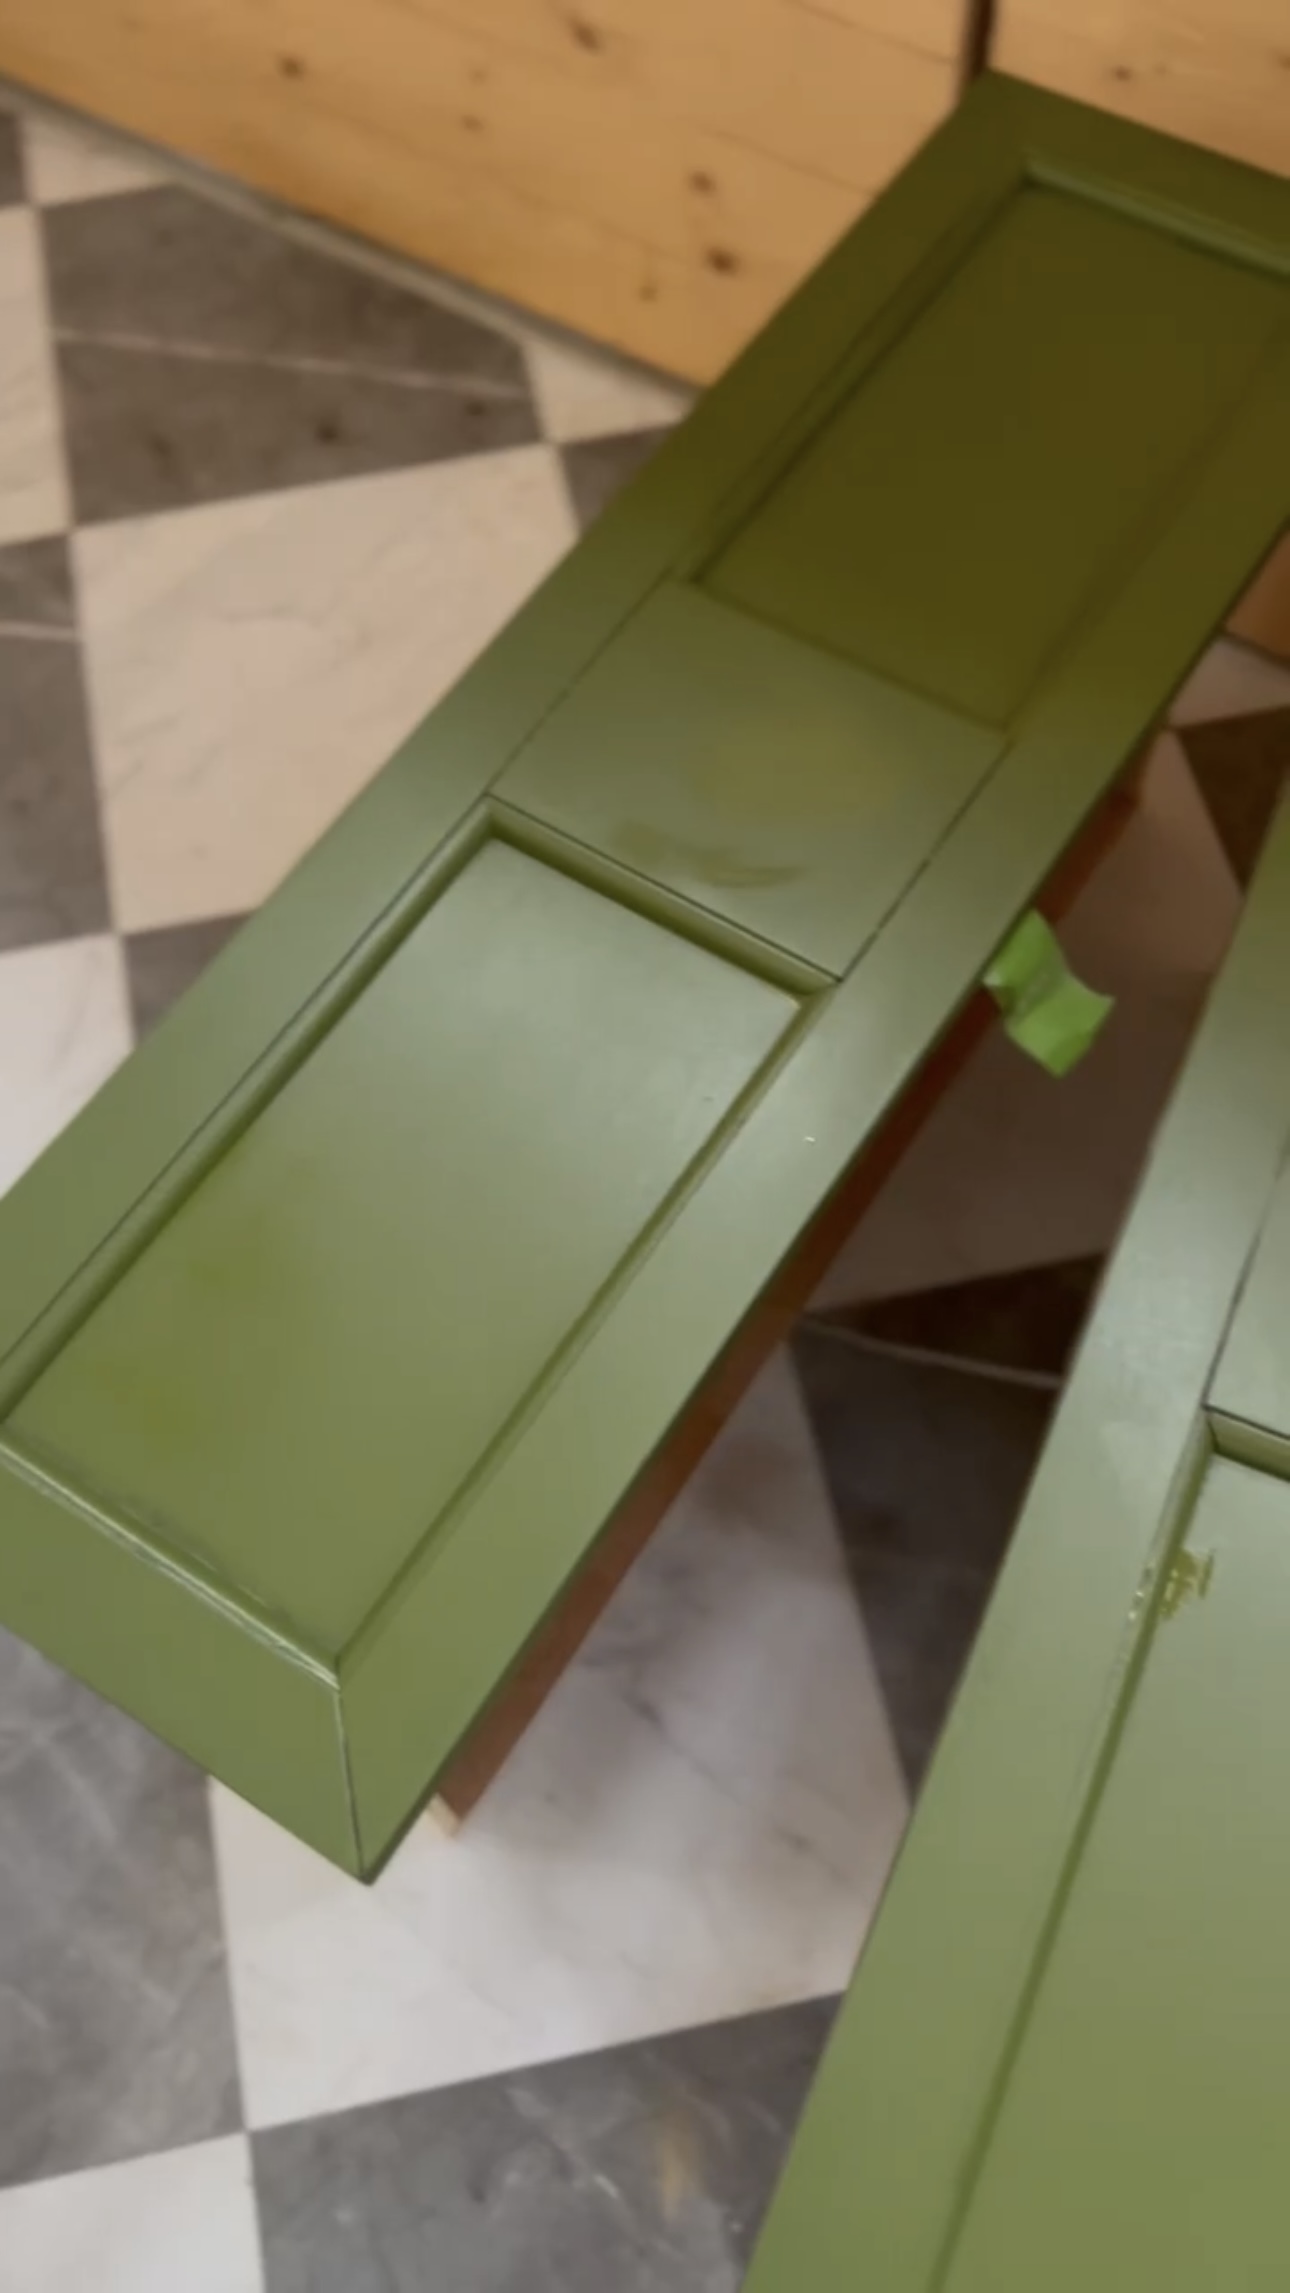
I applied a few coats and let it dry over night.
Hardware
Next, I installed these new brass knobs and put the drawers back.
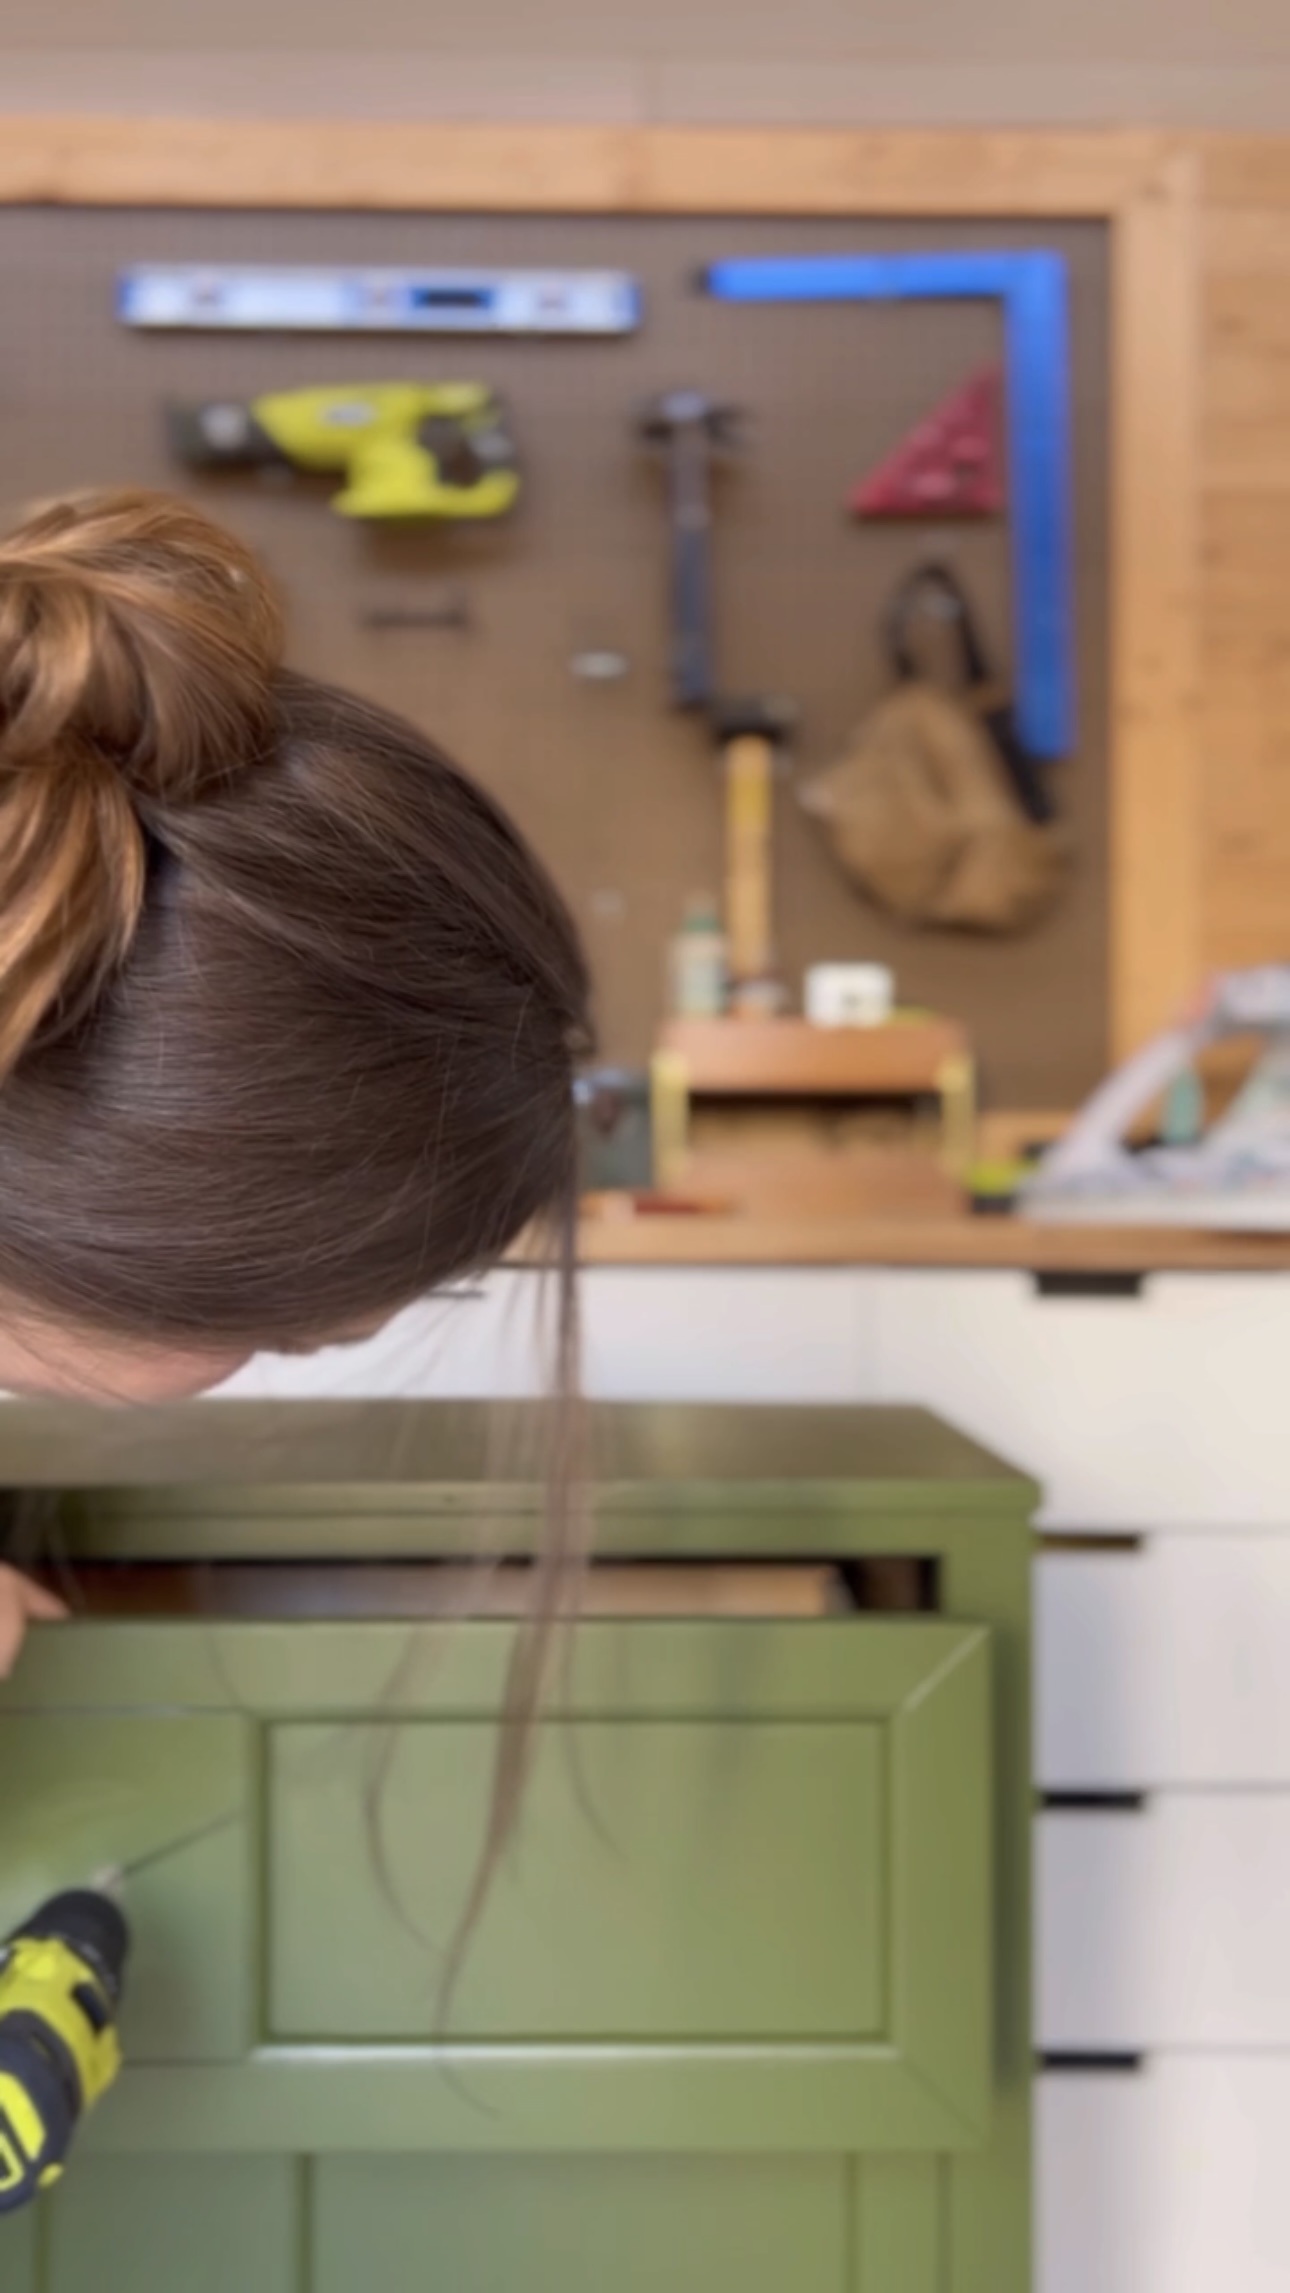
I could not be happier with this! There were a few little cracks I somehow missed? I got a brush later and fixed all that.
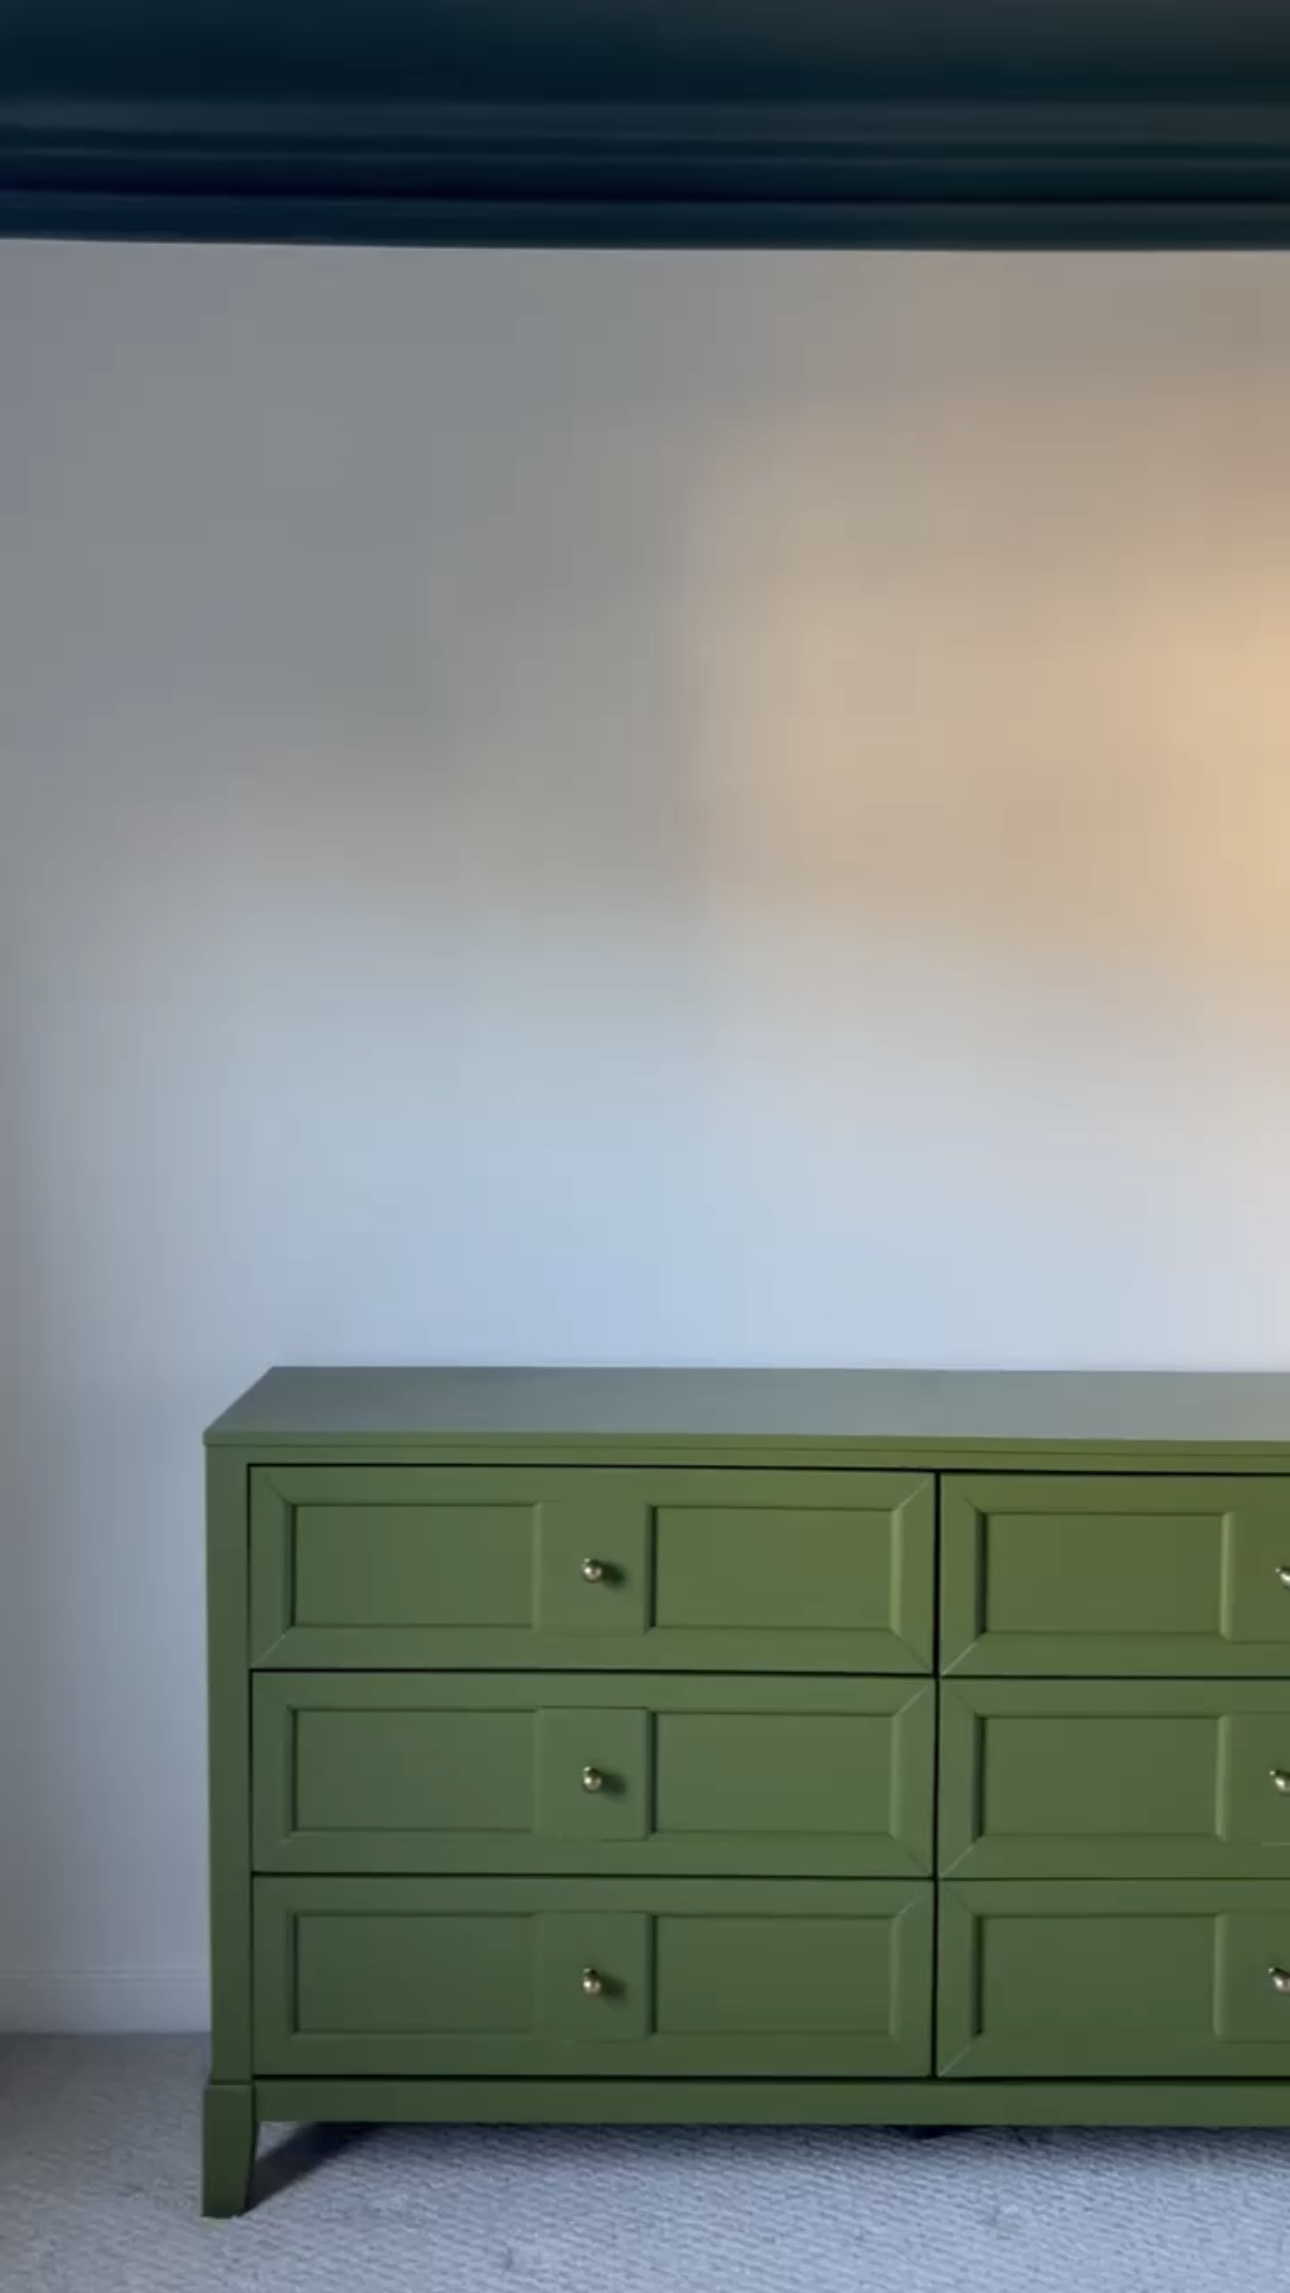
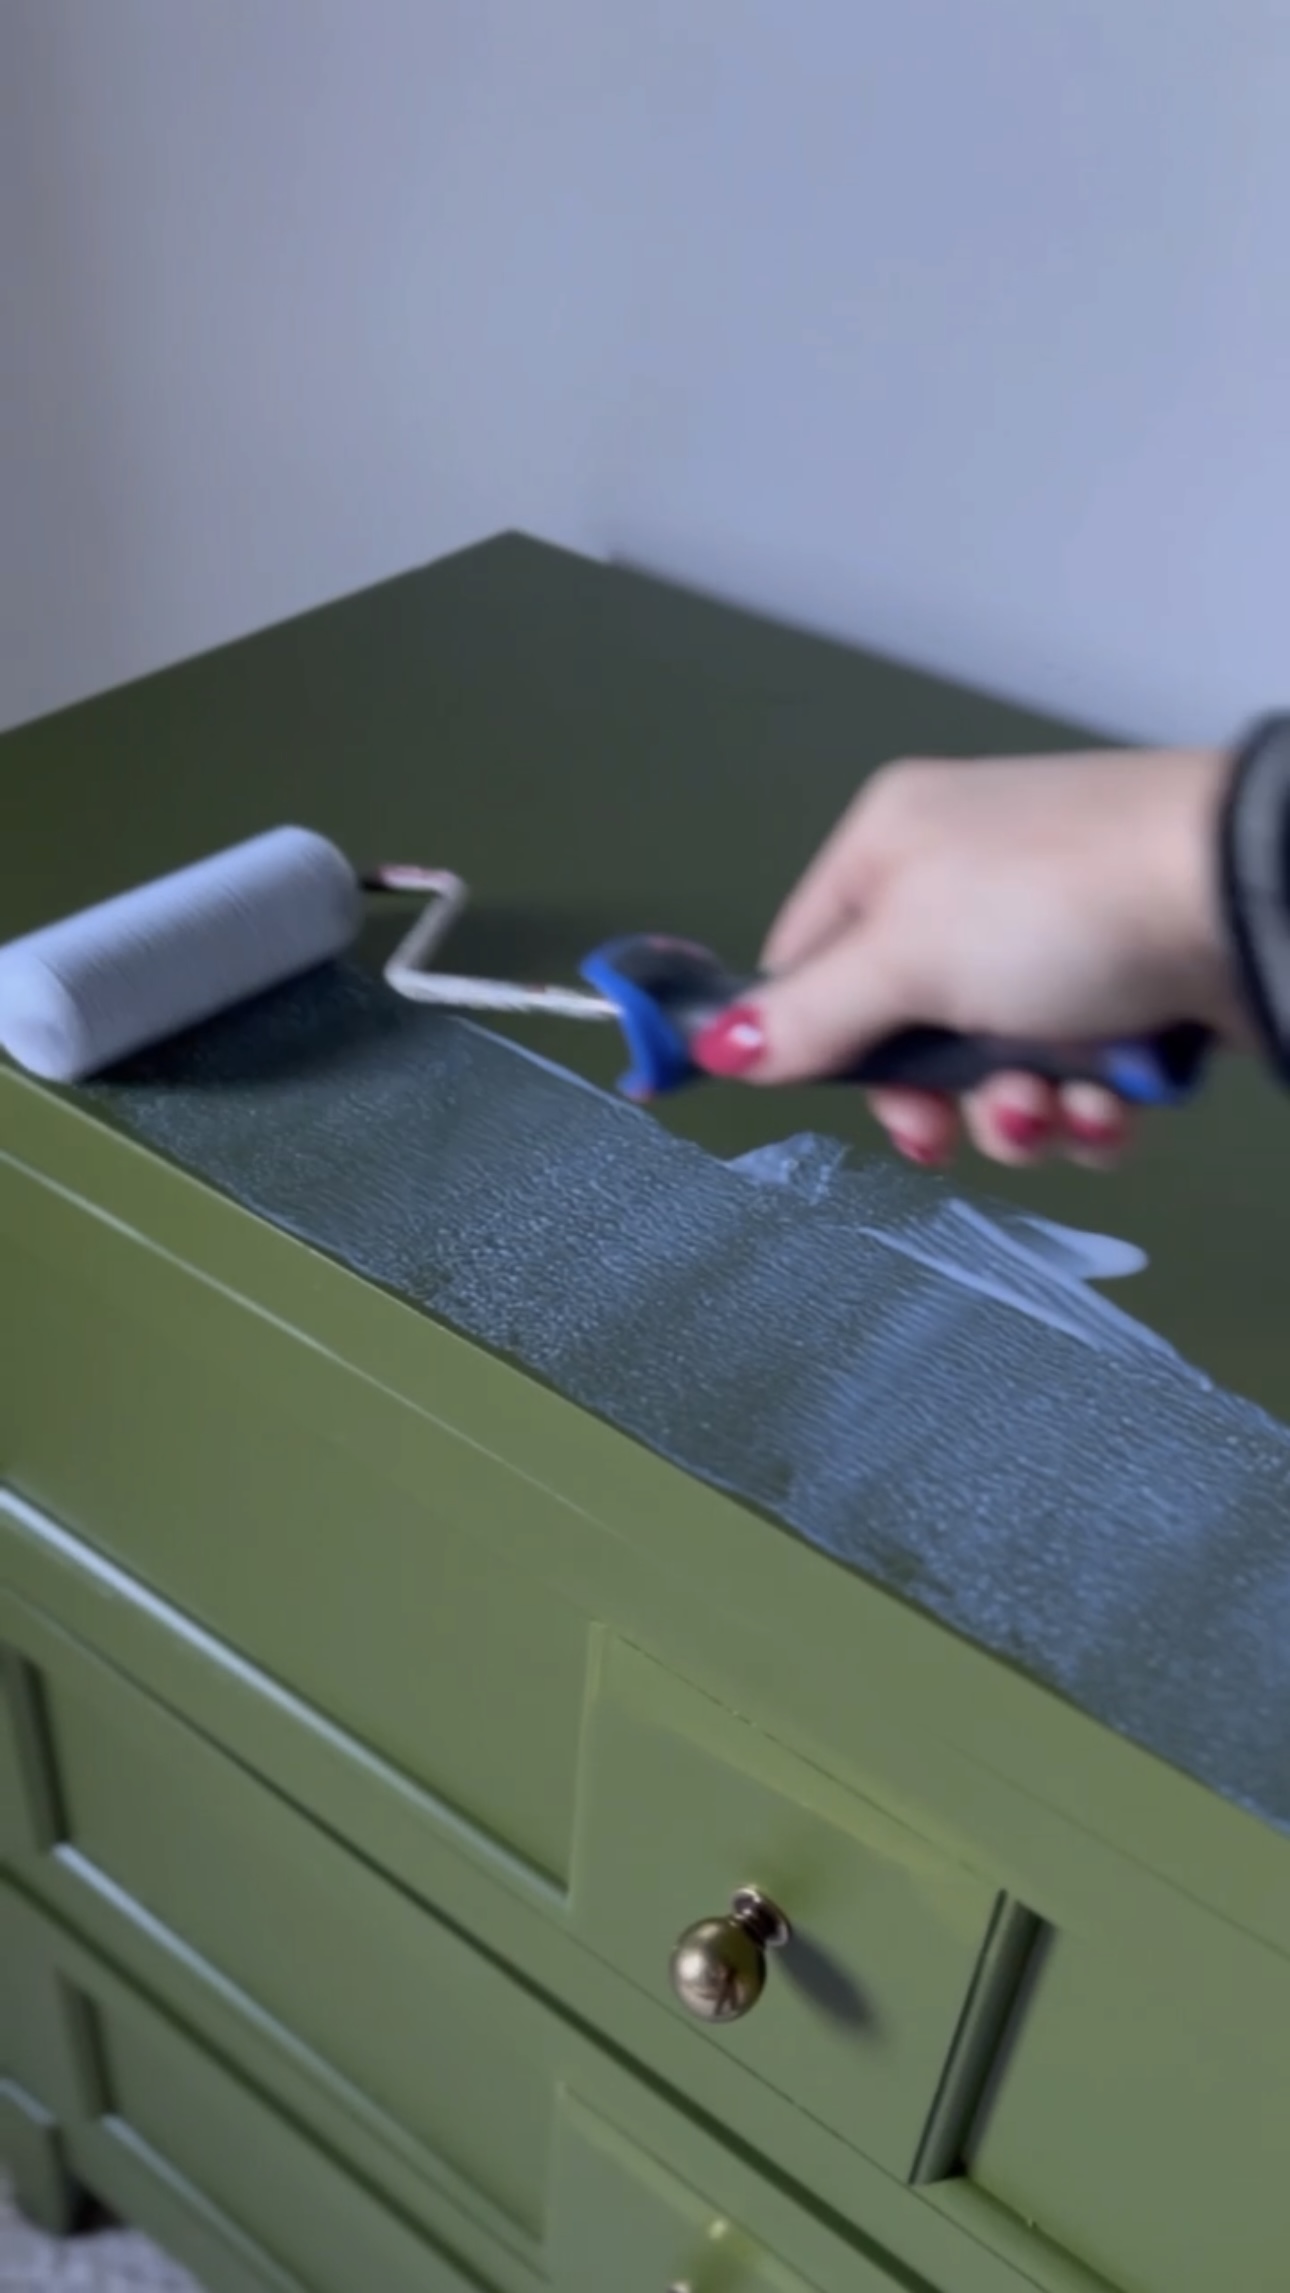
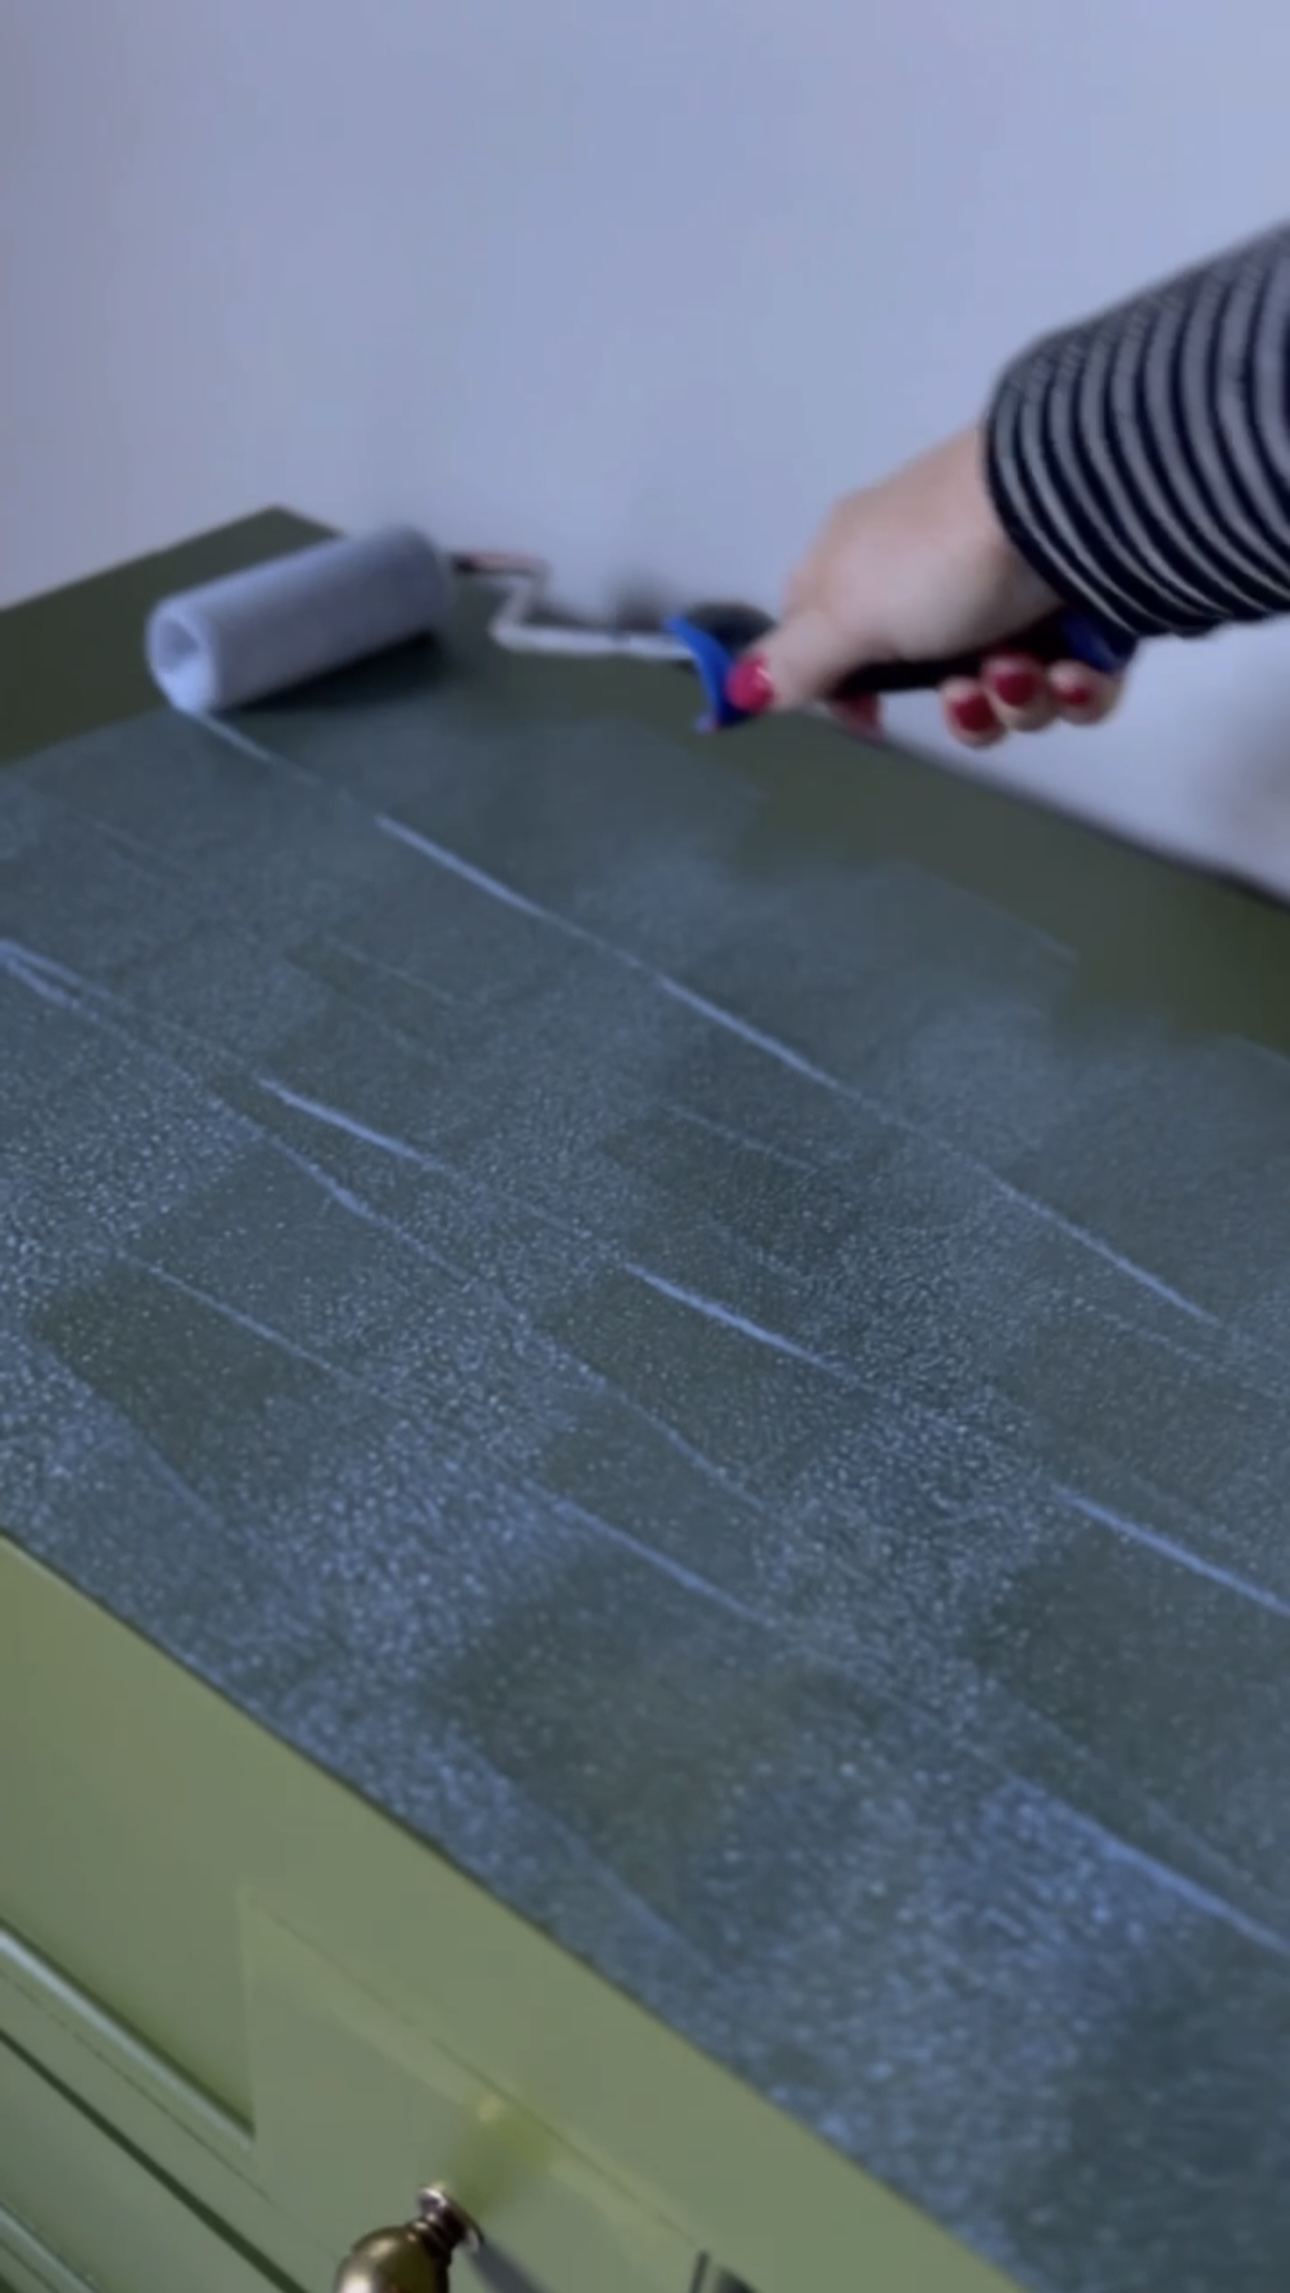
Finish
Finally, I applied a Minwax Satin Polycrylic Finish after all the hardware was installed.
Are you KIDDING me with this green?! It couldn’t be more perfect for this room!
-Cass