DIY Mouse House
The playroom has become a total choking hazard for Auggie…I initially made this room for the girls and I didn’t know we were going to have another baby 🤣 The biggest issue is the playhouse we have in here. It’s full of choking hazards. Emery doesn’t play with it that much anymore so I wanted to come up with an idea that would work for both Auggie and Emery. I love these little mouse-in-a-box things. Light bulb! I decided to make a mouse house for them without any tiny Barbie shoes around for Auggie to put in his mouth!
This is the current Barbie house:

Here’s a few inspiration photos from Etsy!
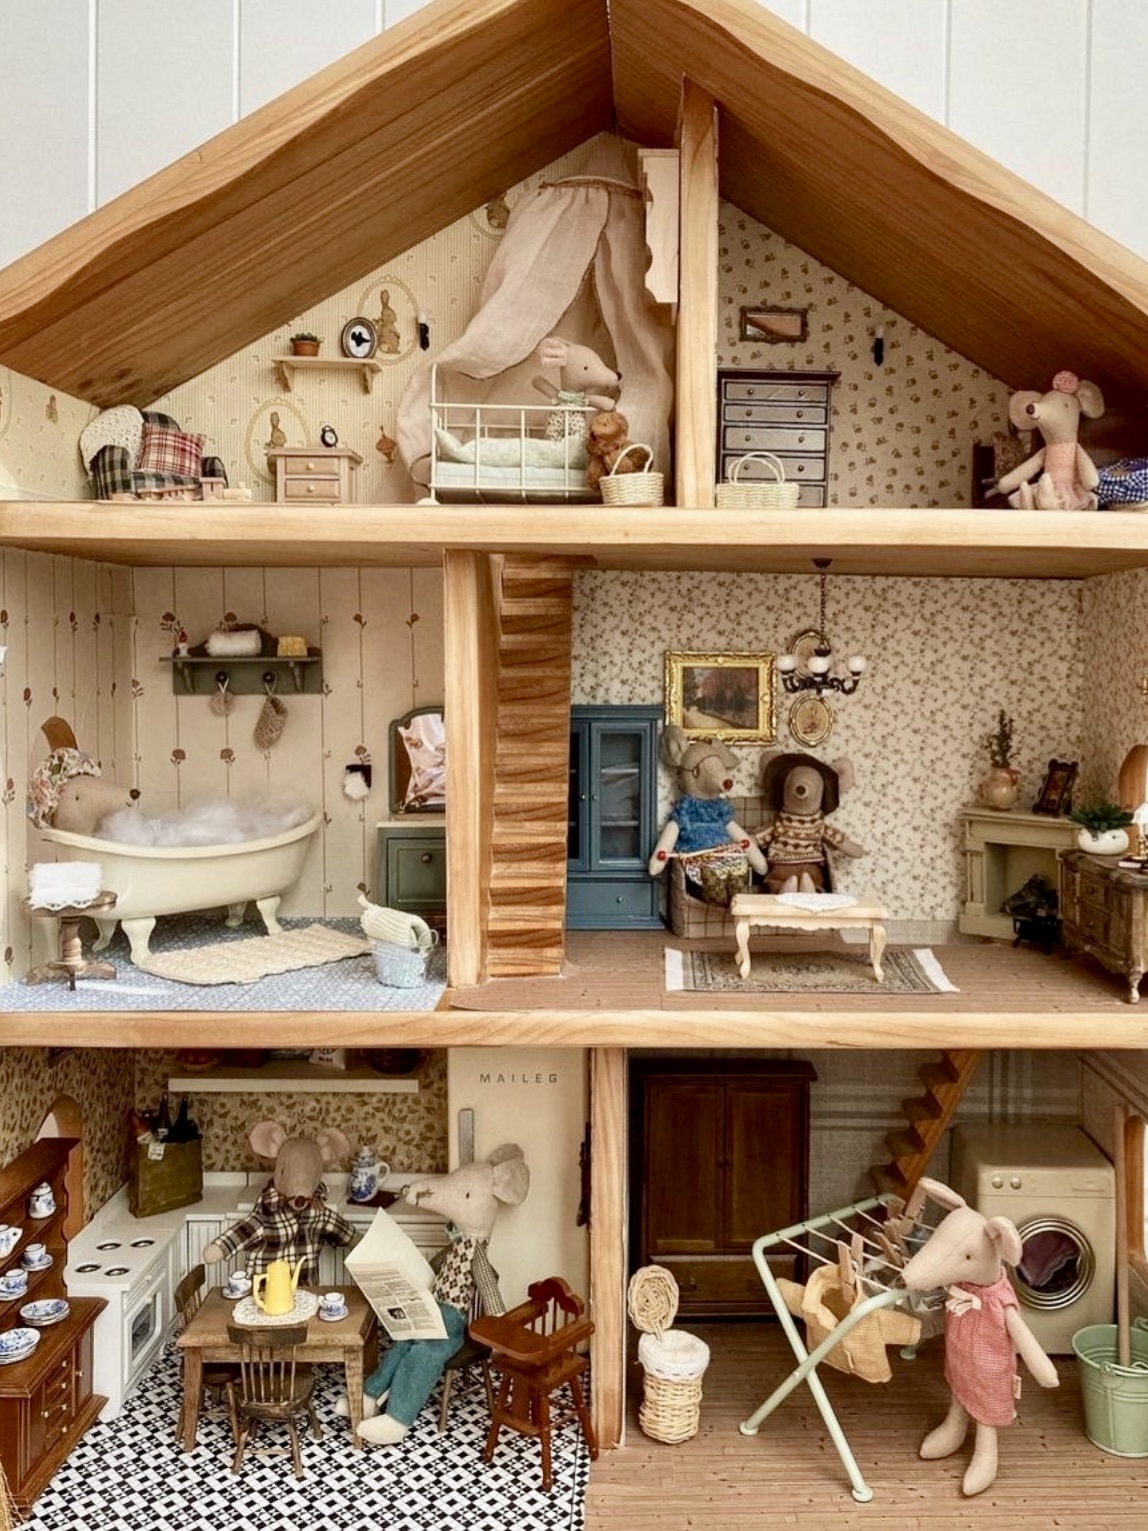
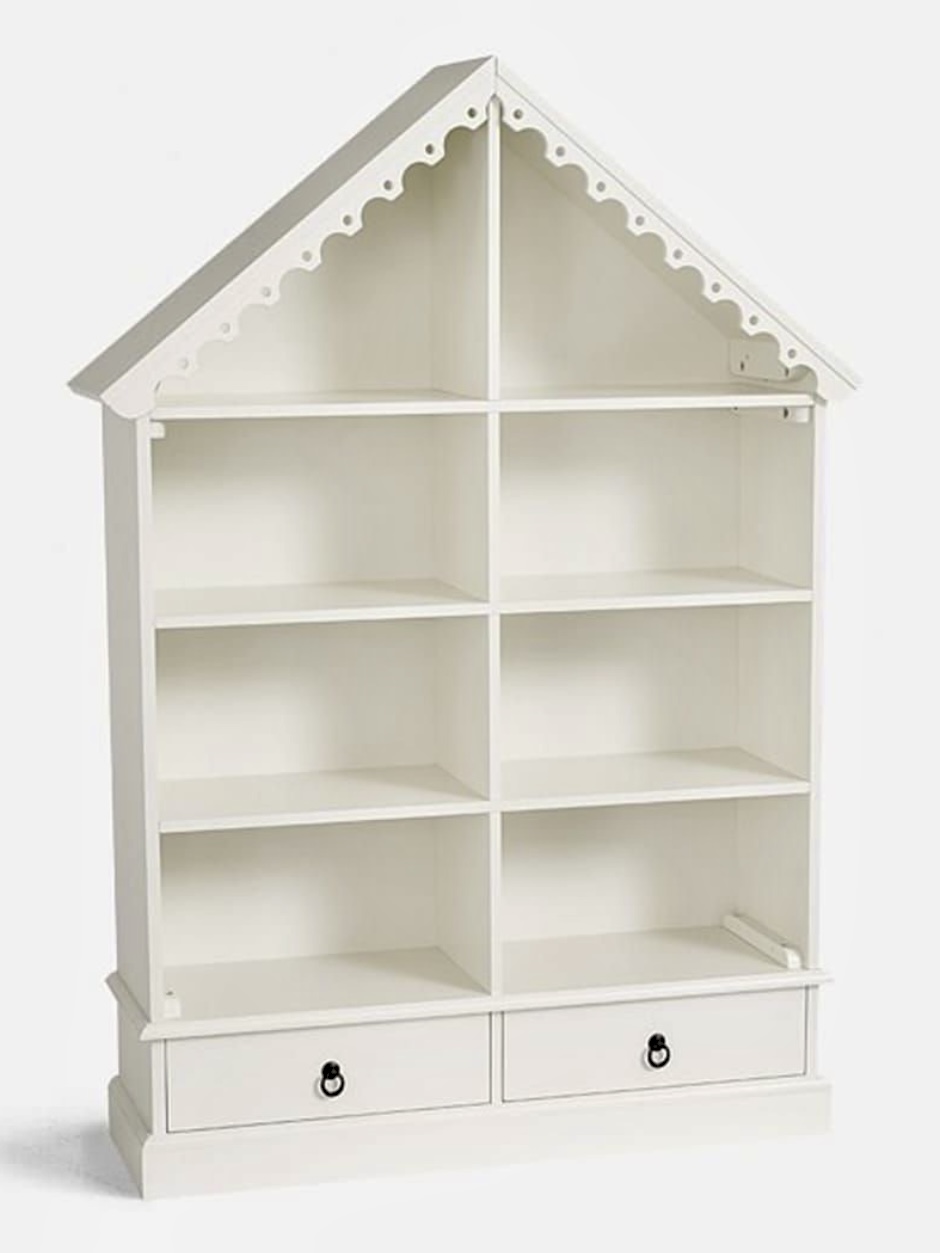

I mentioned this idea to both Emery and Rainie and they were THRILLED, especially Emery who played with this Barbie house the most. She loves the idea of having something that’s better for her and Auggie to play with.
Visualizing
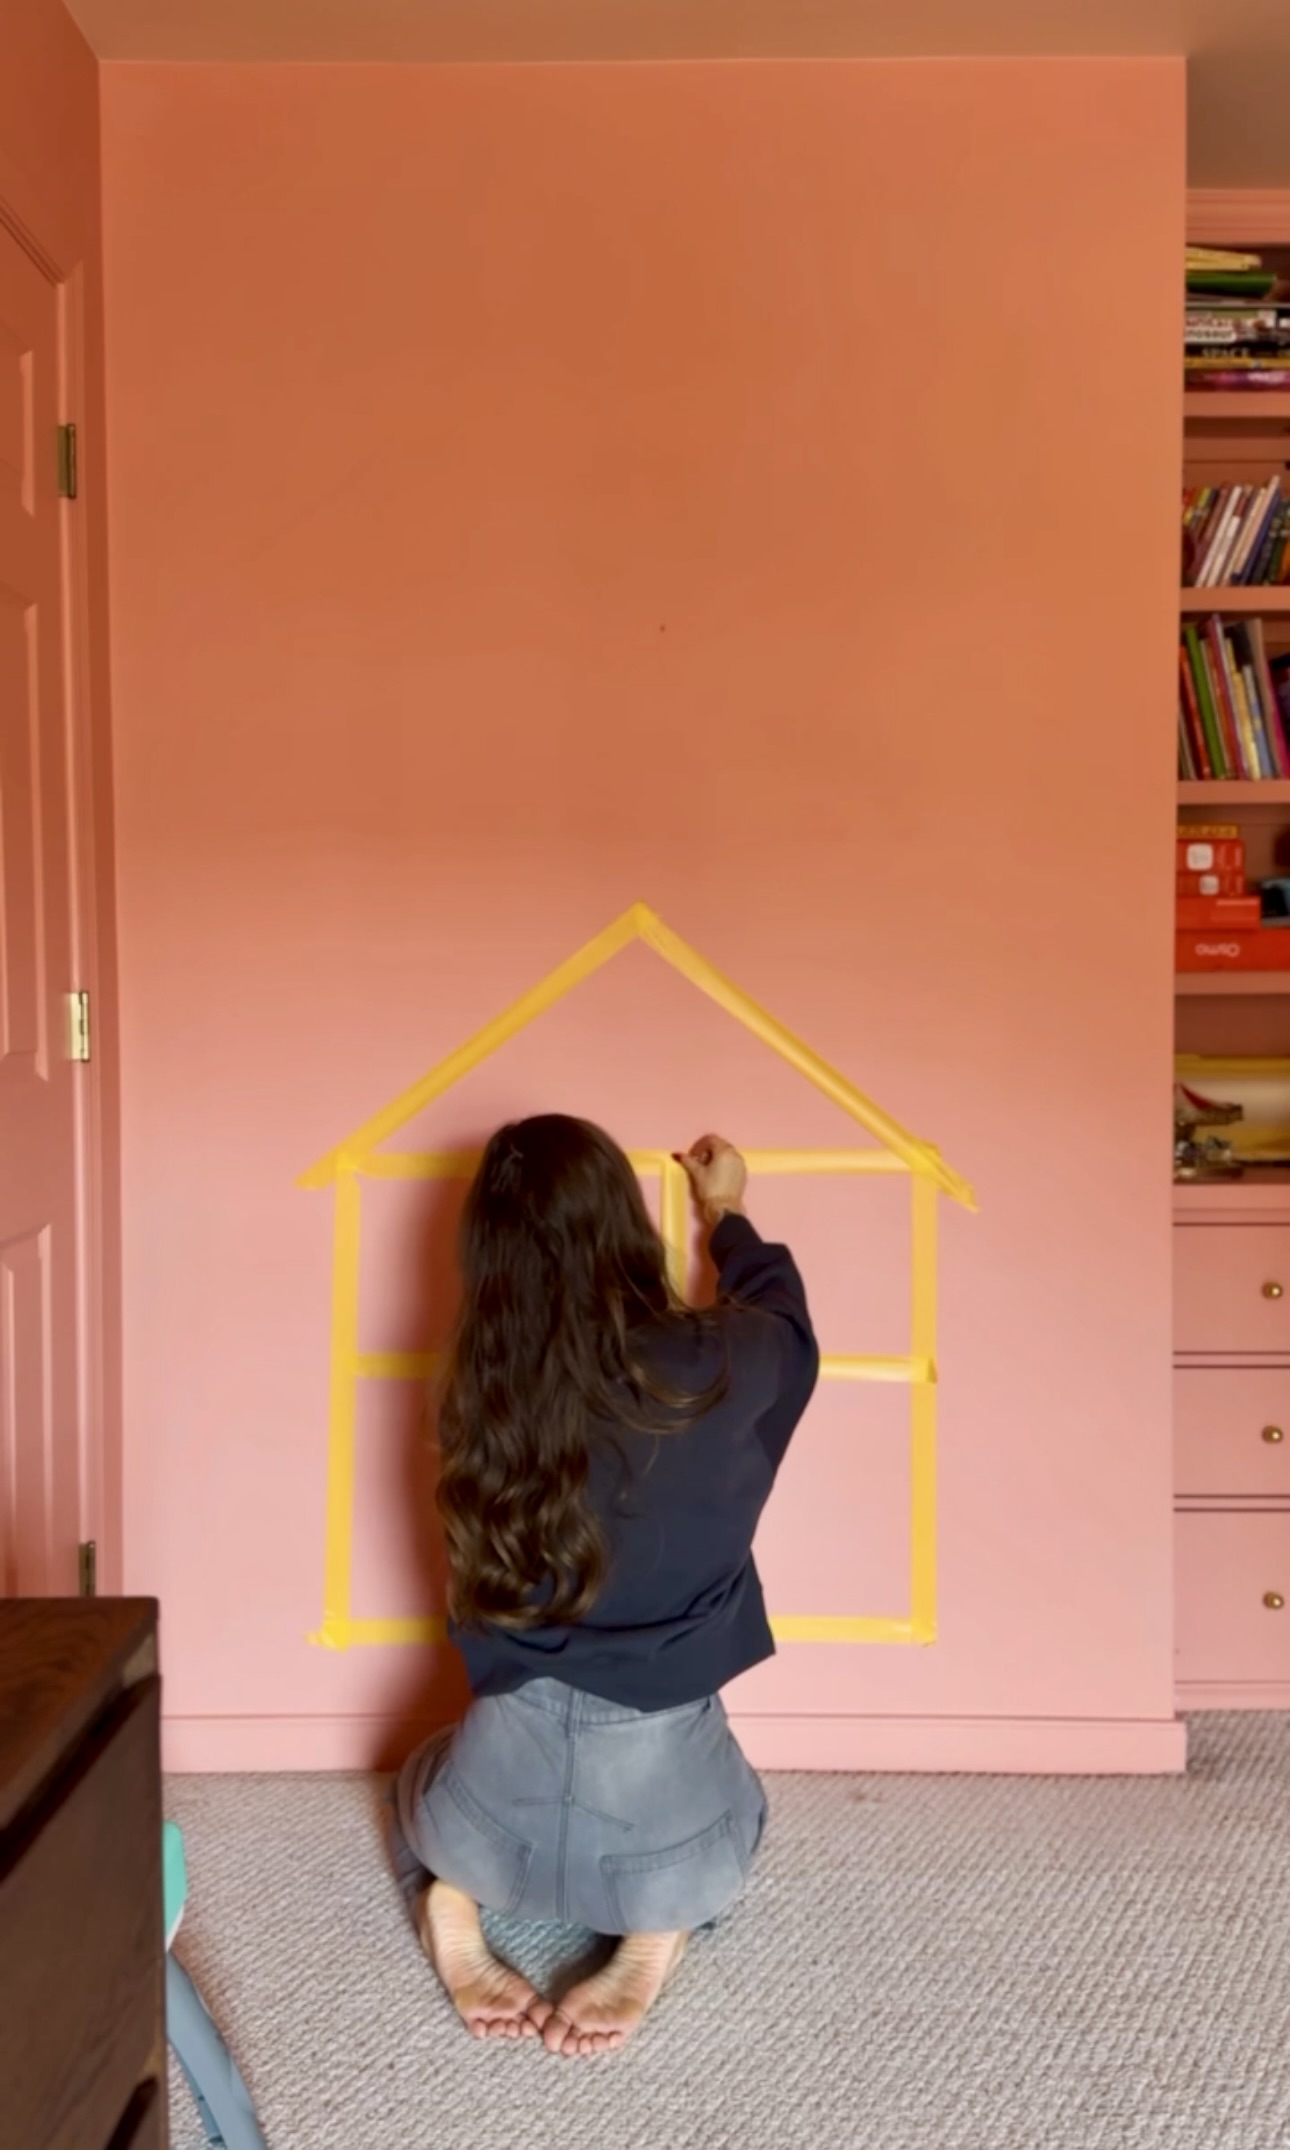
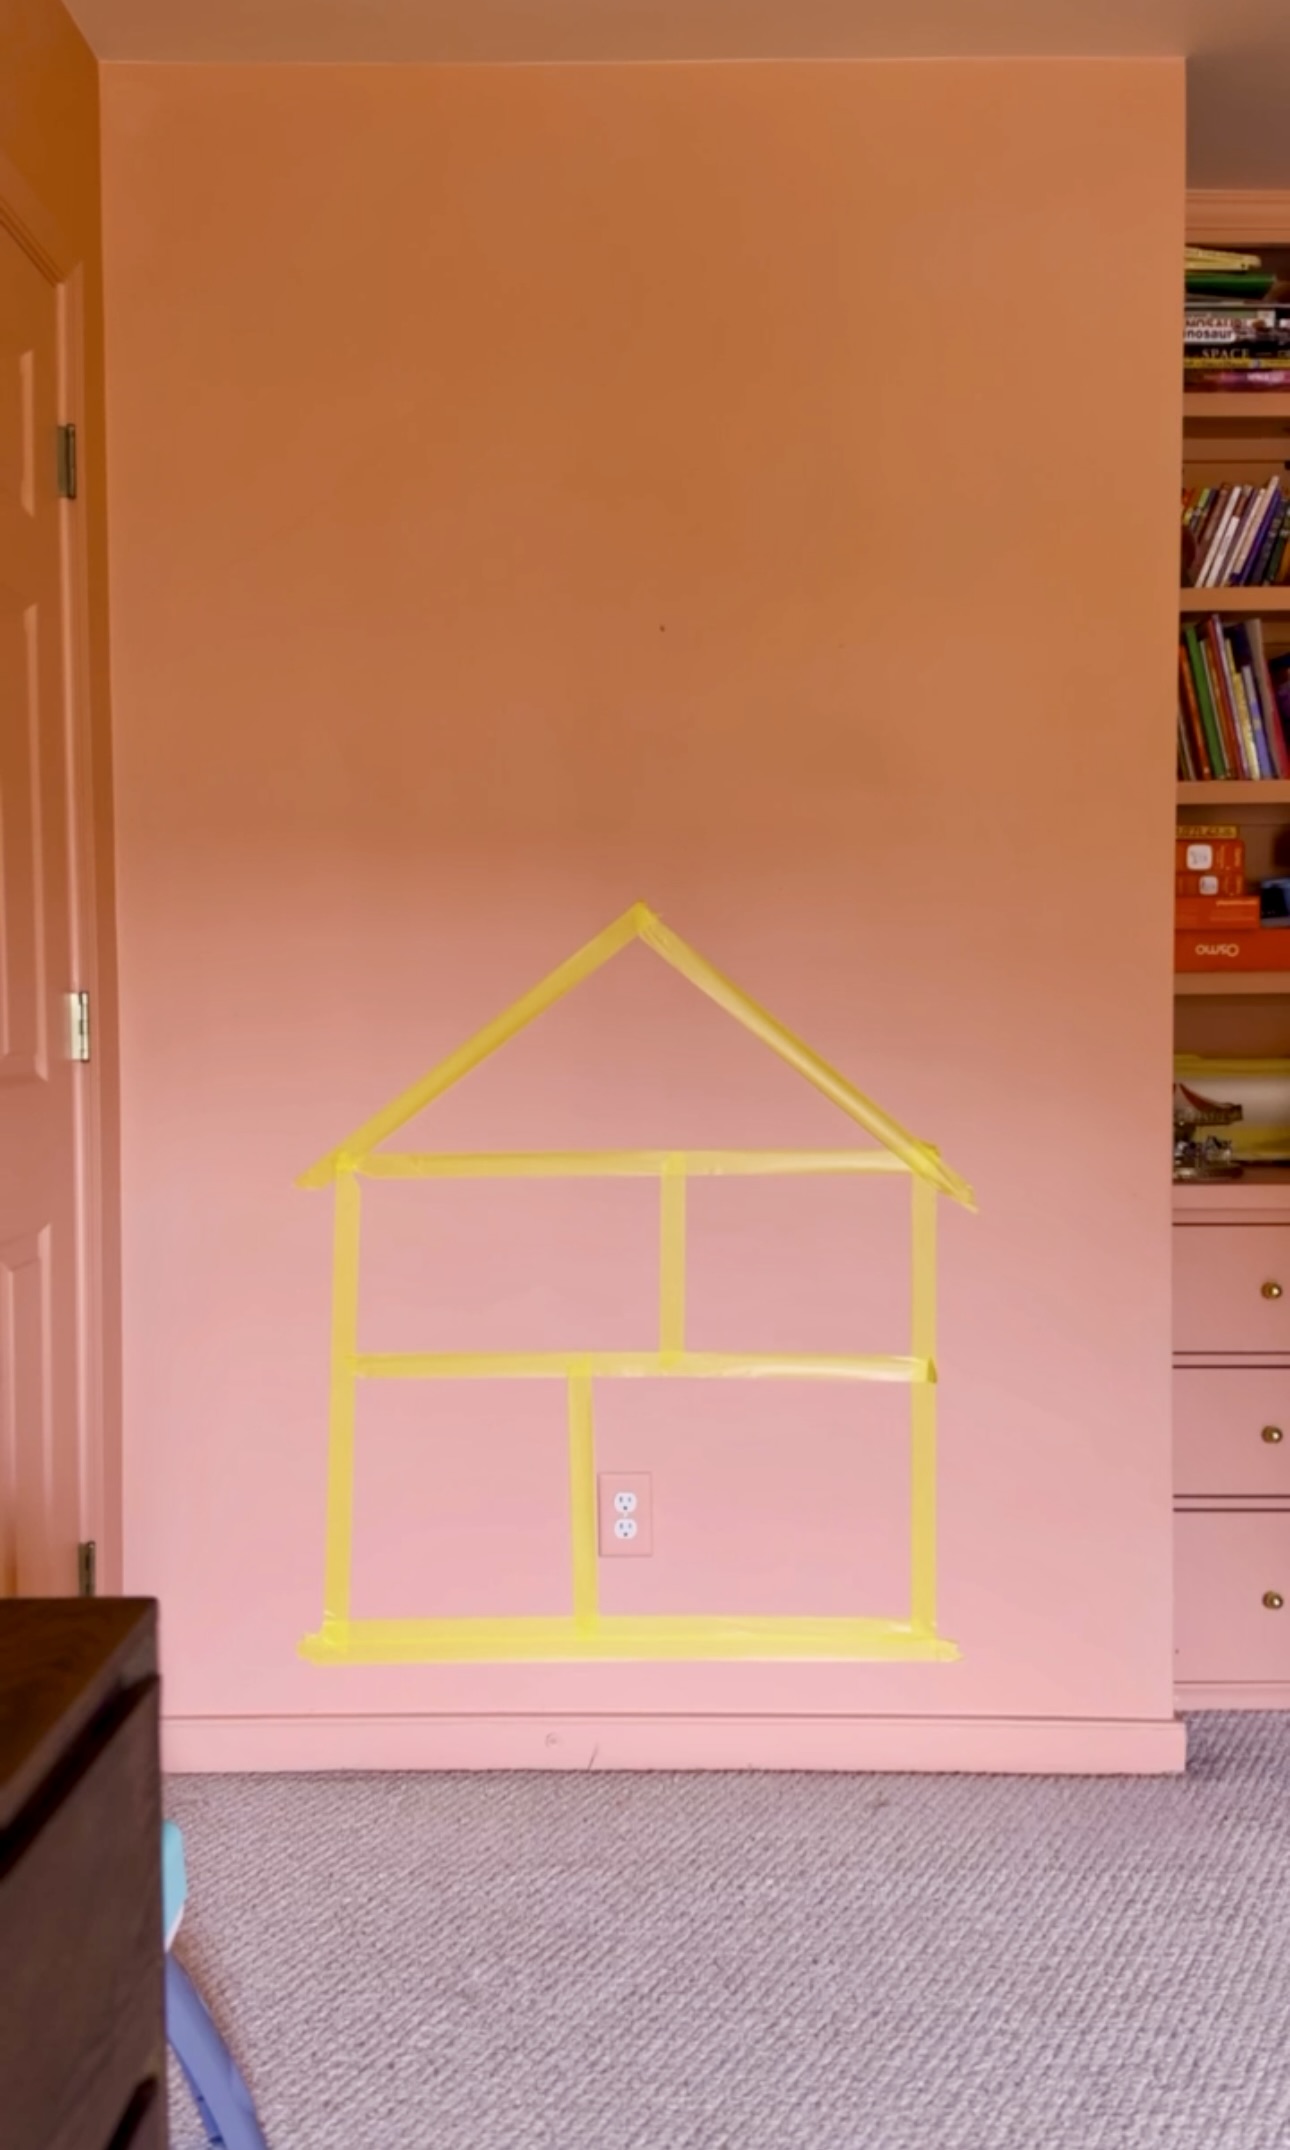
I started out by visualizing with painters tape on the wall. I taped out a few different options for sizing and for the room layout.
Build
I had a few leftover pieces of primed pine from the dining room built ins. I grabbed just a couple more and got right to it!
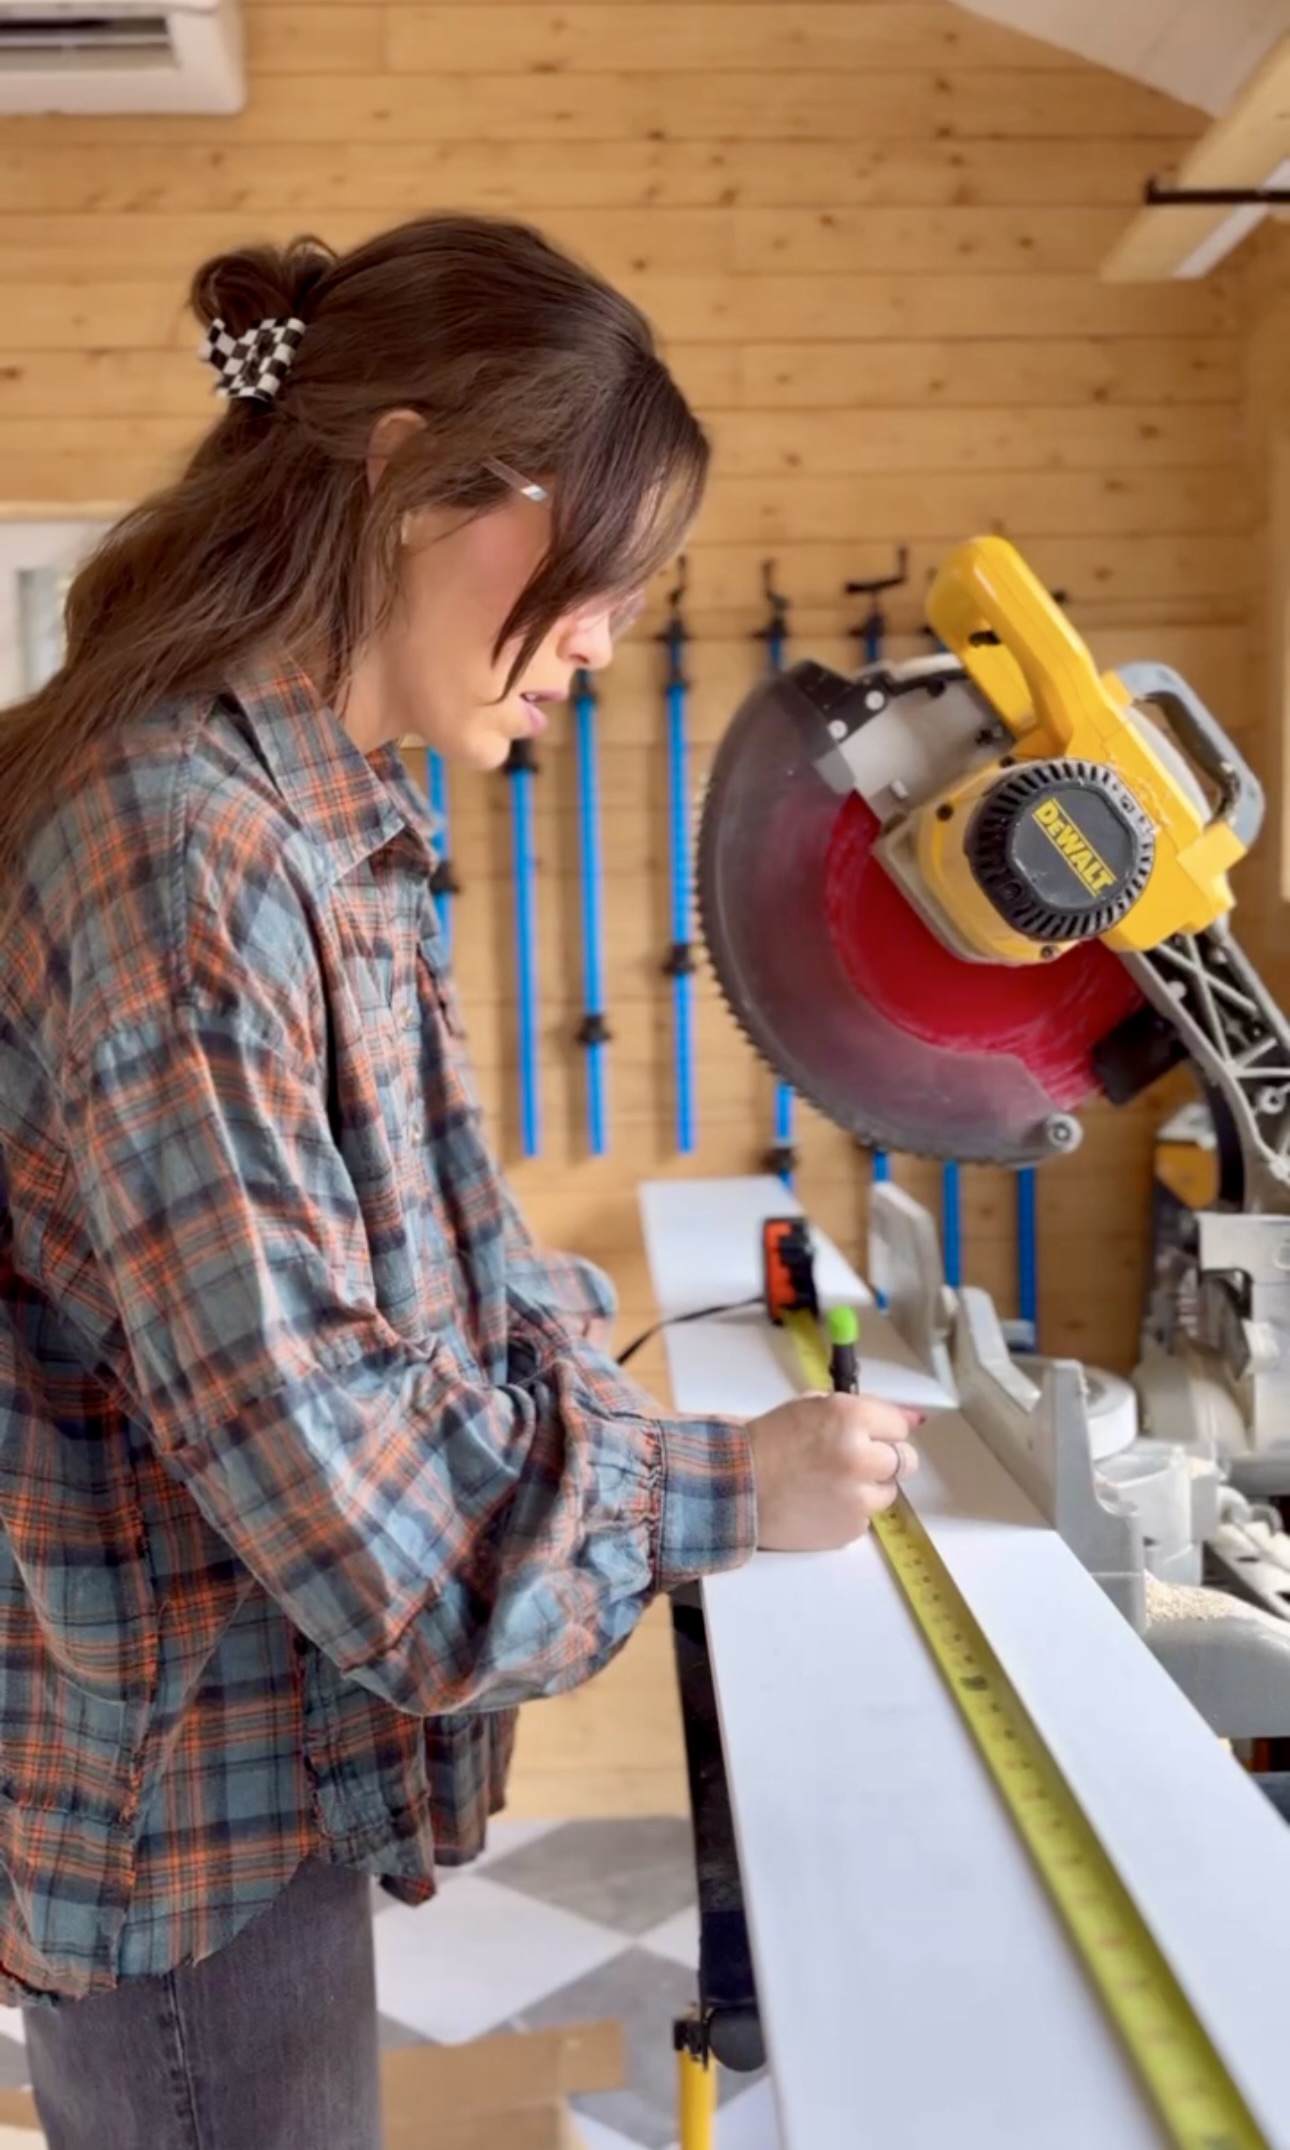

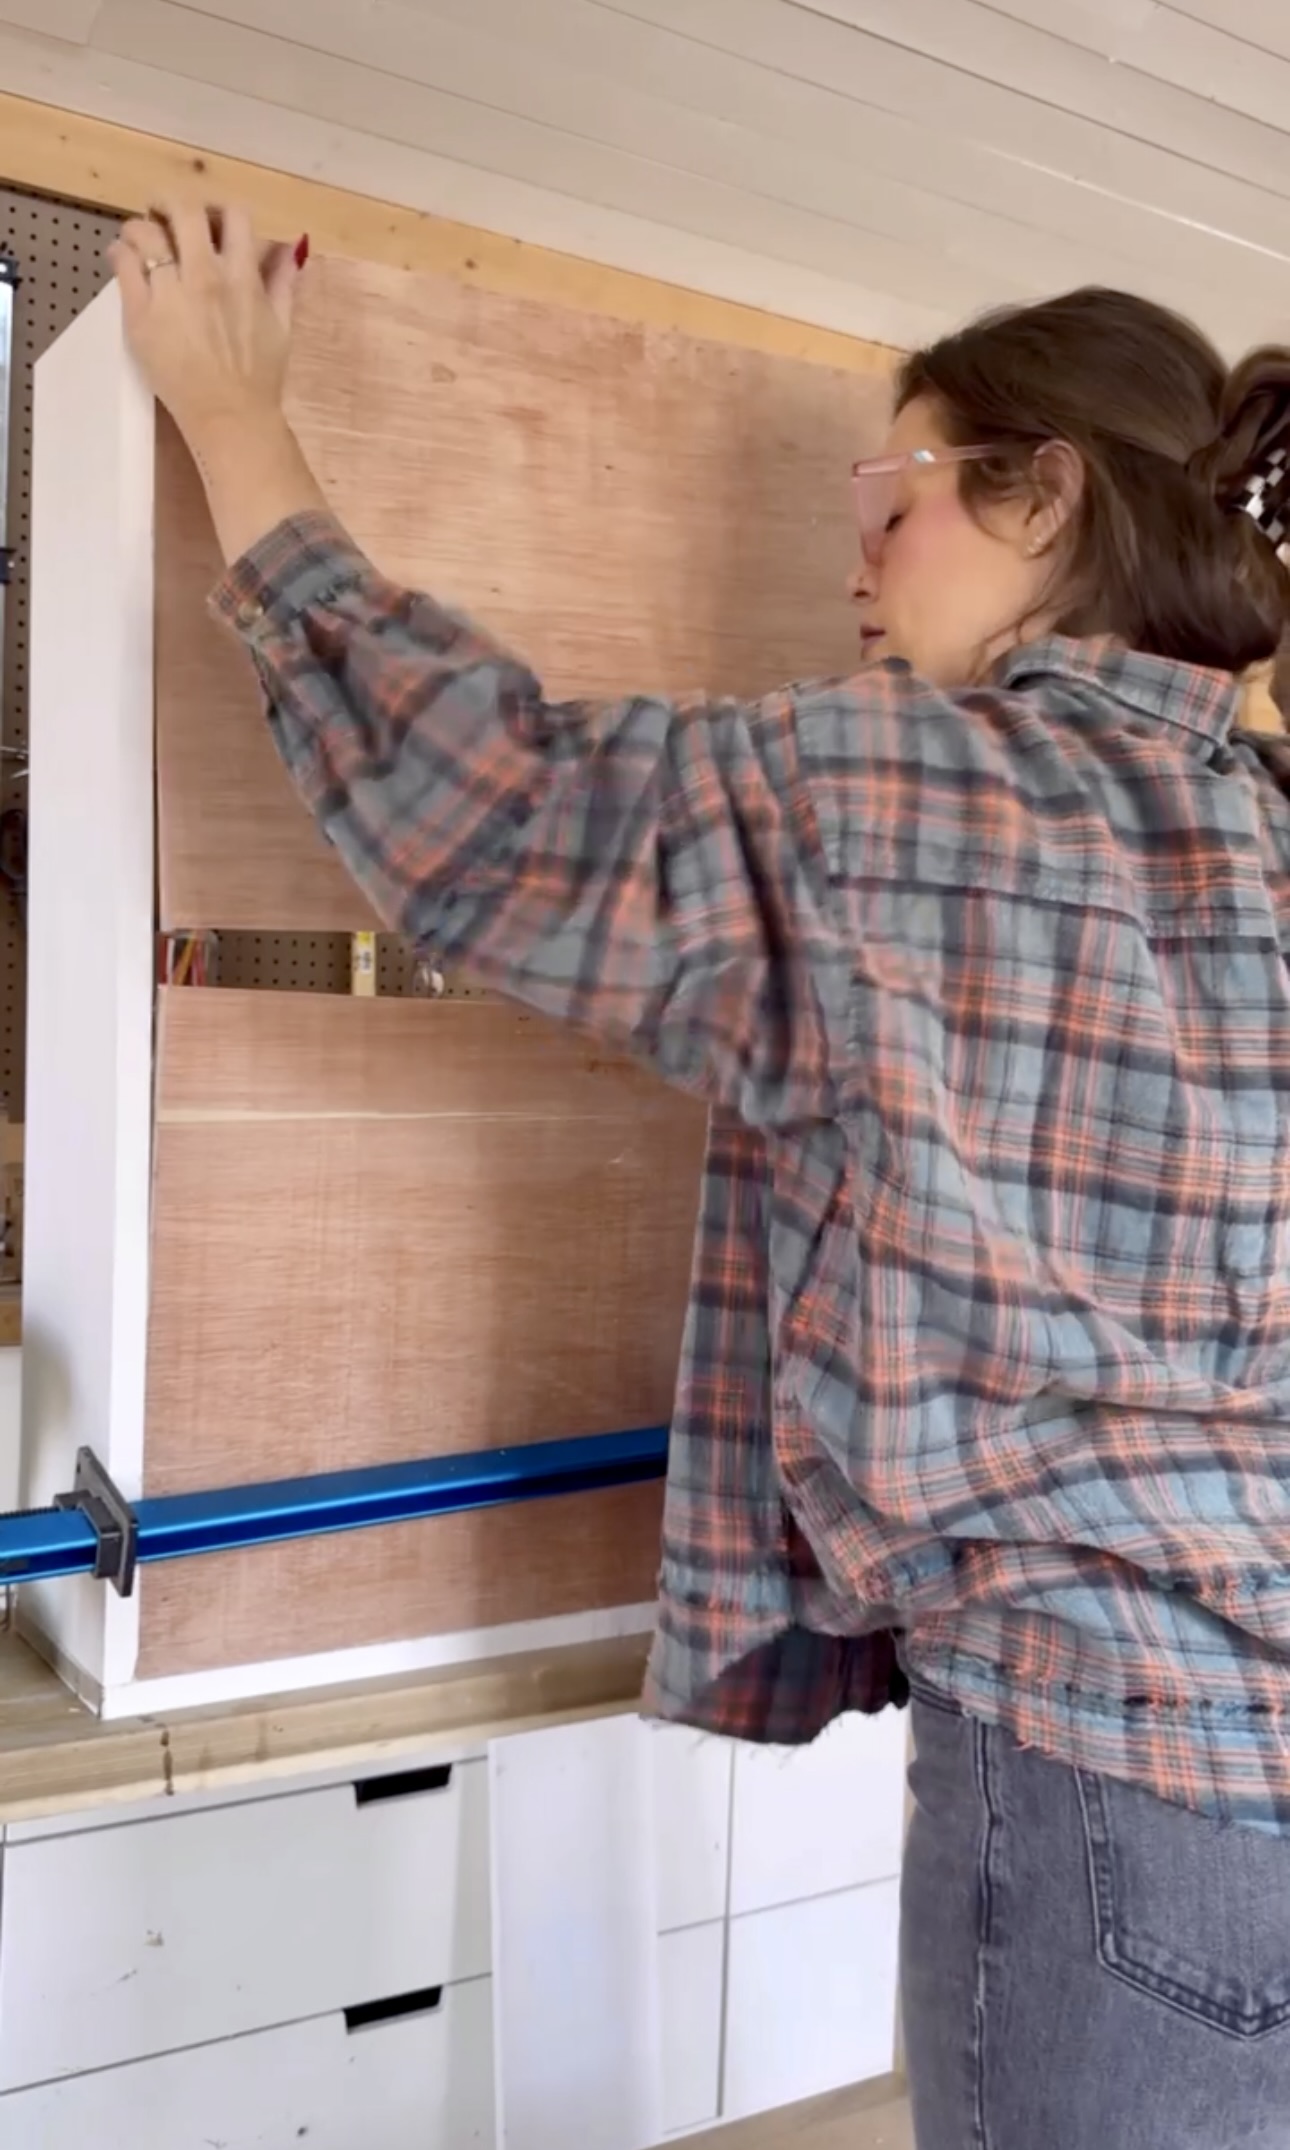
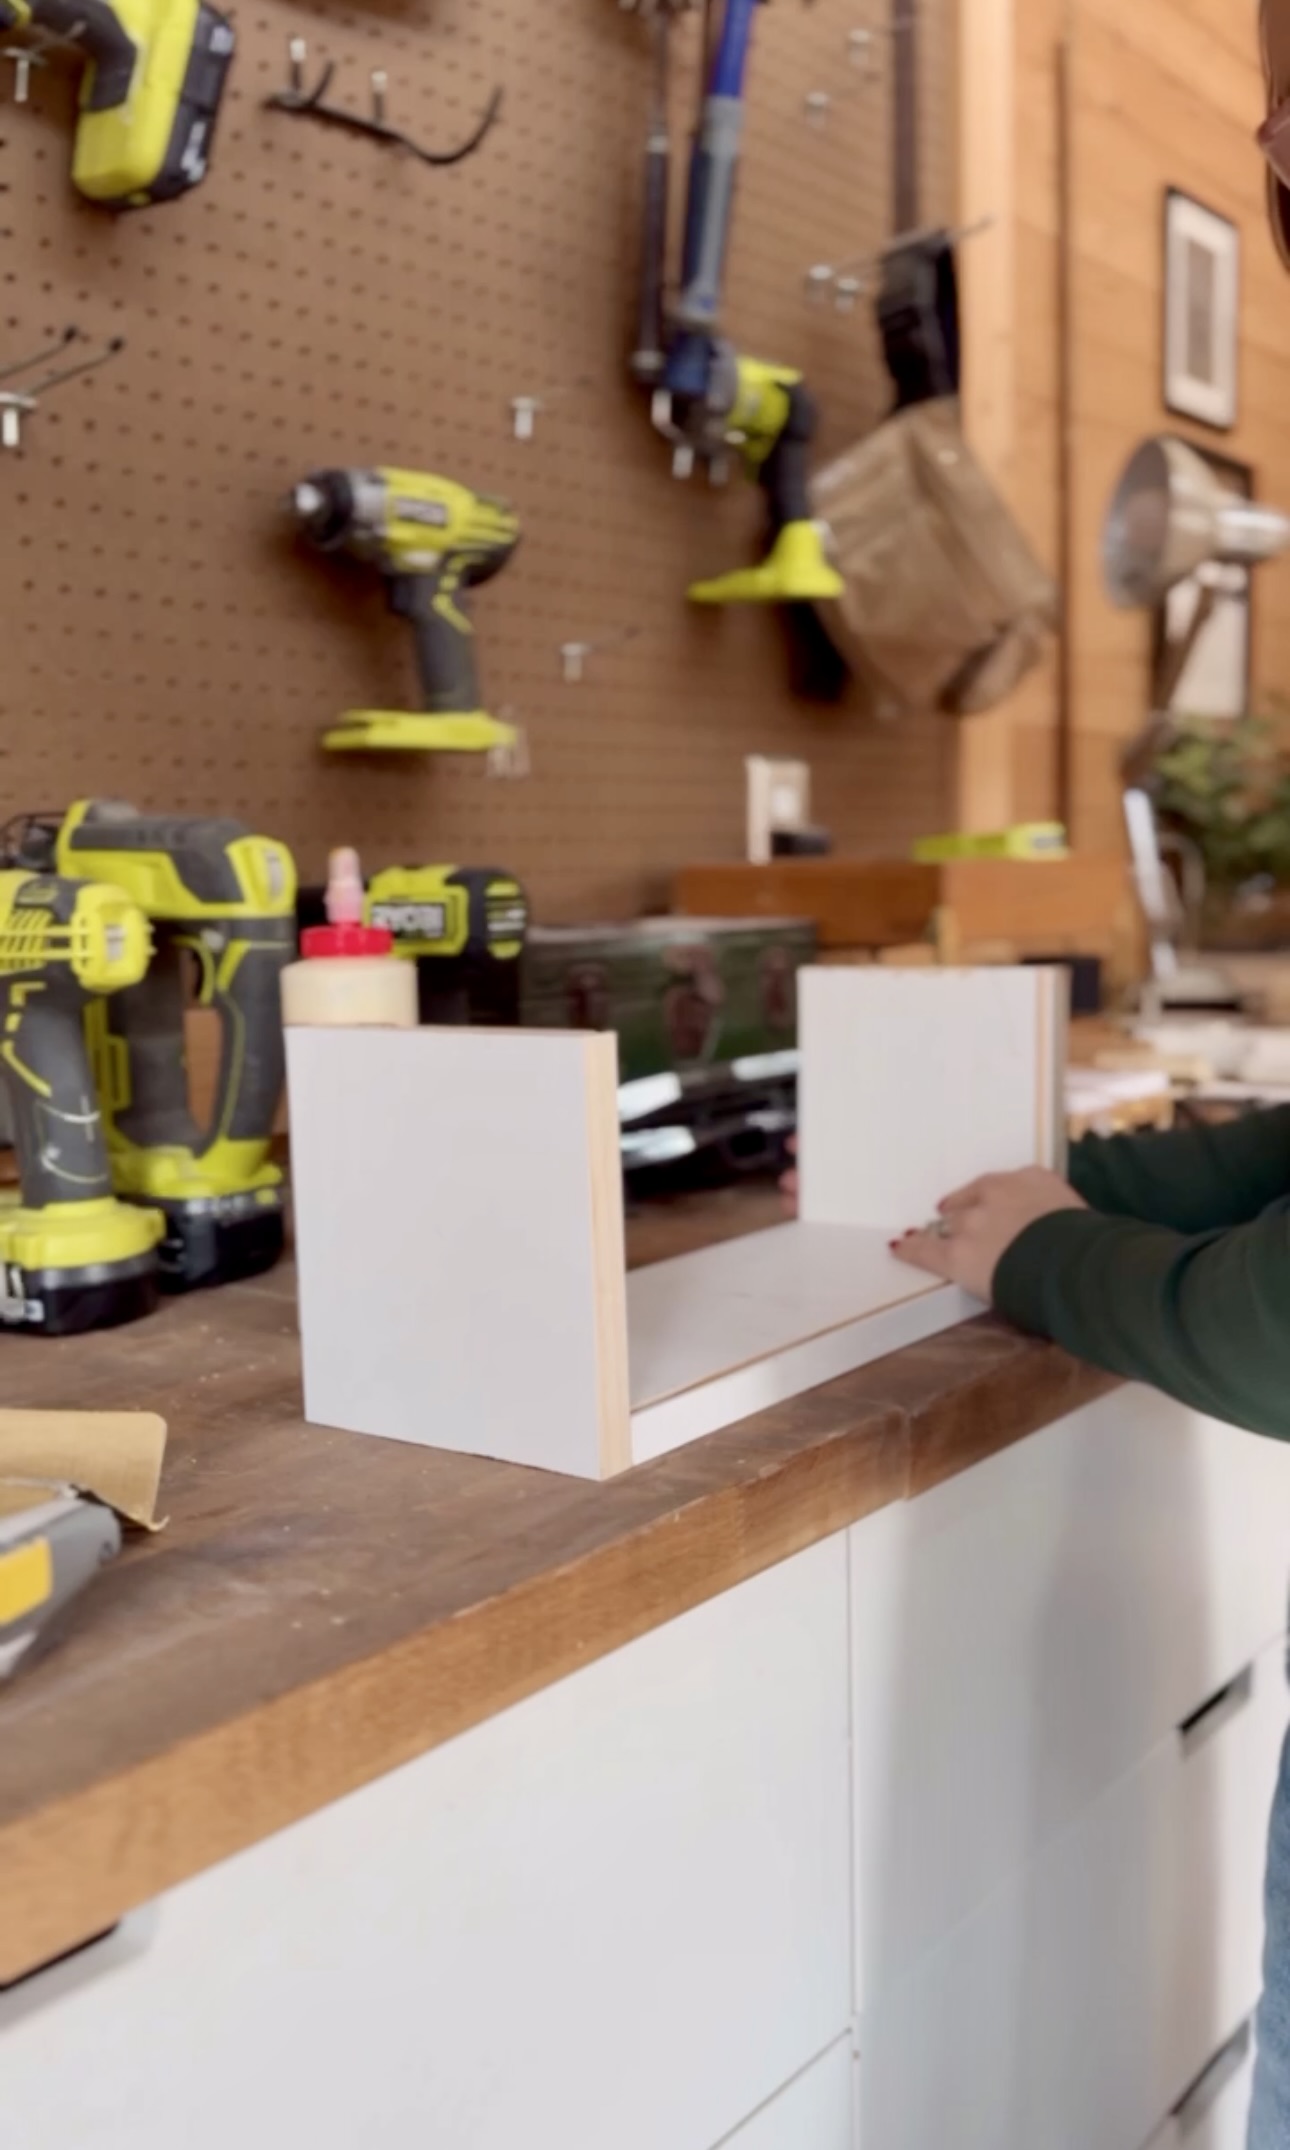
I made a simple box frame first for the house. I wanted to put a piece of material on the back but I didn’t want it to be visible from the sides. So, I ran it through the table saw a few times with the blade at a really low height to create a channel for the back to just slide into.


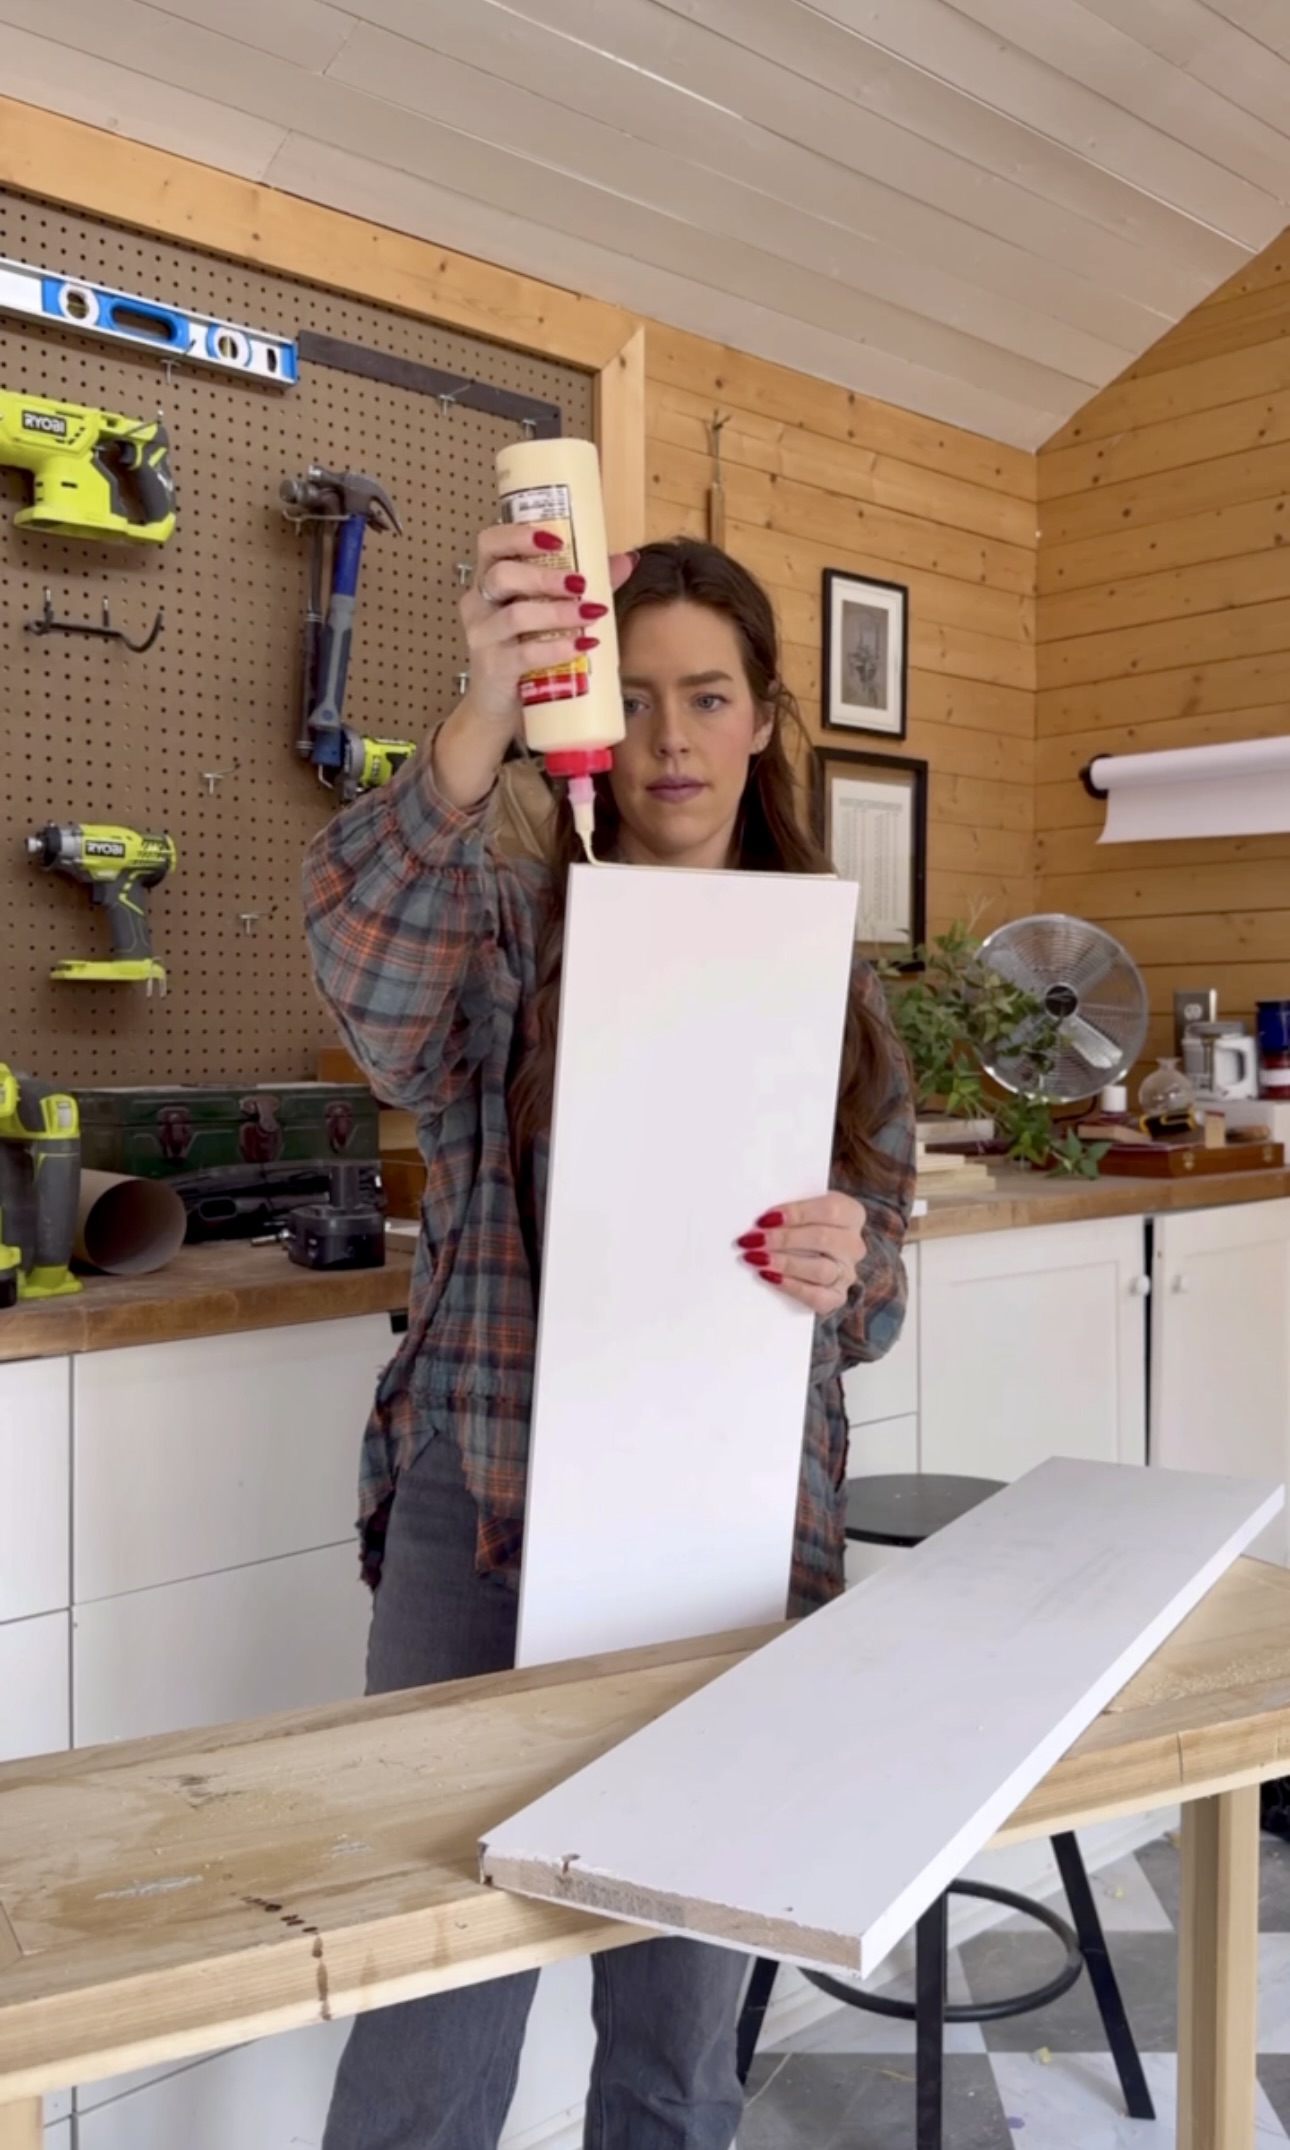
I slid the pieces in with wood glue and clamps. Then, I secured them with screws!

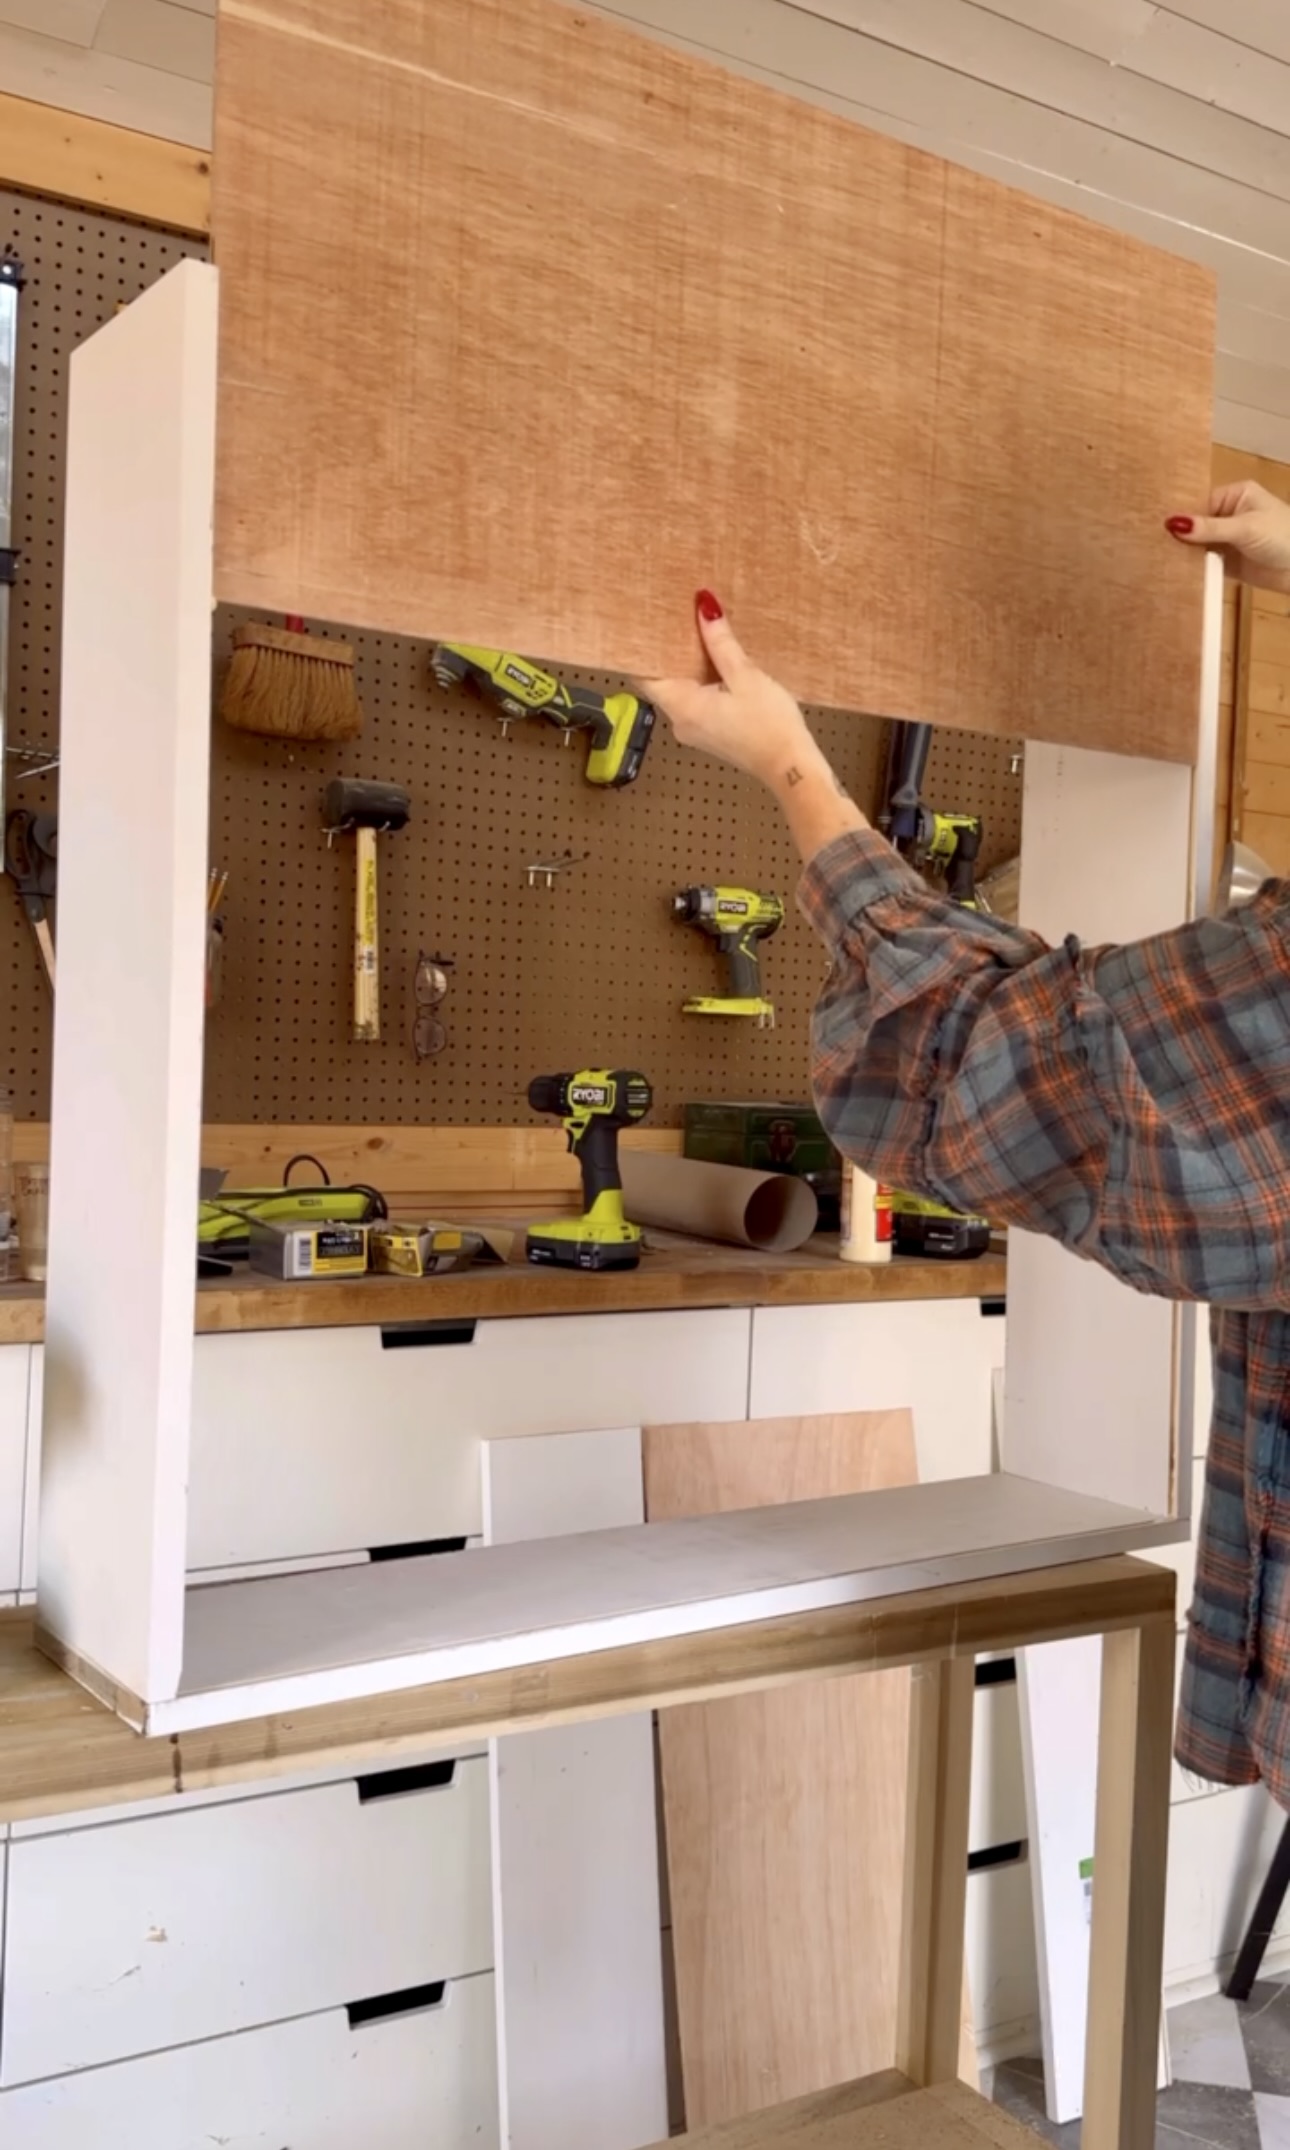
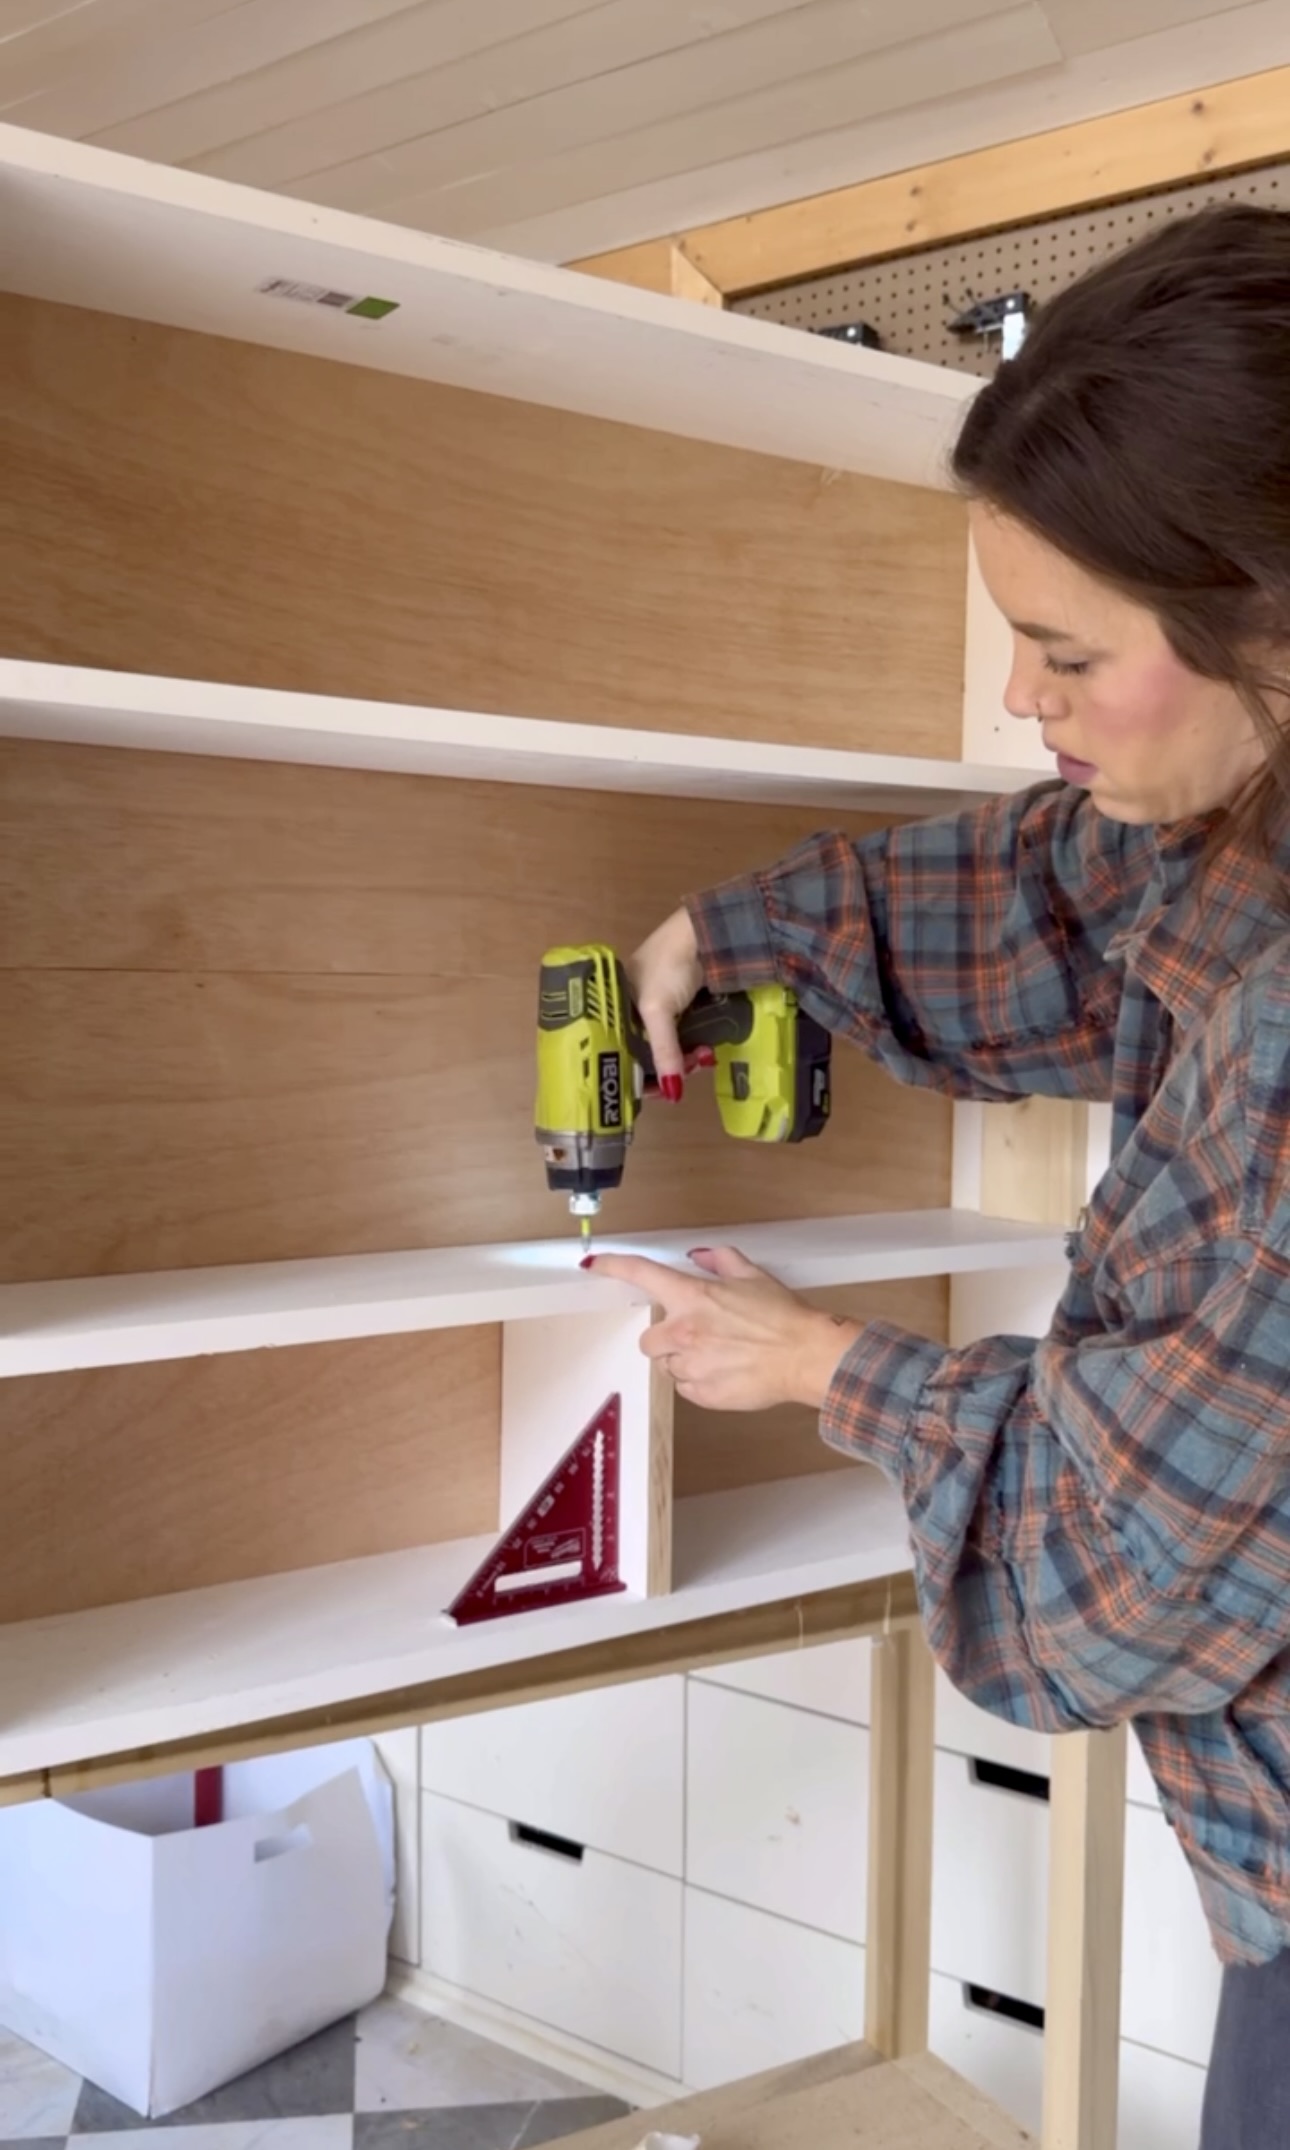
Then I installed the shelves, which would be like the different floors in the house. I made a little measuring mistake and ended up pivoting to turn the bottom shelf into drawers for extra furniture and accessories. It’s kind of like a basement!
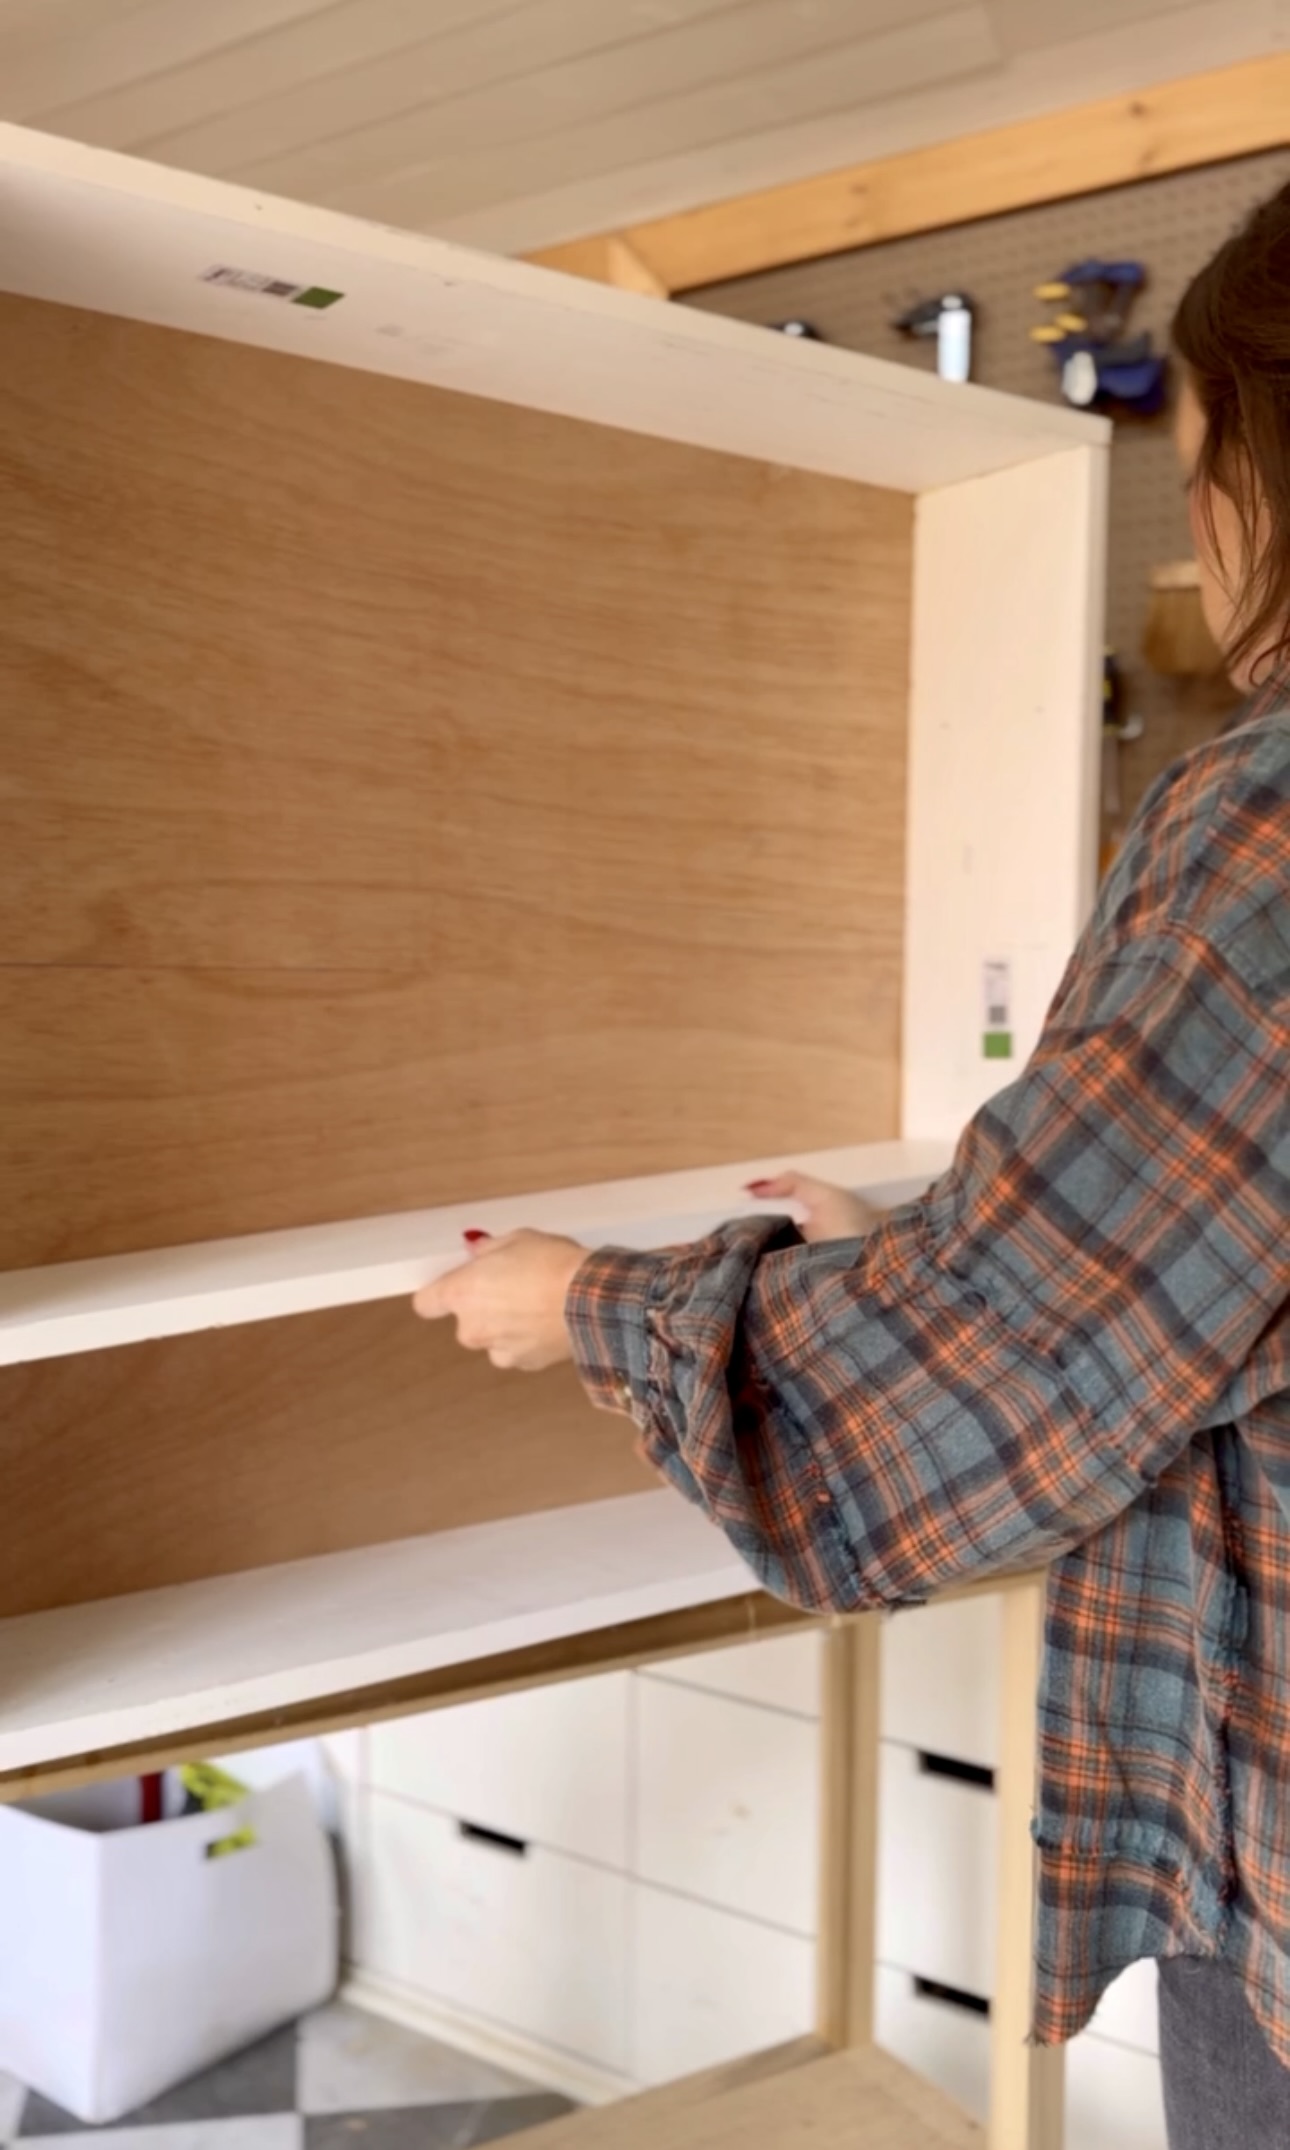
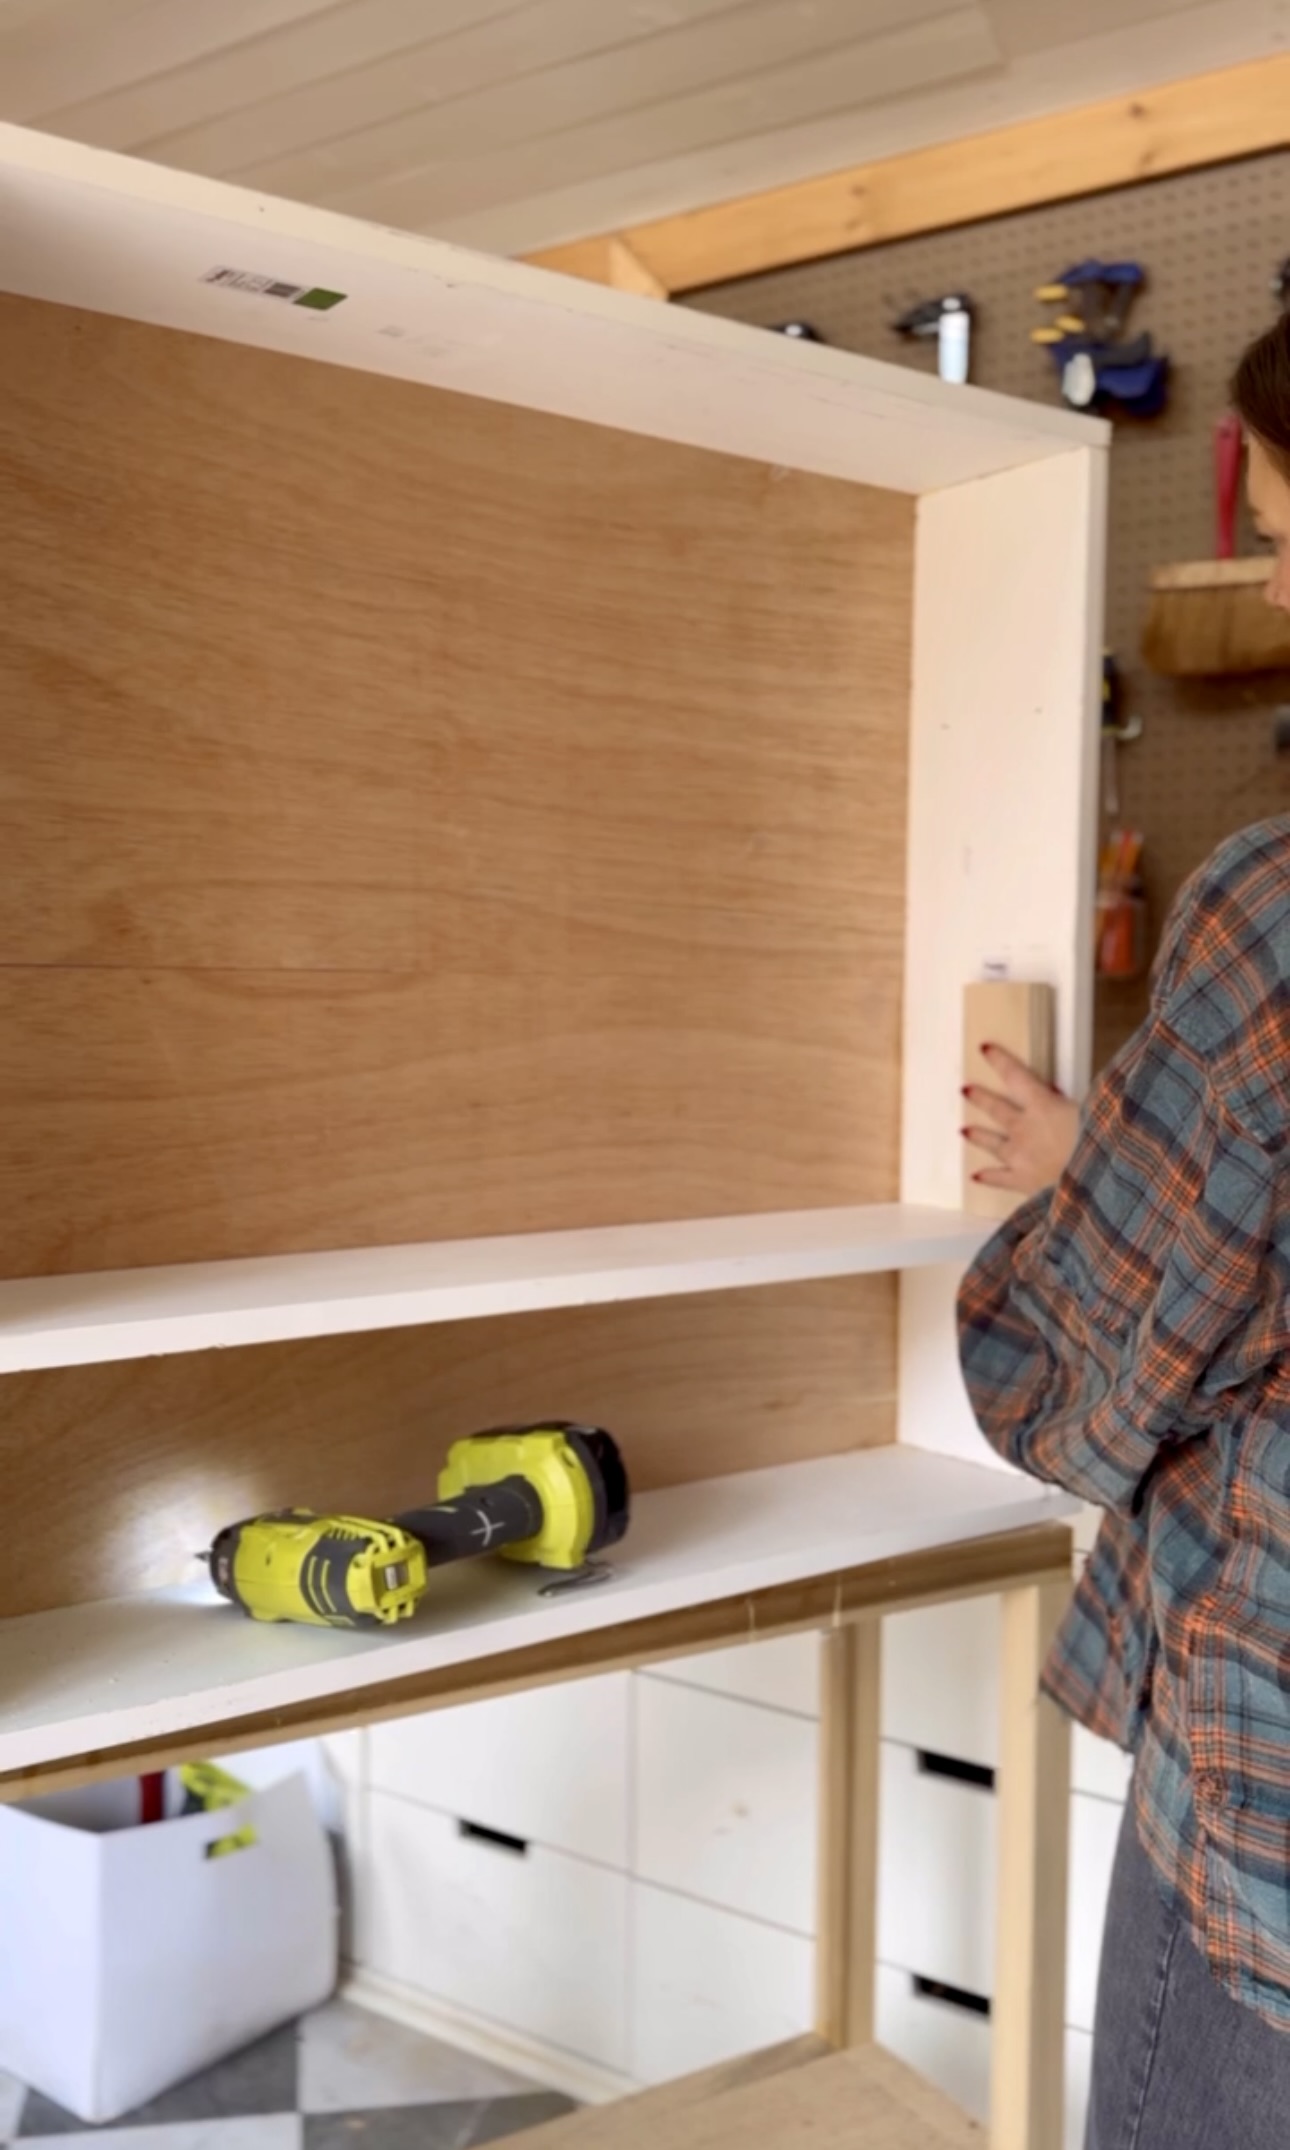
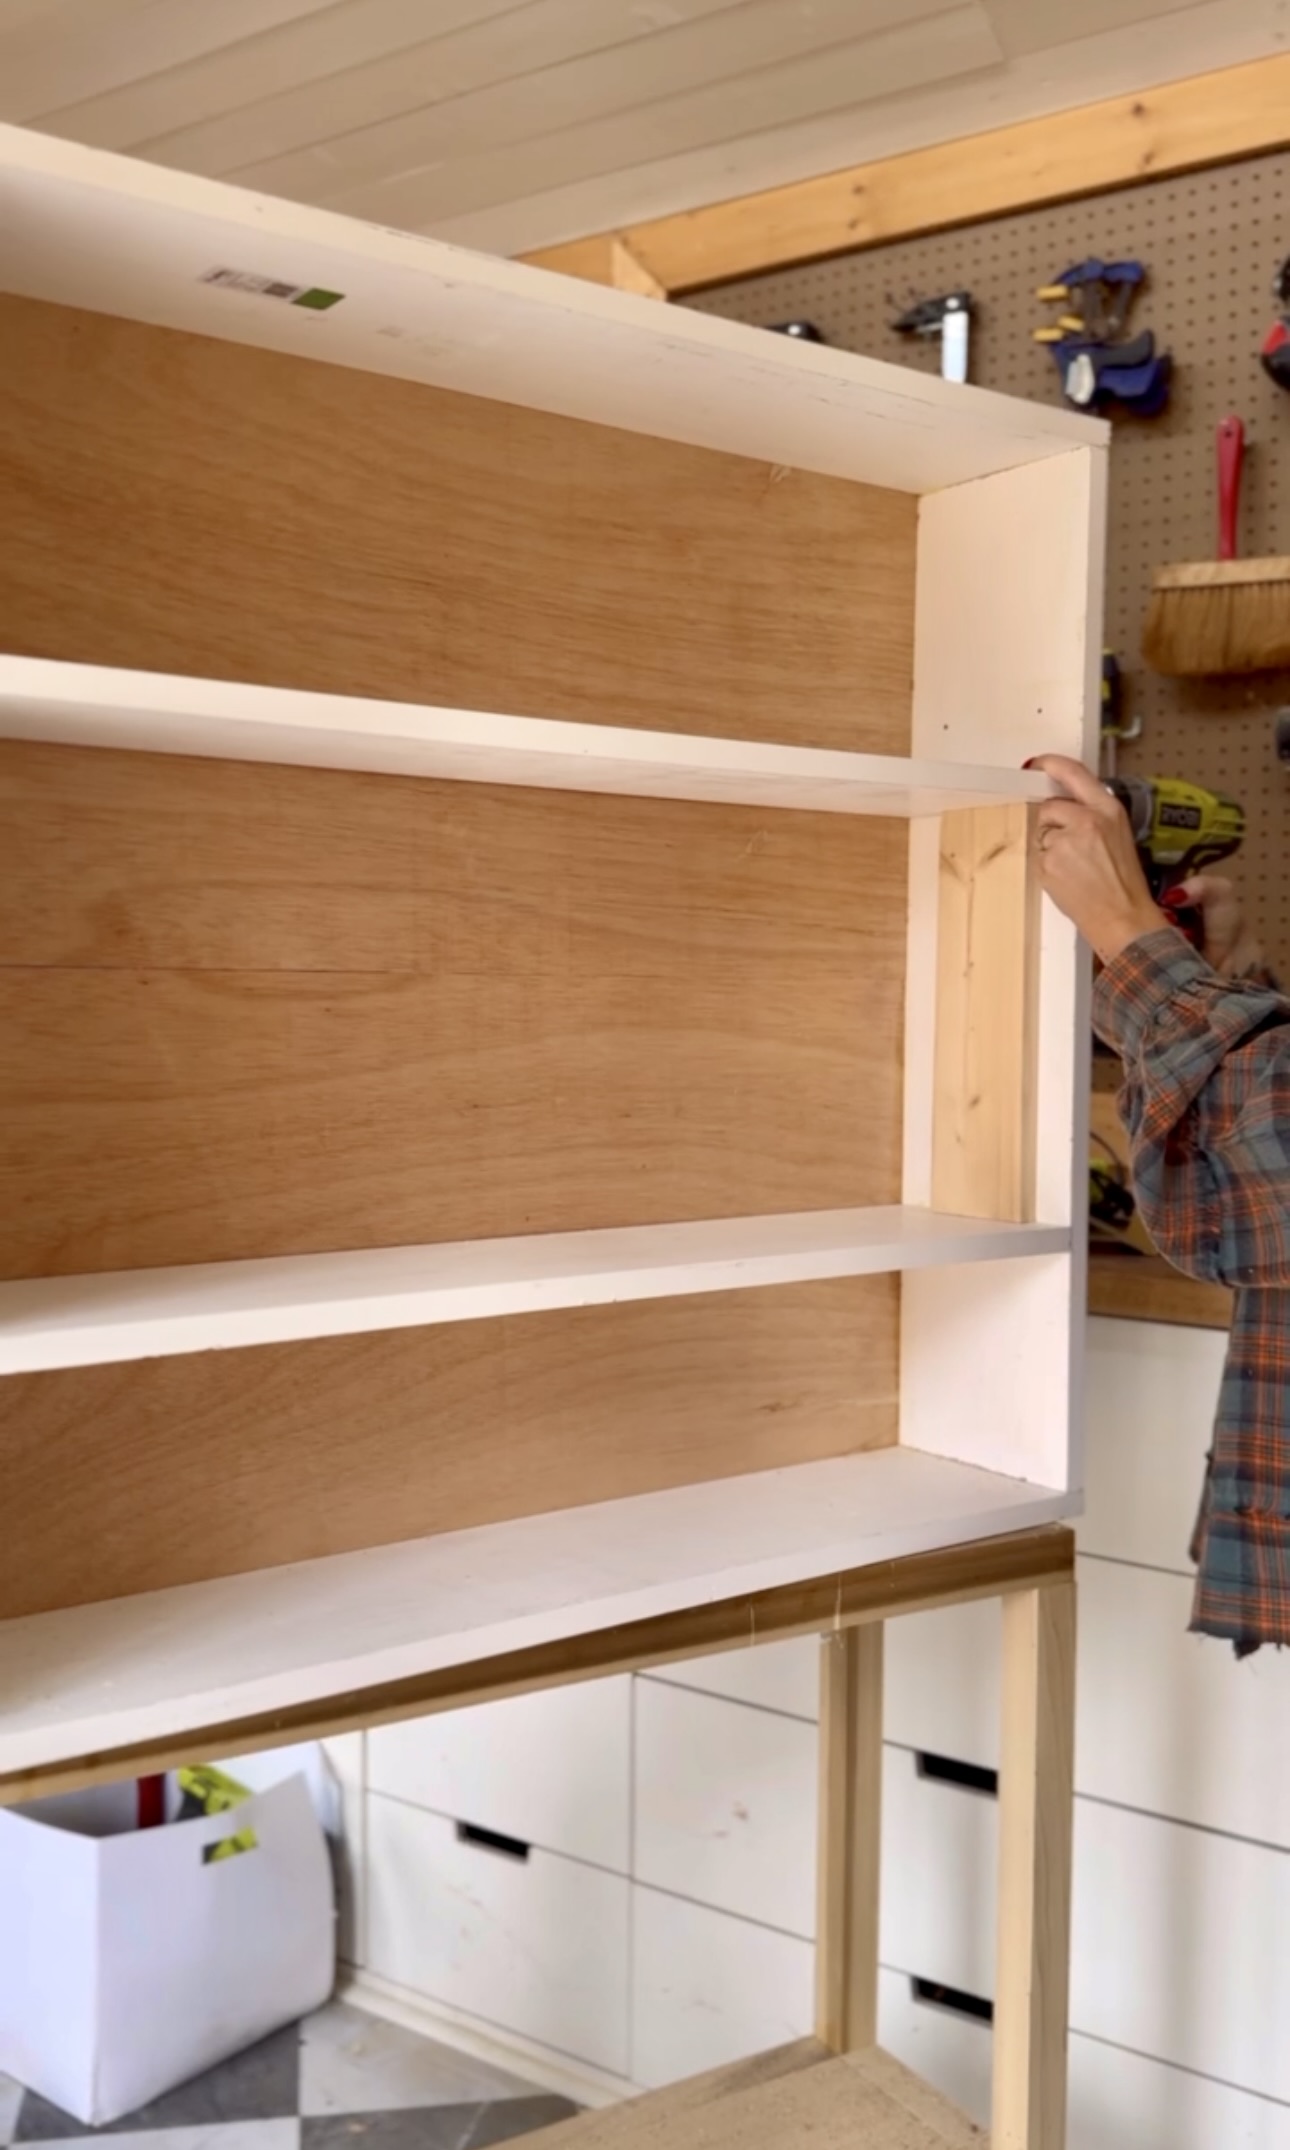
I built a little roof for the top as well for the attic! Then, I built a divider for the drawers in the “basement.”

Furniture Legs
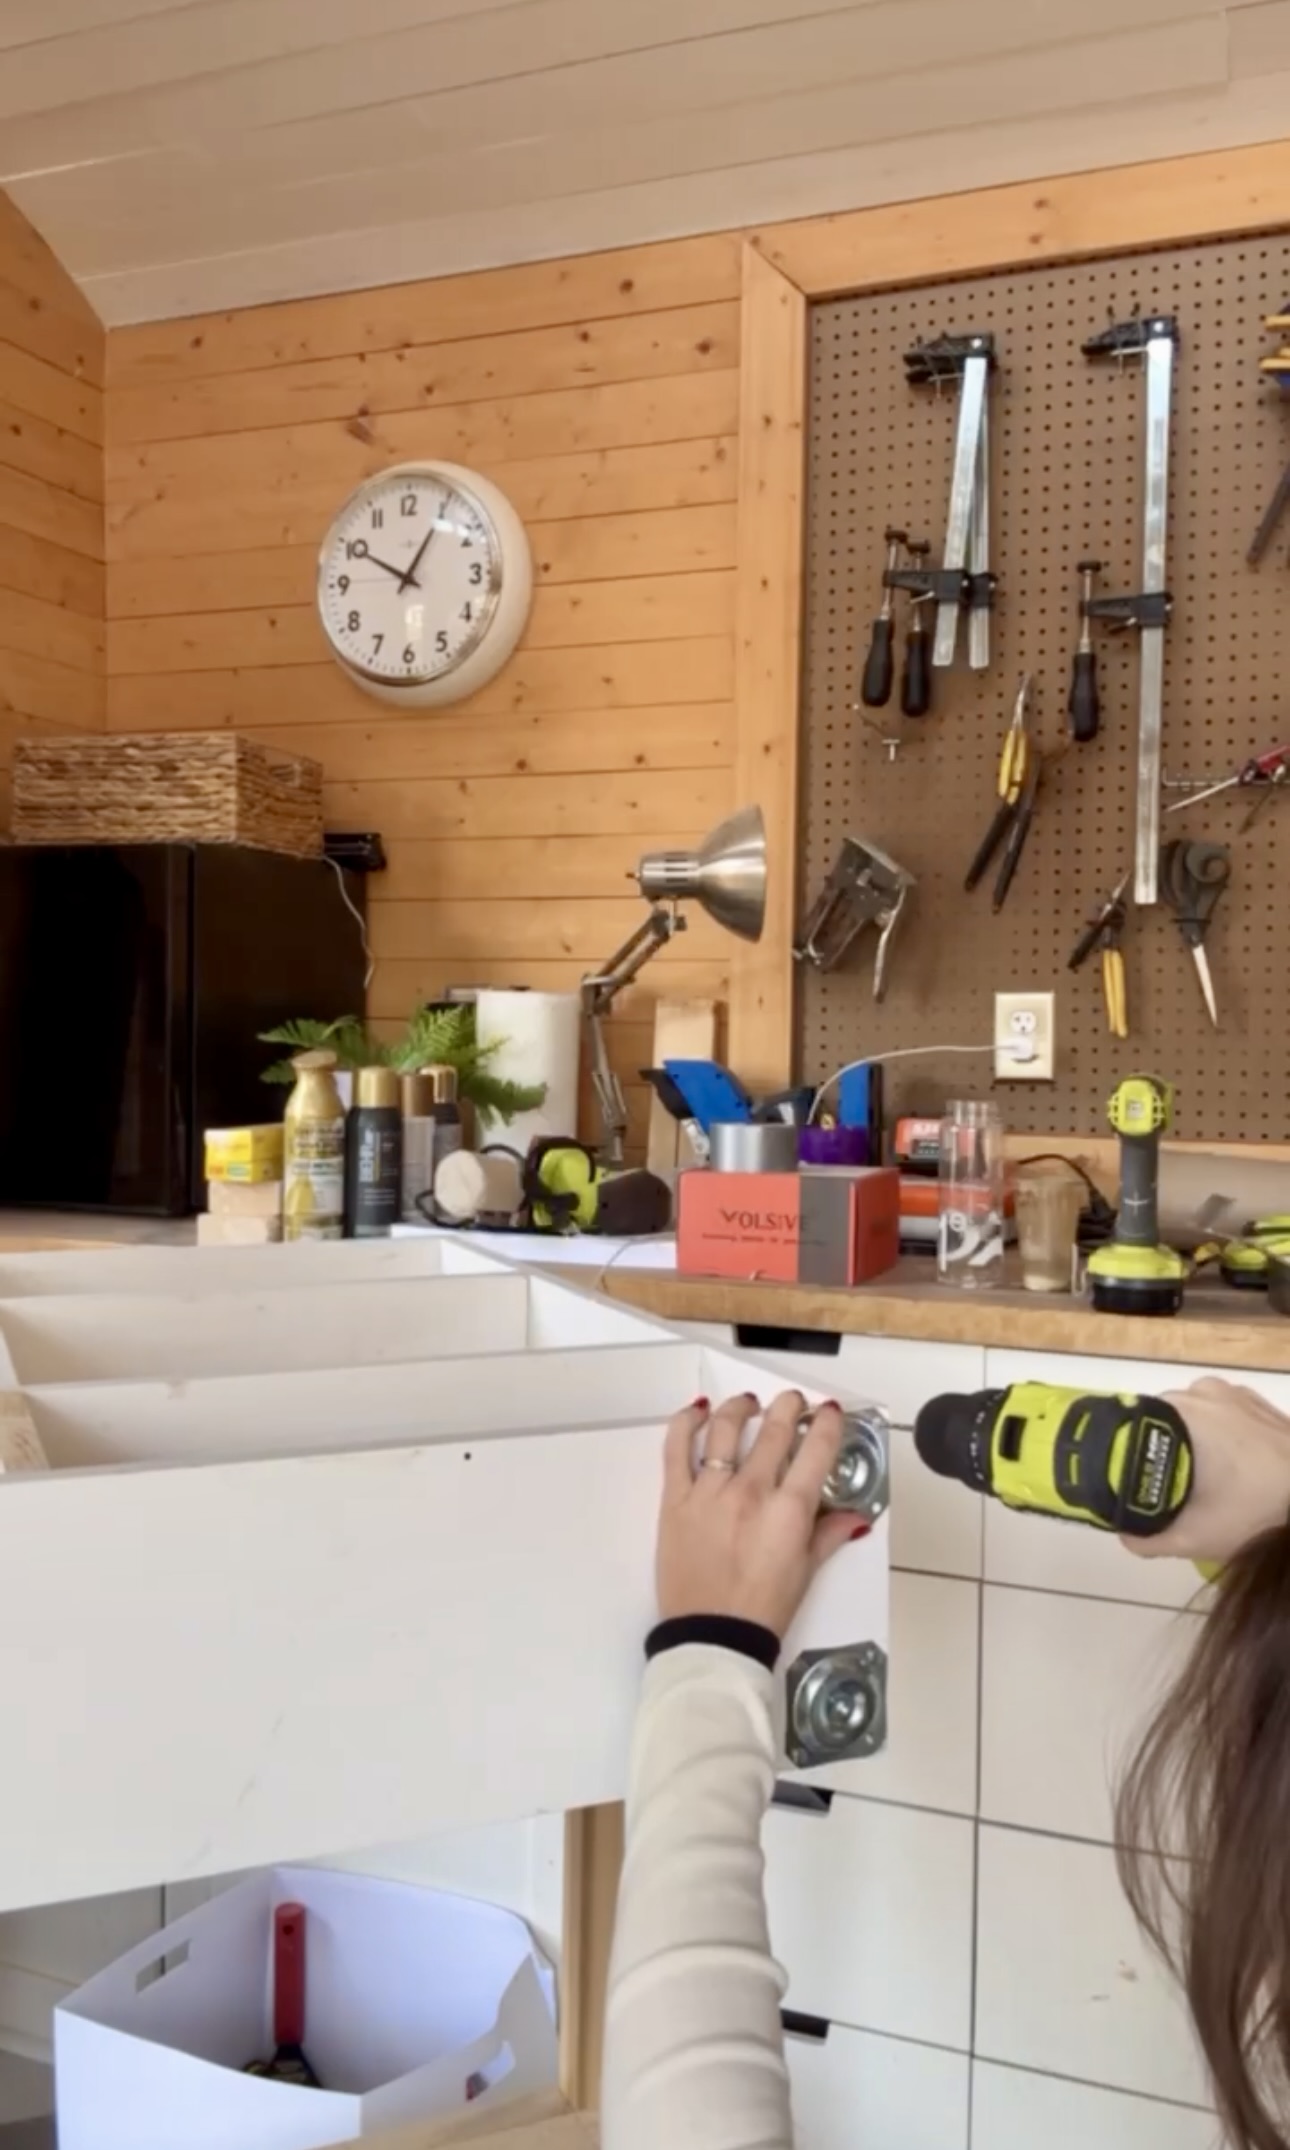
I decided to secure the house to the wall and attach furniture legs underneath to give it a more moveable look. I also love the added detail it gives the house.

Drawers
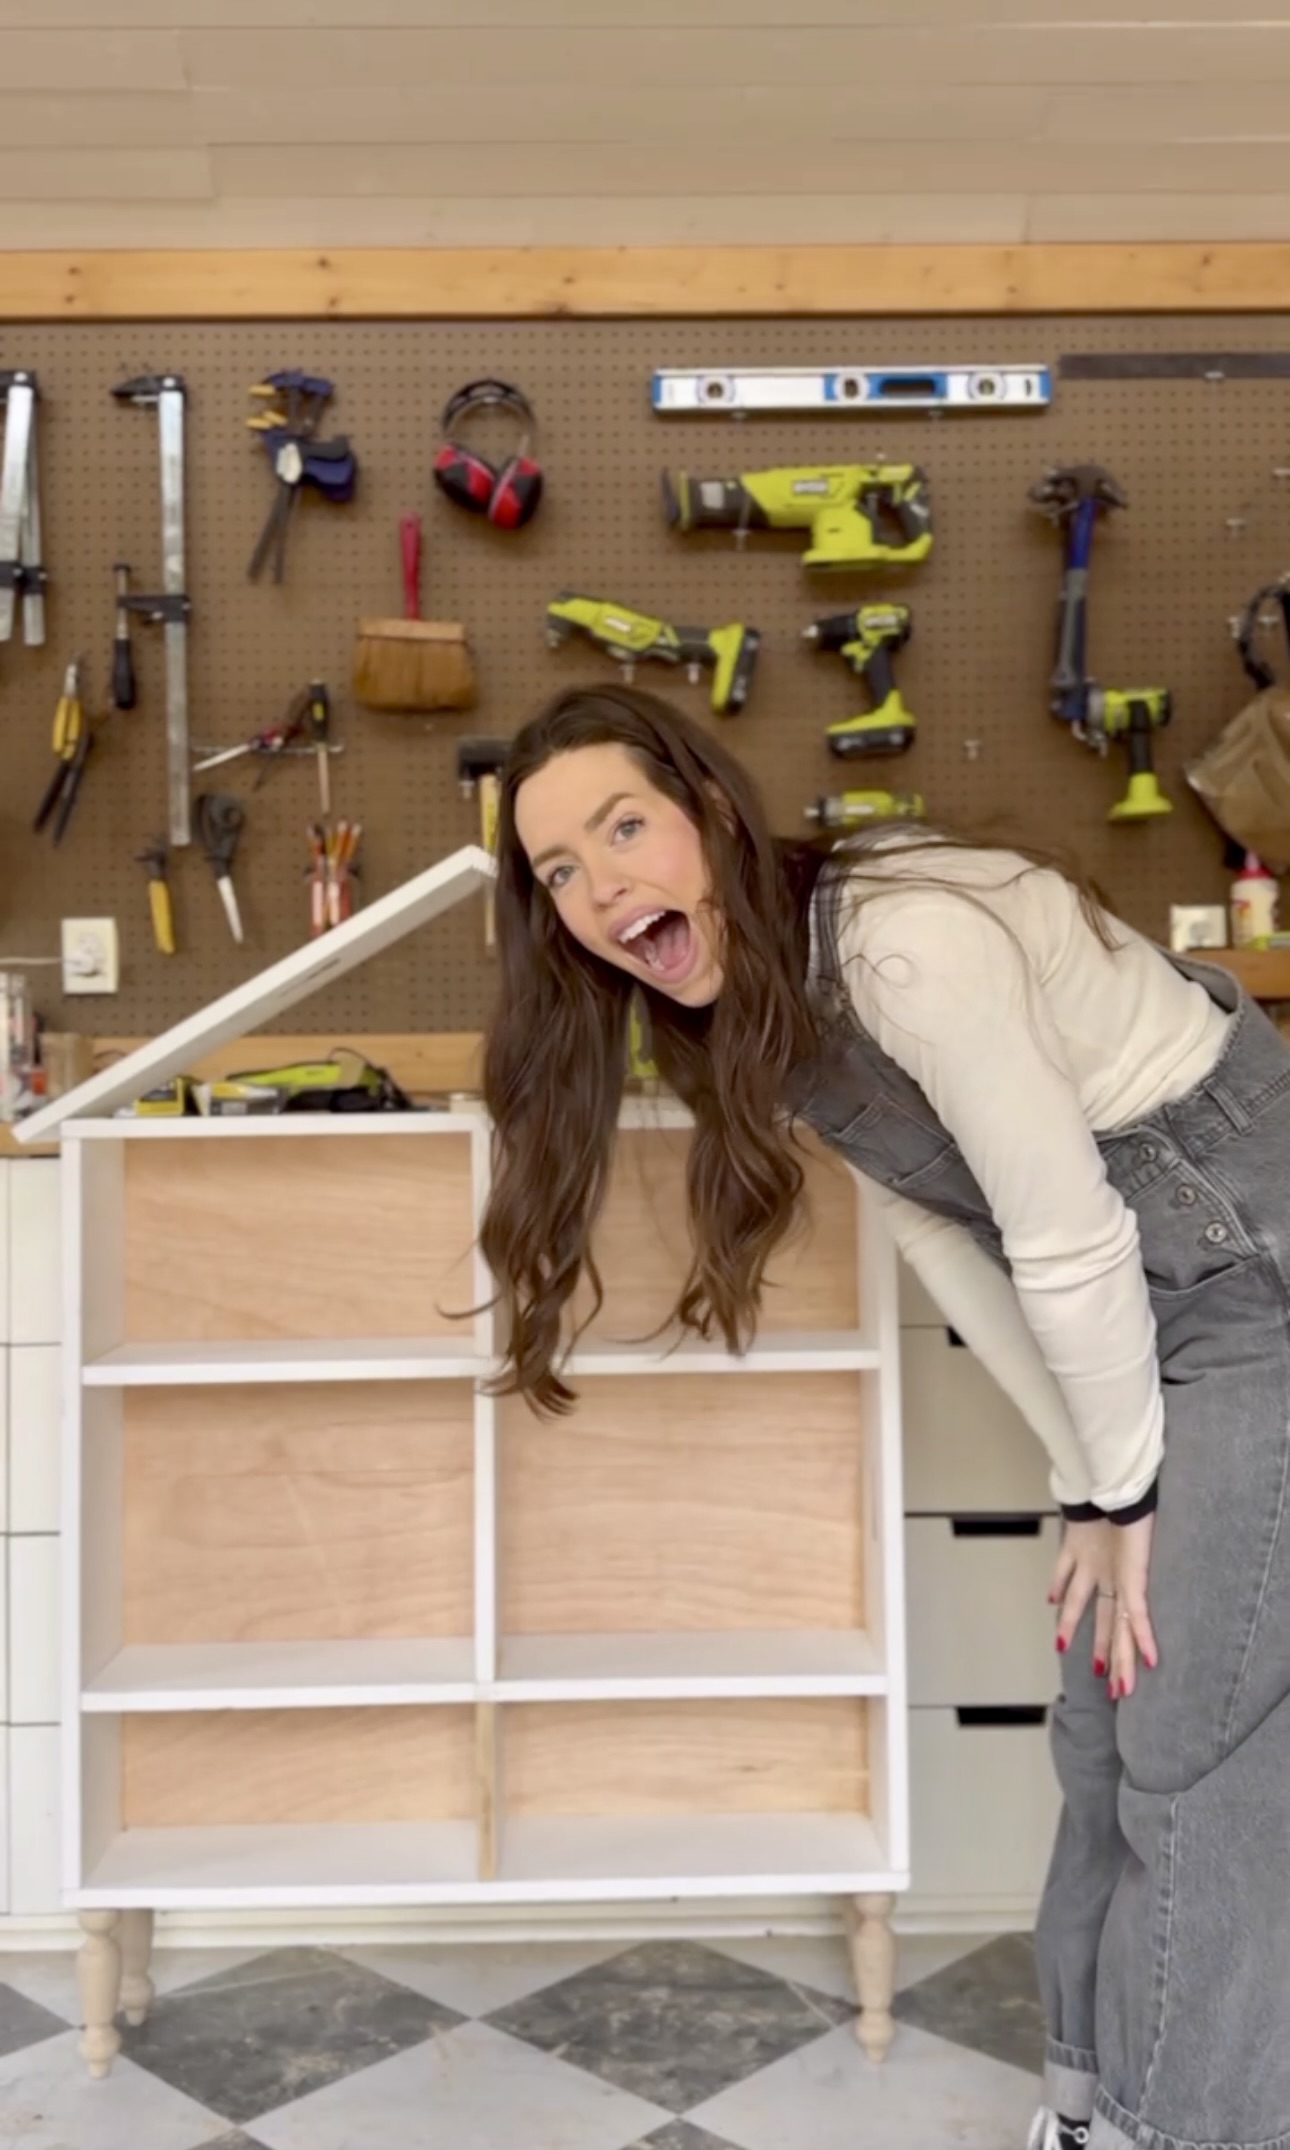
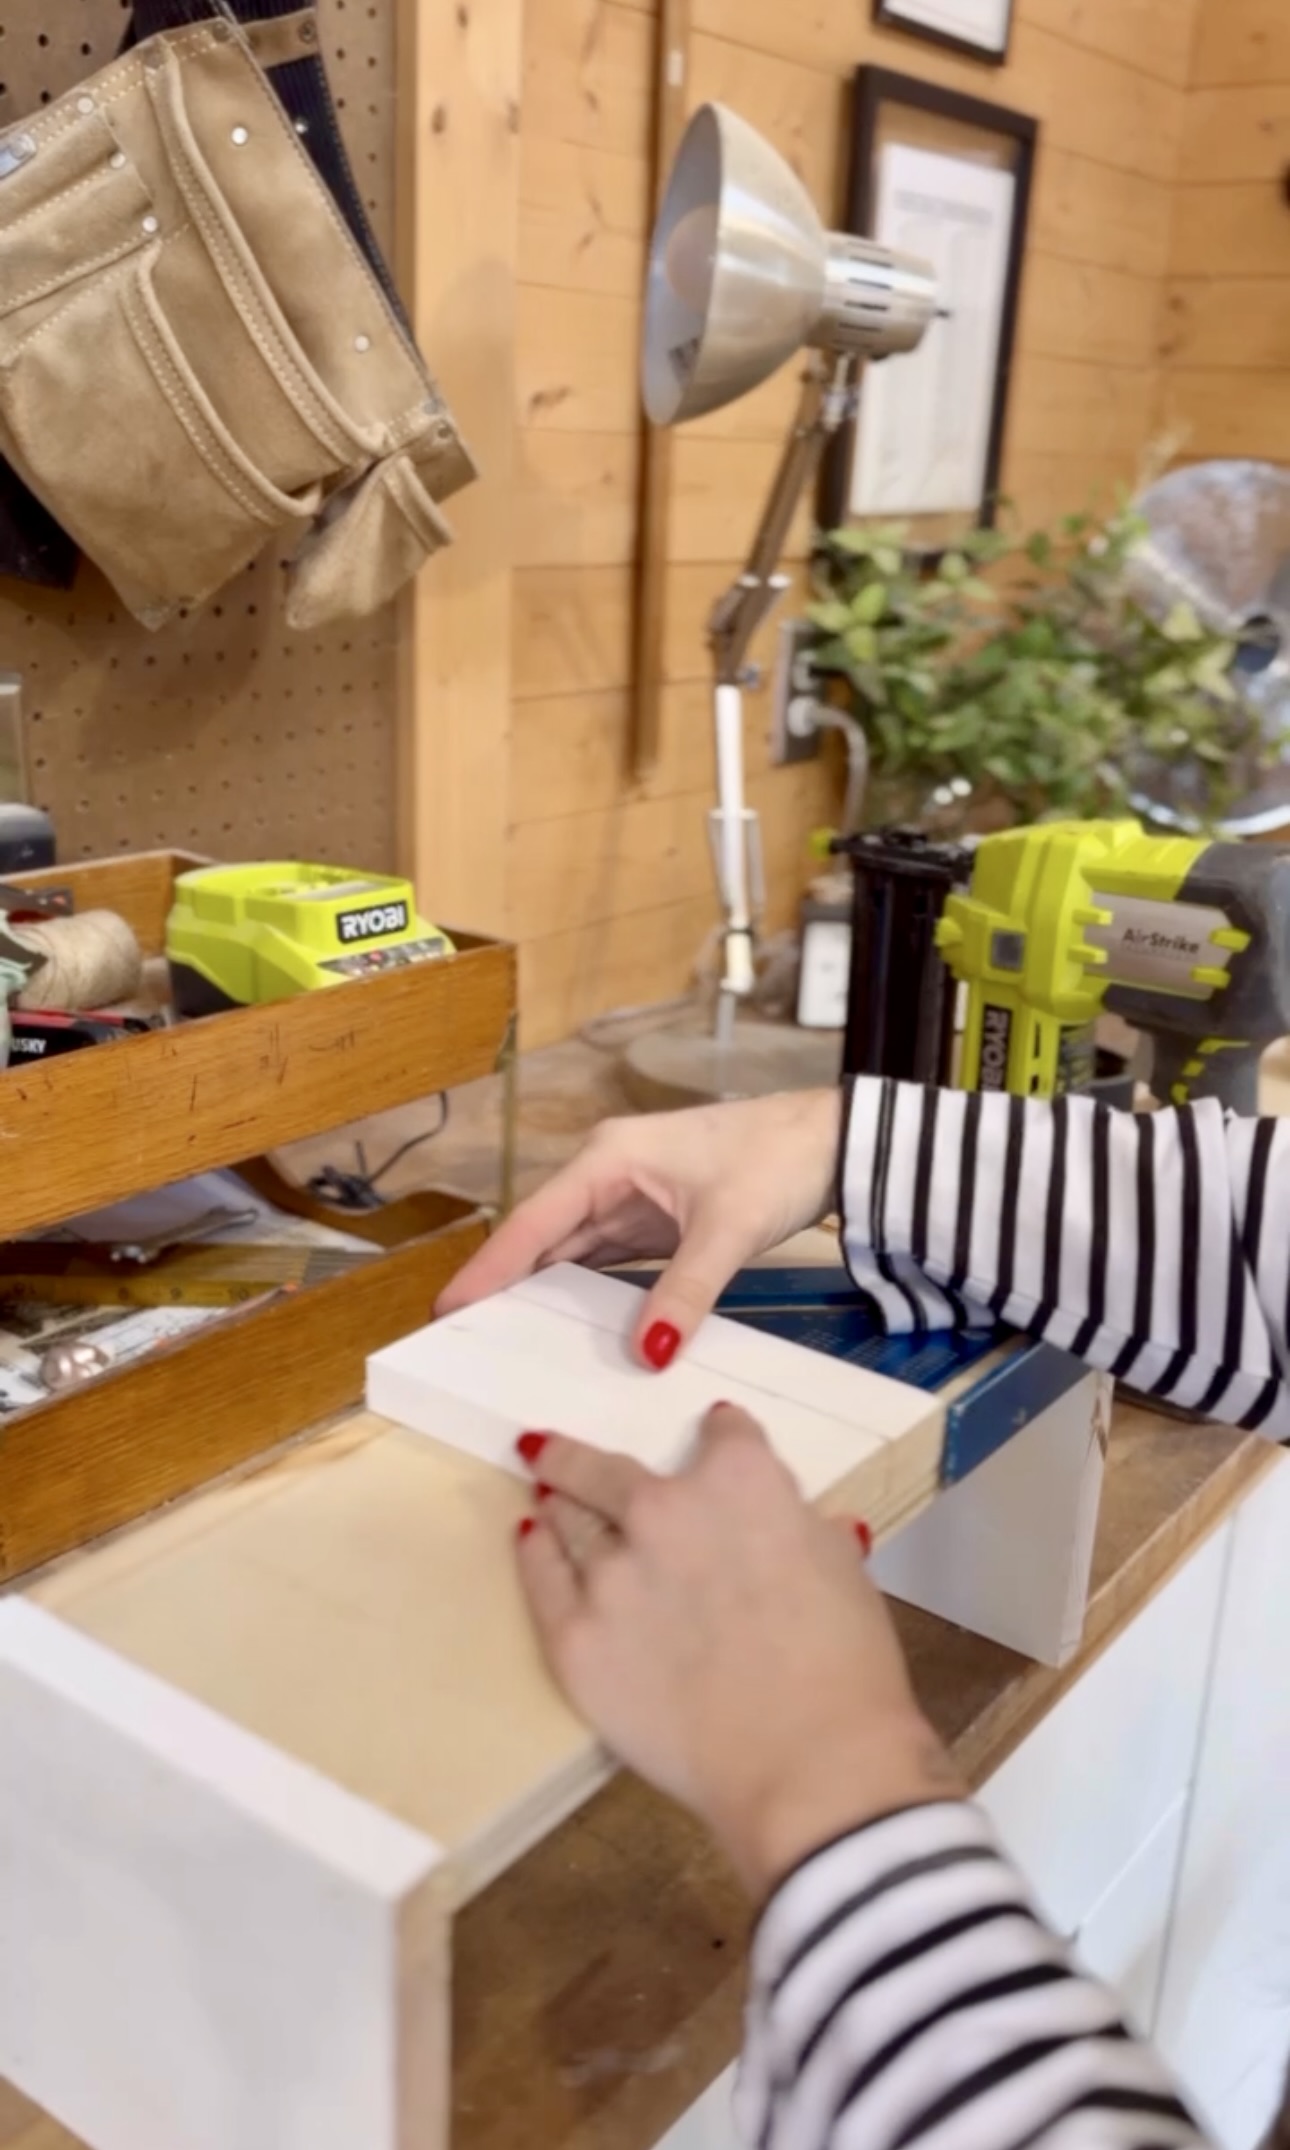
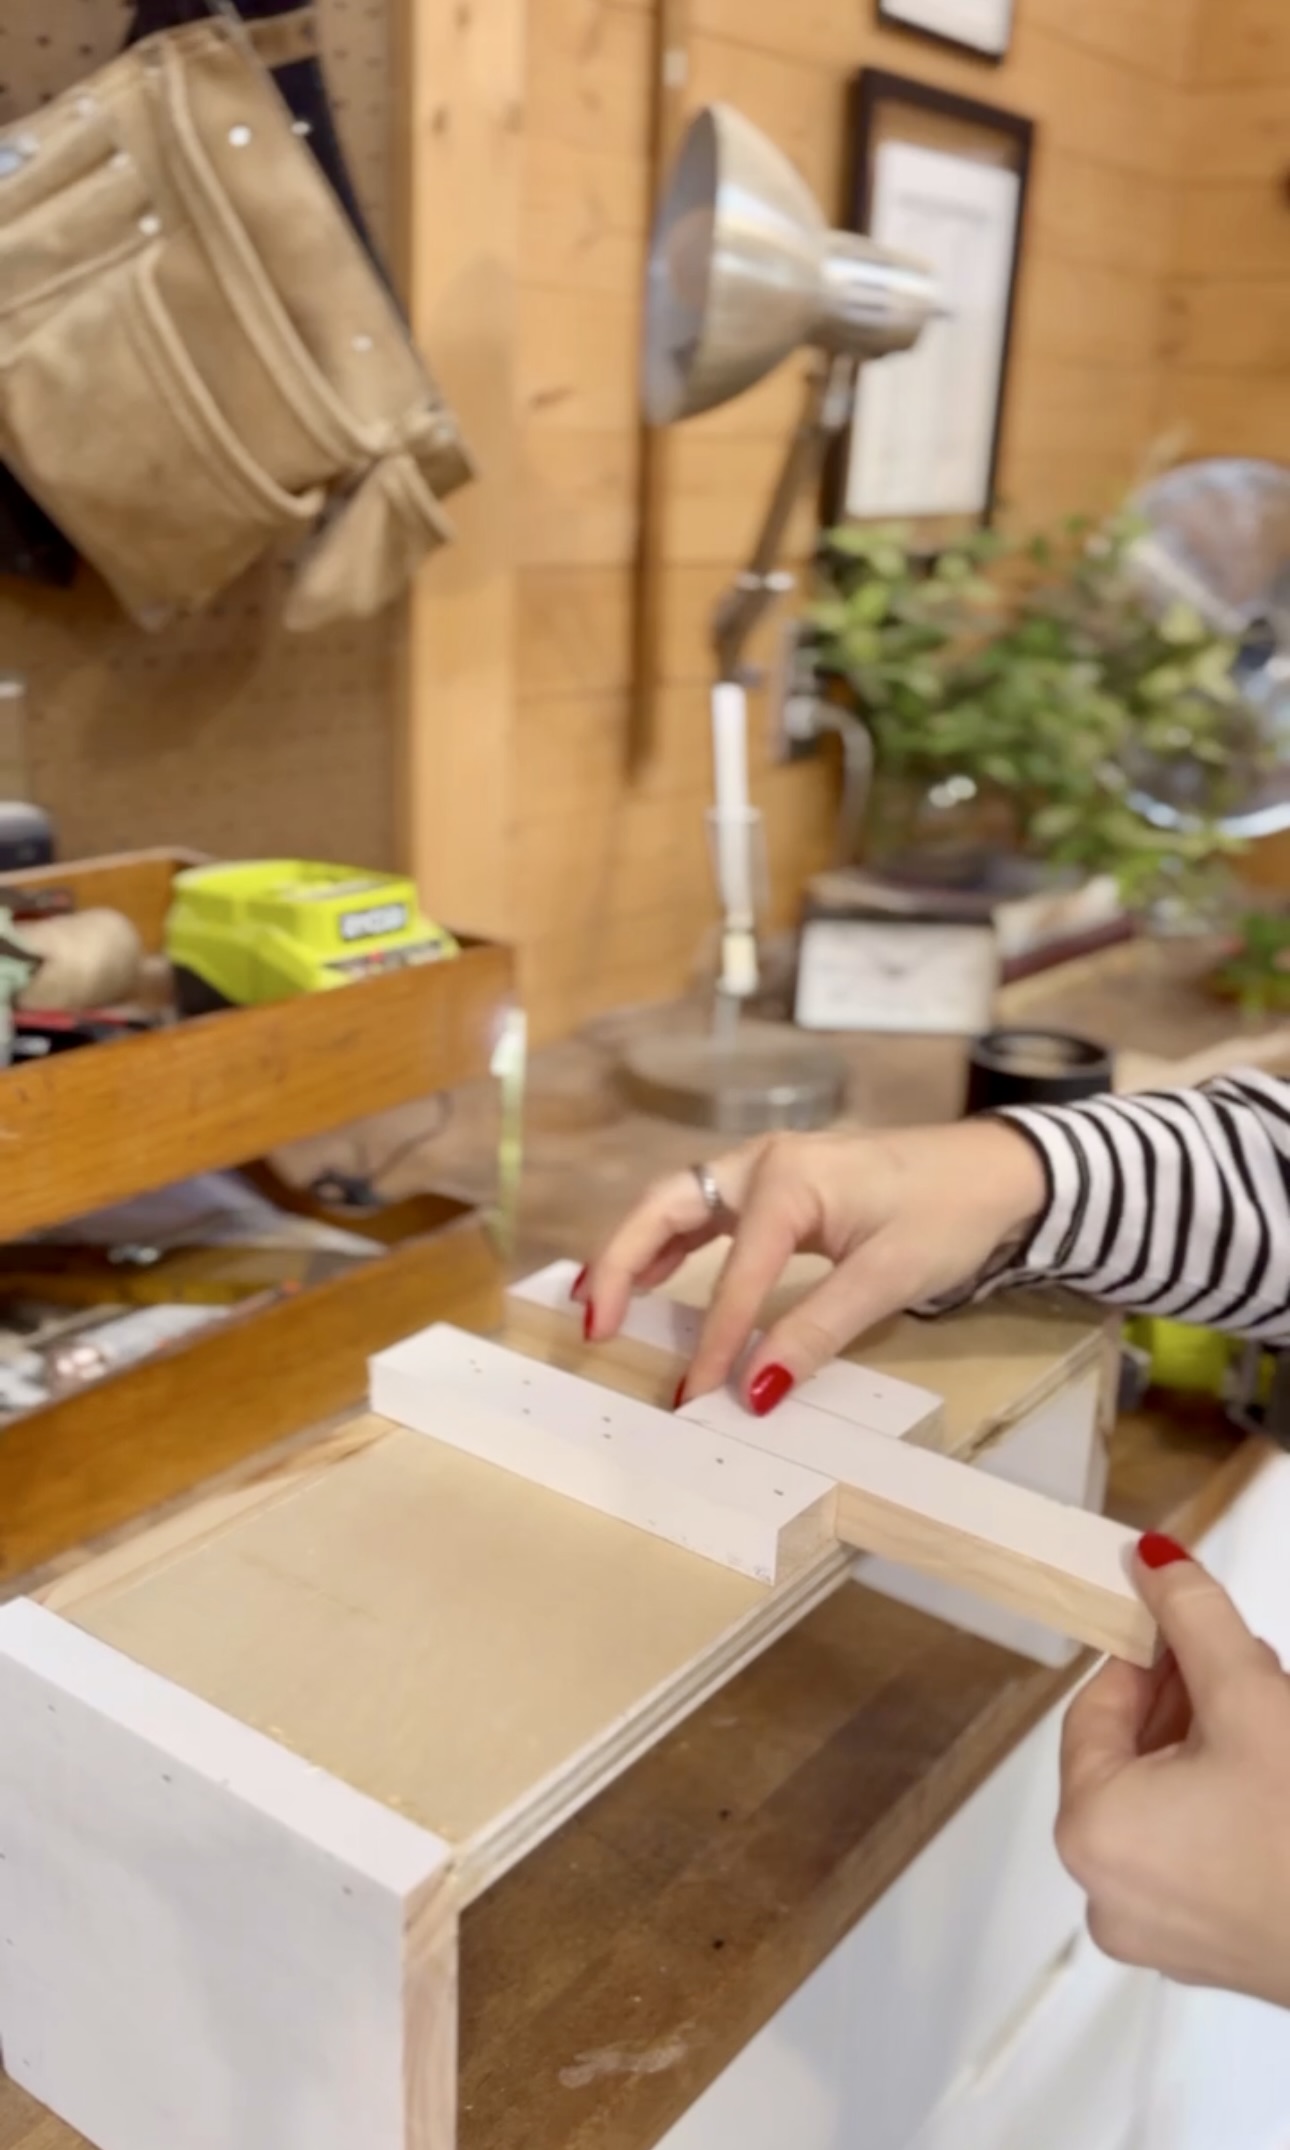
For this project, I was trying to be as resourceful as possible without going and buying anything. I didn’t want to go buy drawer slides. So, I made a little rig with some scrap wood. Then I attached this “rail” to the bottom of the house so the drawer would smoothly close. I might need to add a bit of wax to make it open more smoothly, but it worked!

Paint
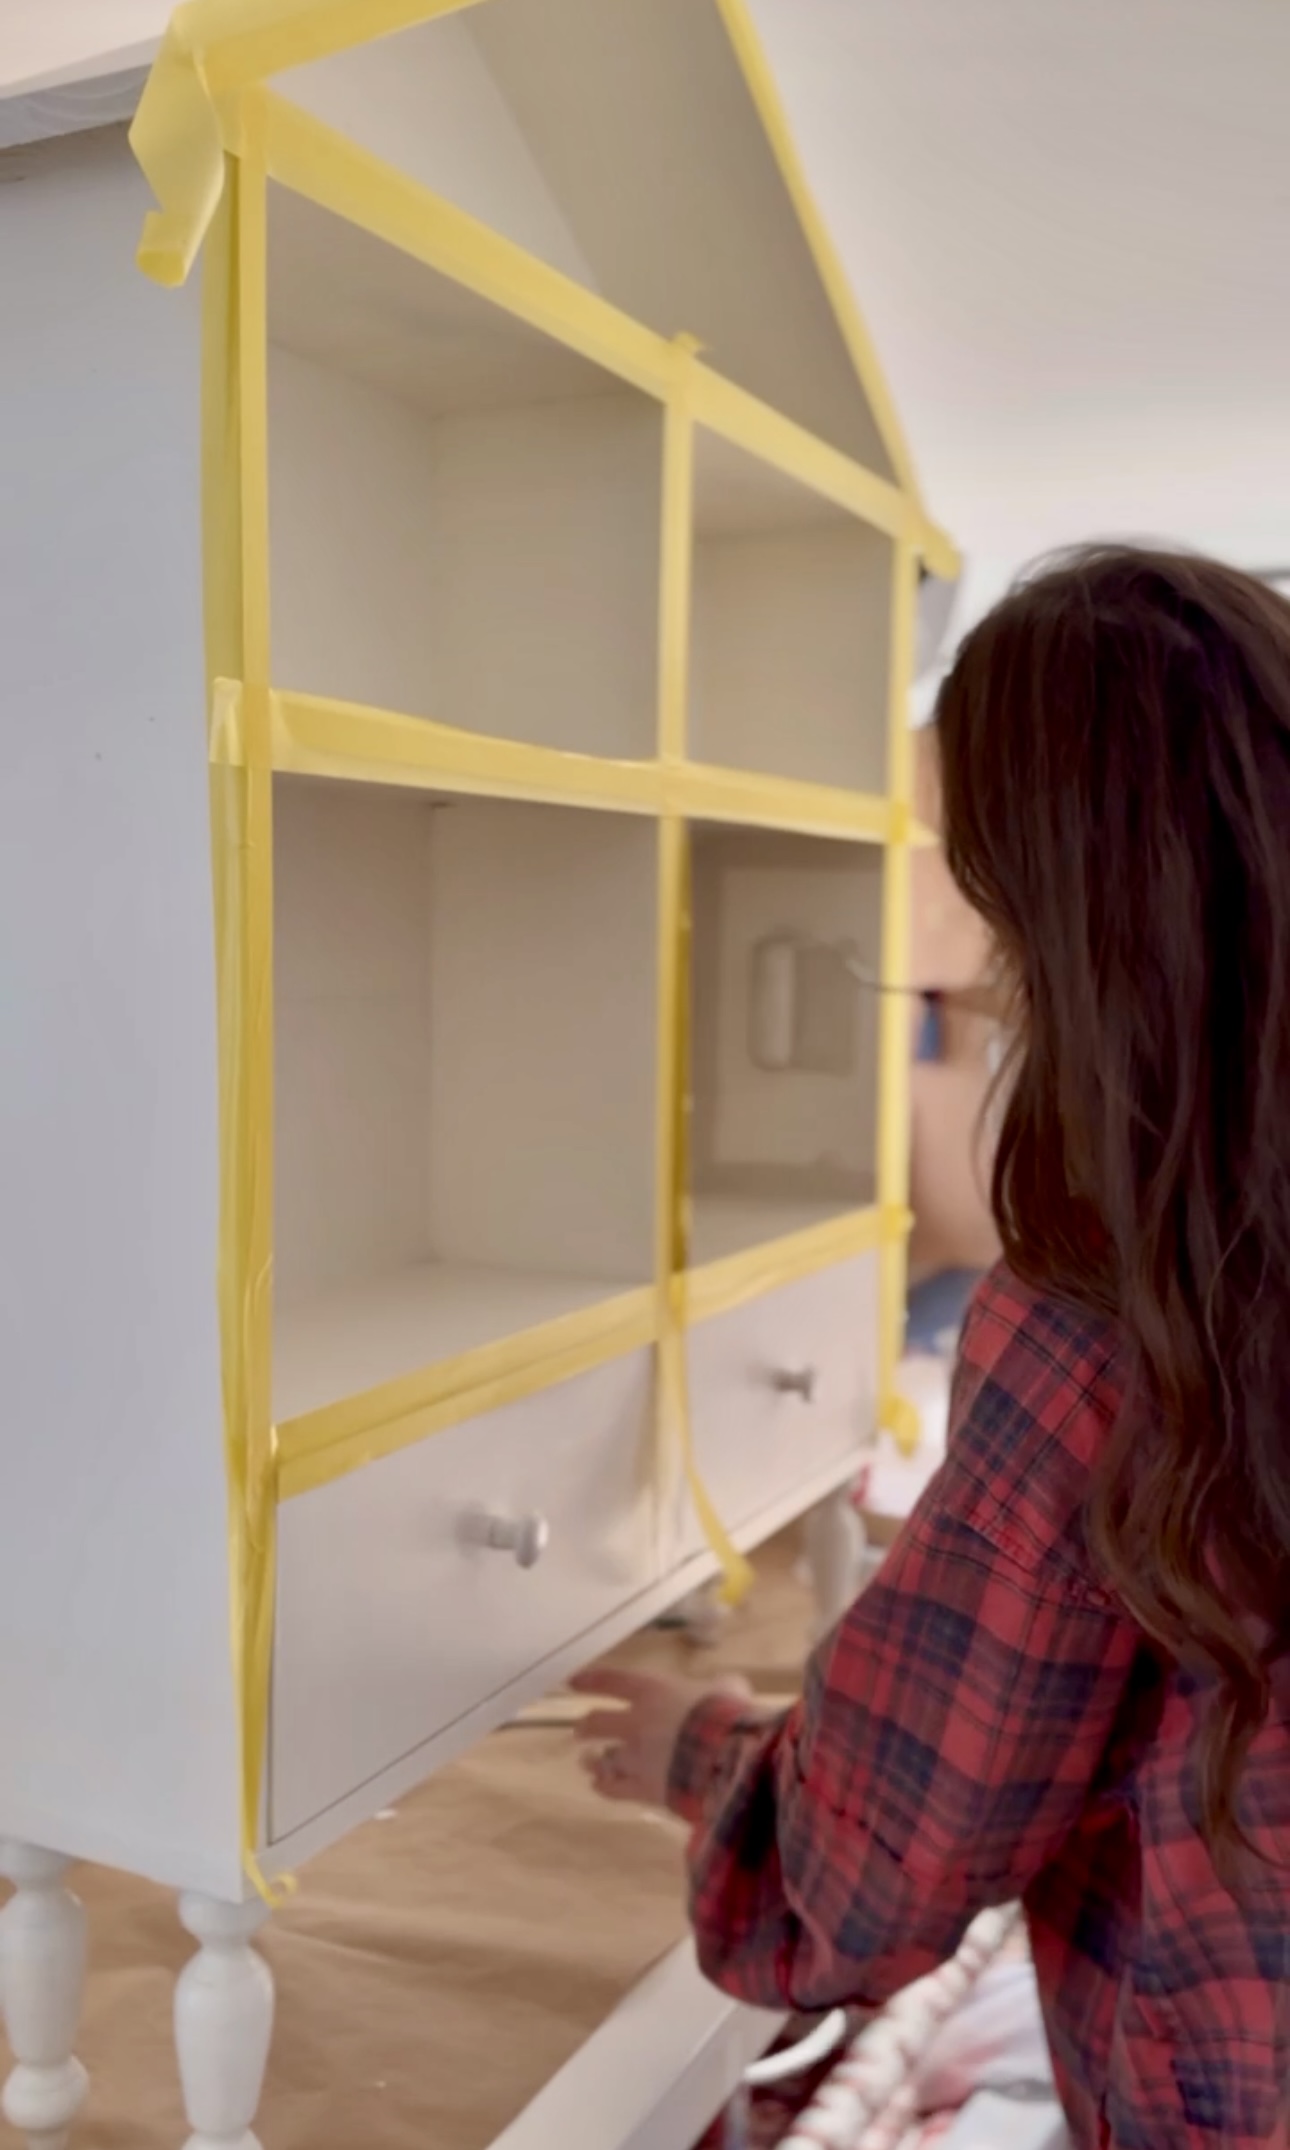
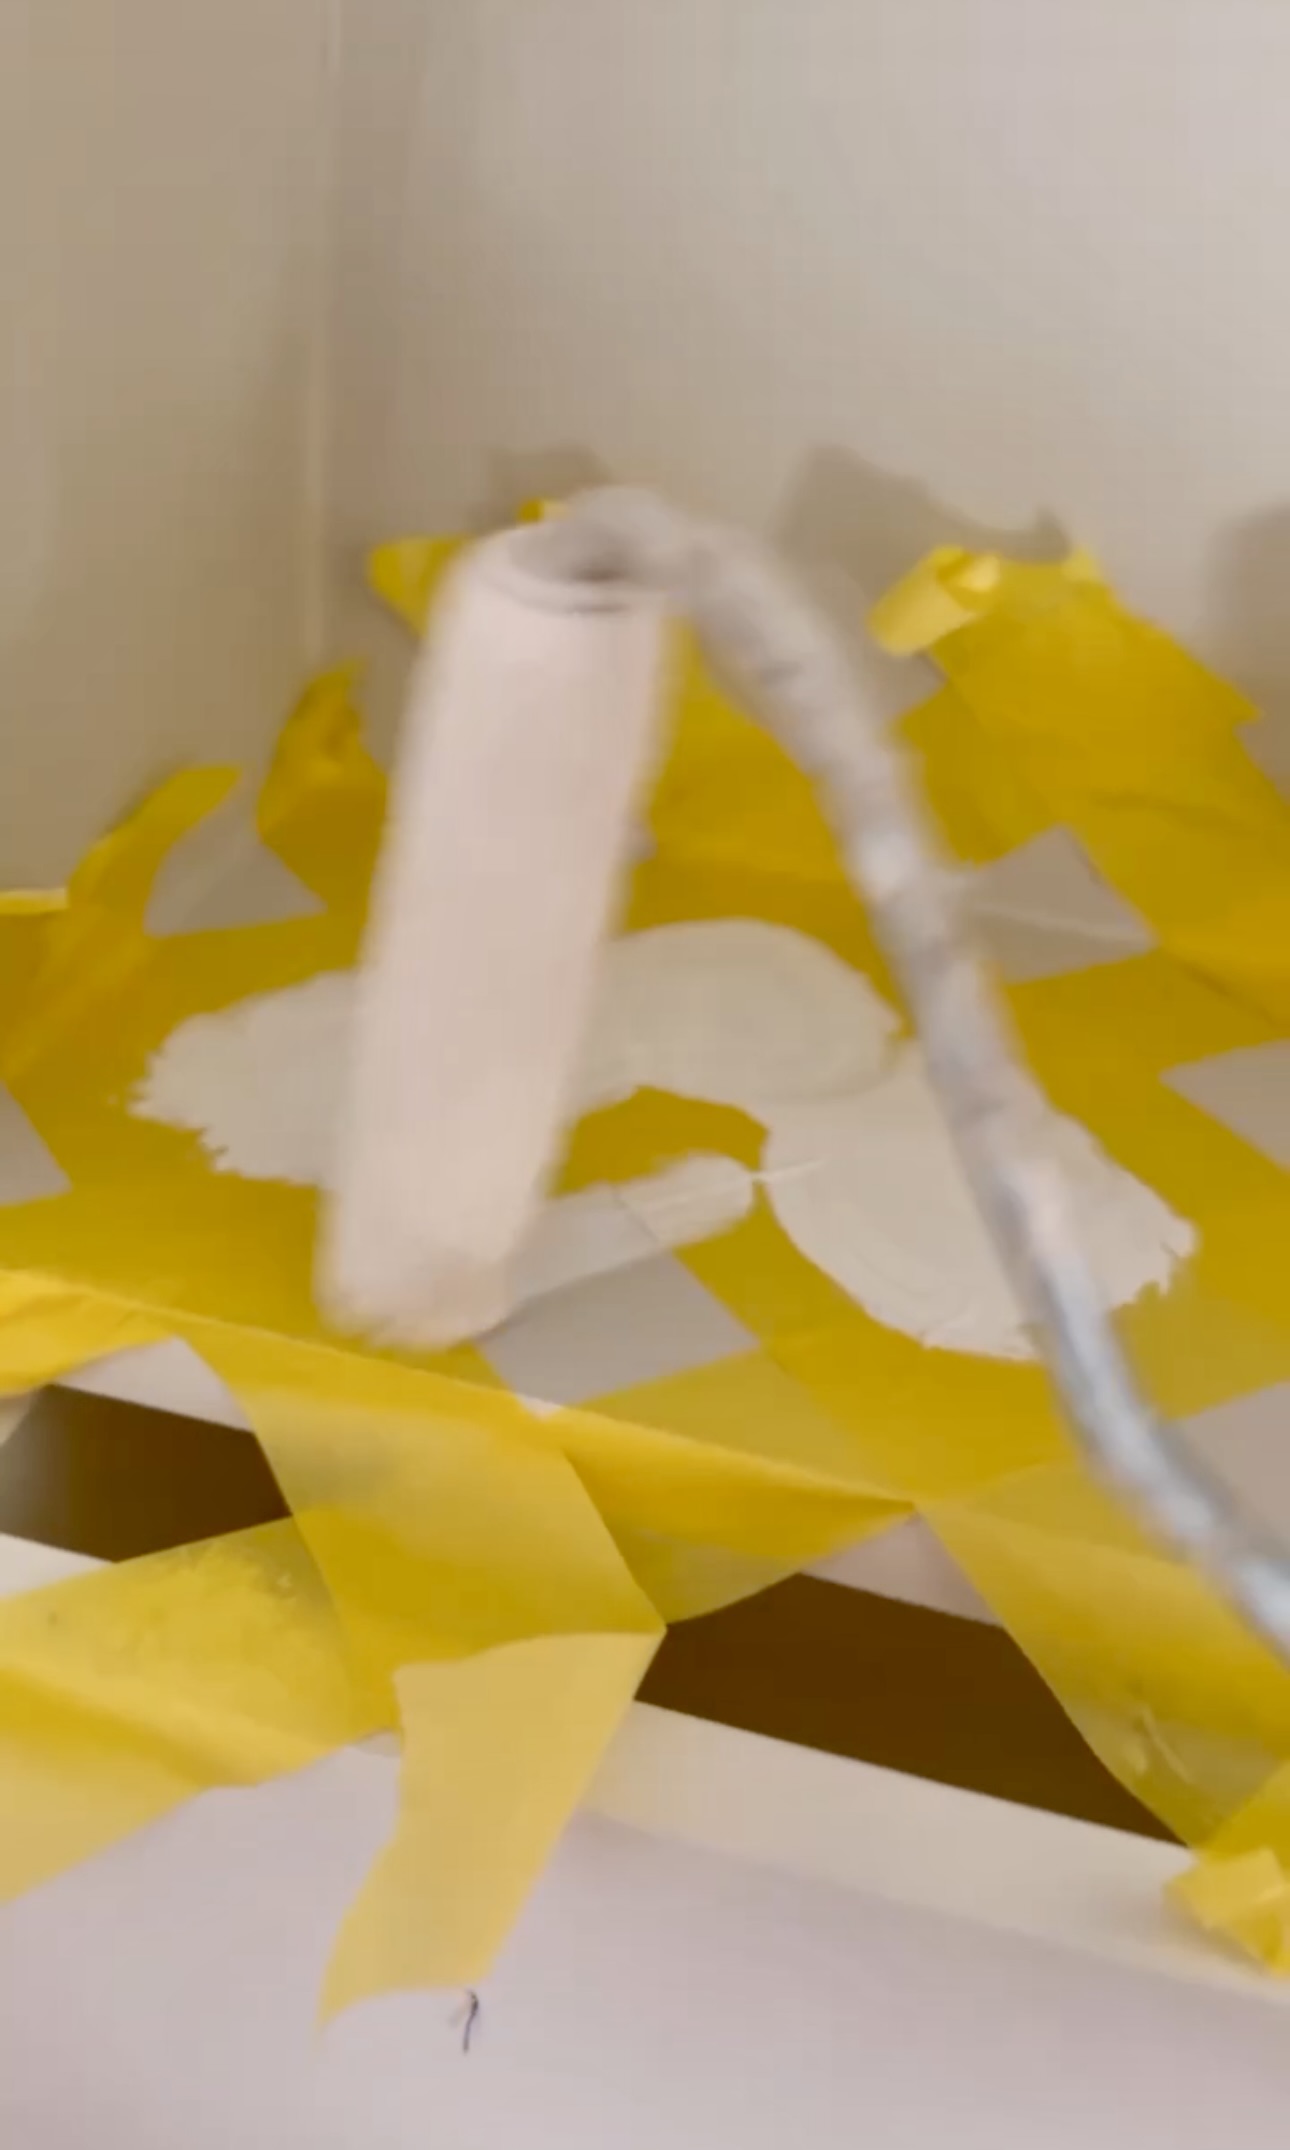
Then, I filled all the nail holes and seams and sanded! I painted it white with paint I already had around the house.
Decor
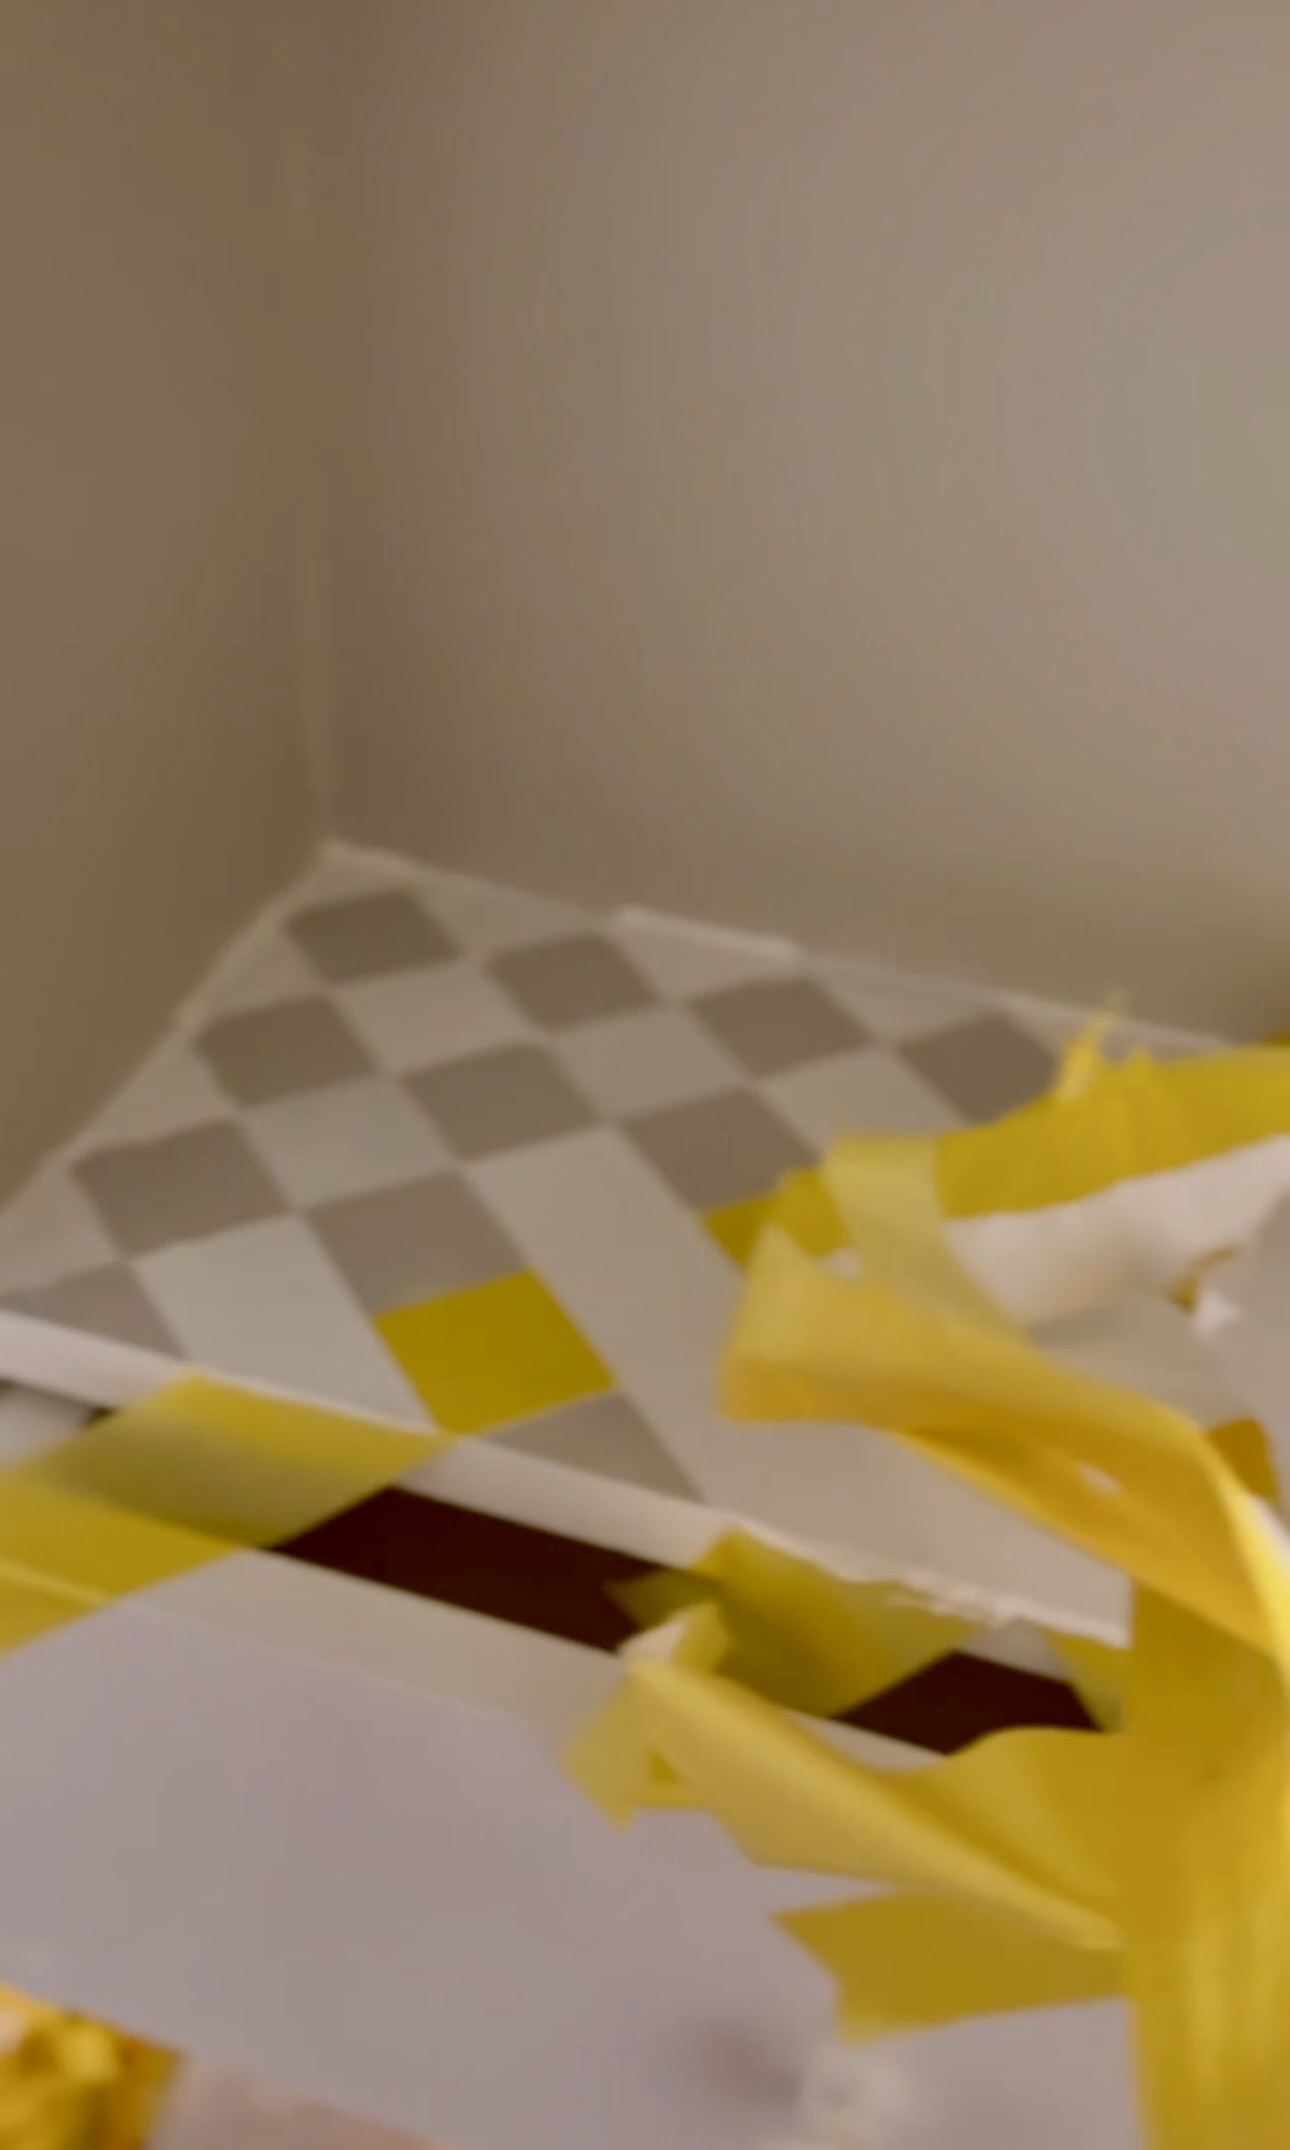
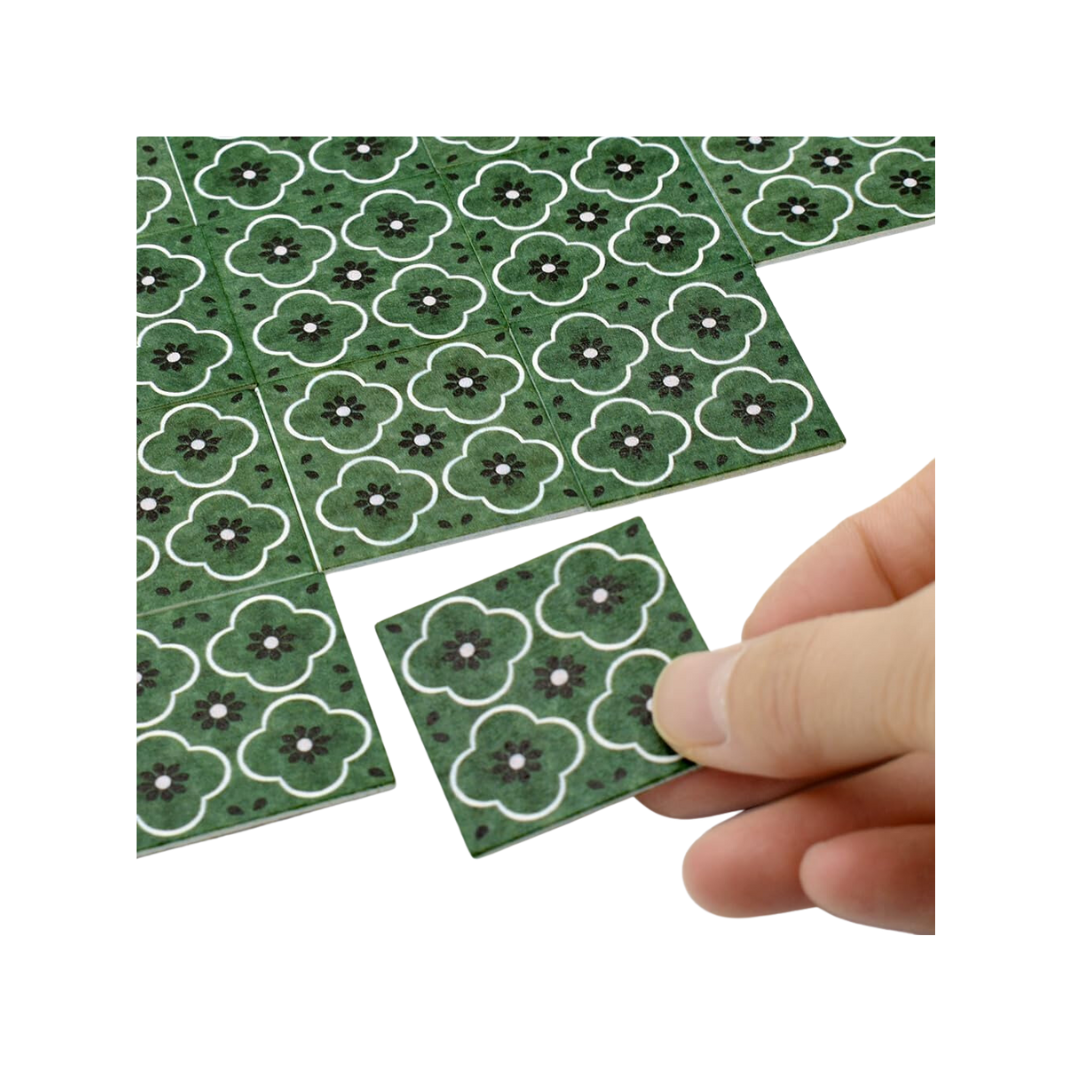
Time for the FUN PART!!! DECOR! I laid some “flooring” down, hung up some wallpaper, and painted on some wallpaper. I even printed some of my favorite real life rugs onto some textured paper. It was so awesome.
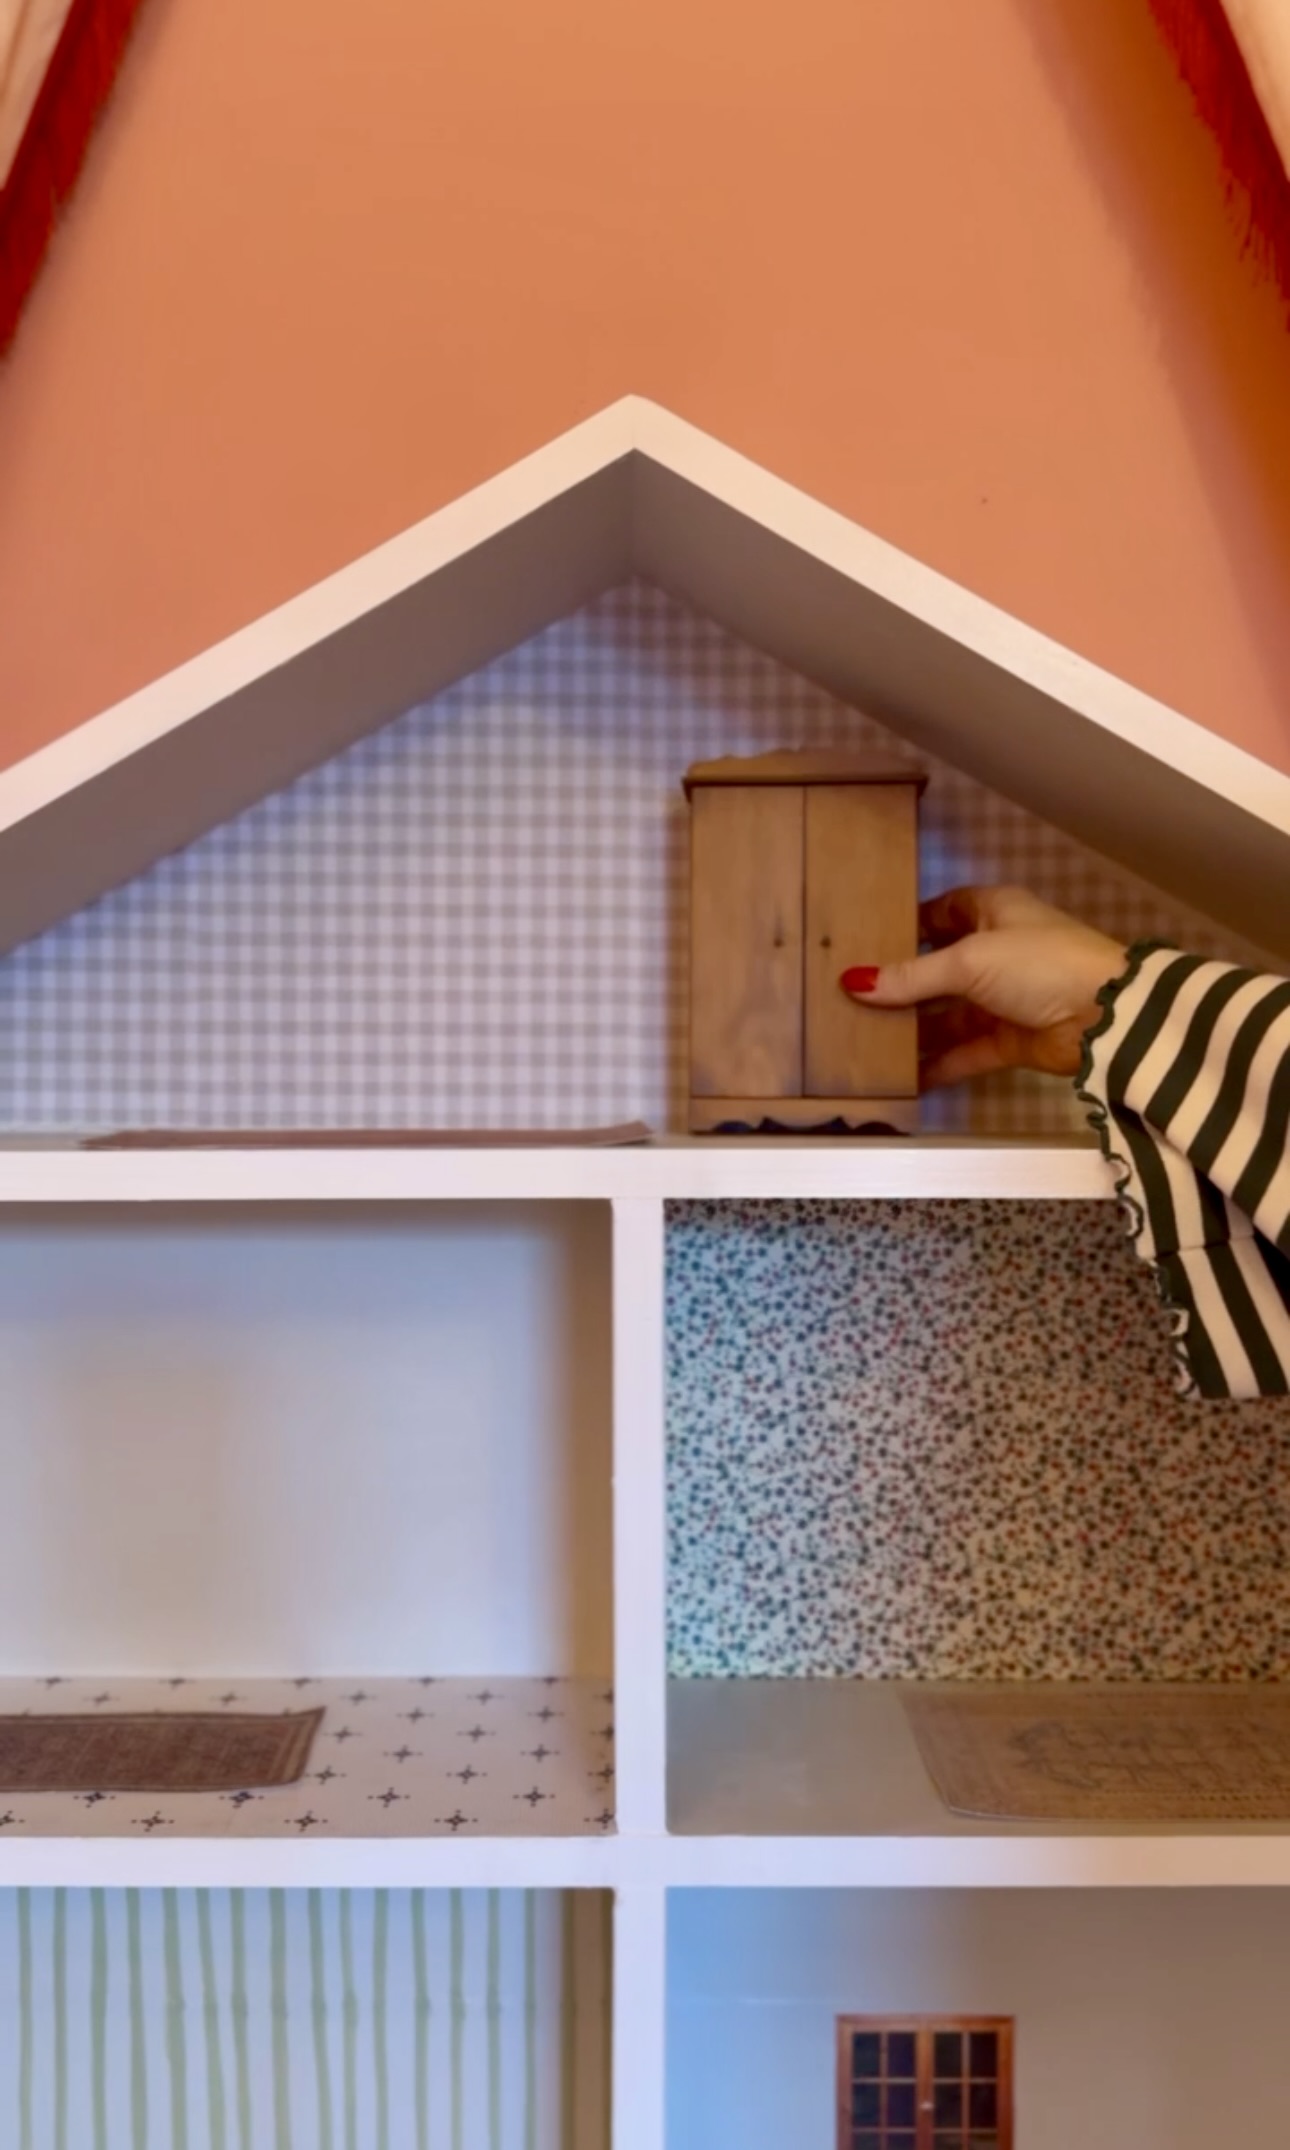
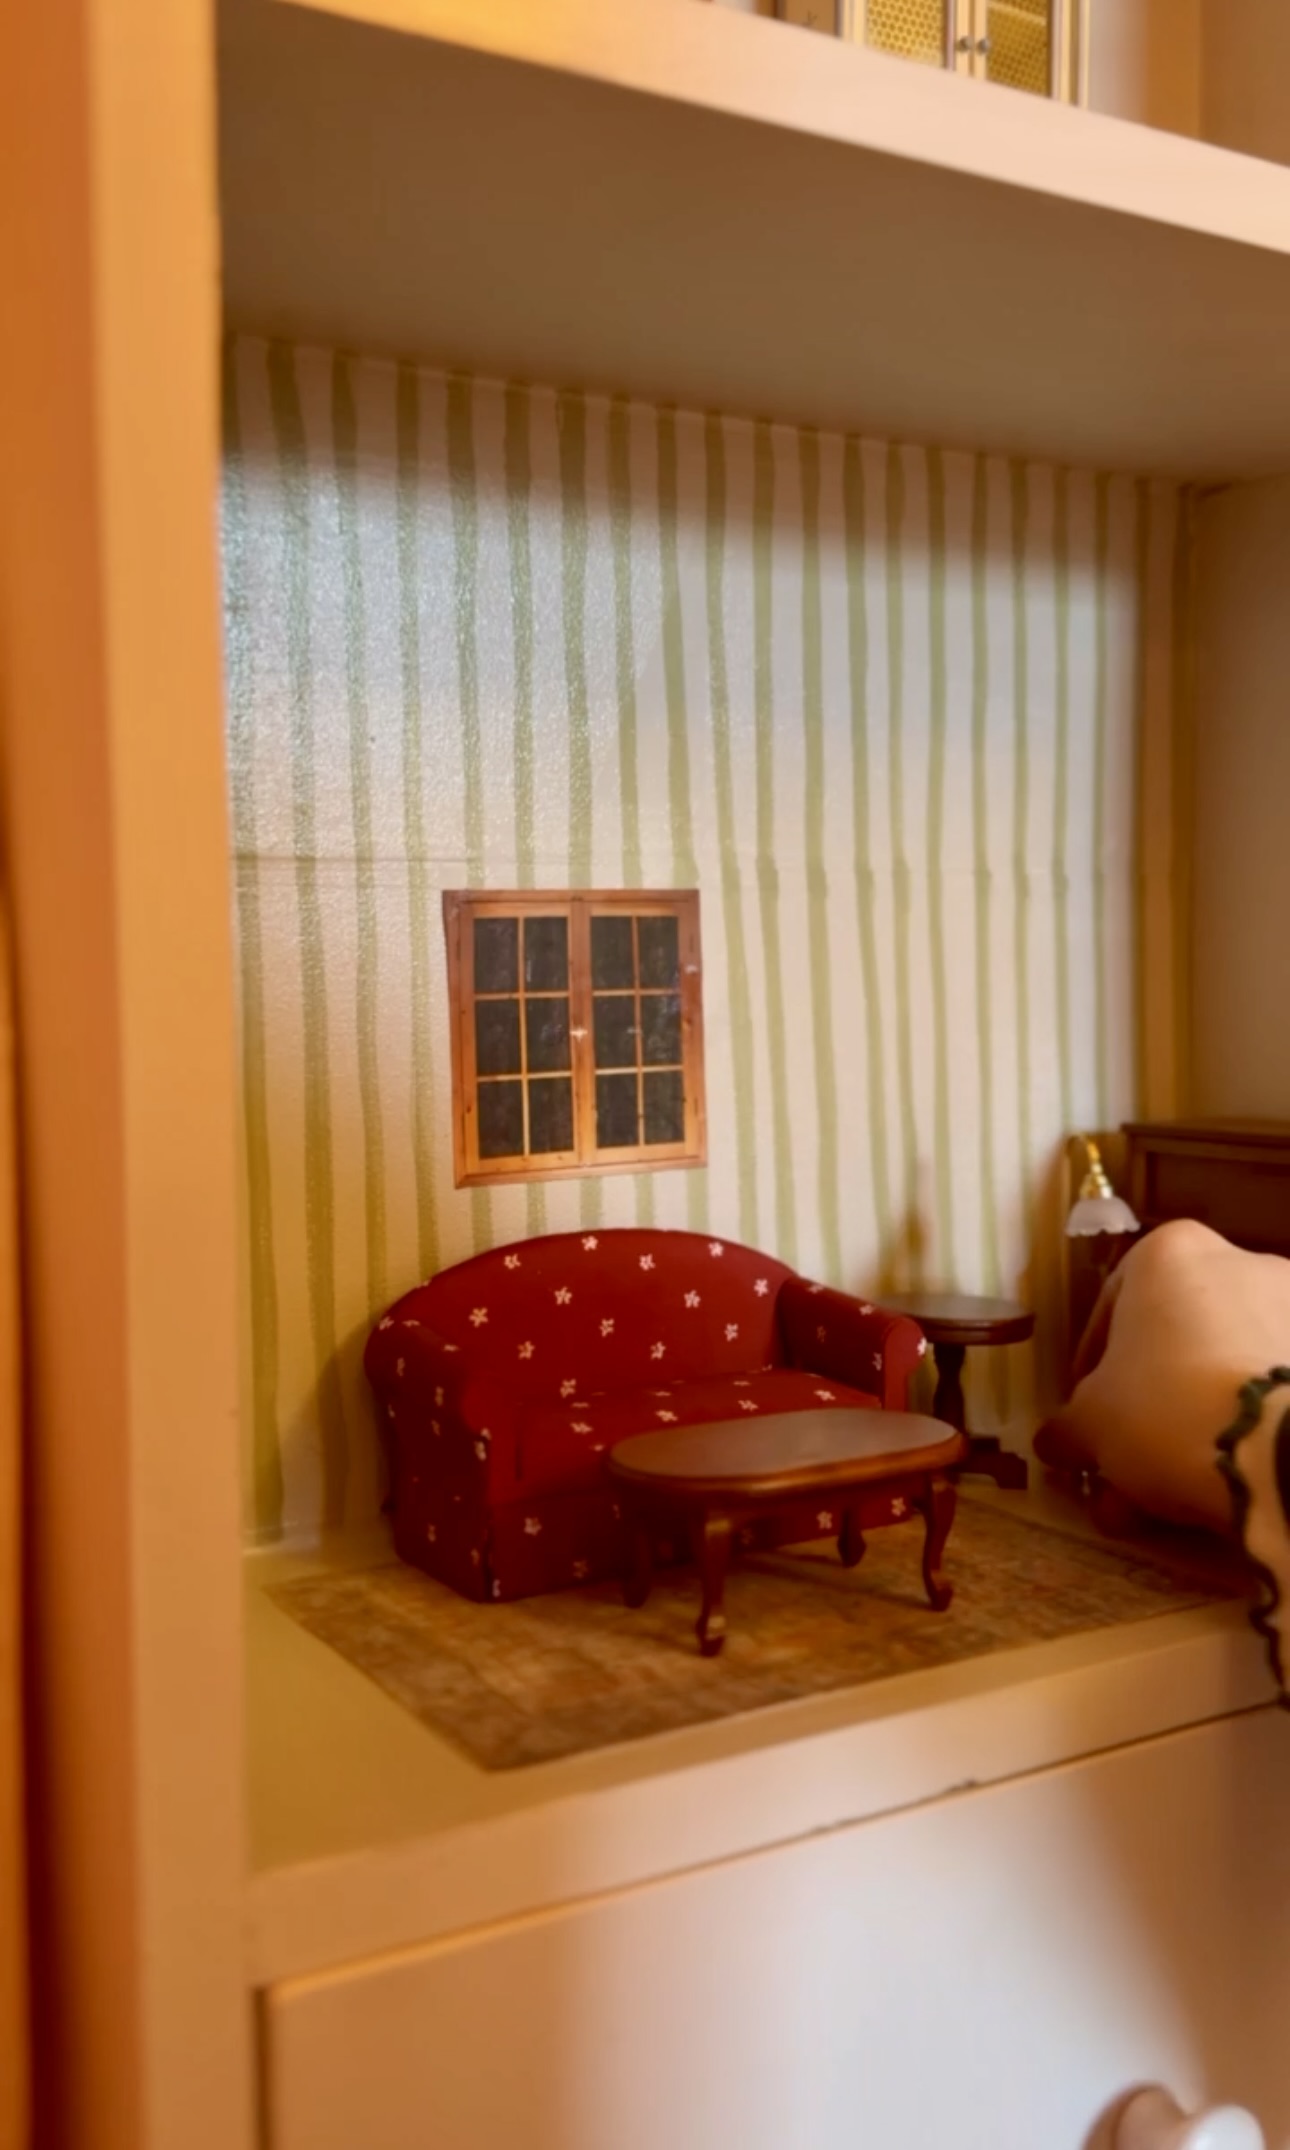
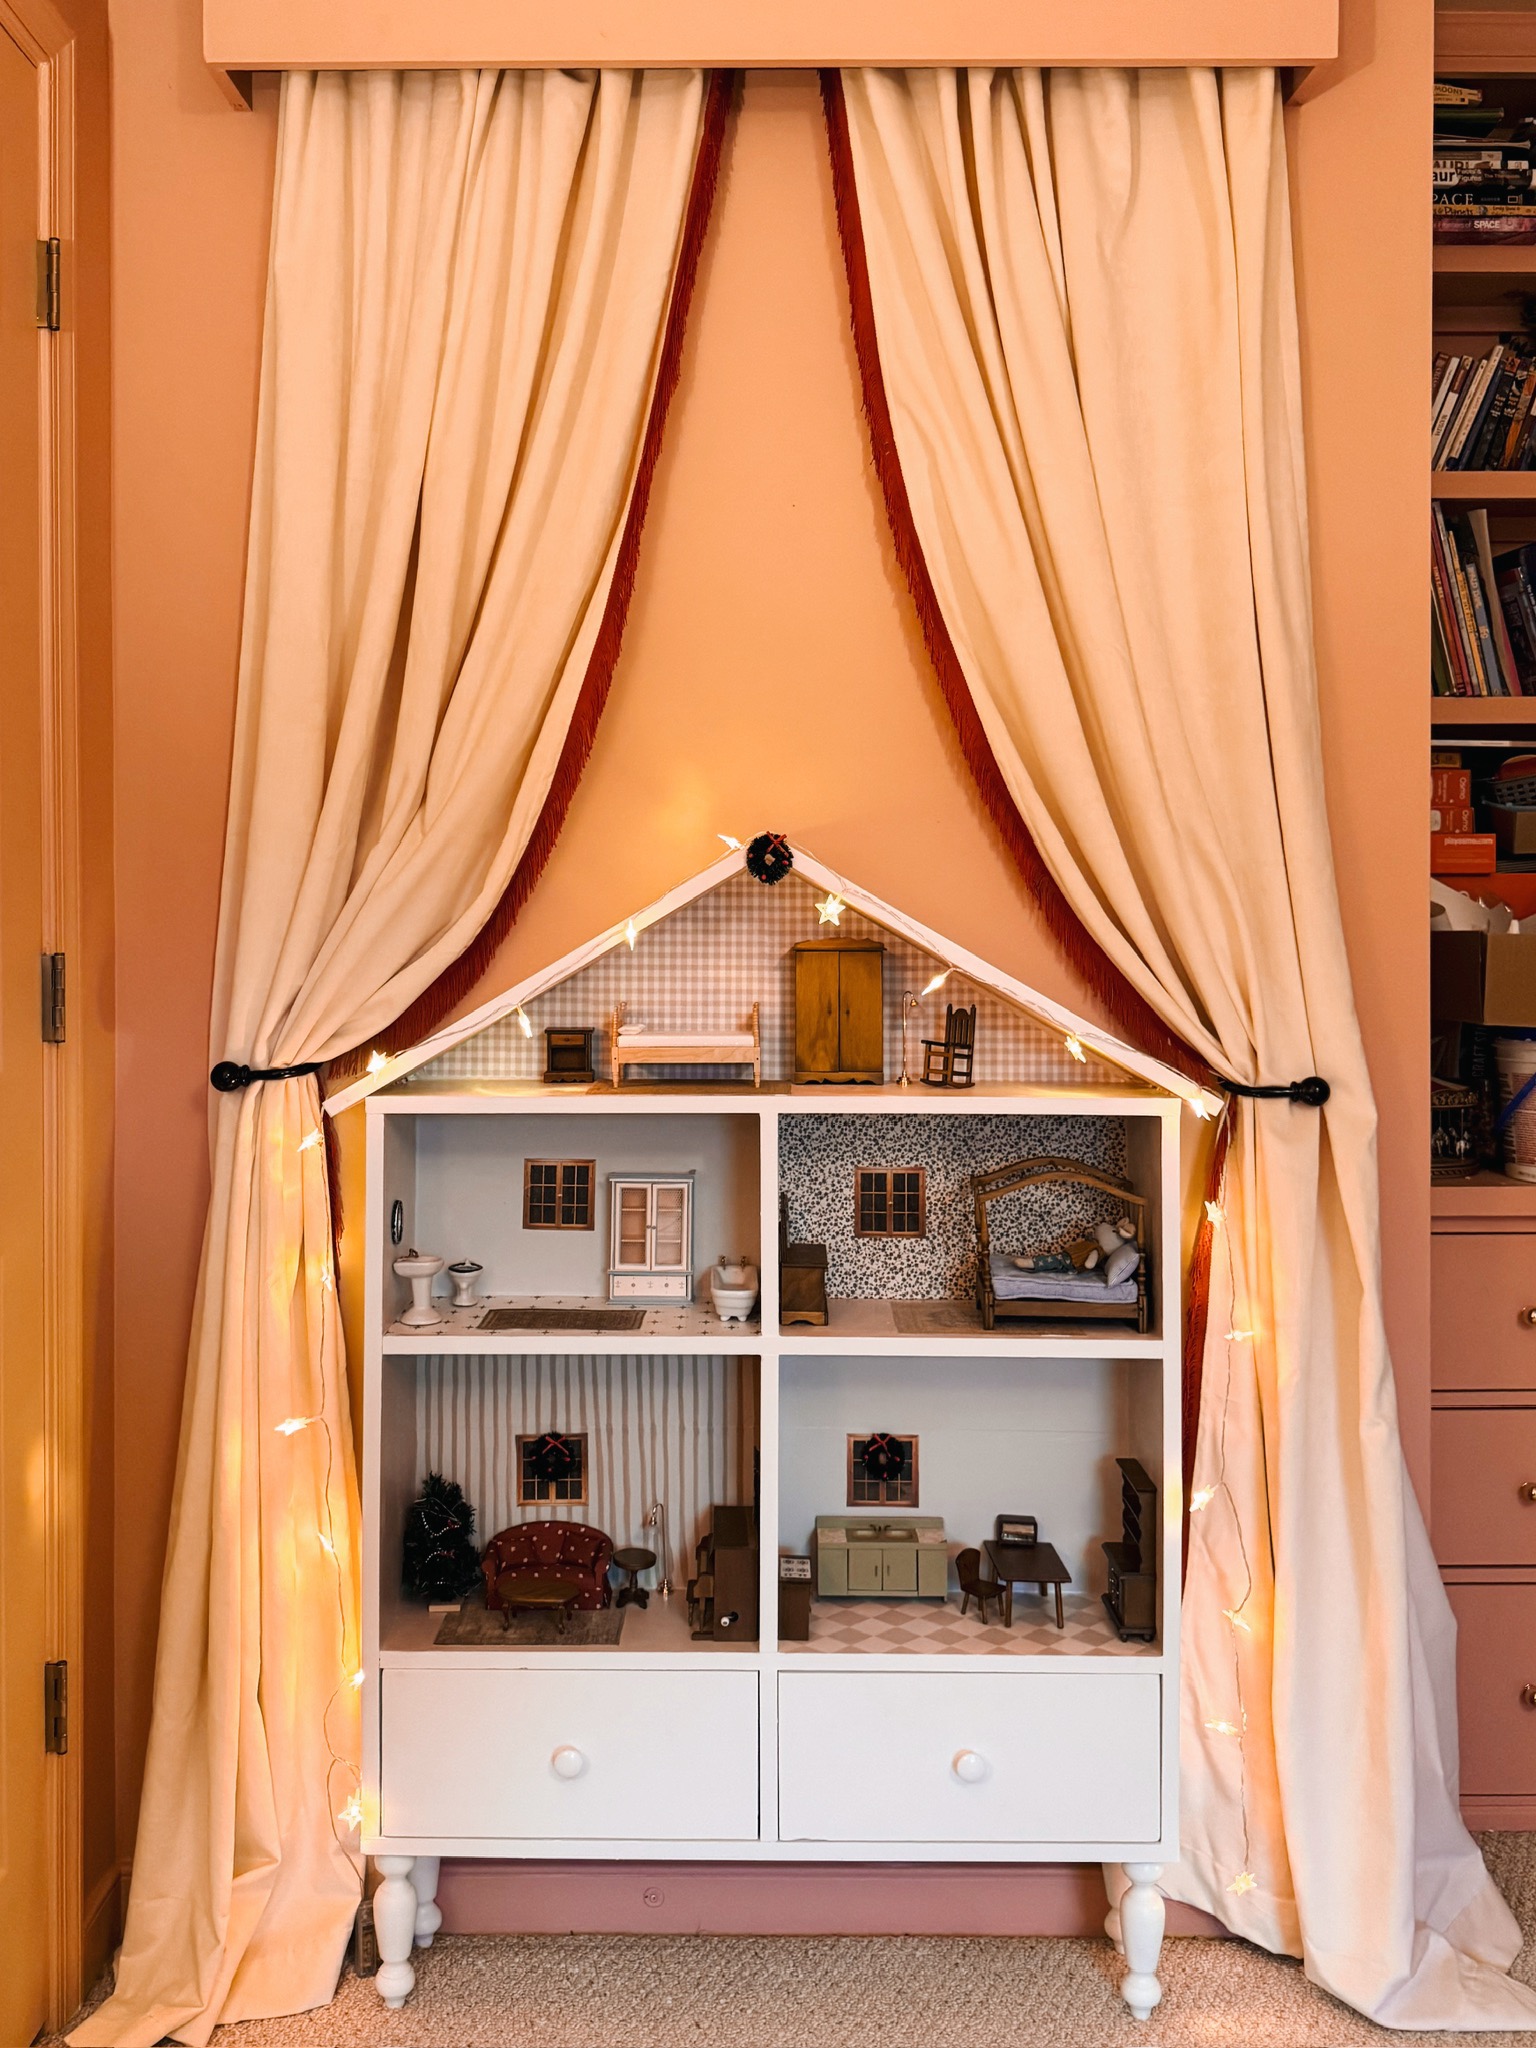
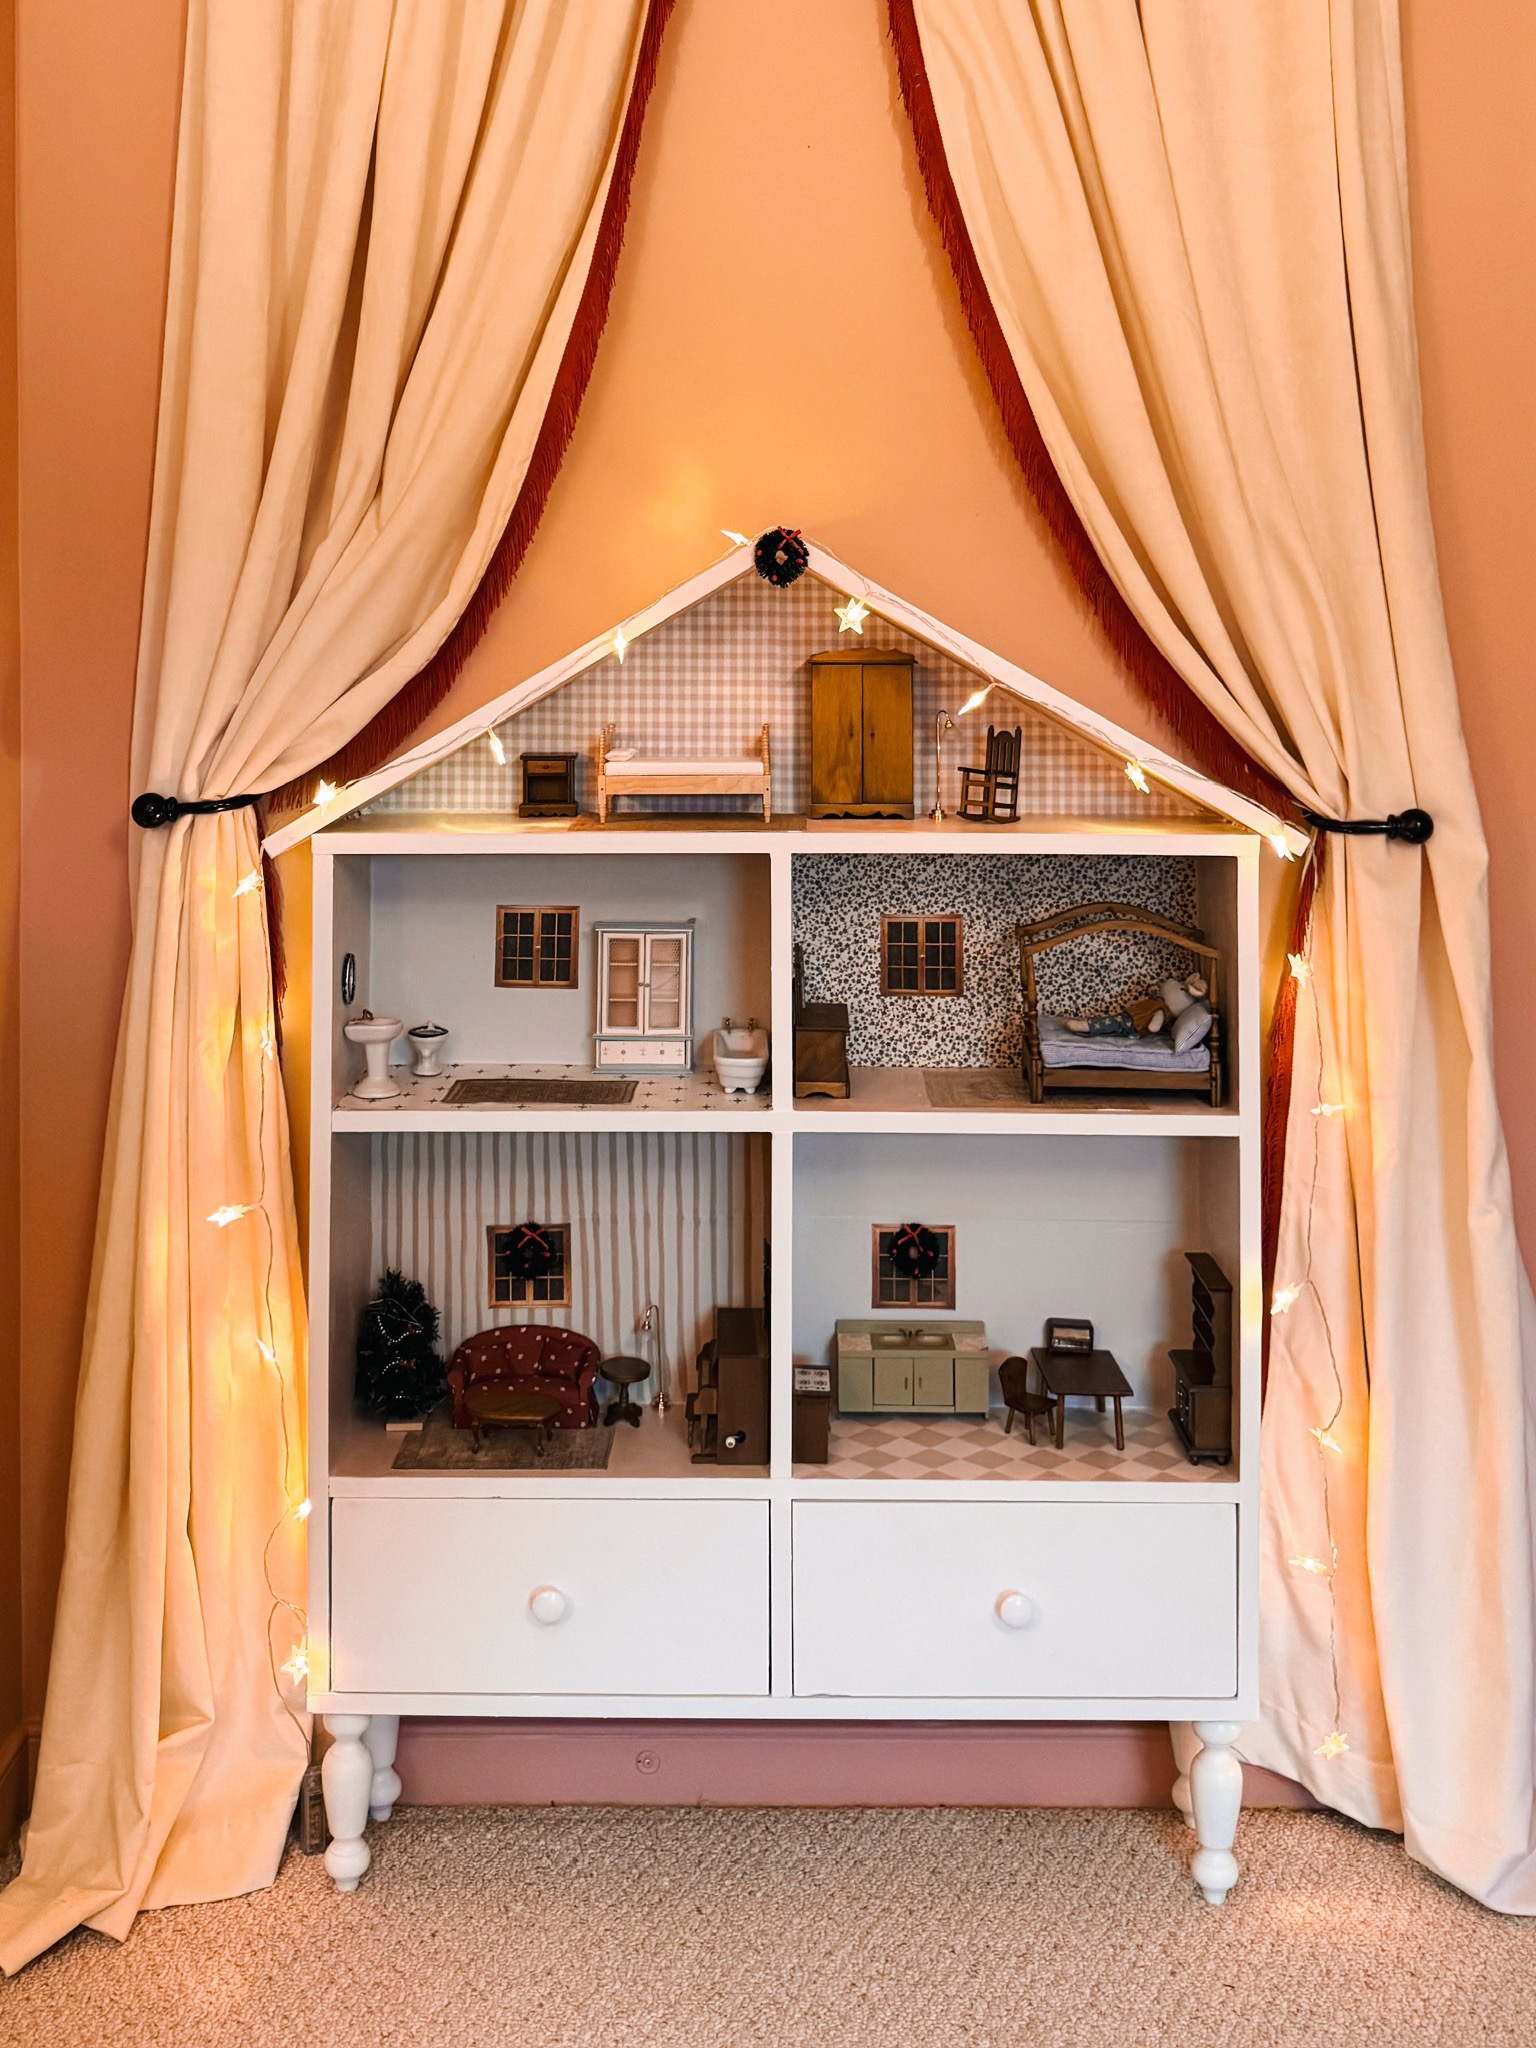
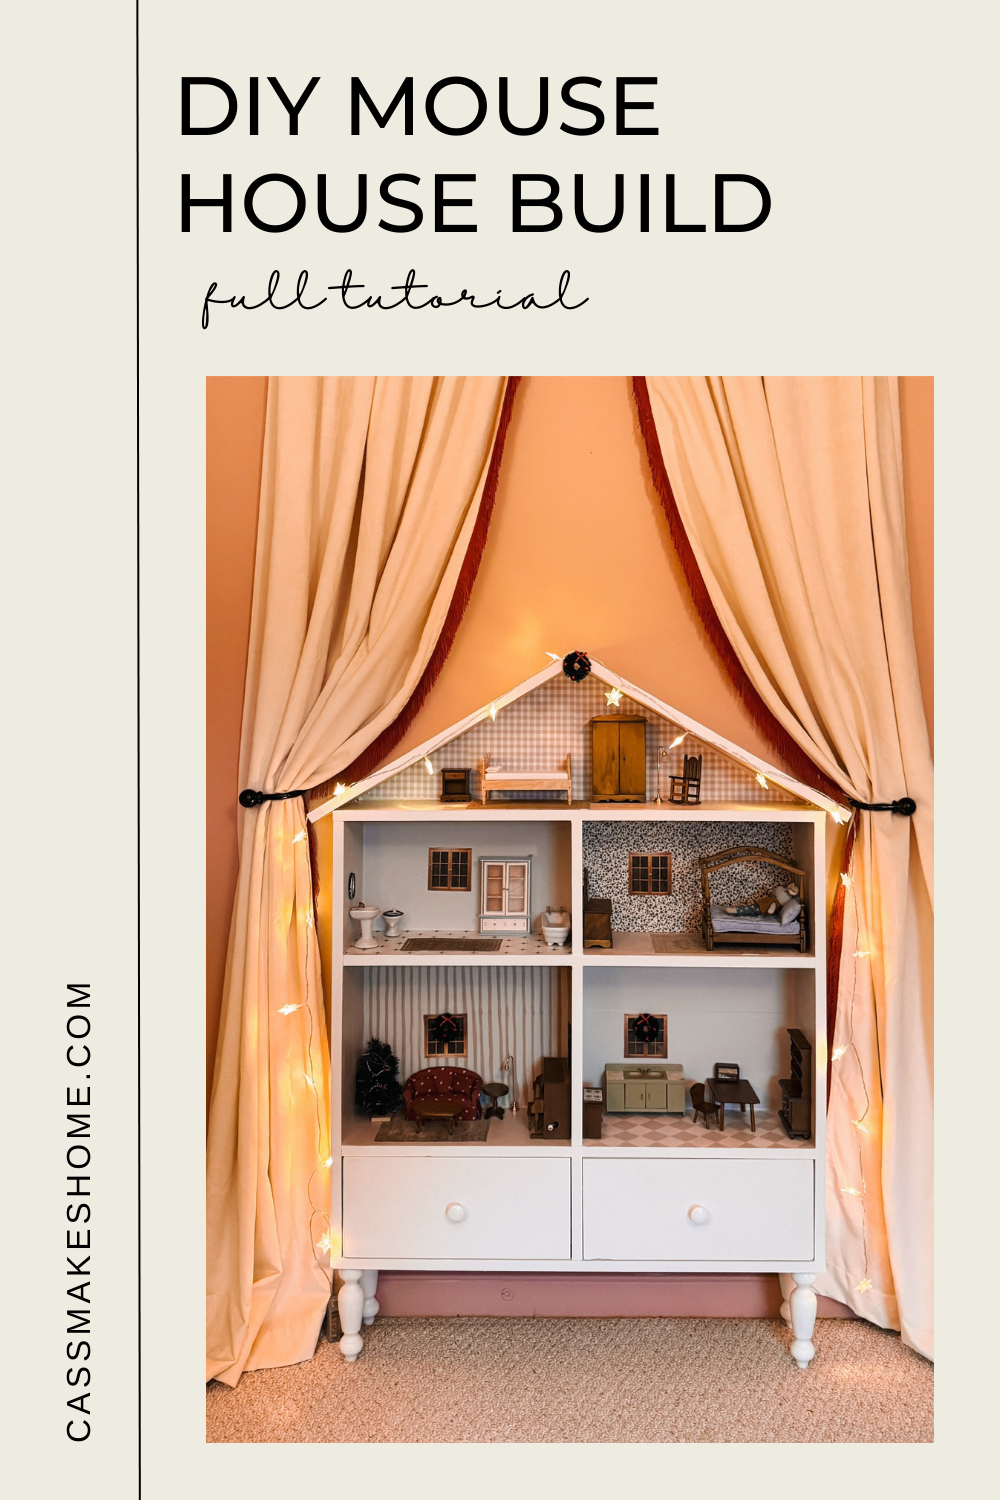
AND LOOK HOW CUTE?! I finished it just in time to decorate it for Christmas 🥹🎄 This is already so much better for Auggie. Emery squealed when she saw it. I’m so happy with this!
Tools
Materials
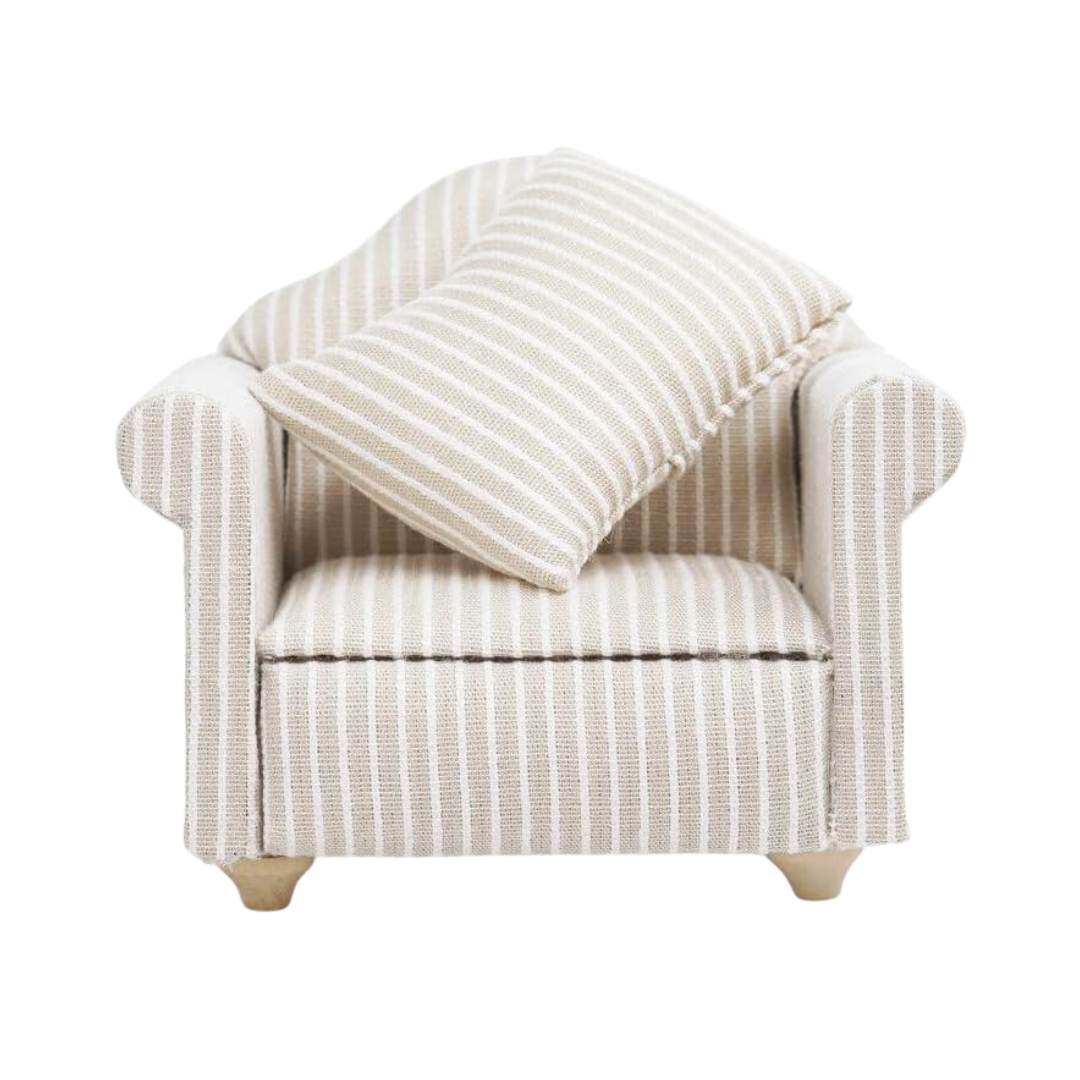
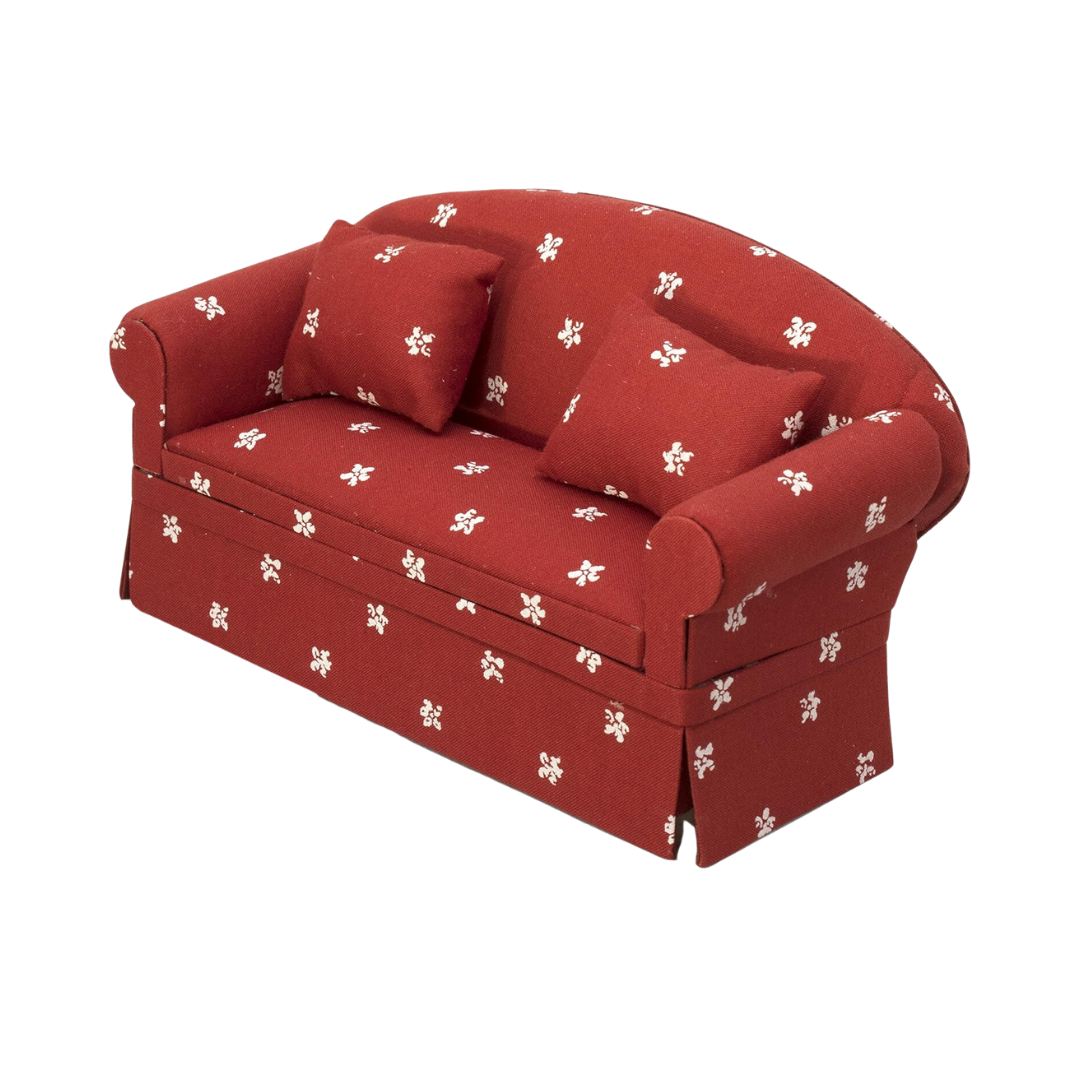
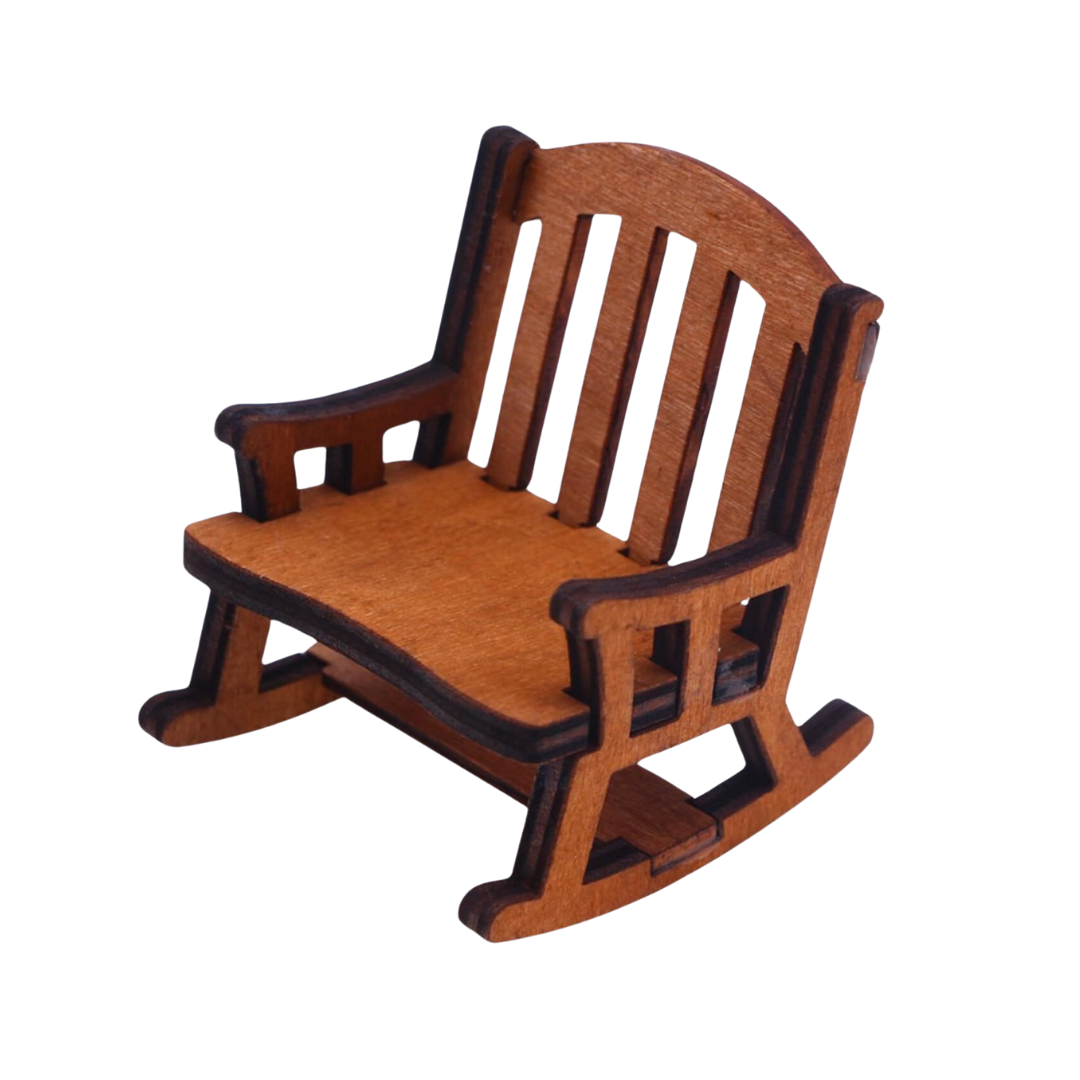
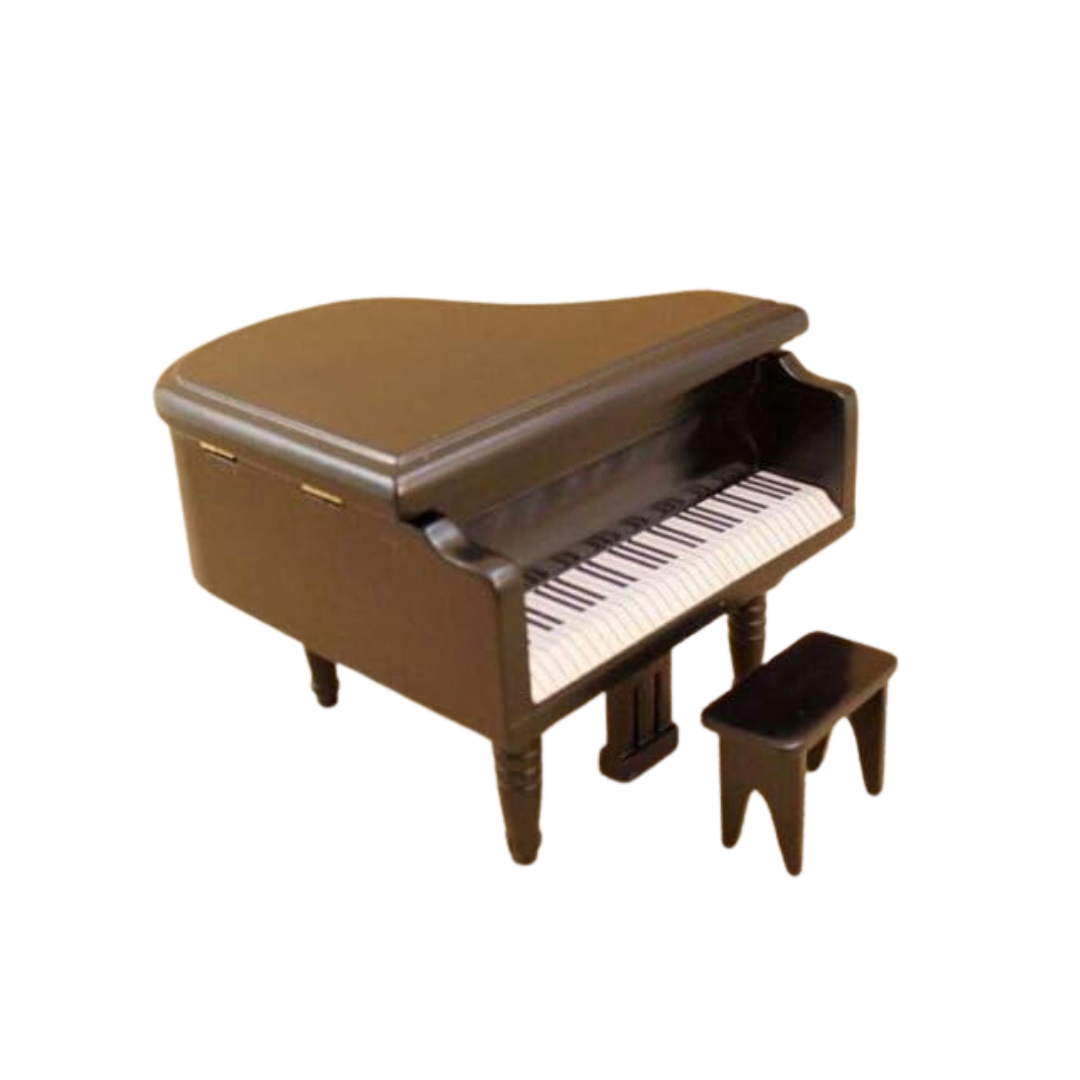
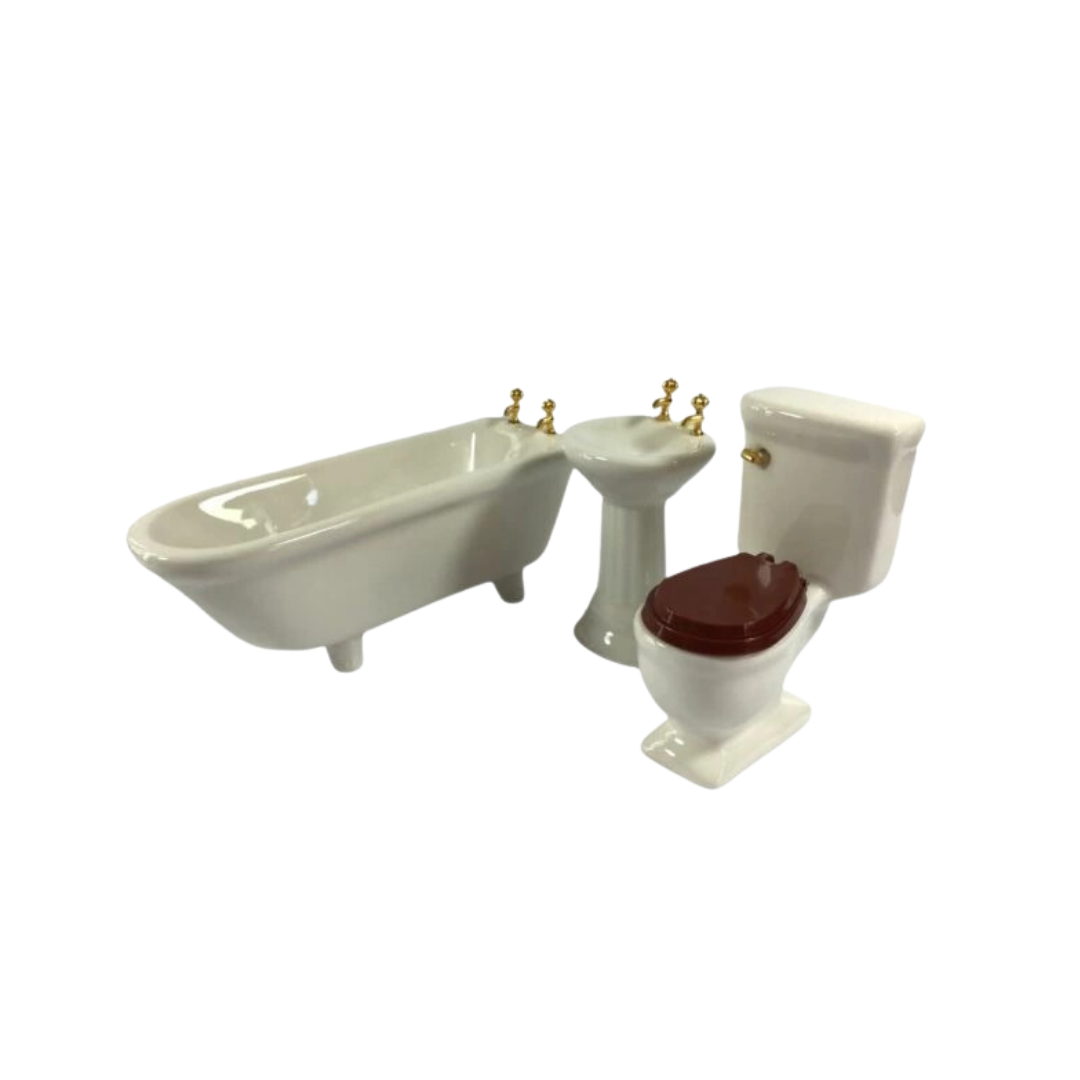
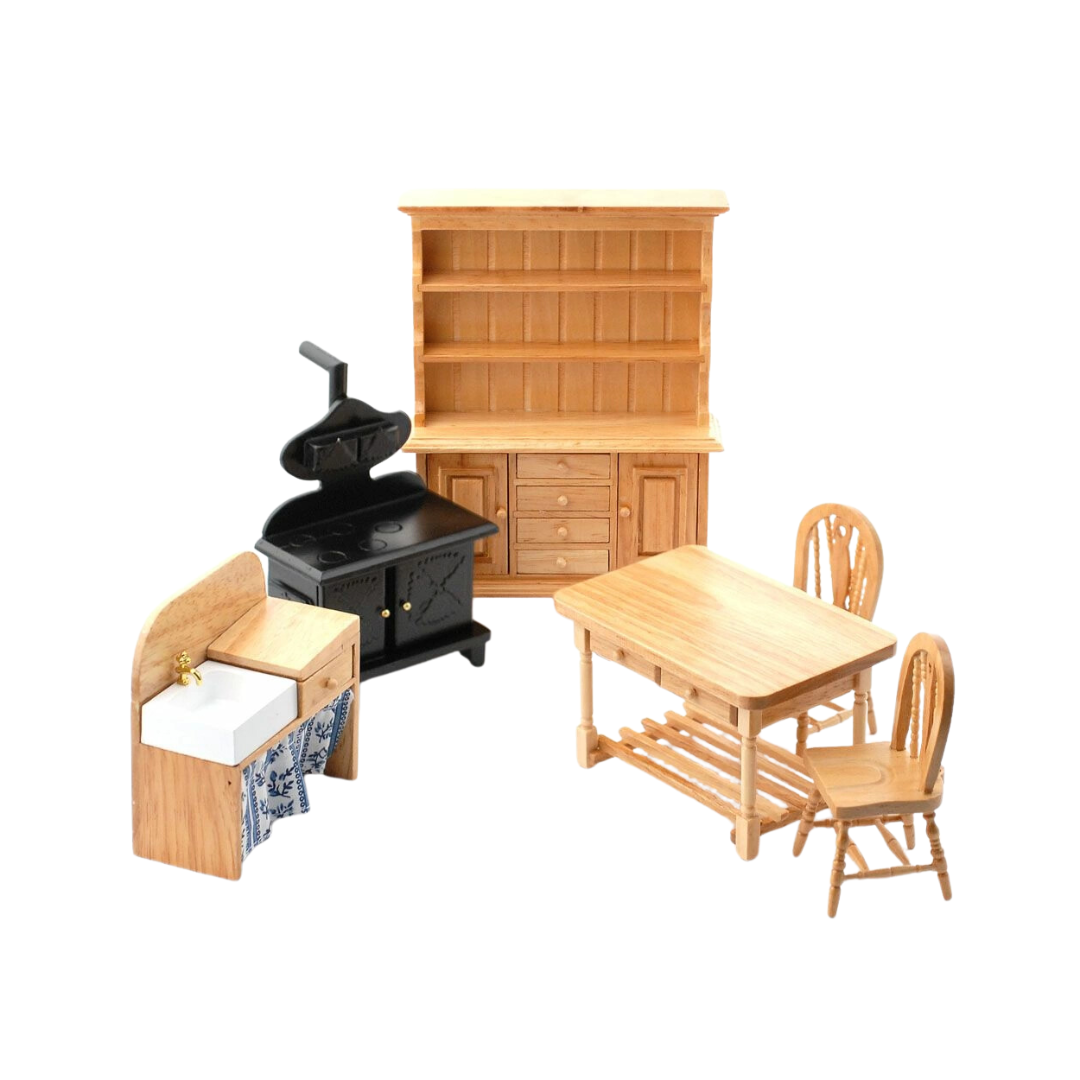
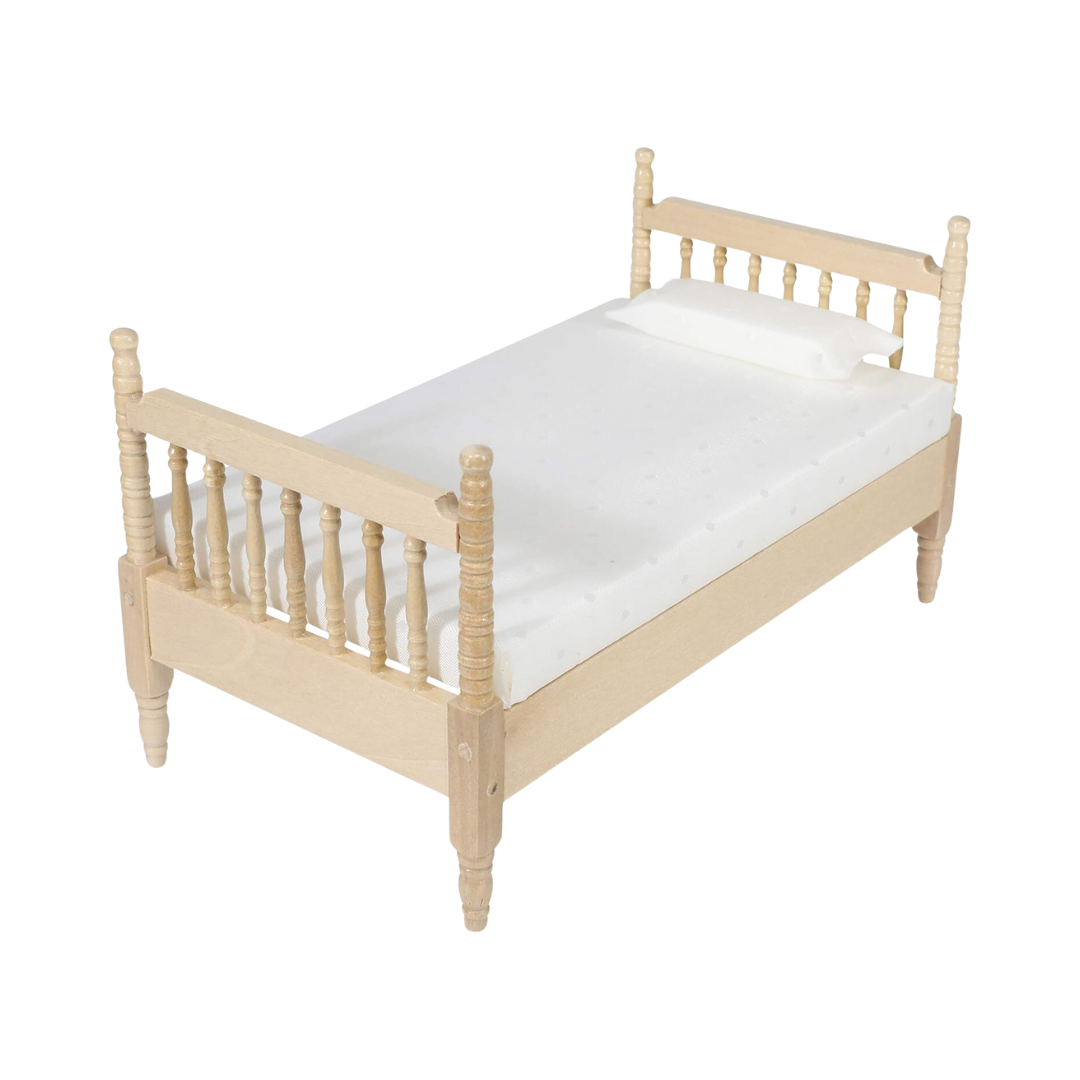
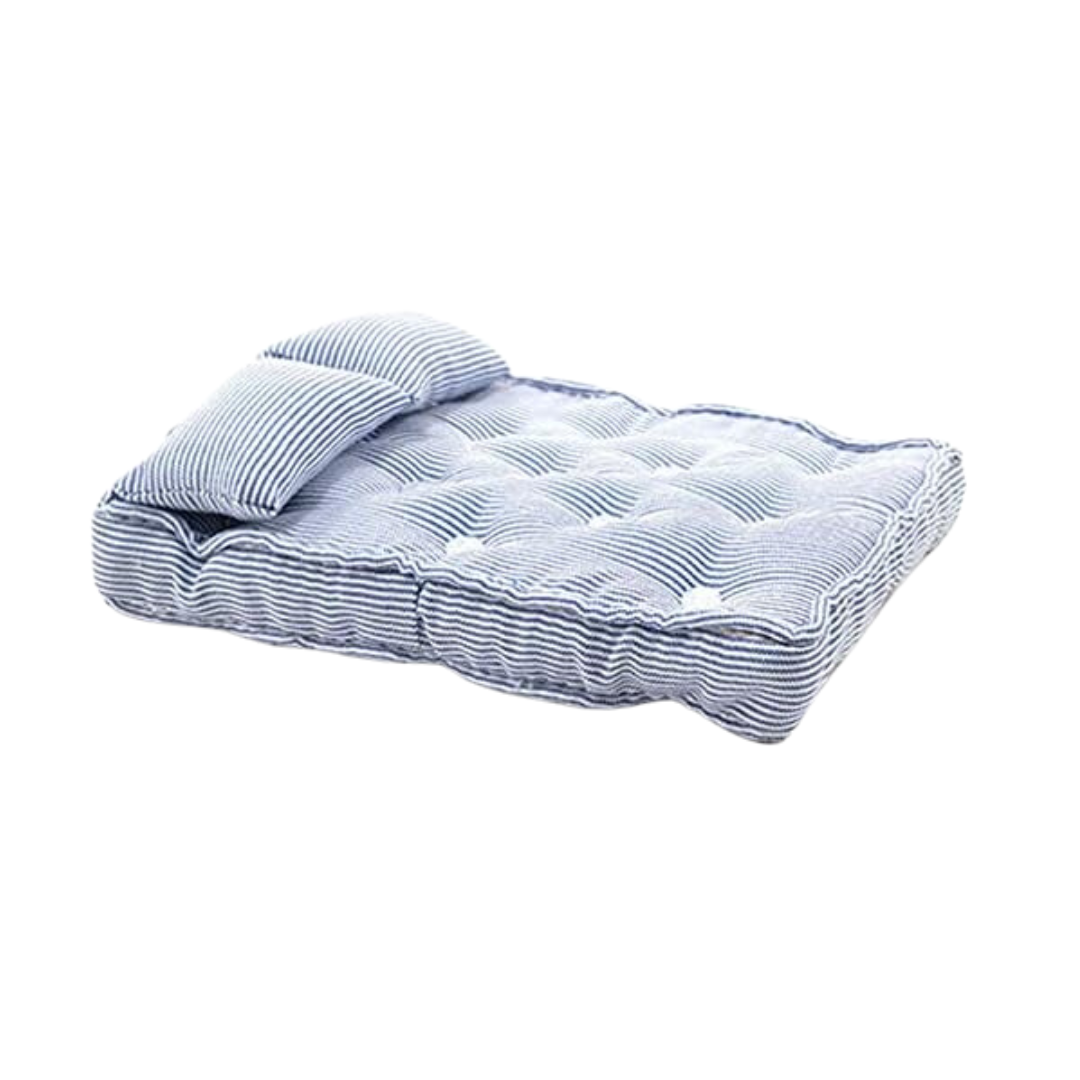
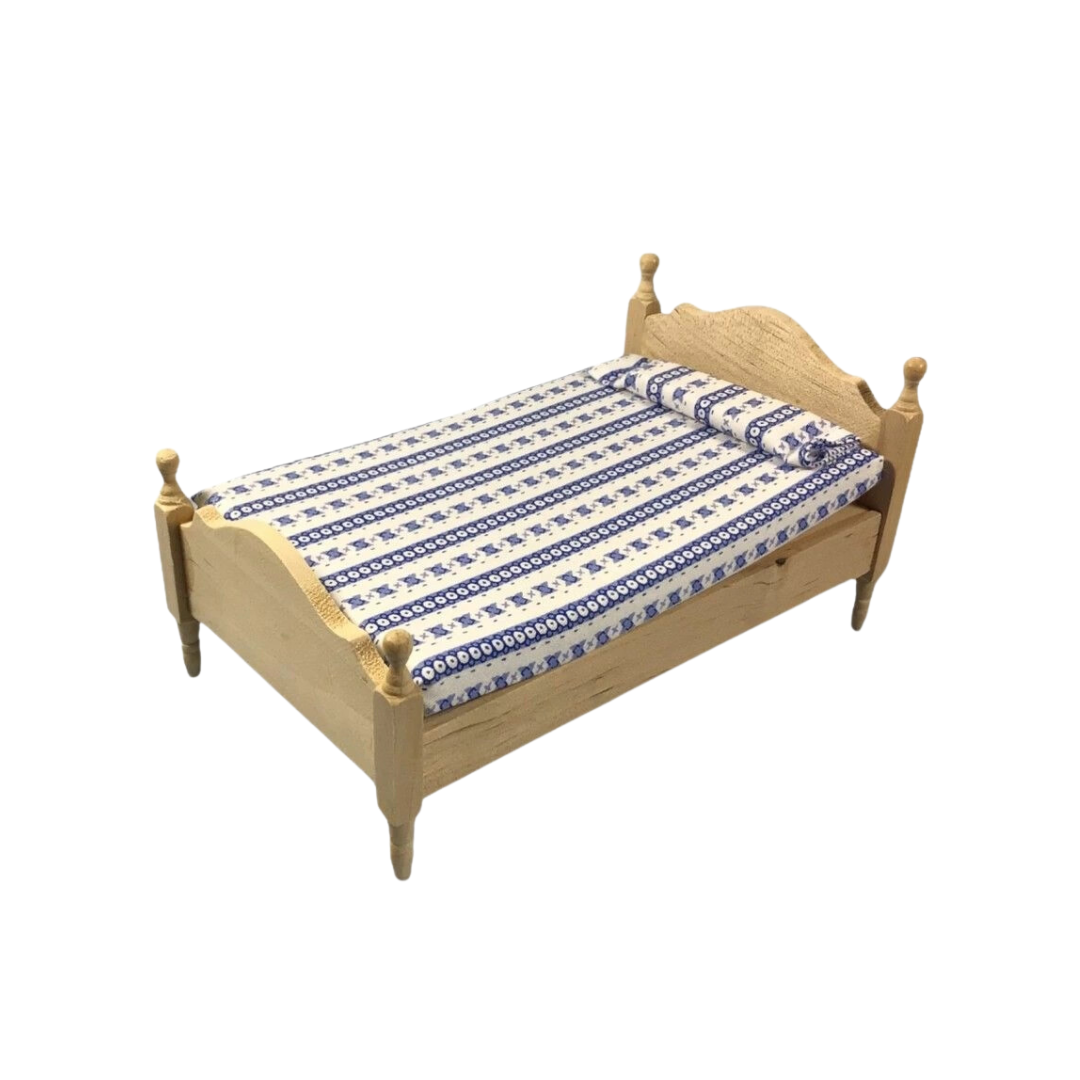
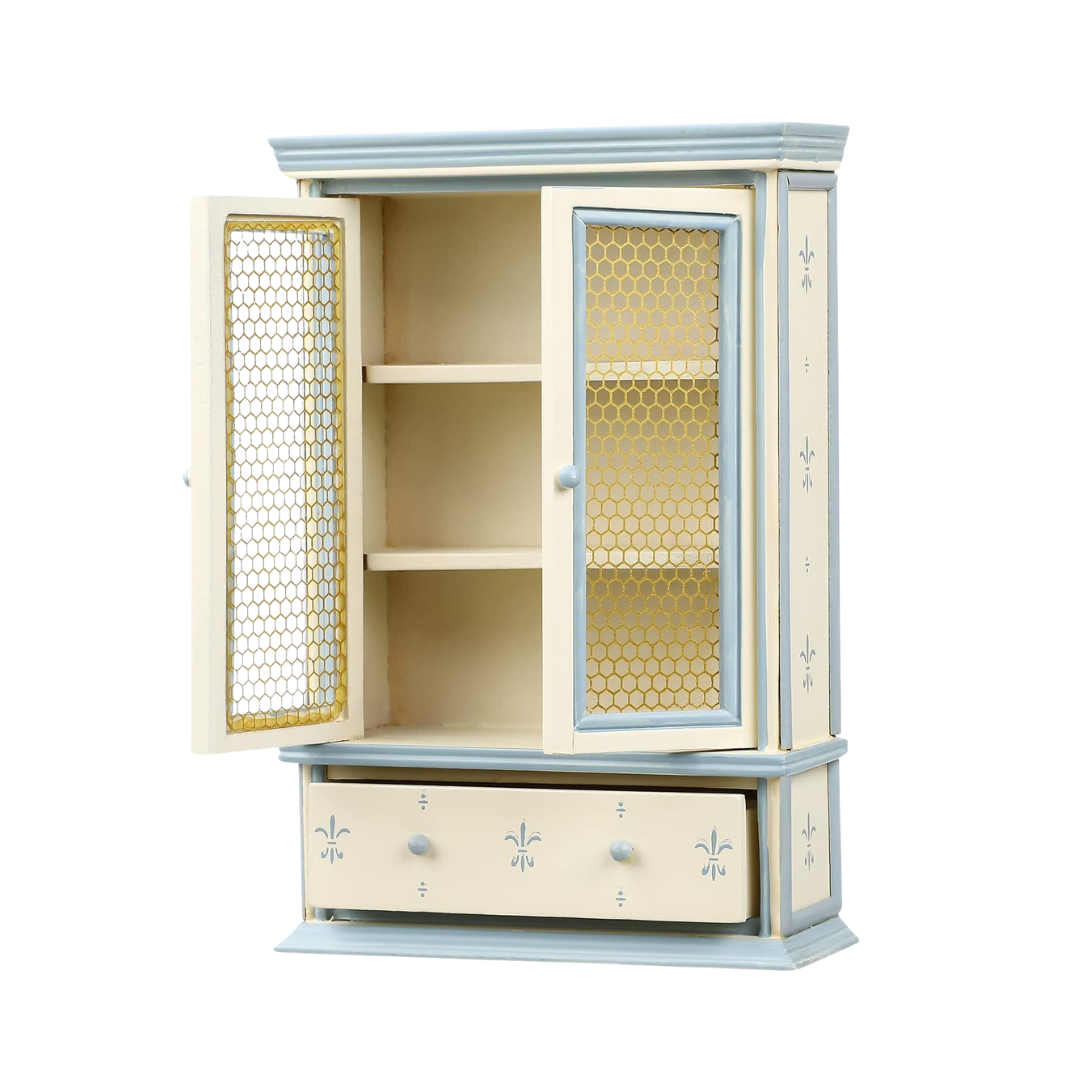
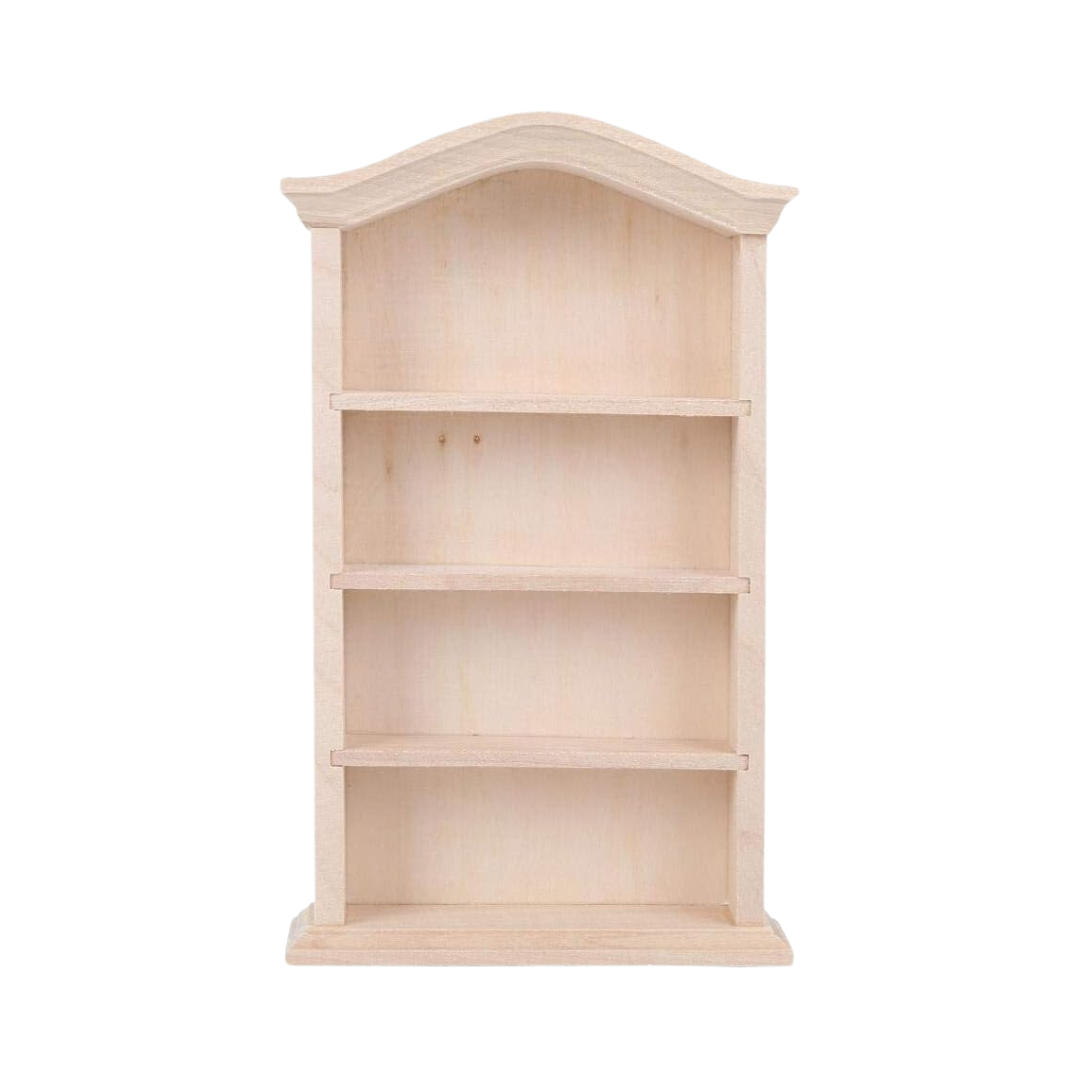
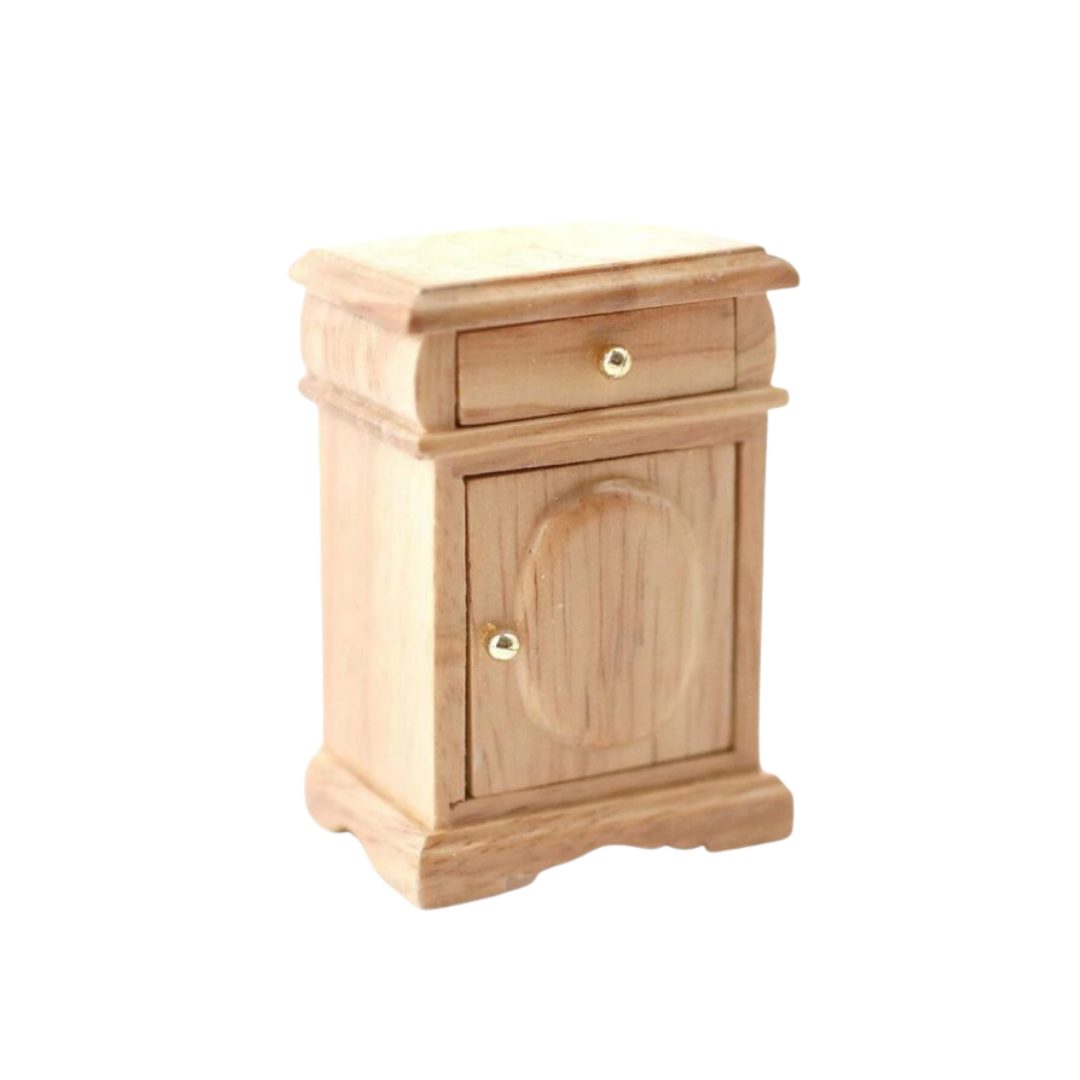
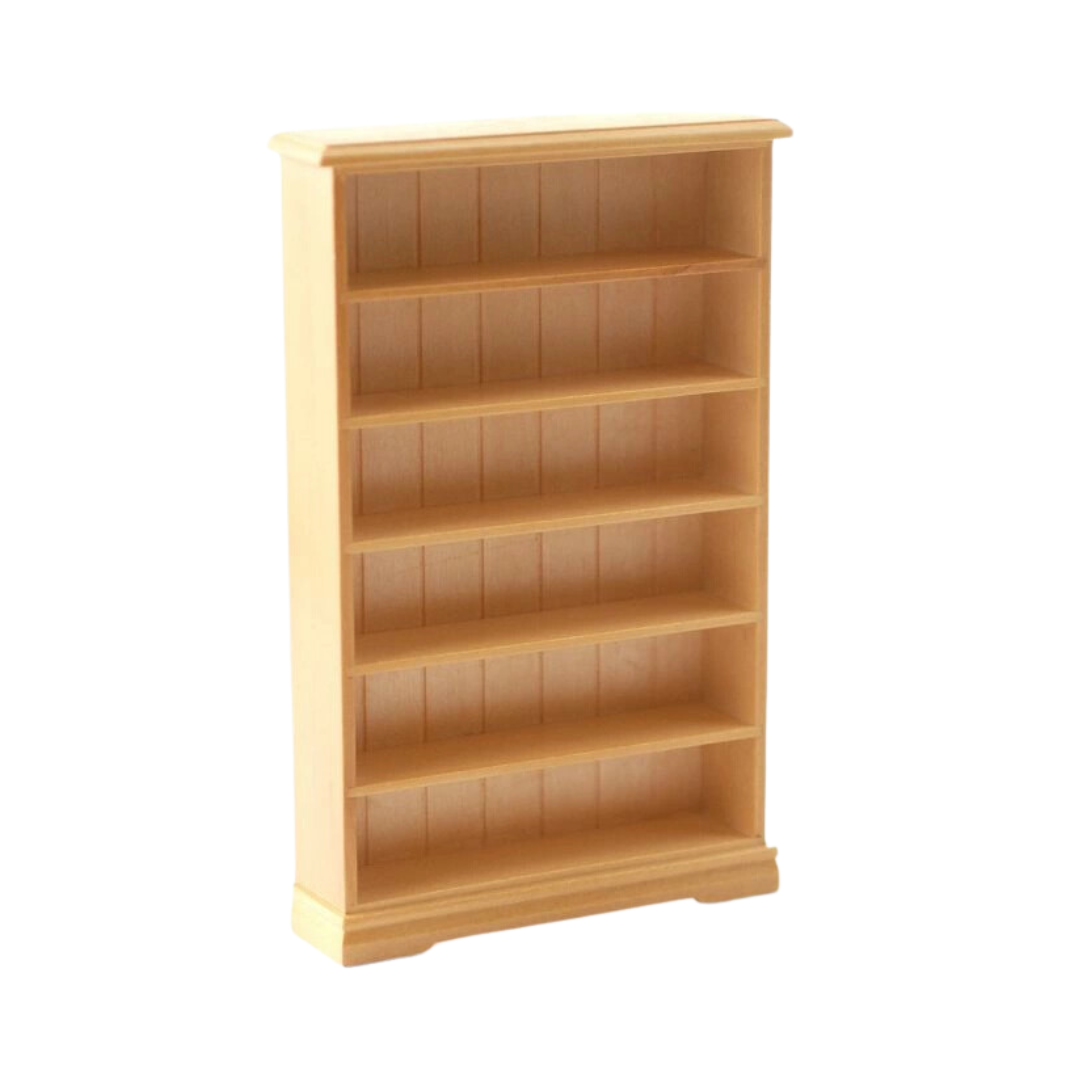
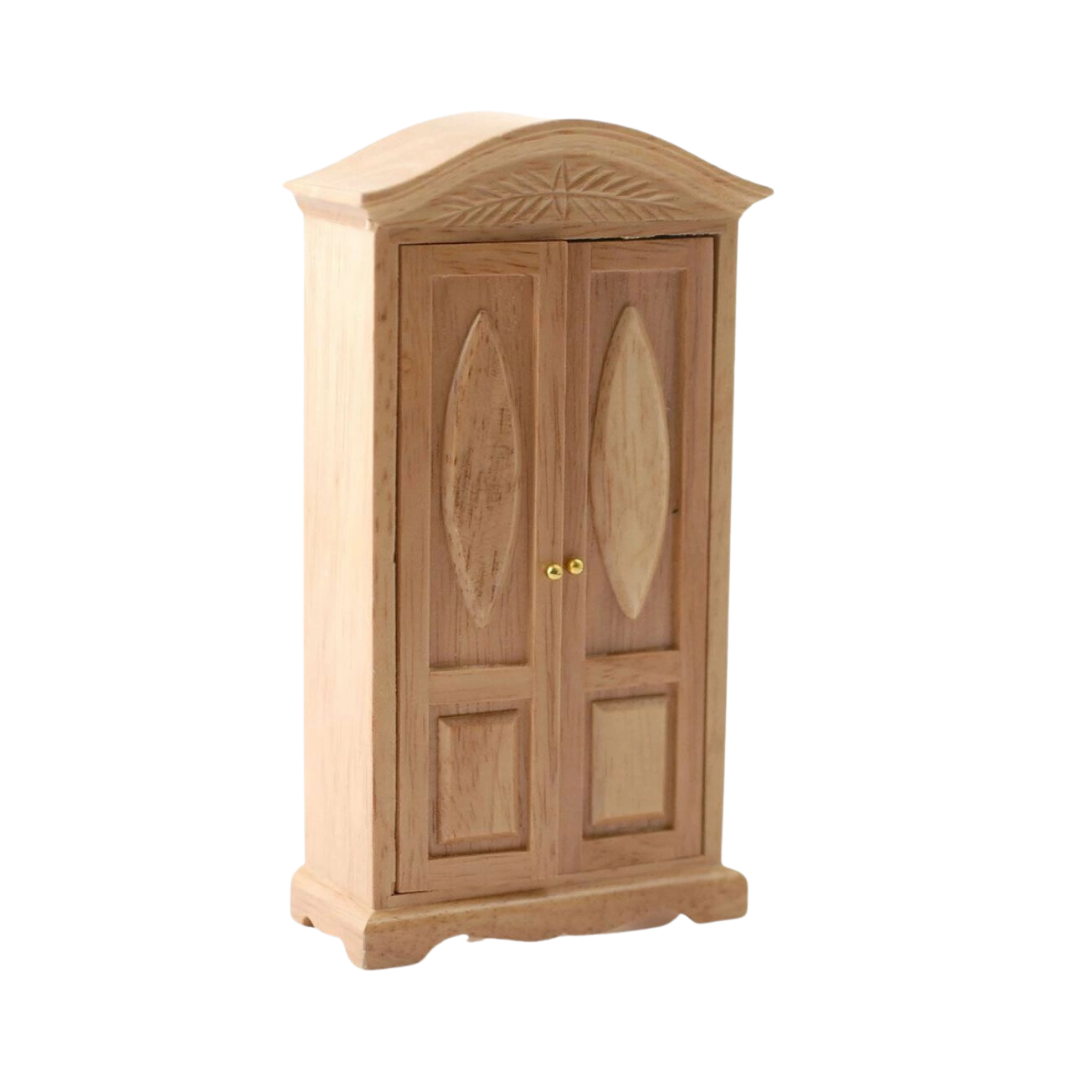
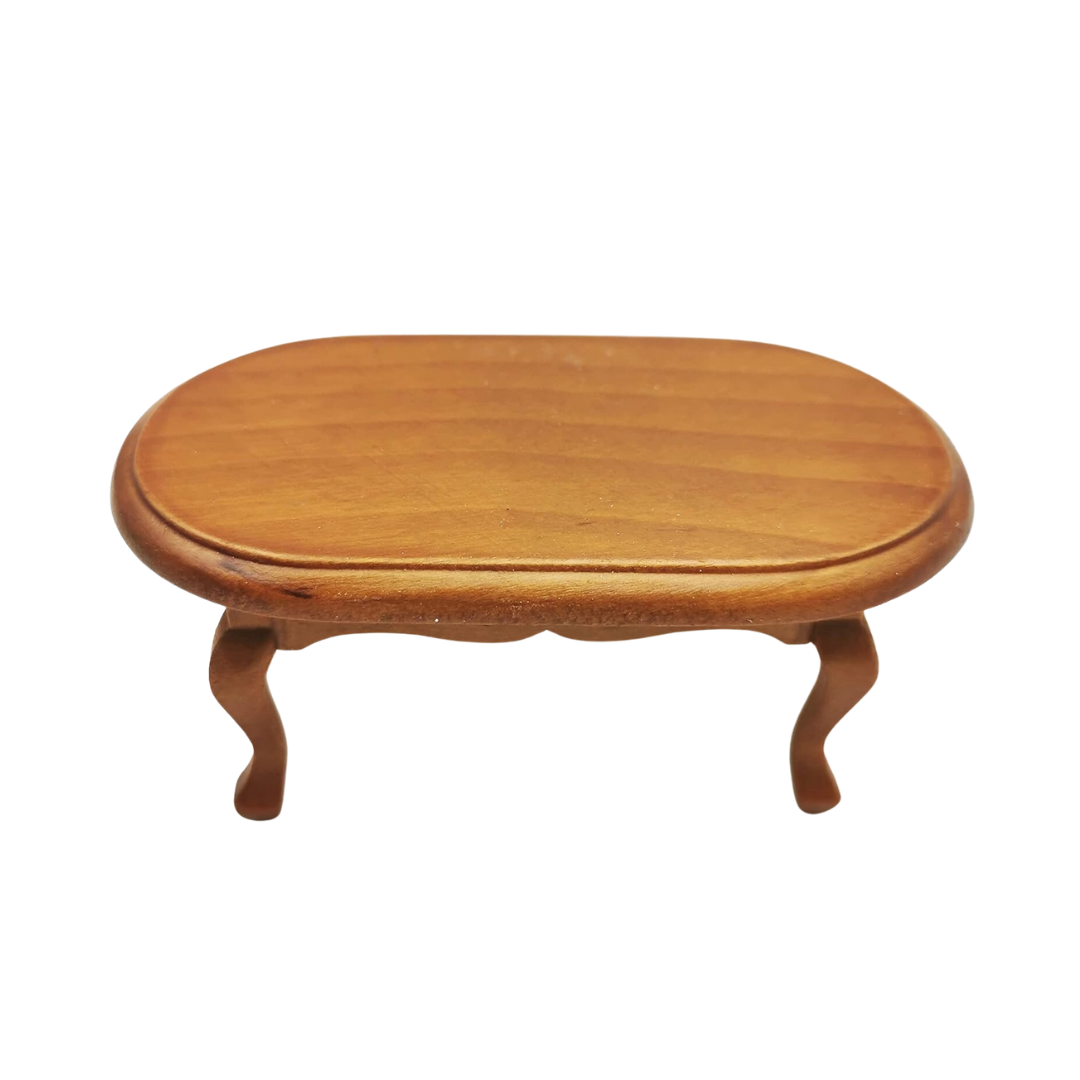
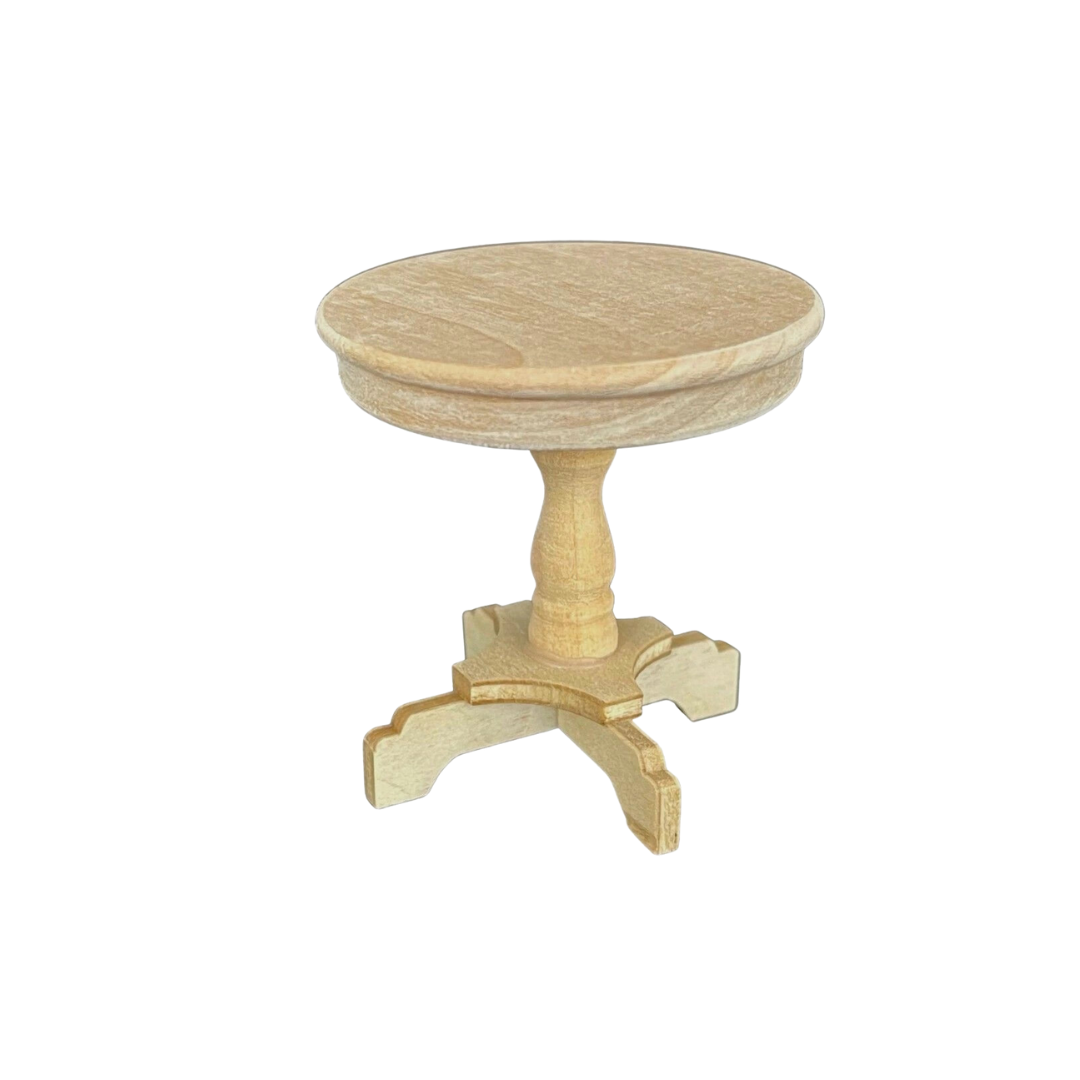
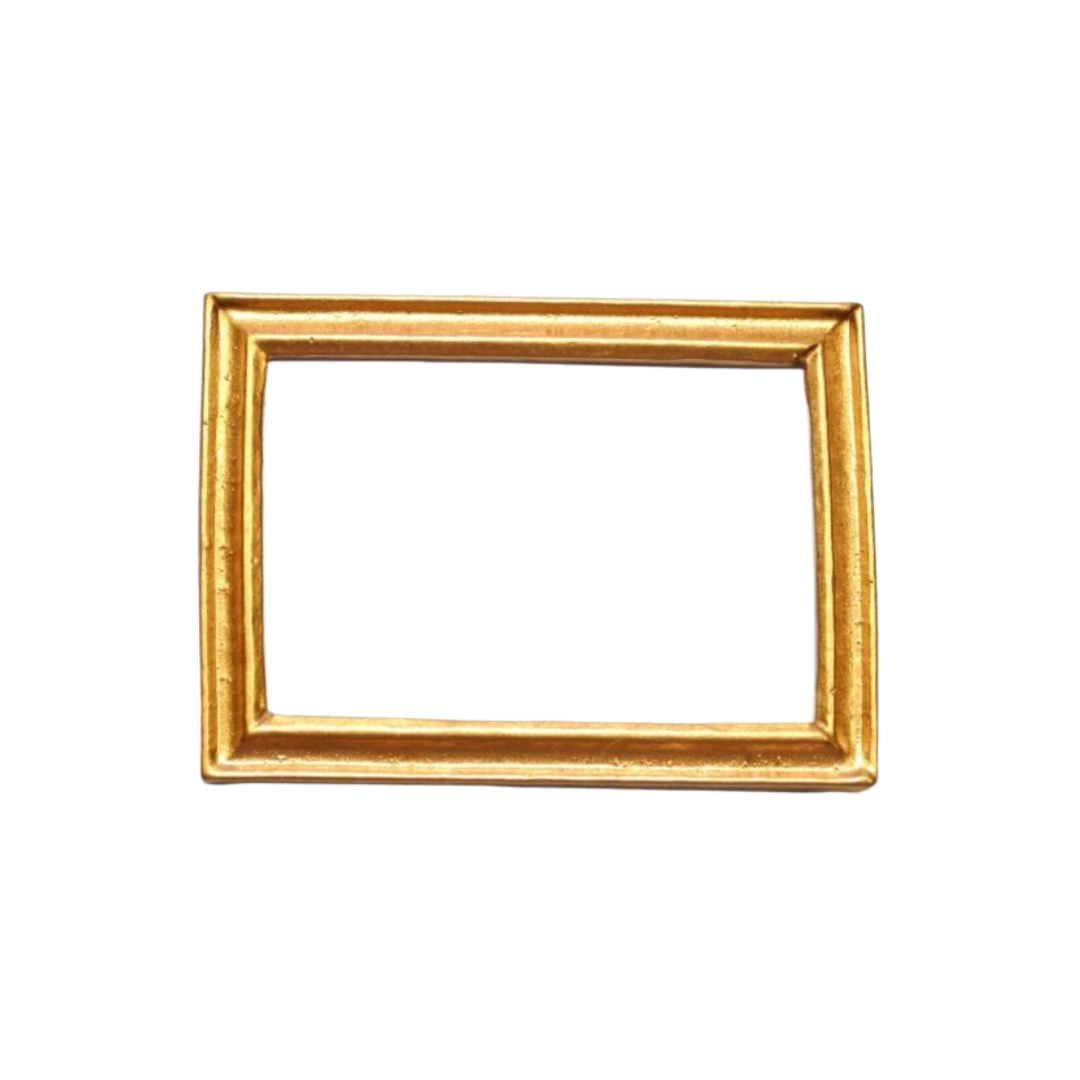
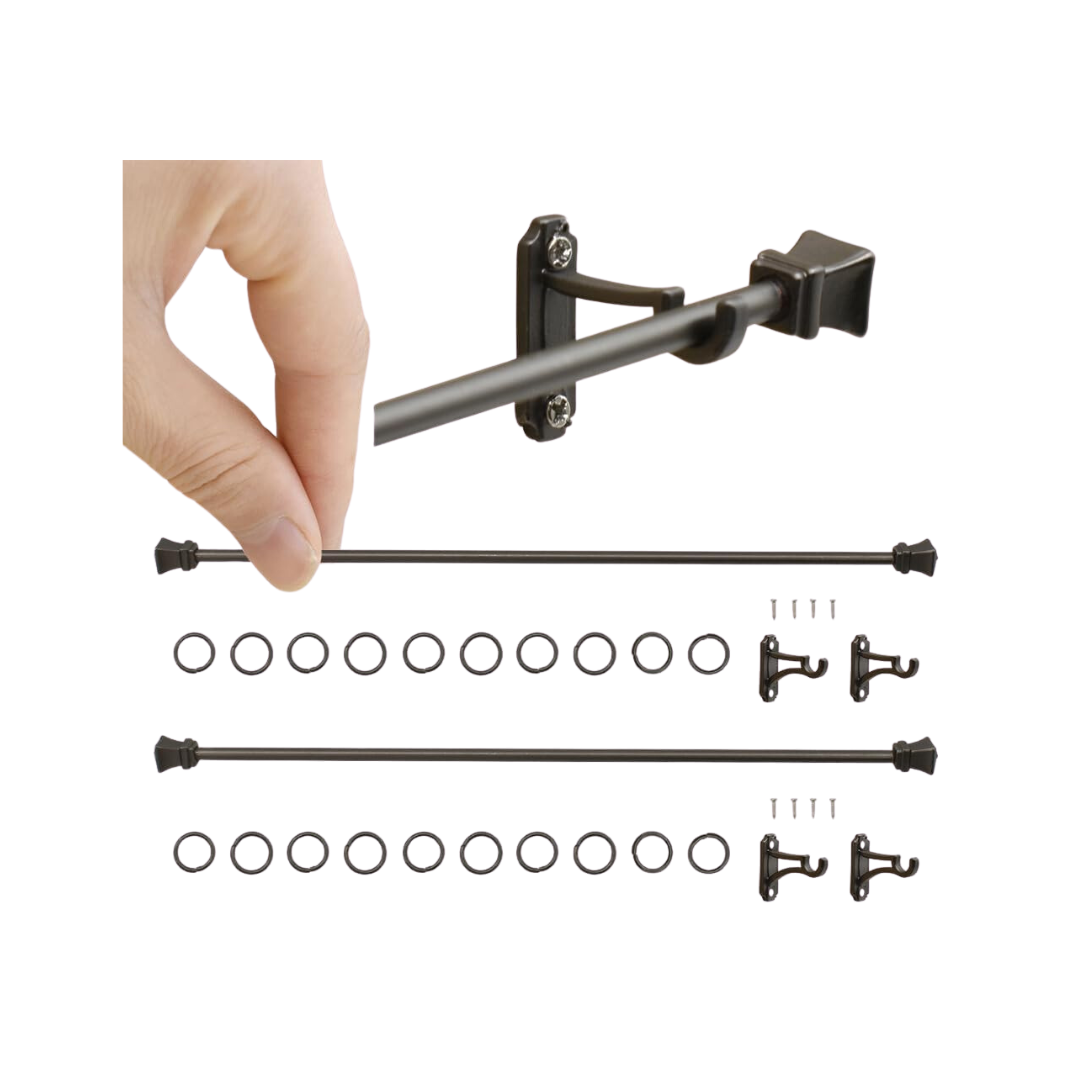
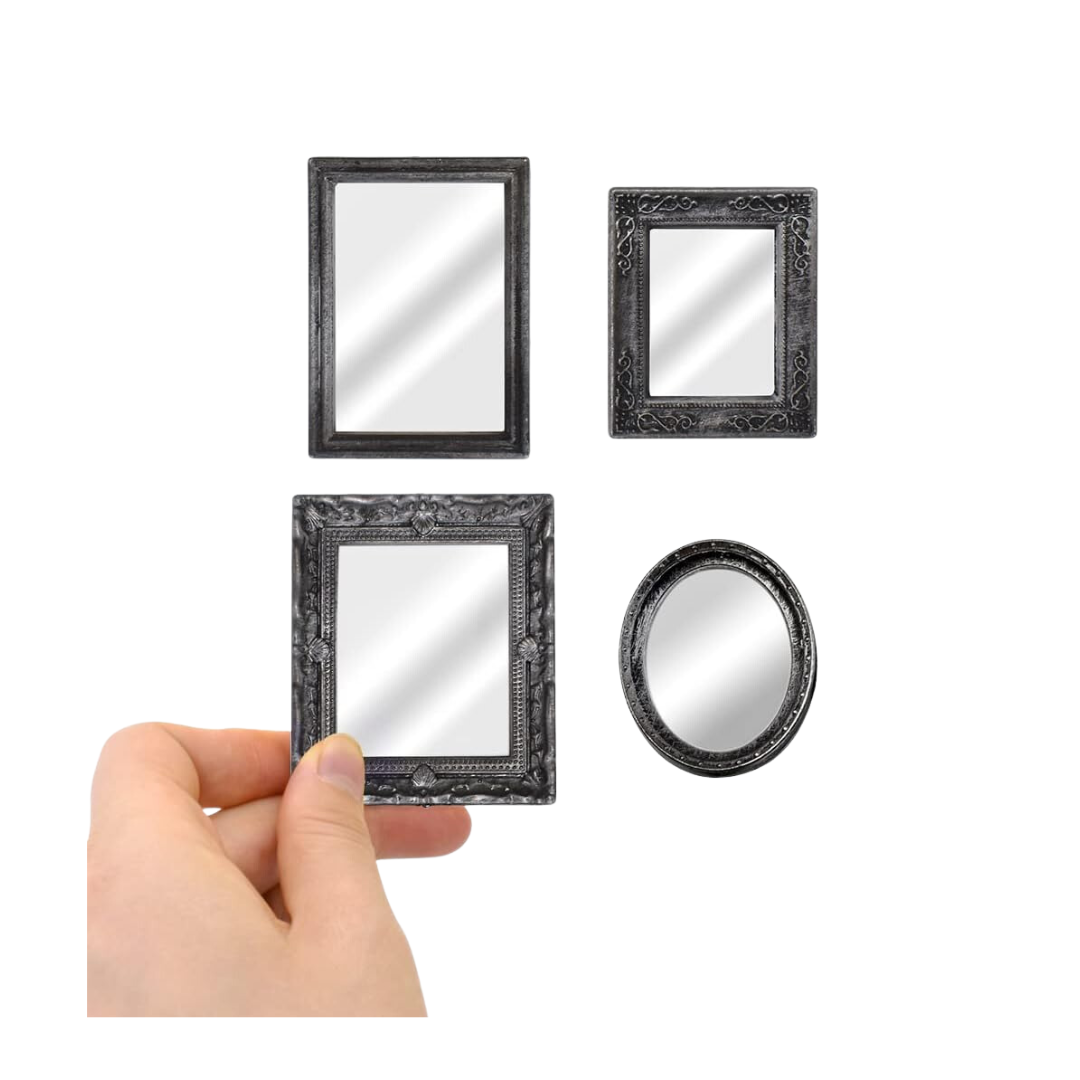
Here’s all the decor and furniture in this DIY Mouse House…it’s all so cute🥹












Hi!
Do you have measurements? I know you pivoted with the inside after creating the drawers.
Thanks!
An impressive share, I just given this onto a colleague who was doing a little analysis on this. And he in fact bought me breakfast because I found it for him.. smile. So let me reword that: Thnx for the treat! But yeah Thnkx for spending the time to discuss this, I feel strongly about it and love reading more on this topic. If possible, as you become expertise, would you mind updating your blog with more details? It is highly helpful for me. Big thumb up for this blog post!
I’d always want to be update on new blog posts on this website , saved to bookmarks! .
I have recently started a web site, the information you provide on this site has helped me tremendously. Thank you for all of your time & work.
This really answered my problem, thank you!
After research a couple of of the weblog posts in your web site now, and I truly like your method of blogging. I bookmarked it to my bookmark web site record and will likely be checking back soon. Pls take a look at my website as well and let me know what you think.
There are some attention-grabbing deadlines on this article but I don’t know if I see all of them middle to heart. There’s some validity but I will take hold opinion till I look into it further. Good article , thanks and we would like more! Added to FeedBurner as properly
Very great post. I simply stumbled upon your weblog and wanted to mention that I’ve truly loved surfing around your blog posts. After all I’ll be subscribing on your rss feed and I’m hoping you write again very soon!
I conceive you have mentioned some very interesting points, appreciate it for the post.
I think that is one of the such a lot significant info for me. And i am happy studying your article. But should statement on some general things, The website style is ideal, the articles is truly excellent : D. Just right process, cheers
he blog was how do i say it… relevant, finally something that helped me. Thanks
I cling on to listening to the reports speak about receiving boundless online grant applications so I have been looking around for the top site to get one. Could you advise me please, where could i get some?
Woah! I’m really enjoying the template/theme of this website. It’s simple, yet effective. A lot of times it’s tough to get that “perfect balance” between superb usability and appearance. I must say that you’ve done a great job with this. In addition, the blog loads extremely quick for me on Internet explorer. Outstanding Blog!
Hey there, You’ve performed a fantastic job. I’ll certainly digg it and in my opinion suggest to my friends. I’m sure they will be benefited from this web site.
I like this web site so much, bookmarked. “American soldiers must be turned into lambs and eating them is tolerated.” by Muammar Qaddafi.
You made a number of nice points there. I did a search on the matter and found mainly persons will go along with with your blog.
Hey There. I found your blog using msn. This is a very well written article. I will be sure to bookmark it and come back to read more of your useful info. Thanks for the post. I will definitely return.
Very nice post. I just stumbled upon your blog and wished to say that I’ve really enjoyed surfing around your blog posts. After all I’ll be subscribing to your feed and I hope you write again soon!
Hmm is anyone else encountering problems with the pictures on this blog loading? I’m trying to find out if its a problem on my end or if it’s the blog. Any suggestions would be greatly appreciated.
I have not checked in here for some time as I thought it was getting boring, but the last several posts are great quality so I guess I?¦ll add you back to my everyday bloglist. You deserve it my friend 🙂
Hello, you used to write wonderful, but the last few posts have been kinda boringK I miss your super writings. Past several posts are just a bit out of track! come on!
Real clear web site, thankyou for this post.
I got what you mean , thanks for posting.Woh I am lucky to find this website through google. “I was walking down the street wearing glasses when the prescription ran out.” by Steven Wright.
Would you be all for exchanging hyperlinks?
Good write-up, I¦m regular visitor of one¦s website, maintain up the excellent operate, and It’s going to be a regular visitor for a long time.
Precisely what I was looking for, regards for posting.
You actually make it seem really easy along with your presentation however I to find this topic to be actually something that I believe I would by no means understand. It sort of feels too complex and very broad for me. I am looking ahead to your next put up, I will attempt to get the cling of it!
I really like gathering useful info, this post has got me even more info! .
I have recently started a web site, the info you provide on this website has helped me greatly. Thanks for all of your time & work.
Do you mind if I quote a few of your posts as long as I provide credit and sources back to your webpage? My website is in the very same niche as yours and my users would really benefit from a lot of the information you provide here. Please let me know if this ok with you. Thanks a lot!
Oh my goodness! an incredible article dude. Thank you Nevertheless I am experiencing problem with ur rss . Don’t know why Unable to subscribe to it. Is there anybody getting identical rss downside? Anybody who is aware of kindly respond. Thnkx
so much fantastic info on here, : D.
I am pleased that I detected this web site, just the right info that I was searching for! .
This is very interesting, You’re a very skilled blogger. I have joined your rss feed and look forward to seeking more of your magnificent post. Also, I’ve shared your website in my social networks!
I like this blog so much, saved to my bookmarks.
hello there and thanks on your info – I’ve definitely picked up anything new from proper here. I did alternatively experience some technical issues the usage of this site, since I experienced to reload the site many times prior to I may just get it to load properly. I have been considering in case your web host is OK? Not that I am complaining, however slow loading circumstances times will very frequently affect your placement in google and can injury your quality ranking if advertising and ***********|advertising|advertising|advertising and *********** with Adwords. Anyway I am including this RSS to my email and can glance out for much more of your respective fascinating content. Ensure that you replace this once more soon..
This really answered my problem, thank you!
Real great visual appeal on this website , I’d rate it 10 10.
Write more, thats all I have to say. Literally, it seems as though you relied on the video to make your point. You definitely know what youre talking about, why waste your intelligence on just posting videos to your blog when you could be giving us something enlightening to read?
I am not rattling fantastic with English but I line up this rattling leisurely to translate.
great post, very informative. I wonder why the other specialists of this sector don’t notice this. You should continue your writing. I’m confident, you’ve a great readers’ base already!
Excellent goods from you, man. I have understand your stuff previous to and you are just too wonderful. I really like what you’ve acquired here, really like what you are saying and the way in which you say it. You make it entertaining and you still care for to keep it smart. I can’t wait to read far more from you. This is actually a wonderful website.
You are my inhalation, I have few web logs and very sporadically run out from to post : (.
Hello very cool web site!! Man .. Excellent .. Amazing .. I will bookmark your blog and take the feeds also?KI’m satisfied to search out so many helpful information here in the submit, we need work out extra strategies on this regard, thanks for sharing. . . . . .
You have remarked very interesting details ! ps decent web site.
Whats up are using WordPress for your blog platform? I’m new to the blog world but I’m trying to get started and create my own. Do you require any coding expertise to make your own blog? Any help would be really appreciated!
You really make it seem so easy with your presentation but I find this topic to be really something that I think I would never understand. It seems too complex and very broad for me. I am looking forward for your next post, I’ll try to get the hang of it!
I like this website very much, Its a rattling nice spot to read and get info . “There is no human problem which could not be solved if people would simply do as I advise.” by Gore Vidal.
What i do not understood is in reality how you are not really much more well-favored than you may be now. You’re so intelligent. You recognize therefore significantly in relation to this subject, produced me for my part consider it from so many varied angles. Its like women and men are not interested until it is something to accomplish with Girl gaga! Your own stuffs great. At all times take care of it up!
Hi, just required you to know I he added your site to my Google bookmarks due to your layout. But seriously, I believe your internet site has 1 in the freshest theme I??ve came across. It extremely helps make reading your blog significantly easier.
I will immediately grab your rss as I can not find your email subscription link or e-newsletter service. Do you have any? Kindly let me know so that I could subscribe. Thanks.
I really like your blog.. very nice colors & theme. Did you create this website yourself or did you hire someone to do it for you? Plz respond as I’m looking to create my own blog and would like to find out where u got this from. thanks a lot
You made some decent points there. I looked on the internet for the subject and found most individuals will go along with with your website.
This blog is definitely rather handy since I’m at the moment creating an internet floral website – although I am only starting out therefore it’s really fairly small, nothing like this site. Can link to a few of the posts here as they are quite. Thanks much. Zoey Olsen
Valuable info. Lucky me I found your web site by accident, and I’m shocked why this accident didn’t happened earlier! I bookmarked it.
Hi my friend! I want to say that this post is awesome, great written and include almost all significant infos. I would like to look extra posts like this .
I truly appreciate this post. I?¦ve been looking everywhere for this! Thank goodness I found it on Bing. You have made my day! Thx again
Pretty great post. I simply stumbled upon your weblog and wanted to say that I have really loved surfing around your weblog posts. In any case I will be subscribing to your rss feed and I hope you write once more soon!
Good day! This post could not be written any better! Reading through this post reminds me of my old room mate! He always kept chatting about this. I will forward this article to him. Pretty sure he will have a good read. Many thanks for sharing!
obviously like your web site but you need to check the spelling on quite a few of your posts. Many of them are rife with spelling issues and I find it very bothersome to tell the truth nevertheless I will surely come back again.
Would love to incessantly get updated outstanding web site! .