DIY Console Table Makeover
If you remember, I had this console table in my bedroom before we swapped it out for a dresser. It fits perfectly under the gallery wall in the dining room – except for the color. It’s such an intricate table so I wasn’t sure how to go about this since stain isn’t necessarily my friend….you remember the cursed console table. BUT I decided to try it out! Here’s my DIY Console Table Makeover.
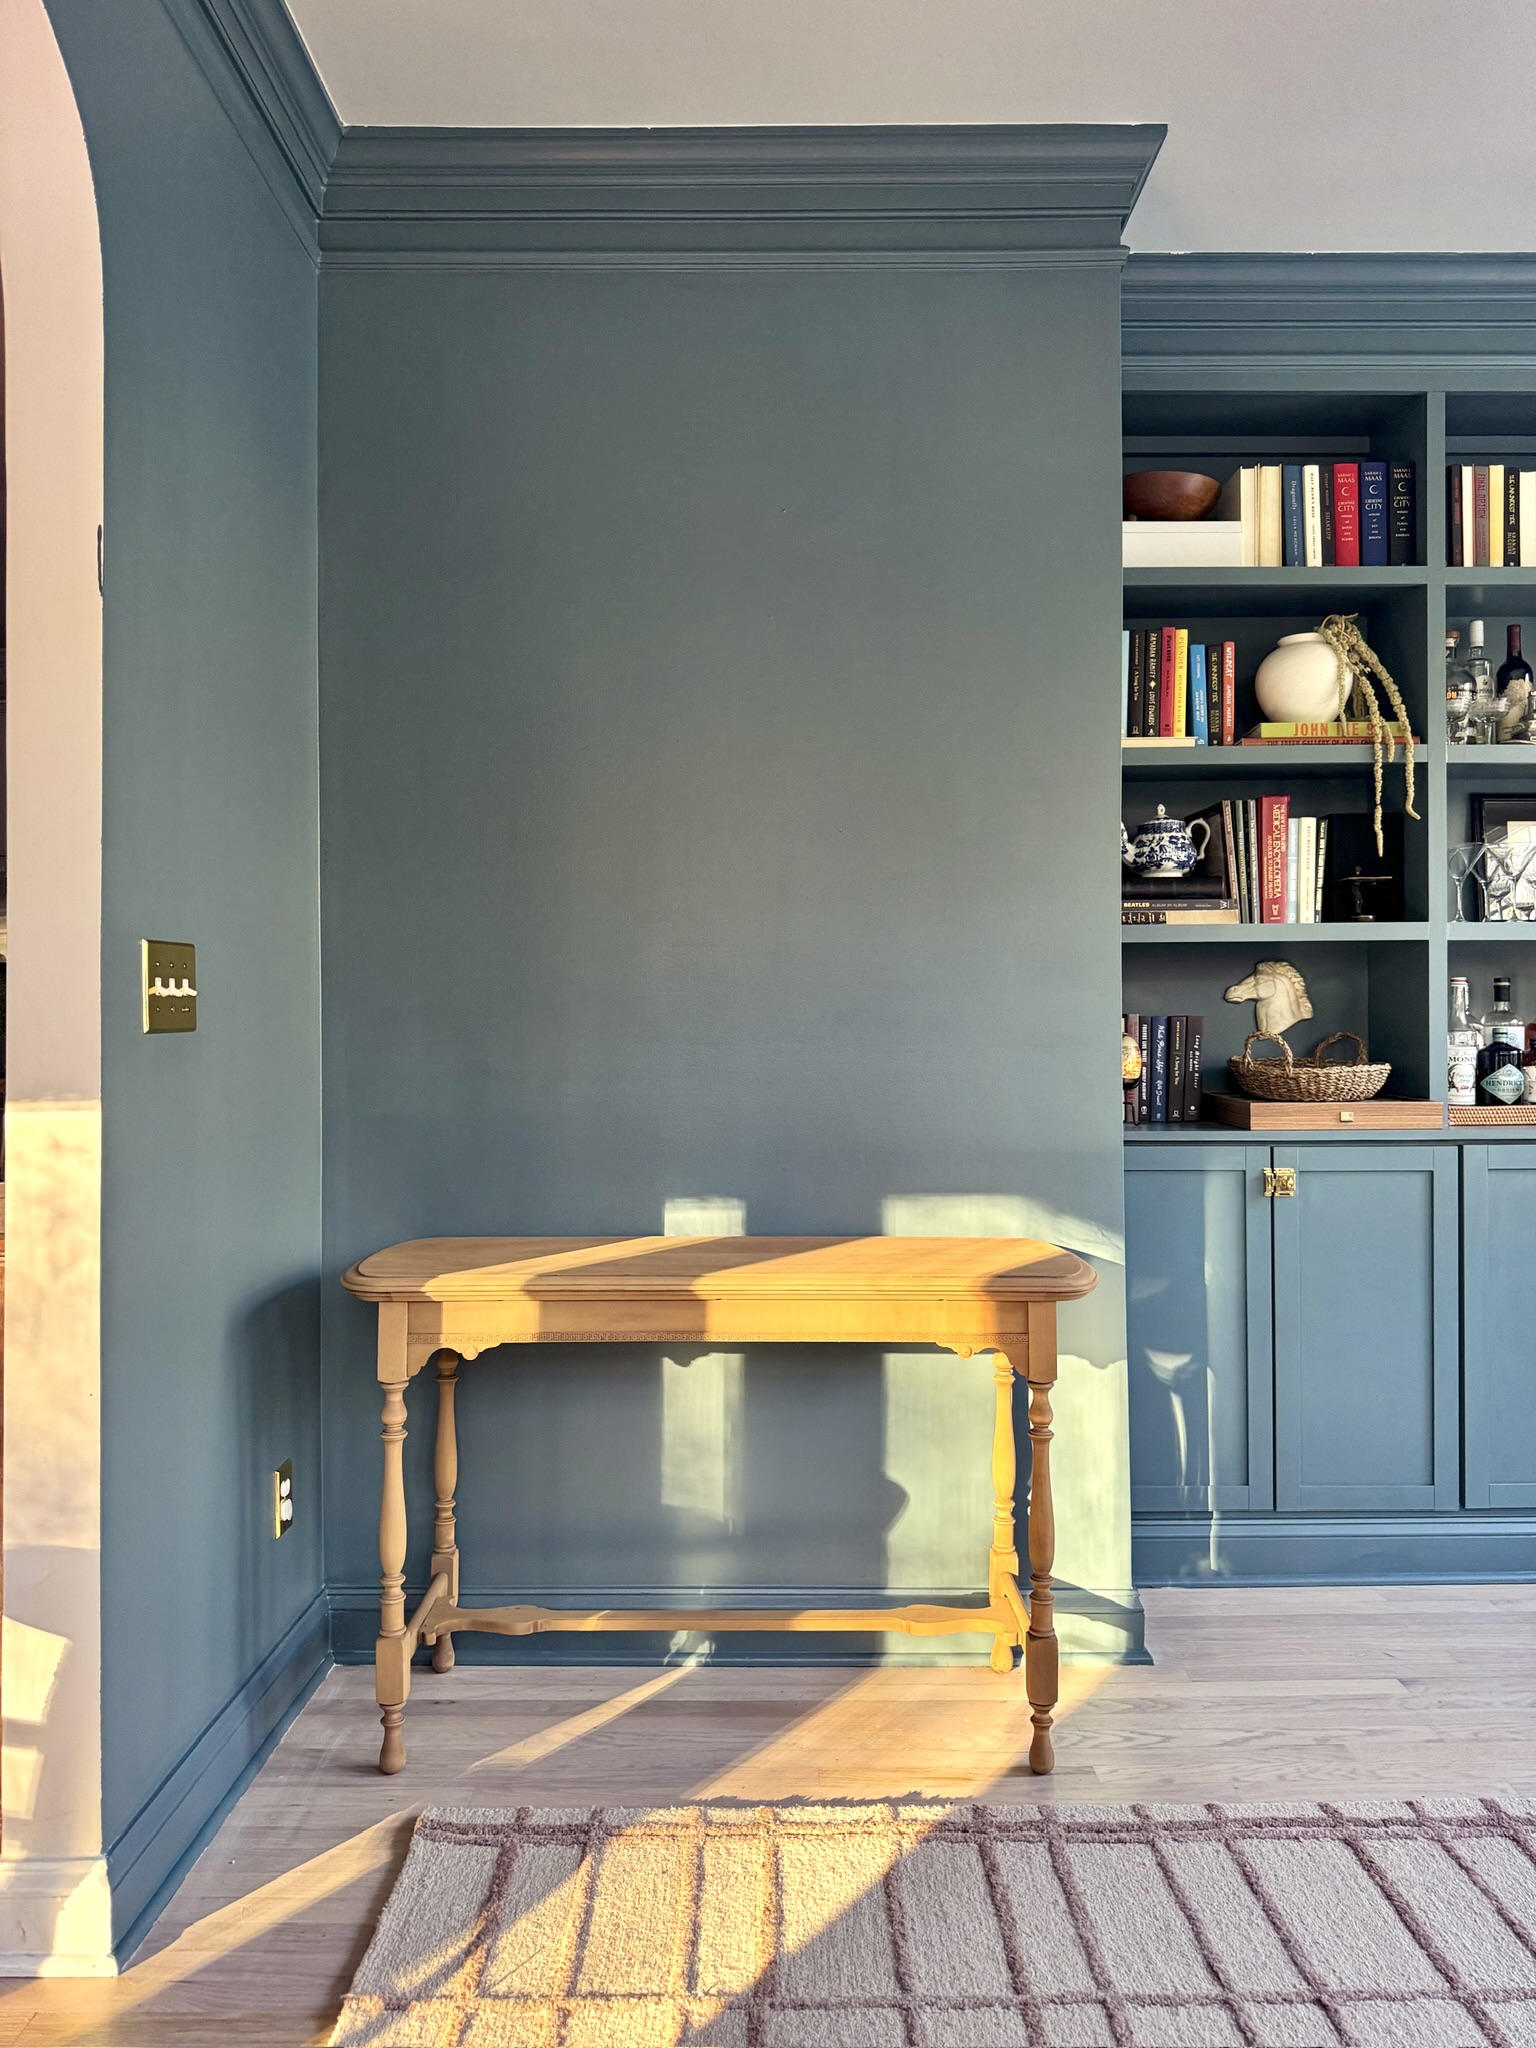
Here’s what the table looked like initially in David and I’s bedroom:

Oven Cleaner Method
So many people suggested that I try the oven cleaner method. You just spray on the oven cleaner, let it sit for a second and then scrape it off with a razor scraper. I was VERY hesitant about this. I knew that with my luck, it would either turn out GREAT or absolutely awful. I tested it on a small patch and after just a few minutes, stain was coming off!
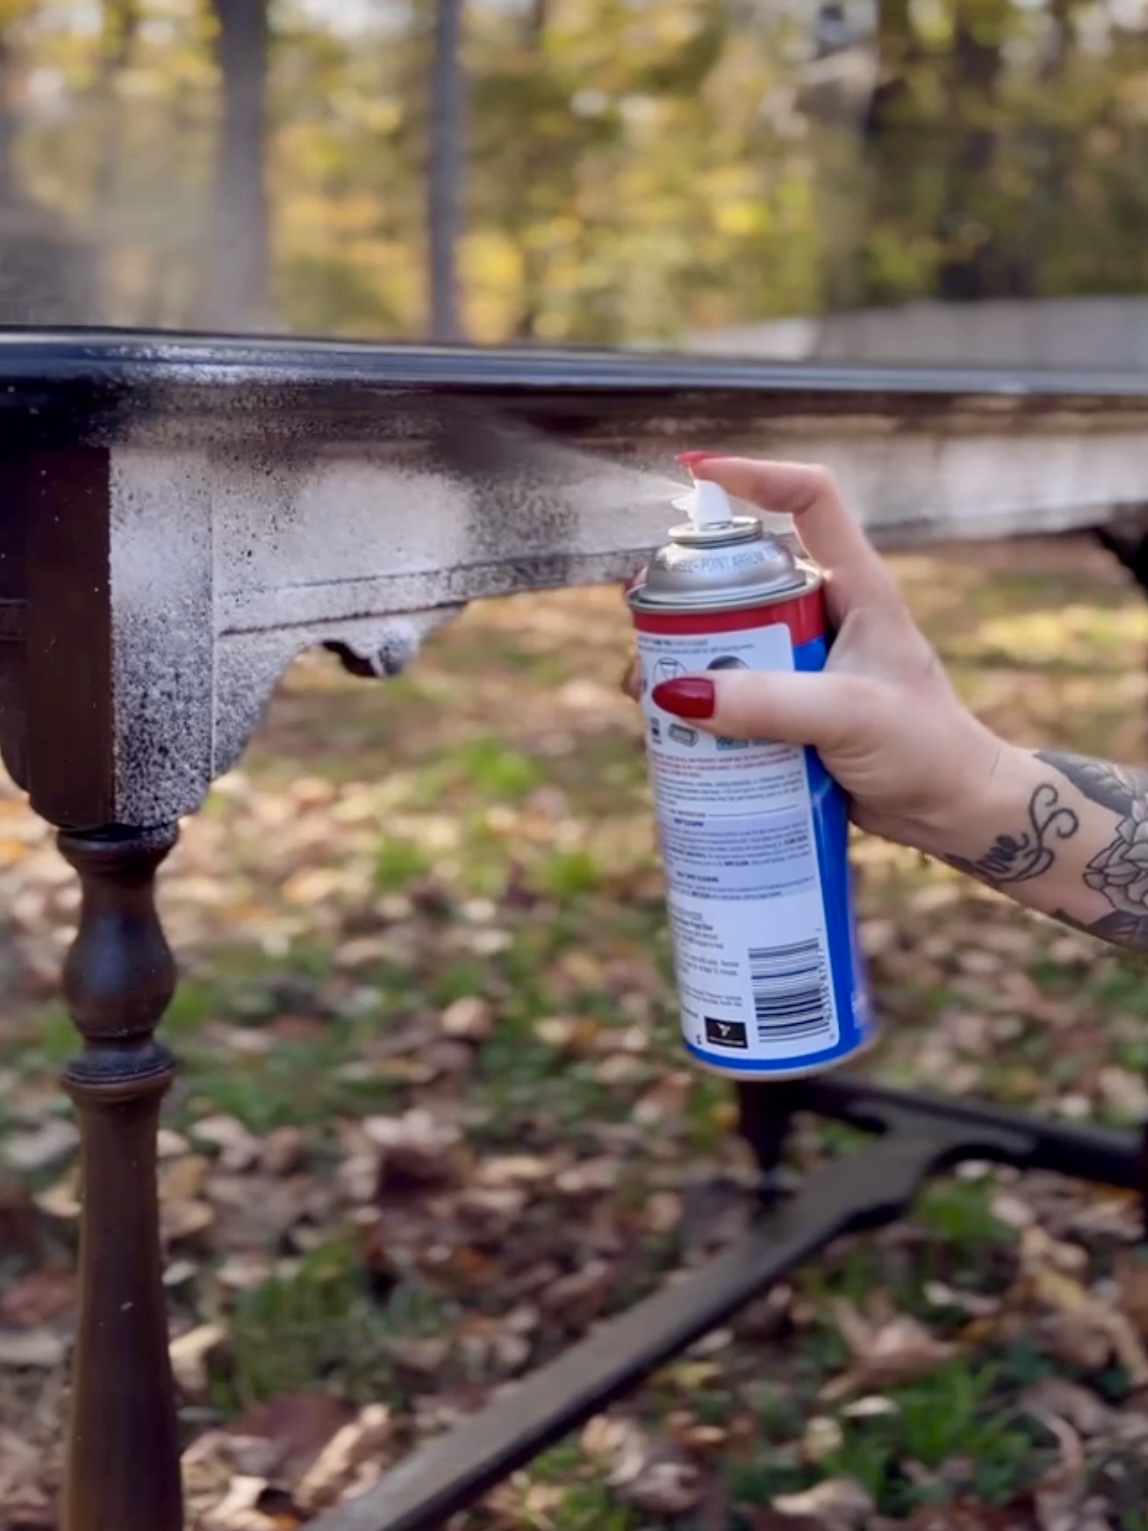

The oven cleaner definitely made the table a bit lighter. Even though it works well for some people, I decided I wouldn’t be trying this method for lifting stain again. It just seemed so toxic even though I used the fume free version. It says no gloves required but I read stories of people having their skin peel off after touching it…no thanks. Haha. I will say, when I came downstairs the next morning, the table was lighter! It was pretty splotchy so I decided to sand the whole table. I was LOVING the color!
CitriStrip
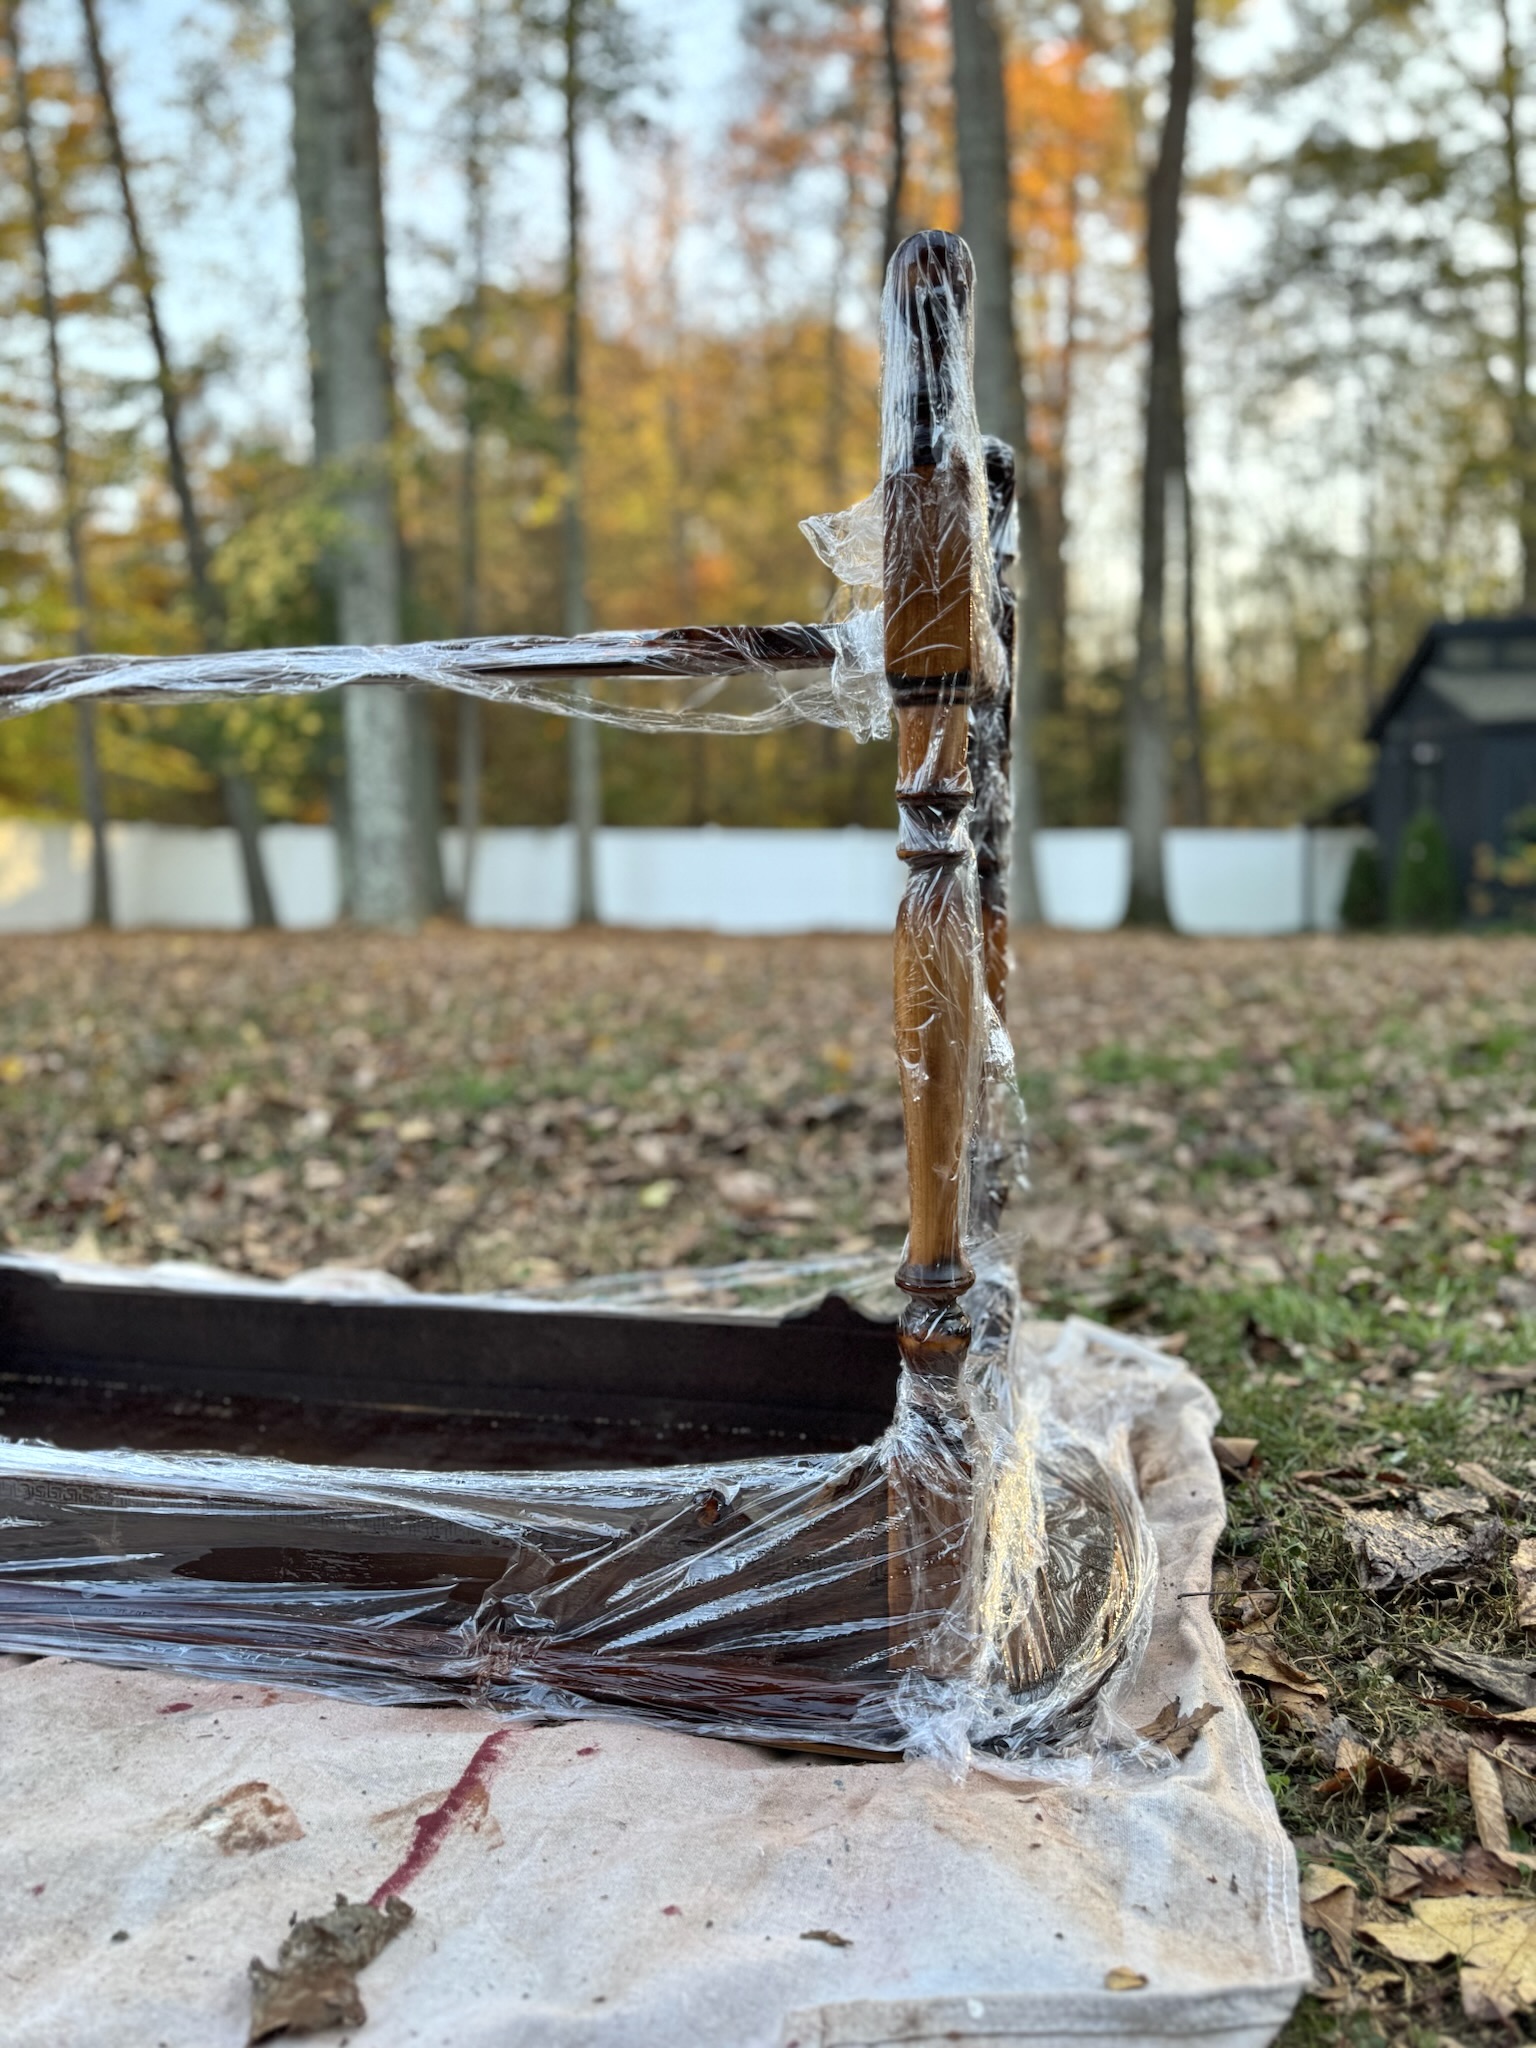
I tried using a tiny little hand sander for all the little details but it was just not cutting it. I felt like I’d been working for like 12 hours with no progress. Based off of my followers’ suggestions, my best option was to put CitriStrip on all the detail areas. I sprayed it on there, wrapped it up and let it sit over night. It got a lot of it off, but there was still a lot of dark color in the cracks and such.

Contour Sanding Blocks
I ordered some contour sanding blocks to sand the little details. You stick your sand paper onto the block and stick it right onto your sander. It made things work a bit faster, but this table was still giving me a run for my money.


Paint Wash
I gave myself a break from the table over night and I definitely needed that. When I came back in the morning, I felt so close to the finish line! I ended up deciding to try a paint wash for the first time. From what I’ve seen of paint washes, it helps even out the splotchiness. I mixed a 1:1 ratio of water and paint and tested it out. I ended up mixing Toffee Crunch and Roasted Squash and was sold.
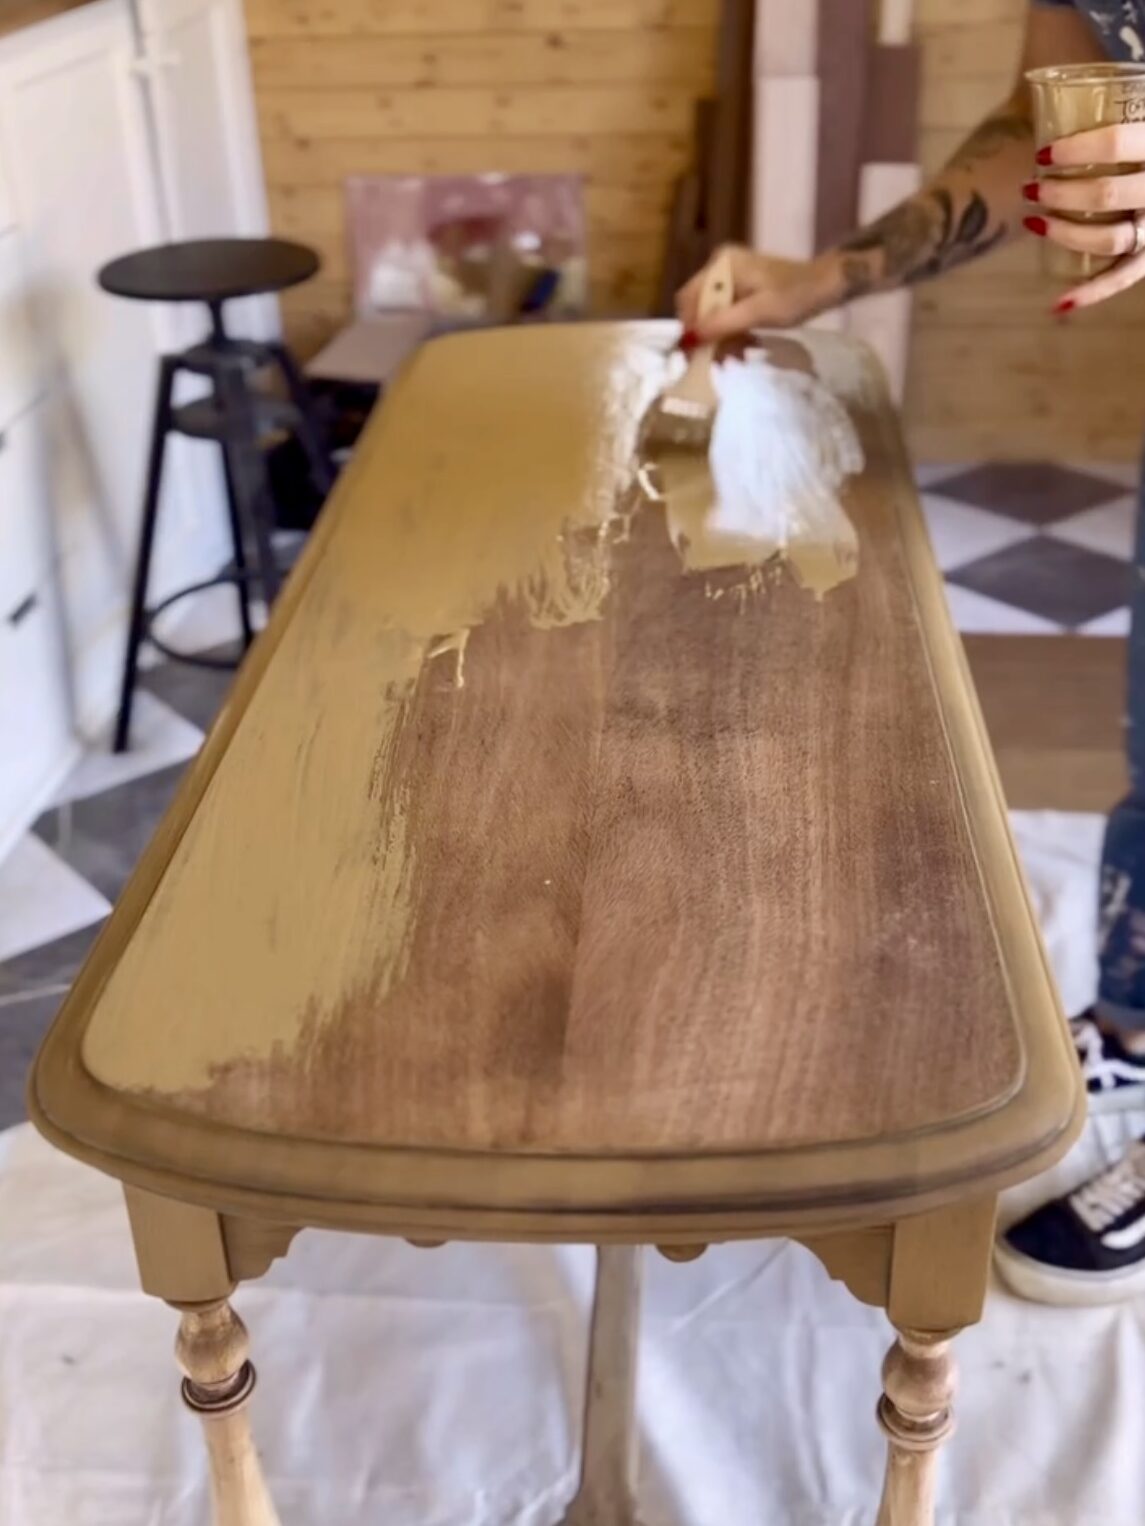

I was genuinely expecting this to be a flop and it was FAR FROM THAT. It looked so gooooood. What a relief! I just brushed on a section and wiped it off, then buffed if using paper towels. So easy!
I was mind blown. It turned out exactly how I envisioned it, even though I had no idea how I’d get there. It look so pretty! I typically go for darker wood tones, but I love how this lighter wood brings more a more casual feel into the dining room.
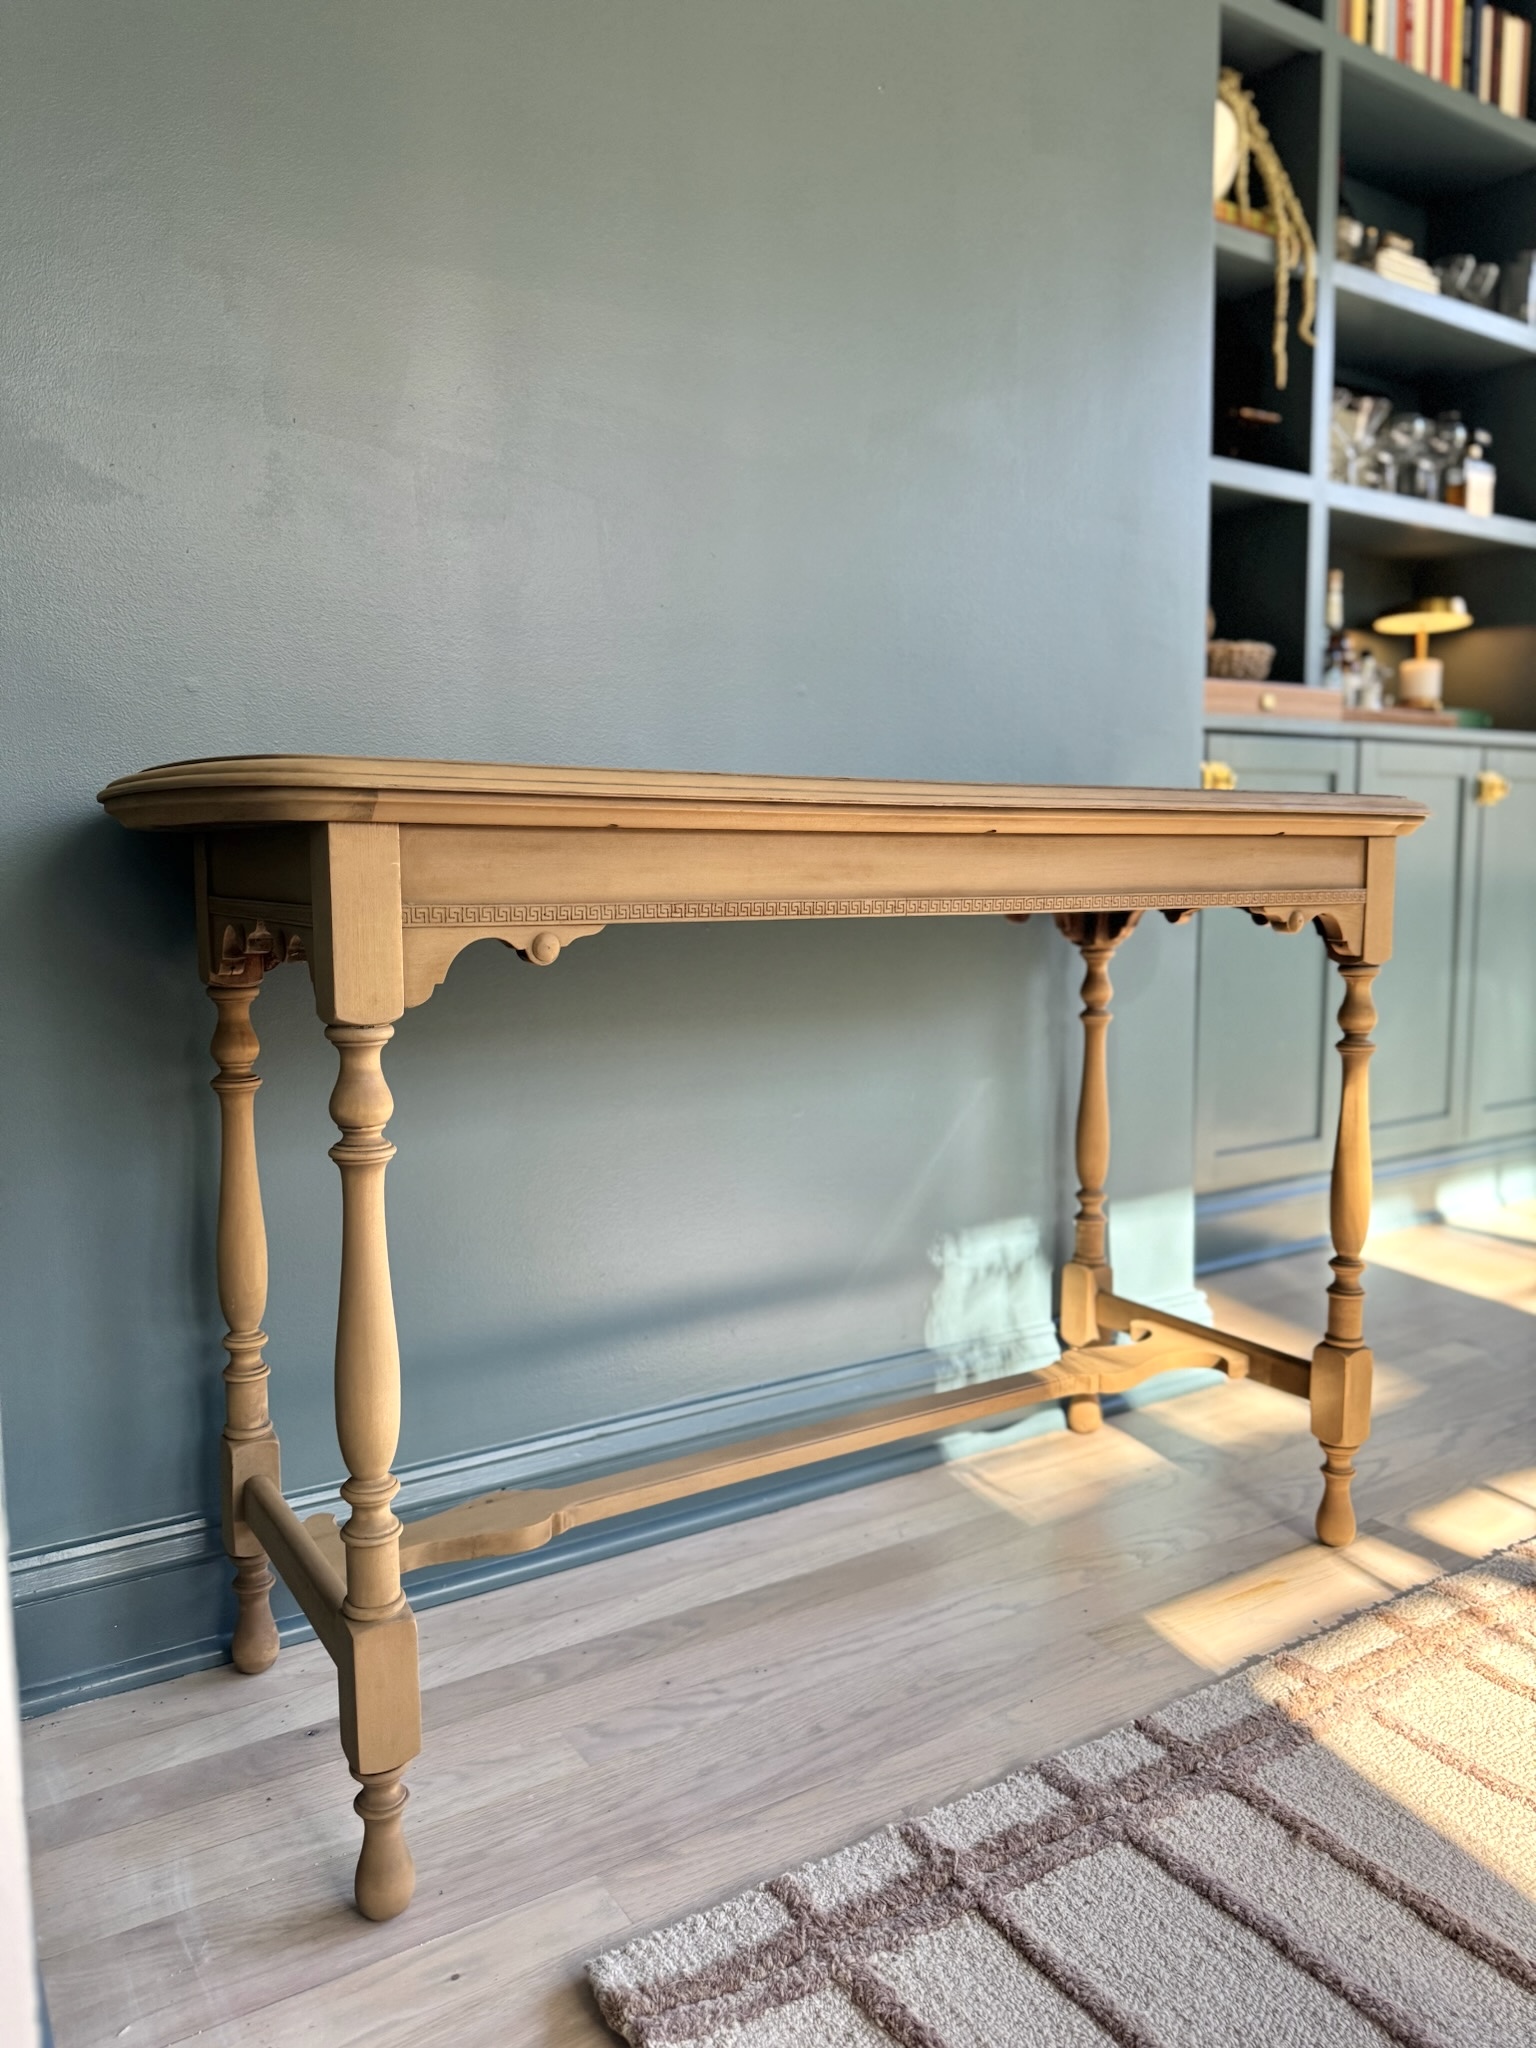

I’m soooo happy with how this console table makeover turned out. Stay tuned on my stories for my chair upholstery project!
– Cass
Materials For My DIY Console Table Makeover
- Easy Off Oven Cleaner
- Razor Scraper
- Mask
- CitriStrip
- Roasted Squash by Behr
- Toffee Crunch by Behr
- Angled Brush
Tools
Everything I wore in my stories this week:


This DIY console table makeover is incredible—such a clever transformation with amazing results!