DIY Basement Built-Ins – Cabinet Doors & Drawer Fronts
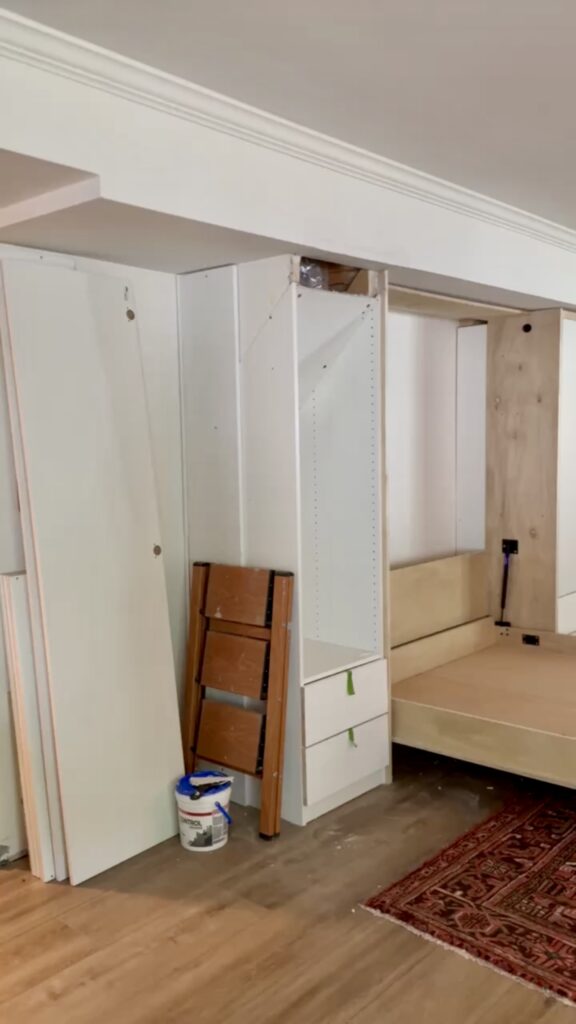
Last week I finished my DIY murphy bed…what an undertaking! But I’m so excited to keep moving on these DIY basement built-ins. I screwed in and secured the cabinet boxes and murphy bed into the wall, so now it’s time to add the cabinet doors!
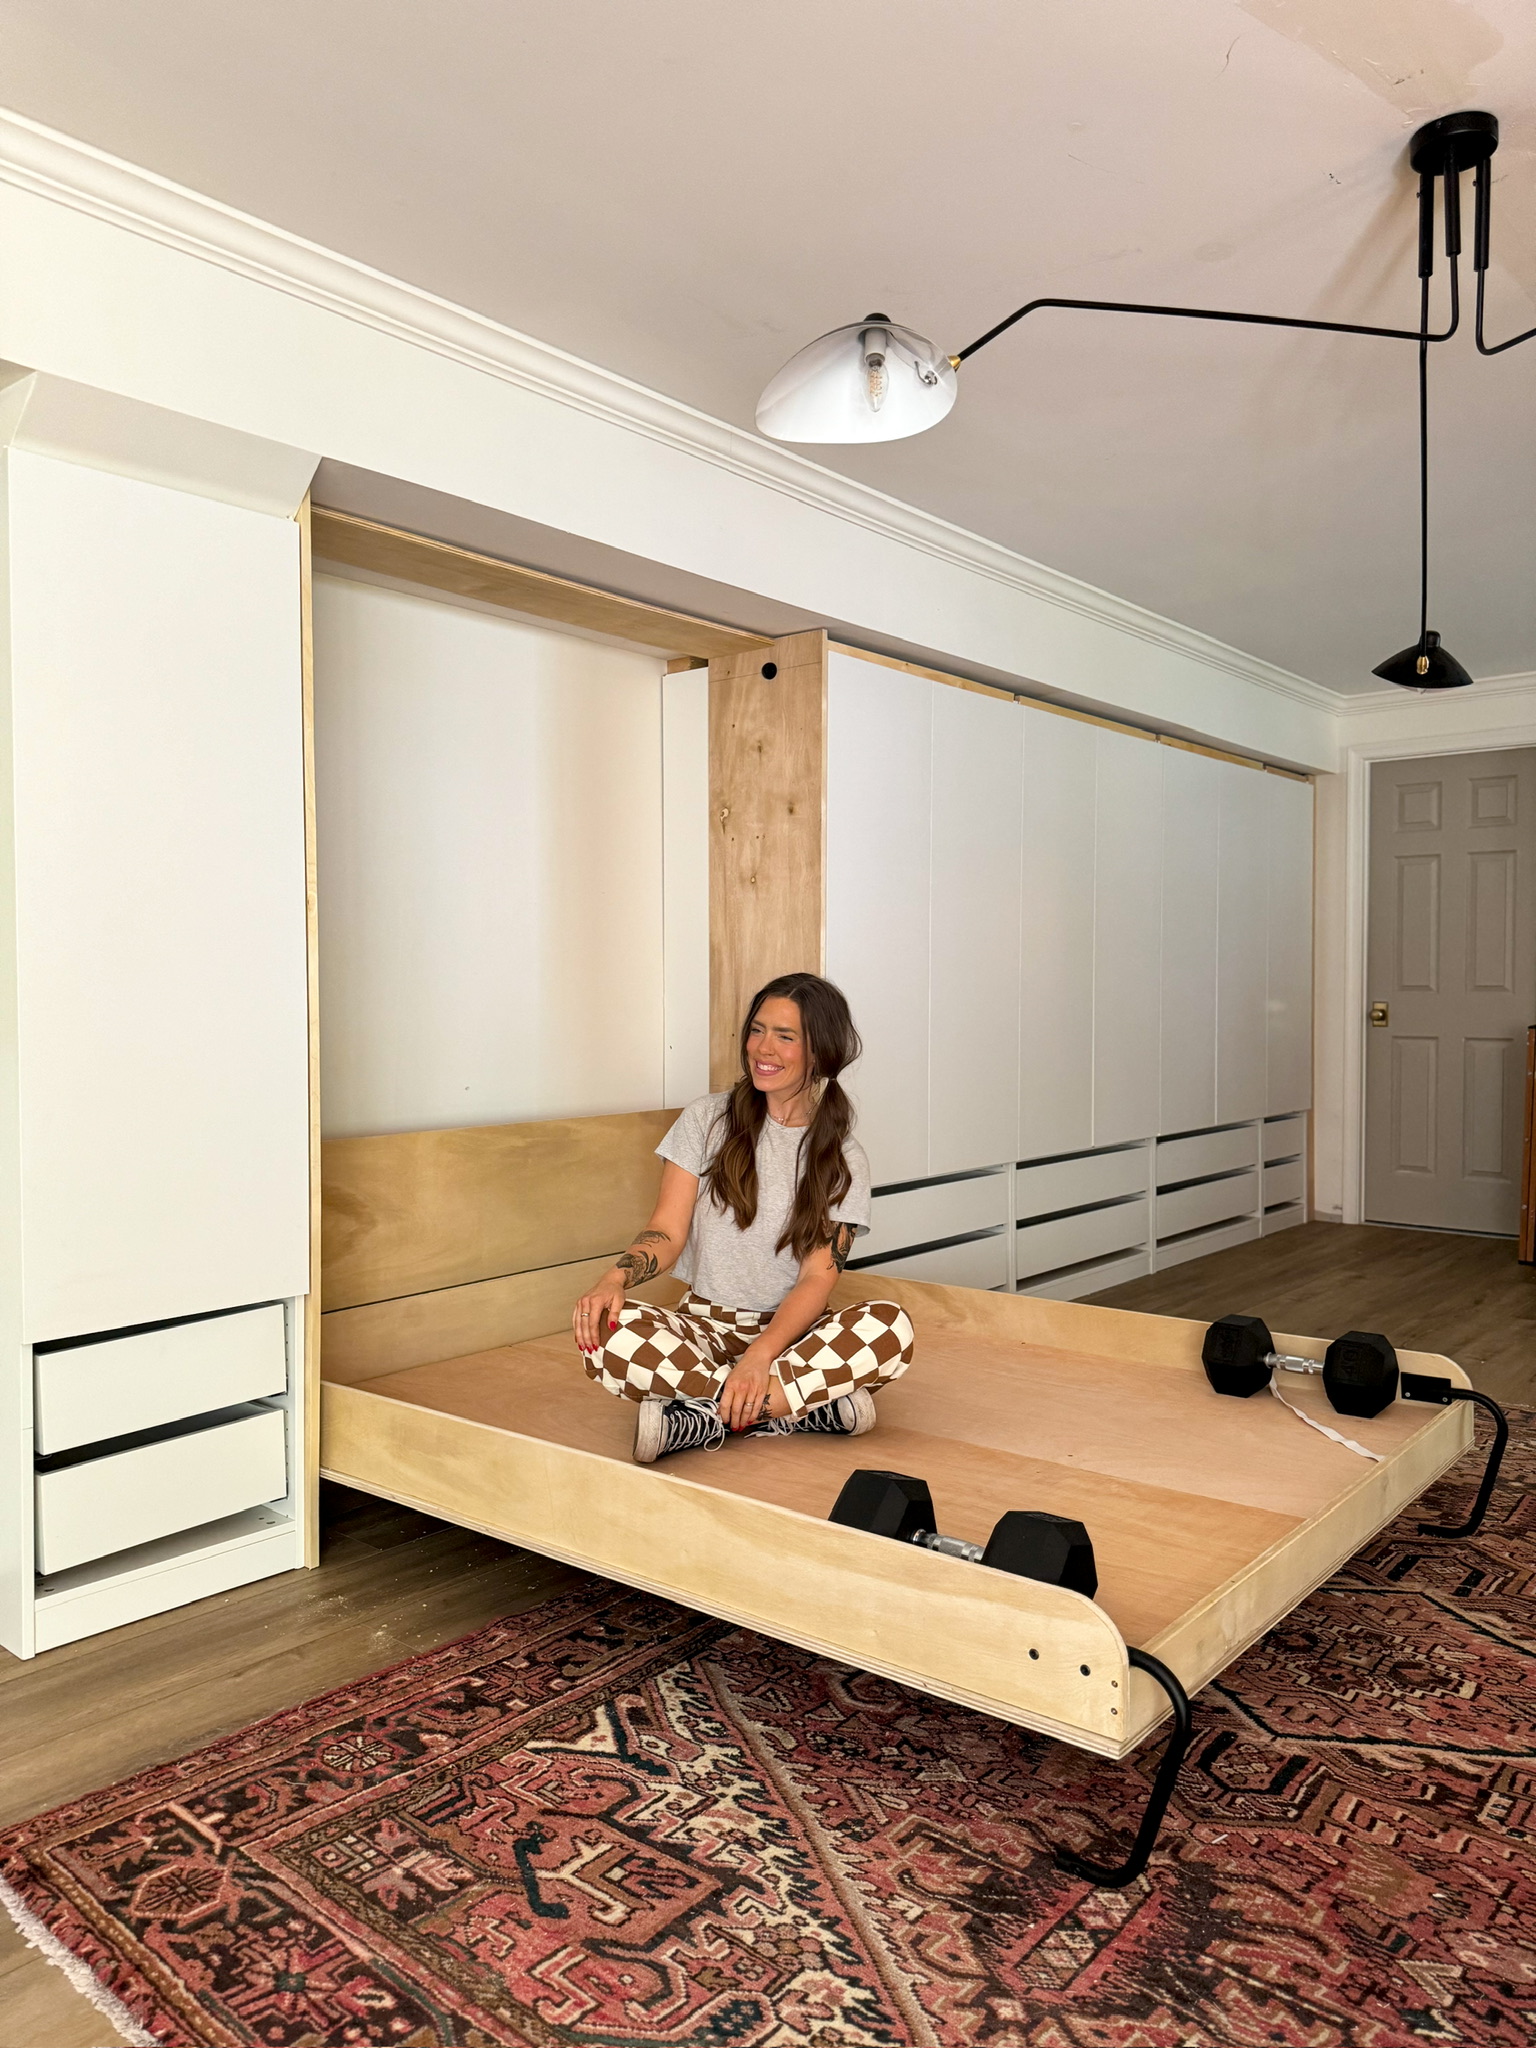
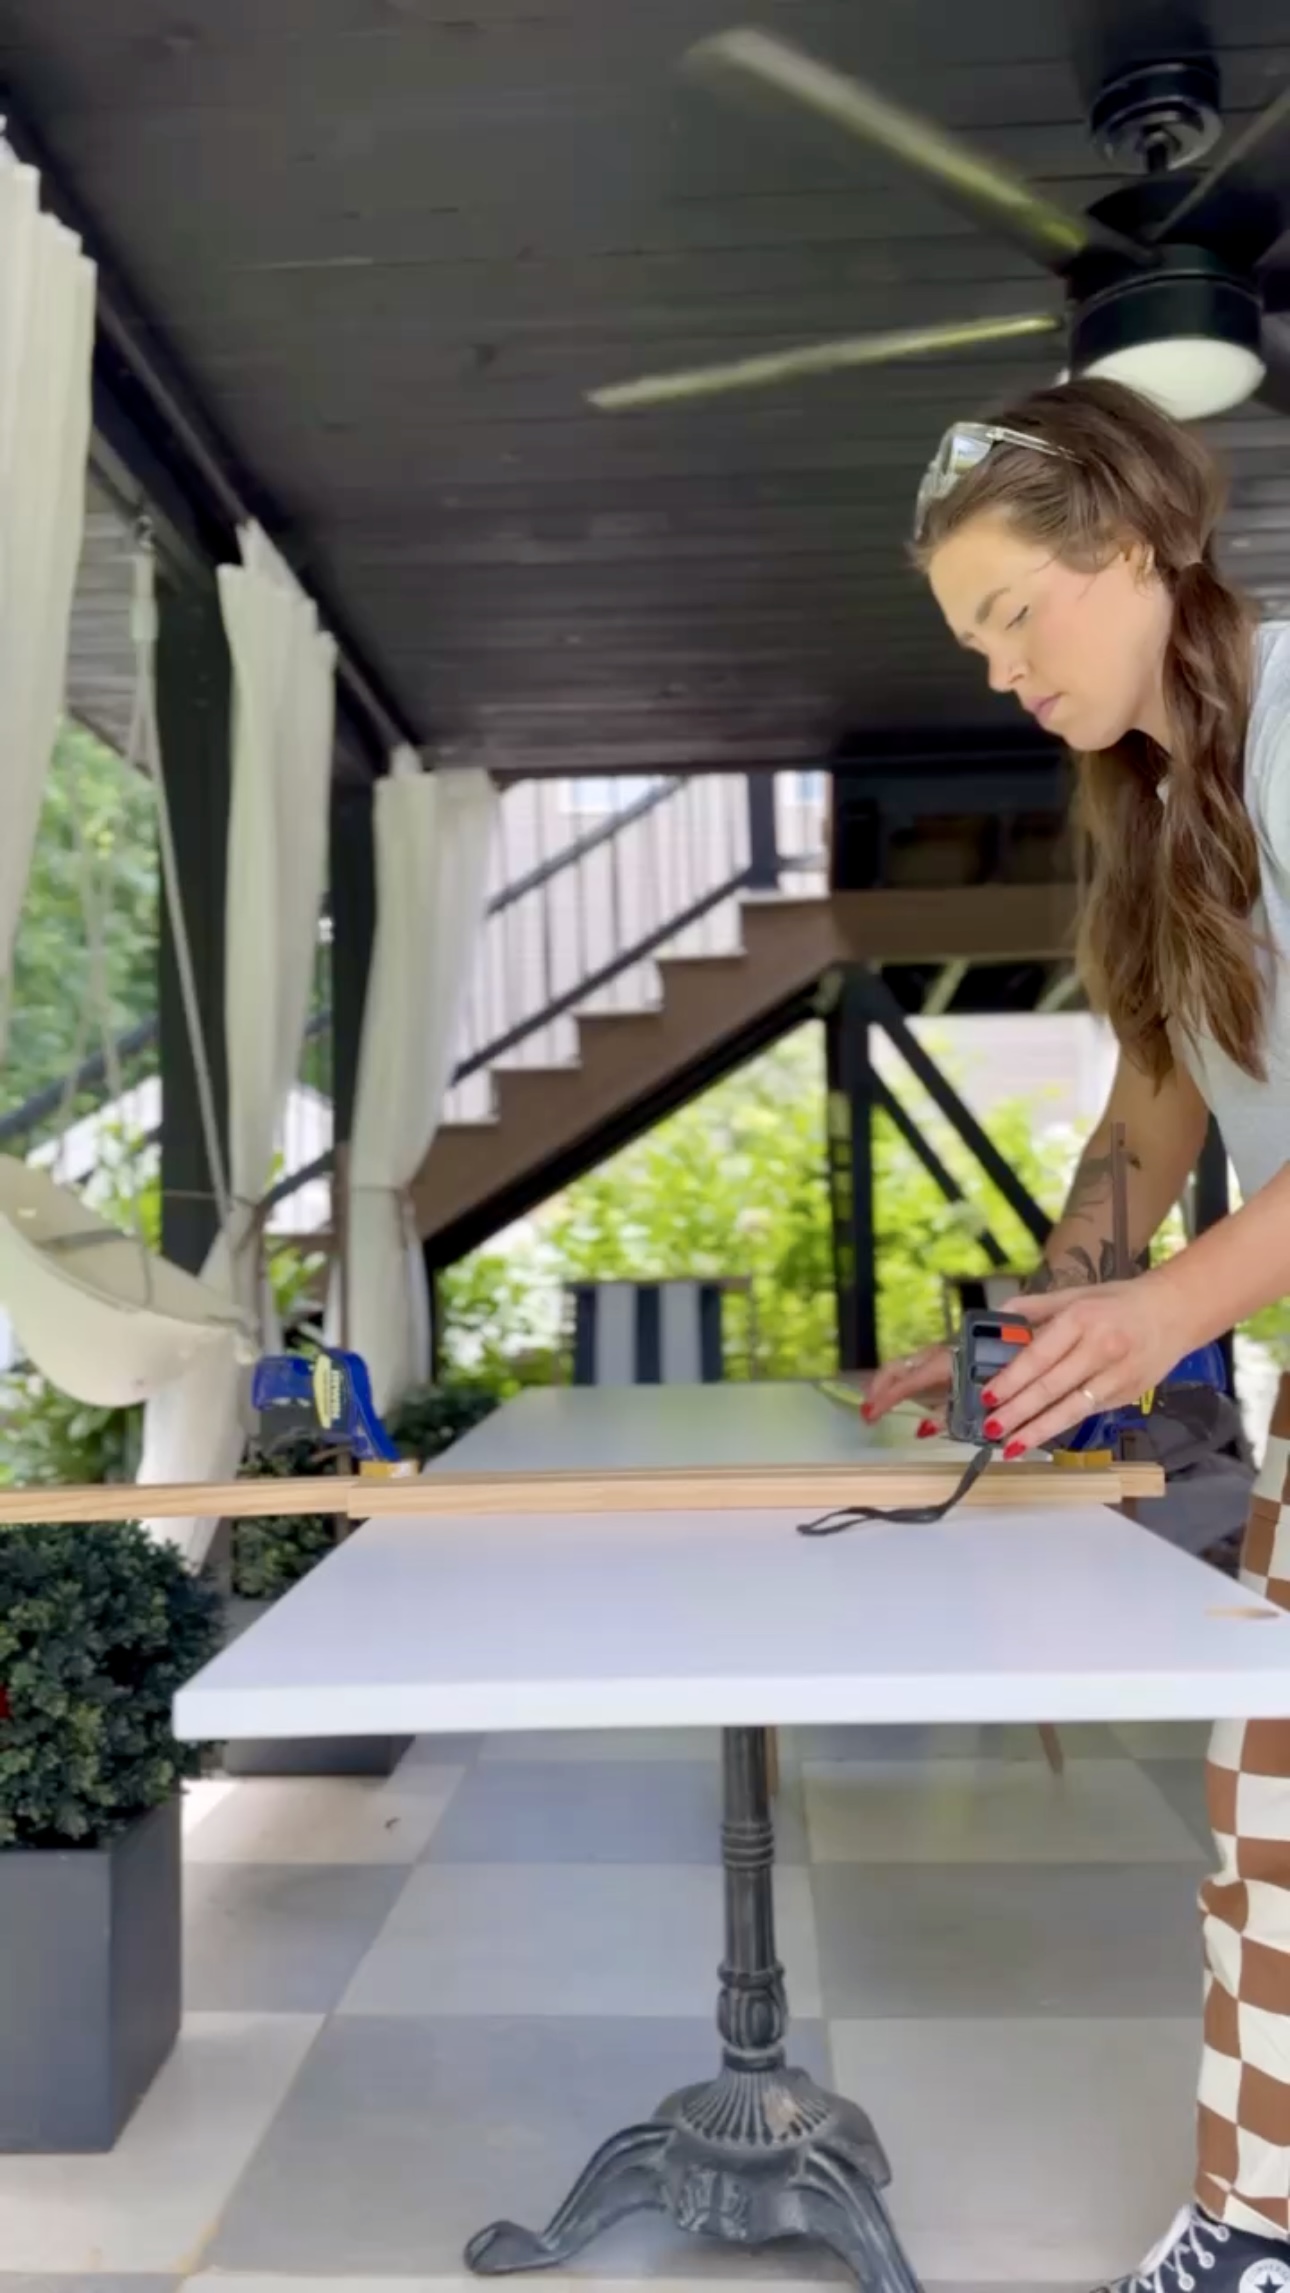
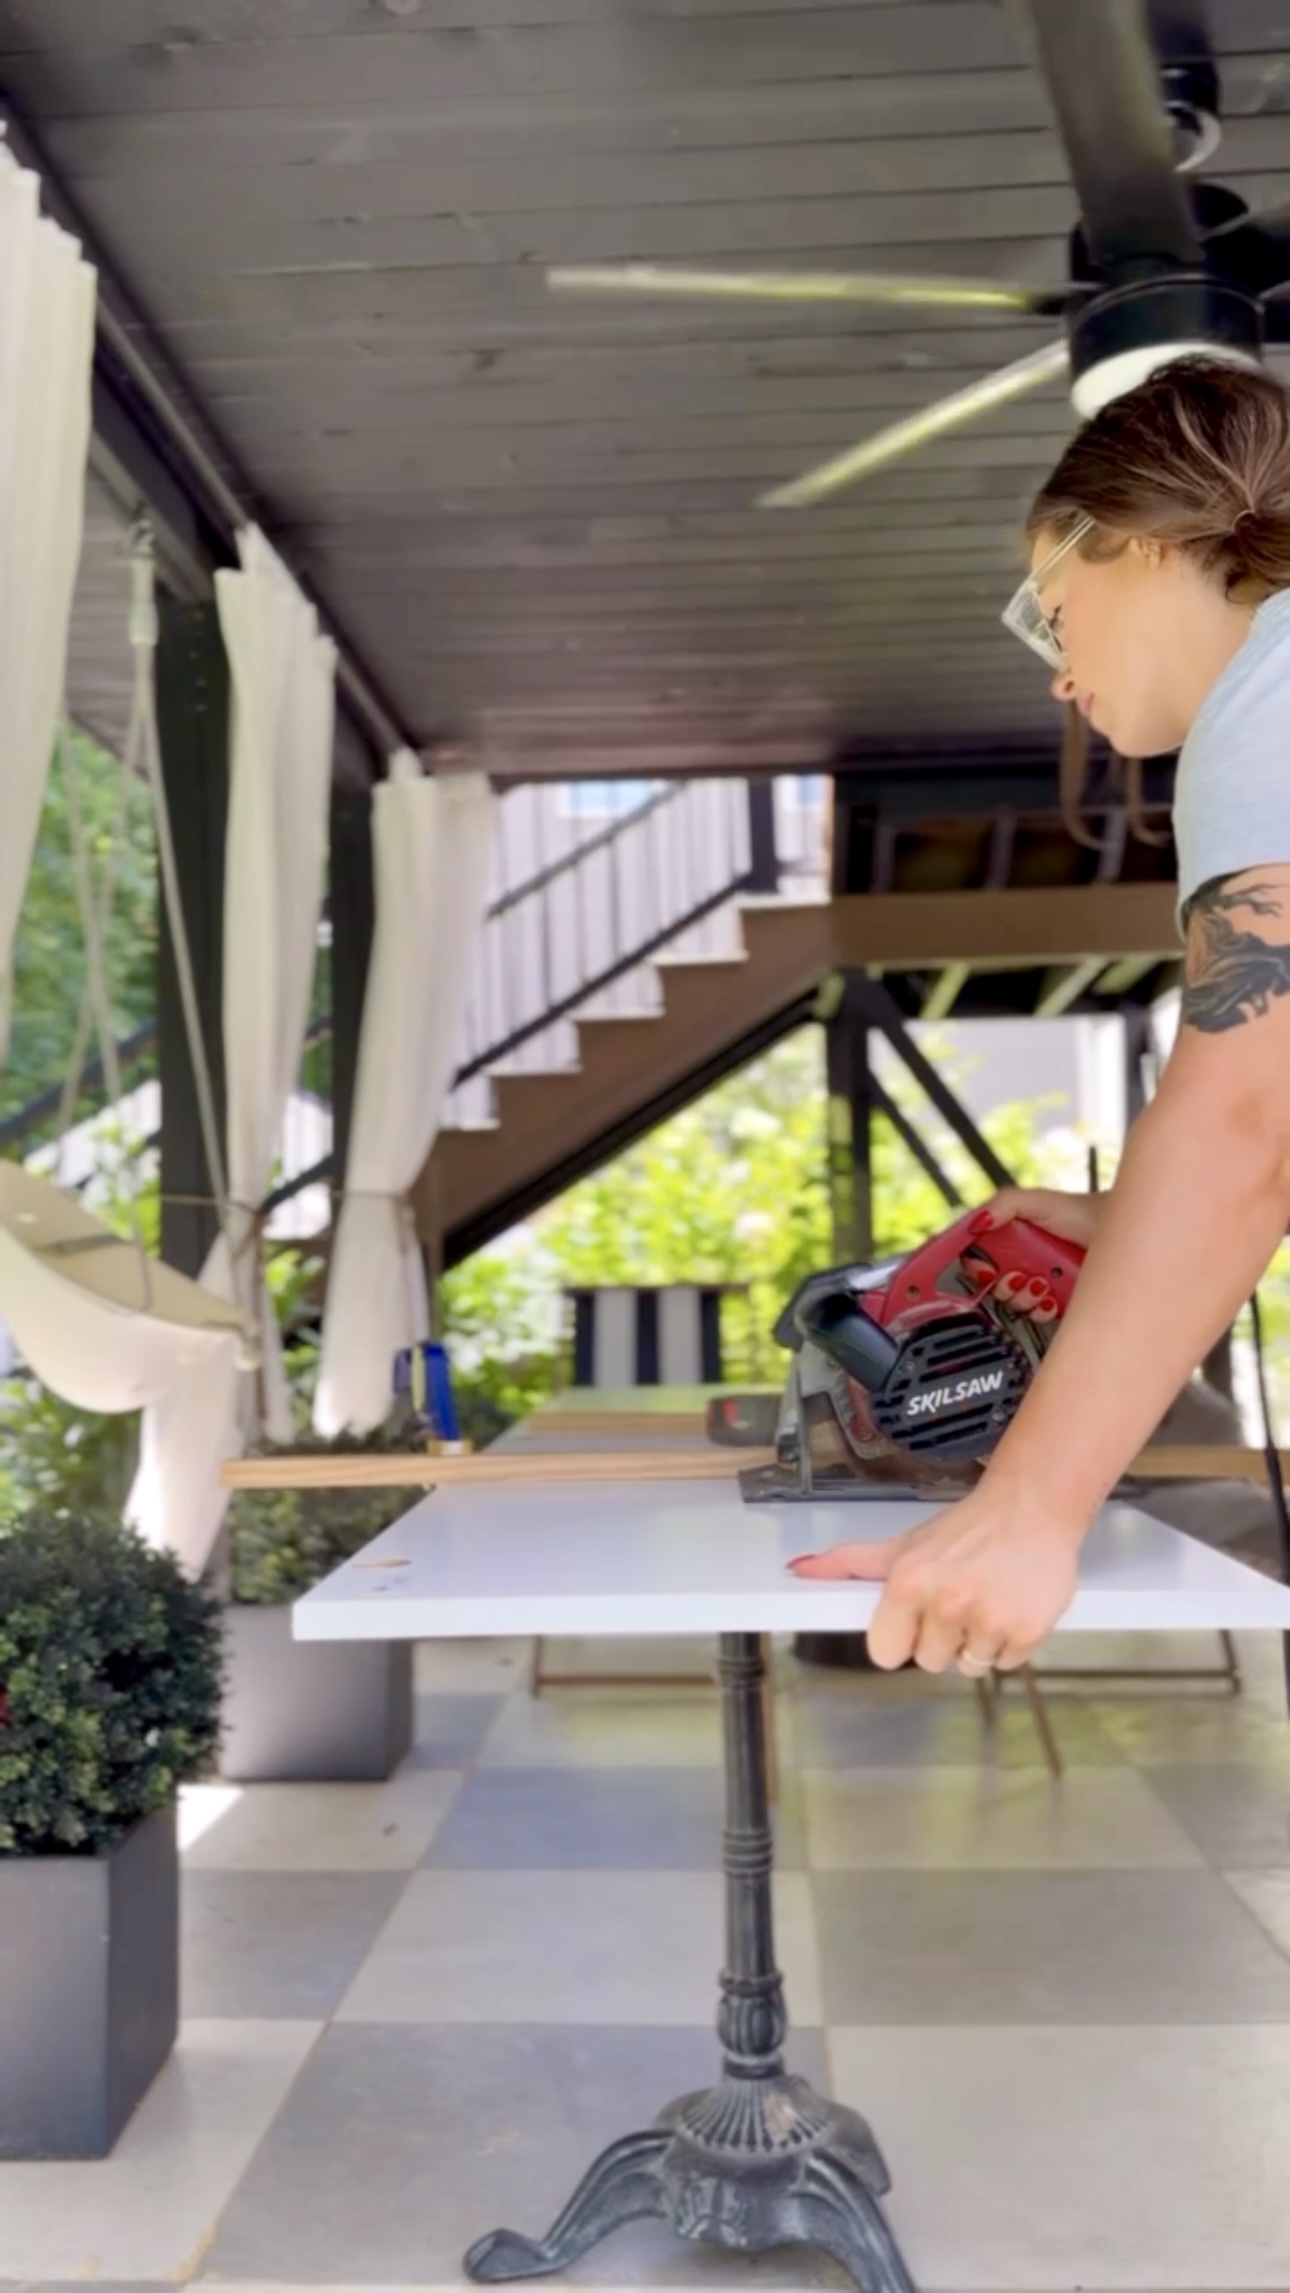
These are the slab doors from Ikea that are made for these cabinets. But I wanted to modify them to fit my vision. I wanted drawers below my cabinets. So I needed to add drawer fronts and make the slab doors shorter. So, I went out to my circular saw and made my cuts!
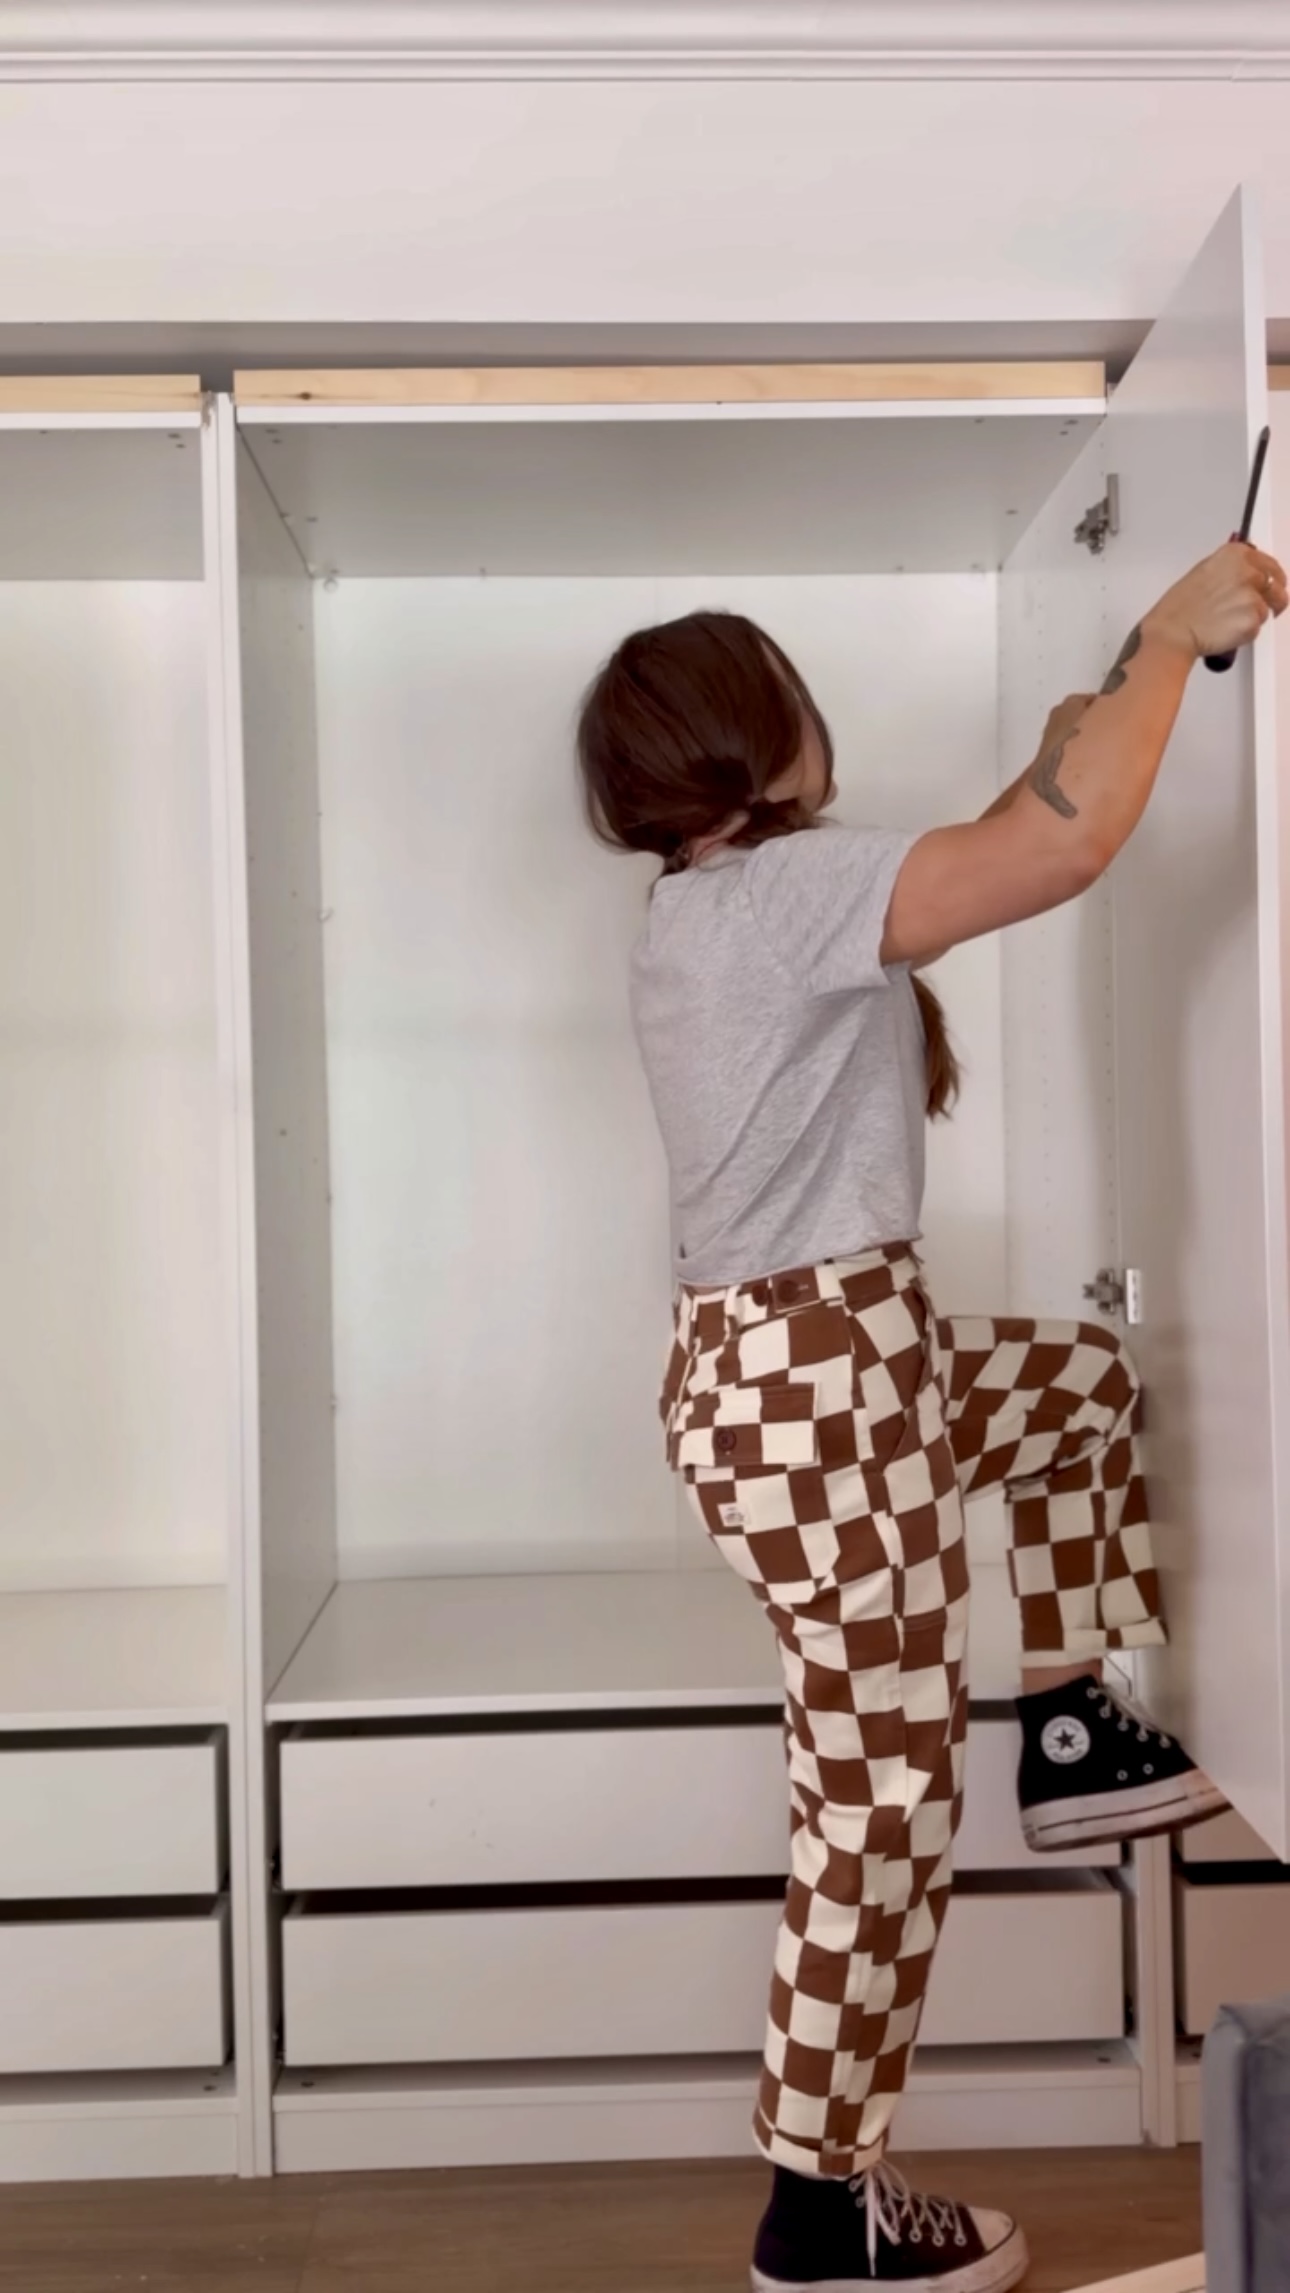
Then, I went in and hung my doors. It was looking good already!
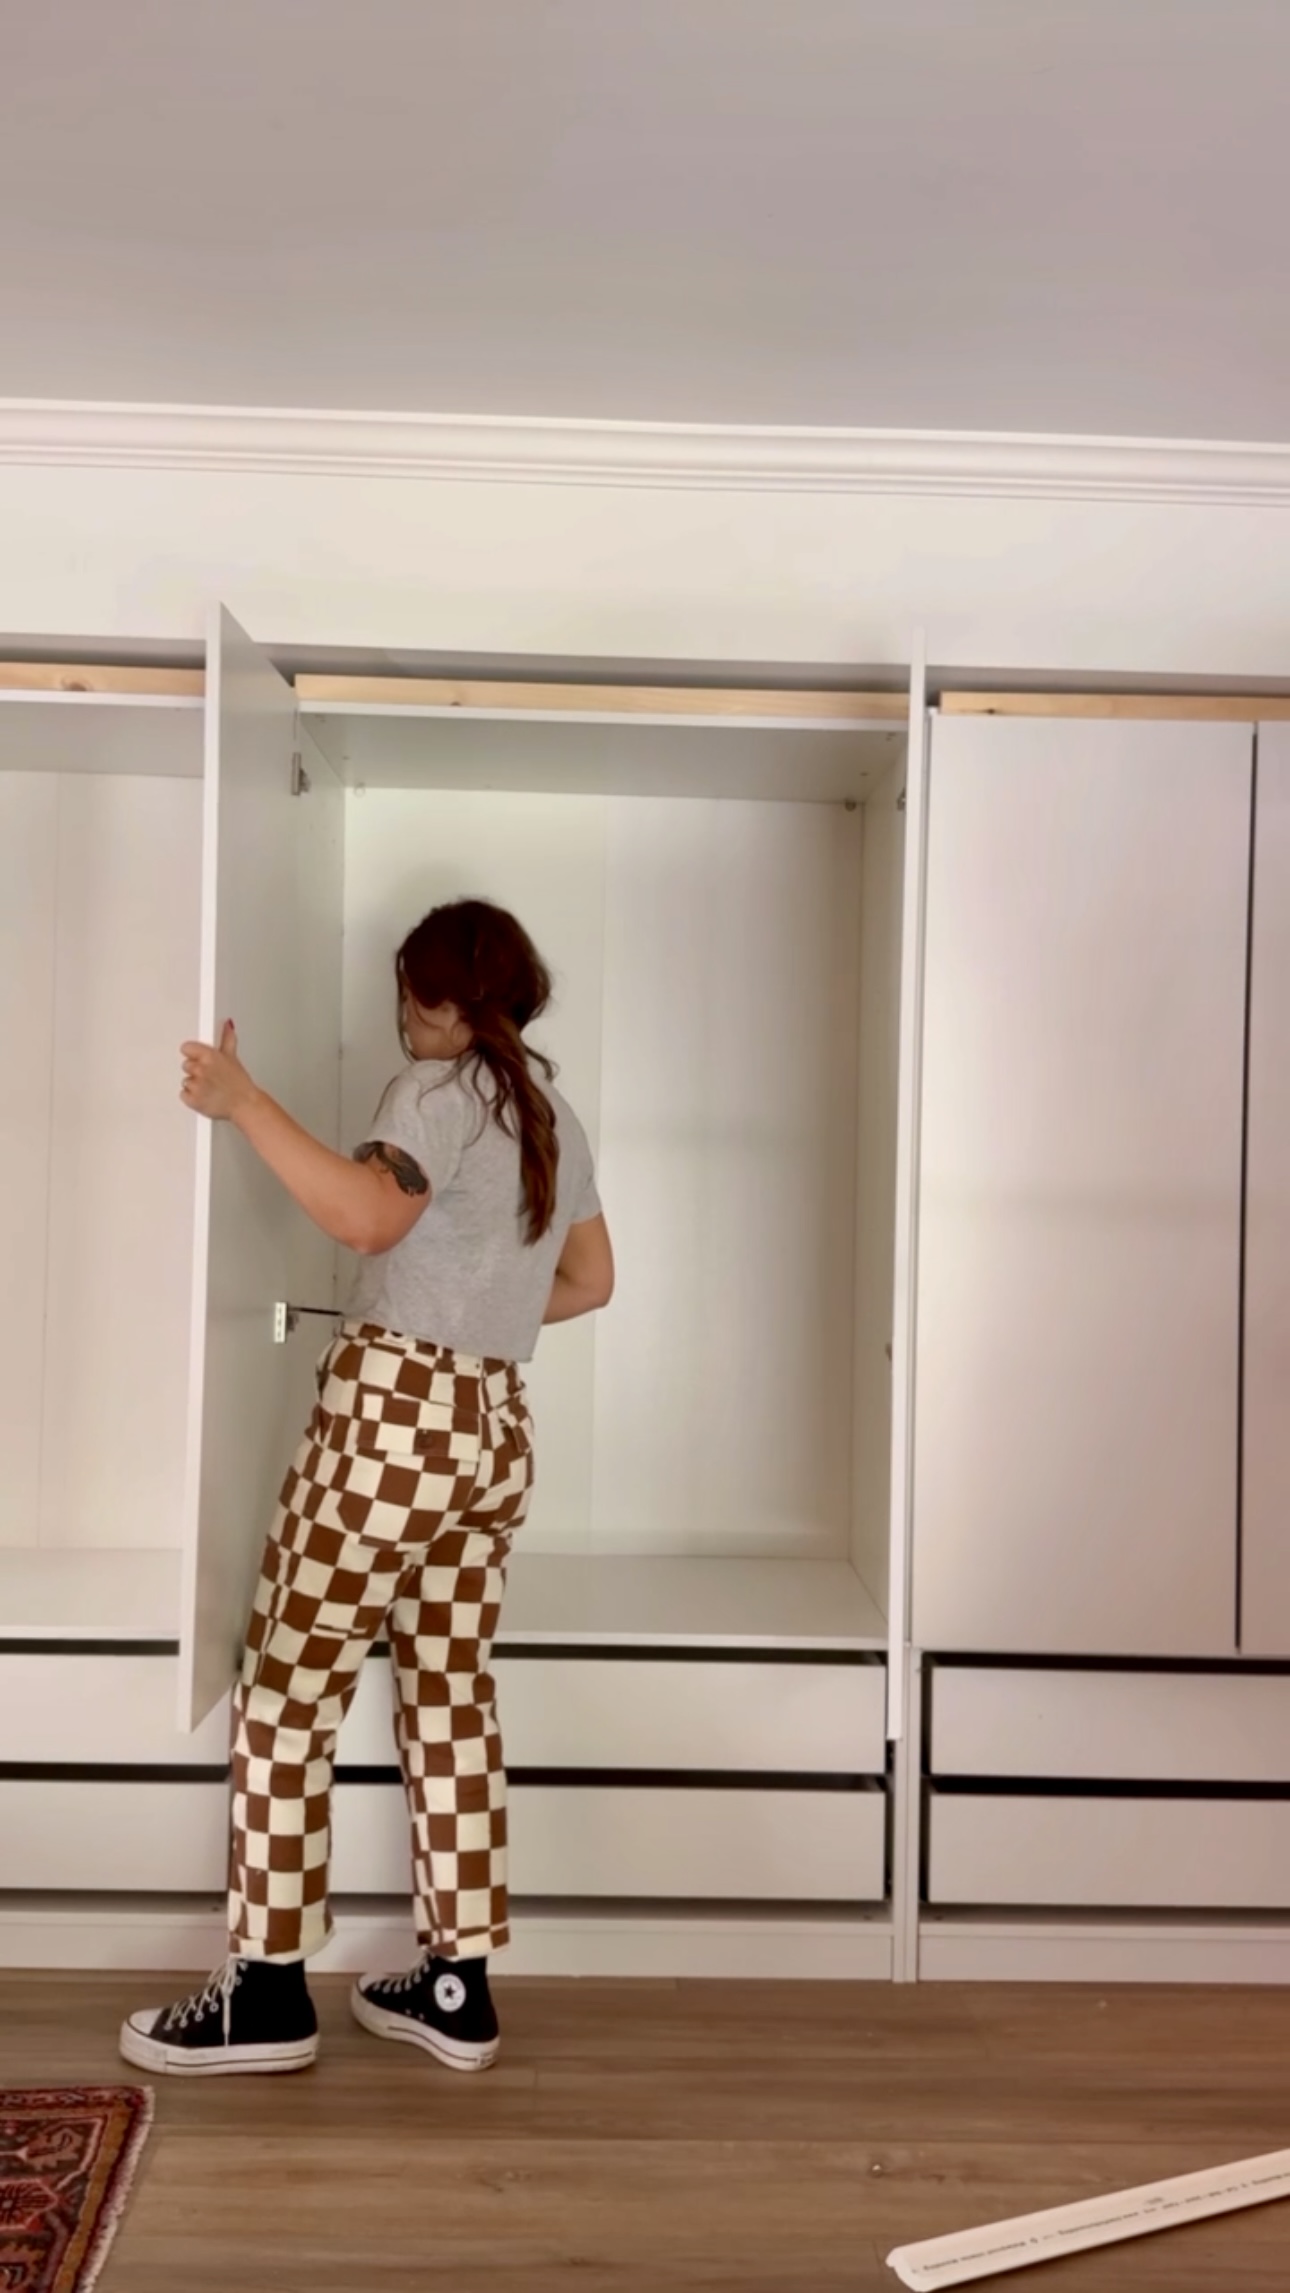
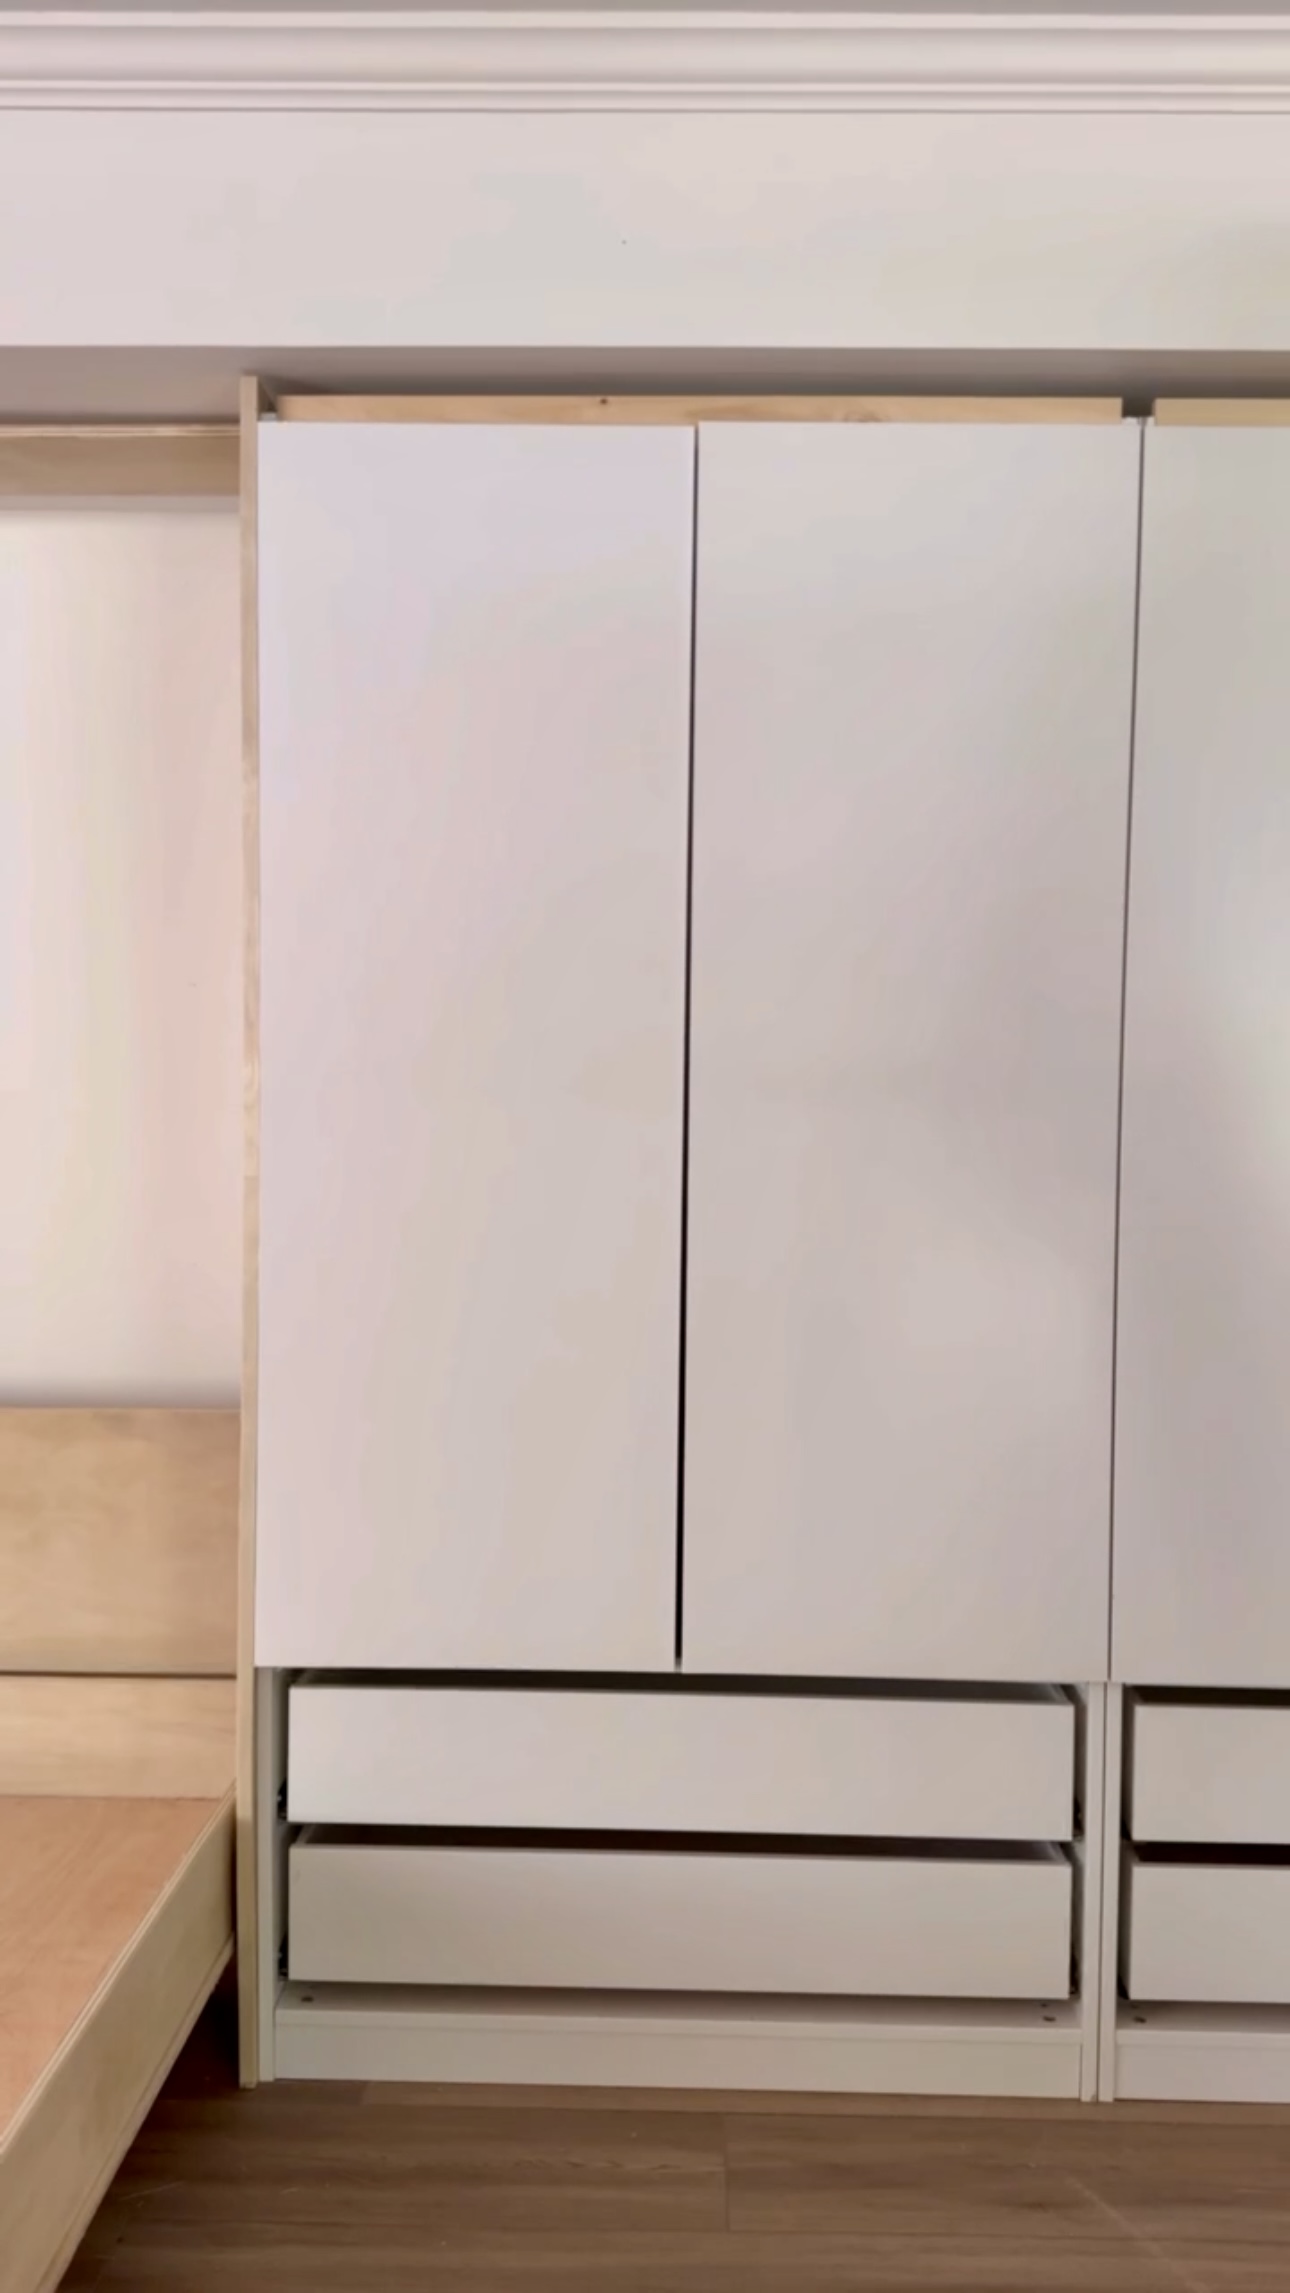
Drawer Fronts
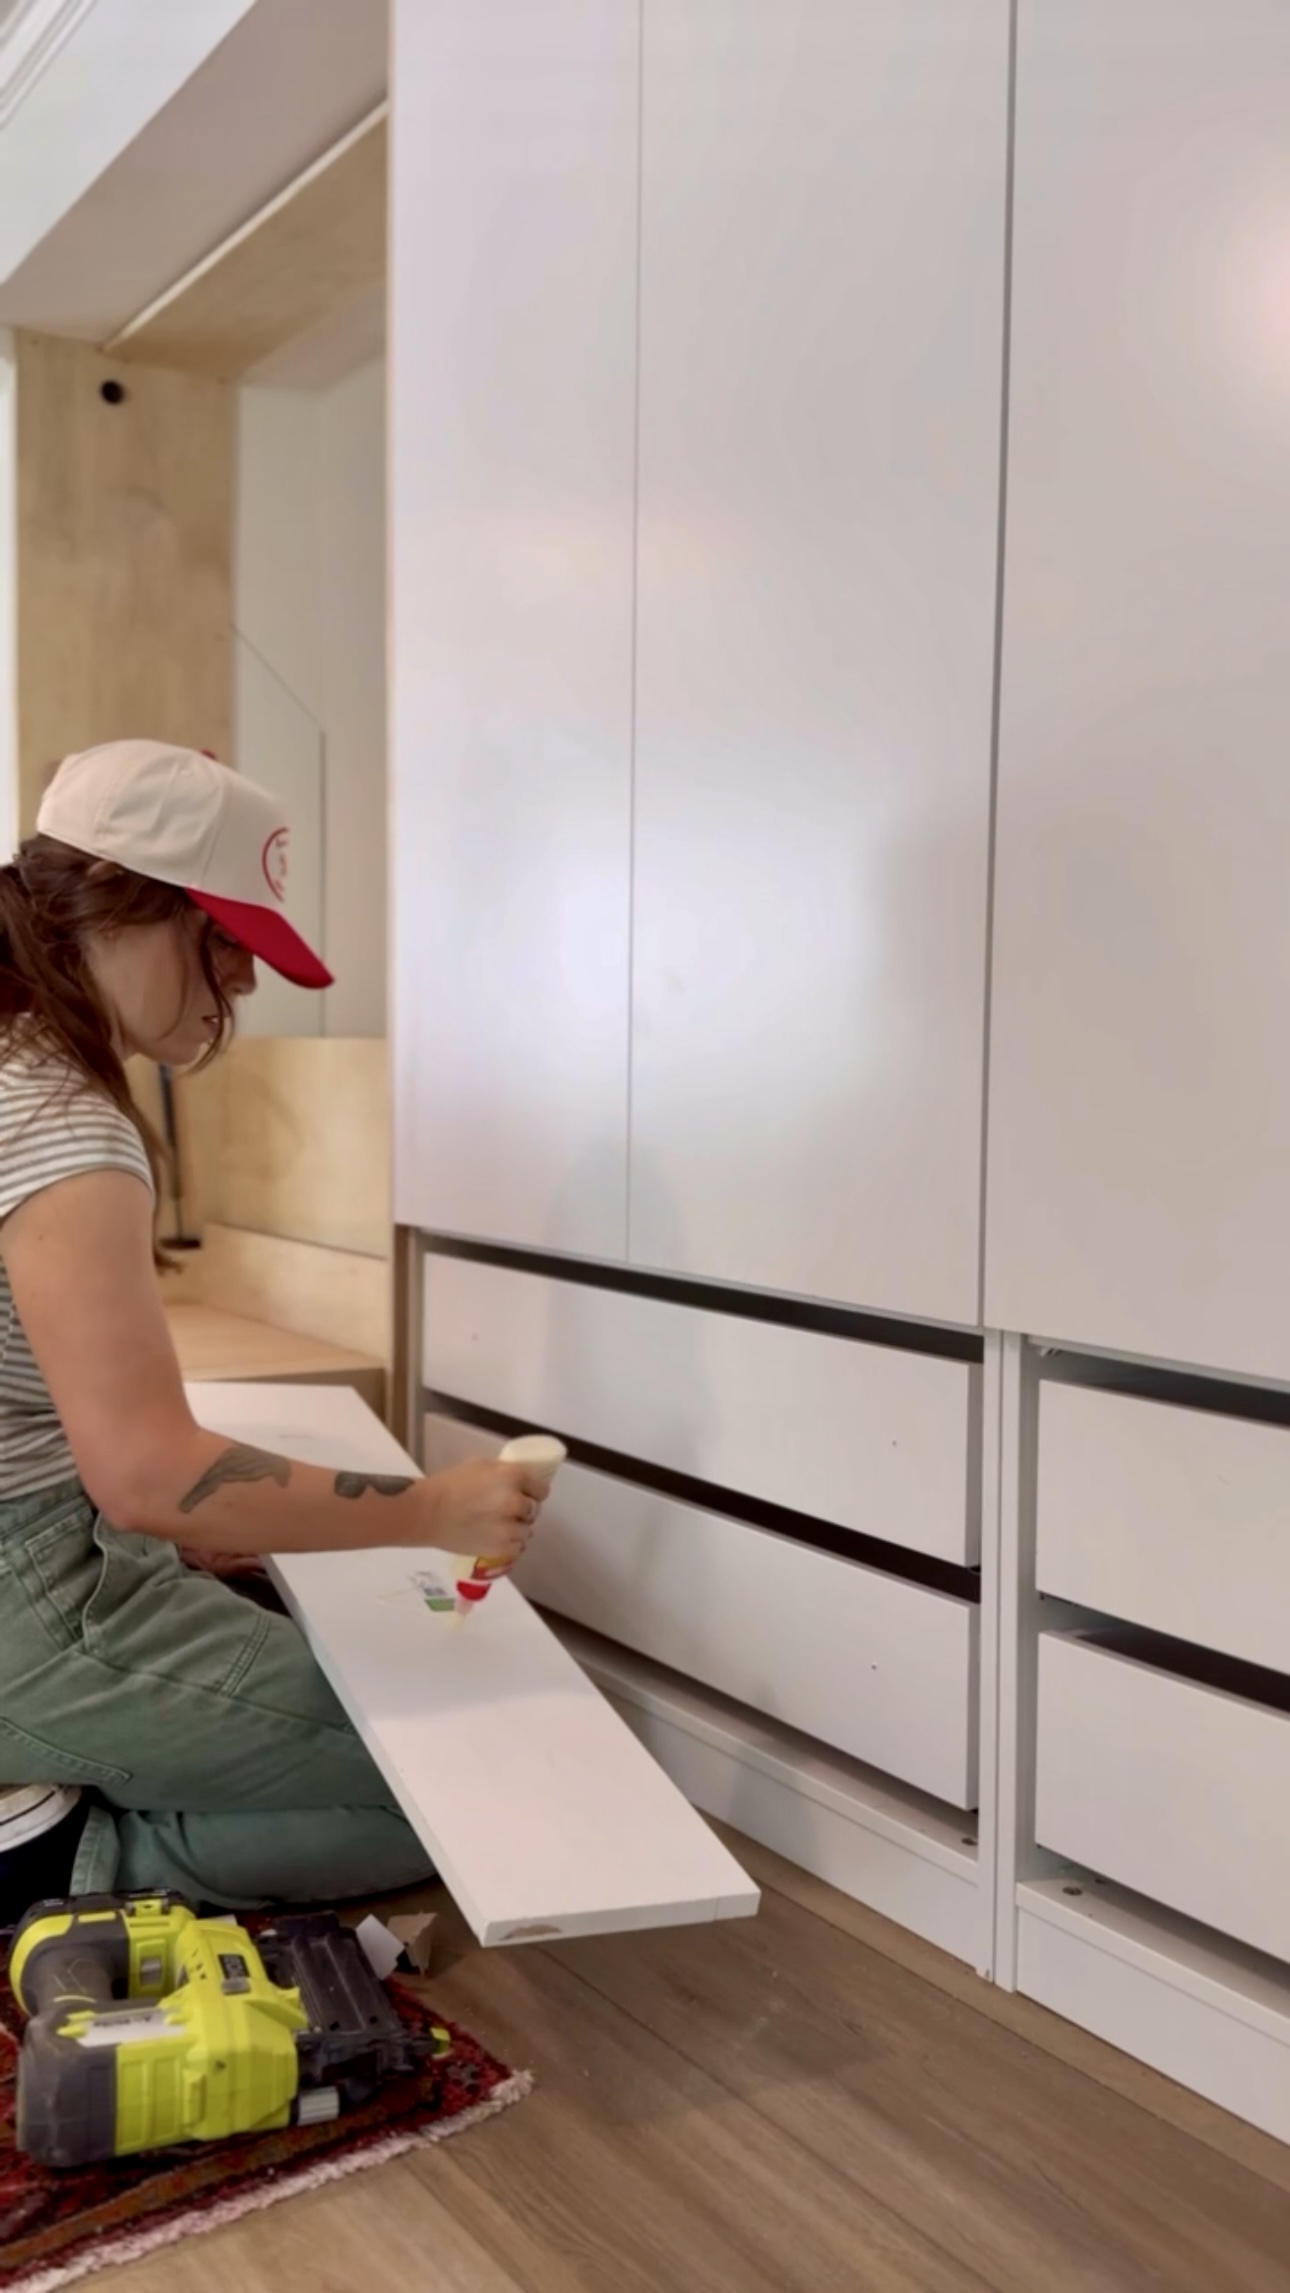
I got primed pine boards for these drawer fronts because they’re smooth and easy to work with. I first needed to cut them down to size. I cut them down to the same length as the cabinet door width.
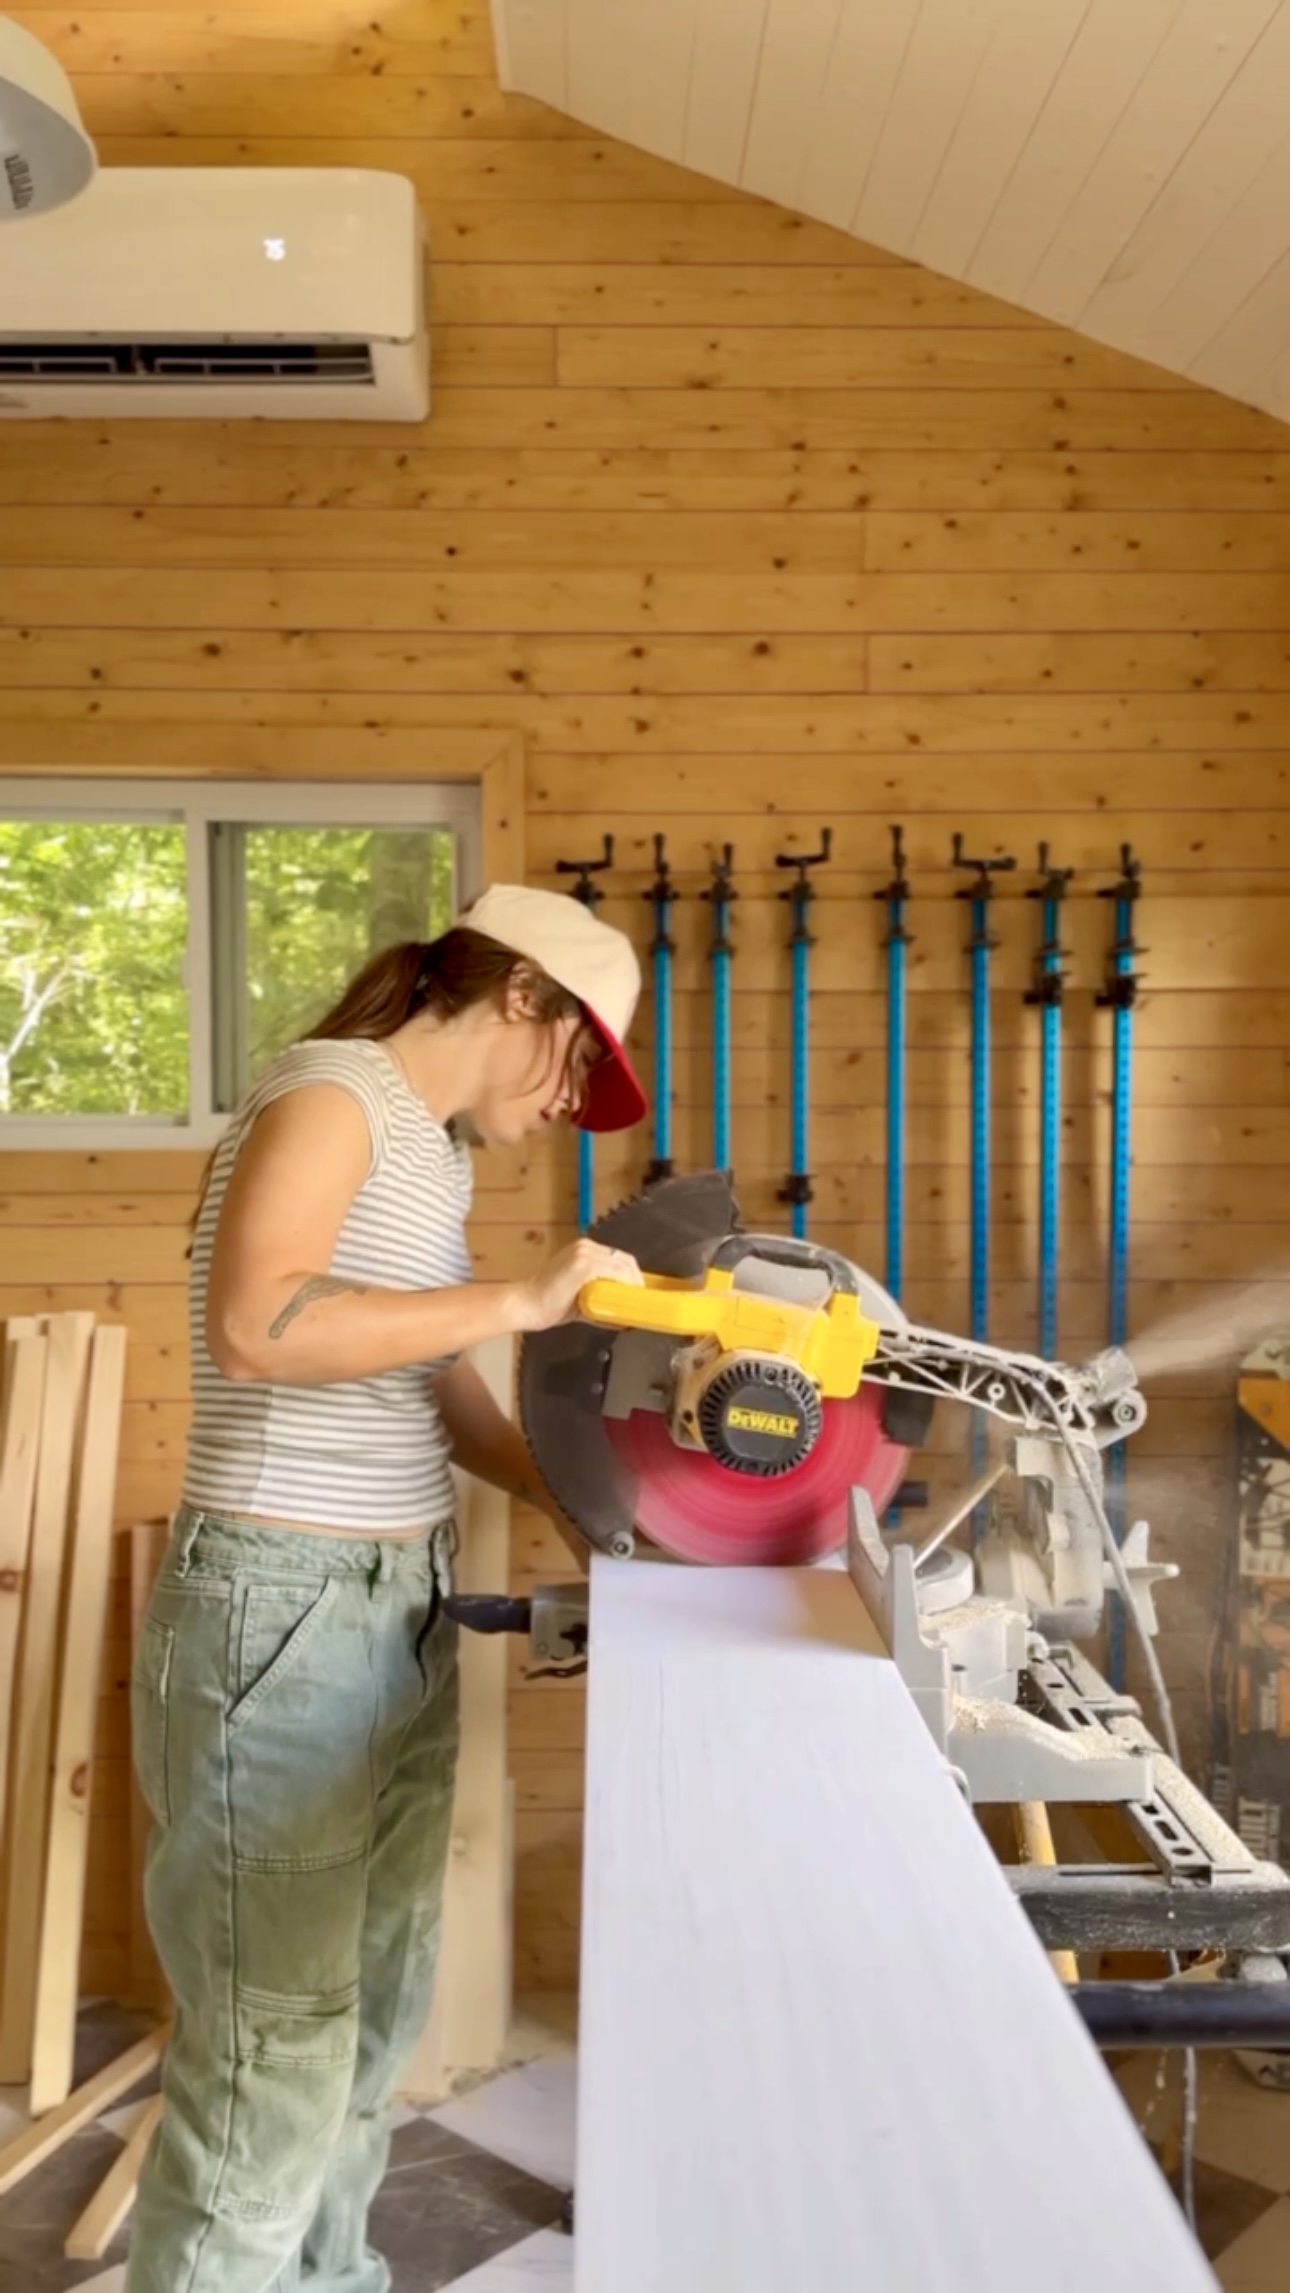
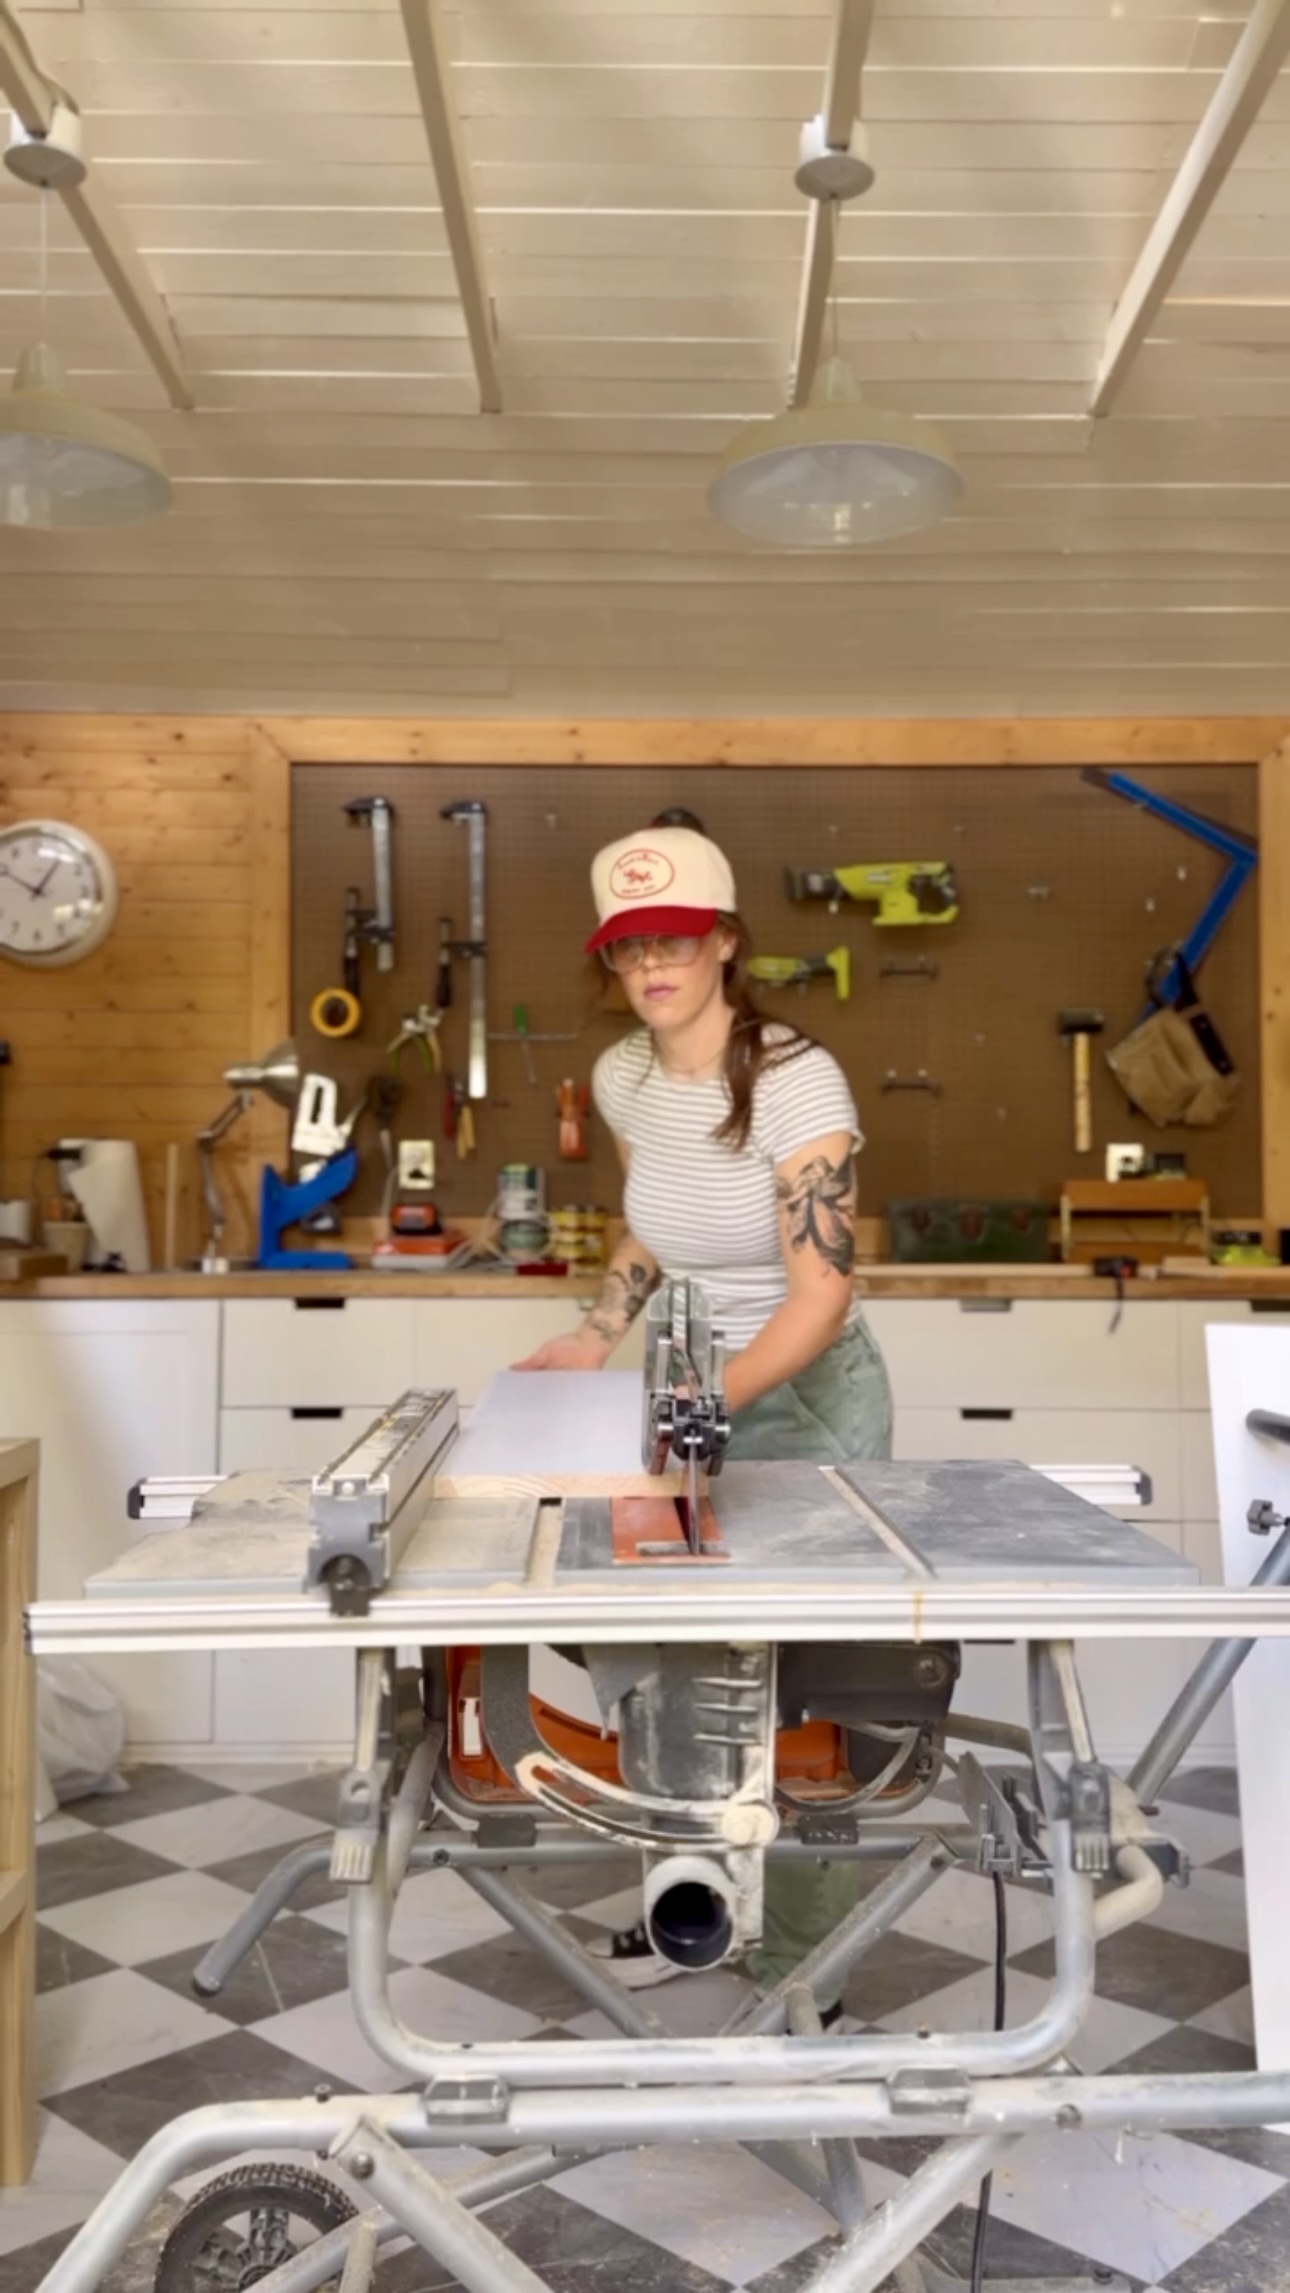
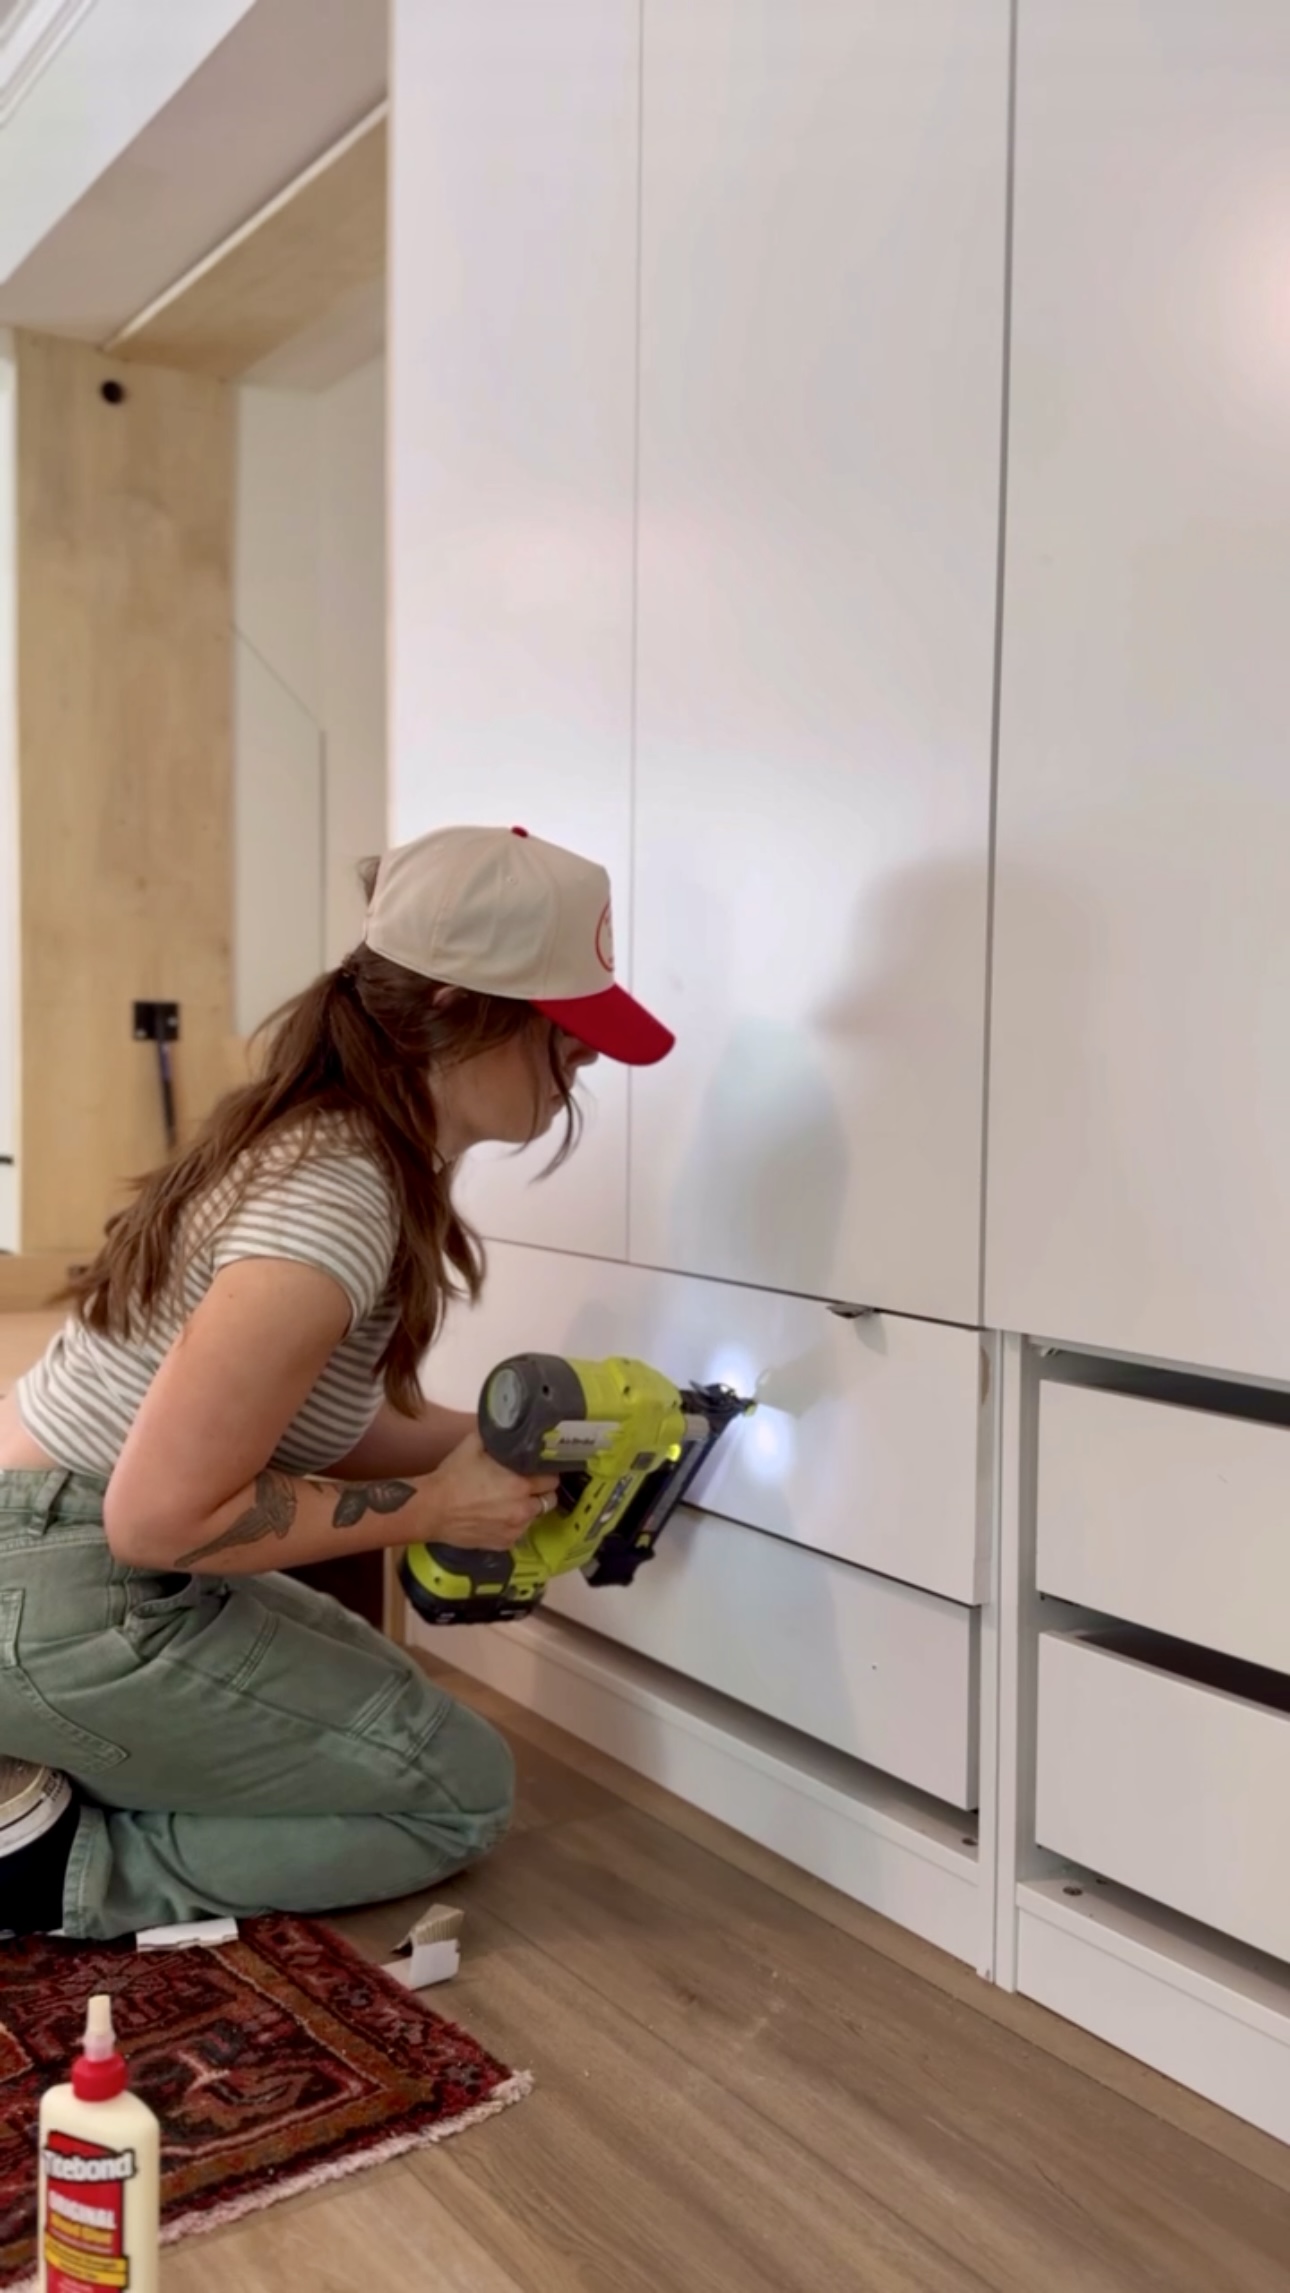
Then, I went in and installed them. I used some spacers to get it just right! I used wood glue and my brad nailer. It was so satisfying to put them on!
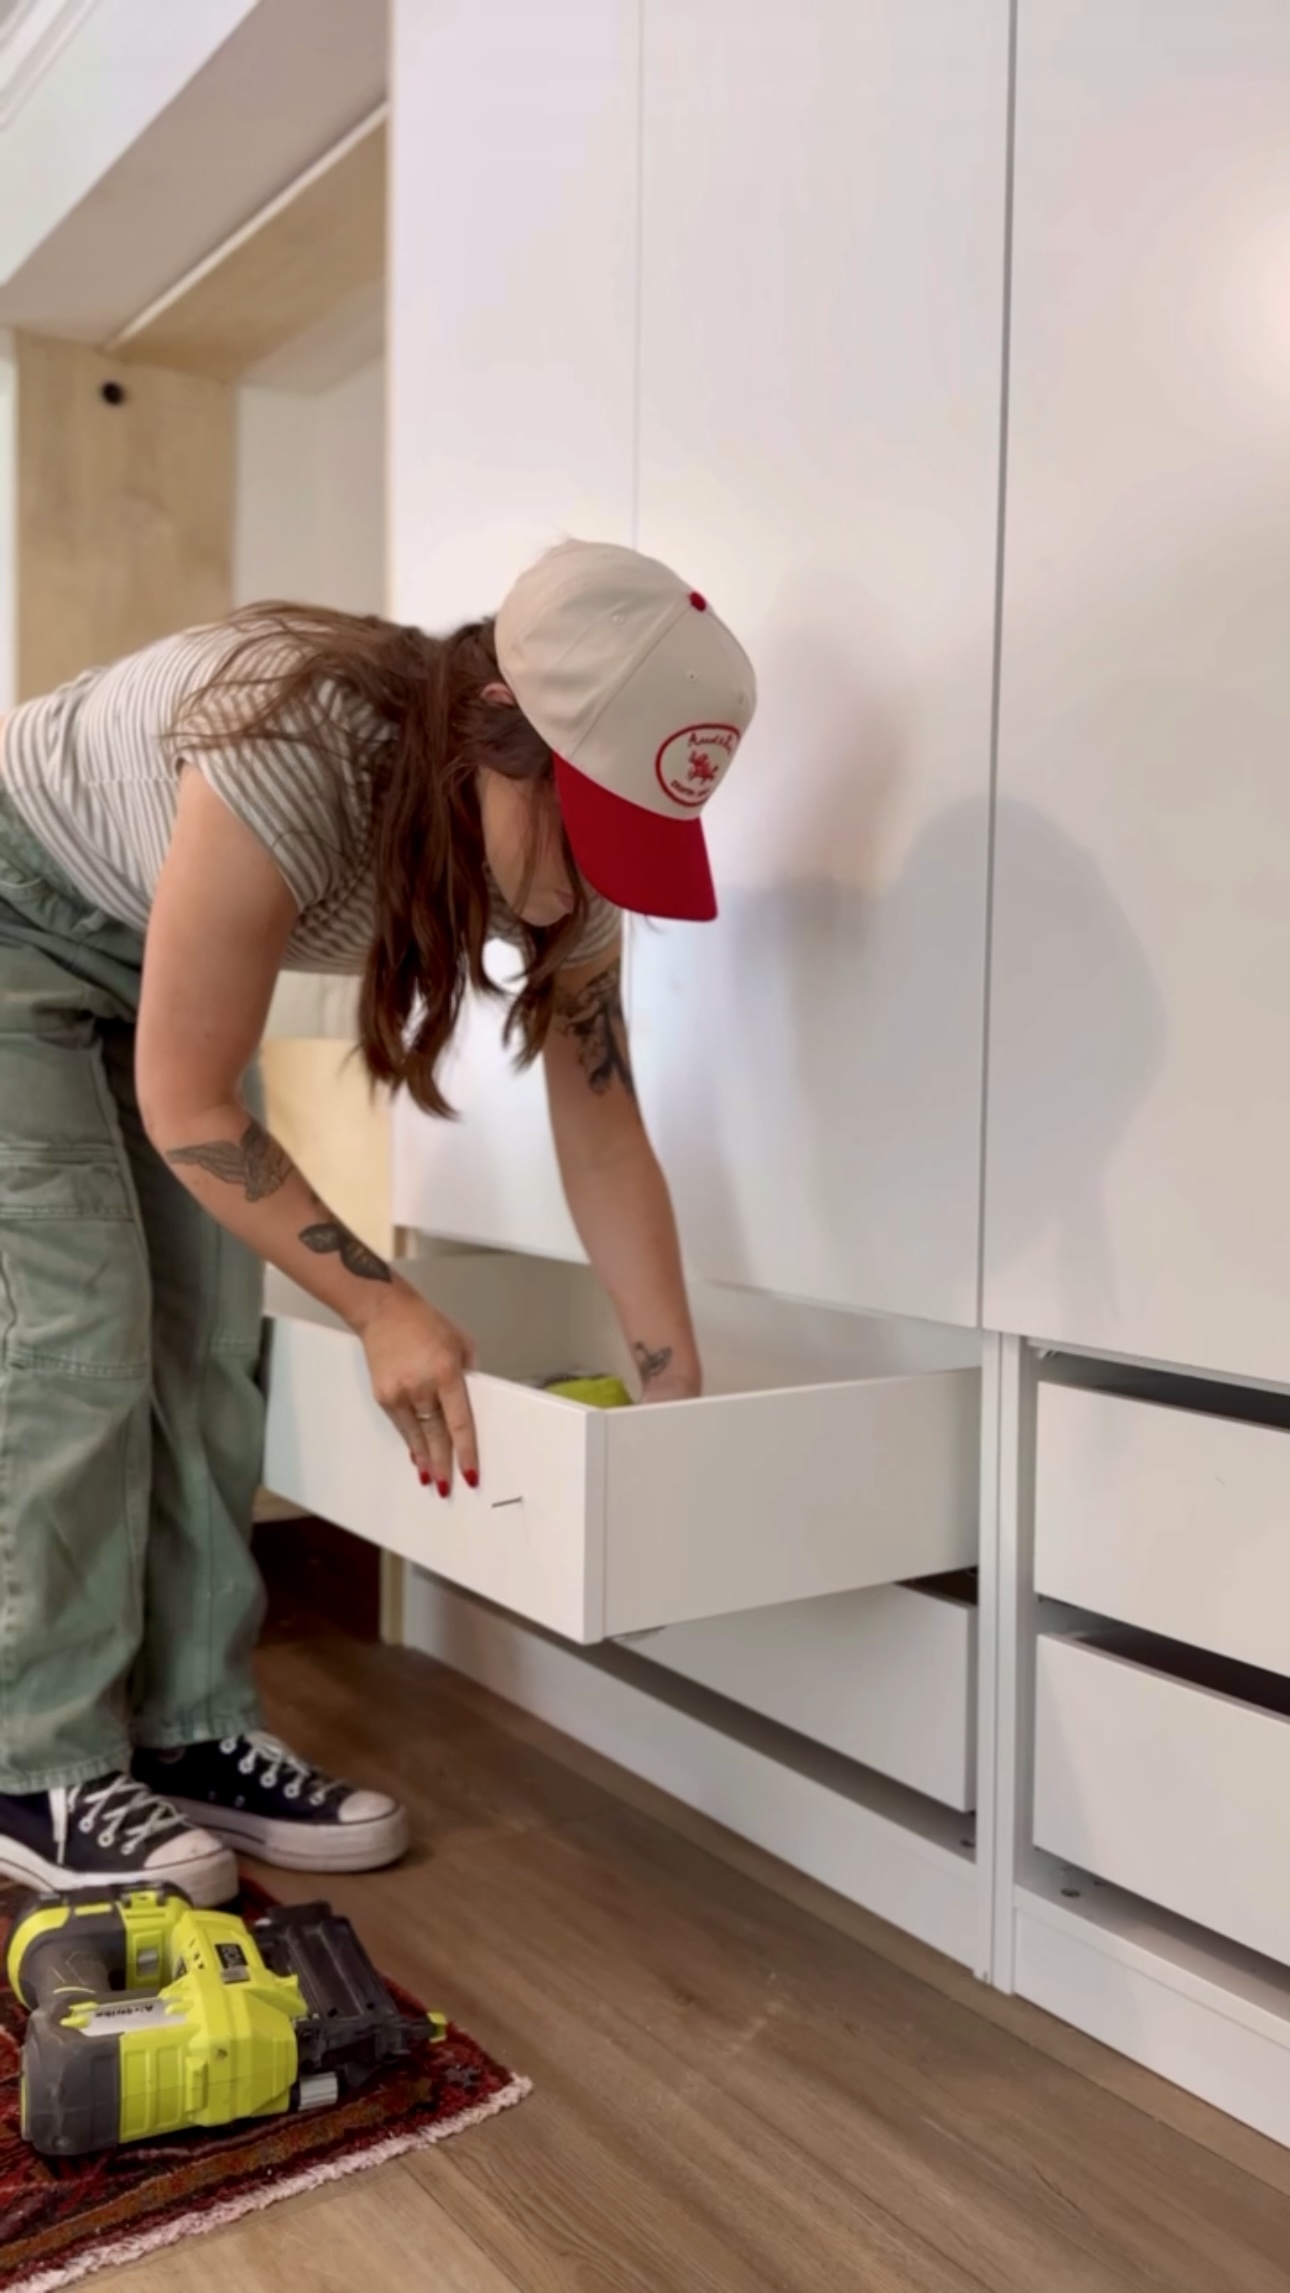
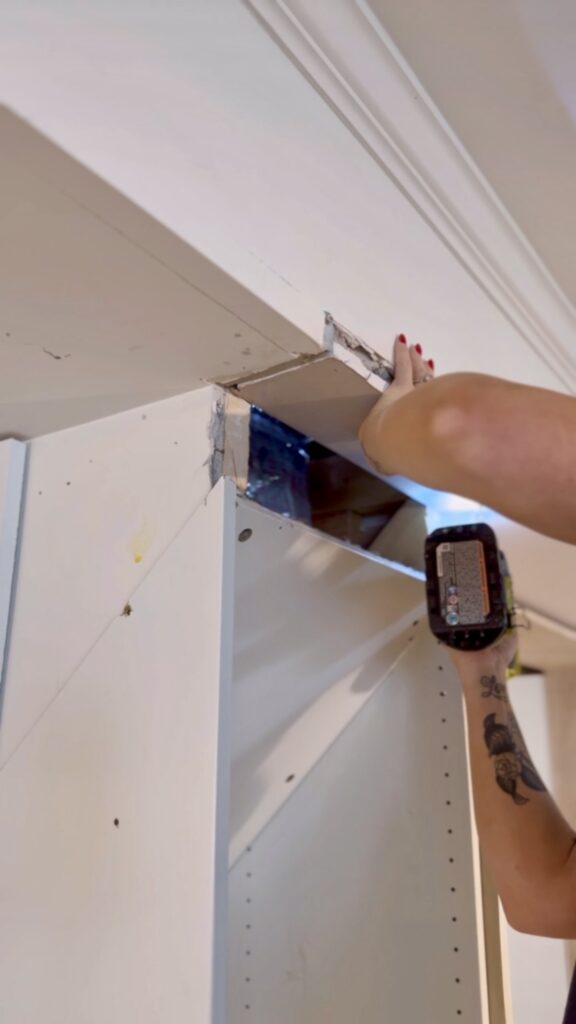
Remember the weird slanted part of my wall? I modified my cabinets to fit here but it was still driving me nuts visually. My sister peer pressured me into seeing what the heck was behind the wall there. Cue hammer.
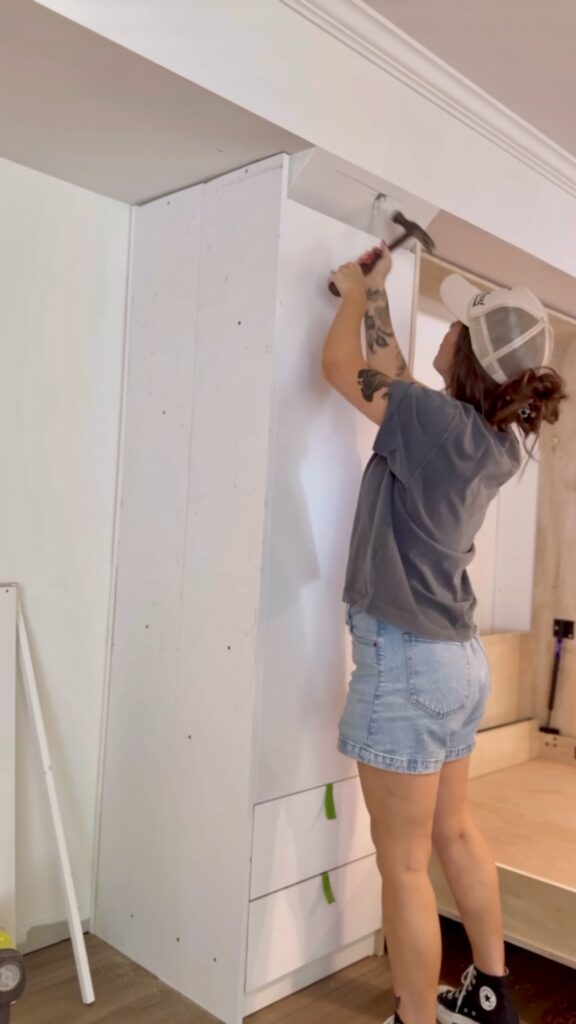
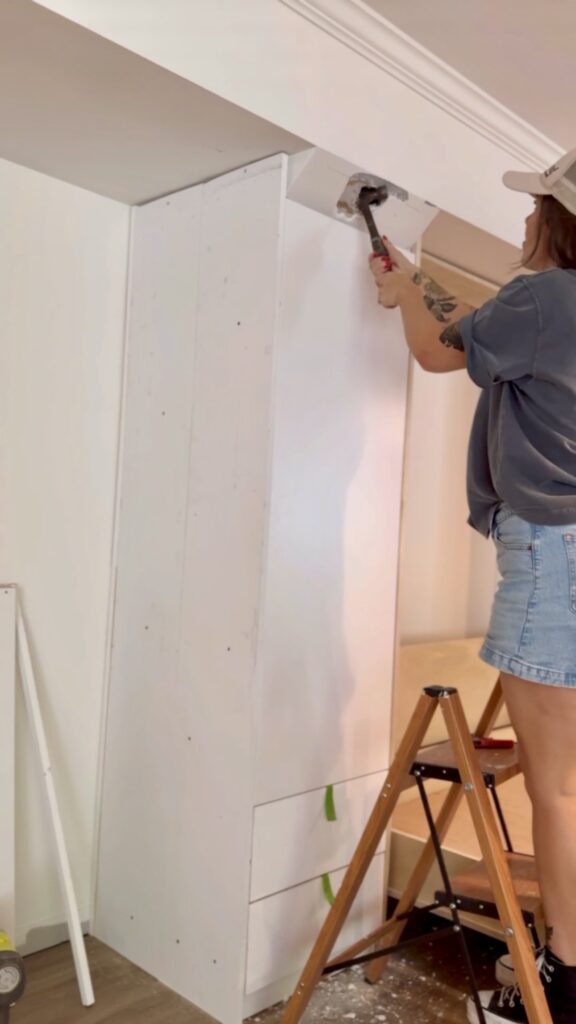
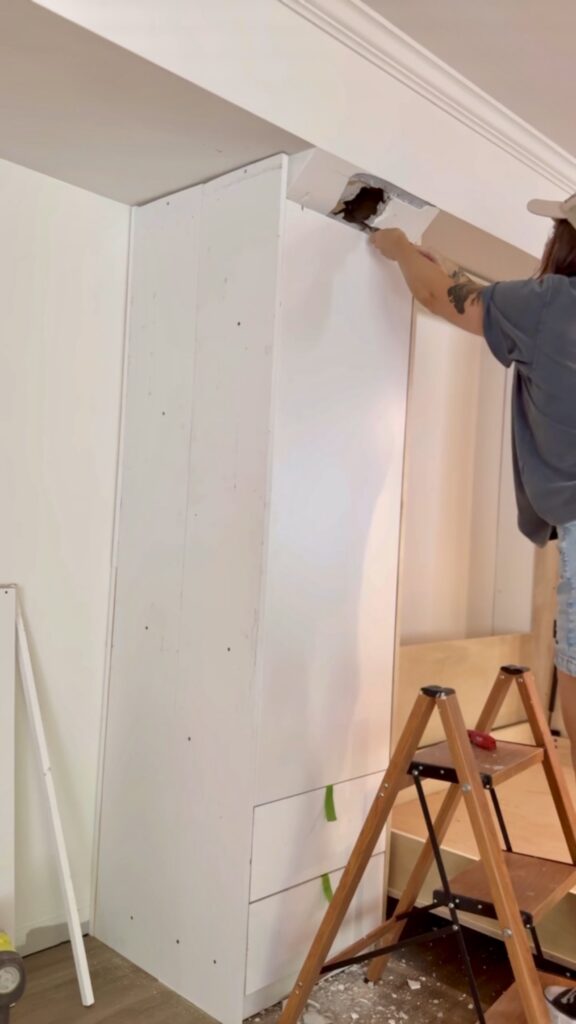
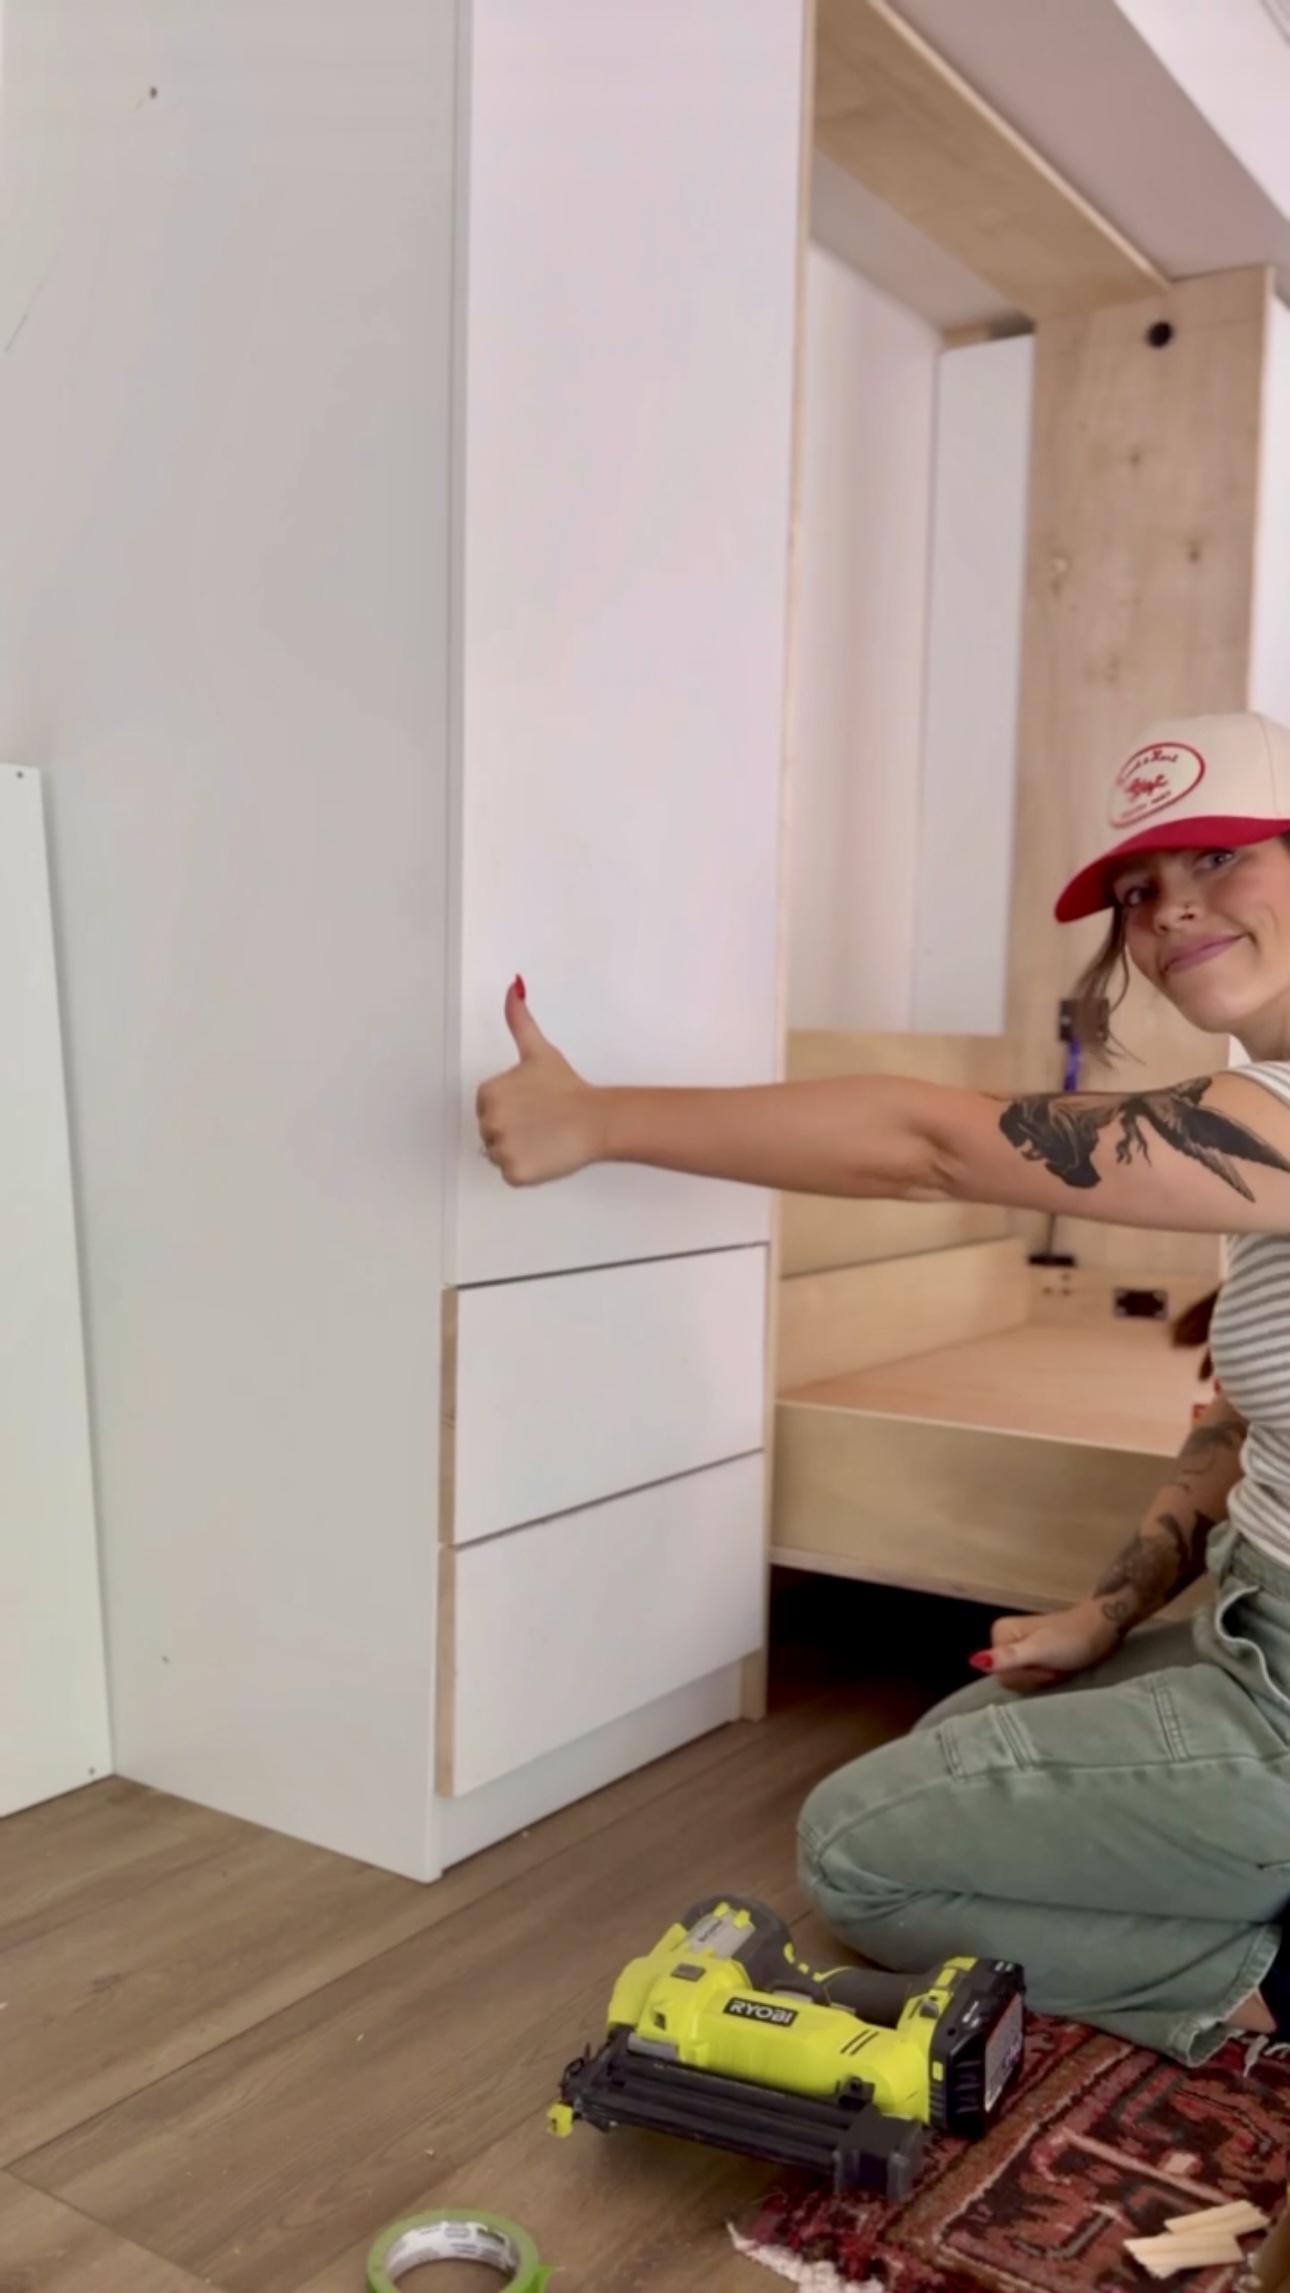
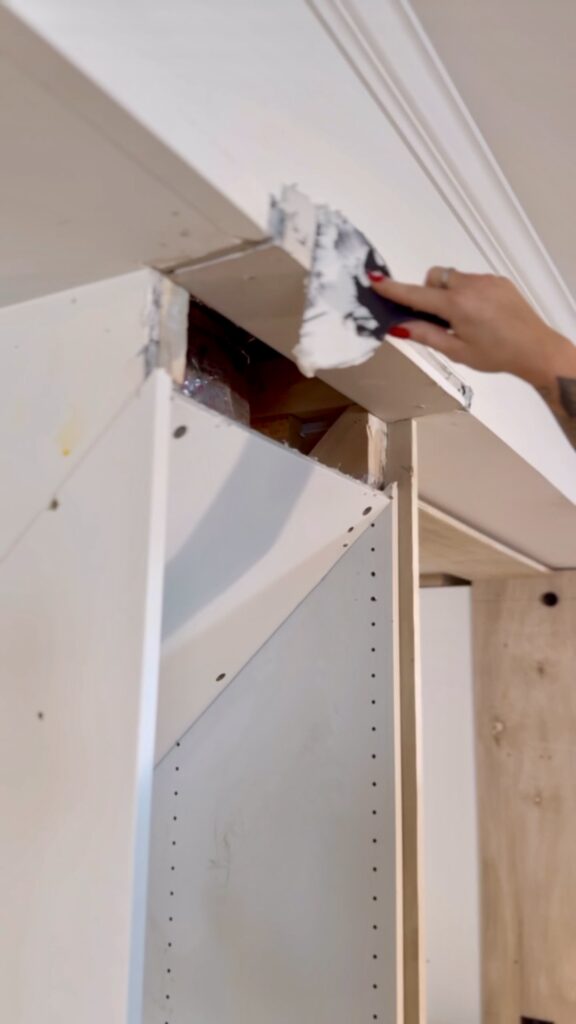
Thankfully, the vent stops far enough back. So, I can cut it down and let this cabinet go up to the ceiling like the rest of them! This put a little hiccup in my timeline but what’s a good DIY project without a couple obstacles!
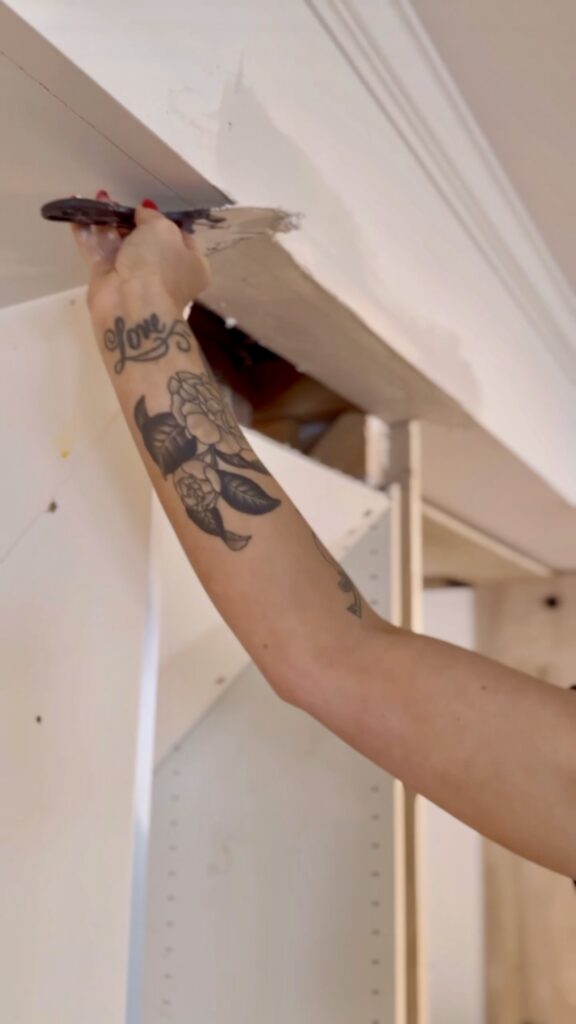
A few people were worried that doing this would make my house fall down. However, I’m not even touching the structural beam. What I decided to cut off was just framing for the HVAC. I only am cutting off the tip of it – so we’re all safe here!
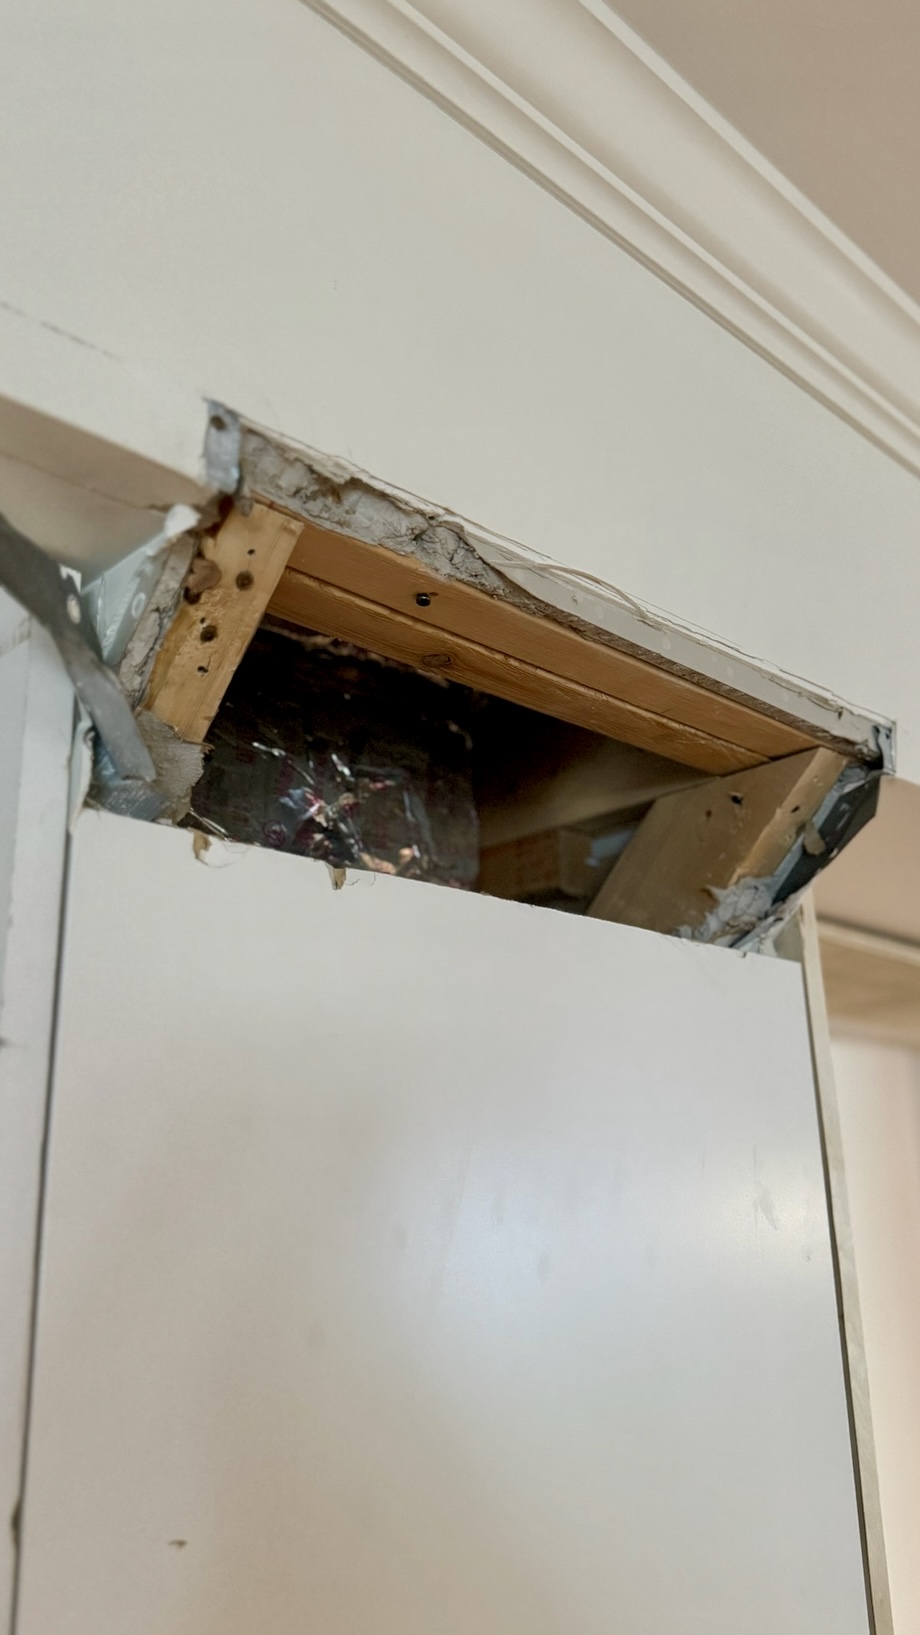
Since I was able to remove that extra part of the wall, I patched it up and needed to install a new door.
Next up, trim! The dream is starting to come to life!
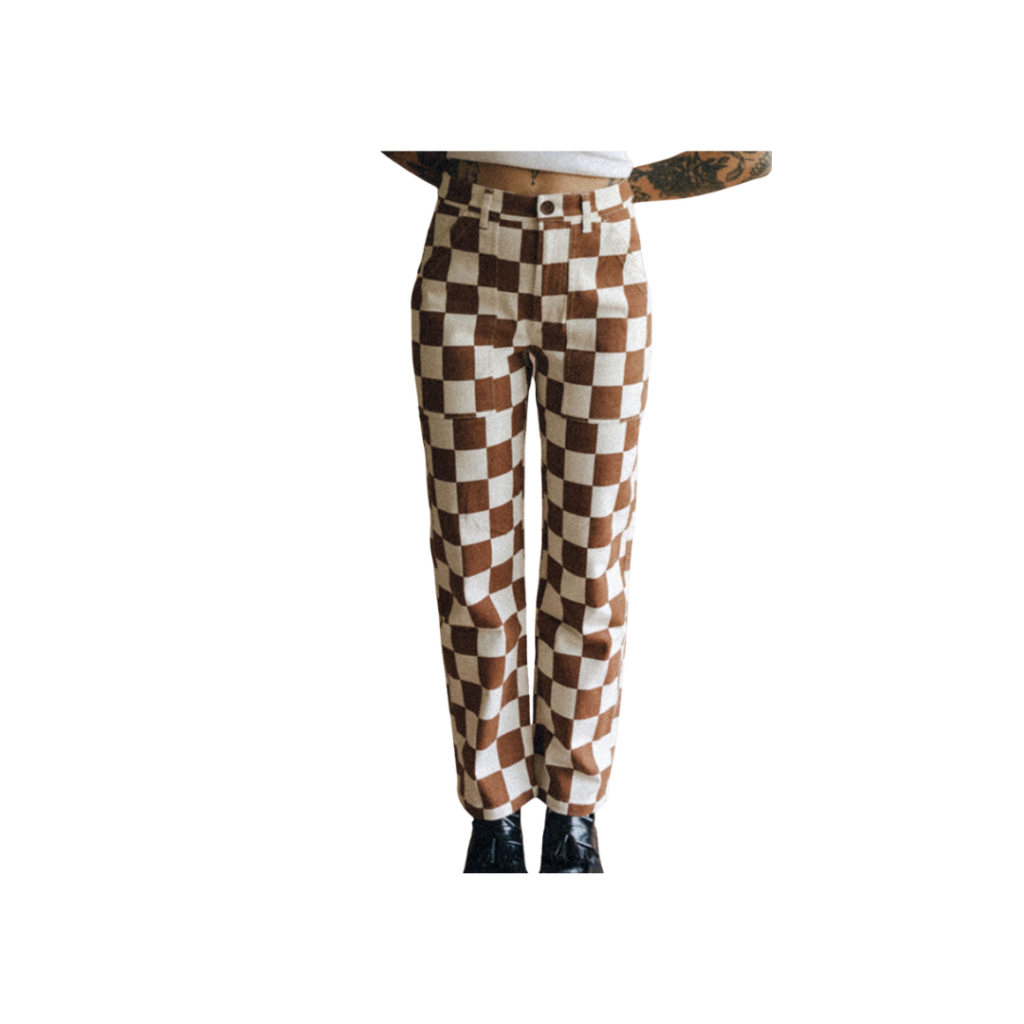
Here’s everything I wore in my stories this week!



Hi! I love this so much and am going to follow this exactly for our closet built-ins. Do you know how much you cut off the doors? And what measurement did you use for the drawer front height? Thank you 🙂