Basement Built Ins – Cabinet Assembly

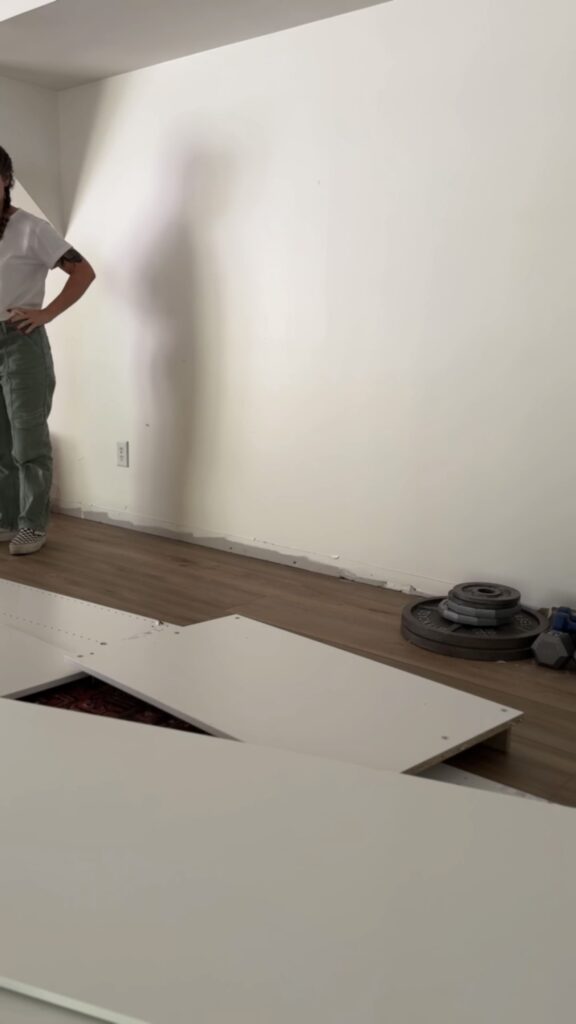
I’ve been turning this empty wall in my basement into a storage wall with basement built-ins and a hidden murphy bed! You can see all my plans here. Now, it’s time for cabinet assembly!

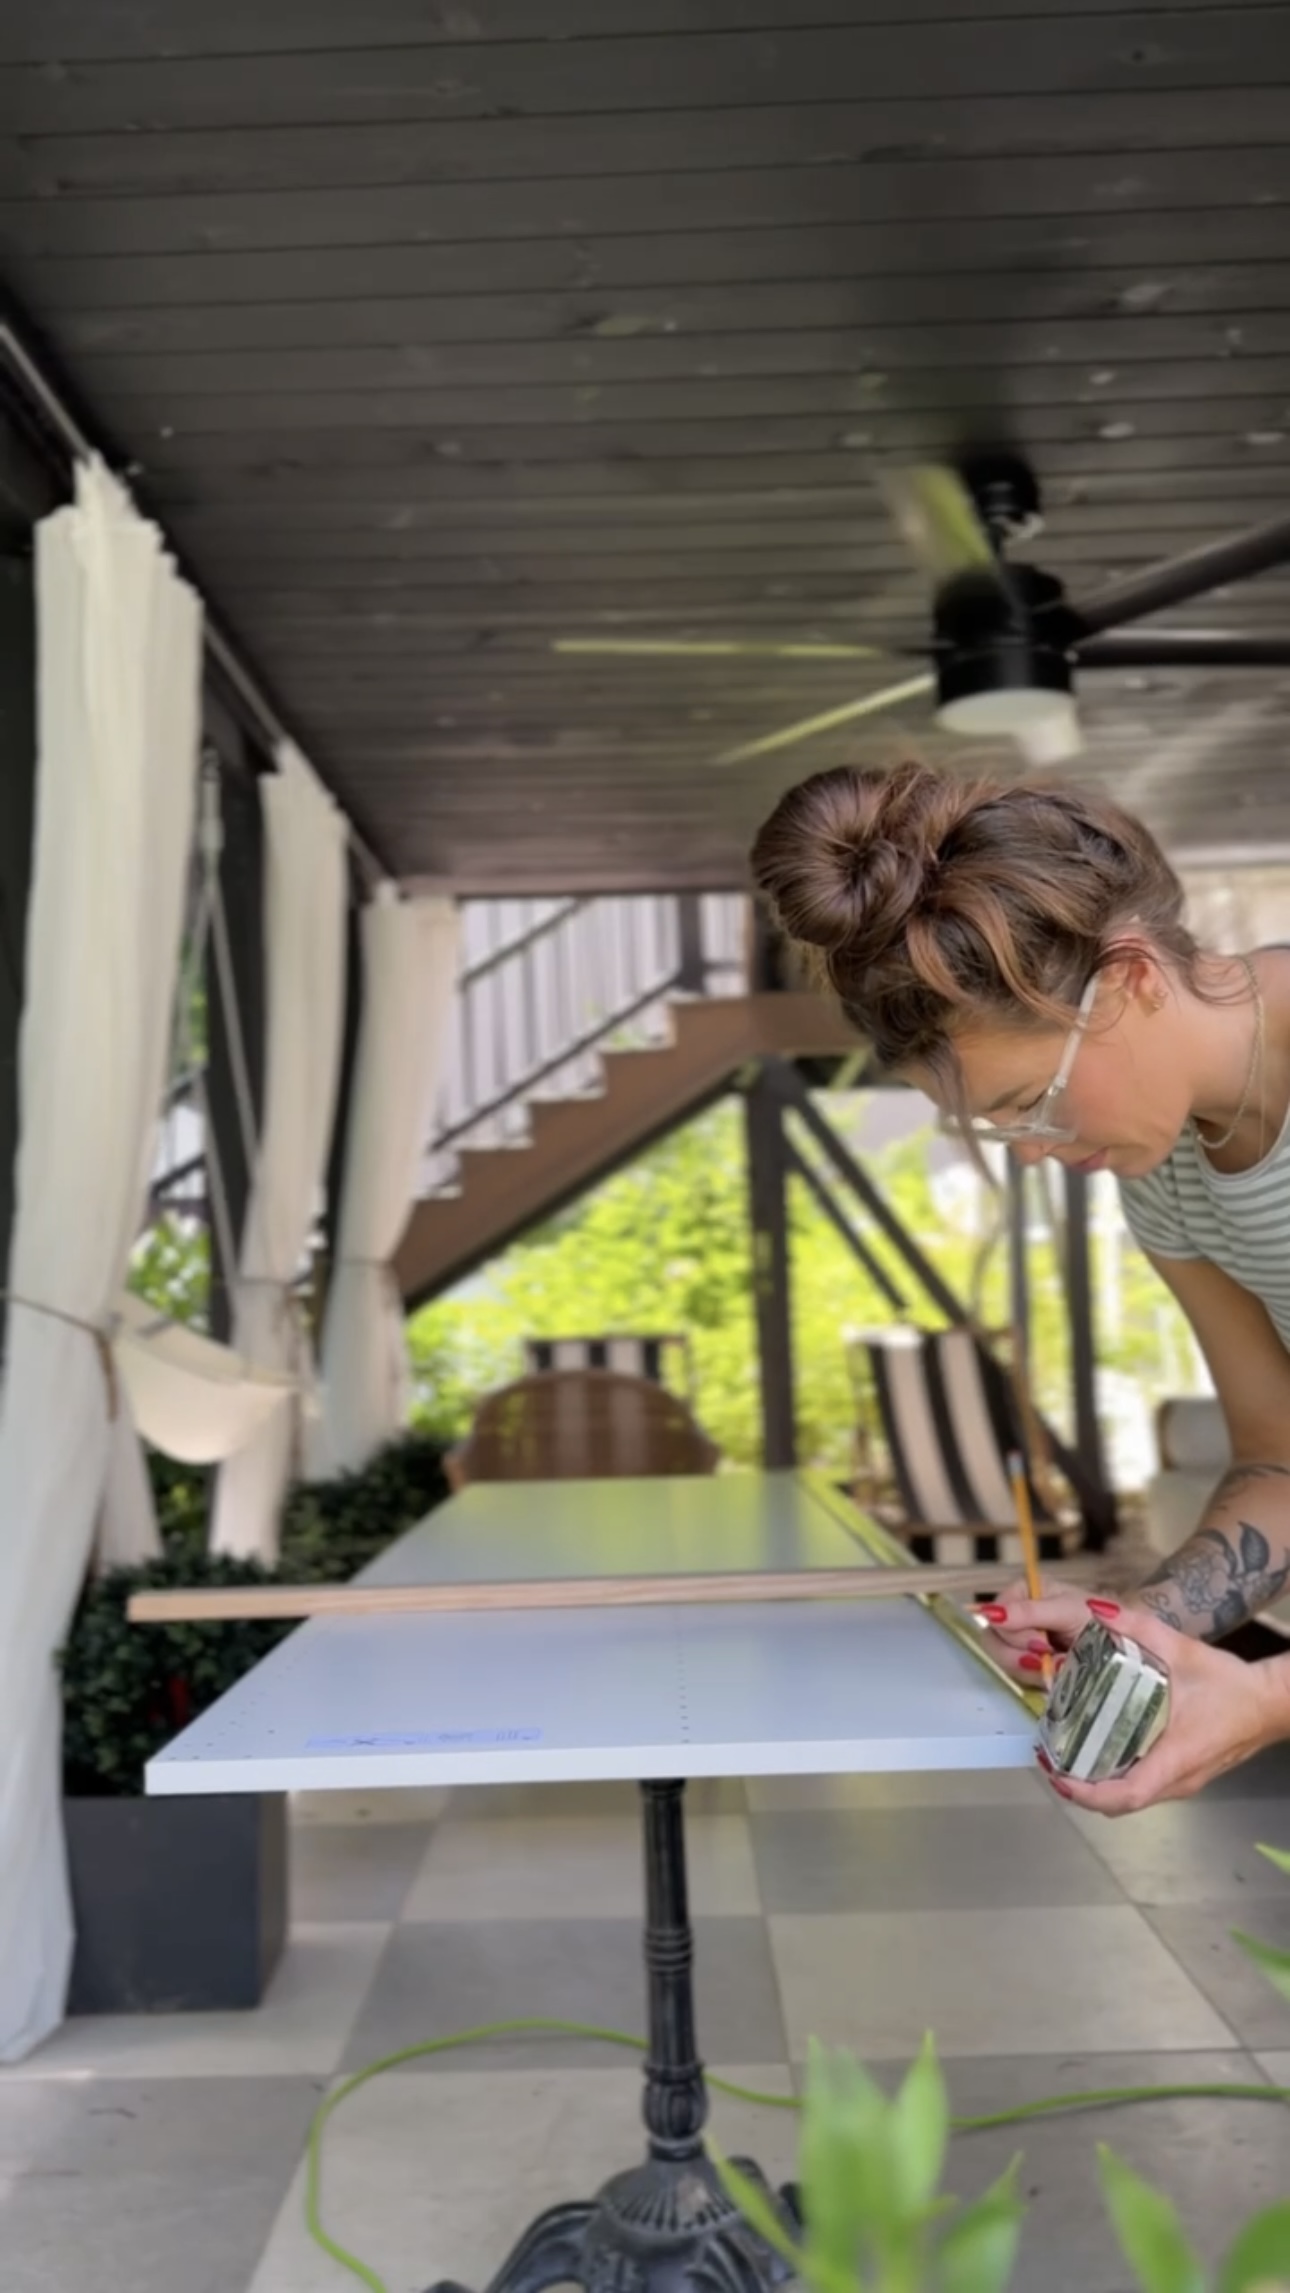
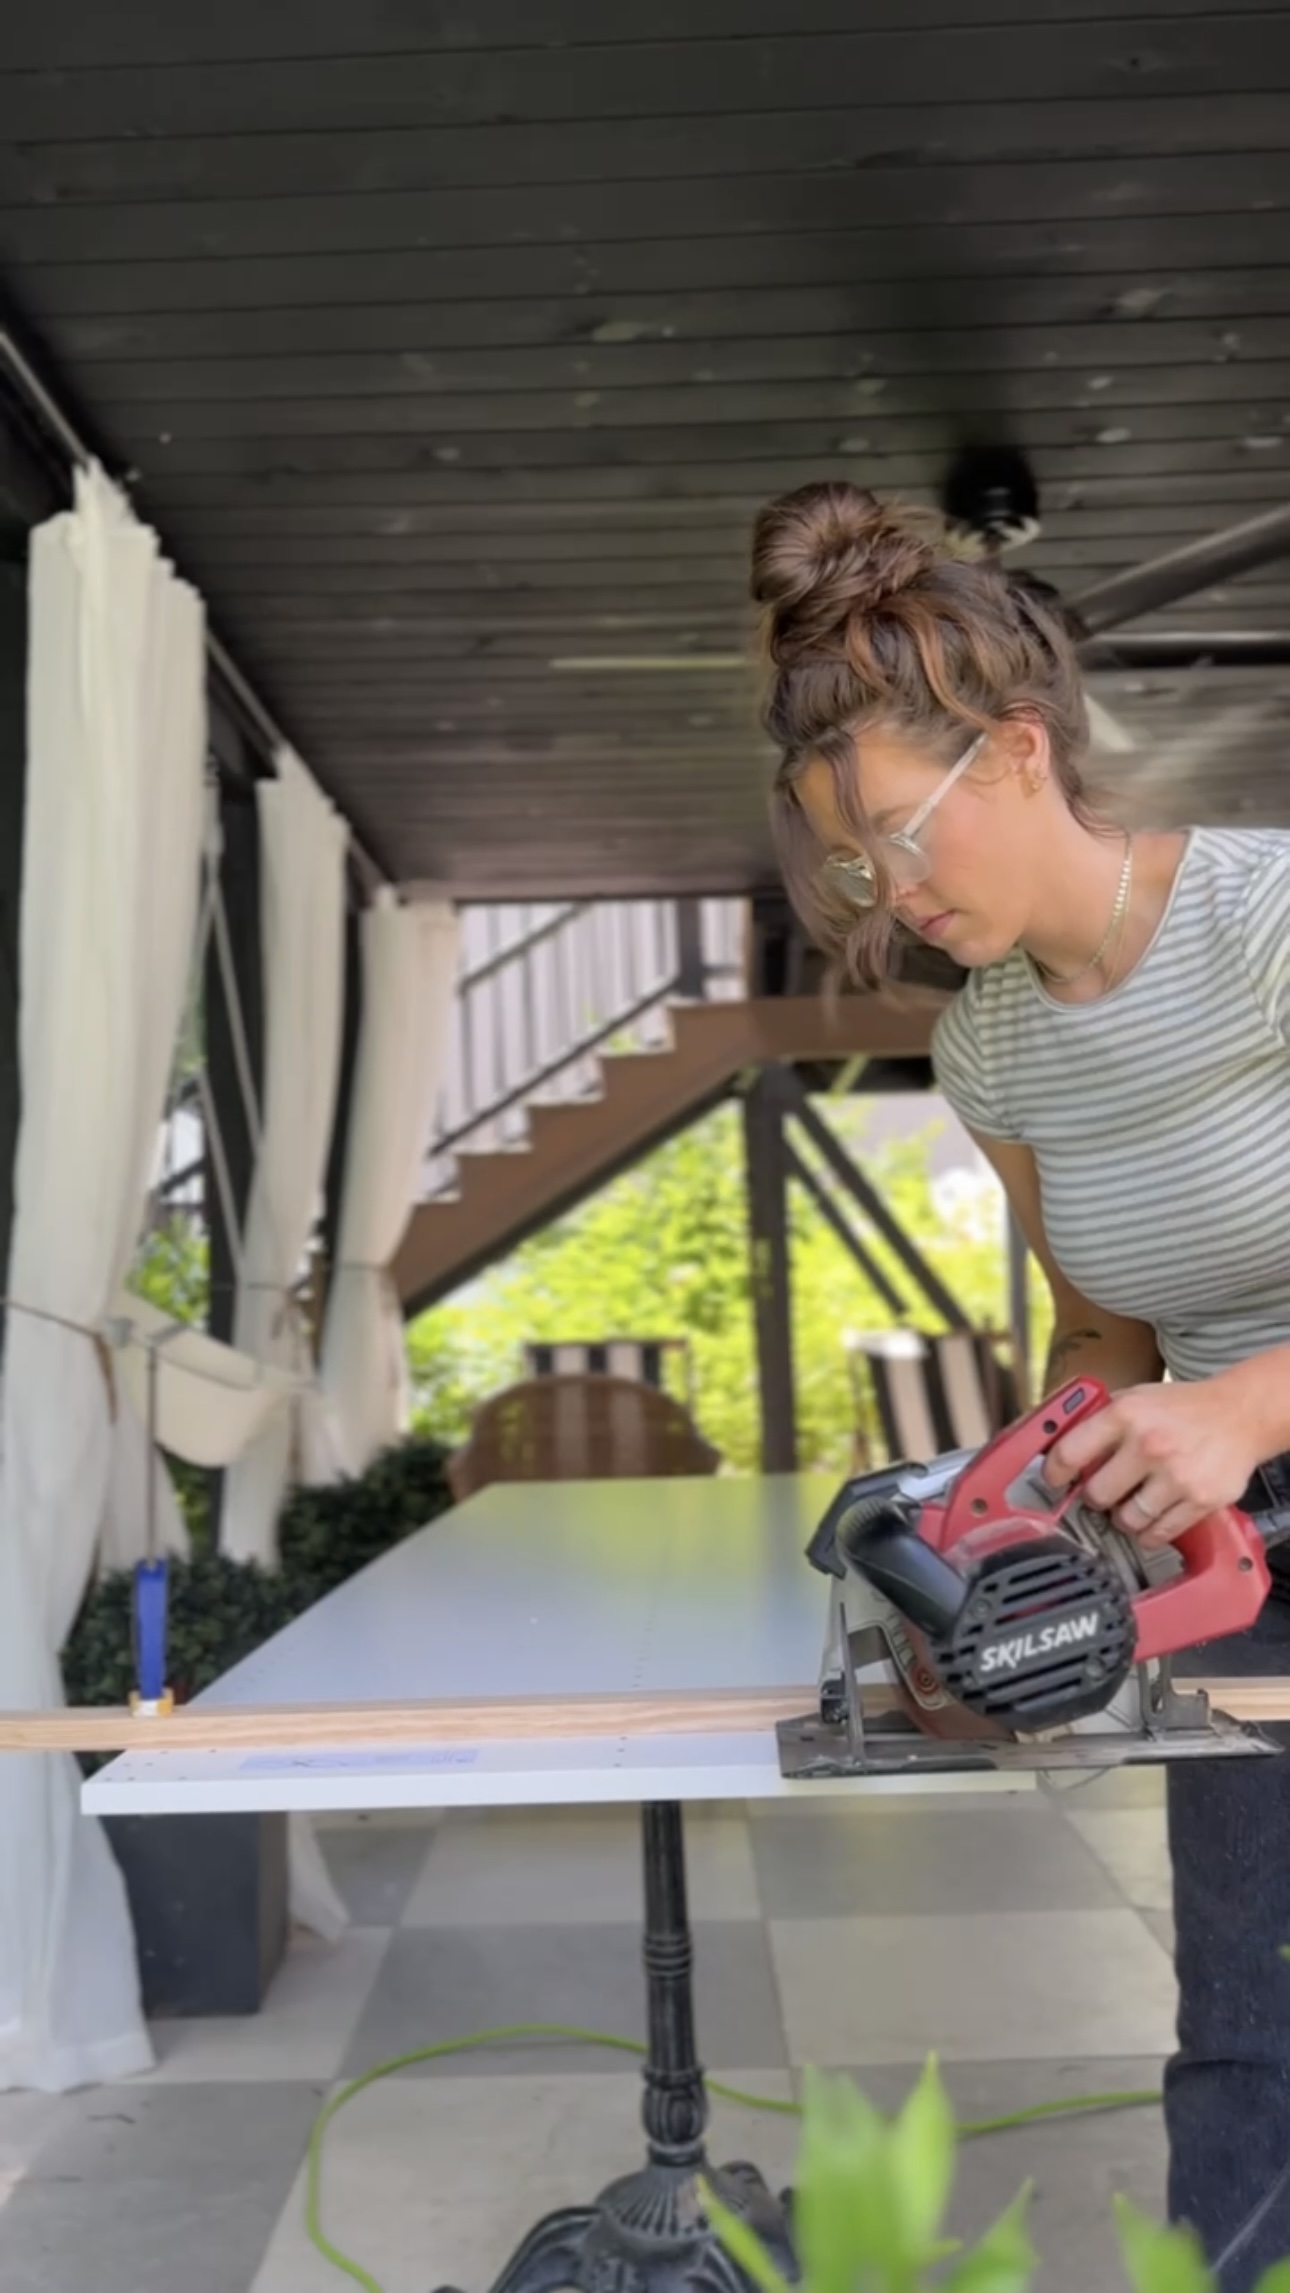
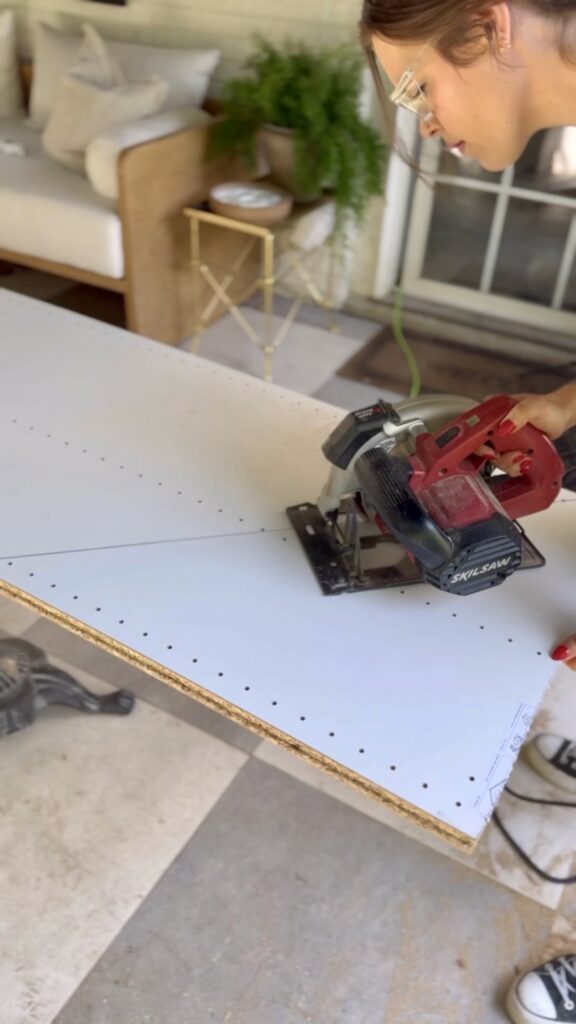
I started by retrofitting my Ikea cabinet boxes. They were just a bit too tall fit under the soffit on this wall. I clamped some scrap wood to the cabinet box pieces to ensure a straight line when I went in with my circular saw. I did this right out on my patio so I didn’t have to keep traveling back and forth from my workshop.
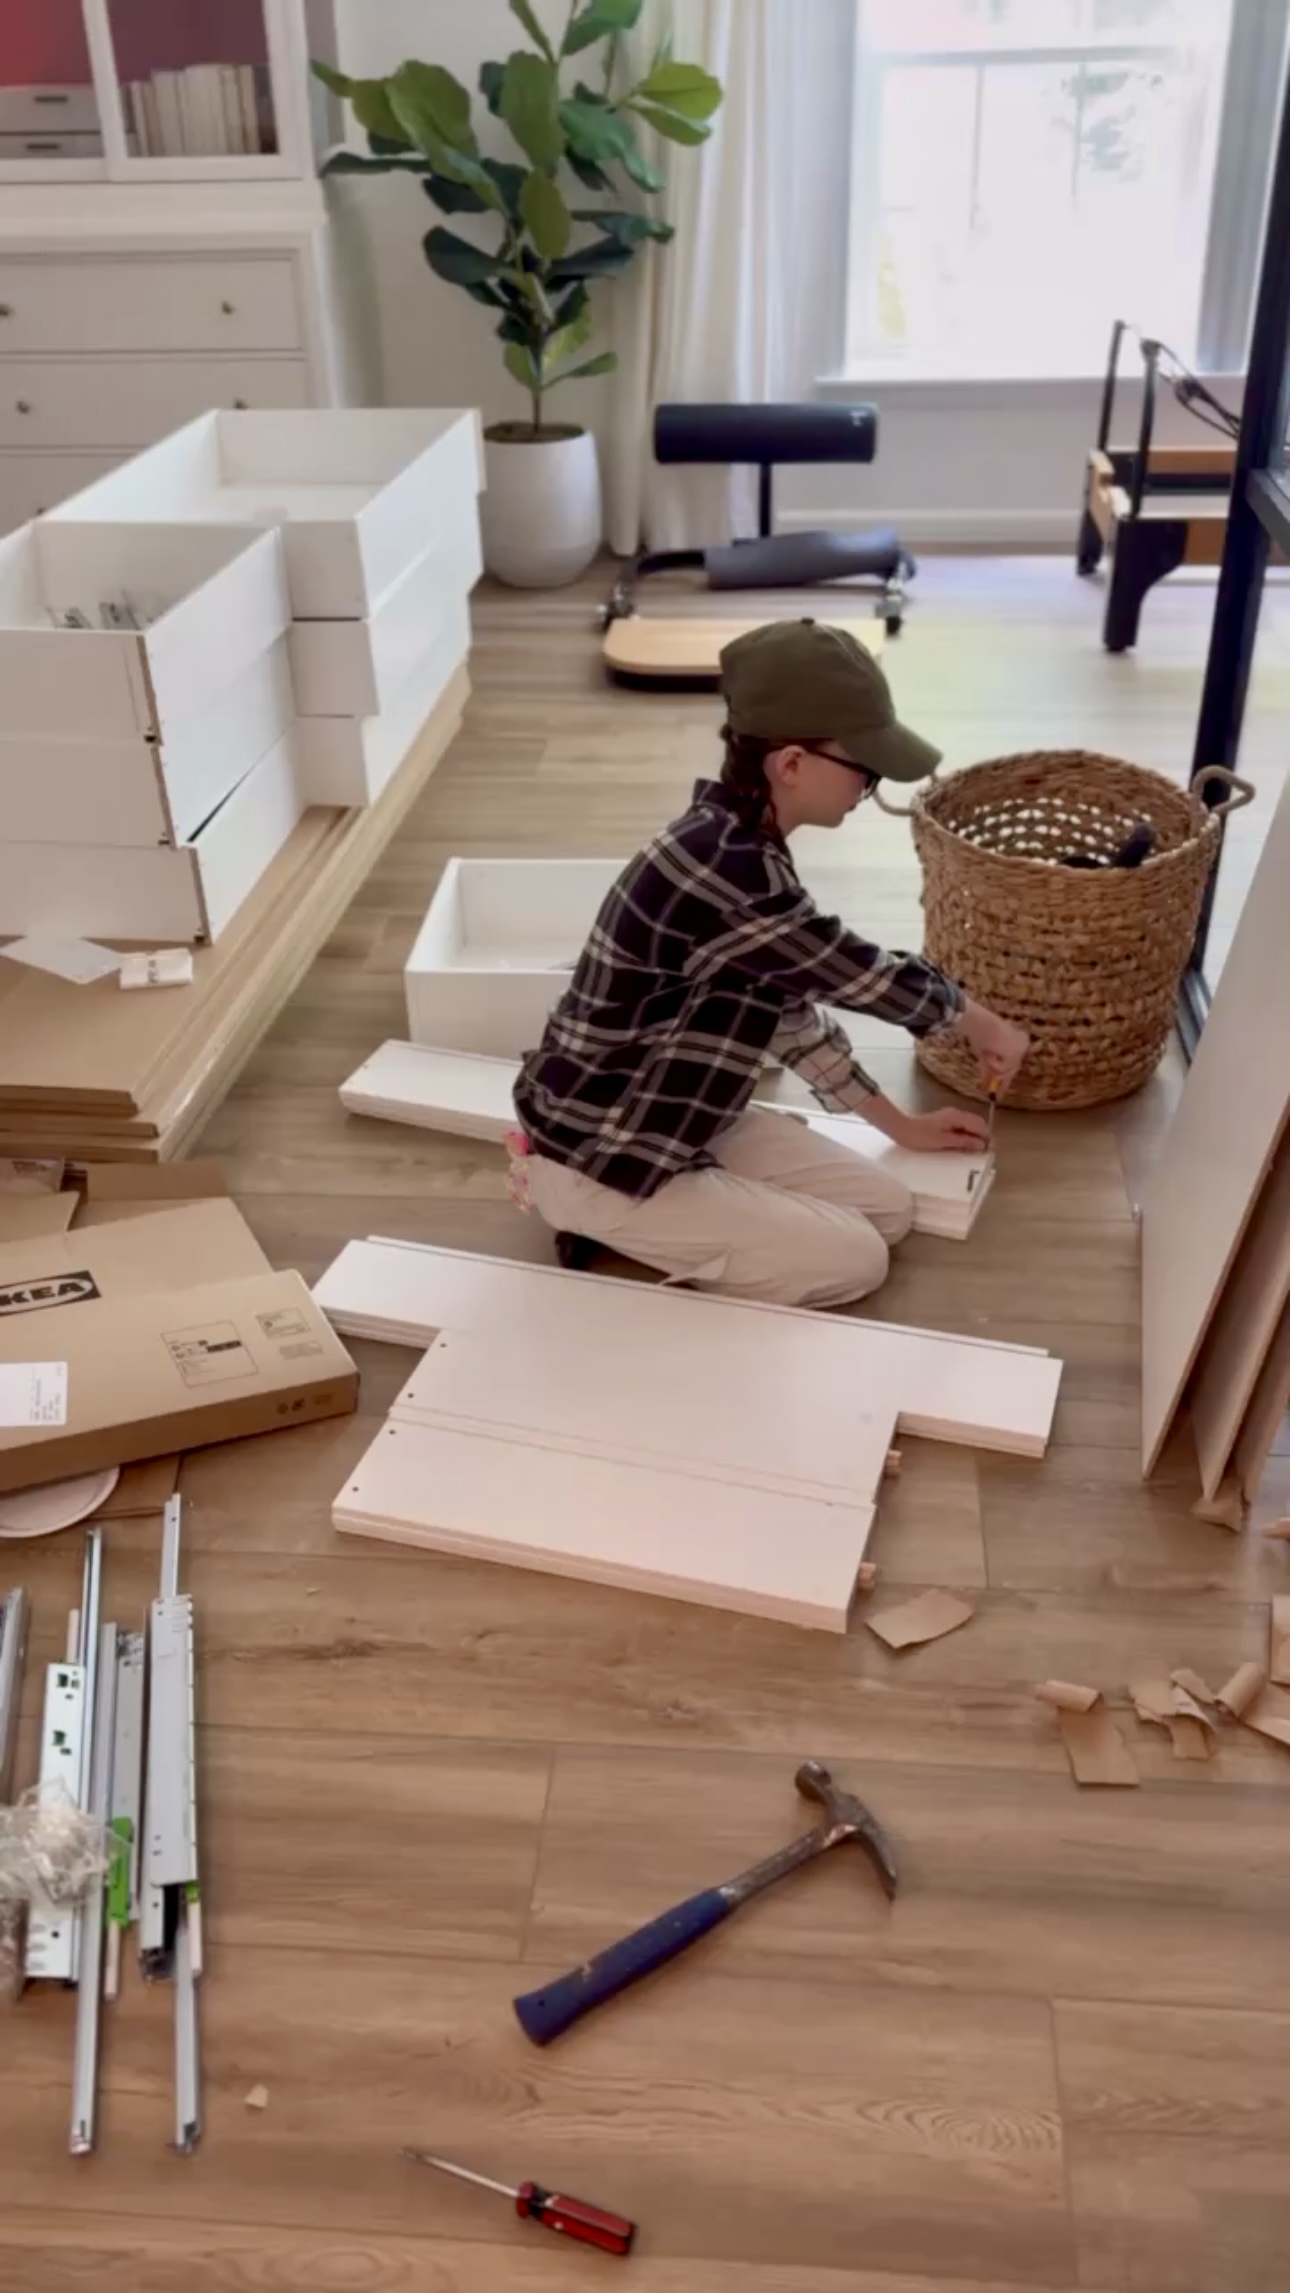
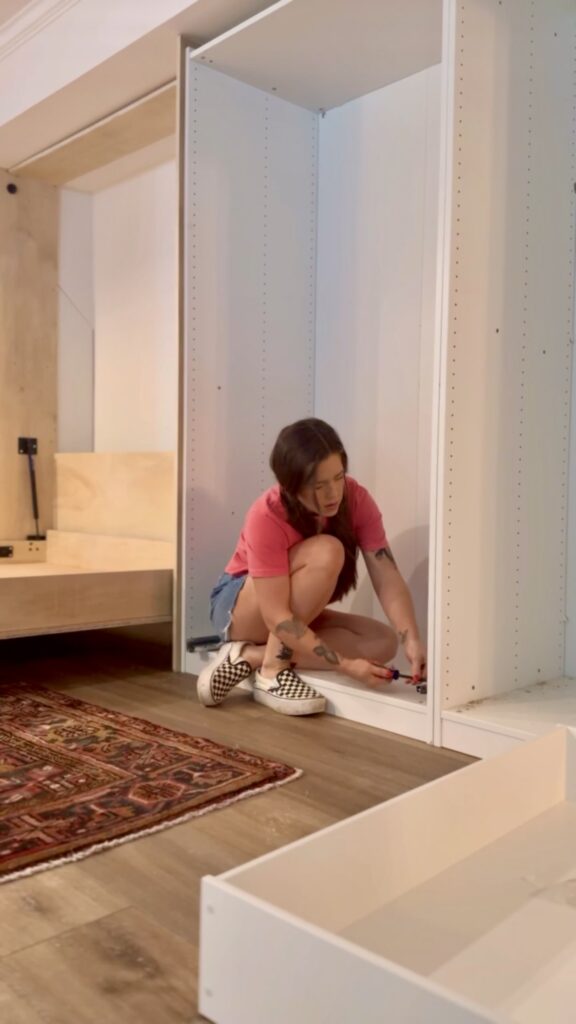
After cutting down all the cabinet boxes, I assembled them! PRO TIP – don’t skip putting the backs on your Ikea cabinets! I didn’t want to use the backs of these cabinets. There’s a seam, they’re a bit wonky, and they’re just going against a flat white wall. So I thought I could just not use them but I was sadly mistaken. There’s no stability when you pick them up and they completely collapsed on me!
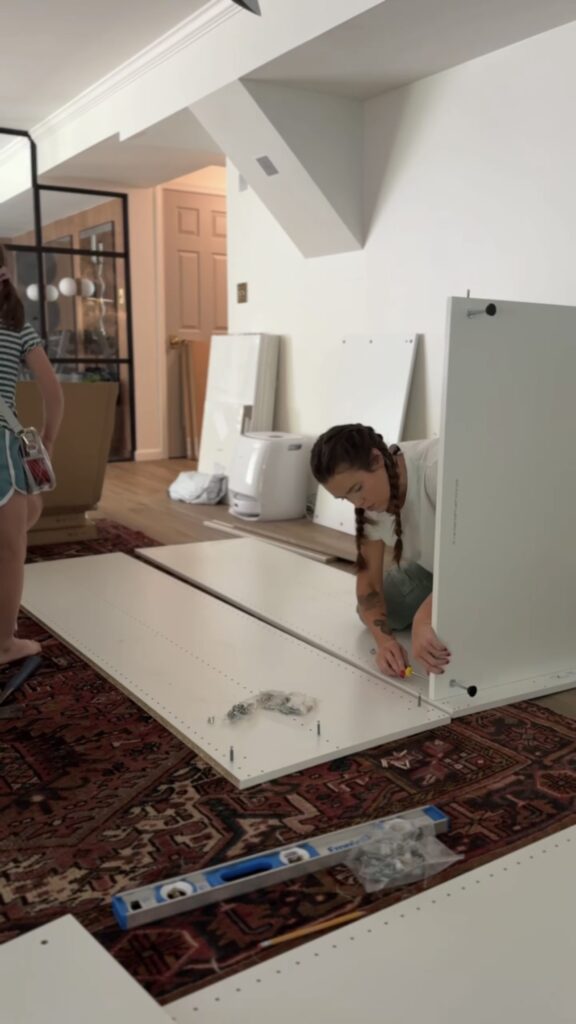
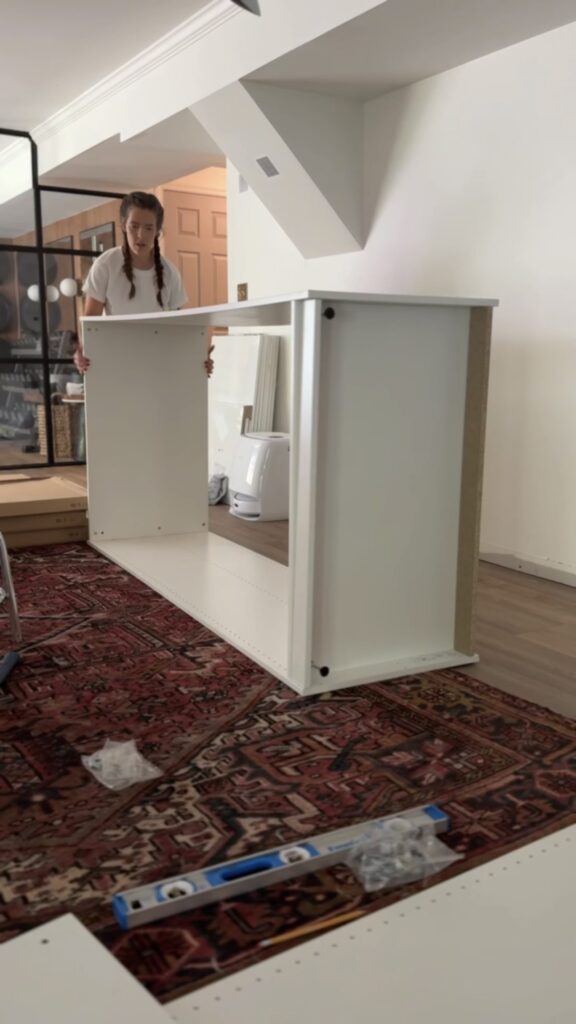
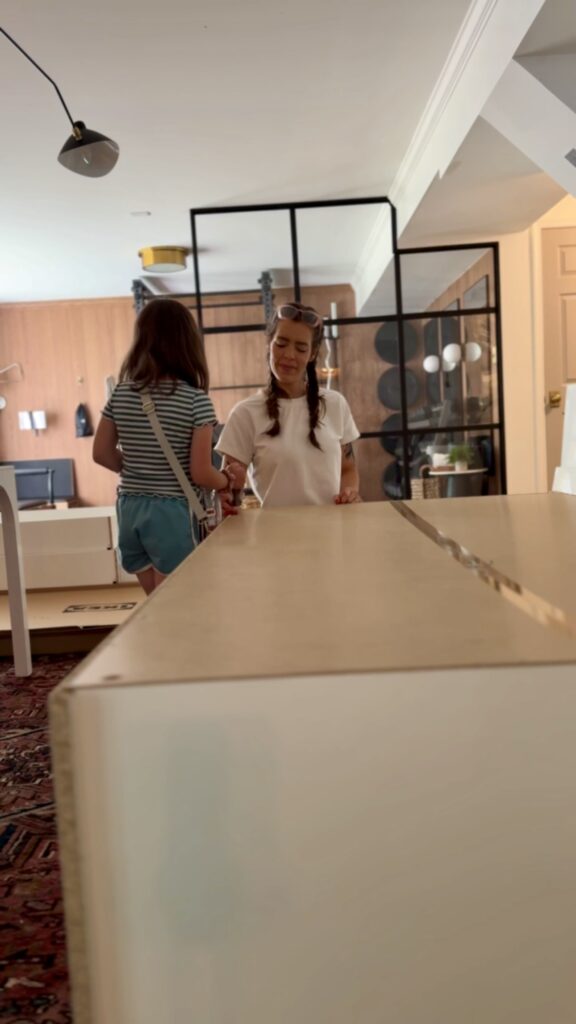
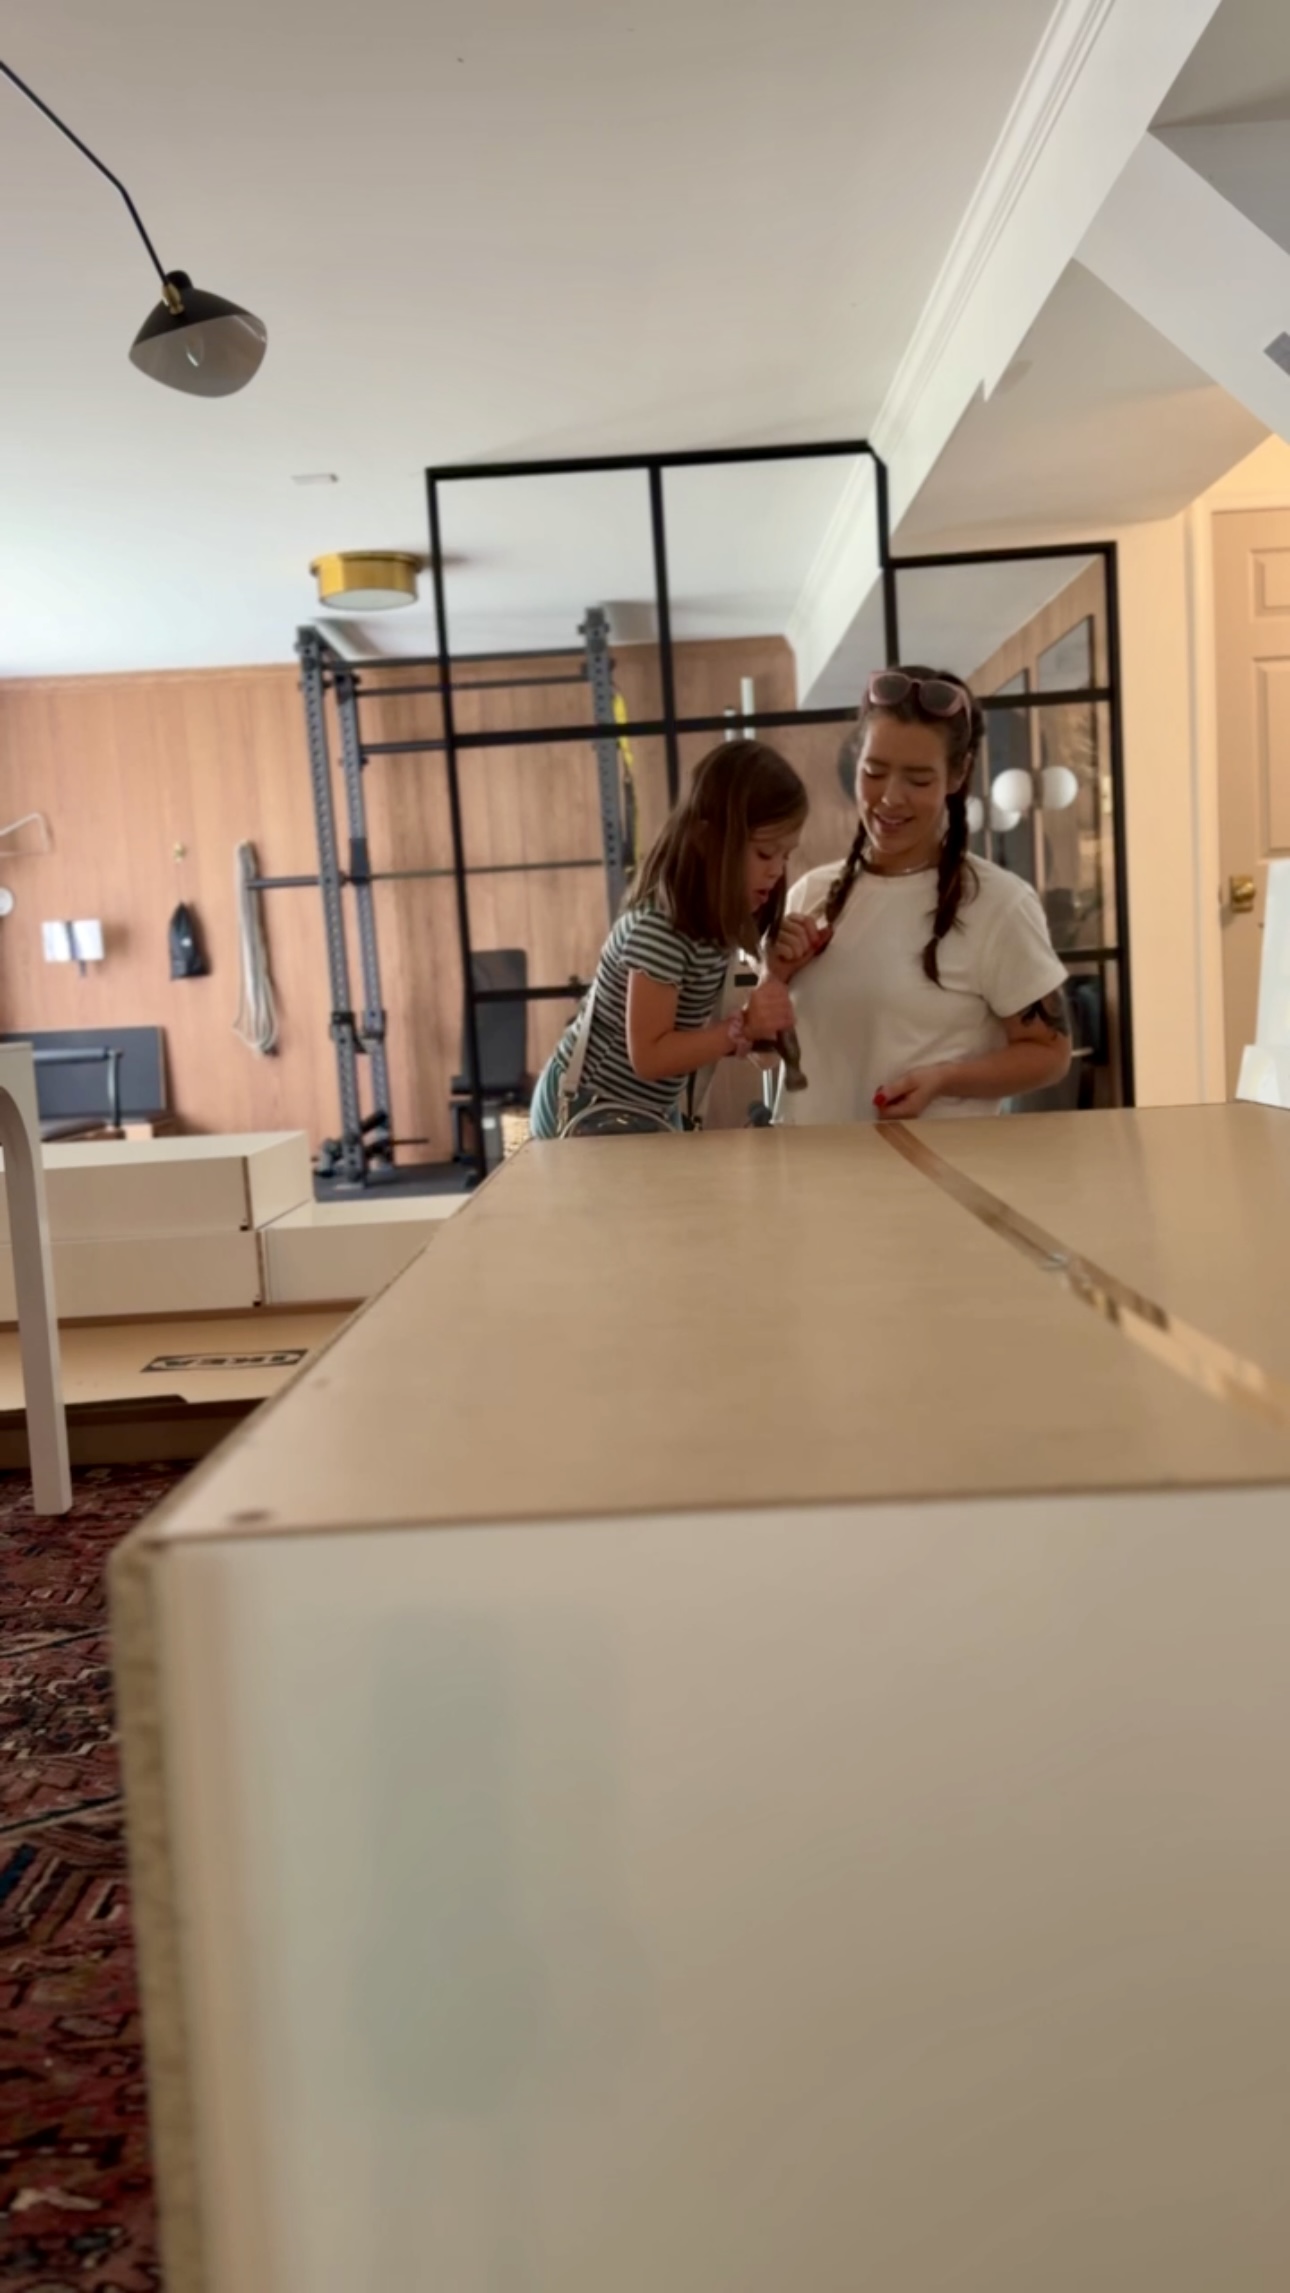
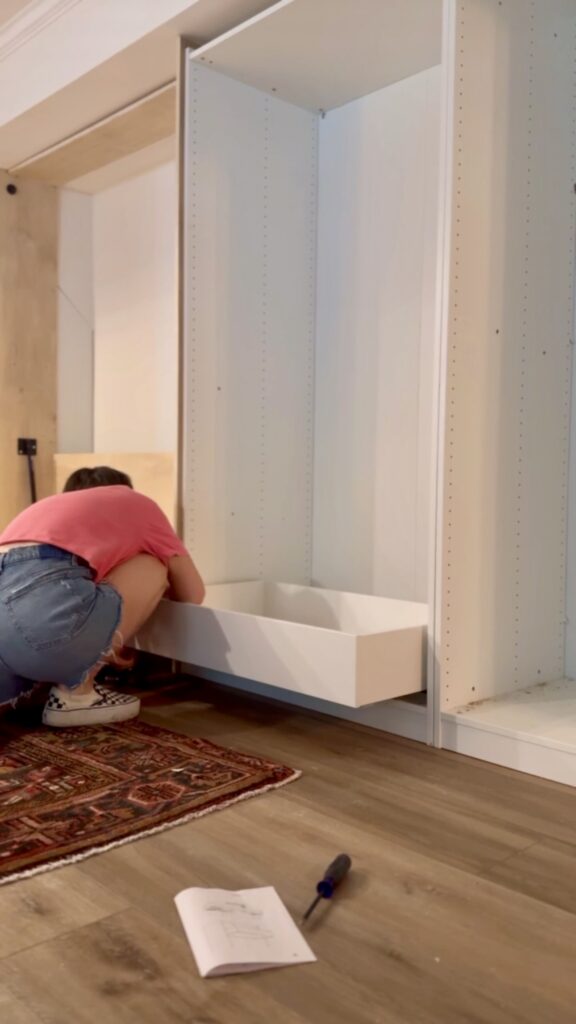
So, I went back to it and assembled these with all the necessary pieces. Emery helped me nail the backs in. Then the next day, I came down stairs and my little mini-me (Rainie) was assembling drawers for me 🥹
There’s a really odd angle in the ceiling here and I wanted to try and cover it by cutting a cabinet box. So, I made my marks and cut the angle with my circular saw. Then, I assembled the box with the angles I made and it fit perfectly! So satisfying.
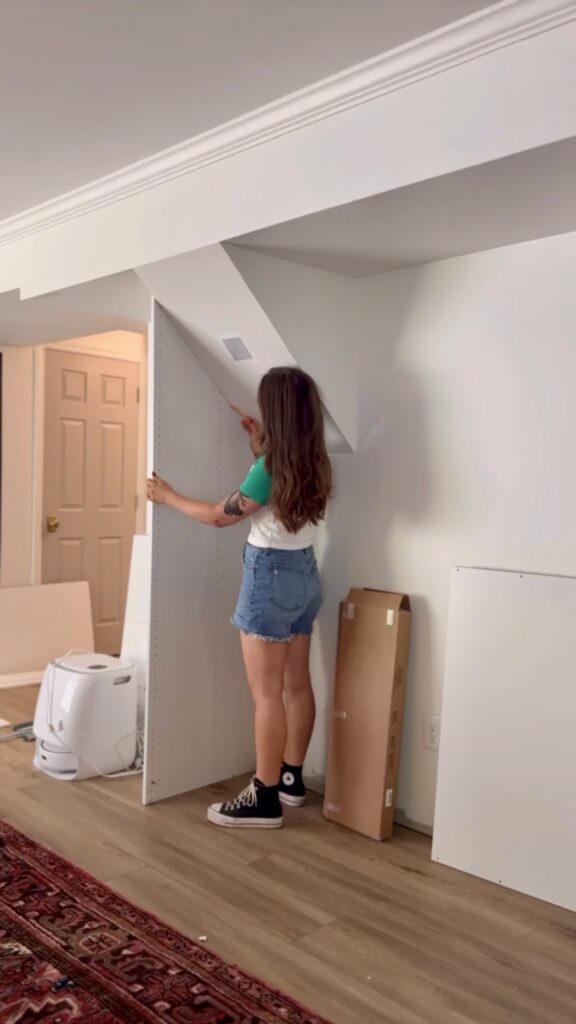
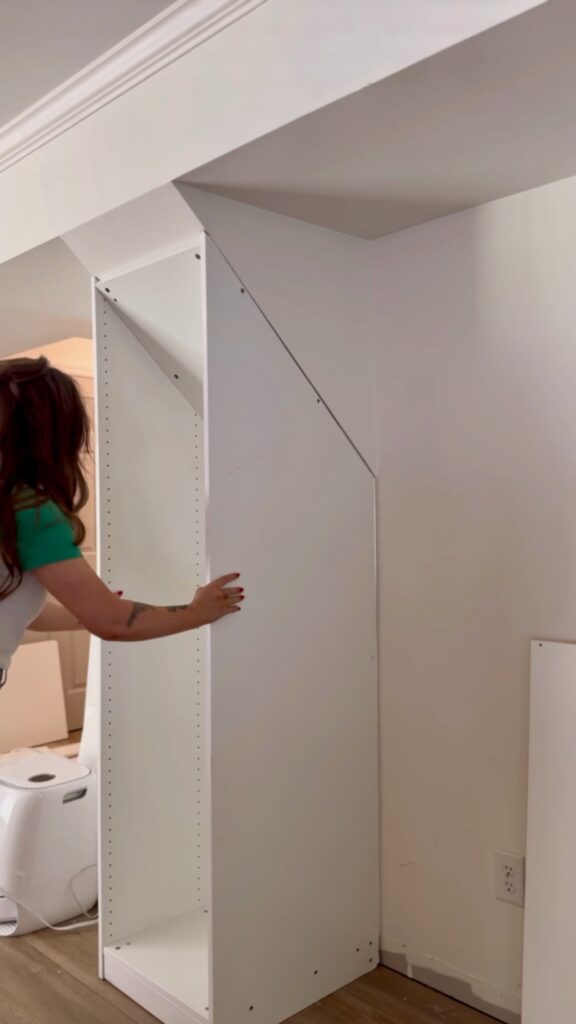
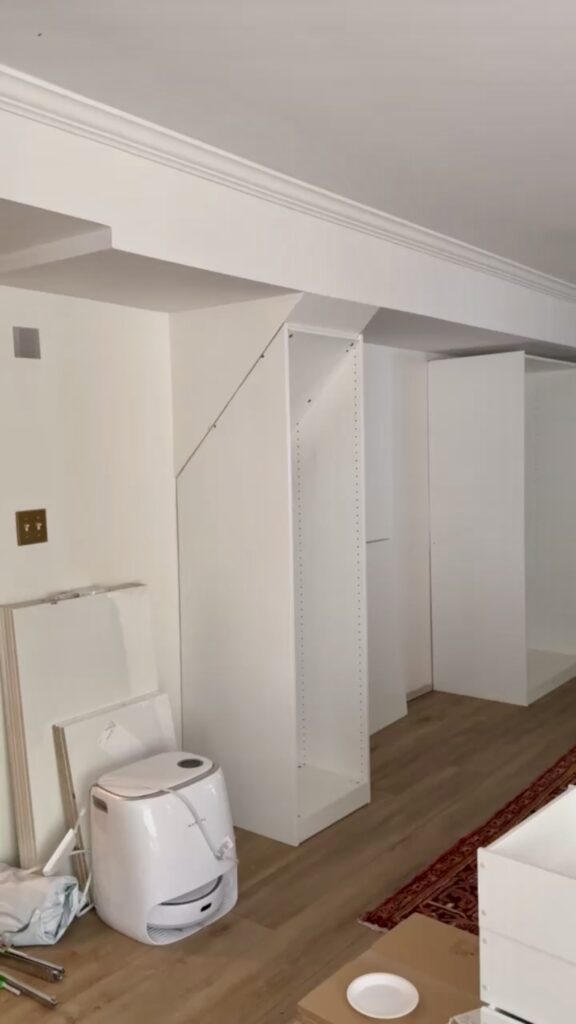
*Quick note – a lot of people were concerned about what was behind this angle in the ceiling. I actually cut into the wall to see what was behind there – and there was nothing. So we’re all safe!
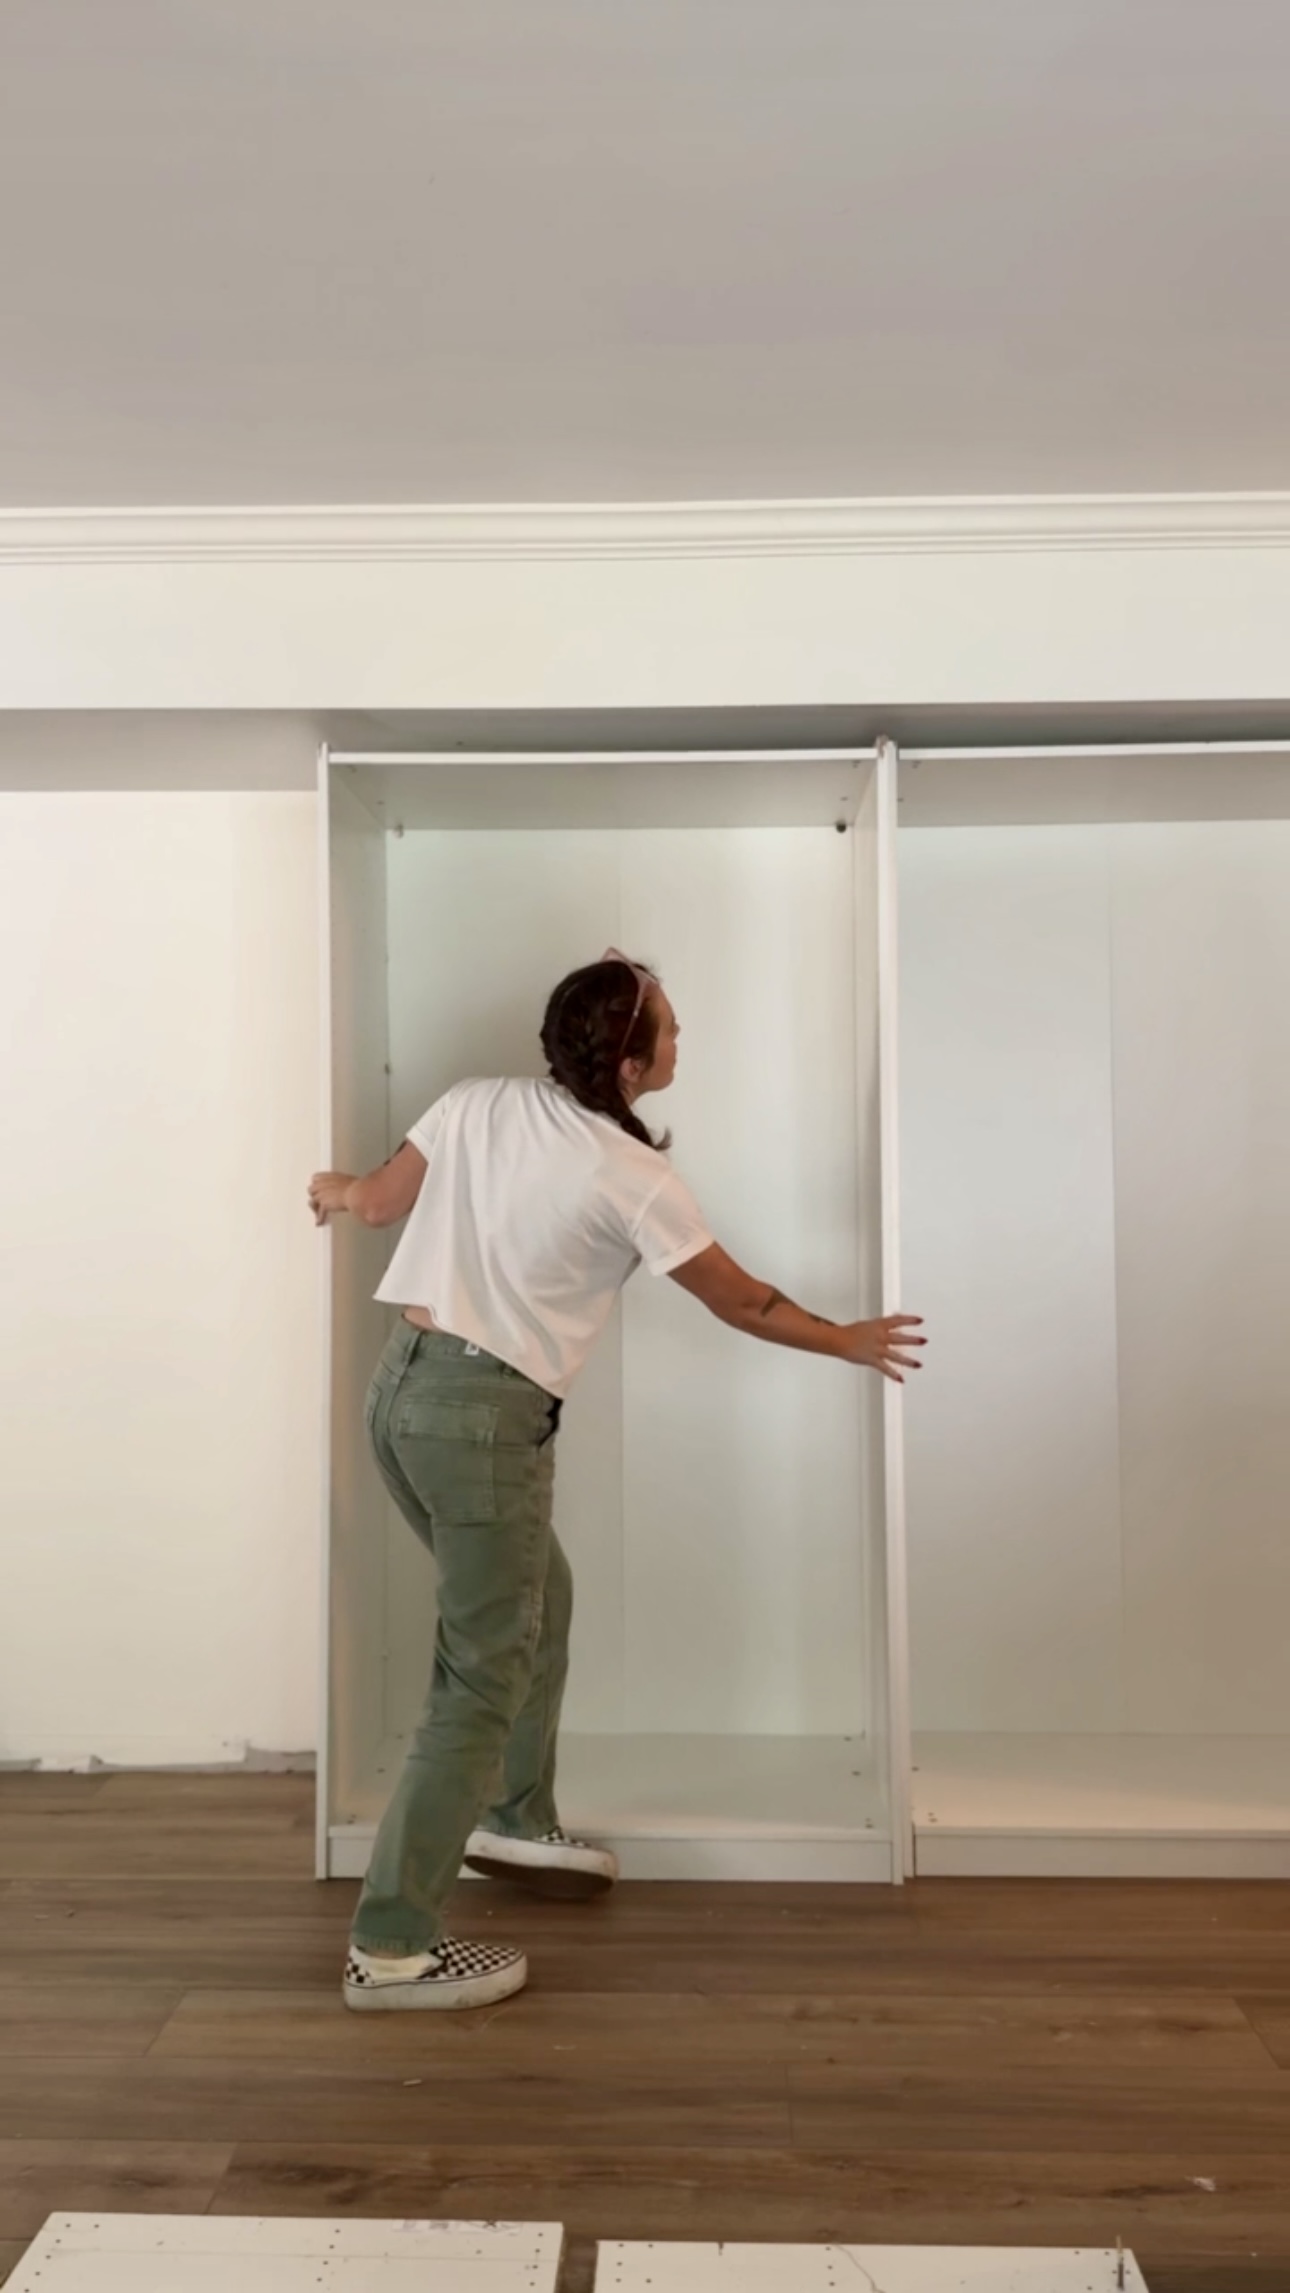
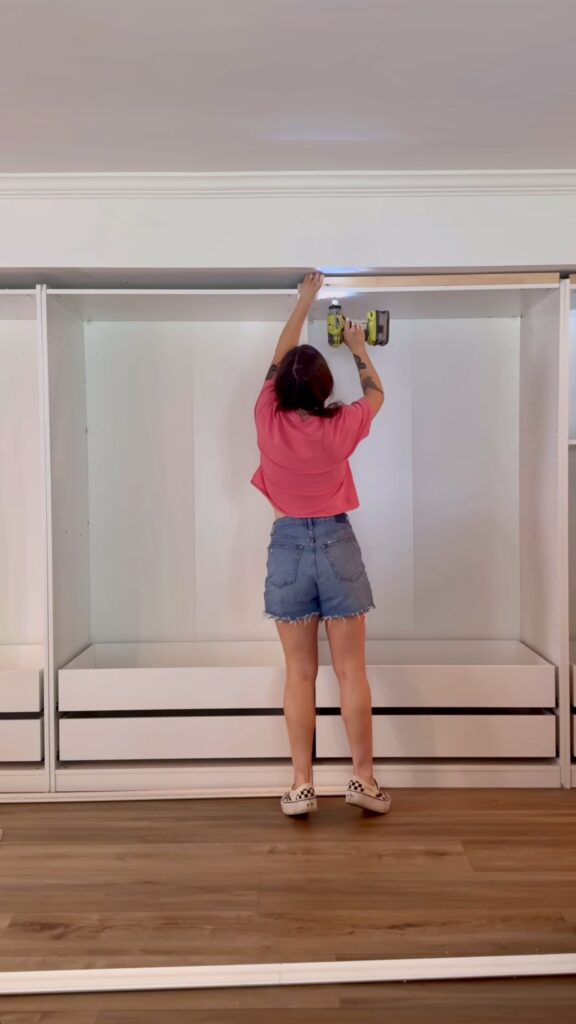
Securing the Cabinets
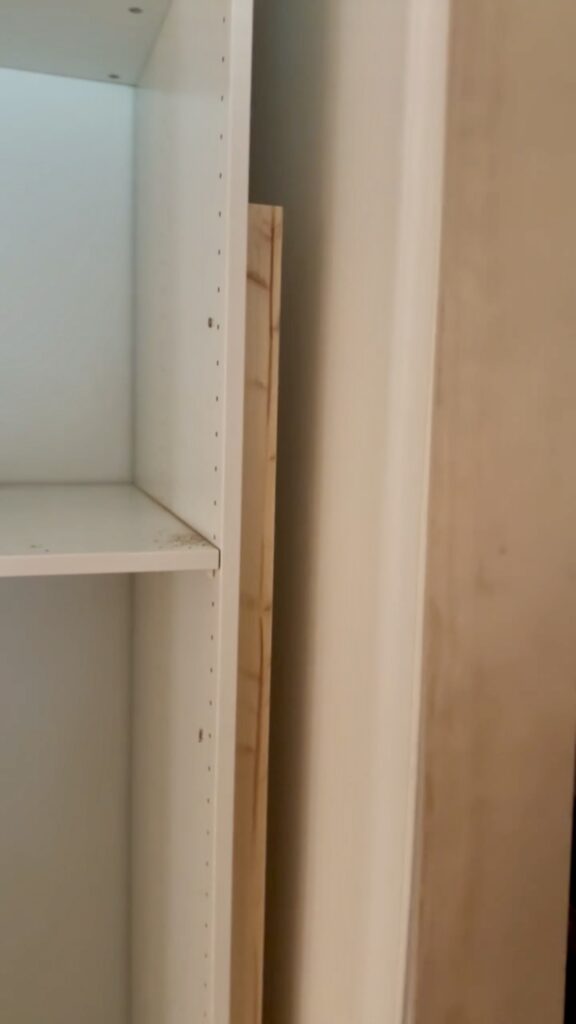
I added a 2×4 where the wall meets the bulk head – it’s screwed into the stud. I screwed all the cabinets into that and then into the bottom stud. I also added a 2×4 where there was a gap along the wall. Then, I cut another piece of wood to cover the entire gap.
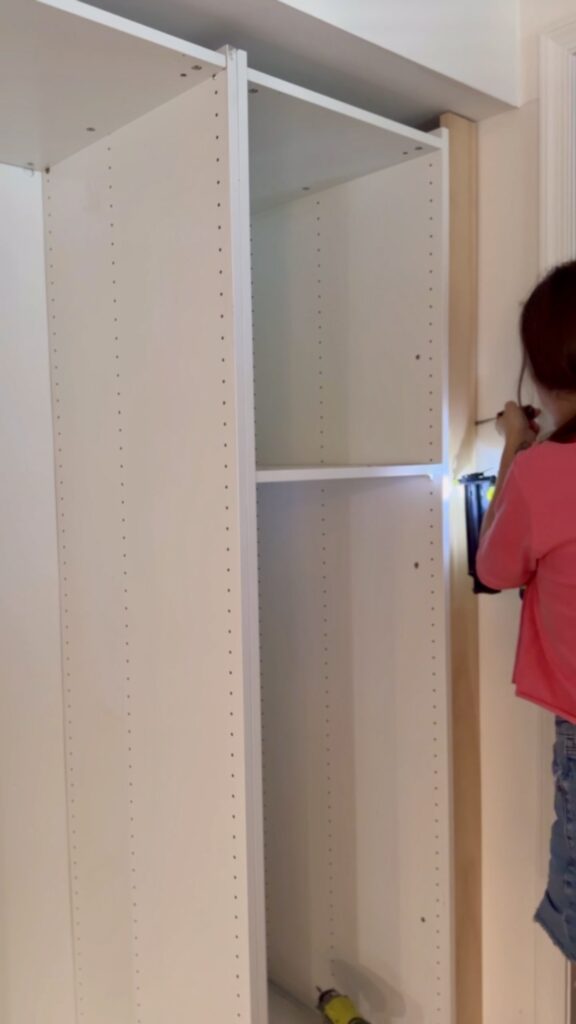

Then, I installed all of the boxes Rainie helped me assemble!
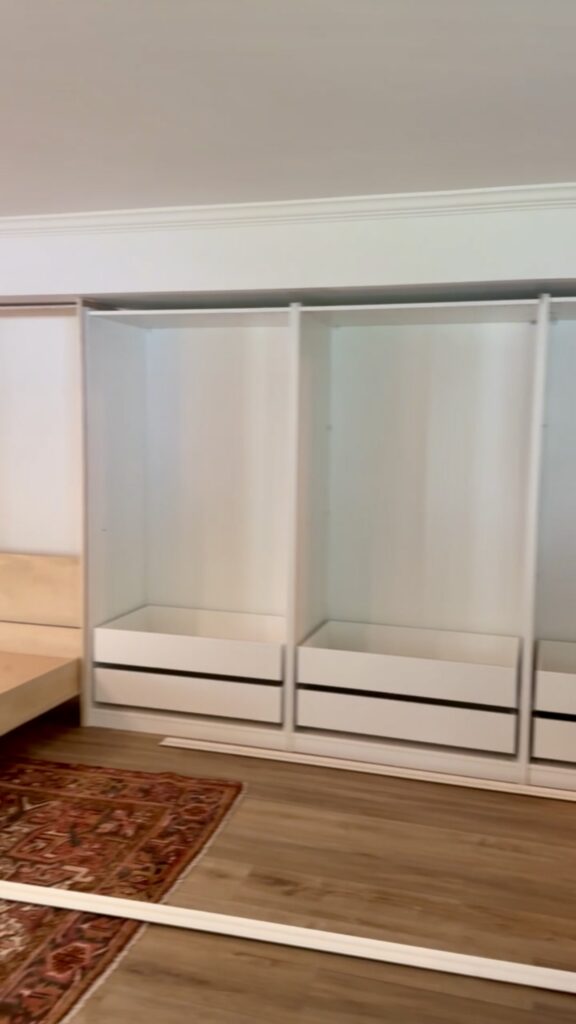
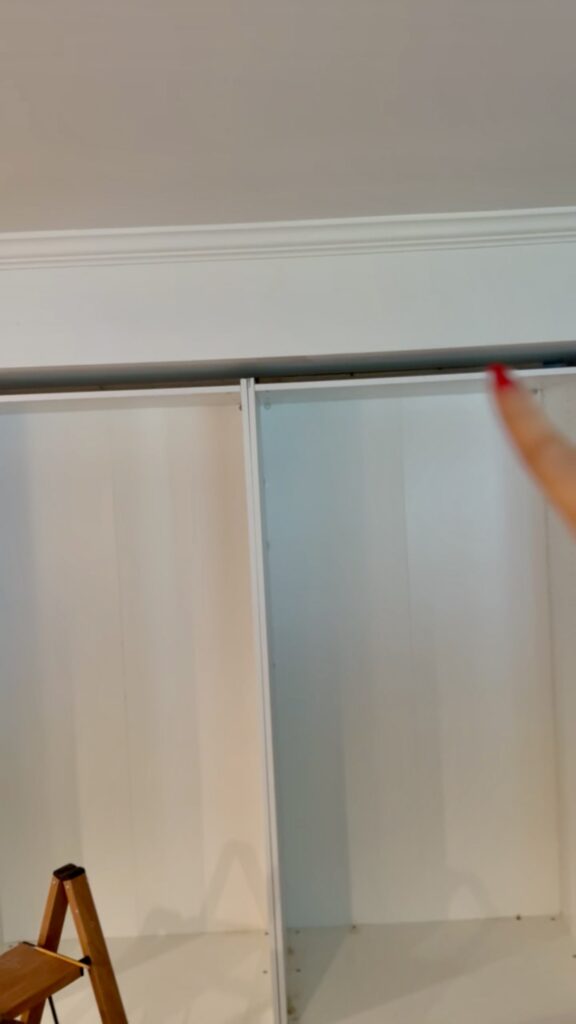
Once the cabinet doors are installed, there will be a gap between the ceiling and the cabinet tops. I want to add crown moulding, so I needed to add blocking and fill in the gap. So, I added 1×2’s along the entire ceiling gap.
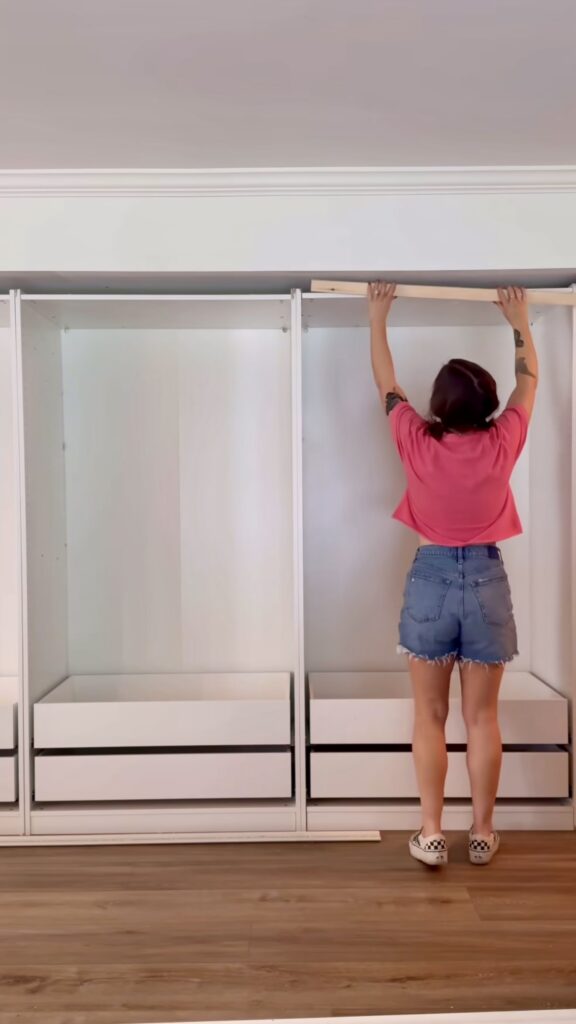
All of this technical stuff takes the longest. But once it’s done, the EXCITING STUFF get’s to happen!
Next up, I’m building the murphy bed! Don’t forget to follow along in real time in my stories!
– Cass
Here’s everything I wore in my stories this week!


- AE Striped Tee
- Black Ultra High Rise 90’s Straight Jeans
- Platform Converse
- White Tee
- Altar’d State Green Cargo Pants
- Platform Checkered Vans
- Poppy Choker
- Green Baseball Tee Crop (similar option)
- Abercrombie Dad Shorts (I have these in so many different colors – I’m obsessed!)
Are there any issues with installing something like this over a floating floor?